How to Make Resin Coasters (Step-by-Step)
This post may contain affiliate links: full affiliate disclosure.
This is a tutorial on how to make resin coasters from scratch and get creative with it. This is a perfect creative project for adults and even teens.
Coasters are just the perfect DIY project for, well, pretty much all occasions. You’re looking for a quick and easy DIY craft? Coasters. Something you can make without having to buy new craft supplies? Coasters.
When you’re bored and want to work on an elaborate project? Well, you can make elaborate coasters. You get the point. You can use different mediums, from cloth to wood, to make coasters.
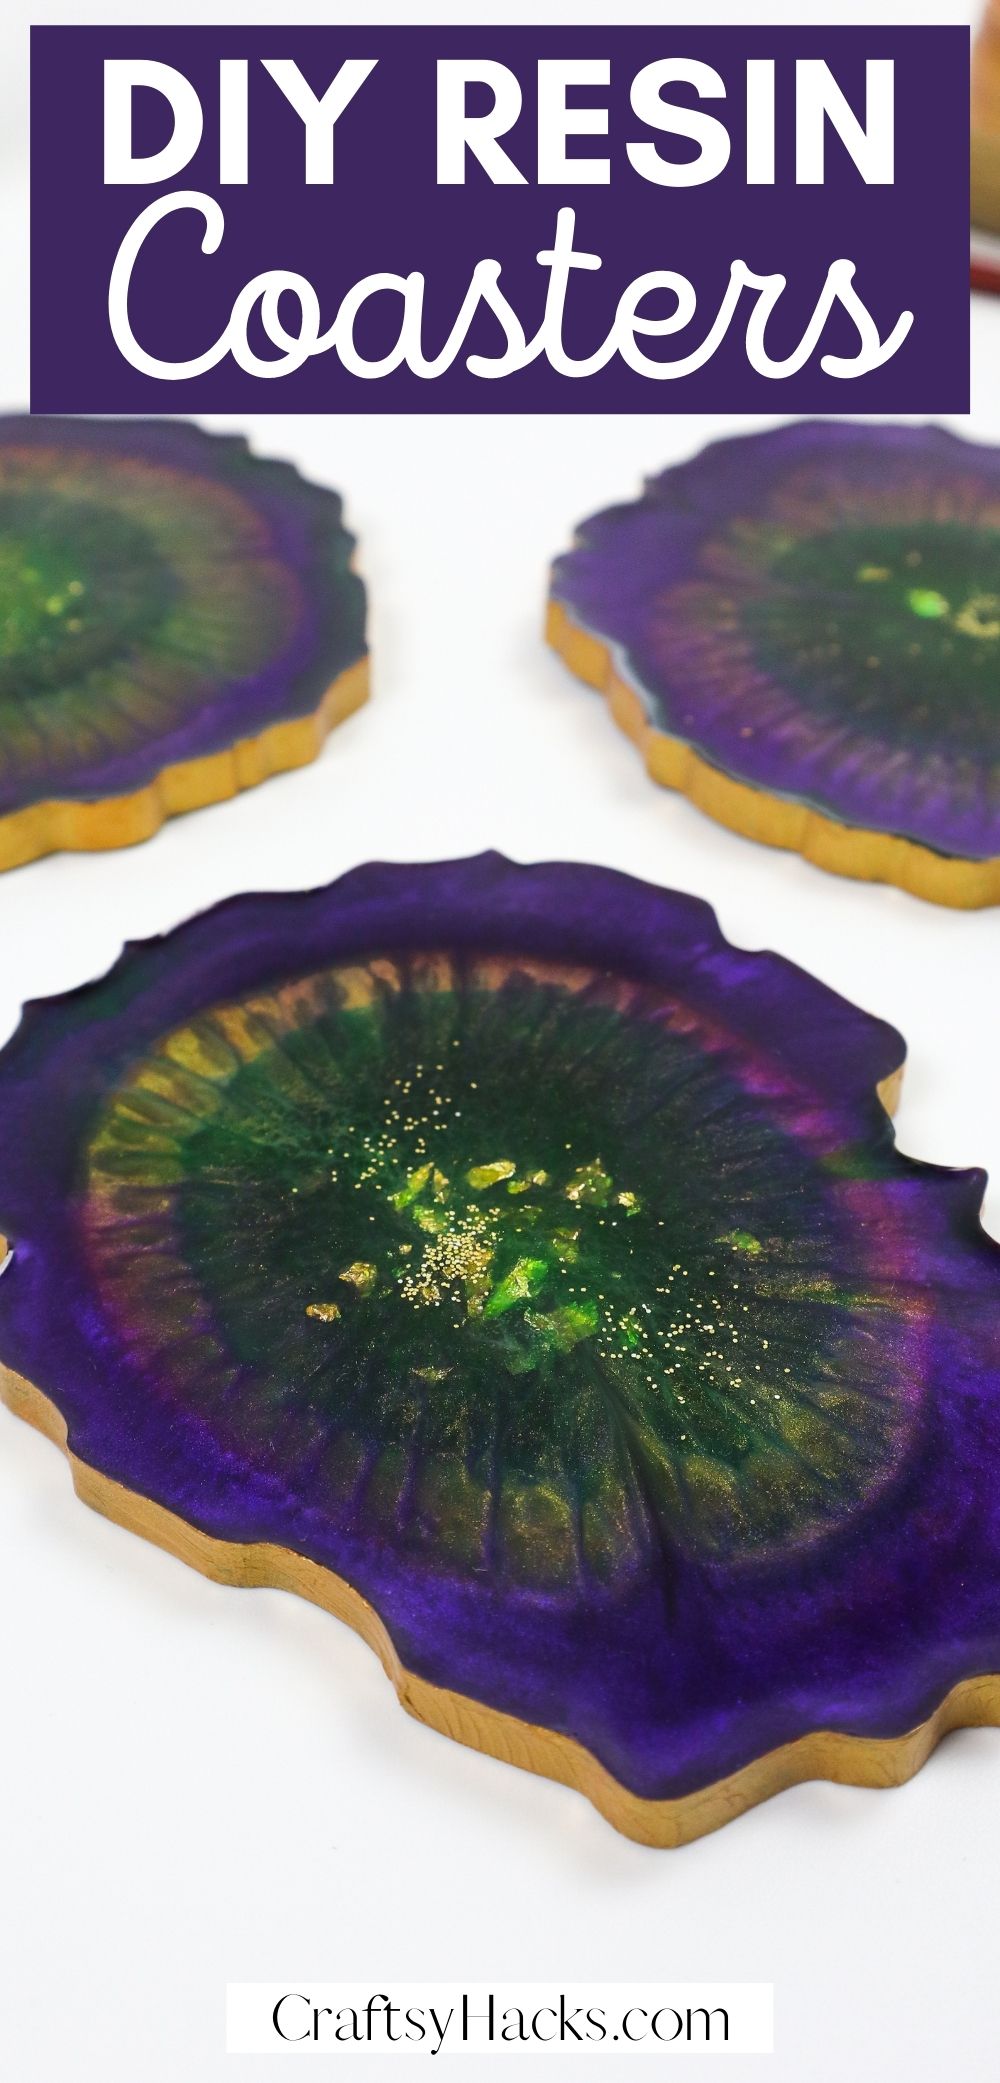
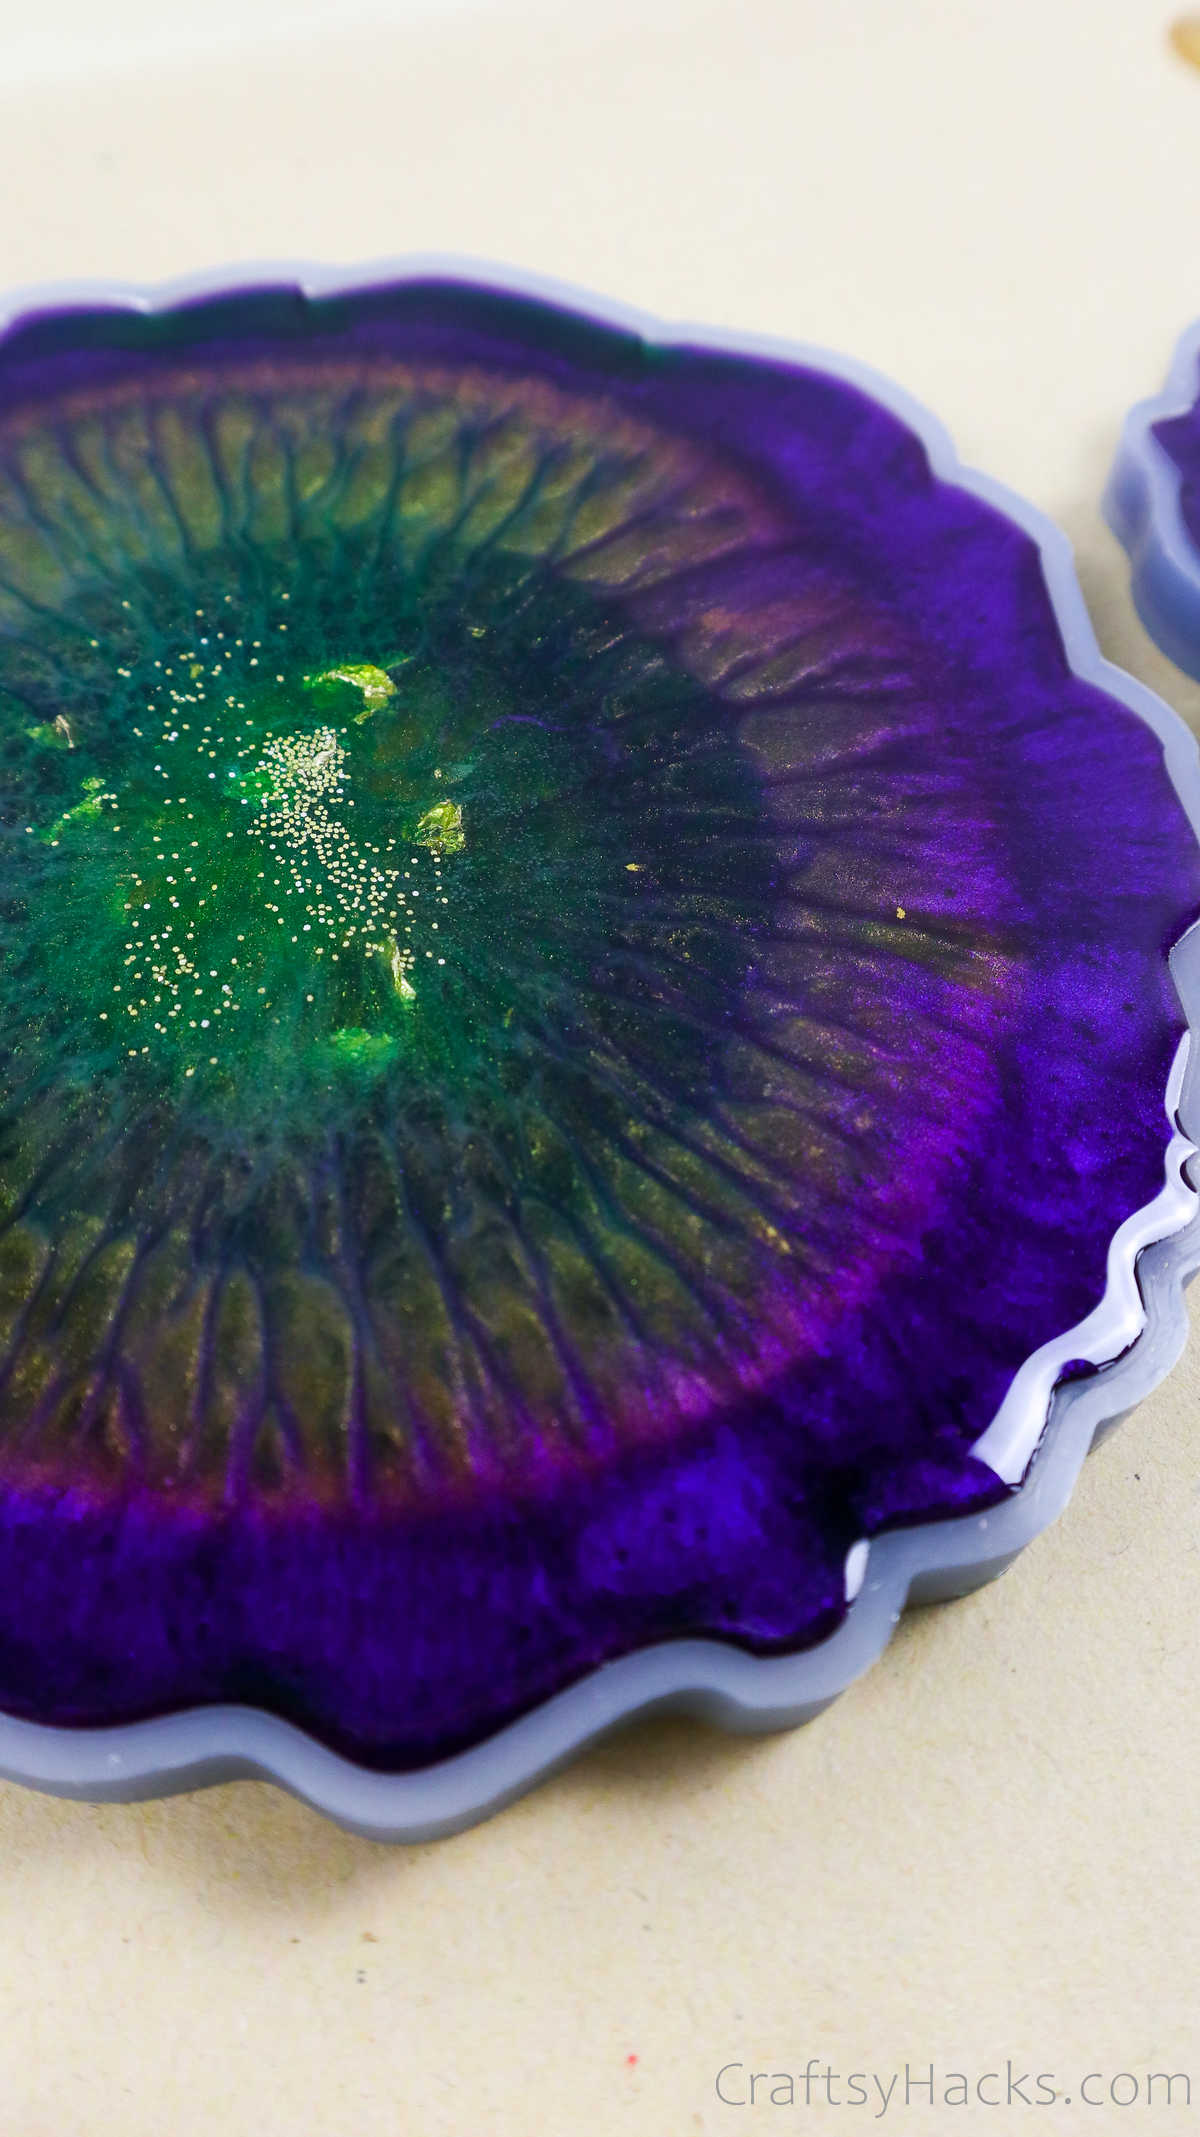
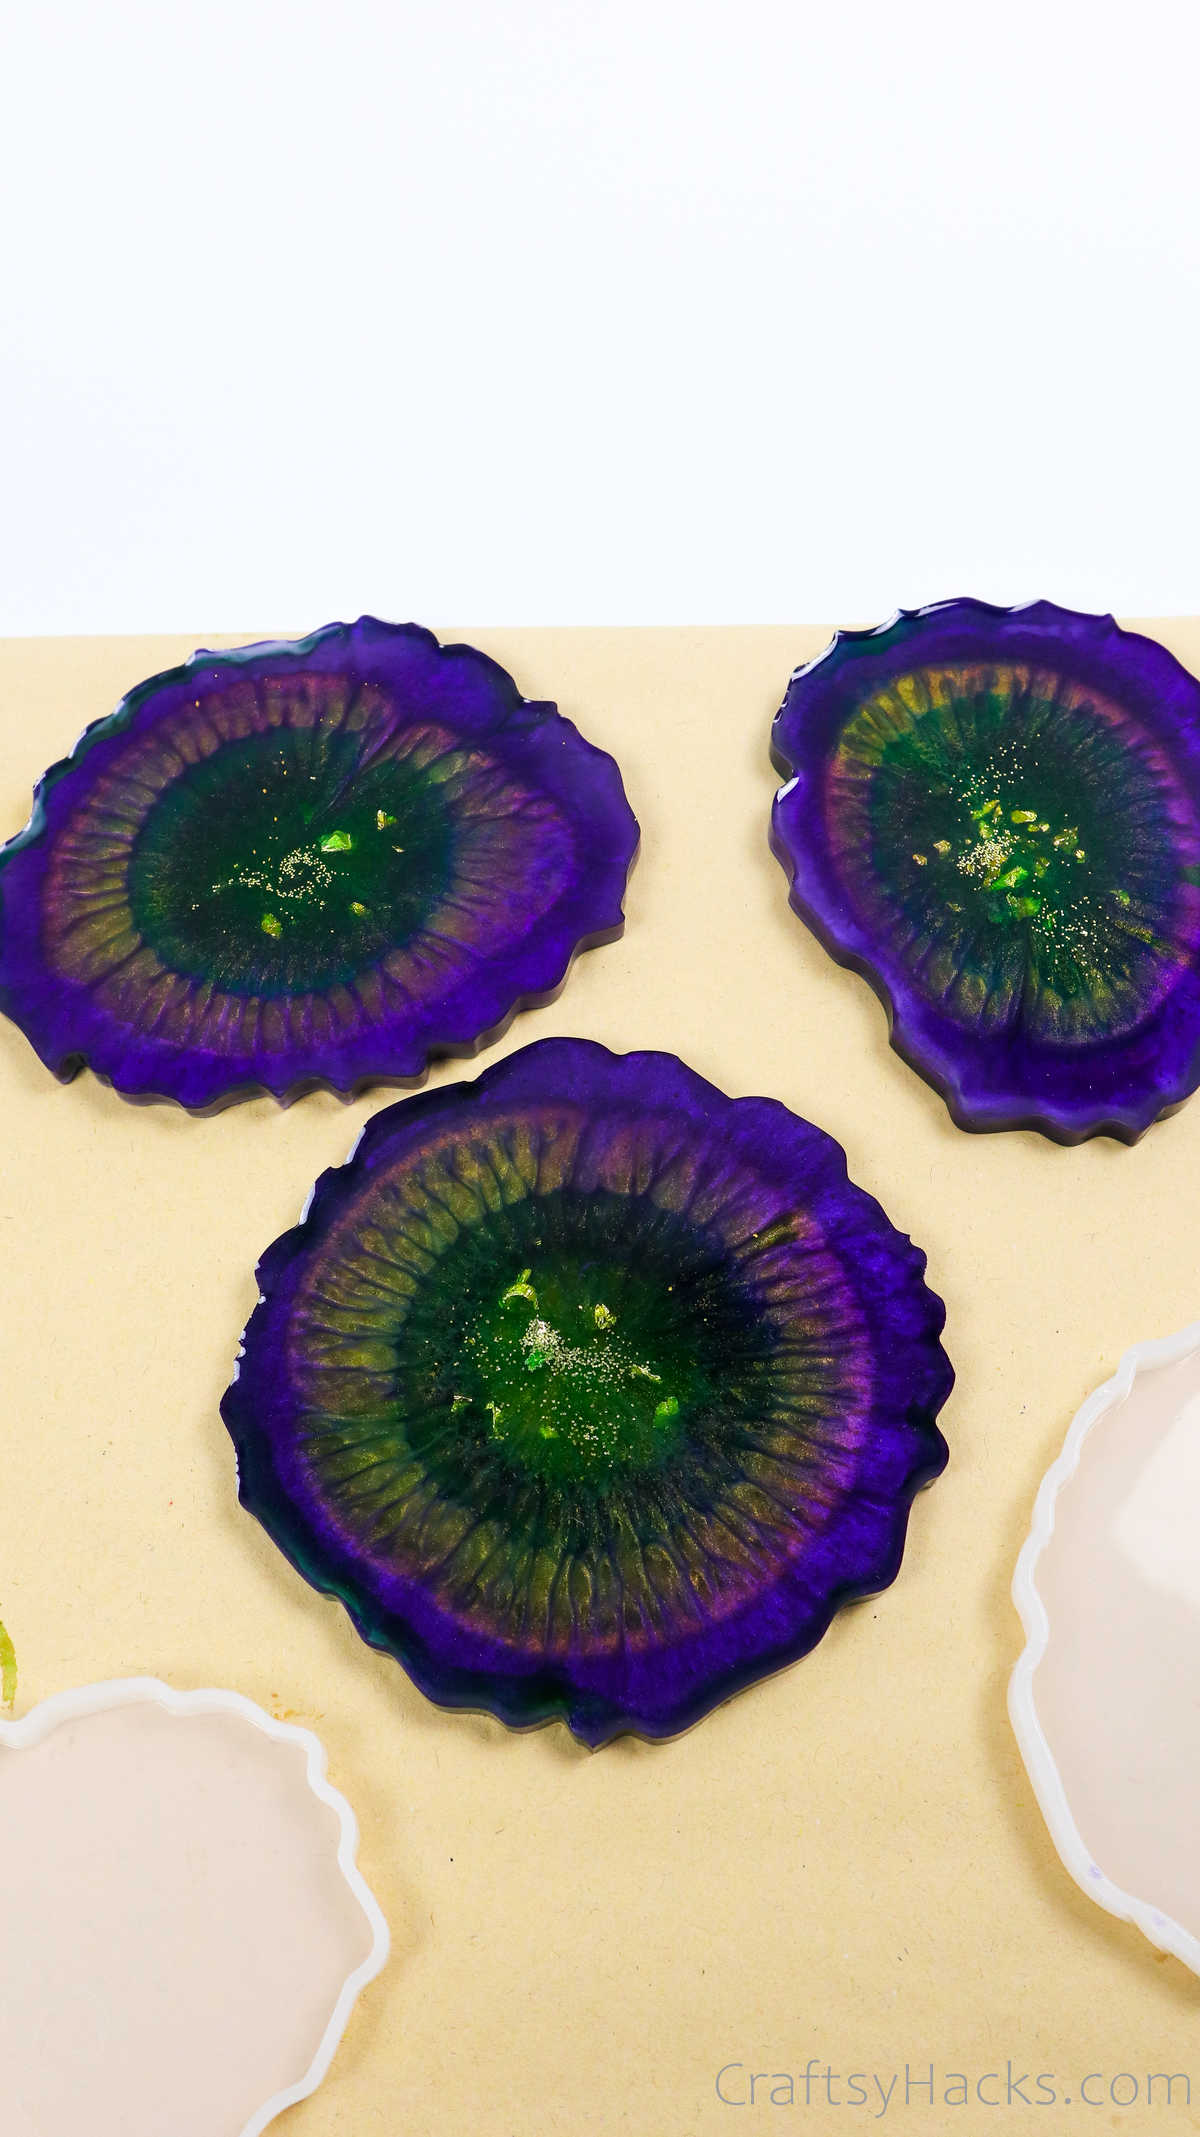
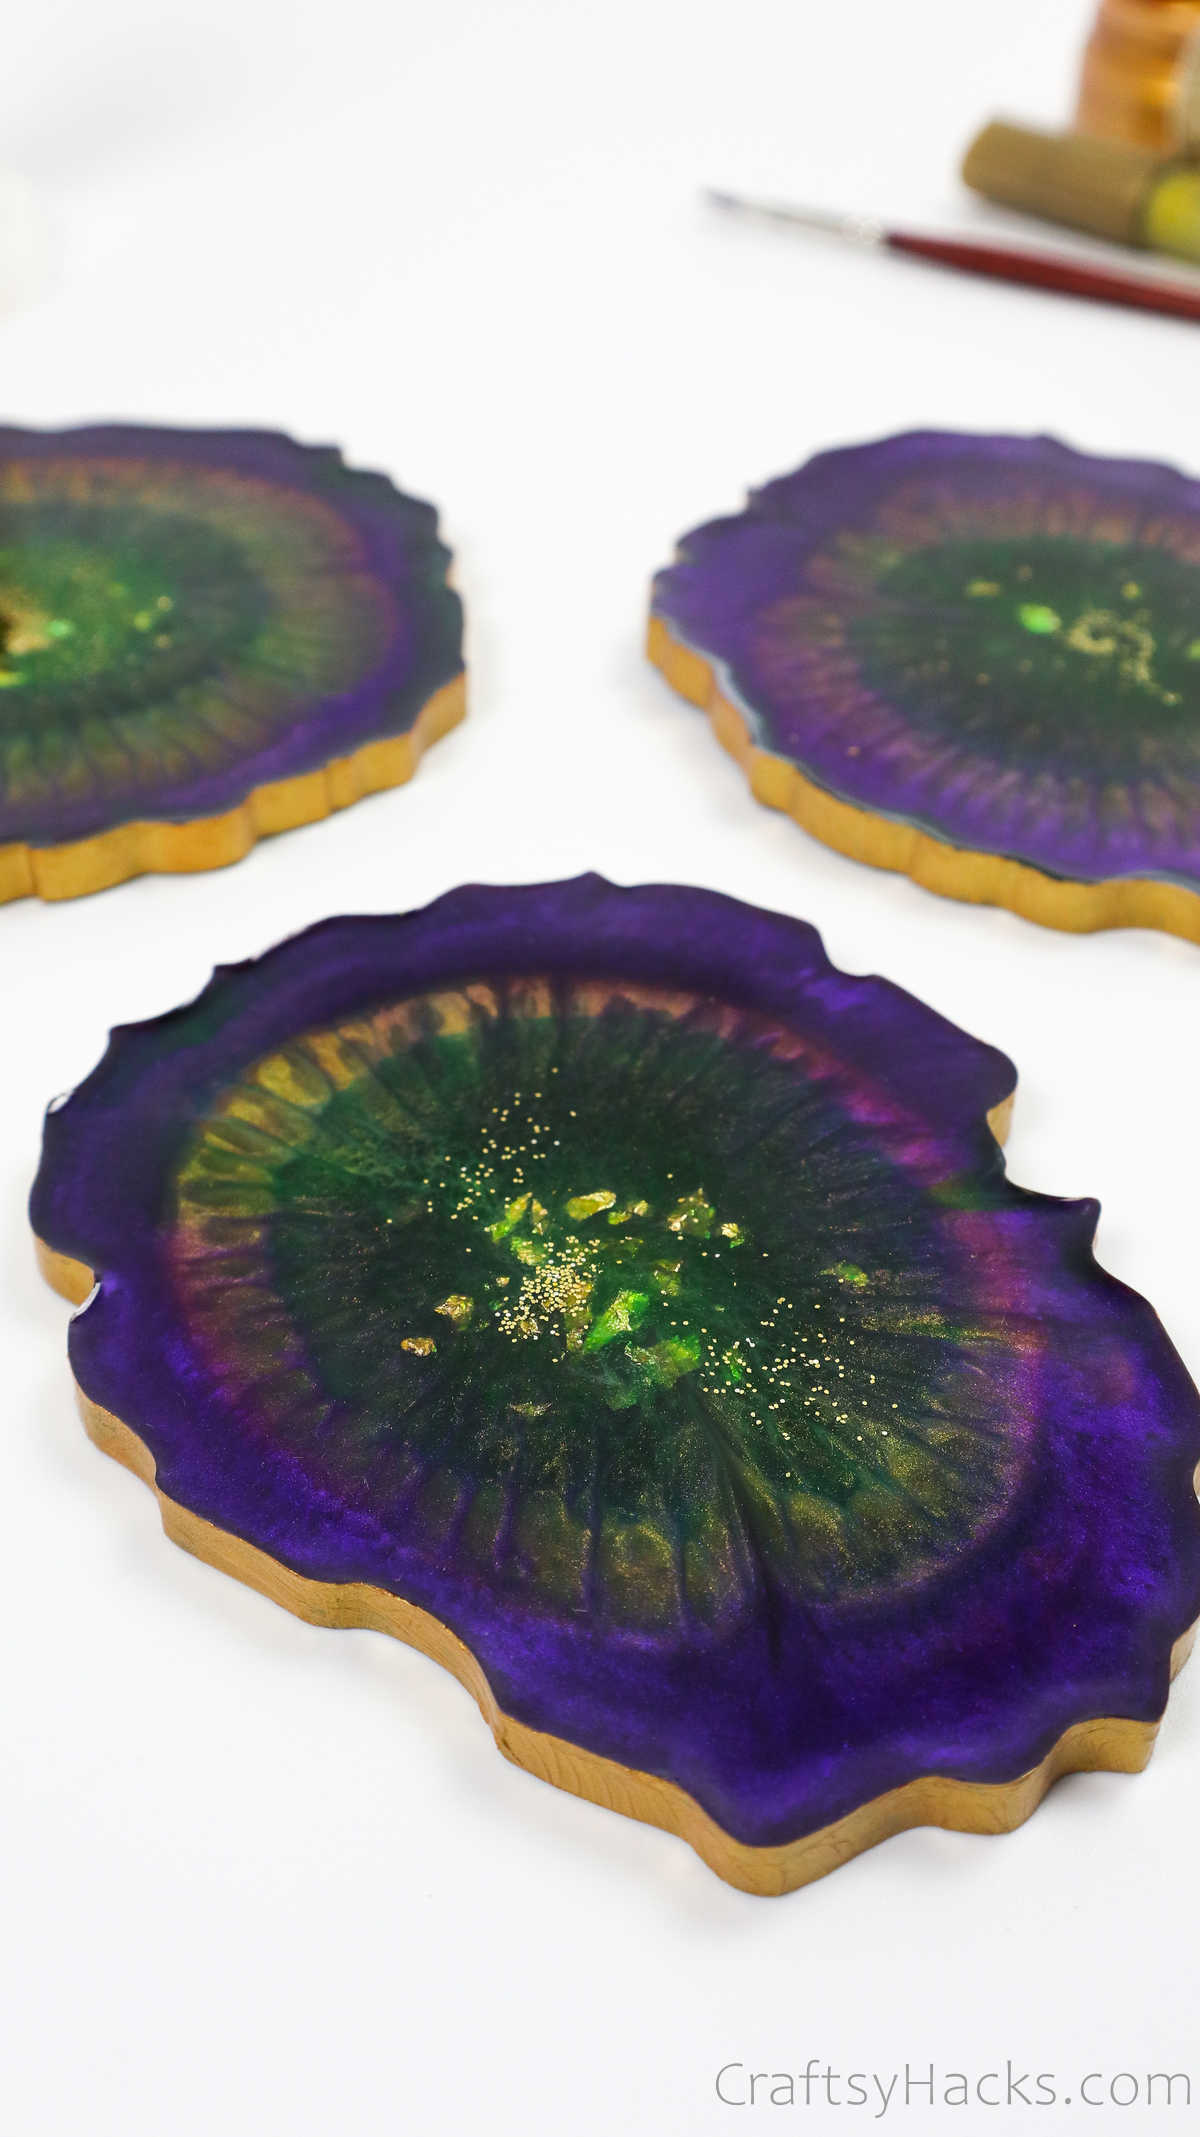
For this project, however, you’ll be using epoxy resin to make these exquisite and unique resin coasters. You know, if you look closely, you’ll see they look a lot like eyes, don’t they?
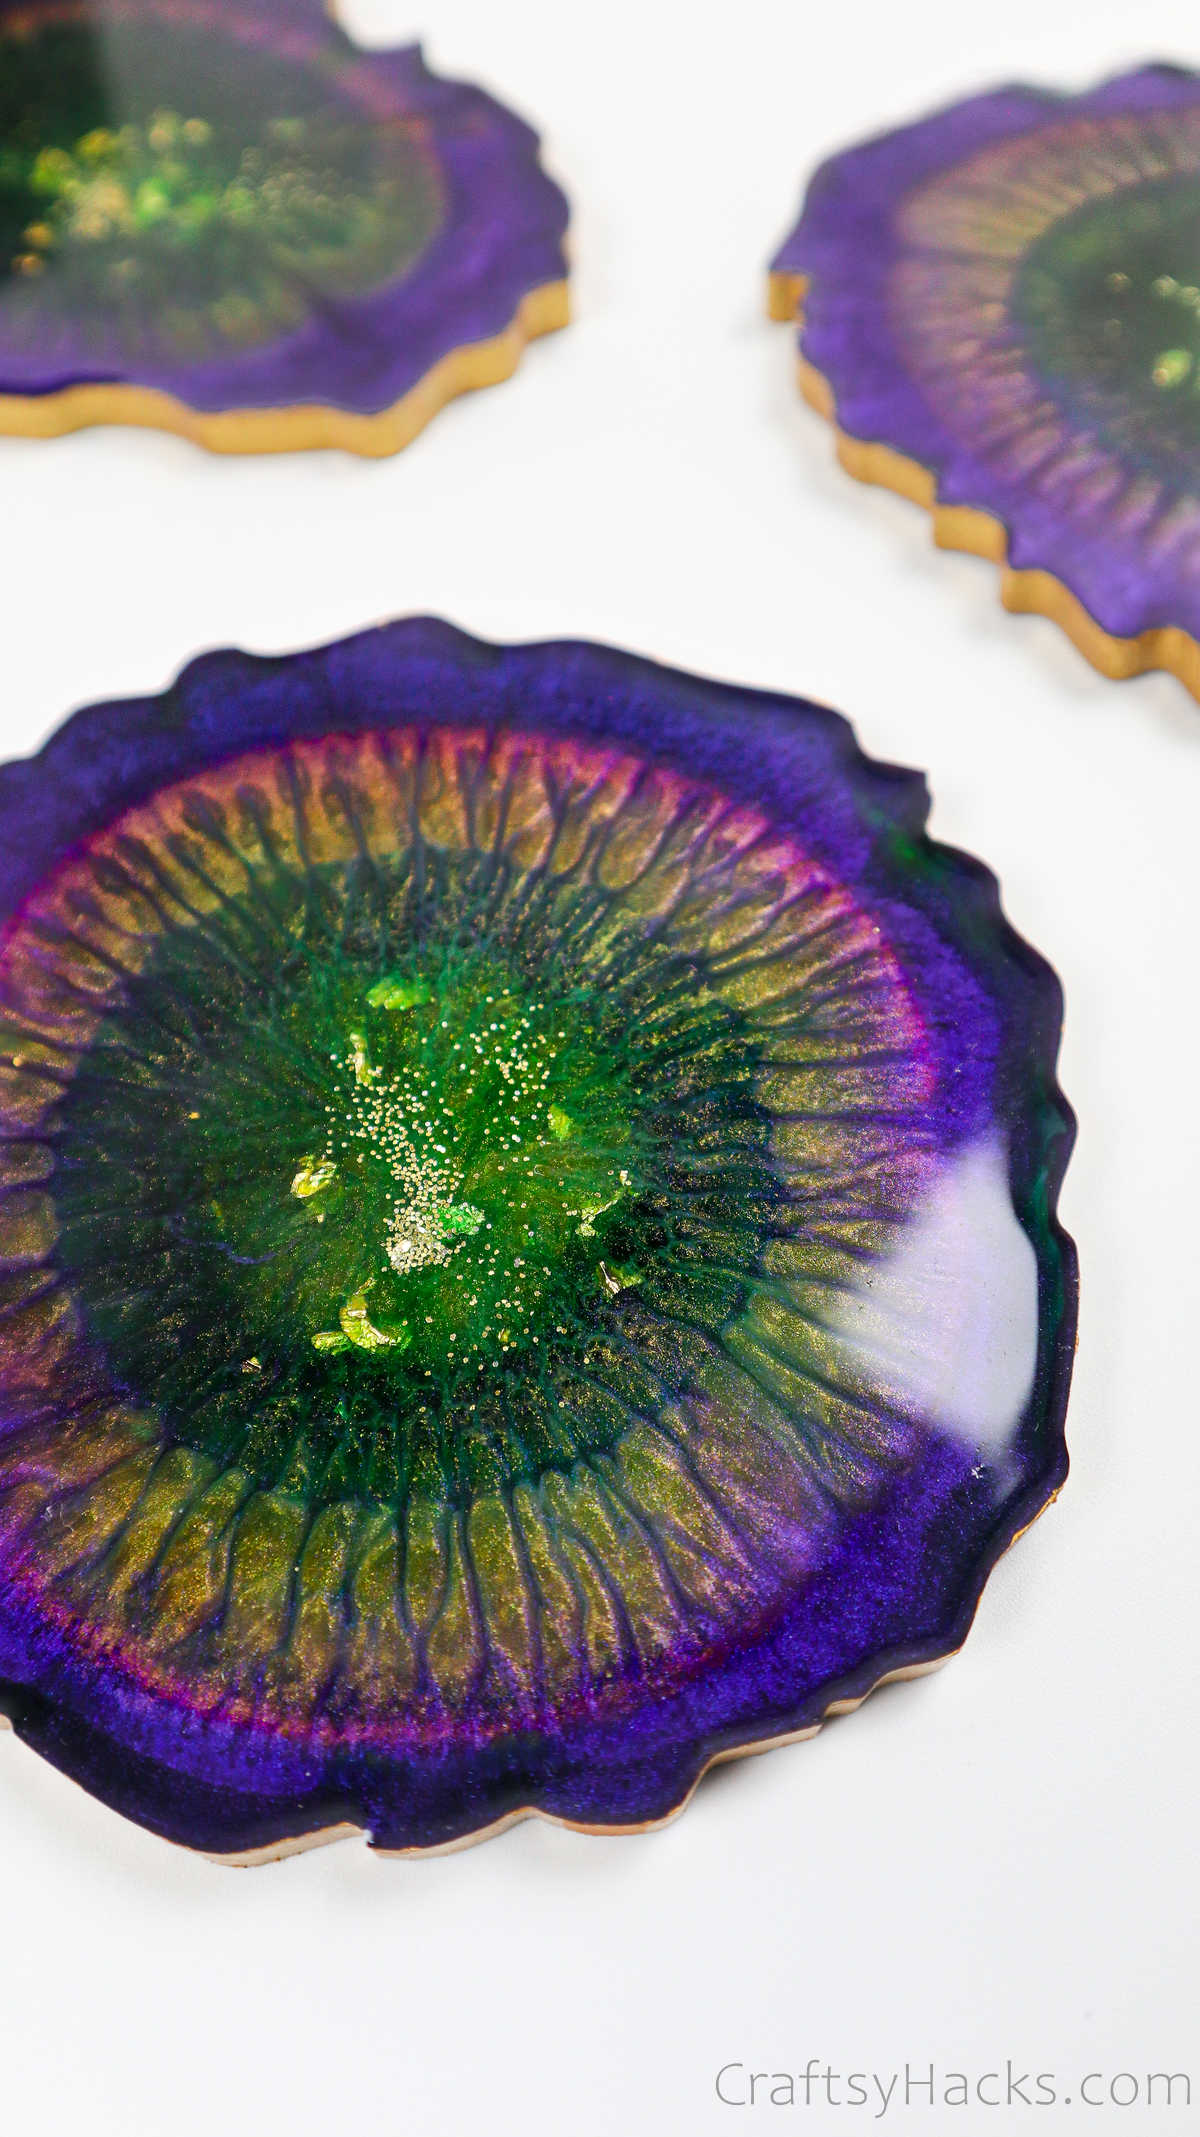
The deep purples mixed in with the jewel notes from the green and the sparkle from the gold all blend in spectacularly into this tableau. Somehow, it manages to look a little elegant and eerie all in one single coaster.
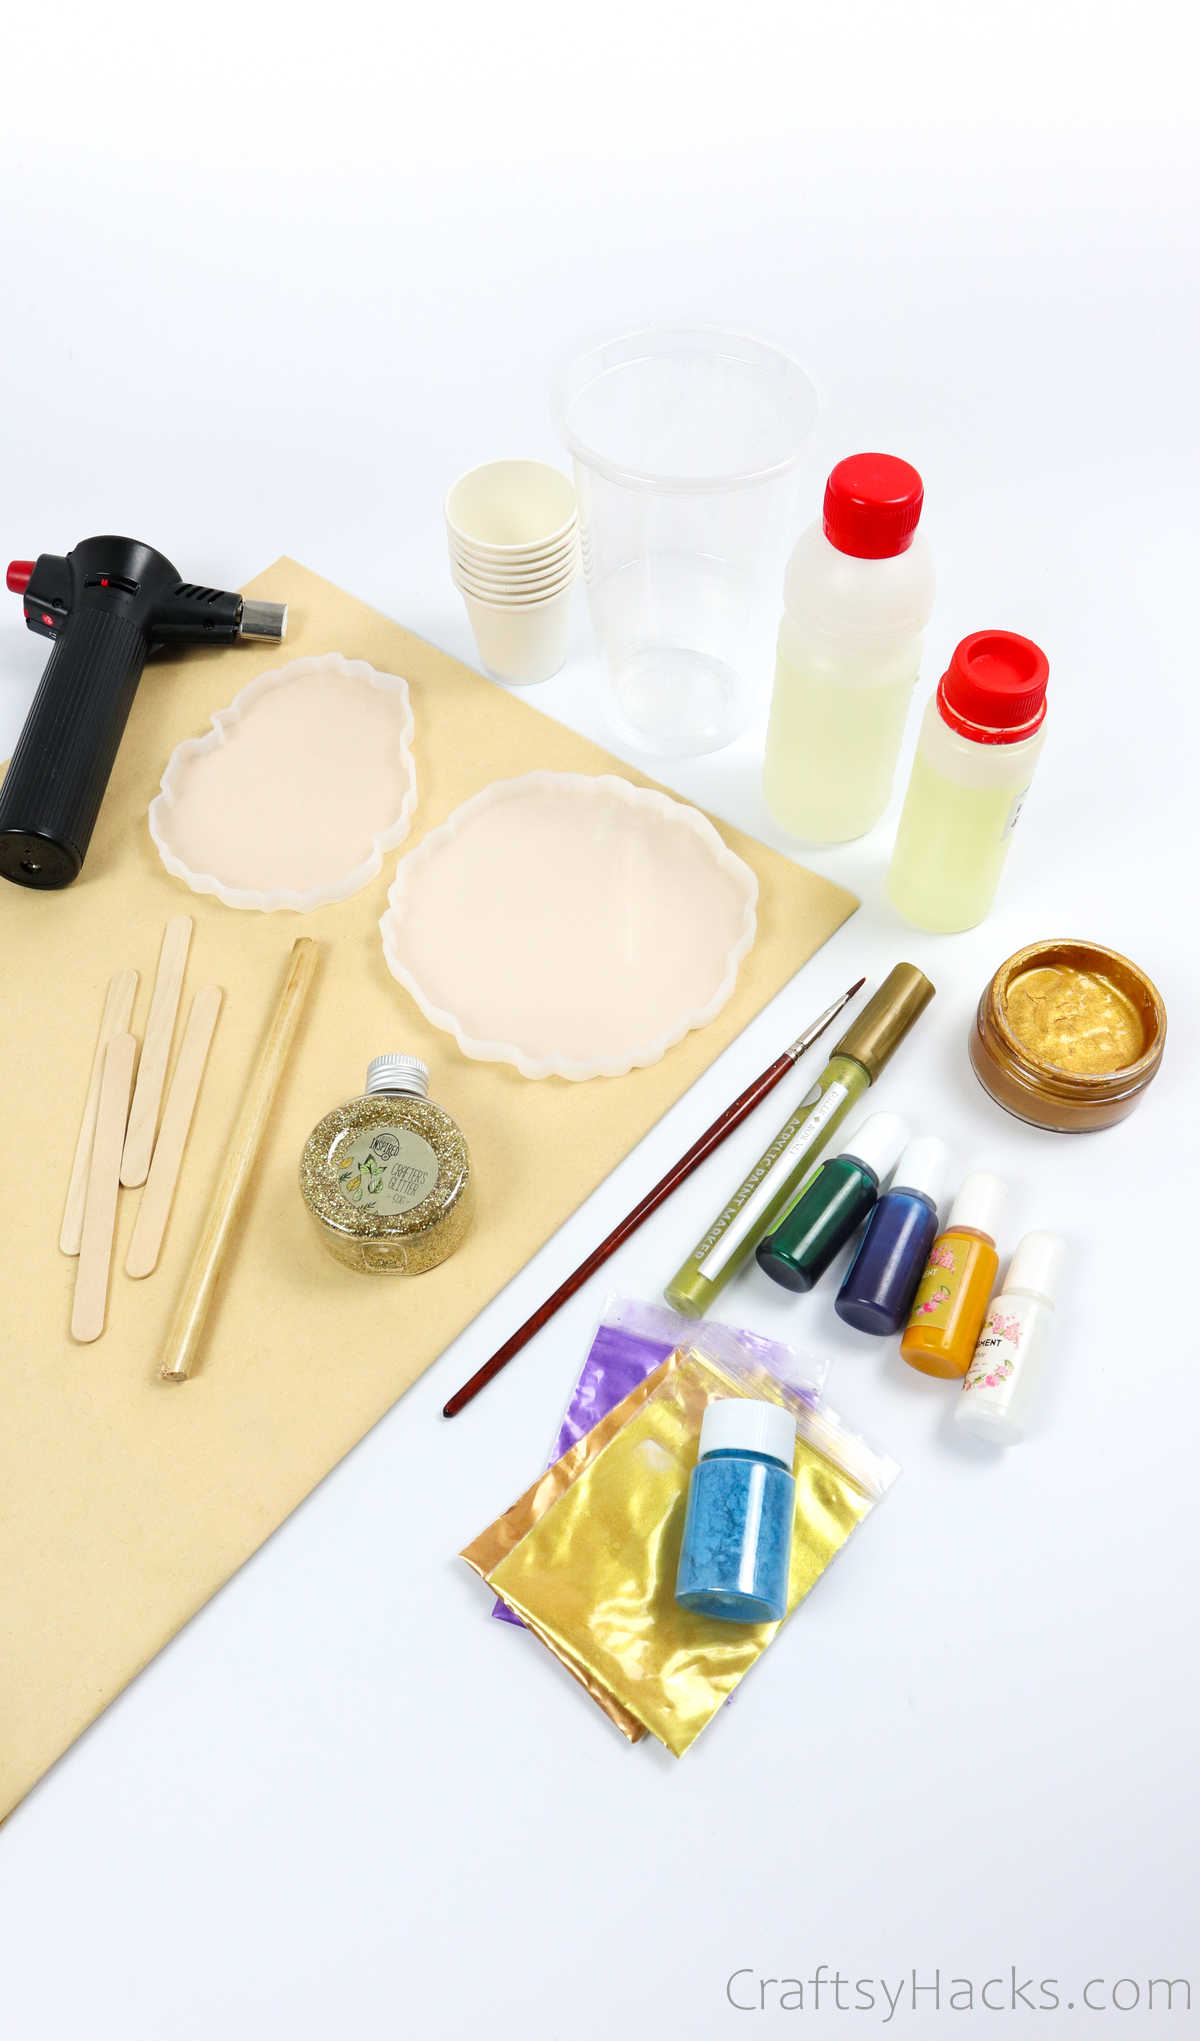
Supplies and Tools You’ll Need
Here’s a list of the different materials you’ll need for this resin craft:
- Epoxy resin
- Hardener
- Silicone molds
- Plastic cups
- Placemat
- Resin pigments
- Mica powder
- Spatulas
- Kitchen torch
- Acrylic marker
- Acrylic paint
- Paint brush
- Face mask
- Gloves
- Glitter (optional)
How to Make Resin Coasters
It’s important to understand just how epoxy resin works when you’re dealing with it. So feel free to read up on it before you begin, just so you have an idea about how to handle the substance.
Make sure that the epoxy resin you’re going to use is heat resistant because you’ll be using it as a coaster to hold hot cups. Otherwise, the colors you use will start to change over time.
Well, if you’re ready, let’s get started!
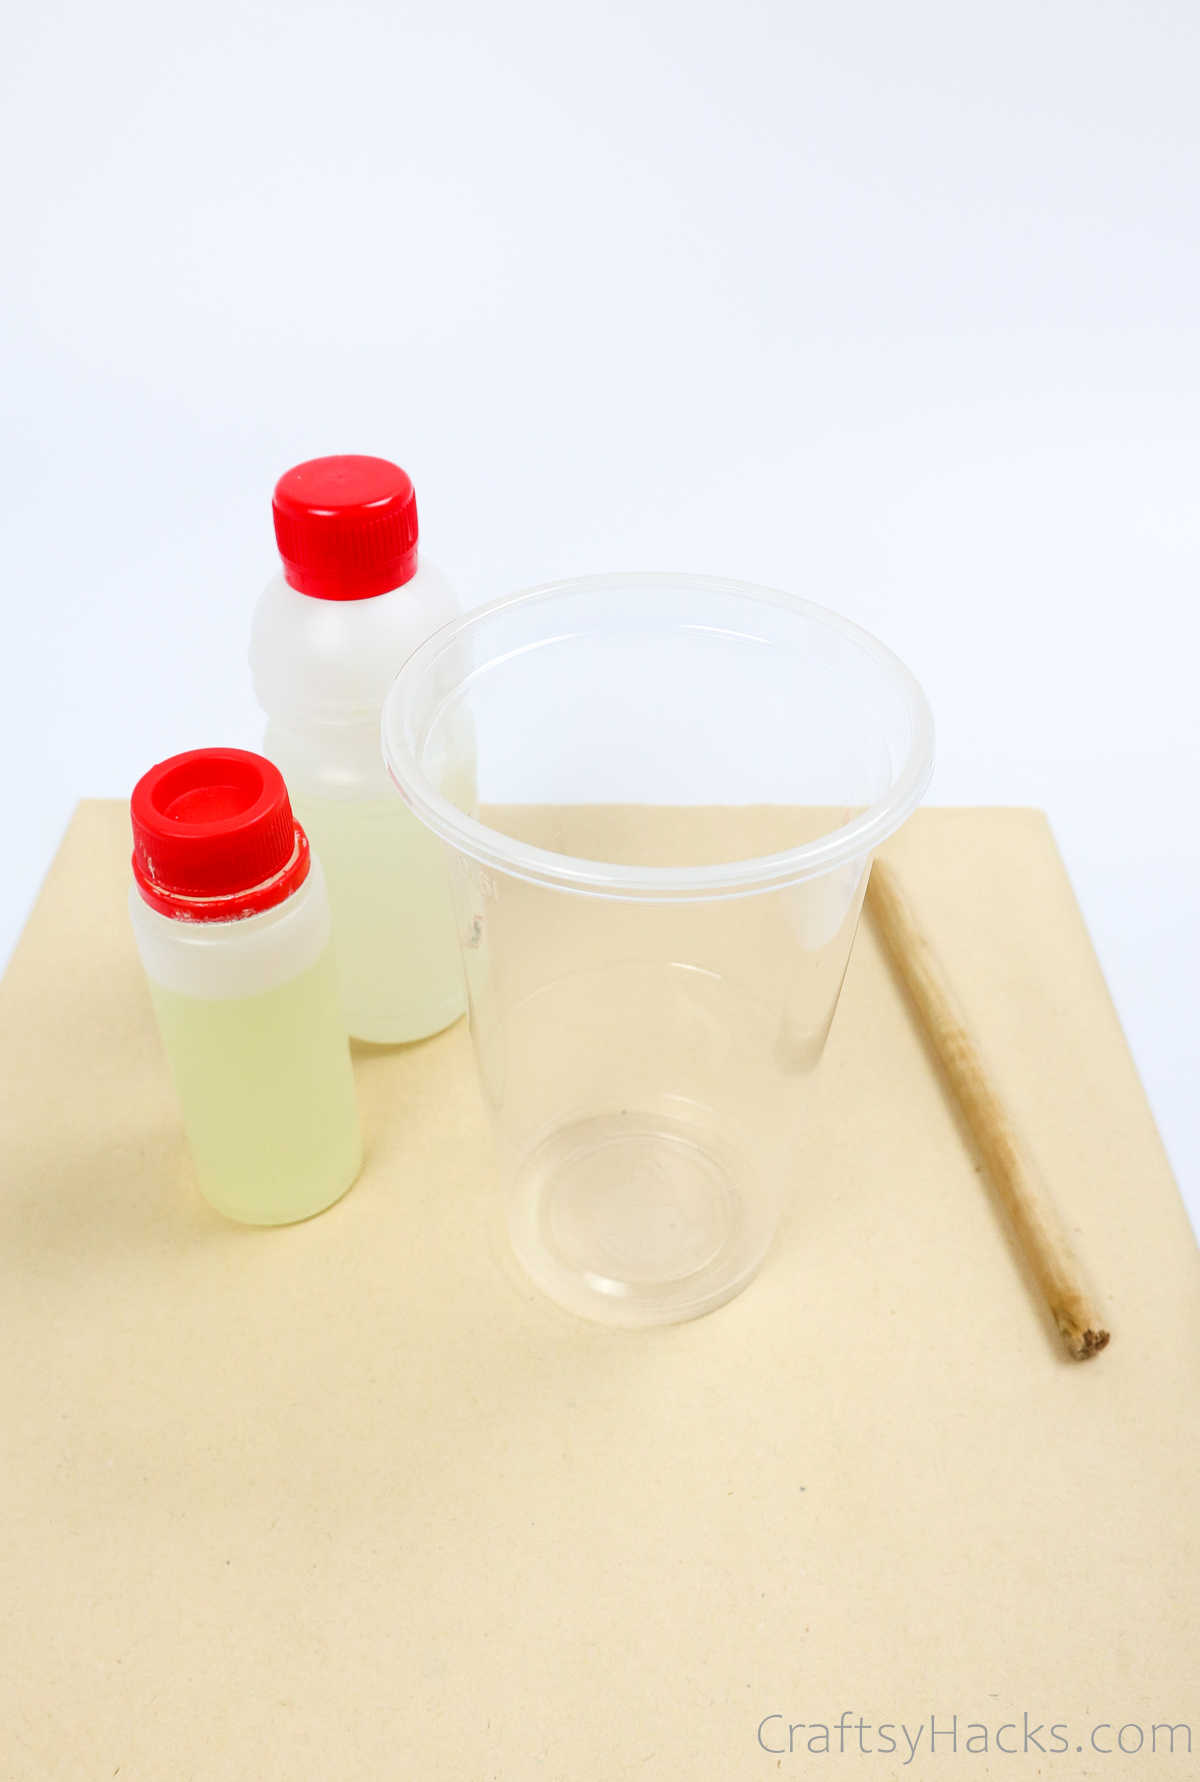
Step 1
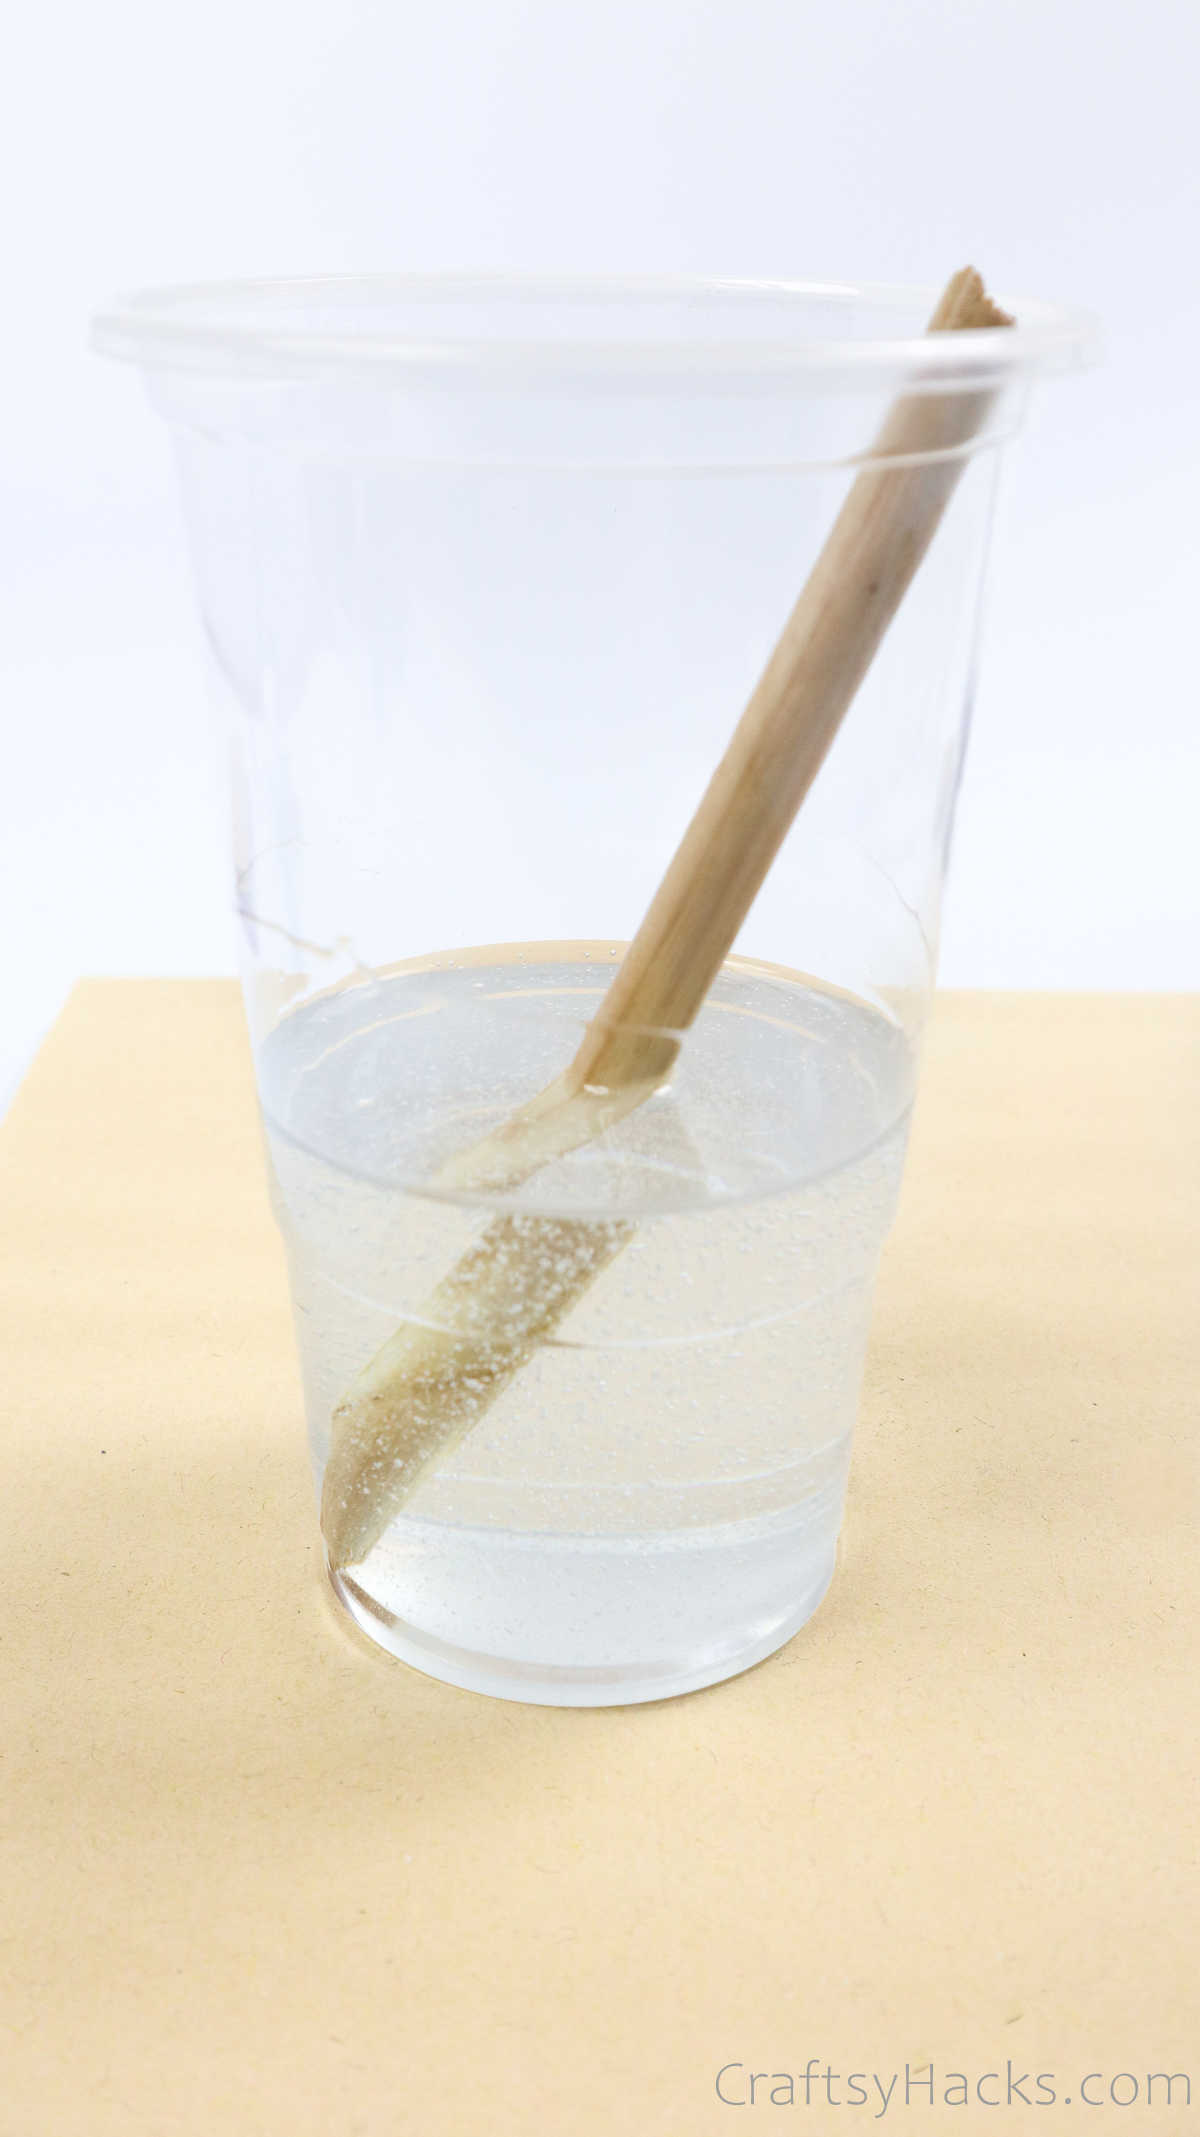
Pour your resin and hardener (in the right ratios prescribed) into a plastic cup and mix them both thoroughly. You can use a wooden stick or a popsicle stick to mix them together.
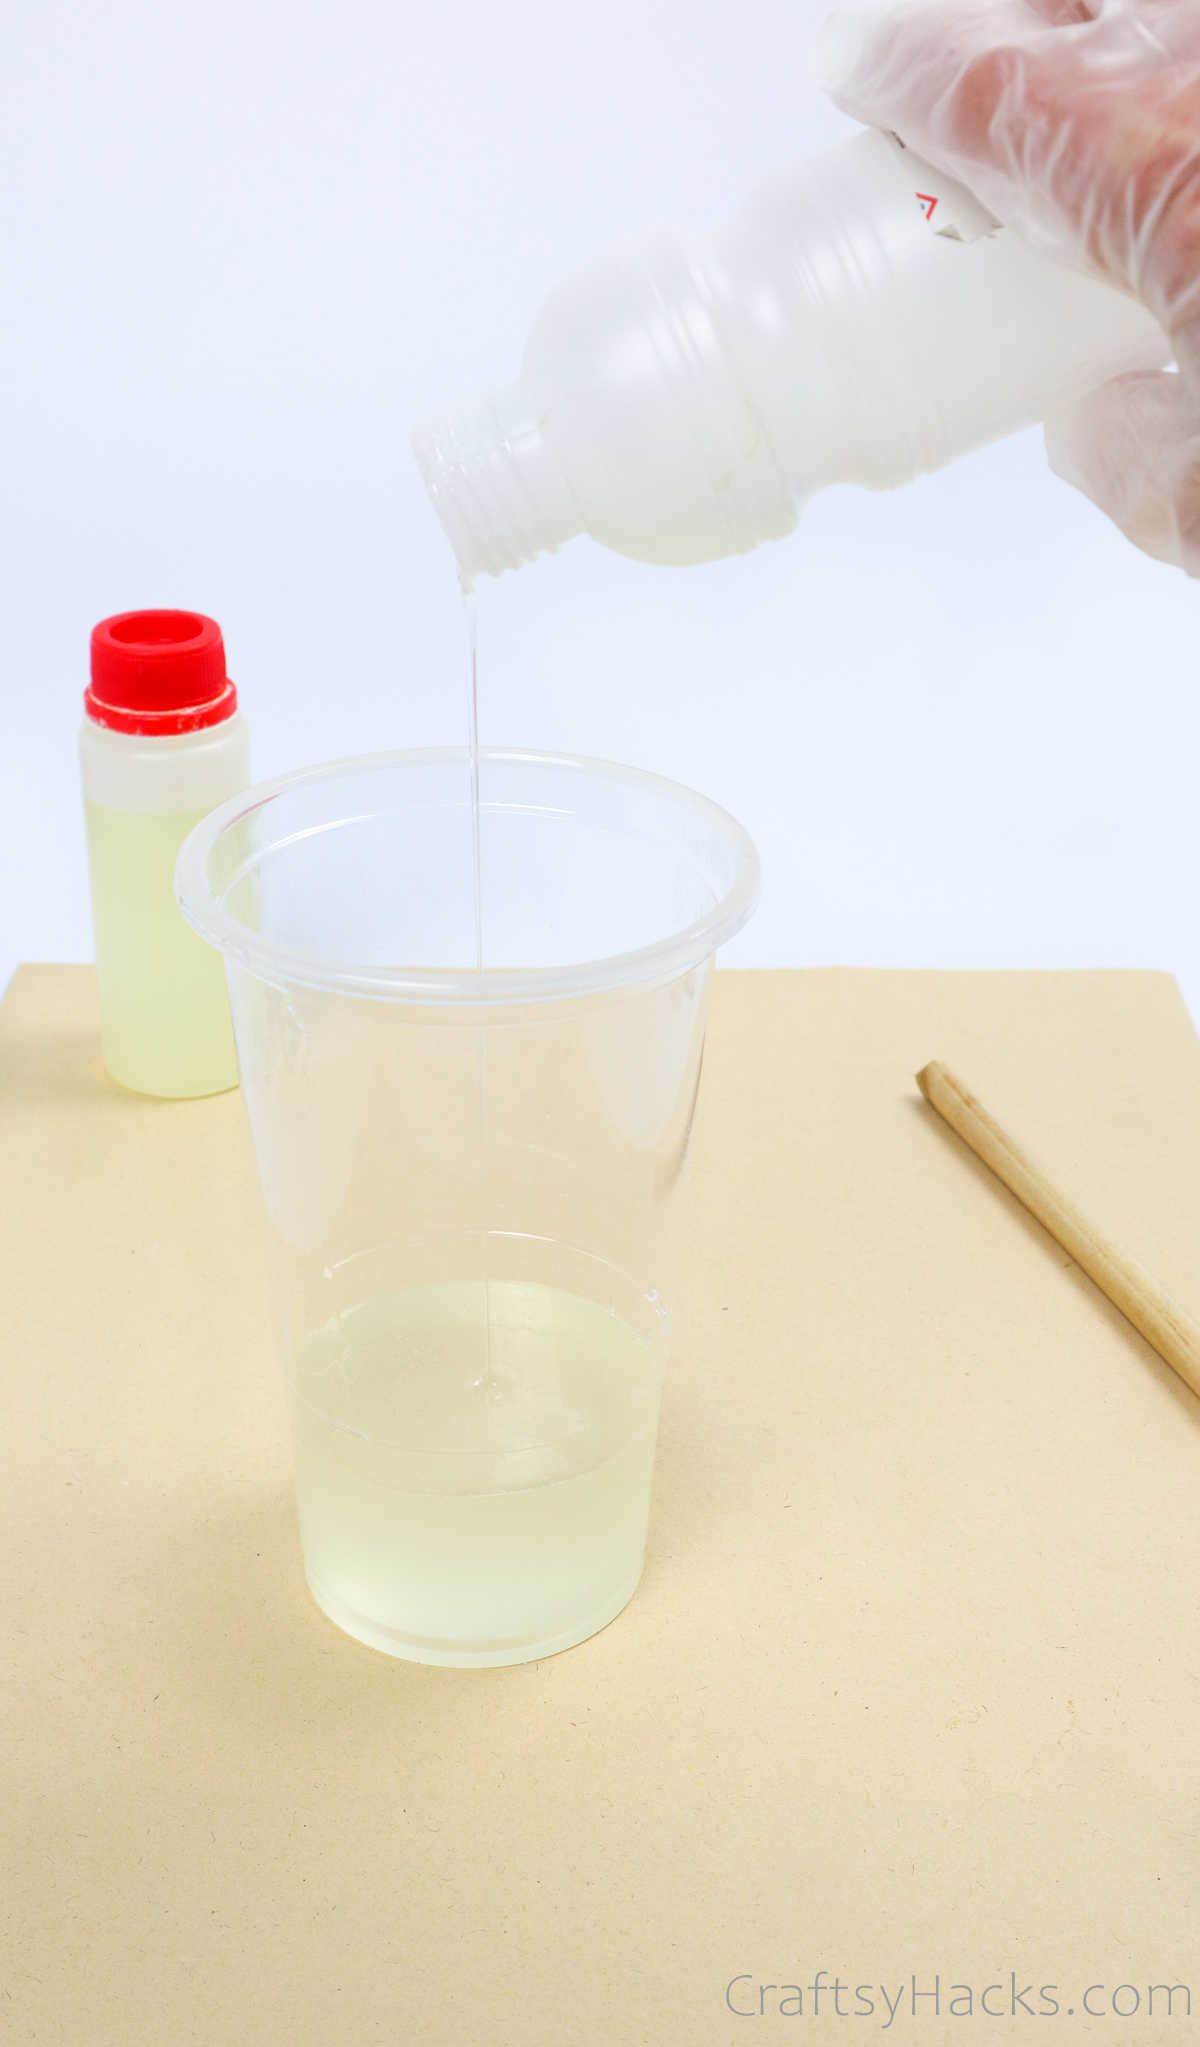
I cannot stress how important it is to mix the two substances properly. So, if you think you’ve stirred it in properly, then just stir some more, just to be safe.
If you don’t mix them properly, when the substance hardens, it will do so unevenly.

Don’t worry about the bubbles; you’ll be dealing with them later.
Step 2
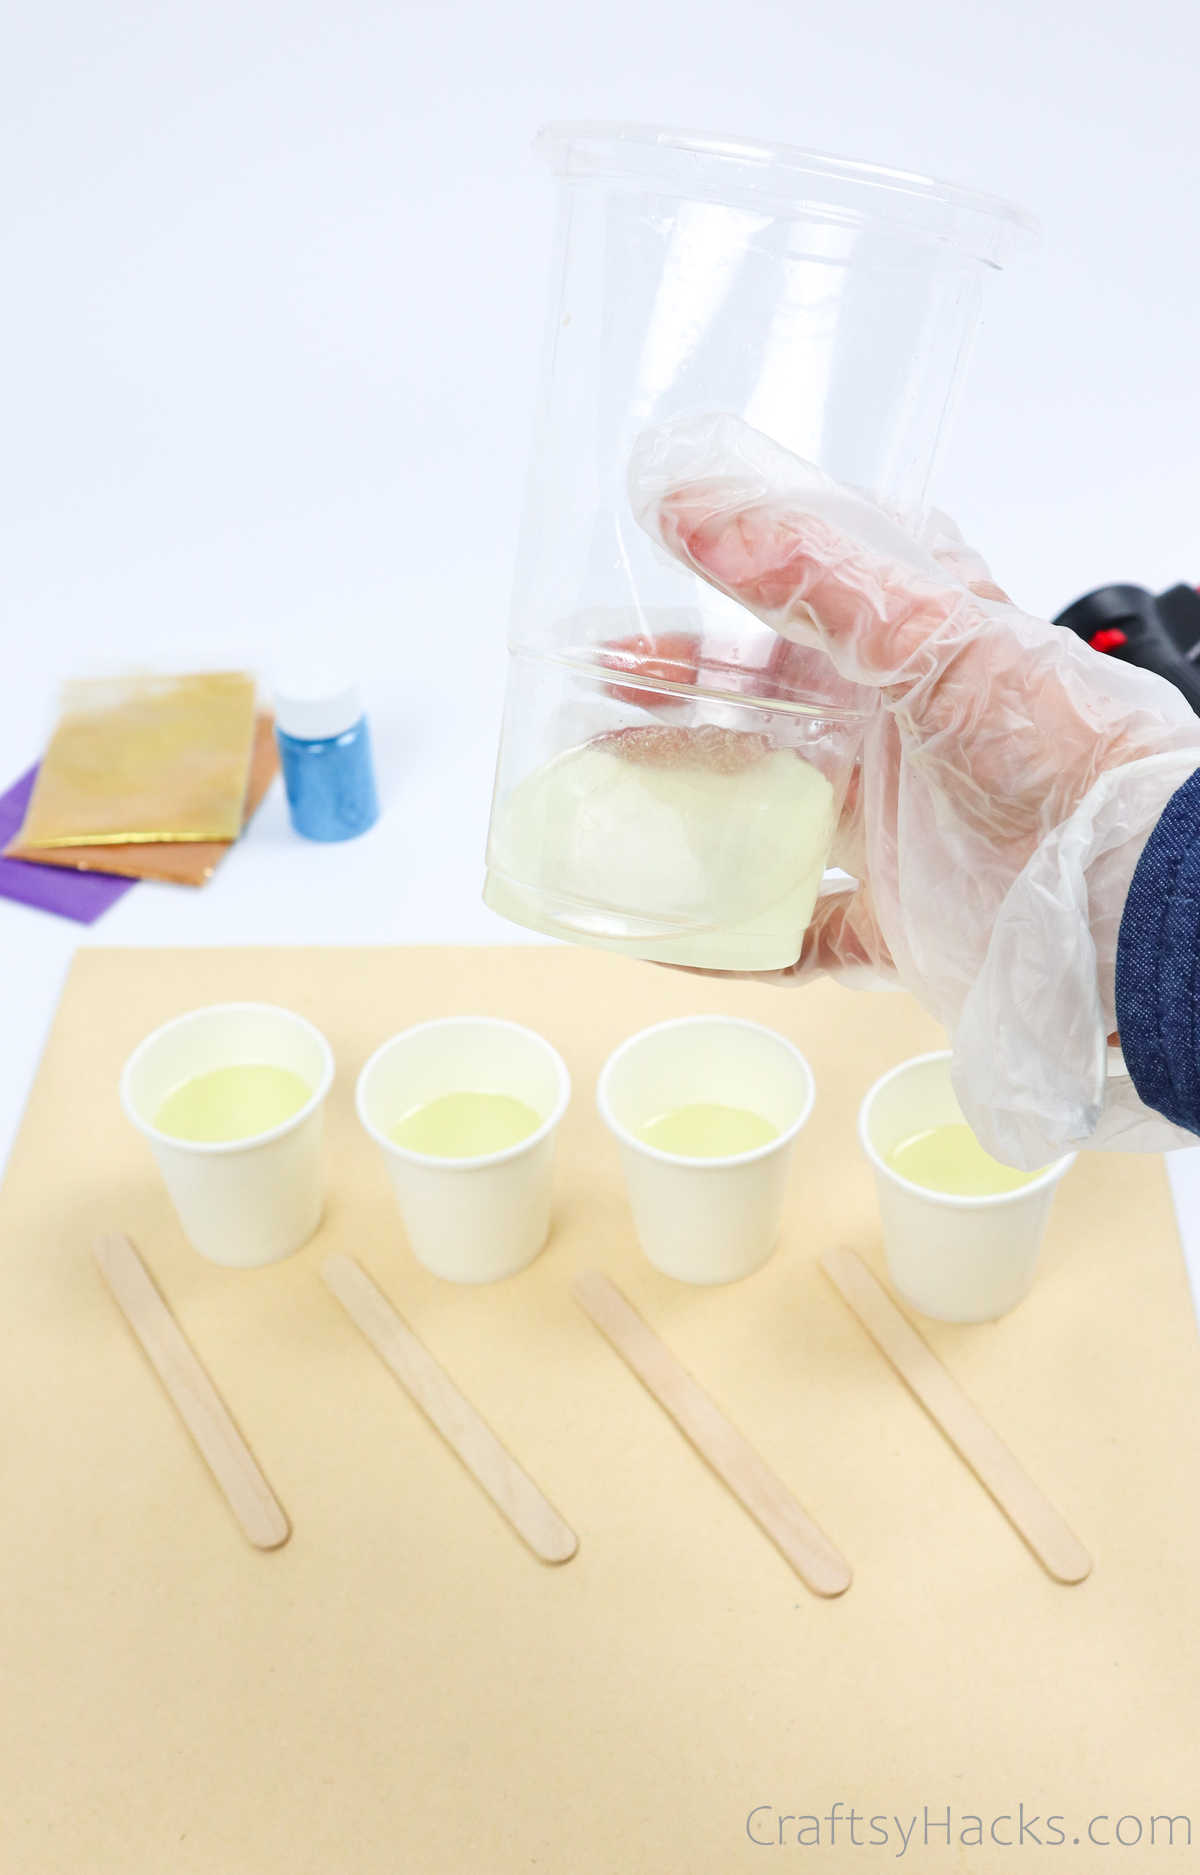
Pour the resin mixture into four different cups, dividing them equally. You’ll be adding color to them in just a bit!
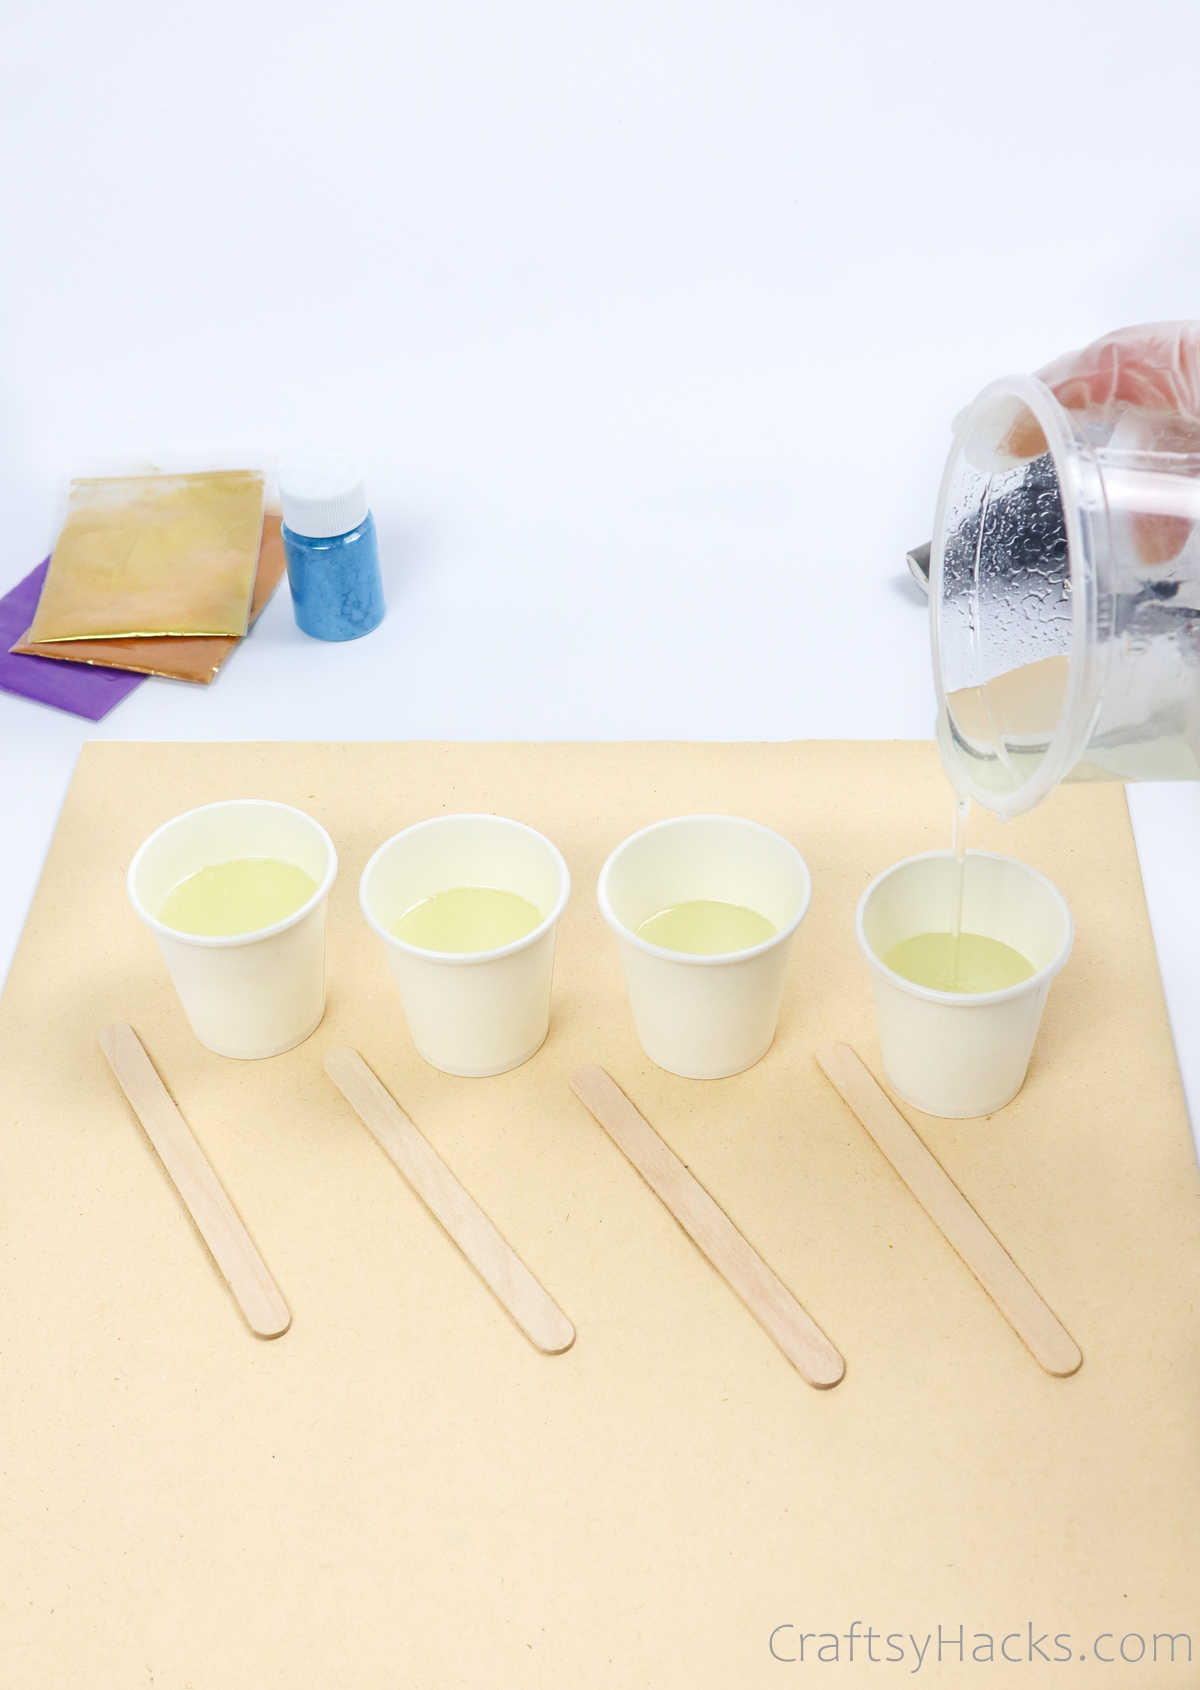
Don’t pour all the resin into the cups, though. Set some of the clear resin aside for later.
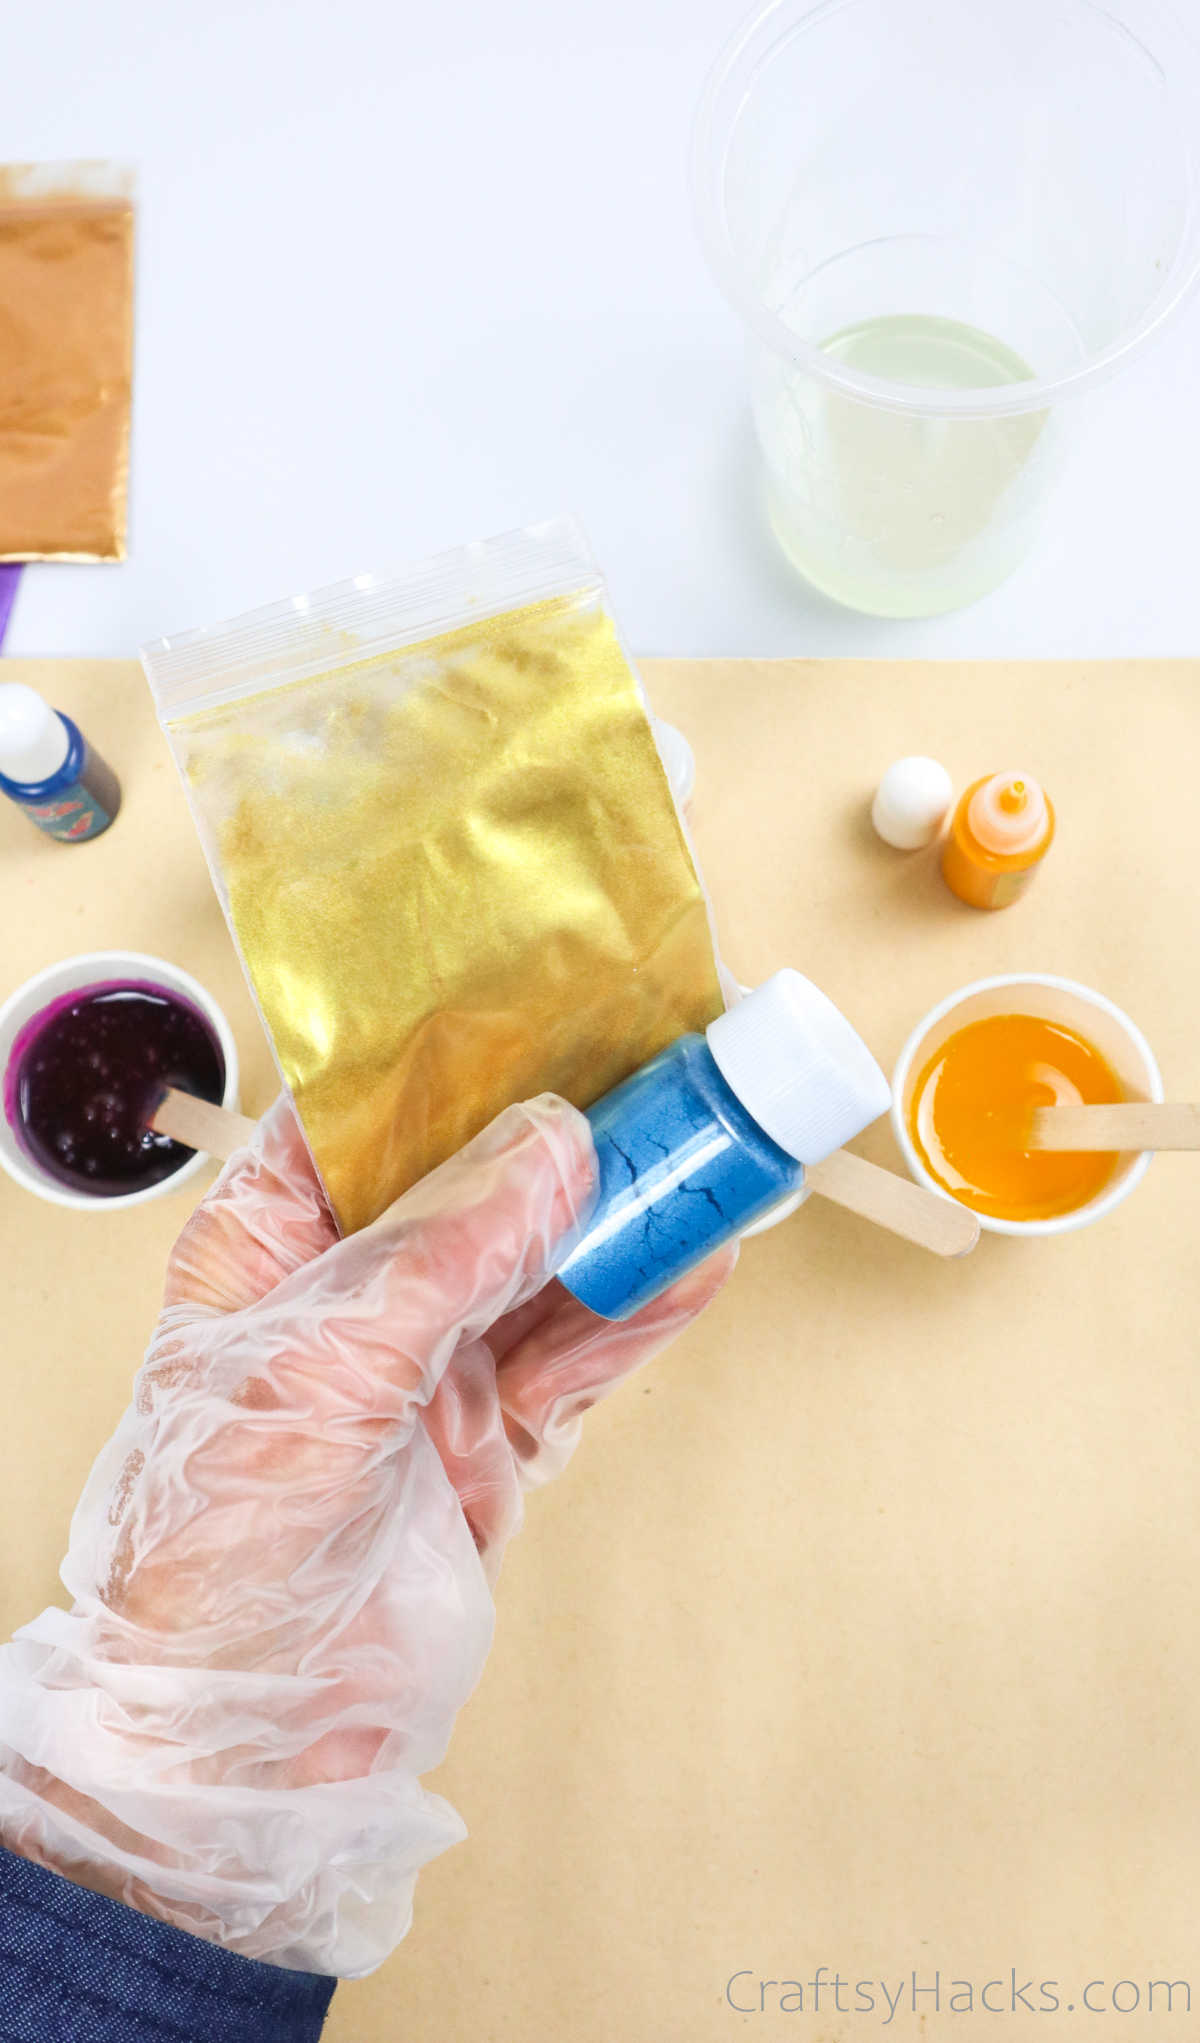
Step 3
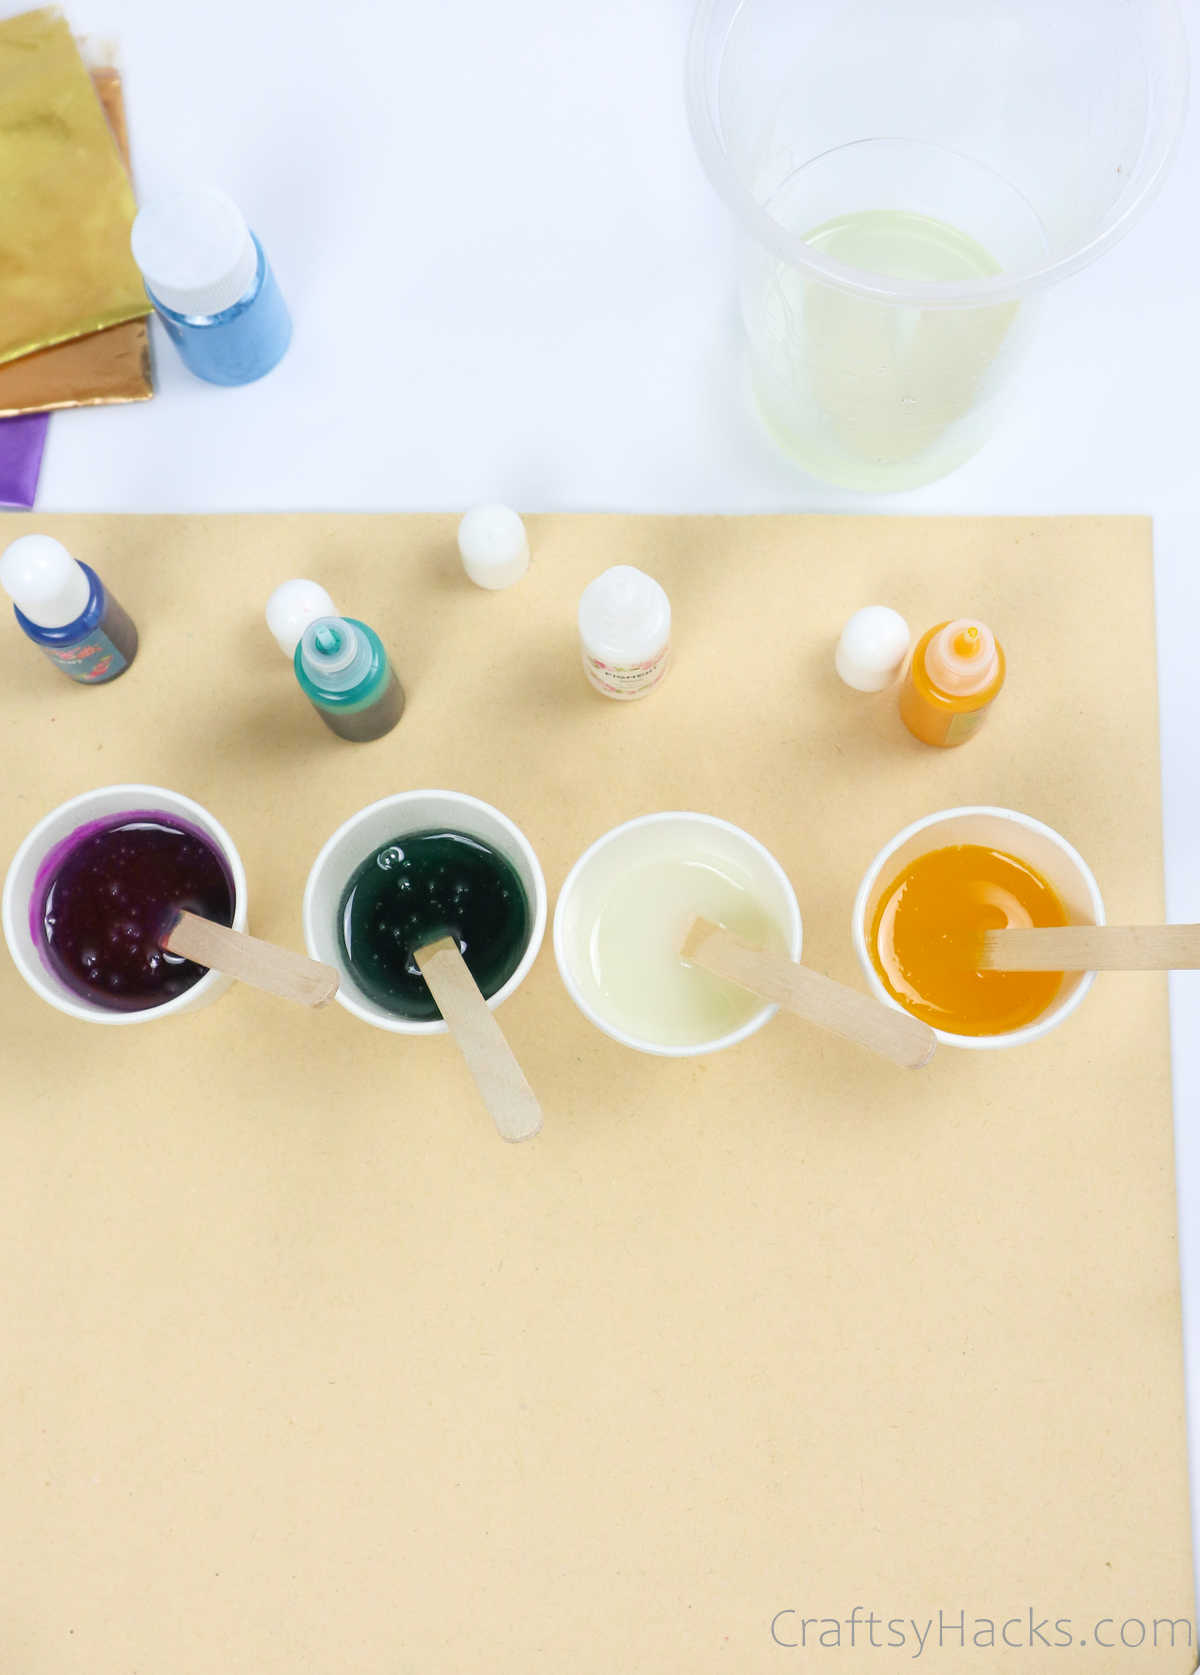
The next step is to add dyes to your resin and color them. You’ll need a few drops of purple, green, gold/yellow, and white. You can use mica powder, and you’ll be amazed at how silky and shiny your resin mixture will become.
You can add both liquid color and mica and use a stick to stir the color in. Keep stirring till the colors are to your satisfaction.
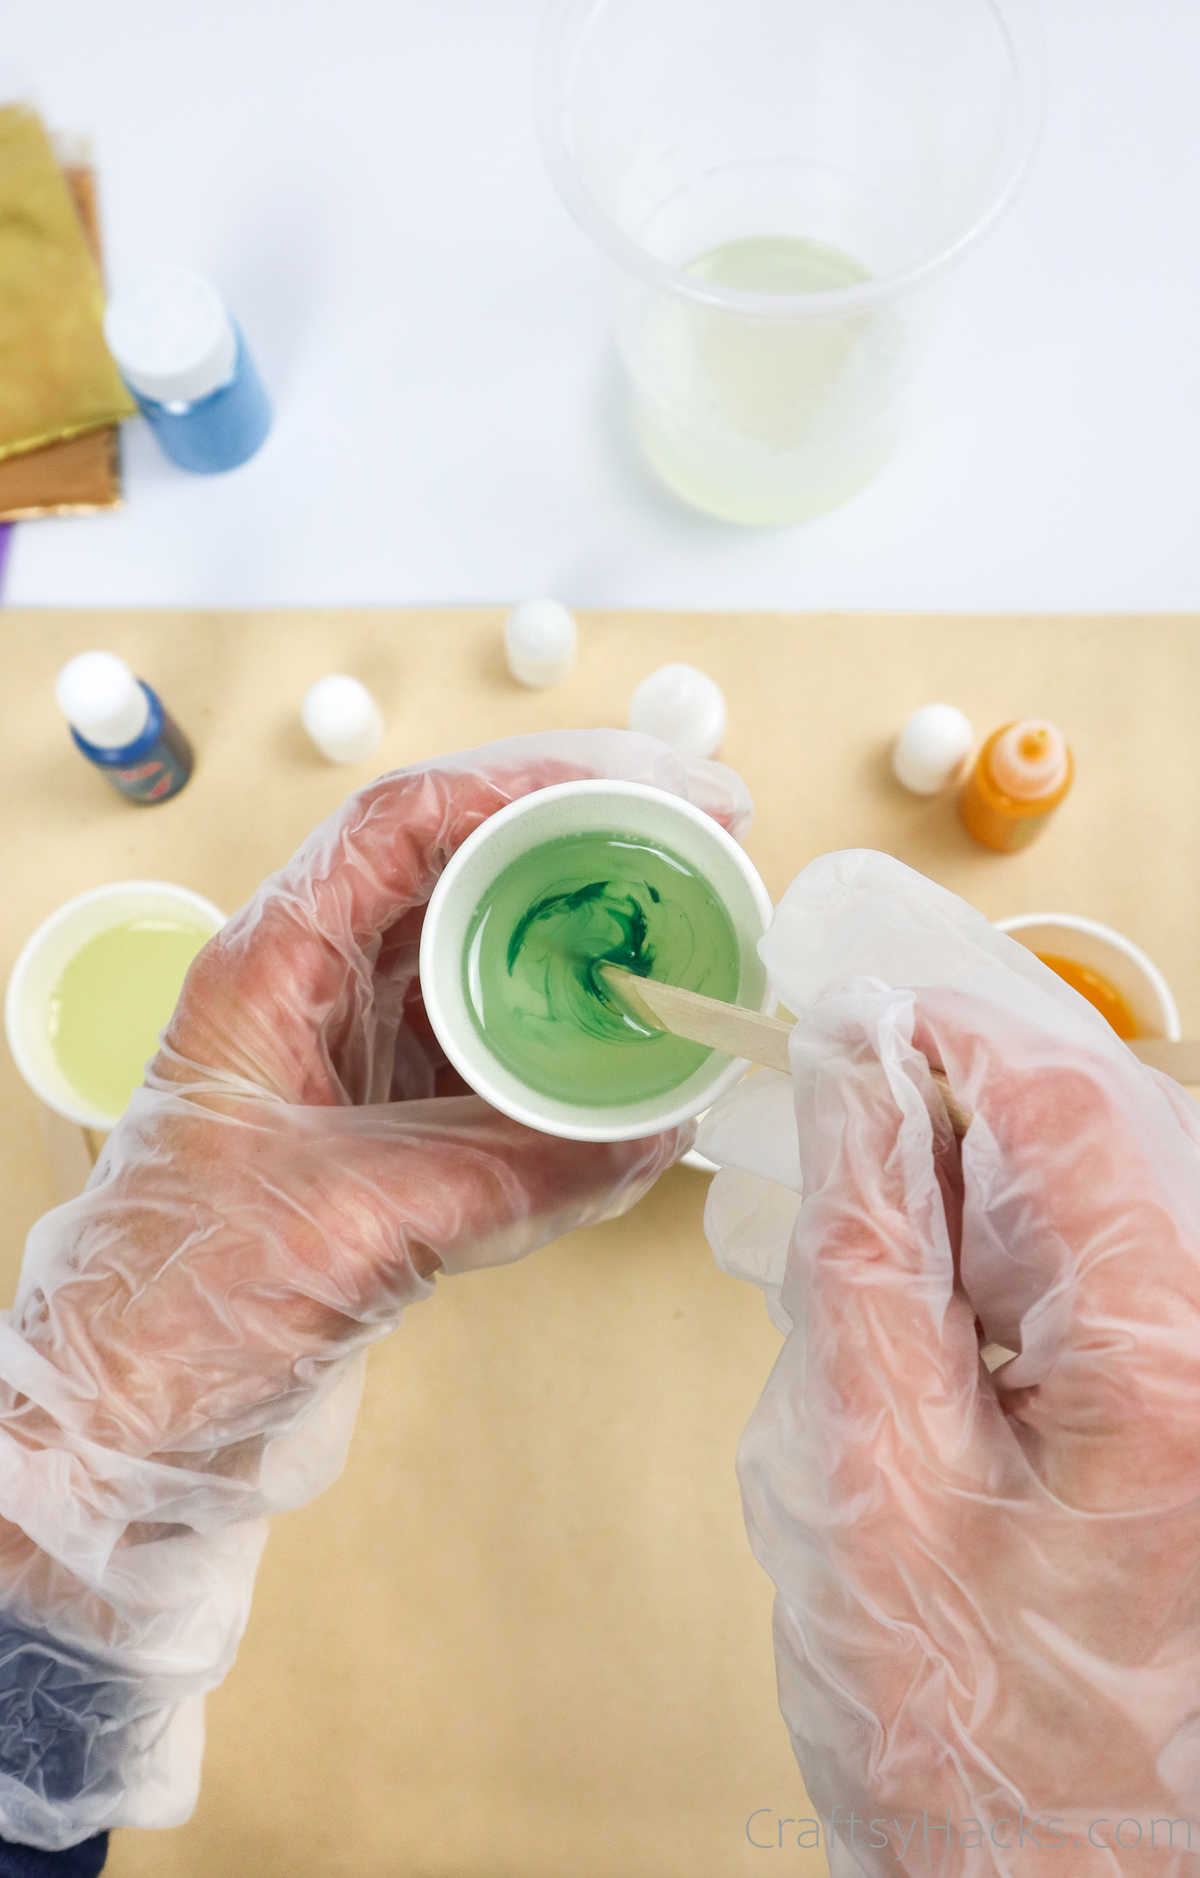
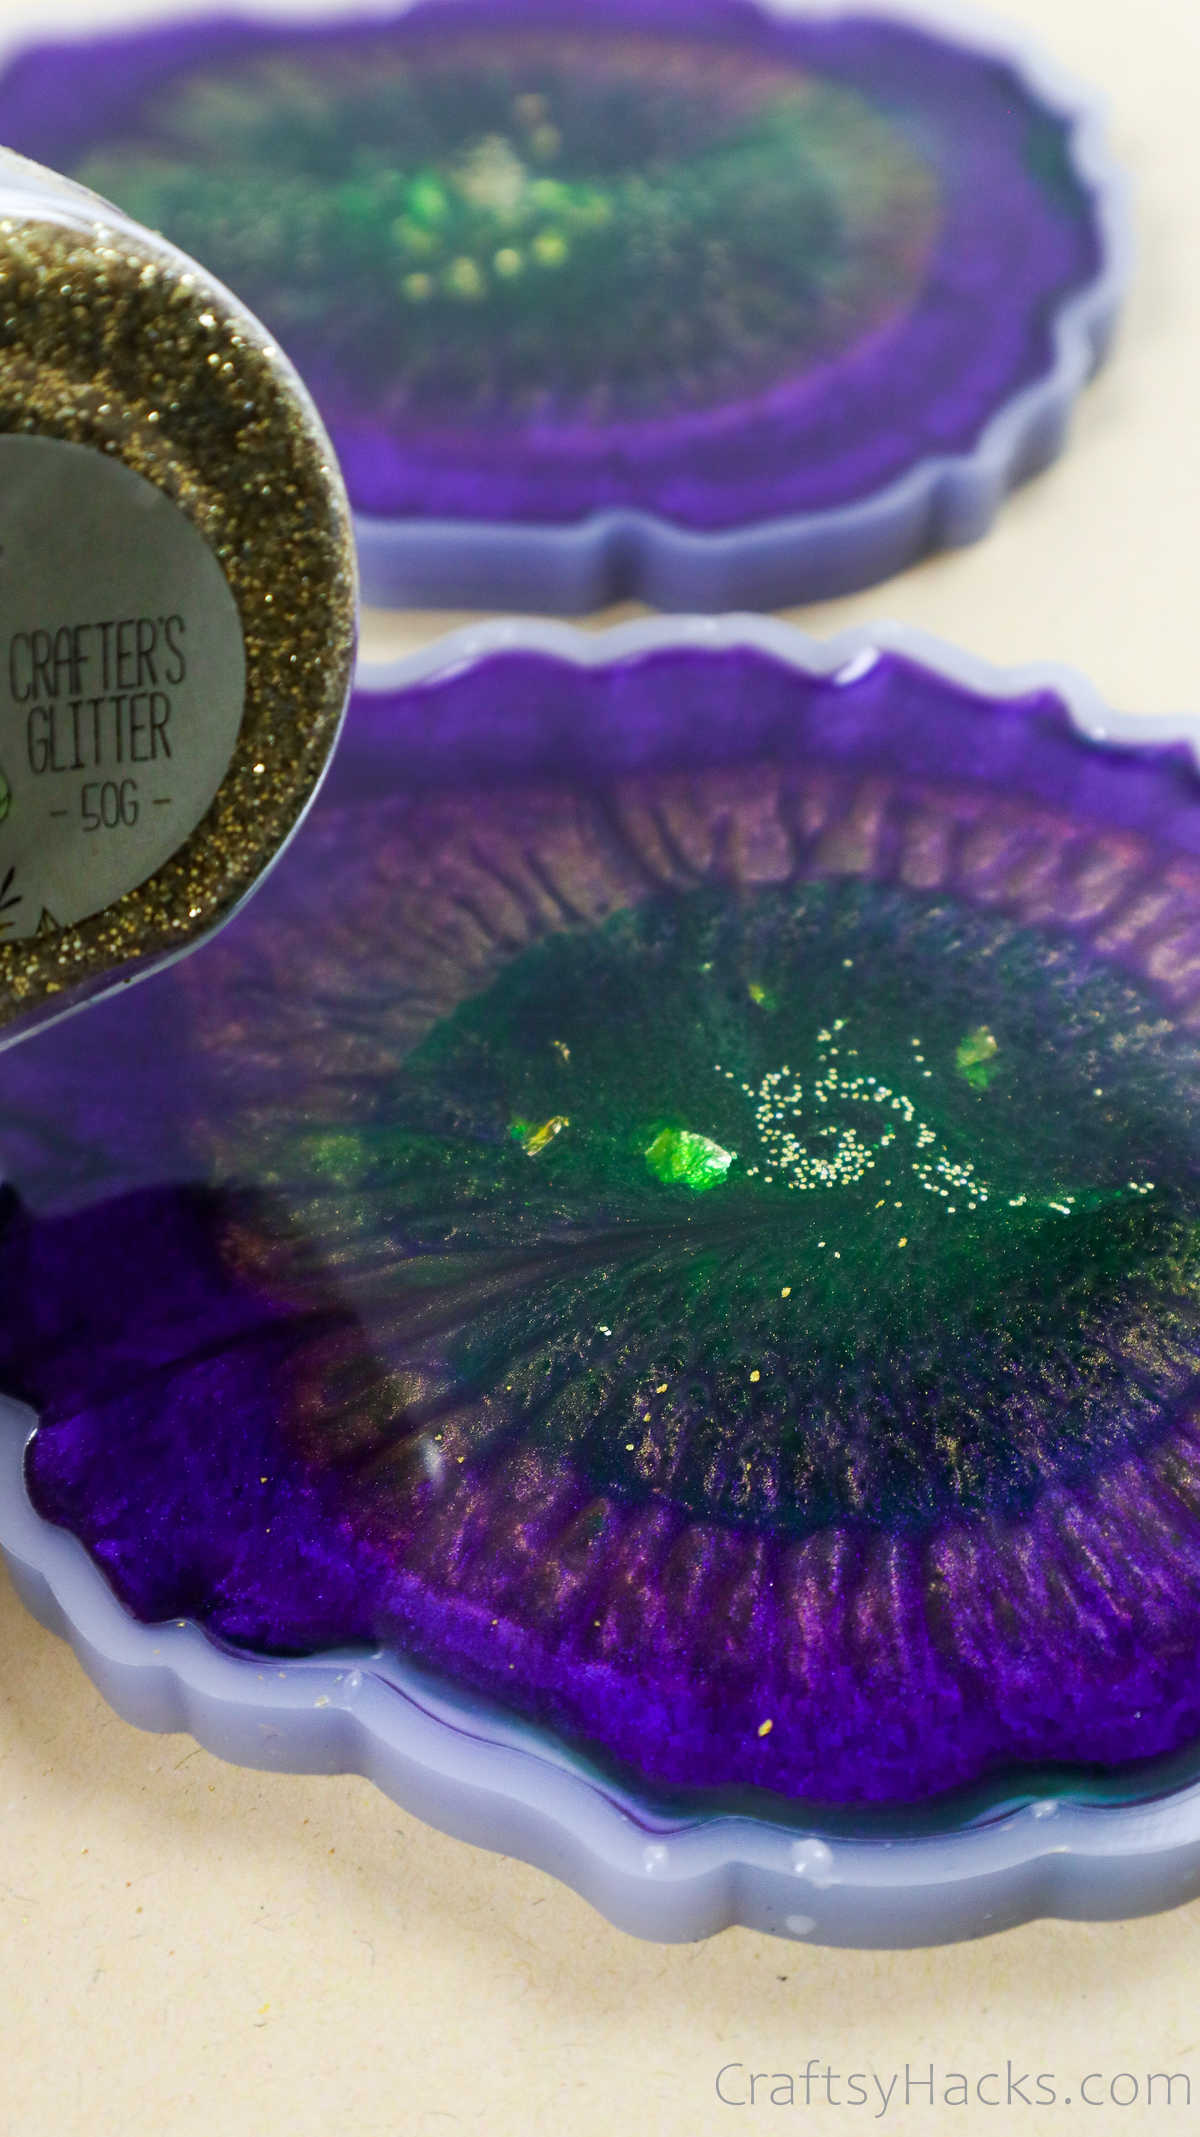
You can also add glitter (mica) powder to the mixture.
Step 4
It’s time to lay out the molds you’ll be using to make your coasters. Make sure that the molds have been cleaned thoroughly and that there’s no sign of any moisture, oil, or dirt on them.
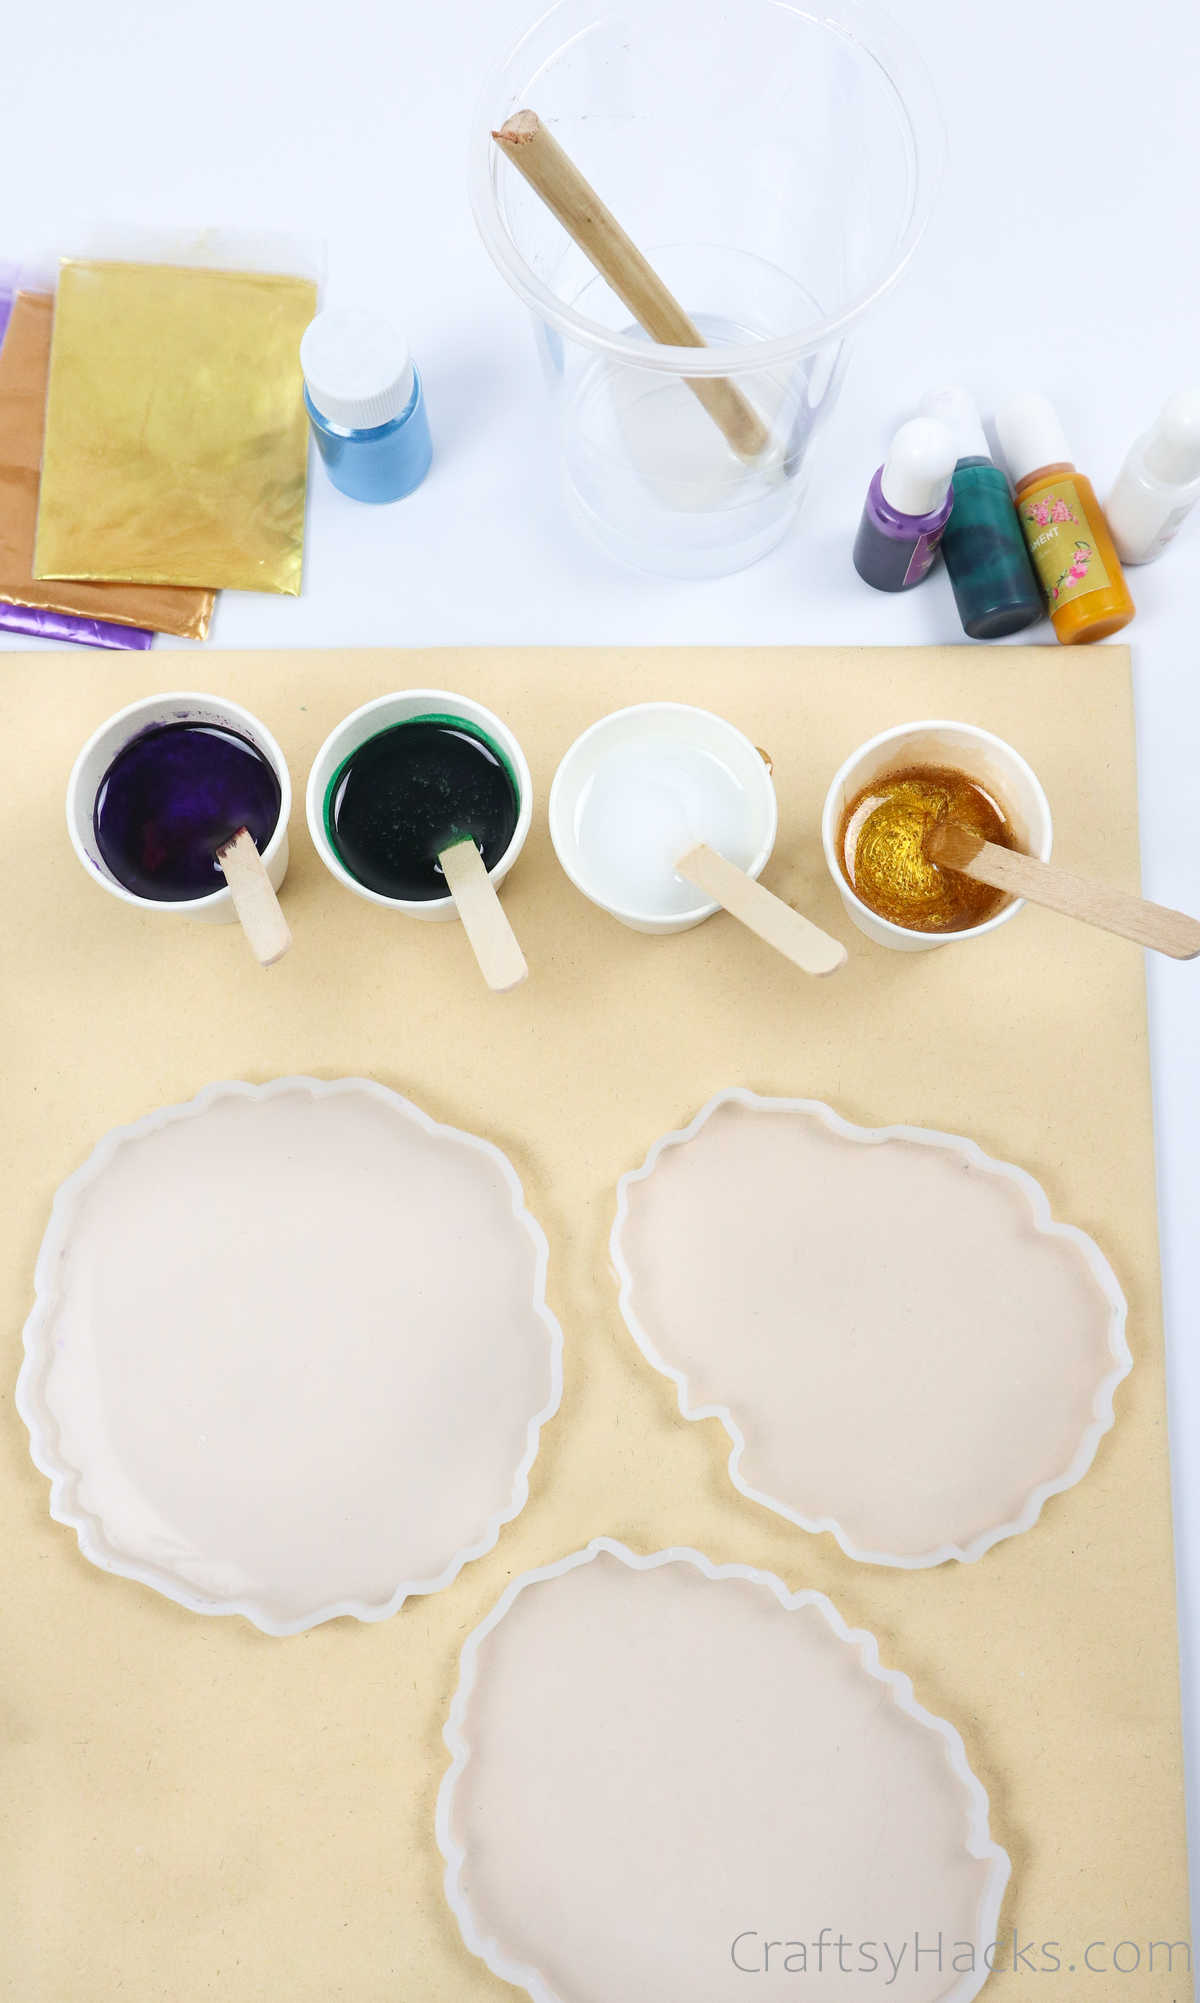
Step 5
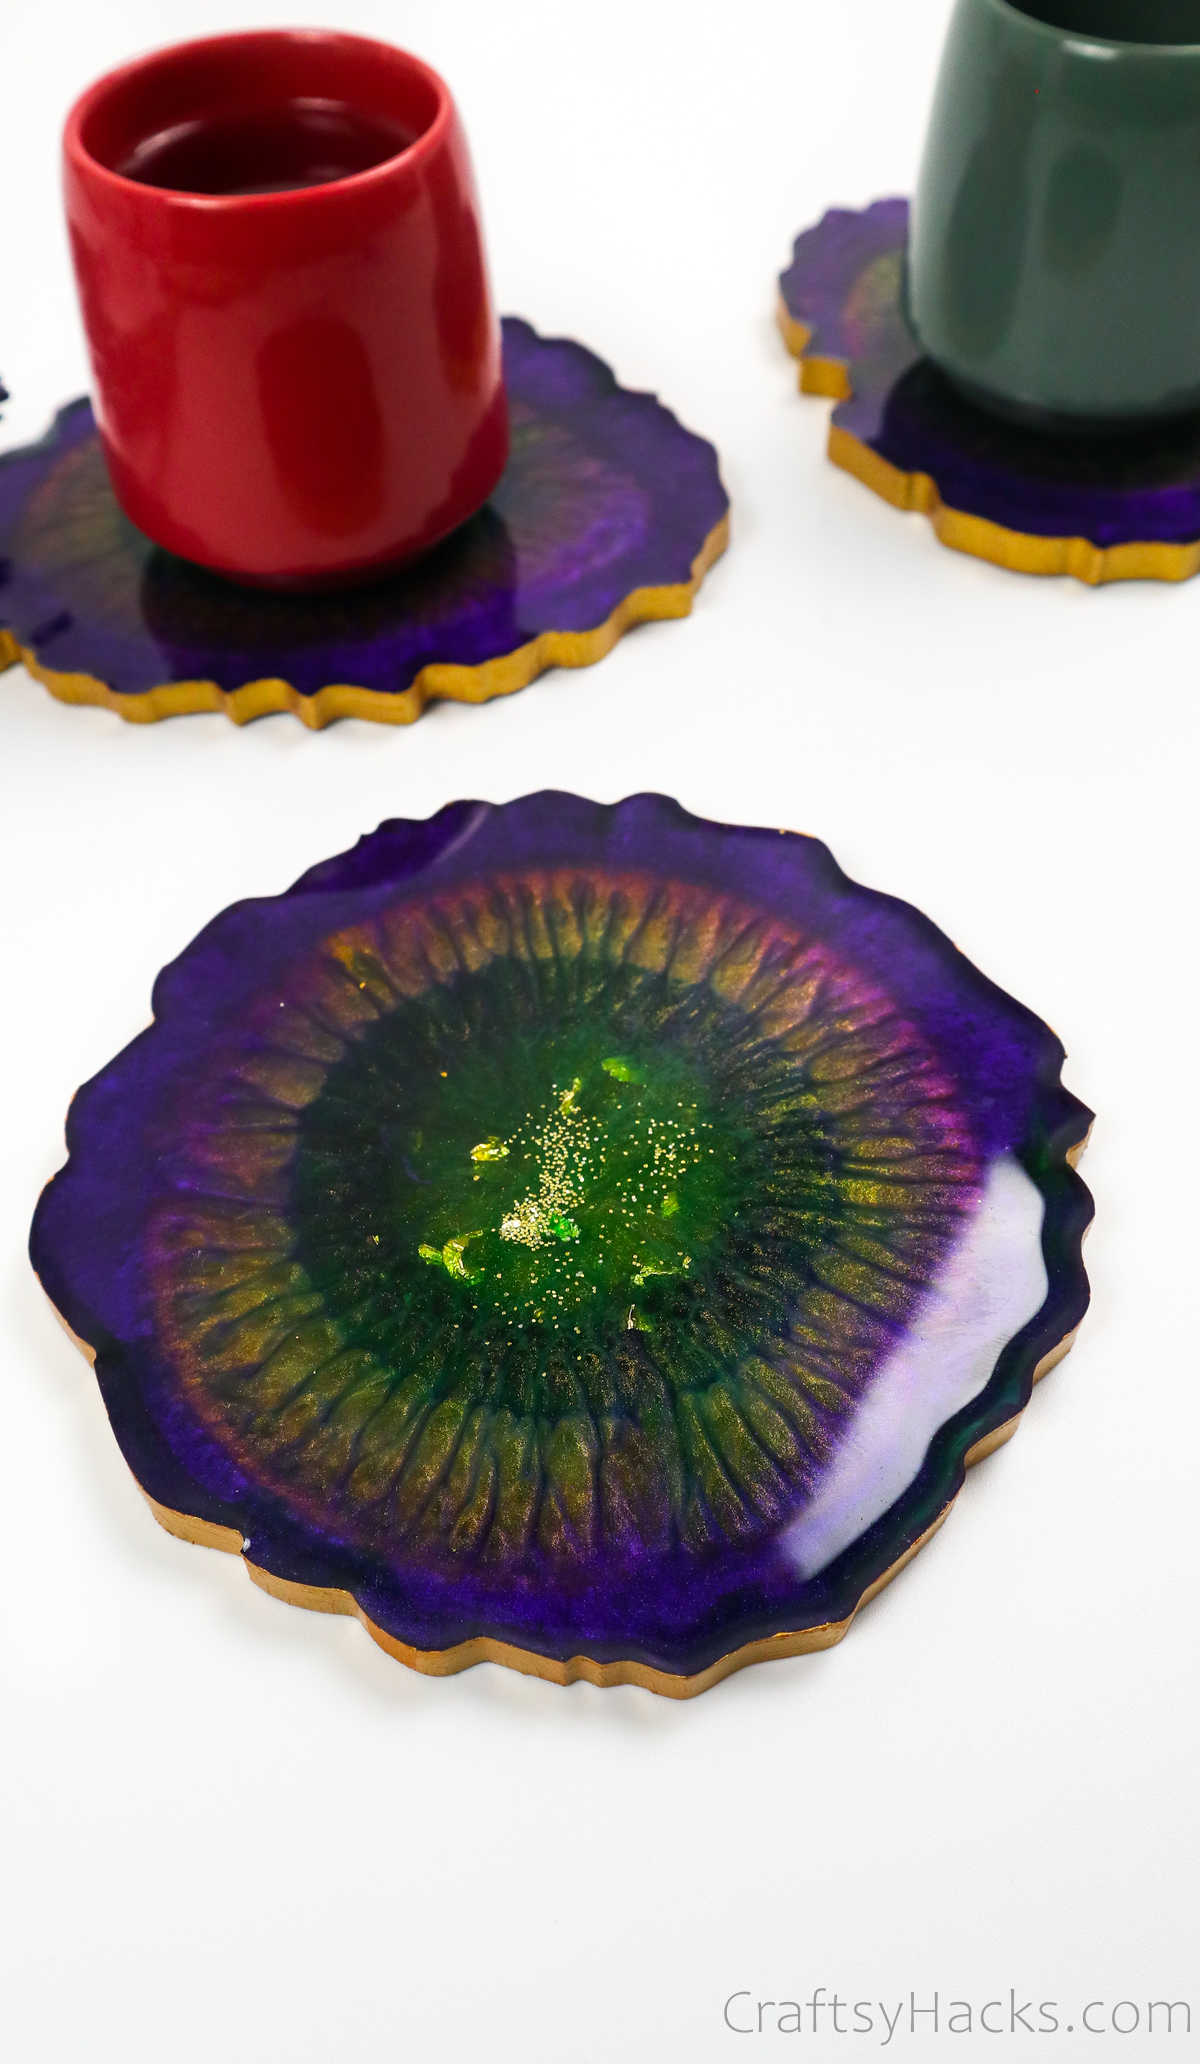
Start by pouring the outermost layer of colored resin—purple, in this instance—onto the mold. Starting from the outermost layer and working your way inward to the center will give you more control over the pattern and how the resin liquid sets.


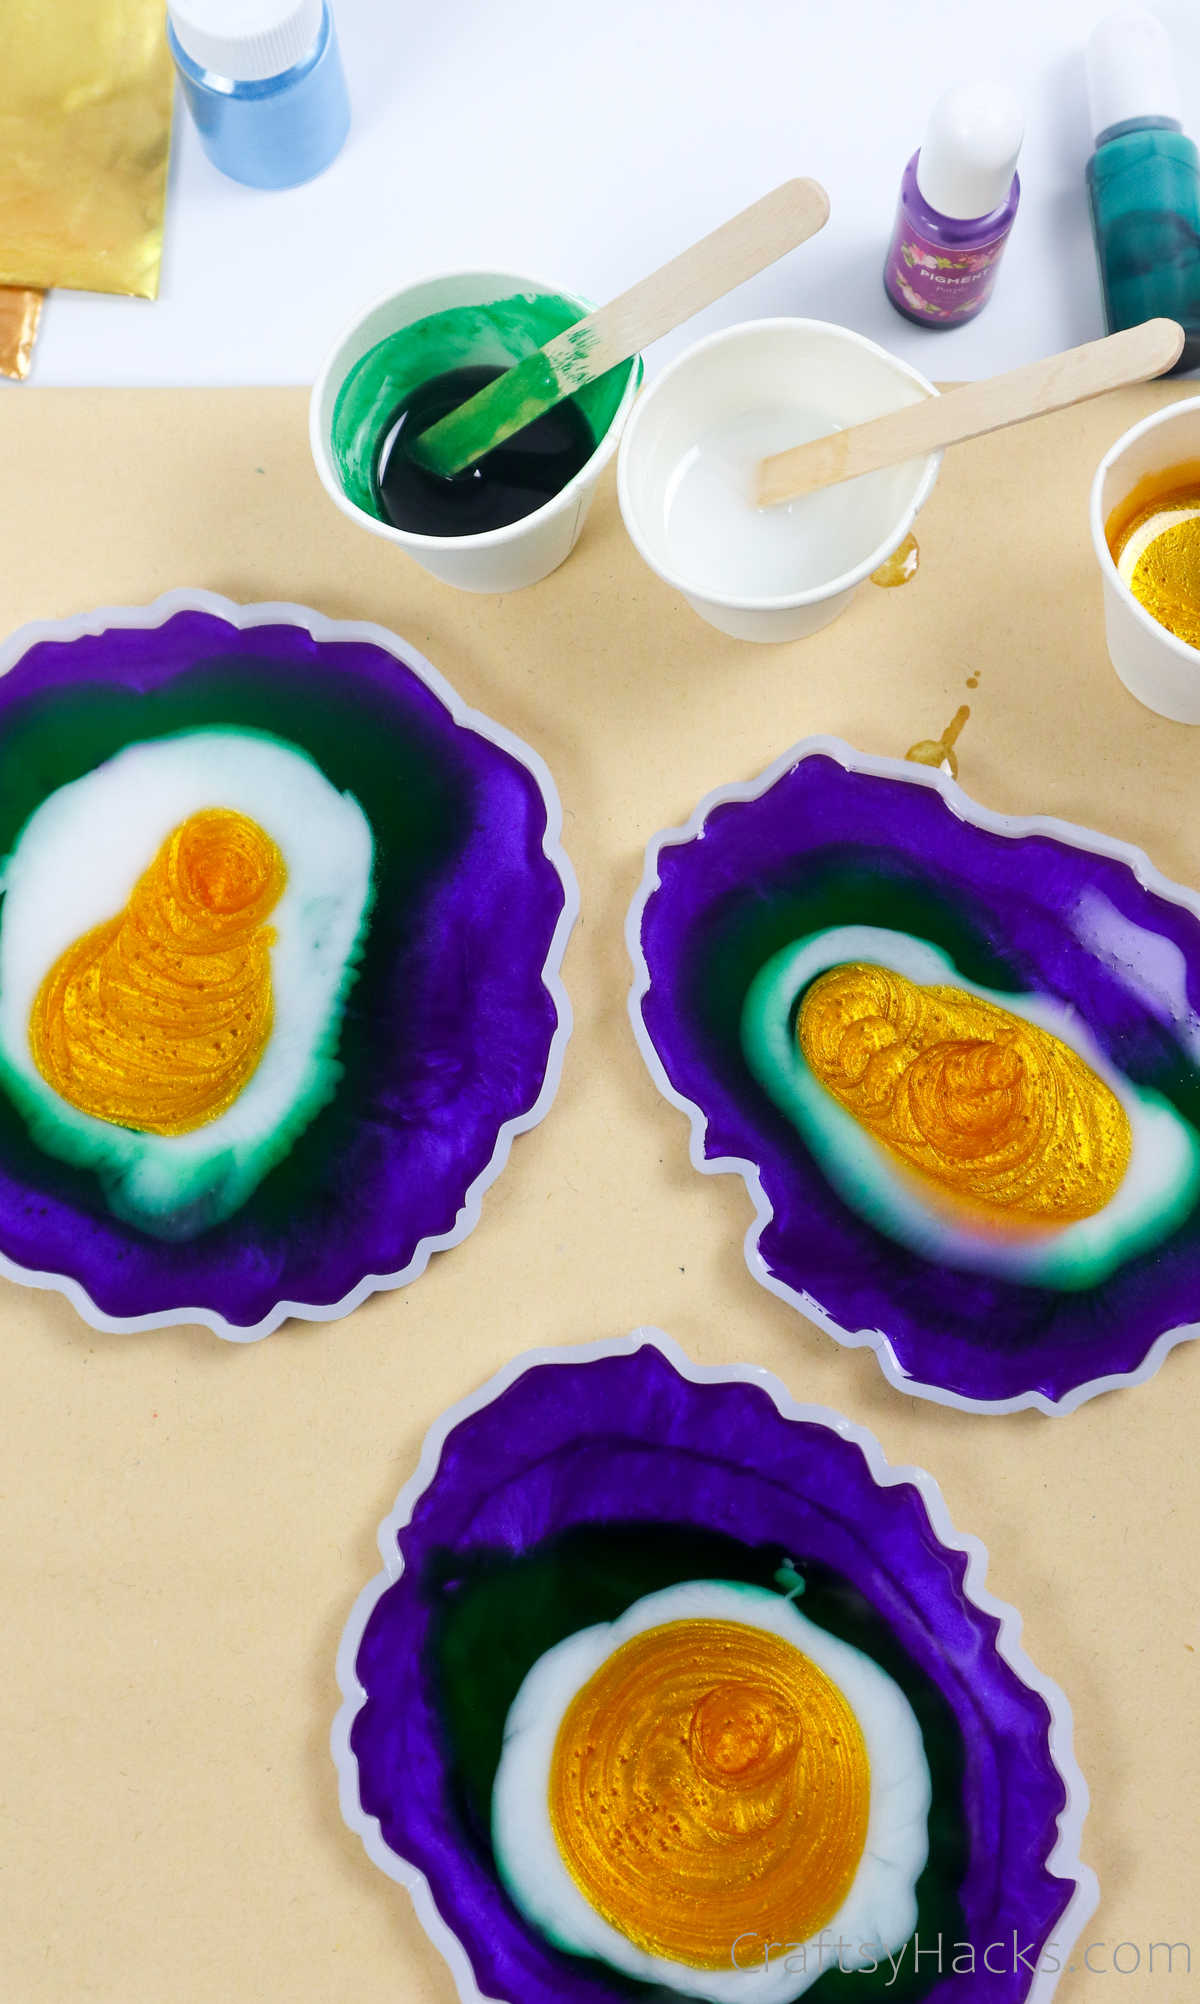
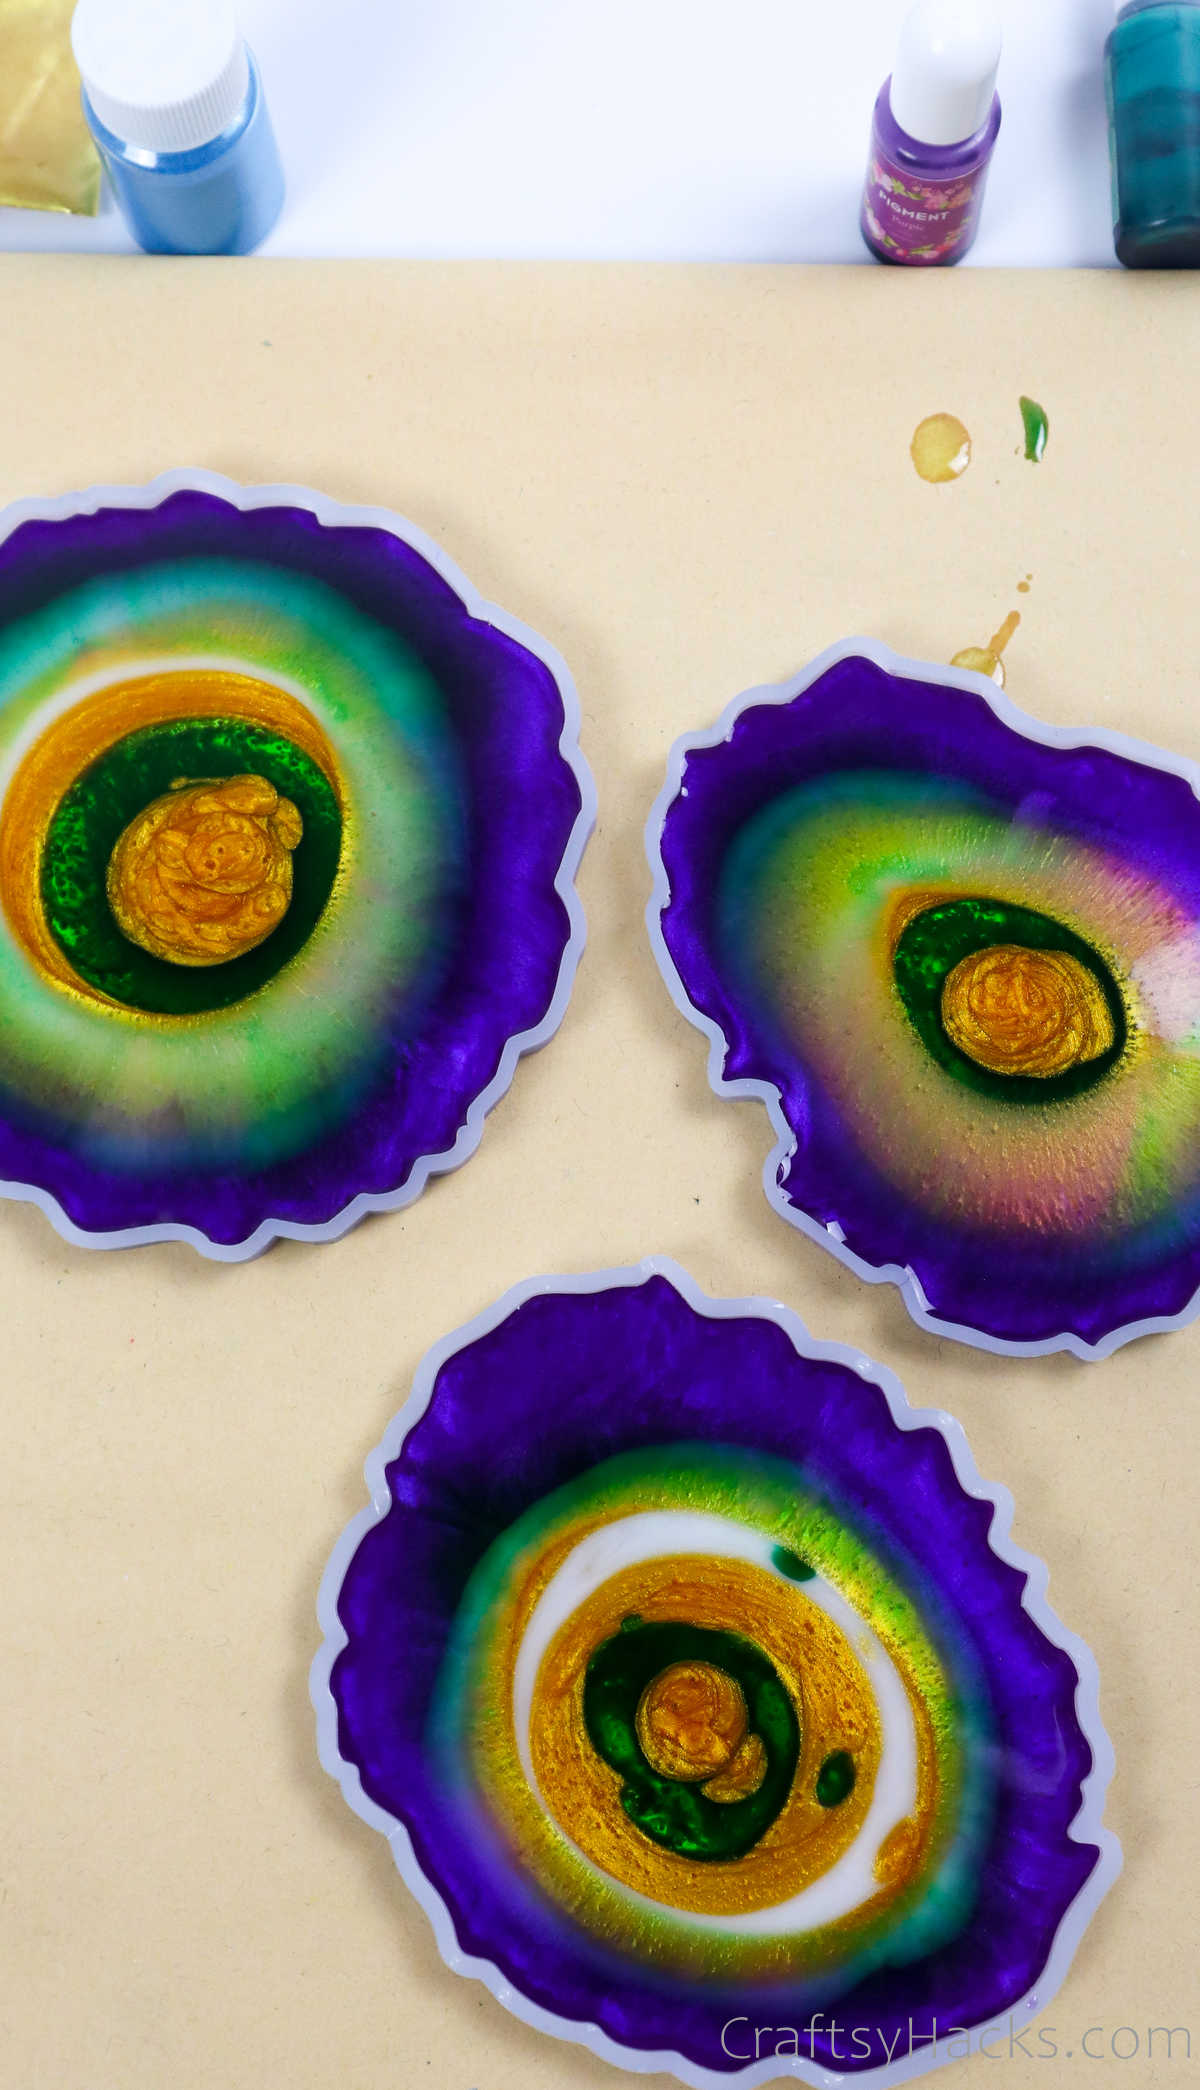
Step 6
Go ahead and pour the rest of the resin, working your way down each layer until you fill the center with the gold-colored resin.
There are, of course, no rules to how you design your coaster, so feel free to keep experimenting with the different layers until you’re happy with the outcome.
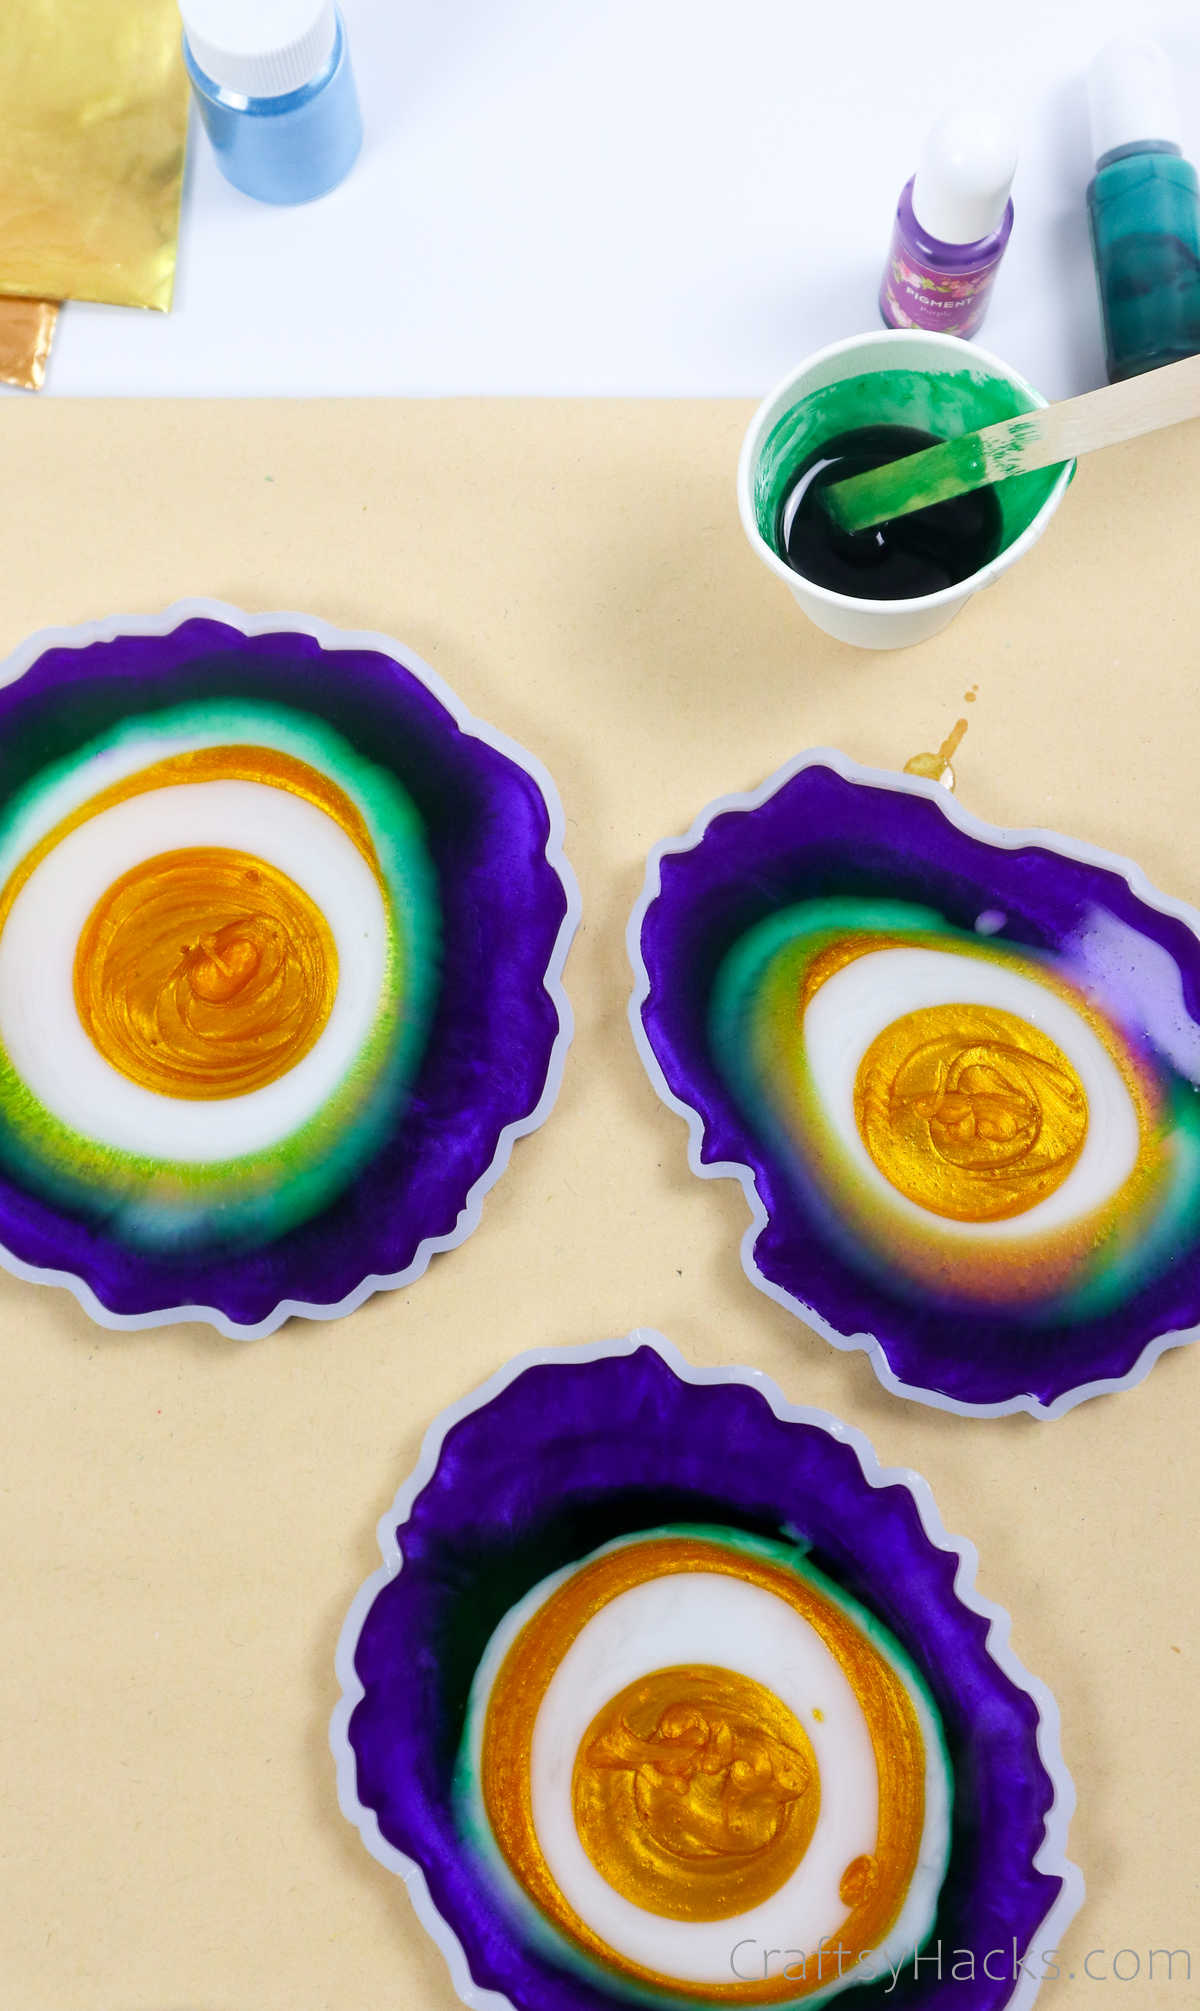
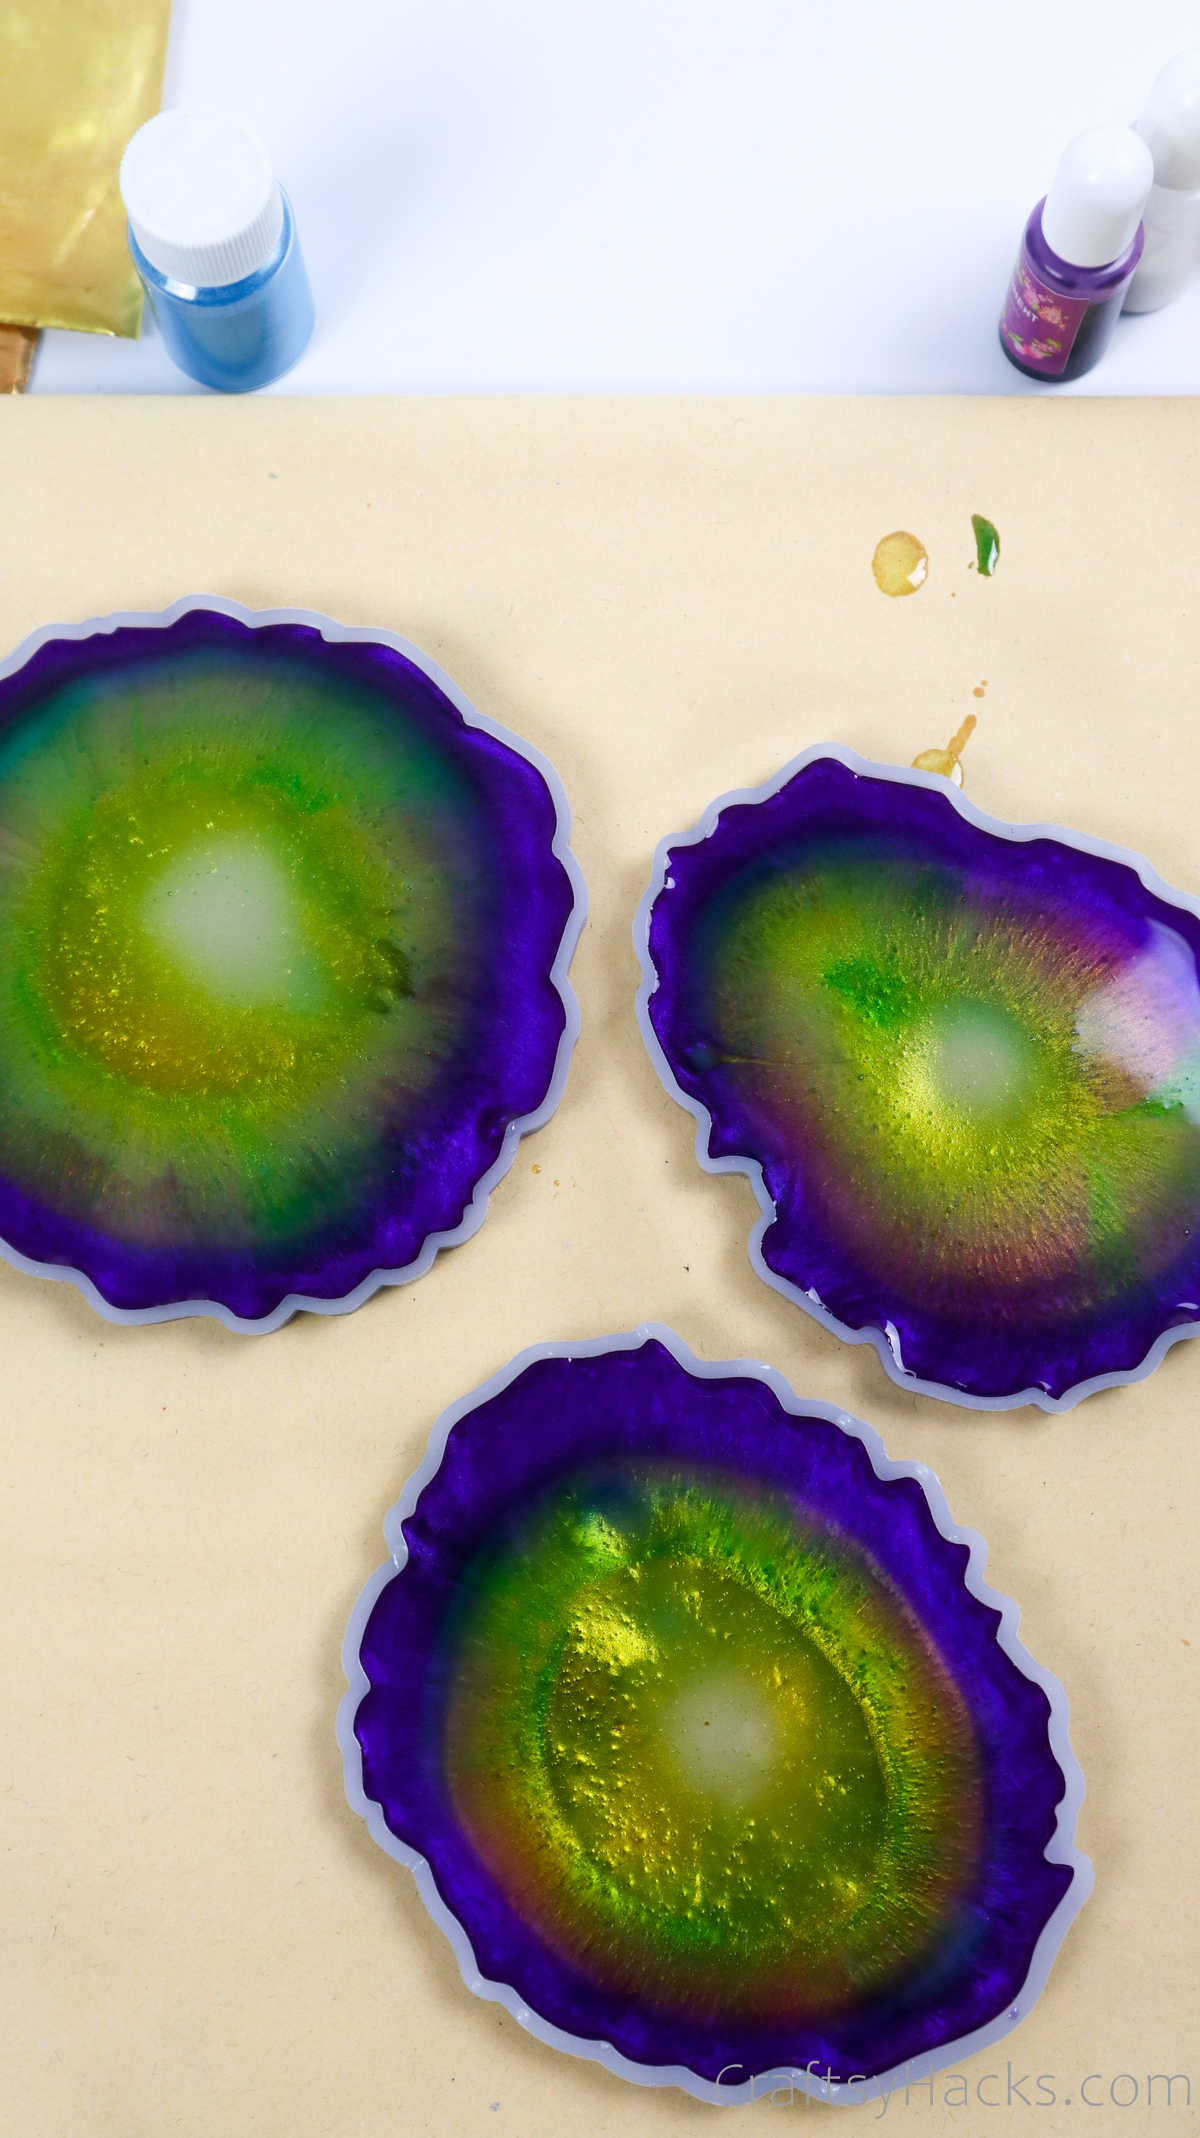
Step 7
Remember that clear resin you set aside earlier? Go ahead and grab that. You’ll be pouring that over the colored layers you just made. This will create a domed effect and help push the colors outwards so that they set evenly.
Step 8
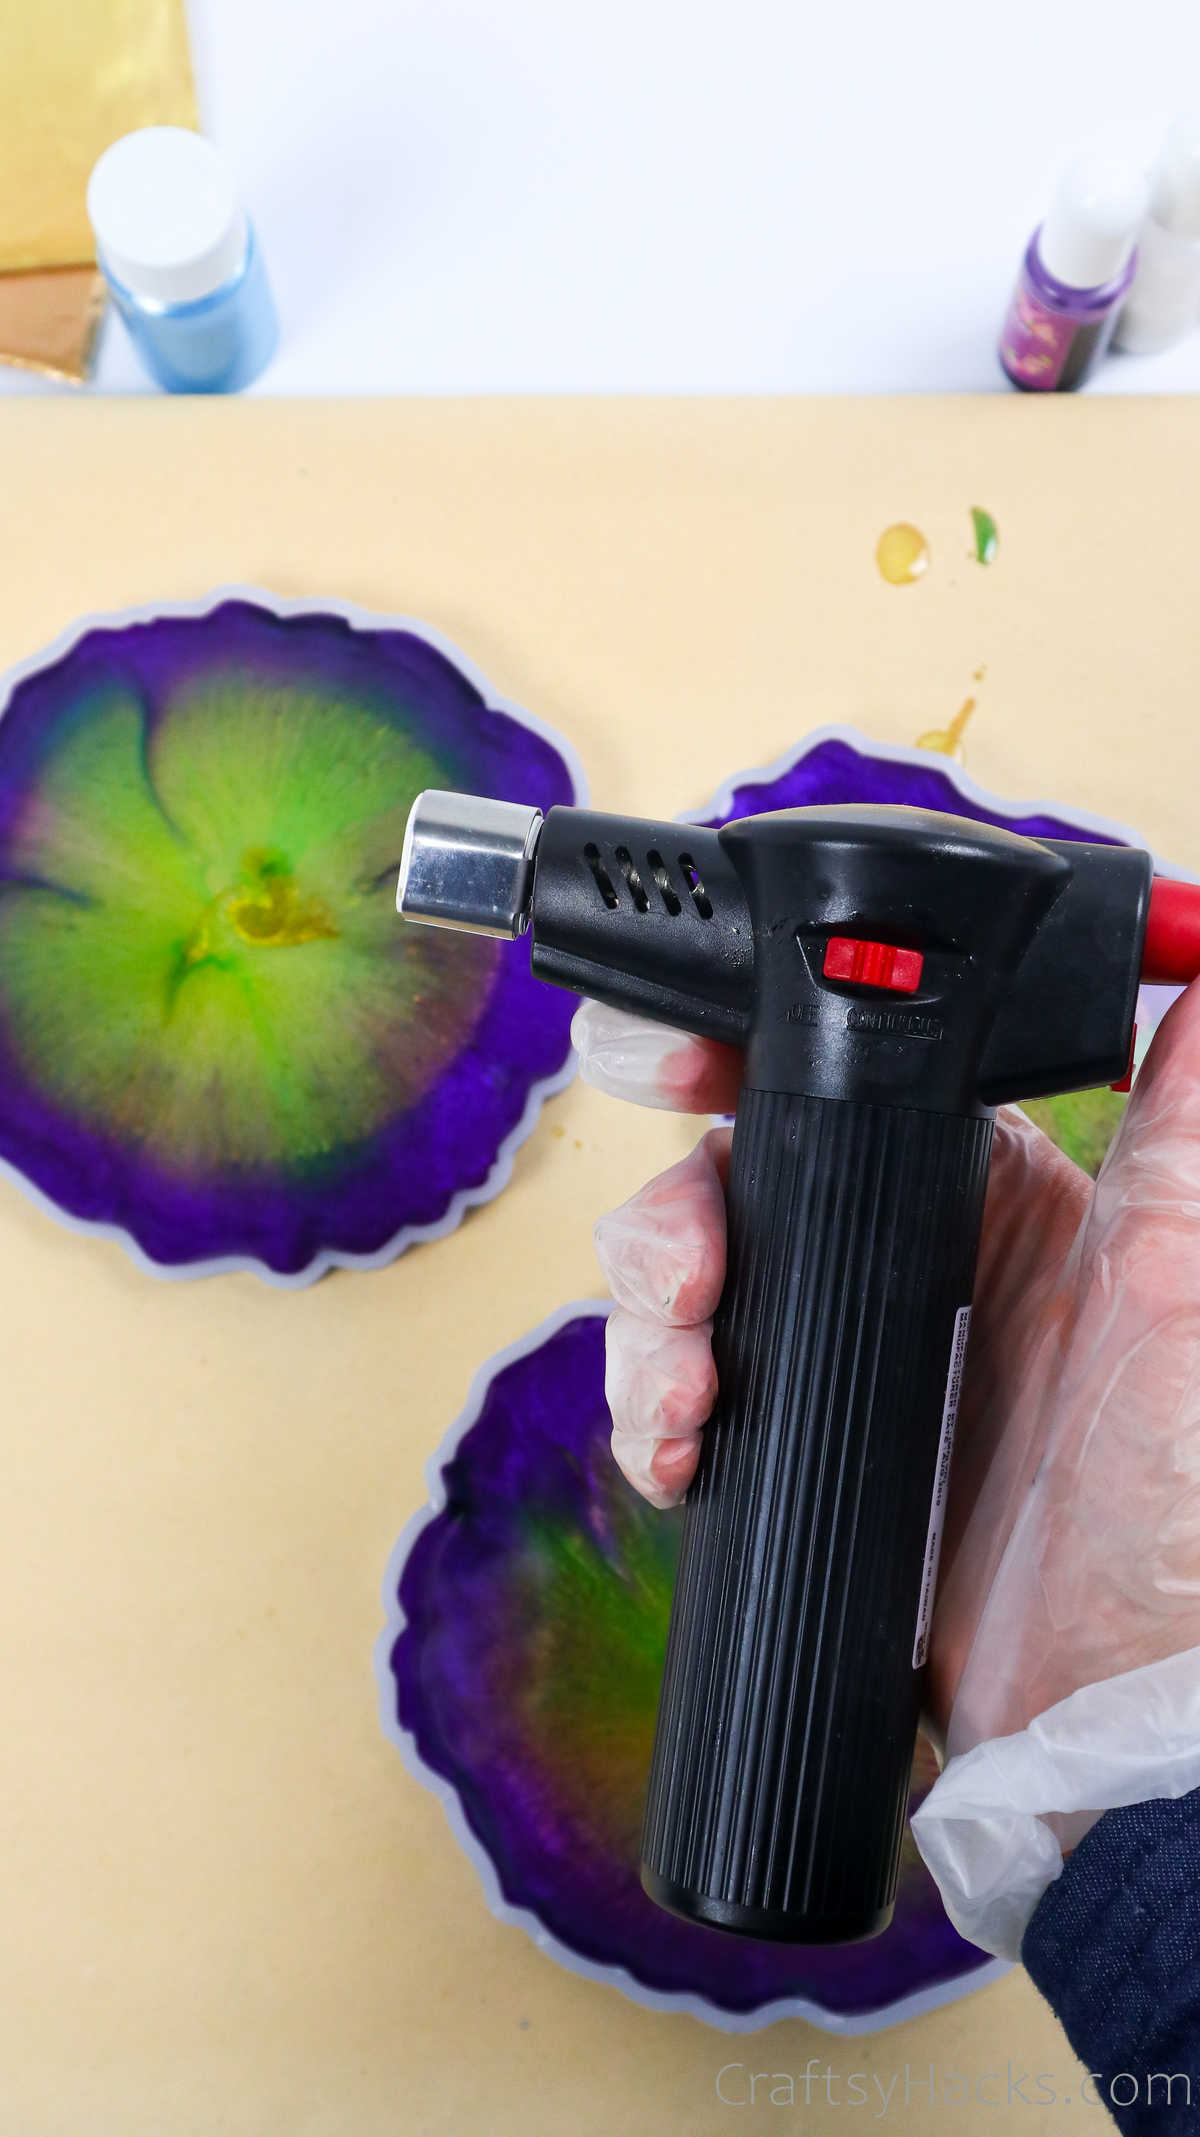
You’ll find that there are plenty of air bubbles on the surface. You’ll need to get rid of them before the resin hardens. You can either pop them with a toothpick—don’t hold the toothpick over the resin for too long; just prick the bubble and move to the next one.
Or, you can use a blowtorch which will take you just a second to get rid of those pesky bubbles. Just be careful not to hold the flame too close to the resin or the mold, or they’ll burn. Quickly glaze the surface with the torch, and all your bubbles should disappear just like that!
Step 9
Now’s the time to add any extra embellishments, sparkles, or gold flakes to the resin. Go ahead and decorate the coasters!
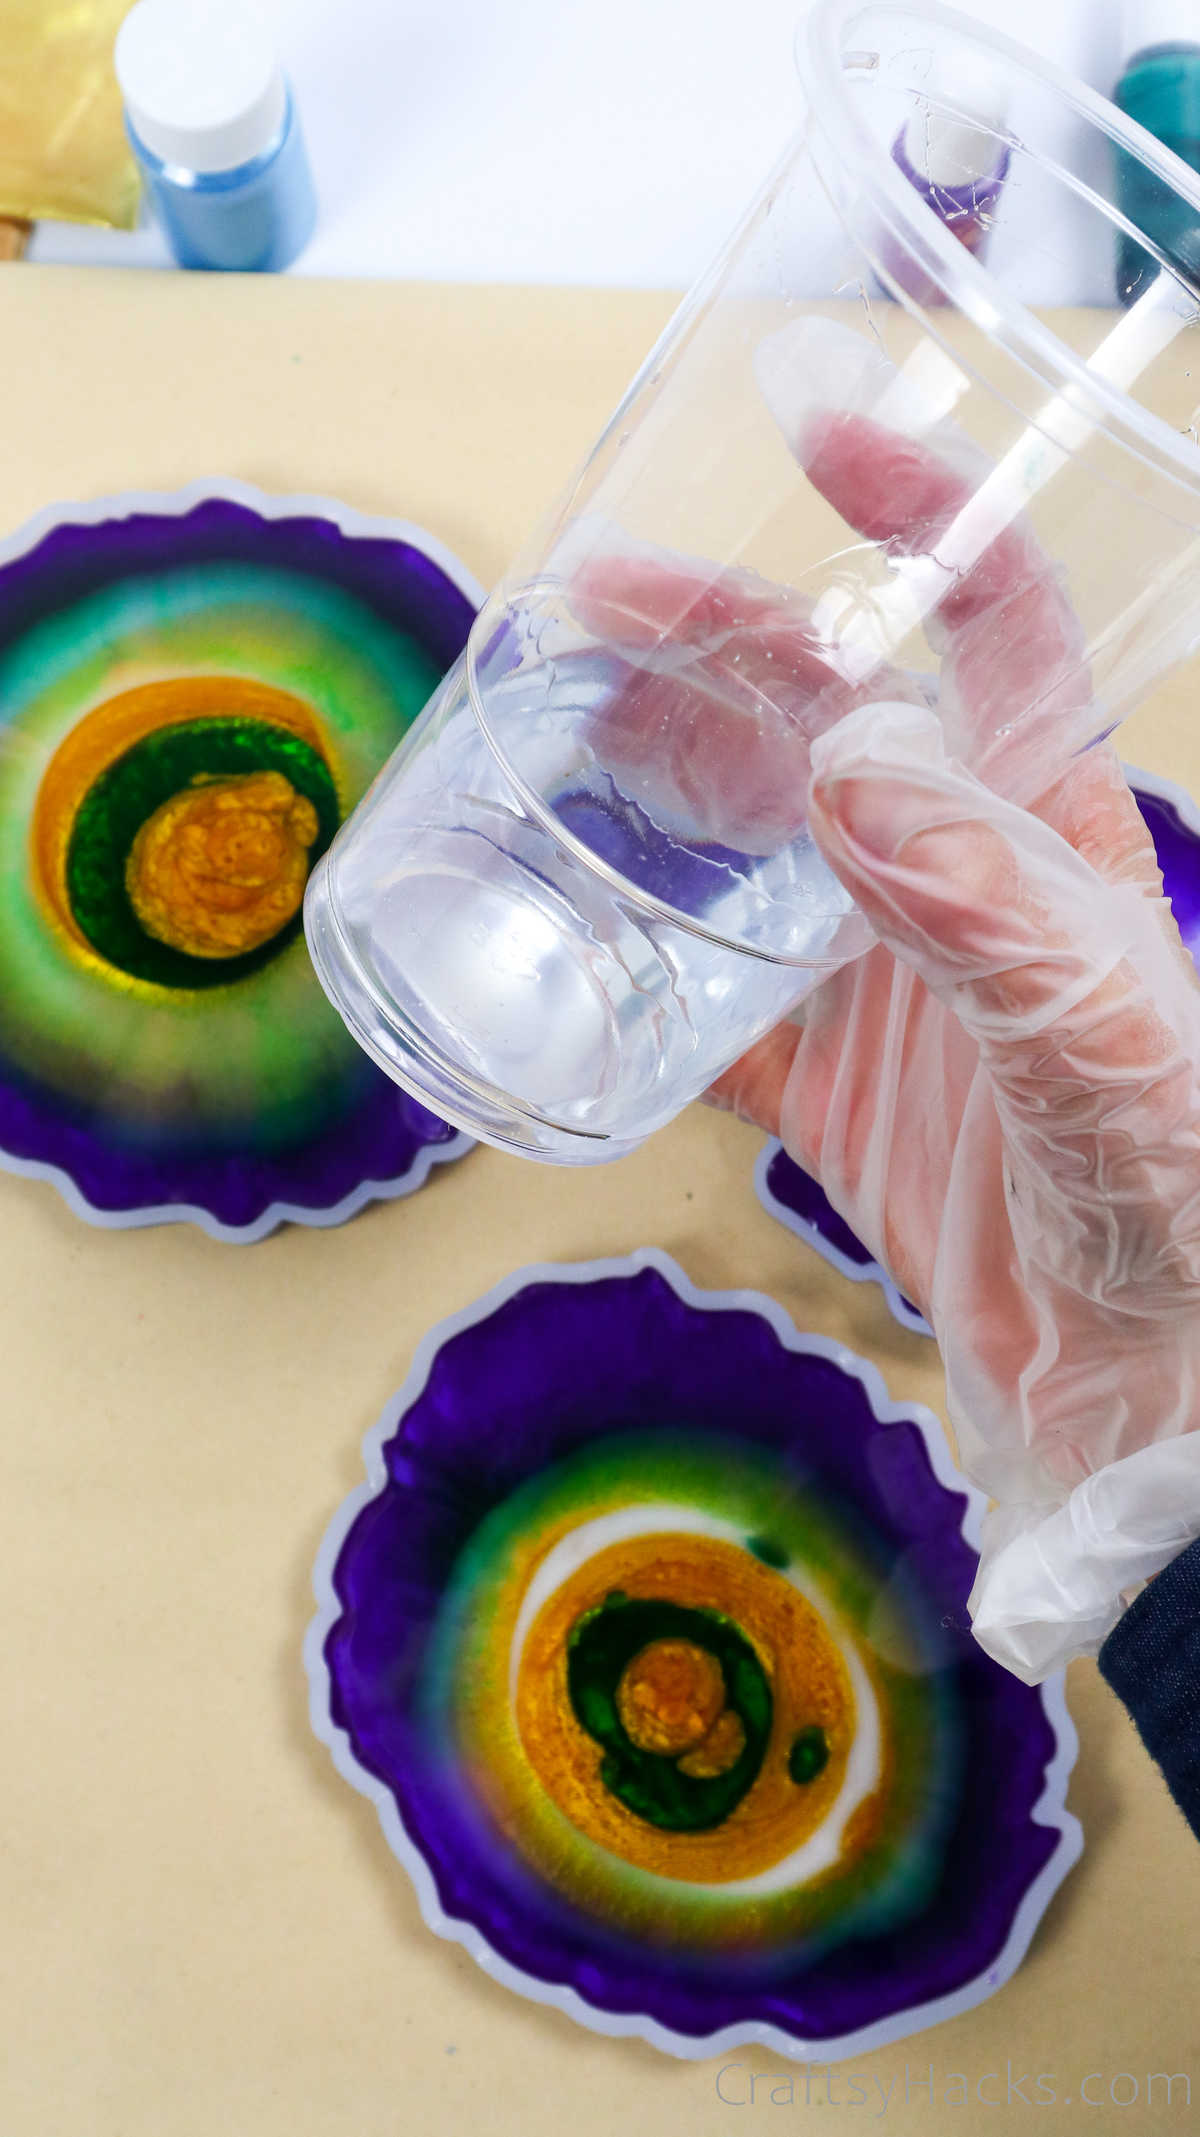
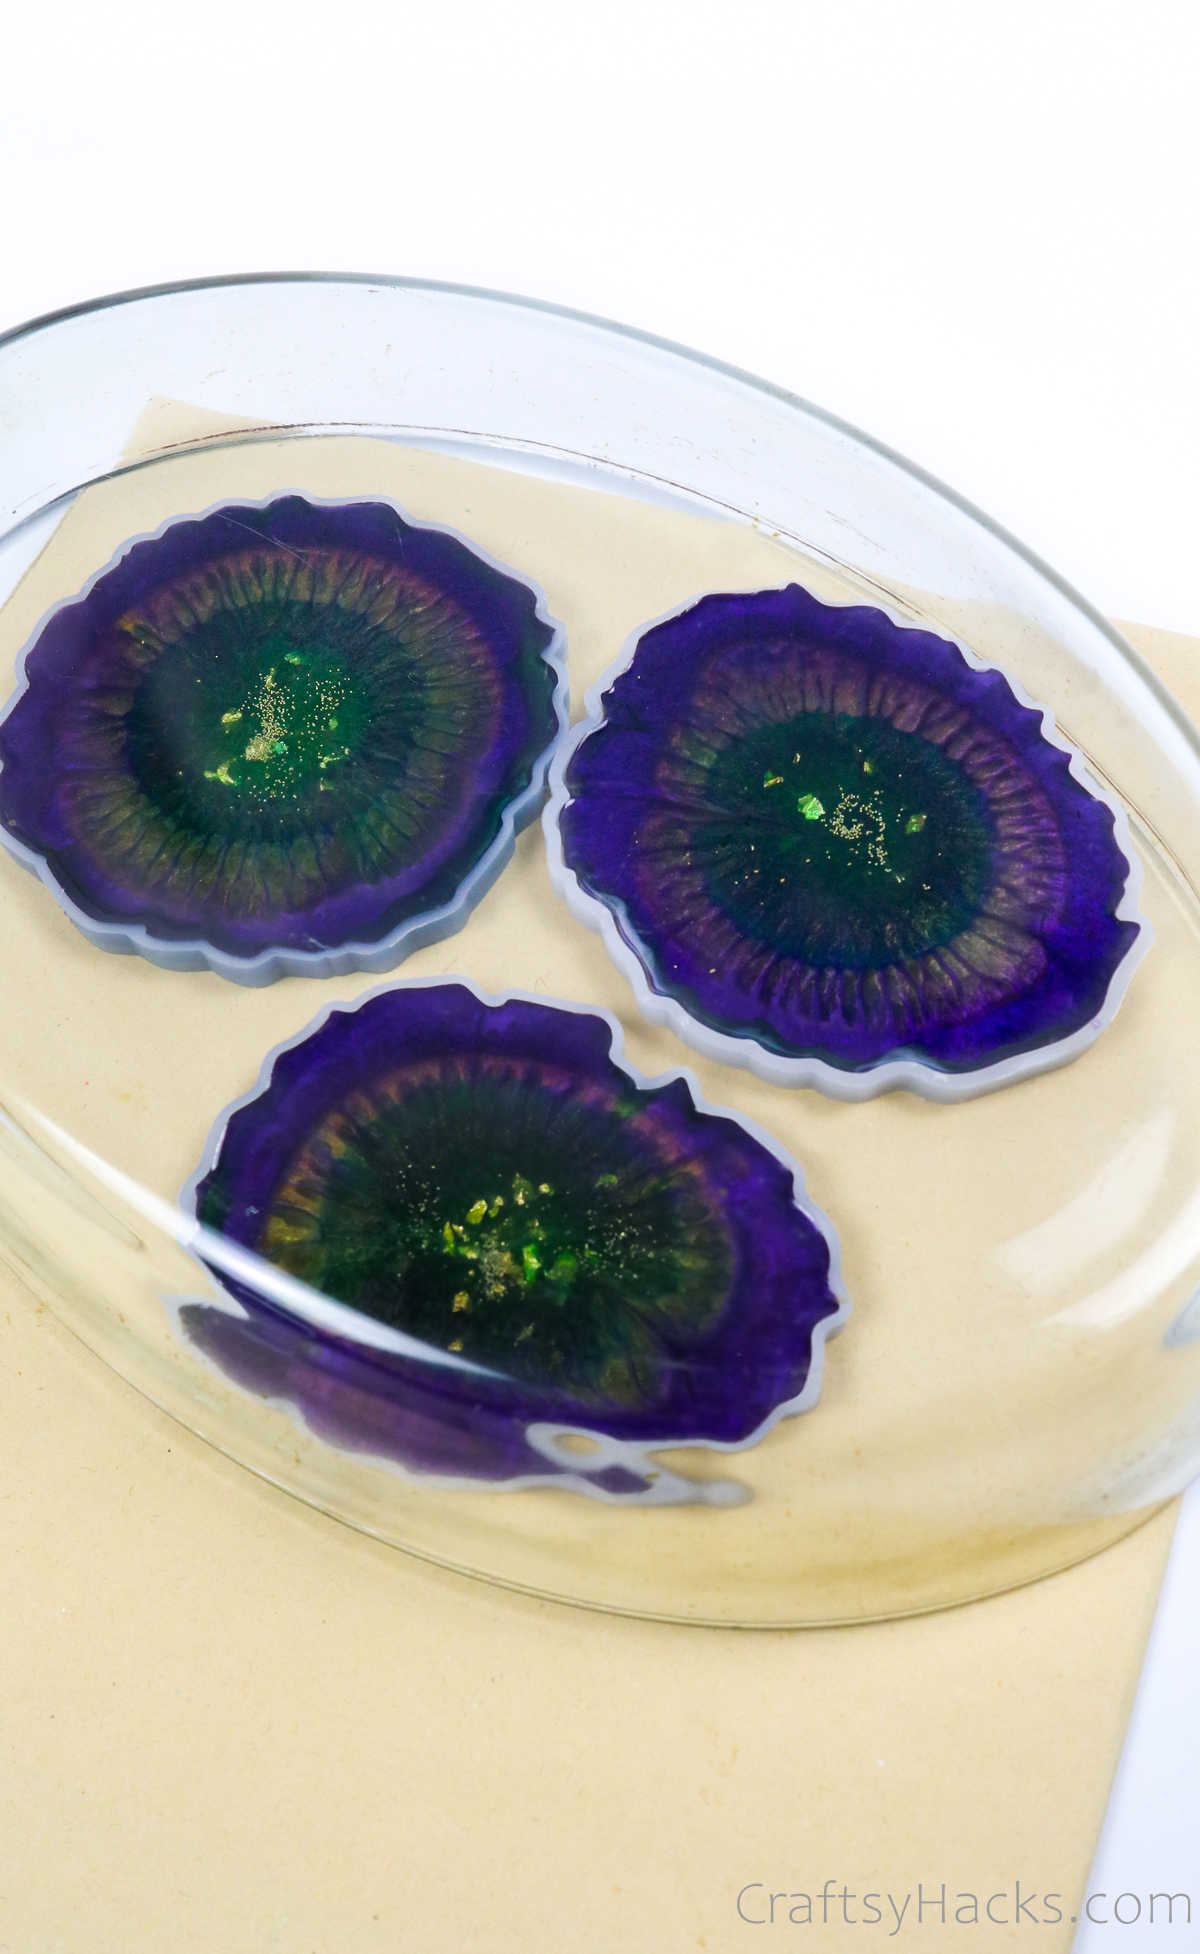
Step 10
Cover the coaster with a raised glass or plastic protector to prevent it from dust and dirt while it dries.
That should take around 24-48 hours.
Step 11
When you’re absolutely sure that the resin has dried completely, you can carefully peel the mold back and pop the coaster out from it.
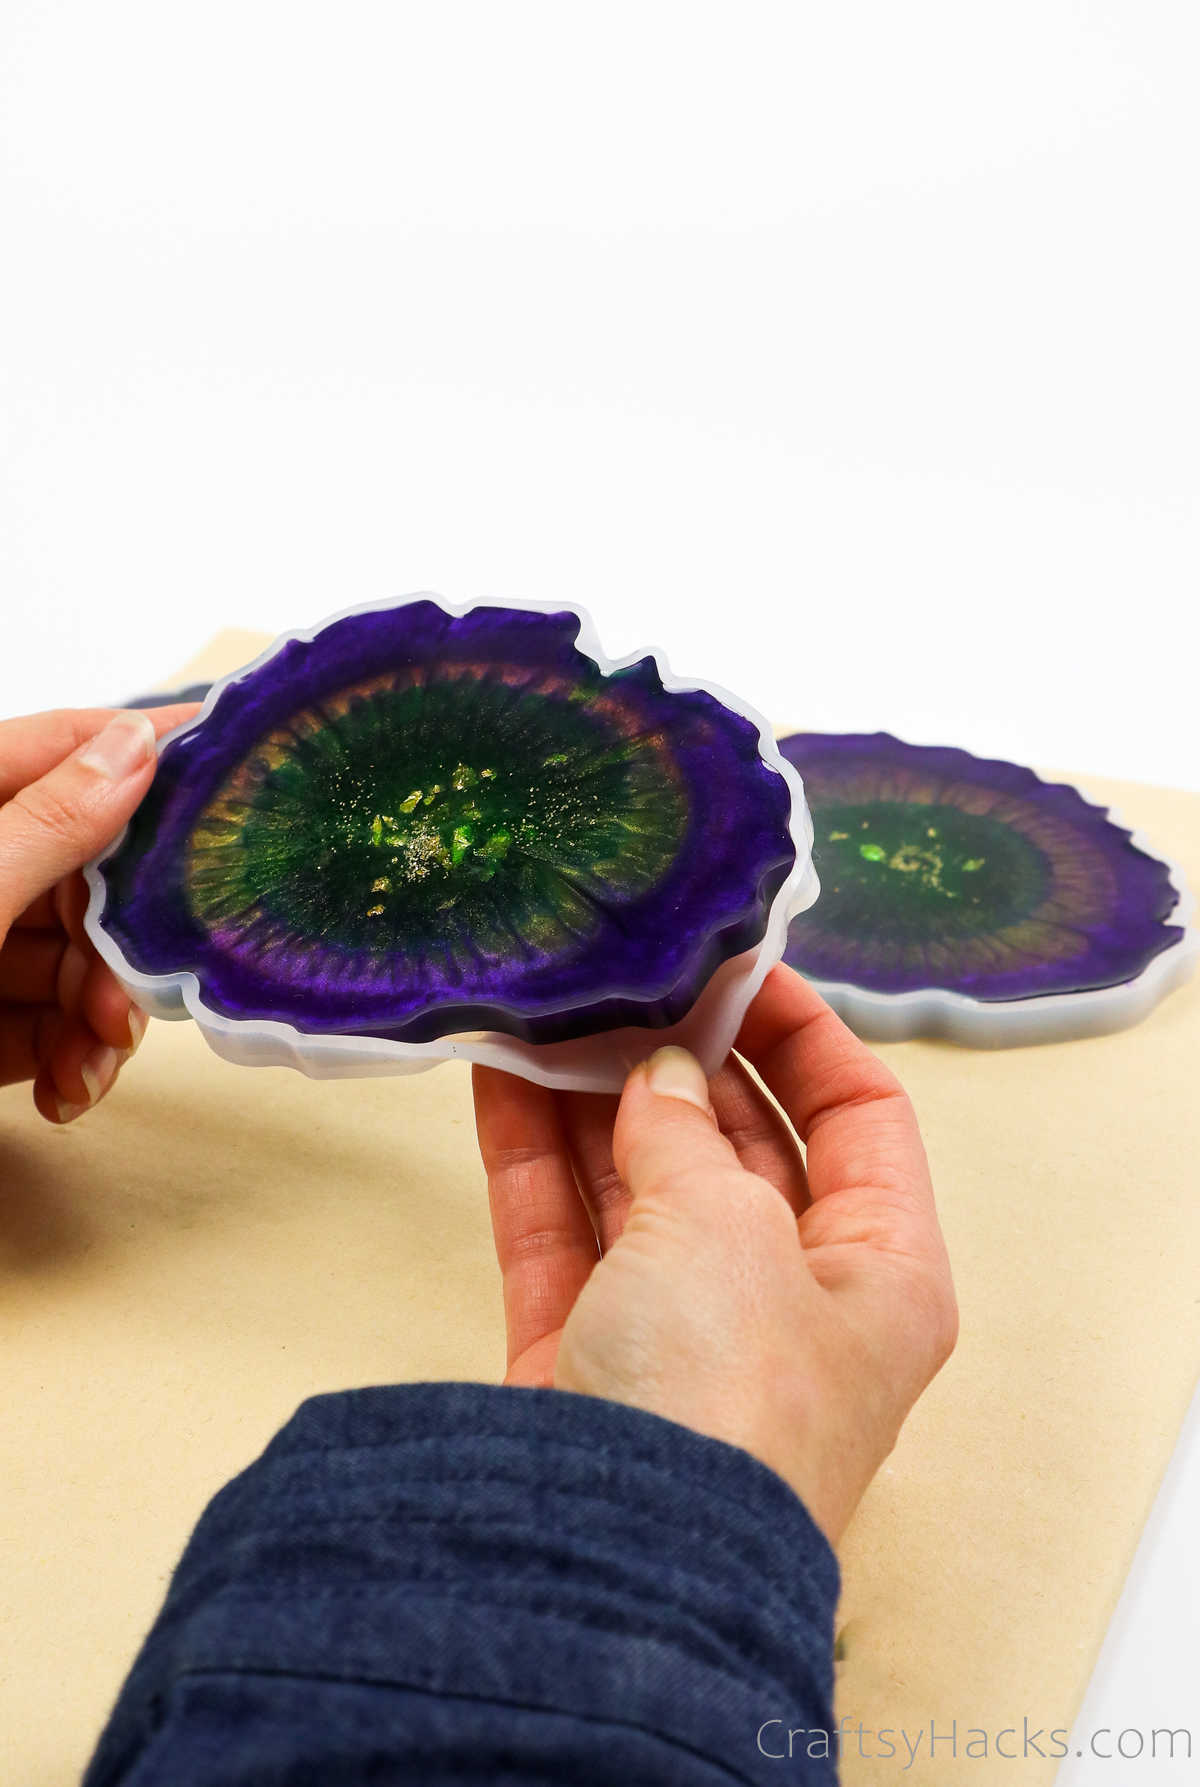
Step 12
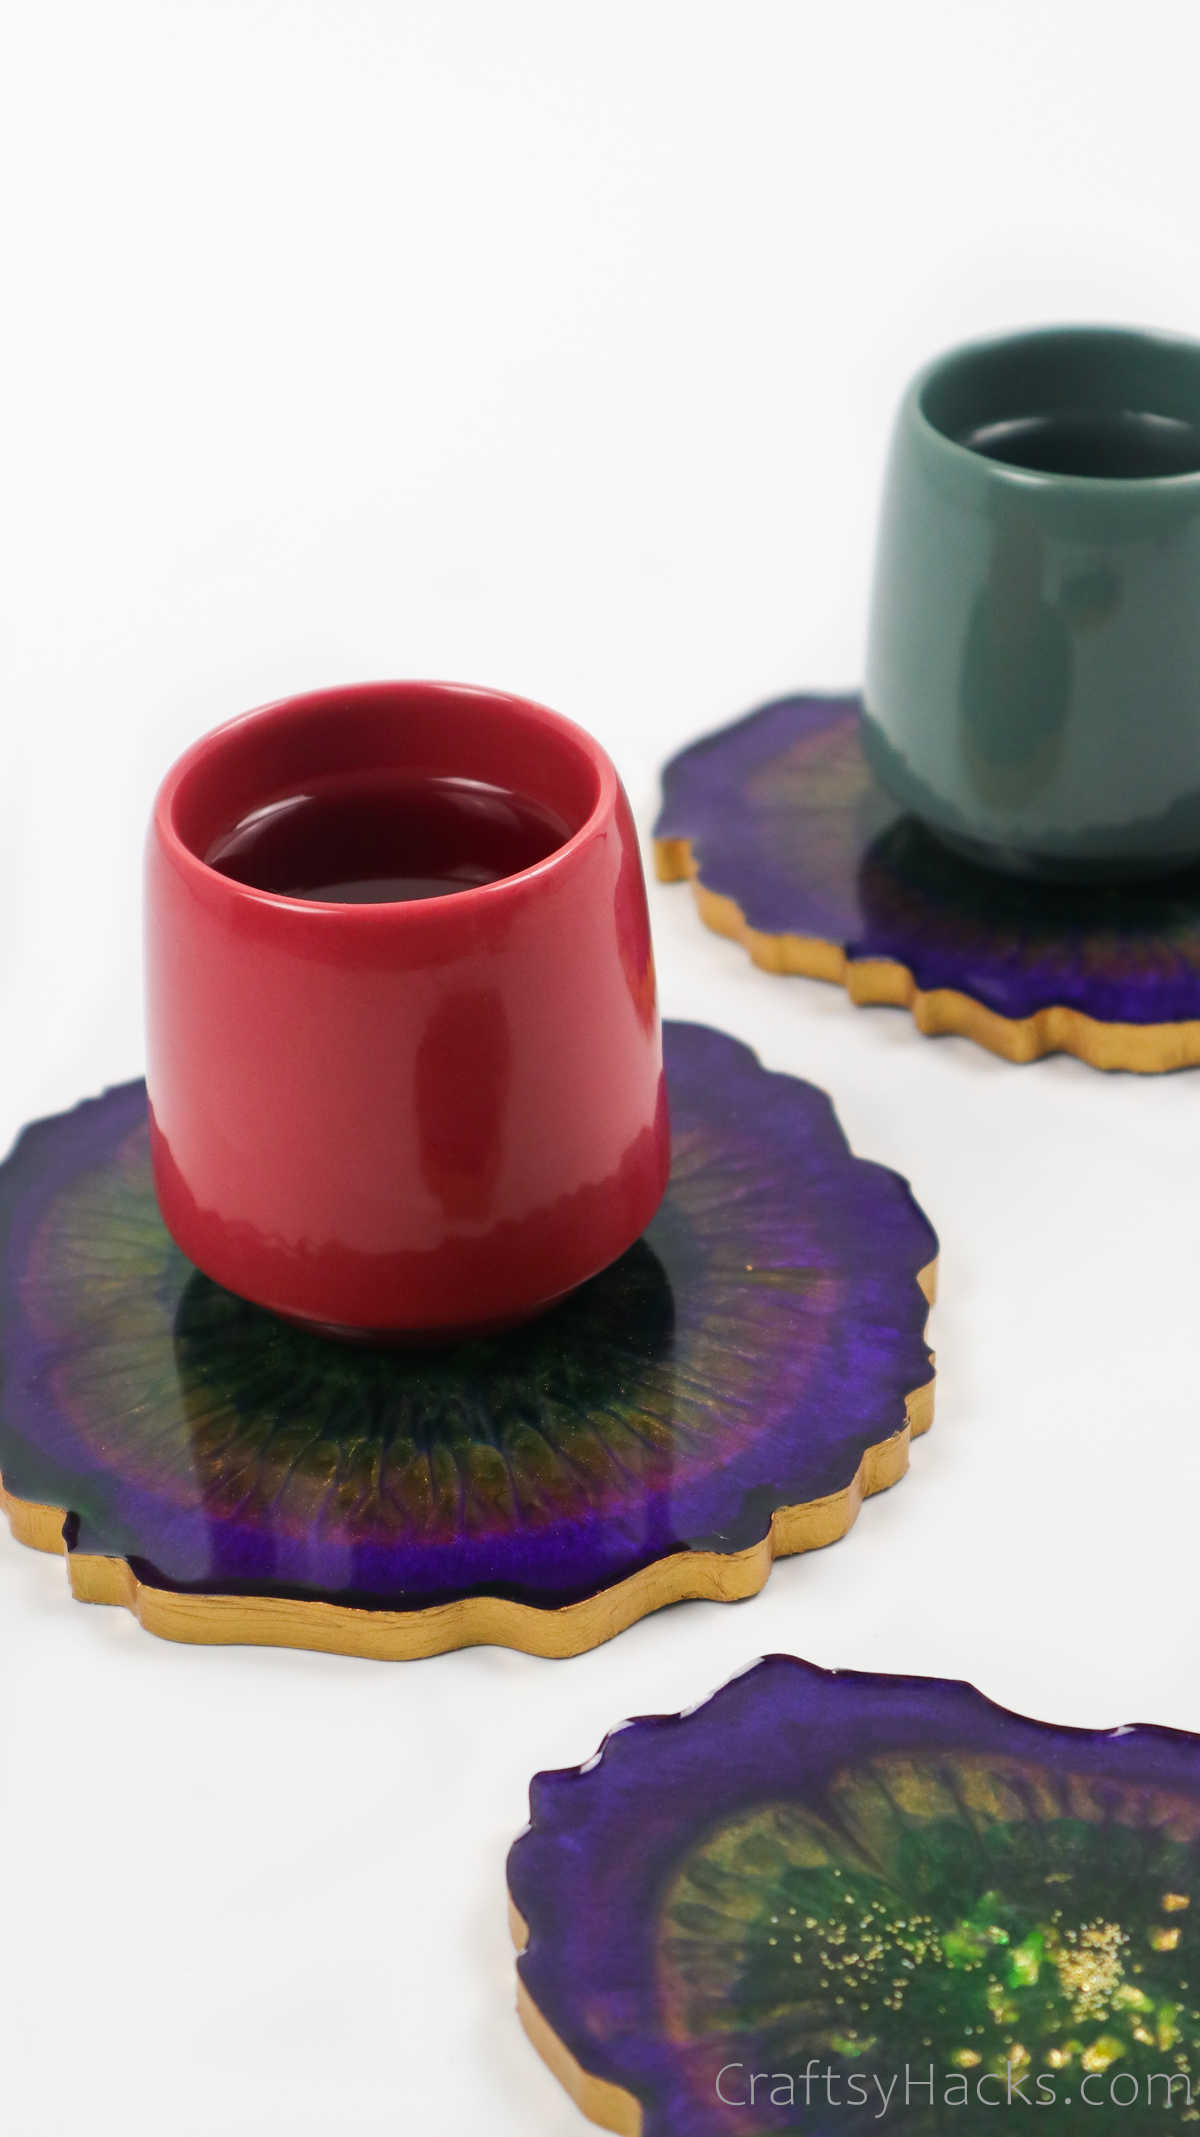
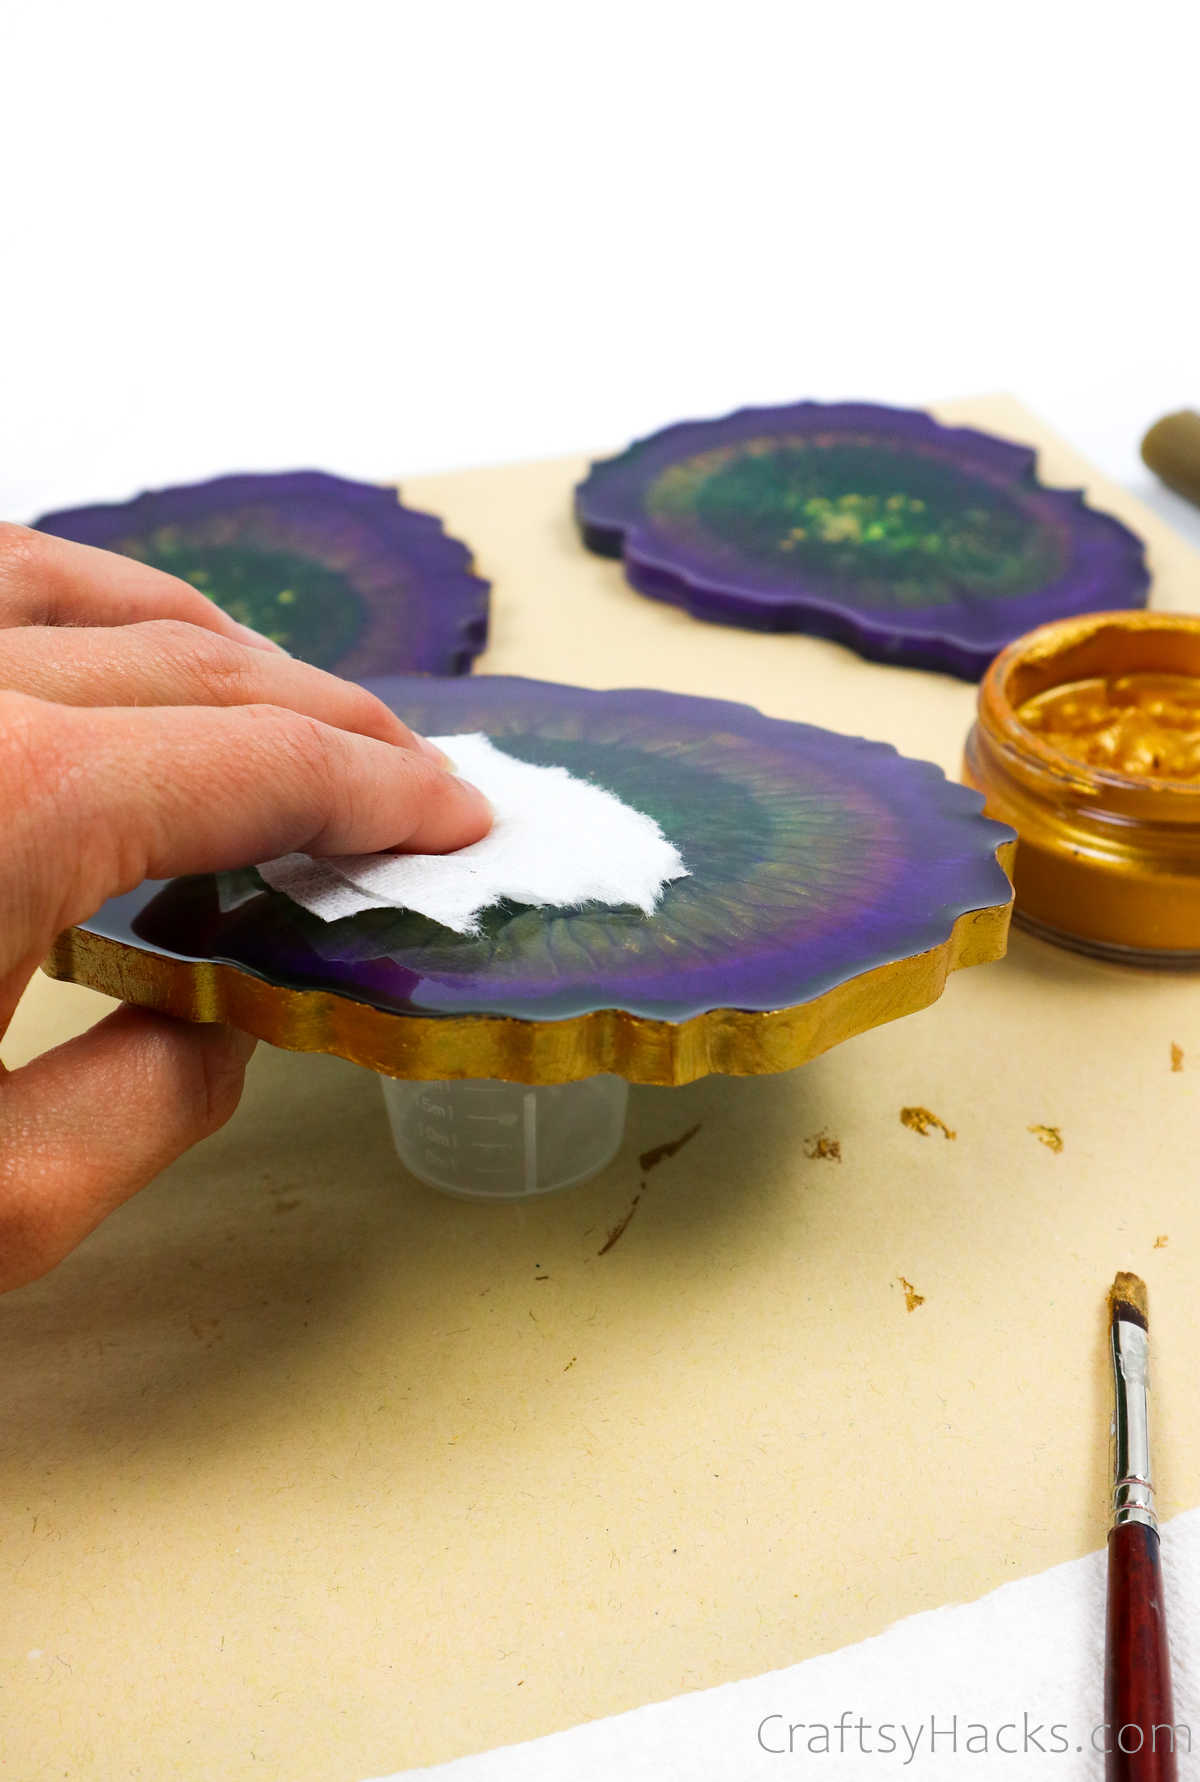
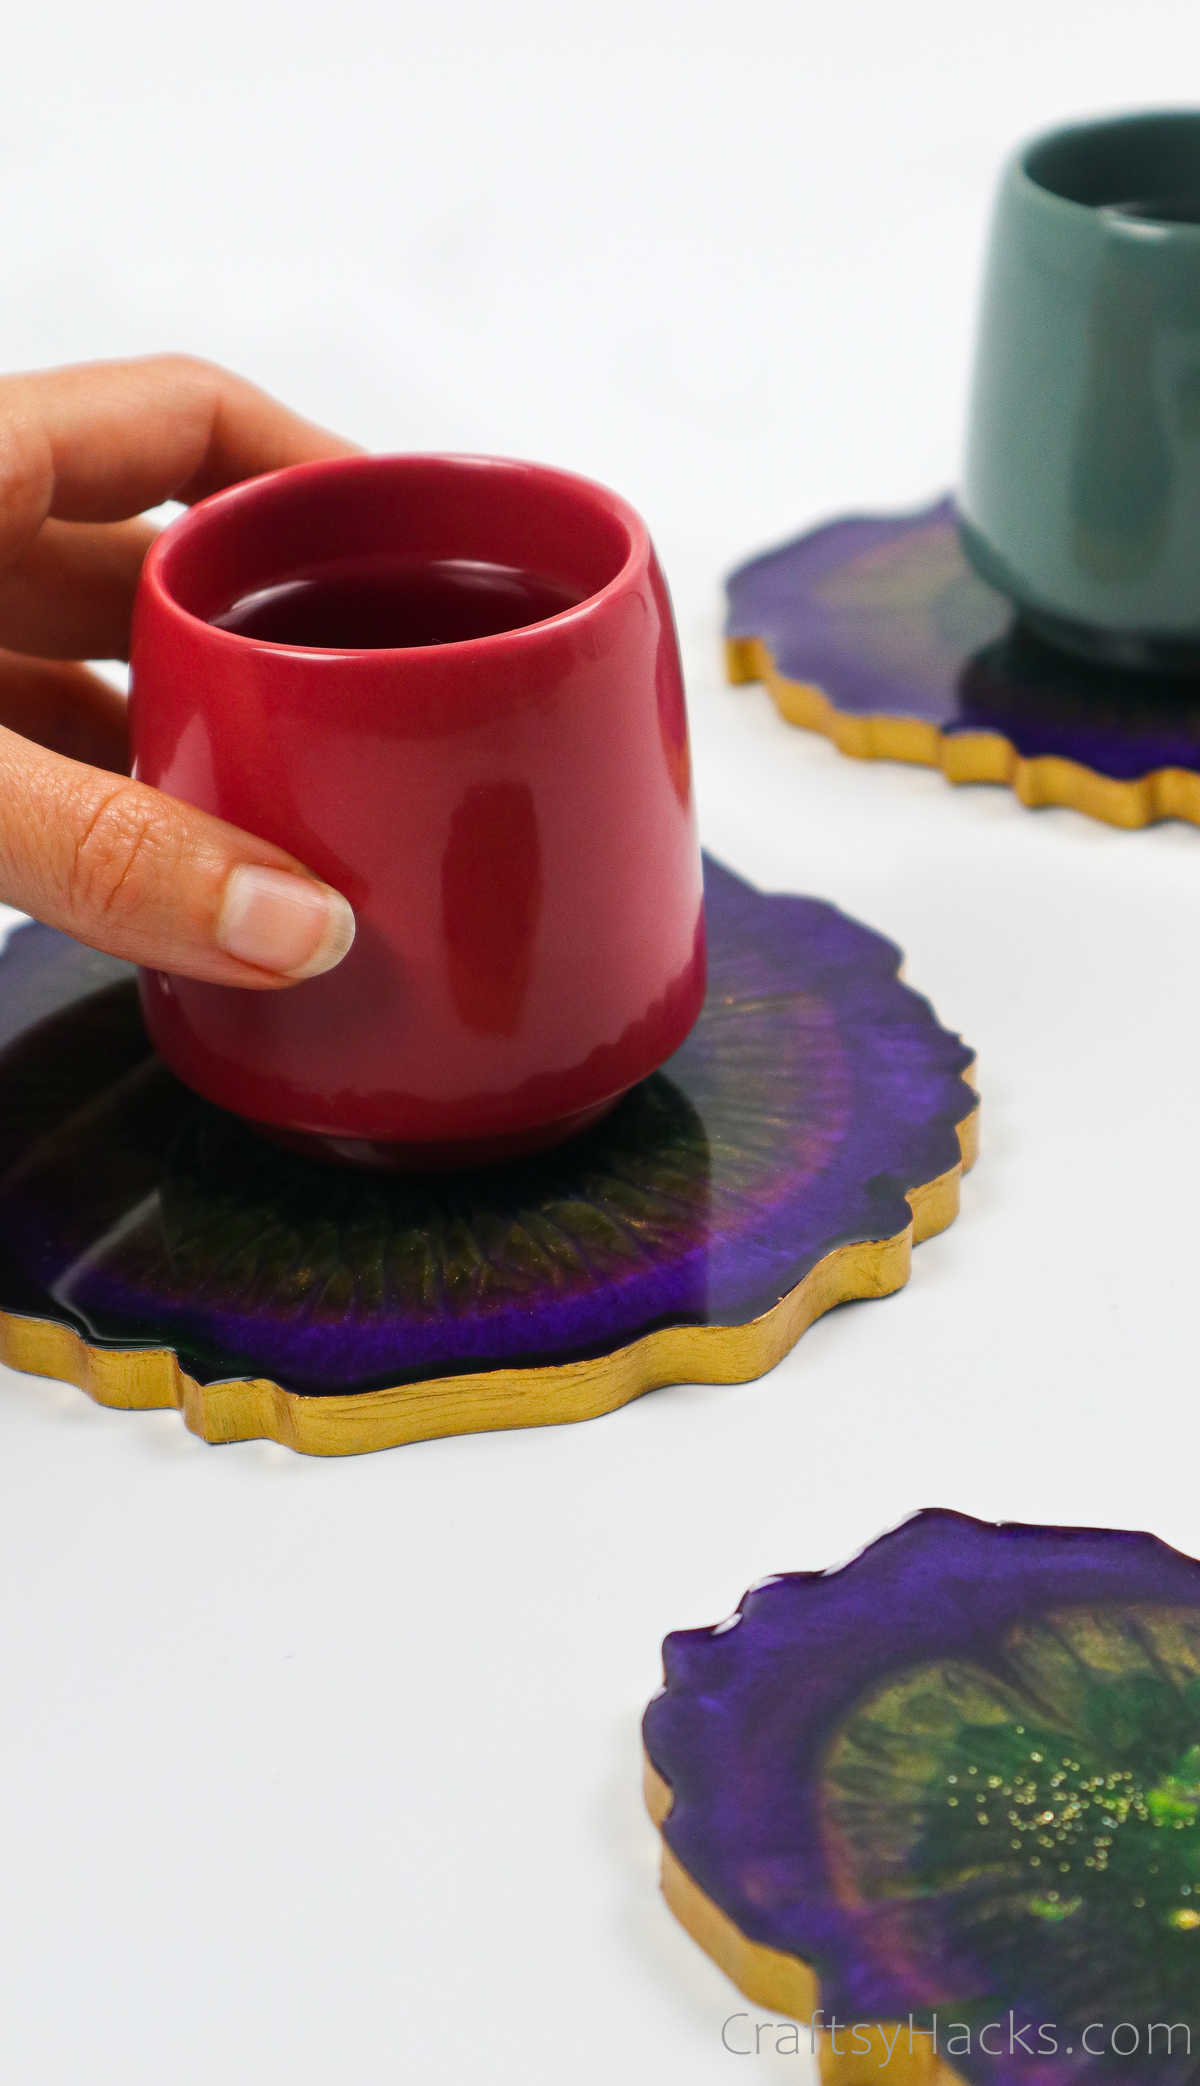
While your coaster looks absolutely stunning as they are, you can consider painting the edges with sparkly gold paint for a better-finished product.
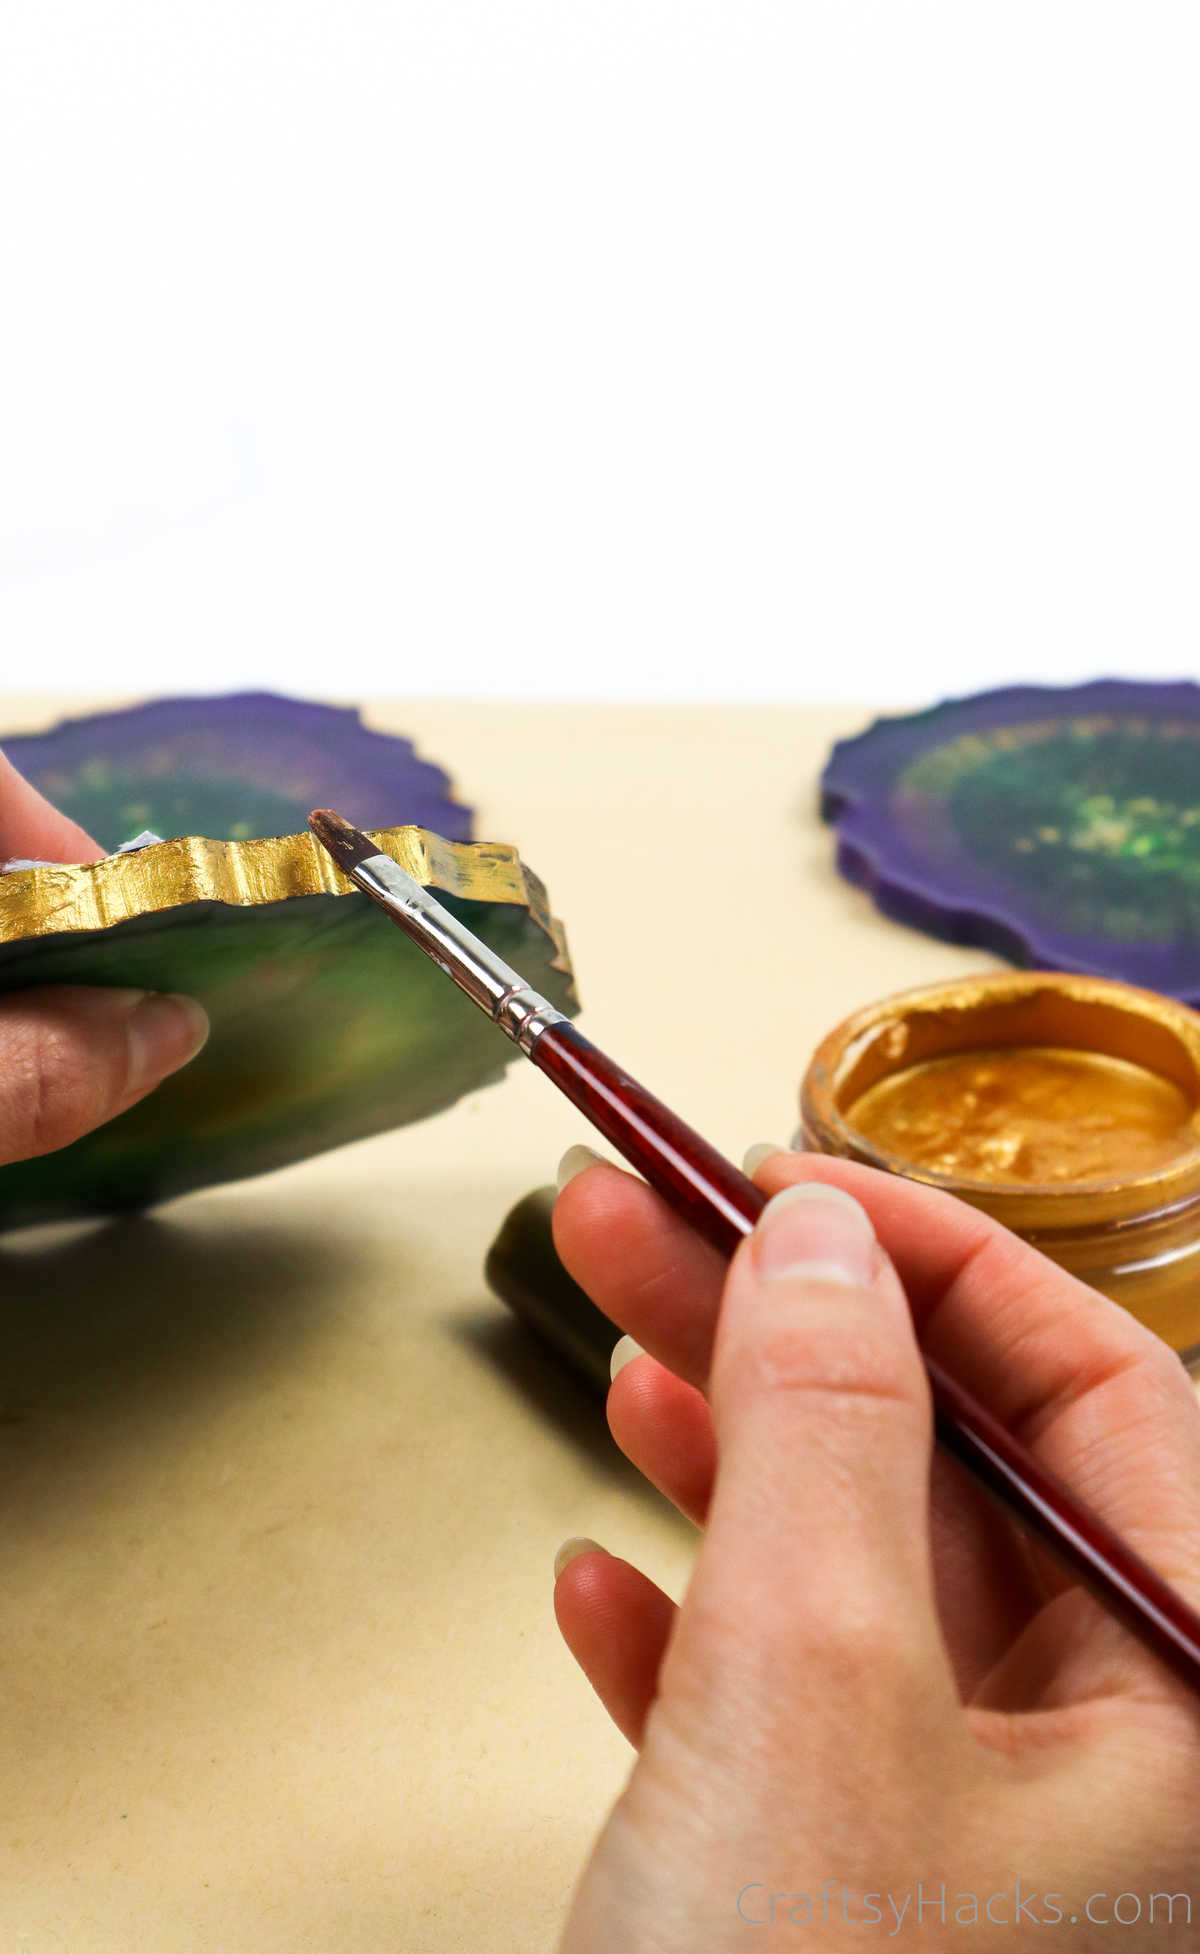
Prop the coaster up on a cup while the painted edges dry. Use a piece of tissue when handling the coaster so you don’t get any fingerprints on the glossy surface.
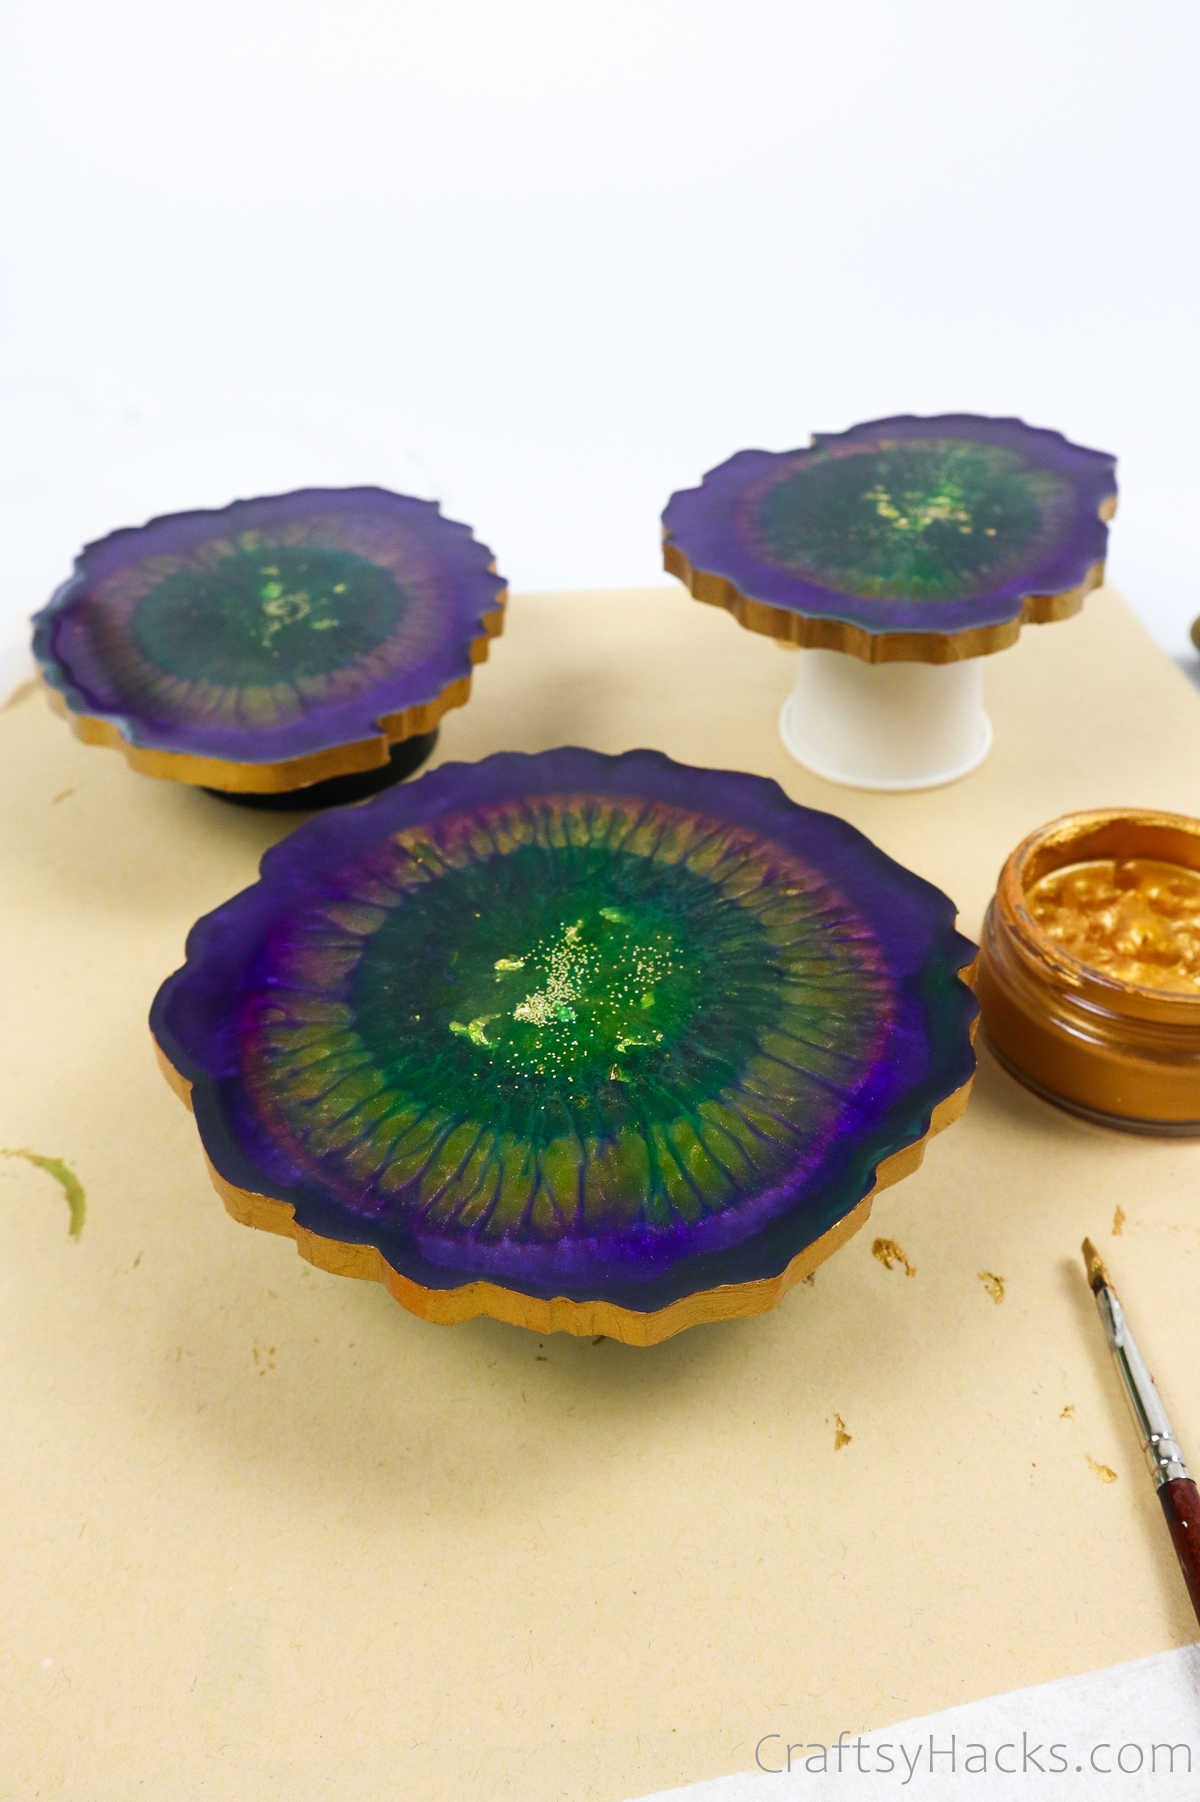
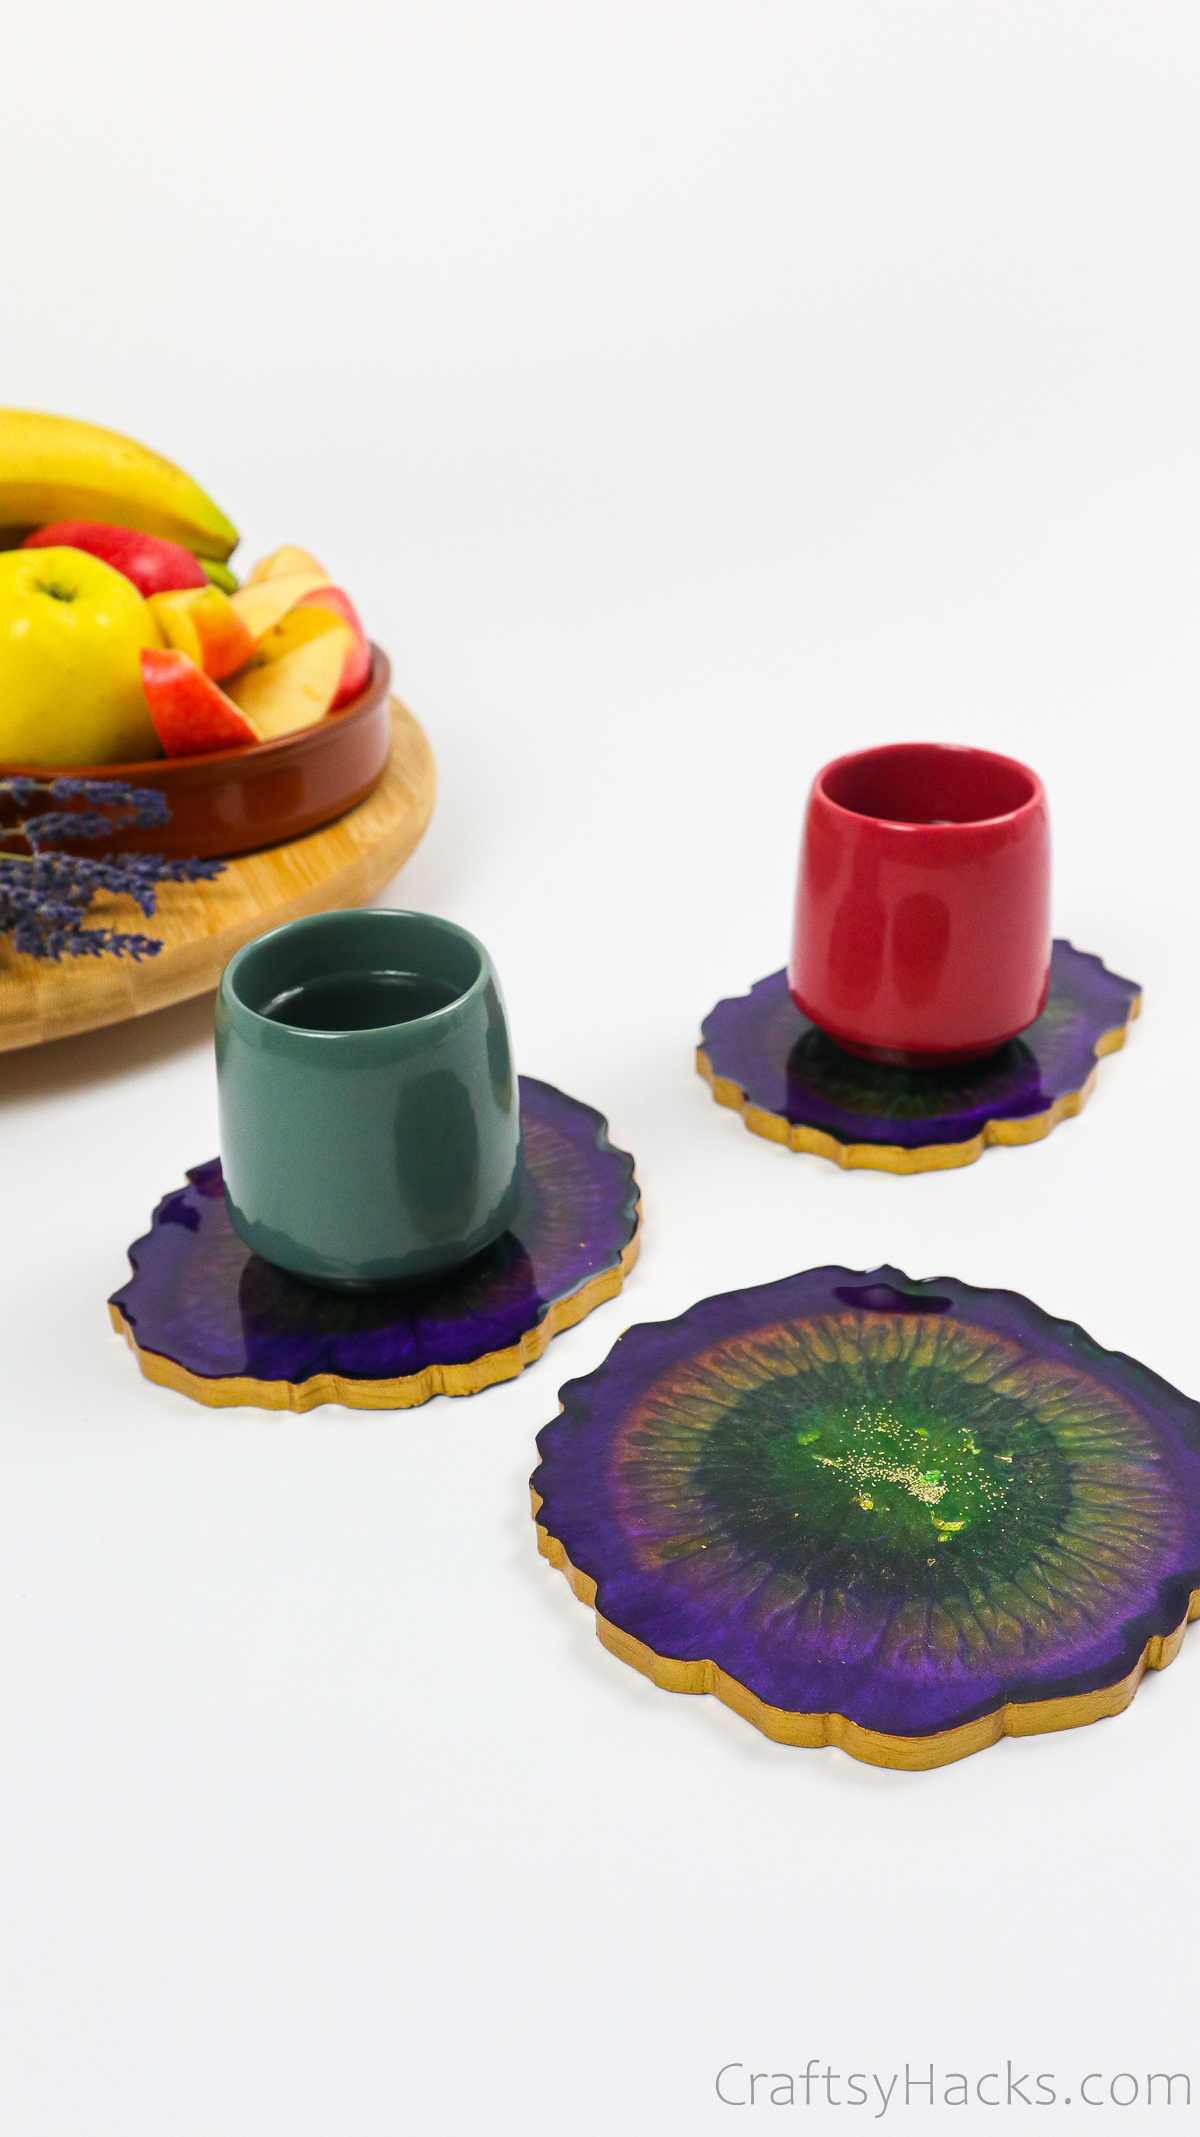
Once the edges have dried, your DIY coasters are all done and ready to use!
Watch Full Video: Resin Coasters
If you are a visual learner, check out the full tutorial on how to make DIY resin coasters.
How Long Should Resin Coasters Sit?
Your coasters can take anywhere between 24-48 hours to dry. It all comes down to just how thick your coasters are. The thicker the coaster, the longer it will take for it to dry all the way through.
So, just to be safe, you should probably let them sit and set for at least a couple of days.
Is There a Difference Between Epoxy and Resin?
Contrary to what most people think, epoxy and resin are not one and the same. There is a difference, and it has something to do with how they are used, or rather, what they’re used to make.
It can be pretty confusing, I’ll admit, and there is more than just one variation to these two substances, like epoxy coating resin, casting resin, polyester resin and more. Just remember this one main difference:
Epoxy resin is used to coat applications, whereas casting resin is used to cast something, or set something in, say, molds.
How to Make Sure Coasters Are Heat Resistant
When you’re using resin to make a coaster, you’ll need to make sure it is heat-resistant. Otherwise, when you place hot mugs on the surface, the resin will be affected.
You’ll need to make sure that when you’re buying your resin, check to make sure that it has been specifically made to be heat-resistant and you’ll be fine!
Other Crafts You Might Want to Make
- 20 Dollar Store Decorating Ideas
- 41 Rock Painting Ideas
- 37 Yarn Projects
- 33 Pine Cone Crafts
- 37 Crafts to Make and Sell
- 20 Dollar Store Decorating Ideas
- 20 Projects for Teens
How to Make Resin Coasters (Step-by-Step)
Video Tutorial
Equipment
- Silicone molds
- Plastic cups
- Placemat
- Spatulas
- Kitchen torch
- Paint brush
- Face mask
- Gloves
Materials
- Epoxy resin
- Hardener
- Resin pigments
- Mica powder
- Acrylic marker
- Acrylic paint
- Glitter optional
Instructions
- Gather all the different items on the list of supplies given to you to get started.
- In a plastic cup, pour the right proportions of resin and hardener and use a stick to mix both substances together thoroughly. If you don’t stir the two liquids properly, the resin will harden unevenly.
- Pour the resin into four smaller cups, but set aside a small quantity for later.
- Add your different colors of liquid dye and mica powder to the four different cups of resin and stir them all till the colors are thoroughly mixed in.
- Pour each color of resin onto the mold, starting from the outermost layer and working your way in. This will give you more control on how the liquid spreads.
- Feel free to experiment with the color patterns and designs.
- Then, when you’re satisfied with how your coaster looks, pour the clear resin you set aside earlier over the colored layers. If you pour right down the middle, the resin will push out evenly to the edges in a domed-effect.
- Use a toothpick to burst all the bubbles on the surface. Alternatively, swiftly run a blowtorch flame over the surface and your bubbles will disappear instantly. However, be careful not to burn the resin or the molds in the process.
- You can add gold flakes and glitter to the resin at this stage, too, and pour some more resin over them to create a top coat. Once again, grab your blow torch and get rid of all the bubbles on the surface.
- Cover the coasters with a raised protector to protect them from dirt and dust particles. Allow the coasters to dry for 24-48 hours before you pop them out of the mold.
- Your coasters are almost ready; just paint their edges with glittery gold paint and prop them up on a small cup as you wait for them to dry.
- Once the paint dries, your coasters are ready to use!


