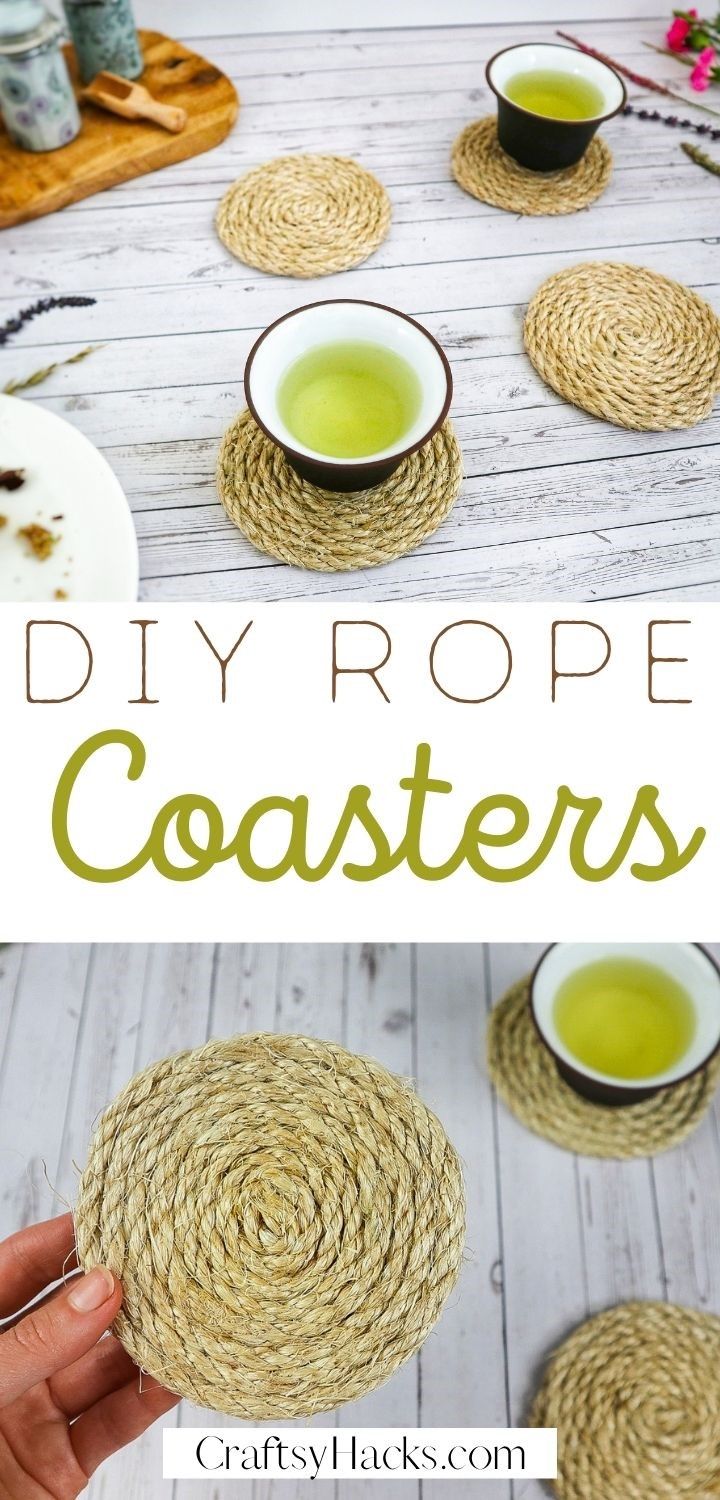
DIY Rope Coasters
This post may contain affiliate links: full affiliate disclosure.
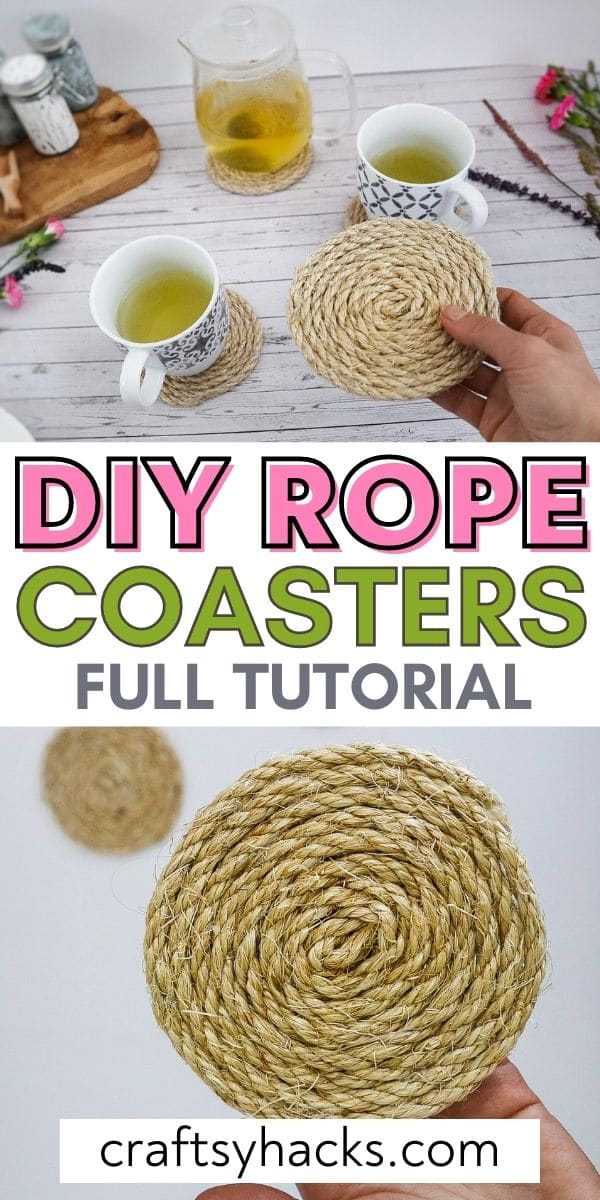
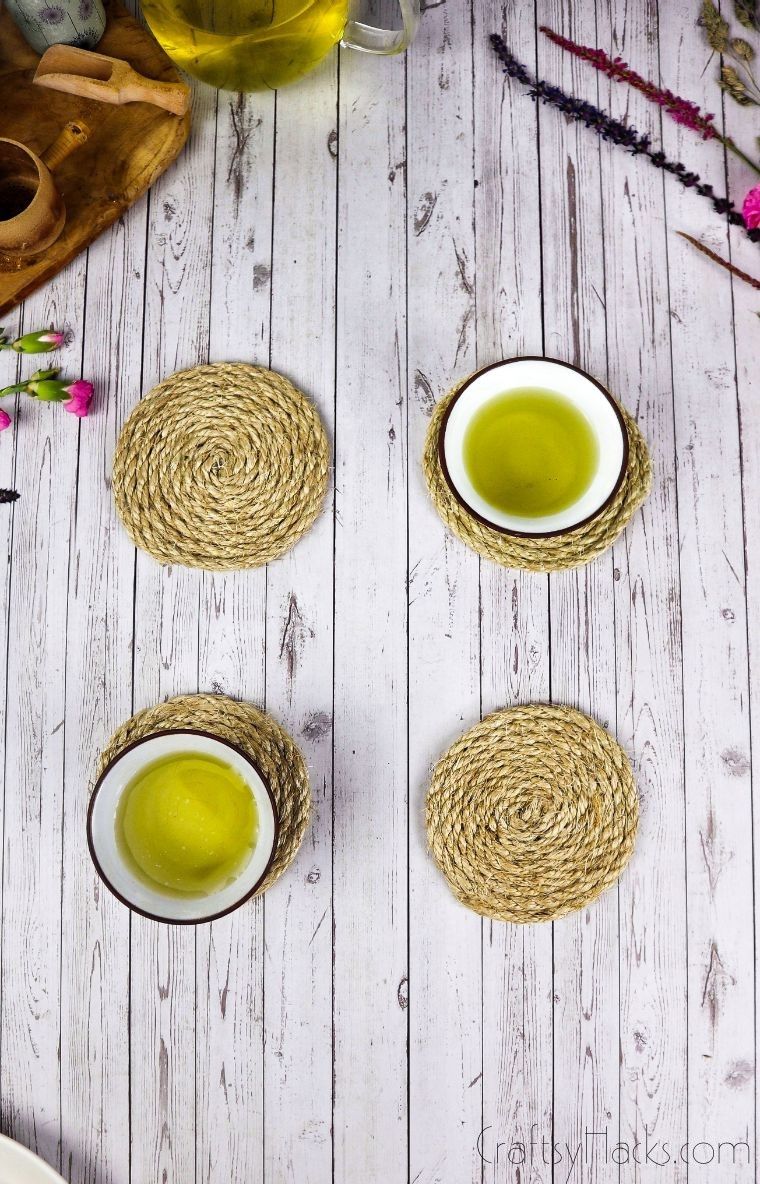
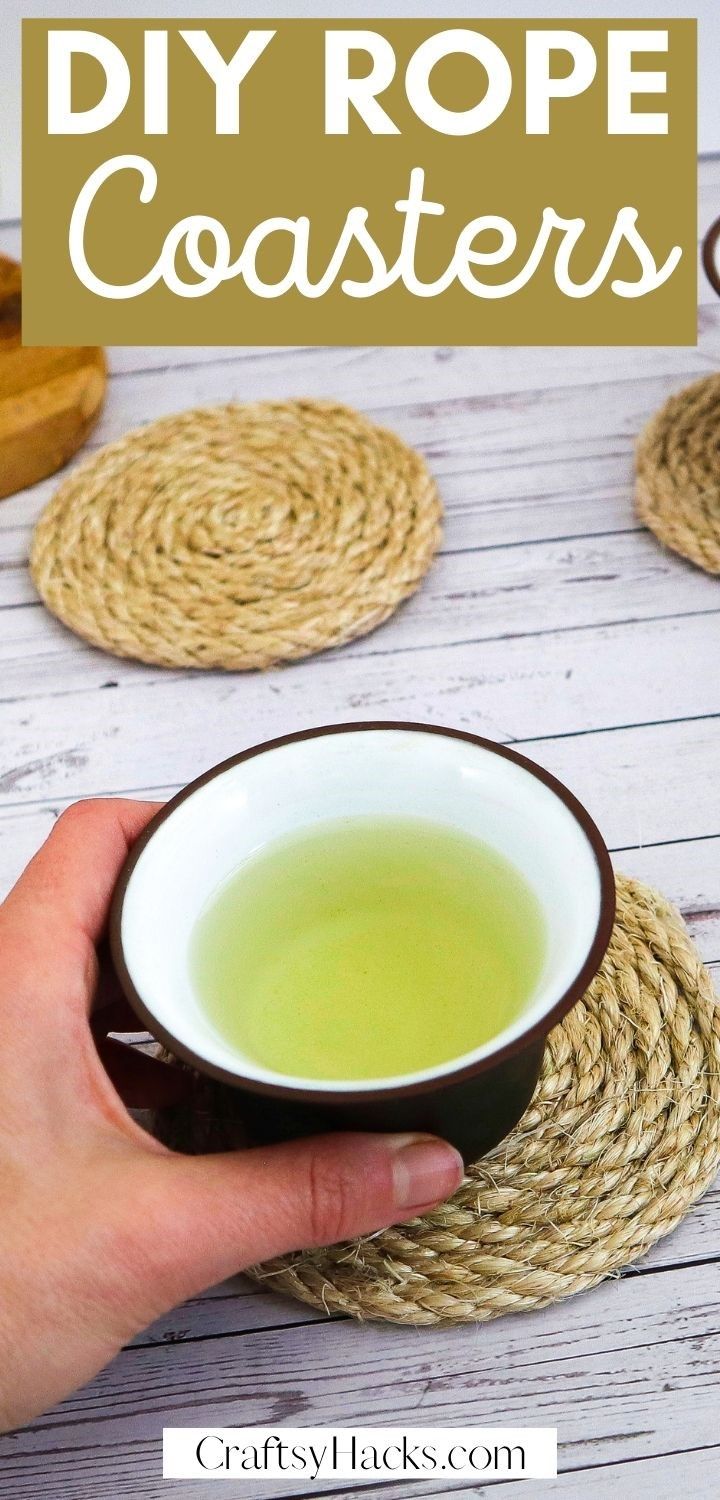
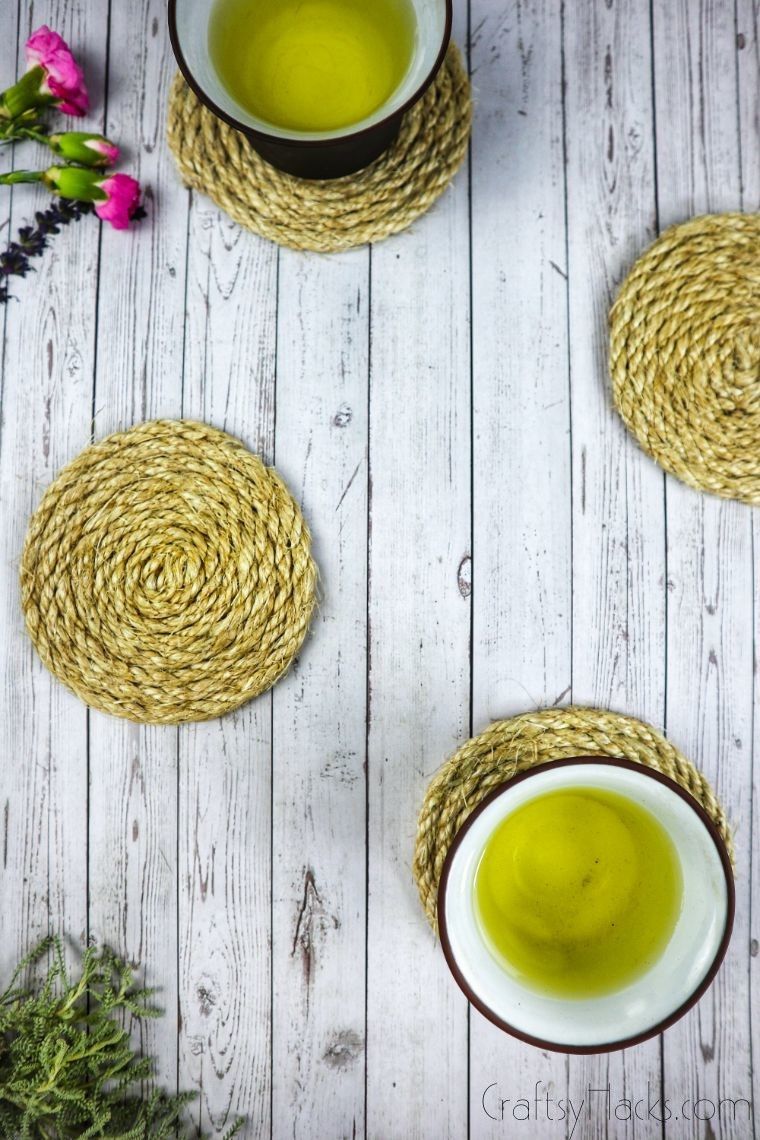
Simple and easy to make DIY rope coasters. They’re a good addition to your home that will keep your tables nice and clean!
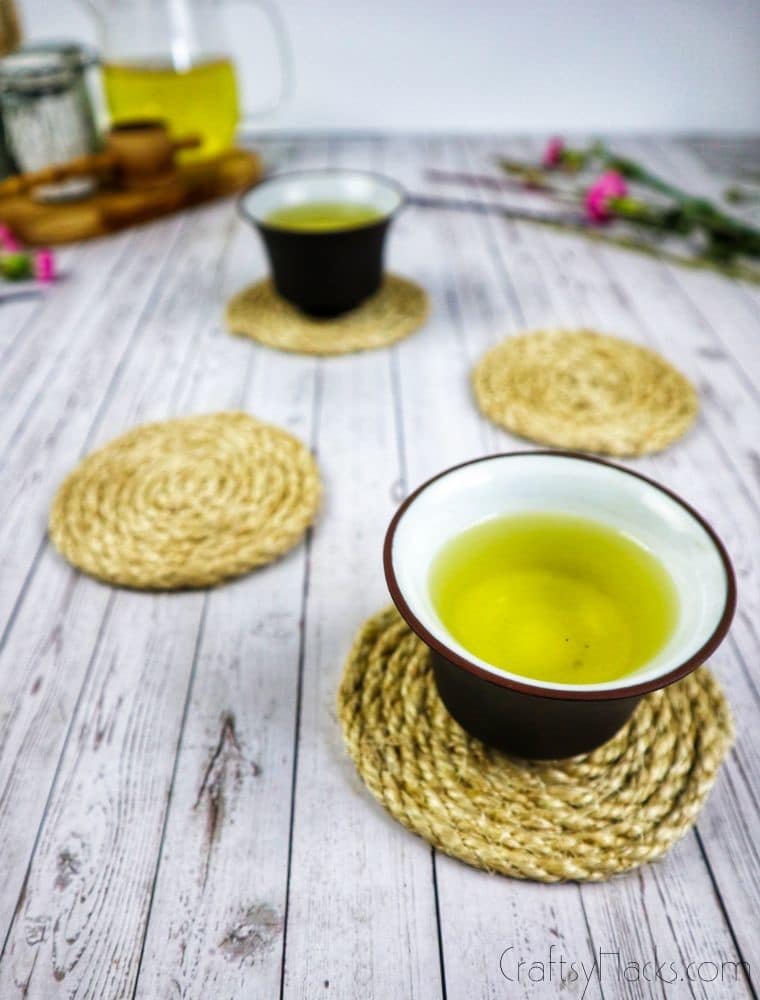
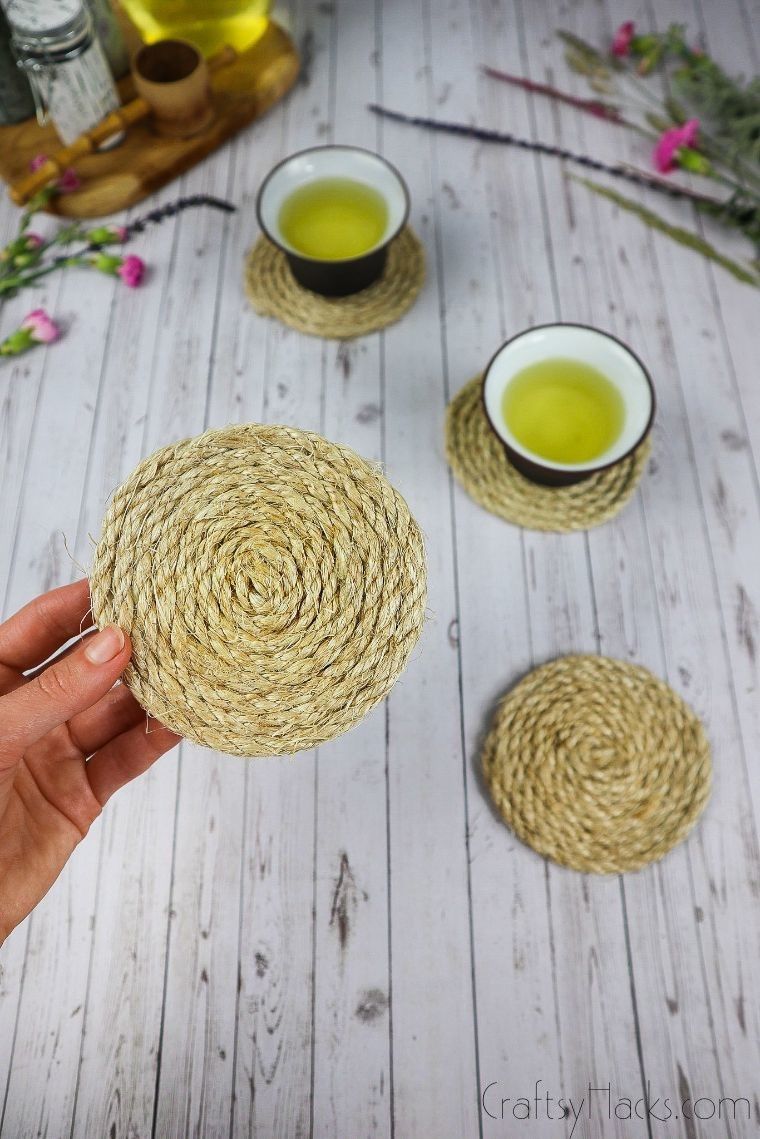
Did someone say beach vibes? These DIY rope coasters are the perfect way to bring a little ocean breeze into your home, no matter how close you are to the beach.
This is exactly the thing many people drop a lot of money on in their local home goods store. Lucky for us, there’s a way to get the exact same beachy result at a fraction of the cost.
If you want to get a different vibe, you can always try this same technique with a different rope color. Or, go with an entirely different kind of material altogether! So, let’s get crafting.
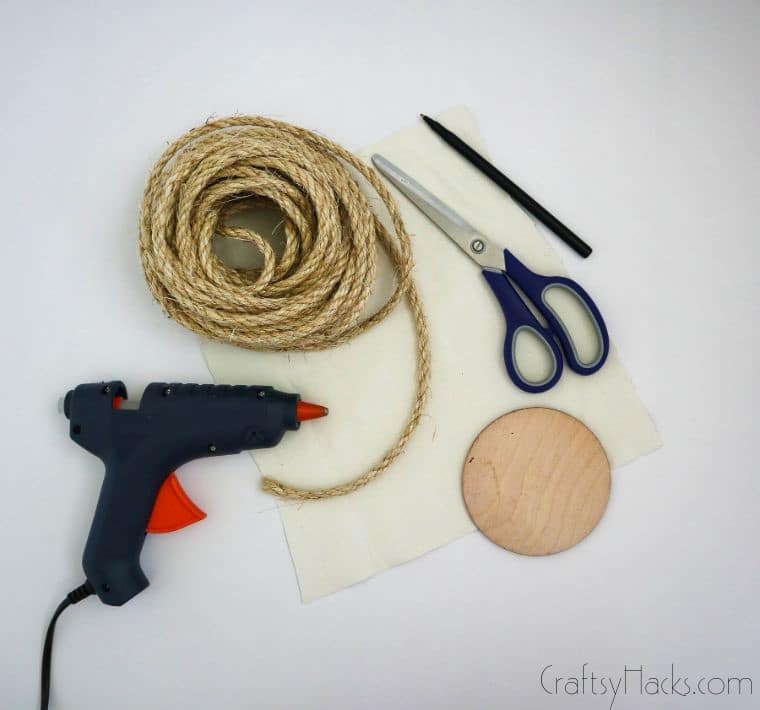
What You’ll Need for Coasters
- Thick manilla rope
- Hot glue gun
- Scissors
- Pen
- Piece of paper/fabric
- A wooden circle/disc/CD
How to Make DIY Rope Coasters
Here’s a breakdown of how to make these coasters!
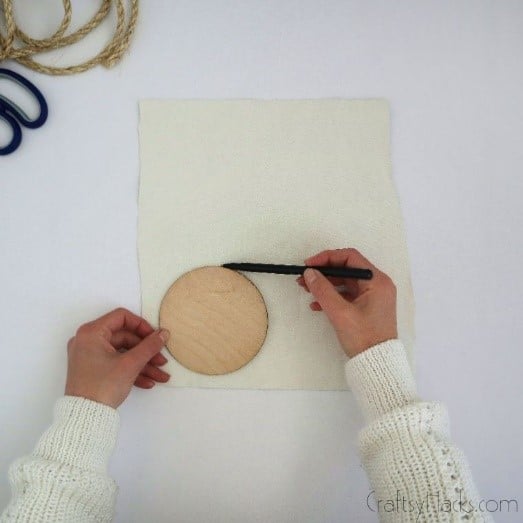
Step One
Once you’ve picked out all your materials, it’s time to get started. You can use anything for the base of your coaster. I chose fabric because it’s flexible and light.
Even if you don’t use a base at all, the key is to know how big each of your coasters should be. So, you’ll need a base shape.
Here I used a circle of lightweight wood, but cardboard or CD would work just as well. Now, trace out the shape of your base on the material with a pen.
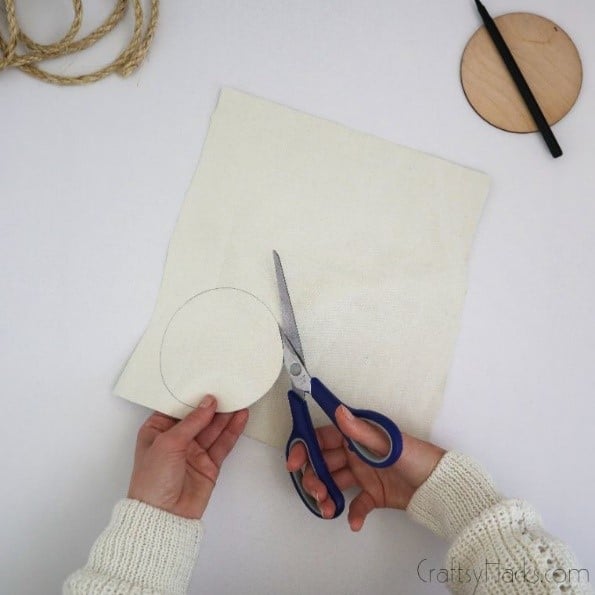
Step Two
Grab your scissors and cut the piece of fabric out. Make sure you’ve chosen a sturdy fabric that doesn’t fray. After all, there’s nothing worse than your craft breaking down after a few uses.
Step Three
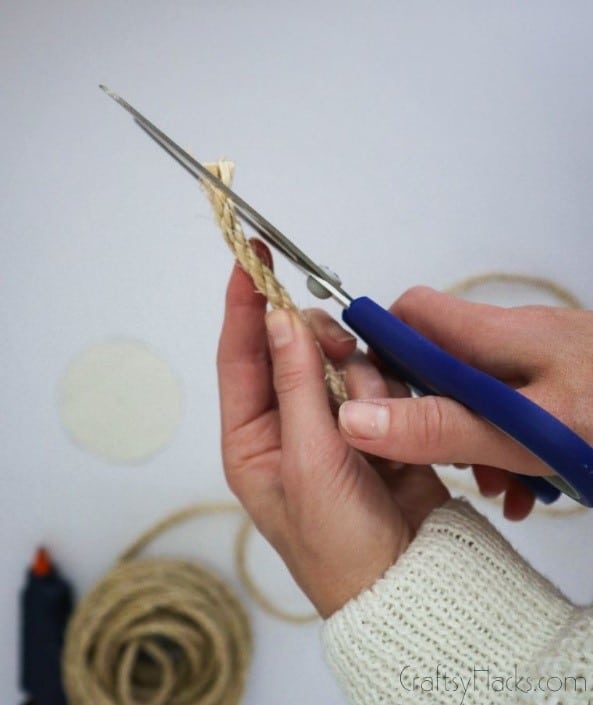
Next up, it’s time to prep the rope. Whether you’re using macrame rope or the stuff hiding in your garage, it’s important to make it easy to work with.
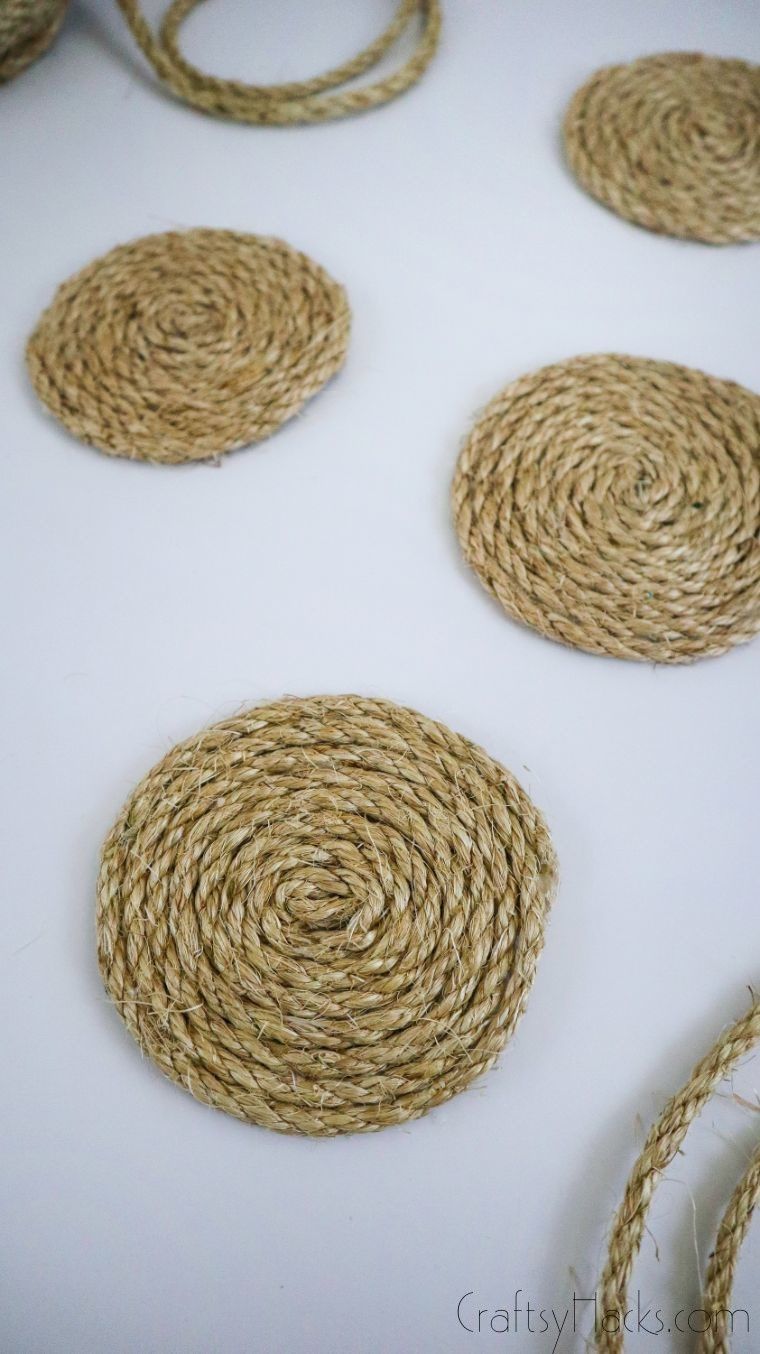
Wind the rope around into the shape until you find the length you need to create the coaster. Then, cut that length out. It’s better to have too much than not enough, so err on the side of caution.
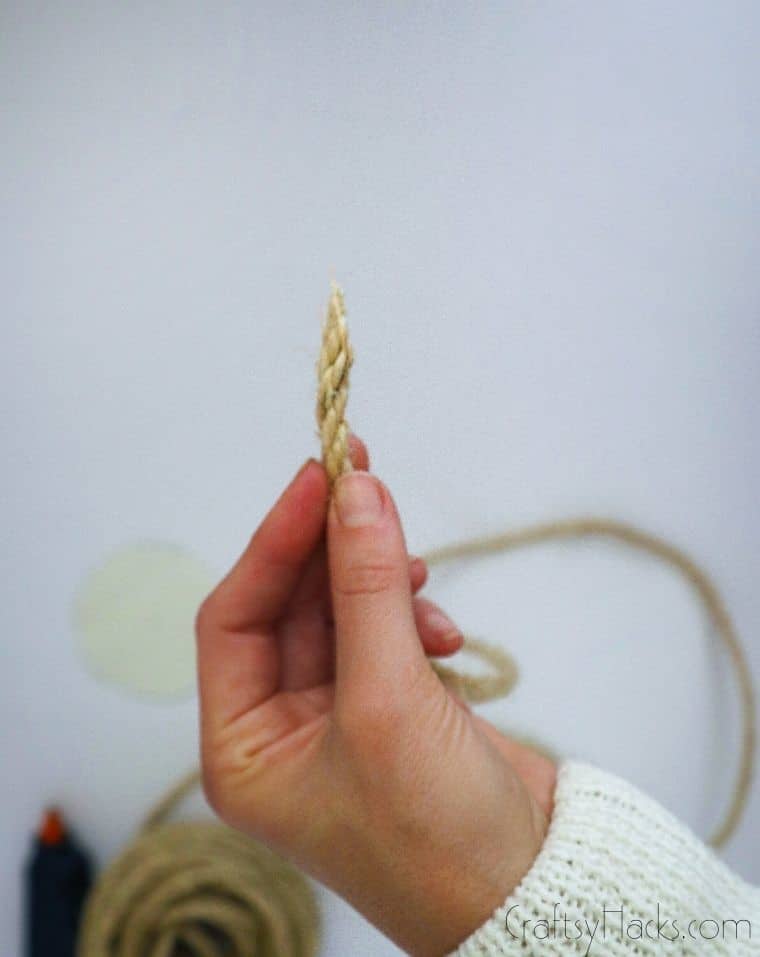
I found that cutting on an angle would make the tip pointed. This makes it easier to glue the tip back to the rope, thus getting a tighter loop in the middle.
Step Four
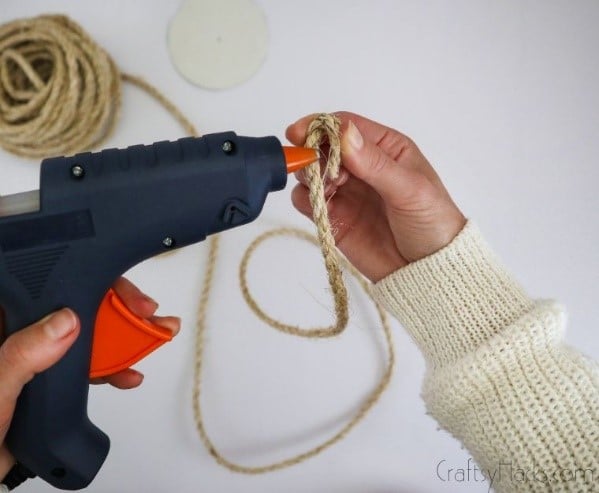
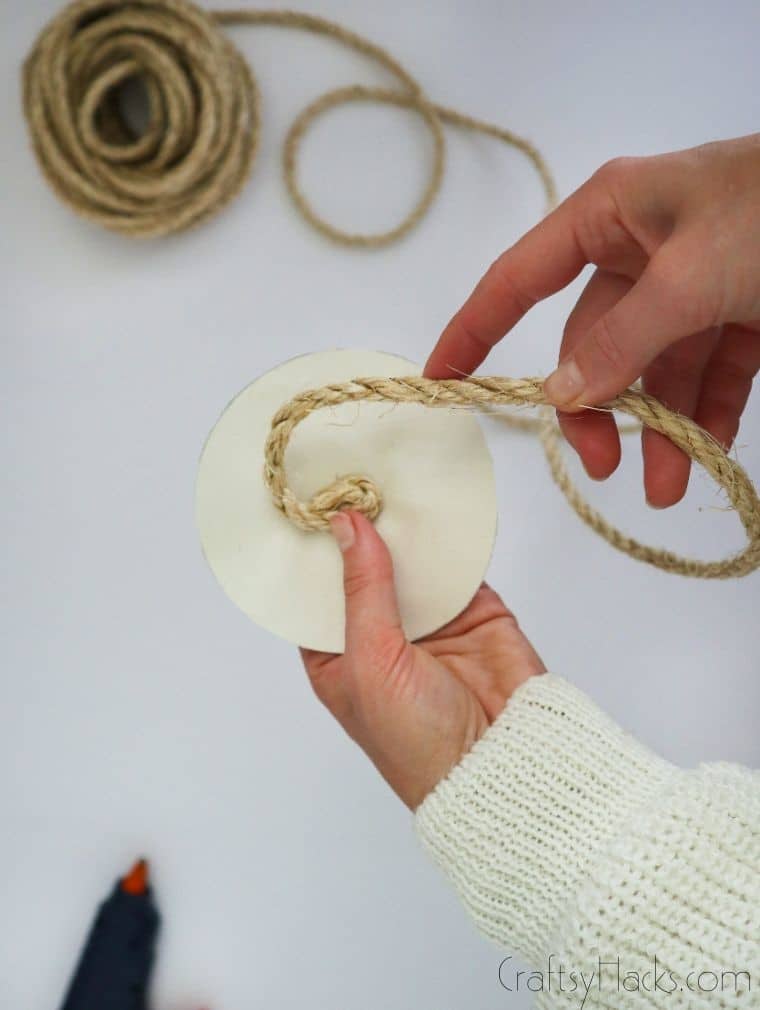
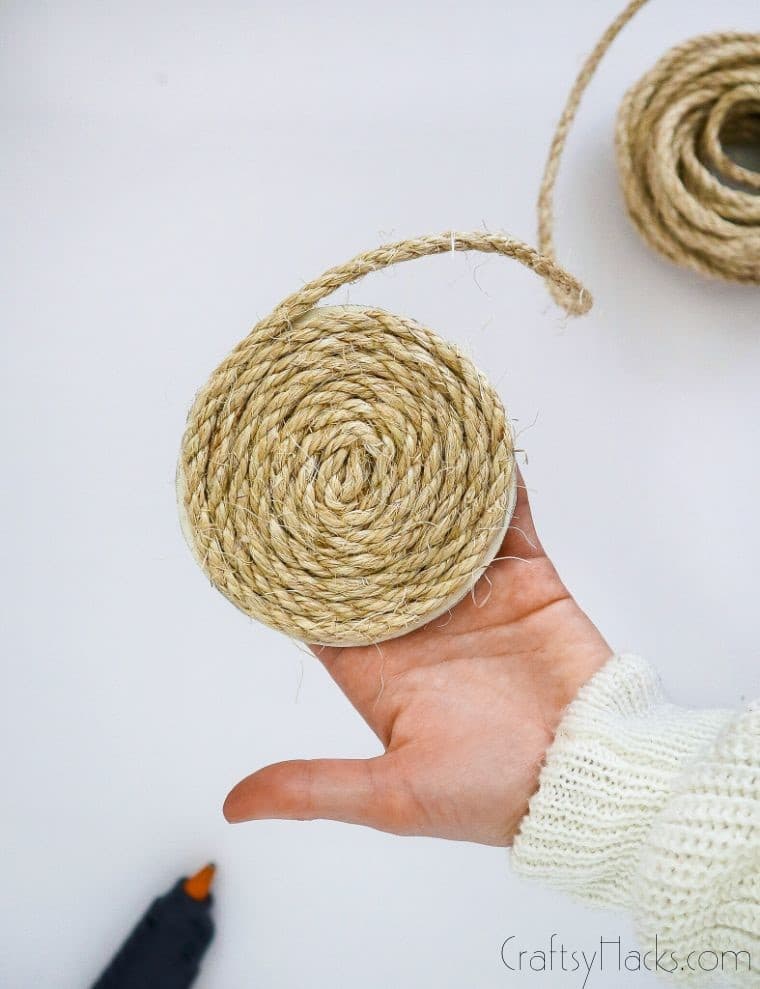
Now it’s time to whip out the hot glue gun. Bring angled tip back onto the main body of the rope in a loop shape.
Glue this shape in place, making sure the loop is nice and tight. This is going to form the coaster’s center.
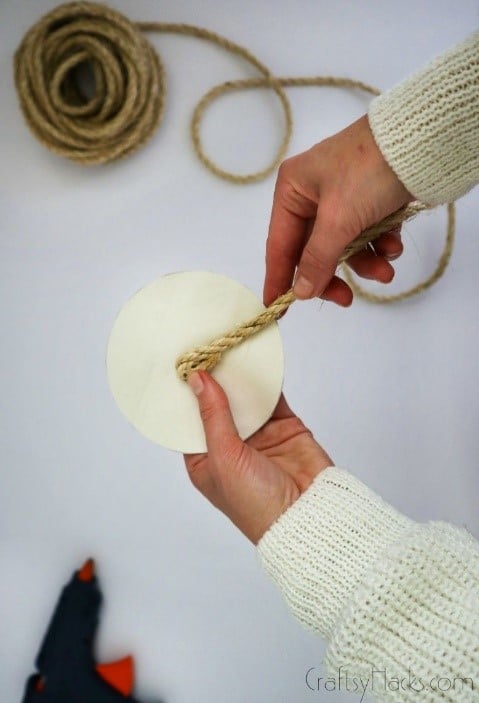
Step Five
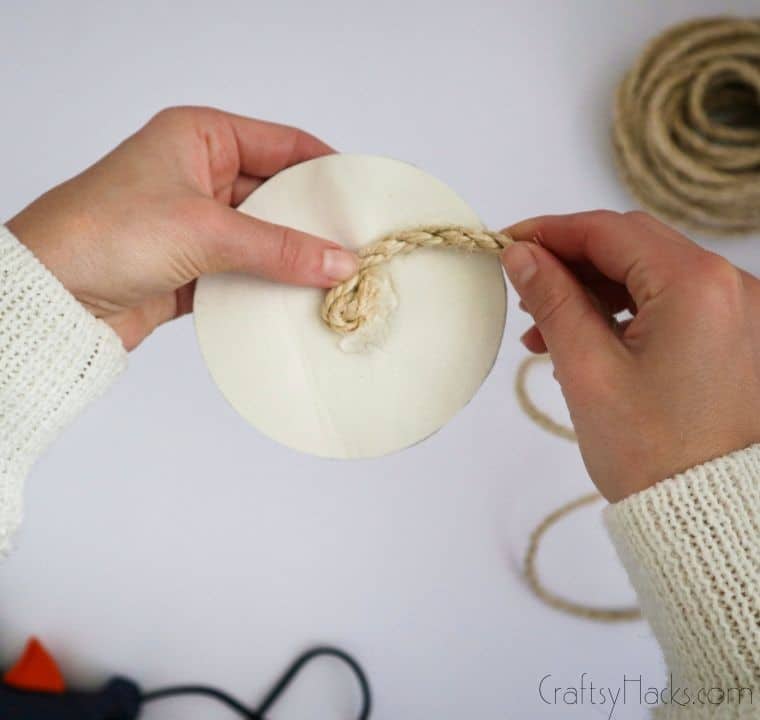
If you’re using a base, use your pen to mark the very center of it as the starting point for the winding process. Take the glued loop and glue it right on top of that dot. This will be the start of the coaster.

Step Six
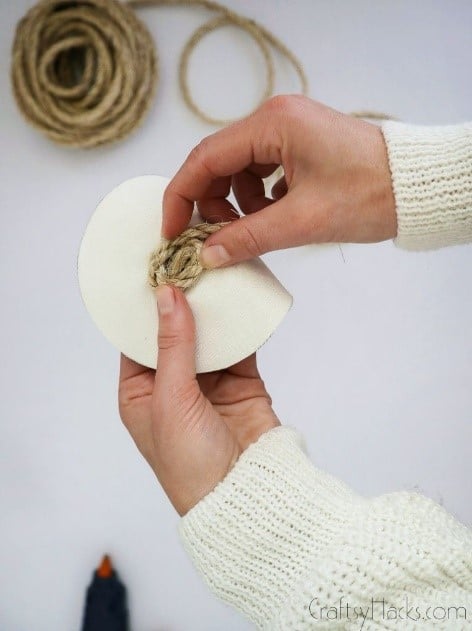
Start looping the rope around the center, making sure to pull tight as you go. Use hot-glue to hold the loops in place, adding some wherever you think it’s needed.
Make sure you’re holding the loops in place long enough for the glue to get tacky before continuing to wind. Otherwise, this will start to get very messy very quickly!
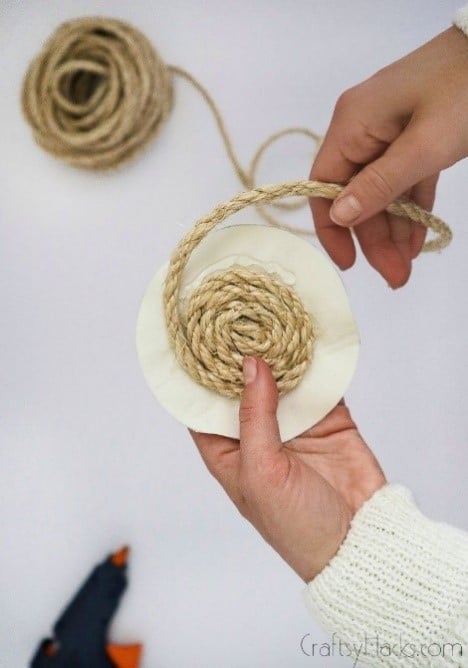
Step Seven
Keep on going! As you get closer to the outside of the coaster, it’s important to keep the loops as tight as you can. This helps to build a strong coaster that won’t unravel as you put it through its paces.
Keeping the loops tight also gives you a much prettier result! Lay glue as the foundation, then wind the rope on top of that. That’ll give you a nice, strong bond. Don’t put too much, though!
Step Eight
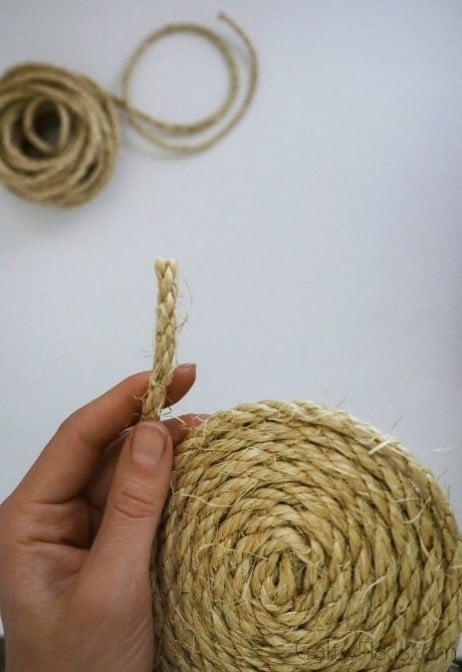
Stop winding once you reach the edges of the base. If you’re not using a base, just stop winding when you feel like the coaster is big enough for you.
Leave a well-sized piece of rope at the end, as we’ll need to cut and glue this down to the finish.
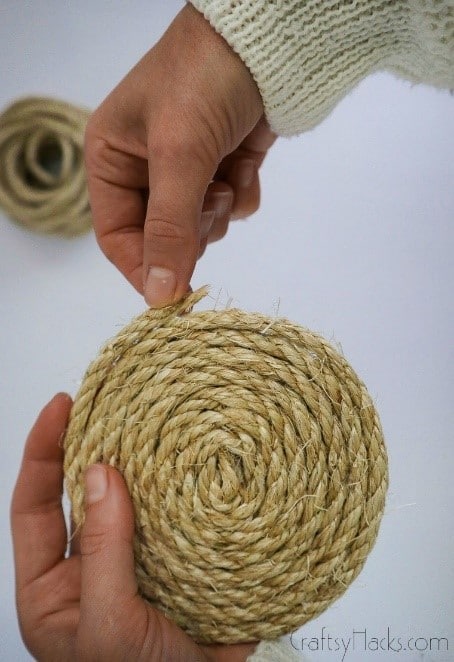
Step Nine
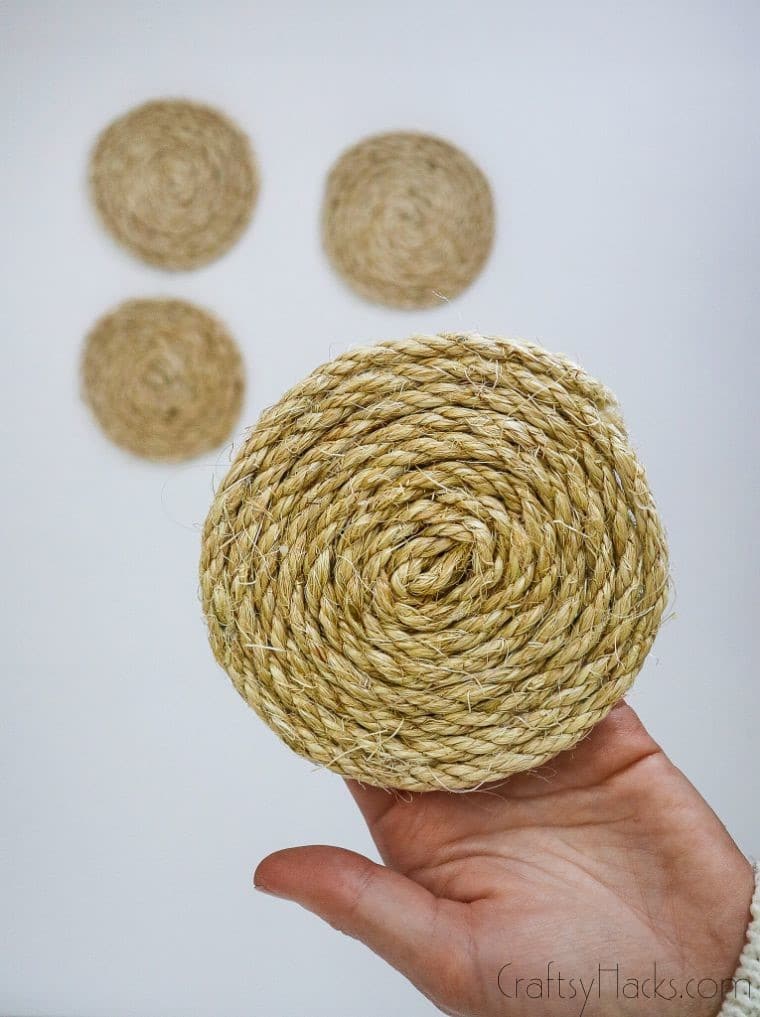
Gluing the rope down as it is can make your circle look a little uneven. This is because the rope’s end is fairly bulky, creating a distorted look even when tucked in.
To counteract this, we’ll cut the rope at an angle just like when we created the starting loop. Cut at an angle to create a pointed tip.
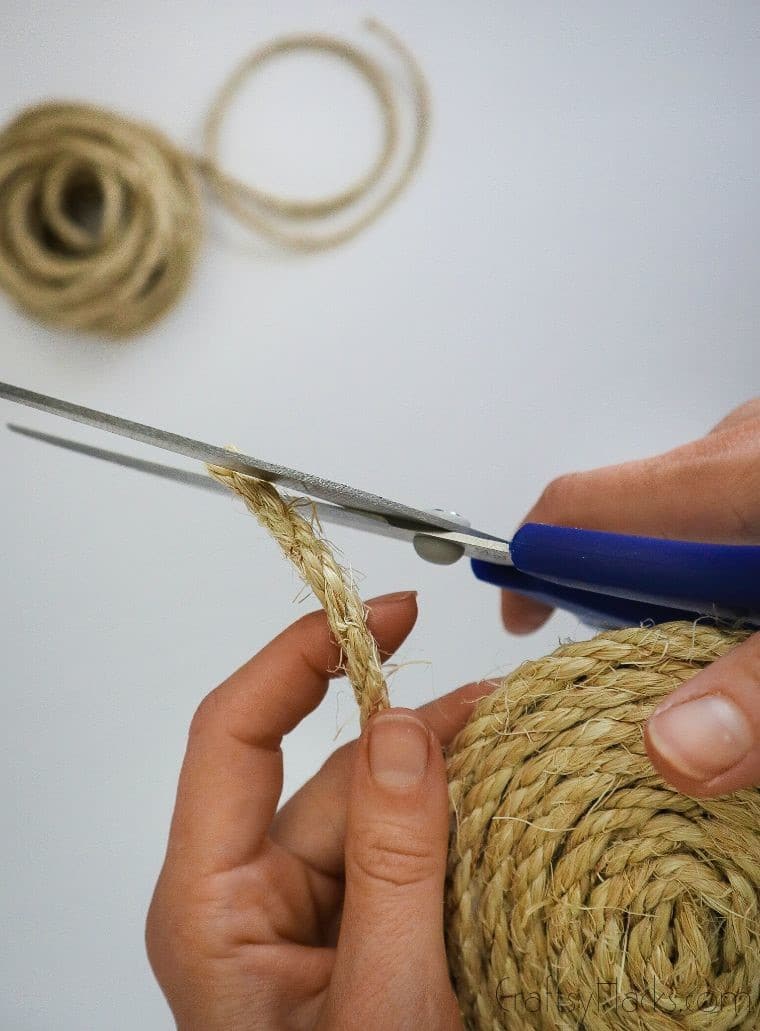
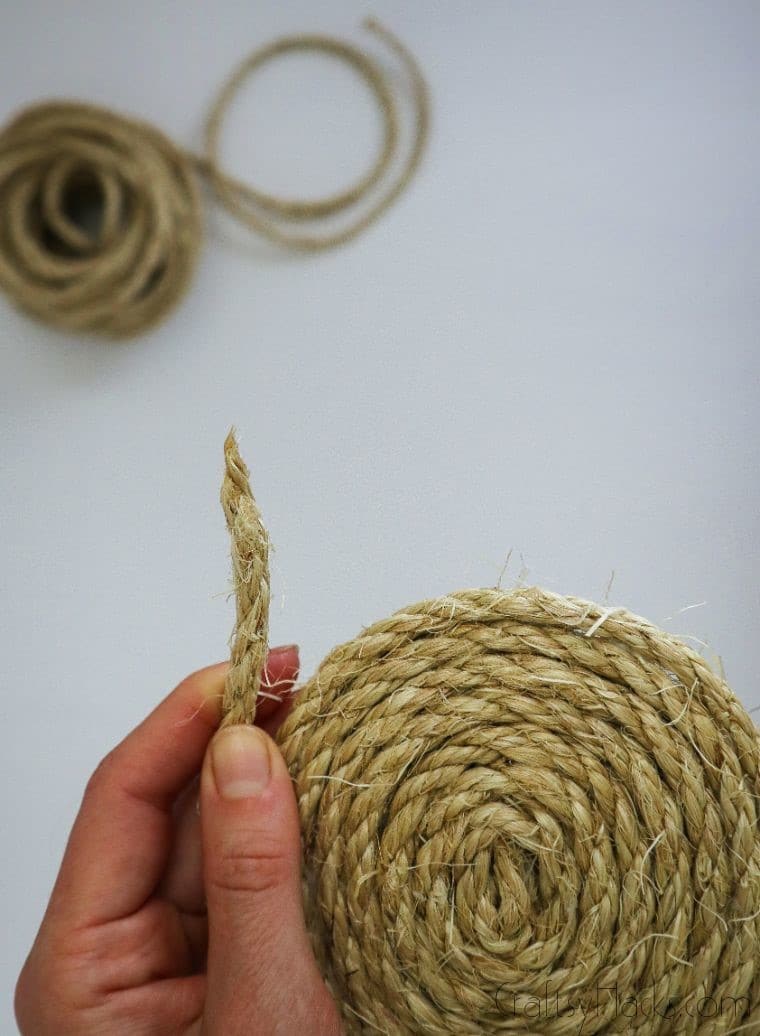
Then, glue the point down to the finish.
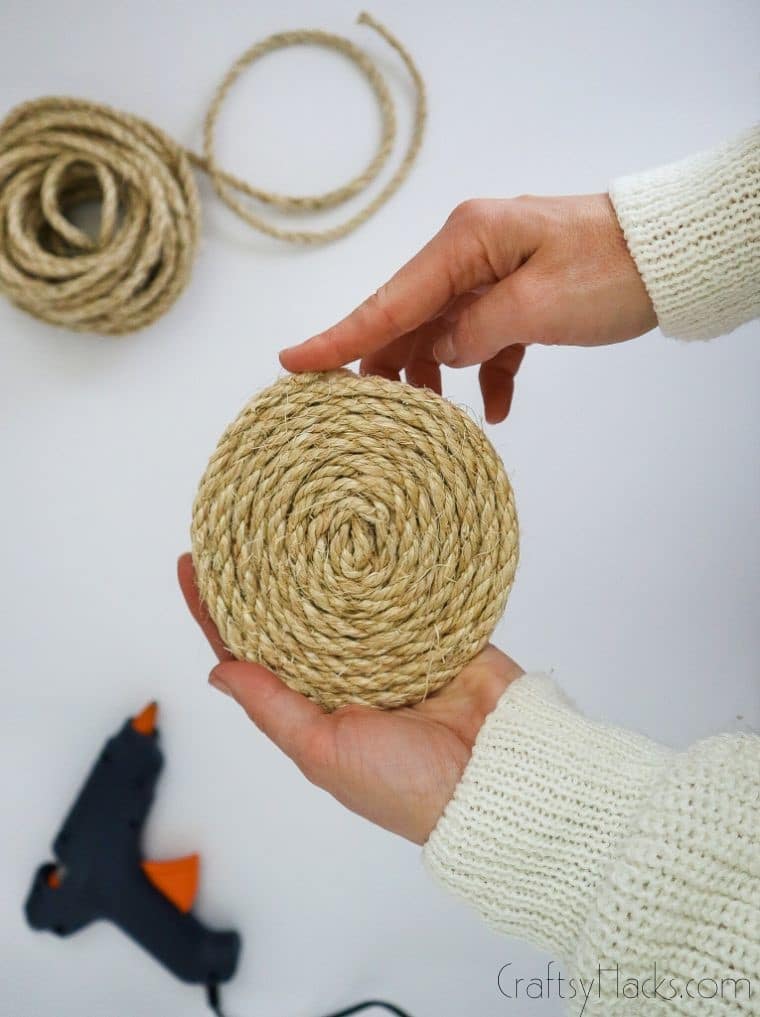
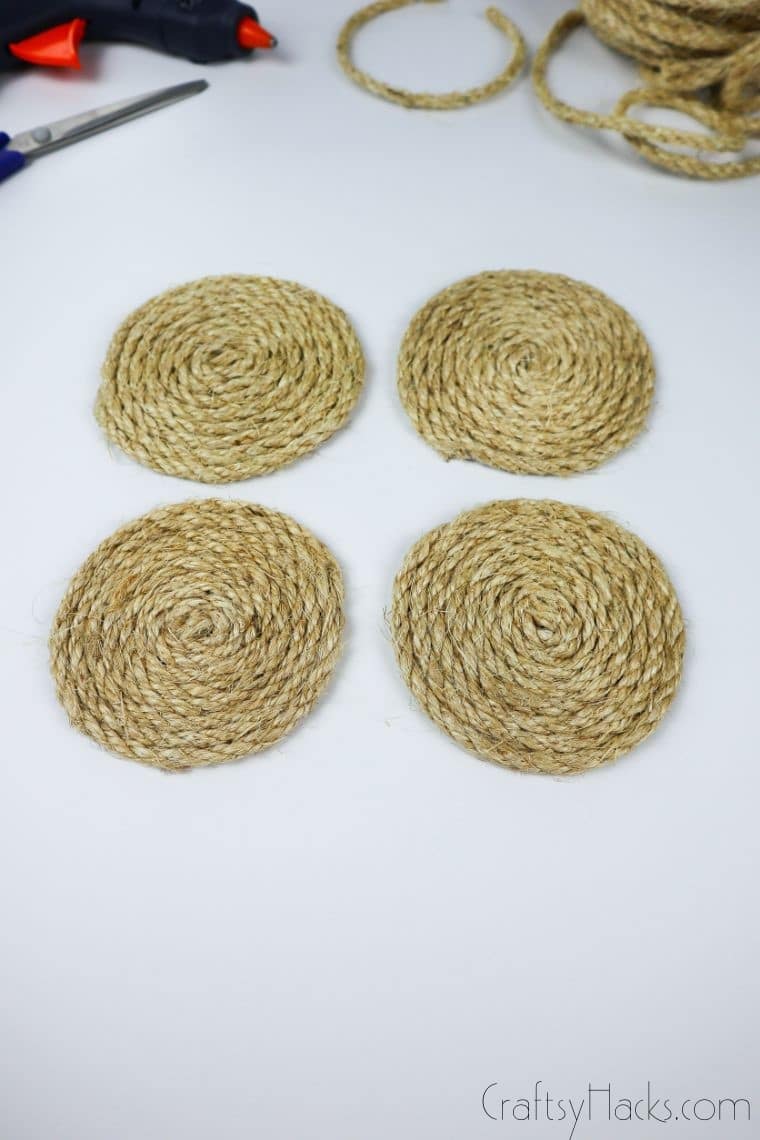
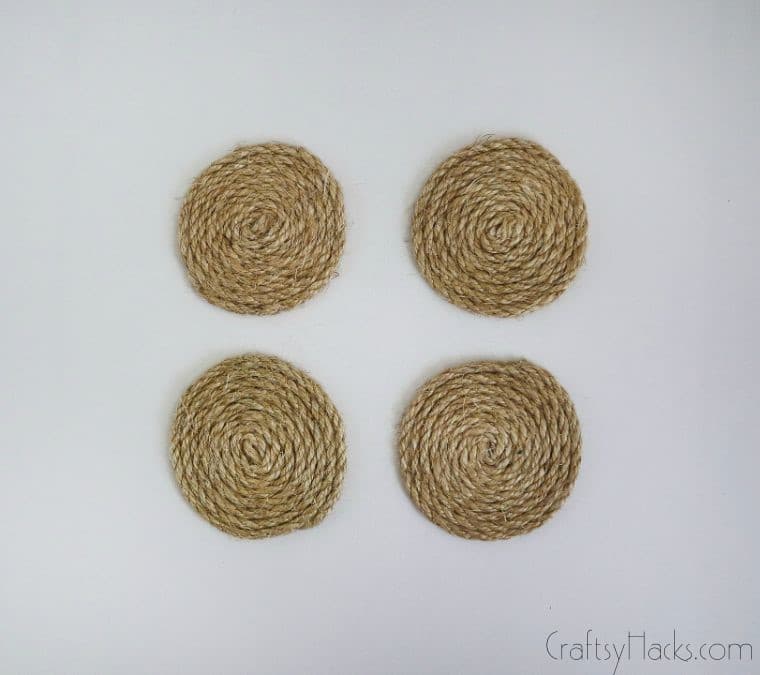
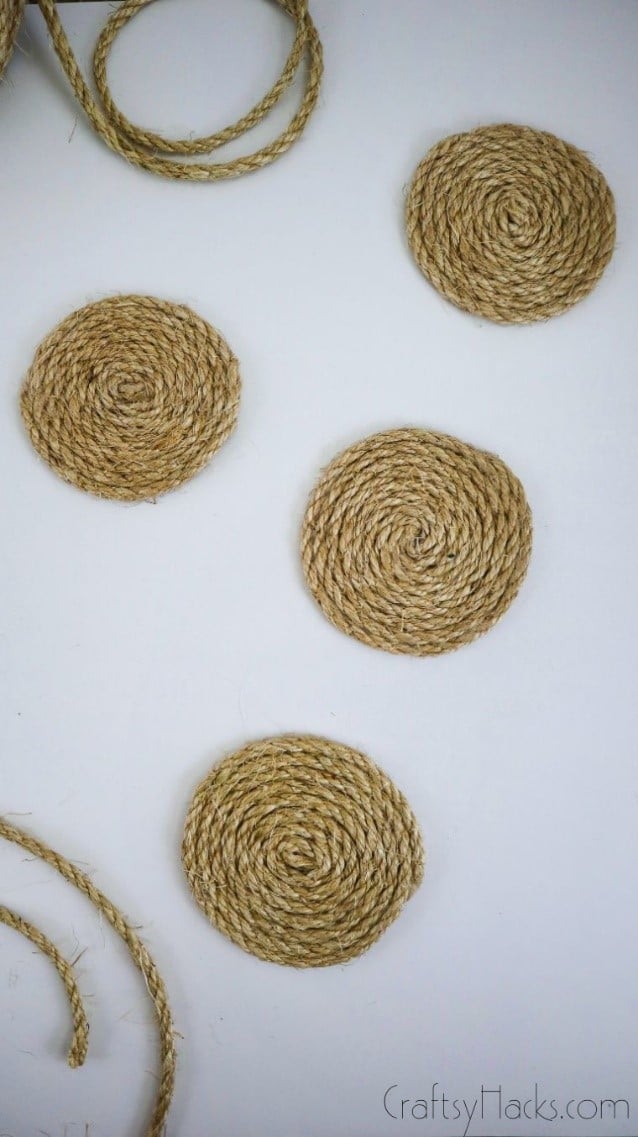
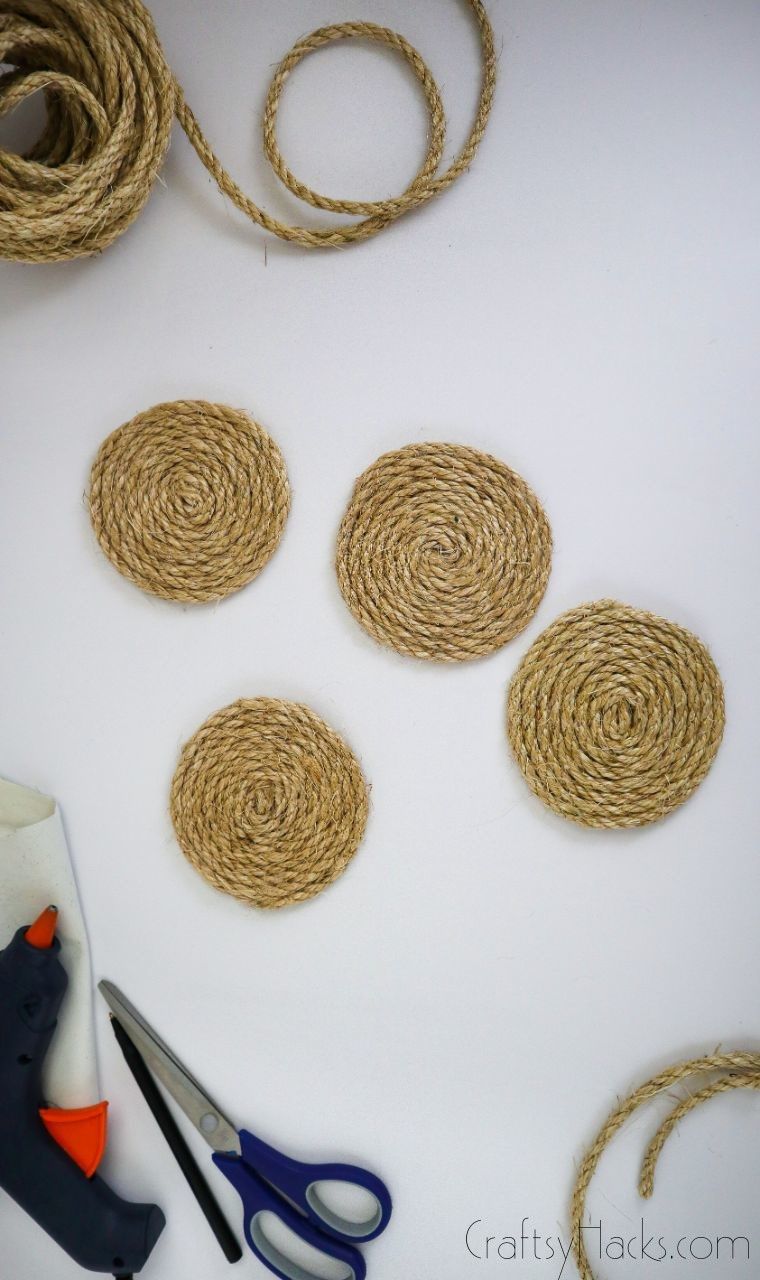
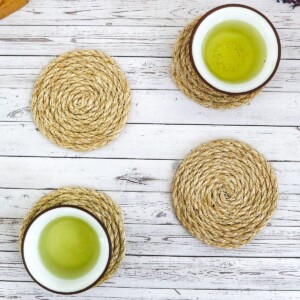
There you have it! One rope coaster down, however many more you want to go.
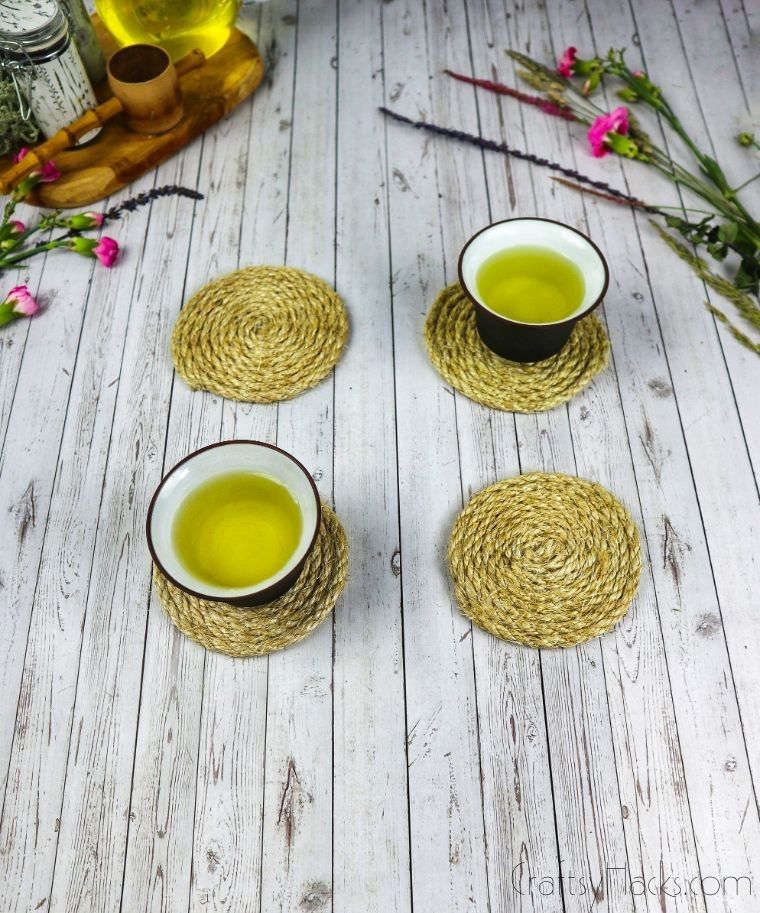
What Can You Use These Rope Coasters For?
Thanks to how easy it is to make these coasters, you can make them any size you like. That means you can use them for pretty much anything in your home!
- Make one huge coaster to use as a centerpiece on your dining room table.
- Use them as heat pads in your kitchen for pots, pans, and cooling racks.
- Embrace the beachy vibe and use these purely as décor. Hang them on your wall!
- Become the ultimate plant protector by placing these beneath your indoor plant pots. Not only does it keep your floor safe, but it also goes with the natural vibe.
- You can use these DIY rope coasters to protect any surface in your house! If you really want to go nuts, you can even use this technique to create a giant rug for your living room.
Other Crafts You Can Make
- DIY Macrame Leaf Earrings
- DIY Woven Bowl With Yarns
- Yarn-wrapped DIY Glass Vase
- Yarn-wrapped DIY Flower Pot
- 20 Dollar Store Decorating Ideas

DIY Rope Coasters
Video Tutorial
Equipment
- Pen
- Scissors
Materials
- Thick manilla rope
- Piece of paper/fabric
- Wooden disc or CD
Instructions
- Gather all your materials.
- Start by creating a base (if you’re using one). Otherwise, skip to the winding of the rope. Simply draw a circle on the fabric, using the wooden disk as a template.
- Cut the fabric out using the scissors and mark the exact middle with your pen.
- Cut the start of your rope at an angle, forming a tip on the end of the rope. This makes it easier to glue down.
- Loop the tip of the rope back onto itself, forming a loop. Glue this loop down and give it a minute to dry.
- Now, place the loop on your base (if you’re using one), using the dot as your center guide.
- Start winding the rope around itself. Keep the rope tight, gluing it down as you go. Make sure you don’t use too much glue!
- Once you reach the end, cut the tip of the rope into a pointed shape once again.
- Glue the end down, and you’re done. One beautiful, professional-looking, beachy coaster.


I was thinking of using a paraffin wax to Rub into the top. To smooth the rough twine threads down and protect the rope from dampness.
Hi Jacquie.
I’ve never tried it but feel free to give it a try! 🙂
what type of fabric material is that?
We used cotton. You can just use your regular paper too.