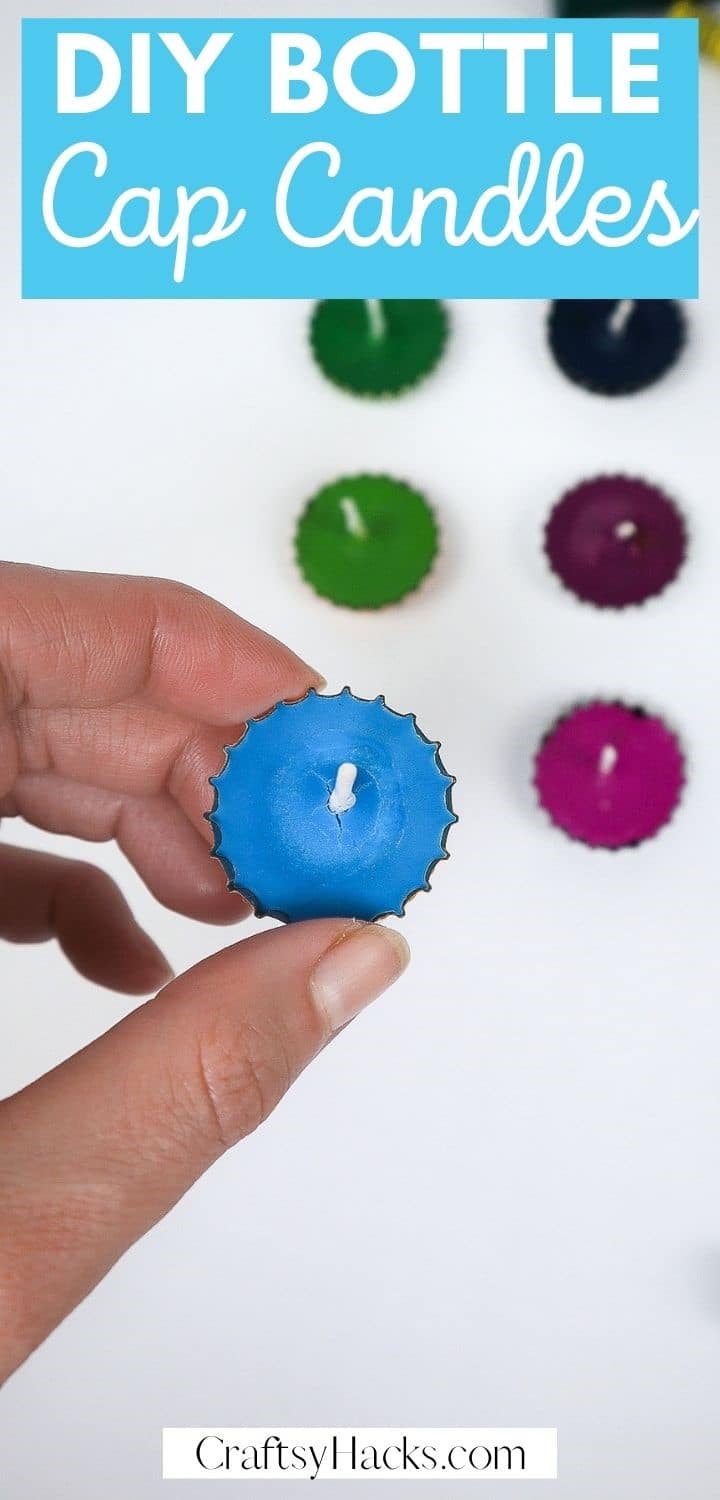
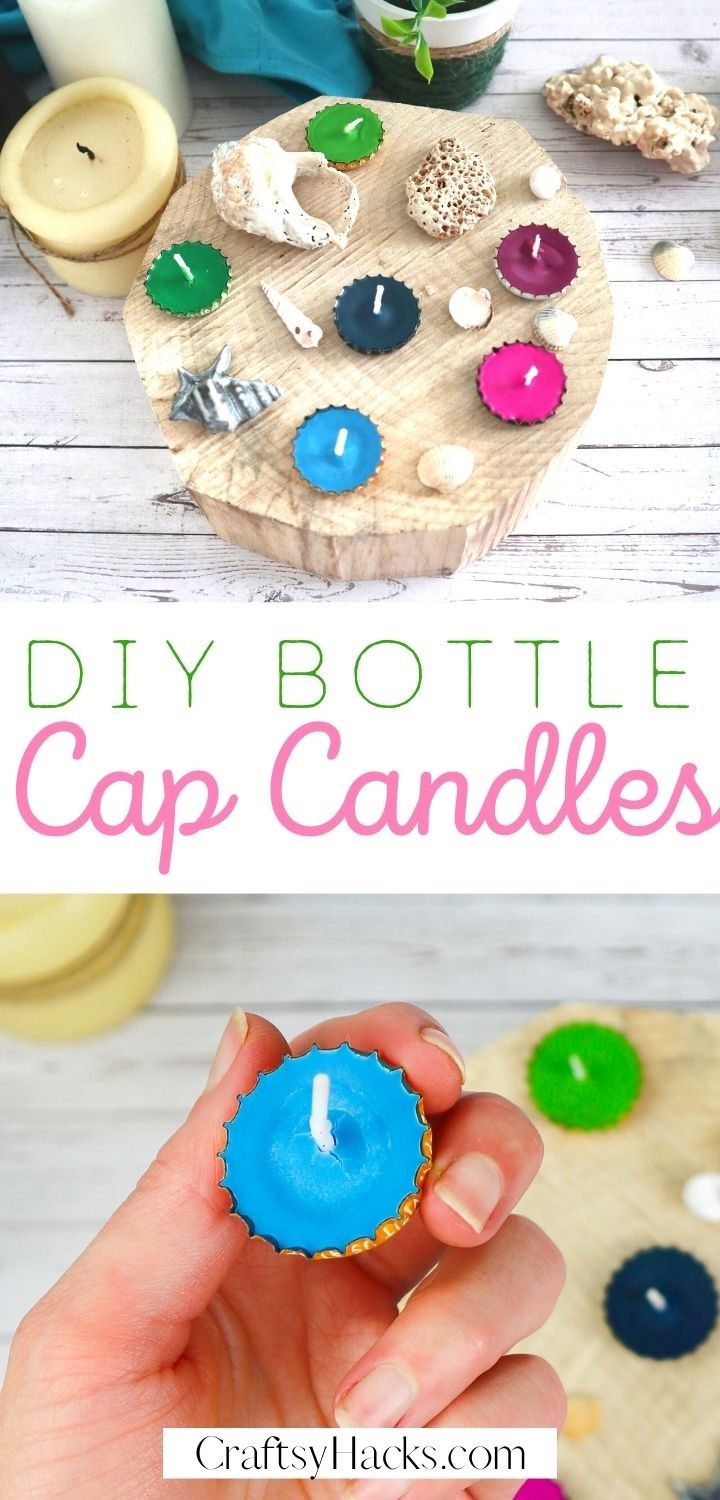
DIY Bottle Cap Candles
This post may contain affiliate links: full affiliate disclosure.
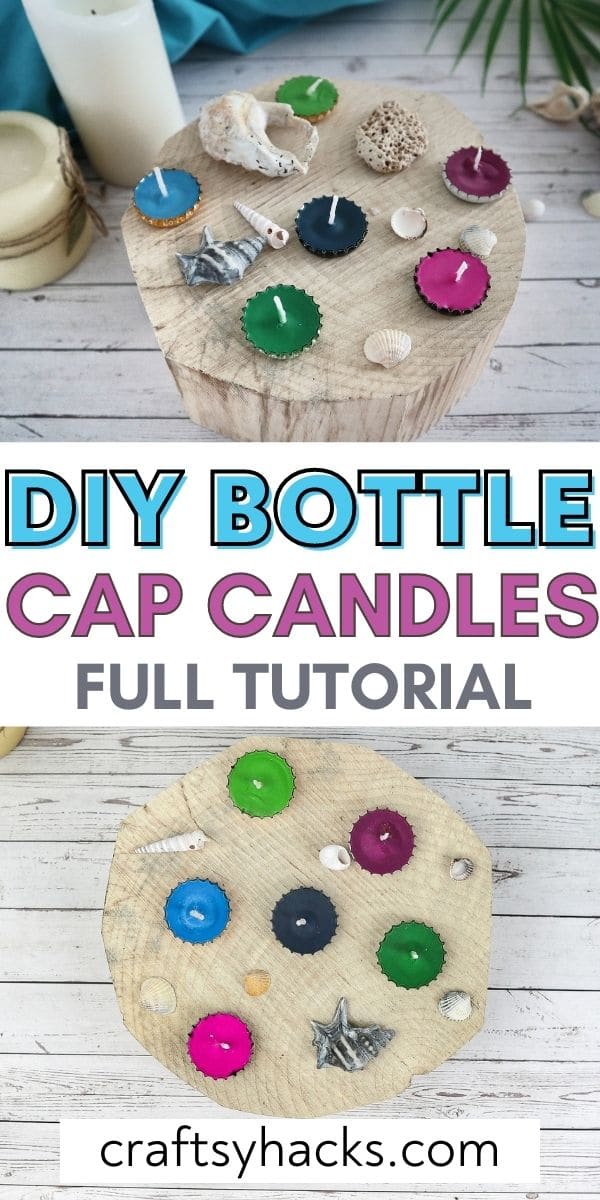
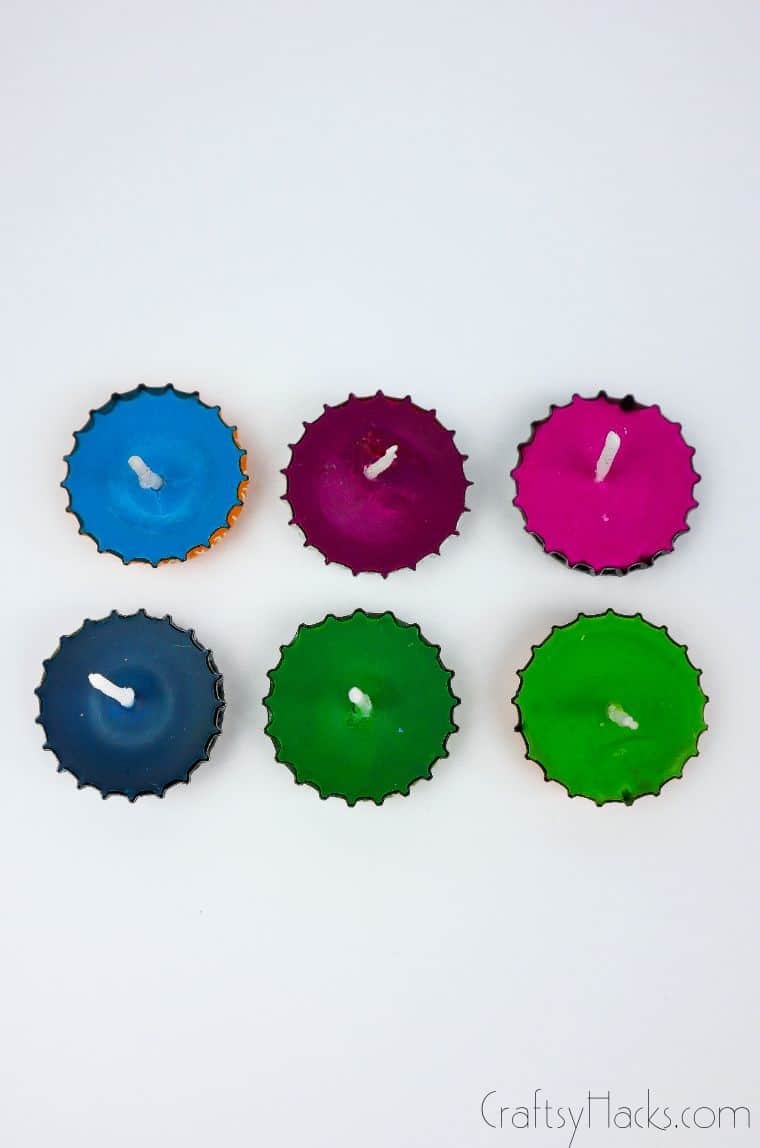
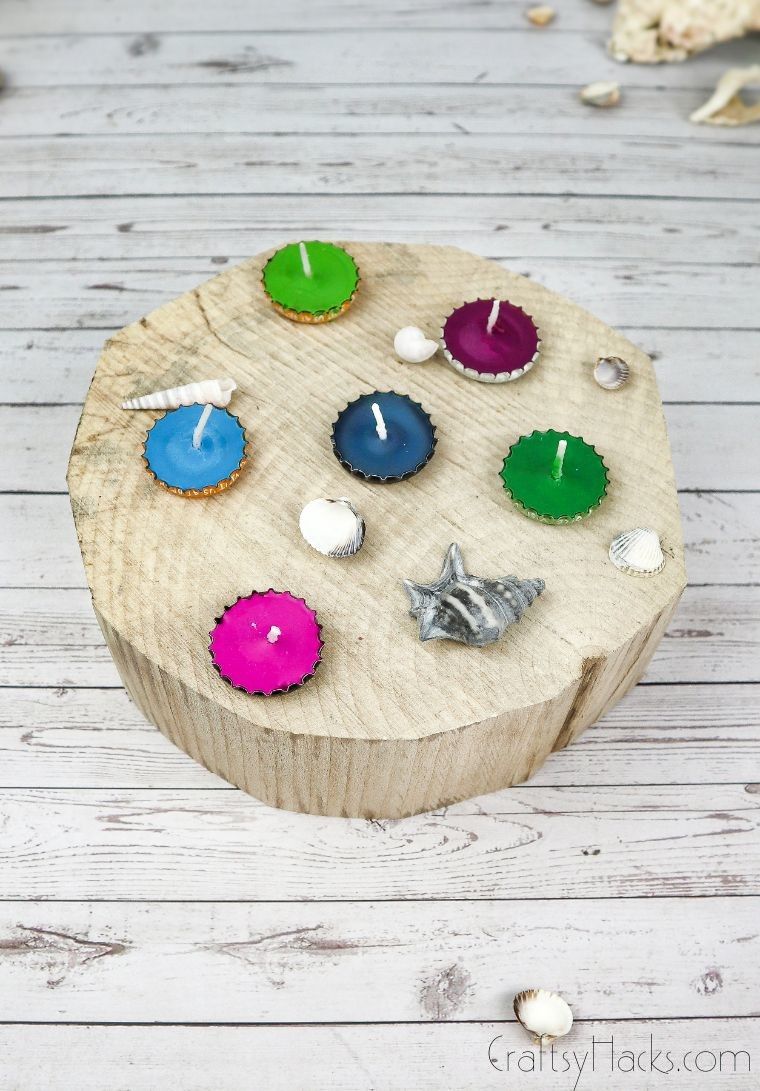
These DIY candles will add a little brightness to your home! The vibrant colors combine with gorgeous scents, creating the perfect way to reuse those old bottle caps you’ve been holding onto.
Dig through your recycling for some supplies, and let’s get started!
In the name of sustainability, DIYers around the globe are constantly striving to find better ways to reduce, reuse, and recycle. Thanks to that, we now have DIY bottle cap candles!
Whoever thought there could be such an adorable, practical use for bottle caps? Now, instead of throwing them out, you can create colorful little candles to dot around your home.
These bottle cap candles almost look like little pieces of candy. Bright, vibrant, and perfect for bringing some springtime to a cold season. Learn how to make these here!
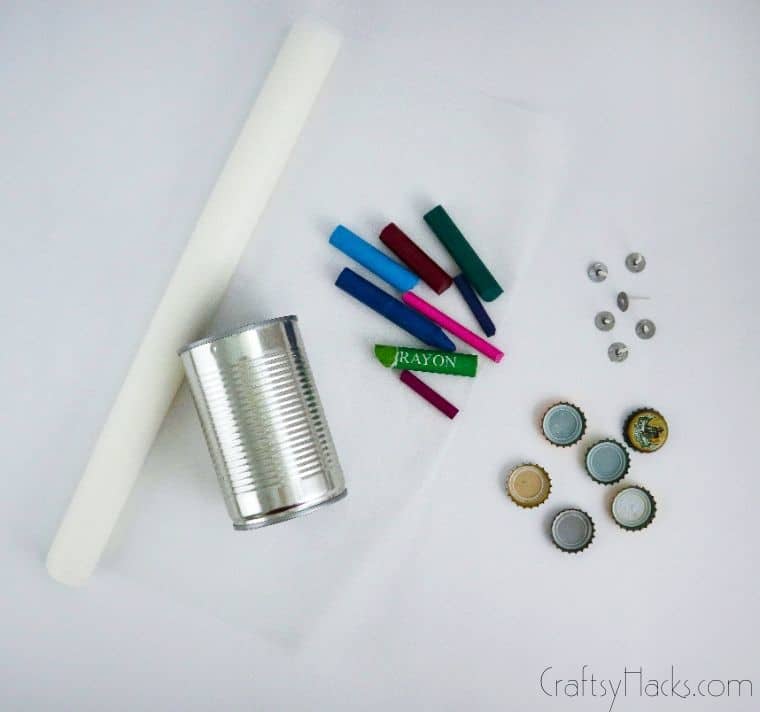
What You’ll Need
- Bottle caps
- Crayons
- Empty soup can
- Pre-waxed wicks
- Saucepan
How to Make Bottle Cap Candles
Let there be light! Here’s how to make these incredibly cute candles.
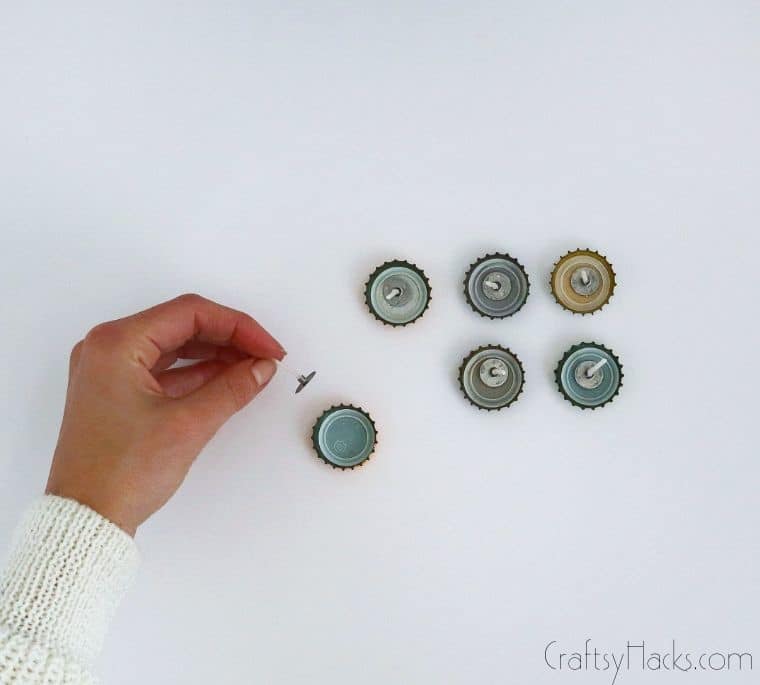
Step One
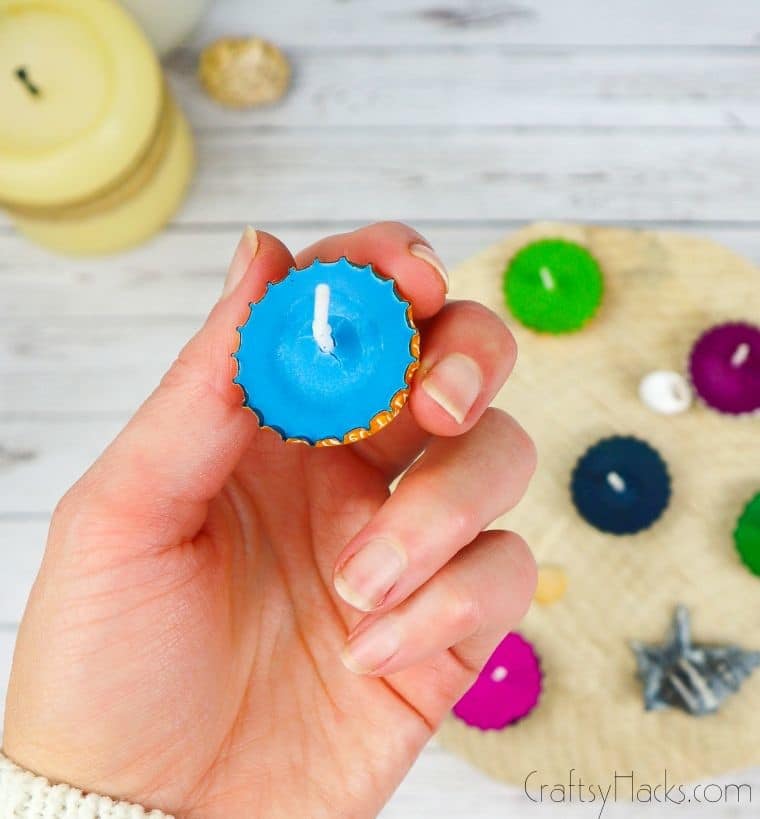
Start off by laying out all your bottle caps and place a pre-waxed wick into each one. If you can’t find tealight sized wicks, you can always trim down full-sized wicks to the ideal length.
Step Two
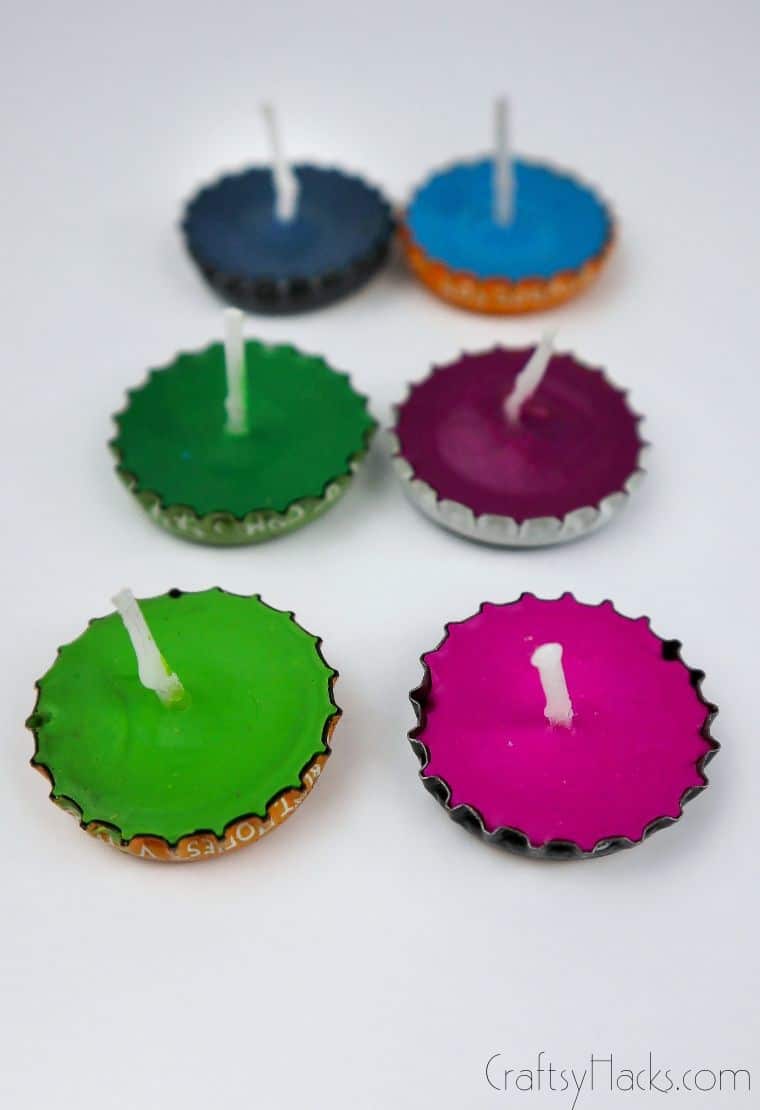
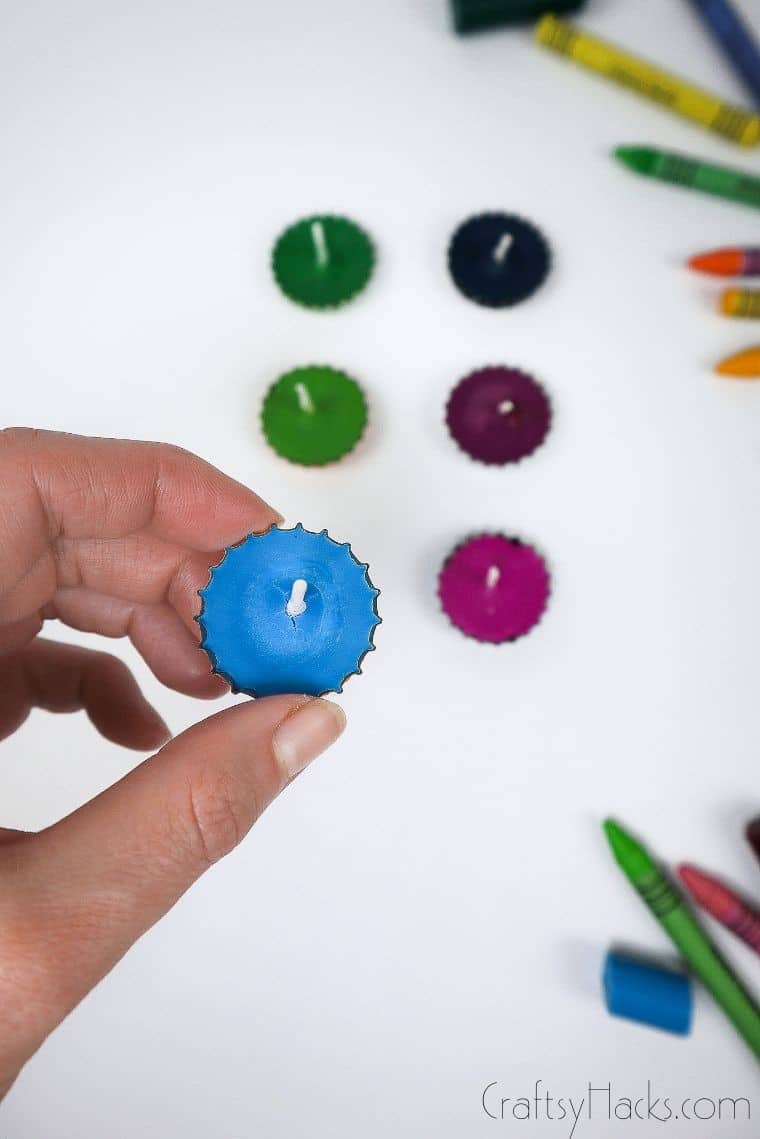
Pick out your crayon colors! These are going to form your candle’s wax, and this is your chance to get super creative. Blend your colors, swirl them into spirals, or choose a gradient palette. The choice is yours!
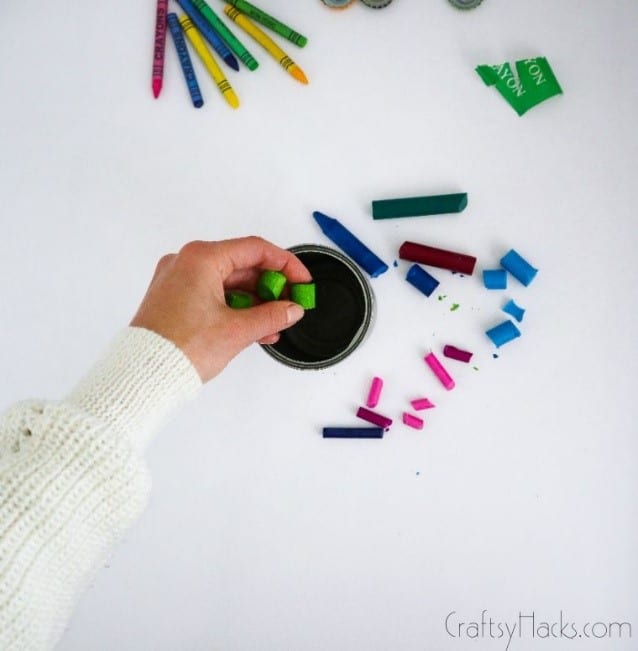
Make sure to crush up the crayons for easy melting. While this isn’t completely necessary, it does make the melting process faster.
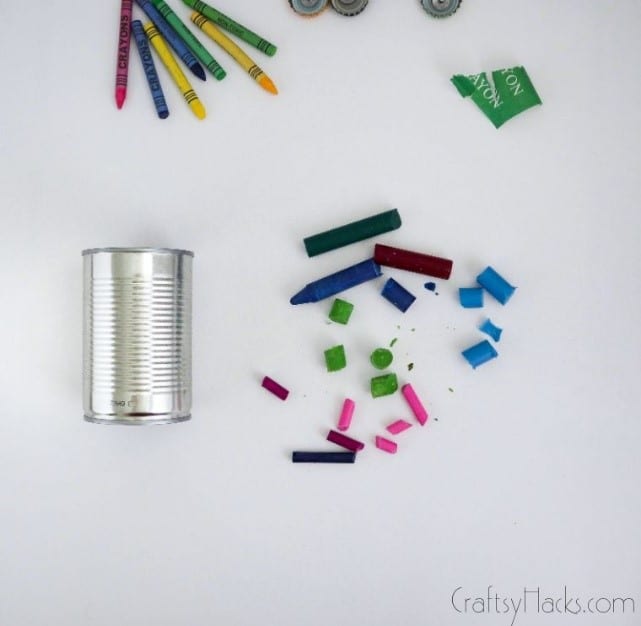
Step Three
Drop the crushed crayons into your metal soup can. Ideally, your can should be metal as it needs to survive the heat without melting. Glass or ceramic will work as well.
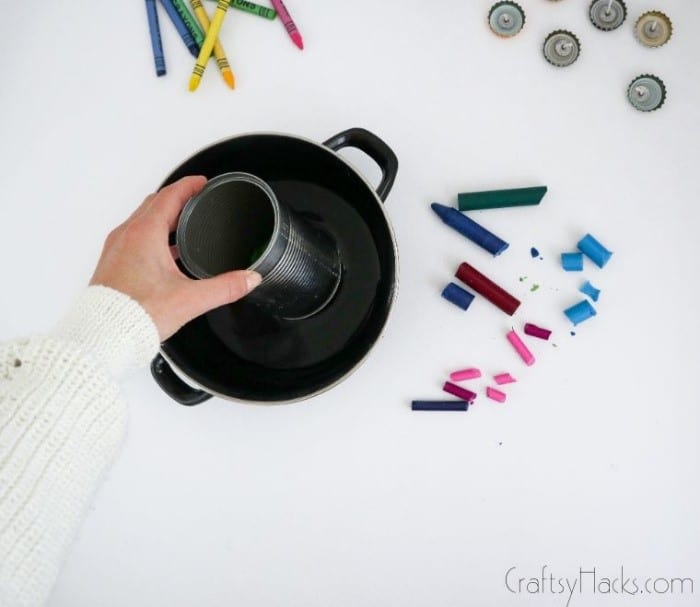
Step Four
Place a saucepan on the stove and fill it about a quarter of the way full of water. Heat the water until it’s almost simmering, then place the metal can into the pan.
This acts almost like a double boiler, melting the crayons with heat from the water rather than directly in the pan. Let’s just say it’s a lot easier to throw out a soup can than a saucepan!
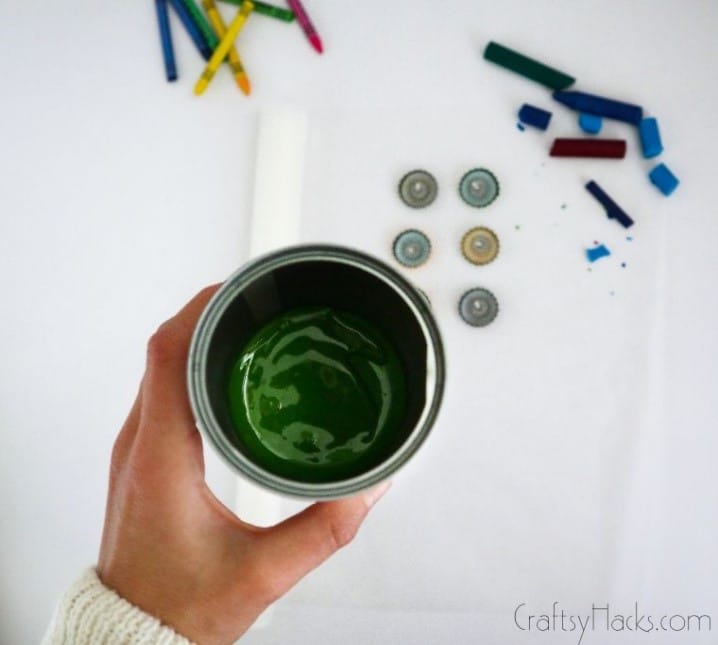
Step Five
Gently melt the crayons down until they go fully liquid. I suggest melting each color one by one before moving on. If you have many soup cans, switch them out to keep your colors pure.
Otherwise, you can just wash the can between colors. Make sure you use hot water to get rid of all the wax.
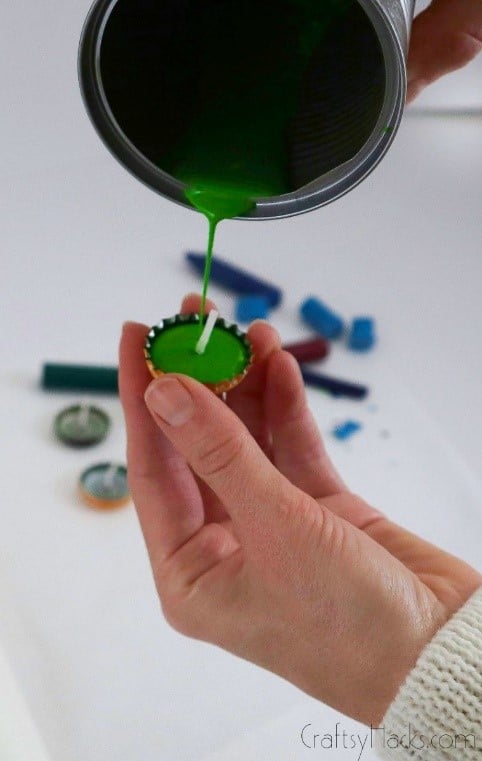
Step Six
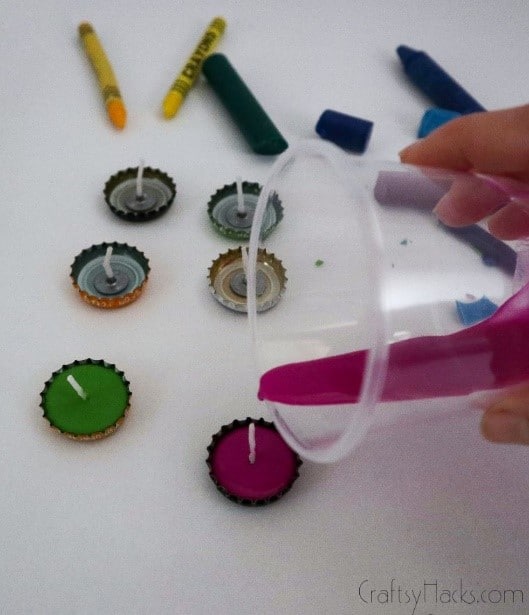
This is where you need to move quickly and carefully. Hot wax can burn if it touches the skin, but you don’t want it to cool too fast and stop pouring altogether.
Crayon wax cools particularly fast!
Gently pick up one of our bottle caps, making sure the wick is placed well. Then, pour the wax into the bottle cap to form the candle. You can also do this on a sheet of baking paper to avoid mess.
Step Seven
Repeat with all the rest of your colors. Make sure you’re melting and pouring one by one. Otherwise, your wax will dry as you wait.
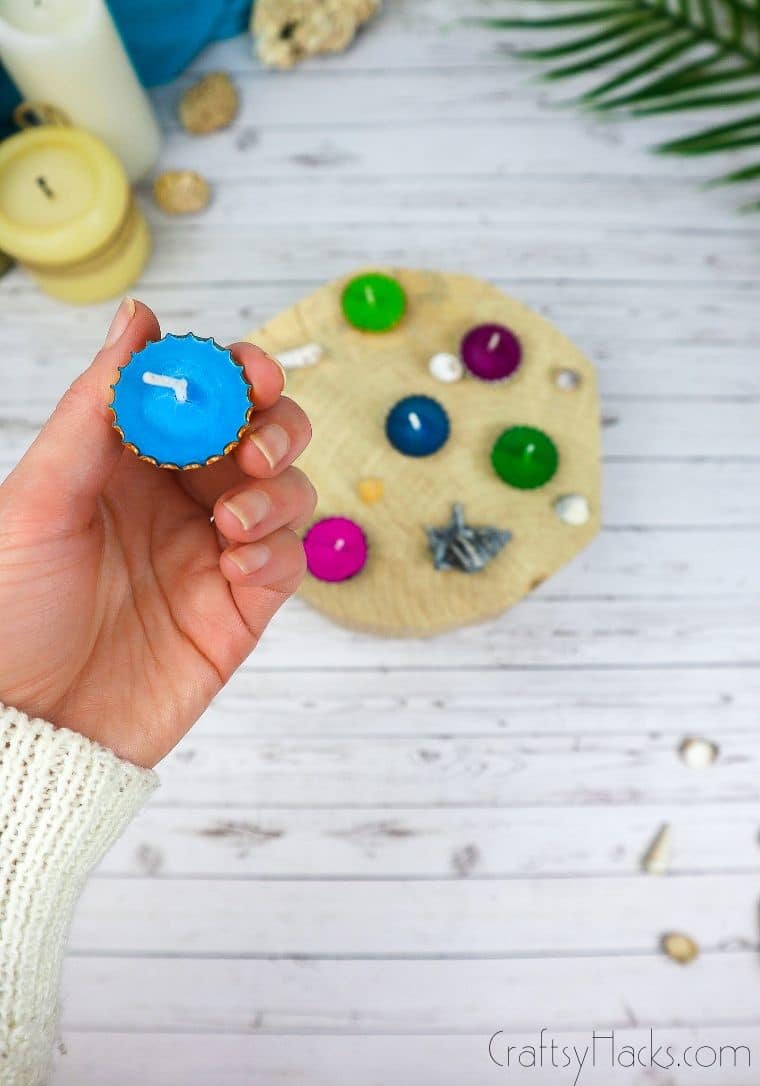
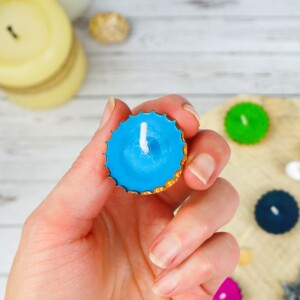
If you want to make these look extra special, spray the bottlecaps with some gold spray paint before you begin. This brings a rustic chic look to the entire DIY. Gorgeous!
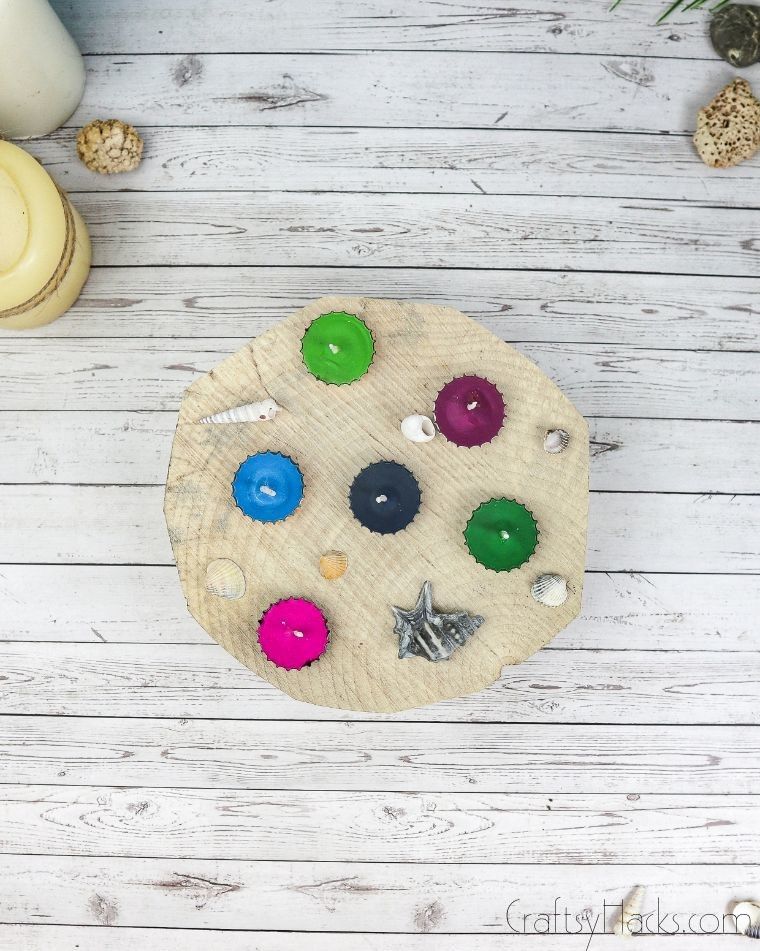
There you have it! Adorable candles for anywhere in your home. Make them in big batches, give them away as gifts… the world is your oyster.
How to Make a Scented Bottle Cap Candle?
I’ve got two words for you: essential oils. Whether you’re a fan of vanilla or tea tree is more your style, essential oils are the way to make a scented candle. Here are some great scents you can try:
- Lavender
- Tea tree
- Vanilla
- Peppermint
- Rosemary
- Frankincense
- Orange and sweet almond
You can even combine these smells in any way you want. Create your own unique scent for your home or express what you know about someone by crafting a scent just for them.
So, how do you add the oils in? It all happens once the crayons have melted. Place a drop of essential oil in your melted wax. A drop is all you need, as these oils are usually pretty strong!
Mix the wax well to distribute the oils through the wax. You don’t want the scent to be released unevenly once the candle is burned. Then, finish the candle-making process as normal.
Other Crafts You Can Make
- DIY Rock Photo Holders
- DIY Macrame Leaf Earrings
- 20 Projects for Teenagers
- DIY Salt Dough Ornaments
- 20 Fun Crafts for Kids
- DIY Woven Bowl with Yarns

DIY Bottle Cap Candles
Video Tutorial
Equipment
- Saucepan
Materials
- Crayons with the labels removed
- Tealight candle wicks pre-waxed
- Old bottle caps
- Essential oils optional
- Old metal soup can
Instructions
- Gather all your supplies.
- Gently heat some water in a saucepan. Make sure the pan is only filled about a quarter of the way, as you don’t want any water getting in the wax.
- Meanwhile, layout your bottle caps and place a single wick in each one. You can use a blob of hot glue to fix them in place if you wish.
- Now, crush your crayons to make them easier to melt.
- Color by color, melt your crayons by tipping them into the old soup can and placing the soup can in the warm water. The heat will gently melt the crayons, preventing them from burning.
- If you’re adding essential oils, add a drop once the crayon is fully melted. A drop is all you need, as essential oils are quite strong. If not, just skip this step.
- Once your crayons are fully melted, pour the wax into the wicked bottle caps. You can do this over the baking paper to add an extra barrier to any mess.
- Let the caps dry until completely solid, then light. Congrats, you’re officially a candlemaker!


