How to Make an Apron
This post may contain affiliate links: full affiliate disclosure.
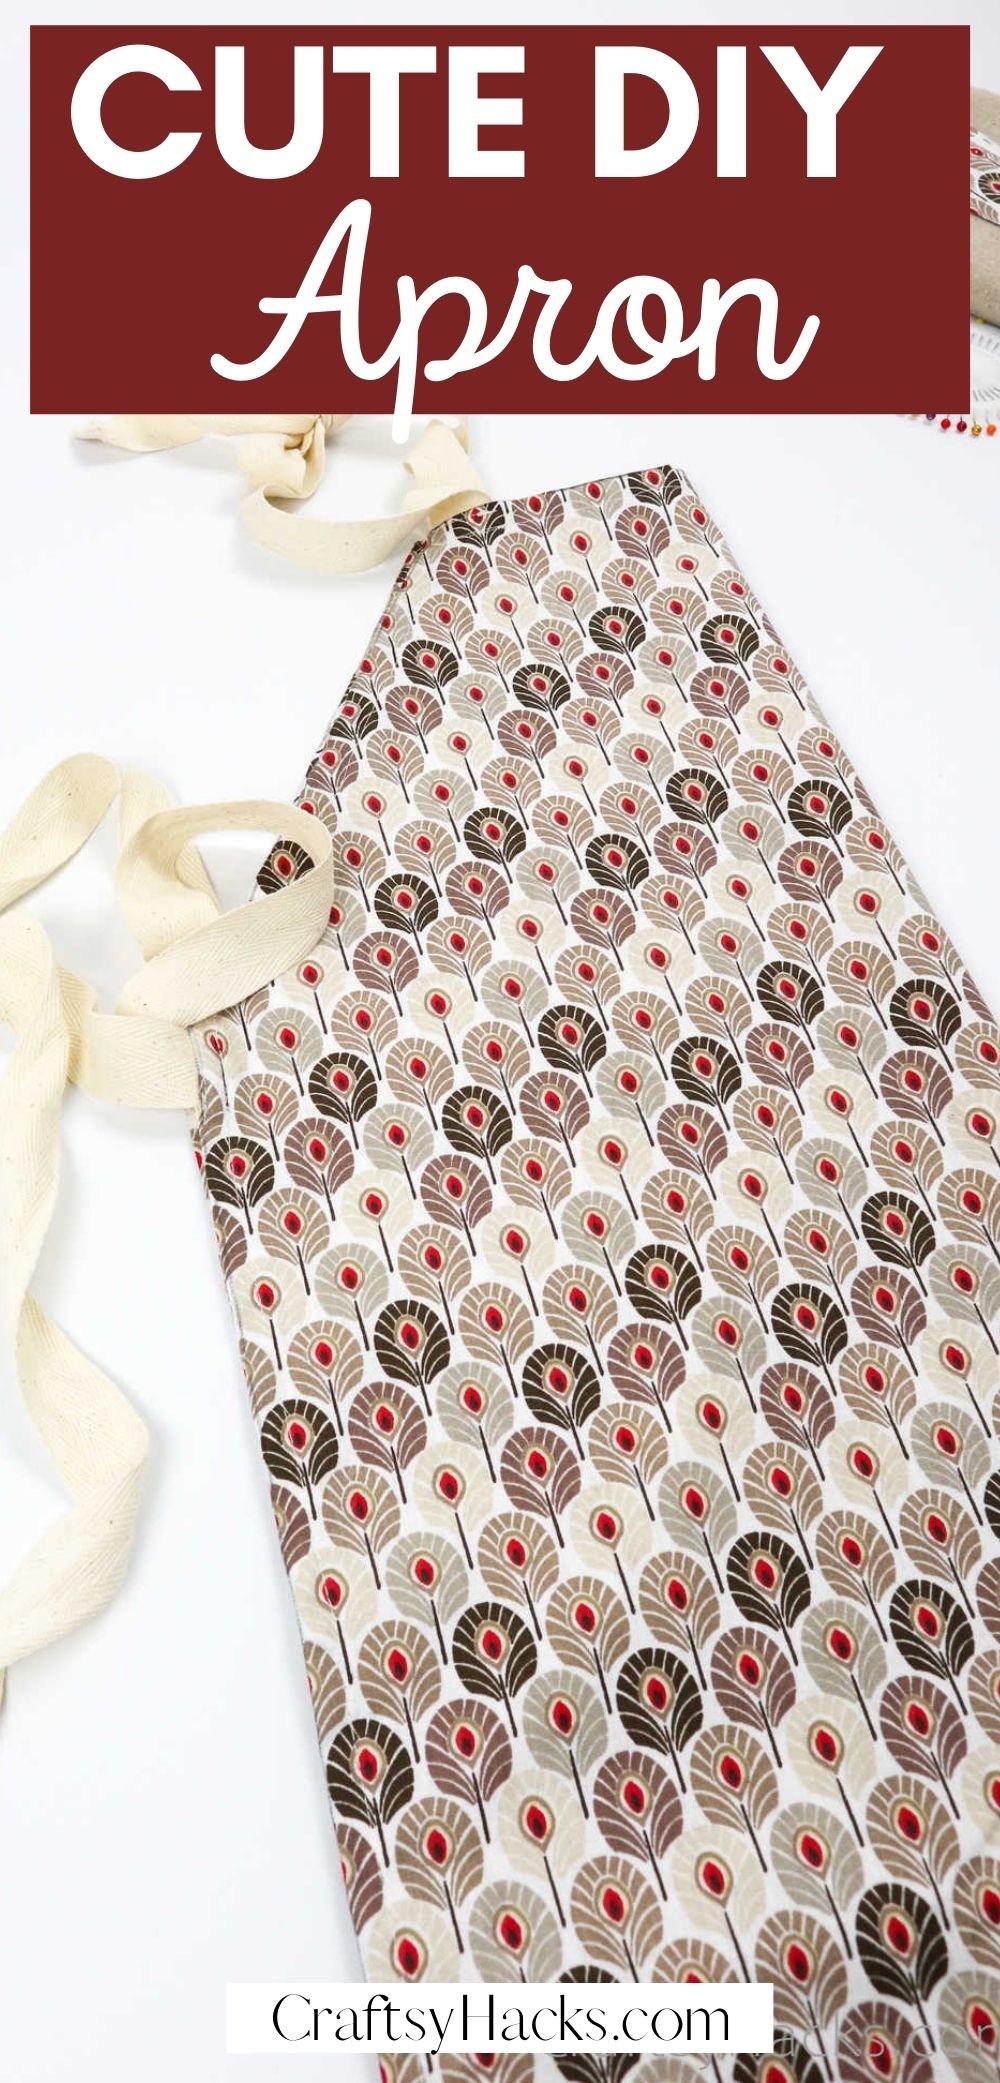
Got a bunch of fabric at home? Make your very own DIY apron that’ll do for a perfect DIY gift or just a nice DIY project you’ll use on a daily basis.
We don’t quite realize just how important aprons are. I’m not just talking about their uses and how they help protect your outfits from getting ruined in the kitchen.
Aprons have a ton of potential to be fabulous. You probably have a generic white apron that just serves its purpose, but not anymore!
You’re going to make your very own apron out of fabric that is bright and bold, or elegant and chic—whatever you like! It’s a great opportunity for you to spice up the kitchen.
Hey, maybe this apron will motivate you to cook—I know I could use all the motivation I can get to finish up my chores around the kitchen.
Overall, it’s a fun fabric project that will take your sewing to a whole new level.
Watch on Youtube: How to Make an Apron
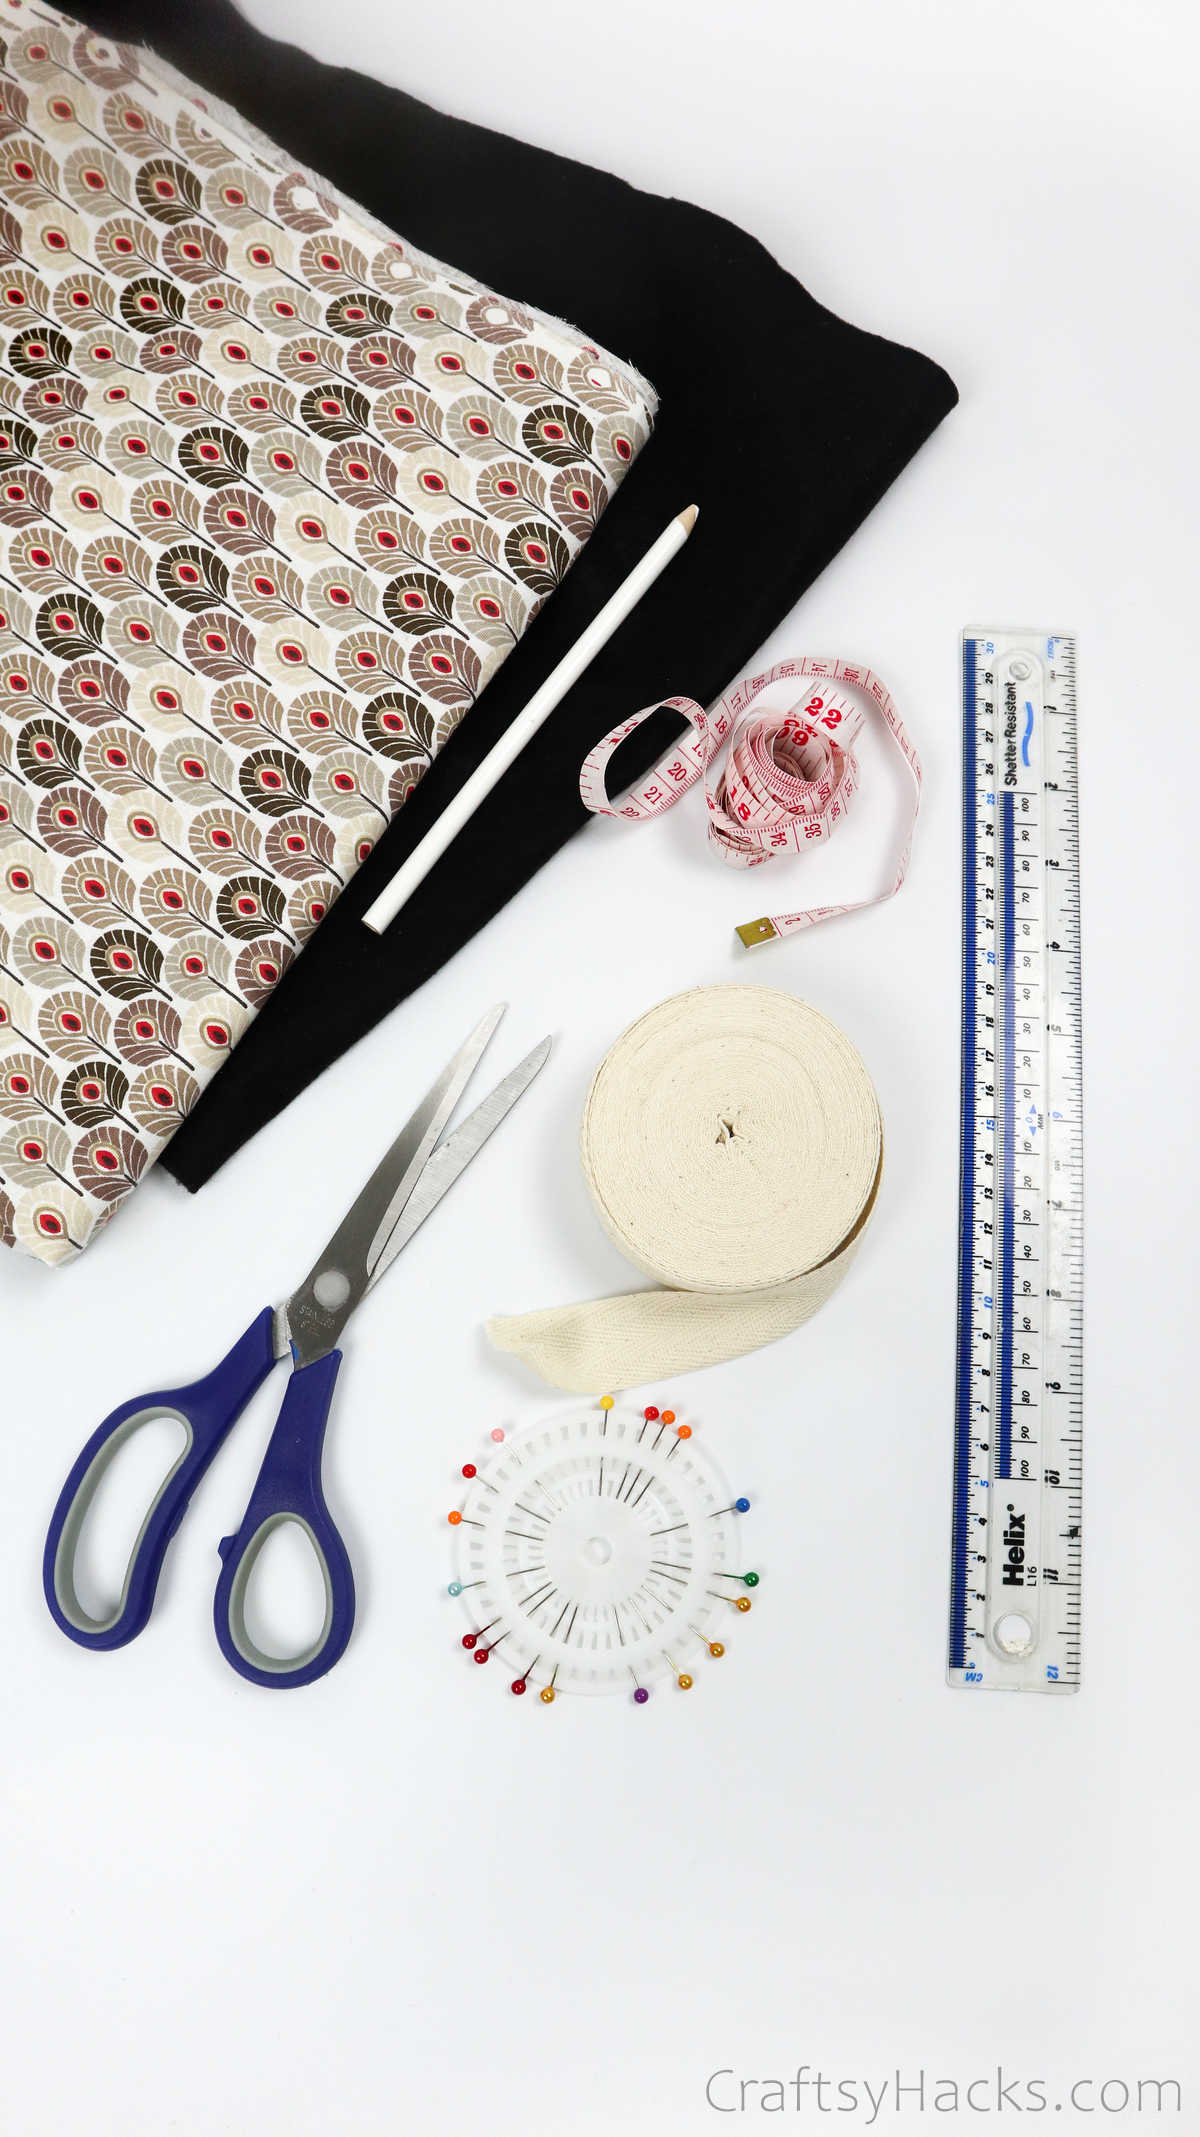
Supplies and Tools You’ll Need
If you’re ready to get started on making your apron, take a look at everything you need first:
- Fabric (30″x 24″)
- Fabric (26″x 10″)
- Tape measure
- 1″ cotton ribbon
- Sewing pins
- Scissors
- Fabric pencil
- Ruler
How to Make an Apron
There’s still plenty of steps to go through before you pull out your sewing machine. The first of those steps is to pick out the fabric you want to use and a length of additional fabric to use as a template.
Step 1
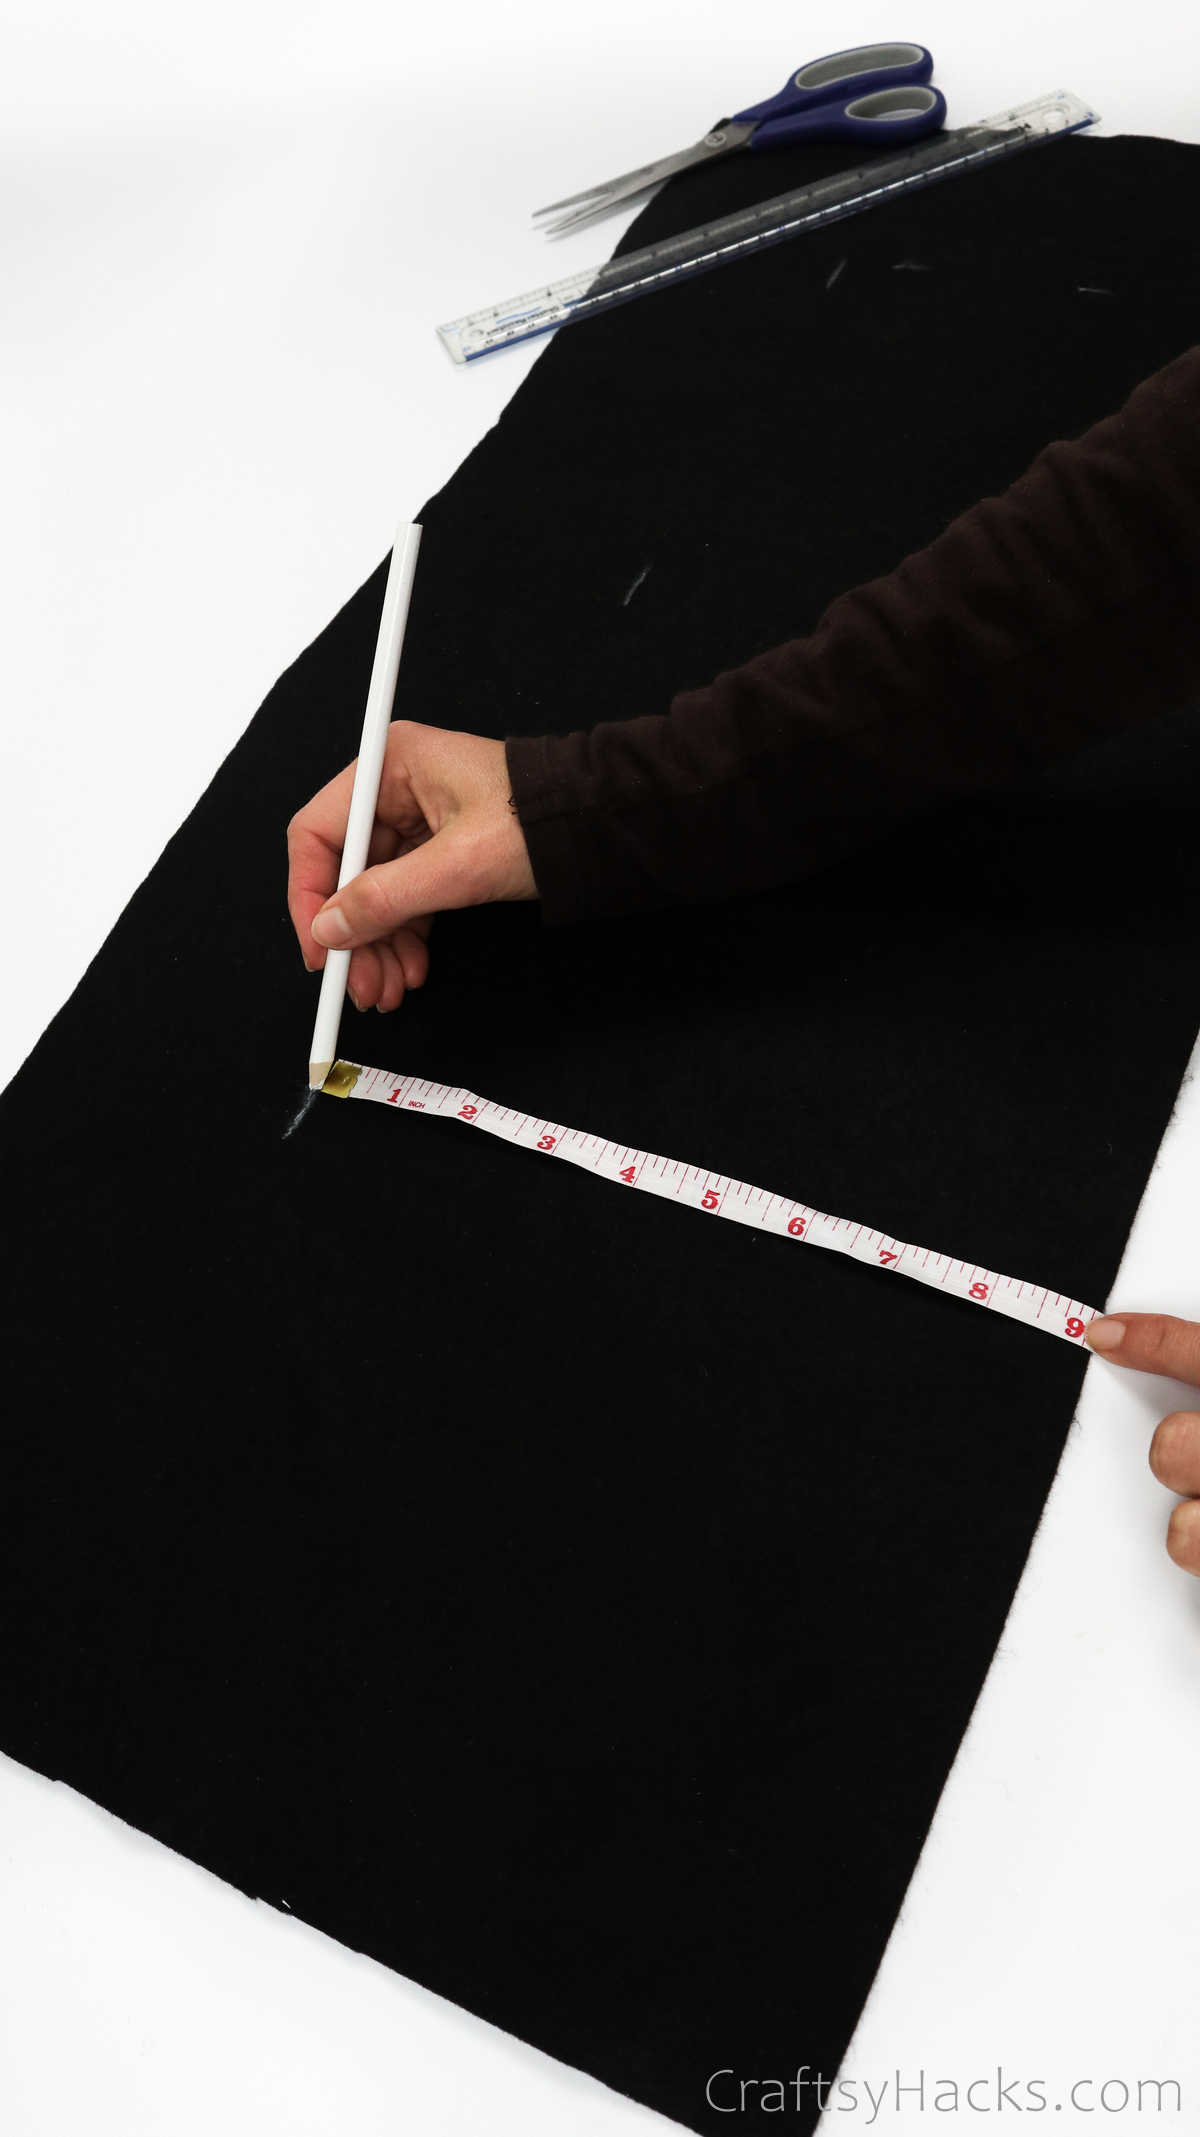
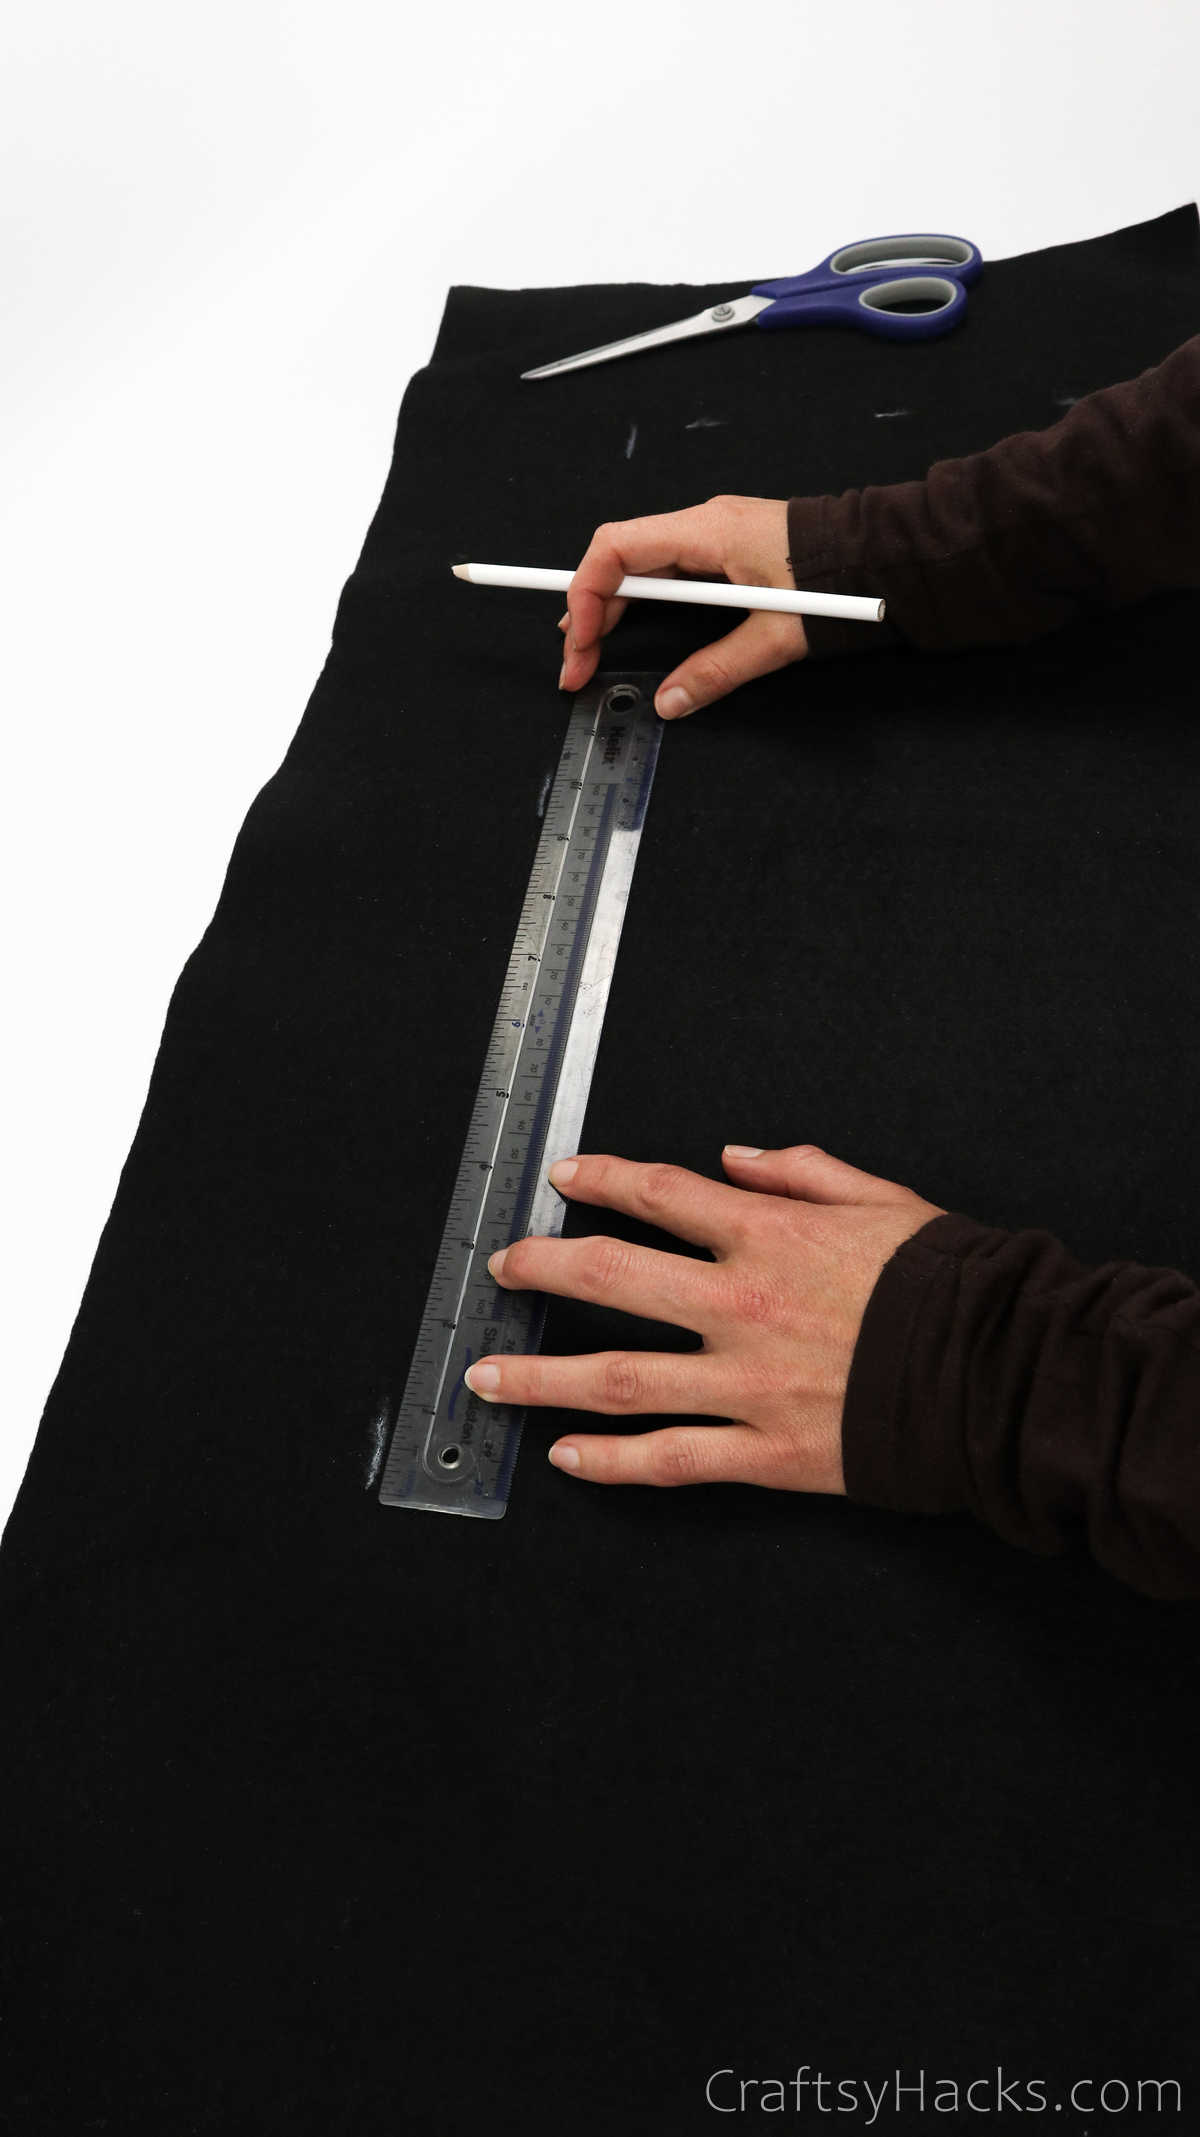
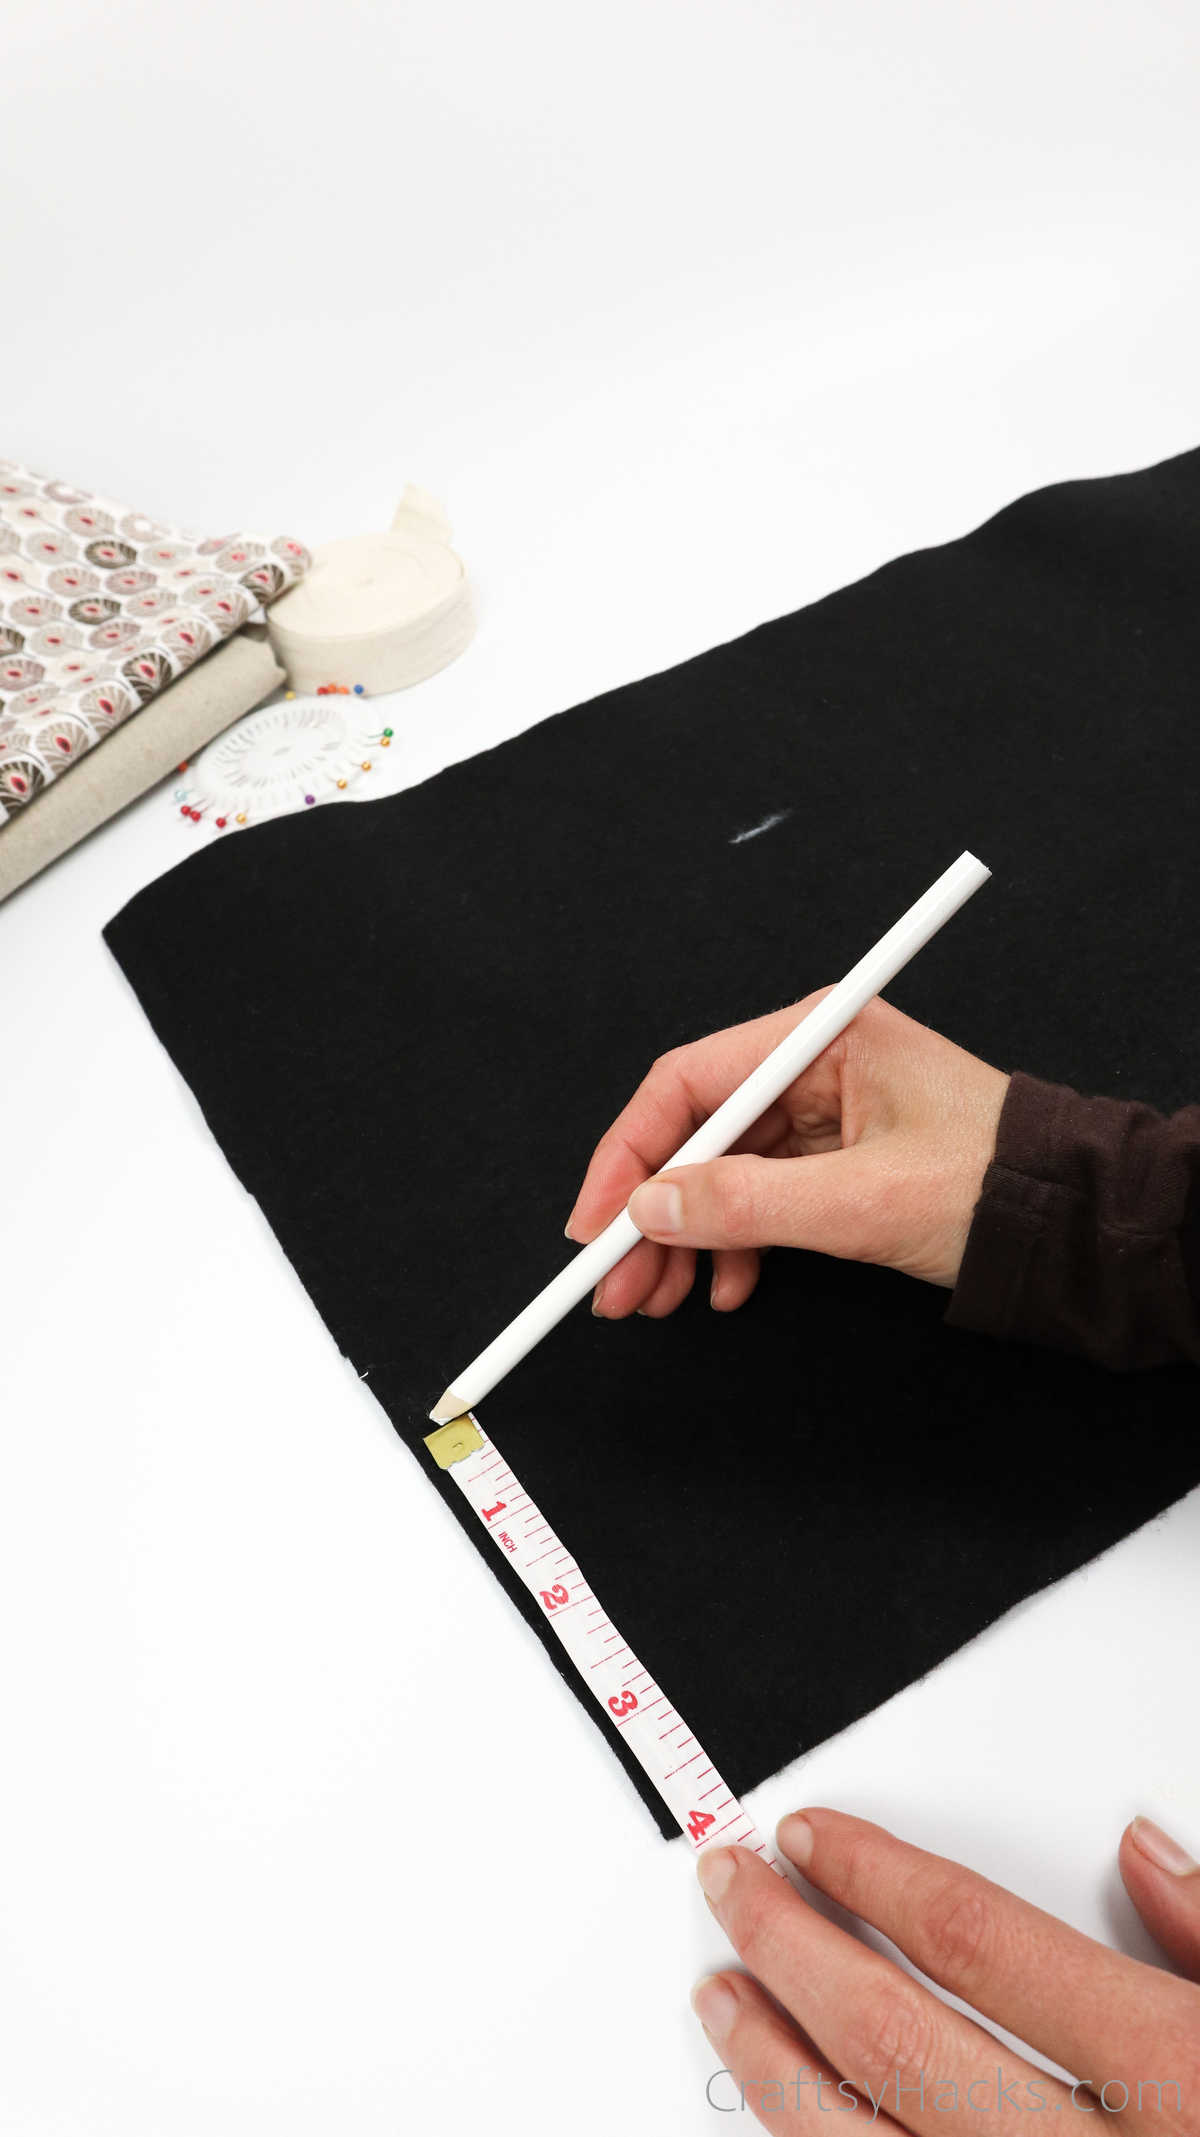
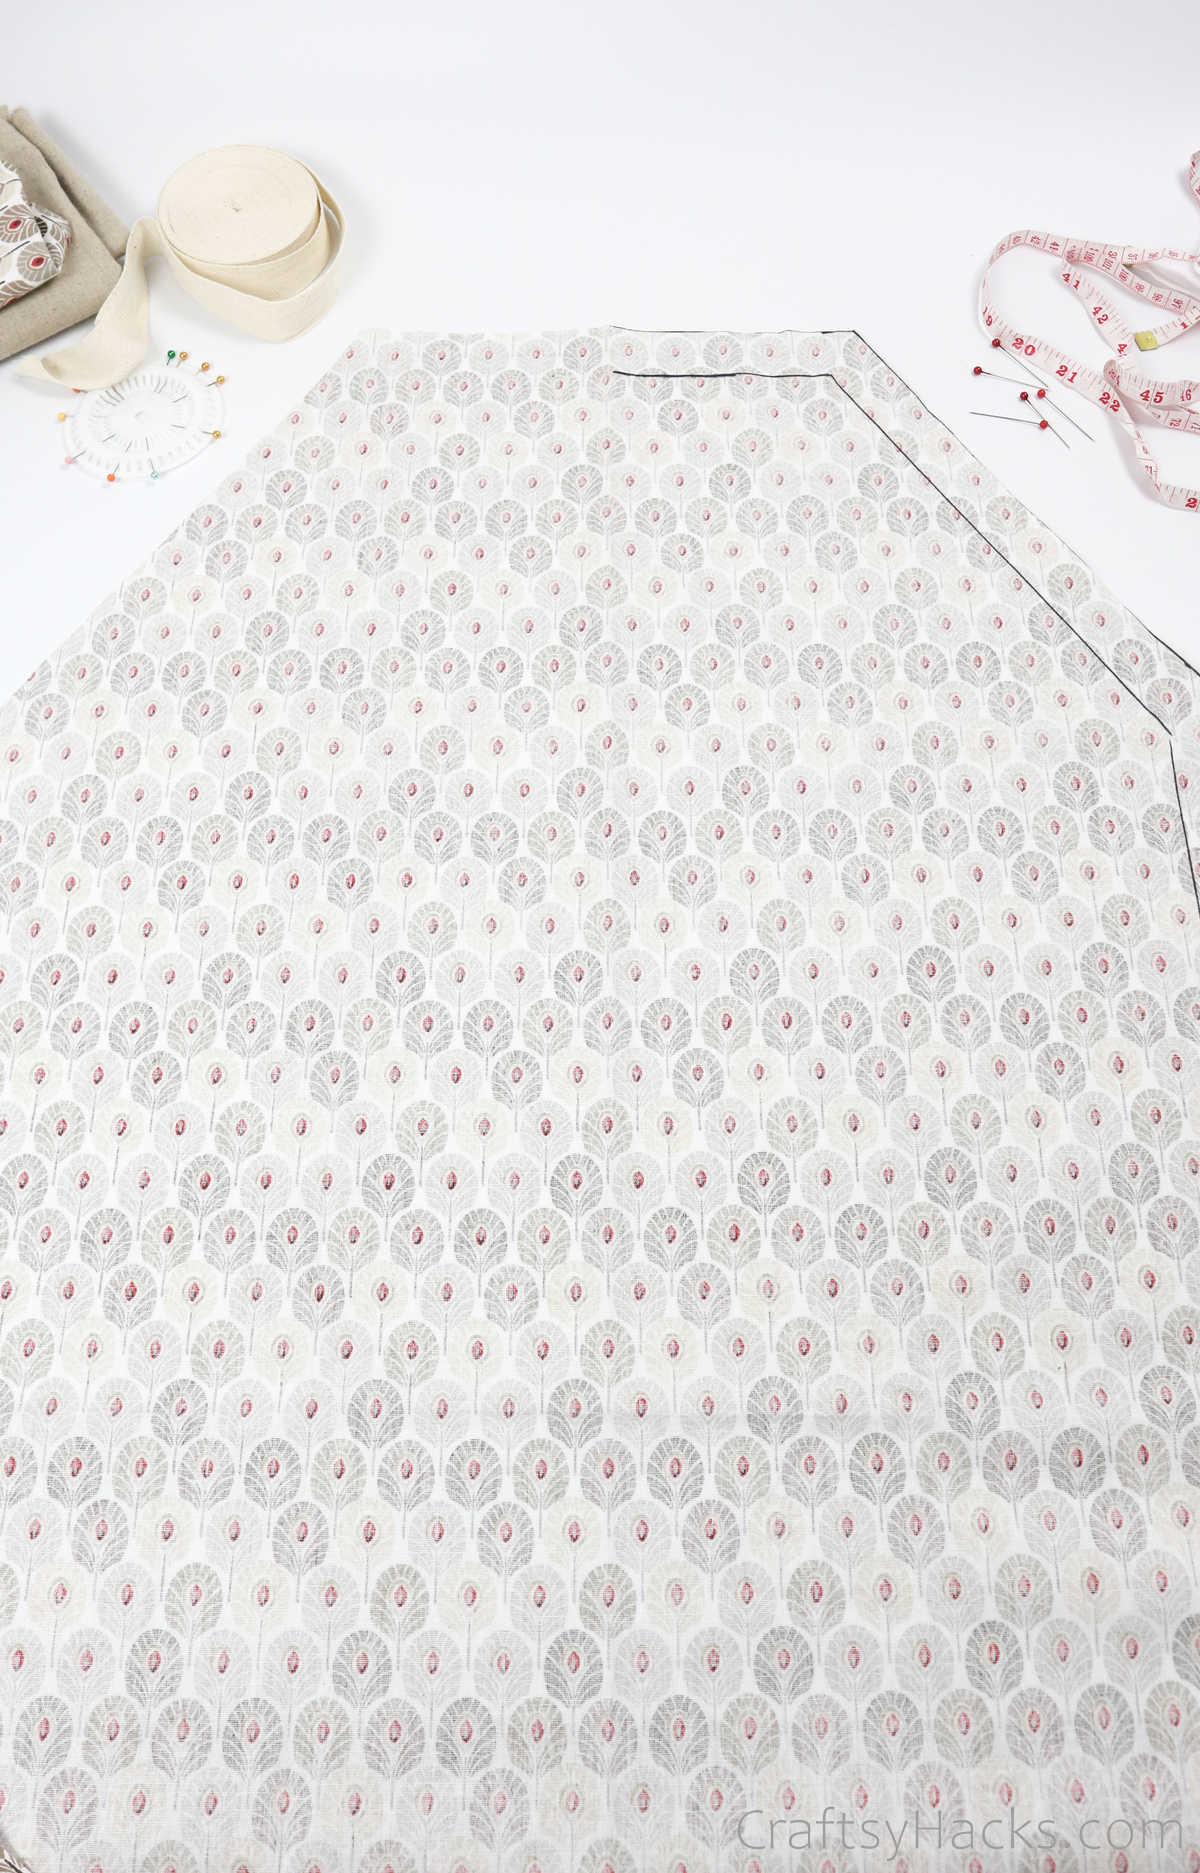
Once you’ve picked out the template fabric, lay it out on your work surface. You’ll be making and marking the measurements for this apron on a different fabric and using that as a template.
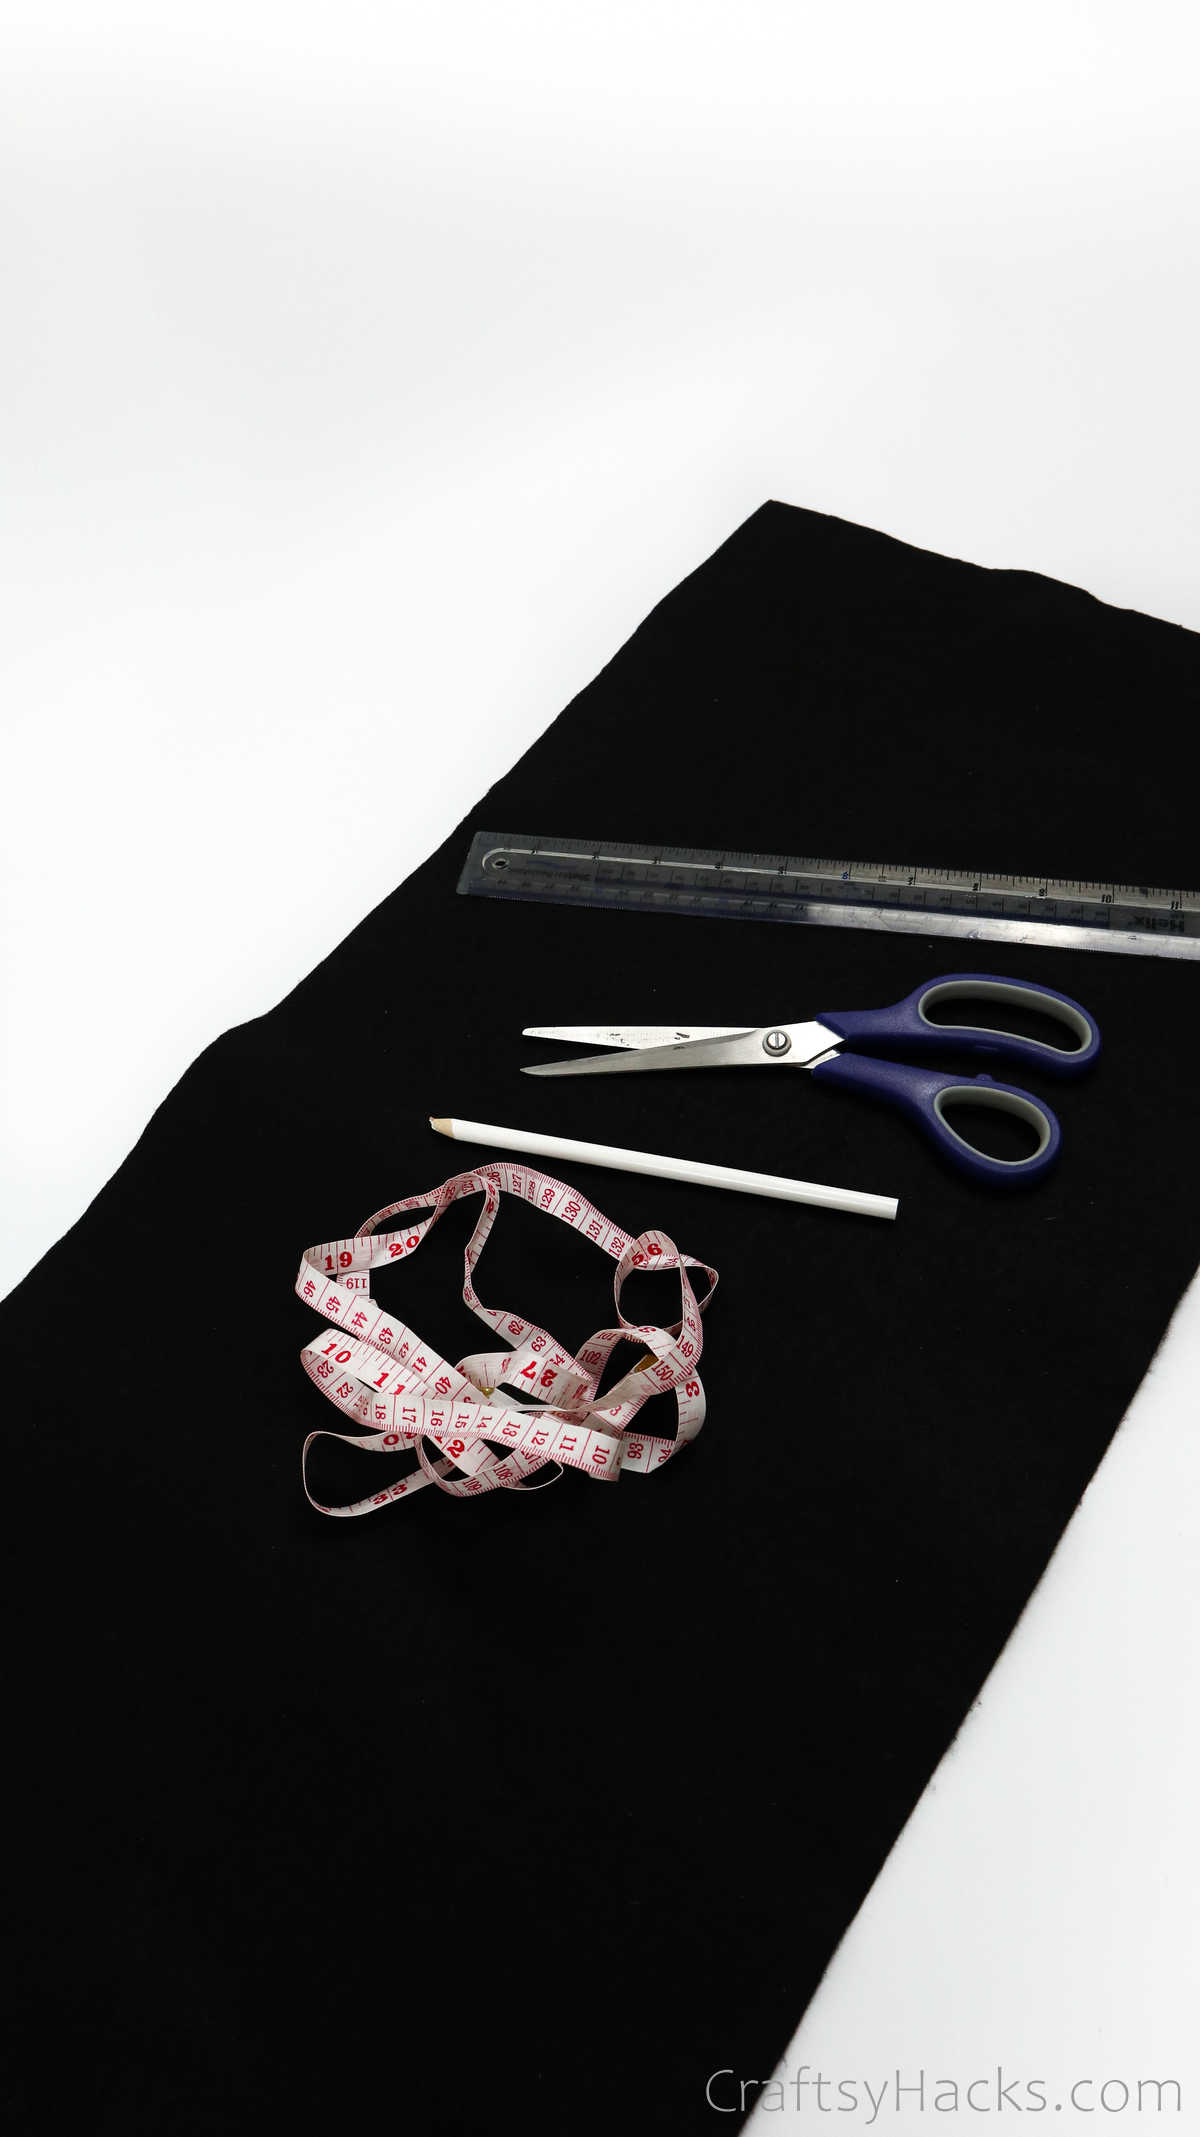
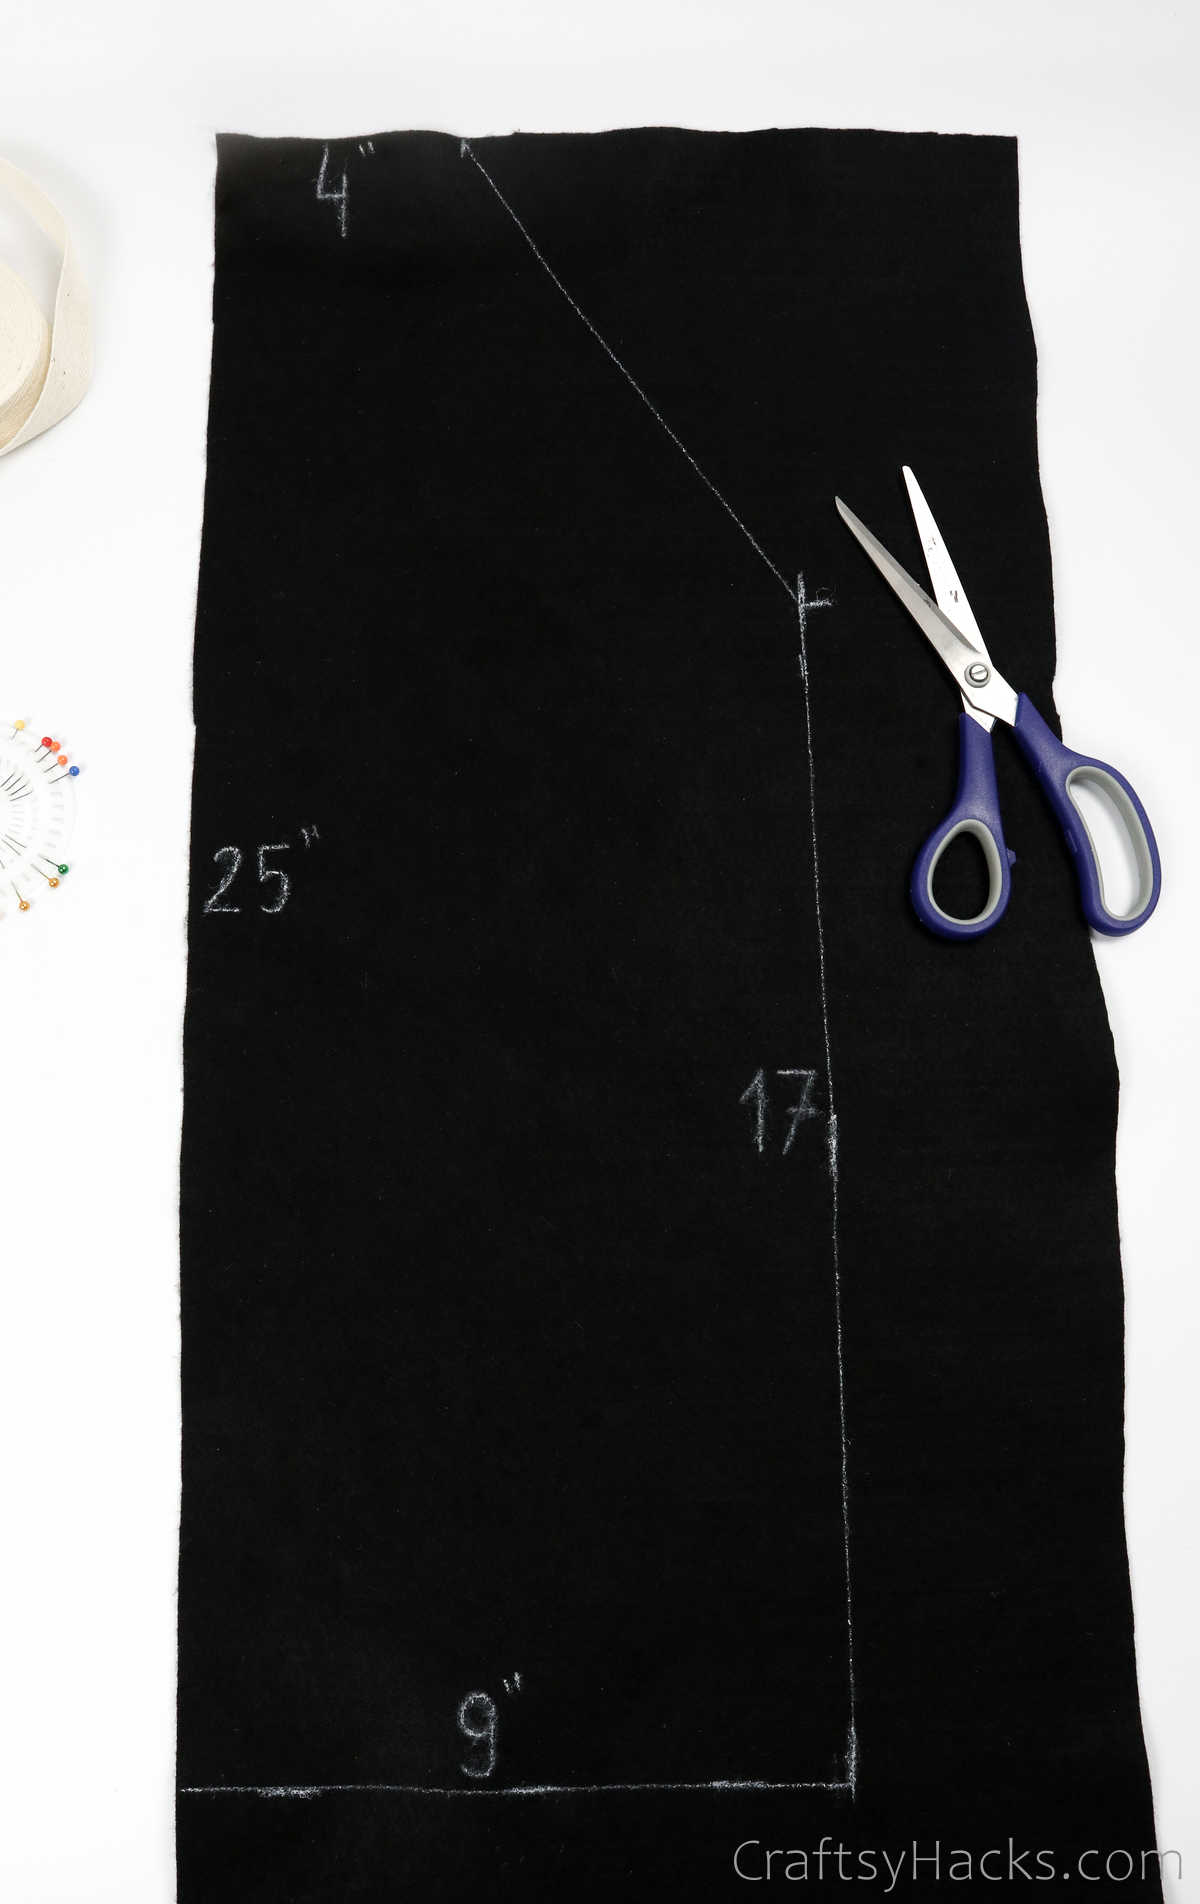
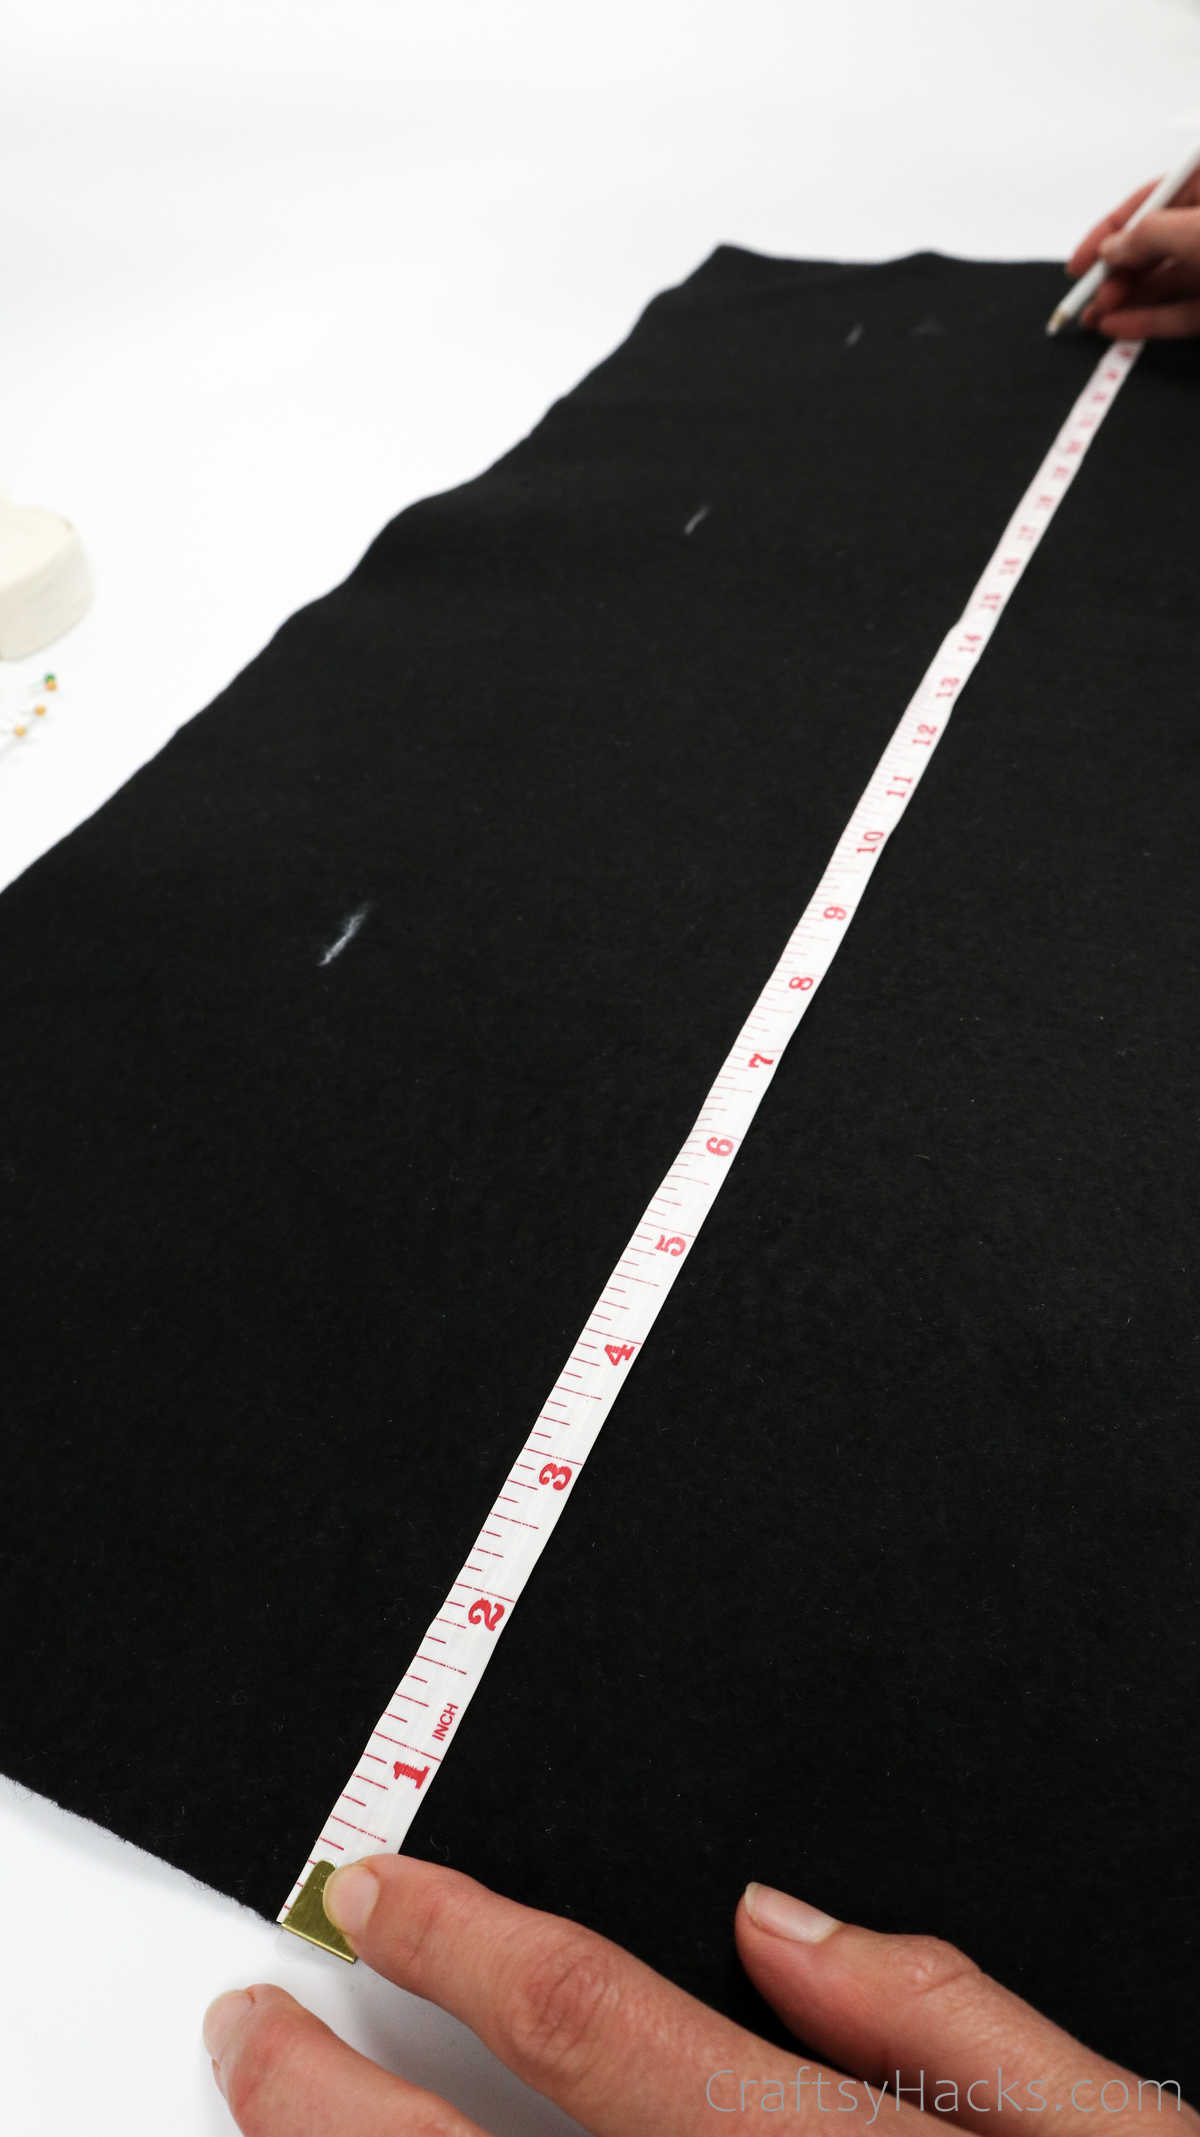
Grab a fabric pen or some tailor’s chalk and mark the appropriate measurements for your apron directly on the material. A tape measure can be used to help you figure out the size and measurements.
When you have marked the measurements, use a ruler to connect all the markings to form the outline for your apron. This particular apron is approximately 25” x 4” x 9”.
Step 2
Grab a pair of scissors and cut out the fabric along the markings you made.
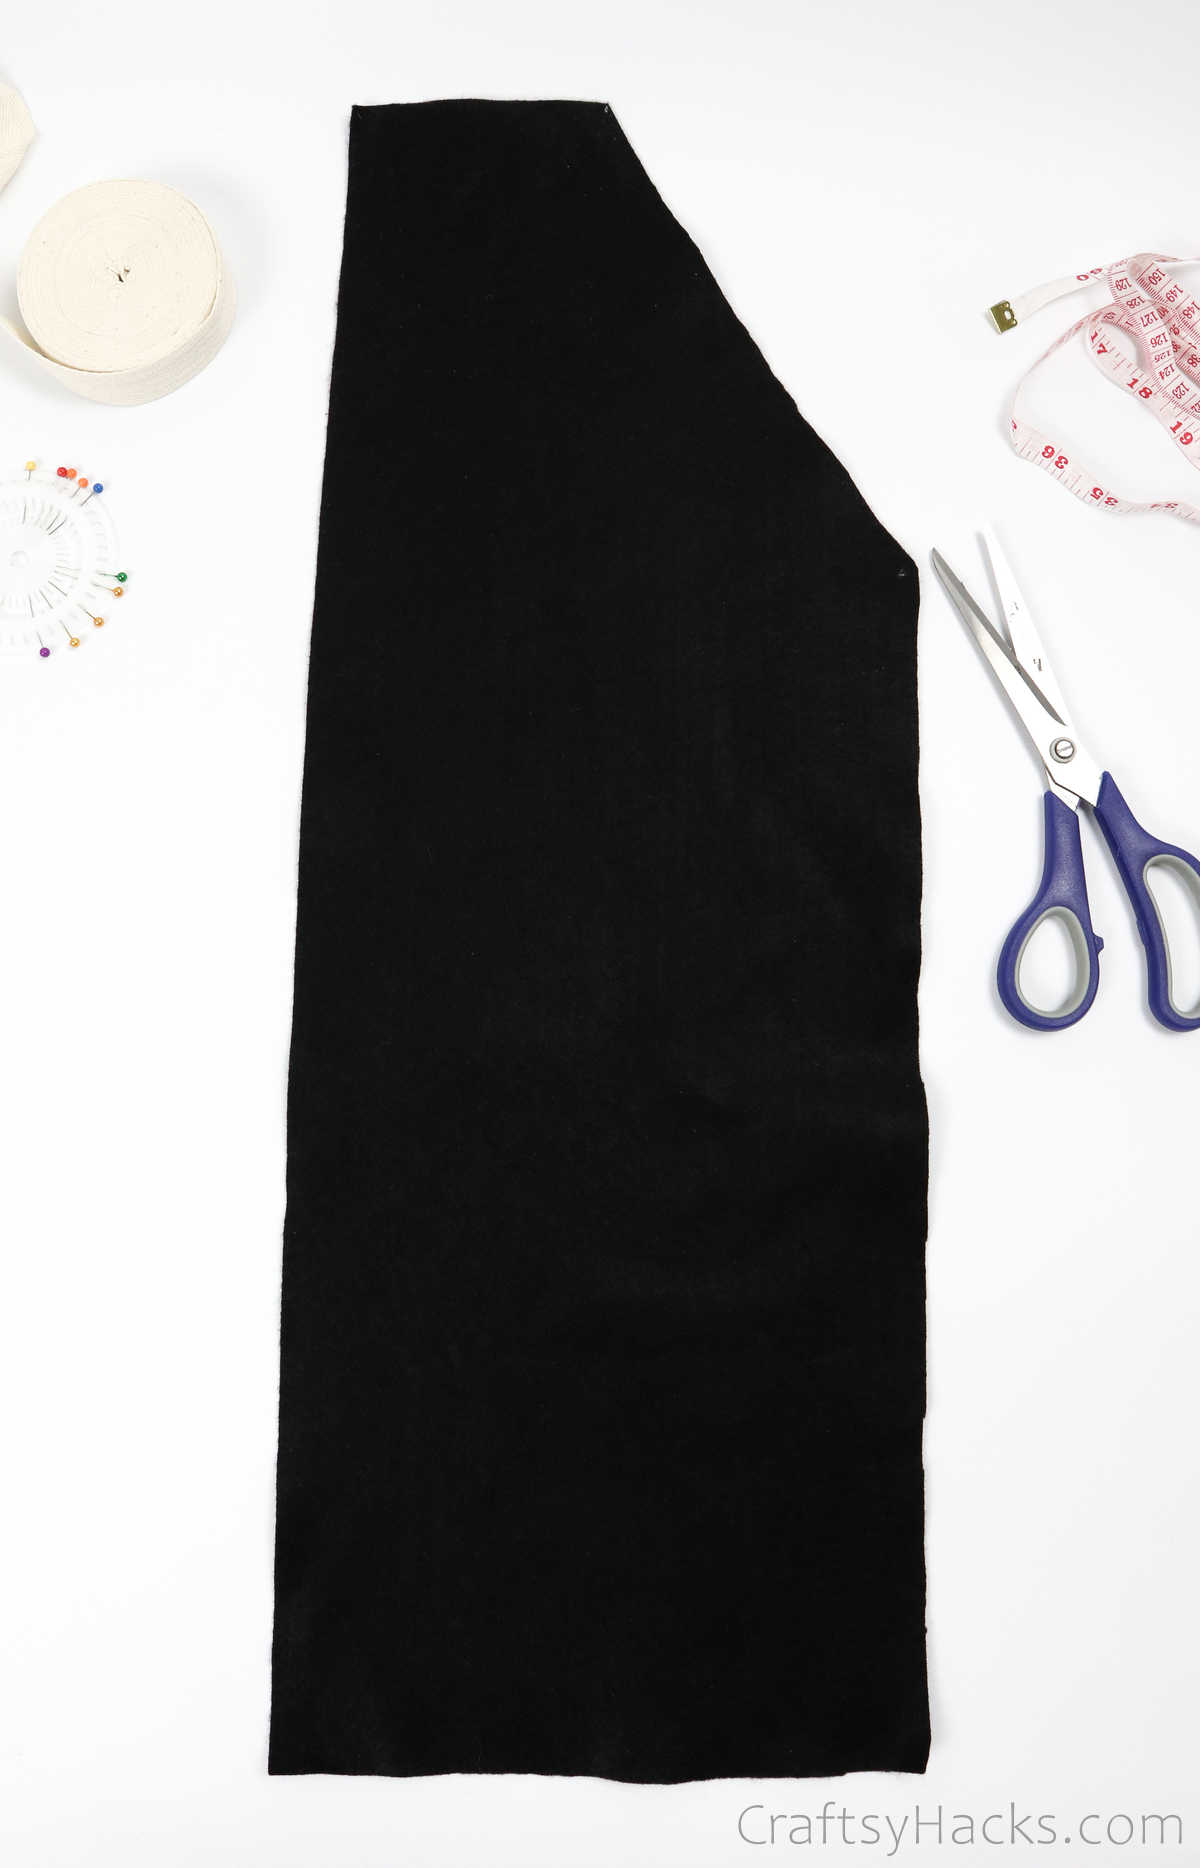
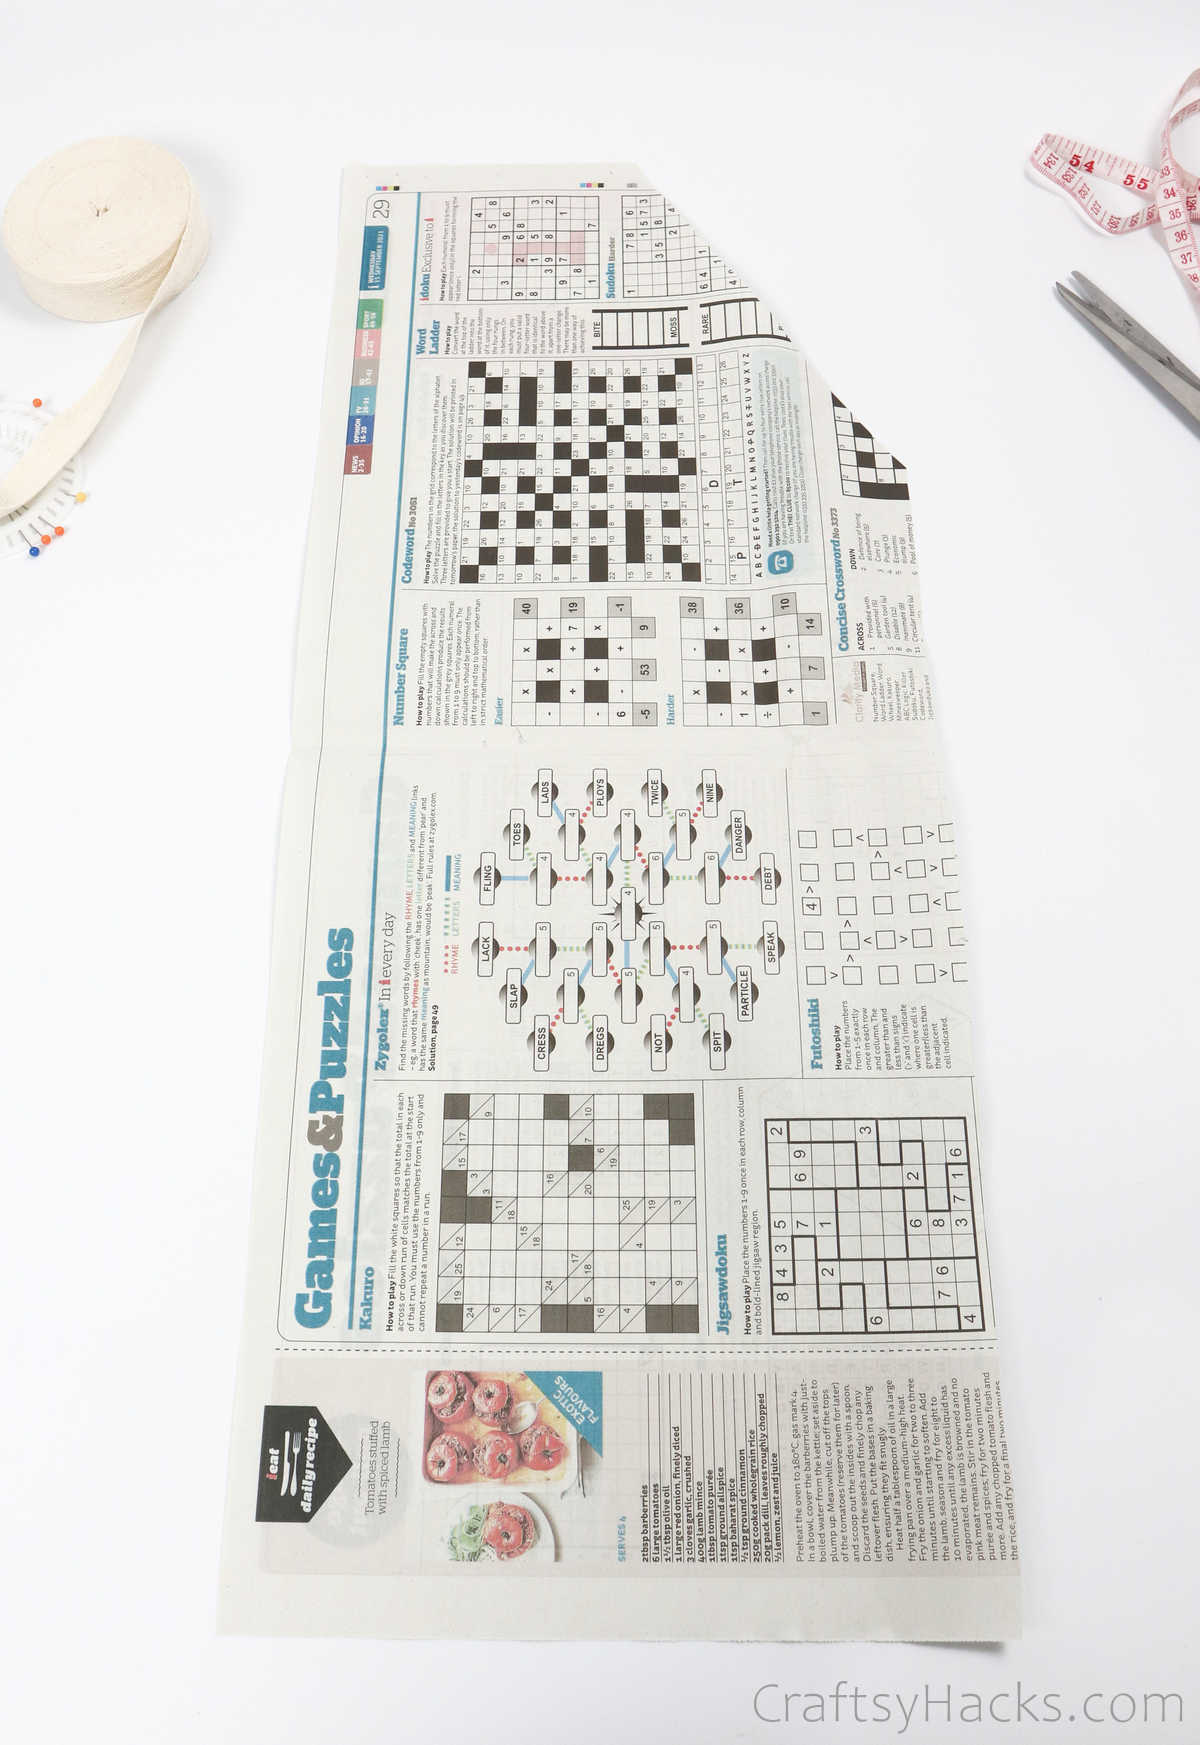
Alternatively, you can make your template newspaper and use that to guide you.
Step 3
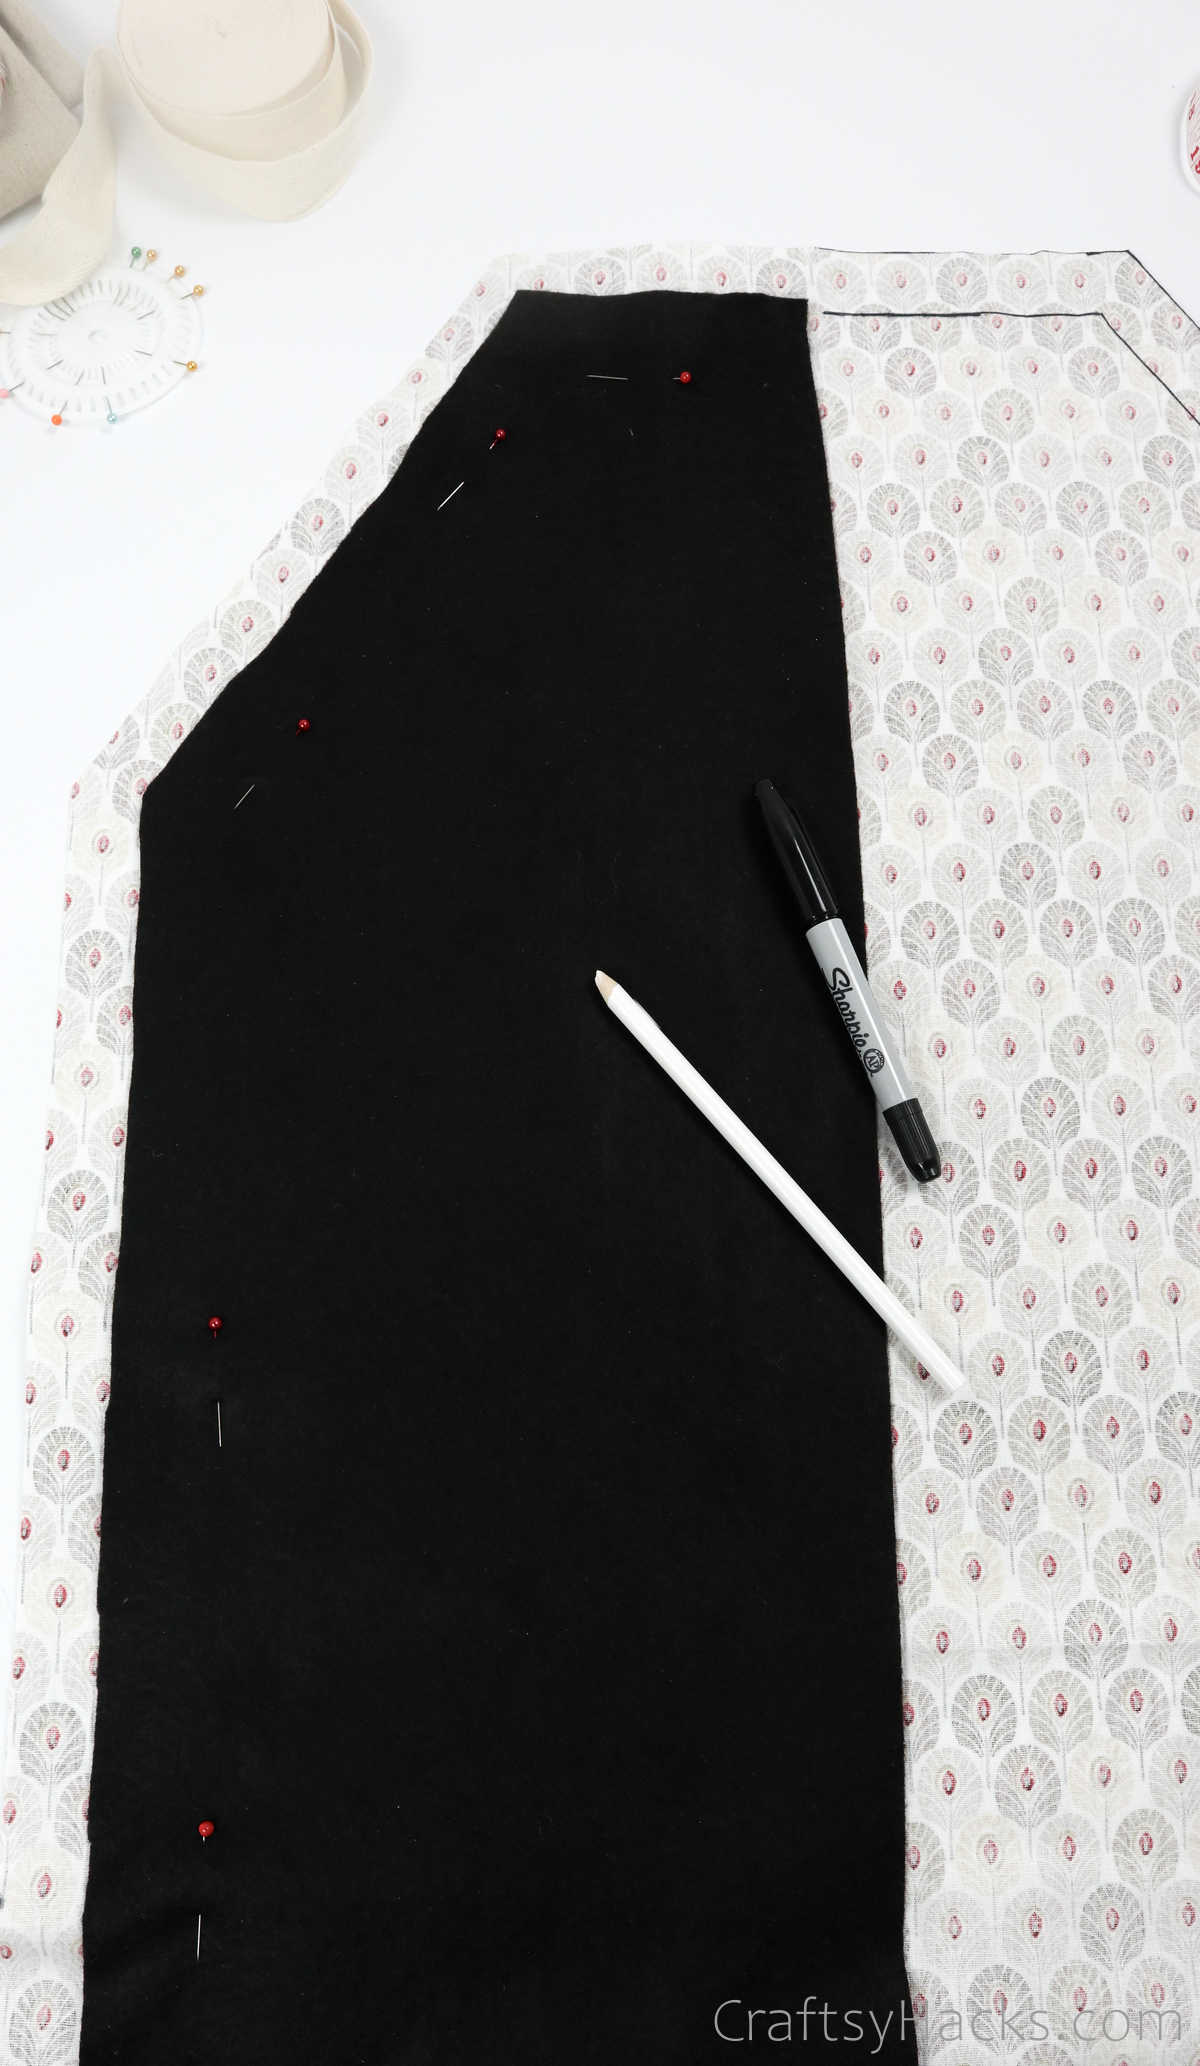
Take your main fabric and fold it in half, with the right sides facing inward.
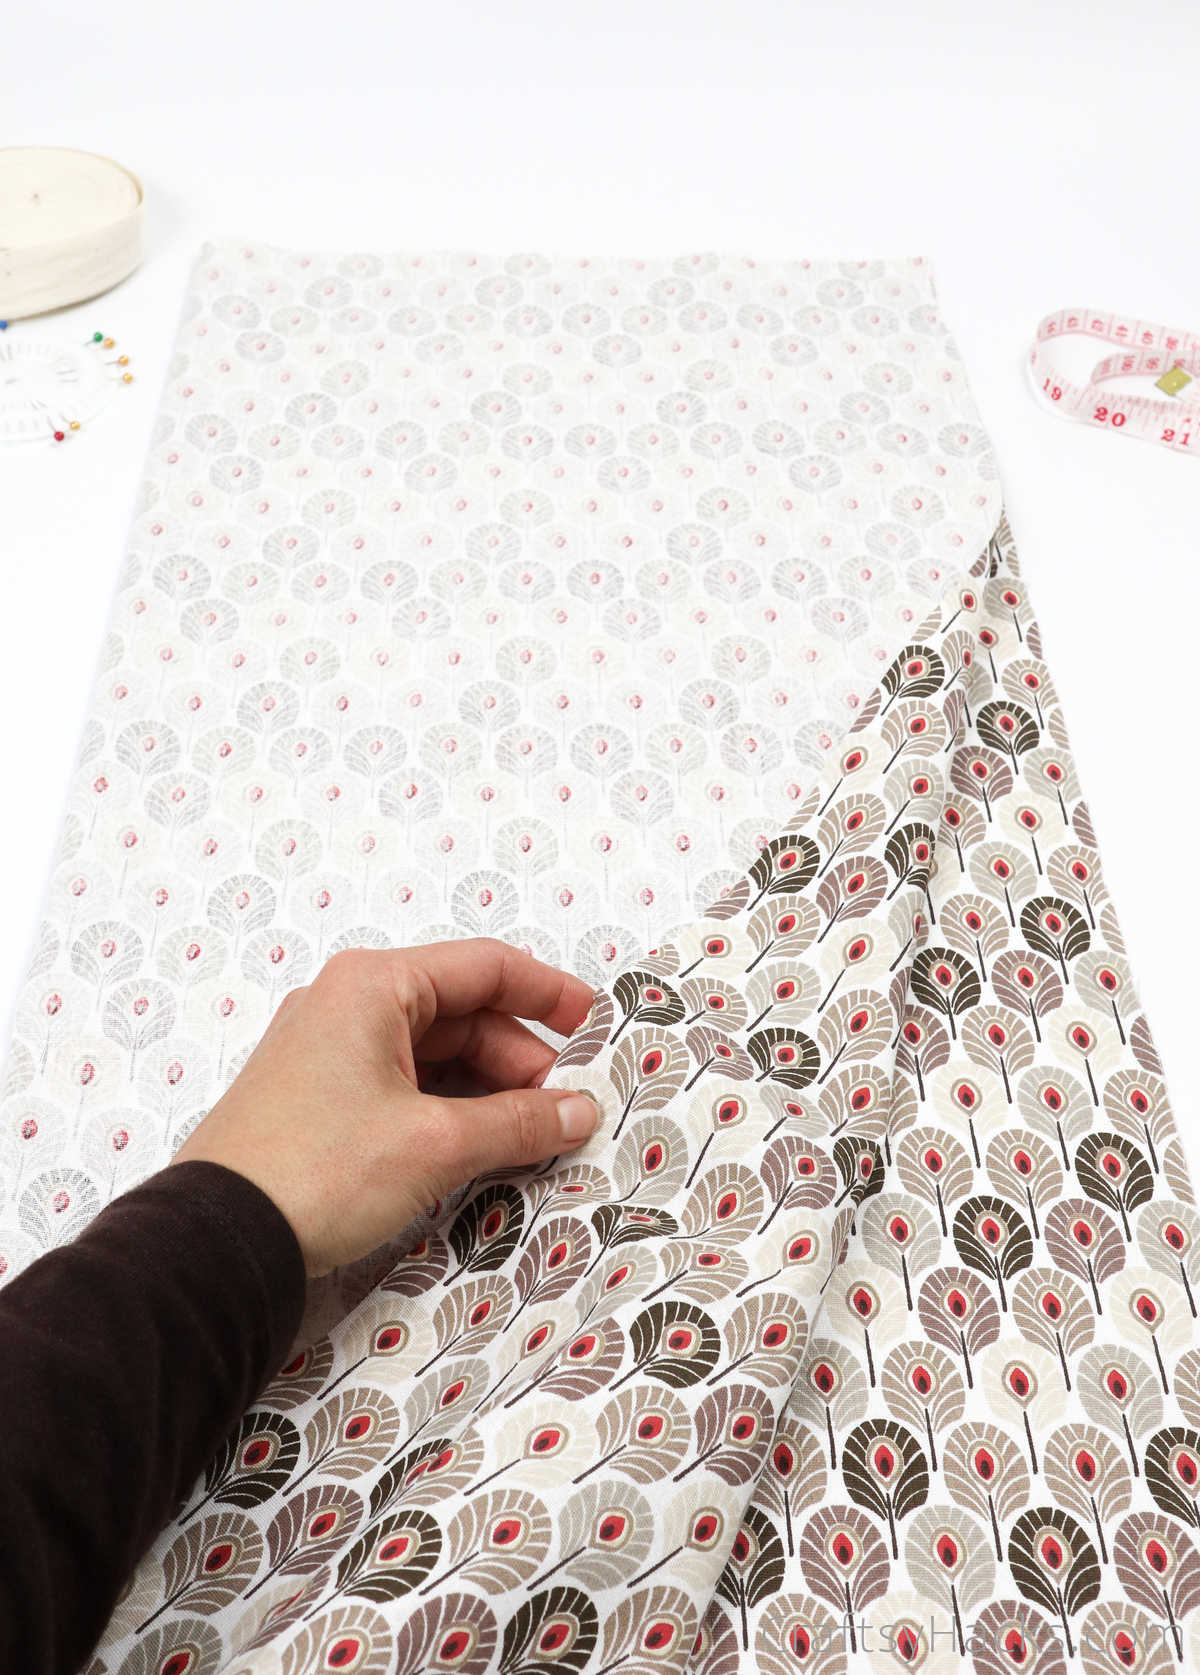
Then, place your fabric or newspaper template over the main fabric, as you can see here.
Just remember to make sure that the edges of both are properly aligned before you proceed. You can use a few sewing pins to secure the fabric and the template together and to hold both in place while you’re working.
Step 4
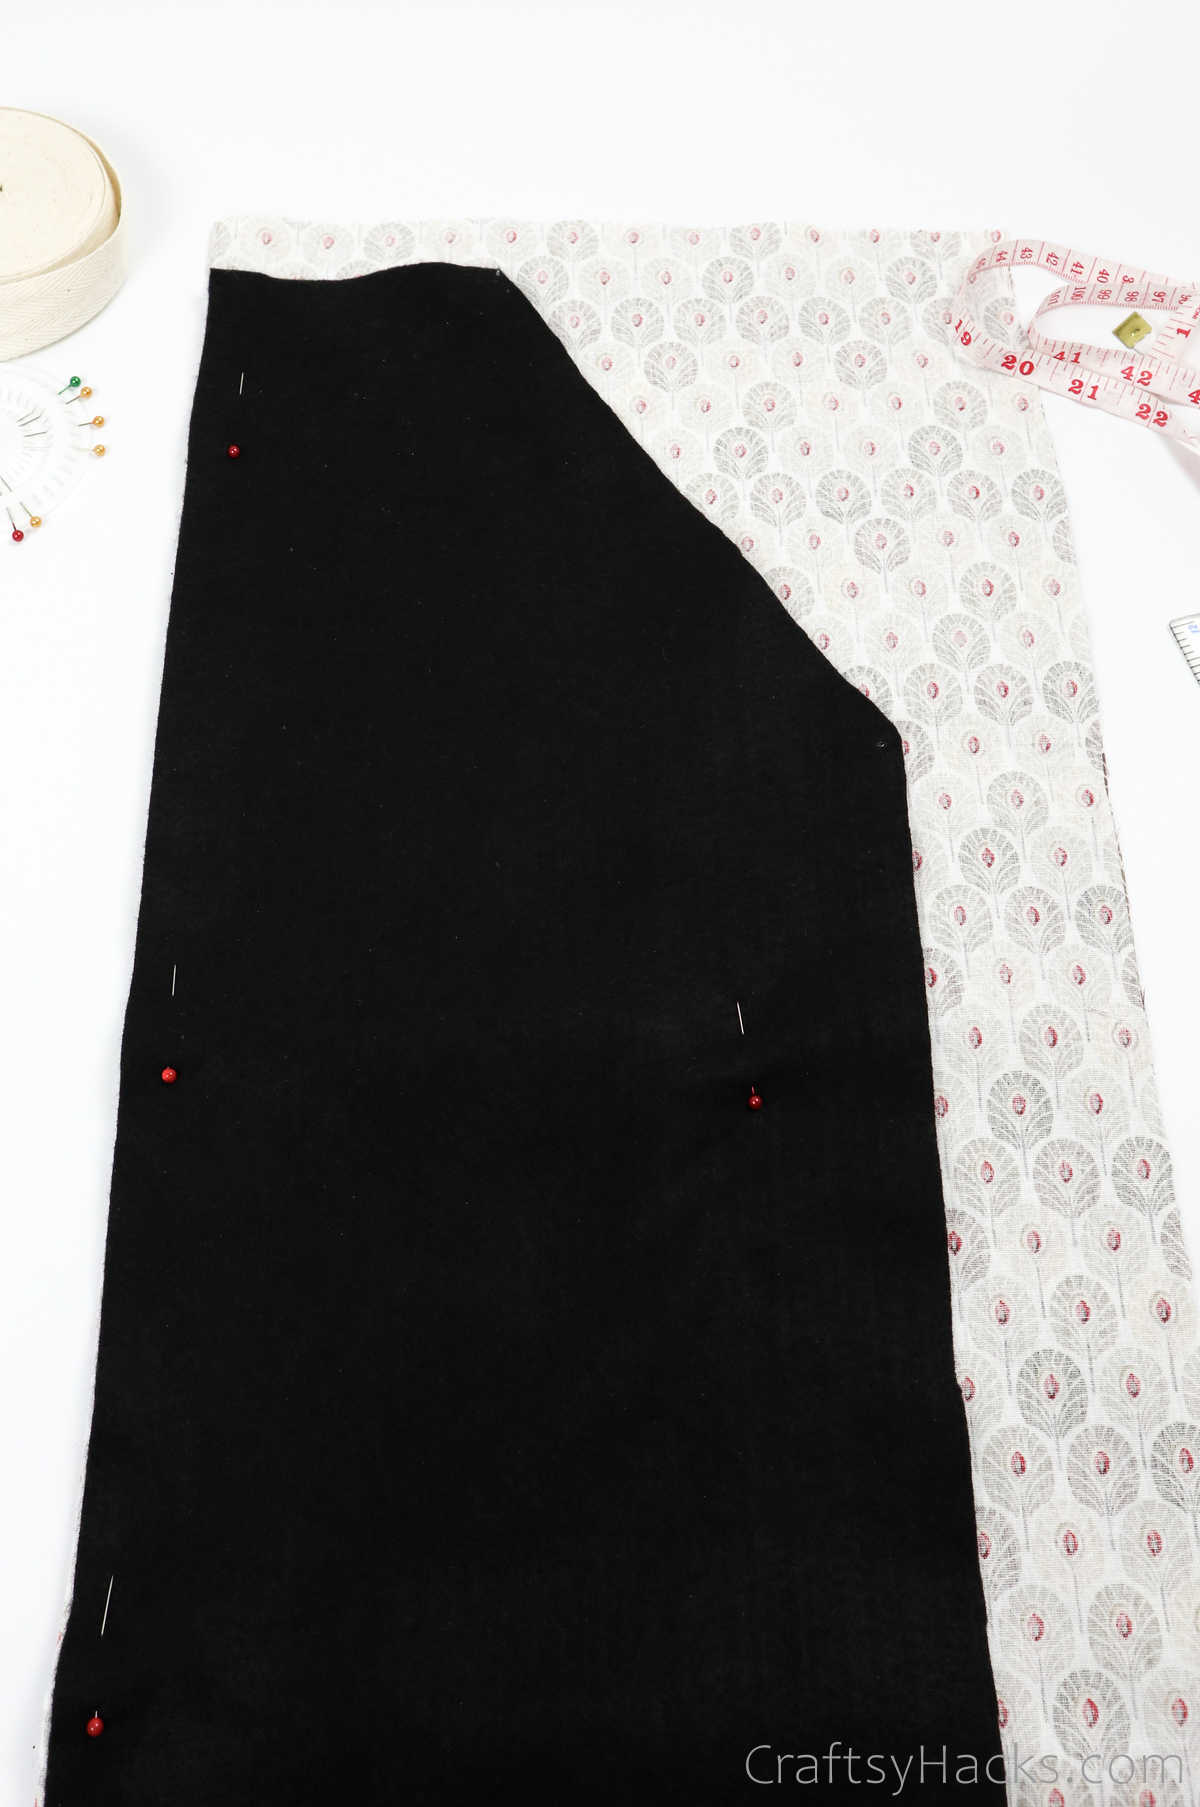
Grab a marker or a bit of tailor’s chalk and trace an outline of the template on the main fabric.
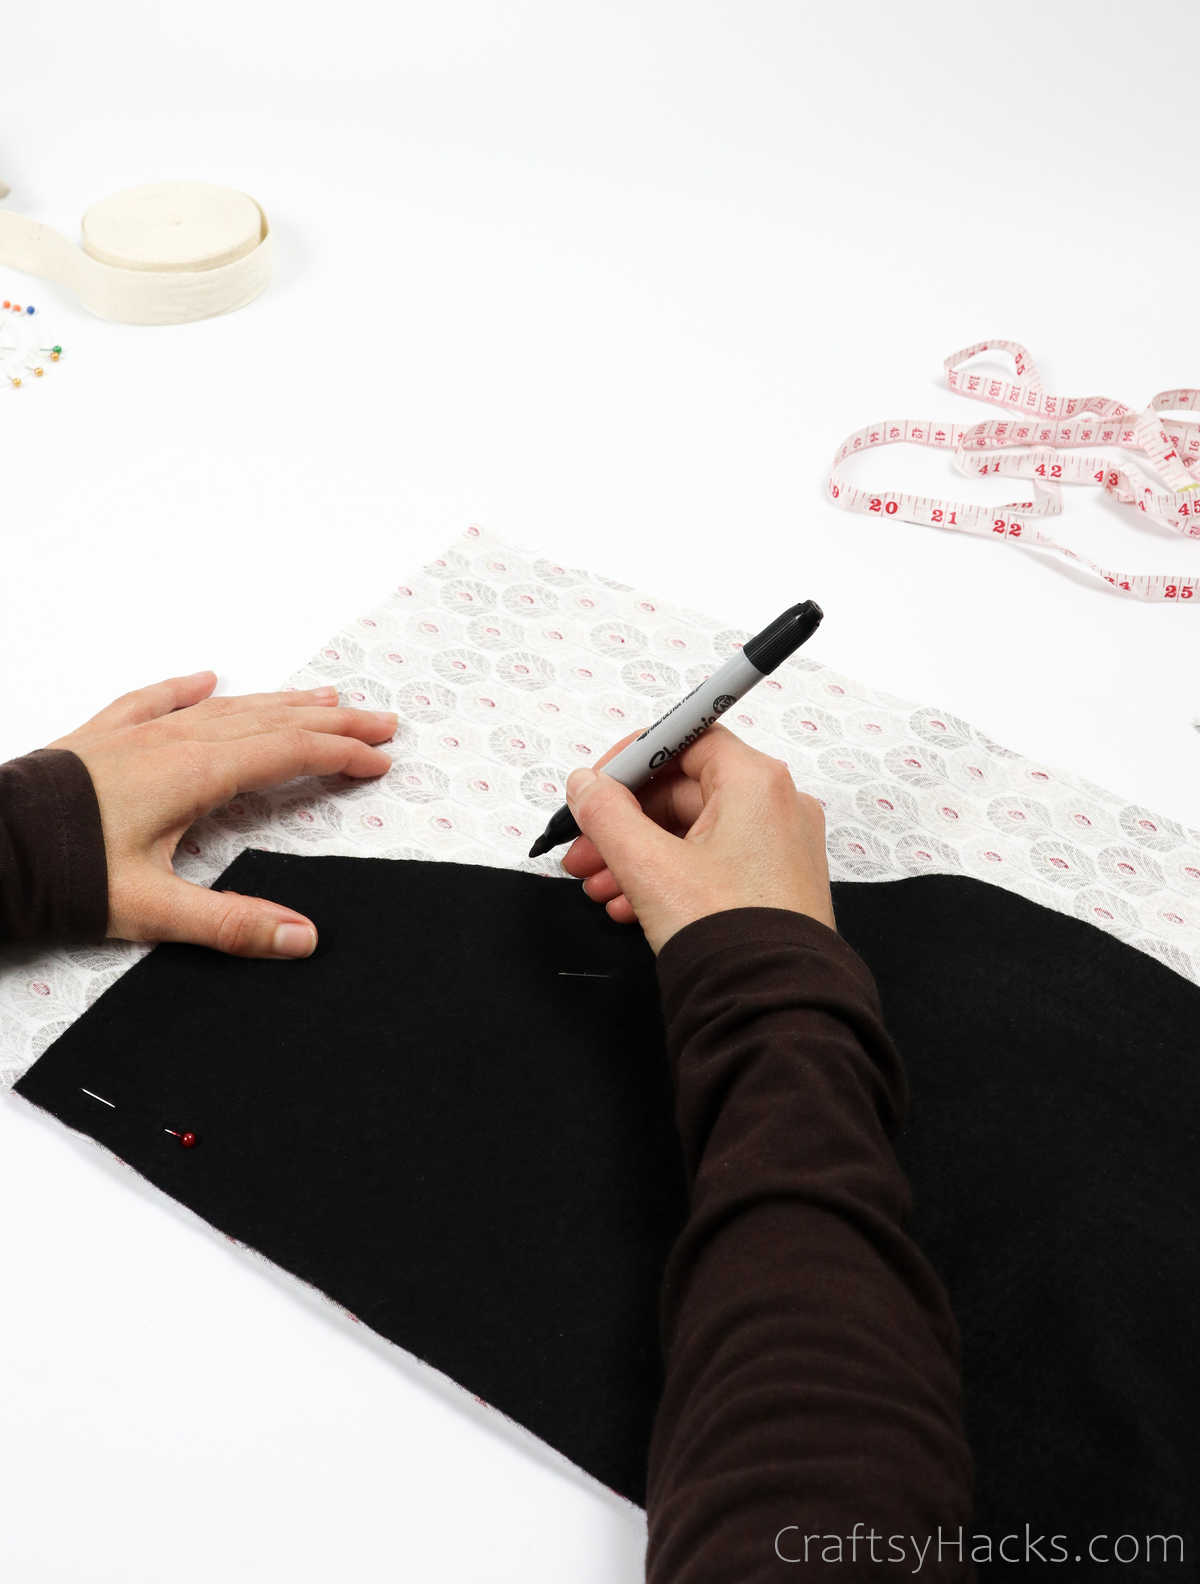
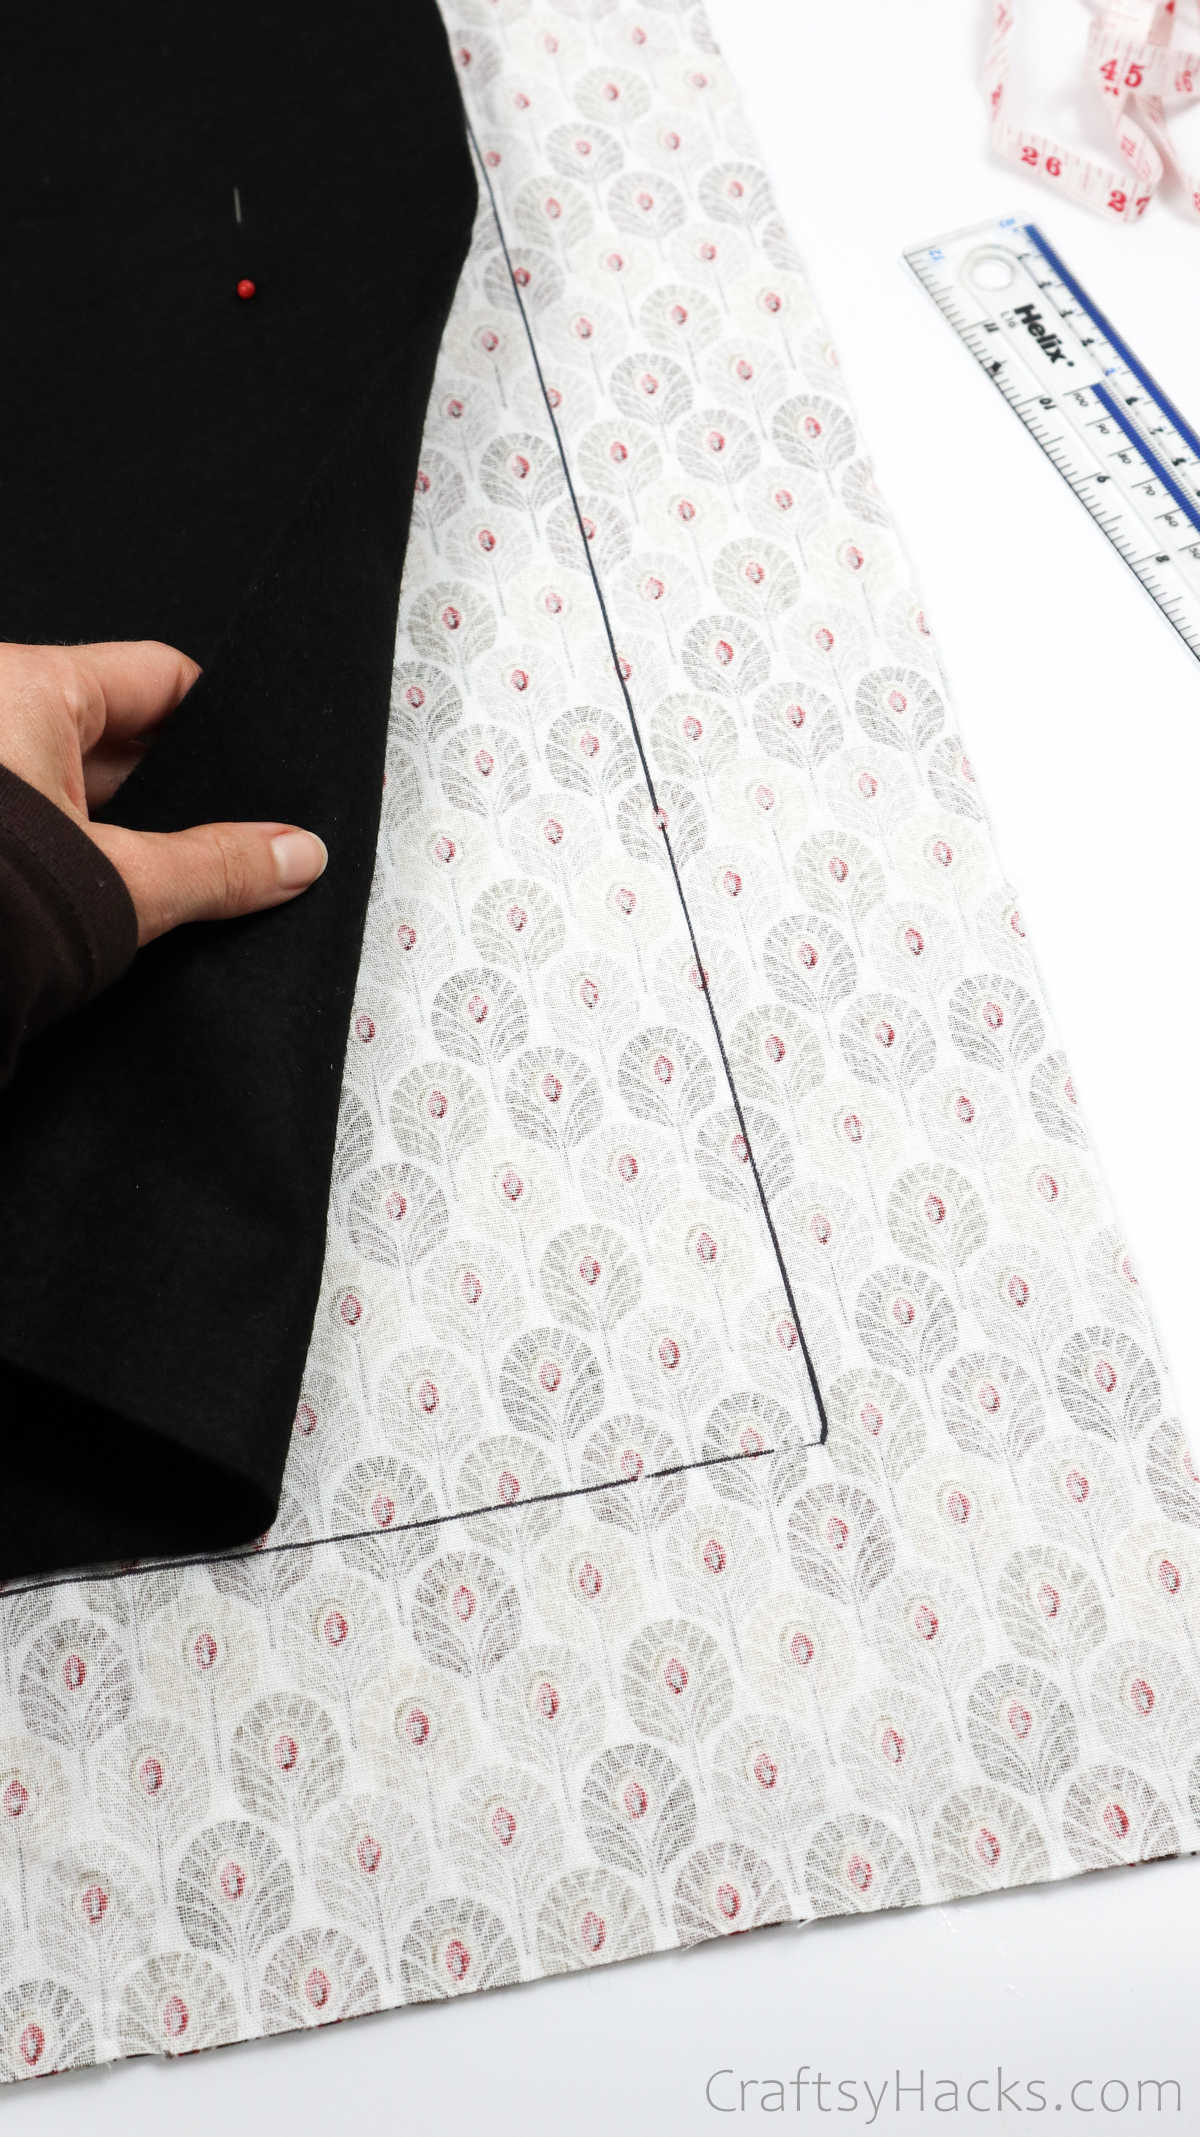
You will also need to give room for the seam allowance. So, draw a second outline about an inch away from the one you just drew, and that will be your seam allowance of one inch.
Grab a pair of scissors and cut the fabric along the outer outline you drew.
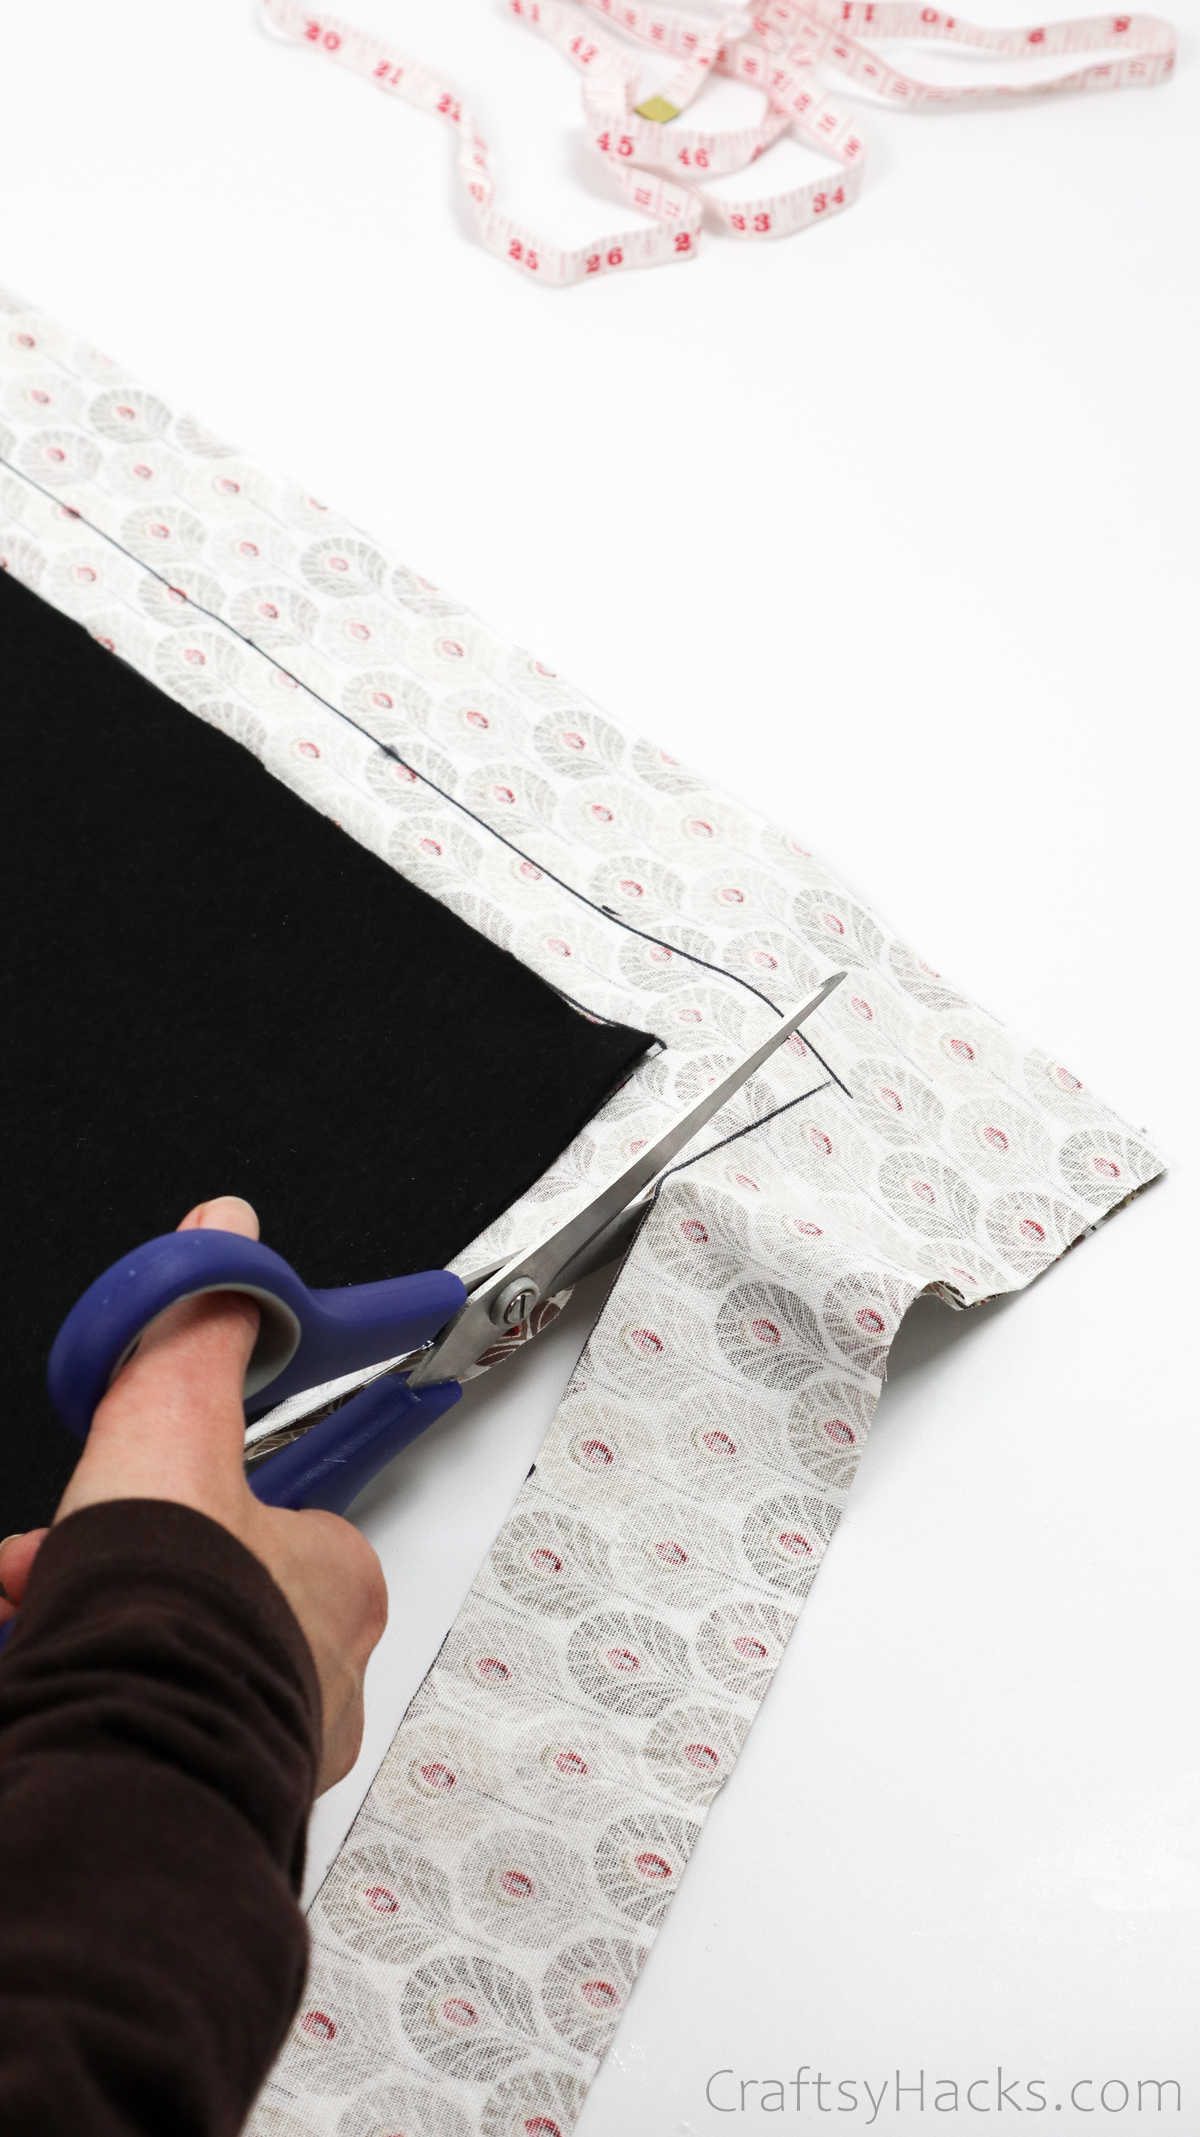
Step 5
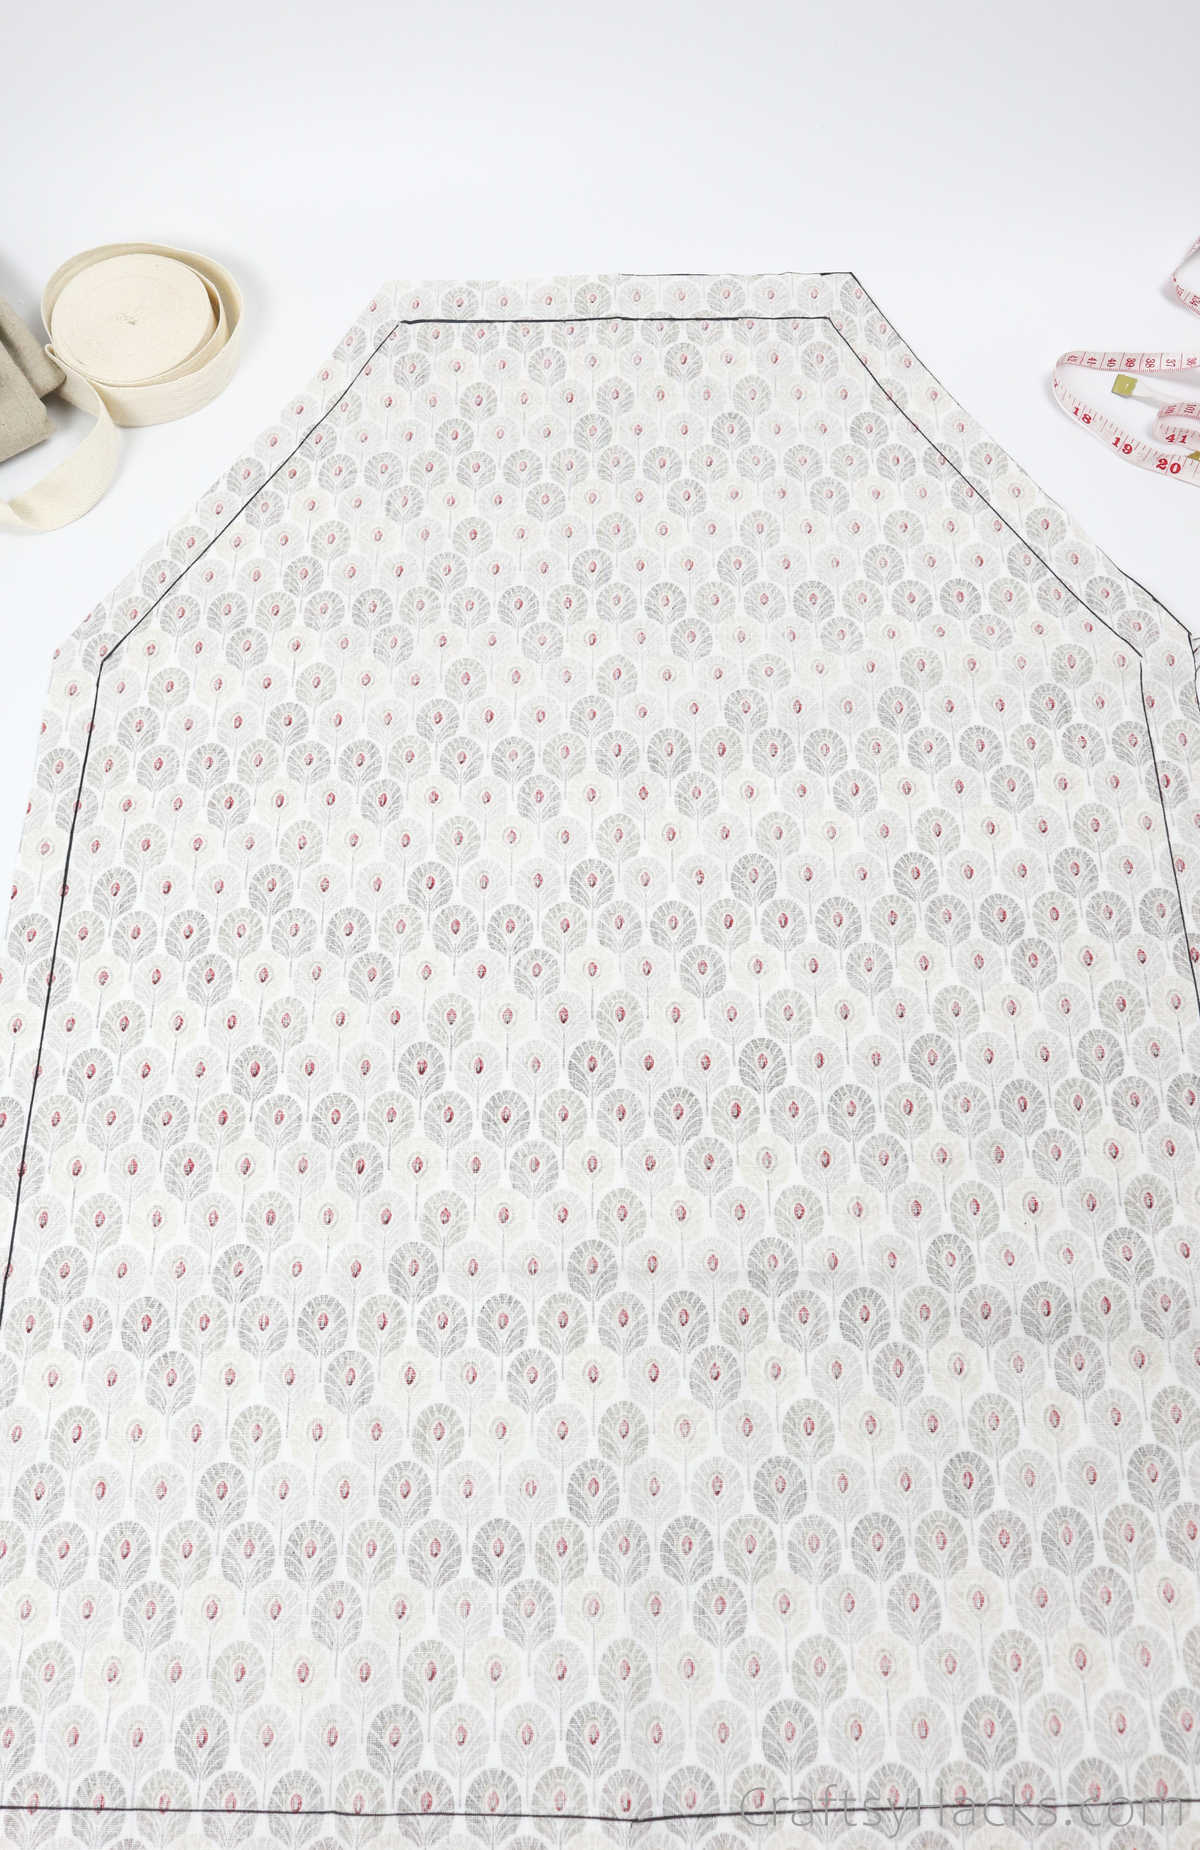
Once you have cut the fabric, you can remove all the pins and set the fabric template aside to work on your apron.
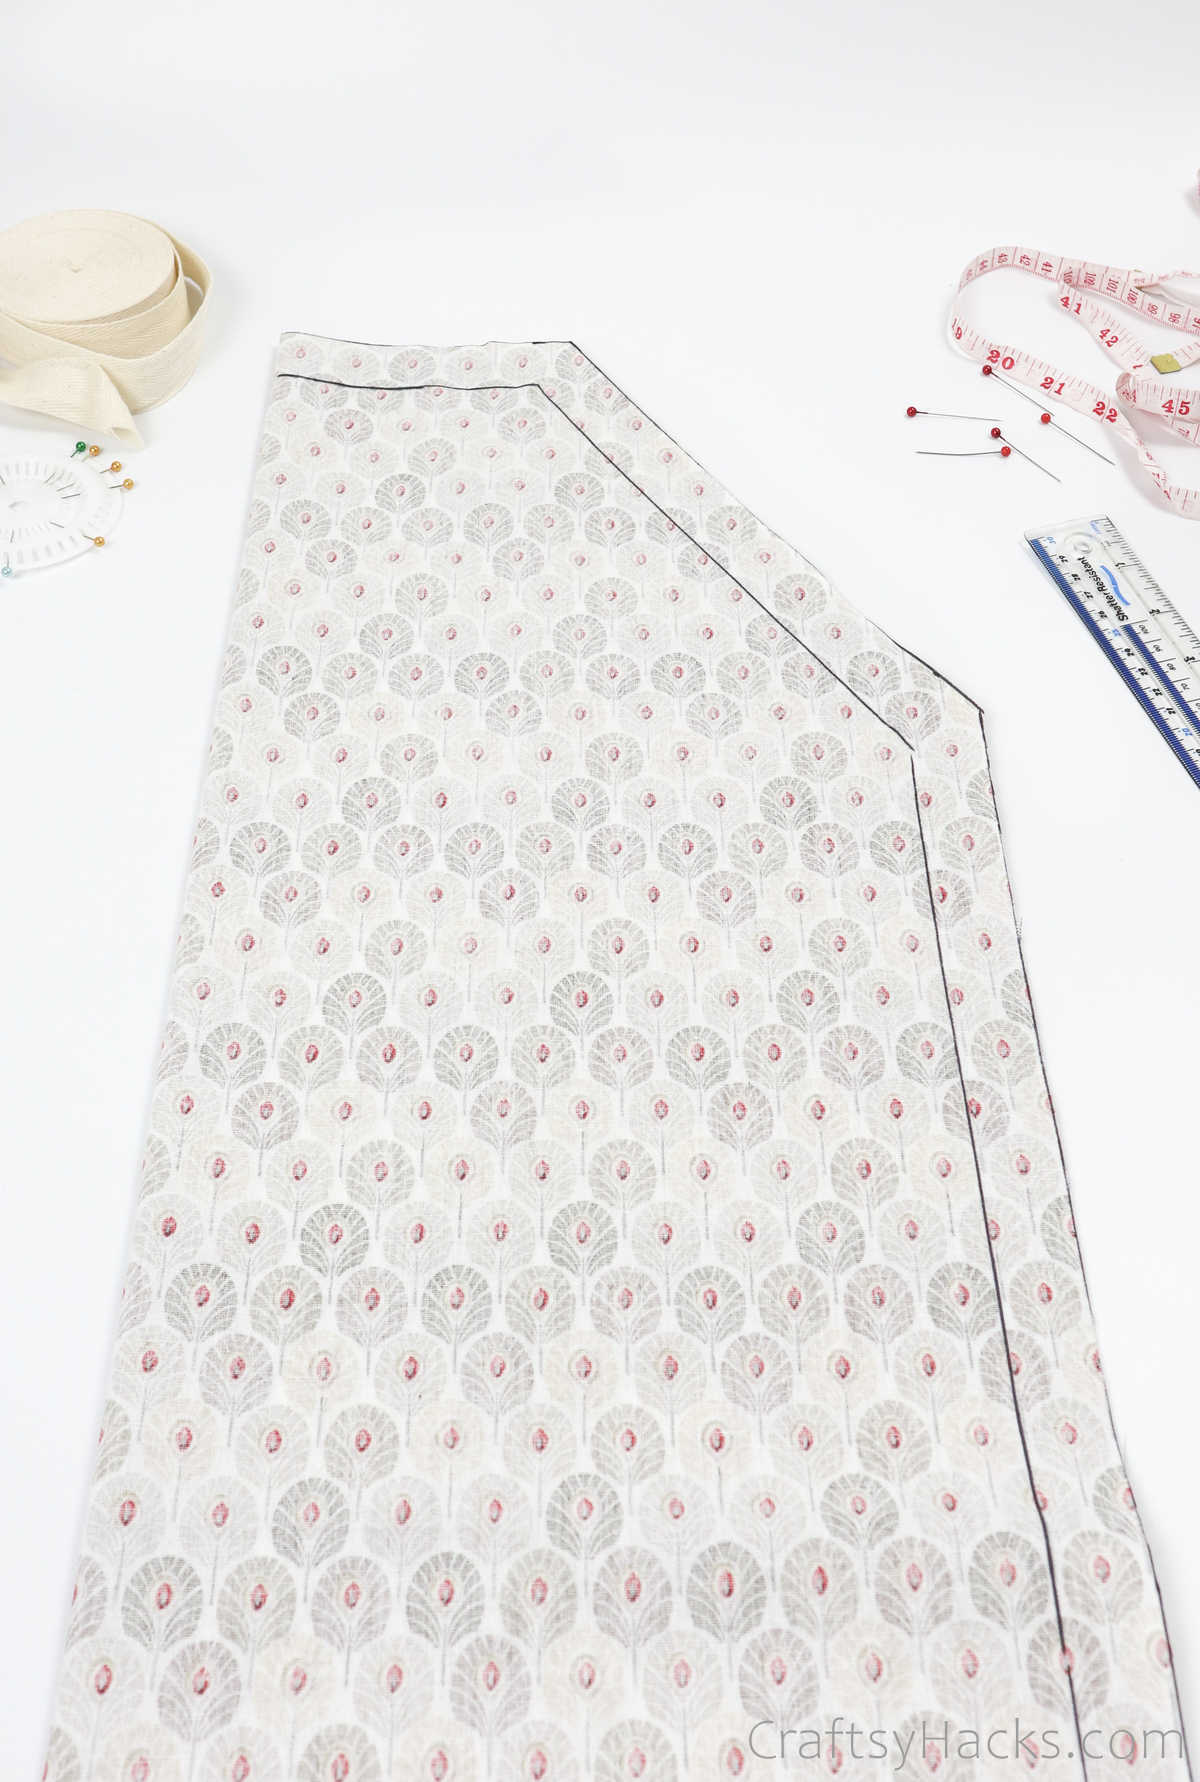
Open the folded fabric out and smoothen it over your work surface with the right side still facing down. You should be able to see the markings you made earlier, as well as the seam allowance.
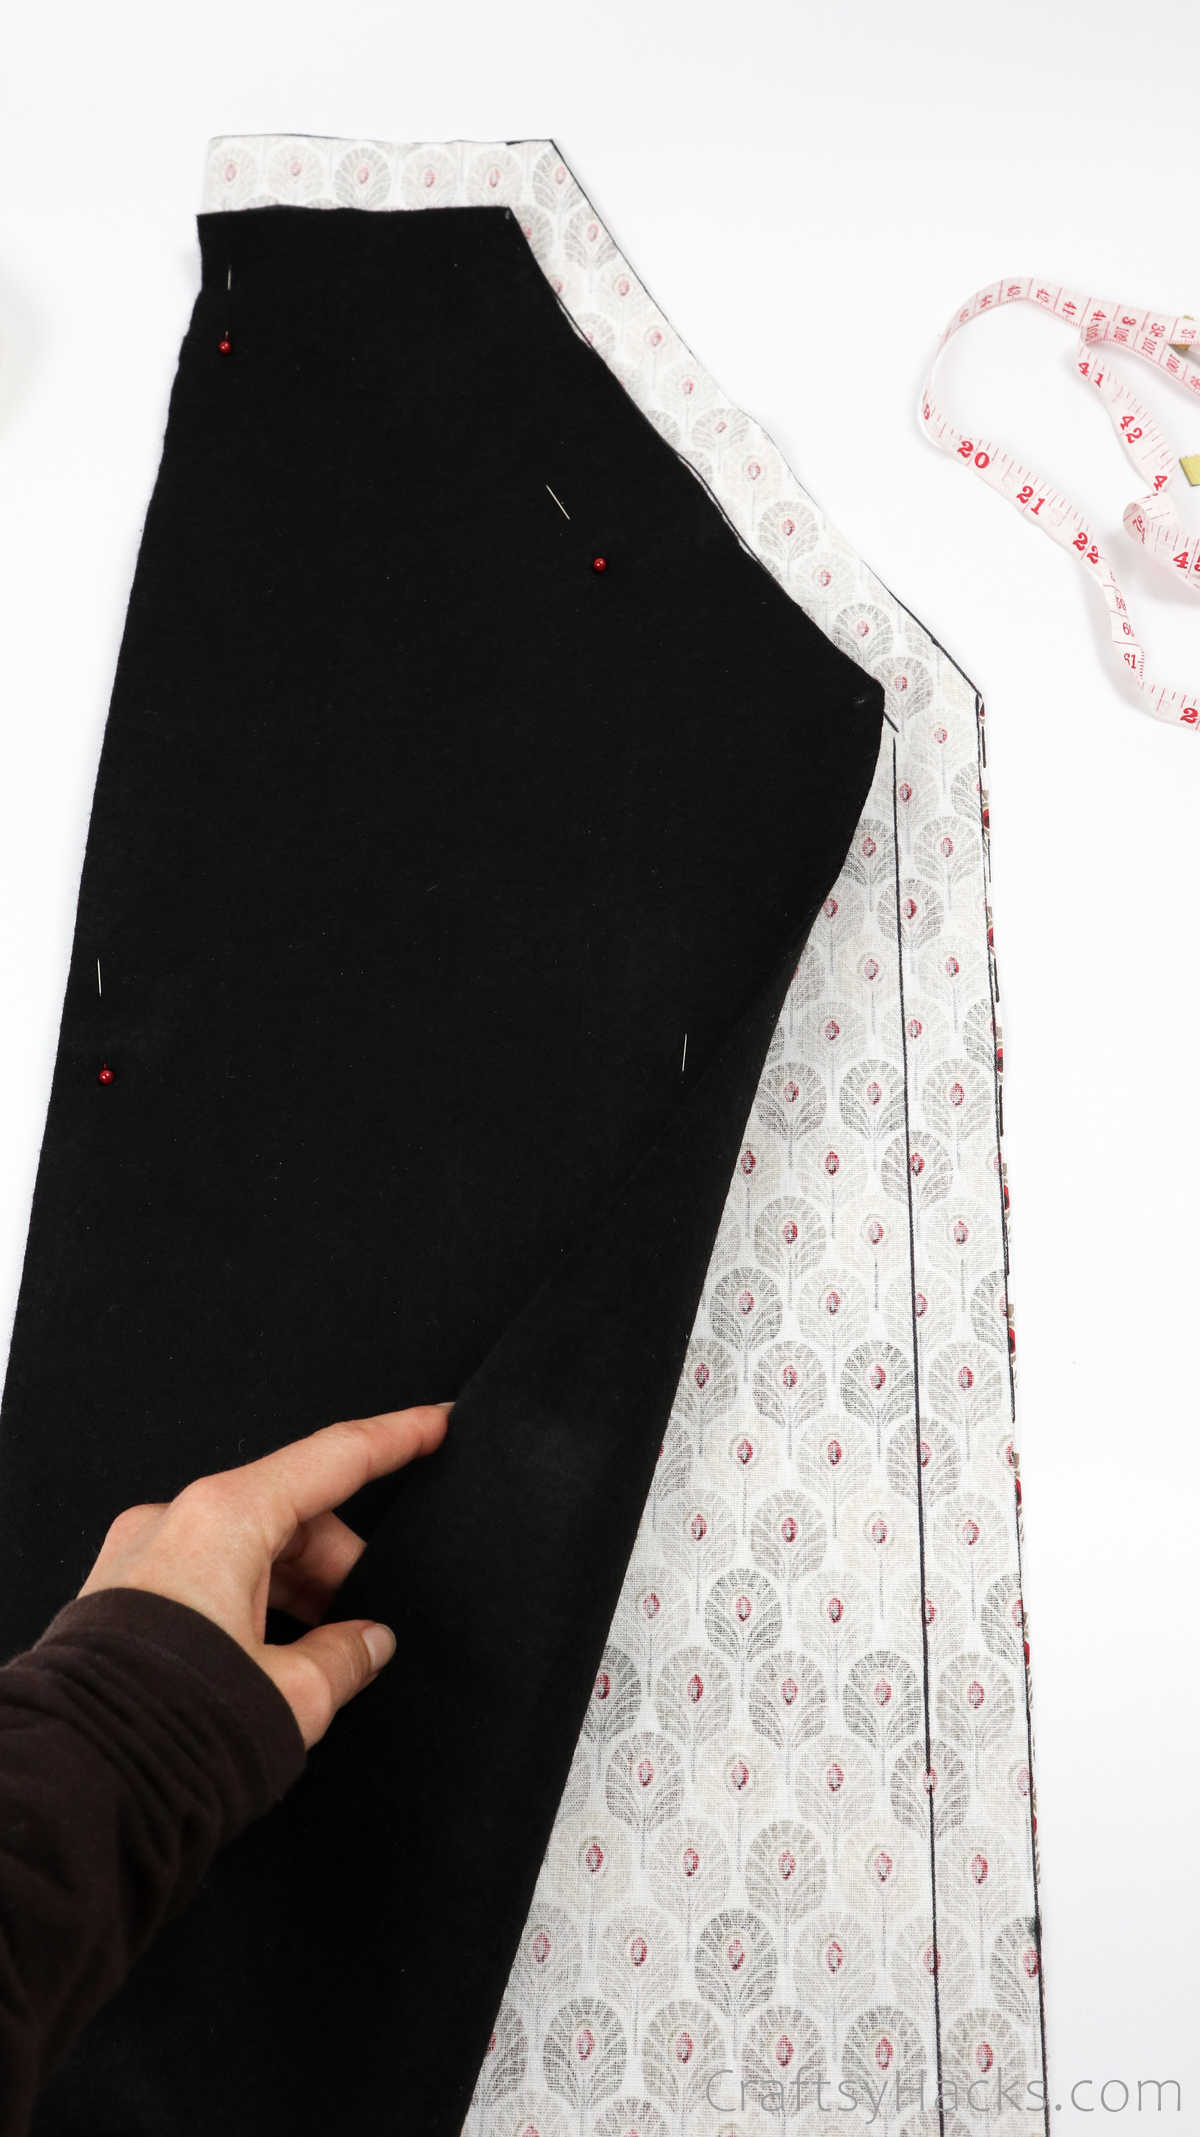
Step 6
Take your template once again and pin it in place on the opposite side—the one without the outlines. You know the drill, so go ahead and draw an outline, as well as an inch-wide seam allowance to mirror the other side of the fabric.
Step 7
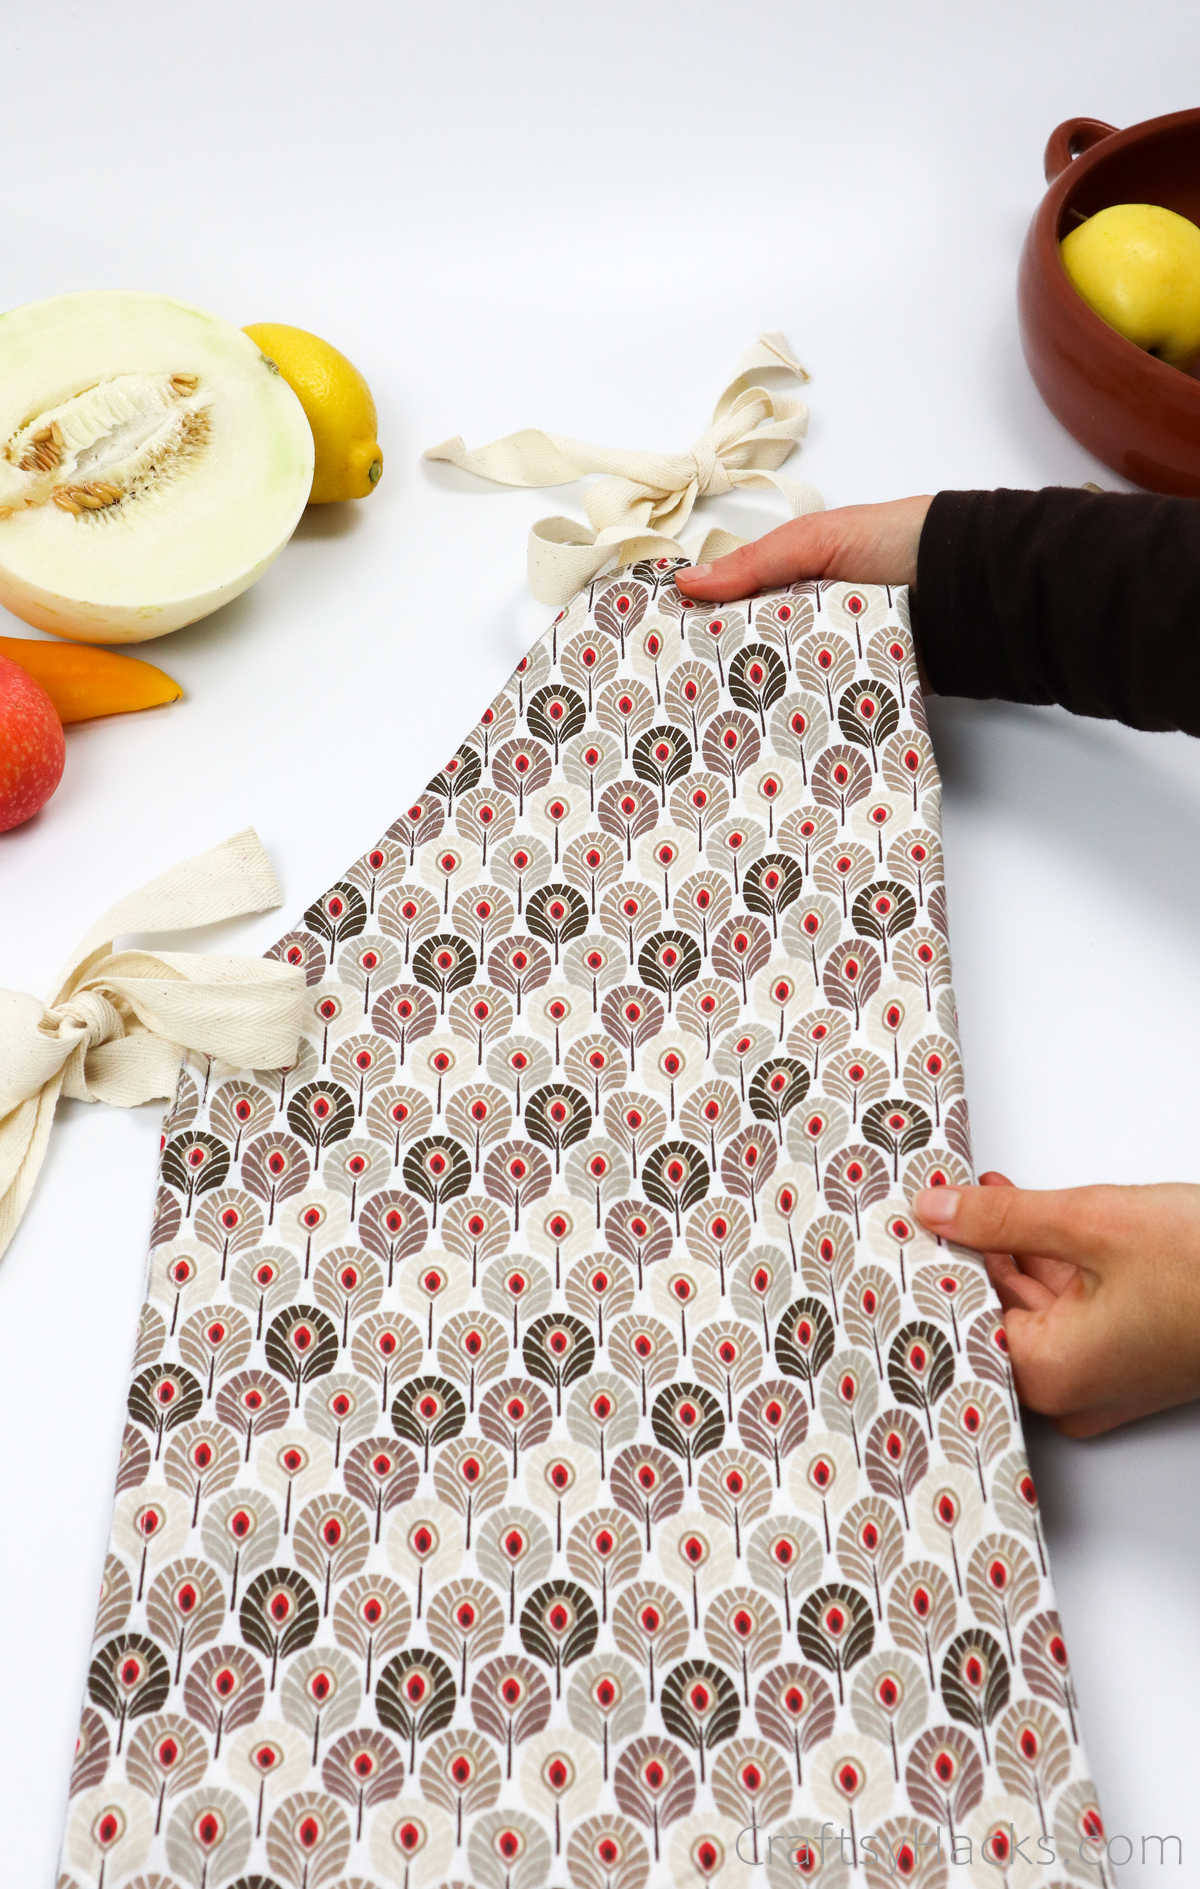
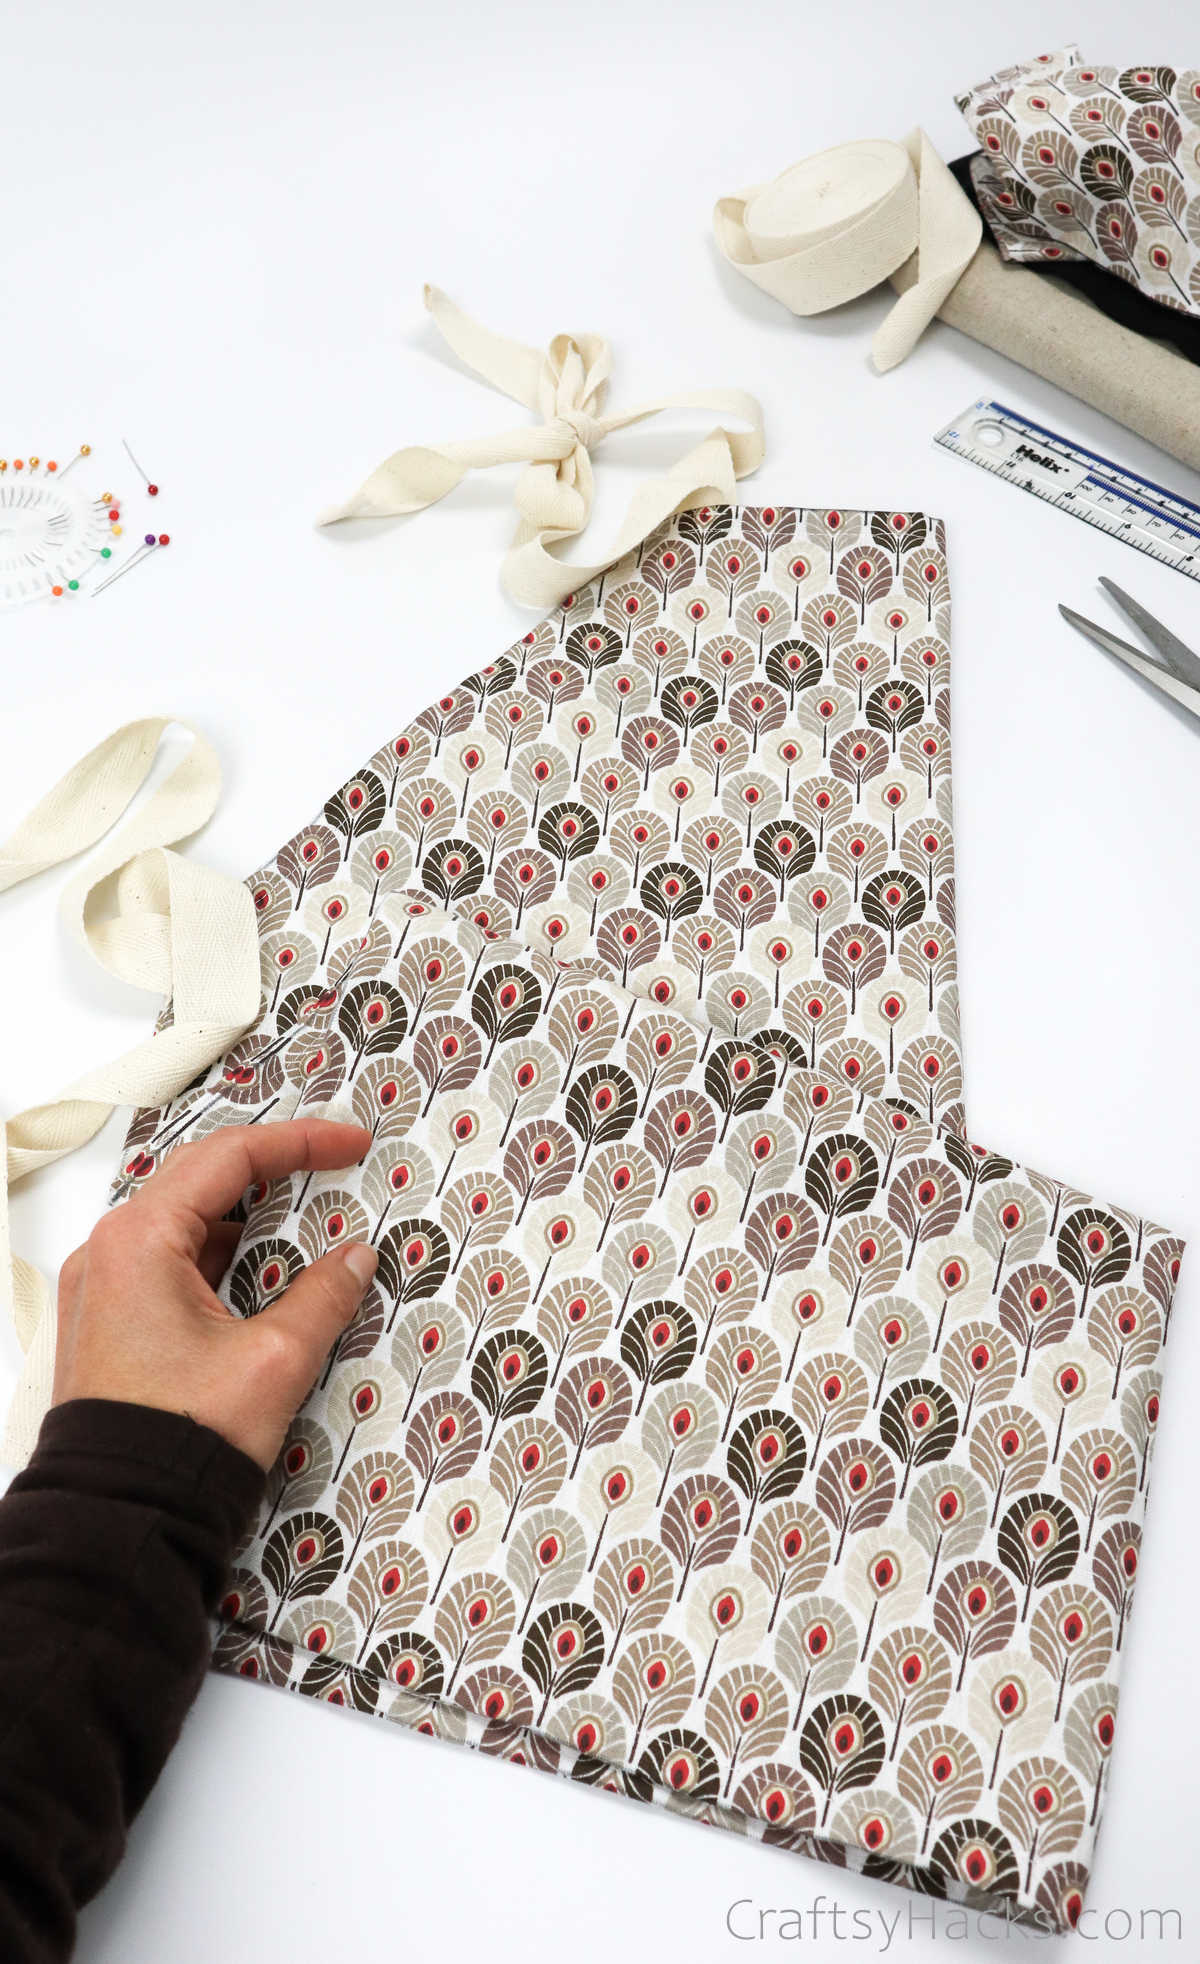
It’s now time to fold or roll the hem of your fabric. Grab the ends and fold it over to align it with the inner outline, as you see below.
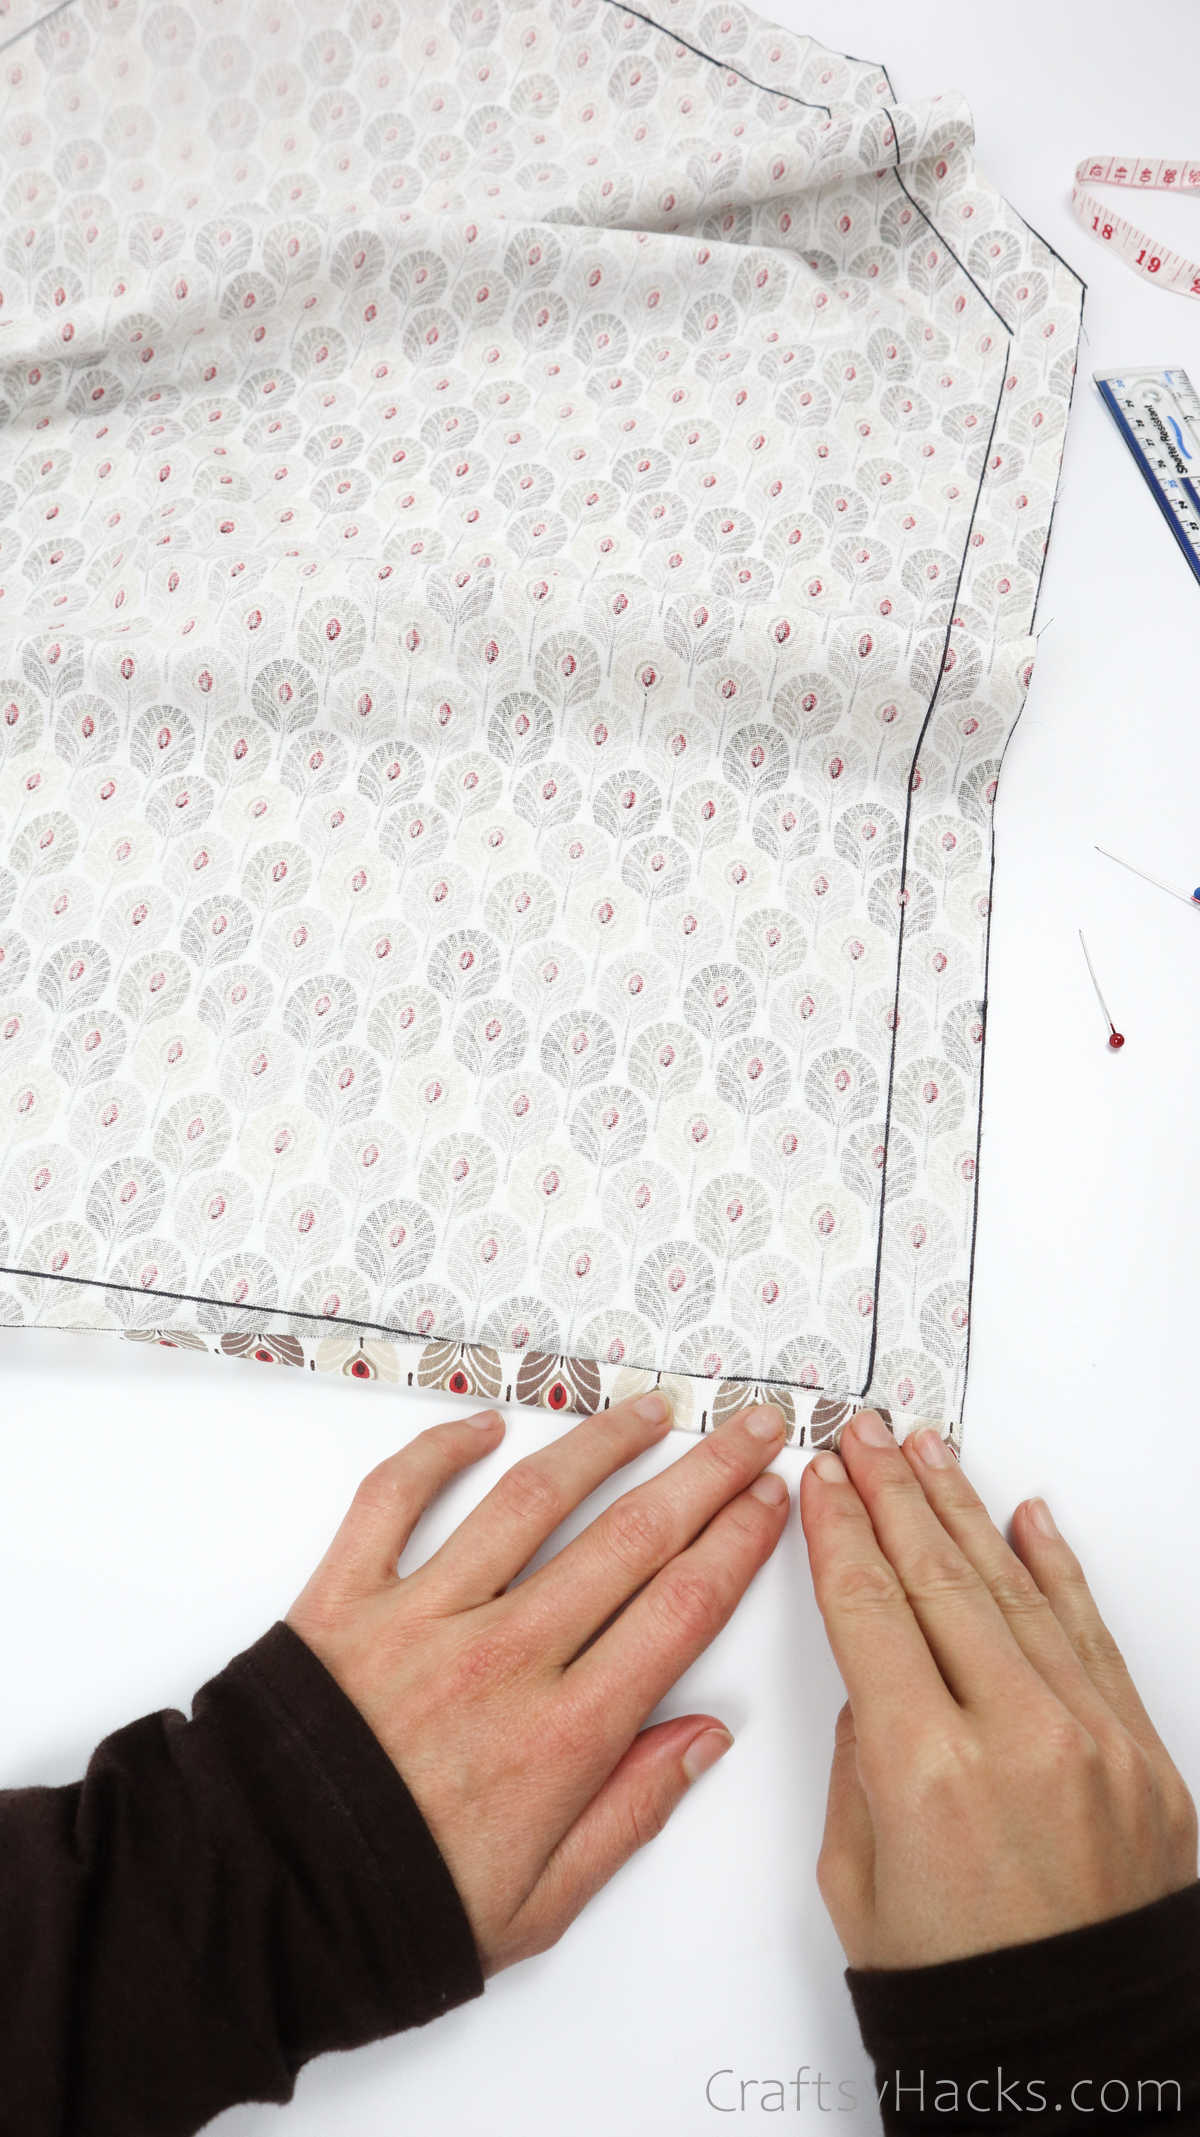
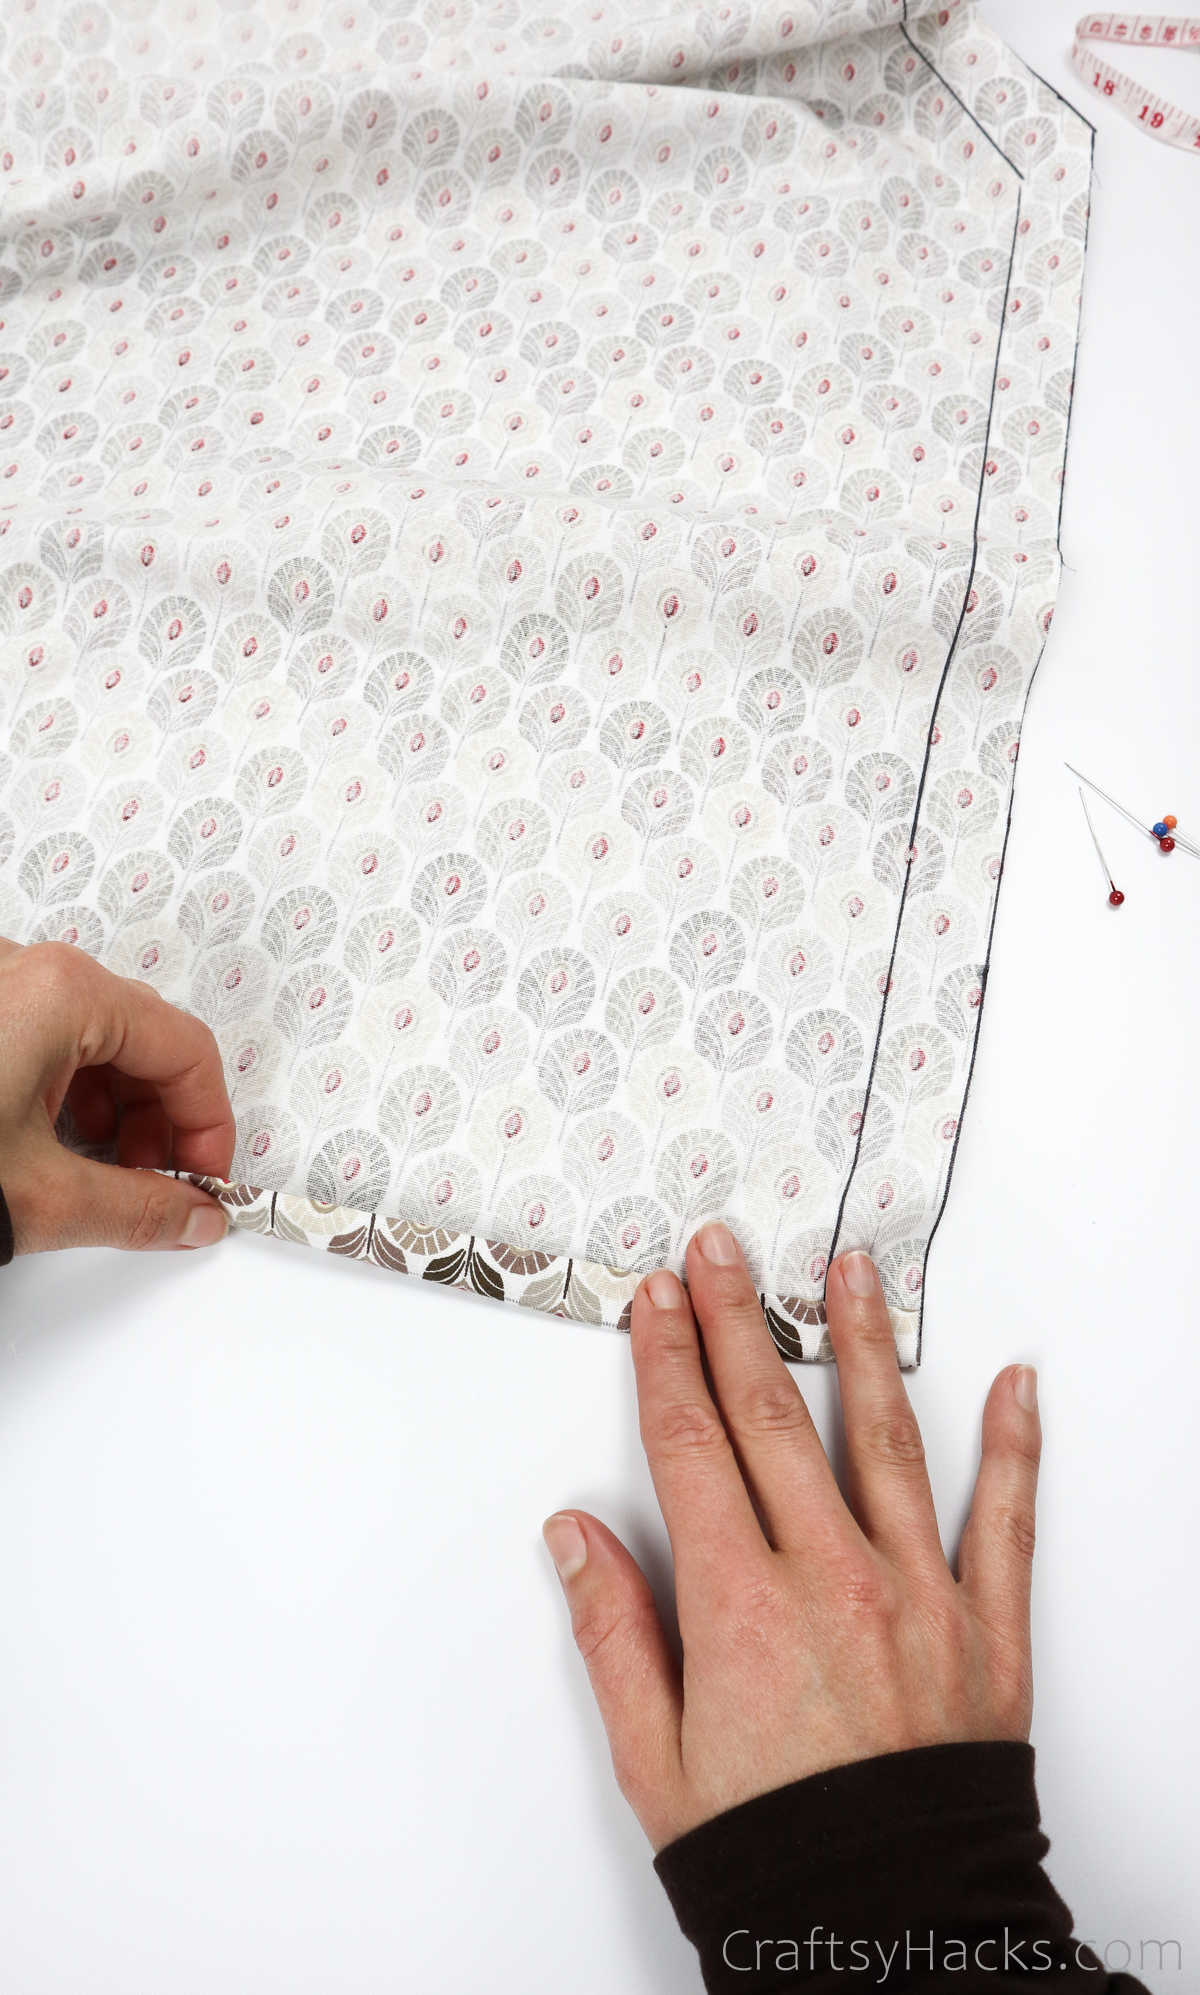
You will need to use sewing pins to secure the fabric while you fold the hem all the way around the apron. You can also iron the hem to press it—and keep it—in place.
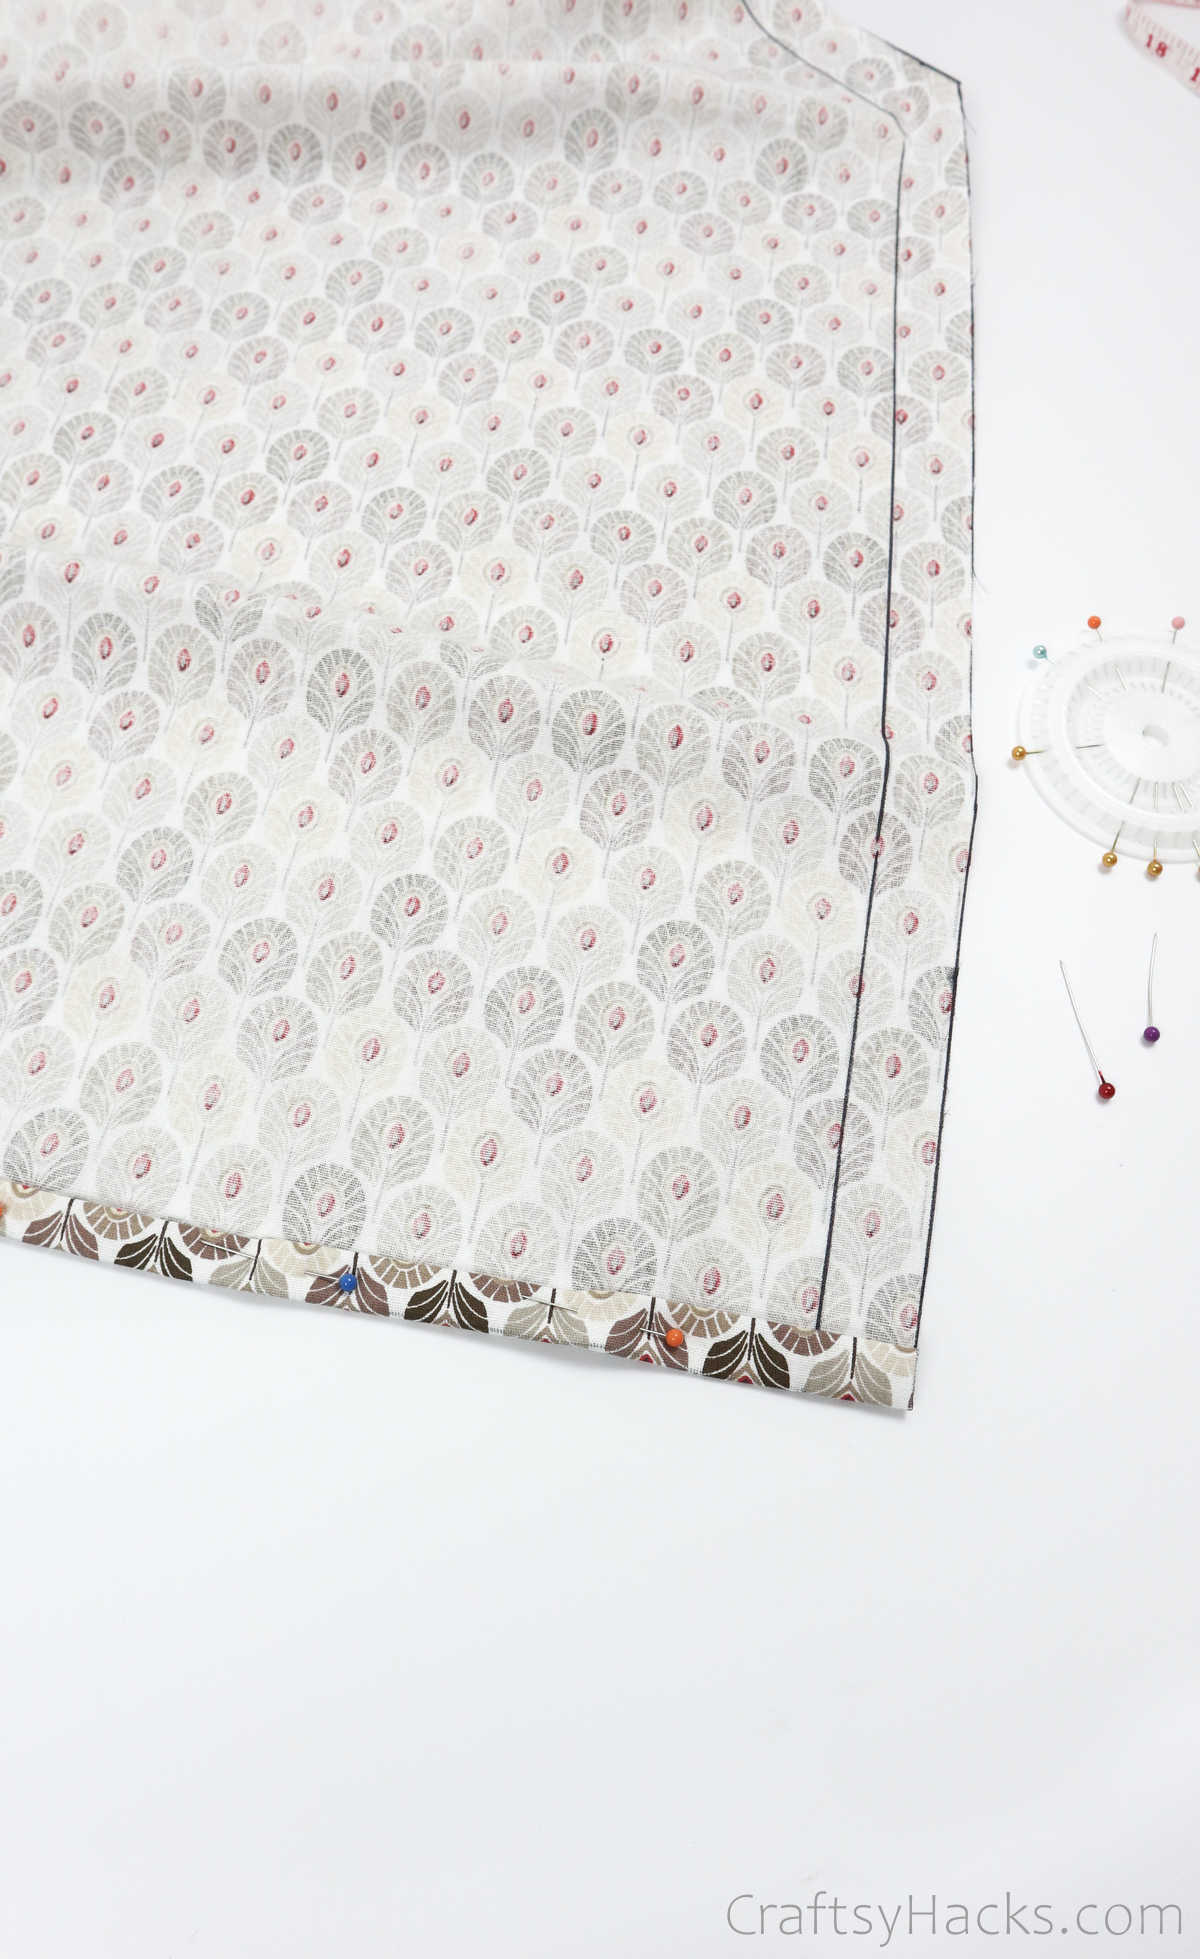
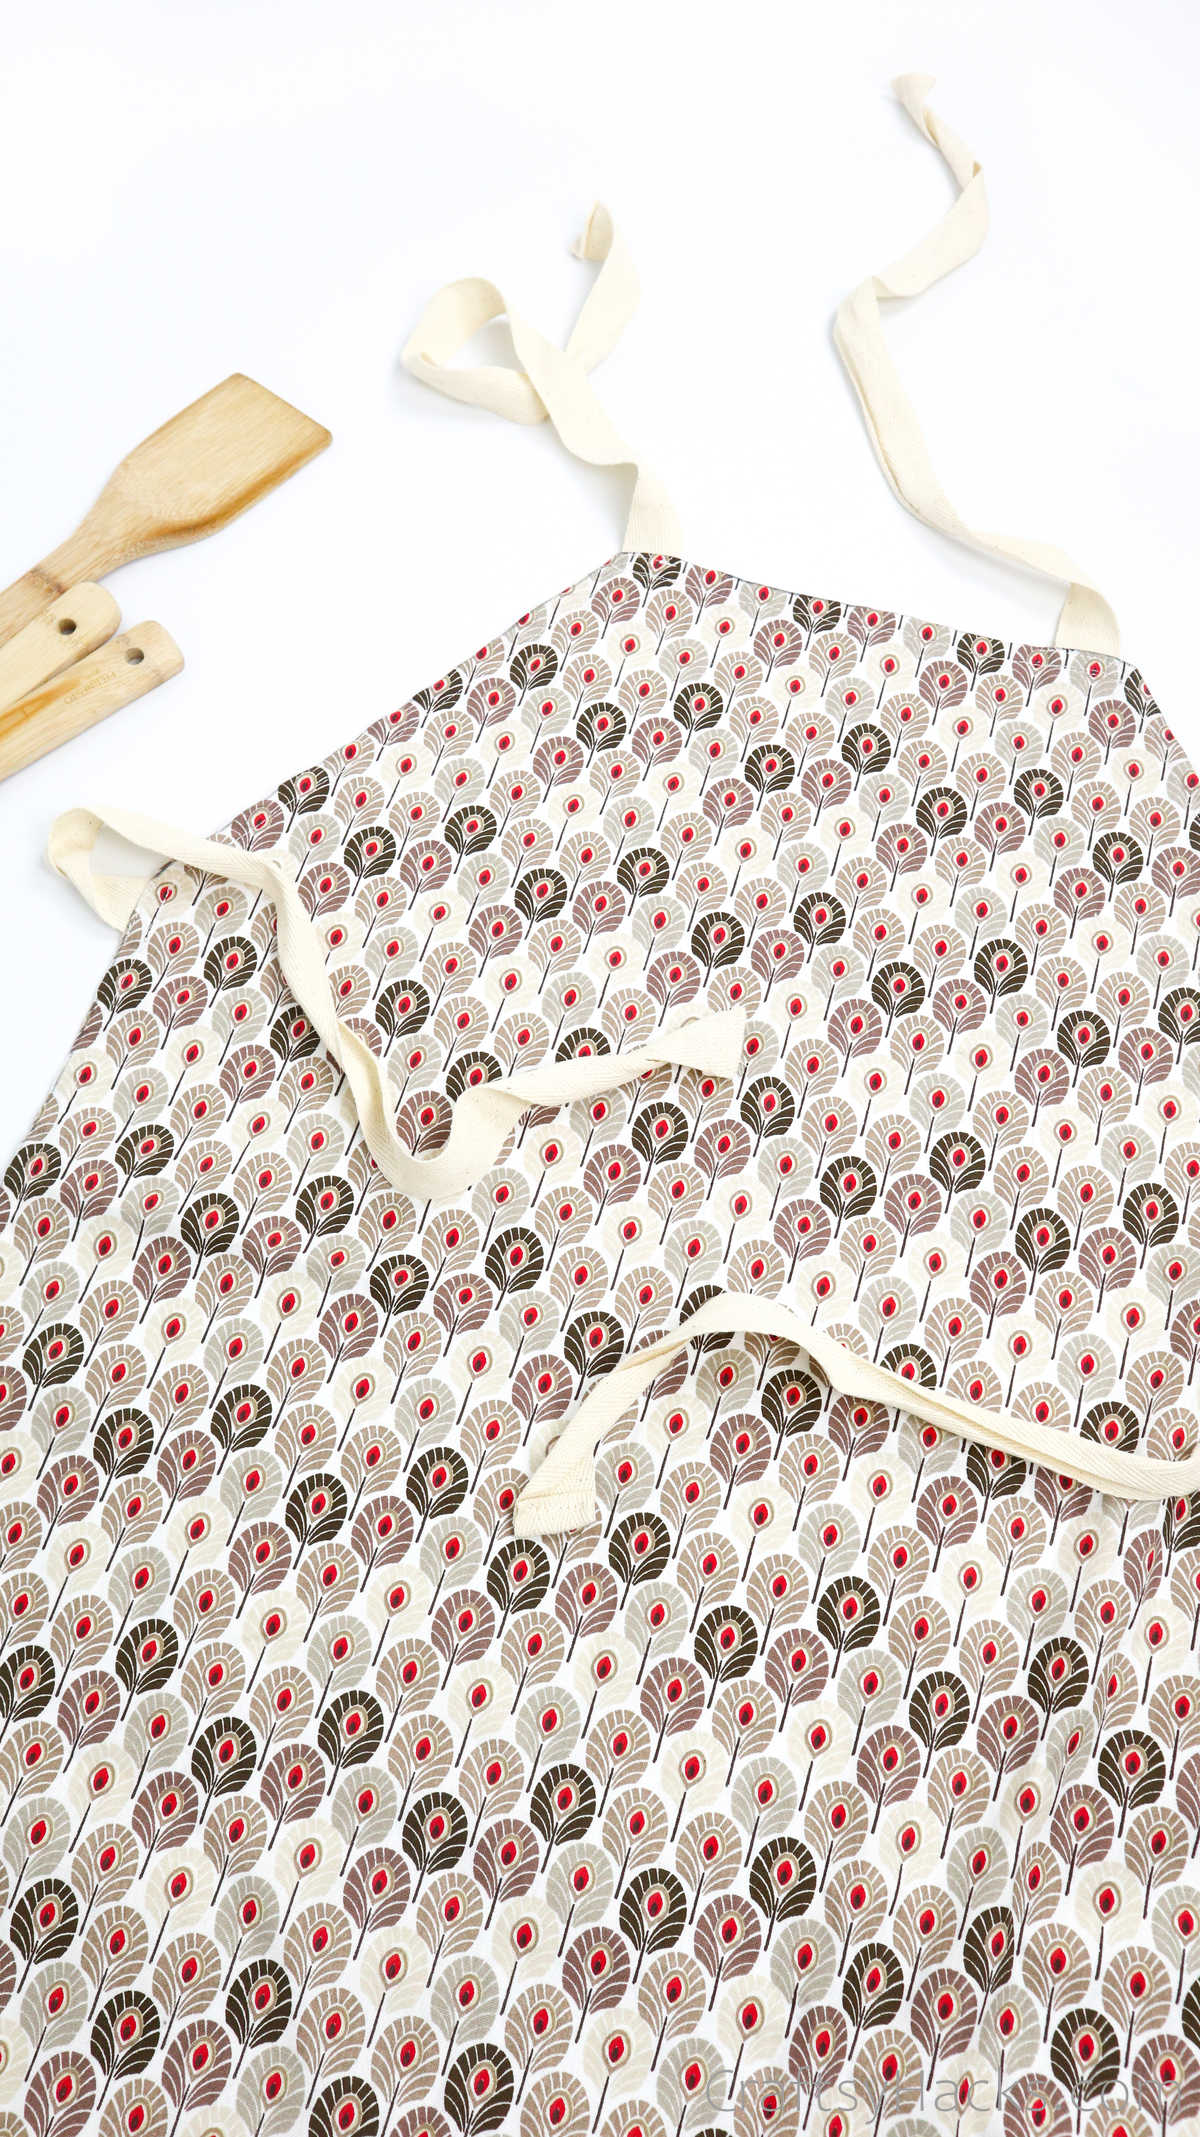
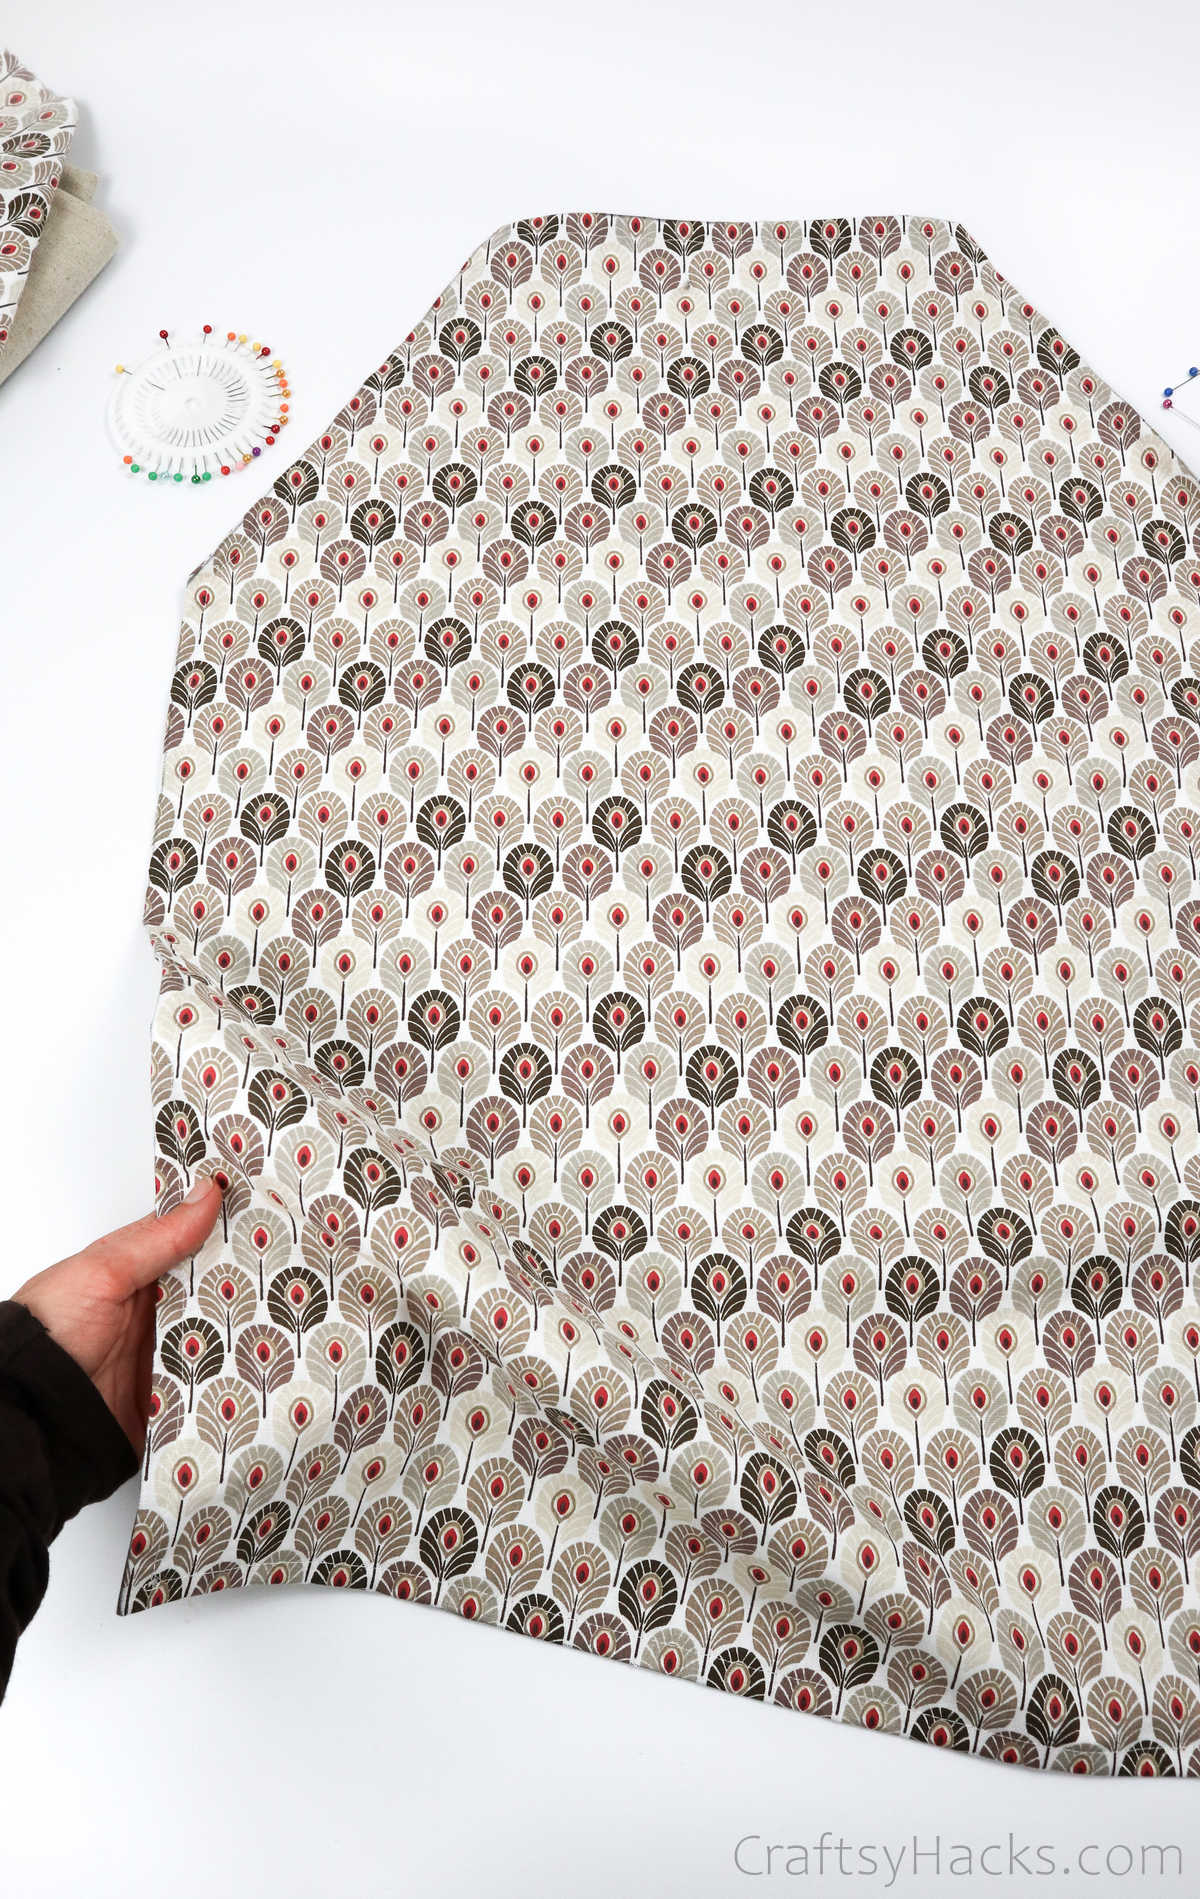
If you turn the fabric over, you will notice that the shape of your apron is coming together quite nicely. But there’s still one more thing you need to do before you start sewing.
Step 8
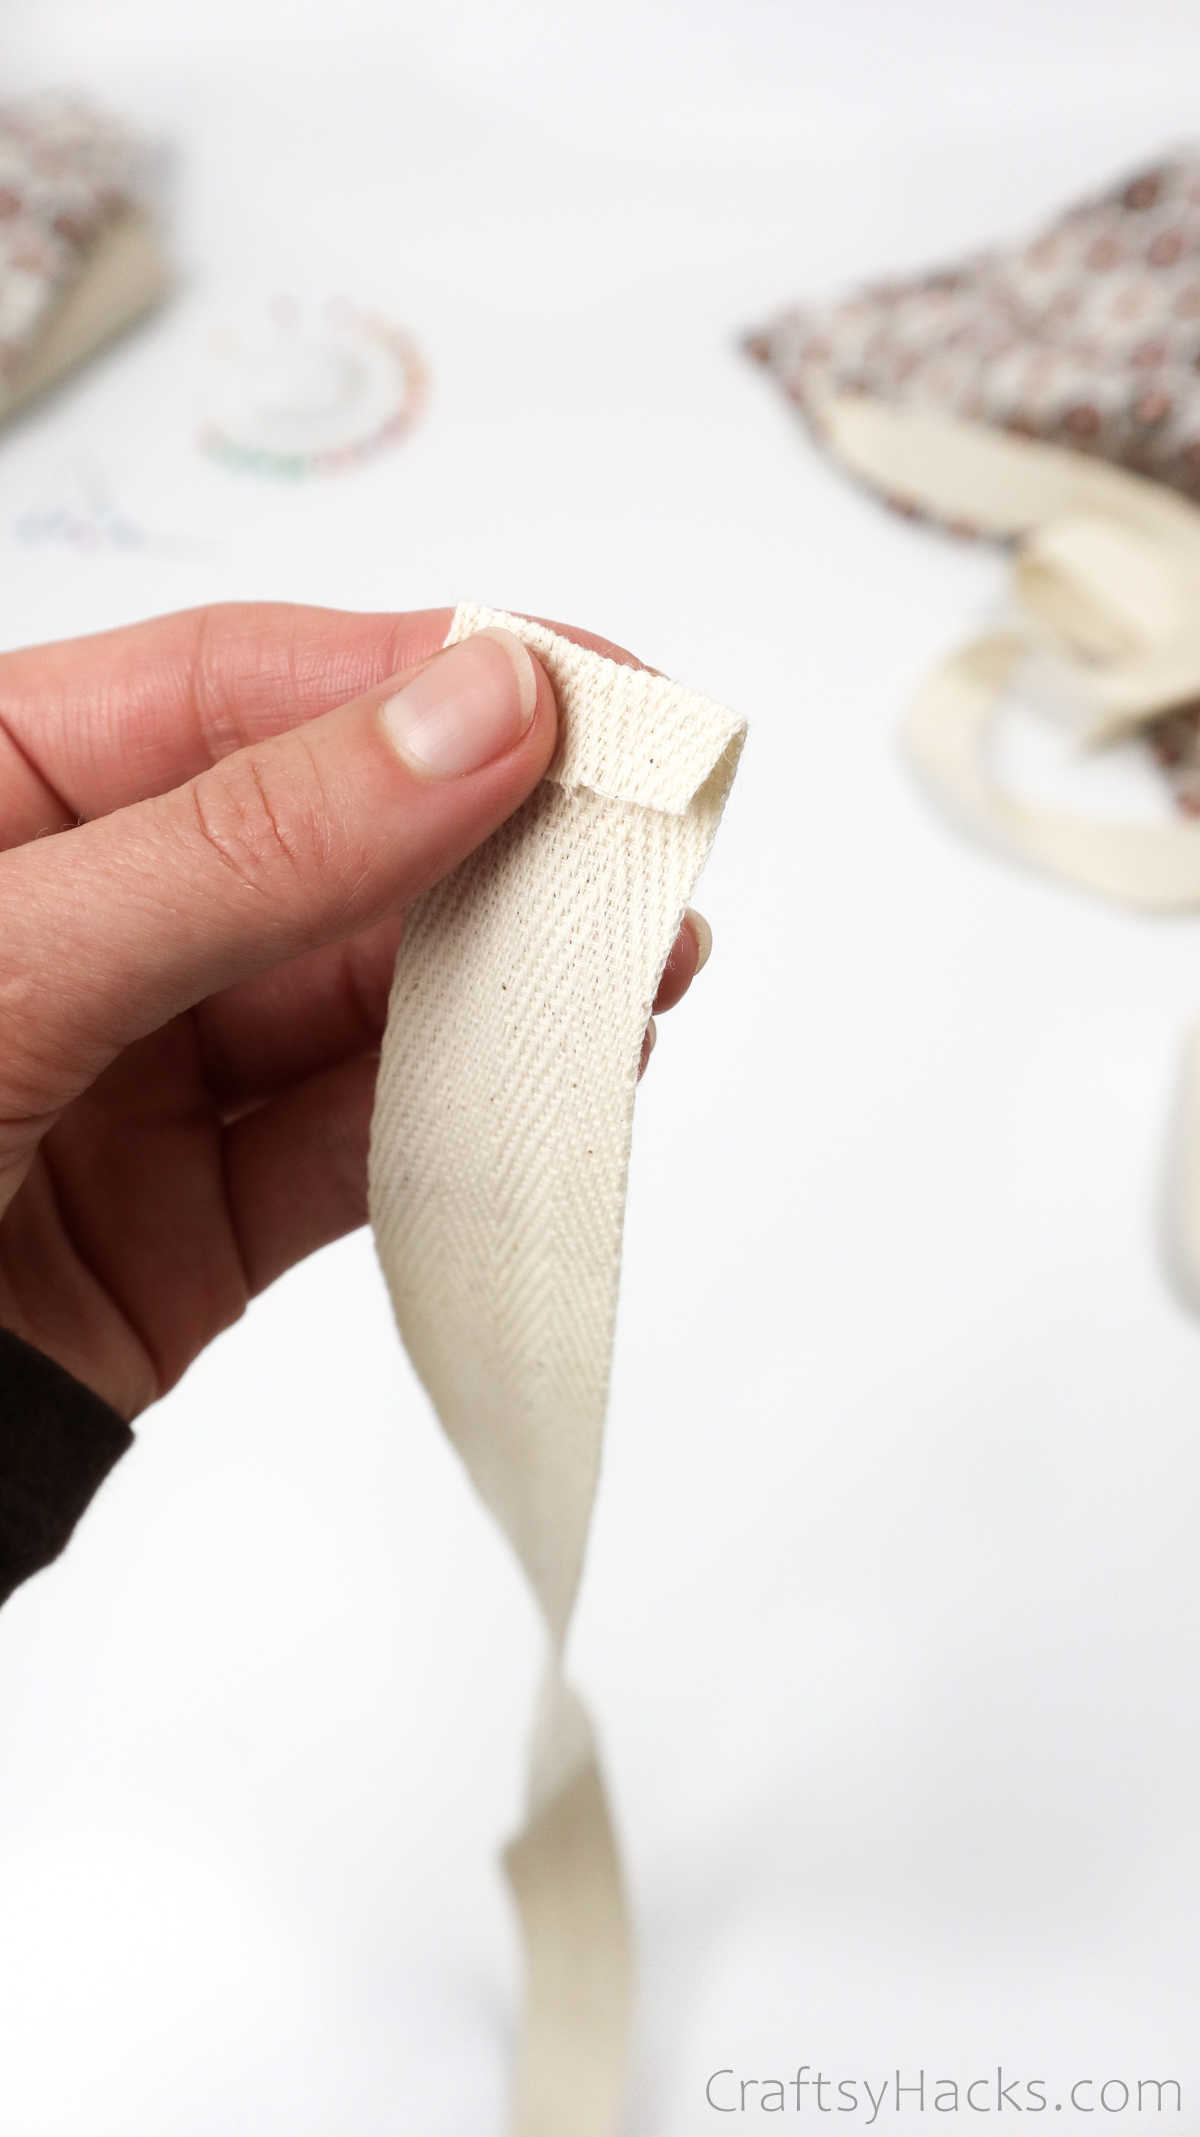
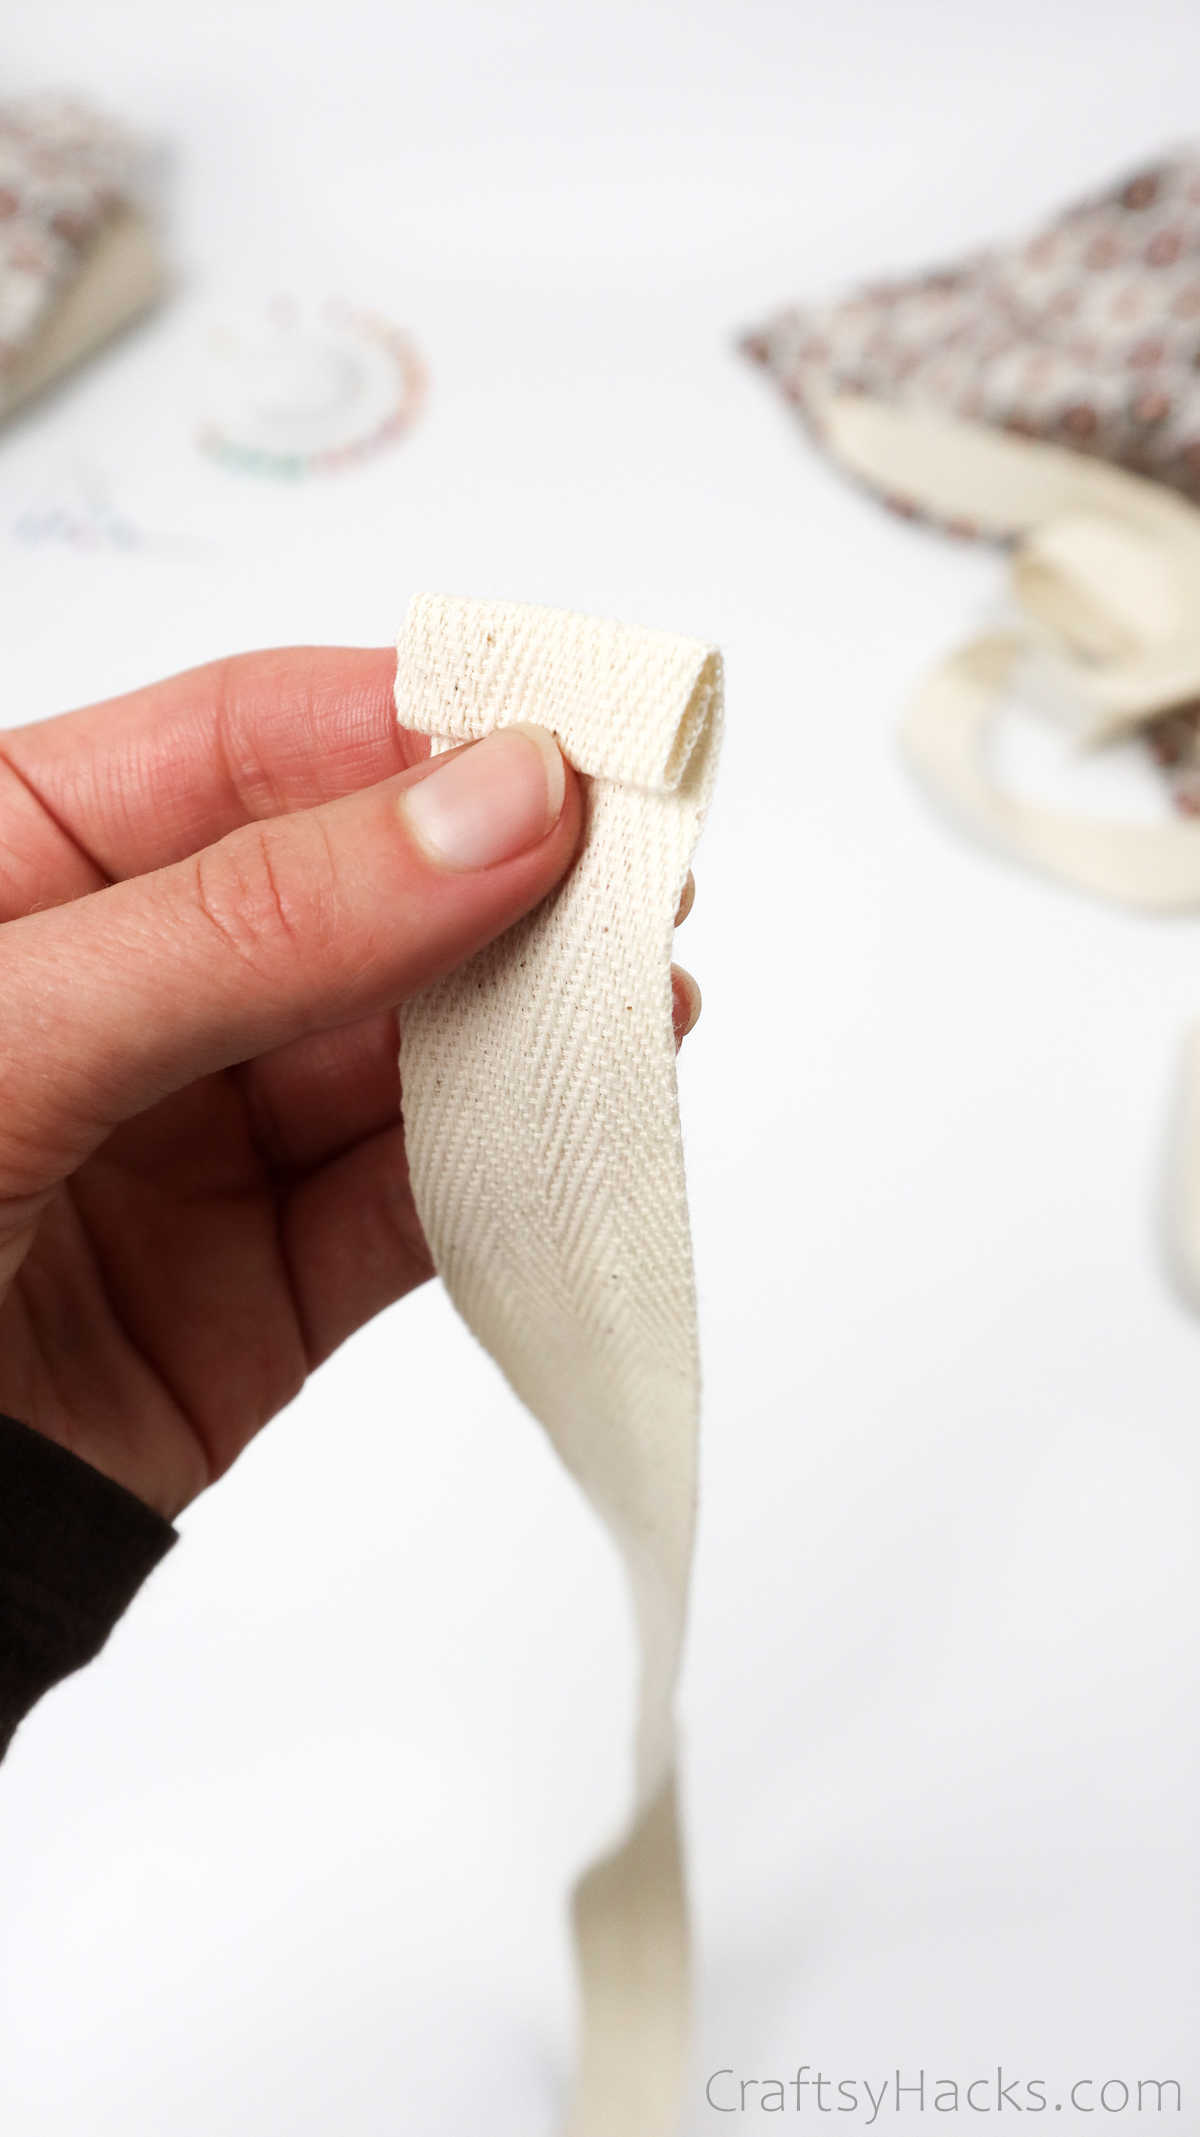
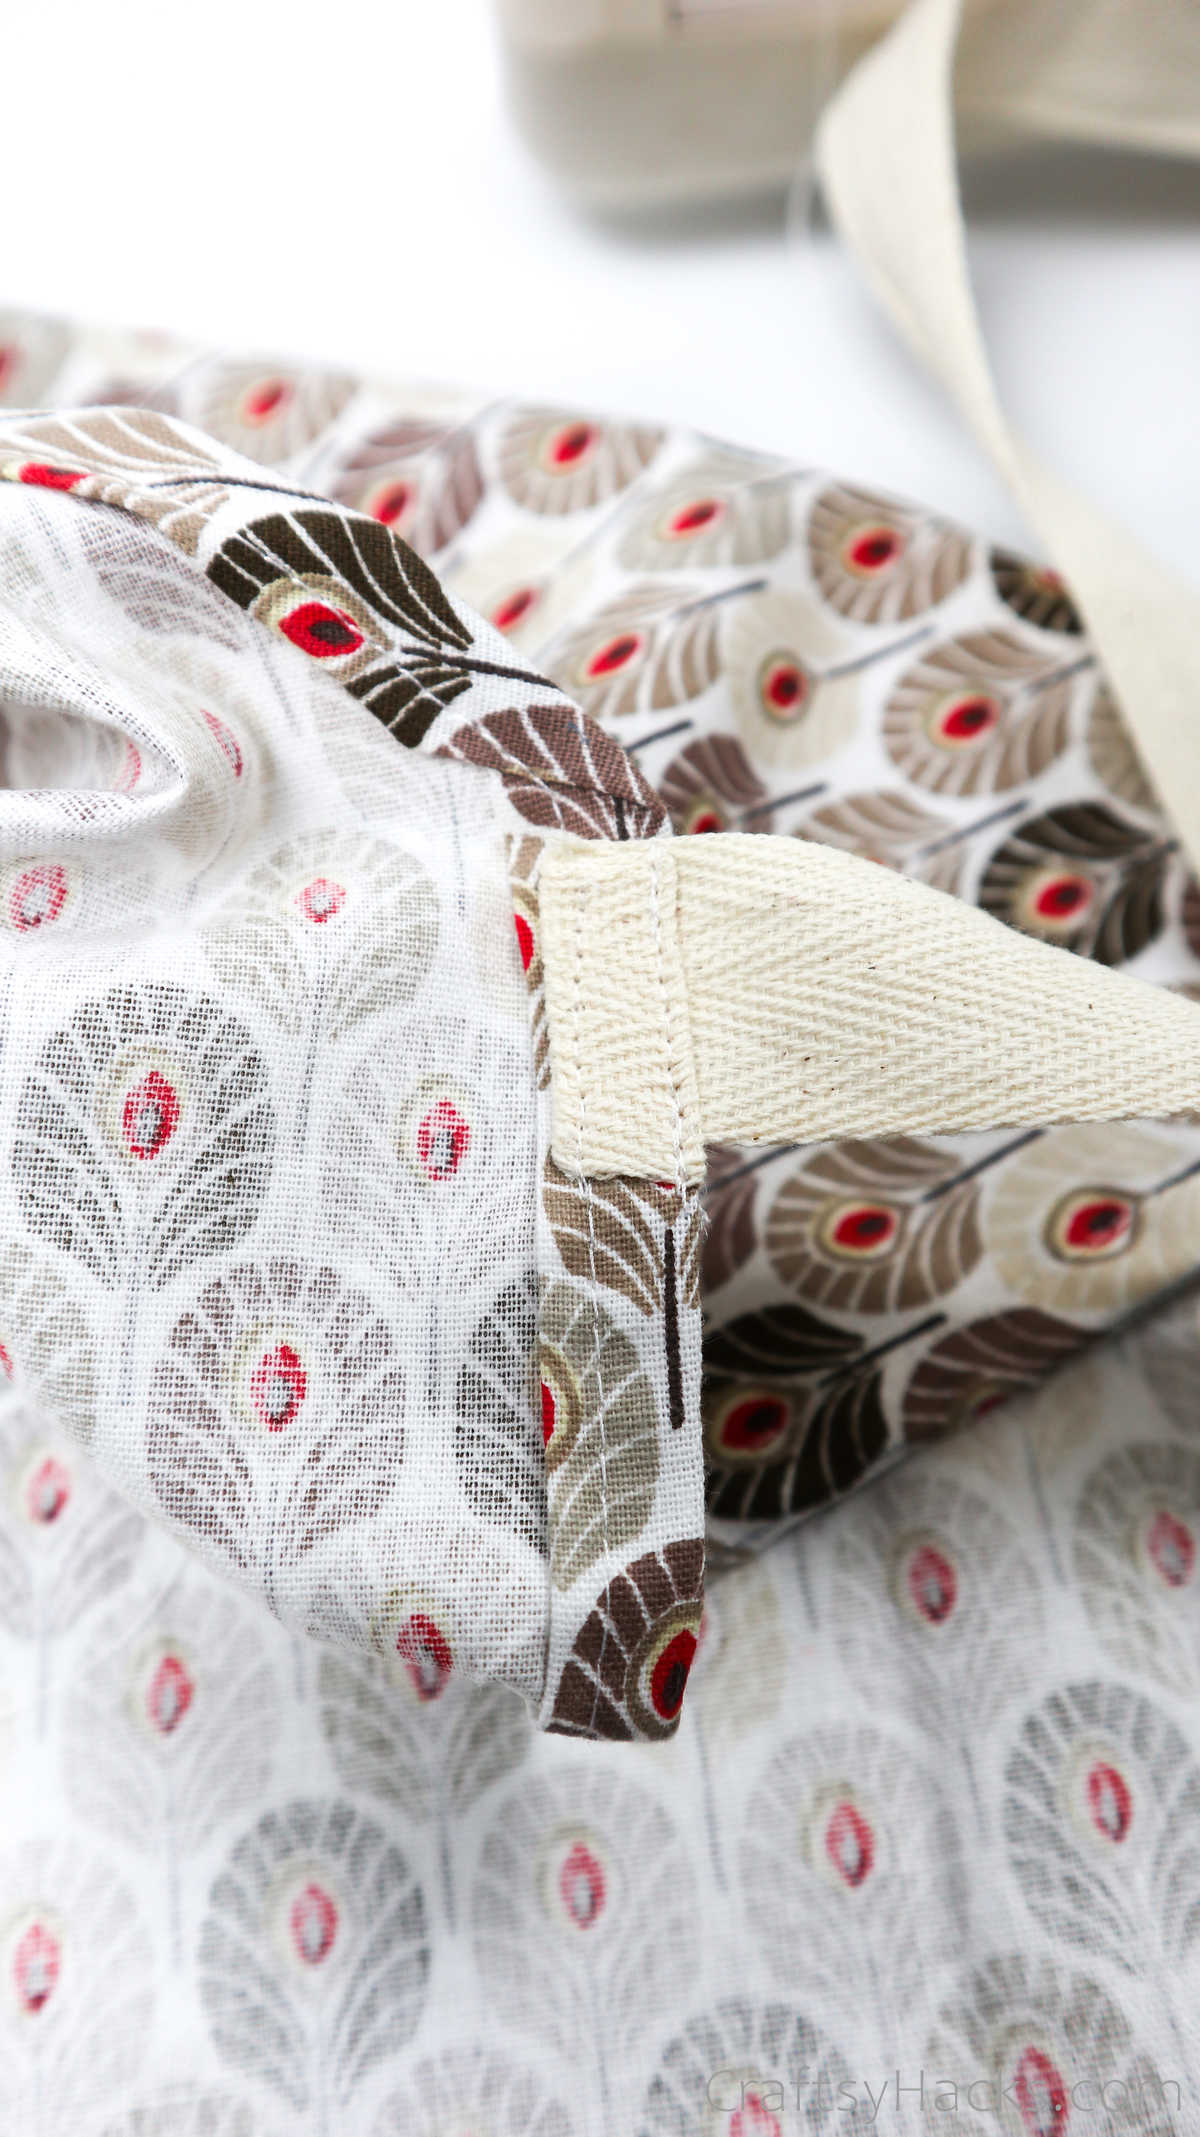
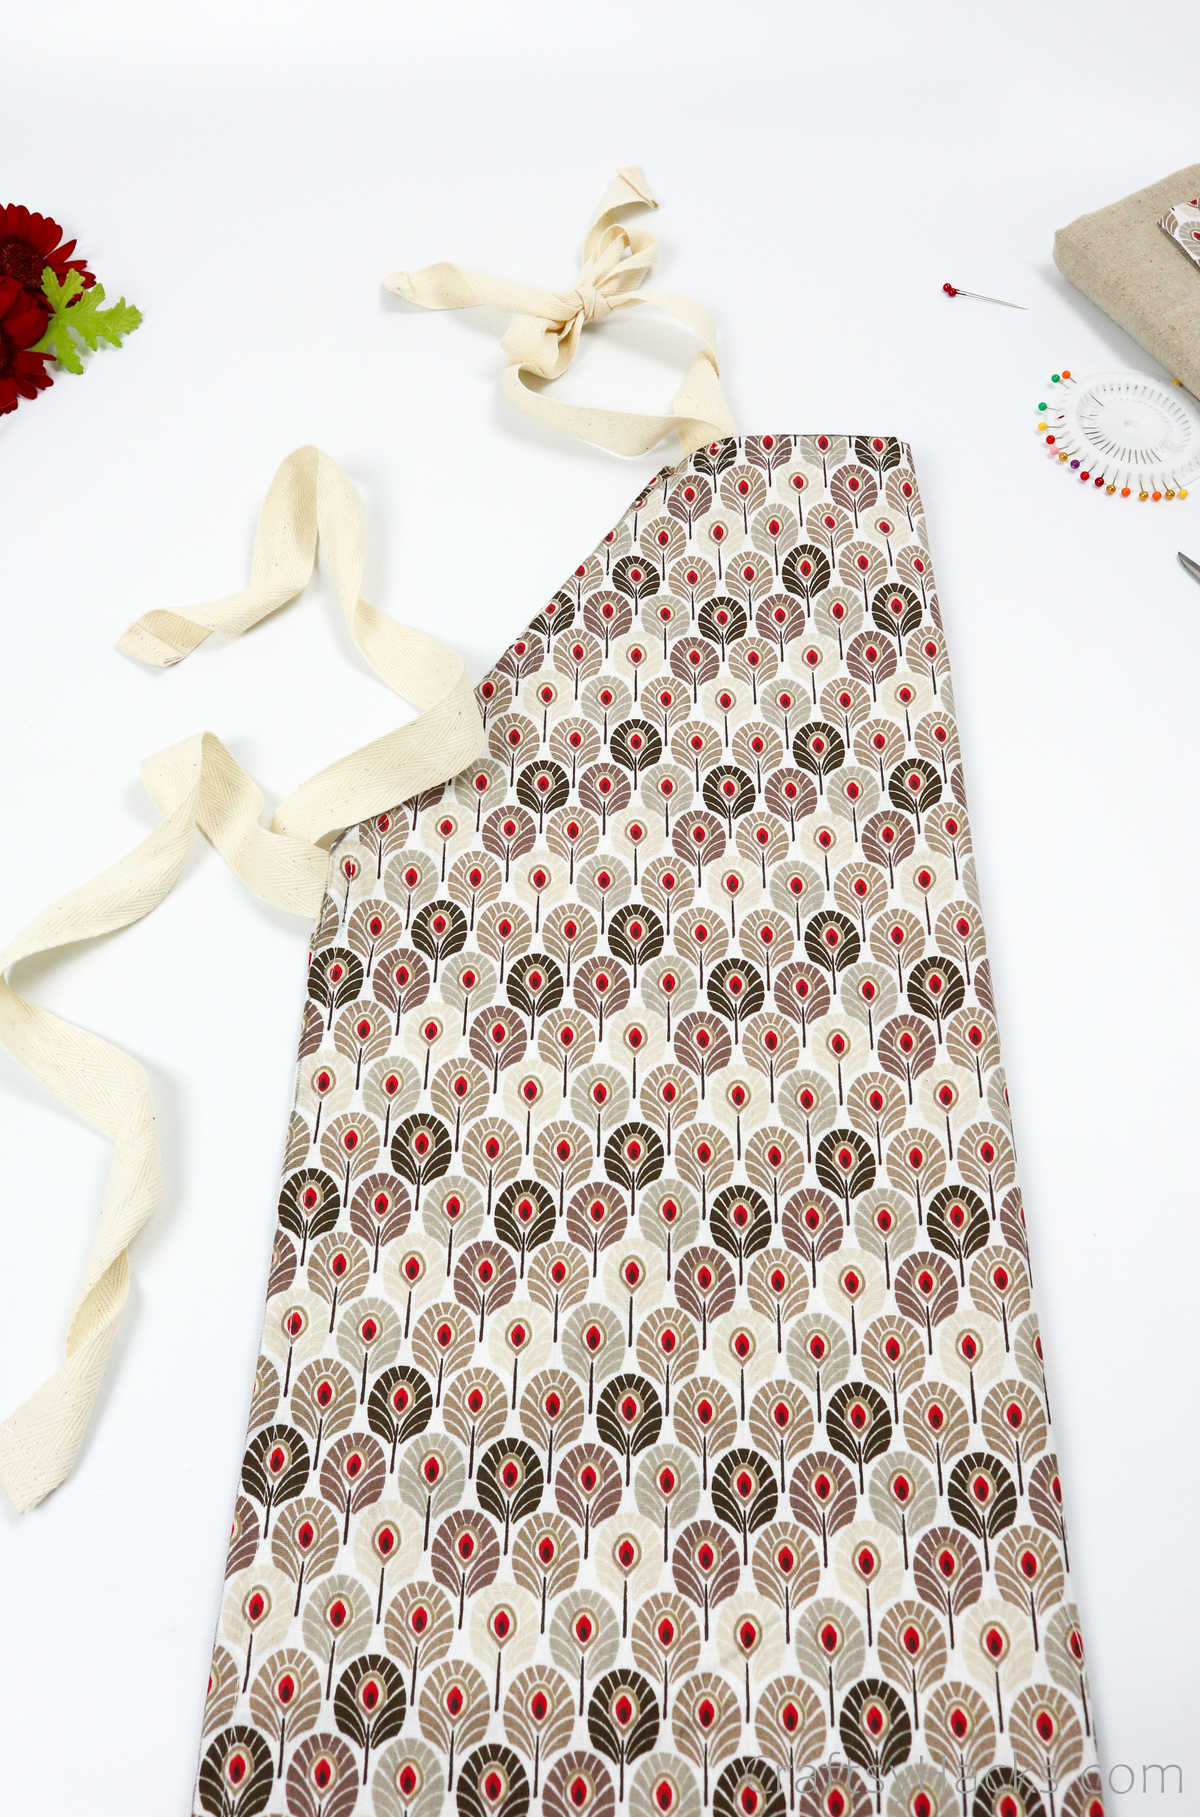
It’s time to make the straps for your pretty apron. Don’t worry; it’s easy as pie(way easier than making pie). Grab your cotton ribbon—or whatever you plan to use to make your straps—and cut out four strips, each approximately 30 inches long.
You can always adjust the length to your specifications.
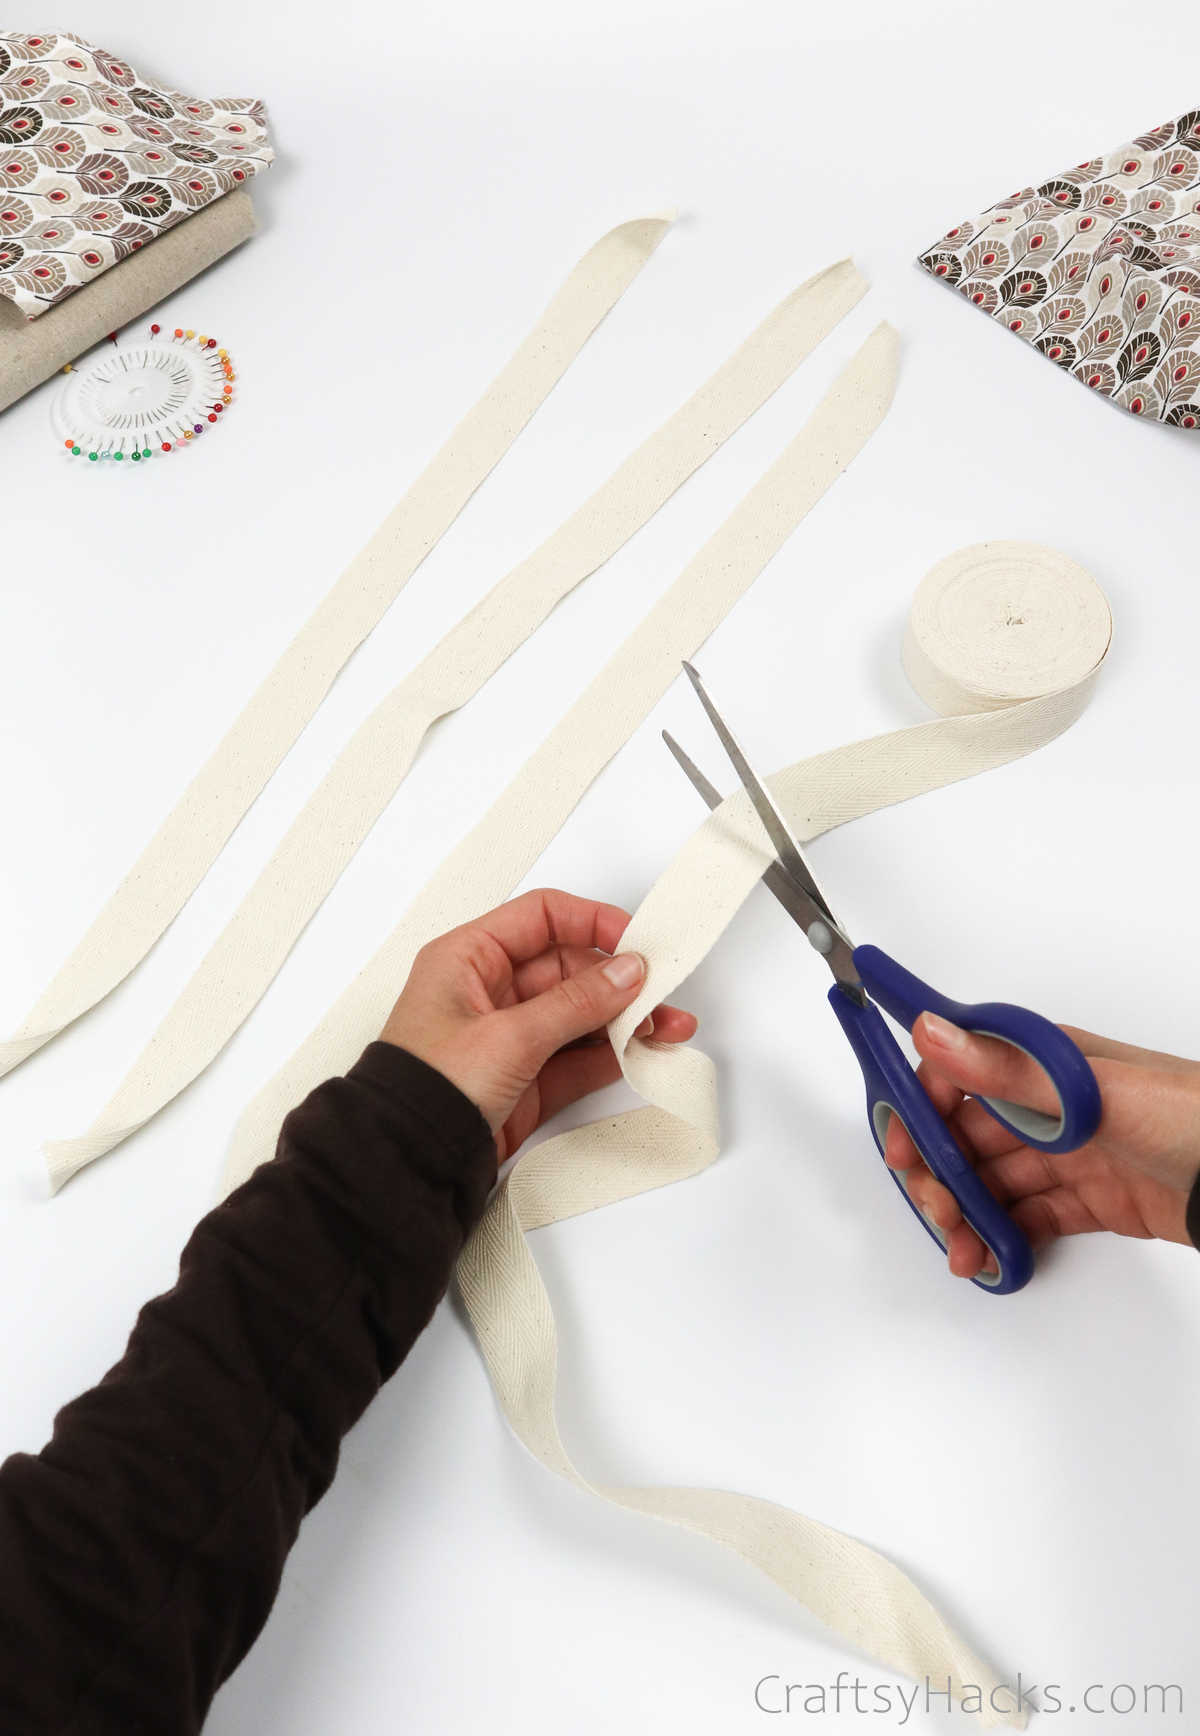
Next, you will need to secure the edges of these strips. First, fold the ends inward twice.
Then, just grab a sewing pin and secure the strap to the apron to hold it in place.
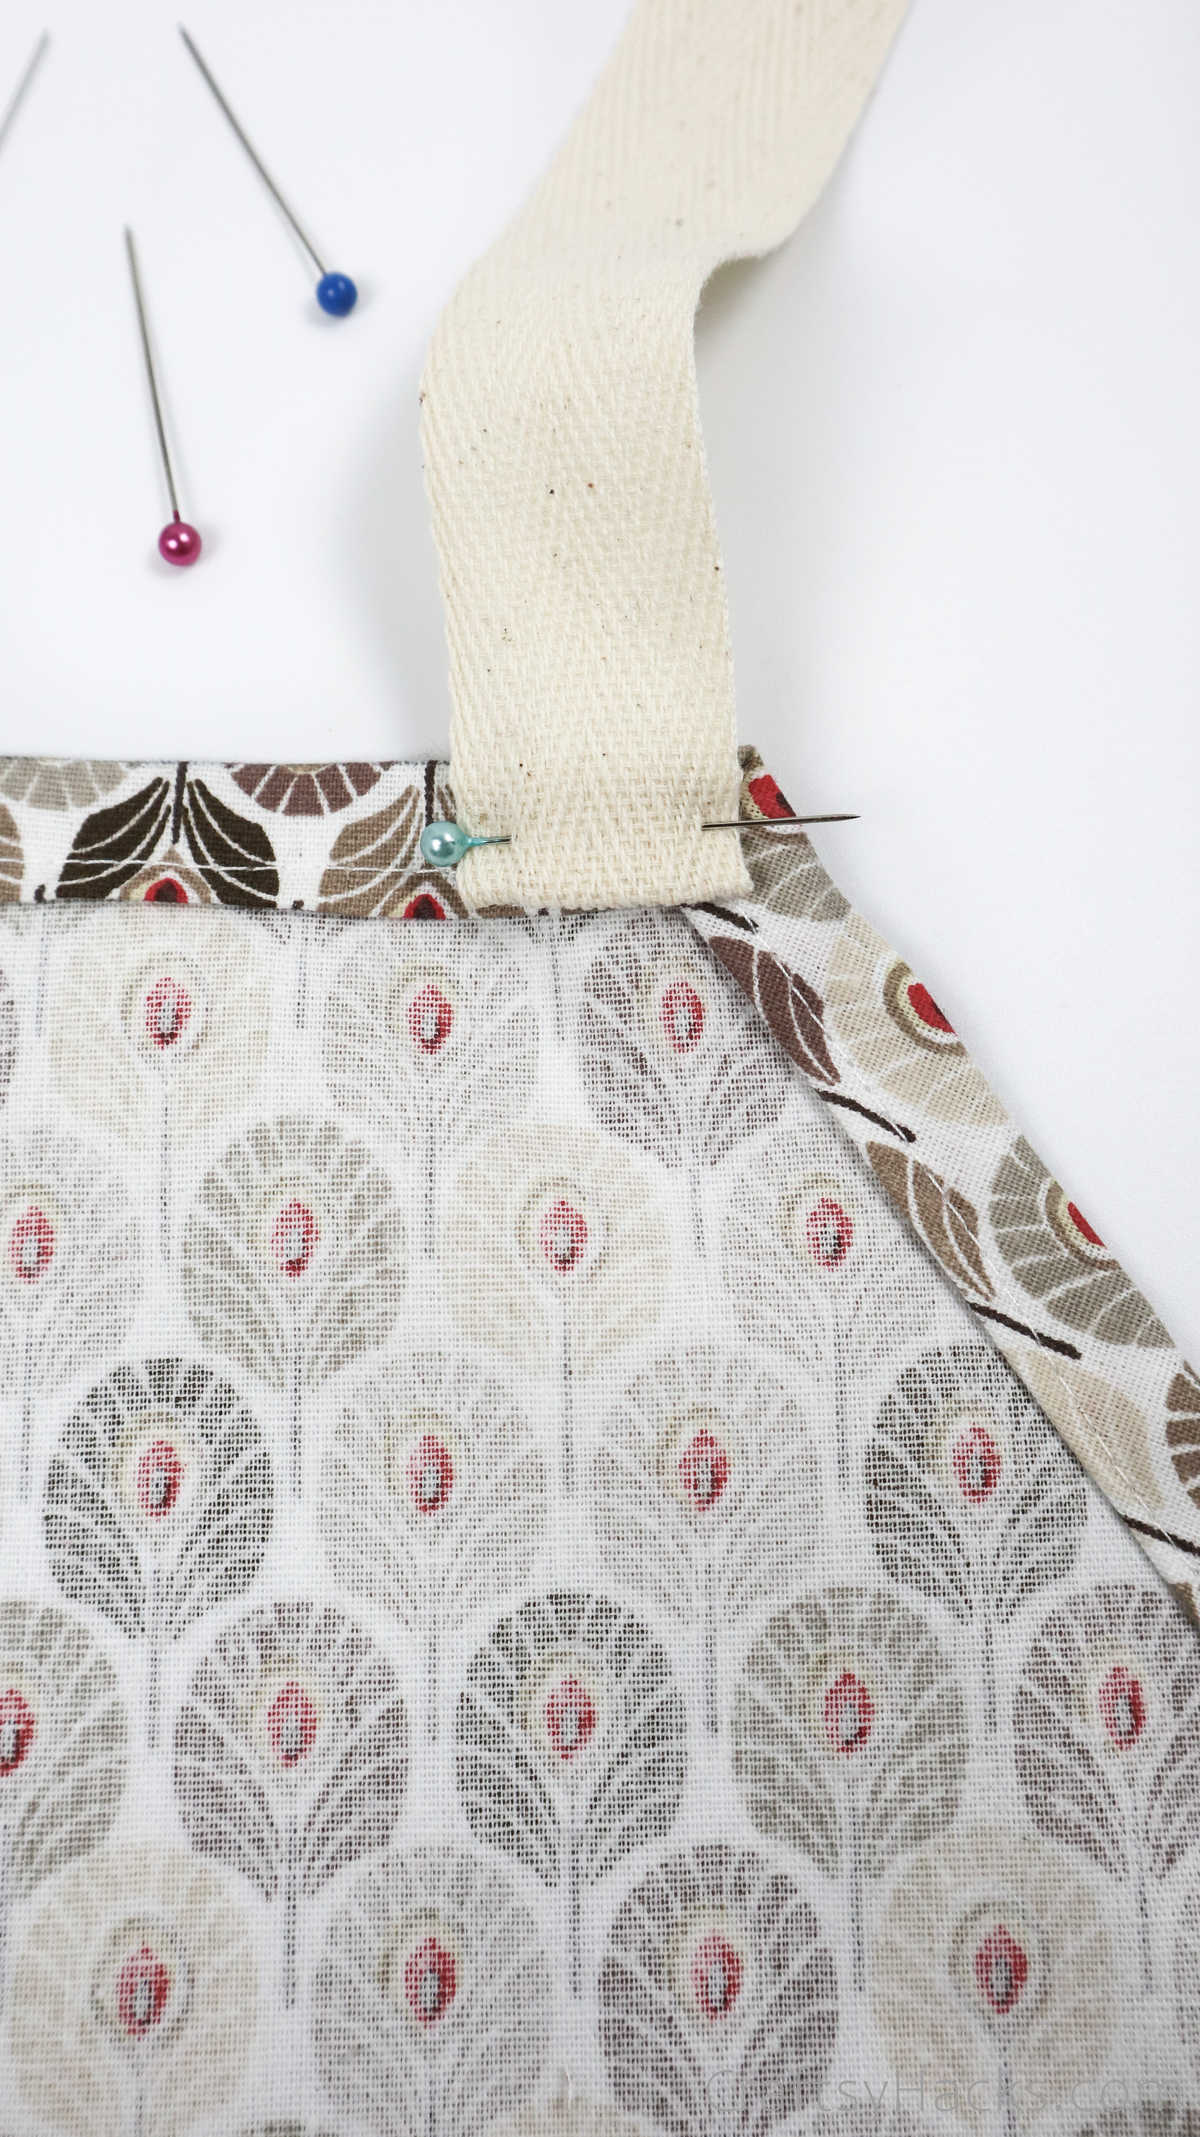
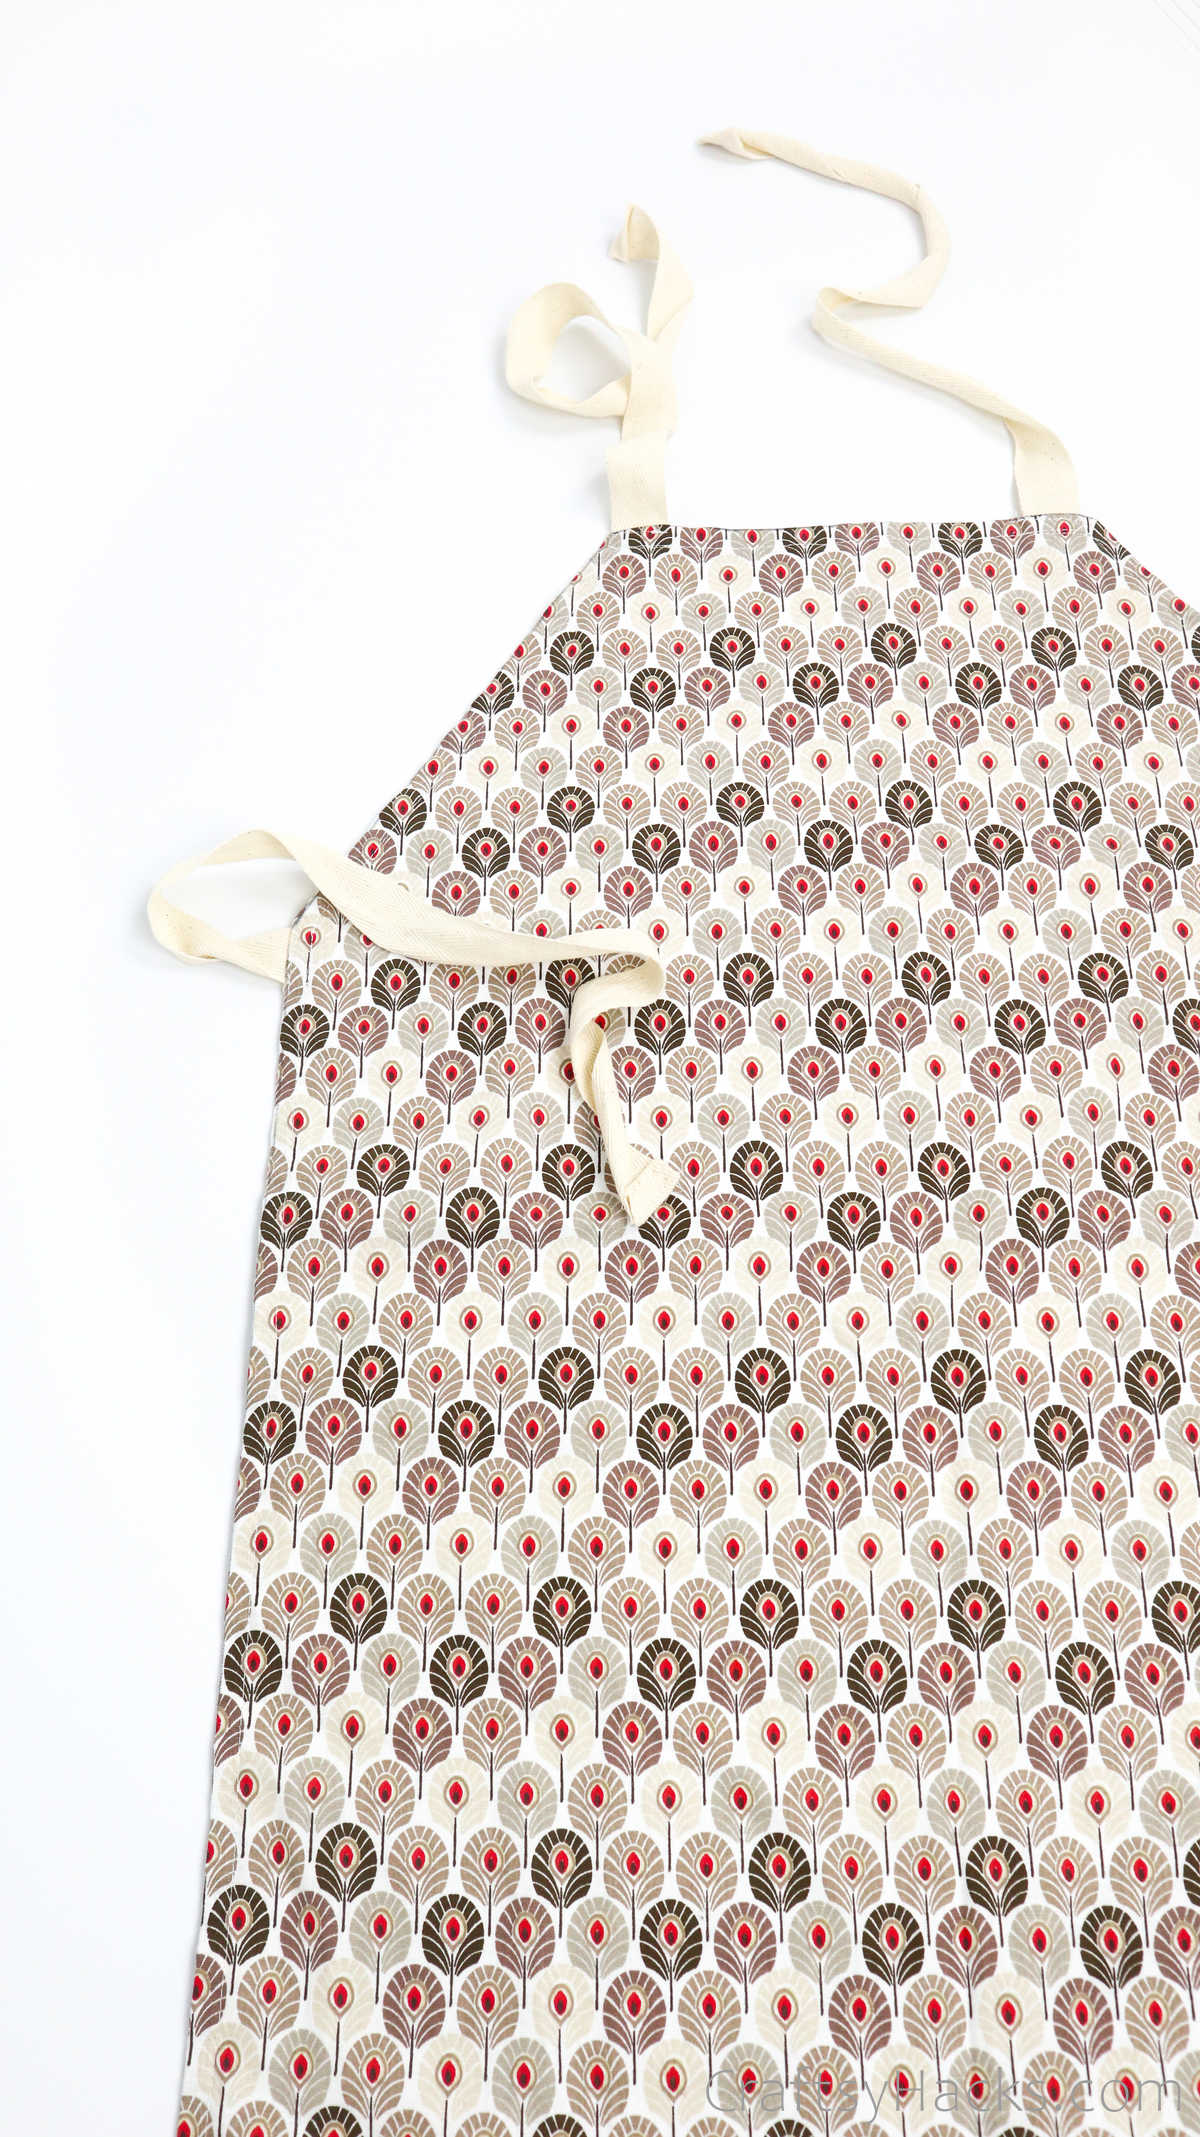
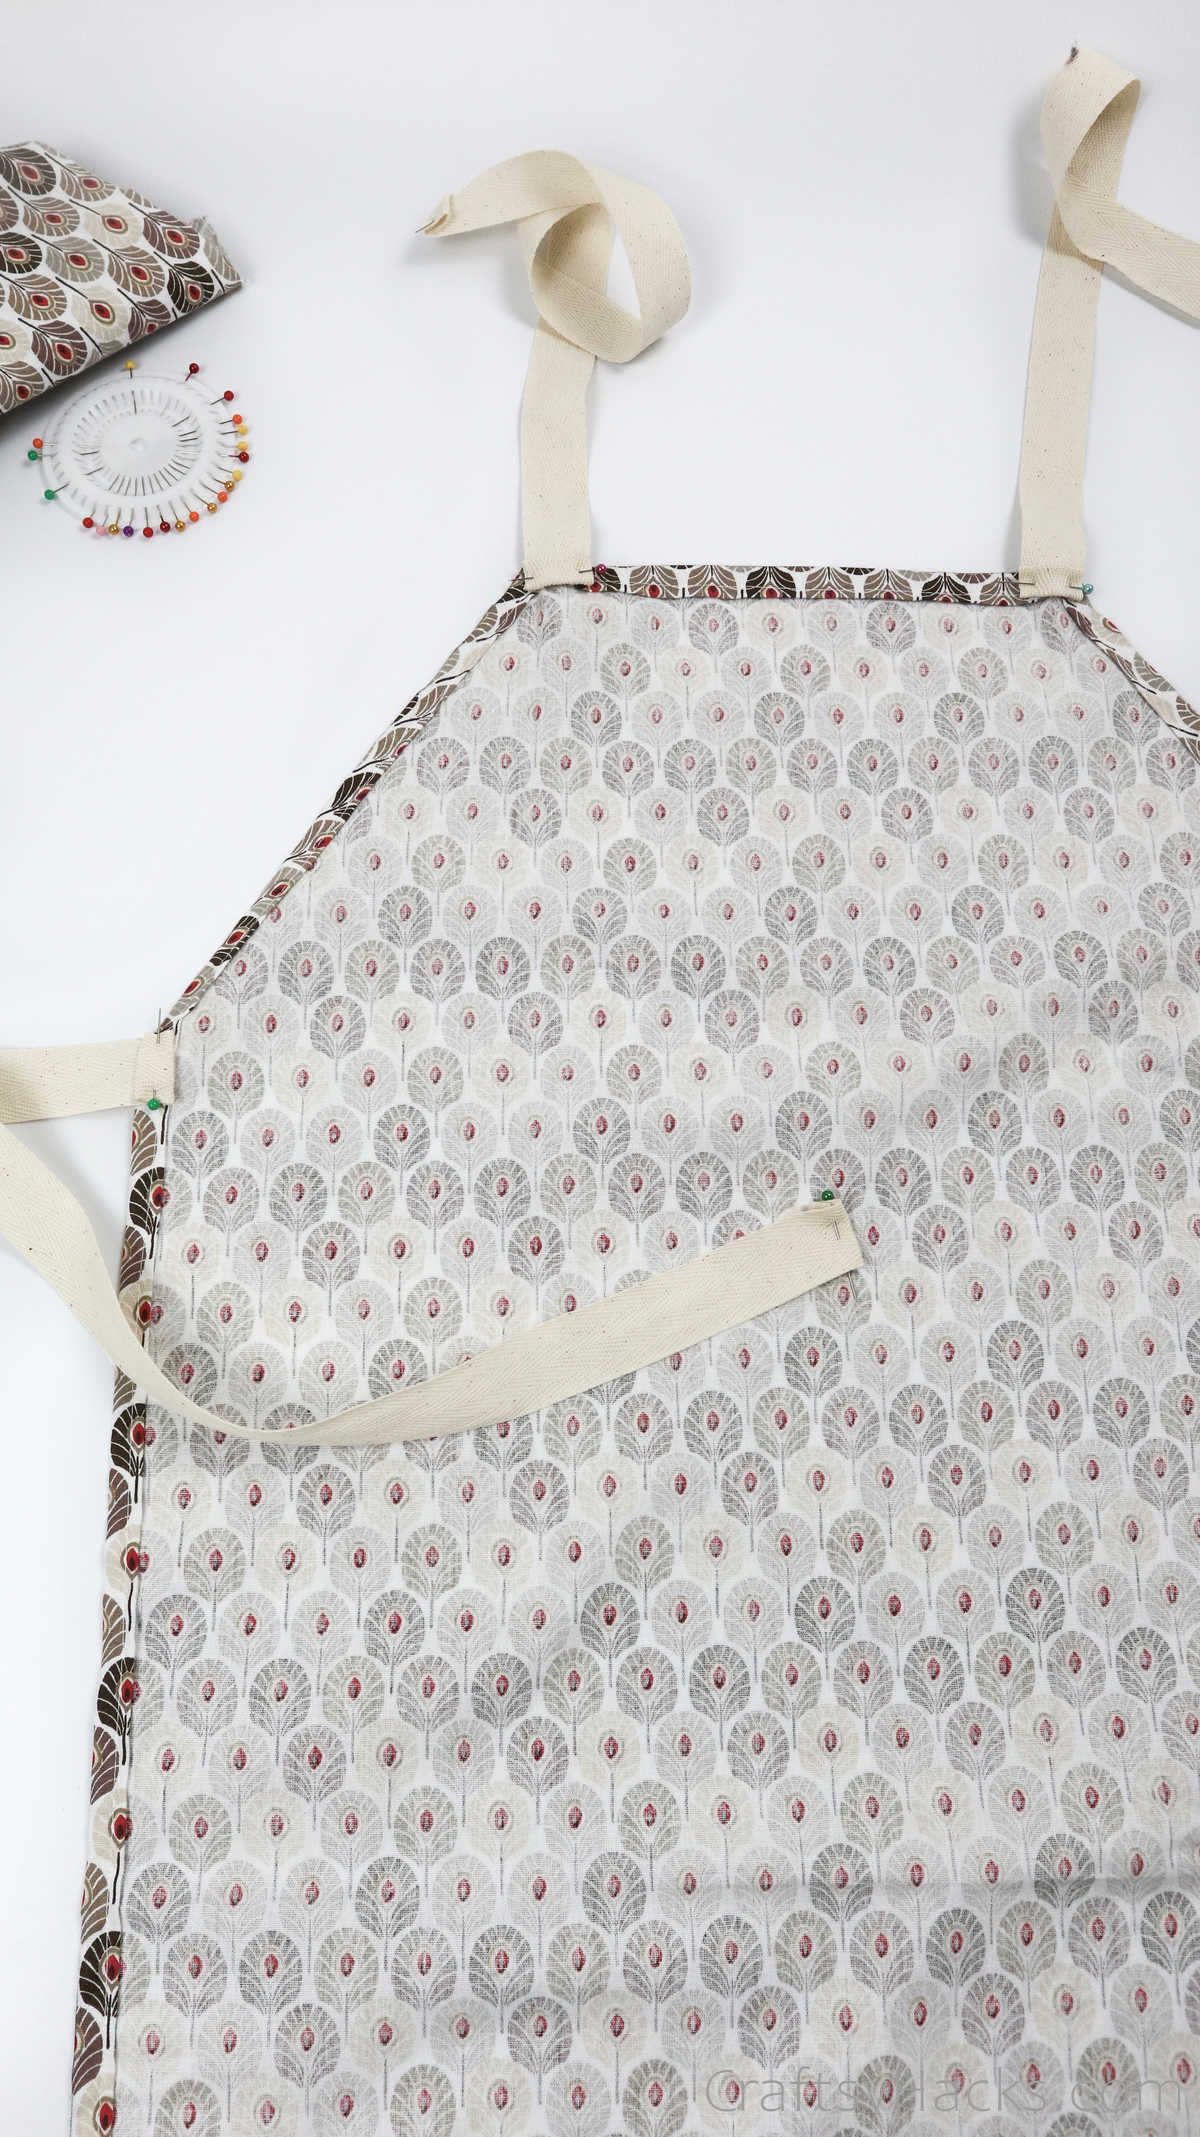
Repeat this step with all four straps—two around the neck, and two on either side, as indicated.
Step 9
It’s finally time to start sewing your apron. Go ahead and pull out your sewing machine and just sew along the hem. Make sure you remove the sewing pins as you sew around the fabric.
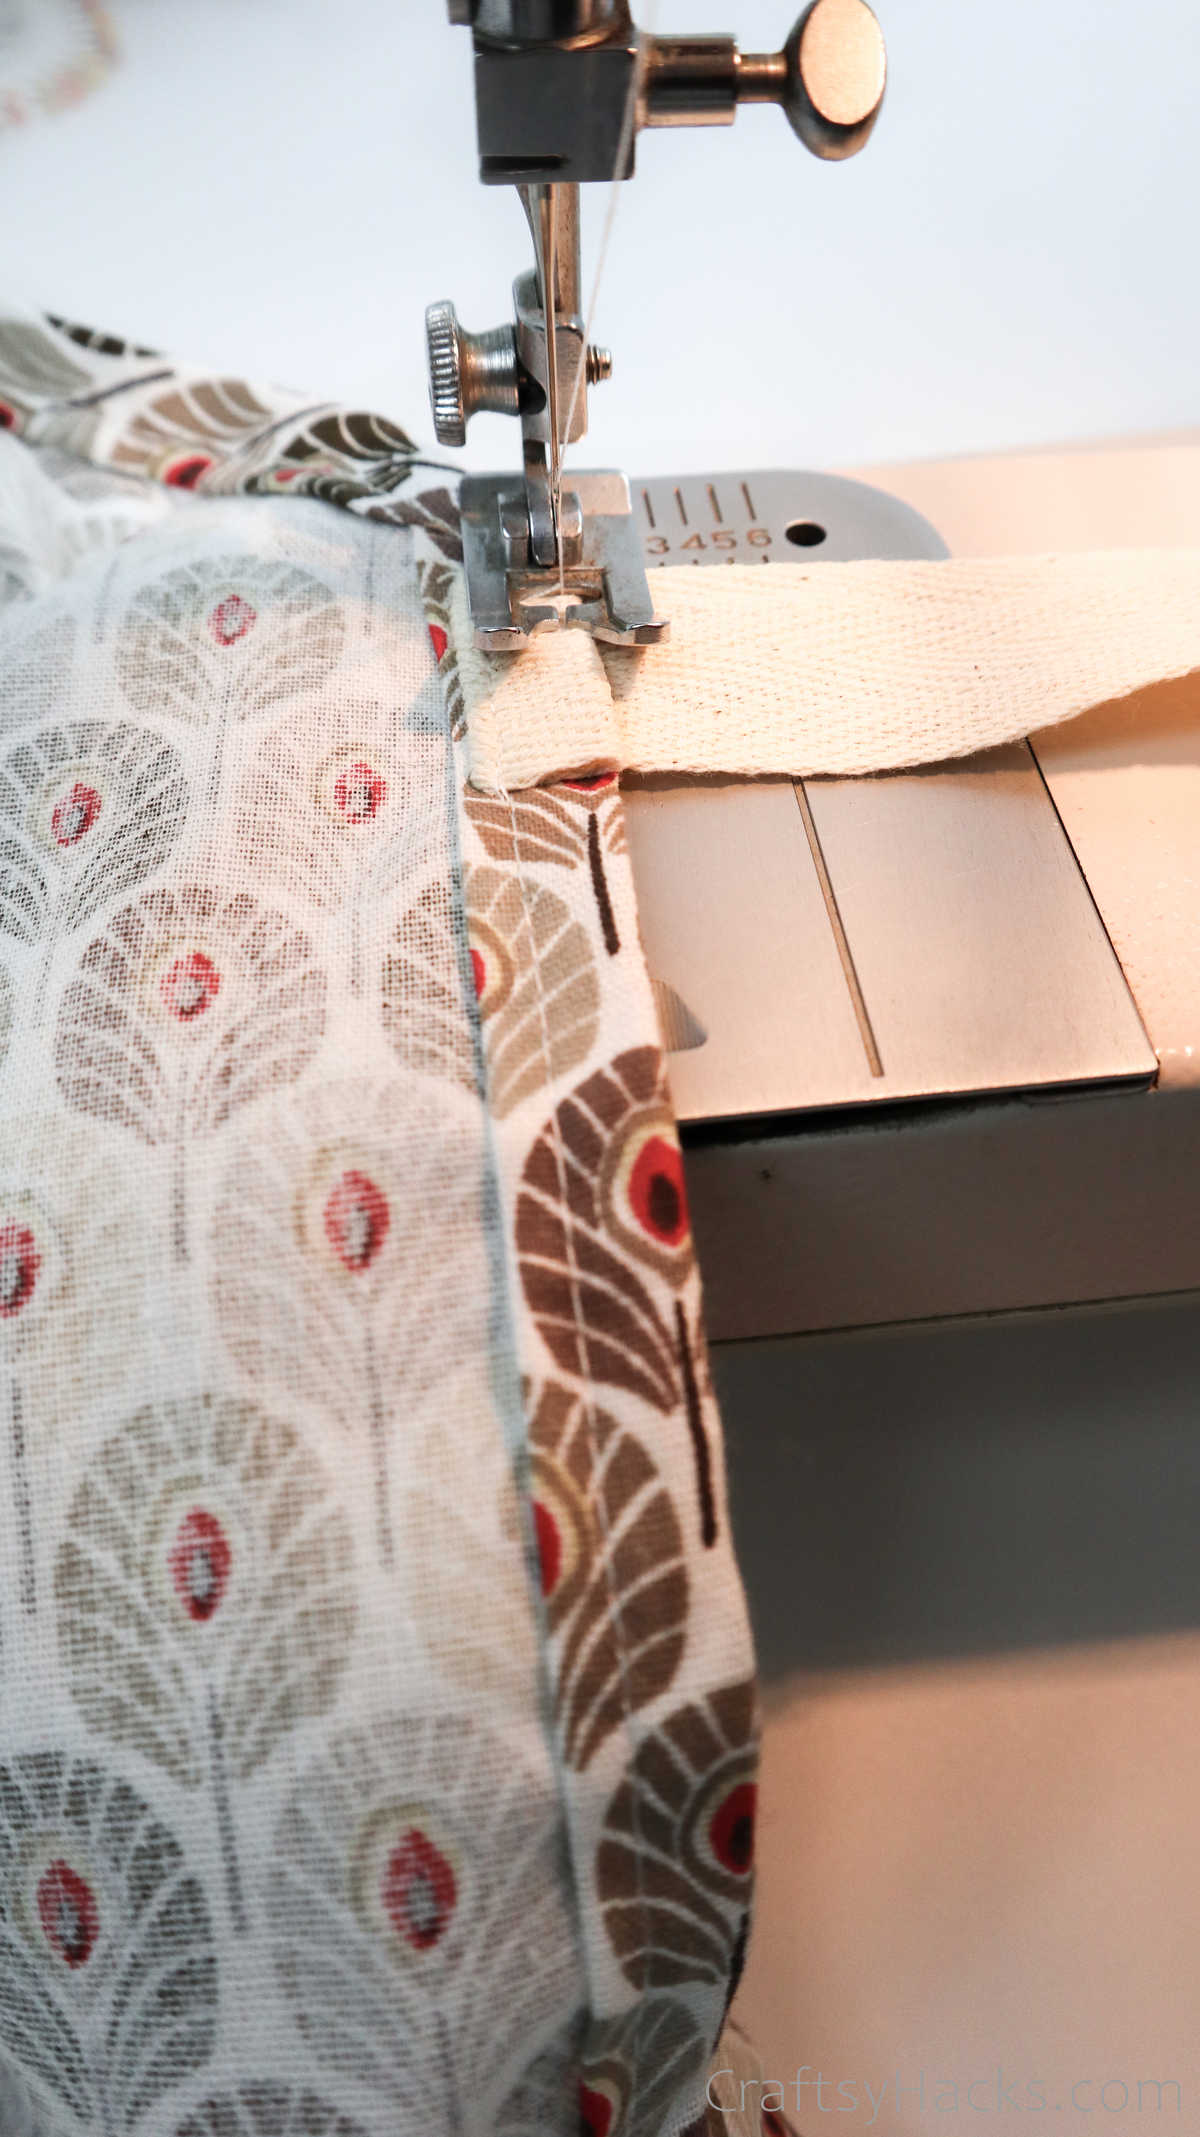
Just sew over the straps to attach them to the apron when you get to the straps. You can go back for another round of sewing if you want the straps to be extra secure.
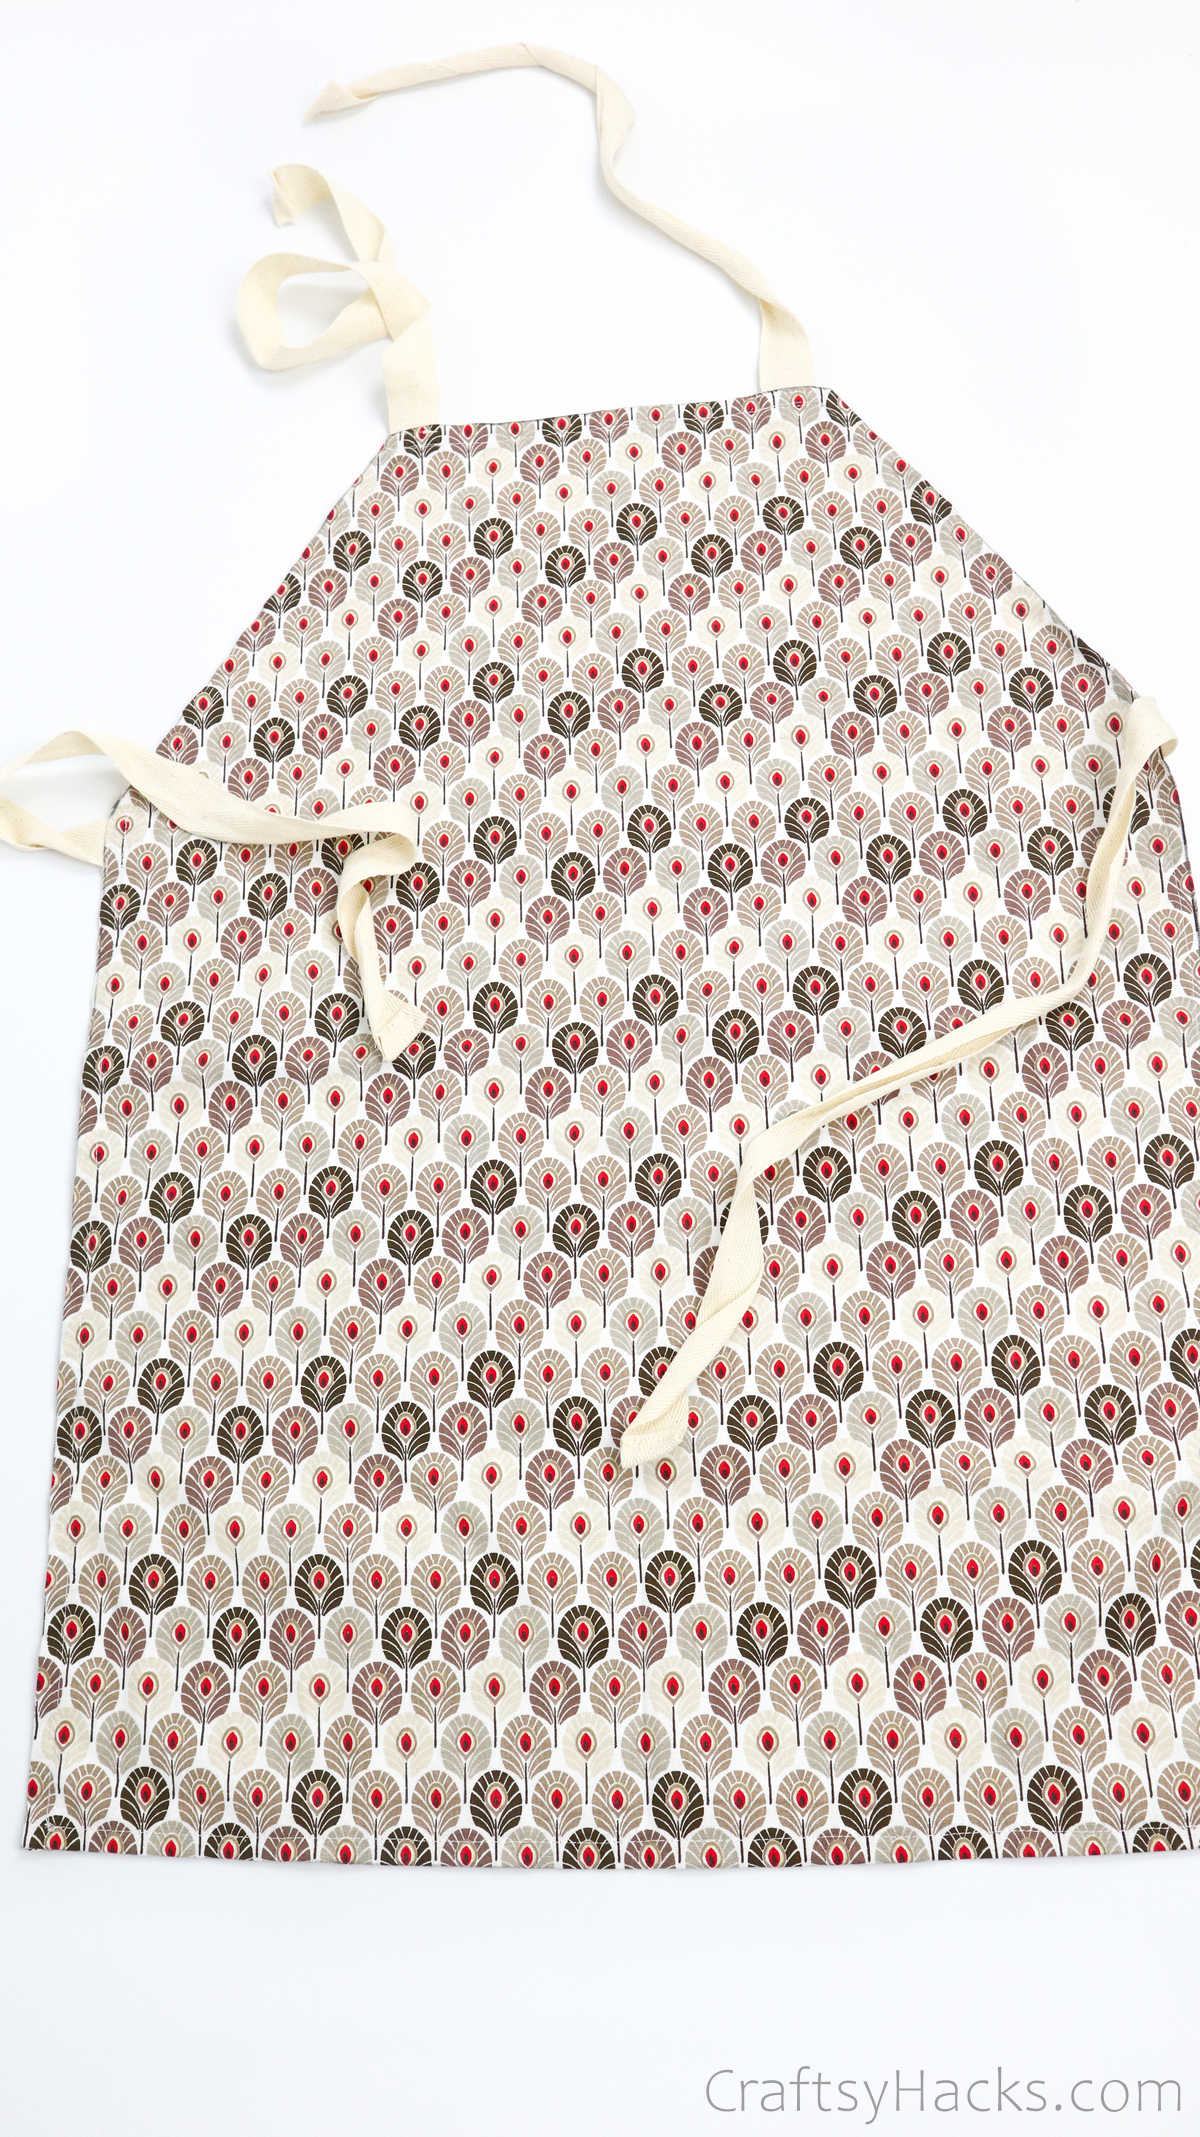
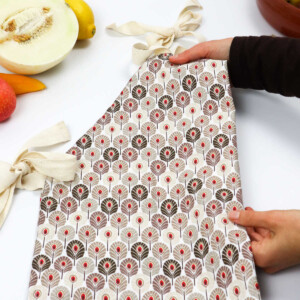
That’s pretty much all there is to it. You have your stunning apron, and even if you don’t use it, you can always gift it away to someone!
Best Fabric to Use for Apron
Of all the fabrics you can choose from, cotton is perhaps the most popular choice to make your apron. It’s thin, comfortable, stretchy, breathable, and super easy to maintain and wash.
But, when you’re working around an open flame, then you also need to consider using fabric that is more heat resistant and provides better protection. People often turn to denim or linen in such instances.
Believe it or not, leather or at least leather-lined aprons are pretty popular, too. They’re waterproof and way more resistant around heat and open flames. They will also age pretty well and last for a longer time.
How Much Fabric Do I Need for an Apron?
The amount of fabric you need for an apron would depend on the size as well as the type of apron you plan to make. You also need to consider whether you plan to add pockets and lining, which would also add to the yardage.
Typically, an apron for an adult will require a yard and a half (approx 1.5 meters) of fabric and extra for the straps. It’s always better to pre-wash your fabric as it might shrink later.
A waist apron will only require half of that, so three-quarters of a yard (0.7 meters) of fabric.
If you are making an apron for a child, you will need anywhere between half a yard (0.45-0.5 meters) to three-quarters of a yard.
Other Crafts You Might Want To Make
- 47 Sewing Gifts
- How to Make a Scrunchie
- 47 DIY Projects
- DIY Zipper Pouch
- 47 Upcycling Ideas
- 41 Rock Painting Ideas
- How to Make Hair Bows
- 37 DIY T-Shirt Ideas
- 37 Crafts to Make and Sell
- DIY Headband
- DIY No-Sew Shirt
- 47 Crafts for Adults
How to Make an Apron
Video Tutorial
Equipment
- Tape measure
- Sewing pins
- Scissors
- Fabric pencil
- Ruler
Materials
- Fabric 30″x 24″
- Fabric 26″x 10″
- 1 ” cotton ribbon
Instructions
- Gather all the materials to get started on your apron.
- You can use fabric or a newspaper to make a template for your apron.
- Grab a marker or tailor's chalk and mark the measurements for your apron on the fabric (25" x 4" x 9"). Cut the fabric accordingly, and you will have your template.
- Next, fold the main fabric in half, with the right sides facing inward. Line the template with the fabric and secure them together with sewing pins. This will ensure that the fabric will not move while you work.
- Grab a marker and draw an outline along the template.
- Next, draw an inch-wide seam allowance around the outline you just drew. Remove the template and set it aside.
- Grab a pair of scissors and cut along the outer liner.
- Open the fabric with the right side still facing down. You should see the outline and seam allowance you made on the right-hand side of the material.
- Place your fabric template over the left side of the main fabric and draw a mirroring outline and seam allowance on the left-hand side.
- Next, roll or fold the hem inward and line the edges with the inner outline. Pin it in place to secure it as you work your way around the entire apron. You can also iron the hem to give you clean and precise edges.
- Cut out four strips of cotton ribbon, each 30 inches long, for the straps.
- Fold the ends inward twice and then secure them to the apron with sewing pins. You will need two at the neck and two at the sides to tie around the waist.
- Finally, use your sewing machine to sew the hems shut and secure the straps firmly.
- Your apron is ready to wear!


