DIY Headband from an Old T-Shirt
This post may contain affiliate links: full affiliate disclosure.
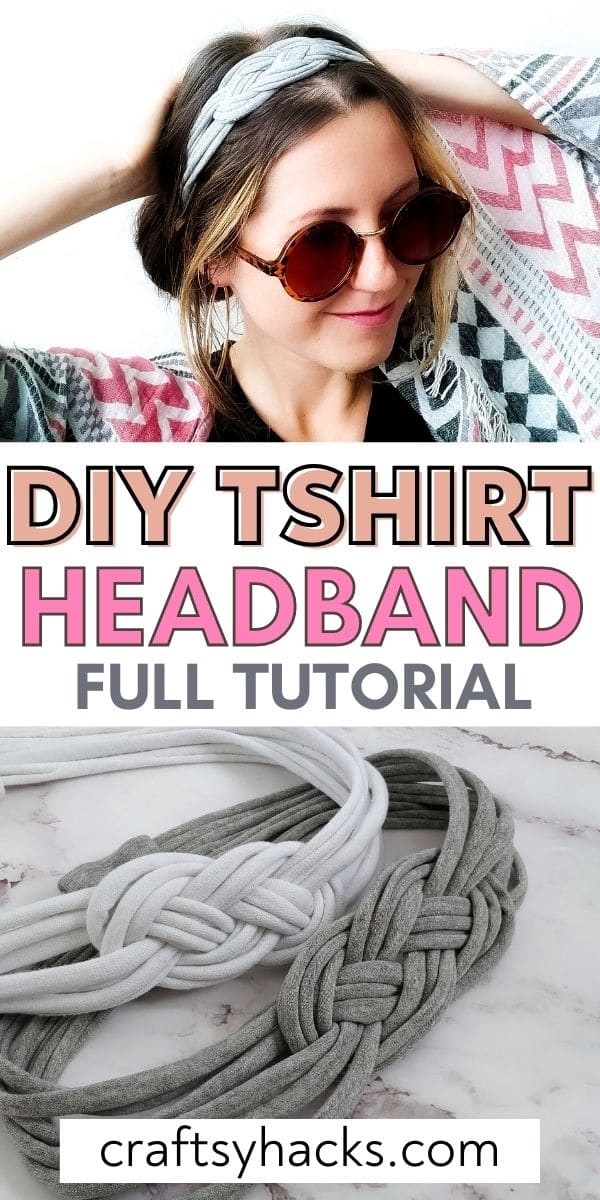
Simple, stylish, and sustainable. This adorable DIY headband has it all! Grab an old t-shirt and get to upcycling with this easy-as-pie DIY fashion craft.
I don’t know about you, but I’m constantly looking for the perfect stylish headband. I can never seem to find one that’s both cute and affordable, but I think the answer to my problem is here.
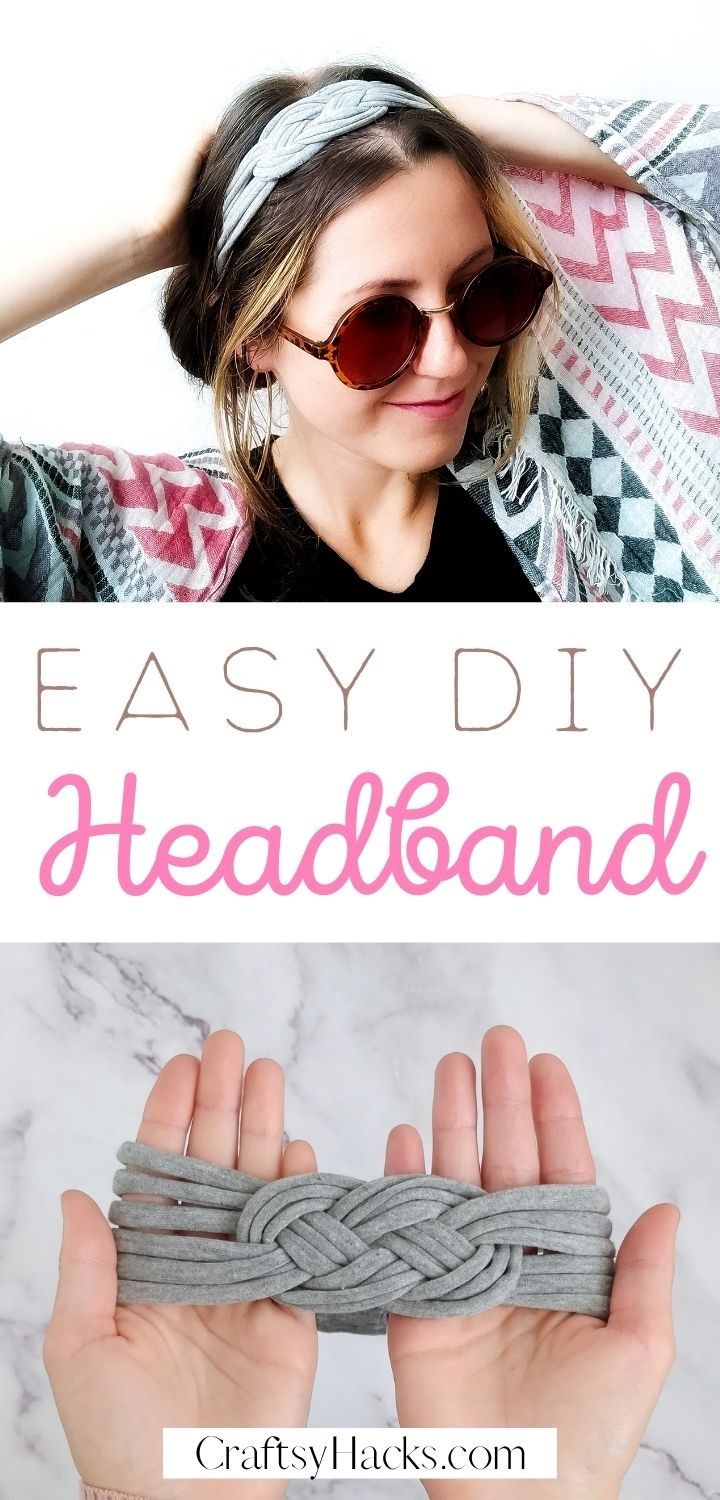
This DIY knotted headband is made from an old t-shirt, but it certainly doesn’t look that way! I’m going to take you through the process of making your very own, step-by-step. So, let’s make this beautiful craft for teens!
What Kind of Fabric Do You Use to Make Headbands?
The key to choosing a good headband material is knowing what you’re using the headband for. For example, if you want it for fitness, you want a material that will absorb sweat well.
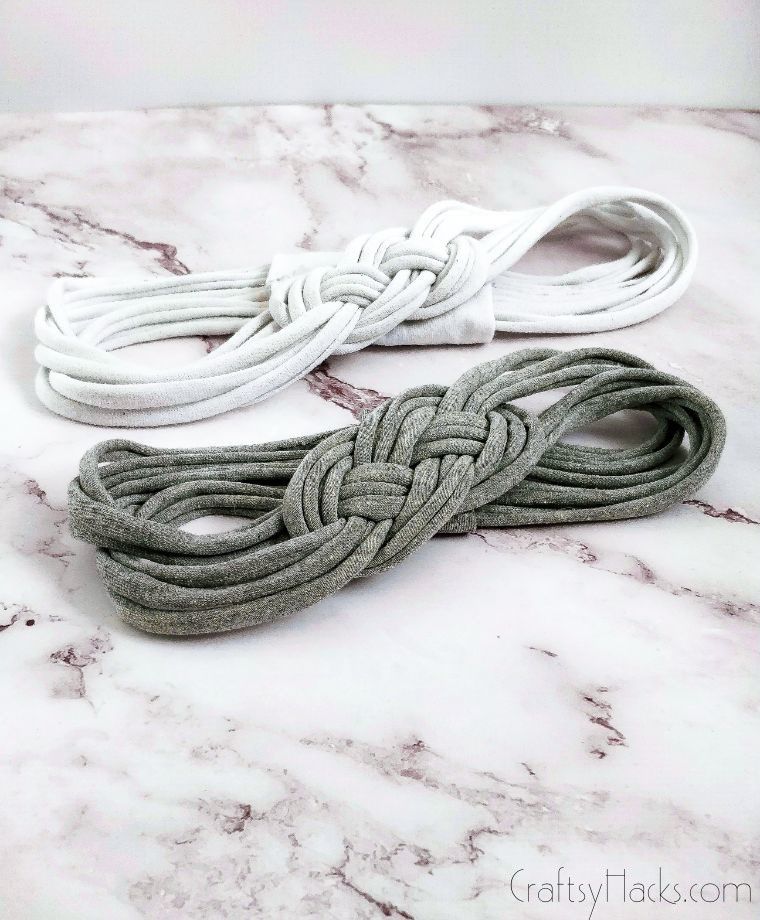
Alternately, if you’re making it just as a cute hair accessory, then color and texture are going to be more important! With this headband, I chose grey because it goes with everything.
Most importantly, you want the fabric you choose for your headband to be stretchy. That way, you can make it small enough to grip your head, but it won’t be uncomfortable to wear because of the stretch.
So, t-shirt fabric is ideal. It’s already soft, stretchy, and easy to work with.
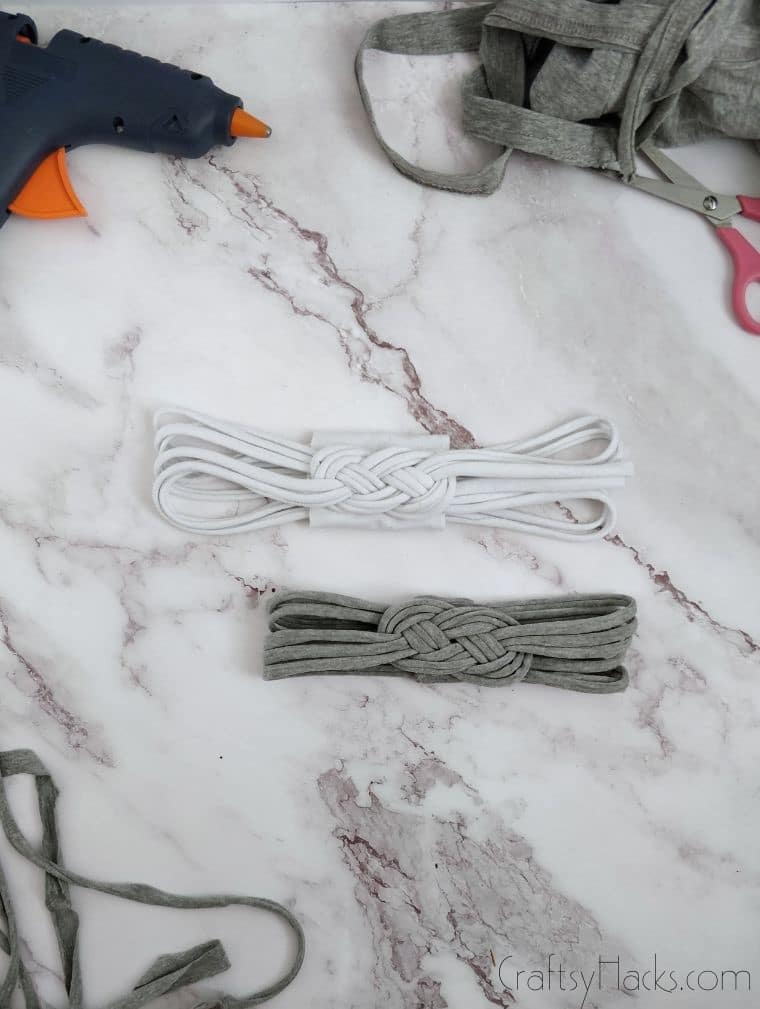
Supplies You’ll Need
- An old t-shirt
- Glue gun
- Fabric scissors

Apart from these three things, the success of this headband comes down to your patience and creativity. Have fun with the process. That’s how to be sure you’ll succeed!
How to Make This DIY Headband
Gear up with some Netflix, a snack, and a free space in your living room. It’s time to get crafting.
Step One
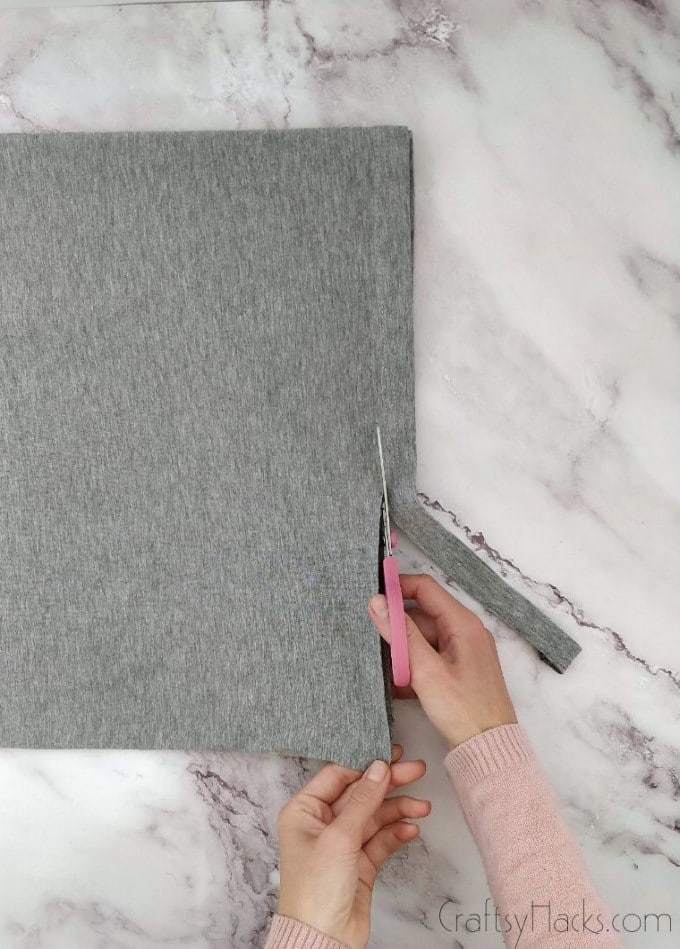
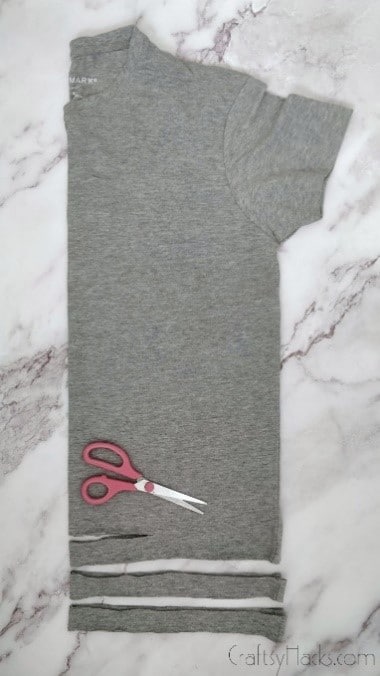
First thing’s first, we need the strips that make up the headband itself. Start by cutting three loops out of the bottom of your t-shirt, each one about 2cm wide. Make sure the t-shirt you’re using is at least size M, otherwise the headband might turn out to be a little tight.
Make sure you’re cutting the front and back sides of the shirt evenly to avoid any wonkiness. I find it easier to fold the shirt in half down the front, lay it down, and cut like that (you can see it in the photo).
Step Two
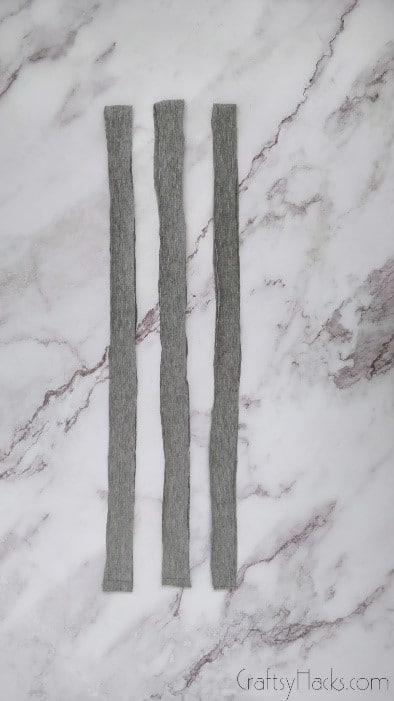
You should have three loops of fabric, each one 2cm wide. If they’re a little uneven, then feel free to trim them, but some unevenness isn’t the end of the world. We’ll be stretching them out later.
Step Three
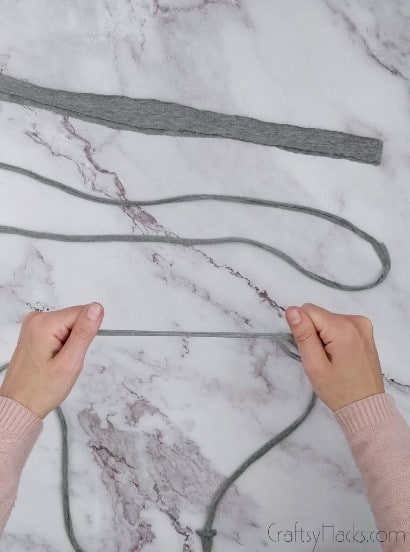
Next up, it’s time to stretch the loops. Pick each one up, stretch it in sections, and be careful not to overstretch into tiny little cords. The material will start to roll inward. Don’t worry, that’s normal!
Step Four
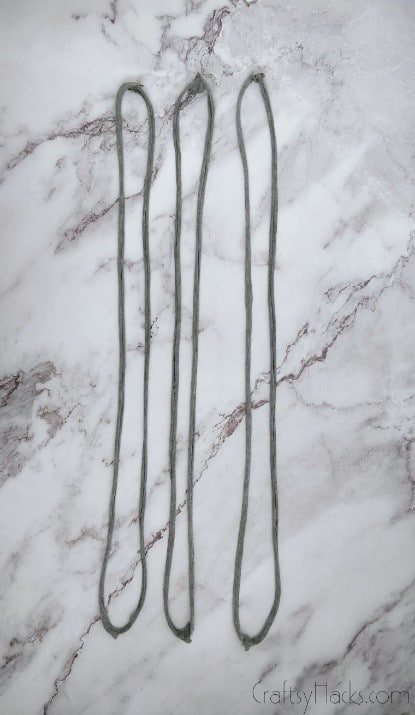
Once you’ve completed Step Three, you should be left with three stretched out loops.
Ensure you’ve stretched them as evenly as you can, making sure each section is the same width as the rest of the loop. Also, try to make sure they’re the same width as each other!
Step Five
Now, it’s time to turn these loops into strings. For each loop, find the location of the t-shirt’s edge seams. Snip through them both!
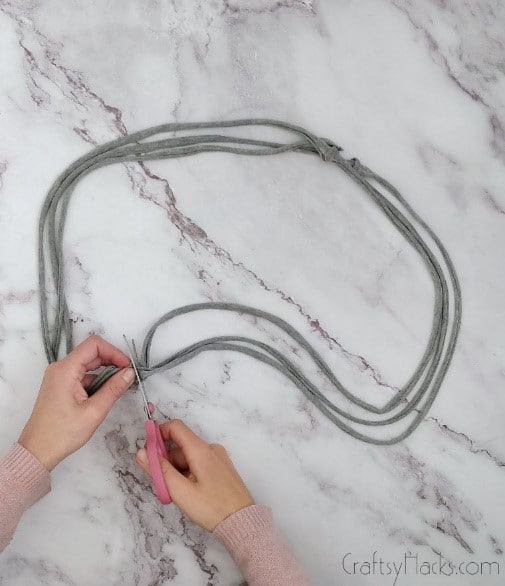
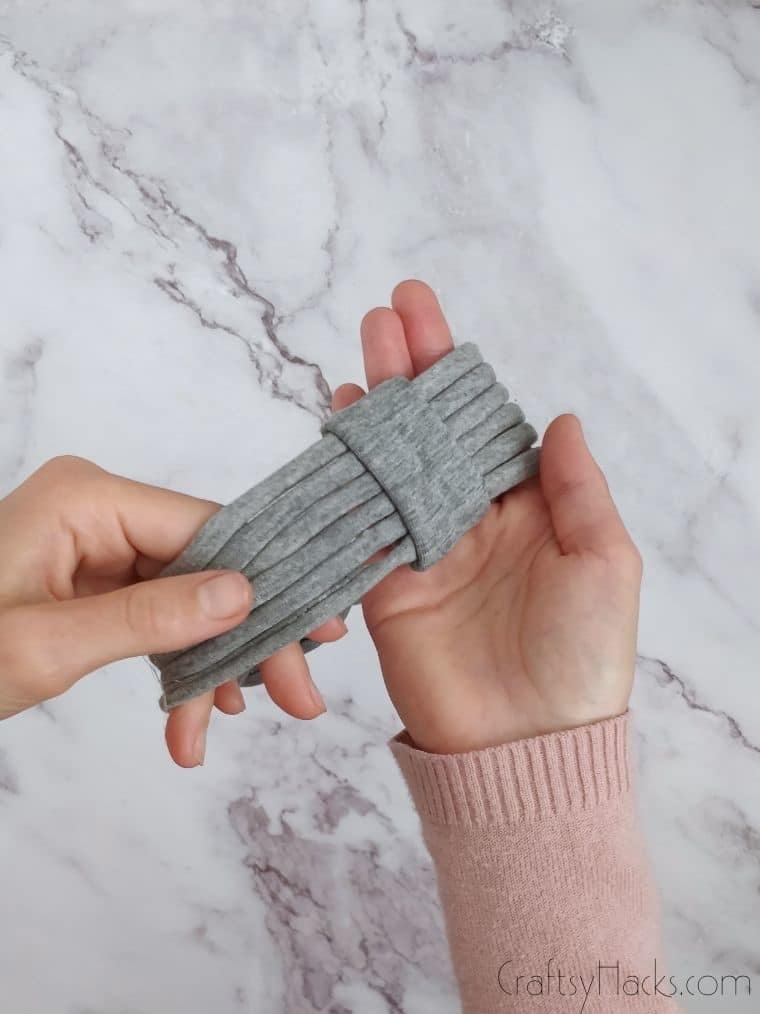
Step Six
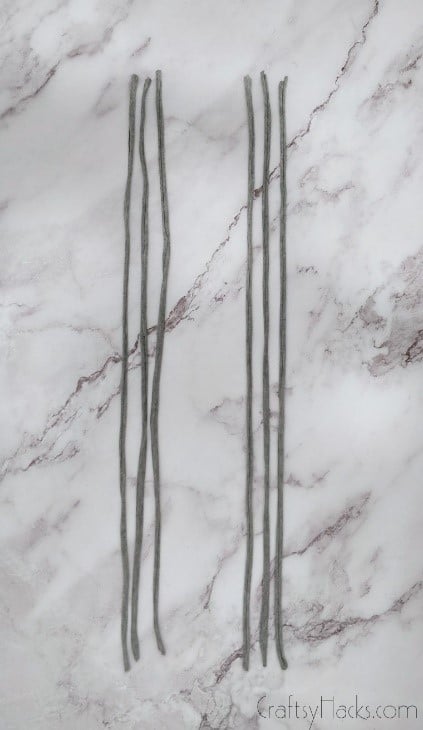
Once you’ve done that, you should be left with six strings of equal length. Collect them into two groups of three strings; these are going to form that larger bands we weave with.
Step Seven
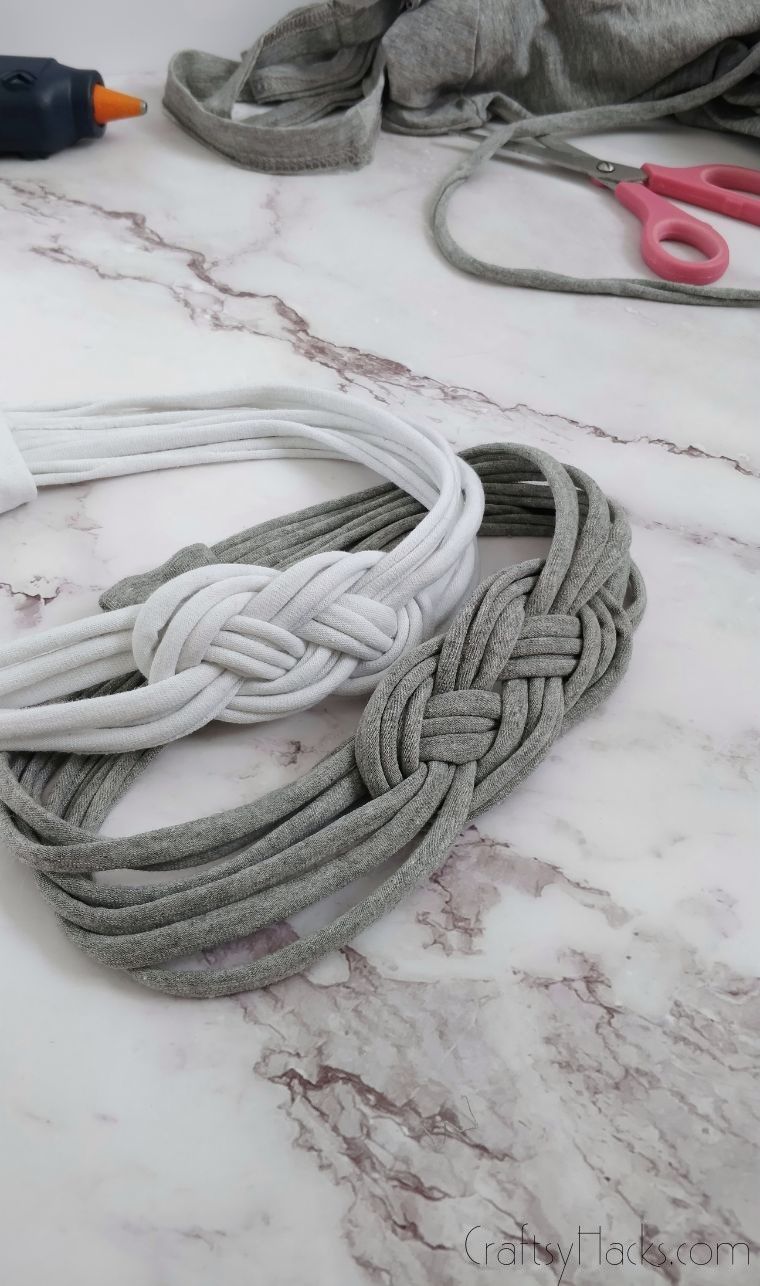
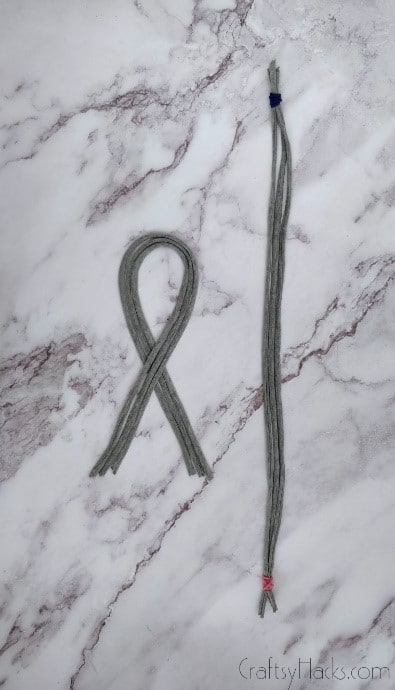
Now, it’s time to get weaving. This part can get a little bit complicated but stick with me! I’ve used two colorful hair ties on the right-hand band to make understanding this a little easier for you.
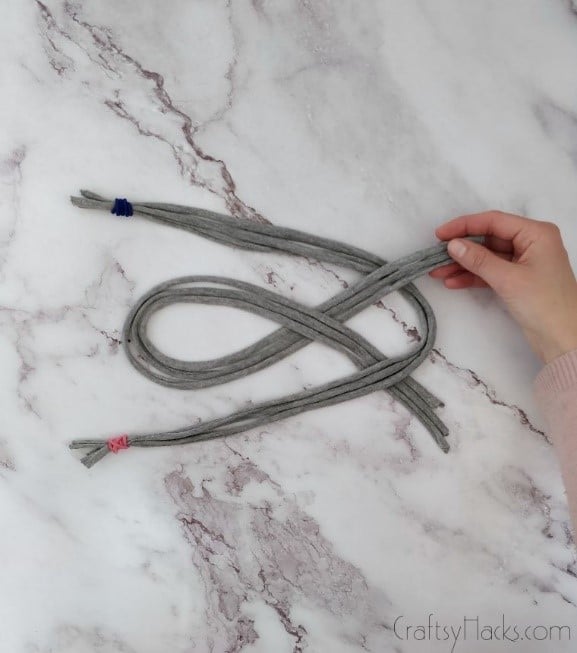
With the first group of three strings, simply lay them down in a very basic ribbon shape. You want the right side to be crossing over the left. It almost looks like a cartoon fish facing upward.
Use two hair ties to tie the ends of the second group together. This will make it easier to weave with. If you use different colored bands like I did, it might also help you keep track of your steps!
Step Eight
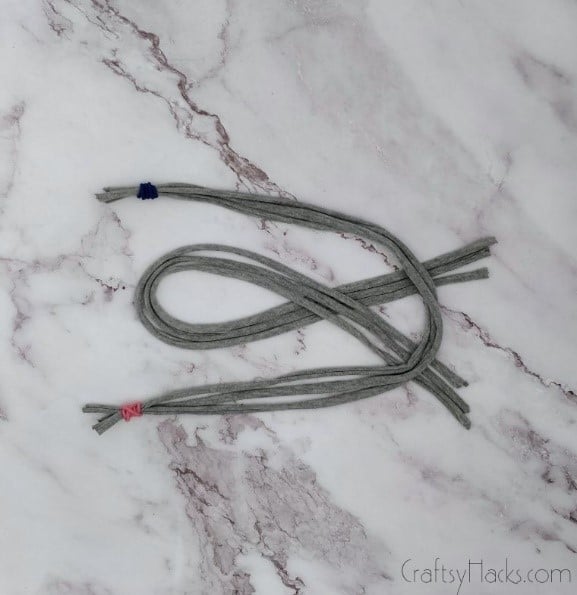
Lay the fish on its side, with the “head” pointing to the left. Then, take the second band and lay it over top of the fish’s “tail”, creating a U shape.
The top of the U should be facing the same way as the “head”.
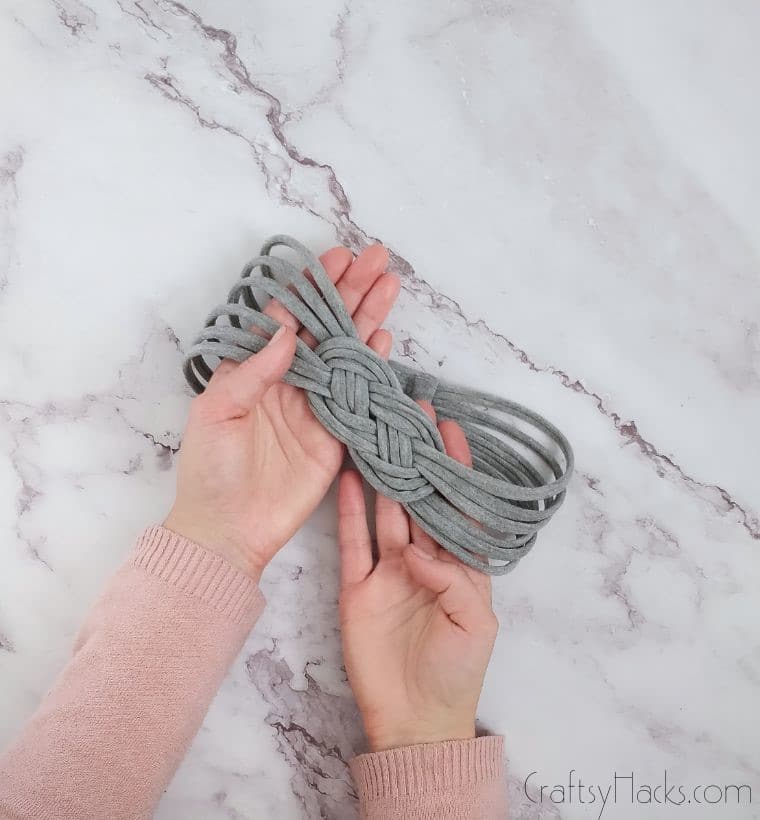
Step Nine
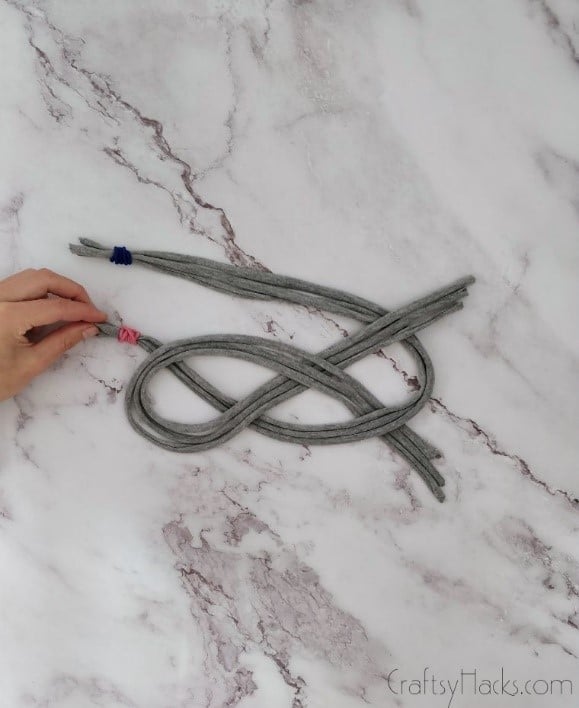
Pick up the top part of the fish’s tail and bring it over the U shape, letting it lie flat on your table.
Step Ten
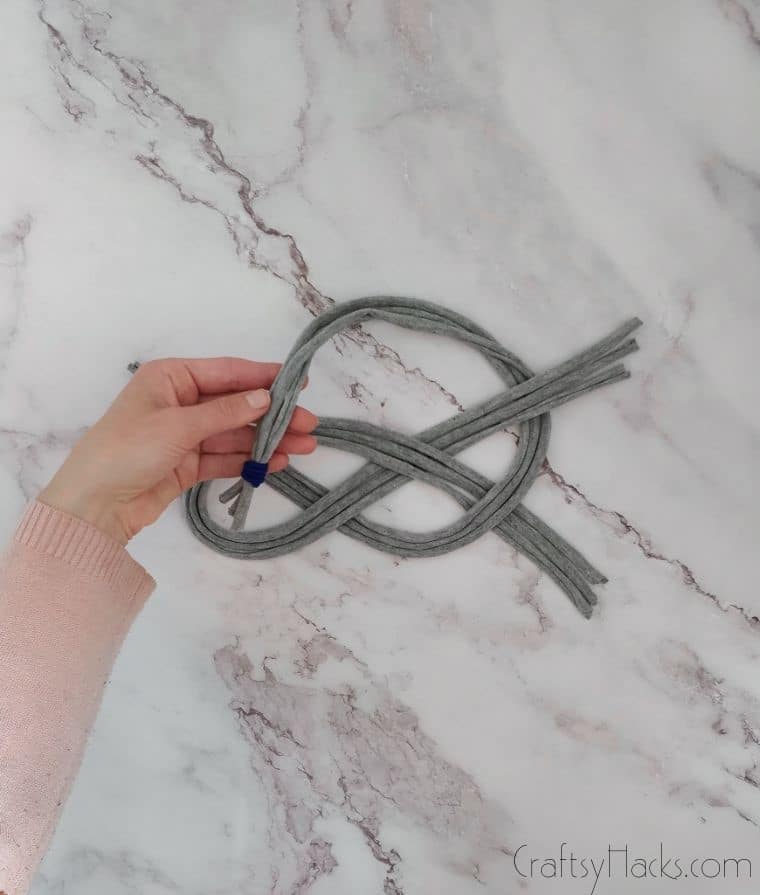
Next, take the “pink” end of the U shape and pull it underneath the fish’s head. Then, grab the blue end, weaving it over the top of the fish’s head and under the pink end.

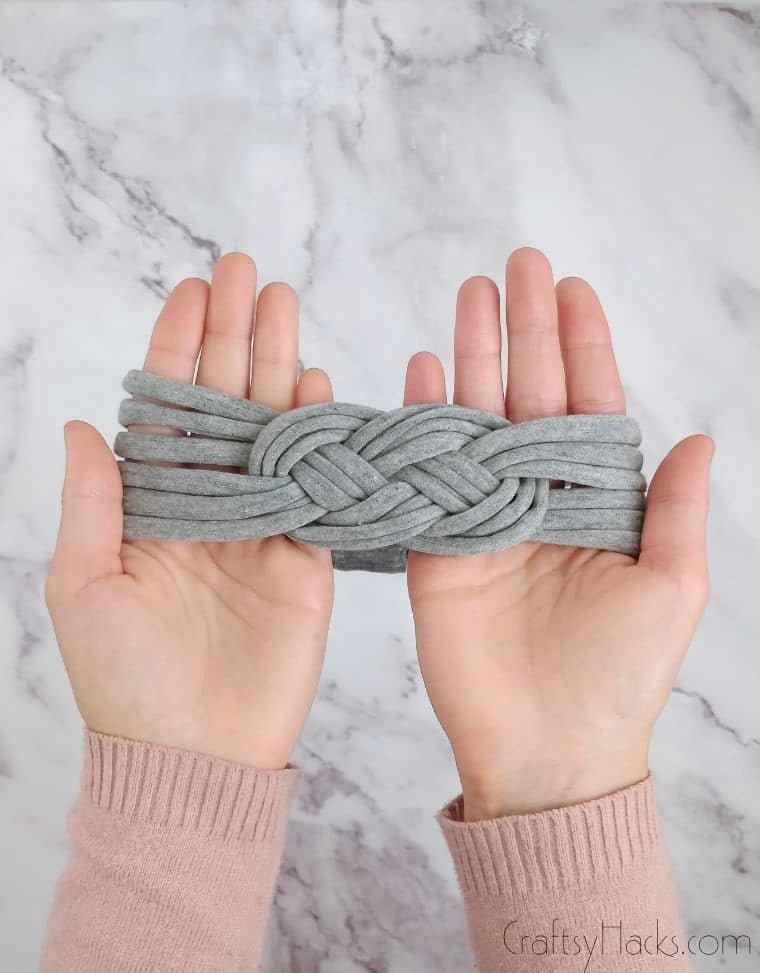
Step Eleven
You should have something that looks like this.
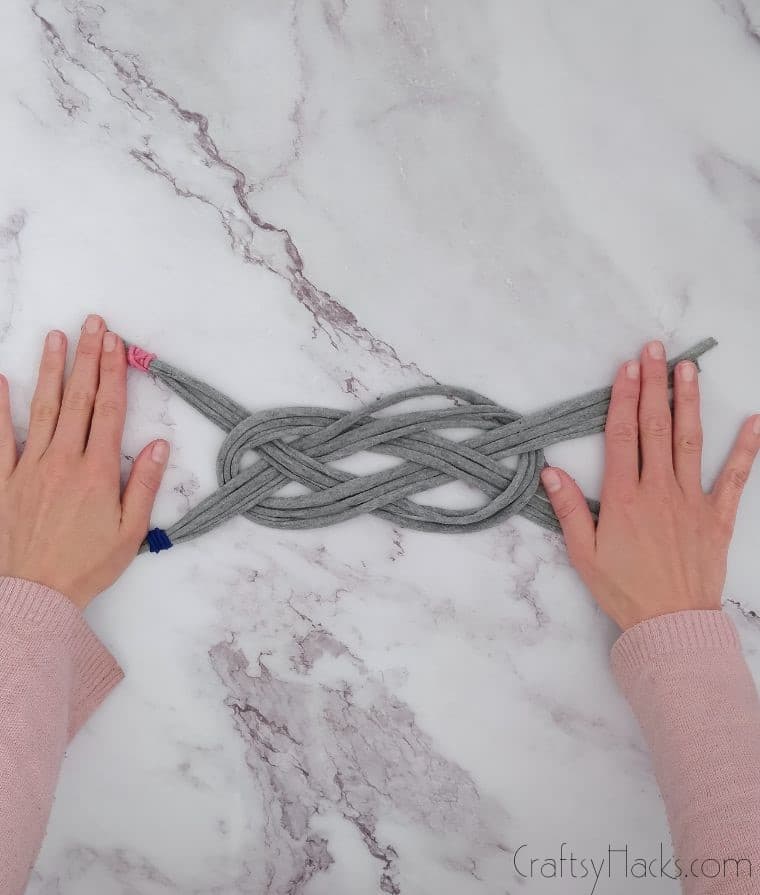
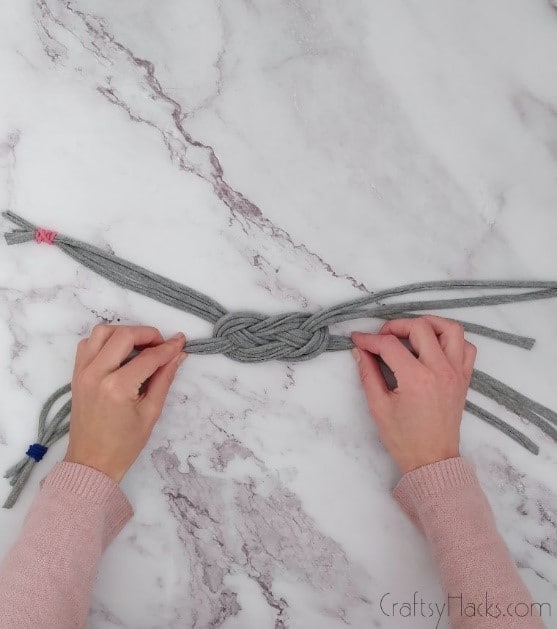
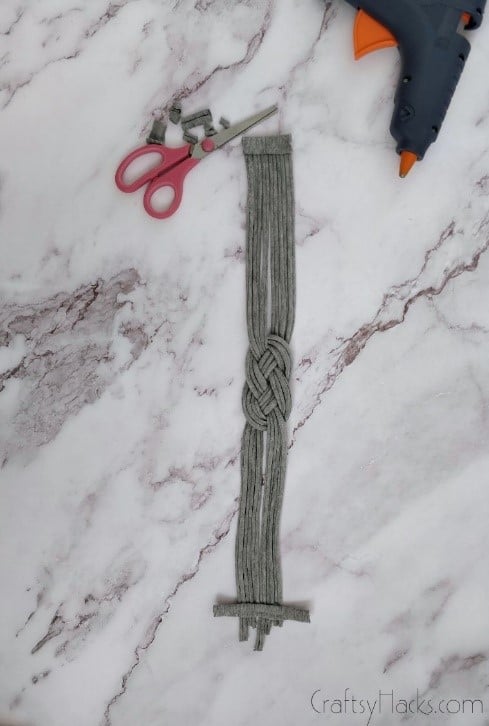
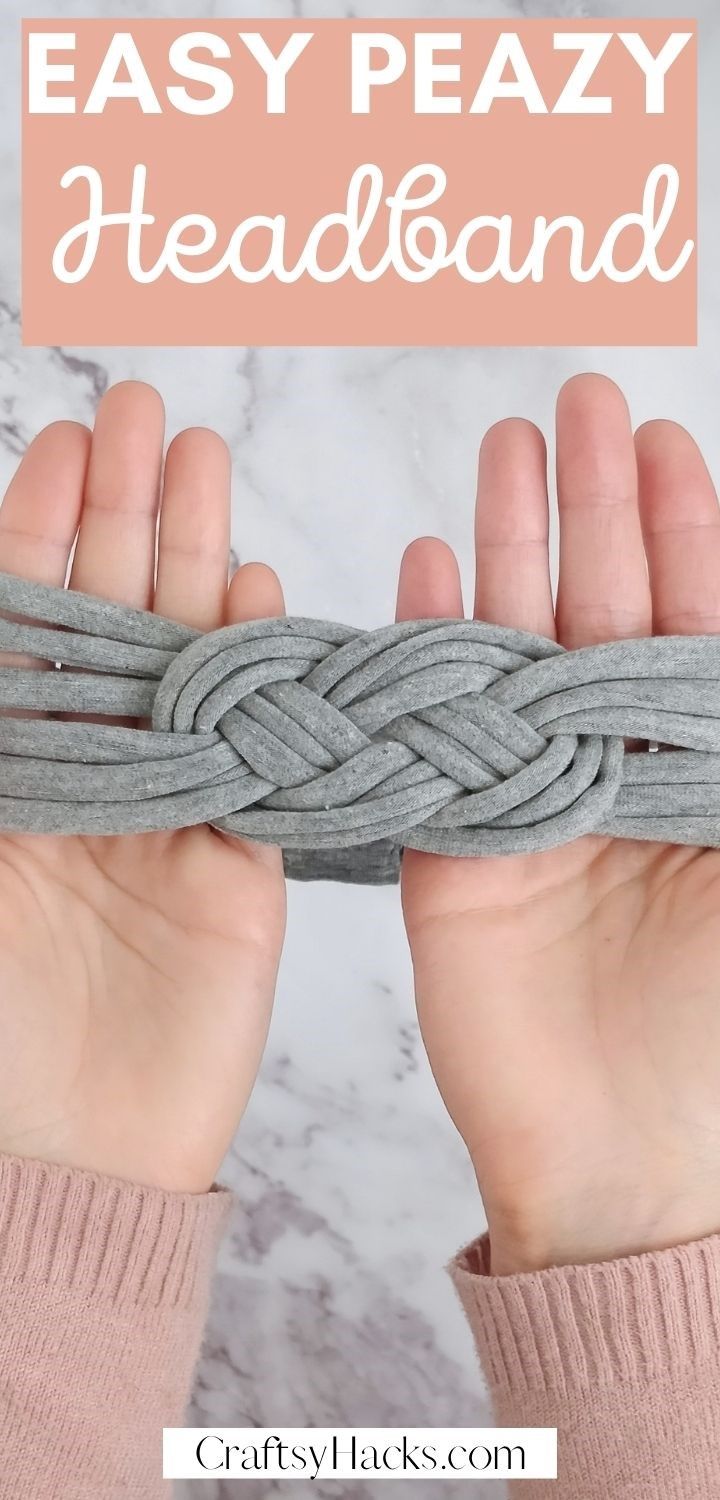
Step Twelve
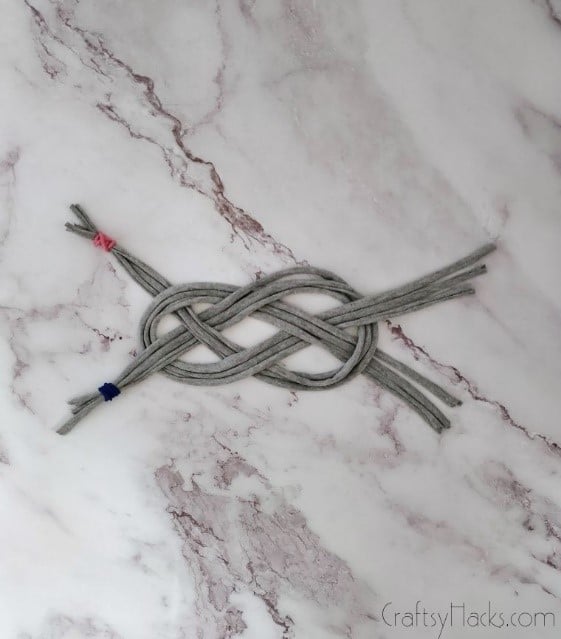
Keeping the weave flat on your table, pull evenly on all the ends to tighten. You can think of it as one big knot, all coming together as you introduce pressure.
Make sure you’re pulling evenly on all the sides as you want the ends to come out at similar lengths. Go bit by bit if you’ve never done something like this before. Sometimes it helps to go slow!

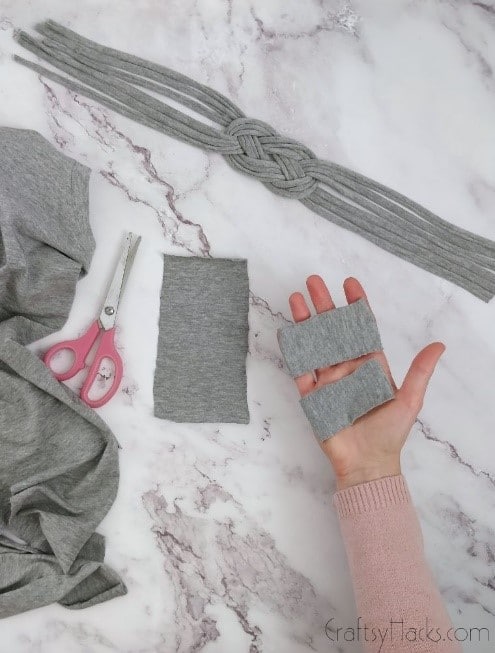
Step Thirteen
Grab your fabric scissors and cut three more pieces out of your t-shirt.
Two should be smaller pieces – about 4cm x 6cm – while the bigger one should be around 7cm x 10cm. These are going to form the ends.
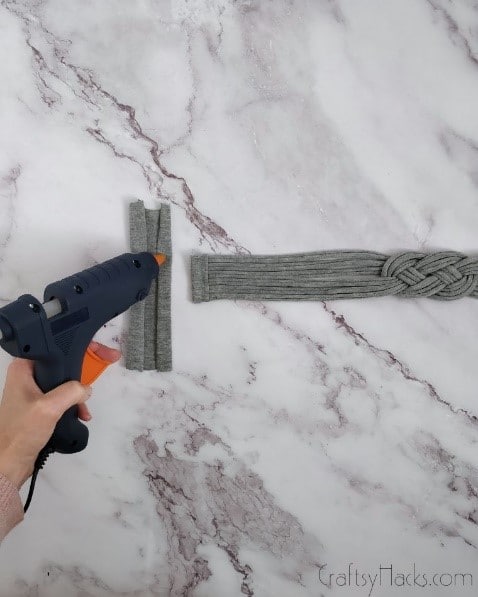
Step Fourteen
Stretch your newly cut pieces just like you did for the original bands. You may notice them starting to roll as you do so, but don’t worry, that’s what we want.
Step Fifteen
Now, let’s put it all together! Choose the side of your hairband you like the best. Both sides should look the same, but you may like one better than the other.
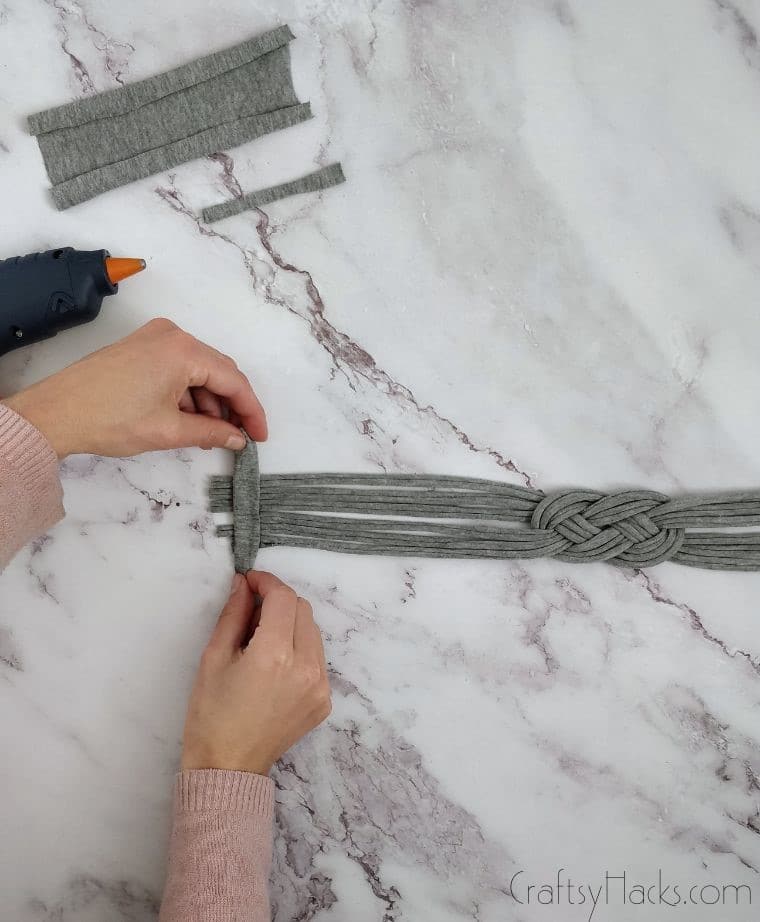
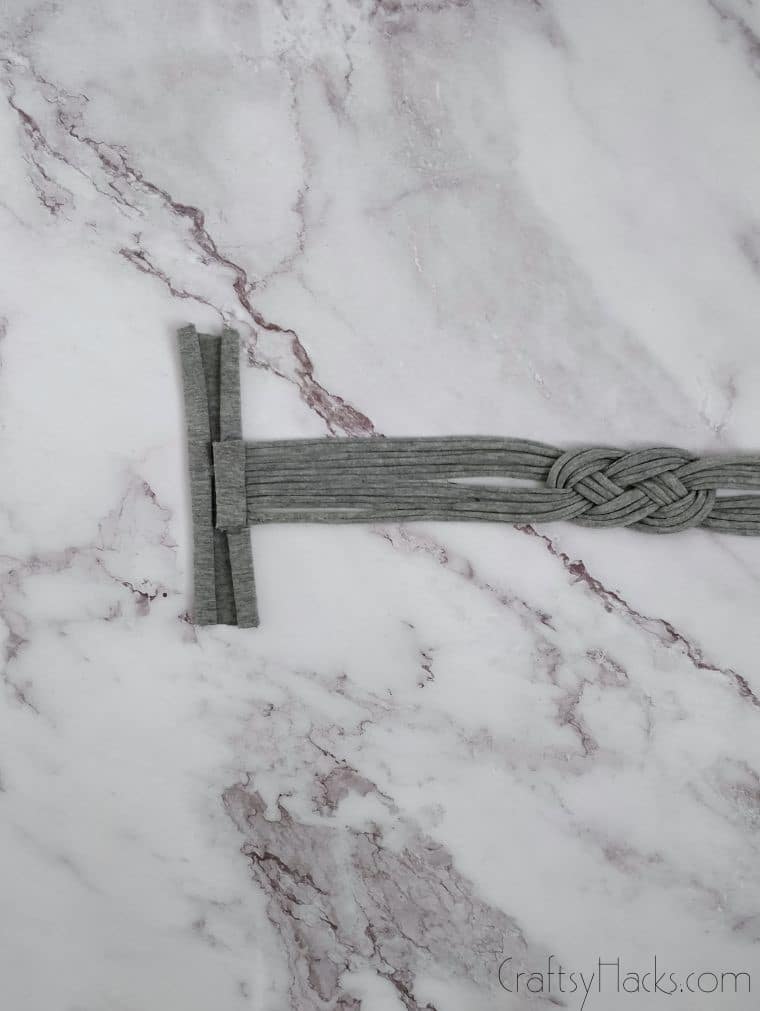
Lay the side you like better facing down on the table, then whip out your glue gun. Use one of the smaller pieces you just cut, laying the rolled end face down on the end of one band edge. Glue.
Trim the excess of the edge, then repeat on the other side with the extra small edging piece.


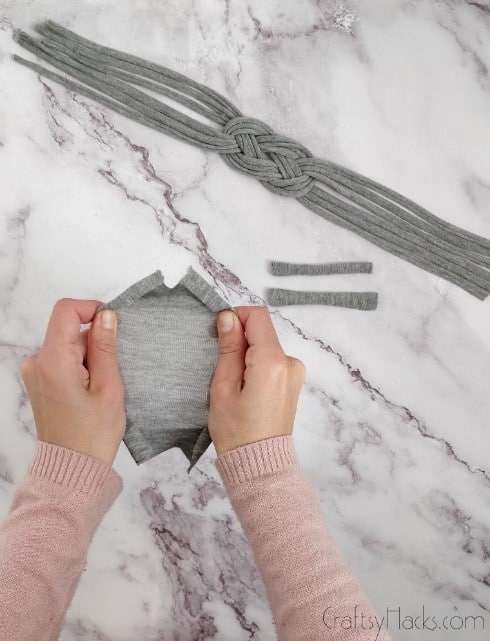
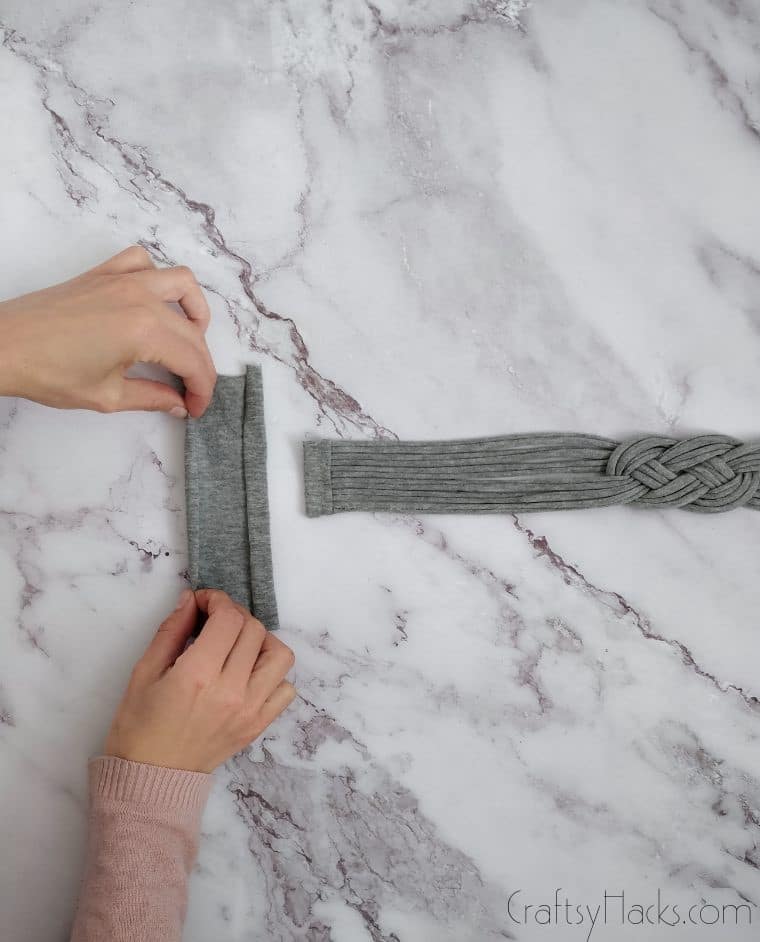
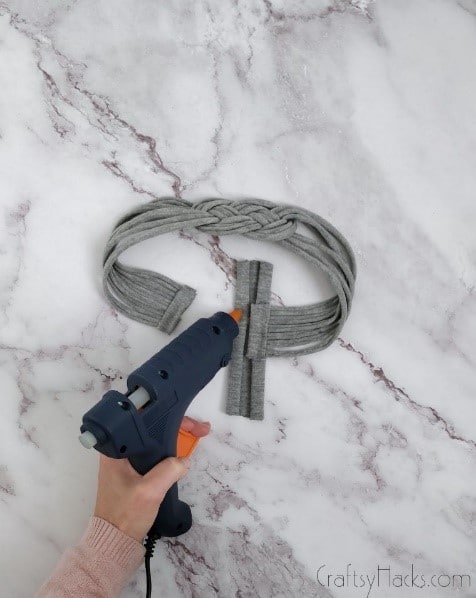
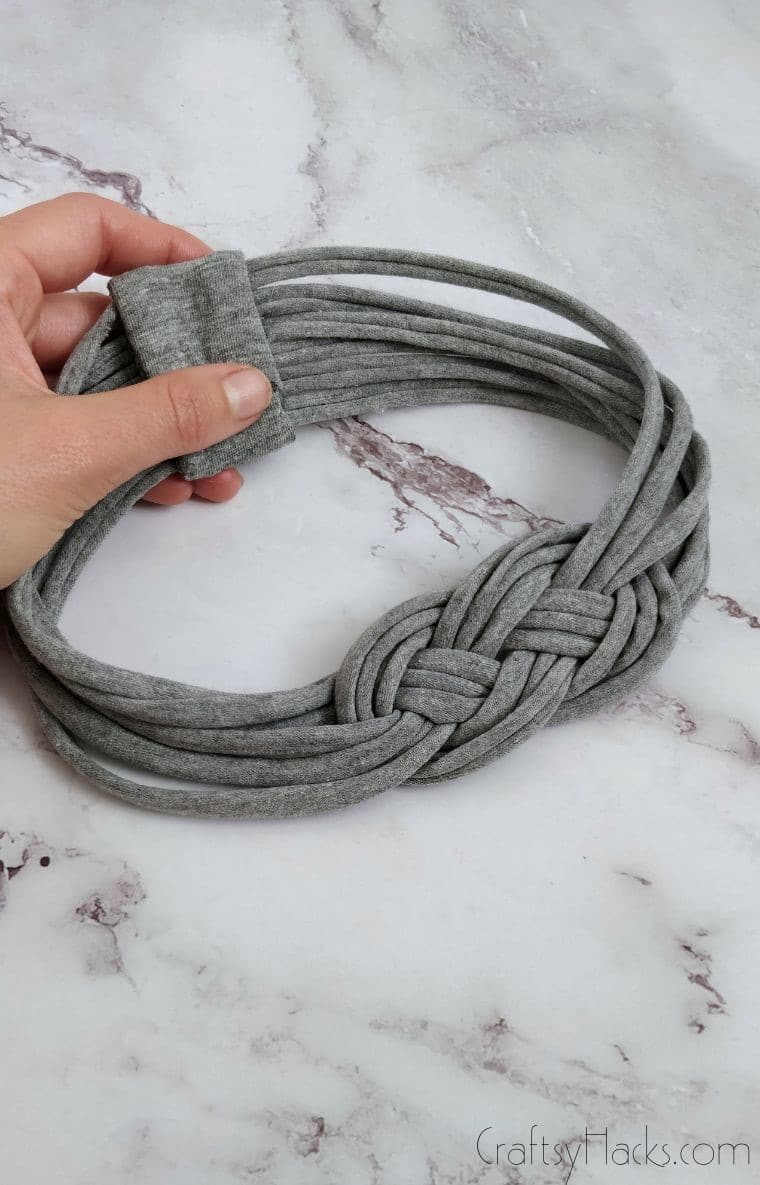
Step Sixteen
Using the bigger piece, fold the already rolled edges inward to form a rectangle. Then, use your glue gun to attach the band’s left side to the right edge of the rectangle.
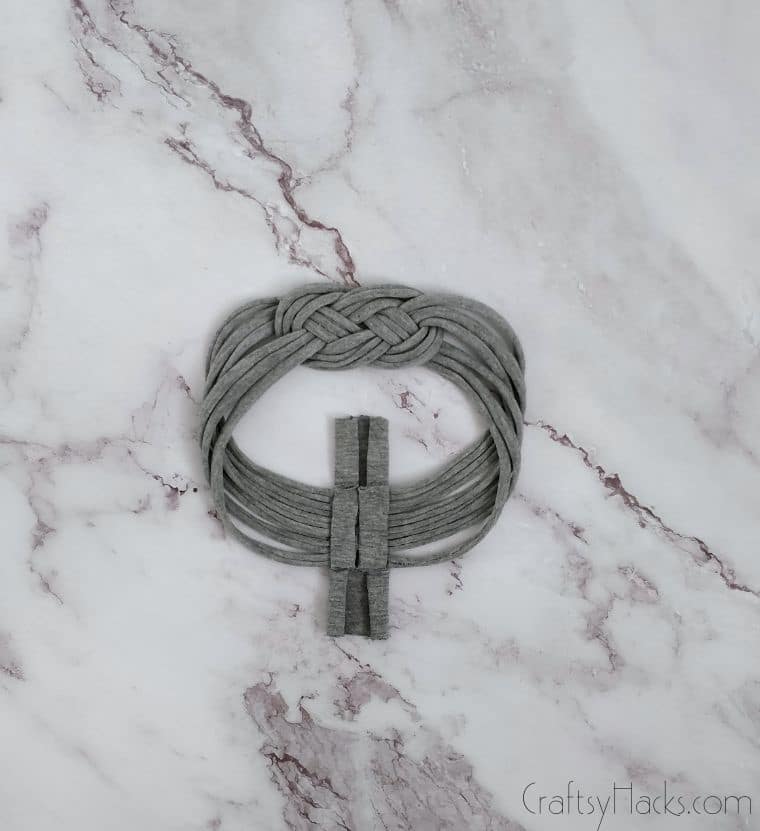
Step Seventeen
Bring your hairband around in a loop. The outside of the weave should now be facing you. Use your glue gun to connect the remaining loose edge to the left edge of the rectangle.
At this point, you can adjust how far in you glue the edge to make your headband tighter or looser. Try it out on your head before securing!
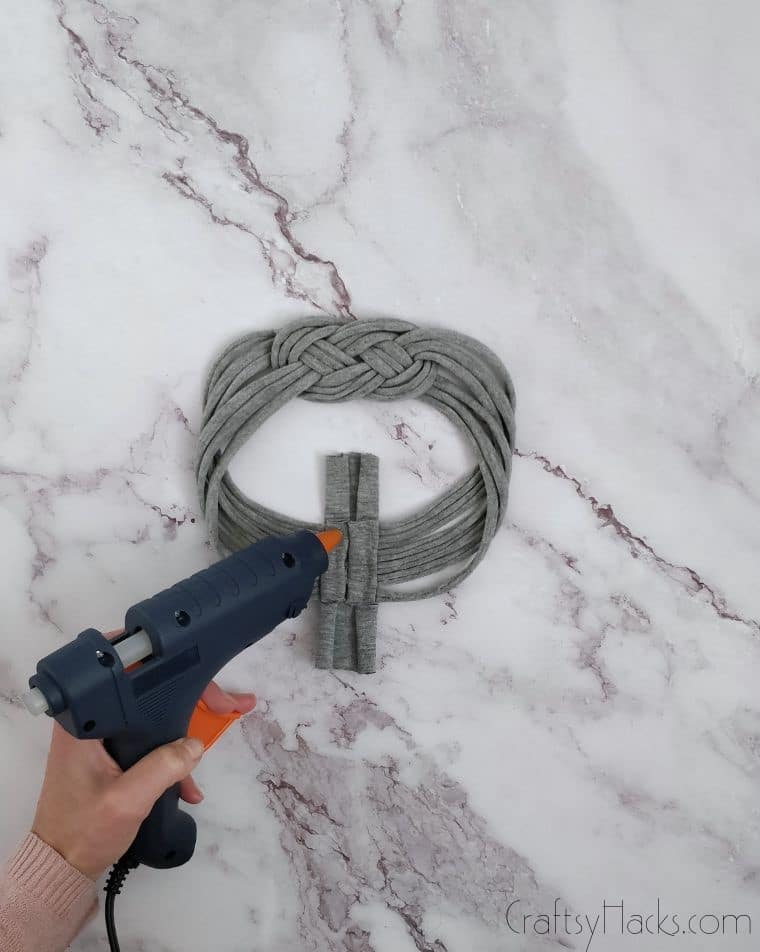
Step Eighteen
Finally, fold the edges of the rectangle inward and glue them down with your glue gun. This will finish off the edges of the headband beautifully, giving everything a professional look.
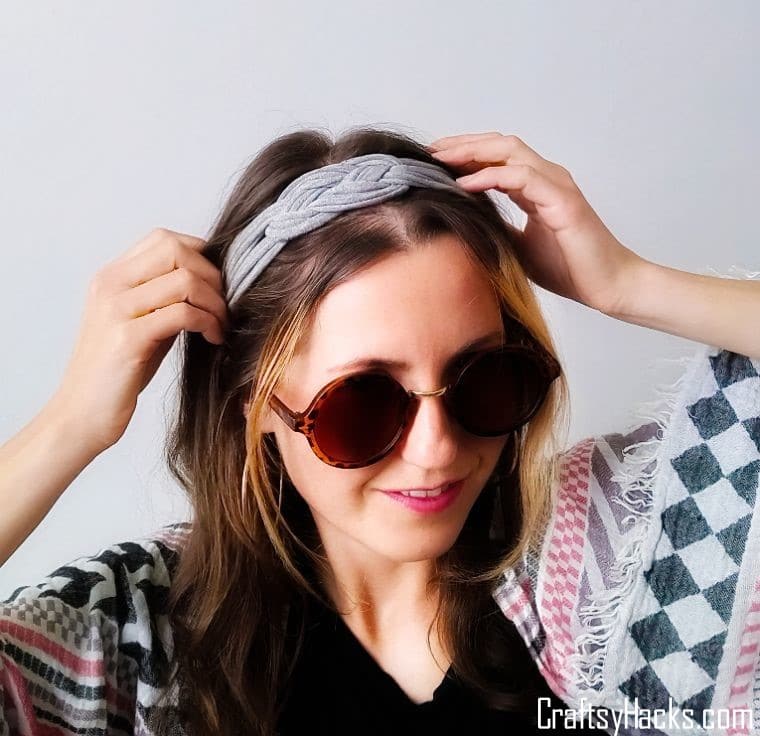
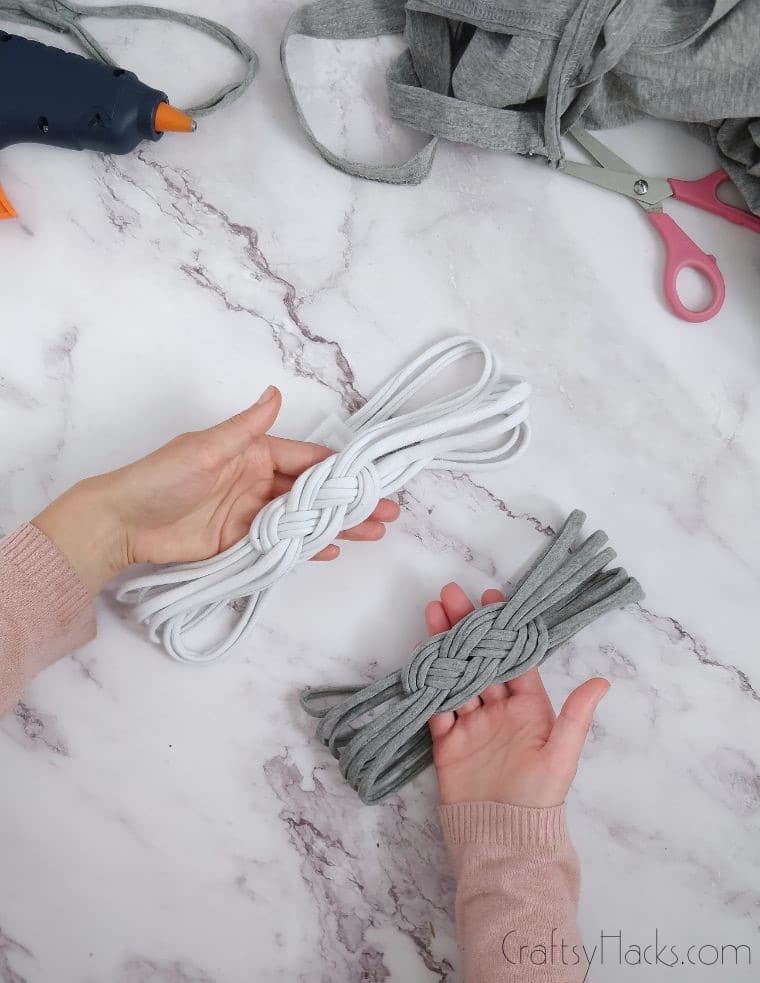
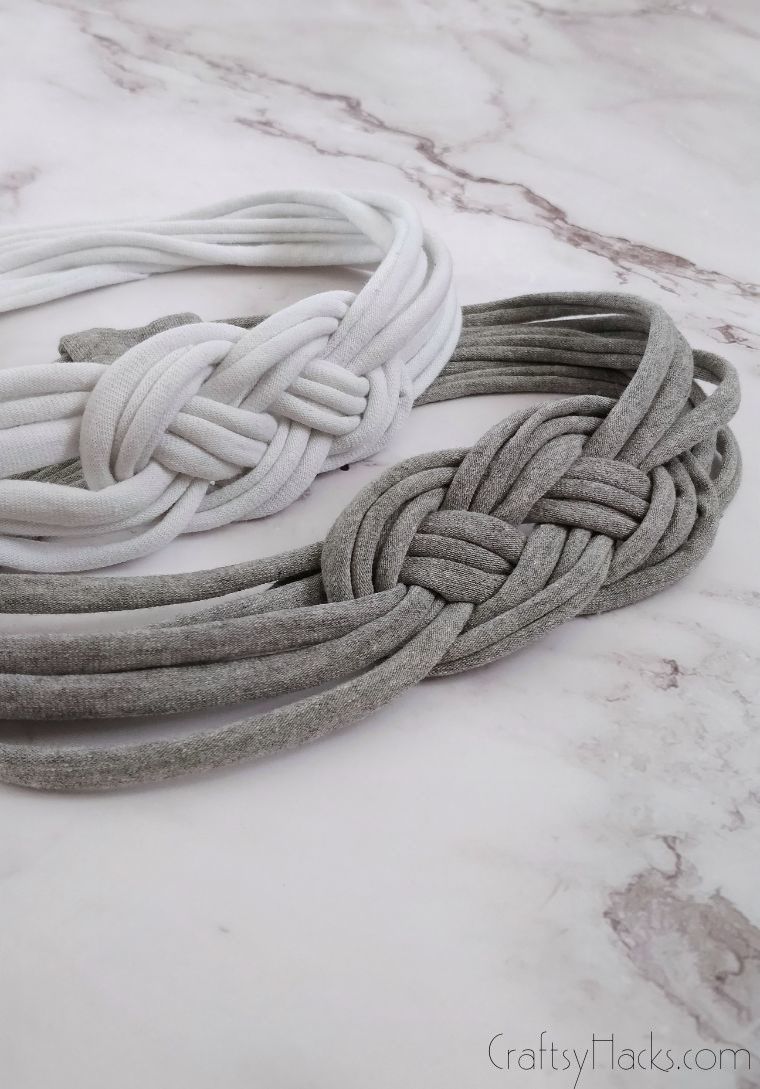
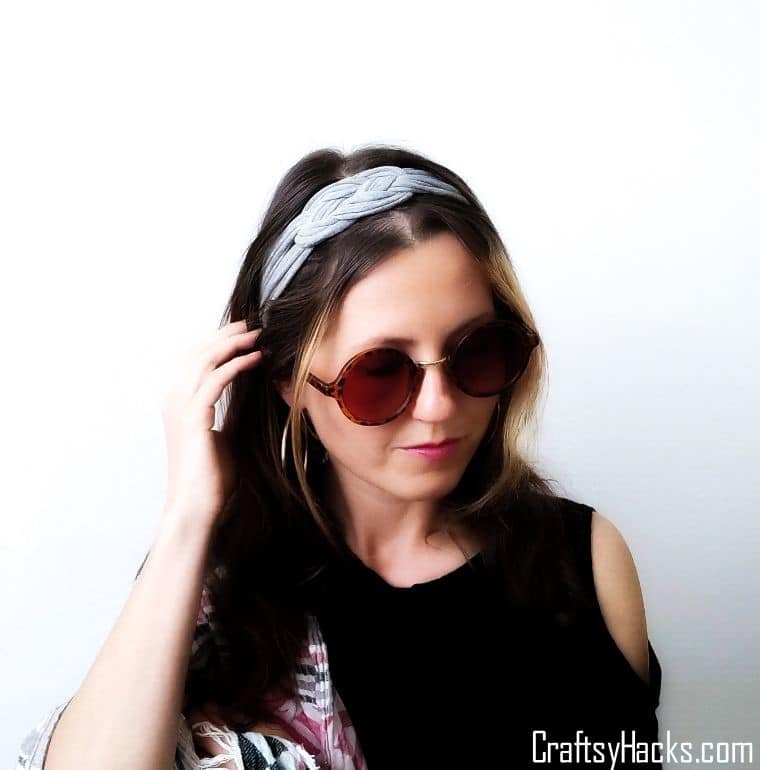
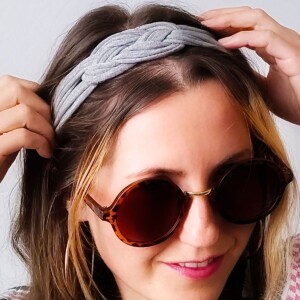
There you have it! You’re officially the owner of a trendy new headband.


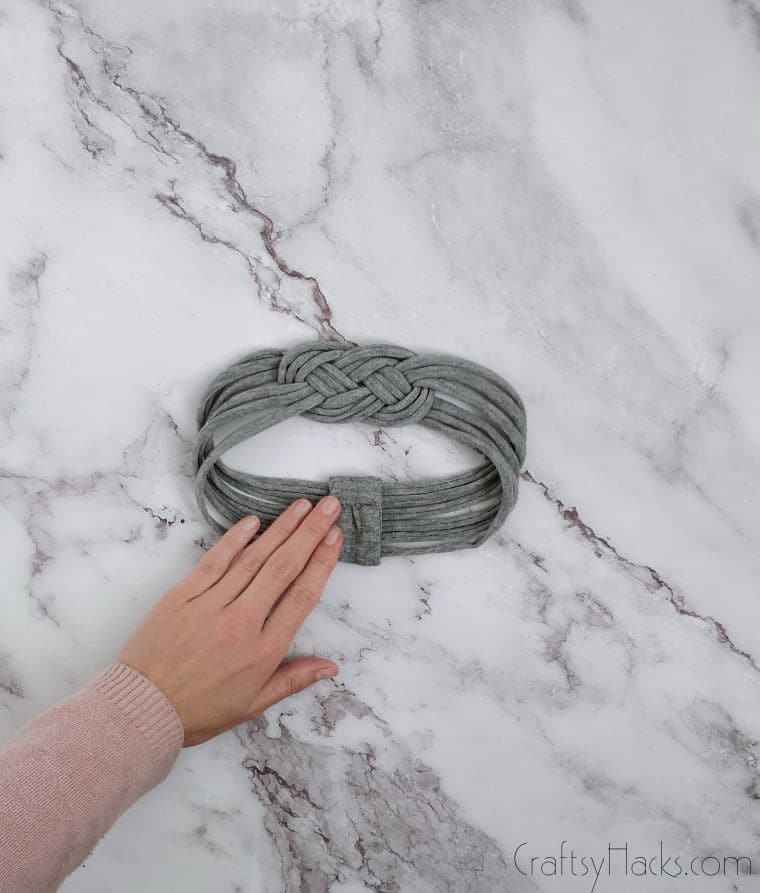
Vuola, here is the final result!
Other Crafts You Can Make
- DIY Woven Bowl With Yarns
- Upcycling Ideas
- Yarn-Wrapped DIY Glass Vase
- DIY Macrame Leaf Earrings
- 20 Projects for Teens
- Sewing Projects
- Craft Ideas
- 21 Creative Dollar Tree Crafts for Low Budgets
- 47 Scrap Fabric Projects
- DIY T-Shirt Ideas
- DIY Projects

DIY Headband from an Old T-Shirt
Video Tutorial
Equipment
- Fabric scissors
Materials
- An old t-shirt
Instructions
- Dig through your closet for the perfect old t-shirt.
- Lay your t-shirt out flat, then fold in half.
- Cut three loops of fabric from the bottom of the t-shirt, making each one about 2cm wide.
- Stretch these loops out, starting from the side seams and working evenly around.
- Cut the loops at the seams to turn them into six individual strings. Section these out into two groups of three.
- Create a cartoon fish shape with one of the groups, fashioning a loop and laying the right side over the left. Tie the other group together at both ends using some hair ties.
- Lay the “fish” on its side, with the head pointing left. Drape the other group over it in a U-shape, making sure the U is facing the same way as the fish’s “head”.
- Bring the top of the fish’s tail up and over the U.
- Take the bottom end of the U-shape and bring it under the fish’s head.
- Pick up the band at the top of the U-shape. Bring it over the fish’s head and under the bottom band of the U-shape.
- Pull-on all the ends. This will tighten the weave, creating a distinct pattern on the headband.
- Choose the side you like best and lay that side face down on your surface.
- Cut three more pieces of fabric from your t-shirt. Two small pieces (4cm x 6cm), and one larger piece (7cm x 10cm). Stretch these out as you did the others.
- Glue the smaller pieces on either end of the headband to bring the individual strands together. Make sure to trim the excess for a smooth appearance.
- Fold the rolled edges of the larger piece inward, creating a rectangle with the edges facing up.
- Now, glue the left side of the headband to the right side of the rectangle piece.
- Loop the other side of the band around and glue it to the remaining edge of the rectangle.
- Fold the extra rectangle edges inward, securing them with your glue gun to create a seamless join.
- There you have it! A gorgeous headband fit for any head.


Thanks
Would have liked photo instructions, so one can teach the children to read and follow instructions.
Hello Istella,
what do you mean by that? There are photos for how to make the headbands in this post. Do you mean text on the photos?
How long are the t-shirt strips when you lay them out flat?
Hi Elle, I don’t know, we haven’t measured it when making the headband. We did use a size S shirt.
Wow! I was looking for the best headband DIY and then I found this one. It turned out so pretty and was so fun to make. Although it turned out much smaller than in the pictures (the shirt was probably smaller than the one you used), after adding some extra material it fit my head perfectly!
Hey Dafna!
Glad you’ve made it! I will add that little detail that it’s important to use a bigger shirt 🙂