DIY Wedding Centerpiece Out of Upcycled Bottles
This post may contain affiliate links: full affiliate disclosure.

Need to decorate your wedding on a budget? Make this DIY wedding centerpiece out of upcycled bottles and save $$.
When you’re planning a wedding, there’s a ton of those ‘little’ things you need to take care of. I’m not talking about the big stuff like the cake, the dress, or the flowers, no.
I mean the little things like what kind of napkins you want to buy, the color of the balloons you want, and in this instance, the kind of centerpiece you want to have at your tables.
Not only do you have a ton of little things to work your way through, they can also end up becoming pretty expensive. That’s why this DIY wedding centerpiece is perfect. It’s easy-to-make, cost-effective, and you’re basically just upcycling old bottles into something super elegant and beautiful.

Supplies and Tools You’ll Need
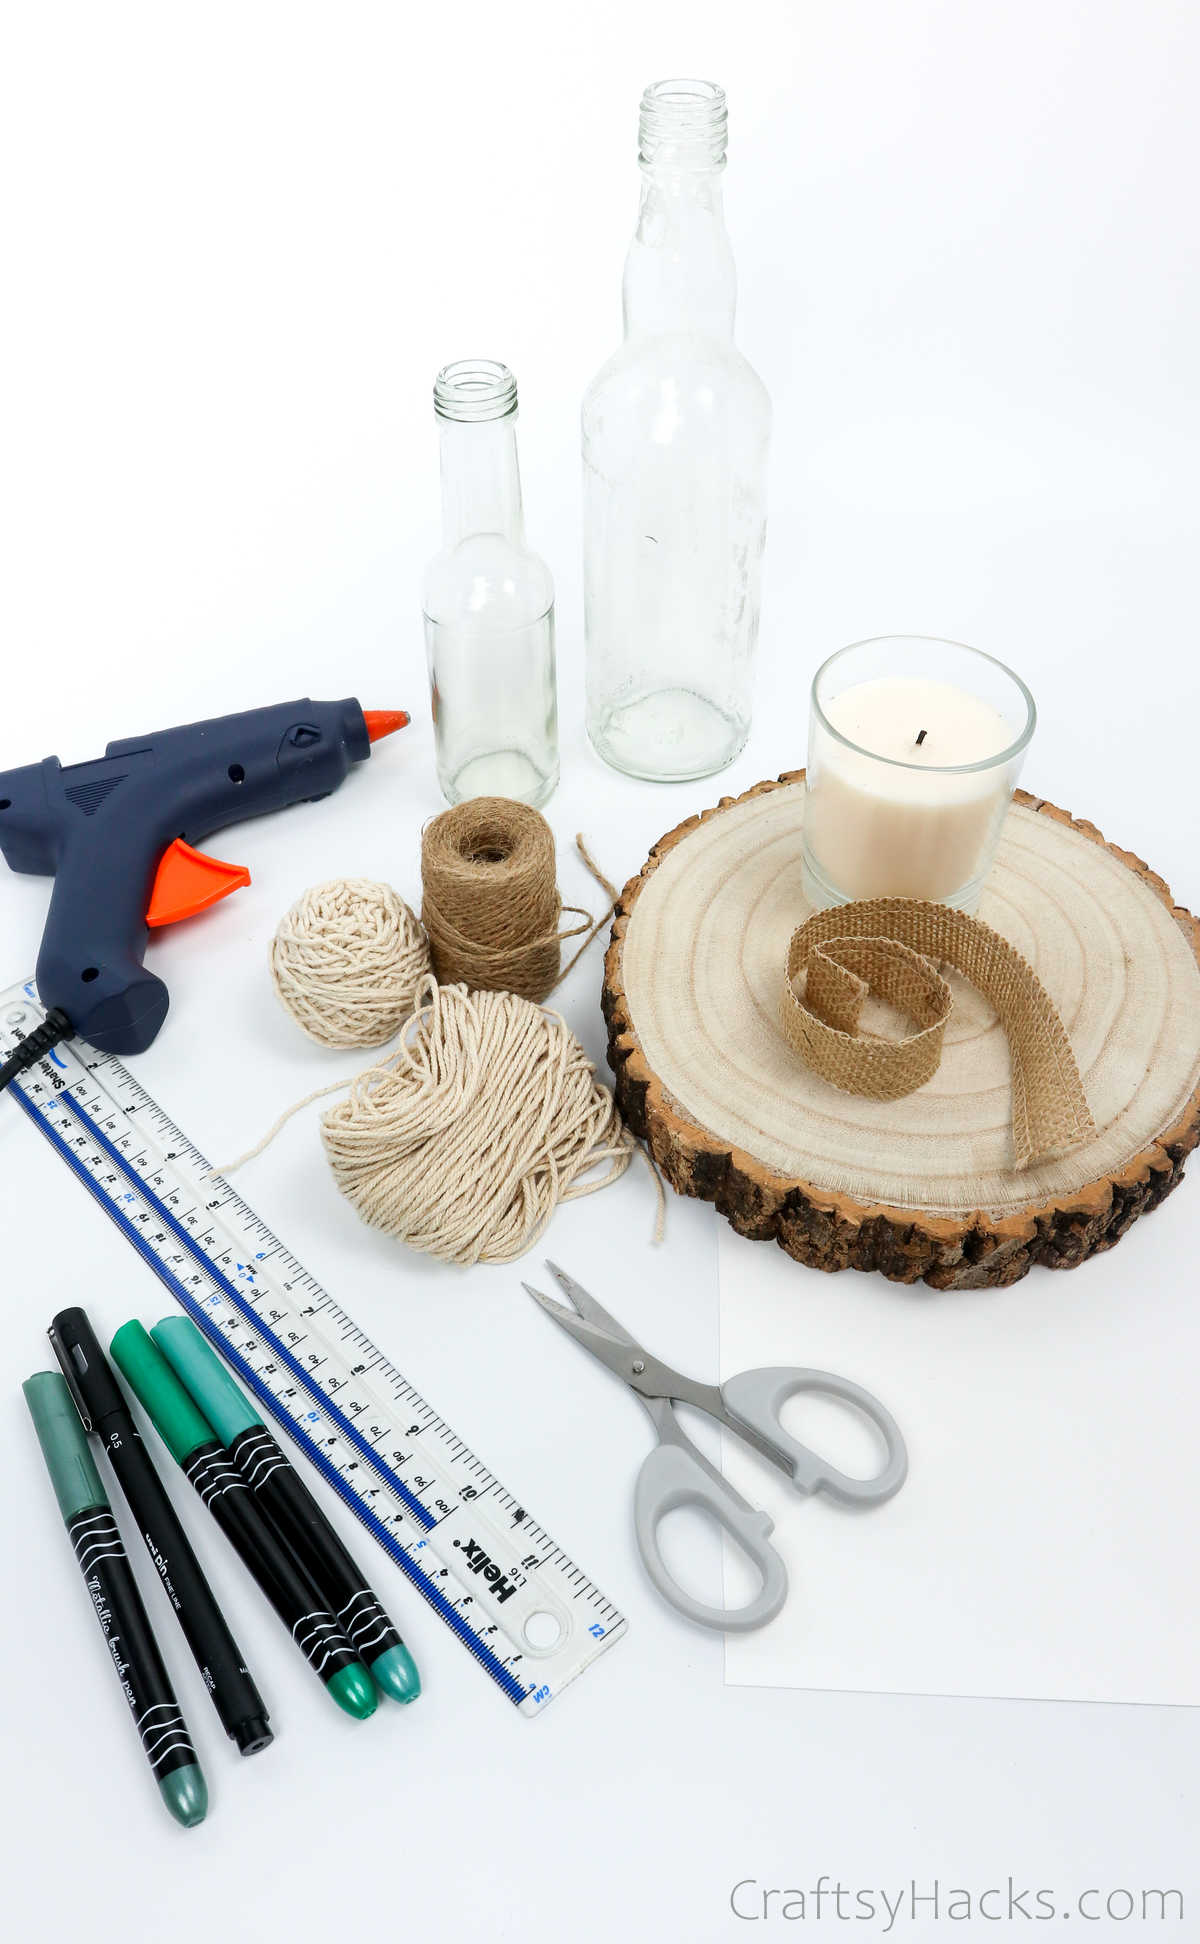
So, before we get started, let’s take a look at all the supplies you’ll need for these DIY centerpieces:
- Wood plaque
- 2 bottles (ideally different sizes)
- Jar candle
- 5mm cotton cords (or thicker)
- Hot glue gun
- Scissors
- Thick white A5 paper
- Ruler
- Markers
- 1” wide jute ribbon
Optional:
- Ribbon
- Pearl beads
- A thin thread
- Decorative border punch

How to Make Your Own Wedding Centerpiece
Before you start working on your DIY project, there’s one super important thing you have to do: clean all the bottles you’re using—thoroughly.
We’re talking about a deep cleaning, followed by careful scrubbing, rinsing, and finally, allowing the bottles to dry completely before you use them. Don’t skip this step—if your bottles have dirt or grease on them, it’ll ruin your decor.
Step 1
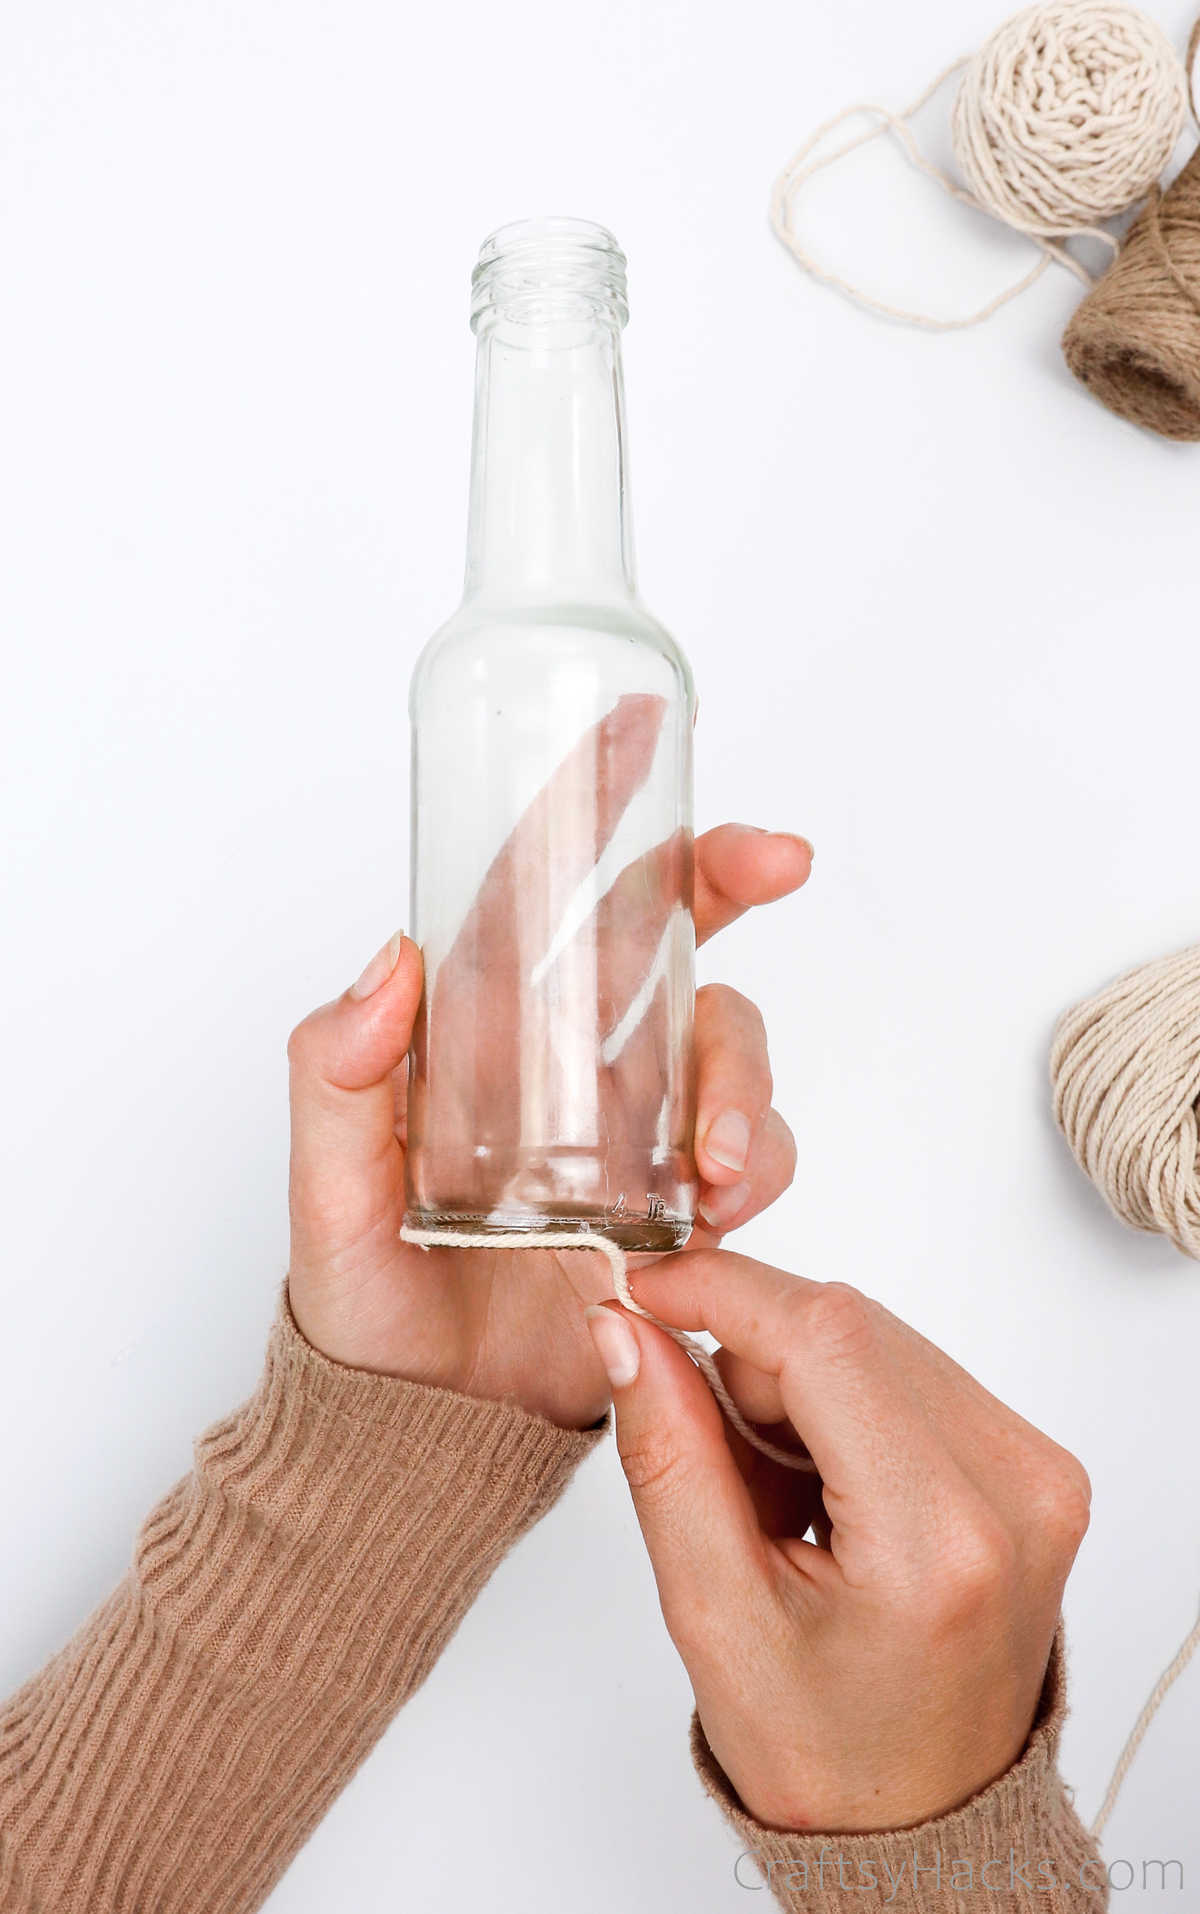
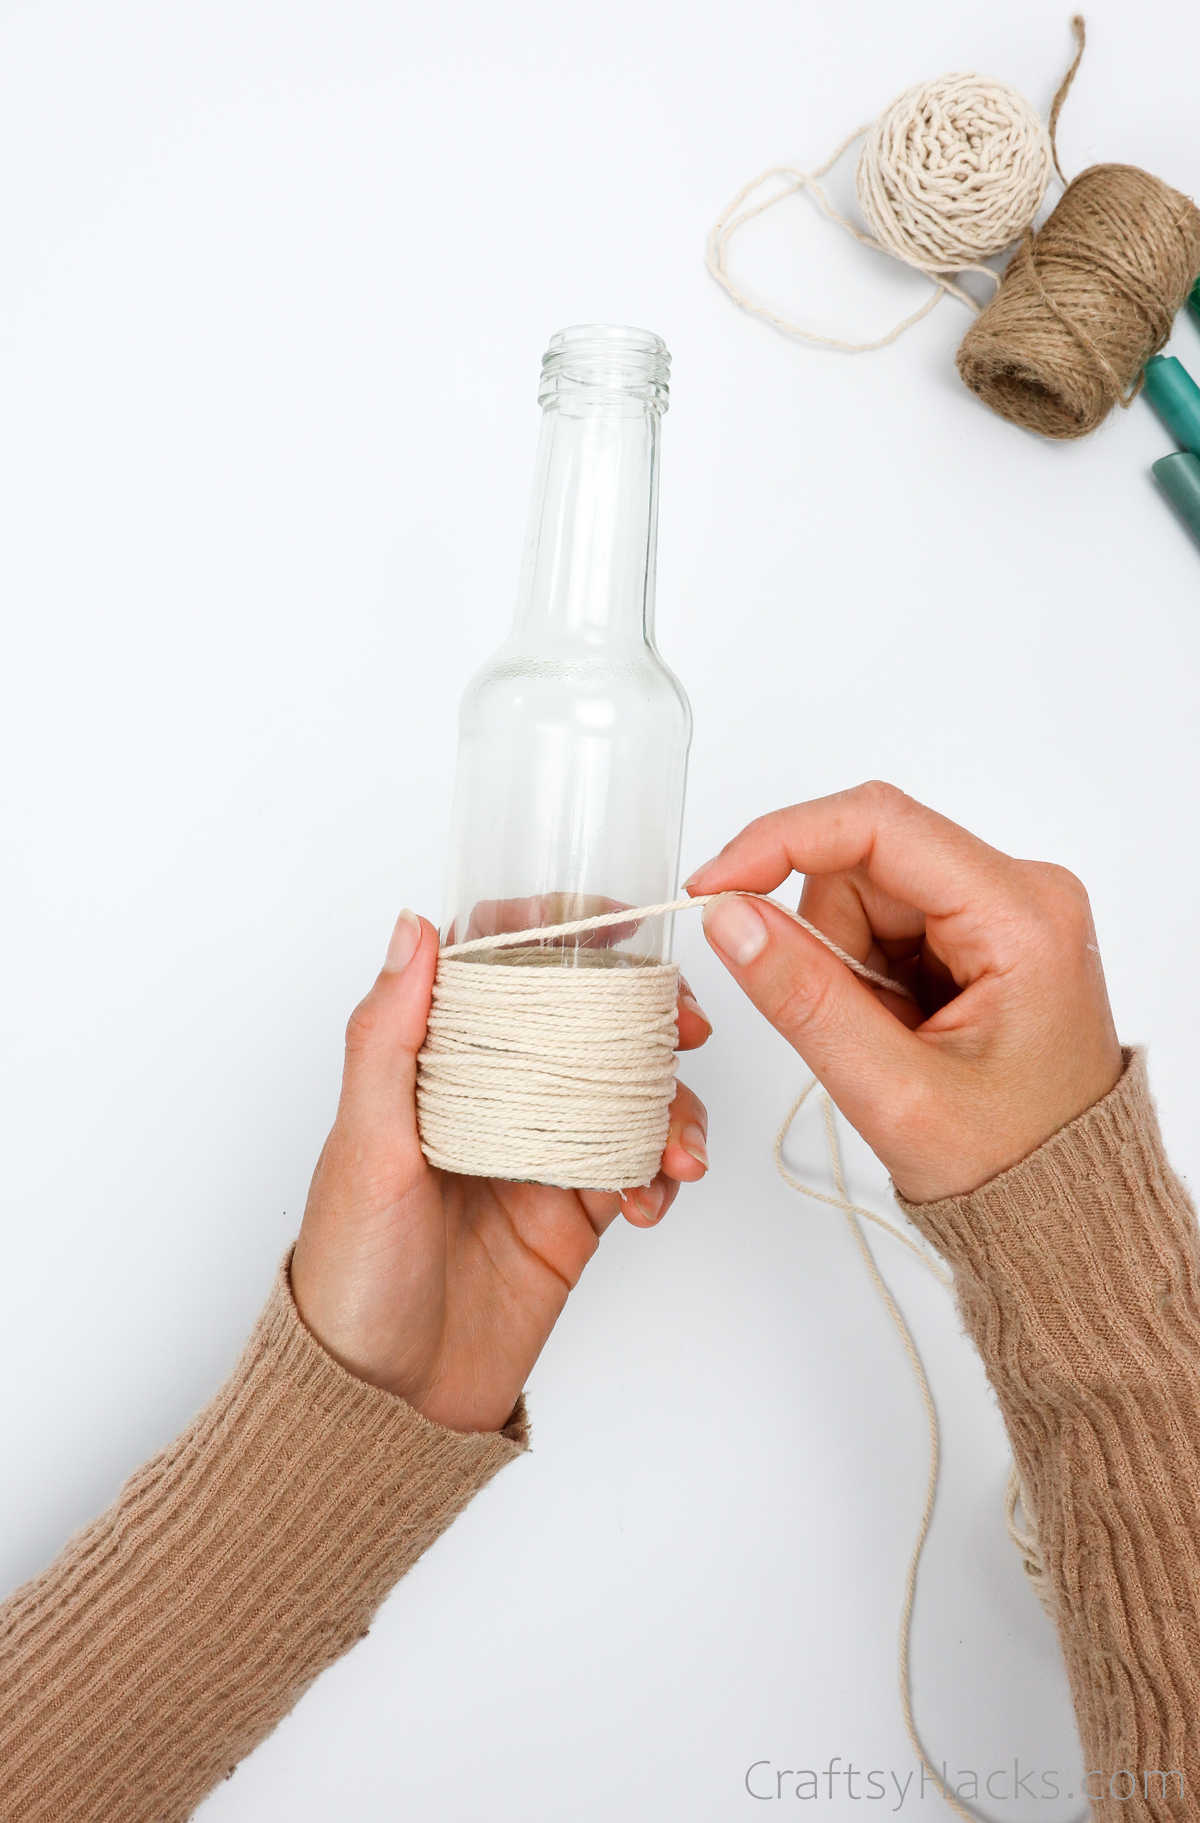
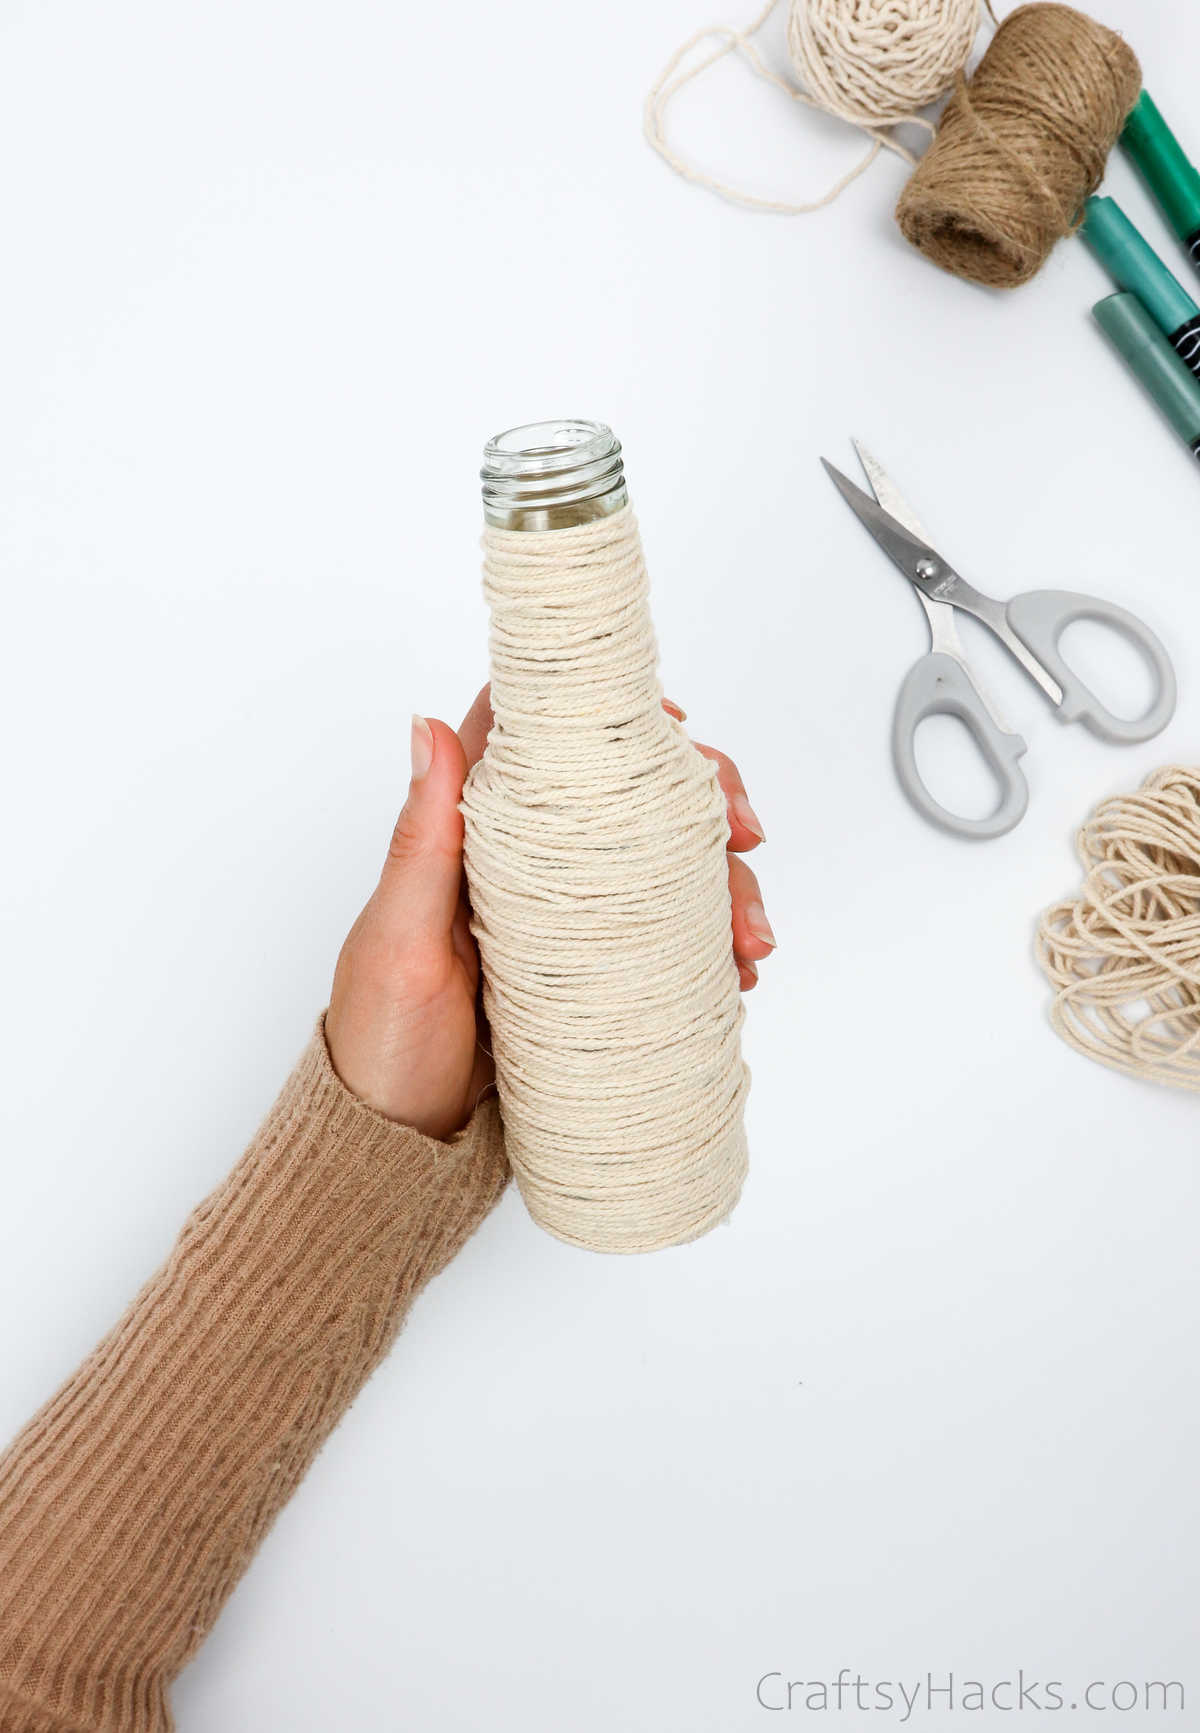
You can start by unraveling the cotton cord. Now, feel free to use a chunkier or thinner cord—it’s all up to you, but it does make it easier if the cord is not too thin or too thick.
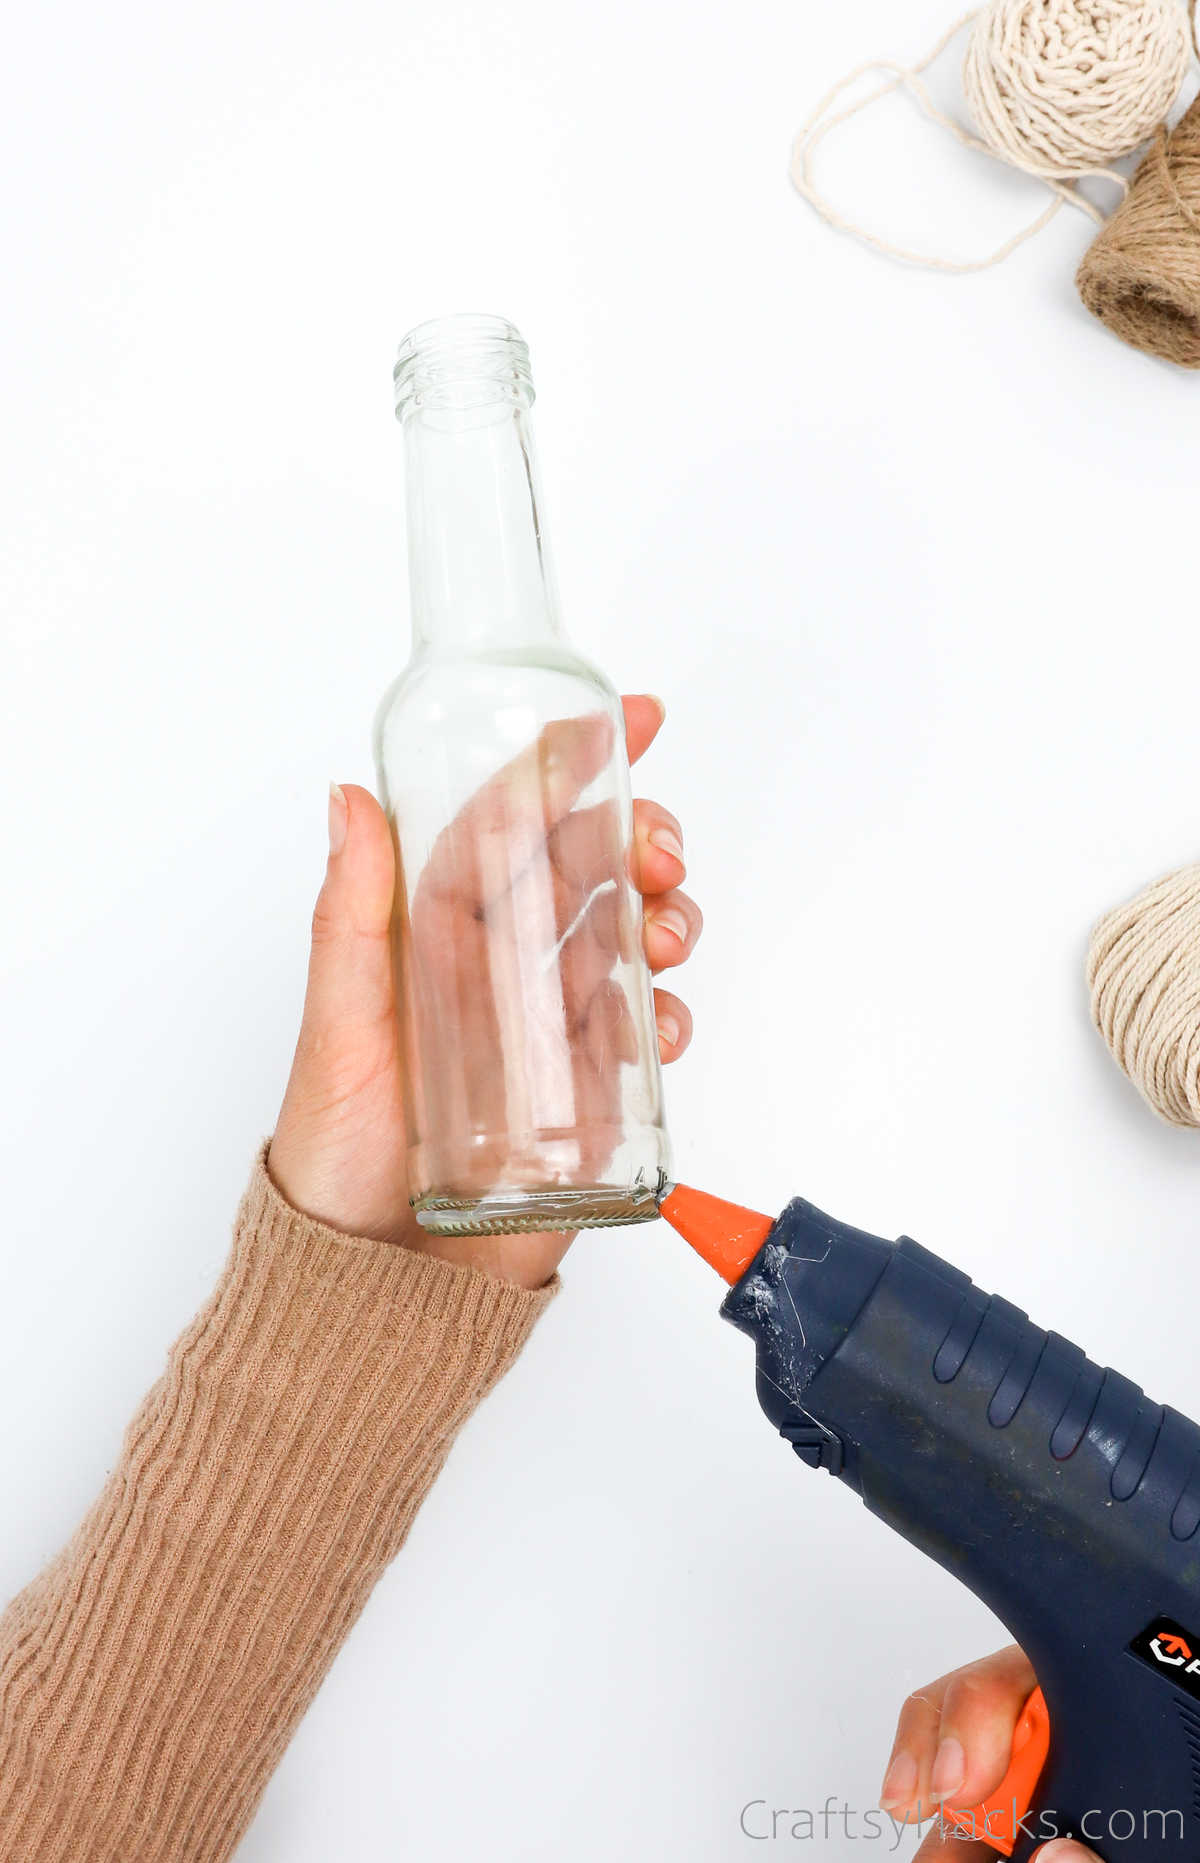
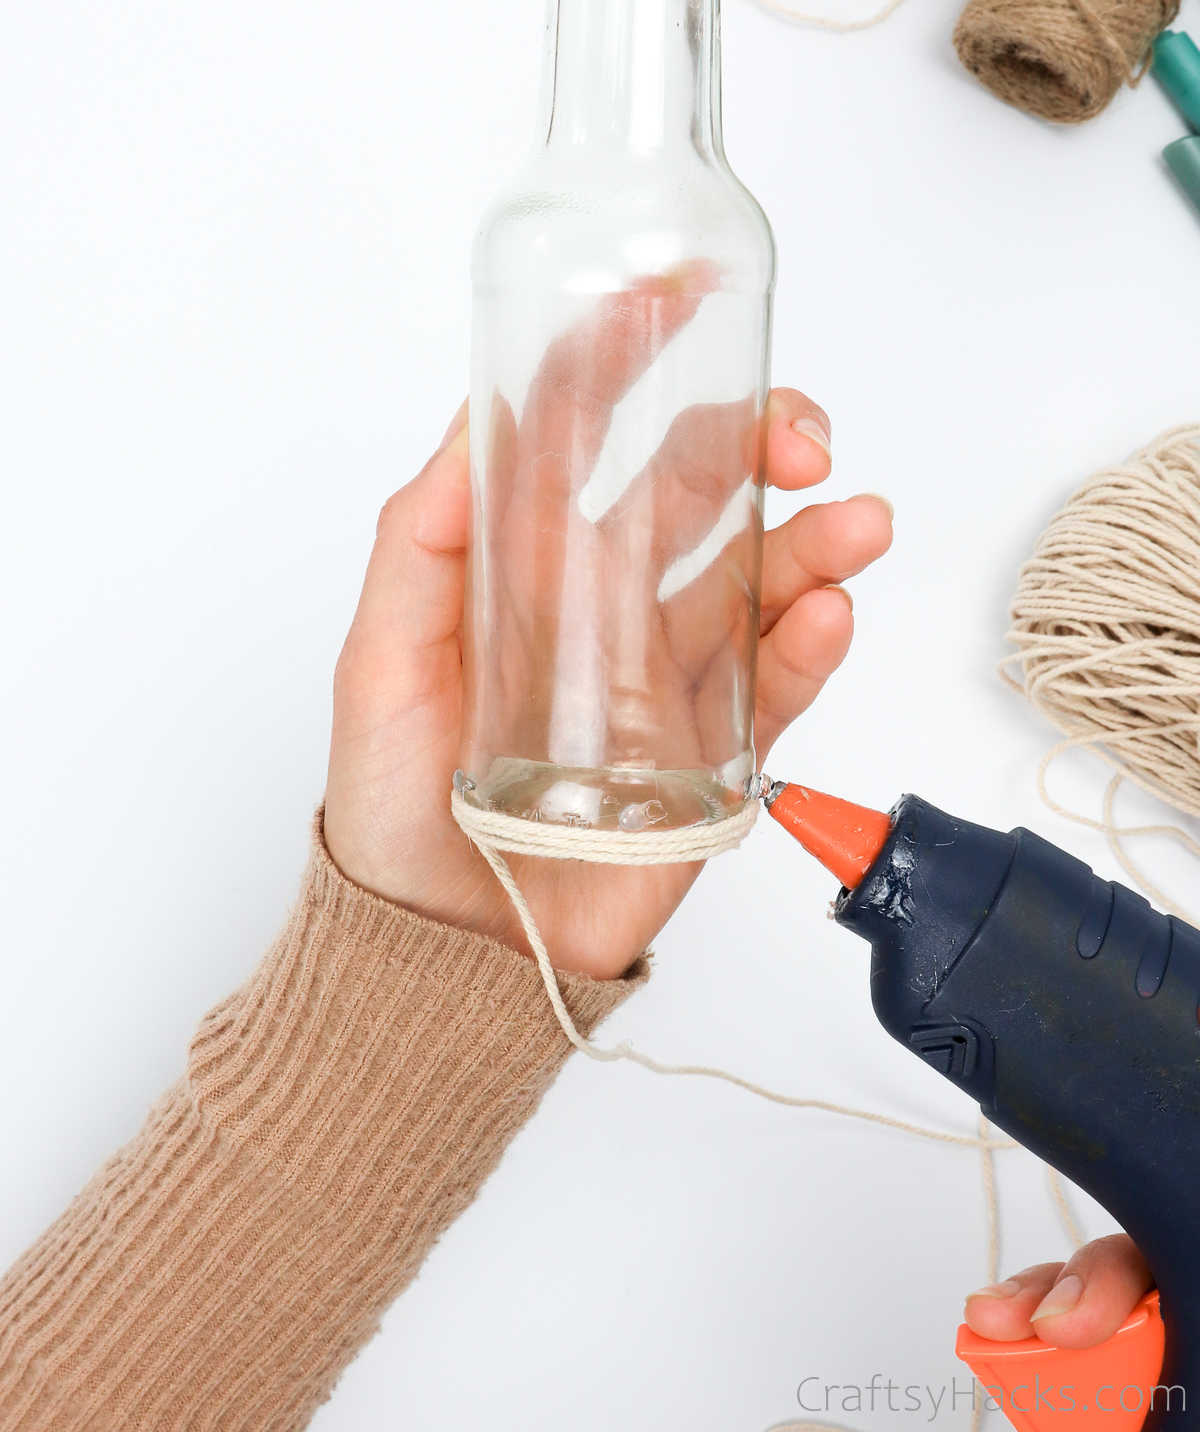
Thus, grab your bottle and your hot glue gun and apply some glue to the bottom of the bottle. Then, grab your cord and stick it on the glue. Hold it in place for a couple of moments so that it sticks.
This is the very beginning of your project, so make sure you’ve attached the cord properly, or it will unravel.
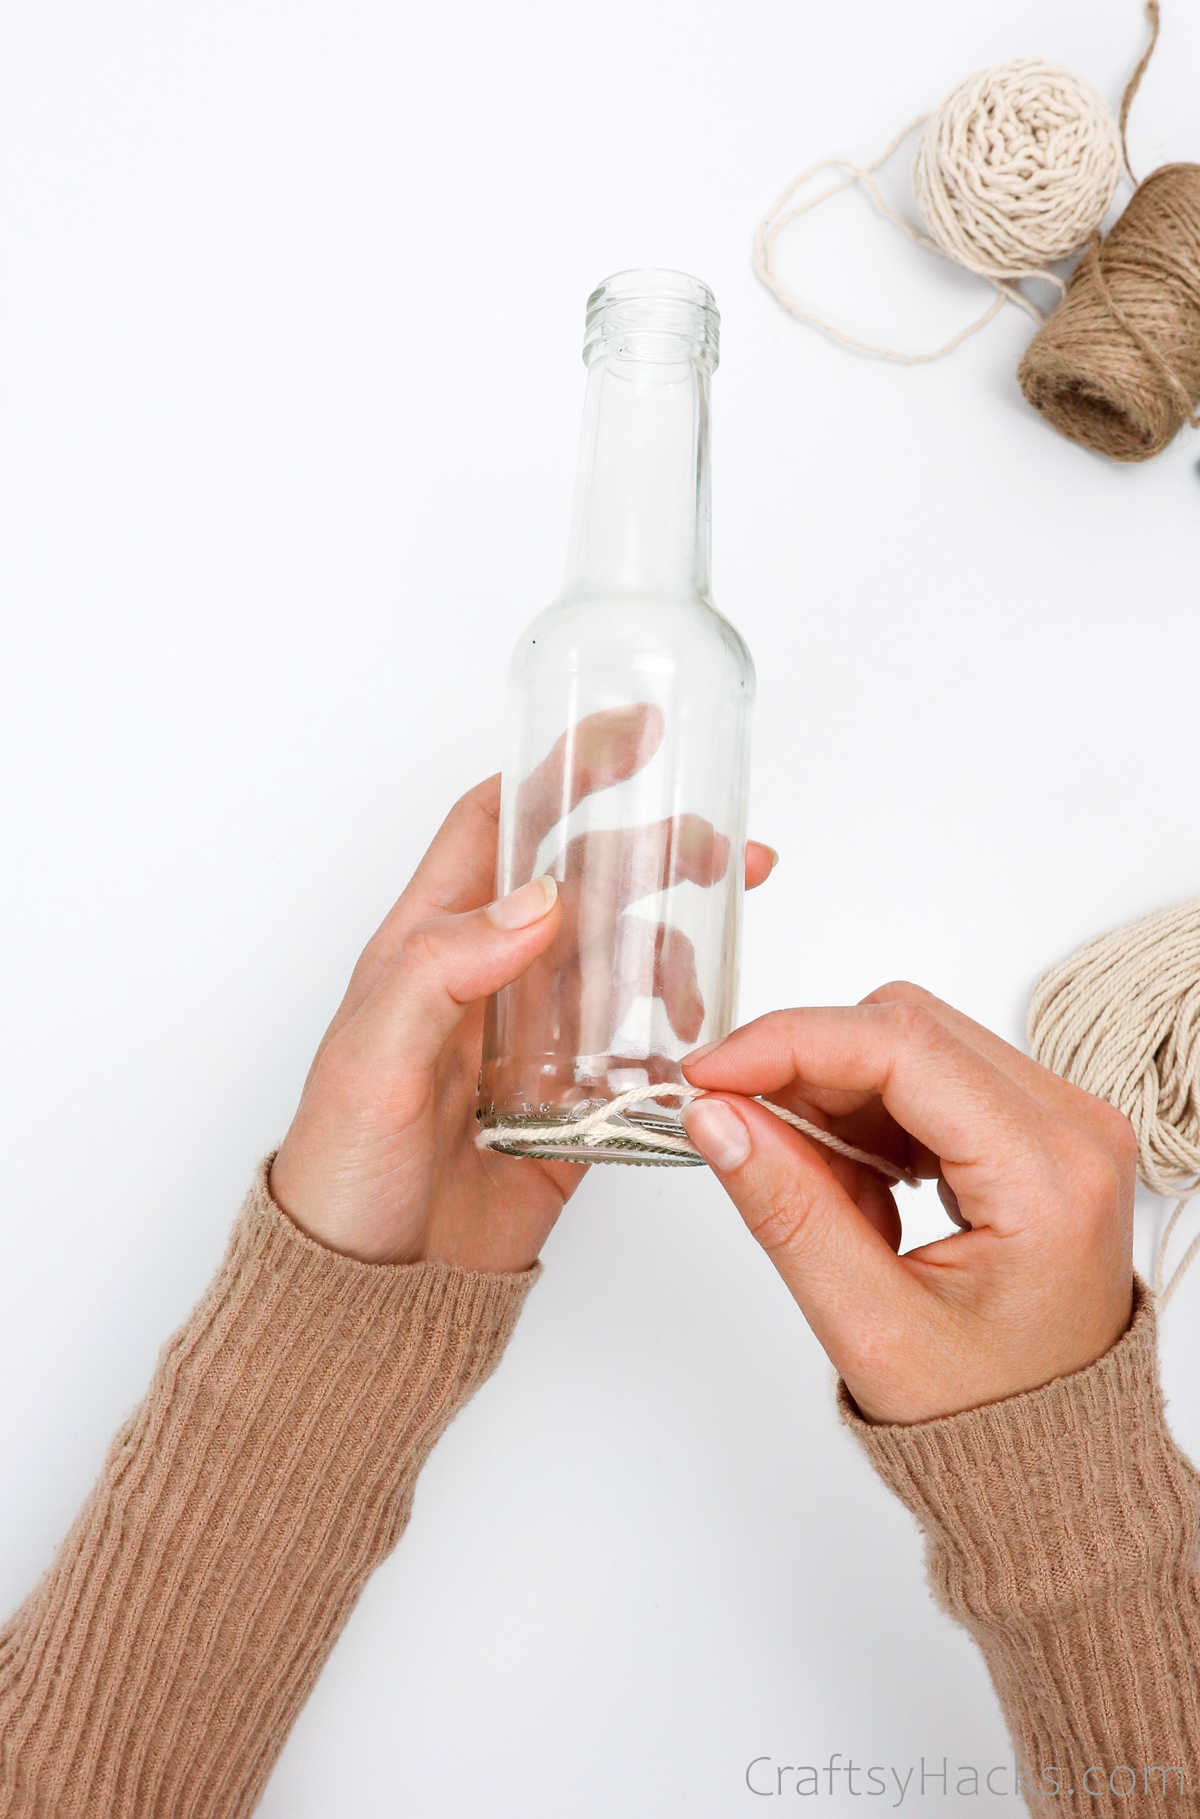
Step 2
Next, grab your glue gun and continue to apply glue around the base. Bring the cord around till you reach the point where you started. Simply continue to layer glue over the first round of cord and follow it up with another layer.
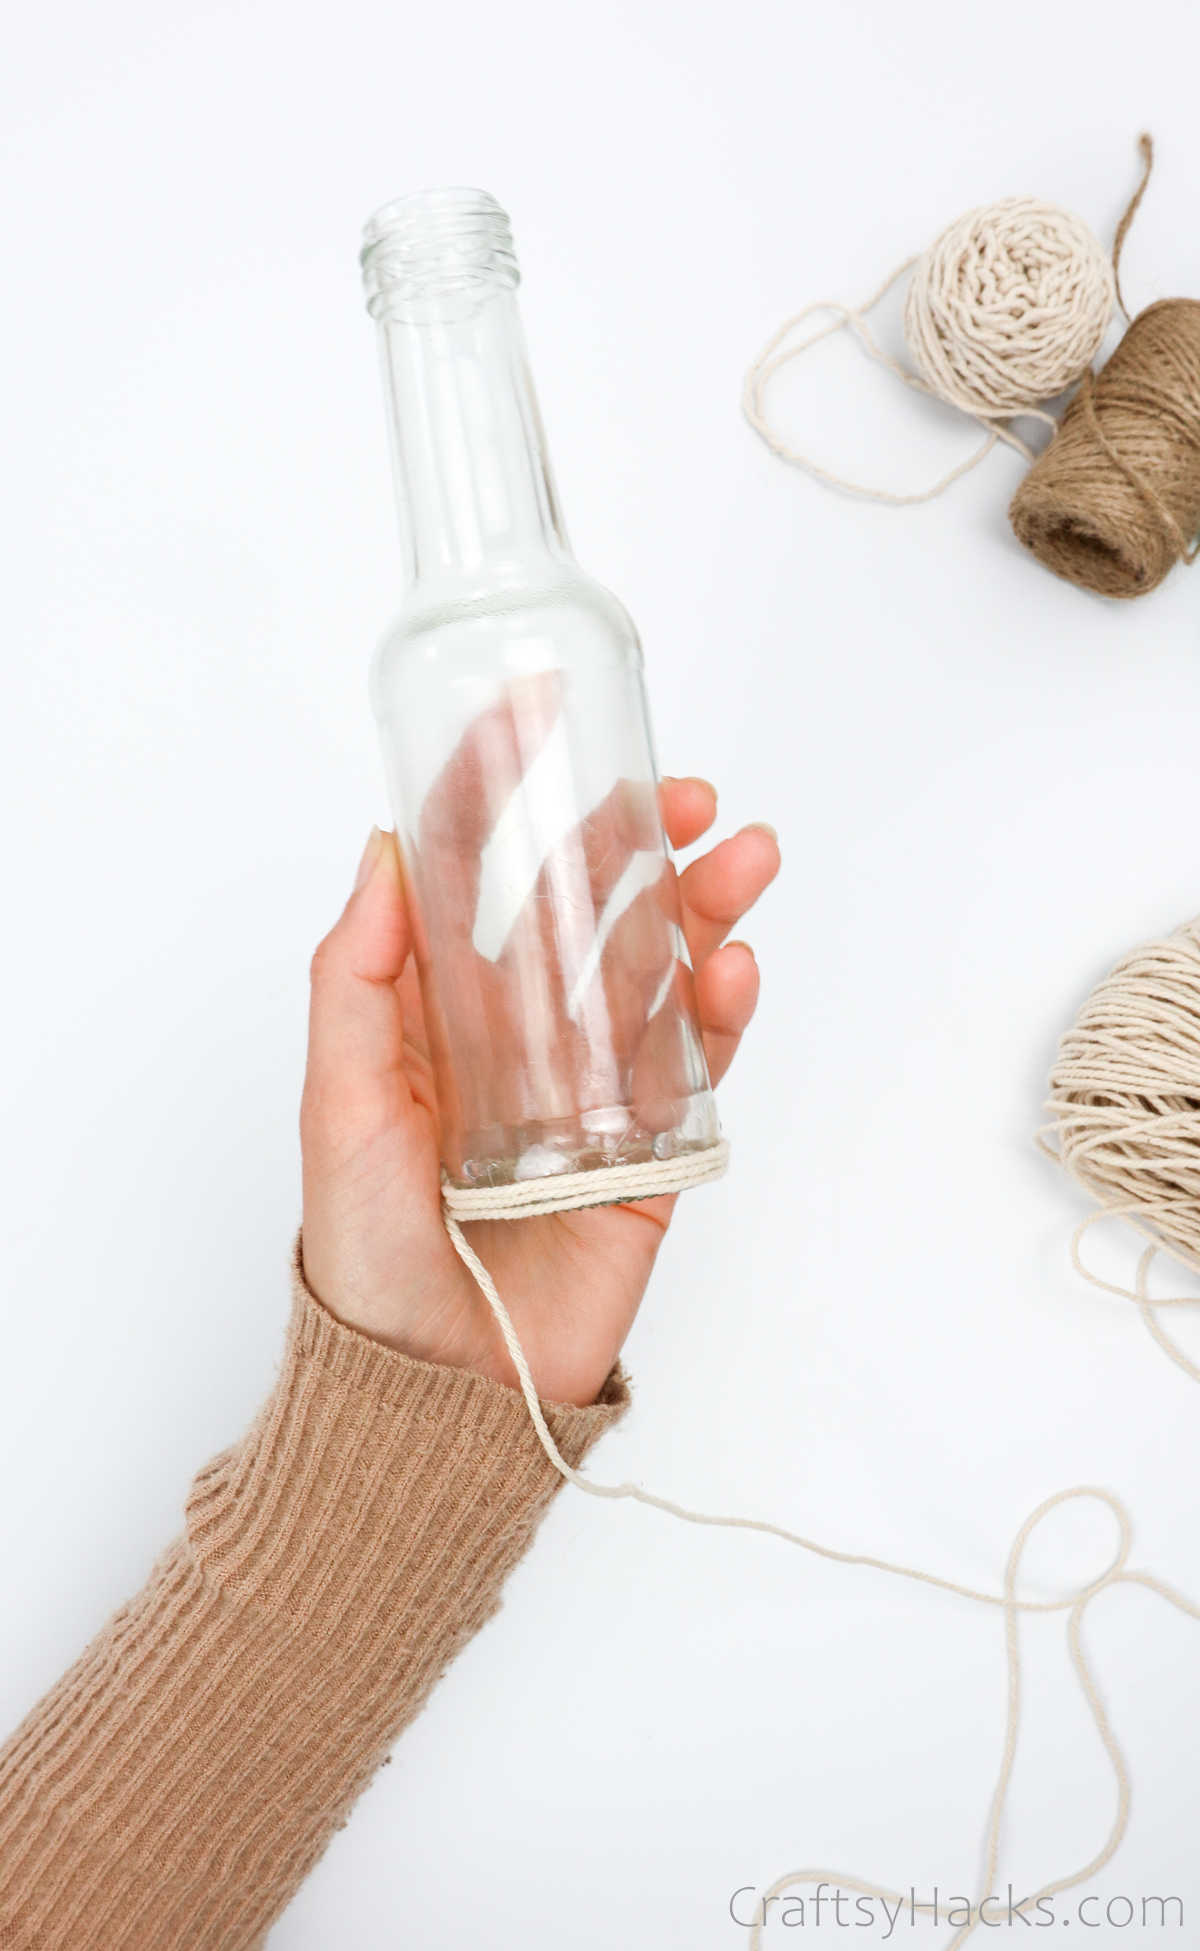
Step 3
Continue to glue the cord and work your way up the bottle.
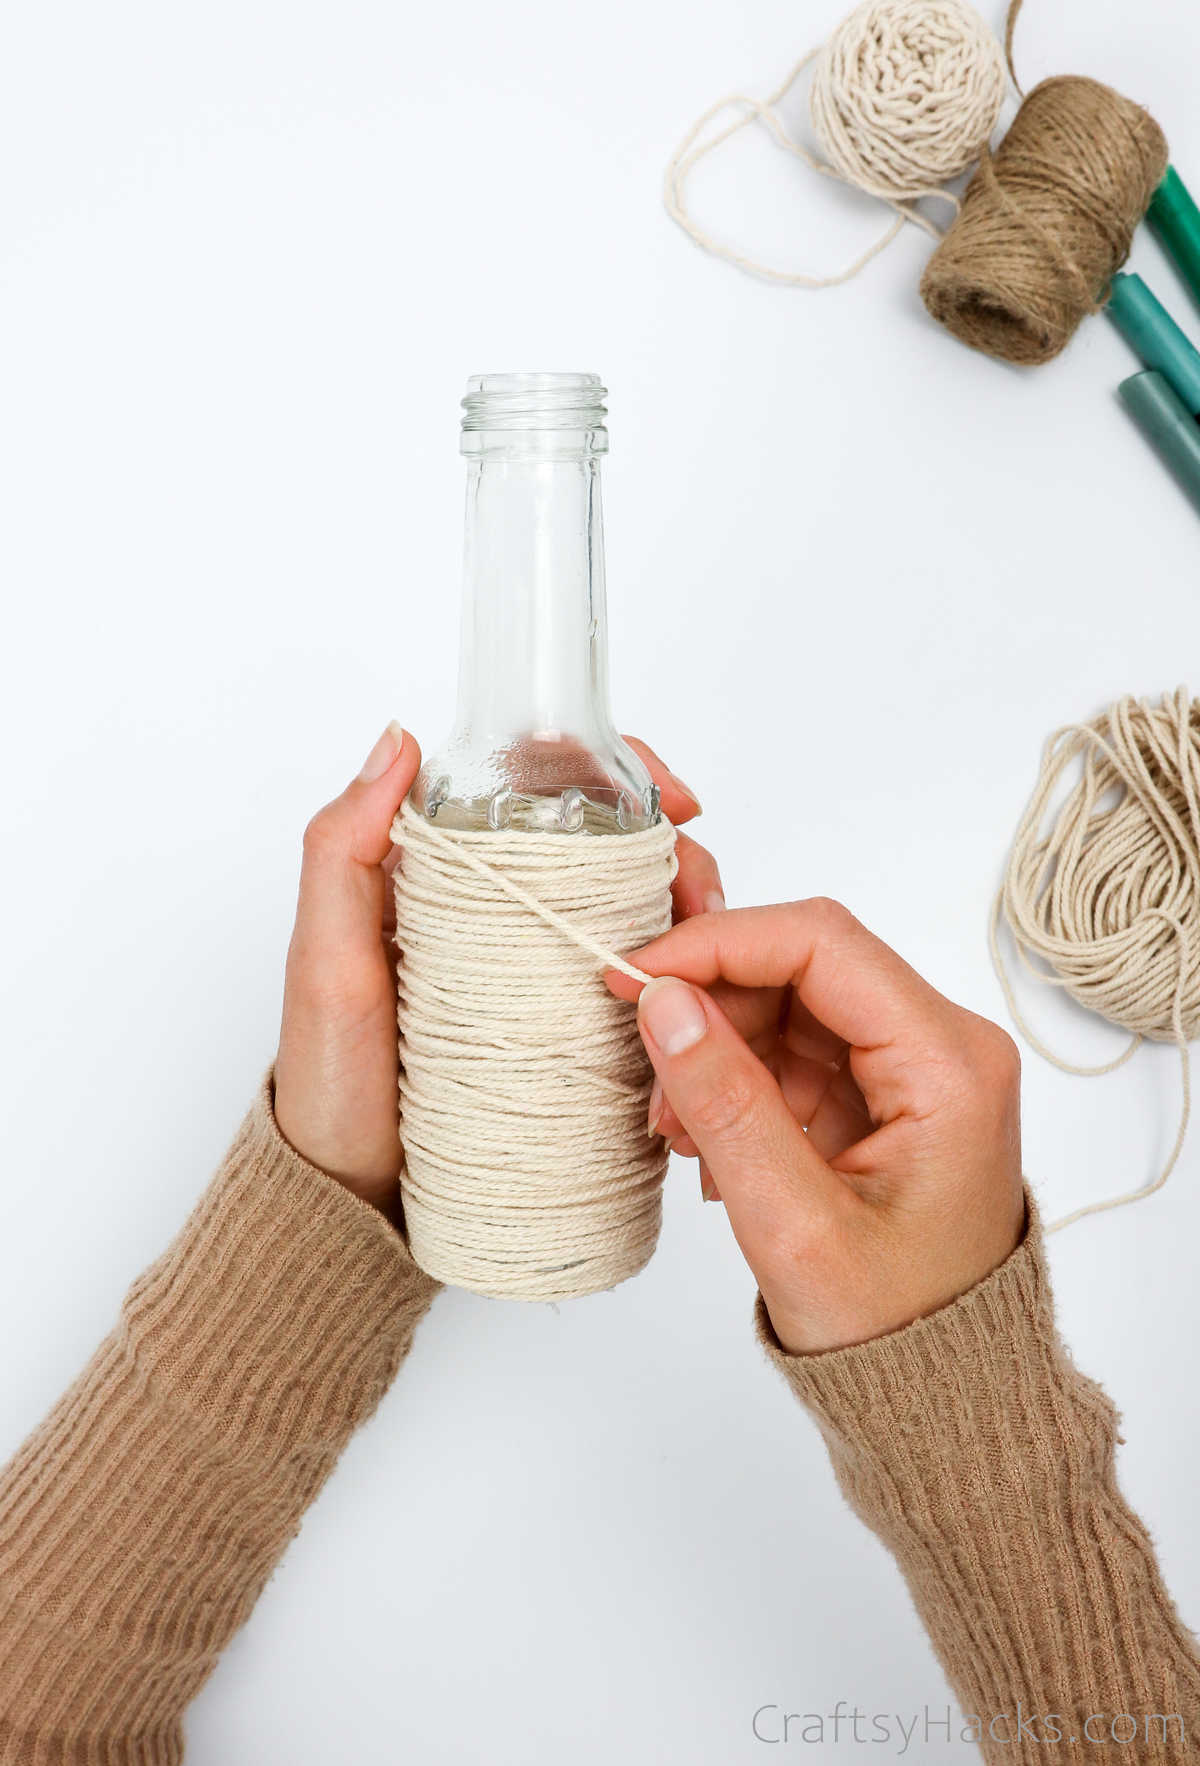
You don’t have to be precise or symmetrical. If you want something chunky and rustic, feel free to overlap the cords, as seen here.
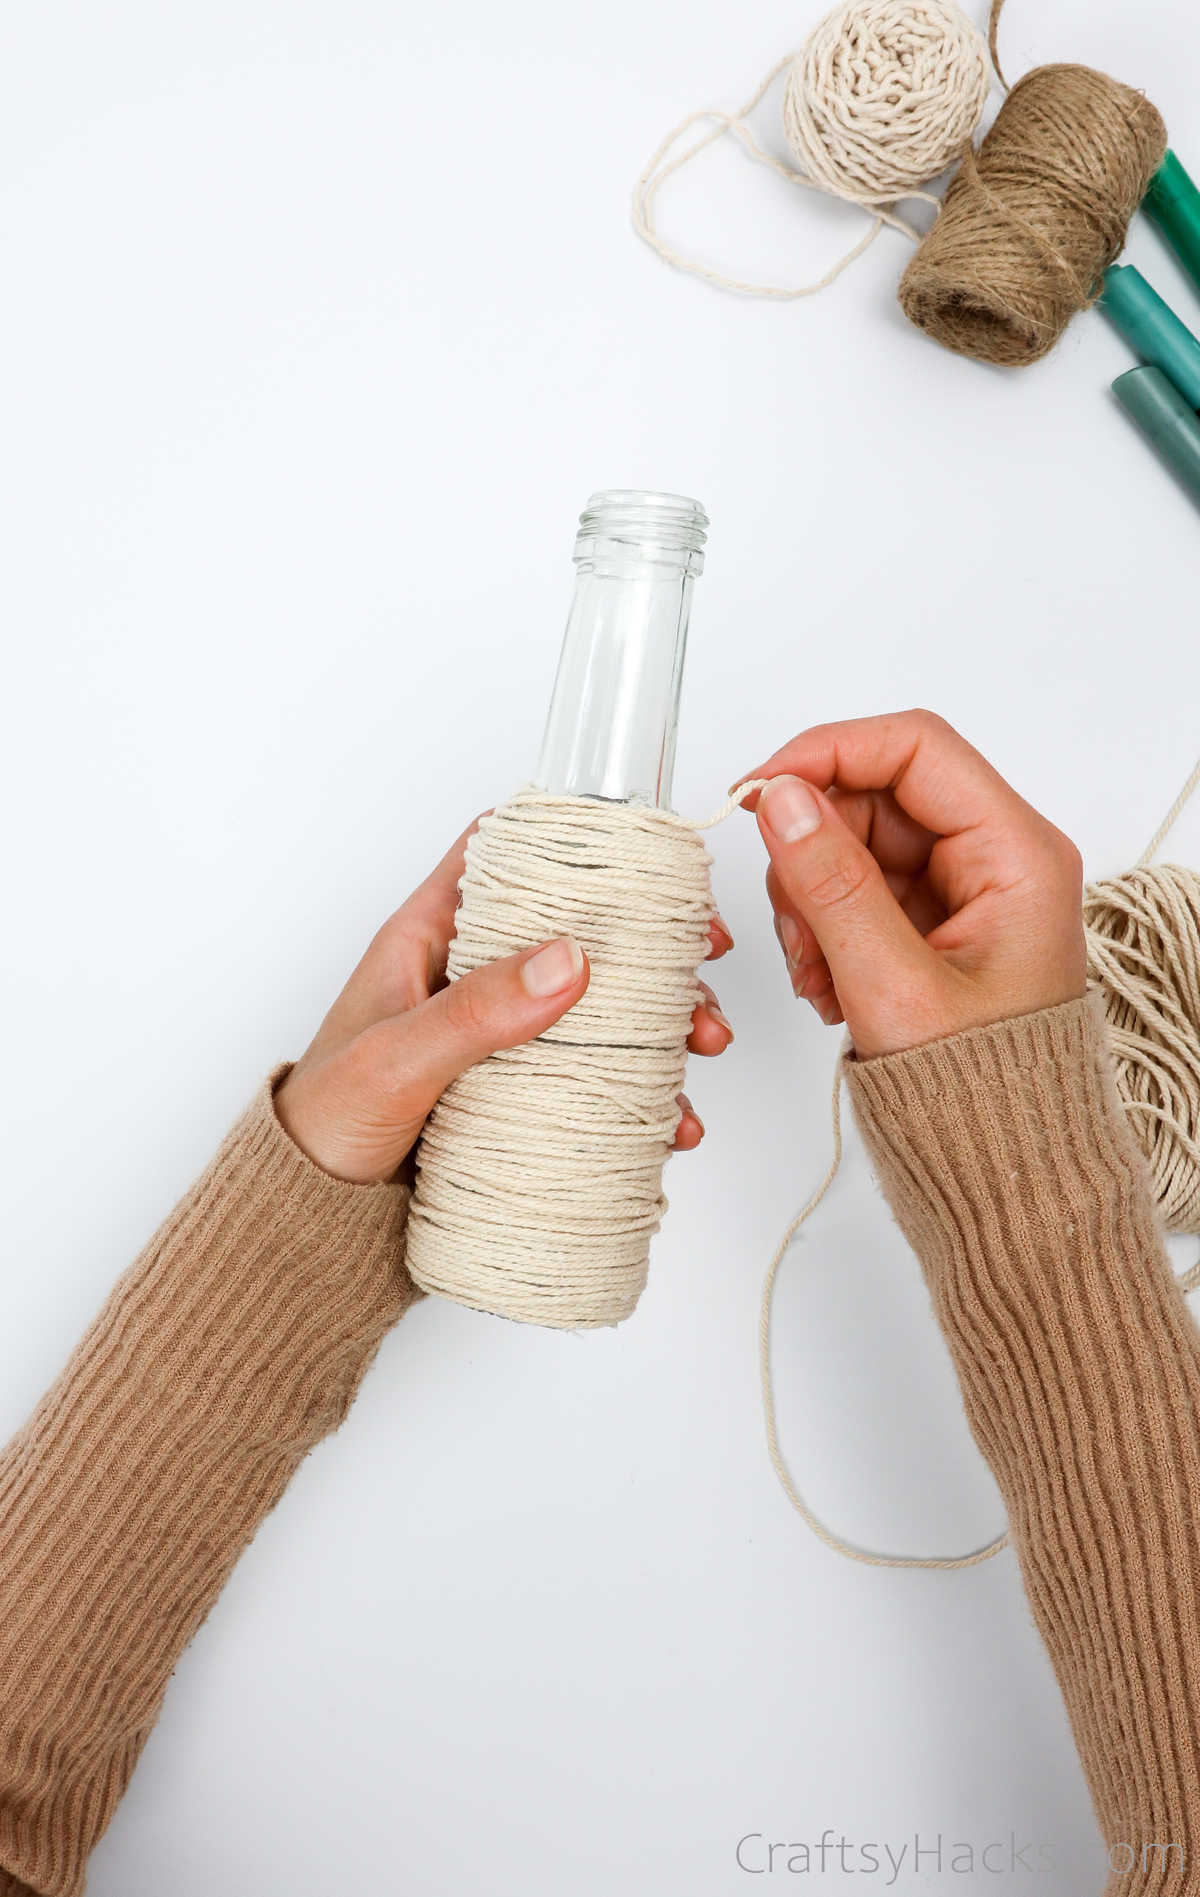
Step 4
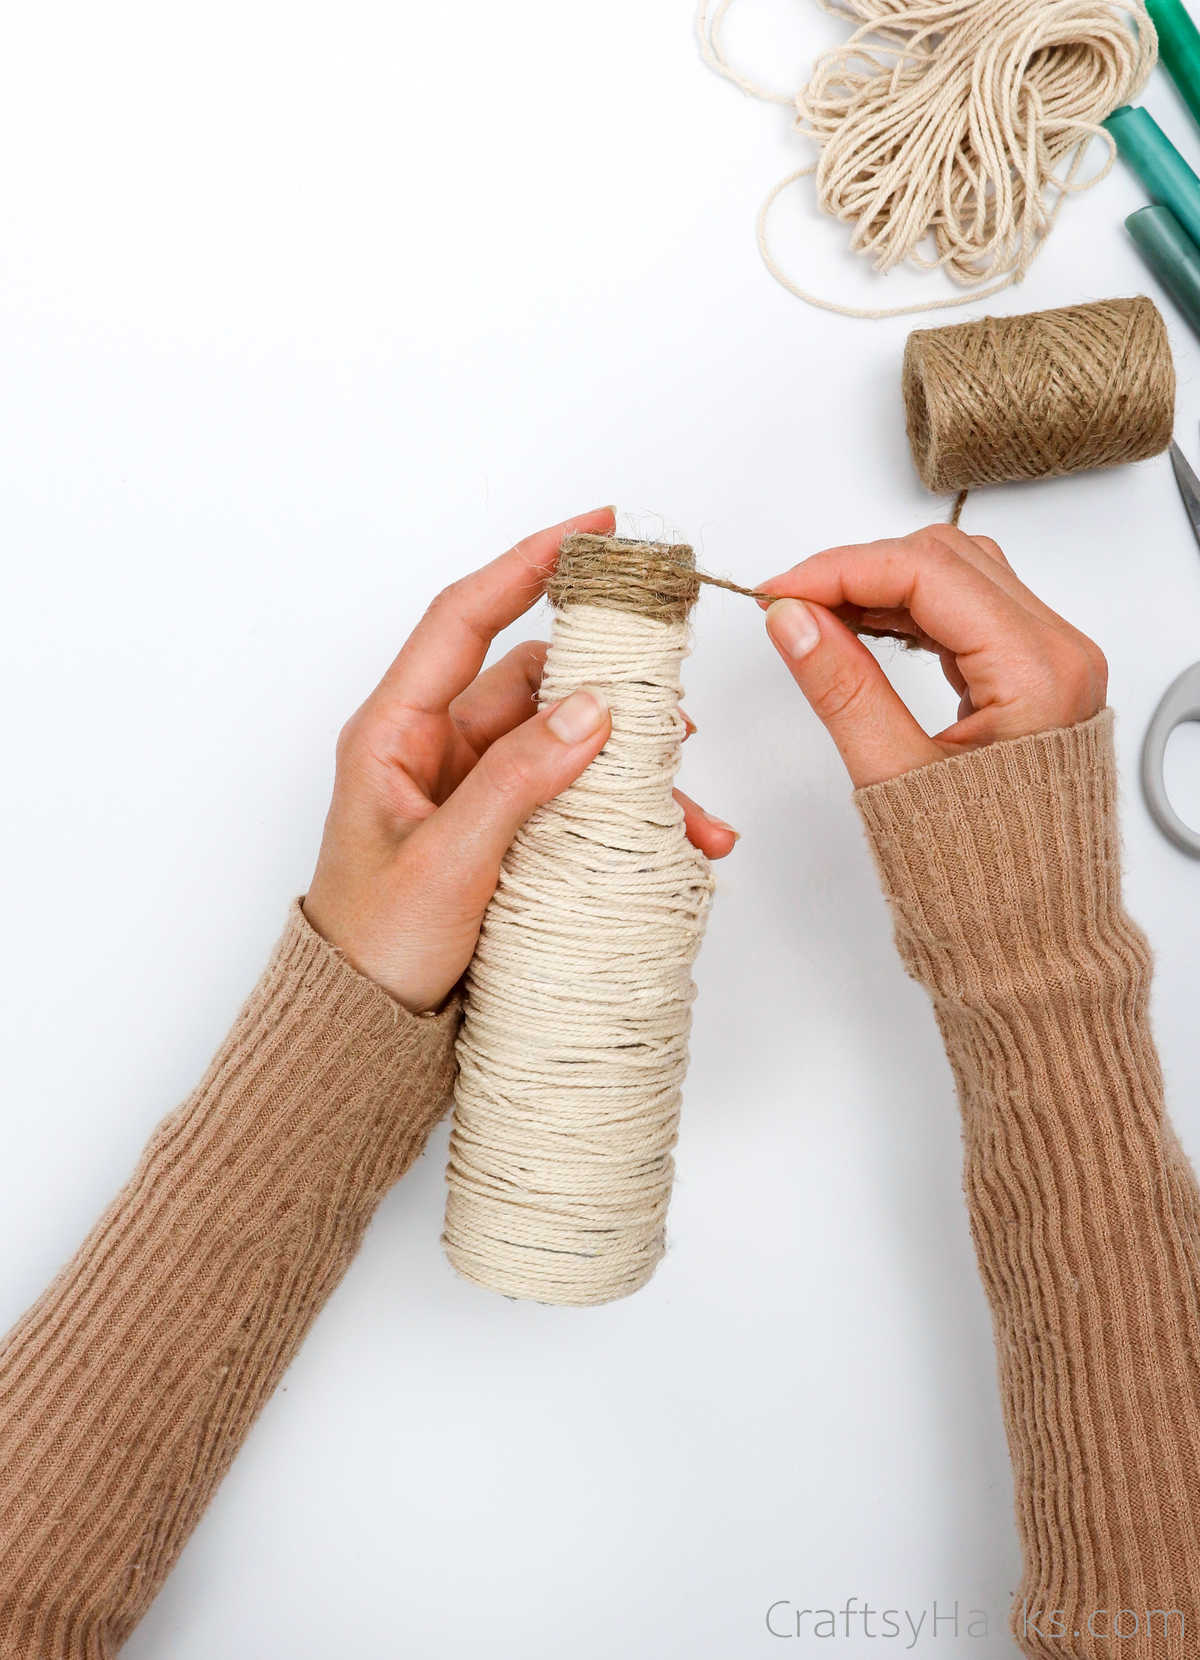
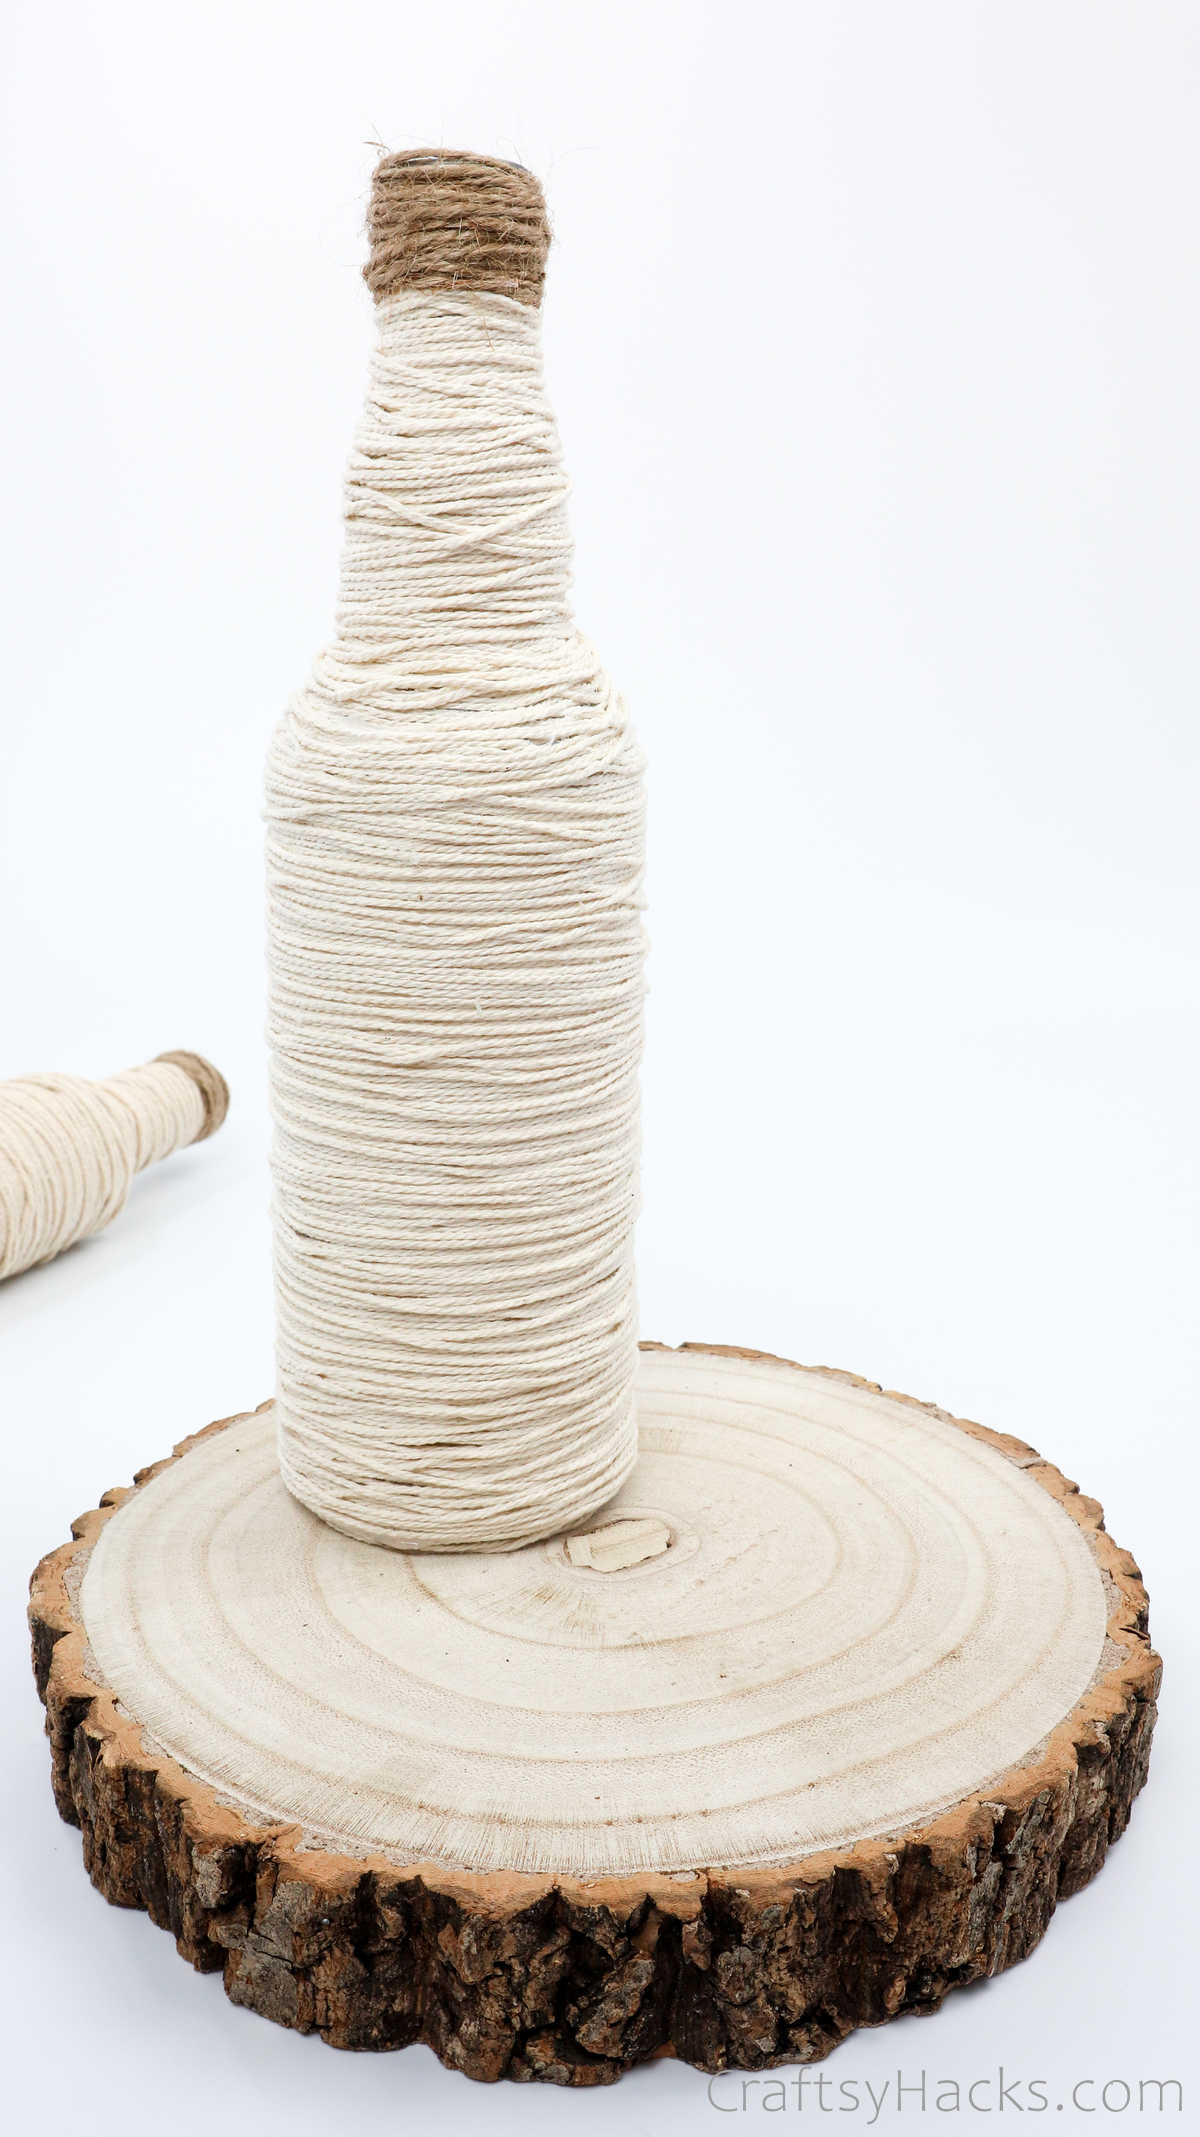
Stop when you get to the top of the bottle to the rim, you can fasten off. Cut the end of the string and then apply a dab of hot glue. Now press the end of the cord down, making sure you blend it into the previous layer.
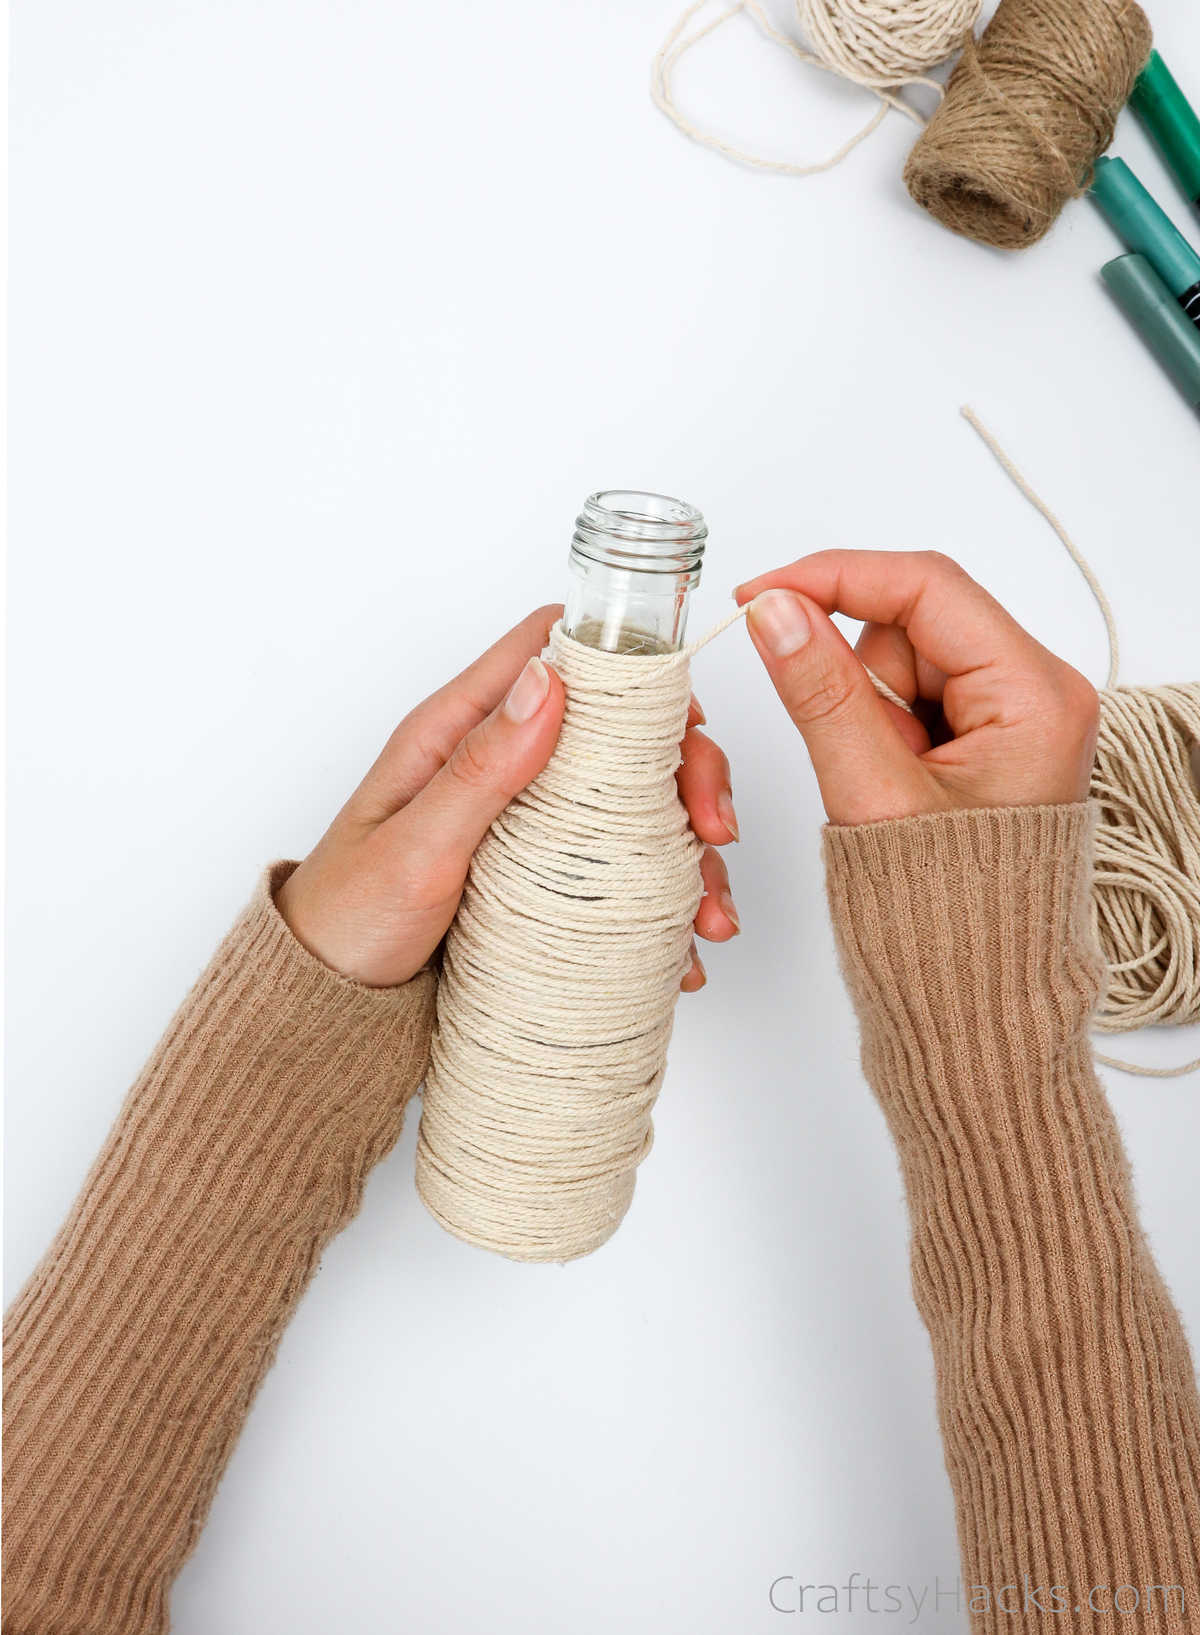
Step 5
You can switch out the cotton cord for some jute twine and proceed to stick that around the mouth and rim of the glass bottle.
Step 6
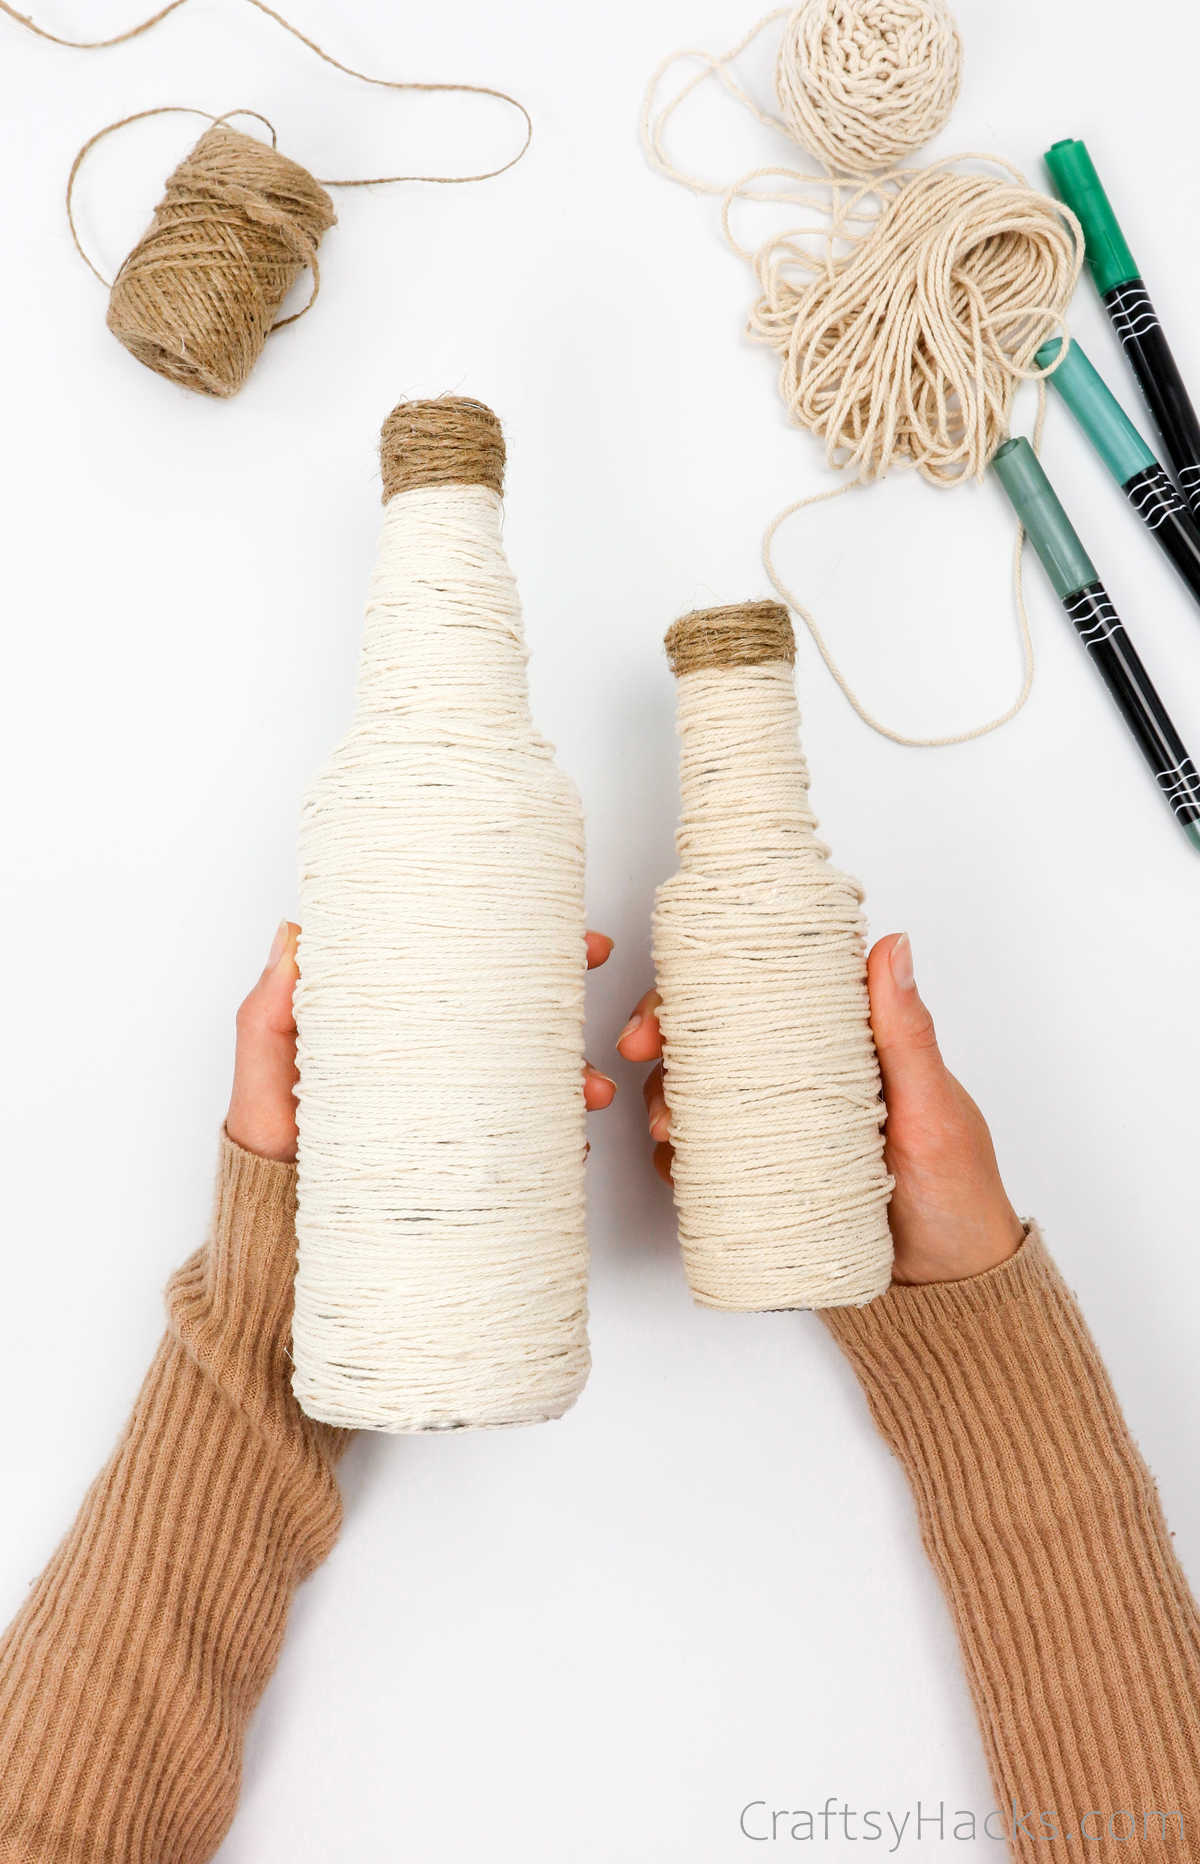
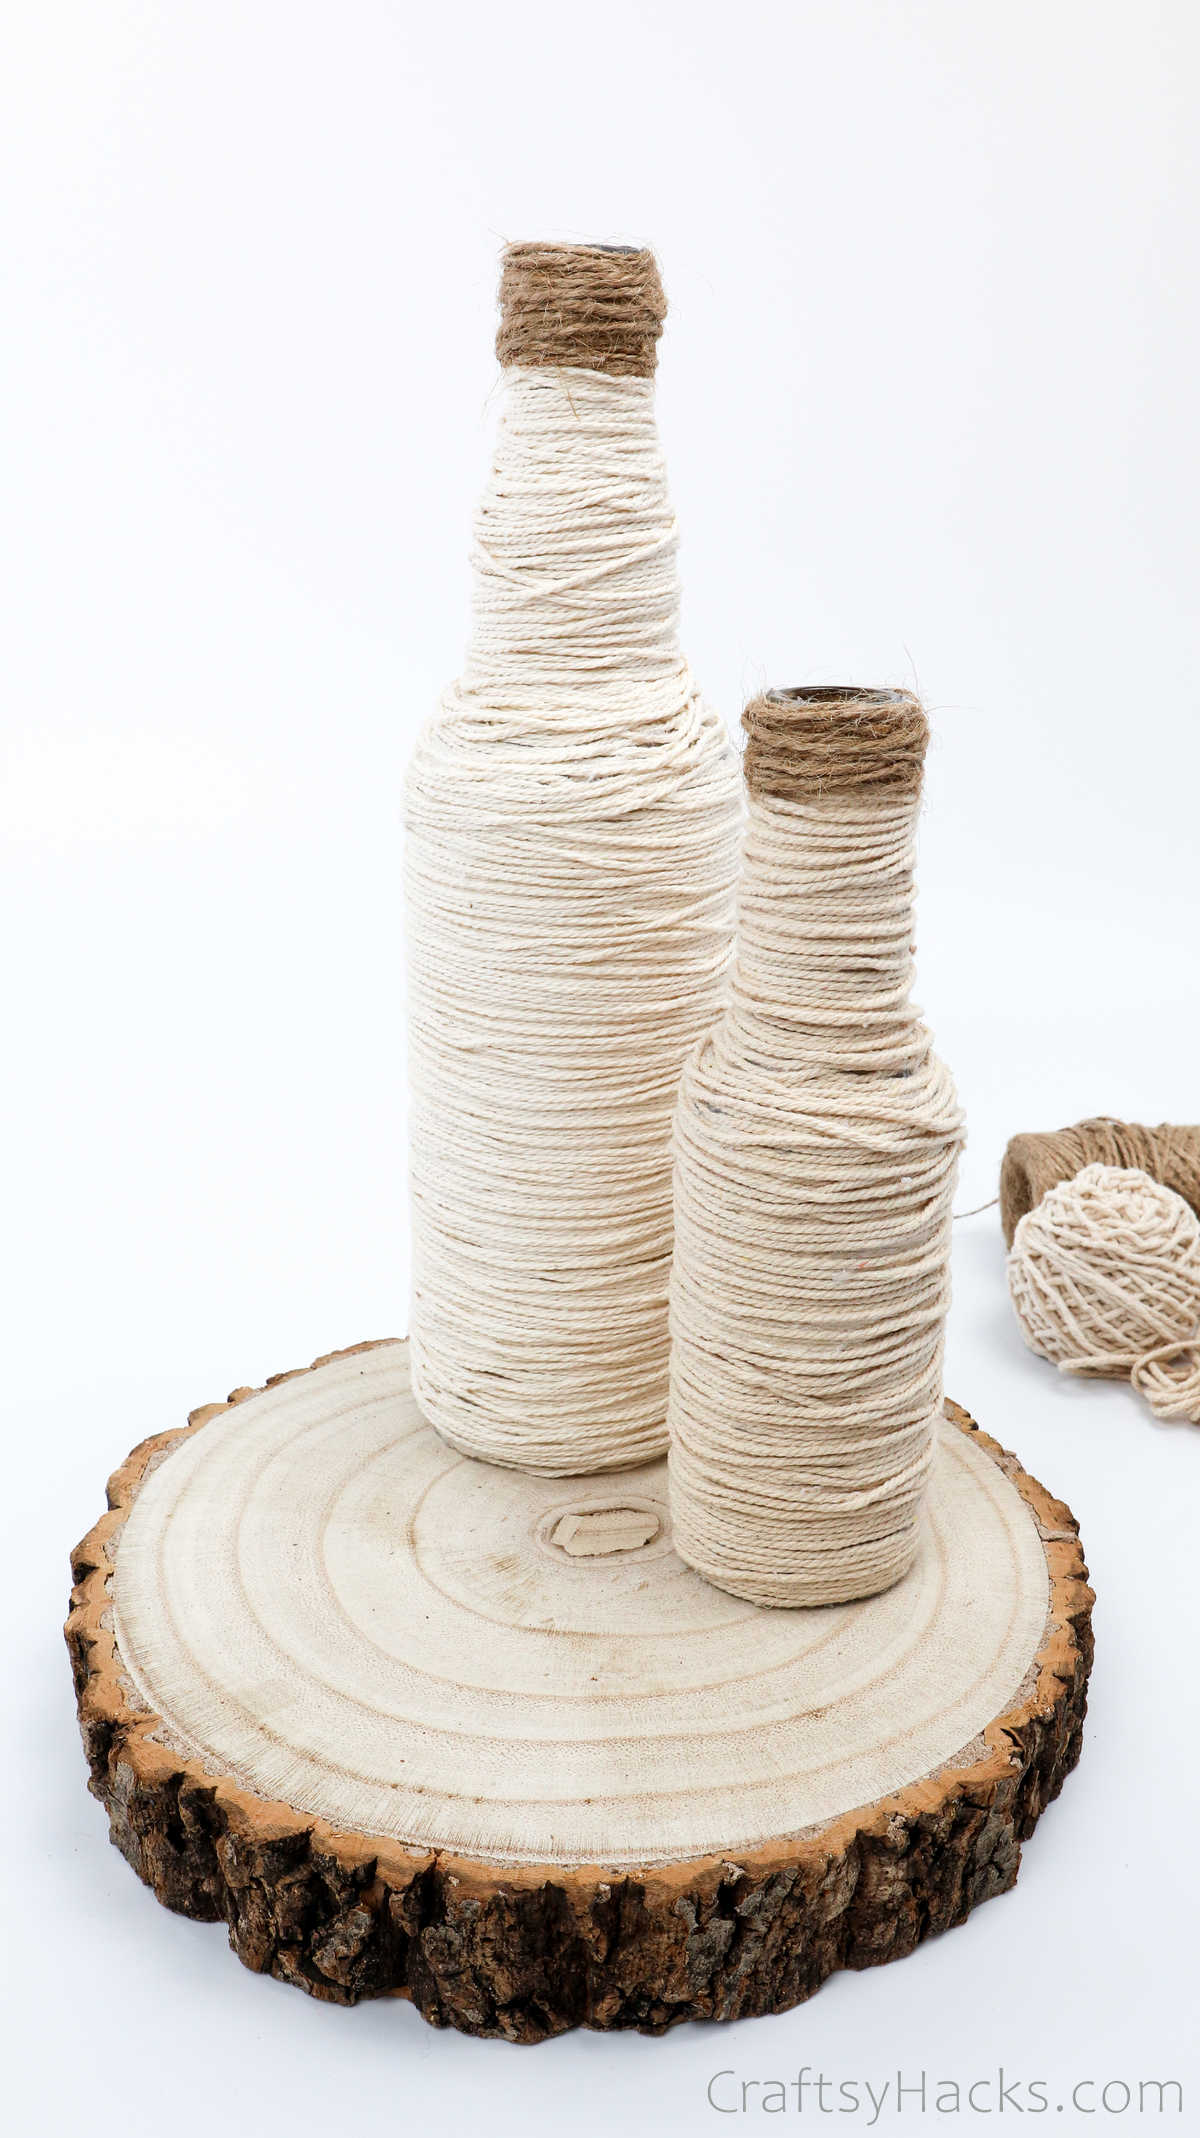
Then, go ahead and wrap another bottle the same way you did this one. You’ll have two gorgeous-looking, boho-chic bottles.
Step 7
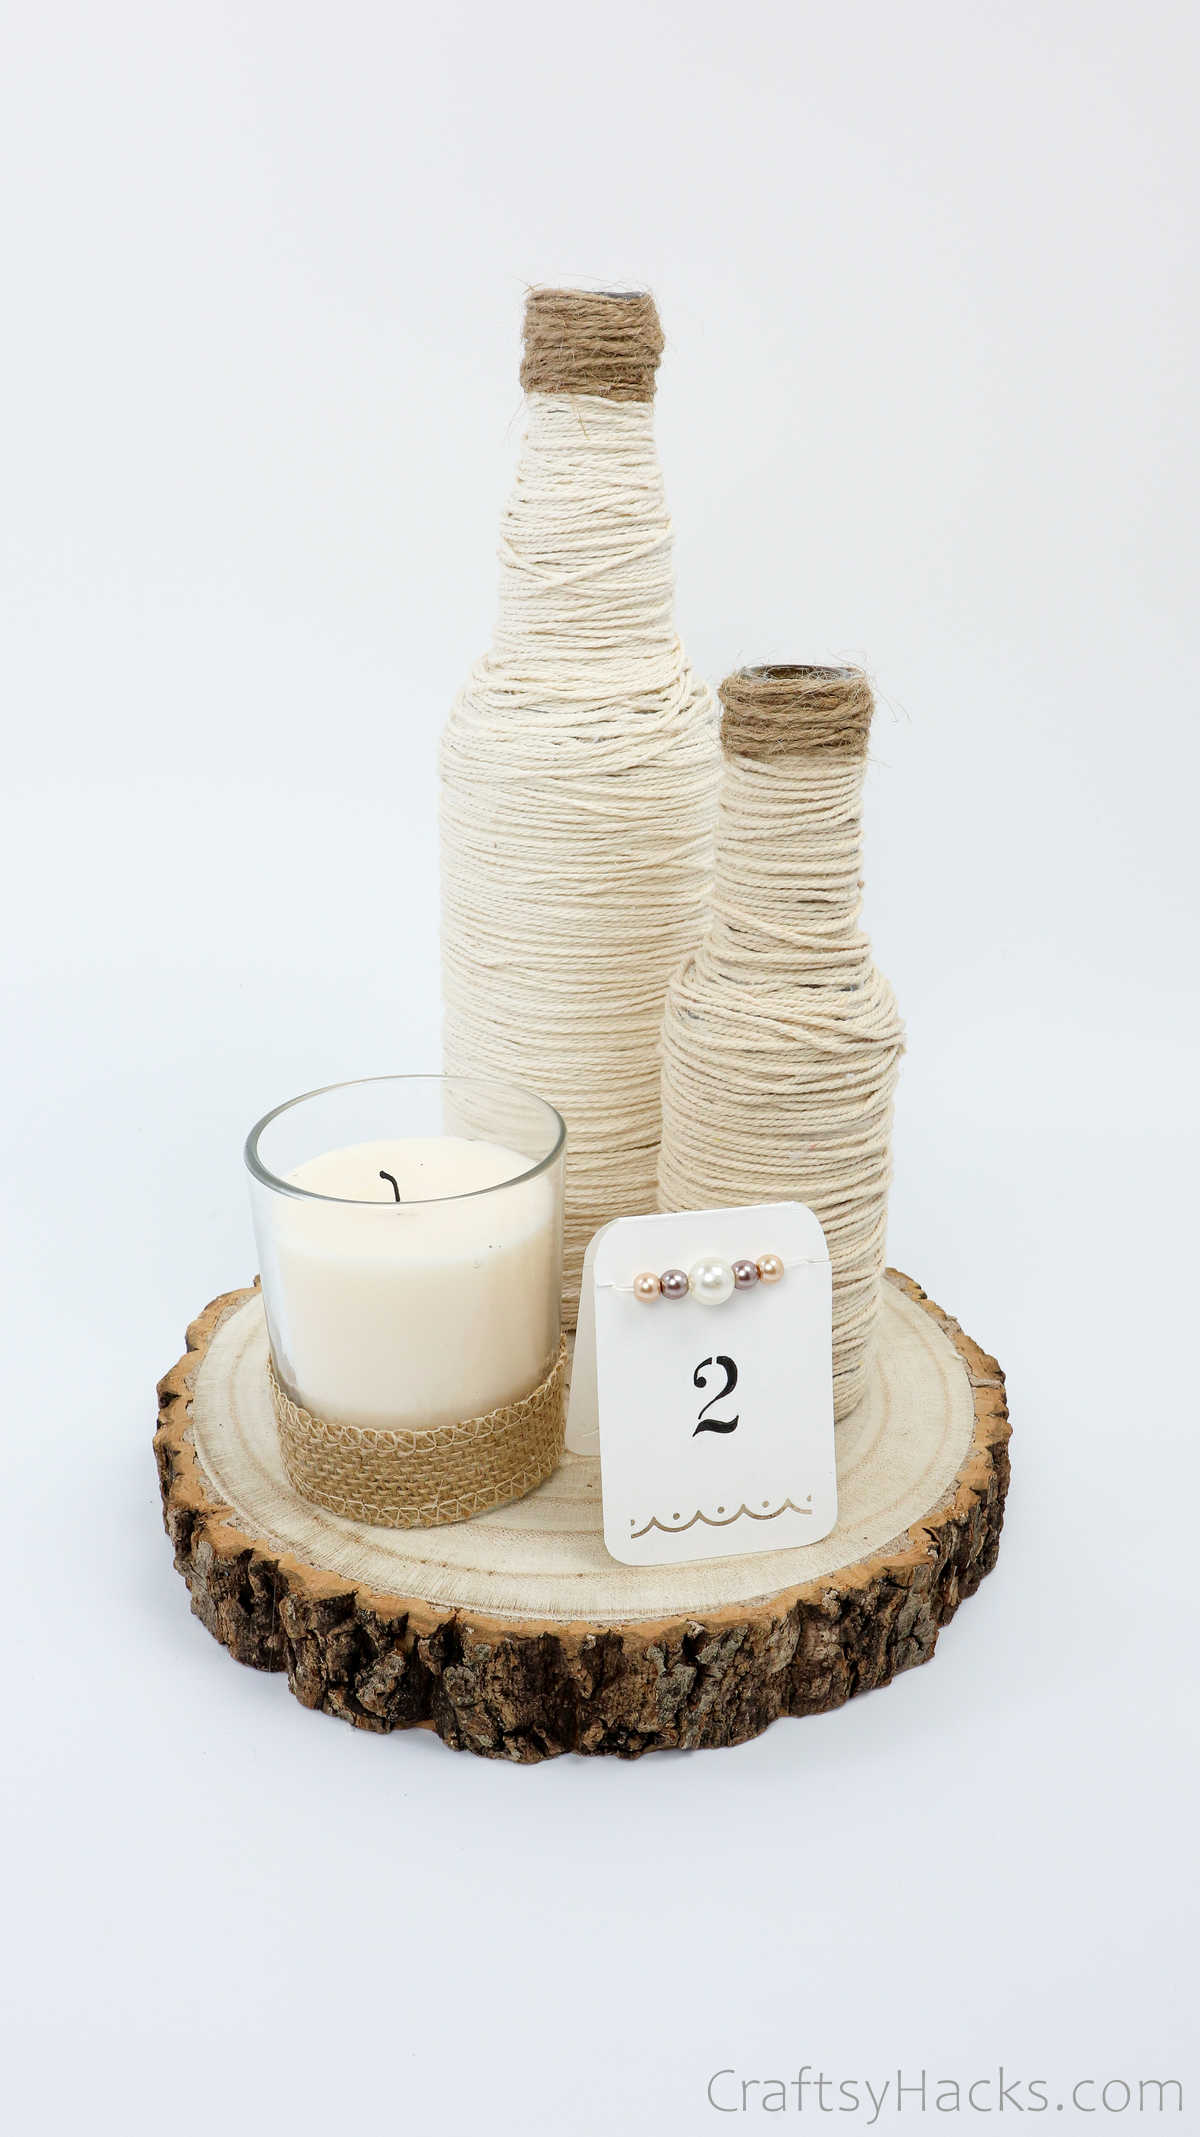
But we’re not quite done just yet. A centrepiece is more than just a couple of vases. You need to set the scene, so to speak. Grab your wooden slice base.
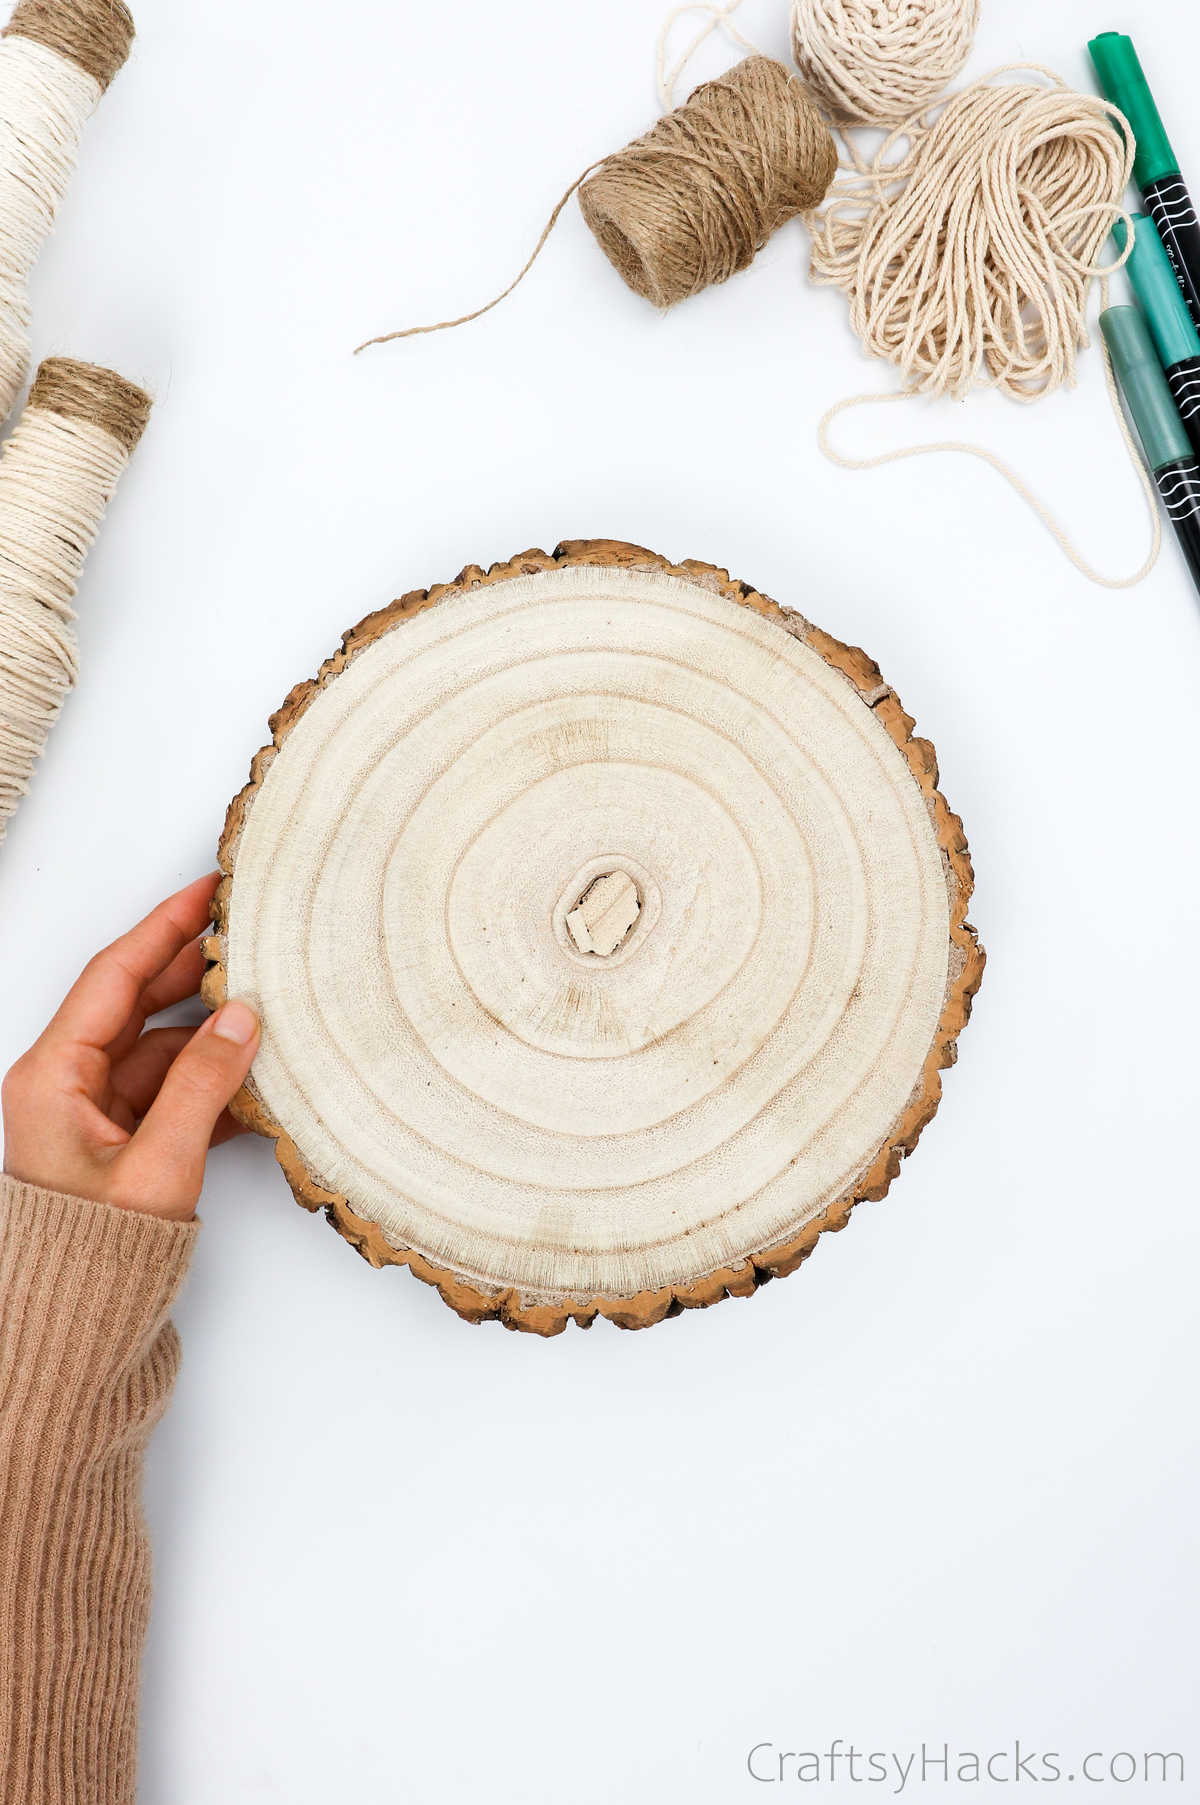
Arrange the bottles atop the wooden stand.
You can hot glue the bottom of the glass and stick it onto the base, if you like.
Stick the second bottle onto the base, too.
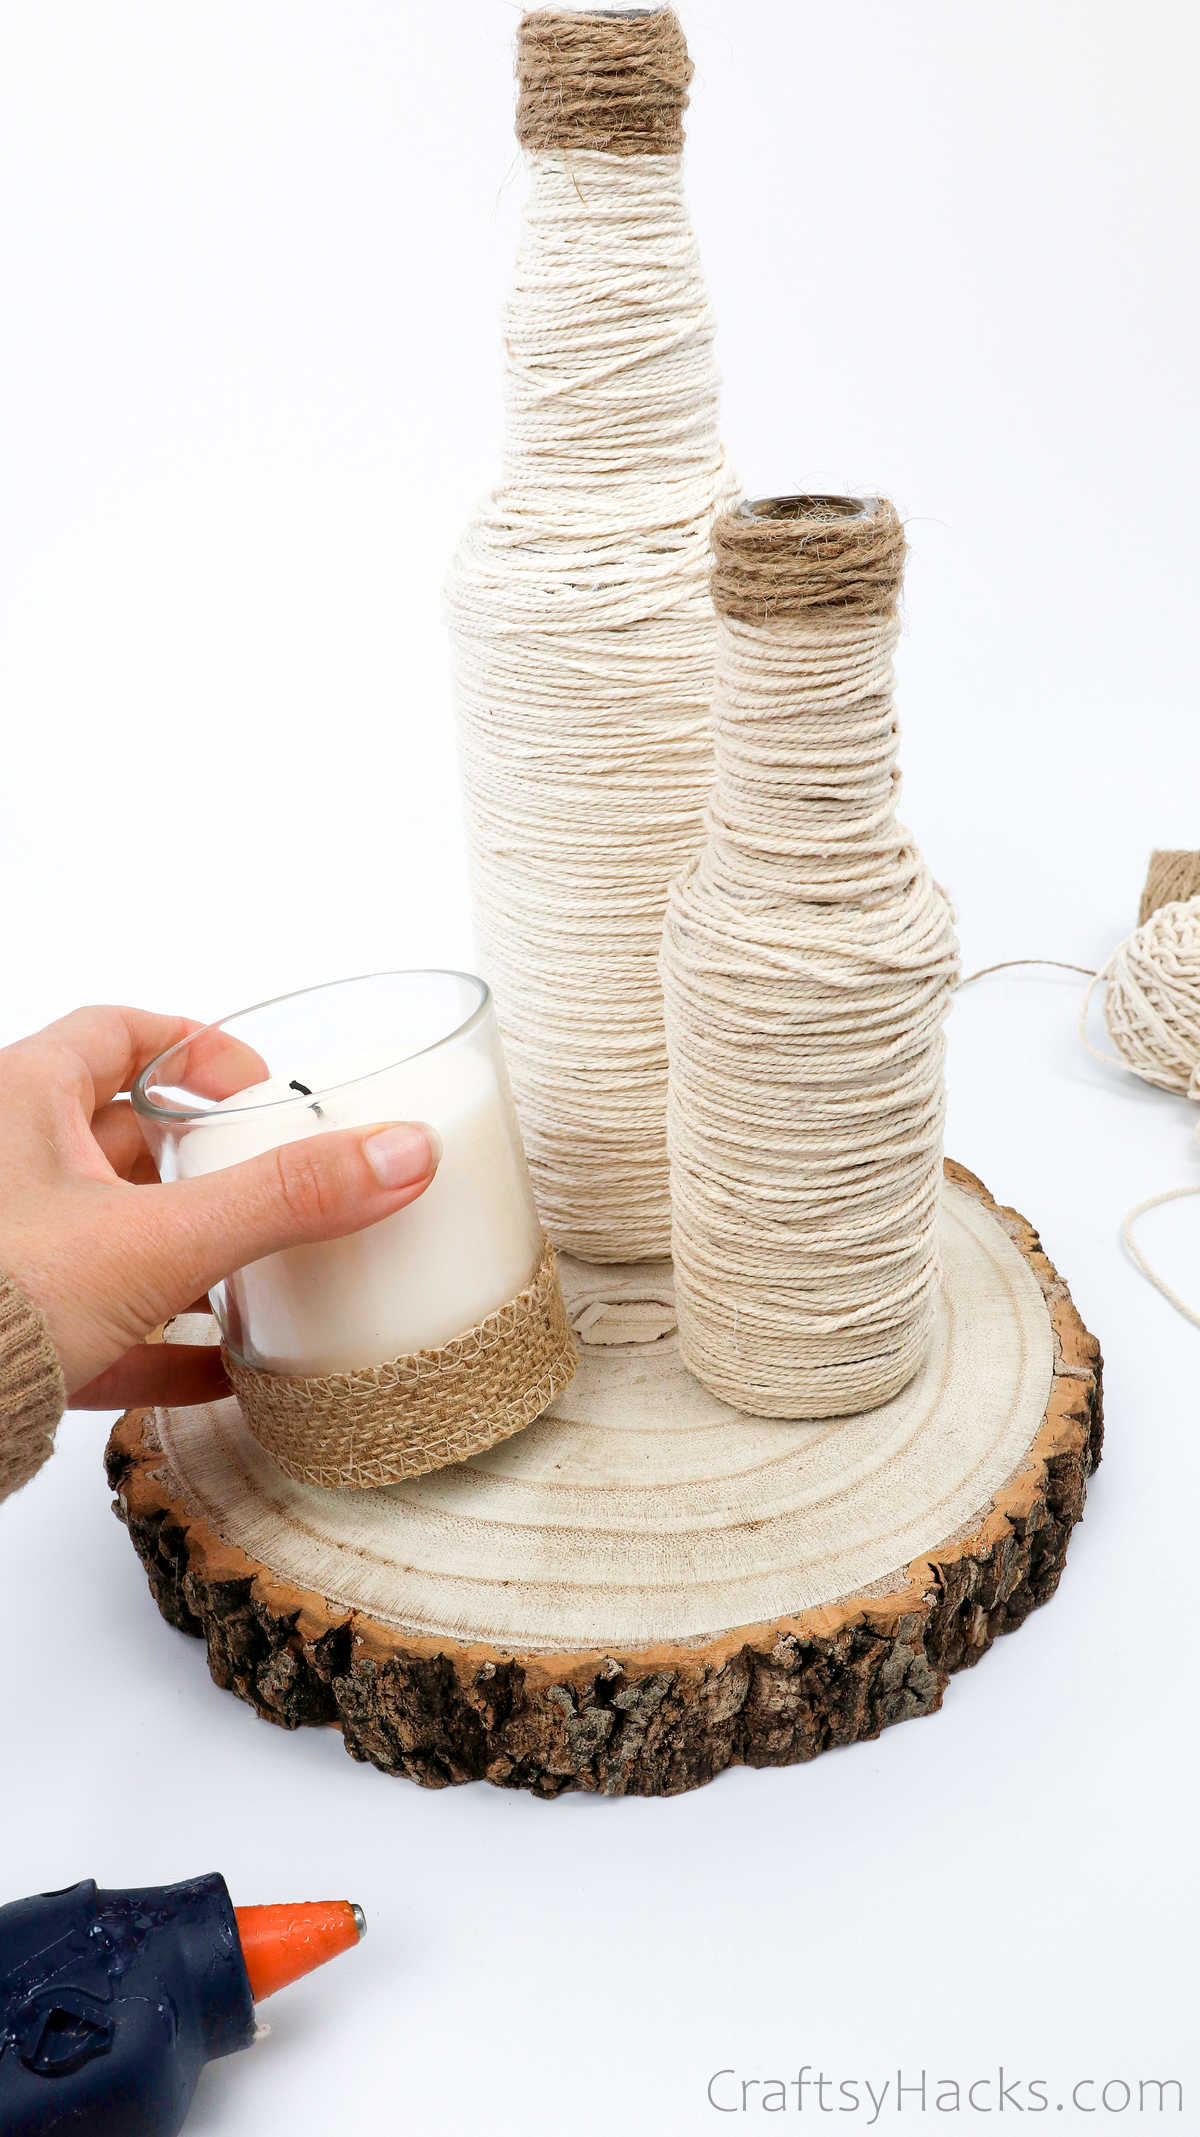
Step 8
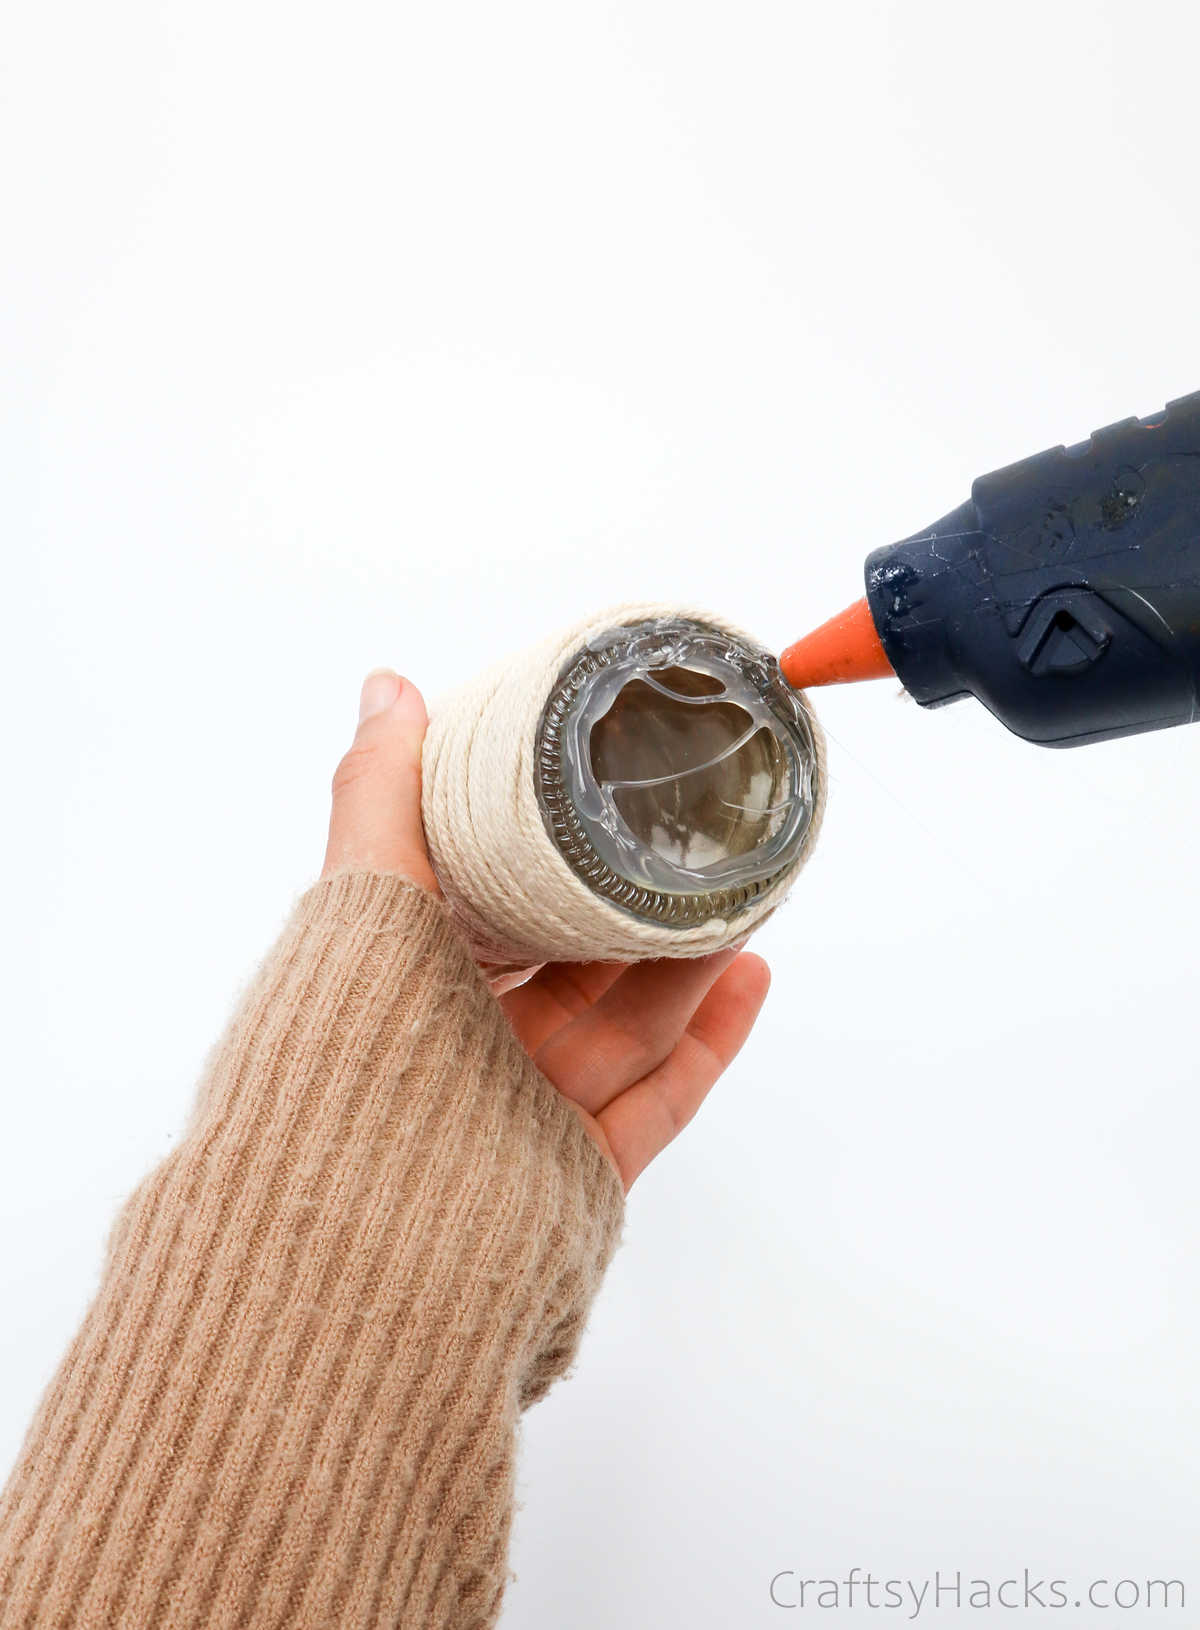
Next, grab a simple candle in a glass jar and line a bit of hot glue around the bottom. Next, wrap soe jute ribbon around it.
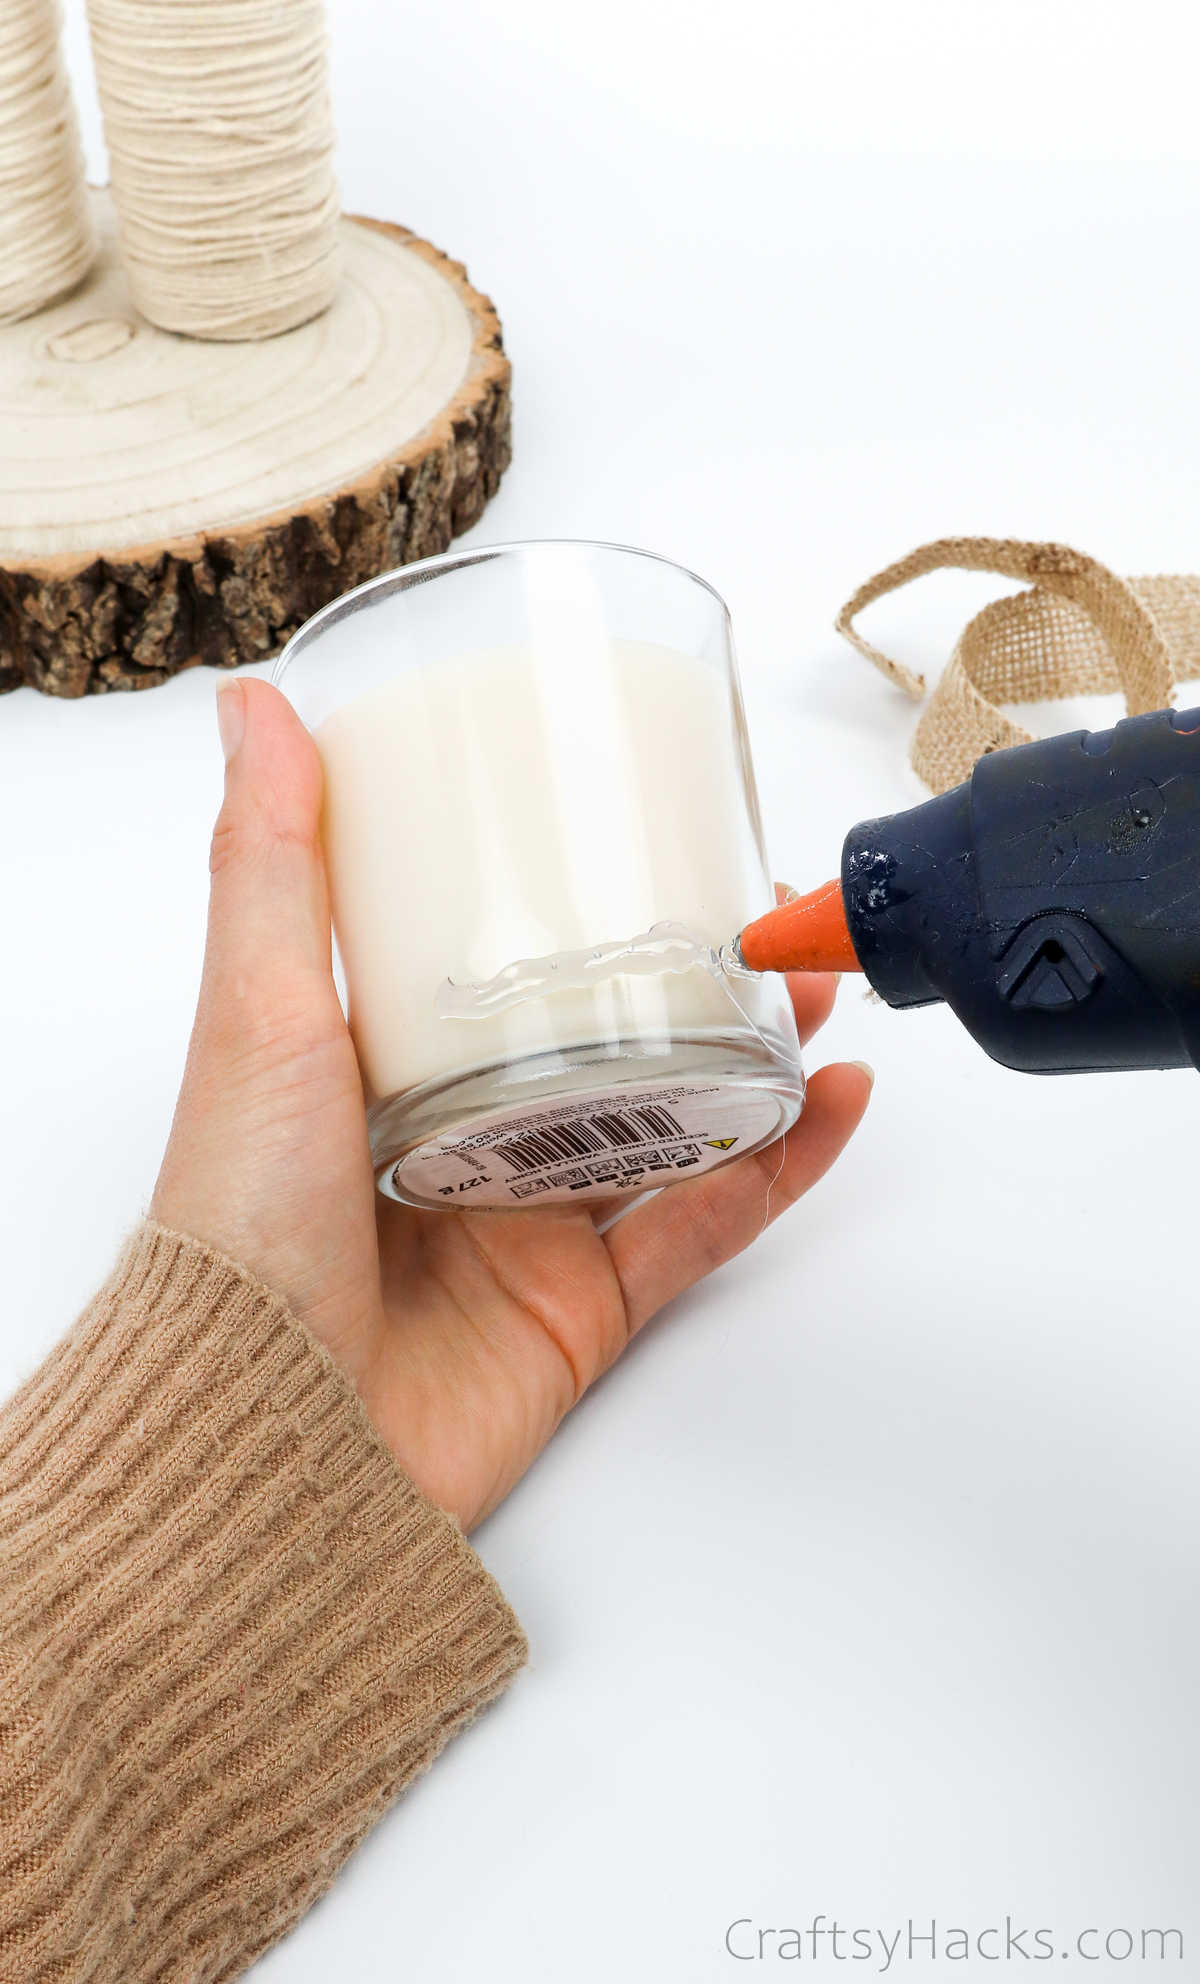

Once the ribbon is secured and the glue has dried, you can then stick the candle onto the wooden base right next to the bottles.
But you know what, there’s one thing that’s still missing and that’s the number cards for the table. So Fret not, I’ve got you covered.
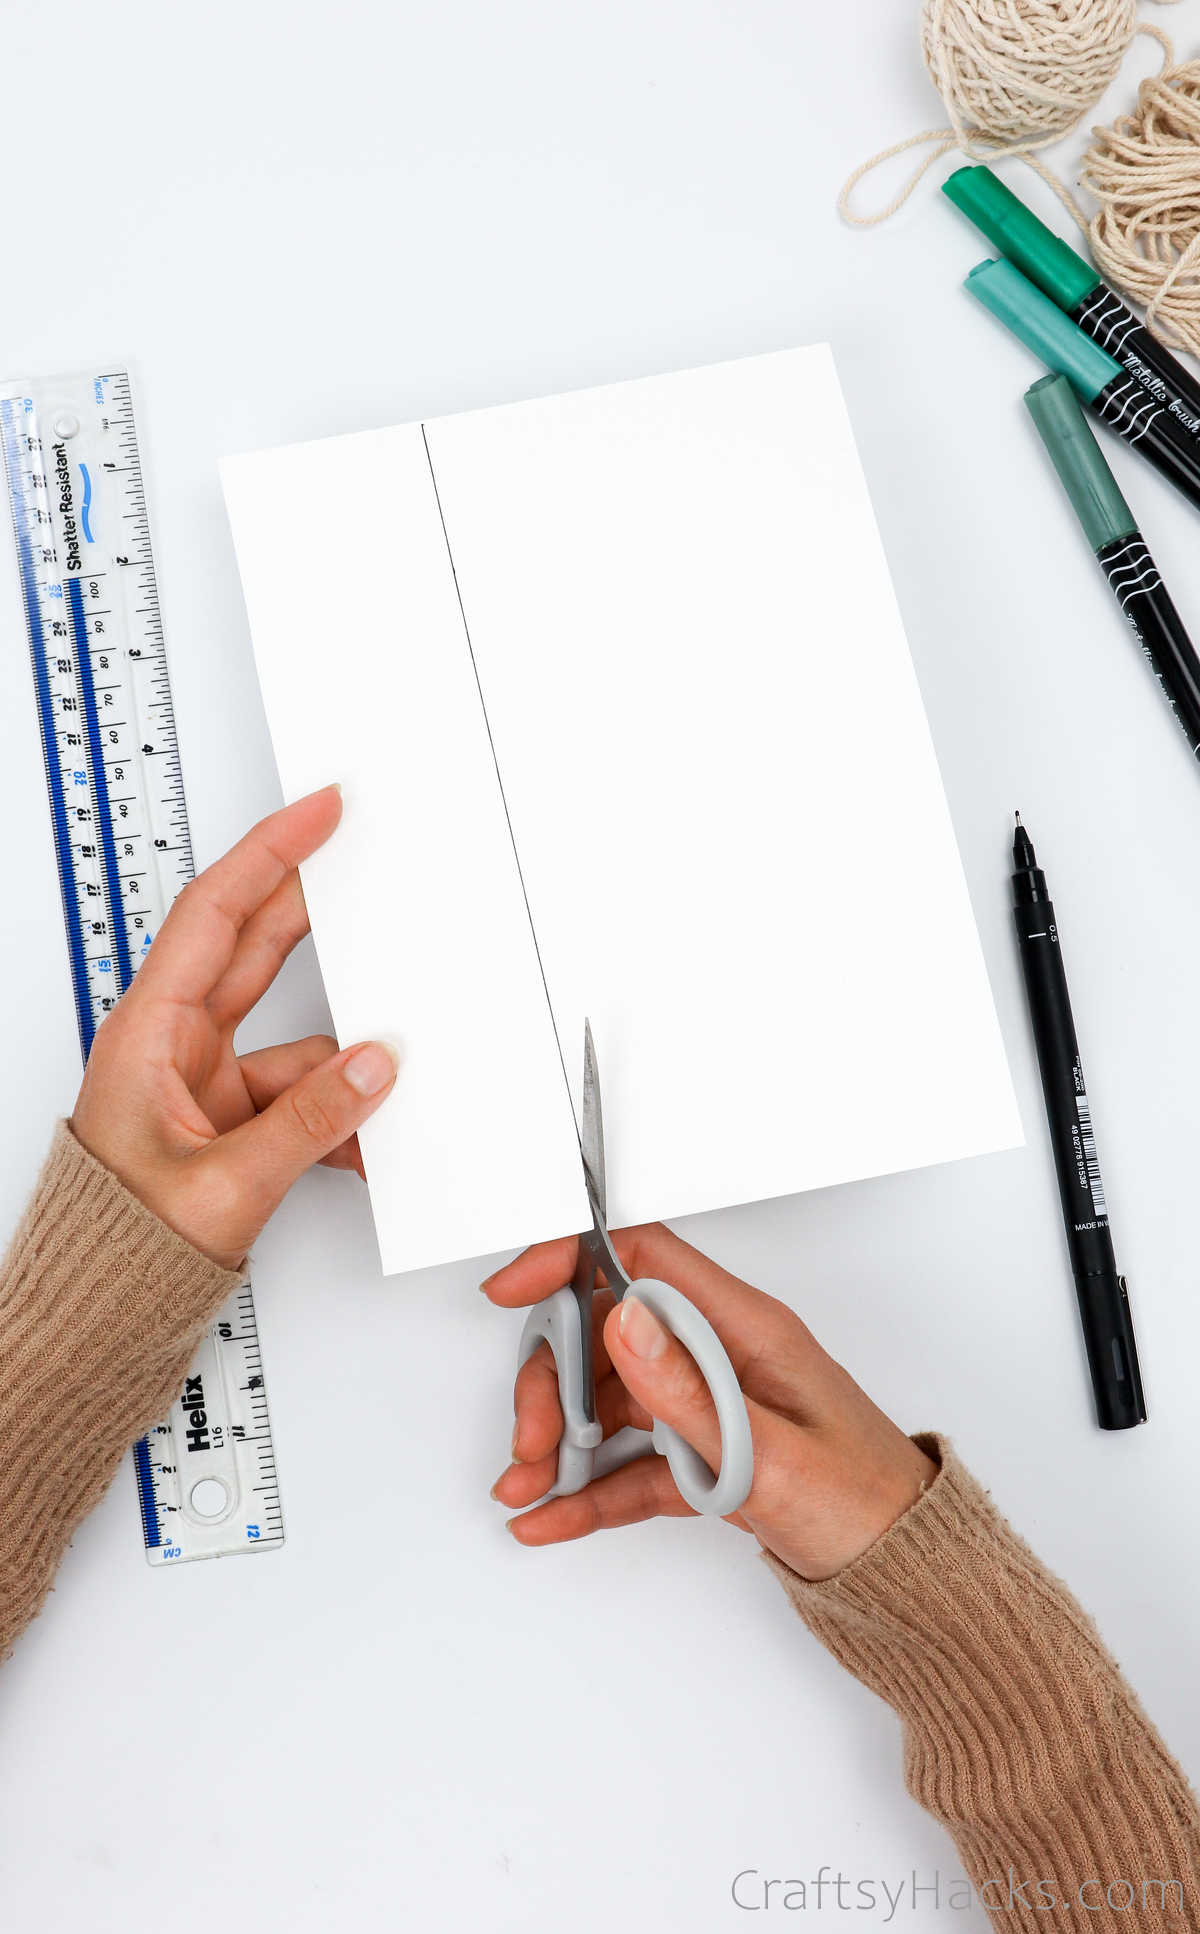
Step 9
Grab a piece of thick card stock—preferably cream-colored or white—and cut out a long rectangle strip about two inches wide and seven inches long.
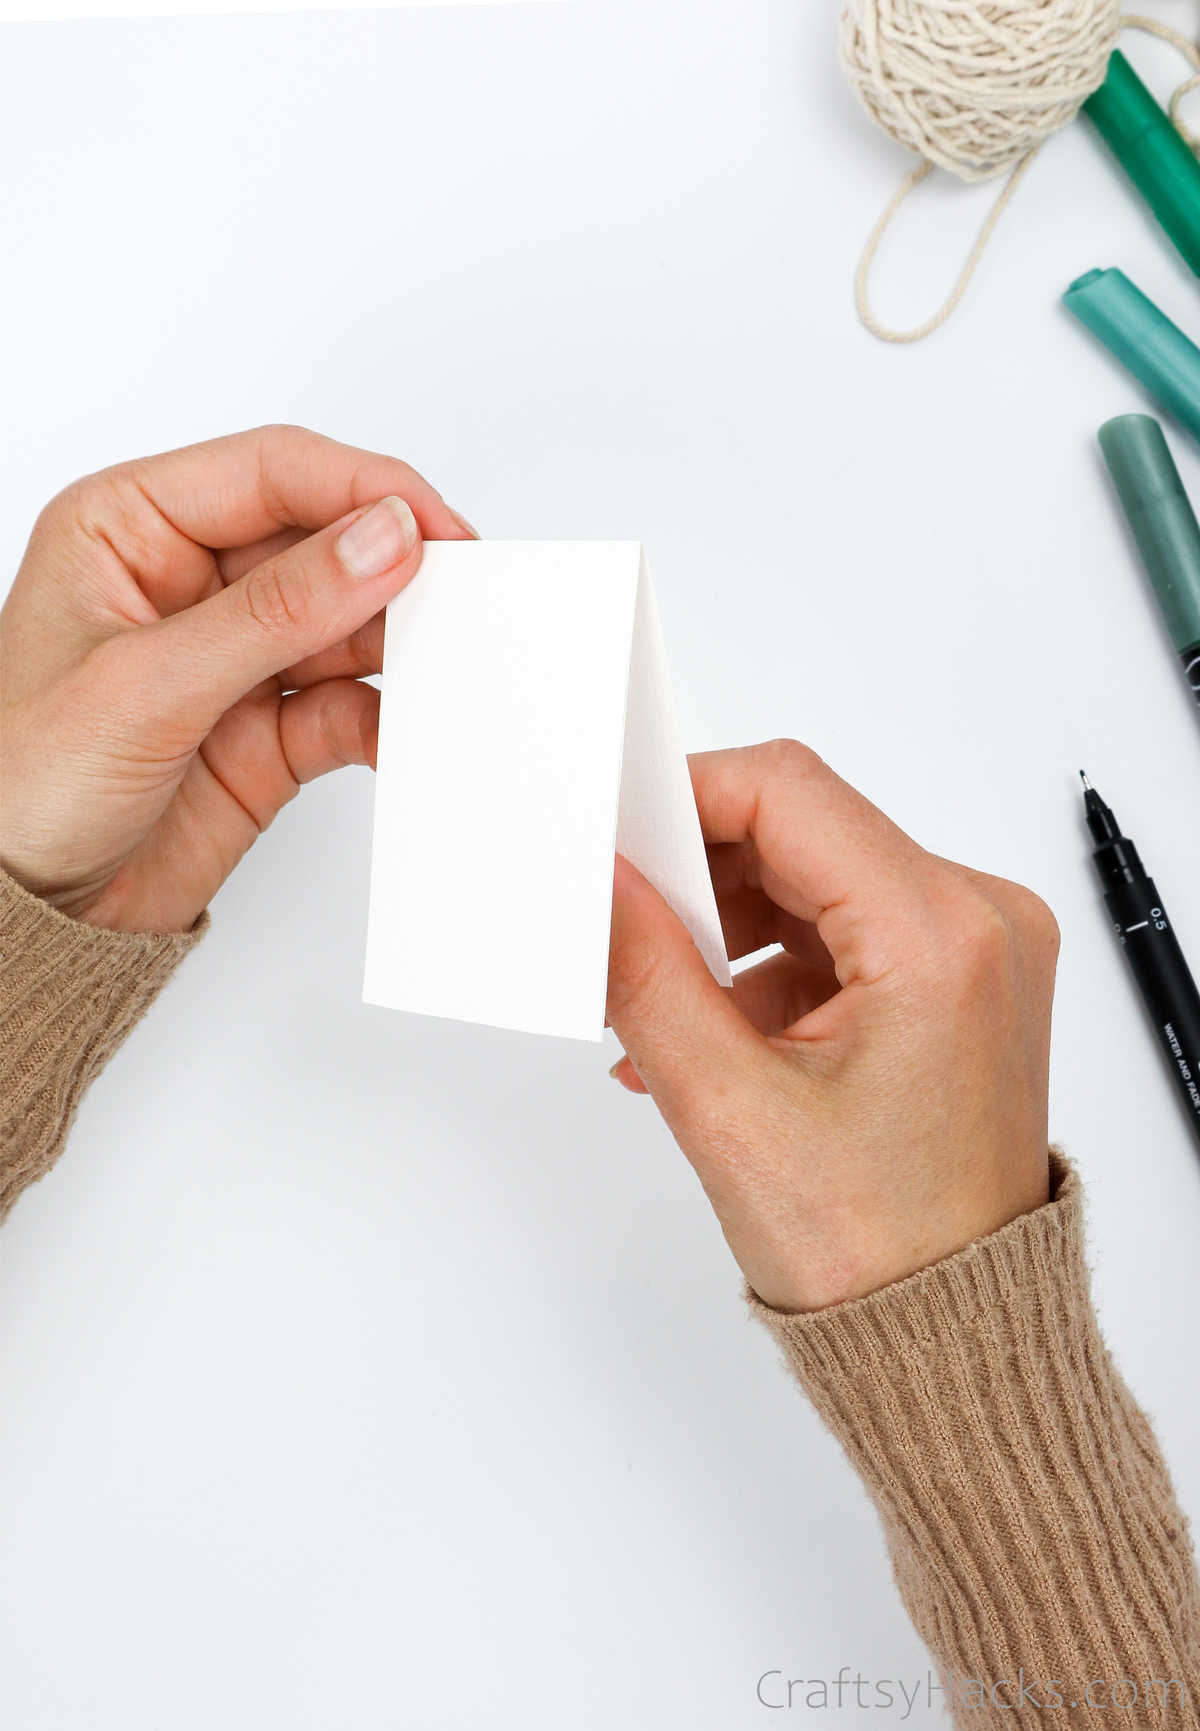
Next, fold that strip in half to make a place card like you see here.
Step 10
Decorate your card any way you like. You can use a decorative border punch hole to cut out a nice strip of filigree.

Afterward, you can also draw on the cards if you’re good at it!

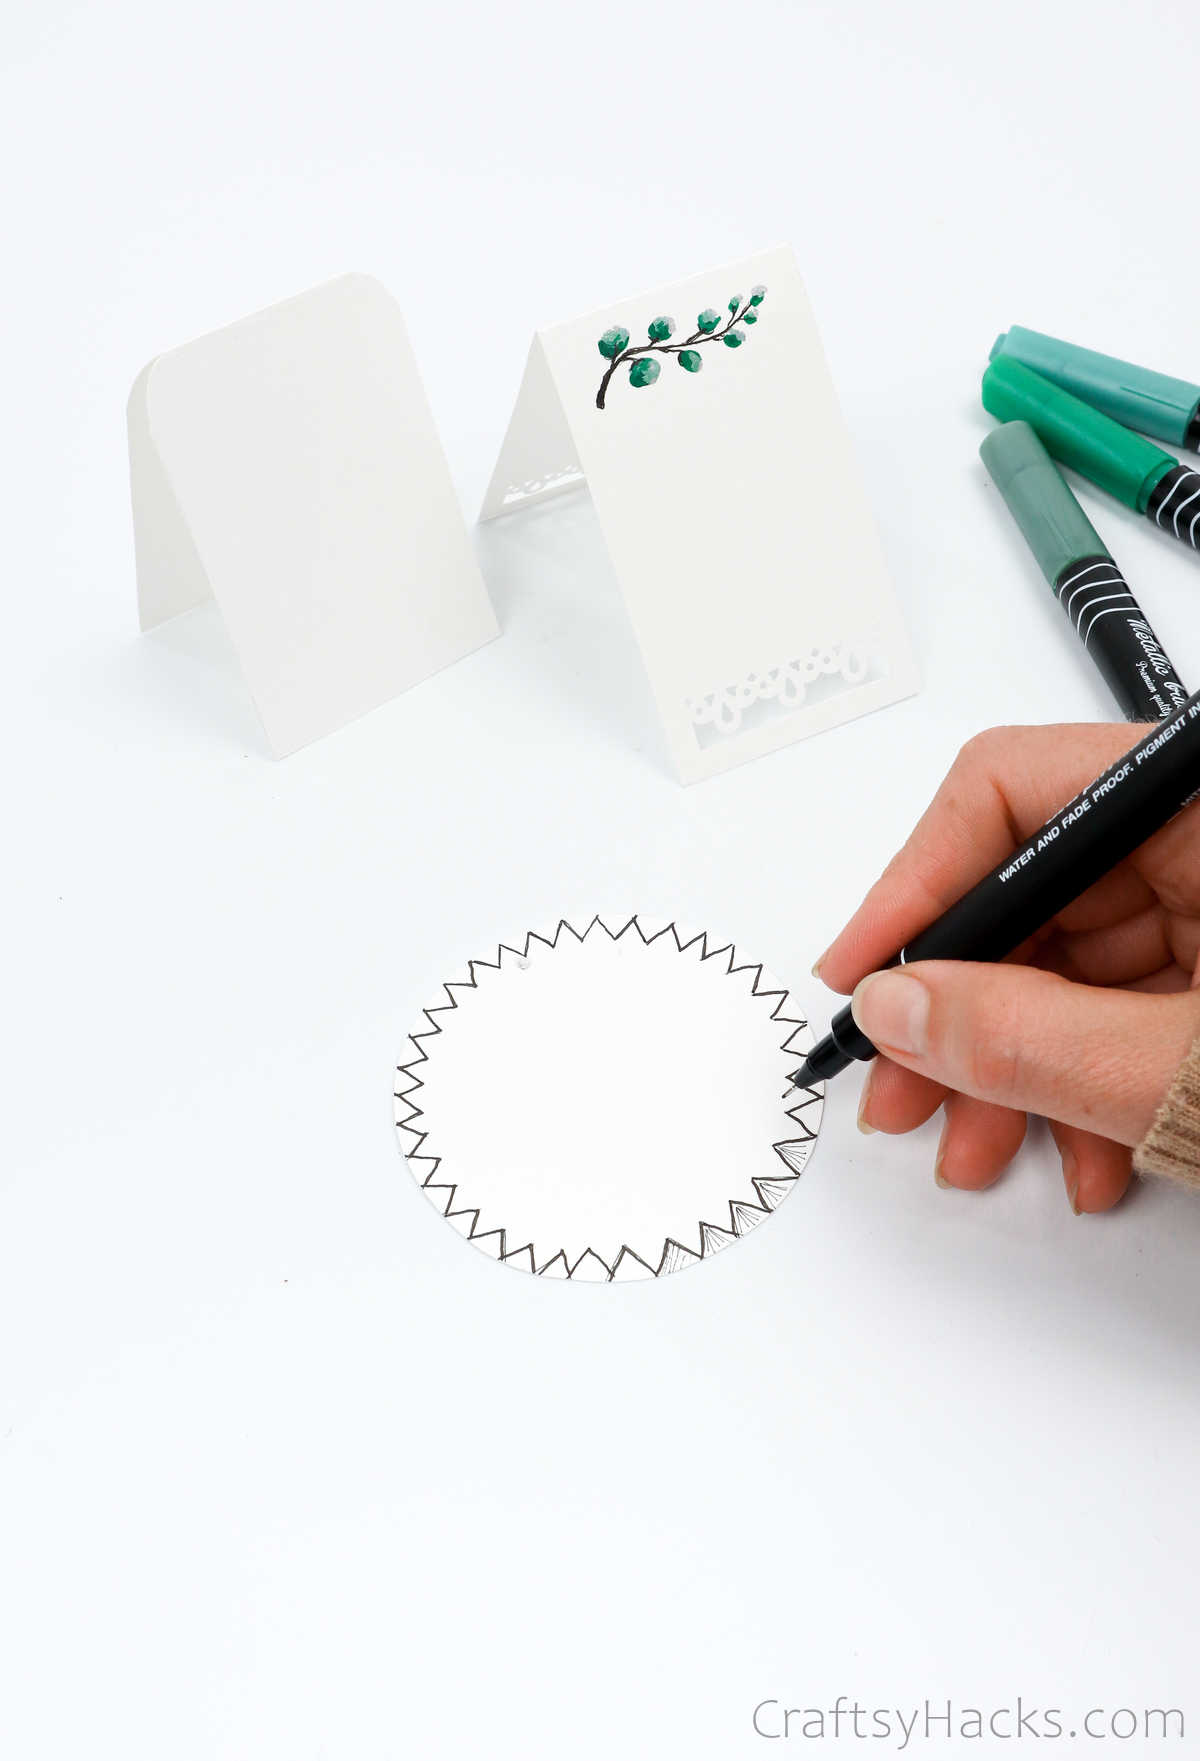
Step 11
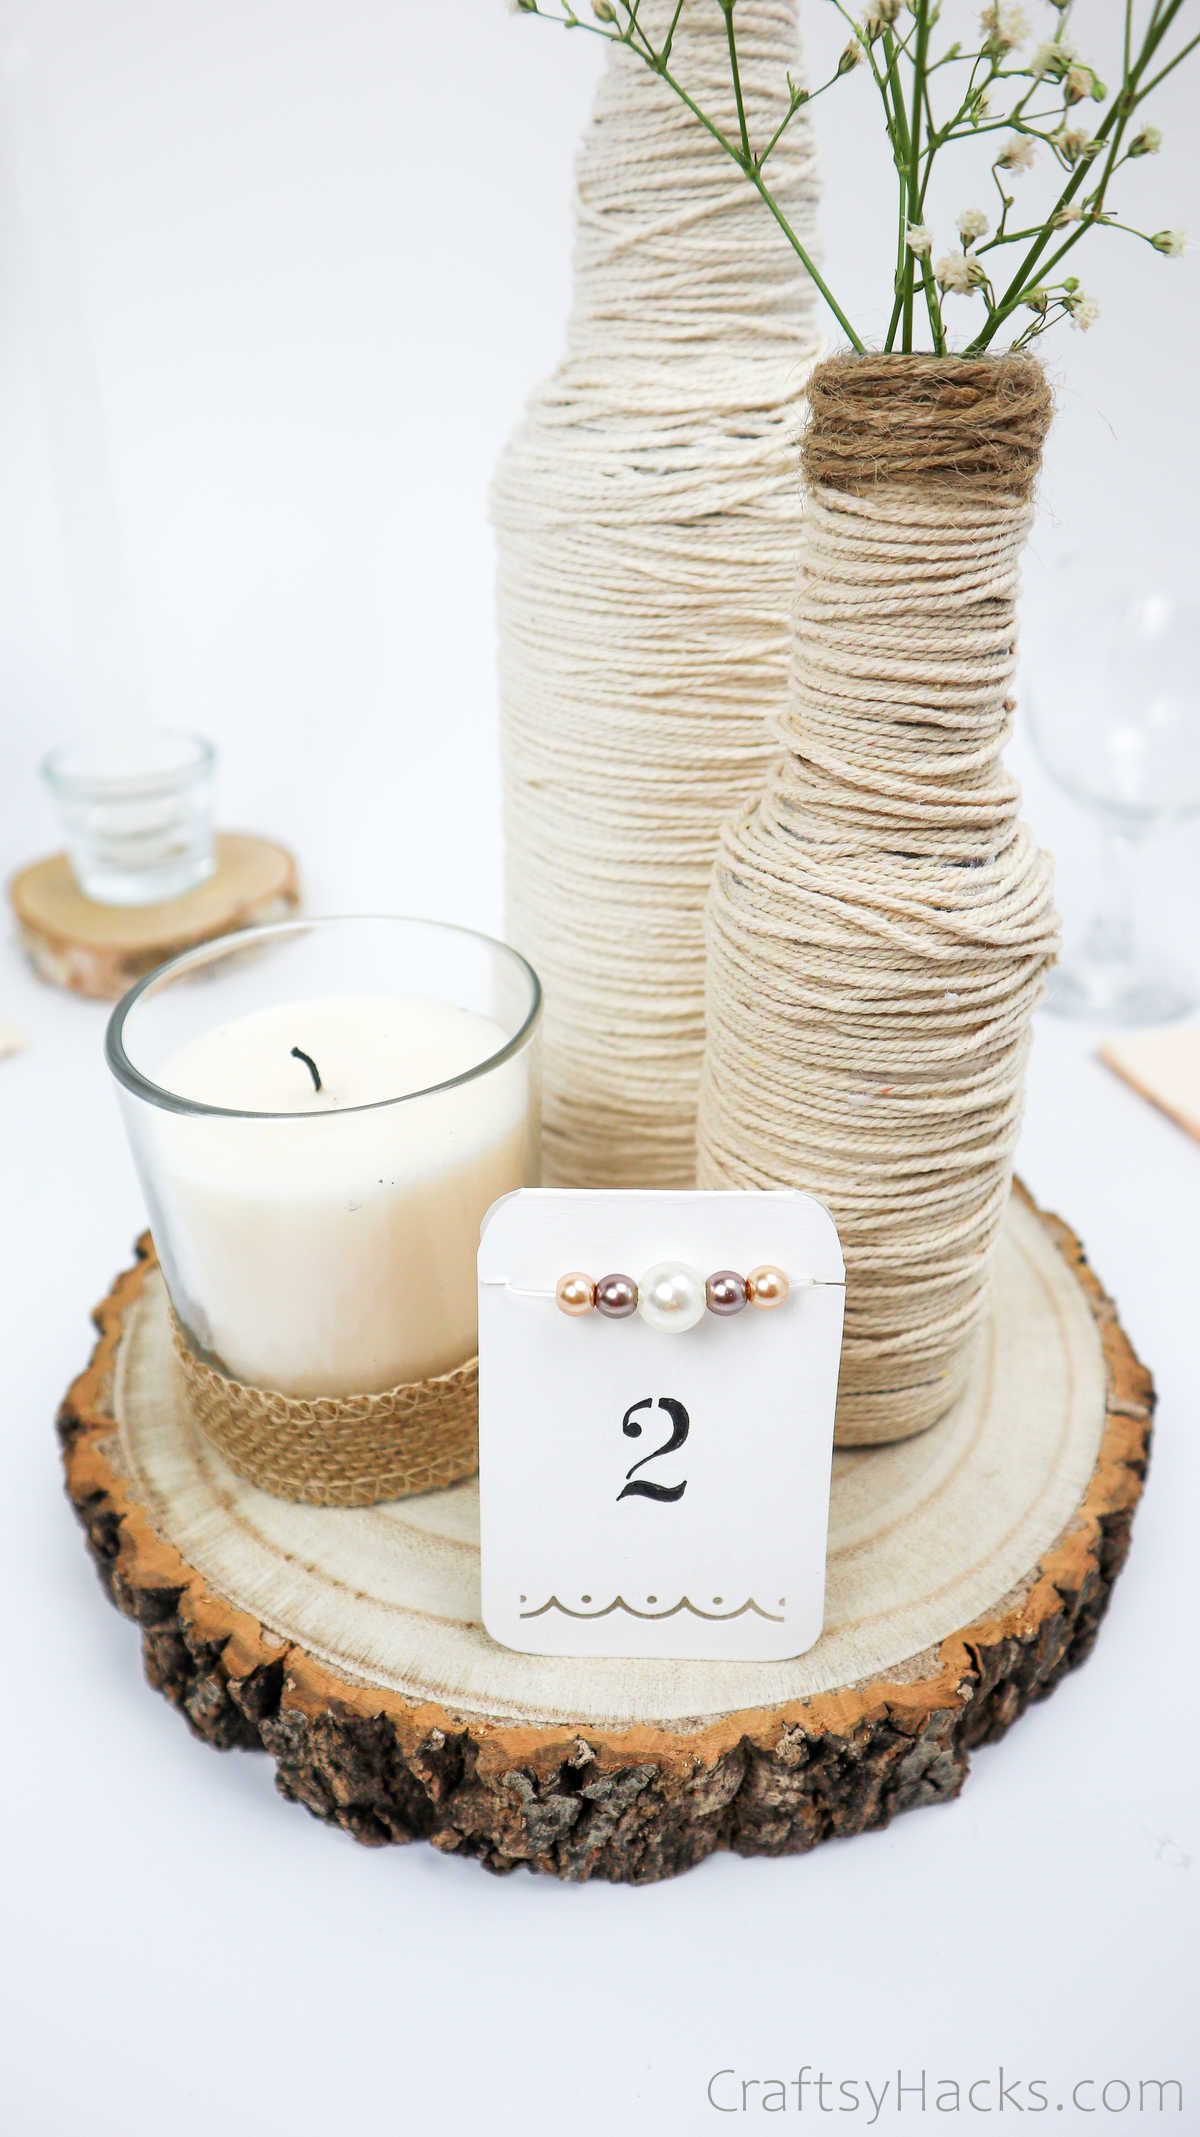
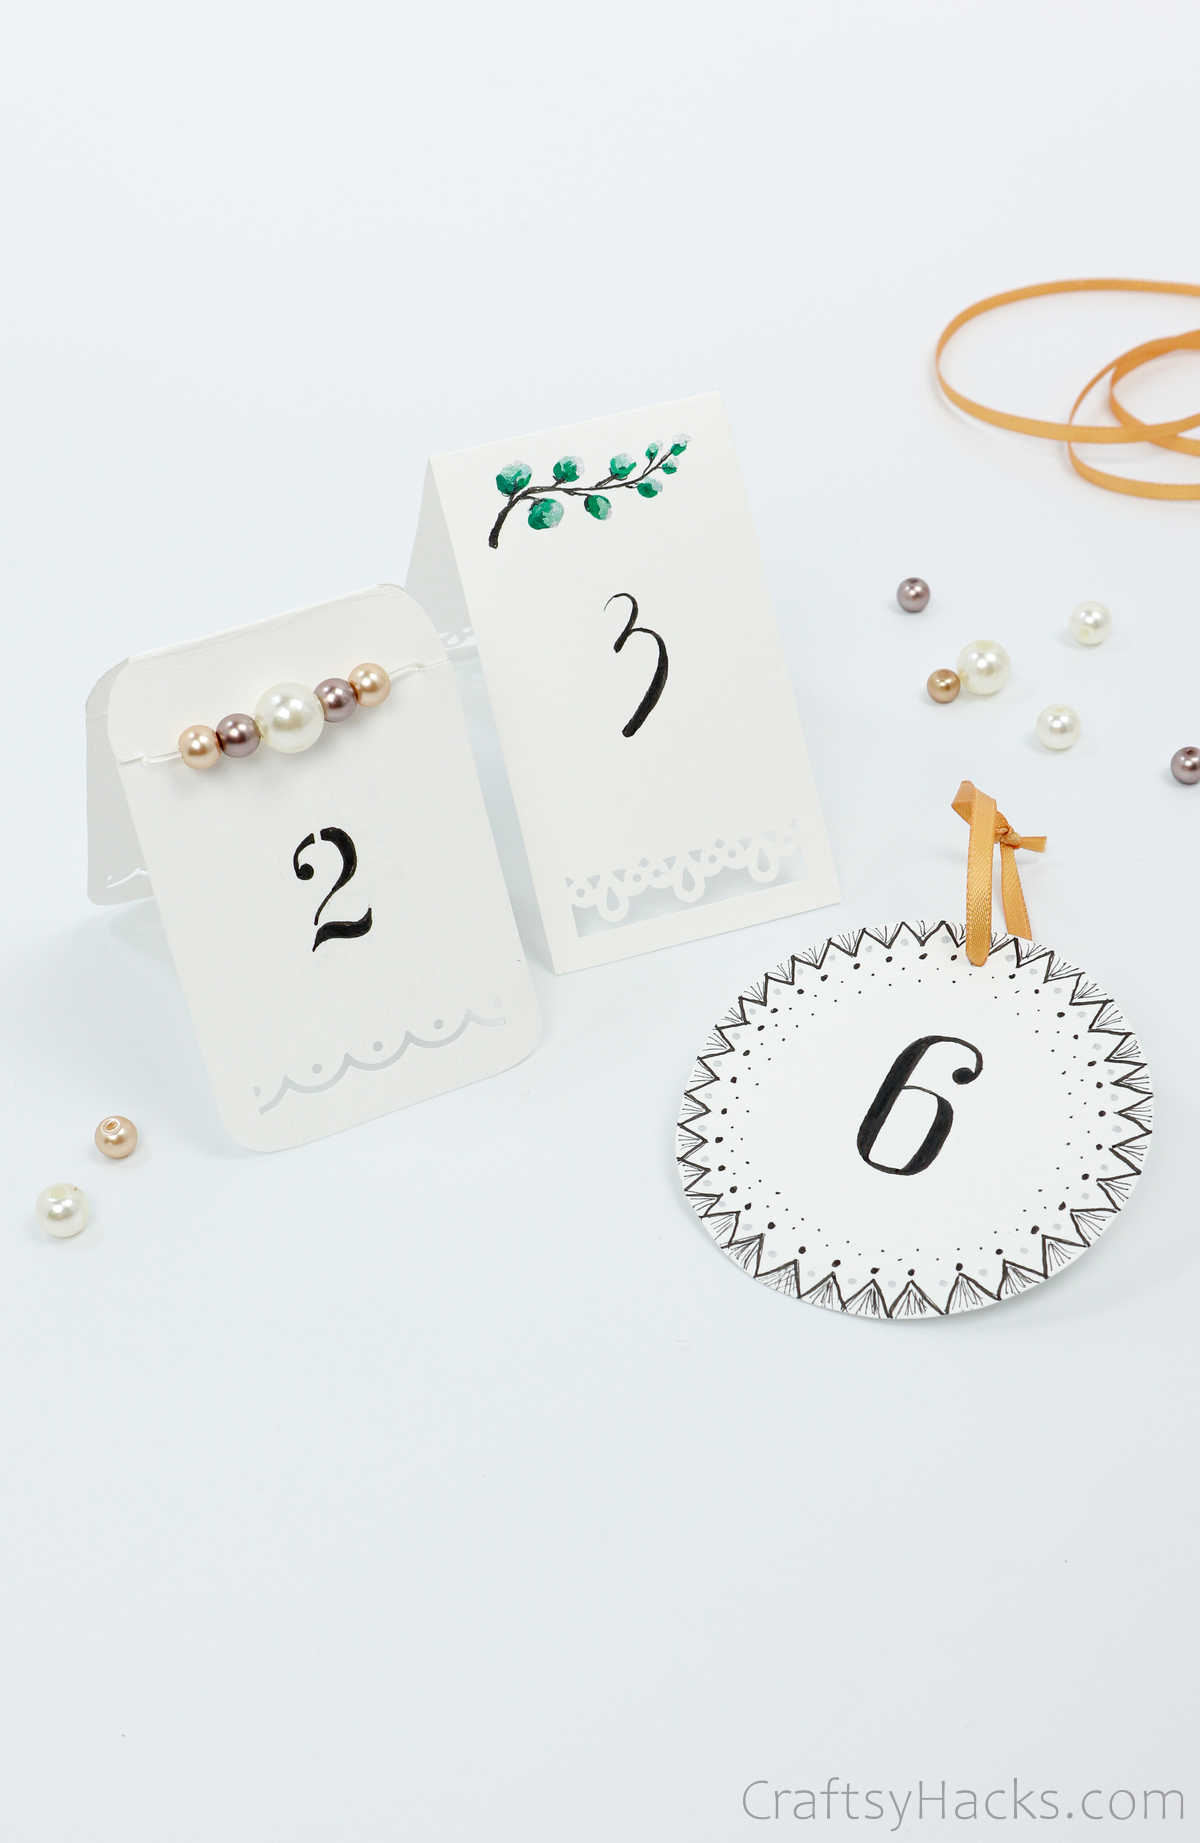
Next, you have to number the cards you just made. There are different ways to do that, as well; just look at these pictures for inspiration!
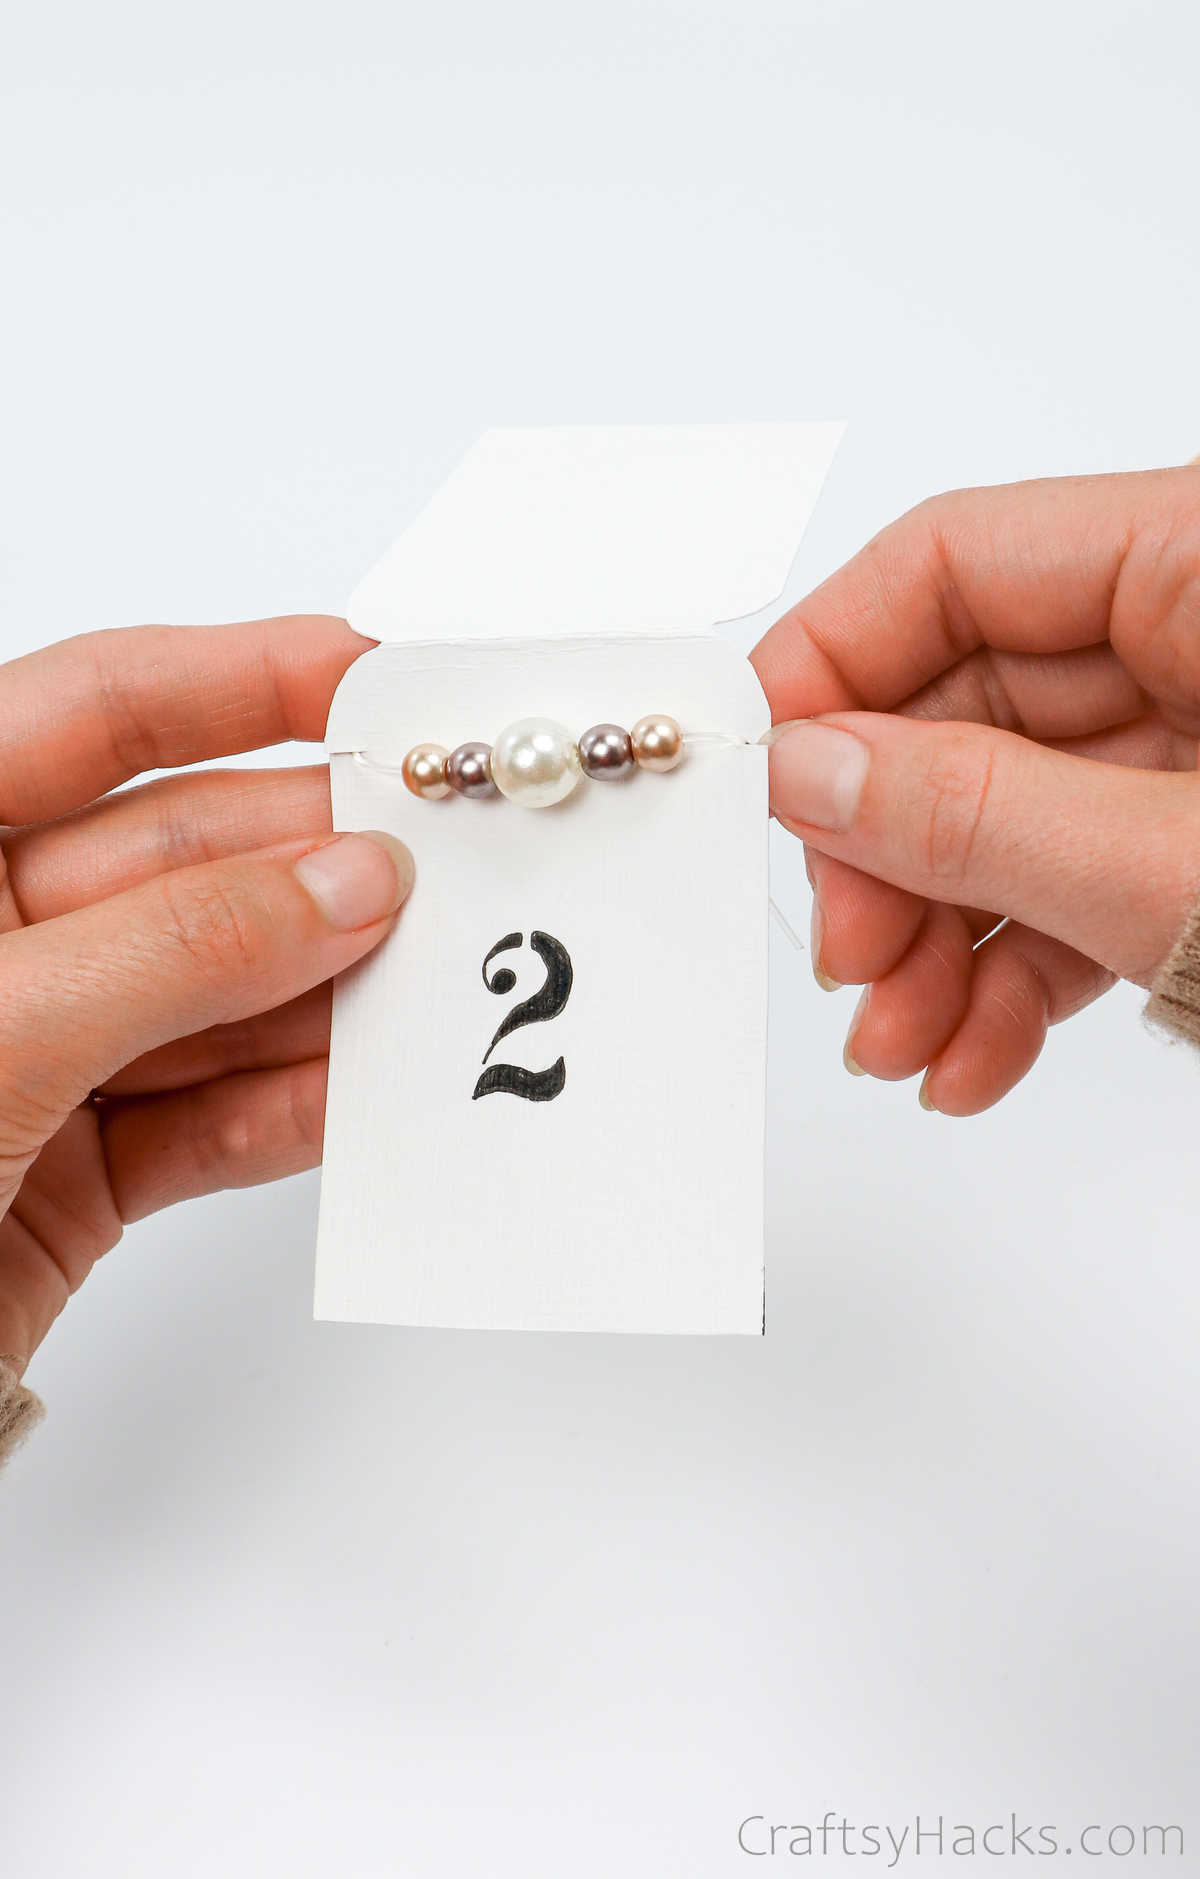
For this particular card, just stencil the number in bold font and fill it in with a marker.

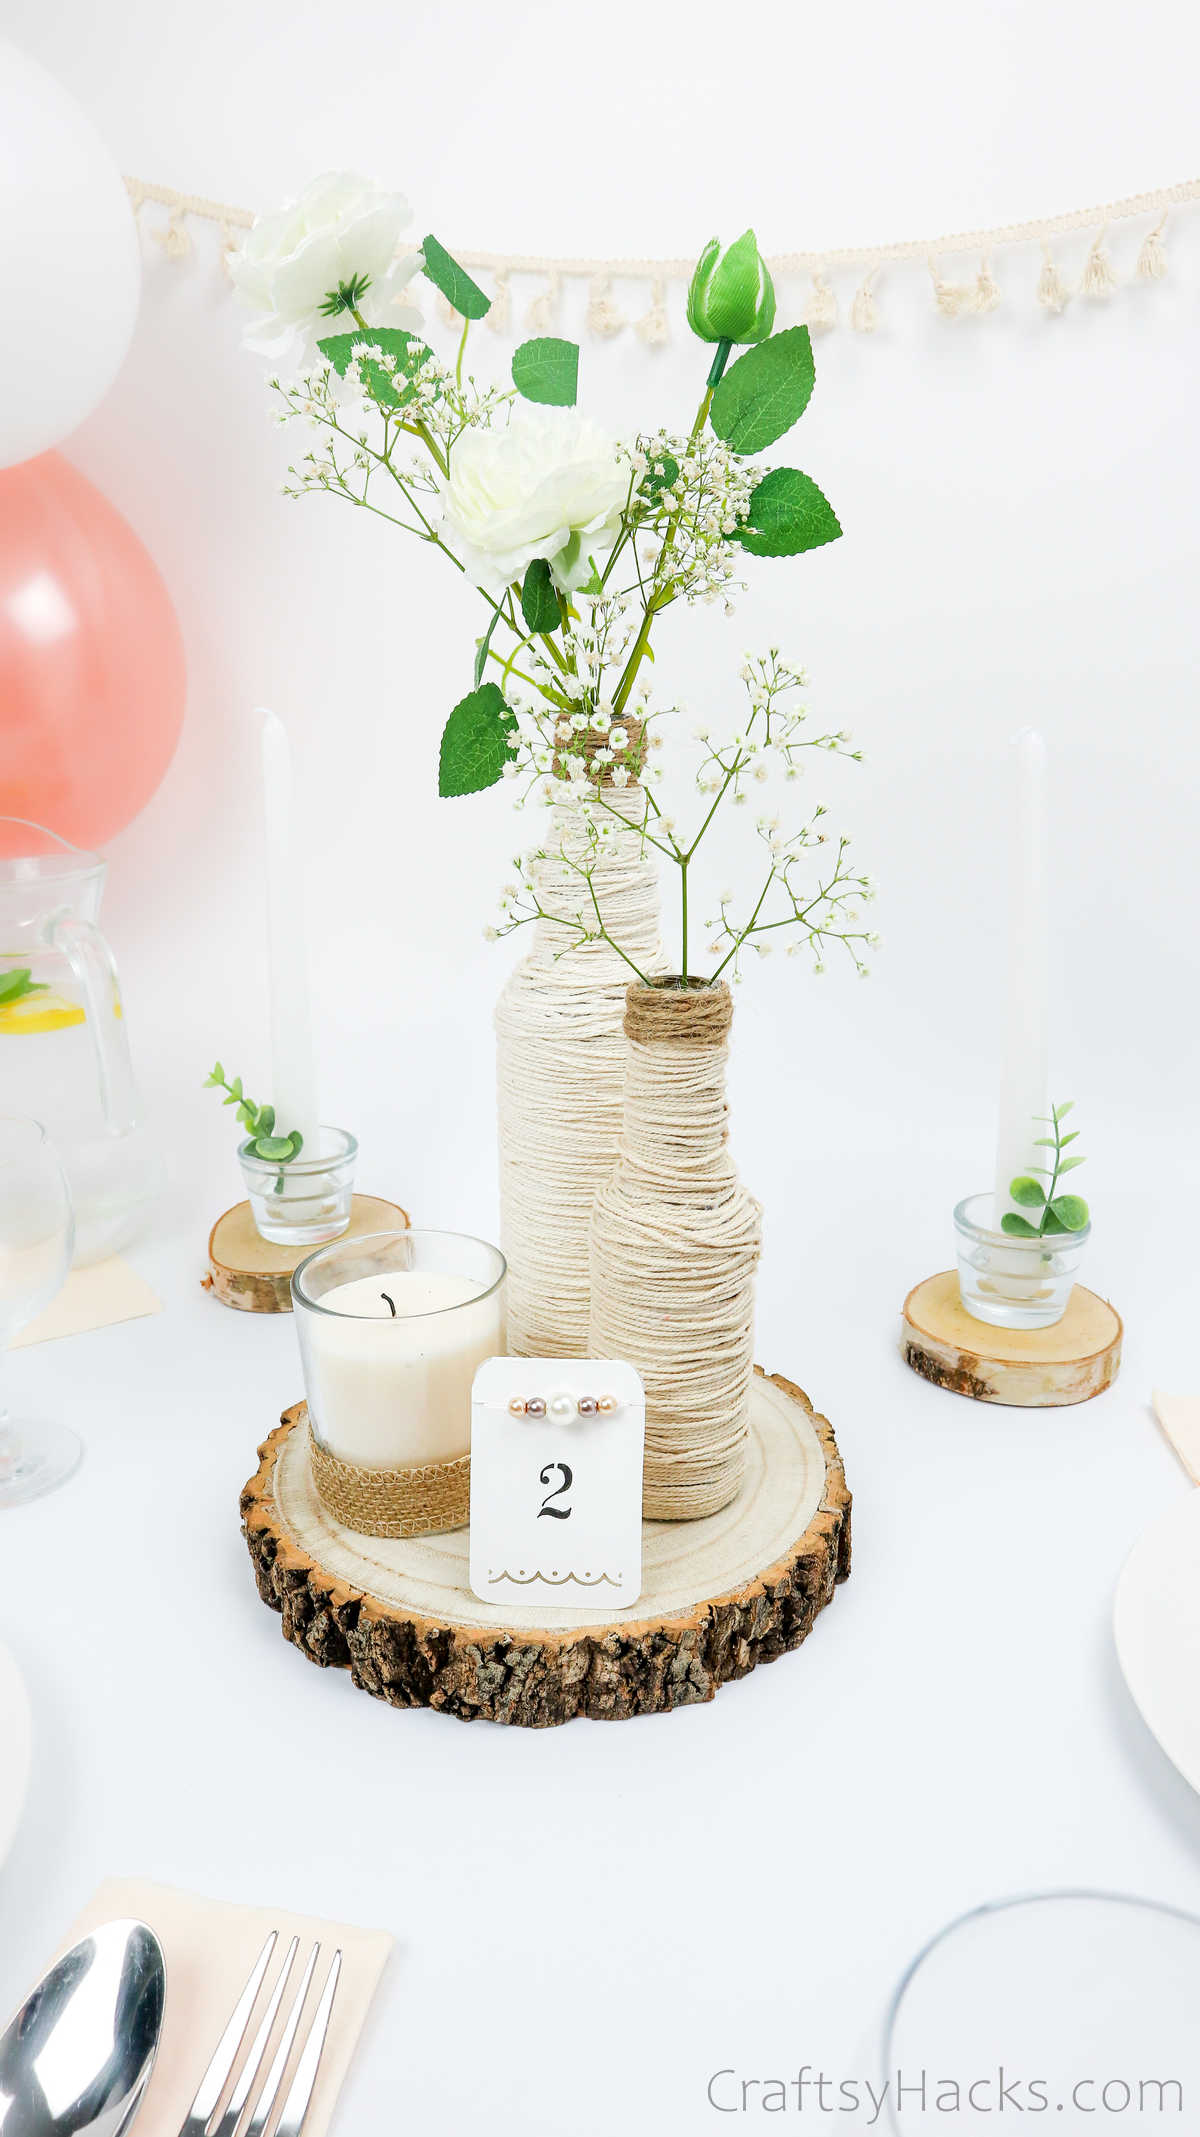
Now, string a few pearly beads.

Make tiny incisions to either side of the card at the top and string the beads through it.

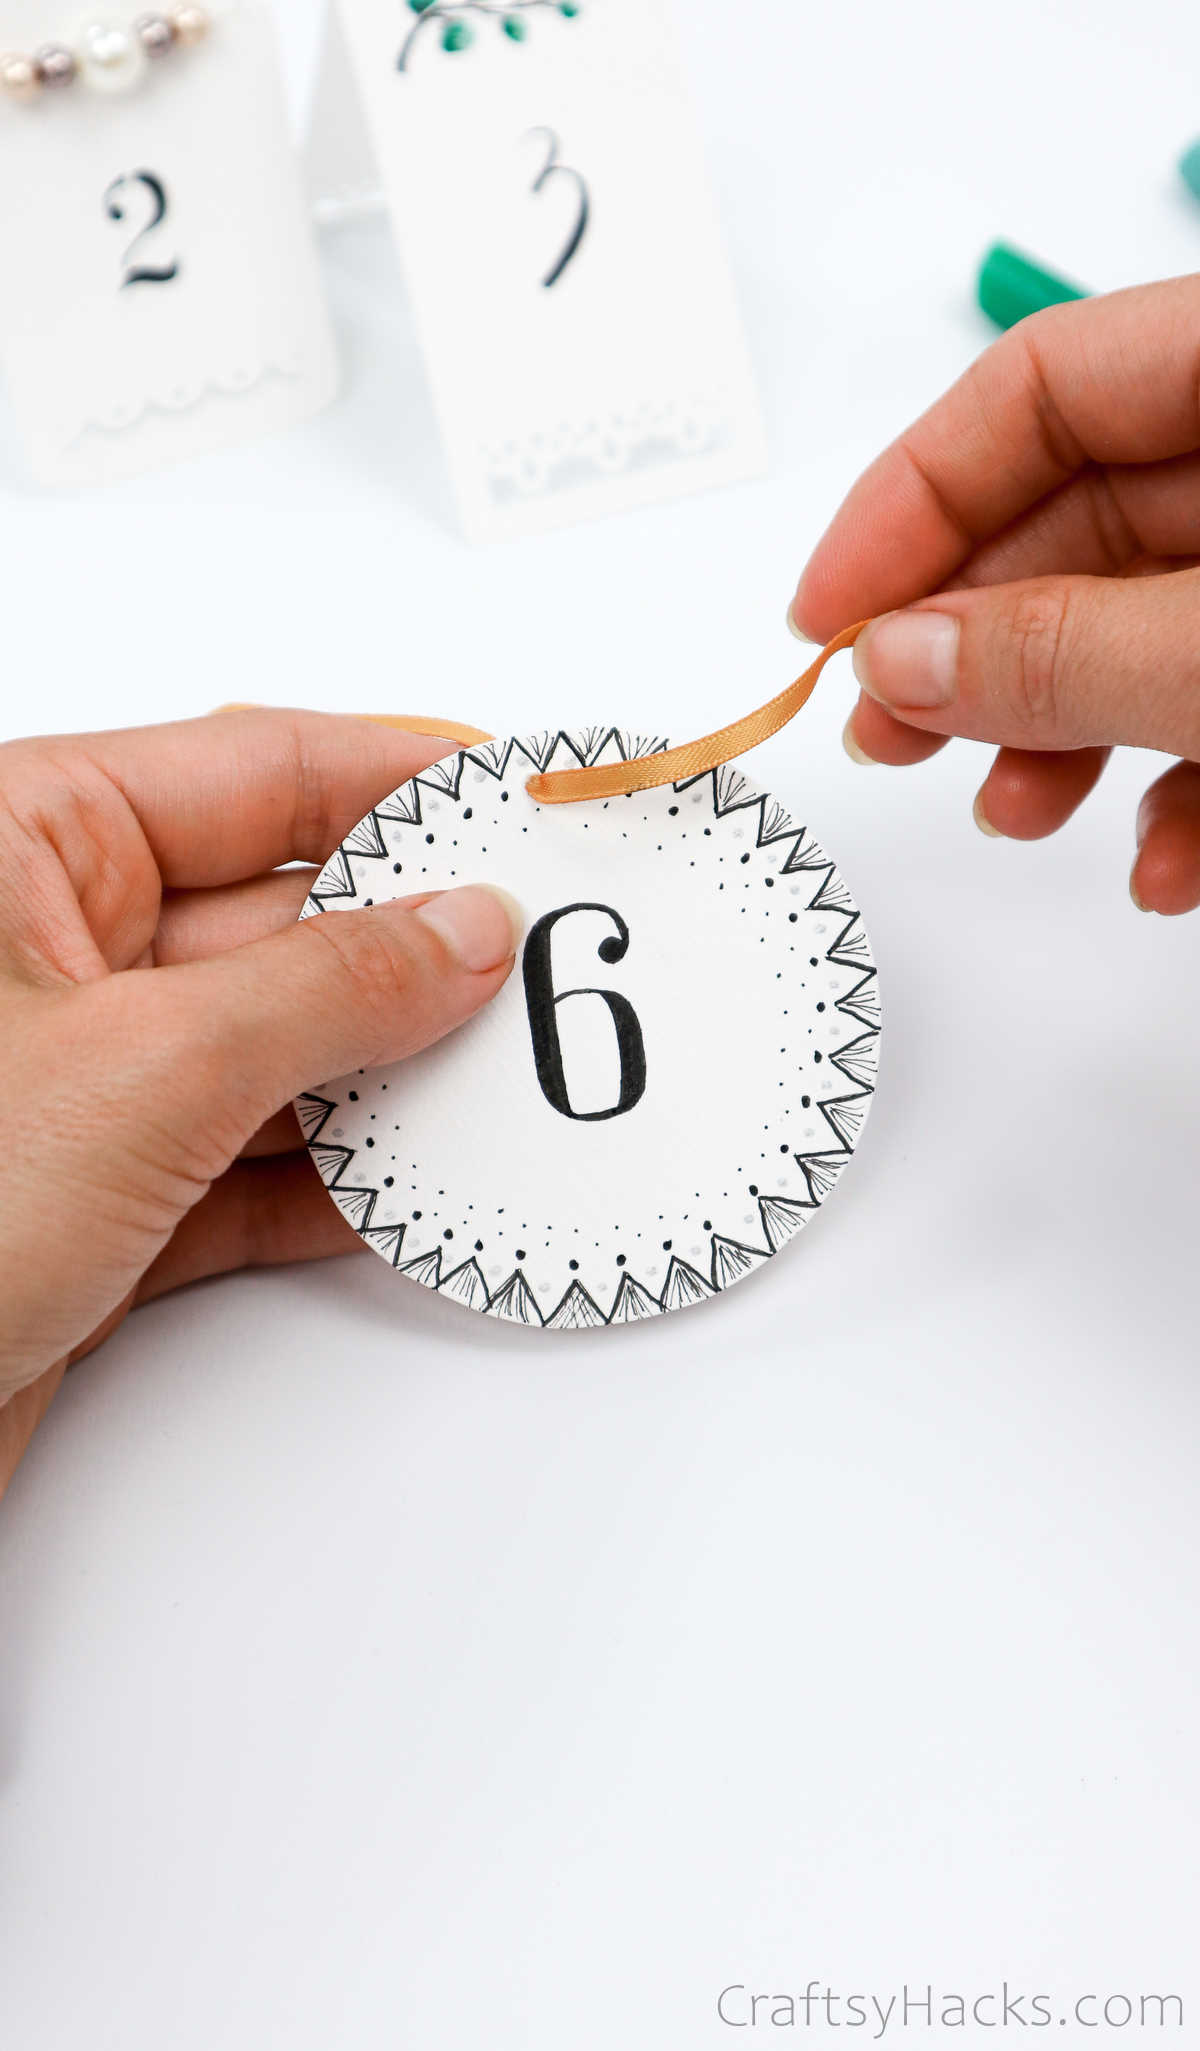
For this next pattern, just cut out your cardstock into a circle and draw simple yet elegant designs to decorate it. Then, just string some ribbon through it, and voila!
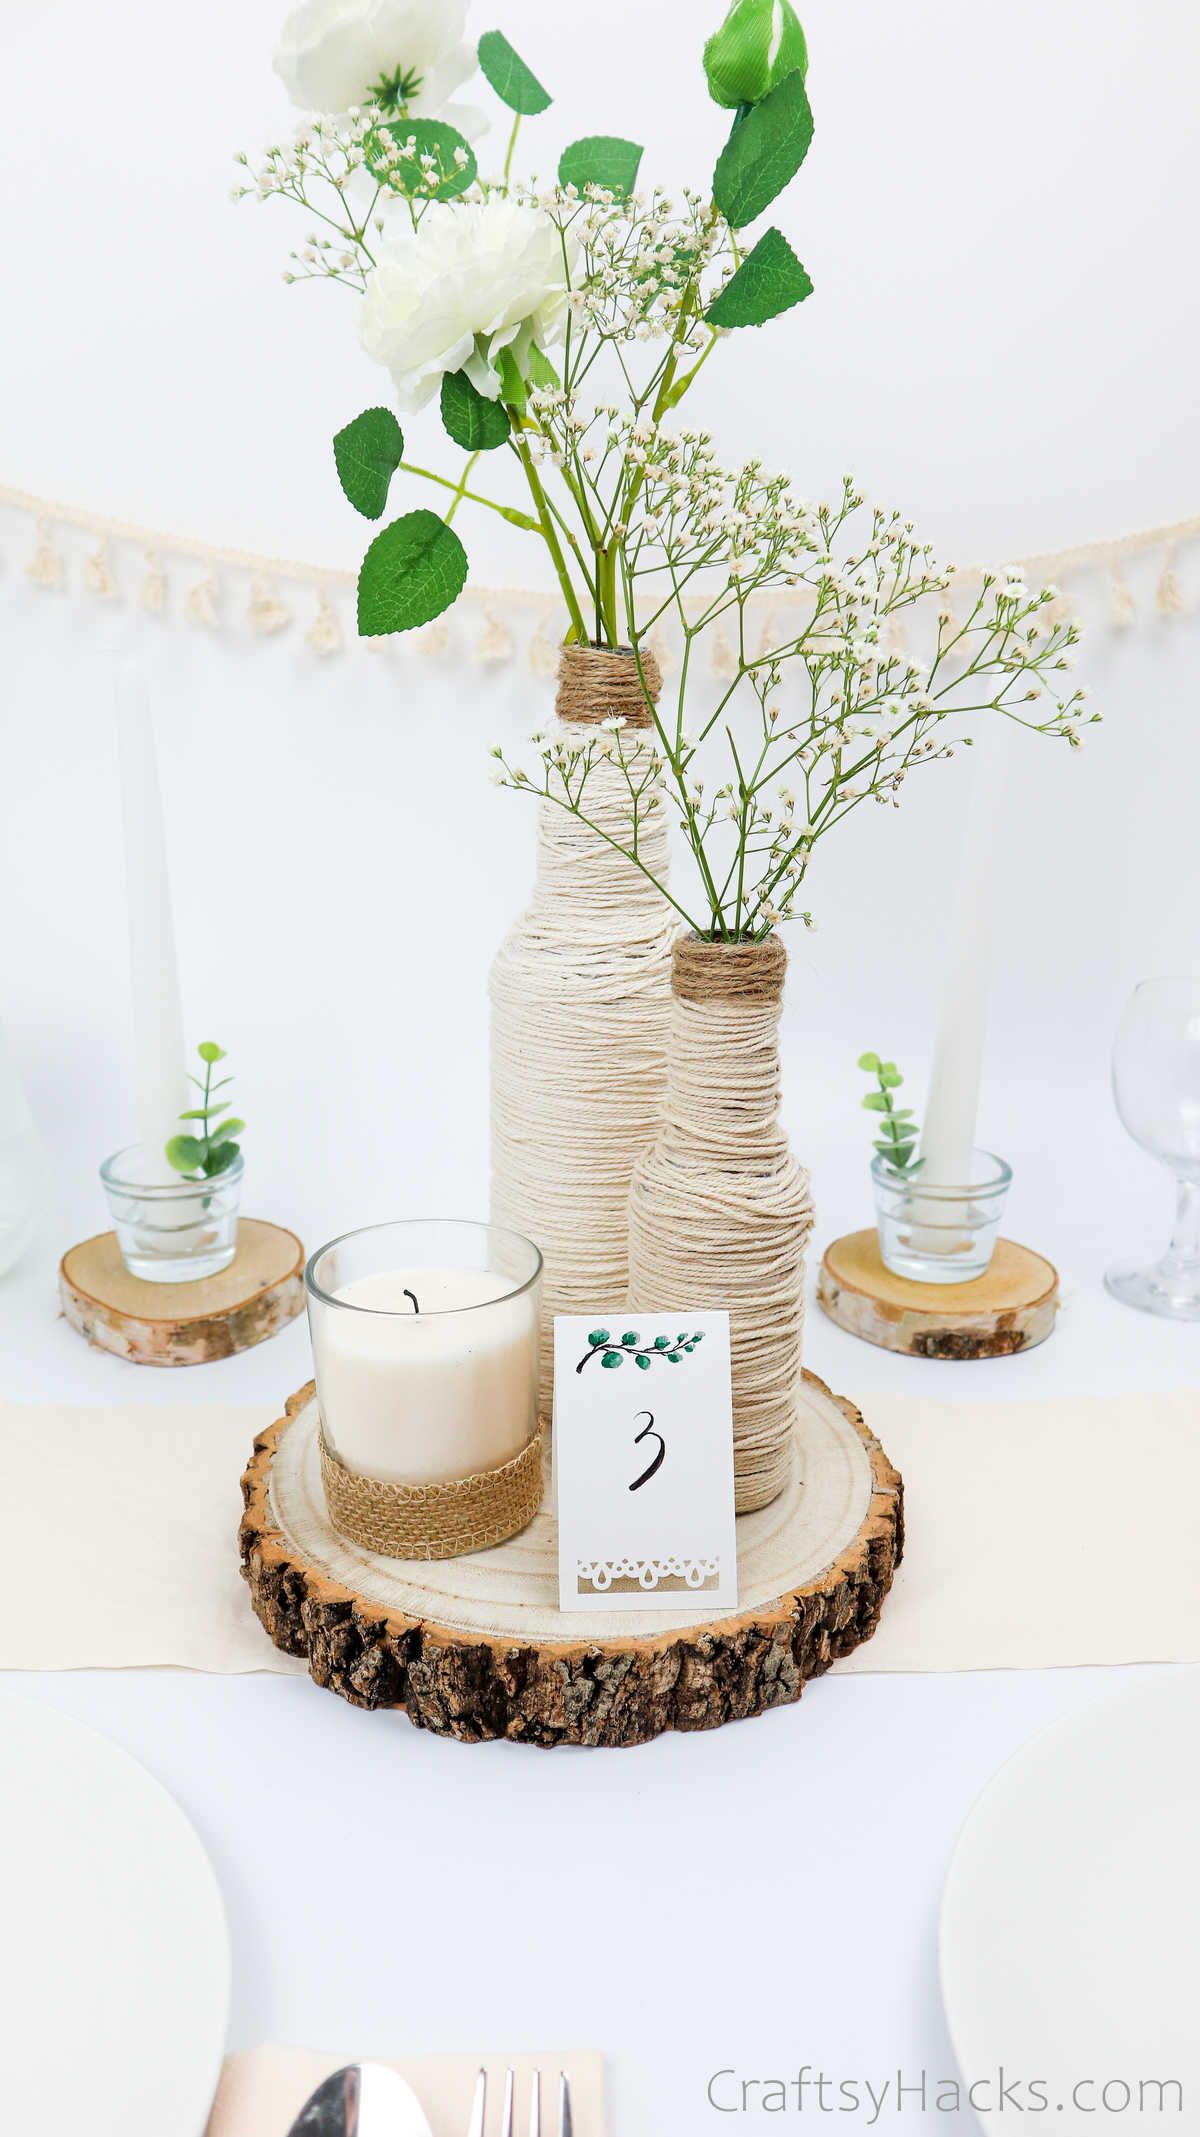
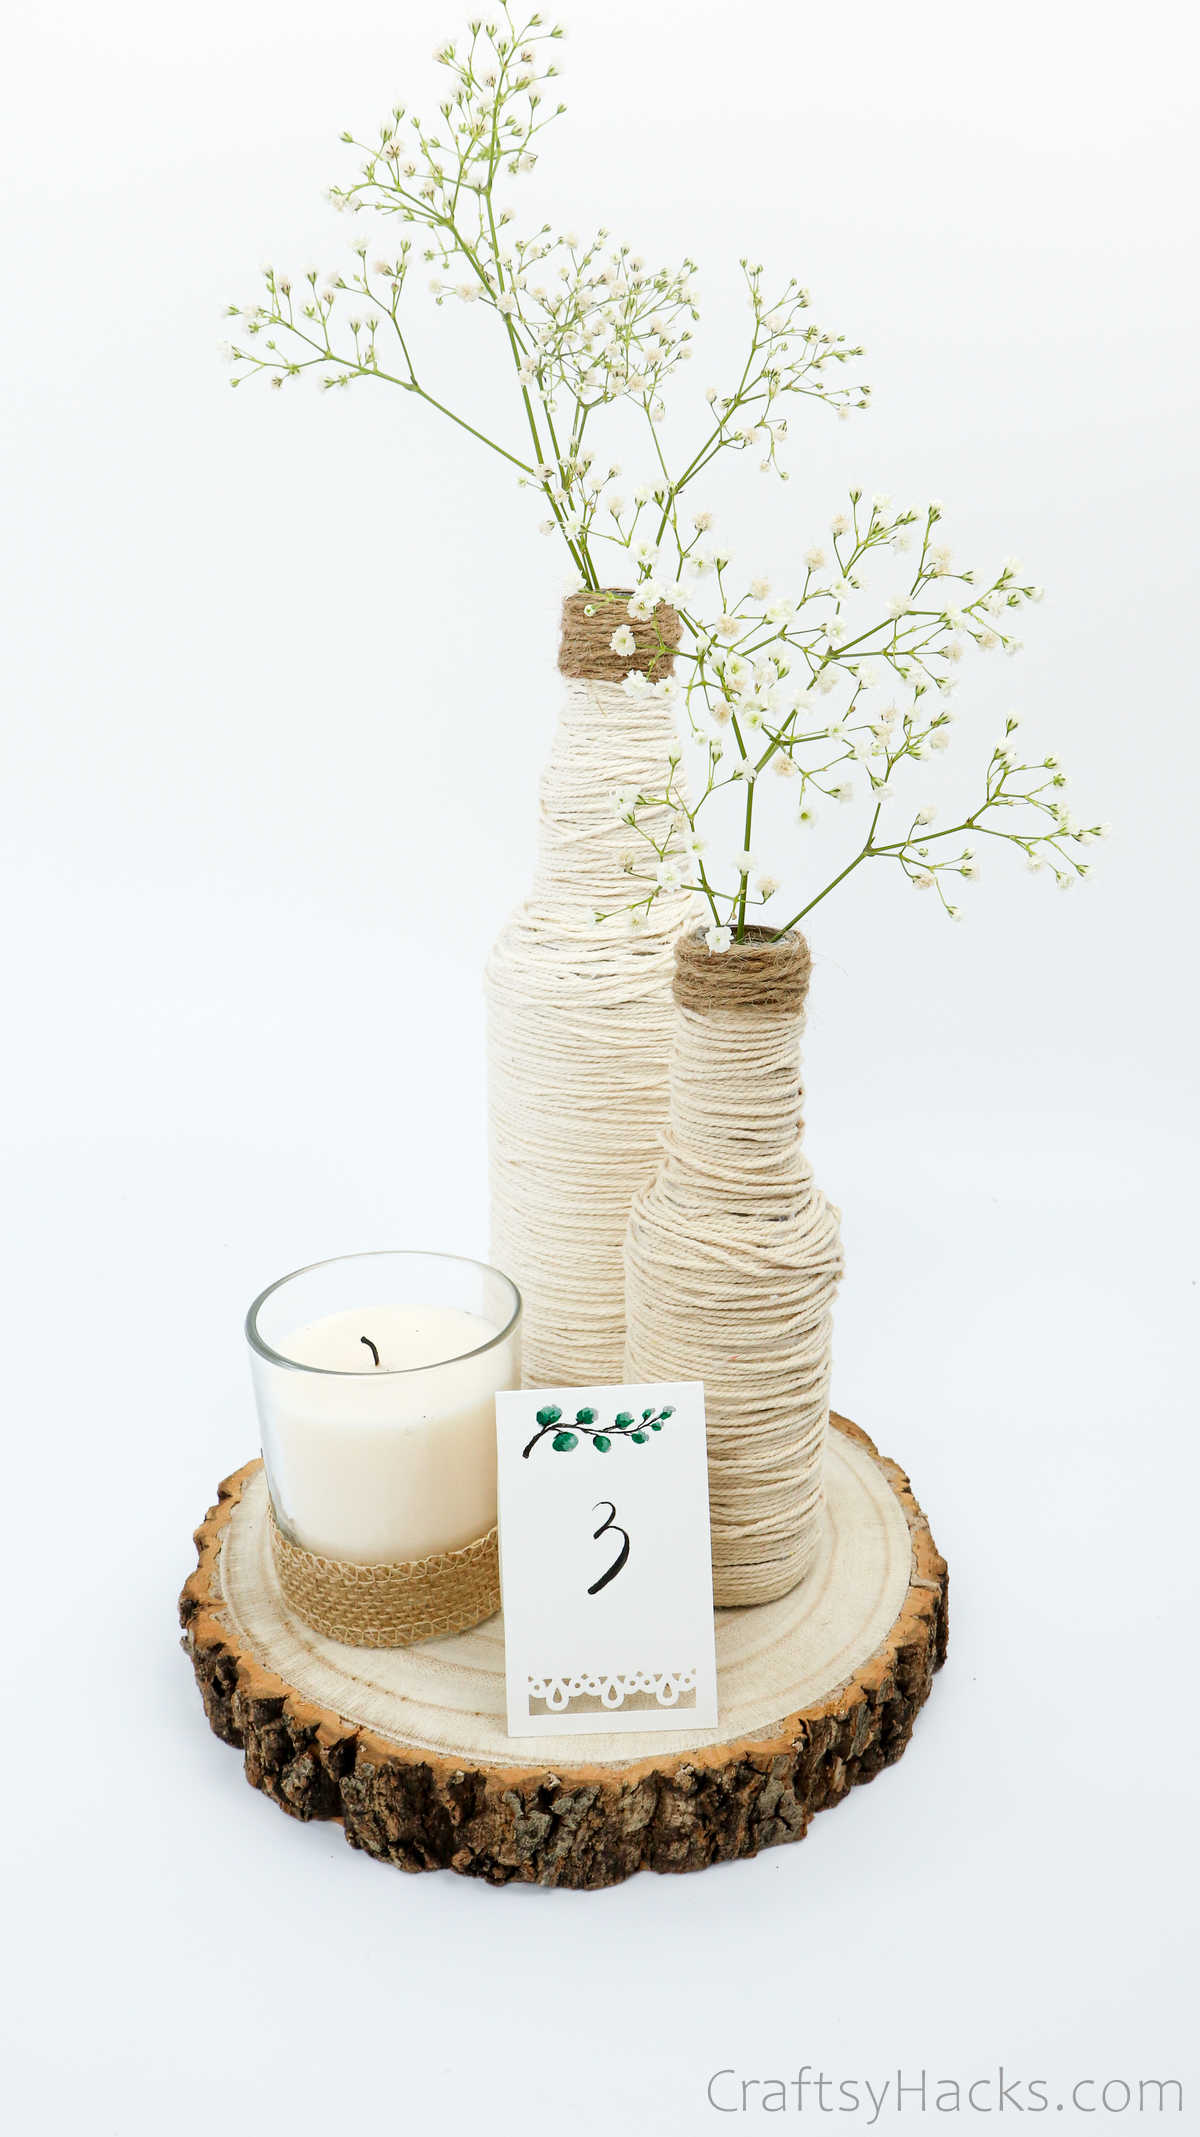
Step 12
The only thing left to do is add your table number cards to the wooden baseboard and your centerpiece is all done! Add a few sprigs of baby’s breath, reed, or pampas grass to bring the entire arrangement together!
Watch: DIY Wedding Centerpiece
You can also see the full tutorial on video!
How Much Do Wedding Centerpieces Usually Cost?
On average, a wedding centerpiece can cost anywhere between $100 to $450. That’s depending on the arrangement you pick as well as the number of tables there are.
There are for the florals, alone. Usually, any other addition like candles, plants, or knick-knacks will cost extra. By making your own centerpieces, you’re essentially cutting down your cost to a fraction of the estimated expense you might have originally incurred.
By upcycling, you can bring down your costs to about $5-$7 per table. How cool is that?
Other Wedding Projects You Might Like
- DIY Table Centerpiece Out of a Beer 4-Pack
- 37 Wedding Registry Ideas
- 27 Wedding Décor Ideas
- 37 Wedding Table Decoration Ideas
- 31 Wedding Reception Ideas
- 27 Wedding Ceremony Ideas
- 31 Wedding Arch Ideas
- 20 Mason Jar Wedding Centerpieces
- 20 Wedding Crafts for Low Budgets
- Backyard Wedding Ideas
DIY Wedding Centerpiece Out of Upcycled Bottles
Video Tutorial
Equipment
- Scissors
- Ruler
- Markers
Materials
- Wood plaque
- 2 bottles ideally different sizes
- Jar candle
- 1.5 mm cotton cords or thicker
- Thick white A5 paper
- 1 ” wide jute ribbon
Instructions
- Gather all your supplies to get started on your DIY centerpieces.
- Before you begin, though, make sure you scrub, rinse, and dry your bottles to remove any dust, grease, or grime from it.
- Add a bit of hot blue to the bottom of your bottle.
- Next, unravel the cord and stick the end to the bottle. Hold it in place while it adheres.
- Then, grab your glue gun once again and line another layer of hot glue around the bottle, following it up with a length of cord over it.
- That’s pretty much it; just continue to apply hot glue and then wrap the cord around the bottle all the way up to the mouth.
- Fasten off and make sure that the end is secured with a little extra dab of glue.
- Switch out the cotton cord for some jute twine and wrap it around the mouth.
- Feel free to overlap the cord and twine as much as you like—it doesn’t have to be perfect as long as it is stuck in place.
- Repeat the entire process with one more bottle.
- Grab your wooden baseboard and hot glue both the wrapped bottles onto the surface.
- Next, grab a plain white candle in a glass jar and line some hot glue around the bottom. Stick a length of just ribbon around the bottom of the candle and then, stick the candle itself on the board, next to the bottles.
- The next step is to make table cards to indicate the table number. Feel free to decorate these cards however you like: with doodles, sketches, decorative borders, with beaded wire strung across it, and bold font for the numbers.
- Finally, add a few sprigs of baby’s breath, faux florals, and more to bring the entire centerpiece arrangement together!


