DIY Mail Organizer (Step-by-Step Tutorial)
This post may contain affiliate links: full affiliate disclosure.

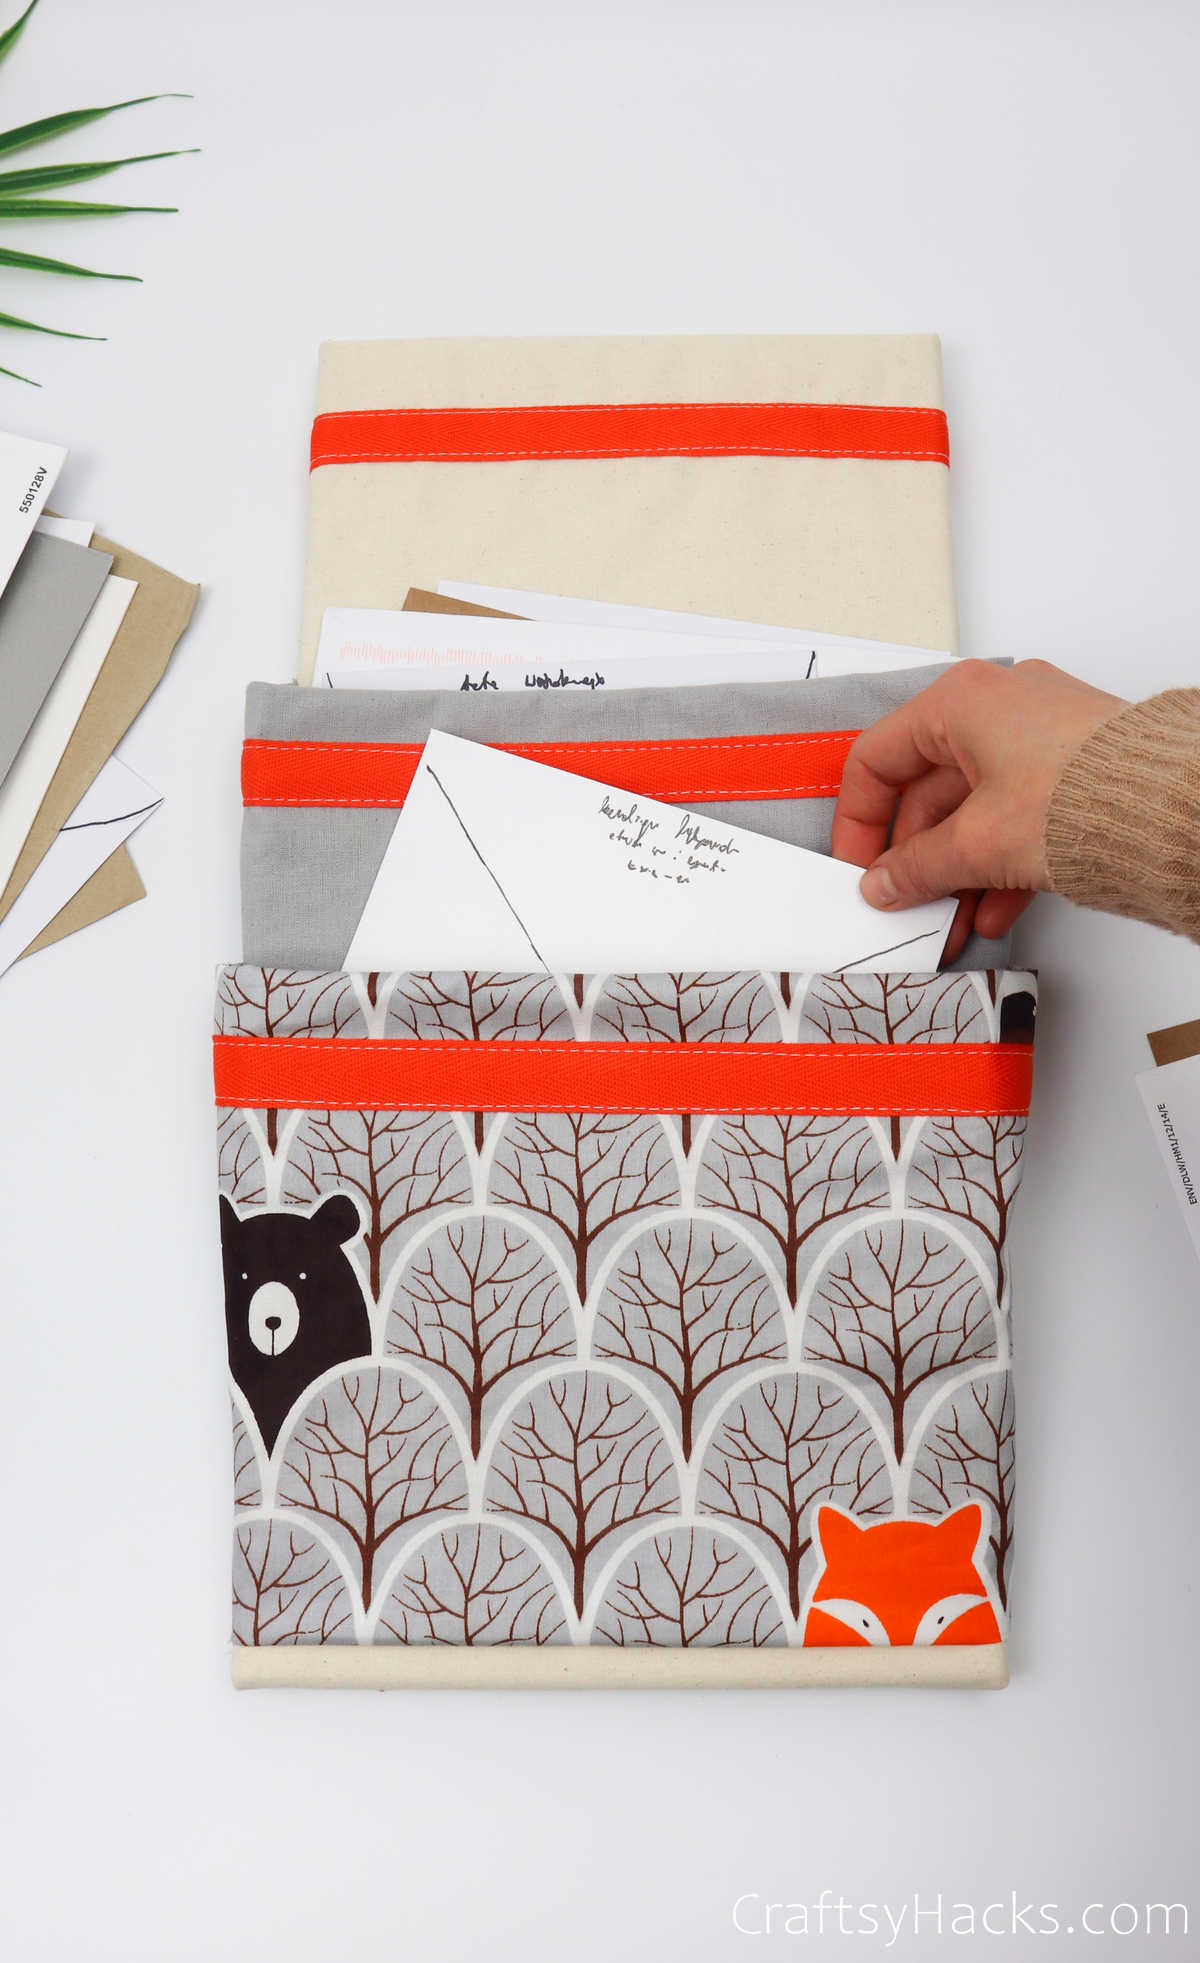
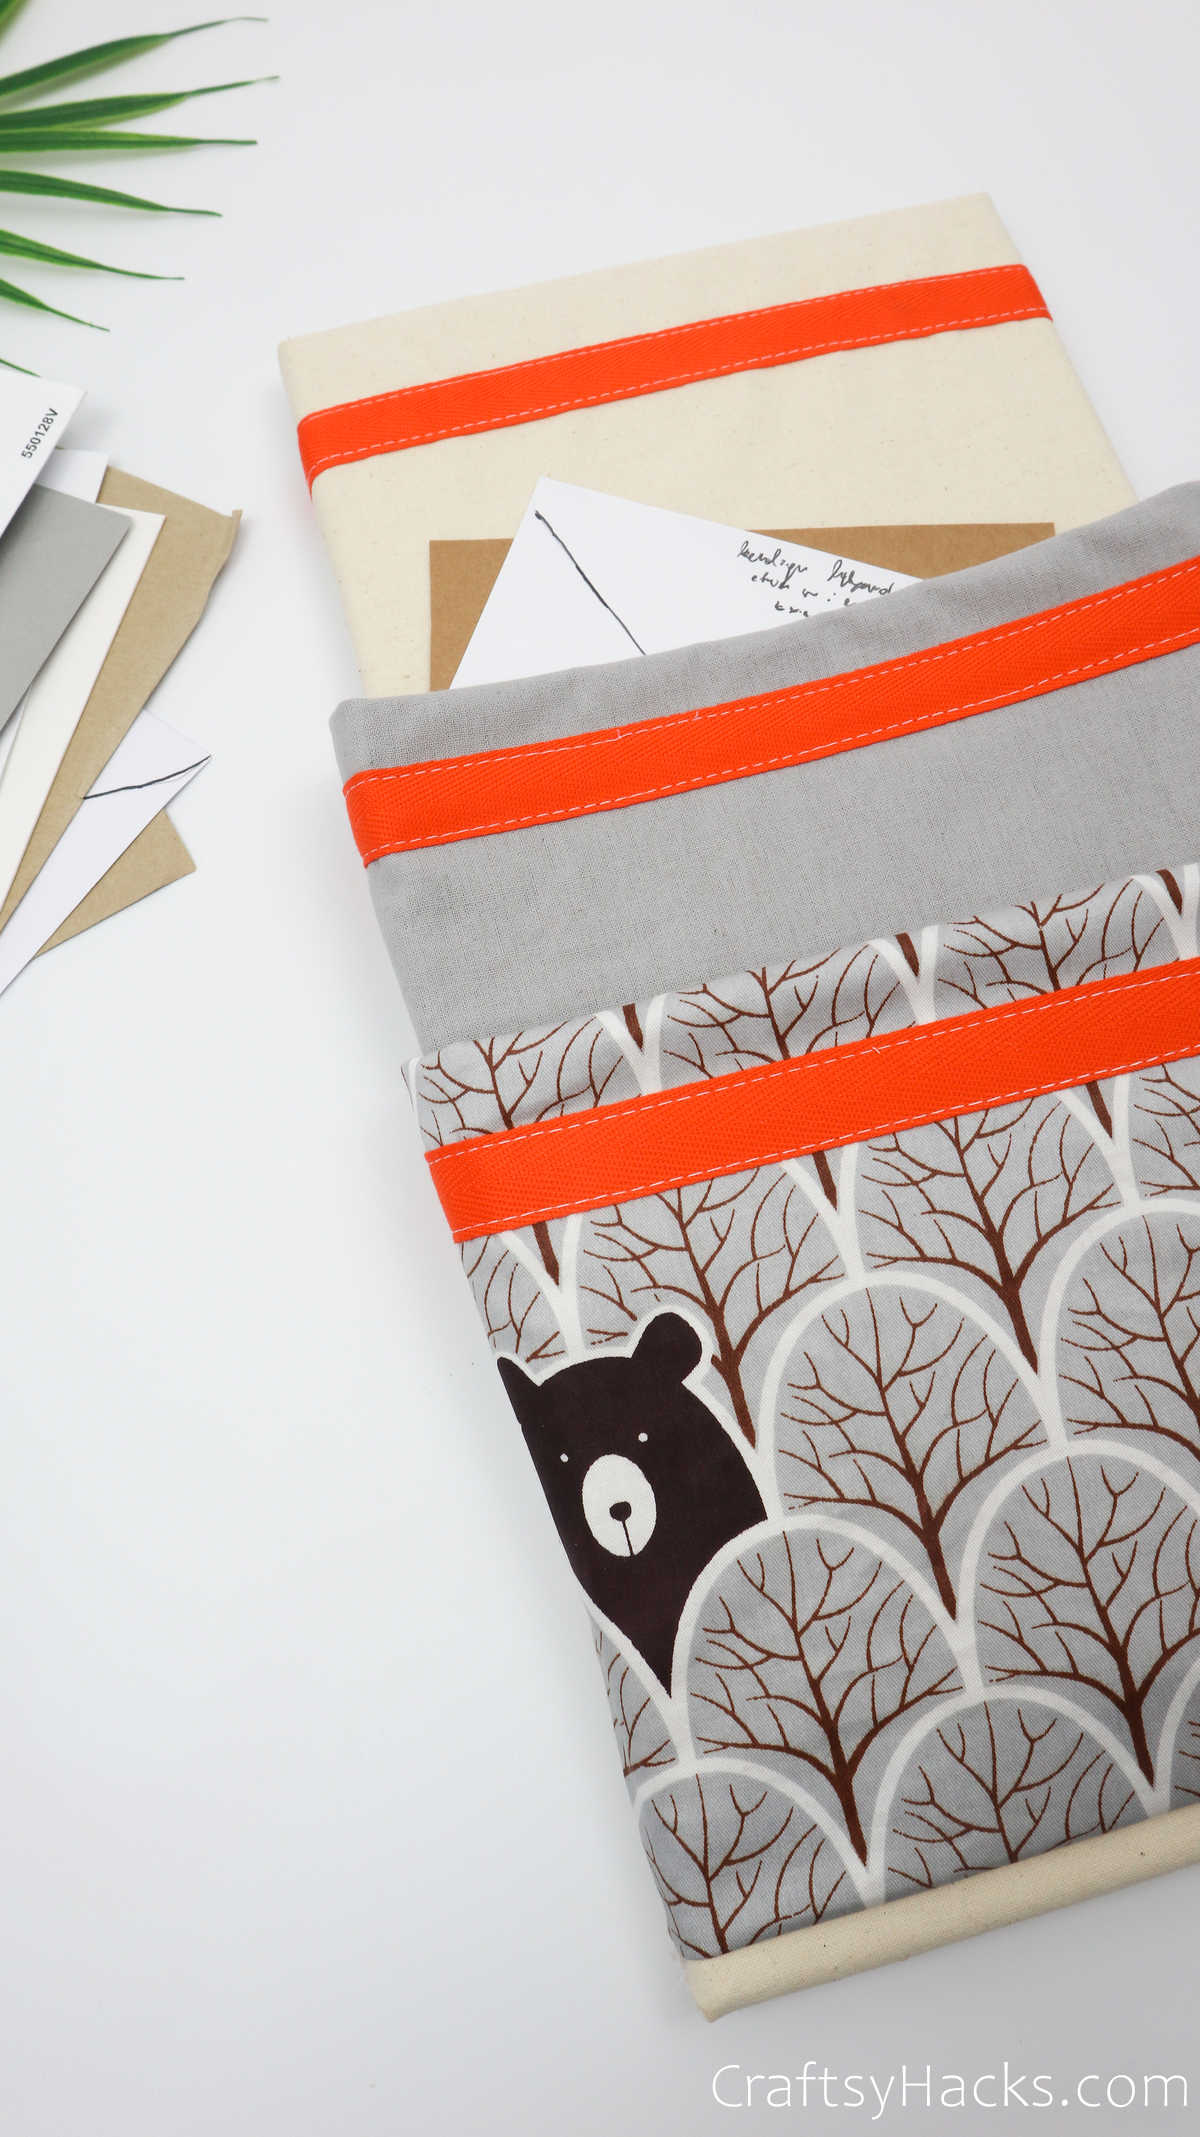
Make your very own organizer! This mail organizer is easy to make, looks amazing and will keep all your mail clutter at bay.
Have you ever wondered how easy life could be if we all just had a designated spot for our bills, letters, and other mail? No, dumping them in a stack on the table by the front door is not that designated spot.
No, really, think of how organized your life would be if you managed to tackle all your mail on time! You can only do that if you have a proper system in place.
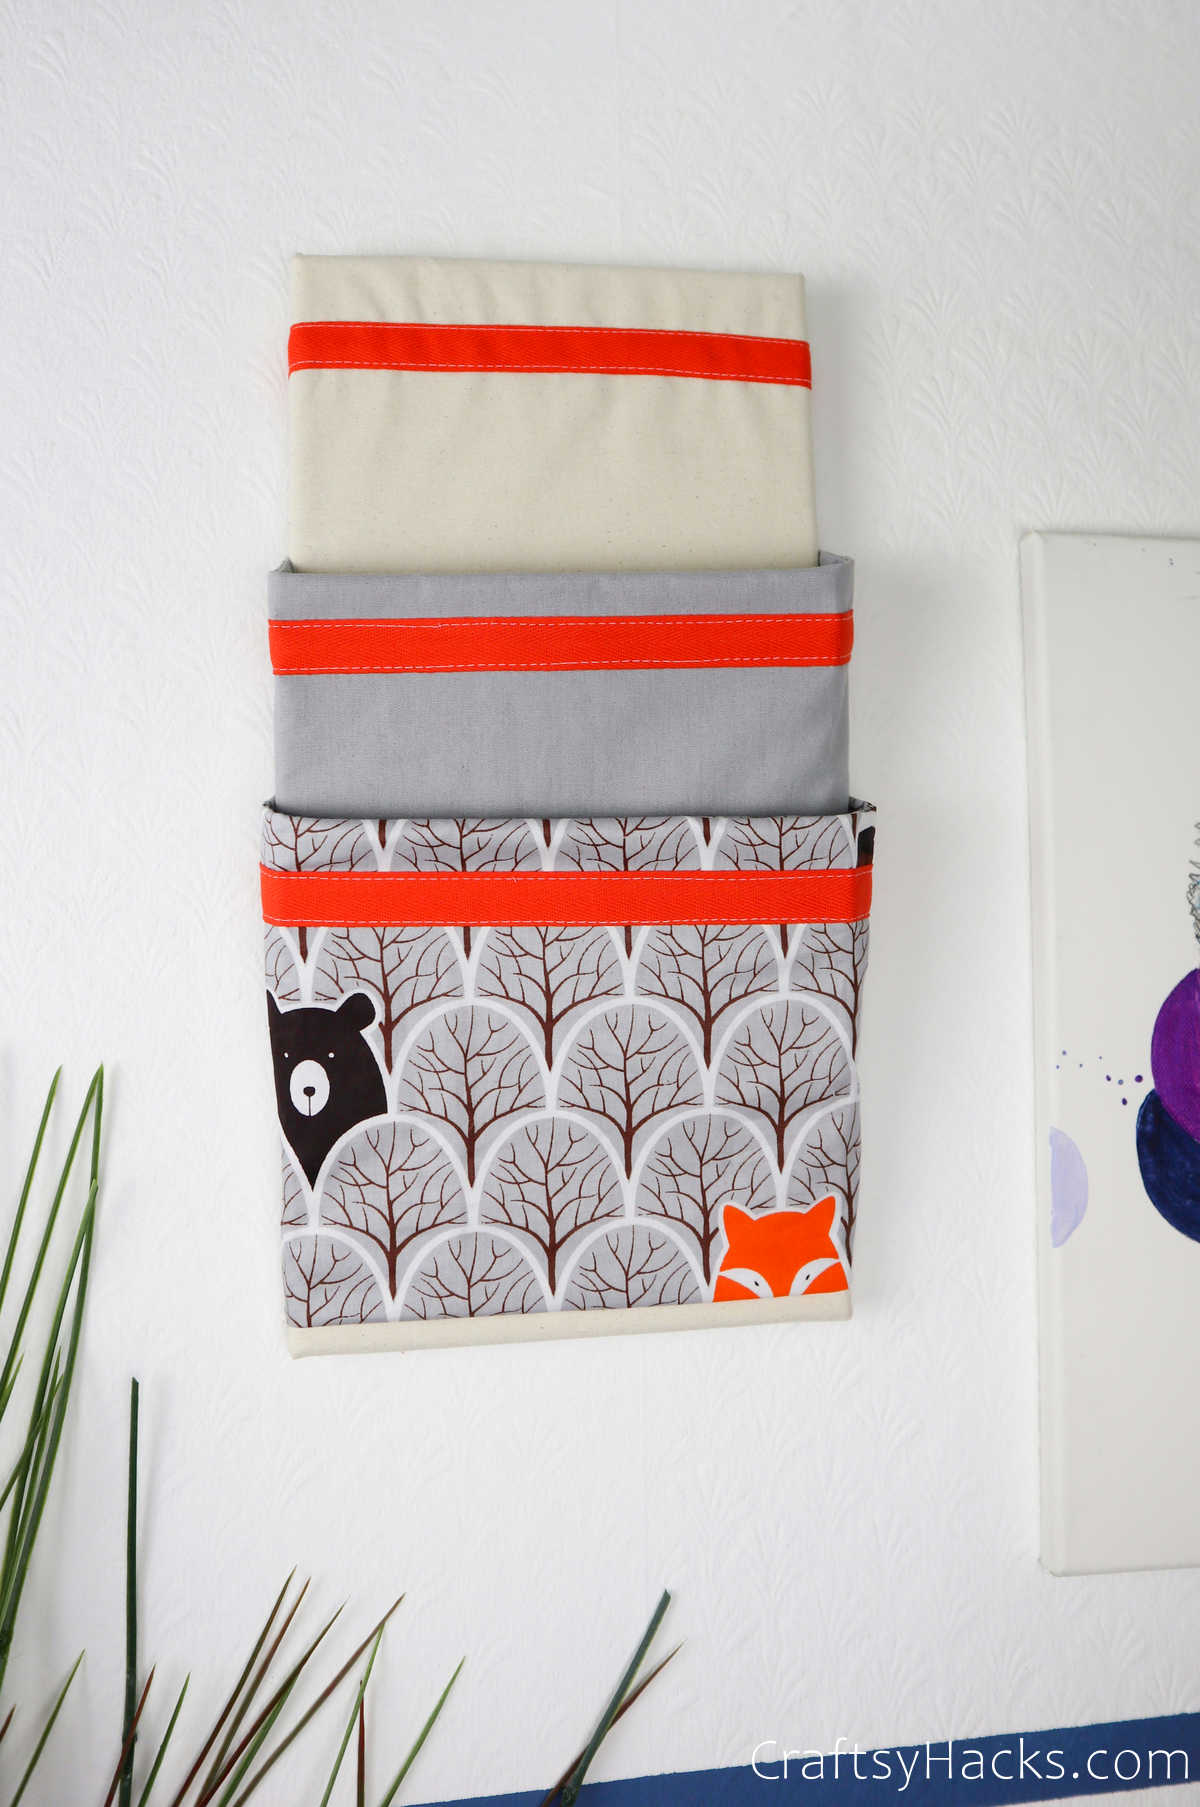
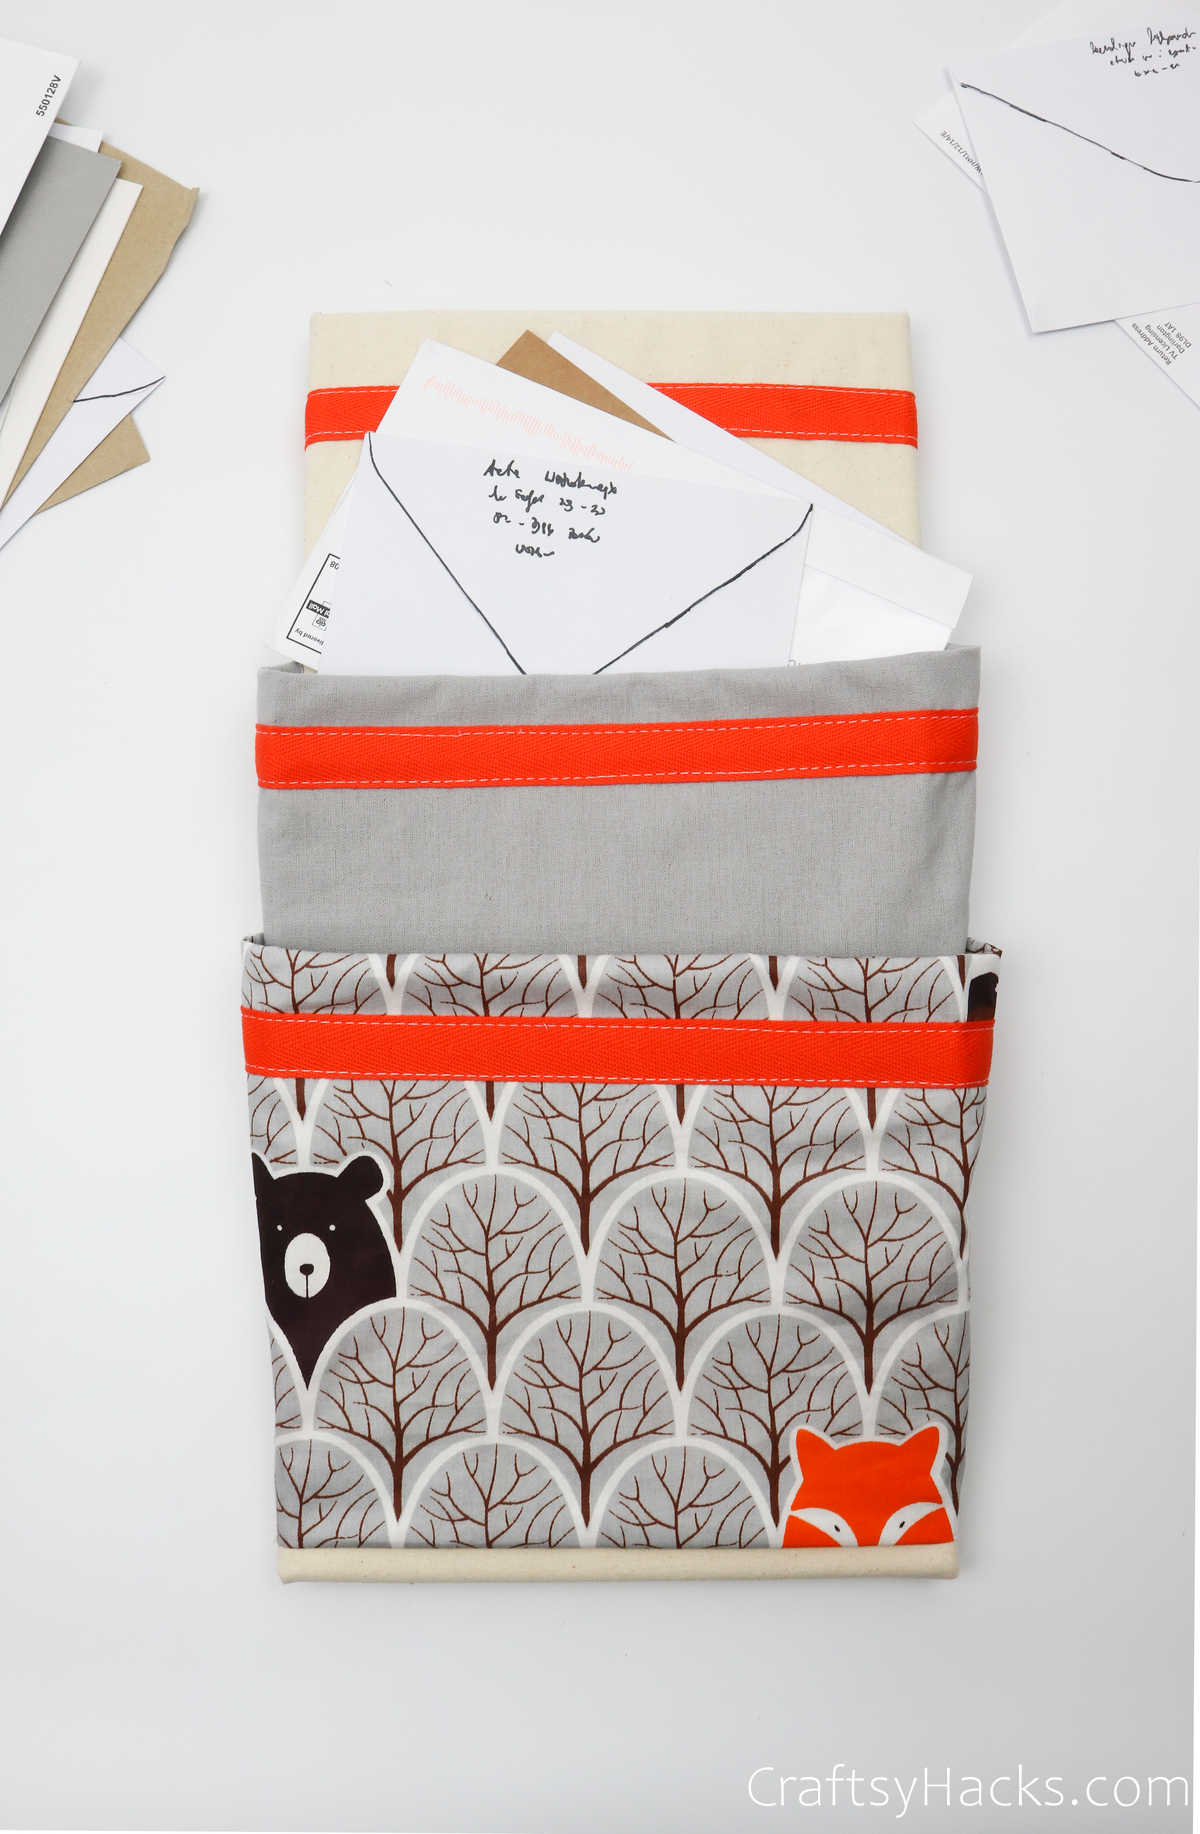
The first order of business is to have a mail organizer. This DIY mail organizer is divided into multiple pouches to help you to not just store your mail in an orderly way but to categorize them before you do.
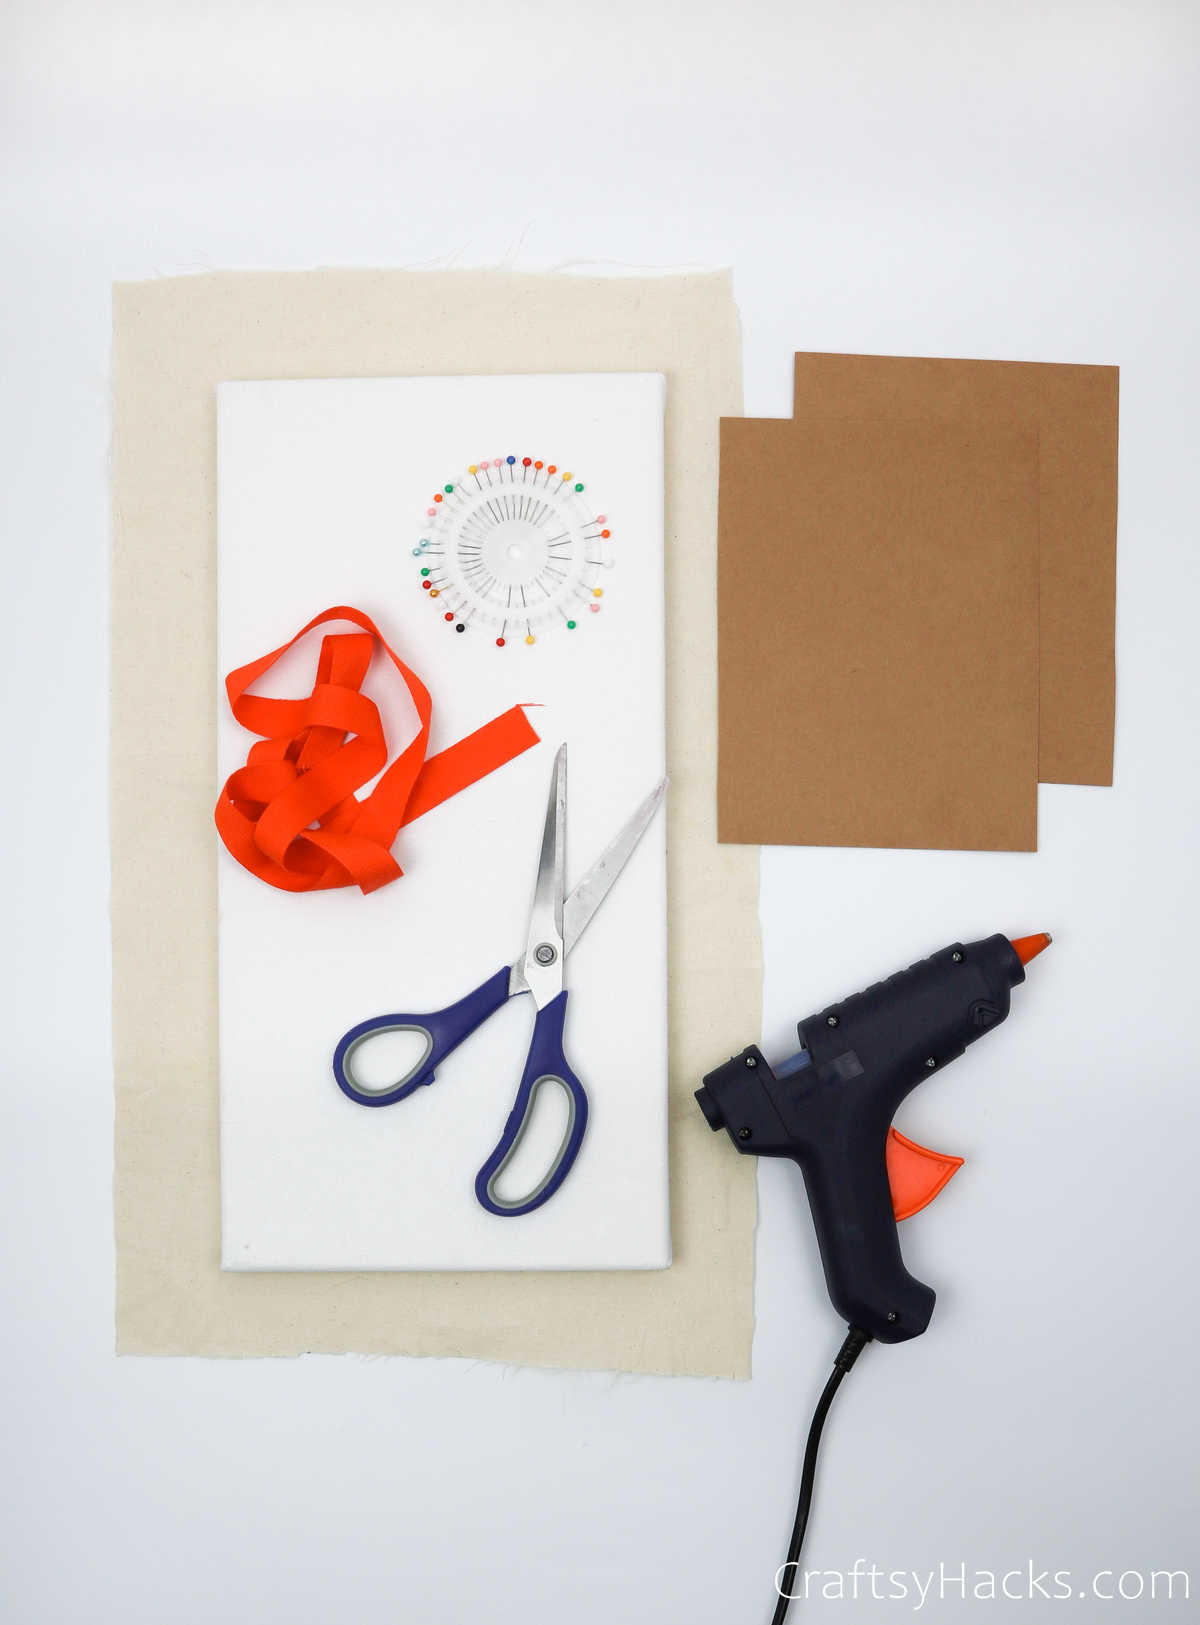
Supplies and Tools You’ll Need for the Organizer
Let’s take a look at everything you’ll need to make this sleeve organizer:
- Artistic canvas (10″x 16″)
- Main piece of fabric (14″x 20″)
- 2x cardboard pieces (6″ x 10″)
- Hot glue gun
- Scissors
- Sewing pins
- Cotton twill tape
- Sewing machine
For two pockets:
- 4x pieces of fabric shaped into trapezoids (lengths=16”, 12” and height=7.5”)
How to Make a Mail Organizer
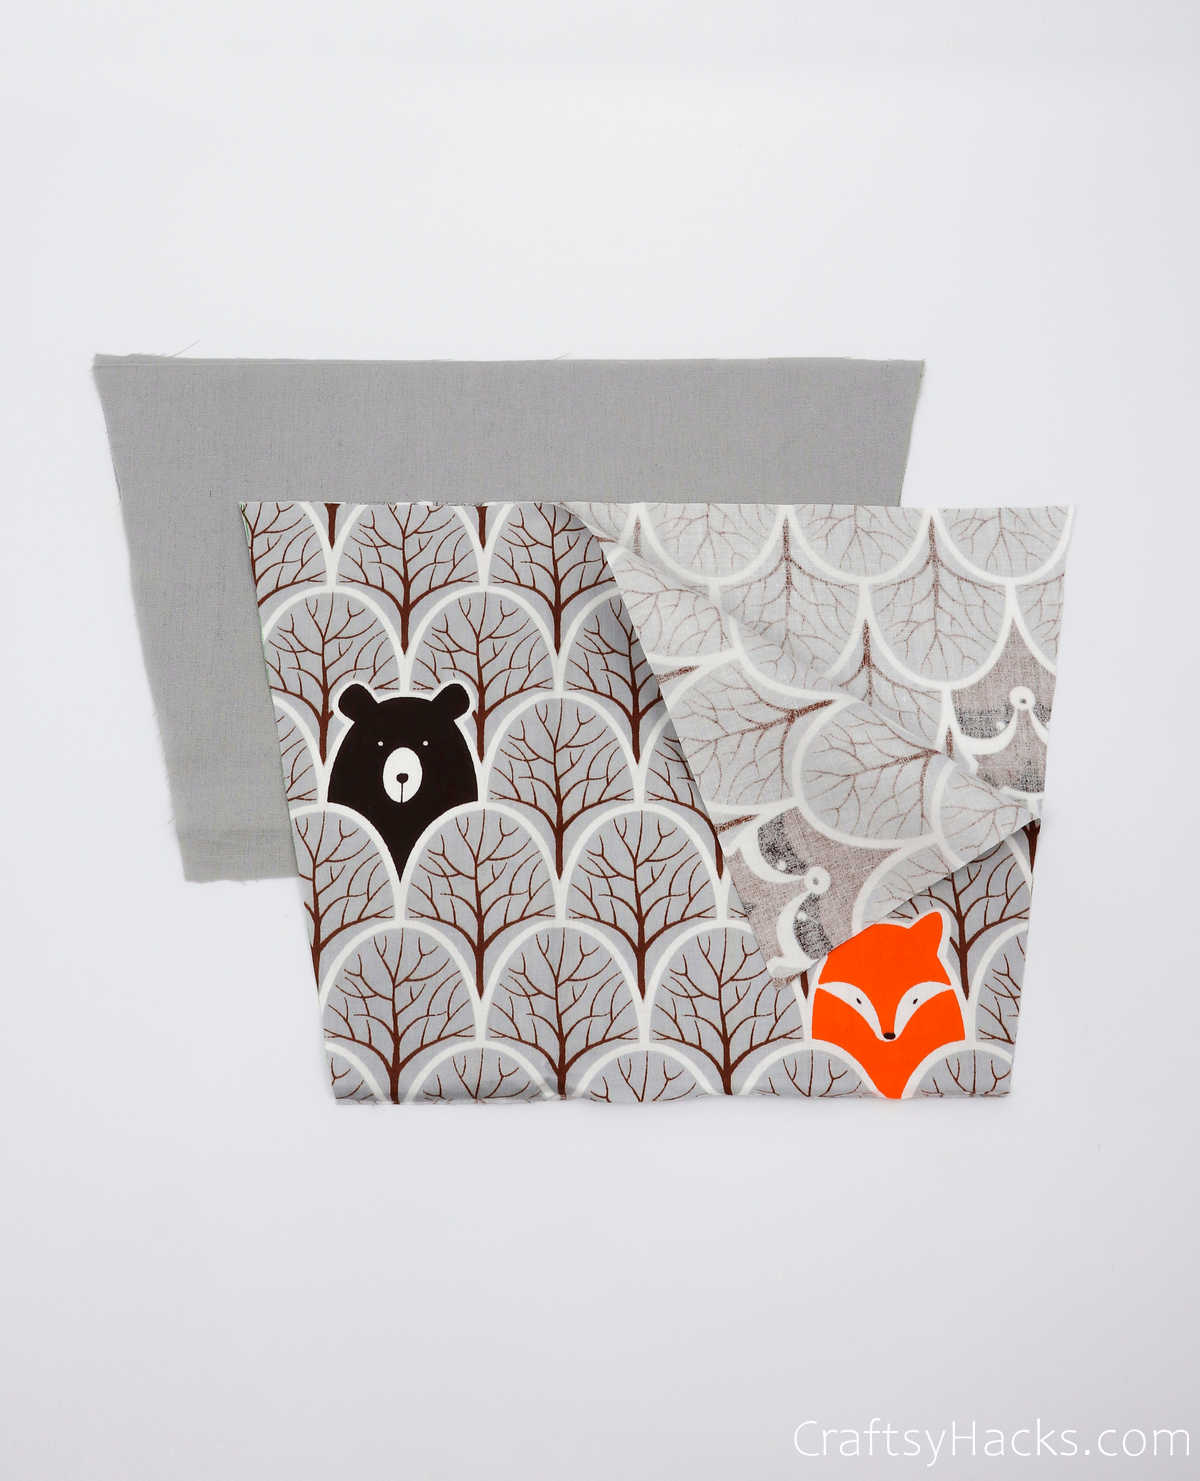
If you’ve figured out just how many pockets you want your organizer to have, then go ahead and pick out a patterned piece of fabric you like.
Step 1
The first thing you’ll need to do is to start working on the pockets. Grab your fabric and place it on a flat work surface.
Fold the fabric in half with the wrong side facing up.
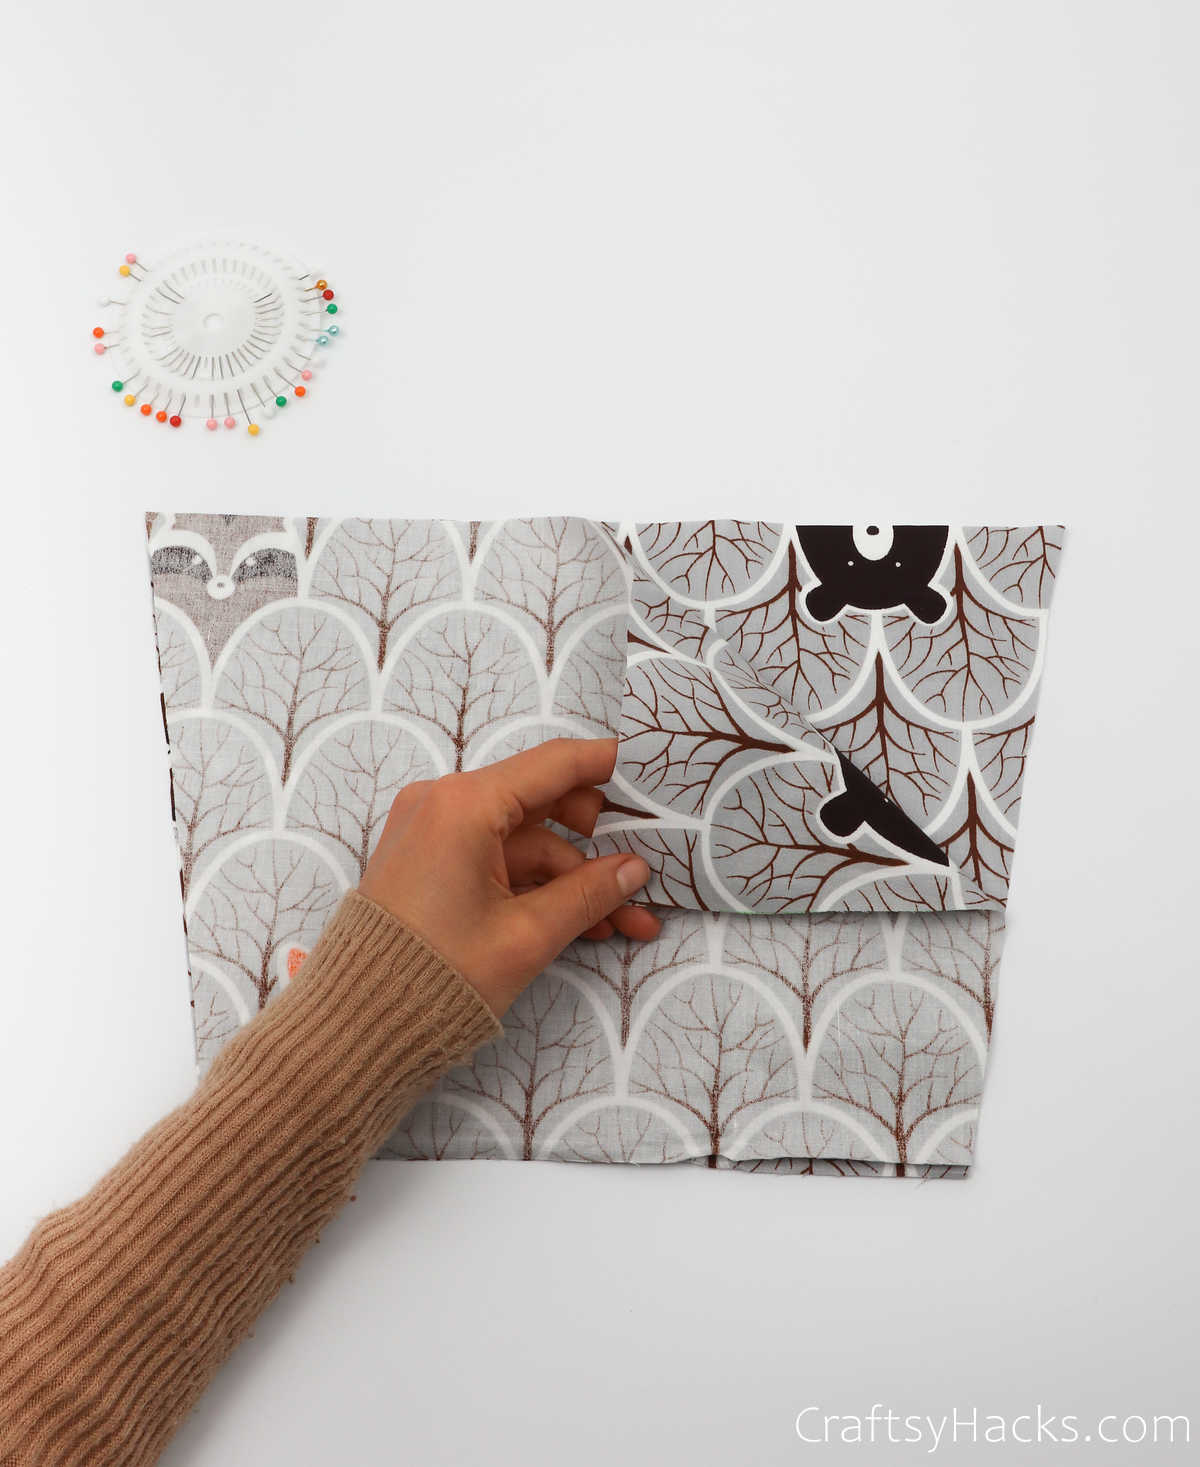
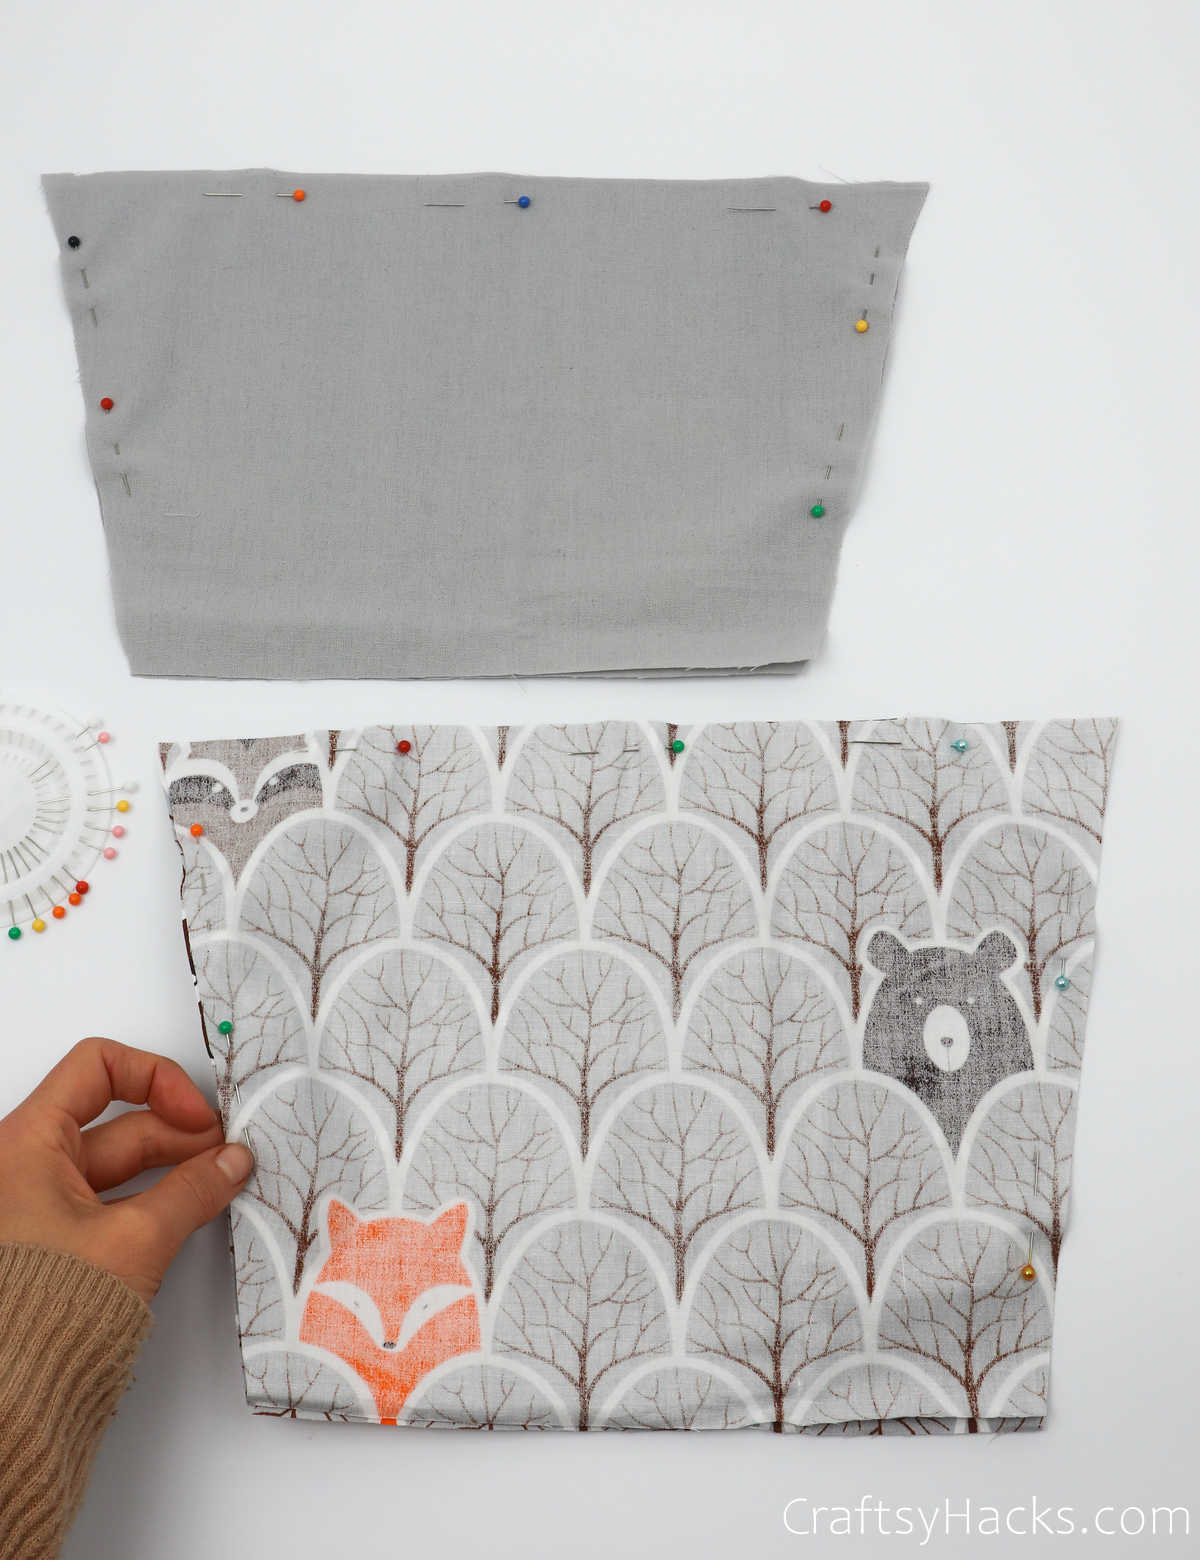
Use sewing pins to tag the corners in place, as seen below. However, leave one side open—do not pin that side together. Repeat this step with all your pocket fabric.
Step 2
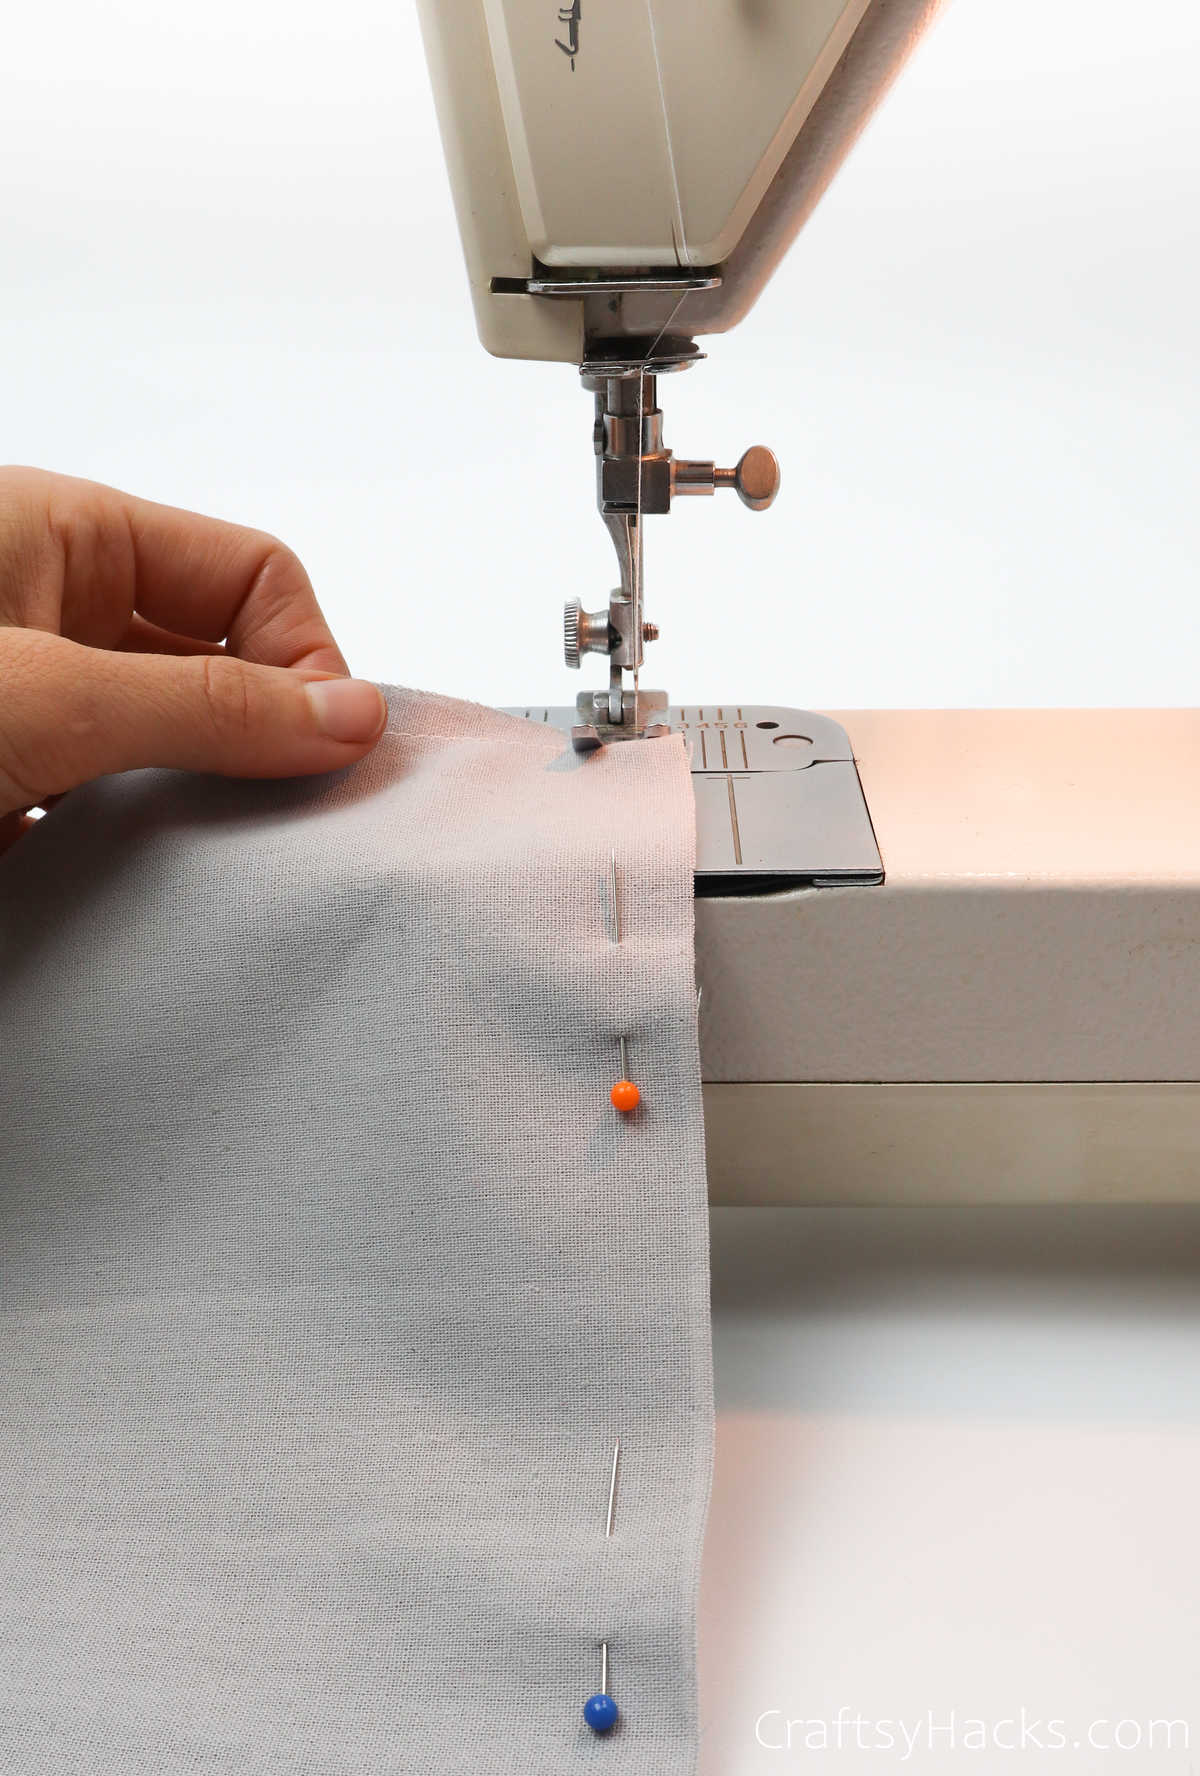
Step two involves using your sewing machine, so go ahead and pull it out to place on your work table. Sew all three sides of your fabric, and leave the last side open, as instructed.
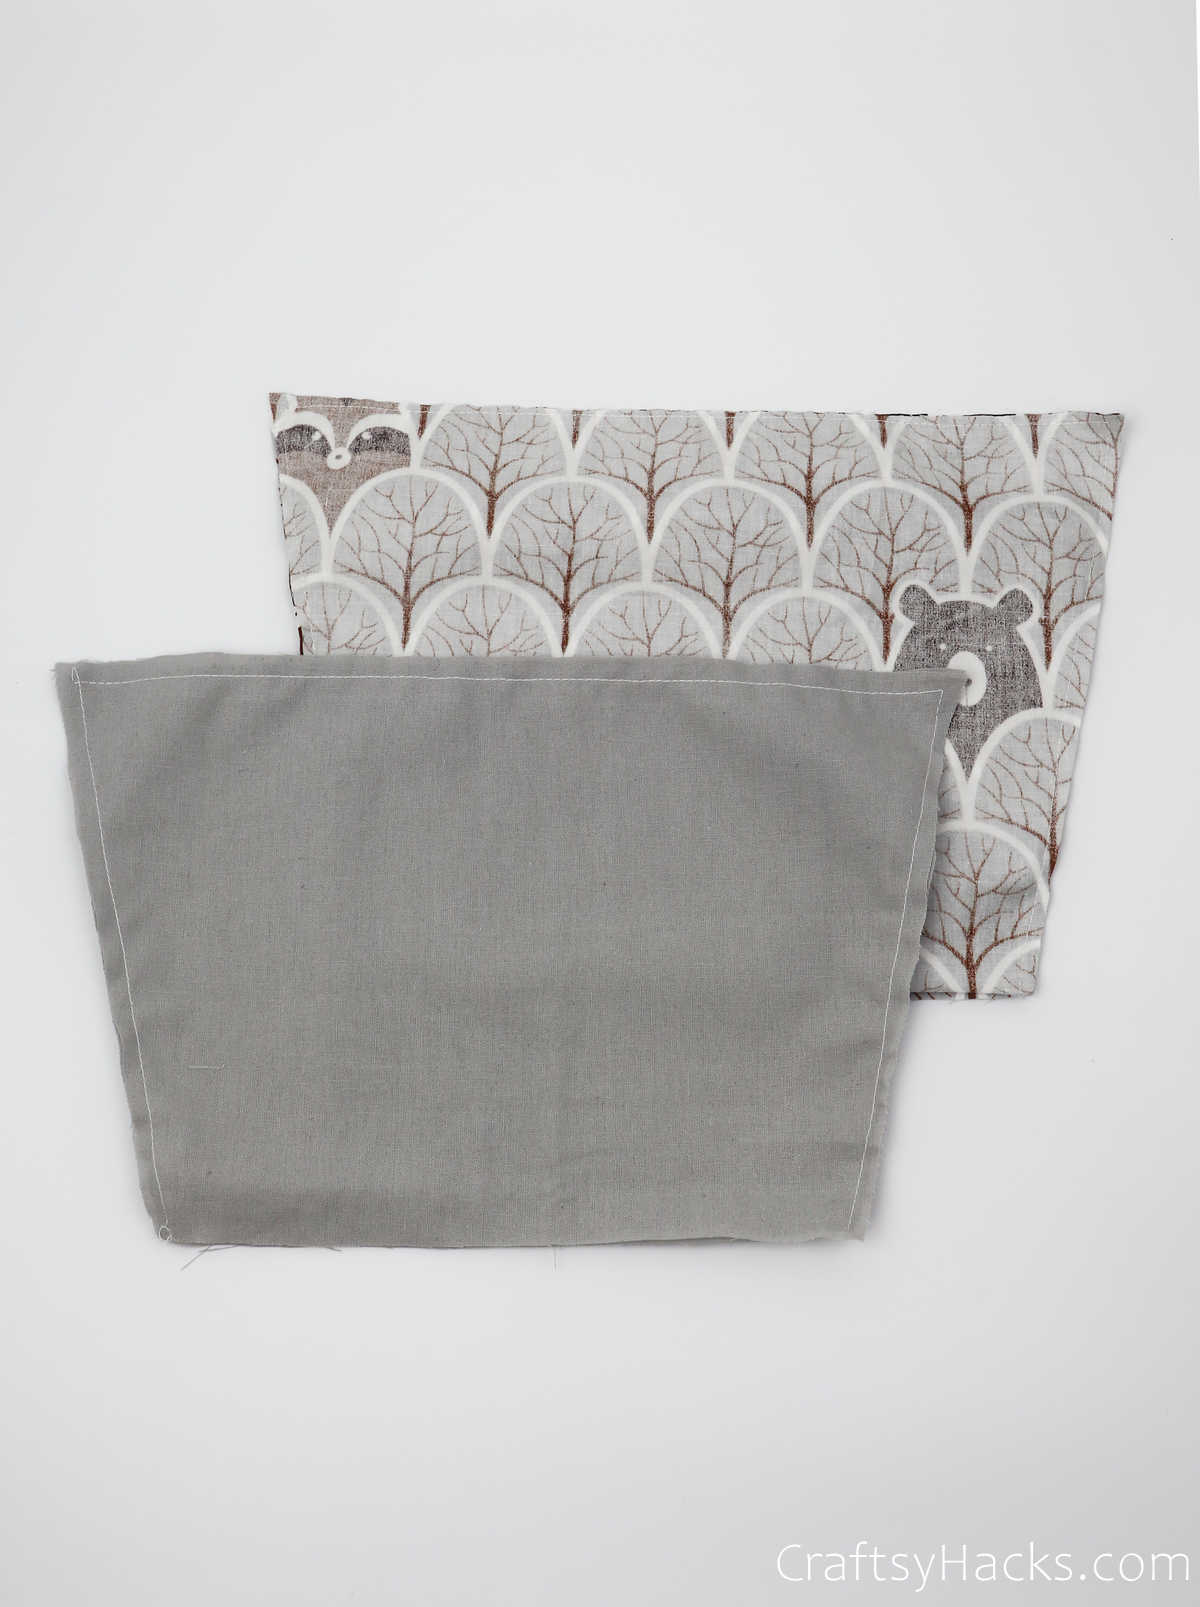
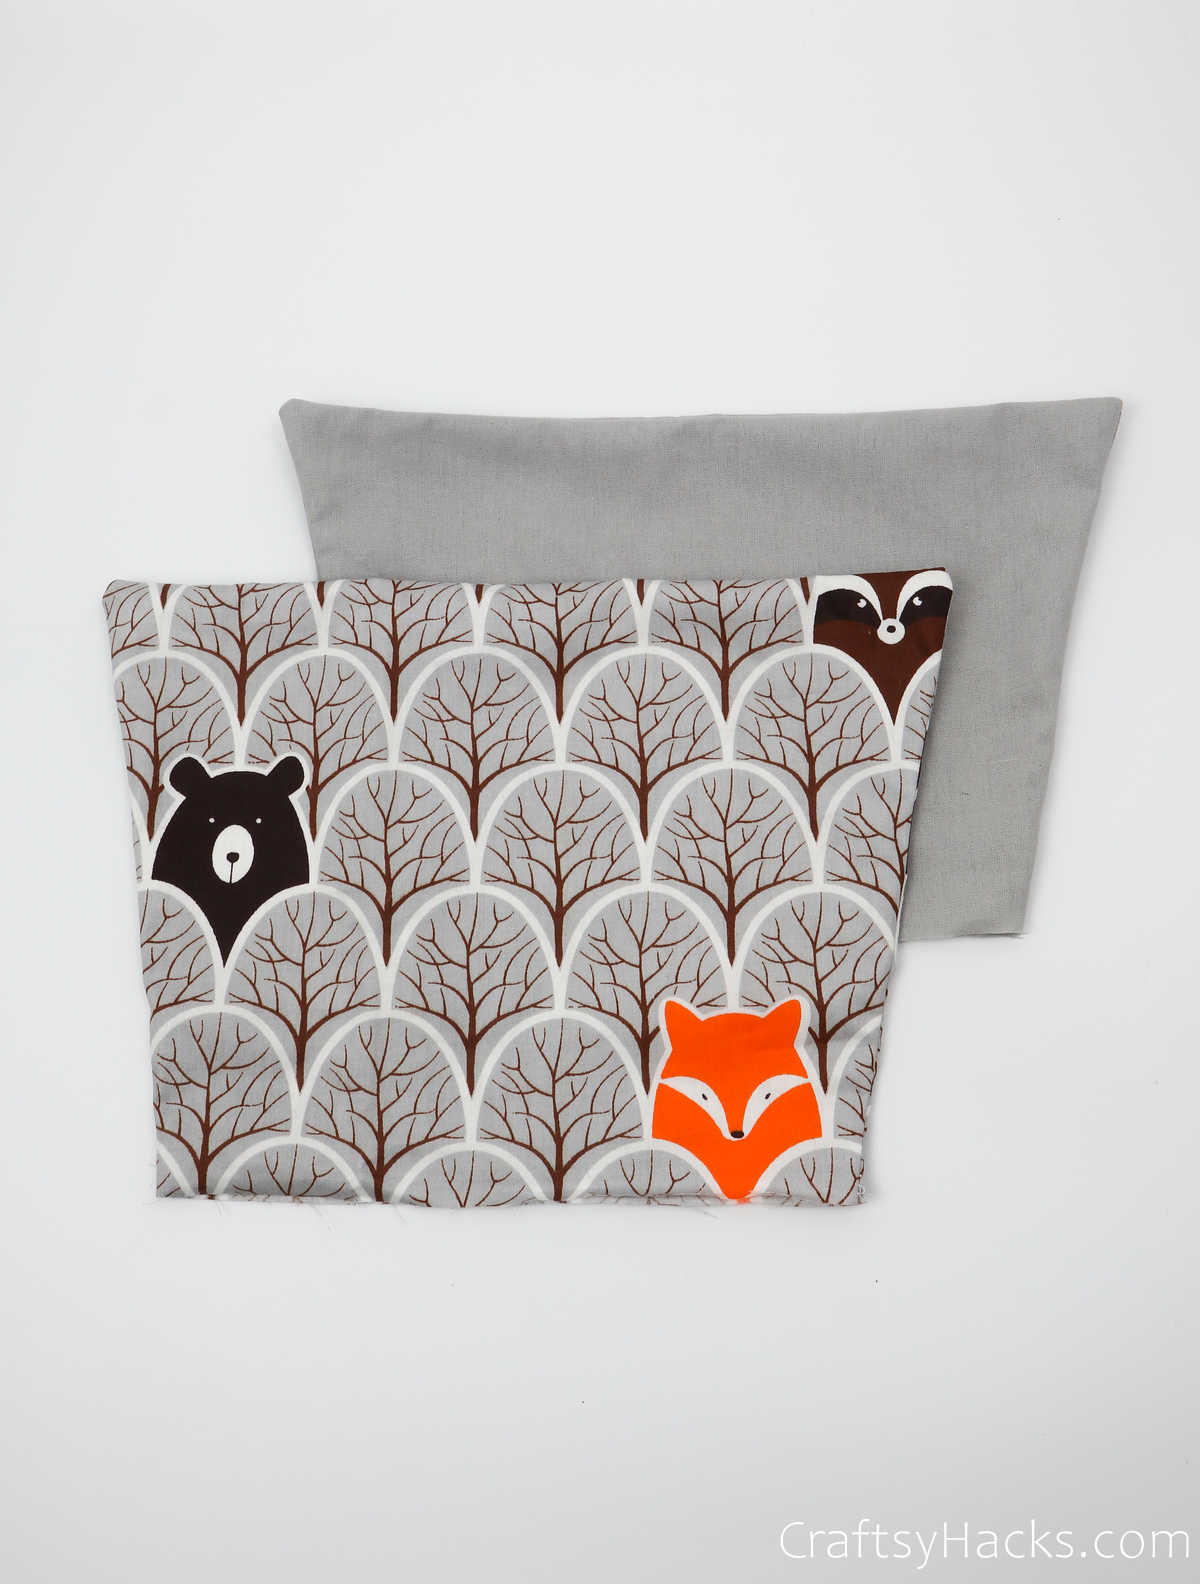
Your fabric pockets should look like this.
Step 3
Flip the fabric inside out so that the right side—the one with the pattern on it—faces outward.
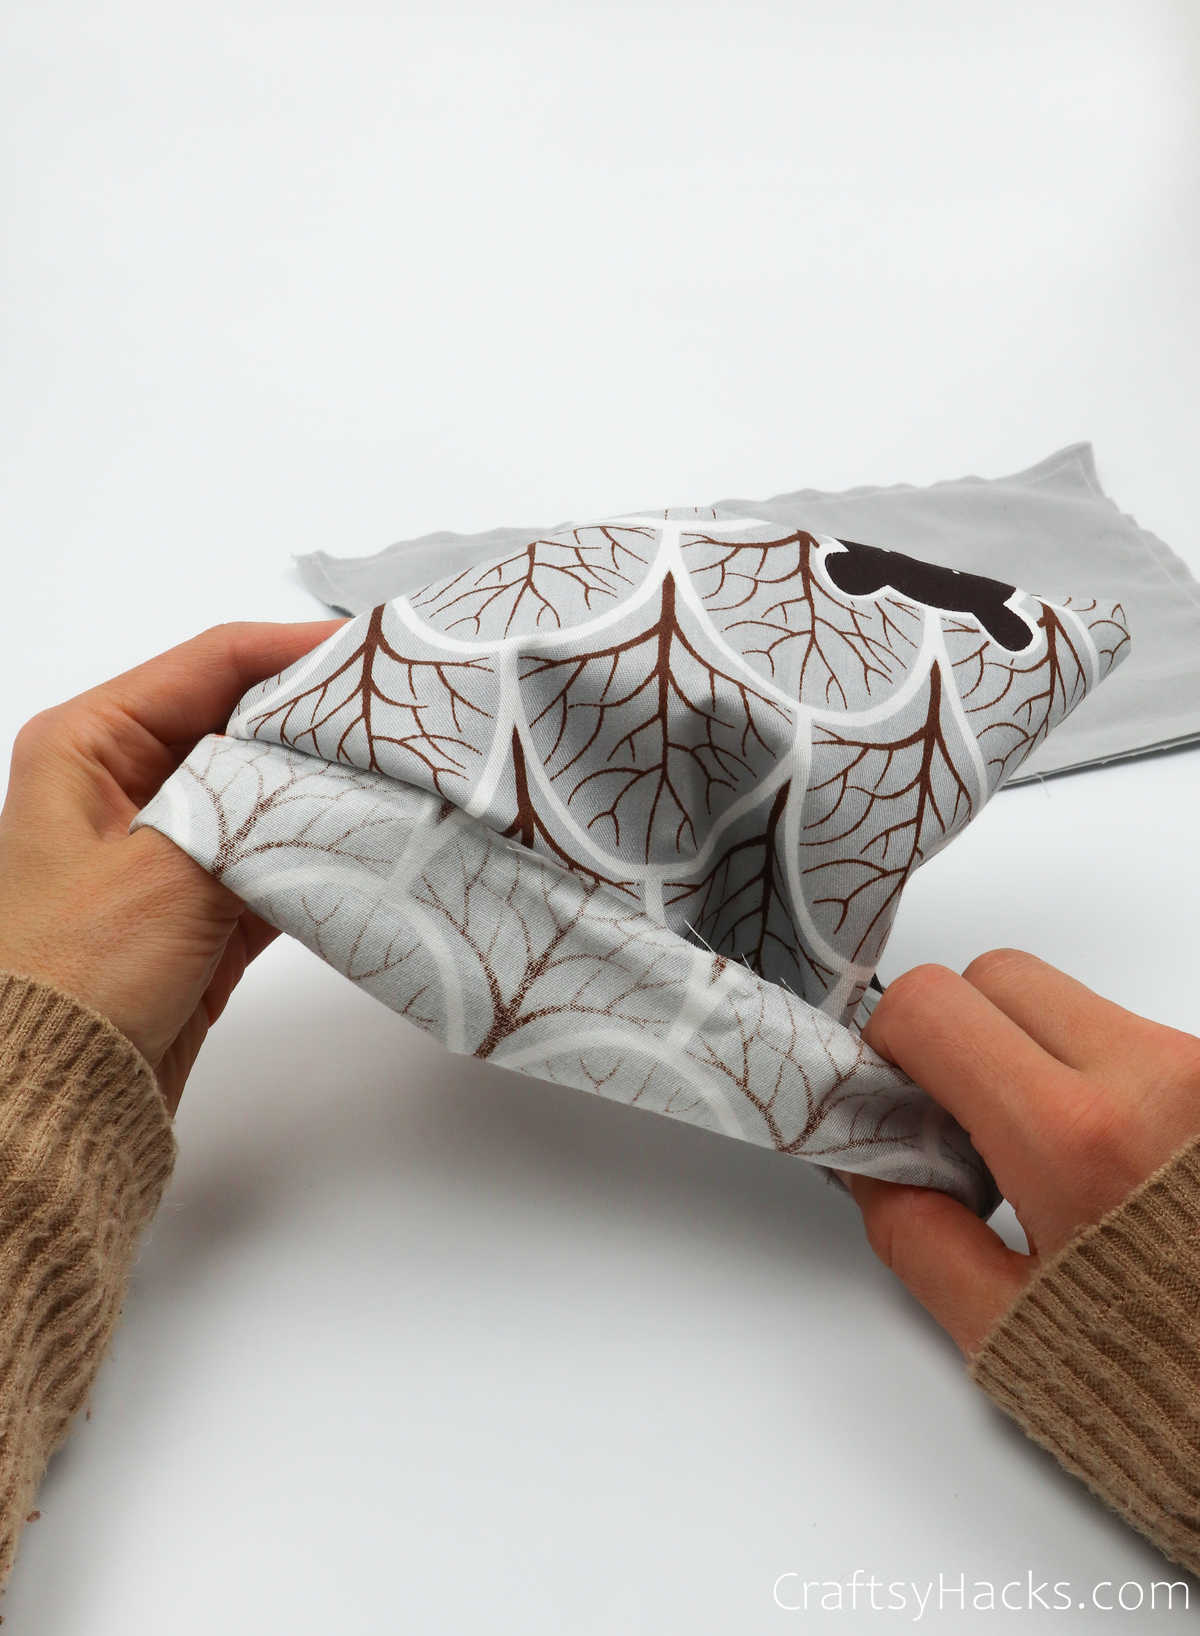
Step 4
Next, grab a piece of cardboard and size it down to the dimensions of your pockets. Slip the cardboard in through the opening.
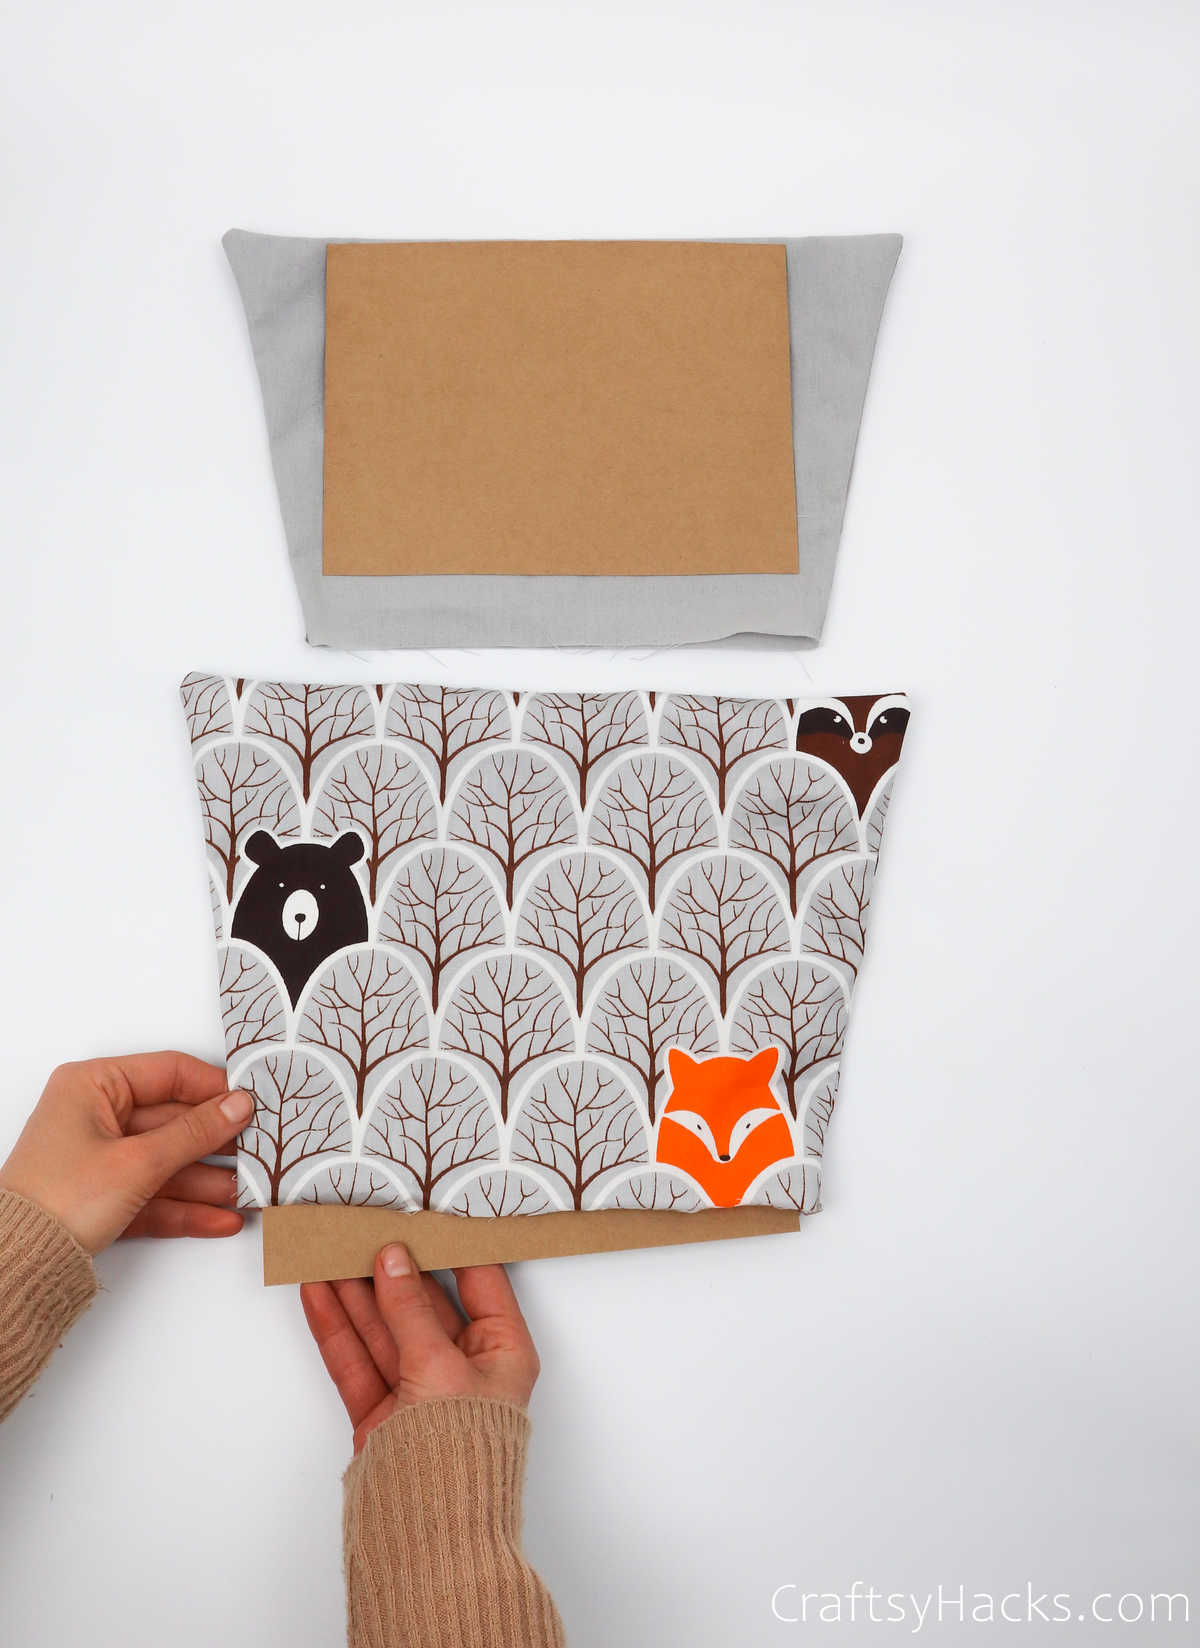
This cardboard will act as reinforcements or backing for your pockets. Make sure that the cardboard sits right in the middle so that there’s exactly the same amount of fabric on all four sides around it.
Step 5
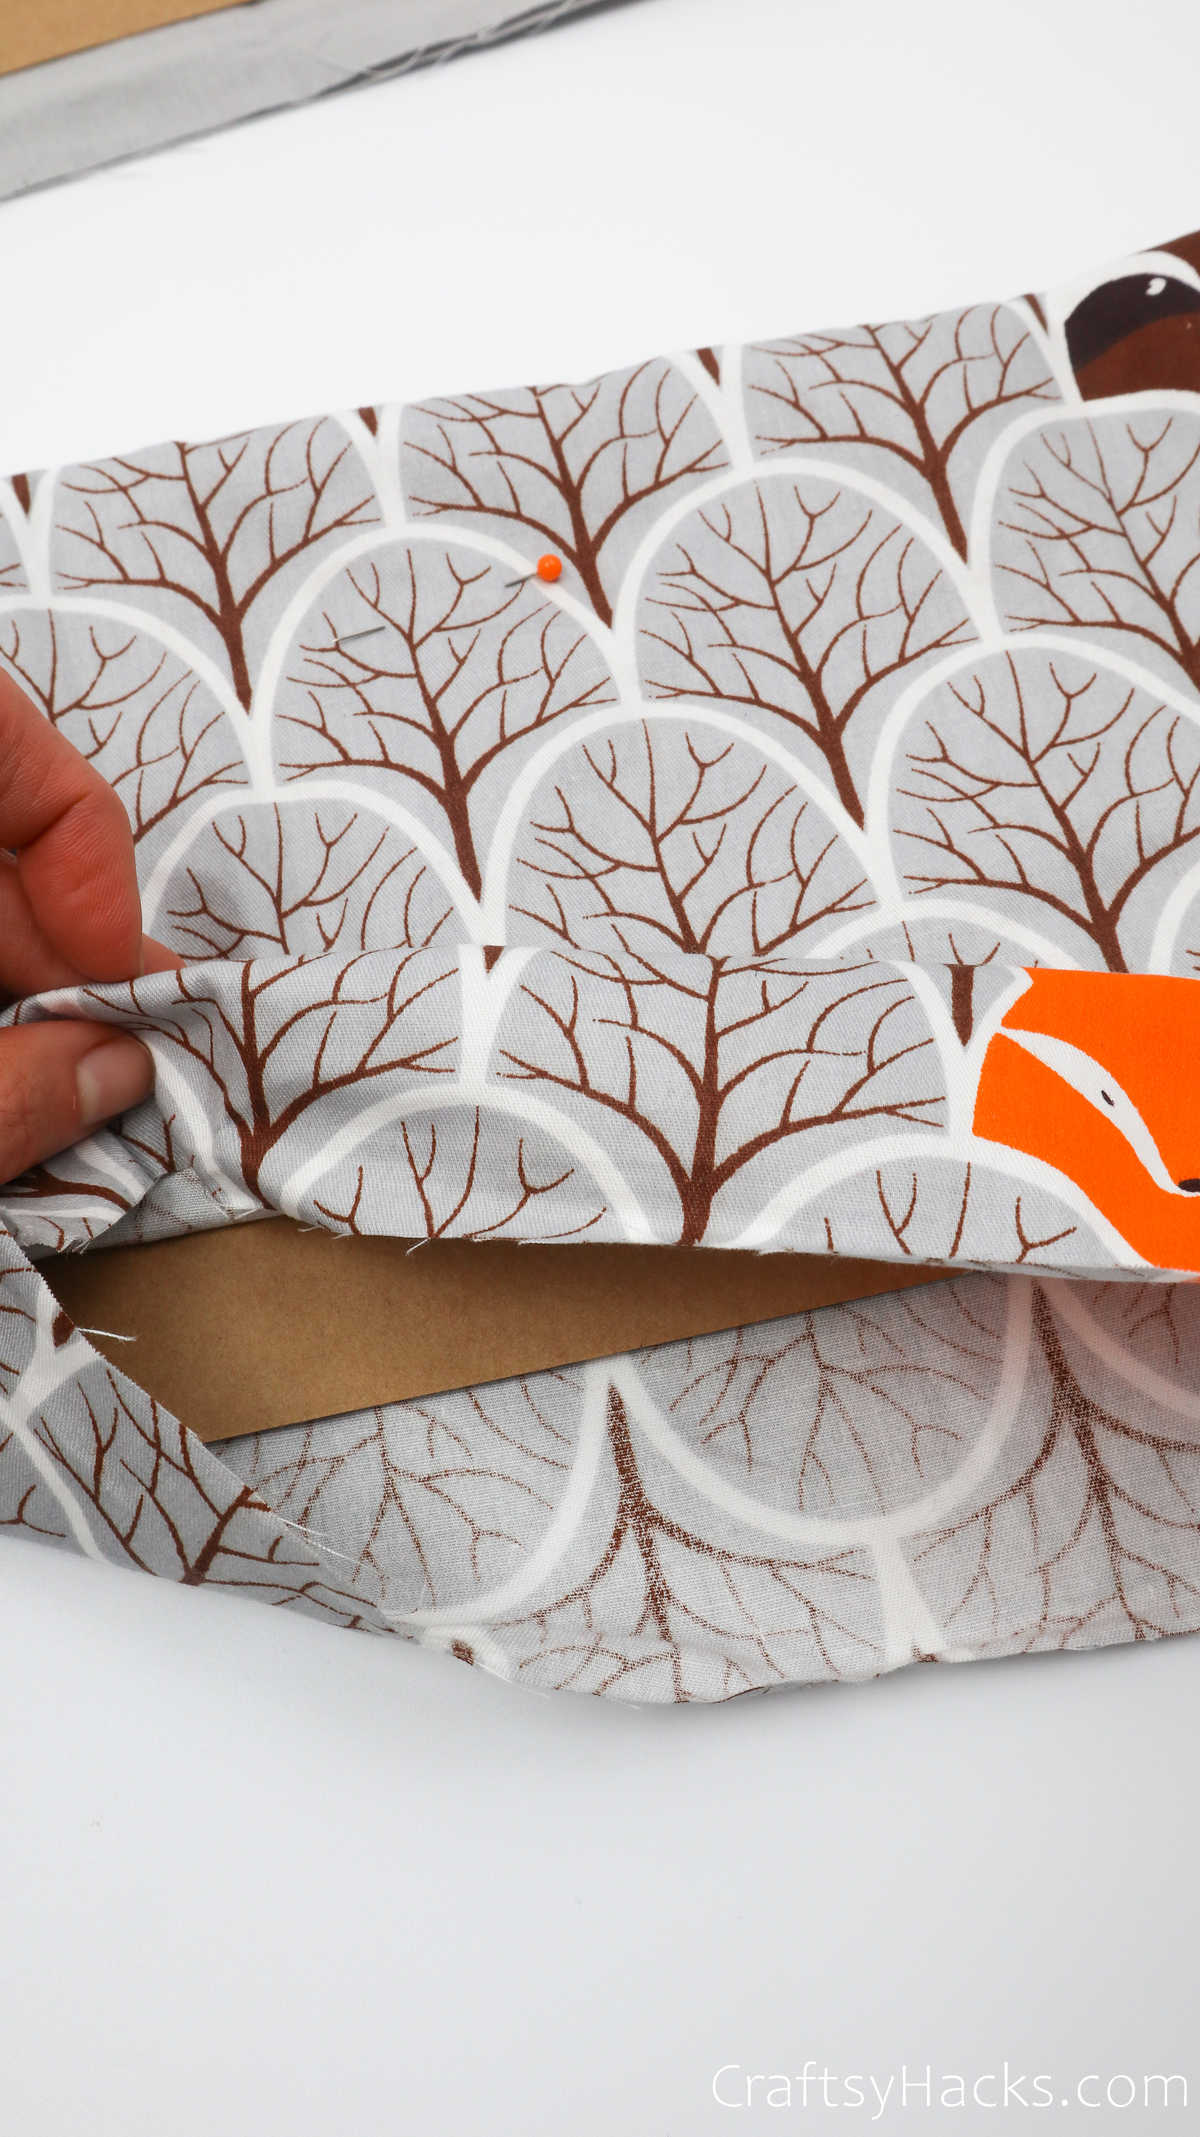
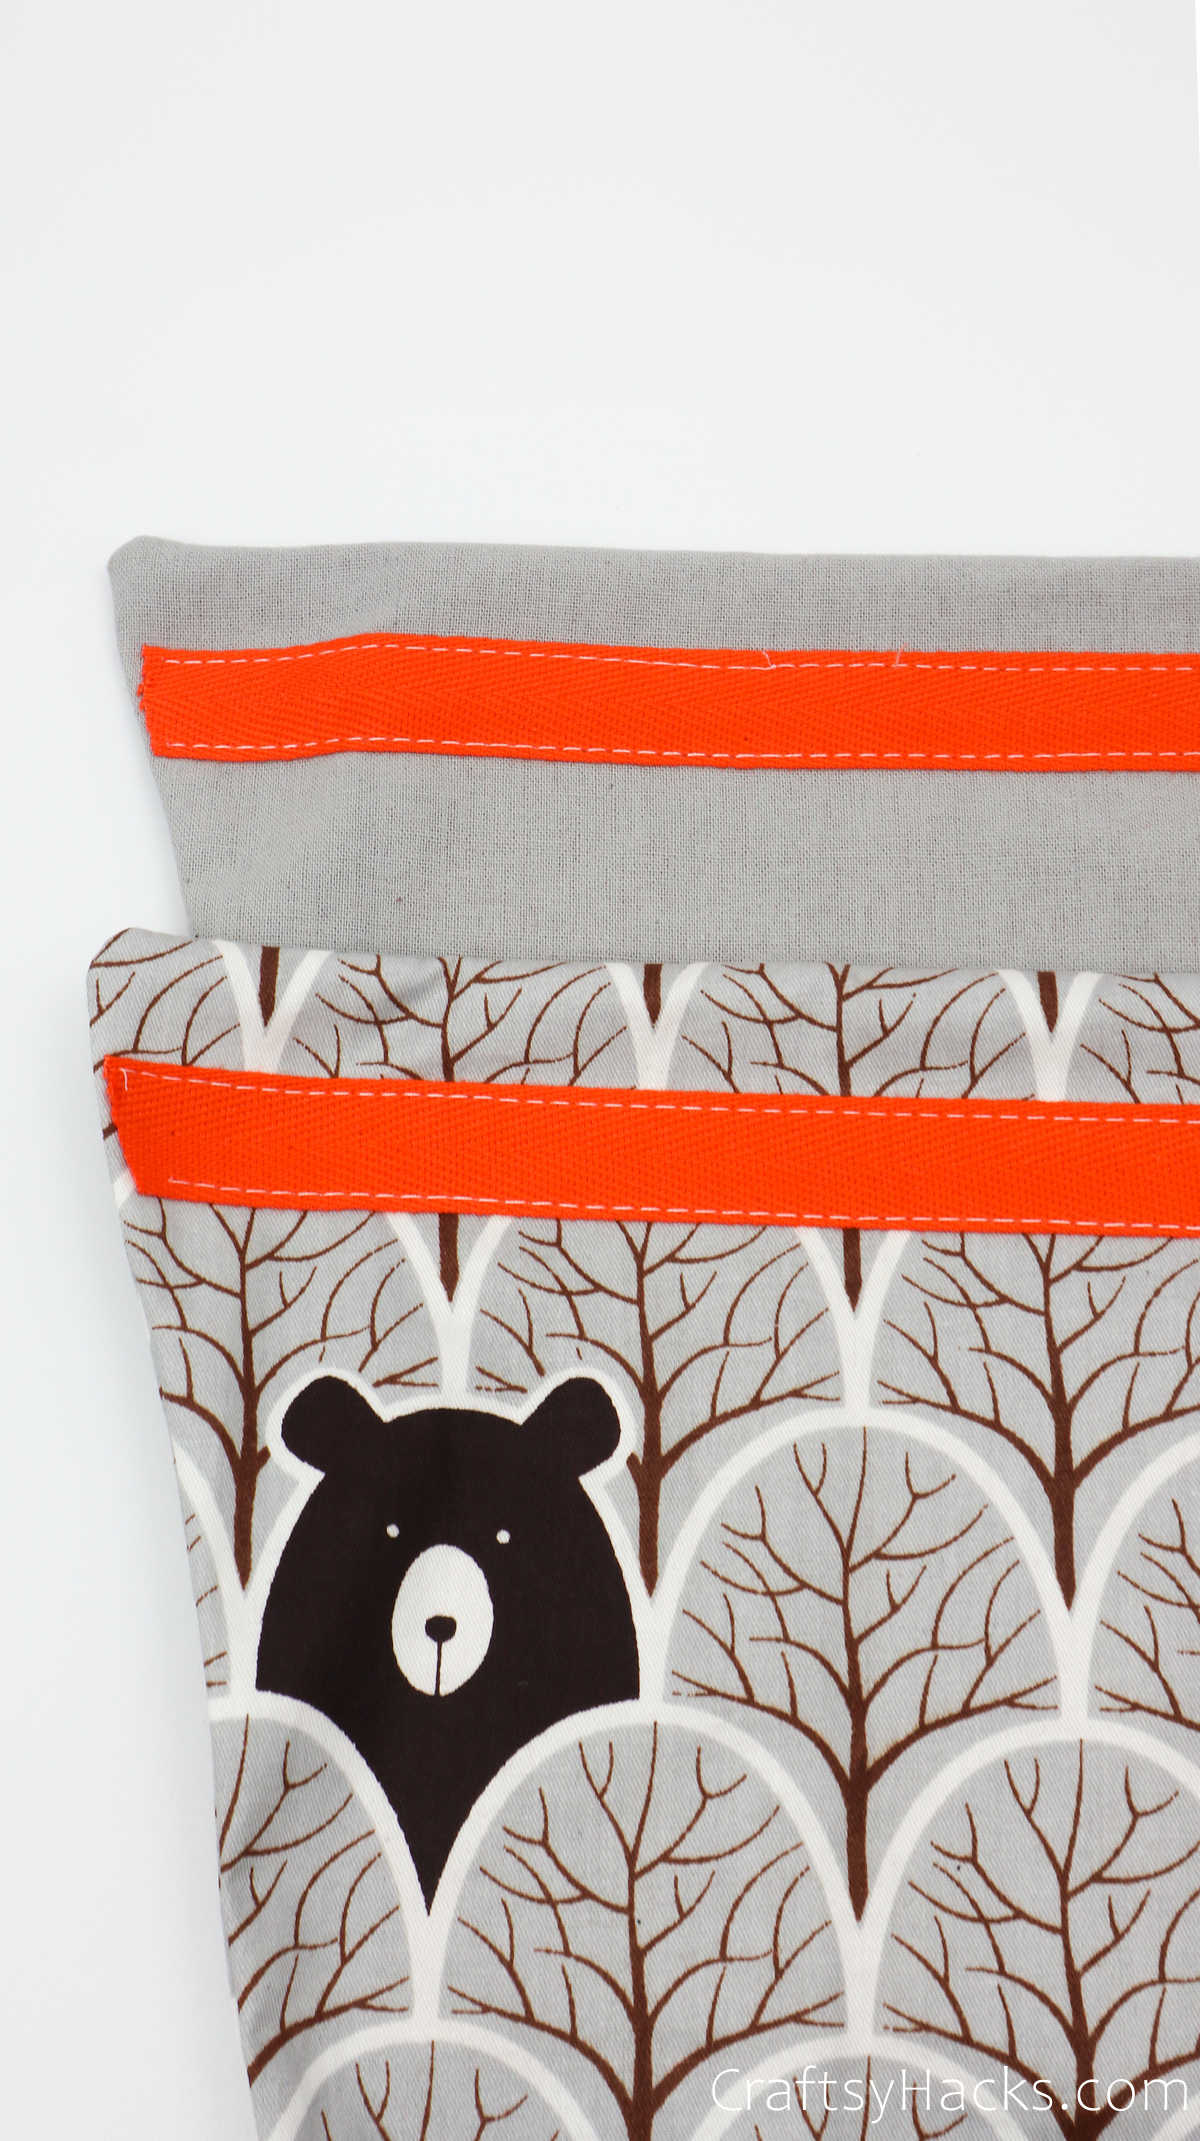
This step serves a decorative purpose. Line some twill tape along the top of each pocket, as seen in this picture, and pin it in place.
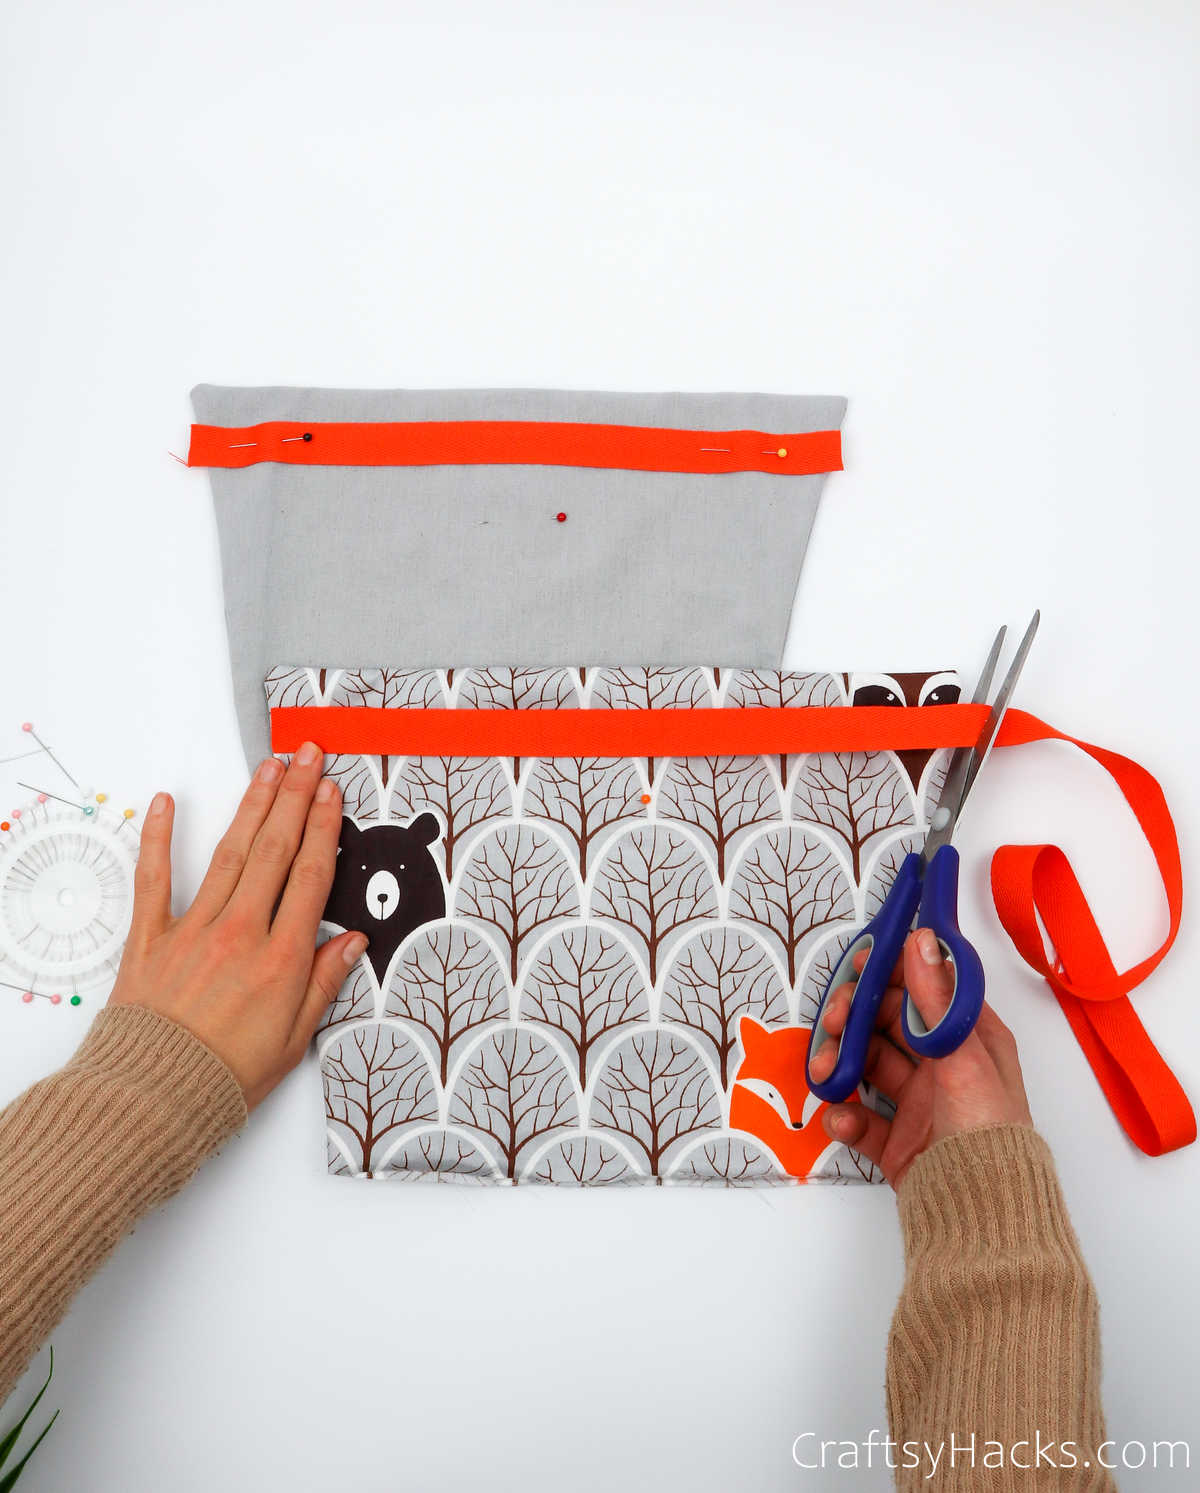
You’ll be sewing this tape into the pocket. Not only does it look colorful and decorative, you’re going to align the tape so that when you sew along its length, you also sew the cardboard in place.
So, place the fabric in your sewing machine and run a neat seam down the length of it. If you’re worried that the cardboard will dislodge, use a couple of sewing pins to hold it in place as you sew.
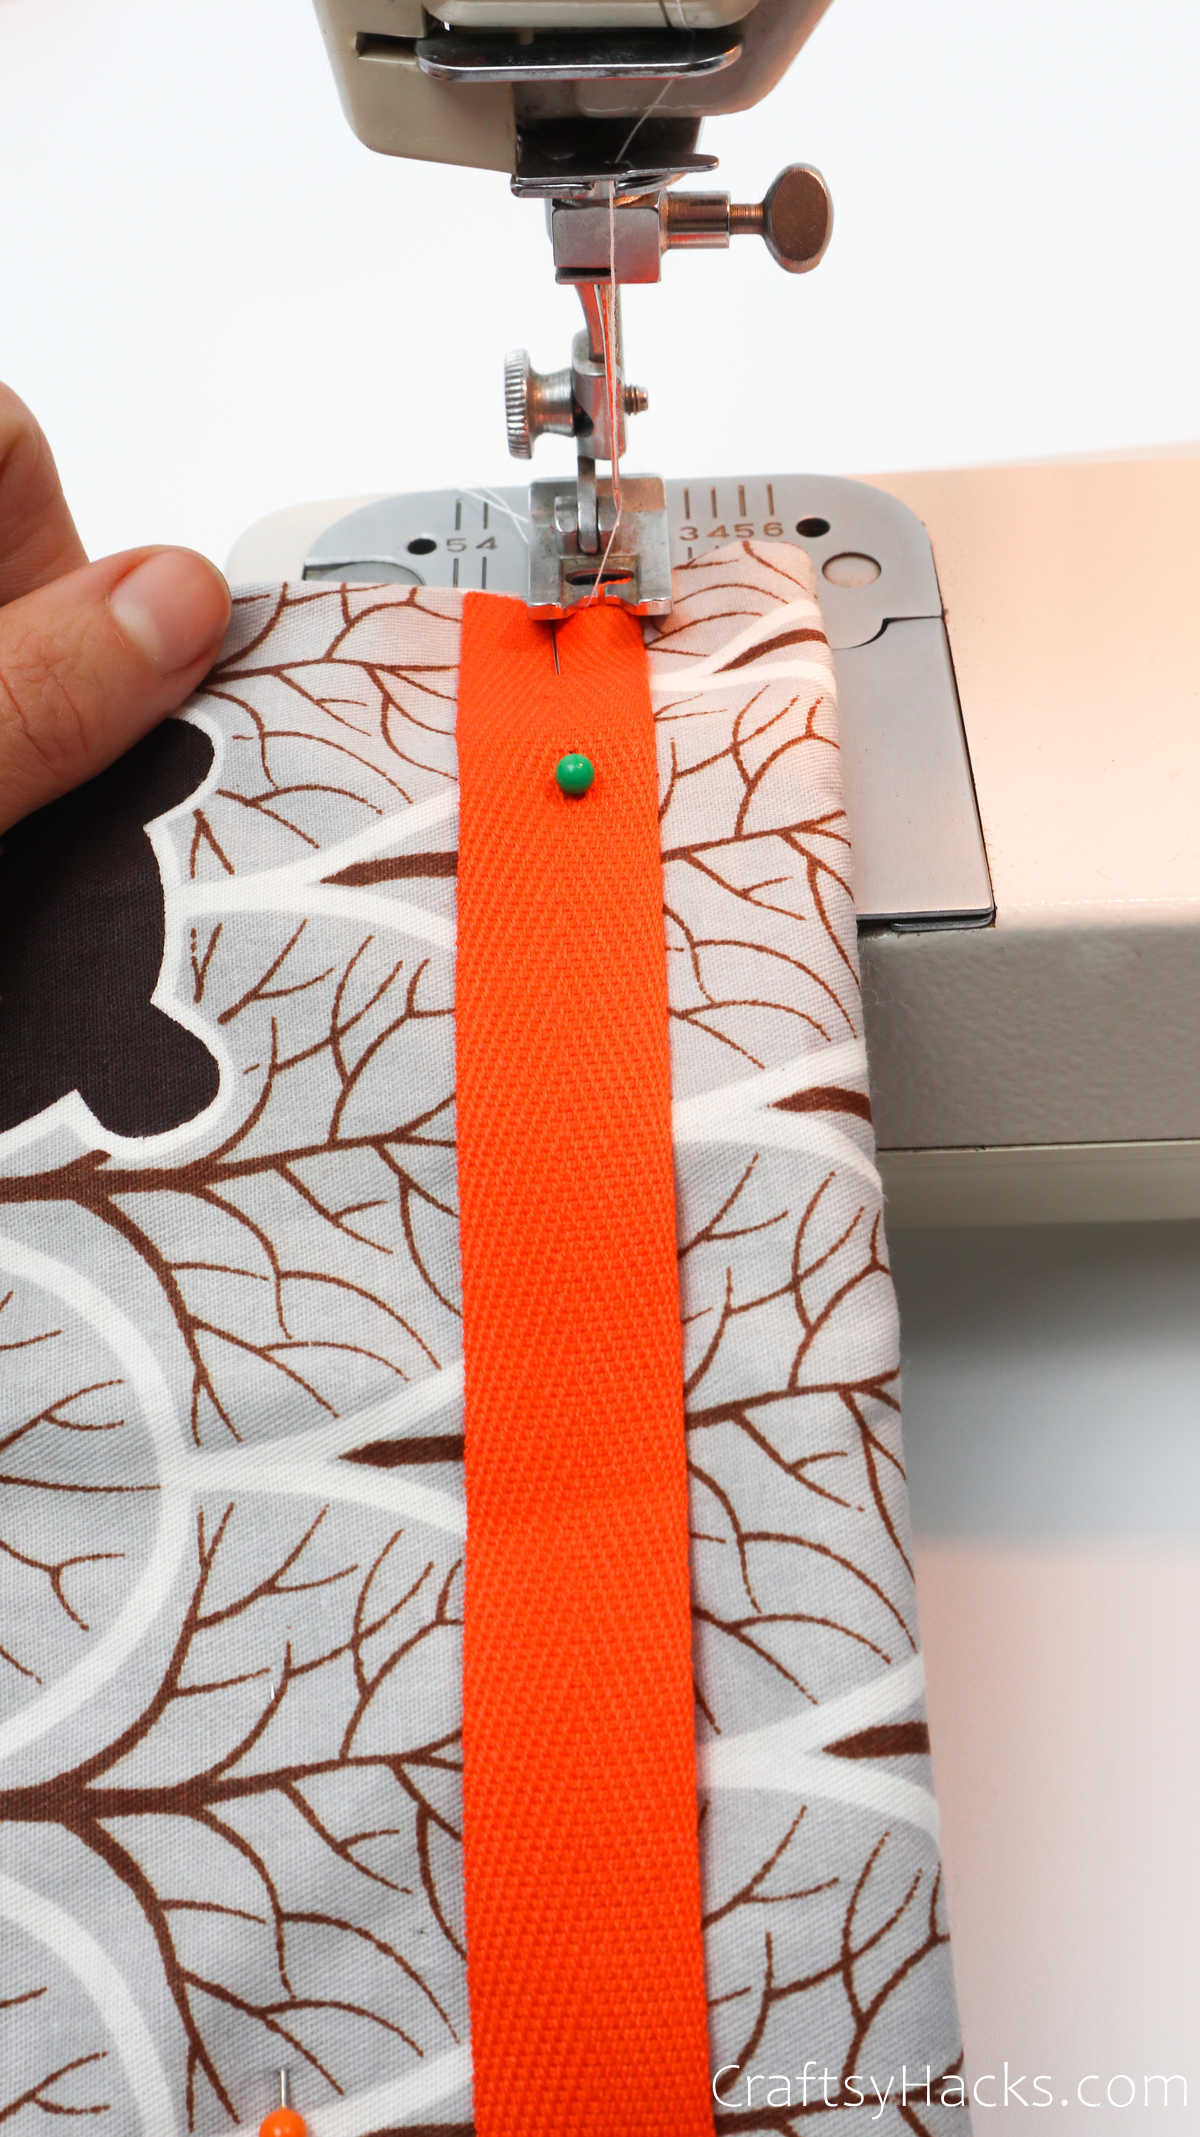
You’ll need to sew two lines along the top and bottom of the twill tape.
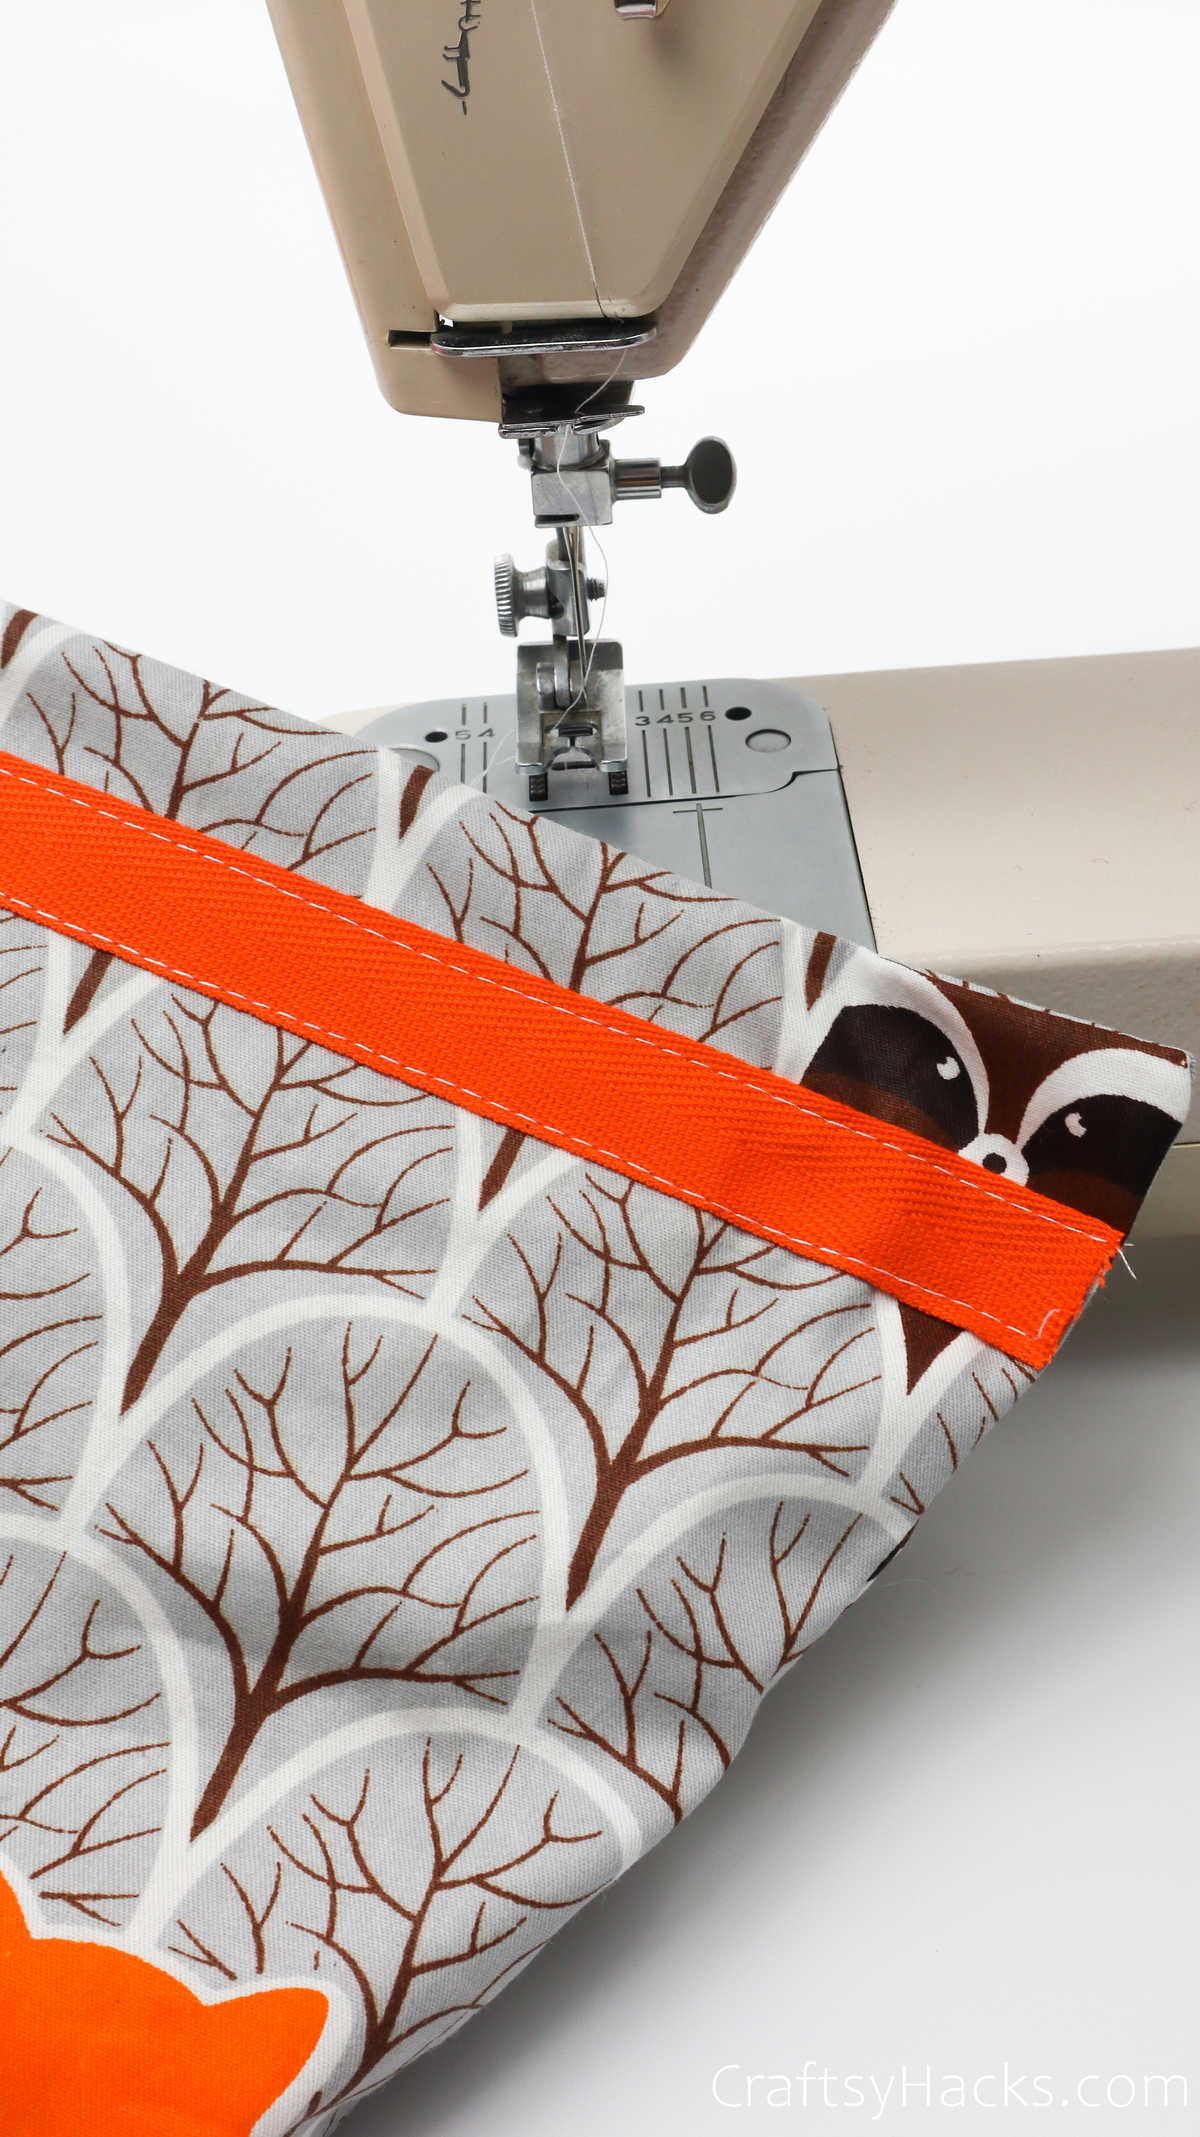
Go ahead and repeat this step for all your pockets.
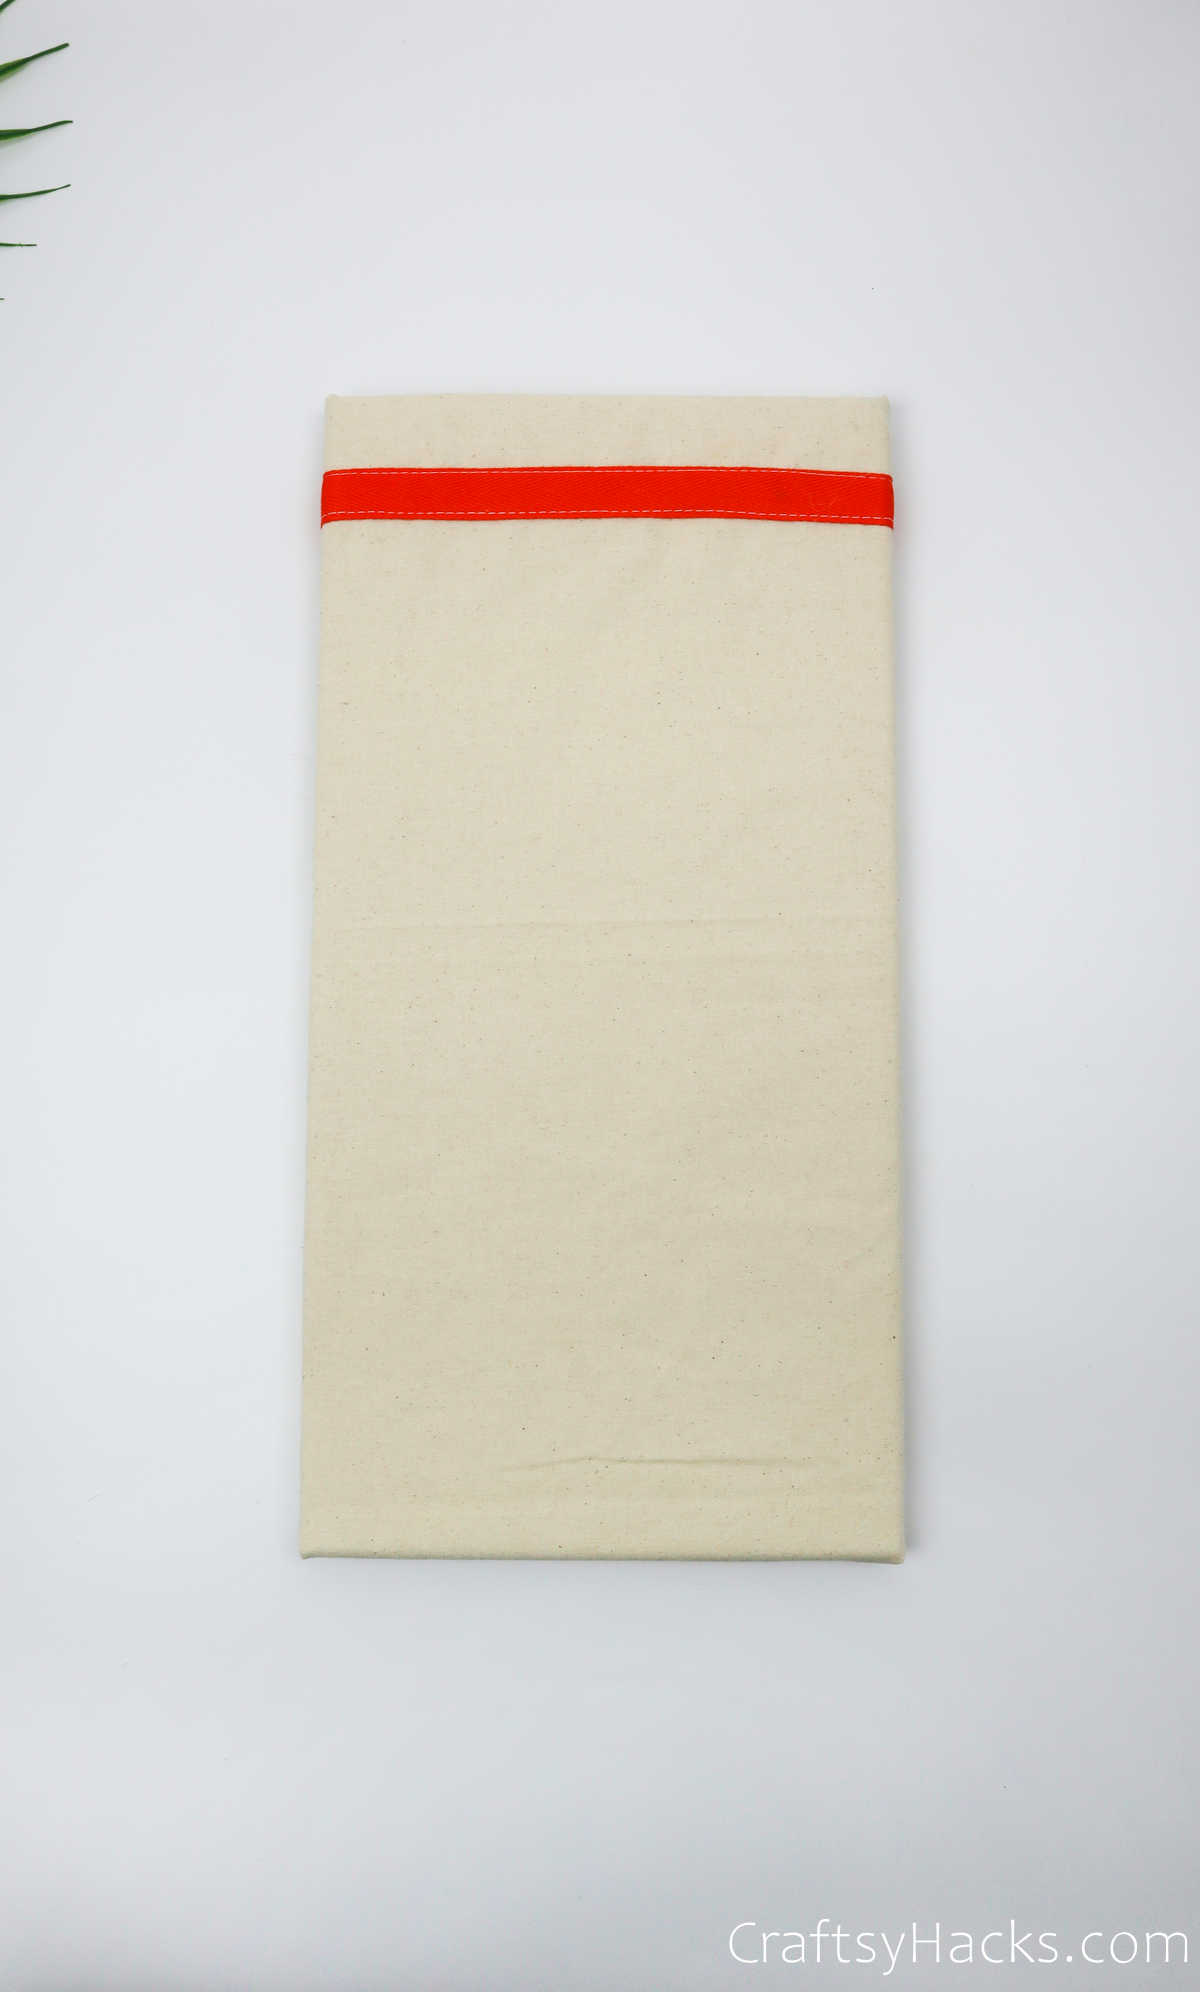
Step 6
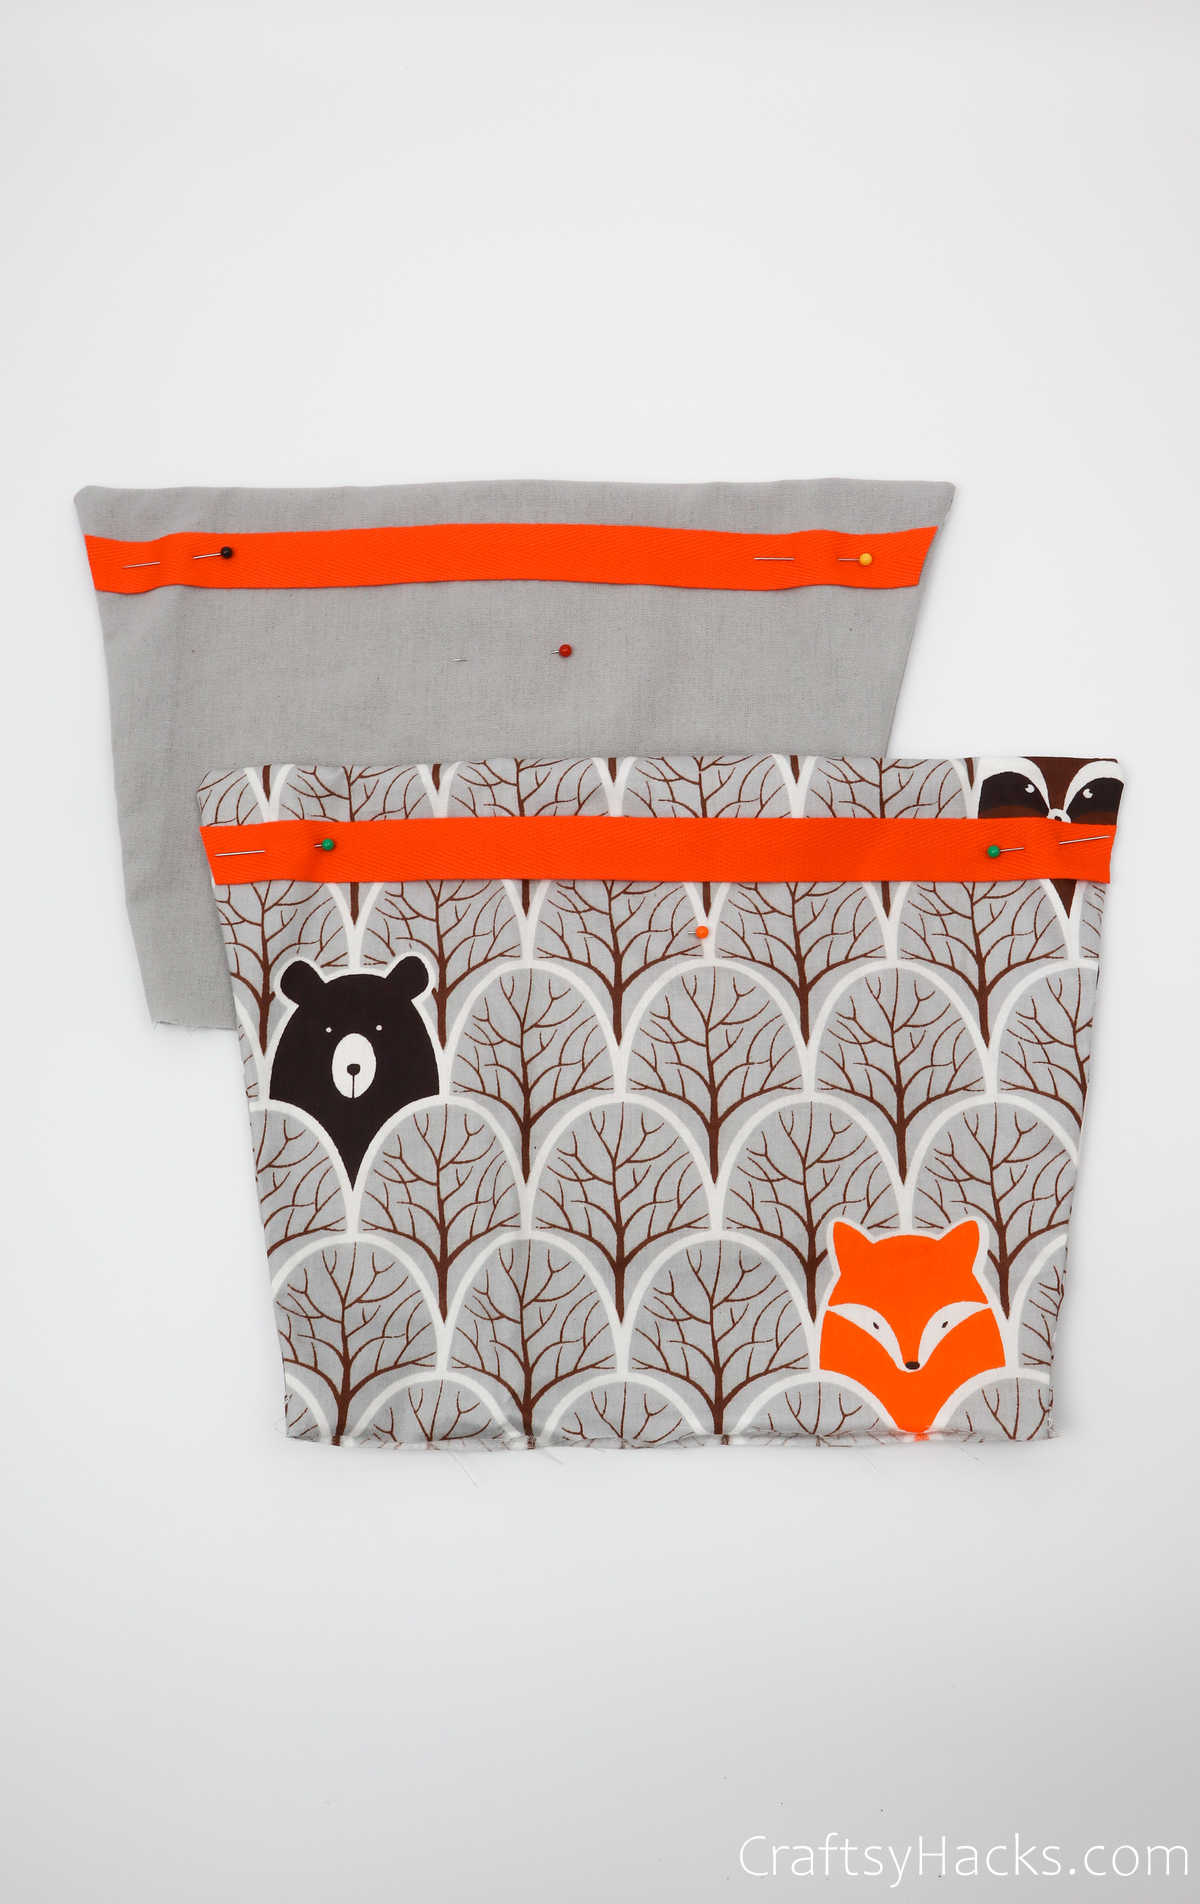
Next up, you’re going to pin a strip of the twill tape onto the larger base fabric, as well.
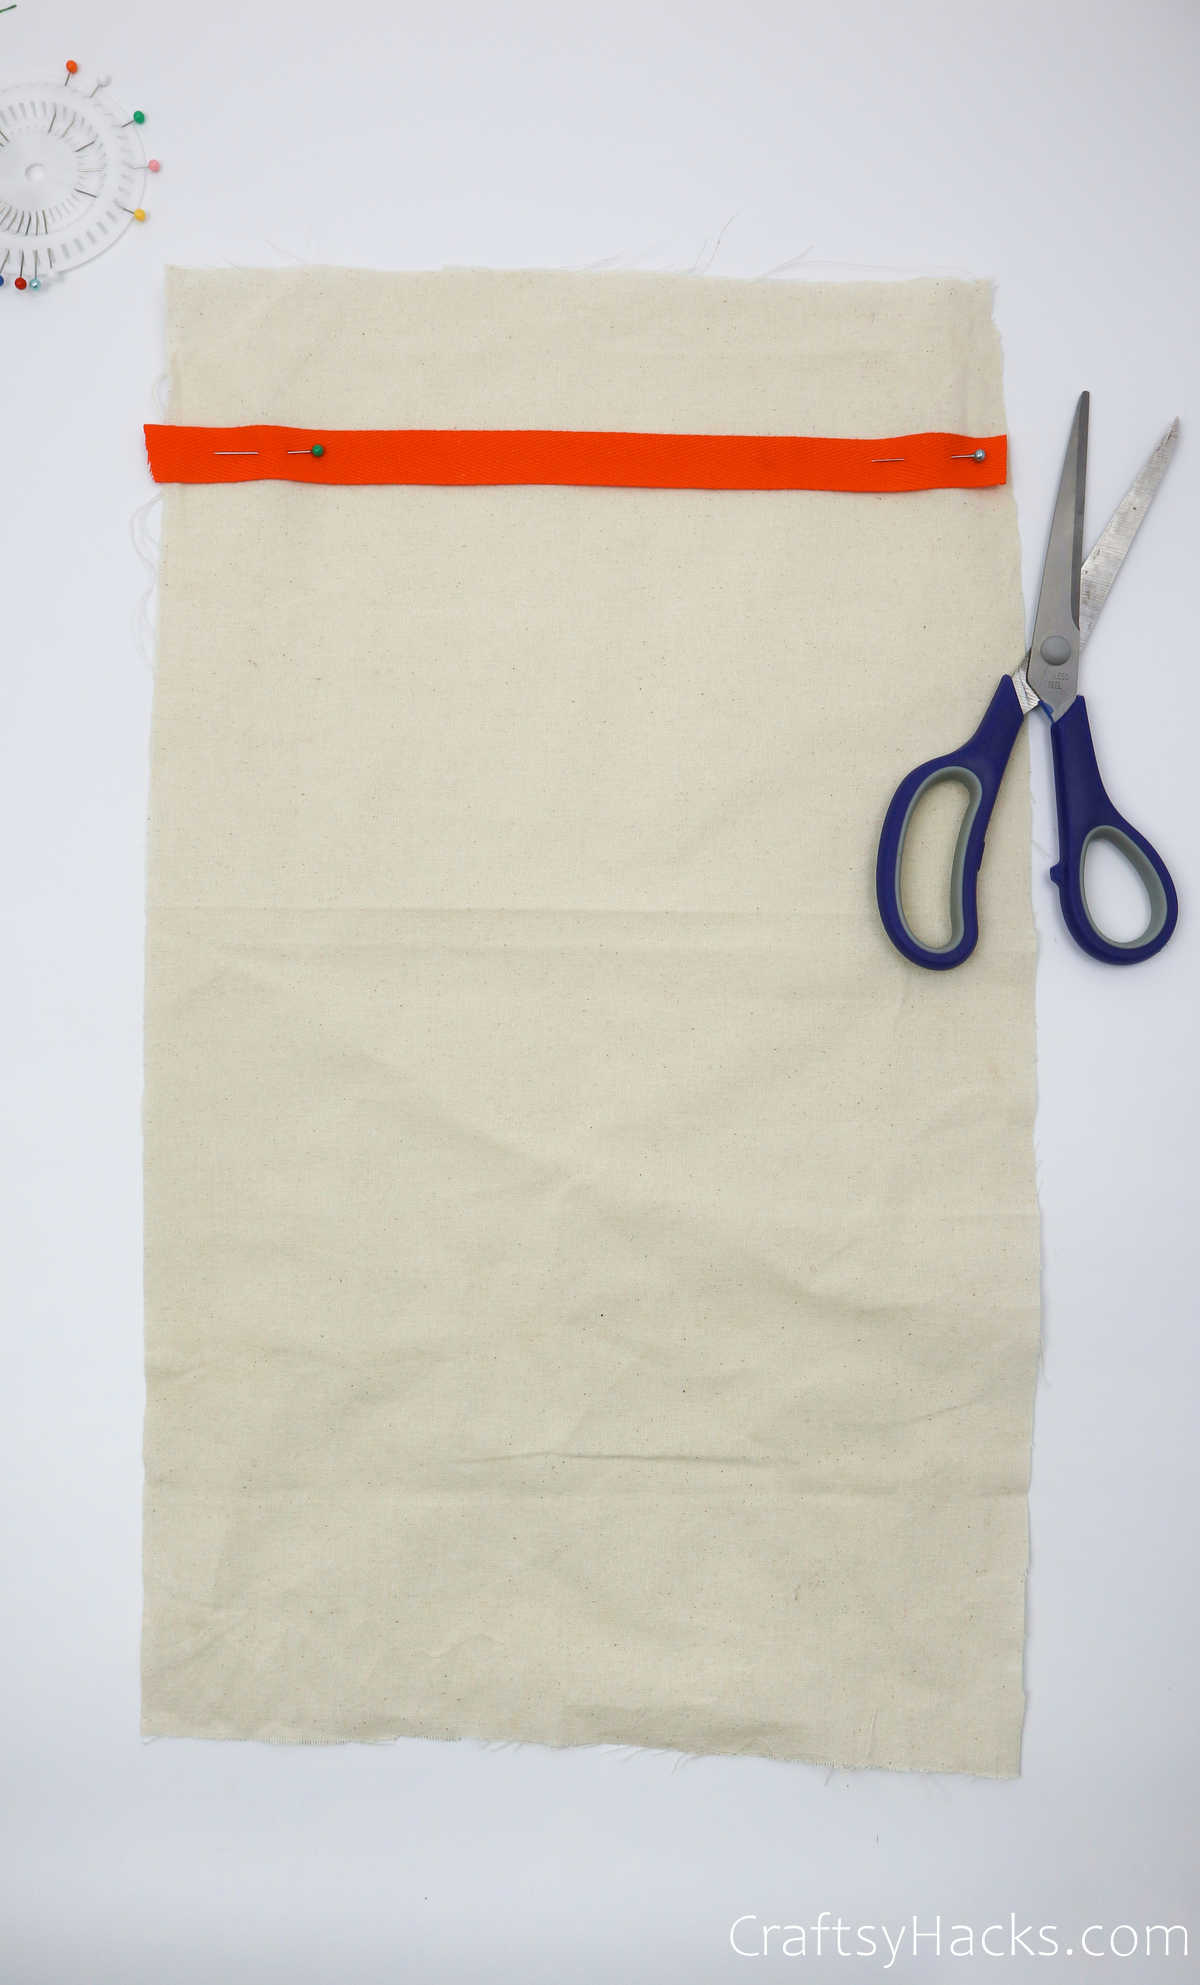
Then, go ahead and sew it up just like you did with the fabric pockets earlier.
Step 7
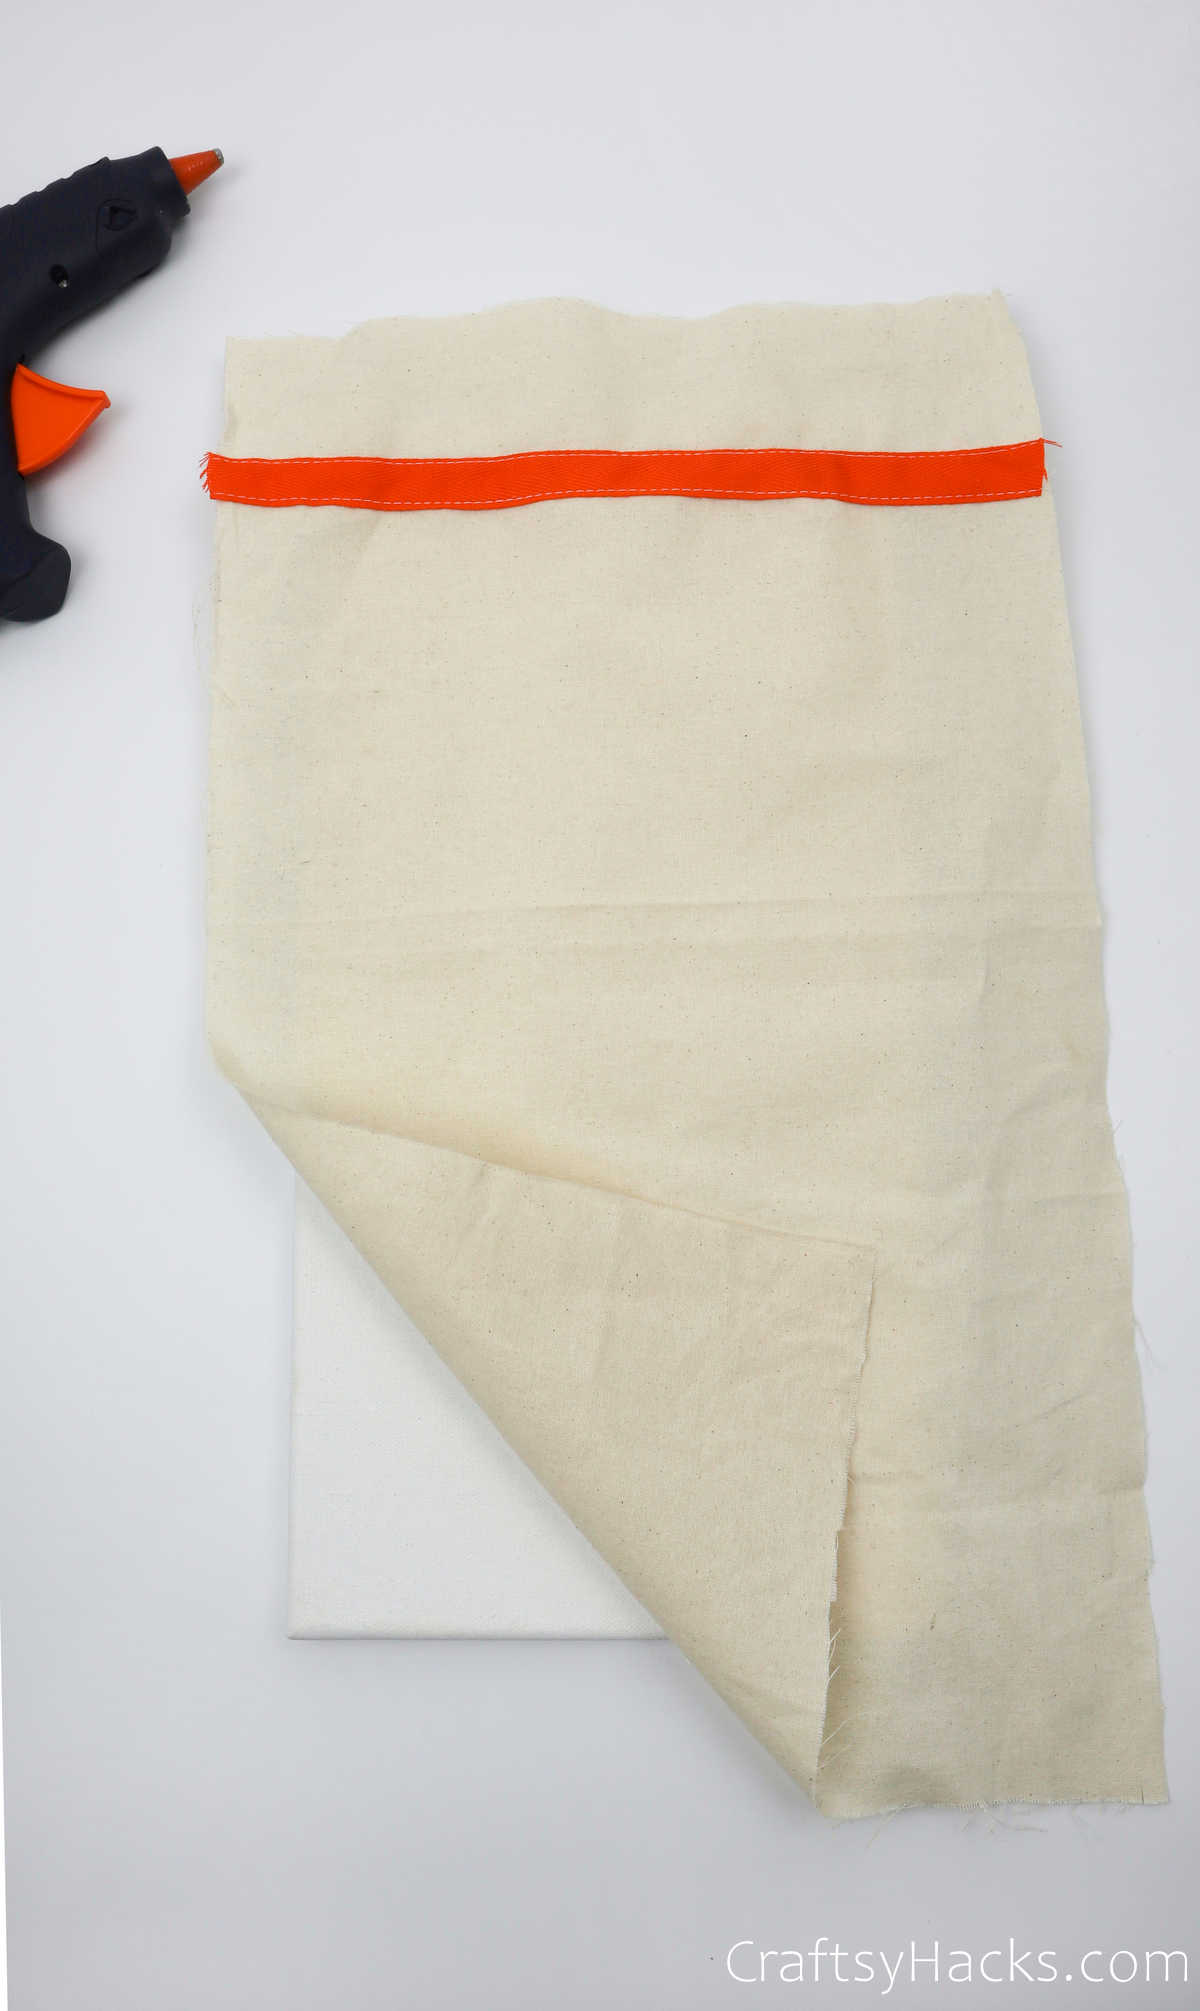
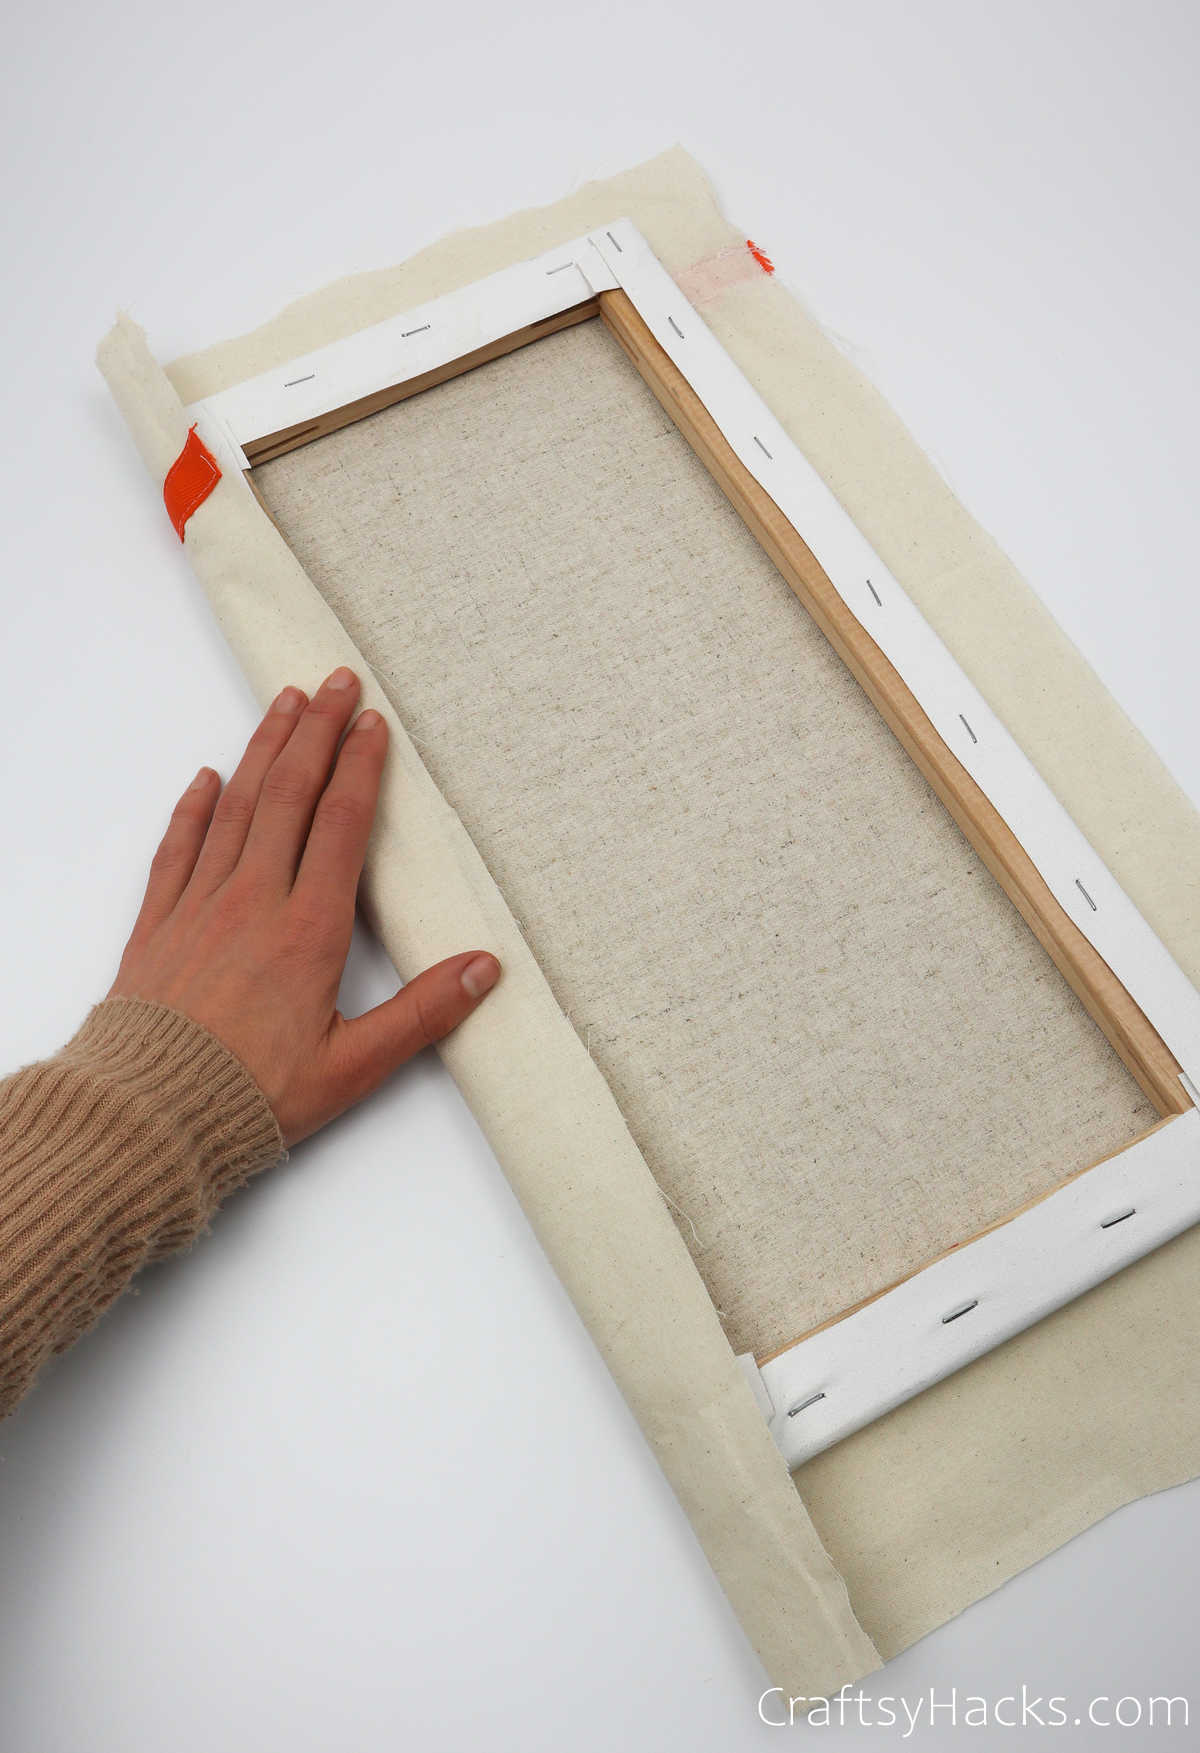
Flip the base fabric over so that the side with the twill tape faces down and lay the canvas over the fabric. Ensure that the canvas is centered so that there’s fabric on all four sides.
Step 8
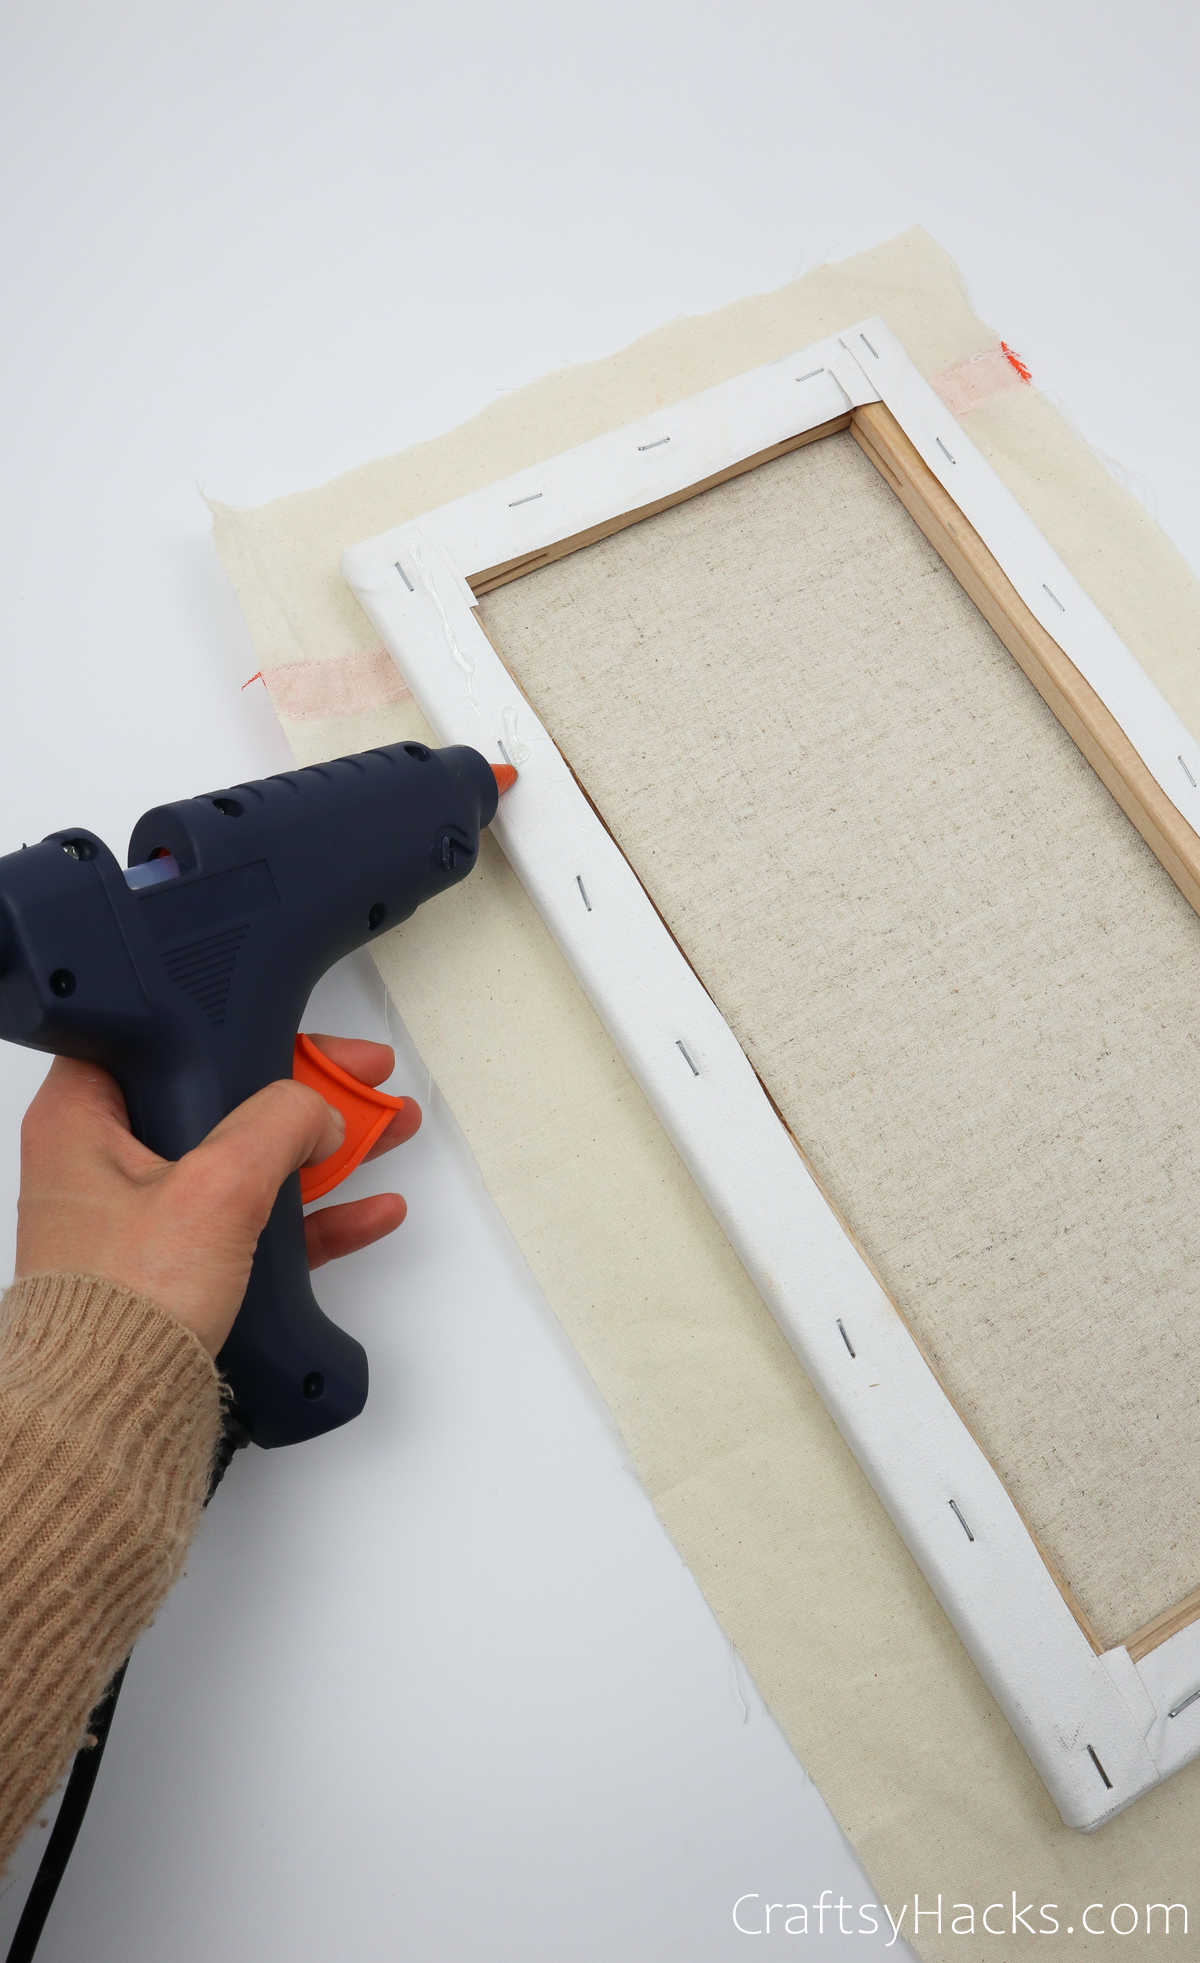
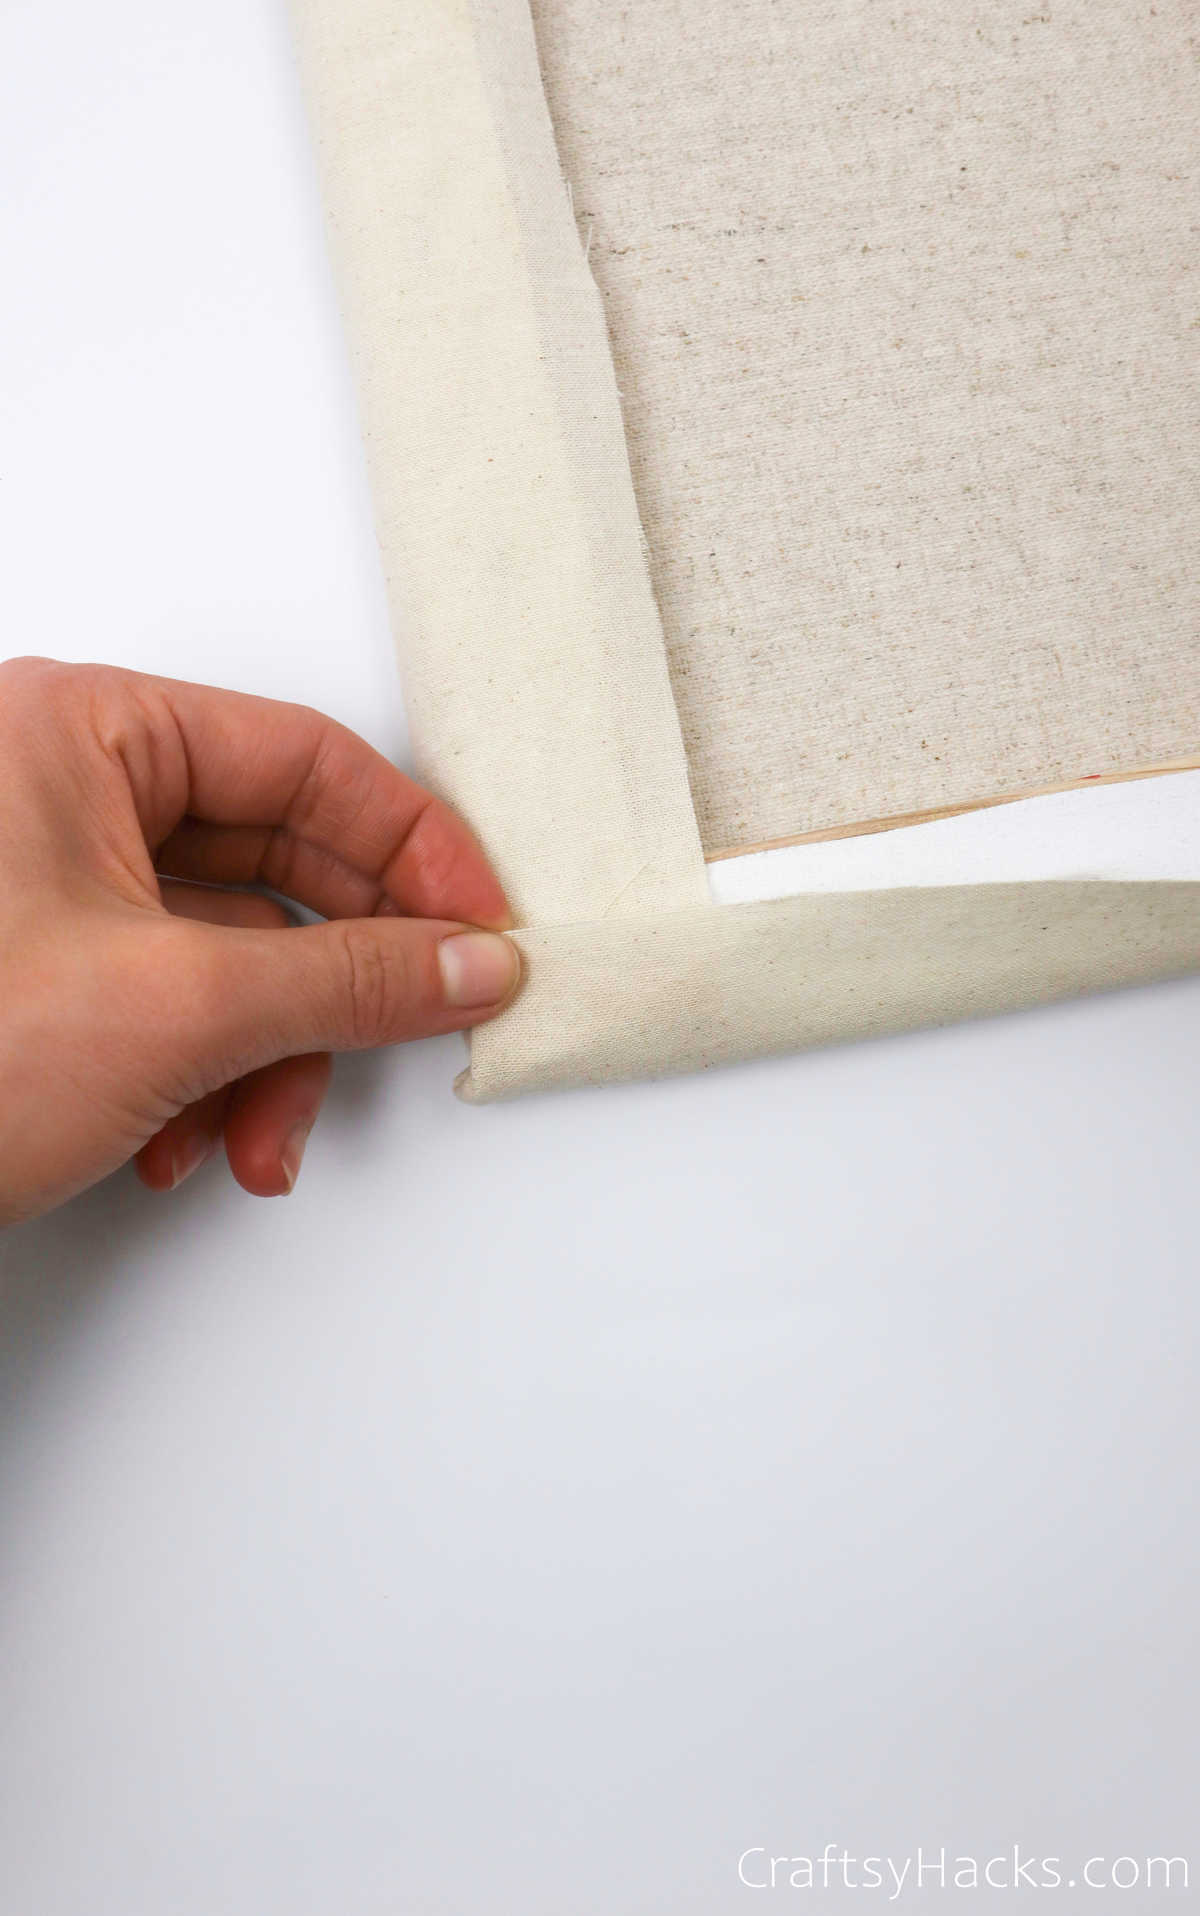
Grab your hot glue gun and line all four sides of the canvas with glue. Then, carefully pull the fabric over and press it down firmly on the canvas.
Fold all four sides in the same way and tuck in the ends neatly, as seen here. You can use hot glue to secure the overlapping ends if you feel like it needs a little extra support.
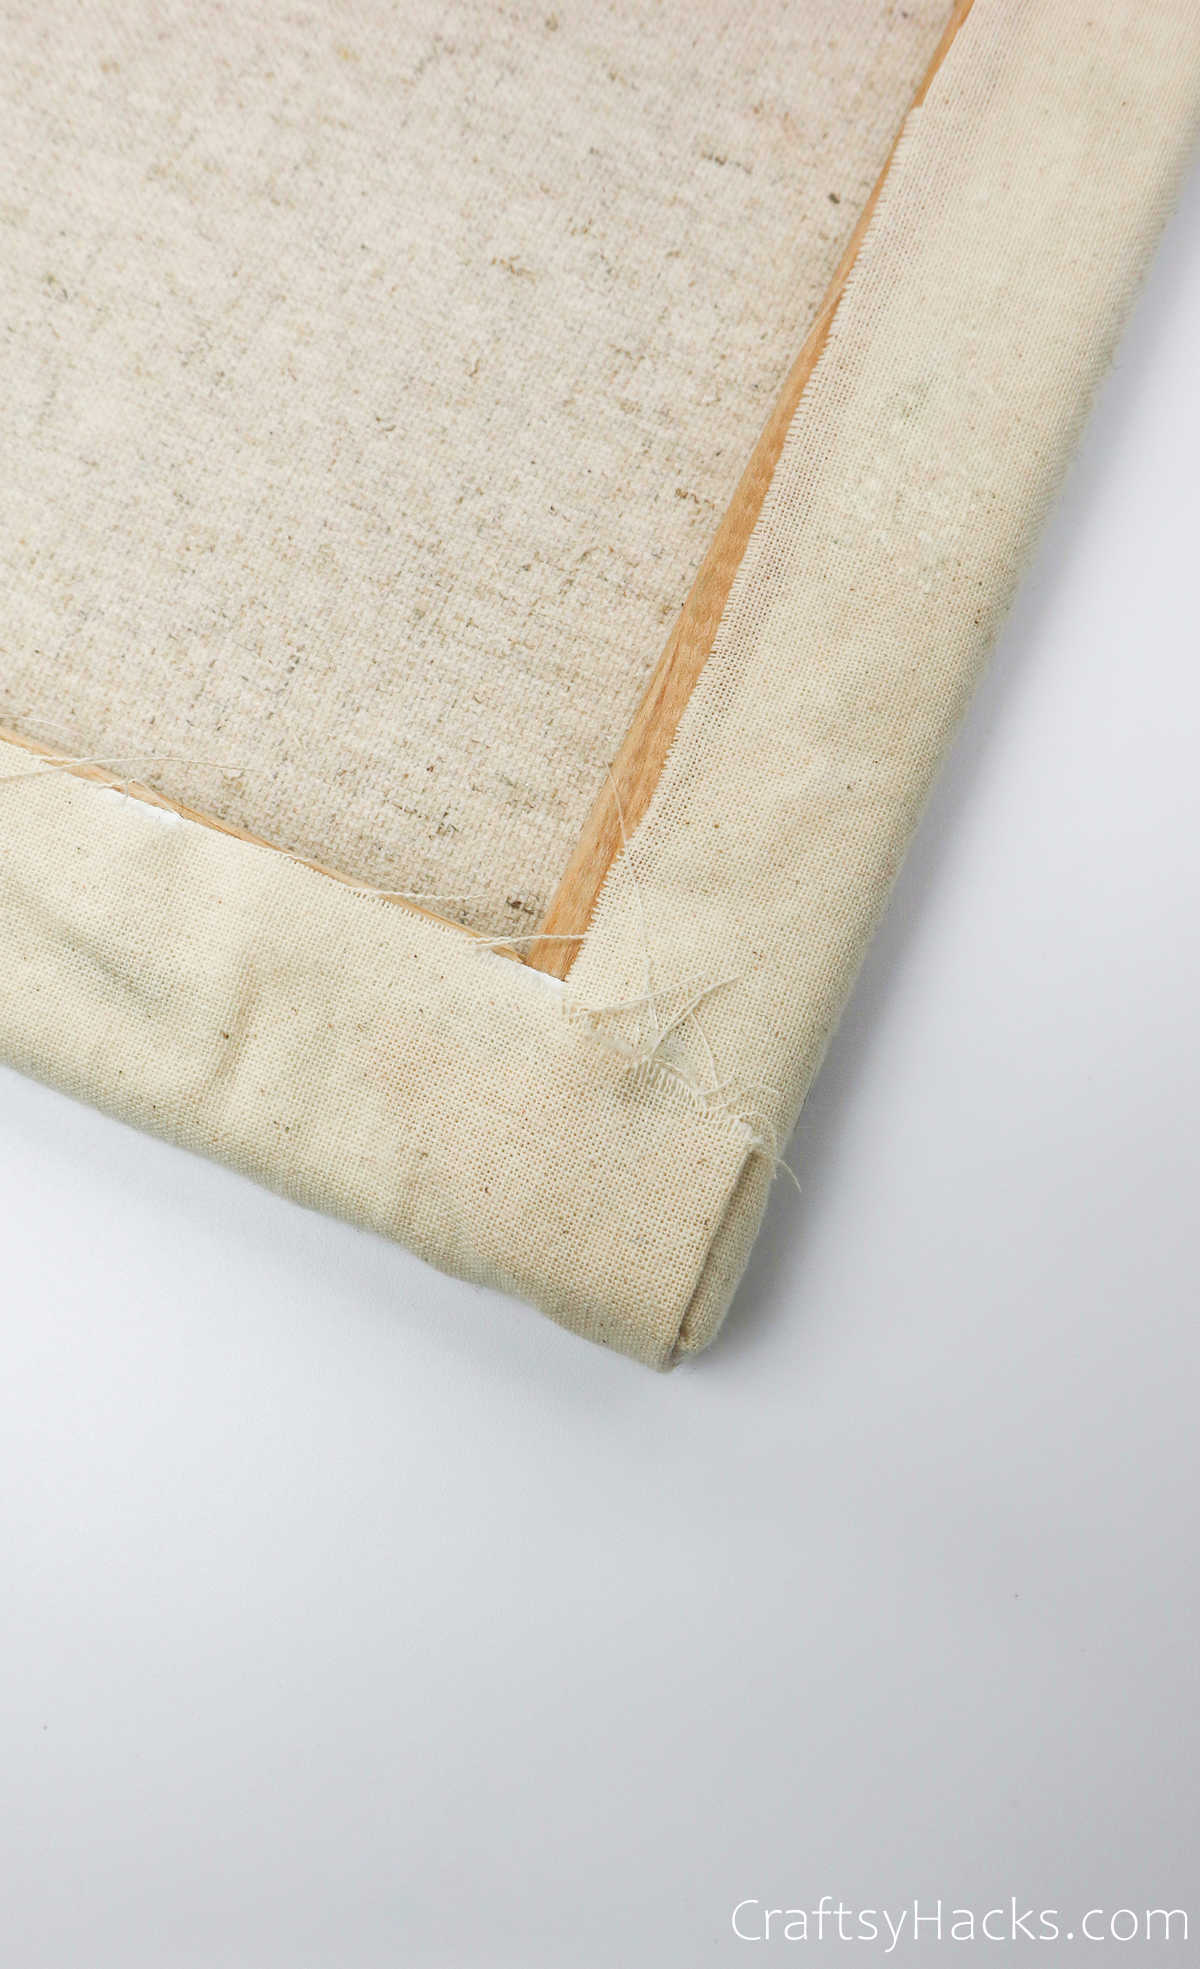
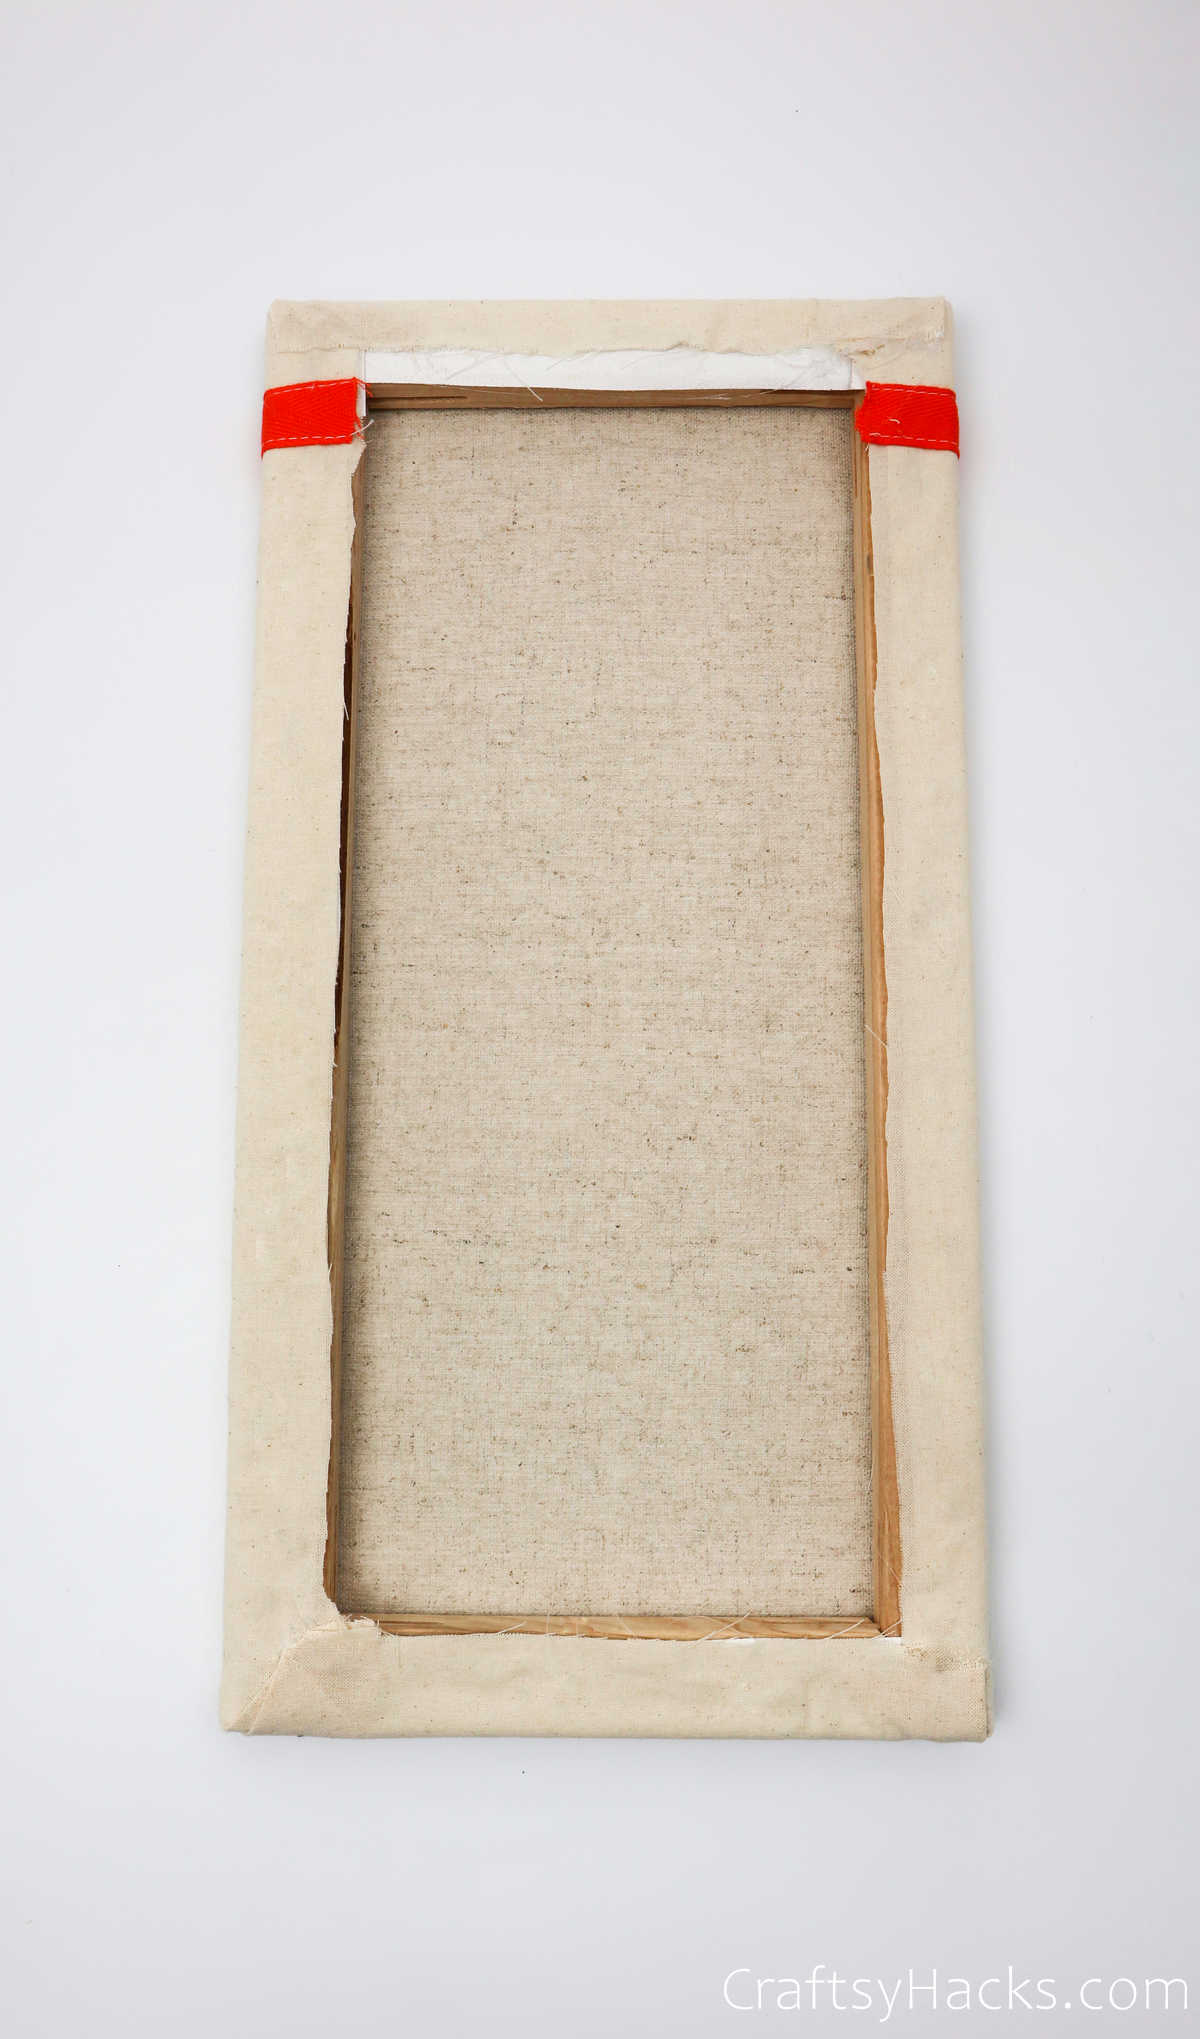
Your canvas should look something like this when you’re done. Allow the glue to dry completely before you flip it over to the right sight.
Step 9
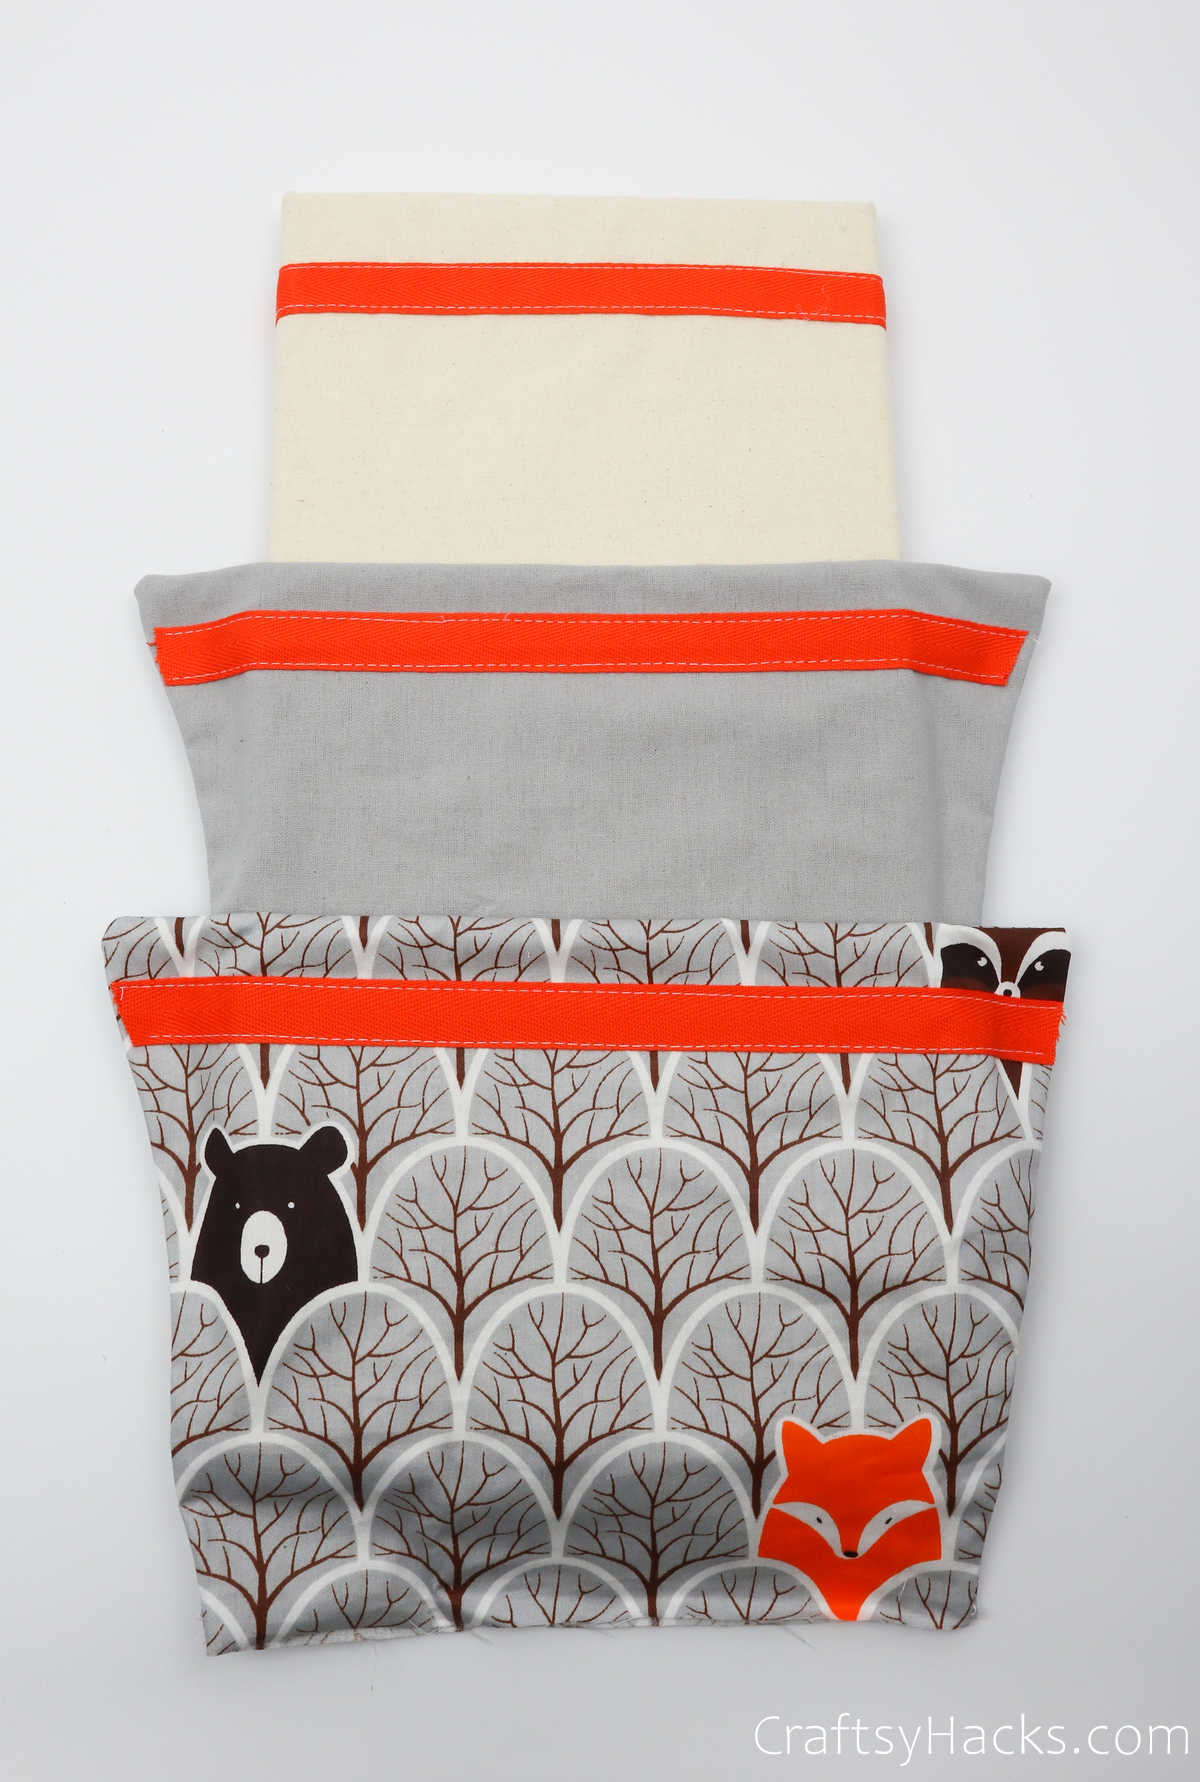
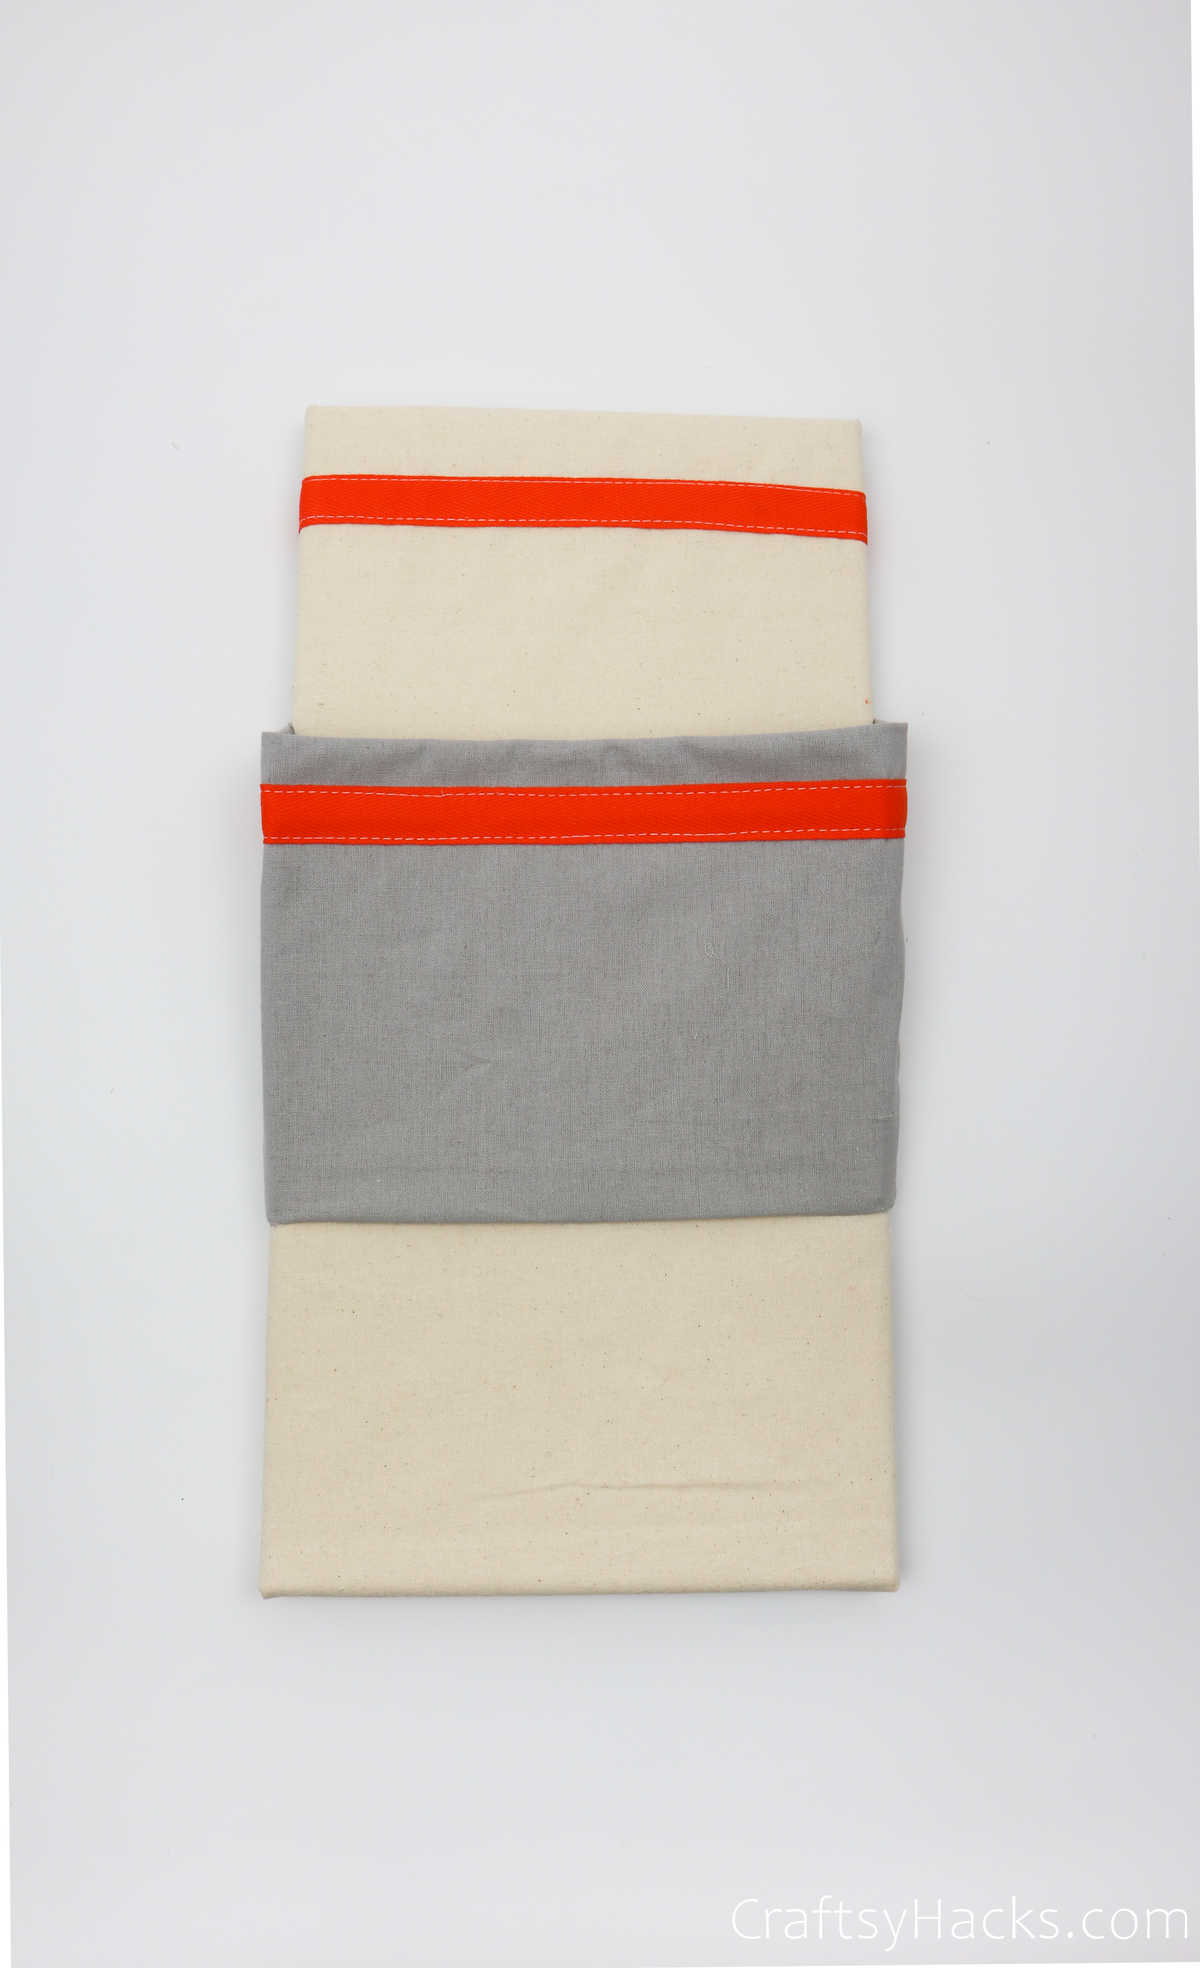
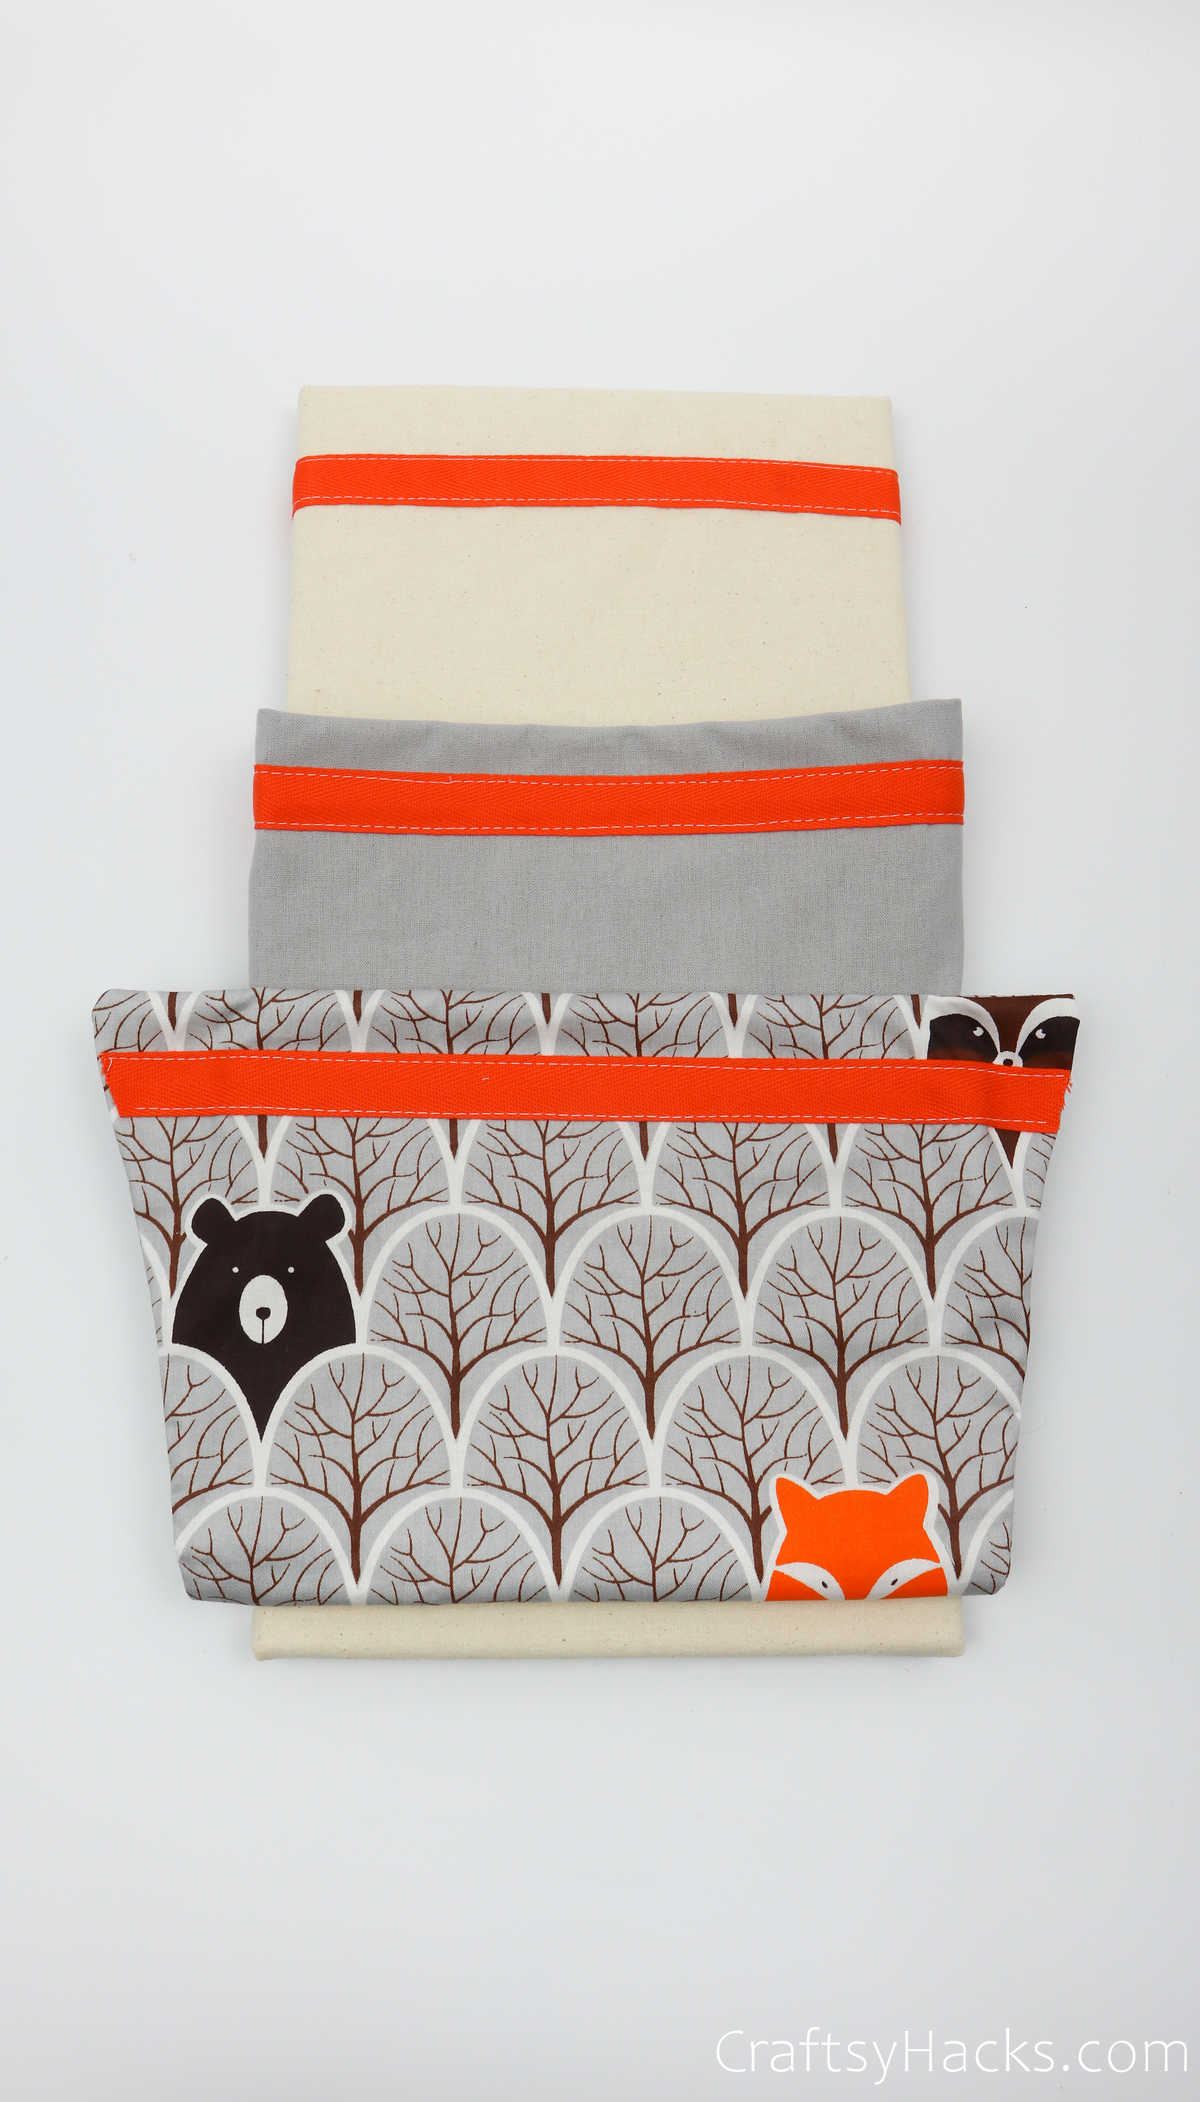
Next, place the fabric pockets you sewed on top of the canvas, arranging them according to size and order. The lower pocket should sit on top of the second one.
Take a look at the alignment in this picture to understand exactly how to layer each pocket the right way.
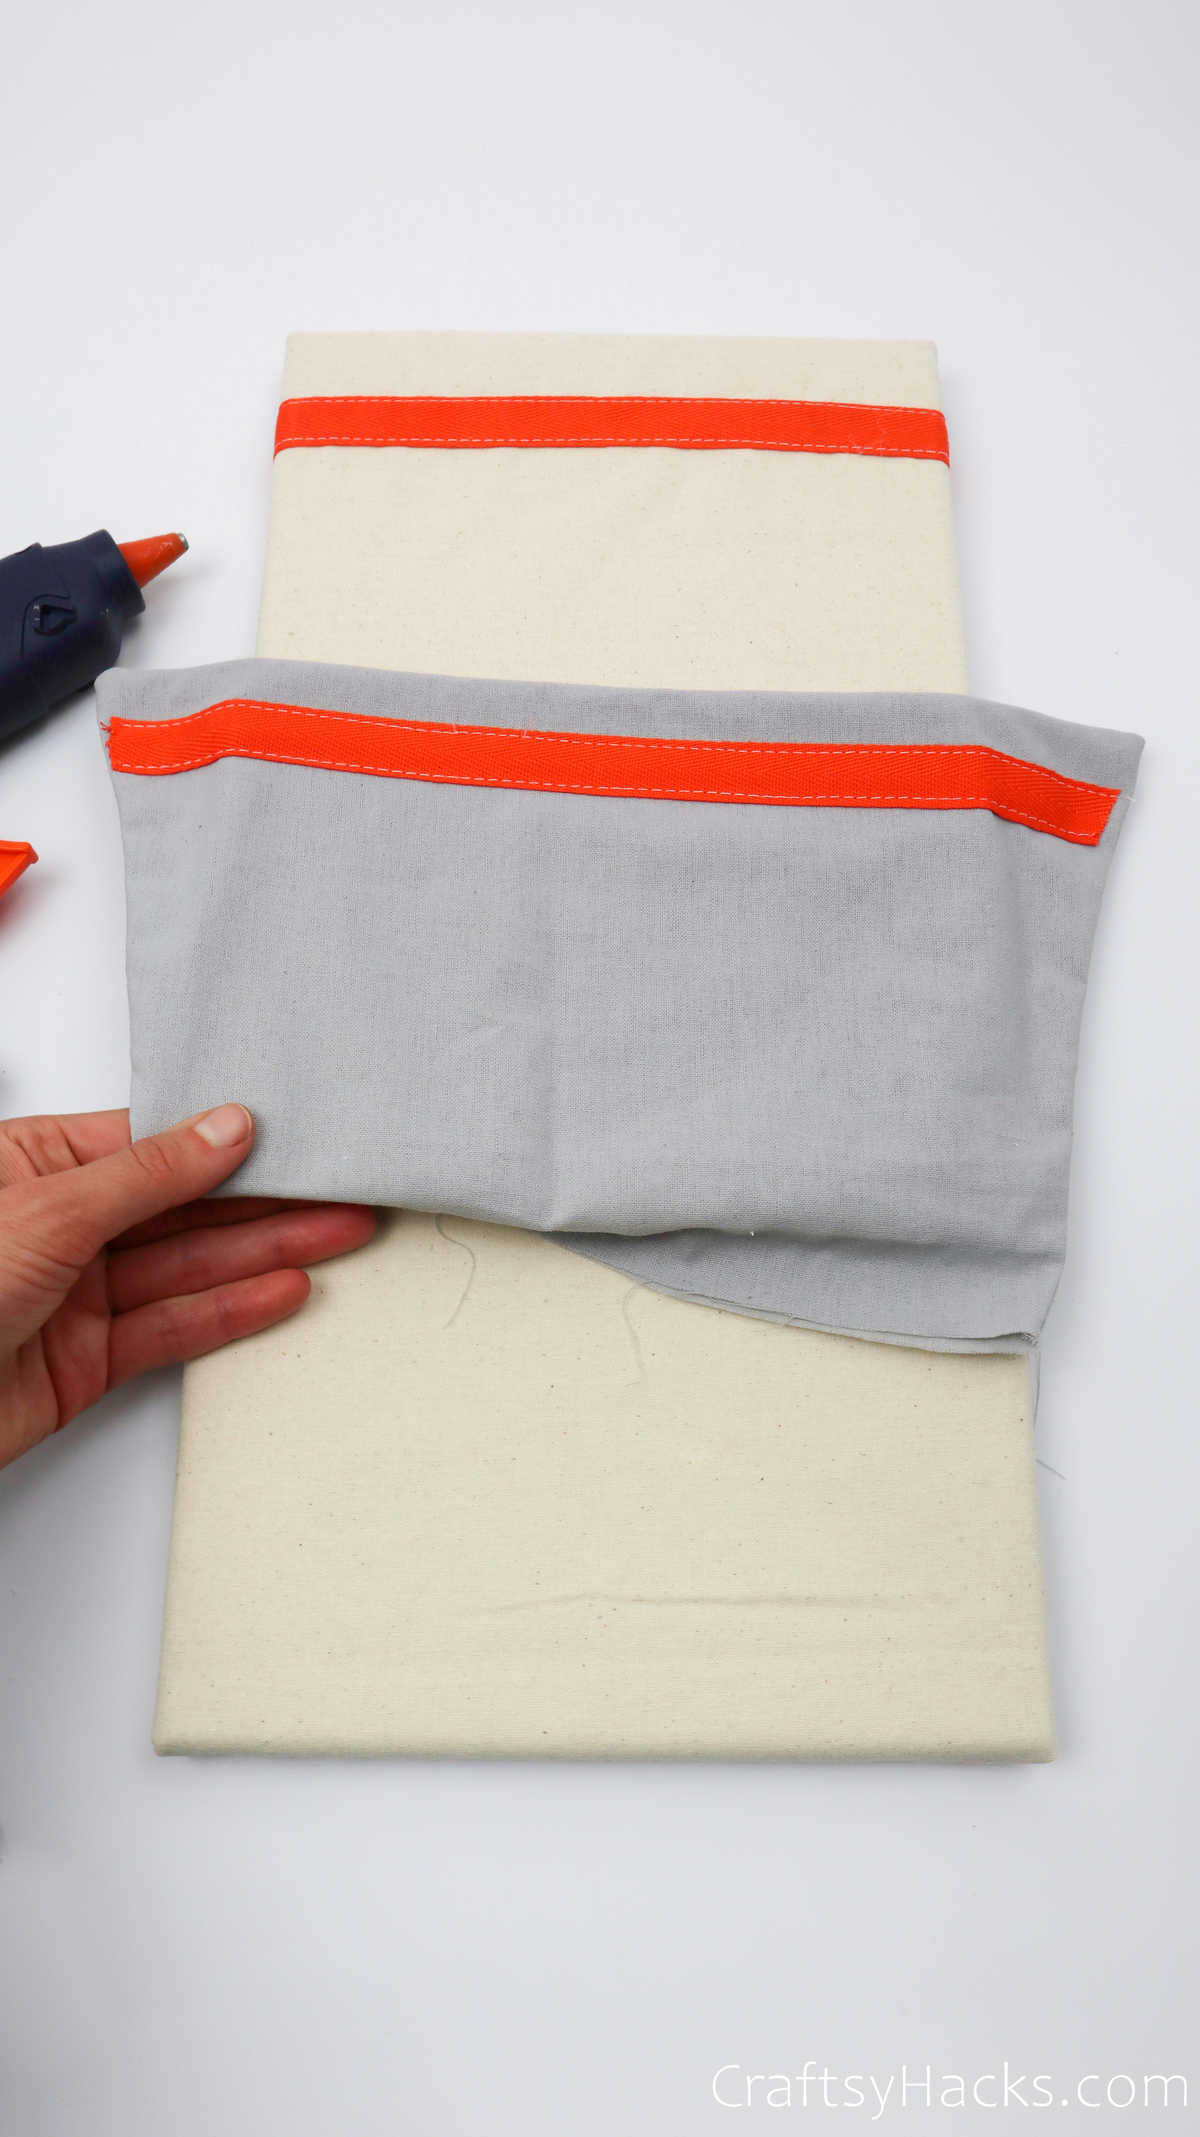
Step 10
When you’re happy with the way it looks, grab your glue gun. Now, since the bottom pocket needs to go on top, you’ll be sticking the second pocket onto the canvas first.
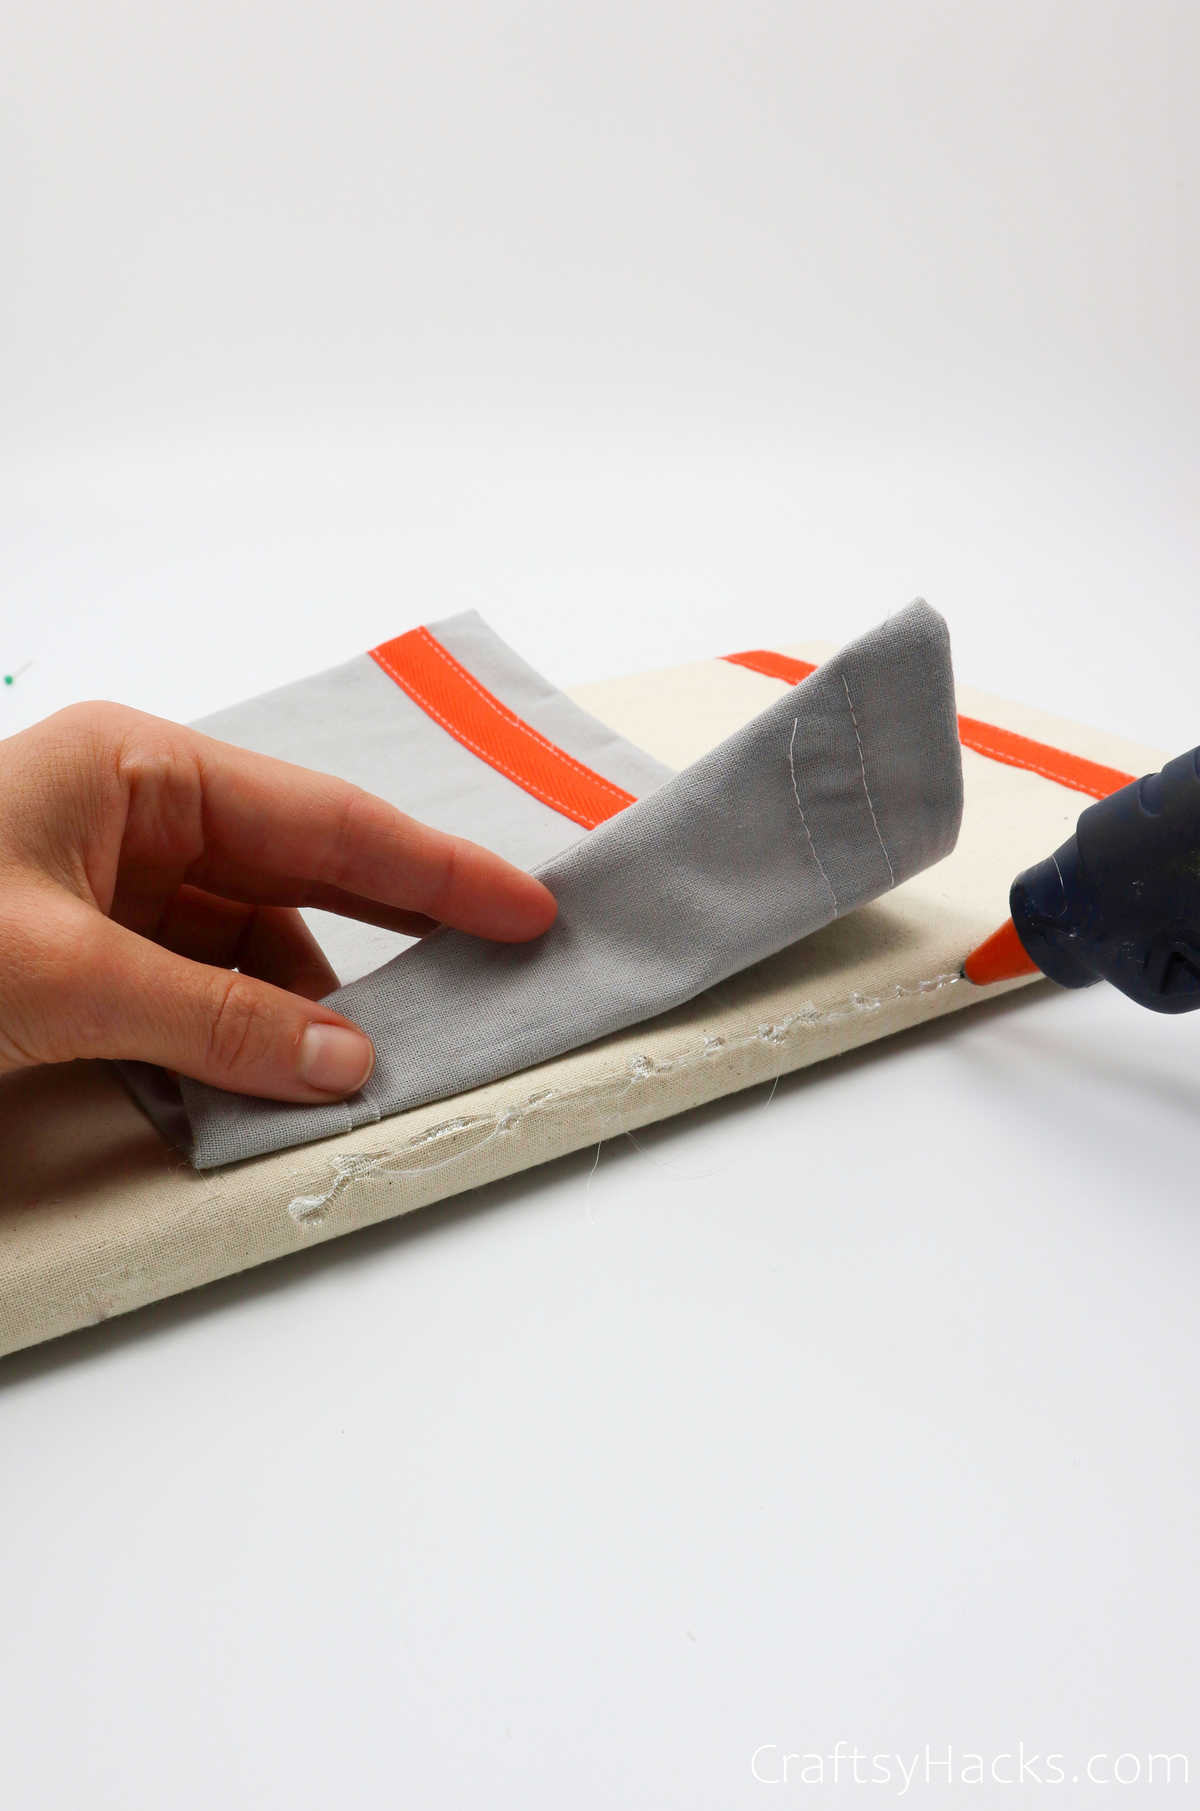
Carefully fold the bottom of the pocket inward first.
Then, line the canvas with hot glue. With the pocket still folded at the bottom, stick it down and hold it till you’re certain the pocket is attached.
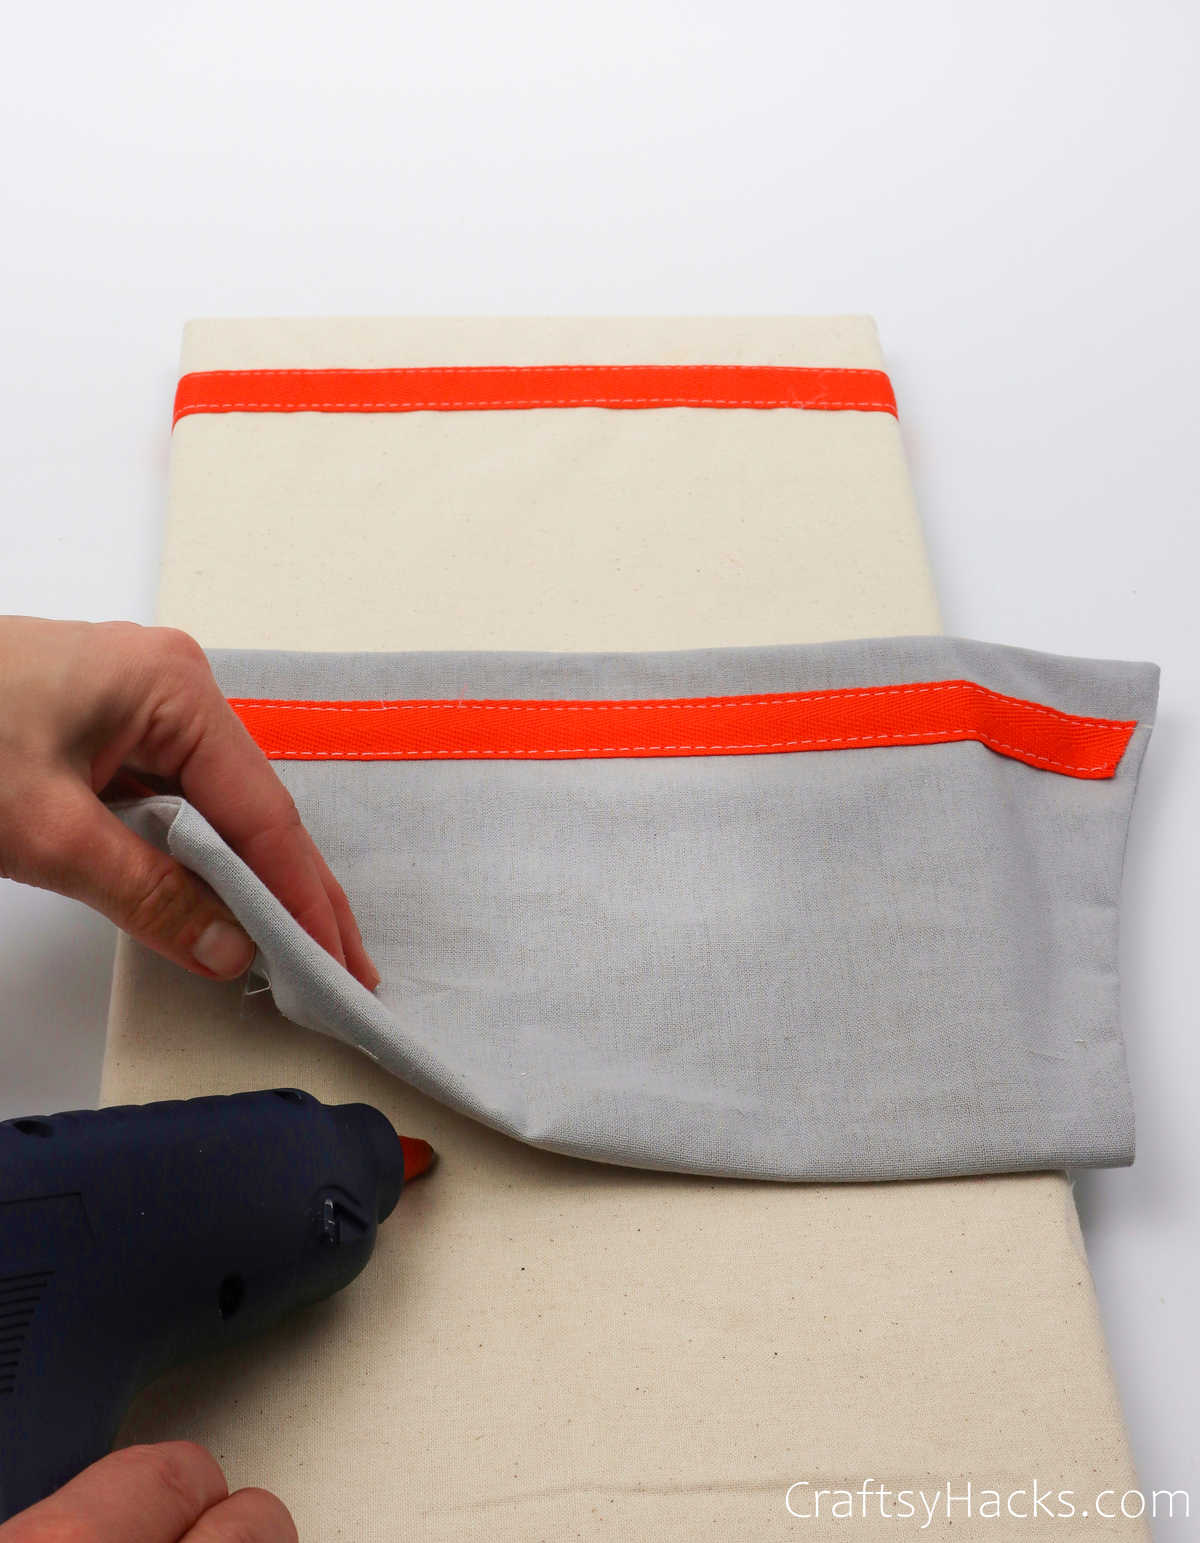
Remember to pull the sides of the pocket over the side of the canvas and adhere them in place, too—both sides, of course.
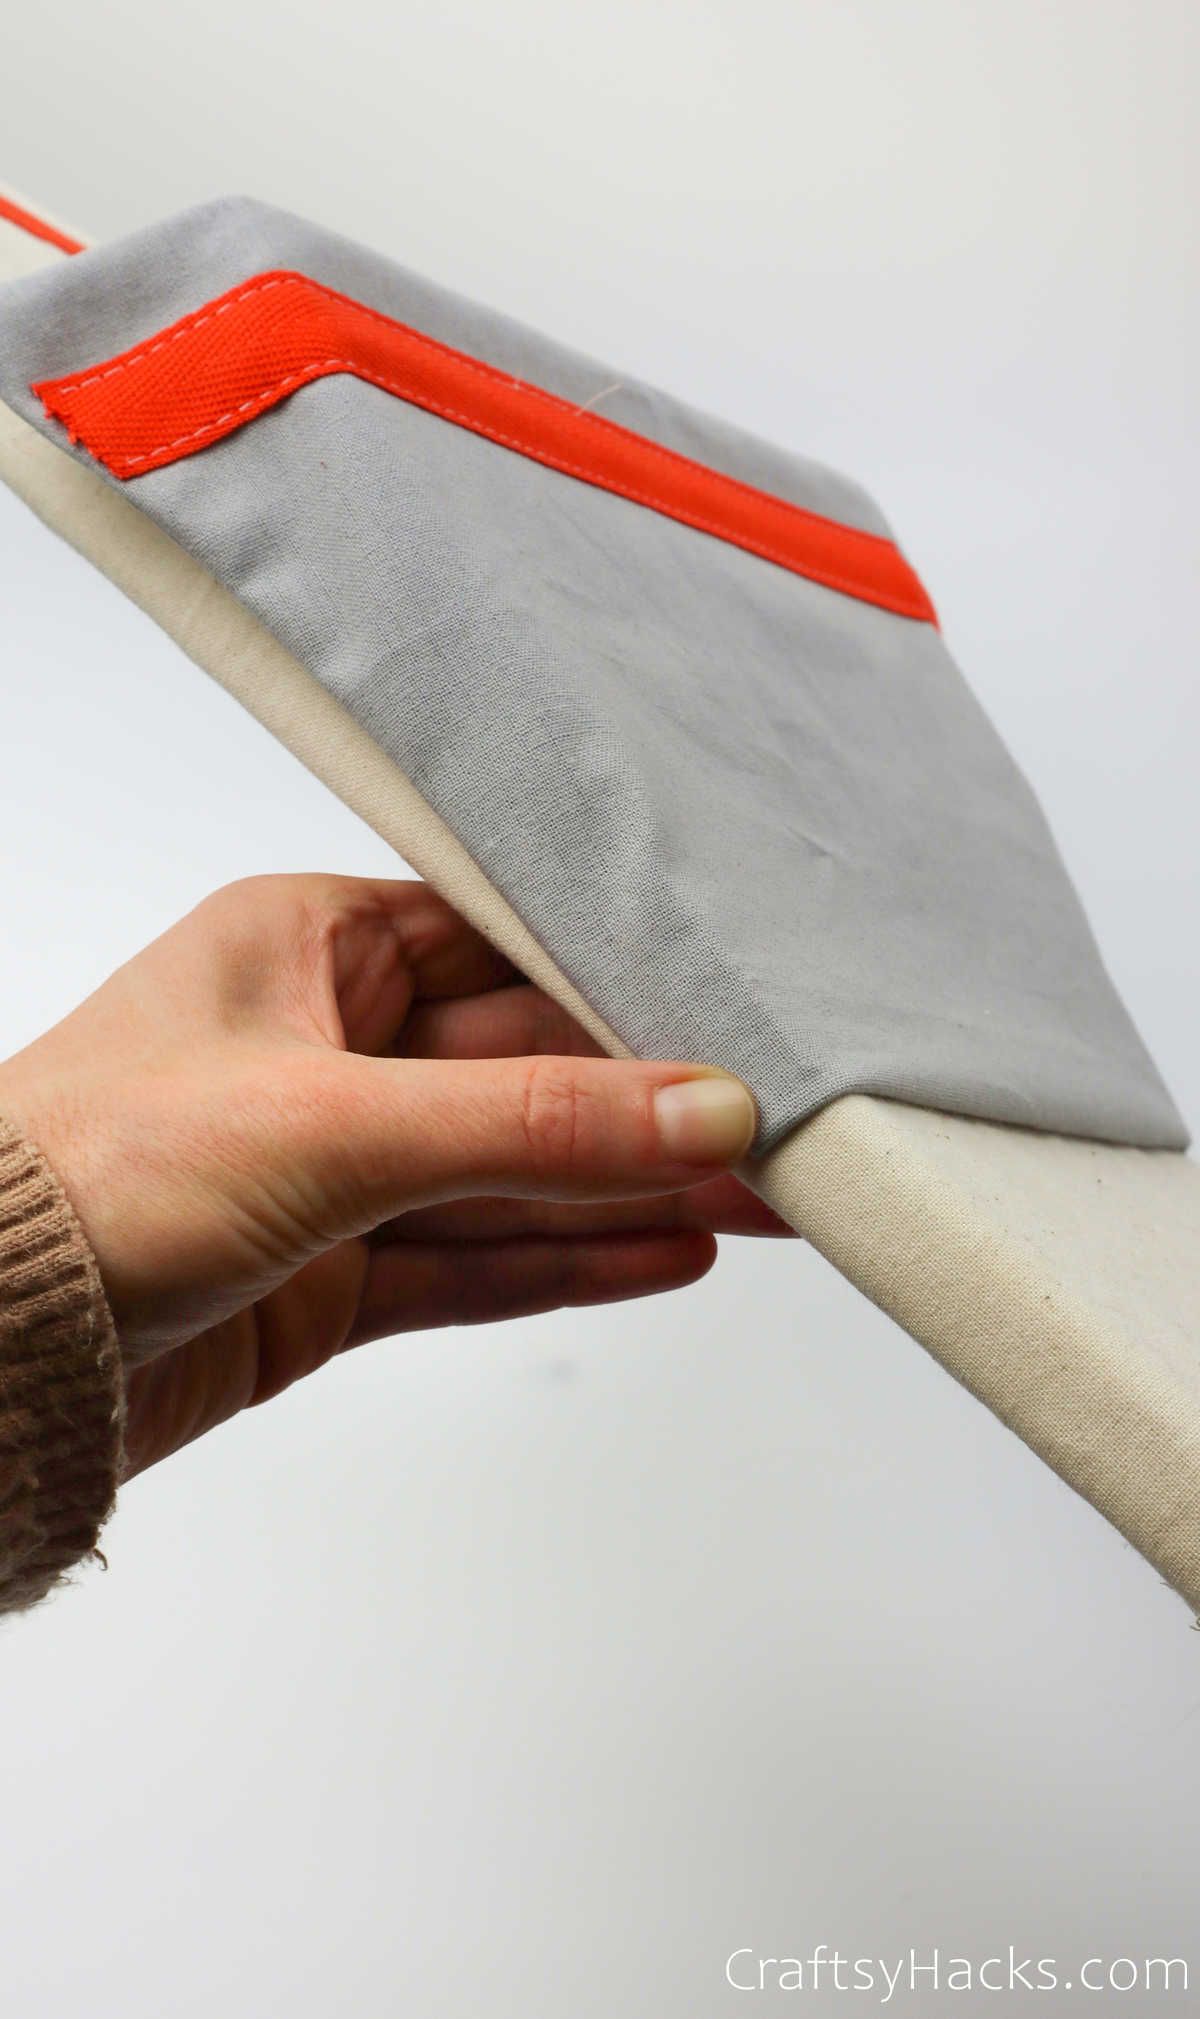
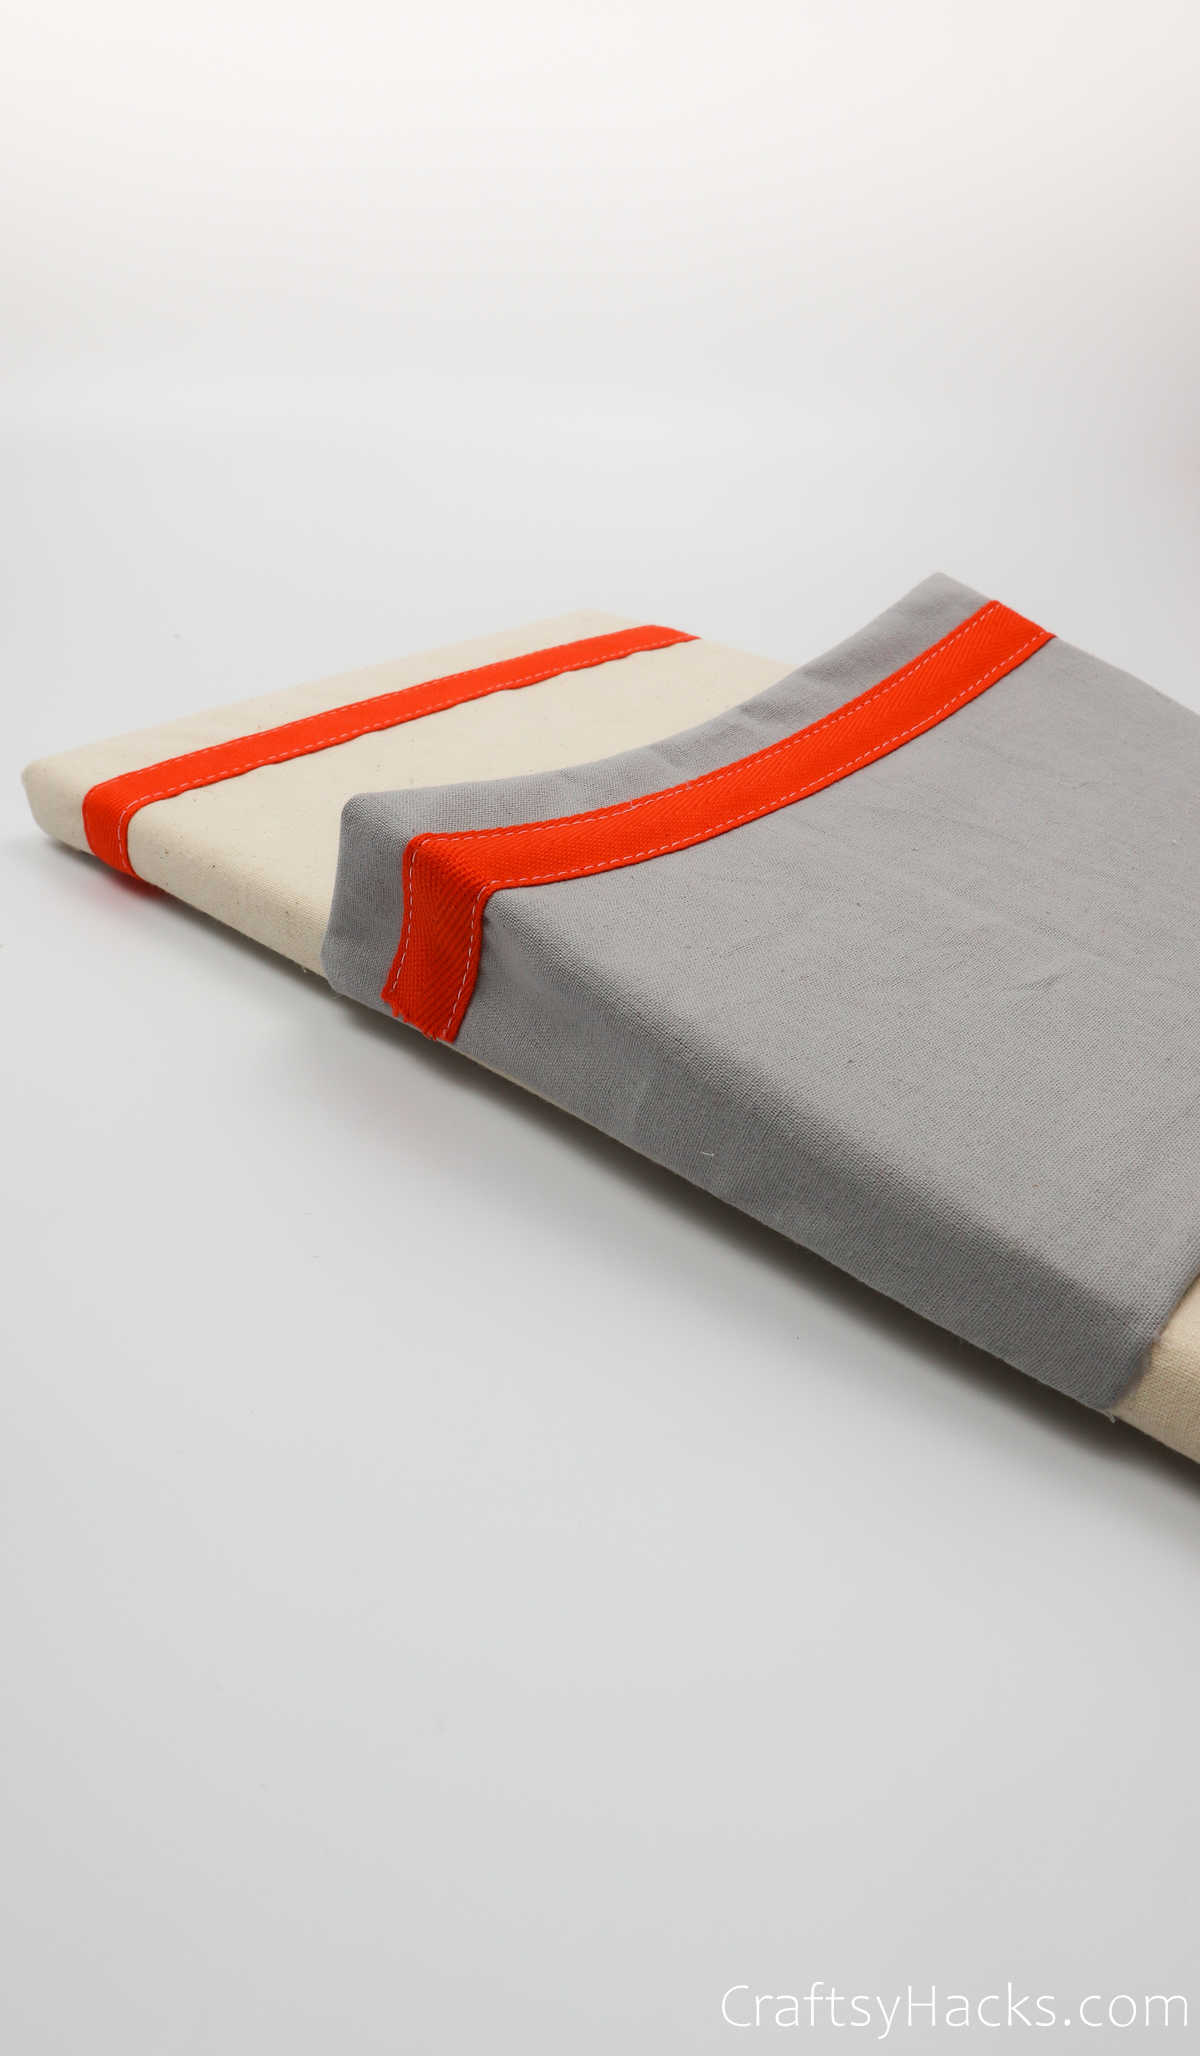
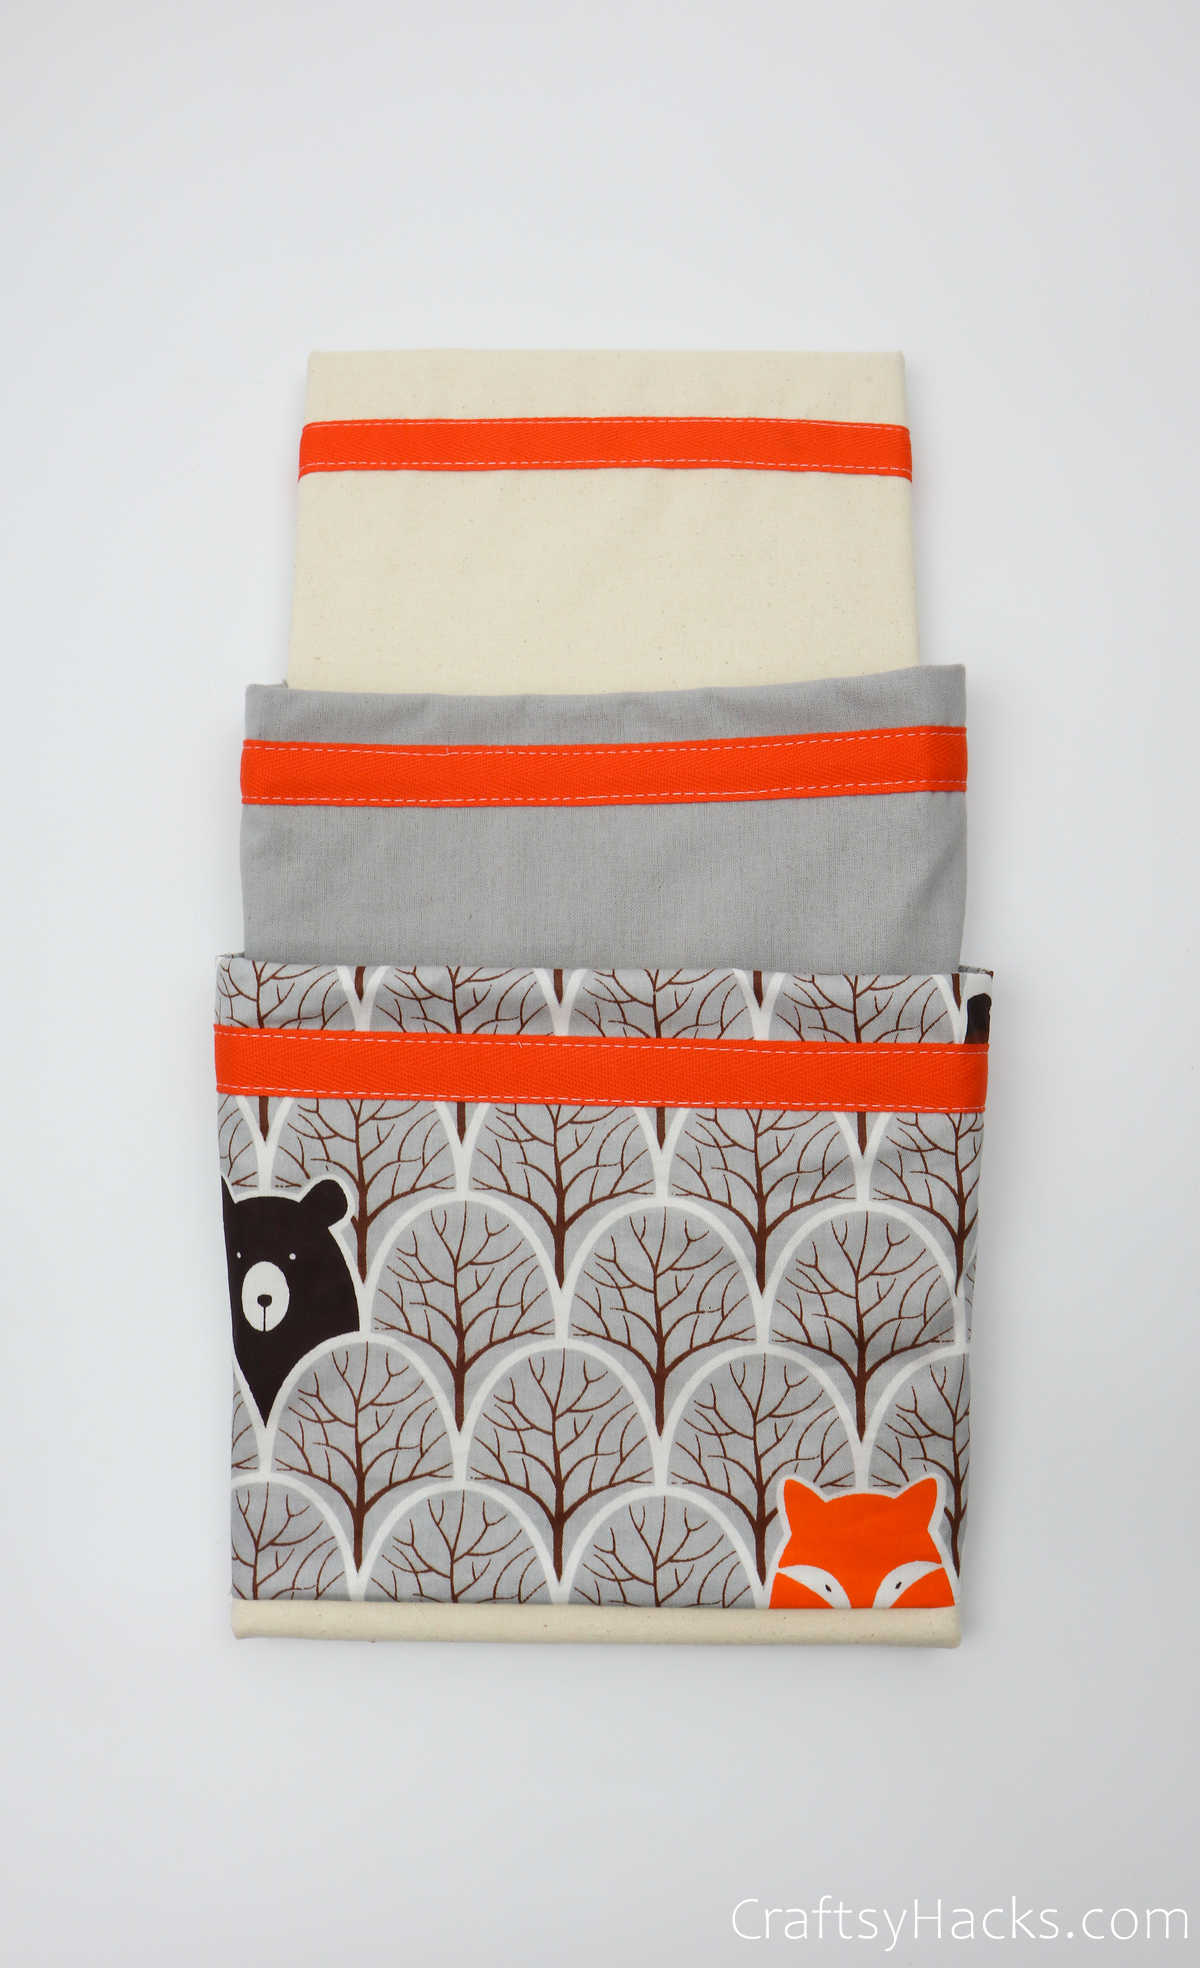
Your top pocket should look something like this when you’re done. Now, let’s move on to the bottom pocket.
Step 11
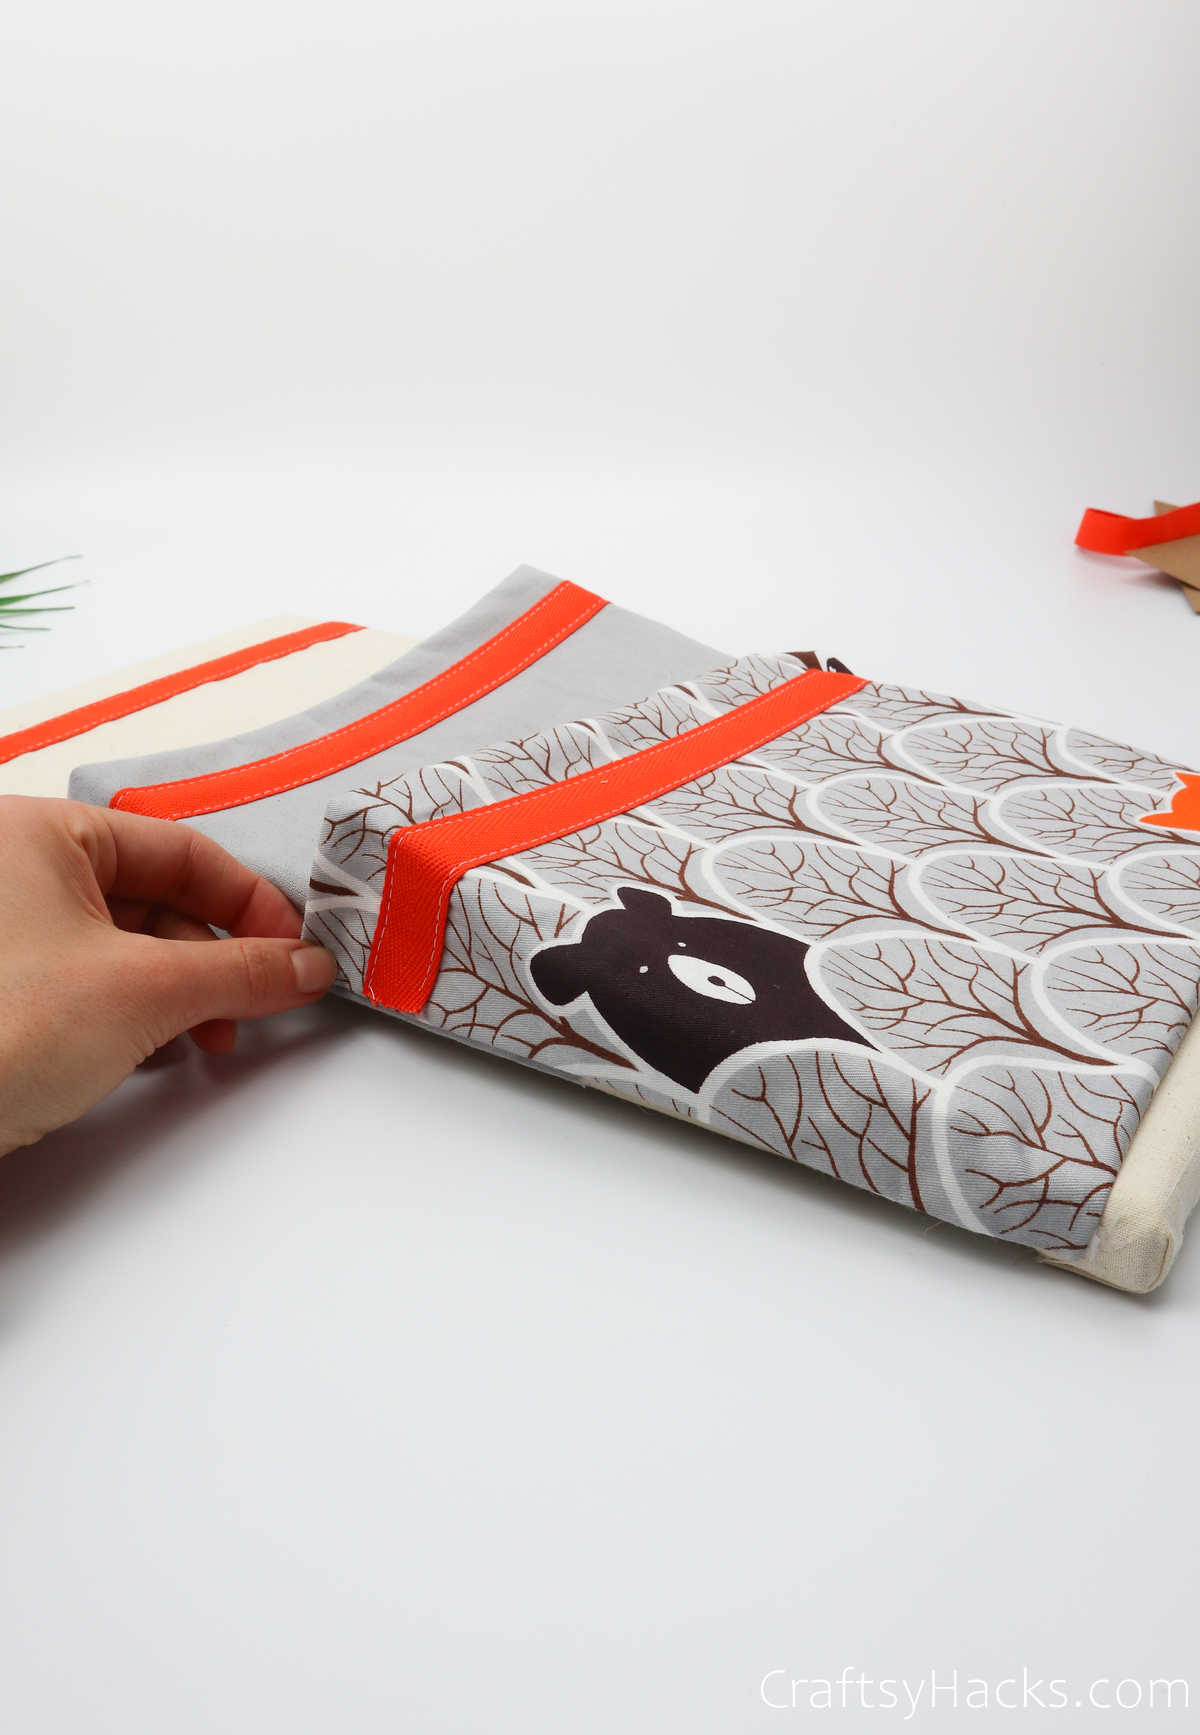
Line up the bottom pocket and make sure you leave a little stretch of canvas at the bottom, as you can see here. This will make sure that your pocket’s weight is distributed evenly.
You know the drill: fold the bottom and sides of the fabric and hot glue them in place just like you did with the top pocket.

Make sure you tug at the top ends so that they stick out just so.
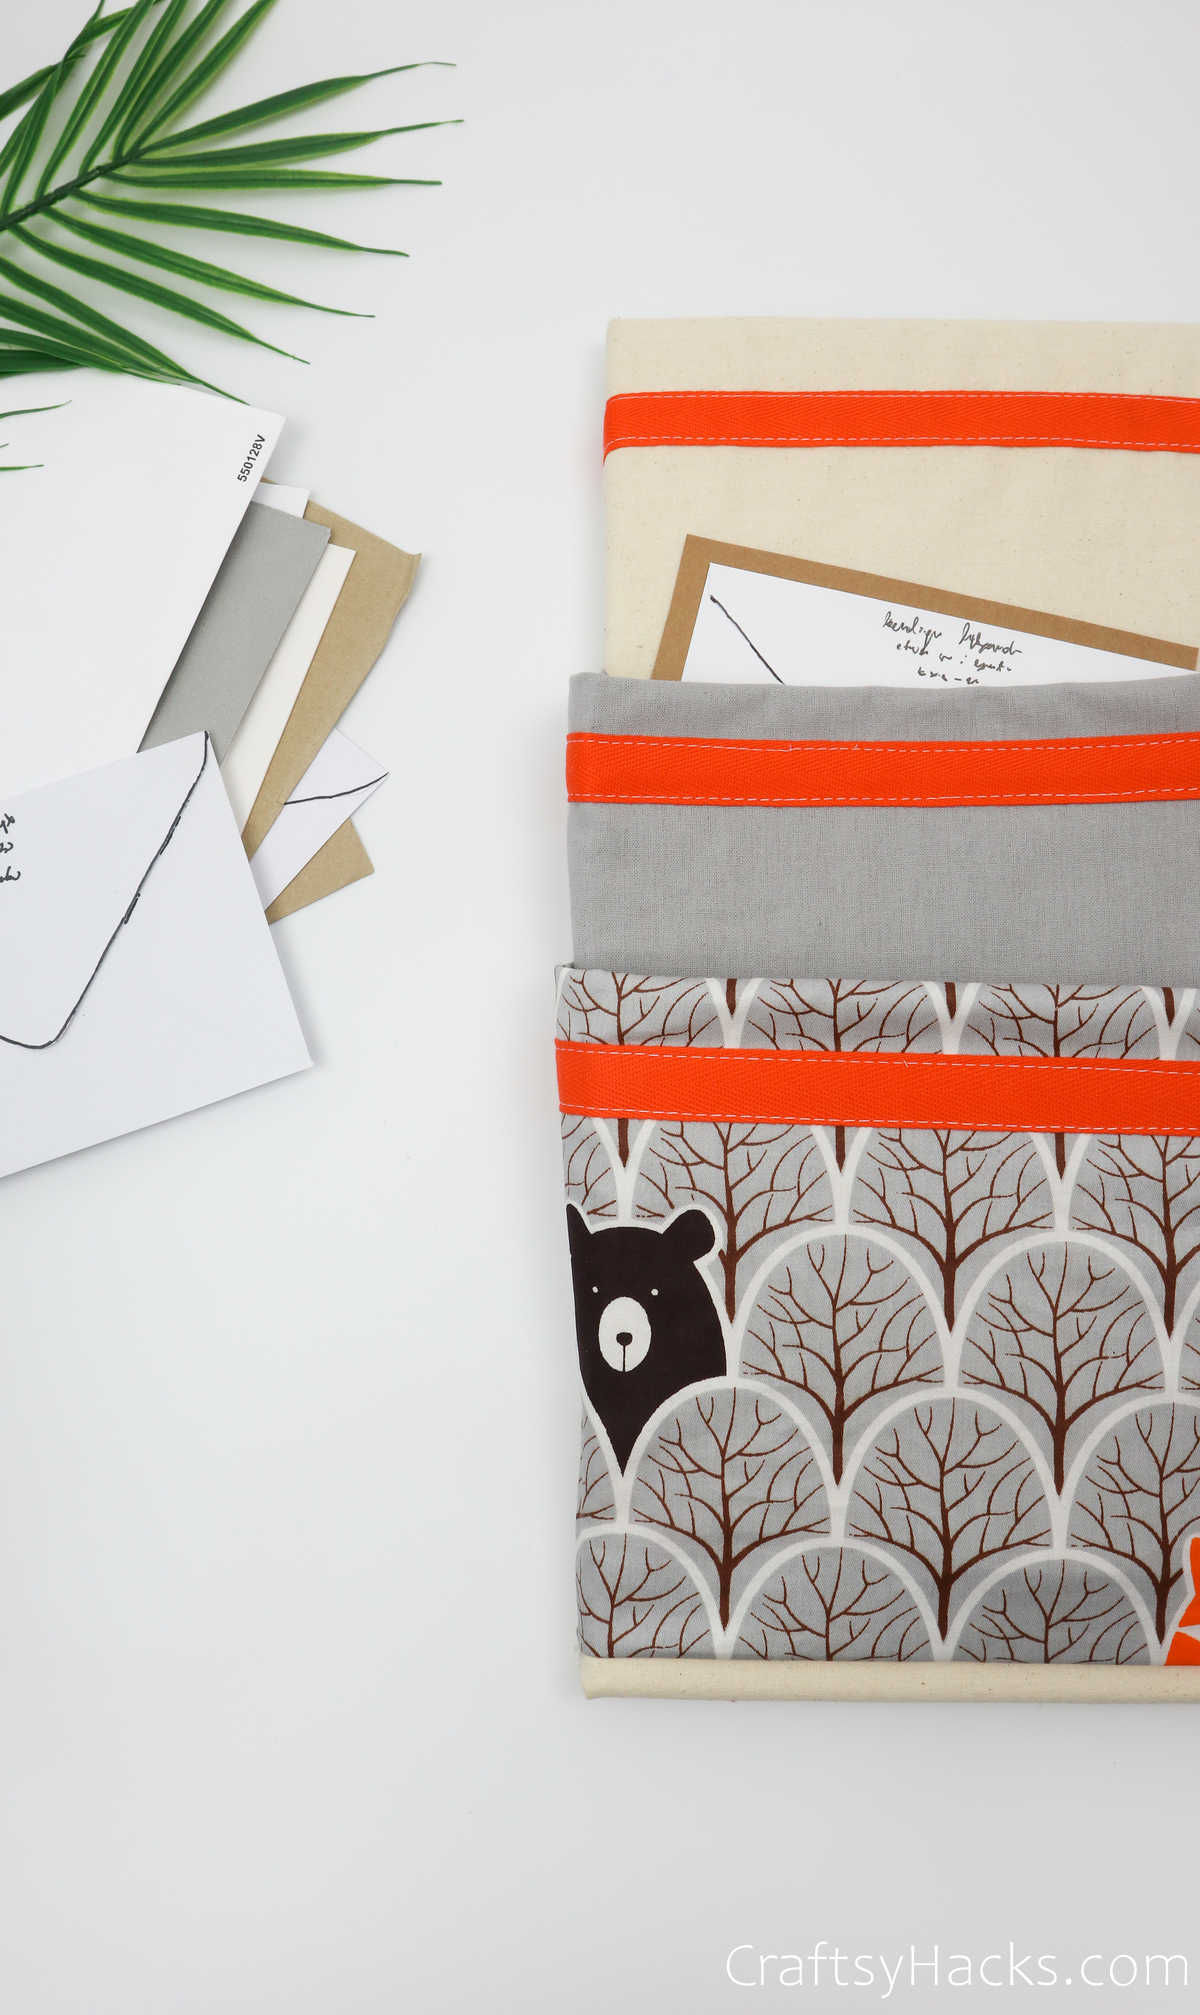
And there you have it! Your DIY mail organizer is all ready!
What Types of Fabric Can I Use?
Cotton canvas fabric is perhaps the most popular choice. It is easy to find, you’ve got a lot of patterns, prints, and colors to choose from, and it is also pretty cost-effective.
That being said, you can also use other fabrics like:
- Silk
- Linen
- Denim
- Leather or suede swatches
- Synthetic leather(rexine) or synthetic suede if you rather go for a vegan option
- Vinyl
- Wool
- Medium weight fabric like brocade, crepe, velvet, or satin
- Neoprene rubber
Can I Hang This Mail Organizer Up?
You can easily use this as a standard organizer and prop it up against the wall. The canvas frame will give your organizer the support it needs to stand upright.
If, however, you want to mount it or hang it up on a wall, just hot glue a command hoop to the back of the canvas, and hey presto, you can hang it up!
Can I Make This Without a Sewing Machine?
Yes, you can definitely sew this entire project by hand if you want to. Just a word of advice, though.
Instead of sewing the twill tape, use hot glue to stick it in place. You’ll find it hard to hand-sew twill tape with the cardboard sheet in place as it is.

Where Can I Place It?
If your craft desk or work table is against a wall, you won’t have any trouble propping this up on the table.
It can also be hung up just about anywhere you like. Consider where you normally tend to place your mail when you bring it home. That’s a habit that can be hard to break.
So, what you can do is hang the organizer up next to where you usually place your stack of mail so that you’ll put them in there, instead.

Other Organizers You Can Make
- DIY Earring Organizer
- Pencil Holder Out of Paper
- DIY Jewelry Organizer
- Magnetic Organizer
- DIY Rope Basket
- Bedside Caddy
- 47 Organizing Ideas
- DIY Hanging Organizer
- Cabinet Organizer for Kitchen
- 21 Dollar Tree Storage Ideas
- 40 Office Organization Ideas
- 20 Bedroom Organizing Ideas

Watch Full Video Tutorial

DIY Mail Organizer (Step-by-Step Tutorial)
Video Tutorial
Equipment
- Scissors
- Sewing pins
- Sewing machine
Materials
- Artistic canvas 10″x 16″
- Main piece of fabric 14″x 20″
- 2 x cardboard pieces 6″ x 10″
- Cotton twill tape
Instructions
- Gather all your supplies to get started on this project.
- Lay your fabric of choice on your work surface. Fold it in half with the wrong side facing out.
- Pin three sides together with sewing pins but leave the mouth open. Repeat this with the other fabric, too, as you’ll need two pockets.
- Next, sew both your fabric pockets separately with a sewing machine. Keep in mind not that the mouth of the fabric should remain open.
- Flip the pockets inside out with the right side facing out.
- Then, cut out a bit of cardboard sheet into the appropriate size and slip it into the pocket to use as resistance. Center it so that the cardboard has the same amount of fabric on all four sides.
- For the next step, pin a length of twill tape across the pocket. Make sure you pin it so that the cardboard is also aligned with it. Then, sew both the top and bottom of the tape while making sure you sew the cardboard in place, too.
- Repeat these steps with the other pocket.
- Next, grab your base fabric and sew on some twill tape on it as well. Turn it around and lay it on your table with the taped side facing down.
- Place your canvas board over the base fabric and center it.
- Apply hot glue on all four sides, carefully pull the fabric over and press it down to cover the frame. When you’re folding in the corners, use additional glue to tuck the fabric in and secure it.
- Turn your canvas around and lay out your pockets over it with the larger one at the bottom. This pocket should be the one that overlaps and sticks out over the smaller top pocket.
- So, to start sticking the pockets in place, grab your hot glue gun. Fold the bottom and sides of the pocket about an inch before you stick them onto the canvas. This will raise the pocket up a little. Make sure you glue the sides as well.
- Repeat the previous step with the bottom pocket and once again fold the bottom and sides of the fabric before you glue them down.
- Your DIY Mail organizer is ready to use once the glue has dried up!