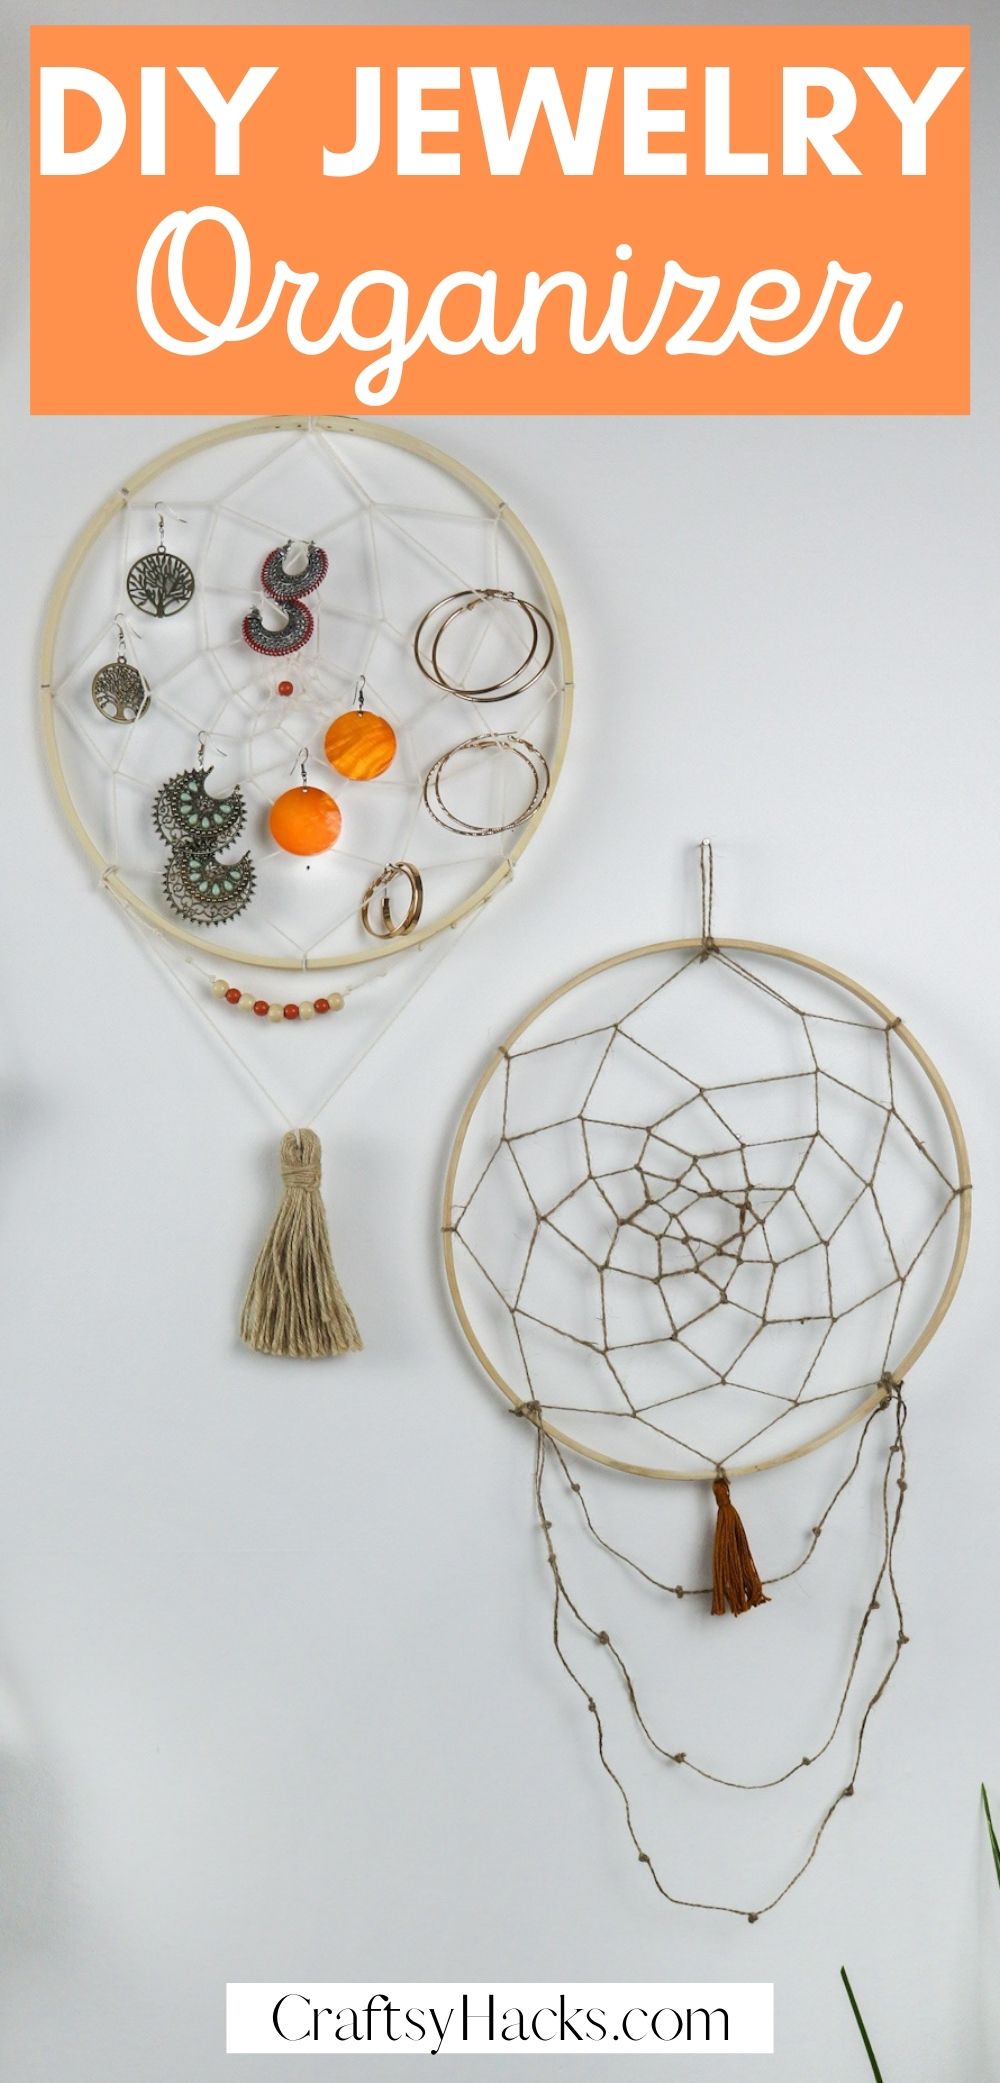
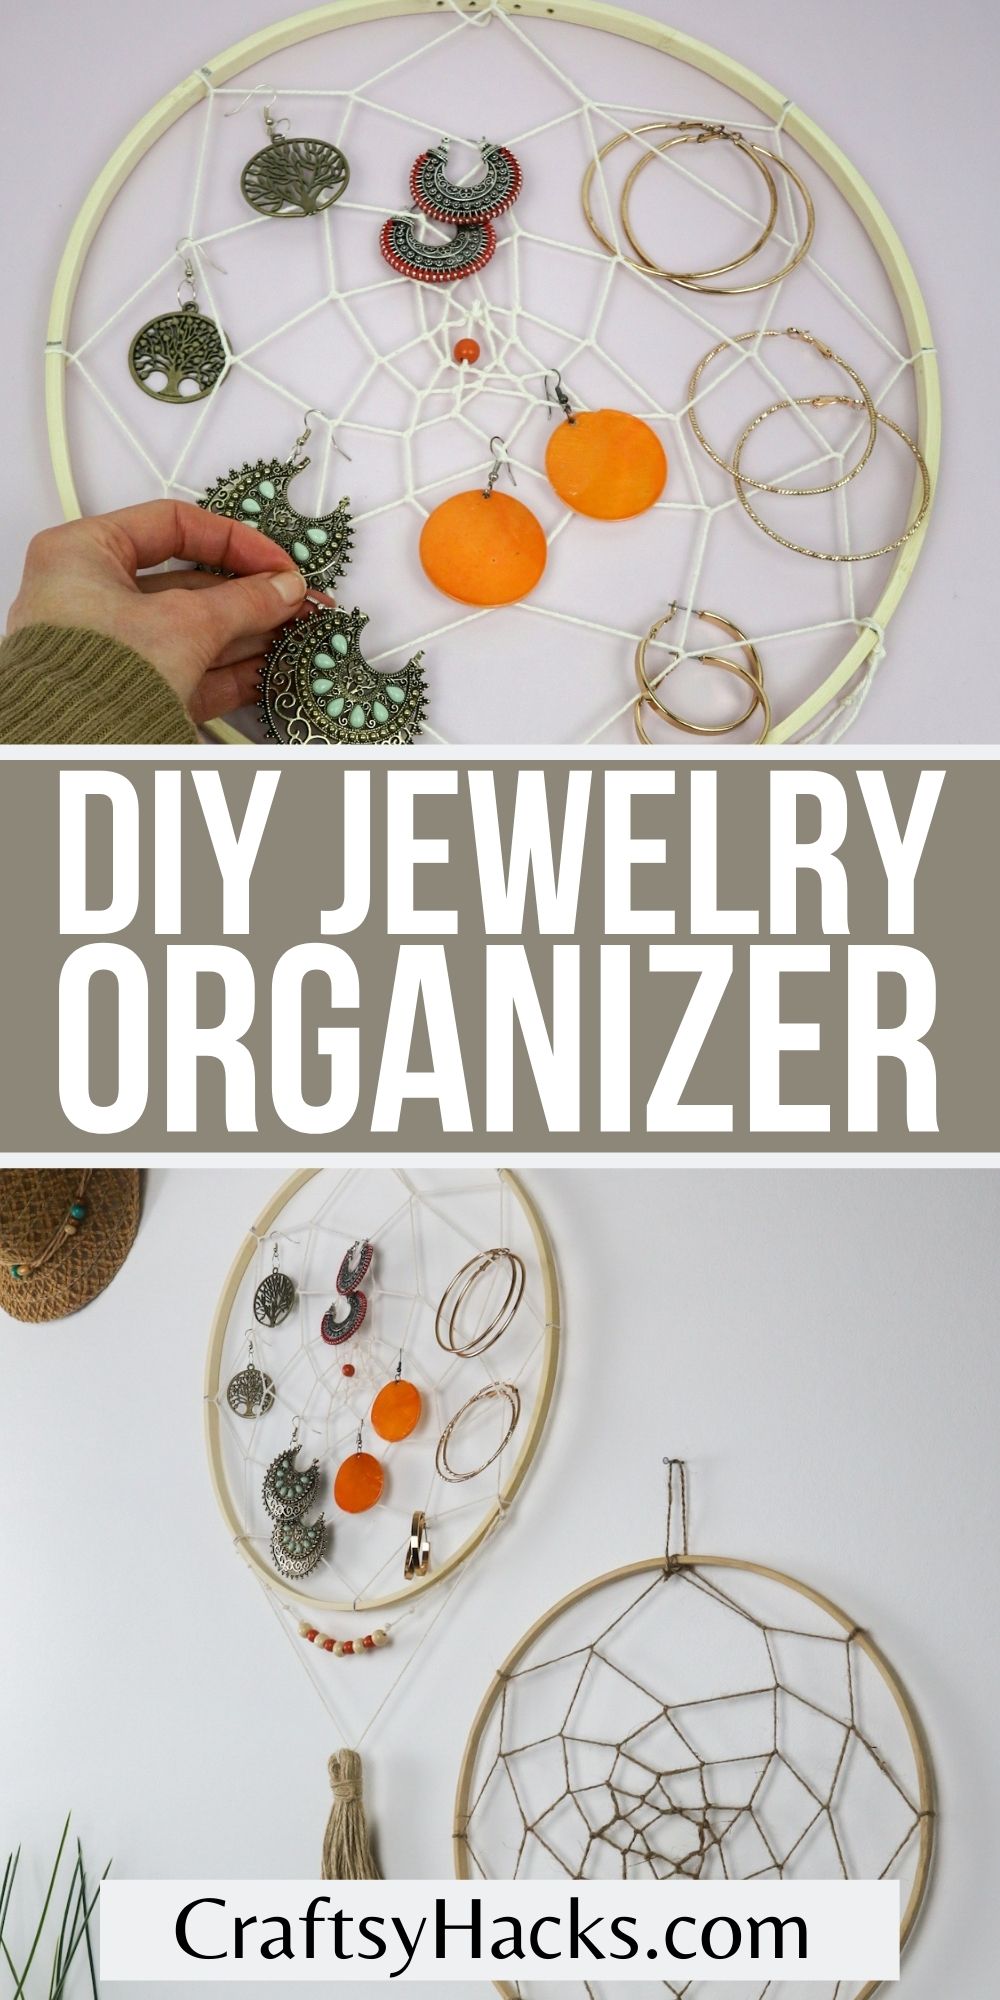
DIY Jewelry Organizer
This post may contain affiliate links: full affiliate disclosure.
Make your very own organizer and keep your jewelry untangled. This DIY project is fun to make whenever you’re decluttering your home.
Do you remember that time when dream catches were all the rage? You couldn’t walk past a craft or decor store and not see a dozen colorful, intricate dream catchers, hanging up by the storefront.
Now, hear me out—instead of catching your dreams, how cool would it be if they were to catch and hold something more tangible? Say, your jewelry, perhaps? Intrigued?
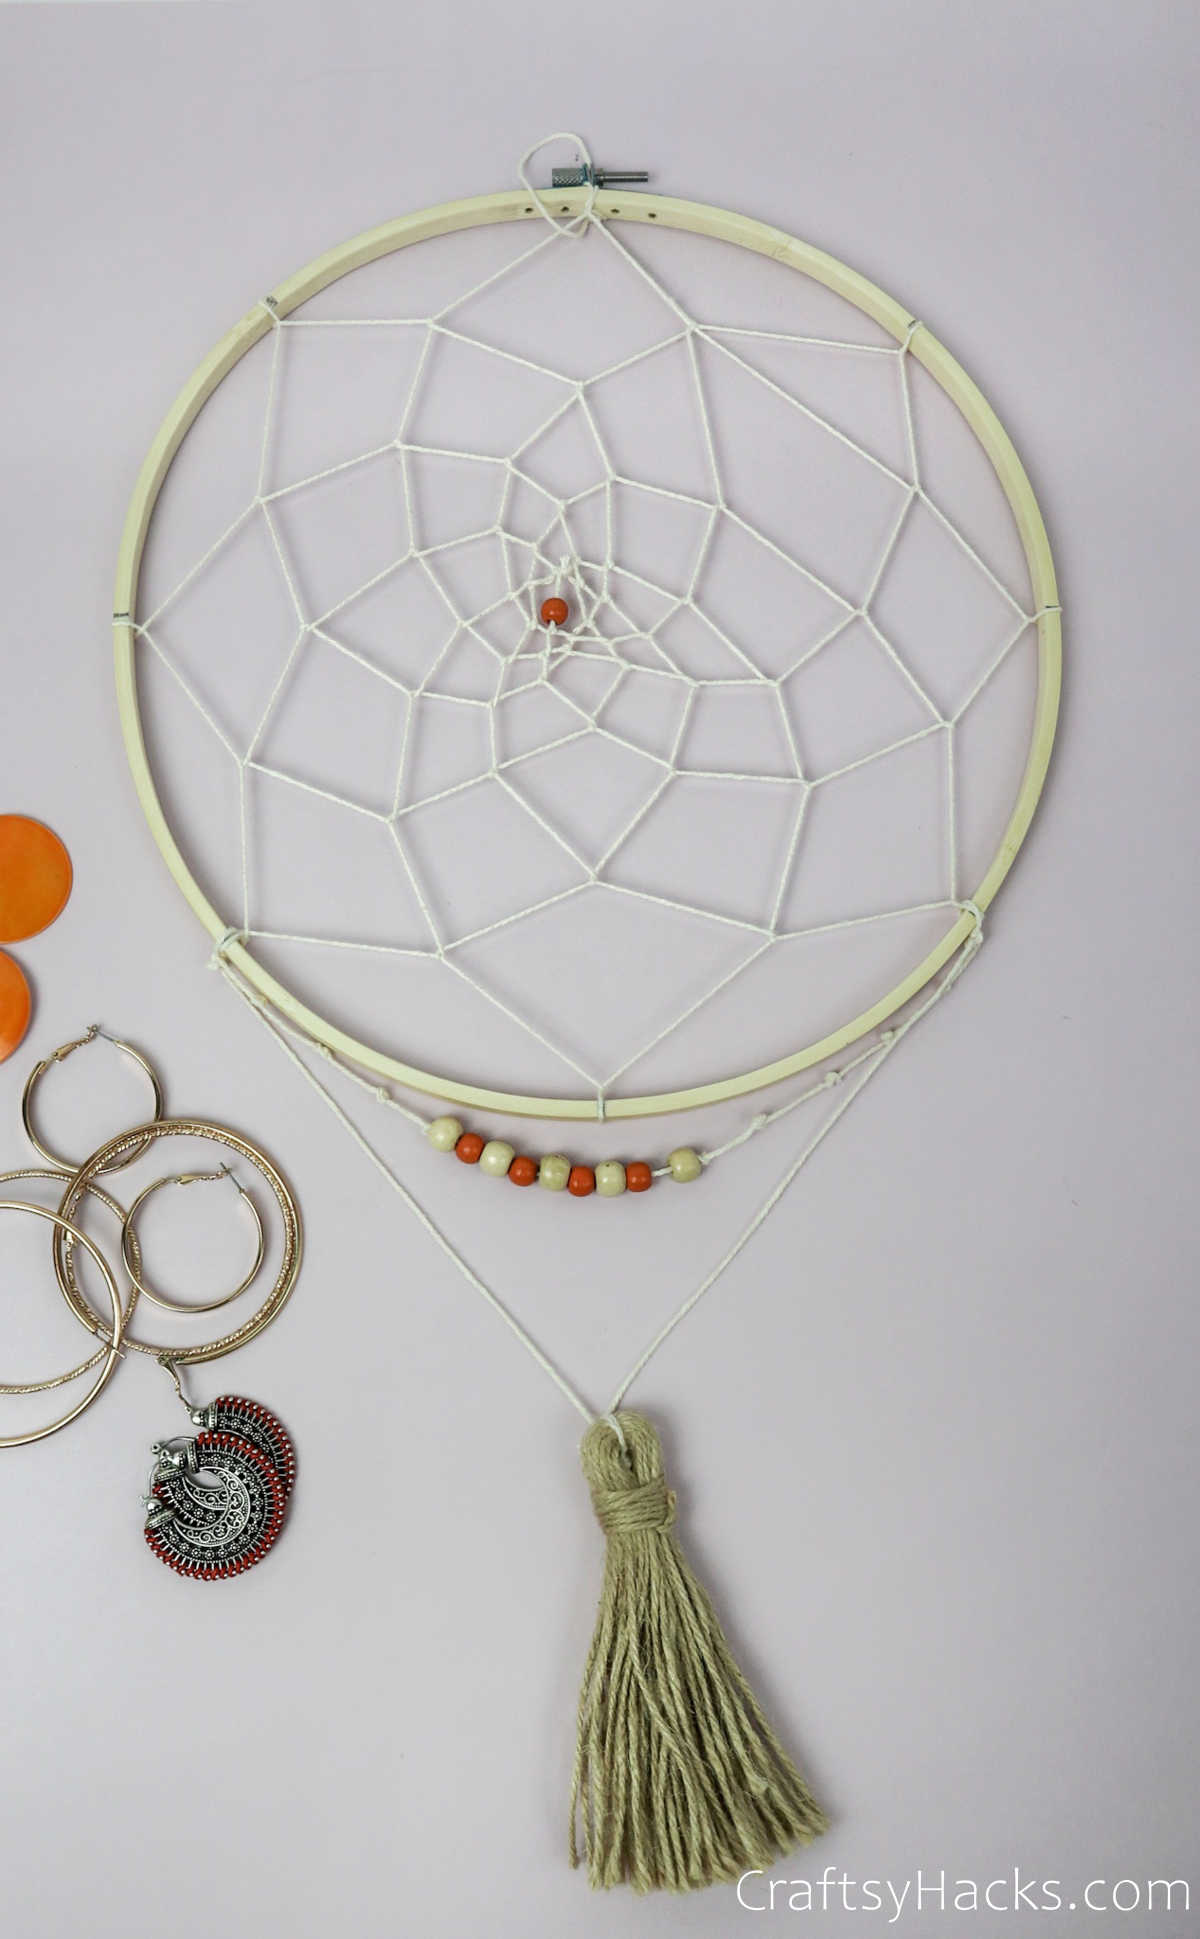
Well, for this DIY project, you’re going to make a dreamcatcher that’s moonlighting as a jewelry organizer. It’s super easy to make, and you don’t need a ton of supplies.
If you’re familiar with how to make a dreamcatcher, you’re already about halfway there. But even if you’re not, don’t worry about it; I’ve got you covered!
Supplies to Make the Organizer
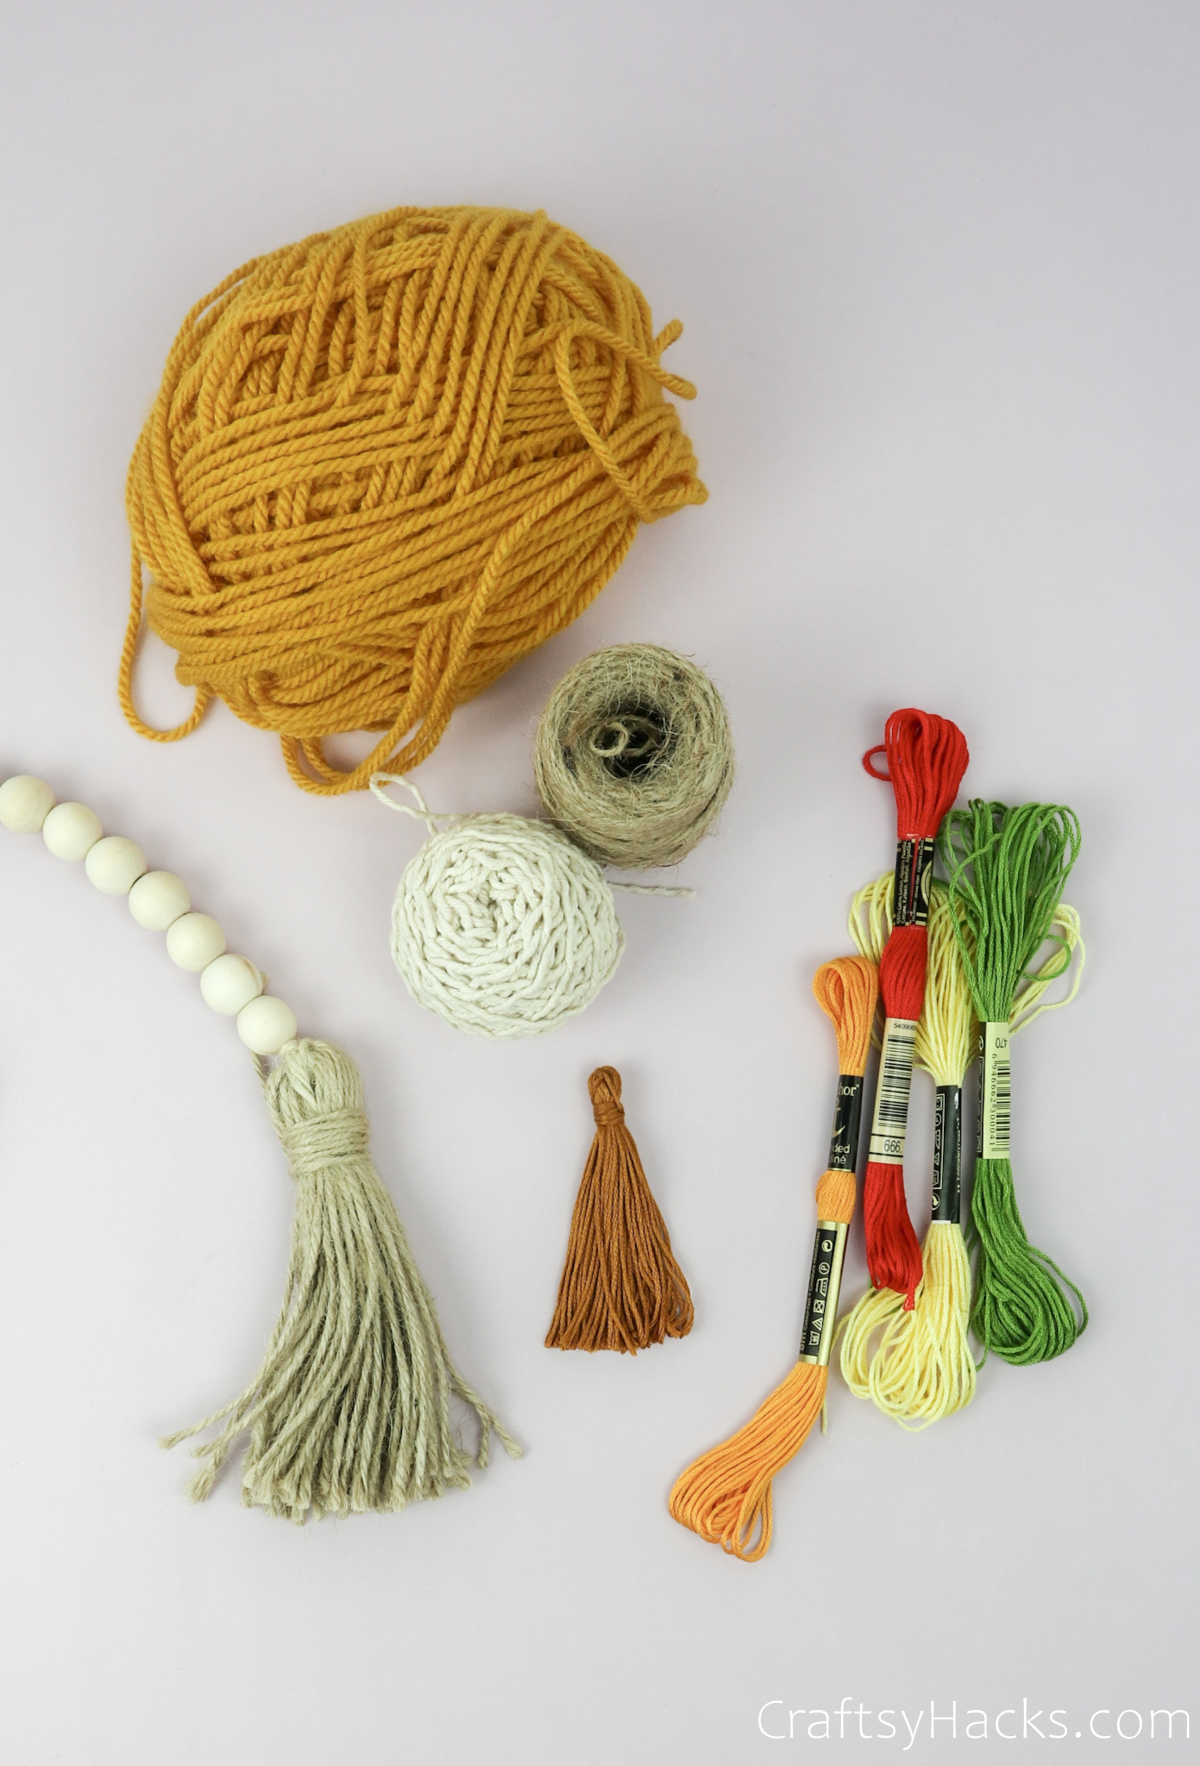
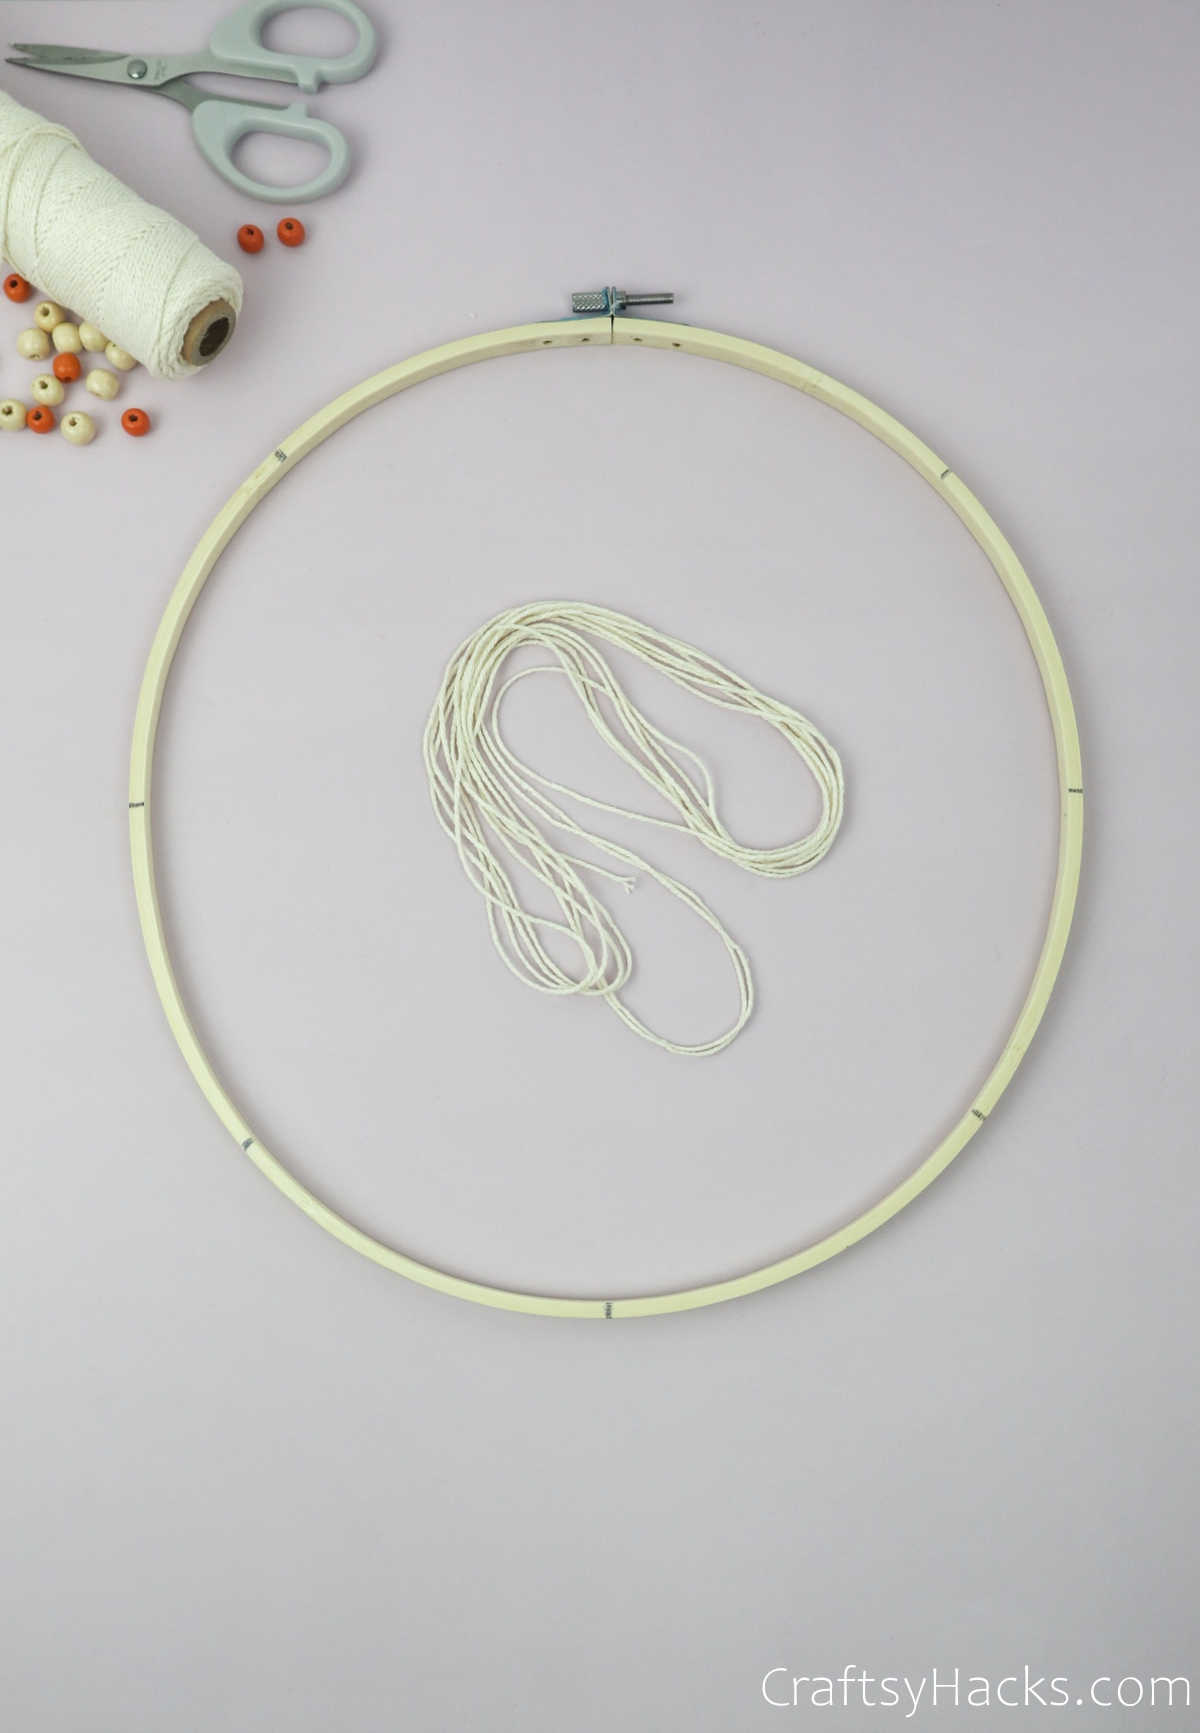
First, take a look at all the supplies you’ll need for this DIY.
- Embroidery hoop
- Cotton string
- Scissors
- Beads
- Pencil (optional)

- Tassels (optional)
- Strings (optional)
Tassels and strings are completely optional, but they do add an extra oomph factor to the dream catcher! Alternatively, you can string beads, buttons, shells, and any other embellishments you see fit, too!
How to Make a Jewelry Organizer
Before you begin, just keep in mind that you’ll need to decide how big you want your jewelry organizer to be. You’ll be picking out the ring/frame for the project based on your requirements.
Once you’ve decided on that, you can get started.
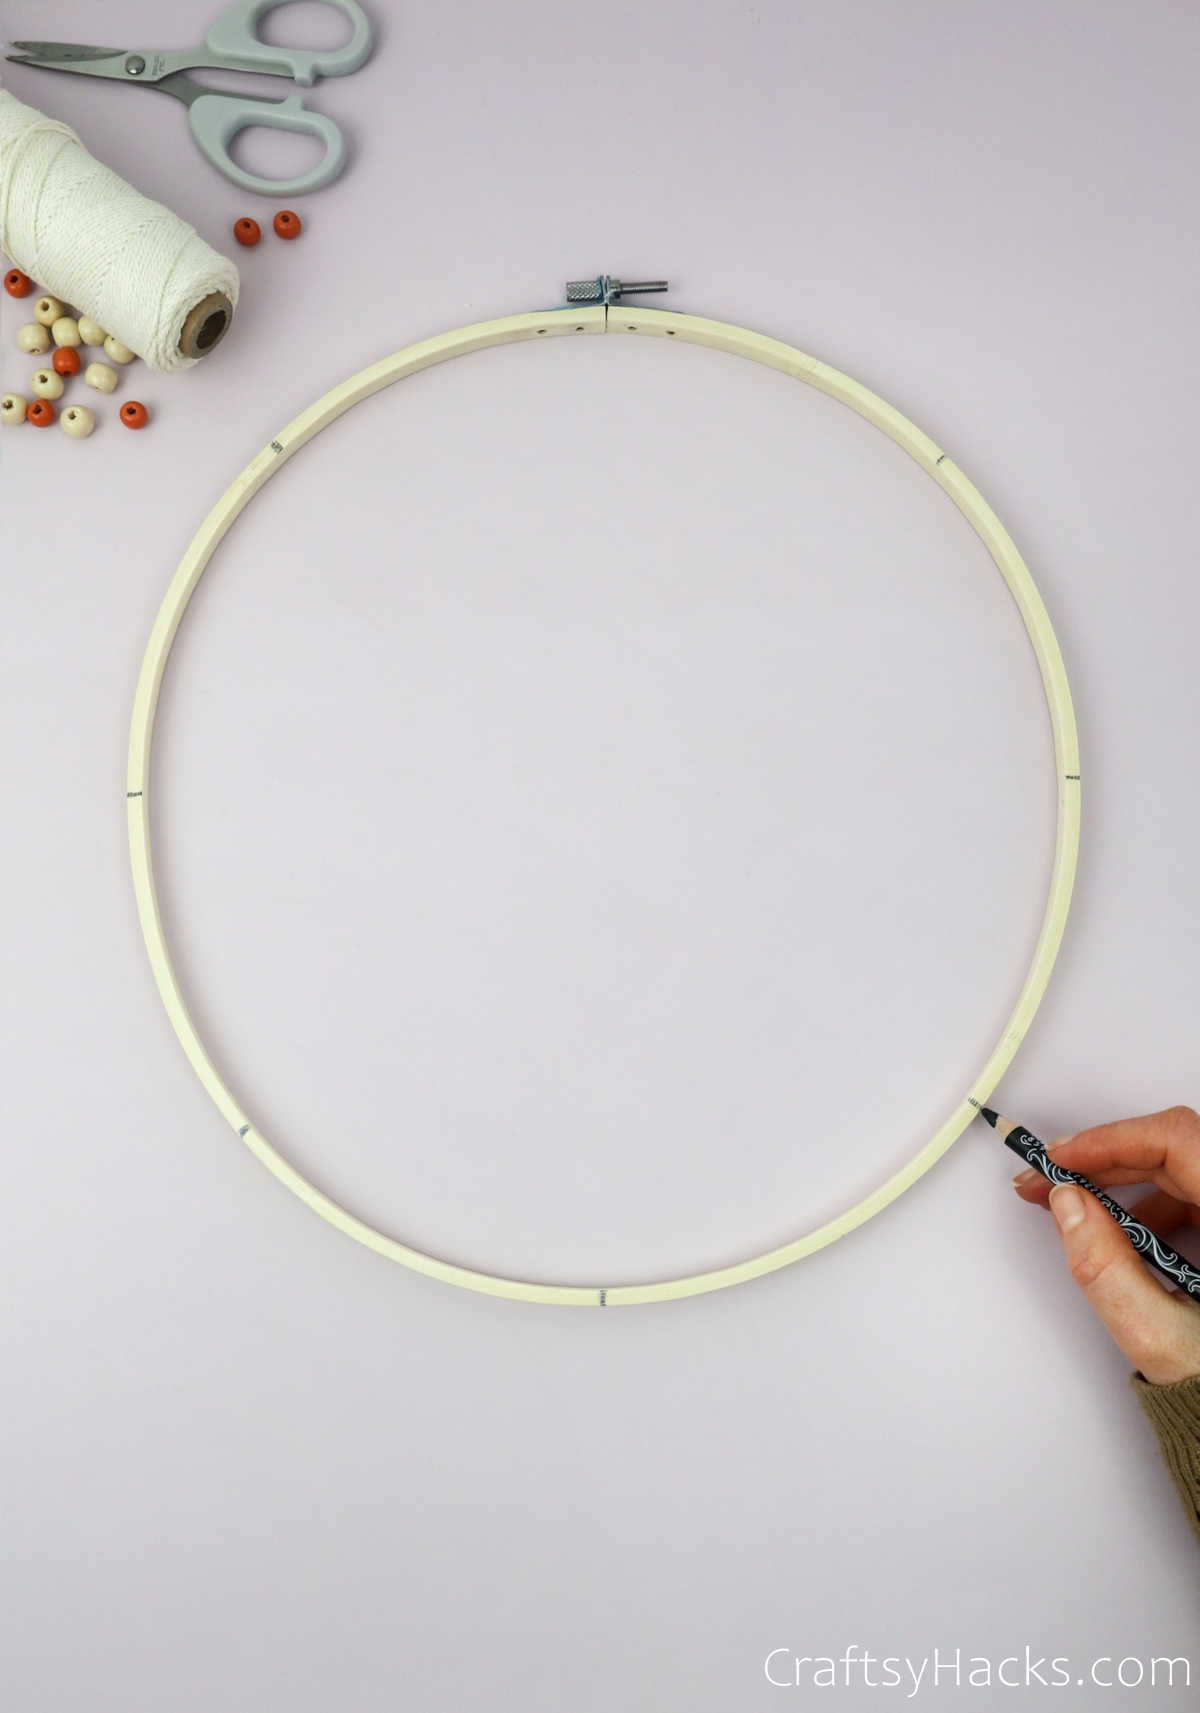
Step 1
Grab a marker and draw little pointers around the ring. You can divide it into as many parts as you like, and your dreamcatcher pattern will vary accordingly.
This pattern, however, calls for eight equal parts. So, you can demarcate 3 o’clock, 6’o clock, 9 o’clock and 12 o’clock and then the center point between each of them. There you go!
Step 2
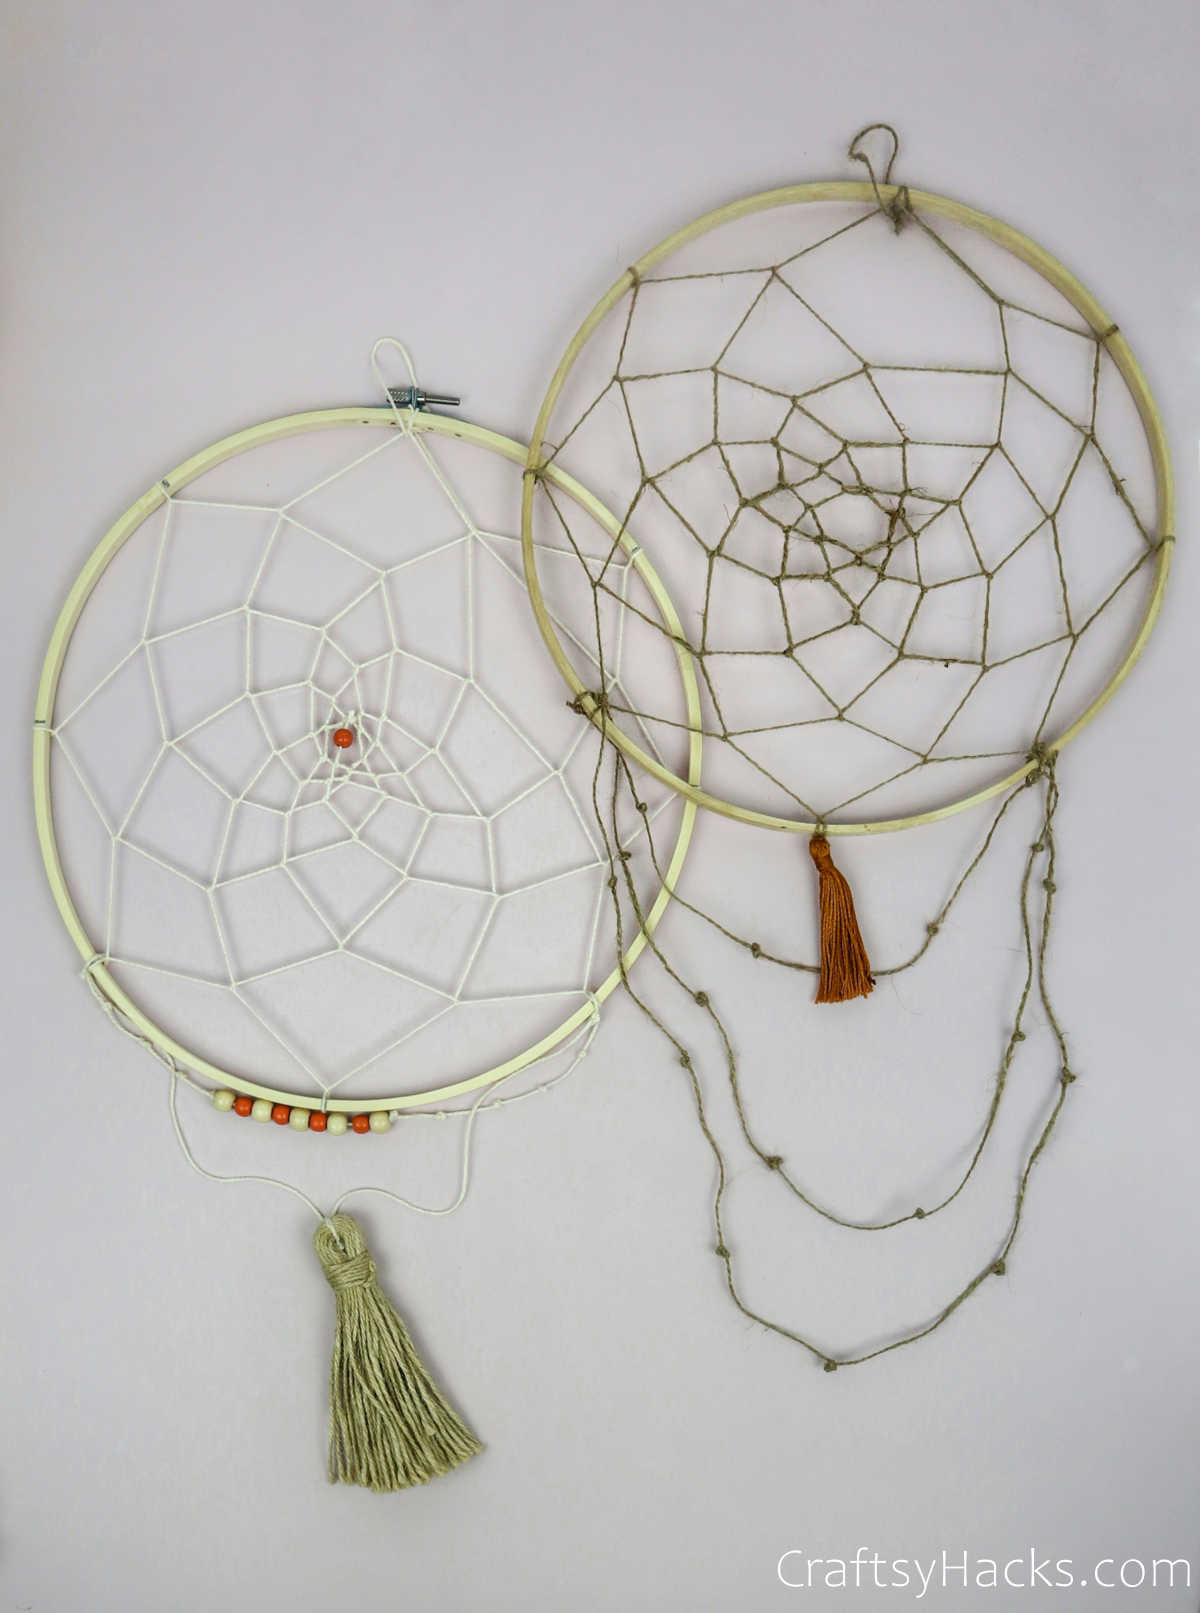
Pick out your embroidery threads—you can choose a simple beige or plain black, or you can make it bold and colorful!
Step 3
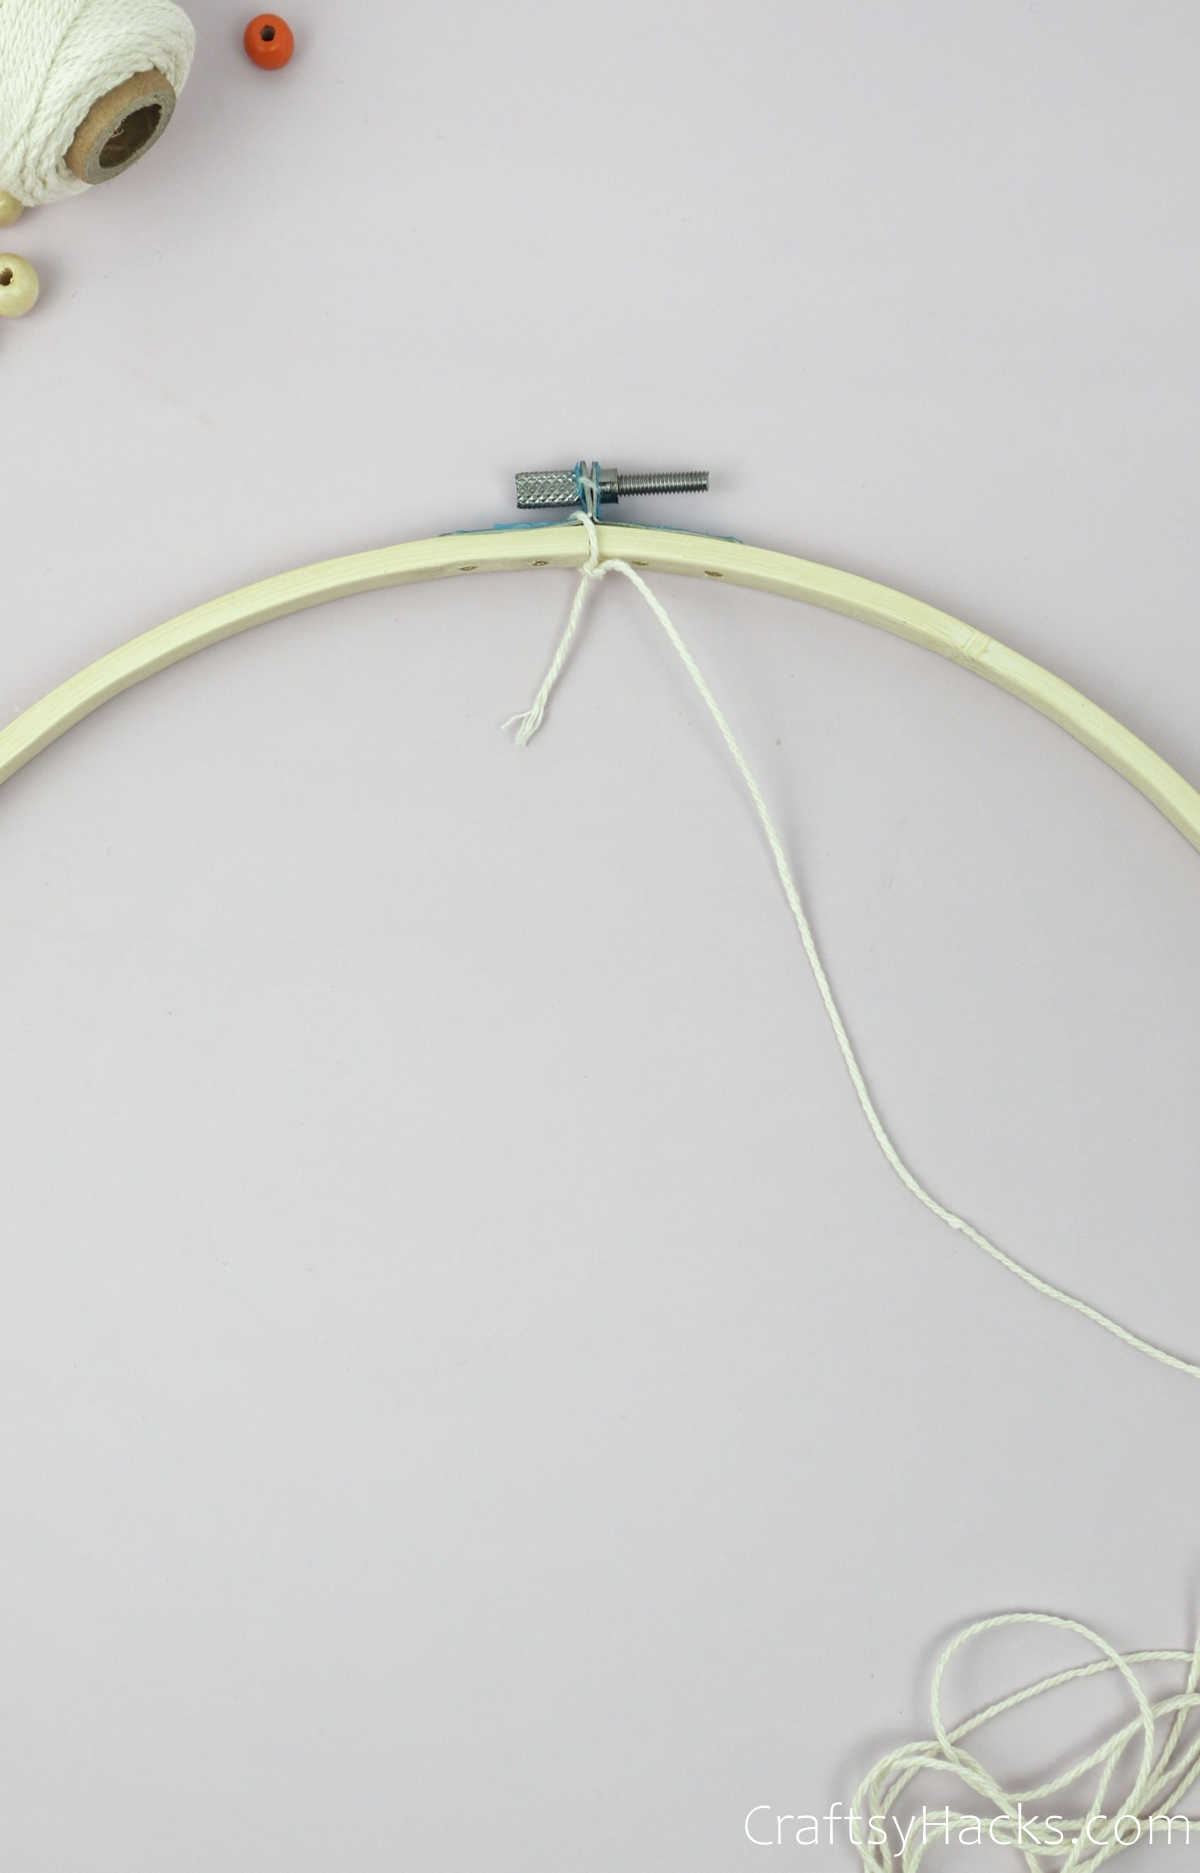
Make a simple knot at the 12 o’clock mark. This will be your starting point, so make sure the knot is secured and doesn’t move around.
Here’s a tip: you can use a tiny amount of glue to hold the knot in place while you maneuver the thread.
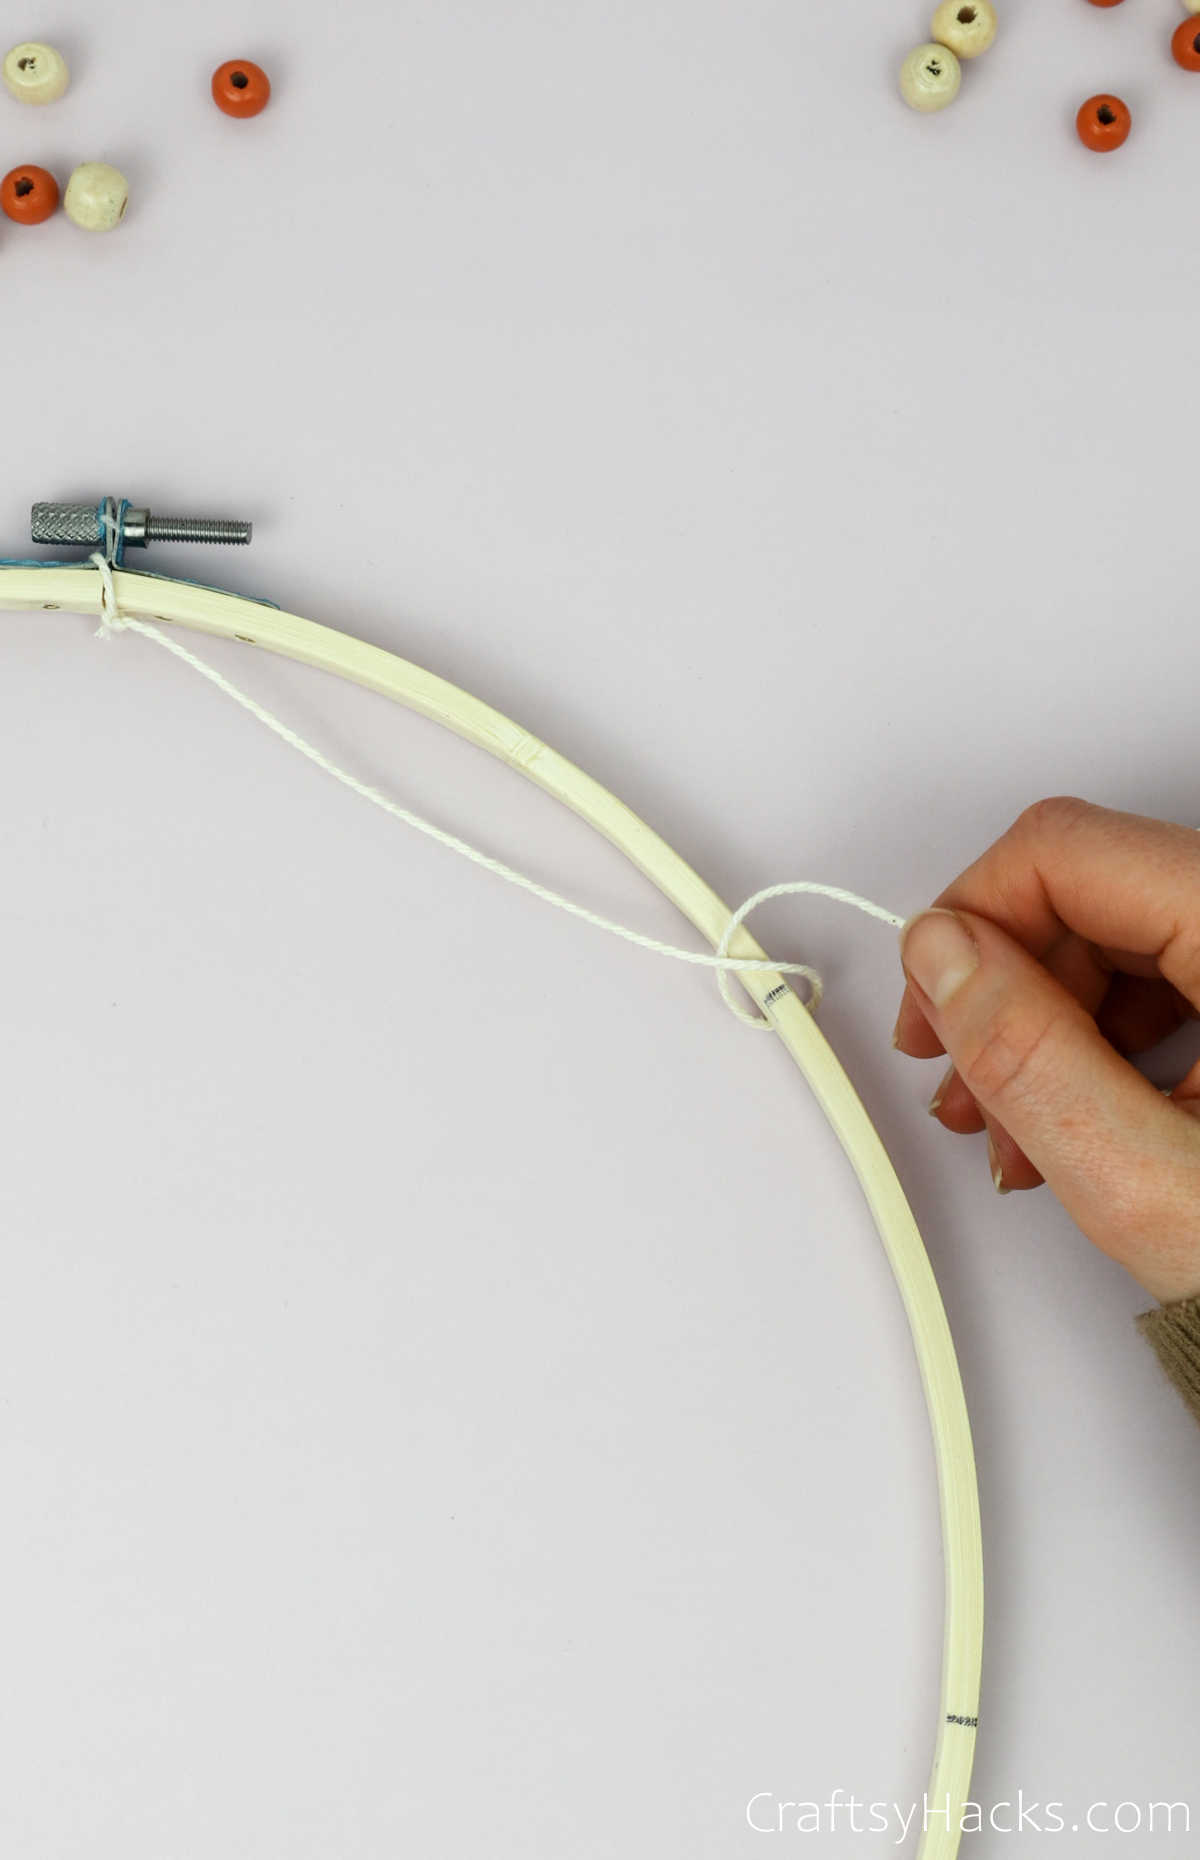
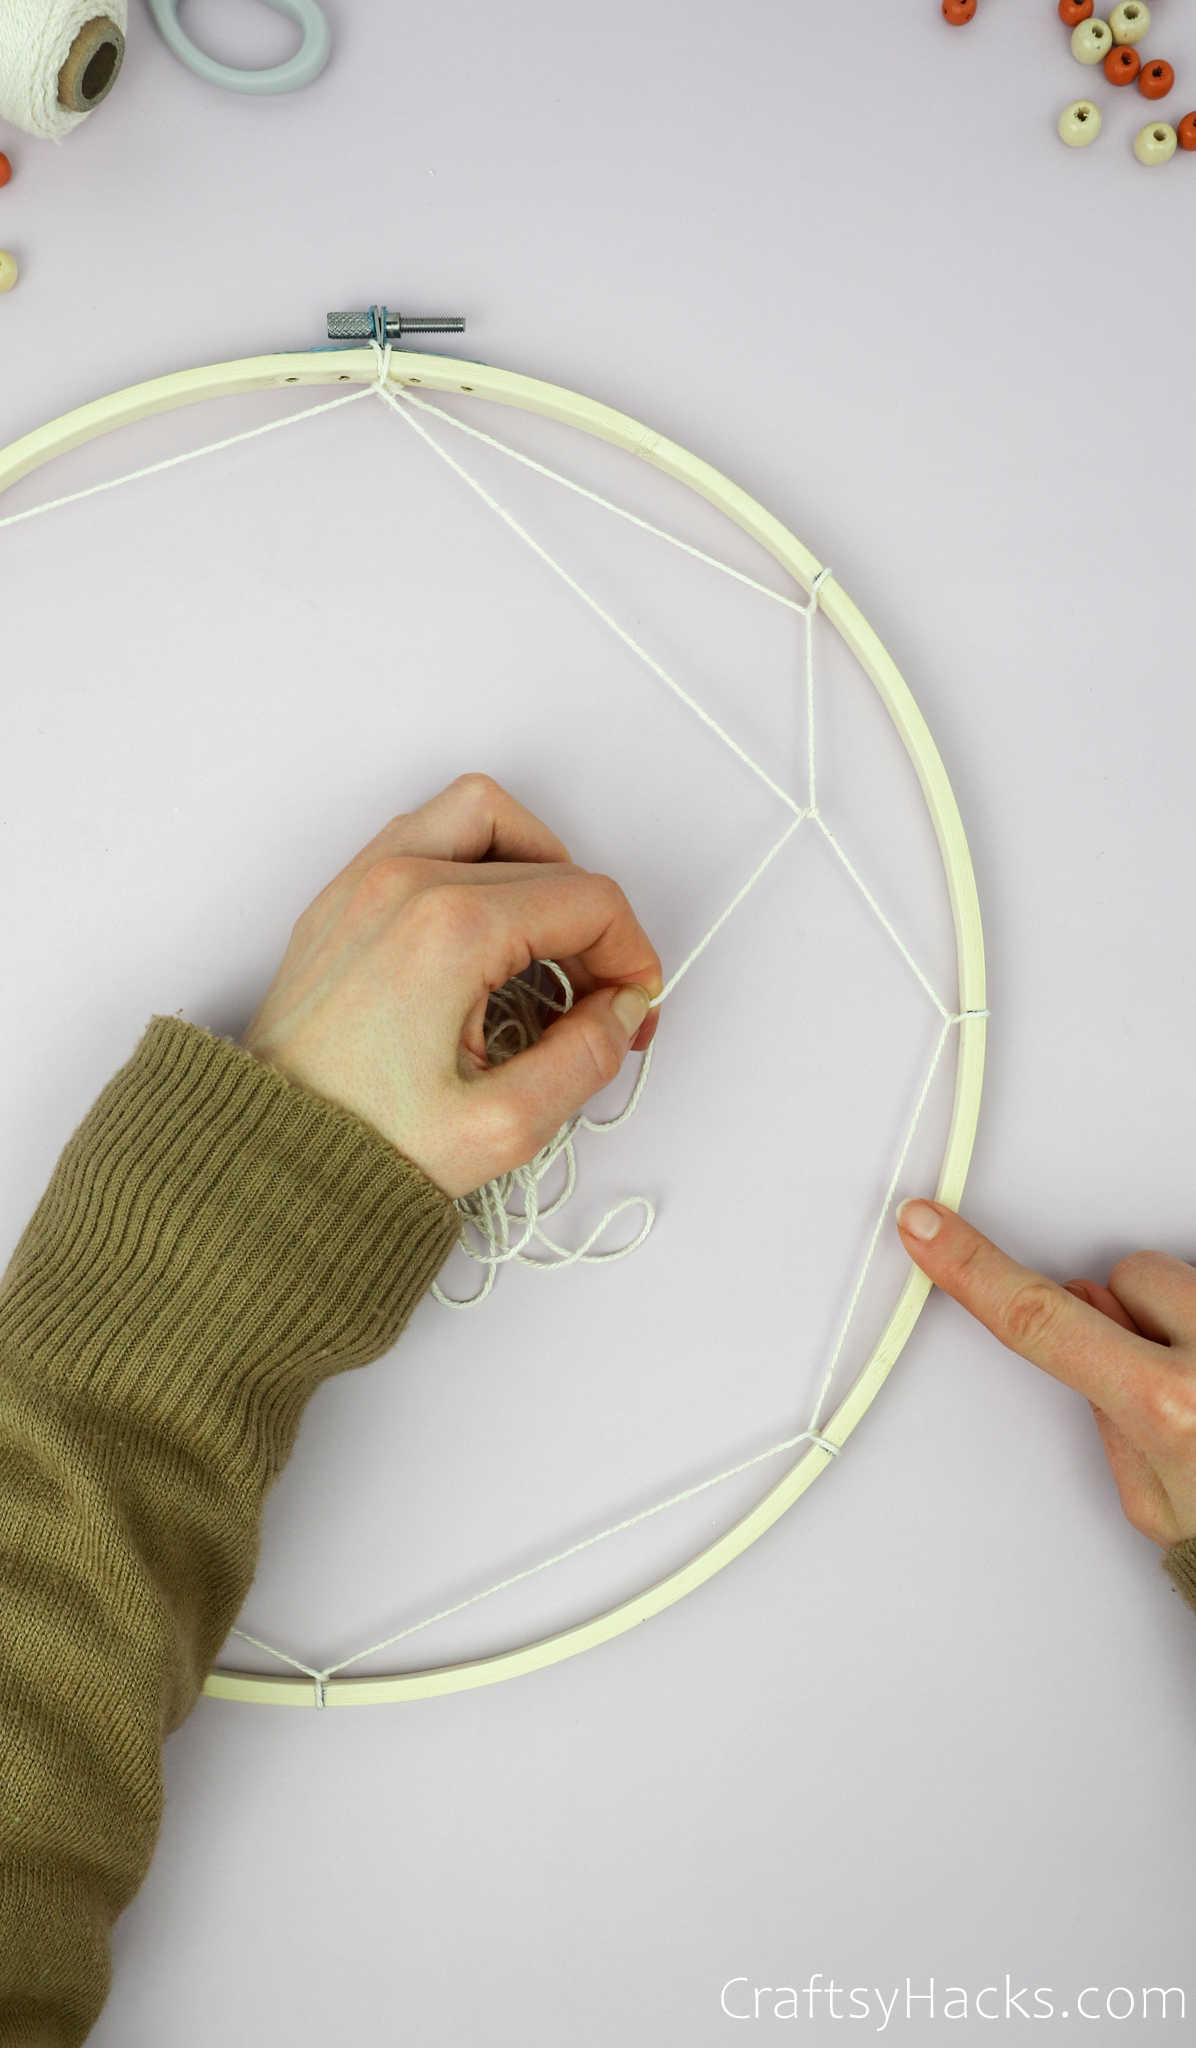
Step 4
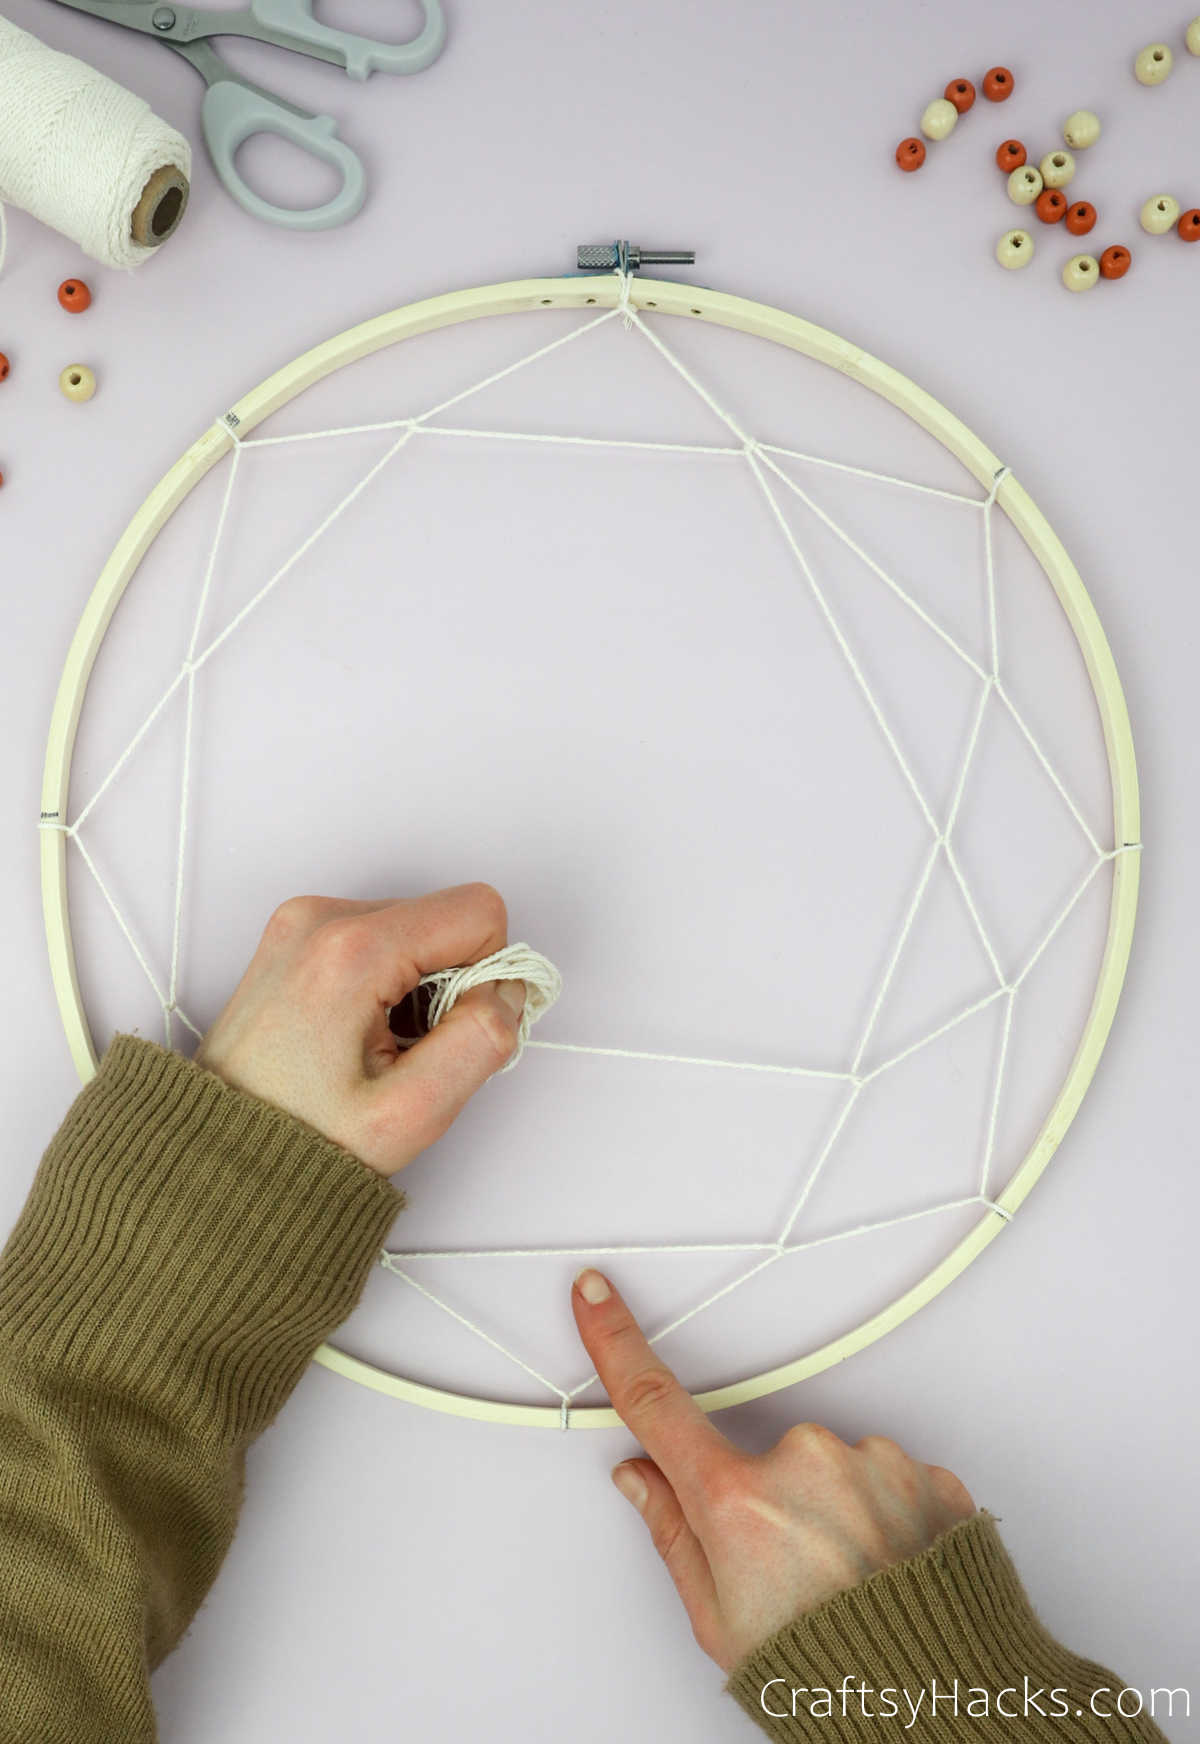
Pull the embroidery thread to the next pointer and loop over the ring. It might help if you hold the ring in place with one hand and use your dominant hand to loop the thread.
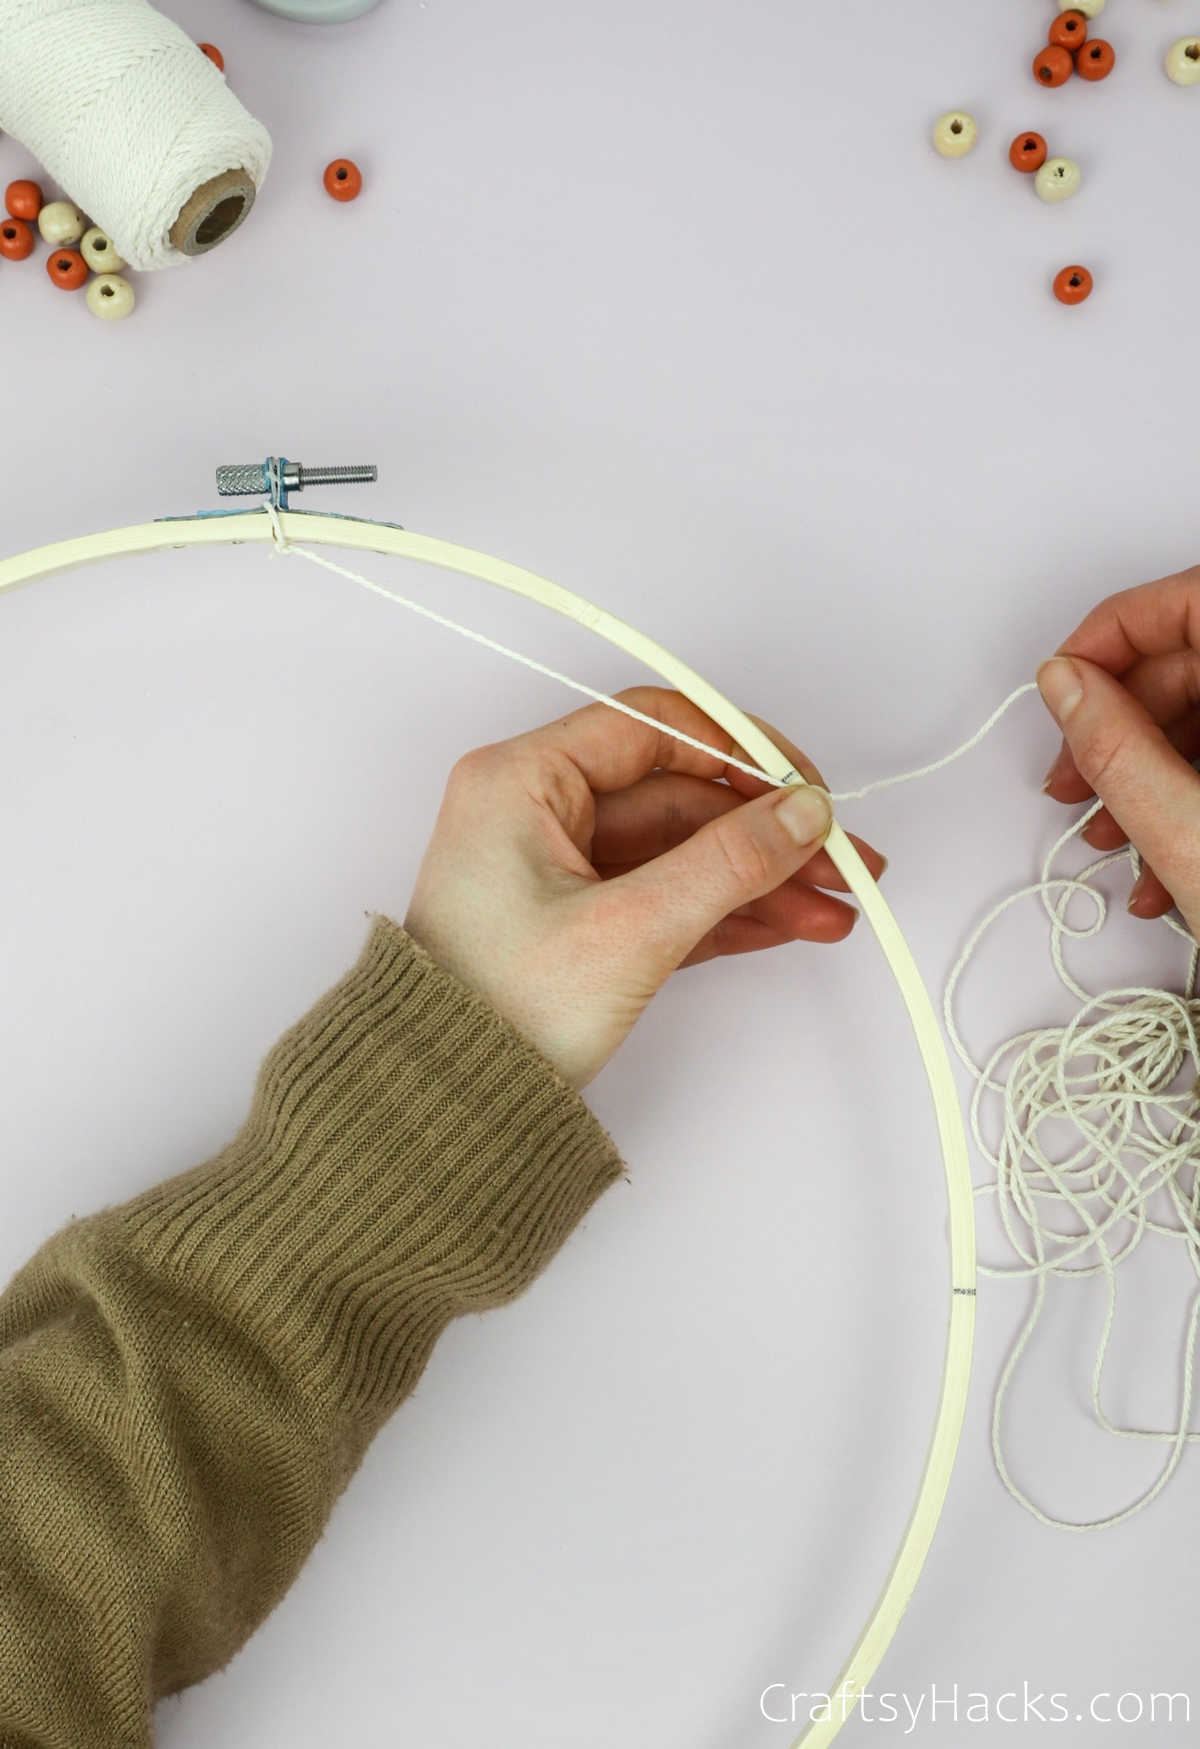

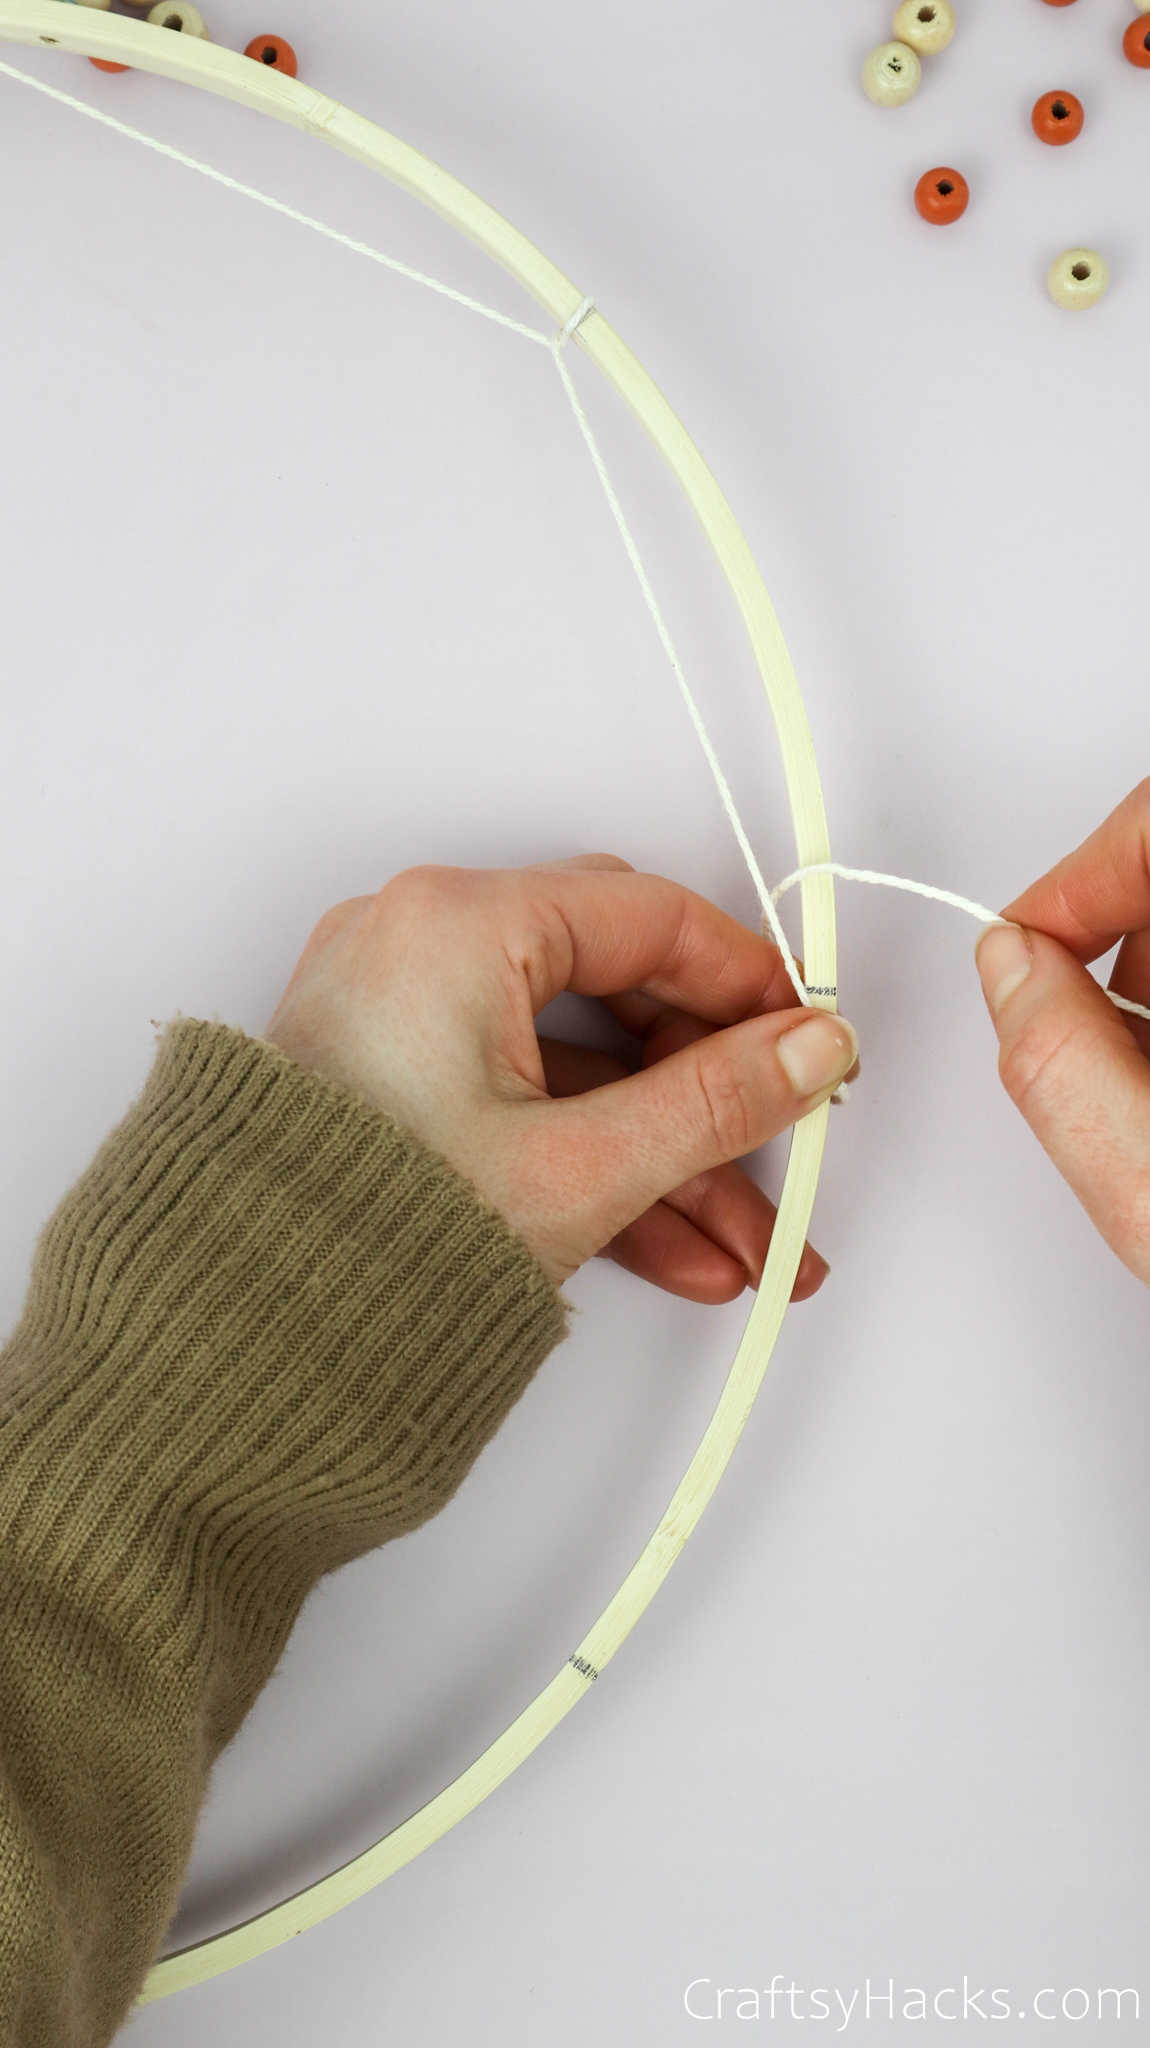
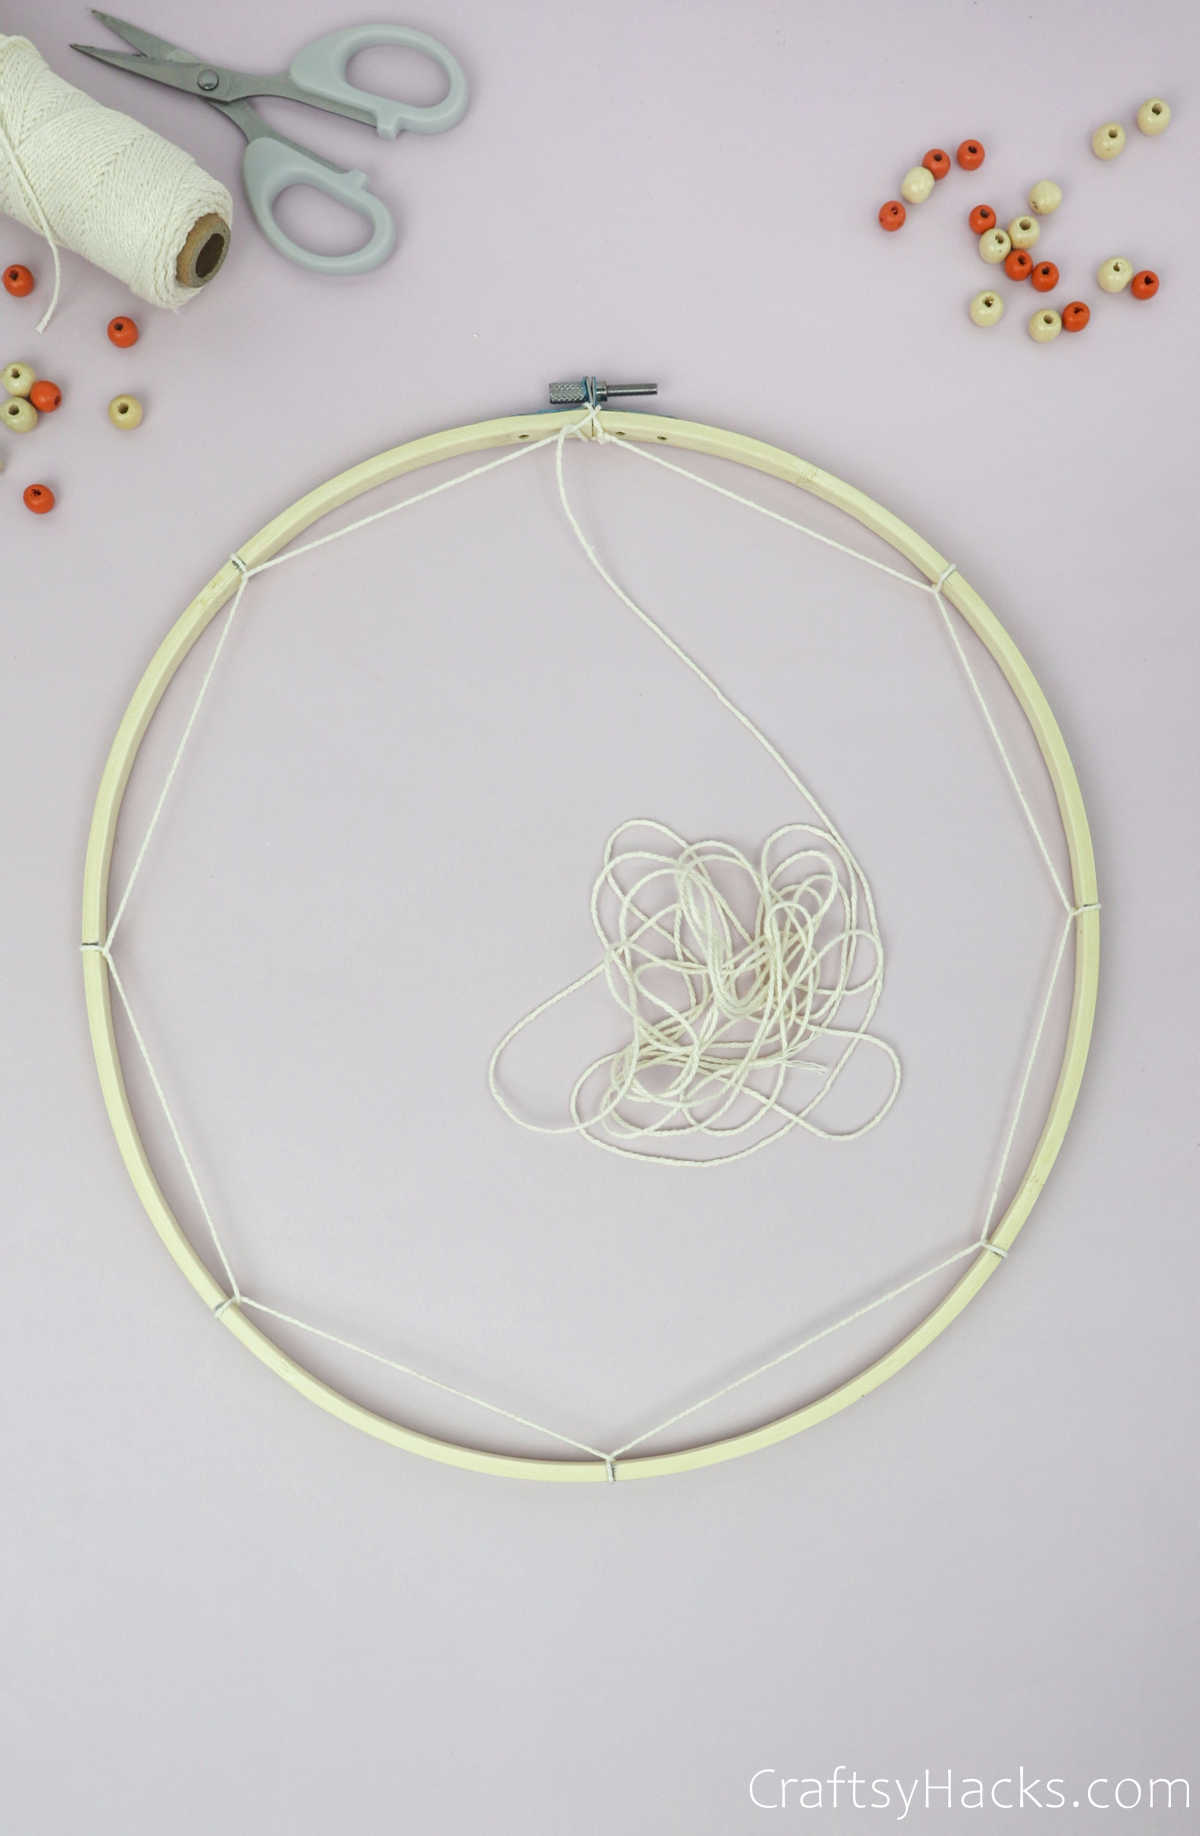
Step 5
Continue to work your way around the ring, looping the thread at every pointer until you complete one full circle.
Just make sure that the embroidery floss doesn’t move around too much and remain taut and secure.
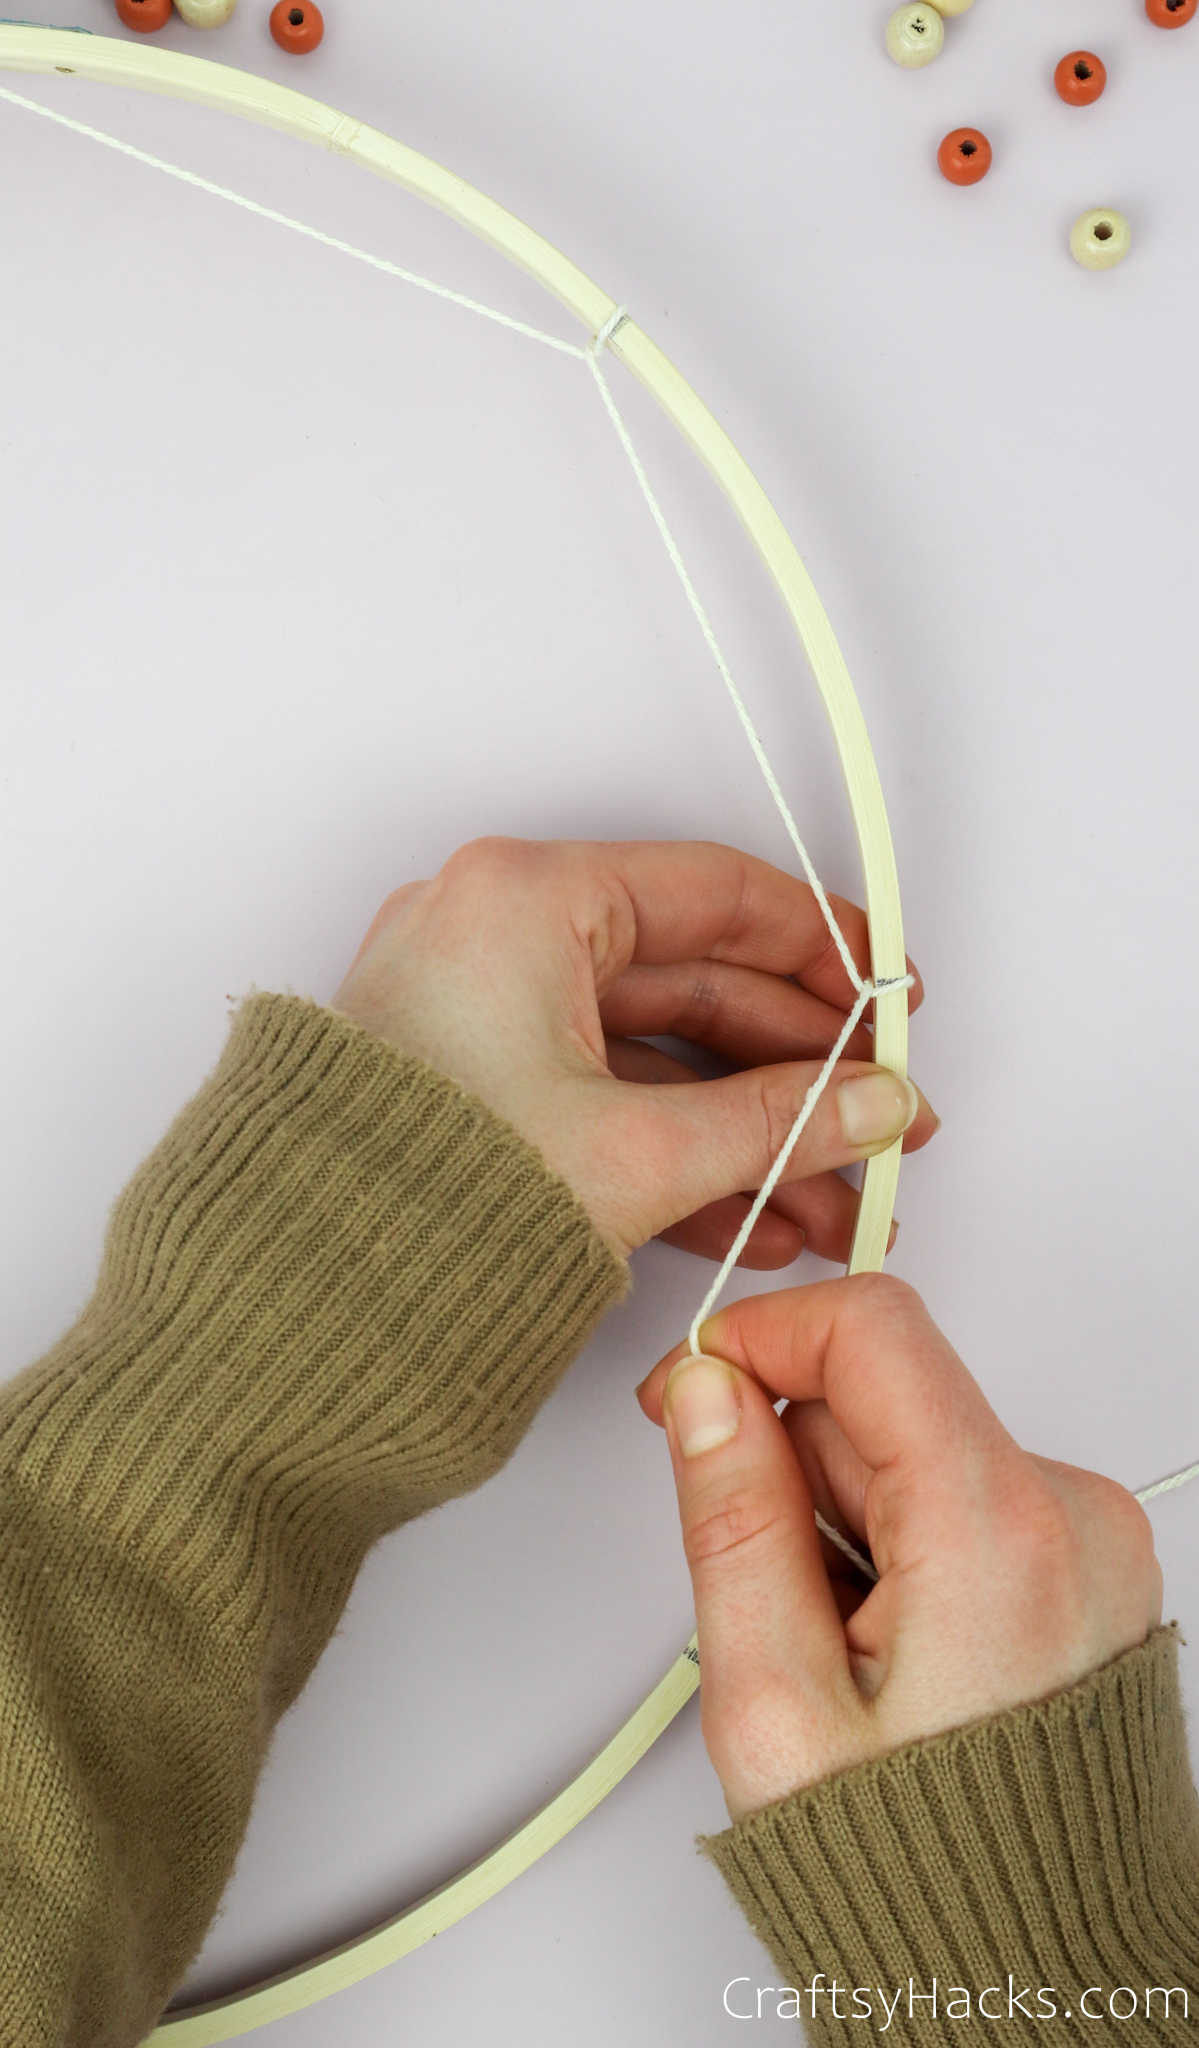
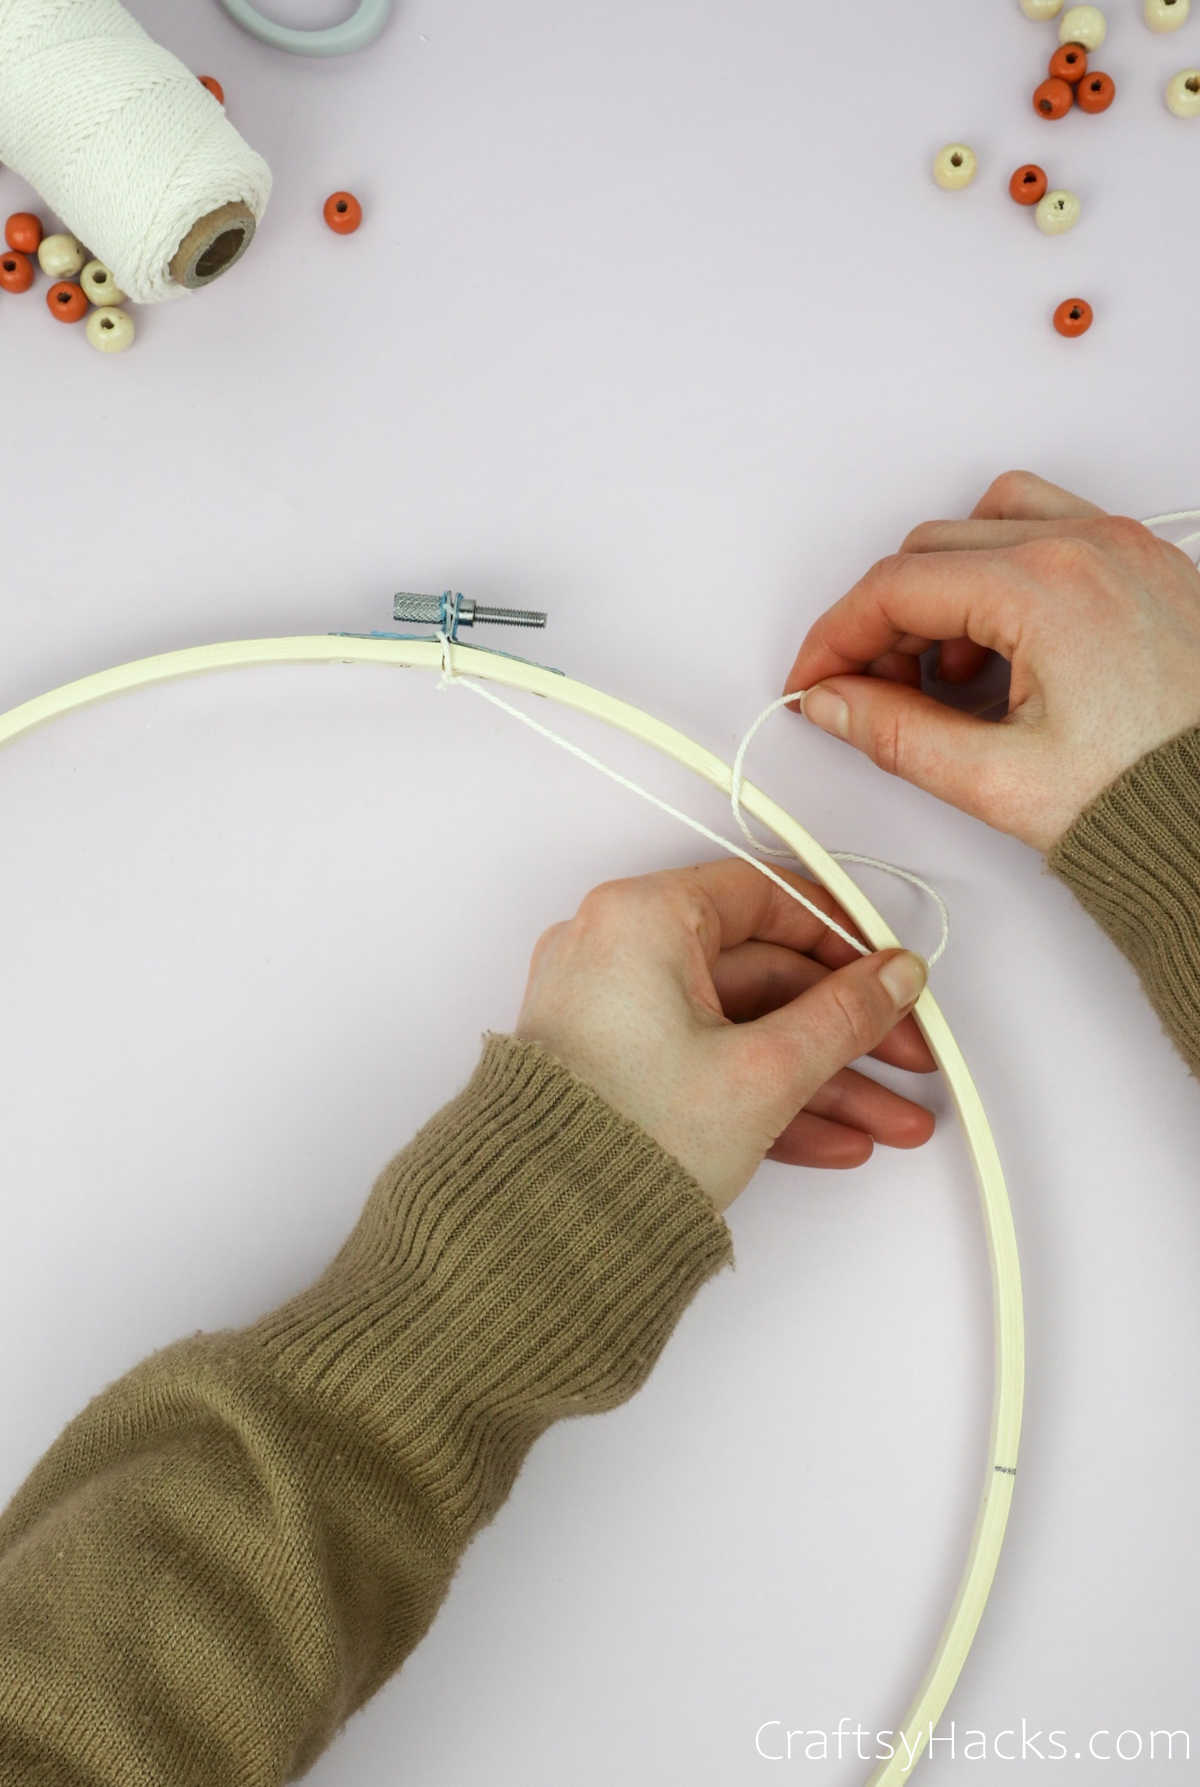
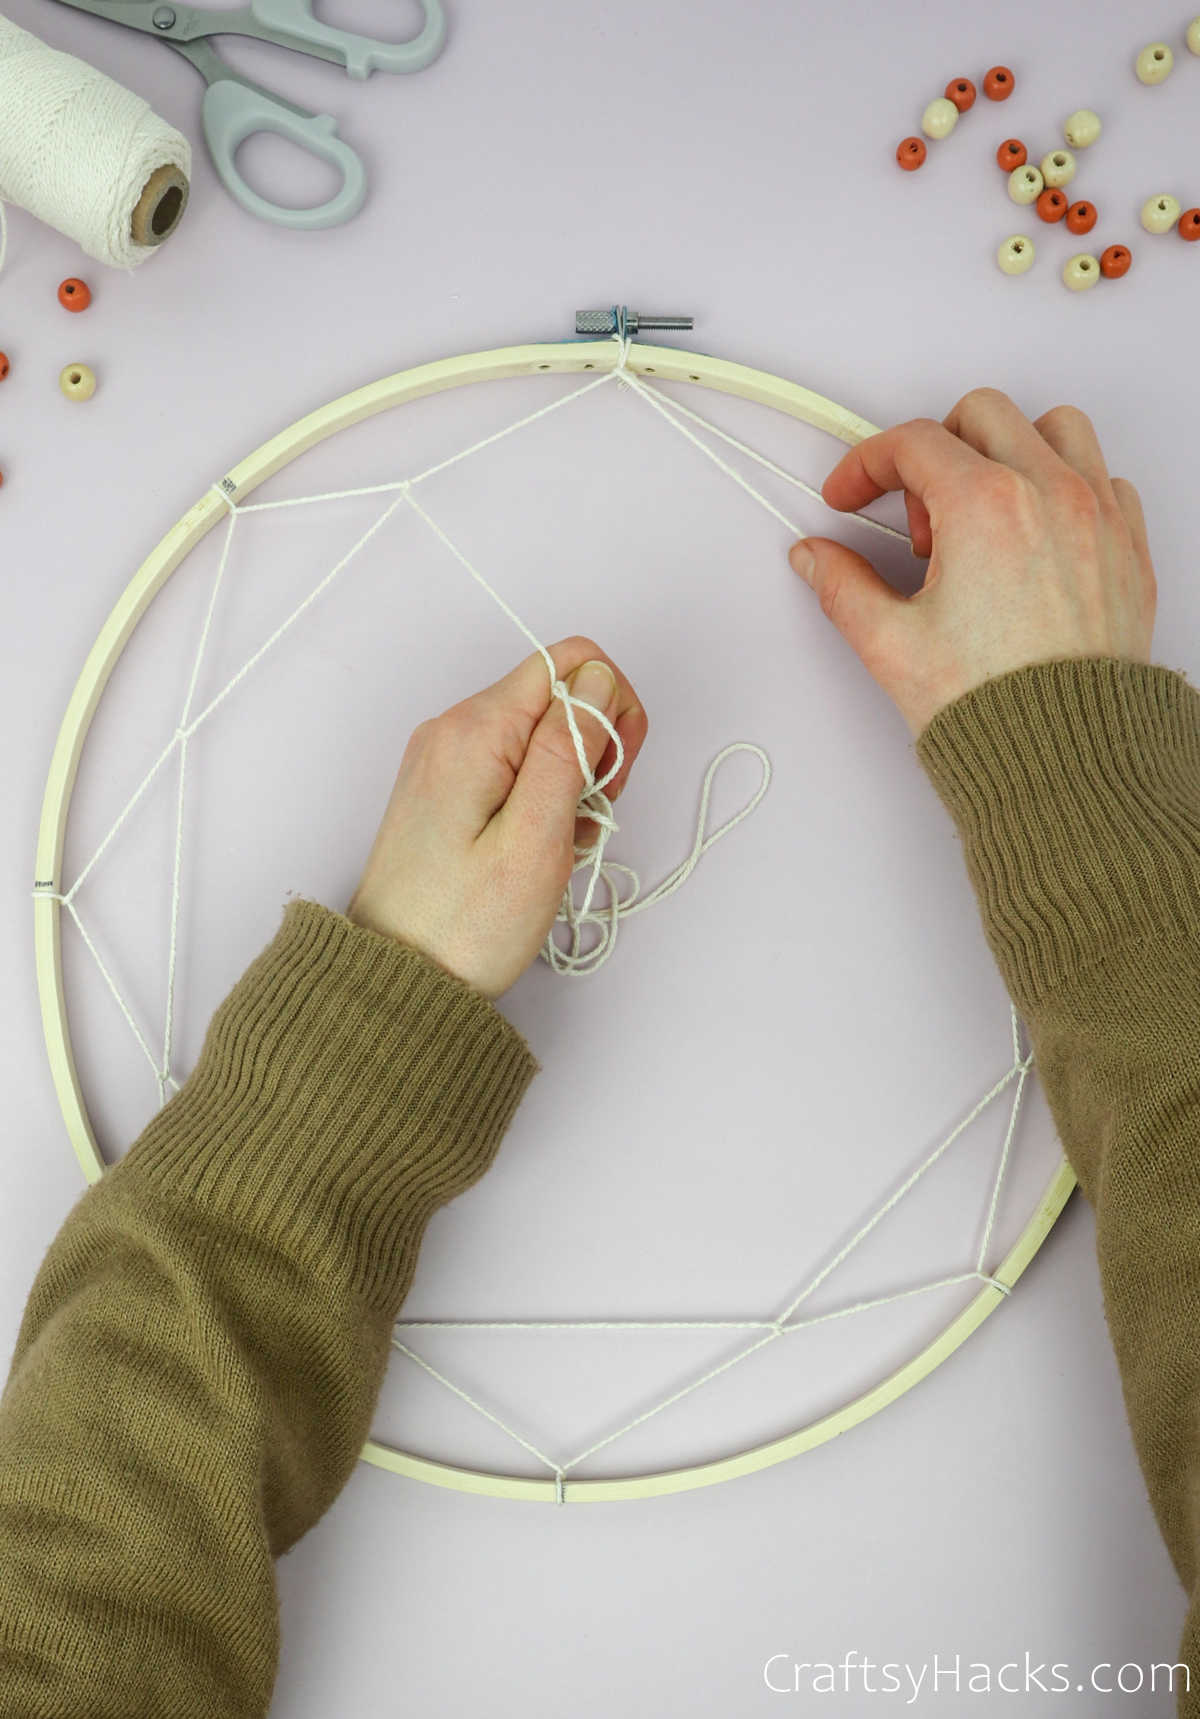
Step 6
Once you come back to the 12 o’clock pointer, loop the thread around the ring and hold it in place. When you proceed to the next round, you will be looping the thread in between the actual thread itself instead of the ring.
Try to center the loop as much as possible to ensure that you get an even pattern going.

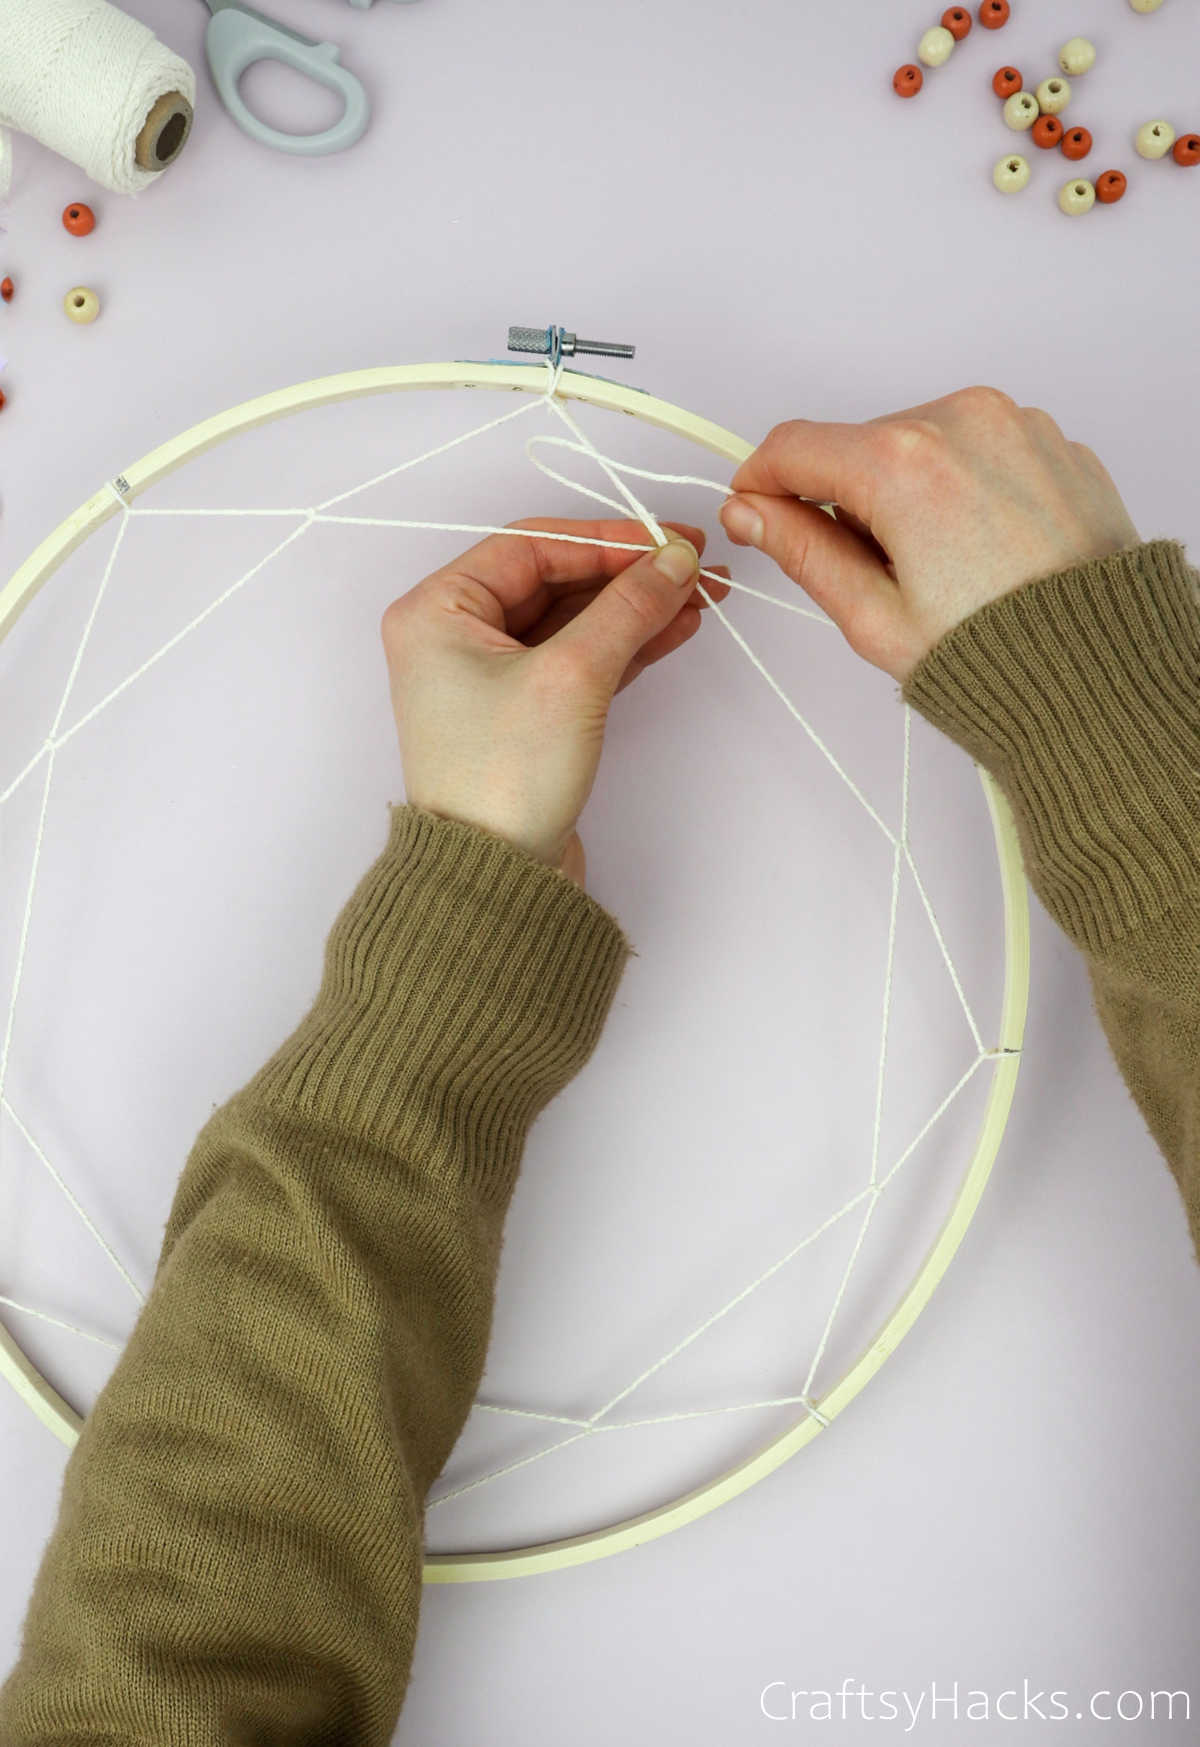
Step 7
For round three, continue to loop the thread around in the same fashion, with a mind to holding it taut and not giving room for it to move.
You can consider changing the color at this point, or you can continue with the same color.
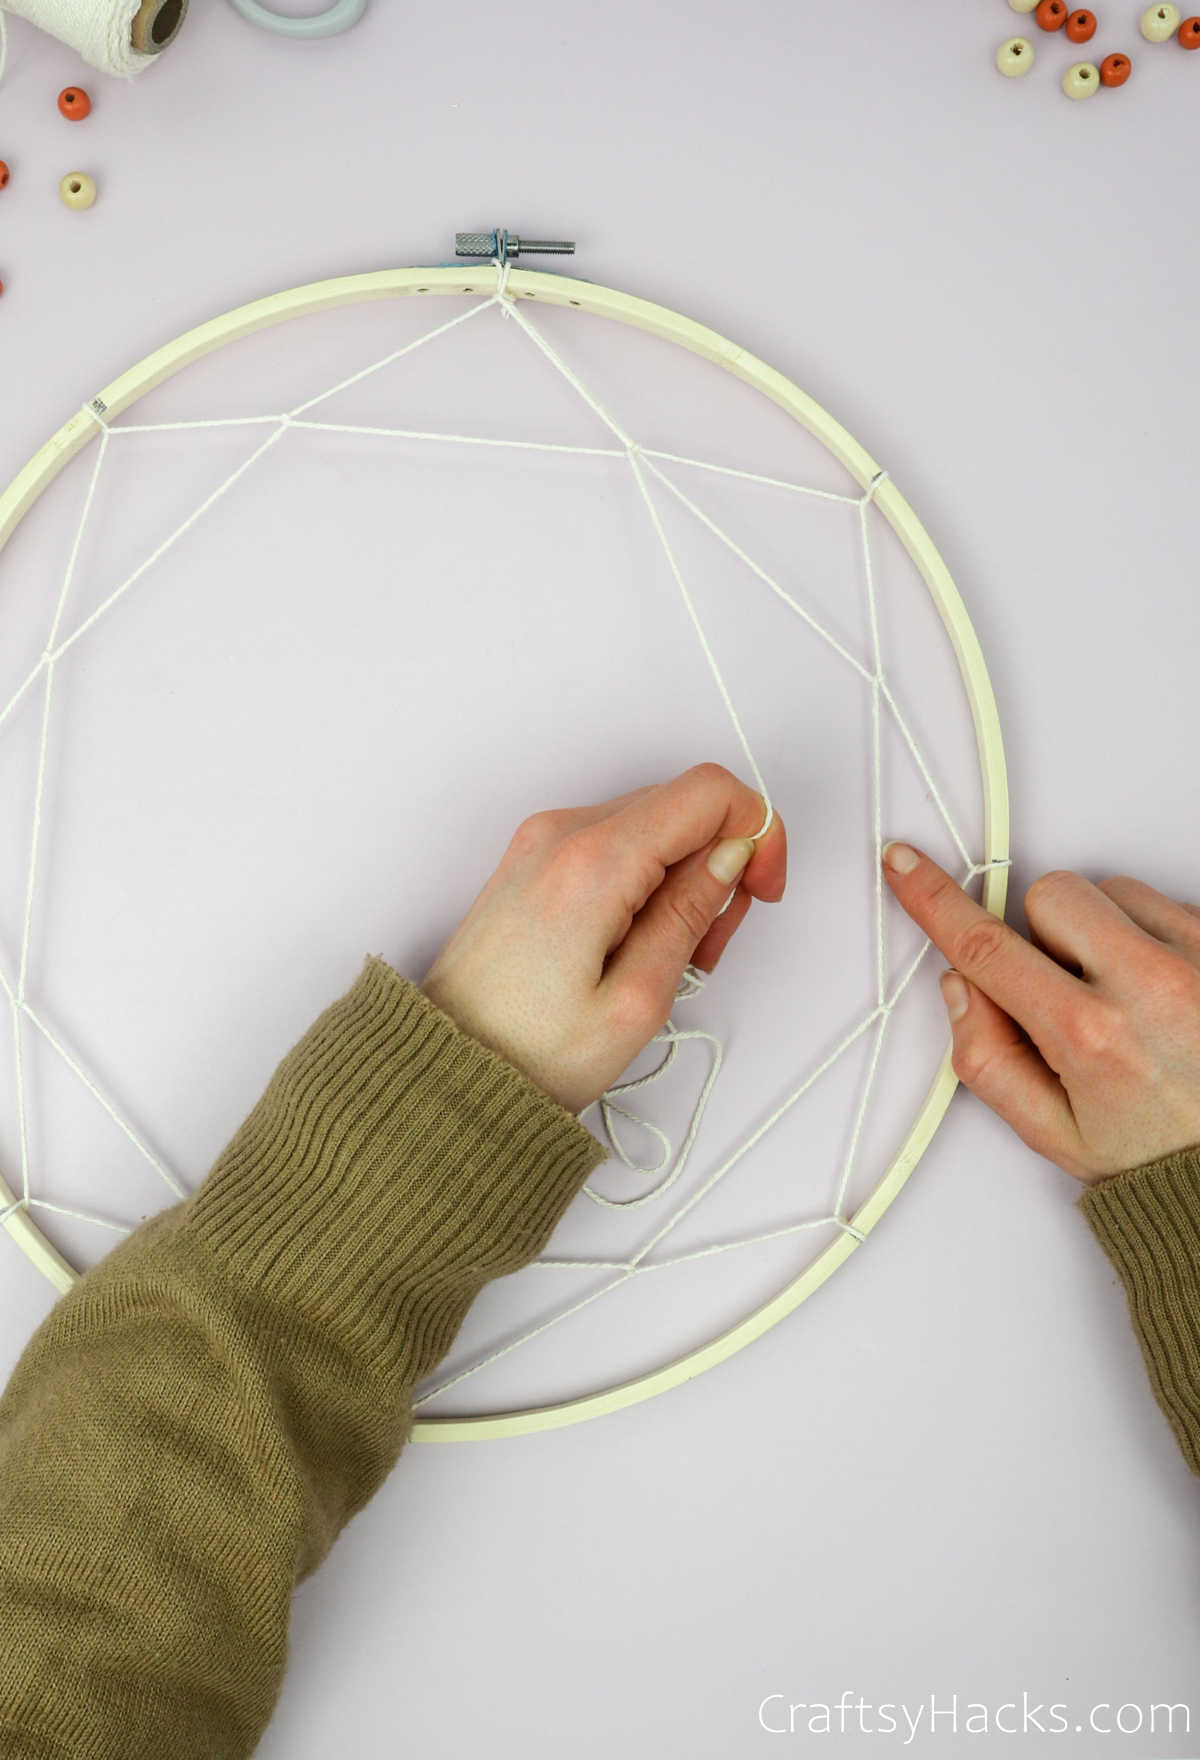

Step 8
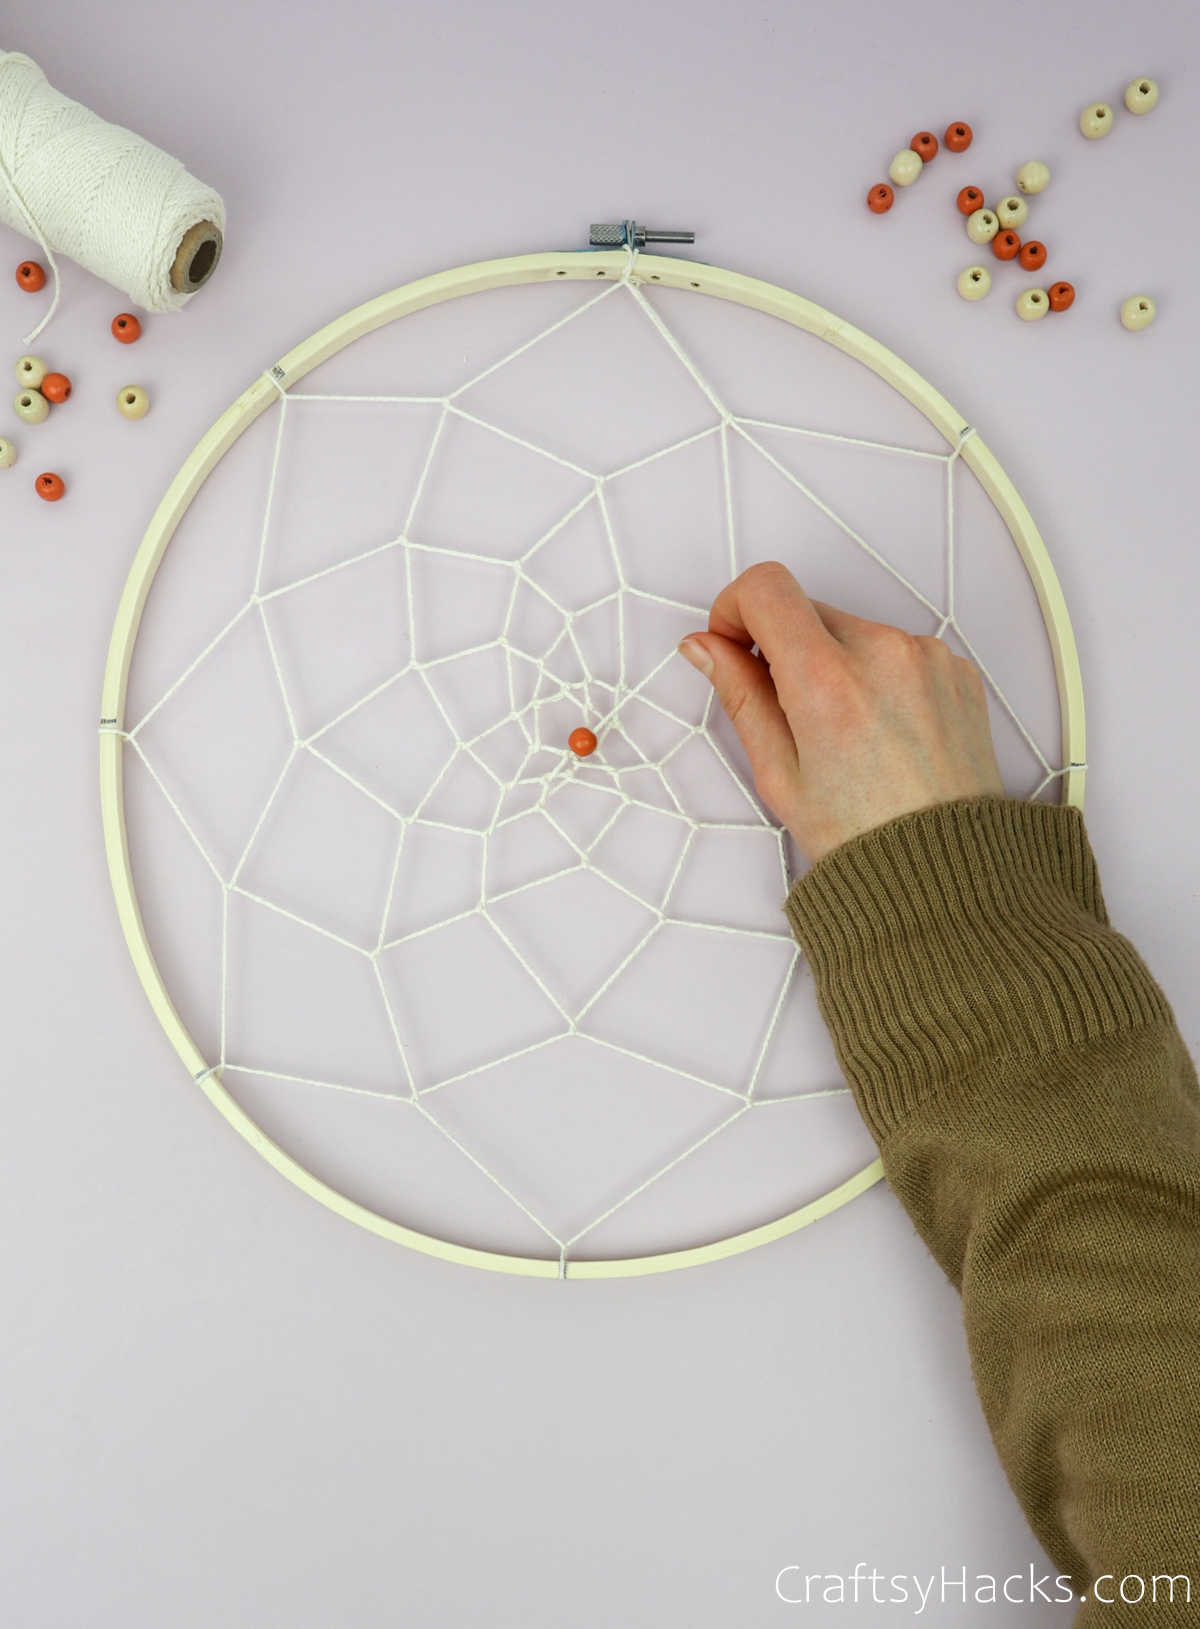
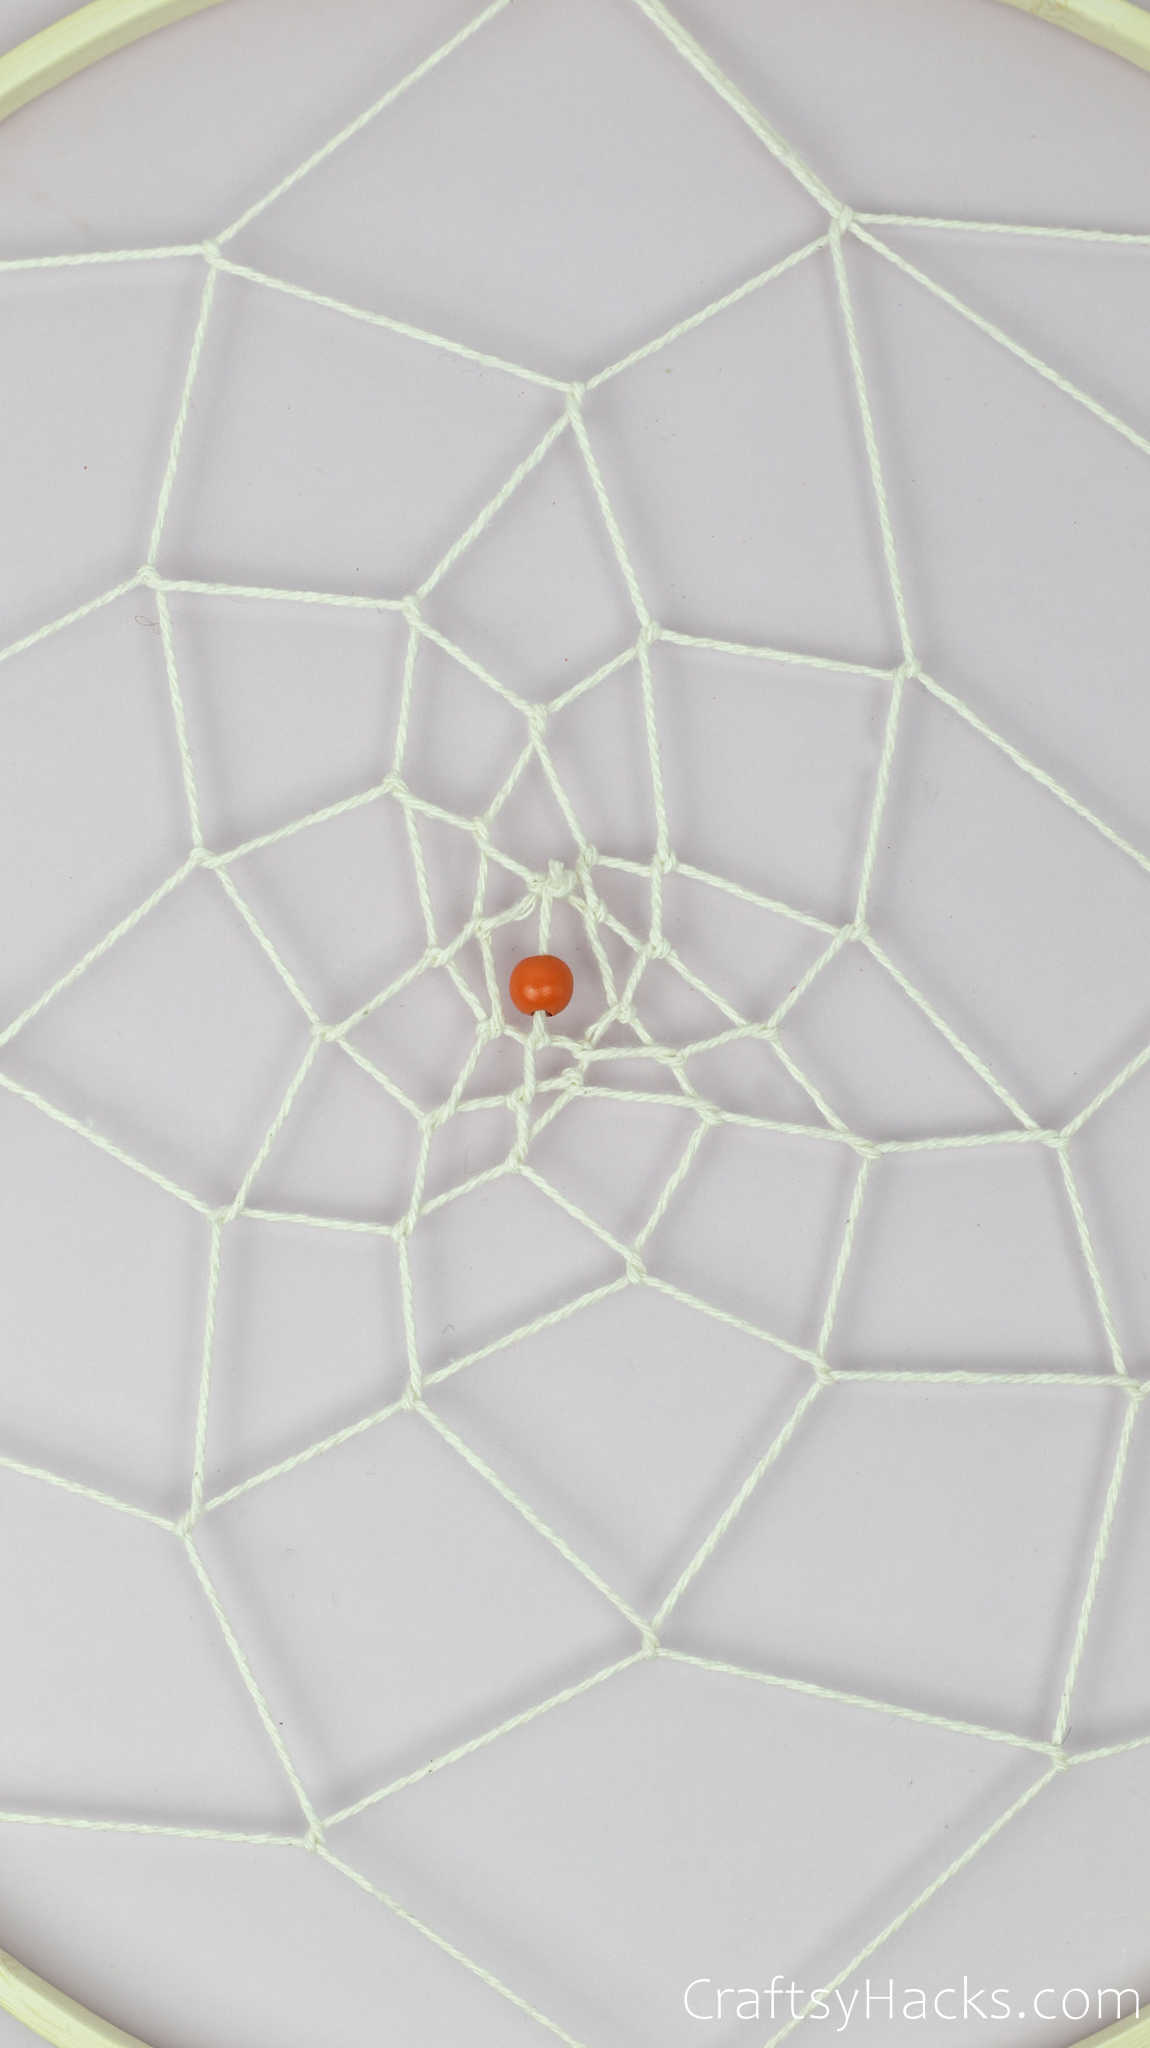
When you’re finally finished winding and looping the thread through the entire frame, you’ll find that your pattern will start to shrink. When you’re as close to the center as you want to get, it’s time to finish up and knot the thread.

Step 9
This step is completely optional, but you can insert a bead just before you knot the thread to help you secure the knot firmly in place.
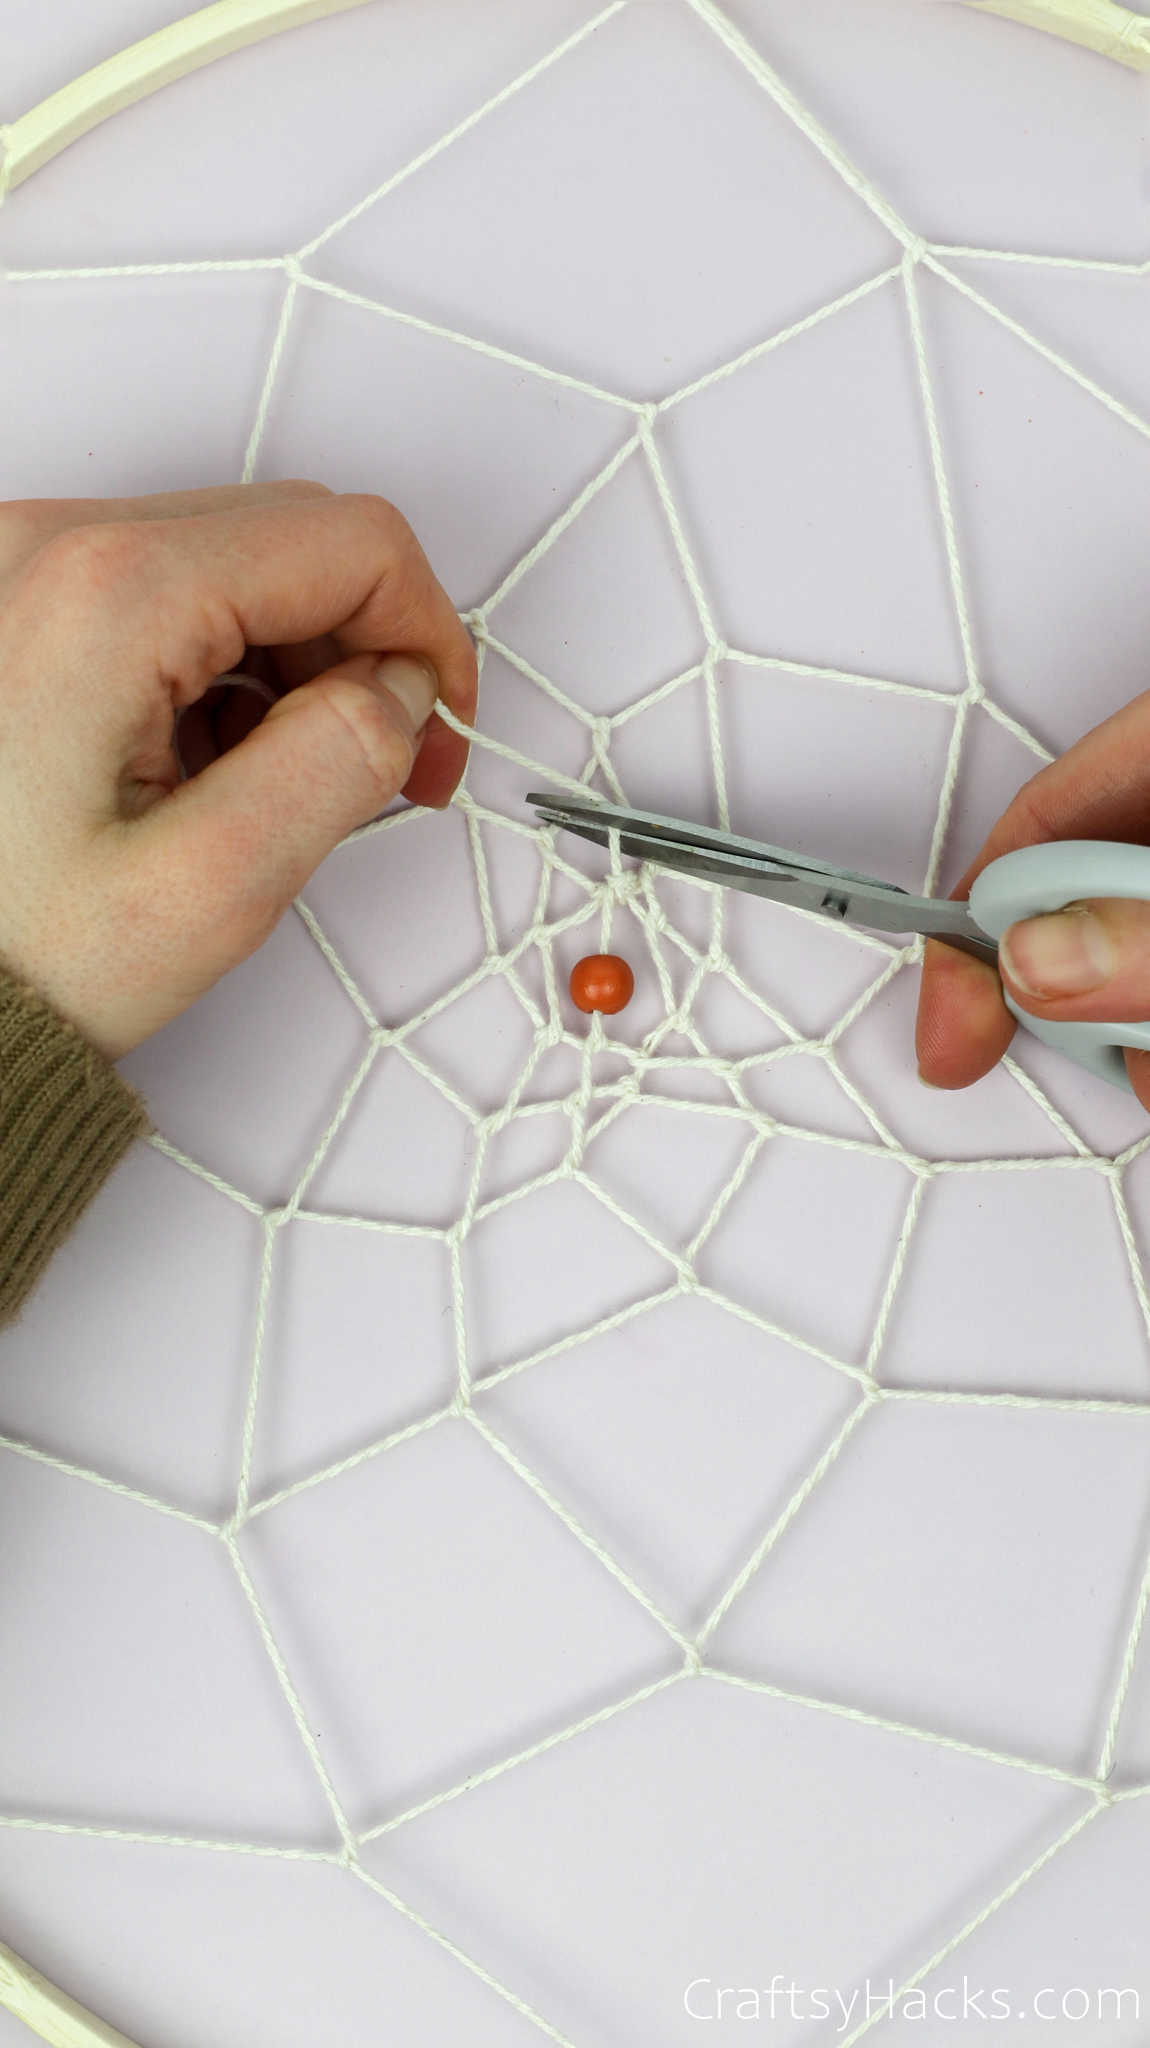
Step 10
After you knot the end of the thread, you can snip off the extra bits and just tuck it into the bead to hide it. Or, you can use a fine application of clear adhesive and stick it to the adjacent thread.
Step 11
If you decide to hang tassels, beads, or string as an extra decorative feature, then go ahead and make them as you see fit.
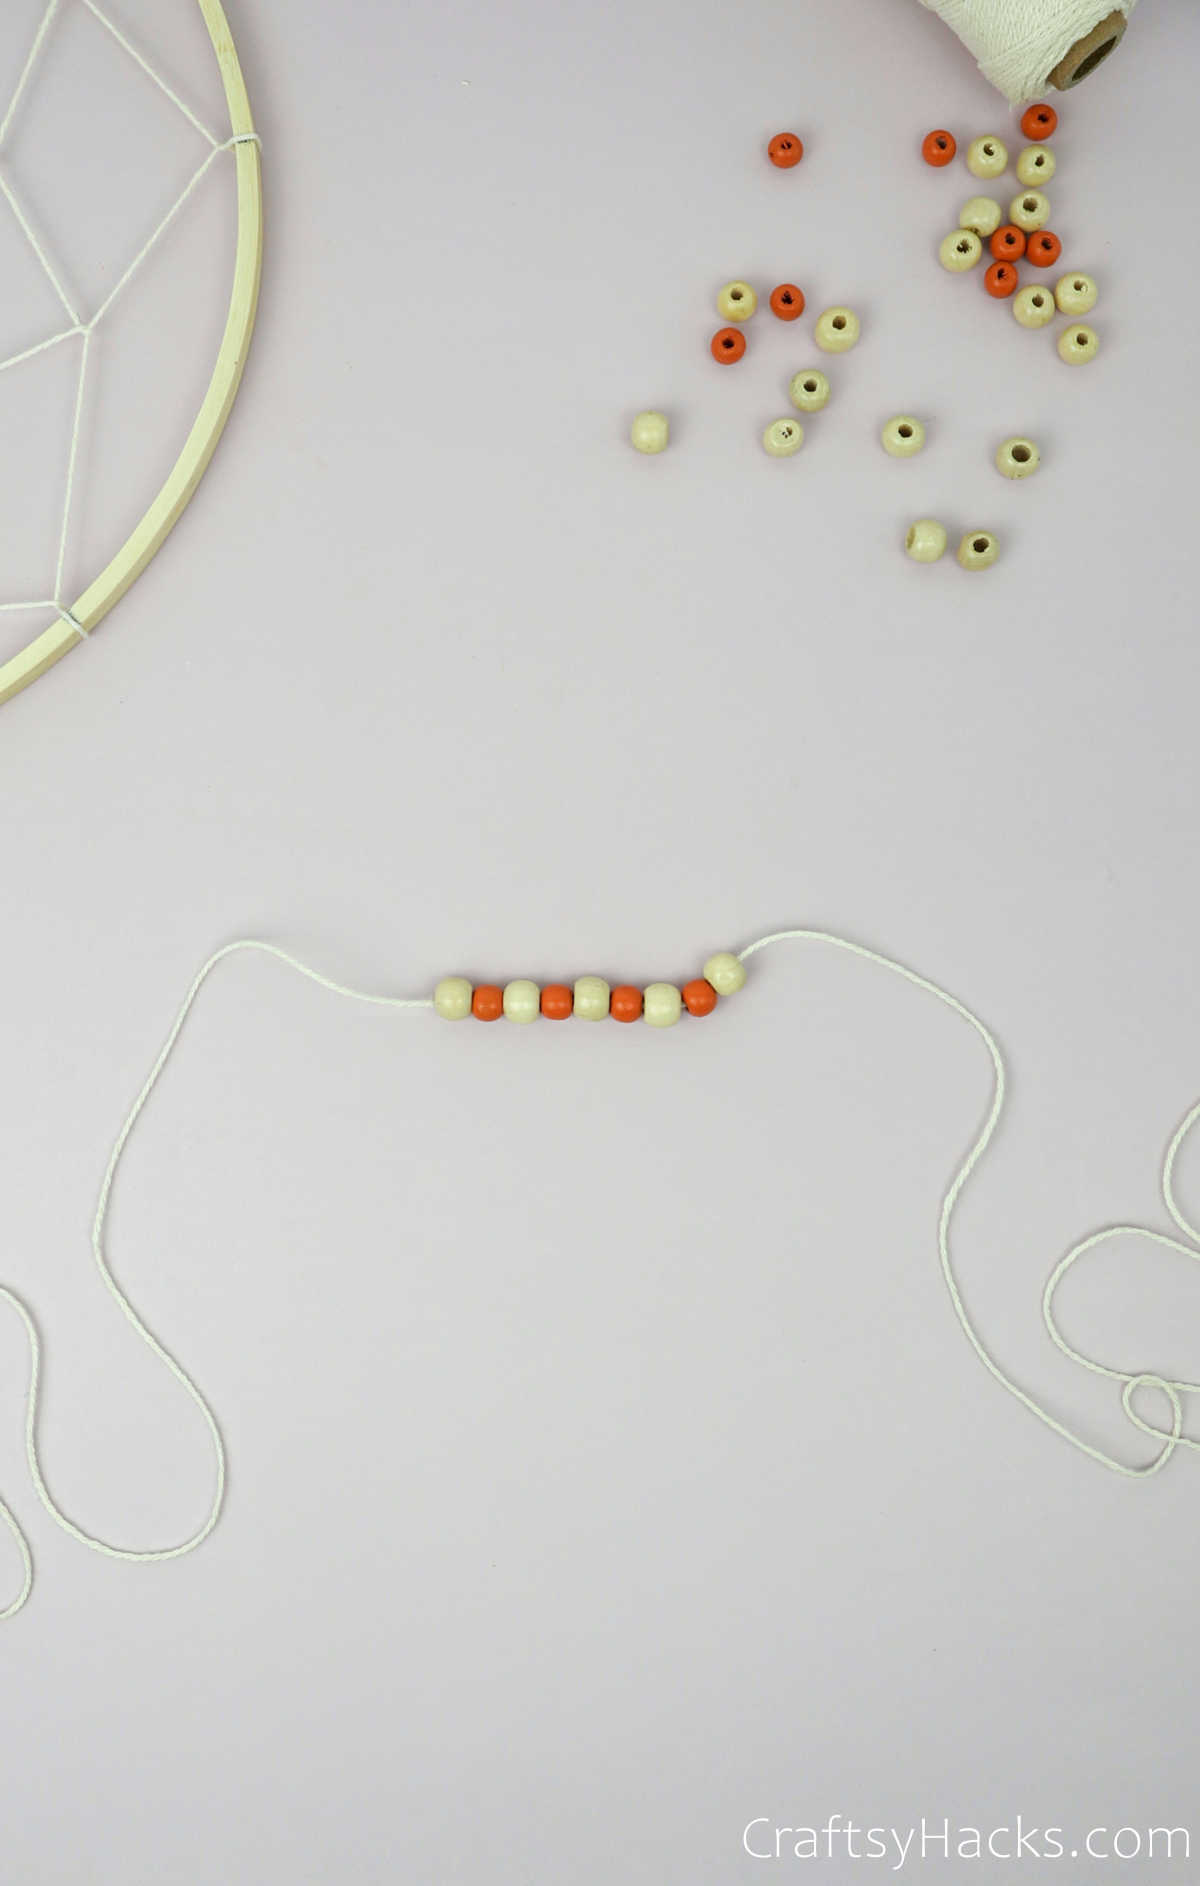
You will have to make several knots along the thread to hold them in place for the beads.
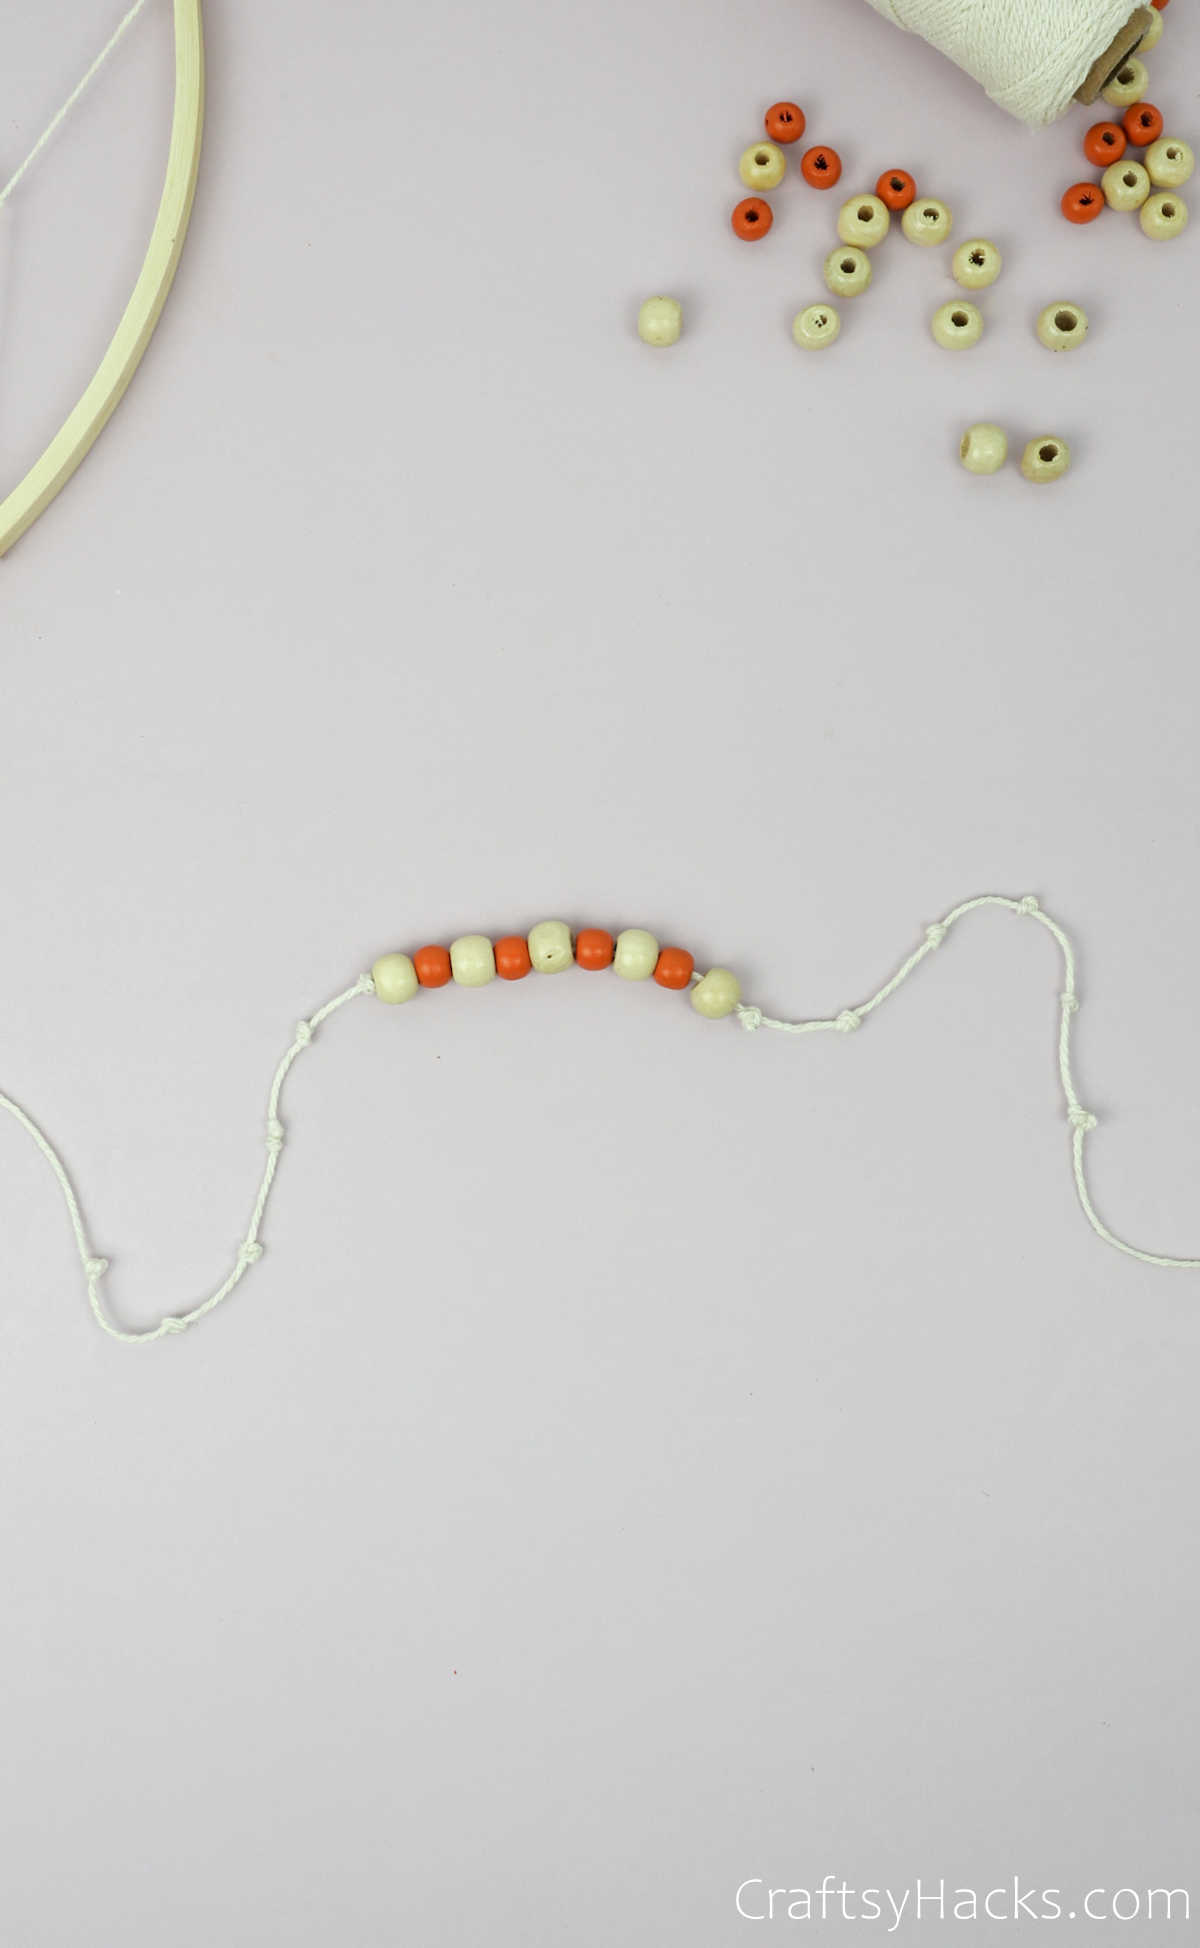
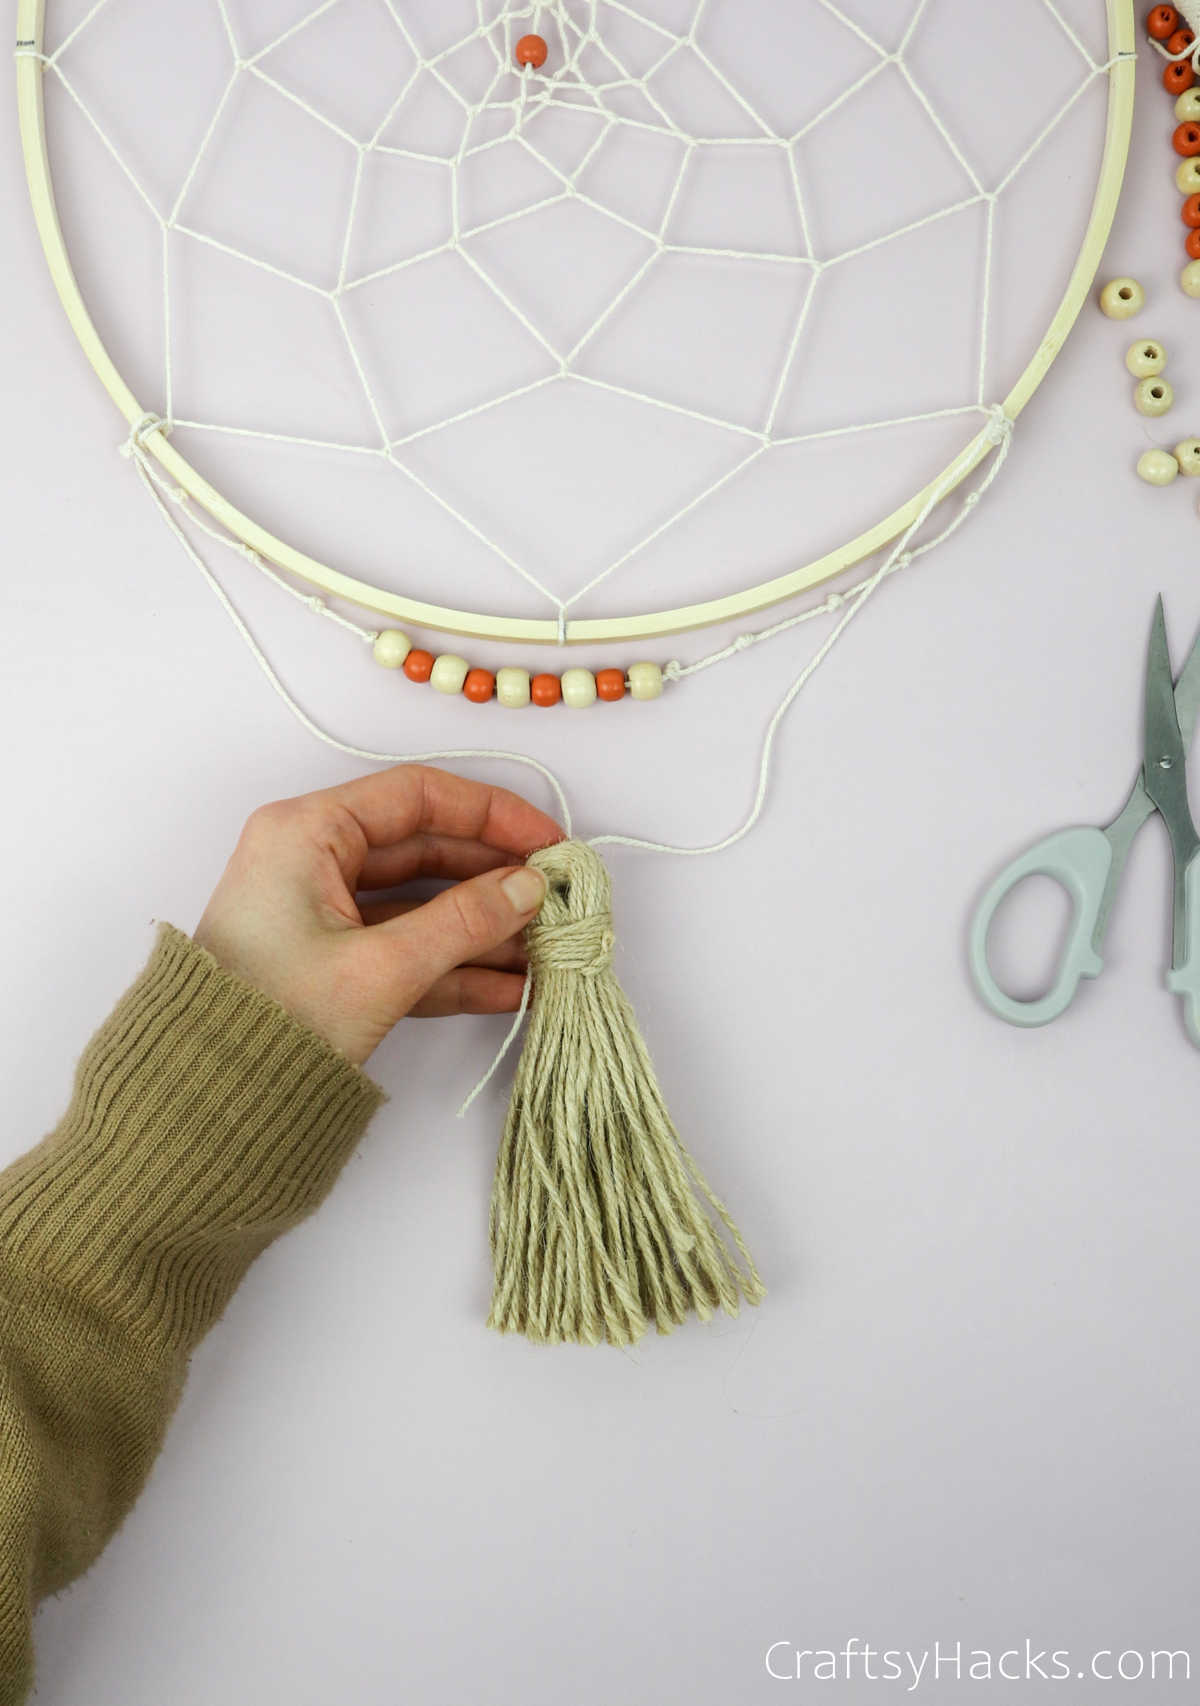
Tie the ends to the frame, as seen below. Secure it with a tight knot

Go ahead and make any other decorative pieces you wish to add to your DIY project.
Step 12
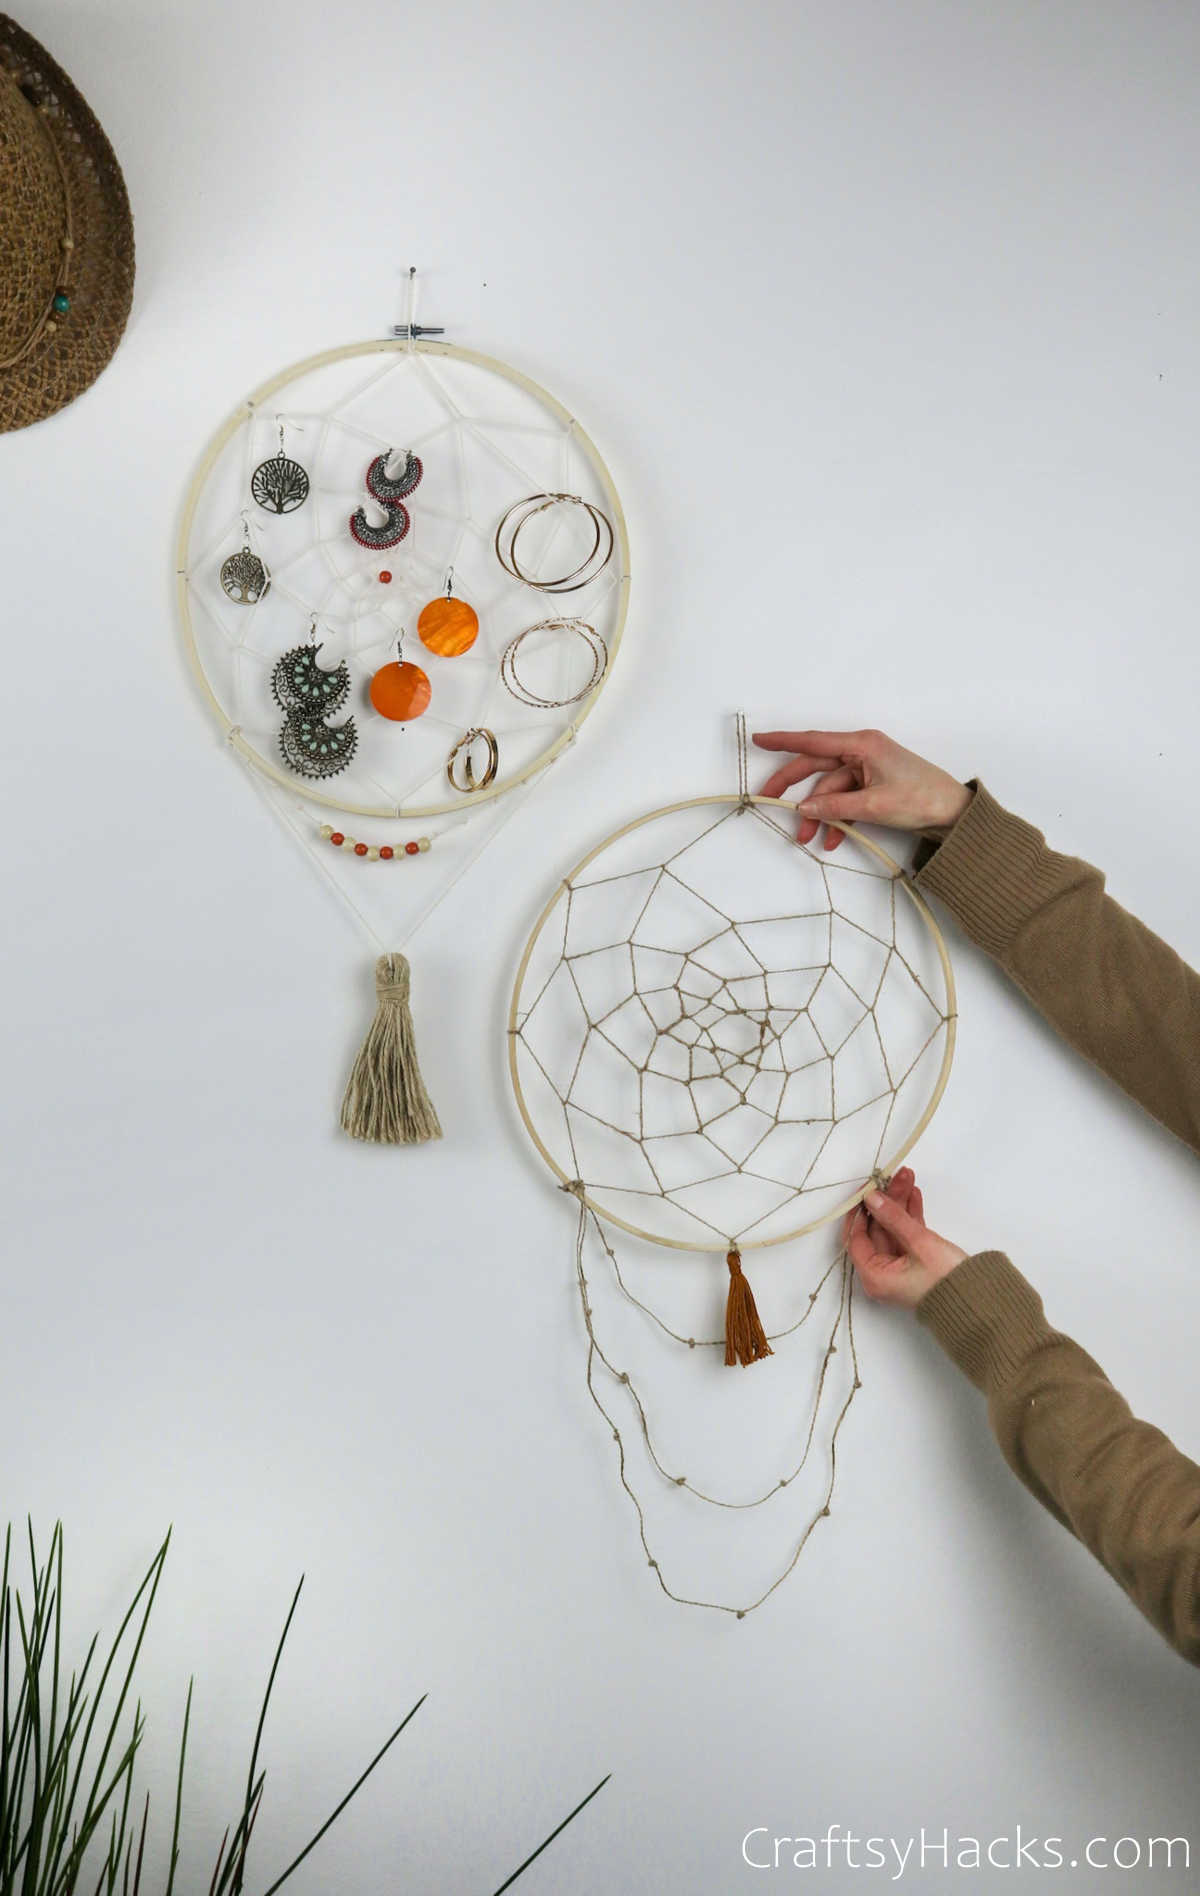
You’re almost done making your DIY jewelry organizer. There’s just one thing left to do, and that’s to make a loop at 12 o’clock. This is what you’ll be using to hang the dream catcher slash jewelry organiser to the wall.
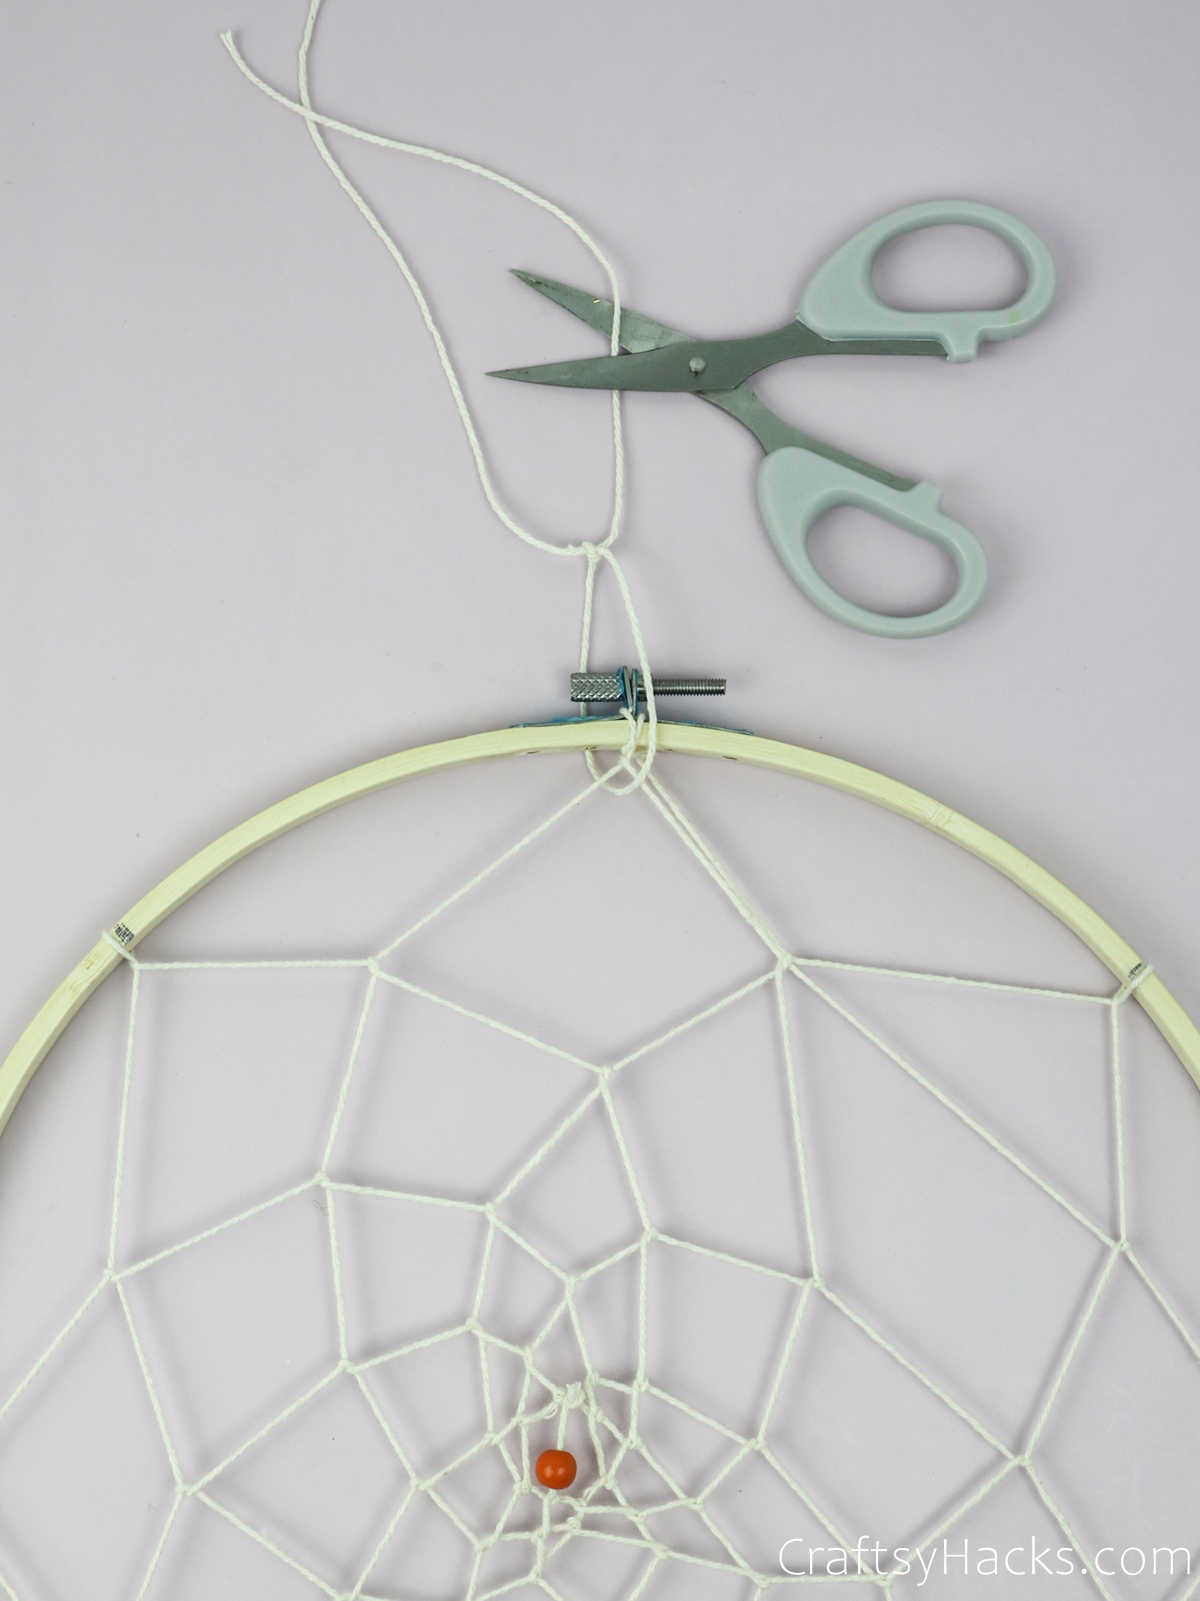
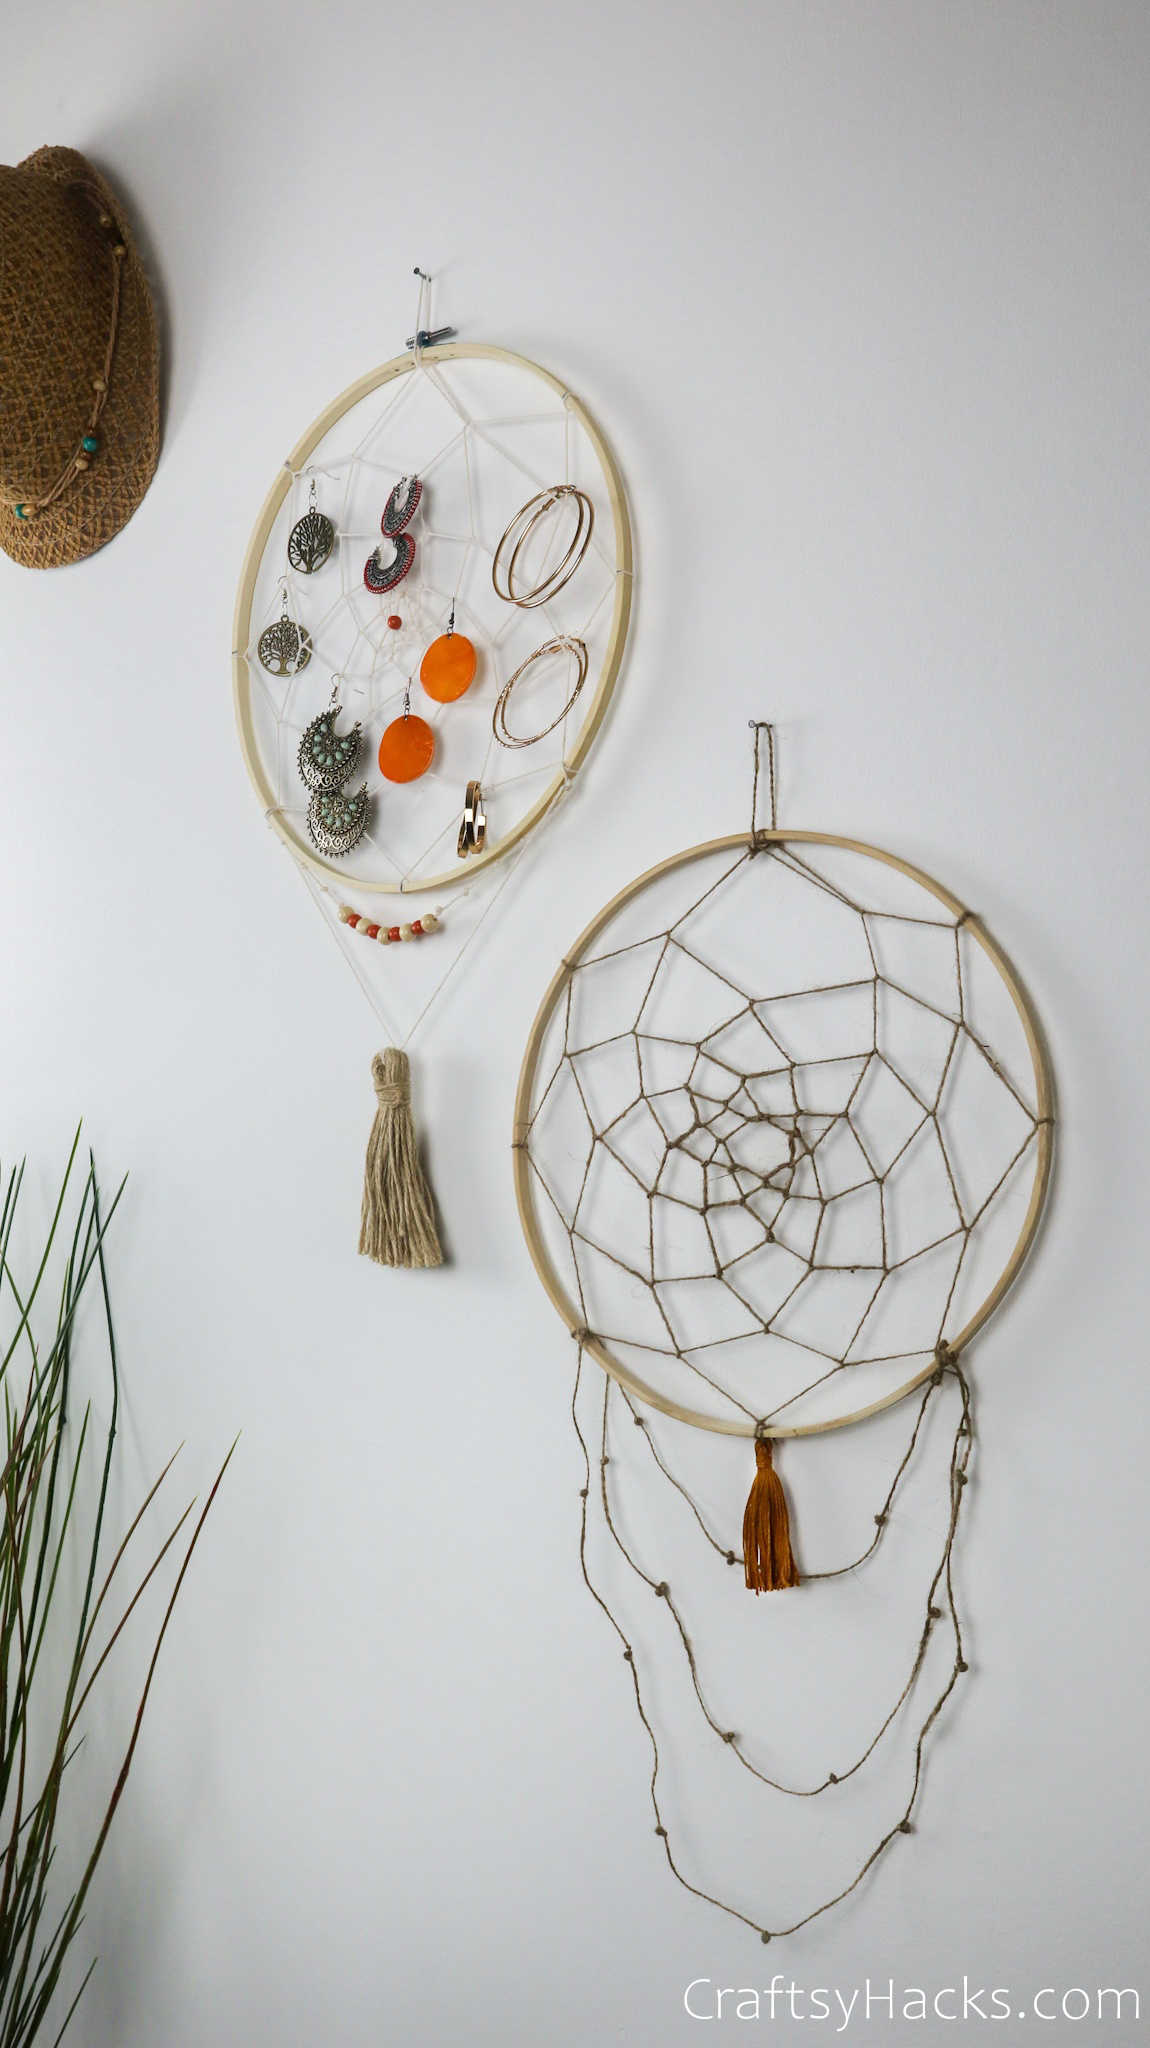
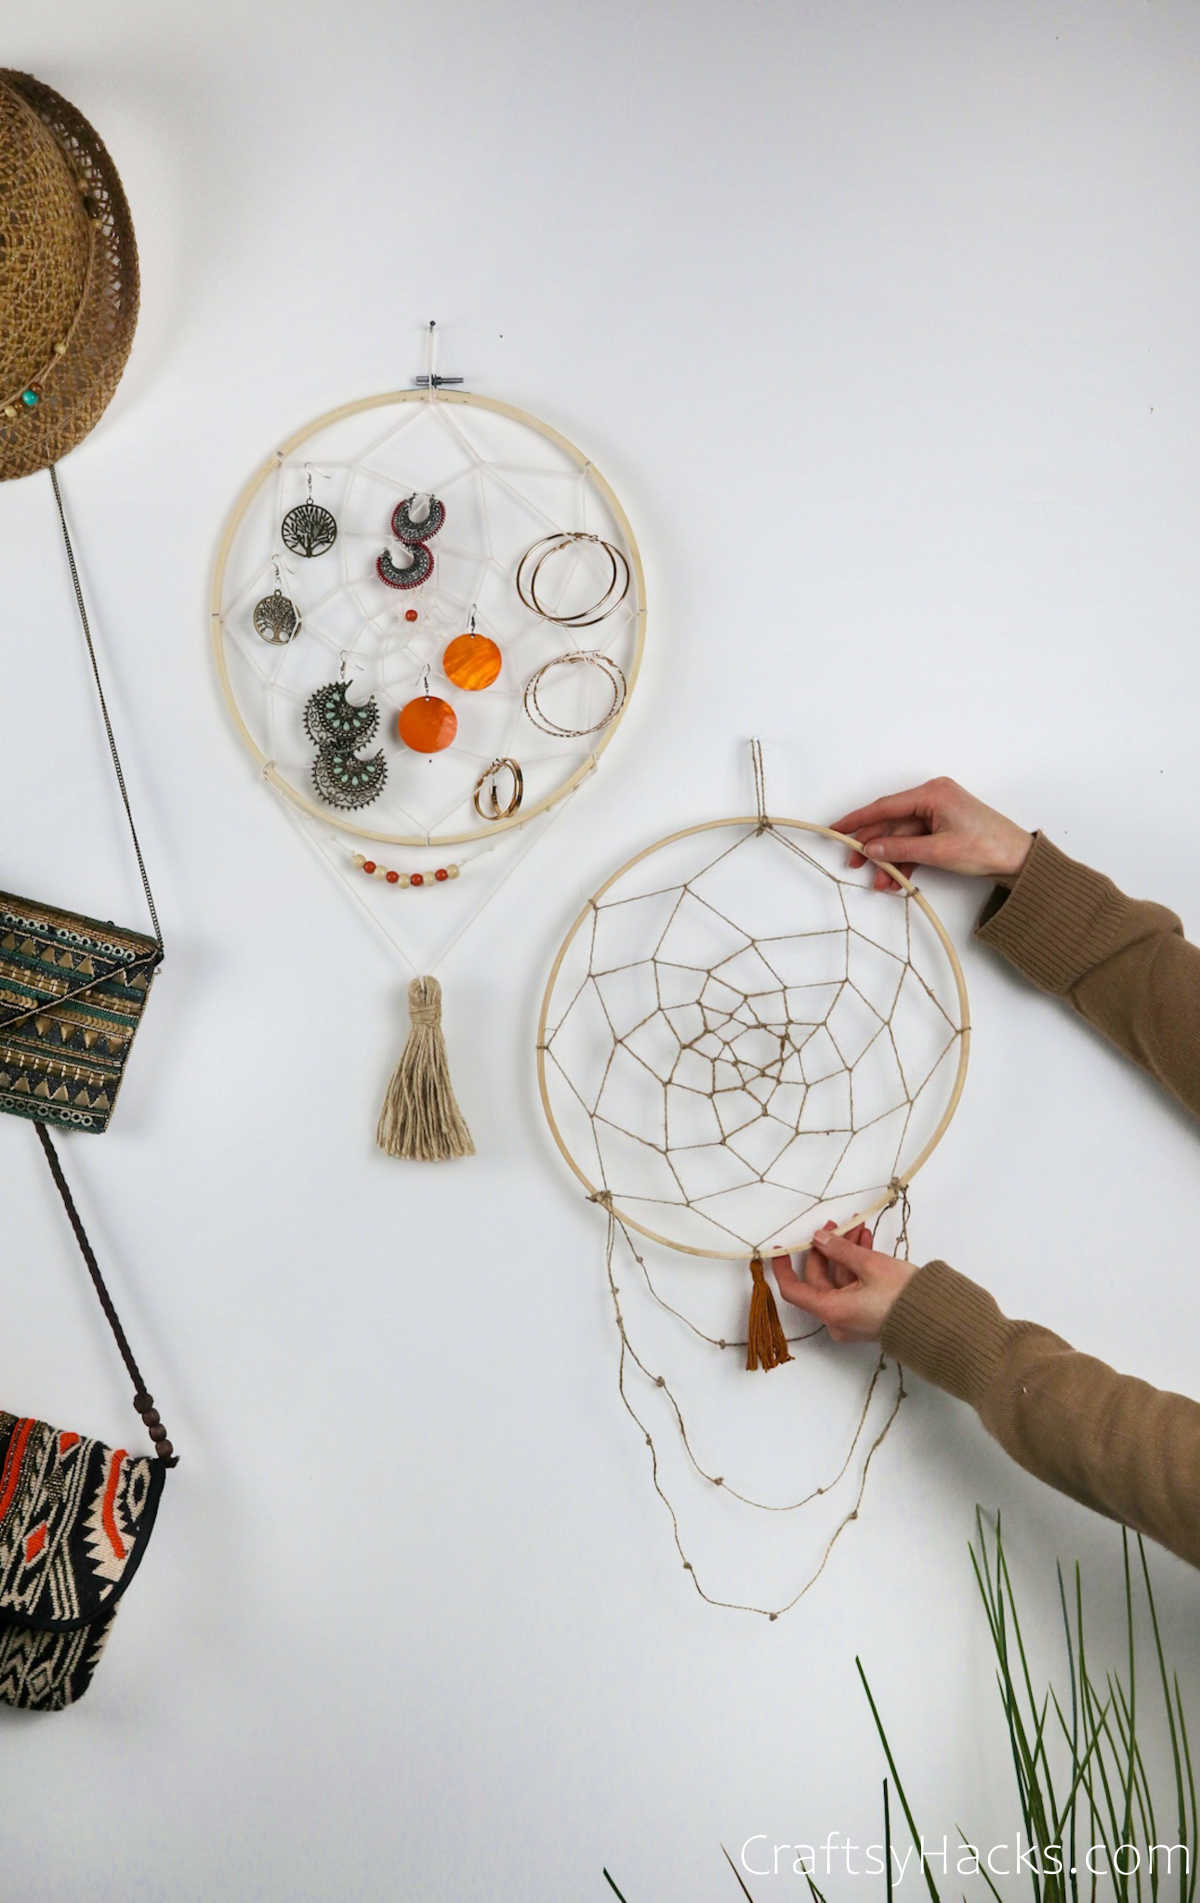
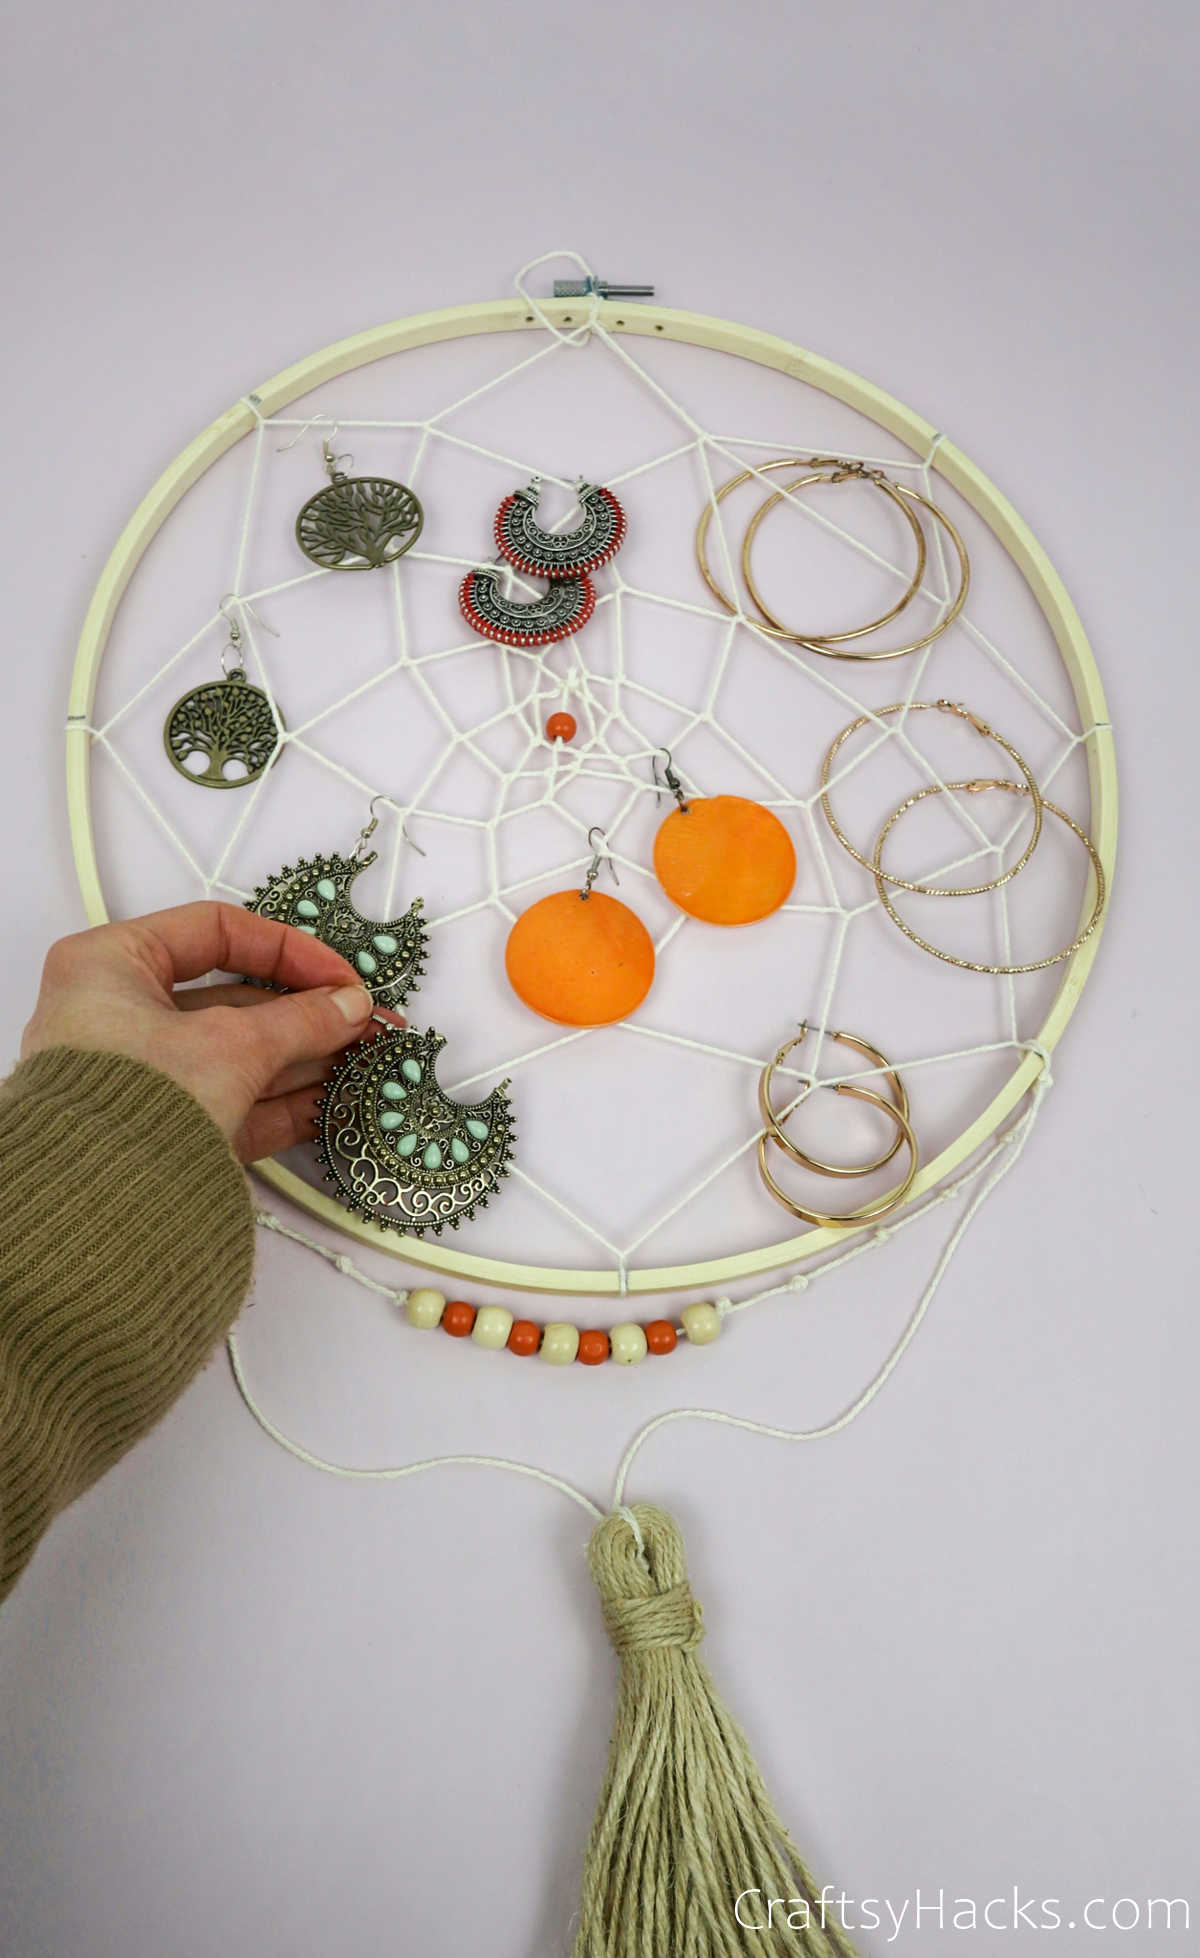
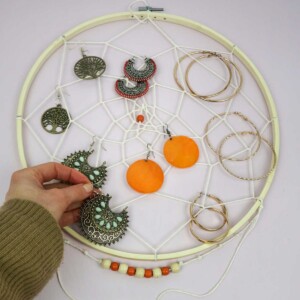
Ta-daa!


Go ahead and hang your earrings and other jewelry on the dream catcher and enjoy the swirl of color it adds to your room.
Other Organizers for You
- Organization Ideas
- Hanging Organizer with Pockets
- Dollar Tree Storage Ideas
- Small Bedroom Organizing Ideas
- Pegboard Organizing Ideas
- Storage in Small Spaces
- Organize Small Items
- Ways to Organize Closet
- Organization Ideas for Bedroom

DIY Jewelry Organizer
Video Tutorial
Equipment
- Scissors
- Pencil (optional)
Materials
- Embroidery hoop
- Cotton string
- Beads
Instructions
- Gather all your supplies to get started on this DIY jewelry organizer.
- Use a pen or marker to divide the ring/frame into eight equal parts.
- Tie your embroidery thread in a firm knot at the top of the ring and secure it firmly in place.
- Next, start looping the thread over and around the ring at every one of the pointers you had marked earlier.
- Remember to loop the thread around the center of the actual thread from the previous round when you start the second round.
- Ensure that the loops stay in place and that the thread doesn’t sag or become loose.
- Keep looping the thread and make your way towards the center.
- When it’s time to fasten off the knot, you can choose to insert a bead to hold it in place. Tuck the ends into the bead or use a tiny bit of glue to fasten off.
- You can add any decorative beads, danglers, and the likes at this stage.
- Finally, make a loop at the top of the ring and use it to hang the dream catcher organizer on the wall.