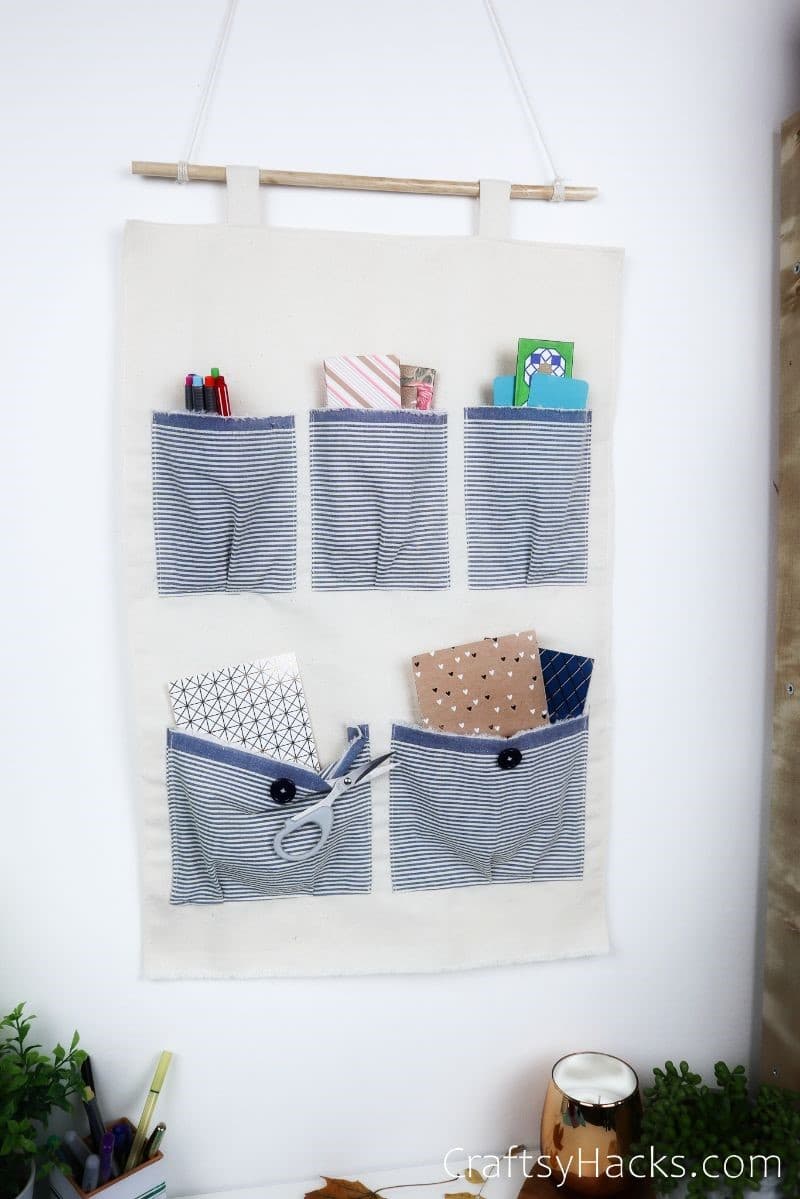
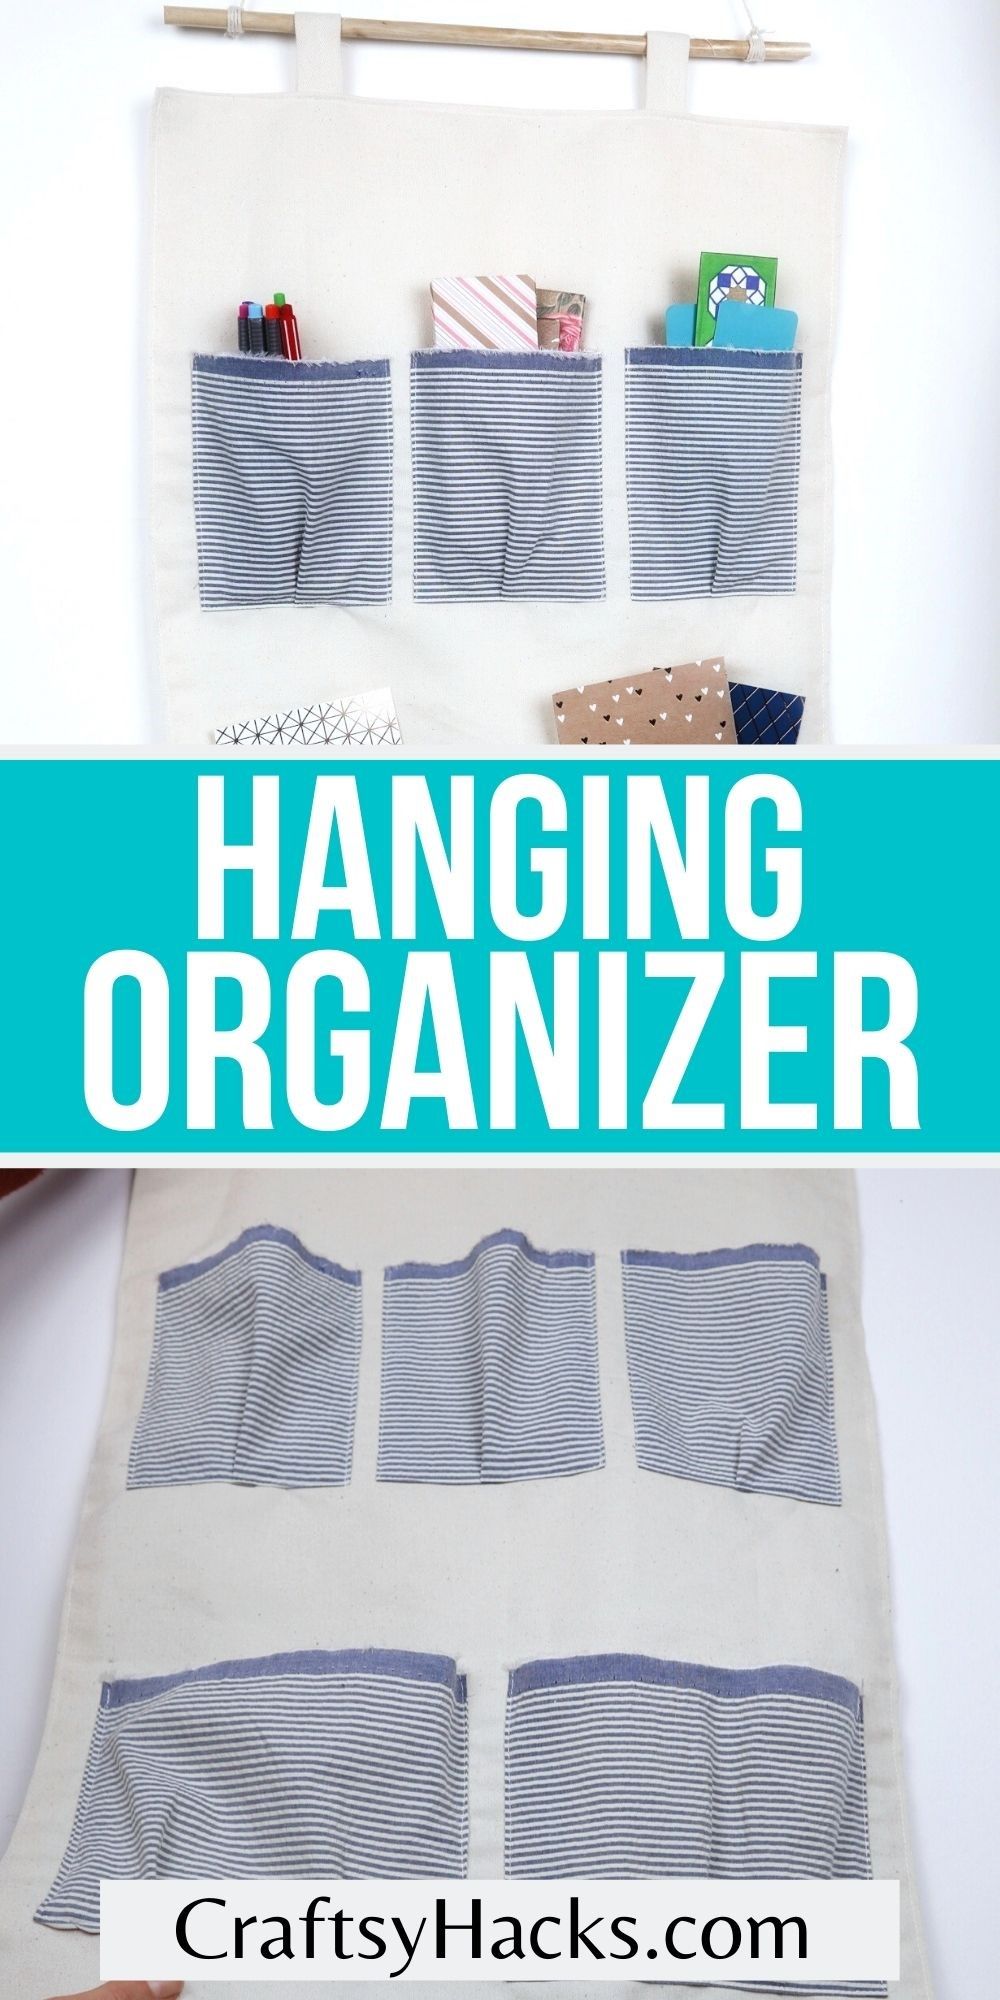
DIY Hanging Organizer with Pockets
This post may contain affiliate links: full affiliate disclosure.

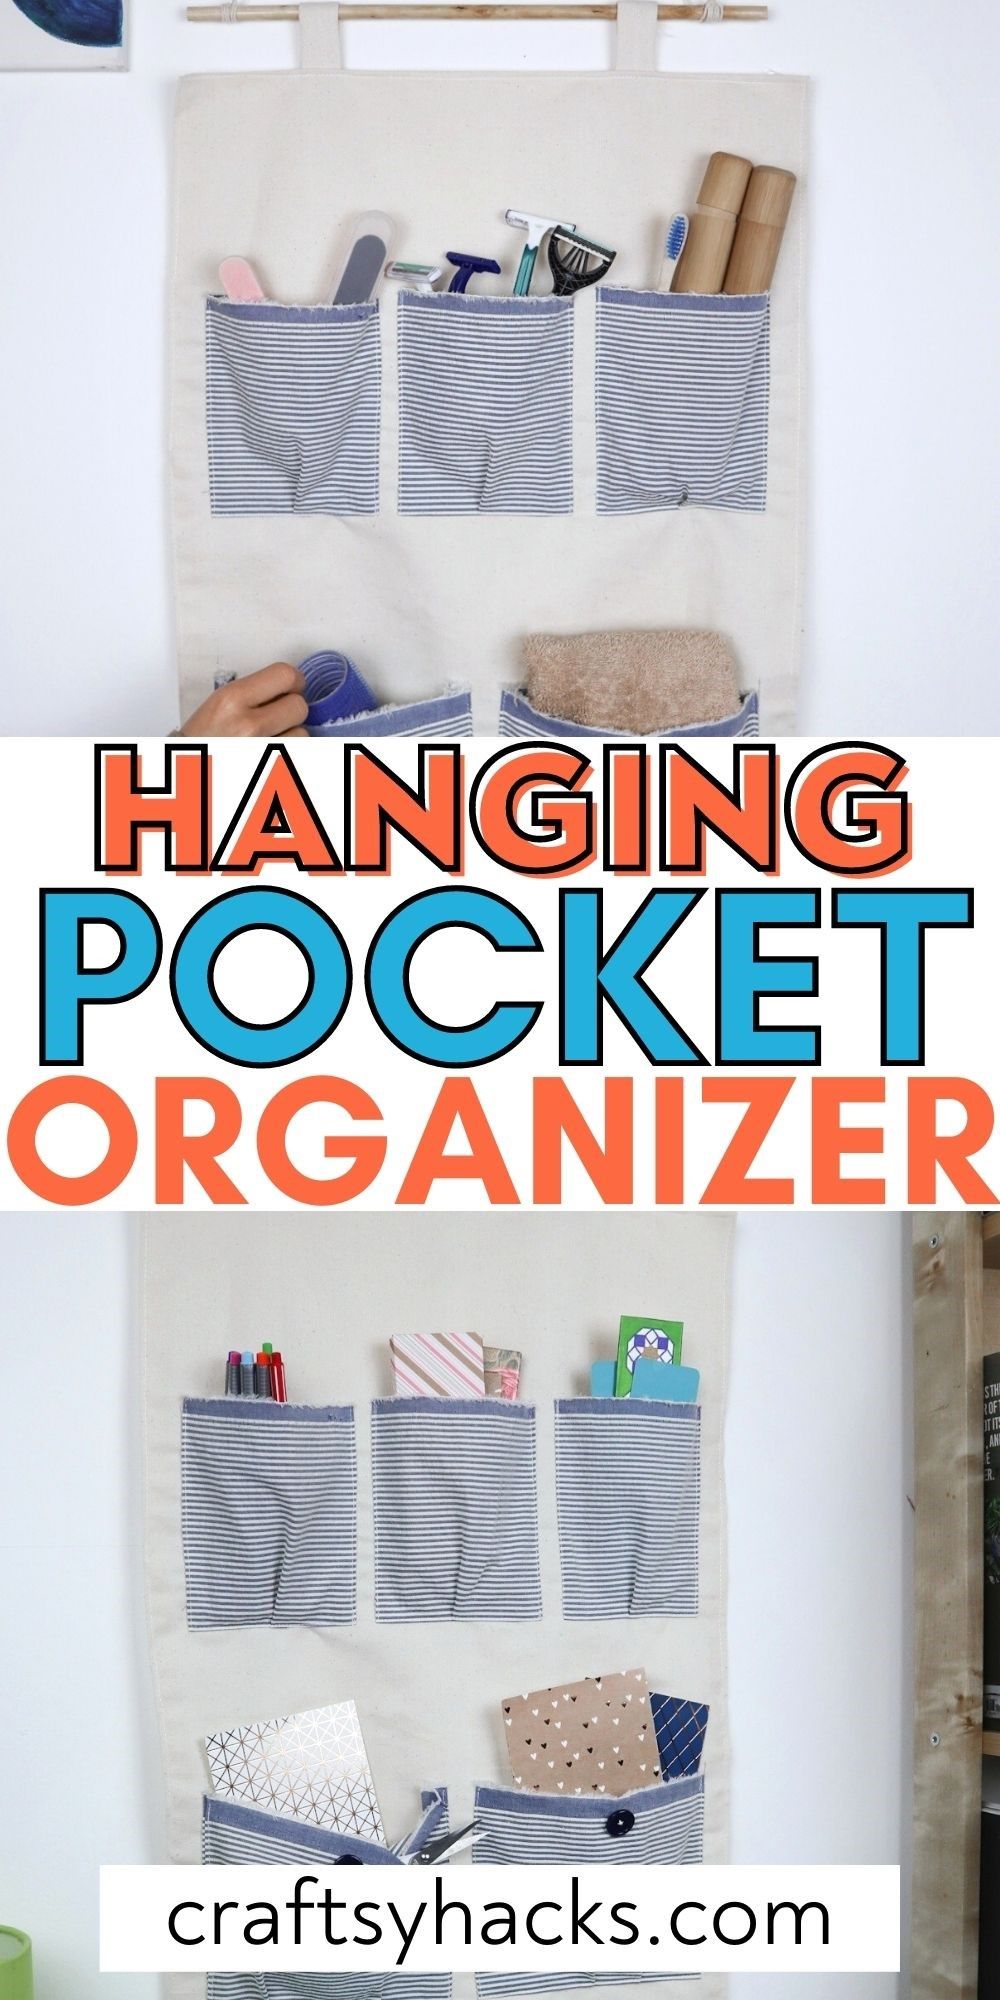
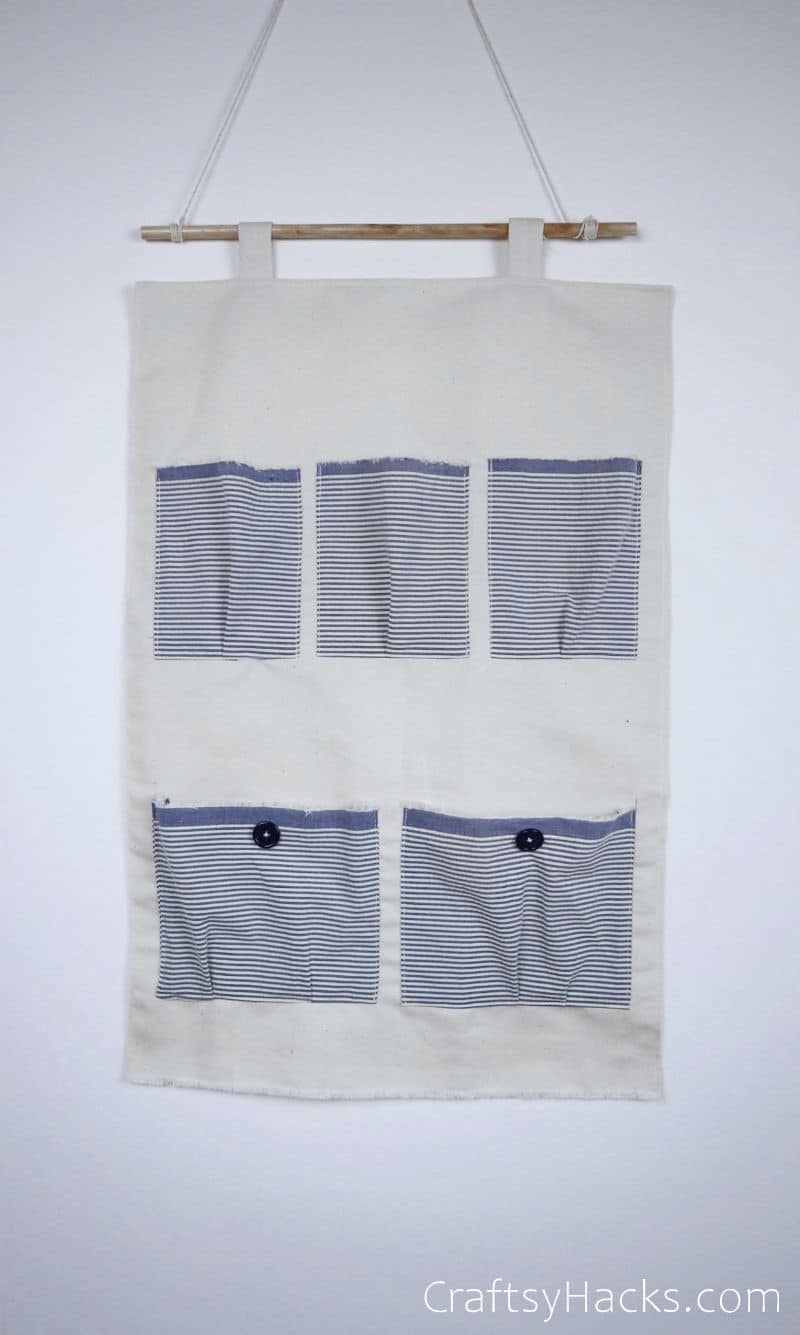
Need a fun, creative organizer for your office, kitchen, or just the living room? This beautiful DIY hanging organizer is a perfect DIY project to organize your home.
From home offices to craft rooms, there’s no doubt that storage comes at a premium. However, there’s one part of the home that often goes underutilized.
That’s right, our walls!
A hanging organizer is fantastic for turning a useless vertical space into usable storage. Not only that, but you’ll also be doing it stylishly, all while improving your sewing skills.
If you’re a beginner at sewing, this is a great project to test your mettle against. If you’re more experienced, you should fly through this in an afternoon!
What Do You Put in Hanging Organizer?
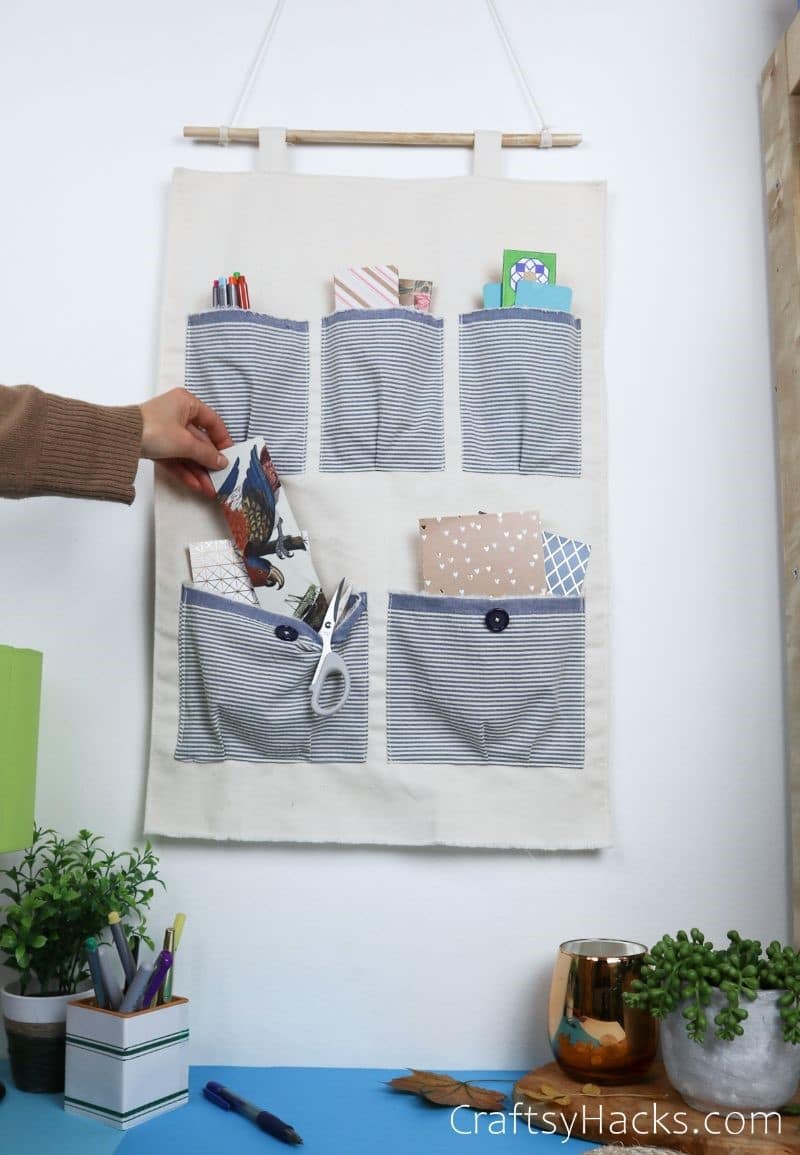
Depending on where you’re hanging your new addition, you can use it for anything that will fit. Notebooks, stationery items, kitchen tools, nuts, and bolts… anything you can think of will work.
The usage of this organizer is limited only by your imagination. For example, you can try making thin and tall pockets if you’re using the organizer to store baking supplies like spatulas or whisks.
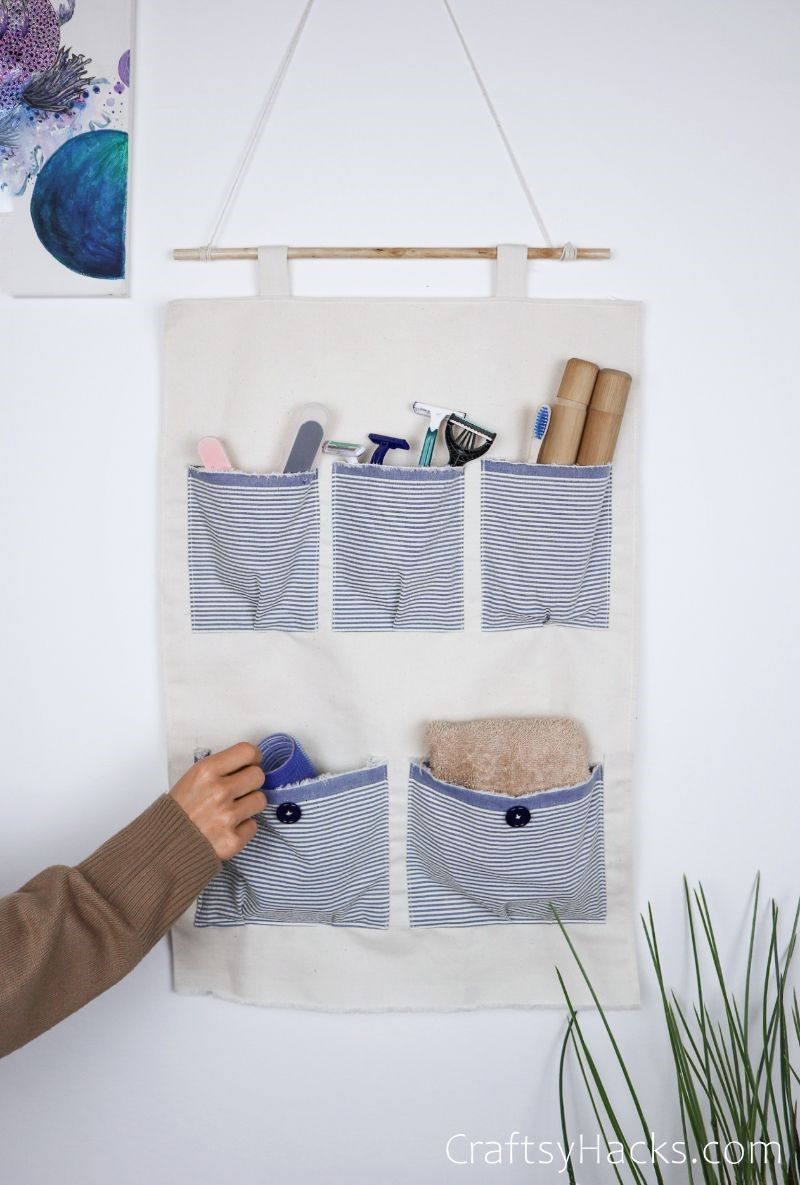
So, it could do as a kitchen organizer, office organizer or just extra vertical storage for a small room.
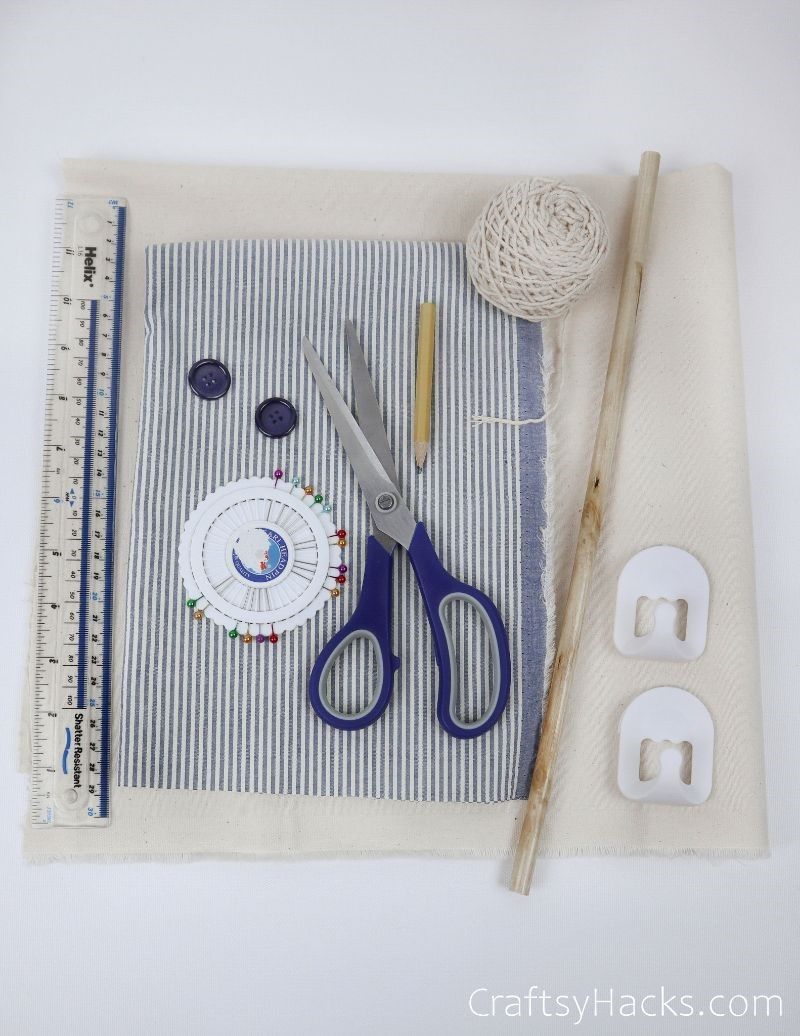
What You Will Need for the Organizer
- Thick fabric (for the main piece)
- Patterned fabric (for pockets)
- 2x command hooks or sturdy string
- Wooden stick
- Buttons (optional)
- Sewing machine
- Ruler
- Pins
- Scissors
- Pencil
How to Make a Hanging Organizer
Step 1
Pull all your supplies together to get started. Ideally, you’ll need a thick textile to act as the base of your organizer. It would also help to have a sewing machine, but this can be completed by hand.
Pro Tip: If you’re short on time, try using an adhesive sheet instead of glued hangers or string!
Step 2
Start by cutting a piece of the heavy textile out for the base. If this is going inside a wardrobe, measure the door’s width and height to find the base’s size. Do the same for a wall hanging.
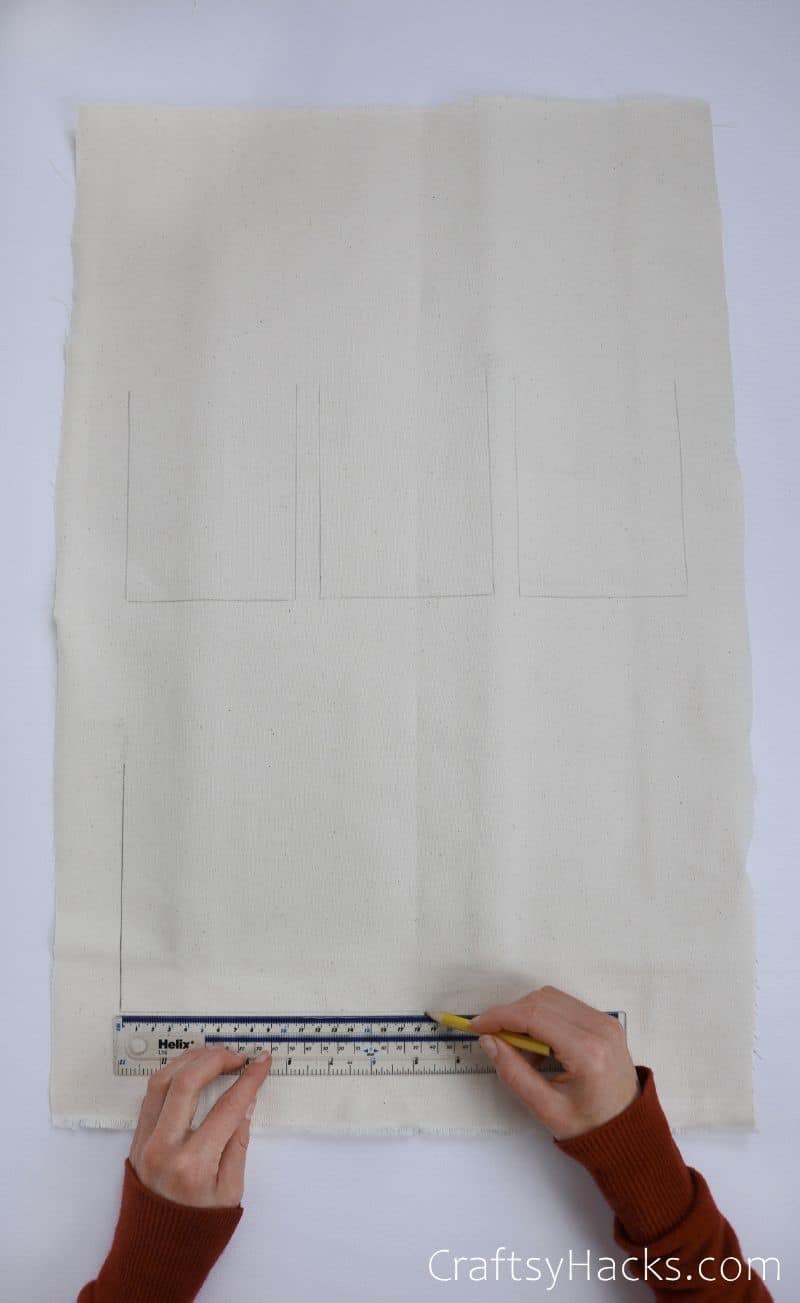
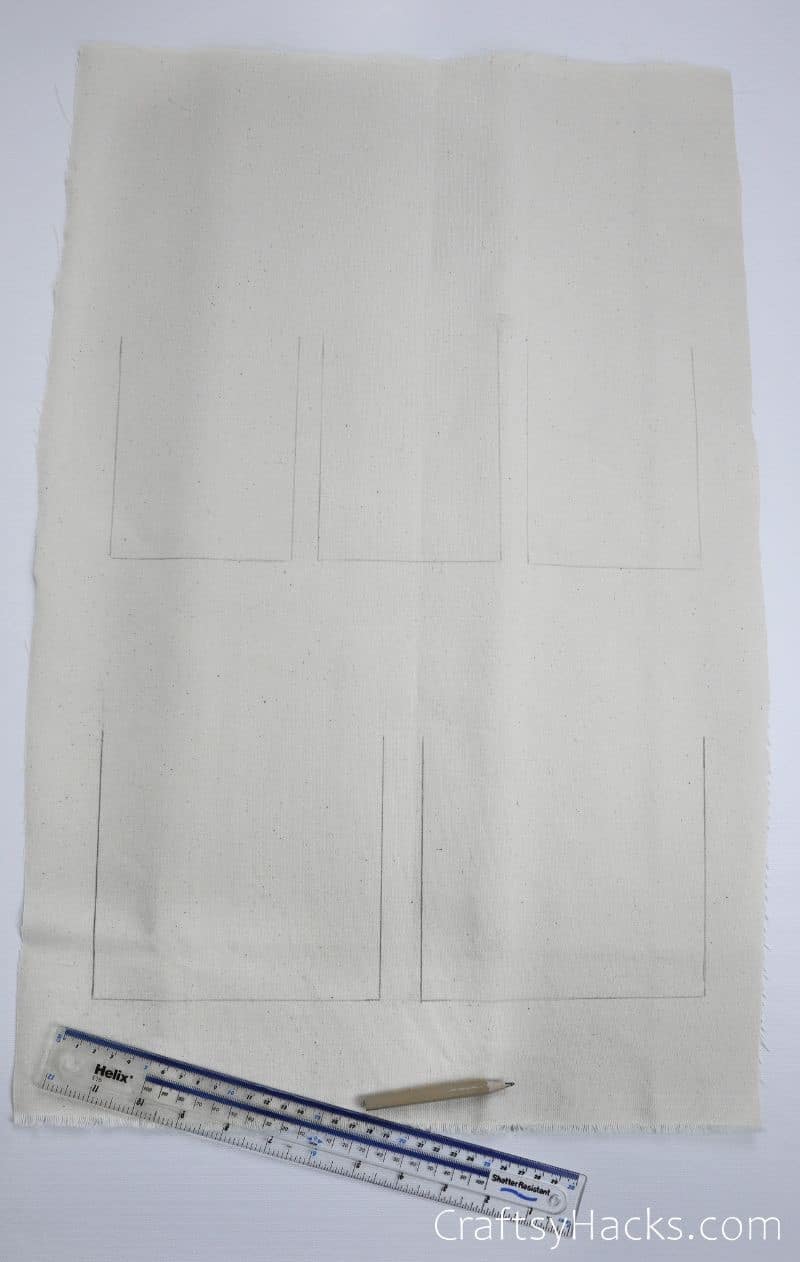
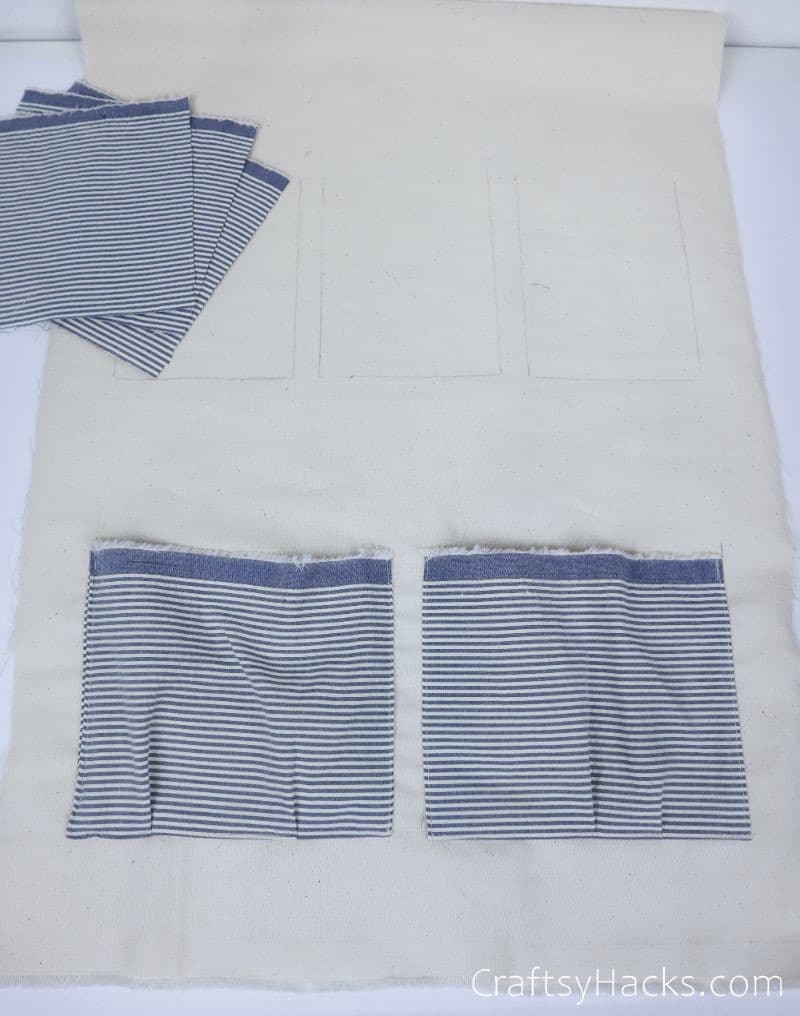
Step 3
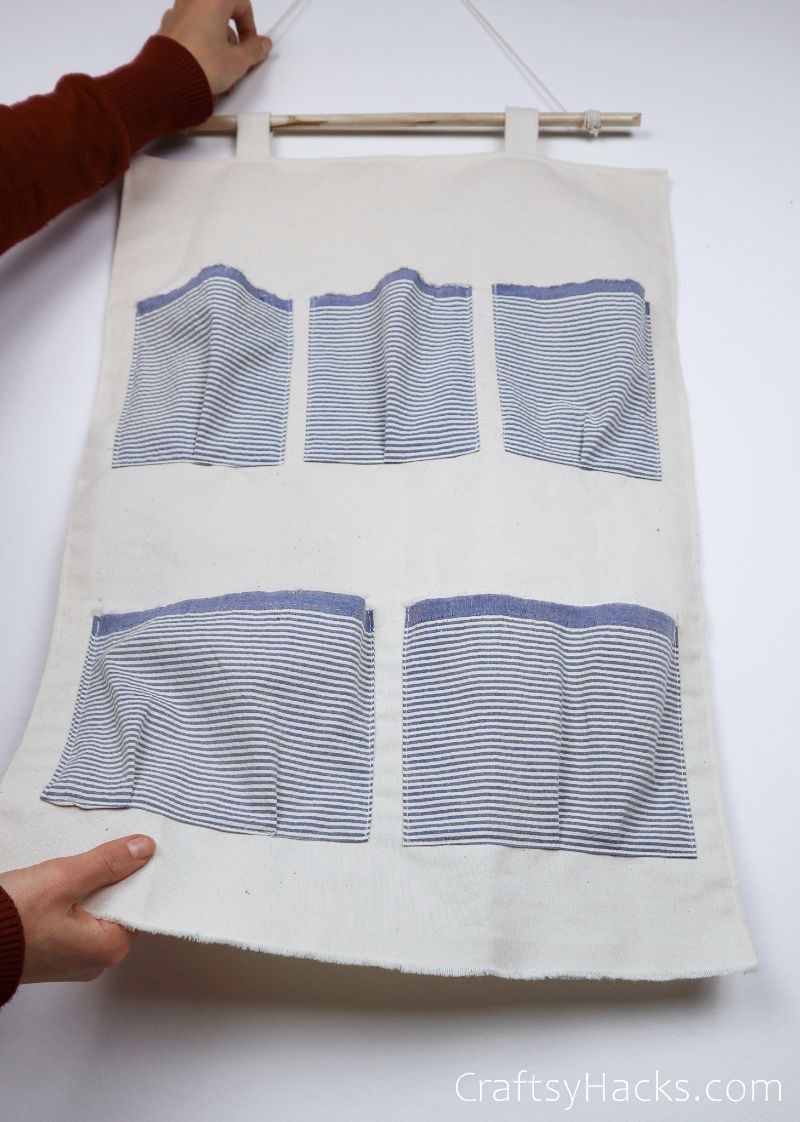
Use your pencil and ruler (or tailor’s chalk if you have it) to sketch where your pockets will go. You can make them all the same size or change it up with some small and some big. It’s up to your needs.
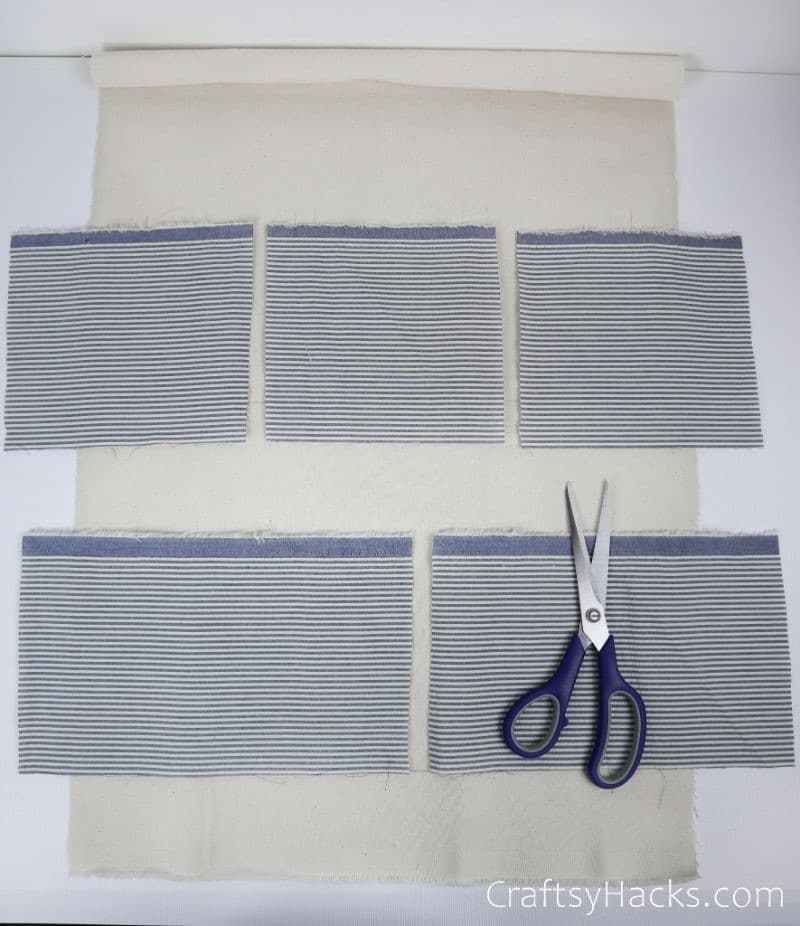
Step 4
Now it’s time to cut out the pockets. The fabric pieces should be larger than the pockets you sketched (I made mine about ¾-inch wider on the sides and ½-inch longer at the bottom).
Making the pieces bigger allows you to pleat the pockets when you sew them on, thus creating more space to store your supplies. However, this is an optional step.
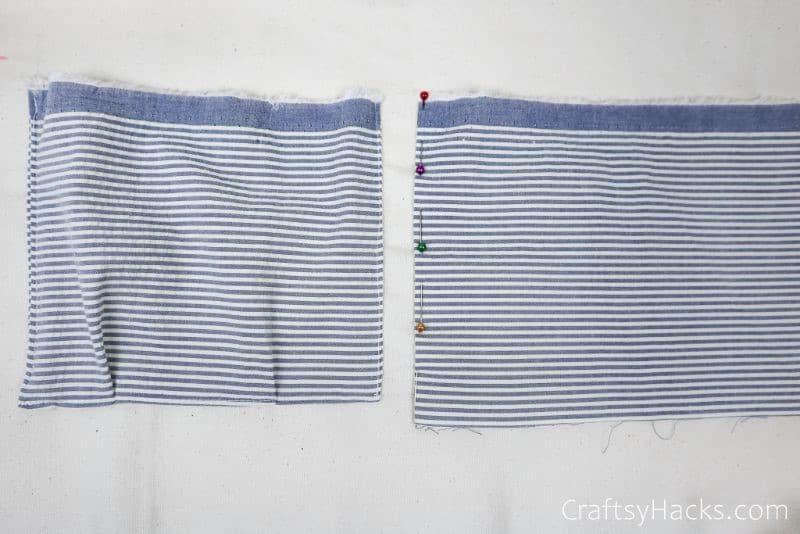
Step 5
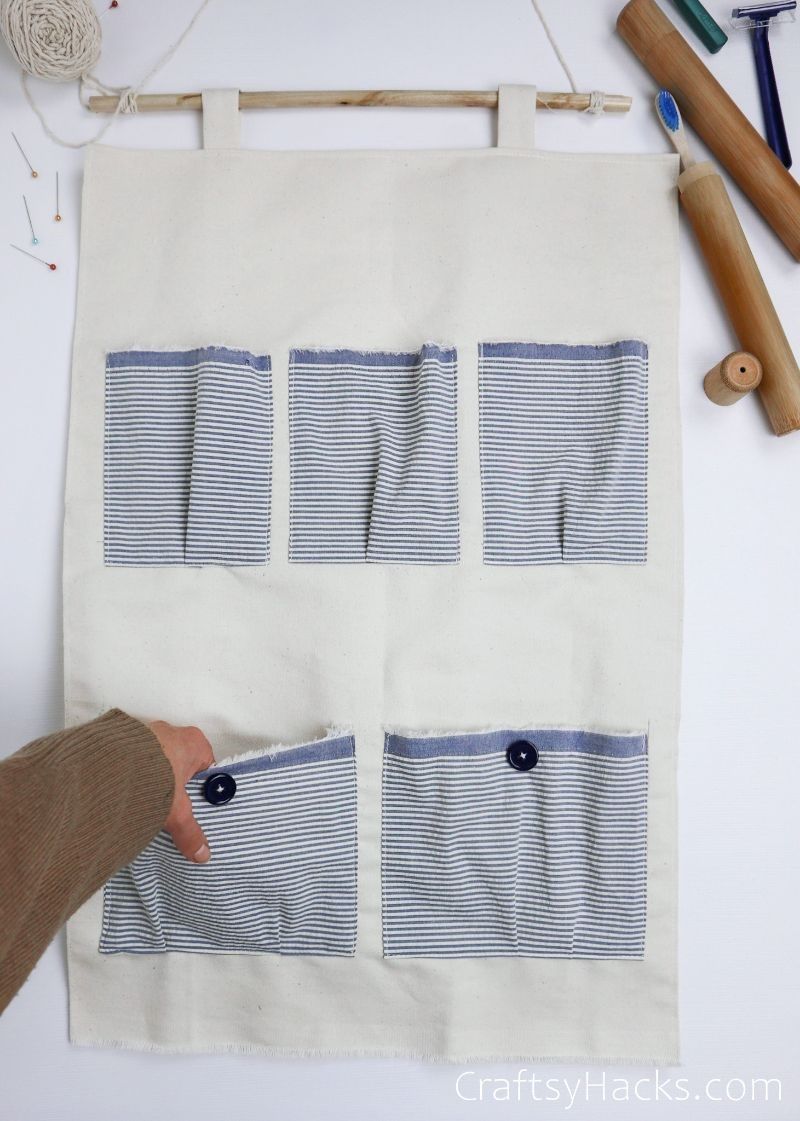
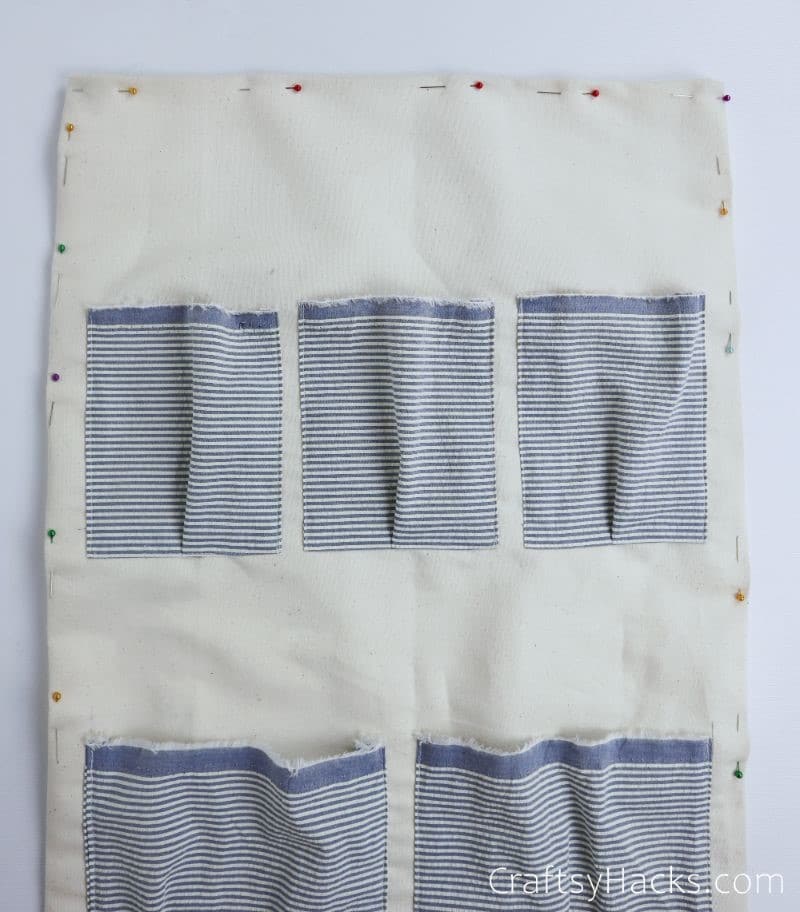
We don’t want the fabric to fray with use, so it’s time to make a hem. Start by pinning around the outside of the pockets, folding in the raw edges as you go. You can fold your pleat at the same time.
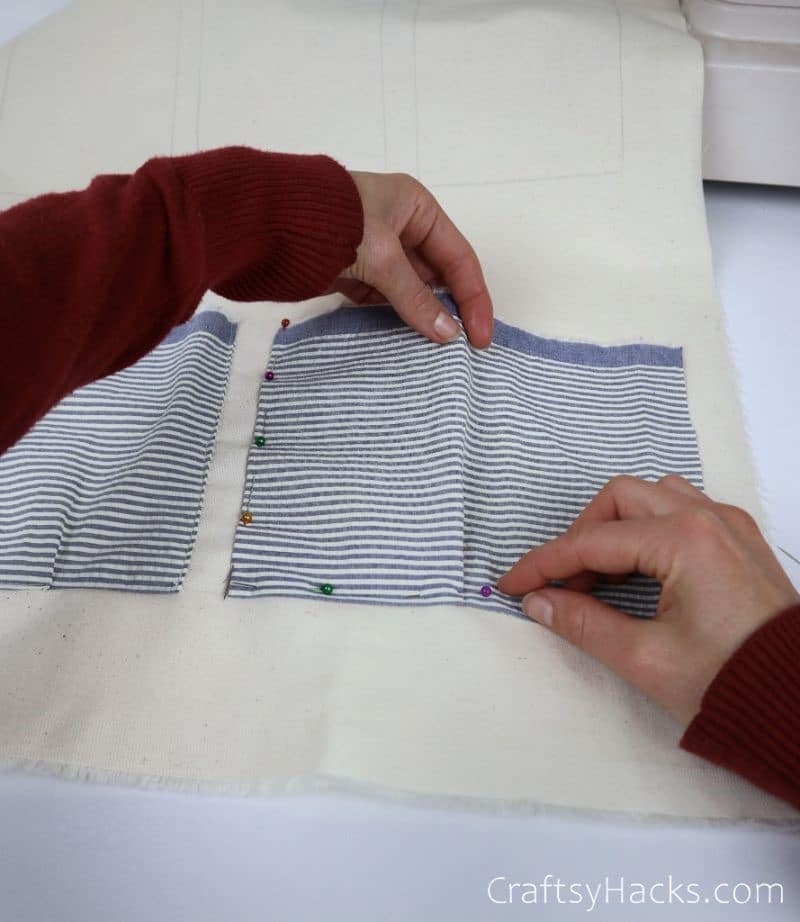
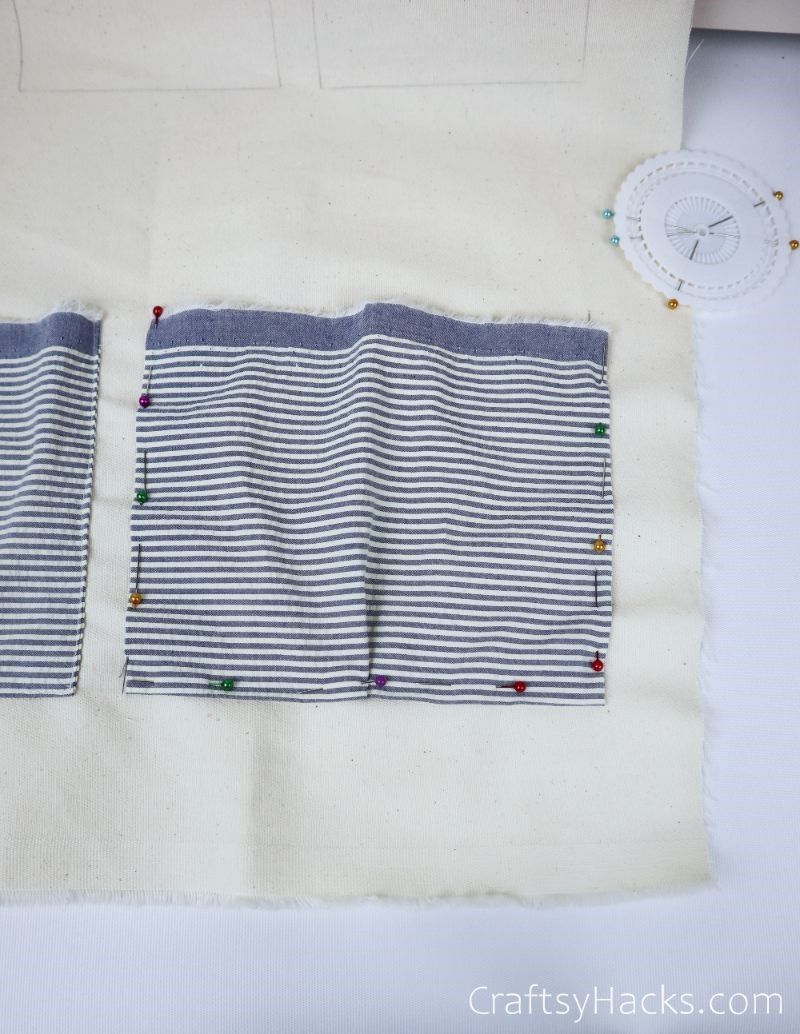
Step 6
Take the organizer to your sewing machine (or use a needle and thread) and use a straight stitch. Sew up the left side, right side, and bottom to create what is called a selvage.


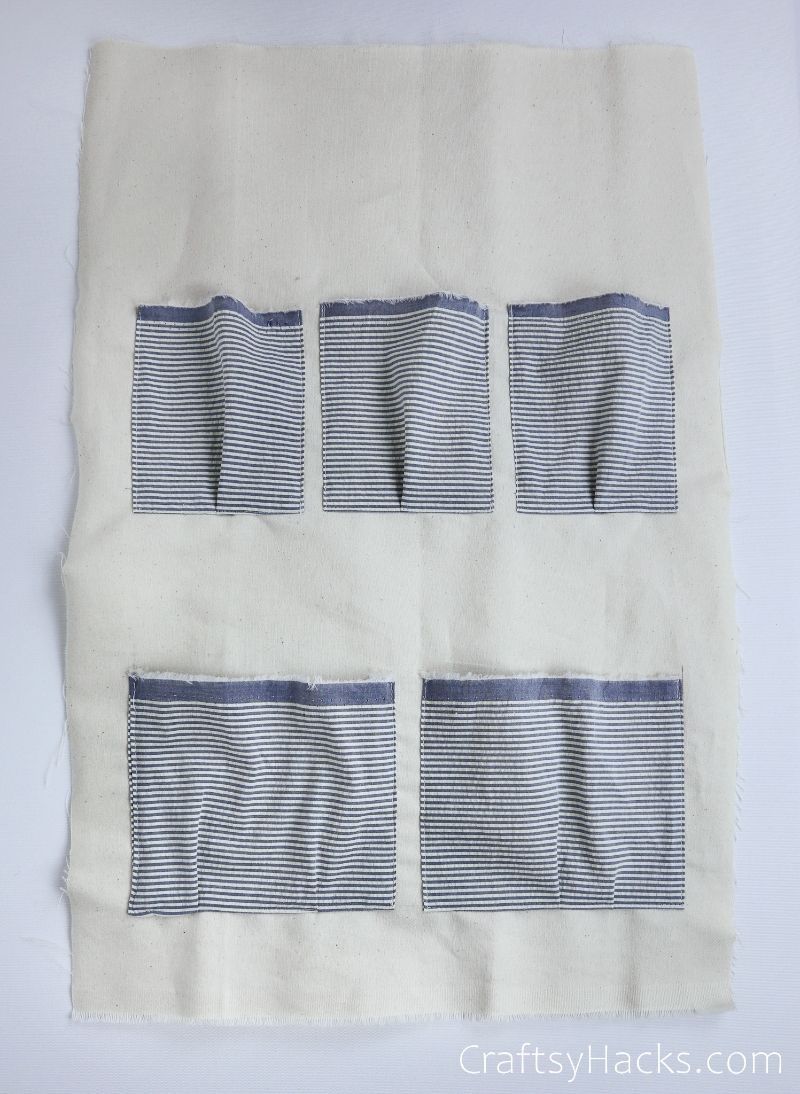
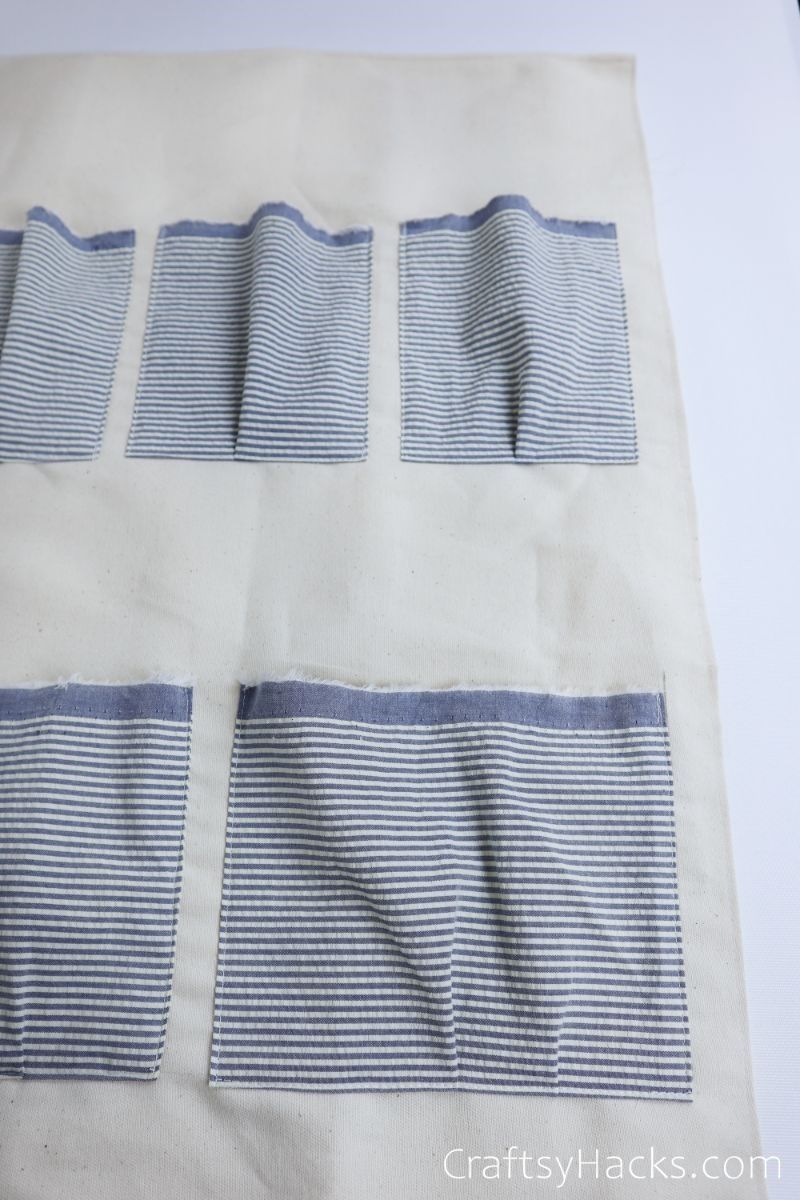
Step 7
Continue sewing the pockets onto the base, taking care to cover or erase your drawn marks as you go. As with all sewing projects, I recommend pressing your bags as you go to make them crisp.
Step 8
Next up, we must take care of the organizer’s edges in the same way we did the pockets. Fold the edges and pin in place, taking care to make the selvage even on all sides.
Pro tip: Iron down the edges as you go before pinning them. This keeps the fabric in place even better as you sew along the selvage.
Step 9
Head back to your sewing machine and stitch down the selvage, keeping as straight as you can while doing so.
Step 10
Now, it’s time to create your organizer’s hanging mechanism. This is super easy.
Just cut out two fabric pieces in the same size (I went with 6.5in x 6in). These will form the ‘suspenders’ or loops.
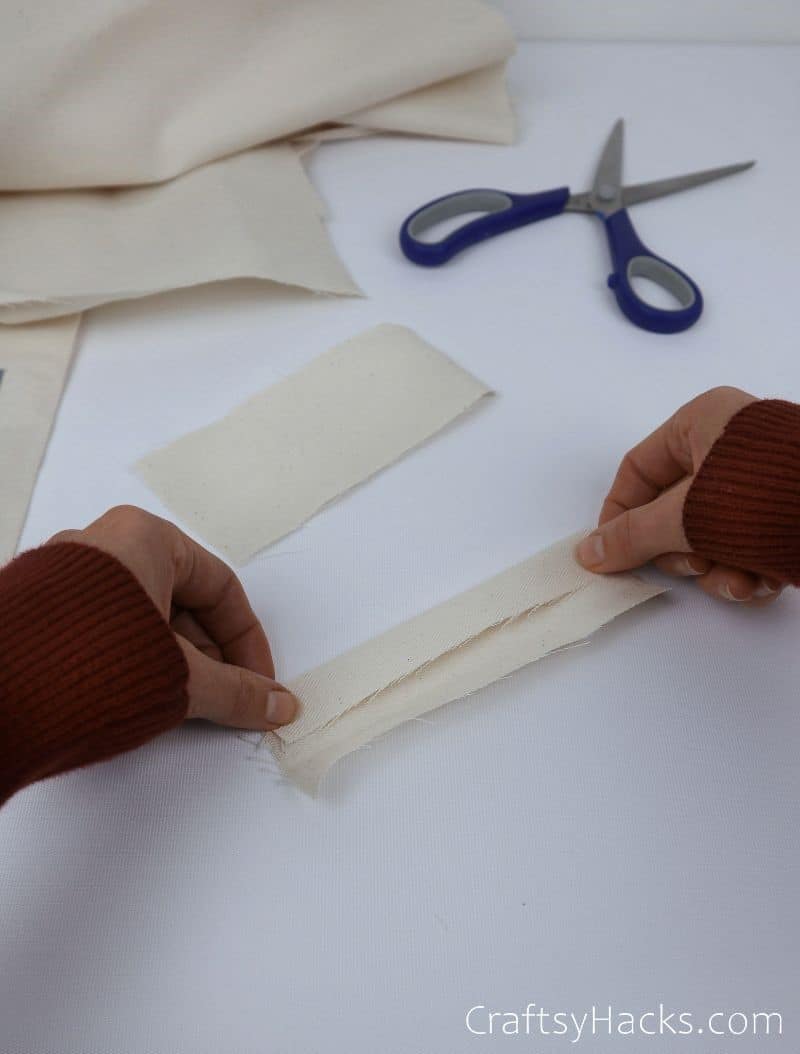
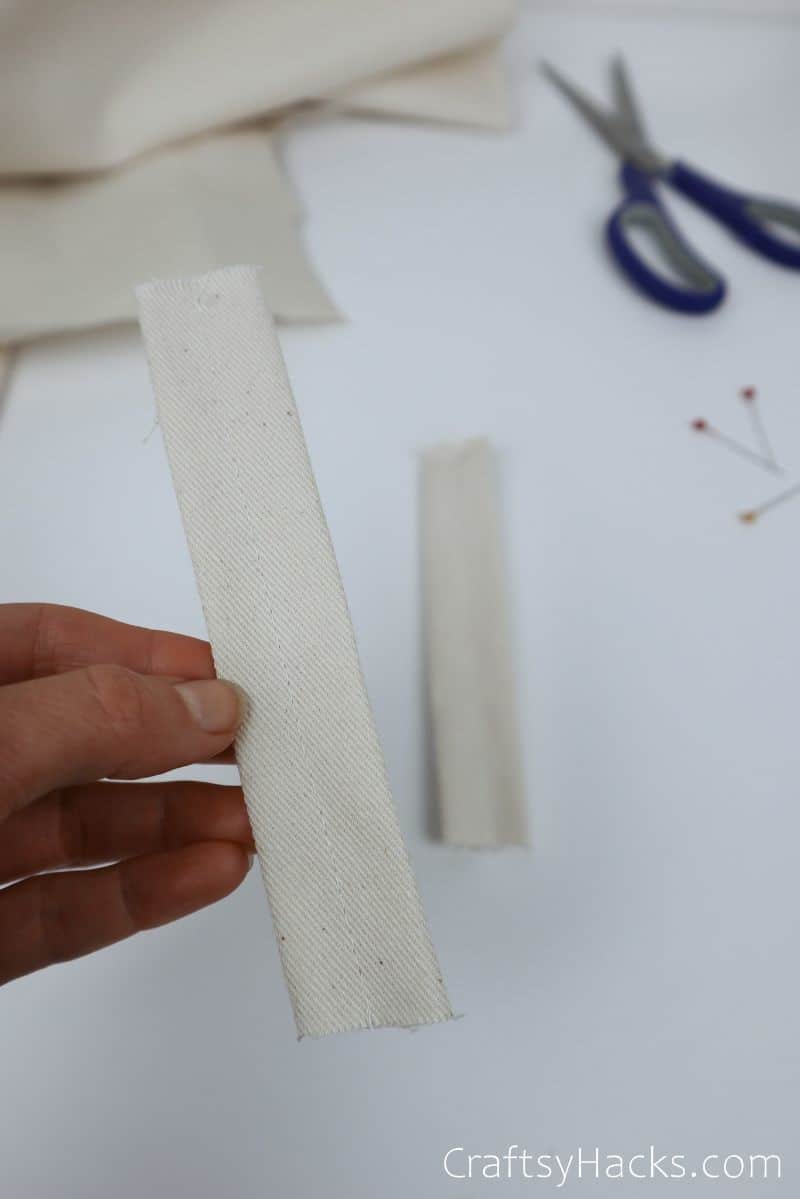
Step 11
Fold the edges into the middle, pressing them smooth as you do so. Pin the flaps together to form your suspender (it should look like the below).
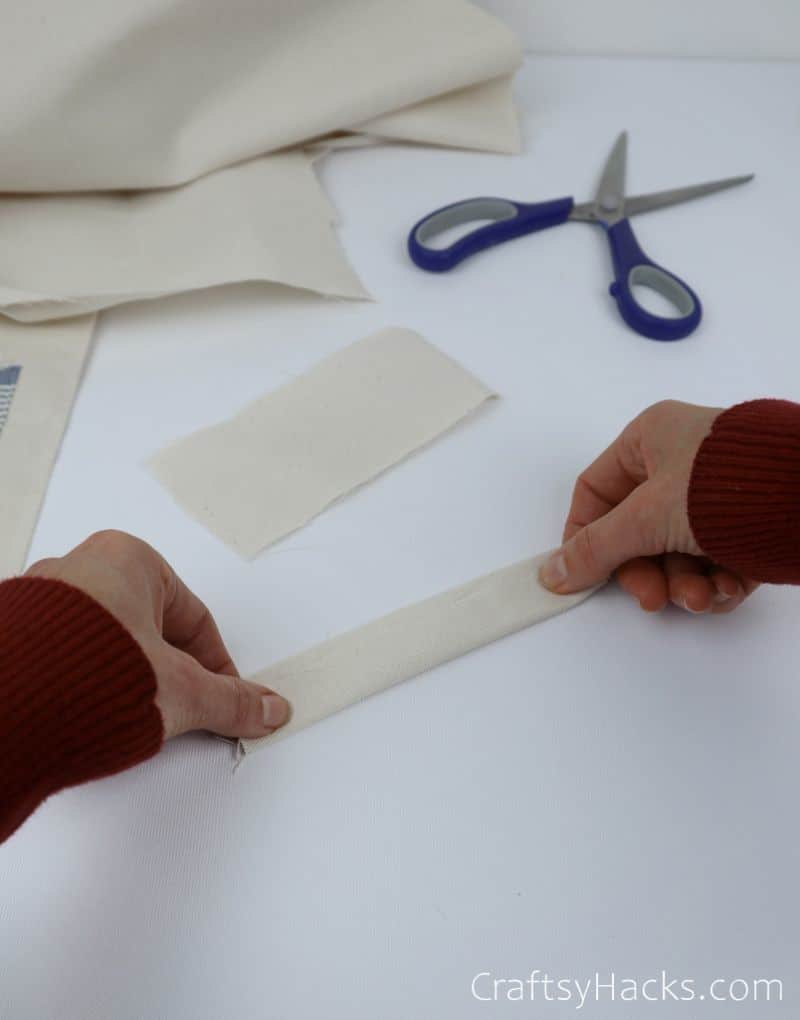
Step 12
Run a quick straight stitch down the middle of each loop to secure them. You don’t need to worry about salvaging the ends, as these will be sewn to the organizer in the next step.

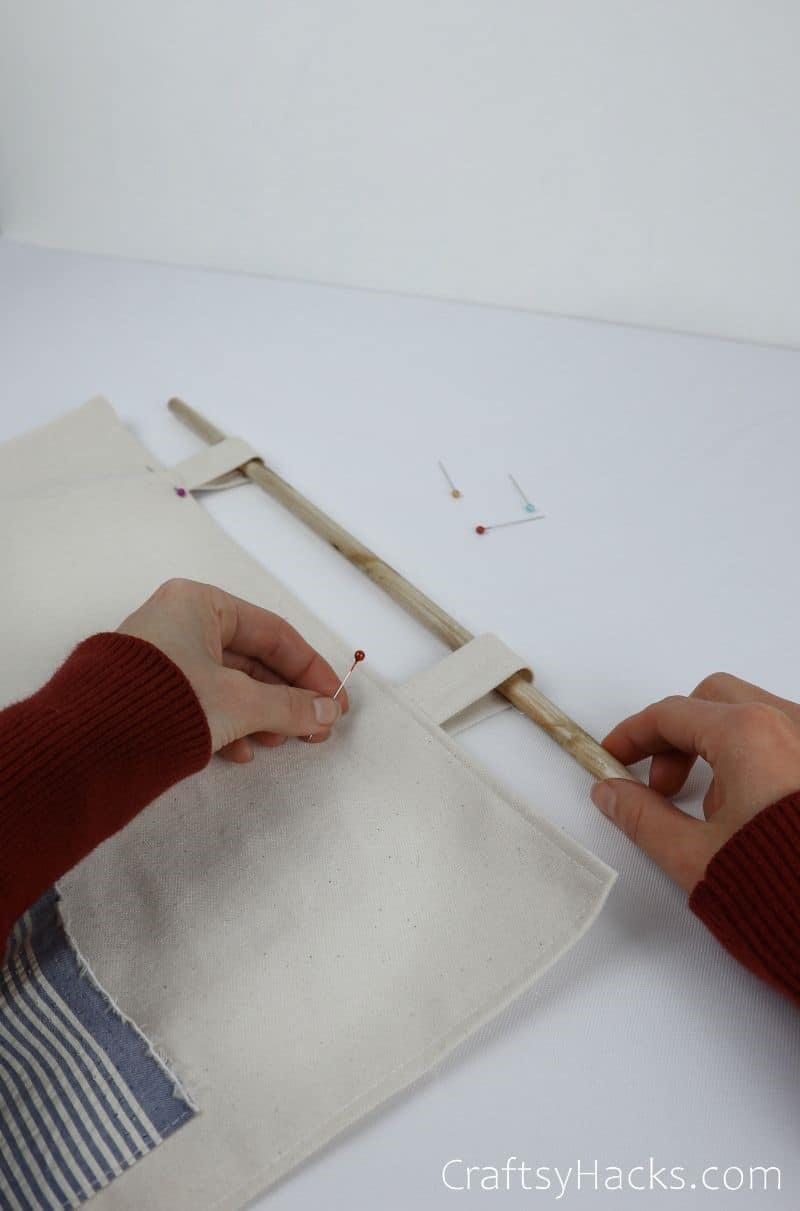
Step 13
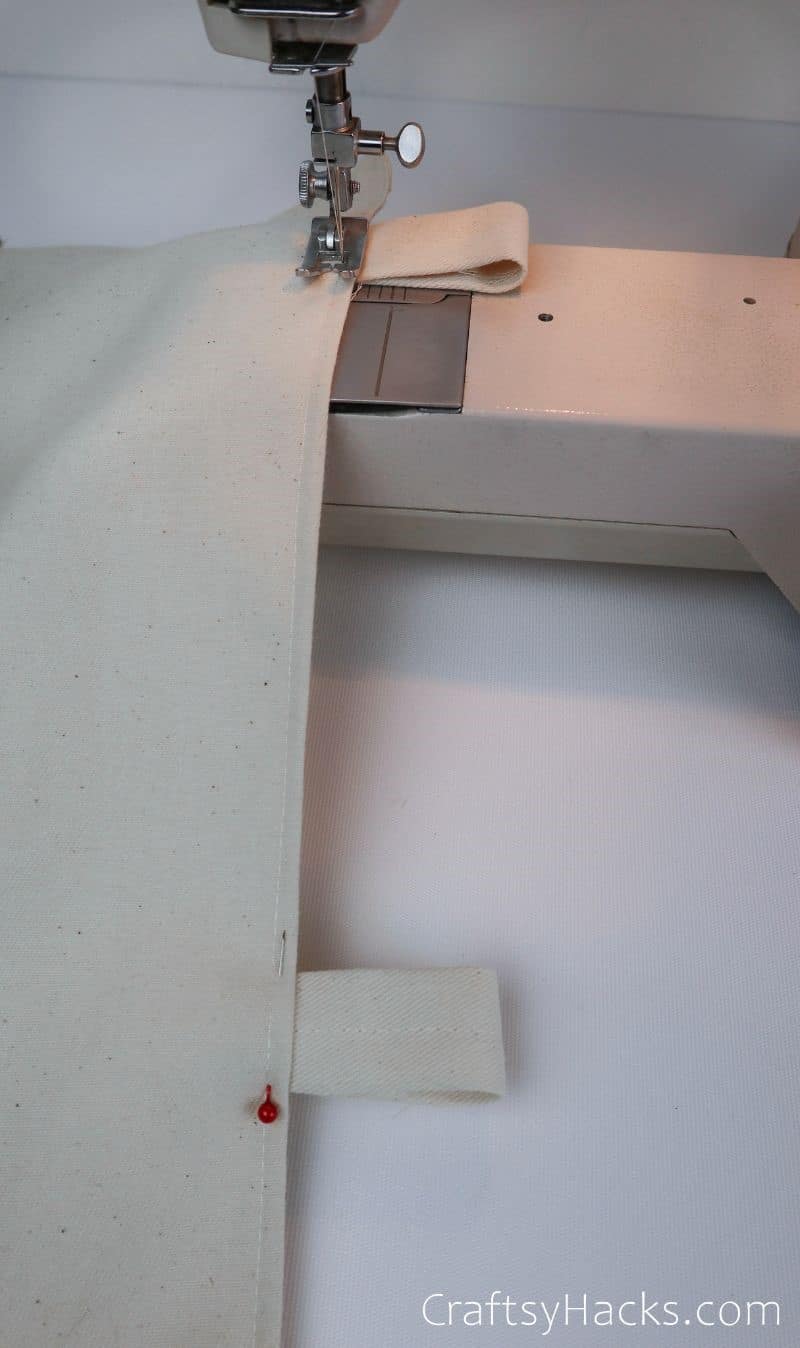
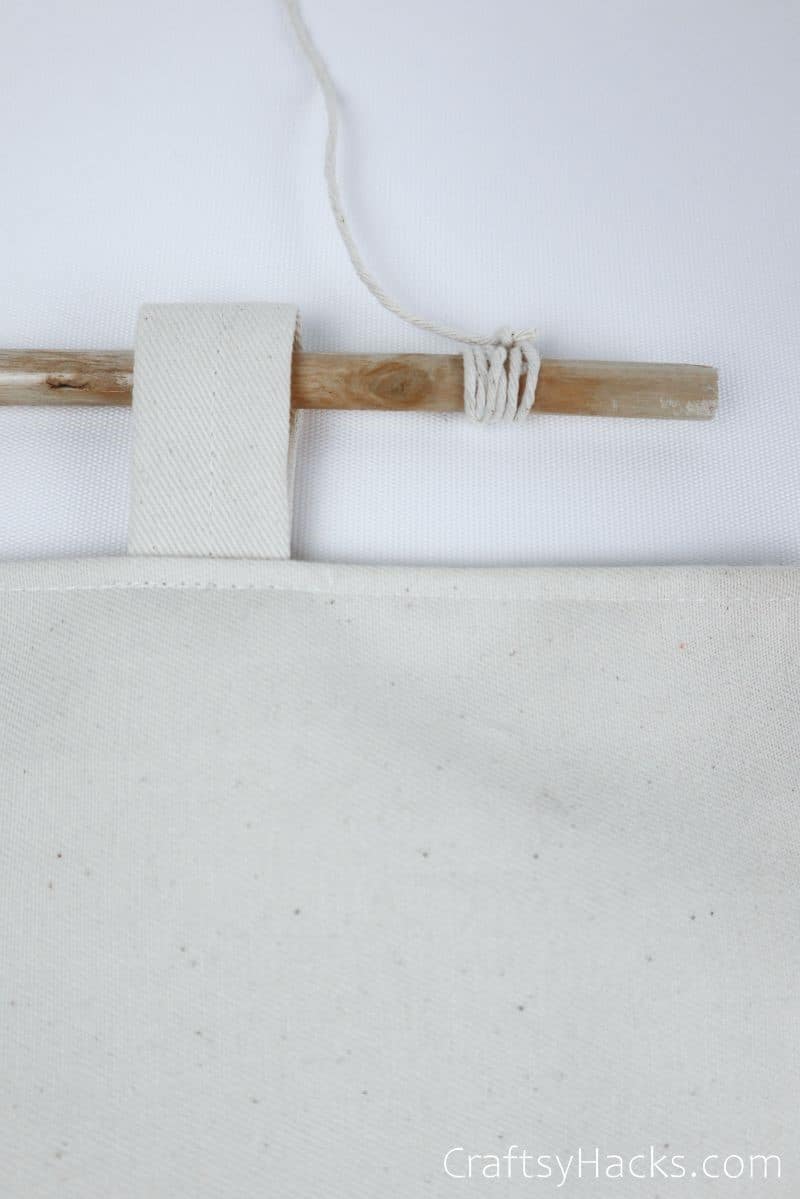
Then, grab your wooden stick! This is the bar your organizer will hang from. Take the loops and space them equally apart on your base, looping them around the rod and pinning them in place.
Once done, simply run another straight stitch along the loops’ bottom to attach them to your base.
Step 14
Now, the next step will vary depending on your hanging method. If you’re using command hooks, you can just stop here. Otherwise, keep following along.
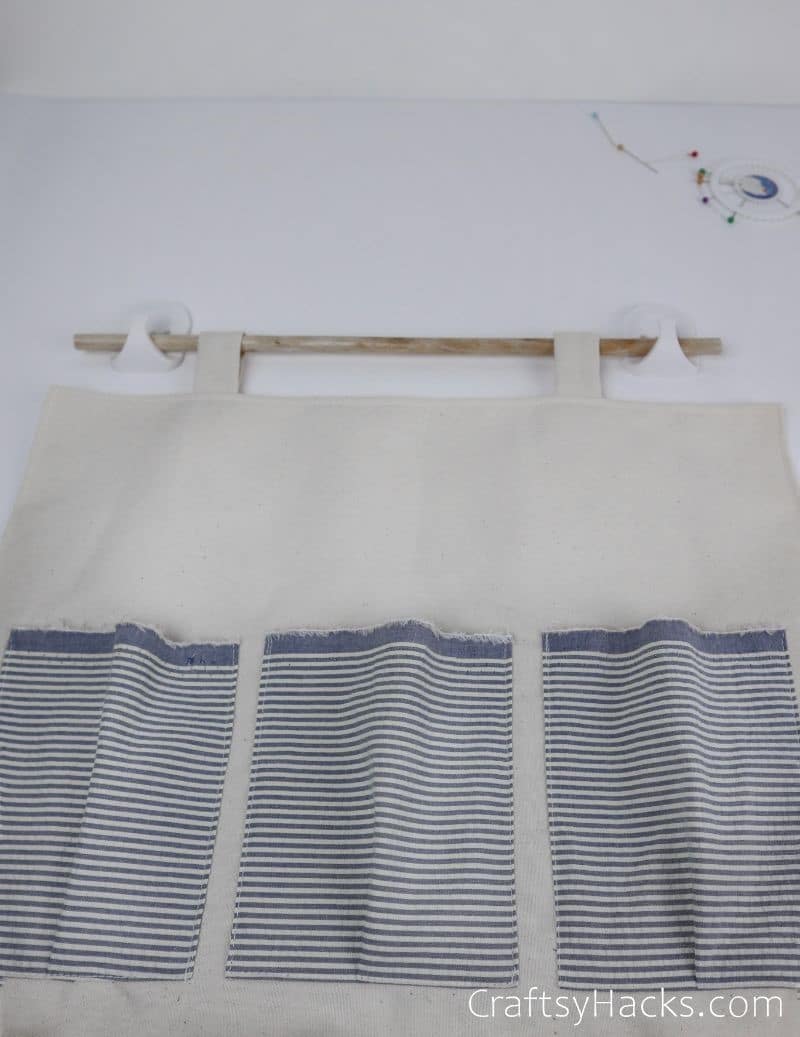
I chose to use a string as my method because I like how it looks! Attaching some twine is easy as pie, and it looks great hanging on your wall.
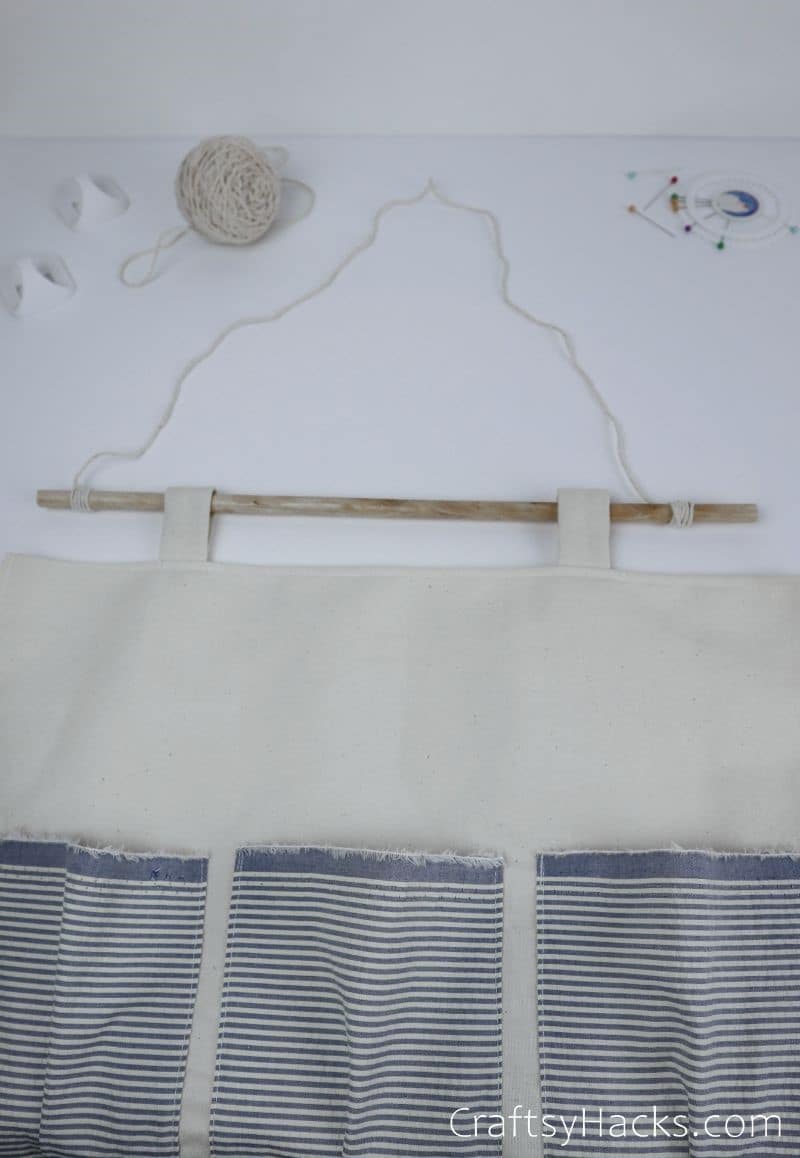
Step 15
Simply cut a length of string, then tie the ends to either end of the wooden stick. Wind the twine around the bar a few times to secure it (add a dab of hot glue for some extra security if you want to).
There you have it! Now, all that’s left is to decorate the organizer to your liking.
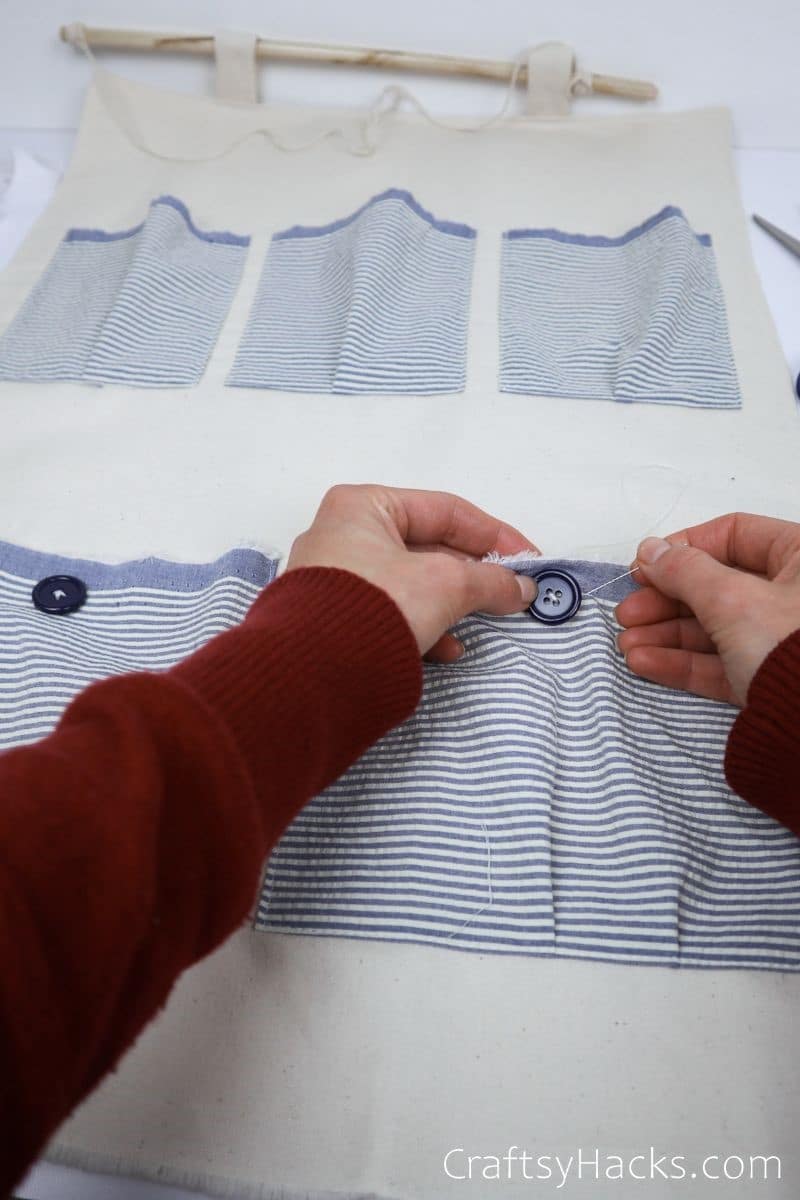
Step 16
I chose to use buttons on the larger pockets, just to add a little accent. Some other ways you can decorate this organizer include embroidery, rick rack, sequins, or even some fake foliage!
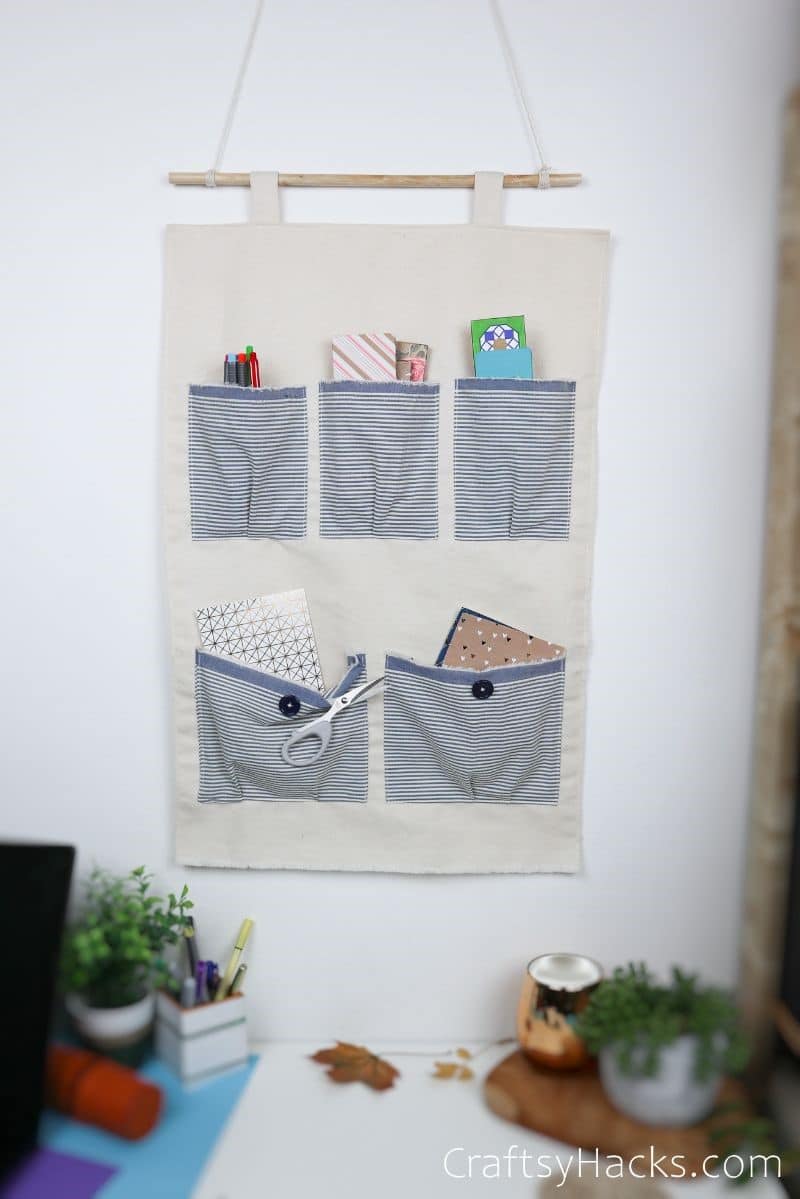
Once you’re happy with it, all that’s left is to hang your brand-new organizer on the wall with pride.
How Do You Hang Pocket Organizer?
If you are storing many items in there, I recommend using a wall-anchored hook, not an adhesive one. That way, you can be sure the glue won’t give up on you unexpectedly.
Otherwise, you can use two hooks to support the stick, or you can even secure the organizer itself to the wall. Let me know where you’re hanging yours in the comments below!
Some Other Organizing Ideas You Might Like
- DIY Drawer Dividers
- 25 Craft Room Organizing Hacks
- DIY Desk Magazine Organizer
- 20 Small Bedroom Organization Tips That Require No Drilling
- DIY Rope Basket Out of Cardboard
- Rope Organizers for Desk
- Garage Organizing Ideas
- Towel Storage Ideas

DIY Hanging Organizer with Pockets
Video Tutorial
Equipment
- Sewing machine (or a needle and thread)
- Scissors
- Pins
- Pencil
- Ruler
Materials
- Thick fabric for the main piece
- Patterned fabric for pockets
- 2 x command hooks or sturdy string
- Wooden stick
- Buttons optional
Instructions
- Gather all your supplies, then measure out the space in which you want to hang your organizer.
- Cut a piece out of the heavy material using those dimensions, leaving an extra ¾-inch around the edges for the selvage.
- Draw your desired pocket sizes onto the base, then cut out corresponding pockets in the patterned fabric.
- Create a selvage on each pocket by folding the edge inward, then sew a straight stitch around the sides and bottom. This prevents the fabric from fraying.
- Sew all the pockets onto the base.
- Create a selvage for the outside of the organizer using the same method as the pockets.
- Cut two pieces of equal size out of the heavy material. I used 6.5in x 6in as my measurements.
- Fold the edges inward and pin, then sew a straight stitch down the middle to secure them. These will be your loops.
- Secure the loops to the organizer’s top with pins, then sew along the bottom.
- Thread your wooden stick through the loops, then decide how you wish to hang the organizer.
- If you’re opting for a string, cut an appropriate length. Then, tie each end to either side of the stick. Otherwise, simply use some command hooks to secure the shaft to the wall.
- You’re done! Fill the organizer with notebooks, pens, craft supplies, cooking utensils… anything you need that little bit of extra space for.