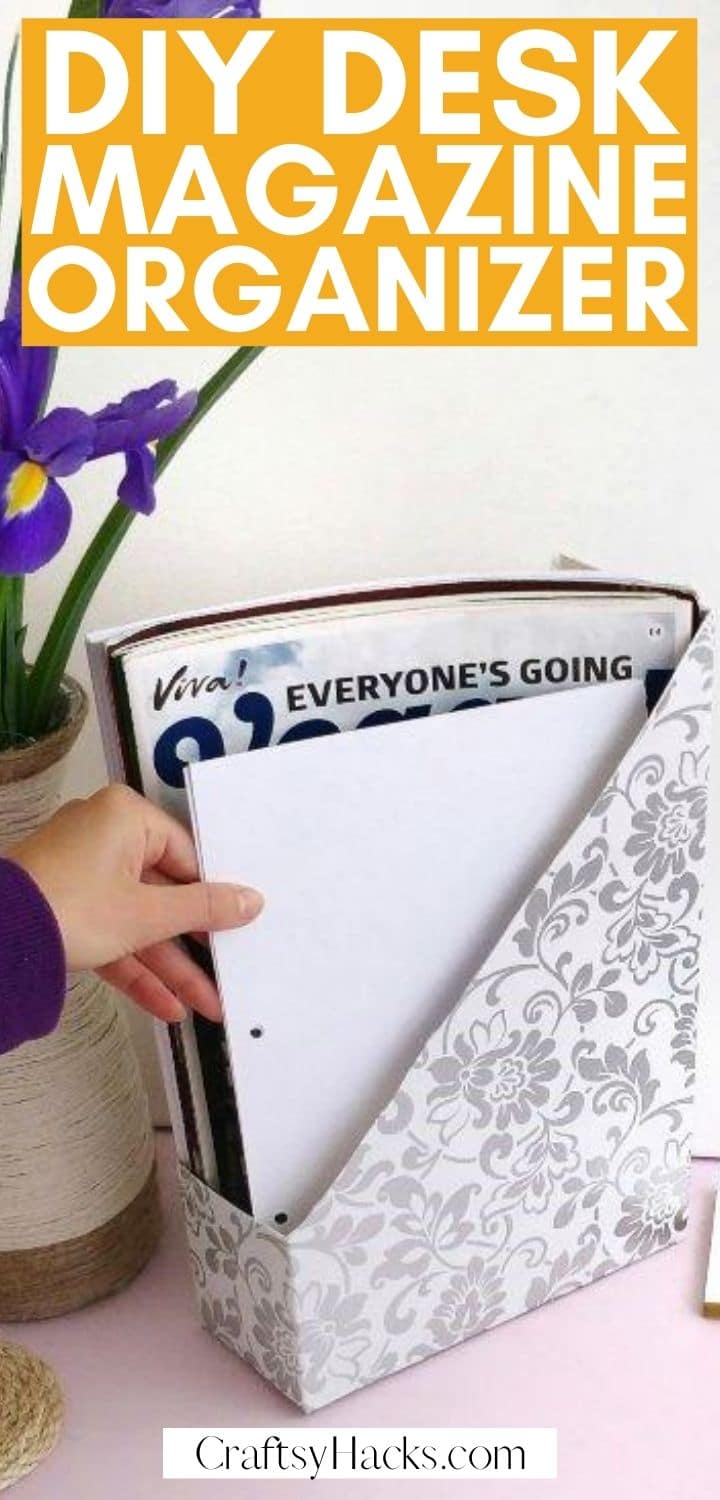
DIY Desk Magazine Organizer Out of a Cereal Box
This post may contain affiliate links: full affiliate disclosure.
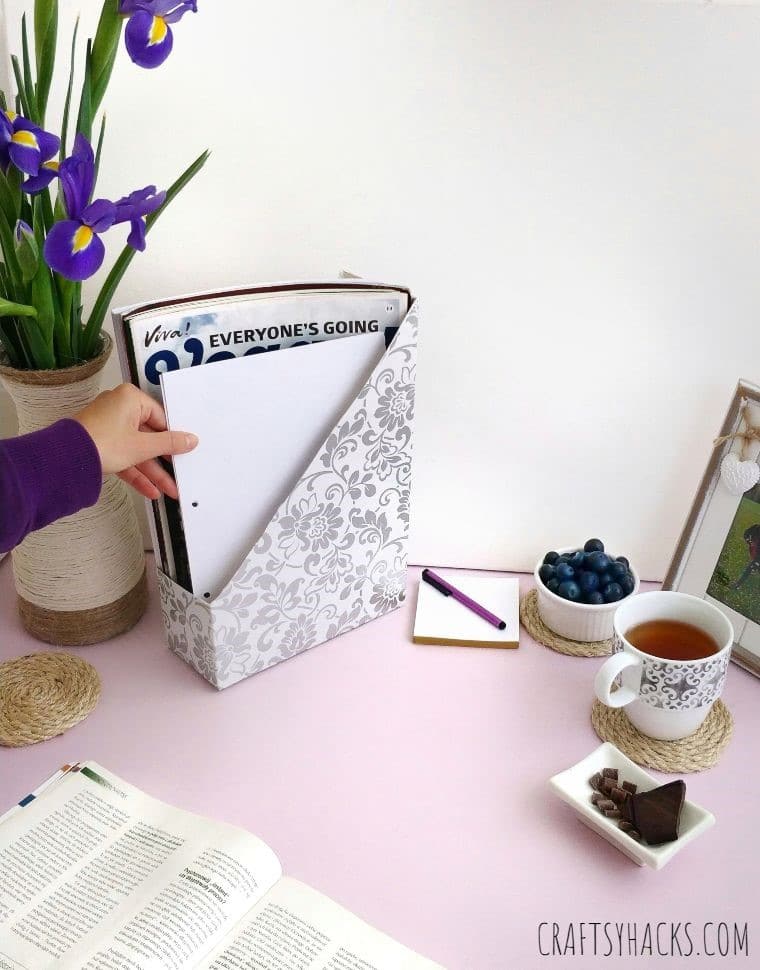
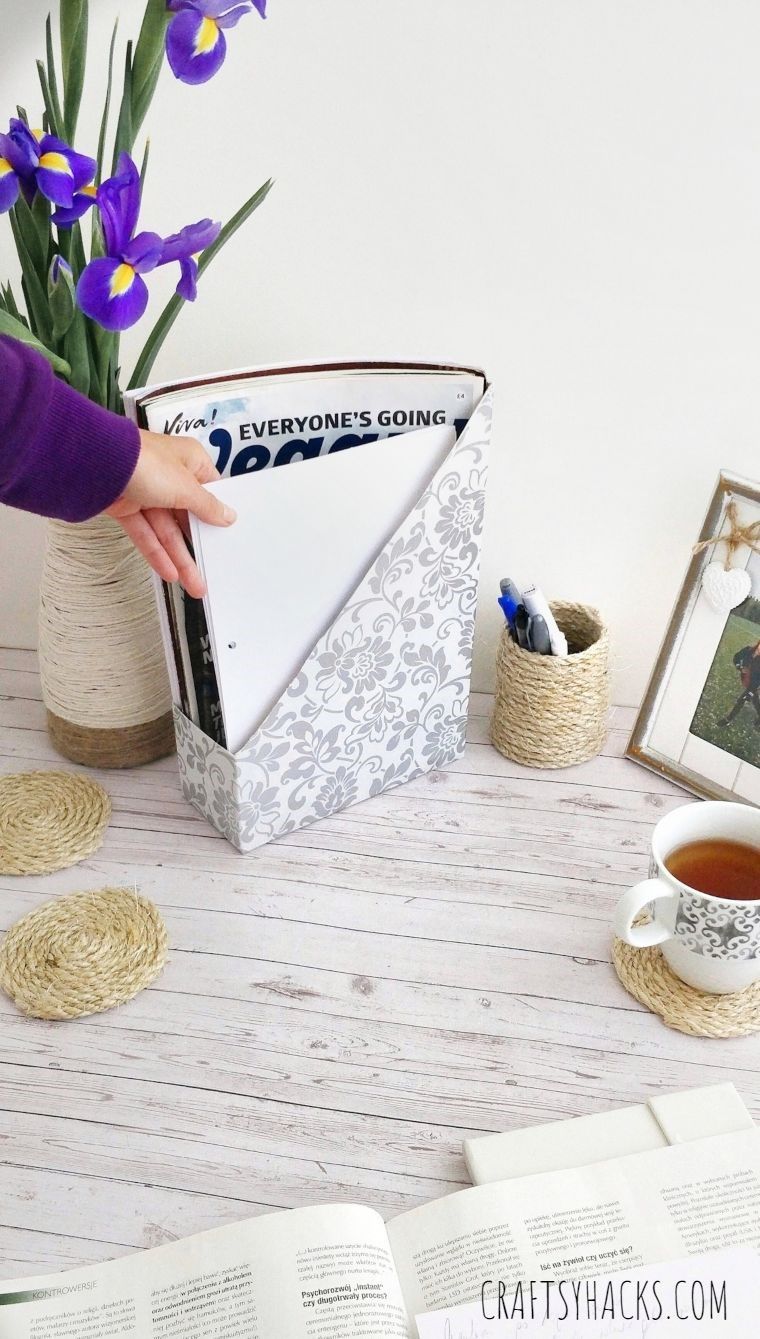
Magazines are great information and entertainment resources. I like to keep them in my home office for use when I need inspiration – or a bit of a break from my workday.
Displaying them can be a bit tricky. I didn’t want to buy rather pricey magazine organizers, so I switched on my creative self and came up with a DIY solution using cereal boxes.
It’s super easy to make, plus it helps reduce my recycling waste!
I love this DIY project because I get the freedom to design it the way I like it, unlike store-bought ones, where the options are limited to what they have in stock. For this particular project, I went for a floral silver design to complement my home office teacup.
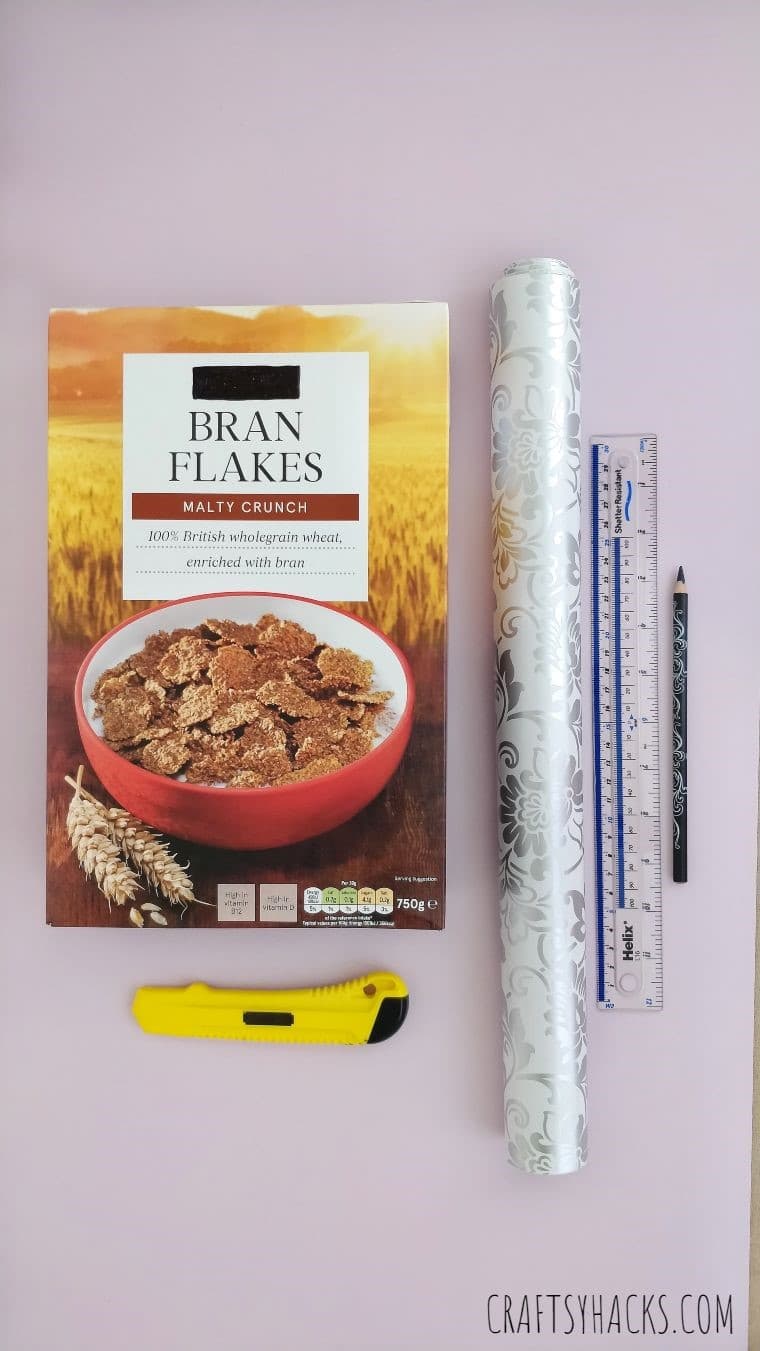
Supplies for the Organizer
- Cereal box
- Ruler
- Pencil
- Self-adhesive fablon
- Craft knife
How to Make a Magazine Organizers Out of Cereal Boxes
You don’t need to be an expert crafter or an experienced DIYer to create your magazine organizer out of a cereal box. As long as you know how to cut and draw some lines, you should be good to go.
It’s a project even the kids can do – on their own or with you.
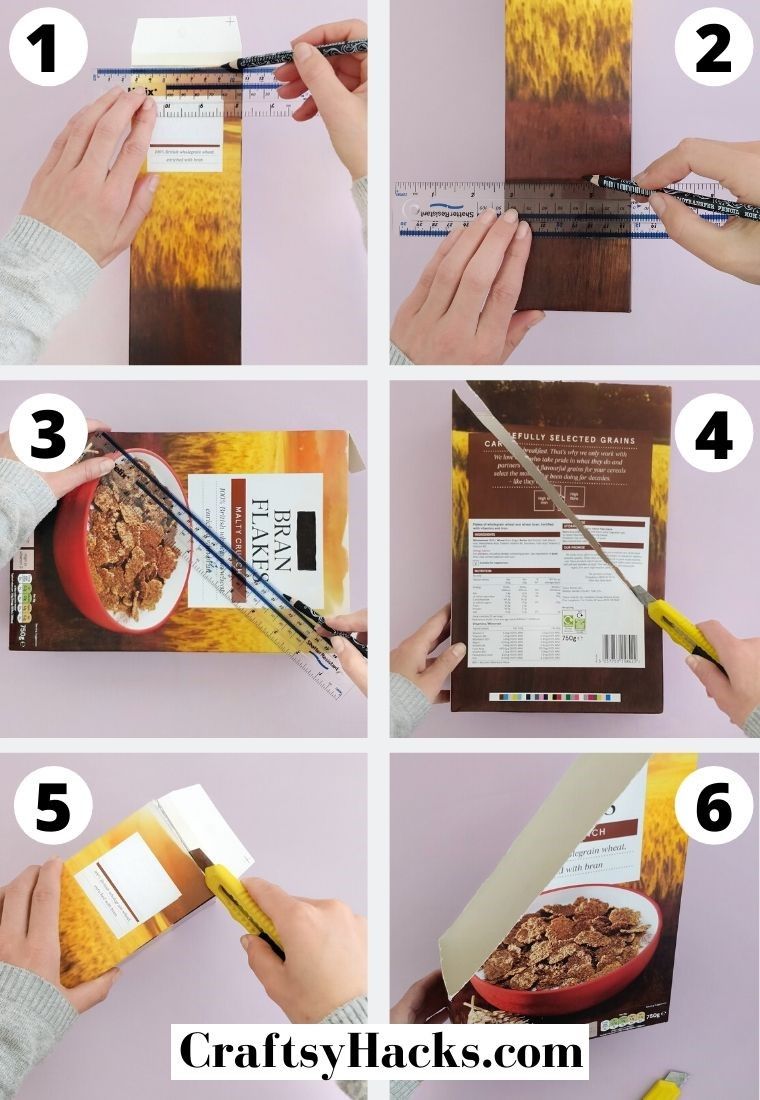
STEP 1
Once you’ve gathered all your supplies, start by taking the cereal box and flip it, so one of the narrower sides are facing you. Take the pencil and ruler and draw a line about half an inch away from the top of the box.
STEP 2
Turn the box so that the opposite narrow side is facing you. Draw another line, this time, four inches from the bottom end of the box.
STEP 3
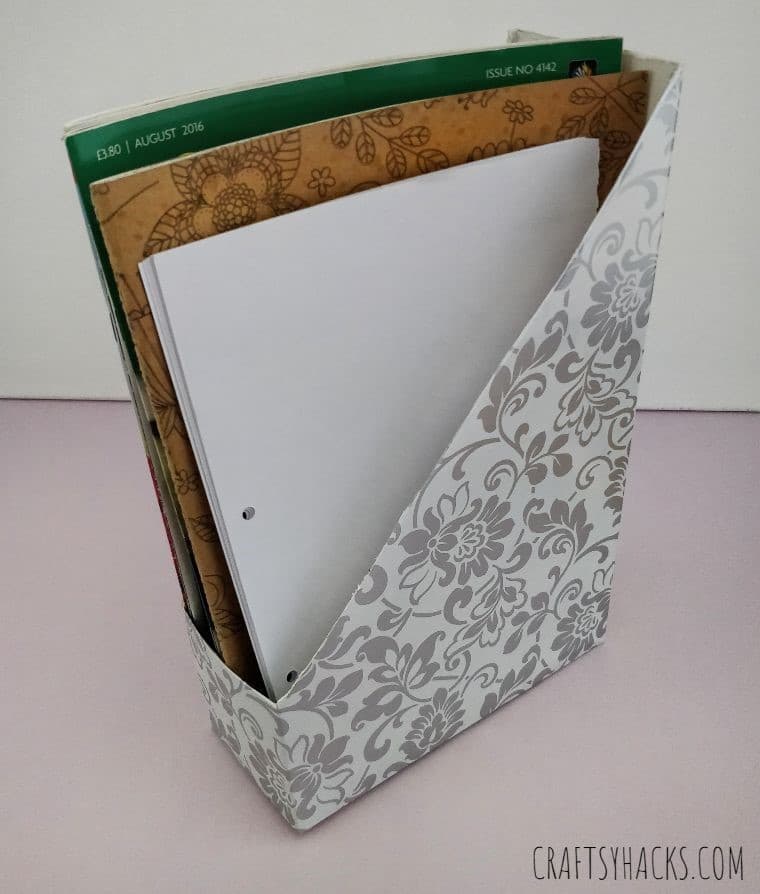
Turn the box again, this time with the wider sides facing you (front of the cereal box). Draw a diagonal line along the front of the box to connect the top and bottom lines you have previously made on the sides of the box. Repeat the same on the back of the box.
STEP 4
Grab your craft knife and cut along the lines you have drawn.
STEP 5
Don’t forget to also cut the extra flap on one of the box‘s narrower sides.
STEP 6
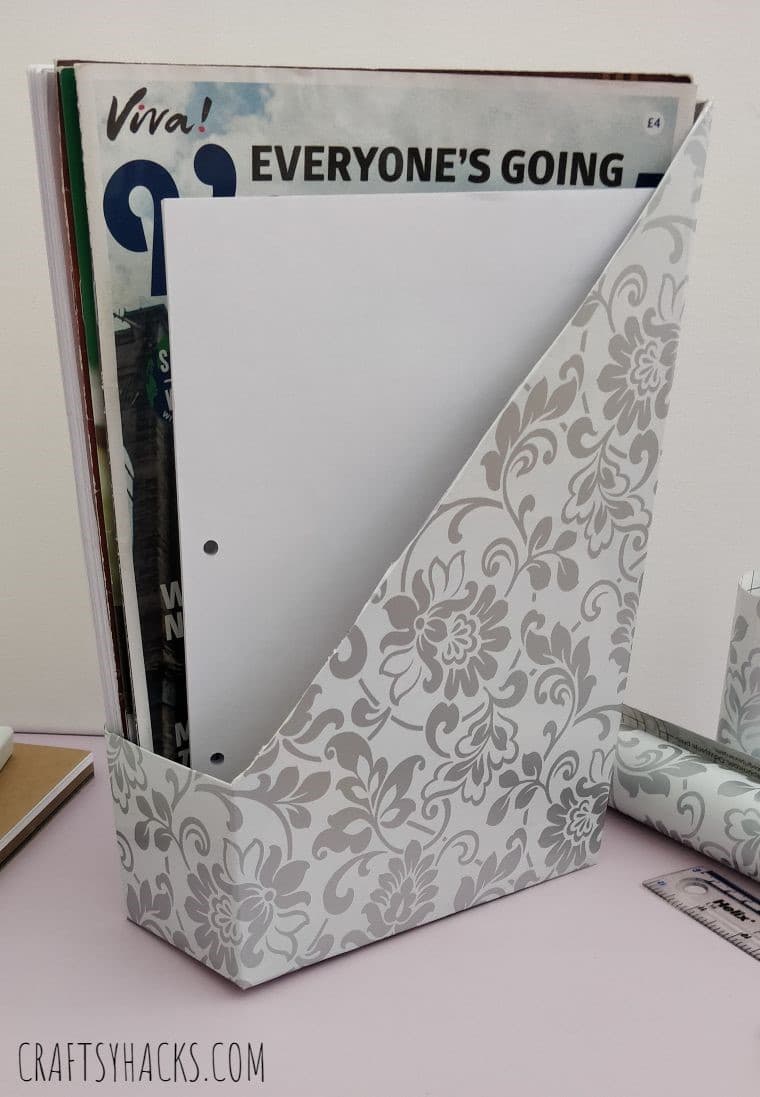
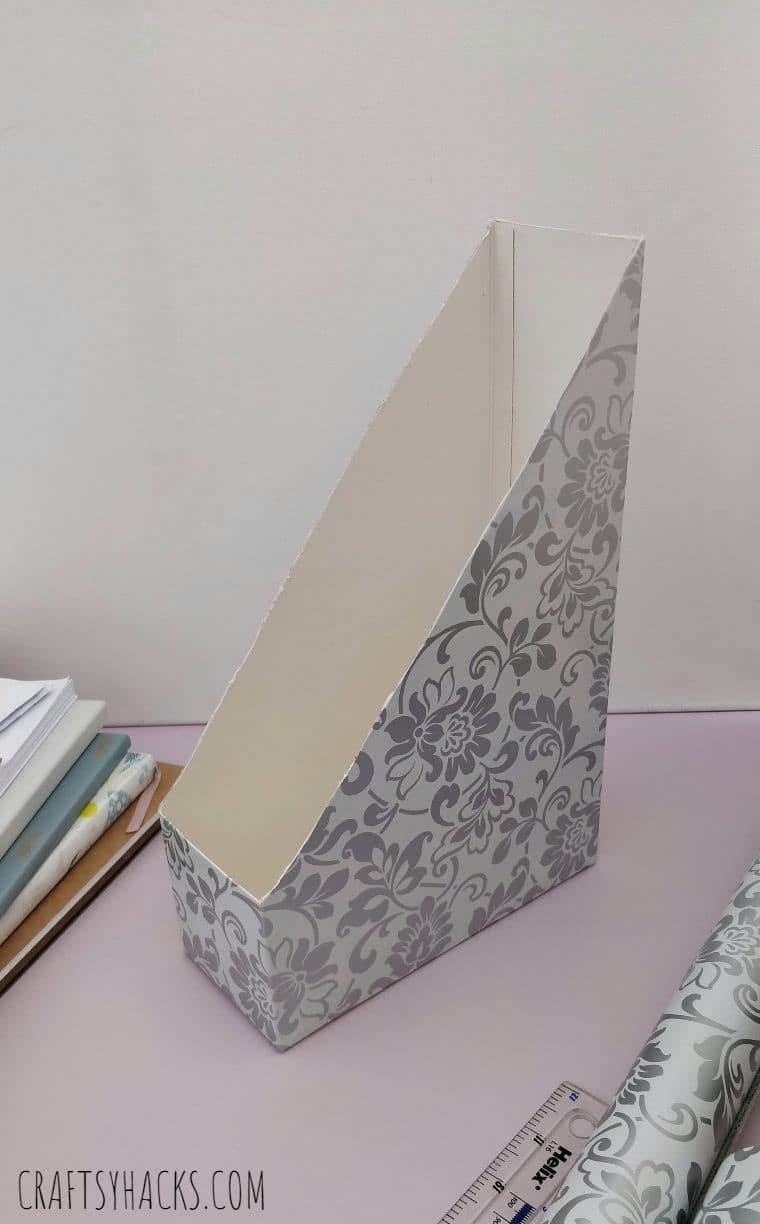
Your final cut-out box should already resemble a magazine organizer. You can already use it as it is, or for a more refined and stylish magazine holder, go on and follow the next steps below.
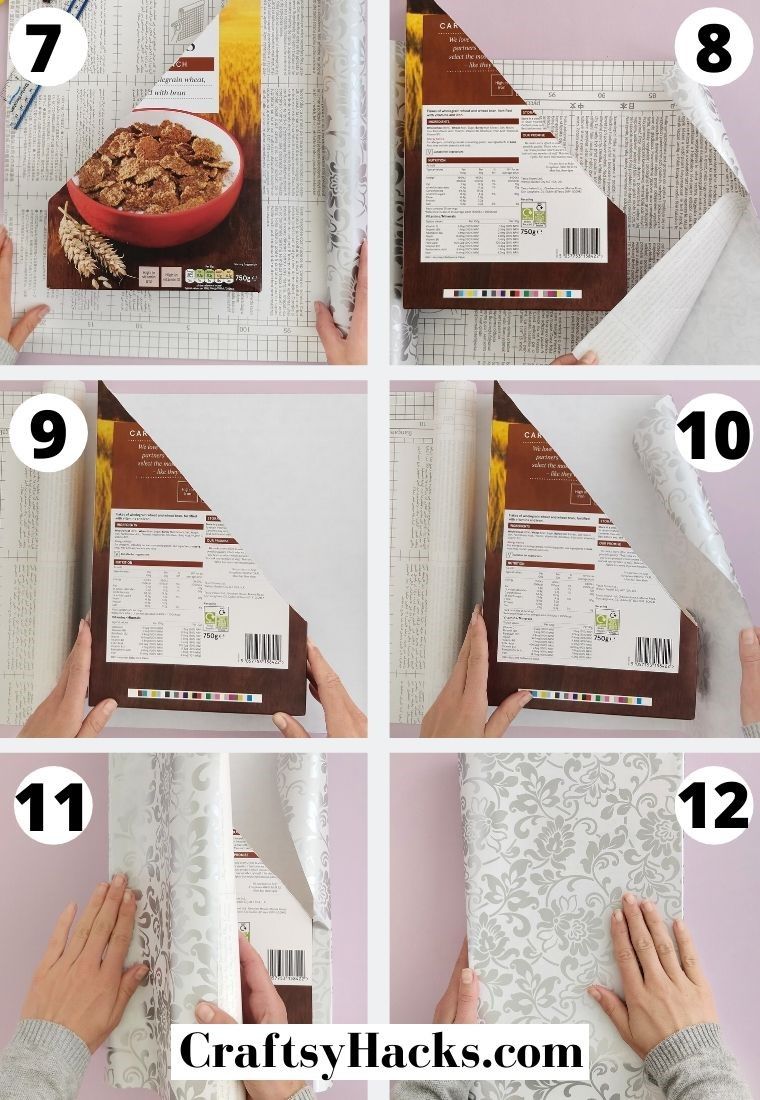
STEP 7
Roll out your self-adhesive fablon and have the inner side facing you. You can use a heavy object to hold this down if it keeps rolling back in. Place the cereal box on your rolled out fablon.
STEP 8
Ensure you have at least 2 inches of fablon from the bottom of the box, then cut your fablon according to an appropriate width and length that ensures full coverage of the cereal box.
STEP 9
Peel away the backing of your adhesive paper to a size similar to the wider side of the box, with enough allowance enough to cover the narrow side of the box plus about half-an-inch of overlap. Grab the cereal box and press it firmly on your adhesive fablon.
STEP 10
Work on using the allowance you made to cover the sides of the box. The fablon should overlap about half an inch through to the other wider side of the box facing you.
STEP 11
Peel off the remaining backing from your adhesive paper and continue wrapping around the box.
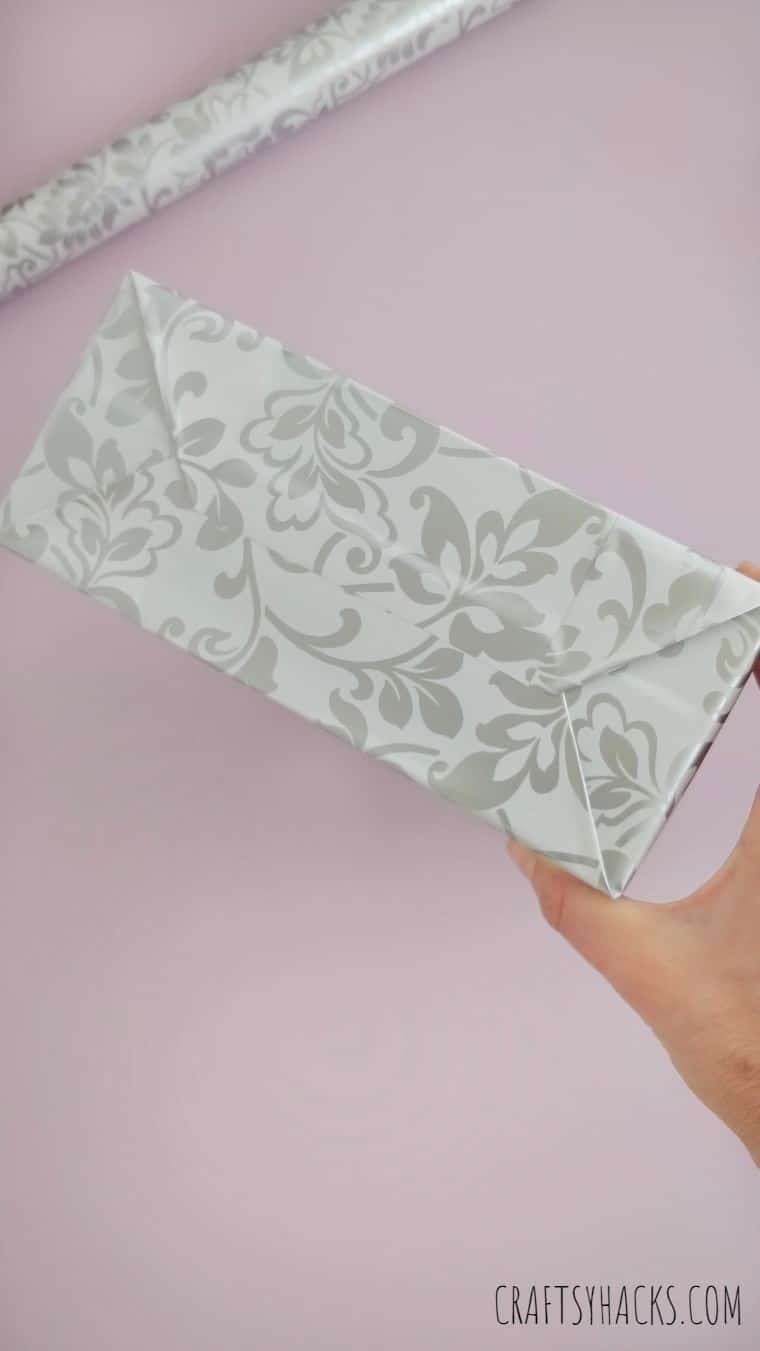
STEP 12
Smooth away the edges for a seamless finish. When you’re done wrapping, it should look like a wrapped rectangular box.
STEP 13
Flip the box to the bottom side so you can continue wrapping. Start by wrapping the narrow side first.
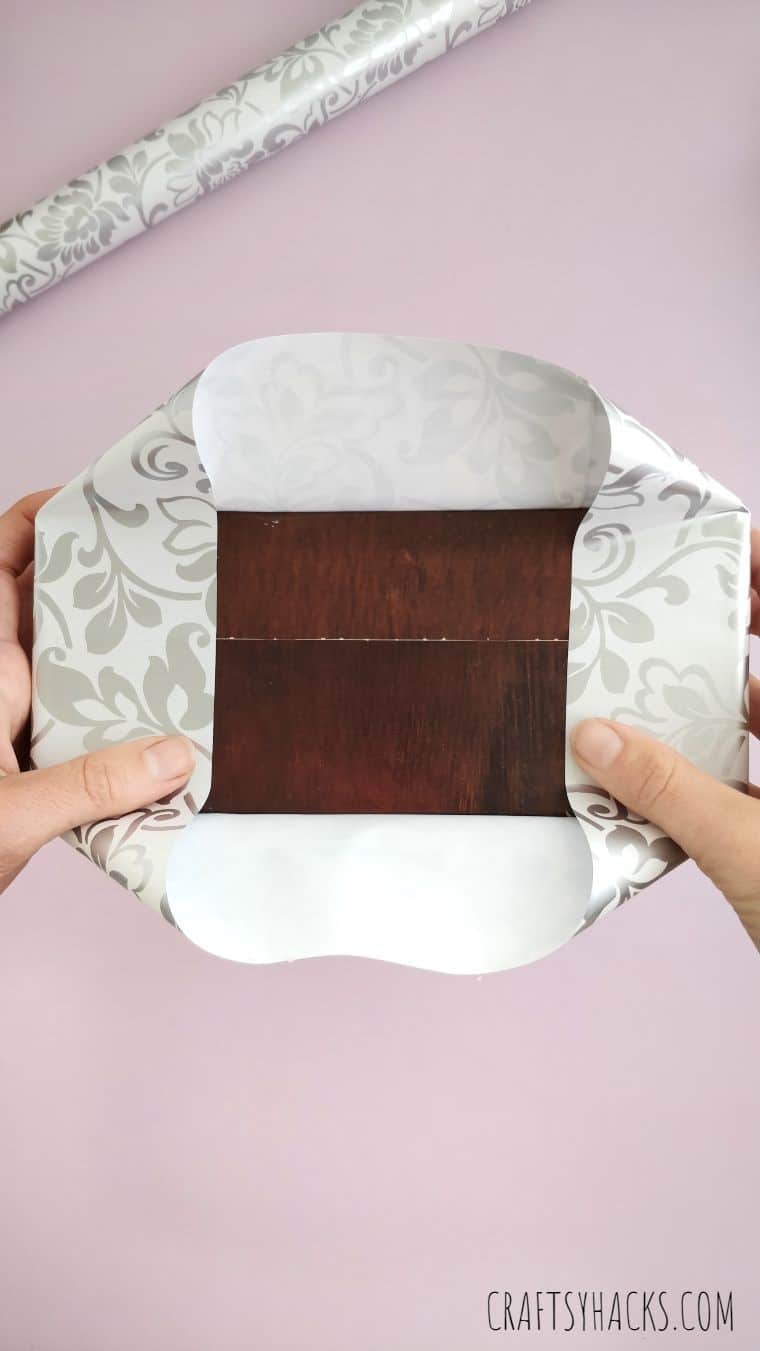
STEP 14
Proceed to wrap with the wider sides, starting from the bottom flap first.
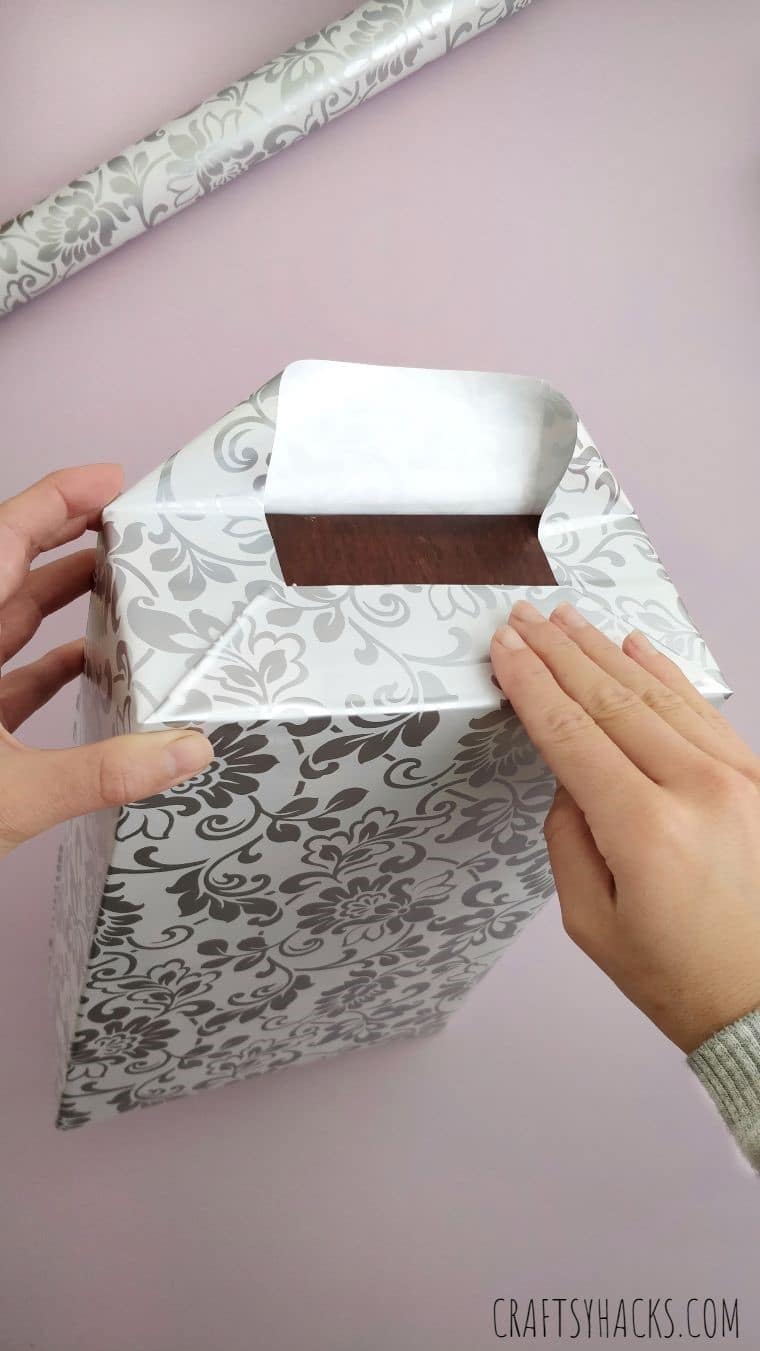
STEP 15
Finish your wrap by wrapping the top flap over the bottom flap.
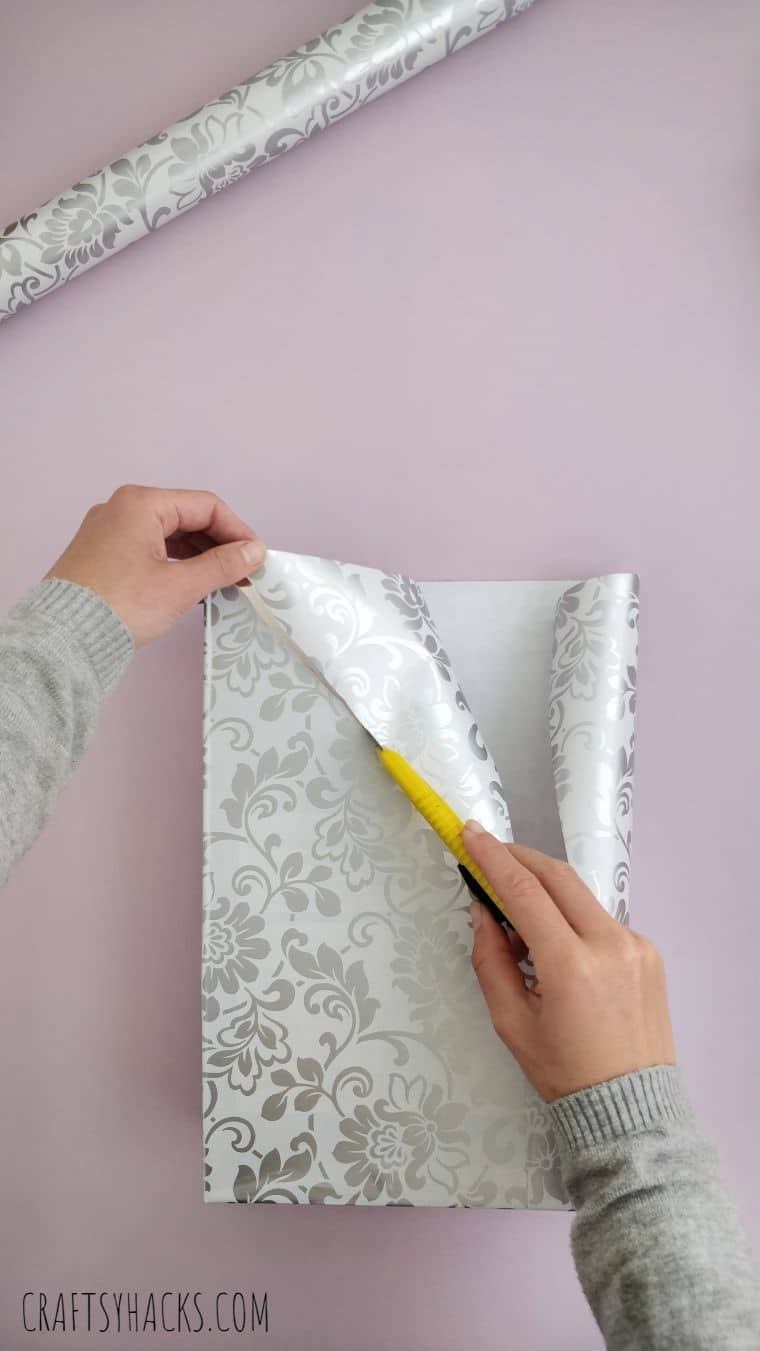
STEP 16
Use your cutter to cut the excess fablon along the sides of the box.
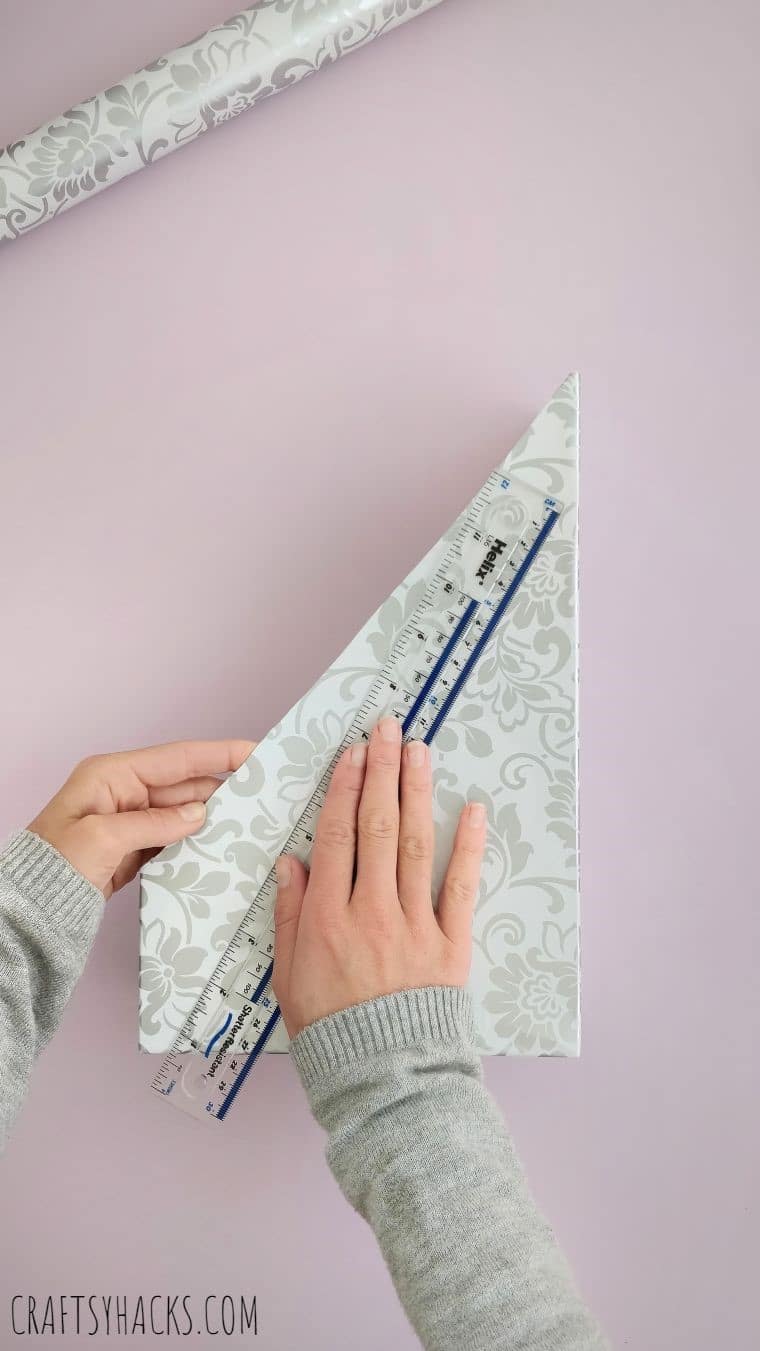
DIY Tip
When using self-adhesive paper, we sometimes have air pockets building up. I used a ruler to push this air out while wrapping the fablon around the box.
This is not always necessary, but I found that it really helped create a tight wrap.
If you have already finished the wrapping process but notice some air bubbles appear, use a small pin or needle to pierce the bubble and let the air out.
Where Can You Use These Organizers?
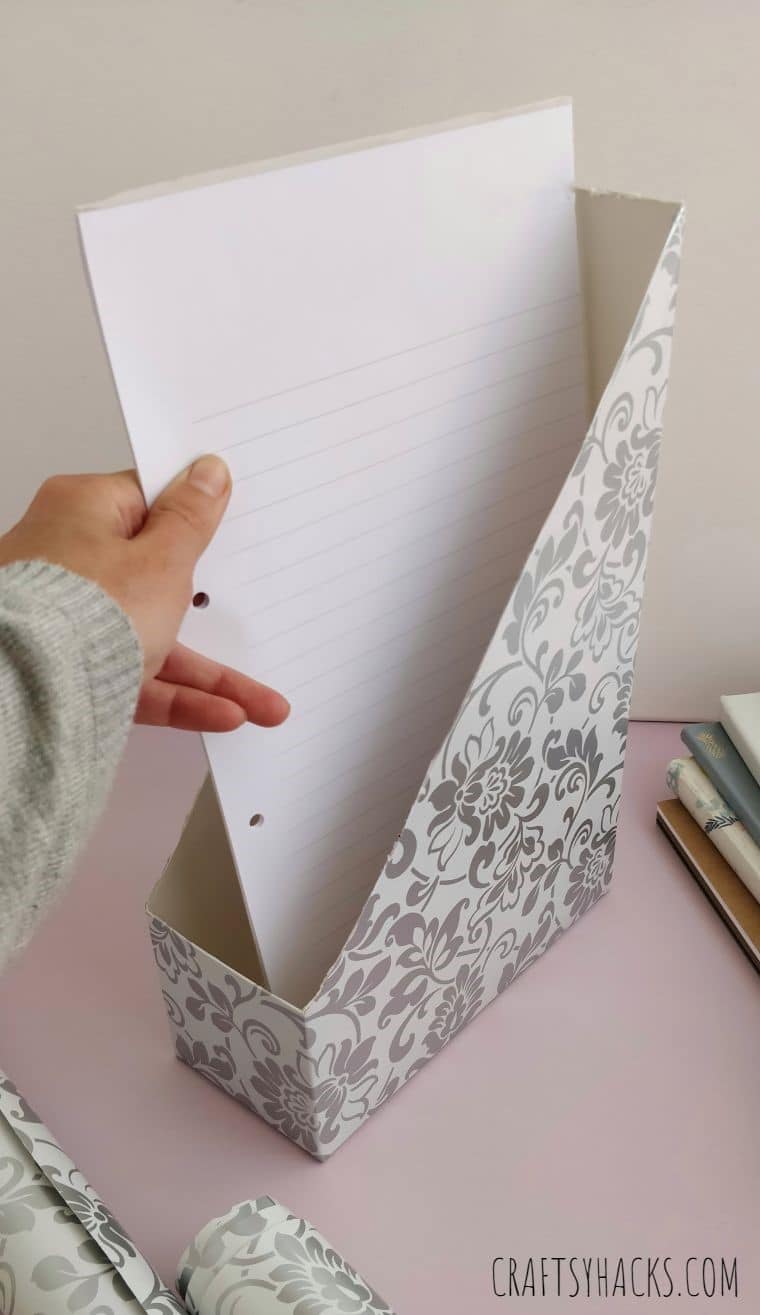
Other than magazines, organizers like these can also be used to hold loose paper, which is great for organizing the paper clutter on your desktop.
For the office, you can also make two of these and label one with “In “and the other one “Out “to sort your physical incoming and outgoing mail.
Finally, you can also use these to sort a lot of home or office documents. Create as many as you want and label them for easier sorting. For example, you can use the labels: bills, receipts, manuals, school notices, etc.
This upcycled cereal box is a super easy DIY project that can do wonders for your home’s magazine and document organization! You can use it to organize a craft room as well!
Other Organizers You Can Make
- DIY Rope Basket Out of Cardboard Box
- DIY Rope Organizer for Desk
- 40 Creative Office Organization Ideas
- 15 Desk Organizing Ideas
- Ways to Organize with Dollar Store Magazine Holders
DIY Desk Magazine Organizer Out of a Cereal Box
Video Tutorial
Equipment
- Ruler
- Pencil
- Craft knife
Materials
- Cereal box
- Self-adhesive fablon
Instructions
- Gather all materials.
- Start by drawing a line across one of the narrow sides of the cereal box, about 1/2 inch from the top.
- Turn to the opposite narrow side and draw a line 4-inch away from the bottom of the box.
- Turn the box to the wide side and draw a diagonal line to connect the top and bottom lines you have previously drawn along the sides.
- Do the same on the opposite side.
- Use a knife to cut along the lines, creating a magazine holder shape.
- Grab your self-adhesive fablon, and measure and cut an appropriate length and width to cover the entire box.
- Peel off the backing adhesive and start wrapping around the box, ensuring all sides and corners are covered.
- Use a ruler to smoothen out air bubbles, if any.
- Grab your cutter and cut the excess wrapping paper of your box.
- Use a small pin or needle for popping out any small air pockets remaining after gluing.
- There you go, a decorative, inexpensive DIY magazine holder!


This pandemic I thought of starting a new hobby or dig out the creative side in me. This looks easy for a beginner like me. Loved it! I’ll a few for my home office. Thank you so much.
That’s lovely! I’ve been working on organizing my office area too! It’s super fun!