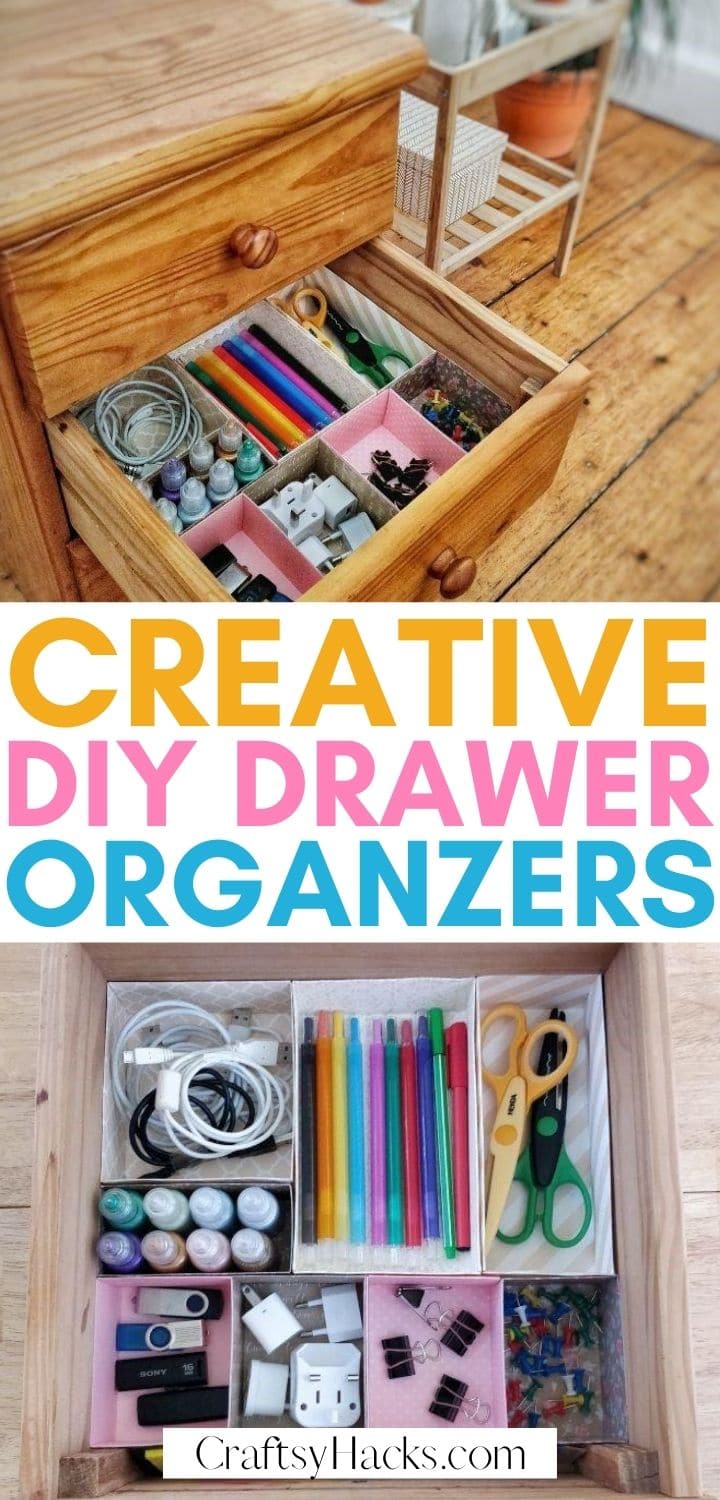
DIY Drawer Dividers Out of Cardboard
This post may contain affiliate links: full affiliate disclosure.
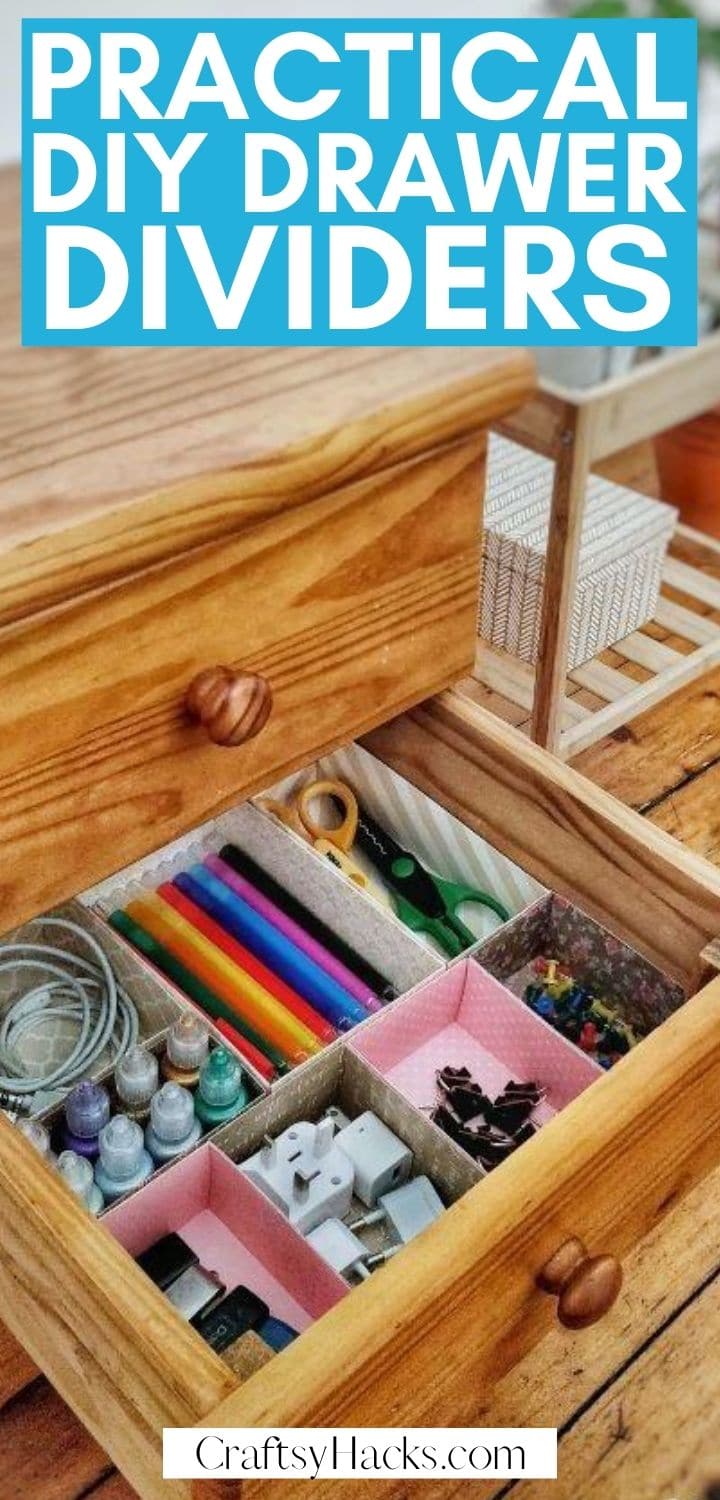
Fun easy DIY drawer dividers you can make out of cardboard. Organize your drawers on the budget and keep your office decluttered.
A disorganized drawer is pretty much a useless drawer. At least that’s what I think.
Sure, you can use a drawer to store almost anything that fits. But if you have to spend hours rummaging through the clutter to find something, a cluttered drawer is pretty much just a waste of time and space, isn’t it?
The key to solving this clutter problem is the use of drawer dividers or small drawer compartments to separate the contents. You can buy these storage solutions in a lot of stores, but you can also create them yourself using the most common crafting supplies.
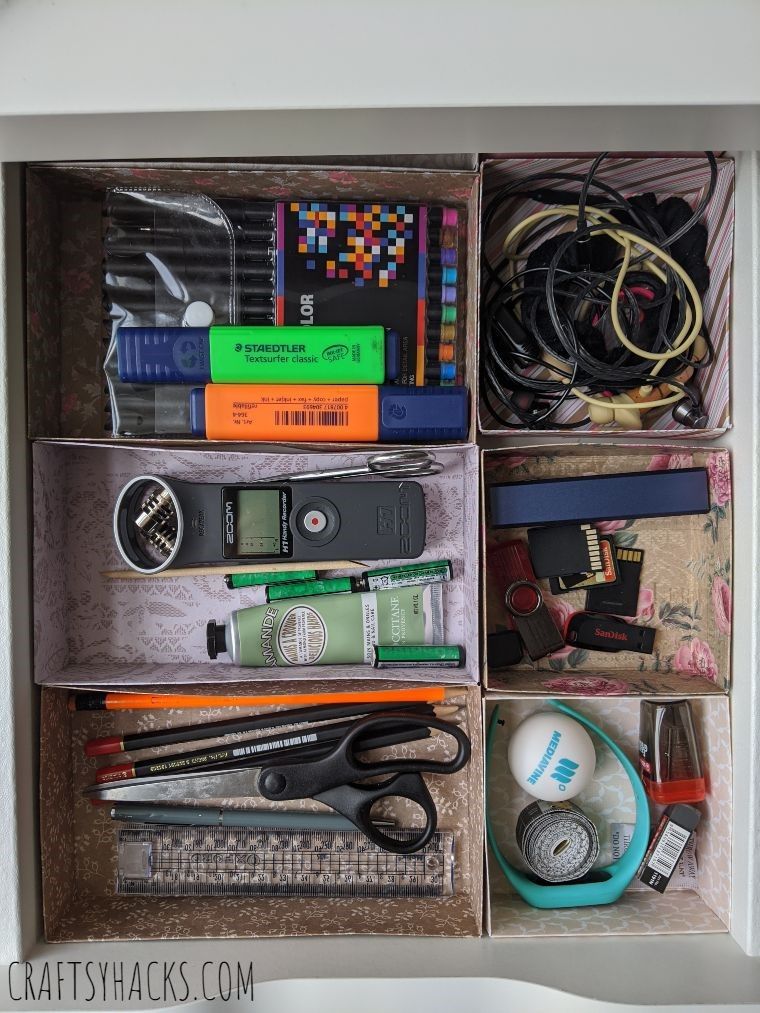
Keep on reading to see how I decluttered my drawers using DIY dividers. There is nothing more satisfying than organizing office space!
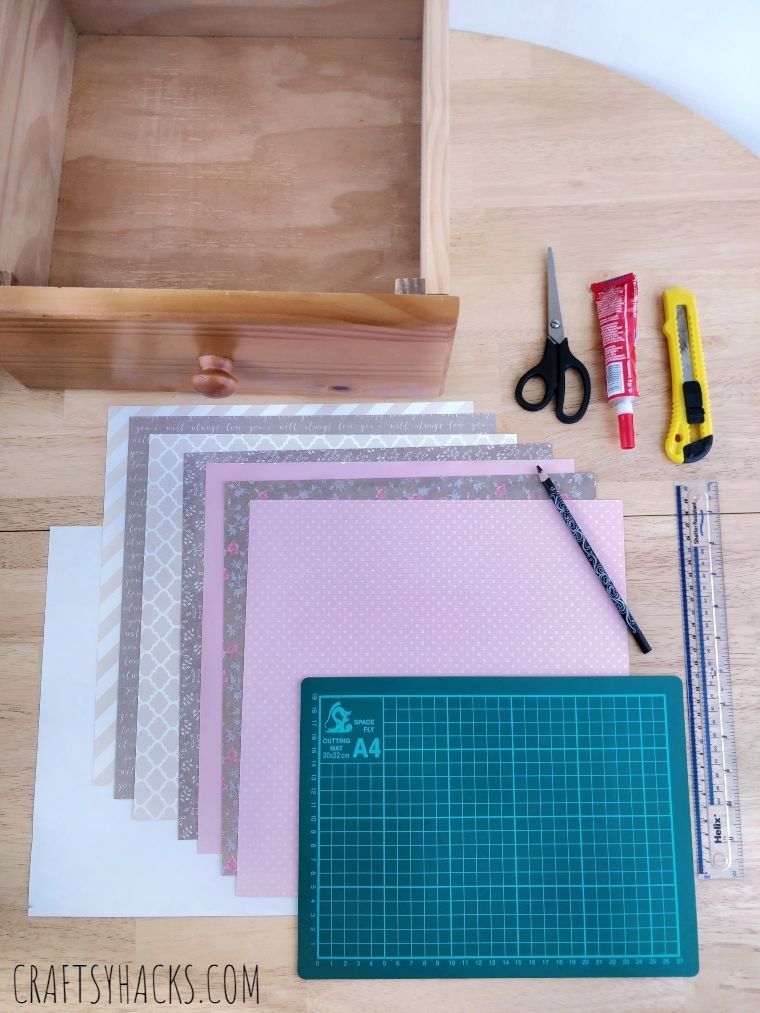
What You’ll Need for Dividers
- Cardstock (patterned, 12″ x 12″, 200 gsm Heavyweight)
- Glue
- Pencil
- Scissors
- Craft knife
- A4 Cutting Mat
STEP 1
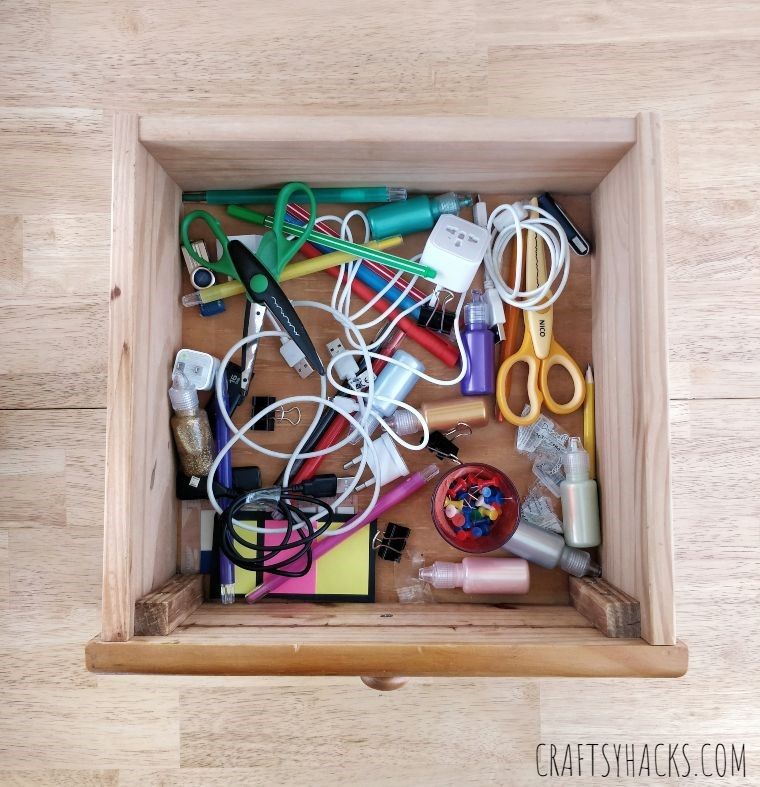
Your first step is to take out the drawer from the shelf and empty it of its contents.
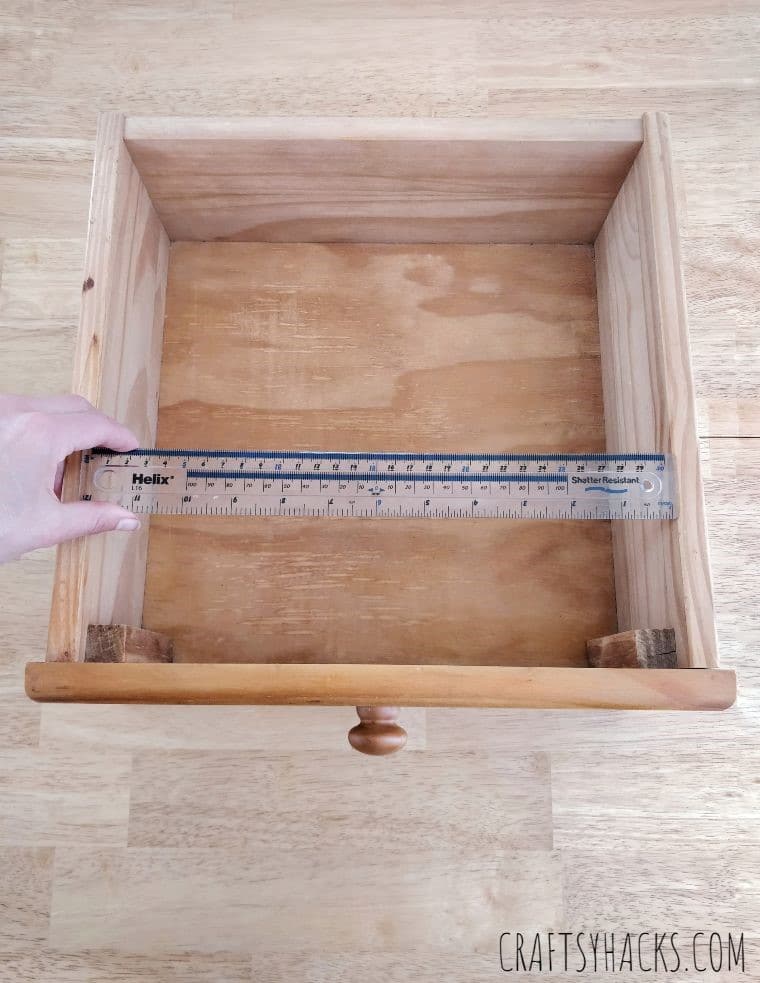
STEP 2
Next, use a ruler to measure the inside of the drawer. Use this measurement to cut one card stock to serve as the base of your drawer.
STEP 3
Place the cutting mat on your table’s surface. Grab the base card stock and place this below the cutting mat.
Now, collect all the drawer’s contents and arrange them on the base, according to how you would like them organized in the drawer. Remember to use the cutting mat as a visual guide to separating the contents.
When you’re happy with your invisible compartments, use a pencil to make a rough outline of the compartments, remembering again to use the cutting mat as a visual guide.
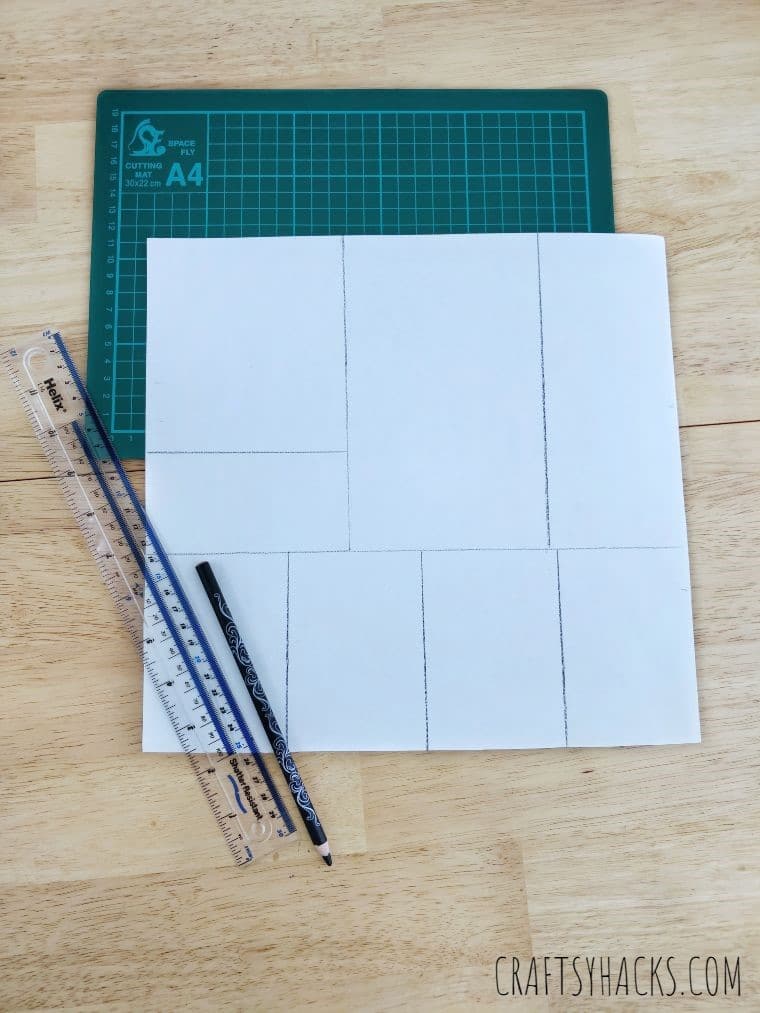
STEP 4
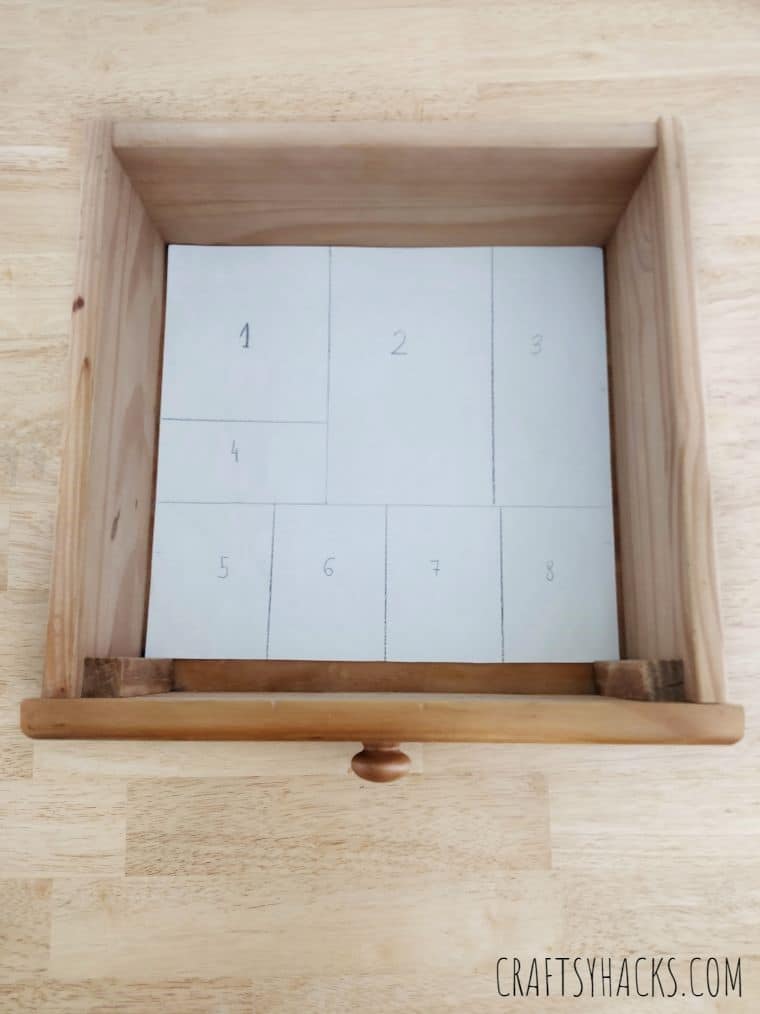
Set the contents aside to make the base free, enabling you to use the ruler to straighten out the rough outline you made earlier. Once you’ve straightened out all lines, number each compartment.
STEP 5
Place the base card stock on your drawer again to double-check if your initial measurements are right. This process gives you the chance to have a rough idea of how your compartments would look inside the drawer.
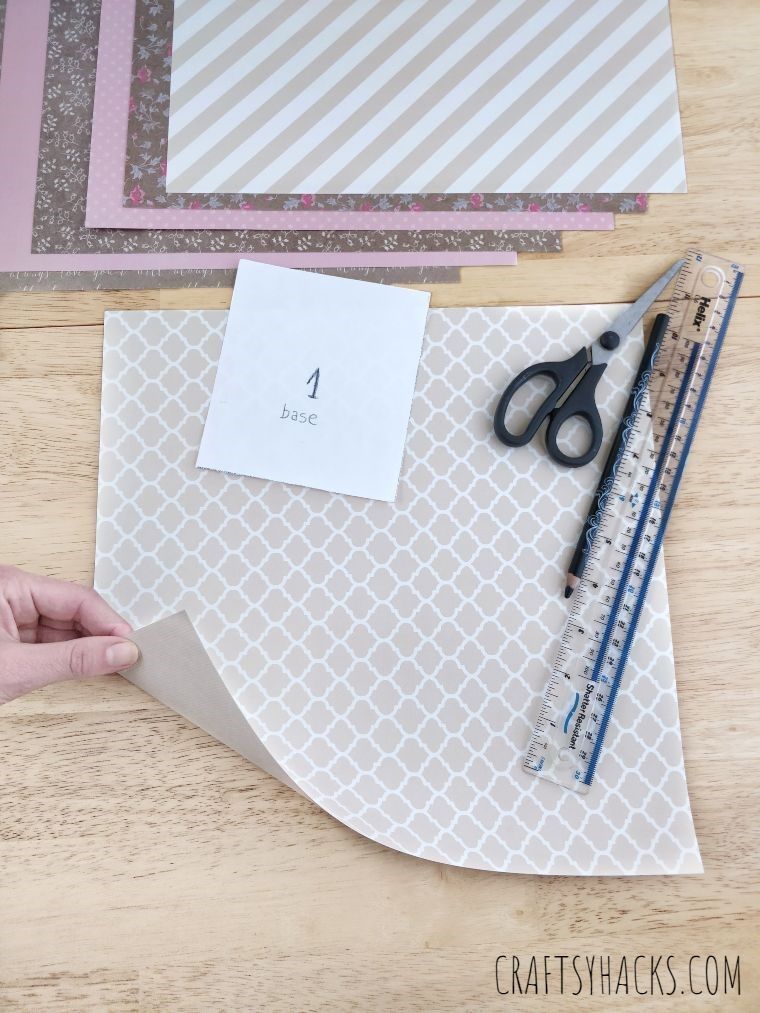
STEP 6
If you’re happy with your base’s size and compartments, take this out of the drawer and line up all the card stock designs for your dividers.
Start with compartment one by choosing your preferred card stock design for that divider.

STEP 7
Cut compartment number one from your card stock, ensuring you don’t damage the rest of the outlined compartments.
STEP 8
Grab your card stock choice for compartment number one, and flip this over to reveal the plain (pattern-free) side of the card stock.
Place your first compartment cut out on this surface and position it in the middle. Use a pencil to draw a rough outline of this cut. This will serve as your divider’s base.
Use the ruler to take off 2 mm from all sides of your rough outline. This gives enough adjustment for all your compartments to fit when fully assembled.
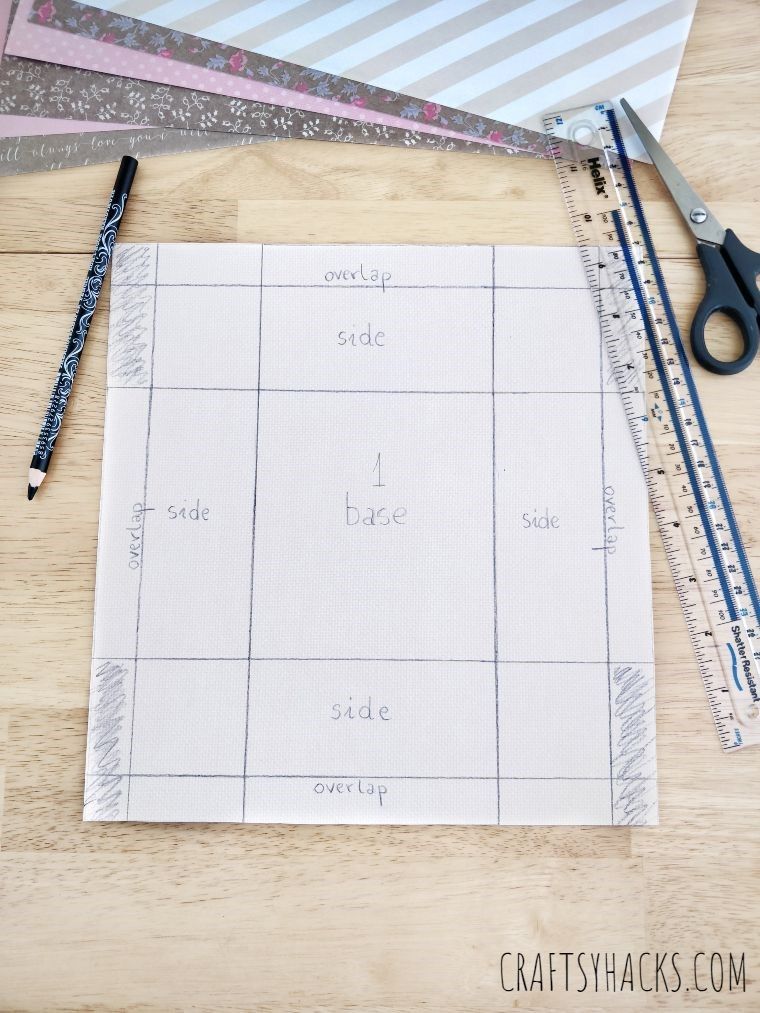
Decide on your divider’s height and measure this on to your cardstock. Your cardstock should have all these sides outlined in this order: overlap-side-base-side-base-overlap, as seen in the photo.
STEP 9
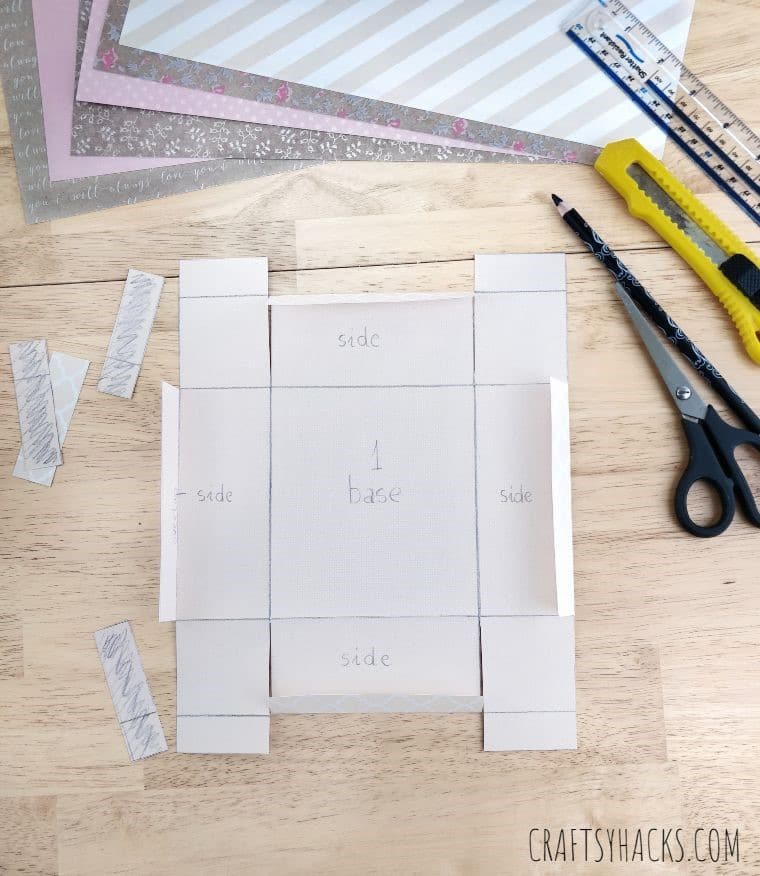
Cut out all the excess corners surrounding the overlaps (refer to the shaded parts in the photo).
STEP 10
Fold the overlaps inwards on all four sides of your divider.
STEP 11
Flip the card stock over, revealing the patterned side.

STEP 12
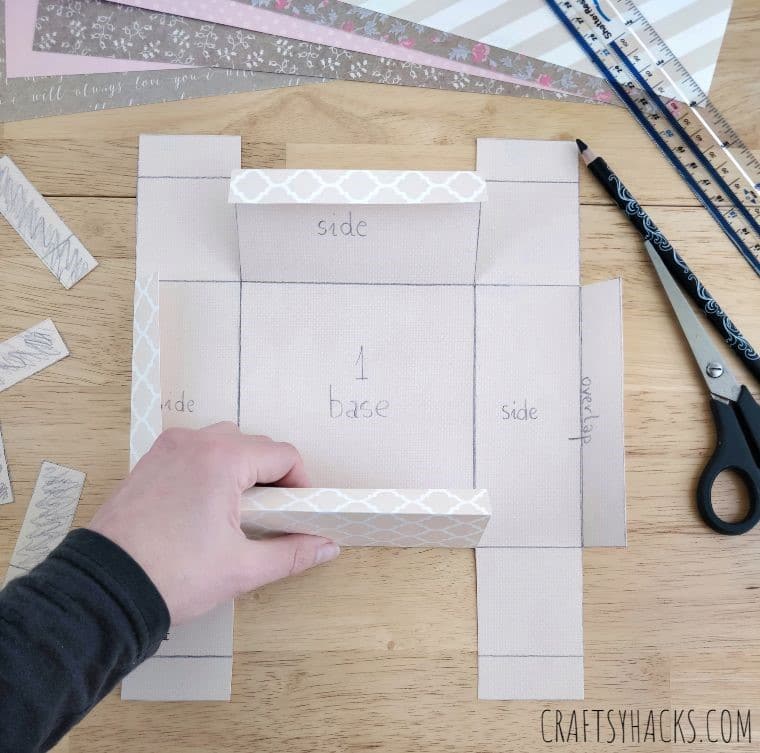
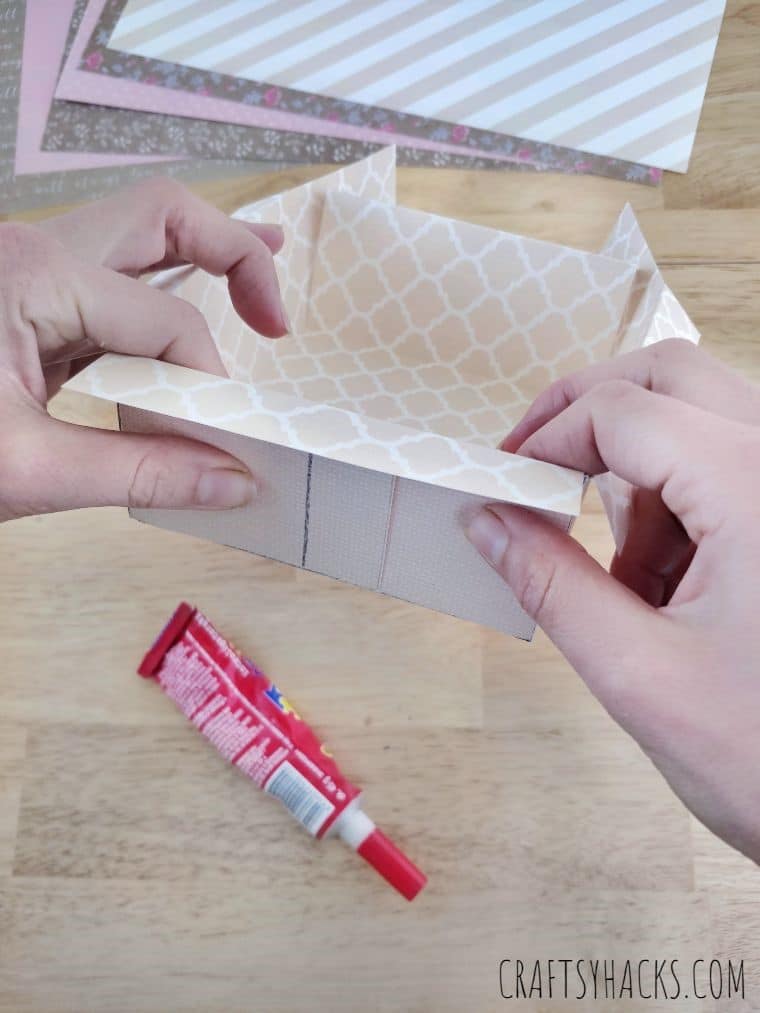
Build your divider by folding your “sides” up, following the outlines you’ve drawn.
STEP 13
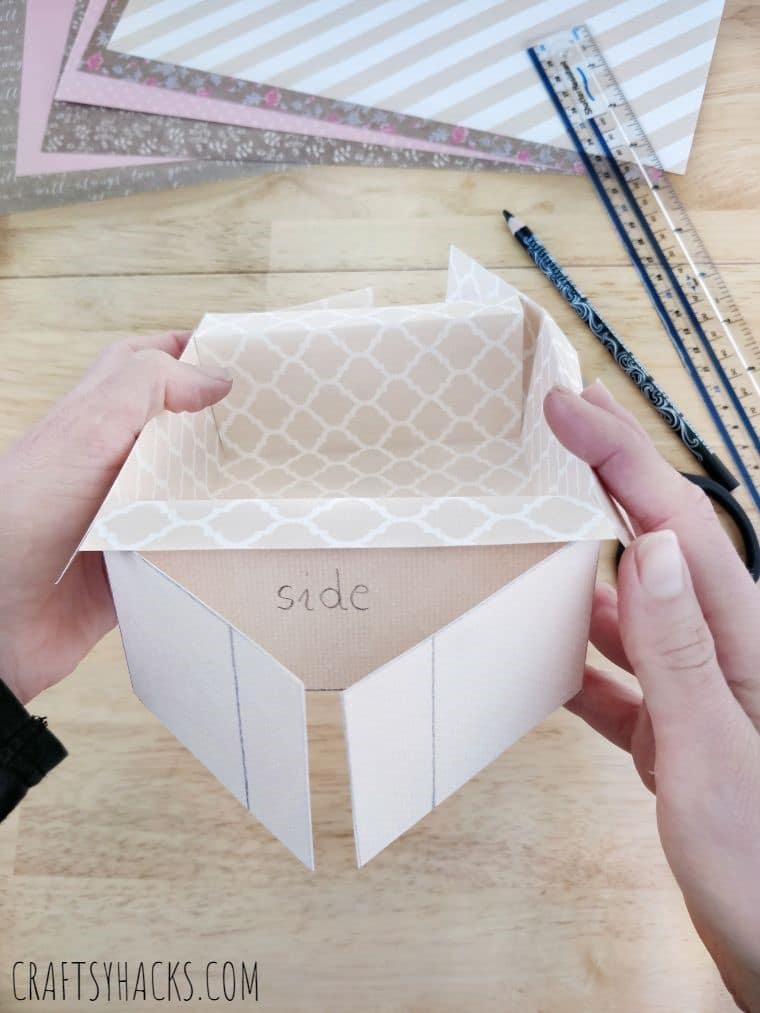
You will be left with excess flaps along the sides of the divider. Fold this neatly on top of each other and secure in place with glue.
STEP 14
Dab glue on the overlap and fold it down, attaching this firmly on the divider.
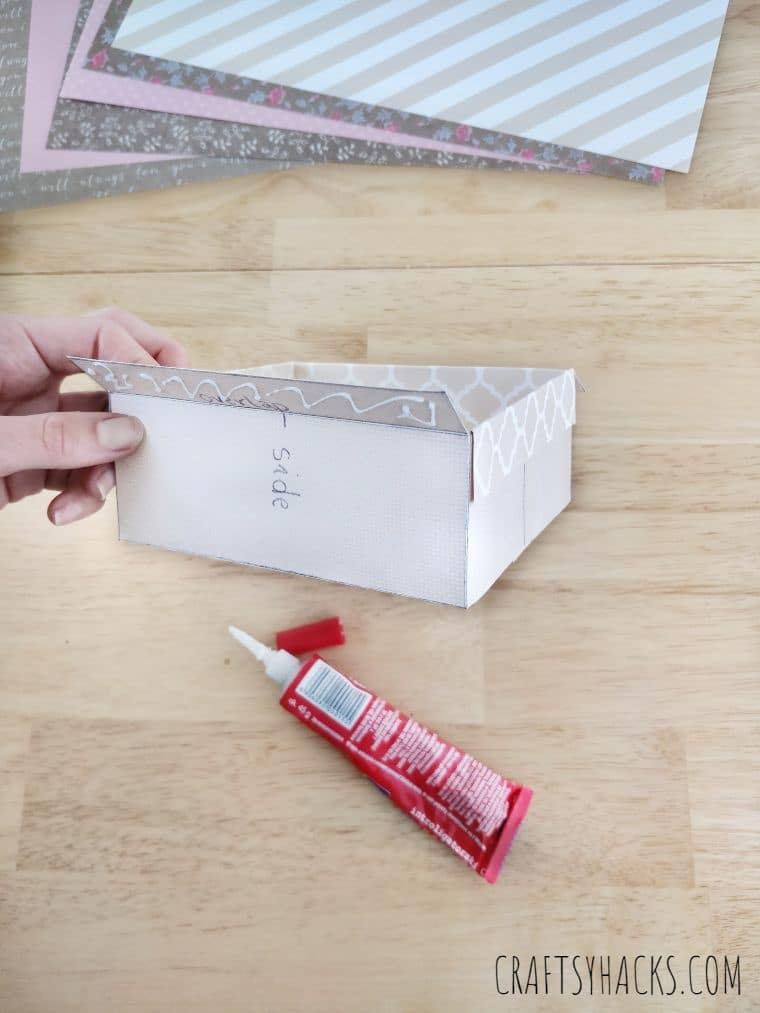
STEP 15
Repeat the same process on all the overlaps. Repeat steps 1 to 15 for the rest of your dividers.

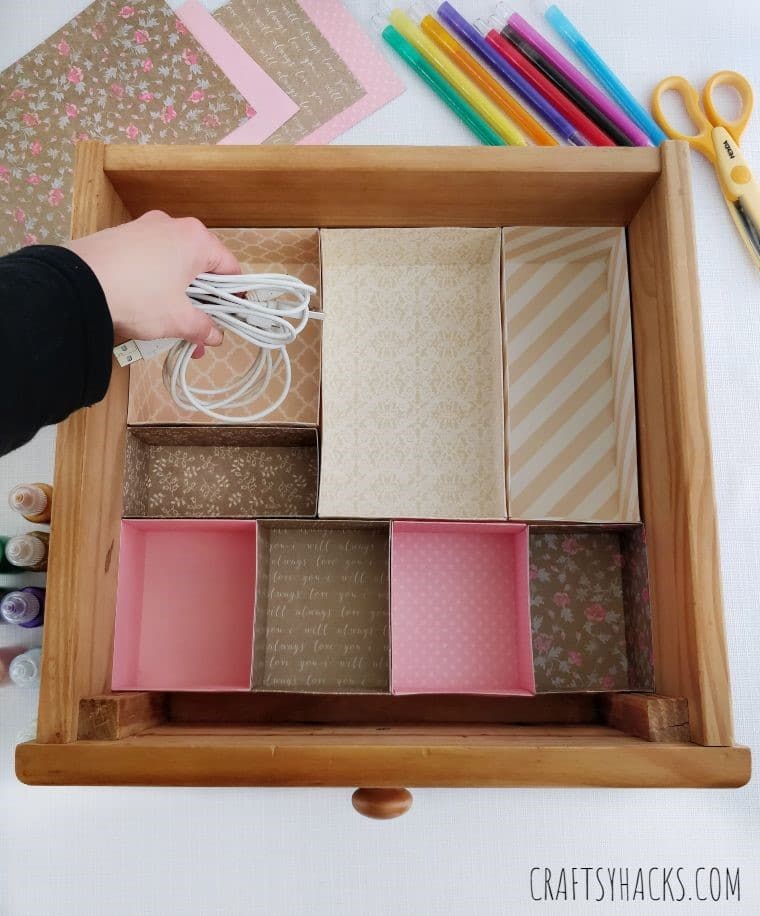
STEP 16
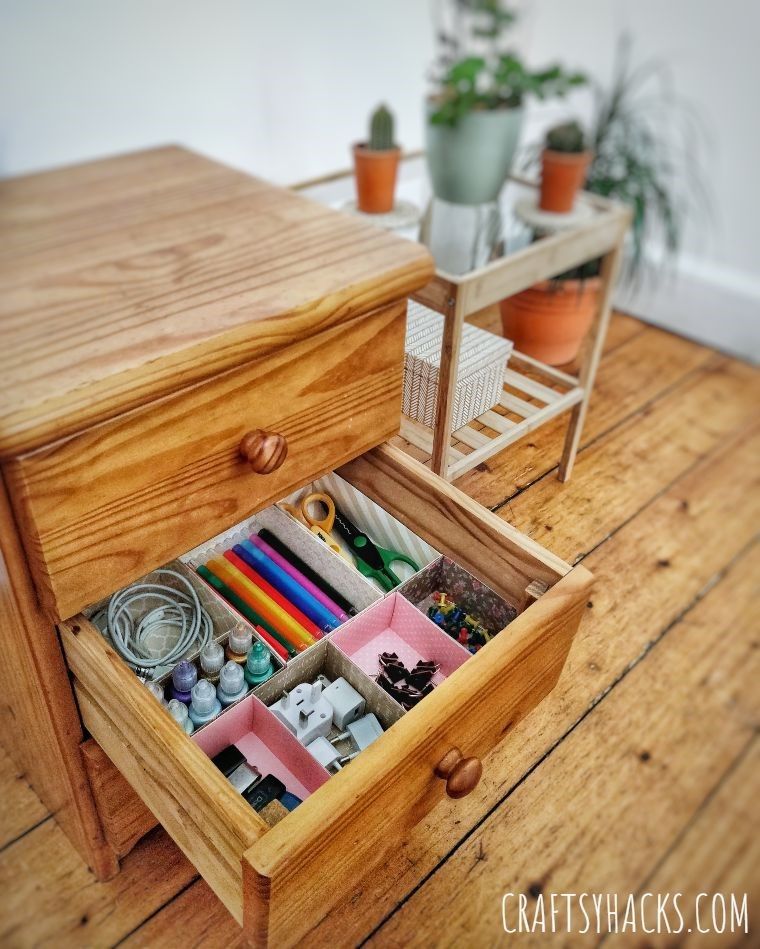
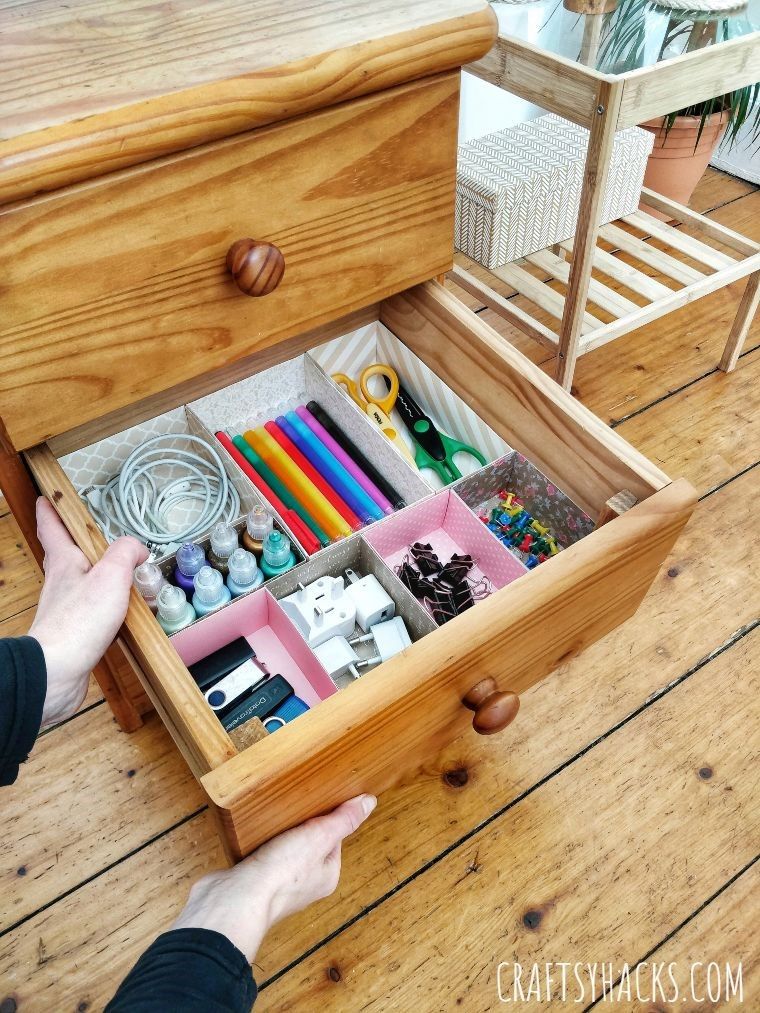
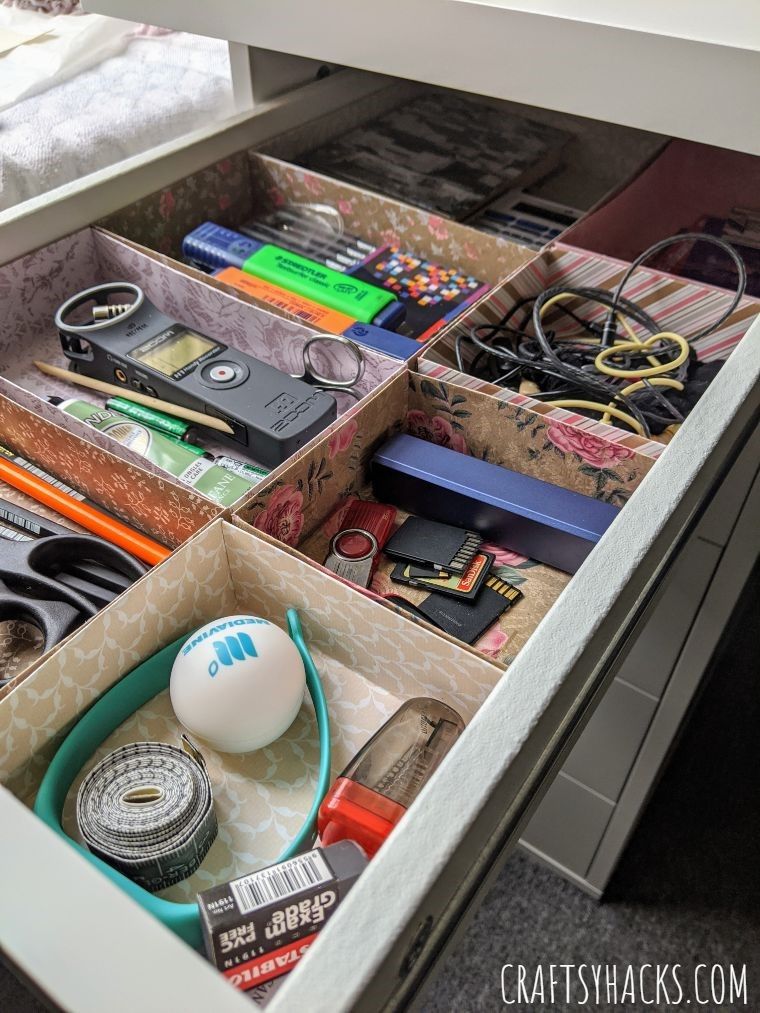
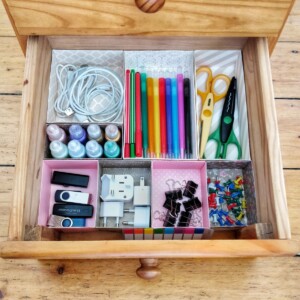
Line your dividers on the drawer according to your planned layout. Grab your drawer contents and neatly place them into their respective dividers.
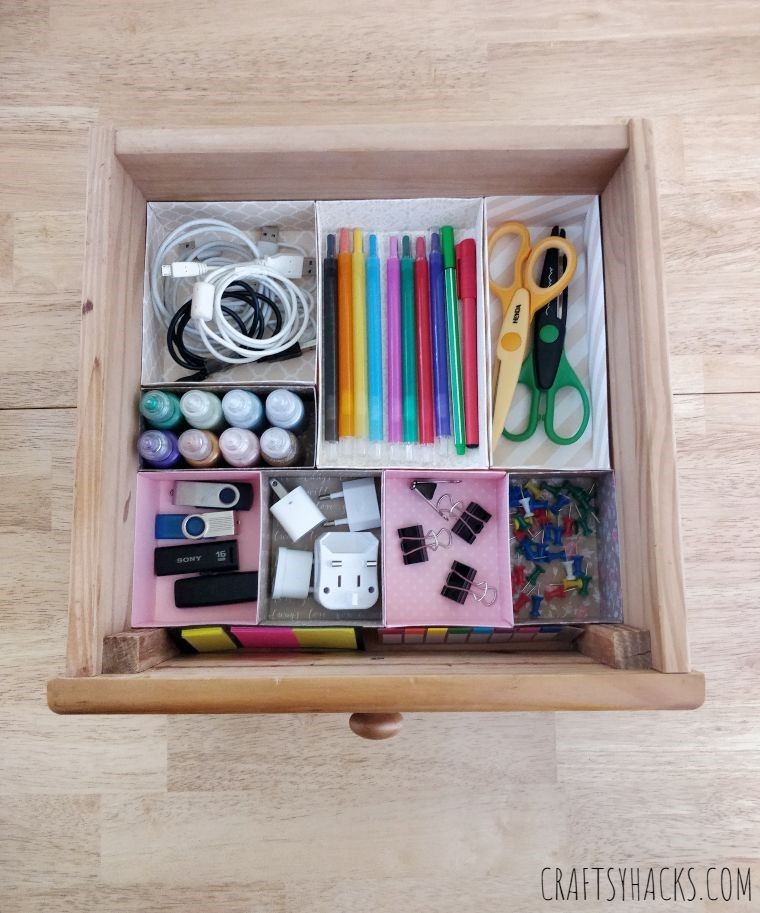
Taa Daa!!! Your drawer is now fully functional, clutter-free, and super easy on the eyes!
The next step is to go through the rest of the drawers at home and follow steps 1 to 16 again. Trust me, doing this will make yours and the rest of the family’s lives easier.
This project is also a fun activity to do with the kids to teach them a sense of organization and encourage their creativity.
The craft was inspired by The Crafting Nook!
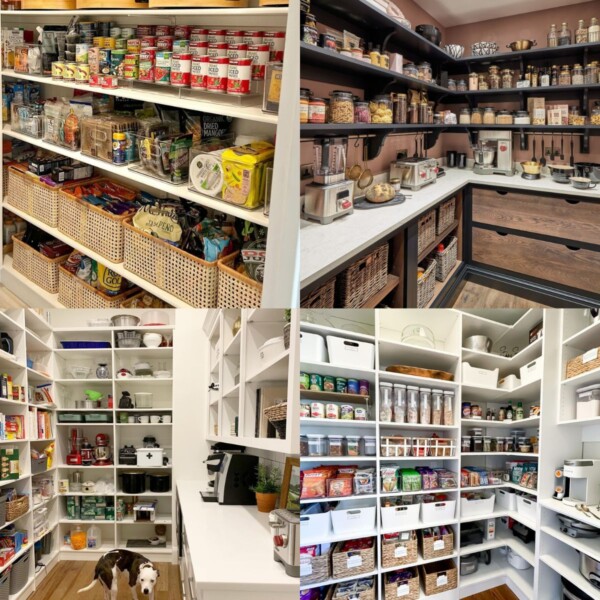
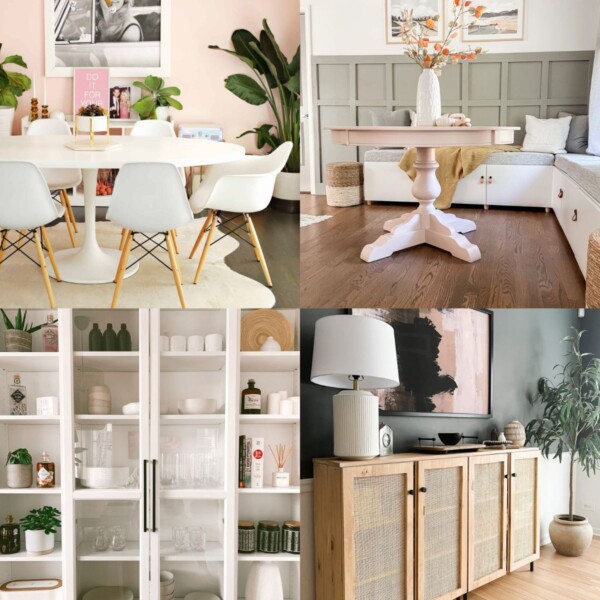
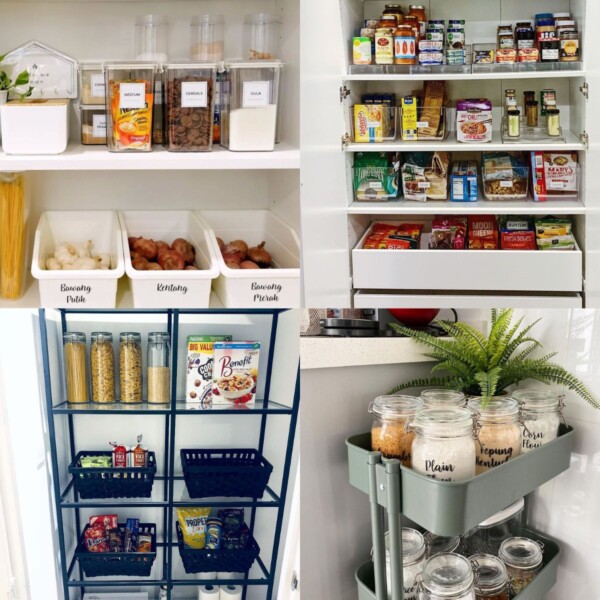
Other Organizing Ideas You Might Like
- DIY Rope Organizer for Your Desk
- 15 Desk Organization Ideas
- 15 Dollar Store Organizing Hacks
- 25 Craft Room Ideas
- 41 Storage Ideas for Small Spaces
DIY Drawer Dividers Out of Cardboard
Video Tutorial
Equipment
- Pencil
- Scissors
- Craft knife
- A4 cutting mat
Materials
- Cardstock
- Glue
Instructions
- Gather all the necessary materials.
- Take out one drawer and empty its contents.
- Measure the inside of the drawer and draw these measurements on plain card stock.
- Cut the card stock according to your measurement.
- Collect all the drawer’s contents again and arrange them on your cut card stock according to how you would like them divided.
- Using a cutting mat placed above the card stock as a visual guide, draw a rough outline around the contents using a pencil.
- Take the contents off the card stock and use a ruler to straighten out your rough outline.
- Number all of the compartments you have outlined.
- Place the cardstock on the drawer again for a final fit and a final look of your desired divider layout.
- Take the card stock out of your drawer and start creating the individual dividers.
- Start by cutting out divider number one.
- Choose a cardstock design for this divider and place the cut-out piece in the middle of the non-patterned side of the card stock.
- Using a pencil, roughly outline the cut-out card stock.
- Take out the card stock and use a ruler to draw a final outline, taking 2 mm off each side of the rough outline.
- Outline the "sides" of the divider according to your preferred divider height.
- Use the overlap-side-base-side-overlap pattern when drawing your outline.
- Cut the excess sides along each side of the overlaps.
- Fold the overlaps inwards.
- Flip the card stock to reveal the patterned surface.
- Fold along the rest of the lines to build the box.
- Attach all sides and overlaps using glue.
- Repeat steps 1 to 21 for each of your dividers/compartments.
- Redo this project over and over until all your drawers at home have dividers.
- Congratulations, you have just saved your family from hours of rummaging through the clutter!