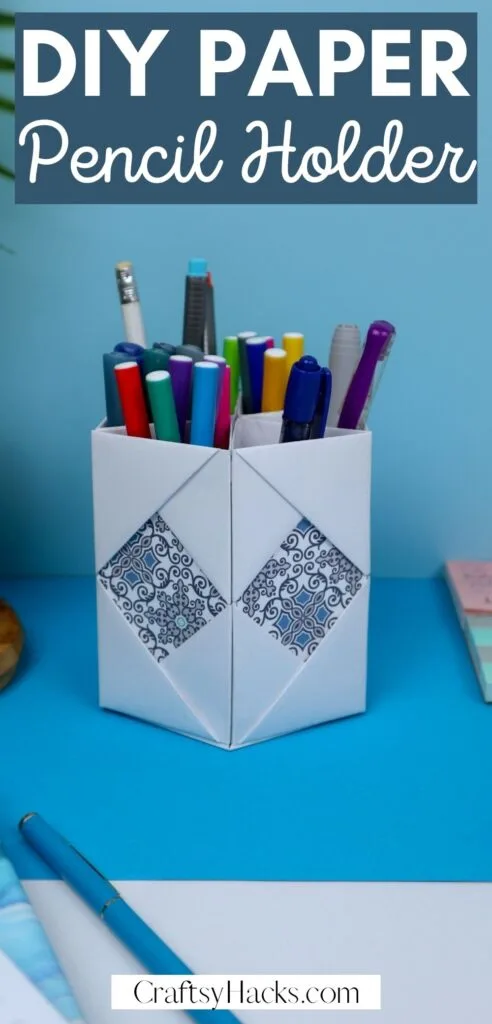
Got some paper lying around? Make your very own DIY pencil holder out of paper you have and use it to store items in your office.
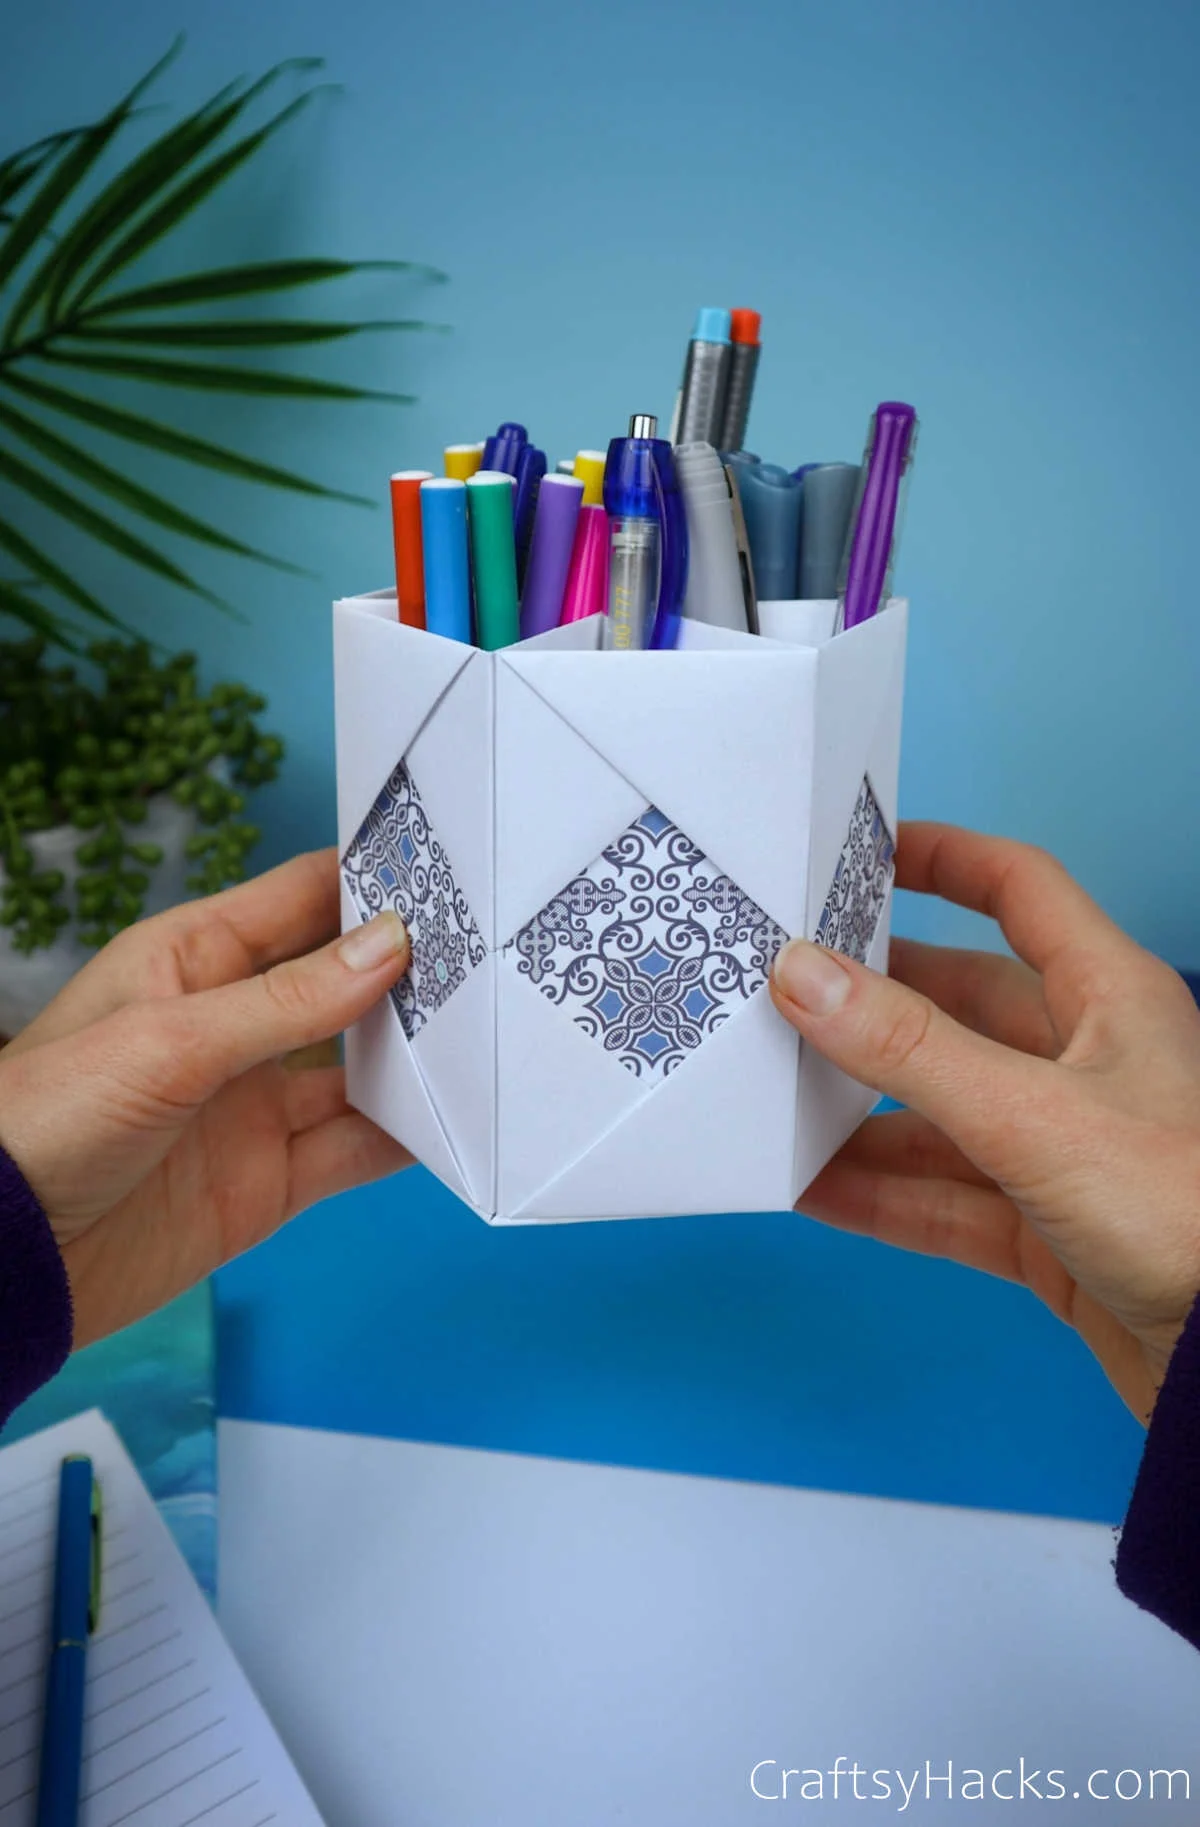
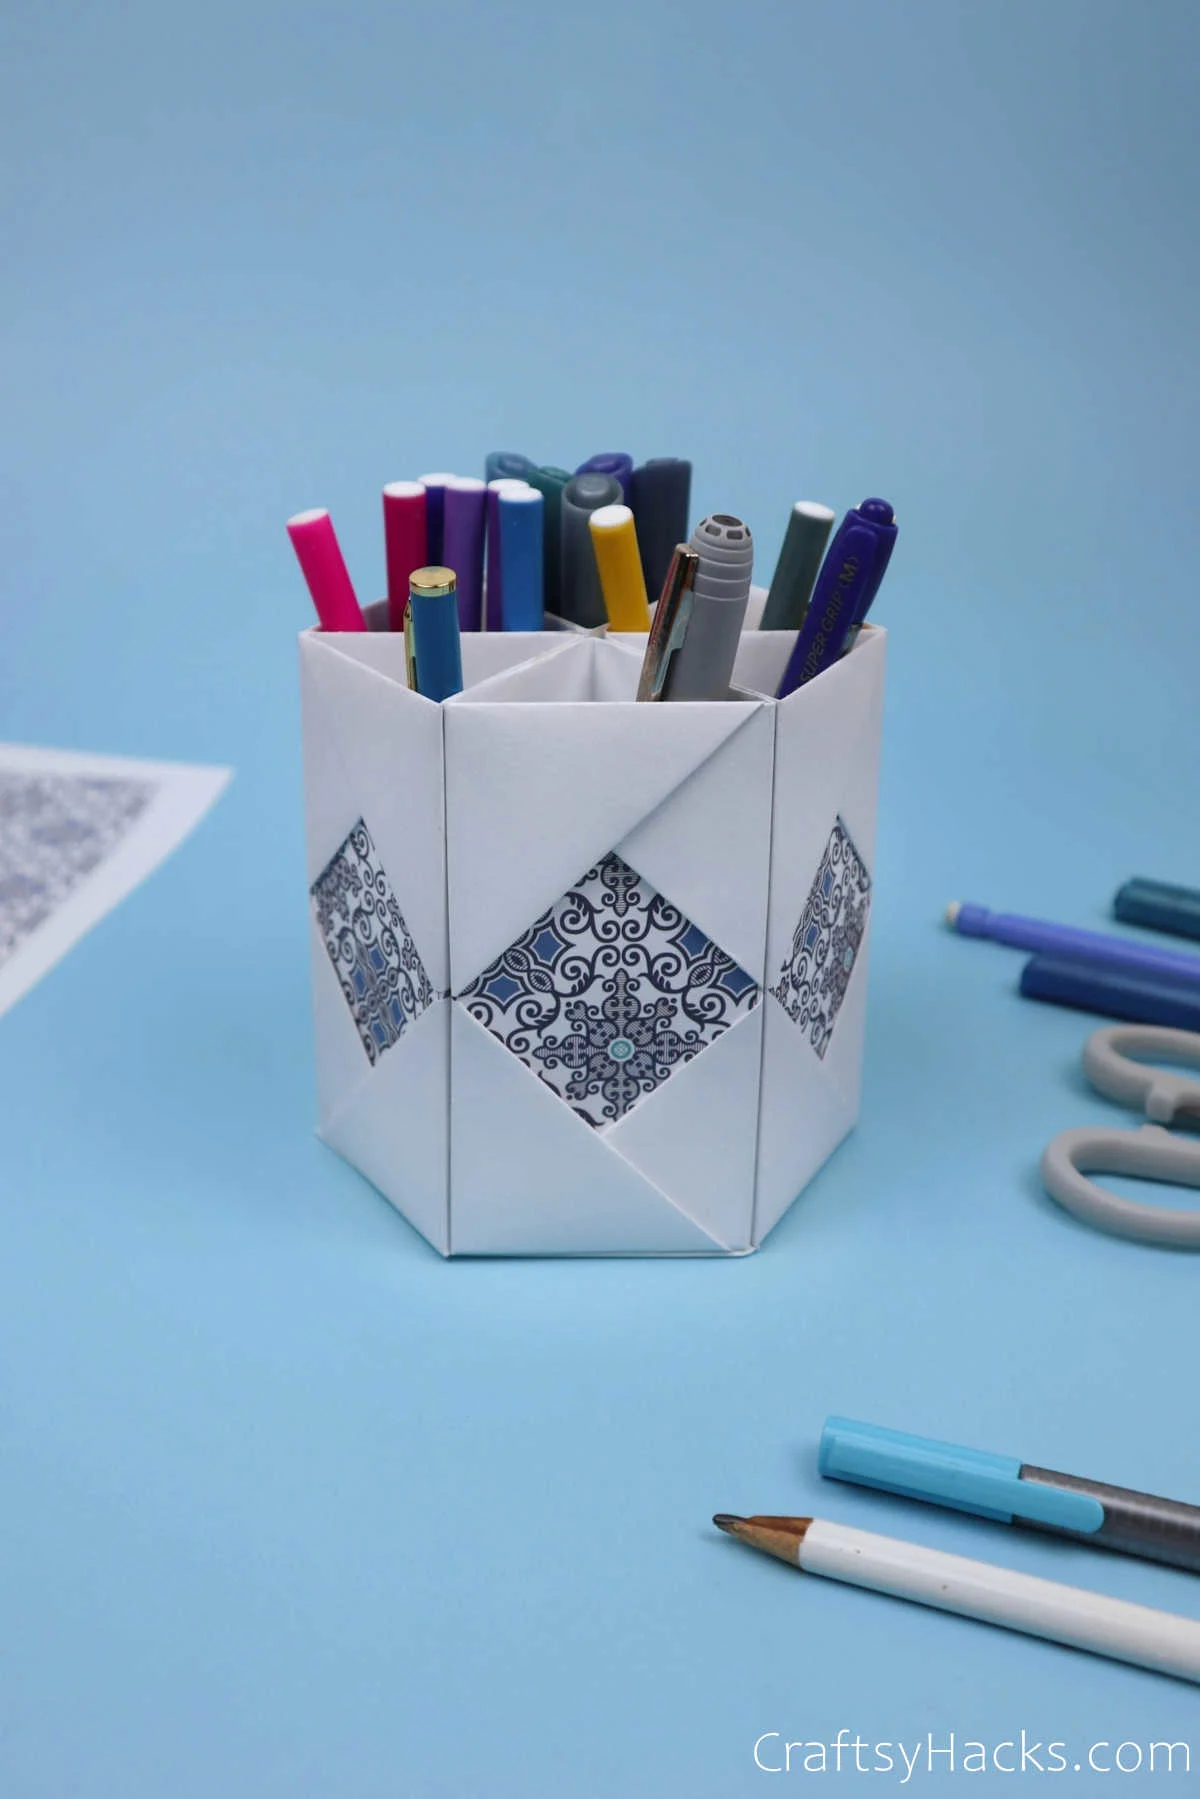
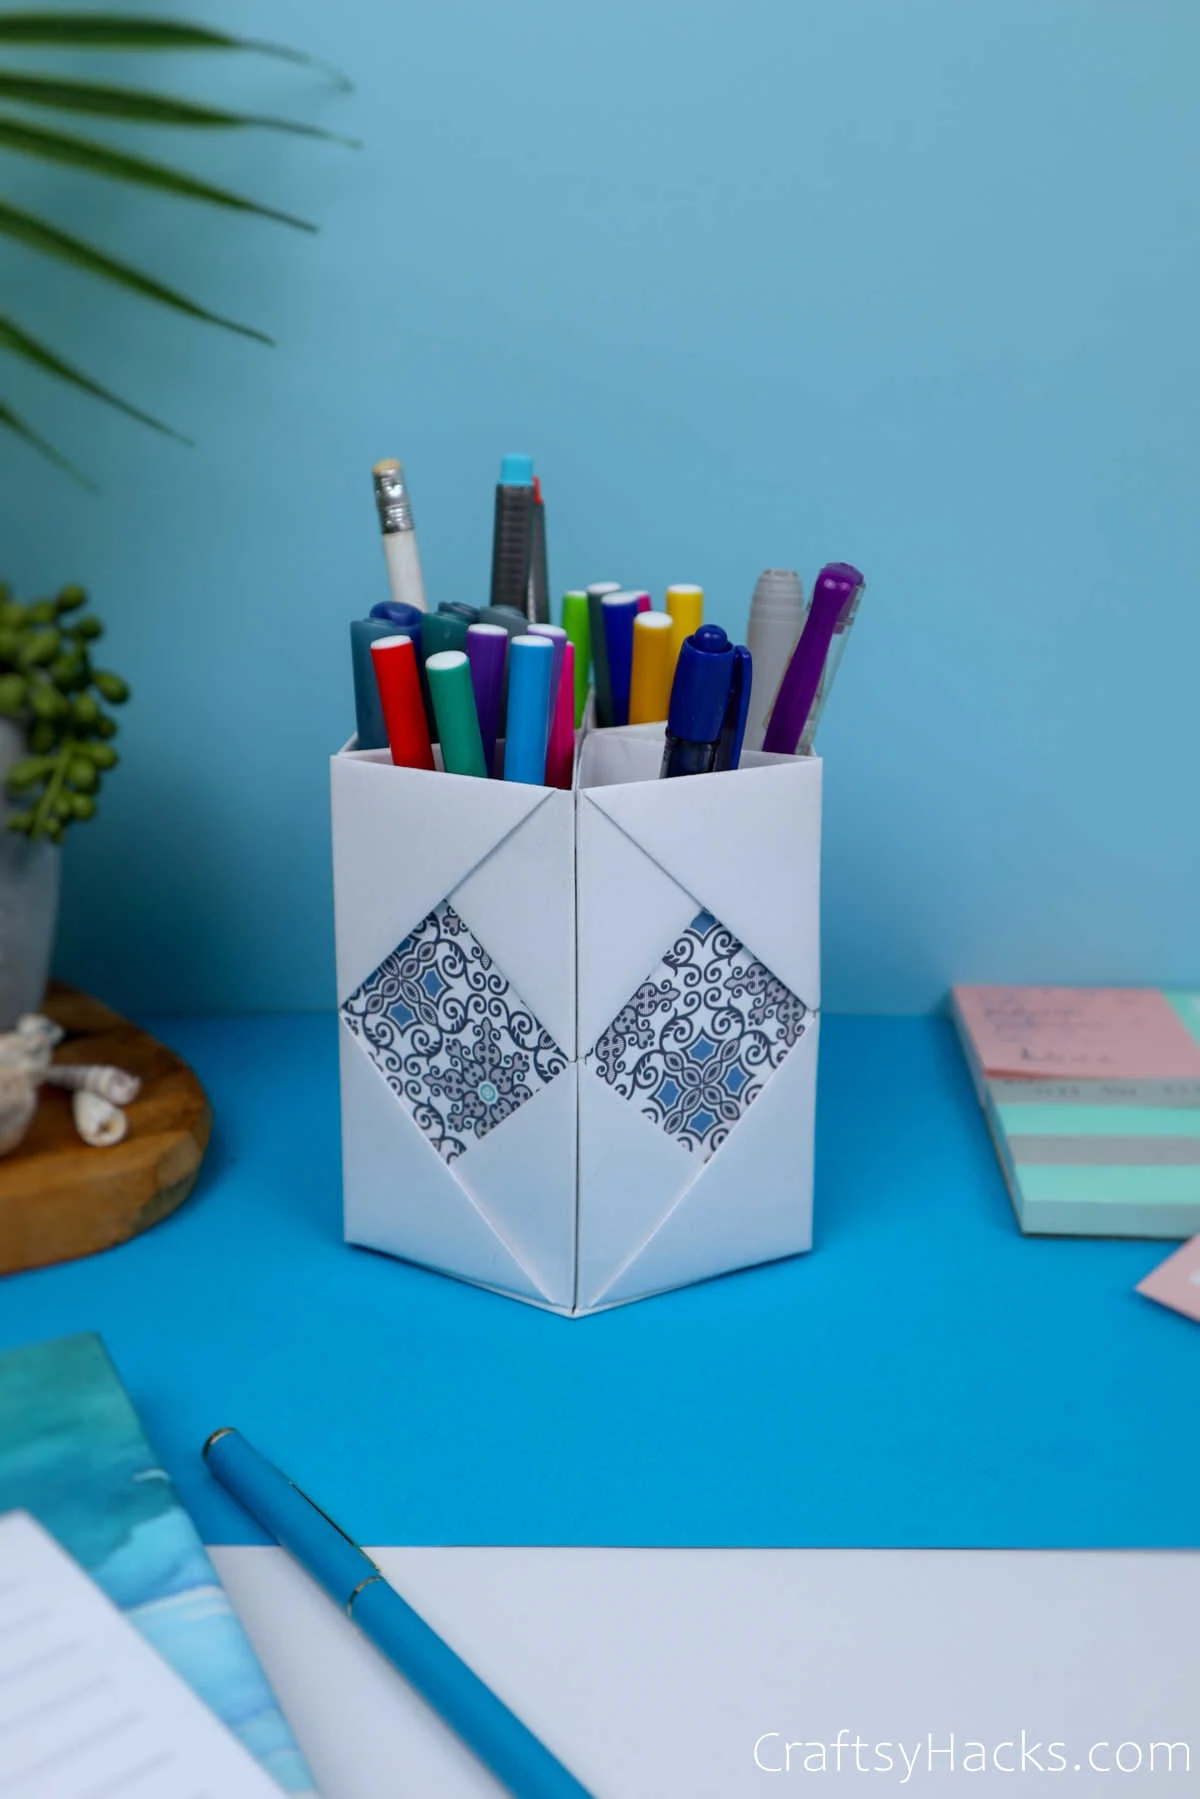
Looking at this multifaceted pencil case, would you have ever guessed it was a DIY project made from paper? Doesn’t it look like something you ordered off a catalog or picked up at a fancy office supplies store?
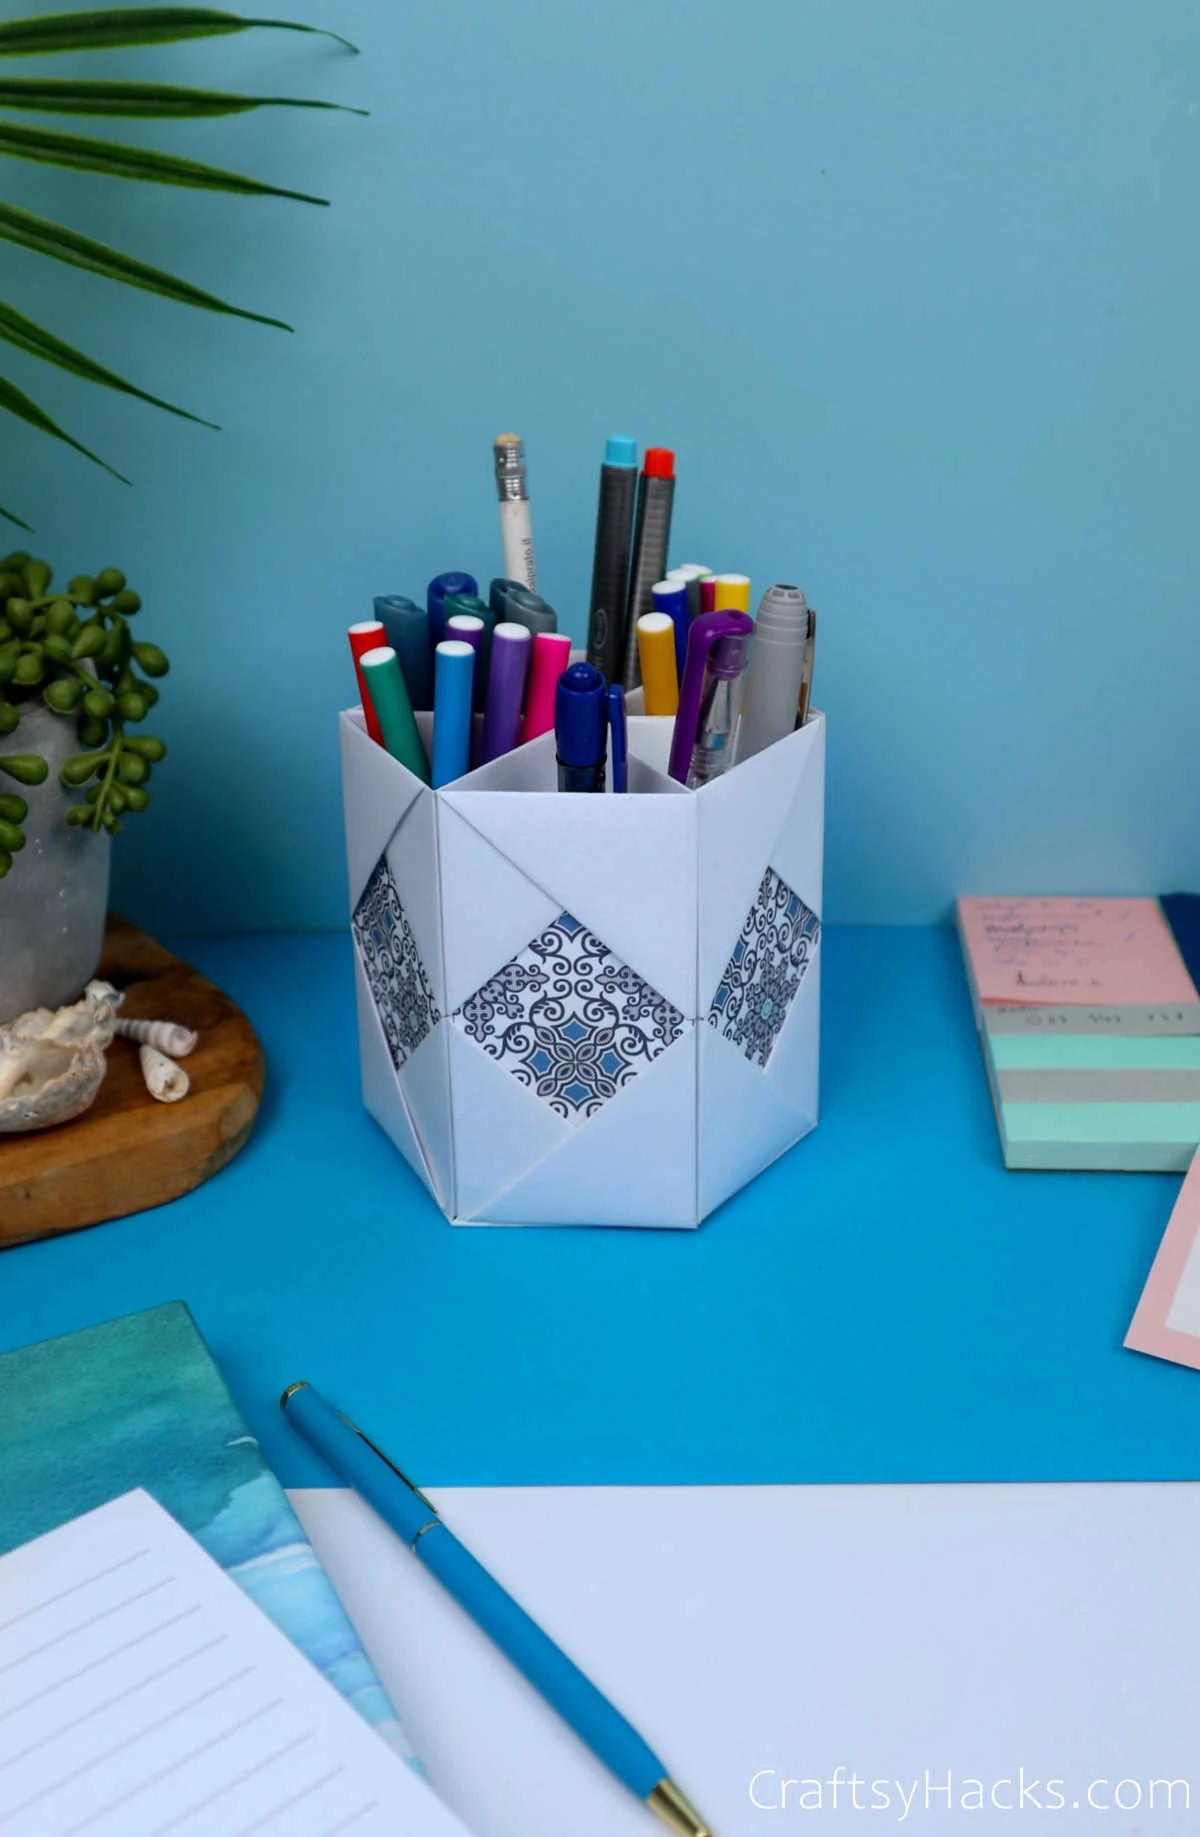
Well, believe it, because this gorgeous pencil holder is made entirely out of paper and you can make it, too. It’s simple, elegant, and, like most DIYs, you can personalize it any way you like!
So, without further ado, let’s get down to making this pencil holder.
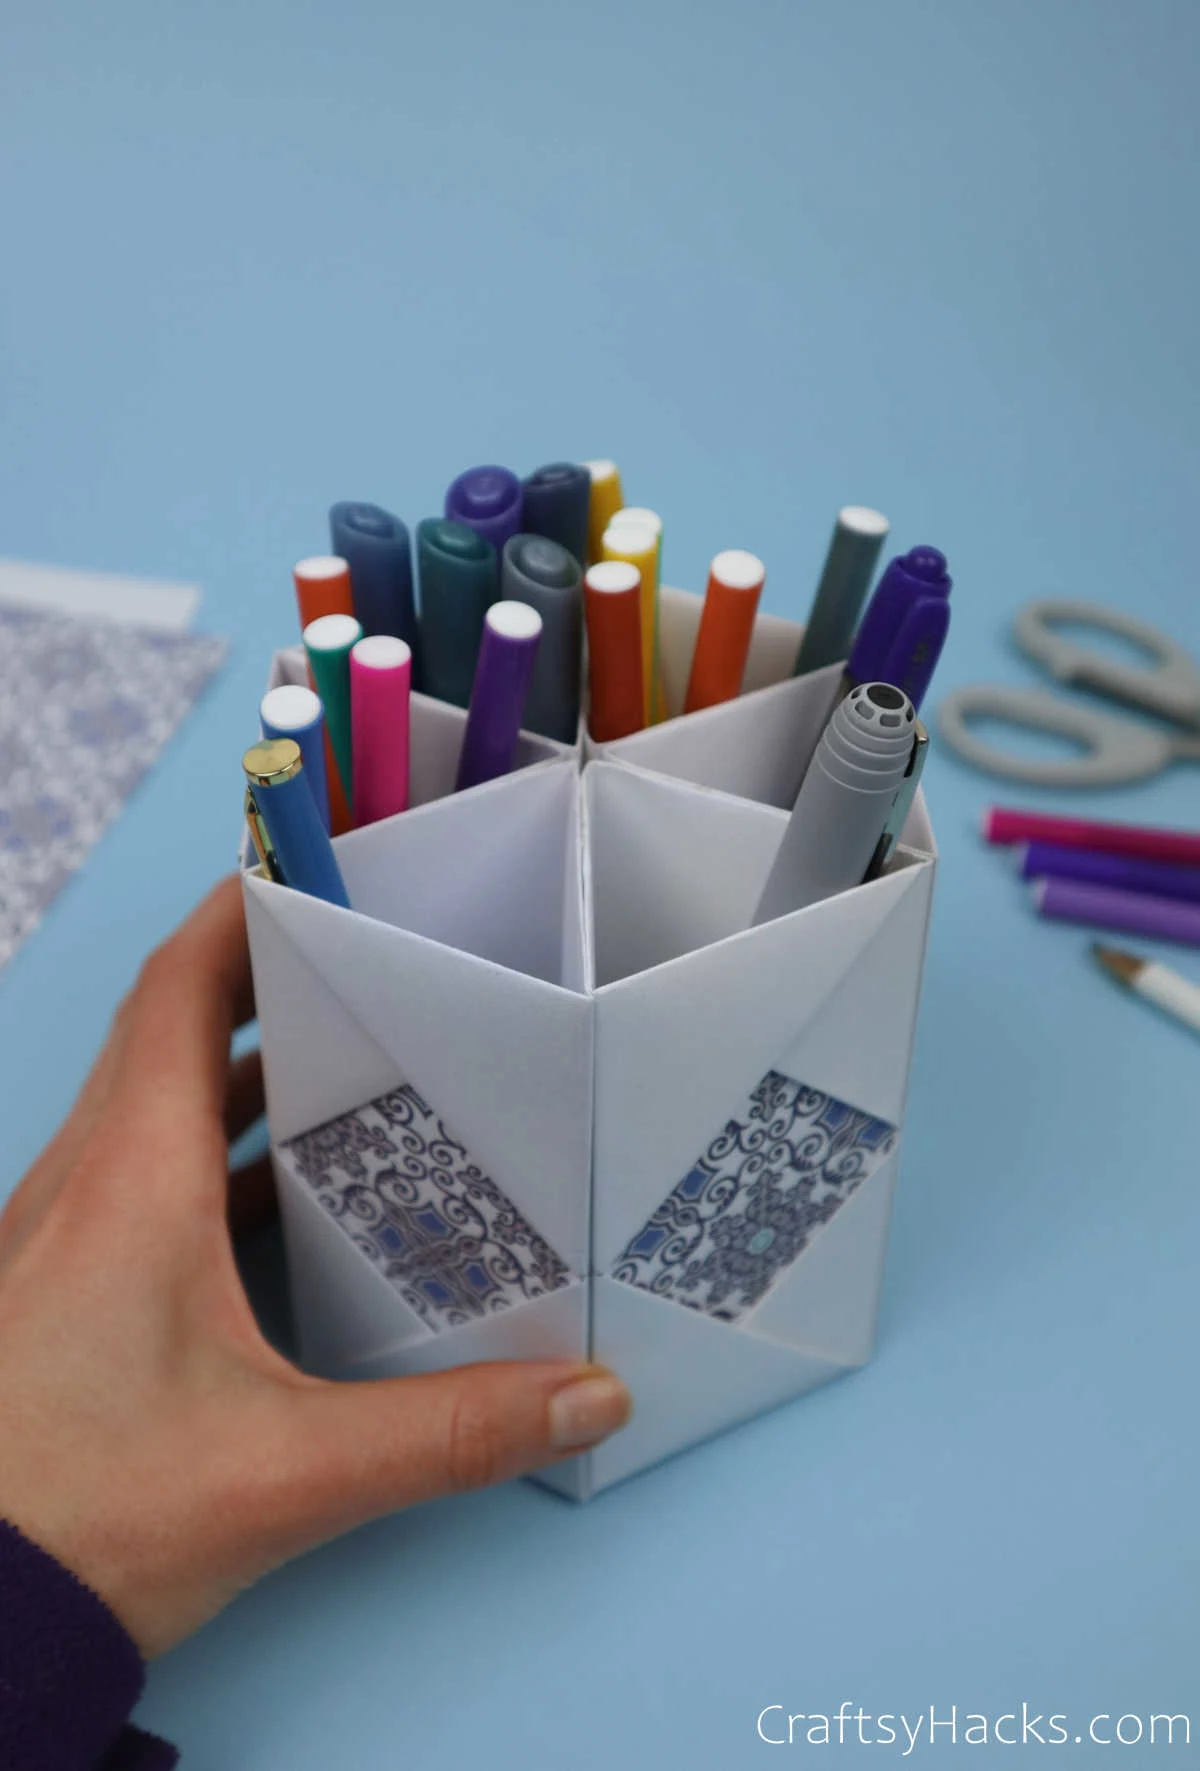
Supplies for Pencil Holder
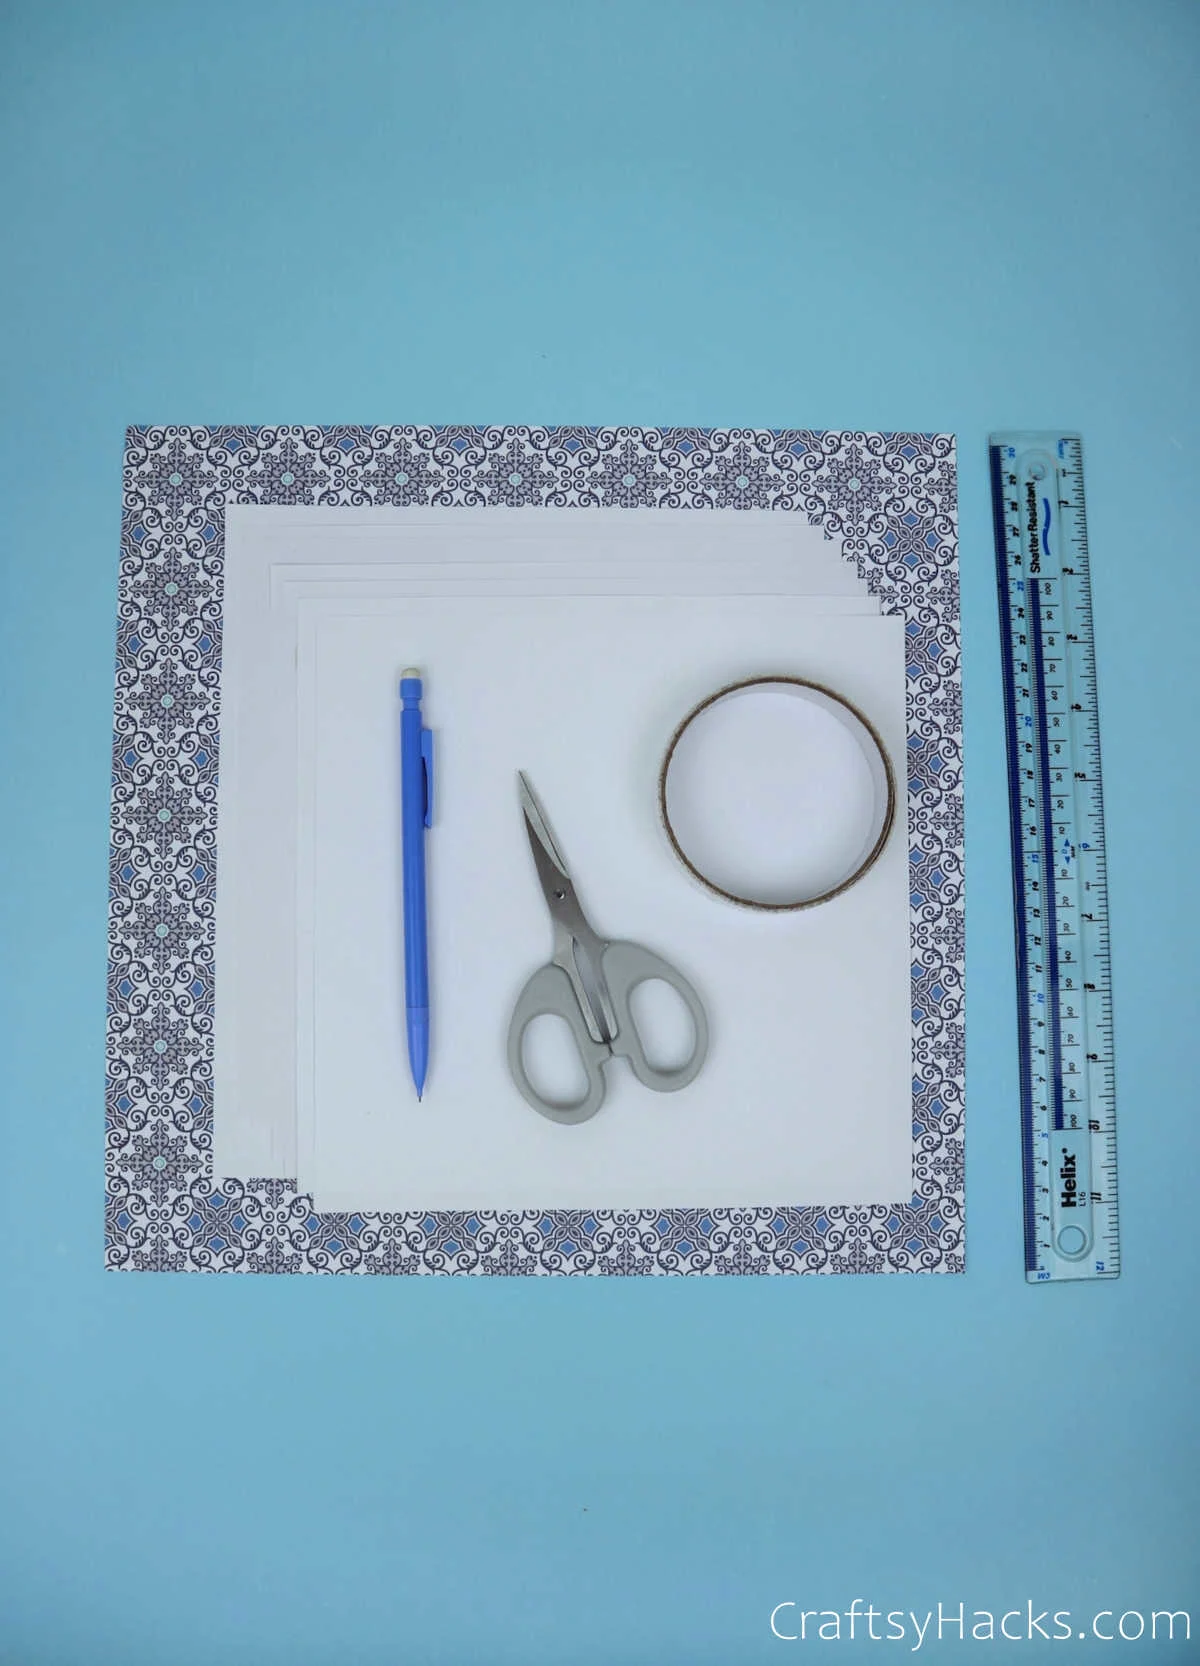
Here’s a list of all the supplies you need. I’m pretty sure you’ve already got most of them at hand. What you don’t, you’ll definitely be able to find anywhere!
- 5 x thick square paper sheets
- 1 x thick paper sheet for the bottom
- Glue or double-sided tape
- Scissors
- Ruler
- Pencil
- Decorative paper (optional)
How to Make a Paper Pencil Holder
Think of this DIY as a multi-purpose origami project. You’re folding and tweaking paper, just like you would with origami.
Only, instead of cute animals or pretty flowers, you’re making something you’ll get amazing use out of.
Step 1
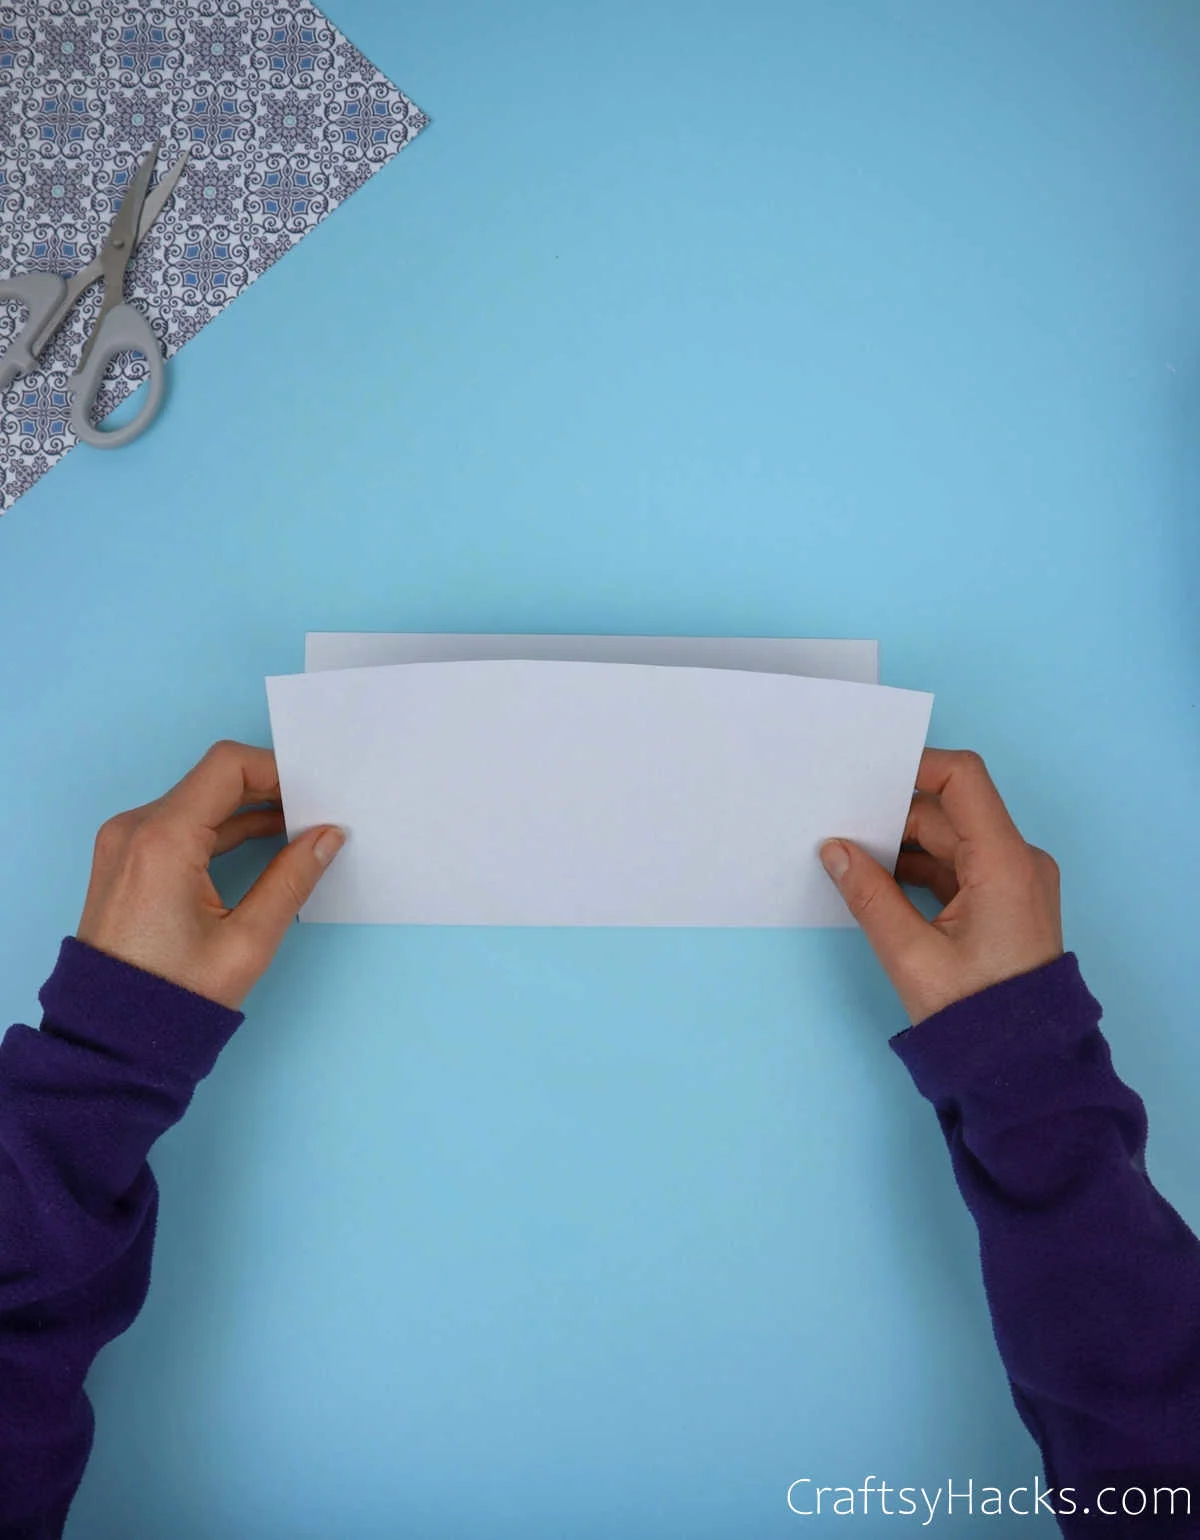
Grab your sheet of paper and fold it in half, as shown below.
Step 2
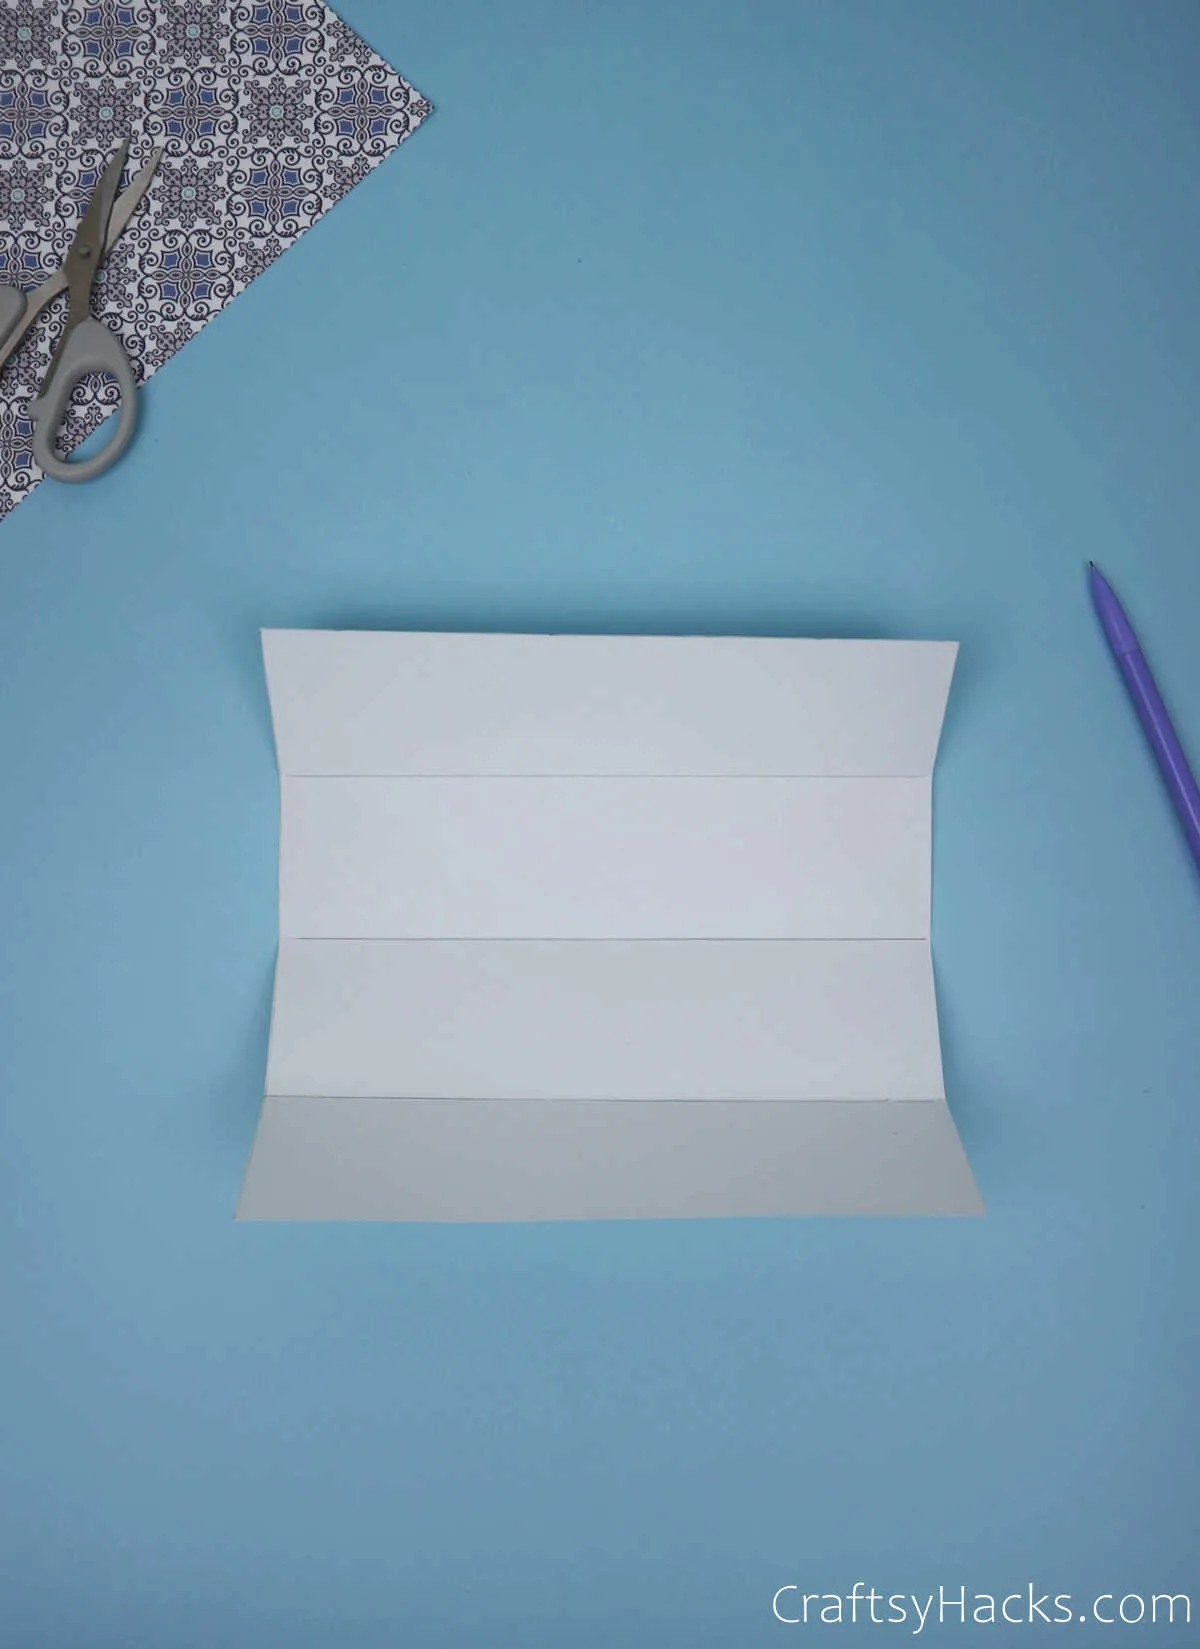
Unfold the paper, and you’ll notice a crease running across the center of the sheet. Now, what you’ll need to do is fold the bottom half of the paper upward towards that center crease.
Press down to fold the paper.
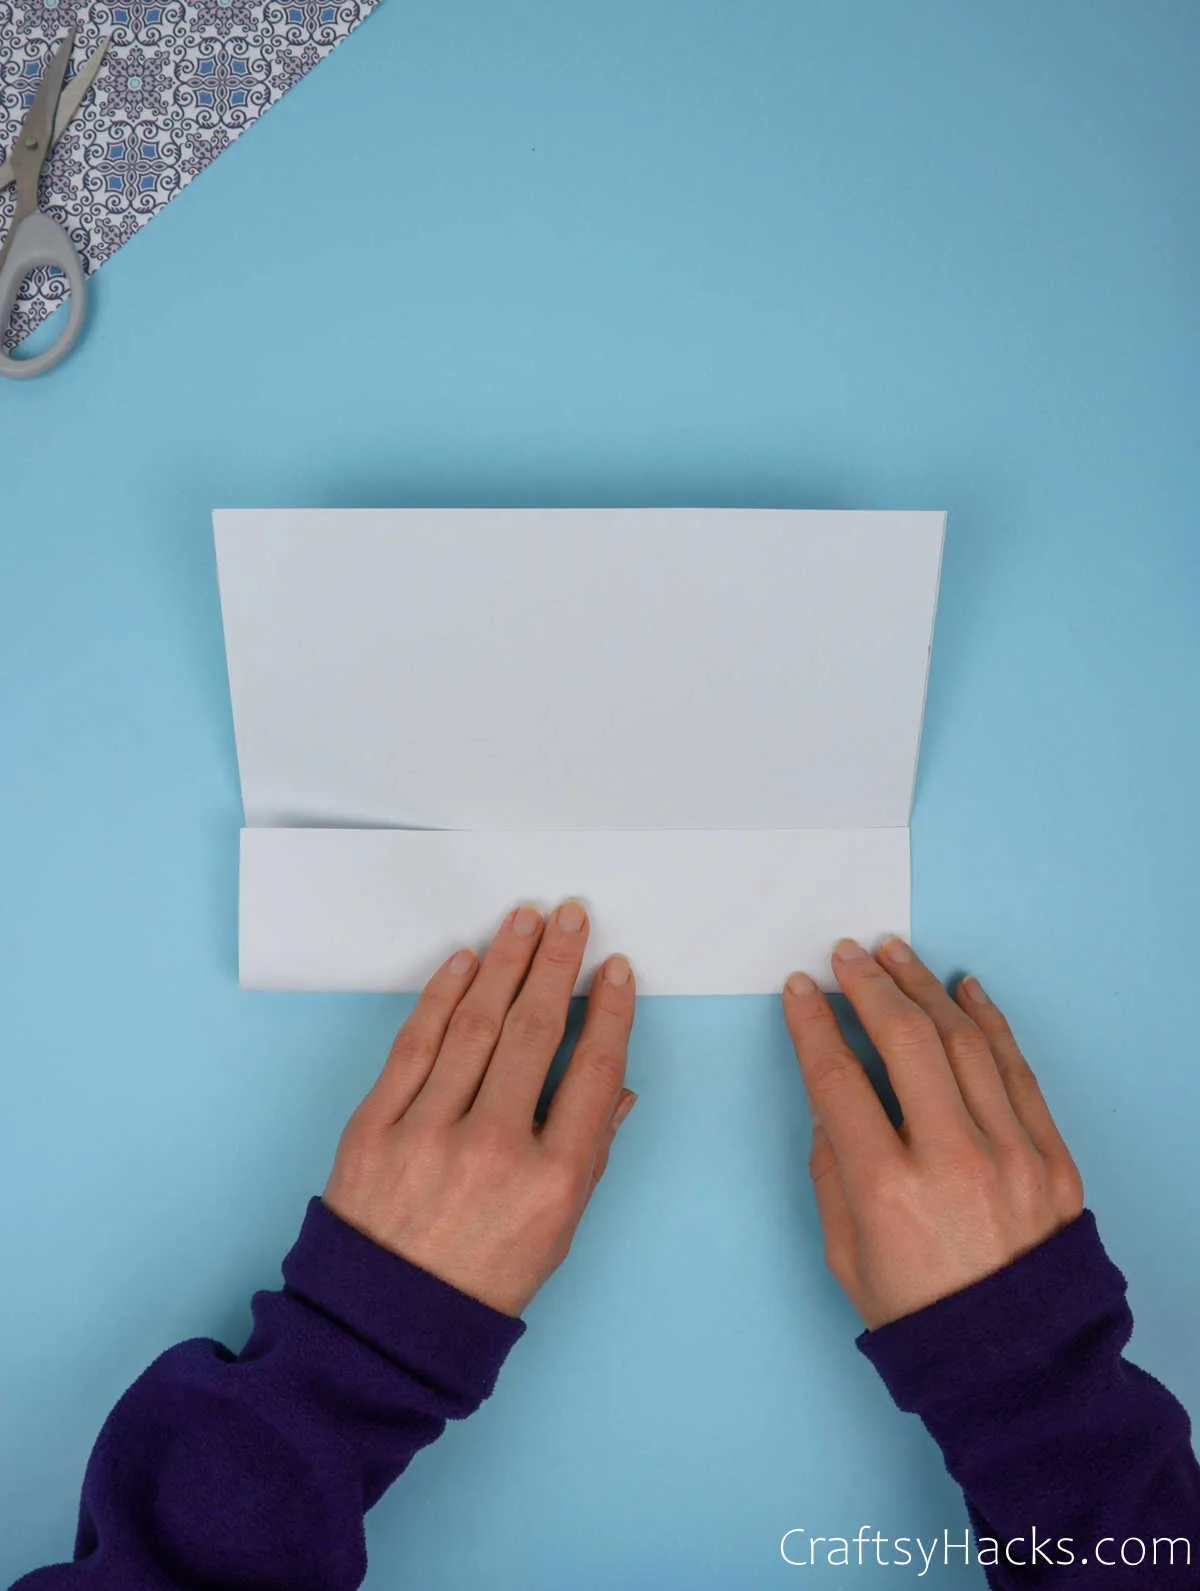
Repeat this fold with the top half of the sheet, folding downward towards that center crease and pressing firmly.
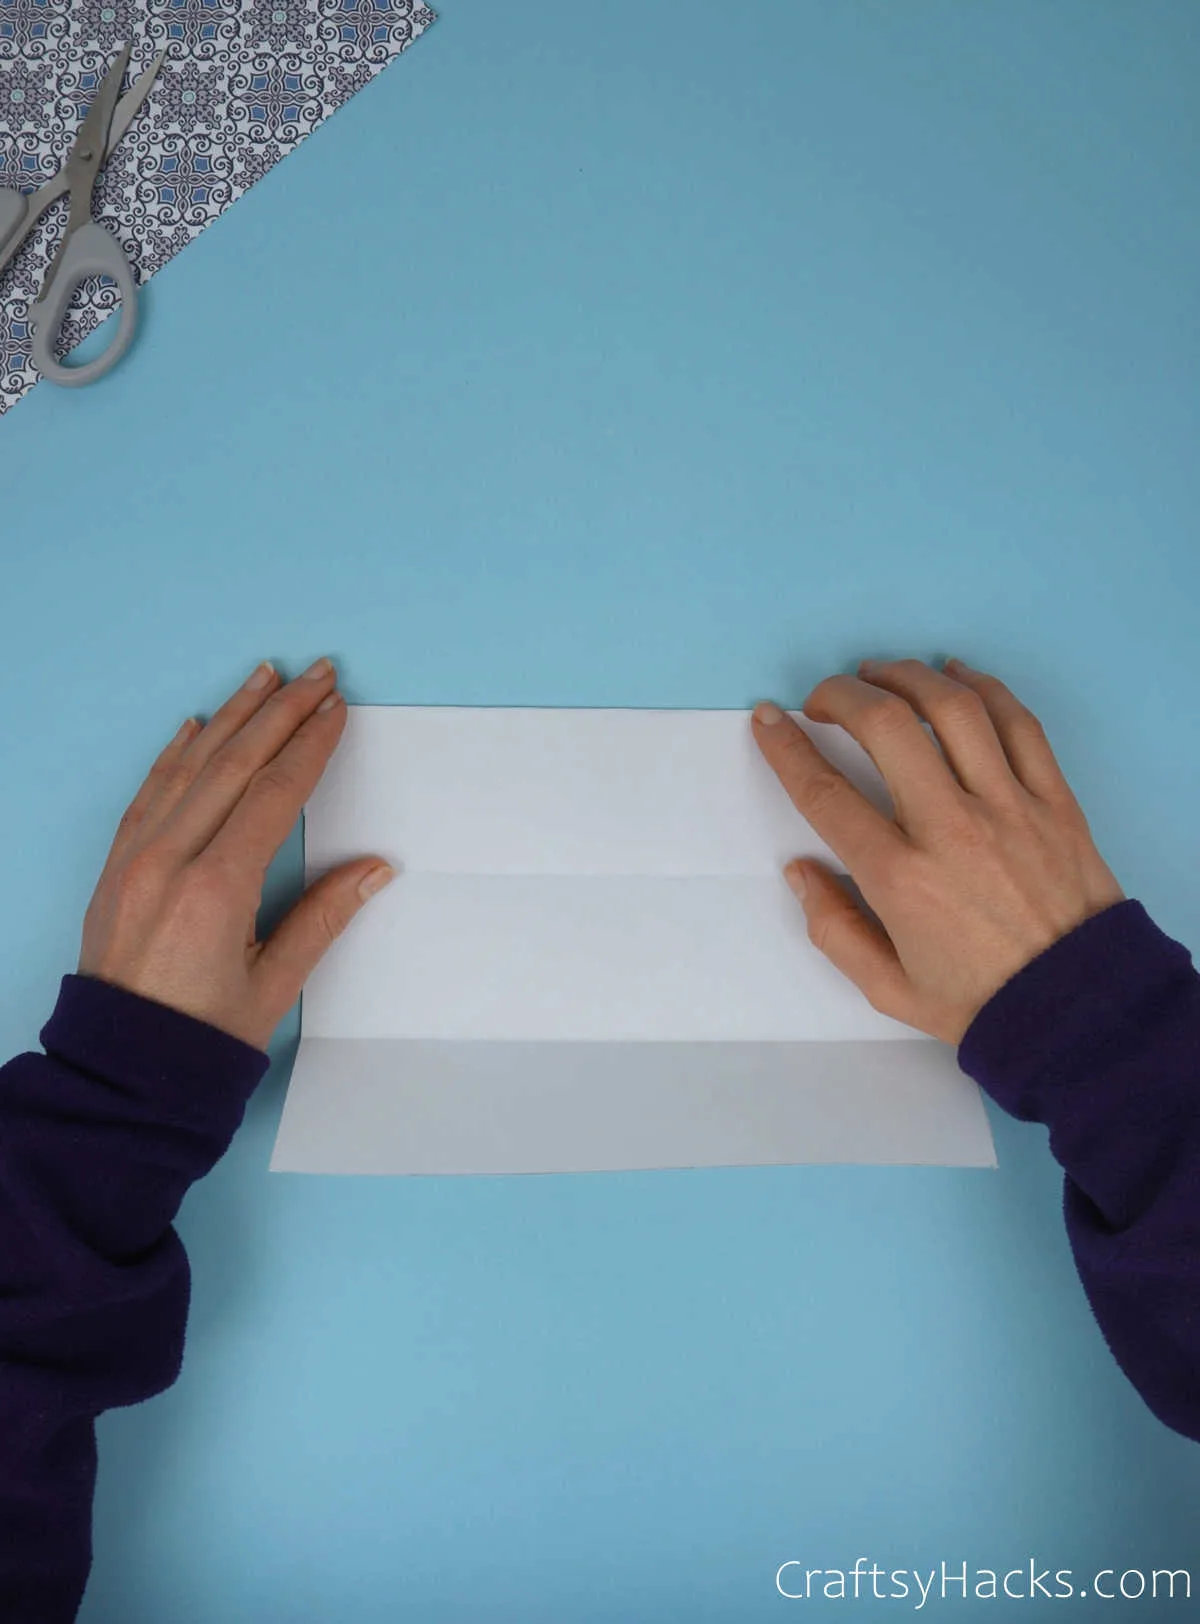
Once you unfold the paper, you’ll notice that three creases running across the sheet, dividing it into four equal parts.
Step 3
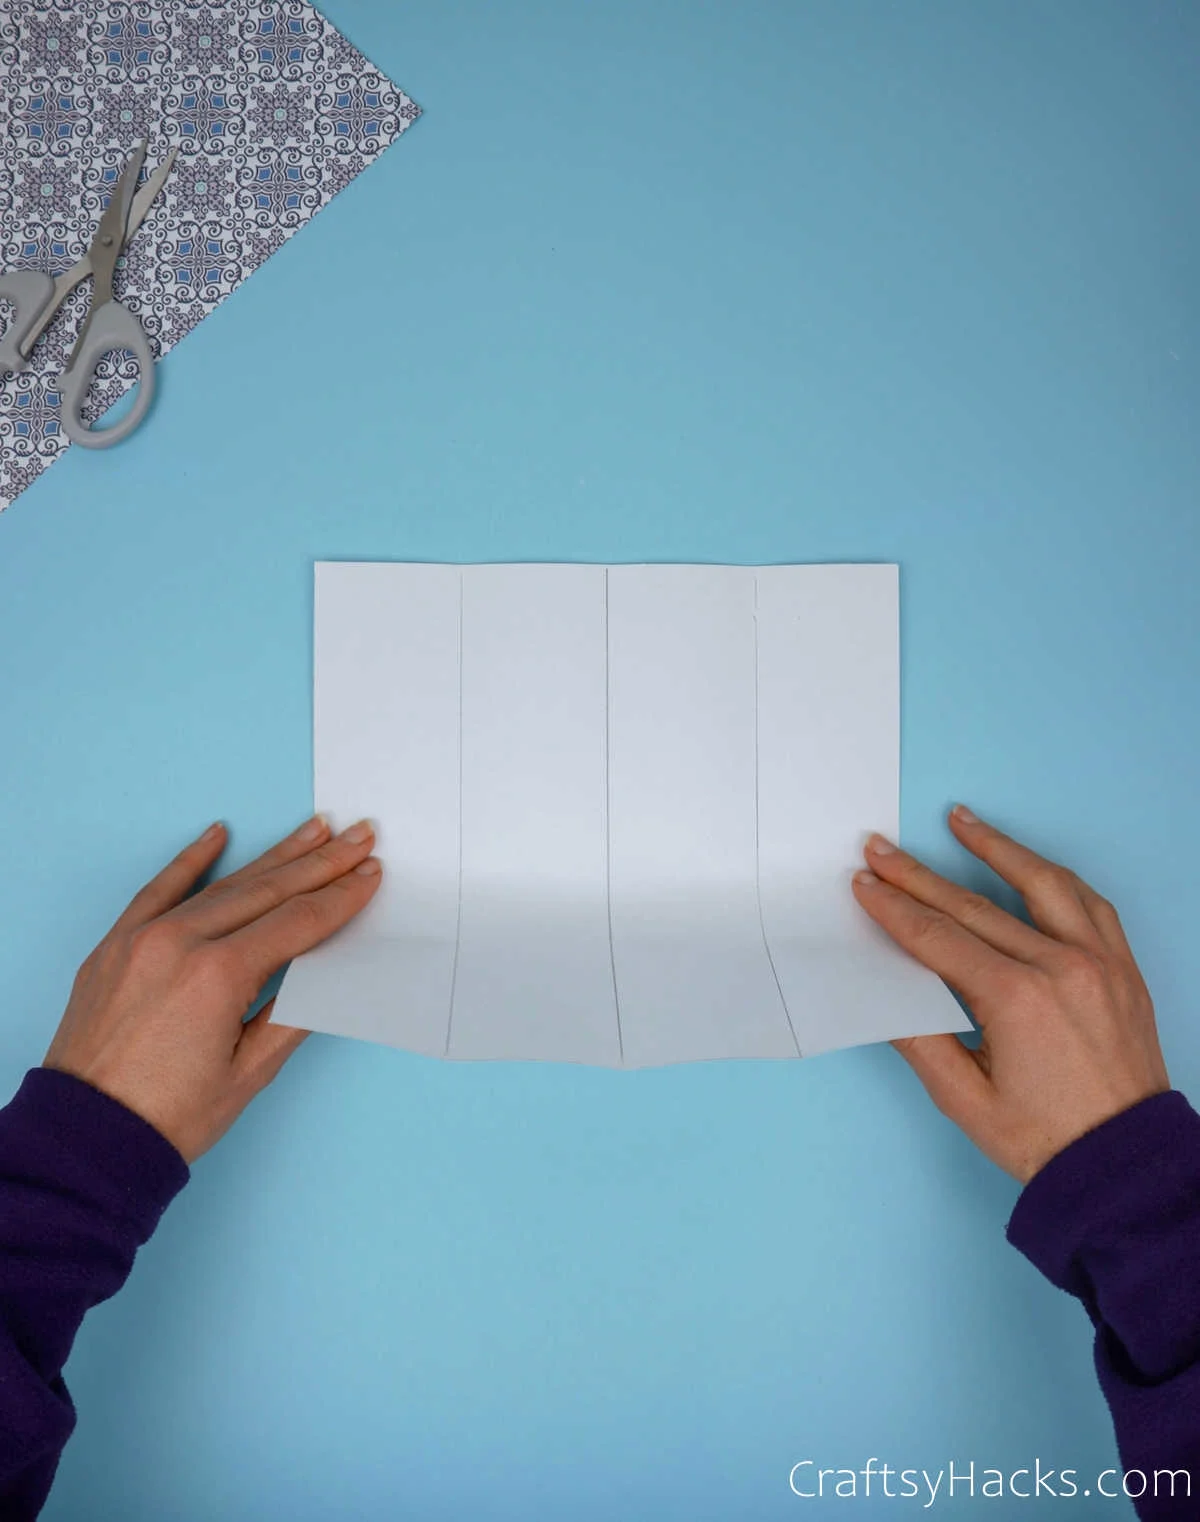
Turn the sheet around so that the creases are vertical. Fold the paper in half and press down to form yet another center crease dividing the sheet in half.
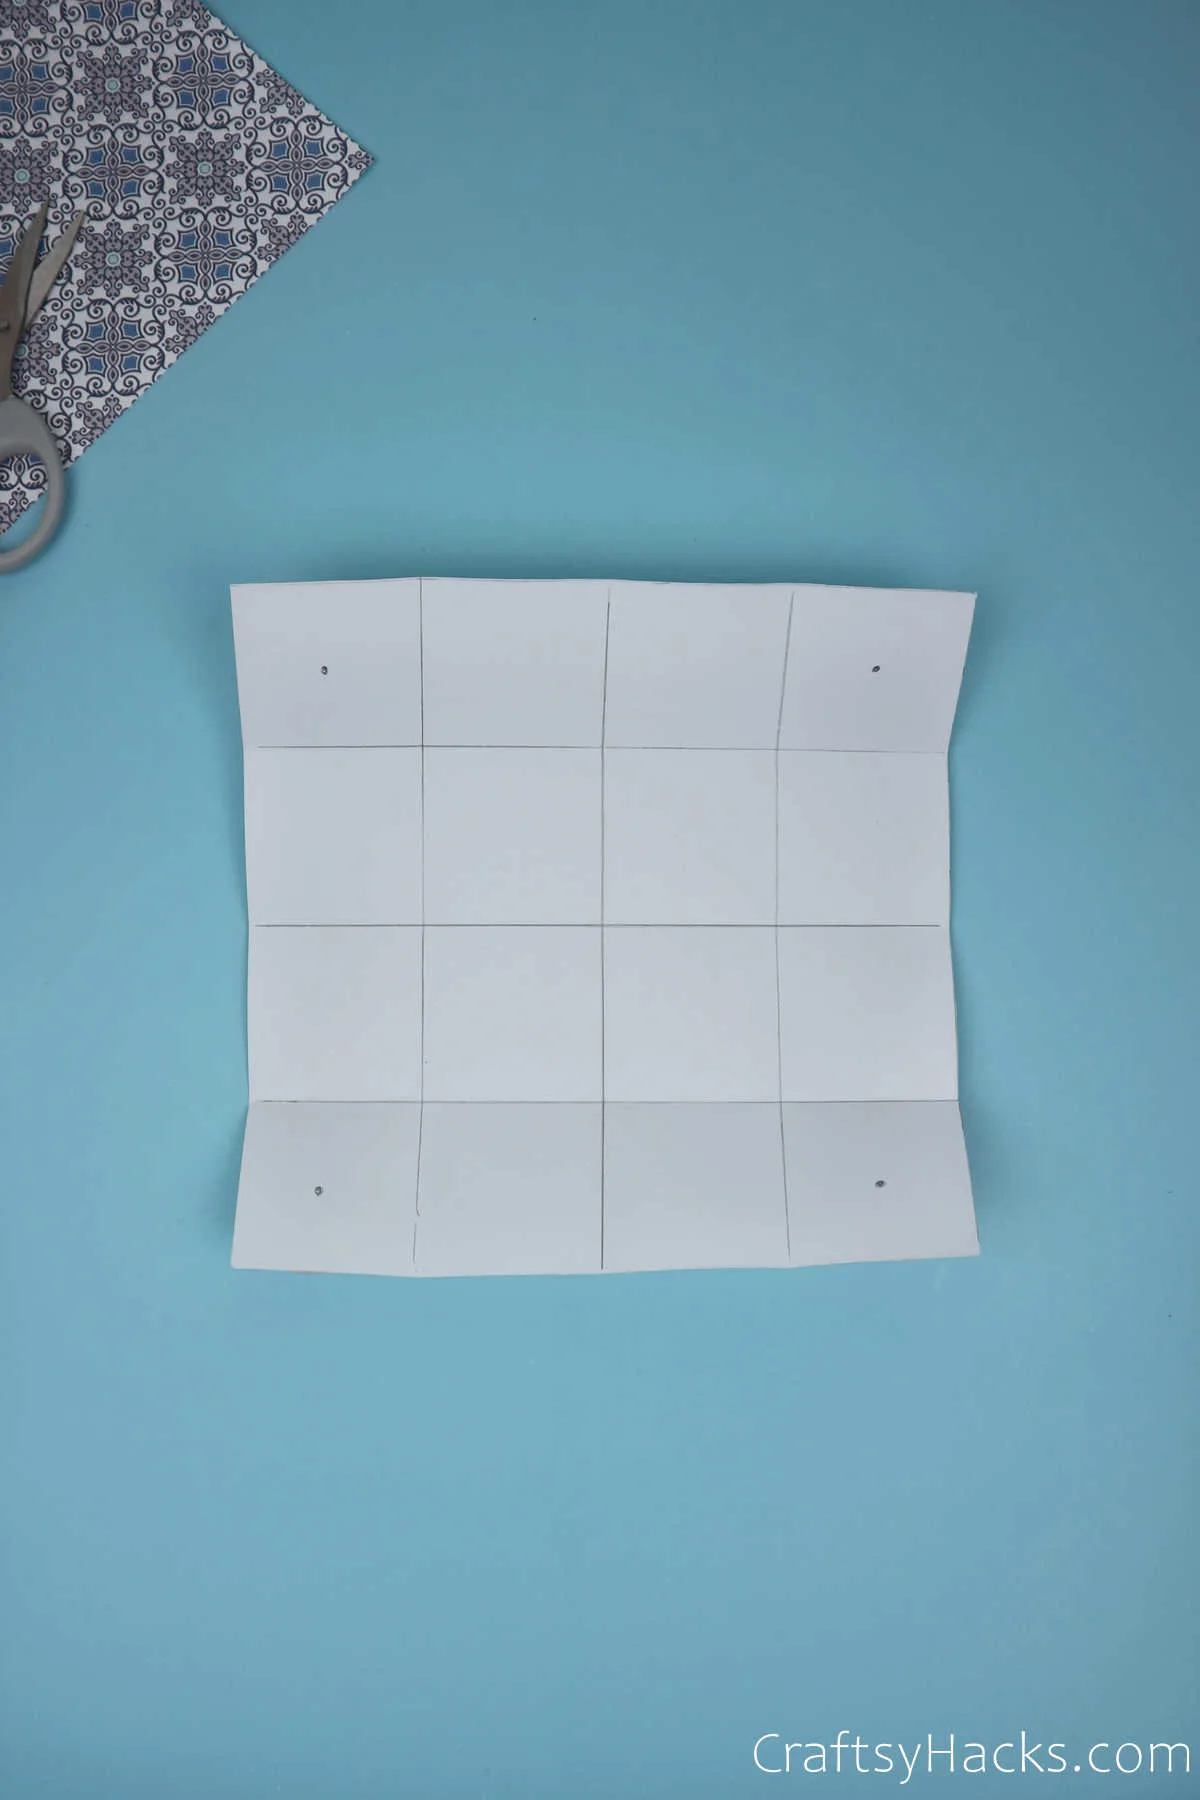
Repeat step 2 until you once again have four equal parts. Your paper should now be a 4×4 box with 16 equal squares.
Step 4
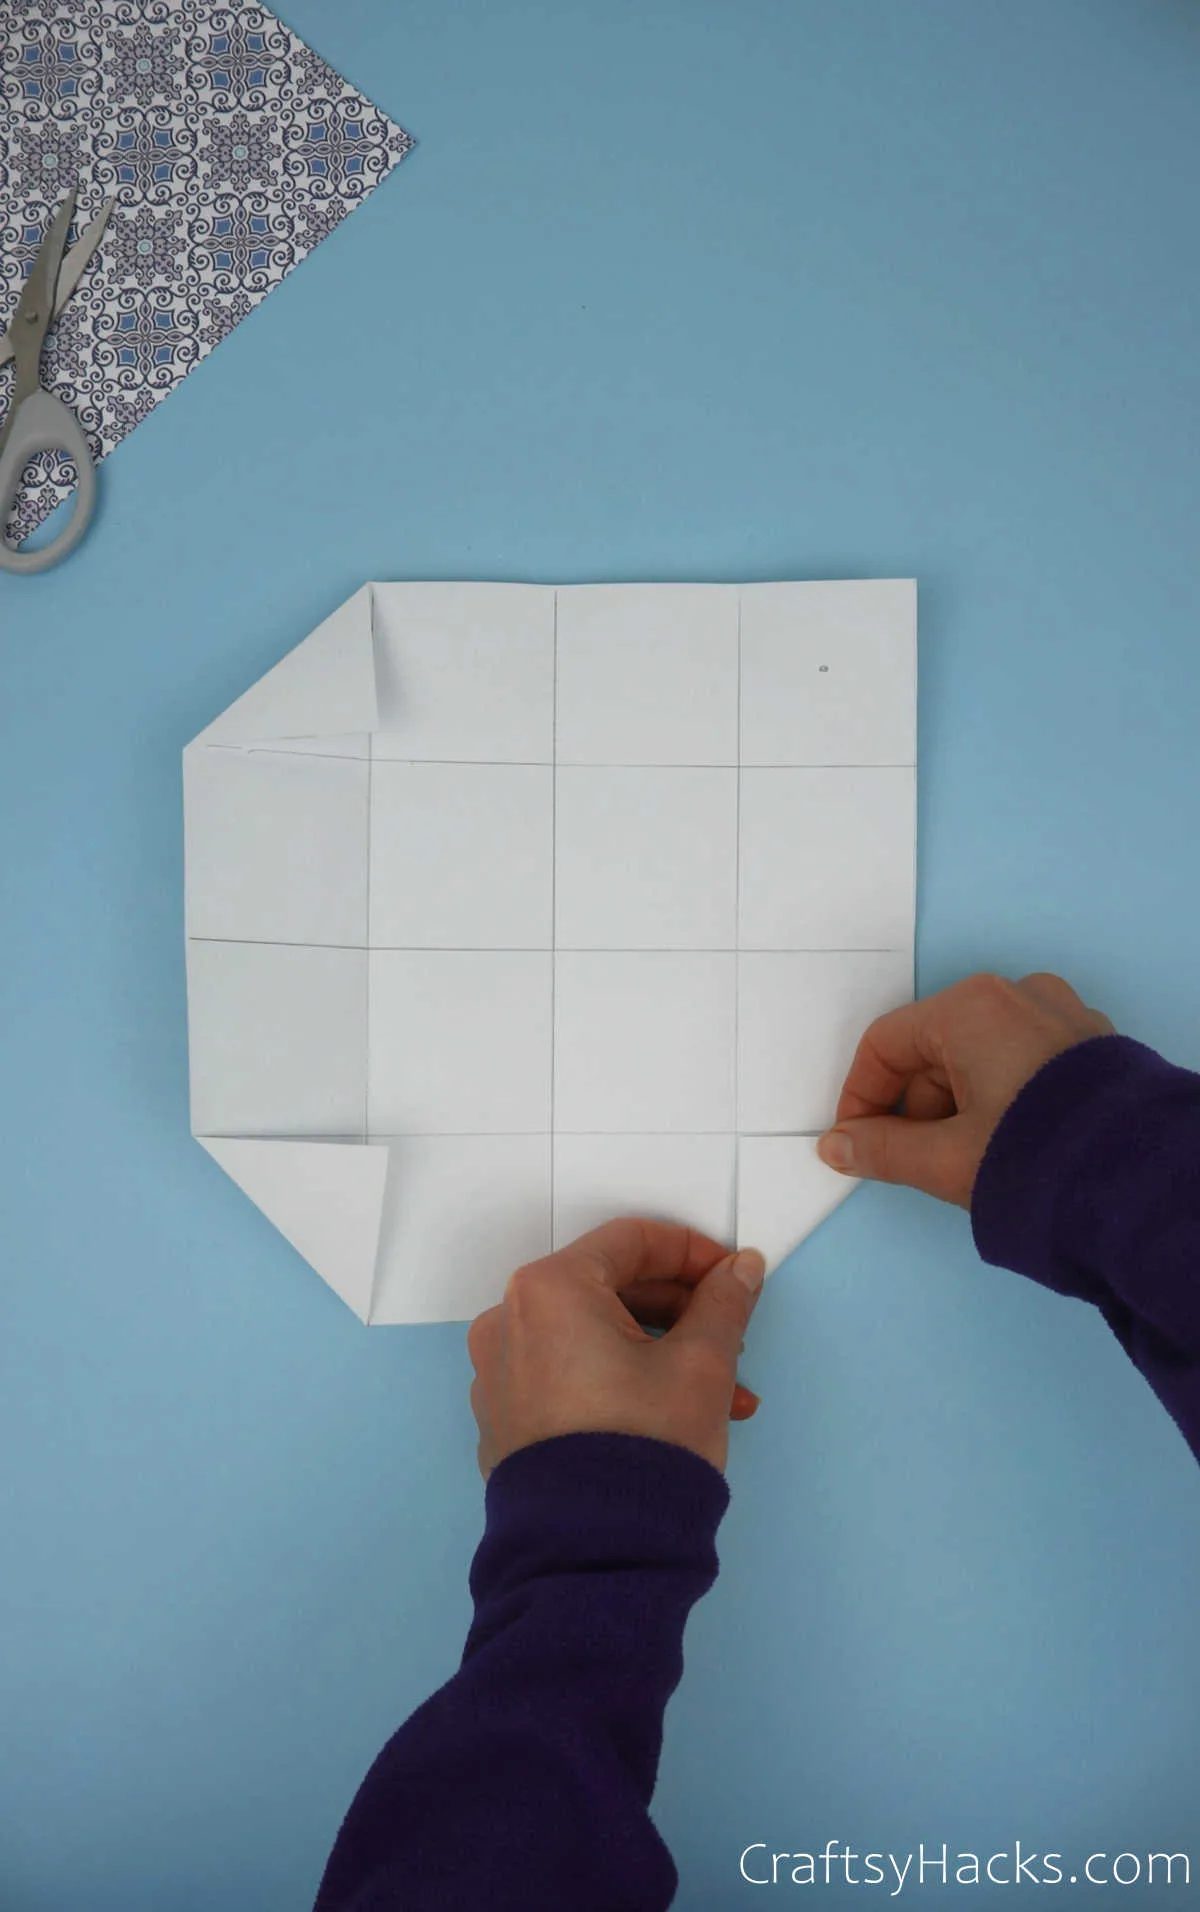
This time, you will be making half-folds. Gently fold one corner square of the paper inward to form a triangle, as seen below. Repeat this with all four corners.
Step 5
Grab the left side of the sheet and, keeping the half-folds in place, bring it towards the center crease and fold.
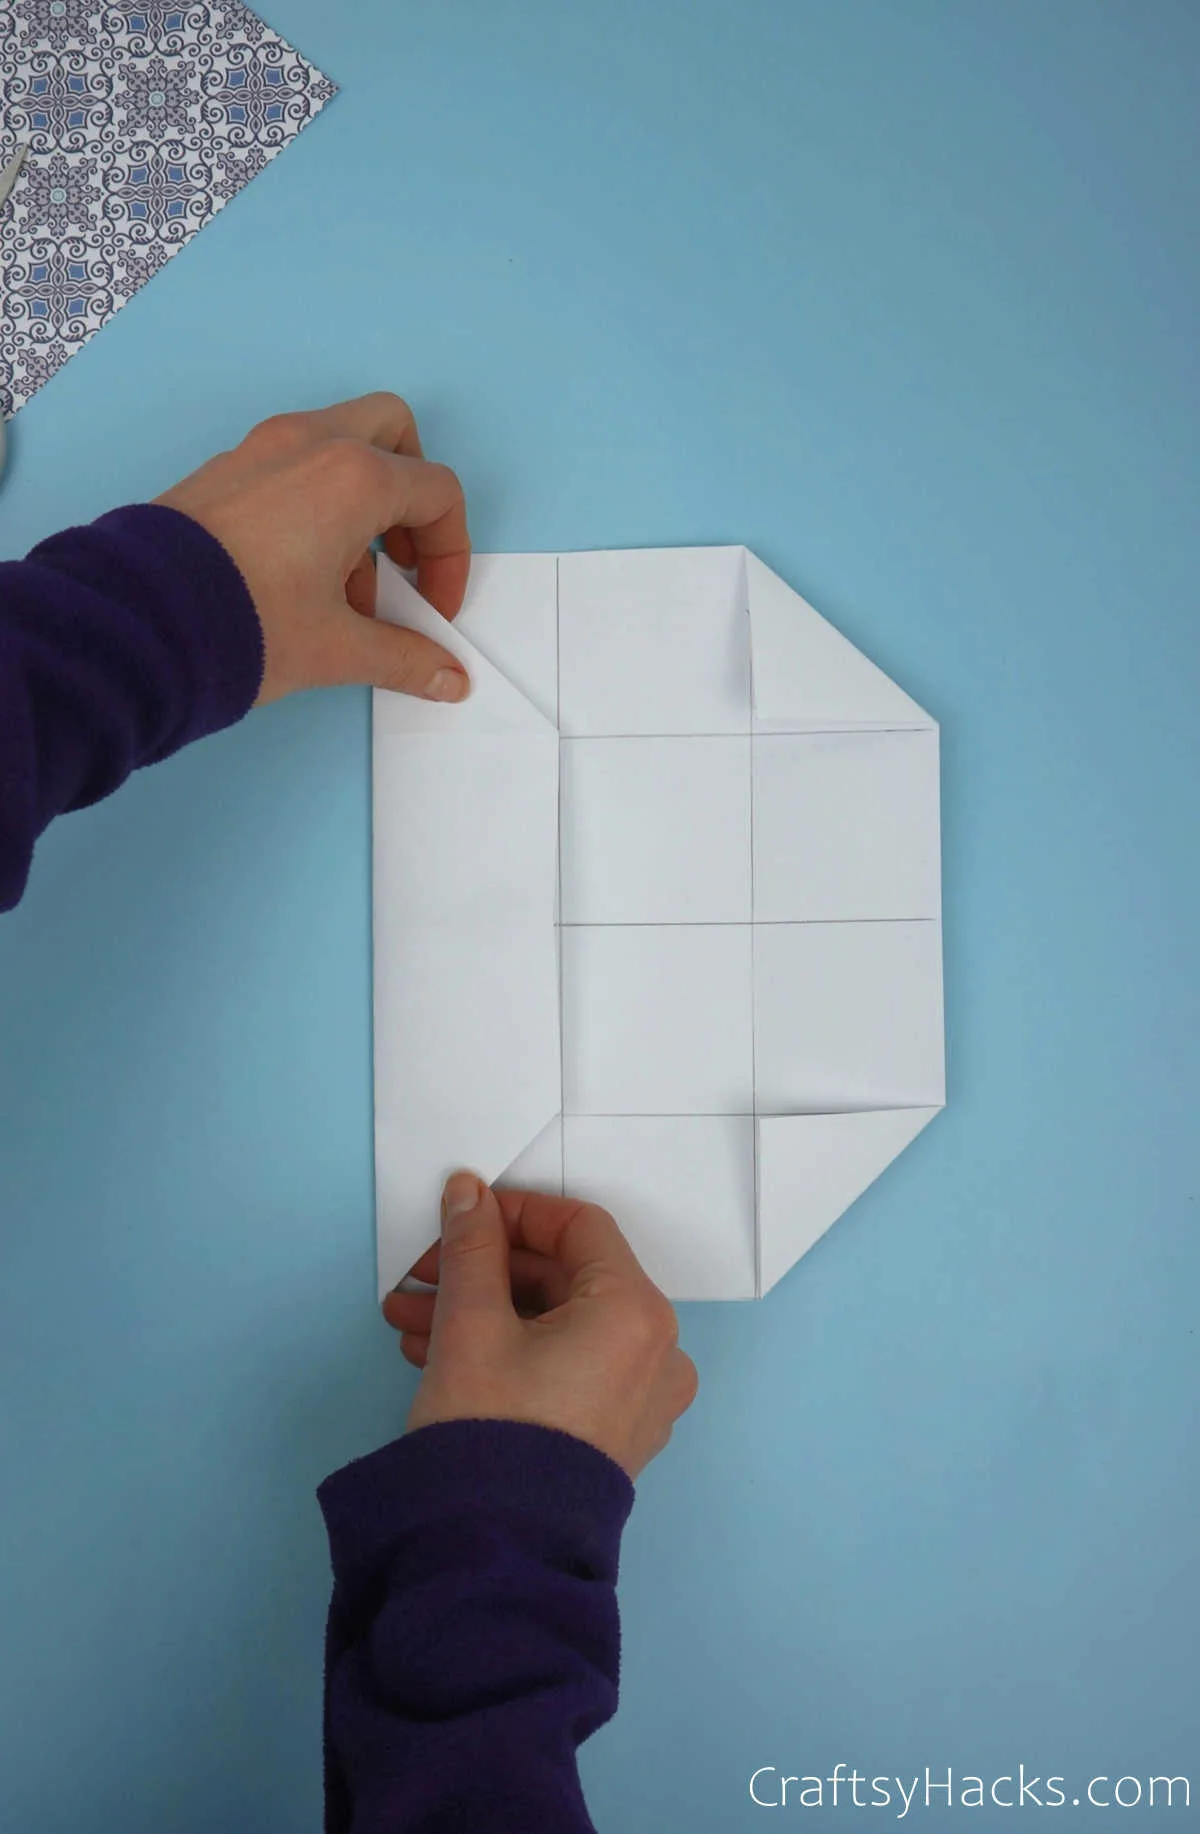
Repeat the same with the right side of the paper until your paper looks something like what you see below.
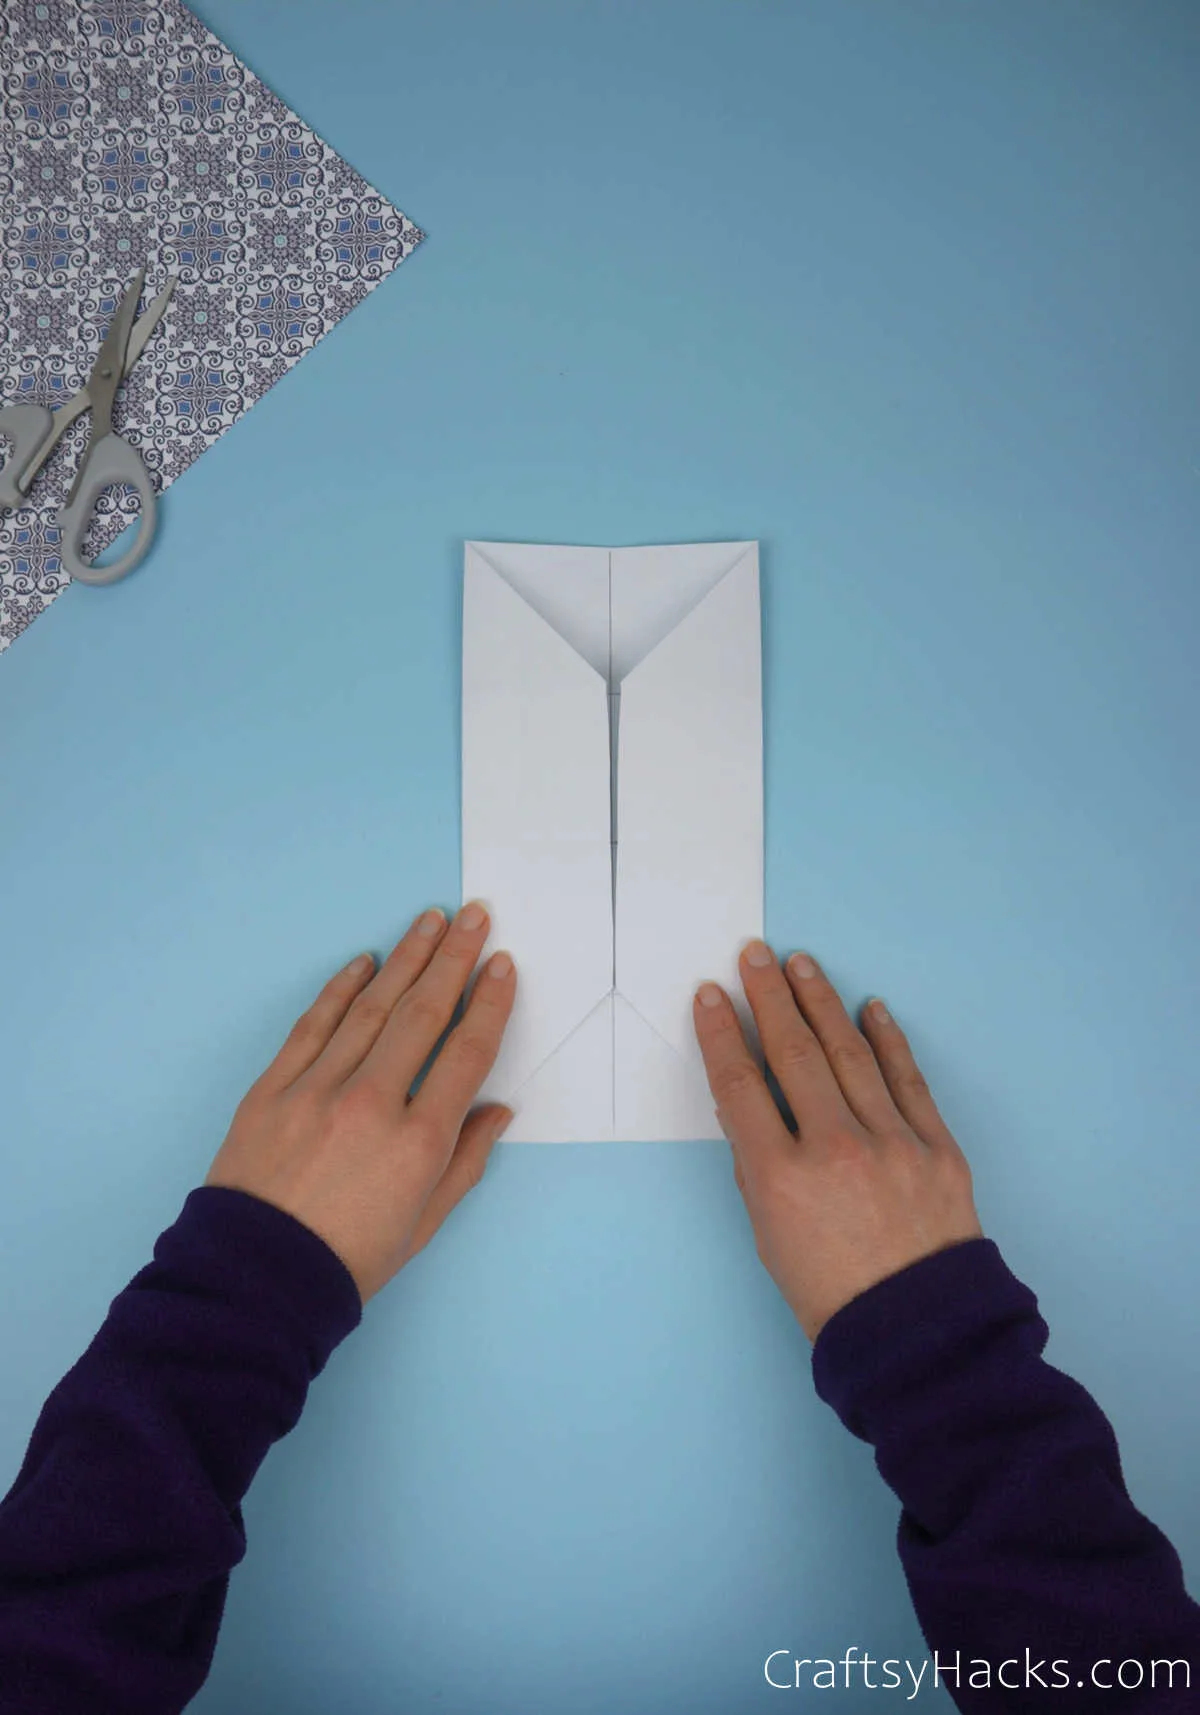
Step 6
Now it’s time to turn the paper around. Once you’ve turned it around, ensure that the folds you previously made stay intact.
Grab hold of the bottom edge and fold it up by one square width, as seen below.
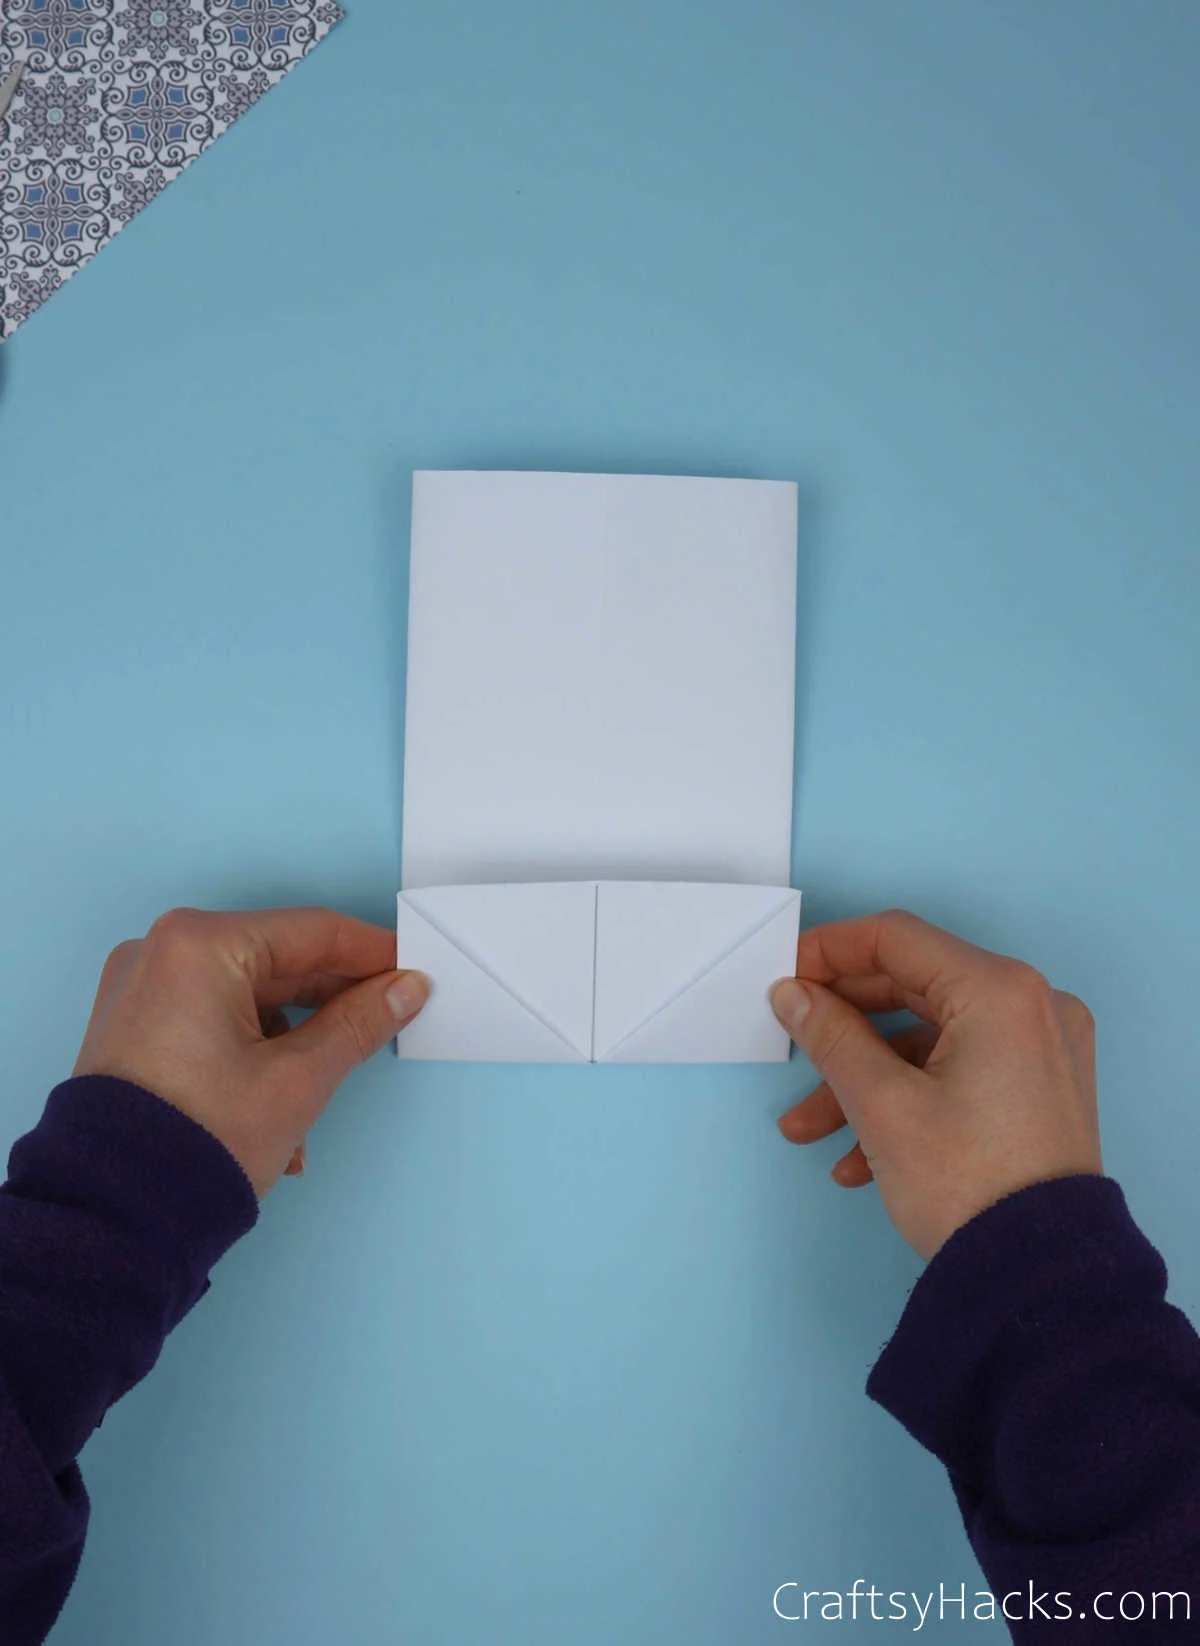
Repeat this step with the top half. The ends of both the folds should meet at the center as seen below.
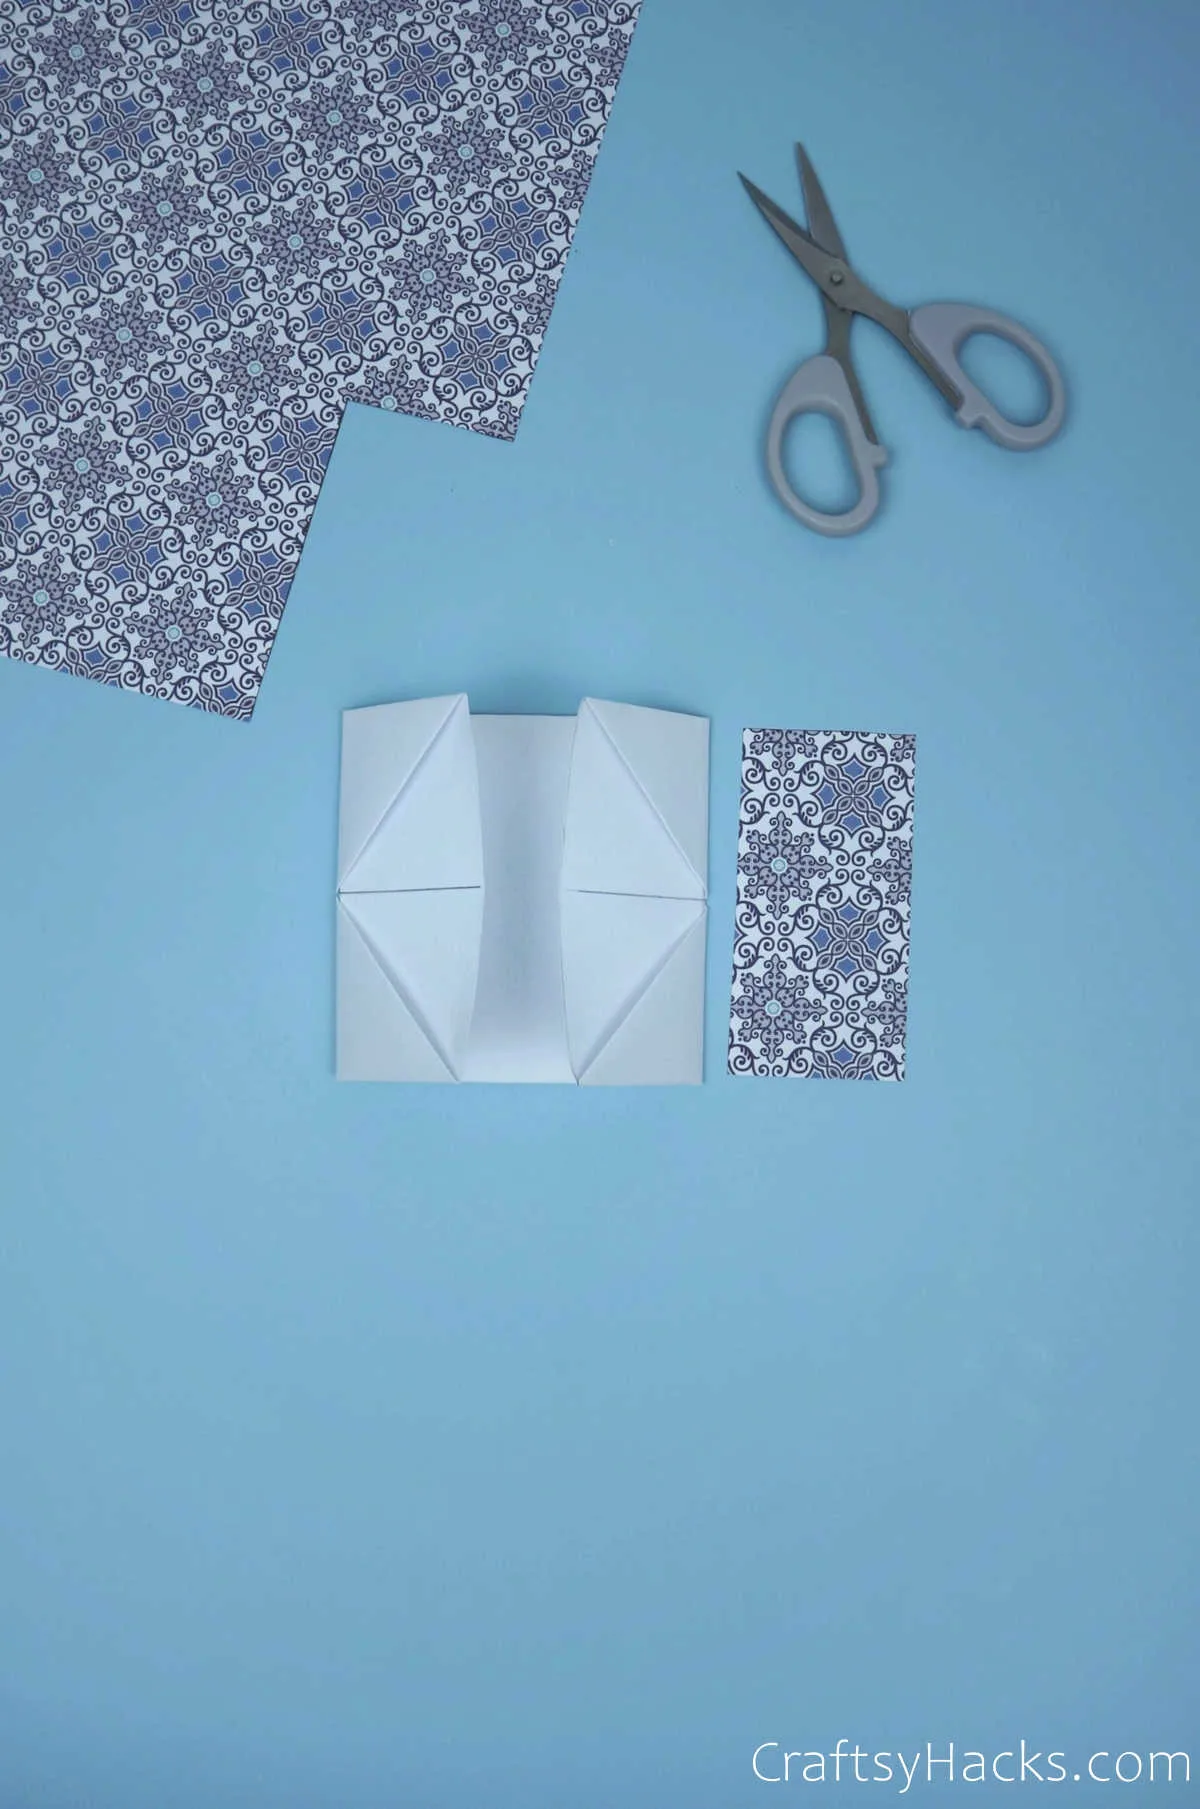
Step 7
Here’s when you decide if you want to jazz up your paper pencil holder. You can use a scrap of colorful, decorative, or sparkly paper.
Just cut out the accurate shape and size of the diamond-like opening you see and tuck it into the folds to secure it.
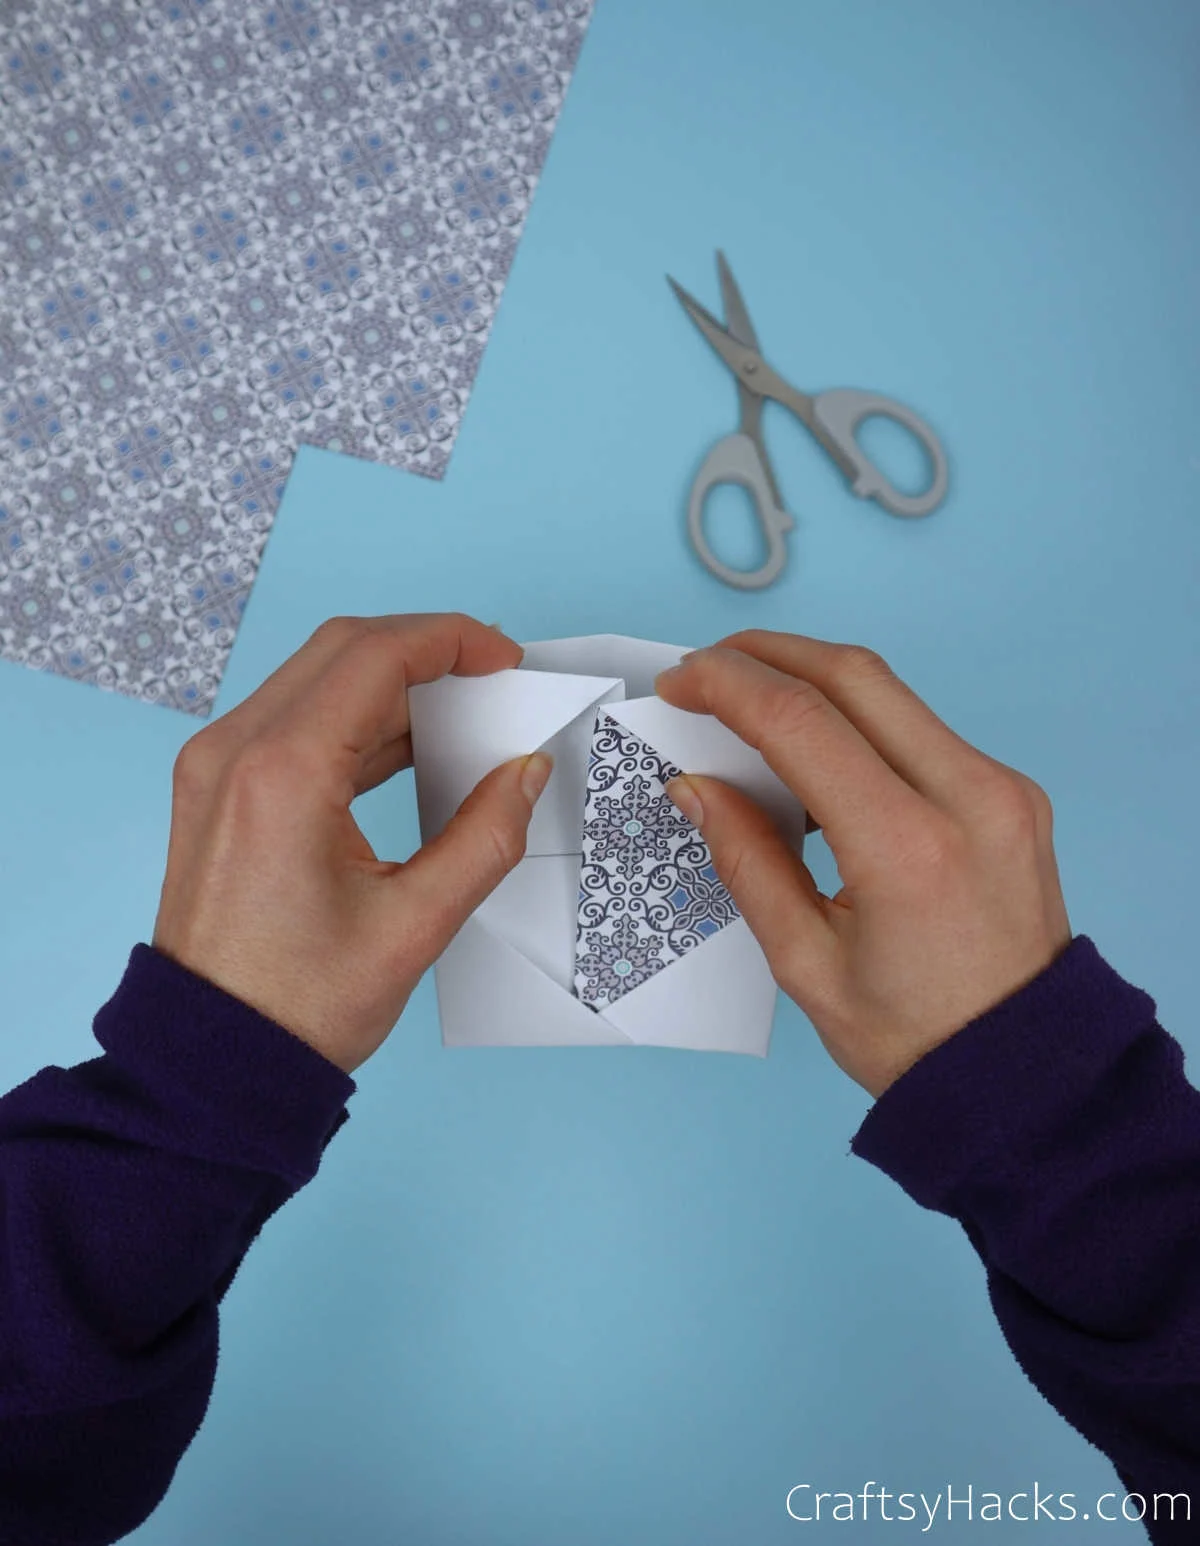
Once you have tucked it into the fold, one part of your pencil stand is officially complete!
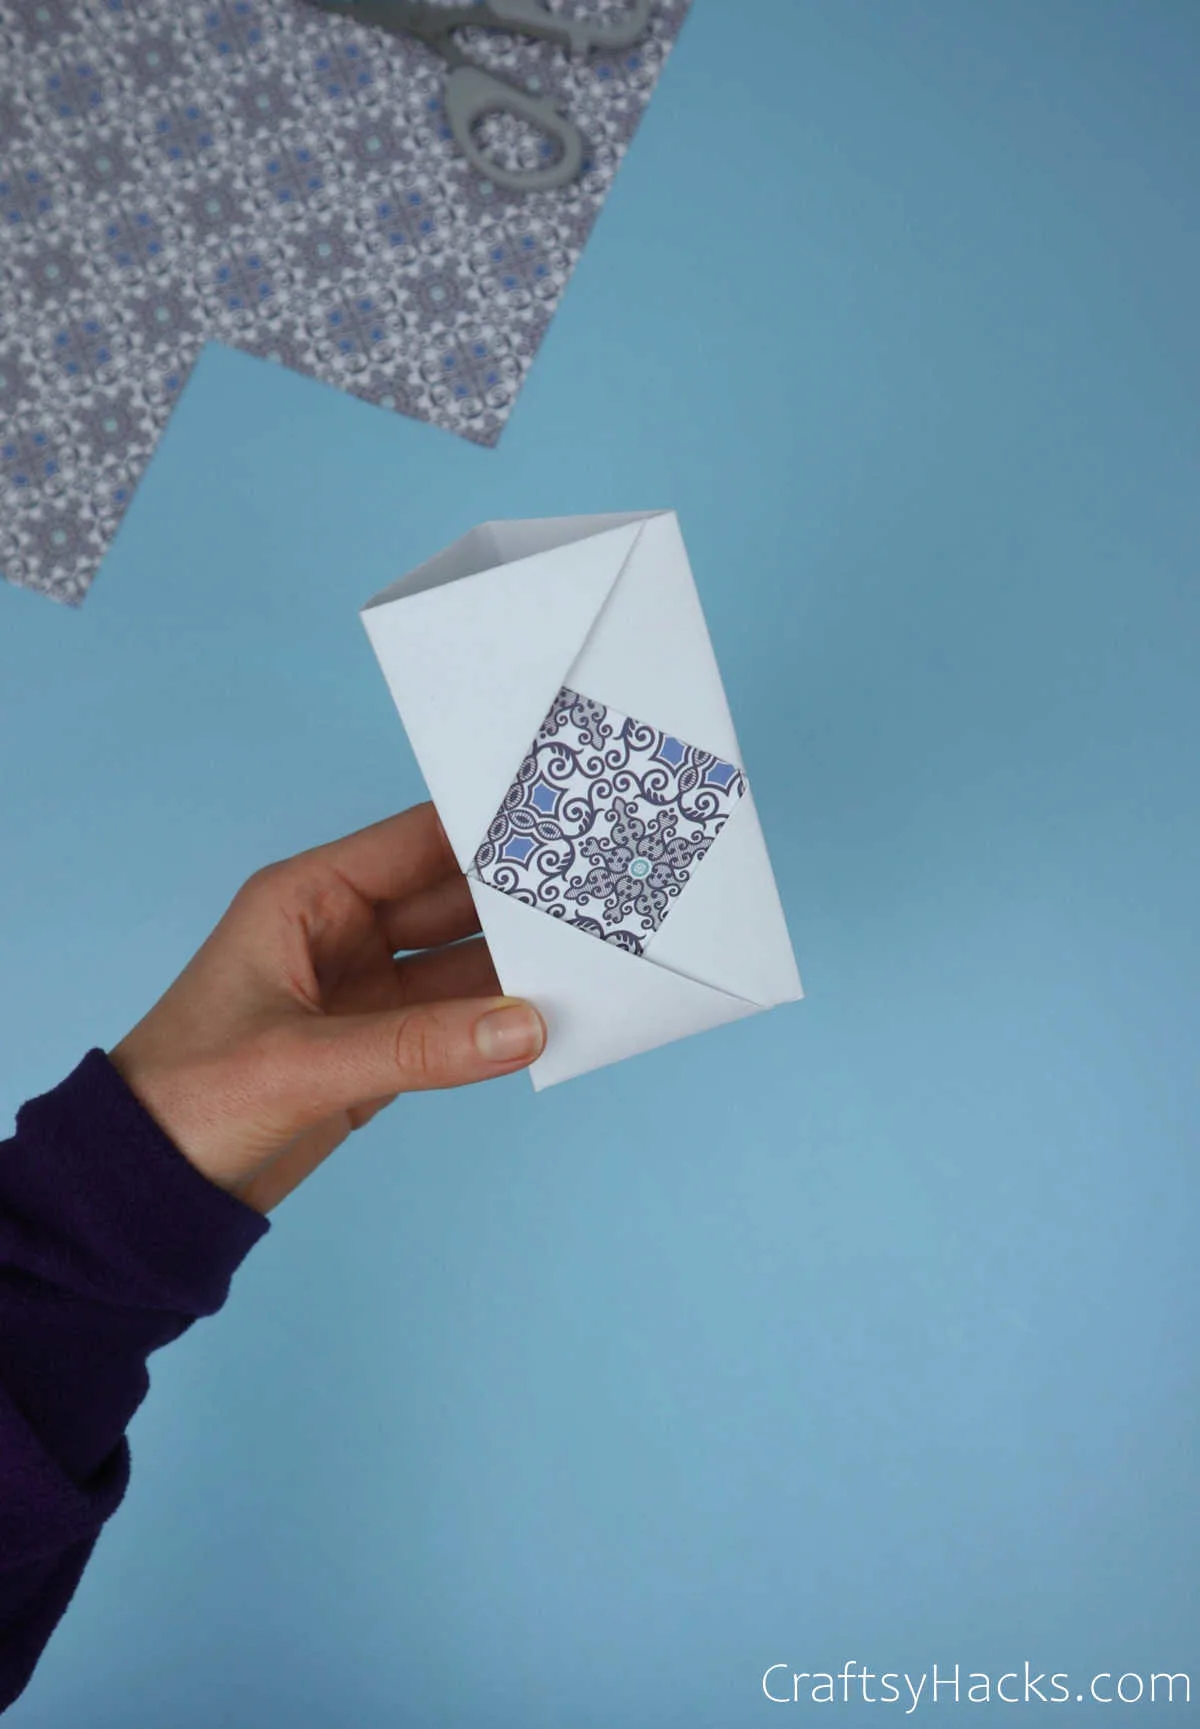
Step 8
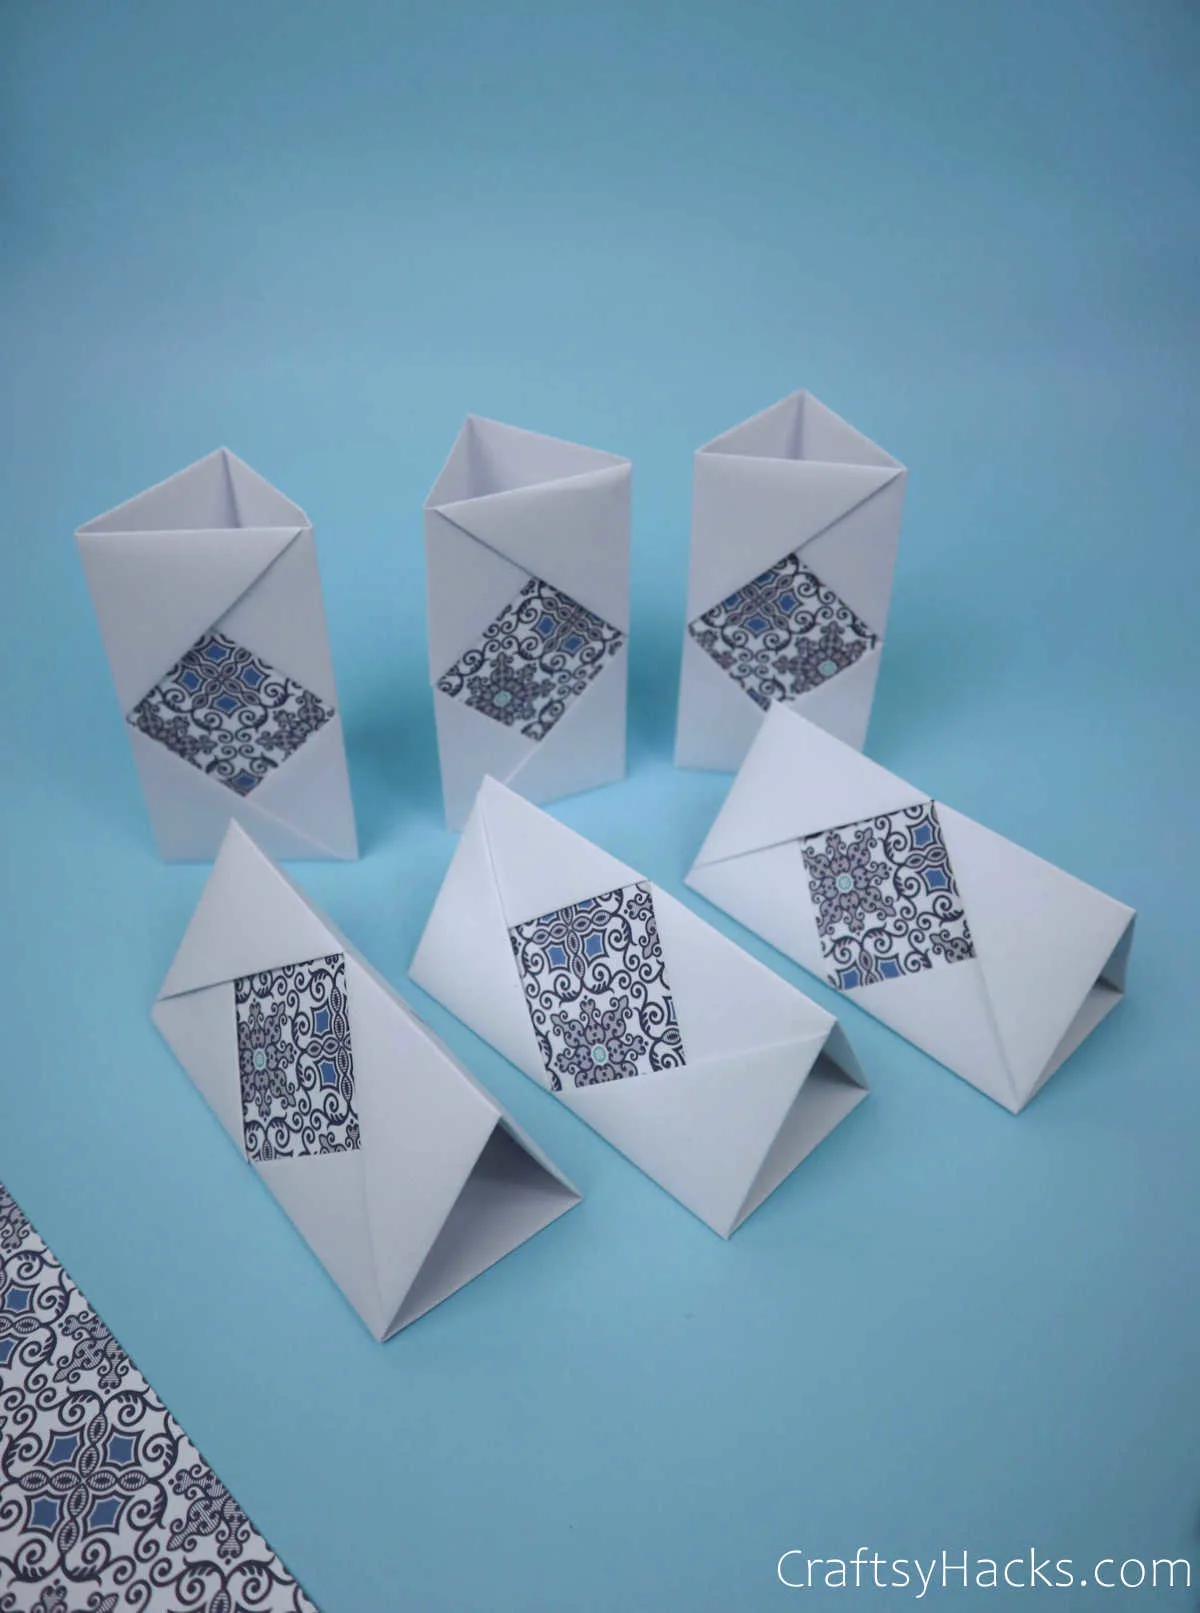
This project calls for six such parts, so go ahead and follow the pattern. Repeat every step six times till you have six individual pencil holders.
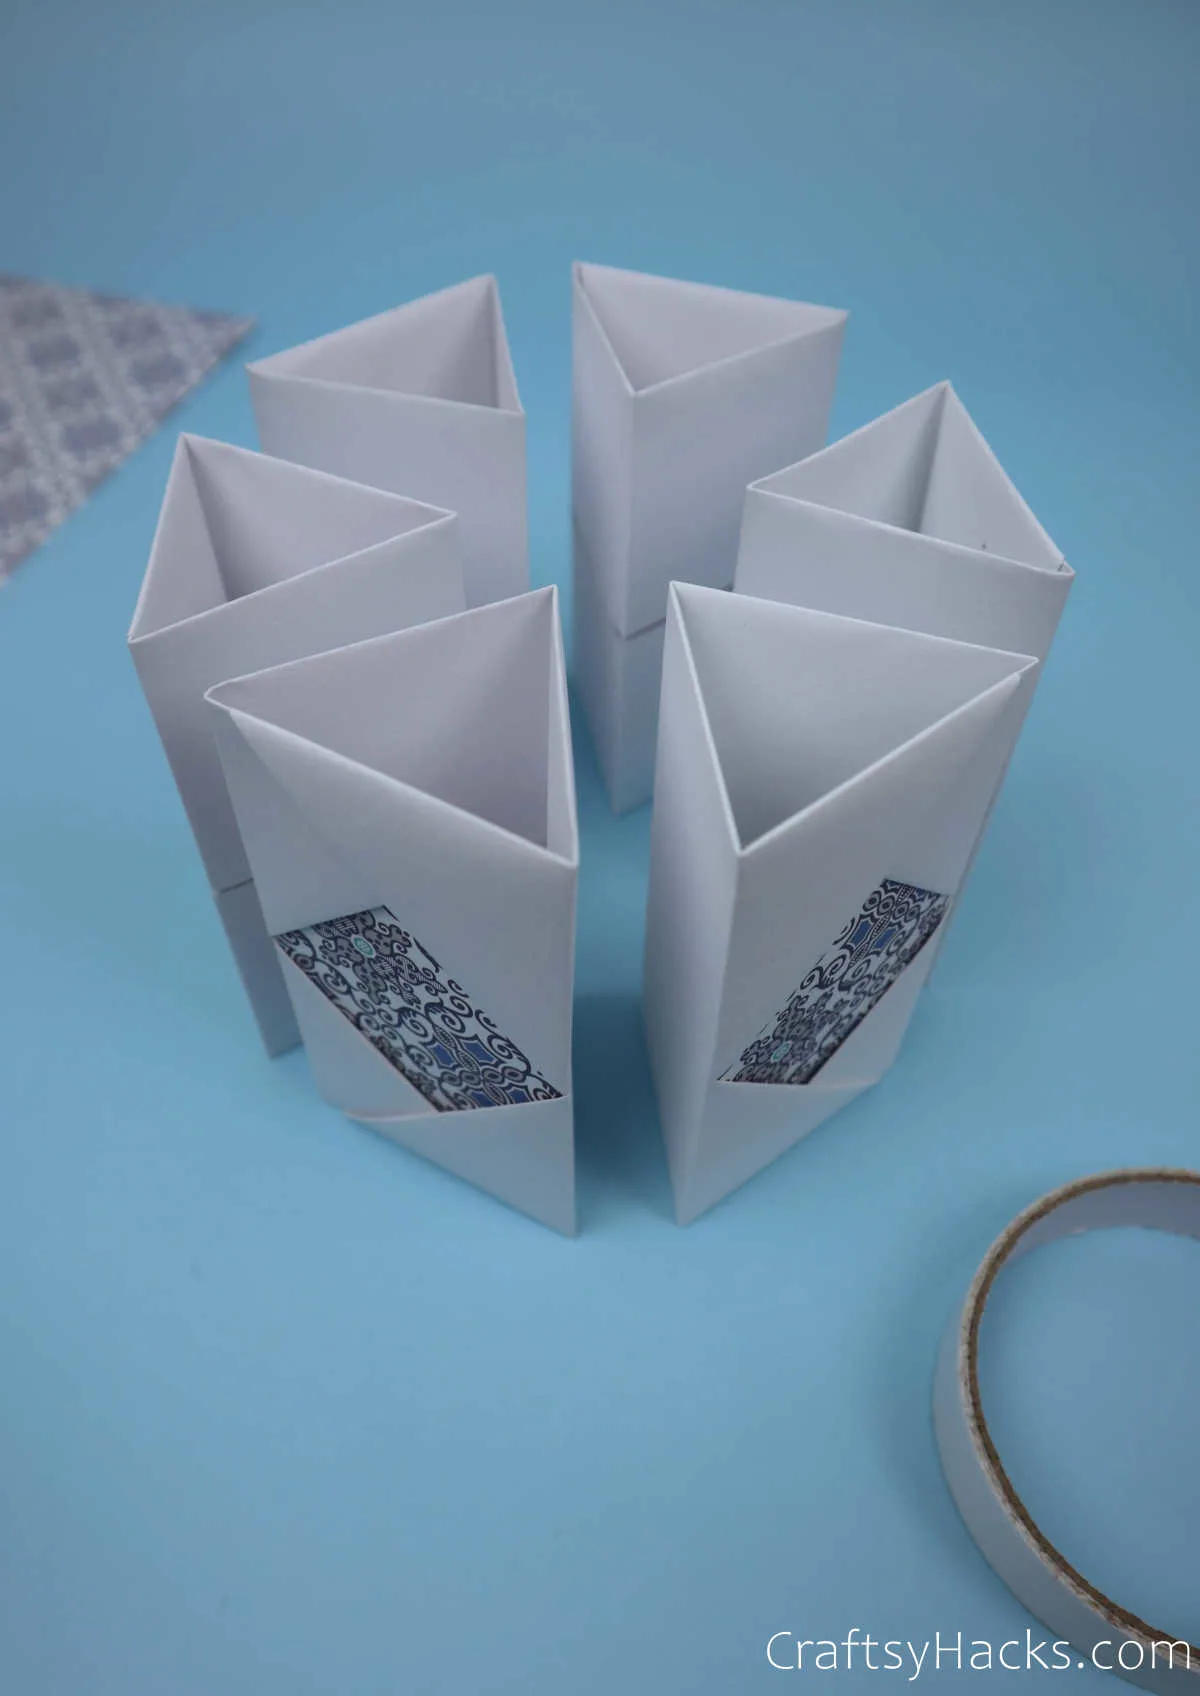
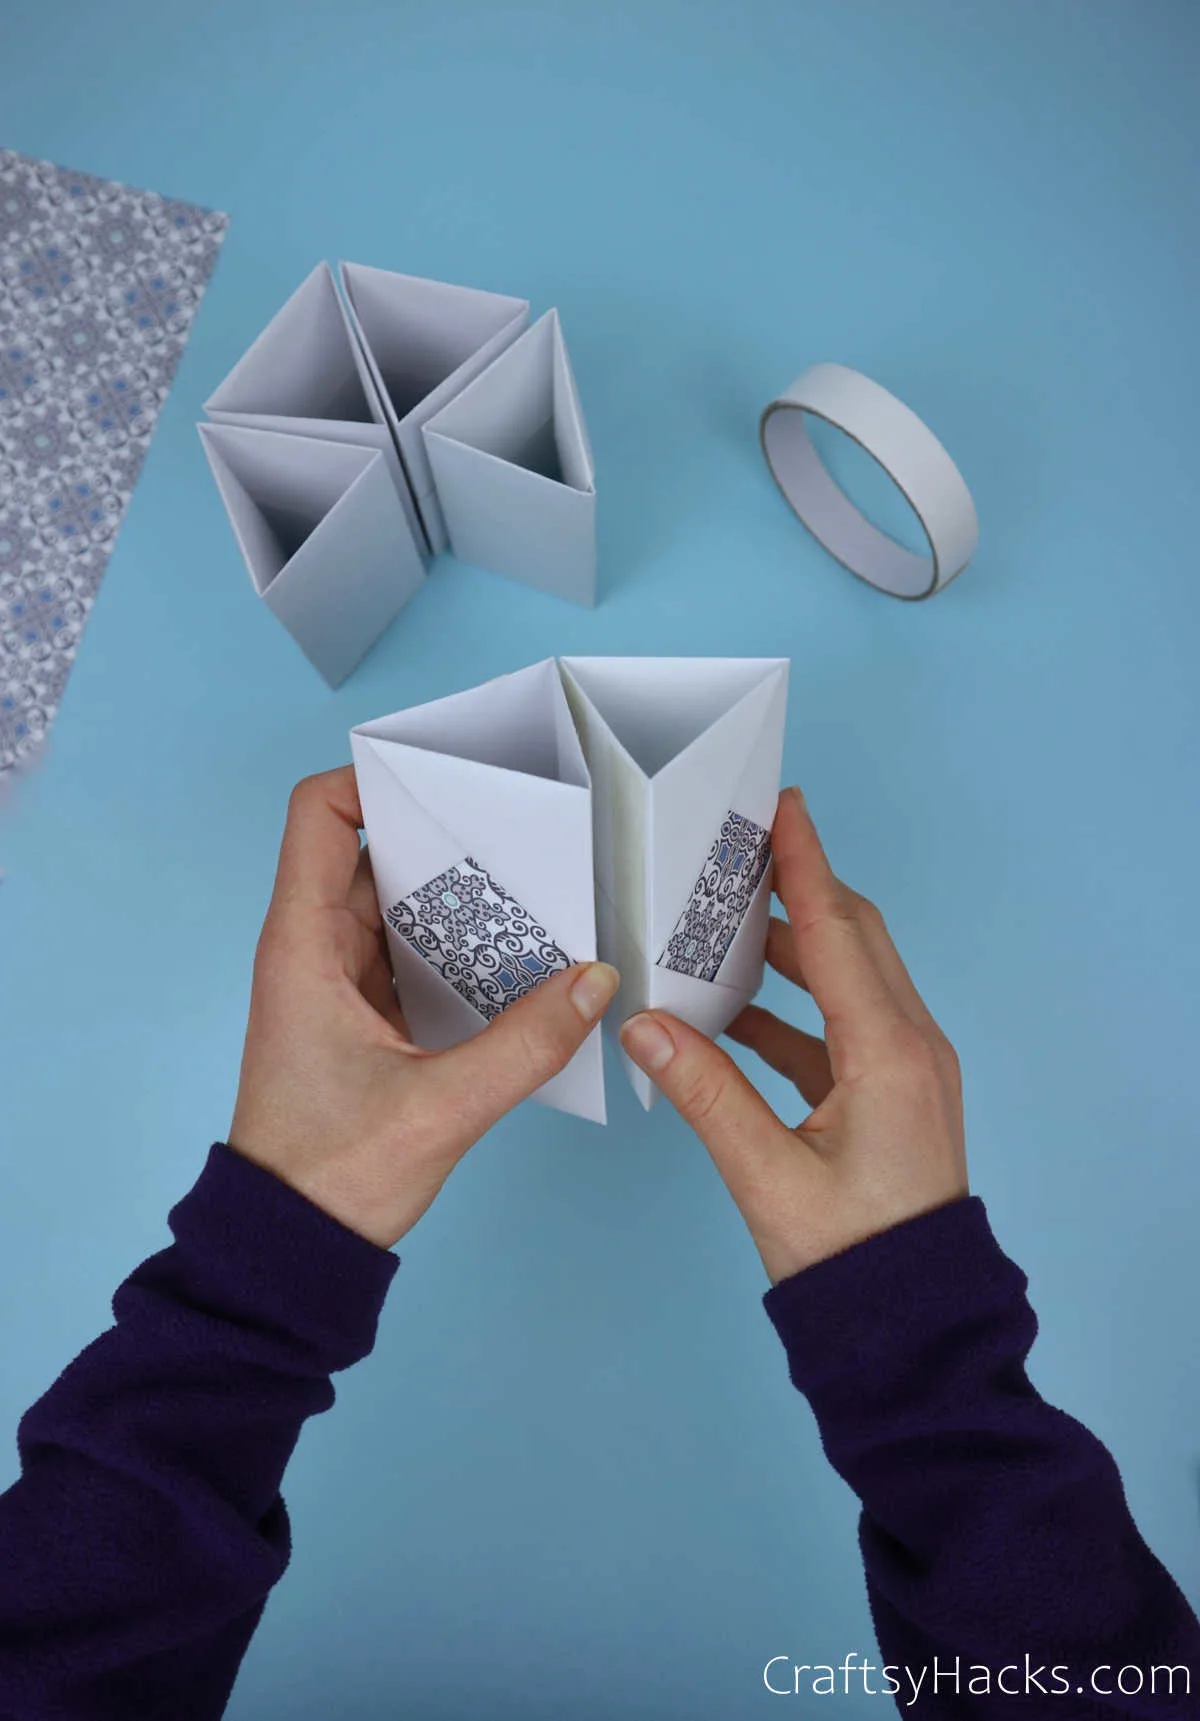
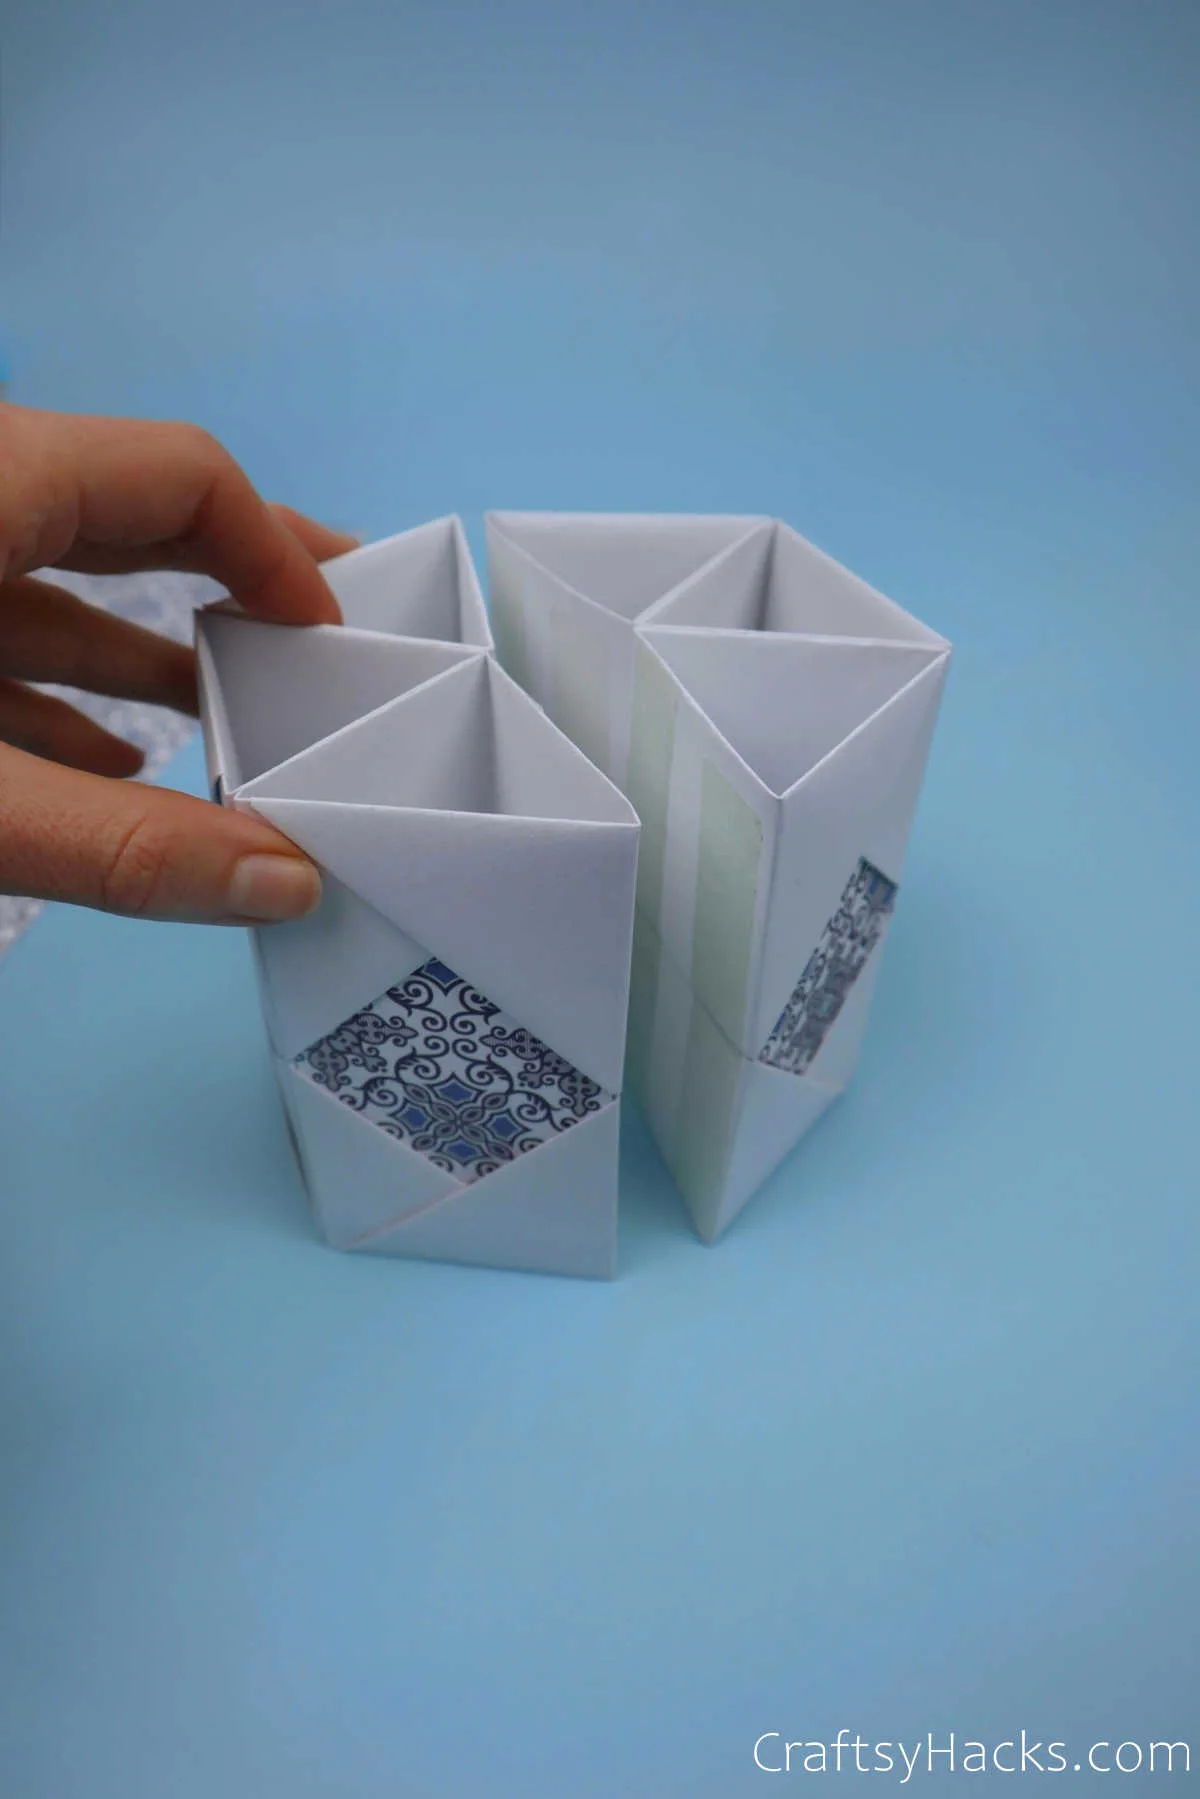
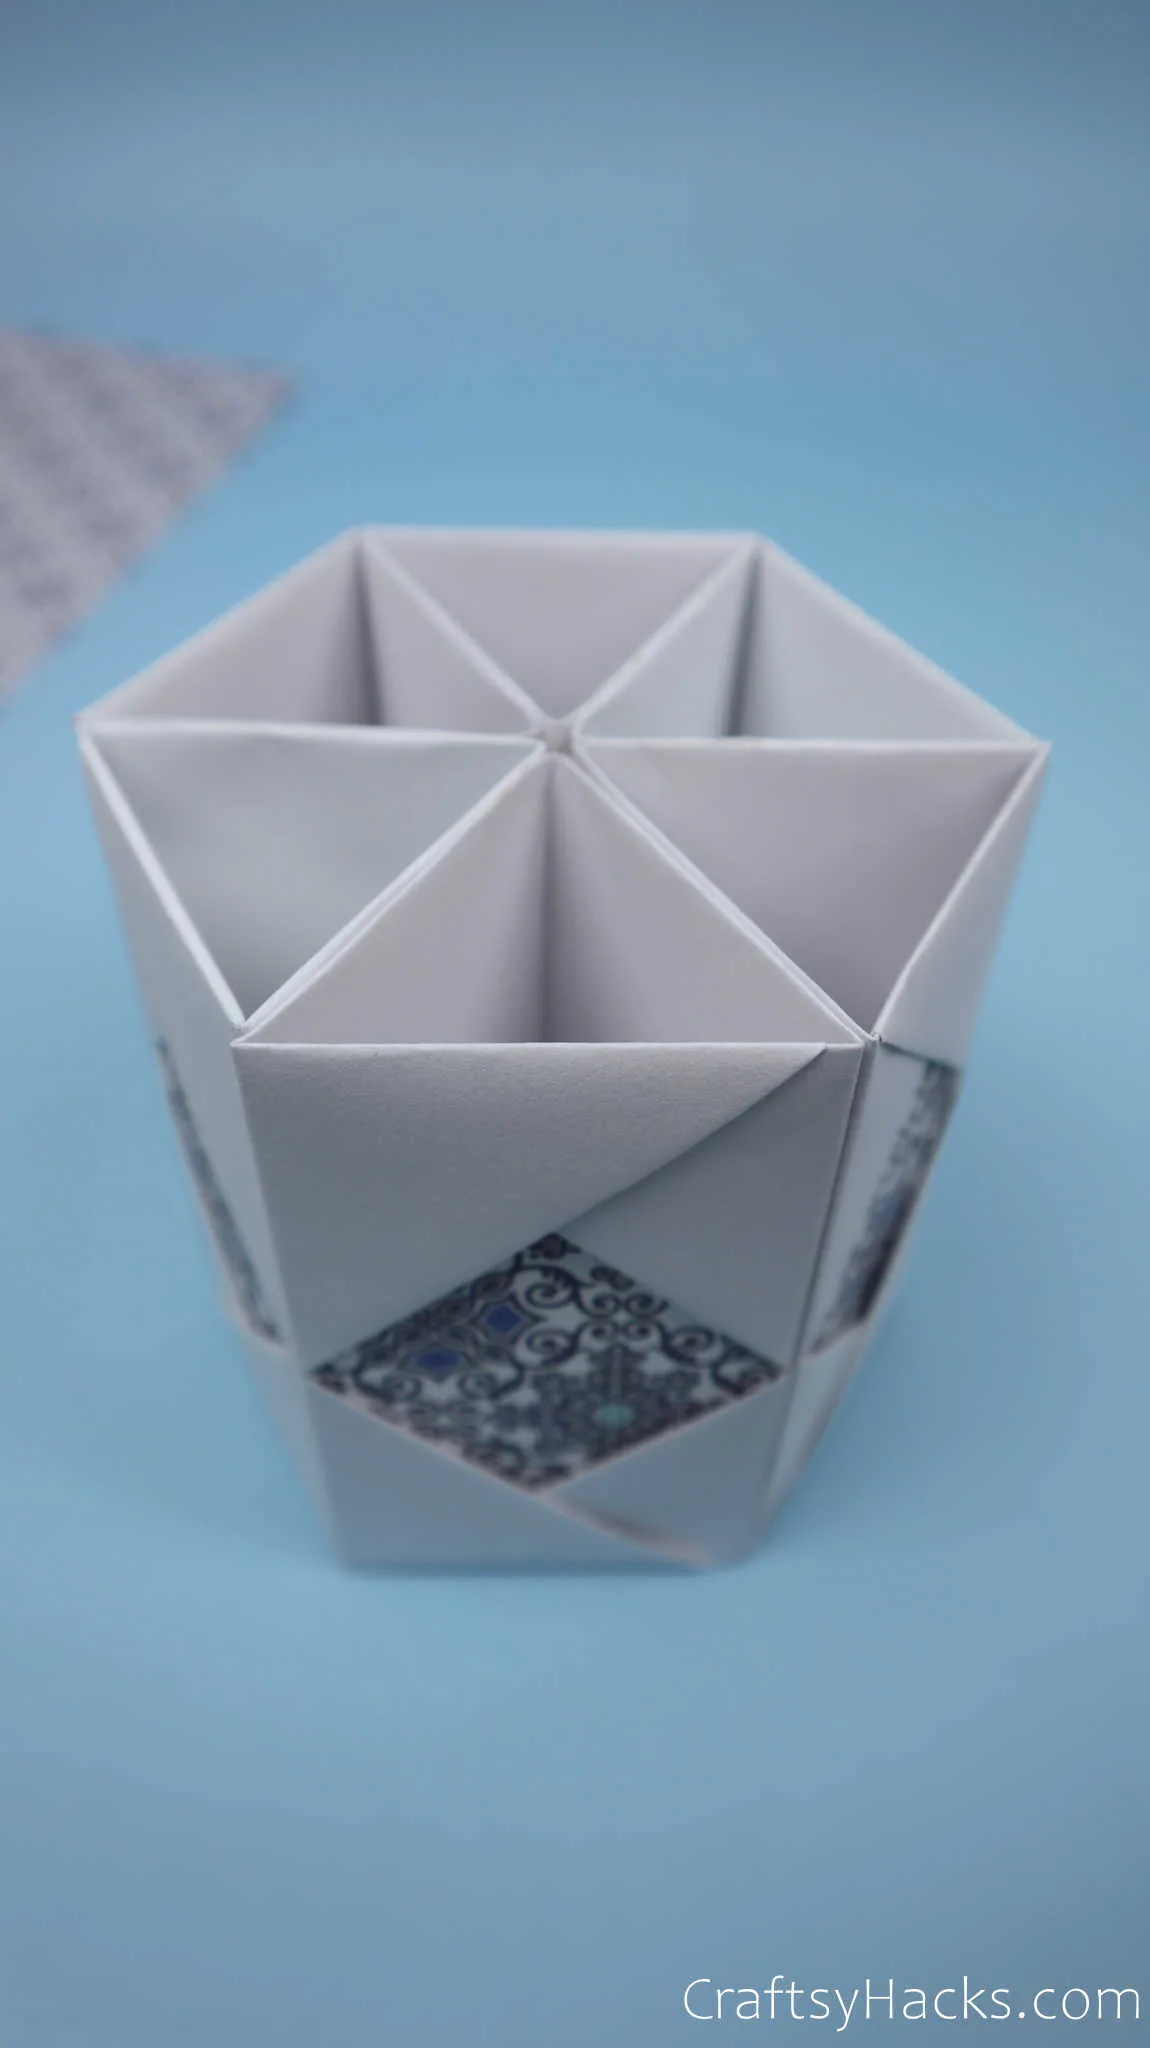
These make wonderful mini-pencil holders as they are. But if you’re looking for something bigger to hold all your pencils, go ahead and stick all six parts together.
The decorated side should face outward, of course, so that should help you put the six pieces in order.
Step 9
Arrange all the six components first before you start sticking them together. This way, you’re less likely to make an error when piecing them together.
Step 10
Hold up, we’re not done yet, but we’re nearly there.
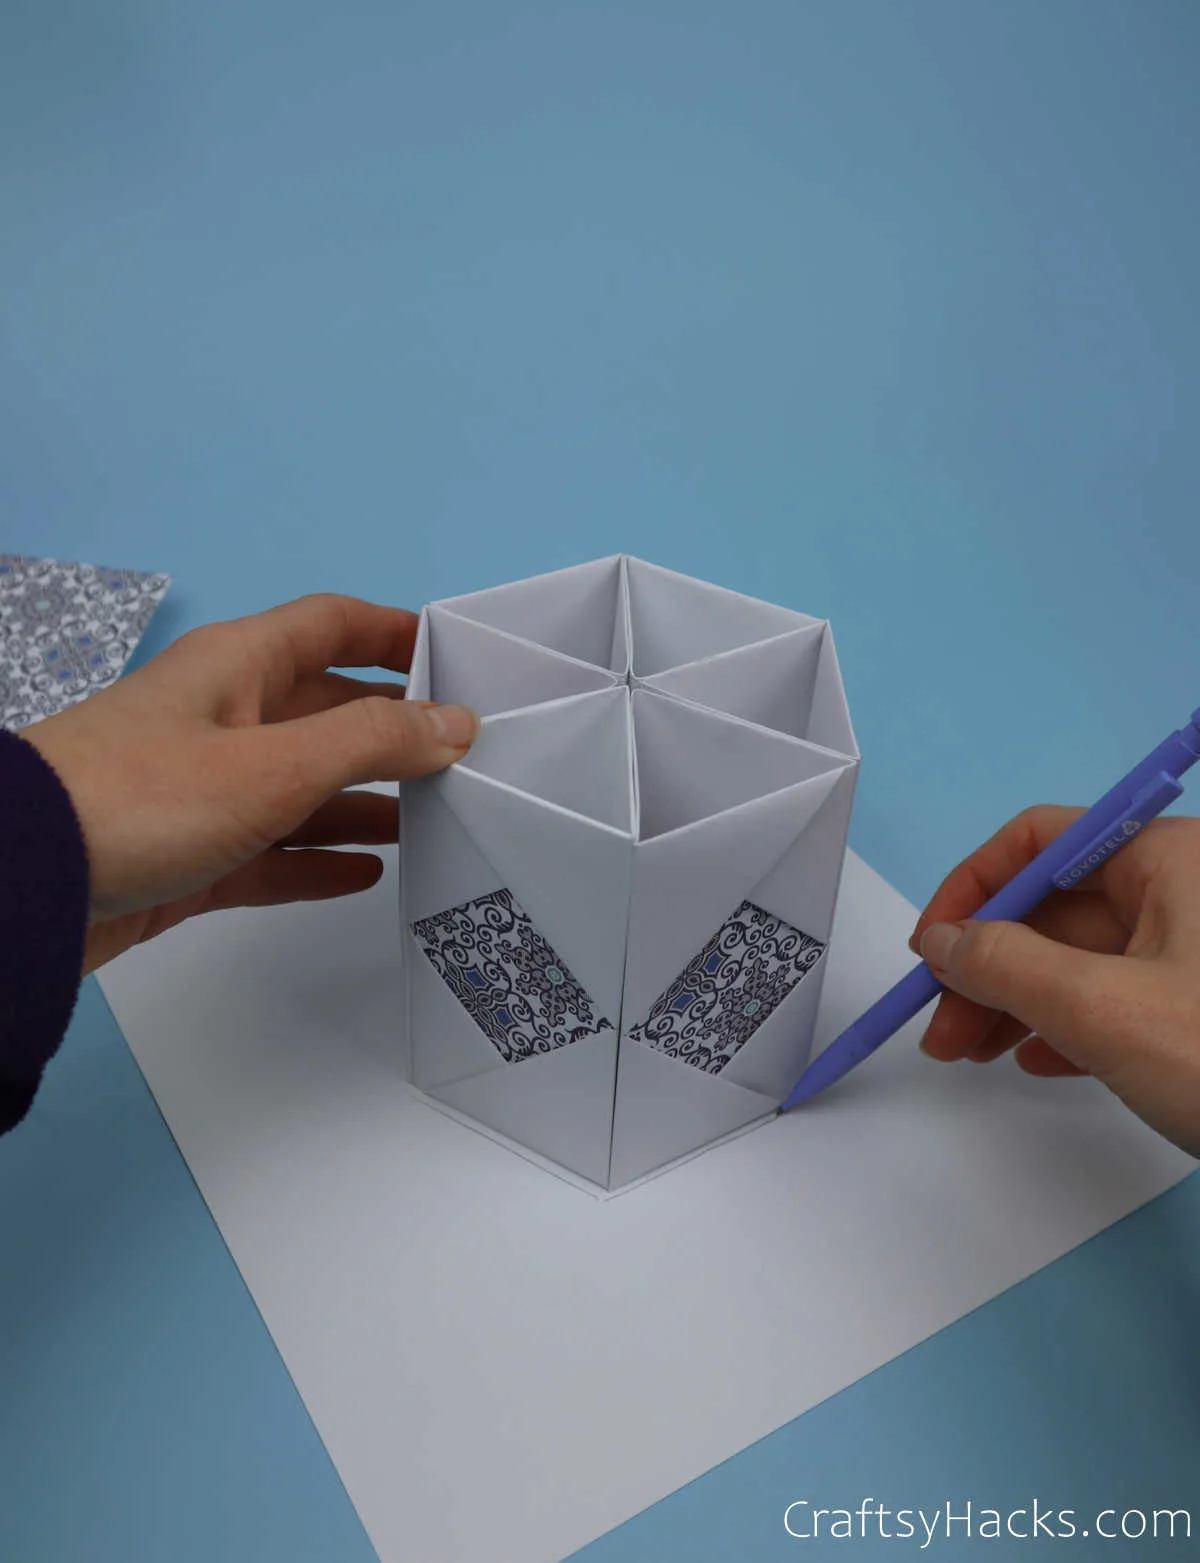
Pull out your other sheet of thicker paper as specified in the list of supplies. Grab your pencil and start drawing an outline of the contour using a ruler.
You will get a hexagonal shape, and I caution you to be as precise as possible with the measurements. This will be the base for your pencil holder, so it needs to be snug and sturdy
Step 11
You should consider these overlap flaps when you’re drawing the outline for the cutout. This will help you tuck the bottom into the pencil holder much easier.
Additionally, it will also hold the entire structure more firmly.
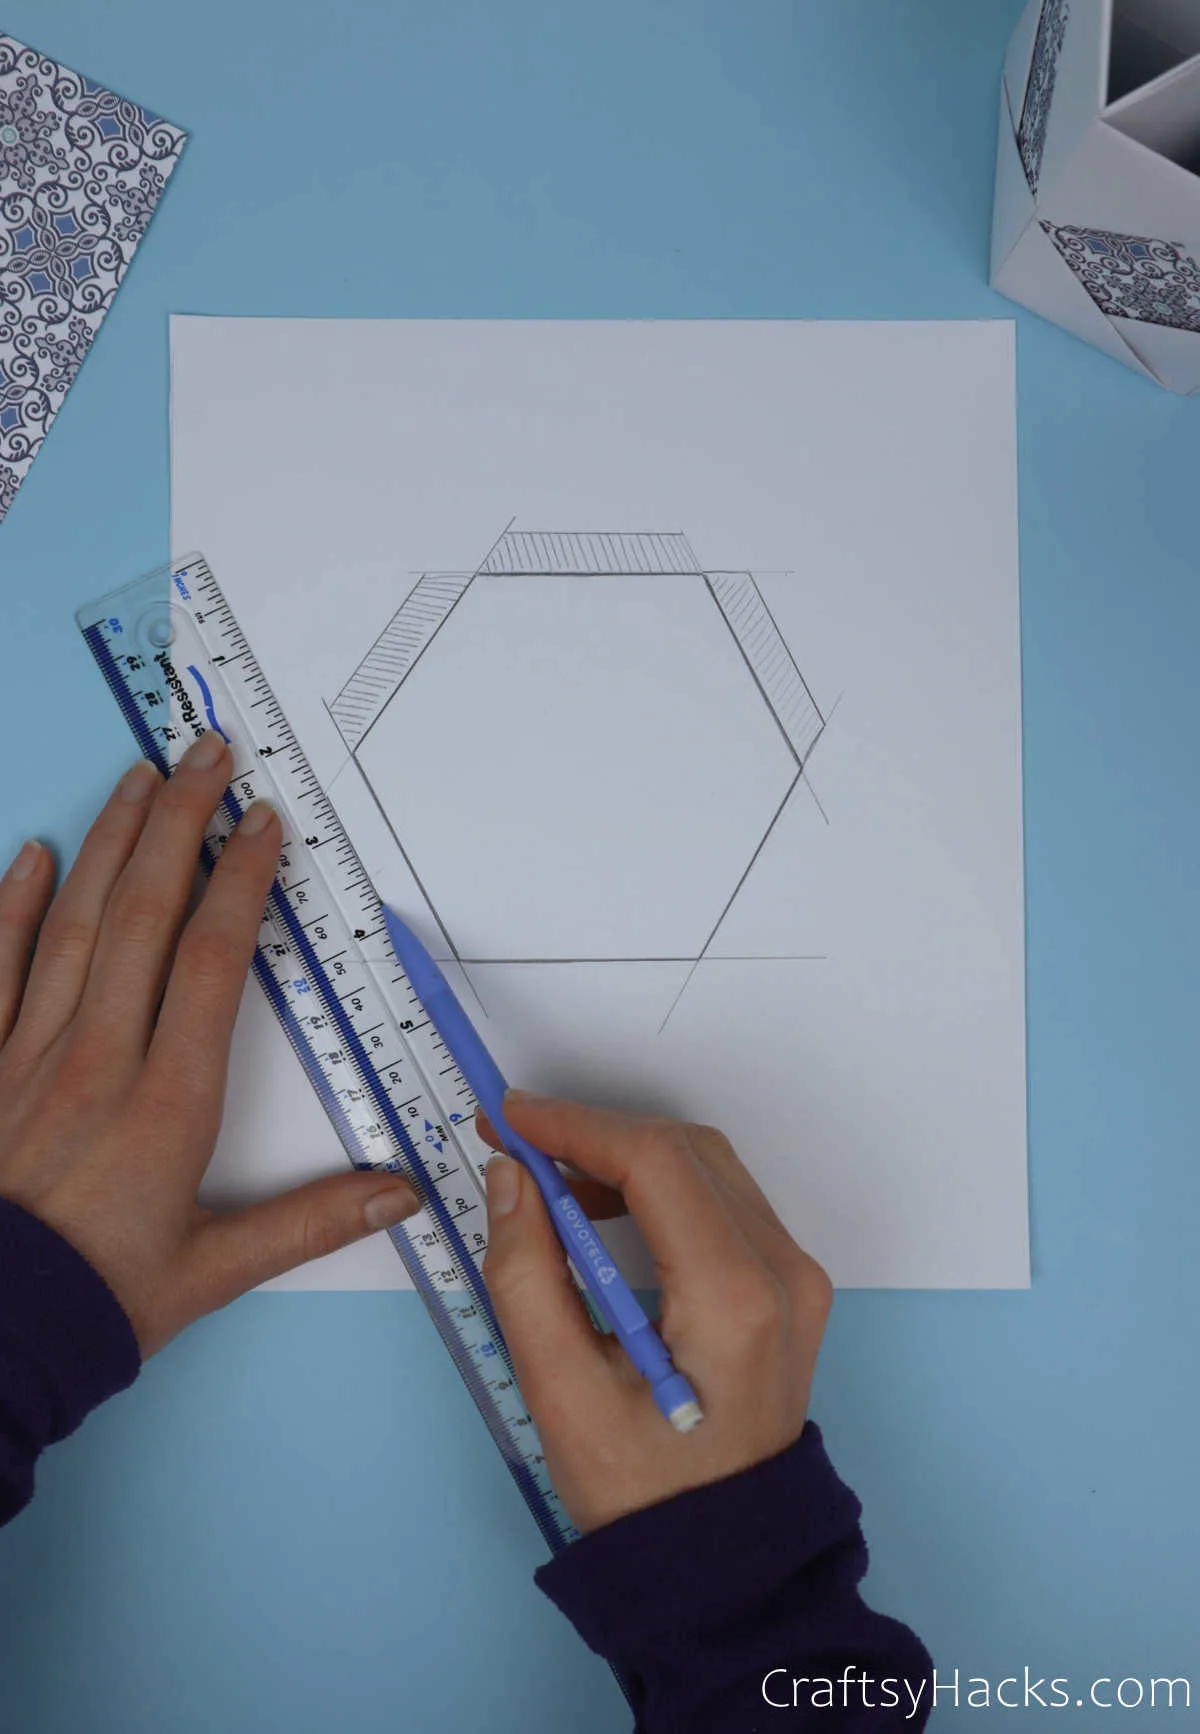
Step 12
Cut out the outline.
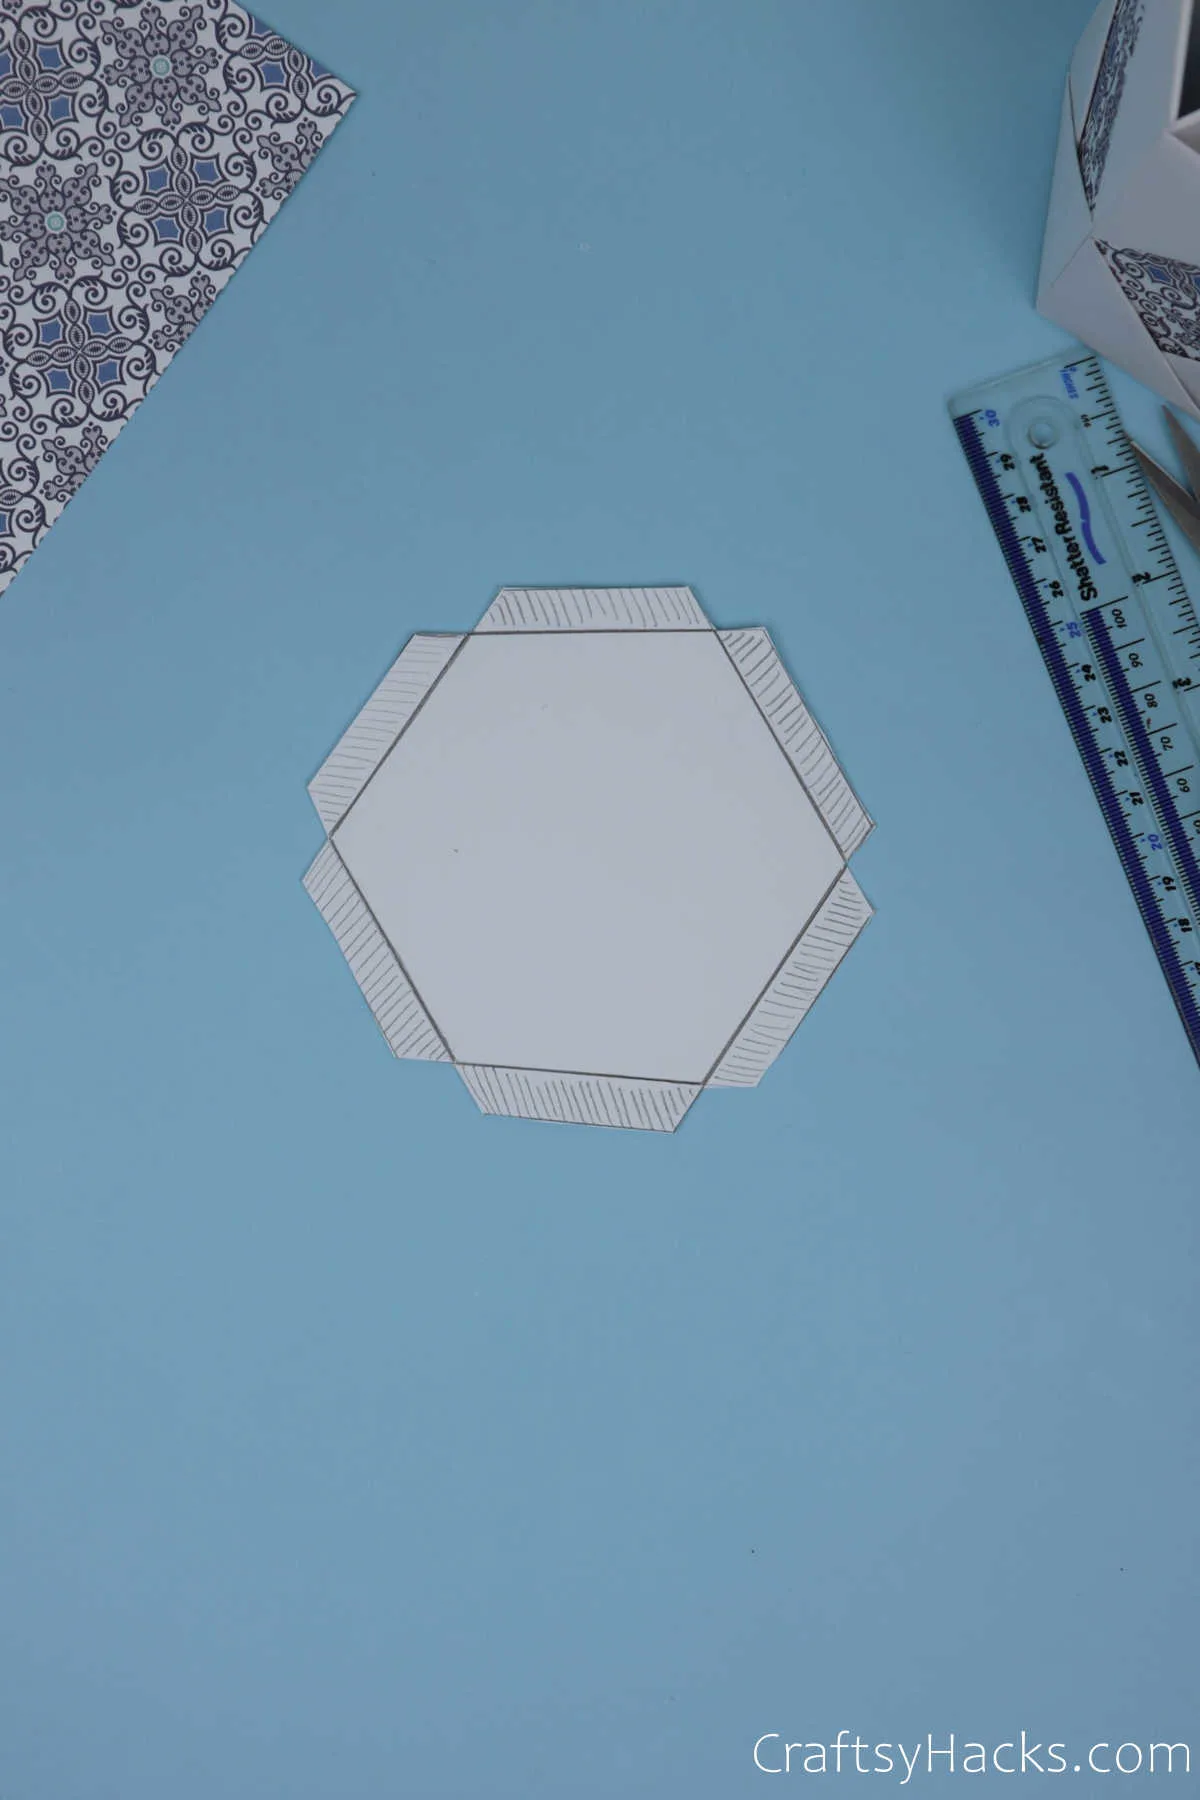
Fold the flaps inward to help stiffen the ends. They should stick out, as you see below.
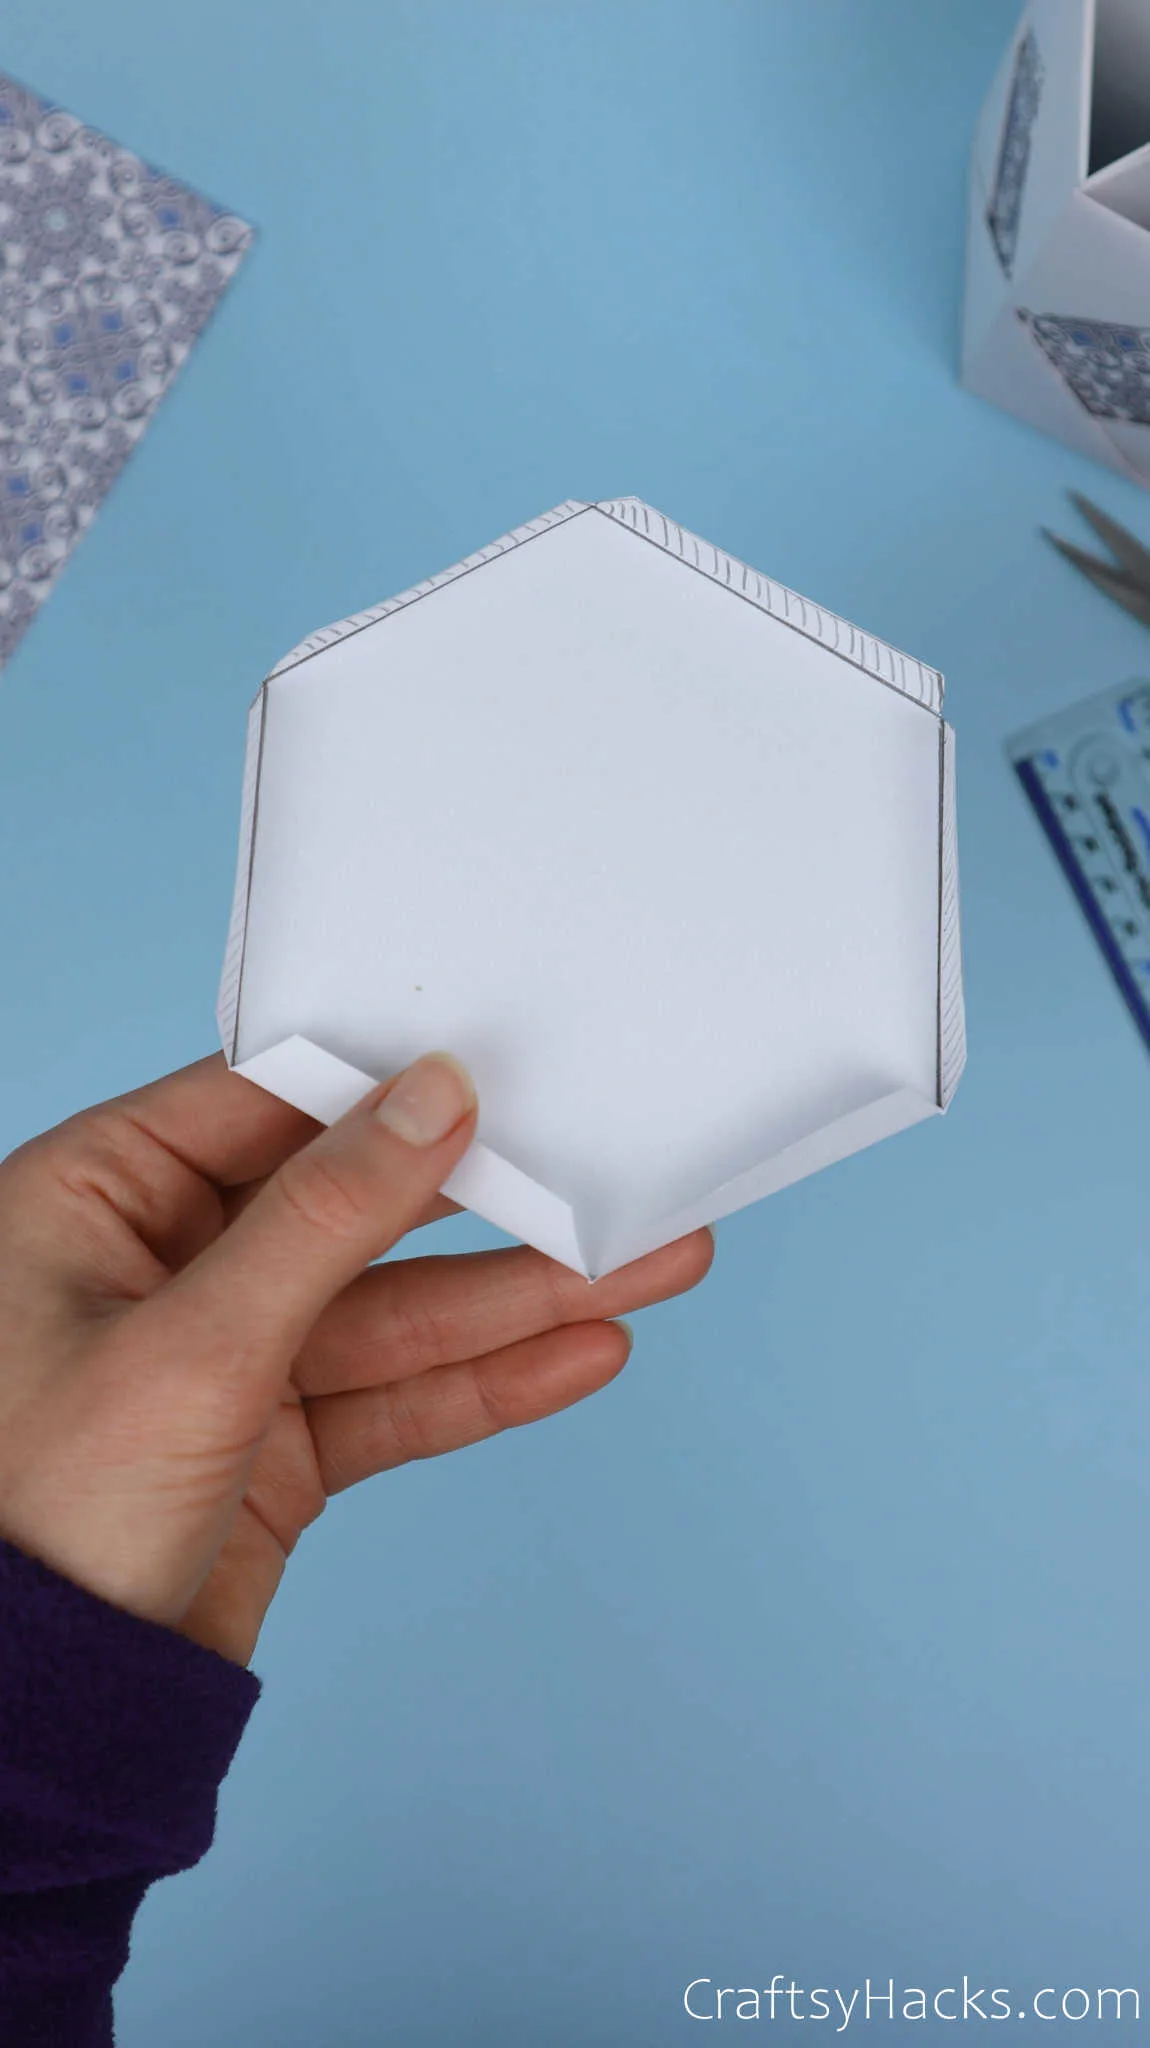
Step 13
Finally, attach the base to the pencil holder and carefully tuck the flaps in. If you’ve got the measurements right, you should have a perfect fit!
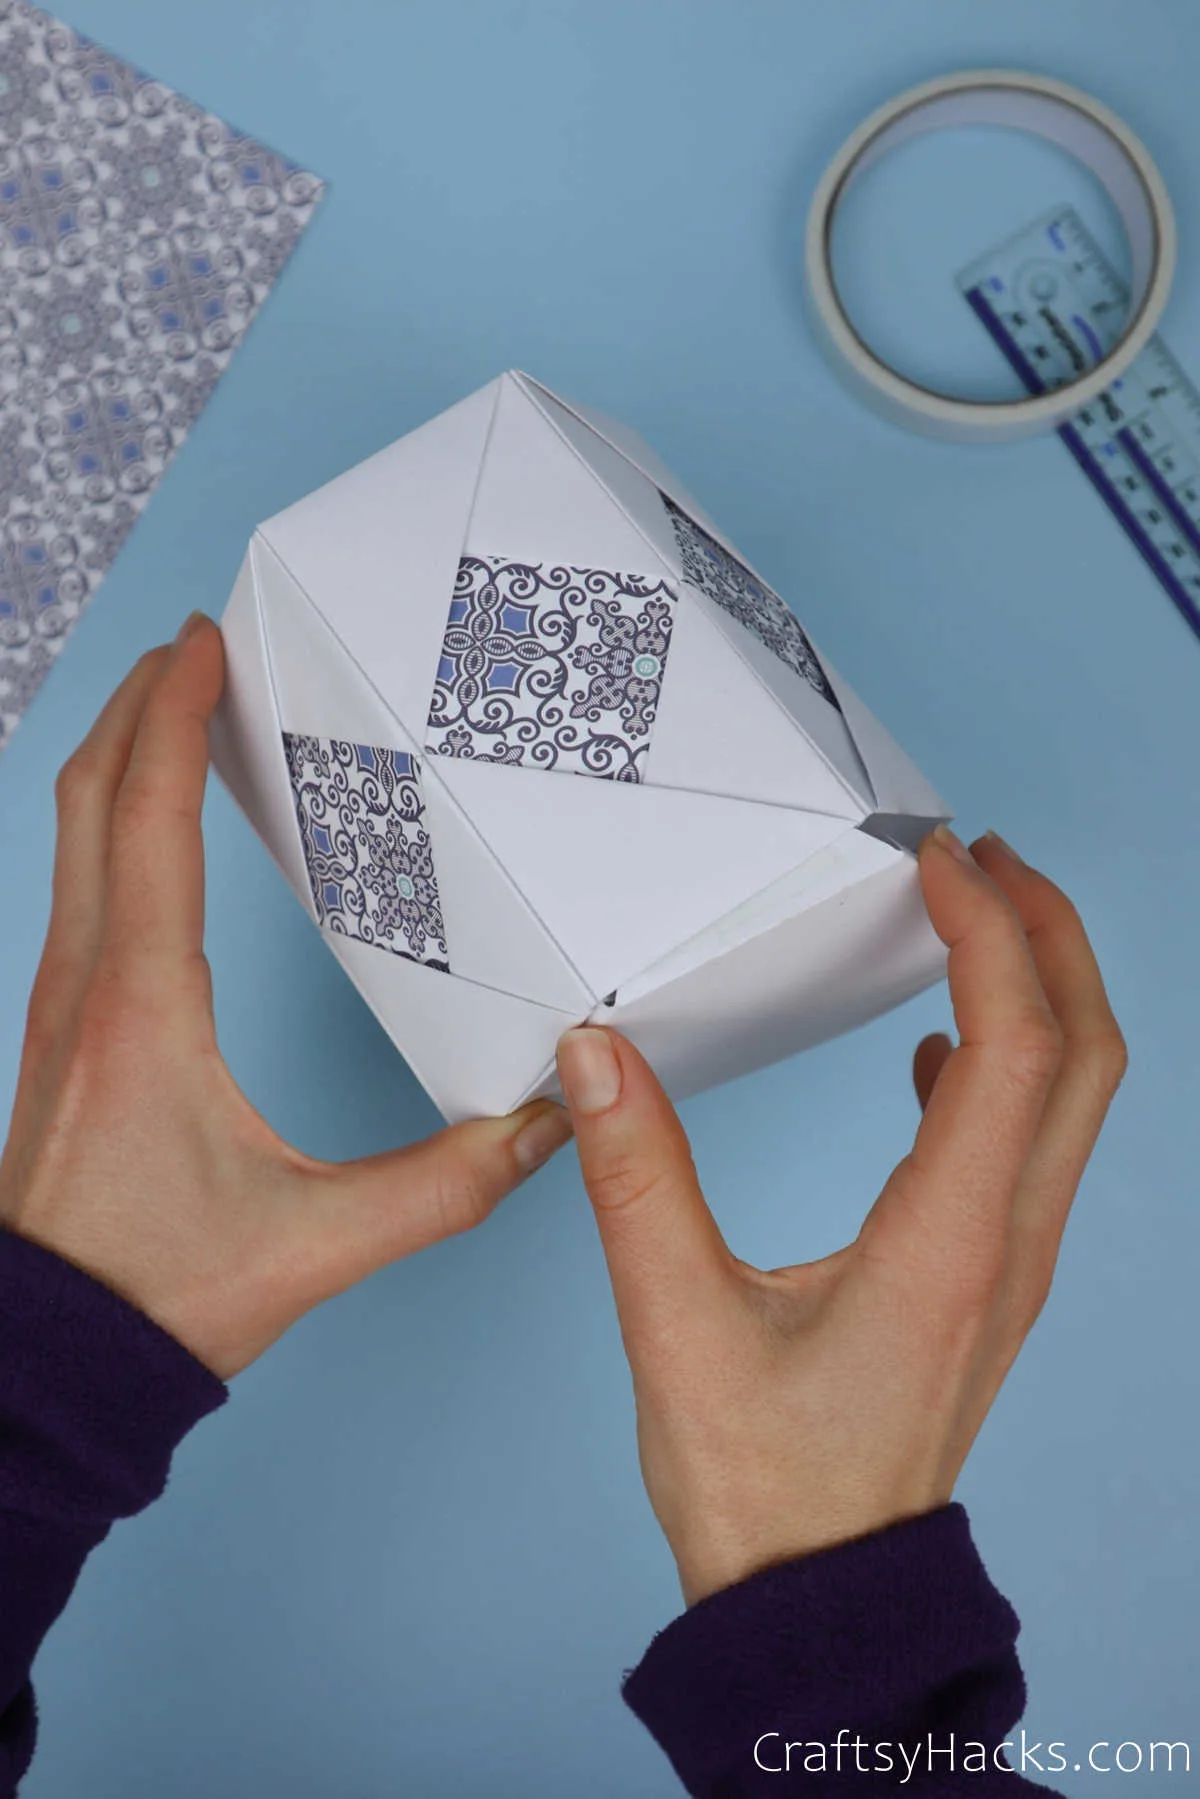
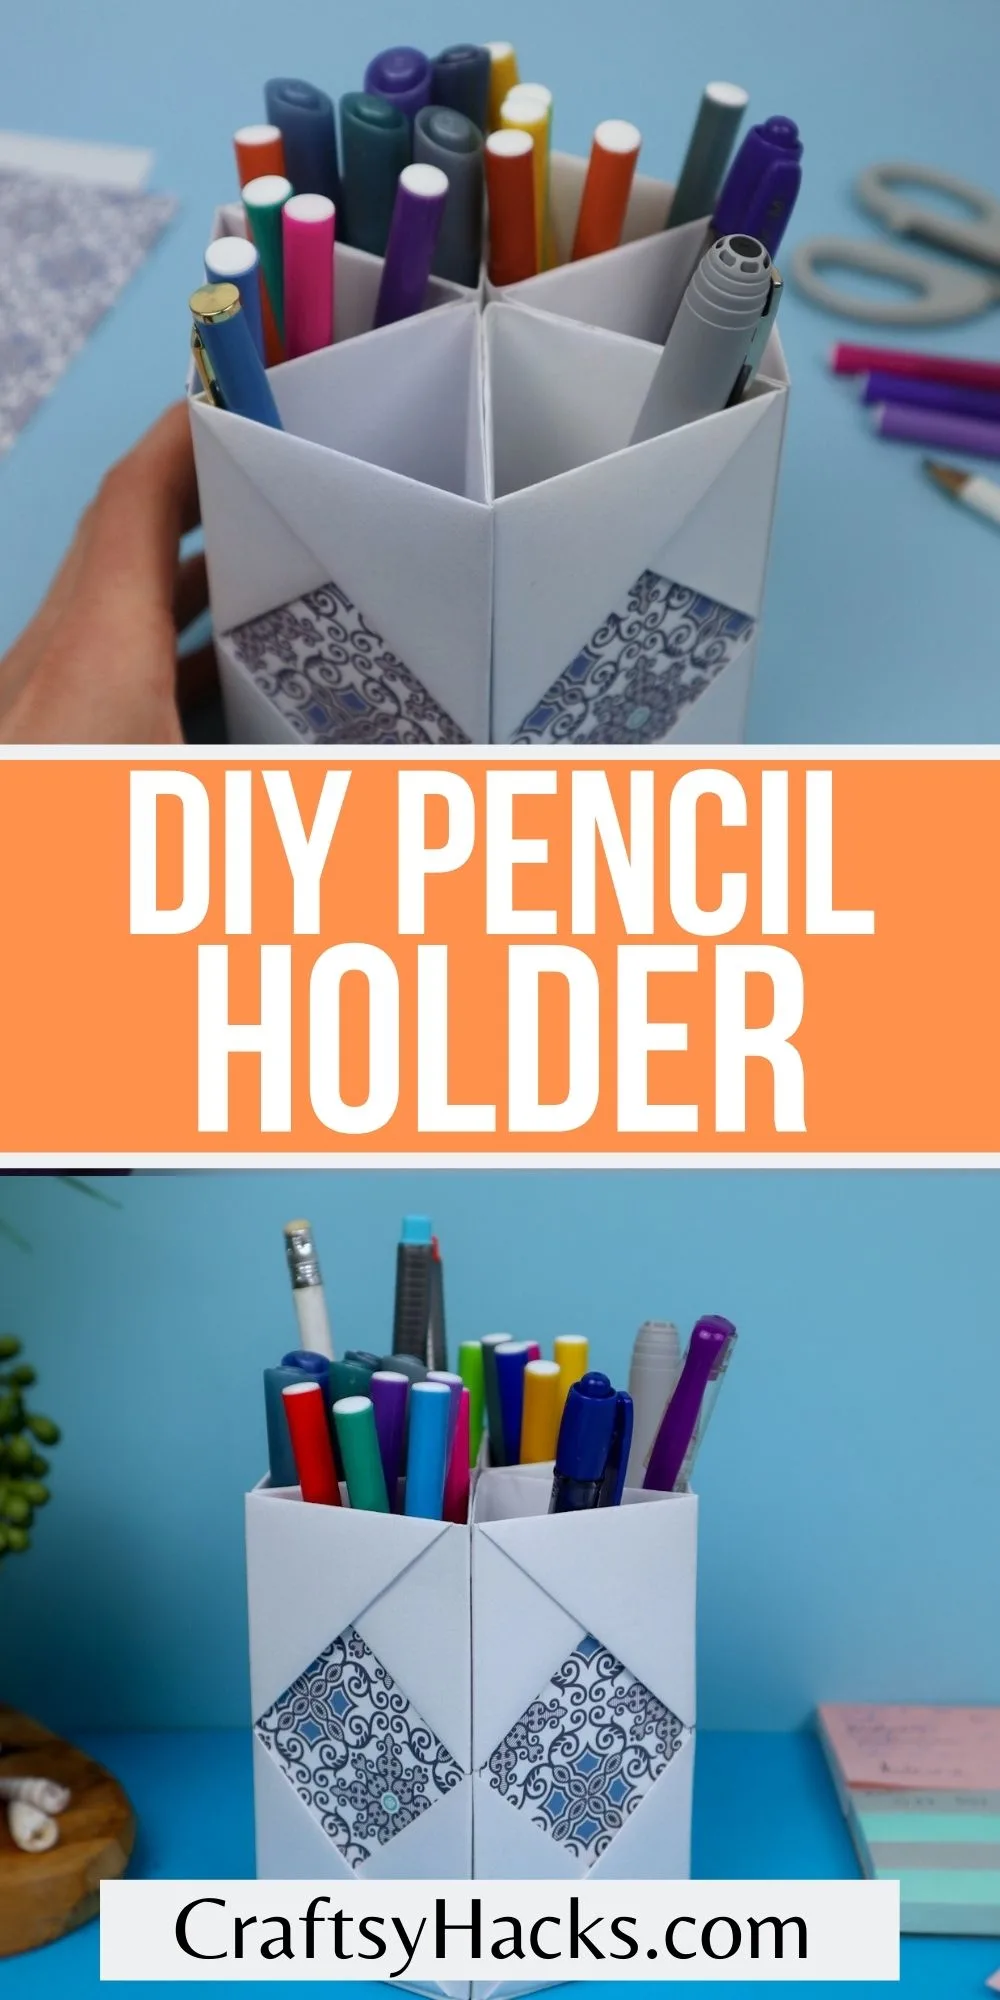
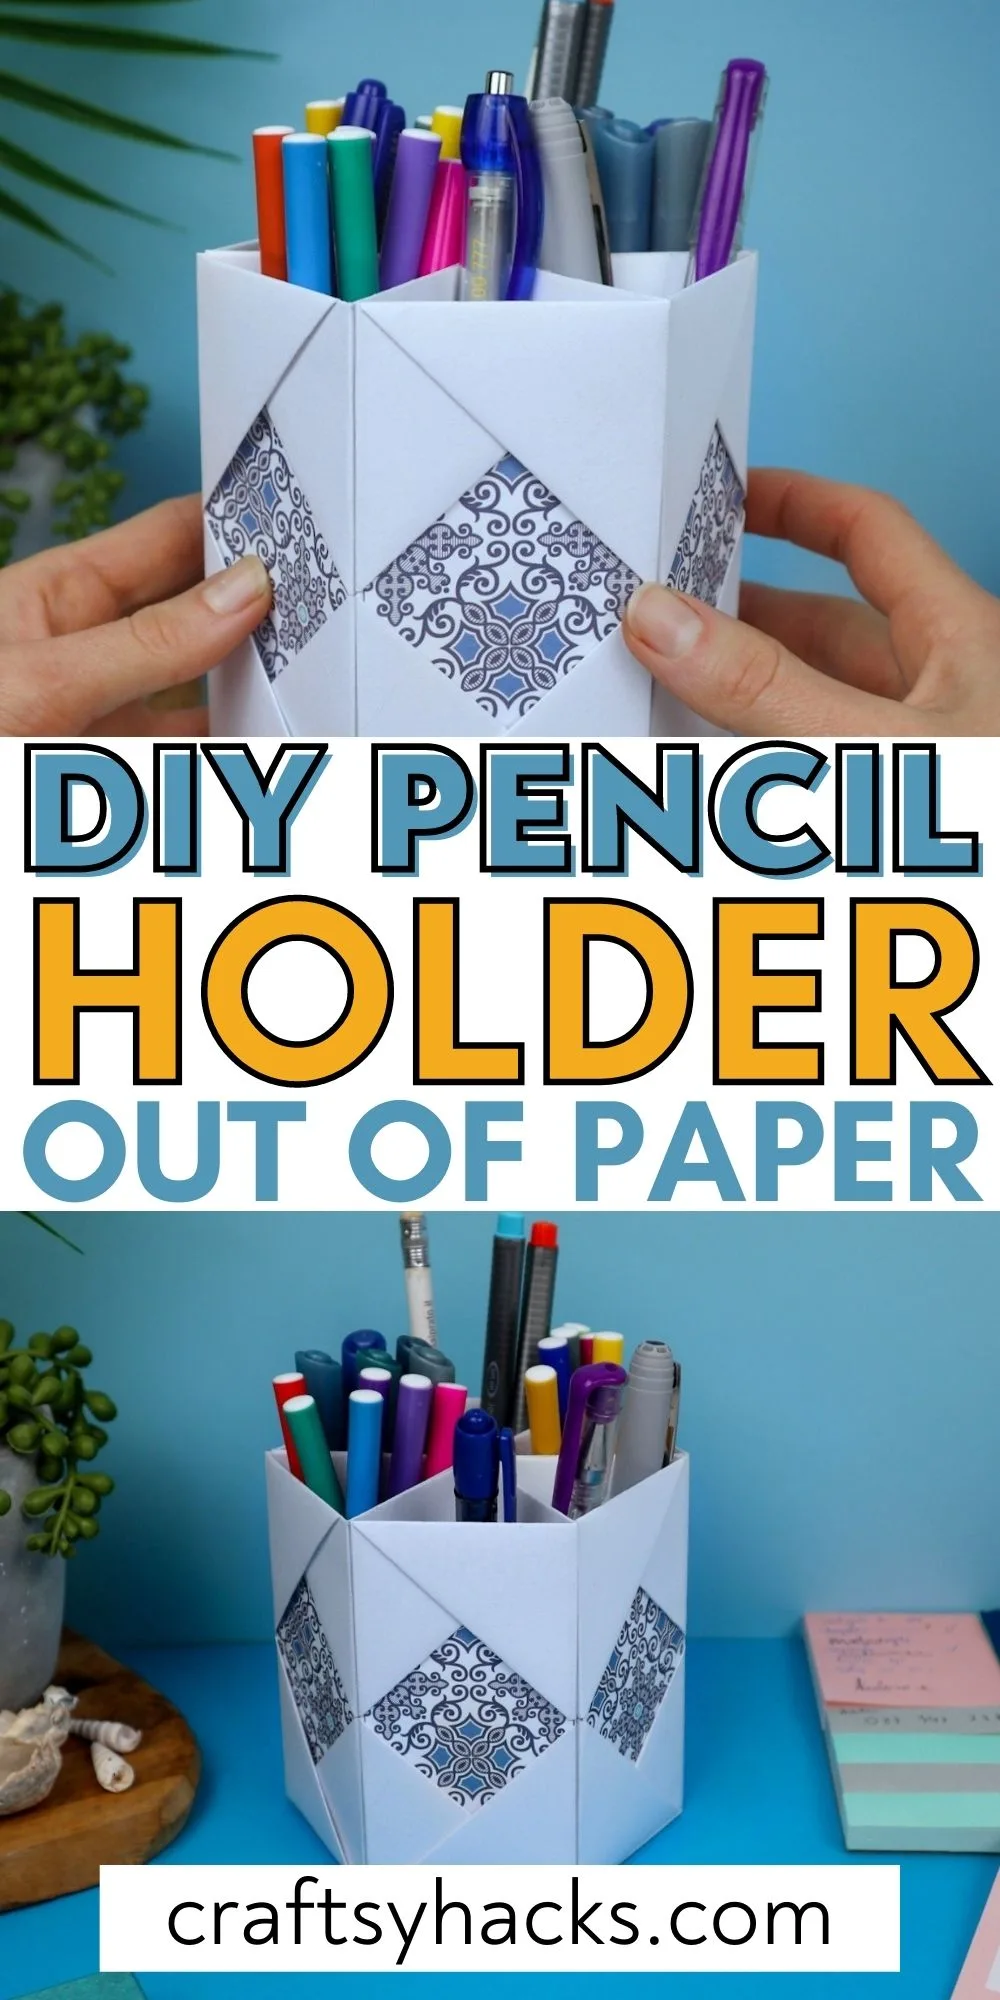
And there you have it! Your DIY pencil holder out of paper is ready!
Other Organizers You Can Make
- Organization Ideas
- DIY Desk Organizer Out of Cereal Boxes
- Hanging Organizer
- Drawer Dividers
- Office Organization Ideas
- DIY Rope Organizer
- Storage for Small Space
- Organize Small Items
- Craft Room Organization
DIY Pencil Holder Out of Paper
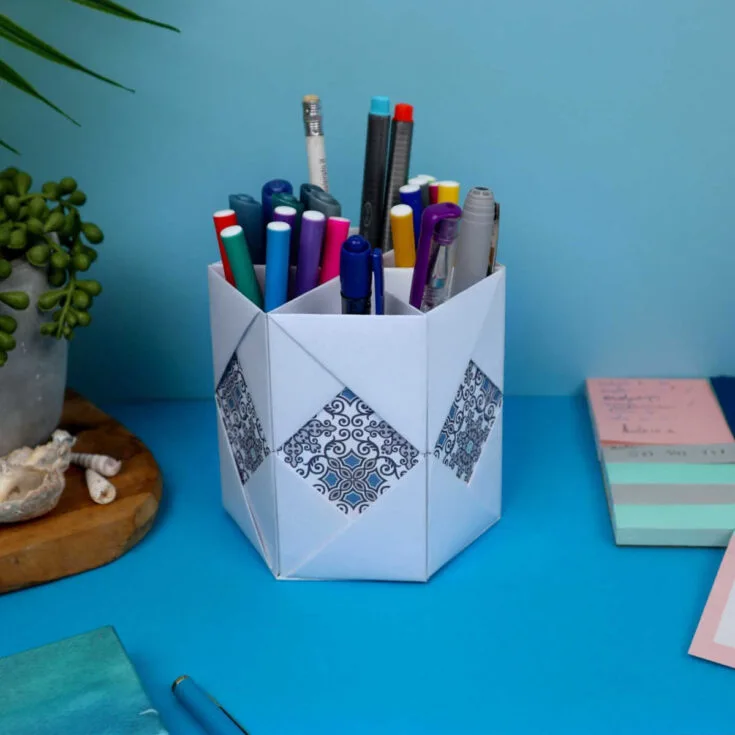
Organize your desk with just some paper! Make this DIY pencil holder, organize the mess and have fun crafting. A perfect paper craft for teens and adults.
Materials
- 5 x thick square paper sheets
- 1 x thick paper sheet for the bottom
- Glue or double-sided tape
- Decorative paper (optional)
Tools
- Scissors
- Ruler
- Pencil
Instructions
- Gather all your materials to get started on your DIY pencil holder.
- Fold a sheet of paper in half and divide it into two halves.
- Fold both the bottom and top half inward and fold towards the center. You should have four equal parts now.
- Unfold the paper and turn it so that the creases are vertical. Repeat the previous step and divide the paper into four equal parts, albeit in this particular direction.
- You should have a sheet of paper that has 16 equal parts—4x4 squares.
- Fold all four corners.
- Fold the left part and then the right part inward towards the center.
- Reverse the paper and turn the left and right corners inward towards the center.
- Slide one end into the opposite end and tuck it in place. One individual component is officially complete! Now you can go ahead and make six more.
- You can tuck in bits of colorful paper to decorate your pencil hold at this stage.
- Once you've made all six components, arrange them, so the decorated side faces outward. Use double-sided tape or glue to stick them together.
- To make the bottom, trace a hexagonal outline of the pencil holder, and allow a 1.5-2 cm gap for flaps. Use a pair of scissors and cut this outline out.
- Fit this bottom into the pencil holder, and once you're satisfied, you can stick it in place to secure it even more.
- Fill it up with your stationery, and you're all set!
