DIY Earring Organizer Out of Frames
This post may contain affiliate links: full affiliate disclosure.
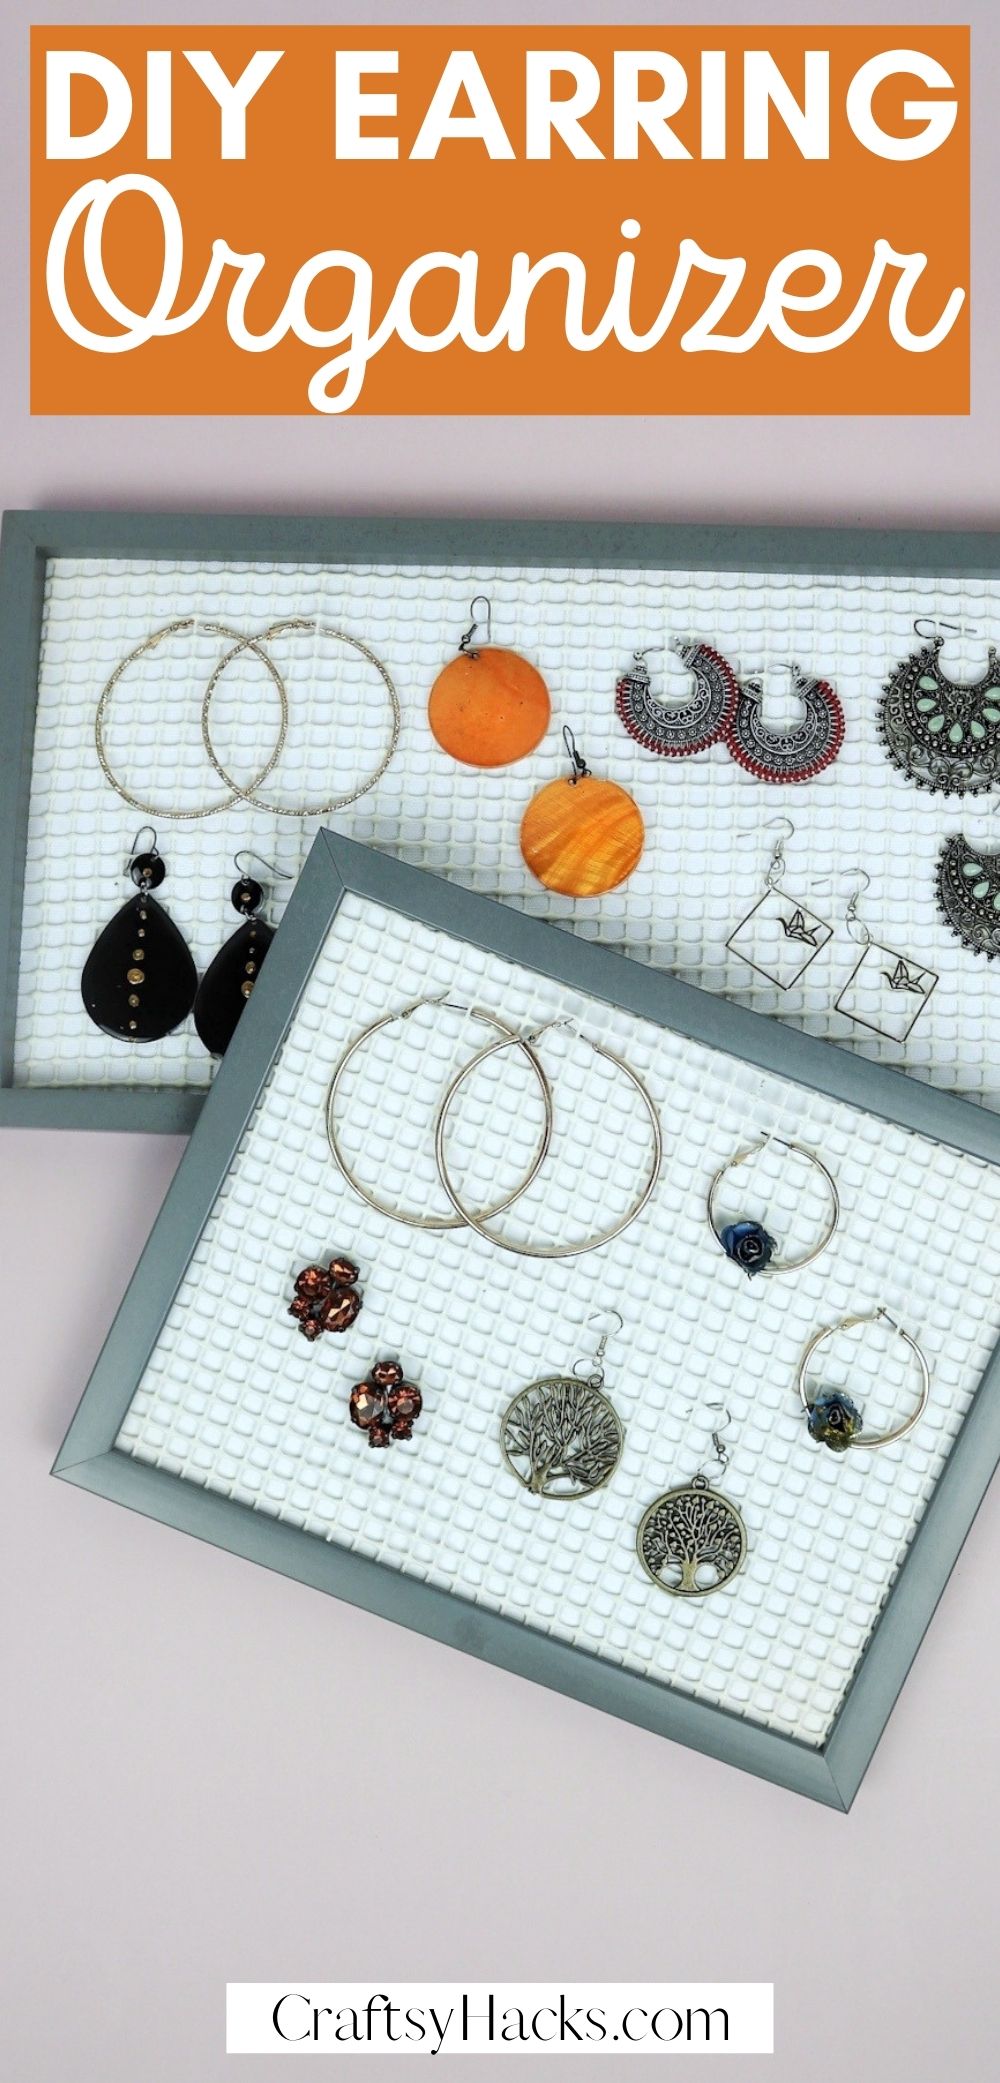
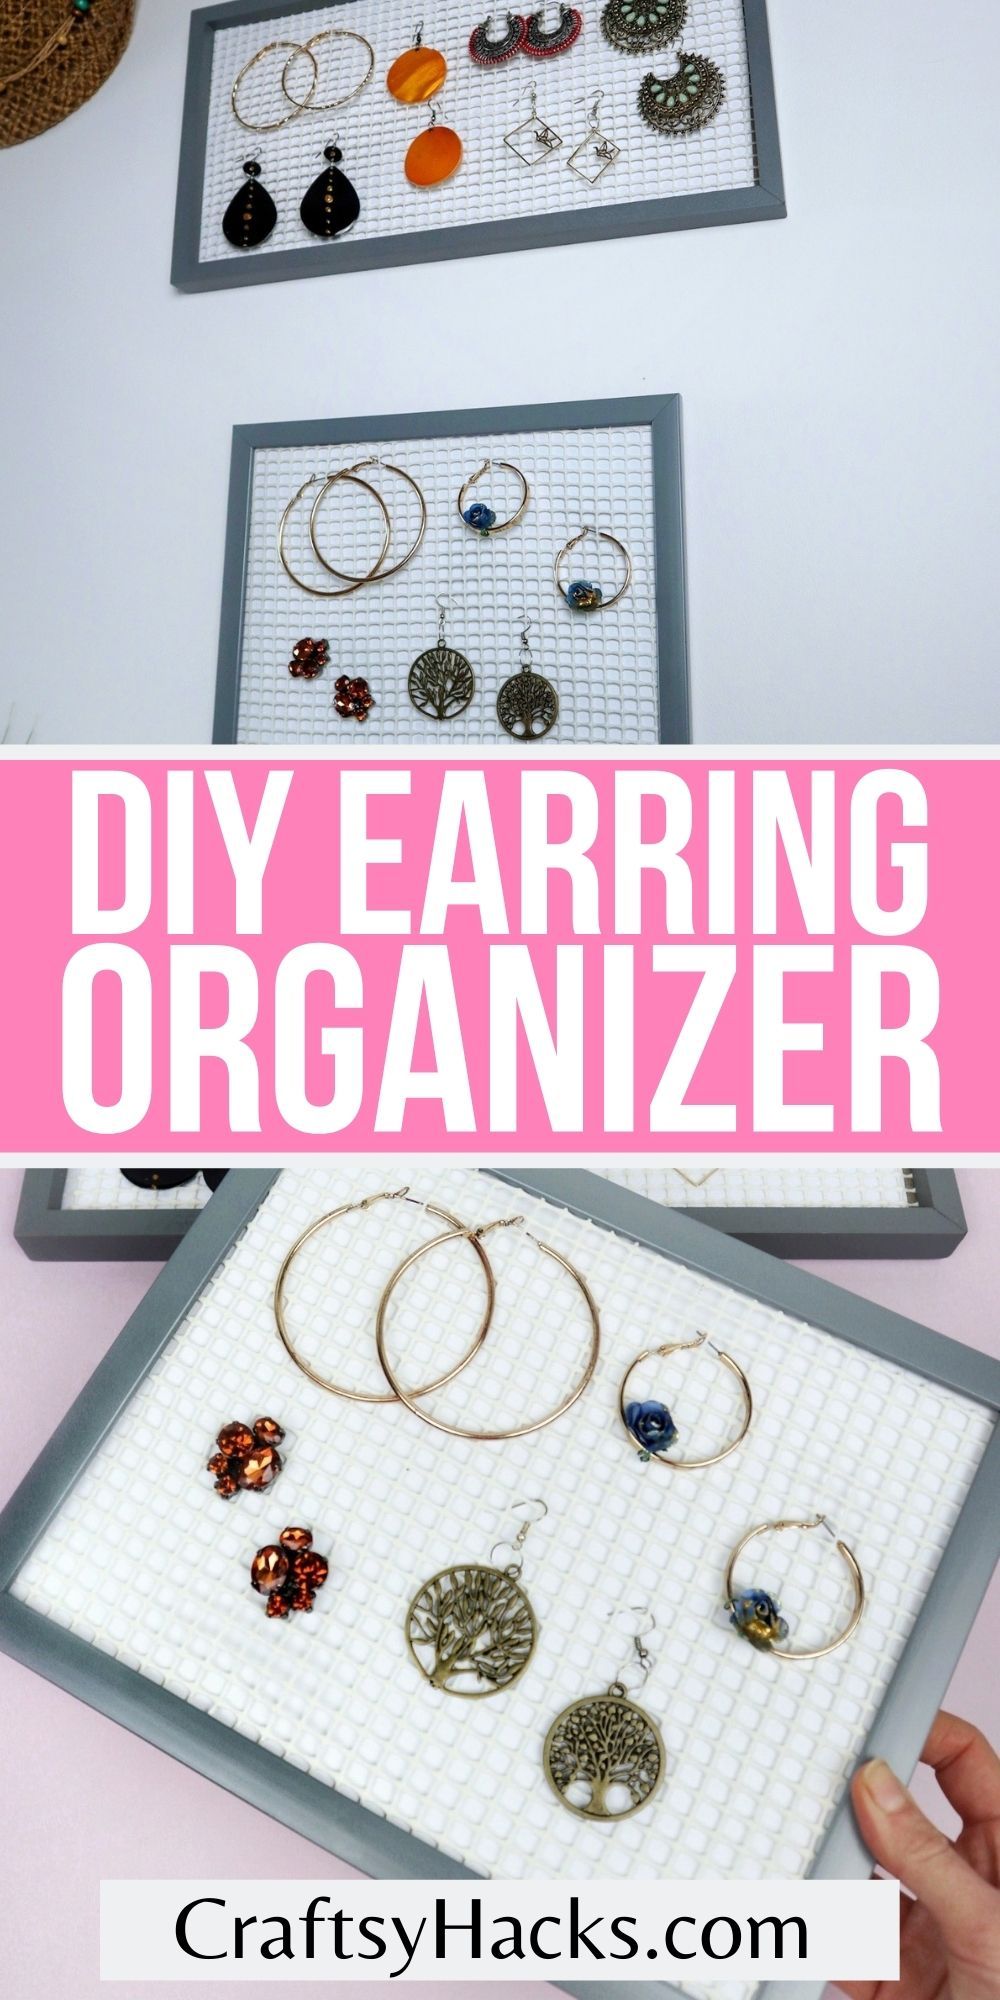
Use photo frames to make your very own DIY earring organizer. It’s a simple, creative craft that will help you keep your jewelry in an order.
Don’t you just hate pawing through those tiny drawers in your jewelry box looking for the matching pair to an earring? You’re probably running late, and you don’t want to waste your time and energy staging a dig for the lost earring.
That’s why you need something like this DIY earring organizer to keep your earrings organized and in an accessible place. The best part?
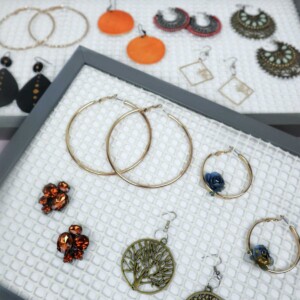
Not only do you get to organize your earring, you also get a great display piece out of it!

Supplies You’ll Need for the Organizer
You hardly need anything to make this DIY earring organizer, just three easy-to-find items as you can see below:
- Photo frame (use Dollar Tree frames to save $$)
- Scissors
- Shelf liner
So go ahead and grab all your supplies before you get started.

How to Make an Earring Organizer
This particular DIY is as simple as it gets. It has only three items to put together before you have your jewelry organizer ready to mount on your area of choice. Let’s get right to it.
Step 1
First, start by measuring out the dimensions of your photo frame. You will need the exact measurements to help you when you’re cutting out the shelf liner.
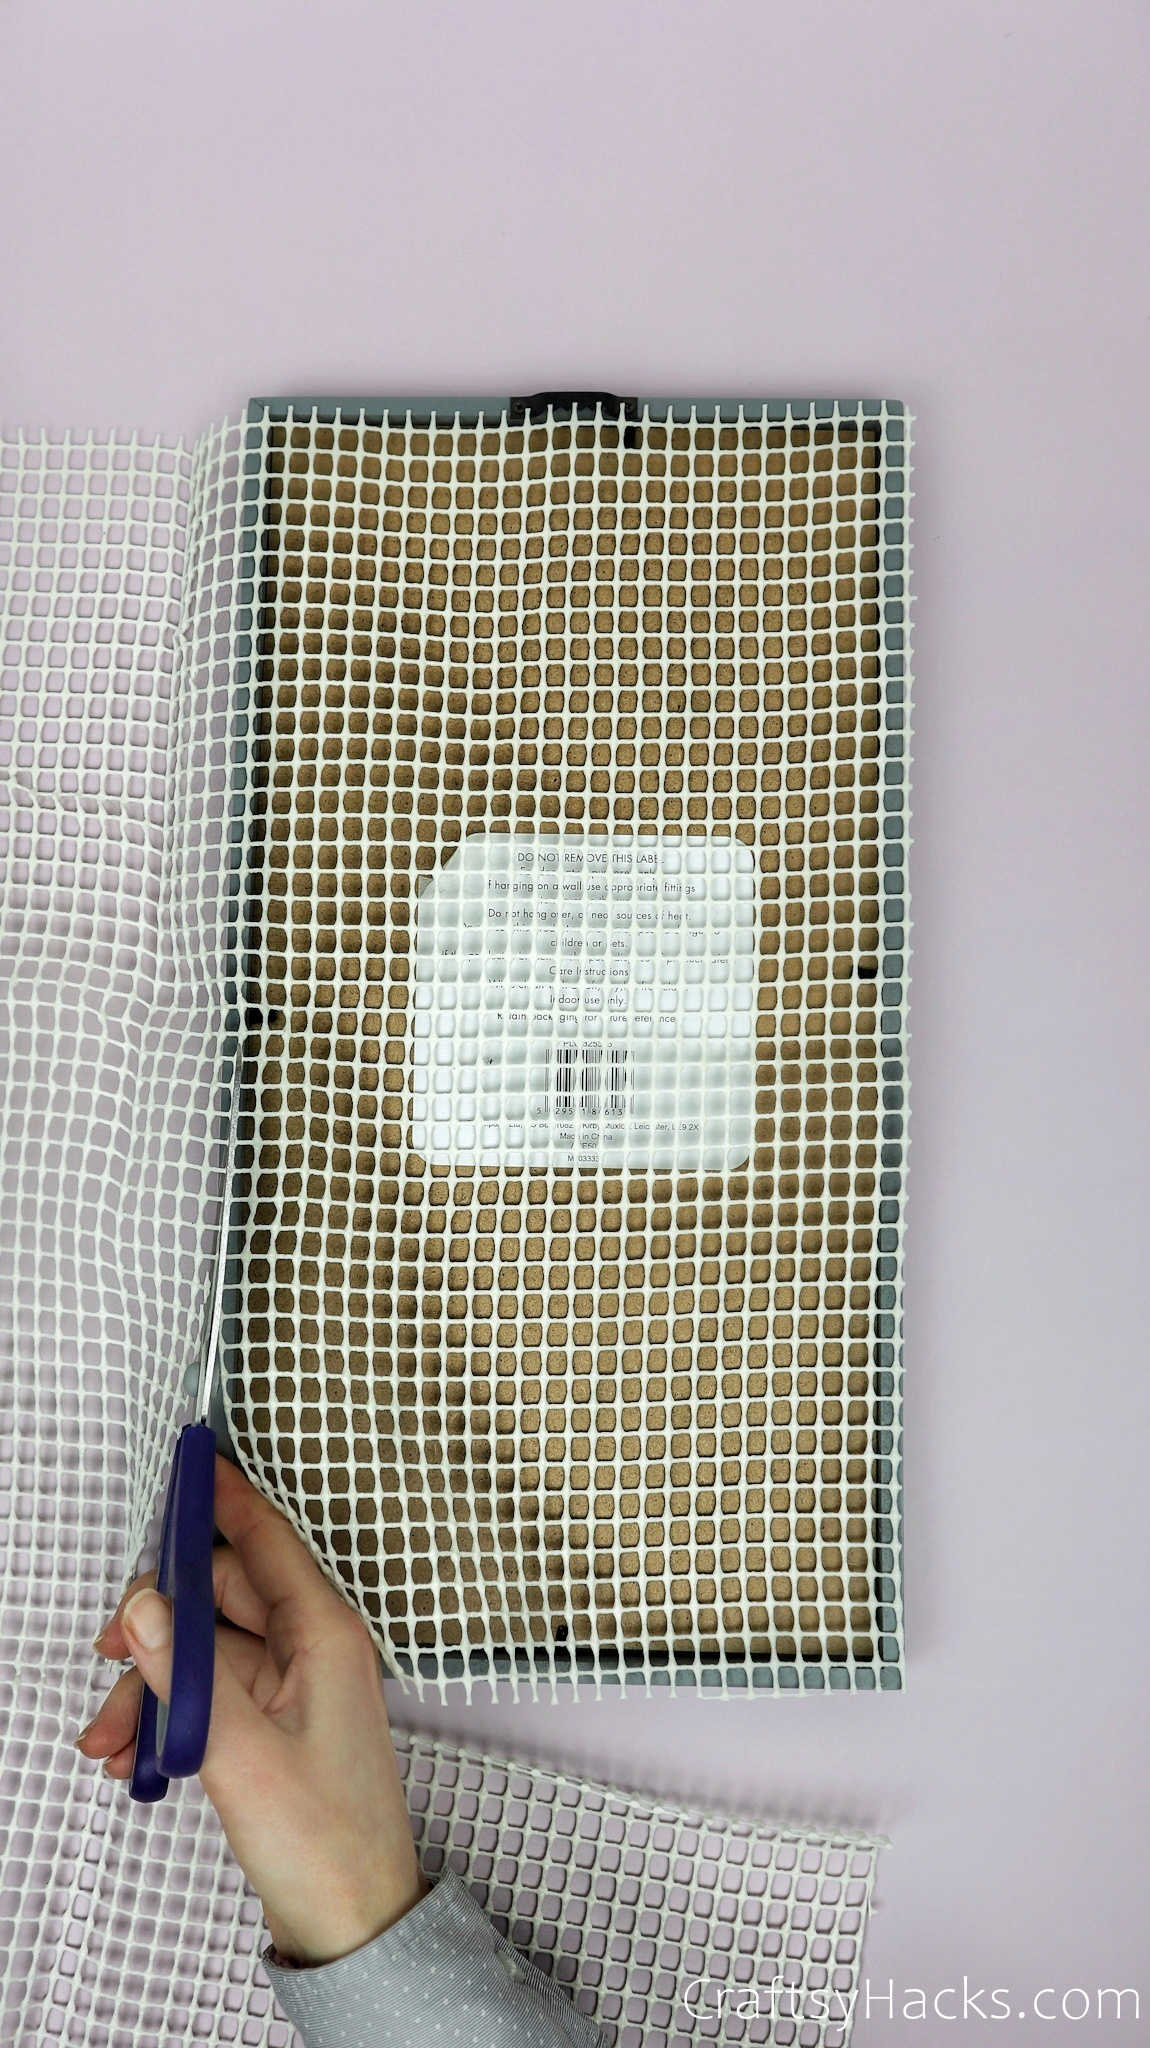
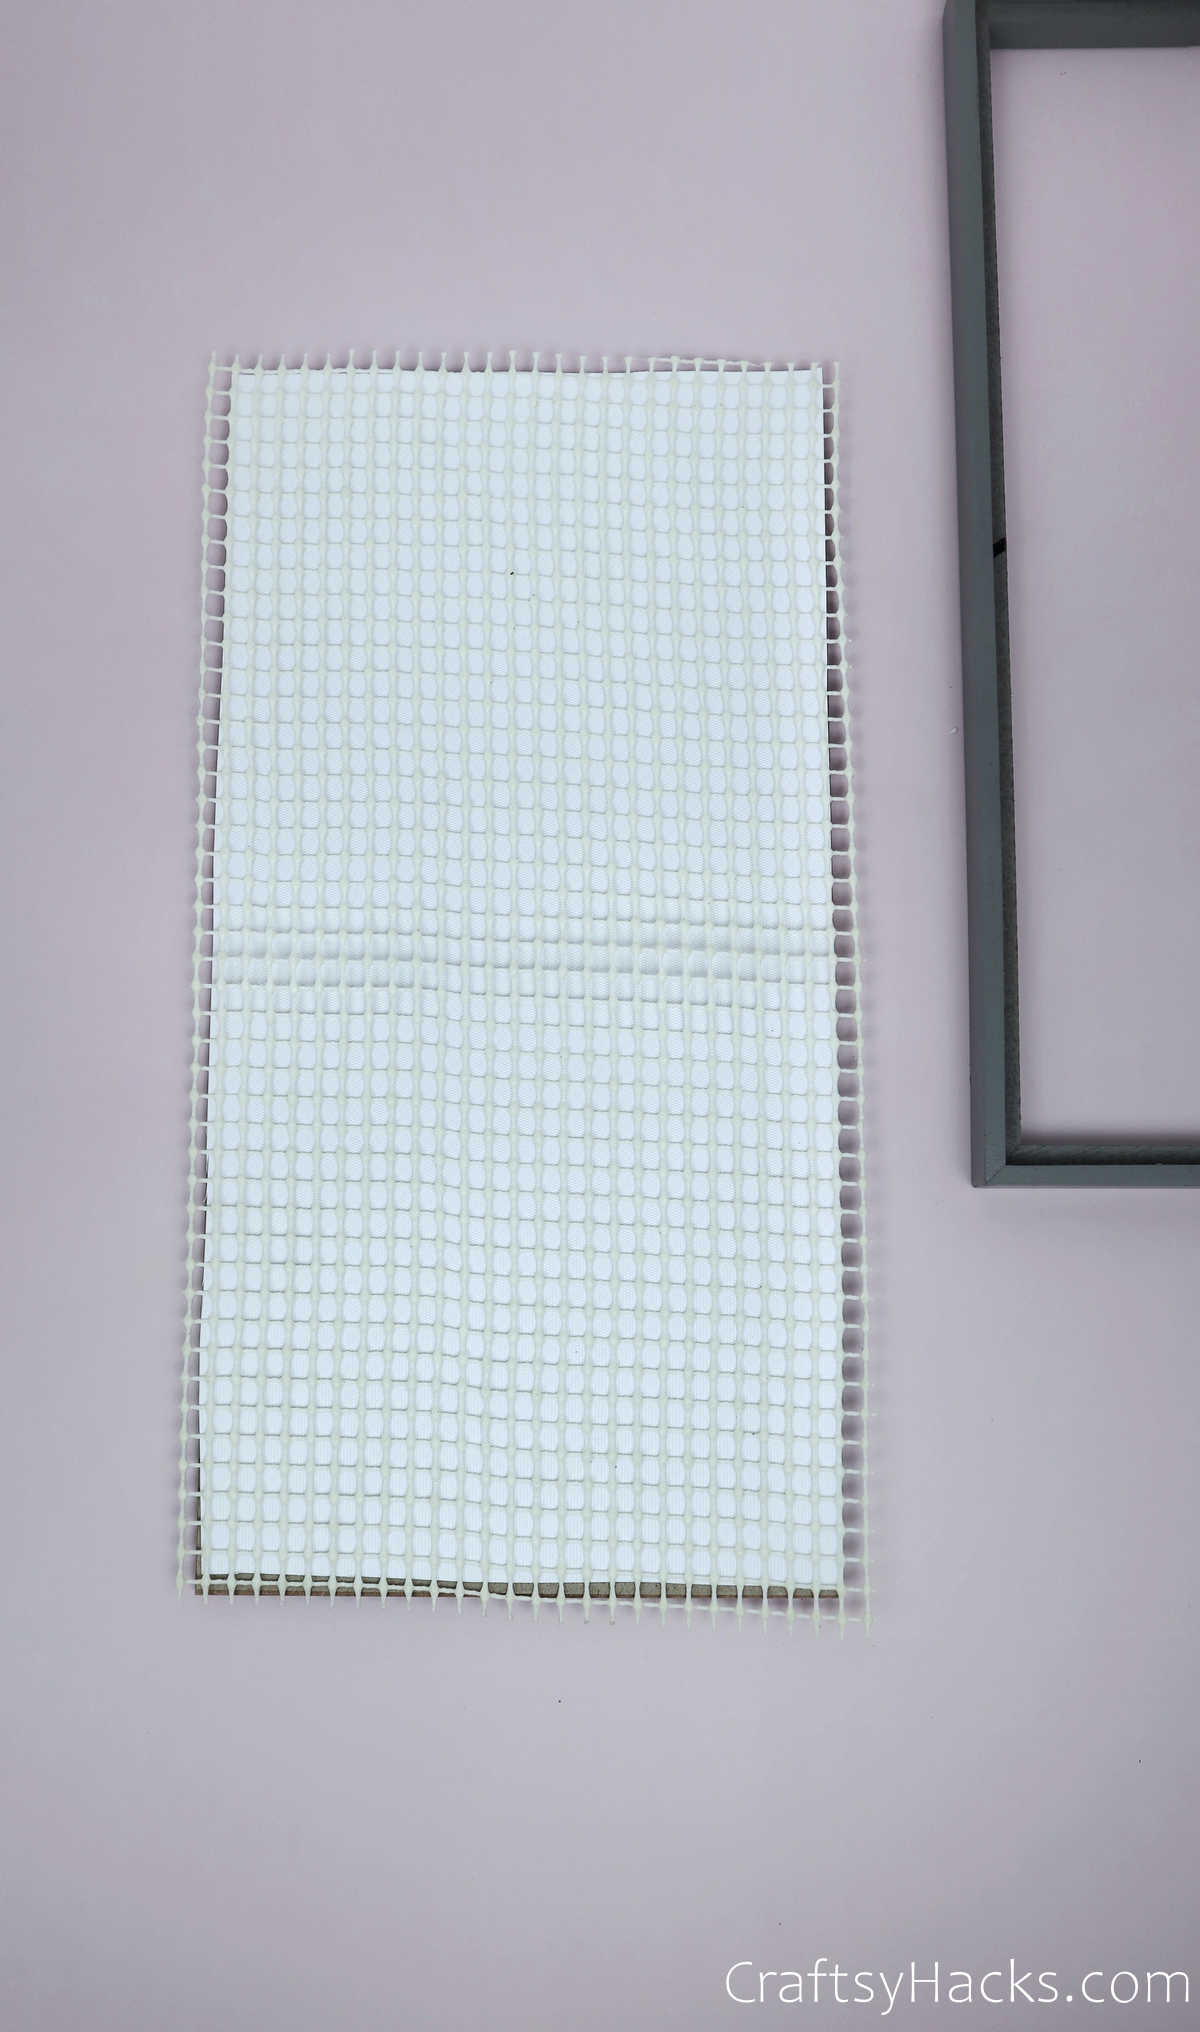
Step 2
Cut the shelf line according to the measurements you took. Remember to cut the liner a little bigger than the actual frame. When you secure it to the frame, this extra space will help keep the liner taut and in place.
Step 3
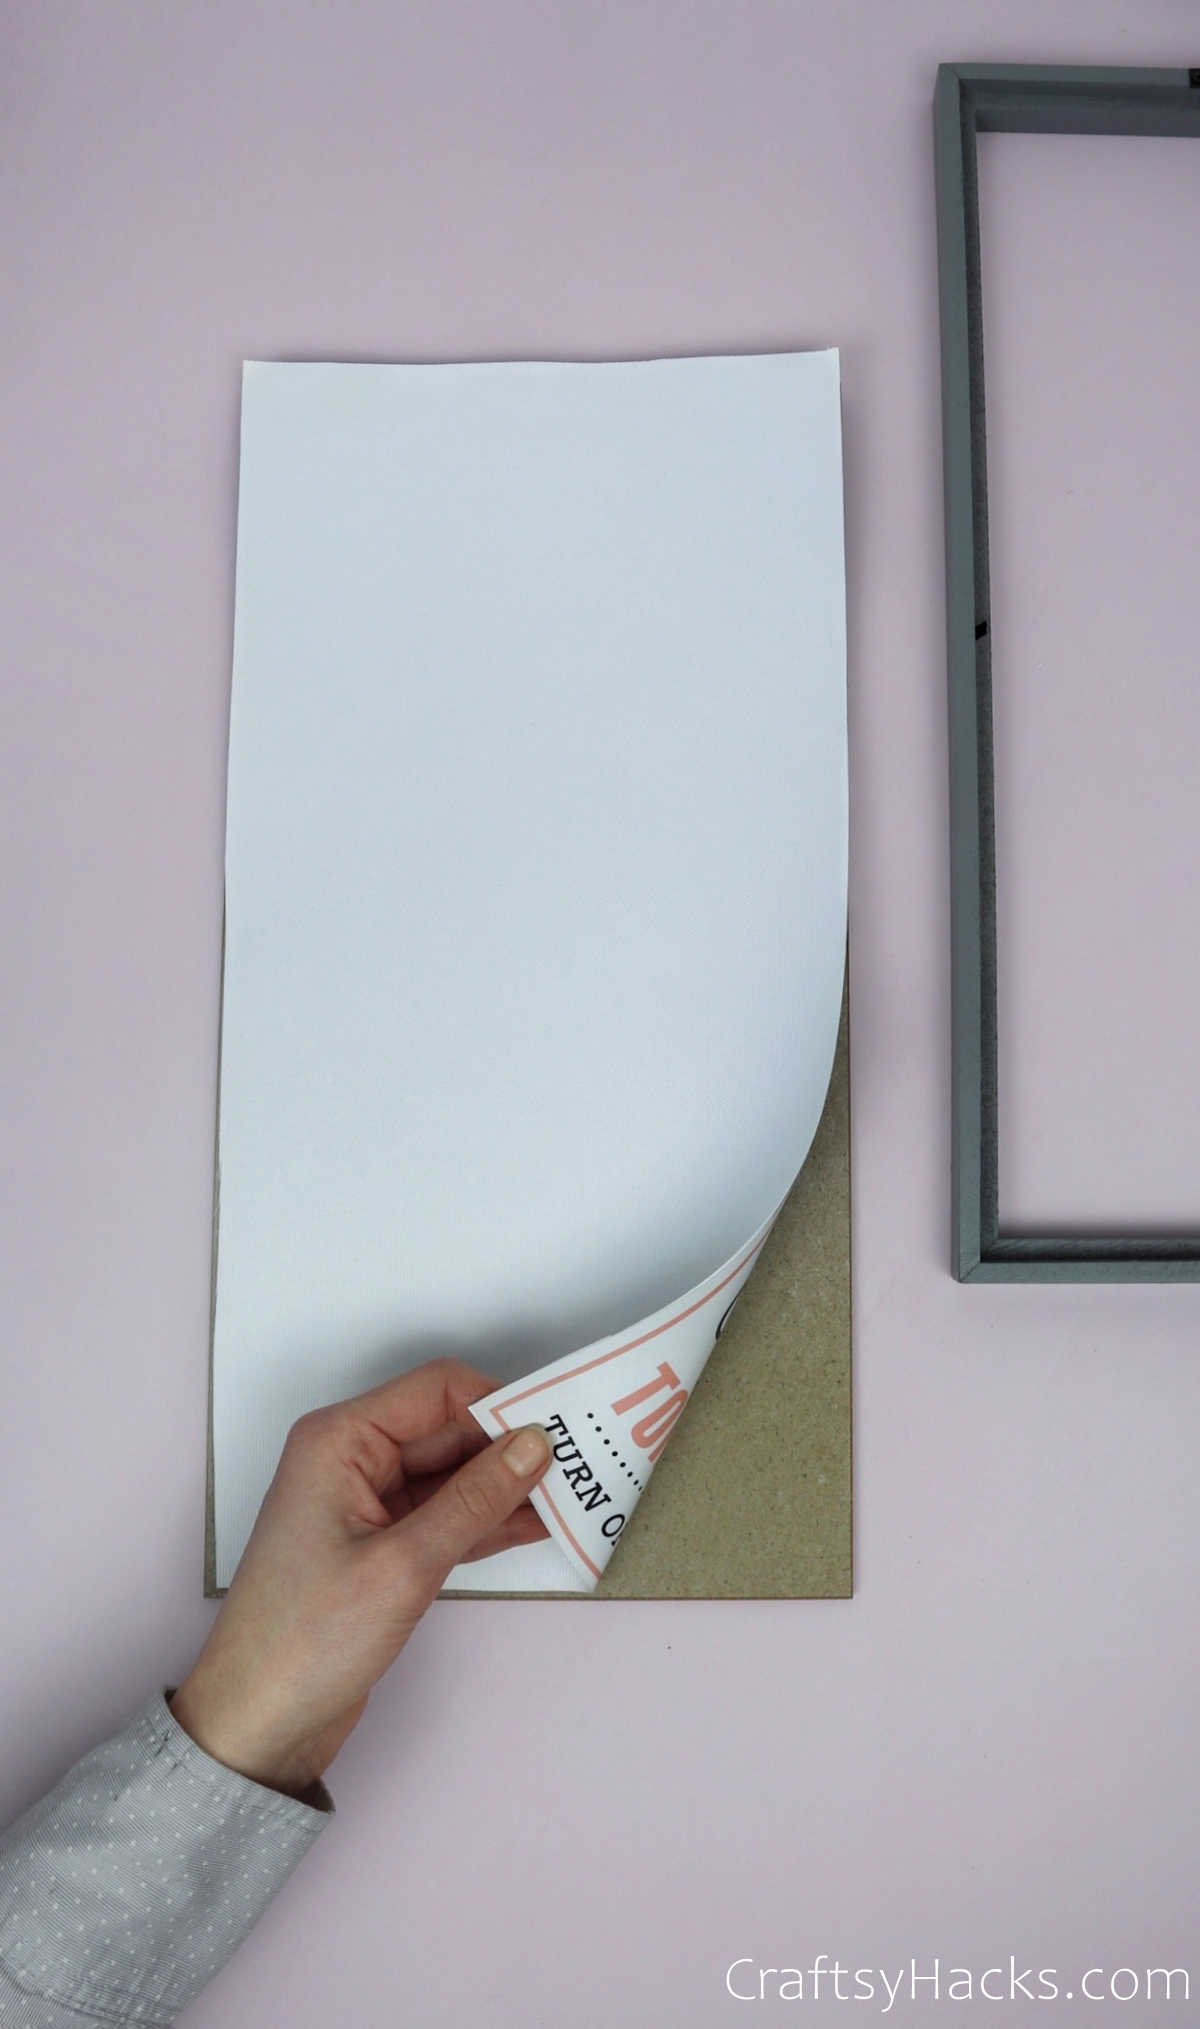
You know how picture frames come with a generic photo in them? Well, you can turn that around, so you have a plain white background.
Perhaps you want to make things a little more creative? Then, switch out the white paper with colored paper or any patterned paper to line the inside of the frame.
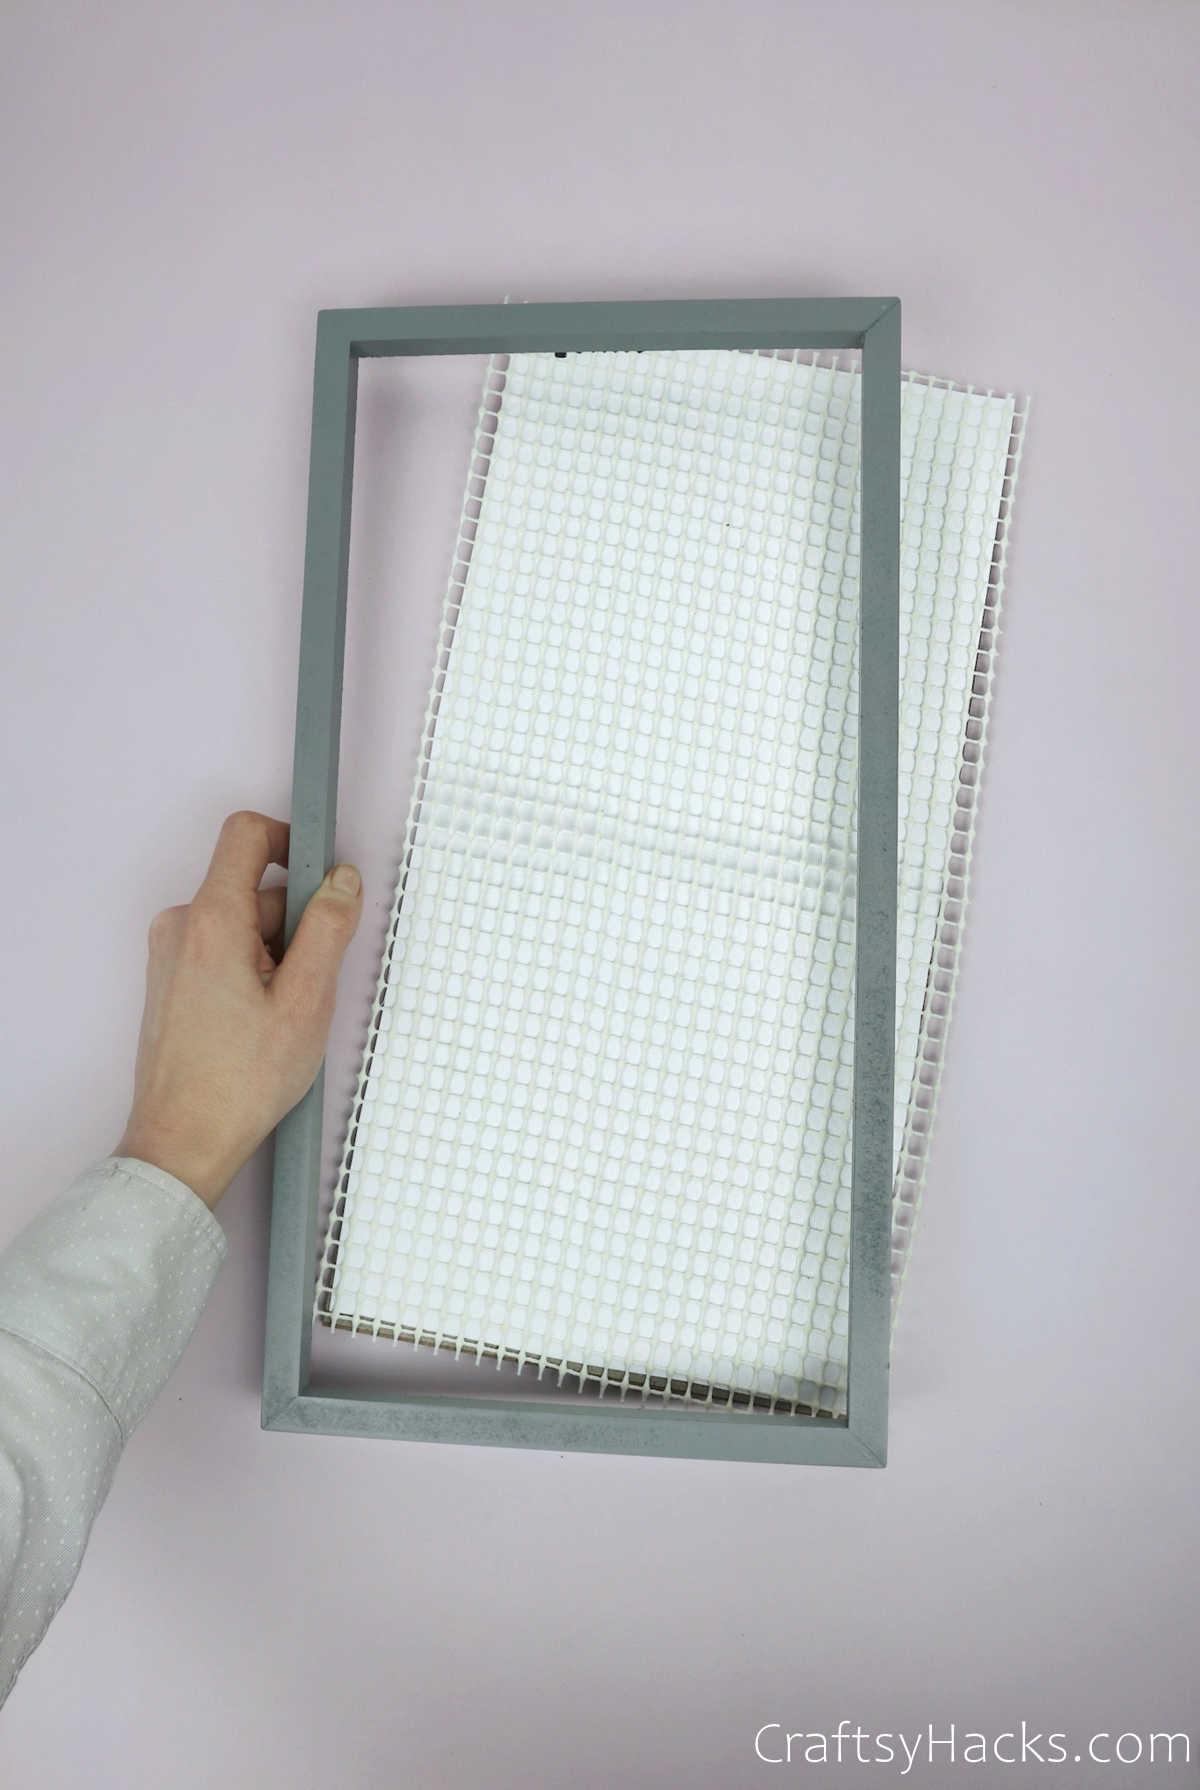
Step 4
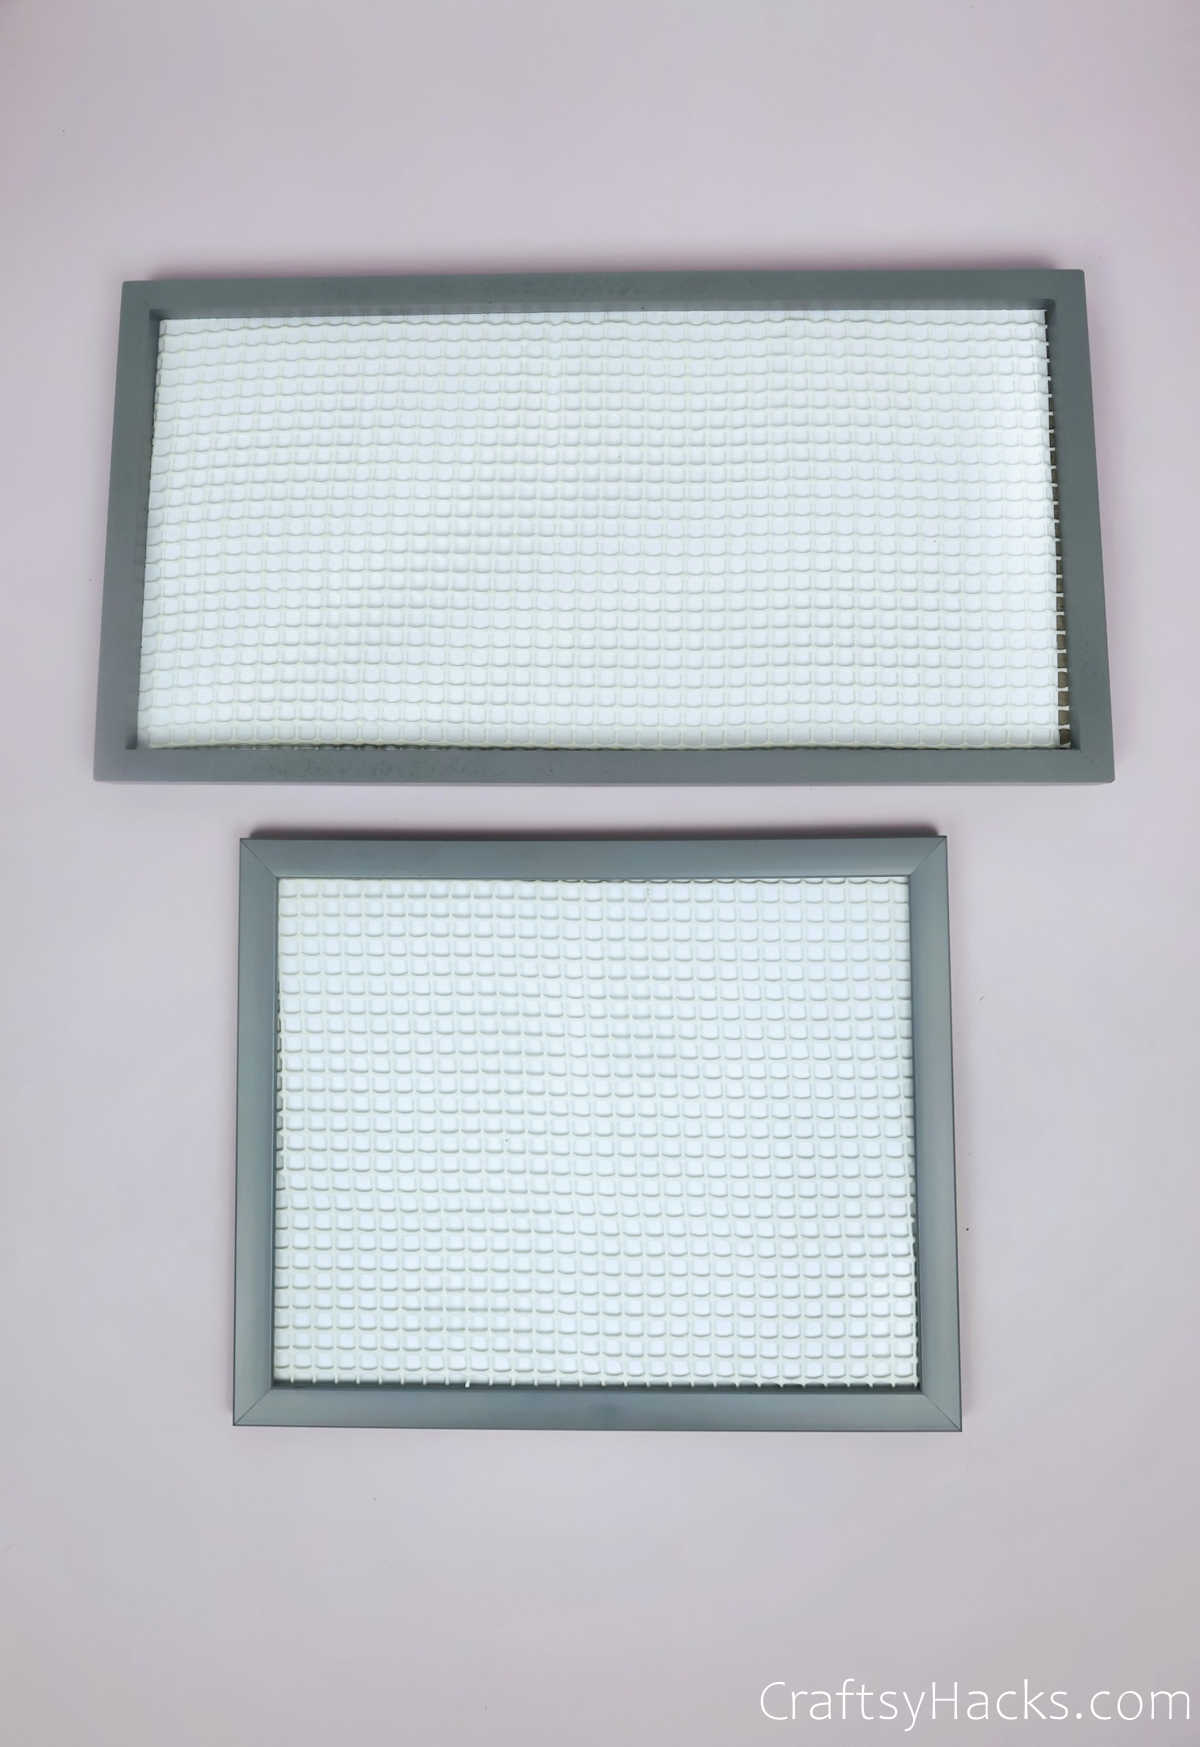
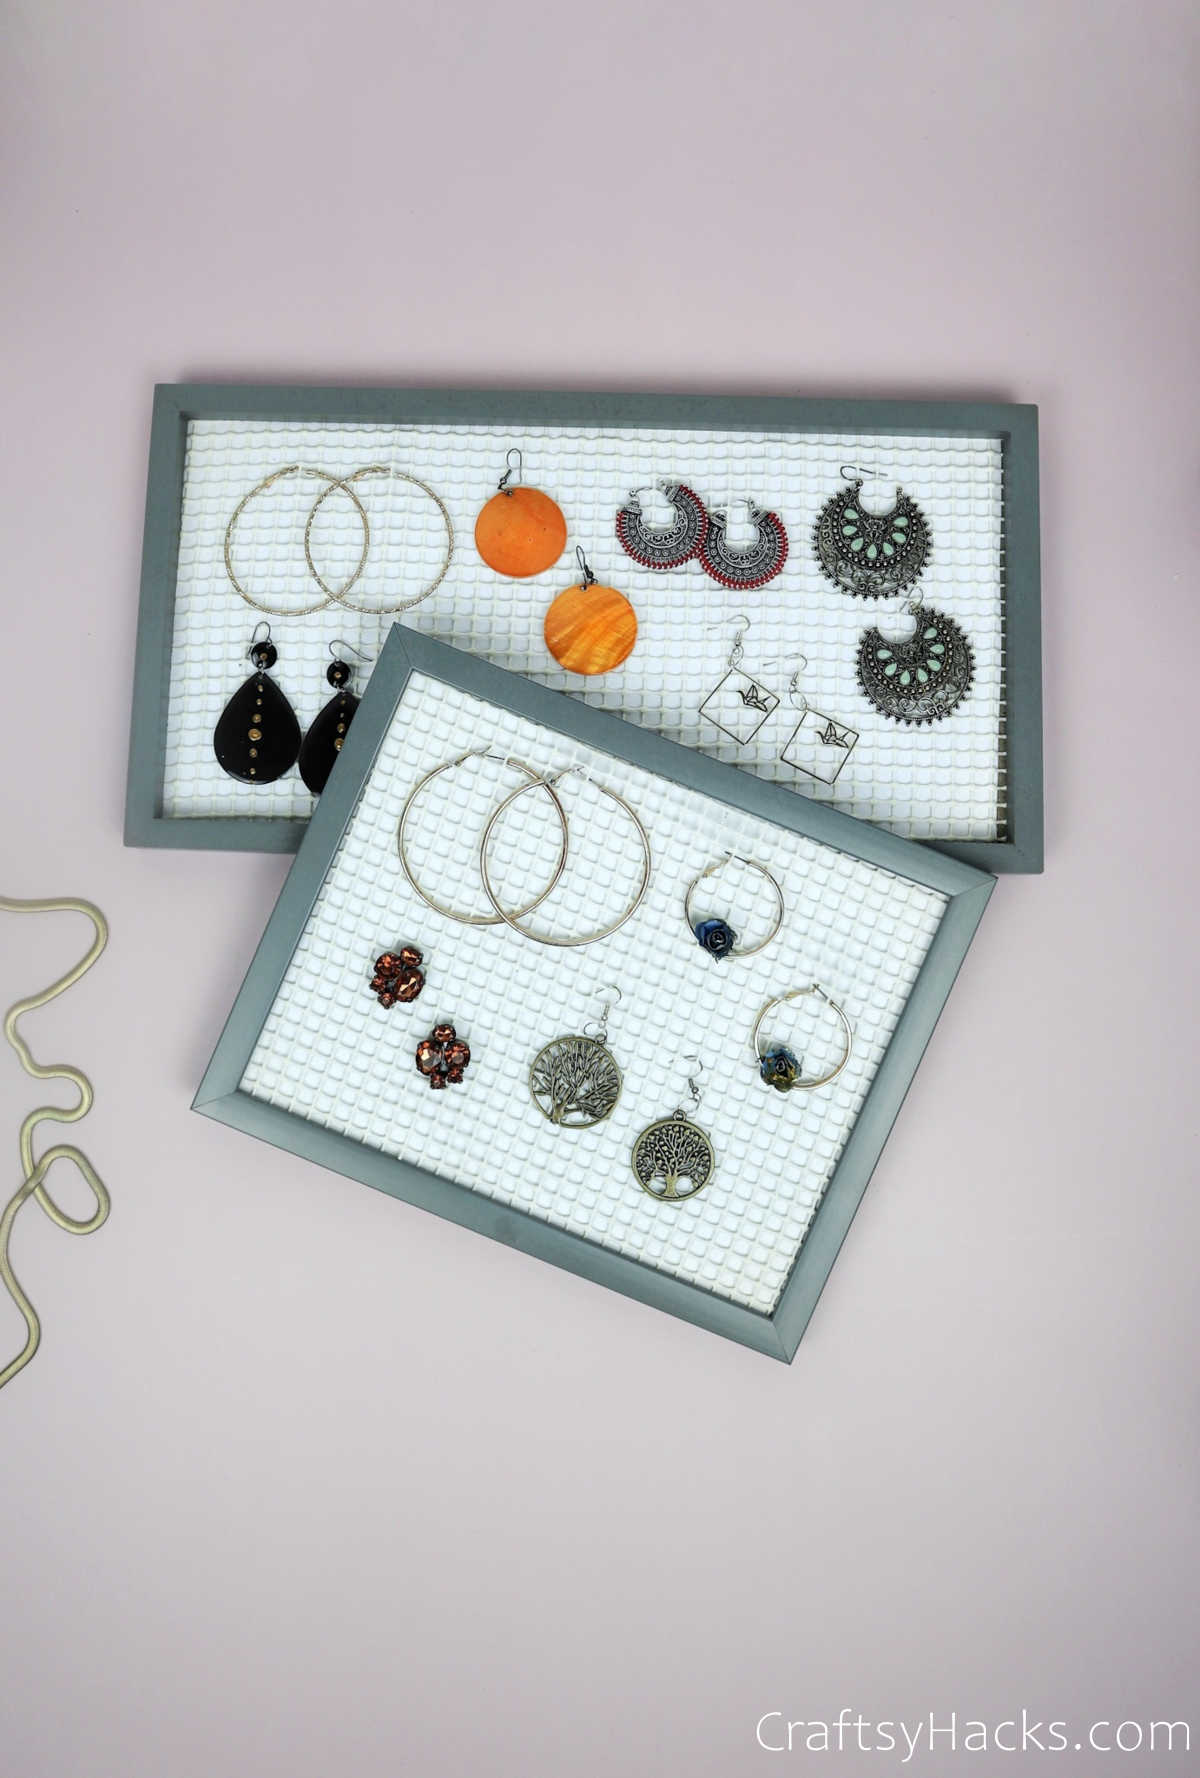
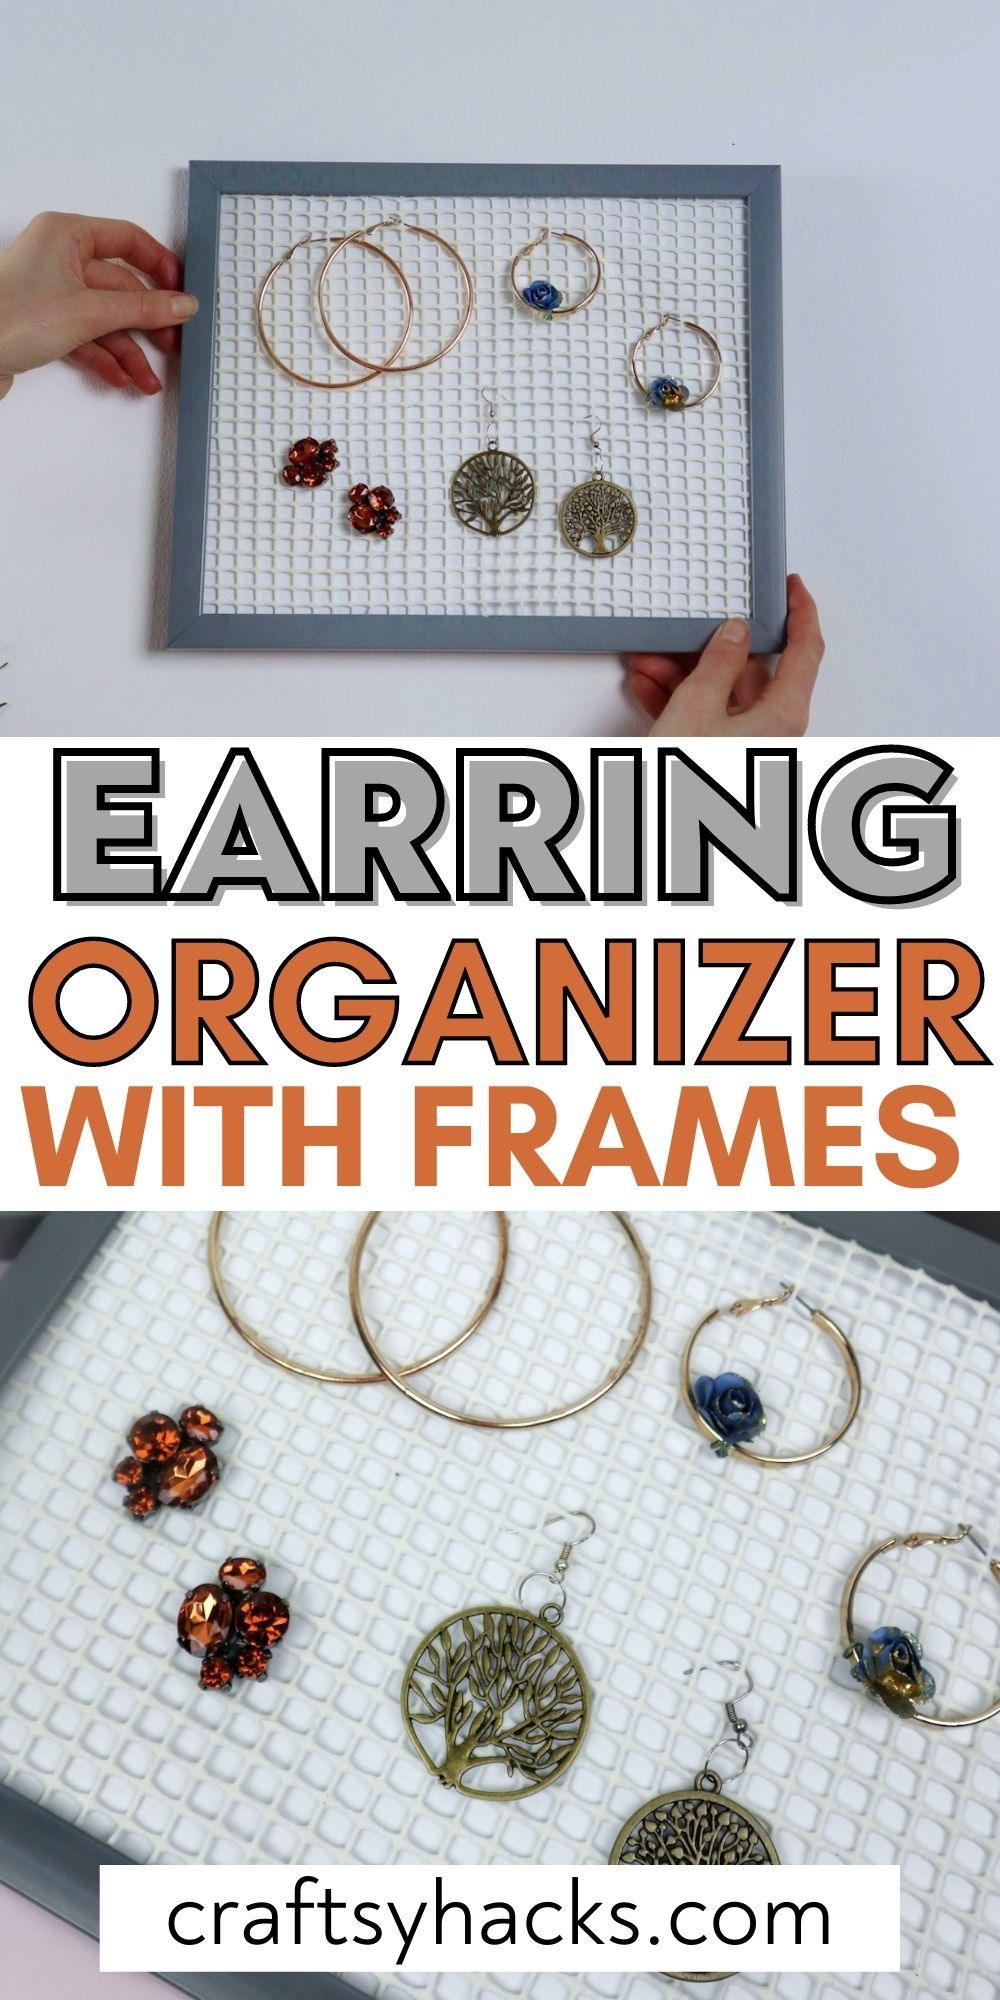
Place the liner over the white paper as you can see down below.
Step 5
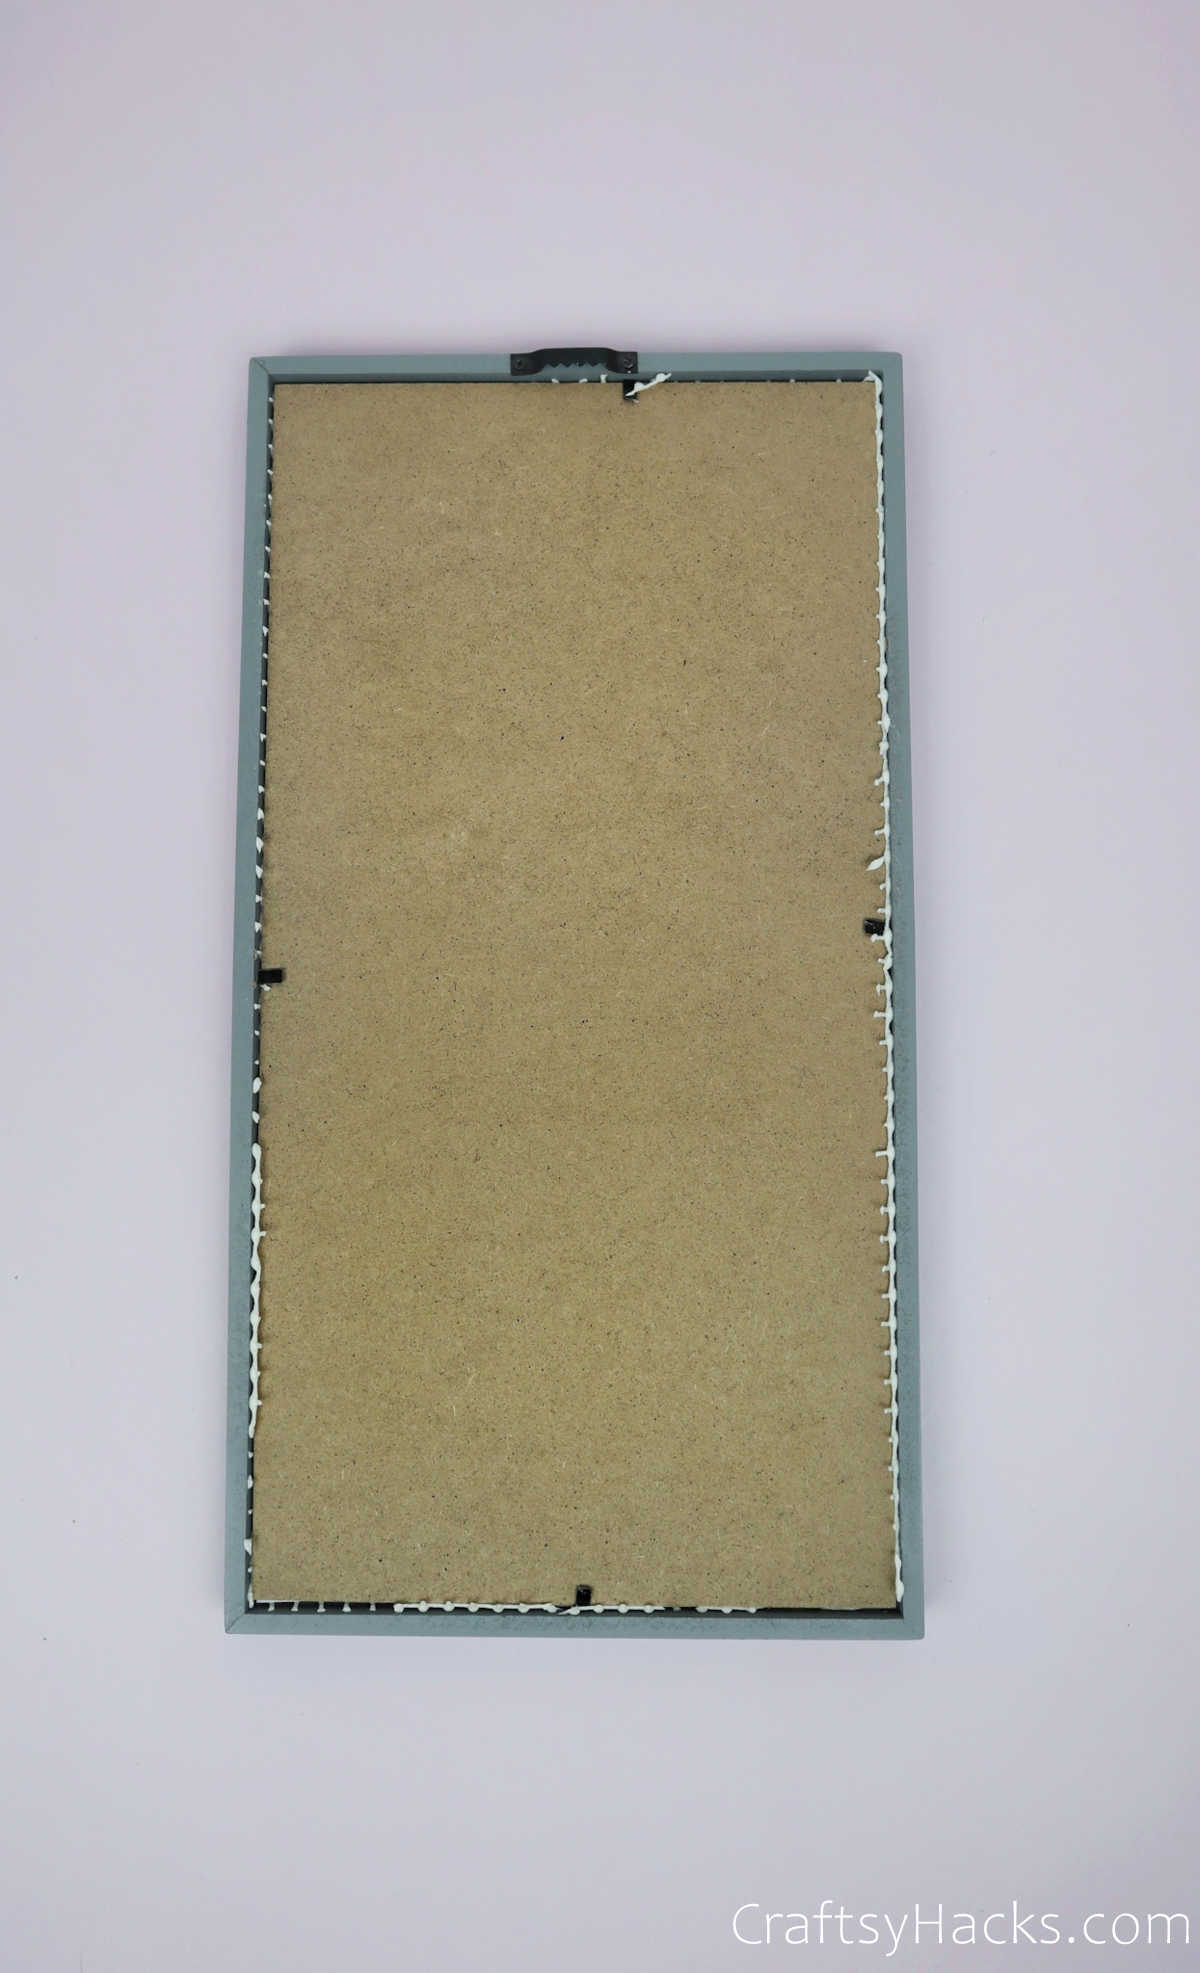
The penultimate step is to replace the frame and pop the paper and liner back in place. Just keep in mind that your liner needs to be stretched out across the length of the frame.
If you don’t secure it tight and snug, the liner will begin to sag.
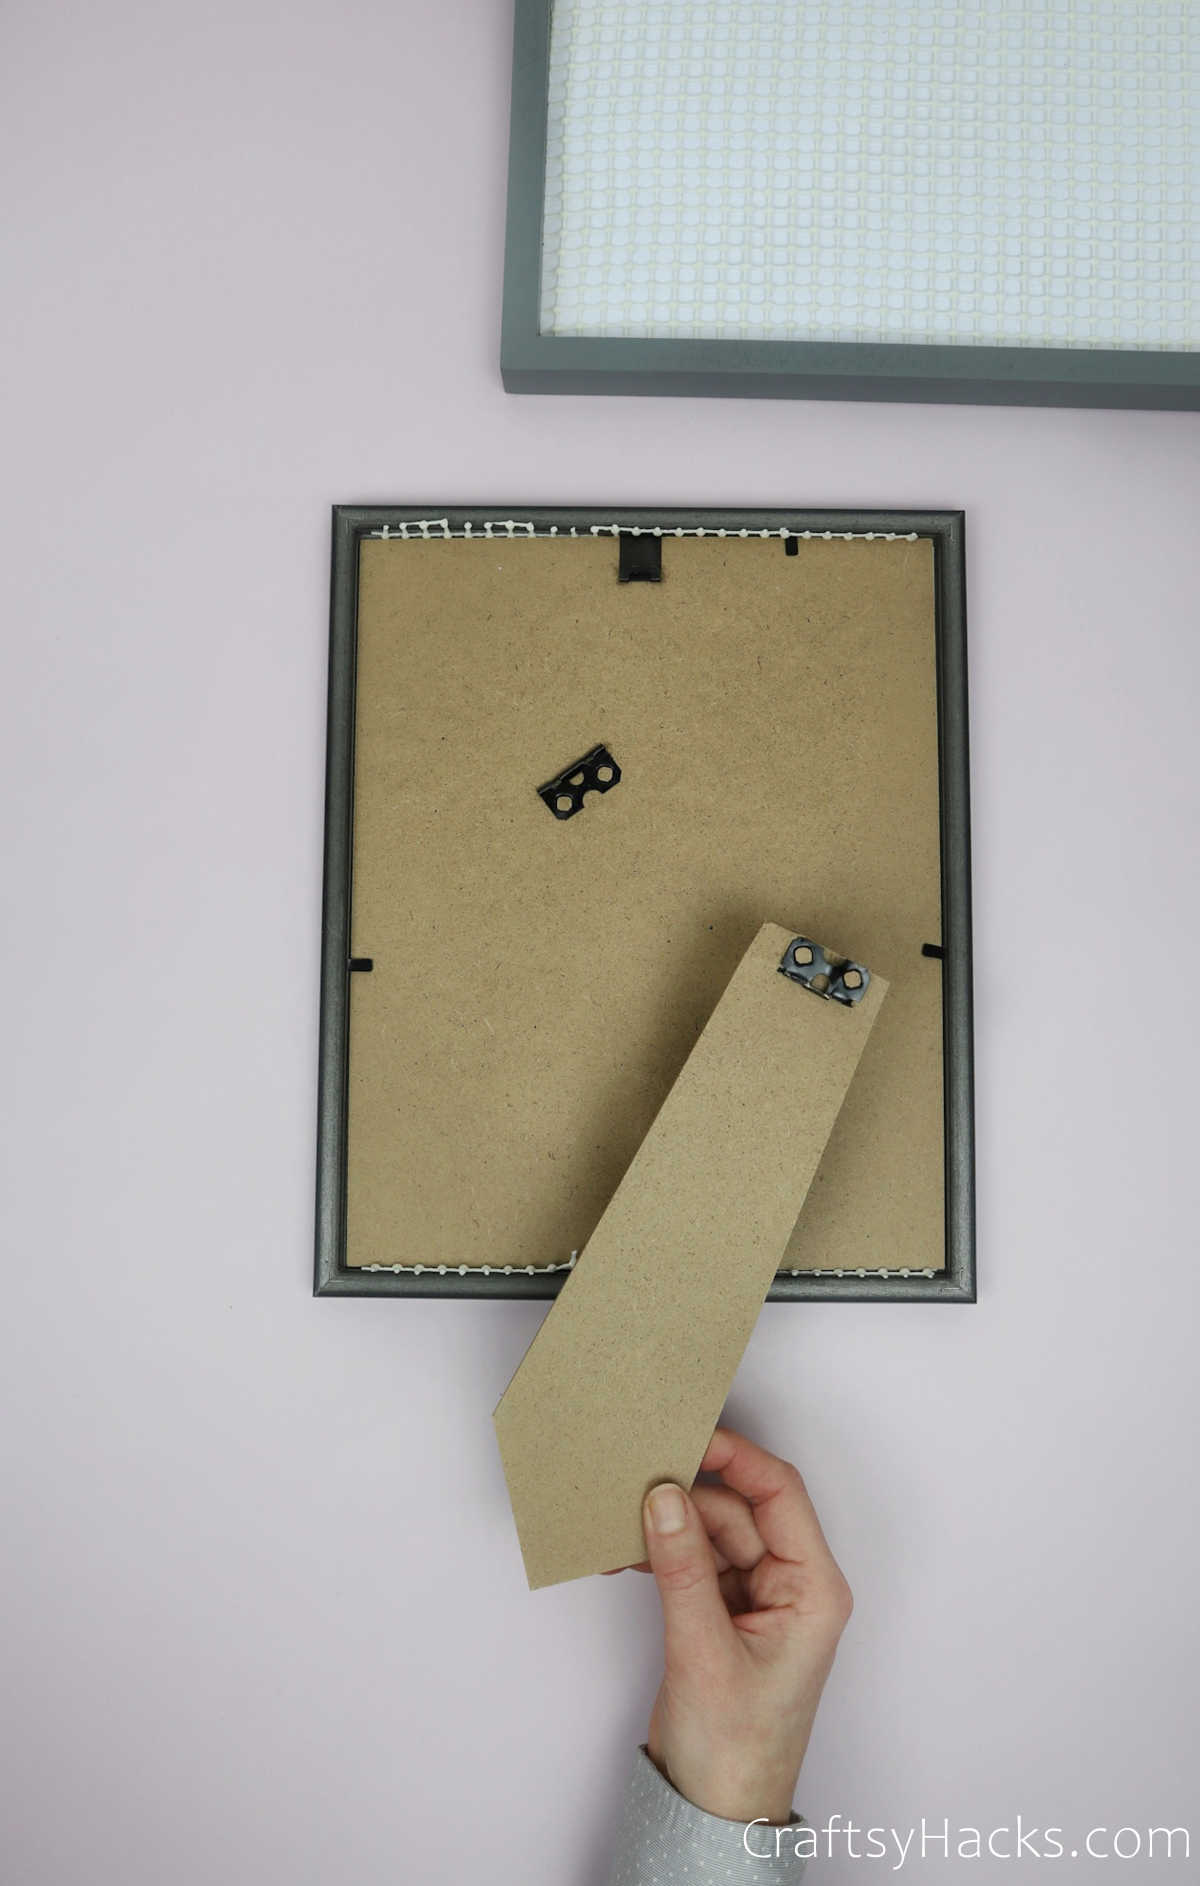
Don’t forget to secure the paper and liner in place with the cardboard holder!
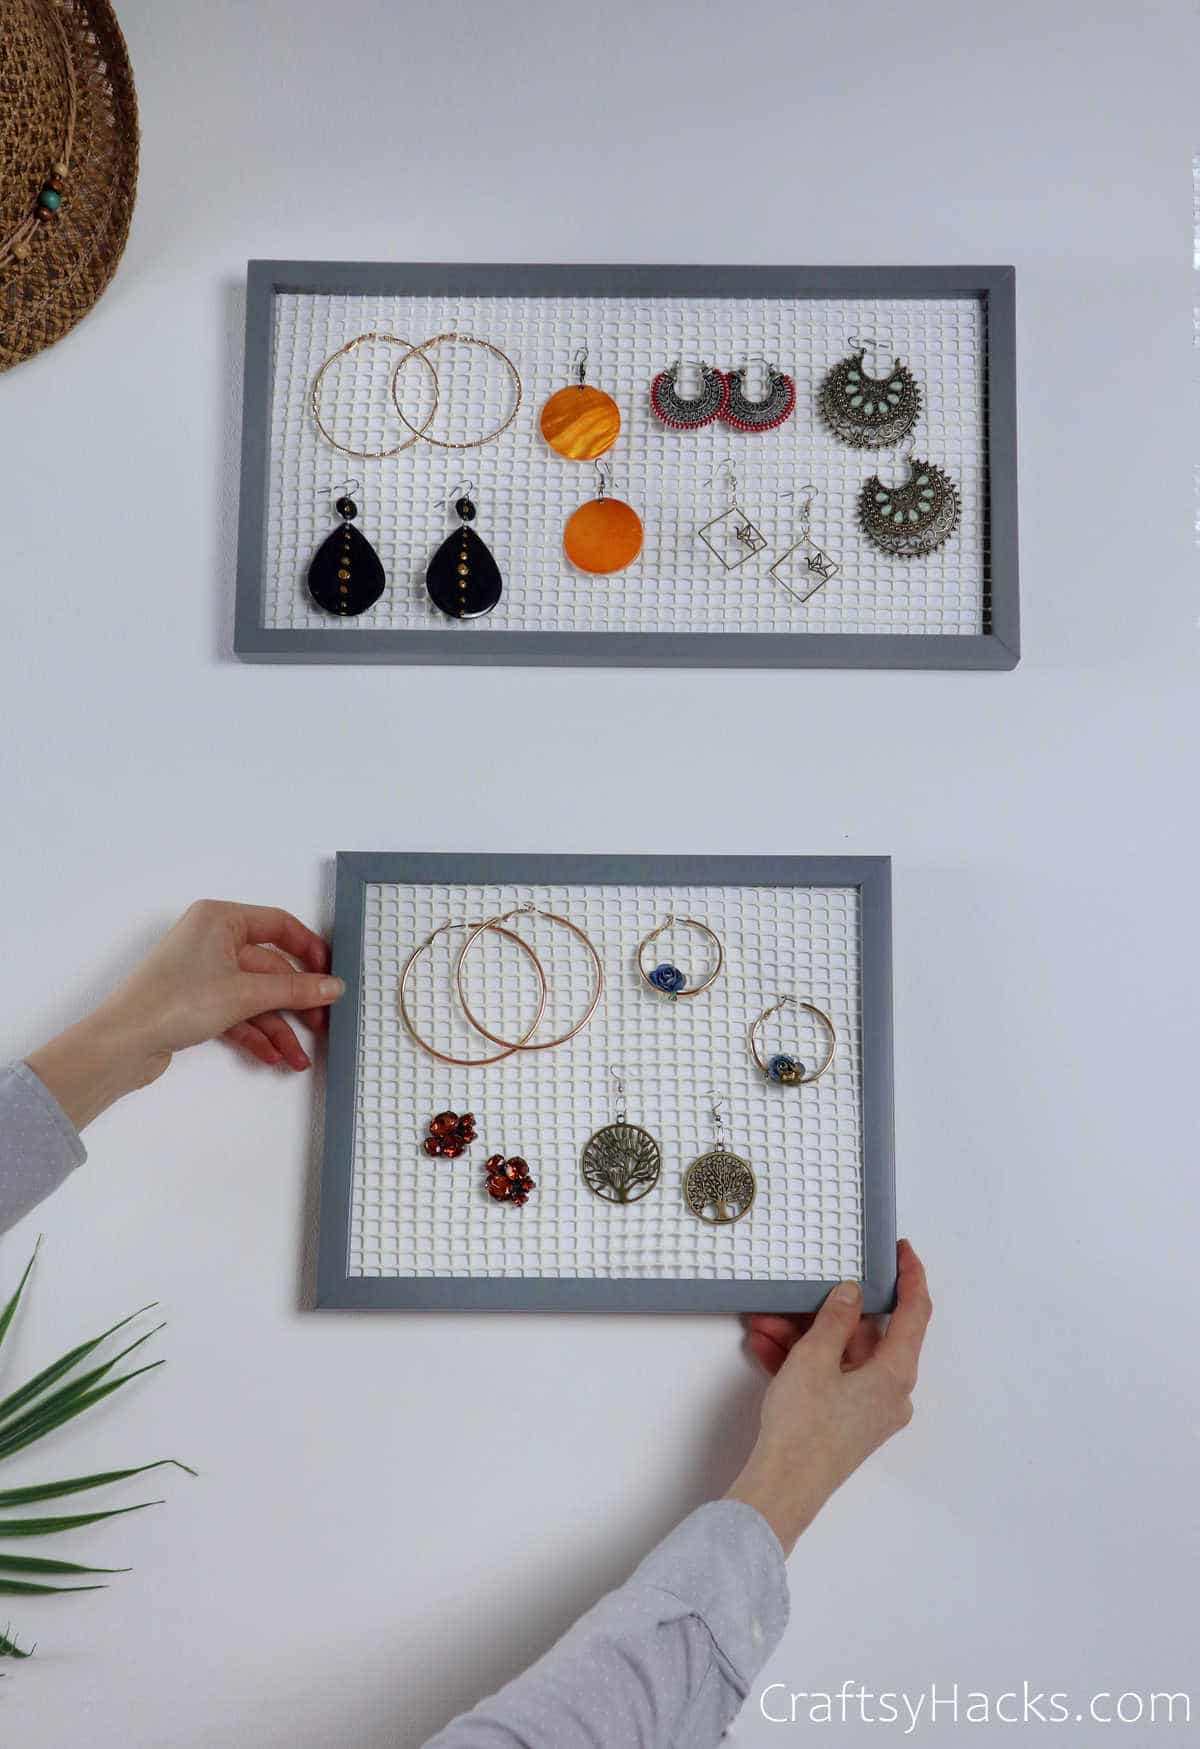
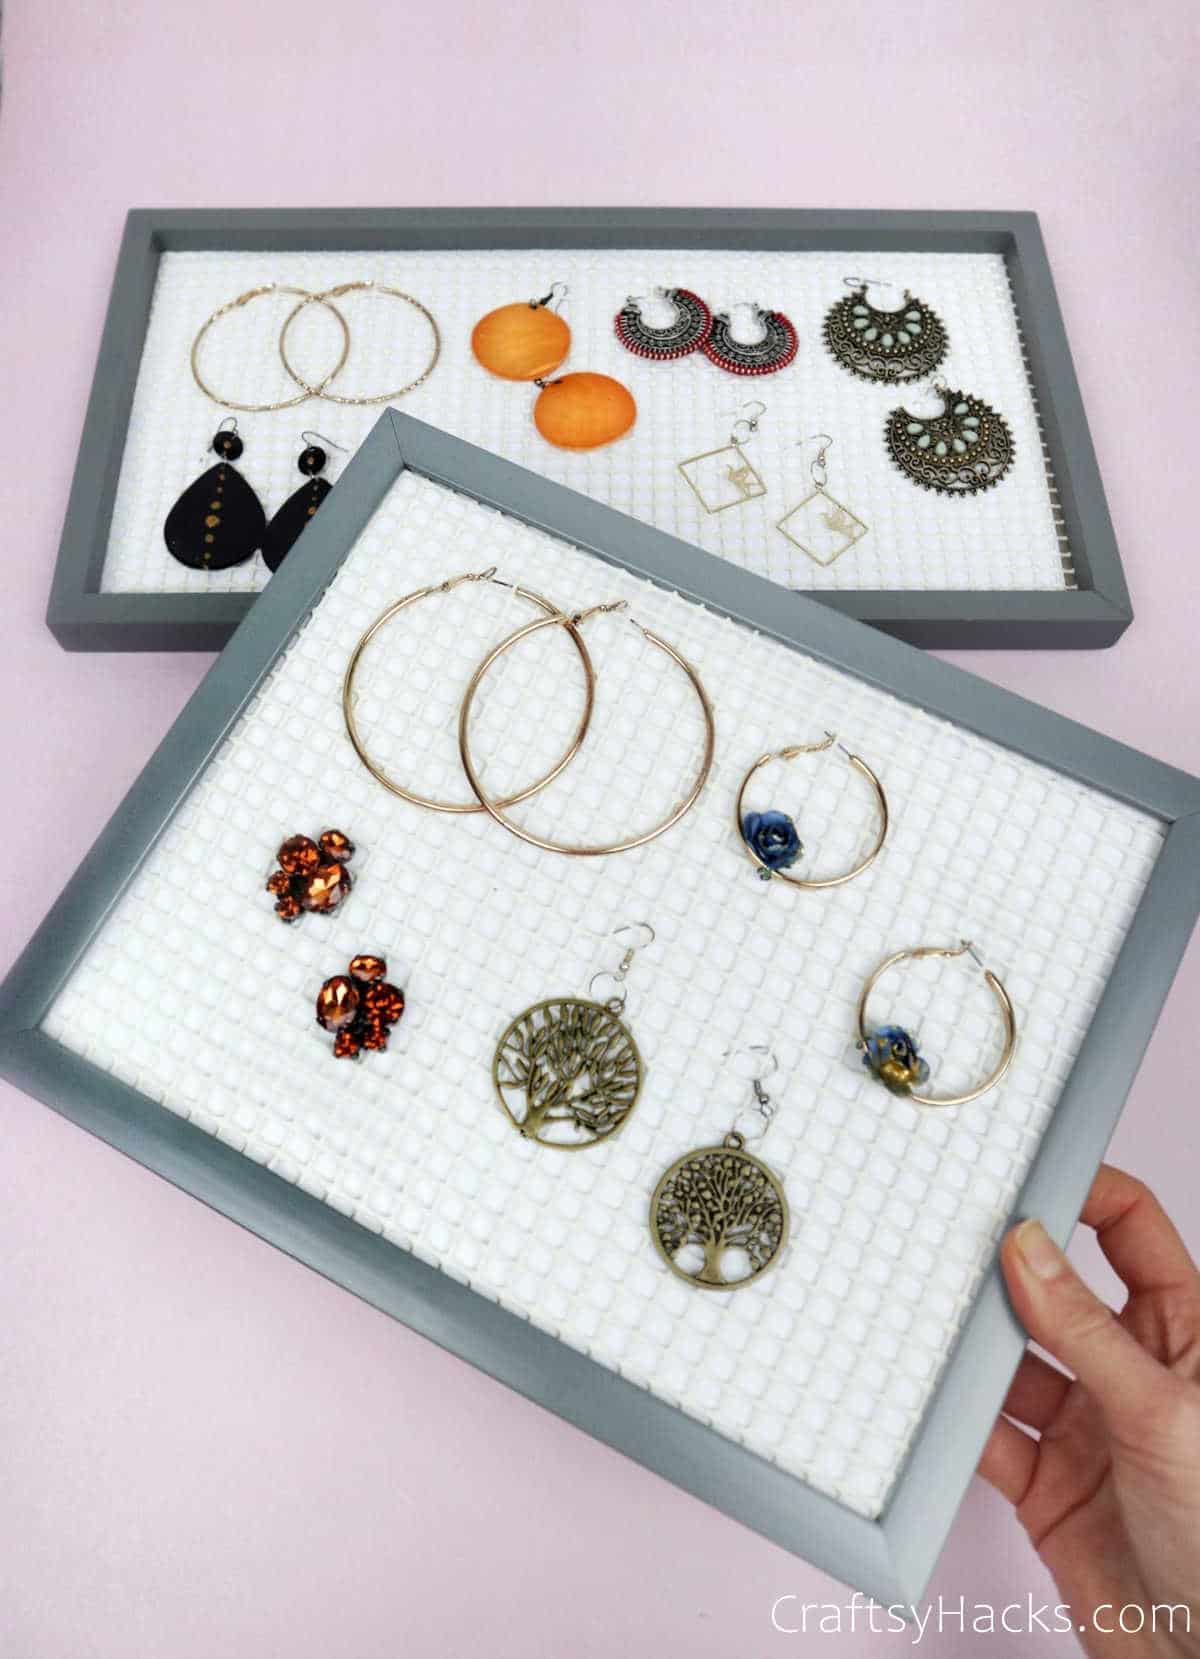
If you want to use this piece as a tabletop organizer, you can easily assemble—or disassemble—the mountable leg and prop it up accordingly!
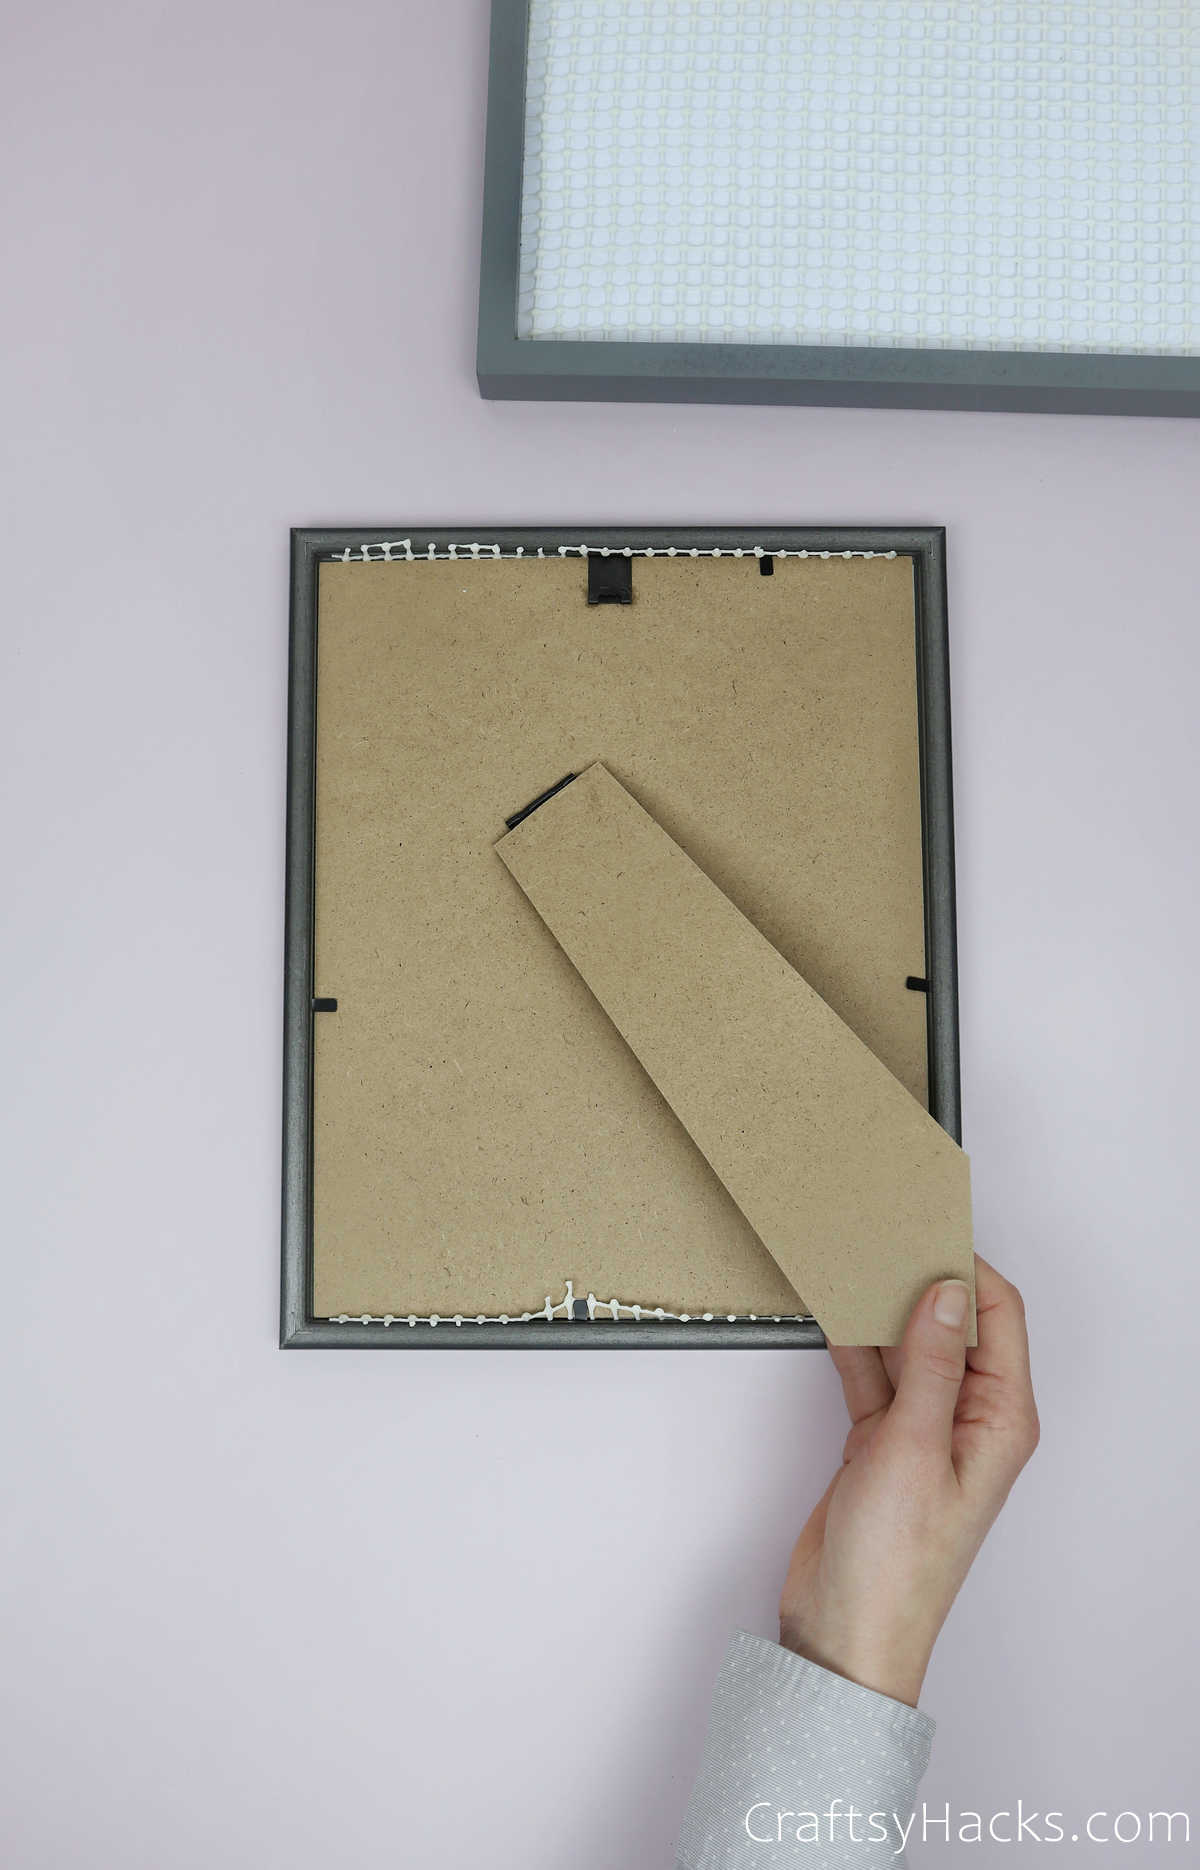
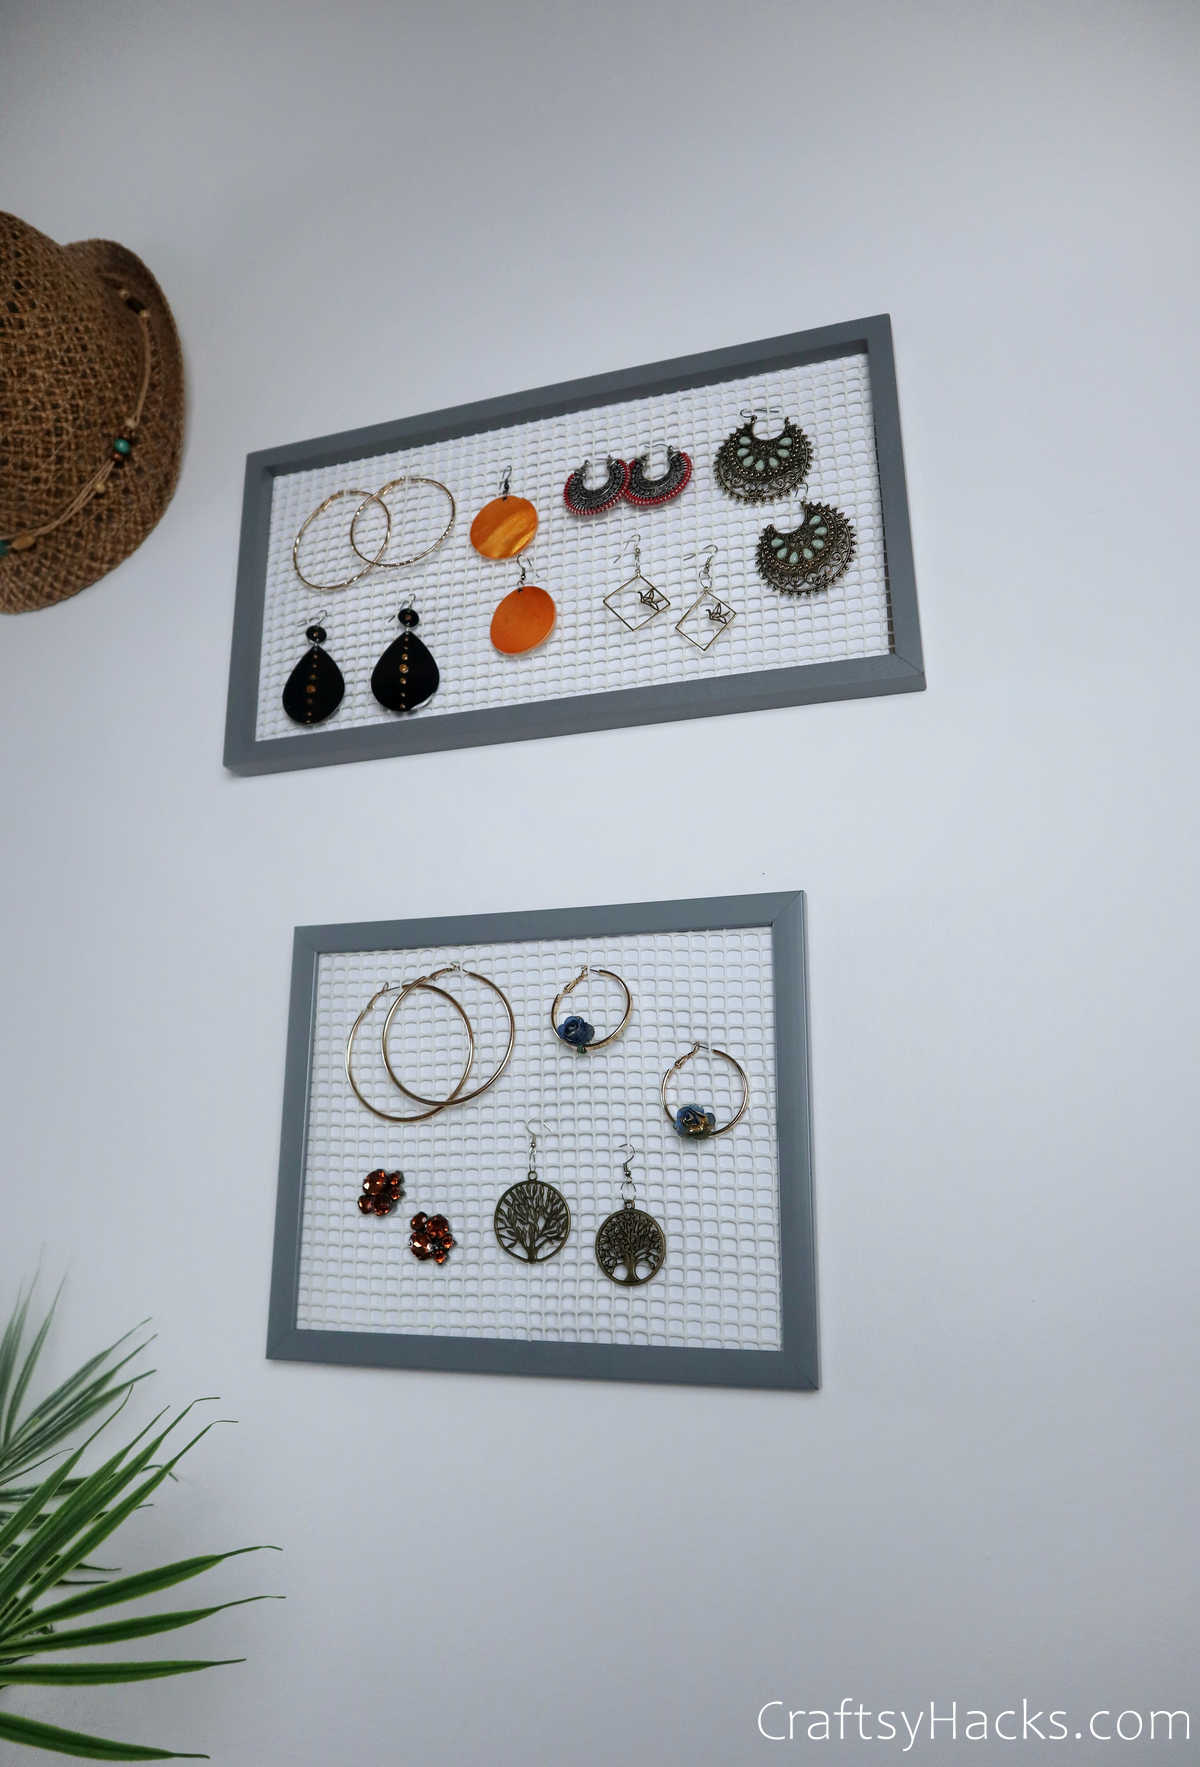
Alternatively, you can hang this organizer up on your wall and even use it as a decorative piece!
Step 6
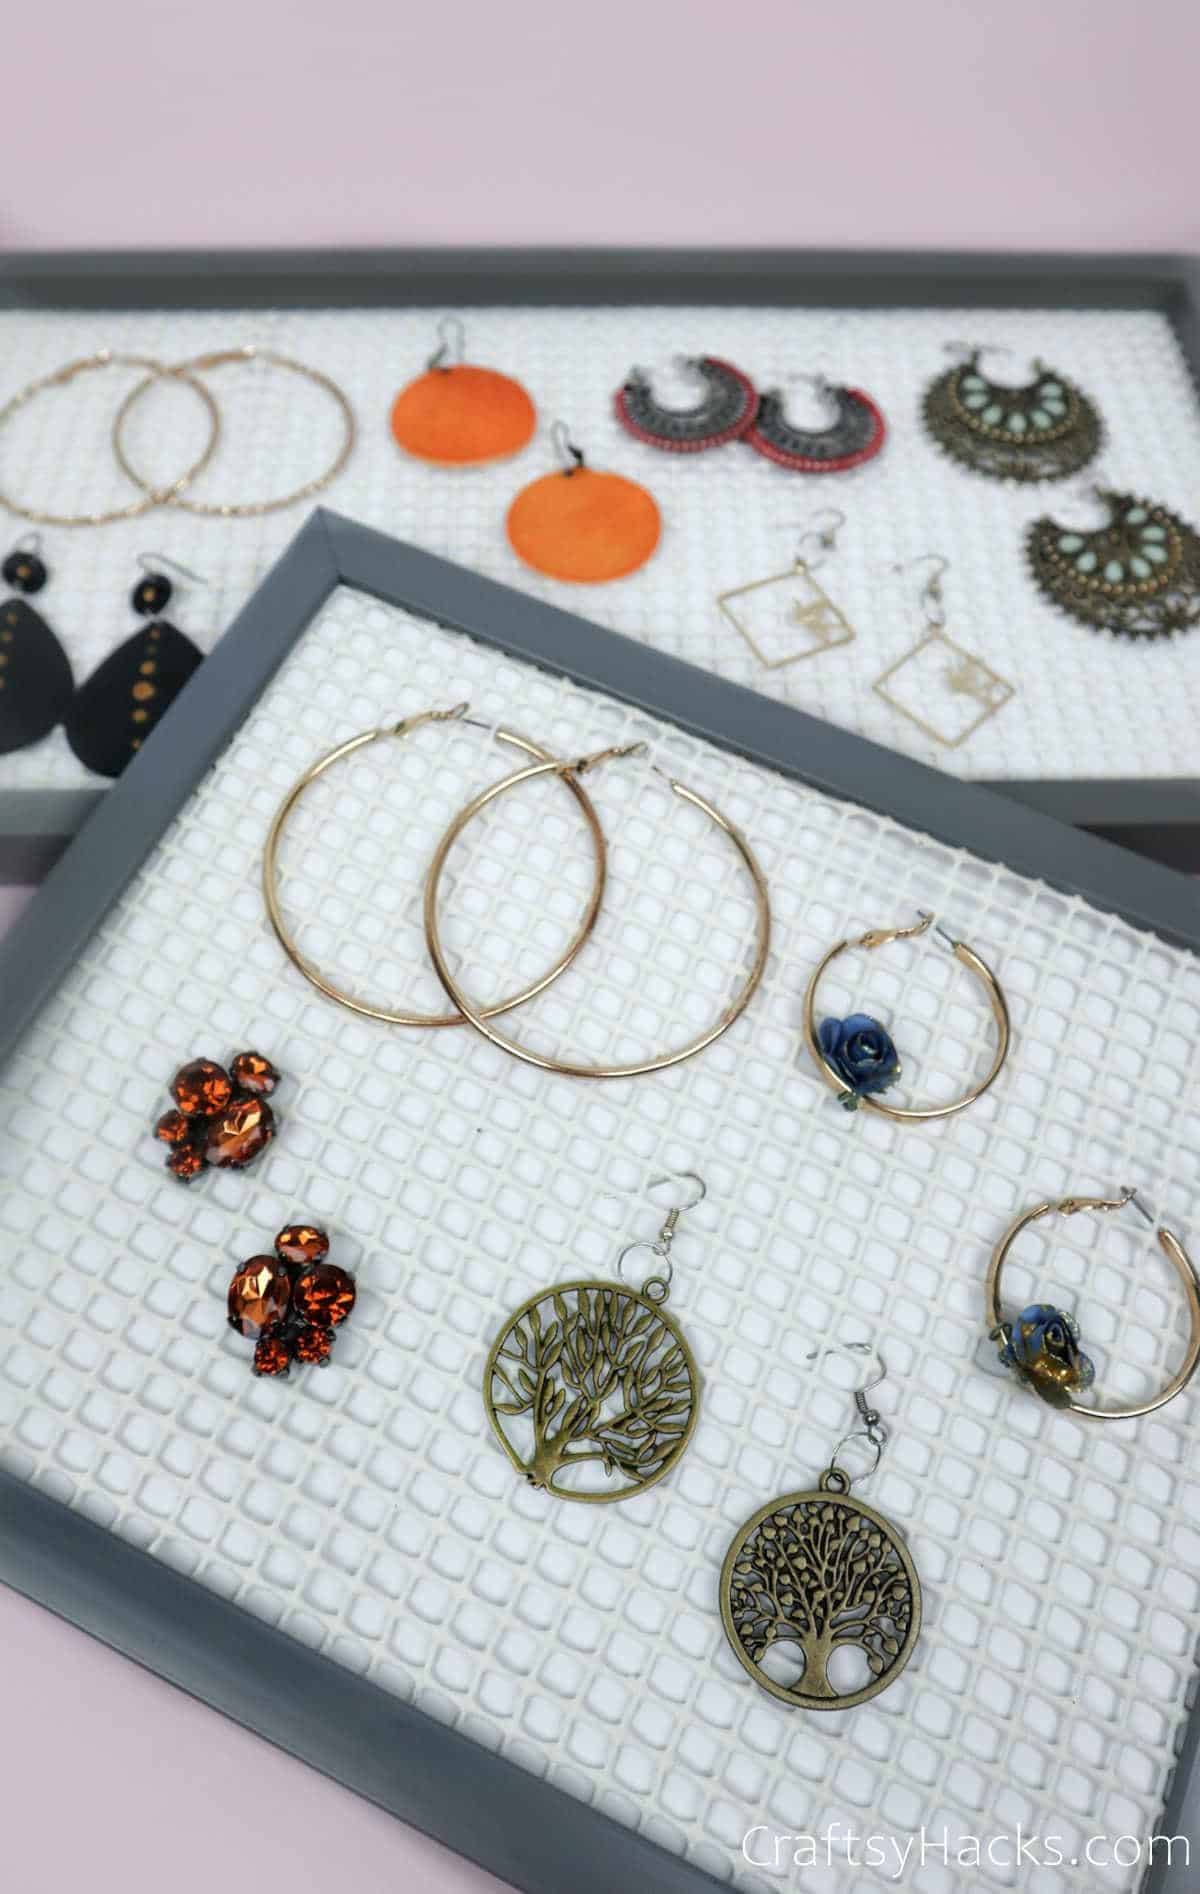
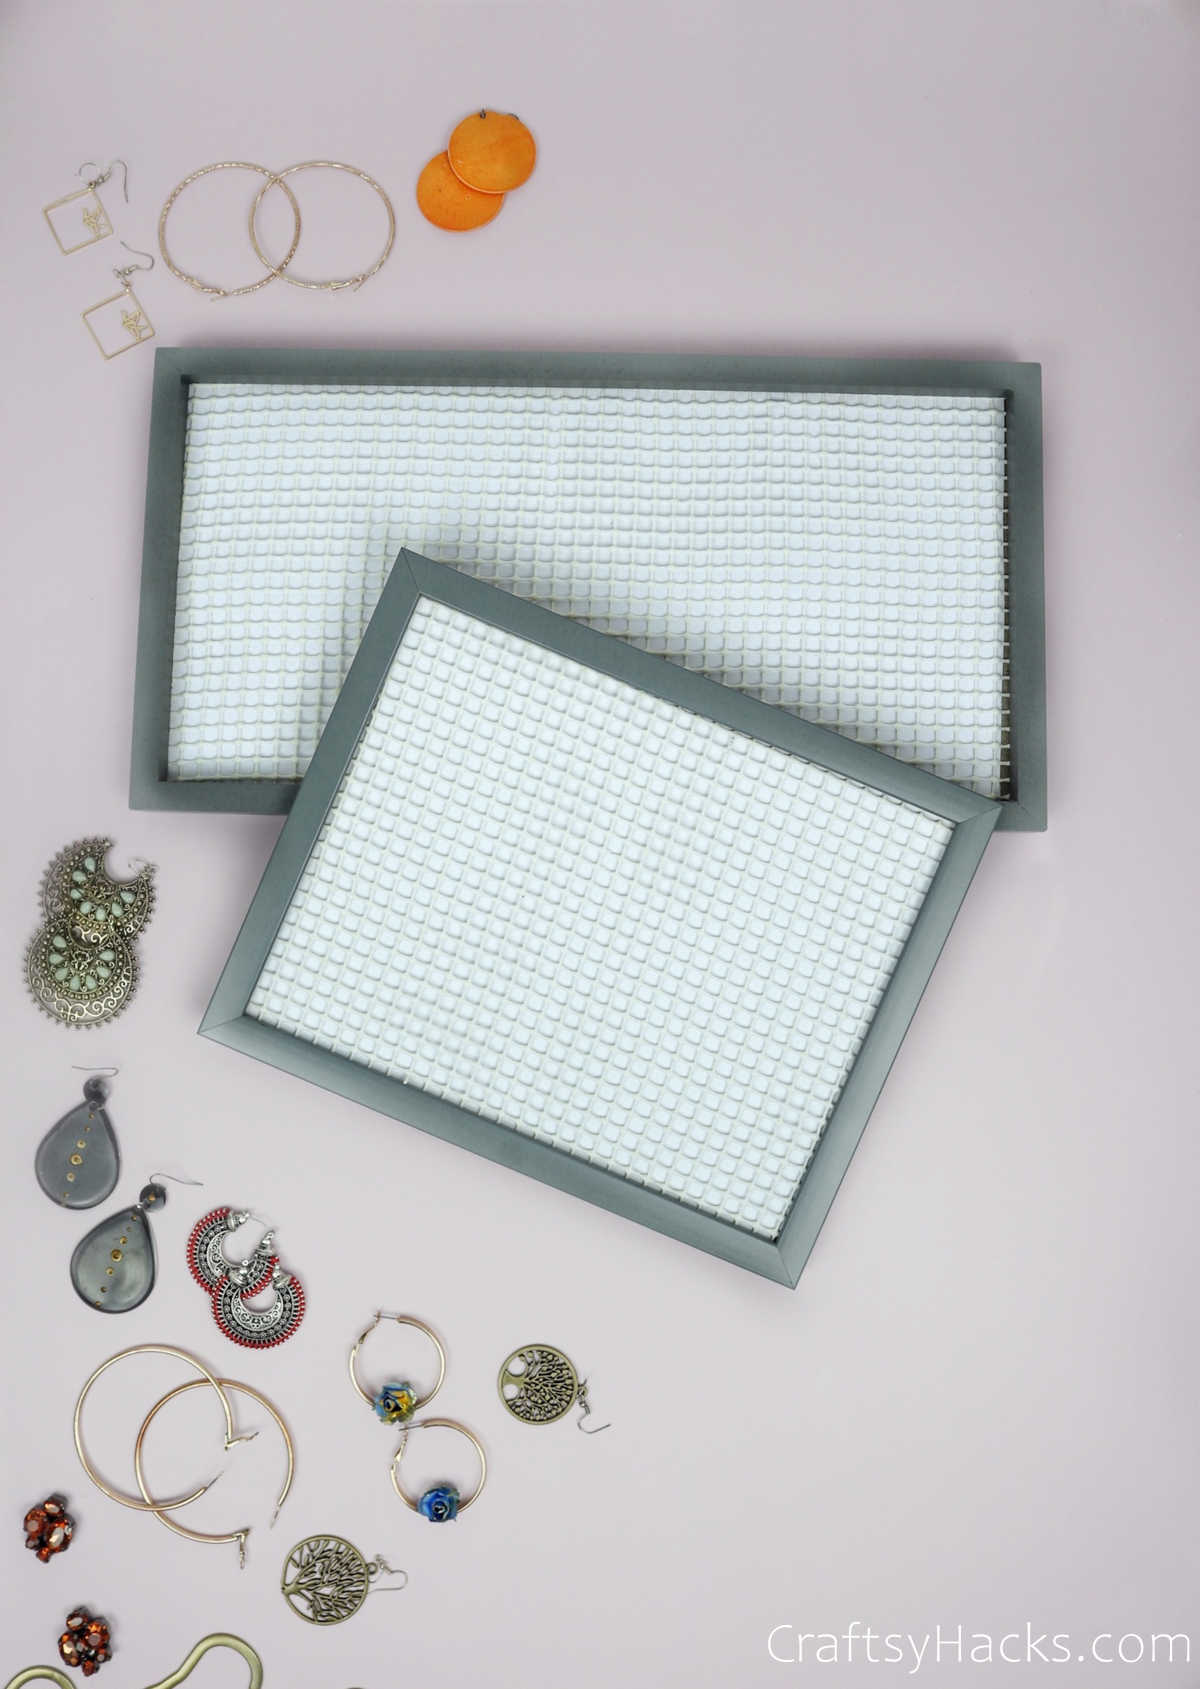
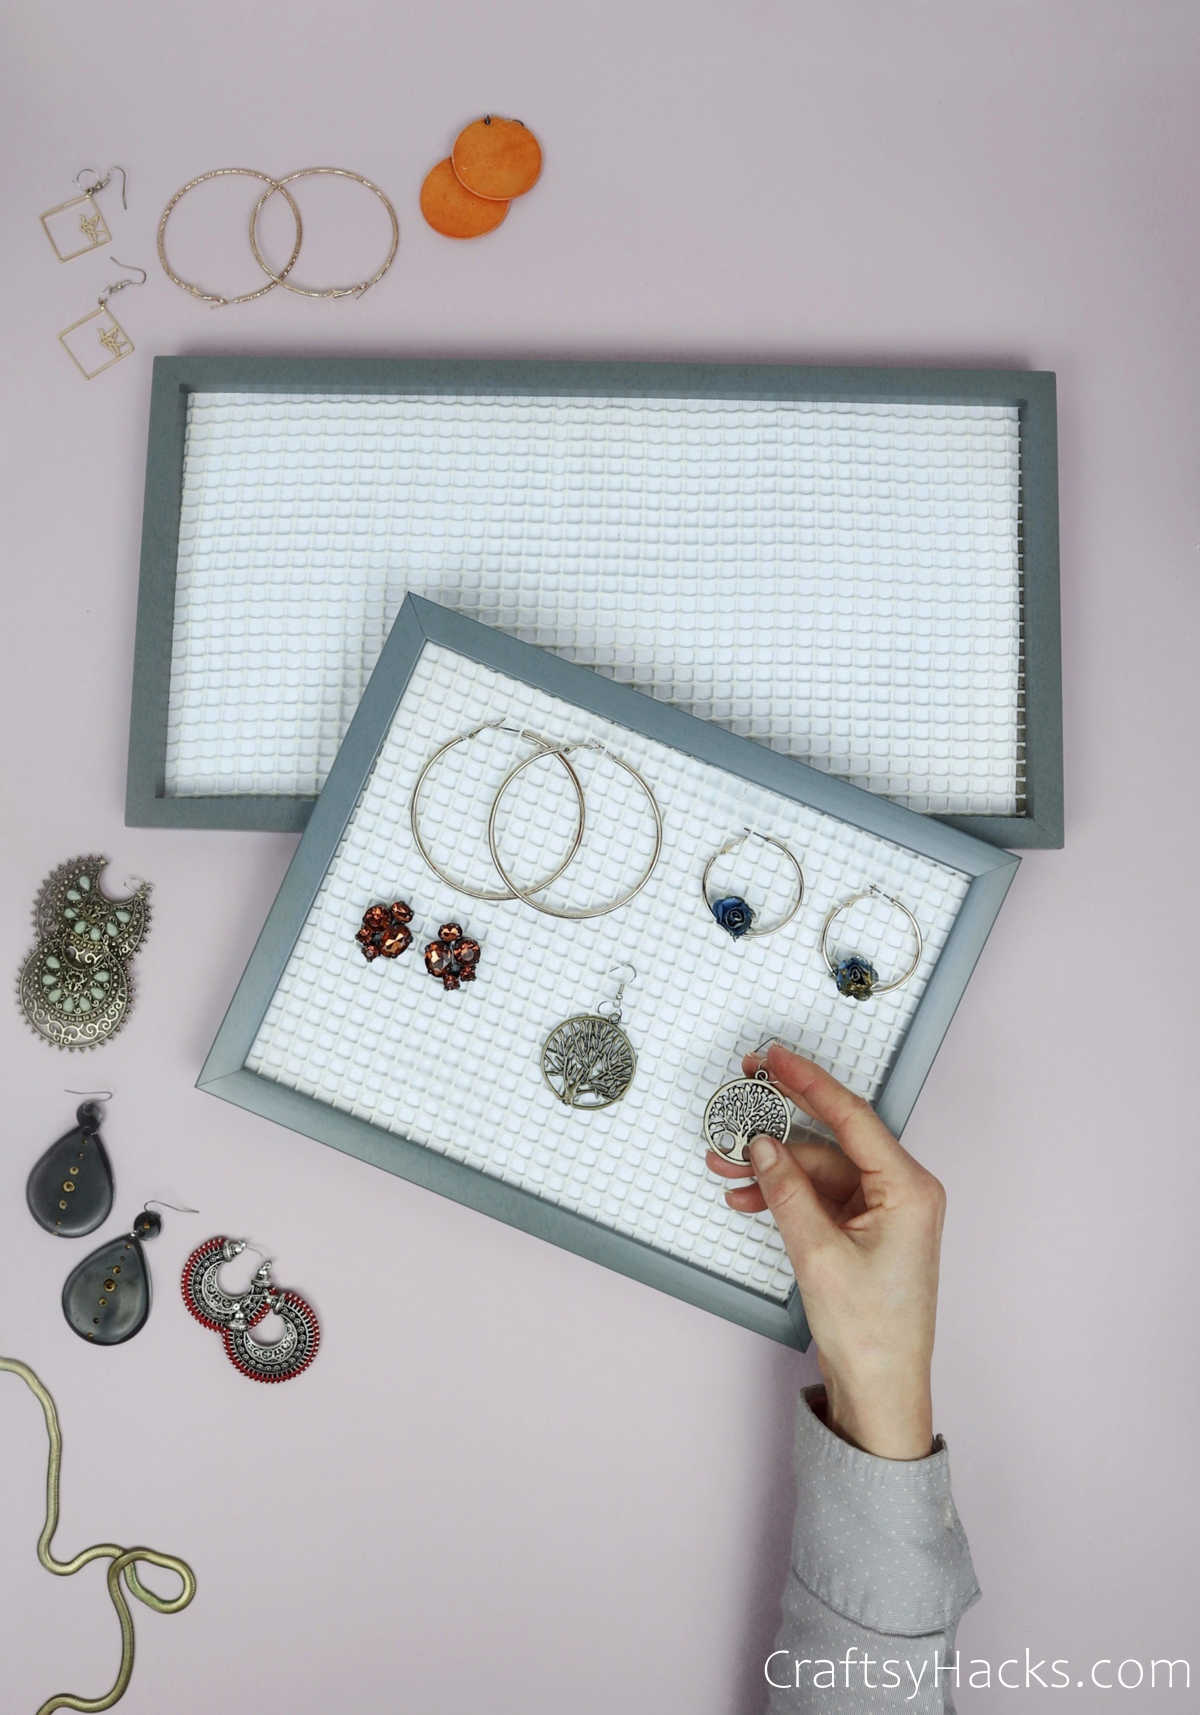
The final step? Just sort your jewelry out and hang them along the liner!
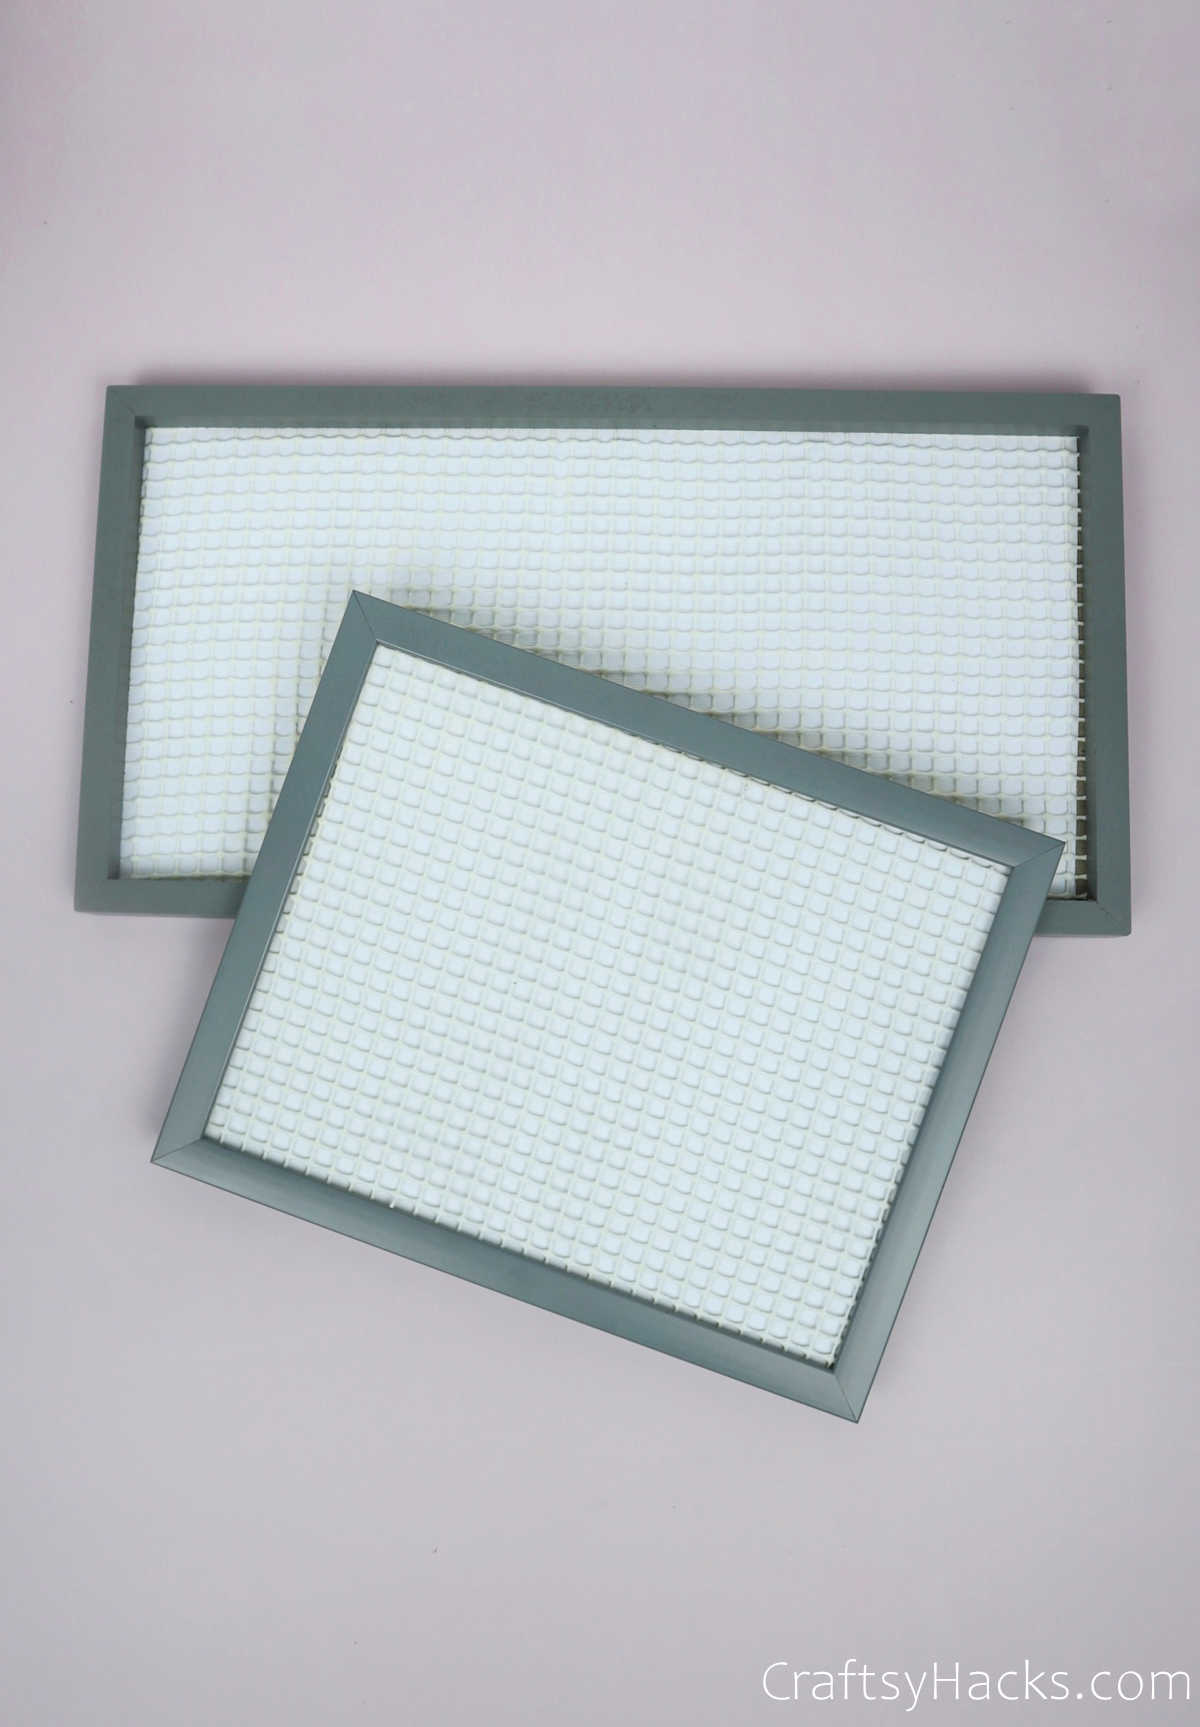
Your DIY earring organizer is ready! Mount it up on your table or hang it on your wall to display your amazing organization skills!
Here are 47 ingenious organization ideas to help you stay clutter-free and organized all over your home!
Other Organizing Ideas You Might Like
- DIY Hanging Organizer
- DIY Desk Organizer Out of Cereal Boxes
- 21 Dollar Tree Storage Ideas
- 40 Small Bedroom Organization Ideas
- 15 Small Item Organization Ideas
- 25 Craft Room Organizing Ideas
DIY Earring Organizer
Video Tutorial
Equipment
- Scissors
Materials
- Photo frame Use Dollar Store frames on low budget
- Shelf liner
Instructions
- Gather your supplies and disassemble the photo frame.
- Measure the dimensions of the photo frame.
- Cut out the shelf liner—it can be a little bigger than the proportions of the frame. This will help you stretch the liner out and secure it in place towards the end.
- Turn the photo in the frame over to get a white backdrop, or use any other colored paper or photos.
- Place the liner over the paper.
- Pop the frame back into place and assemble the entire frame. Secure the paper and the shelf liner with the cardboard protective cover.