DIY Macrame Bracelet (Step-by-Step)
This post may contain affiliate links: full affiliate disclosure.
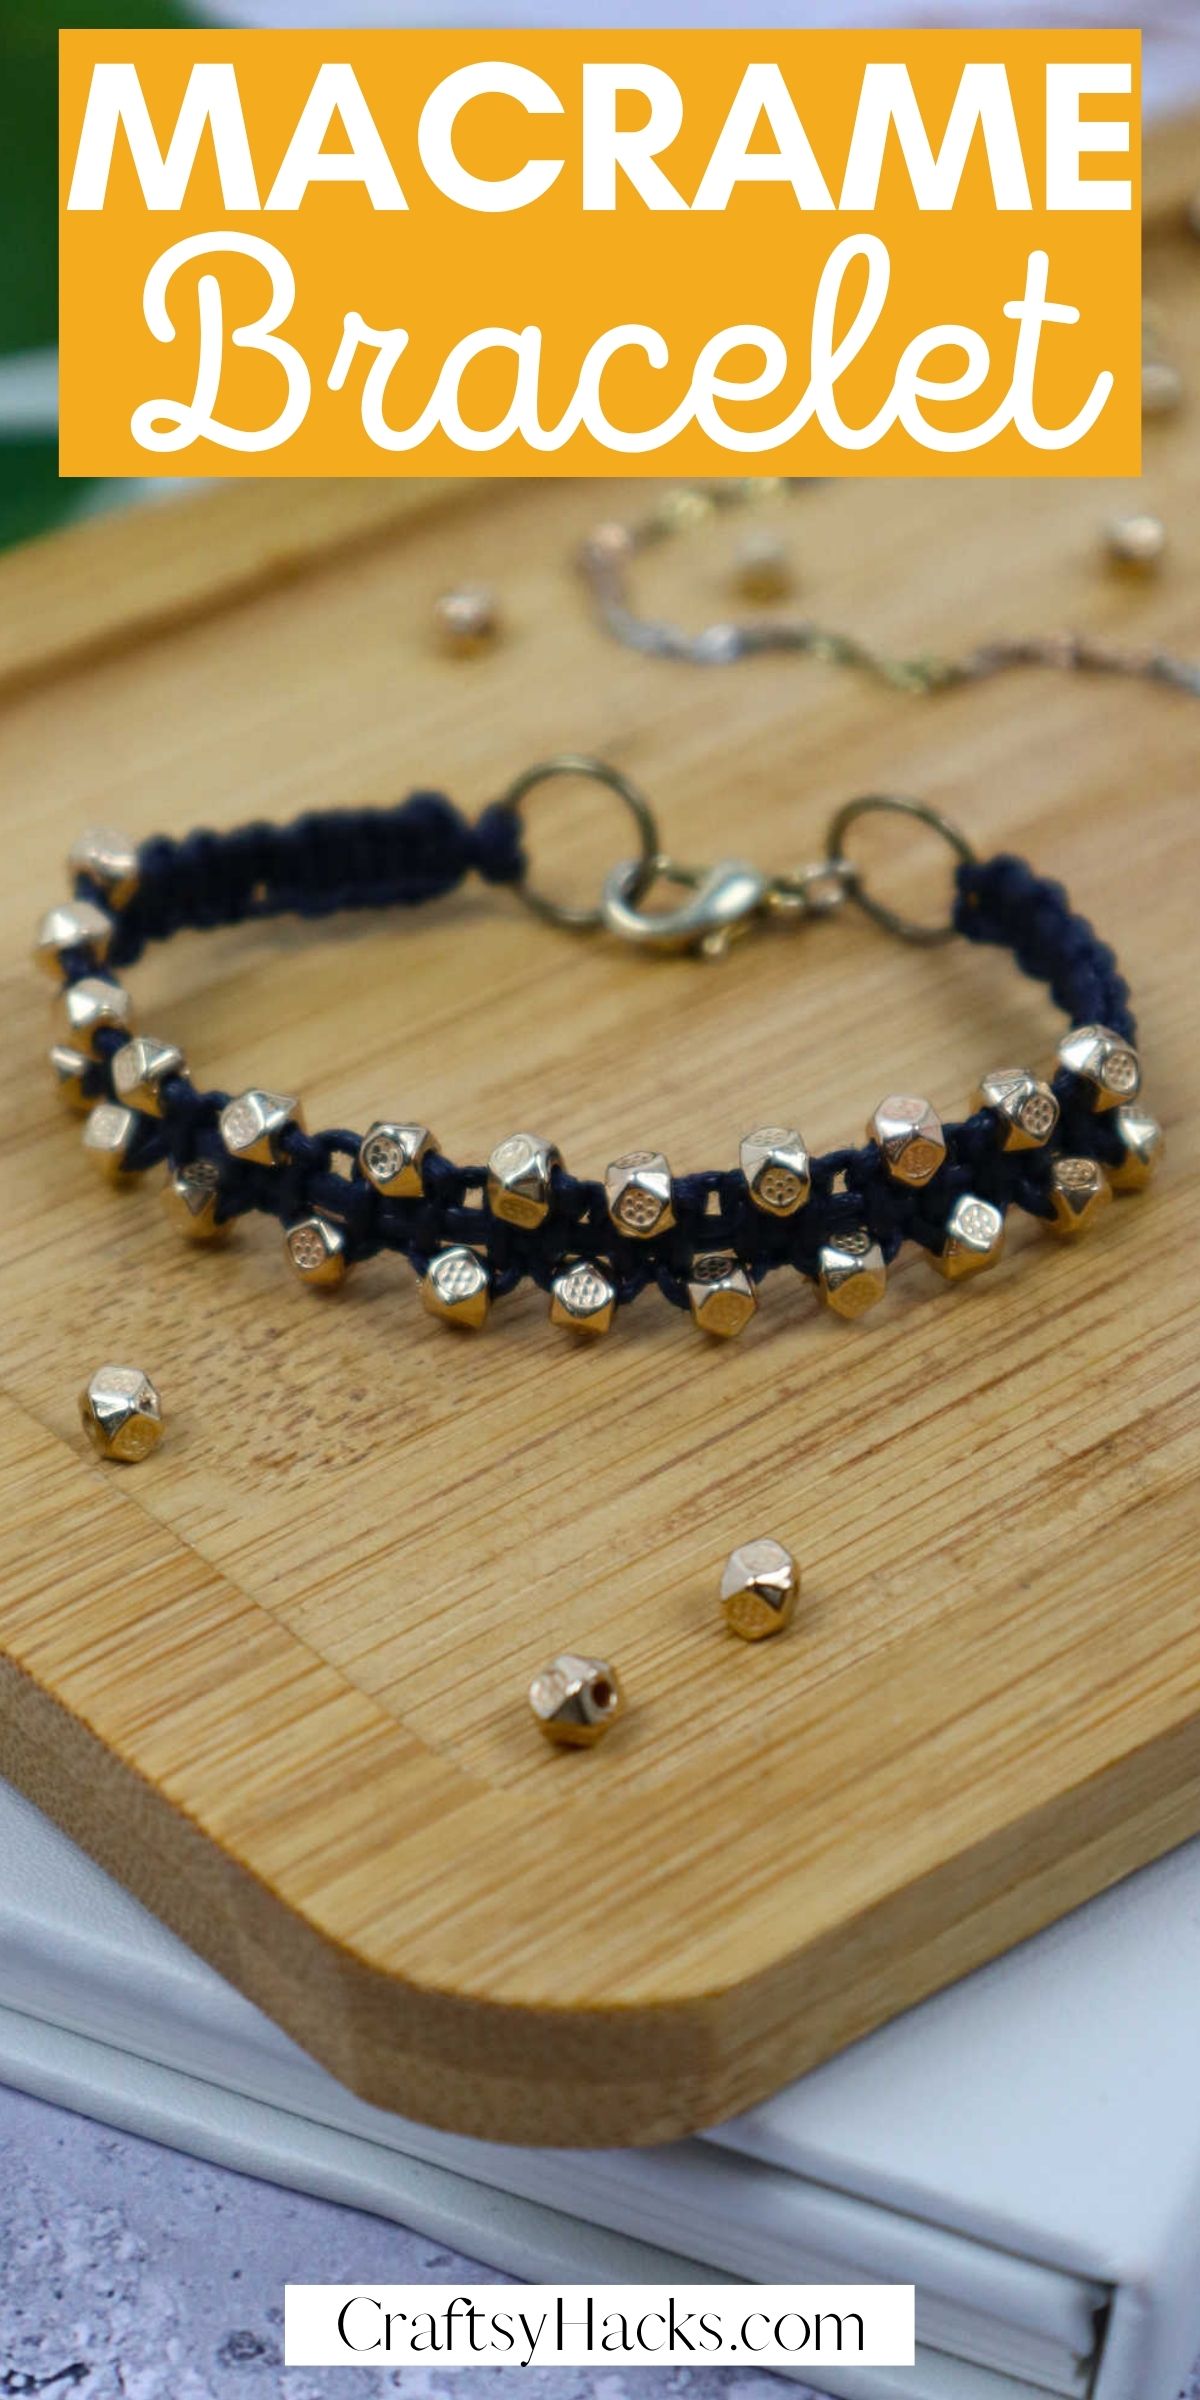
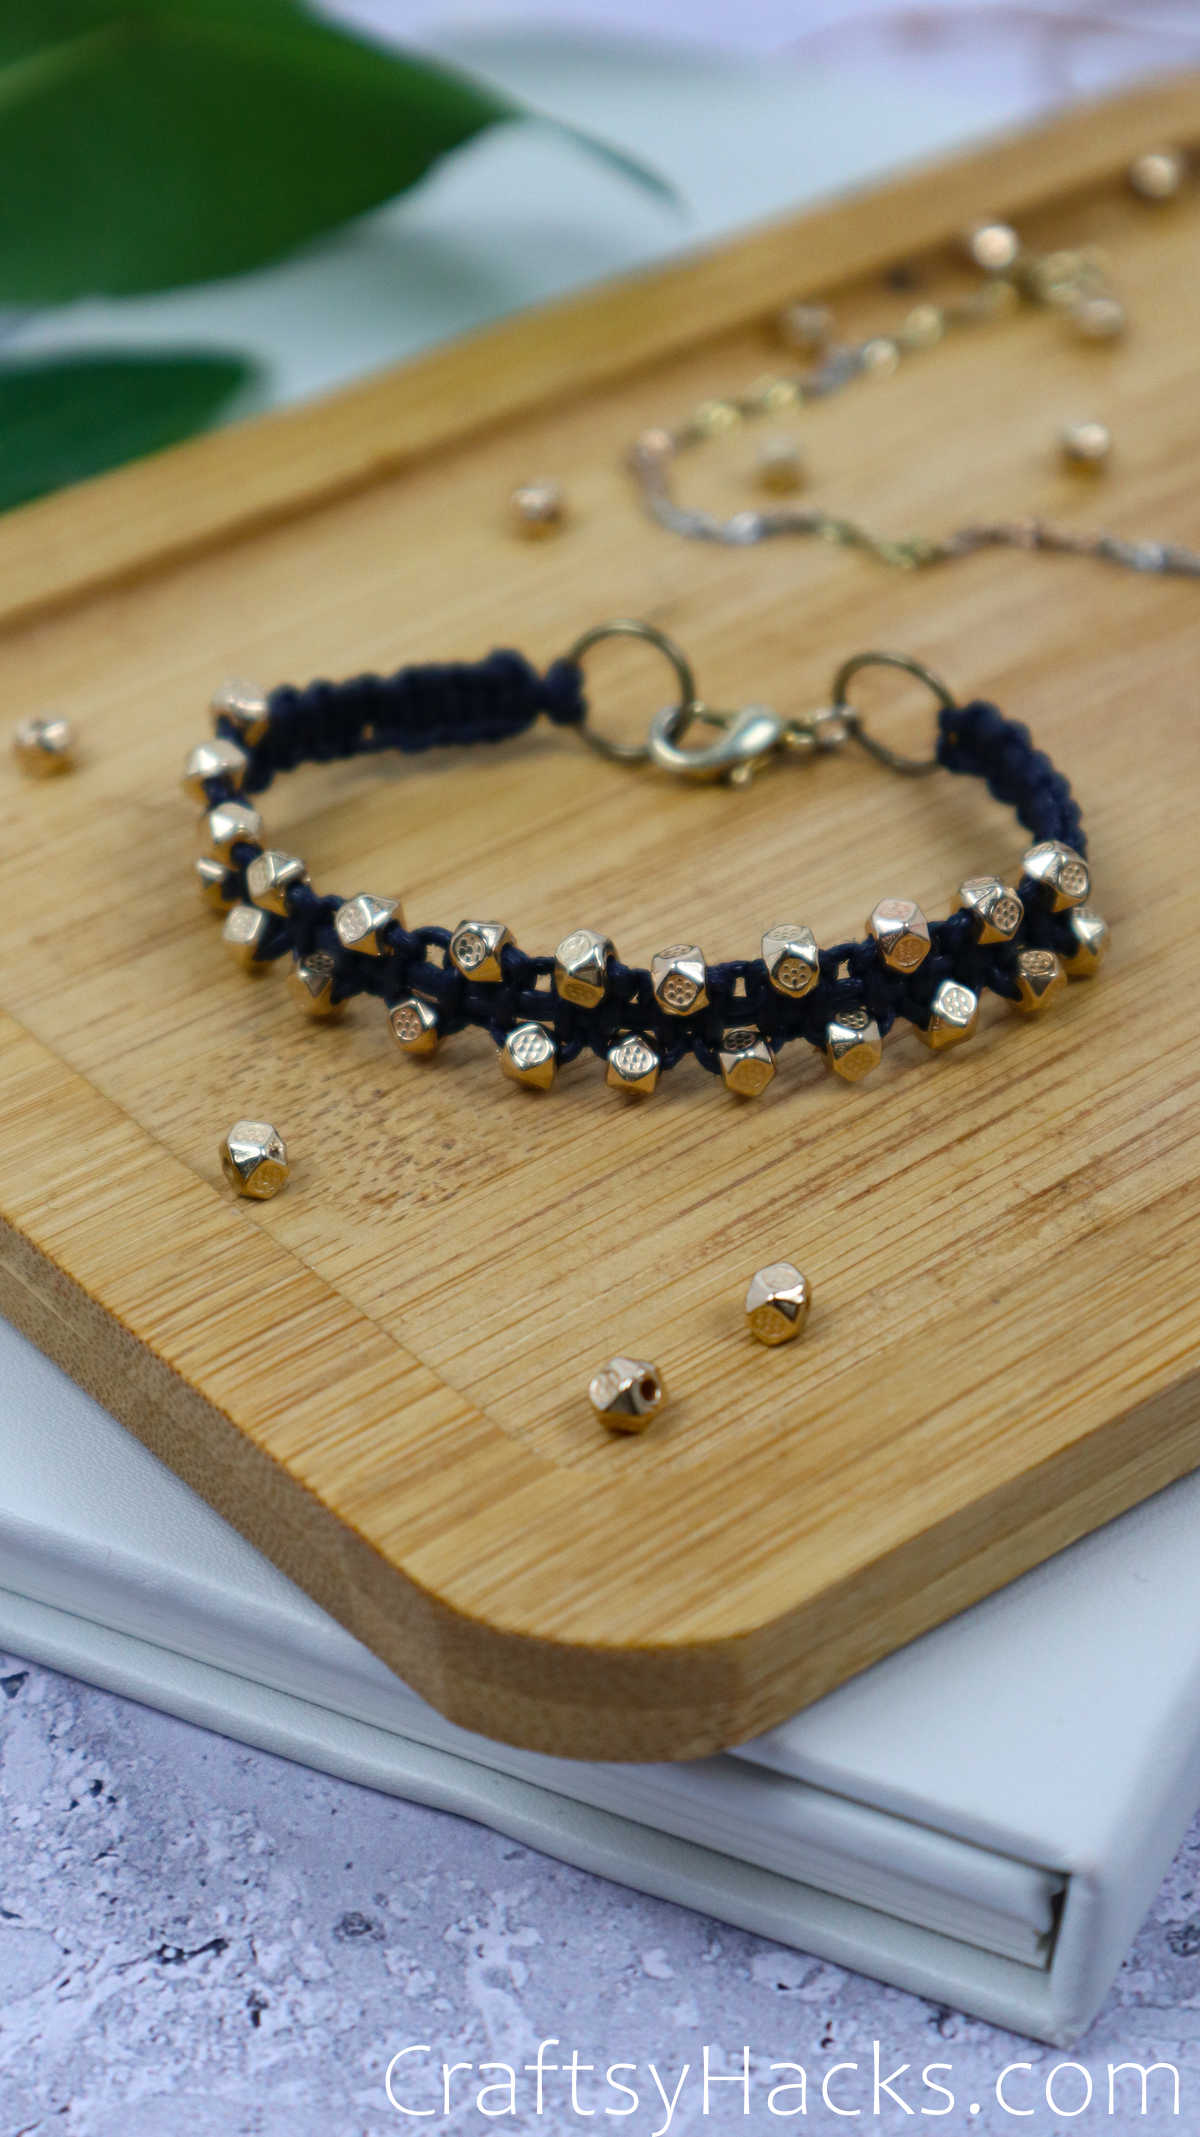
Need an easy macrame project? Make this DIY macrame bracelet. A perfect DIY project for teens and adults.
It’s a beginner-friendly craft that offers a good way to start your macrame project journey.
Don’t you just love making cute jewelry at home? There are so many choices, so many ways you can upcycle the things you already have at hand and make something new, unique and fabulous, like this macrame bracelet, for example!
You can jazz up your macrame bracelet with beads, metal links, chains, and other embellishments. YOu can also use them as party favors if you make a few ahead of time and store them.
So, are you ready to get started on making these macrame bracelets?
Supplies You’ll Need
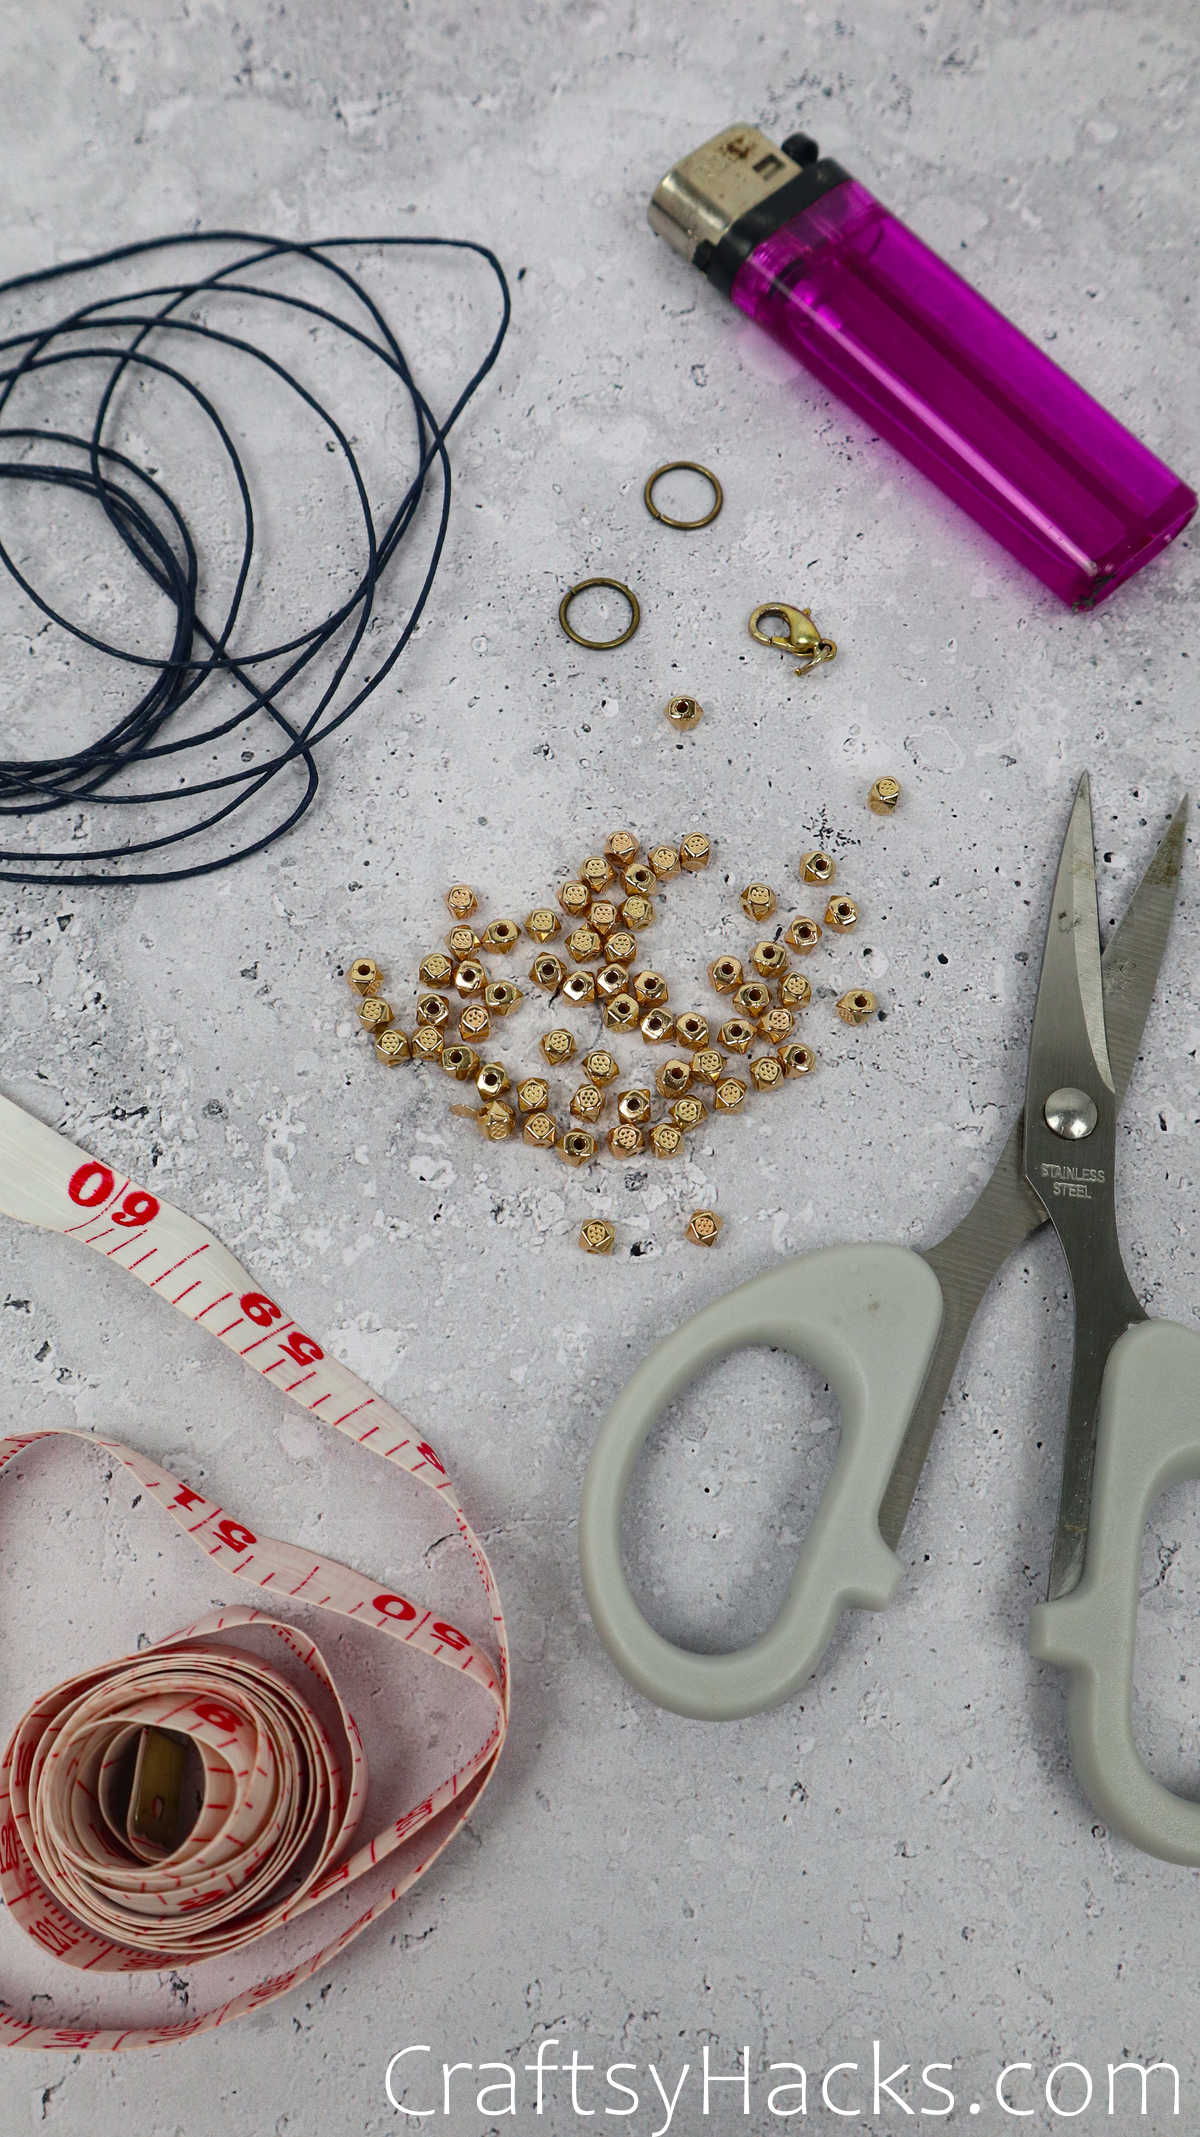
Here’s a list of things you’ll need to get started:
- 72″ Nylon cord (0.8mm)
- Scissors
- Measure tape
- 2x lobster clasps
- 2x jump rings (0.9mm)
- 3mm beads
- Lighter
- Clear tape (optional)
How to Make Macrame Bracelet
Once you’ve gathered all the supplies and have picked your favorite color cords, the beads and charms you want to use, go ahead and get started on making the bracelet.
Video Tutorial
Step 1
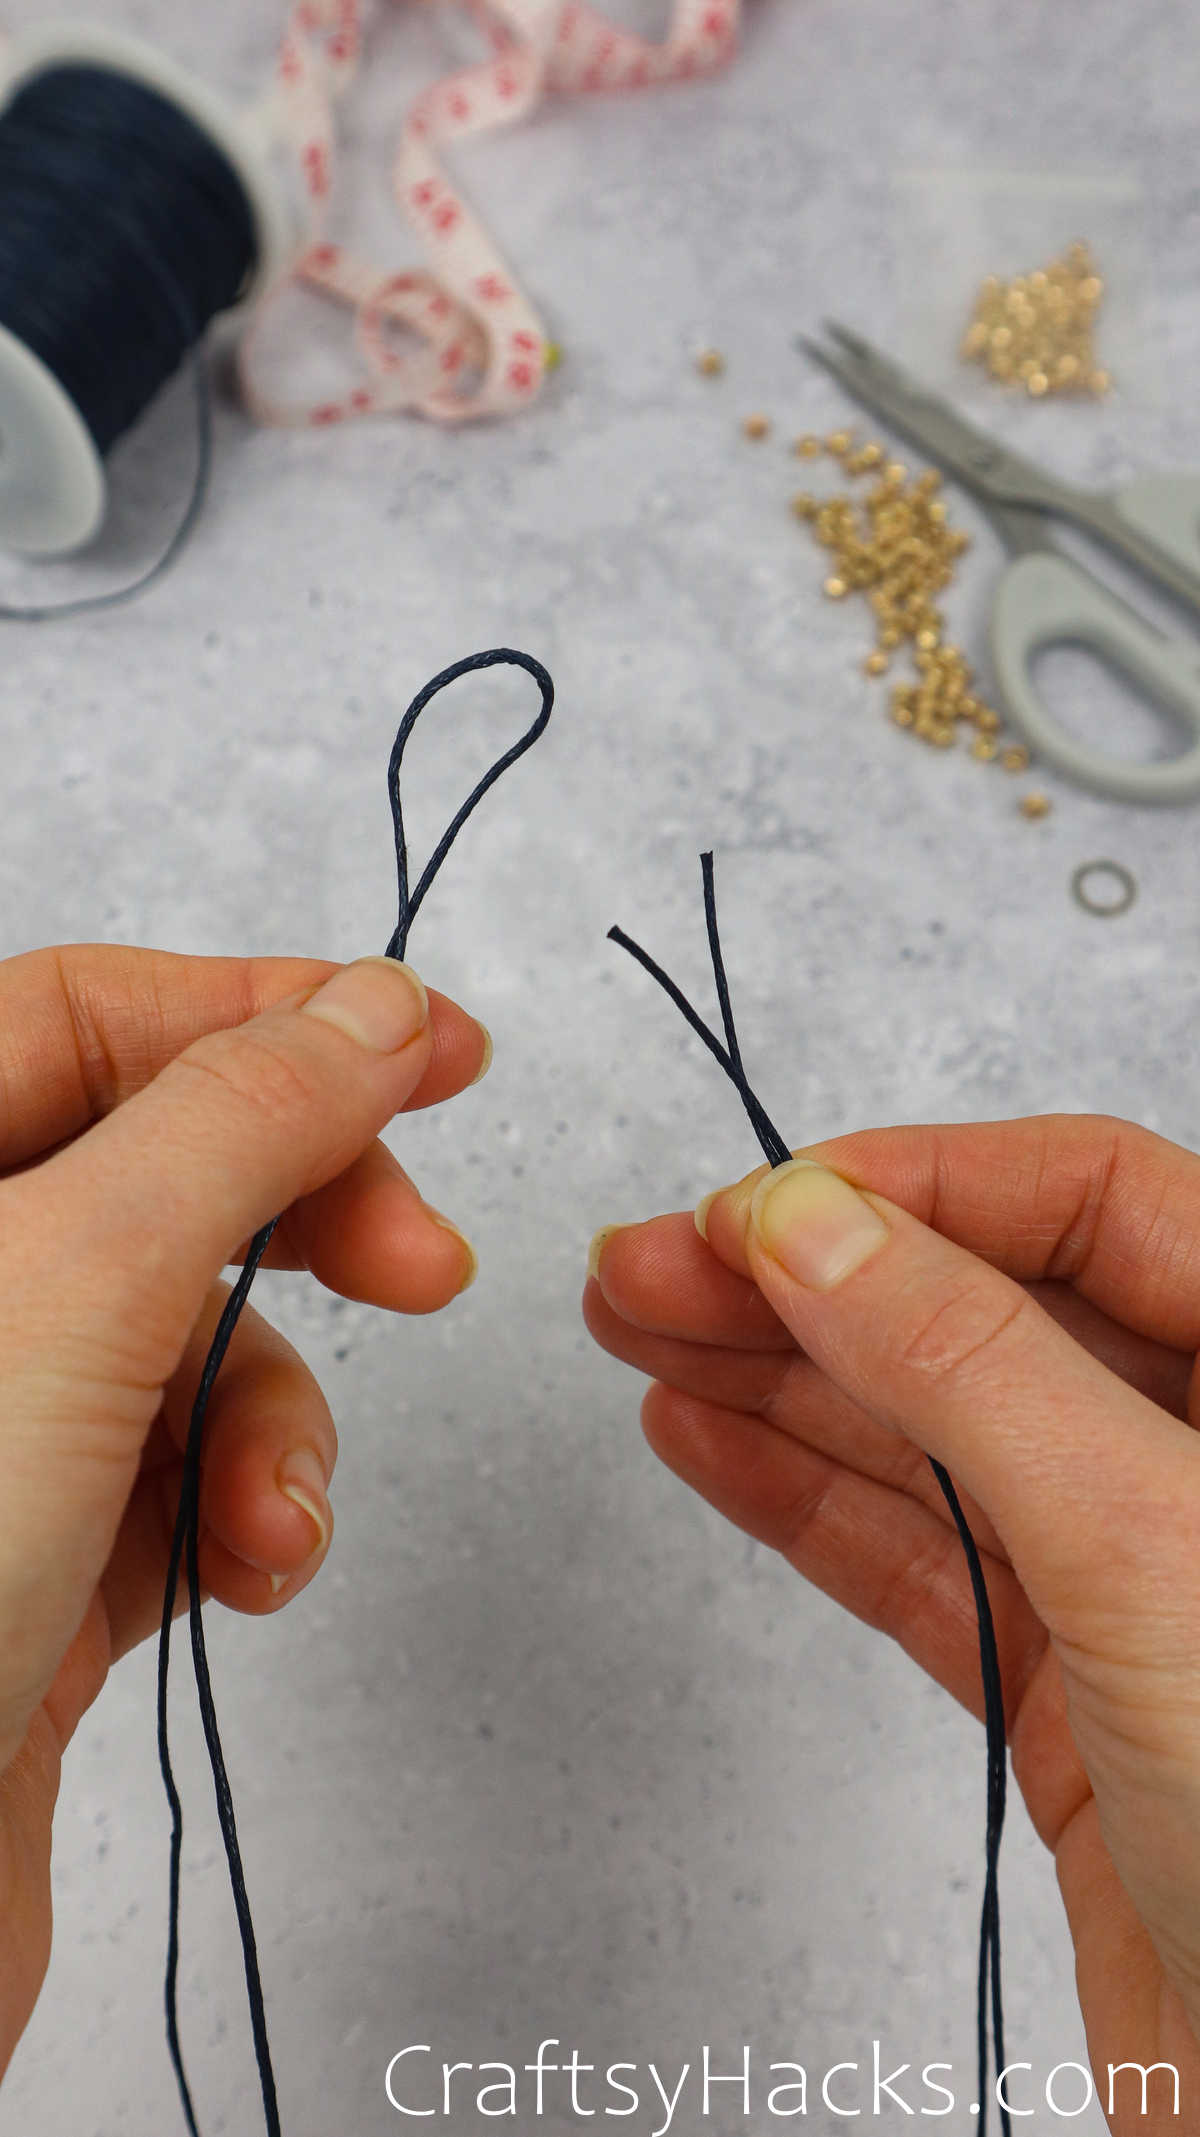
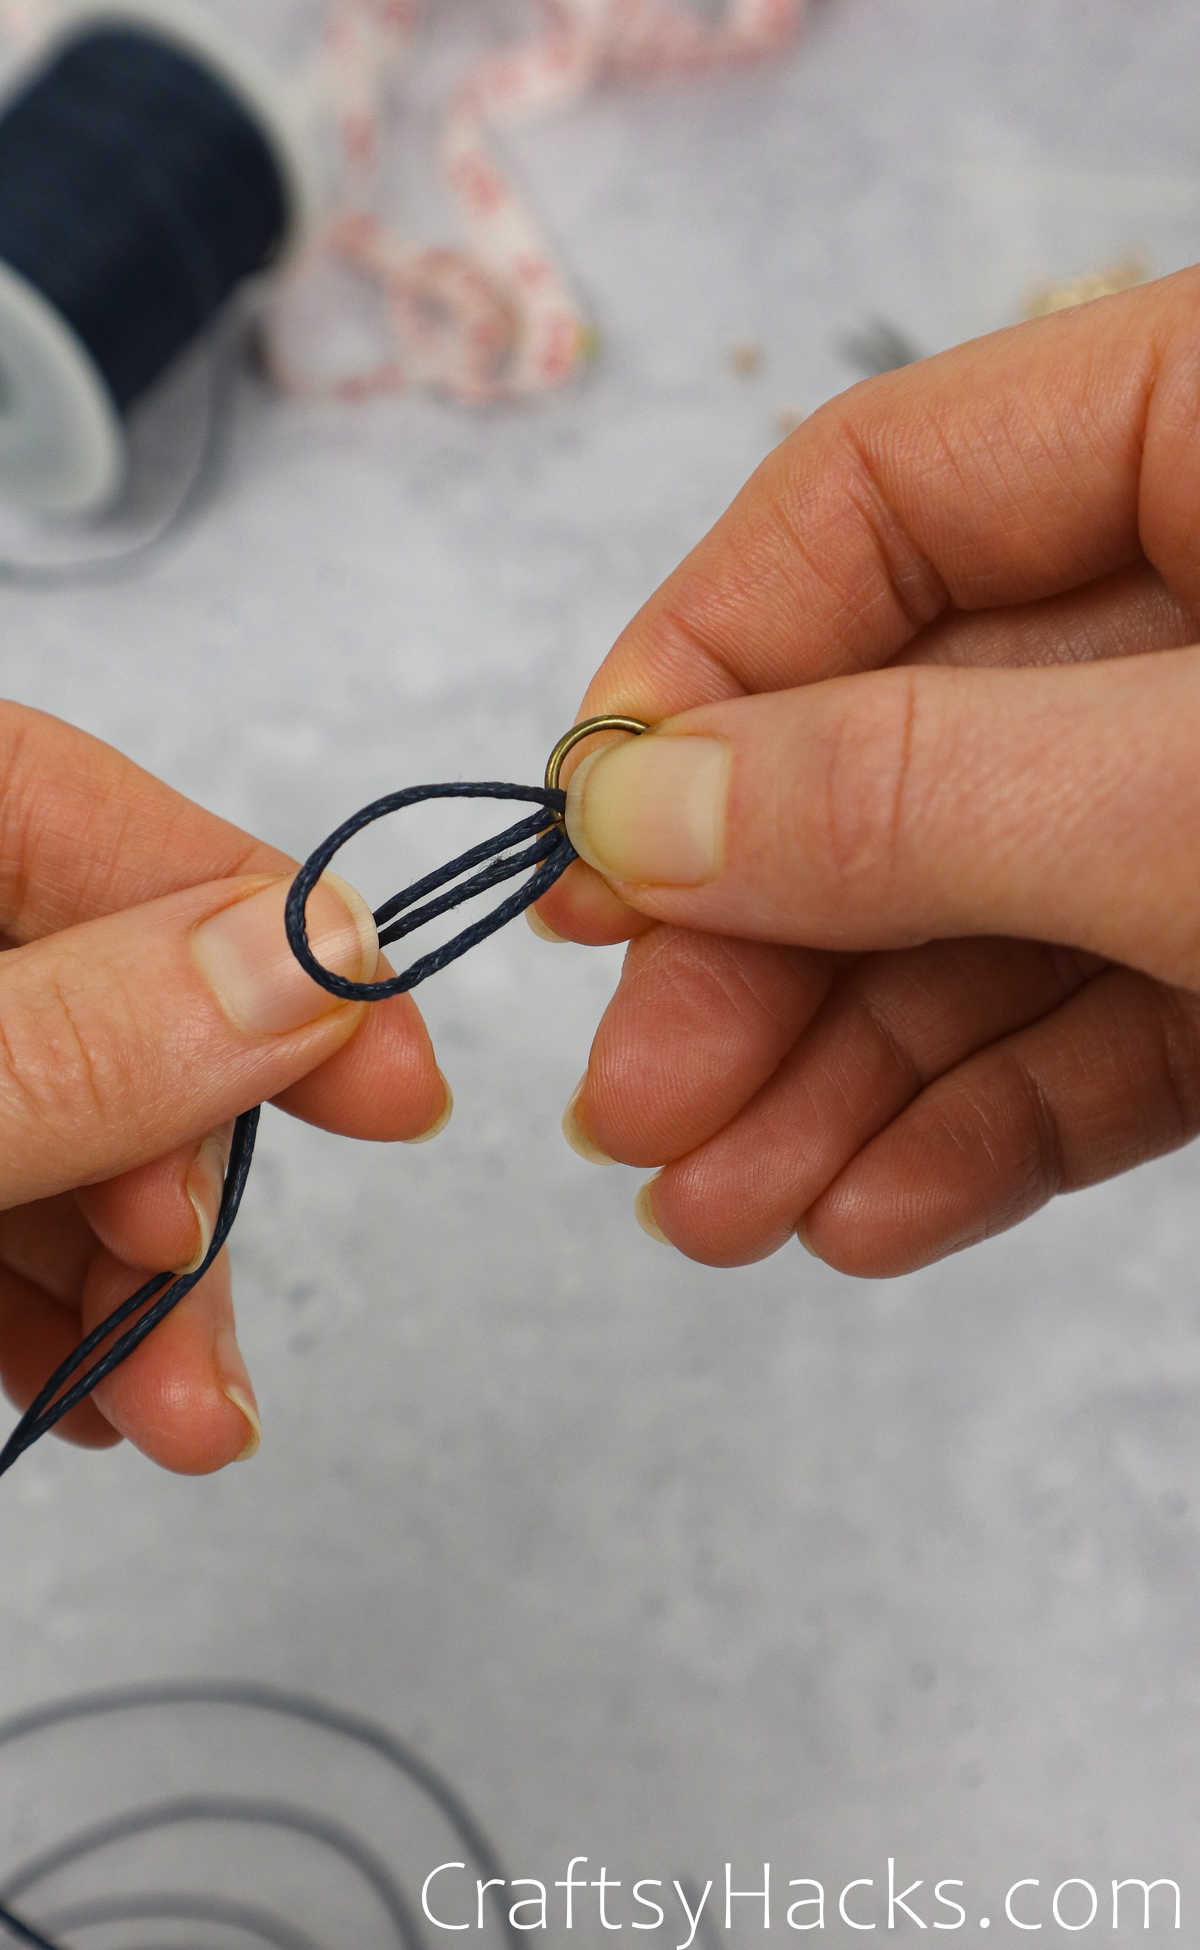
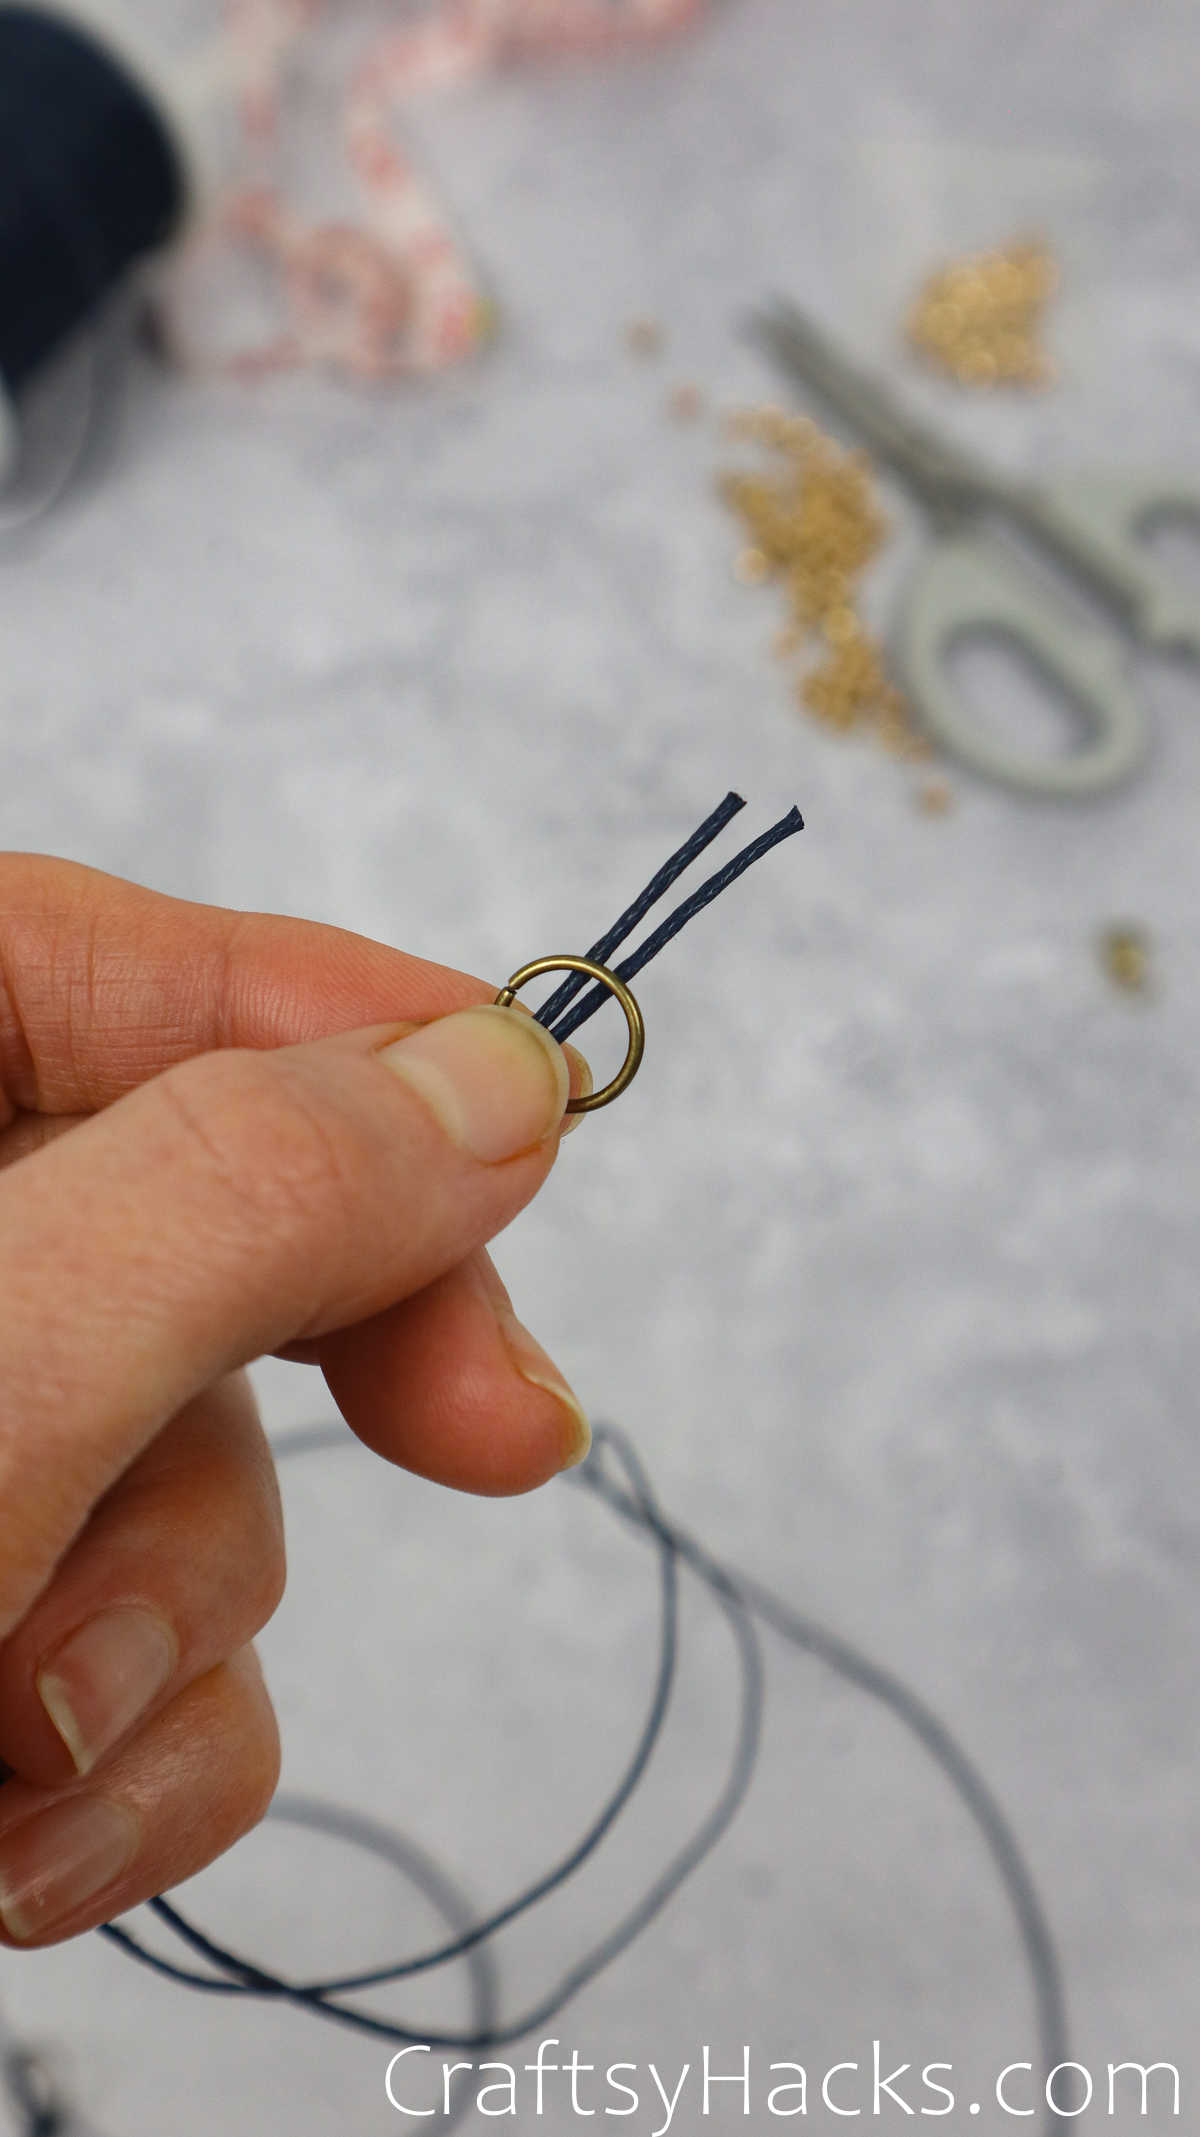
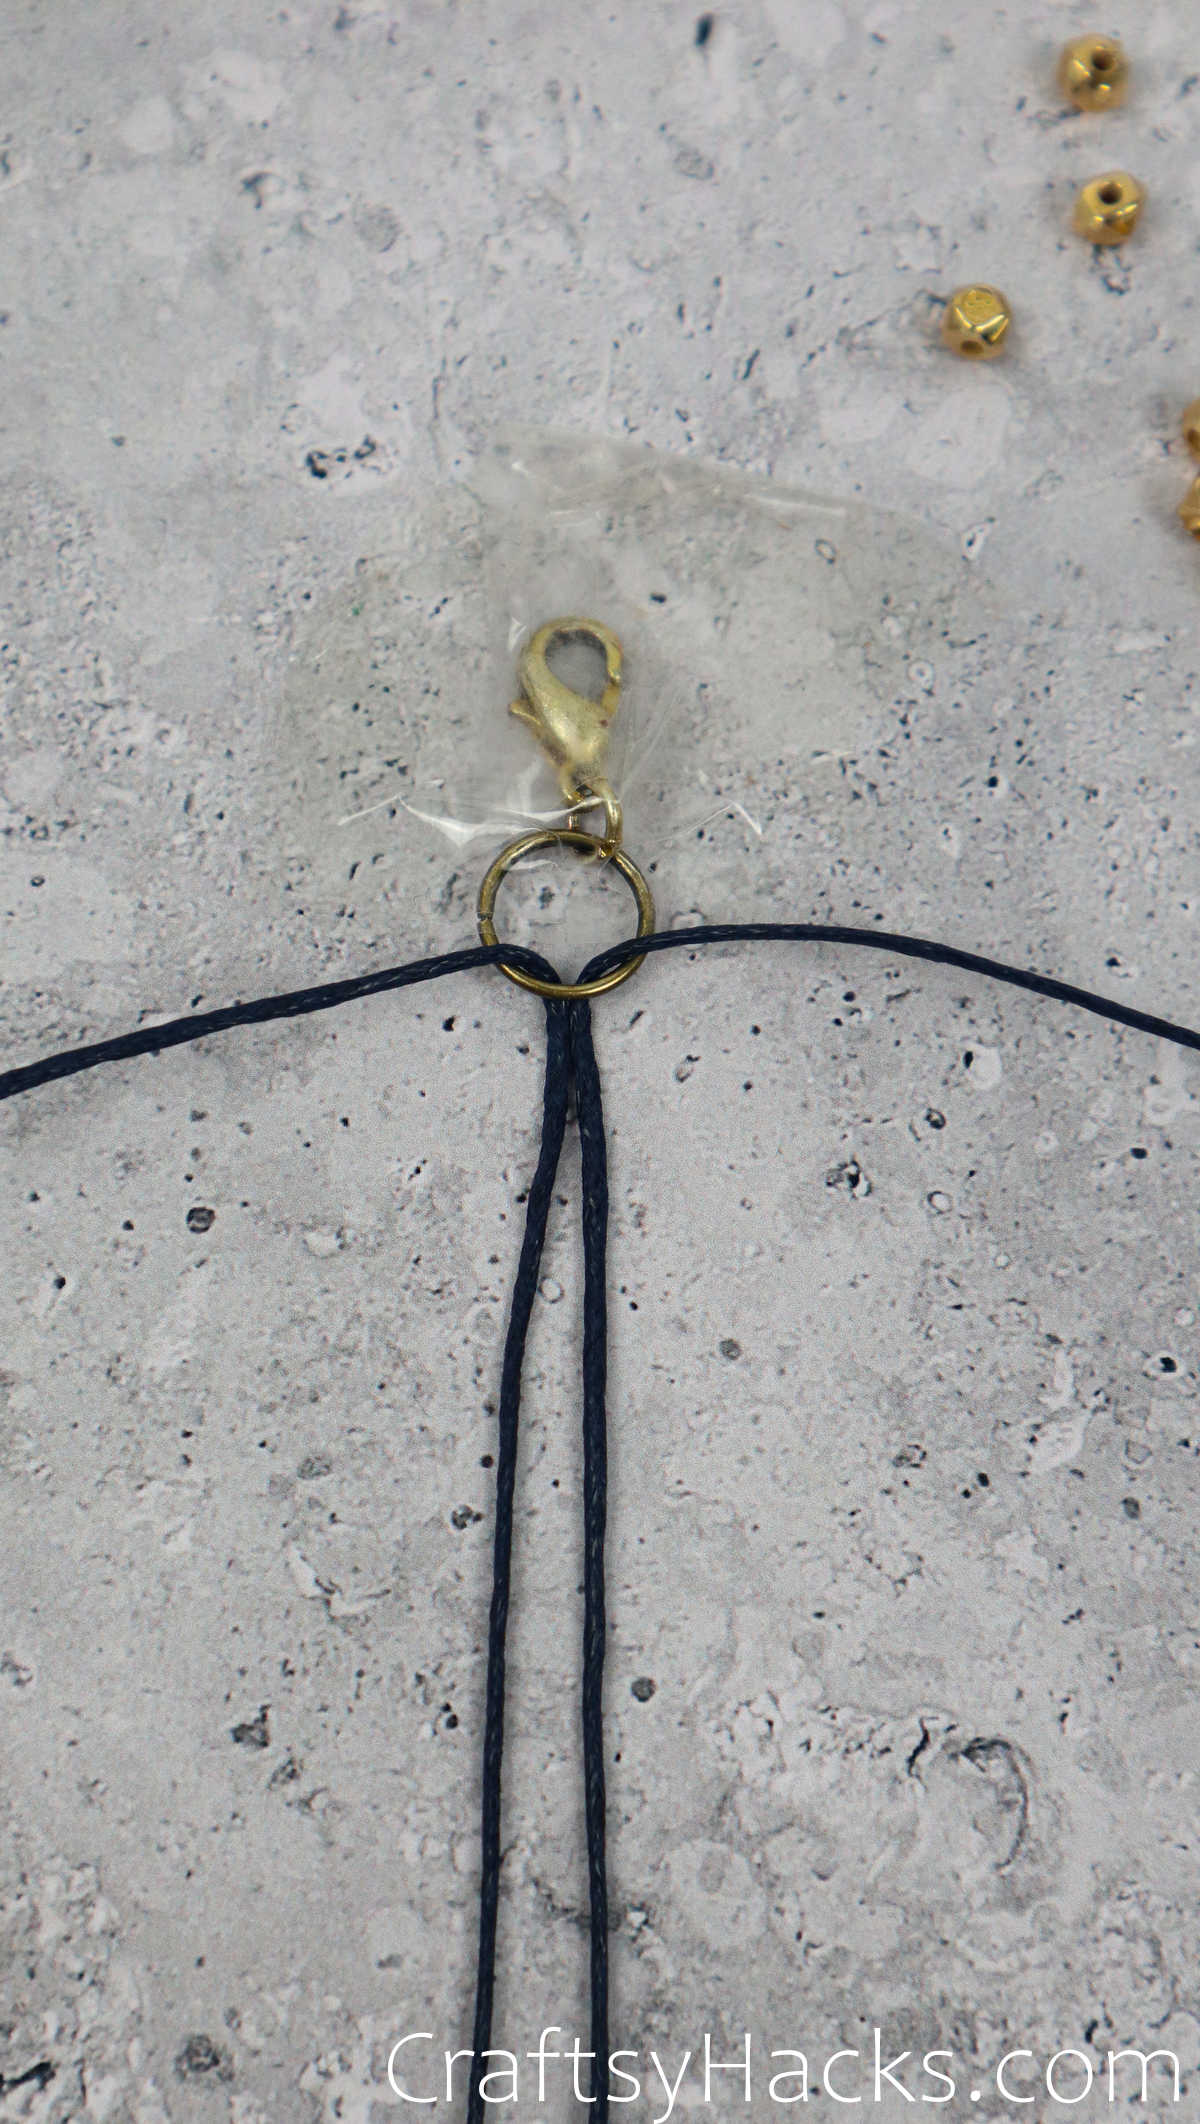
The first step is to take your nylon cord and fold it in half. You’ll have a loop on one side and two ends on the other.
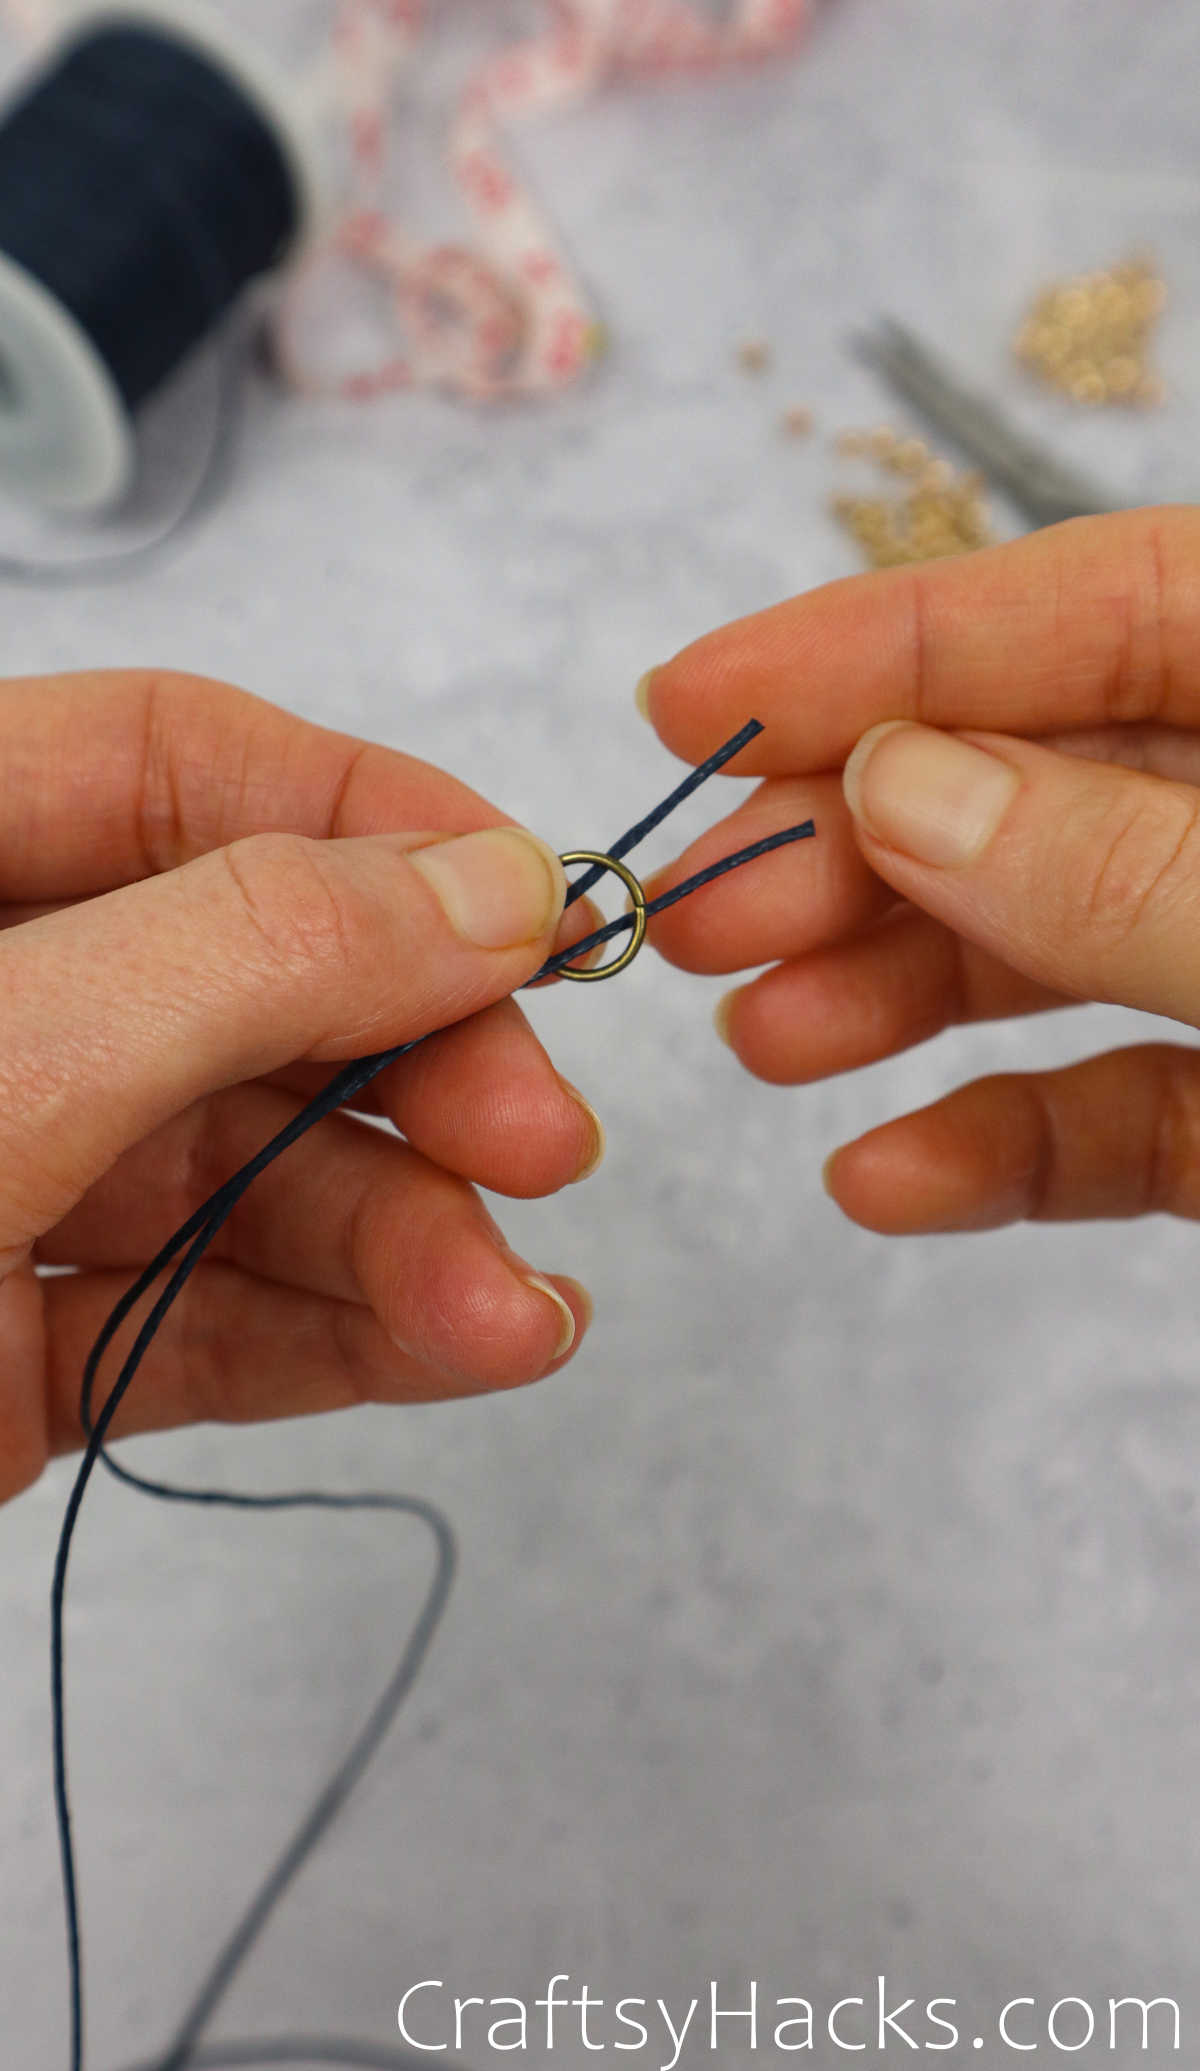
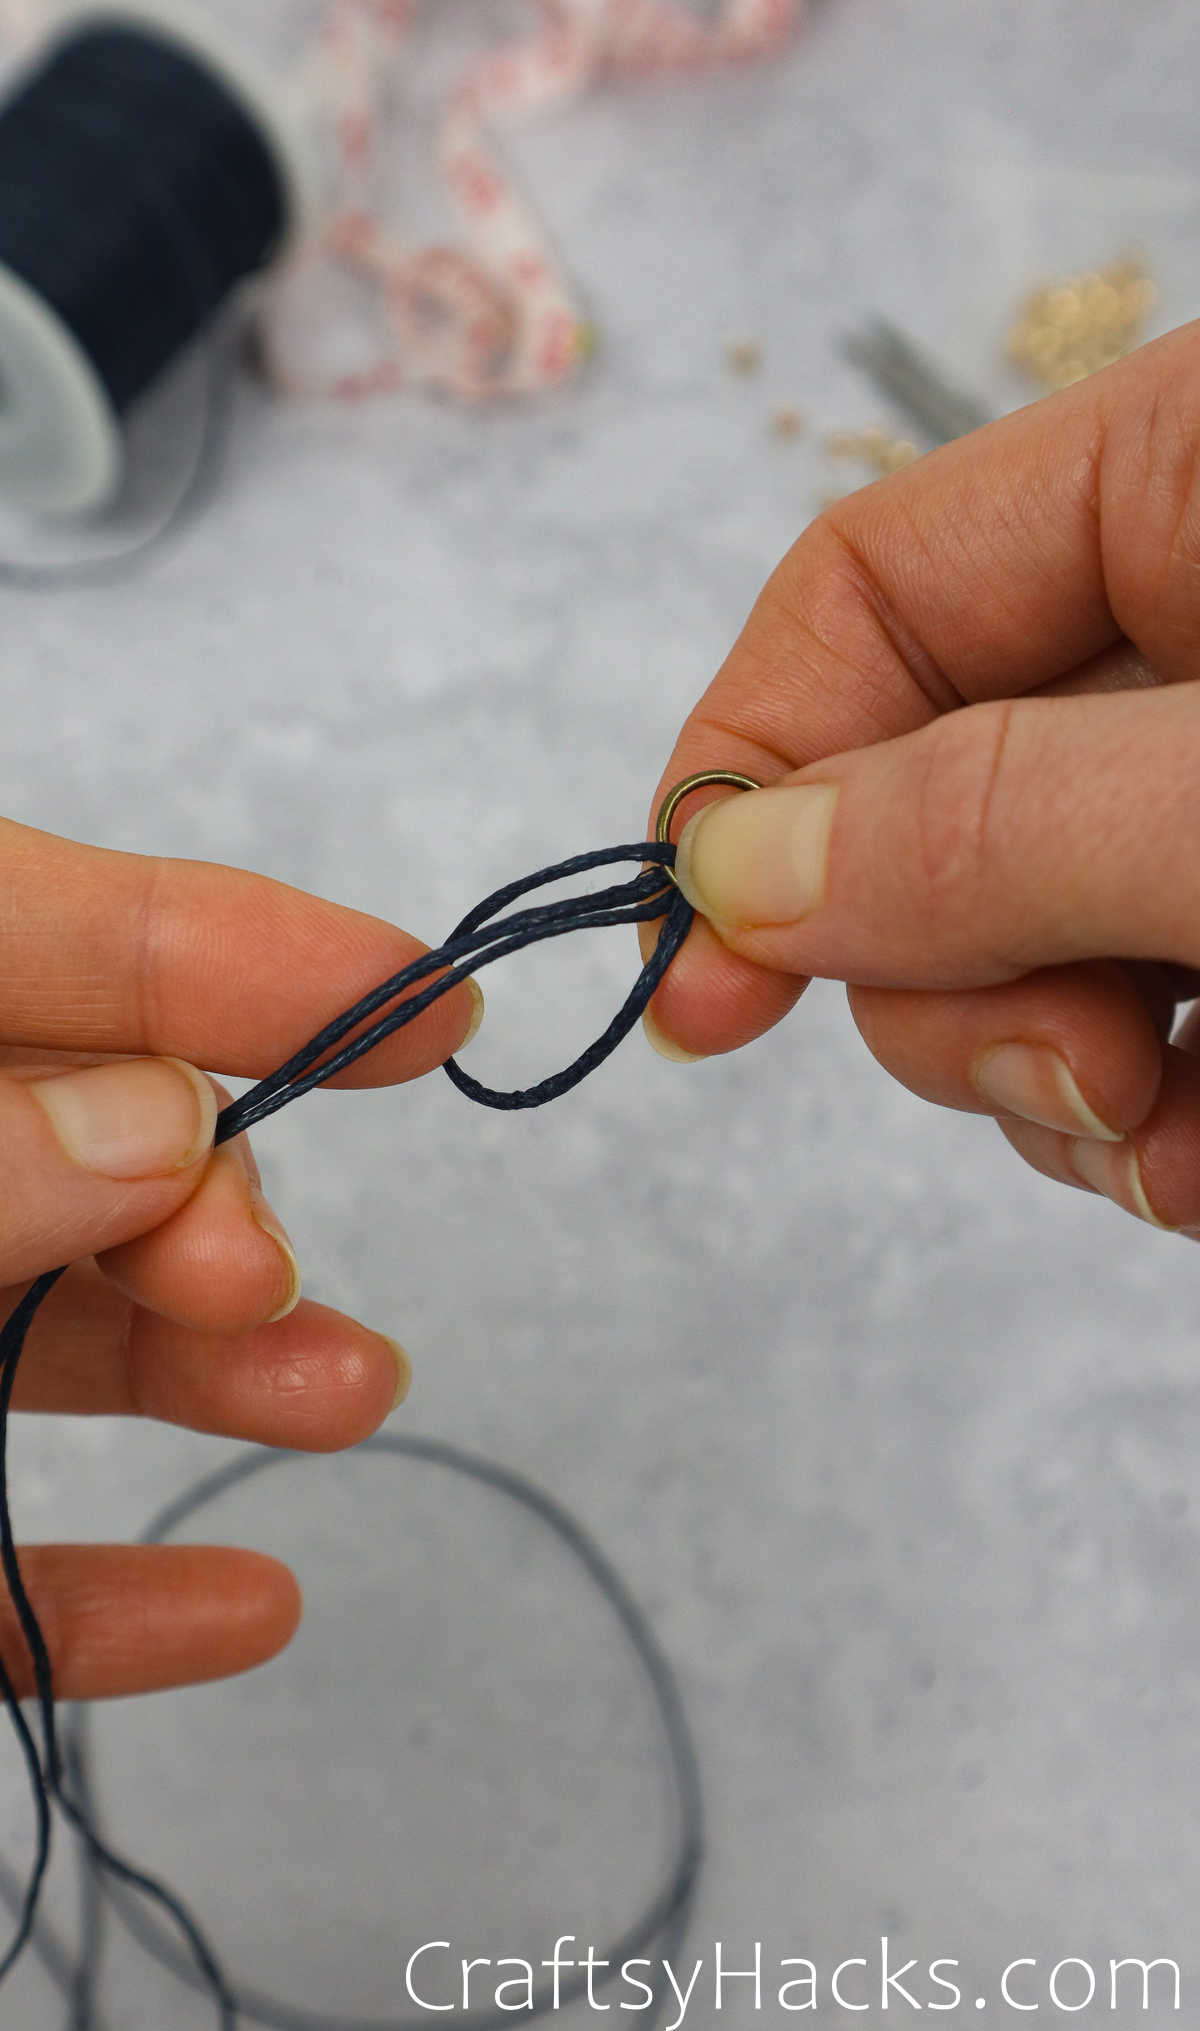
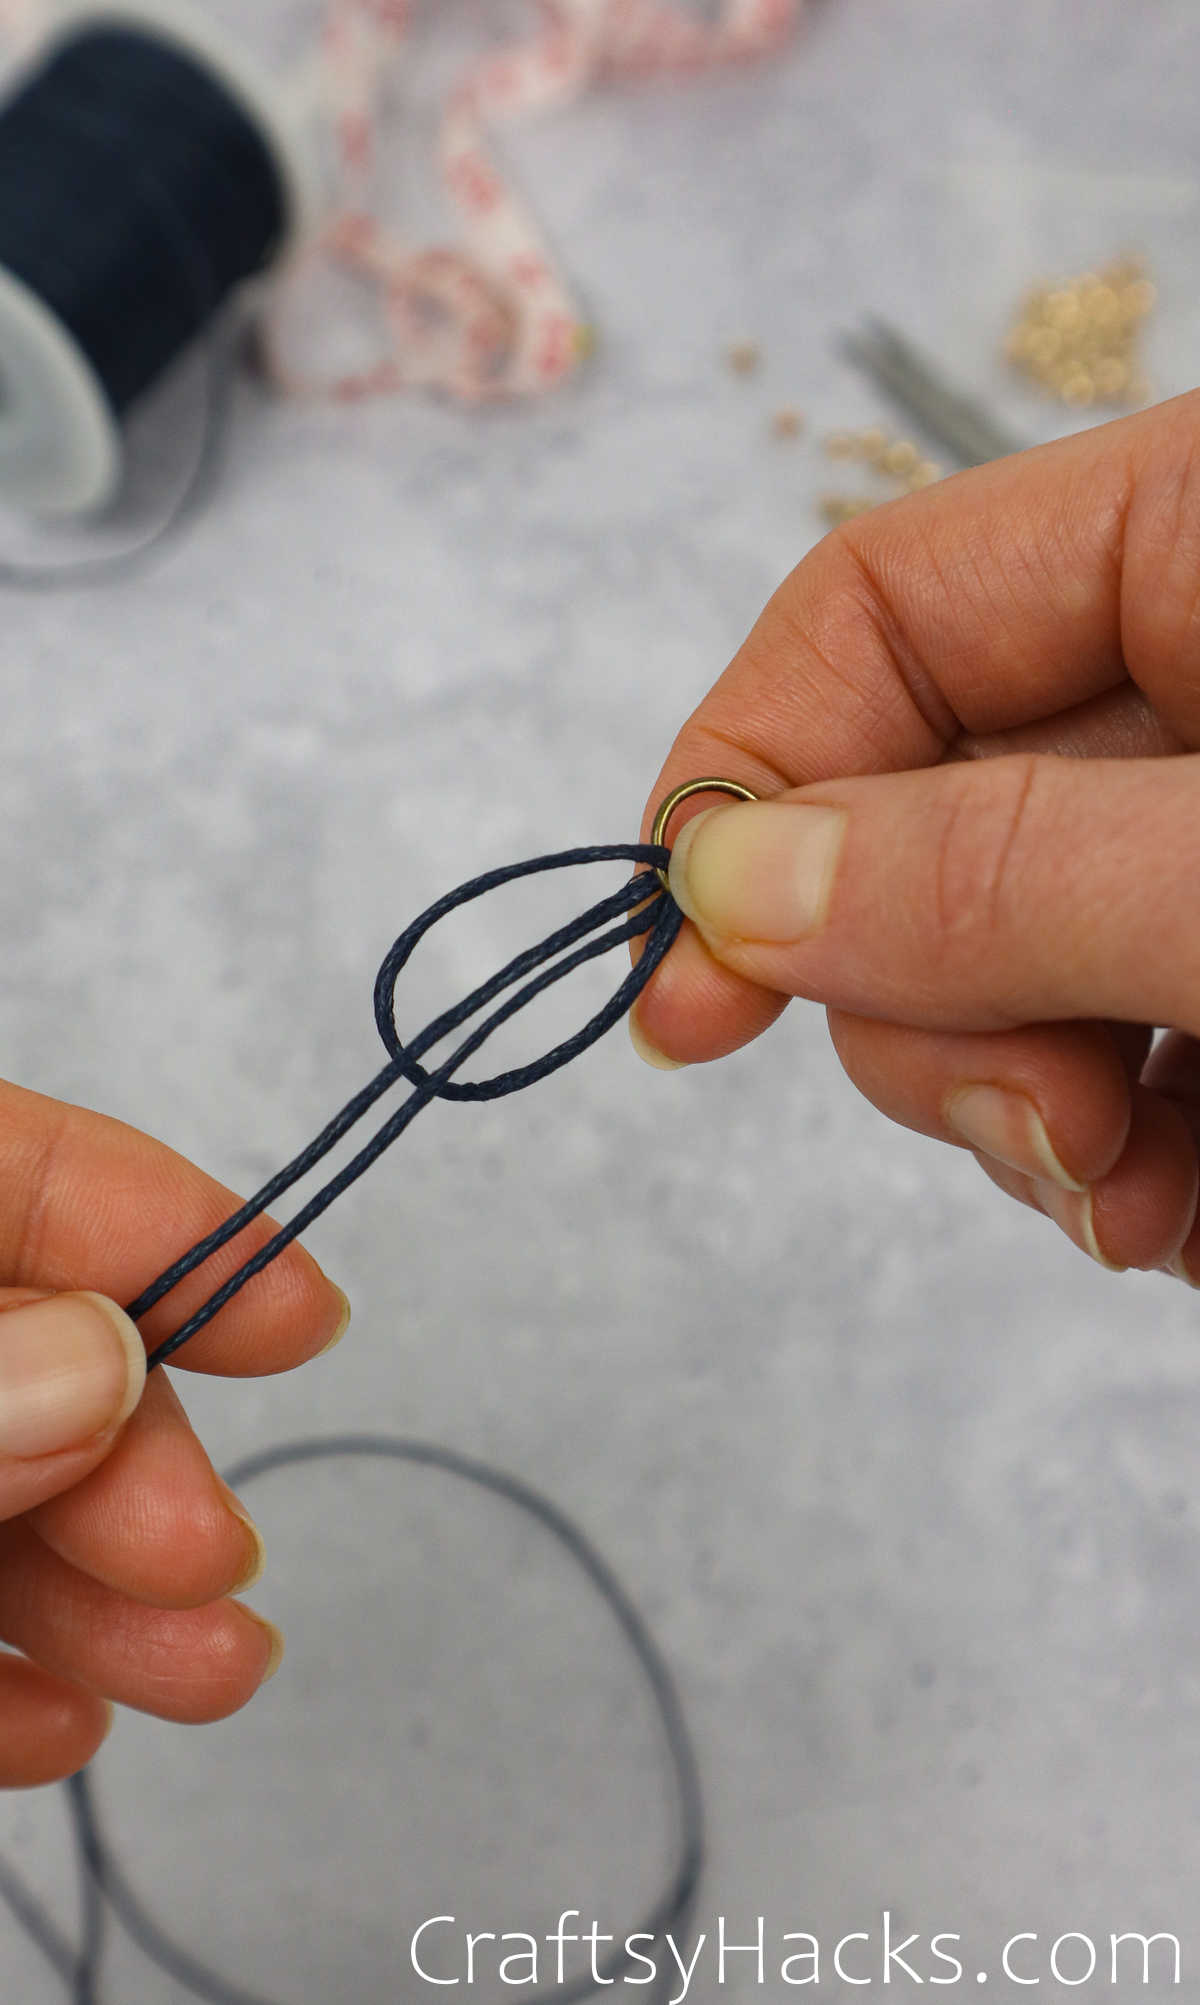
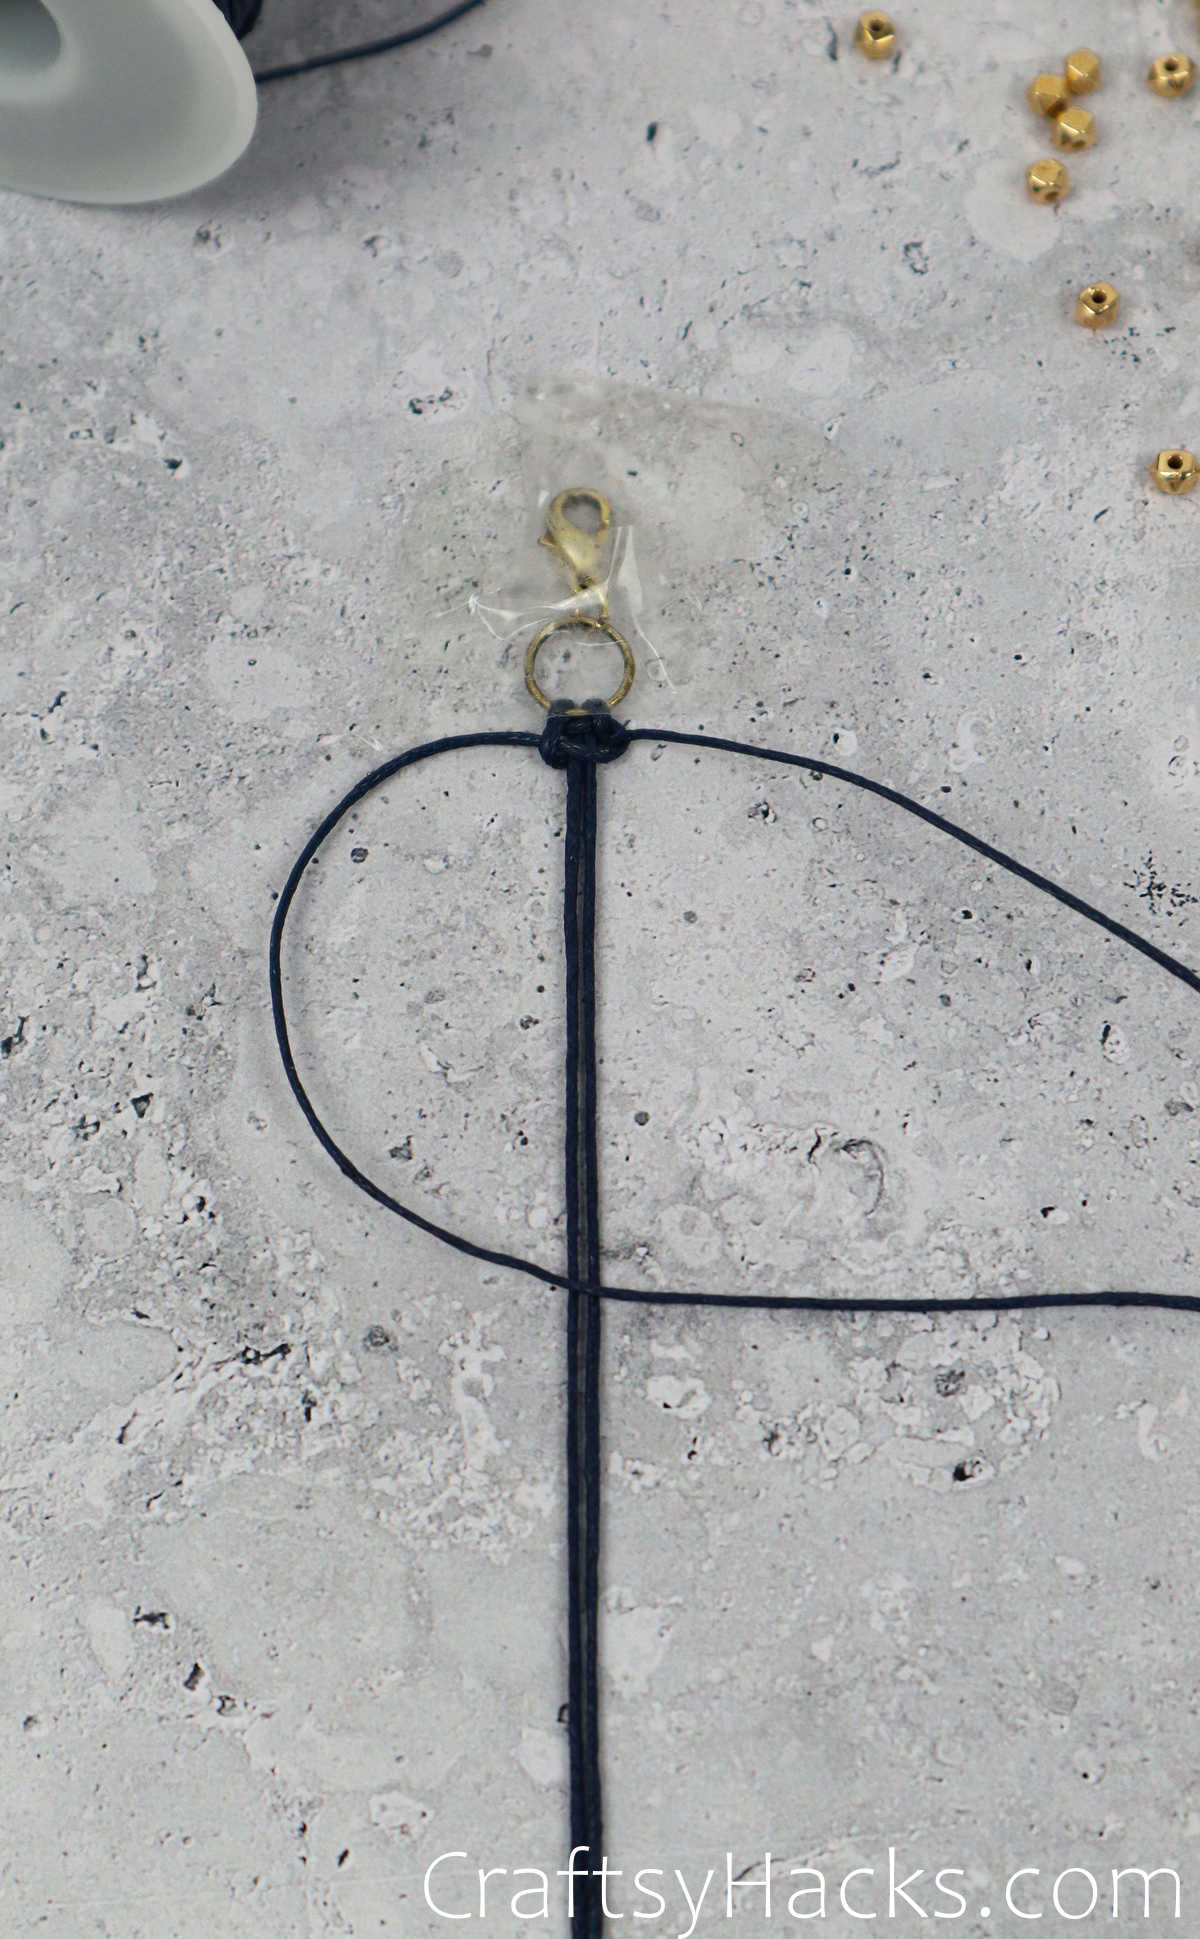
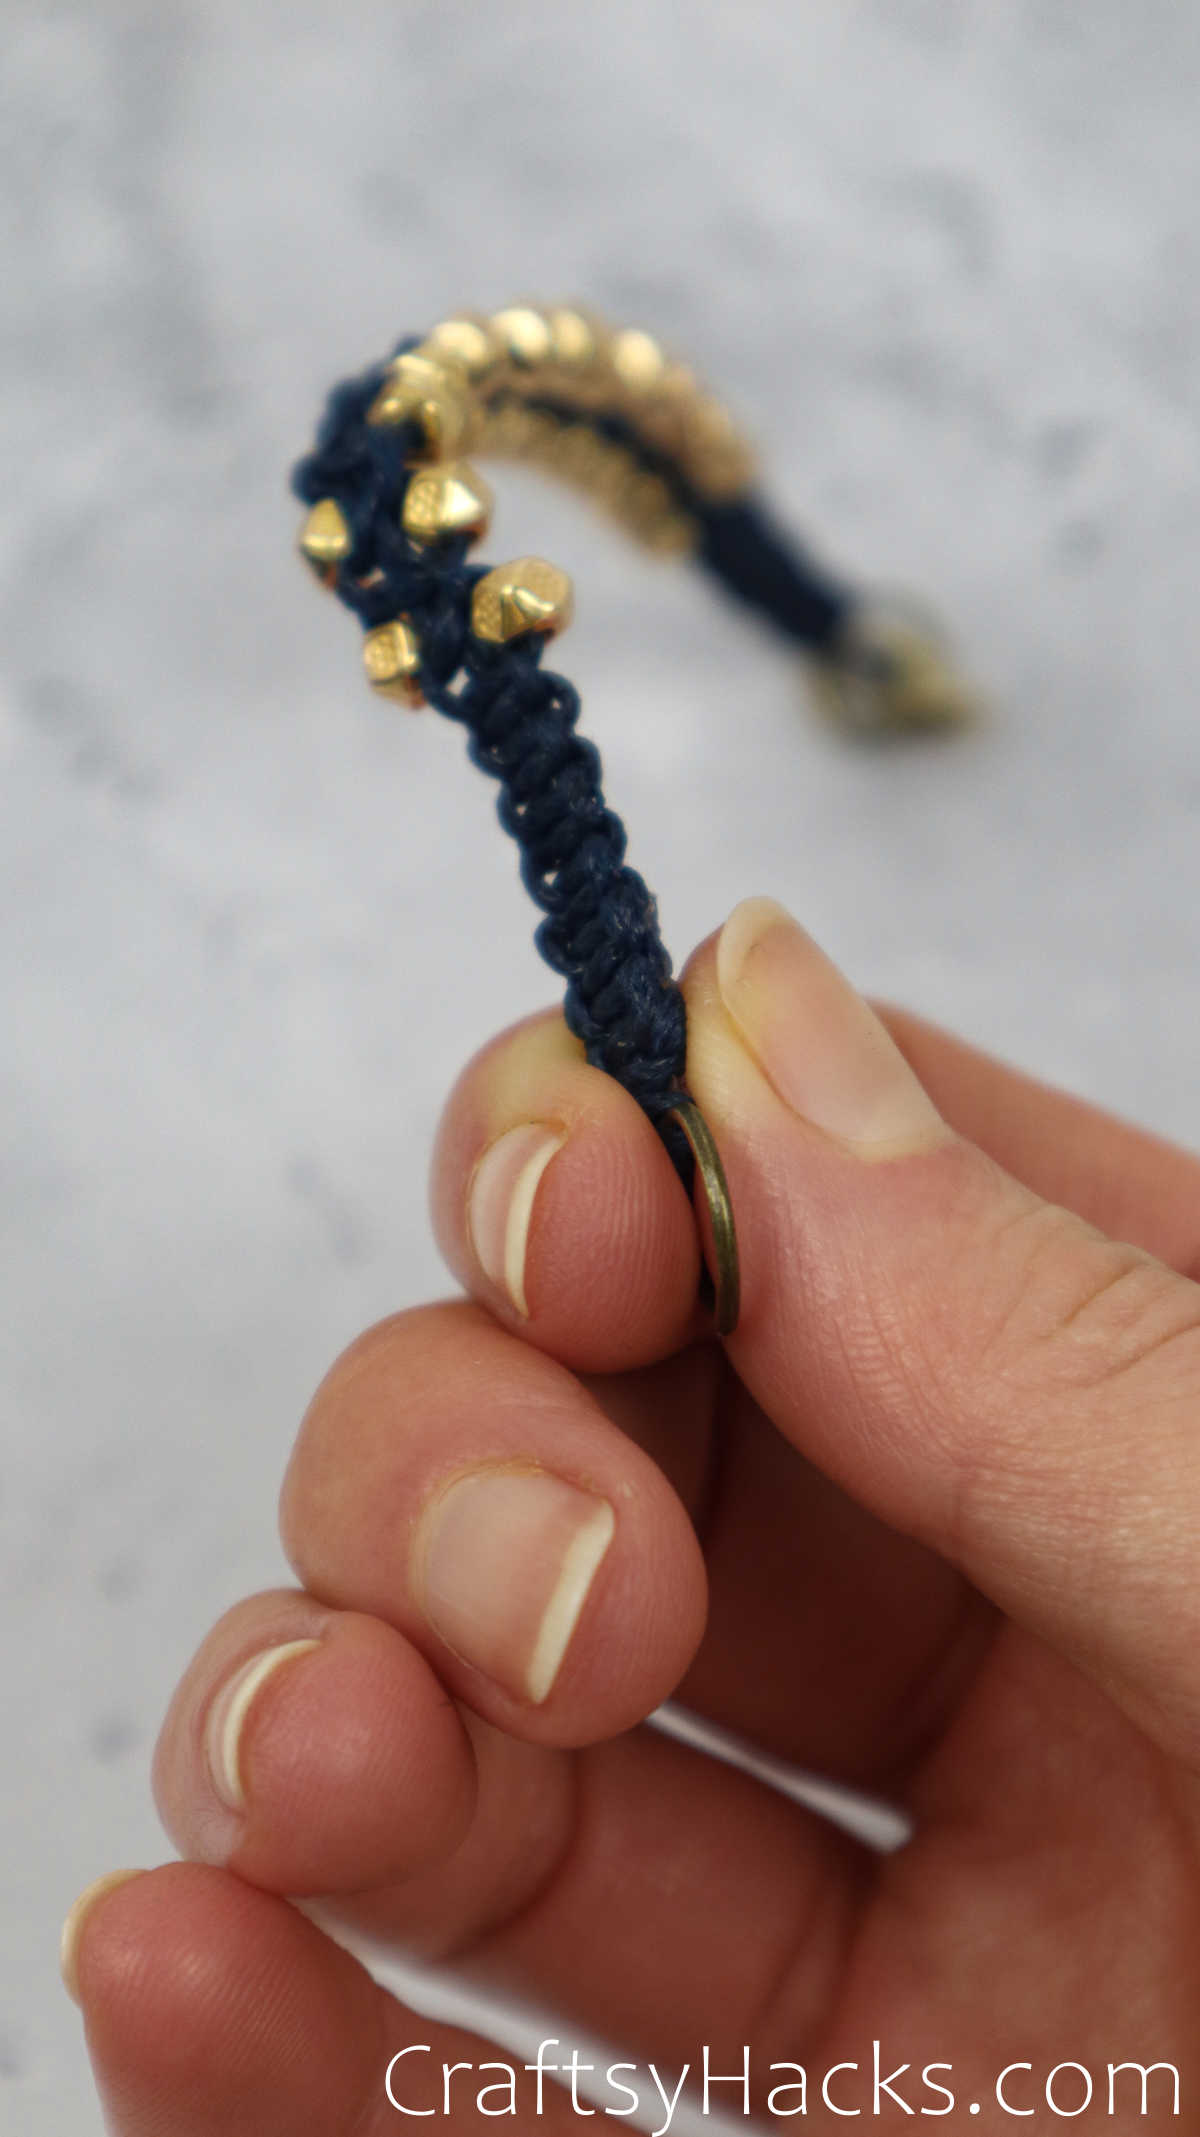
Now take a jump ring and simply pull the two ends through it and all the way up so the looped ends are within the ring. Next, bring the ends into the looped end to form a lark’s head knot–if you’re familiar with macrame terminology, that is.
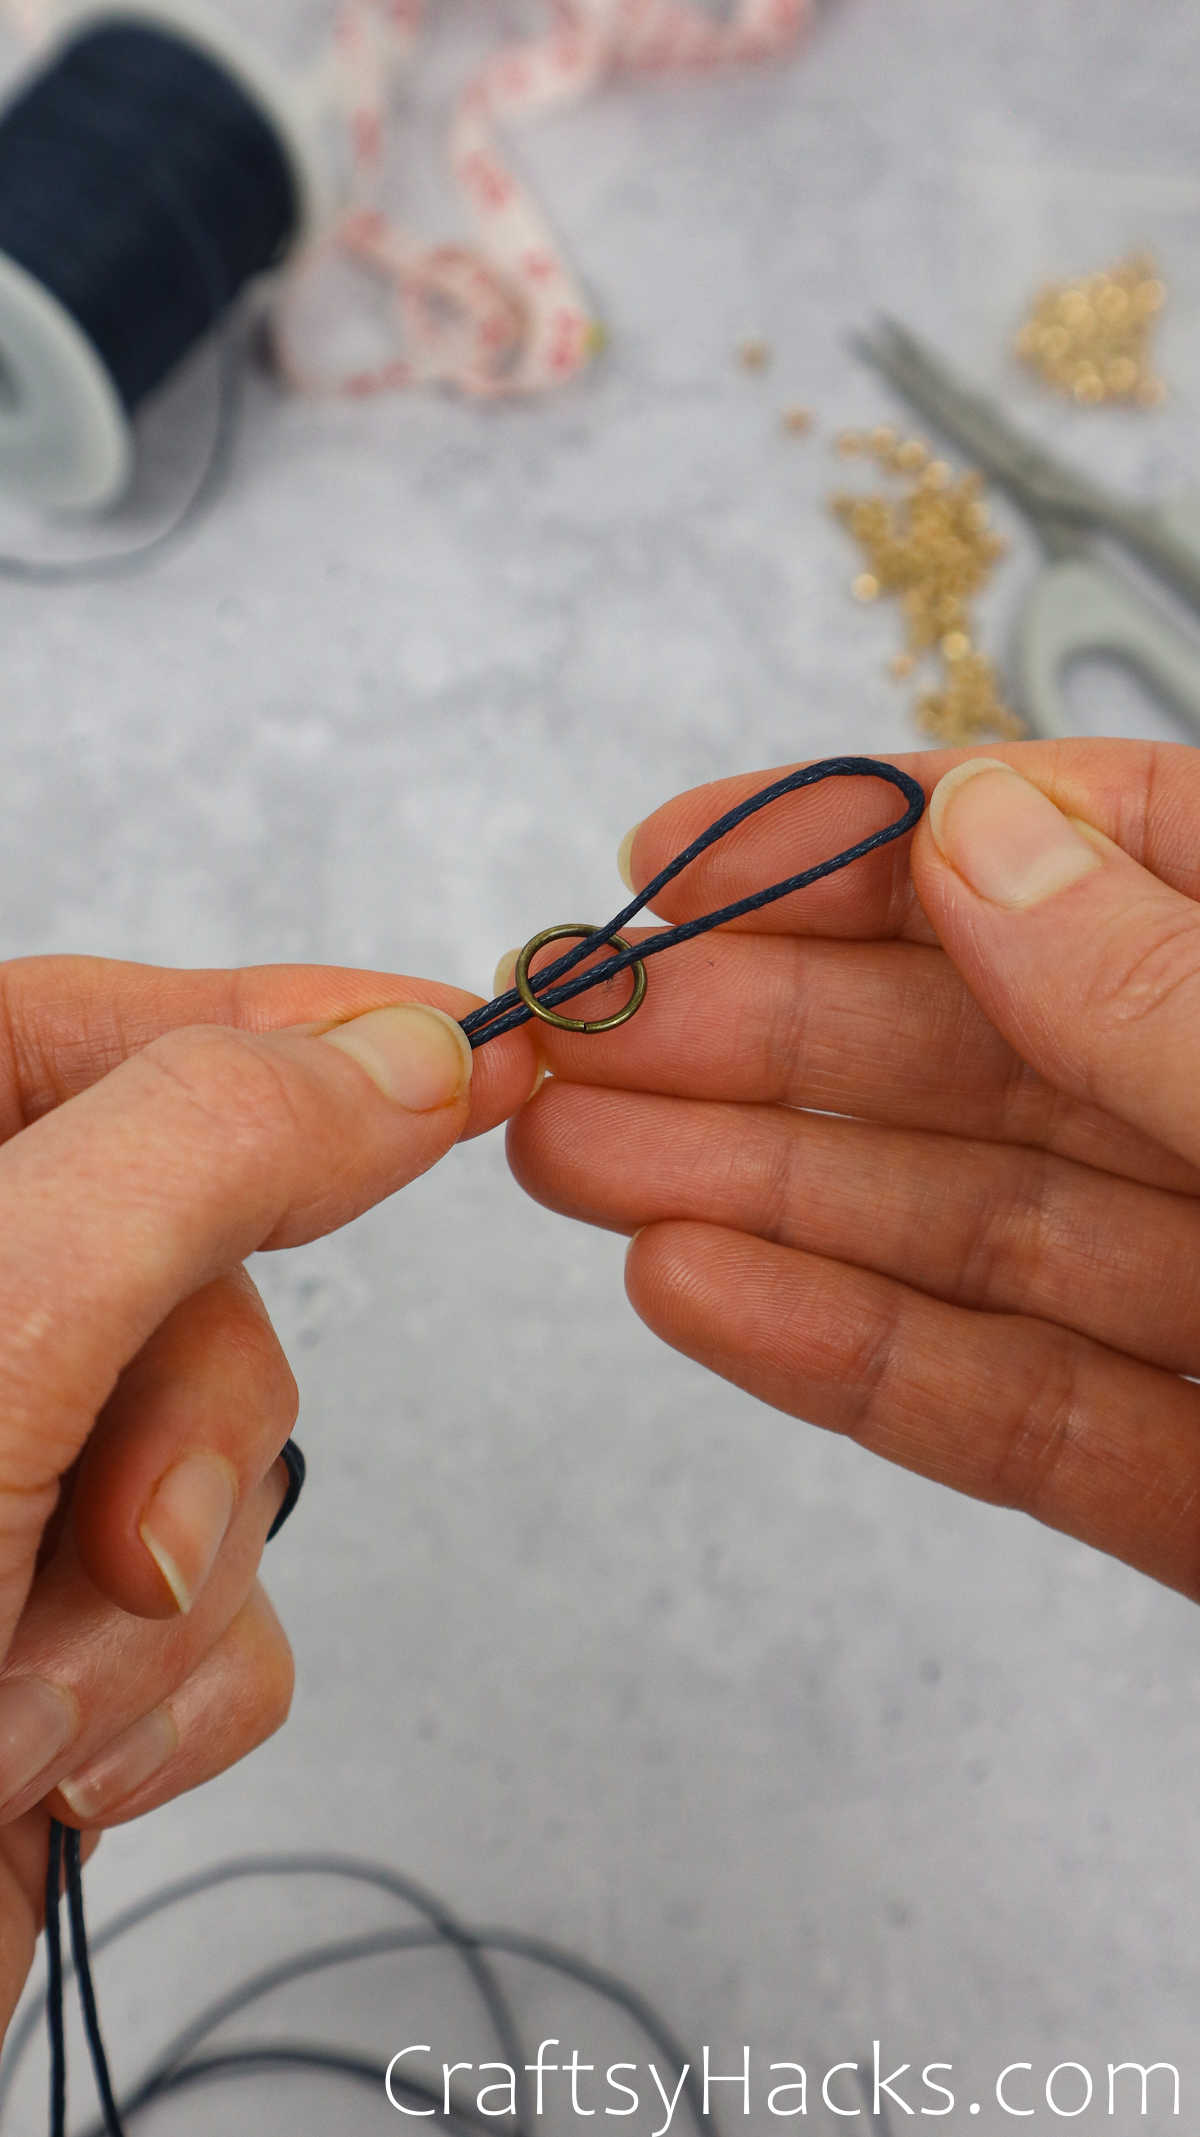
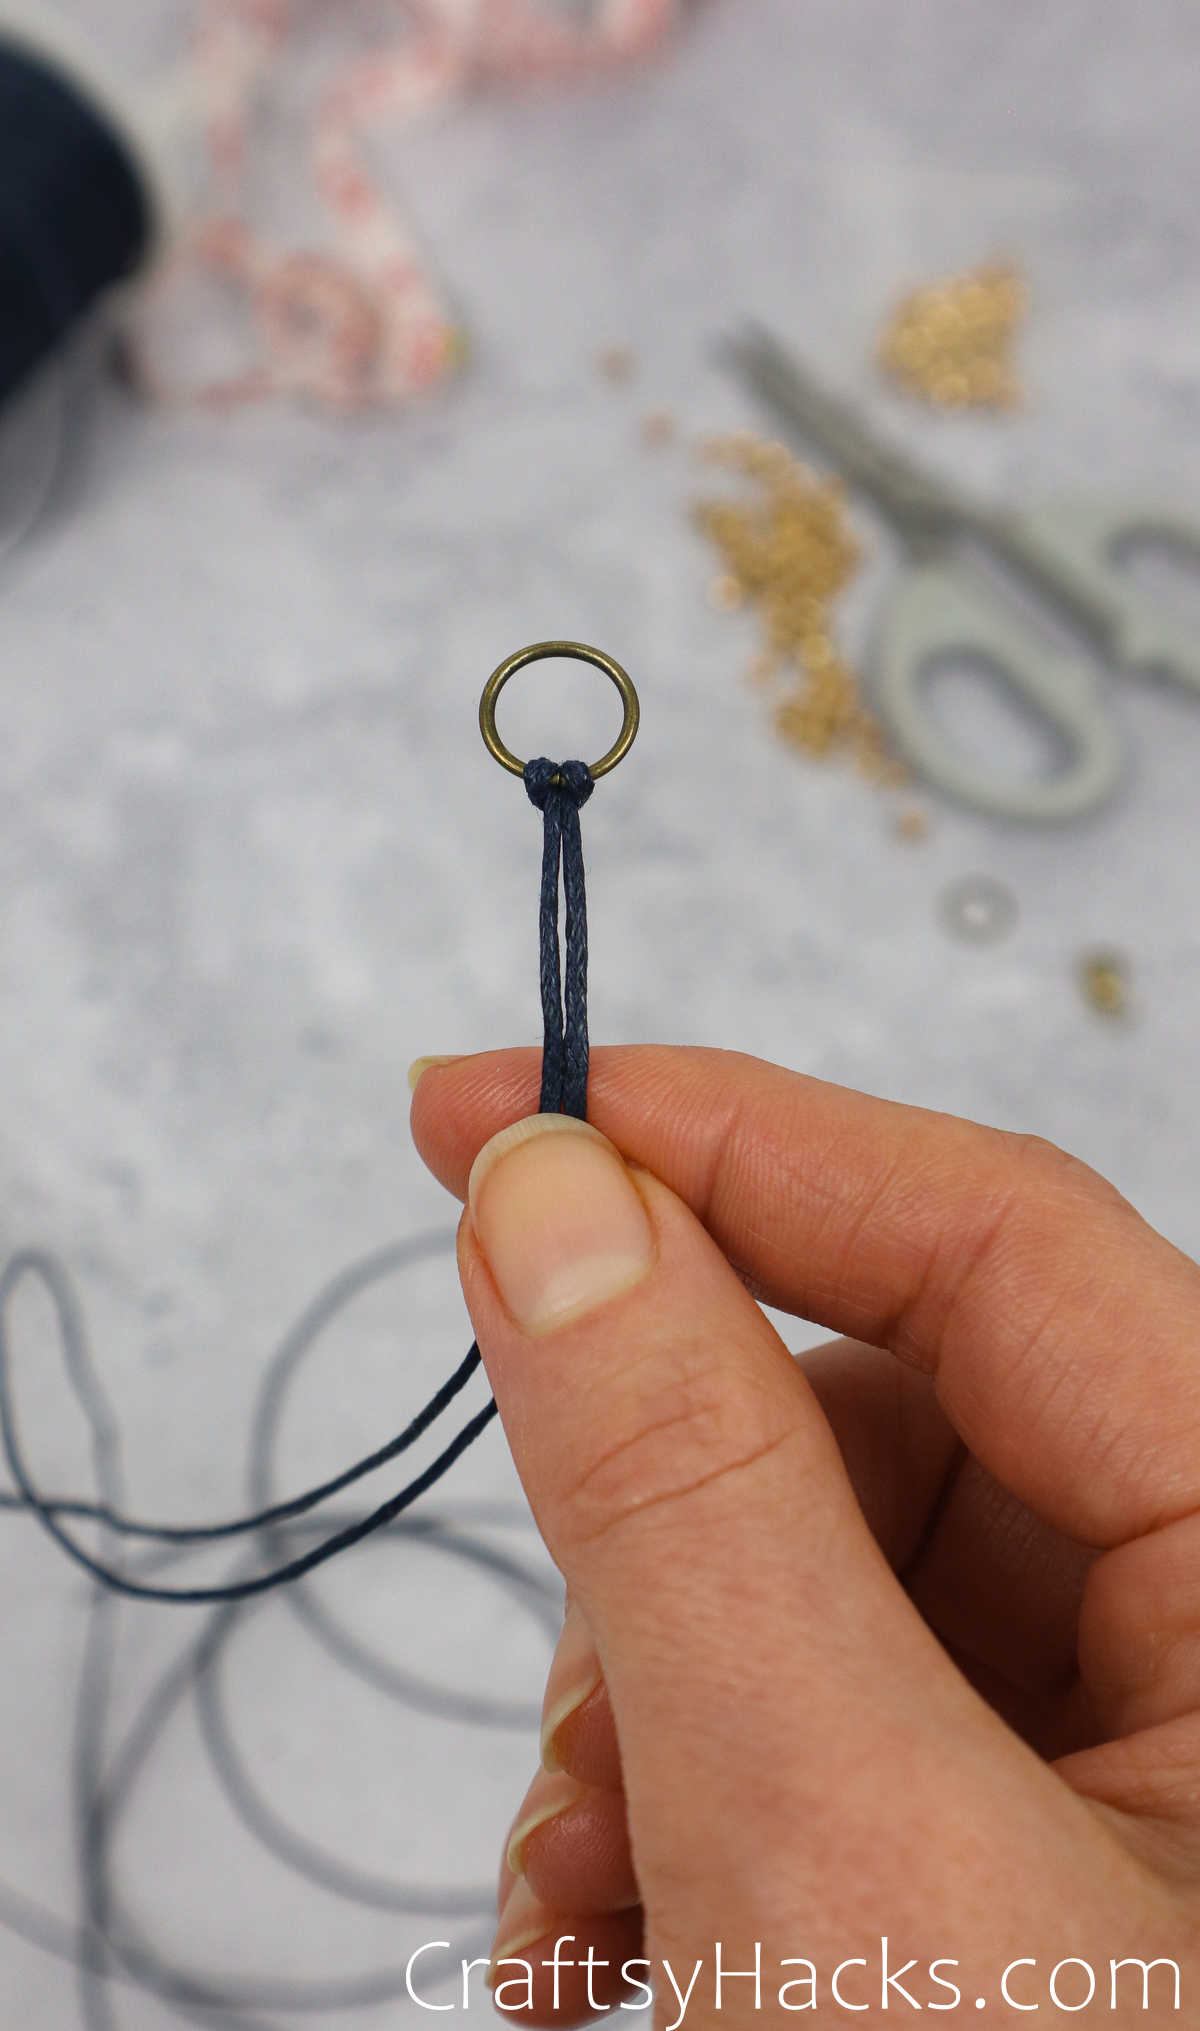
Your lark’s head knot should look like this when you’re done.
Step 2
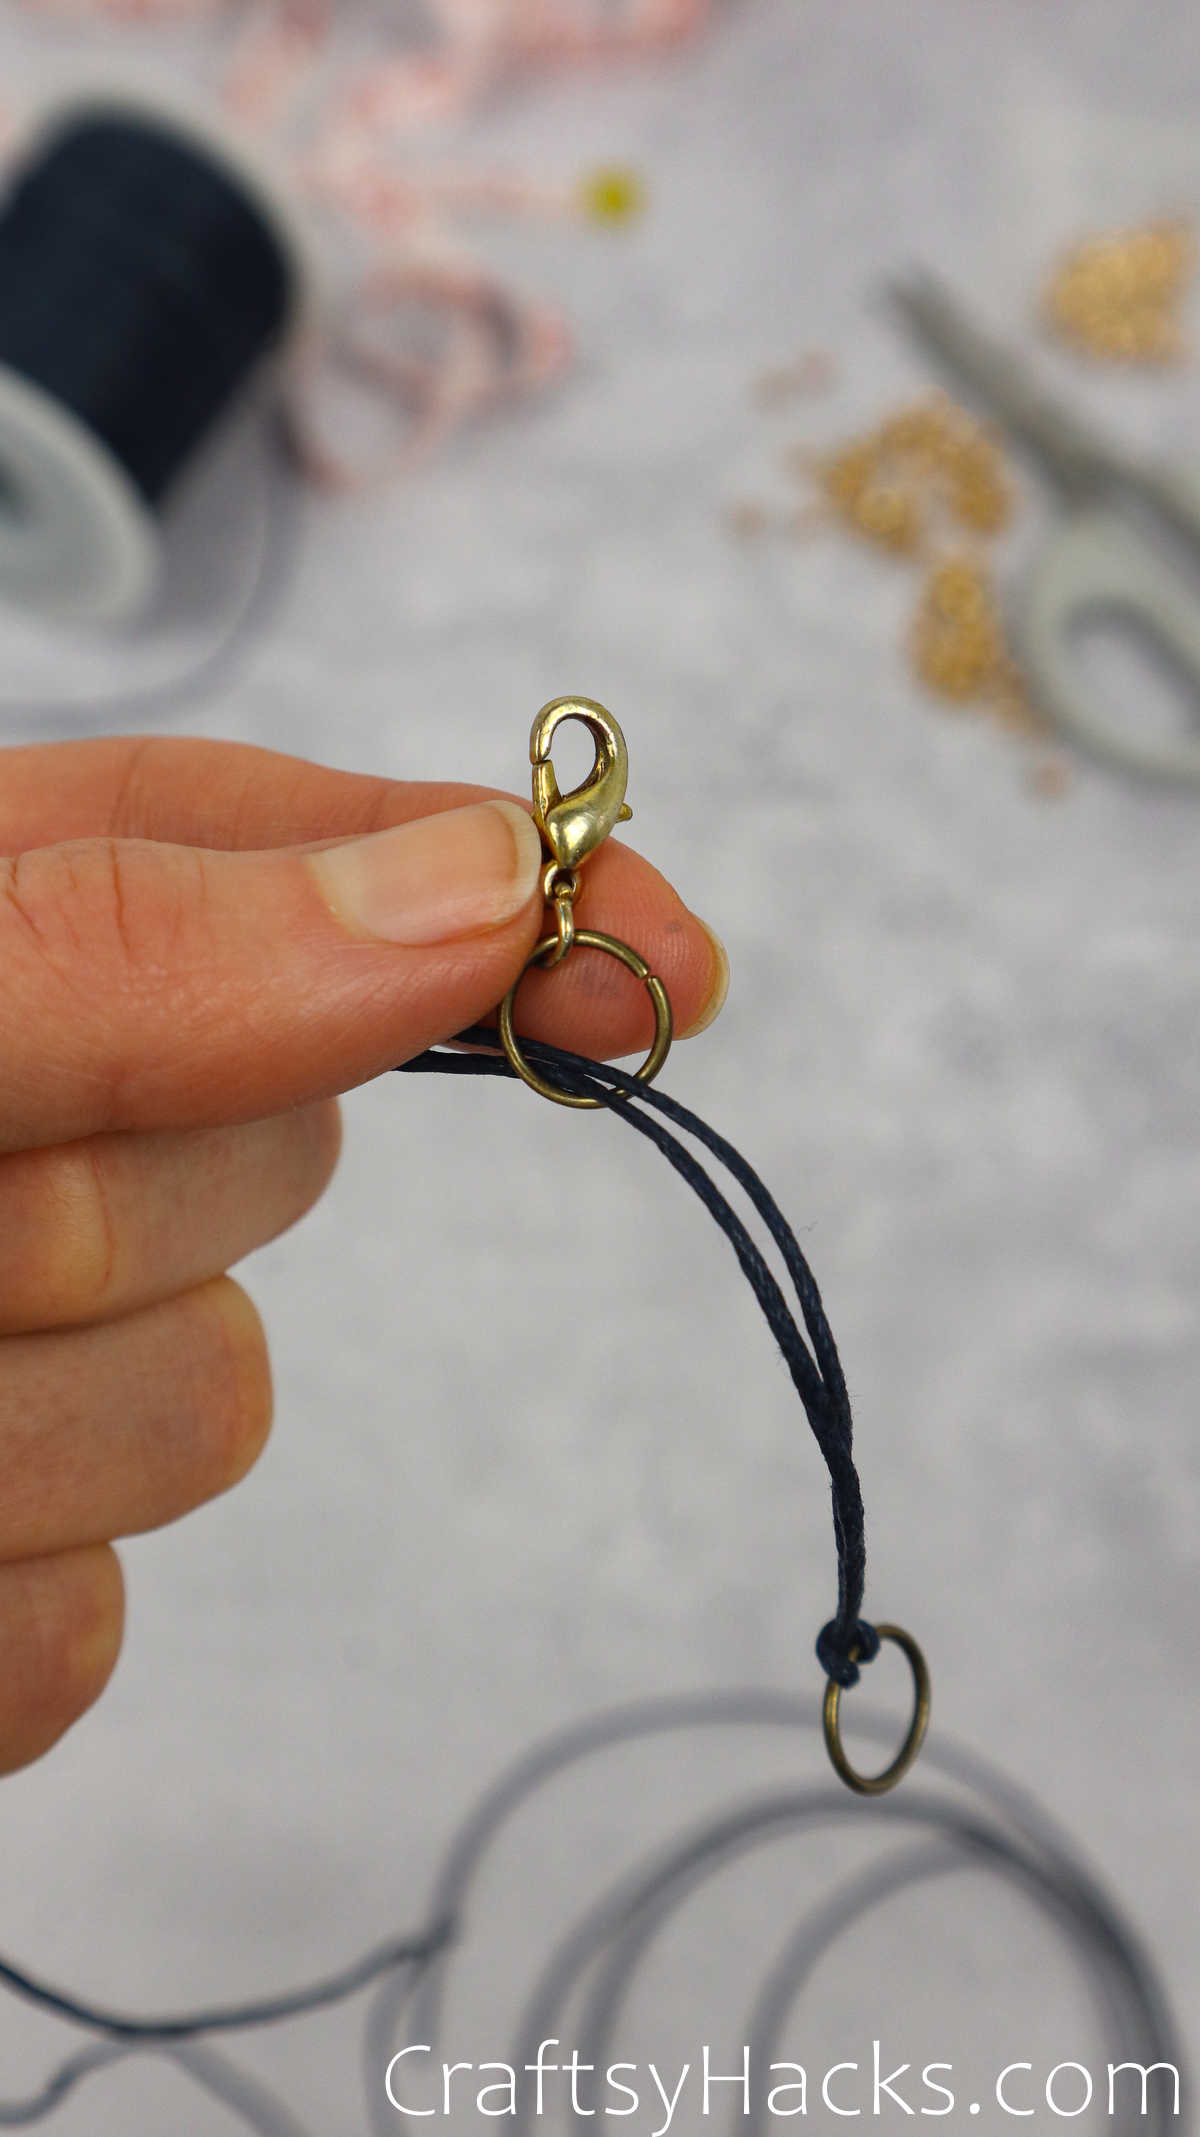
Grab another jump ring and pull the two ends through it.

This jump ring will hold your lobster claw clasp so if it isn’t attached already, go ahead and attach it.
Step 3
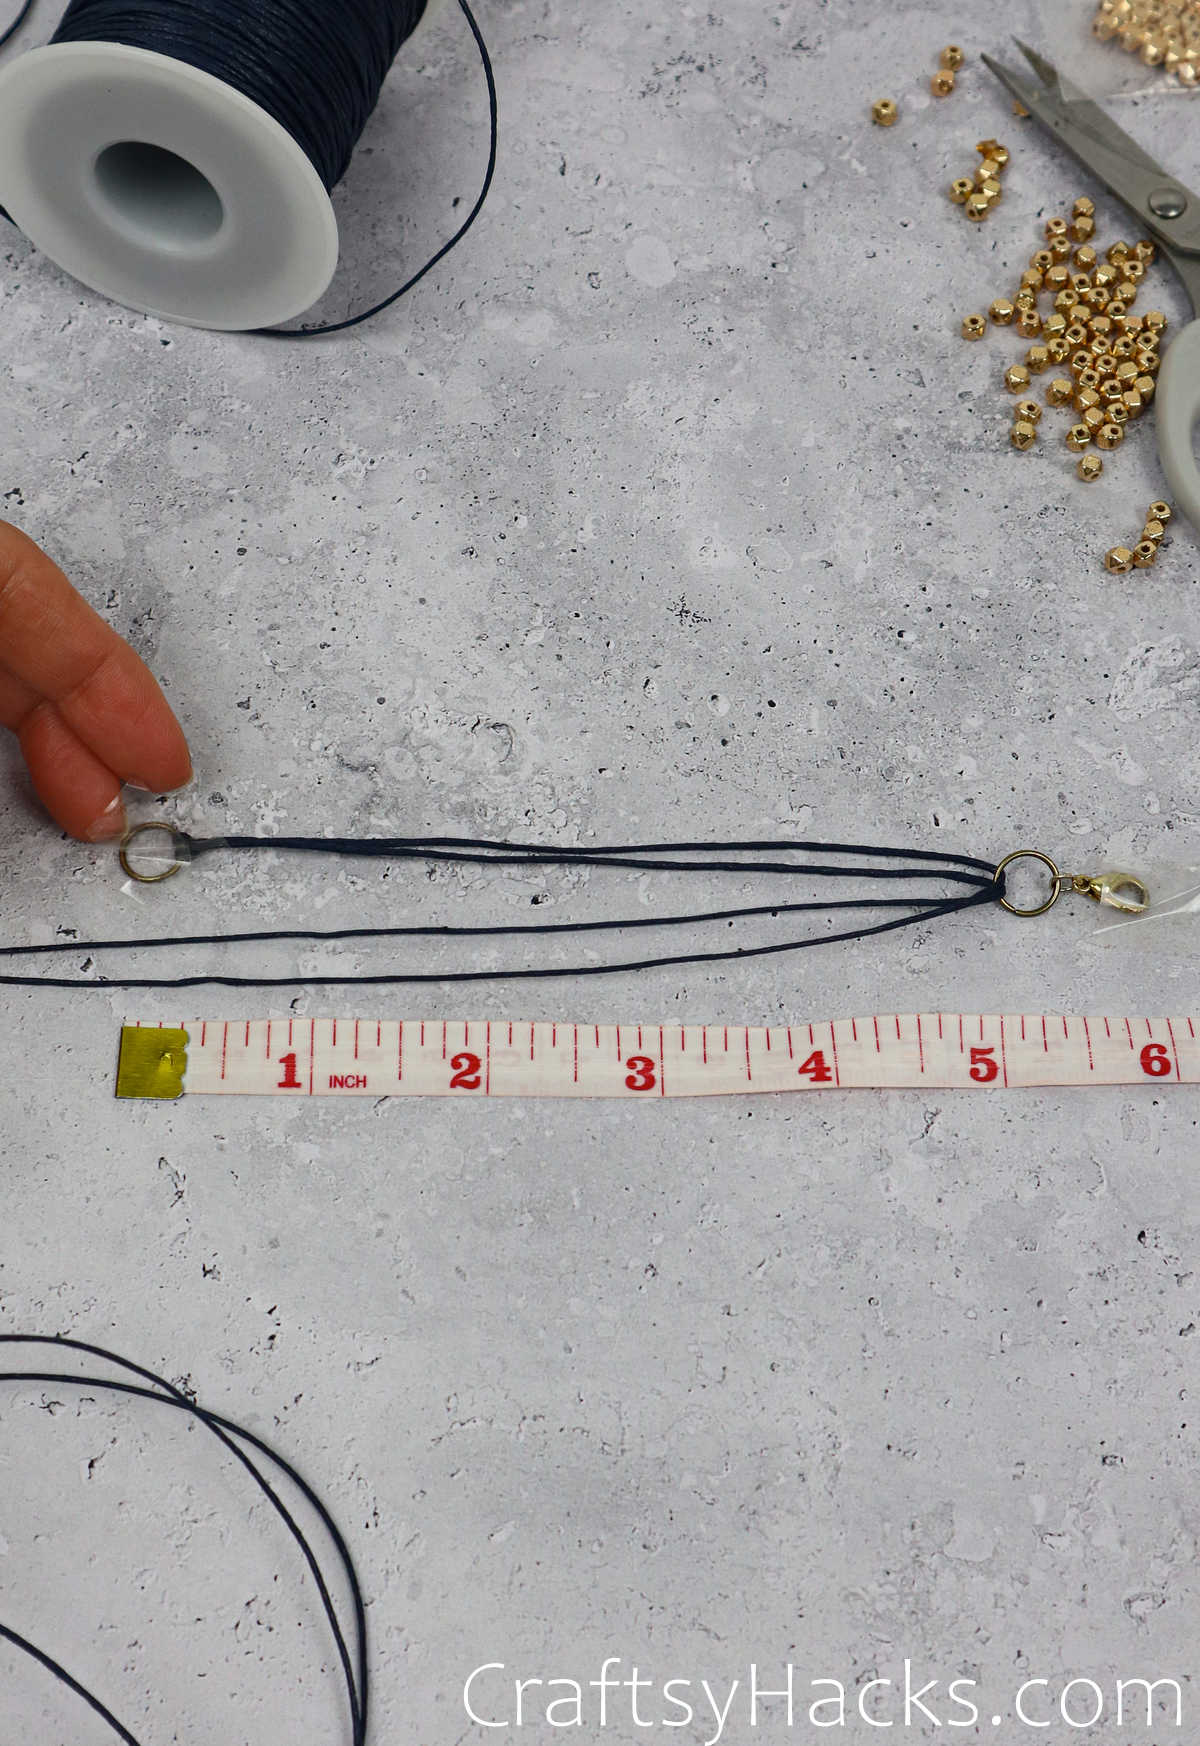
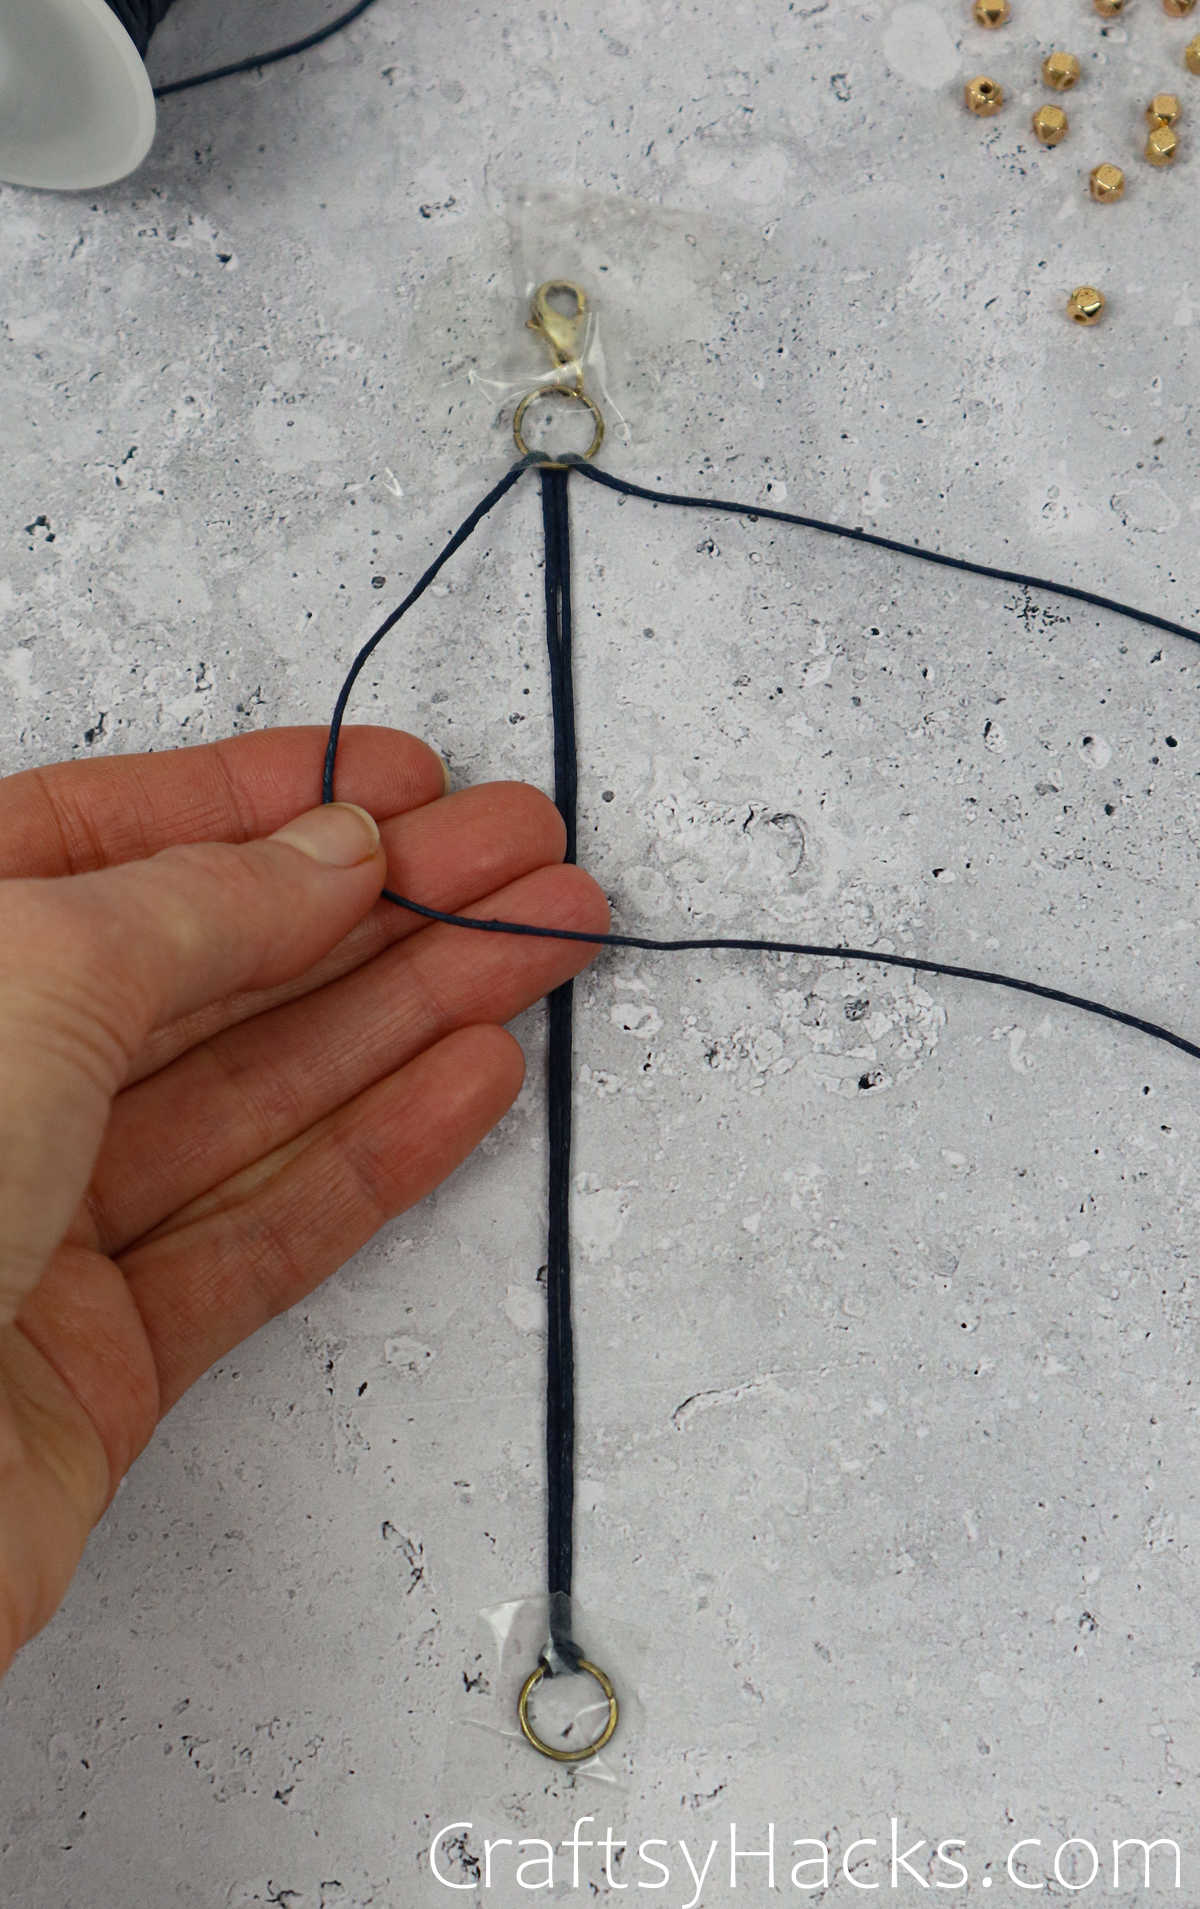
Next, grab your measuring tape and measure your wrist. Just remember to not give too much or too little space when you’re marking the width or your bracelet won’t fit you too well.

Once you have the length, just stretch out the two jump rings and lay them out flat. If you happened to measure say, 6” around the wrist, you need to remember that the bracelet you make will be six” including the jump rings.
Step 4
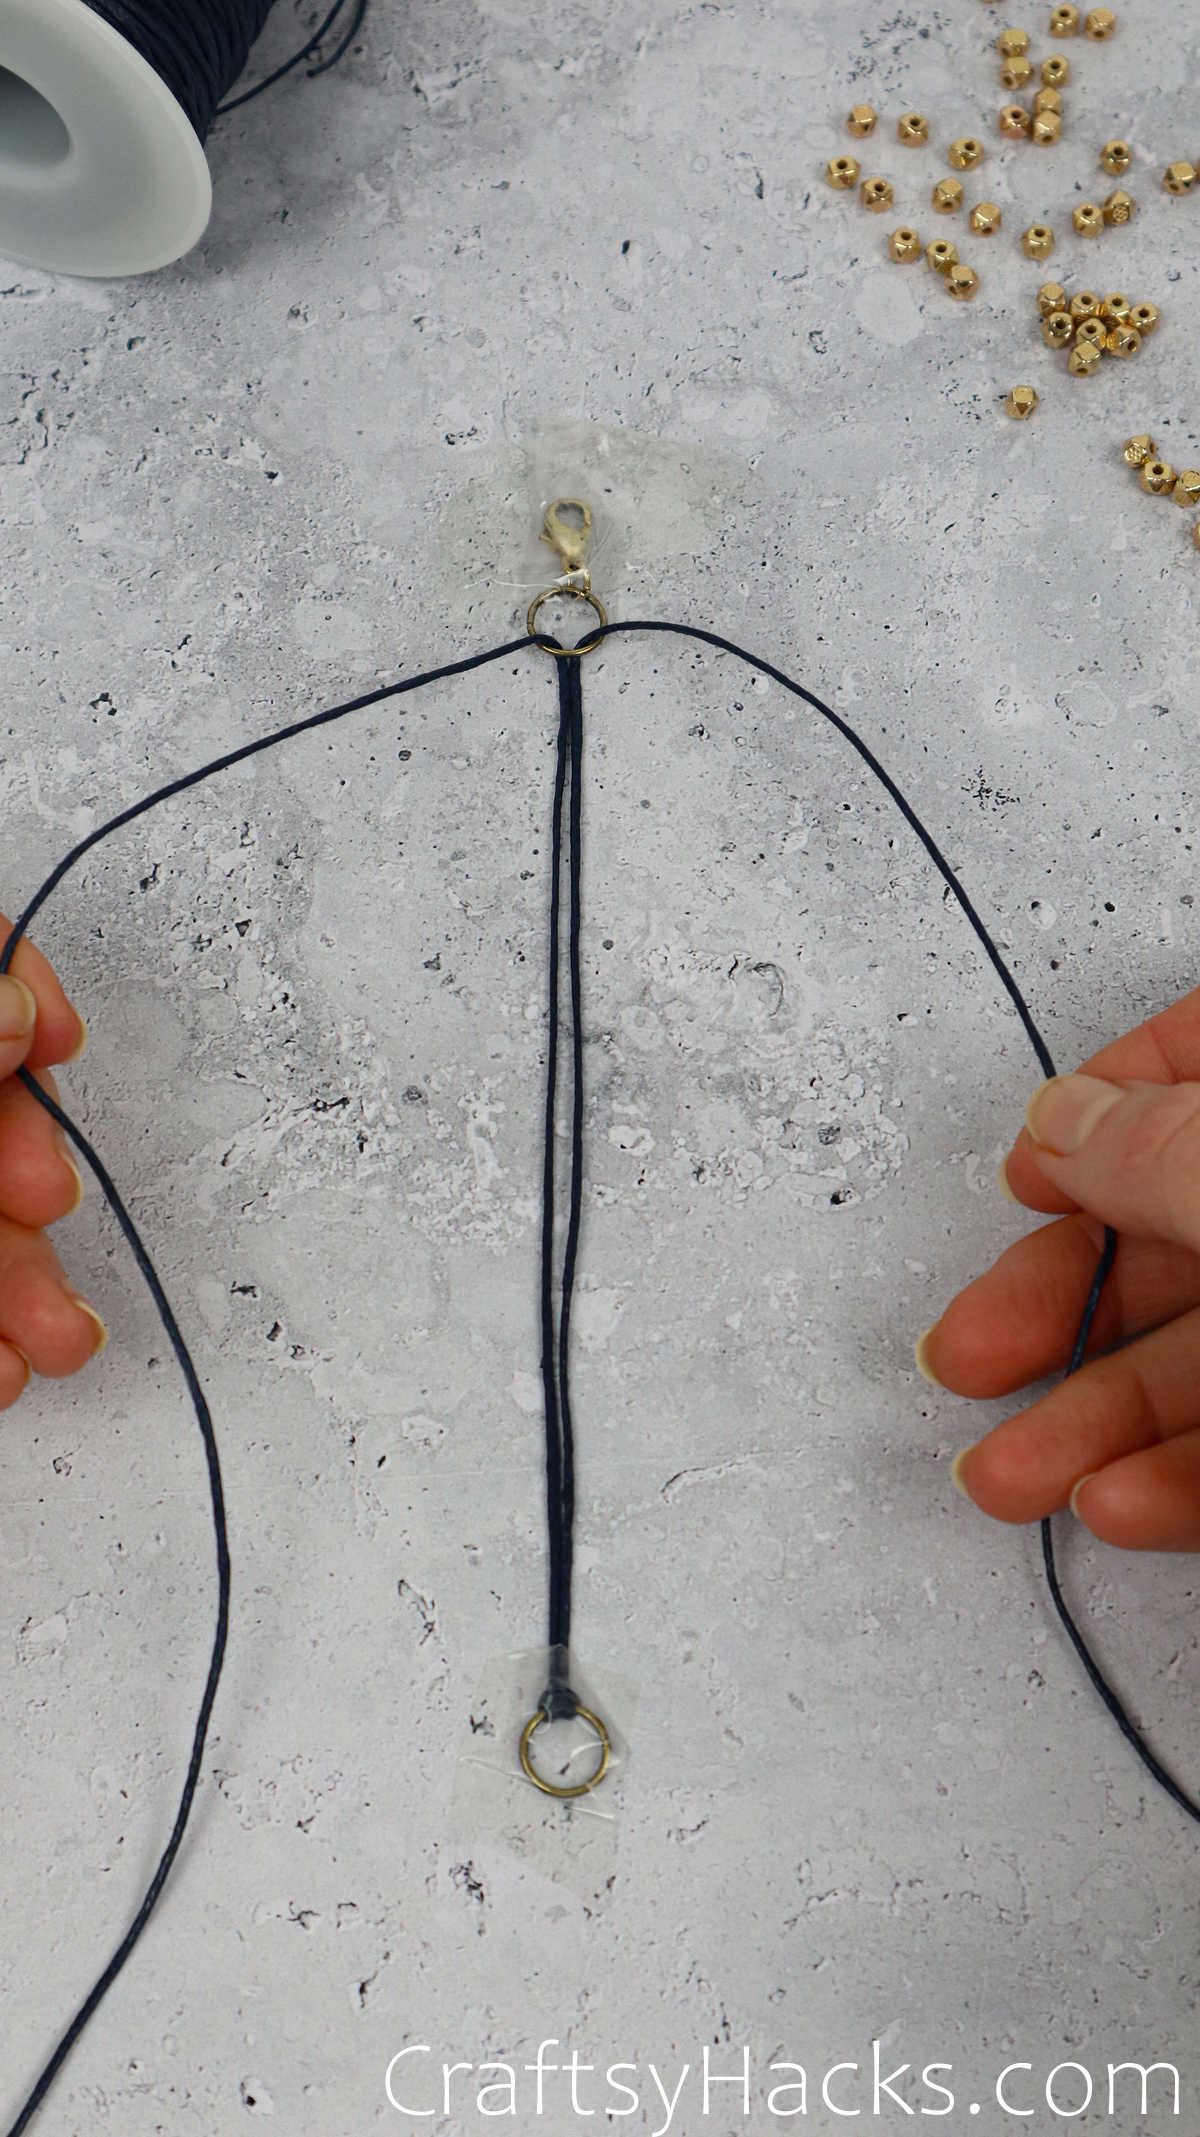
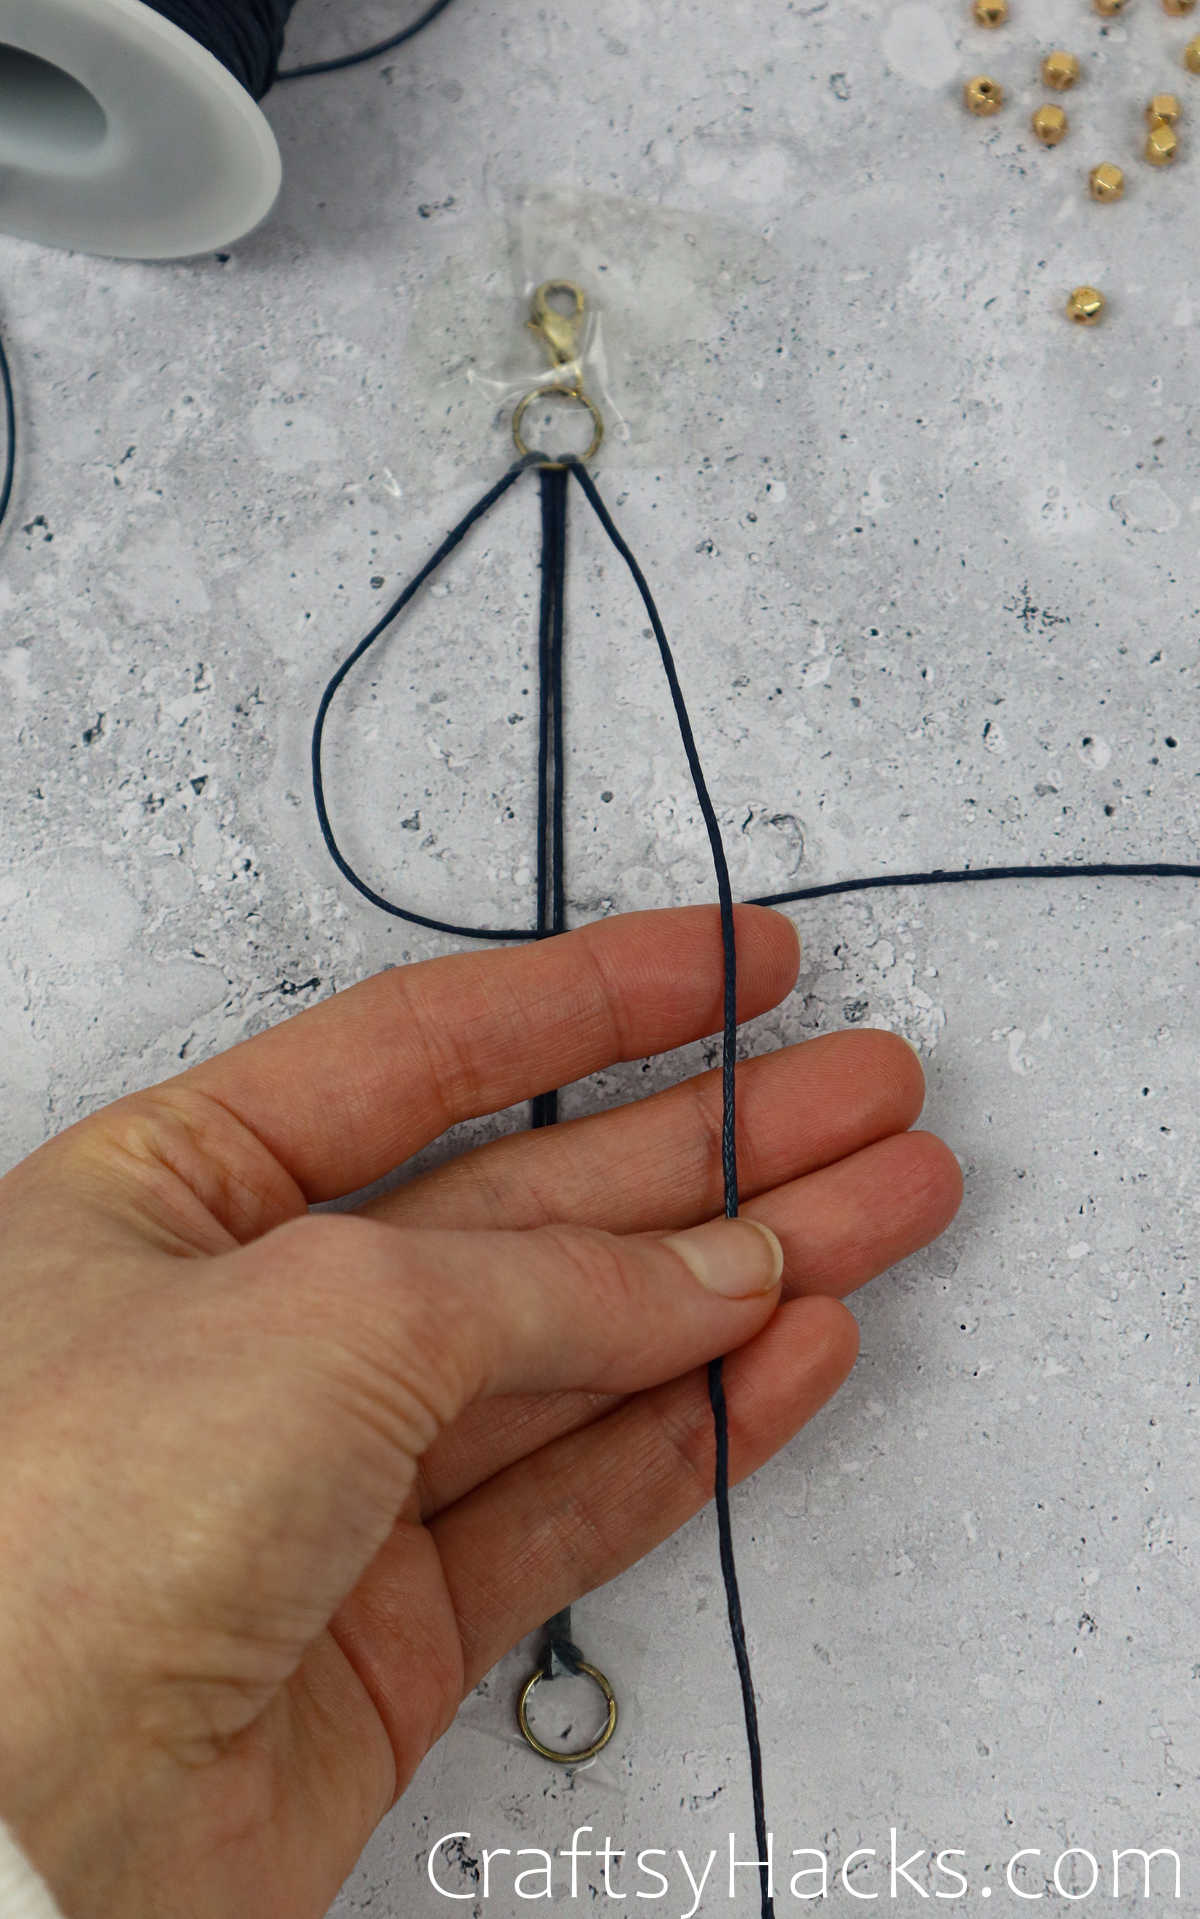
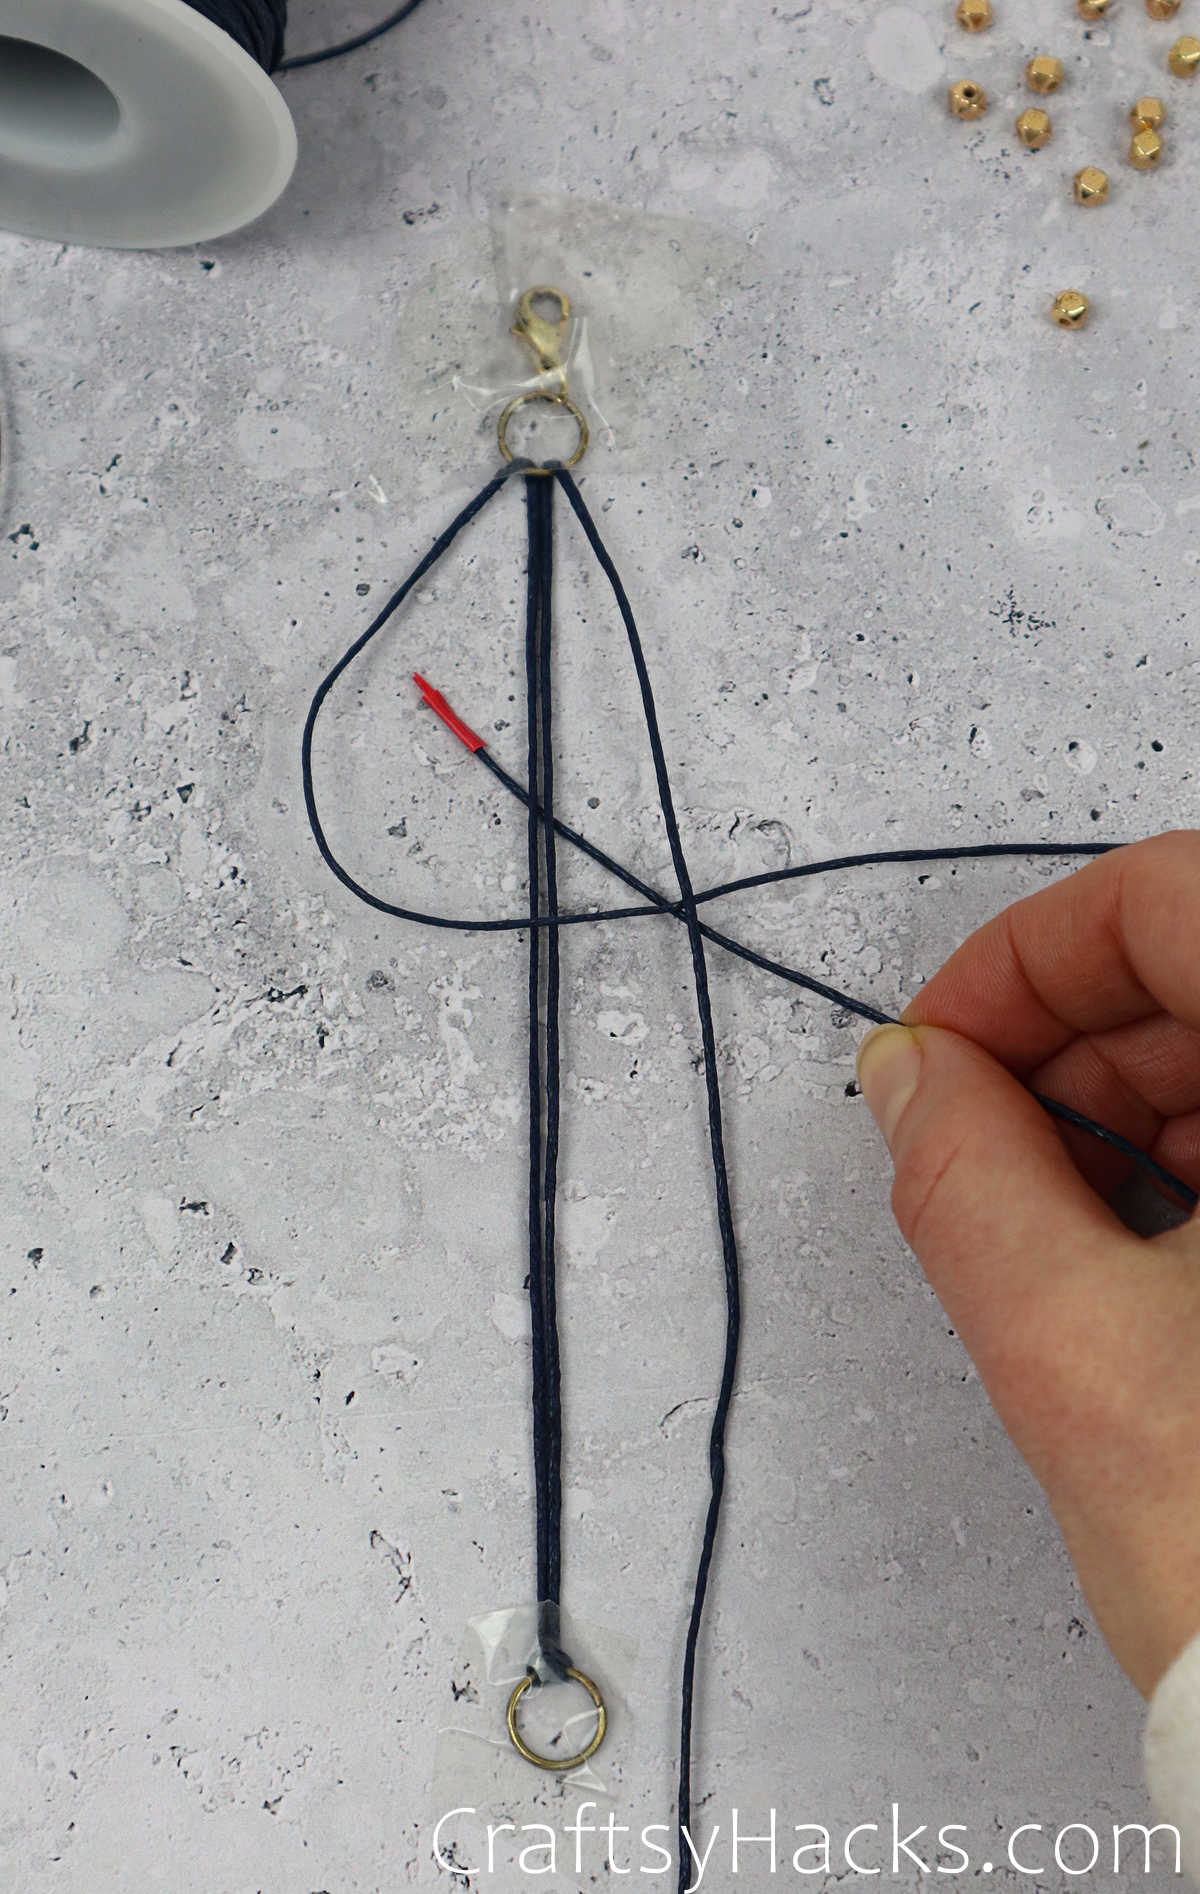
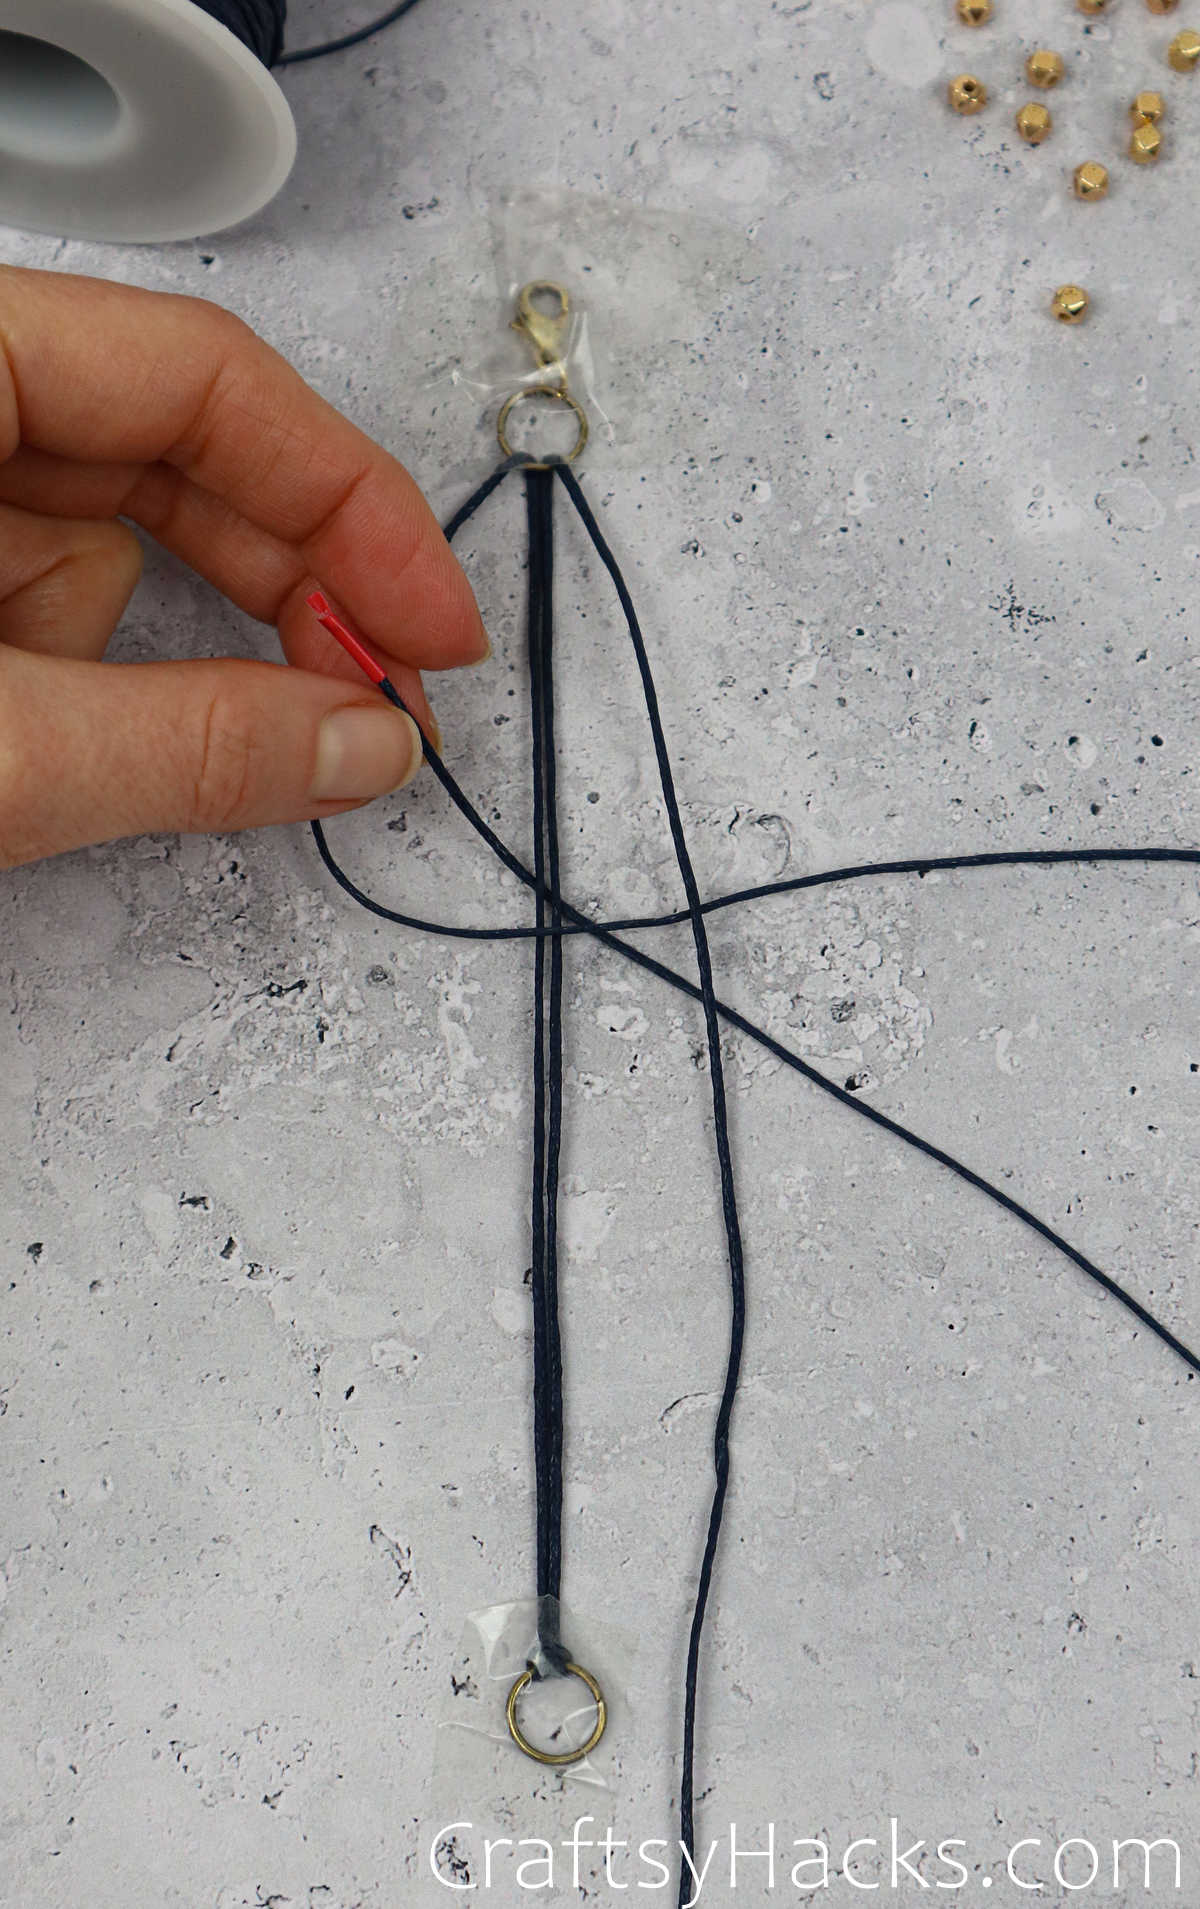
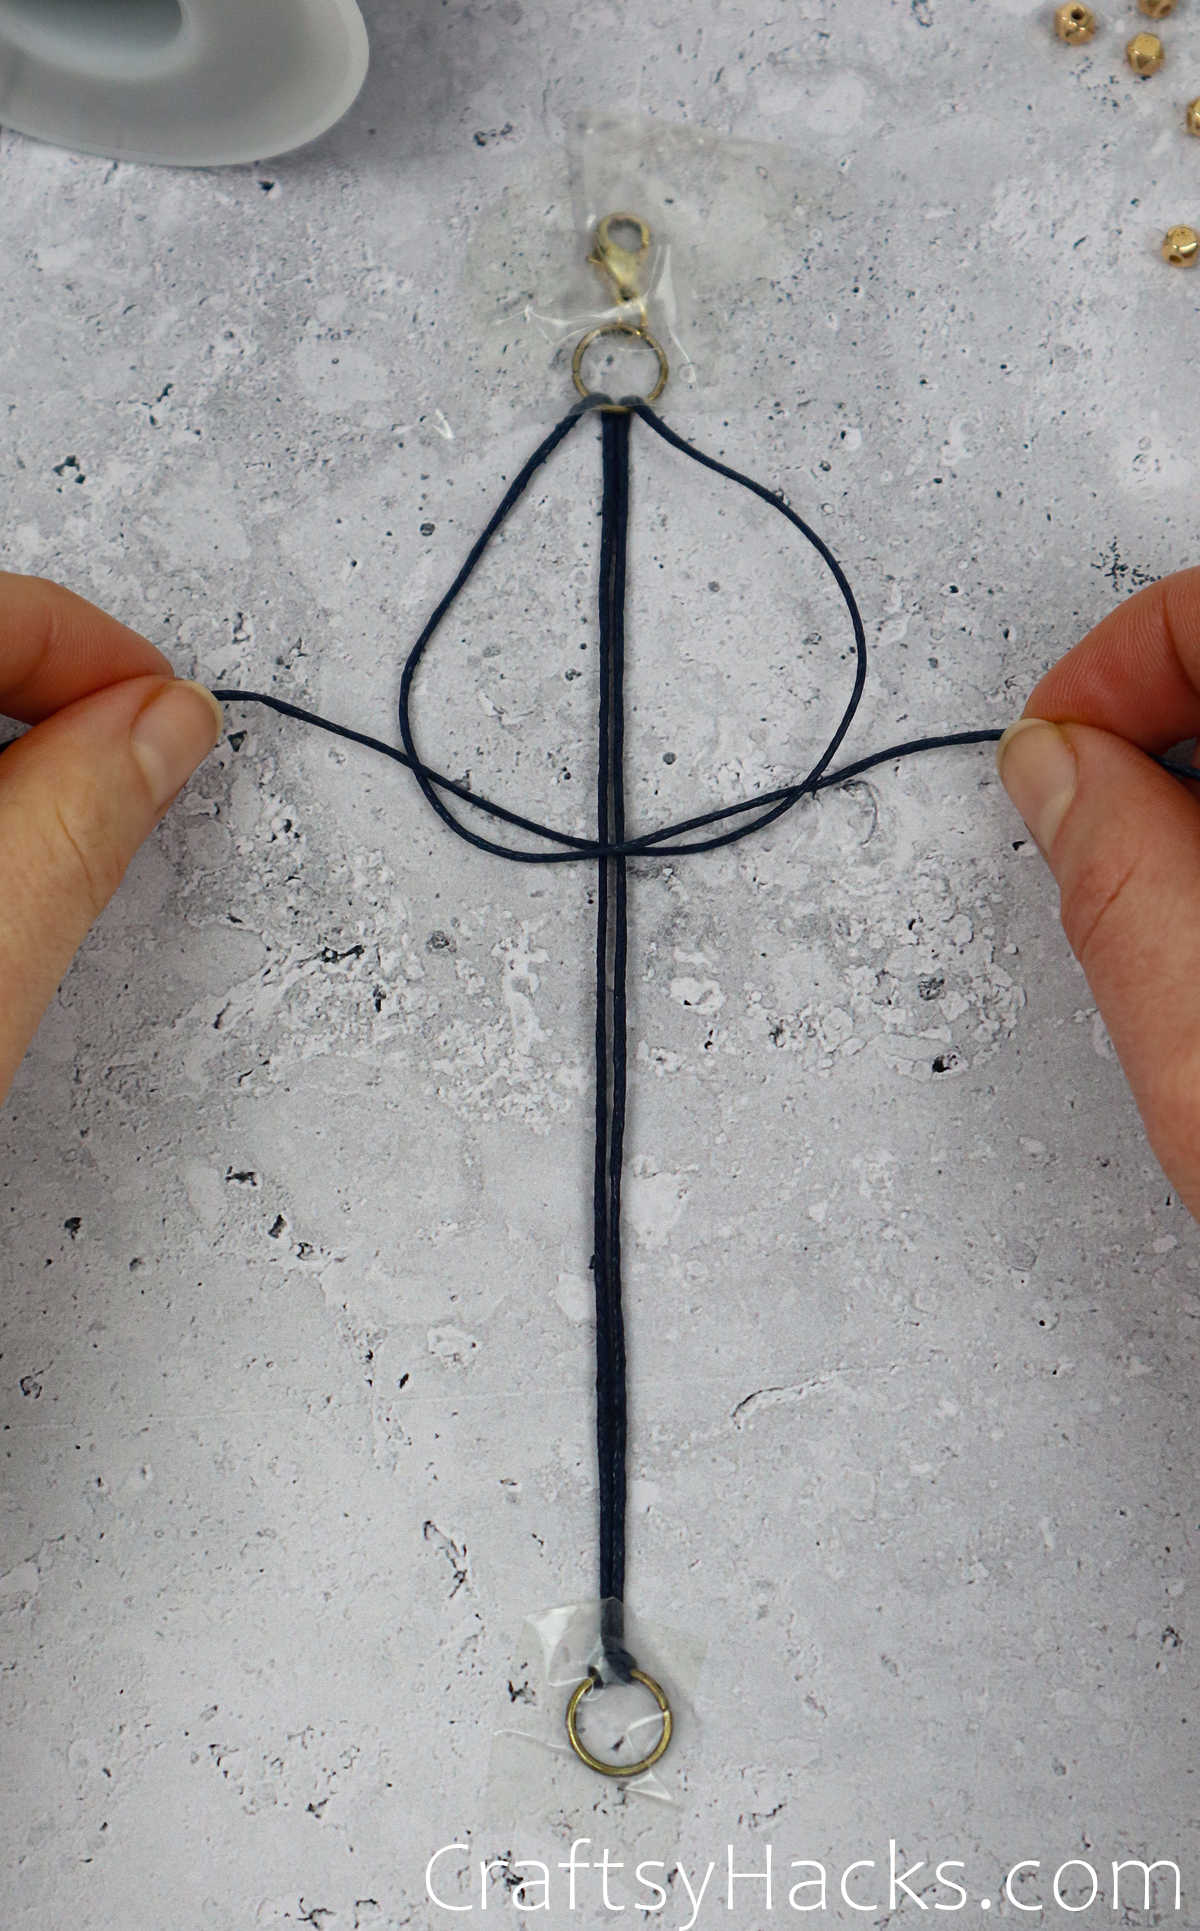
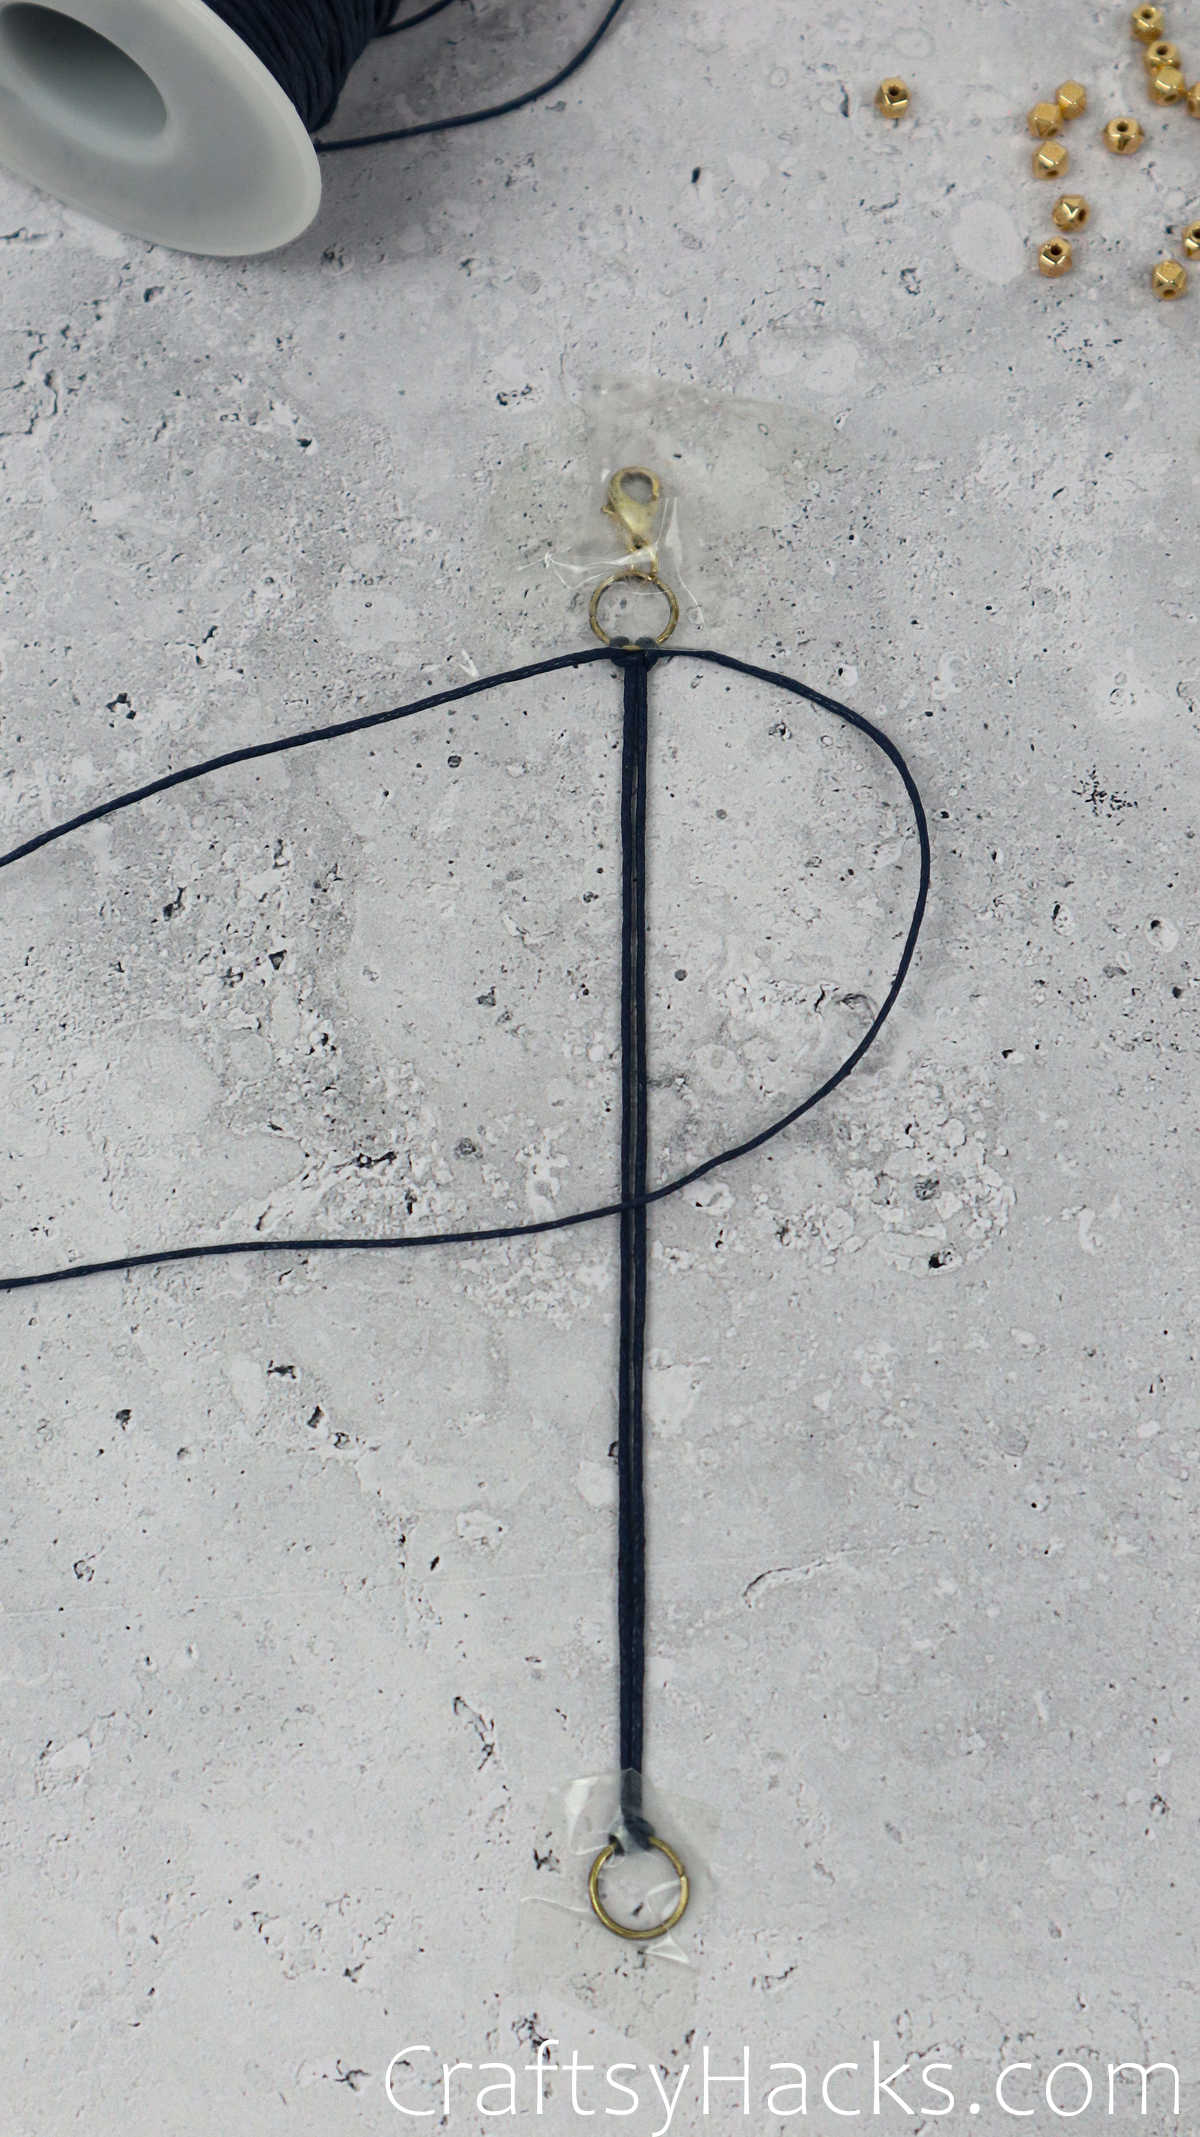
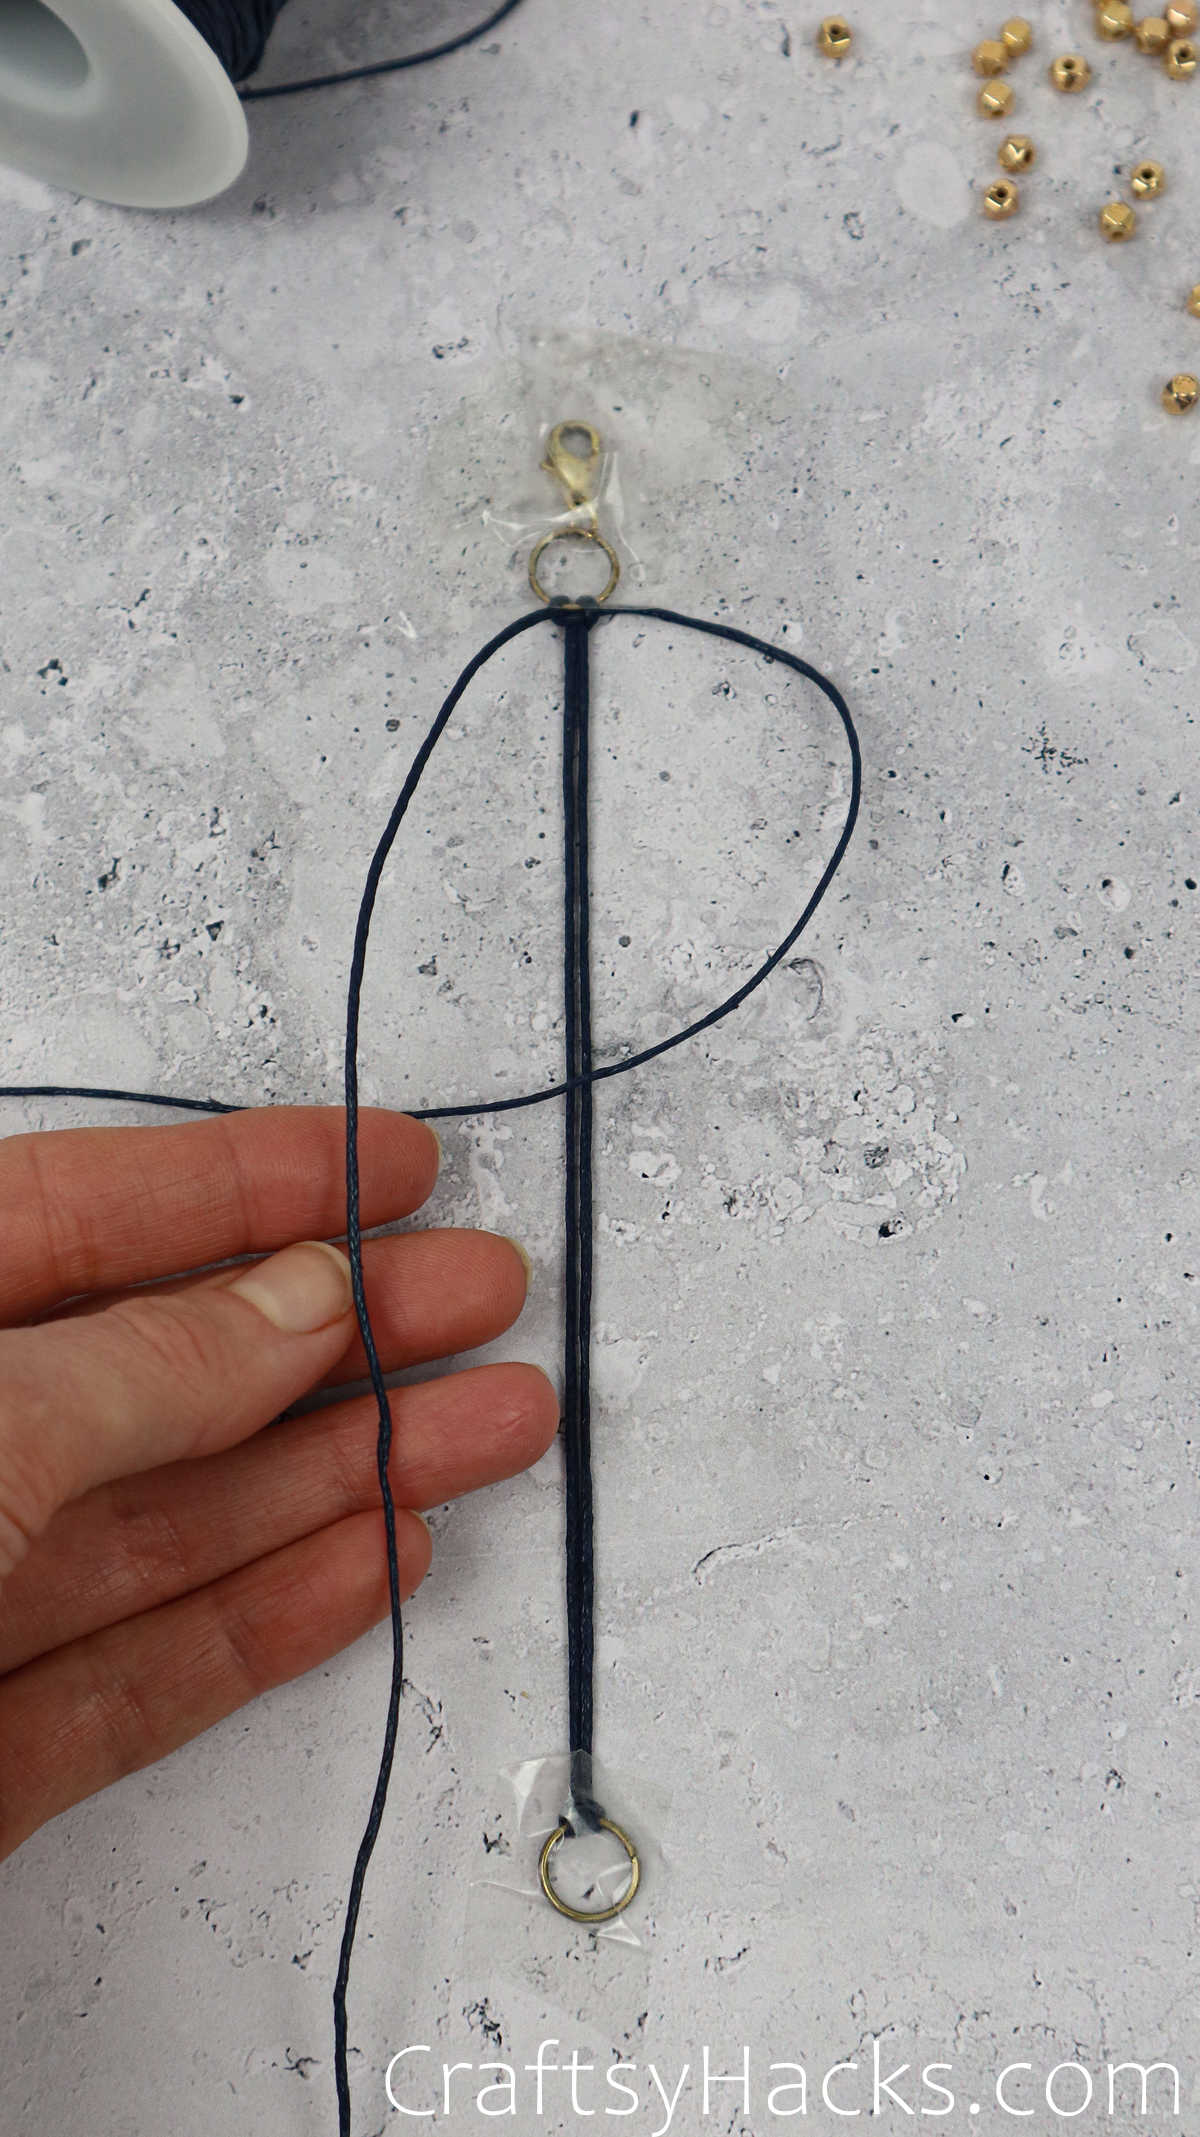
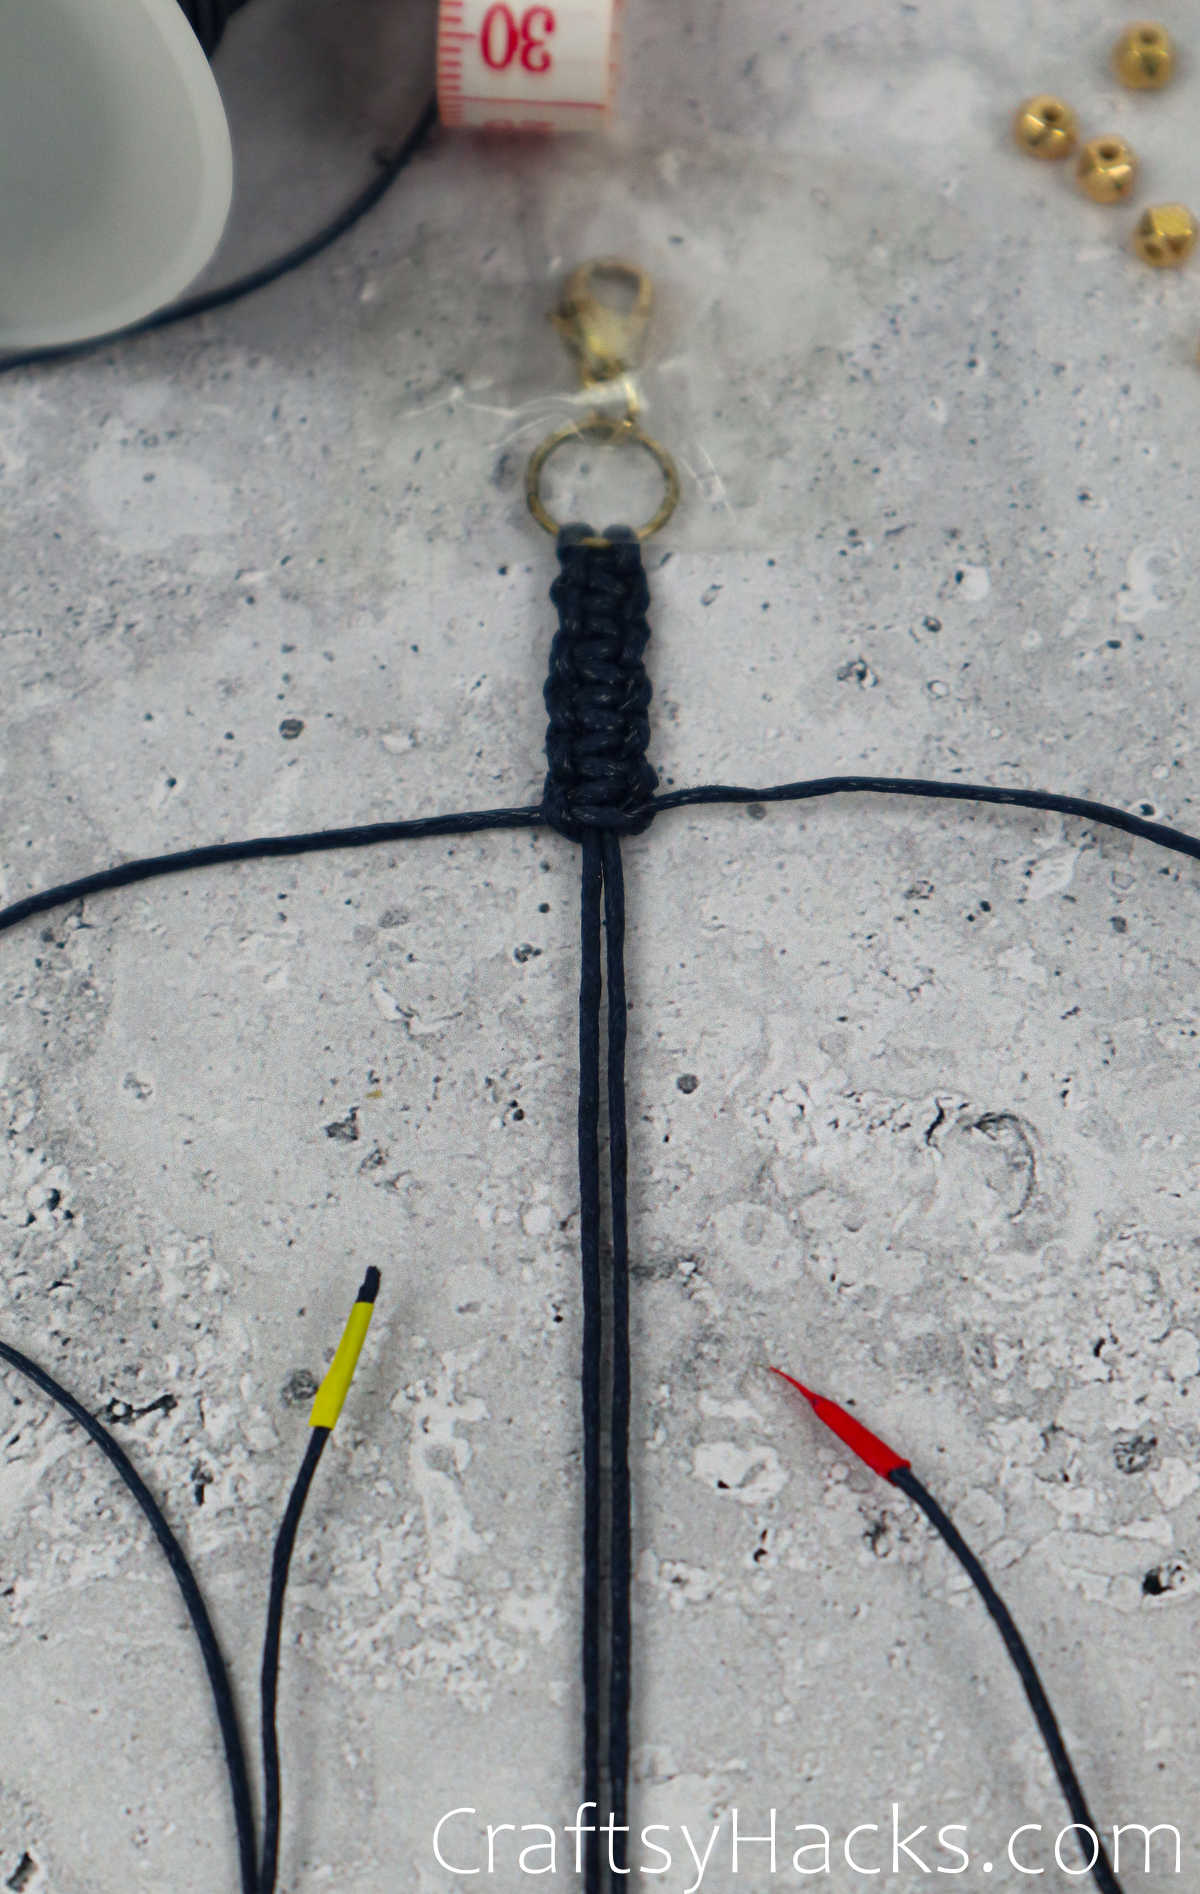
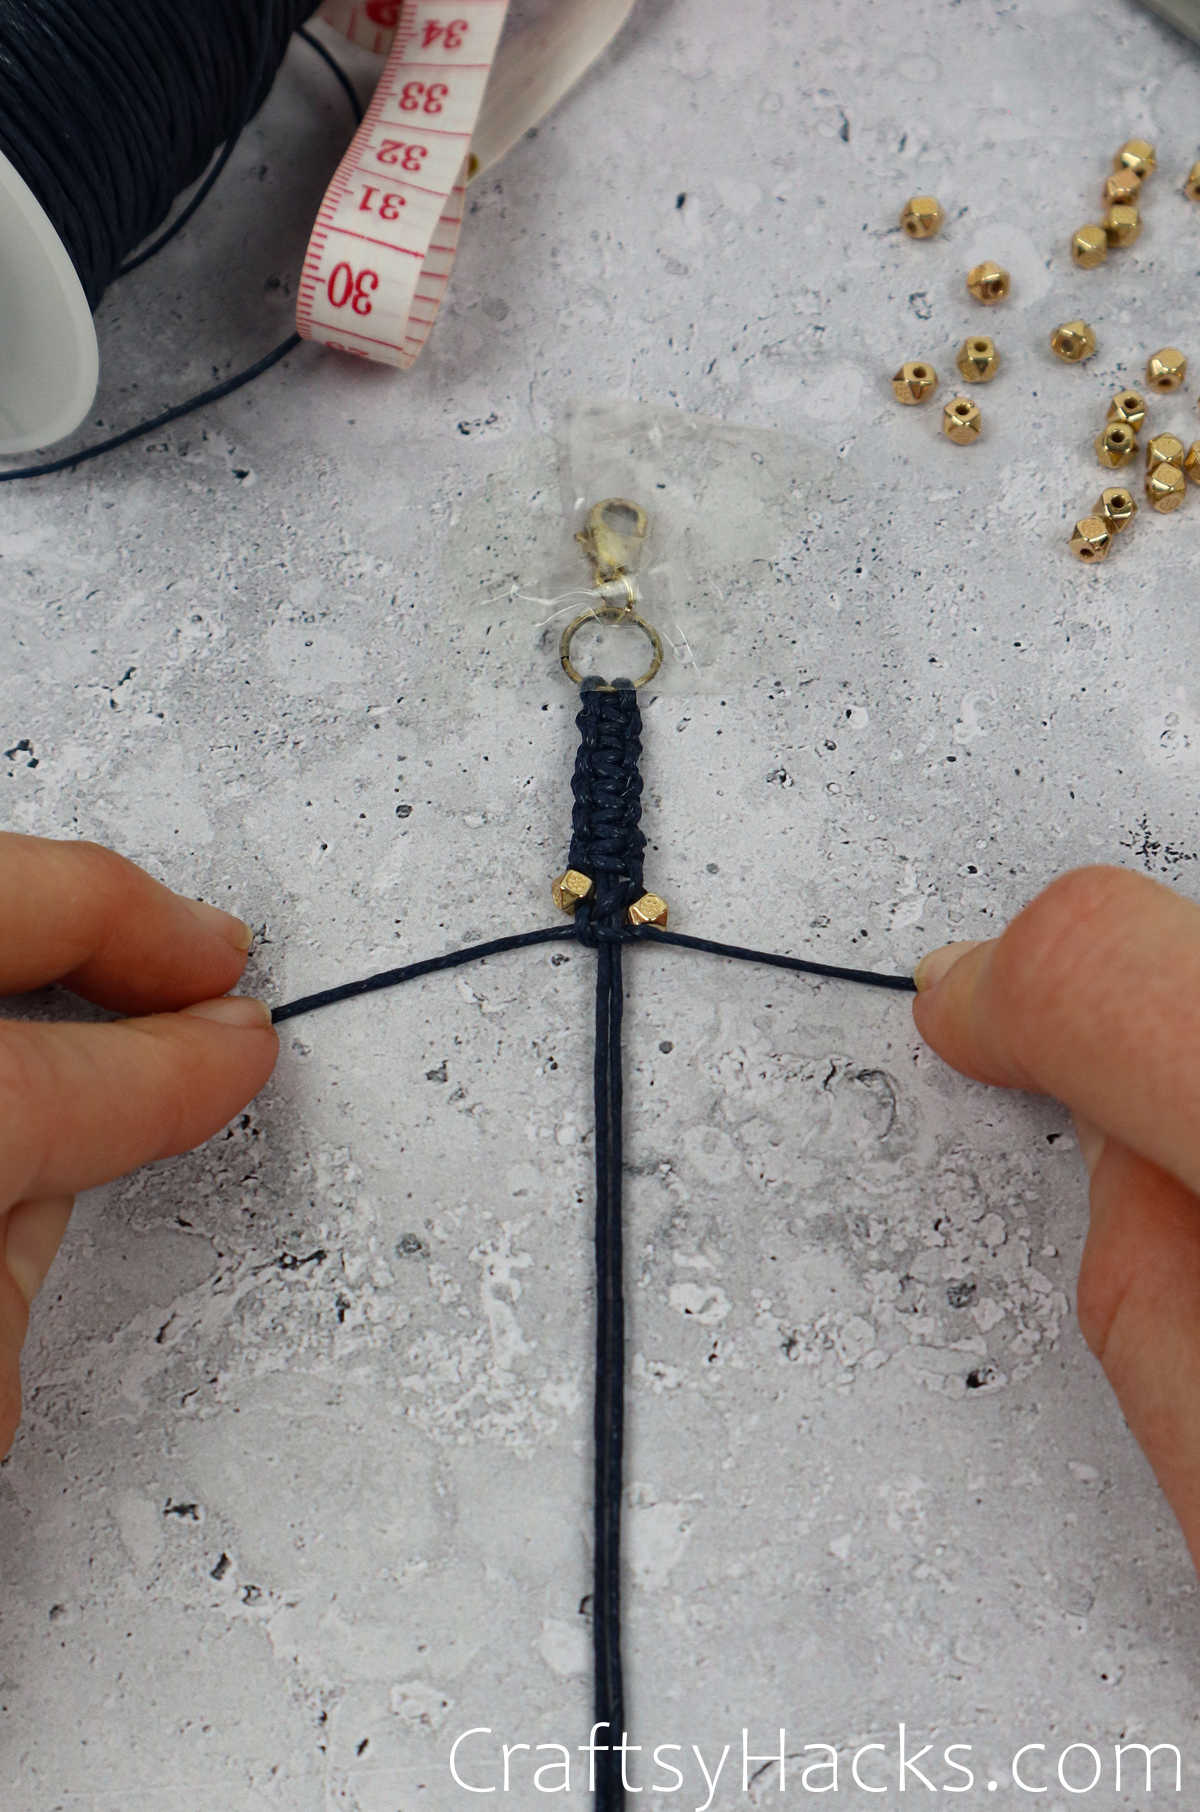
Use a bit of tape to secure the lobster claw to your work table. Make sure you check the placement of the cords–you will need one cord each on the left and right, and two in the middle, as seen below.

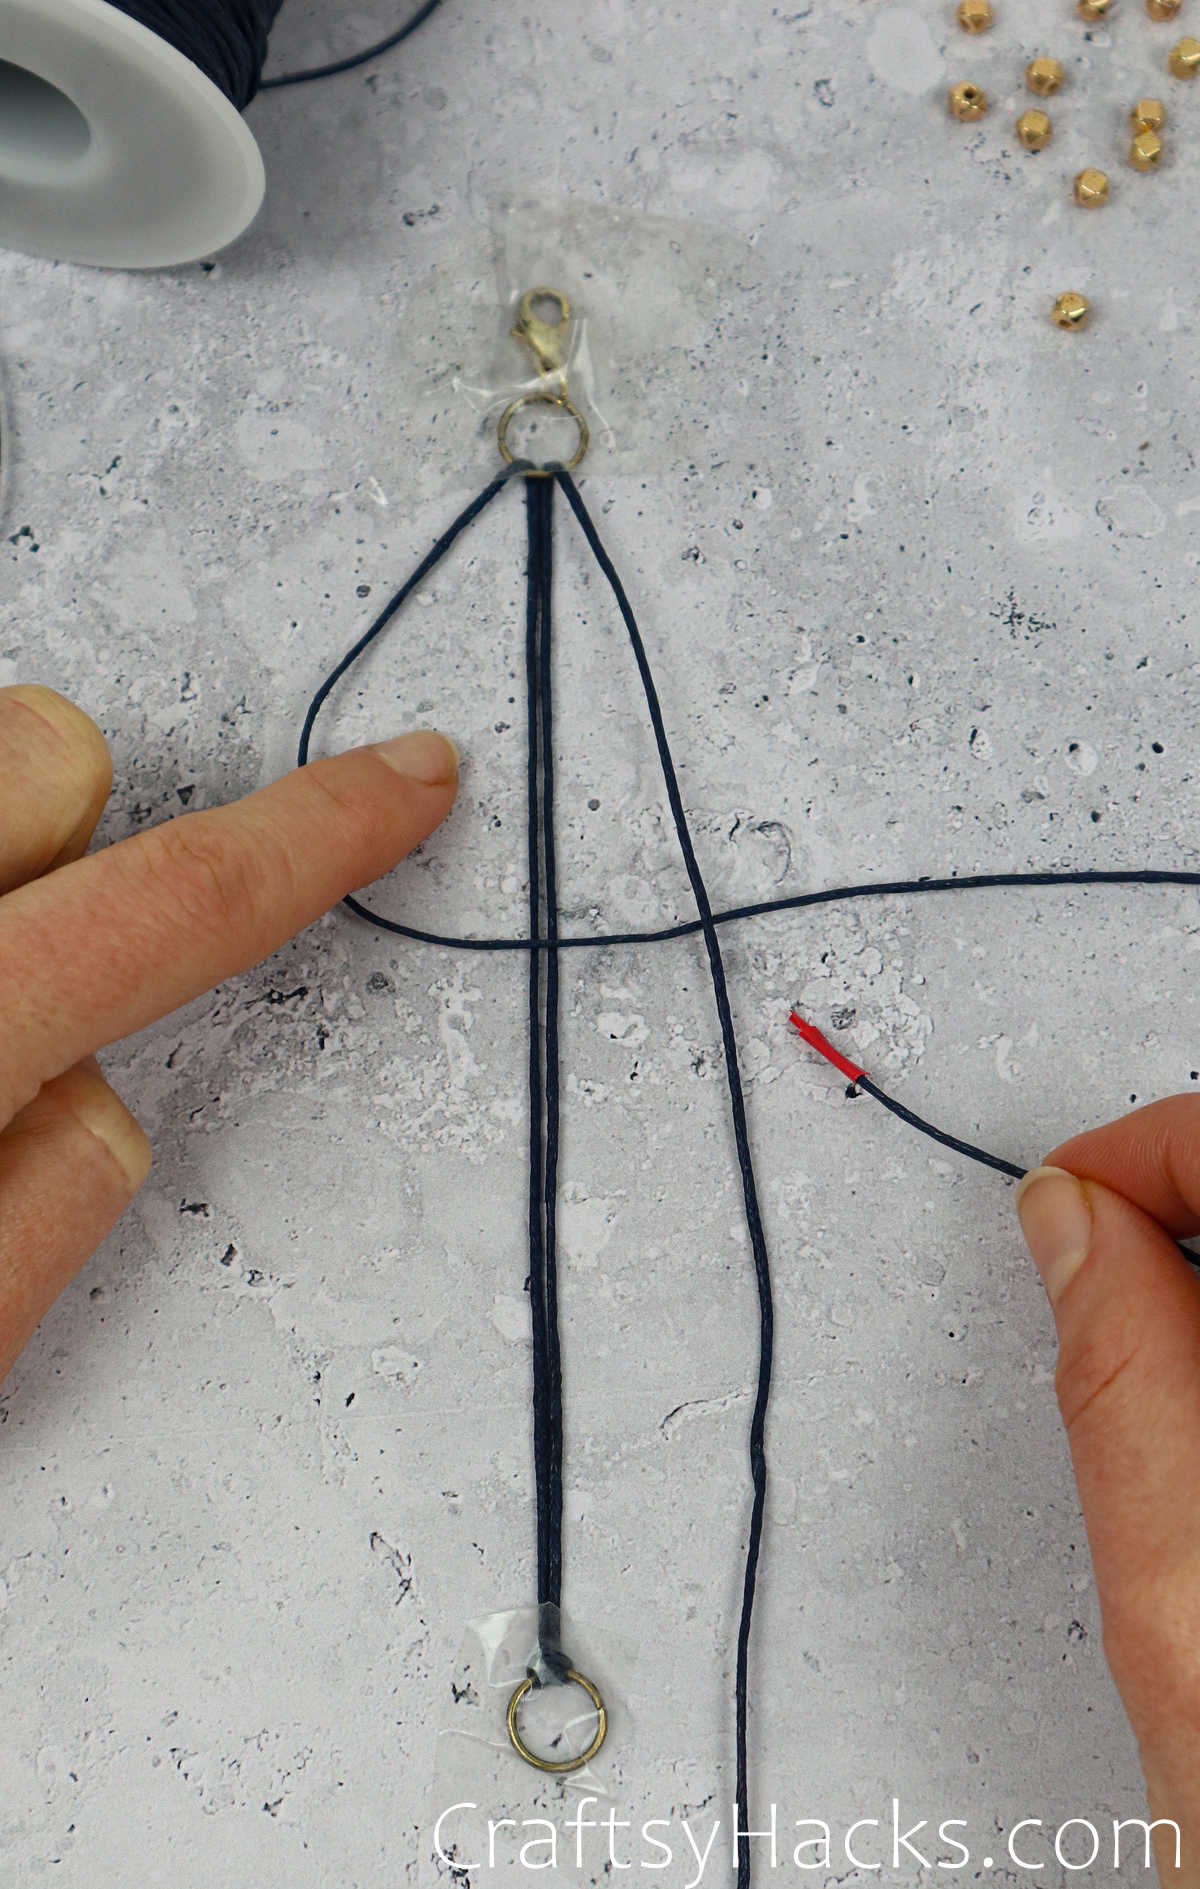
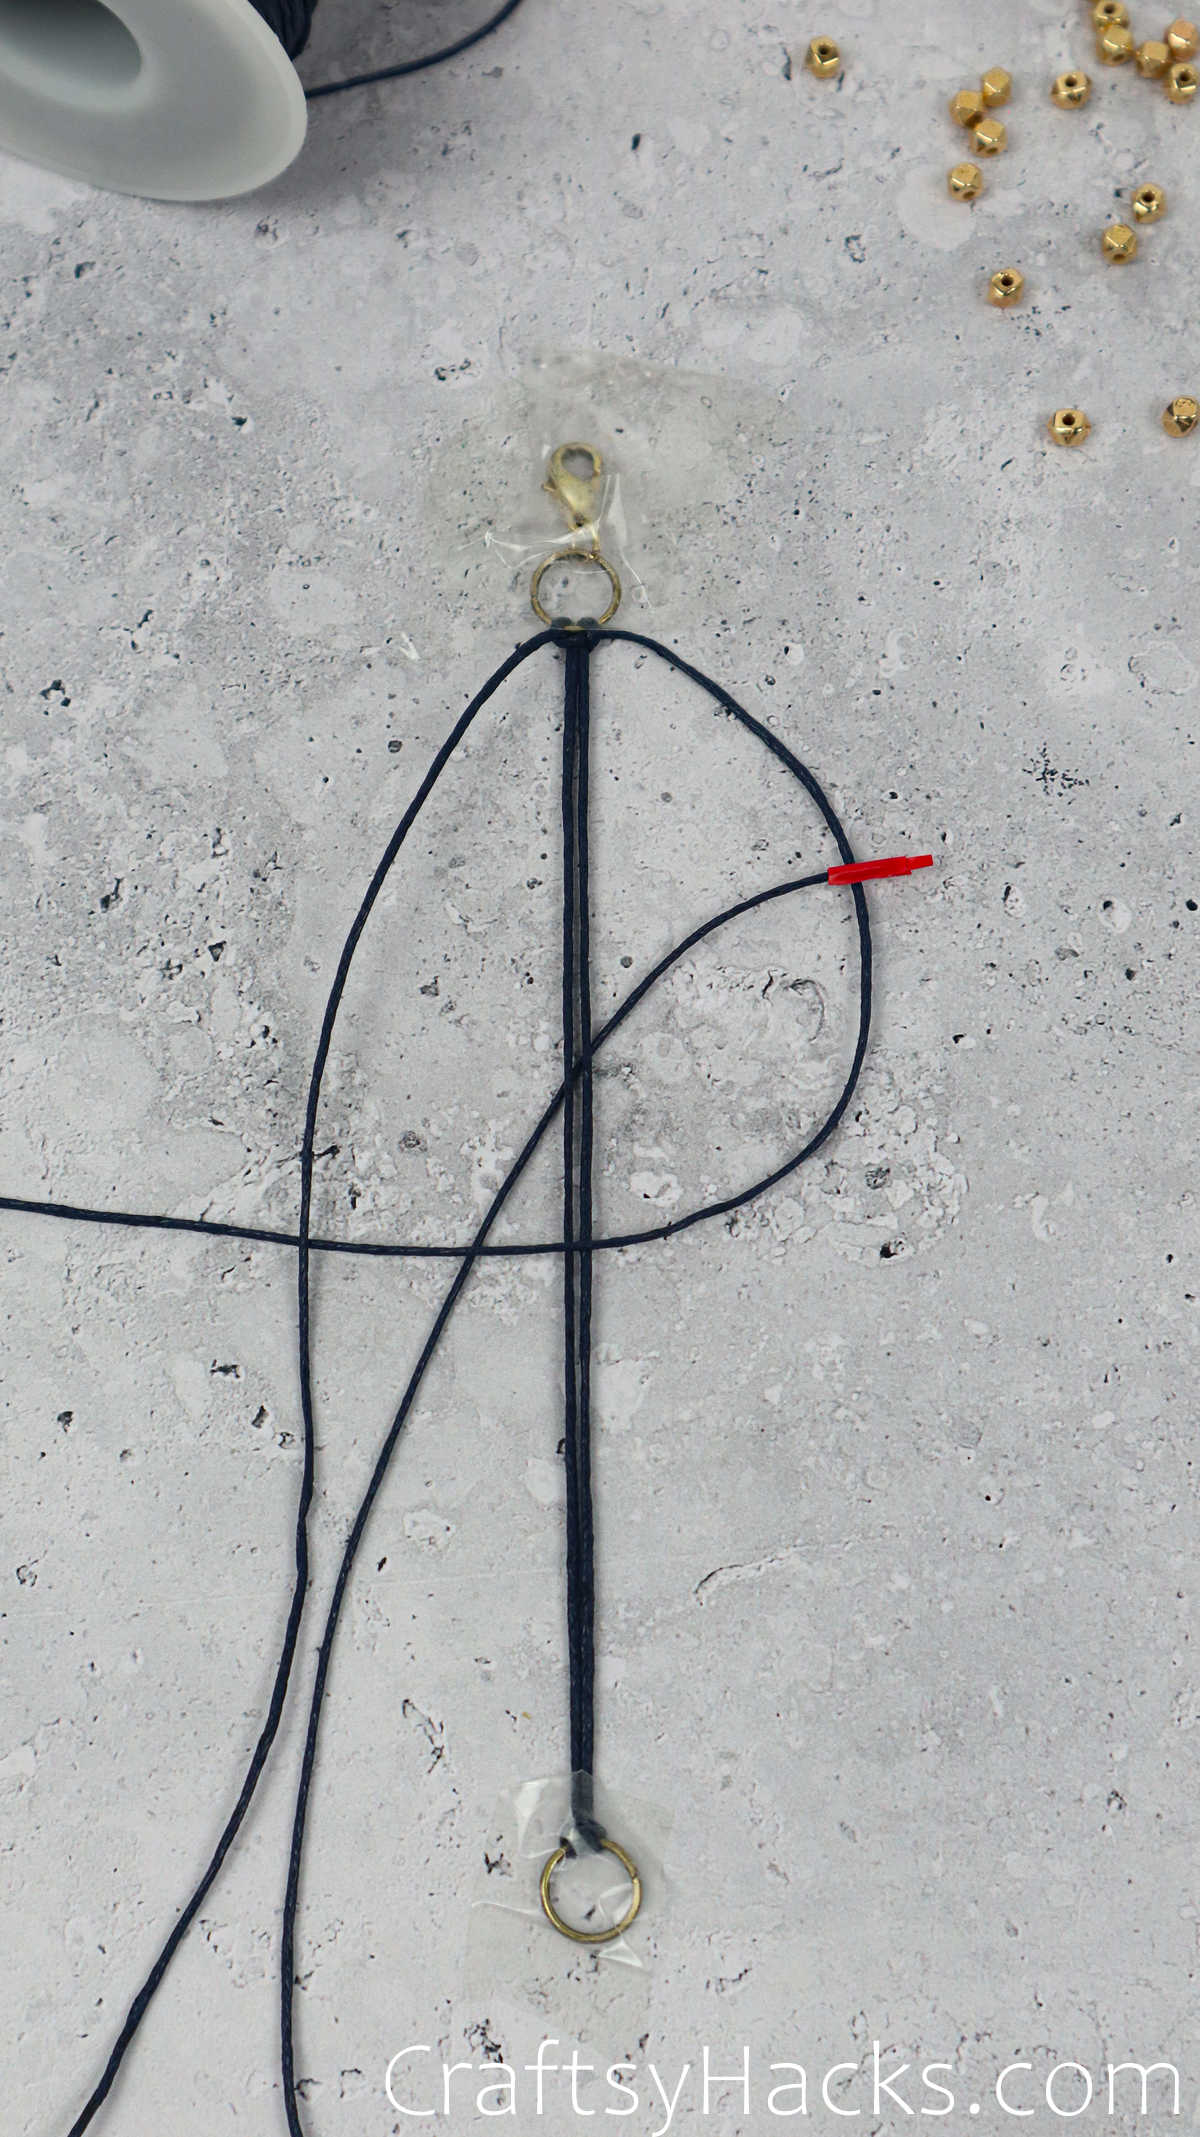
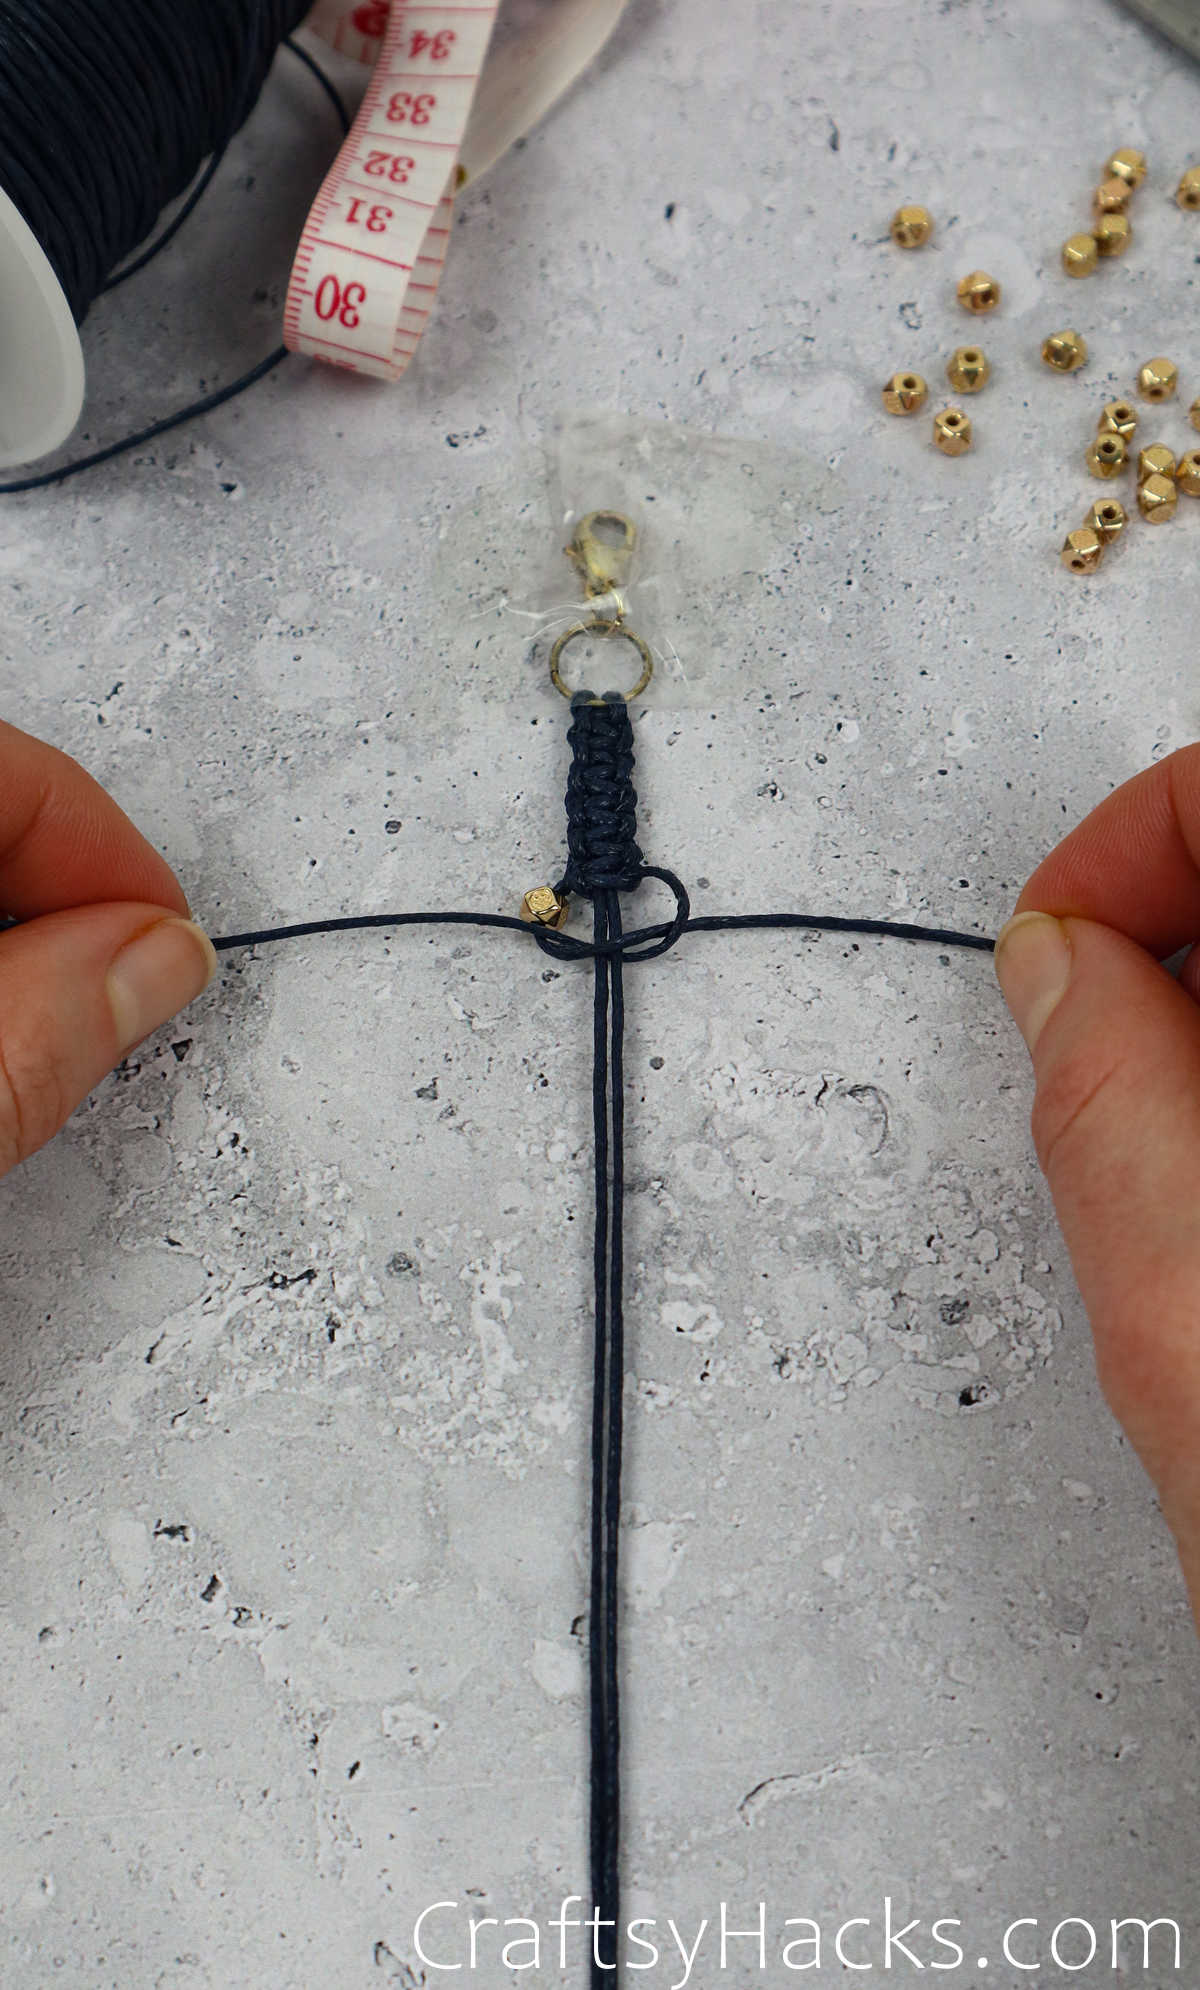
Now you’re going to make your first square knot. Grab the left cord and bring it over the two middle cords to form a 4-like shape.
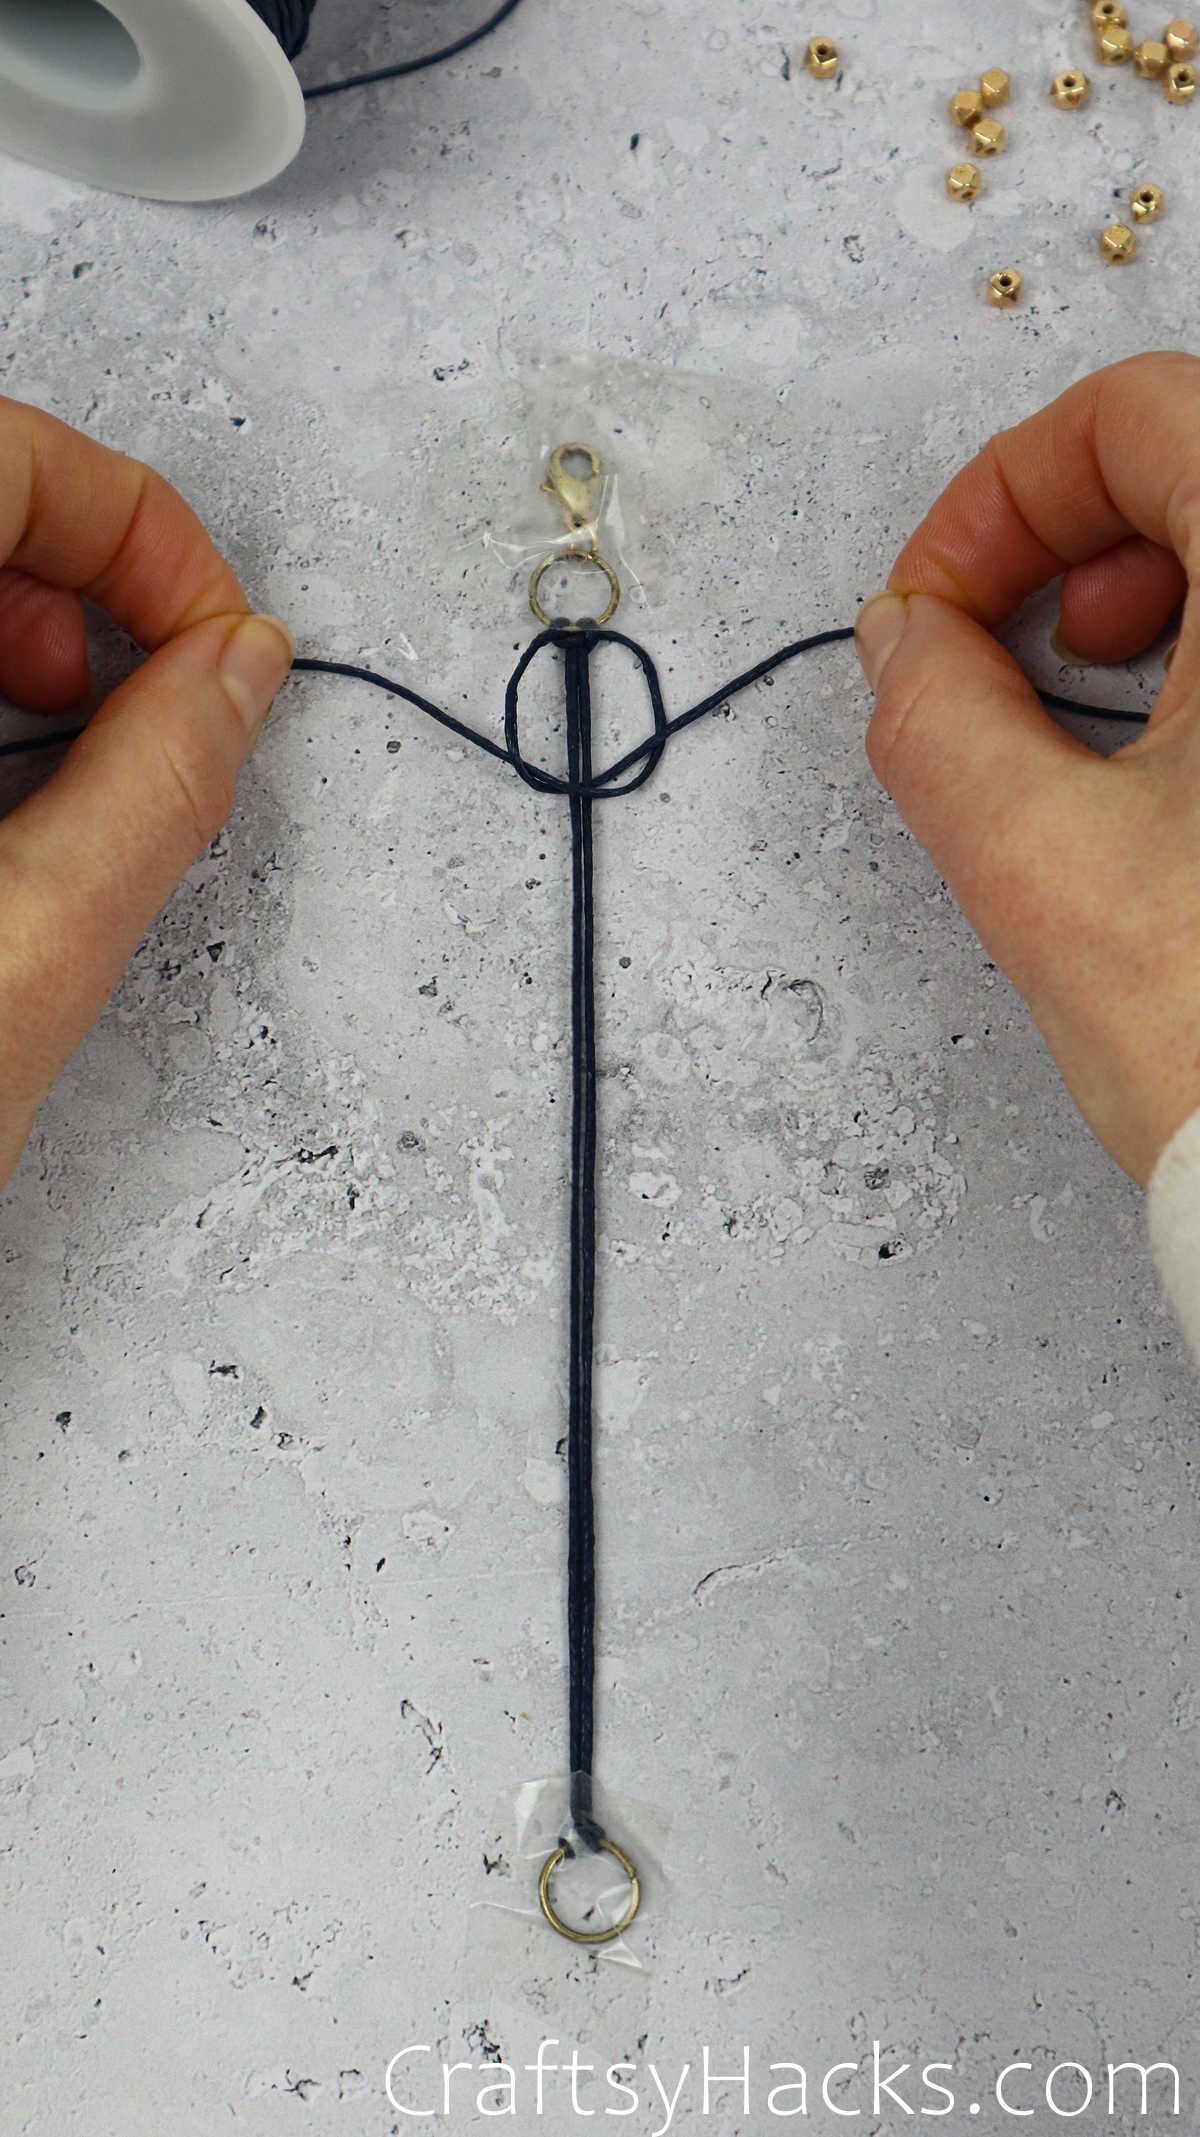
Then take the right cord, bring it over the left cord, and then slip it under the two middle cords to pull it through the 4-shaped loop from below. Don’t worry, once you get the hang of it, you’ll be macrame-ing like a pro!
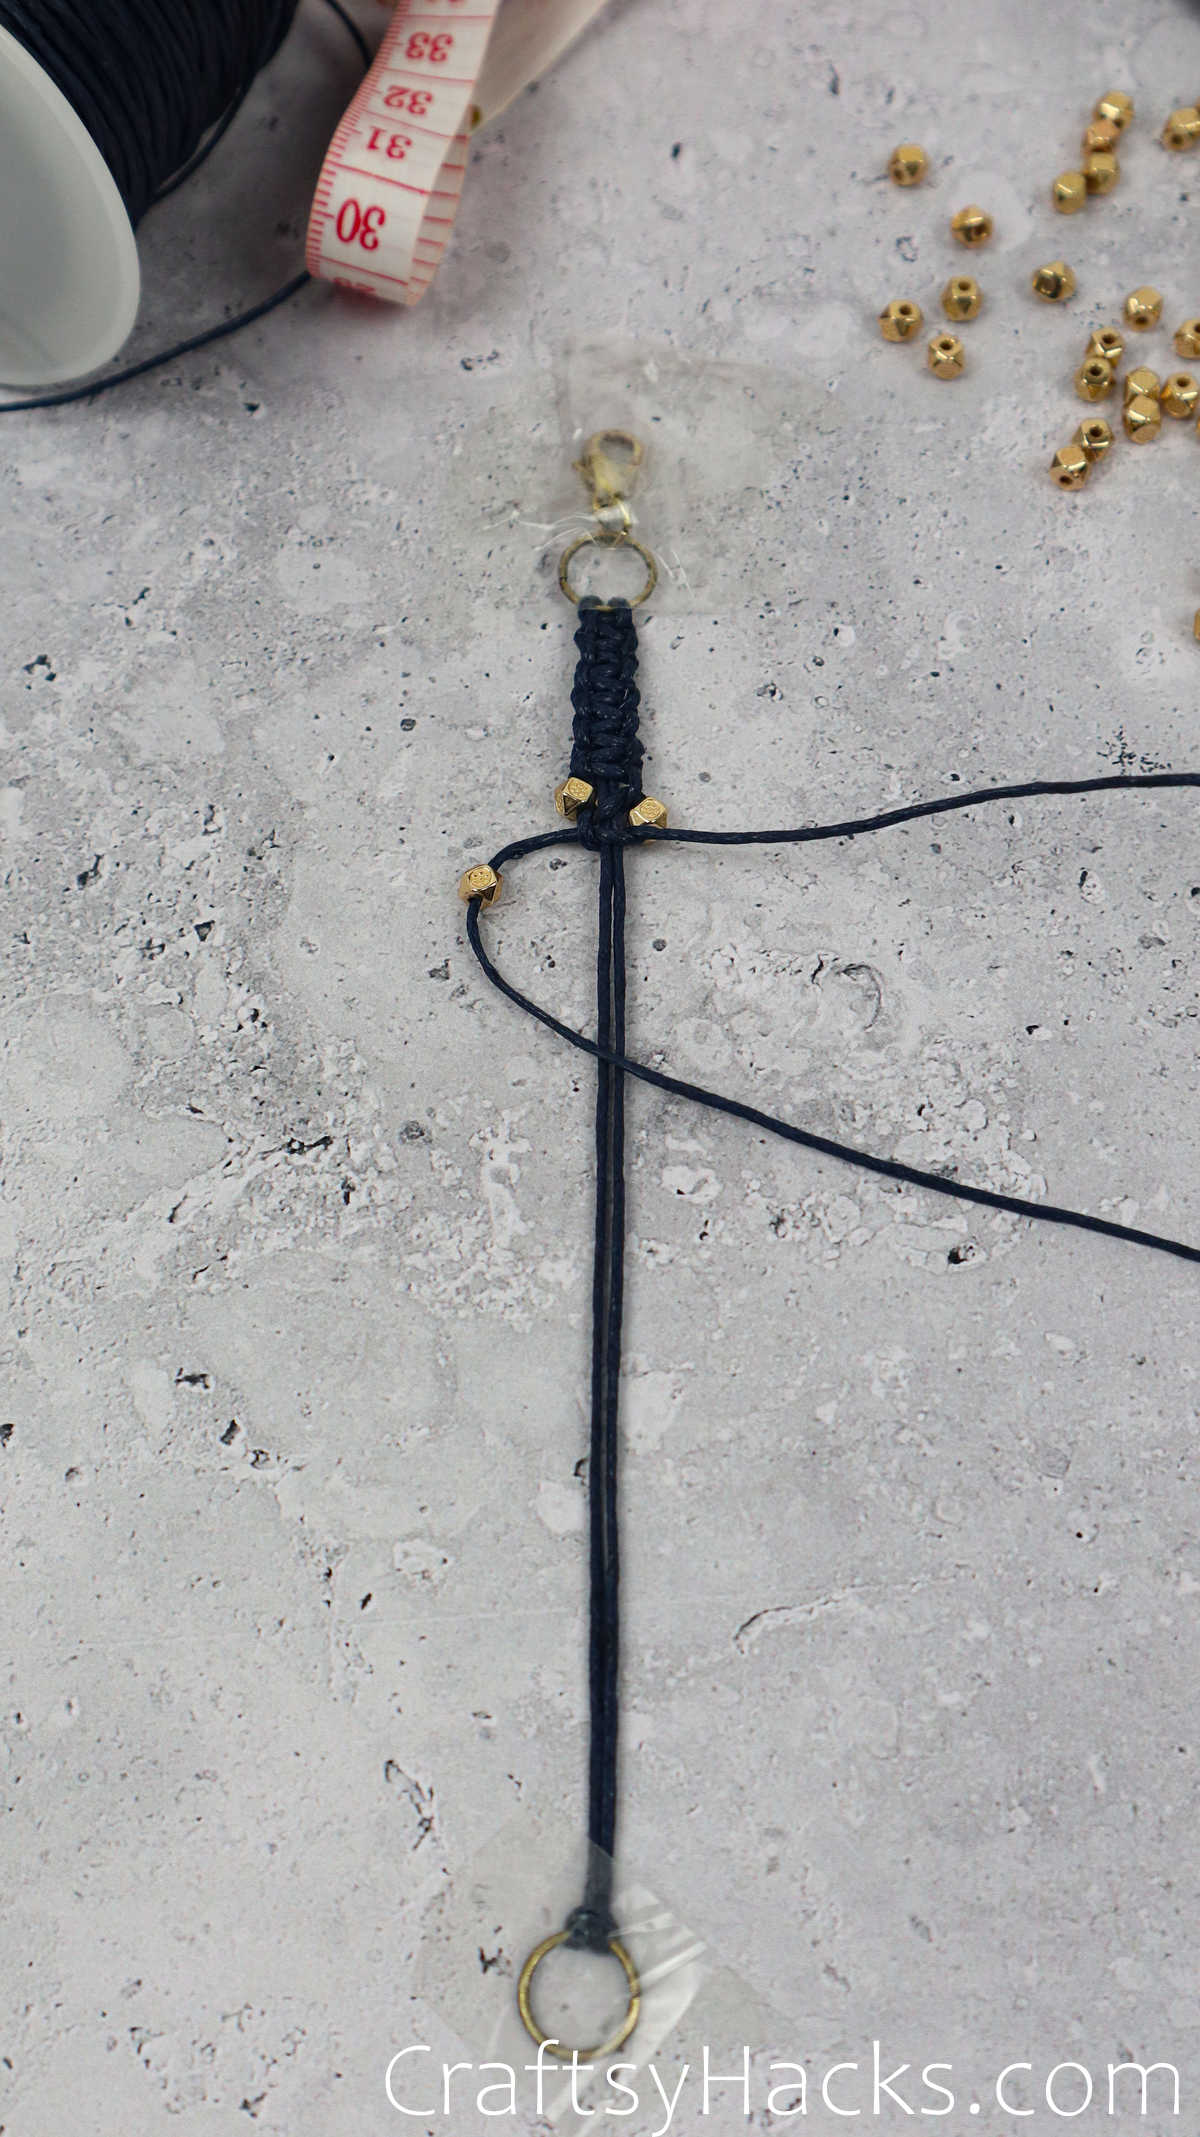
Now just tug the ends of both cord up to tighten theknot at the base of your jump ring.

This is only half a square knot, so let’s complete the second half. Grab the right cord first this time around.
Bring the right cord over the middle cords and then take the left cor and bring it over the right, as seen here.
Now bring the left cord under the middle cords and through the loop from belo on the right. Once again tug the two ends tight to secure the second half of your first square knot!
Step 5
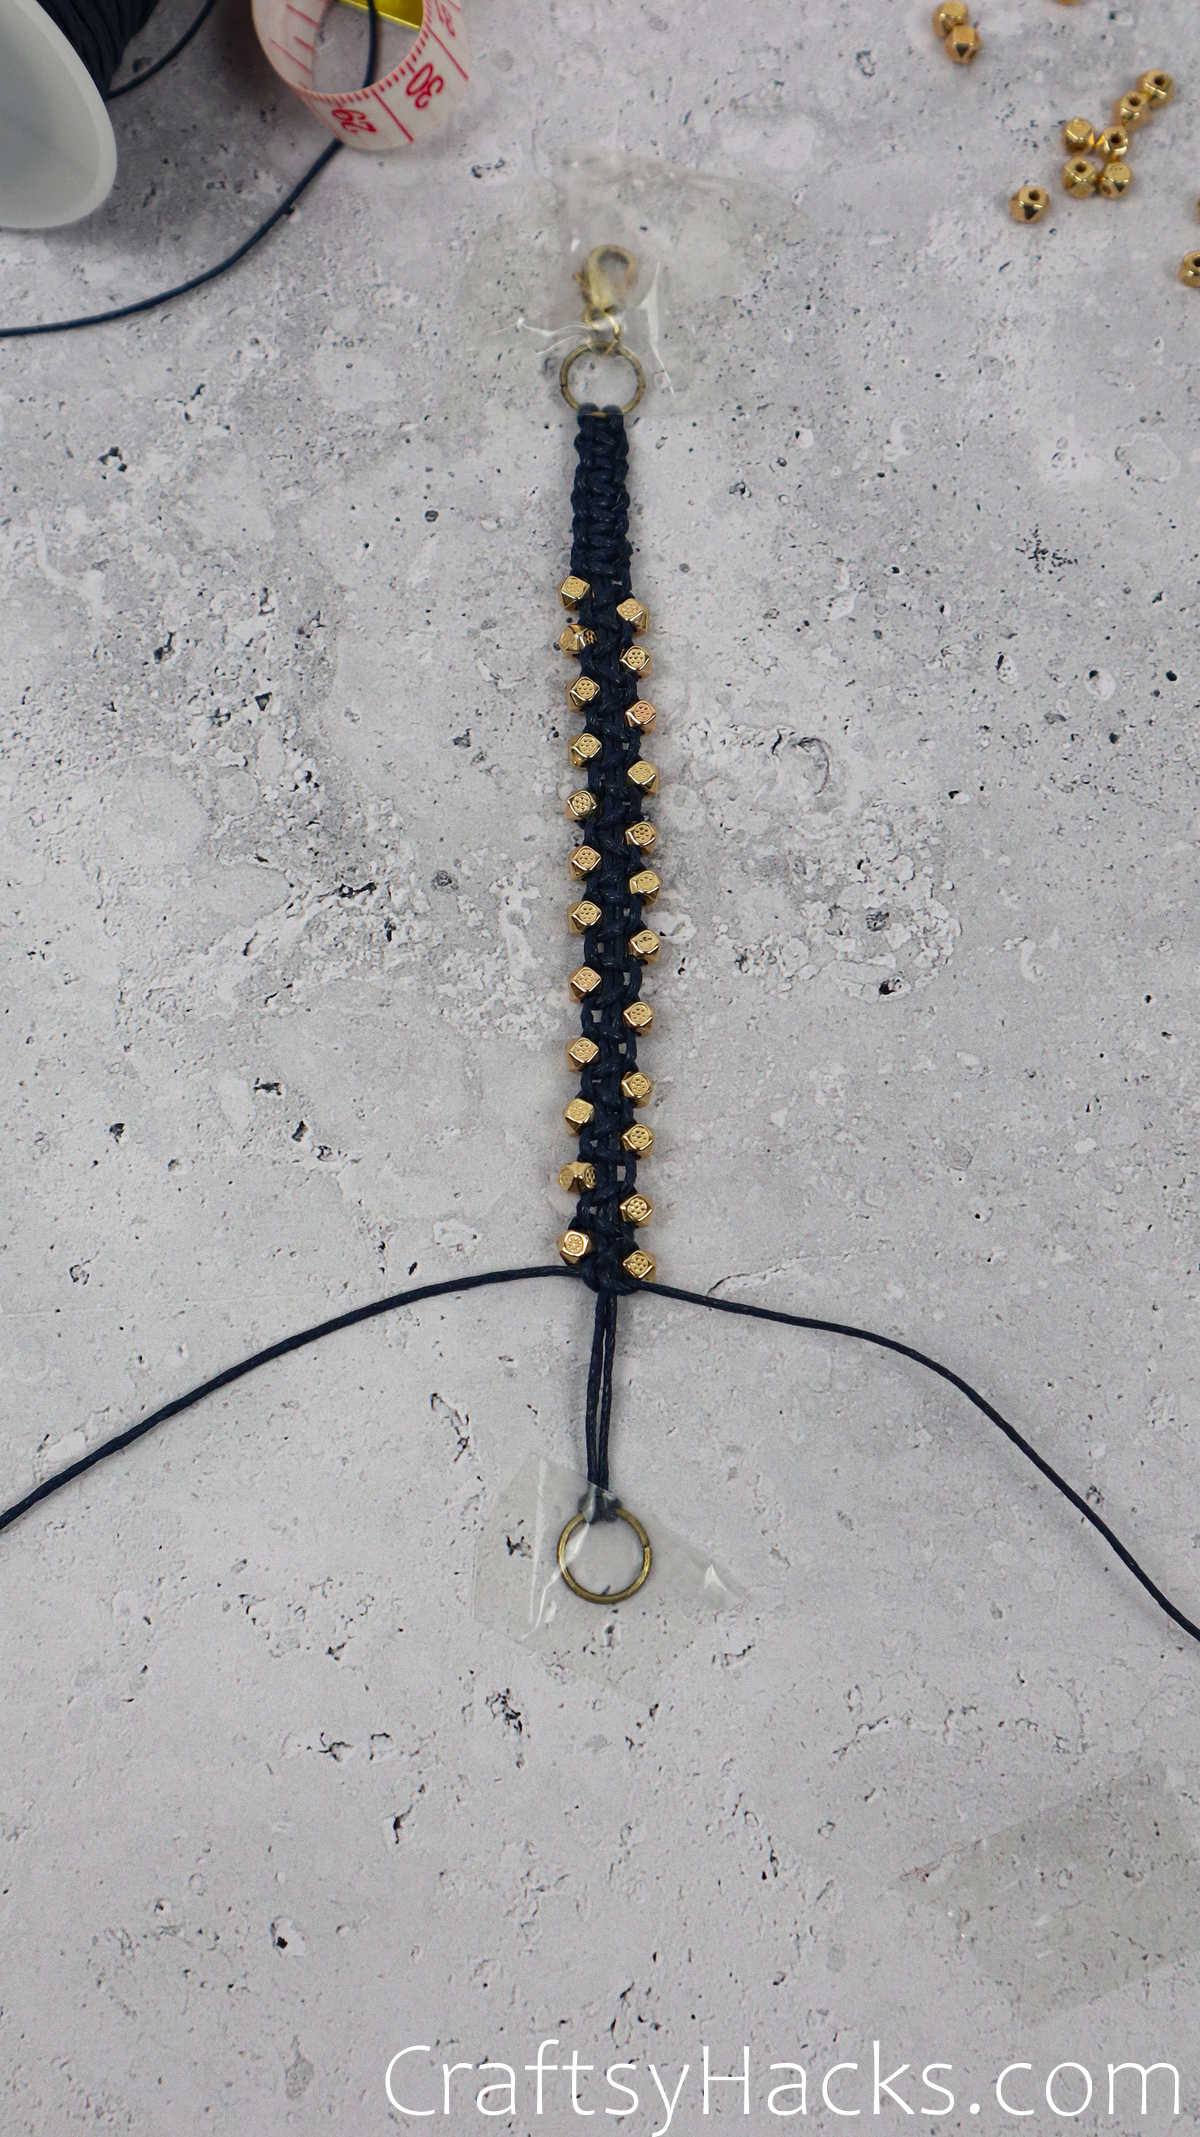
Go ahead and place a series of these square knots to add some body length to your bracelet.
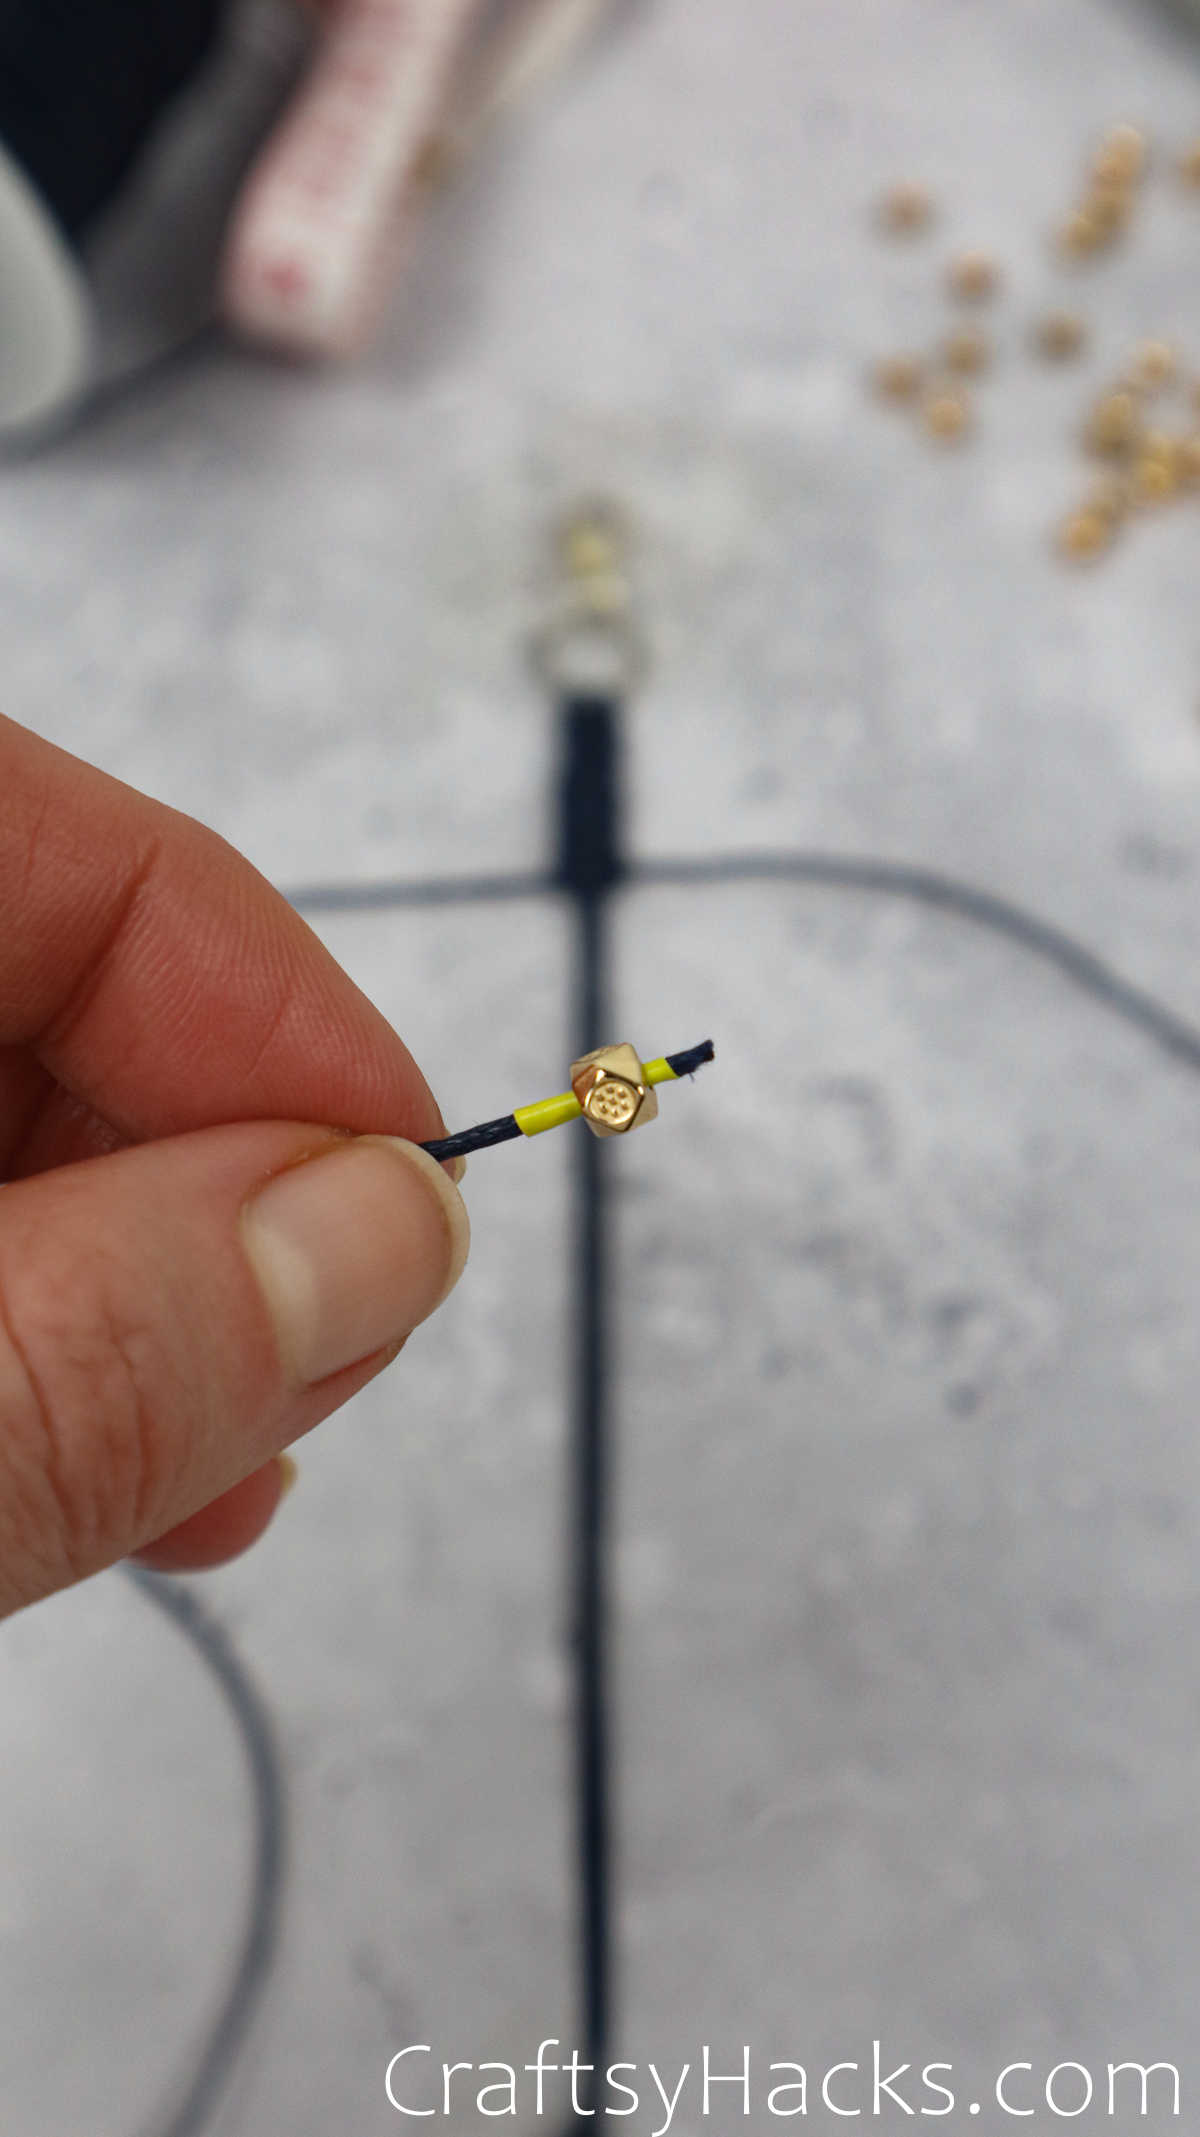
If you plan to include beads then now’s the time to do it. Simply grab your bead and pull it through either the left or right cord. You can tape the ends of the cord to allow for easy insertion.

You can secure the left bead with the first half of the square knot and the second bead on the right can be secure with the second half of the square knot.
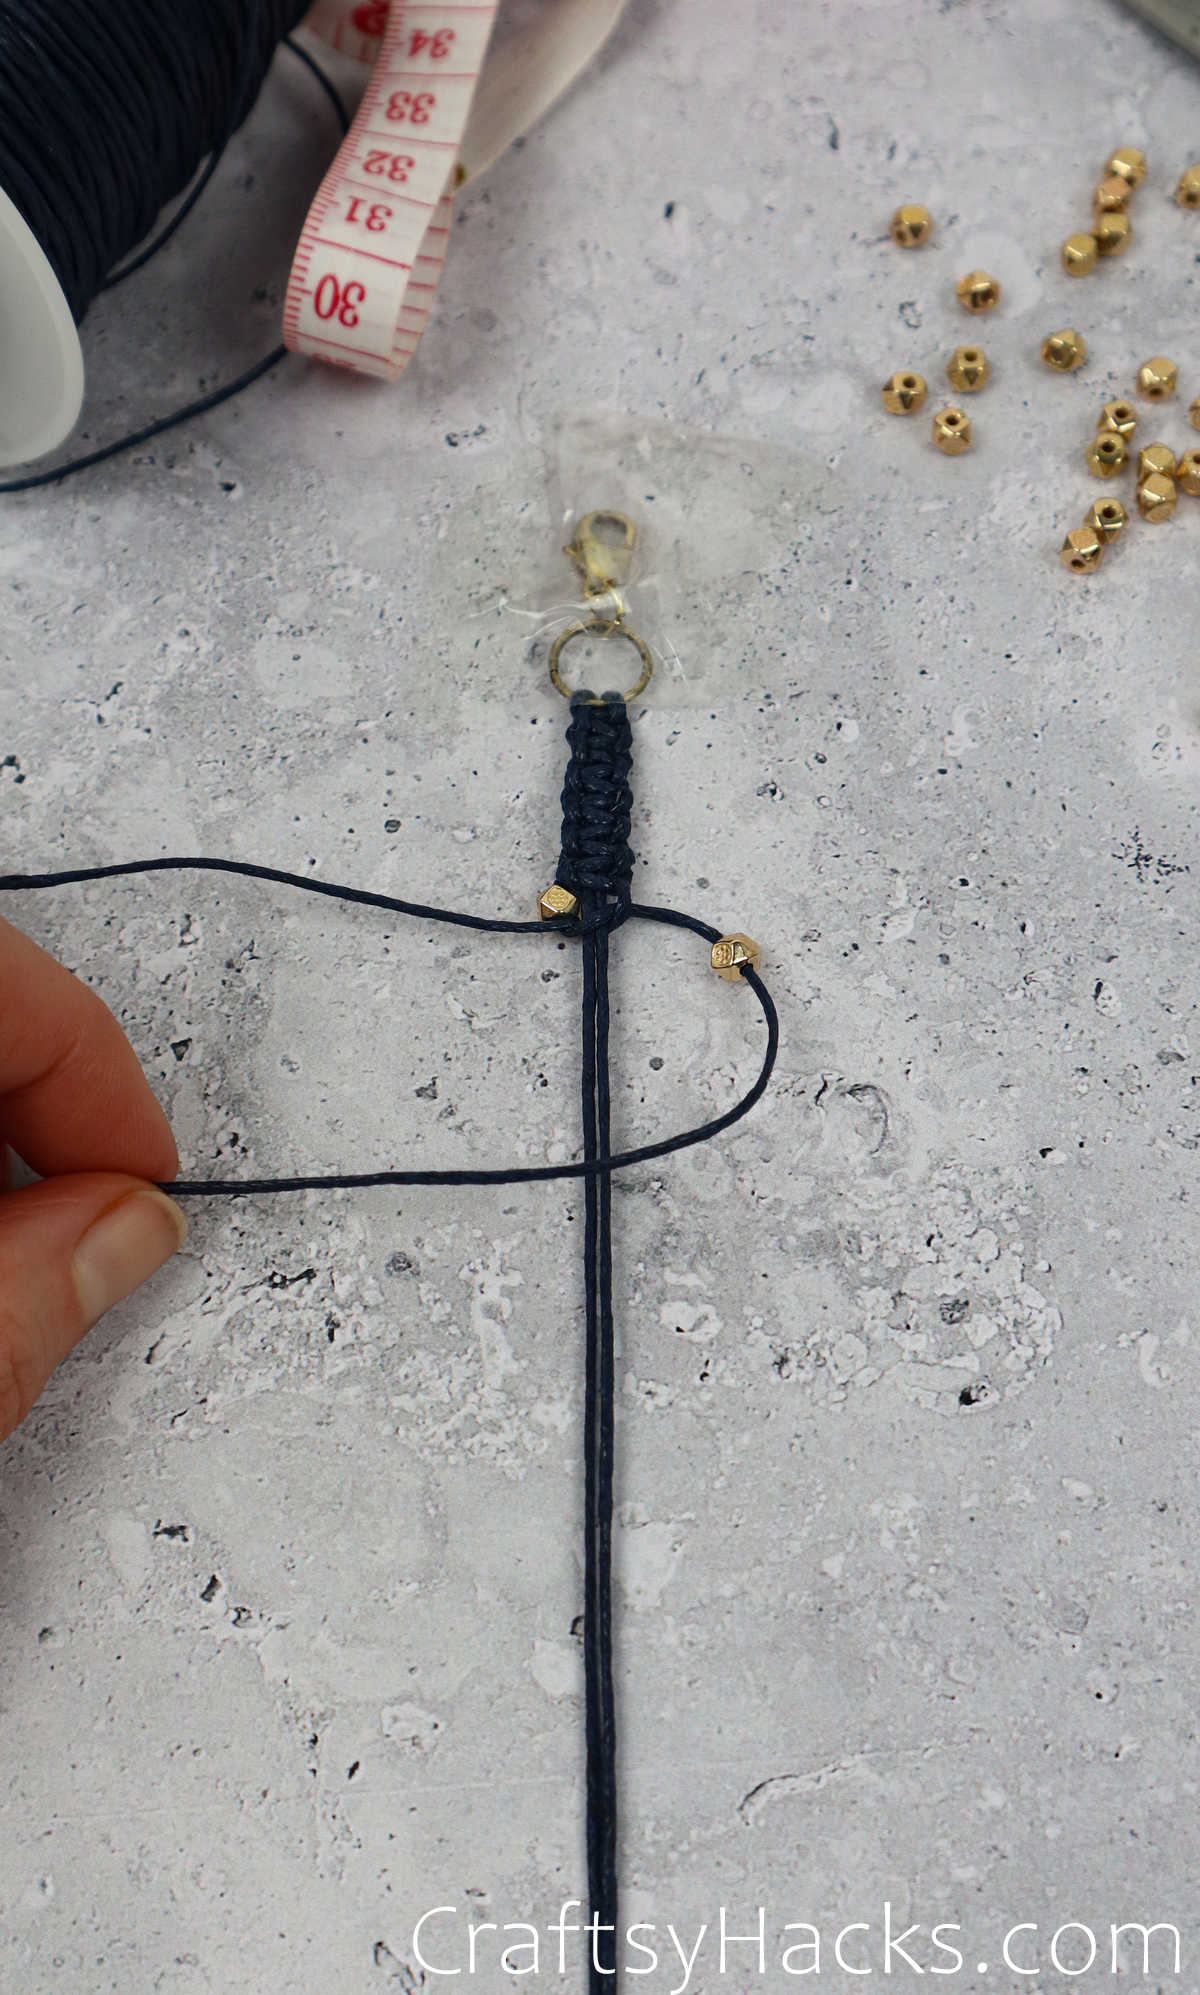
Go ahead and continue to insert beads all the way down the length of your bracelet.
Step 6
Just like when you started working on your bracelet and gave it some body before inserting the beads, you will need to work the exact number of square knots on the other end as well, right before you fasten off.
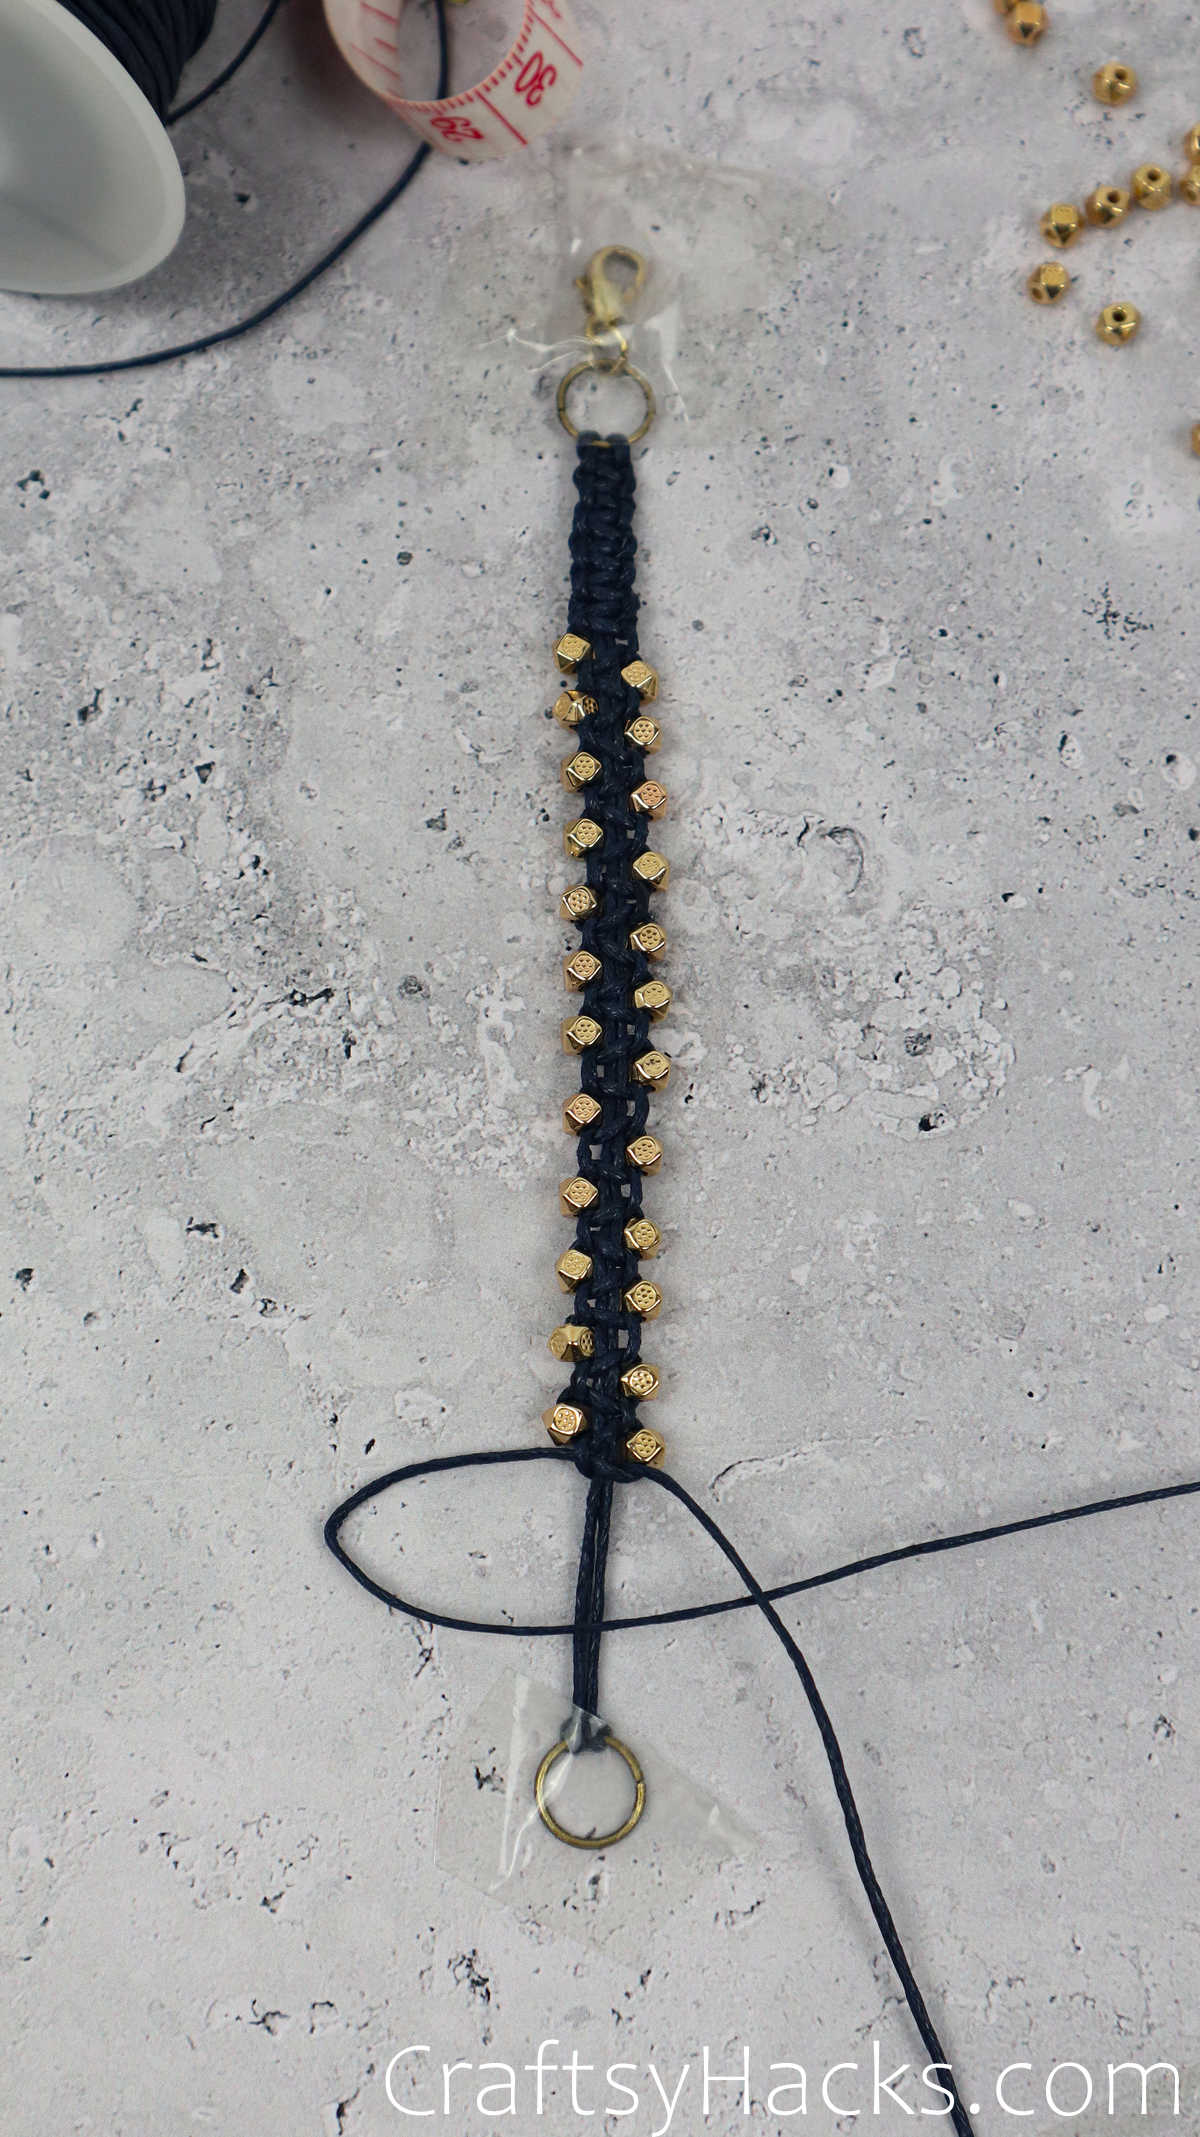
So go ahead and make those knots. When you reach the opposite end and make your very last square knot at the top of the second jmp ring, you’re just about done. All that’s left to do is snip off the loose ends.
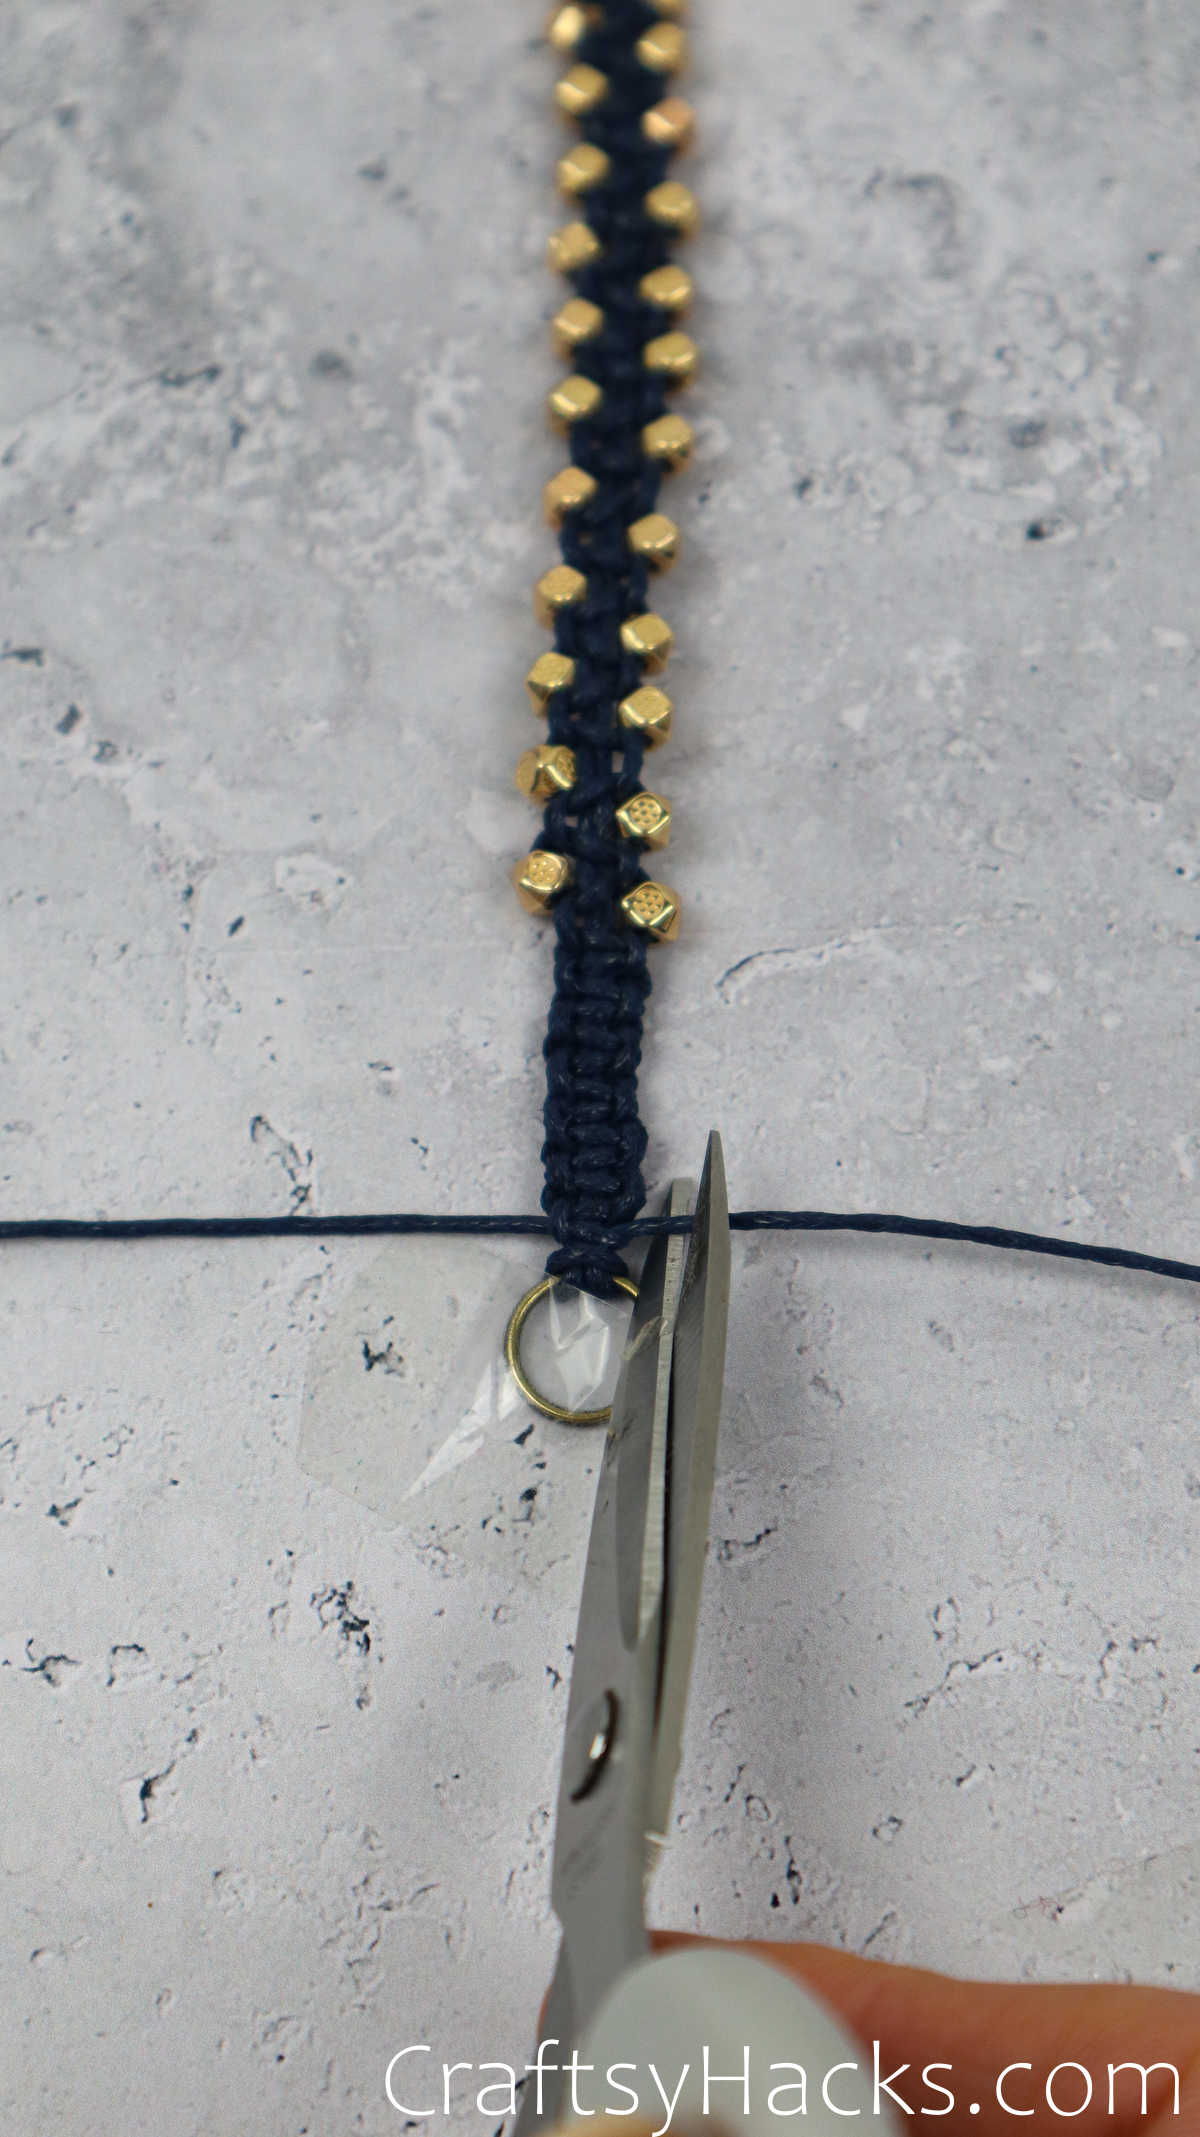
Step 7
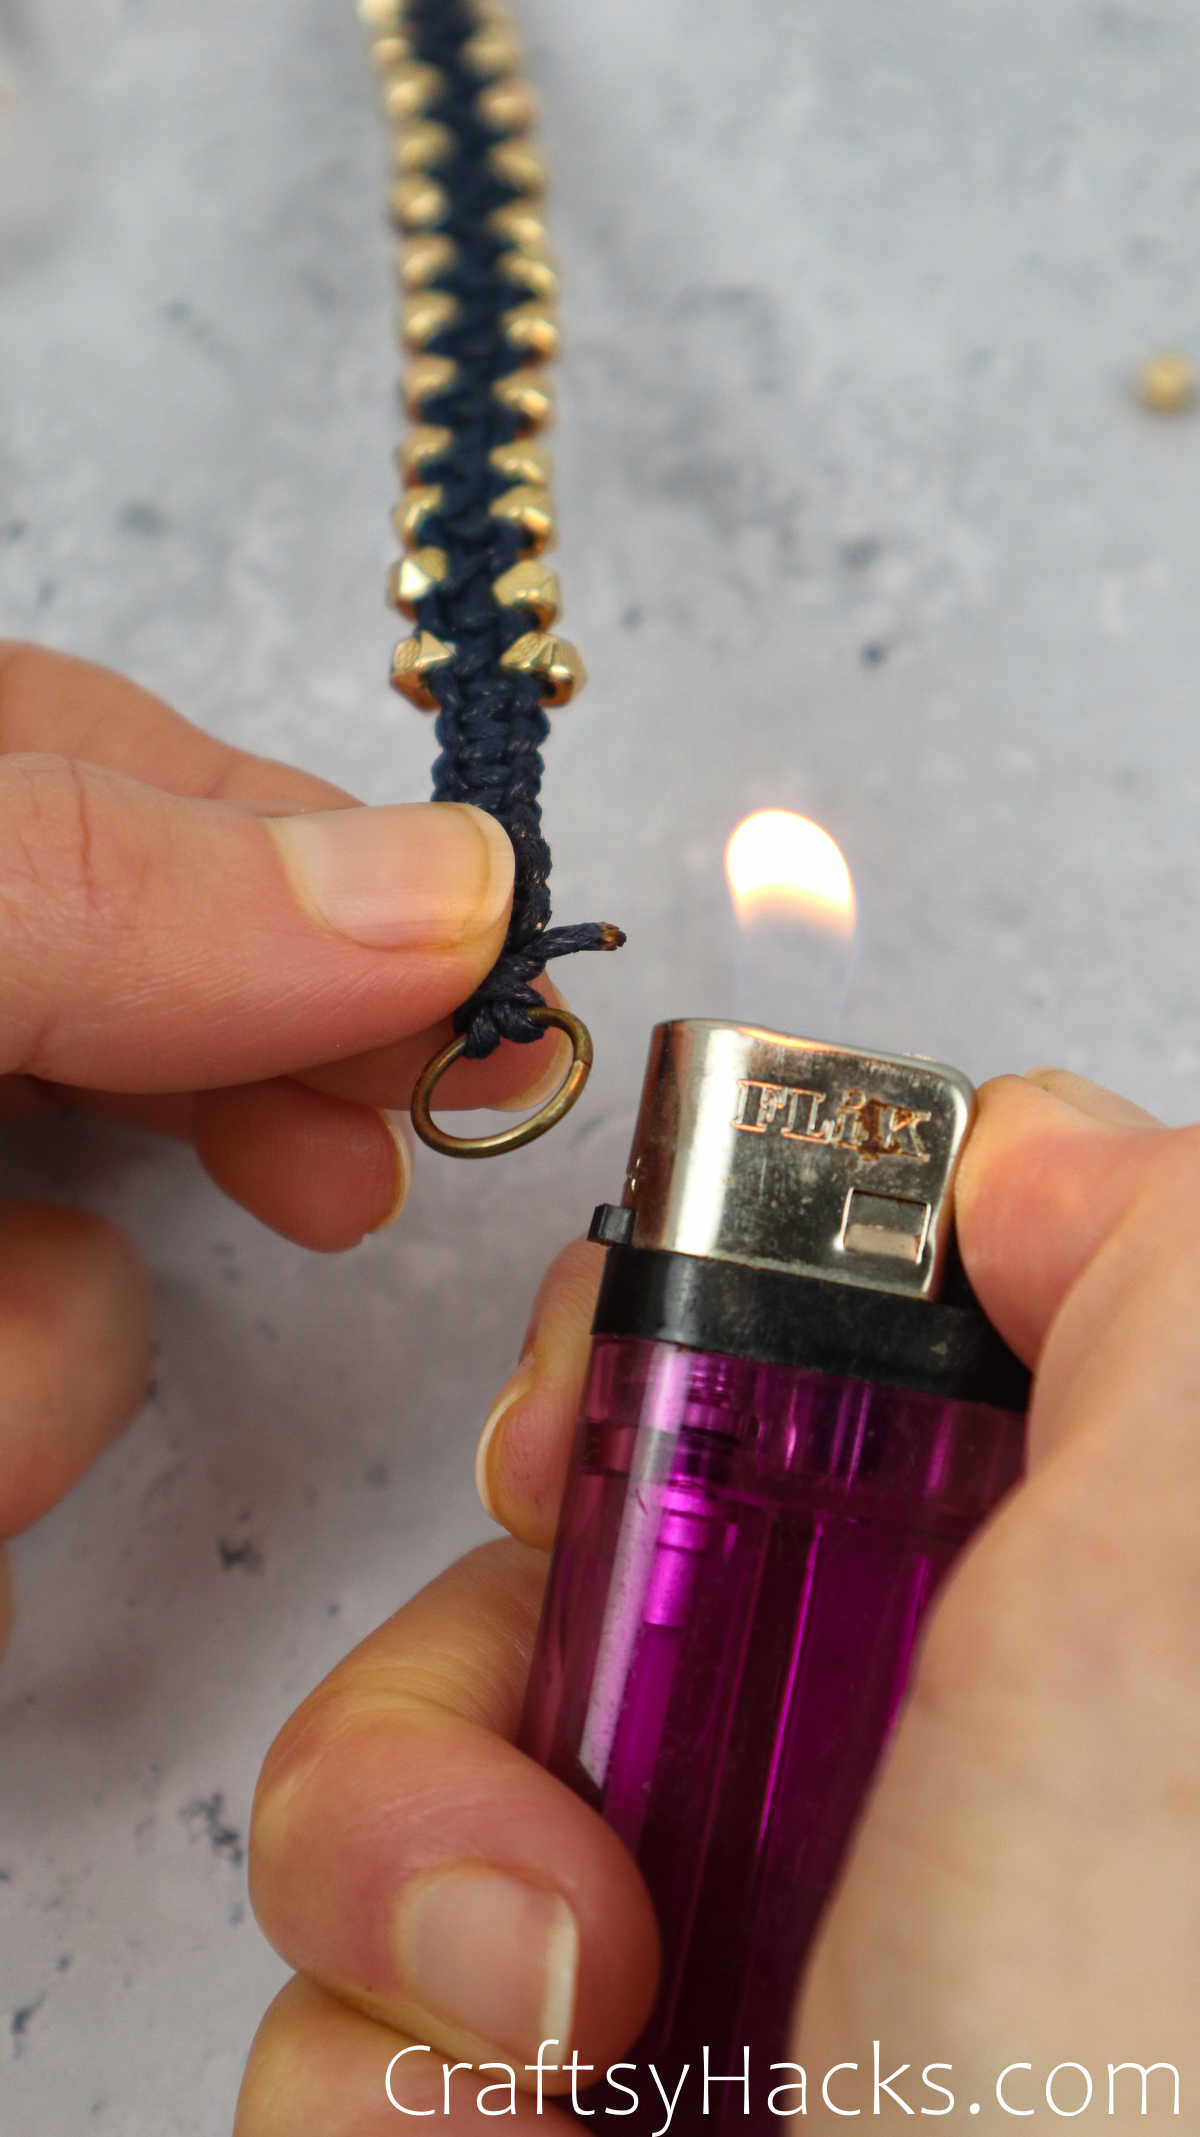
After cutting off the ends, you will need to ensure that they don’t fray. Just grab a lighter to melt the ends of the cord to secure them.
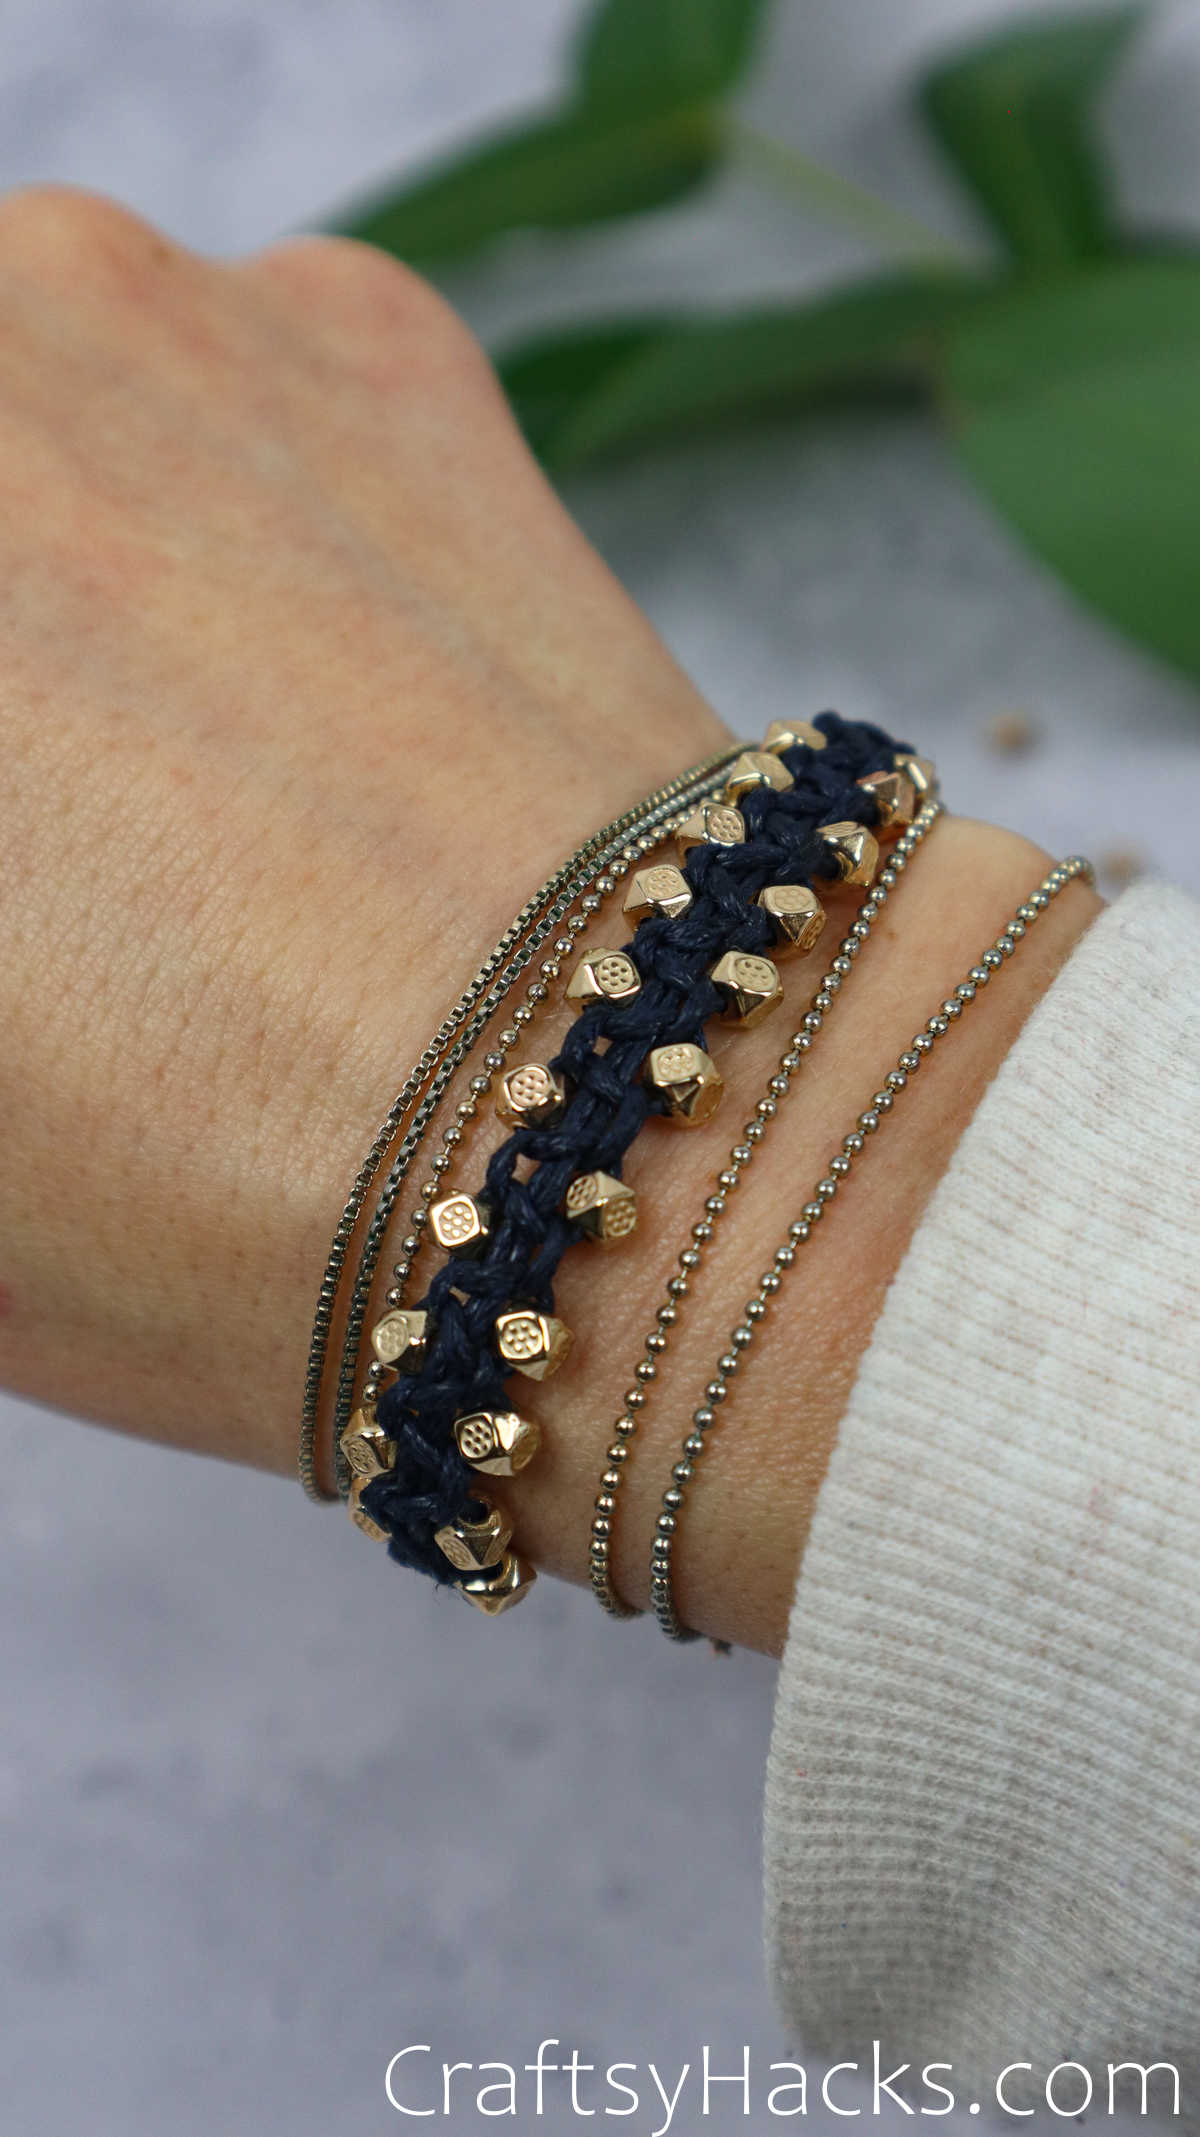
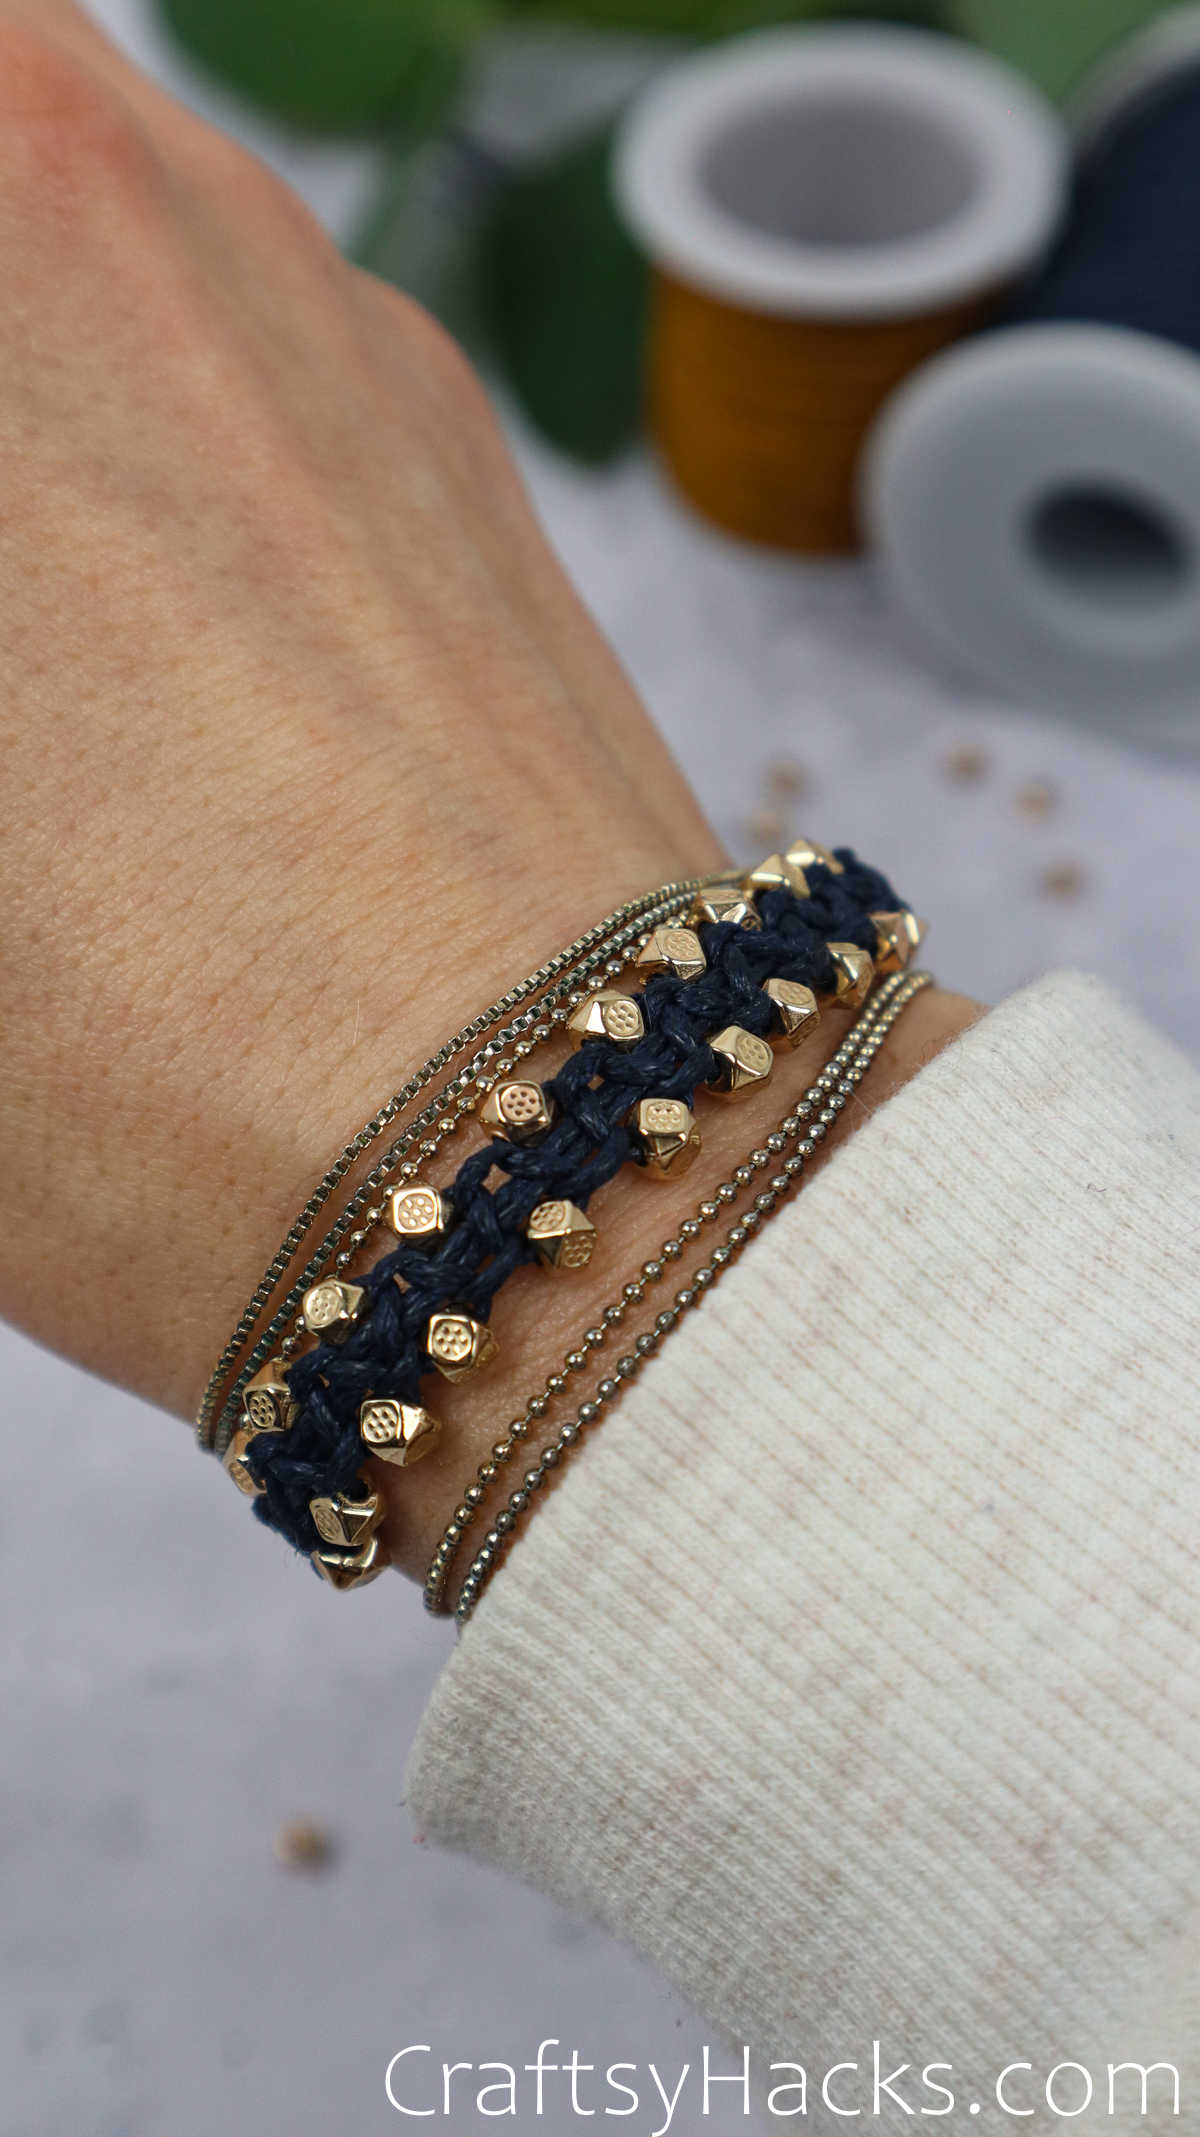
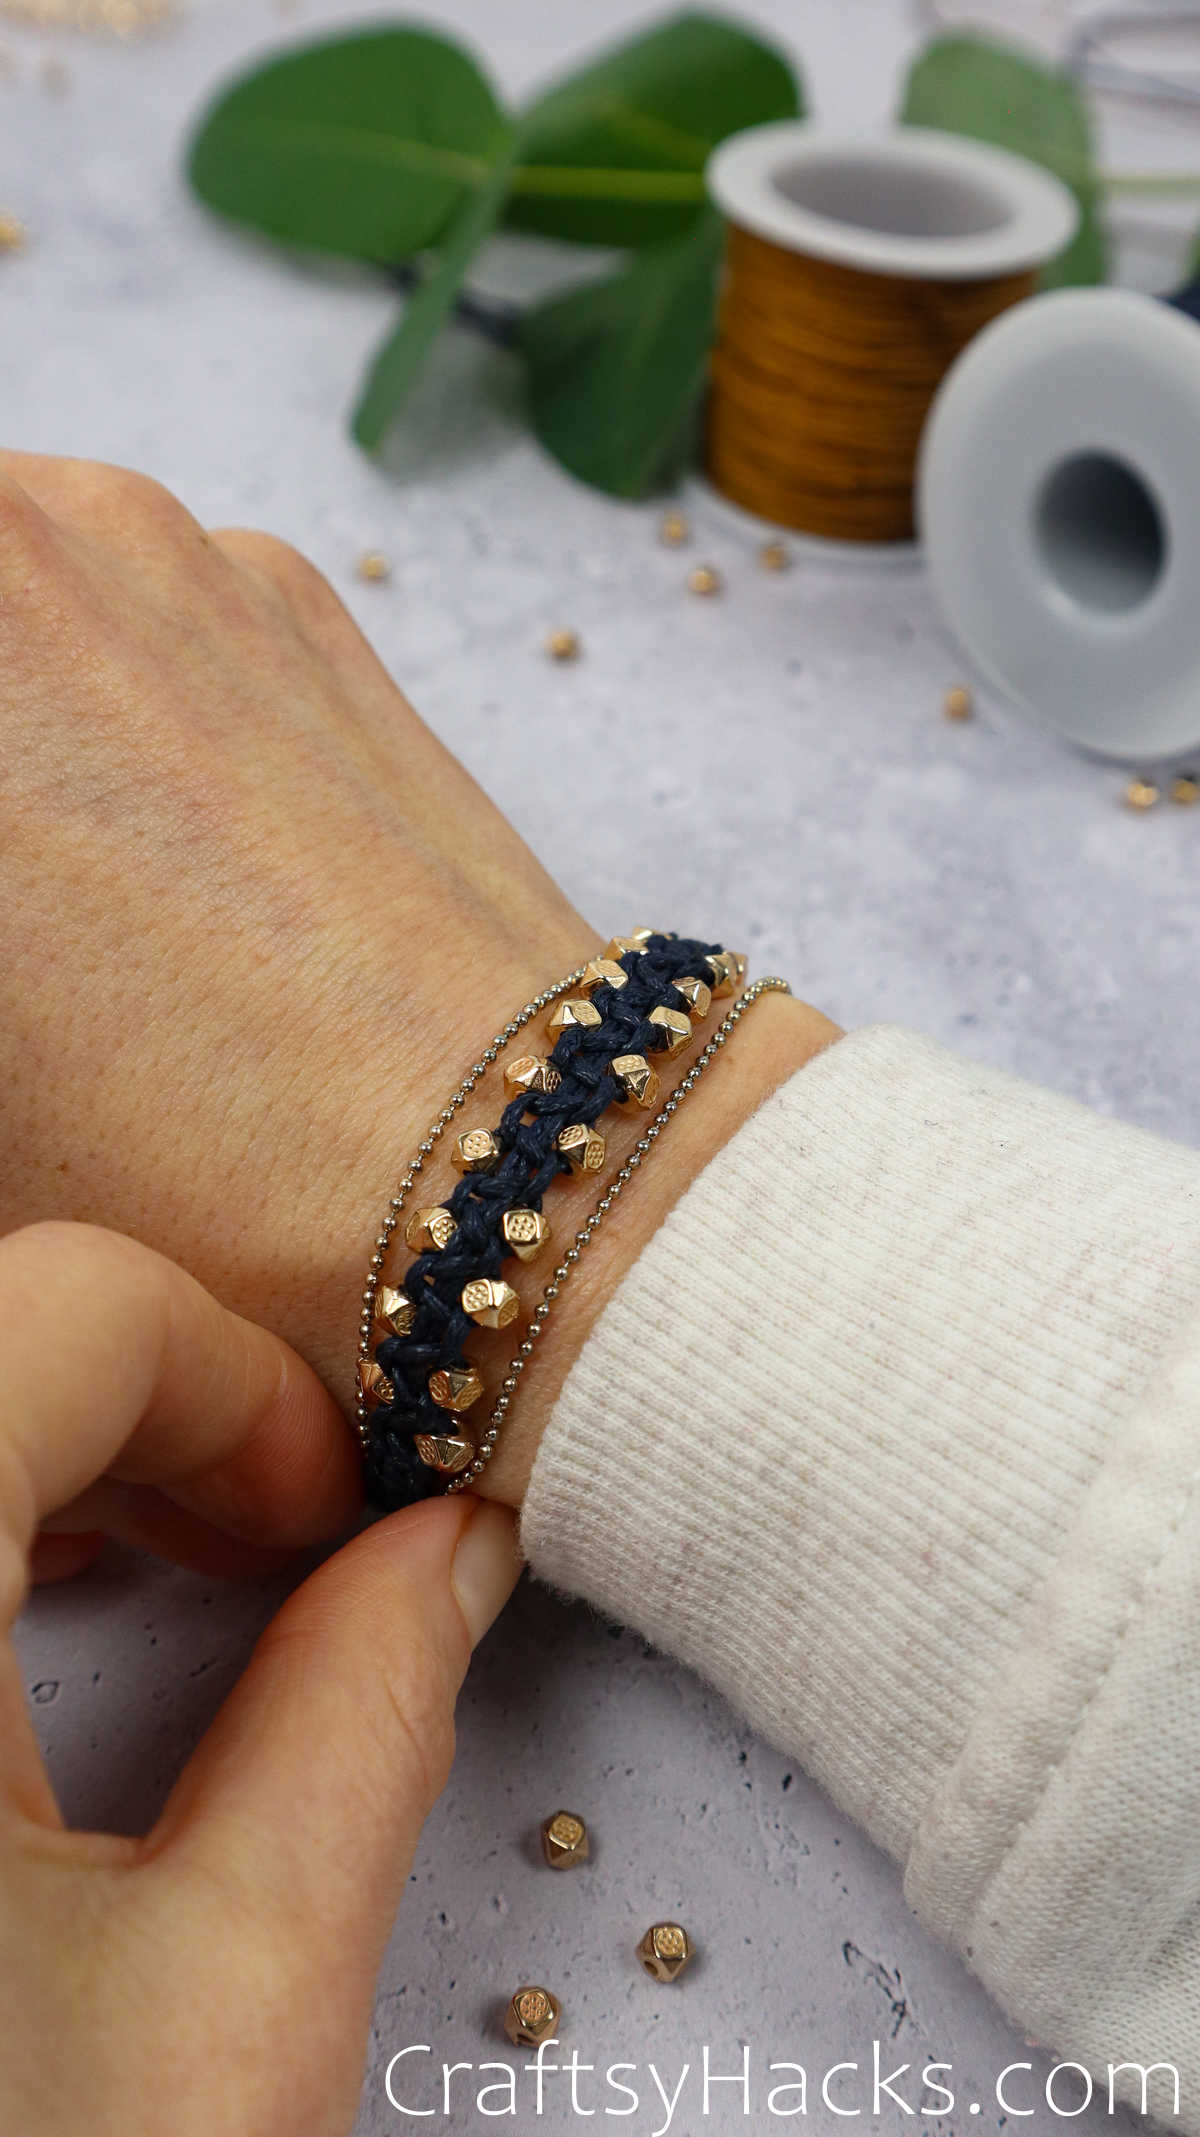
That’s pretty much it. Just wear the bracelet, attach the clasp, and ta-daa! Your macrame bracelet is ready!
Other Crafts You Might Enjoy Making
51 Amazing Crafts with Pom Poms
36 Easy Button Crafts Anyone Can Make

DIY Macrame Bracelet (Step-by-Step)
Video Tutorial
Equipment
- Scissors
- Measure tape
- Lighter
Materials
- 72 ” Nylon cord 0.8mm
- 2 x lobster clasps
- 2 x jump rings 0.9mm
- 3 mm beads
- Clear tape optional
Instructions
- Gather all the materials listed to get started on this project.
- Take your nylon cord and fold it in half with a loop on one side and two end cords on the other. Insert the cord into the ring and pull the looped side up and over the ring. Pull the end cords through and tug it to form a lark’s head knot around the base of the ring.
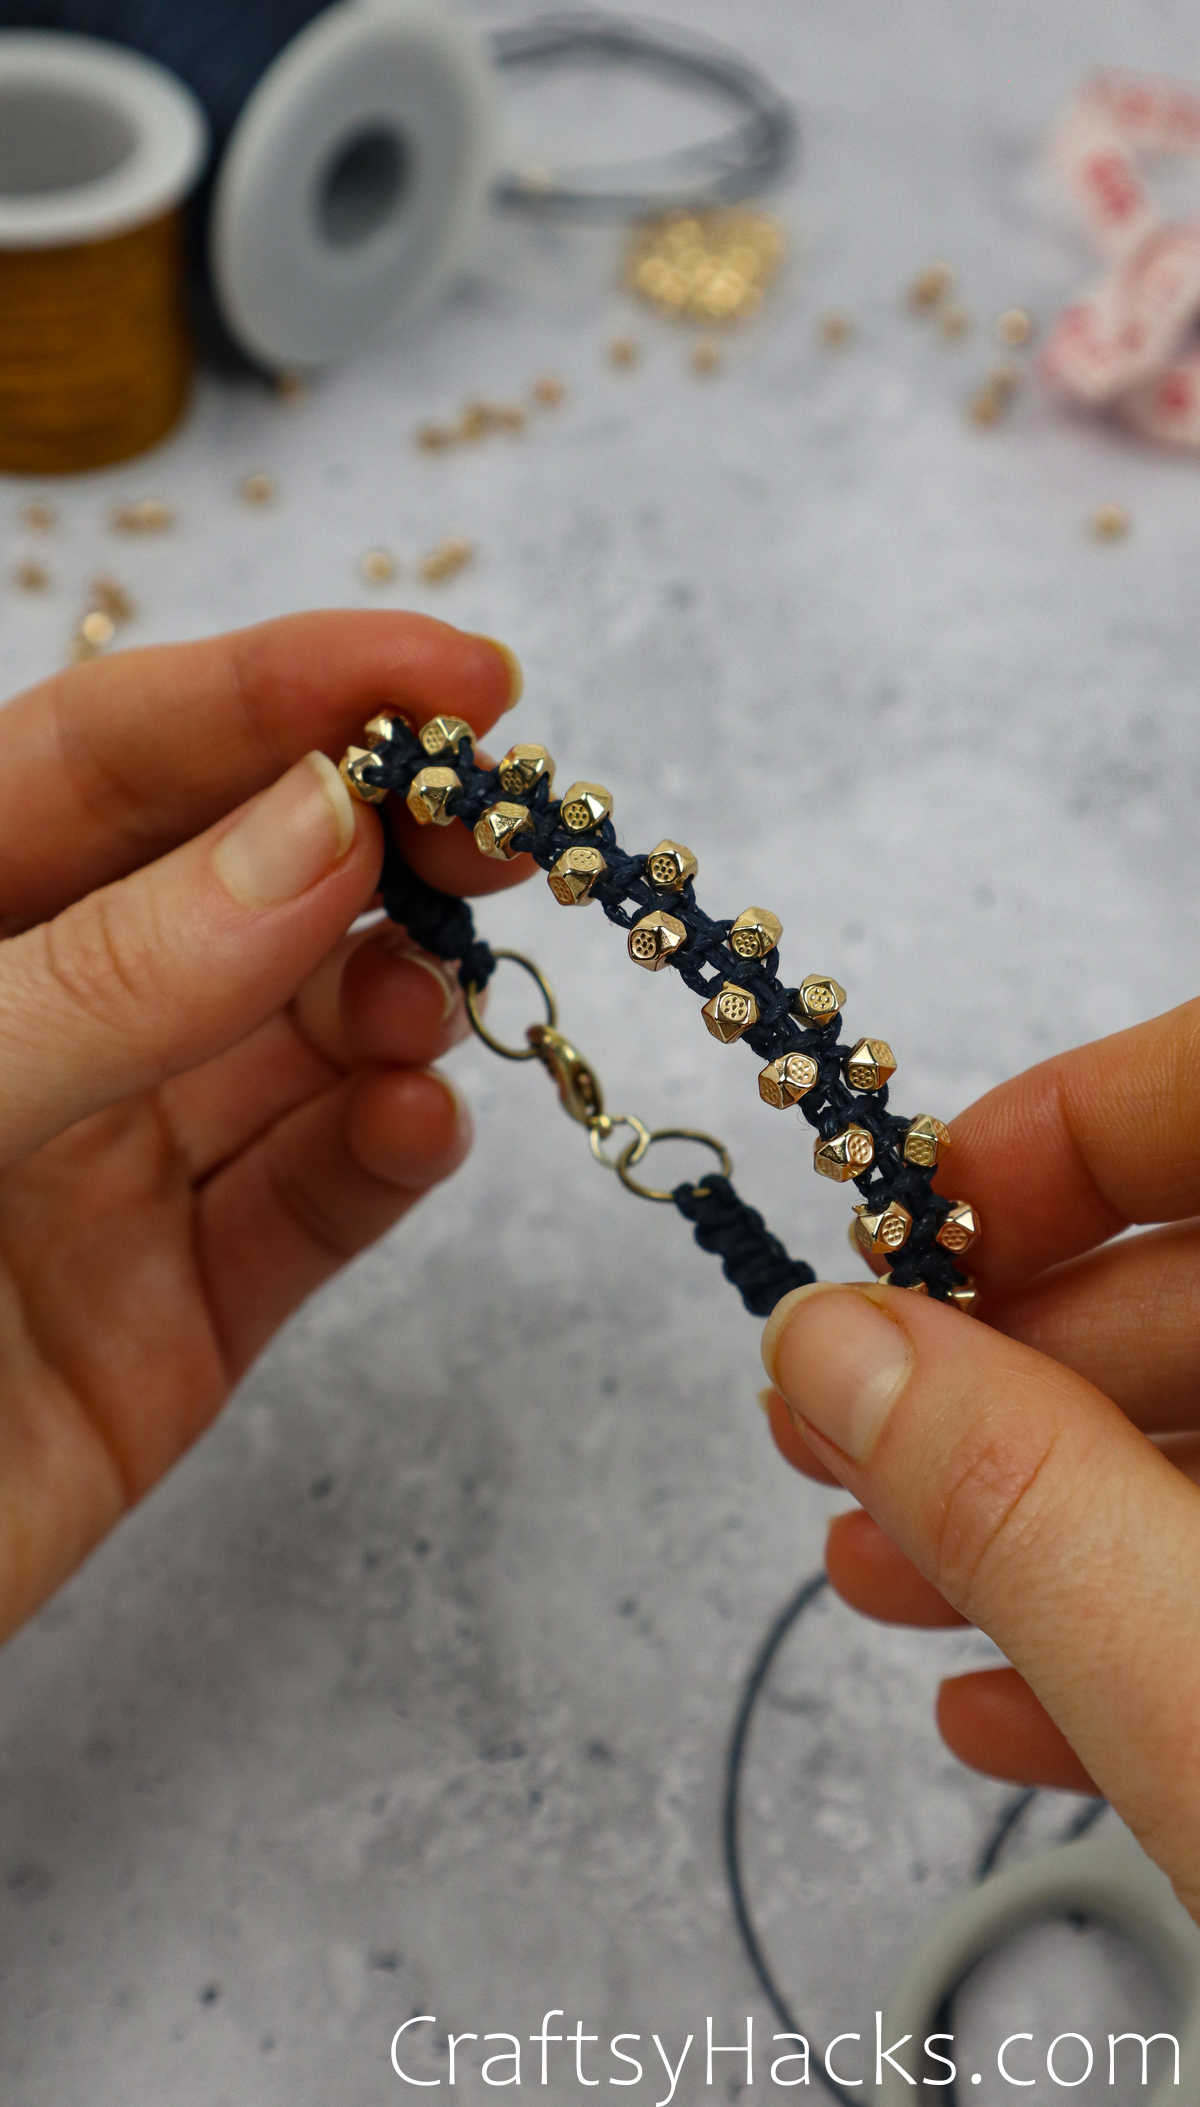
- Now grab another jump ring and pull the ends through it. Attach the lobster claw clasp to the ring.
- Measure the width of your wrist and place the second jump ring at the other end of the required length. Keep in mind that the length of the bracelet should extend to include the two jump rings.
- Secure the clasp to your work surface with some tape. Make a set of square knots starting at the base of the jump ring.
- Next, insert the beads and charms on either side of the cords and work your way through to the other end.
- Repeat another set of just square knots right up to the top of the second jump ring.
- Snip off the extra ends and use a lighter to melt the nylon cord to avoid fraying and to secure it in place.
- Your macrame bracelet is ready to wear!


