Cutest DIY Worry Pet
This post may contain affiliate links: full affiliate disclosure.
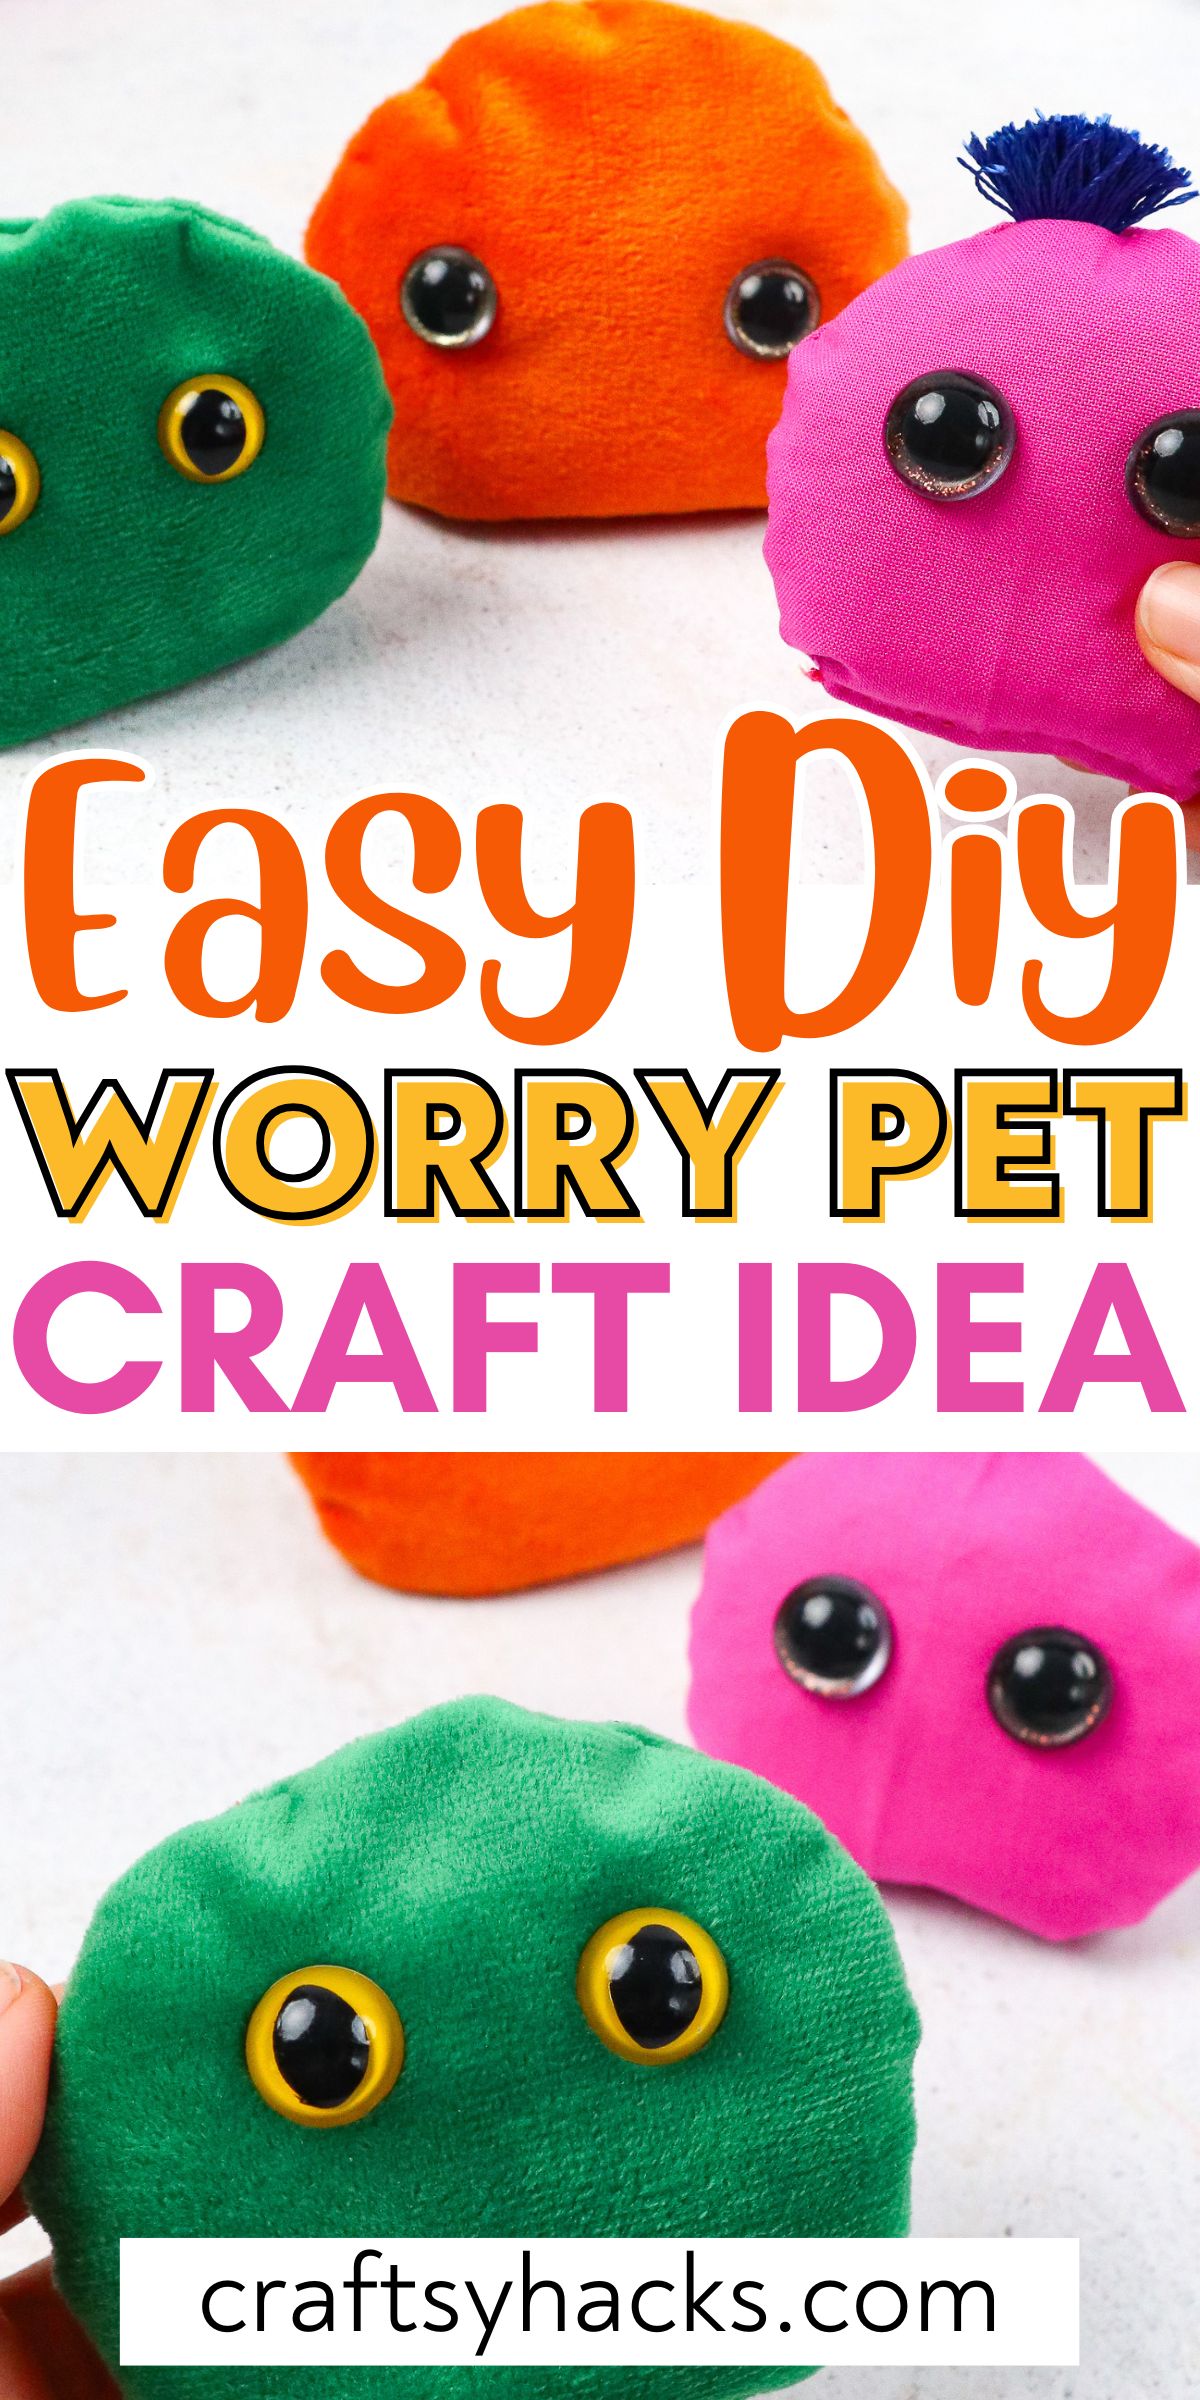
All kids can get anxious, stressed, and scared from time to time. Ensuring that they have good coping mechanisms to get them through these difficult periods is essential, and a DIY worry pet is one of the best tools for kids in times of anxiety.
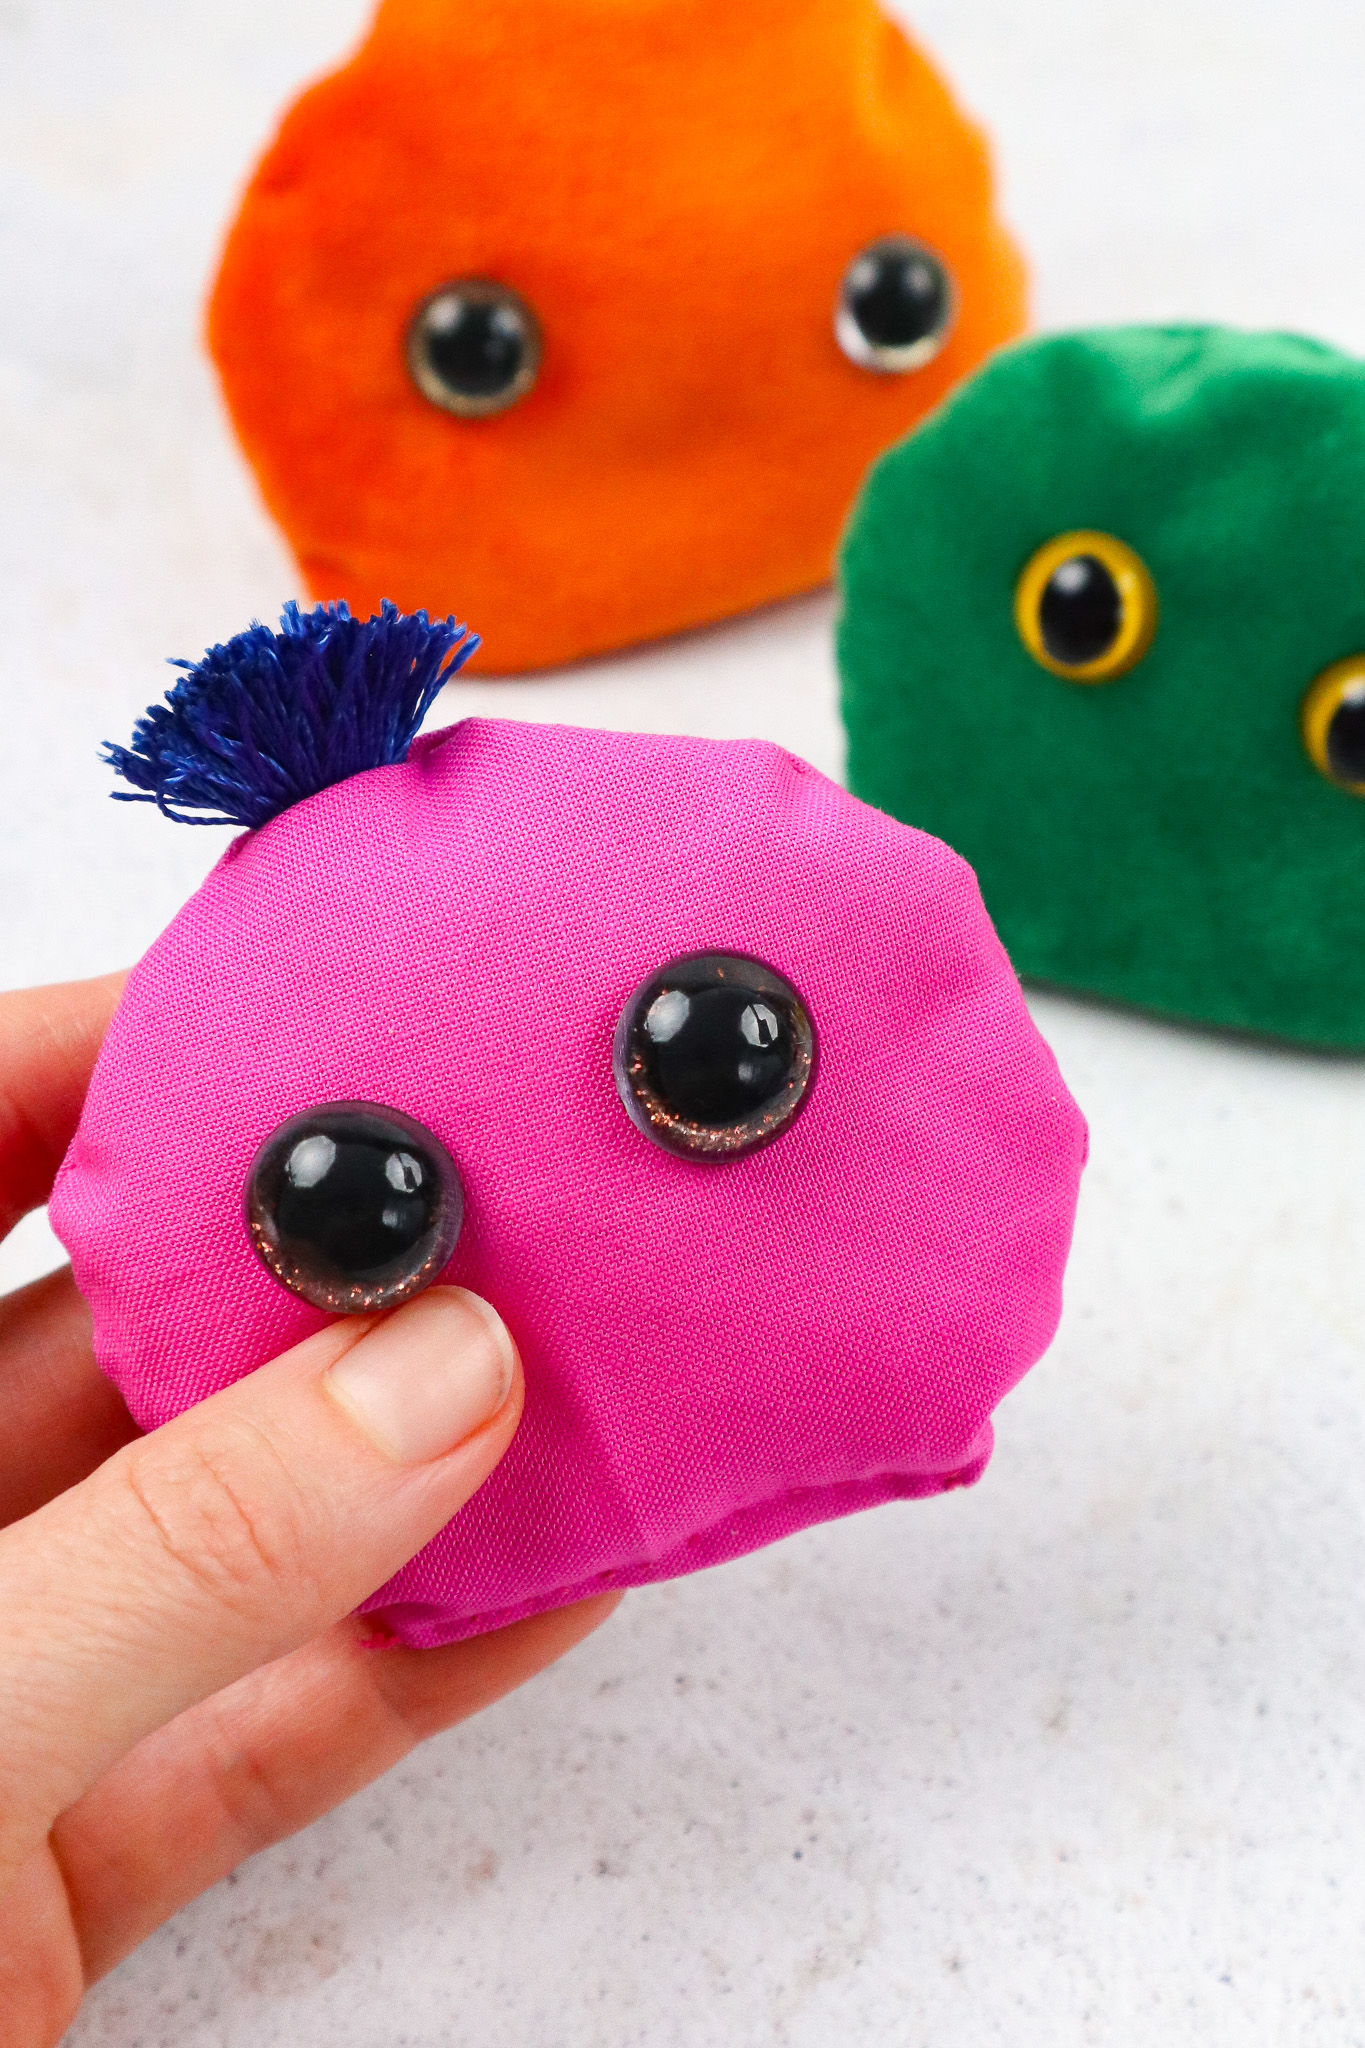
Worry pets are cute, small stuffies that can be carried with you anywhere. Kids turn to them for comfort when they feel anxious.
In my experience, a worry pet is a must-have for every child. These DIY worry pets are fun to make and will help your little one feel safe and secure.
Supplies You’ll Need
- Cuddly fabric 9″x 5″
- 16mm safety eyes
- Plastic stuffing pellets*
- Sharp scissors
- Thread and needle **
- funnel
- Fabric marker
- Pins
*You could also use pillow stuffing or rice instead of pellets.
**The thread and needle should be the same color as your fabric.

How to Make a DIY Worry Pet
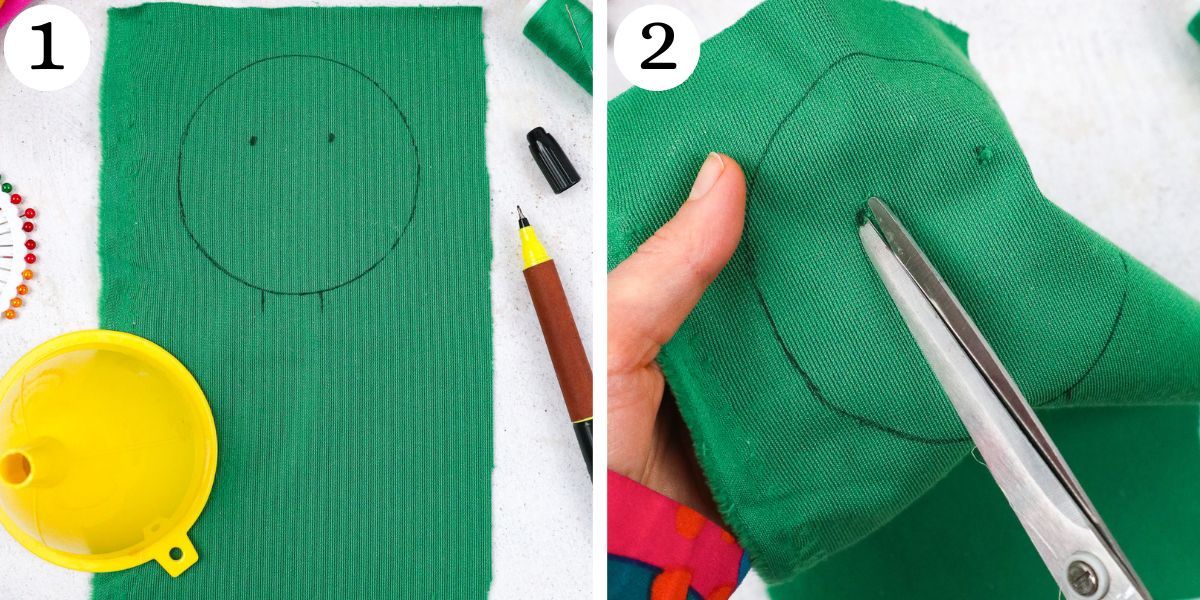
Step 1. First, spread the fabric out in front of you and make a circle on the back of it. I traced a funnel, but you can trace any round object.
Then, add dots to mark where the eyes will go and add a 1” wide gap for the stuffing.
Step 2. Use your scissors to form holes for the eyes.
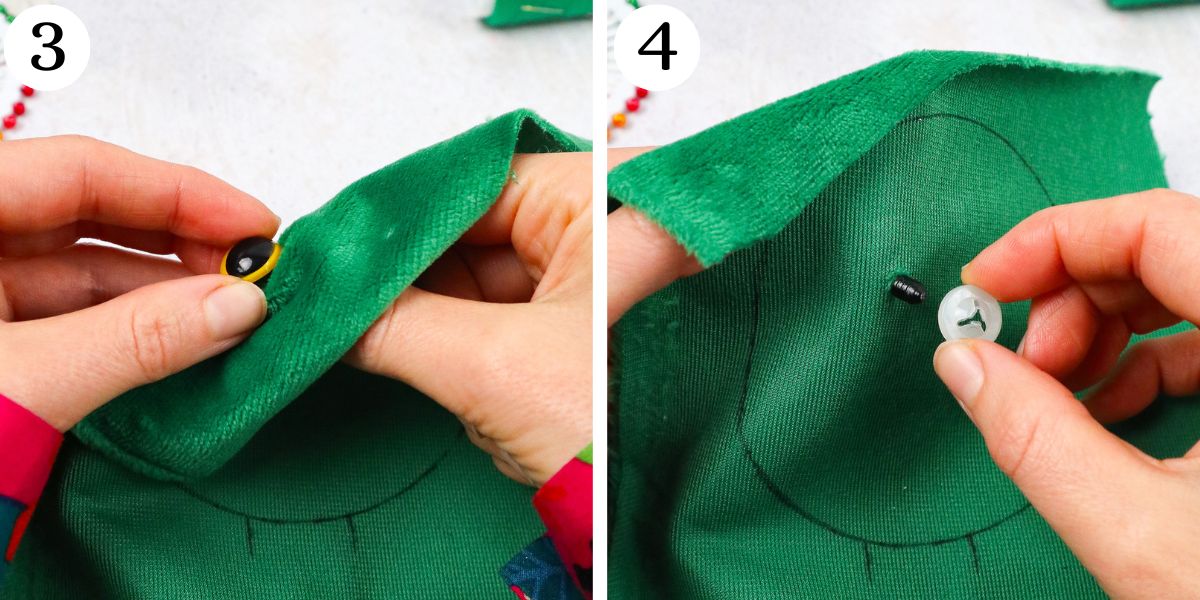
Step 3. Grab your safety eyes and insert the screw part of the eye into one of your holes.
Step 4. Secure it by attaching the back piece of the safety eye on the back of your fabric.
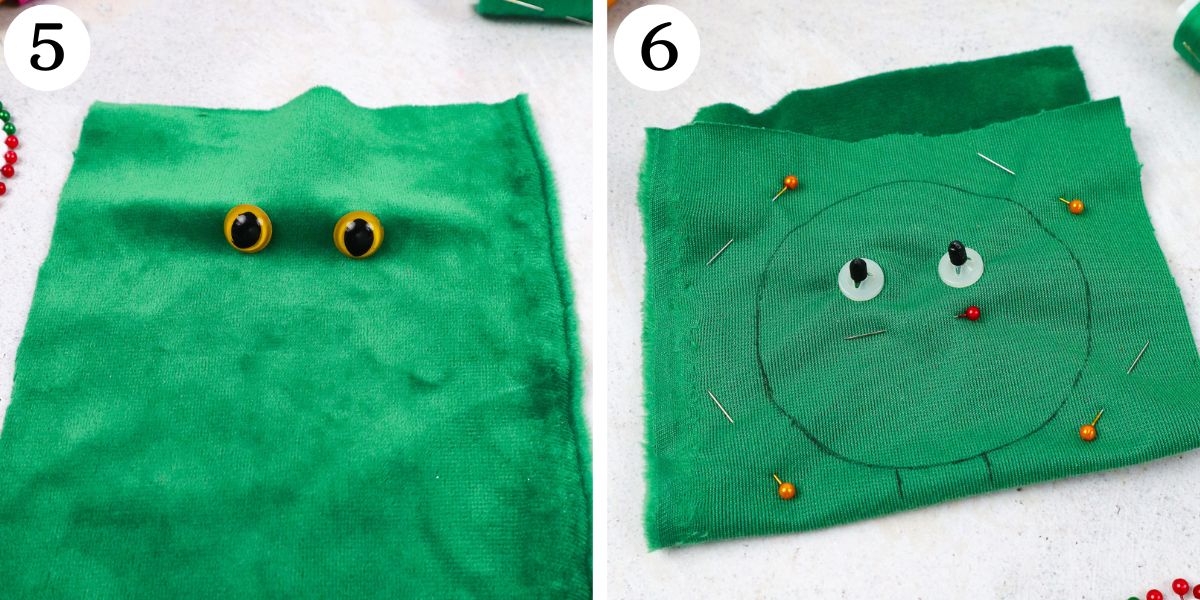
Step 5. Do the same with the other eye.
Step 6. Now, fold the fabric in half and add pins to keep it together.
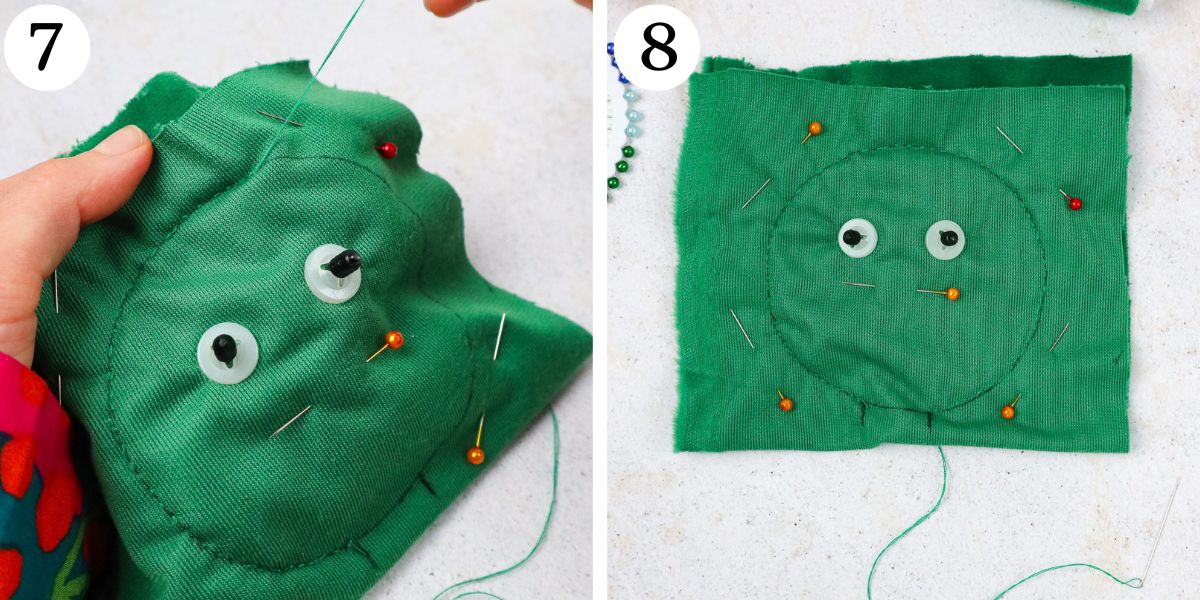
Step 7. Then, get your thread and needle and start stitching along the lines all the way around.
Step 8. Leave an opening at the bottom and make a tight running stitch.
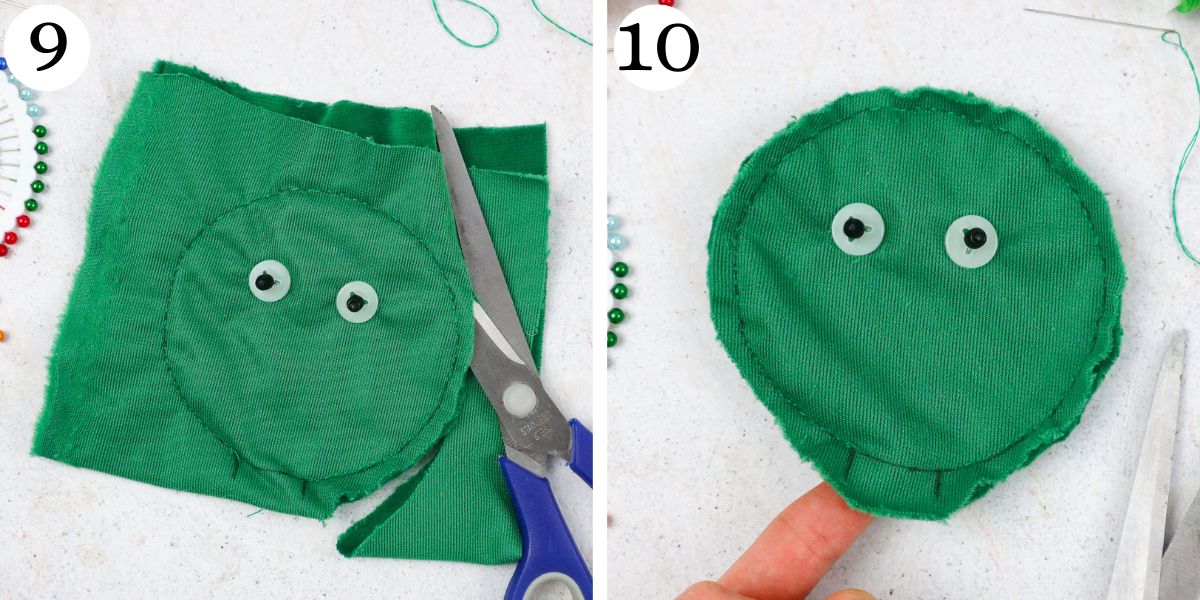
Step 9. Now, get your scissors and trim the fabric around the circle. Be sure to leave a little extra fabric where the opening is.
Step 10. Turn the fabric right side out.
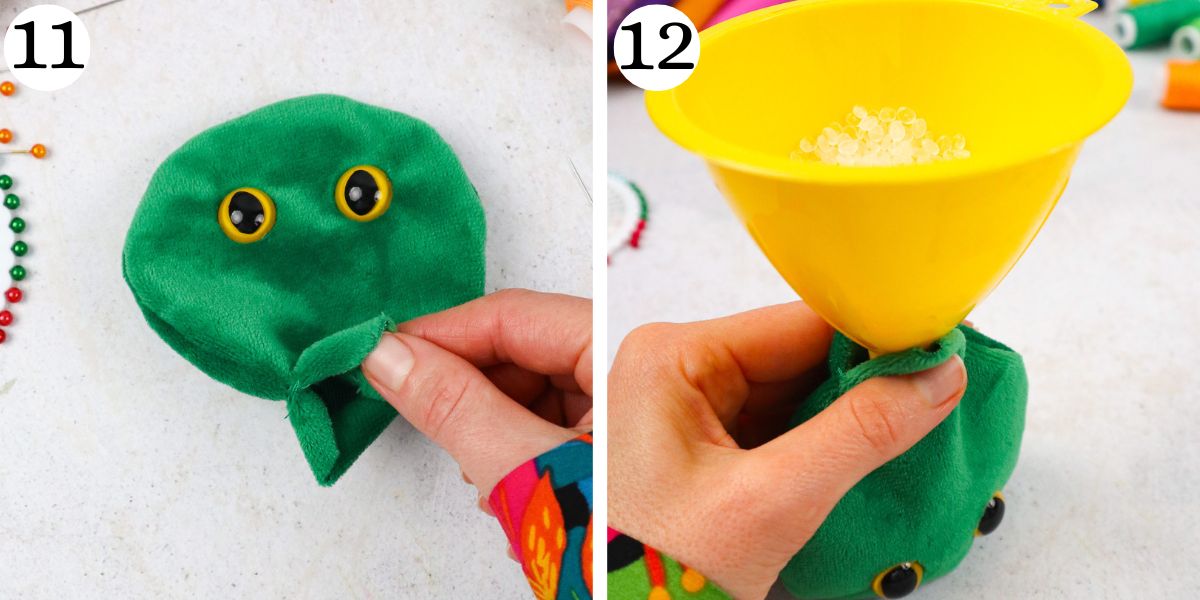
Step 11. Use your fingers to open the gap you have left for the stuffing.
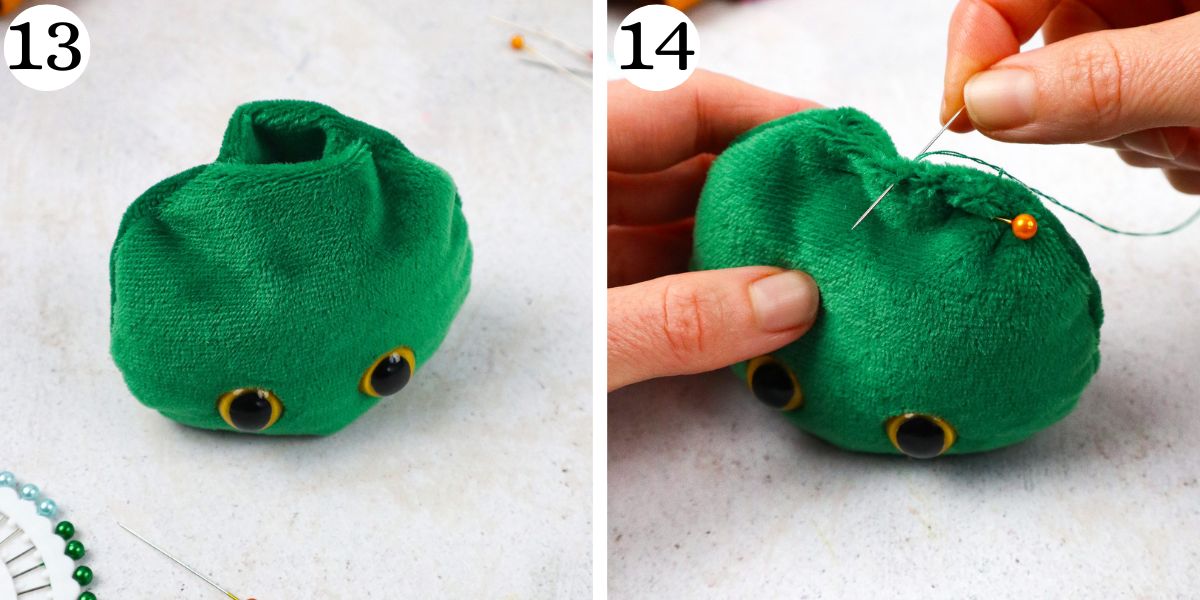
Step 12. Use your funnel to add stuffing to your worry pet.
Step 13. Begin to close the opening.
Step 14. To close the opening securely, fold the fabric in and hand stitch to complete your project.
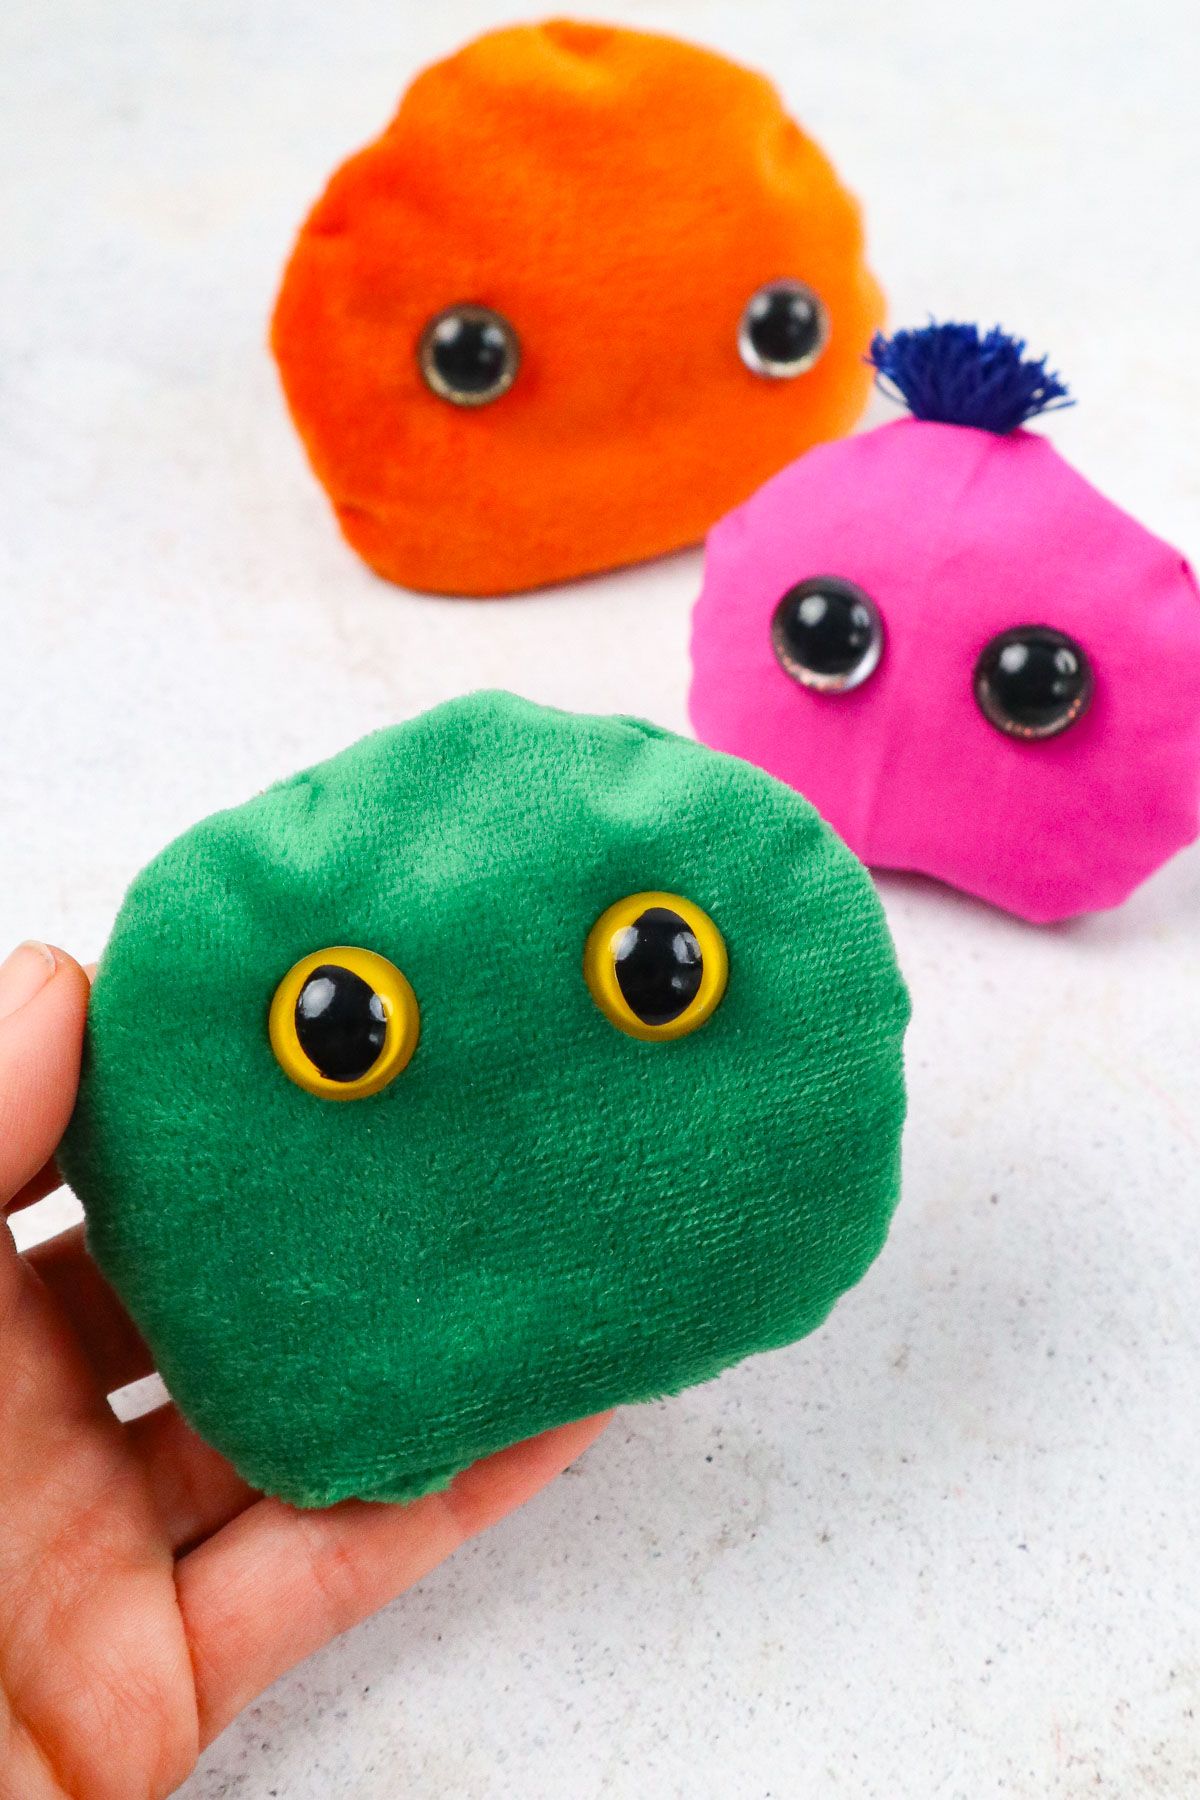
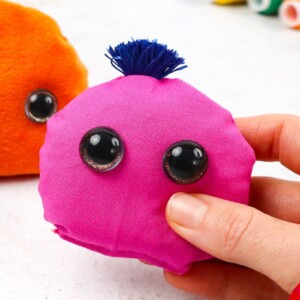
Step 15. Your sweet, cute, and cuddly worry pet is complete!
Step 16. Have fun playing around with these and trying out different colors of fabric!

Watch How to Make
How Long Does This DIY Worry Pet Take to Make?
This project is super quick. Making one of these sweet pets will take you about 30 minutes in total.
The drawing and positioning of the eyes takes less than five minutes. The sewing will take about 15-20 minutes, and the finishing touches should take 5-10 minutes.
If you want to make a few worry pets to include in treat bags, goodie bags, or as stocking stuffers, you could set aside a weekend afternoon and get it all done on the same day.
More Craft Ideas
DIY Worry Pet
Video Tutorial
Materials
- Cuddly fabric 9″x 5″
- 16 mm safety eyes
- Plastic stuffing pellets *
- Sharp scissors
- Thread and needle **
- funnel
- Fabric marker
- Pins
Instructions
- Spread your fabric out in front of you and make a circle on the back of it. Add dots to mark where the eyes will go and add a 1” wide gap for the stuffing on the bottom.
- Use your scissors to poke out the dots you have made for eyes.
- Insert the screw part of one of the eyes into one of your holes.
- Secure it by attaching the back piece of the safety eye on the back of your fabric.
- Do the same with the other eye.
- Fold the fabric in half as shown and add pins to keep it together.
- Start stitching along the lines all the way around.
- Leave an opening at the bottom and make a tight running stitch.
- Now, trim the fabric around the circle. Be sure to leave a little extra fabric where the opening is.
- Turn the fabric right side out.
- Use your fingers to open the gap for the stuffing.
- Use your funnel to add stuffing to your worry pet.
- Begin to close the opening.
- To close the opening securely, fold the fabric in and hand stitch to complete your project.
- Your sweet, cute, and cuddly worry pet is complete!
- Have fun playing around with these and trying out different colors of fabric!


