DIY Gift Bags
This post may contain affiliate links: full affiliate disclosure.
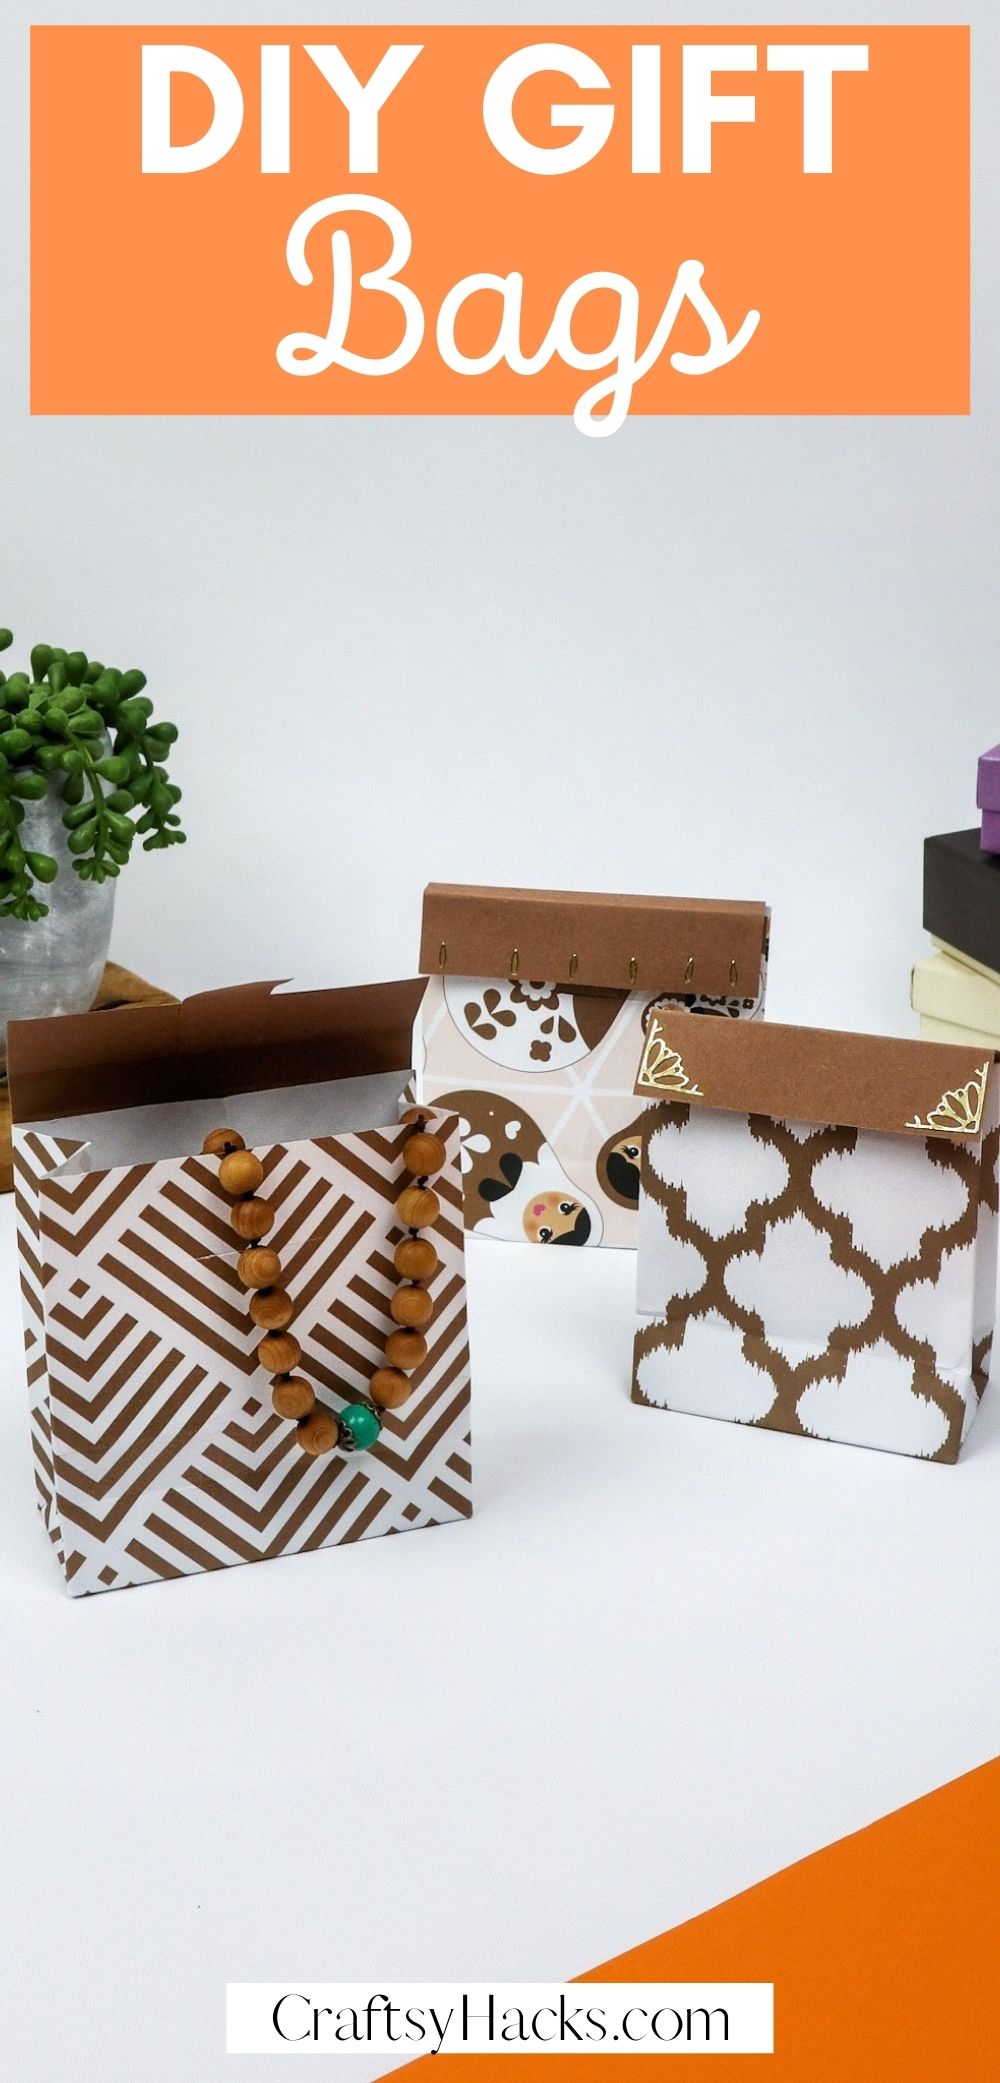
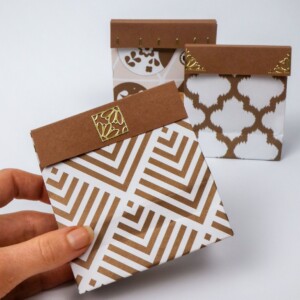
Make your very own DIY gift bags to make your present for someone you love even more special. It’s an easy, fun DIY project that looks amazing!
Do you know what the best part about gifts is? It’s that feeling of tearing through the wrapping paper in sheer excitement. It’s also that feeling of digging through colorful gift bags for the goodies inside!
But good-quality gift bags are super pricey. You don’t really want to shell out more on pretty gift bags that you do on the actual gifts, do you?
Fret not, because we’ve got you covered. This DIY gift bag project is the answer to all your prayers! These bags are easy to make, and even easier on your wallet.
So go ahead and check out how to make these DIY gift bags!
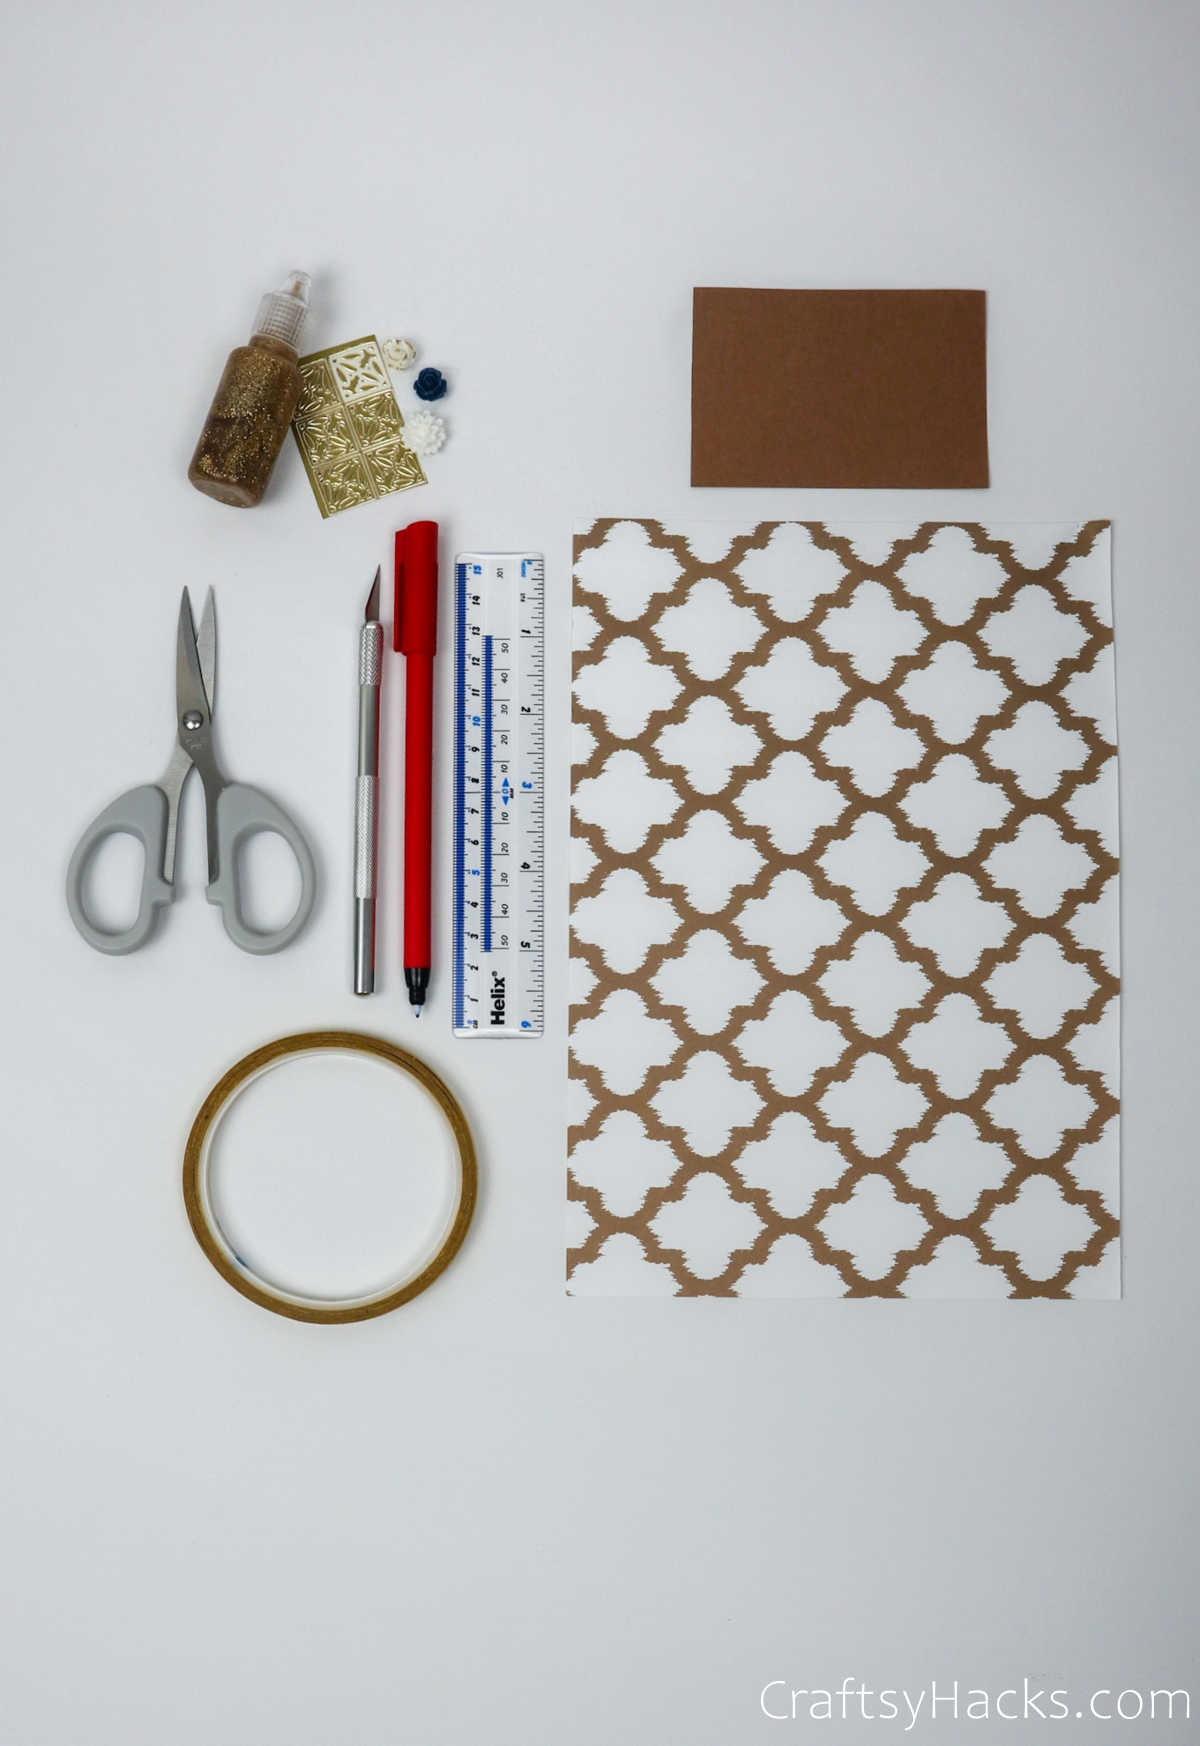
Supplies for Gift Bags
Here’s a list of everything you’ll need to get you started on
- Patterned paper (or gift wrapping paper)
- Small piece of paper (for the top)
- Ruler
- Pencil
- Hobby knife
- Scissors
- Double-sided tape (or glue)
- Glitter glue
- Stickers
How to Make Gift Bags
Once you have gathered all your supplies, you’re ready to go! Think of this DIY project as a kind of origami craft session. You’ll be folding, tucking and creasing paper just like you would in origami!
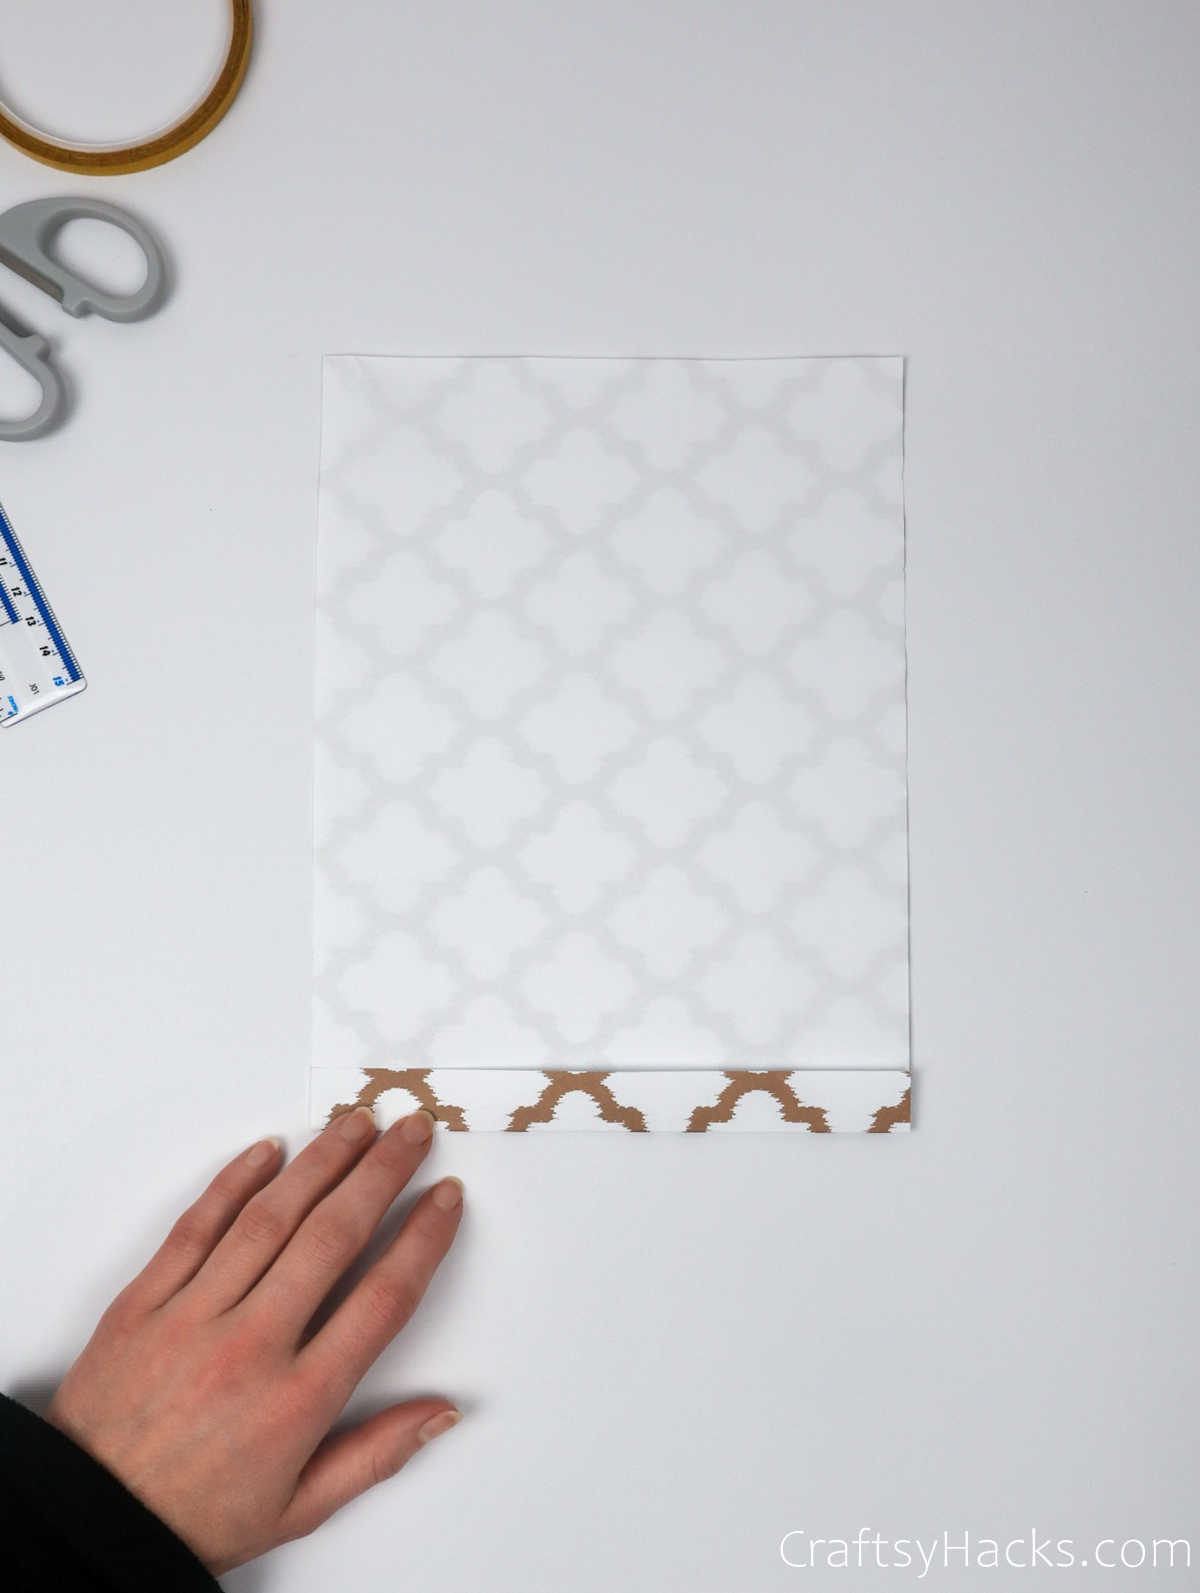
Step 1
Place the right side of the paper—the one with the pattern—facing downward. The ‘wrong’ side should face upward towards you.
Roughly fold an inch or so of the bottom of the paper up and carefully press down. Next, grab your double sided tape and tape it over the folded edge.
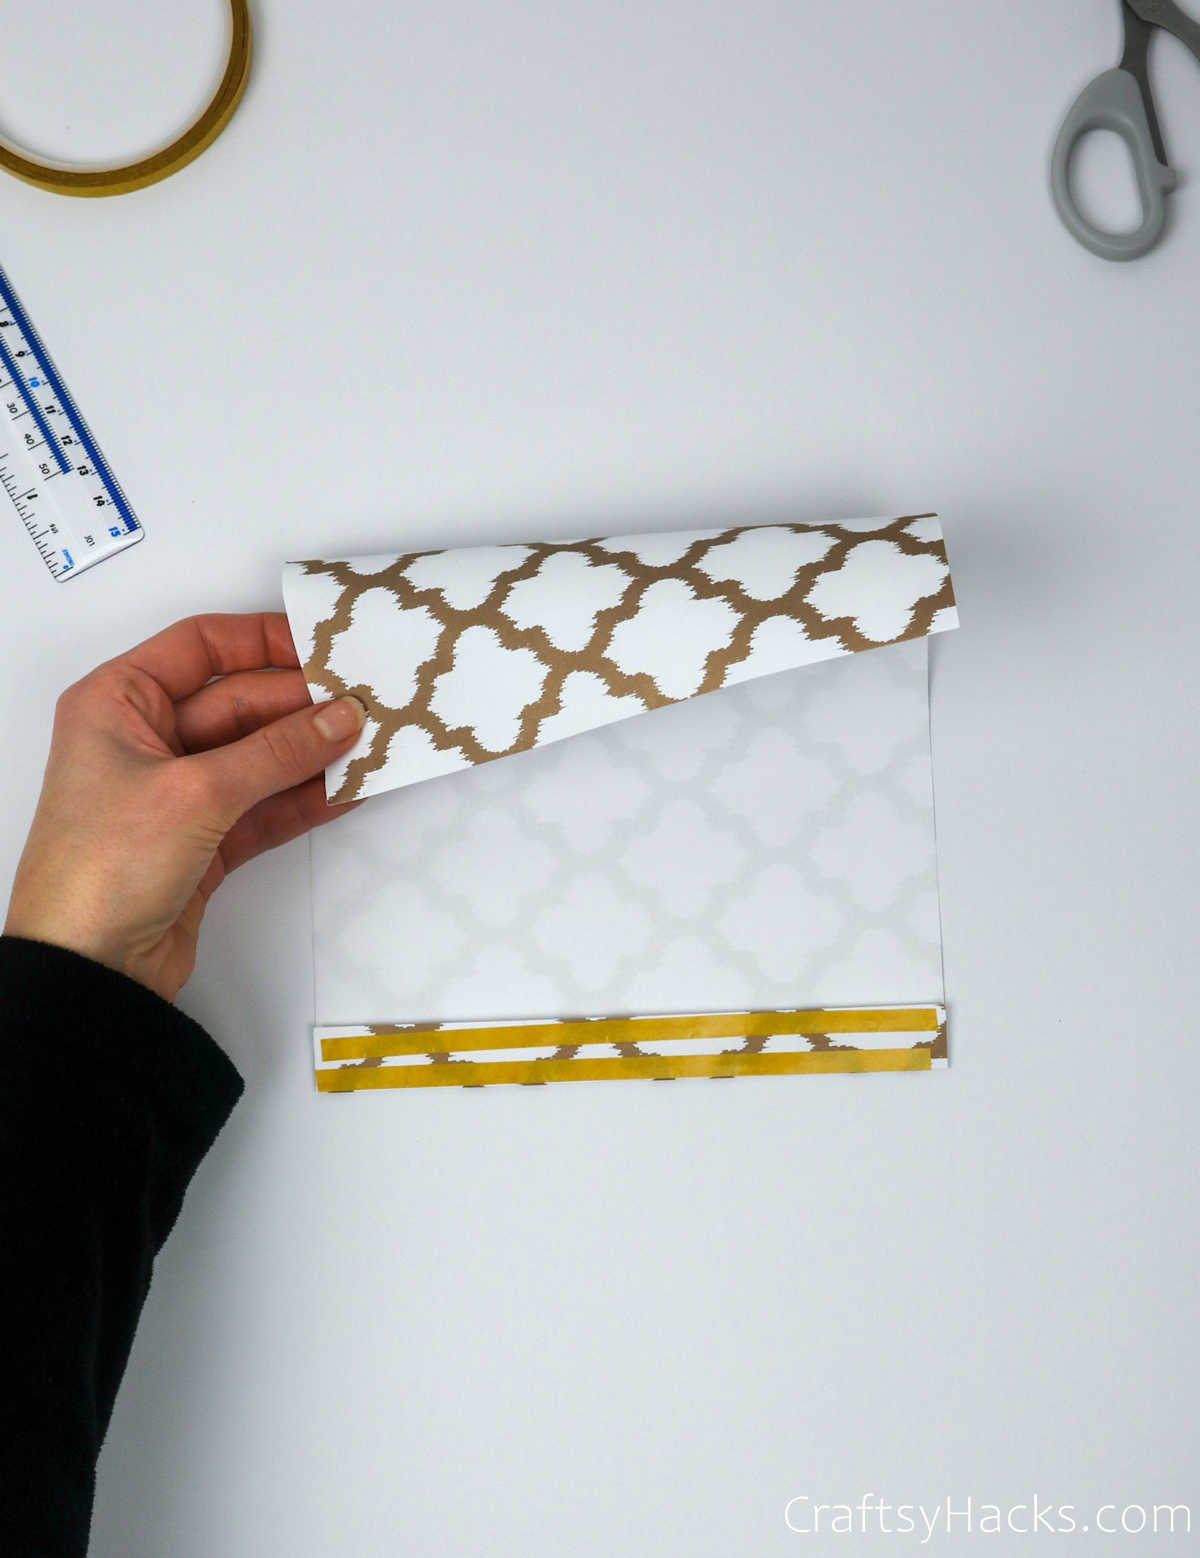
Step 2
Grab the top edge of the paper and bring it down to the bottom. You will have to align the top edge over the bottom and carefully press down.
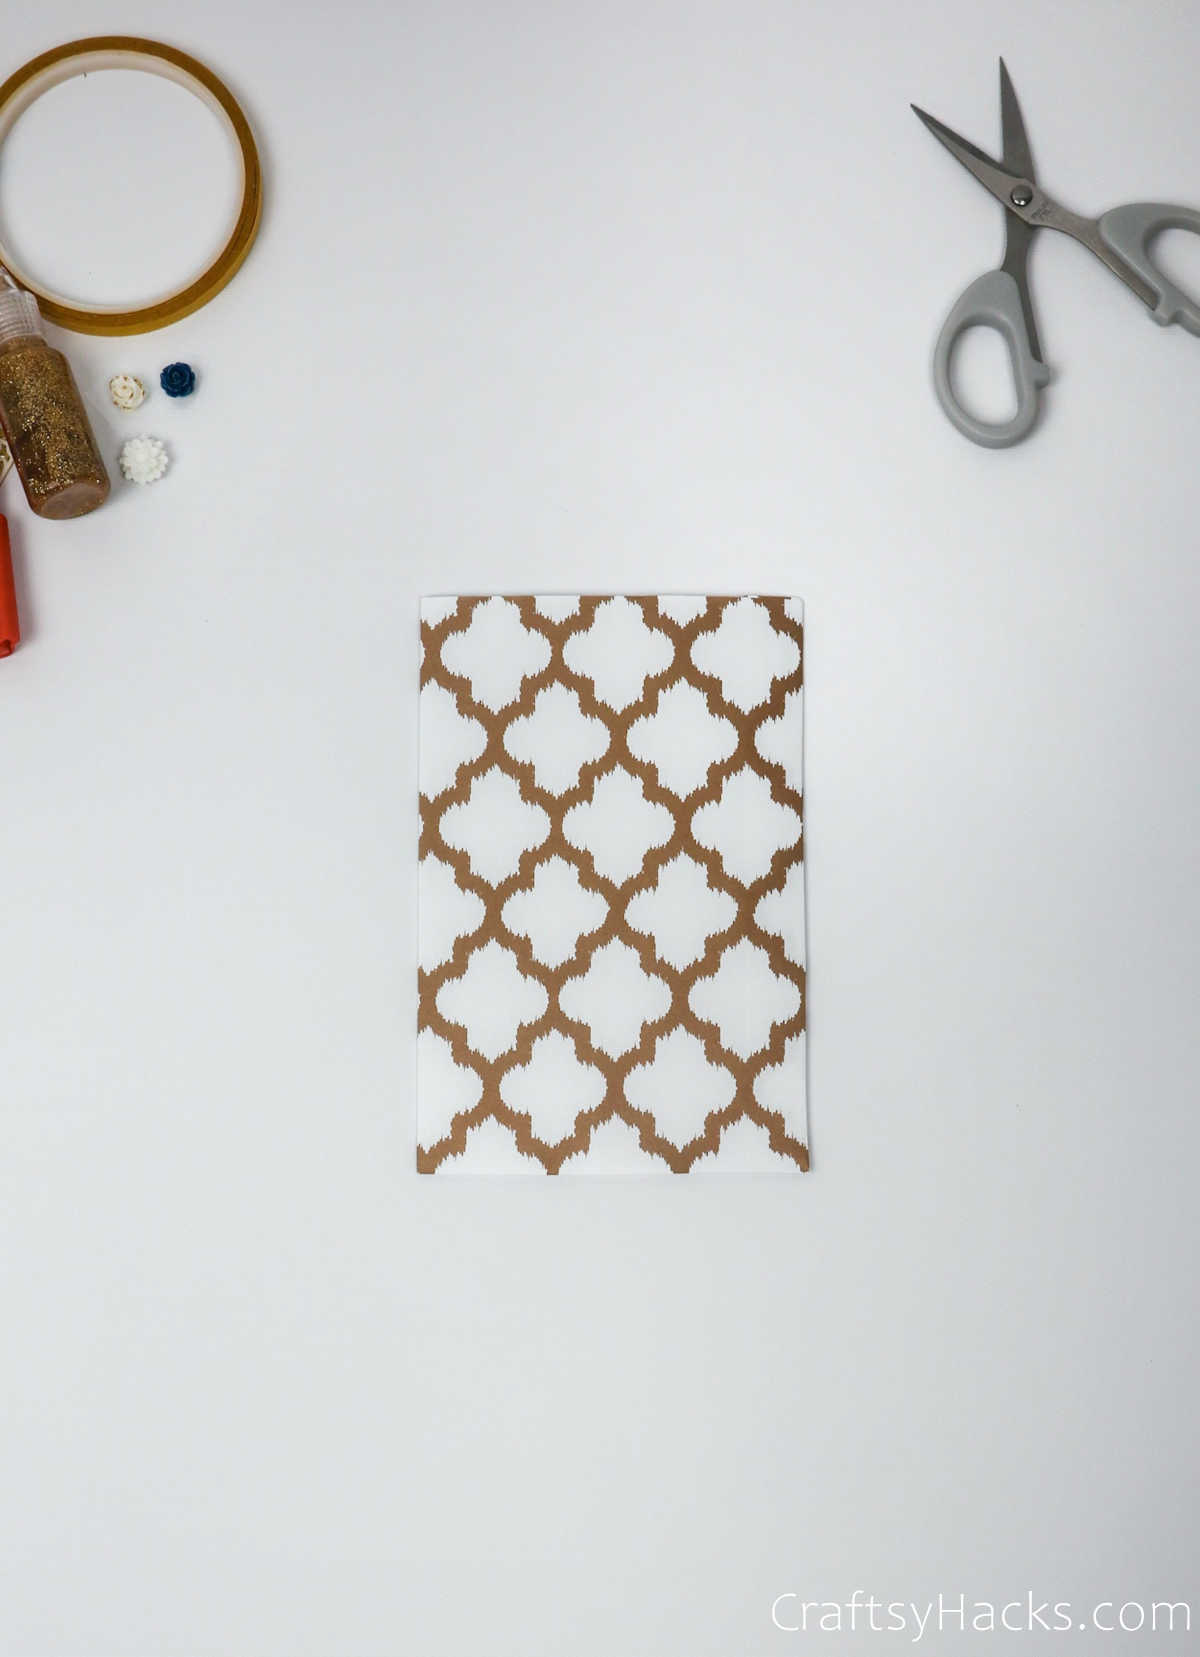
The double-sided tape will work its magic and secure the paper. You’ll now see that your paper is a smaller rectangle in shape.

Turn your rectangle around vertically.
Step 3
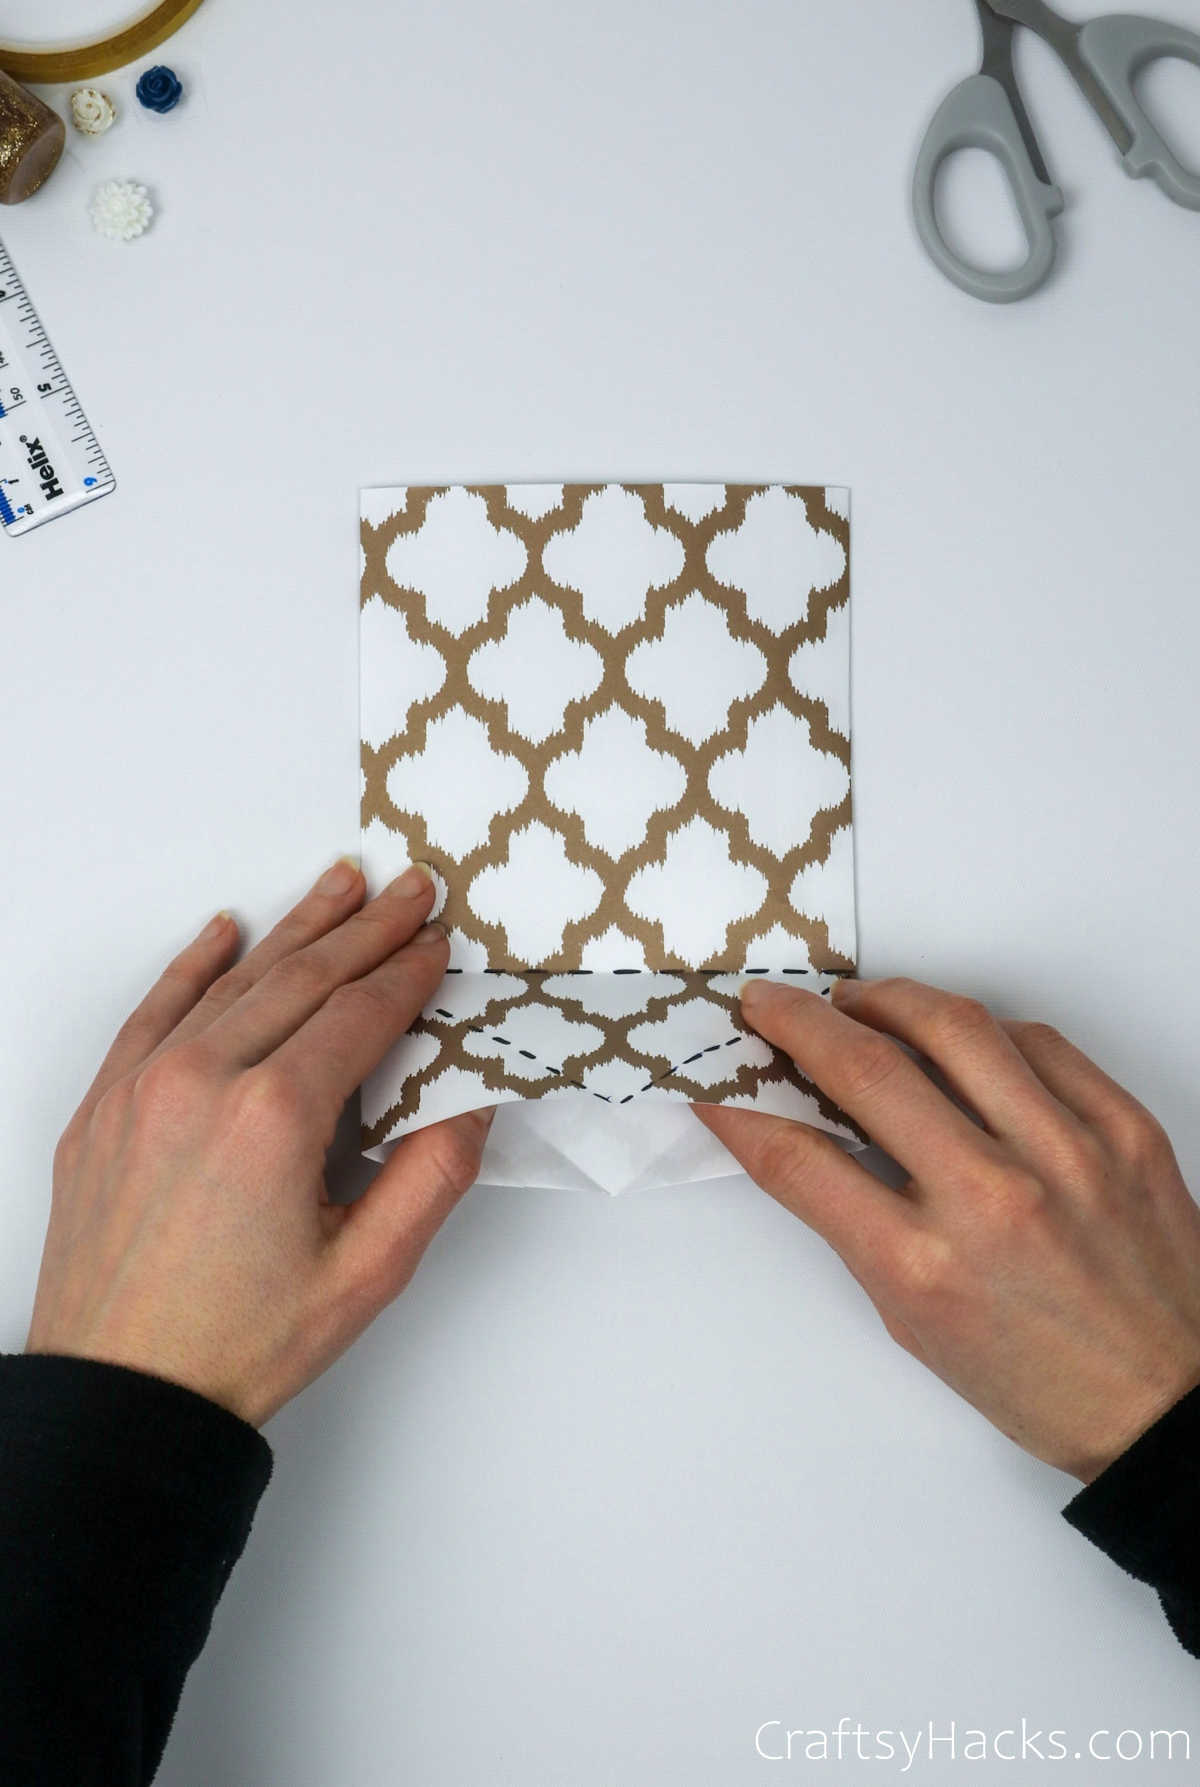
For the next step, you can choose to draw black dotted lines like you see below to help you fold the paper(or not, it’s completely up to you!).
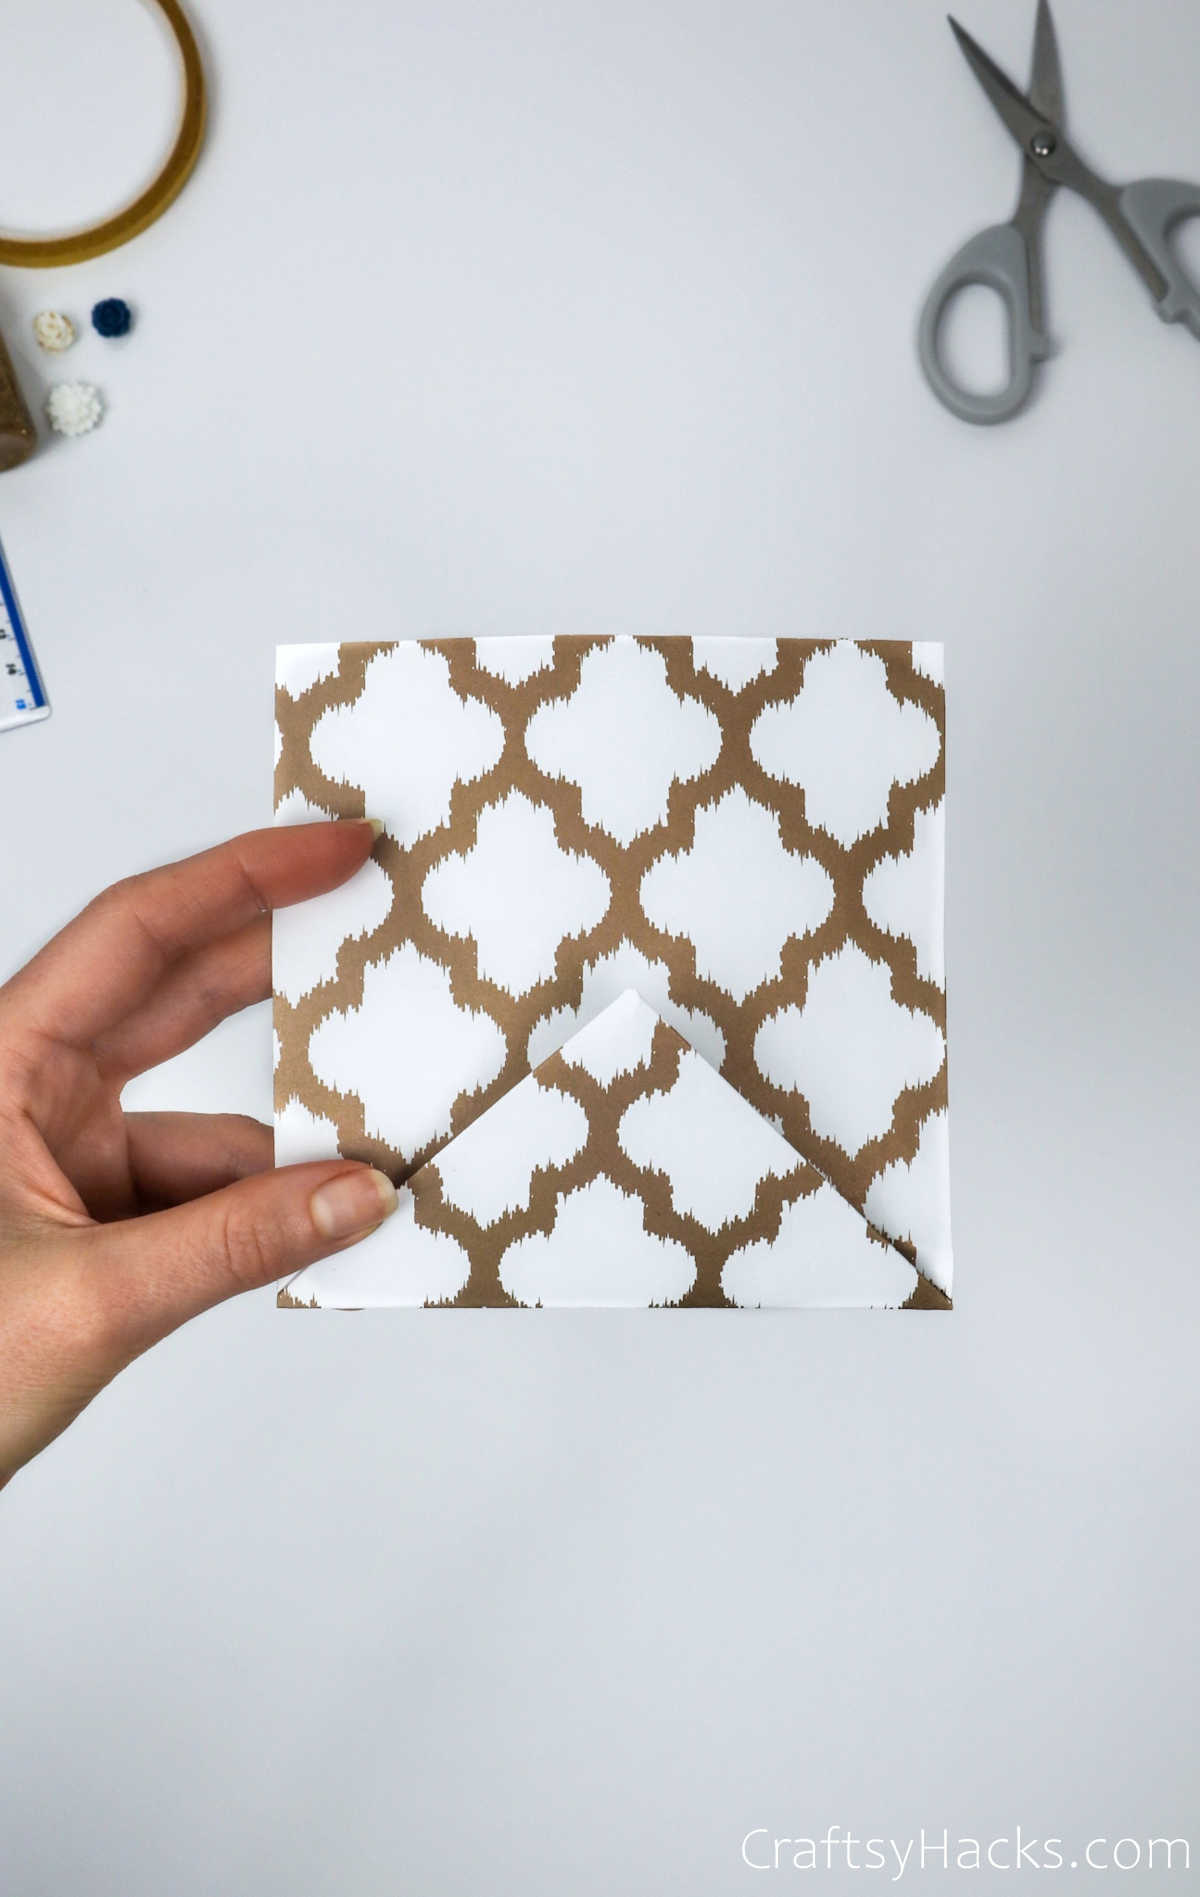
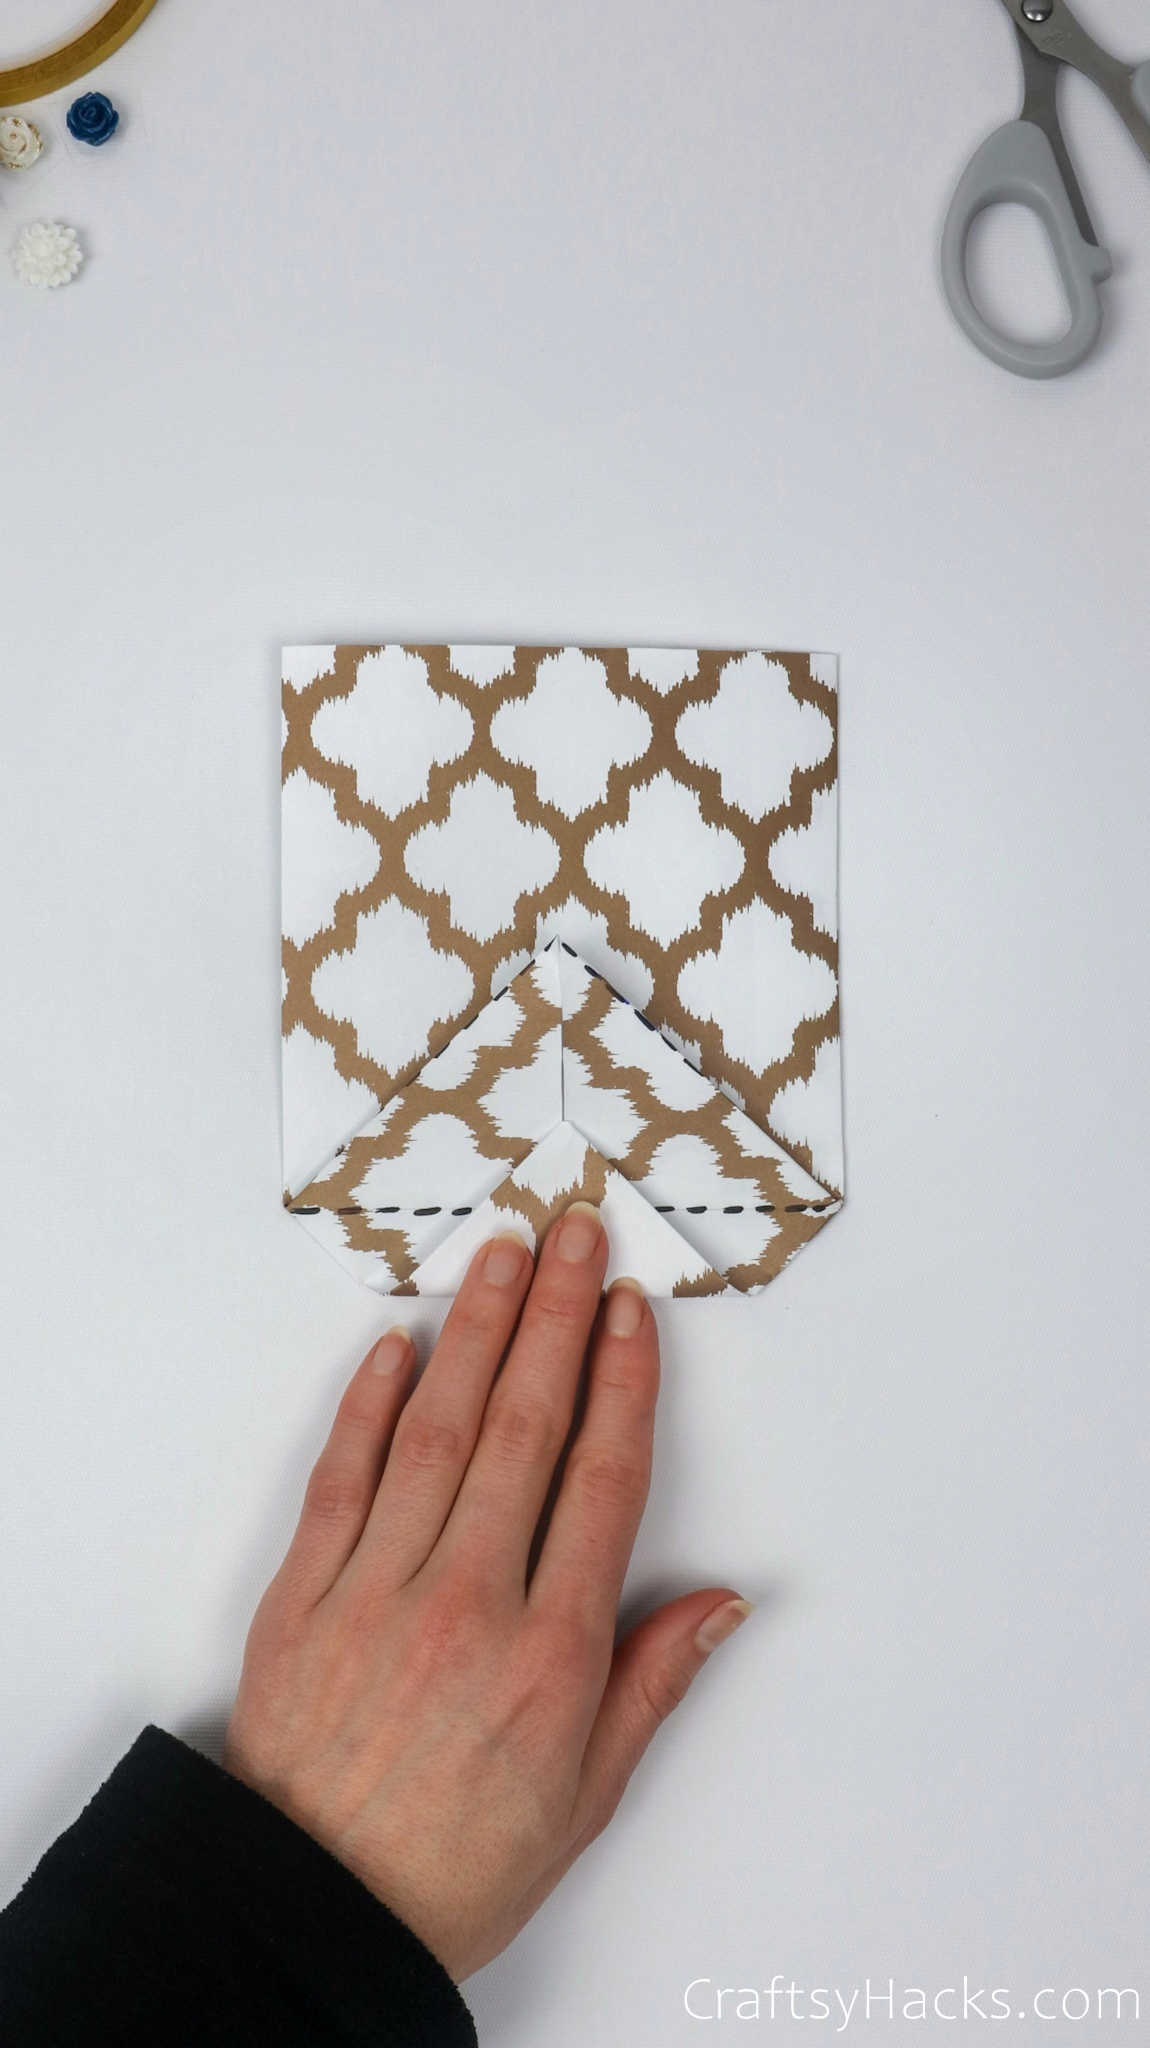
So what you have to do is fold the two edges inwards towards the center as indicated.
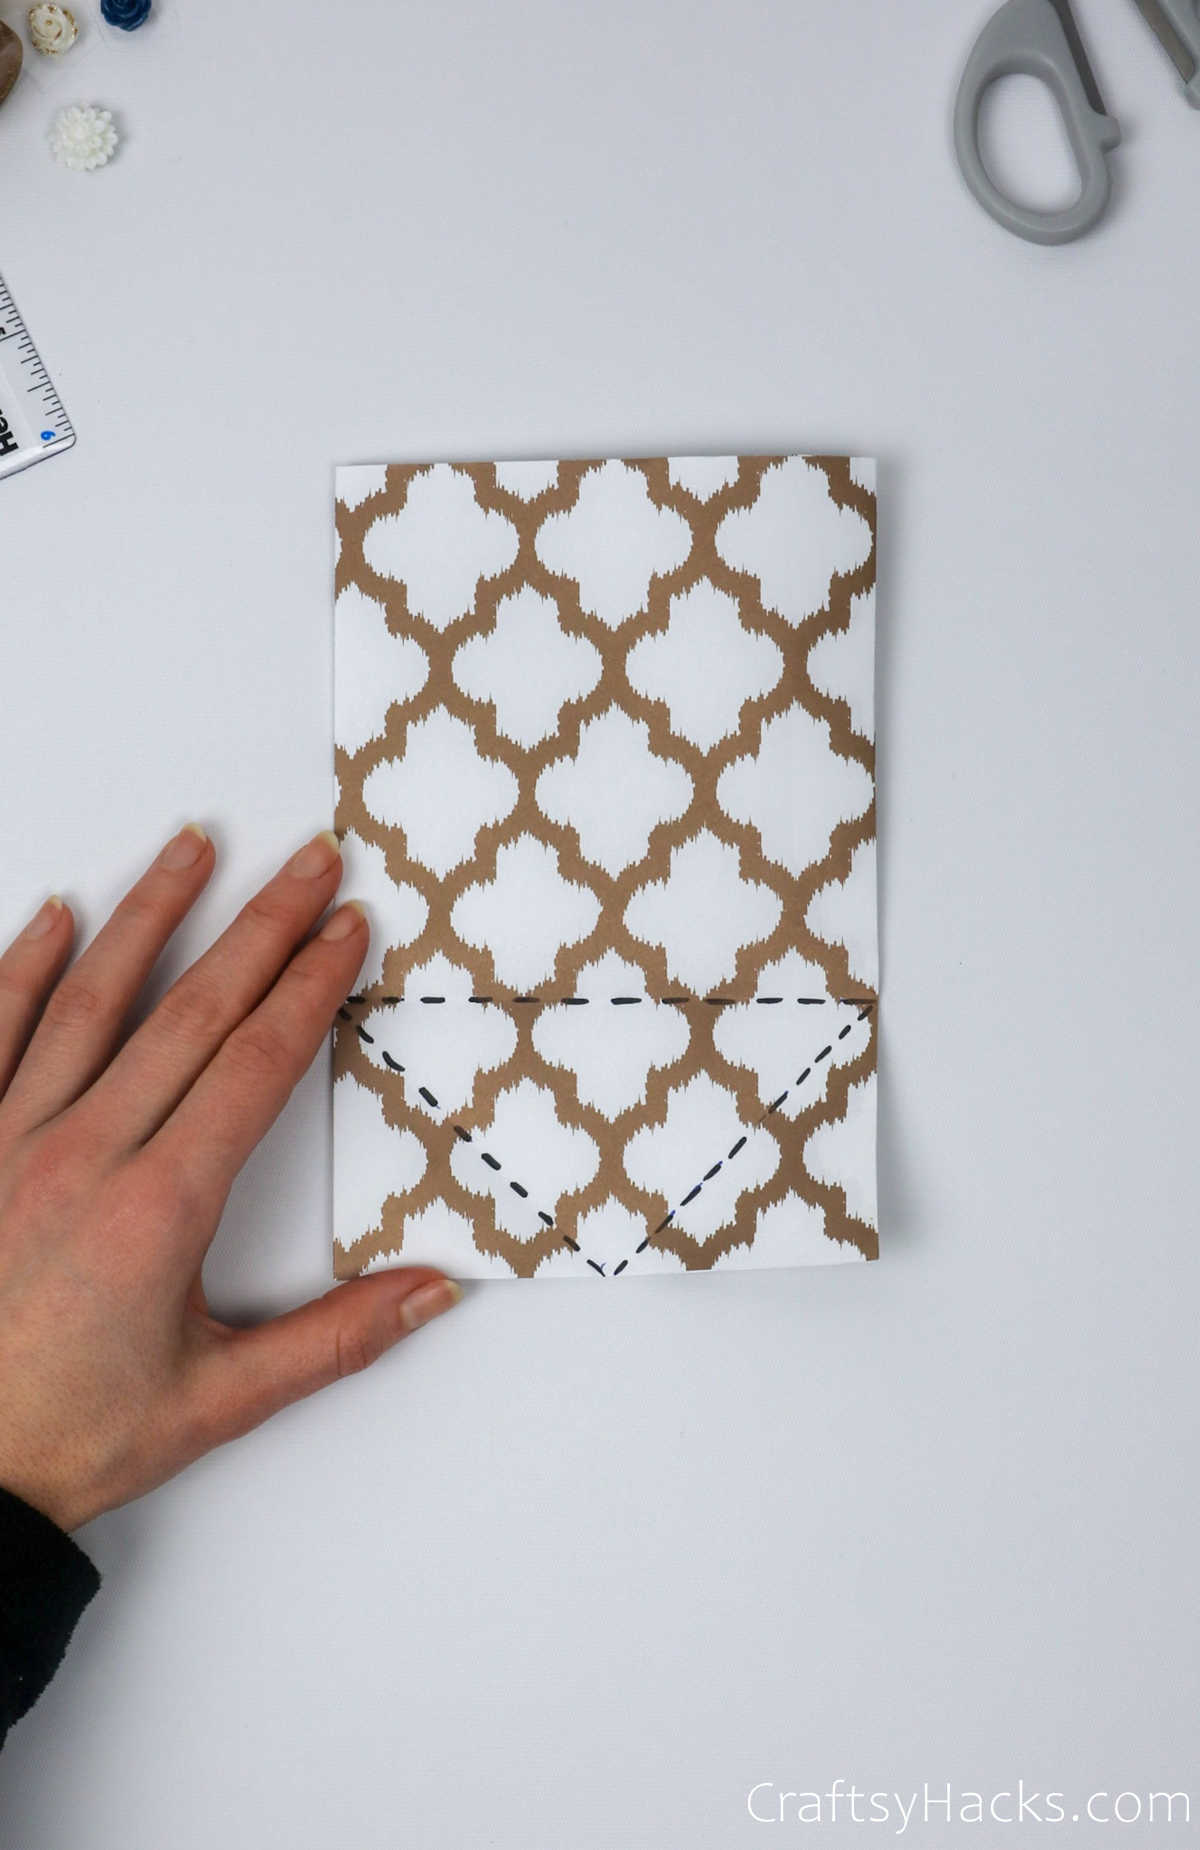
At the end of step 2, you should have something like what you see below. Just ensure that both triangular flaps are aligned evenly with each other. But hold on, we’re not yet done.
Grab the tip of the triangle and fold upward. You can crease the paper along the longest line(where the black dotted line was).
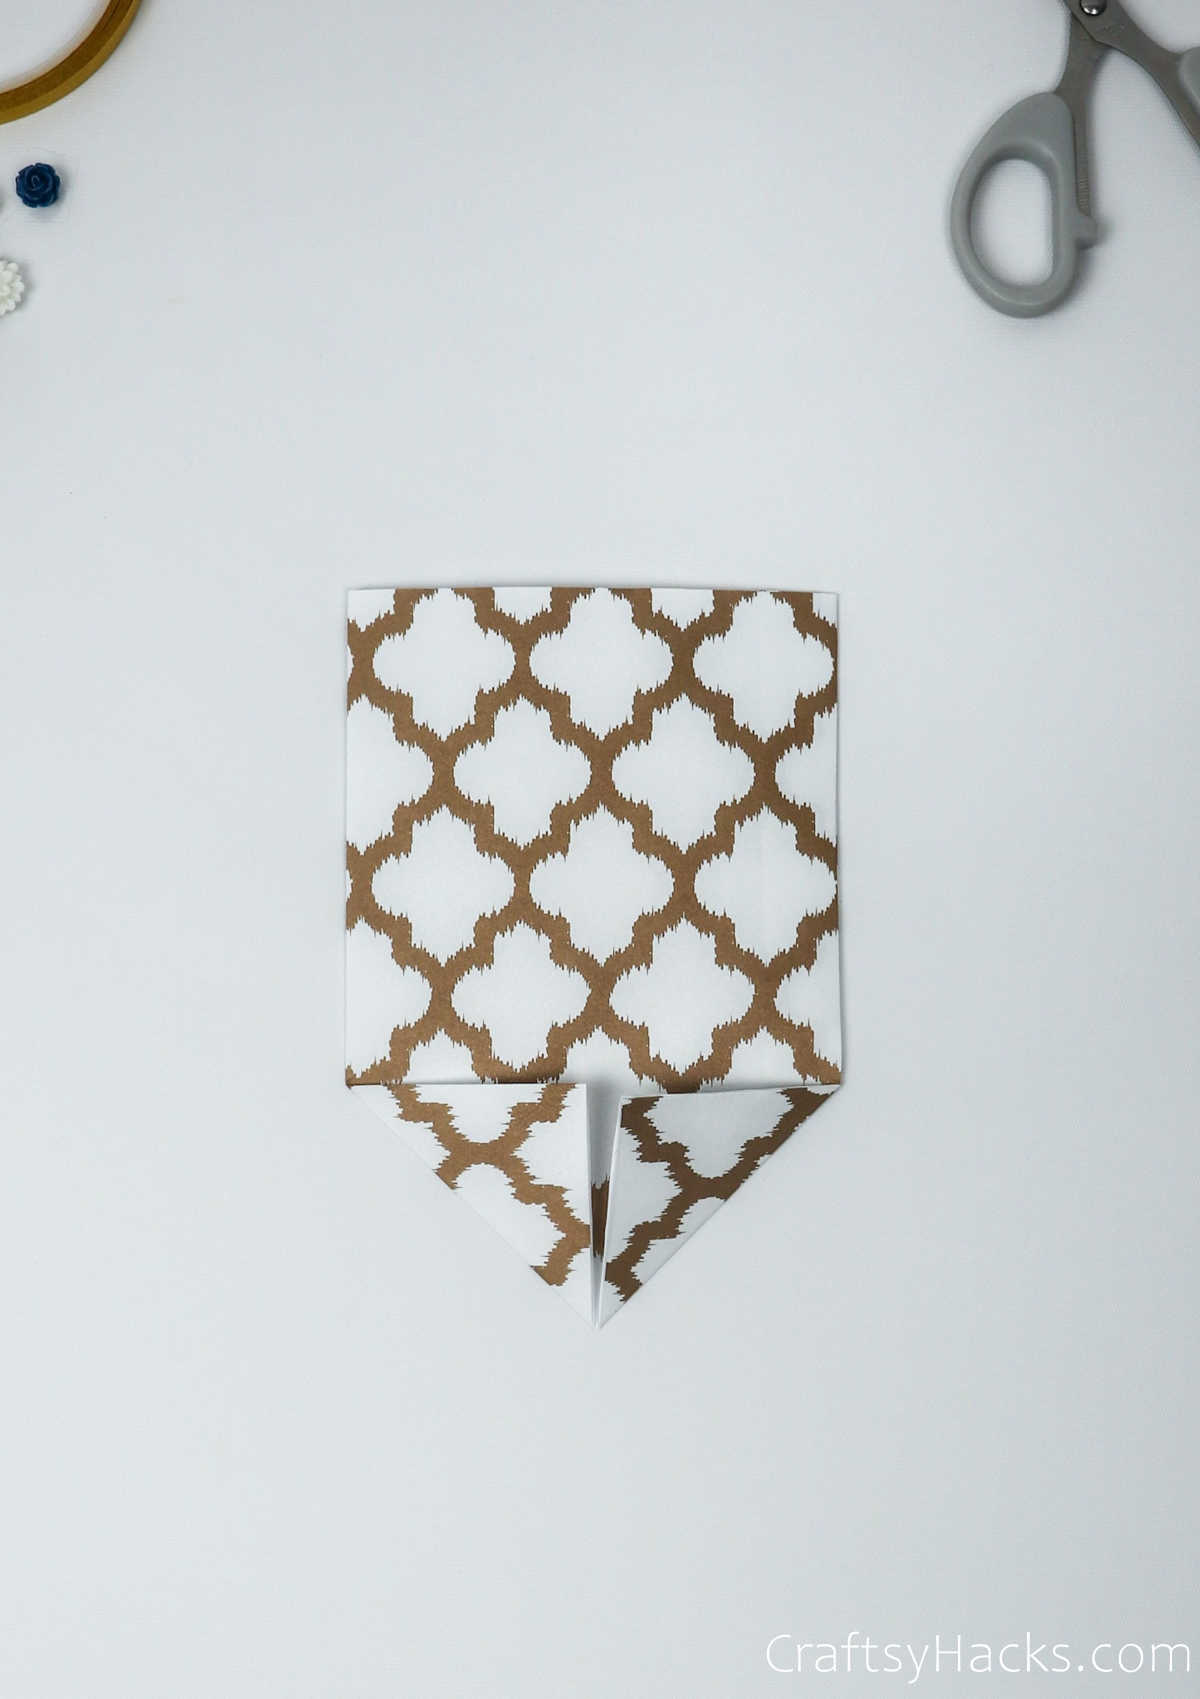
Gently press down on the paper to indent the edge, as shown below.
Step 4
Now, go ahead and unfold your paper. I know, I know, you just folded it, but trust the process; you’ll have the perfect paper gift bag in no time!
Step 5
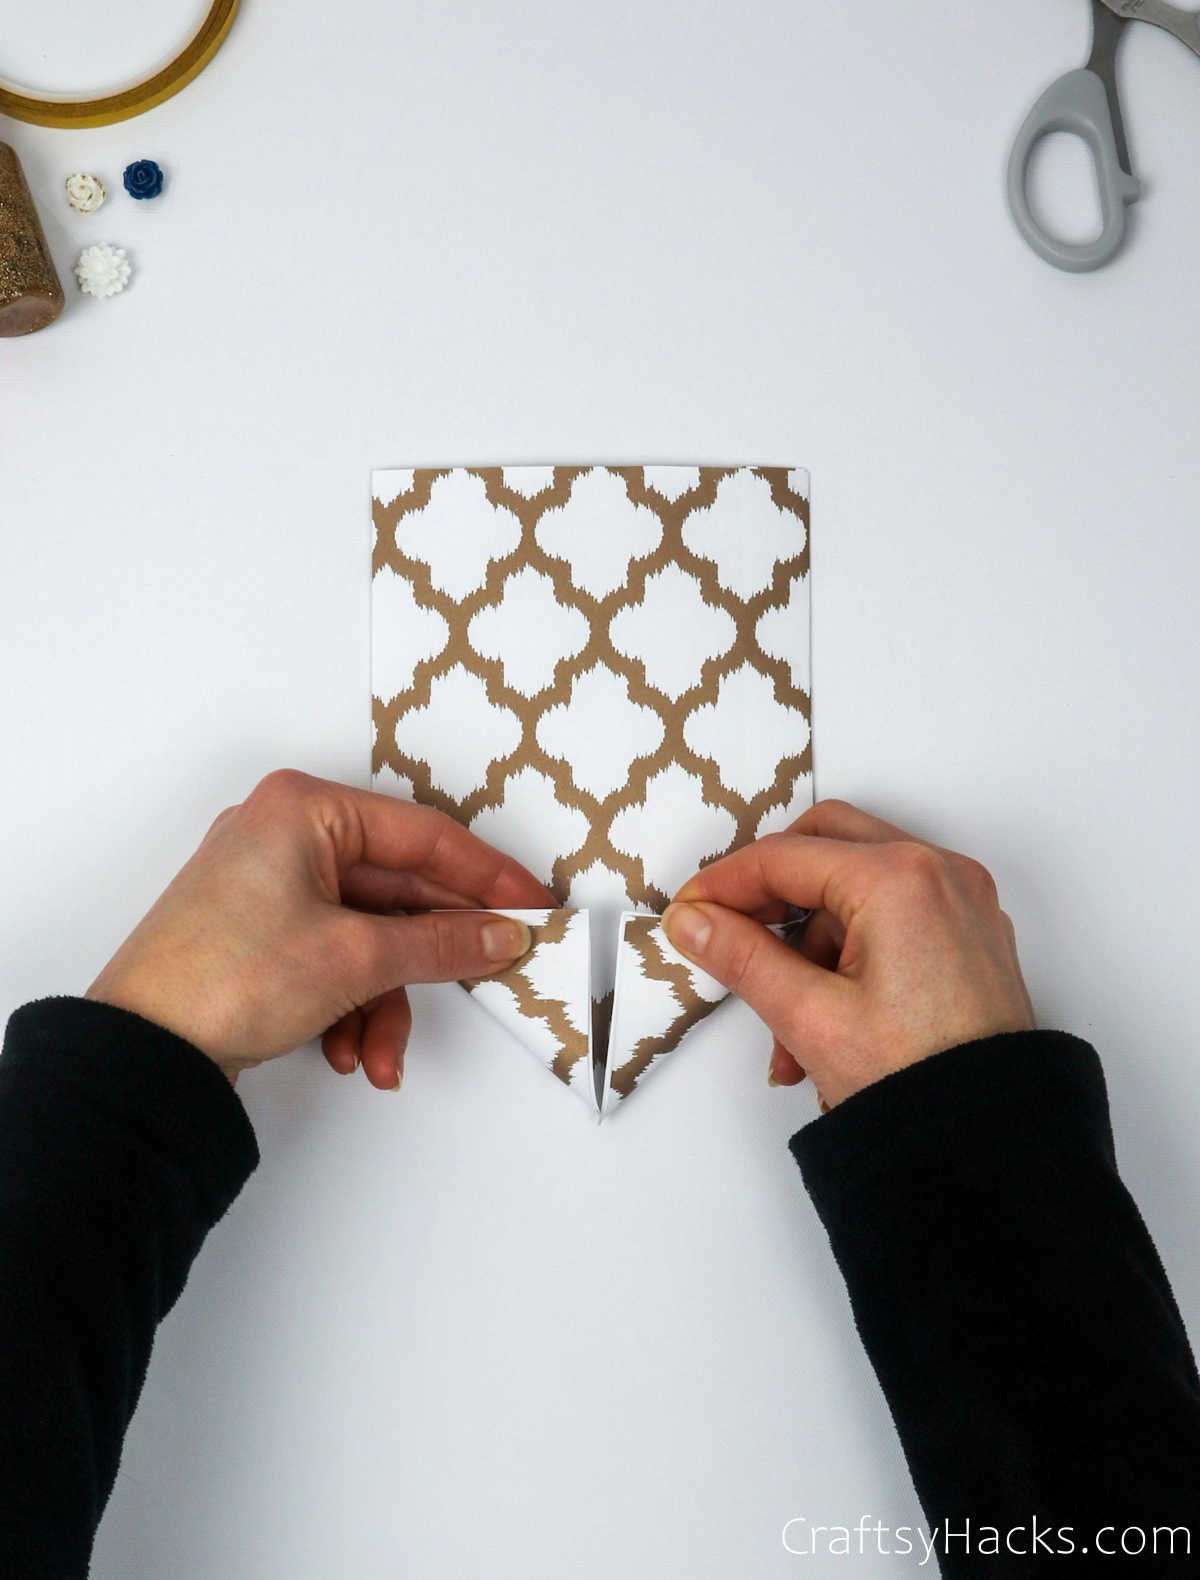
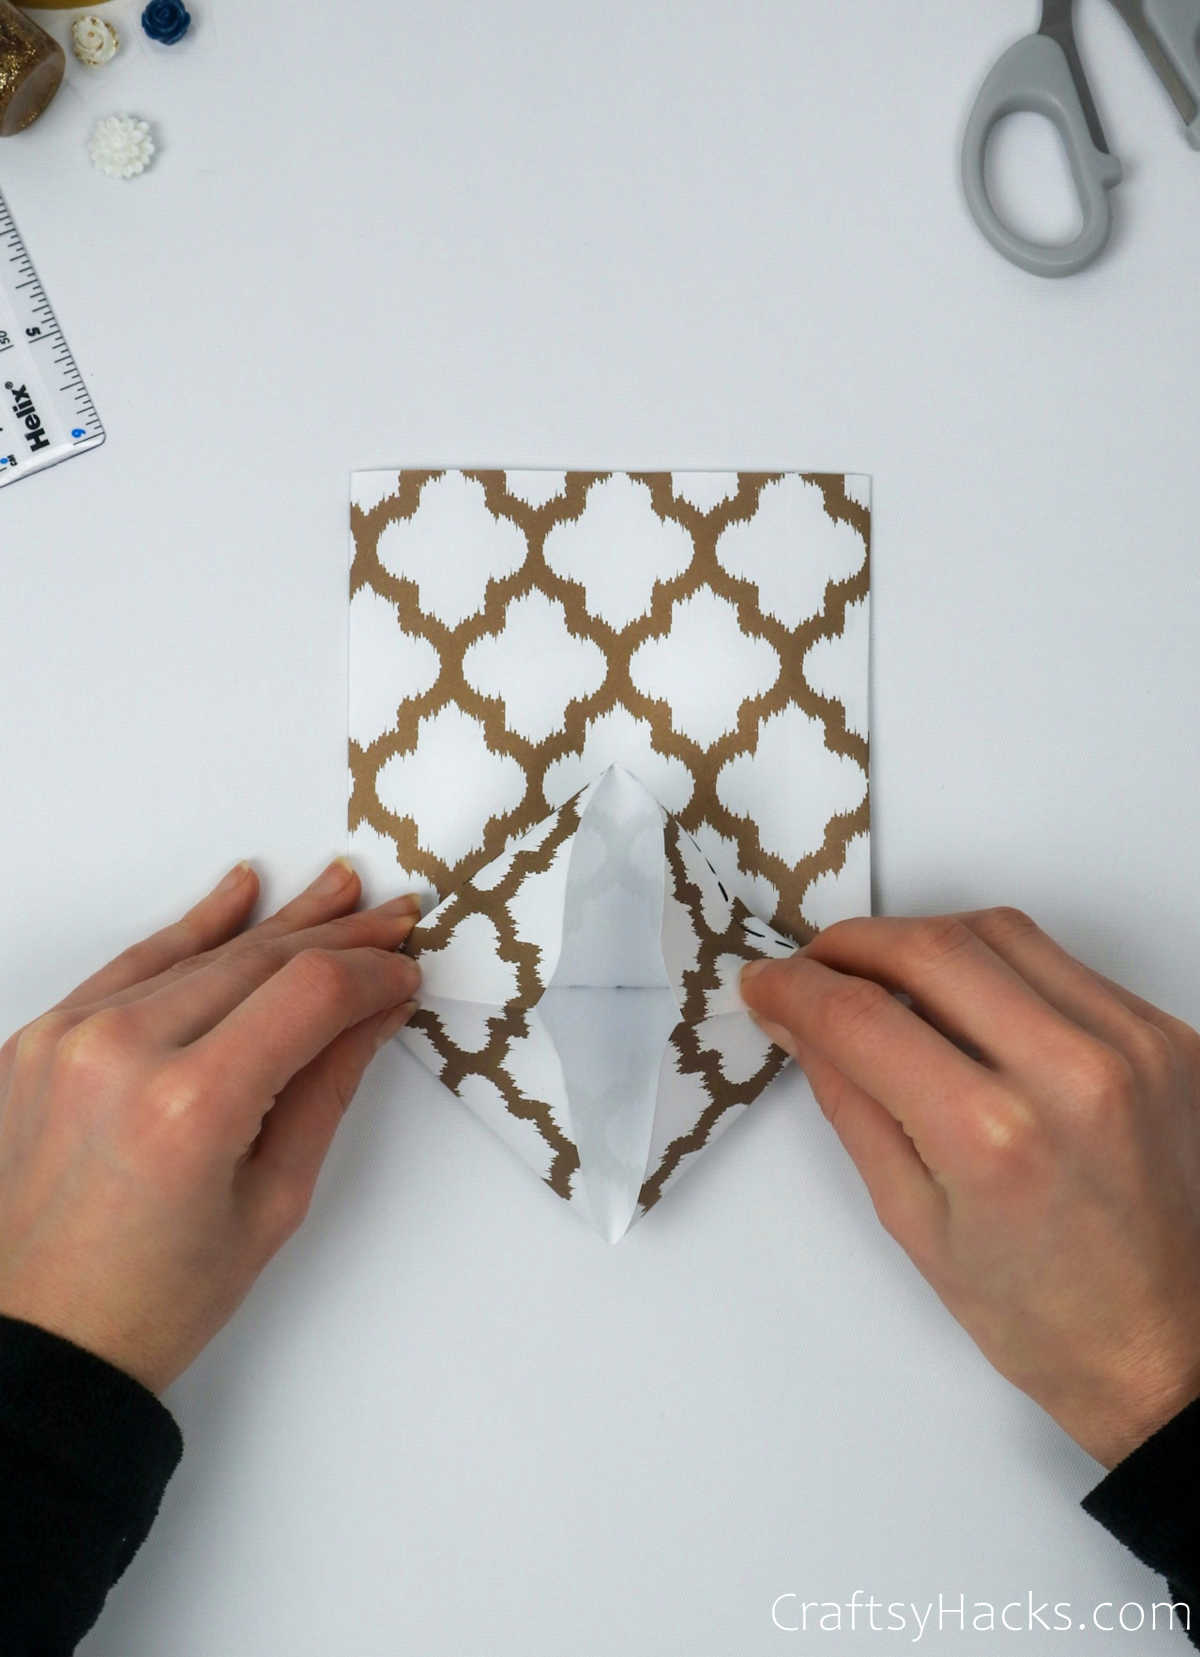
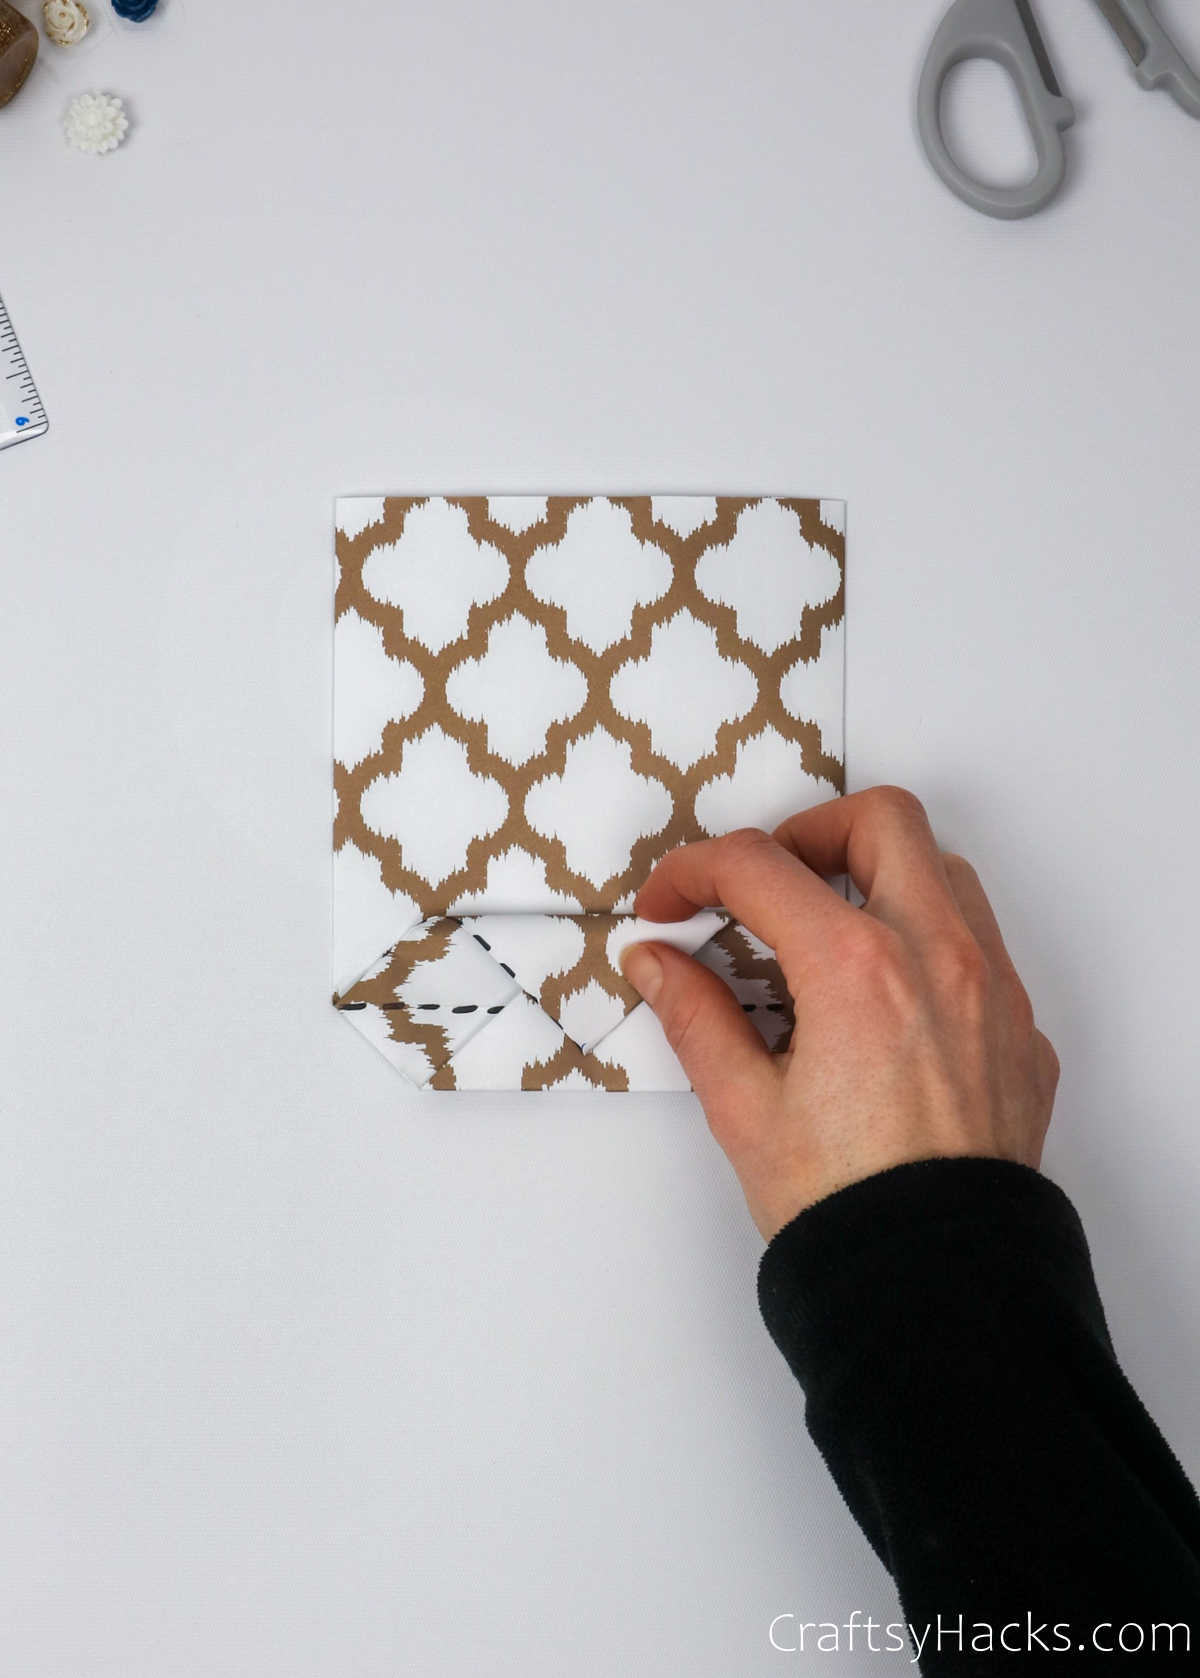
Here comes the tricky part. This step always makes me a little nervous, but it all comes down to understanding the method. Do you see the picture below?
You can use it to help you fold your paper. The goal is to create a square by teasing the edges of the paper you unfolded inward to form a square.
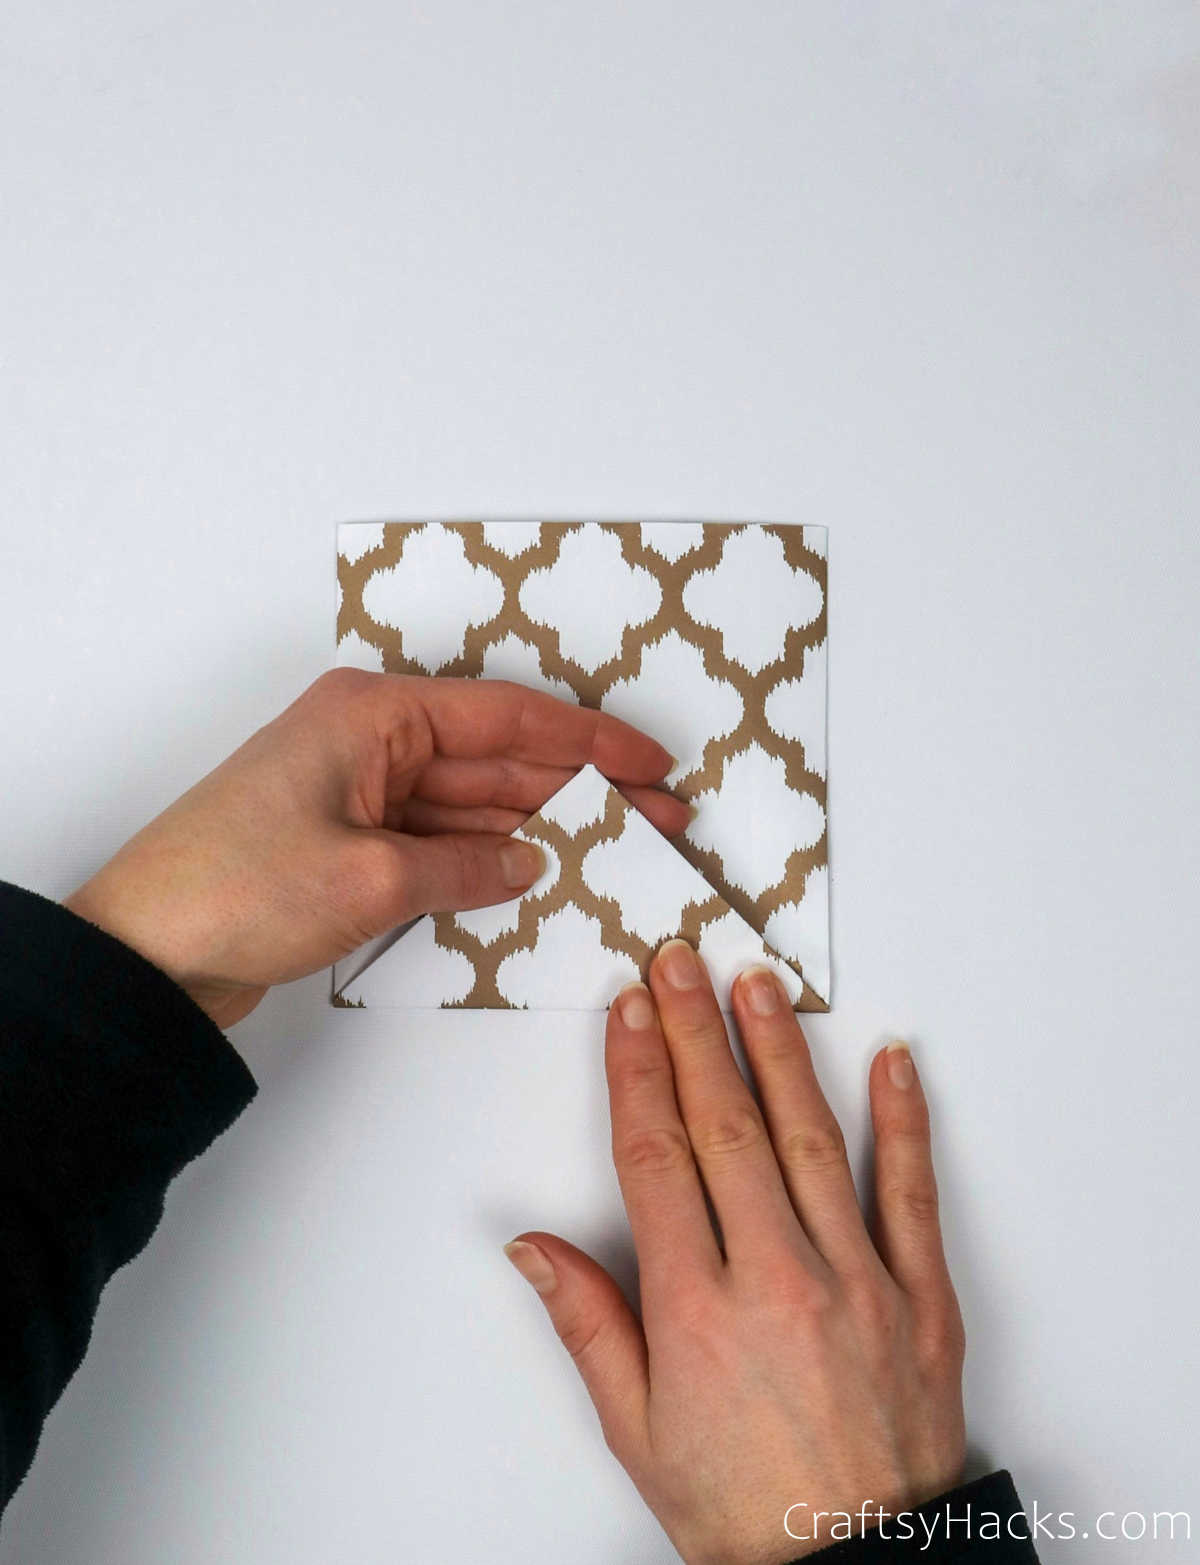
Step 6
Once you’ve folded your paper, press down firmly to flatten the paper. This little square fold will be the base of your paper bag. So, be patient, and you’ll have a perfectly sturdy little gift bag ready!
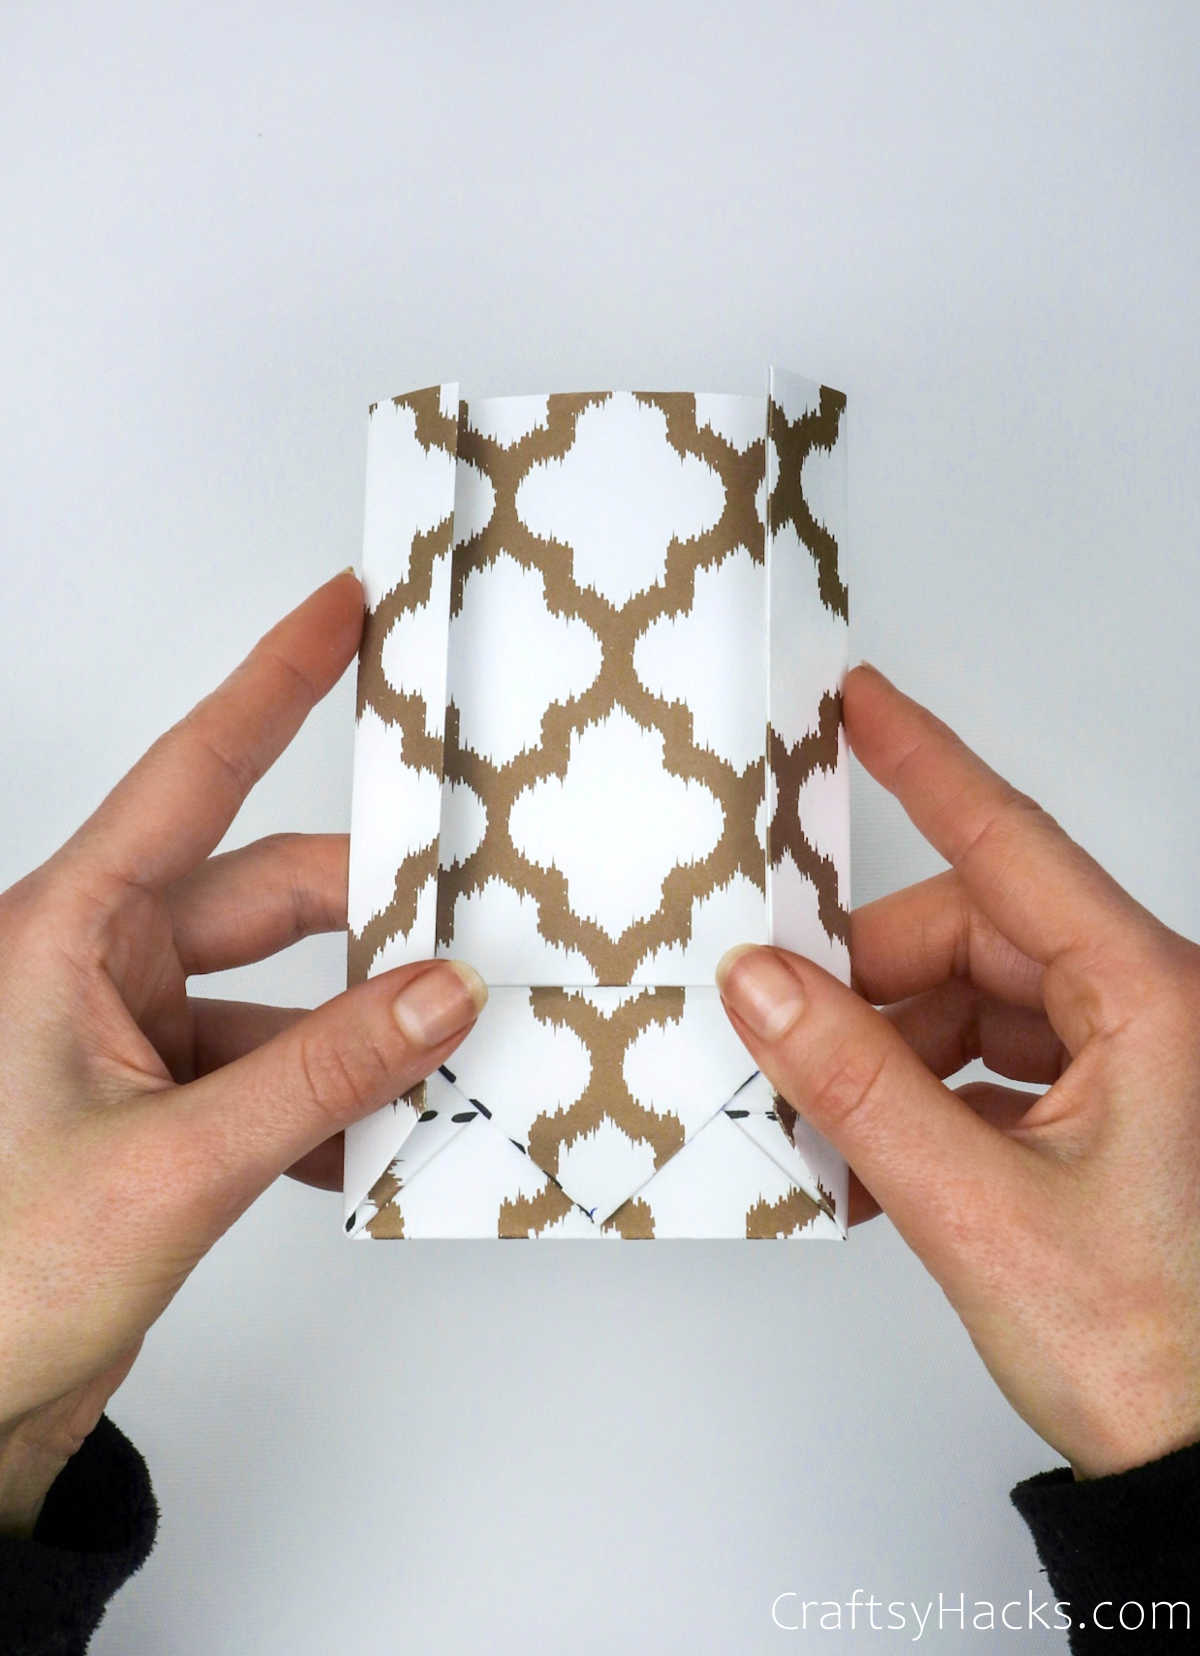
Step 7
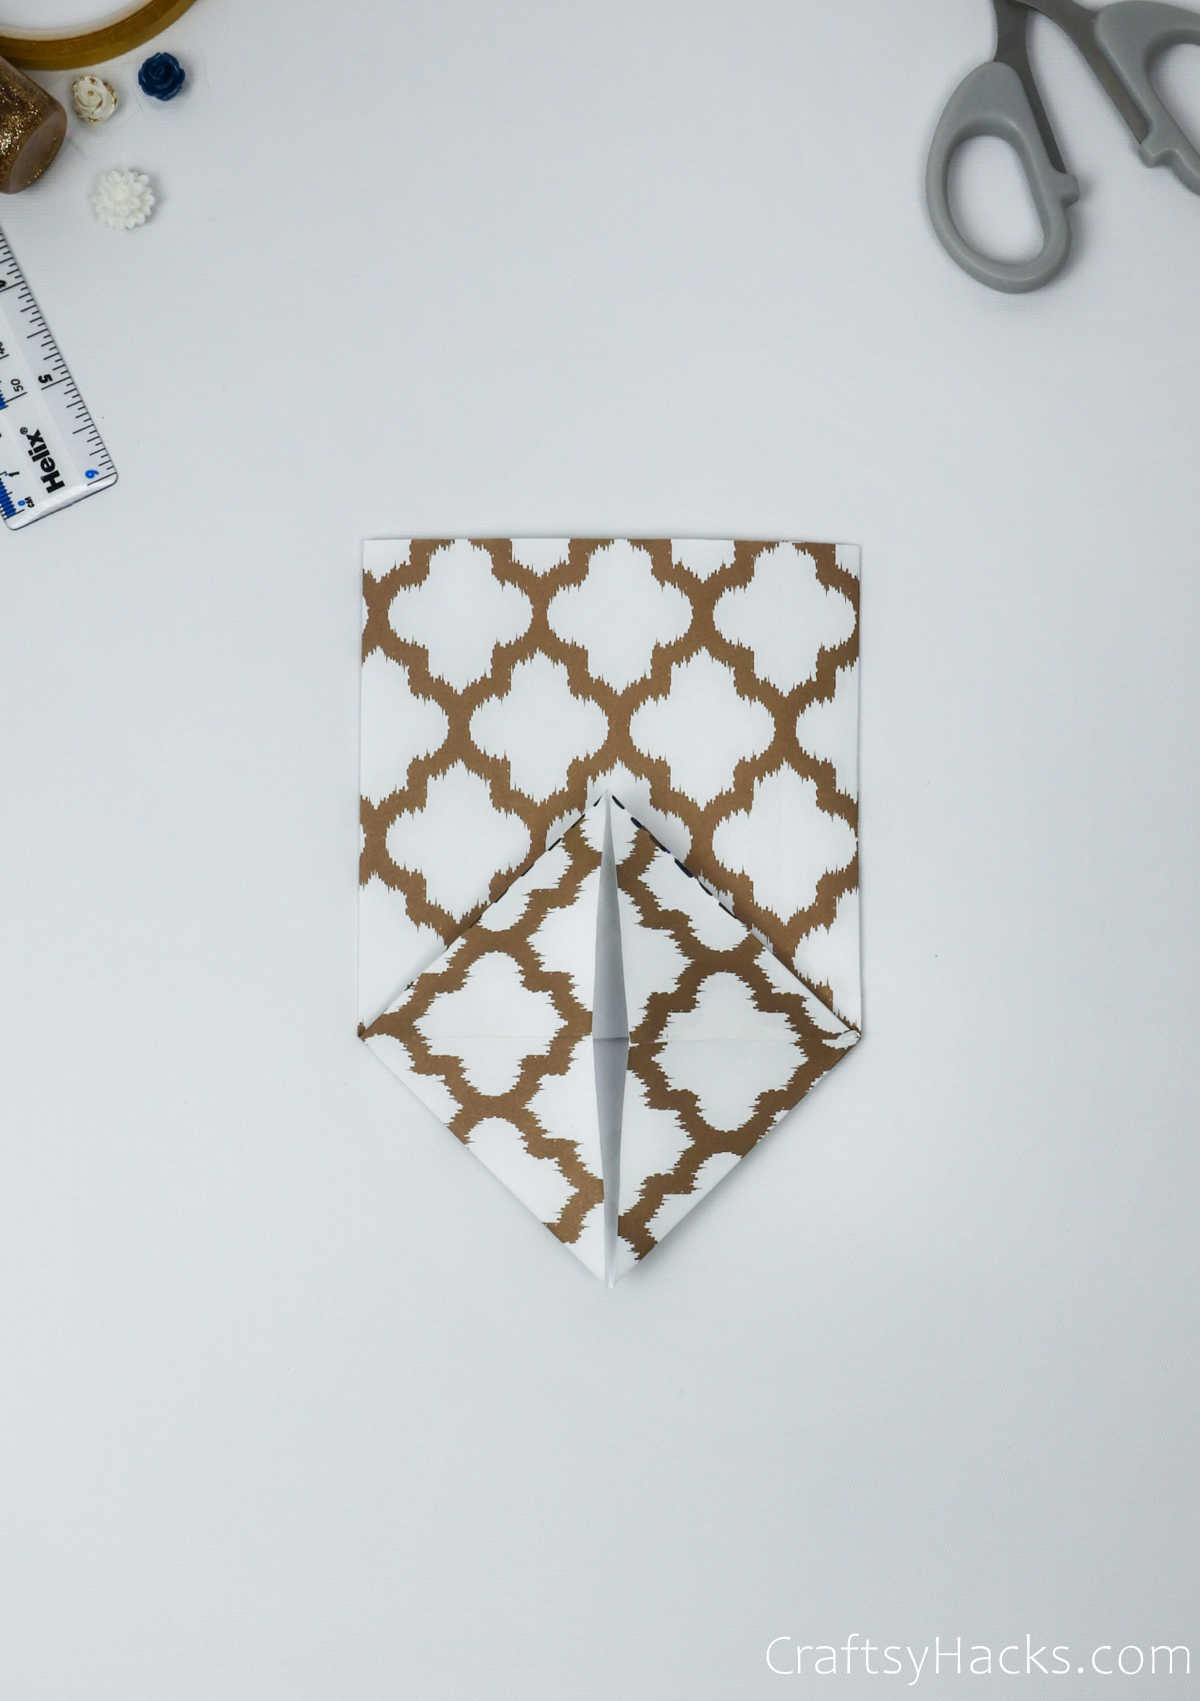
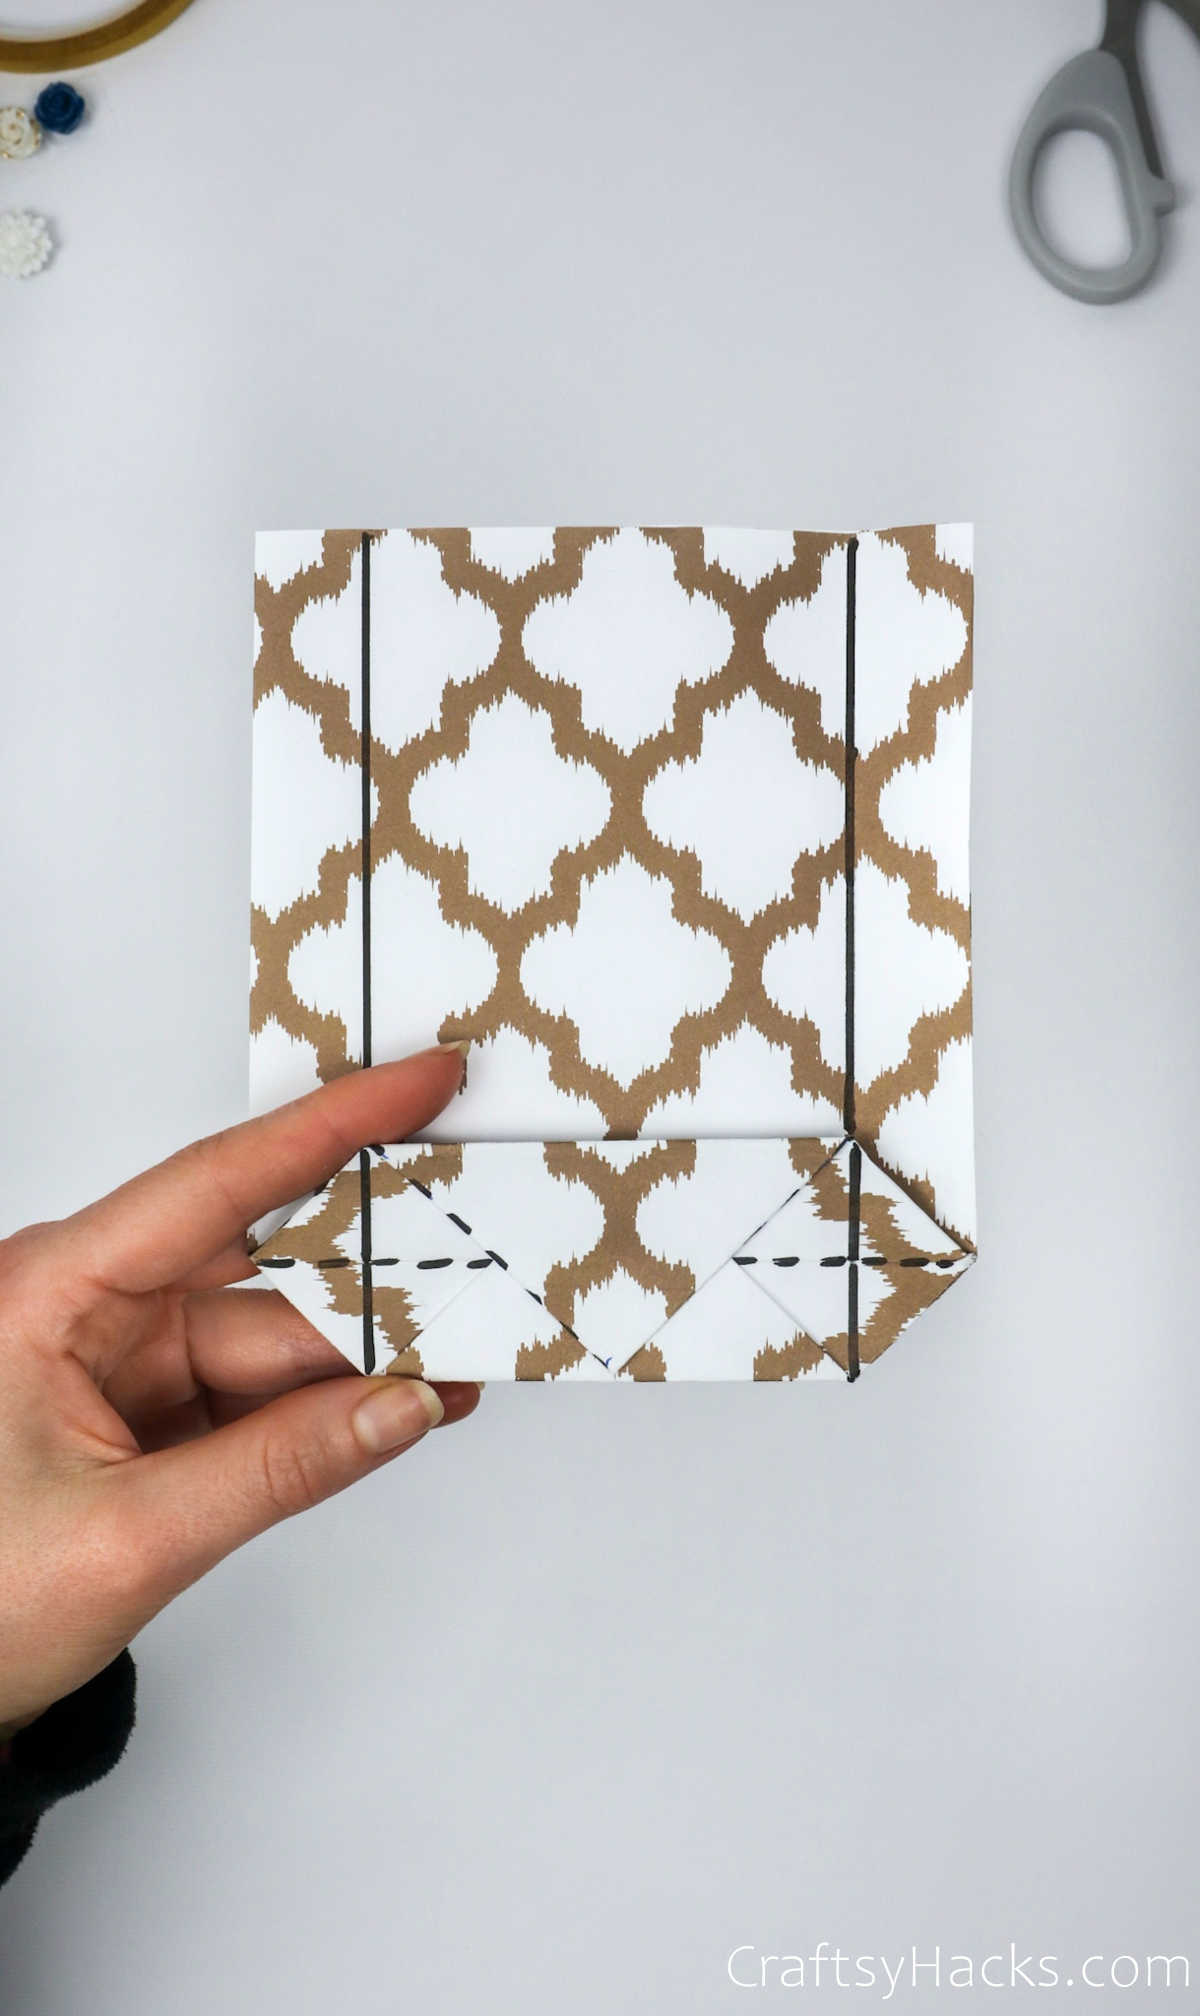
Next up, you will need to fold either ends of the square—the ends pointing north and south—towards the center. There, you will need to fold them and overlap them accordingly, one over the other.
It doesn’t matter which end goes on top of the other, so go ahead and make that flap!
Step 8
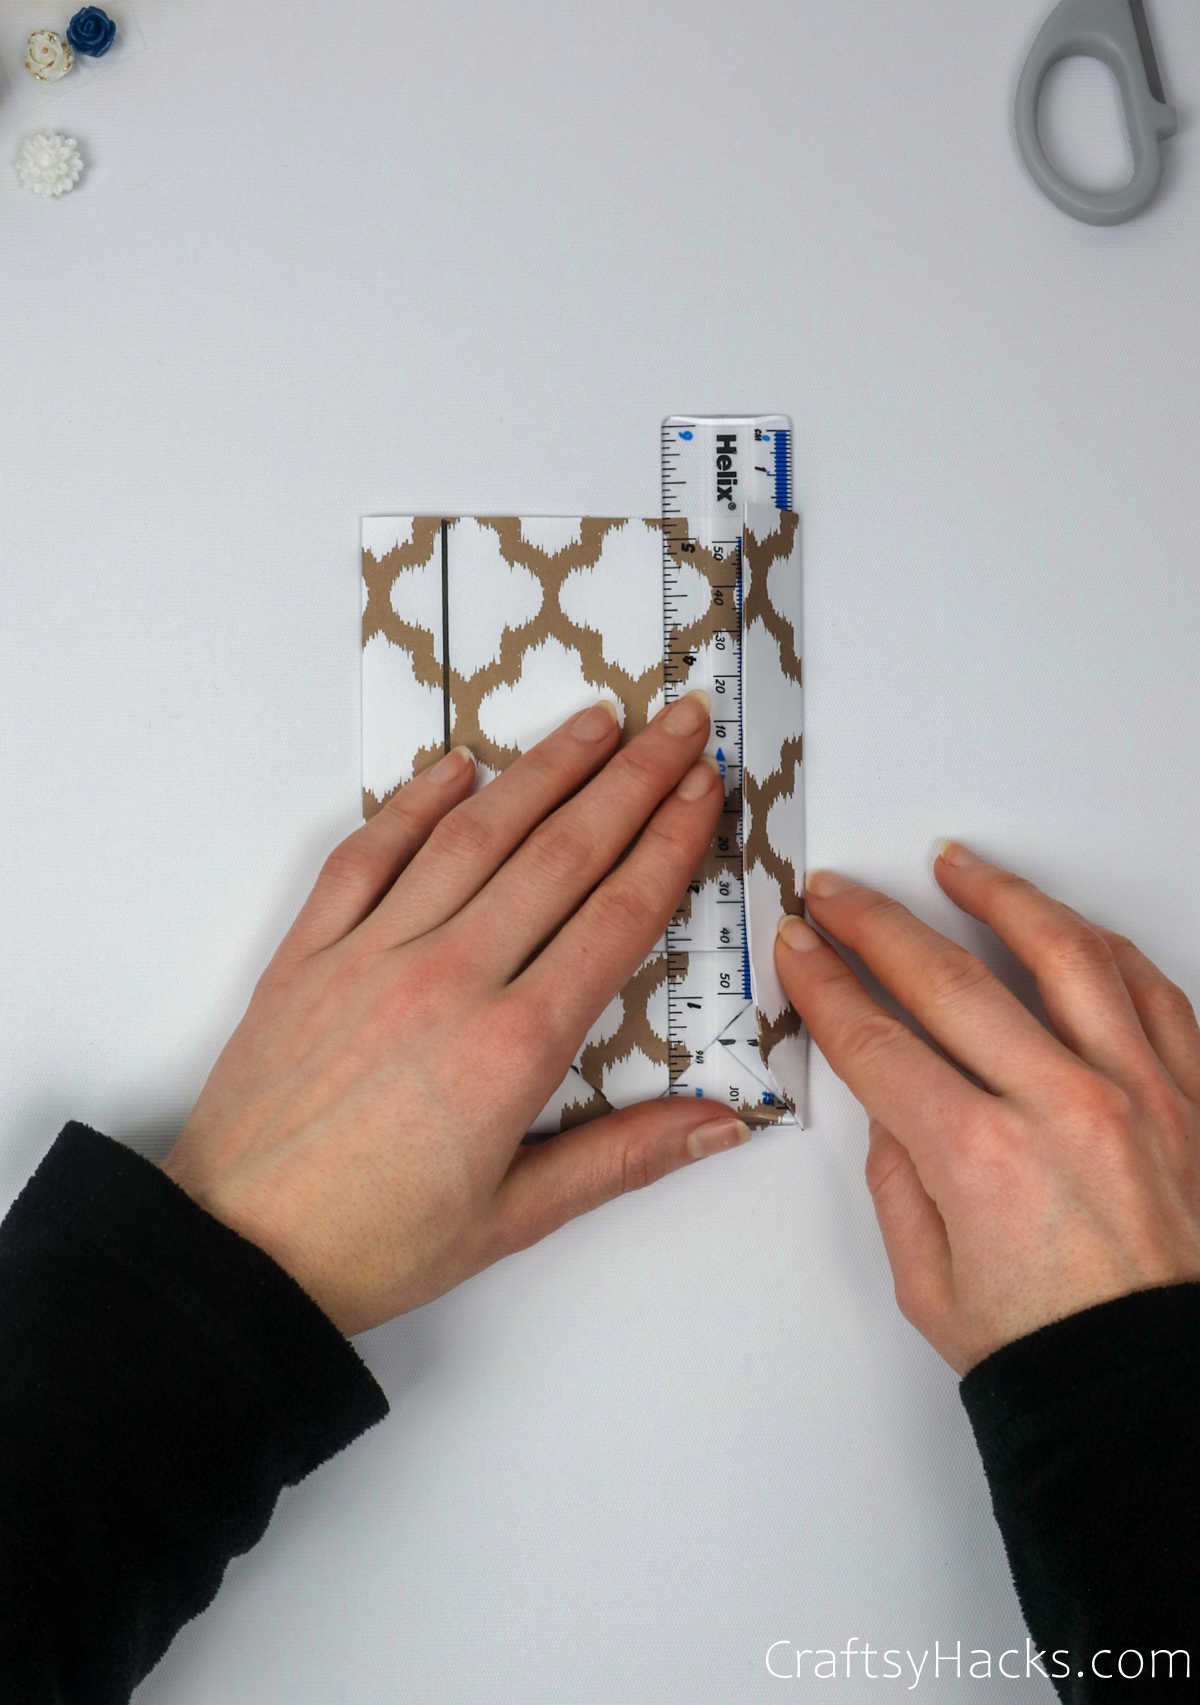
Again, the black lines that you see in this picture are purely for your guidance—so you can figure out where you need to make the next folds.
Spend some time studying these lines. The more you understand where each fold must be made, the cleaner your edges will be when you fold them.
You can use a ruler to help you indent the paper. This will help your folds be crisp and precise in one straight line.
This is how your bag should look at the end of step 7. It’s really coming together, isn’t it?
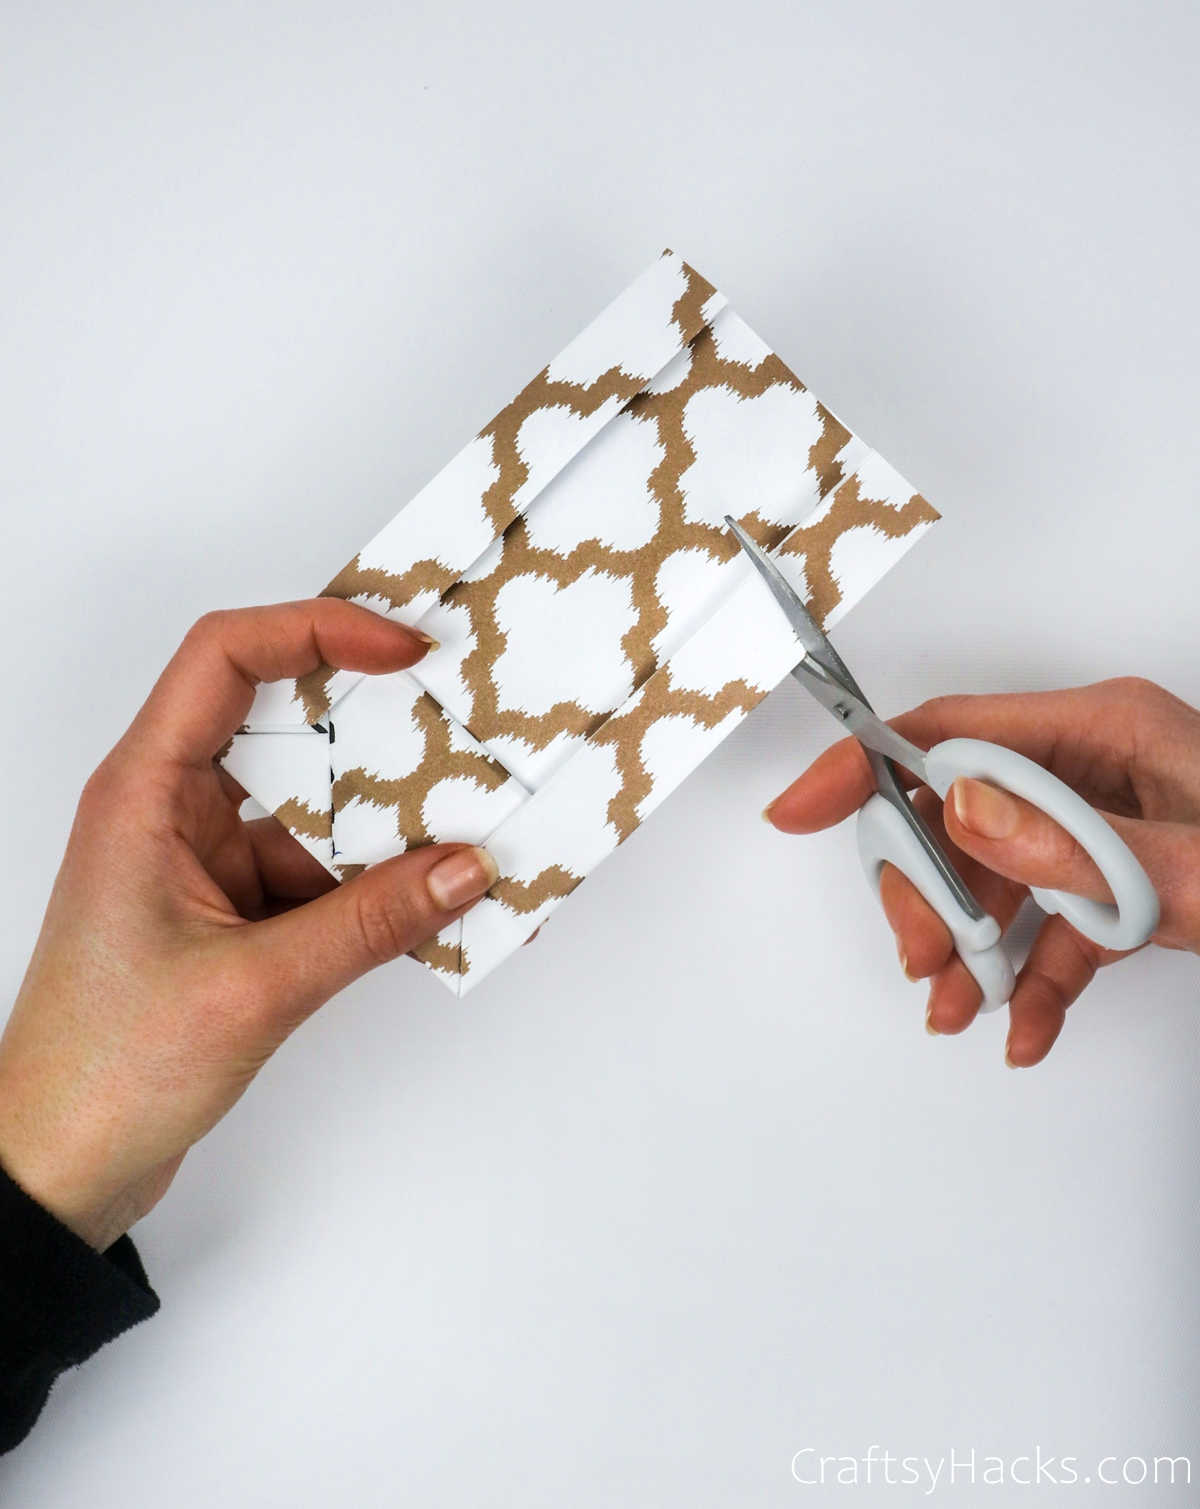
Step 9
At this point, you will need to decide exactly how big you want your finished gift bag to be. If you’re not happy with the length, you can trim the paper to your desired size.
Step 10
Grab your ruler and measure 2 cm down the middle of the paper bag. Now, grab a craft knife and cut a slit about 2 cm wide across the paper. This will hide the tongue or flap of the lid when you slide it in place.

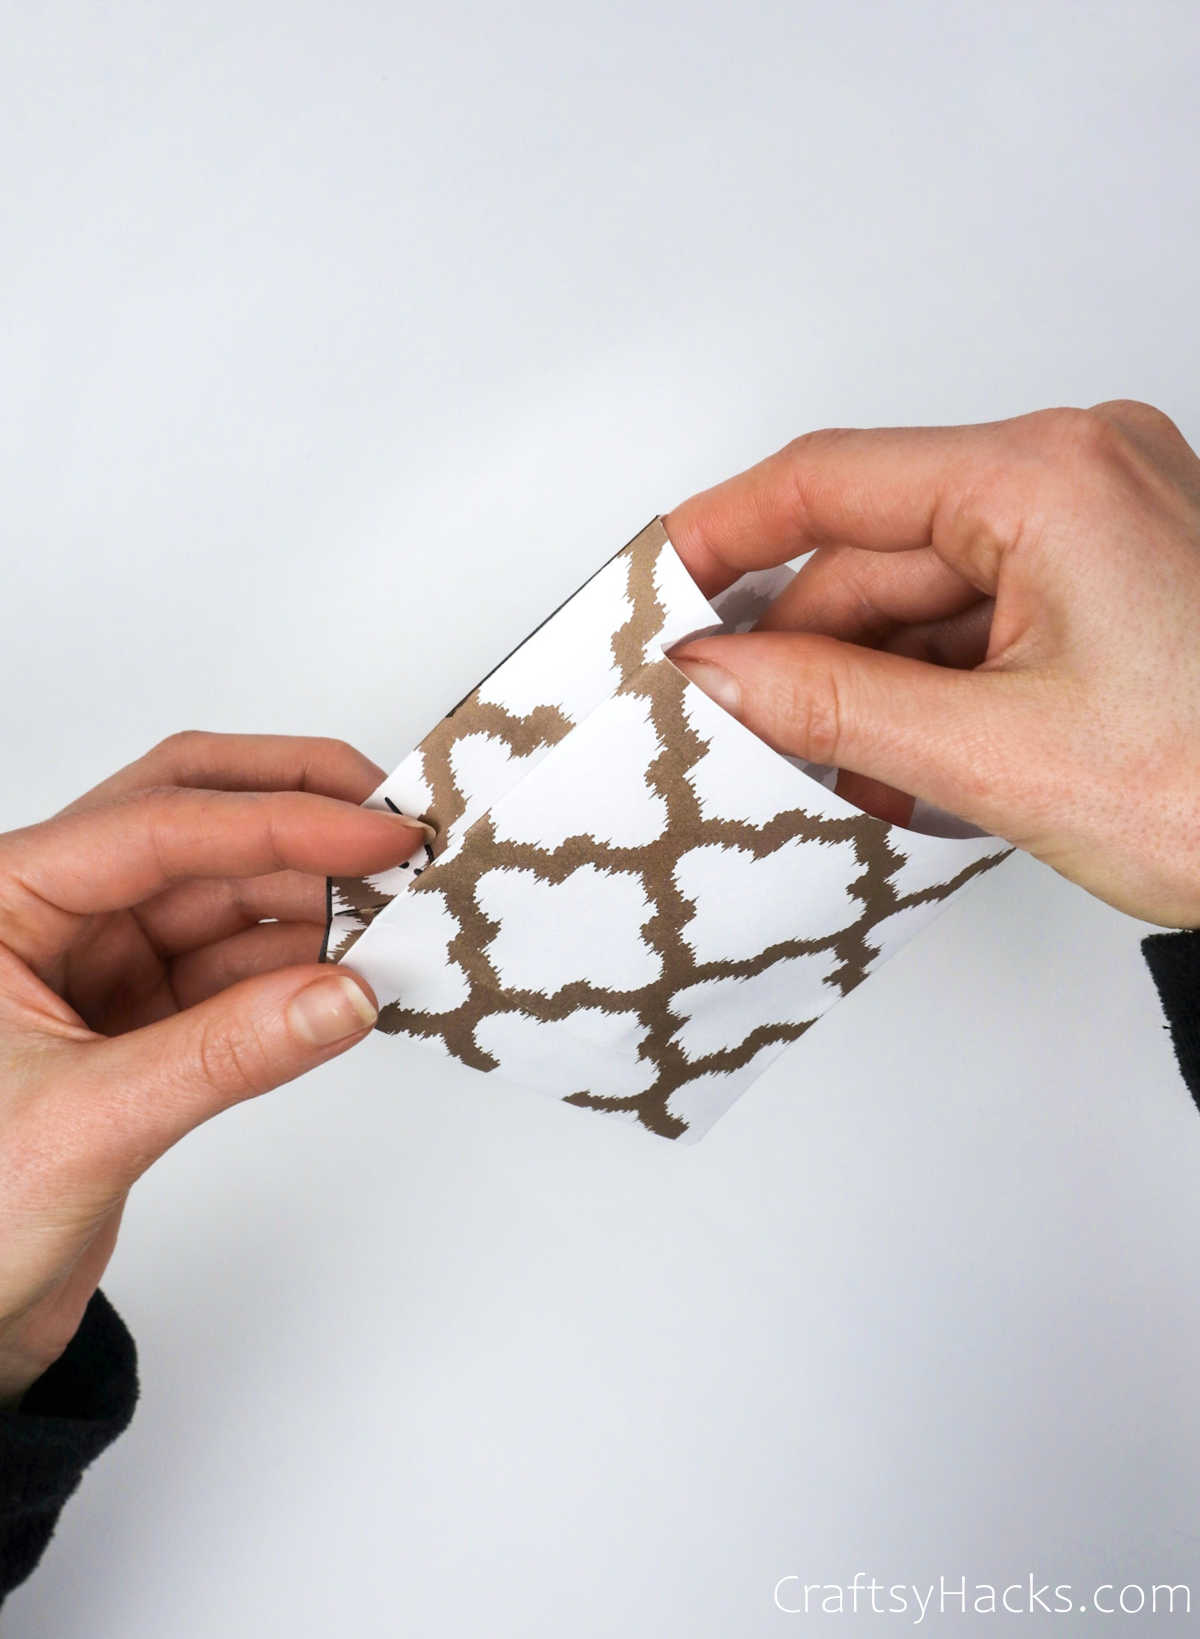
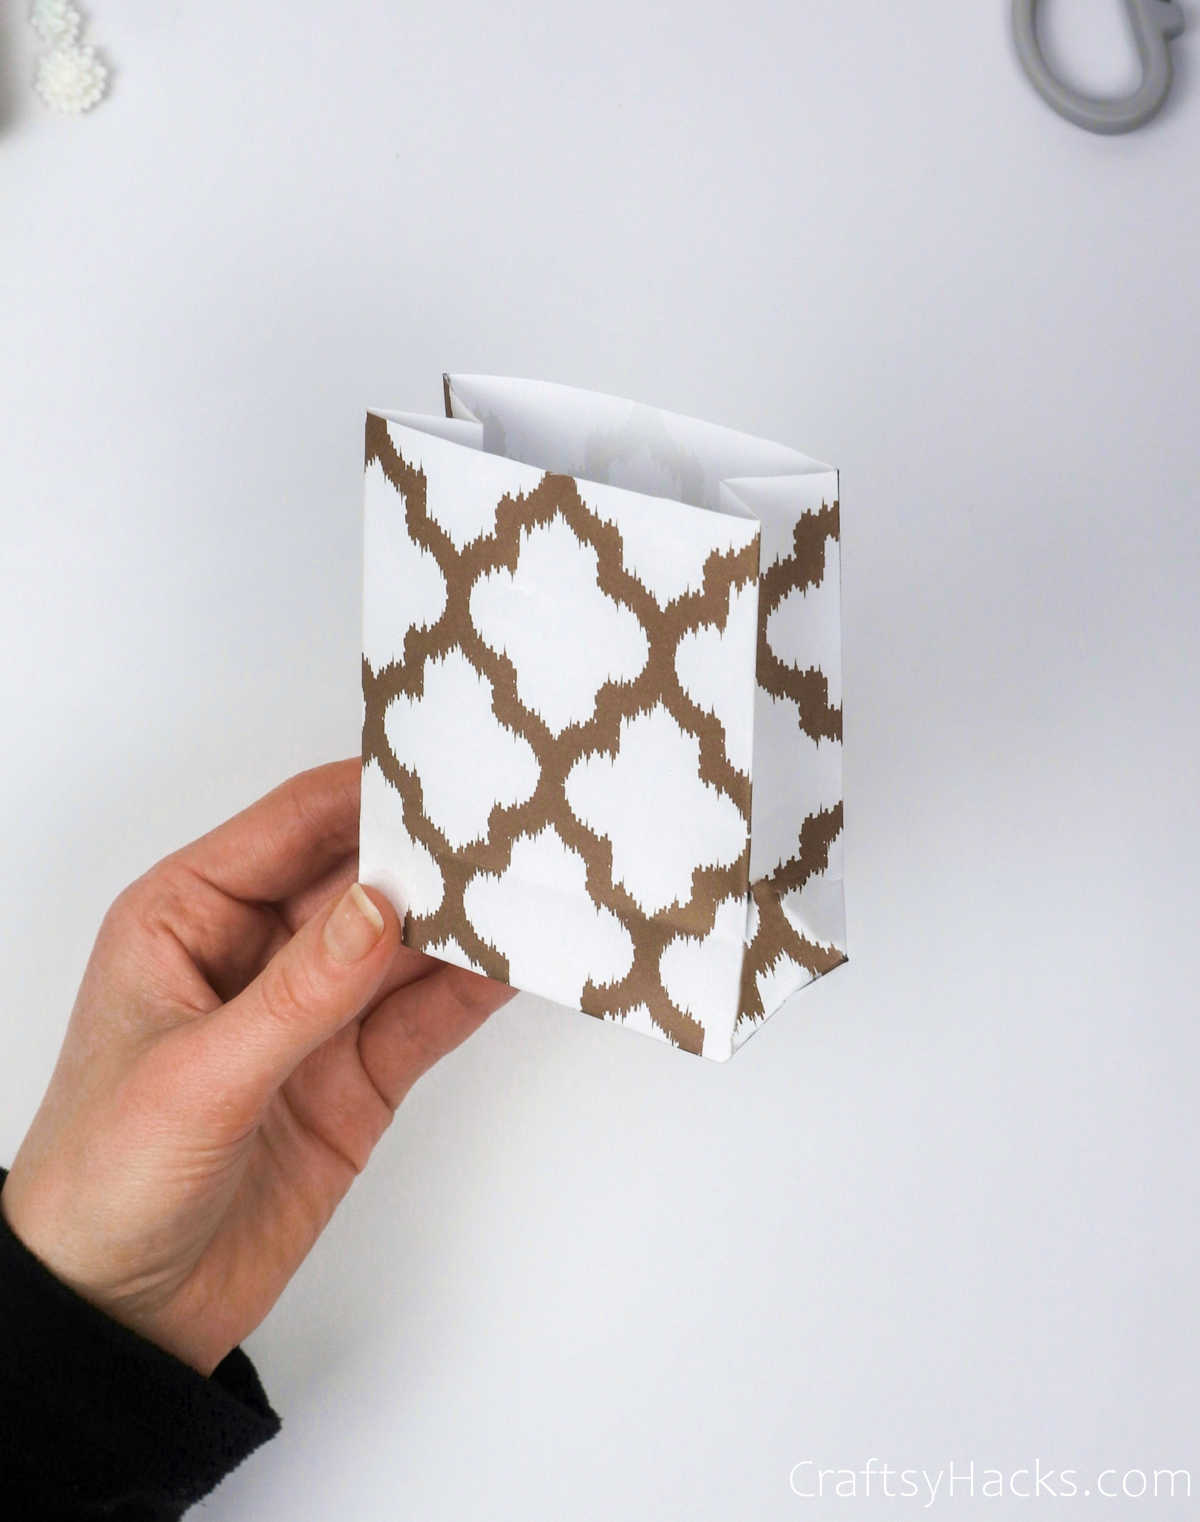
Step 11
Push your hand or fingers into the ‘bag’ and pop it open into a cube-like shape. Just open it up, but keep in mind not to crease or crush the paper.

Step 12
Gently push in the sides, pinching the top of the bag to crease the sides.
Voila!
Step 13
The fun is not over yet—it’s time for us to make the lid of this paper gift bag! Grab the paper you picked for the lid.
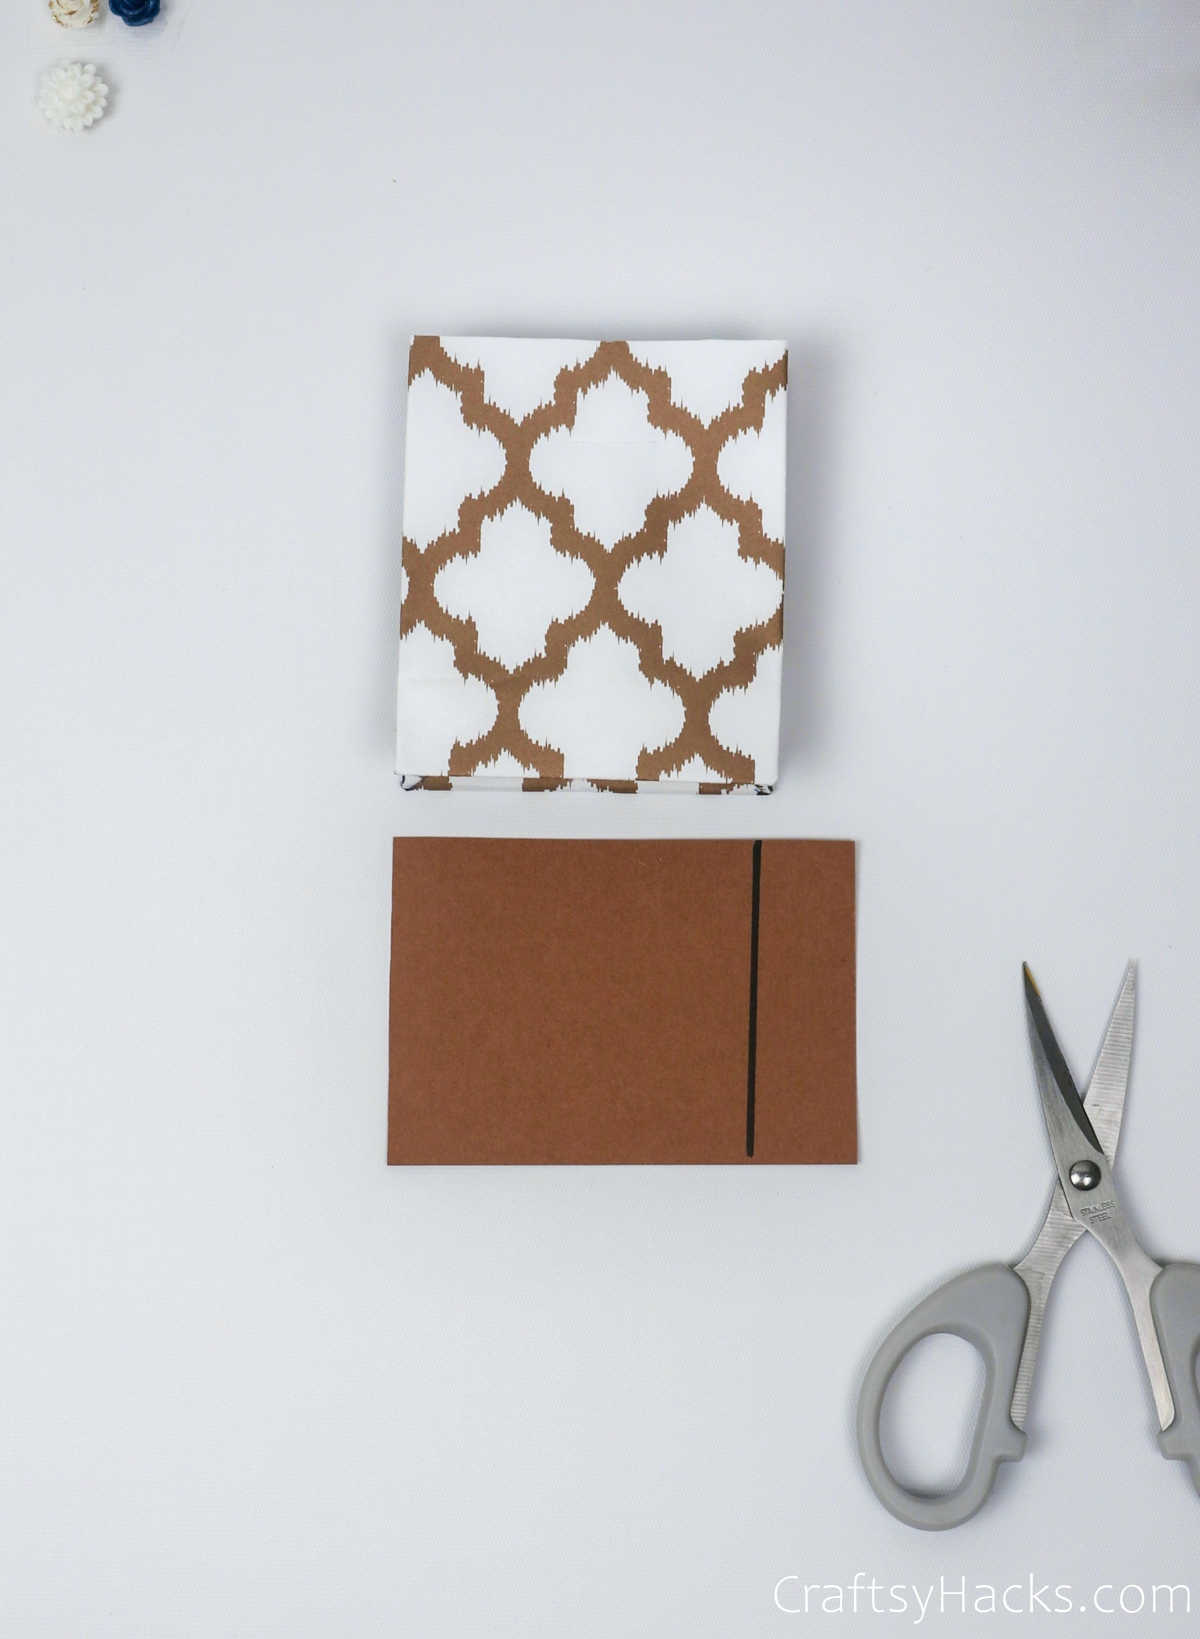
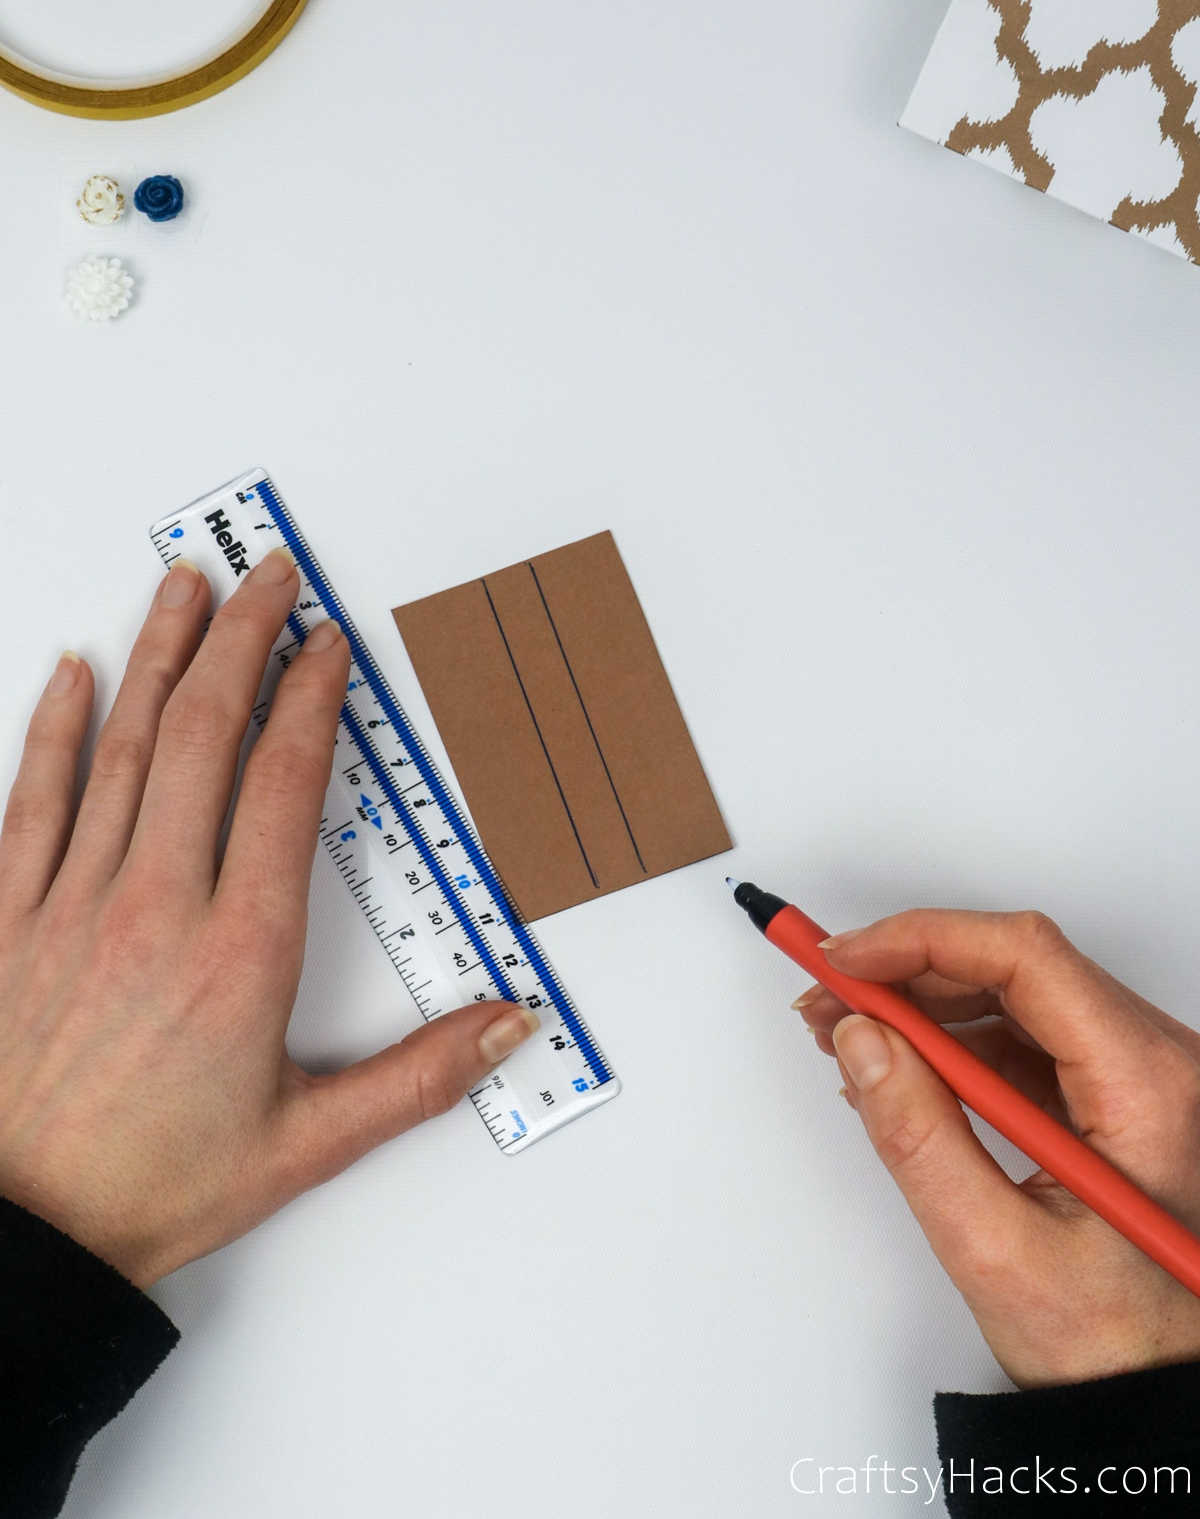
Cut away the excess paper until you have the dimensions of the mouth of the bag. Next, divide the paper into three parts in a 2:1:2 ratio and fold the paper along those lines.
You can check out how it’s done down below.
Step 14
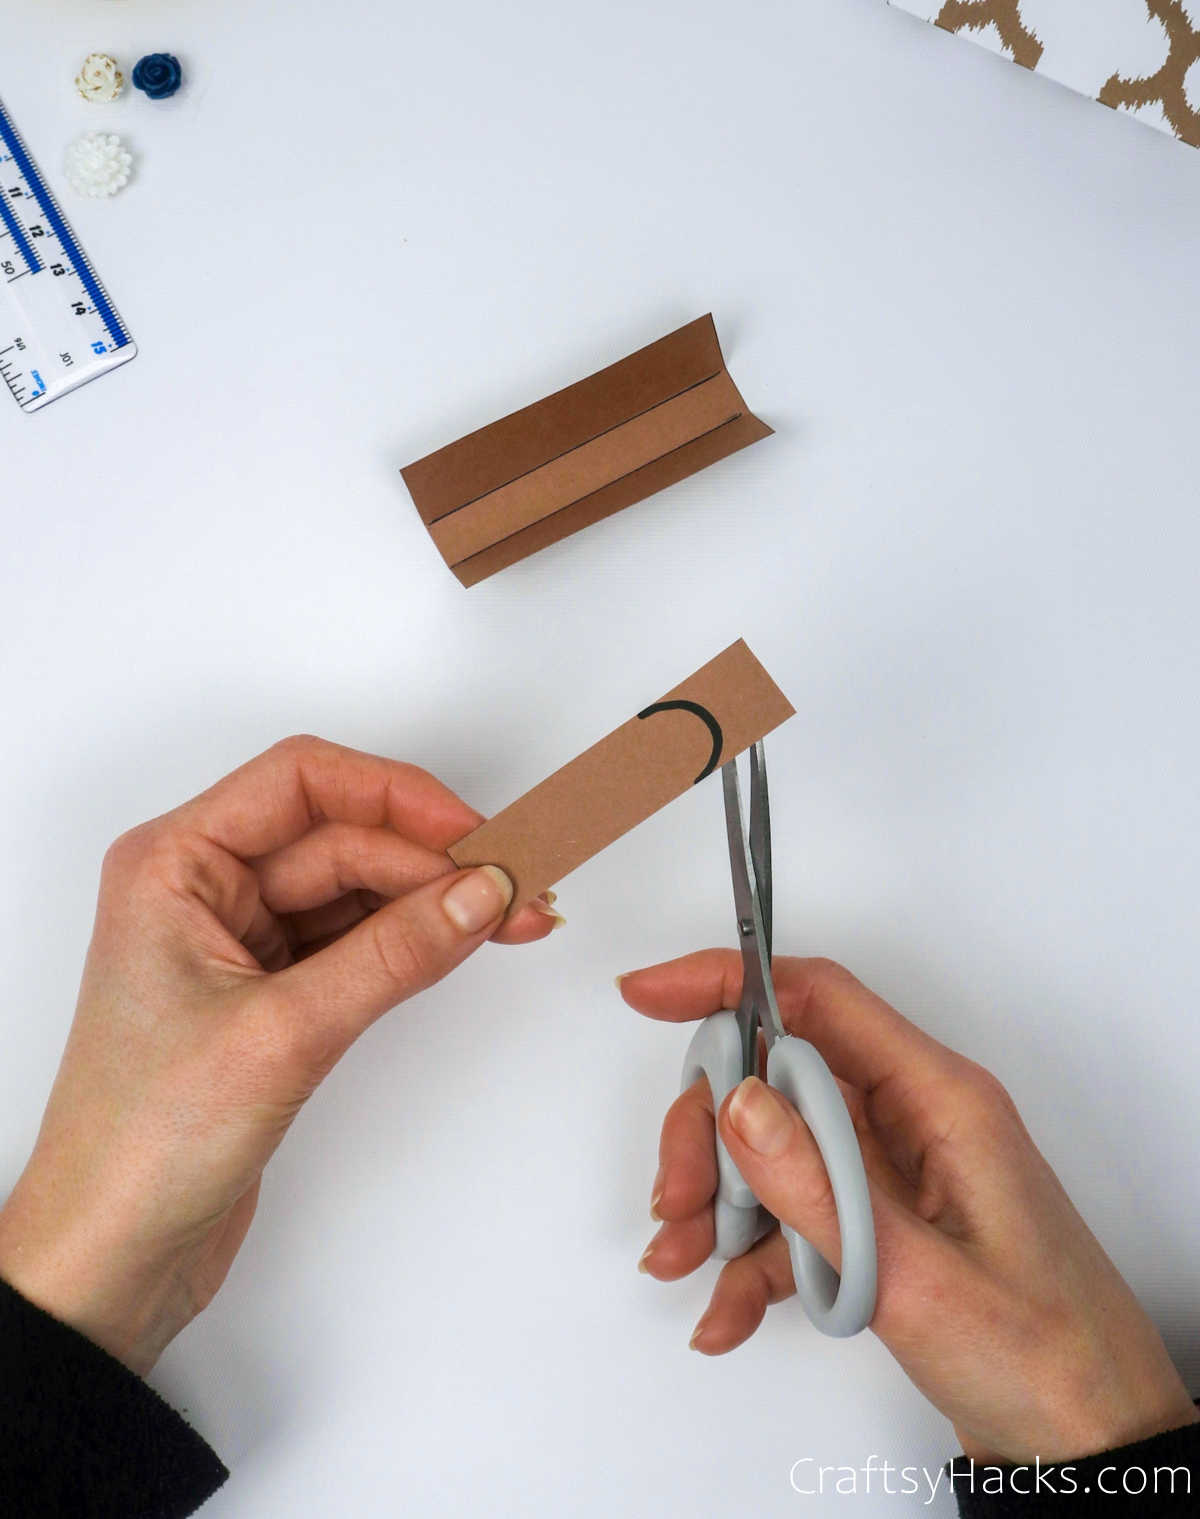
Remember that slit you cut to fit the flap or tongue of the lid? Well, it’s time to make that flap. Grab a length of paper and cut the edges into a curved arc.
You can measure out how big or how small you want your flap to be.
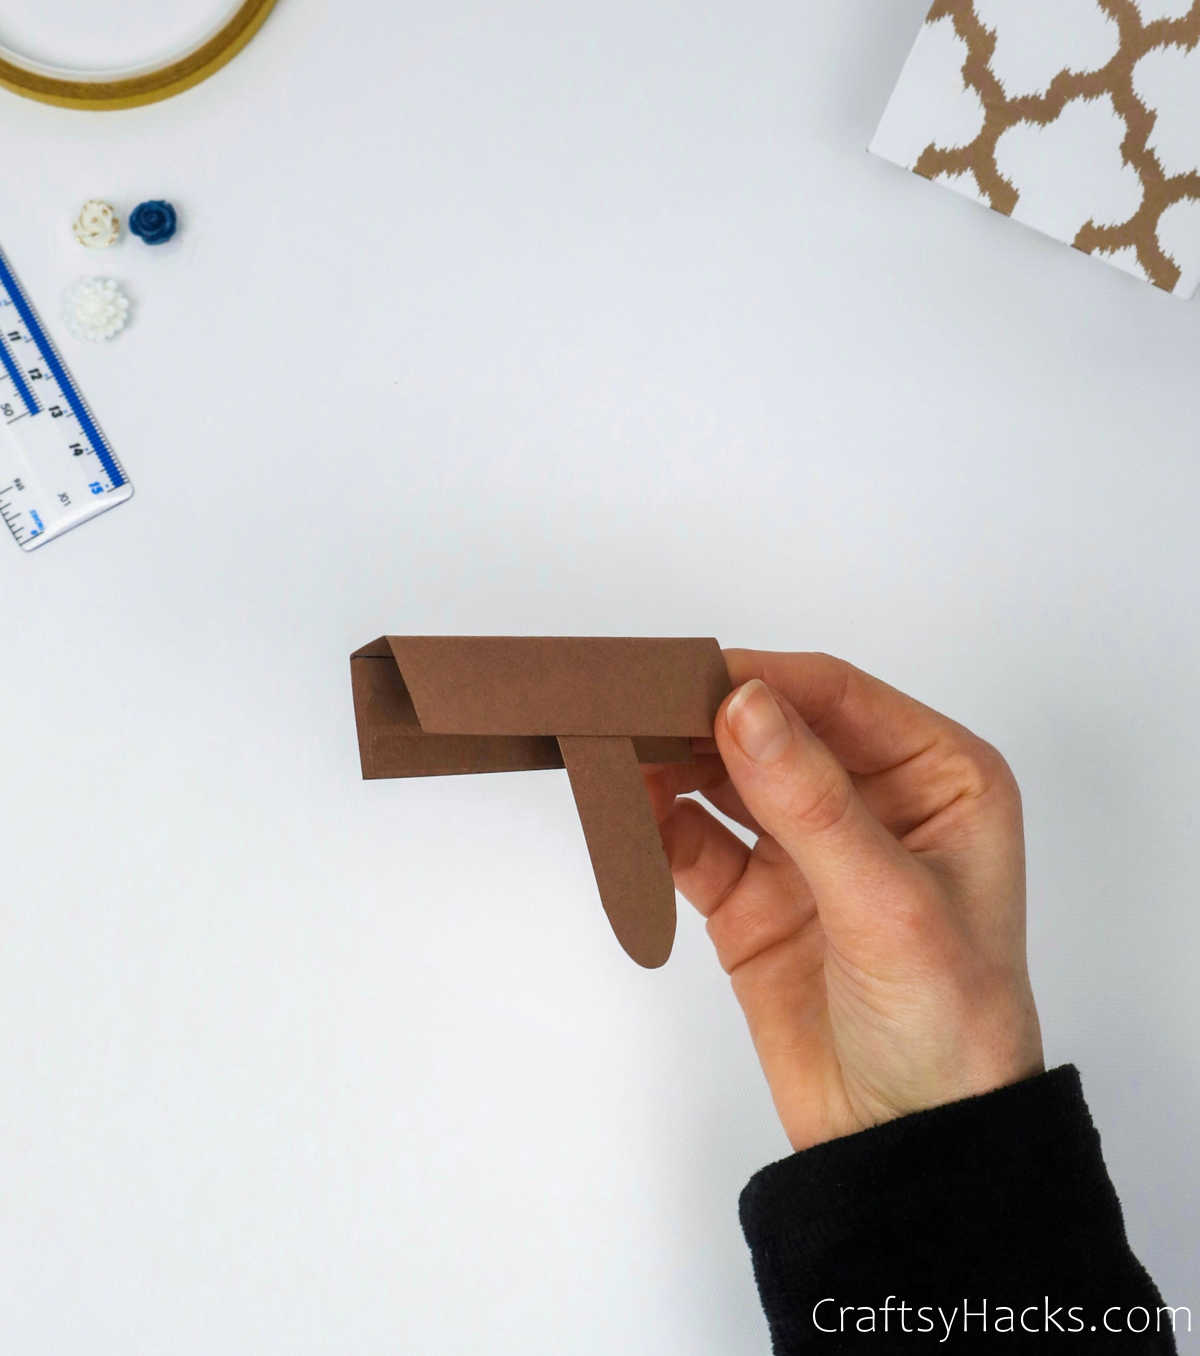
Step 15
Attach the tongue to the flap using your double-sided sticky tape.
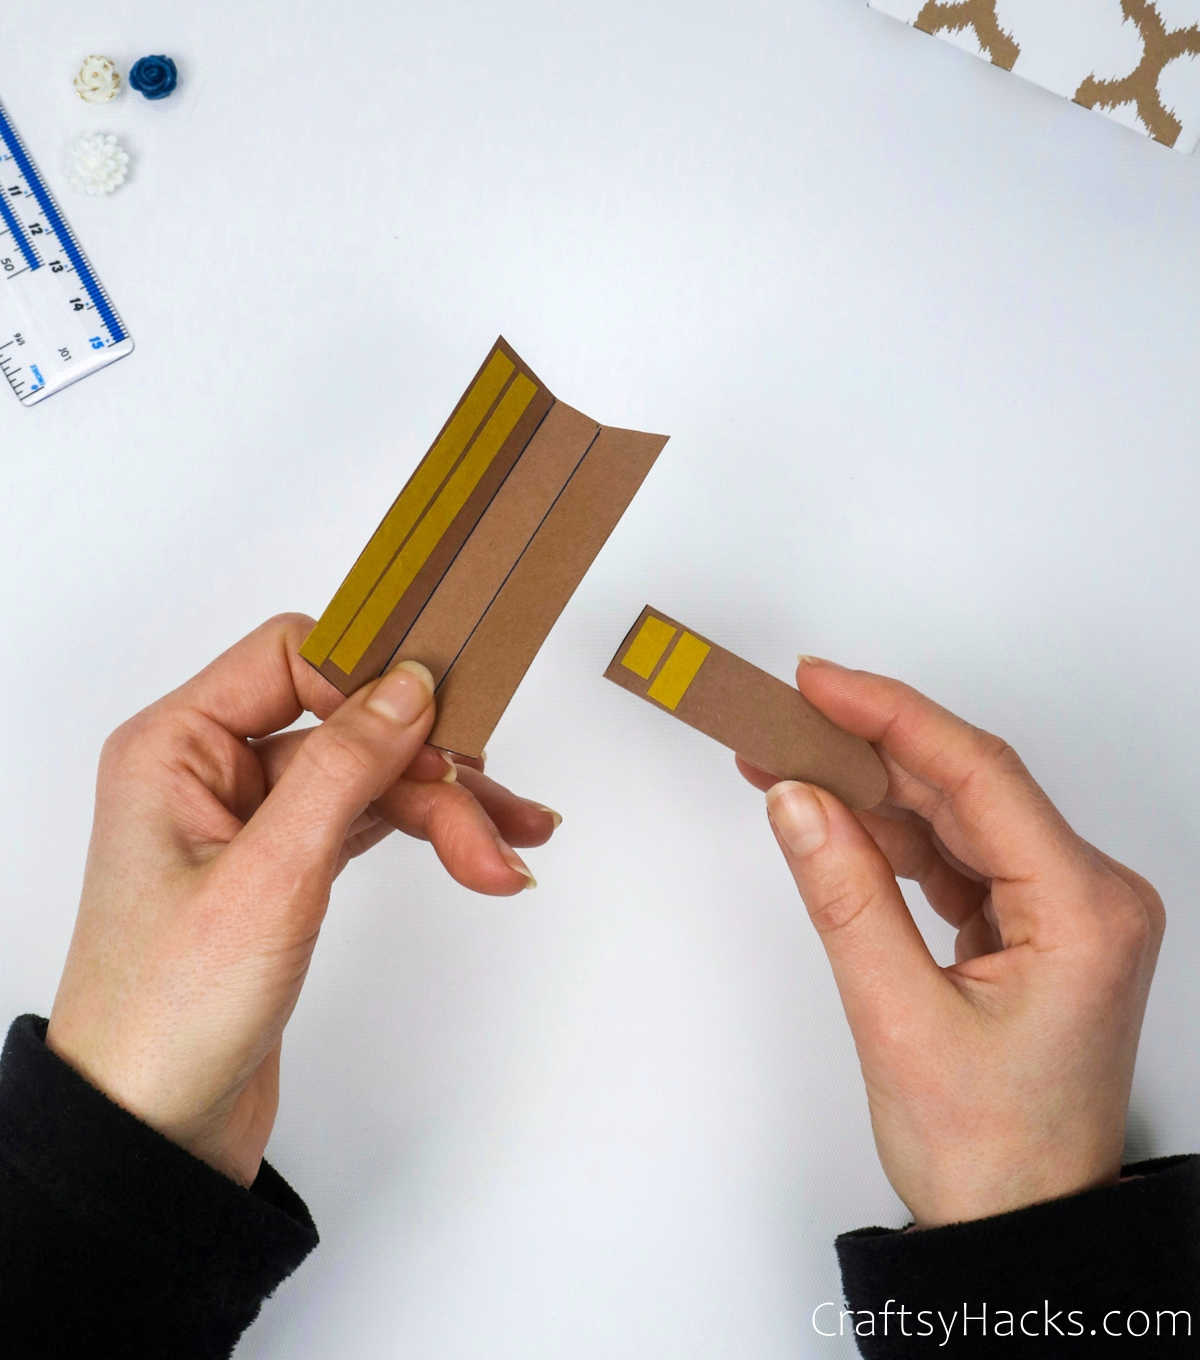
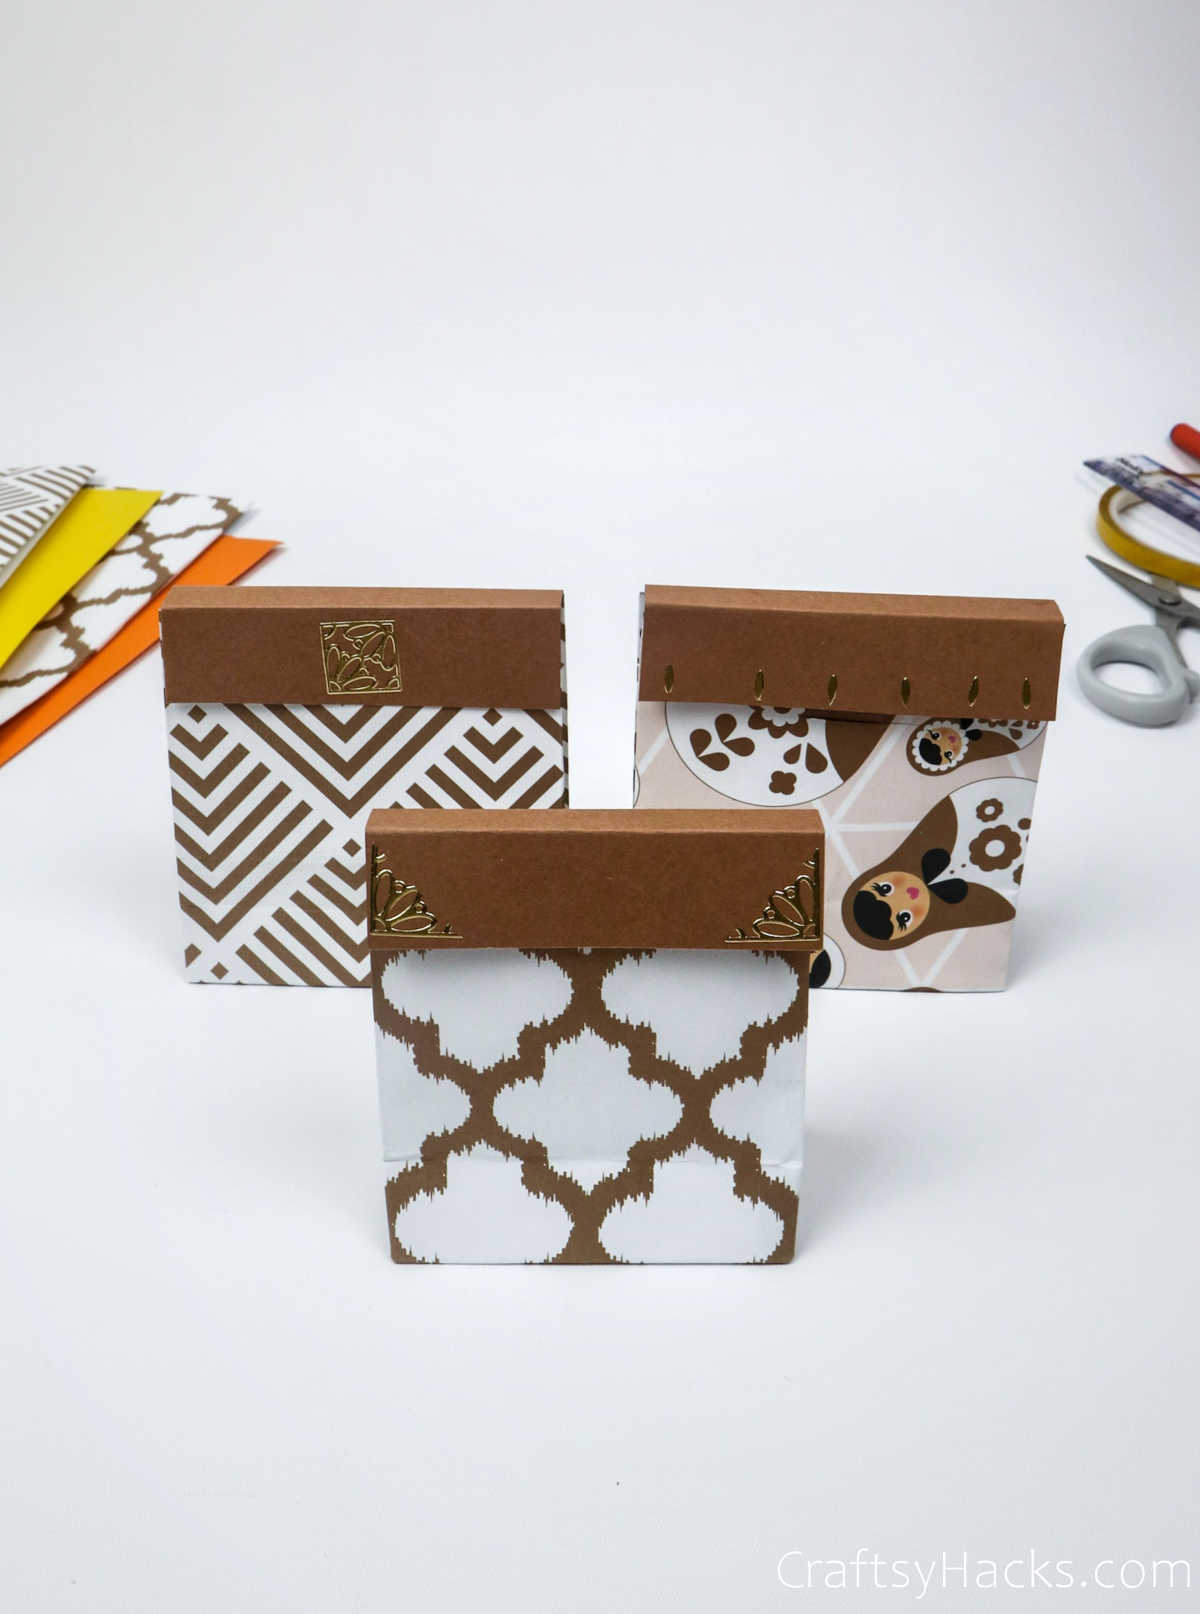
Your lid should look like this at the end of this step. We’re nearly done, and I bet you’re excited about how this paper gift bag is going to turn out!
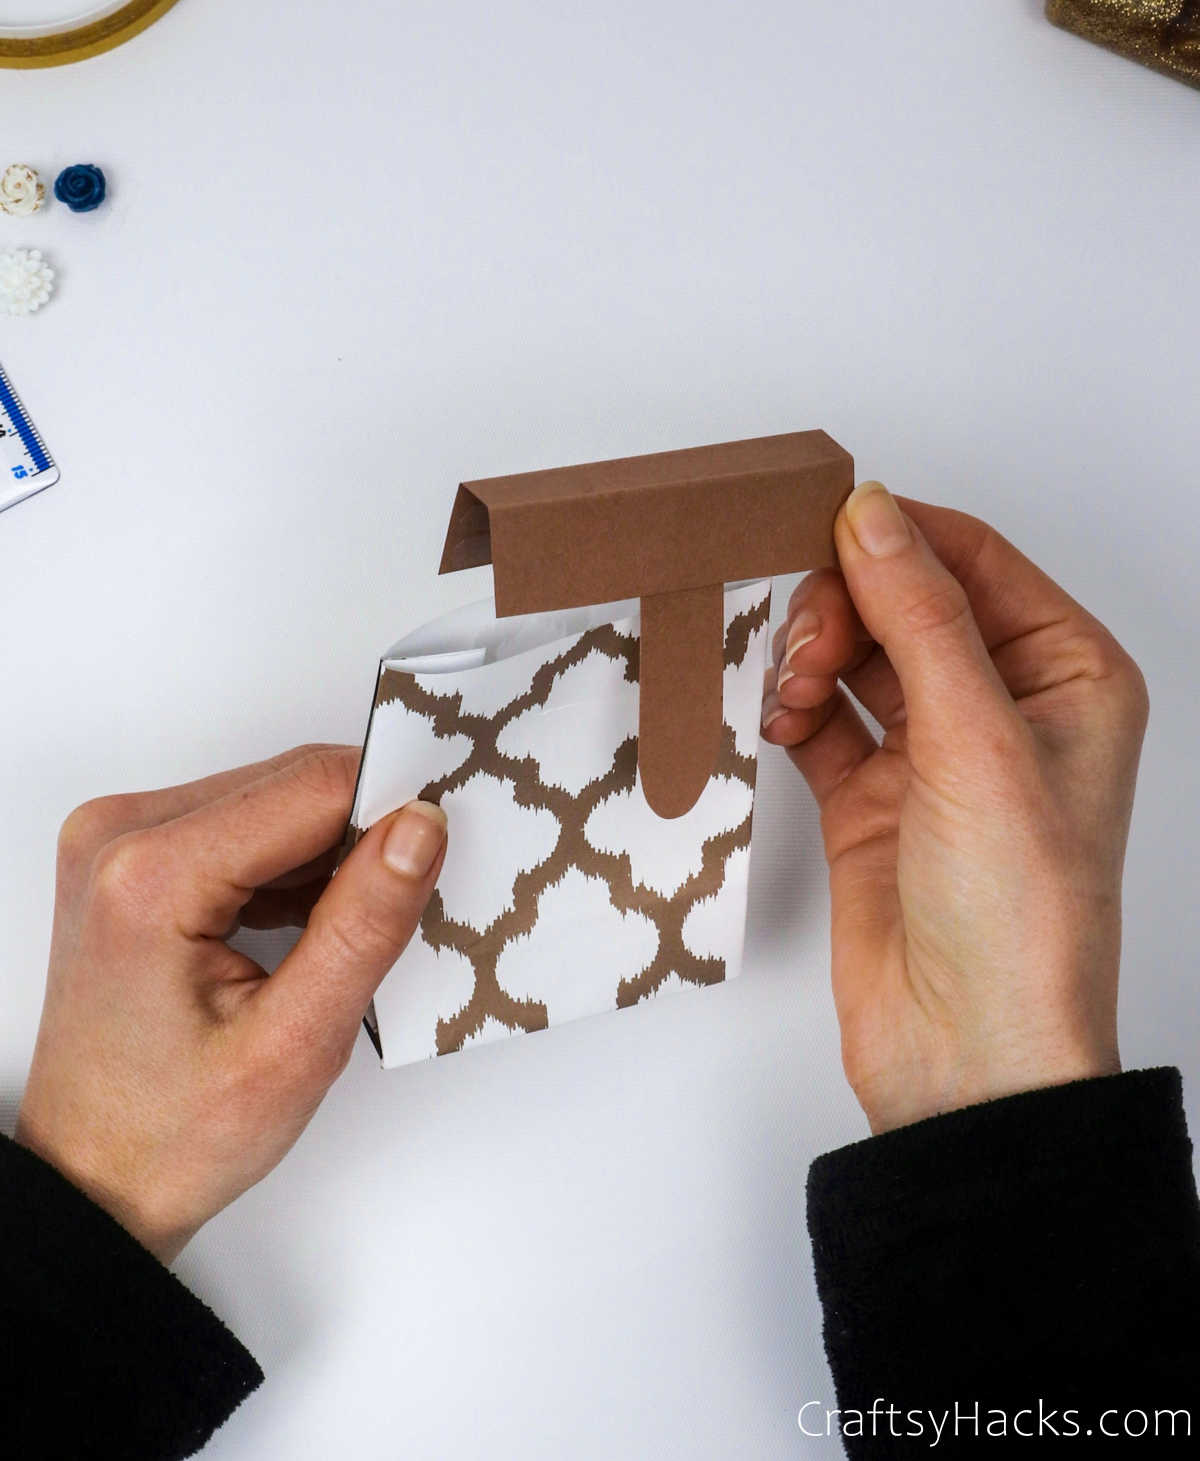
Step 16
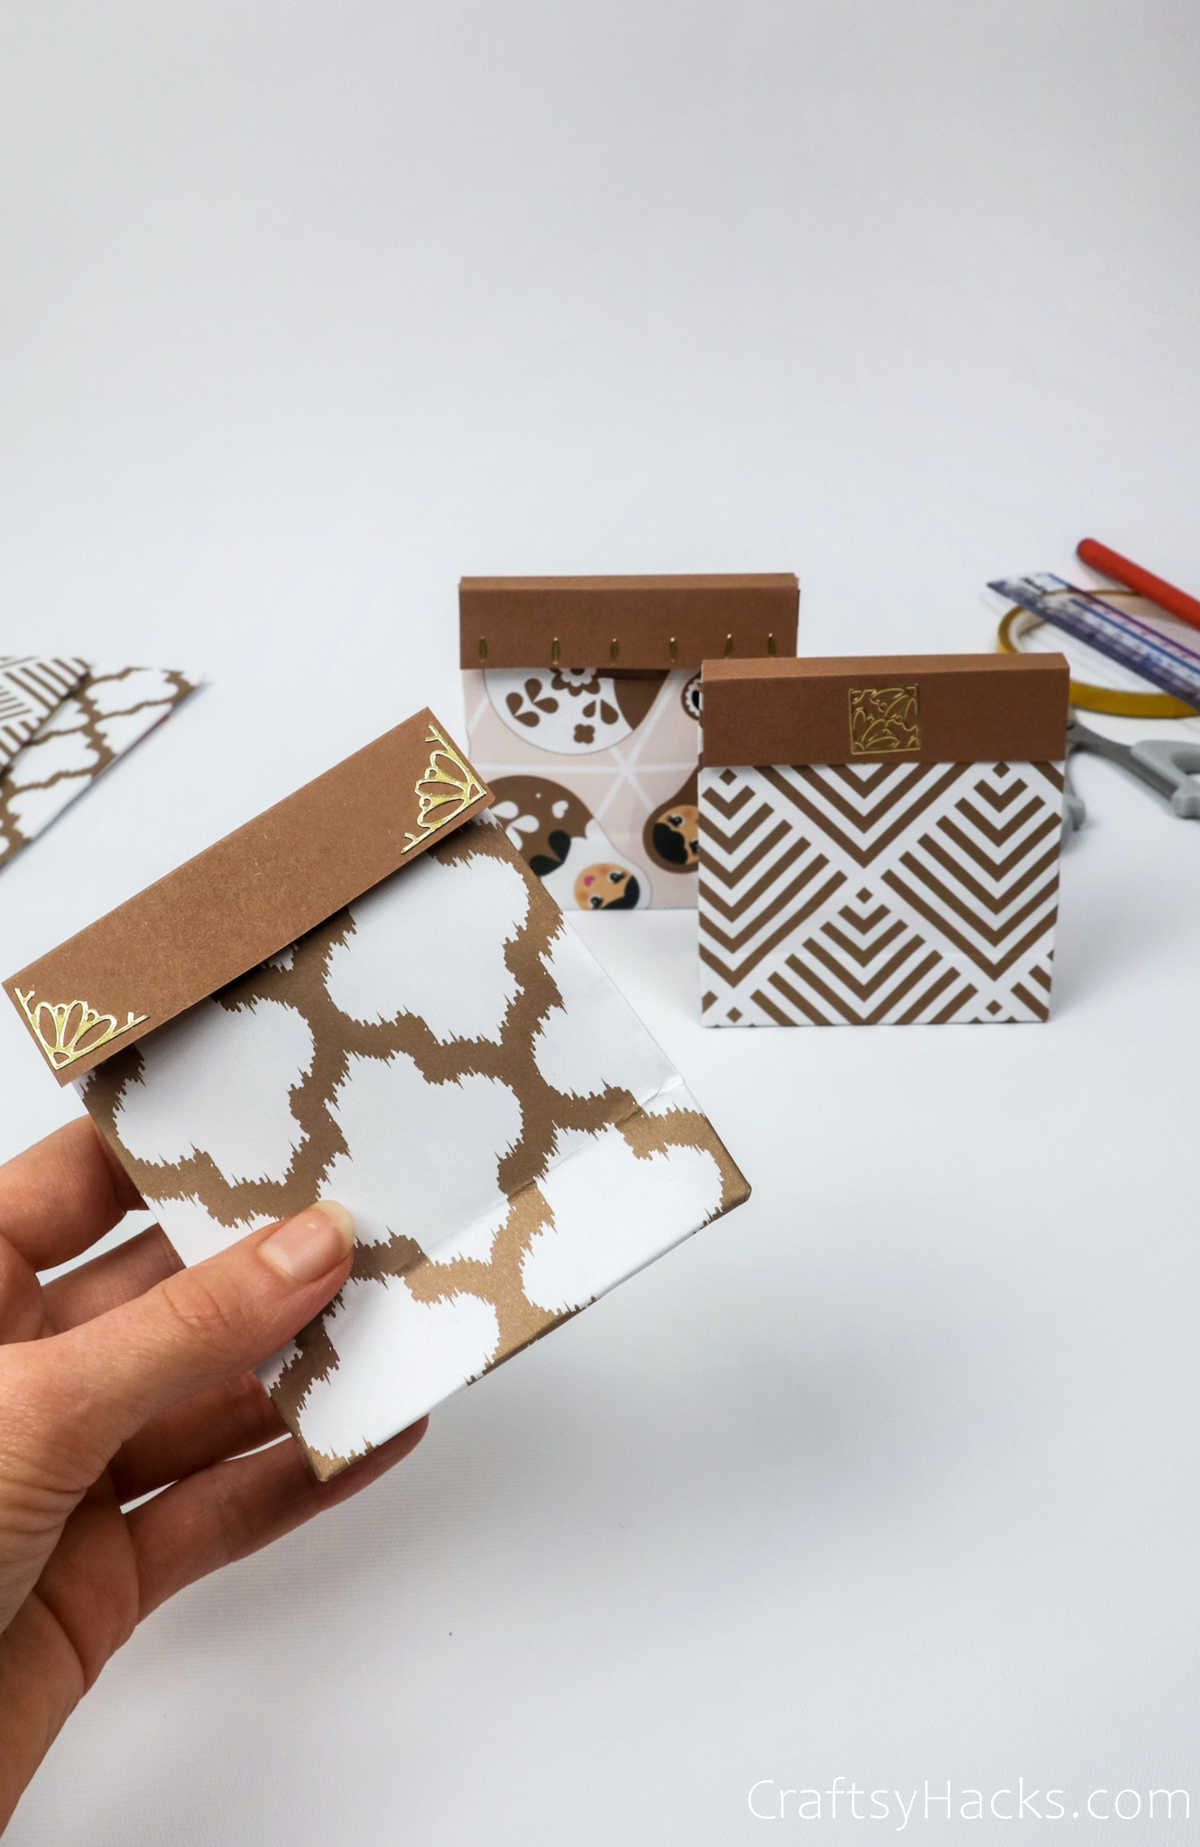
With the double-sided sticky tape in place along one side of the flap, you can easily tape the lid to the gift bag. Don’t forget to slide the tongue into the slit and secure it in place.
Step 17
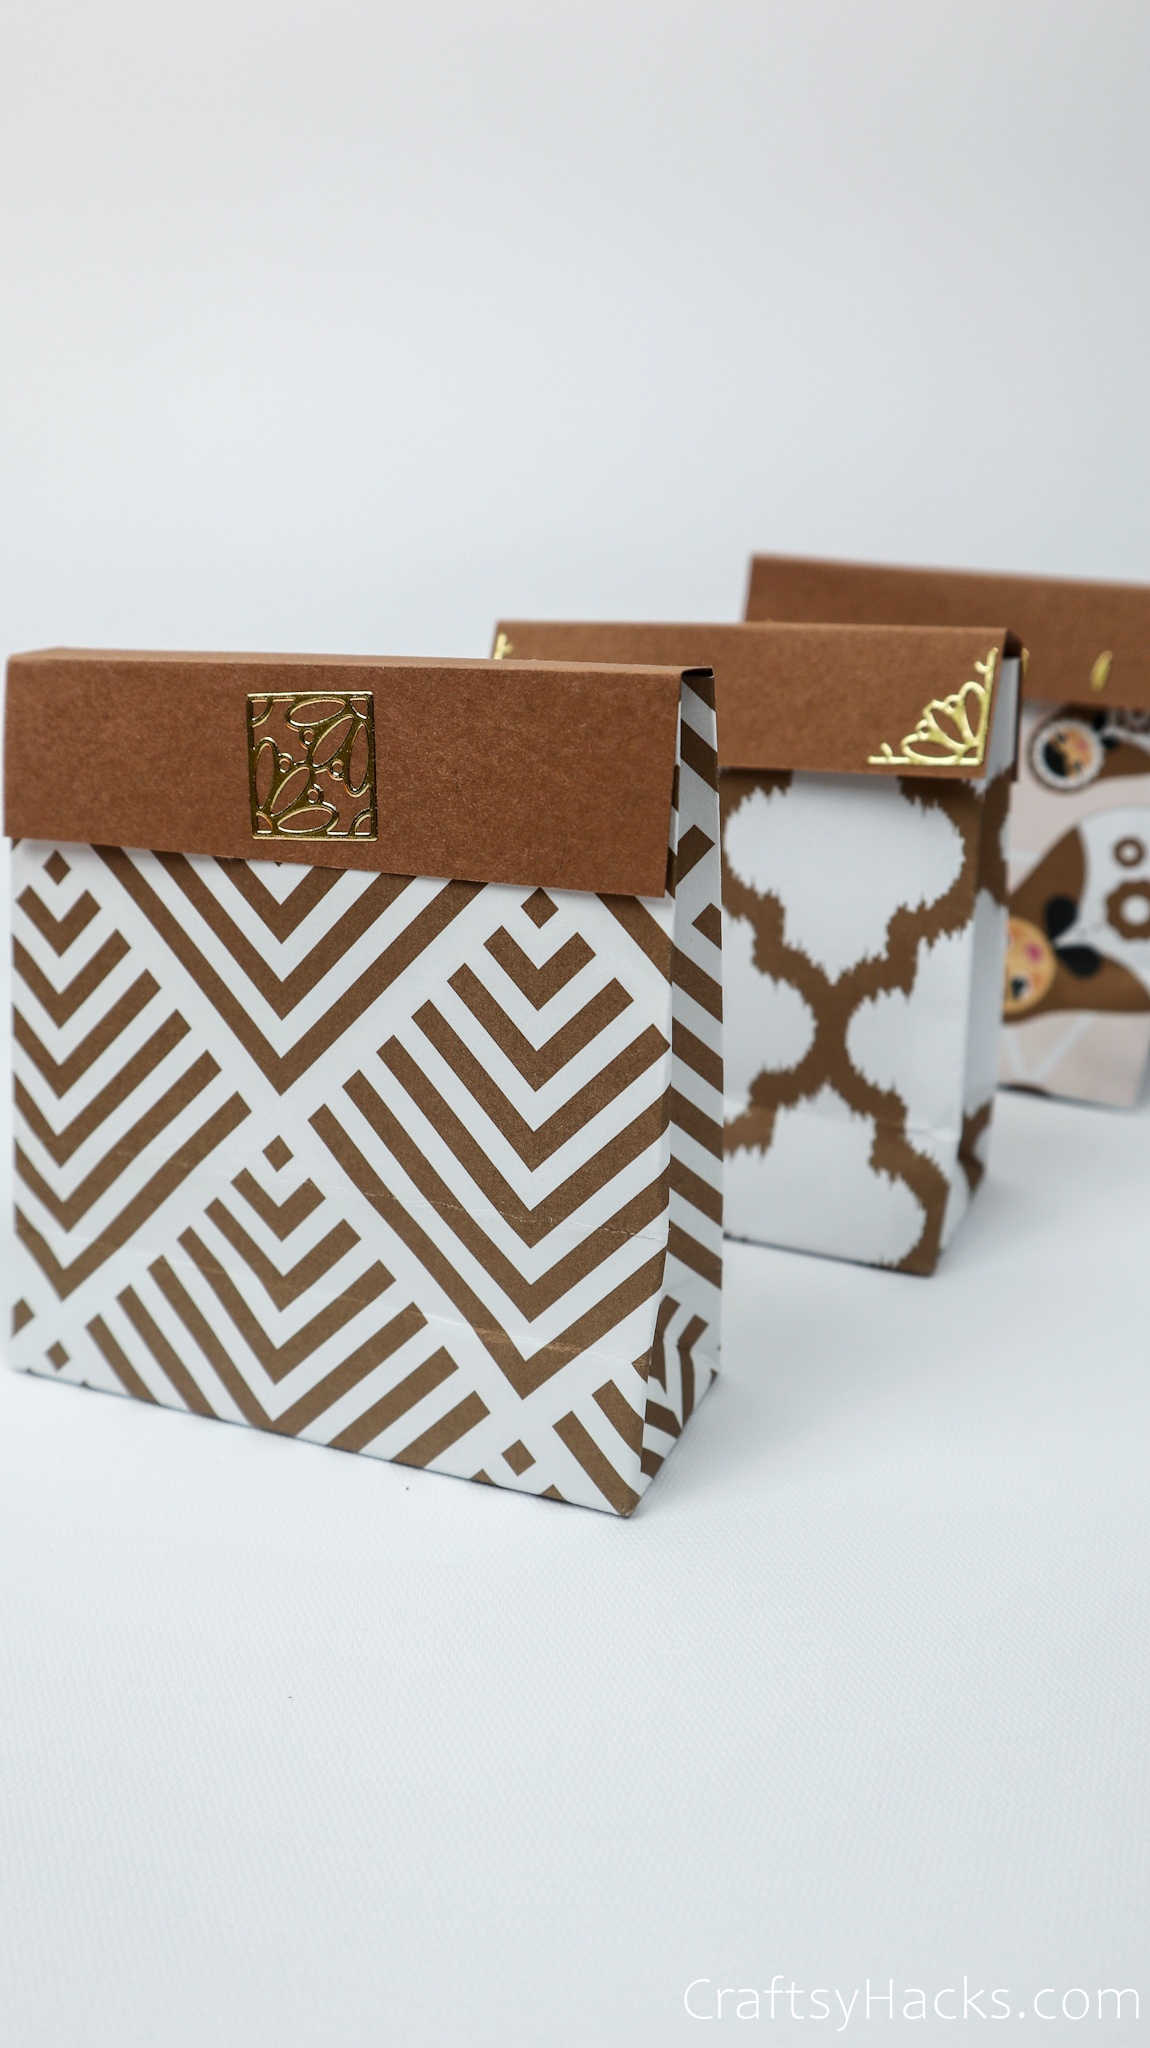
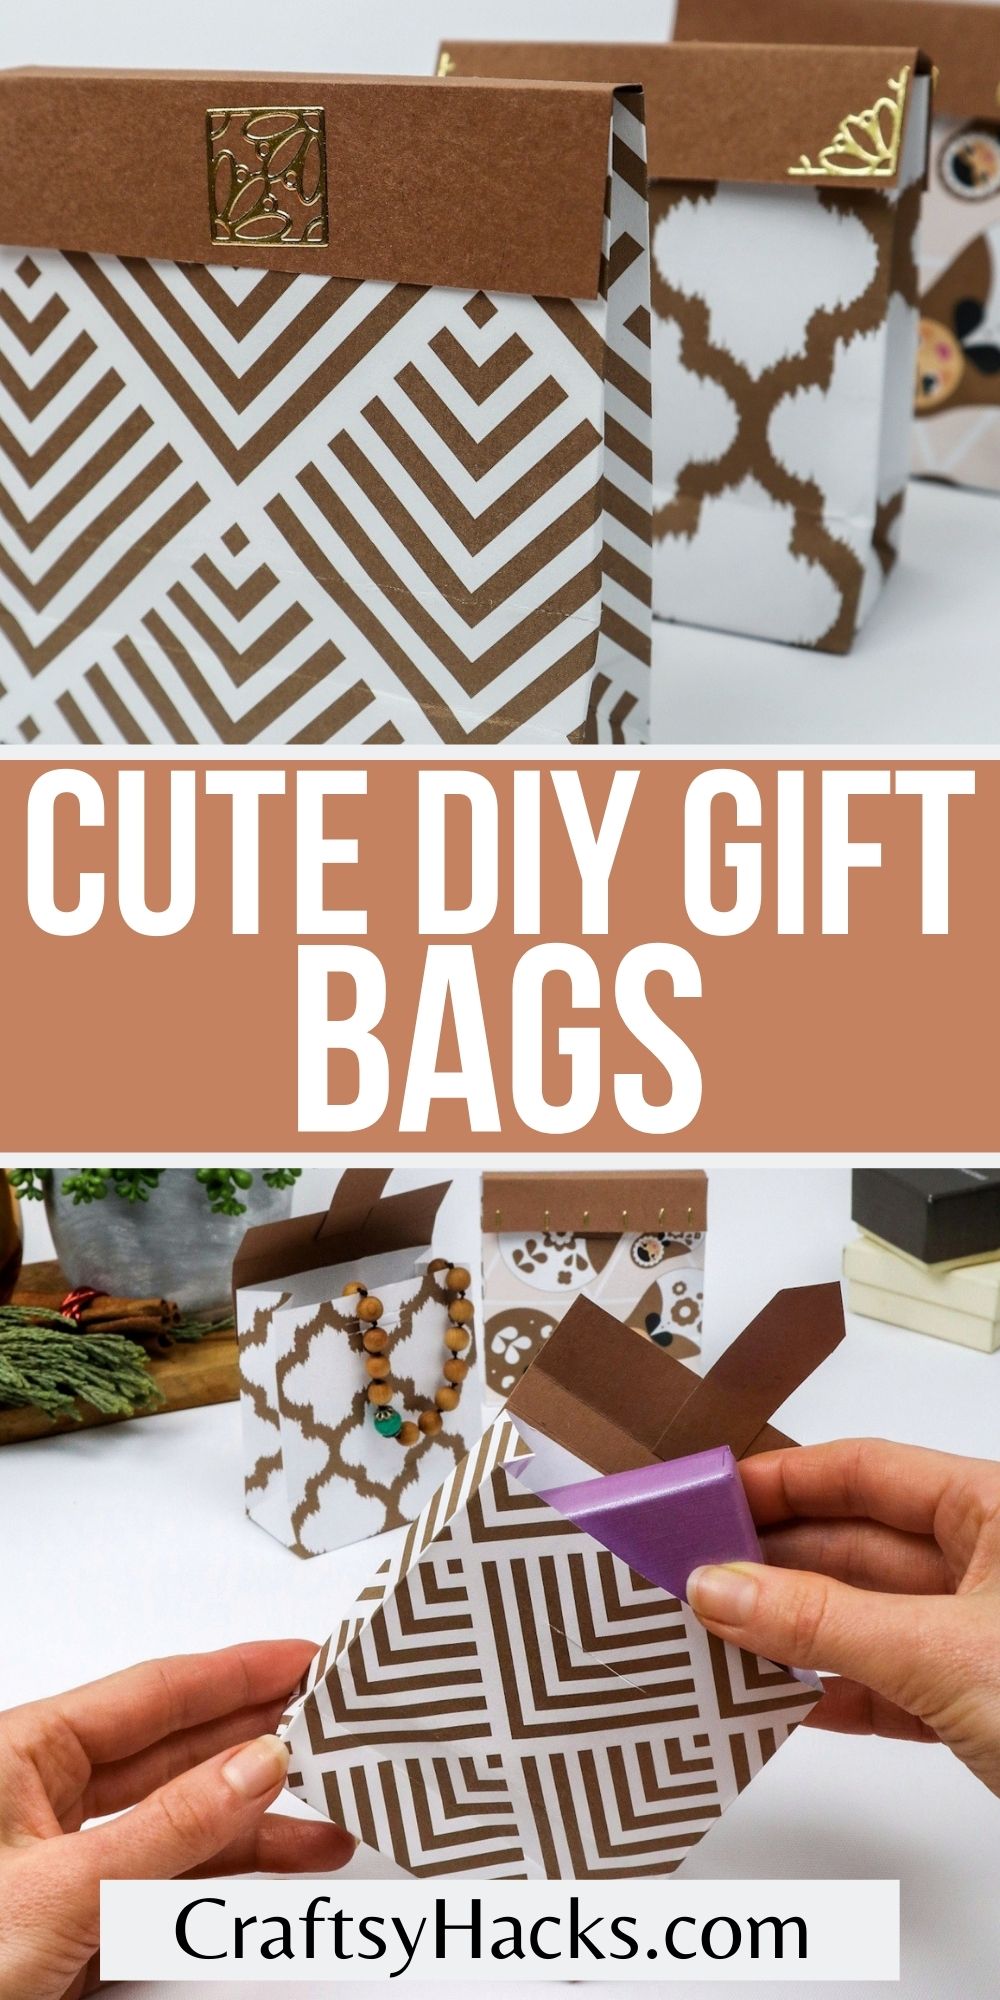
This is perhaps the best part of the entire project—decorating! Feel free to bedazzle the gift bag however you like—with paper flowers, rhinestones, sparkles, or other embellishments!
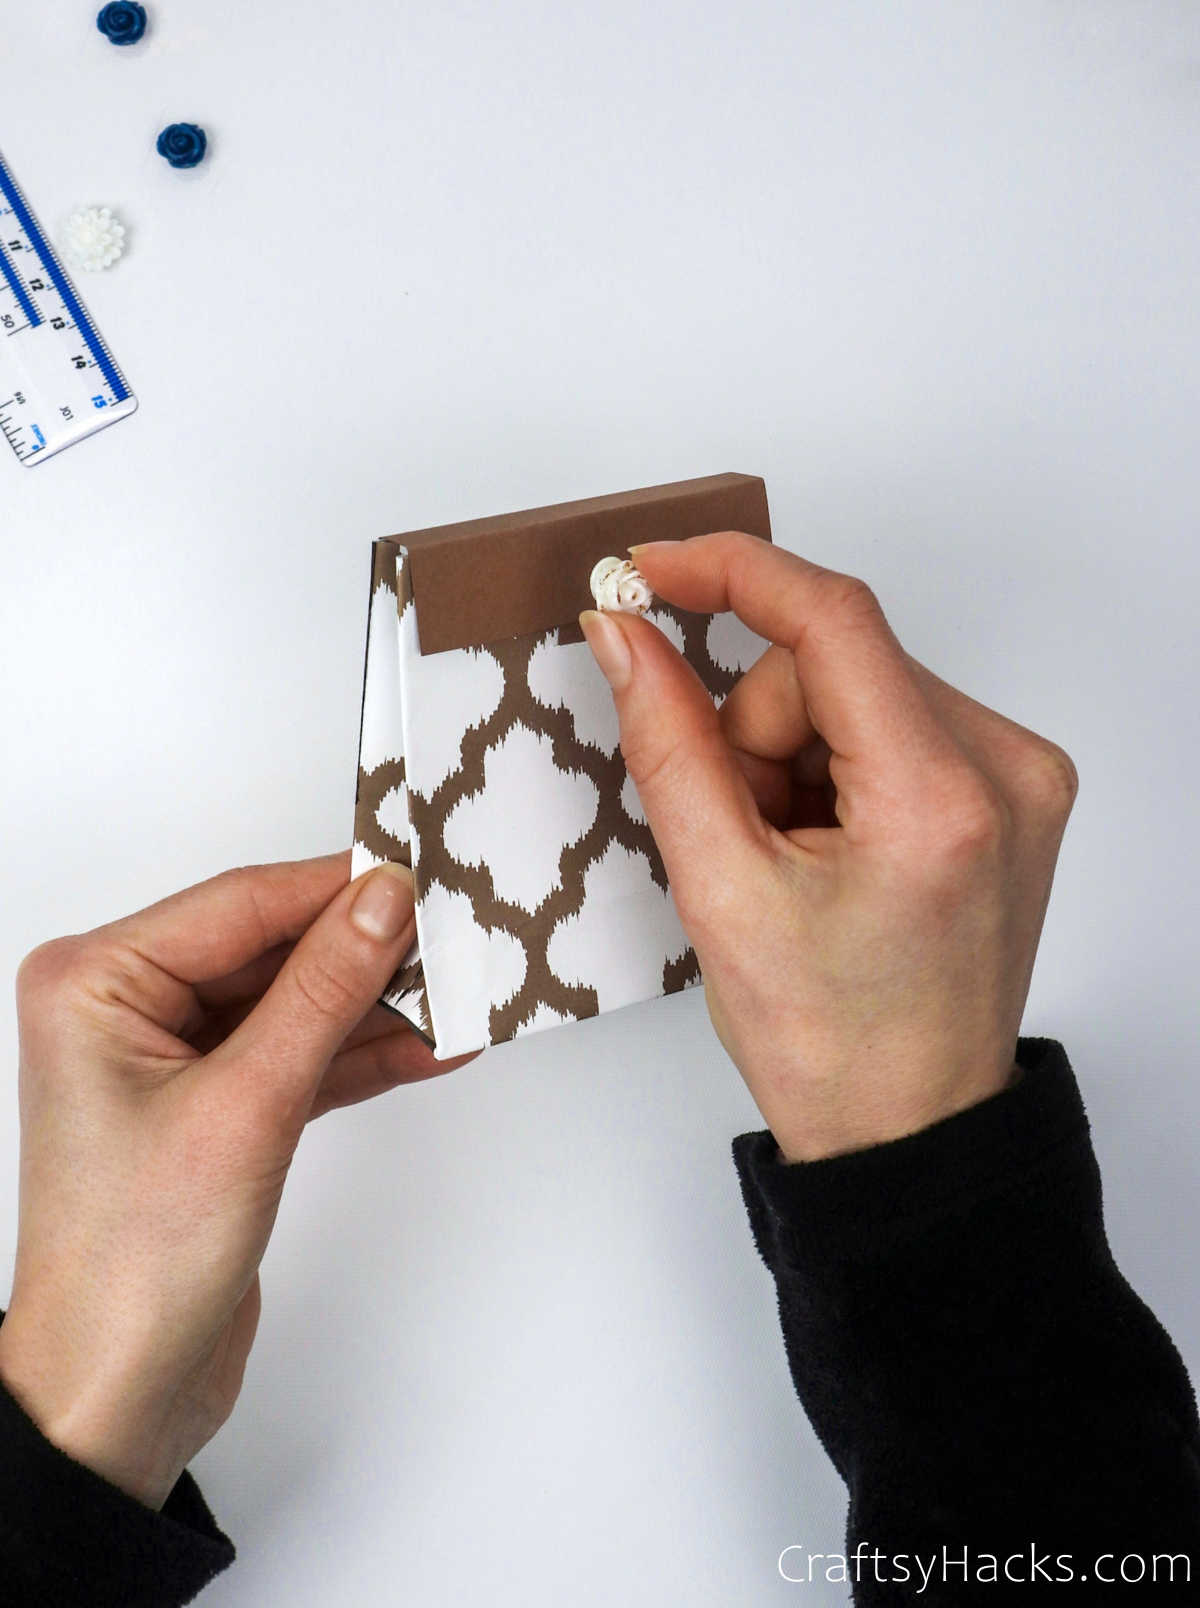
Alternatively, you can line the flaps with washi tape, or grab a metallic marker and doodle some pretty patterns on the flap!
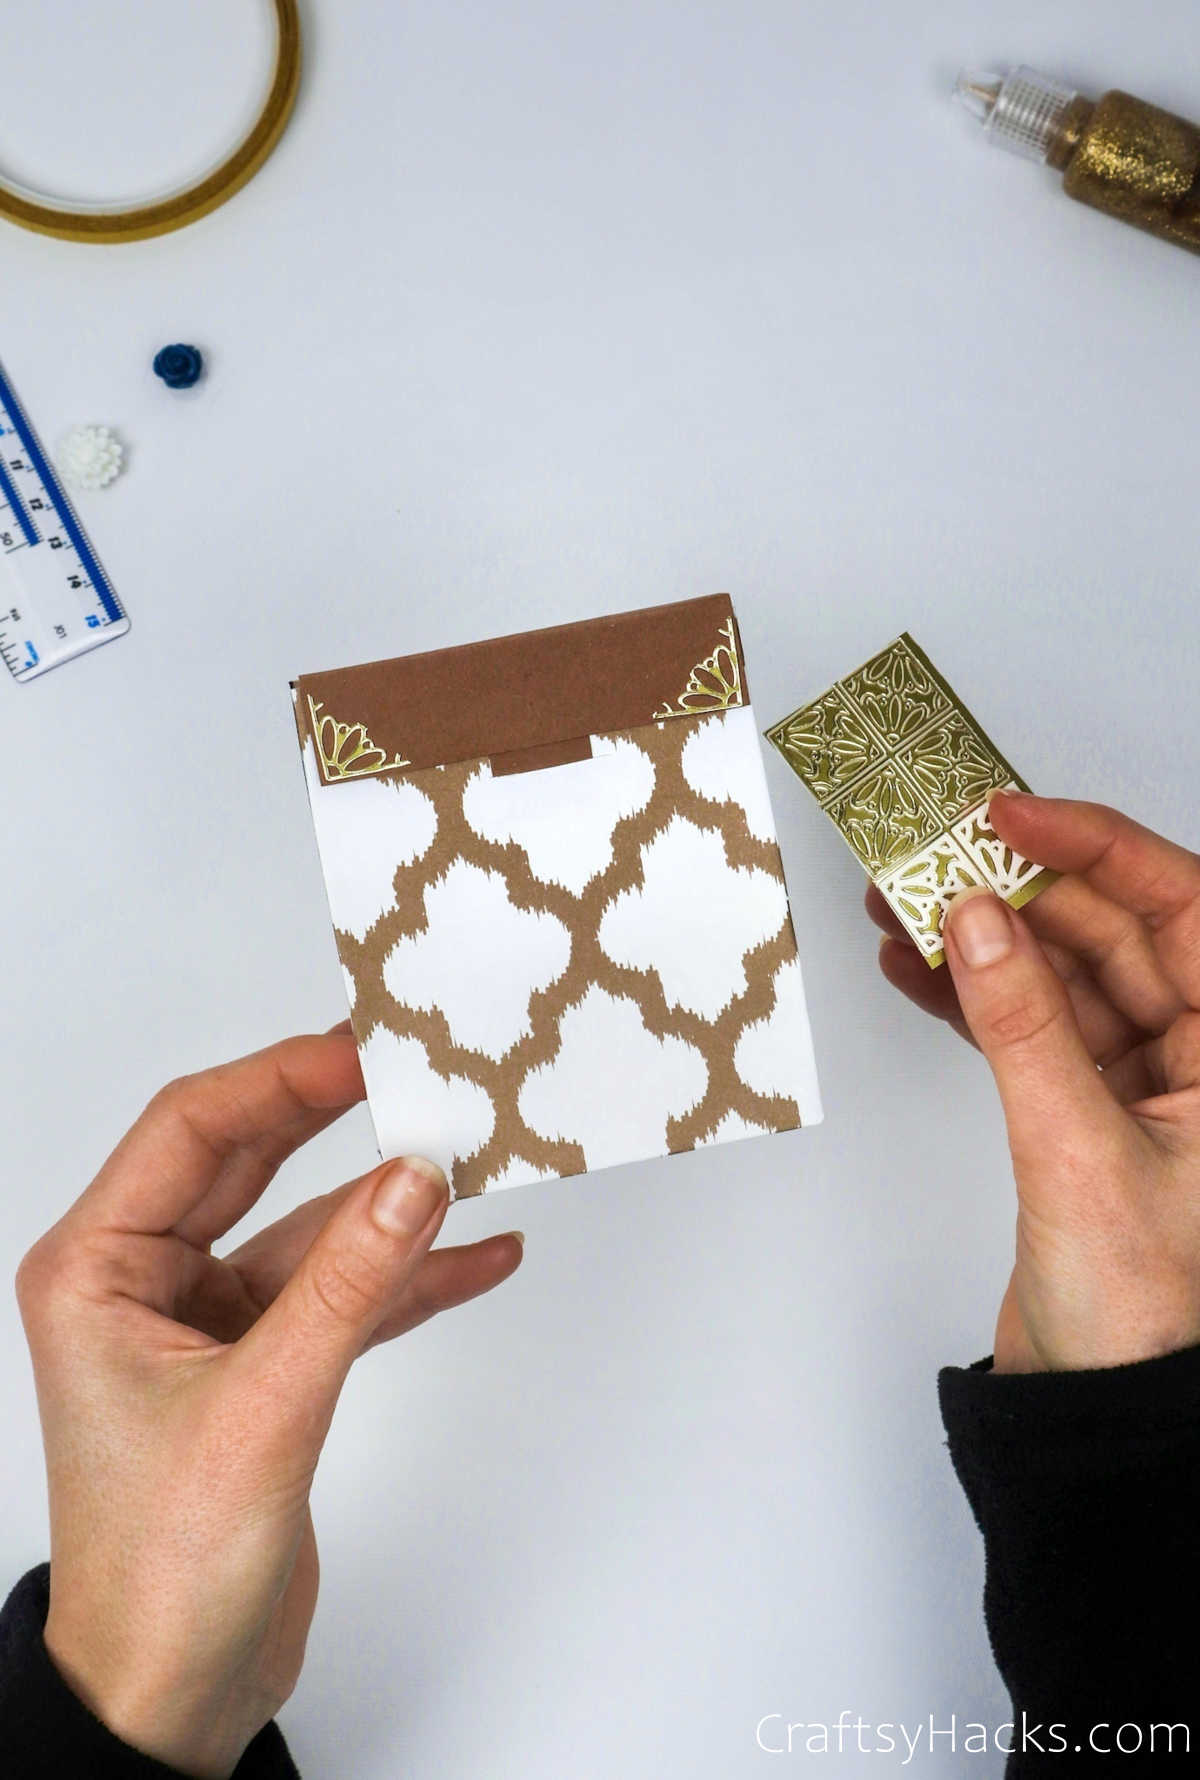
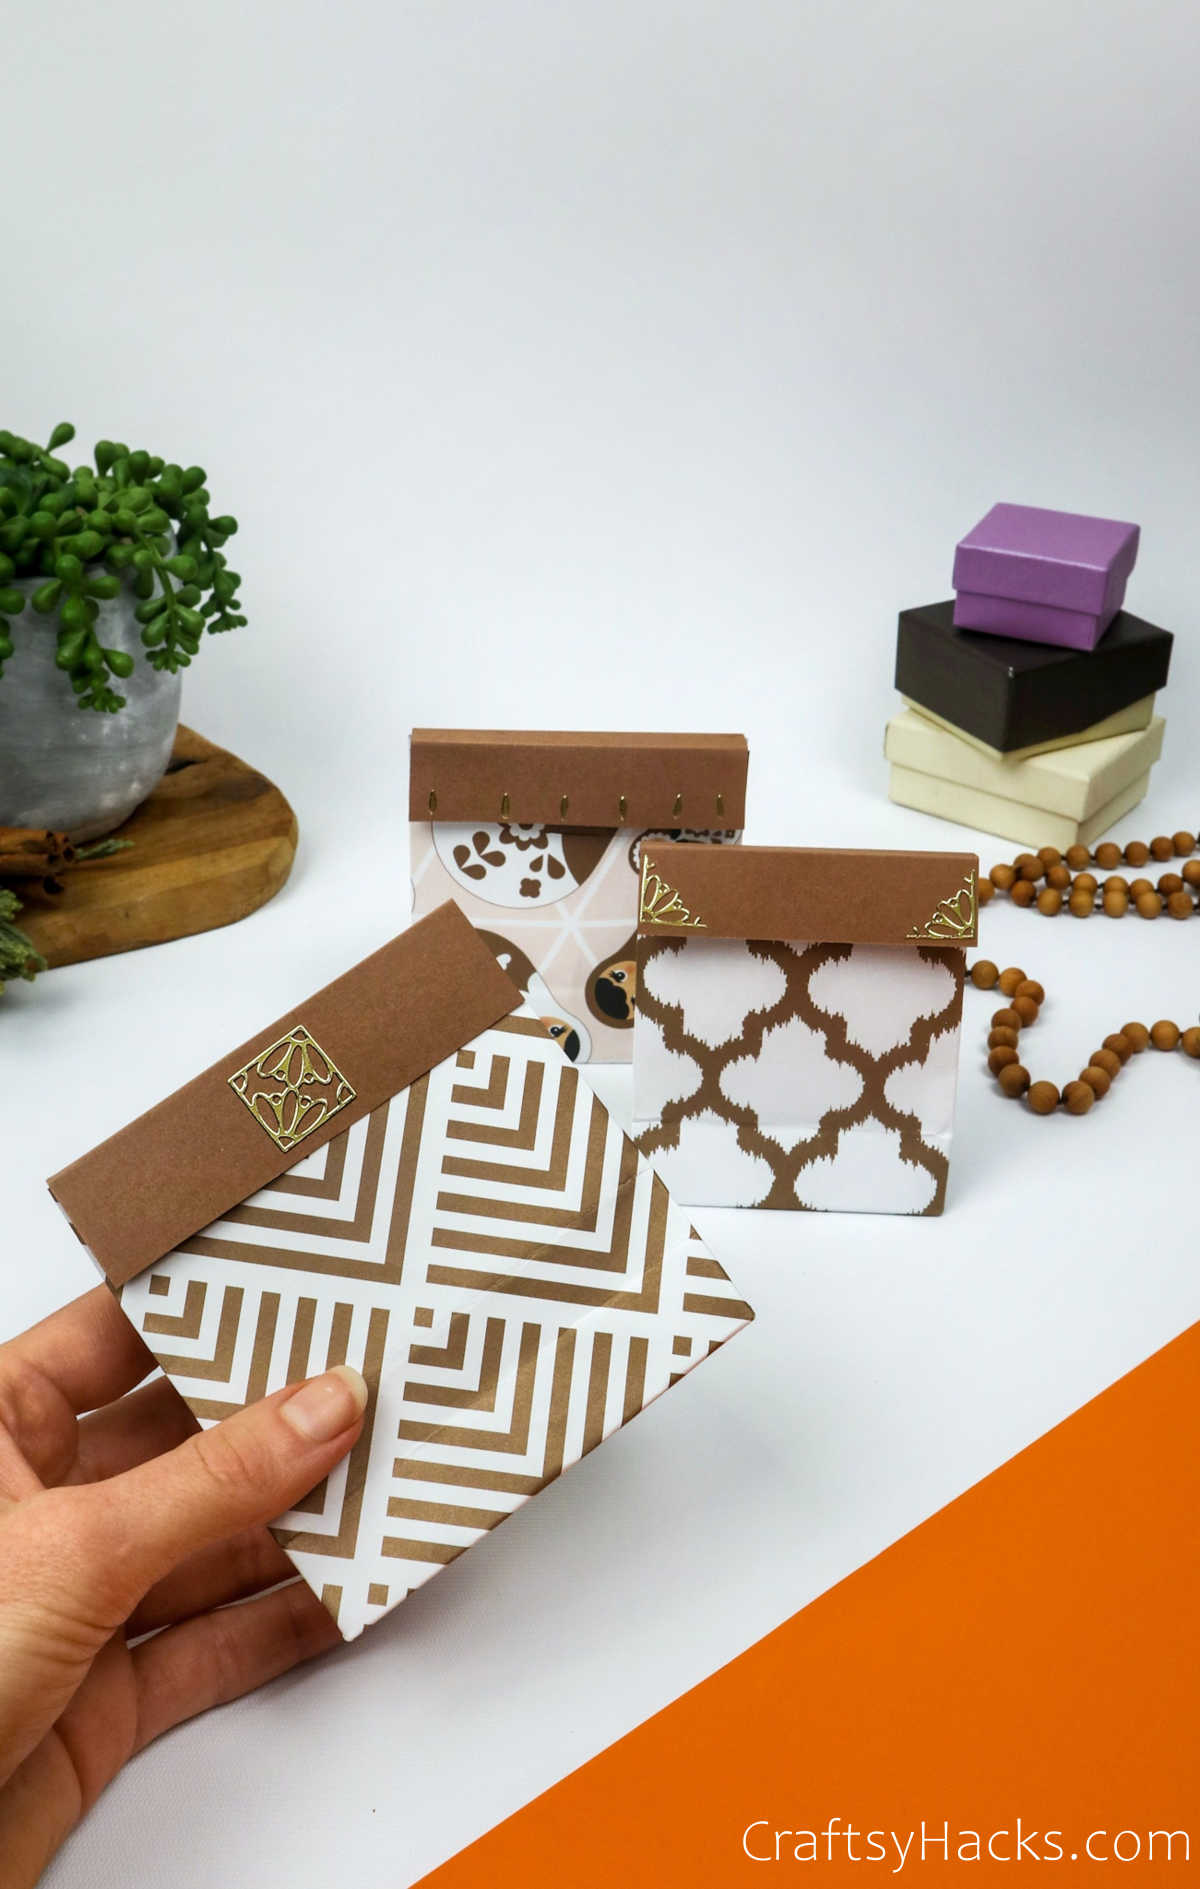
Don’t they look absolutely stunning?!
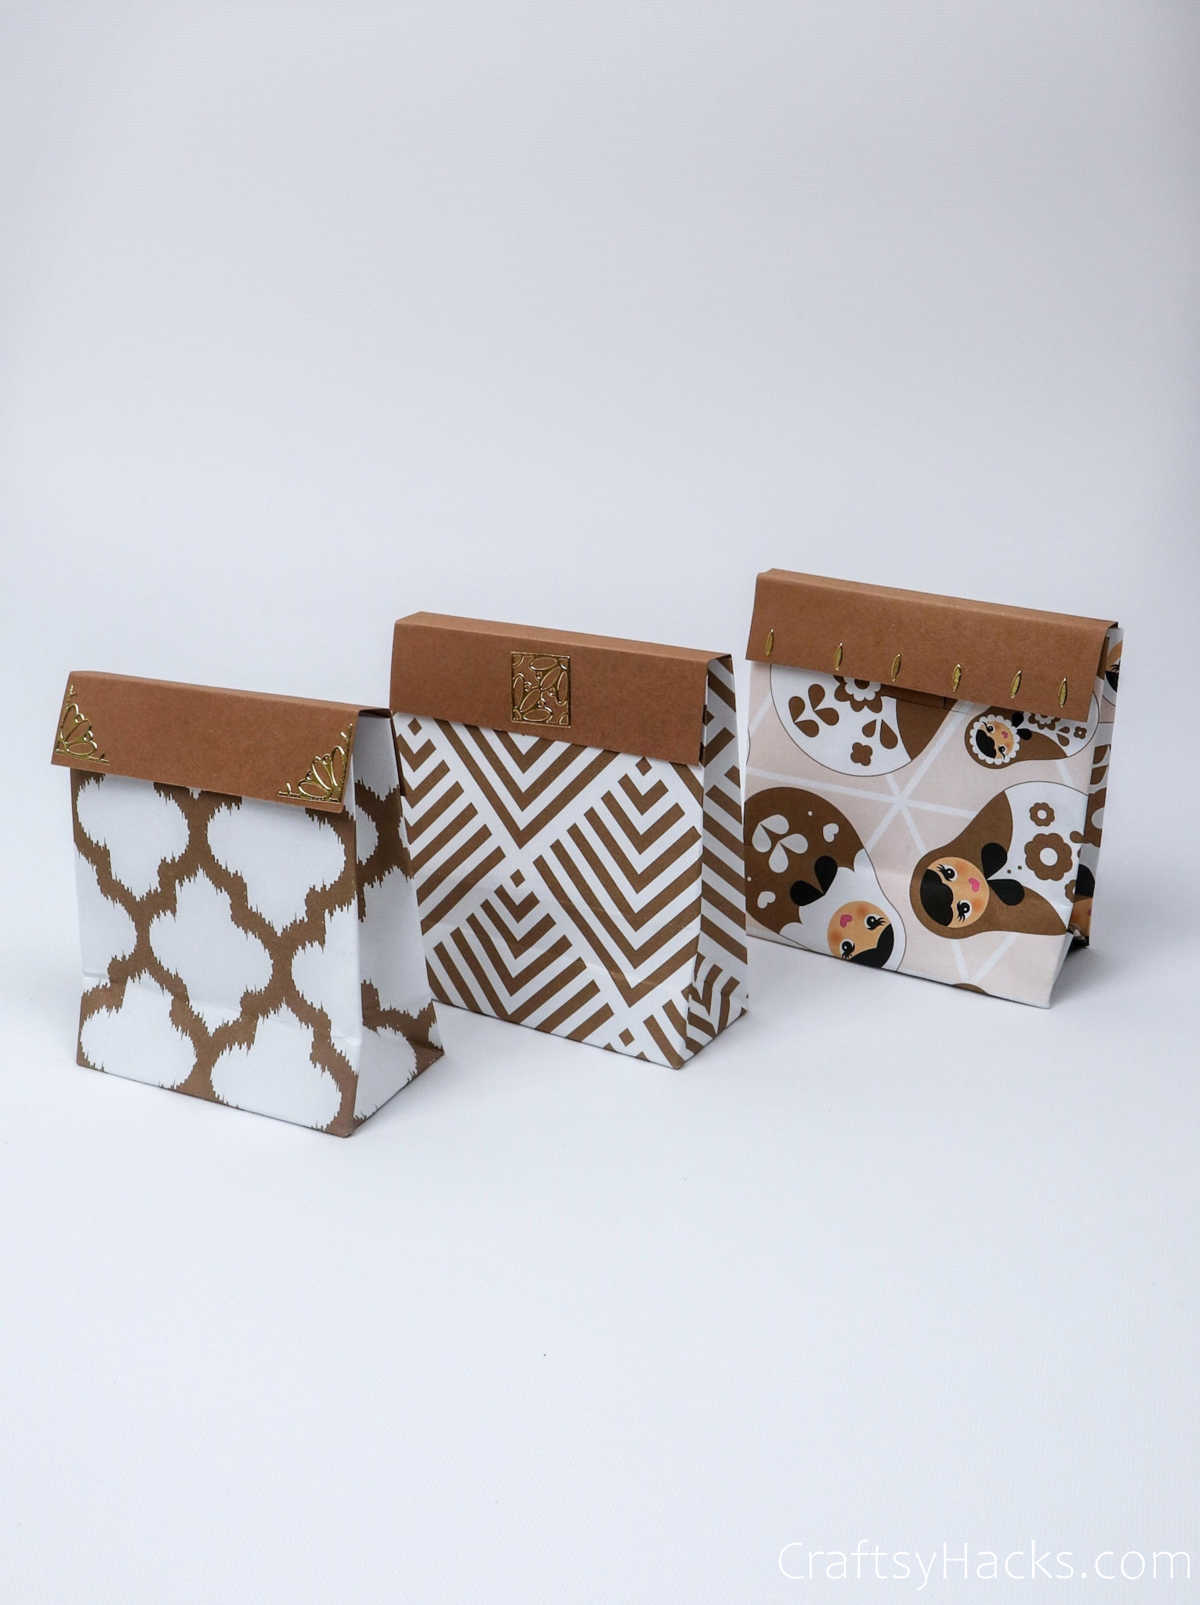
Just pop your gift or party favor in there, seal the flap, and your DIY gift bag is all ready!

Other Gift Ideas You Might Want to See
- 41 Birthday Gifts for Him
- 20 Christmas Gifts for Dads
- 20 Christmas Gifts for Moms
- 41 Anniversary Gifts for Him
- 41 Romantic Gifts for Him
- Christmas Gifts for Boyfriend
- College Graduation Gifts for Him
DIY Gift Bags
Video Tutorial
Equipment
- Ruler
- Pencil
- Hobby knife
- Scissors
Materials
- Patterned paper or gift wrapping paper
- Small piece of paper for the top
- Double-sided tape or glue
- Glitter glue
- Stickers
Instructions
- Gather all your supplies.
- With the ‘wrong’ side of the paper facing upward, fold one edge, around an inch or so in size. Line this folded edge with double-sided sticky tape.
- Fold the other edge downward, align with the other side and press down firmly.
- Fold the edges in towards the center into triangles and press down. Fold it again along the length of the longest side. Press and hold to crease.
- Open the folded parts up.
- Grab either end of the edge and fold it inward to create a square. Fold the other two ends in, making sure to overlap them one over the other.
- Next, fold the paper again, this time up the entire length, on either side of the bag.
- Trim the edges till you have the desired length.
- Make an incision using a craft knife to allow the tongue or flap of the lid to slip in.
- To make the lid, cut out some paper in the exact dimension you want your lid to be.
- Fold the paper inward in a 2:1:2 ratio.
- To make the flap or tongue, cut a strip of paper and cut an arc shape in one end.
- Tape double-sided sticky tape along one end of the inner flap. Also, use sticky tape to attach the tongue.
- Carefully fix the lid onto the bag and slide the flap into the incision you made earlier. Press the edges to stick them in place.
- Decorate the bag, and voila, your DIY gift bag is ready.


These gift bags are soooo cute!! And they look so fun to make! Thanks for sharing this DIY project. I’m gonna have to try this 🙂