How to Make a Paper Ring
This post may contain affiliate links: full affiliate disclosure.
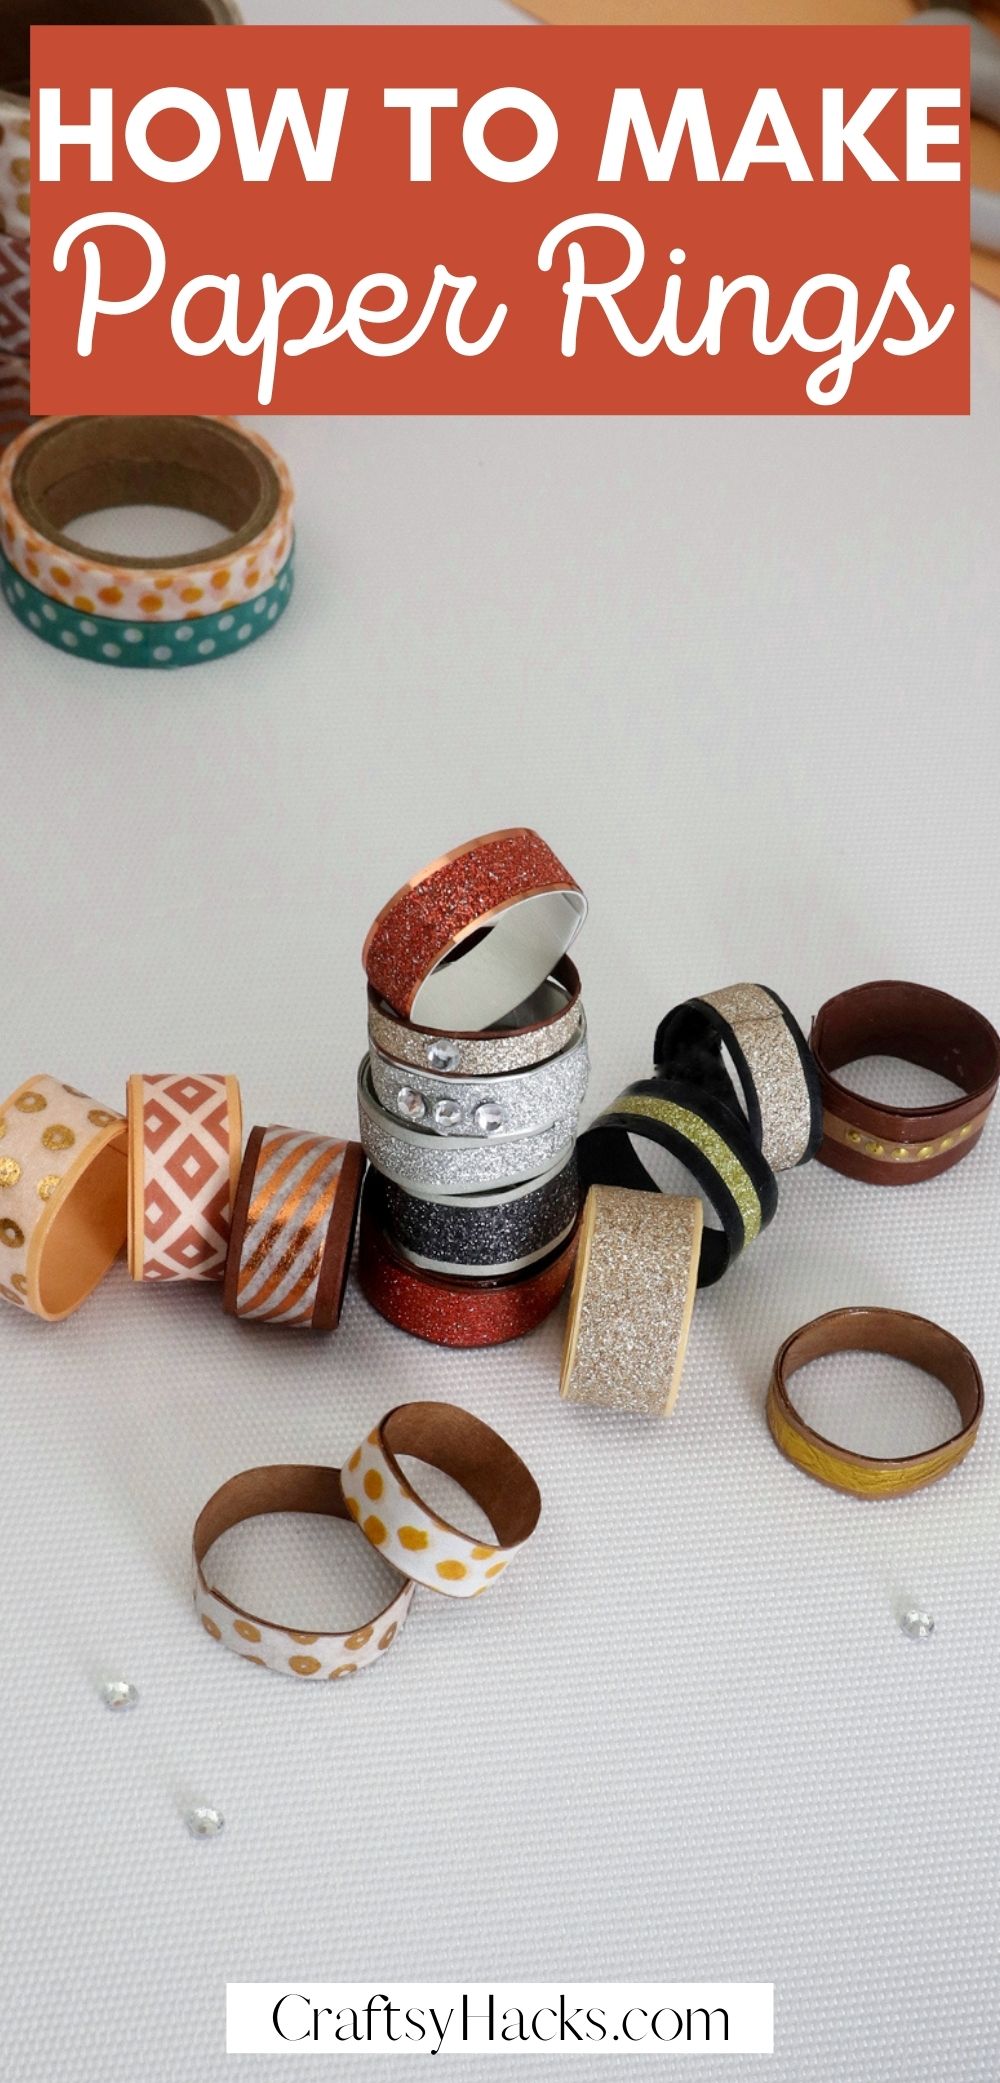
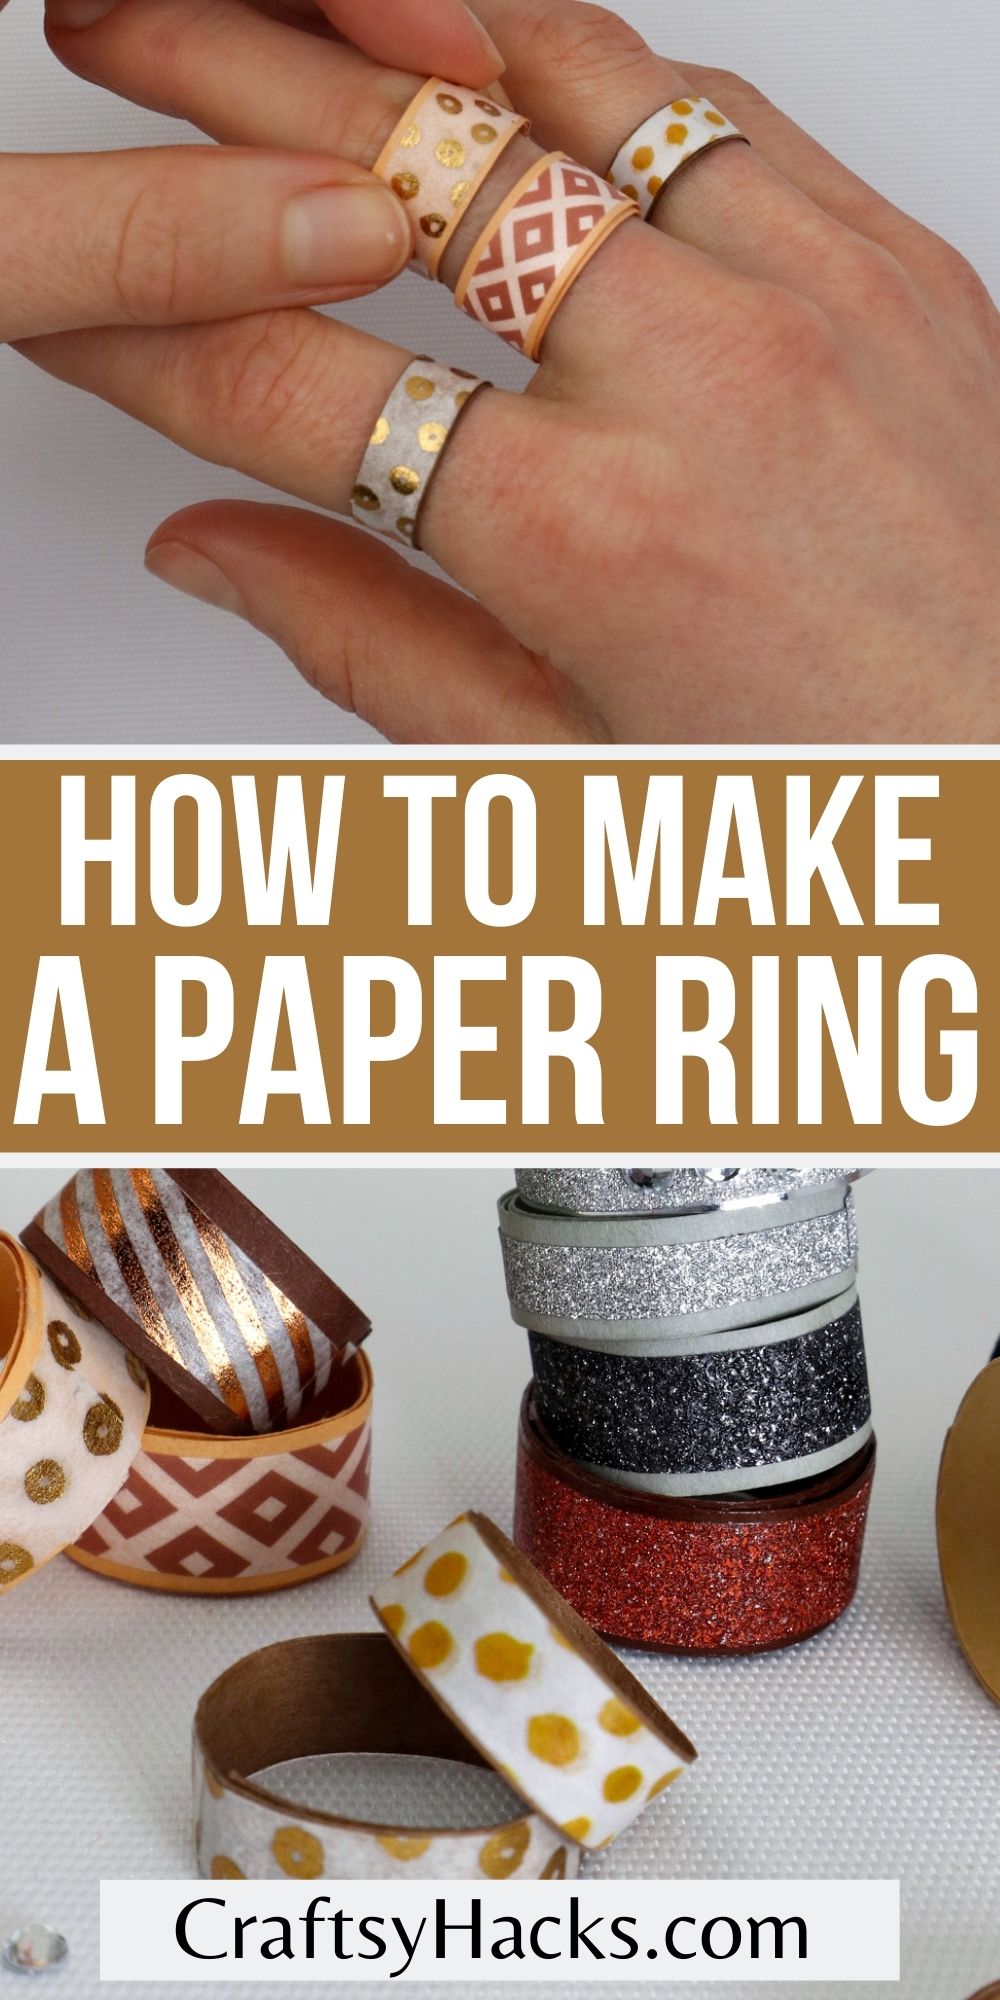
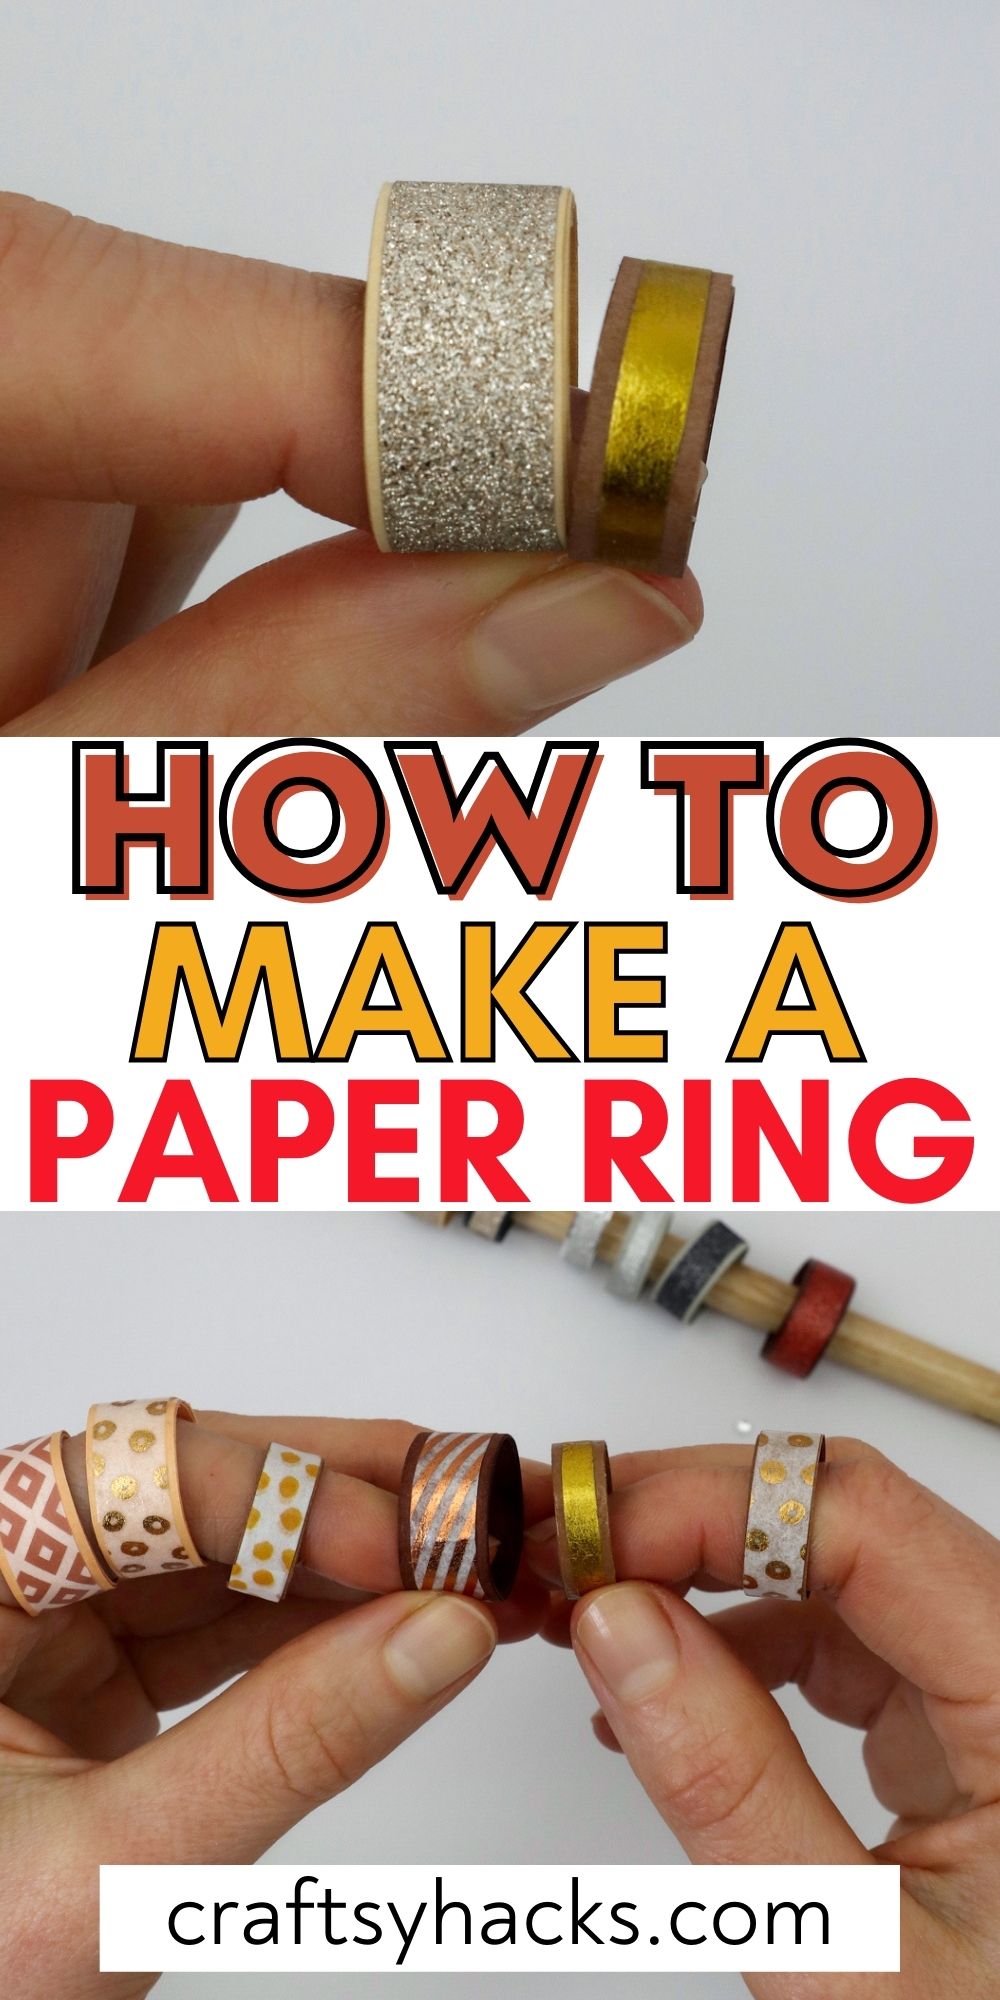
Got some paper? Make these DIY paper rings with the kids for a fun weekend activity. Here is a full tutorial on how to make the rings.

I know what you’re thinking: paper jewelry? It probably sounds like the paper tiaras that you get with a Happy Meal. But, hear me because paper jewelry can be quite a creative way to show off your crafting skills.
A paper ring is easy to make, and you don’t need anything but the most basic craft supplies. But the finished product? That can turn out to be really eclectic and edgy!
It all comes down to the kind of paper you decide to use. If you pick up sturdy cardstock or good quality craft paper, your paper ring will last you for a good long time.
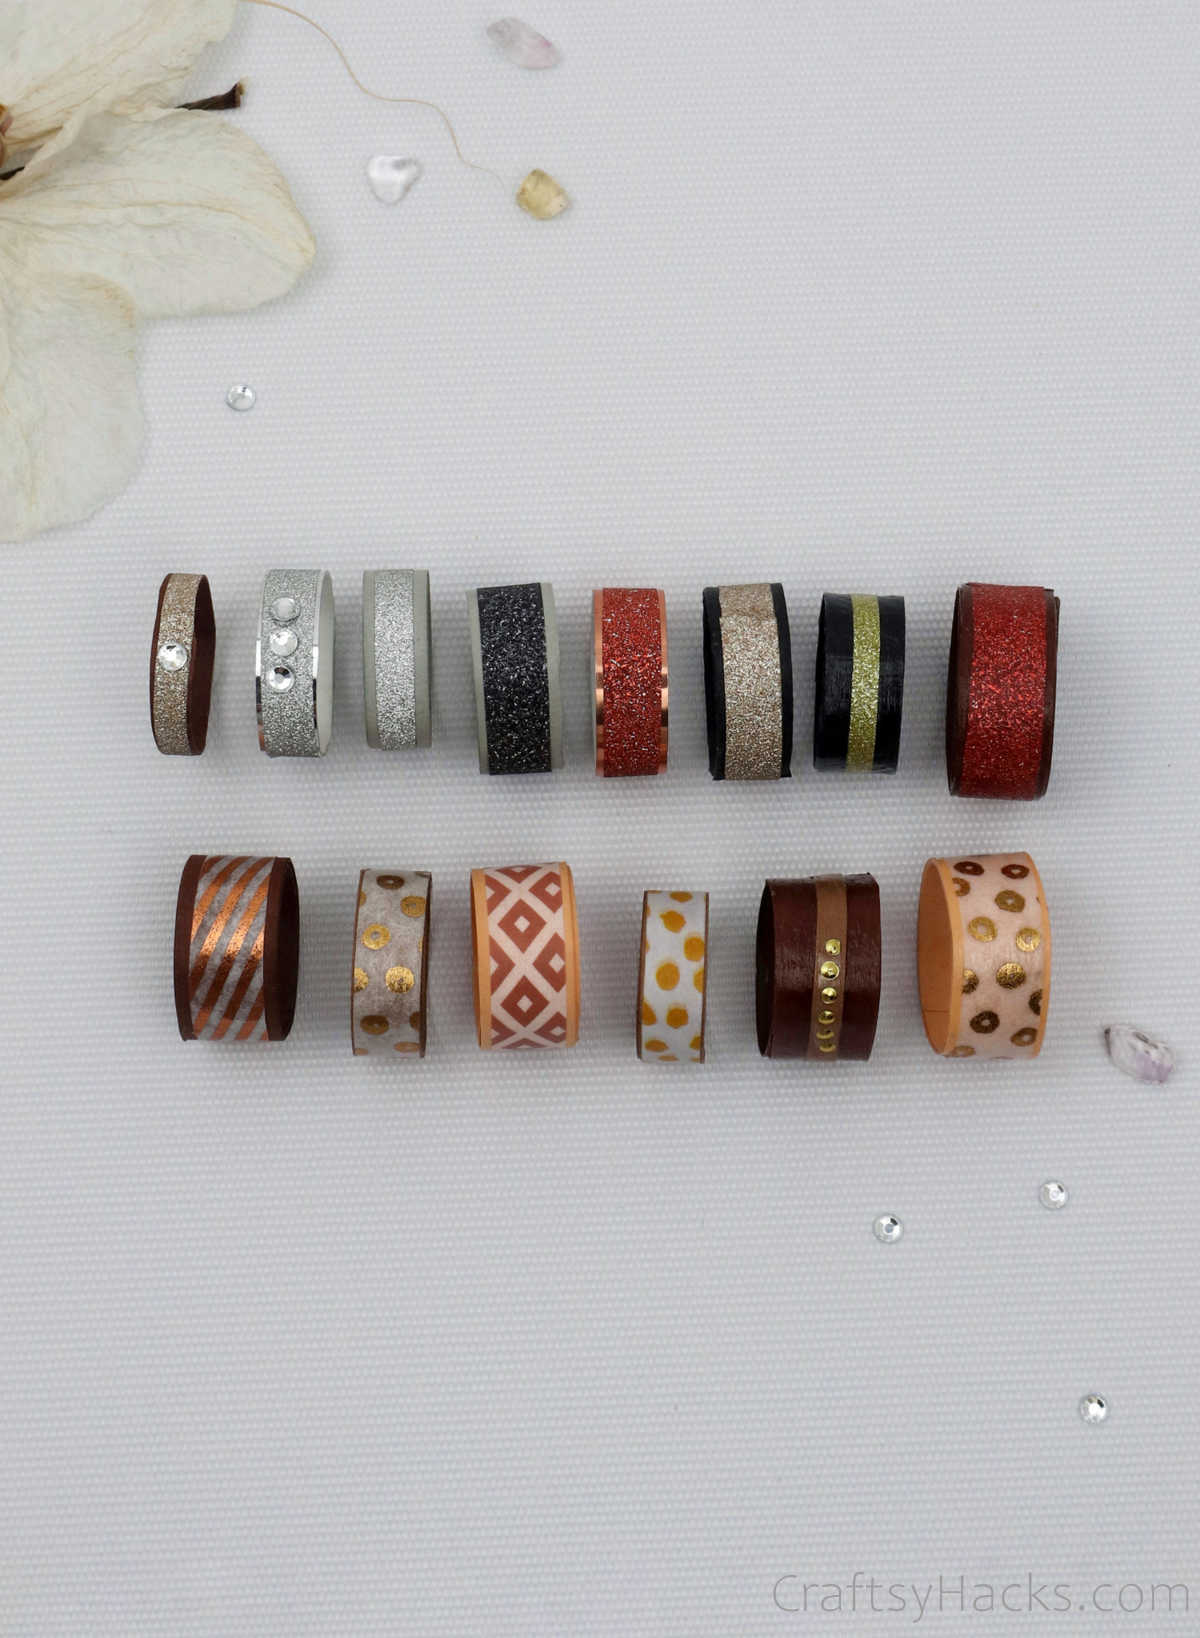
Additionally, you can let your creative instincts take over and decorate the paper rings—the possibilities are endless!
What You’ll Need for These Rings
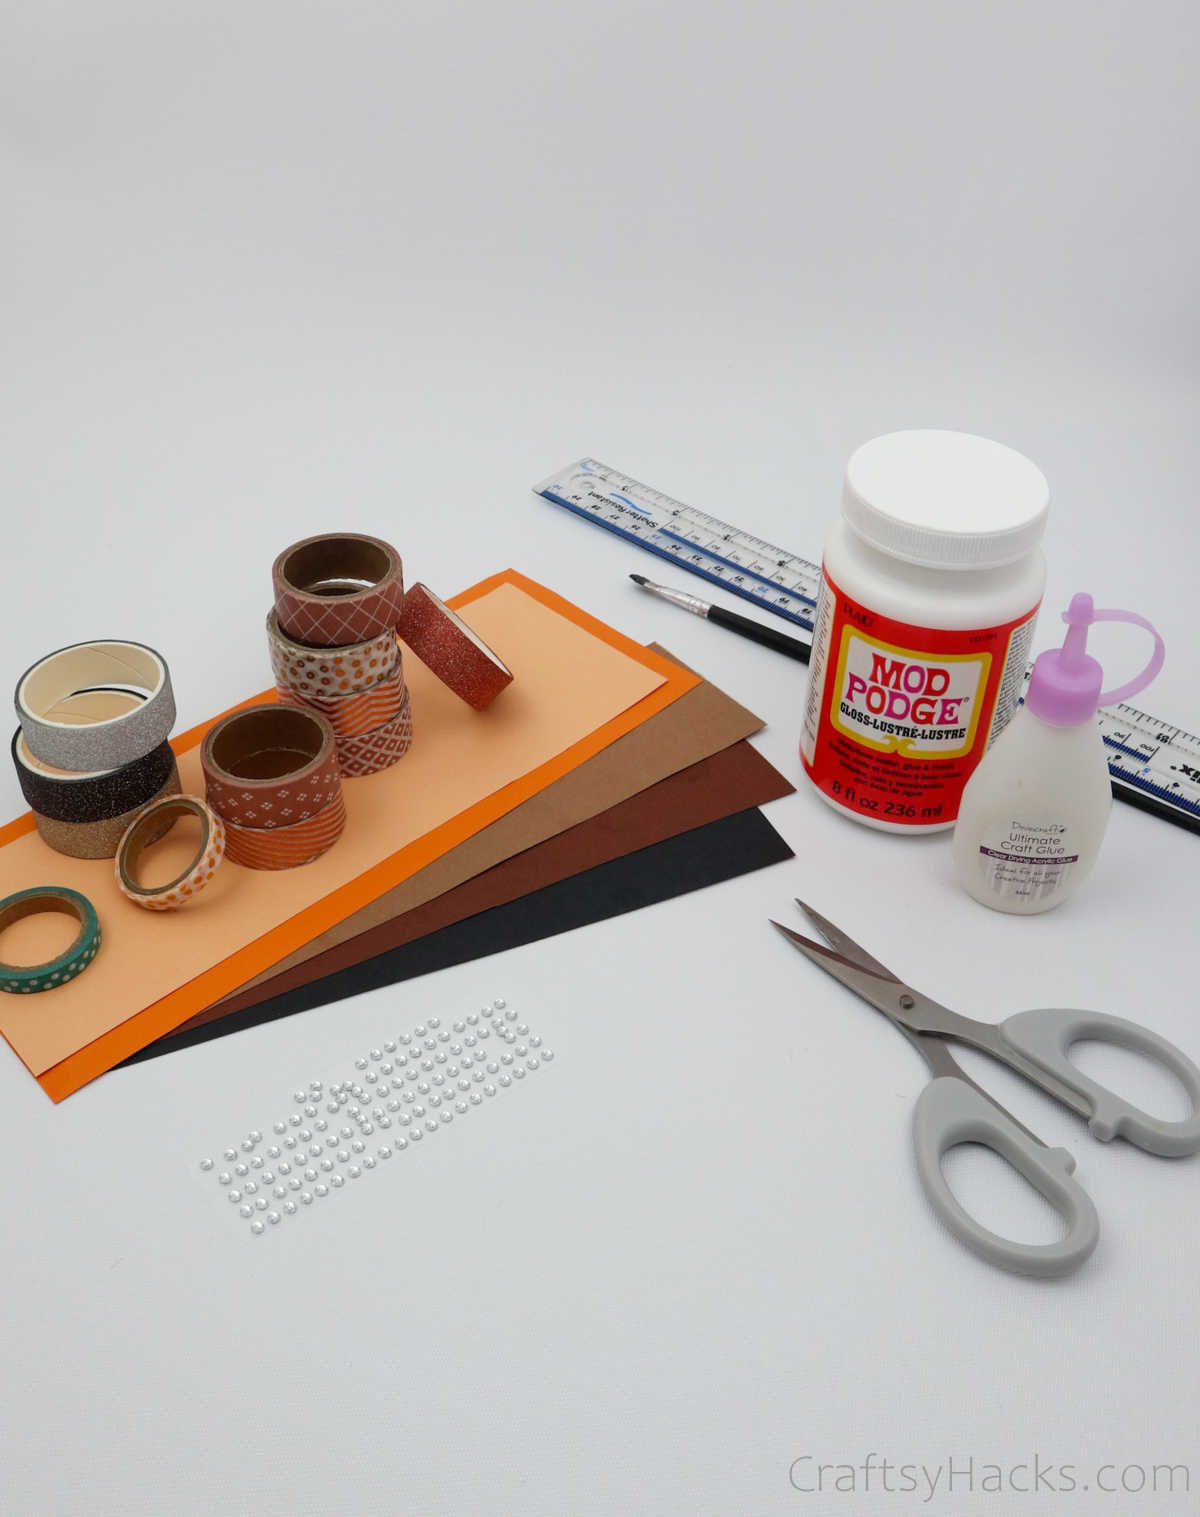
Here’s a list of all that you’ll need to make this DIY paper ring:
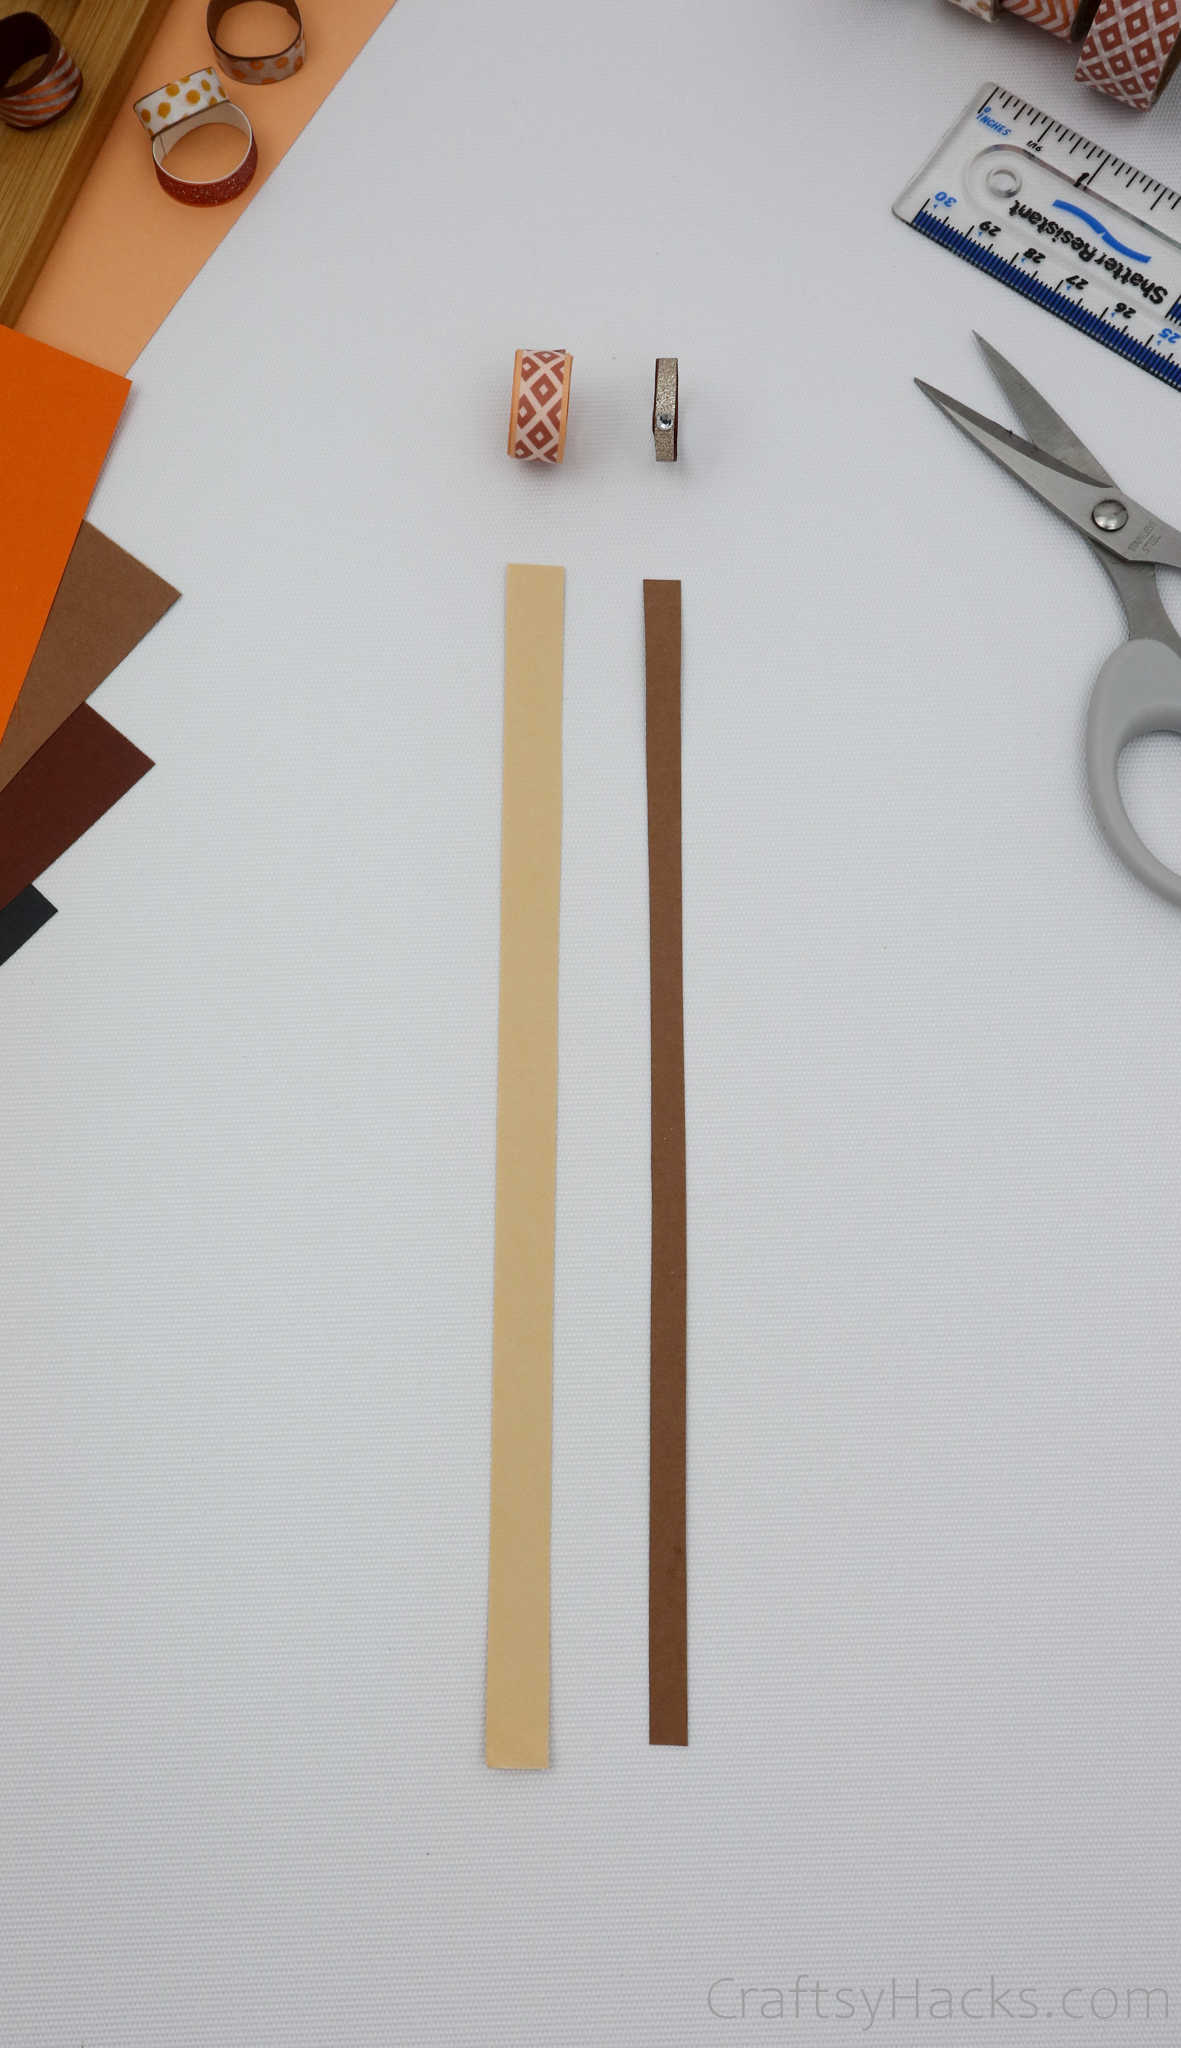
- Craft paper (8” long)
- Washi tape
- Craft glue
- Mod Podge
- Paintbrush
- Ruler
- Scissors
- Flatback crystals
How to Make a Paper Ring
Once you’ve gathered all your supplies, you can get right down to making your paper rings.
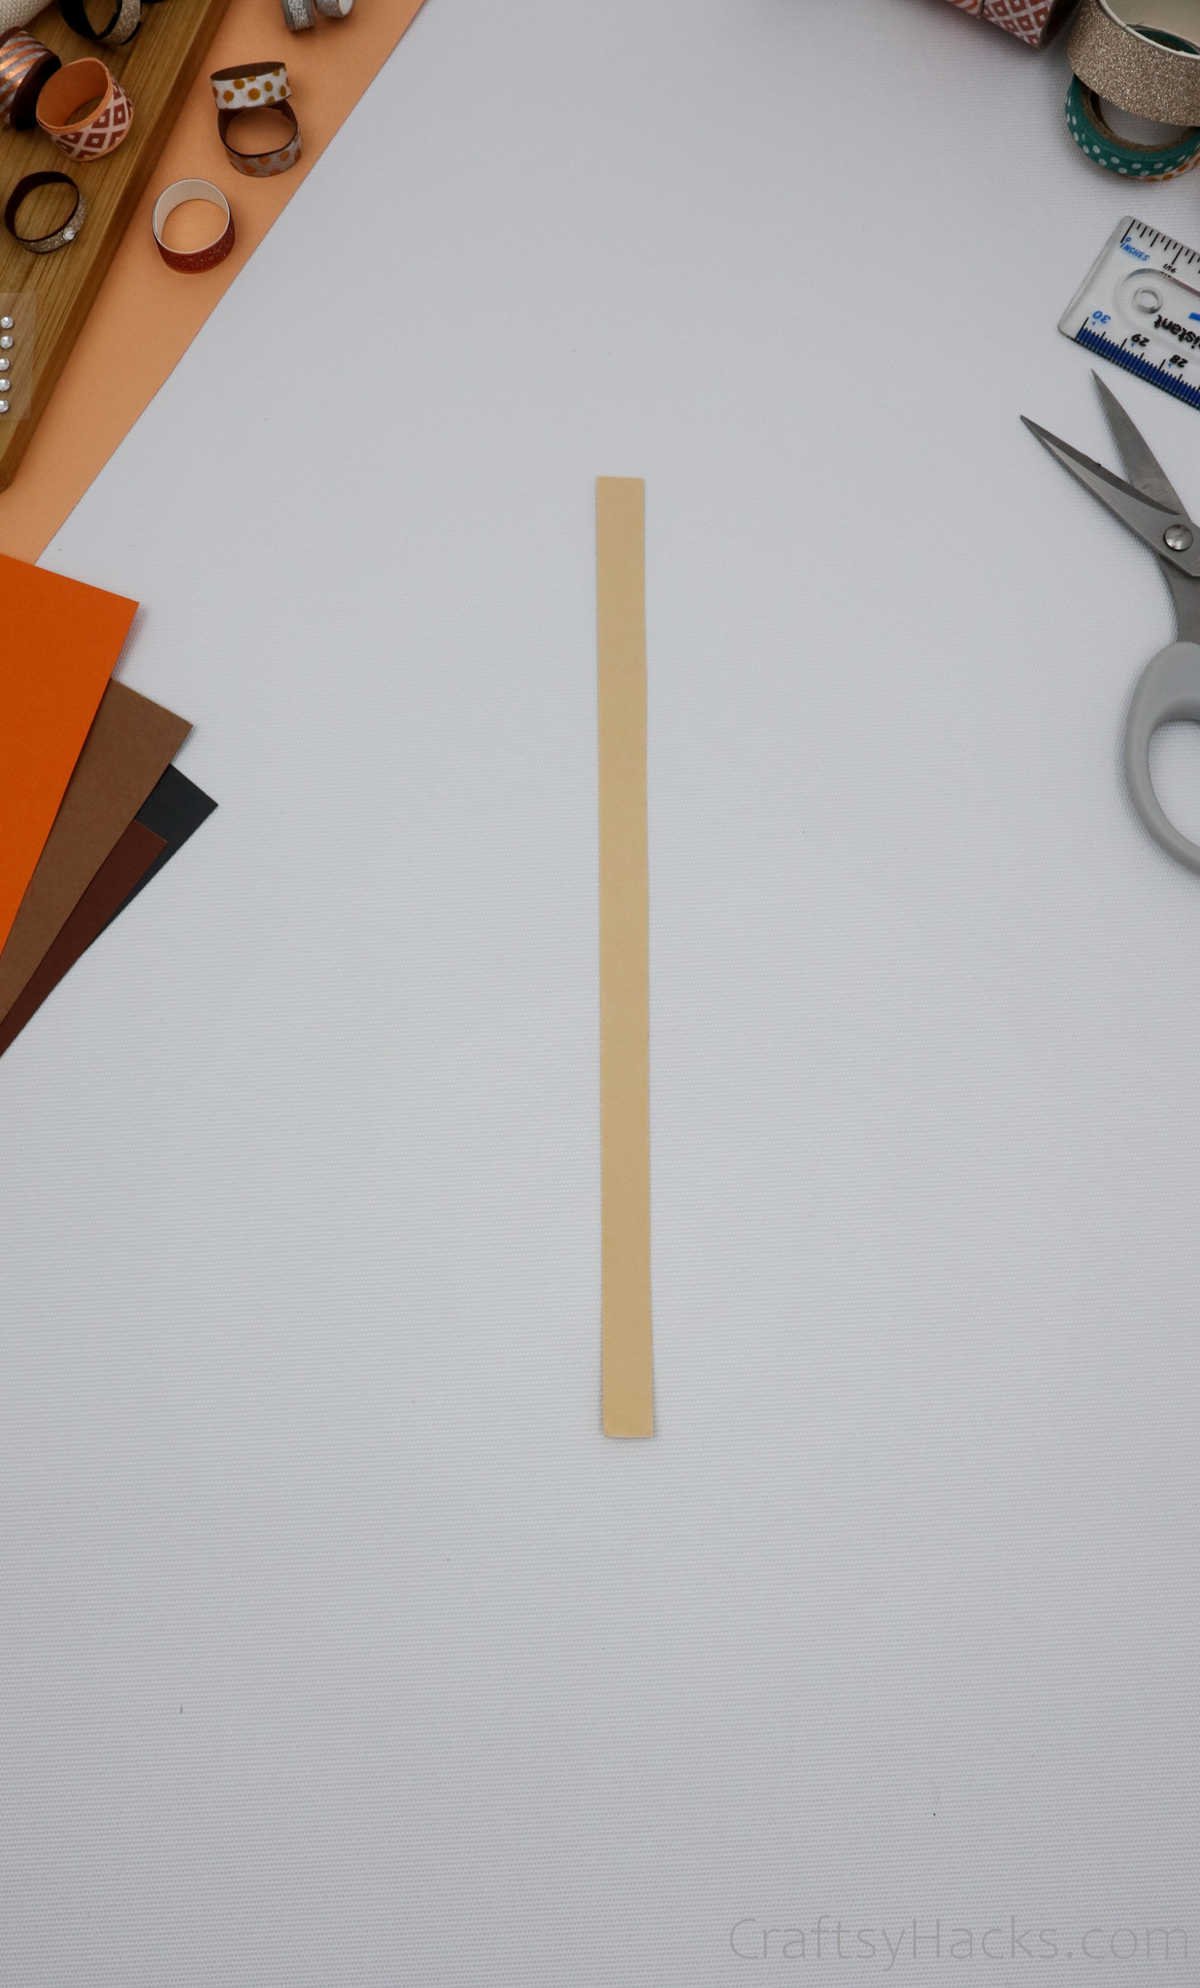
Step 1
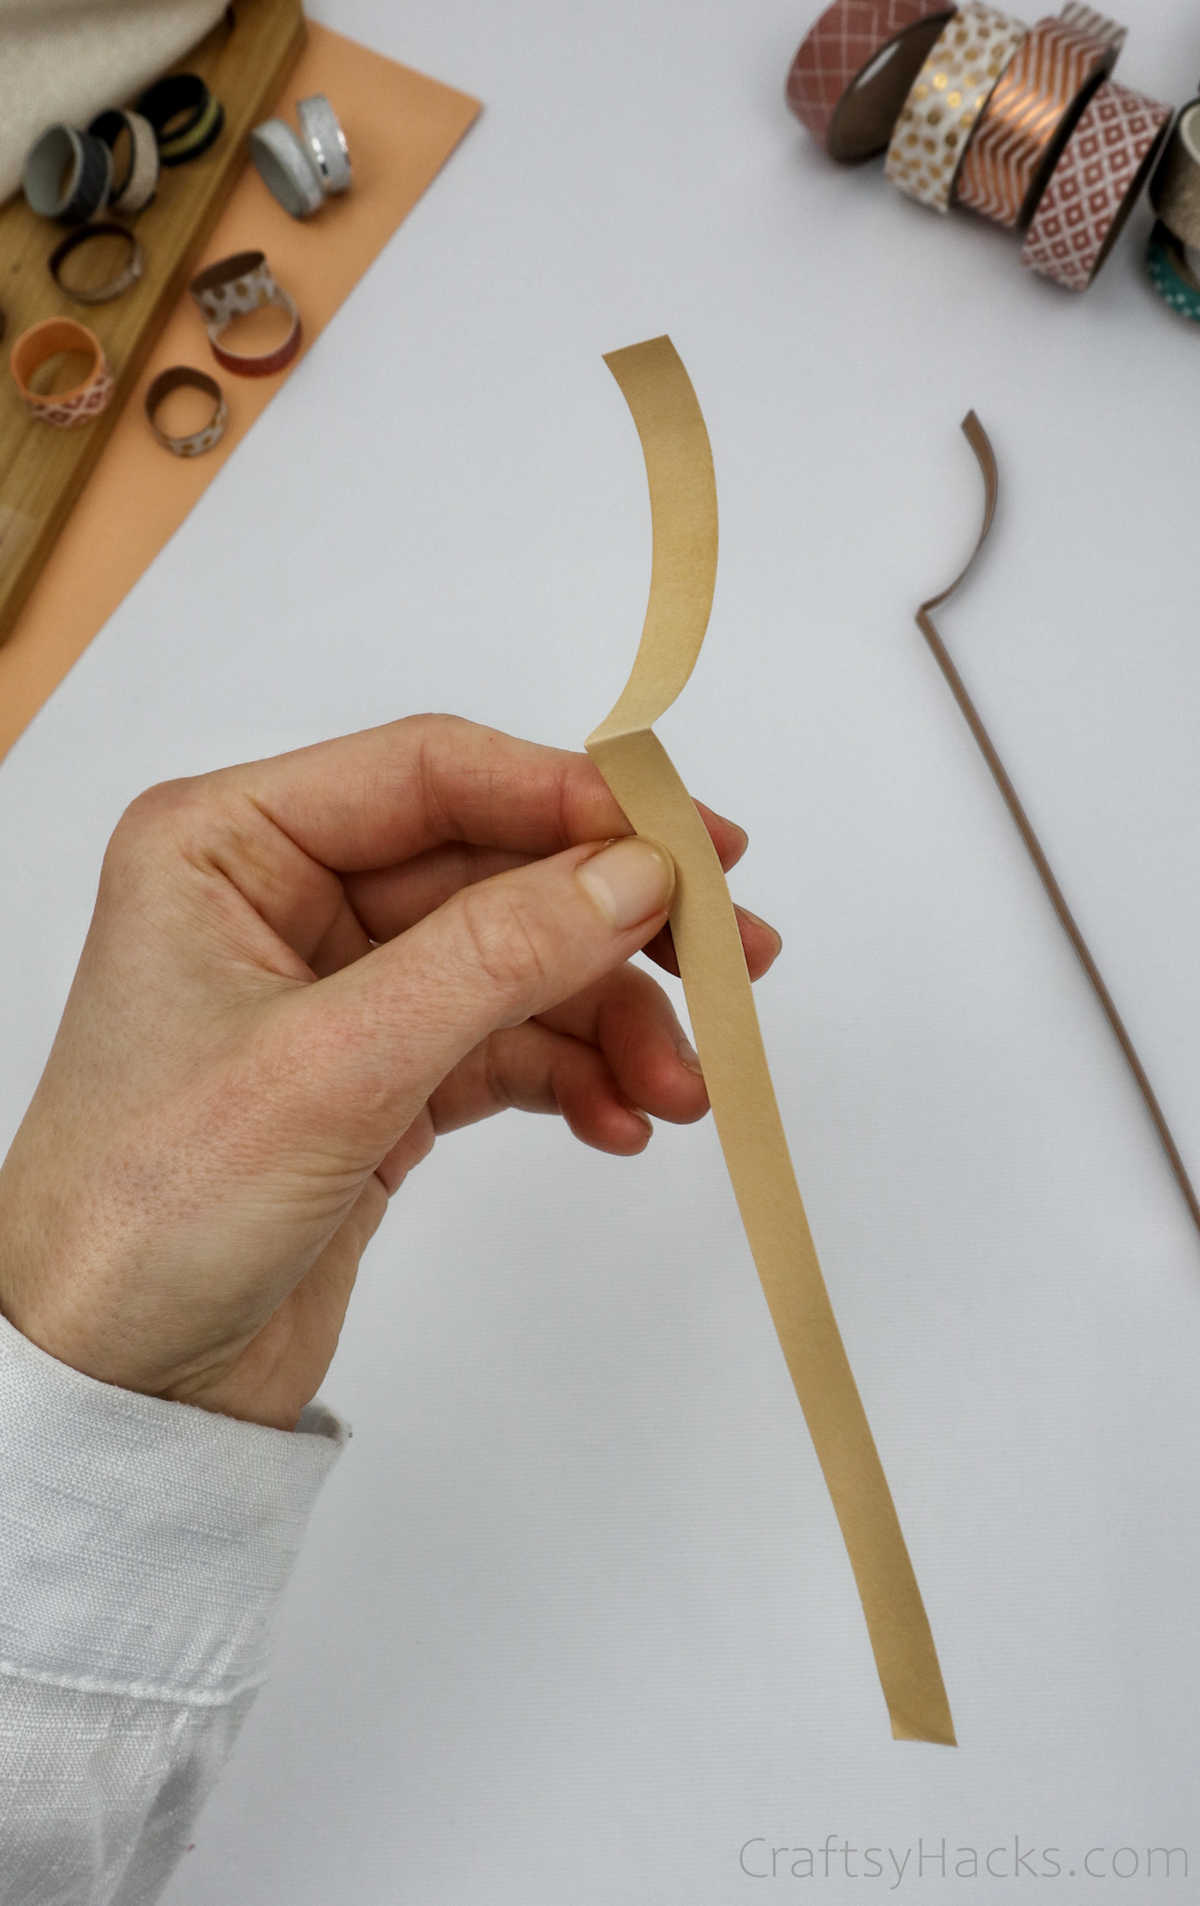
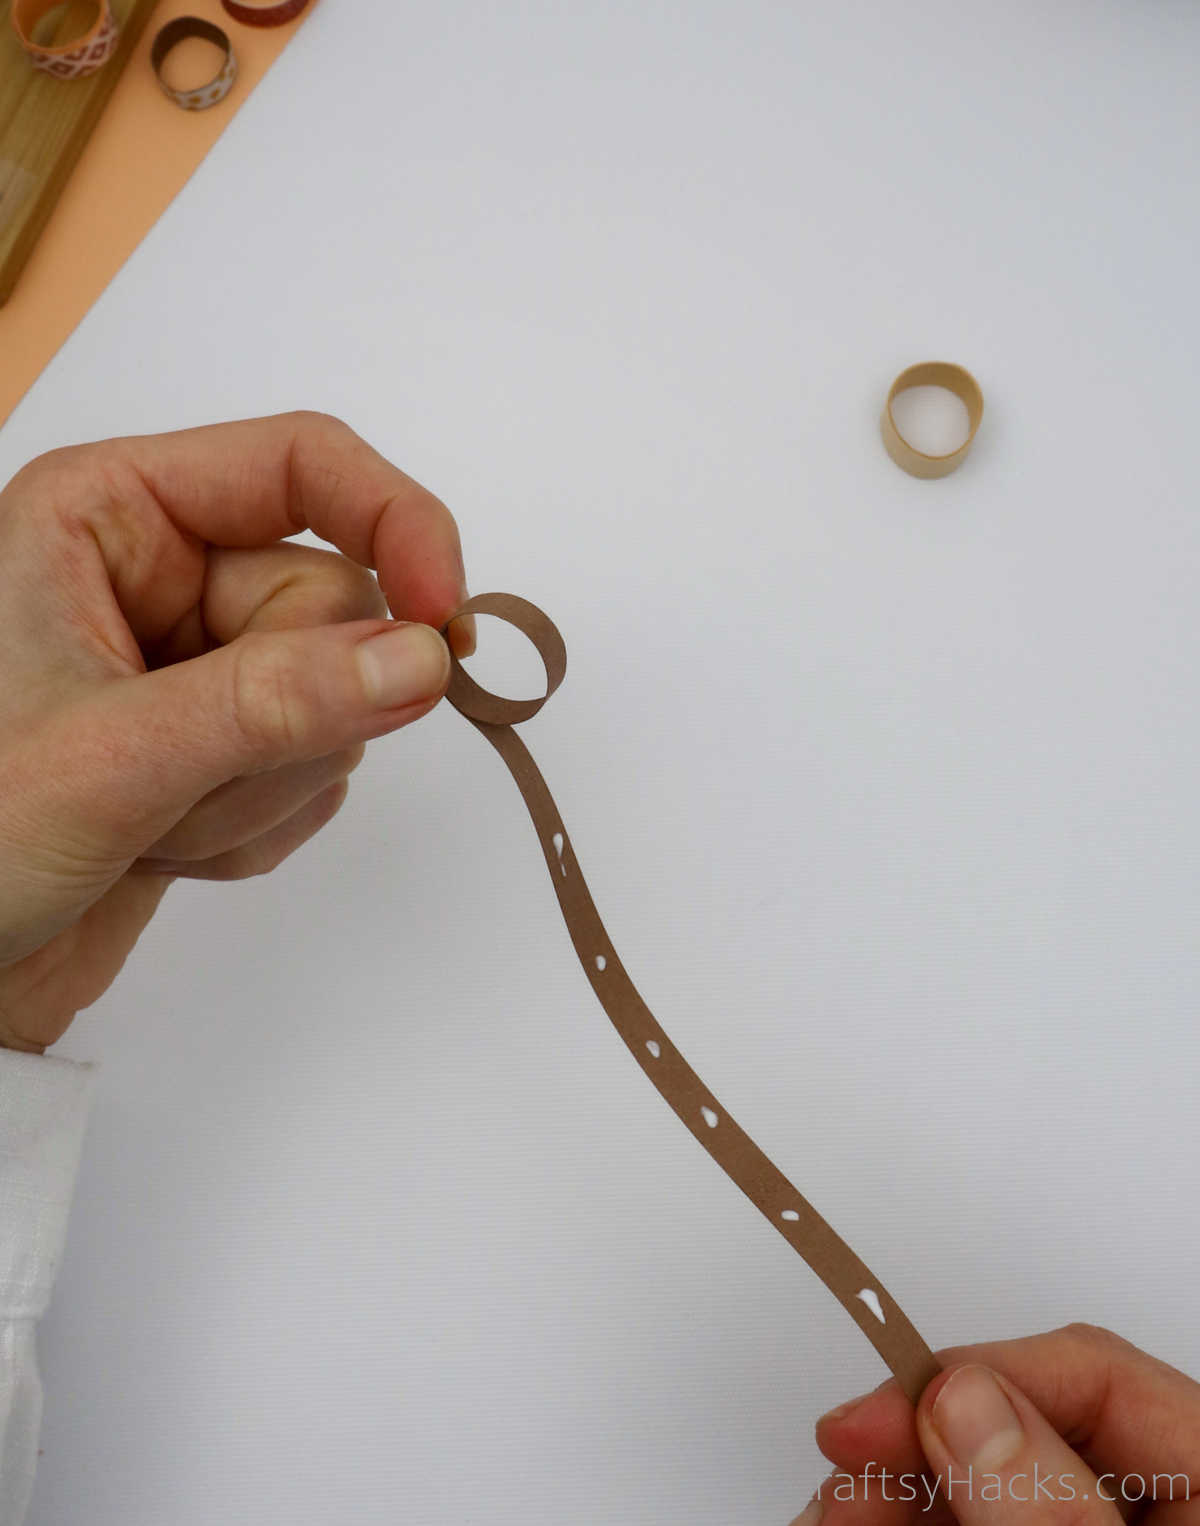
Cut out a long strip of paper and lay it out on a flat surface, as shown below. The width of the paper will determine how wide your ring will be, so keep that in mind when you measure it out.
Step 2
Hold the strip of paper in between your fingers and carefully roll it over your finger once. When you have wrapped it around your finger and the paper meets the starting edge, gently fold it.
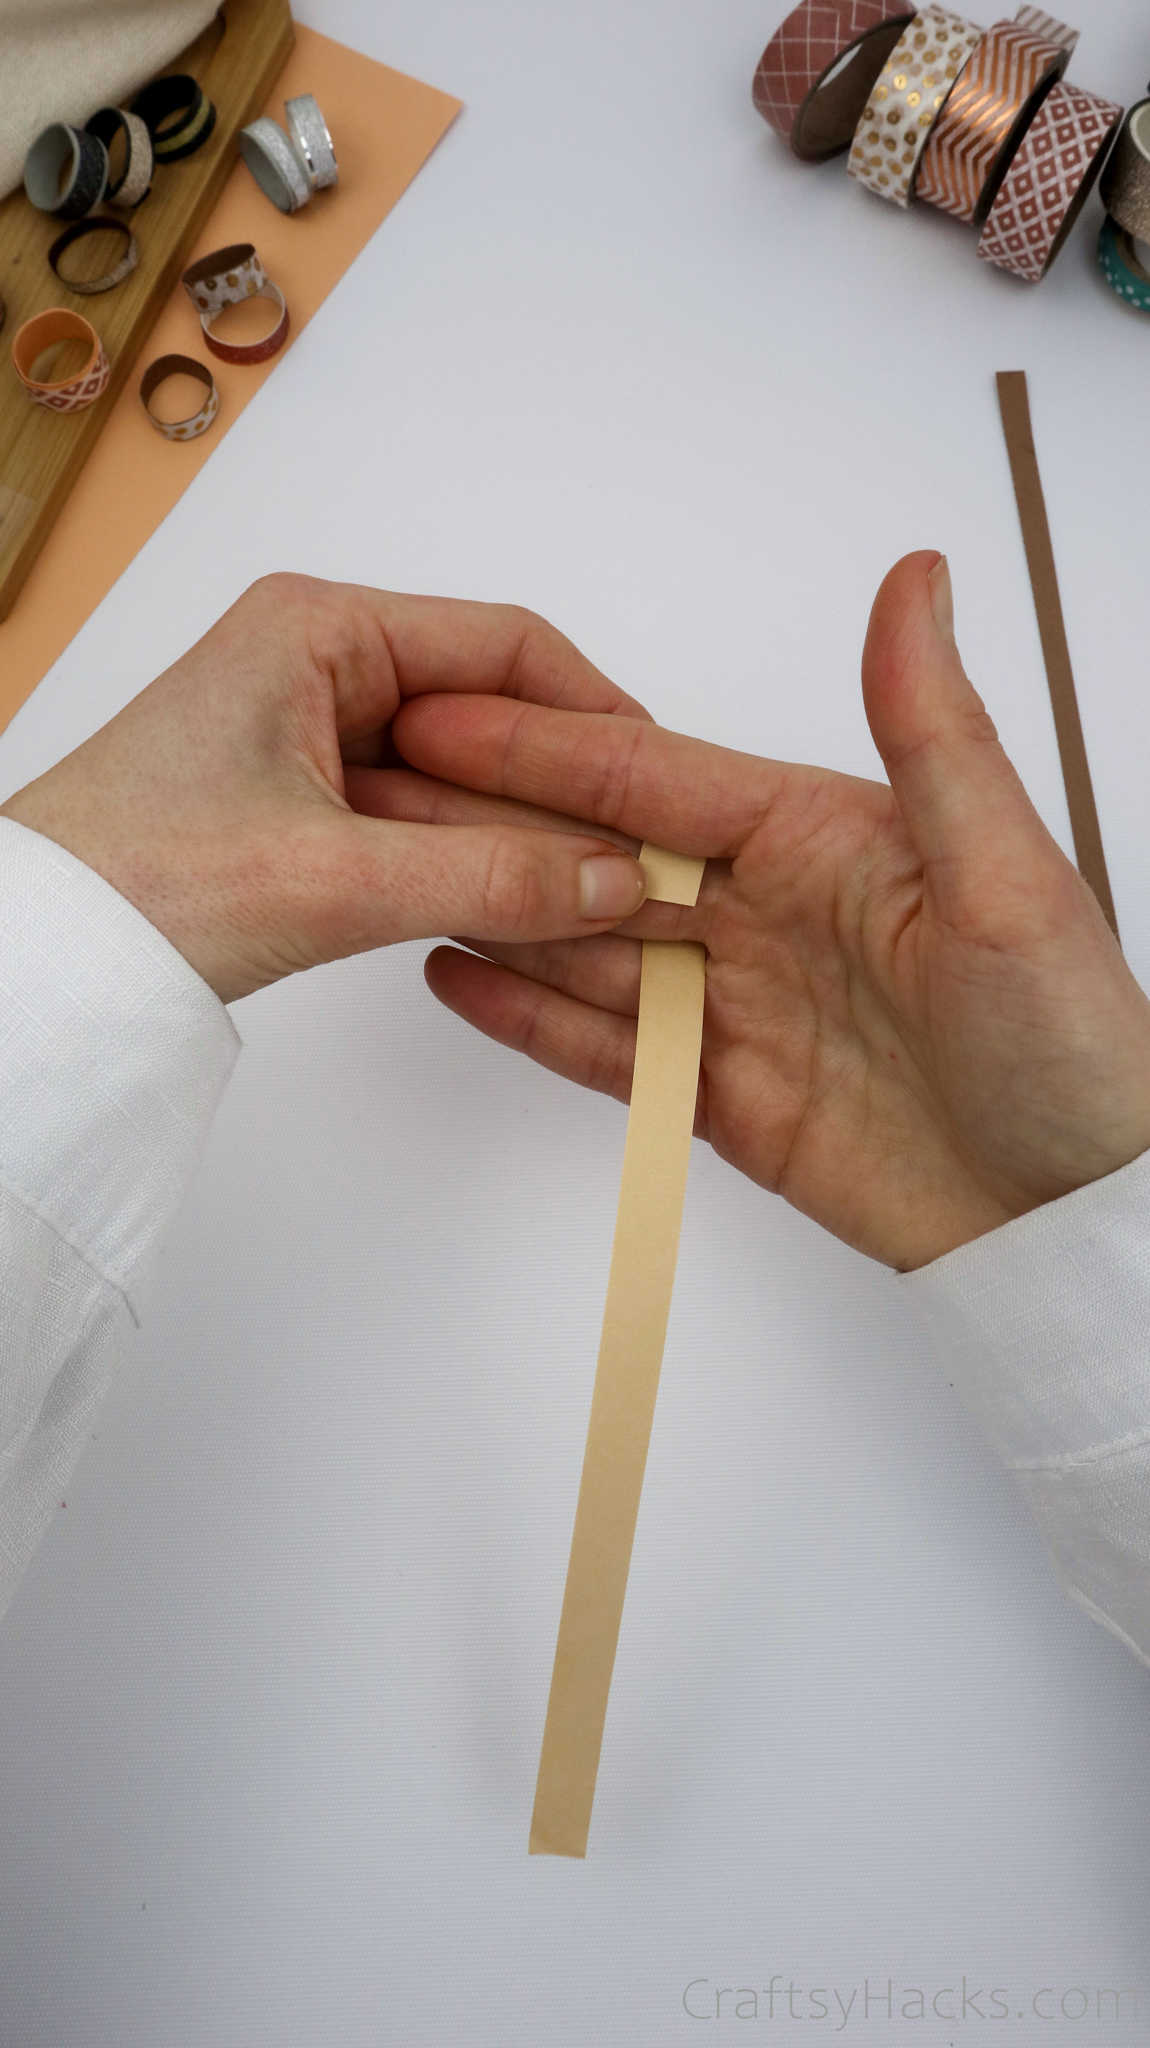
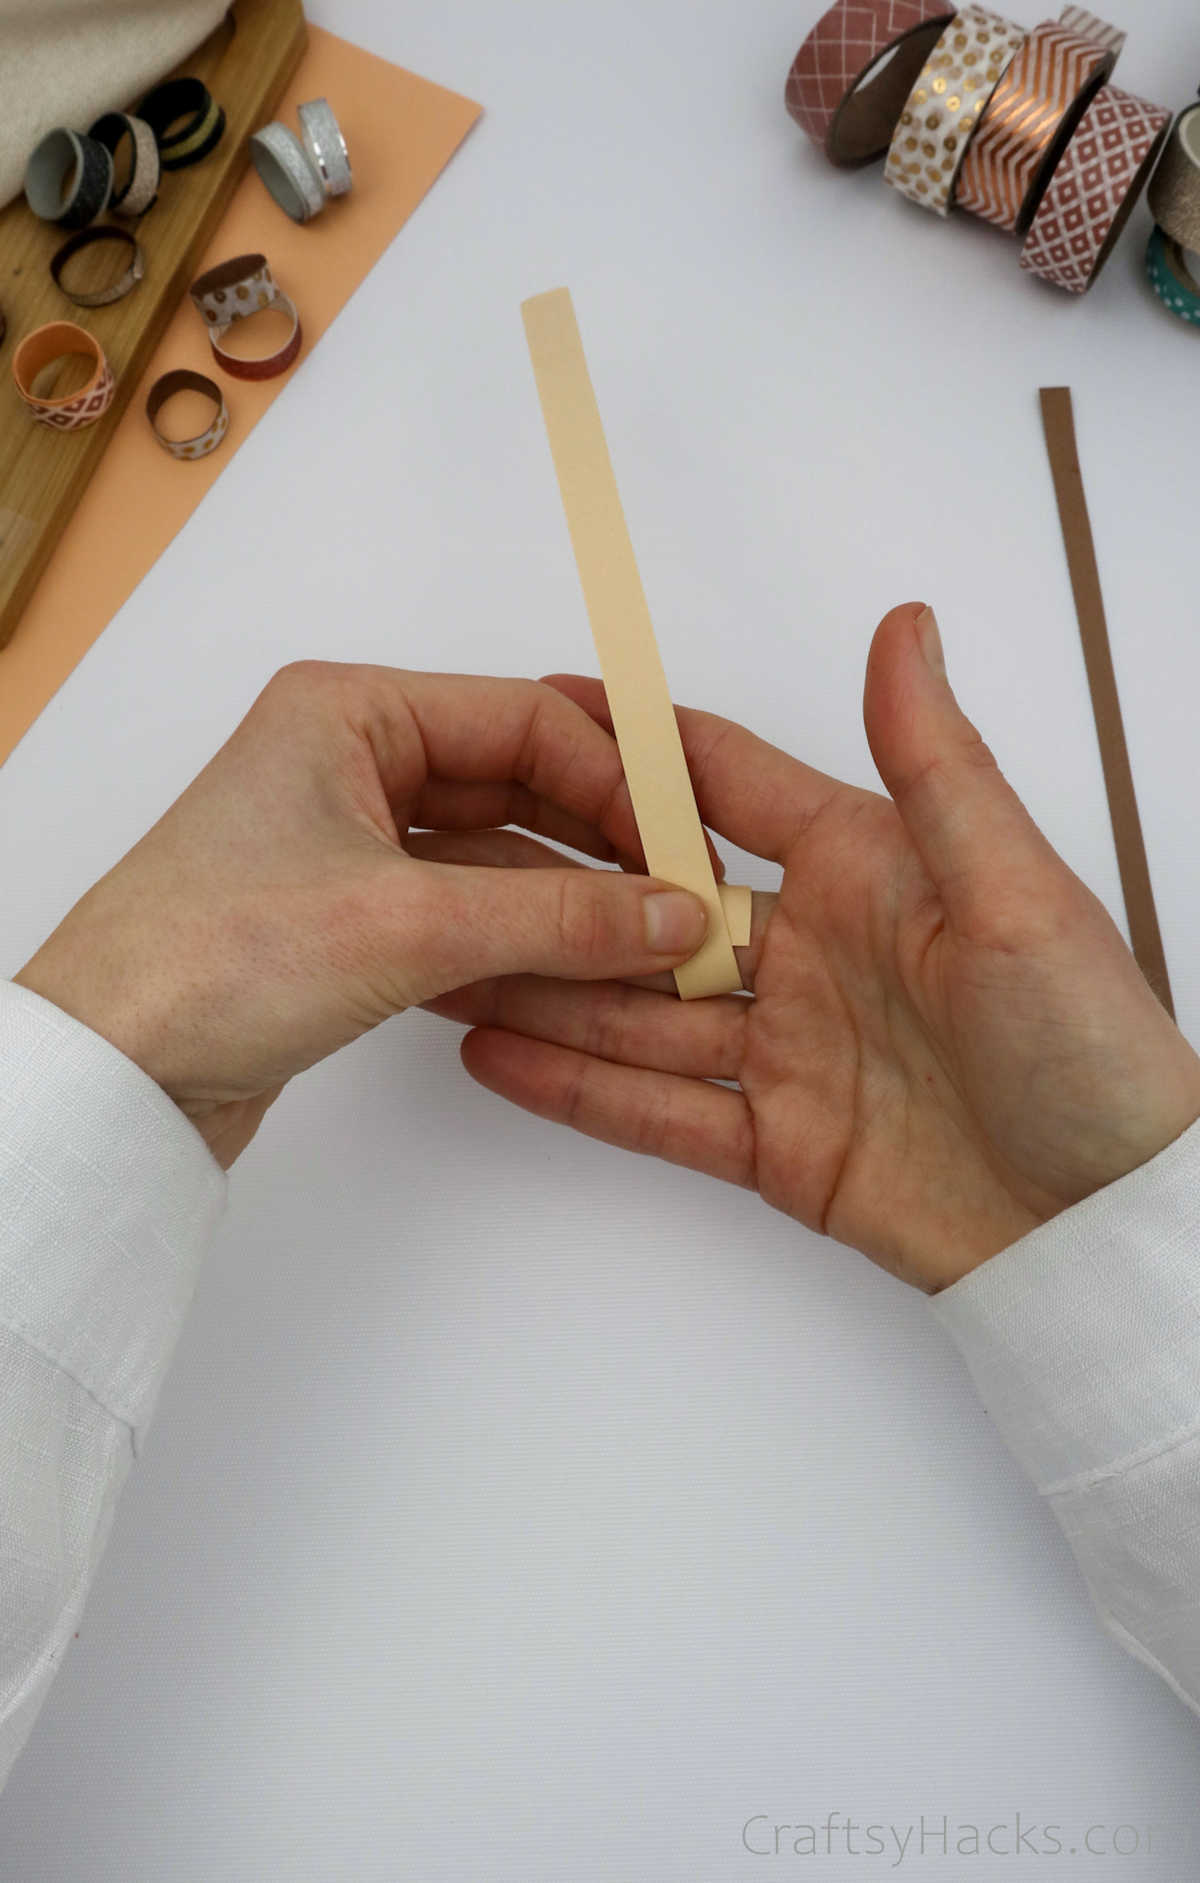
This will help you determine the circumference of your finger and will be the size of your ring.
Step 3
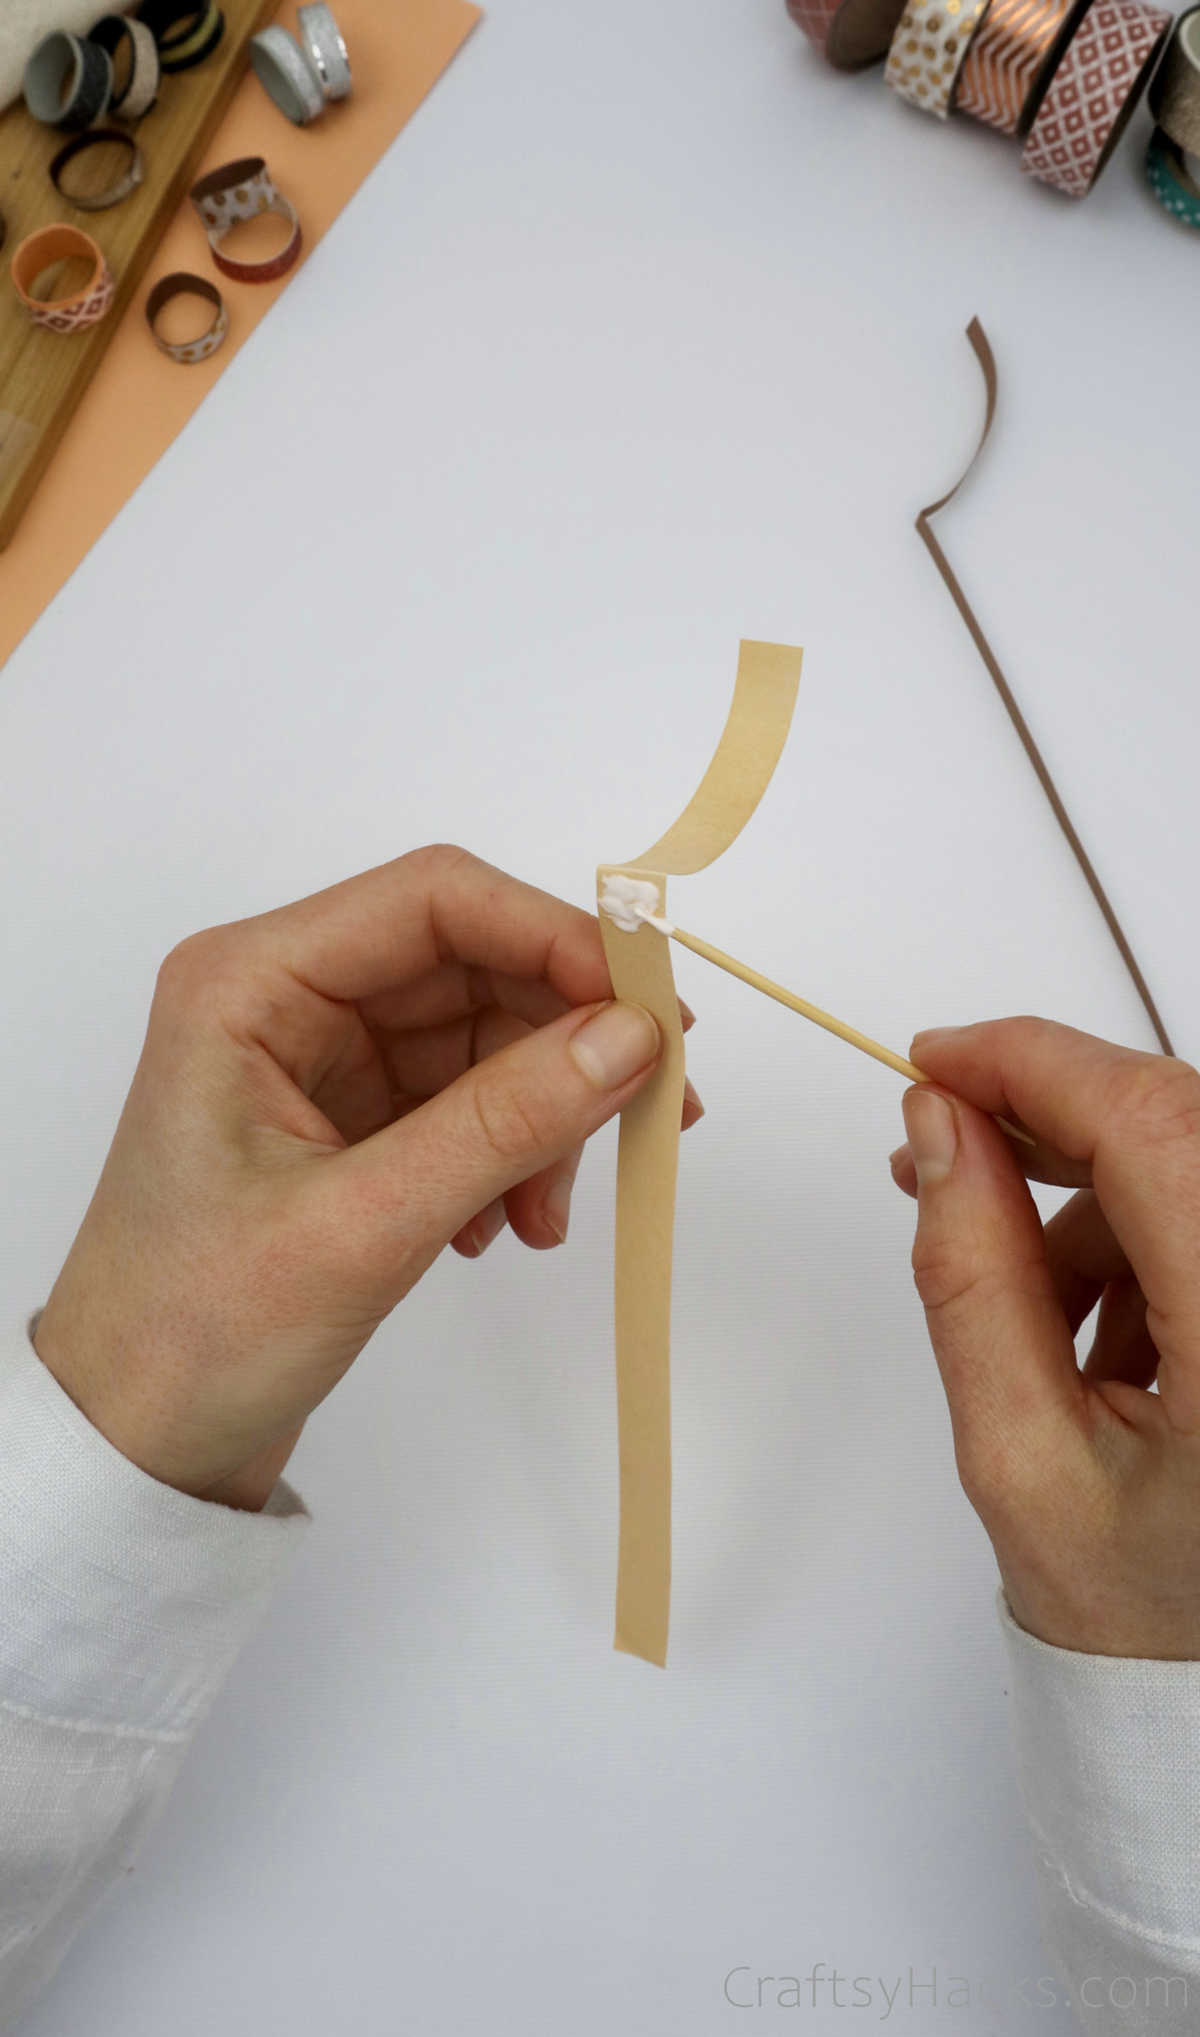
Use a toothpick to dab a little glue onto the back of the paper, just underneath the fold.
Step 4
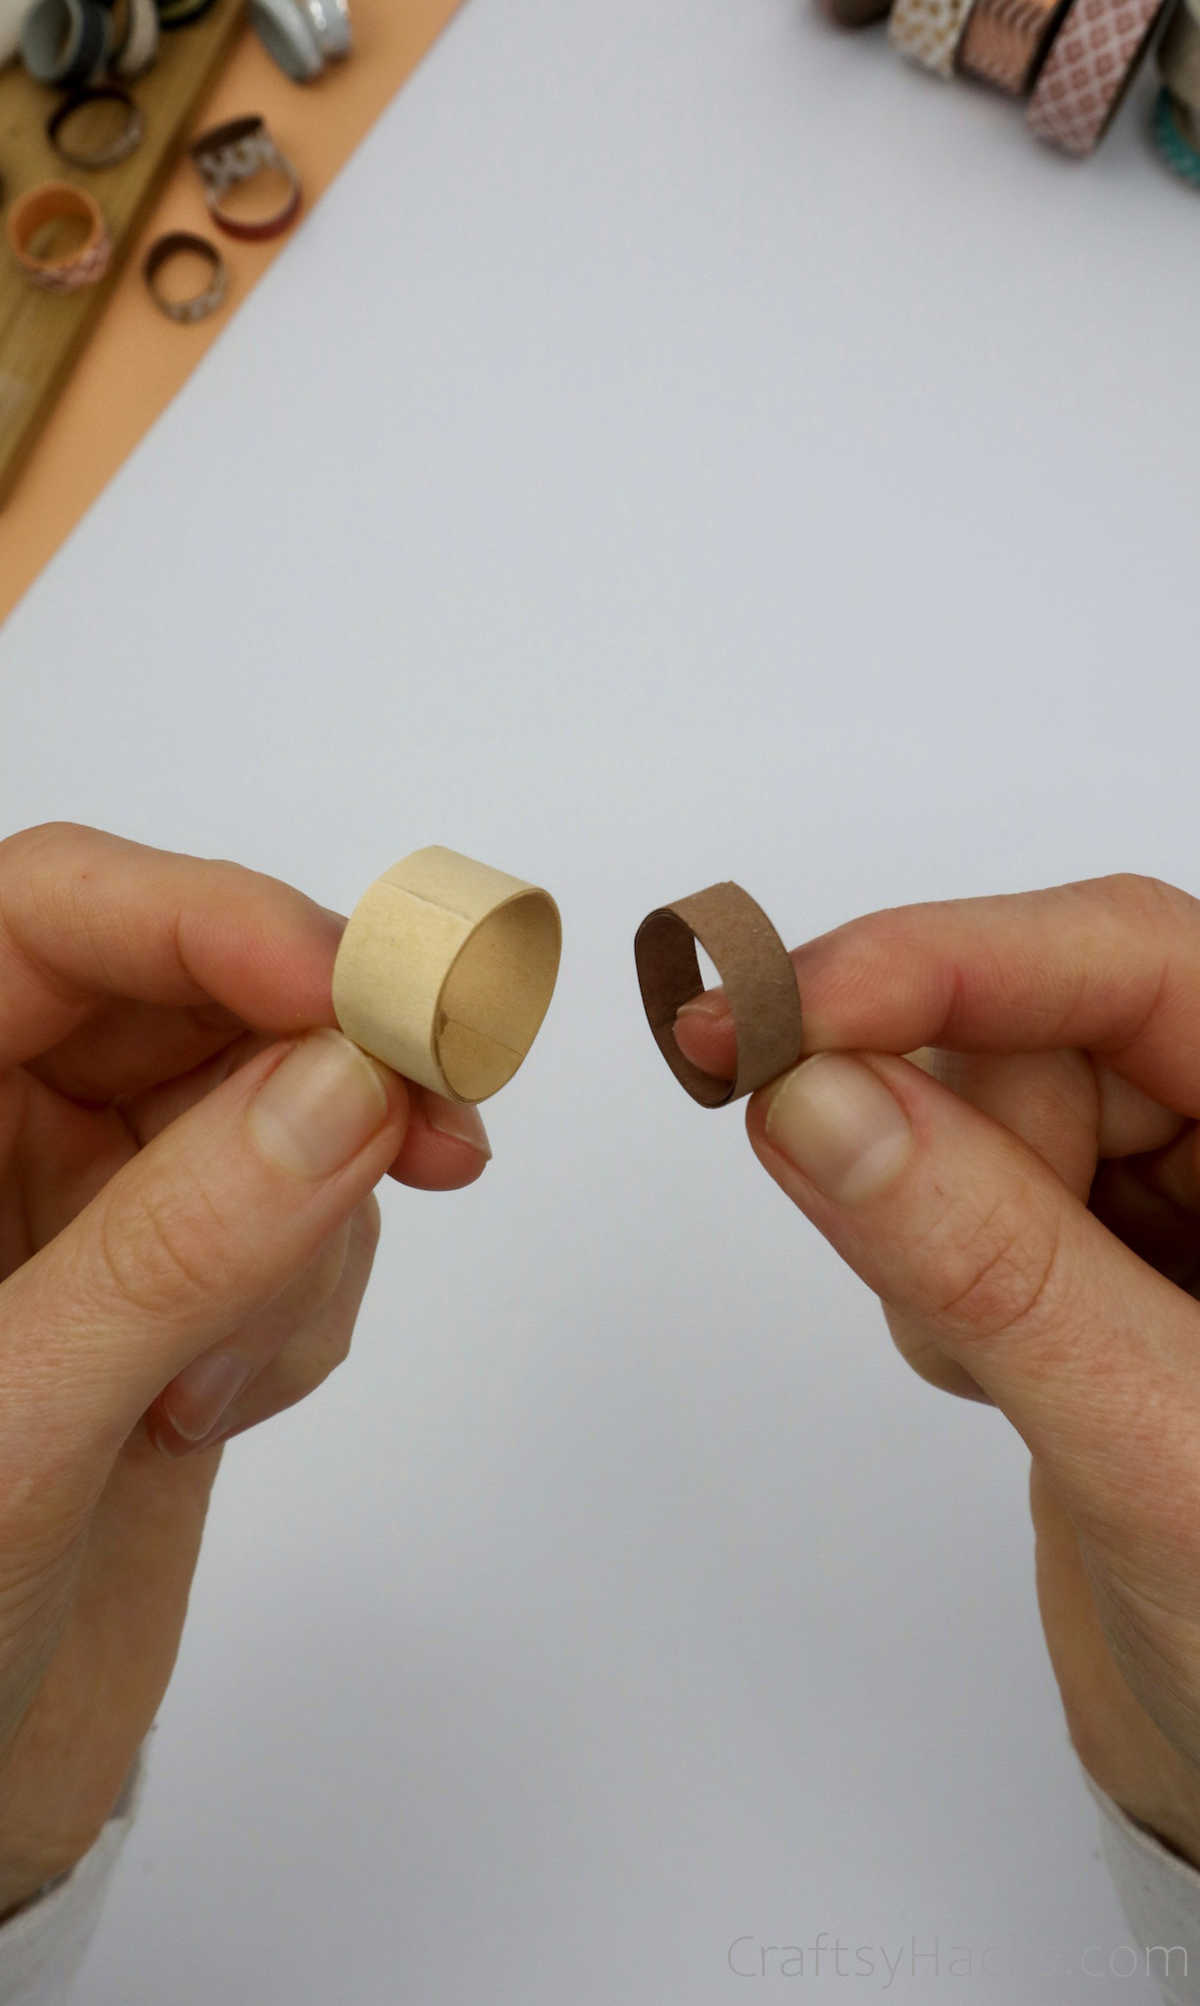
Next, bring the curved end of the paper you wrapped around your hand inwards.

You will need to keep rolling the paper right over the area you spread your glue on and continue to roll it till you reach the other end.
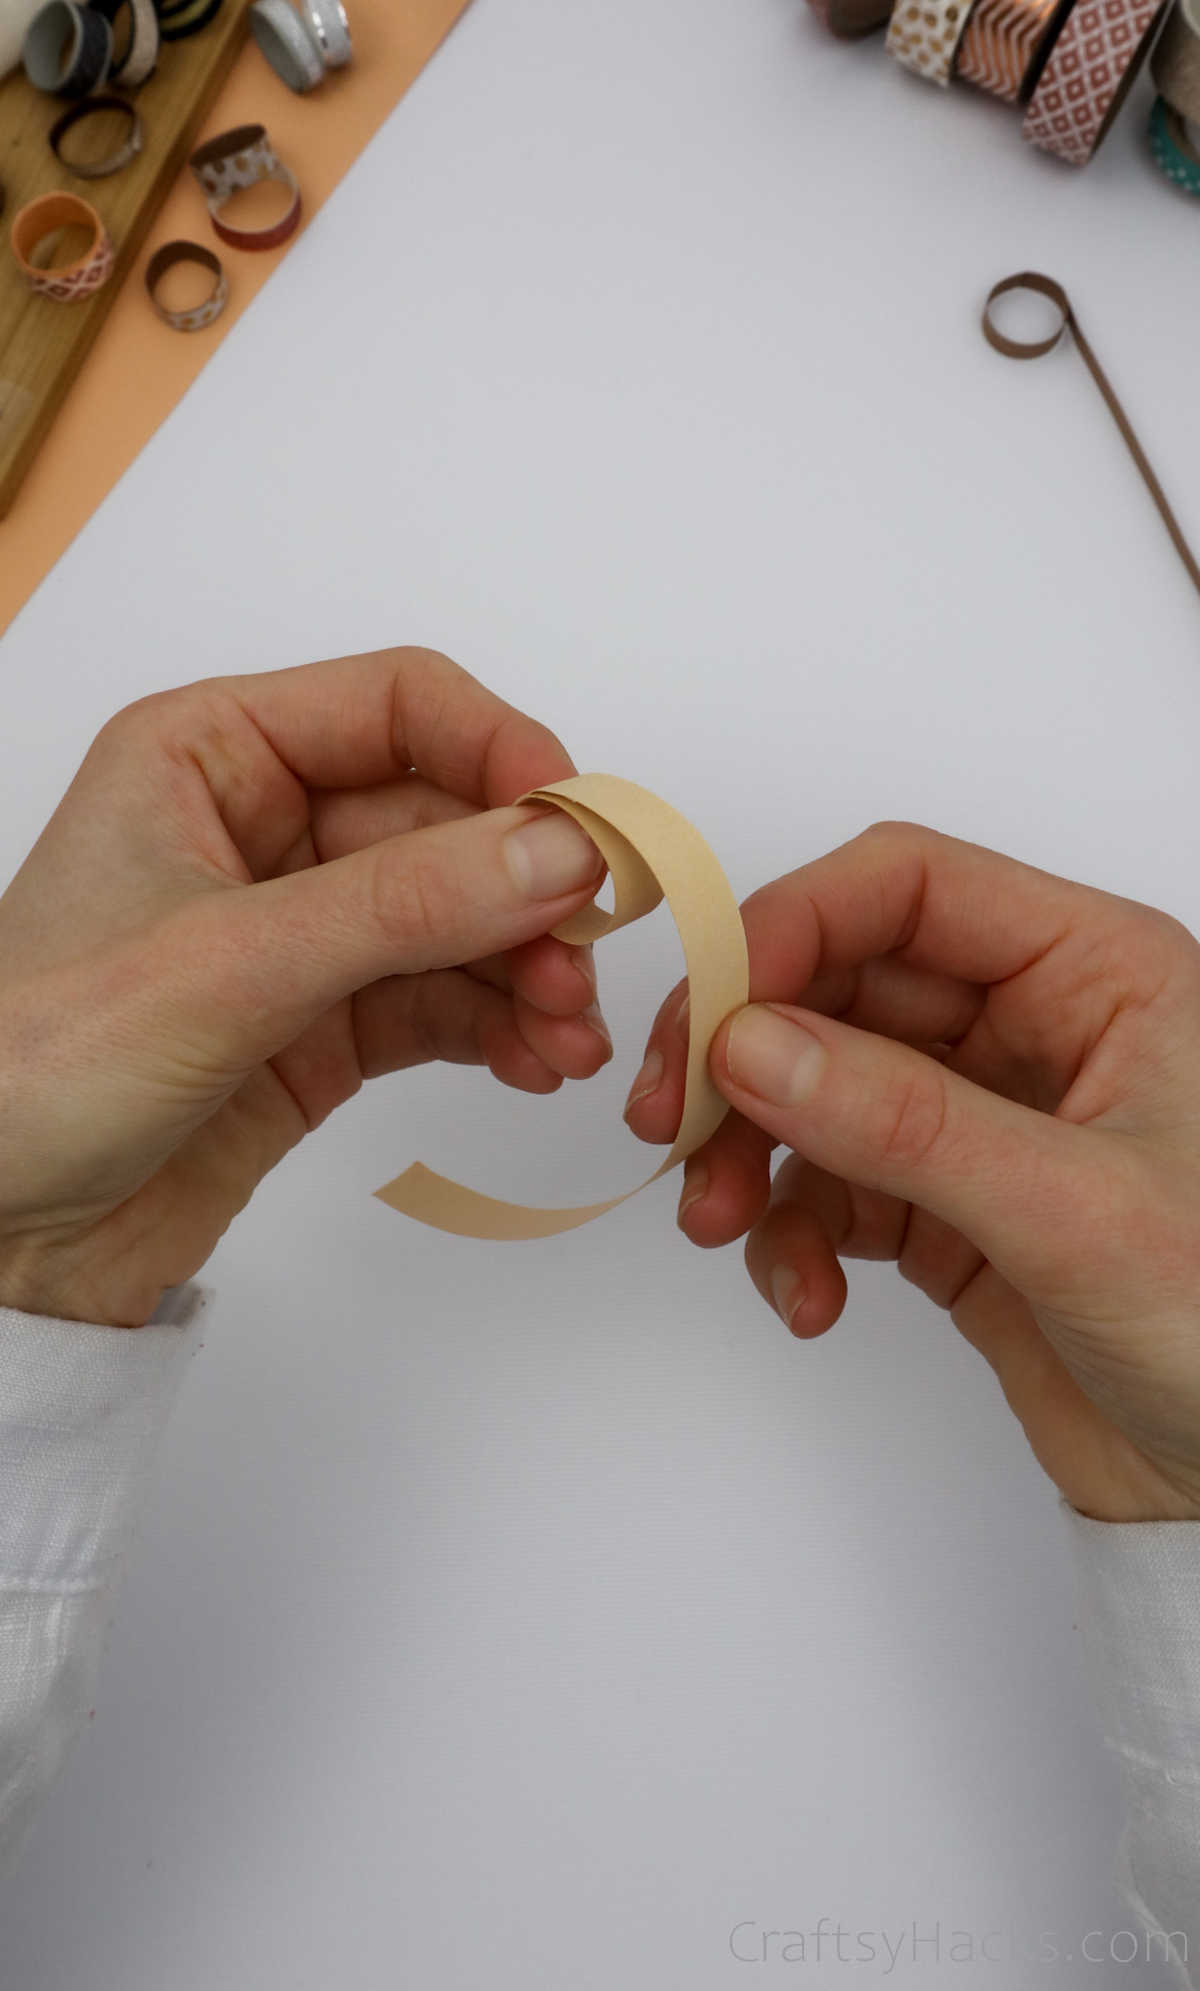
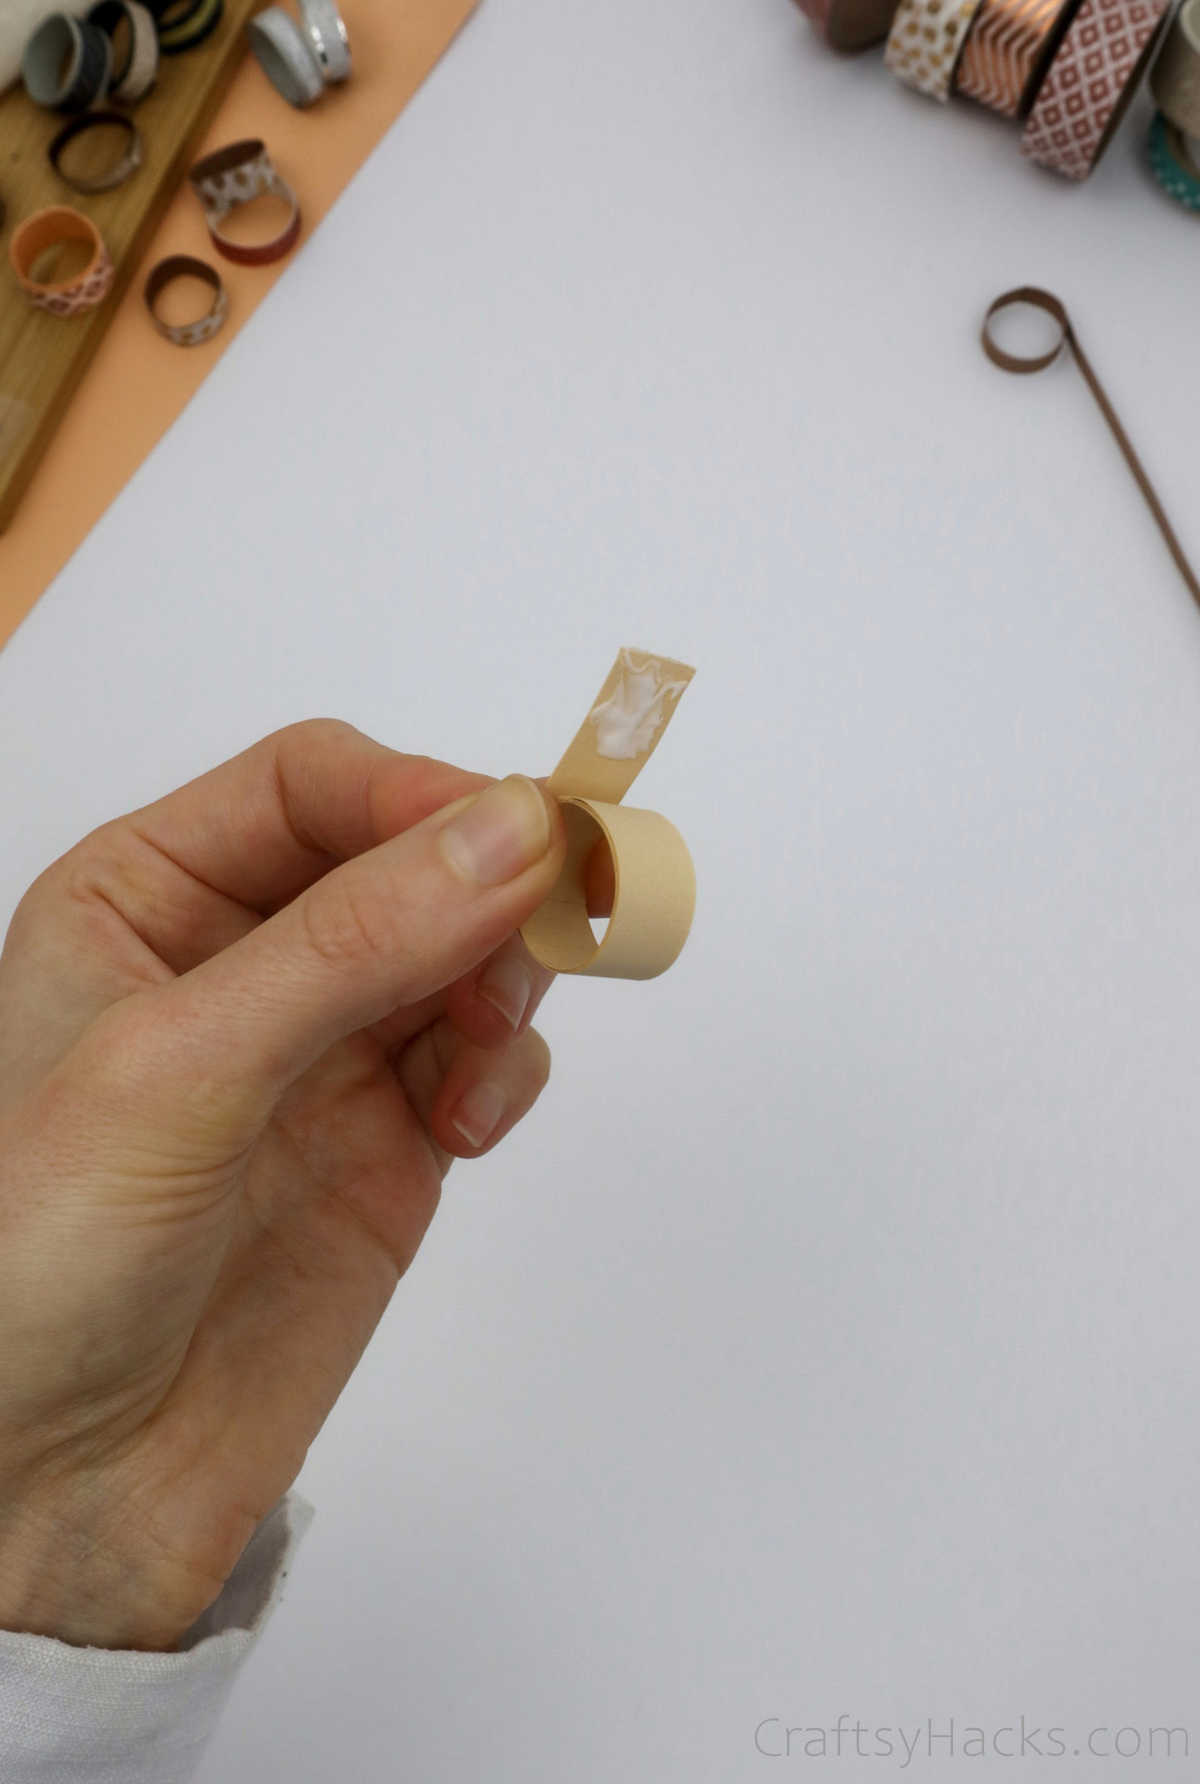
Step 5
Once again, use a toothpick to apply a layer of glue to the edge of the paper. Finally, press it down to secure the end to the rolled paper.
Step 6
There’s also an alternative method of rolling your ‘ring.’ Lay your strip of paper flat on the work surface and grab your glue stick. Apply tiny spots of adhesive periodically along the length of the paper.
Roll the paper in one single, continued motion until you reach the other side, where you can stick it in place.
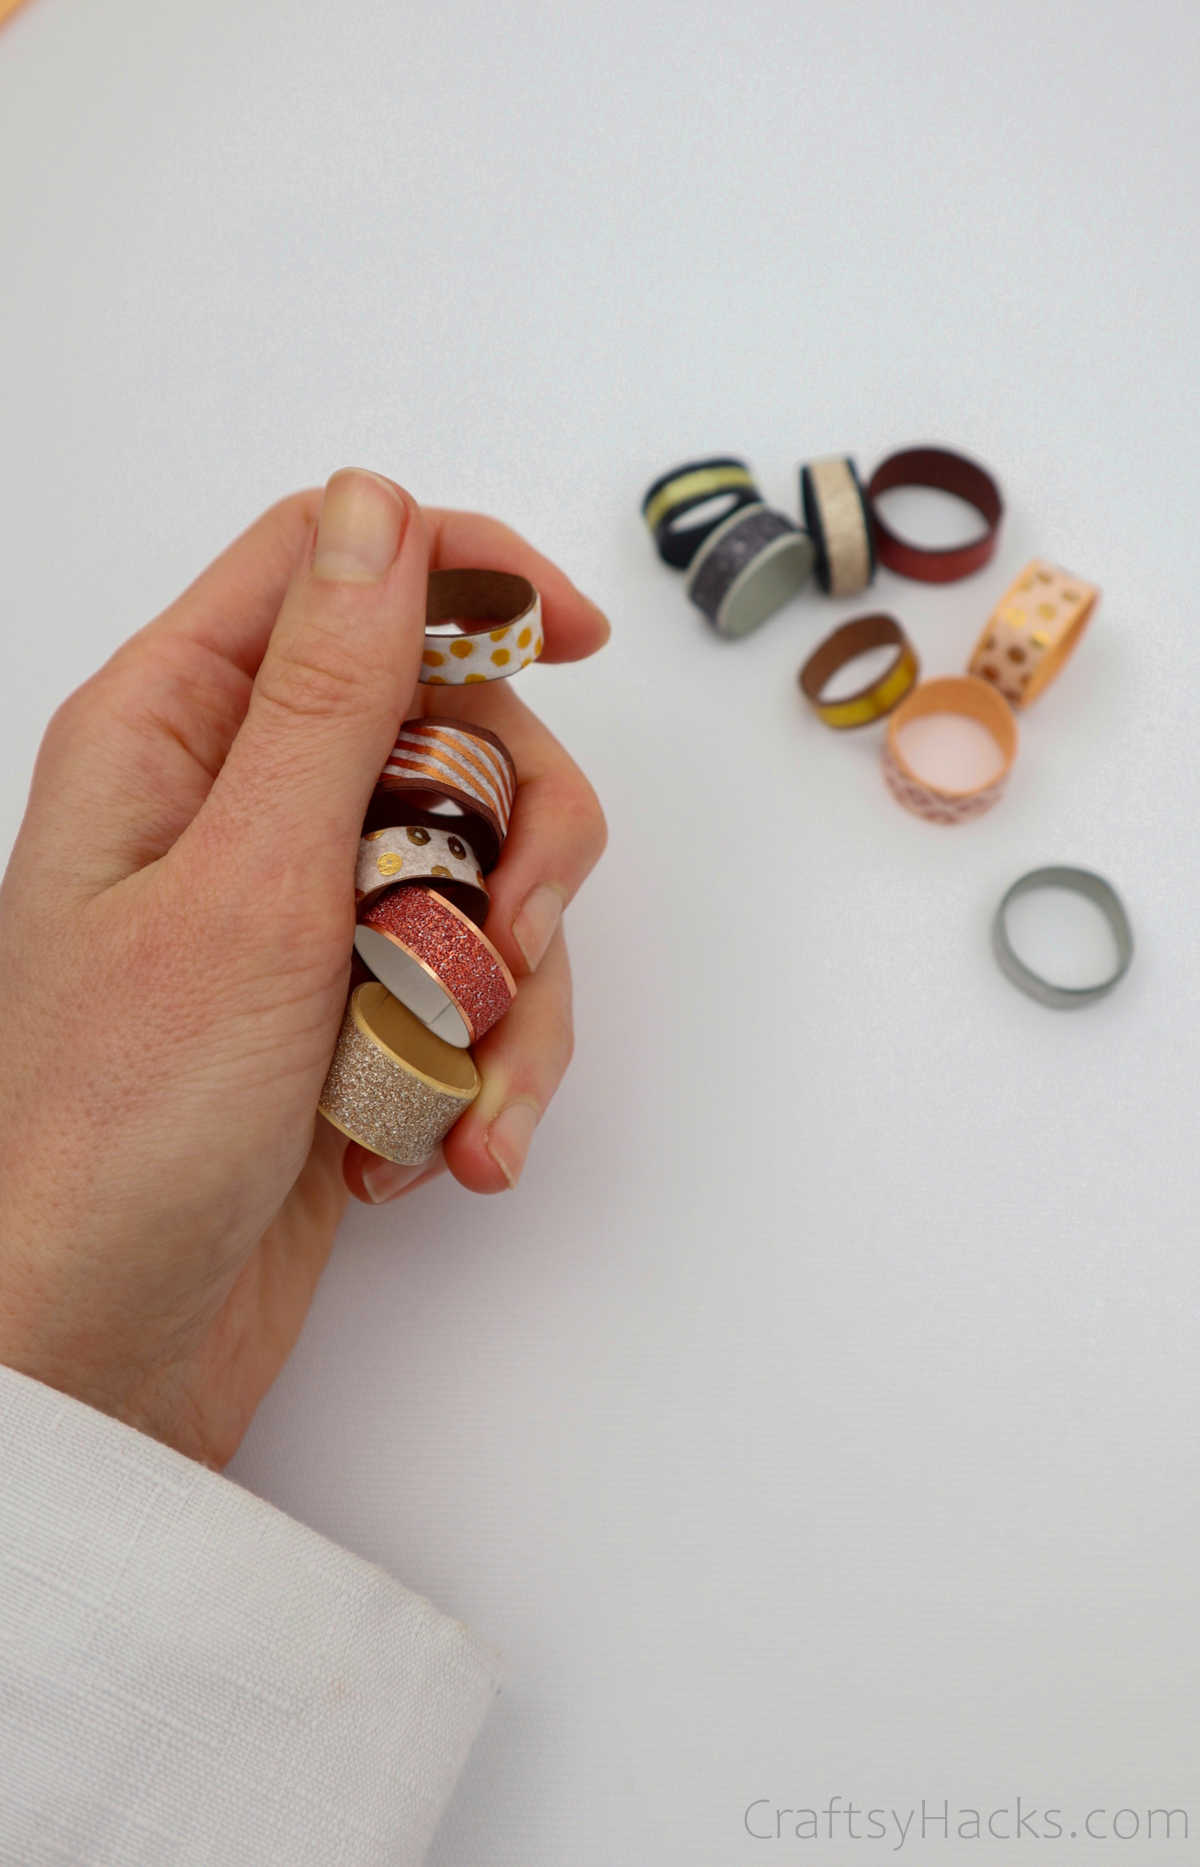
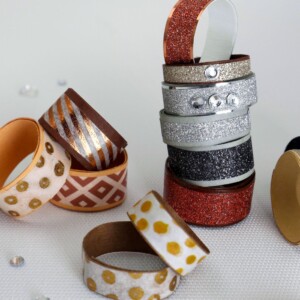
And there you have it— your paper ring is ready. Or at least the base of the ring is. The best part—the decorating—is yet to come!
Step 7
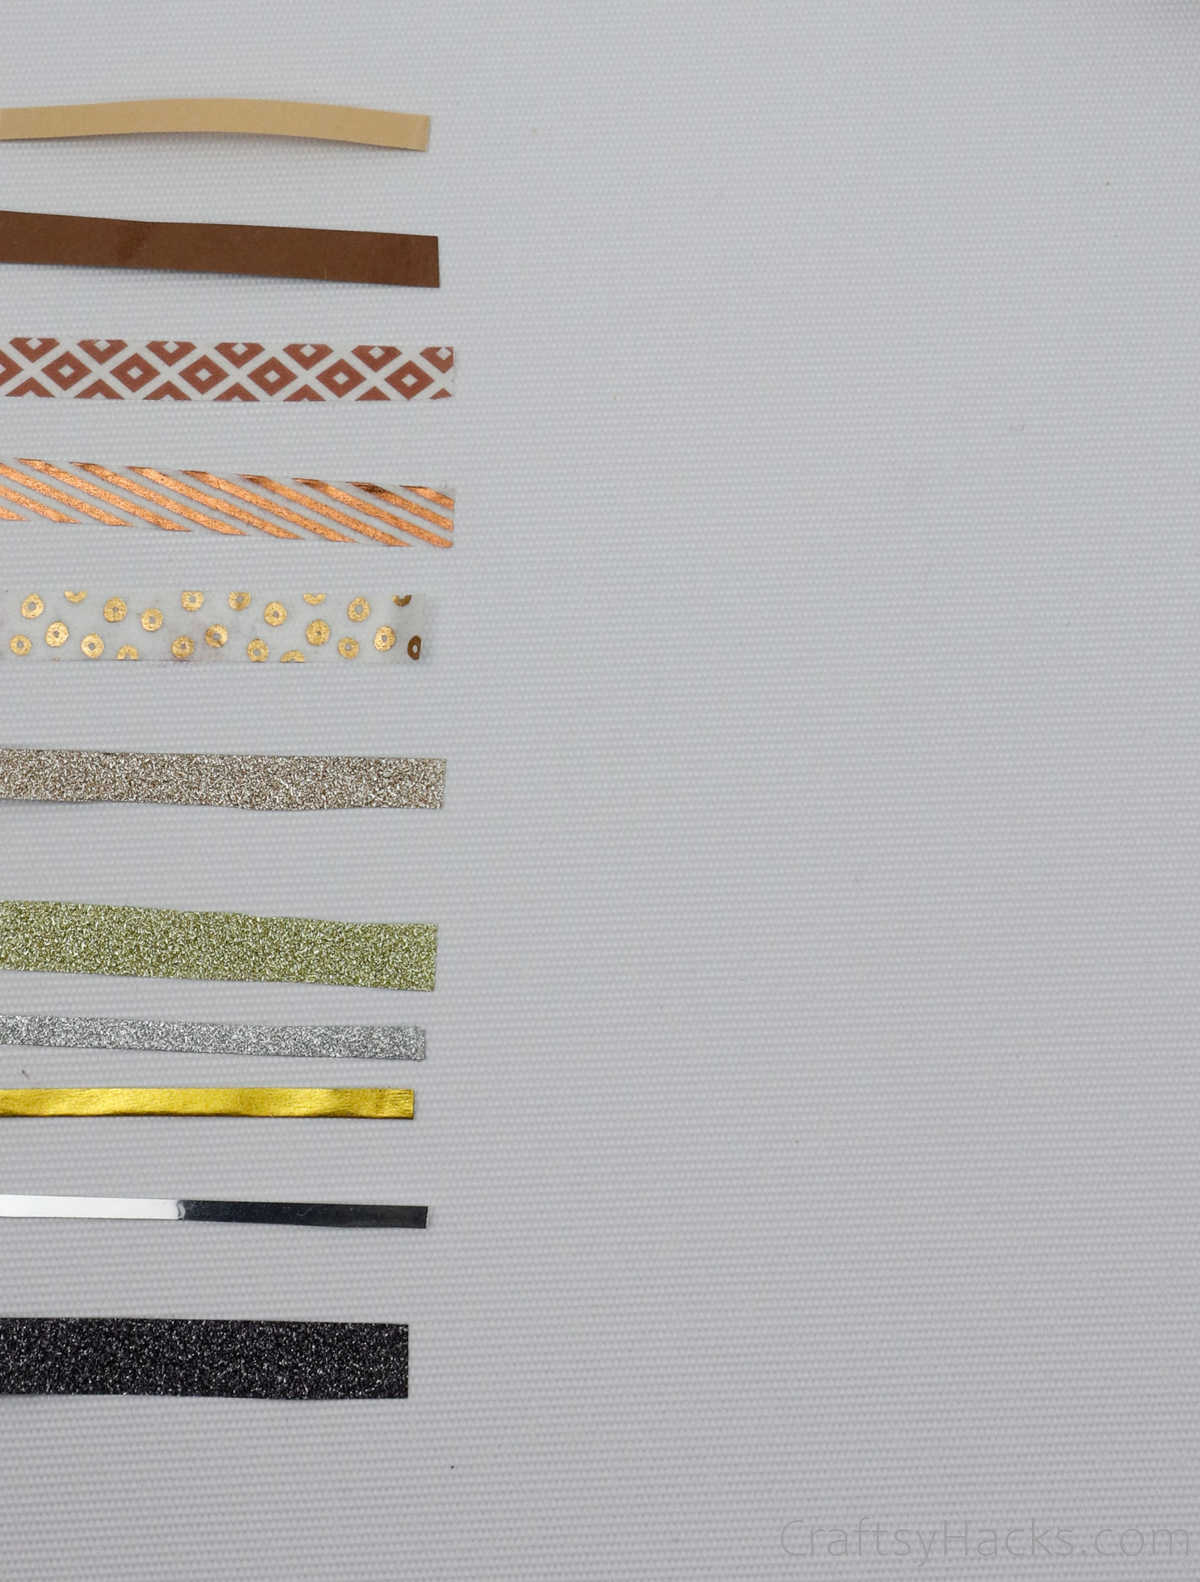
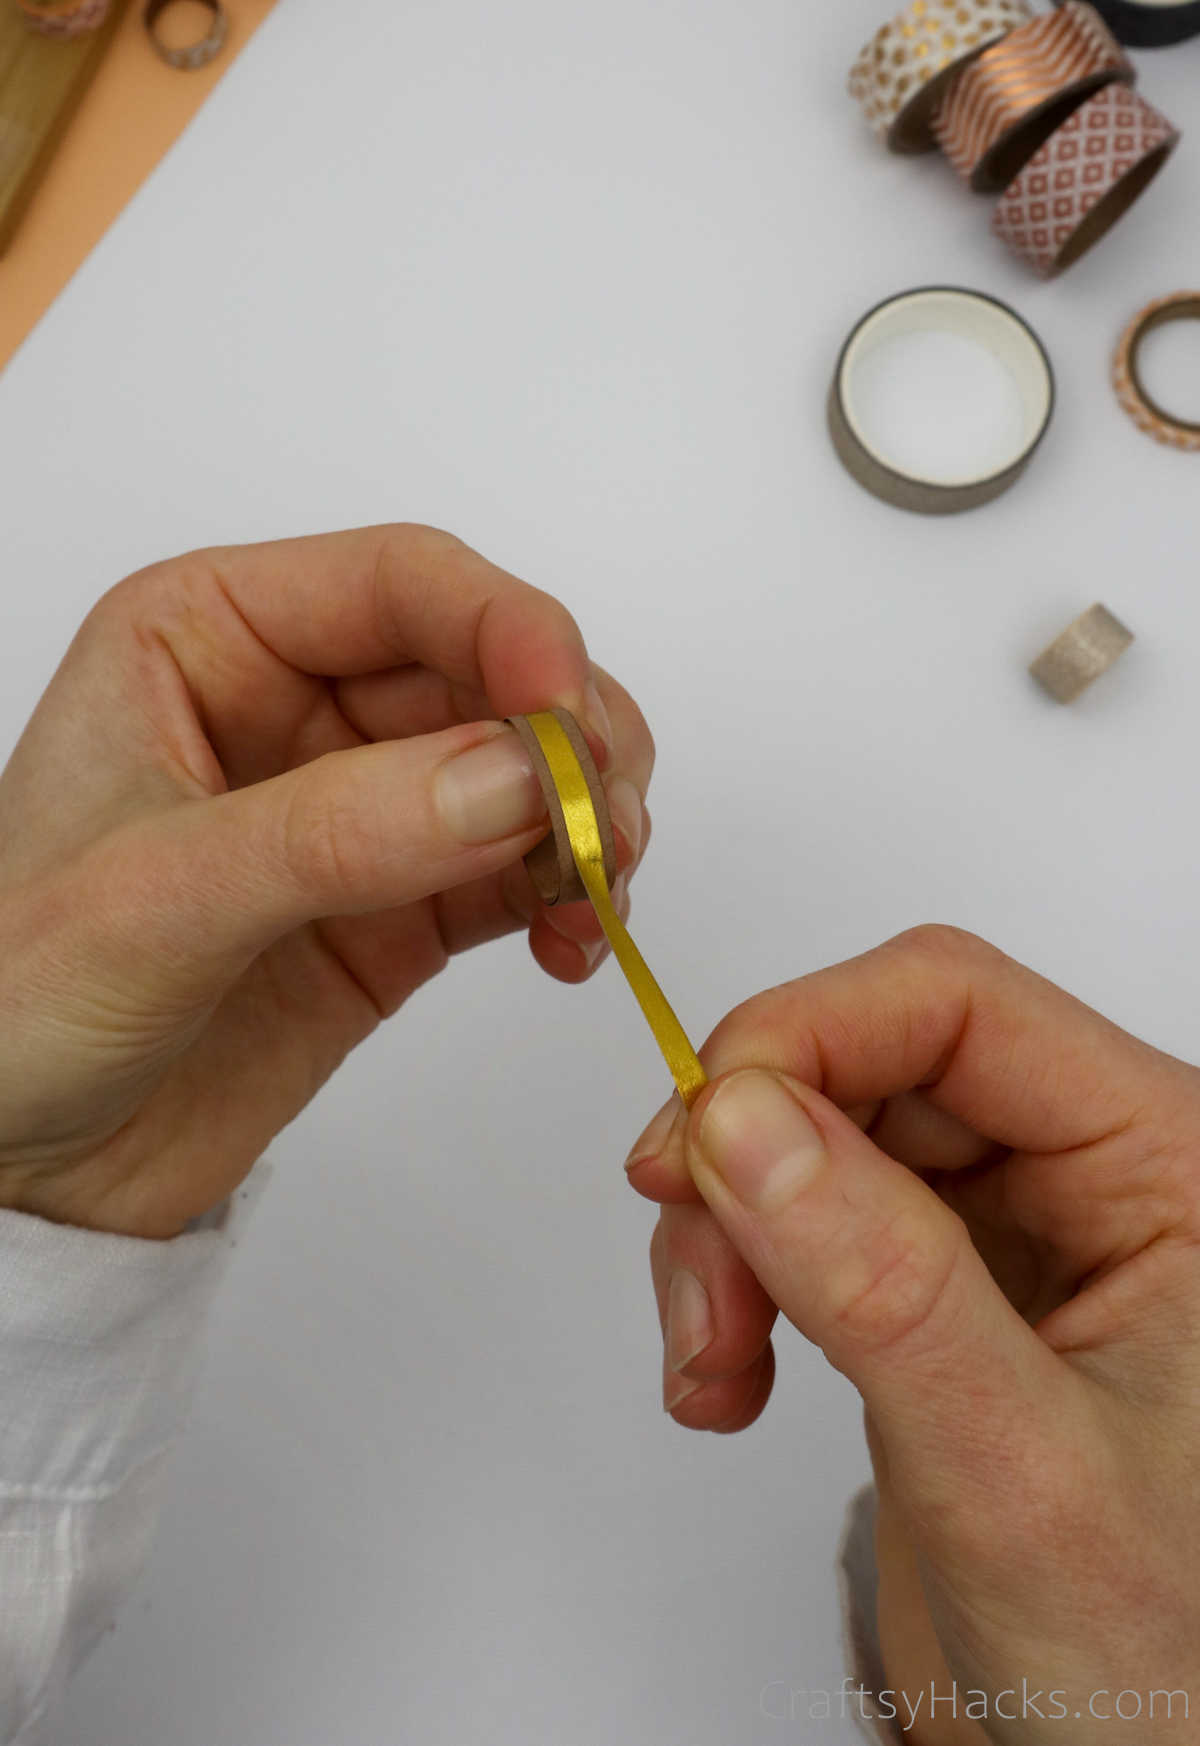
I bet you have a ton of colorful paper, washi tape, and even random scrap paper at your disposal. Go ahead and dig through your stash and pick out your favorite of the lot.
Lay them down on your work surface and figure out which would look best on your ring. Keep in mind that the width of the decorative paper or tape needs to fit the width of the ring.
Step 8
Once you’ve picked your paper out, I always recommend that you do a test run before actually sticking it onto your ring.
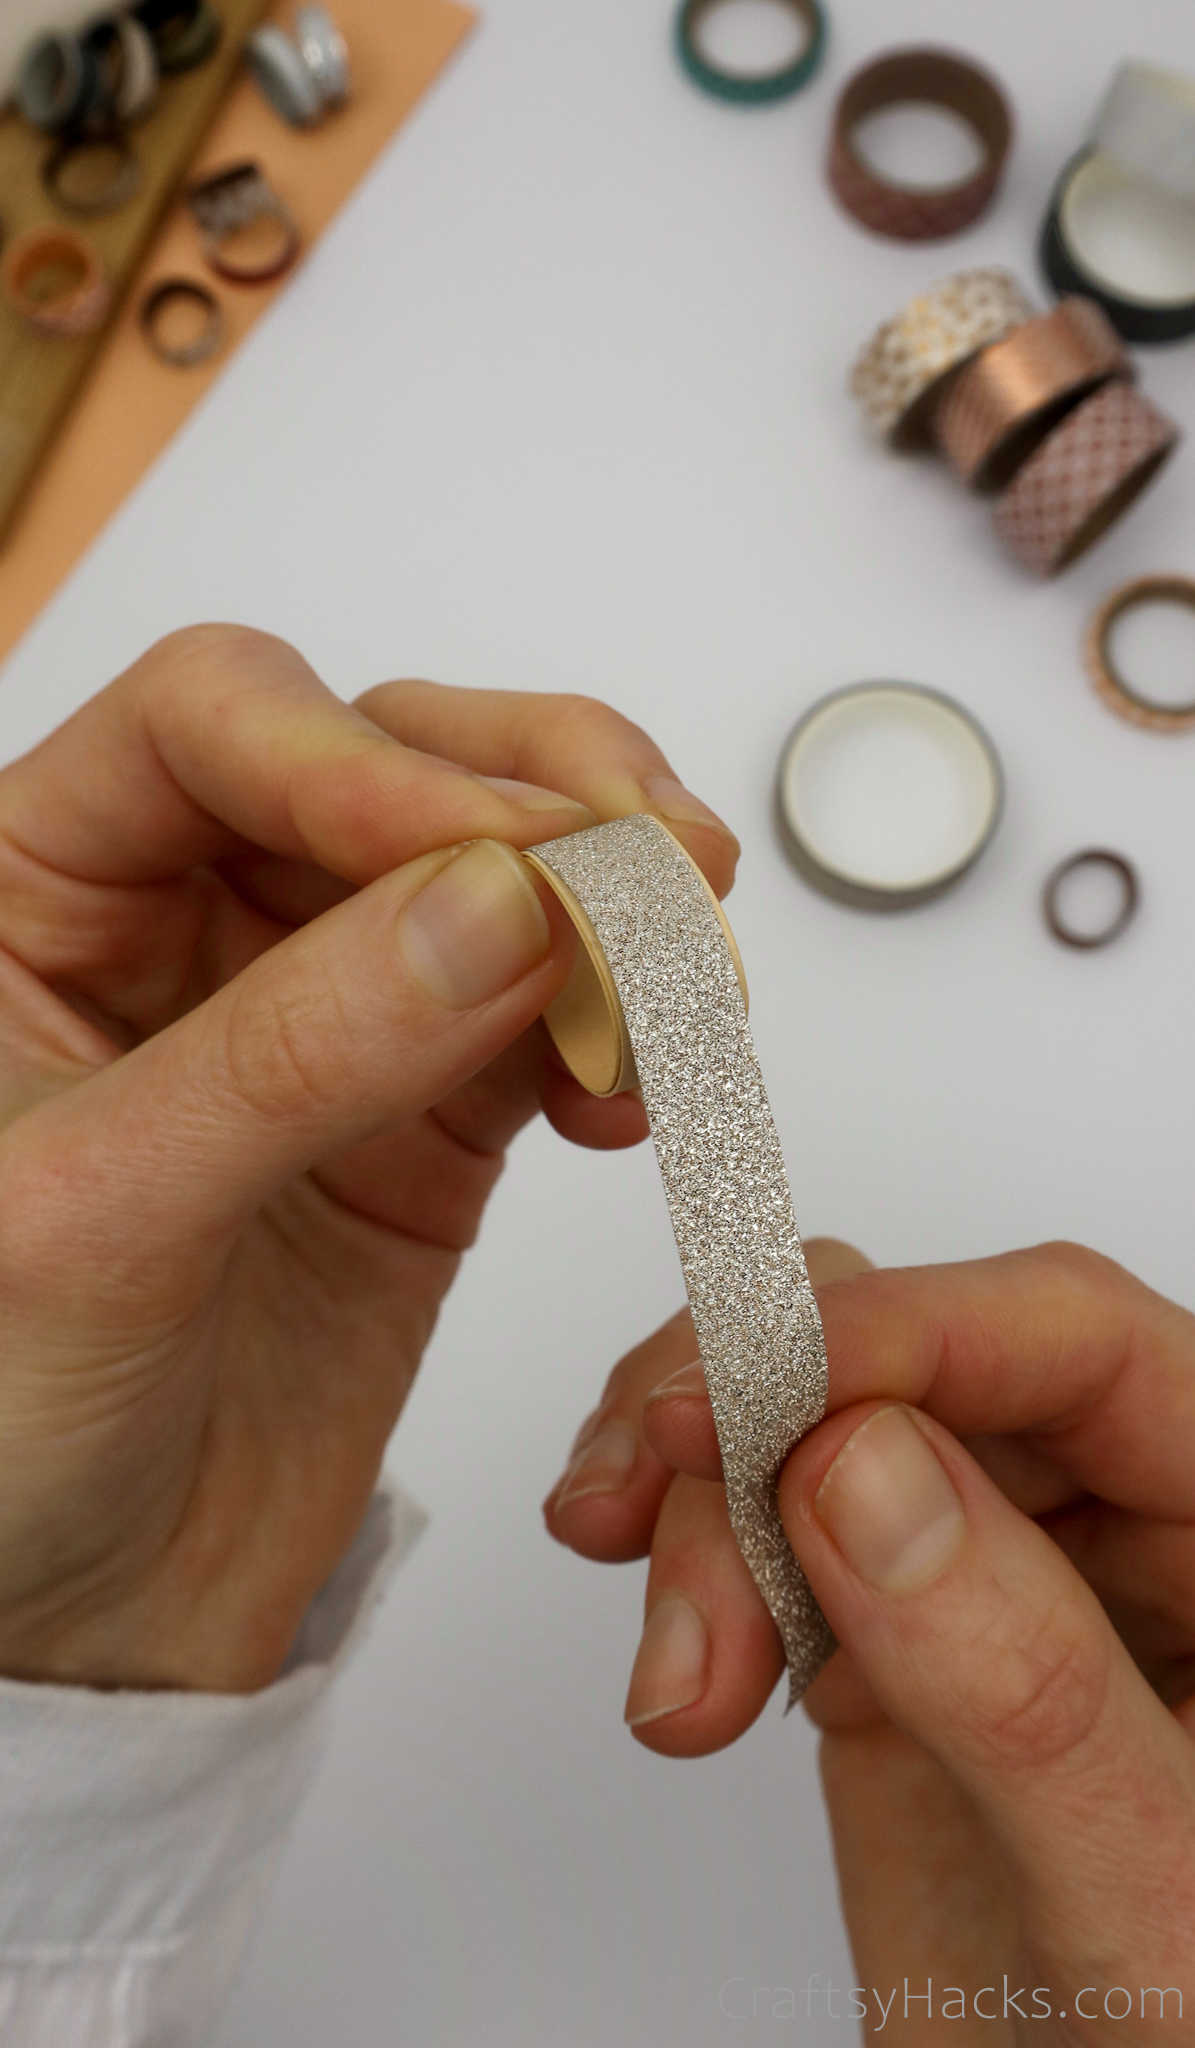
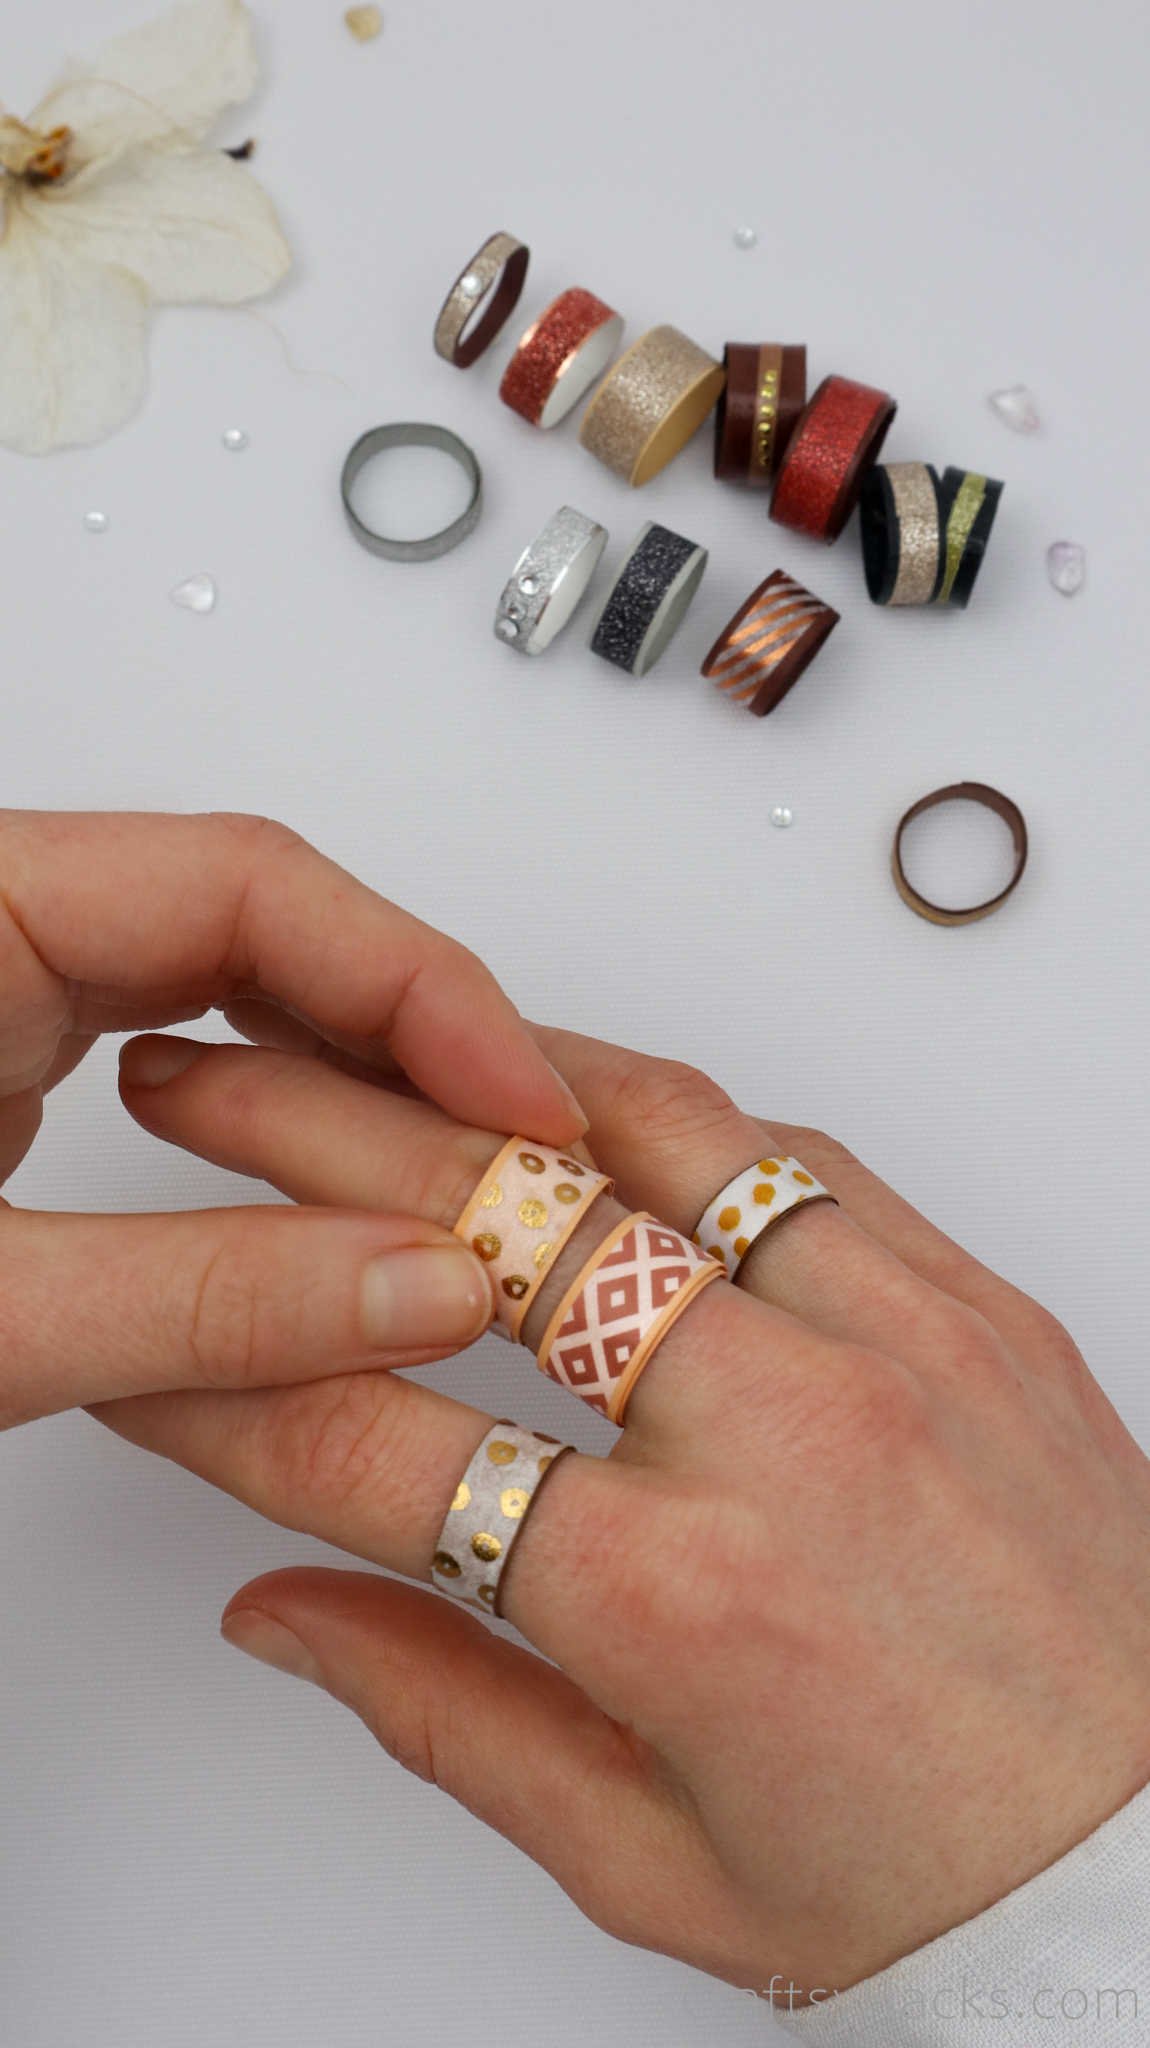
Simply wrap it around your ring to check whether the dimensions are in tandem with each other. Then you can go ahead and stick them over the base of the ring!
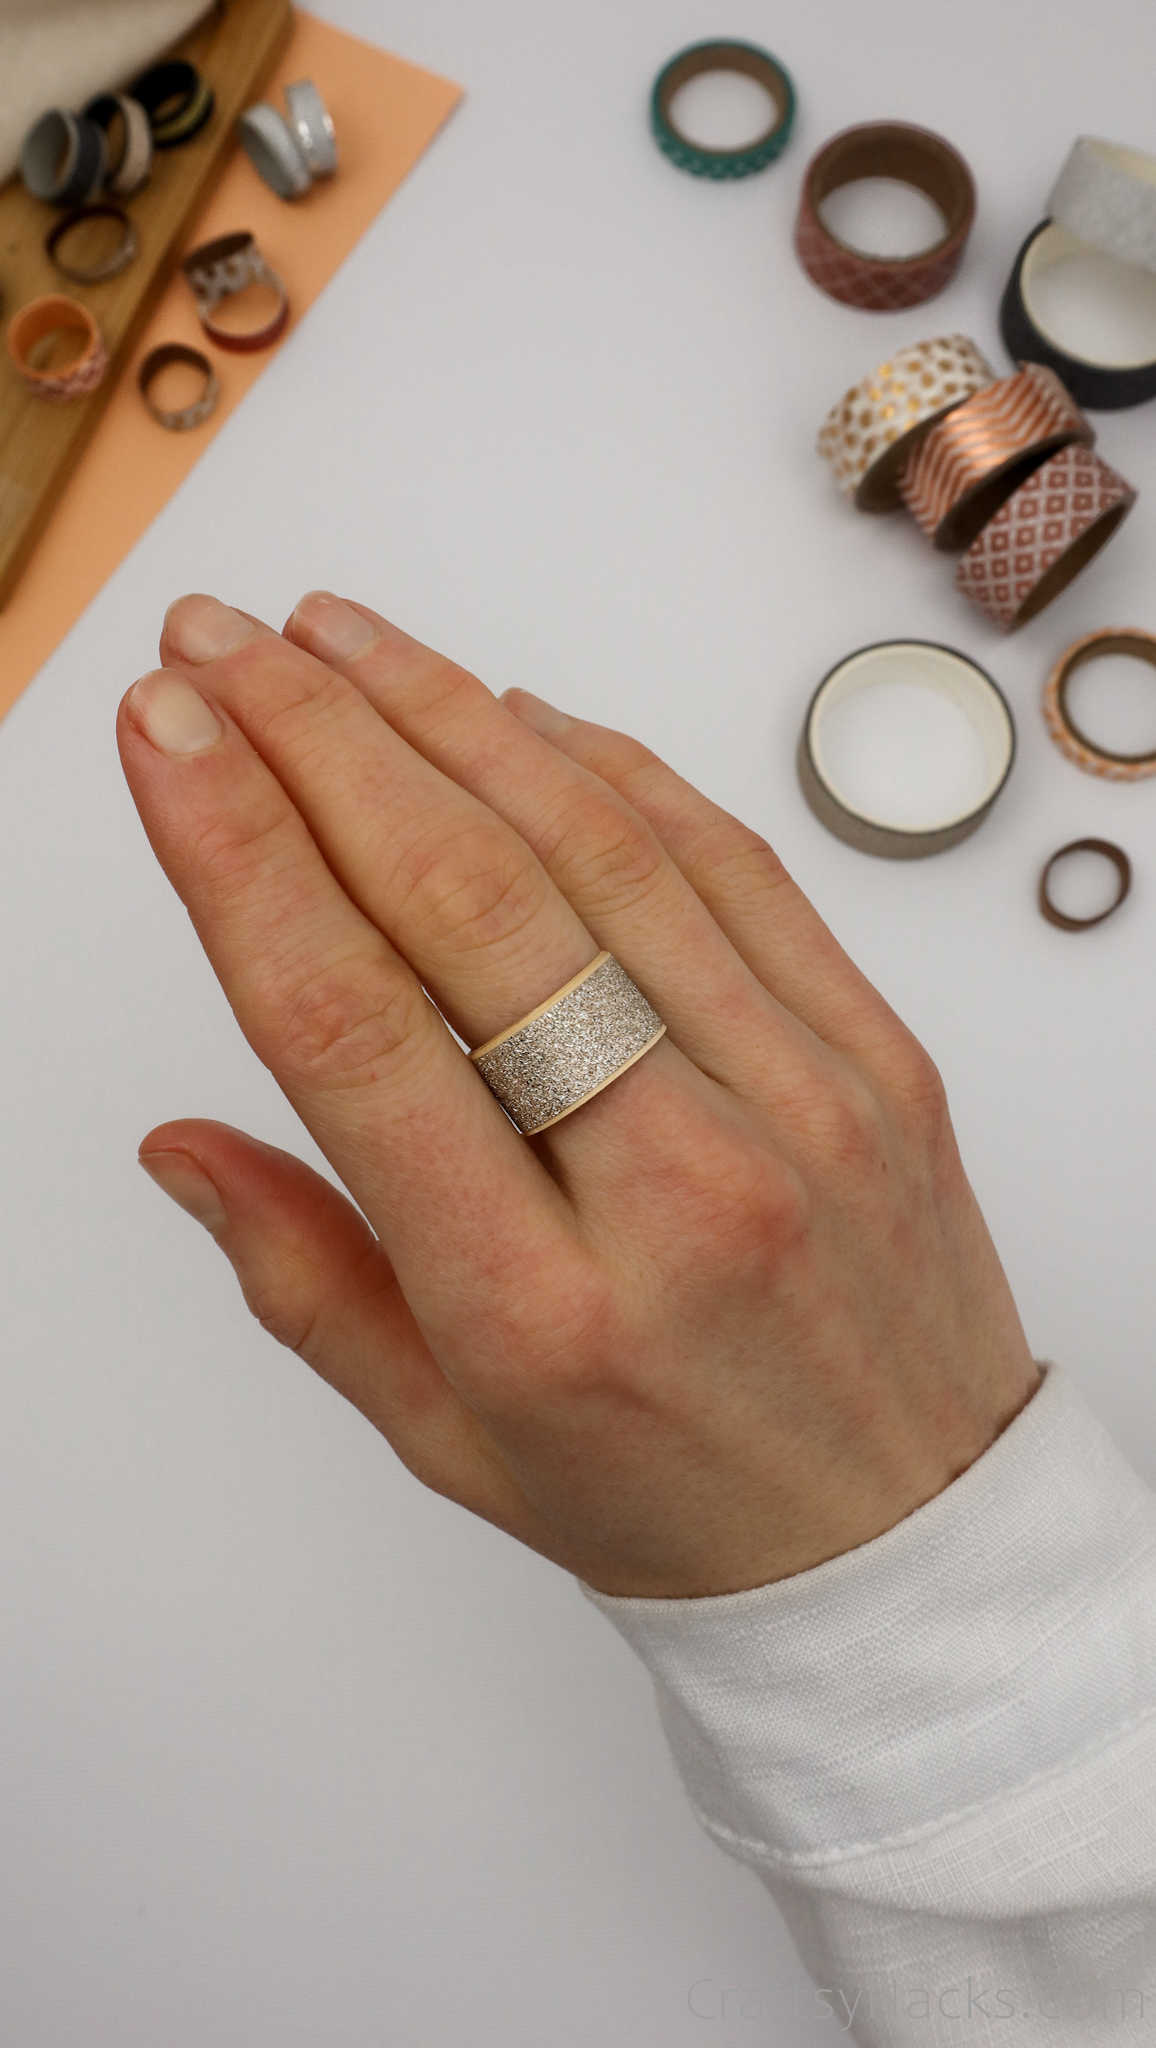
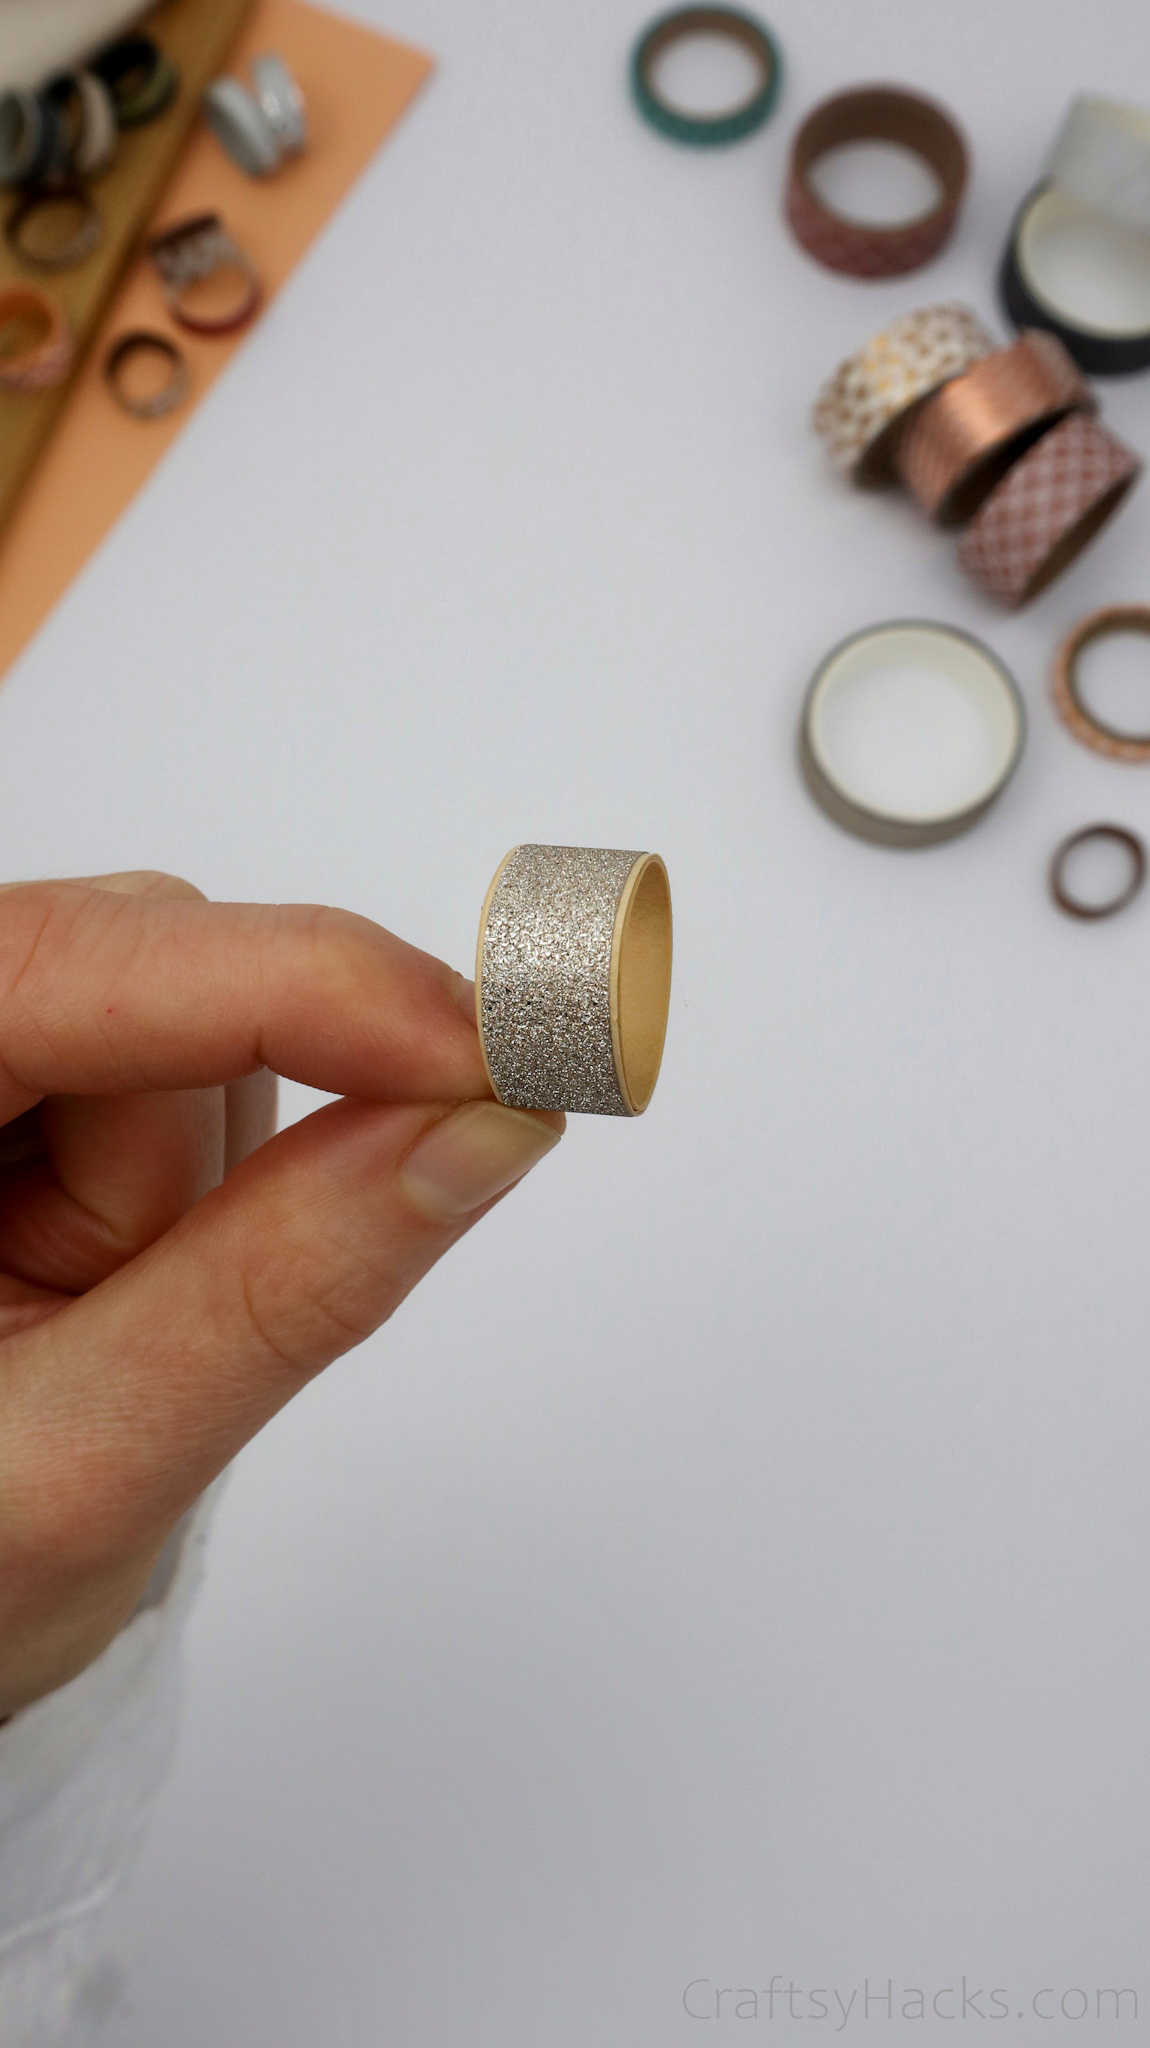
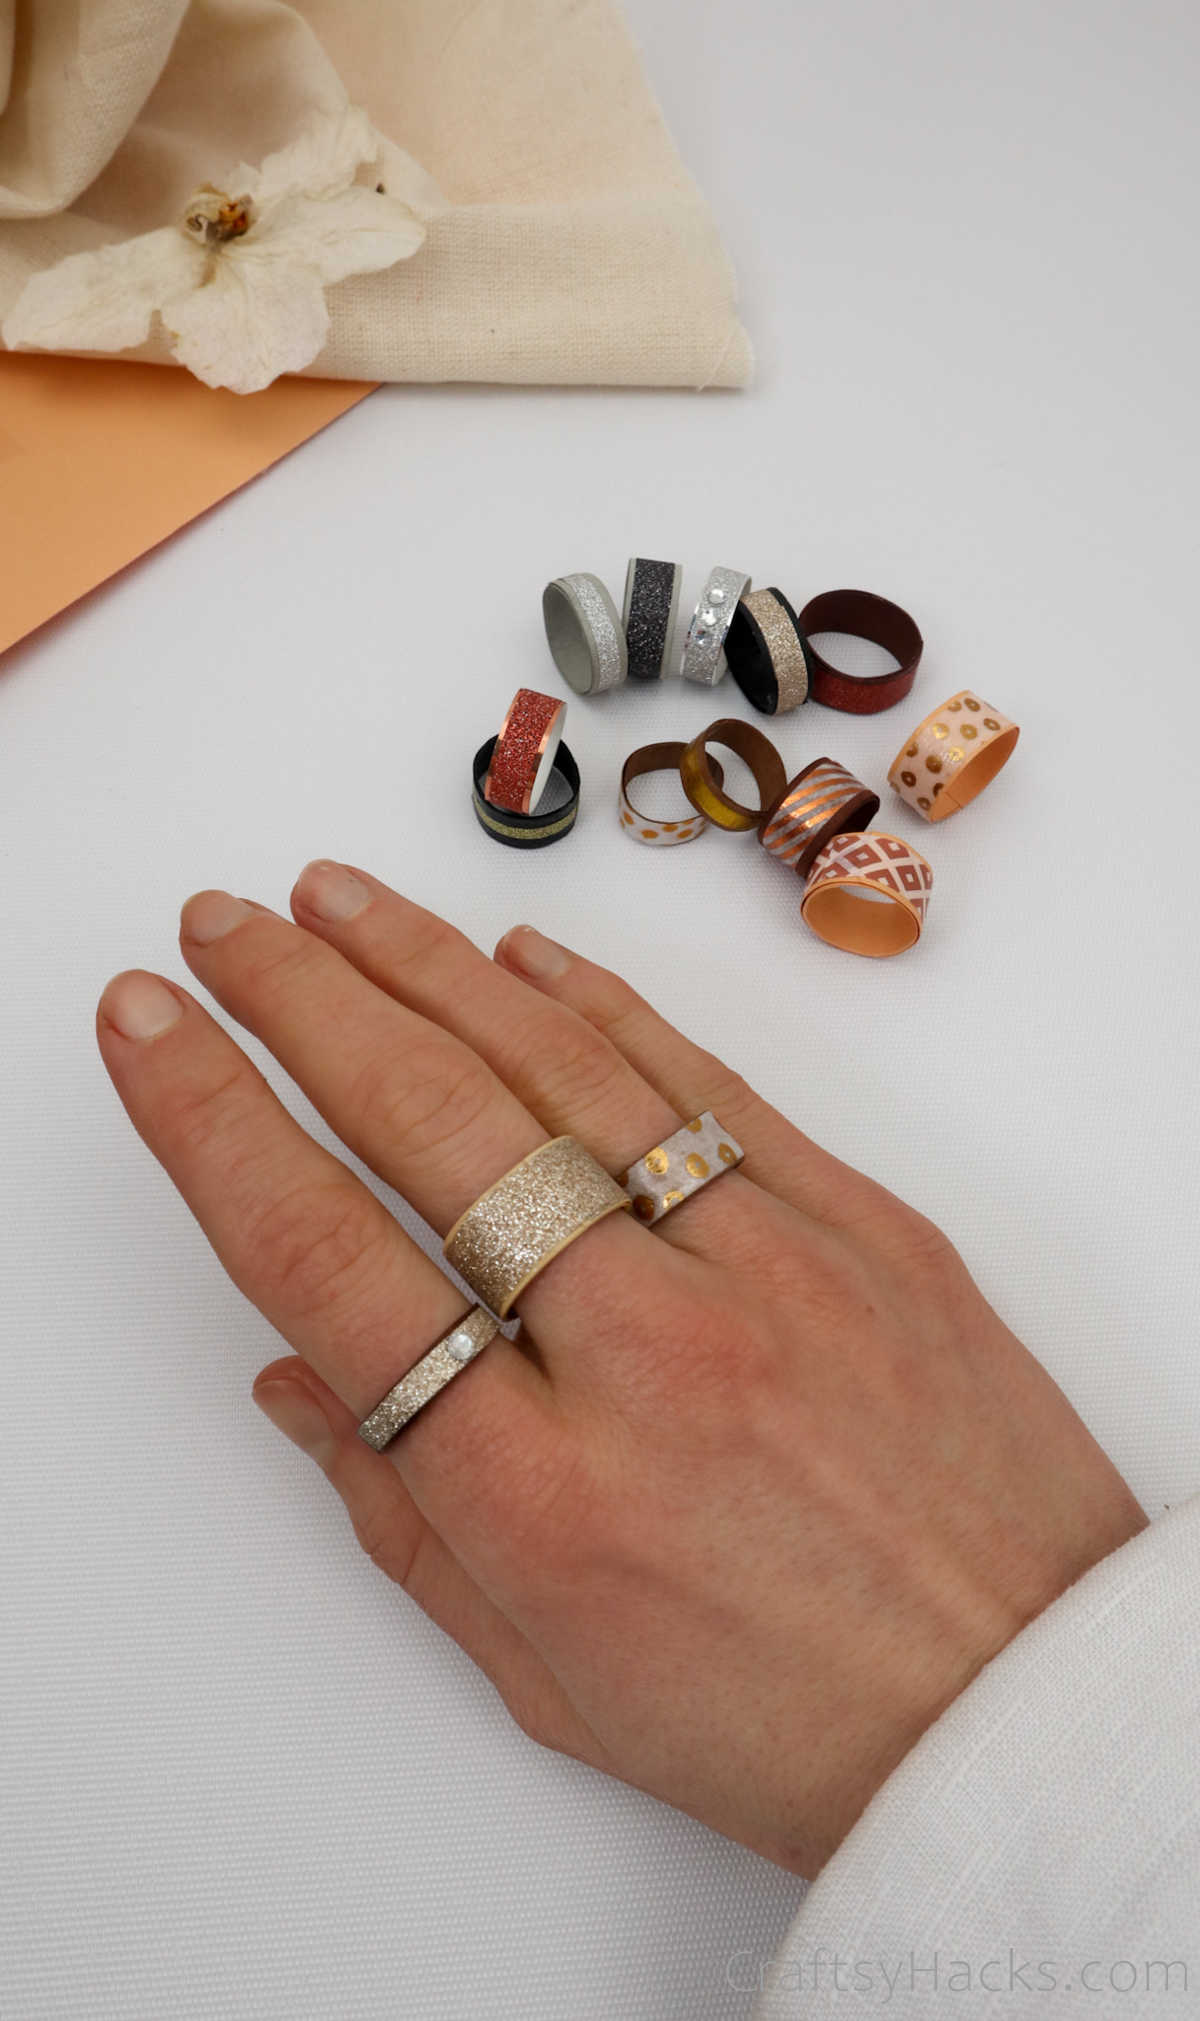
Don’t you just love how elegant and understated these look? You could never tell that they are made from paper, could you?

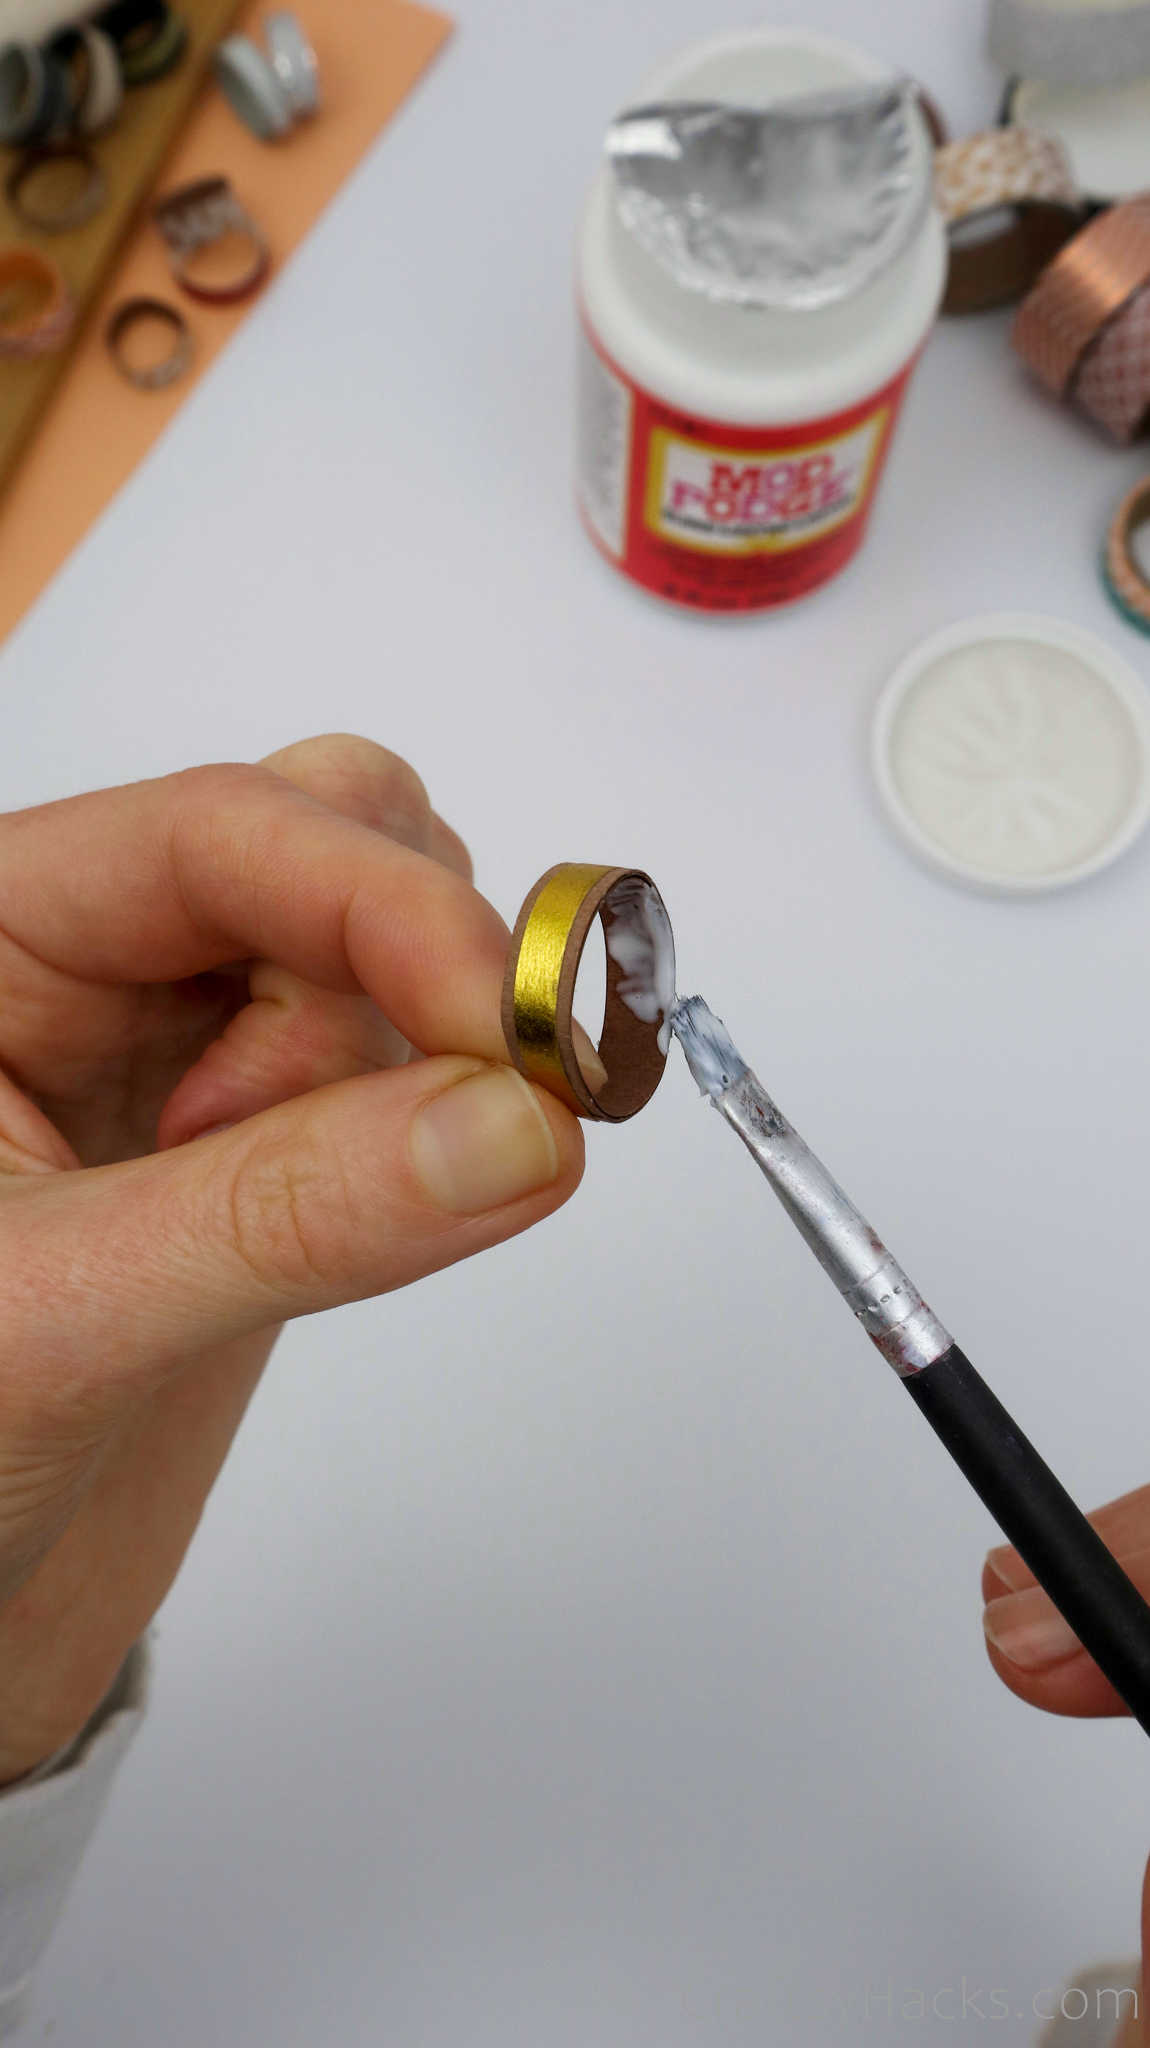
Step 9
There is one last thing that you can do to complete this DIY, and that’s to coat a layer of mod podge over the surface of the ring to ‘set it,’ so to speak. This coating will harden the ring and make it more durable.
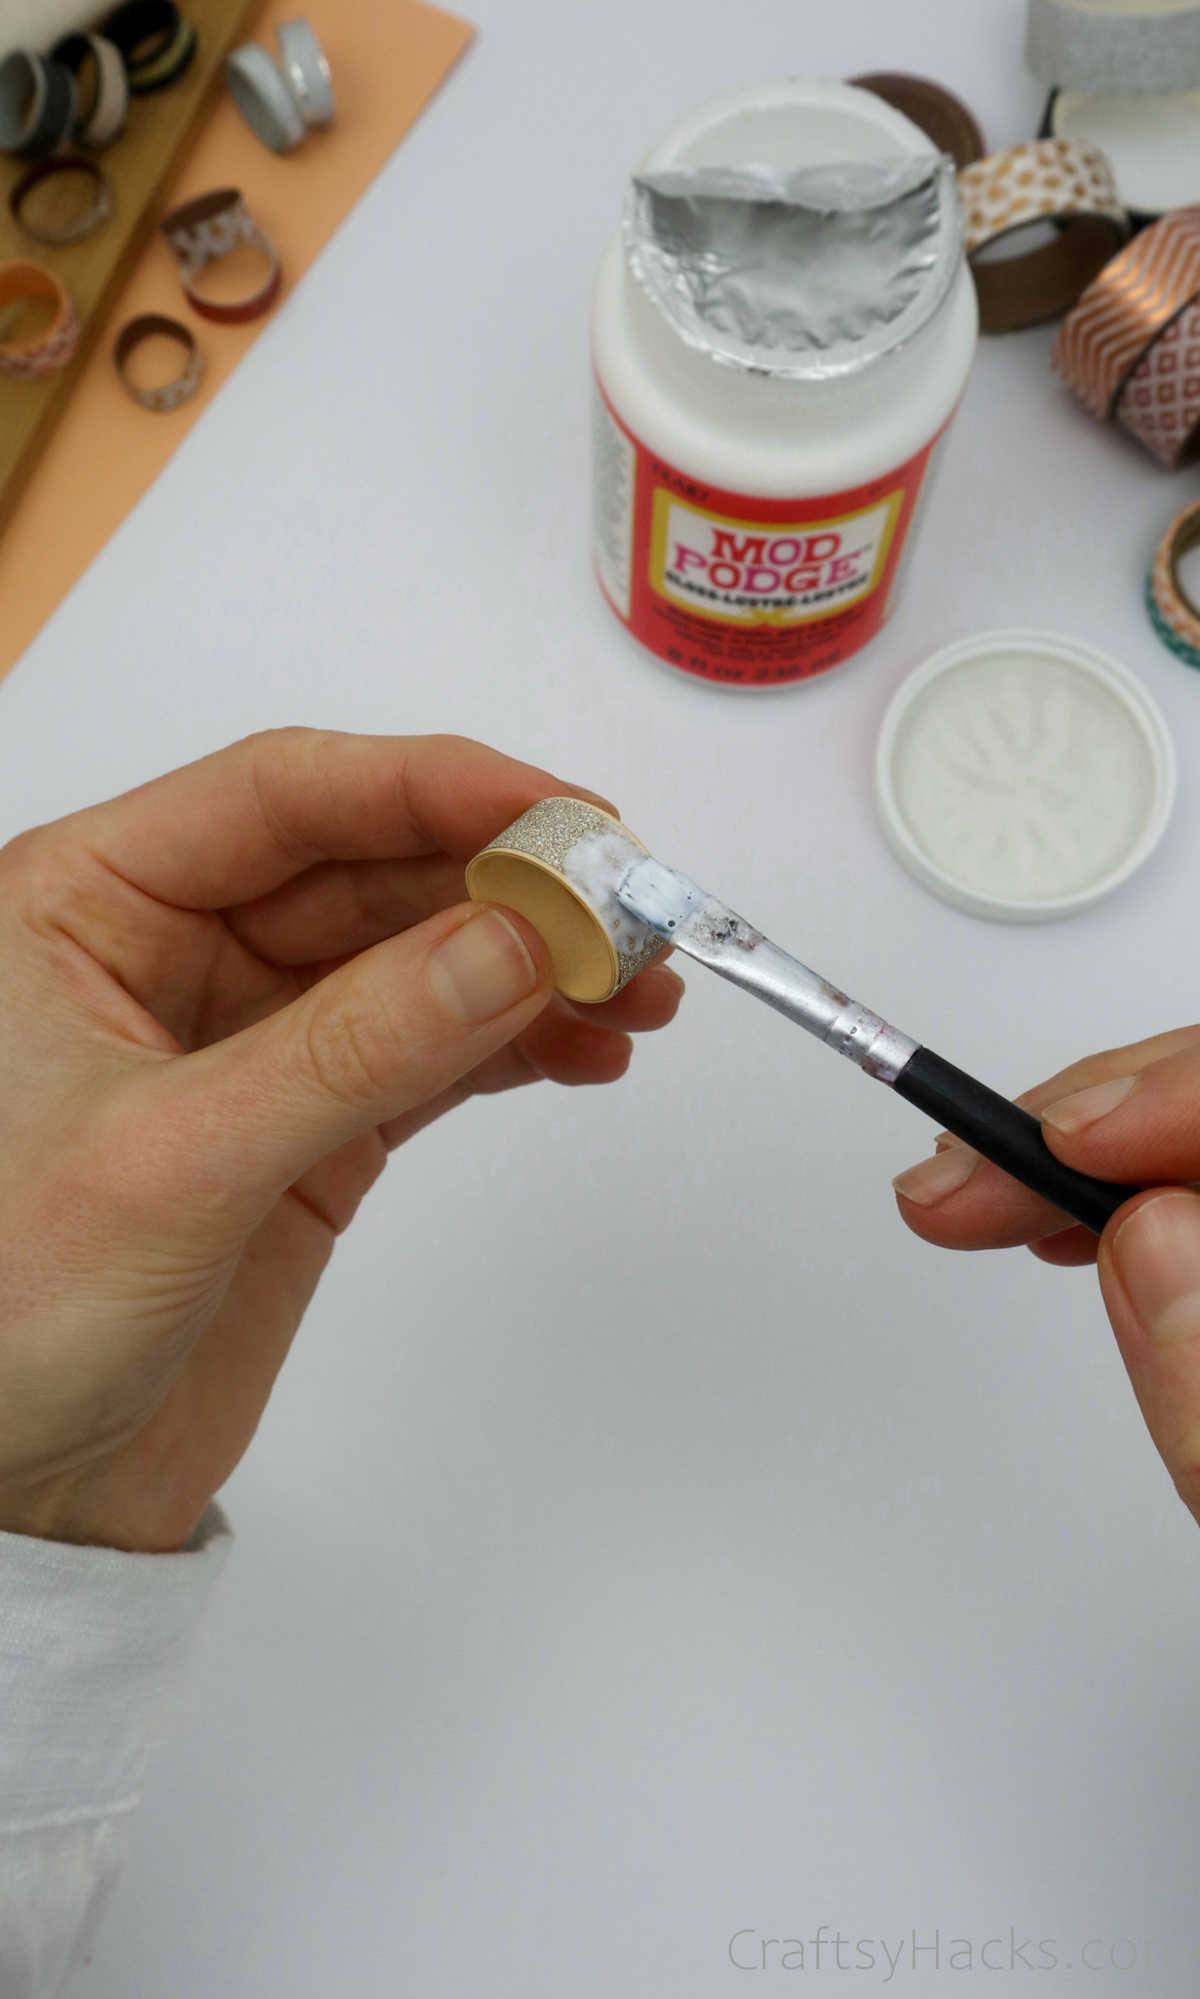
You can also apply a layer of mod podge over the inside of the ring to the same effect.
Step 10
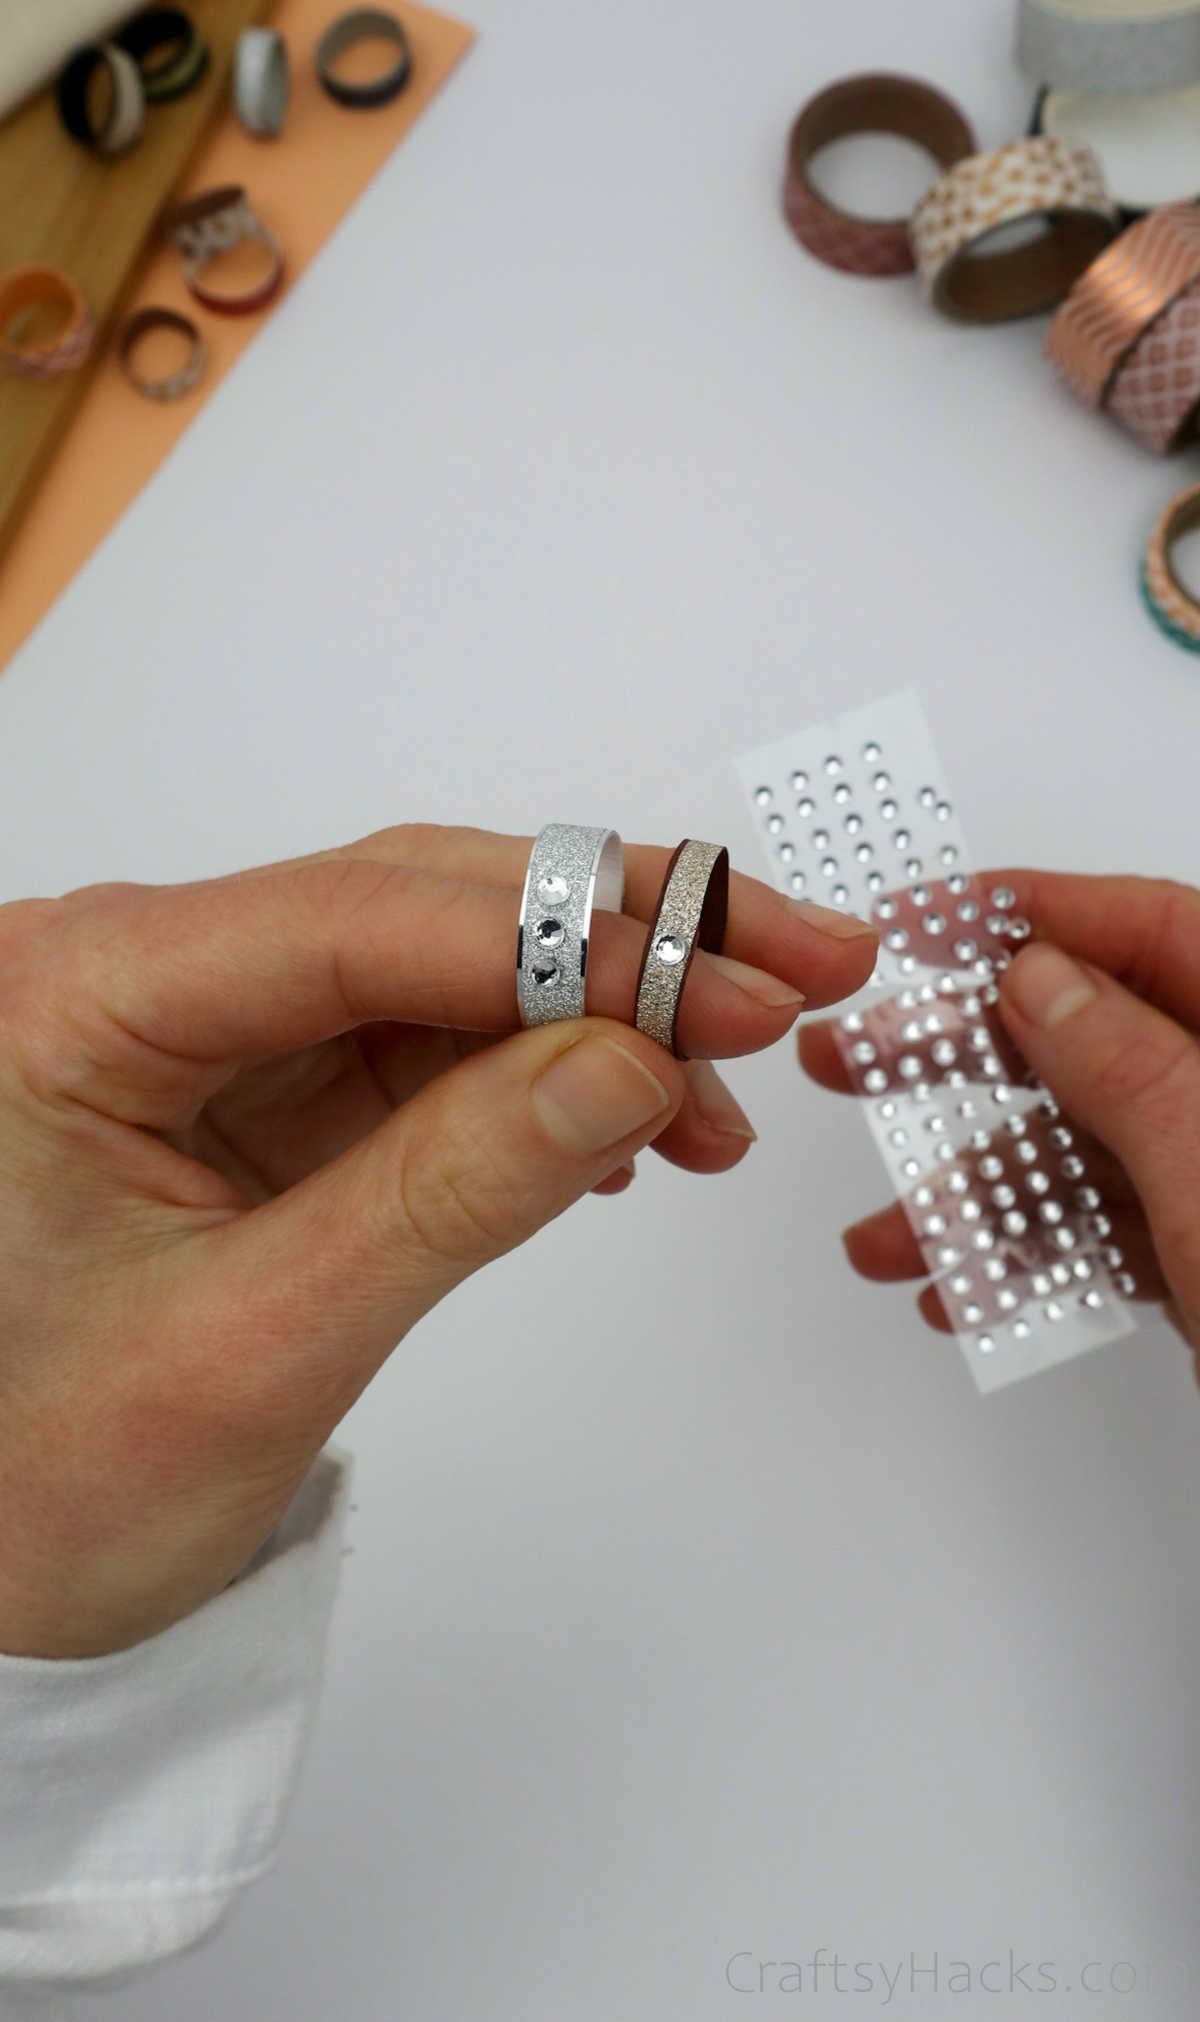
It’s time to sparkle! As shown below, if you’ve got little gem embellishments, go ahead and stick them onto your ring. It might not be a diamond, but it sure does sparkle!
Once you start making these rings, it can be pretty hard to stop when you realize how easy and how fabulous they are. You can make a ton of them and keep them for later to give as party favors!
Other Crafts You Can Make
- Construction Paper Crafts
- Summer Crafts for Kids
- Paper Crafts
- Cute Crafts for Girls
- DIY Rings
- How to Make Paper Envelope
- Tissue Paper Crafts
- DIY Wire Rings
- Picture Frames
- DIY Wallets
- Paper Crafts
- Crafts for Kids
Full Video Tutorial
How to Make a Paper Ring
Video Tutorial
Equipment
- Ruler
- Scissors
Materials
- Craft paper 8” long
- Washi tape
- Craft glue
- Mod Podge
- Flatback crystals
Instructions
- Grab your materials to get started on your DIY paper ring.
- You will need to measure and subsequently cut out long strips of paper. This will be the base for your ring. You will need to keep the width of the paper in mind as it will determine how wide your ring will sit on your finger.
- Hold the paper in between your fingers and carefully roll the paper once around the finger you plan to make the ring for.
- Fold the paper when you’ve wrapped it around your finger once. This will be the ring size.
- Apply a little adhesive to the back of the fold you just made.
- Next, bring the curved end around and stick it over the spot you just applied the adhesive to. Then, carefully start rolling the ring, making sure that the edges are aligned. Stick the end in place with a layer of adhesive.
- Alternatively, you can also apply spots of glue along the length of the ring and simply roll it in one single motion rather than folding it over, like you read about earlier.
- Allow the glue to dry before you wrap your decorative paper or washi tape over the base of the ring.
- Coat the insides and top surface of the ring with mod podge and allow it to dry. This will ‘set’ your paper ring, making it more wearable and durable.
- Finally, you can decorate it with sticker gems and other tiny embellishments.


