DIY Paper Wallets for Kids to Make
This post may contain affiliate links: full affiliate disclosure.
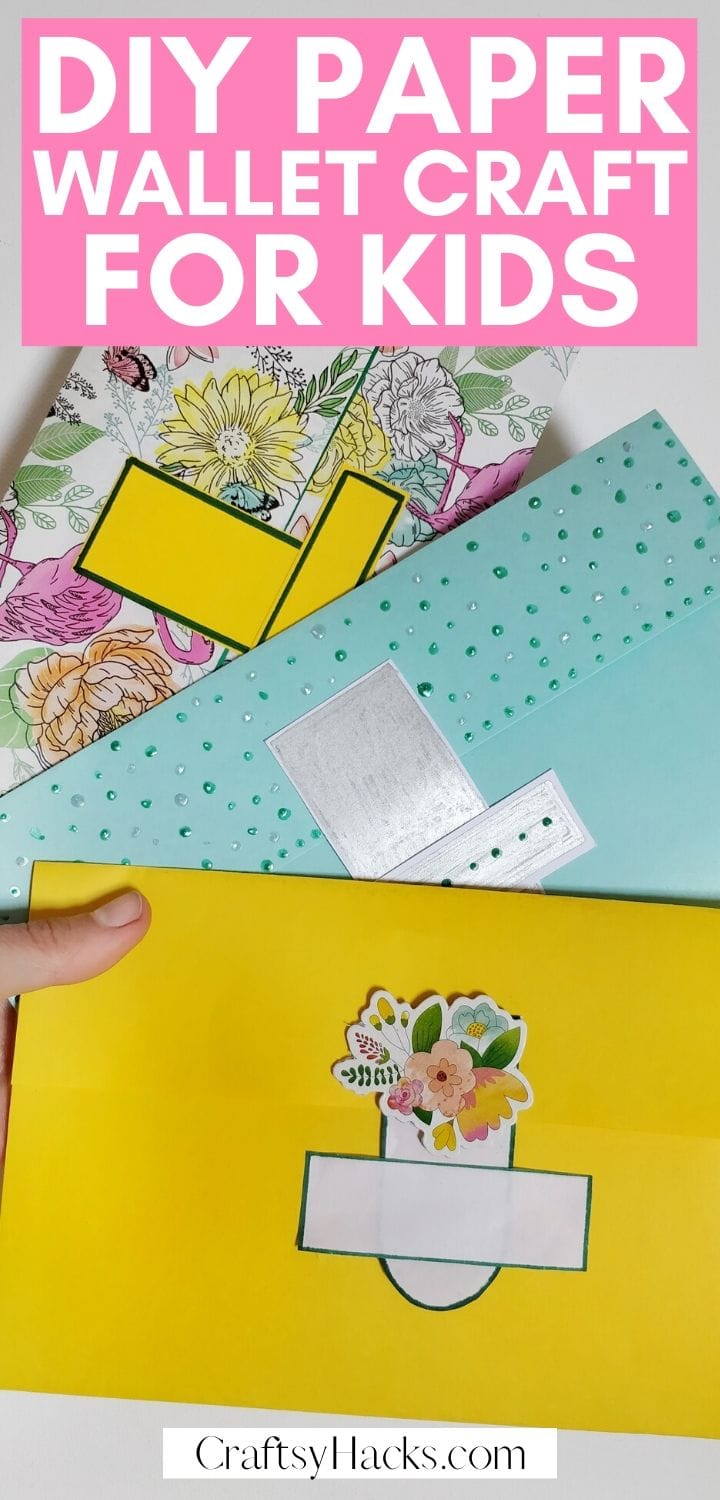
Get crafty with these DIY paper wallets. A great craft to make with kids.
Want to bring out the creative side of your kids? Try crafting these easy, attractive, and nifty wallets with only a handful of supplies and very little time.
Creative craft is an exciting way to keep your kids away from phones and iPad. Help your child dial back the excessive gadget use by doing something fun and exciting, like these DIY paper wallets that are useful in so many ways.
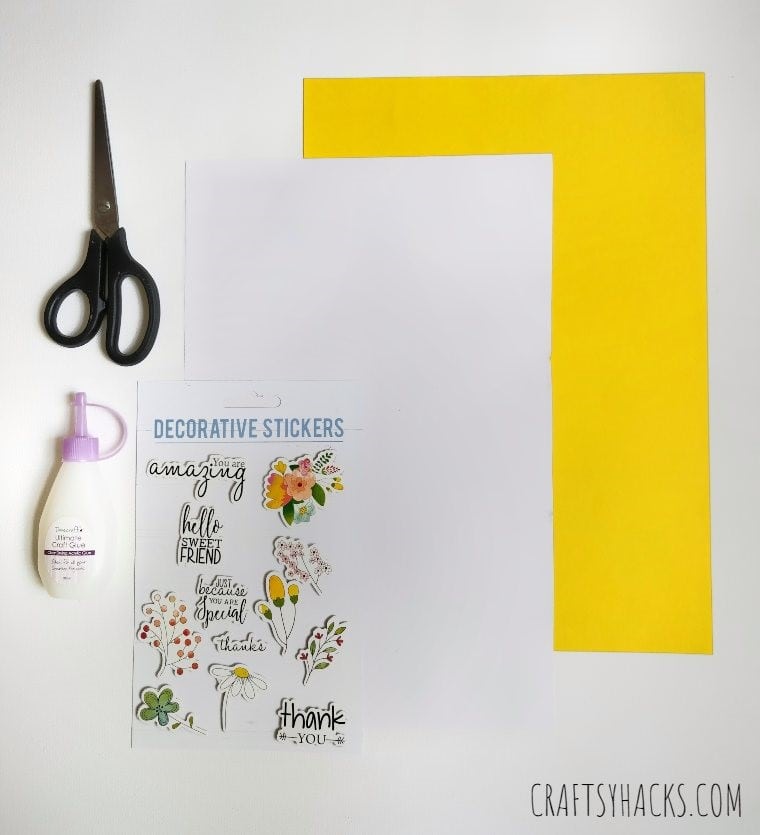
Supplies You’ll Need for Wallets
- Scissors
- Glue
- Two sheets of A4 paper
- Decorative stickers
How Do You Make a Homemade Paper Wallet?
A paper wallet is effortless to make! The best part about it is most of what you need is already sitting somewhere in your home. With just two sheets of paper and the creative heads of your young ones, you can create these beautiful wallets in only about 30 minutes.
STEP 1: Prepare Your Supplies
Collect all the supplies you will need beforehand. Choose your favorite colors and stickers for your wallet.
Here are a ton of stickers to choose from.
Once you have all the supplies handy, you are ready to move to the next step. Let the fun begin!
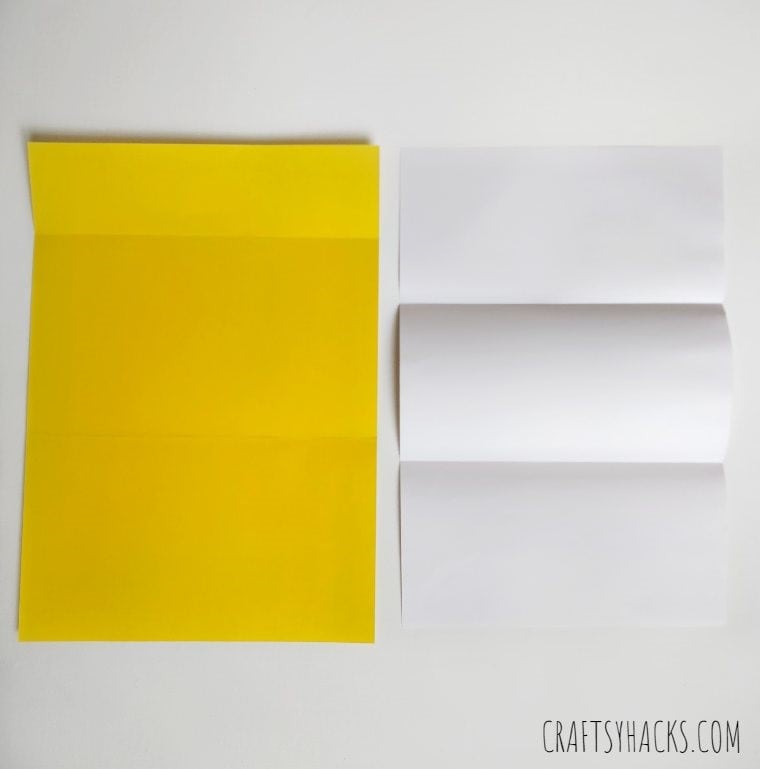
STEP 2: Create Creases
Lay the sheets on the table to take measurements for the folds.
On the first sheet (that is the sheet you will use to make the body of the wallet) make two folds, dividing the sheet into three parts.
The first and second parts should have the same size, covering 2/5th of the sheet each, and the third part with the 1/5th portion of the sheet. (Just like the yellow sheet above).
Fold the second sheet in three parts, as shown in the picture above (white sheet).
STEP 3: Get Folding
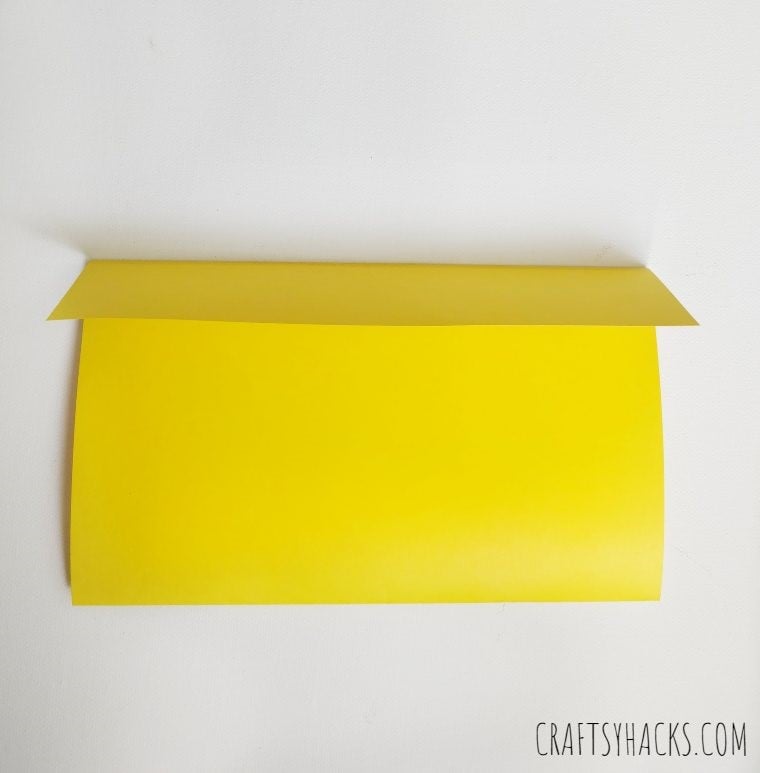
For the third step, take the first sheet and fold it following the creases you made earlier.
Fold the bottom of the paper up to the first mark. Fold the paper on the top over the first fold.
Use the first fold as your guide to get it right. You should have two equal folds and overlap at the top.
STEP 4: Zigzag Folds
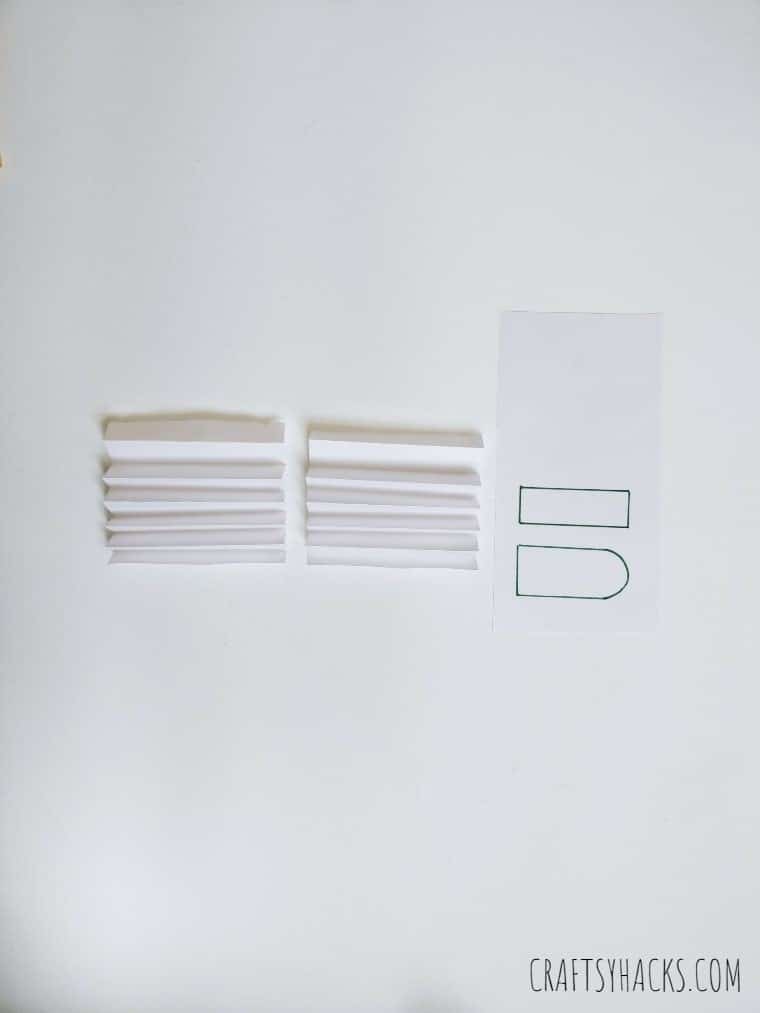
In this step, you are going to use the second sheet.
Follow the fold lines to cut the sheet into three parts. You are going to need all three of them, so keep them carefully.
Fold the first two pieces in horizontal zigzag folds (like an accordion) and set them aside.
Now take the third piece and draw a rectangle across the breadth of the paper. Draw a slightly wider rectangle keeping one side rounded as shown in the picture.
Cut both drawings using your scissors.
STEP 5: Assemble the Wallet
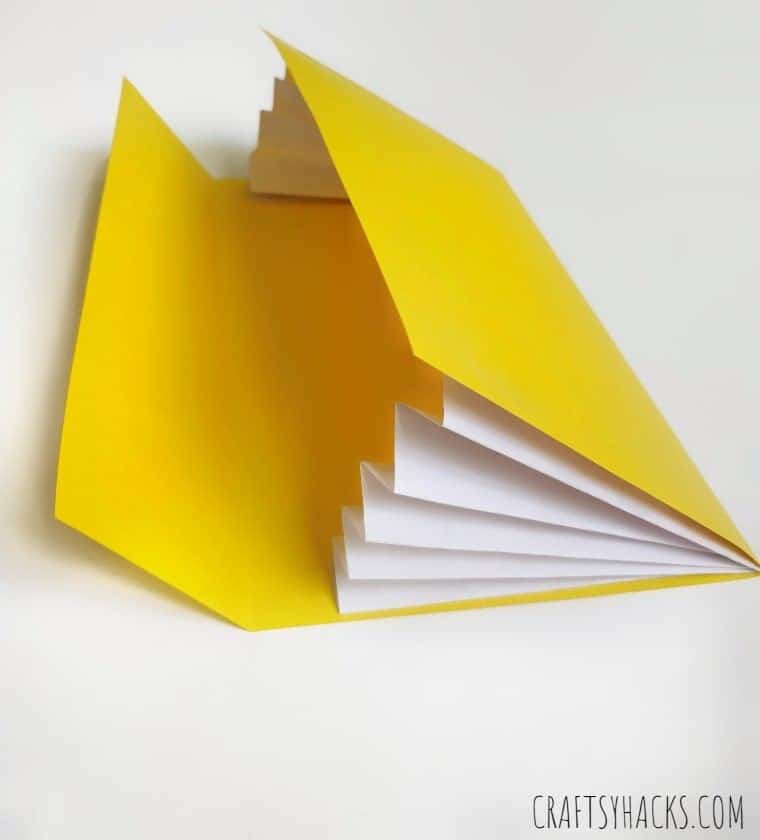
Put some glue on both the top and bottom strips of the accordion sheets. Glue these to the insides of the first sheet (yellow in this case). Repeat it on both sides and let the glue dry.
Adding the zigzag makes the wallet more spacious, and you can keep so much stuff in there.
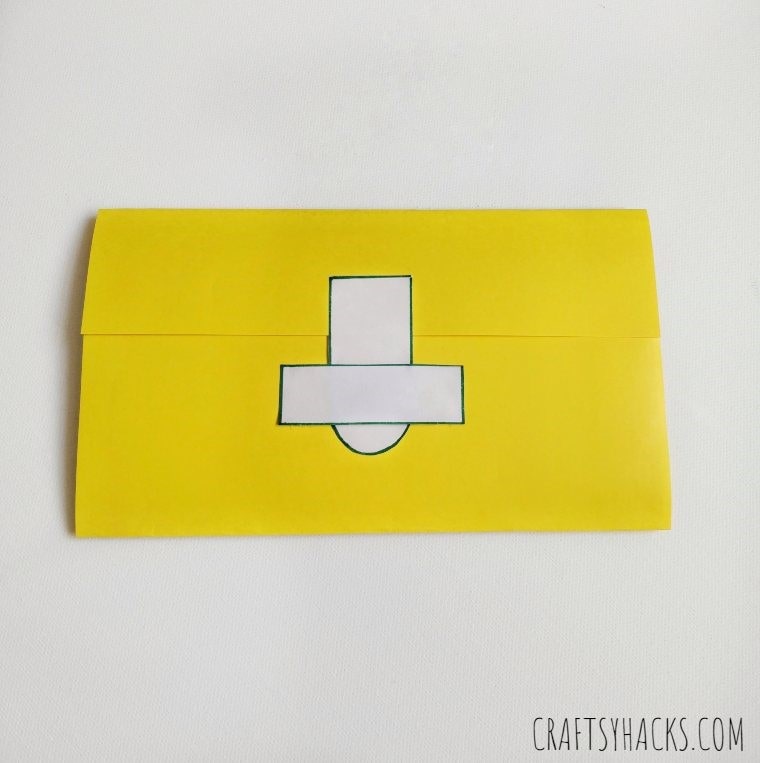
Take the cutouts you had set aside and glue the rounded rectangle to the center of the overlap. The rounded side should be facing downwards after folding the flap.
Take the other rectangle and attach it to the front side of the wallet in the middle. Be sure to stick only the corners of the rectangle and leave space to put the buckle through it.

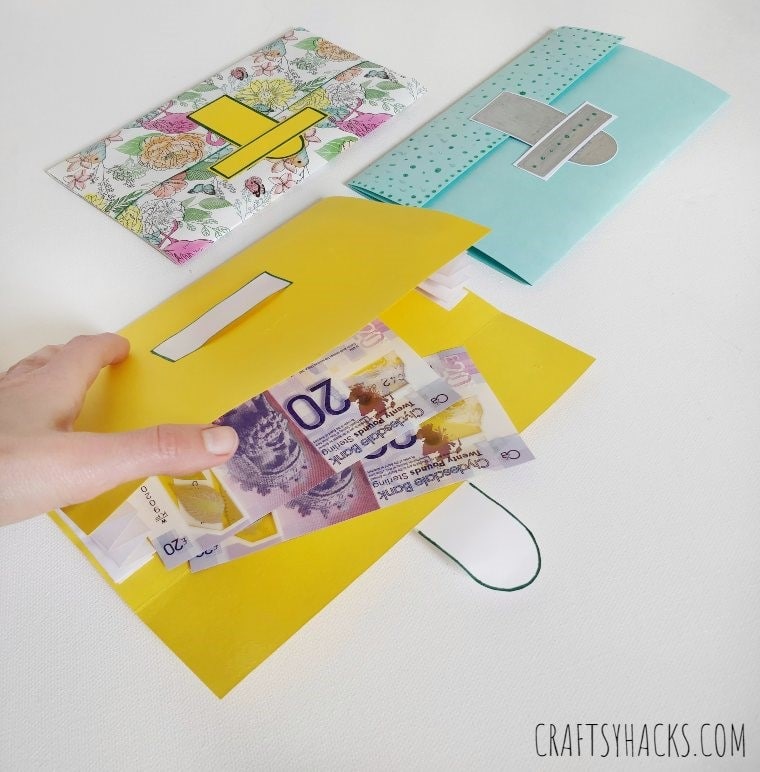
STEP 6: Make Sure the Wallet Closes
Close the flap by sliding the rounded strap through the makeshift slit you made using the rectangular strip. It will stay closed.
You can also use a button instead of the rectangular strip and a loop made with thread instead of the paper strap if you want a fancier wallet. It might be challenging to make for your kids, so I‘ll recommend this one for starters and move on to button flaps after your kids have had enough practice.
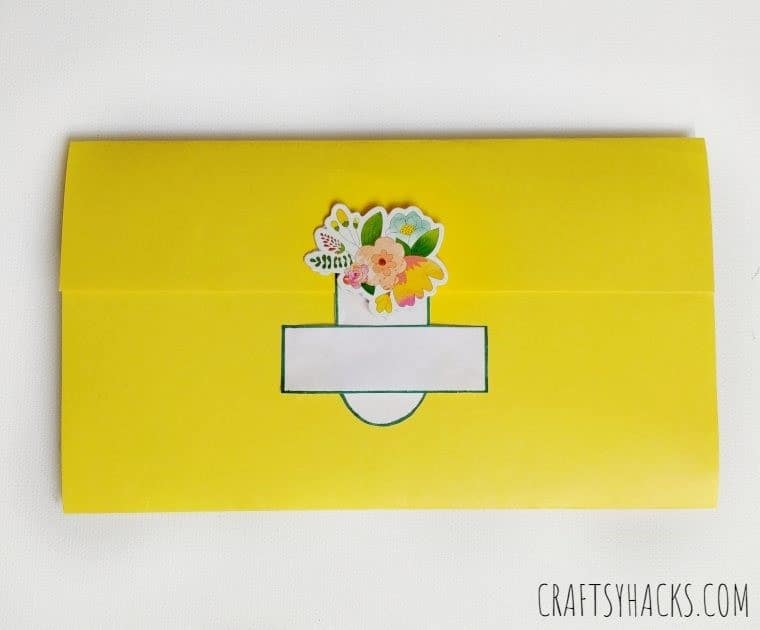
STEP 7: Stick On Those Stickers
Put on decorative stickers or glitters–whichever you prefer. This is the time to bring your kid’s inner artist out!
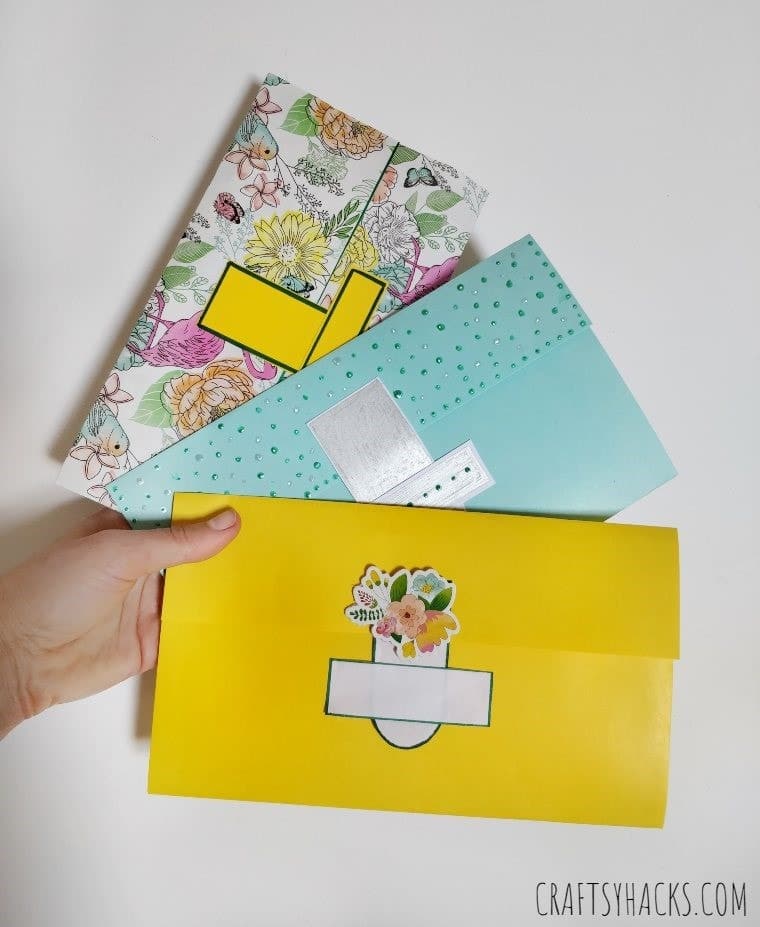
Just like that, your homemade paper wallet is ready!
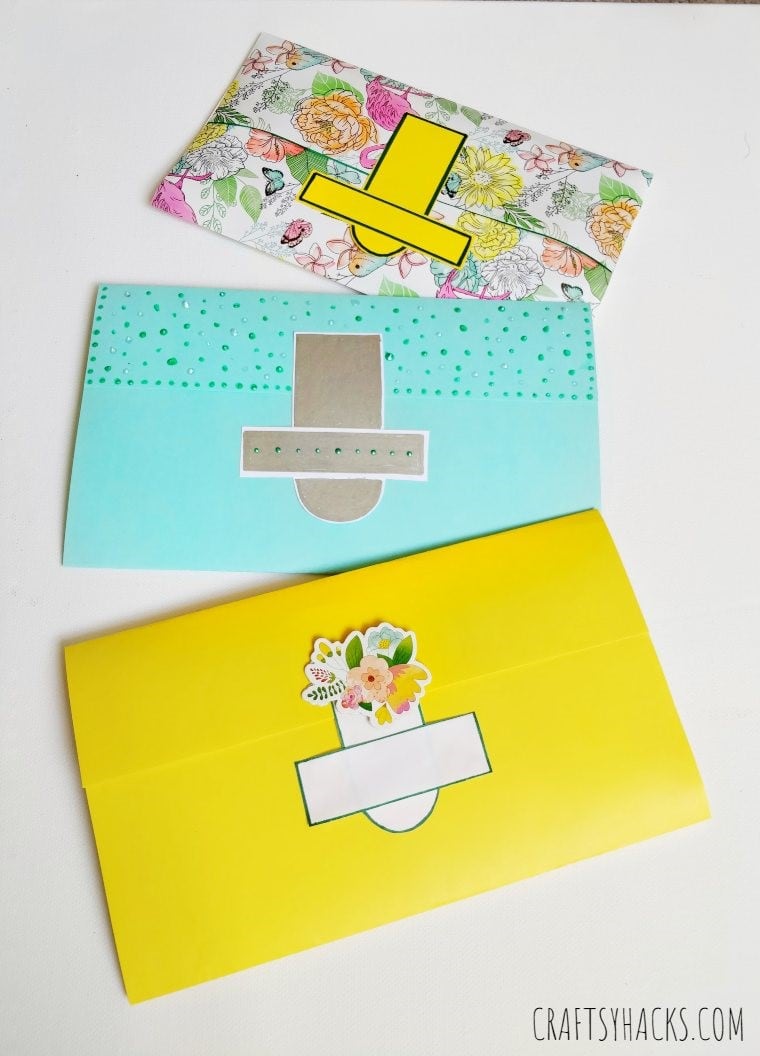
Where Can You Use These Paper Wallets?
Your paper wallets can be used in an endless number of ways. Here are some of the ones I can think of:
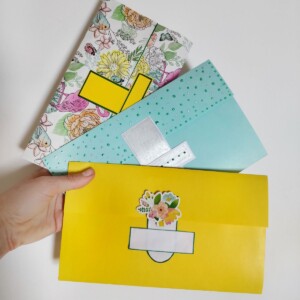
- Make these wallets to gift it to your kids’ friends.
- Send cards in these to your loved ones.
- Use these as wallets when you go for a day out with kids.
- Let your kids use these wallets while you teach them how to count money.
- Use them as decors in your kids’ rooms or your living room to showcase their craftiness.

Other Little Crafts You Might Like
- 20 Fun Crafts for Kids
- Salt Dough Ornaments for Kids
- 20 Creative Paper Crafts That Will Get You Inspired
- DIY Picture Frames
- 20 Cheap Dollar Store Crafts for Kids
- 20 Easy Toilet Paper Roll Crafts You’ll Have Fun With
DIY Paper Wallets for Kids to Make
Video Tutorial
Equipment
- Scissors
Materials
- Glue
- Two sheets of A4 paper
- Decorative stickers
Instructions
- Fold the first sheet in two equal parts and leave an overlap on top.
- Fold the second sheet in three equal parts.
- Cut the second sheet into three pieces.
- Fold the first two pieces like an accordion and cut the last piece into a rectangle and the other into a one-side rounded rectangle.
- Glue the accordion pieces inside the first sheet and the rectangle pieces outside, to form the wallet closures.
- Viola! Your wallet is ready.
Conclusion
What do you think about these paper wallets? Would you like to make some of these with your kids? Share them if you like them!


