Got some paper and some time? Make these paper picture frames with the little ones. It could do for a beautiful decoration or even a present.
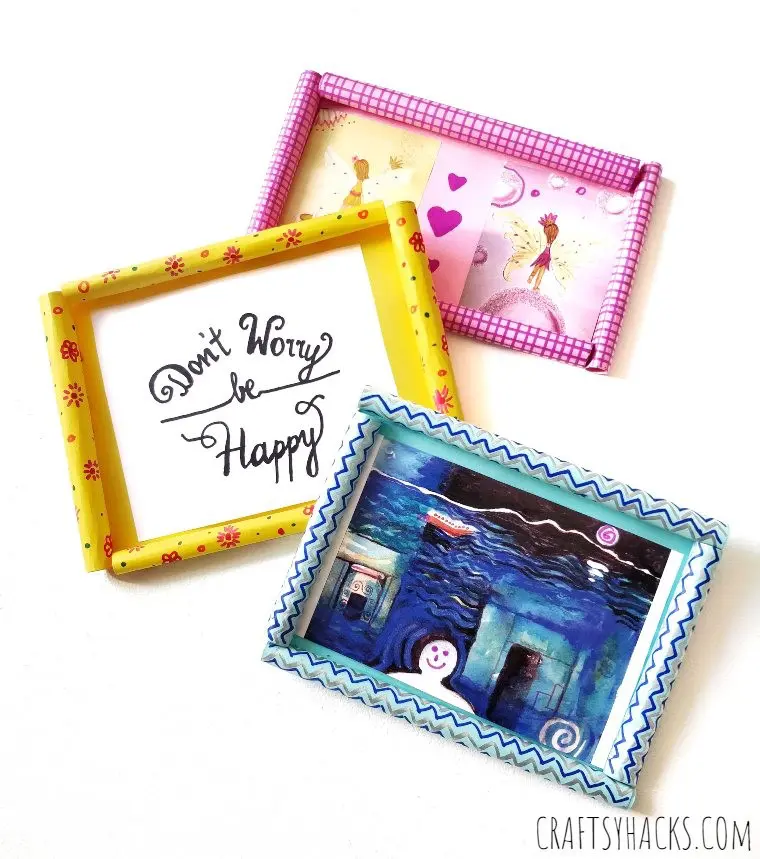
Whether you want to display your little one’s art or some memories from your favorite trip, these homemade DIY picture frames are the way to go.
They are so simple to make and take very little time and preparation. Use these custom picture frames to accent your walls or stick them onto your fridge door and bulletin boards.
You can also try hanging them on your front doors – they’re great as door greetings that you can frequently change to reflect each season, giving your visitors a unique warm welcome every time they step on your front porch!
Oh, and did I see they’re easy to make? I just really wanted to emphasize that. It’s so easy; you can simply sit back, voice out the instructions, and let your kids take control!
What You’ll Need to Make Picture Frames
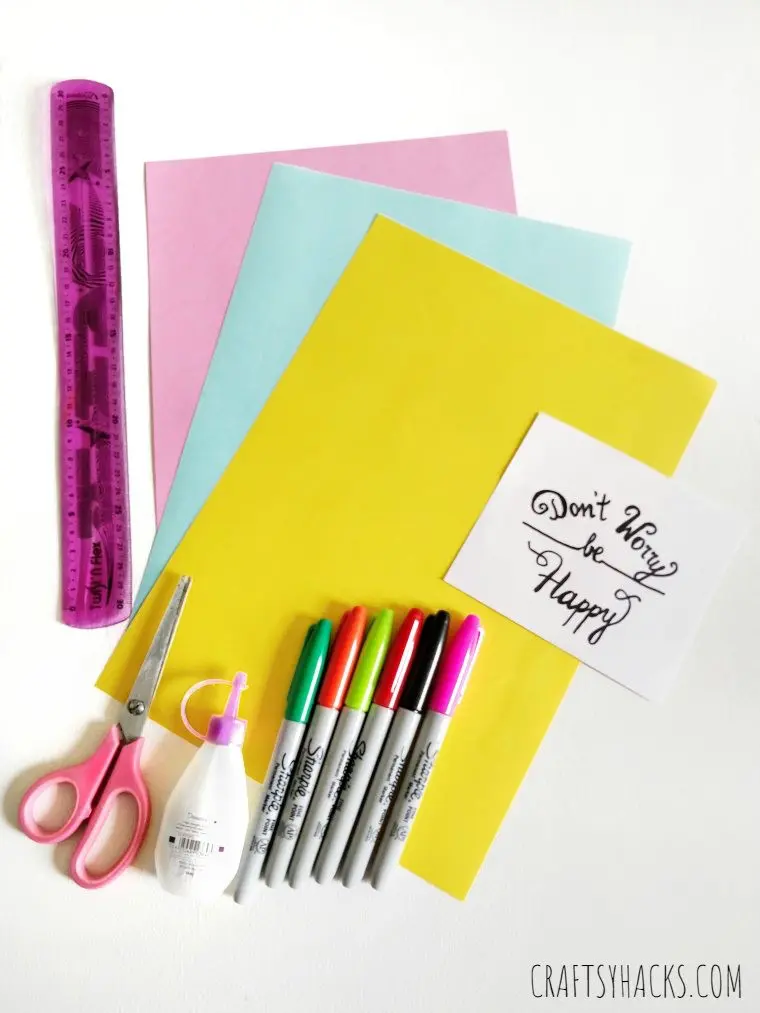
The materials you will need to make this adorable homemade DIY picture frame are:
- Ruler
- Permanent markers (or crayons, depending on your preference)
- A4 paper sheets
- Glue
- Scissors
How Do You Make a Homemade Picture Frame Out of Paper?
Make this picture frame from the materials listed above. You can find them everywhere, and I guarantee you already have most of these in your homes.
Craft tip: You will see from the instructions later on that you will be rolling the paper to create the frame. So, try to draw patterns that accommodate this action.
Avoid large designs that run the entire size of the flap, as this gets distorted after rolling. Instead, use small, repetitive patterns (think gift wrap paper).
But then again, this is your craft so you can go about it whichever way you prefer. The important thing is to let you and your kids’ imagination take the lead!
STEP 1
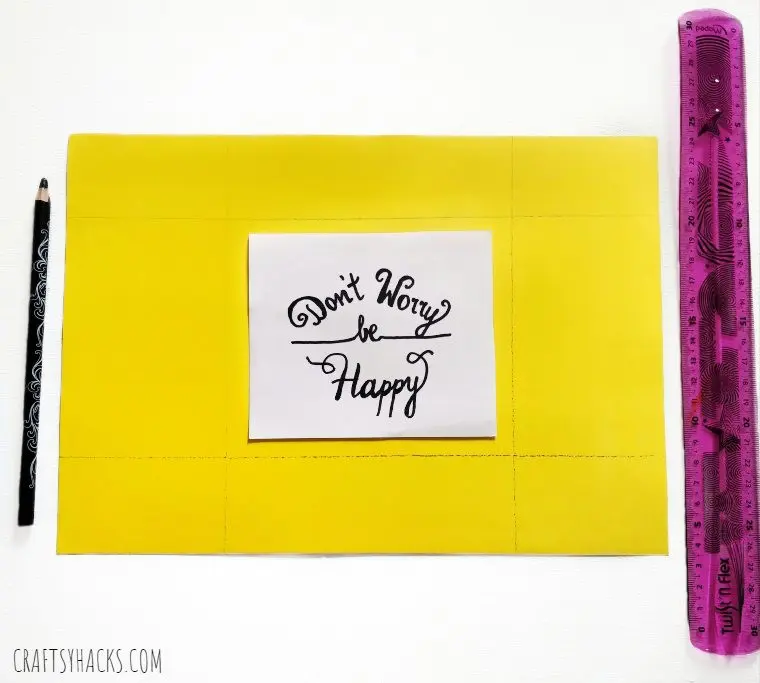
Start by choosing a sheet of colored paper. Place the picture to be framed in the center and use a pencil to make guidelines around it.
Be mindful of making the guidelines a few centimeters away from the photo edges. This makes it easier to paste the picture on the frame afterward (you don’t want it to look sandwiched or forced into the frame).
STEP 2
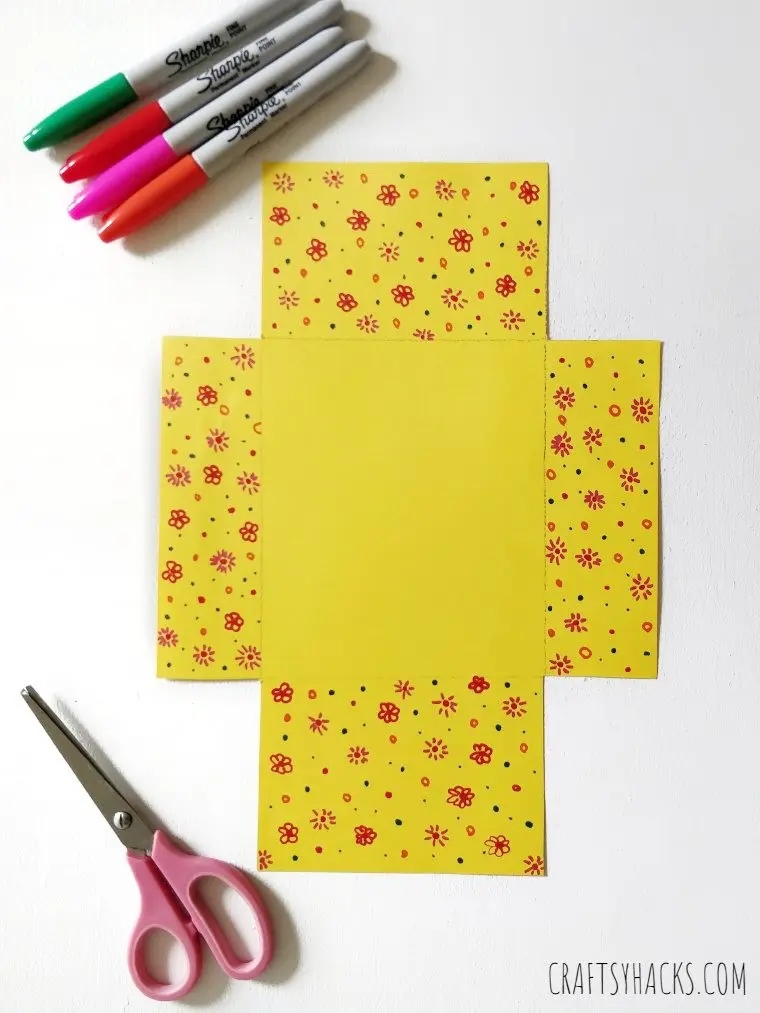
Cut the four outer corners of the sheet, as shown in the picture.
Time to decorate your picture frame!
Draw patterns using sharpies, crayons, glitters, or even using embellishments and stickers. You only have to adorn the areas around the central rectangle, leaving the spot where your picture will go plain.
Craft tip: Use wrapping or scrapbook paper if you are after a super quick project or simply want to do away with decorating them yourself.
STEP 3
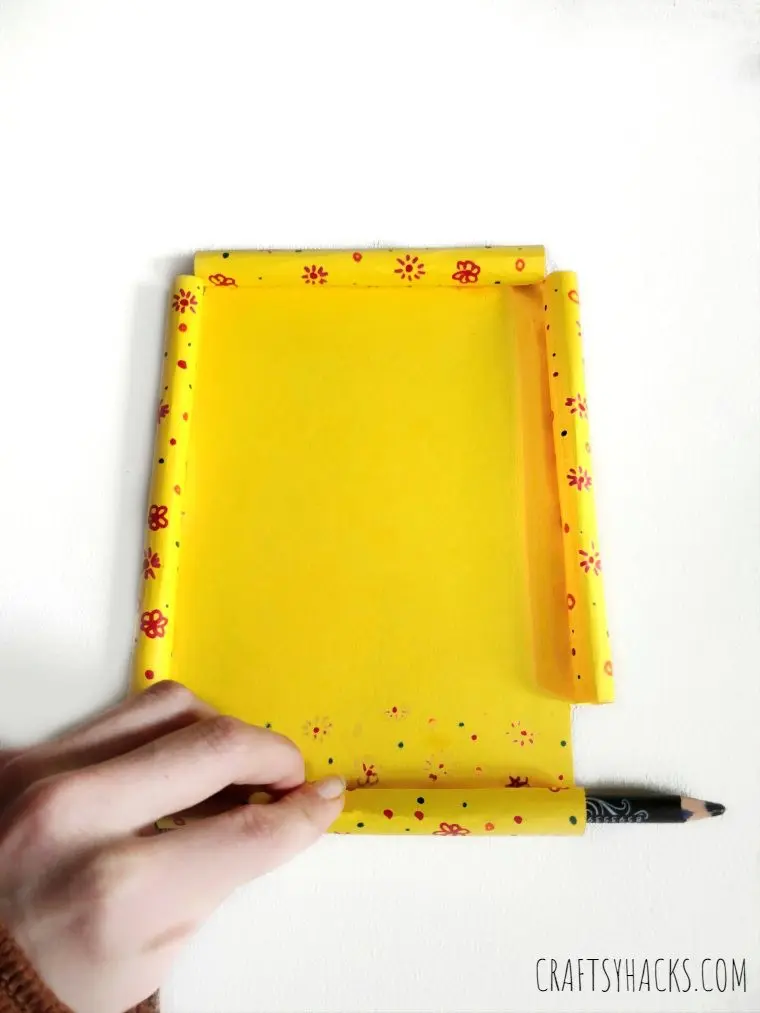
Take a pencil and use it to roll the decorated corners in. This process gives your frame a 3D effect.
Make sure the decorated side is visible. Use glue to stick the rolled corners together if required.
Craft tip: Use paper strong enough to achieve the desired effect, but soft enough so you can easily roll it.
STEP 4
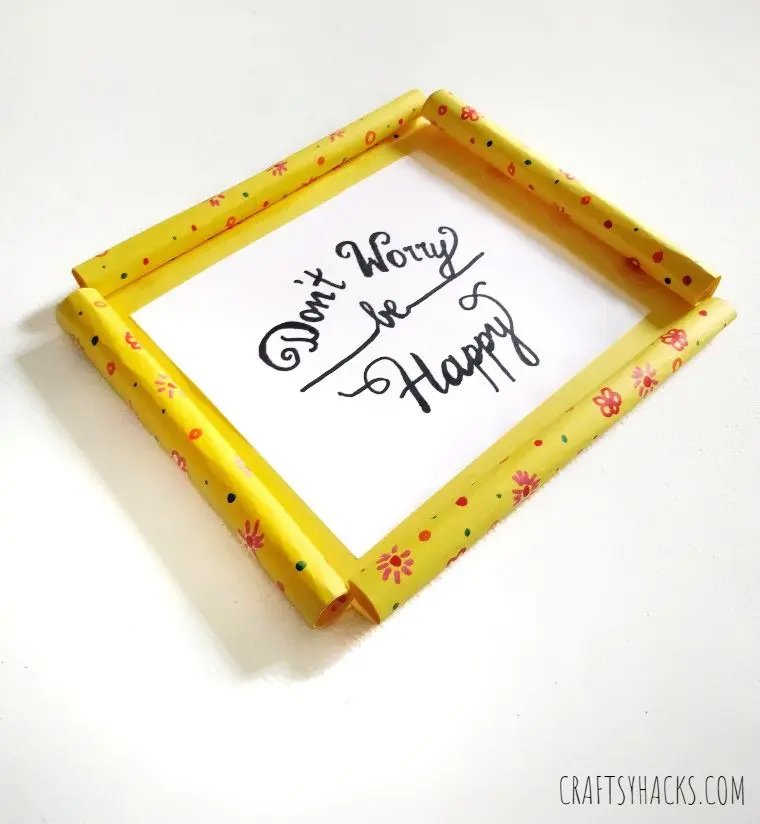
You’re now ready to glue in the picture you want to display on your beautiful DIY picture frame!
Remember, you don’t have to stick to photos. You can also use this frame to exhibit your kid’s drawings and quotes or use them as gift tags and decorations.
Other Little Crafts You Might Like:
- 20 Fun Crafts for Kids
- Salt Dough Ornaments for Kids
- 20 Creative Paper Crafts That Will Get You Inspired
- DIY Salt Dough Ornaments
- 20 Cheap Dollar Store Crafts for Kids
- 20 Toilet Paper Roll Crafts
- 23 Cute Penguin Crafts for Kids
- 27 Unicorn Crafts for Children
- 37 Tissue Paper Crafts Kids Will Love
DIY Paper Picture Frames
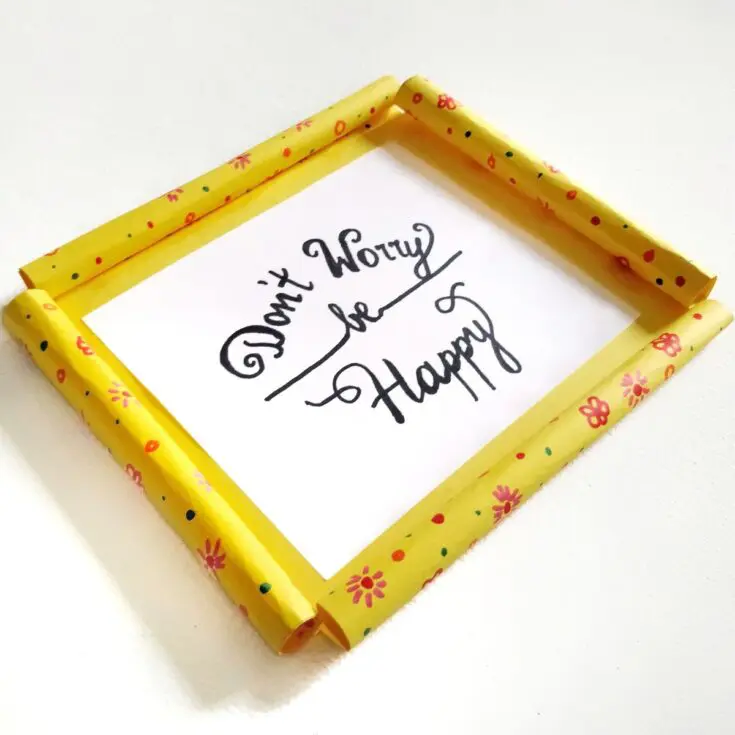
Simple DIY paper crafts can be so fun to make! Make these DIY paper frames with your kids and decorate your home on a low budget.
Materials
- Permanent markers (or crayons)
- A4 paper sheets
- Glue
Tools
- Ruler
- Scissors
Instructions
- Grab your choice of paper.
- Place the item you want to be displayed in the middle of your paper.
- Draw borders around the photo using a pencil, ensuring at least a centimeter distance from the edges.
- Cut the outer corners and decorate the remaining flaps using patterns or embellishments.
- Use a pencil to roll the flaps and use glue to keep the rolled edges in place.
- Go ahead and display your memories!
Conclusion
Every home has a few family photos hanging on their walls that serve as reminders of the family’s happiest moments. Every home with a child will also have drawings stuck on the fridges or tucked away here and there.
Part of our duties as parents is to showcase these photos or drawings. What better way to do it than displaying them in custom made picture frames!
This DIY homemade picture frame is easy to make, and it brings out your little one’s creativity. It also boosts their confidence, knowing they have done something on their own, which is now a significant part of the house décor.
Bookmark this page for easy access or print these instructions for use on your next crafting weekend with the kids!
Scarlet
Tuesday 10th of November 2020
How cute!! I love how easy these are to make and these paper frames would be great DIY gifts for kids to give their friends with a photo of them together.