How to Make a Paper Ring
Got some paper around? Make these DIY paper rings. A fun DIY accessory that anyone can make - kids, teens, and even adults!
Video Tutorial
Equipment
- Ruler
- Scissors
Materials
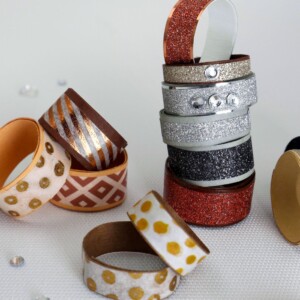
- Craft paper 8” long
- Washi tape
- Craft glue
- Mod Podge
- Flatback crystals
Instructions
- Grab your materials to get started on your DIY paper ring.
- You will need to measure and subsequently cut out long strips of paper. This will be the base for your ring. You will need to keep the width of the paper in mind as it will determine how wide your ring will sit on your finger.
- Hold the paper in between your fingers and carefully roll the paper once around the finger you plan to make the ring for.
- Fold the paper when you’ve wrapped it around your finger once. This will be the ring size.
- Apply a little adhesive to the back of the fold you just made.
- Next, bring the curved end around and stick it over the spot you just applied the adhesive to. Then, carefully start rolling the ring, making sure that the edges are aligned. Stick the end in place with a layer of adhesive.
- Alternatively, you can also apply spots of glue along the length of the ring and simply roll it in one single motion rather than folding it over, like you read about earlier.
- Allow the glue to dry before you wrap your decorative paper or washi tape over the base of the ring.
- Coat the insides and top surface of the ring with mod podge and allow it to dry. This will ‘set’ your paper ring, making it more wearable and durable.
- Finally, you can decorate it with sticker gems and other tiny embellishments.
Tried this craft?Leave a comment below with your rating! I love the feedback and respond to every comment!