How to Make a Paper Envelope
This post may contain affiliate links: full affiliate disclosure.
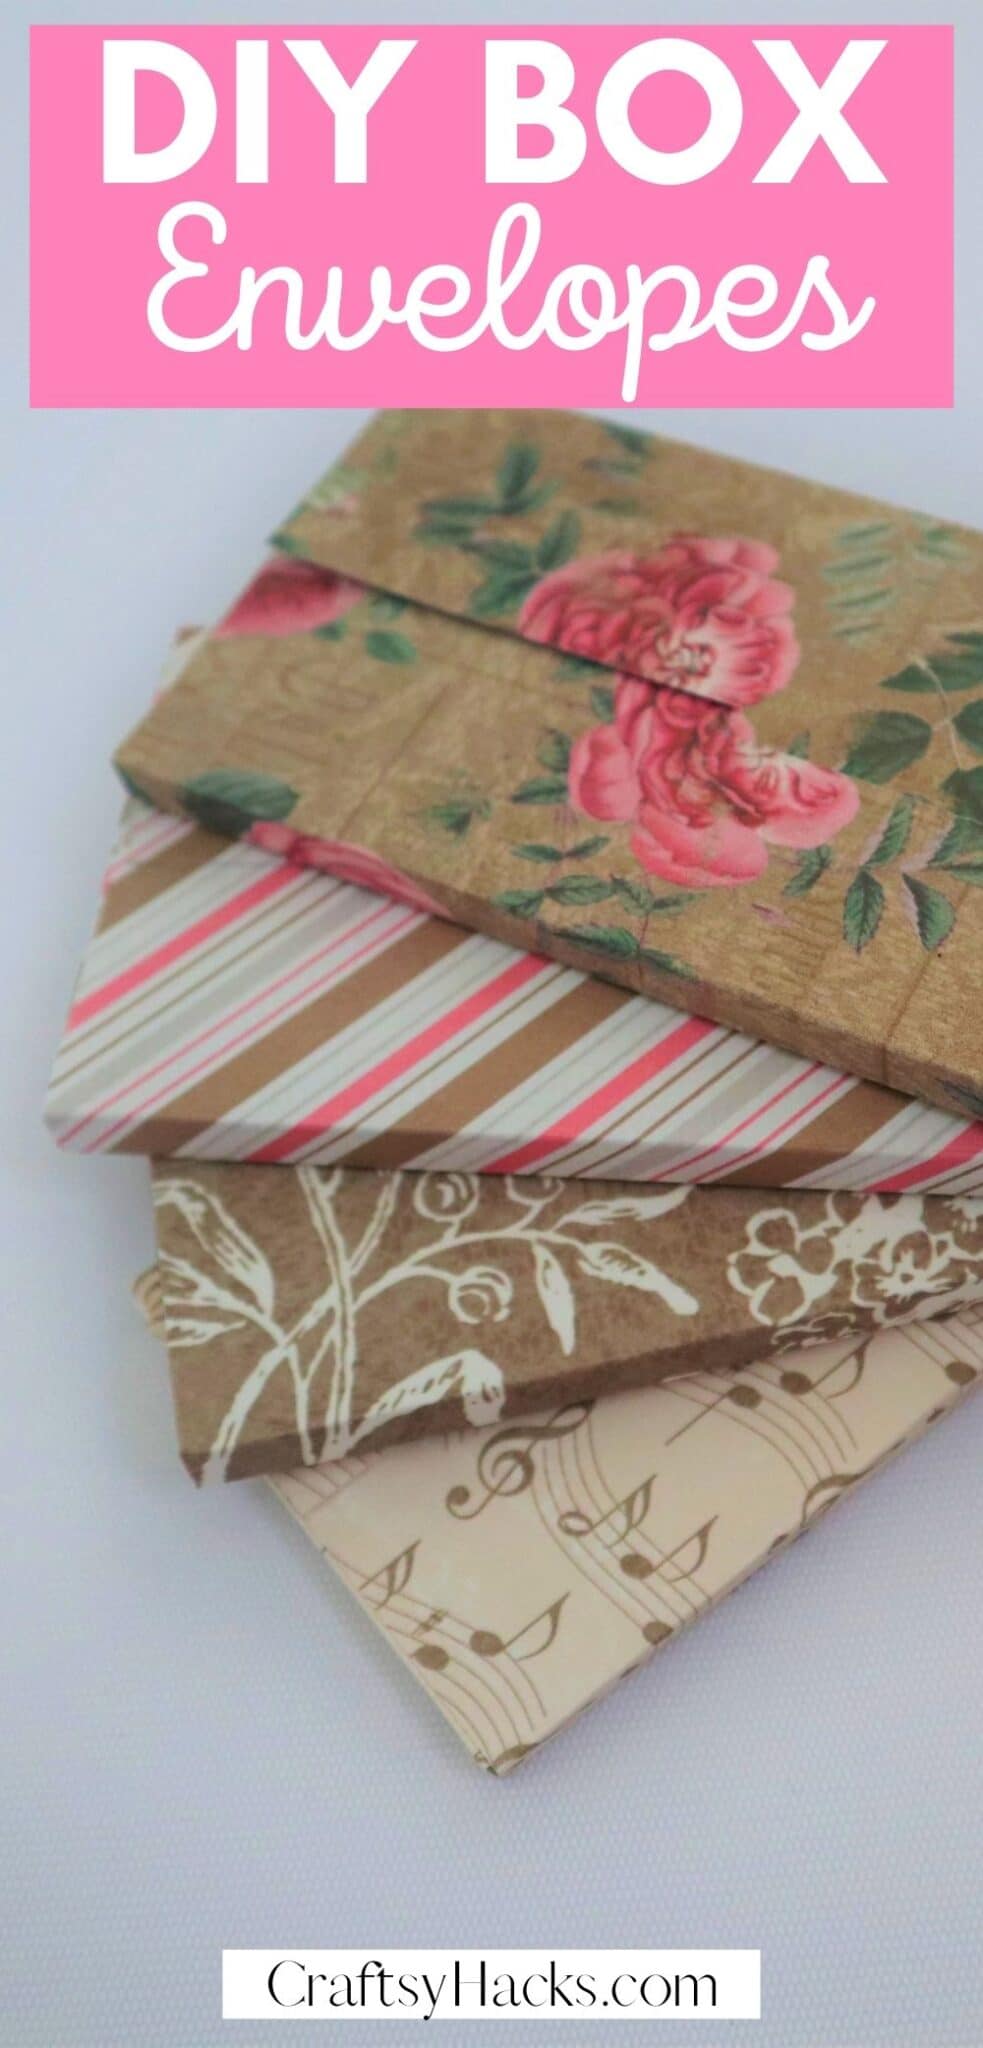
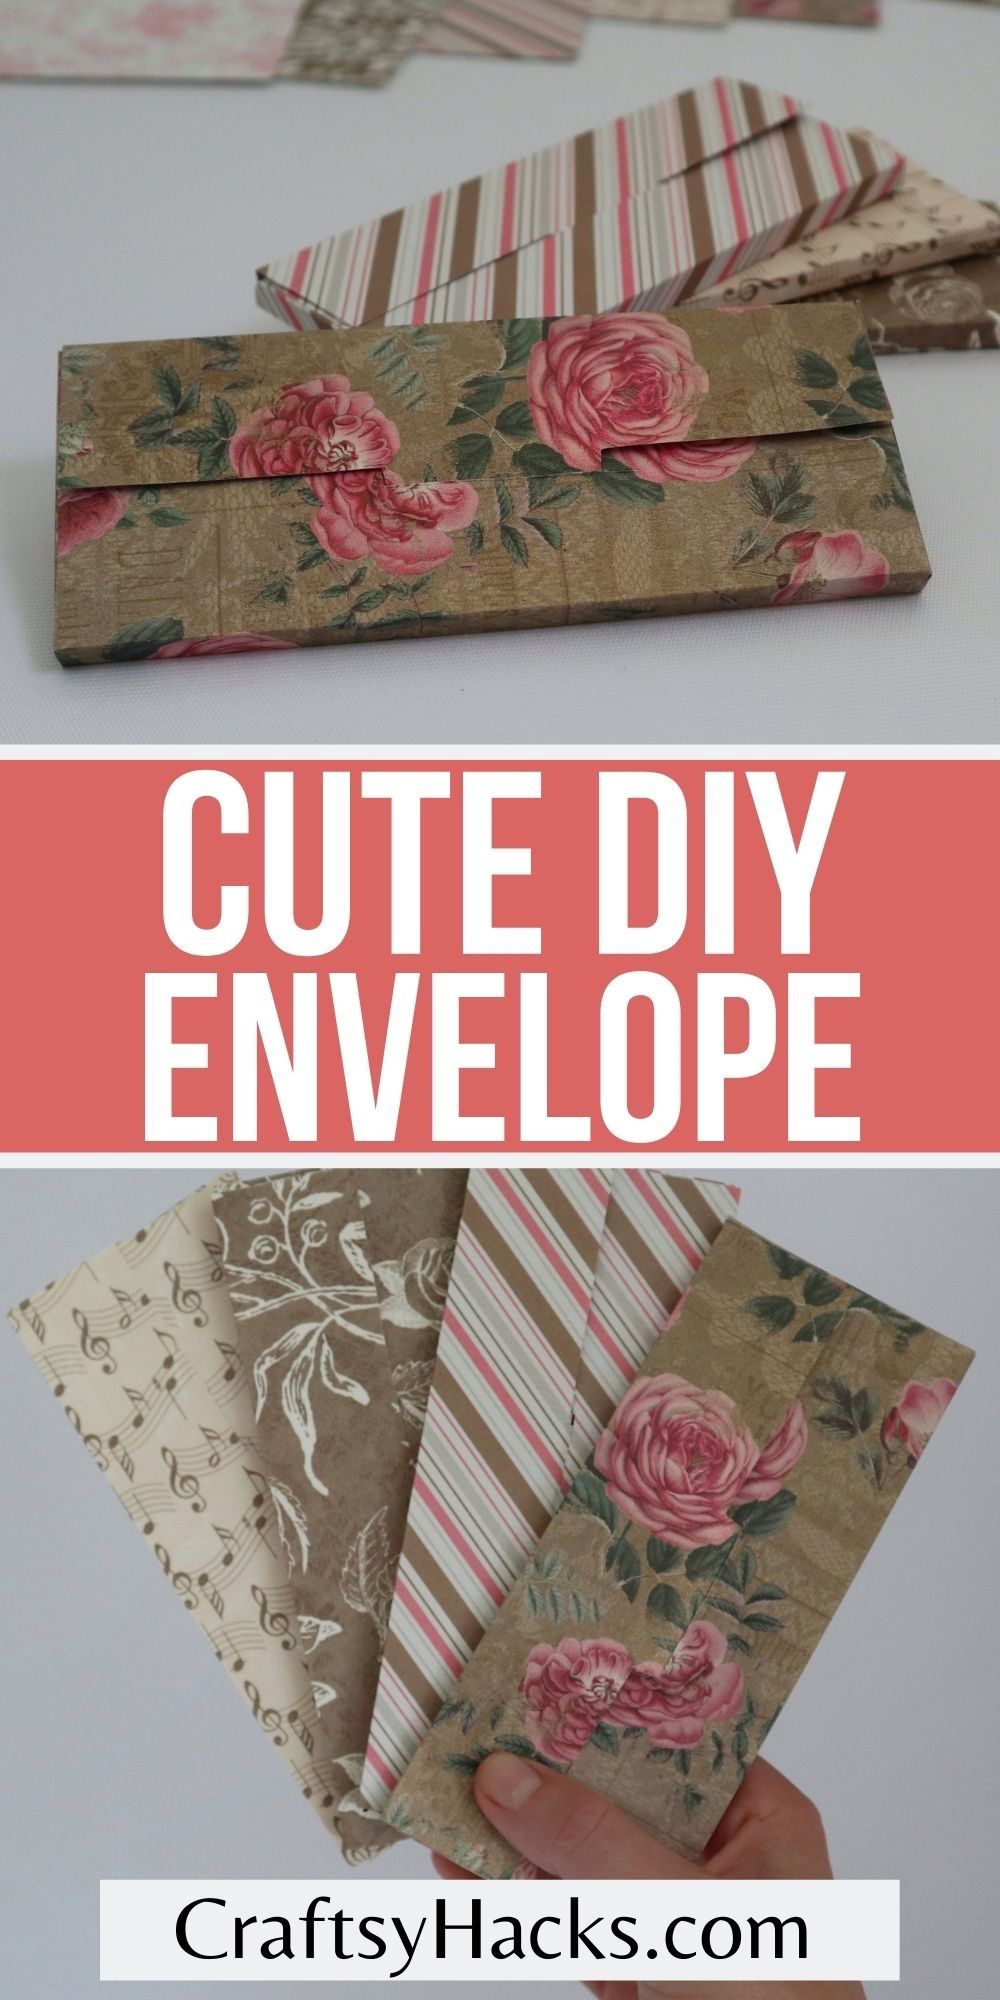
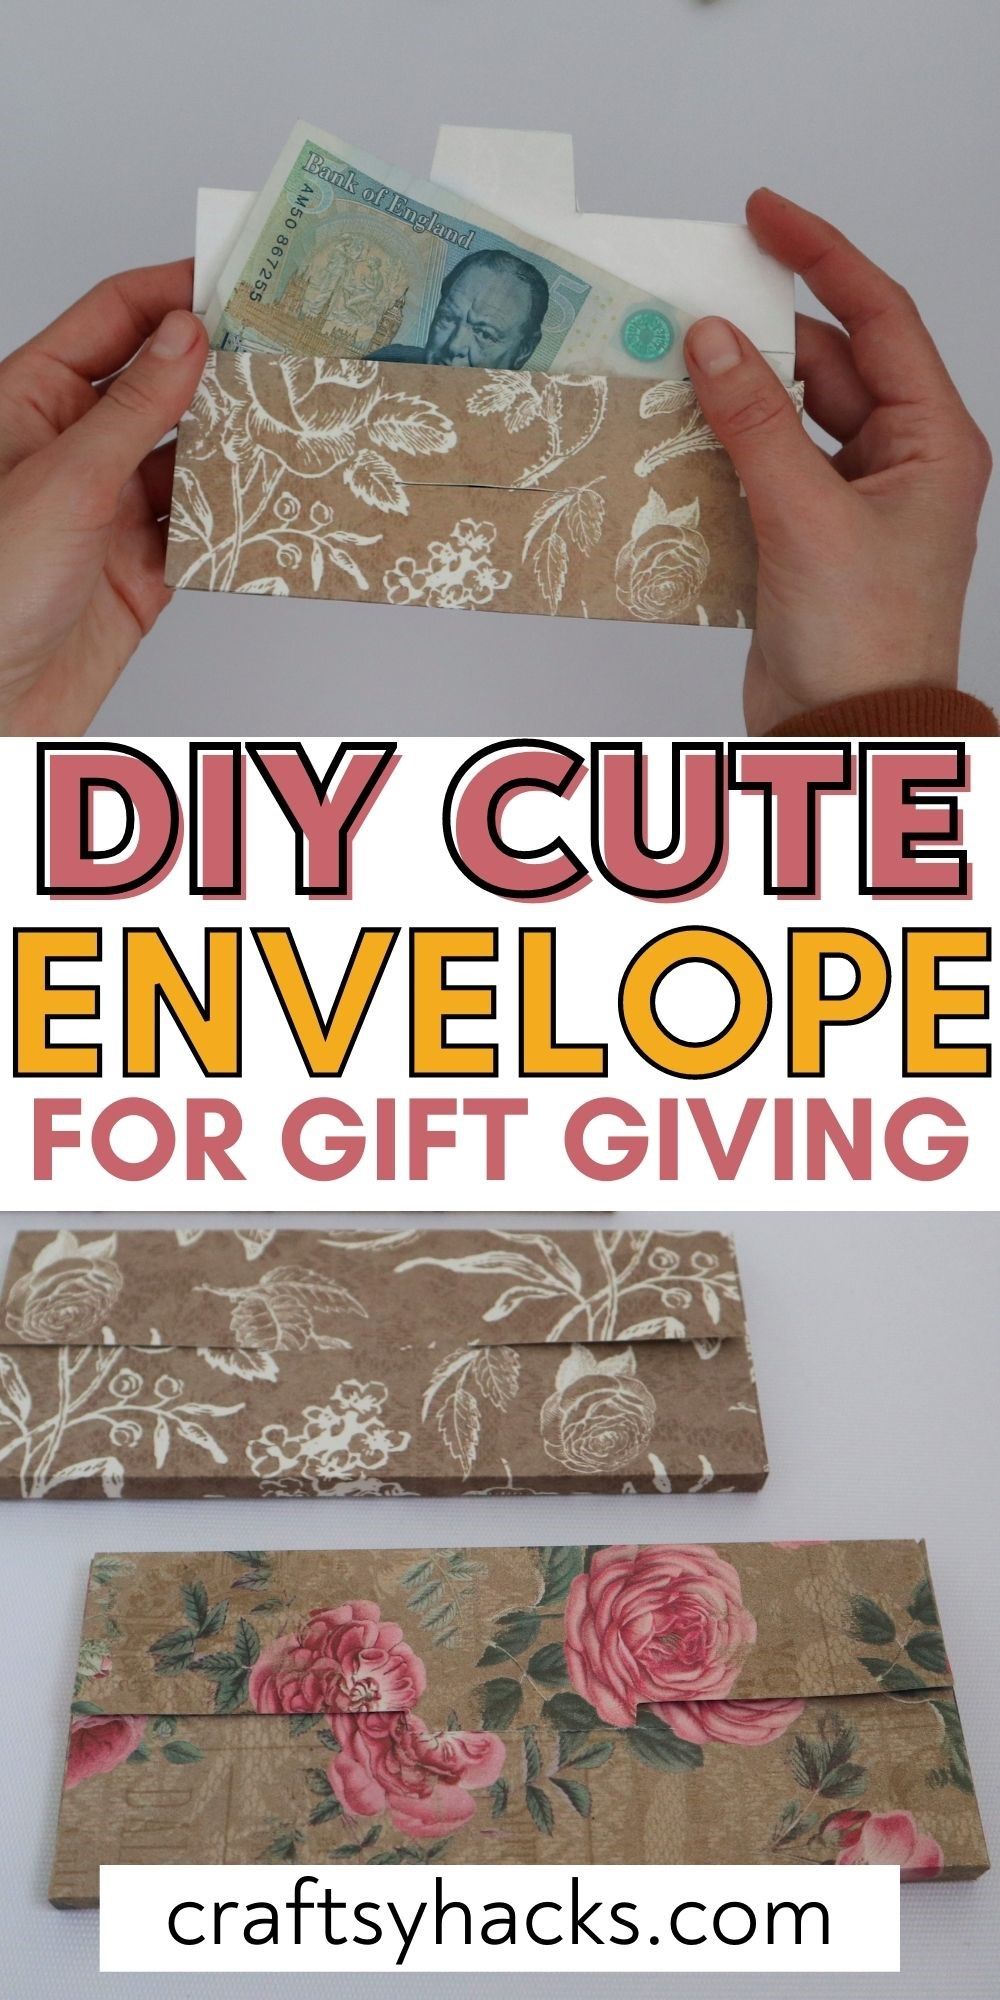
Need a beautiful DIY envelope for a nice gift? These are just the paper envelopes you can make!

There’s nothing that elevates a gift quite like a handmade card… or, in this case, a handmade envelope. These DIY box envelopes go a step even further, making the envelopes a gift of their own!
I’m in love with these because they make whatever you keep in them an event.
So, whether you’ve got a birthday coming up, Christmas is around the corner, or you’re just feeling generous, here’s a way to spice up your next gift. Follow along, and you’ll be a connoisseur in no time.

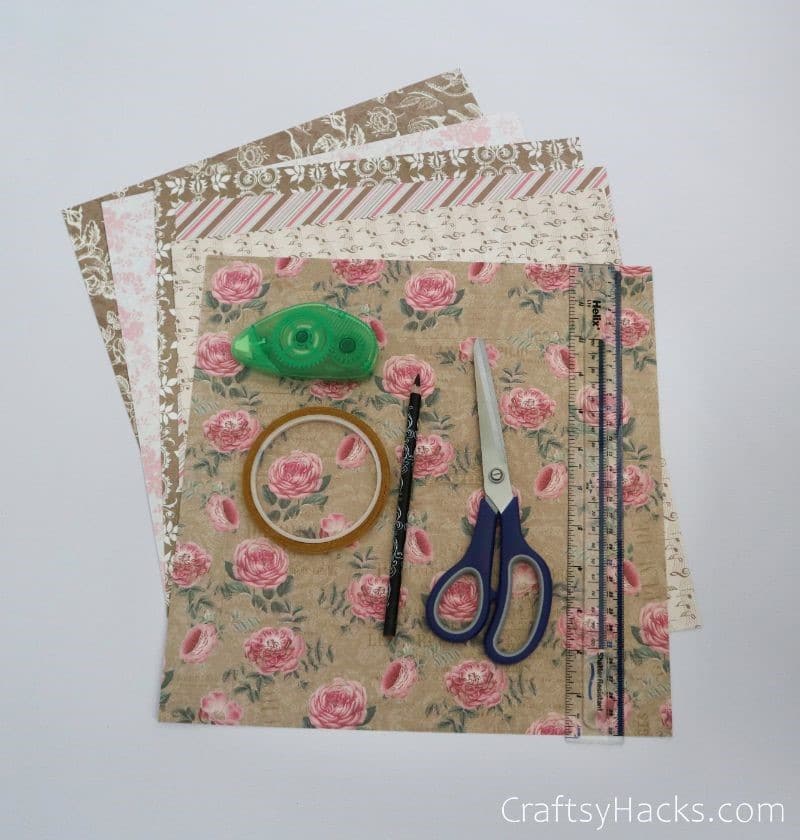
Supplies You’ll Need
- Patterned cardstock (200gsm Heavyweight)
- Scissors
- Pencil
- Ruler
- Glue or double-sided tape
How to Make Envelope
Here is a step-by-step tutorial on how to make an envelope.
Step 1
Start off by gathering all your supplies. Thick scrapbooking paper is ideal here, as it needs to hold a firm shape once folded. Also, ensure you have some double-sided tape handy (it makes it so easy).
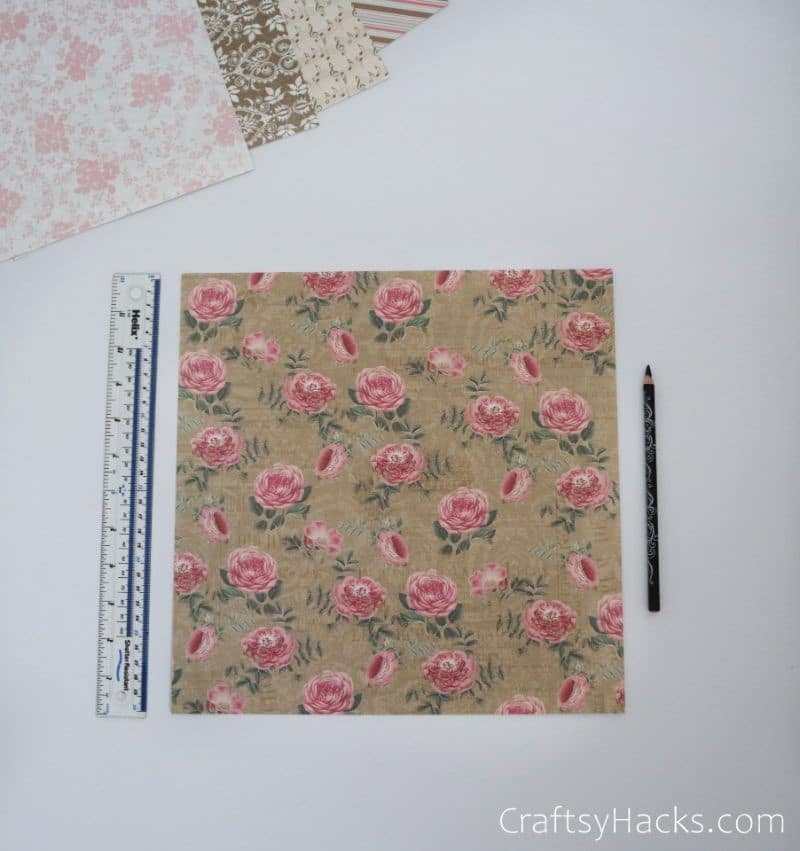
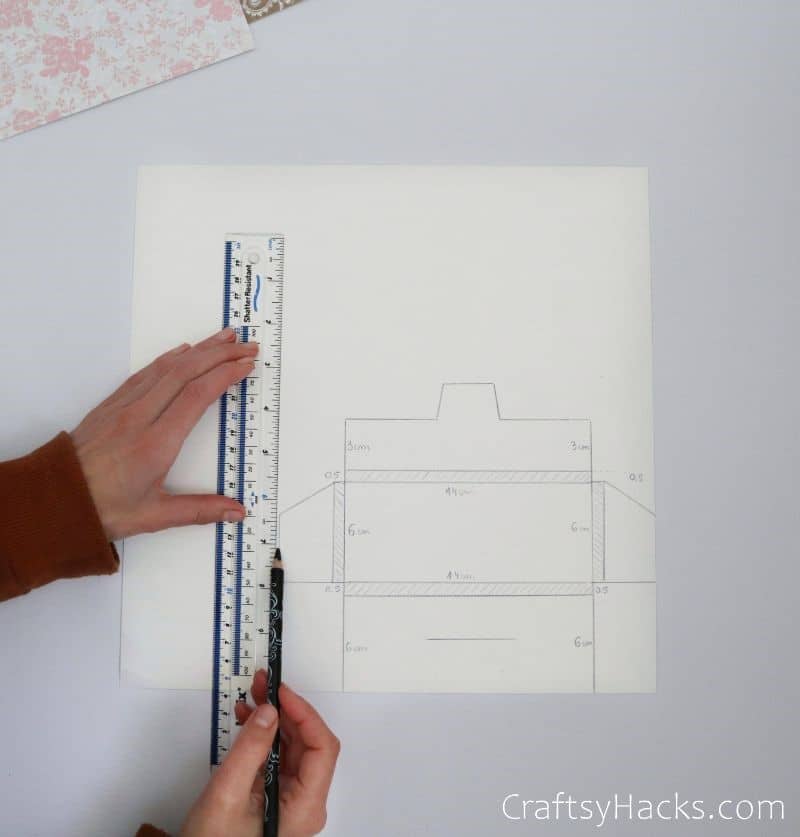
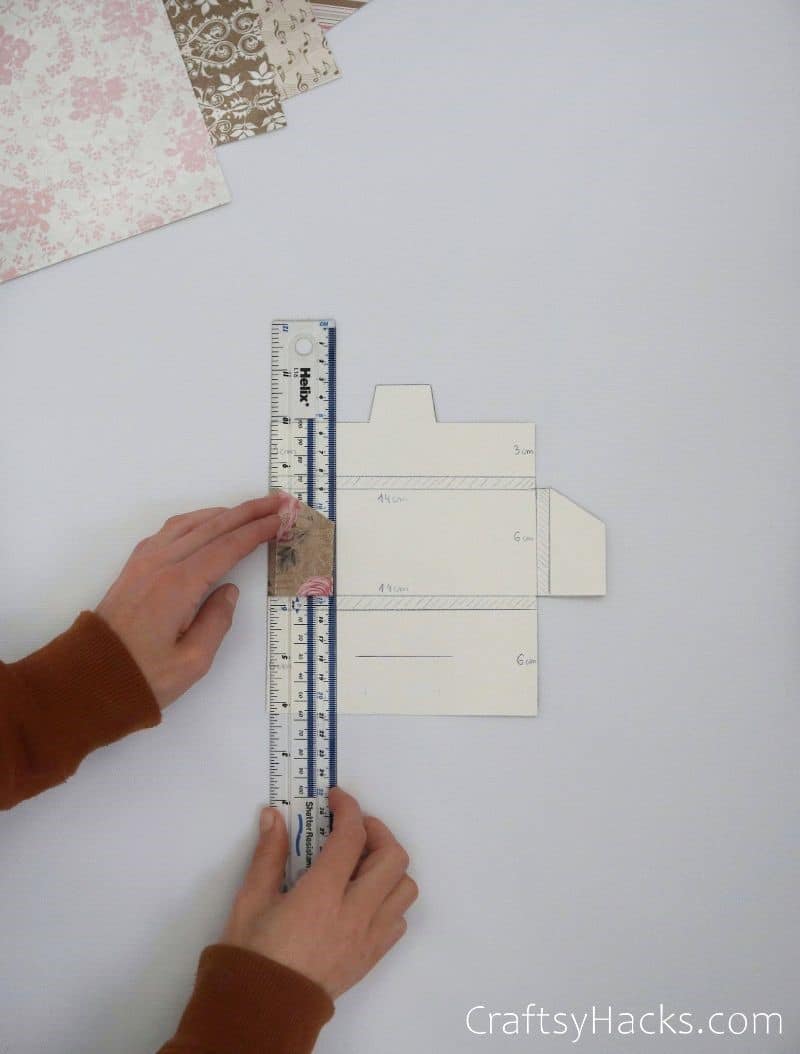
Start out with a pencil, your chosen box paper, and a ruler. In the next step, you’ll be drawing a box template onto the blank side of the page, so prepare for some precision.
To create the box’s blueprint, you can print out a free template or create your own based on the general shape. I made my own!
Step 2
You don’t need to follow my exact measurements here, but the two biggest rectangles should be identical. One is the back wall, and one is the front.
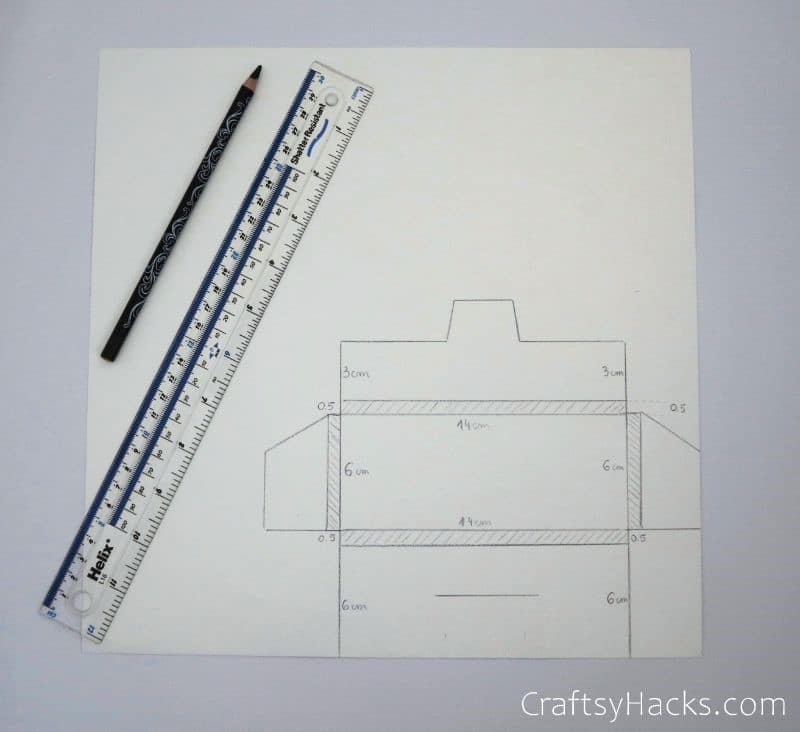
The box’s flap can be slightly smaller than the central rectangle (I made mine half as big), but don’t worry too much about precision here. The same goes for the wings.
Step 3
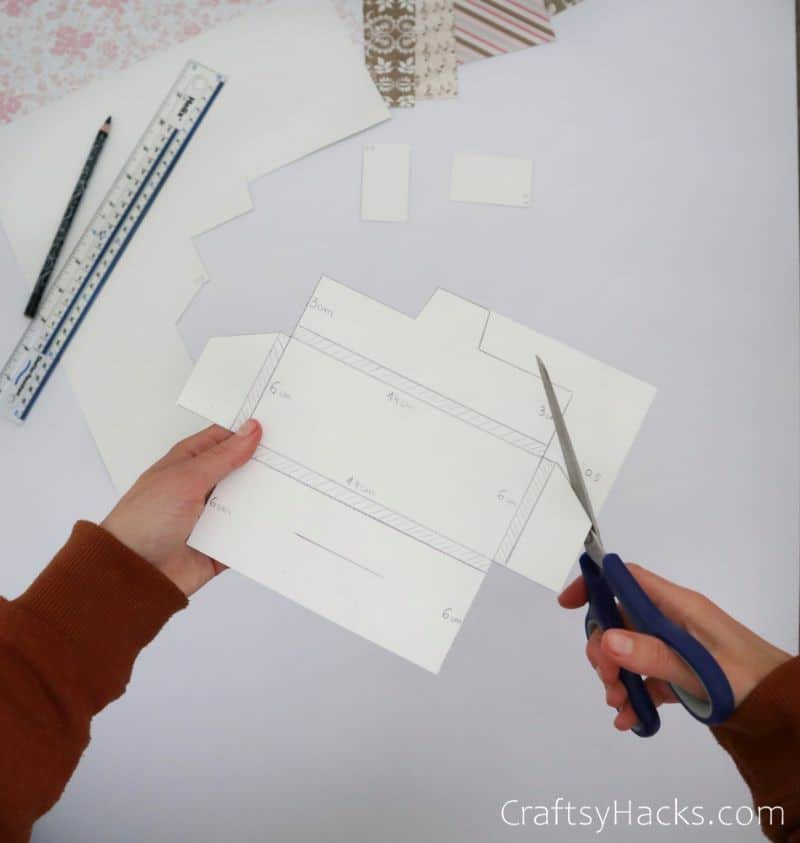
Once your template is all ready to go, whip out your scissors and carefully cut it out. Rounded corners won’t hook well, so make sure to get precise, square edges as you cut.
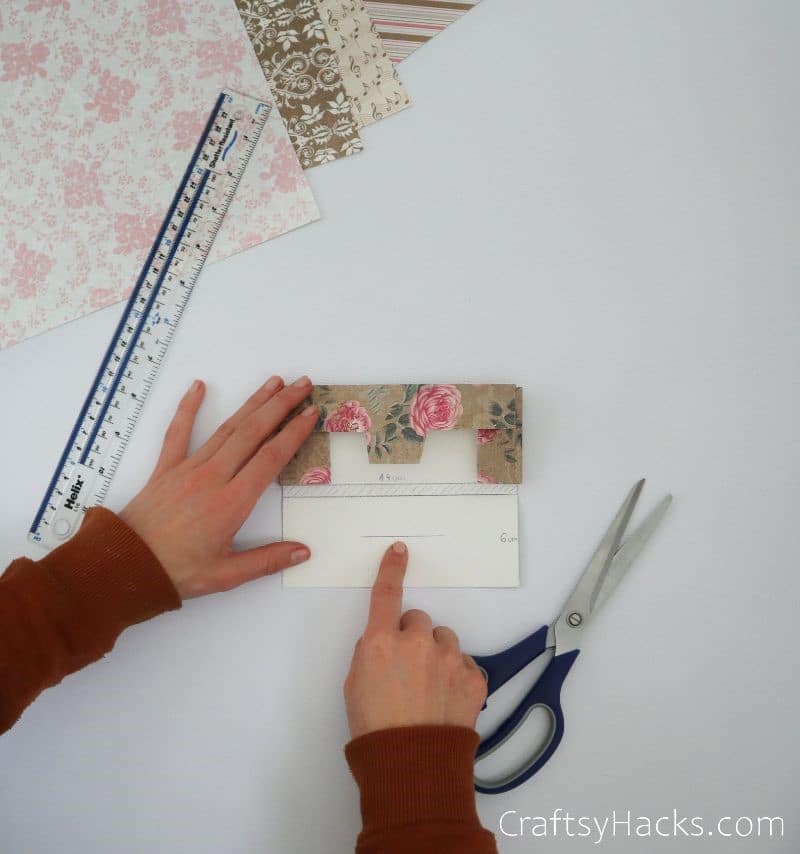
These cross-hatched sections will create internal space once the box is folded. You’ll use a ruler to create those clean edges, so I recommend measuring the ruler’s thickness to create those sections.
Step 4
Next up, it’s time to start folding. Whip out your ruler and line it up with the first wing’s edge, folding it over onto the ruler to form a square edge.
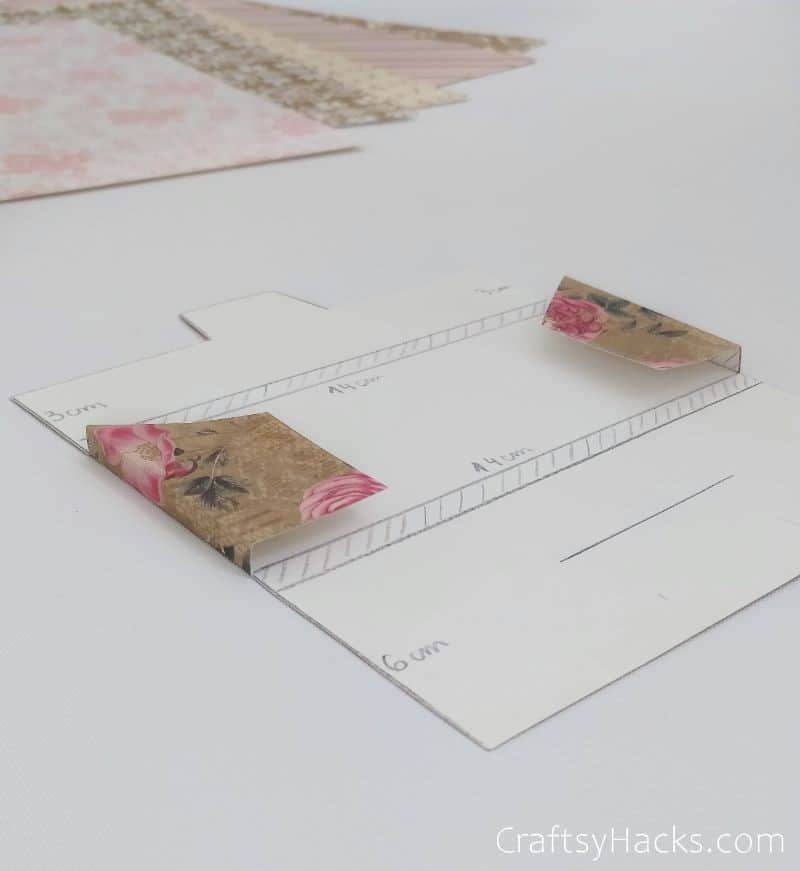
Do the same on the other side to create two flaps folded inward (as above). Notice the straight edges on this fold… that’s what gives us the box shape!
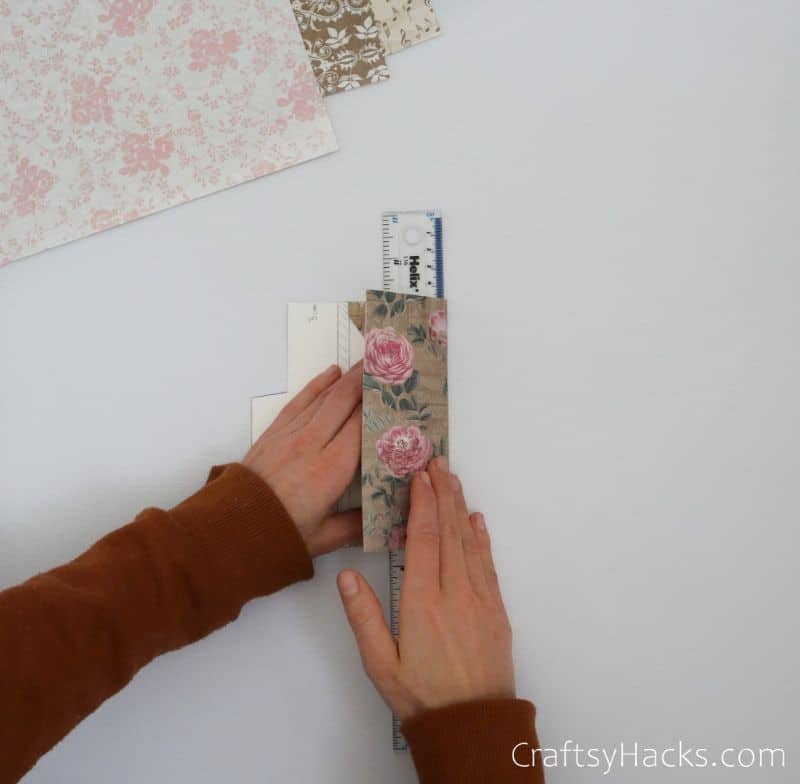
Step 5
Take that folding precision to the larger flaps, bringing them both inward and making those edges crisp. Make sure to align those edges carefully, so the final product isn’t wonky.
Pro Tip: Fold the box using a level table and wall to ensure you’re getting right angles all the way.
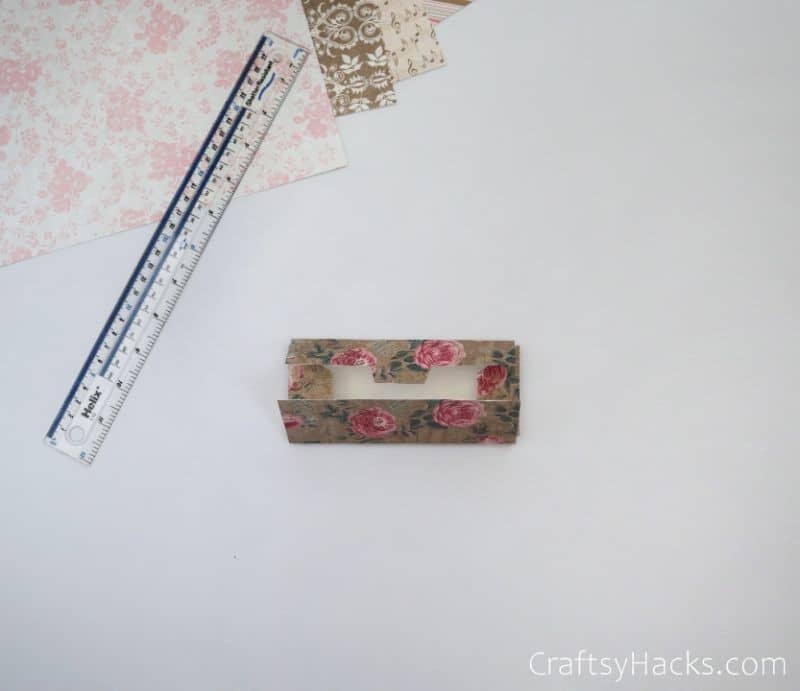
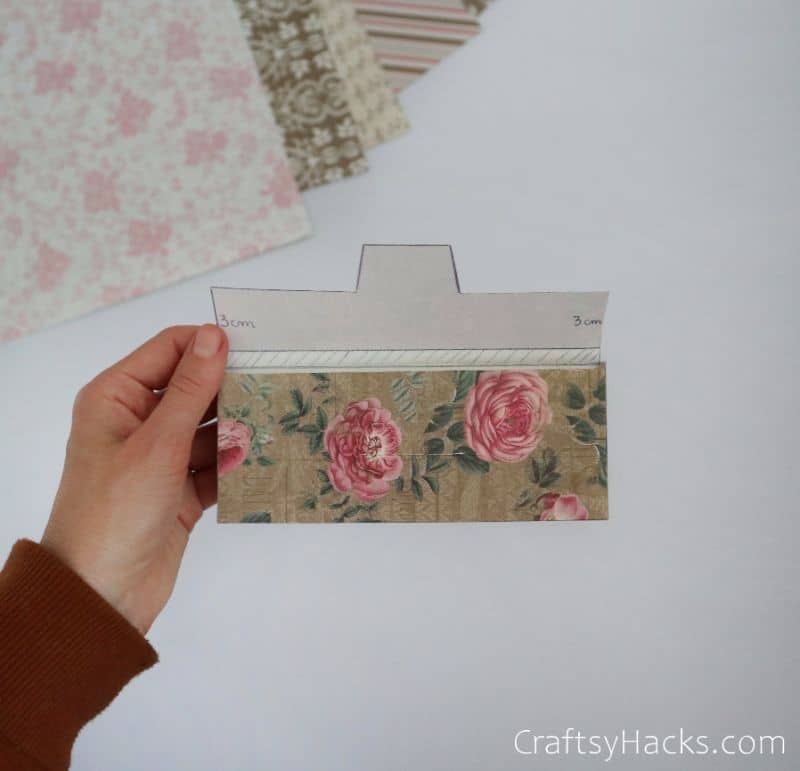
Step 6
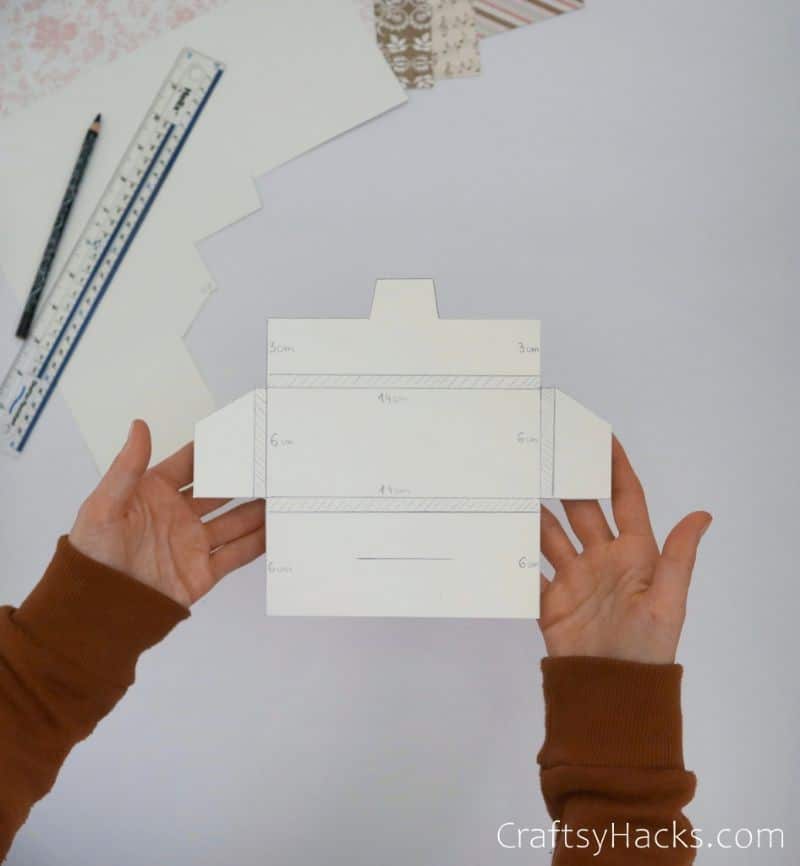
Once you’re done, you should have a piece that looks like this. If your folds aren’t holding as well as this one, consider taking your ruler to each edge to strengthen its definition.
Step 7
Next on the agenda, we have to create a slot to close the box. This is simple enough! Just draw a line in the top flap’s center. Then, cut through it to form the slot.

If you have a craft knife, this job will be a lot easier. However, you can also use a single blade of your scissors to get that clean cut. Make sure the notch is wide enough to fit the top flap’s protrusion.

Step 8
Finally, it’s time to assemble your creation! I tested both double-sided tape and glue for assembly. Using the tape is definitely more straightforward as there’s no drying time.
Simply fold the wings in, apply your adhesive to their patterned side, then attach the rectangle flap to those wings to form the box. This will leave your top flap free to open and close. Easy!
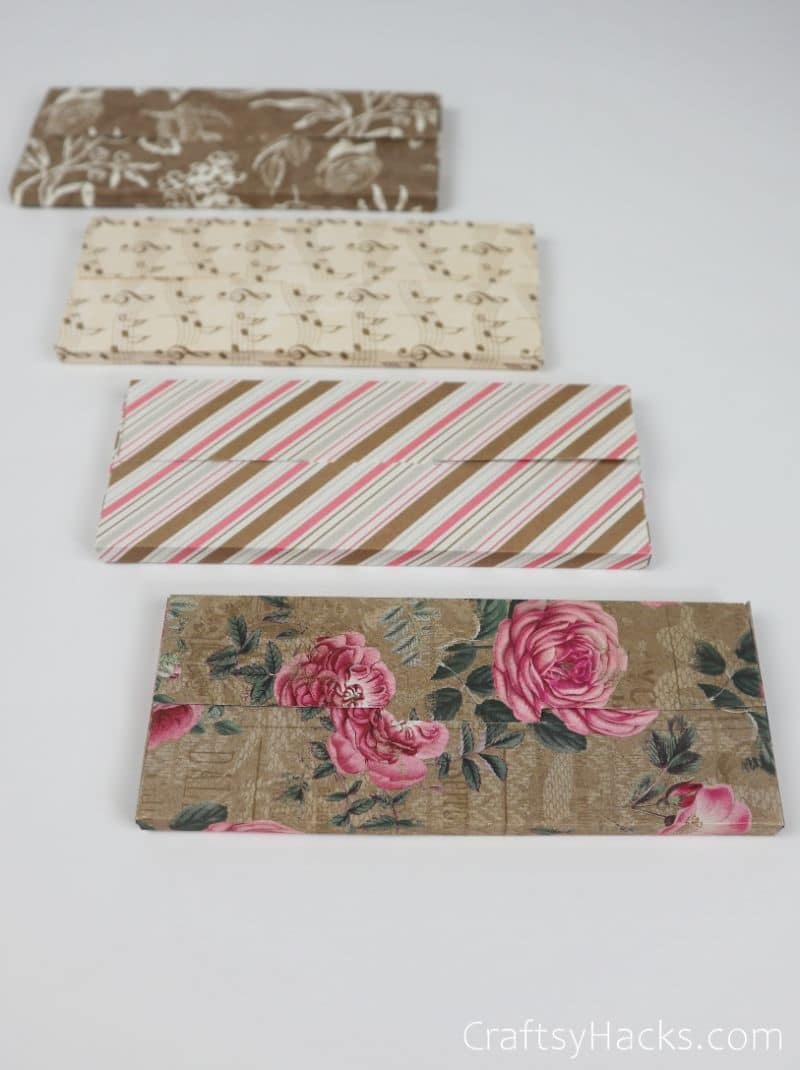
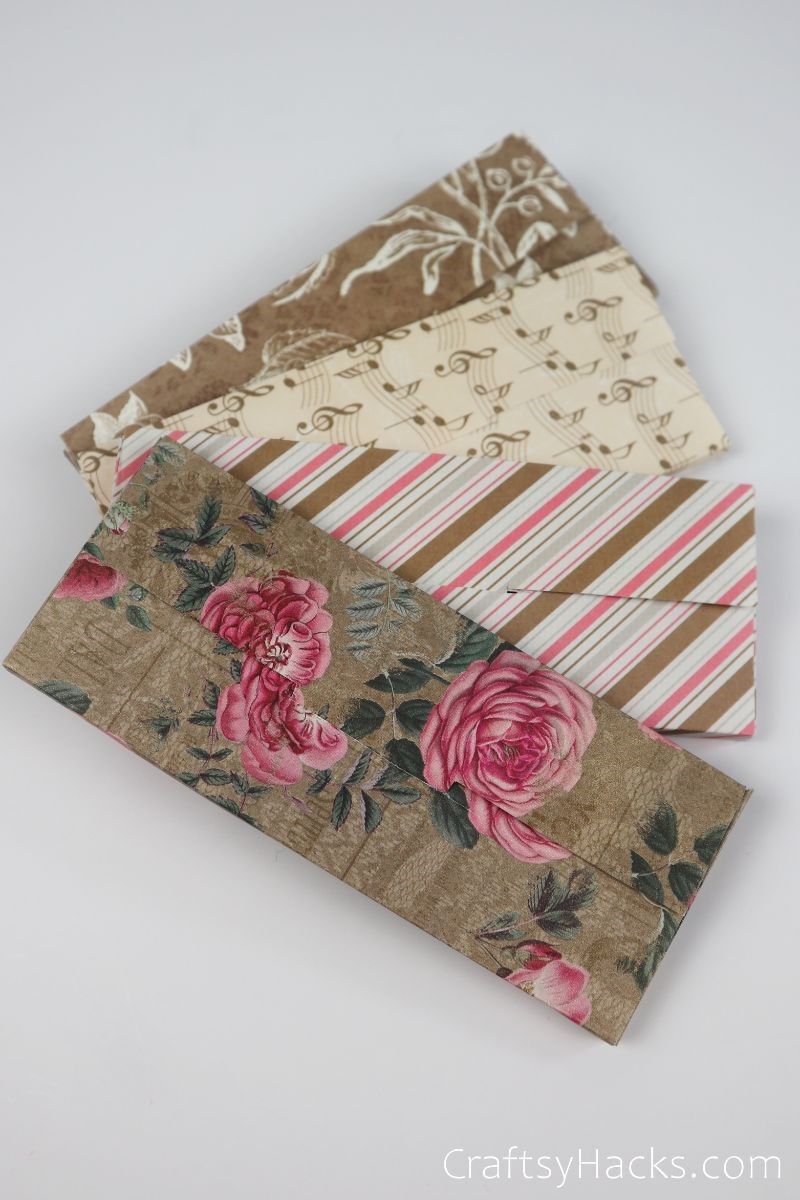
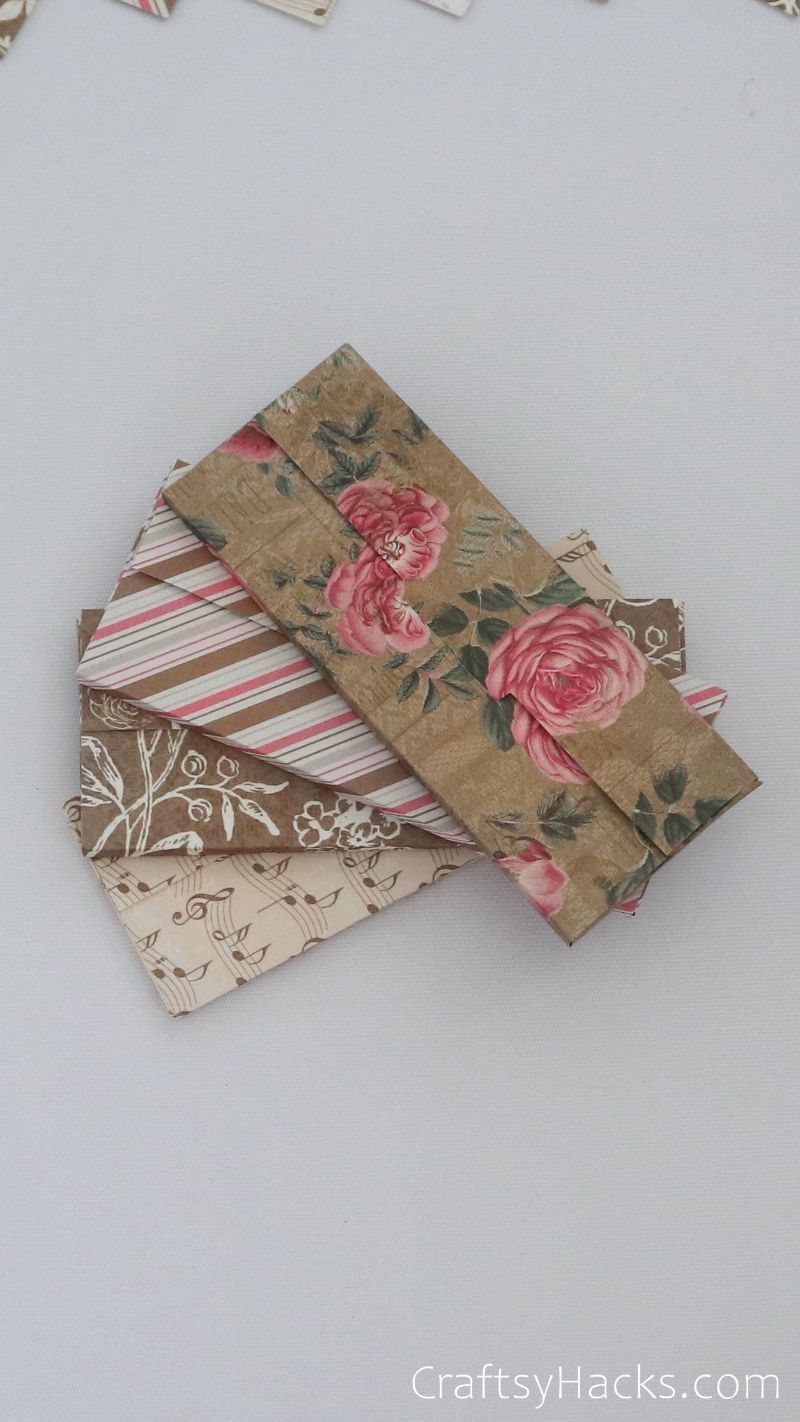
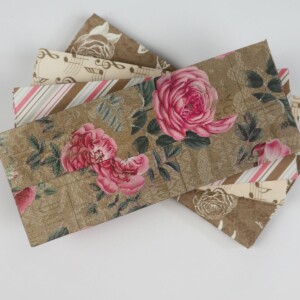
There you have it! After a short session of precision cutting and careful folding, you’ve got your own one-of-a-kind box envelope to spice up your gift-giving.
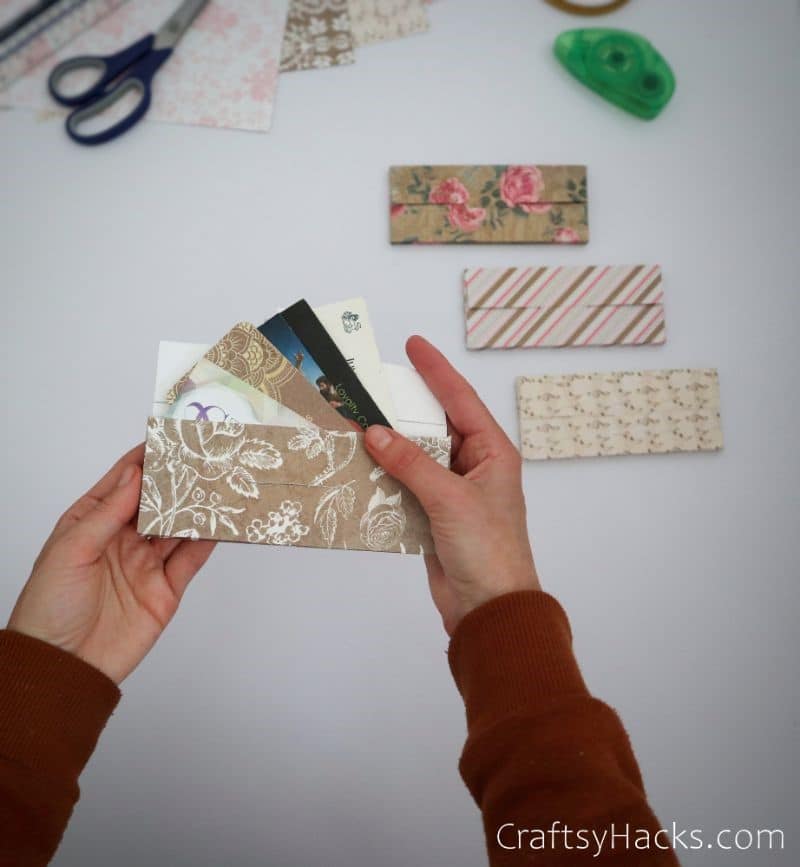
What Can You Use These Envelopes For?
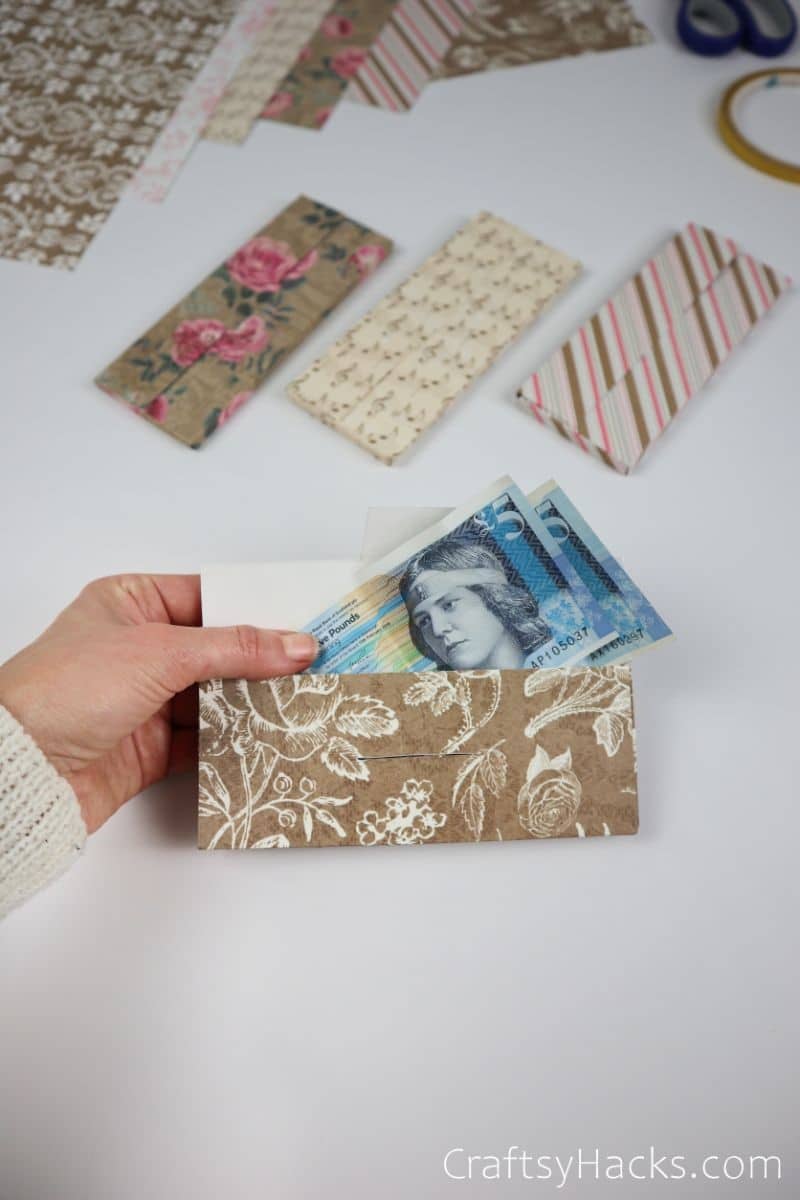
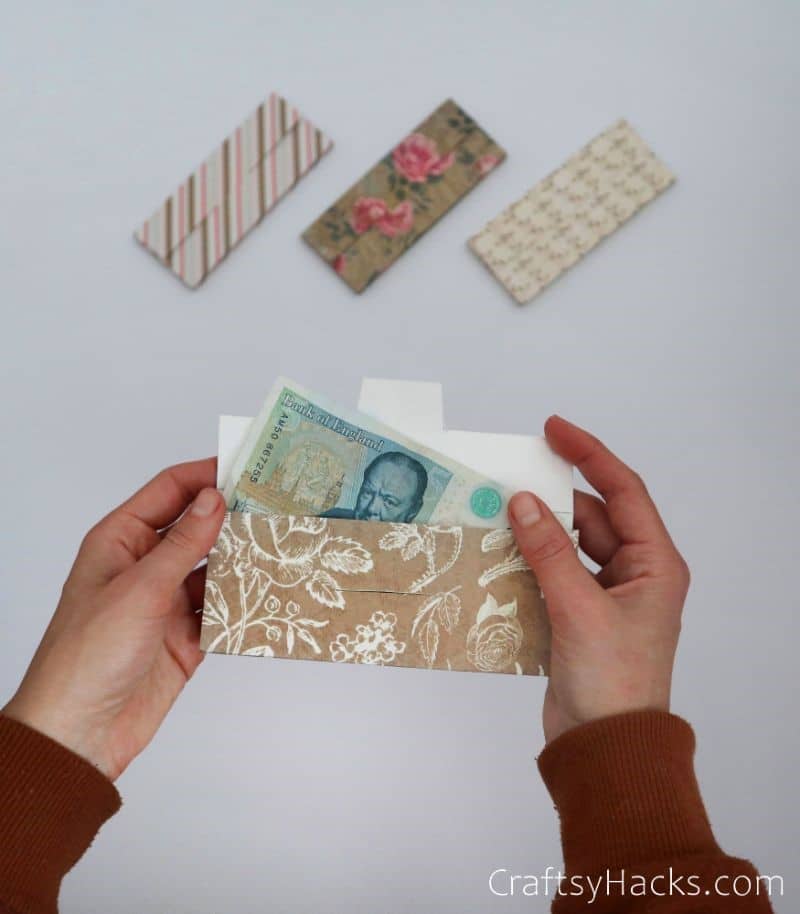
I’m telling you, these boxes are so versatile! No matter what you put in them, they dress it up enough to elevate it to gift status. Here are just a few ideas for what you can fill these beauties with:
- Money never falls flat as a gift but dressing it up in these boxes gives it something extra.
- Sometimes it’s the recipient who knows what they want best; give them a gift card!
- Give the precious gift of memories with a collection of your favorite photos.
- Tickets to a new play, concert, or movie make for a wonderful experience.
- A letter or card with a heartfelt message on it will last forever.
Essentially, if it’s small enough to fit, this does the trick. That’s why I love these box envelopes so much!
Other DIY Gift-Giving Crafts You Might Like
- DIY Rock Photo Holders
- Wire Rings
- DIY Headband from an Old T-Shirt
- Macrame Leaf Earrings
- DIY Paper Wallets
- DIY Salt Dough Ornaments
- 20 Fun Paper Crafts
How to Make a Paper Envelope
Video Tutorial
Equipment
- Scissors
- Pencil
- Ruler
Materials
- Patterned cardstock 200gsm Heavyweight
- Glue or double-sided tape
Instructions
- Gather your supplies, including your printed template (if you’re using one).
- Start by drawing your box’s blown-out shape onto the non-patterned side of the page. Taking your time here will save you a lot of frustration, so be careful with your measurements.
- The layout consists of two identical rectangles flanked by two panels on the long edge and two flaps on the short edge. Be very precise with the rectangles, but don’t worry too much about the other parts.
- Ensure you’ve left enough space for the pieces to fold over and create a hollow spot in the middle. I recommend using the edge of a ruler to measure the width of the interior.
- Carefully cut your shape out. Draw a notch in the center of the “front” piece, then use scissors or a knife to cut through it, forming a gap for the tab to fit through.
- Begin folding each edge inward, starting with the large rectangles, then progressing to the flaps and wings. Use your ruler to create a square edge and clean fold.
- Finally, use your glue or double-sided tape to attach the flaps to the “back.”
- Fill your envelope box with anything your heart desires, present it to your recipient, and sit back to watch the joy on their face!


You don’t have the measurement of the flaps of the envelope…can you provide those please?
Can you provide the measurements of all the components of the envelope. I can see most of them in the photos provided with the instructions, but not the flaps nor the top flap’s protrusion.
Thanks in advance
Hi Claire, the flaps don’t need to be too long, just a couple centimeters to secure the envelope. There are no measurements because they can be as large or as short, use larger ones to make your envelopes sturdy 🙂