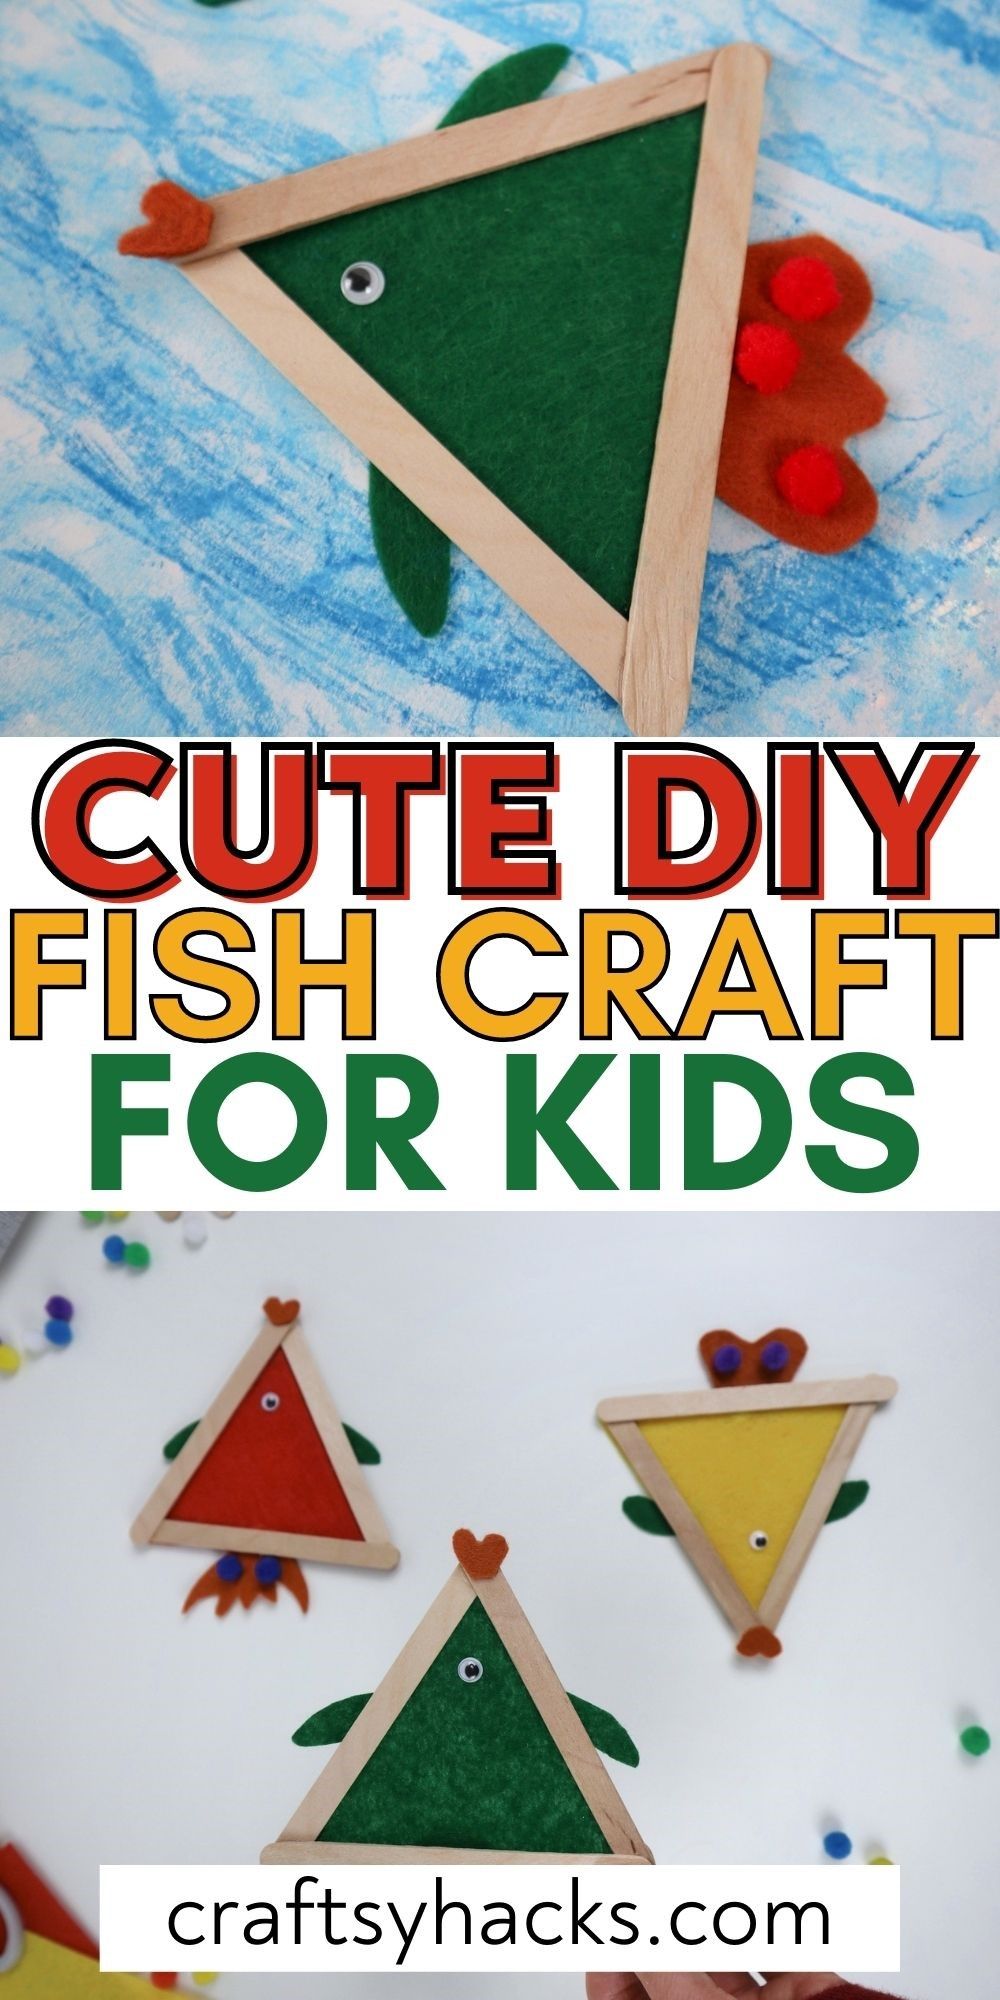
Fish Craft for Kids You Can Make in Classroom
This post may contain affiliate links: full affiliate disclosure.
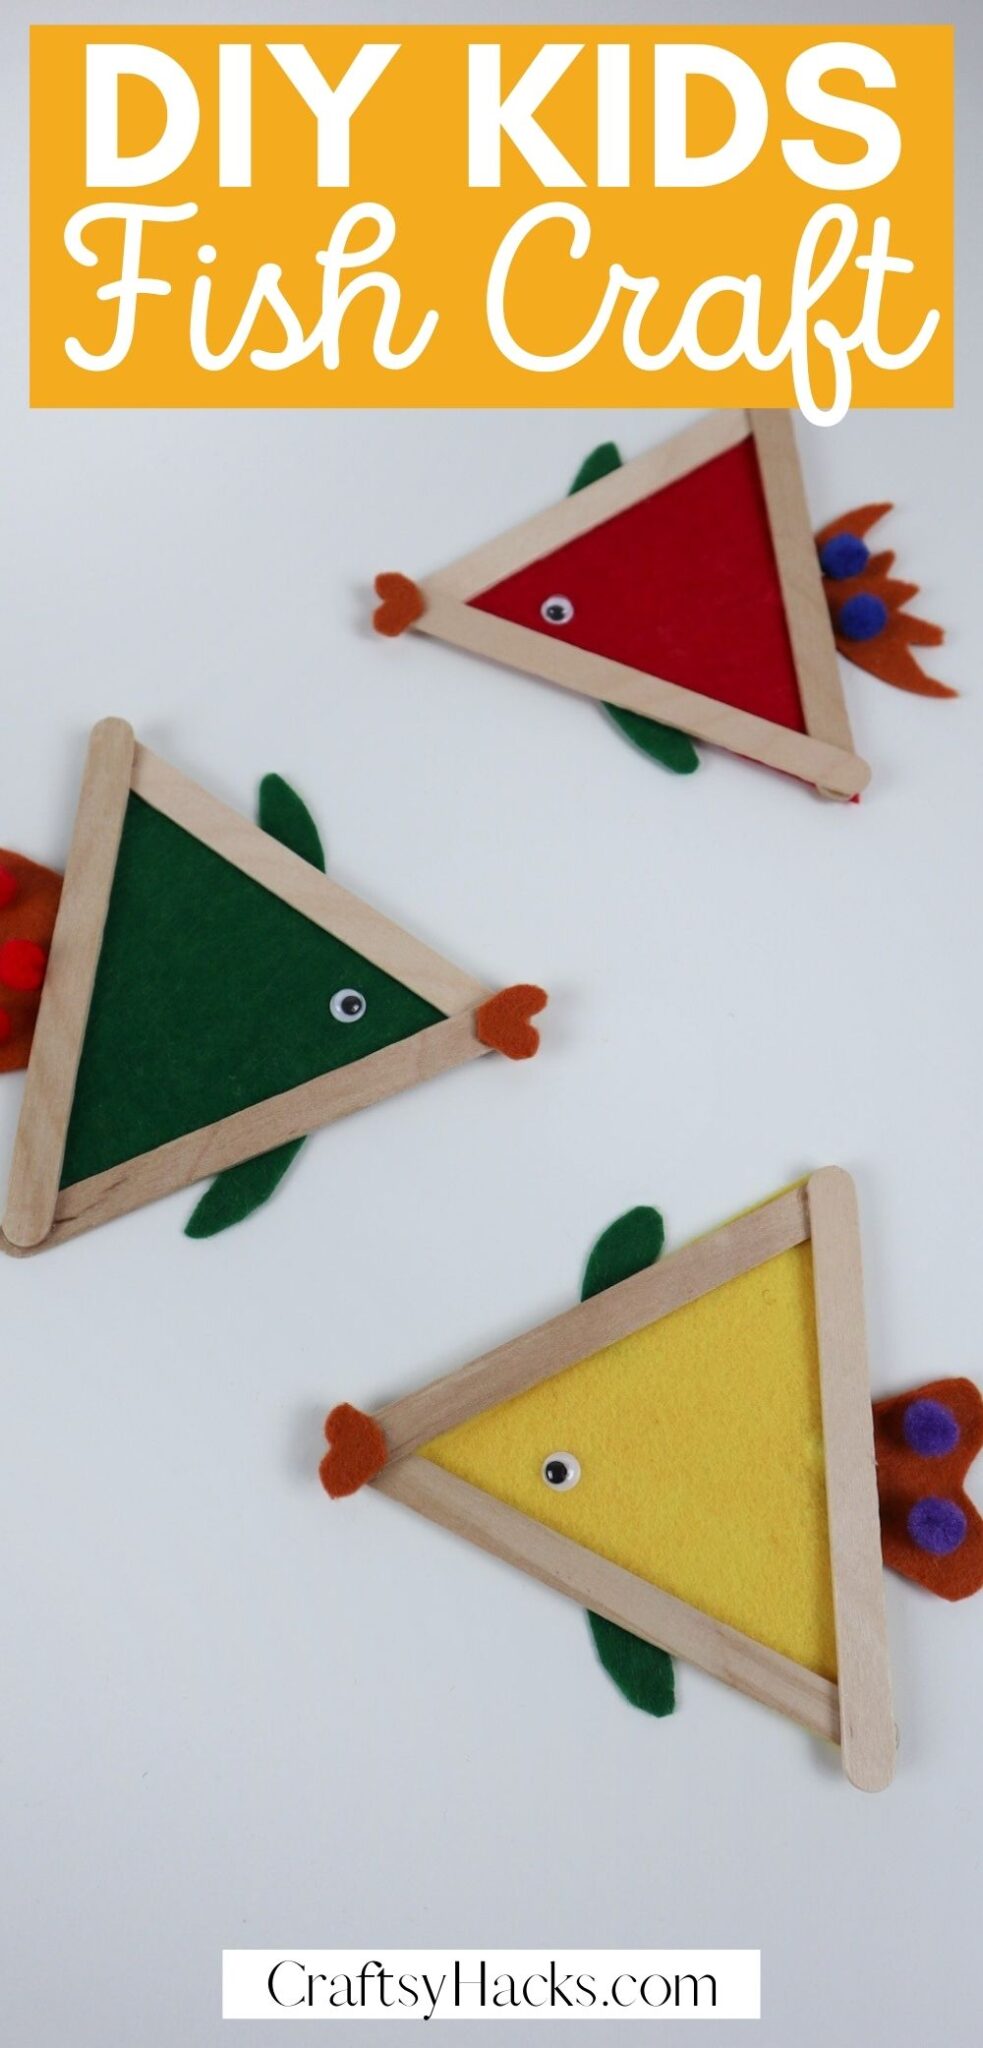
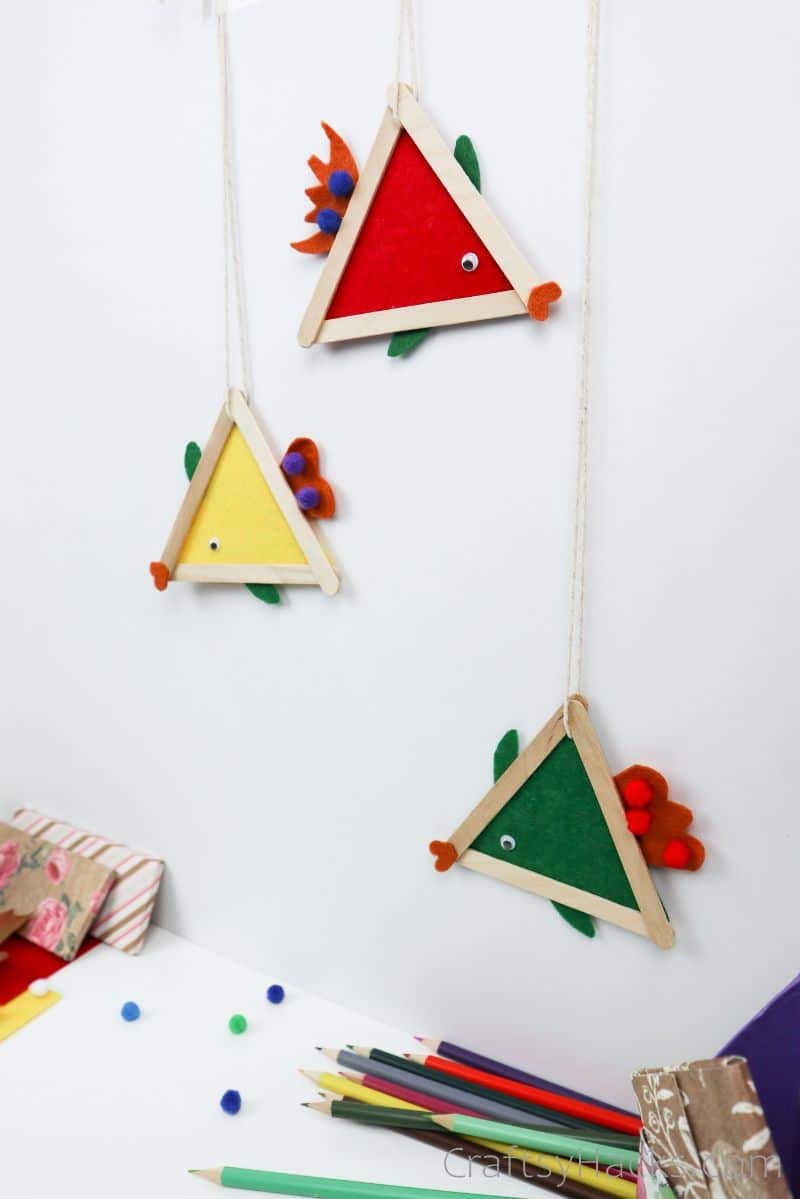
Get creative with these fish crafts. They’re simple, fun to make, and cute projects for kids.
I’m a massive fan of fish-related crafts simply because there’s so much room for kids to stretch their imaginations. The perfect kids’ art is hard to find, but in my opinion, this fishy little number gets close.
This is perfect as a classroom activity because it provides many educational opportunities along the way. It’s vibrant, easy-to-make, and the materials aren’t expensive to buy in large amounts.
Using only felt, decorations, and some popsicle sticks, this DIY project is perfect for young kids! Take little ones through a fish’s life cycle, create a school of a hundred fish, and adorn the classroom wall.
Even if you’re just taking your kids through this project at home, I guarantee they’ll have a blast bringing these little fishies to life. Let’s get started!
Supplies You’ll Need
- Colored felt sheets
- Popsicle Sticks
- Googly eyes
- Fuzzy pom poms
- Glue
- Scissors

How to Make a Fish Craft for Kids
Here is a full tutorial on how to make these DIY fish decorations.
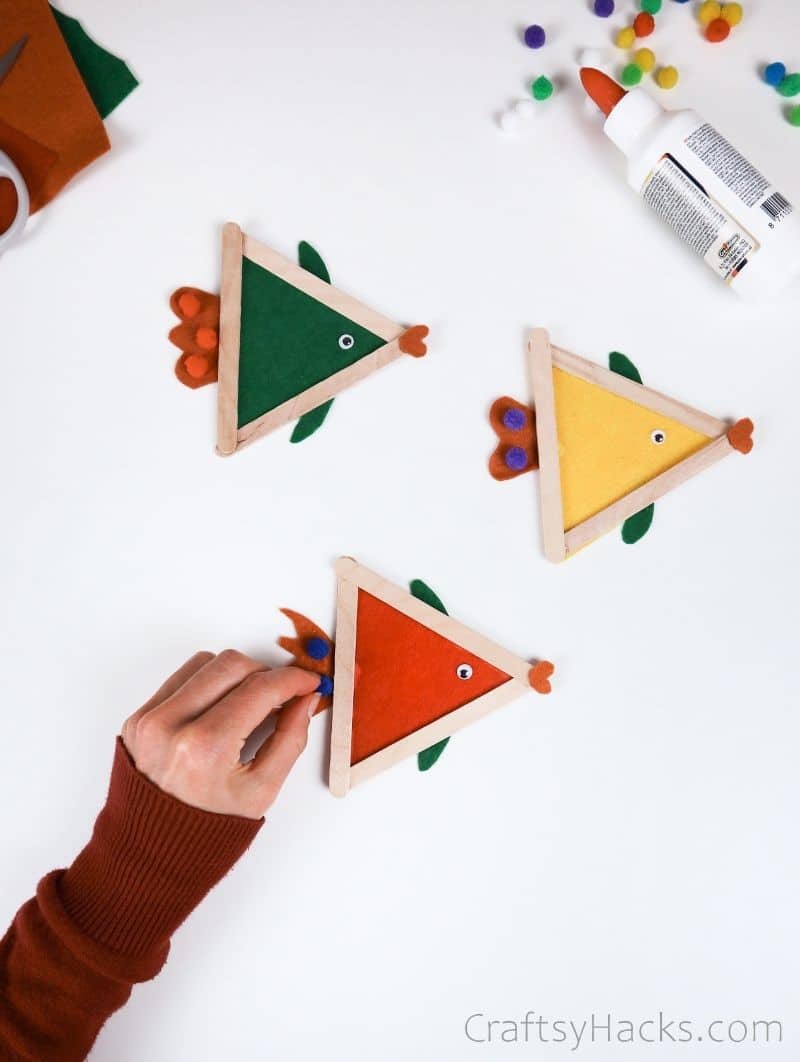
Step 1
Begin your crafting session by gathering all your supplies. If you’re in a classroom setting, bulk packs of all the supplies are available on Amazon to make your life a lot easier!
Spread out a vast array of decoration possibilities, including pom poms, glitter, buttons, or beads to decorate the fish’s tail and fins. As for the base material, you can use felt or foam. Whichever is easiest.
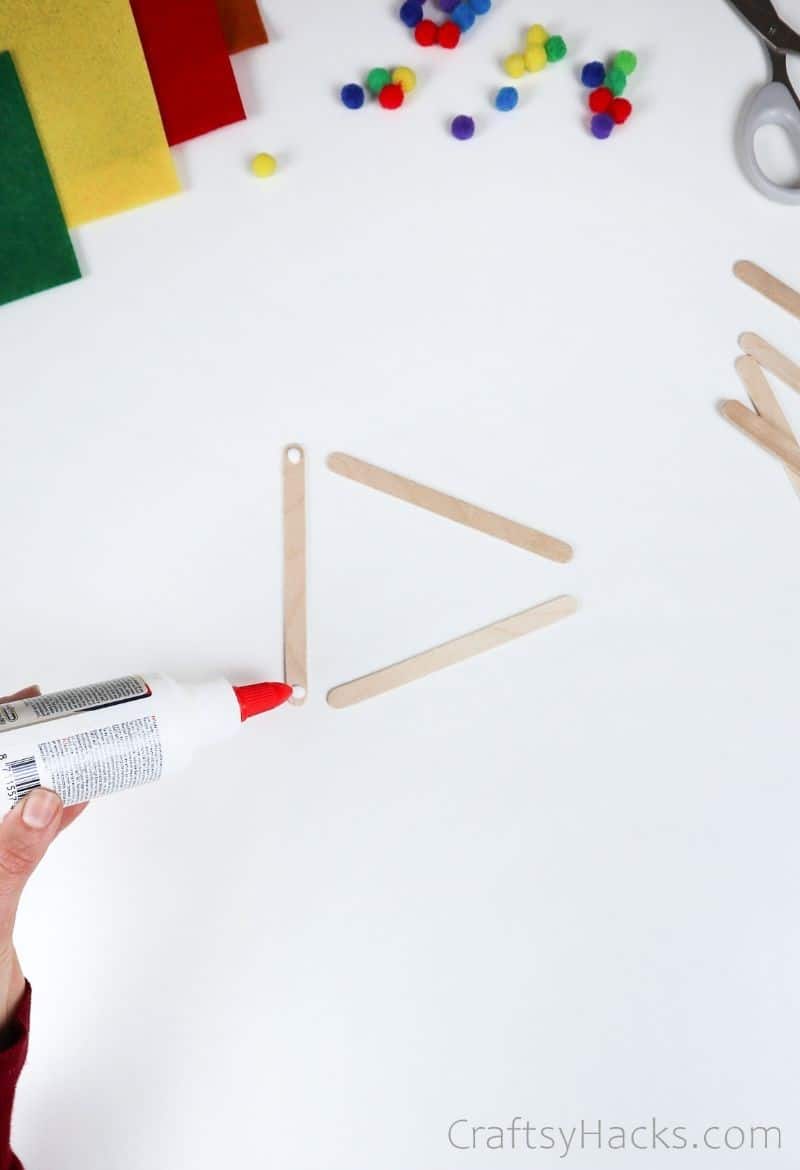
Step 2
The first step in bring this fish to life is to create a wooden triangle out of popsicle sticks. Simply arrange the three sticks in a triangle shape, gluing them down at each end with your craft glue.
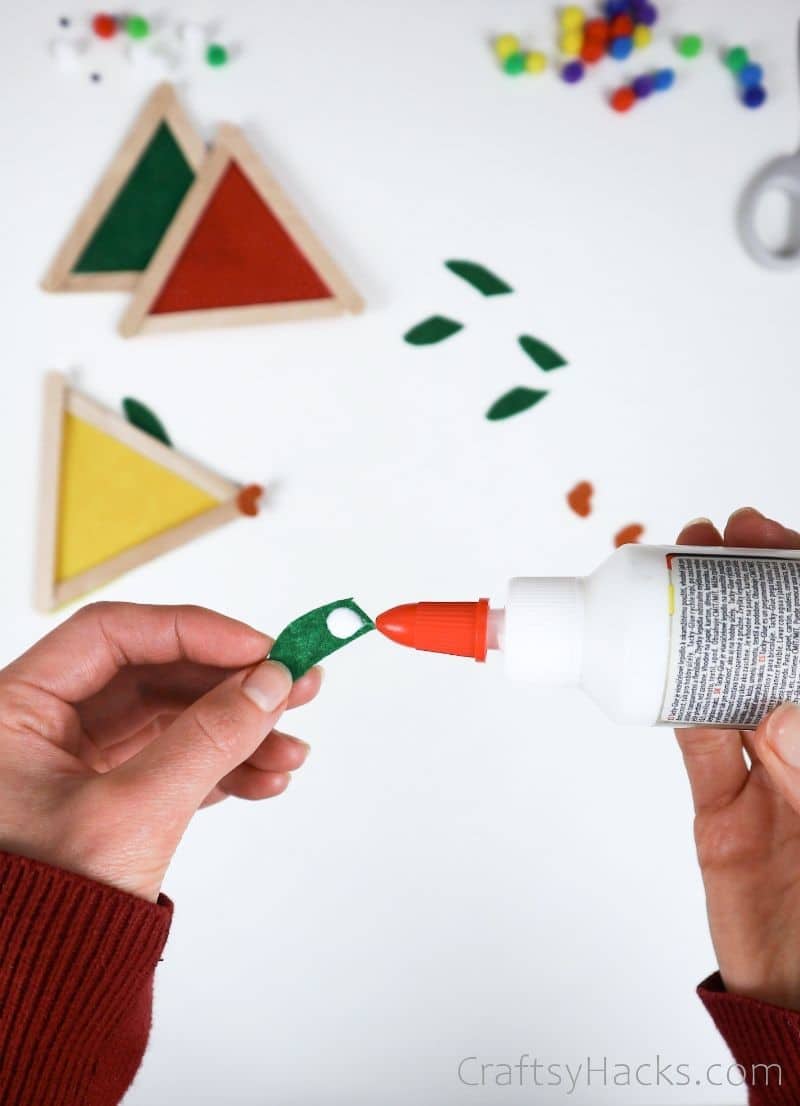
While waiting for the glue to air dry, you can get to work on the fins, tails, and fish lips. These will be cut from the foam and glued on, so there’s no permanence. Don’t be afraid to get creative!
Cut out these pieces of fishy anatomy in a variety of colors and shapes. You don’t have to worry about messing it up since you can always pick the best pieces to go on your final product.
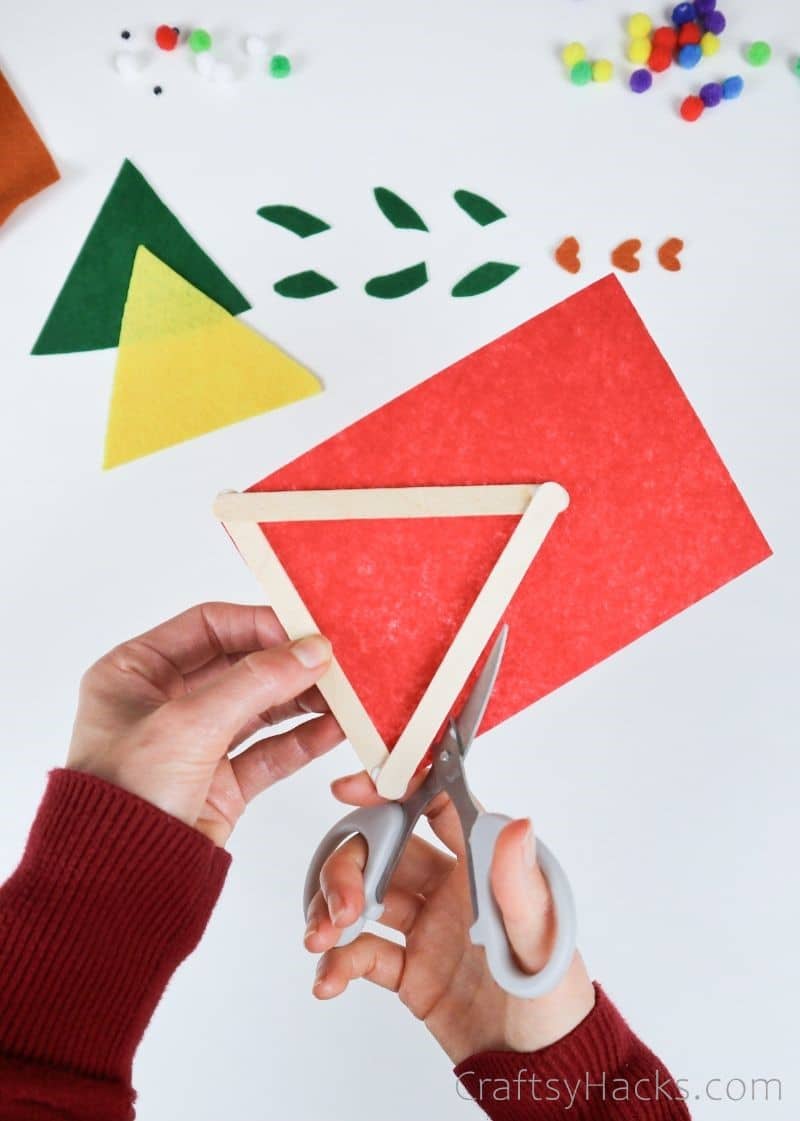
Step 3
Next up, let’s give our skeleton some scales. Using the dried triangle as a measure, cut a triangle of your chosen felt color out of your sheet.
Pro Tip: This felt piece will sit behind the popsicle sticks. So, make sure it doesn’t extend too far past the sticks’ boundaries.
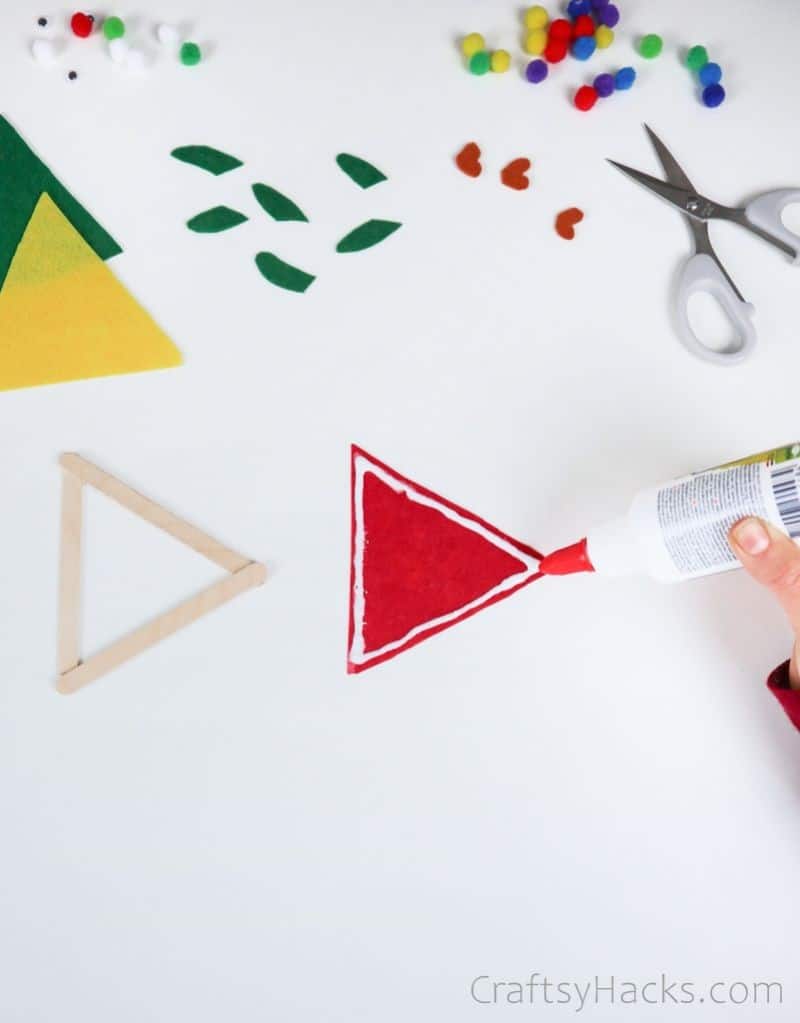
Step 4
Next up, attach the piece of felt to the frame. I found craft glue works perfectly well for this (and would be ideal in a classroom environment). However, if all you have on-hand is hot glue, that will work.
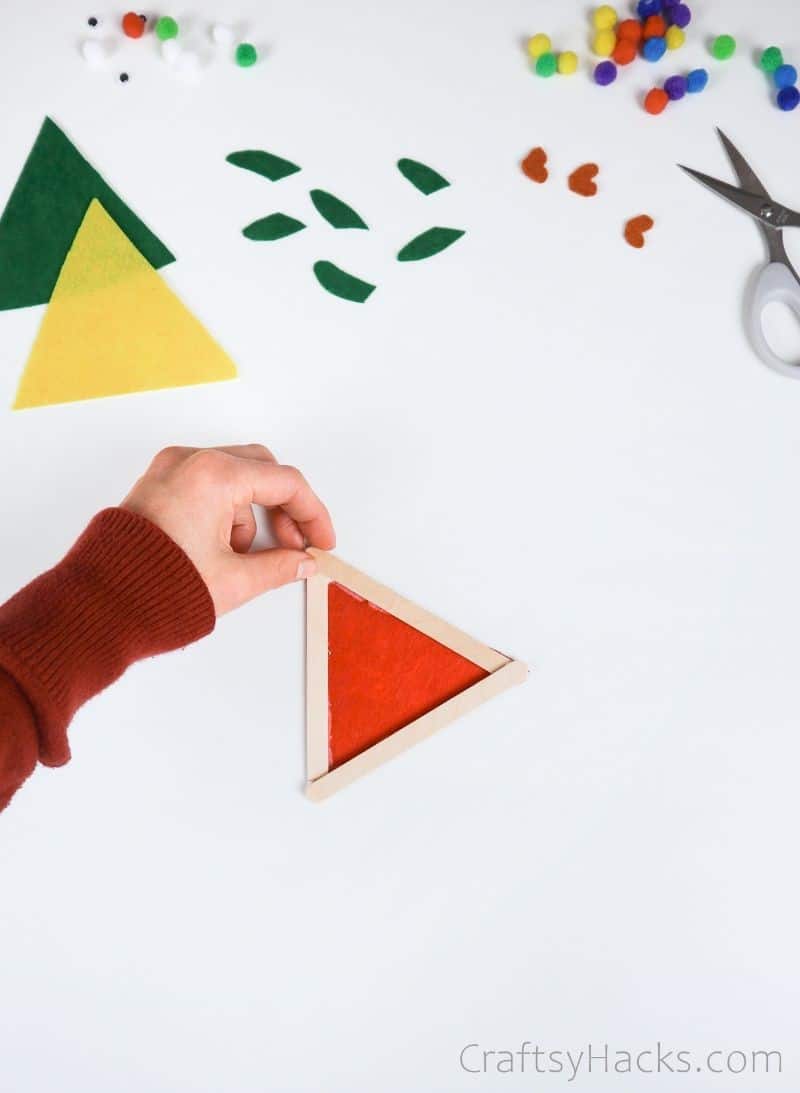
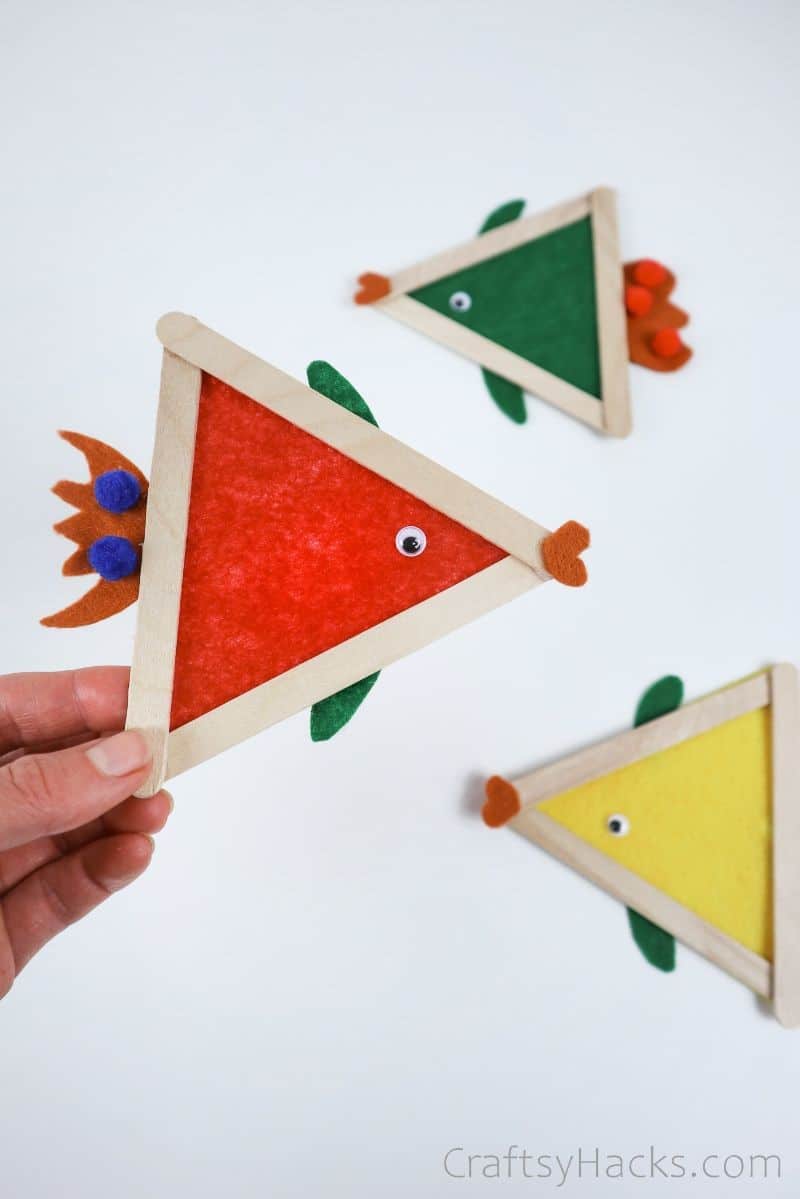
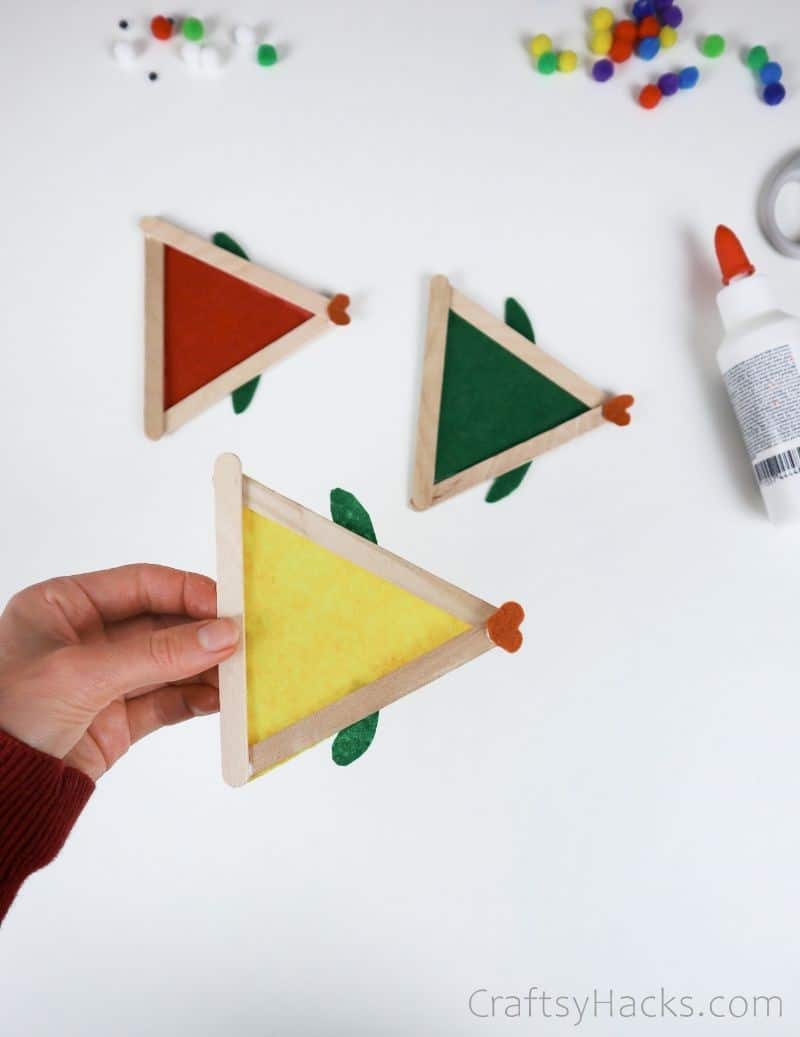
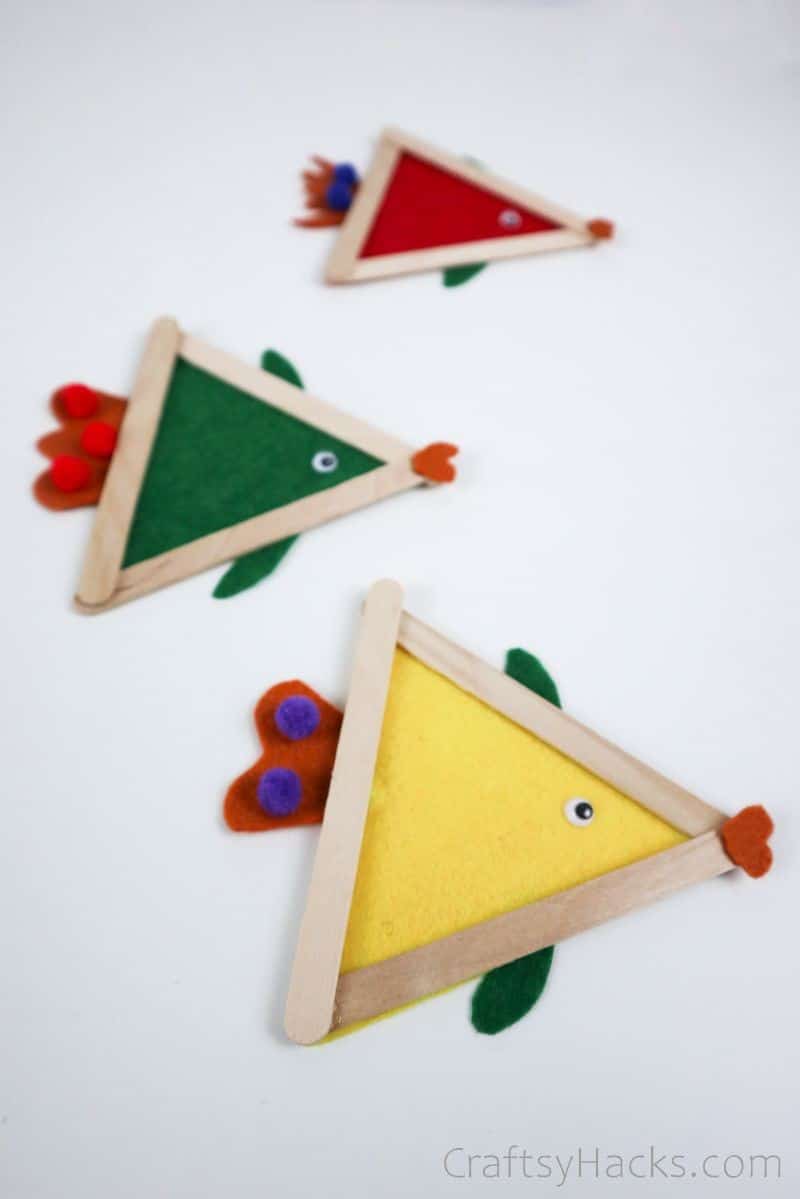
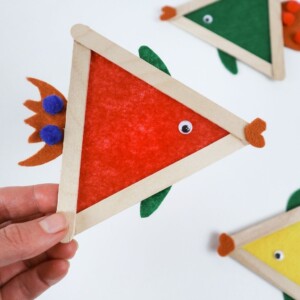
Once you’re done, you should have a little fish body that looks like this! You’re halfway done.
Step 5
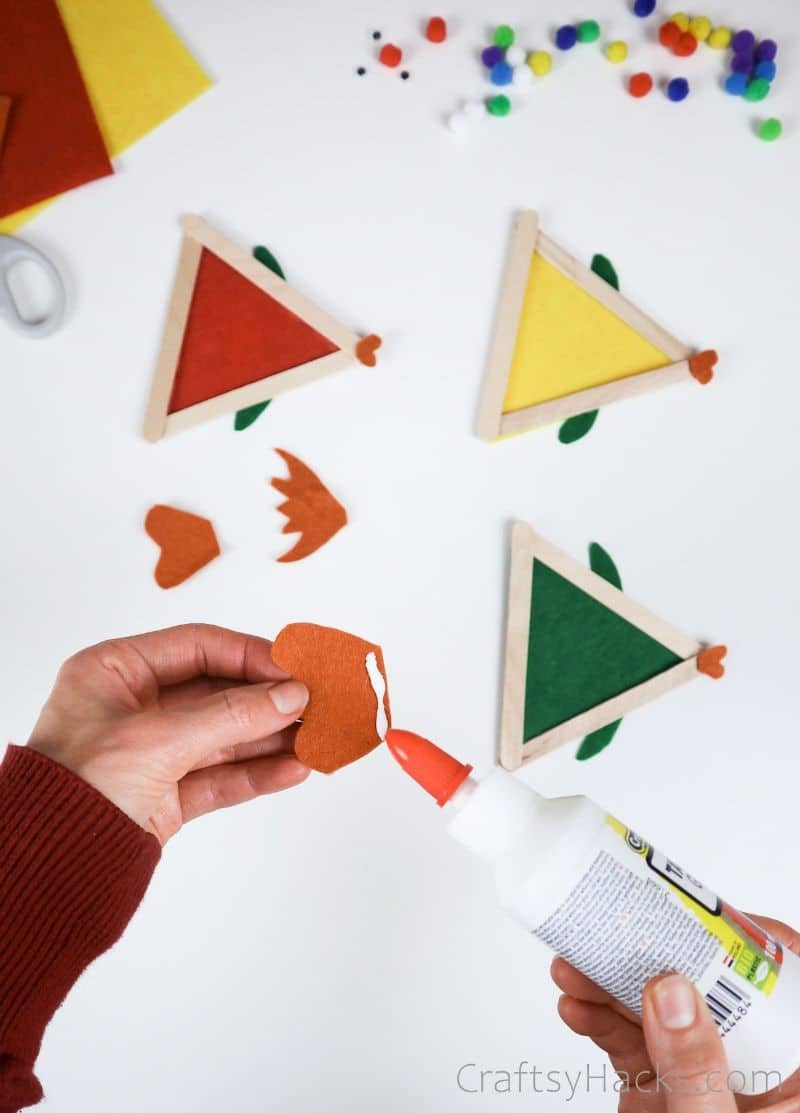
It’s time to make our fish a little more recognizable. Next, glue two fins to the fish’s body, one on the top and one on the bottom. Ensure these sit behind the sticks. Finish it off by gluing fish lips to the front.
Step 6
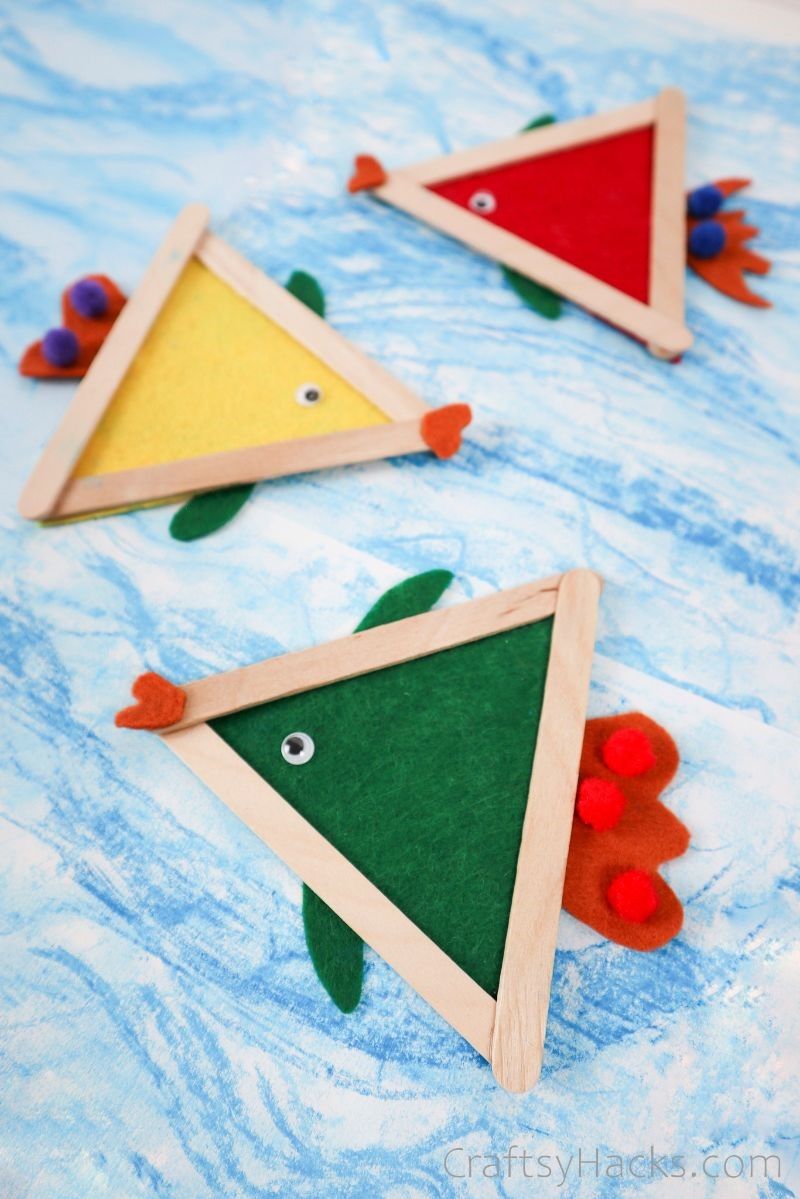
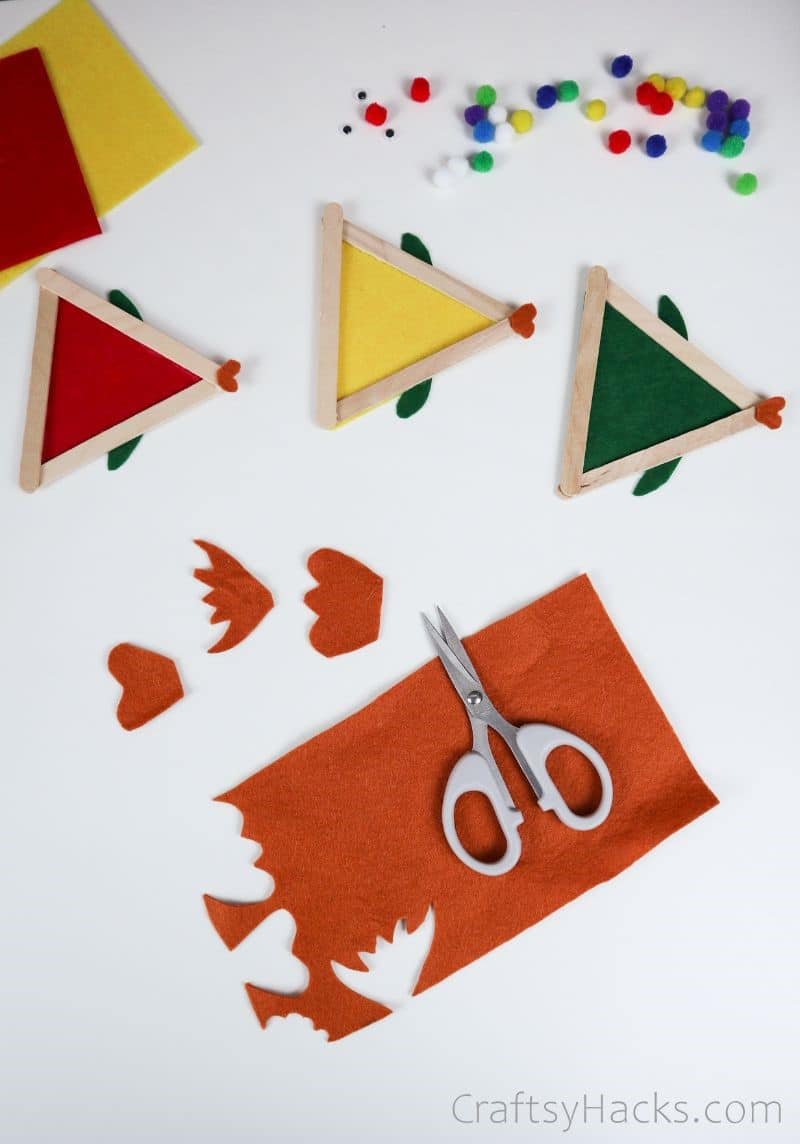
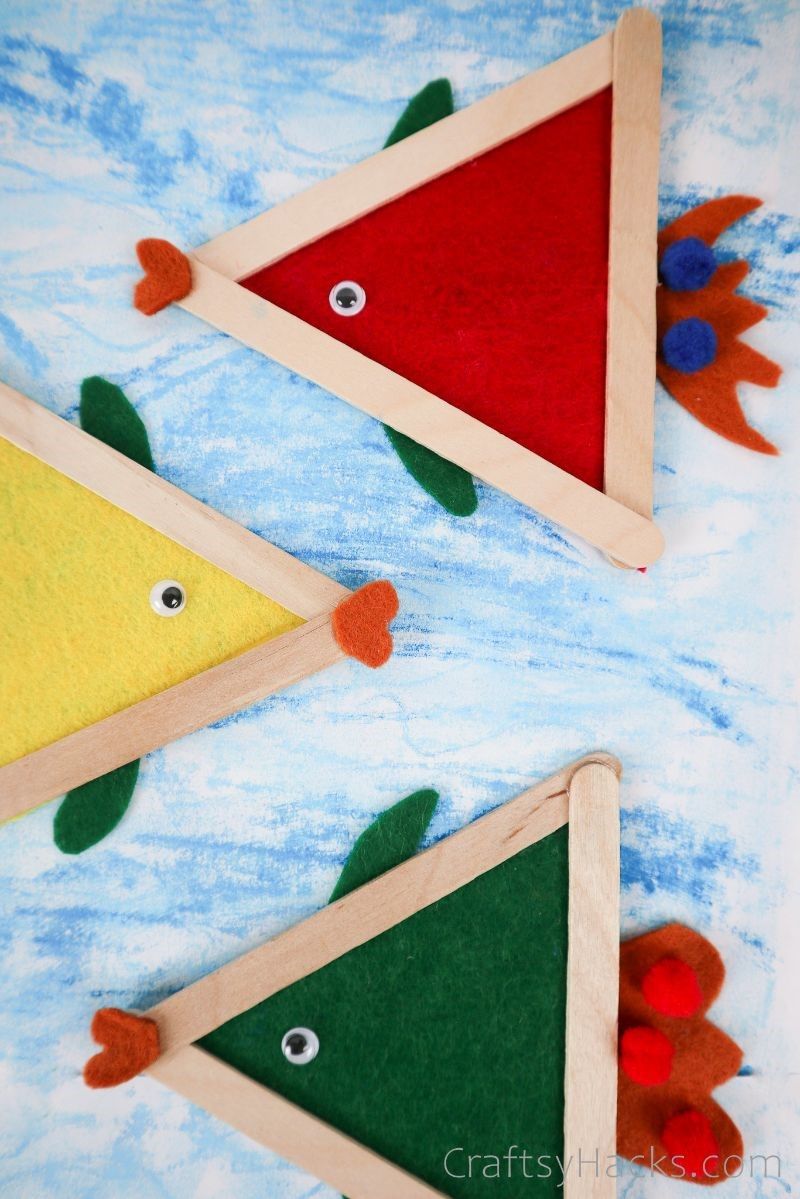
If you haven’t already, start thinking about some exciting tail shapes, you can bring to the aquatic creatures! Experiment with spiky styles, rounded curves, or basic fish-like shapes for your tails.
I recommend cutting them out of the same felt color as your fish’s lips or choosing a contrasting color to add an extra pop.
Step 7
Just like you did with the fins, glue your fish’s tail on behind the popsicle sticks. Position the tail on the fish’s rear. If you’re in a classroom, now is the best time to talk about how fish can swim!
Finish off this delightful craft by adorning your fish with the various decorative supplies I listed before. I highly recommend using googly eyes. They just lend such life to the completed fishies!
What Can You Use Instead of Felt?
Any colored material can work for this craft, so if you don’t have any felt on hand, get creative with your resources. Some examples of things you can use instead of felt include:
- Colored paper.
- Thick fabric-like cotton or muslin.
- Painted cardboard from cereal boxes.
- Wood, if you’re creating something for the outdoors.
How Much Does this Fish Craft Cost?
Each little fish will cost a couple of dollars at most if you’re making them at home. However, if you buy bulk for a classroom art project, this cost will easily be cut in half.
Buying in bulk is one of many ways to make art supplies even cheaper because you’re not repeatedly being charged a retailer’s mark-up.
If you’re looking for some other ways to make this craft even cheaper than it already is, you could:
- Ask the kids to bring in some old clothes (with their parent’s approval, of course).
- Use recycled cardboard boxes for the skeleton instead of popsicle sticks.
- Gather sticks from outside and use them as your frame. This is a great way to get the kids outdoors as well!
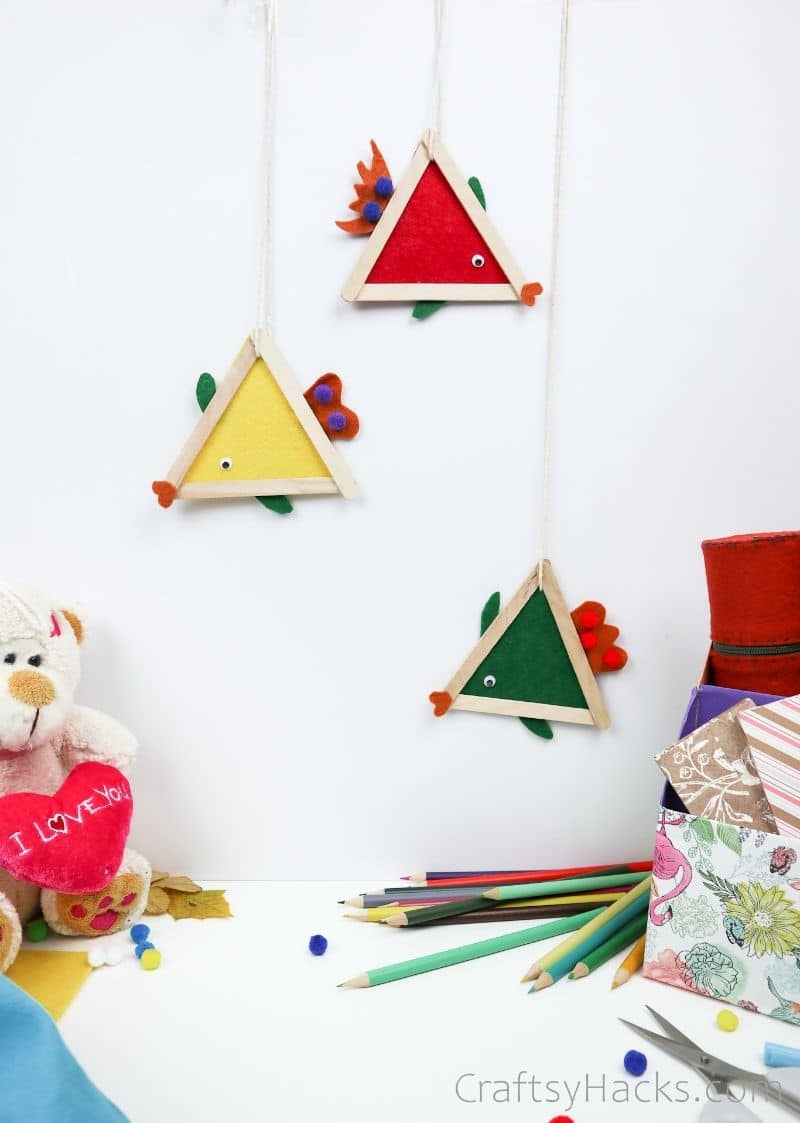
Leave these adorable fish adorning your classroom’s walls, and you’ll be guaranteed to smile every time you walk into the room.
Other Crafts You’ll Like
- 20 Easy DIY Sock Plushies
- 20 Fun Projects for Teens
- DIY Picture Frames
- DIY Paper Wallets
- 20 Dollar Store Crafts for Kids
- Scrap Fabric Projects
- DIY Crafts for Teens
- Sewing Projects
- Upcycling Ideas
- DIY Projects
- Painted Rock Ideas

Fish Craft for Kids
colorful result. Not only that, but it’s also an excellent vehicle for an aquatic creature lesson!
Video Tutorial
Equipment
- Glue
- Scissors
Materials
- Colored felt sheets
- Popsicle Sticks
- Googly eyes
- Fuzzy pom poms
Instructions
- Ransack your classroom’s art supplies, and get ready to start crafting! While felt or foam is preferable, you can use any cut-and-paste textile you can get your hands on. Remember, the more decorations you have, the more interesting the result will be!
- Start off by gluing three popsicle sticks into a triangle using craft glue and leaving that to dry.
- While the triangle dries, use the downtime to cut the fish’s tail, fins, and lips out of some color-contrasting felt.
- Using the dried triangle as a template, cut around its edges on a piece of felt to create the fish’s scales. Paste this to the wooden ‘skeleton’ and leave that to dry.
- Once that’s dried, simply use the lips, tail, and fins to flesh out the fish’s anatomy.
- From here, it’s up to you to decorate the fish in any way you please! Use sequins for scales, googly eyes for a little life, or even some pom-poms for a fluffier look.
- You’re done! Have your students craft an entire wall of little fish (or should I say… a school), and they’ll have the time of their lives.


