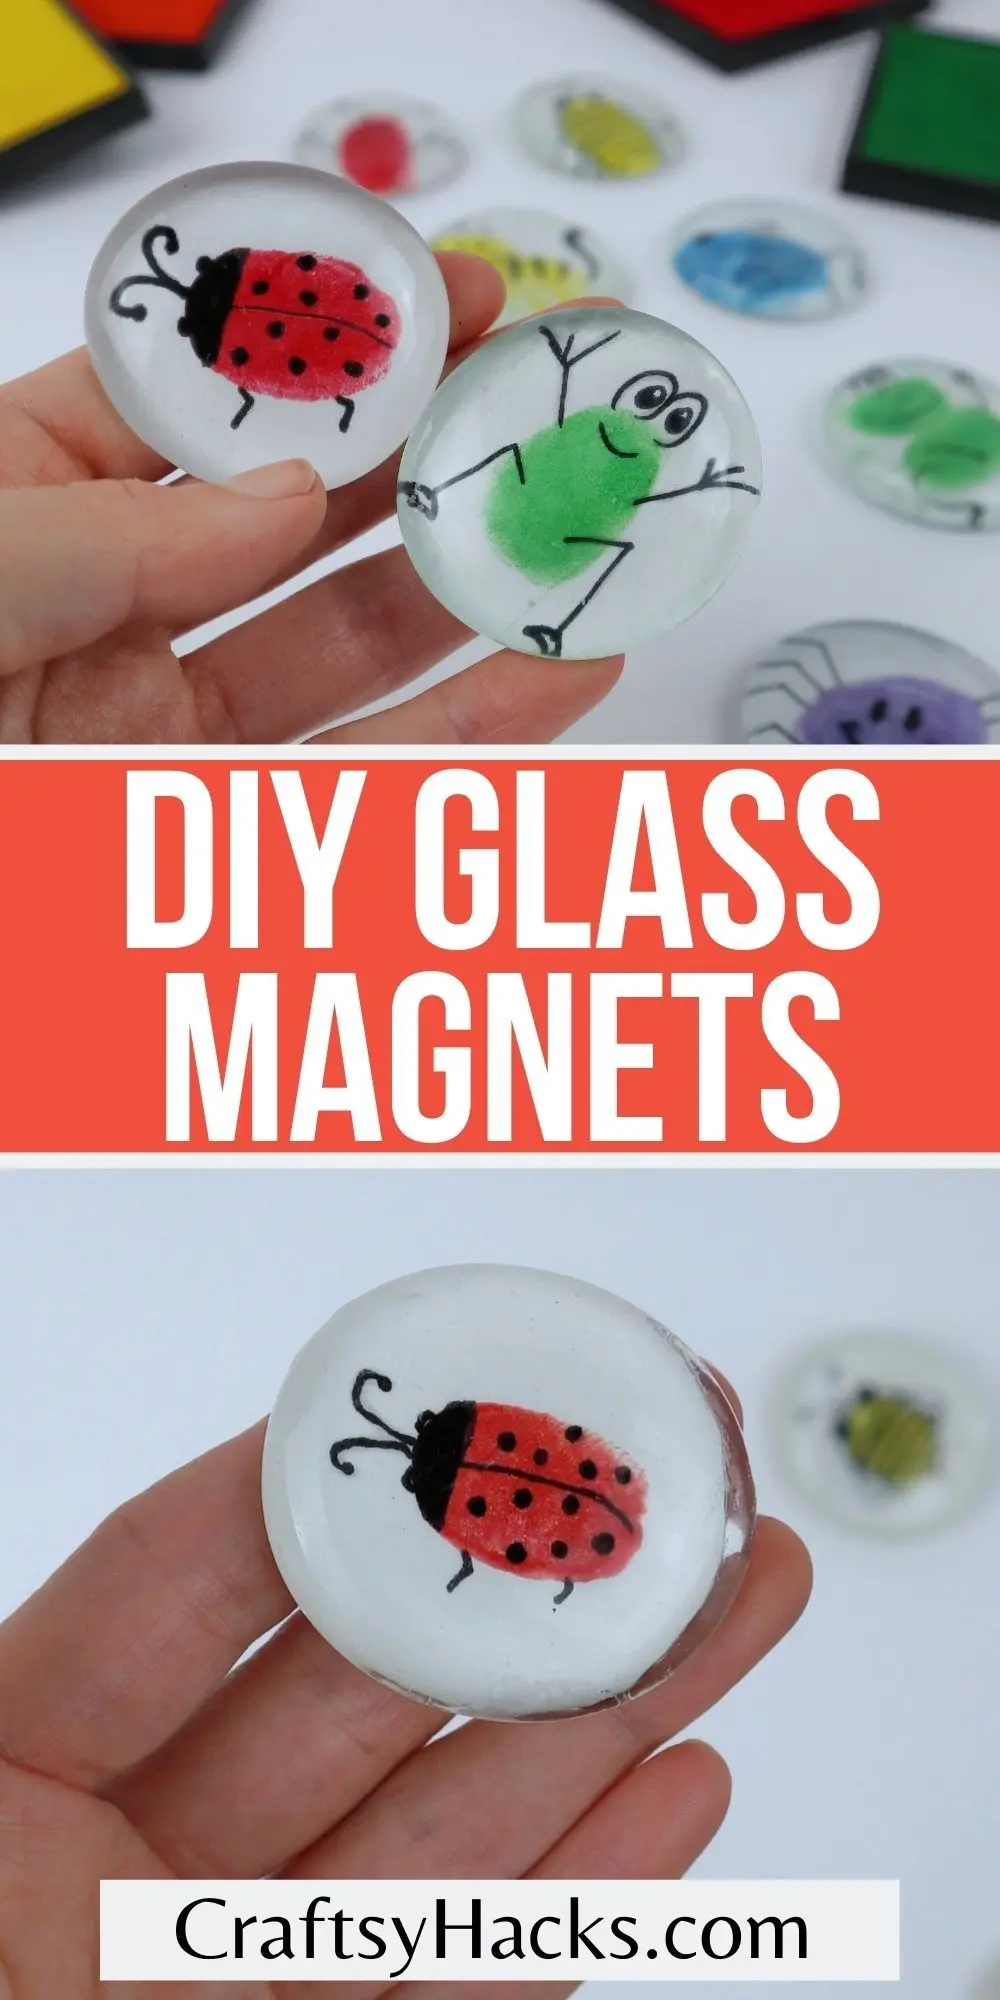
A fun DIY craft to make with the kids! These little glass magnets offer a nice way to decorate your fridge!
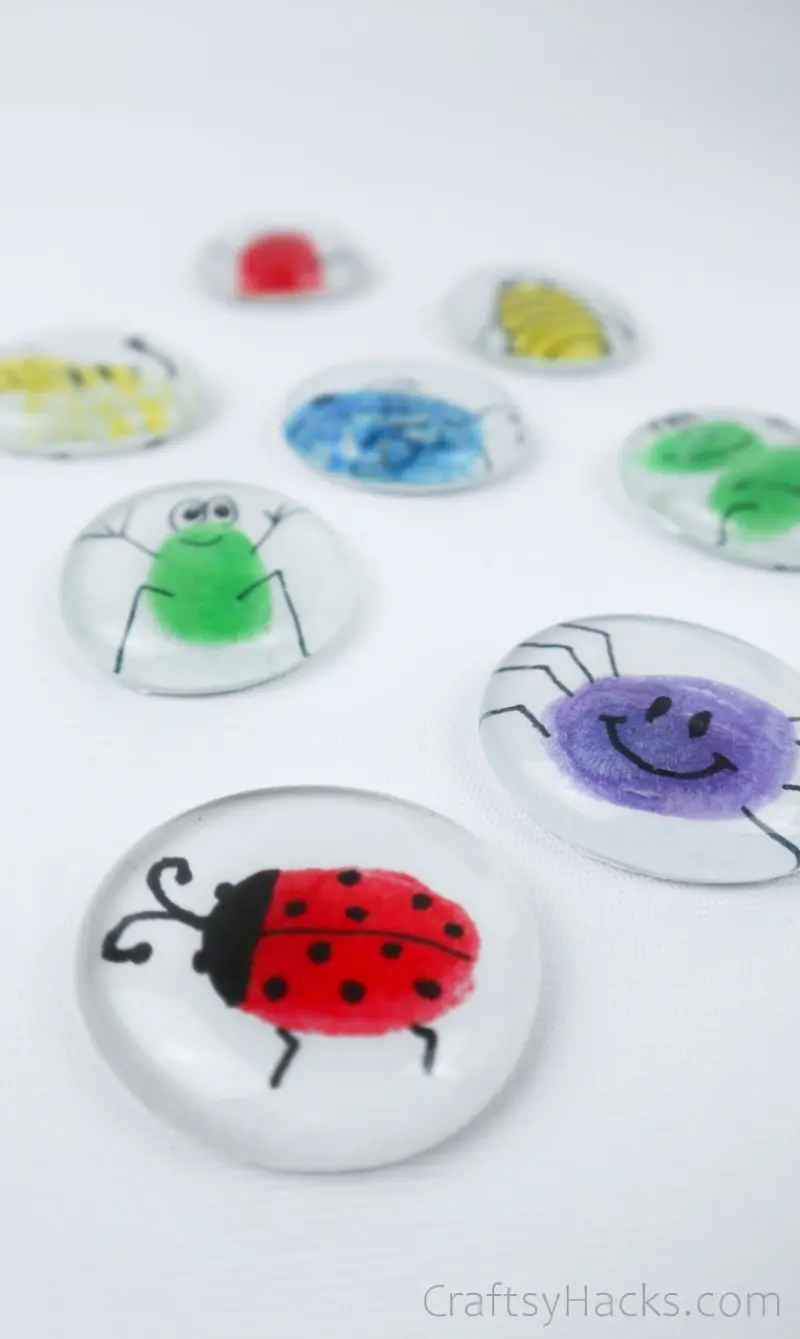
Apart from photos, the things that best preserve childhood memories are undoubtedly craft projects. Clay imprints of a baby’s foot, the first smiley face your little one ever drew; these are precious!
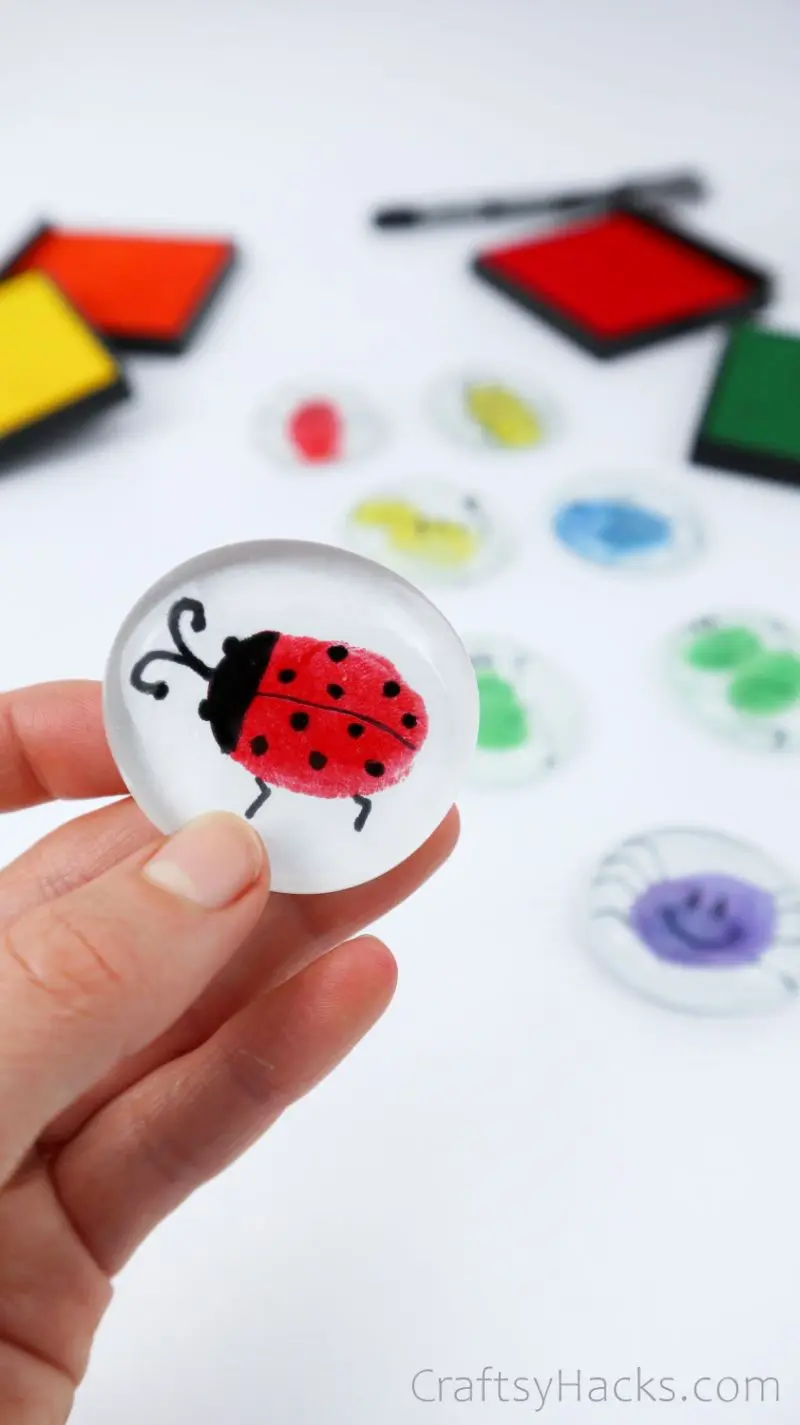
That’s why I’m so fond of this DIY project. Using your kids’ fingerprints, you can create something unique, long-lasting, and useful! Talk about a new way to put your kids’ art on the fridge.
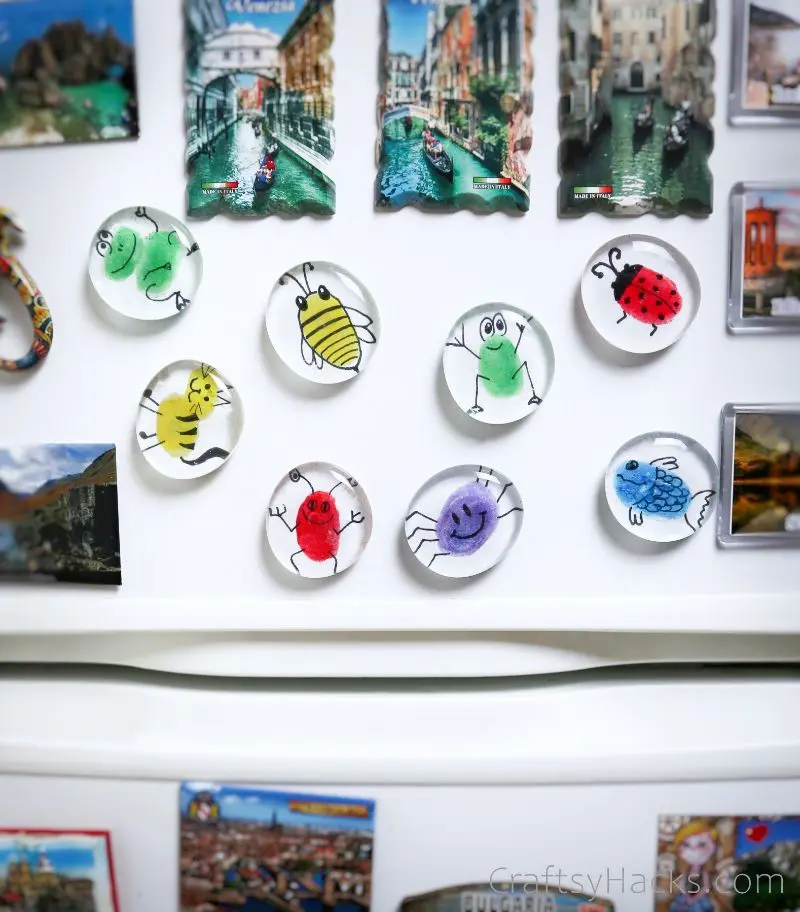
DIY Fingerprint Glass Magnets – A Fun Family Activity
This is the perfect family activity; even toddlers can get in on the fun. Alternatively—if you’re a preschool teacher—you can send kids home with a precious heirloom their parents will be proud of.
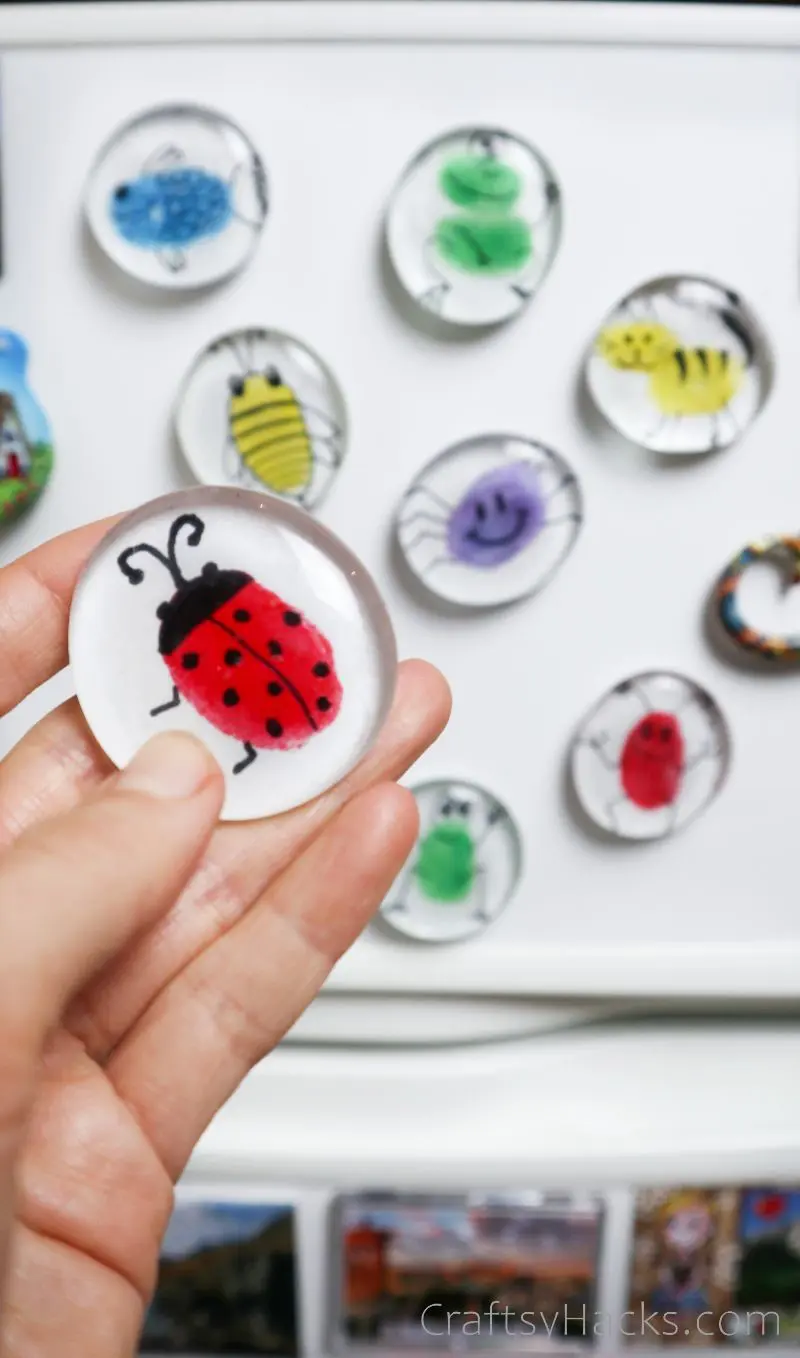
I love how colorful these fingerprint art glass magnets look on a refrigerator. So, if you’re curious about the method for these cheap, adorable, and functional magnets, read on with me!
Supplies for Magnets
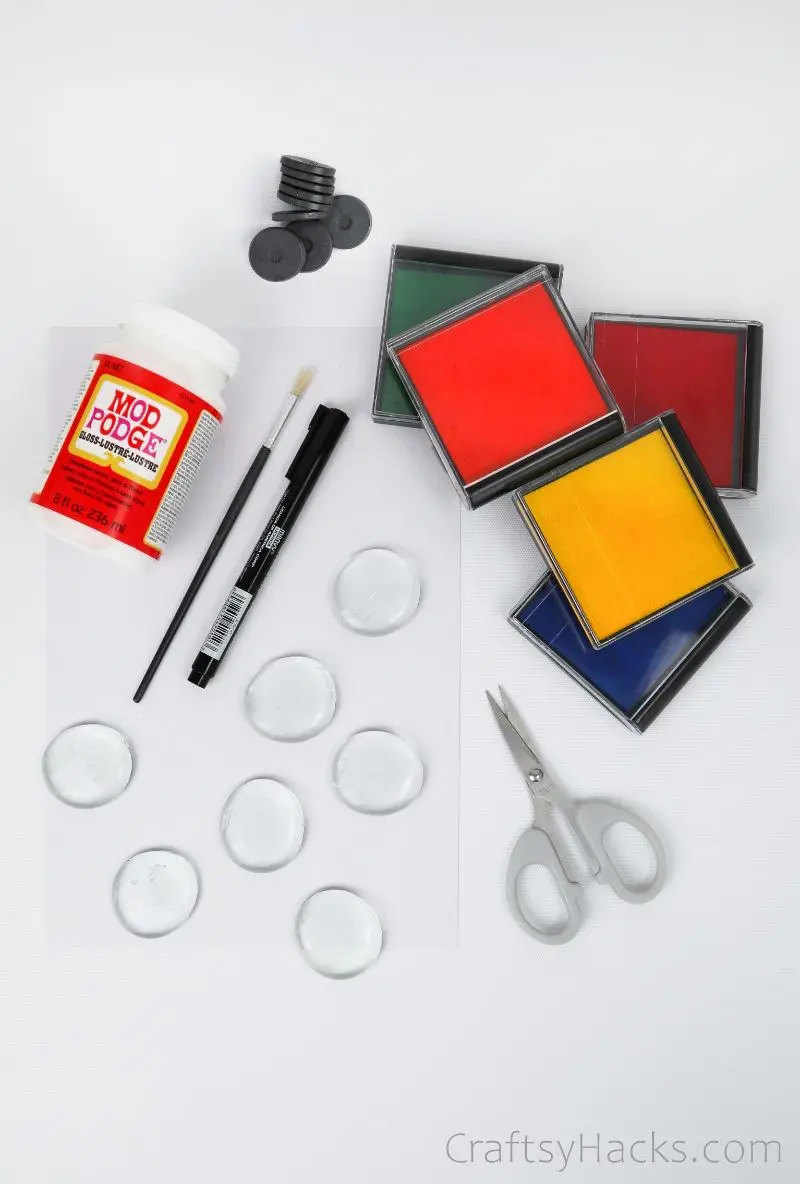
- Magnets
- Large glass cabochons
- Thick white paper
- Permanent marker
- Ink pads
- Mod Podge or other clear drying glue and brush
- Scissors
How to Make Glass Magnets
Here is a step-by-step tutorial on how to bring these glass magnets to life!
Step 1
Get started by gathering all your supplies (and your family, of course). You won’t need much in the way of supplies, but the ones you do need can be messy to work with.
So, consider taking your kids outside for a fingerpainting session to keep your rug safe.
Step 2
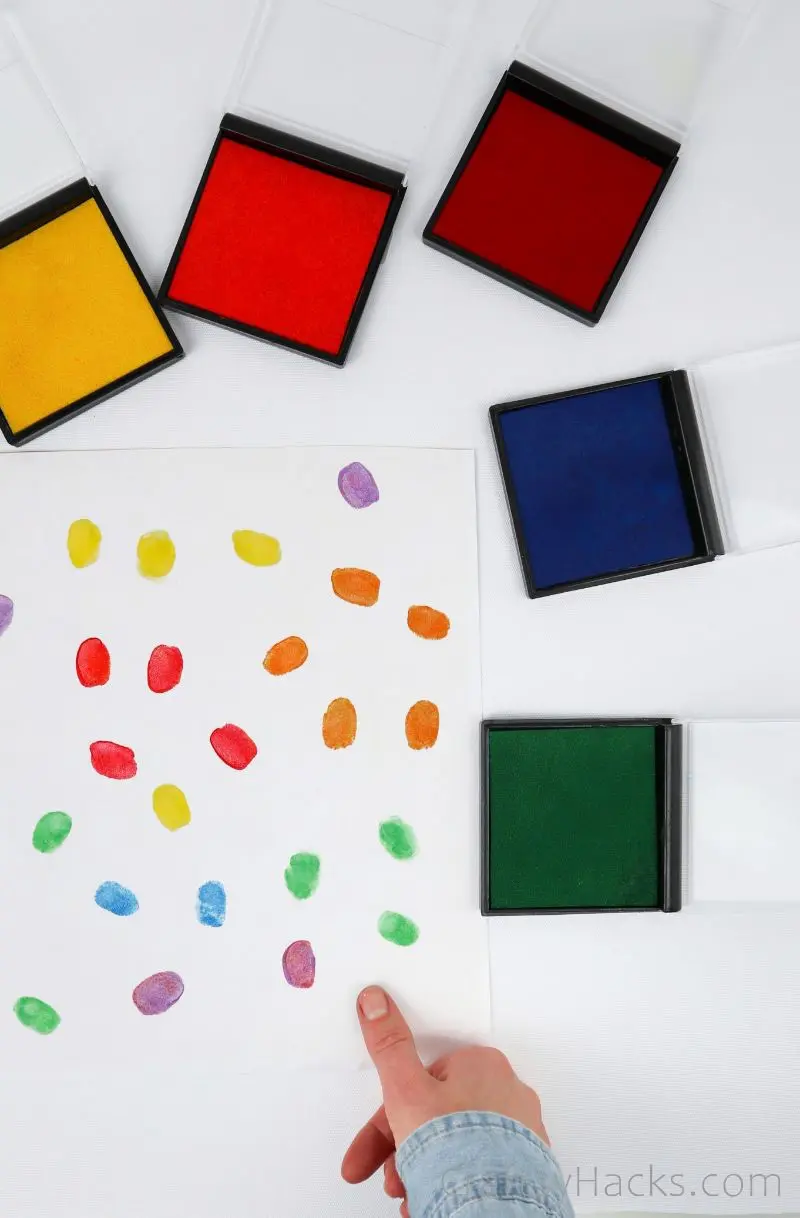
The fun starts immediately with some fingerpainting! Or should I say… finger inking? Just have fun with the ink.
Encourage your little ones to try out new shapes, color variations, or use multiple fingers. The more variety you have, the more magnets you can make later.
Step 3
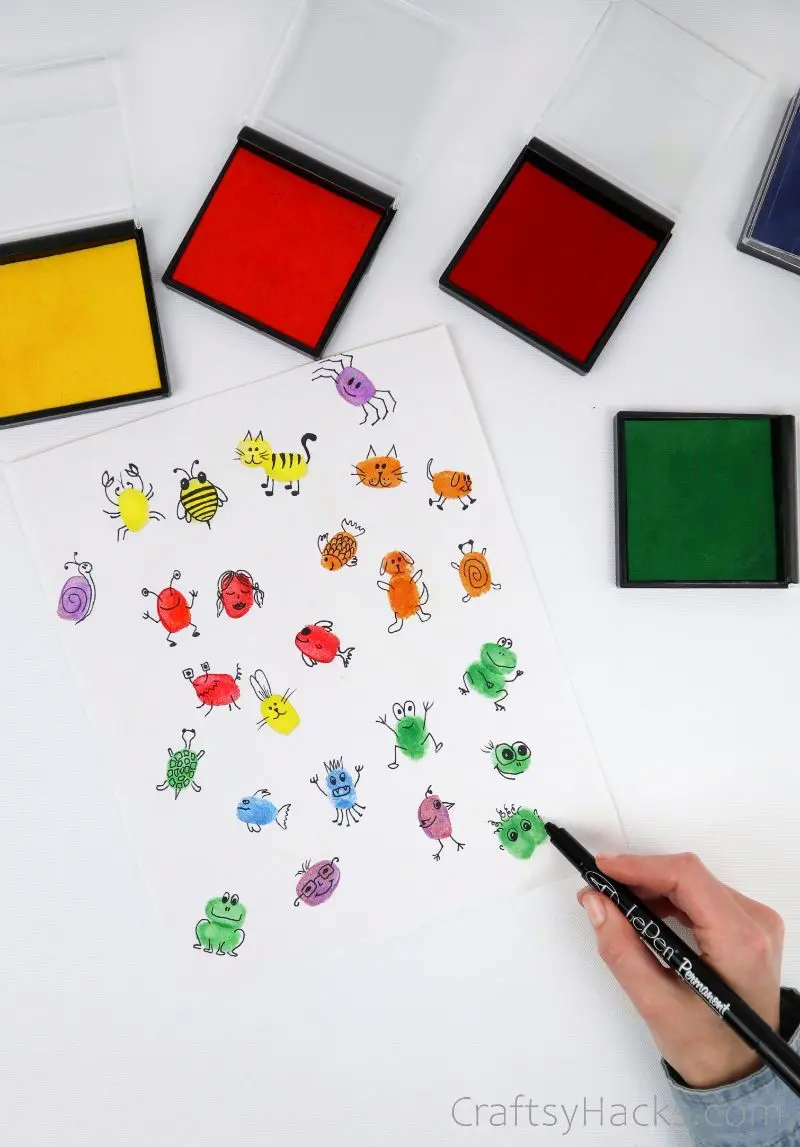
The next step is to bring these simple fingerprints to life! All you’ll need for this is a black marker (although you can use other colors if you wish). Make sure it’s high-quality and won’t smear.
Using the fingerprint shapes to craft animals, aliens, and anything else is a great way to stretch a child’s imagination.
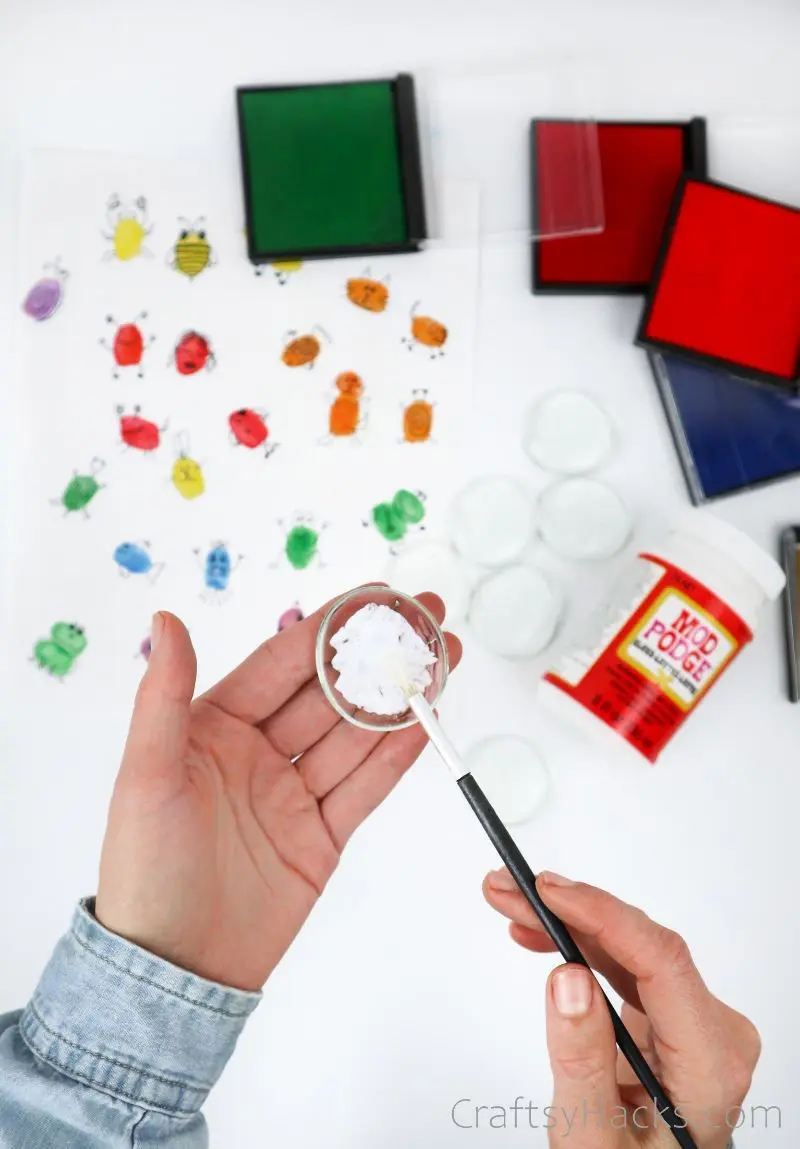
Step 4
Once the prints have dried, and your animals are sketched, it’s time to create the magnets themselves. Using a brush, evenly spread some Mod Podge on the glass gem’s base.
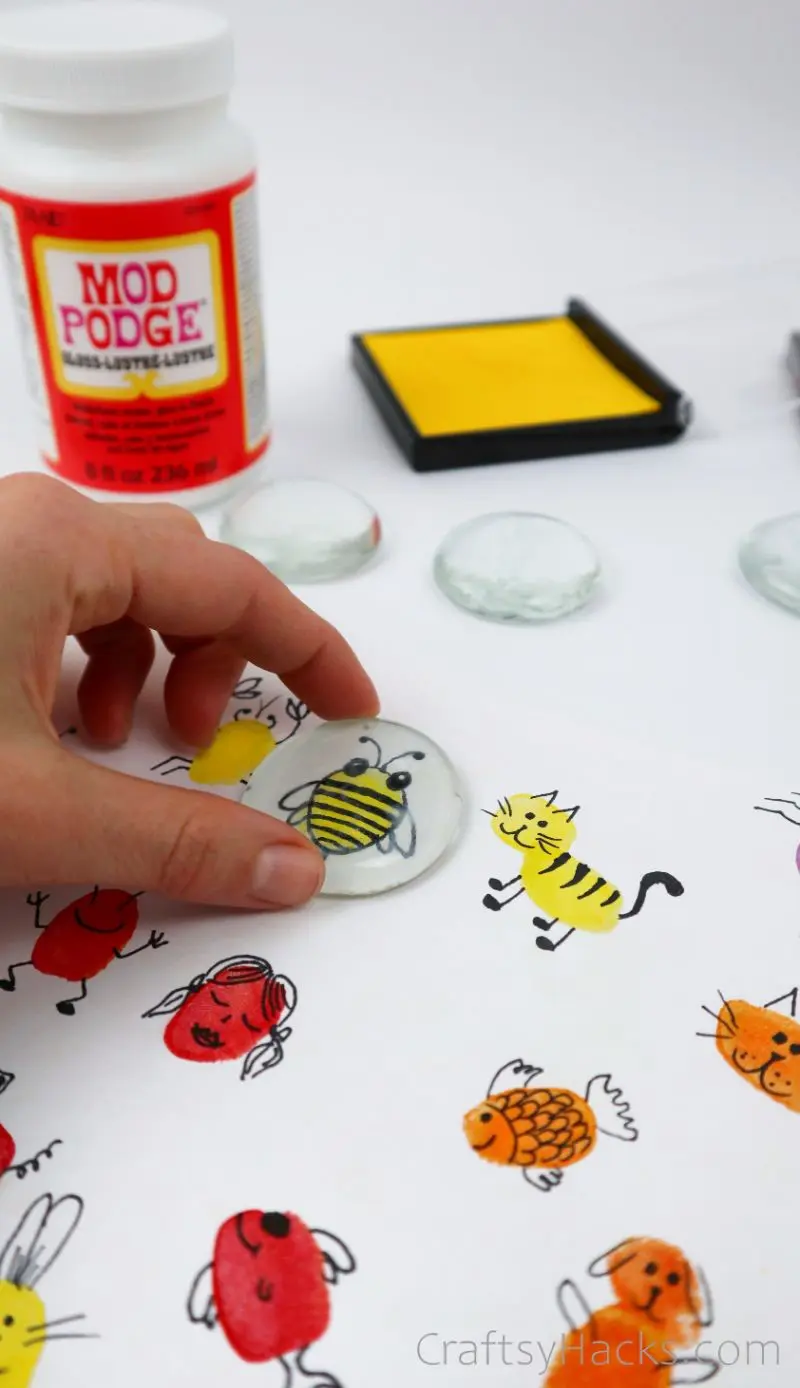
Step 5
Press the glass gem down onto the page, situating the drawing in the middle. Press down and leave it to dry. You’ll know it’s dry once the Mod Podge has gone clear.
This is why you need a high-quality permanent marker, as lower-quality pens may smear thanks to the glue.
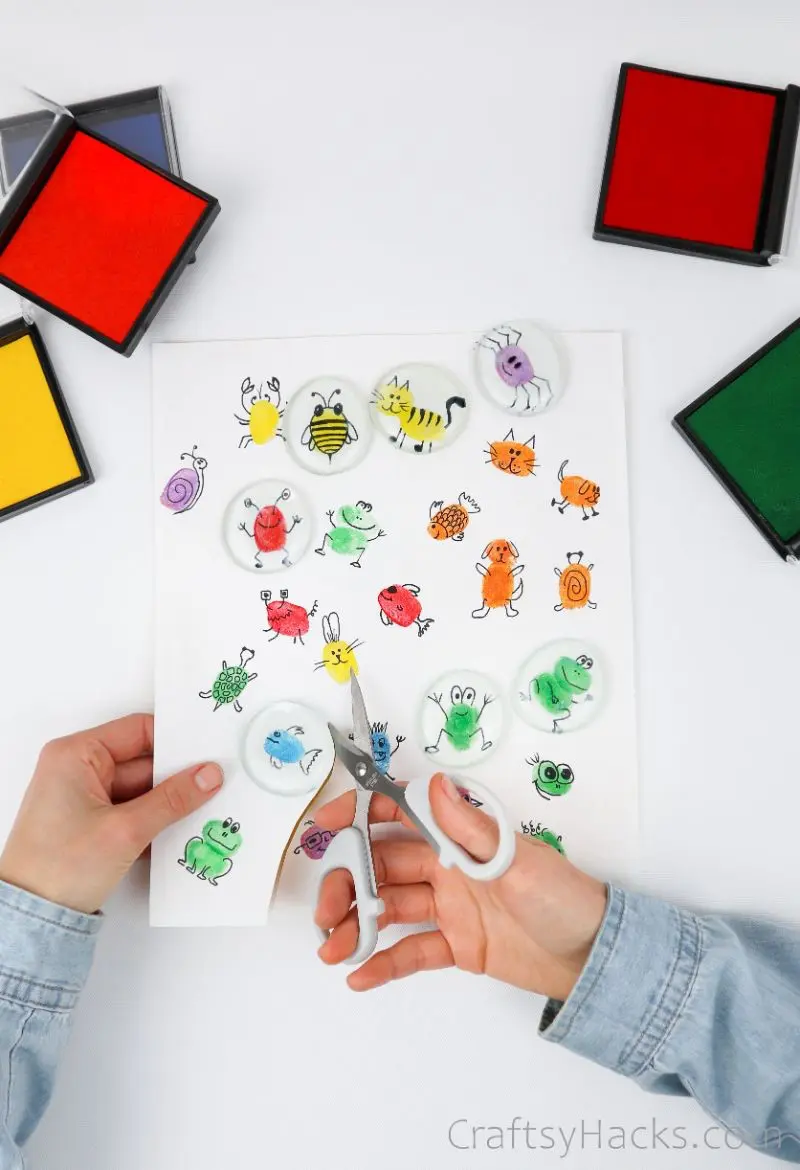
Step 6
Once everything is dry and attached, it’s time to cut the shapes out. Simply cut around the glued glass gem’s base, making sure you’re not leaving any excess paper.
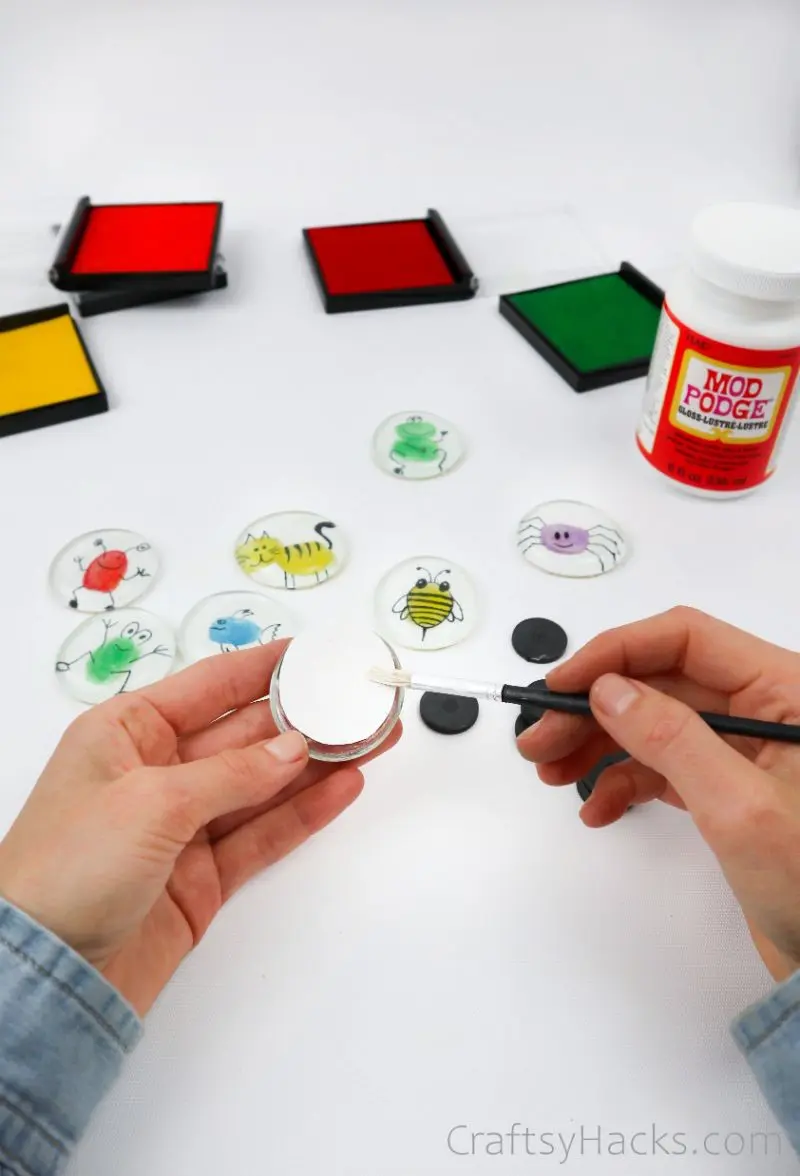
Step 7
Now that you’ve got some adorable little animal gems, the next step is to turn them into magnets. Just pick up that brush again and spread Mod Podge in a small circle on the back of the glued paper.
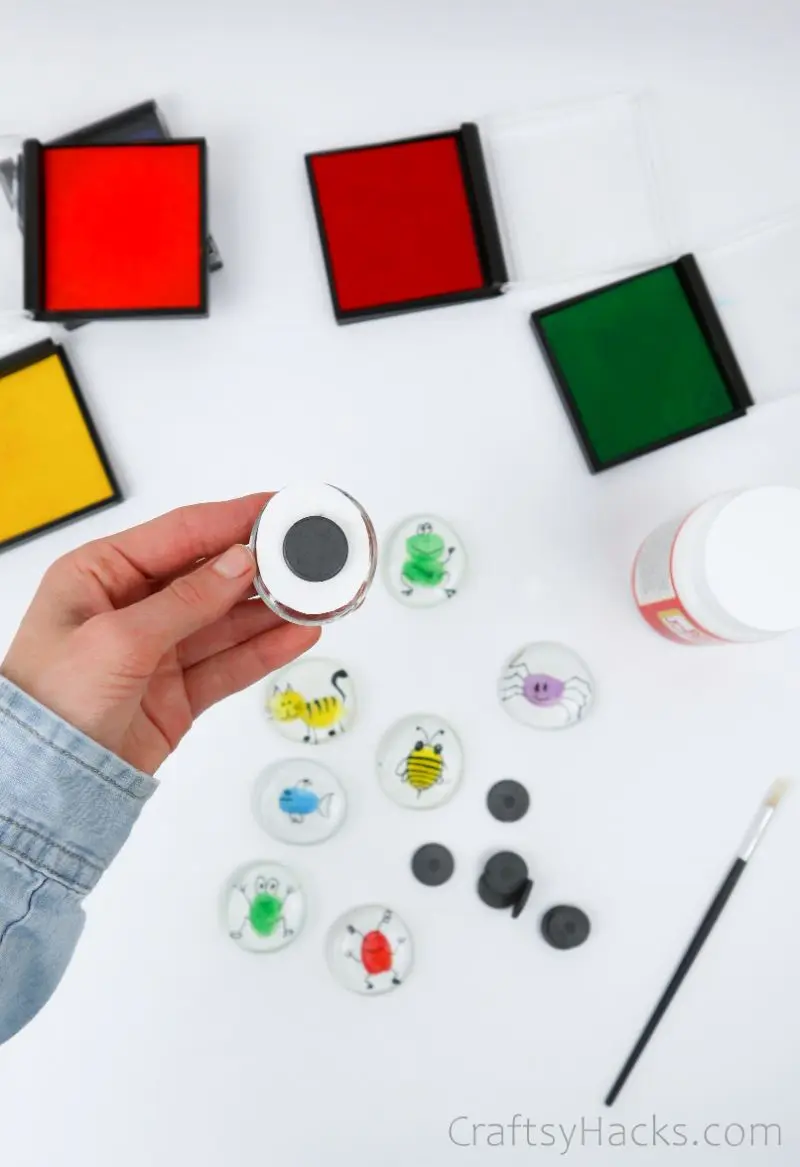
Step 8
Secure a magnet onto that spot of Mod Podge, leaving it to completely dry before you try to put it on your fridge. Make sure the paper you’ve selected for this craft is thick enough to hide the magnet.
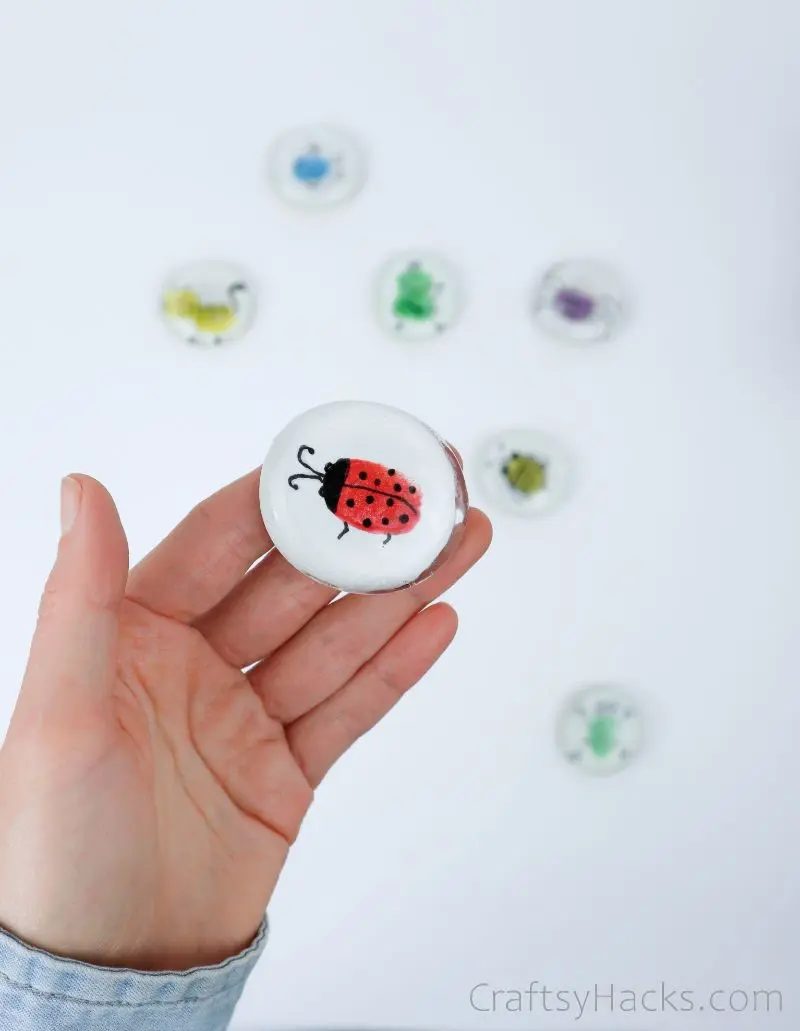
Voila! A perfect memory of a fun family craft afternoon that can hang on your fridge forever. These make memorable gifts (especially for grandparents), not to mention how easy they are to make.
With your child’s fingerprints preserved behind glass, you’ll always have a touch of their childhood around. Ain’t that special?
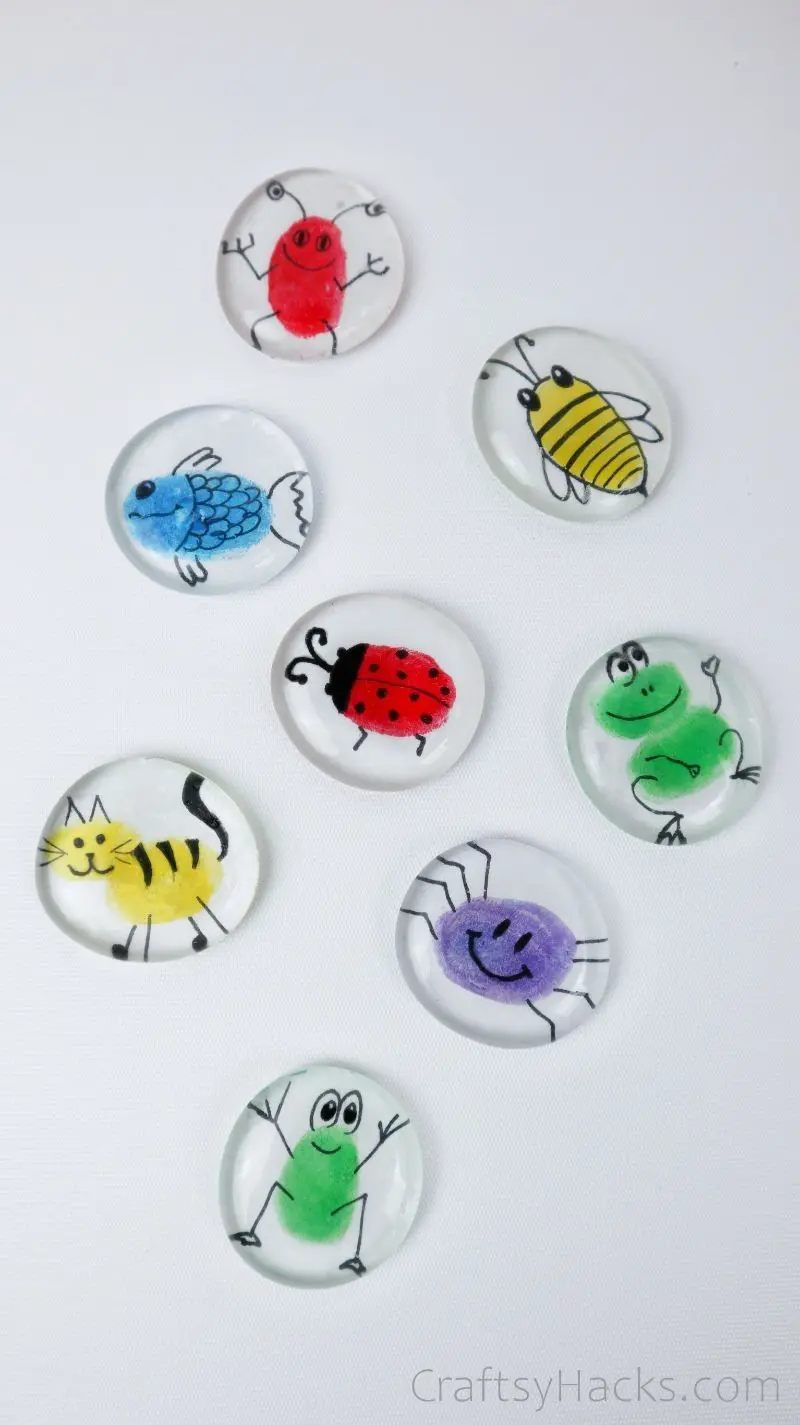
Ideas for Decorating These Glass Magnets
As I said before, the greater the variety of shapes your child makes with their fingers, the more opportunities you have. Draw anything; from the animal kingdom or insects to emojis and more.
In fact, you can use this very same principle to make your own set of magnets. Use printed photos, small sketches of your own, or even patterned tissue paper to customise this versatile craft.
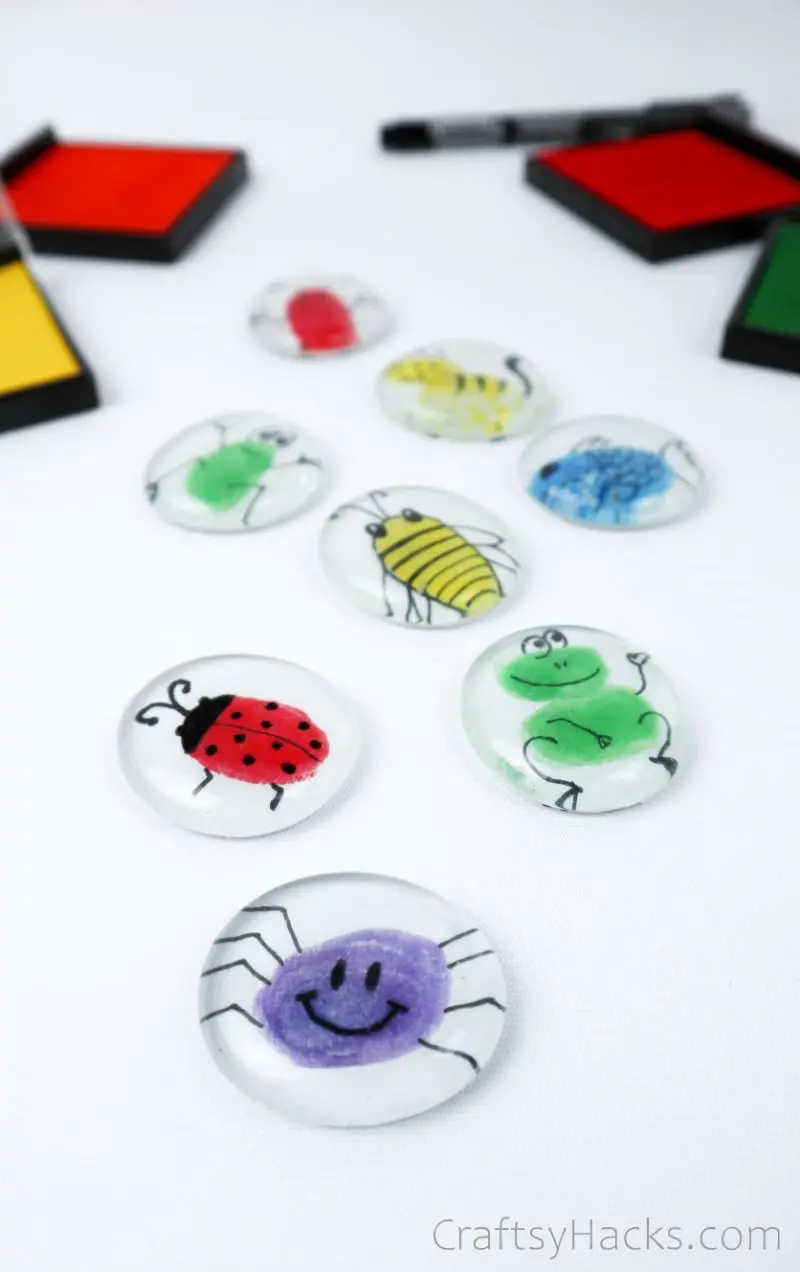
Why Make Magnets of Your Own?
These magnets are so easy to make, so they’re ideal if you’ve got young kids in the family. Alternately, if you’re a teacher in need of an activity, you can’t miss with this one.
Here are some ways to use your completed magnets:
- Gift a set to a family member
- Use them to hold up photos on the fridge
- Draw attention to school flyers, permission slips, or more in your child’s room
- Decorate metal shelves, frames, and more with a touch of whimsy
- Use them as checkmarks for a fridge chore chart
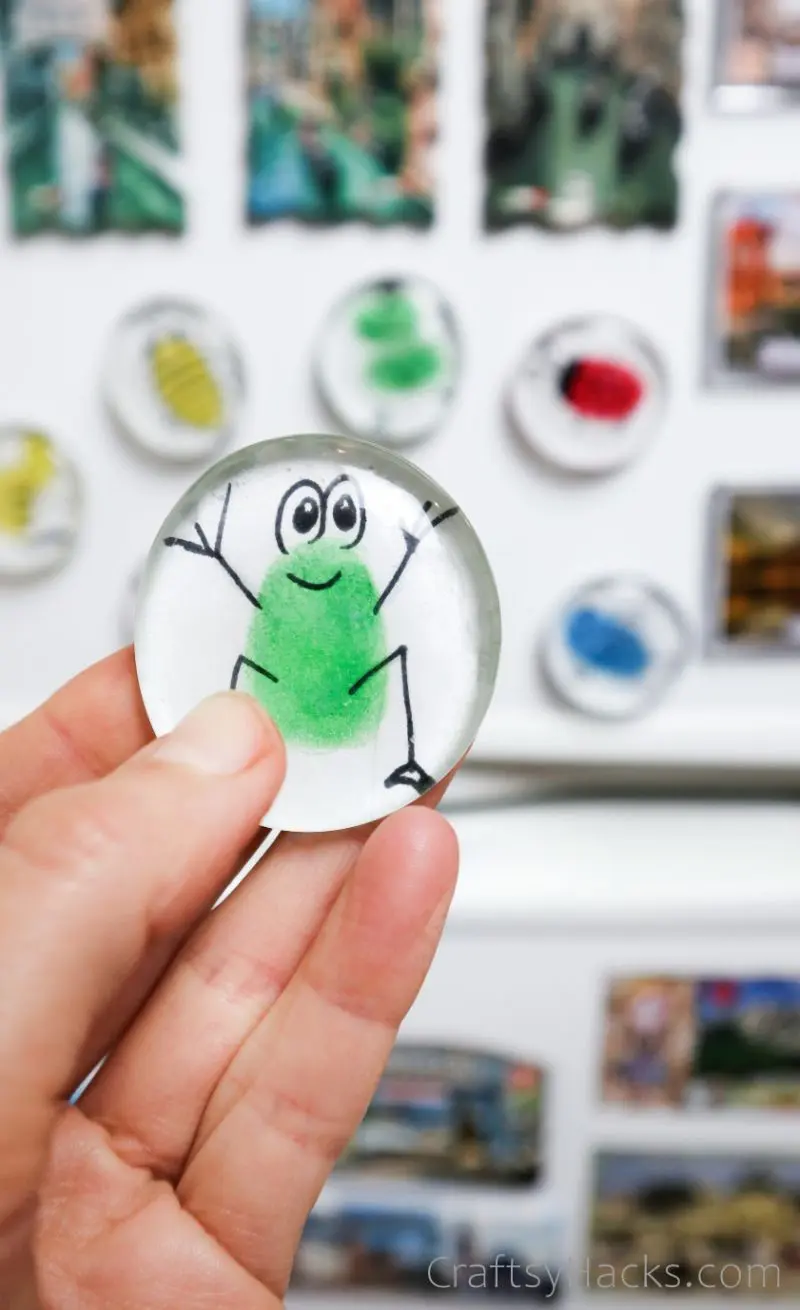
No matter what you use these whimsical magnets for, one thing’s for sure: the fun and memories you made along the way will last you a lifetime.
Other DIY Crafts You Might Like
- 23 Perfect Penguin Crafts for Kids to Try
- 20 Easy DIY Sock Plushies
- DIY Paper Wallets for Kids to Make
- 27 Dog Crafts for Kids
- 27 Cat Crafts for Kids
- 24 Bee Crafts
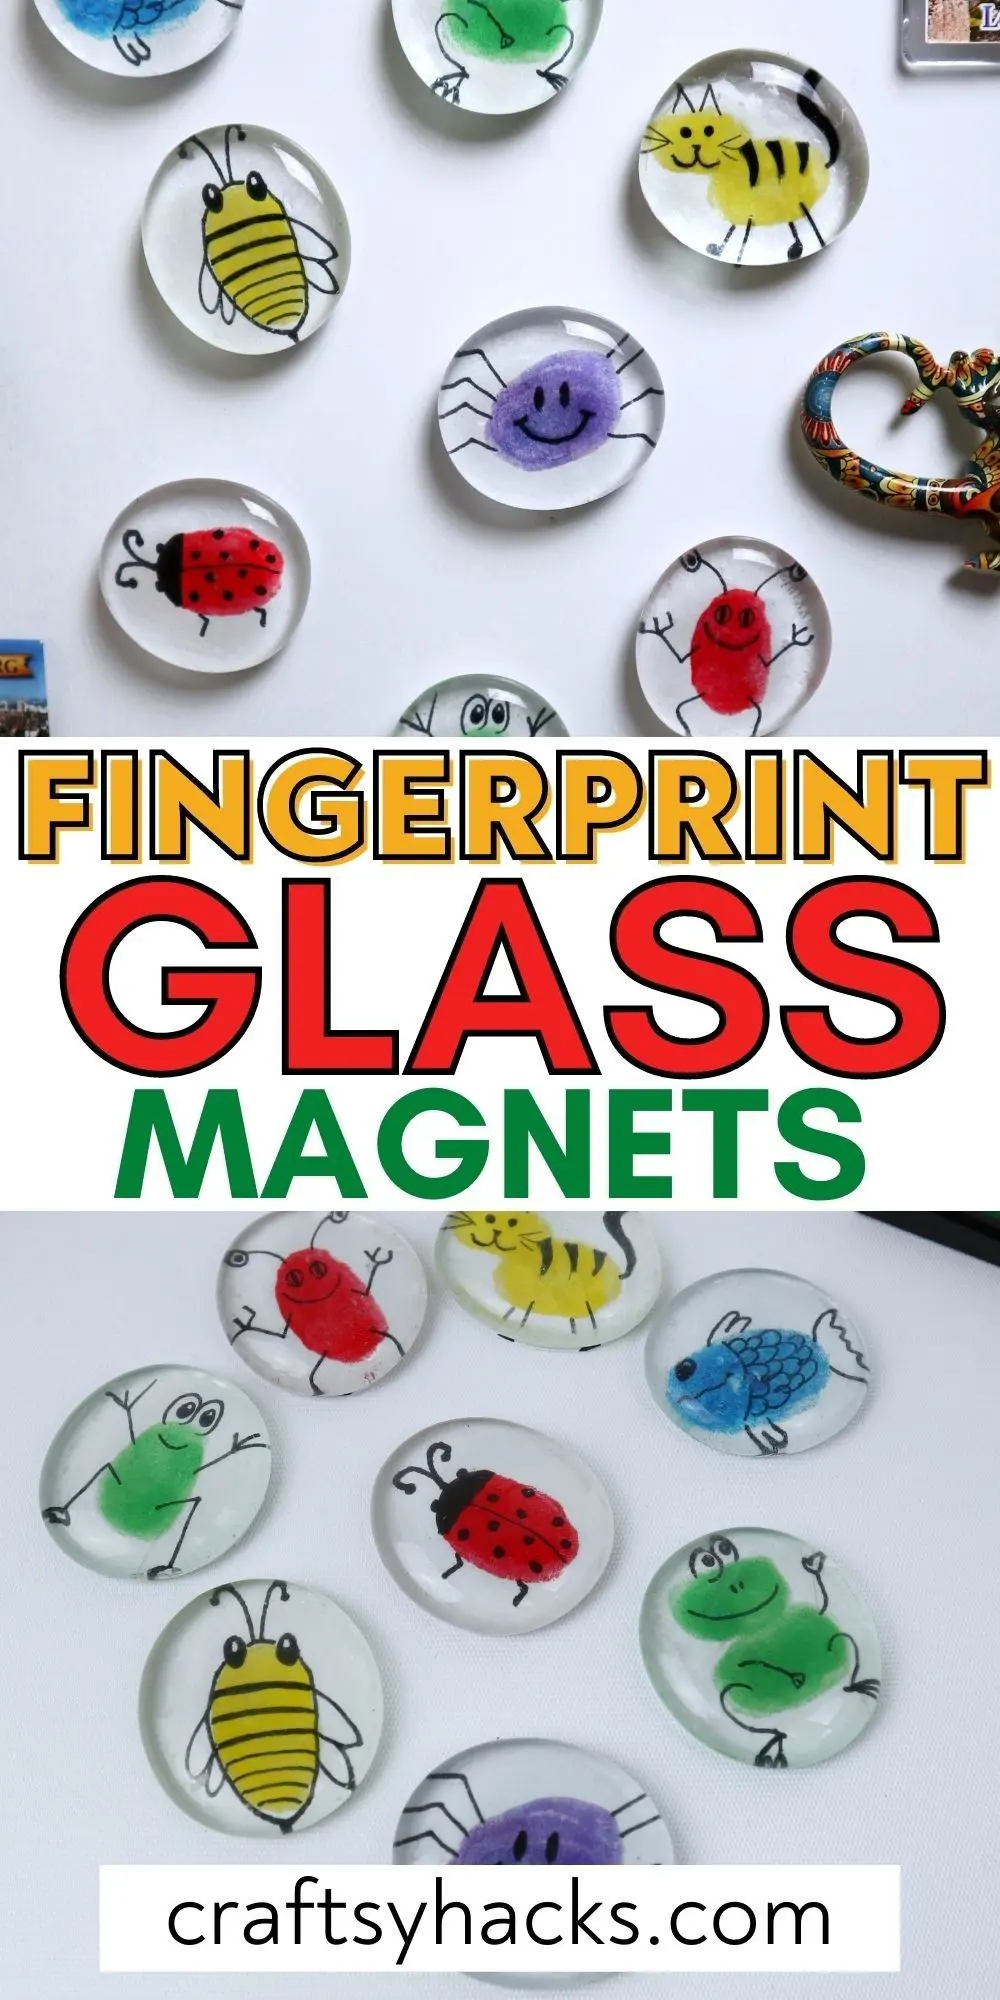
DIY Fingerprint Glass Magnets
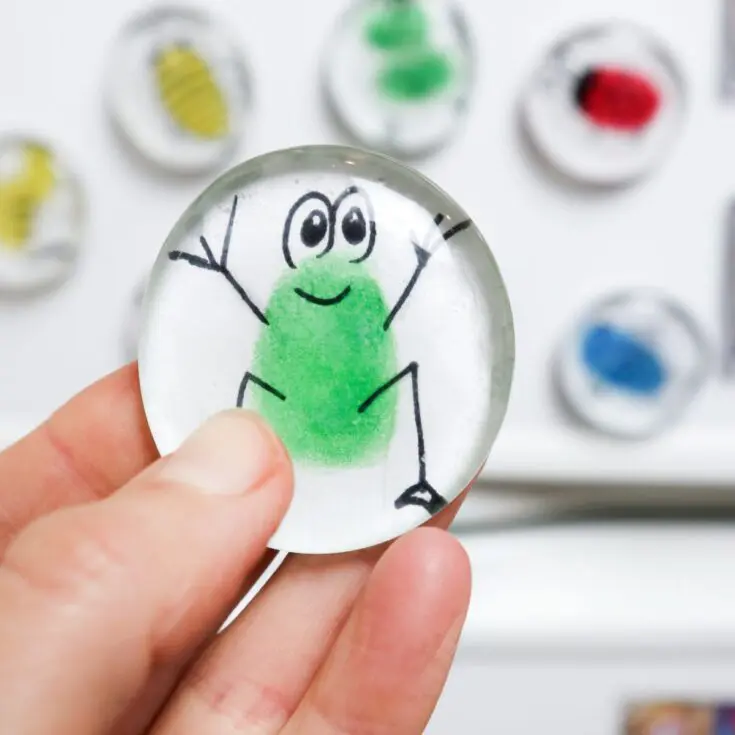
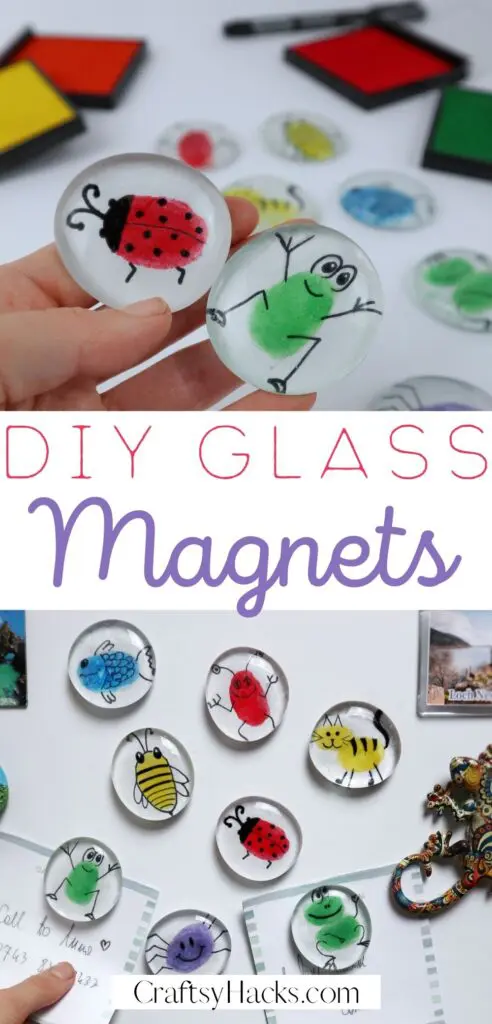
These DIY fingerprint glass memory magnets are fun to make. They’re a perfect day activity to get into with your kids. Great for decorating your fridge!
Materials
- Magnets
- Large glass cabochons
- Thick white paper
- Mod Podge or other clear drying glue
Tools
- Scissors
- Permanent marker
- Brush
Instructions
- Take the kids outside with some ink pads and get them to fingerprint your paper in a variety of colors. Let the ink dry.
- Draw shapes on the prints with a permanent marker.
- Spread an even layer of Mod Podge on the bottom of a cabochon, then press it over one of the drawings. Do this for as many as you’d like, then let them dry.
- Cut around the cabochon’s base.
- Put a small dollop of Mod Podge on the back of the paper, then stick the magnet to it. Let that dry.
- You're done! Stick these magnets anywhere in your house that needs a little color.
Alyssa
Friday 12th of January 2024
Have you ever had mod podge dry cloudy and you can see it slightly? It it’s foggy?
Karo @ CraftsyHacks.com
Sunday 14th of January 2024
It dried clear for me with these magnets. You could try another clear drying glue.
yvonne
Wednesday 15th of November 2023
The link for the glass are not this size - they are MUCH smaller - but we will make it work! Maybe just need to update the link?
Karo @ CraftsyHacks.com
Wednesday 15th of November 2023
Updated! thank you for letting me know!