How to Tie Dye a Shirt (Step-by-Step)
This post may contain affiliate links: full affiliate disclosure.
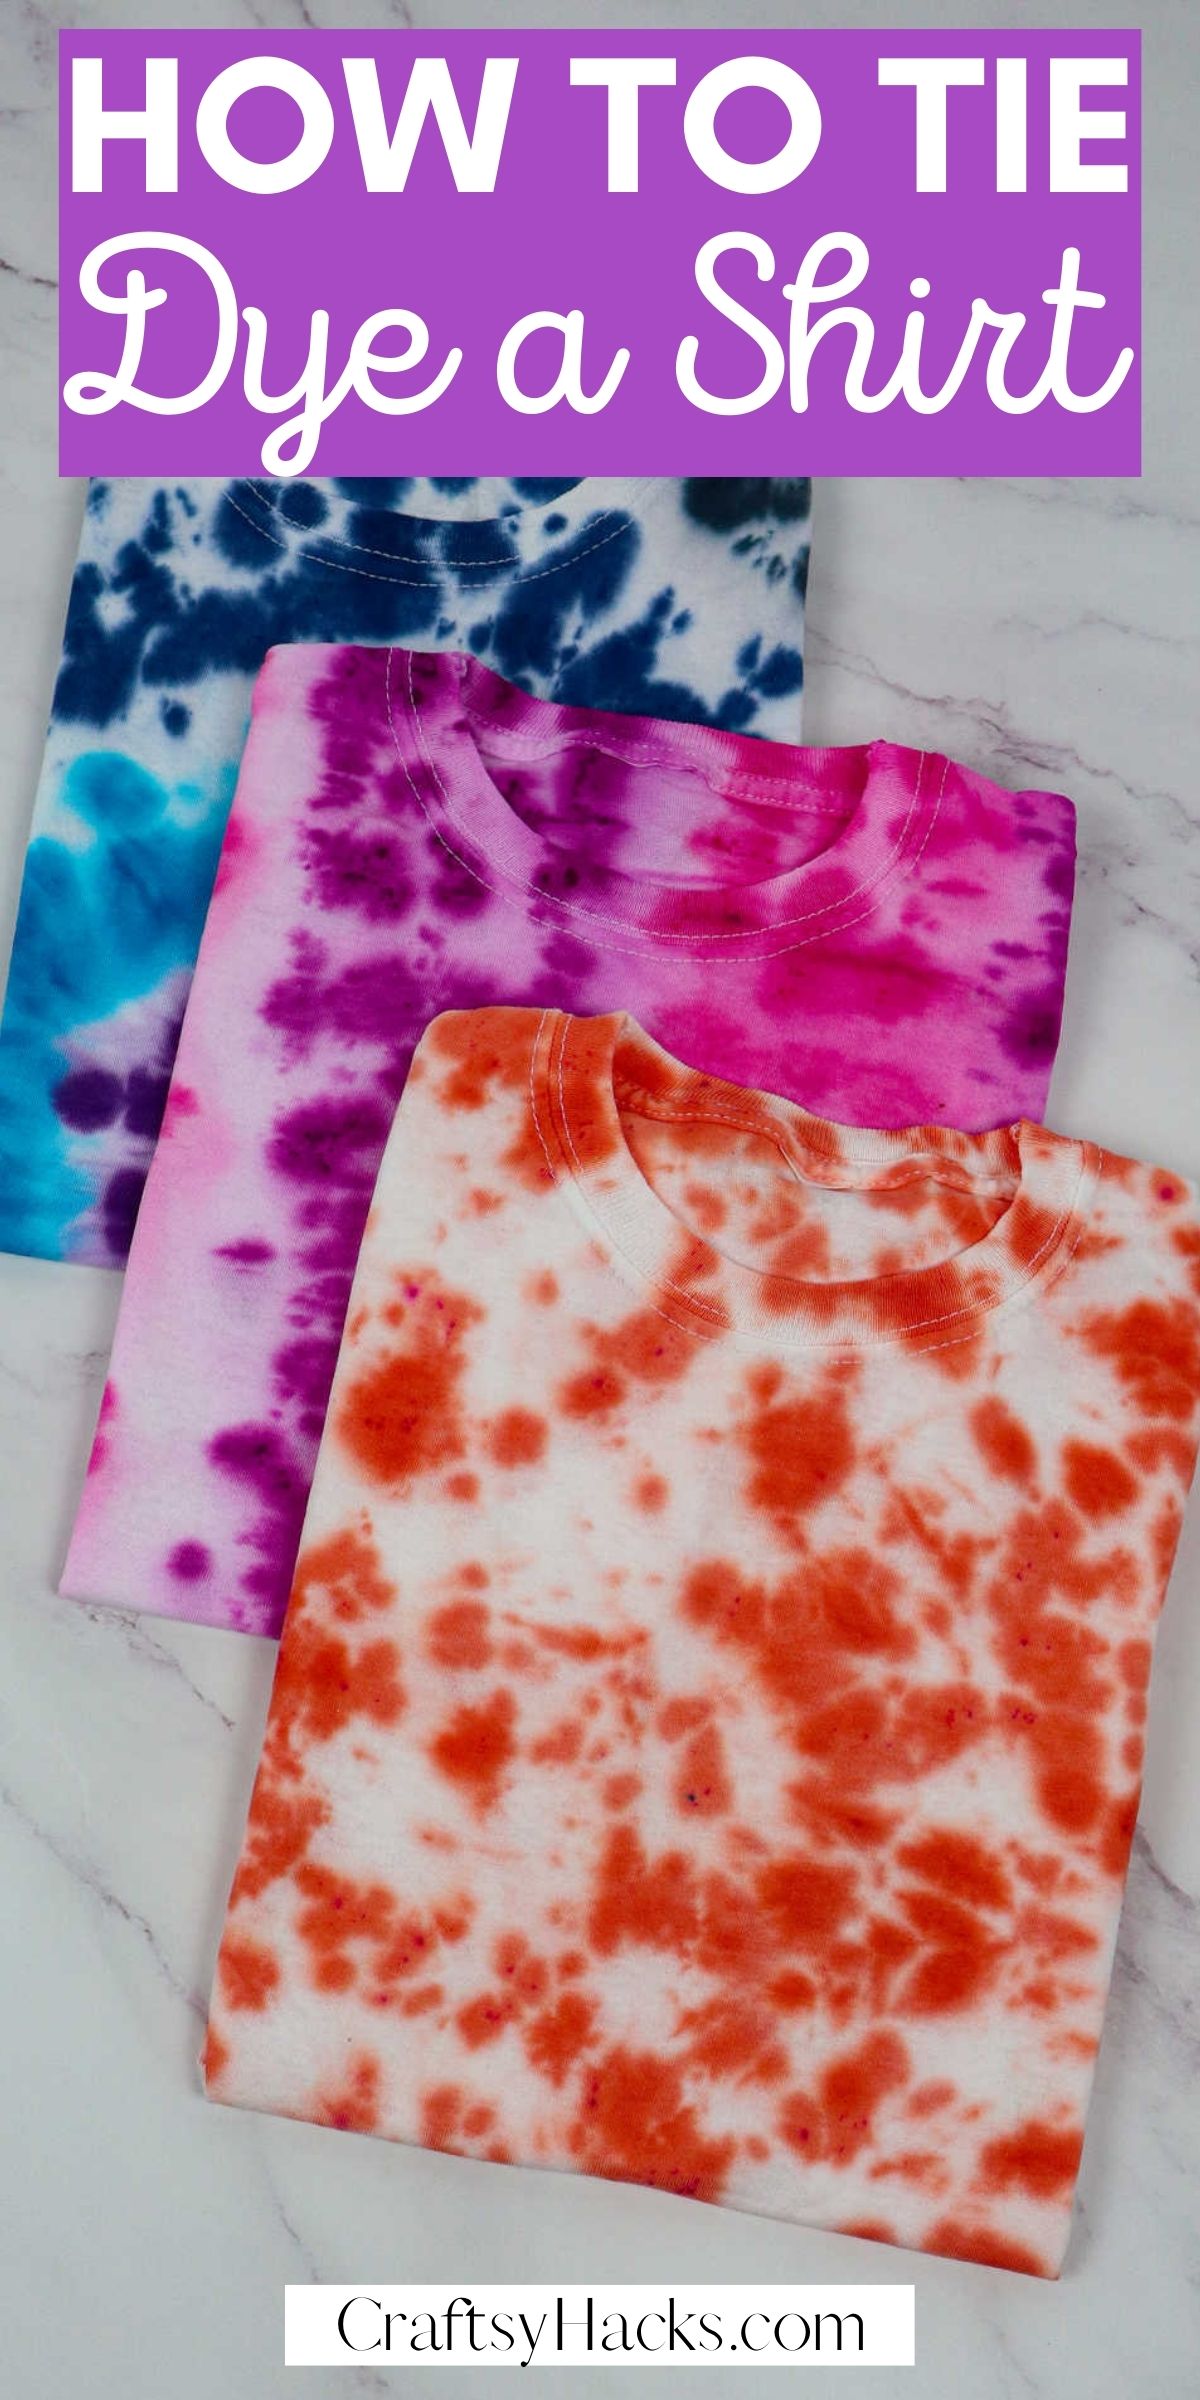
Interested in making tie-dye shirts? Get creative and make your very own clothing just like that. The best thing is anyone can do it!
So, enjoy this DIY tutorial.
Tie dye shirts will never be a thing of the past. They’re one of those fashion staples that we’ve all had in our closets at one point of time or the other. Whether it’s to wear to the fair, to wear around your home, or as a pretty t-shirt dress, tie-dying is cool, summery, and fun.
Supplies You’ll Need to Tie Dye a Shirt
Here’s a list of everything you’ll need to get started:
- Rubber bands
- Latex gloves
- Plastic dust sheet
- Plastic bags
- Washing up bowl (optional)
- Oven rack (optional)
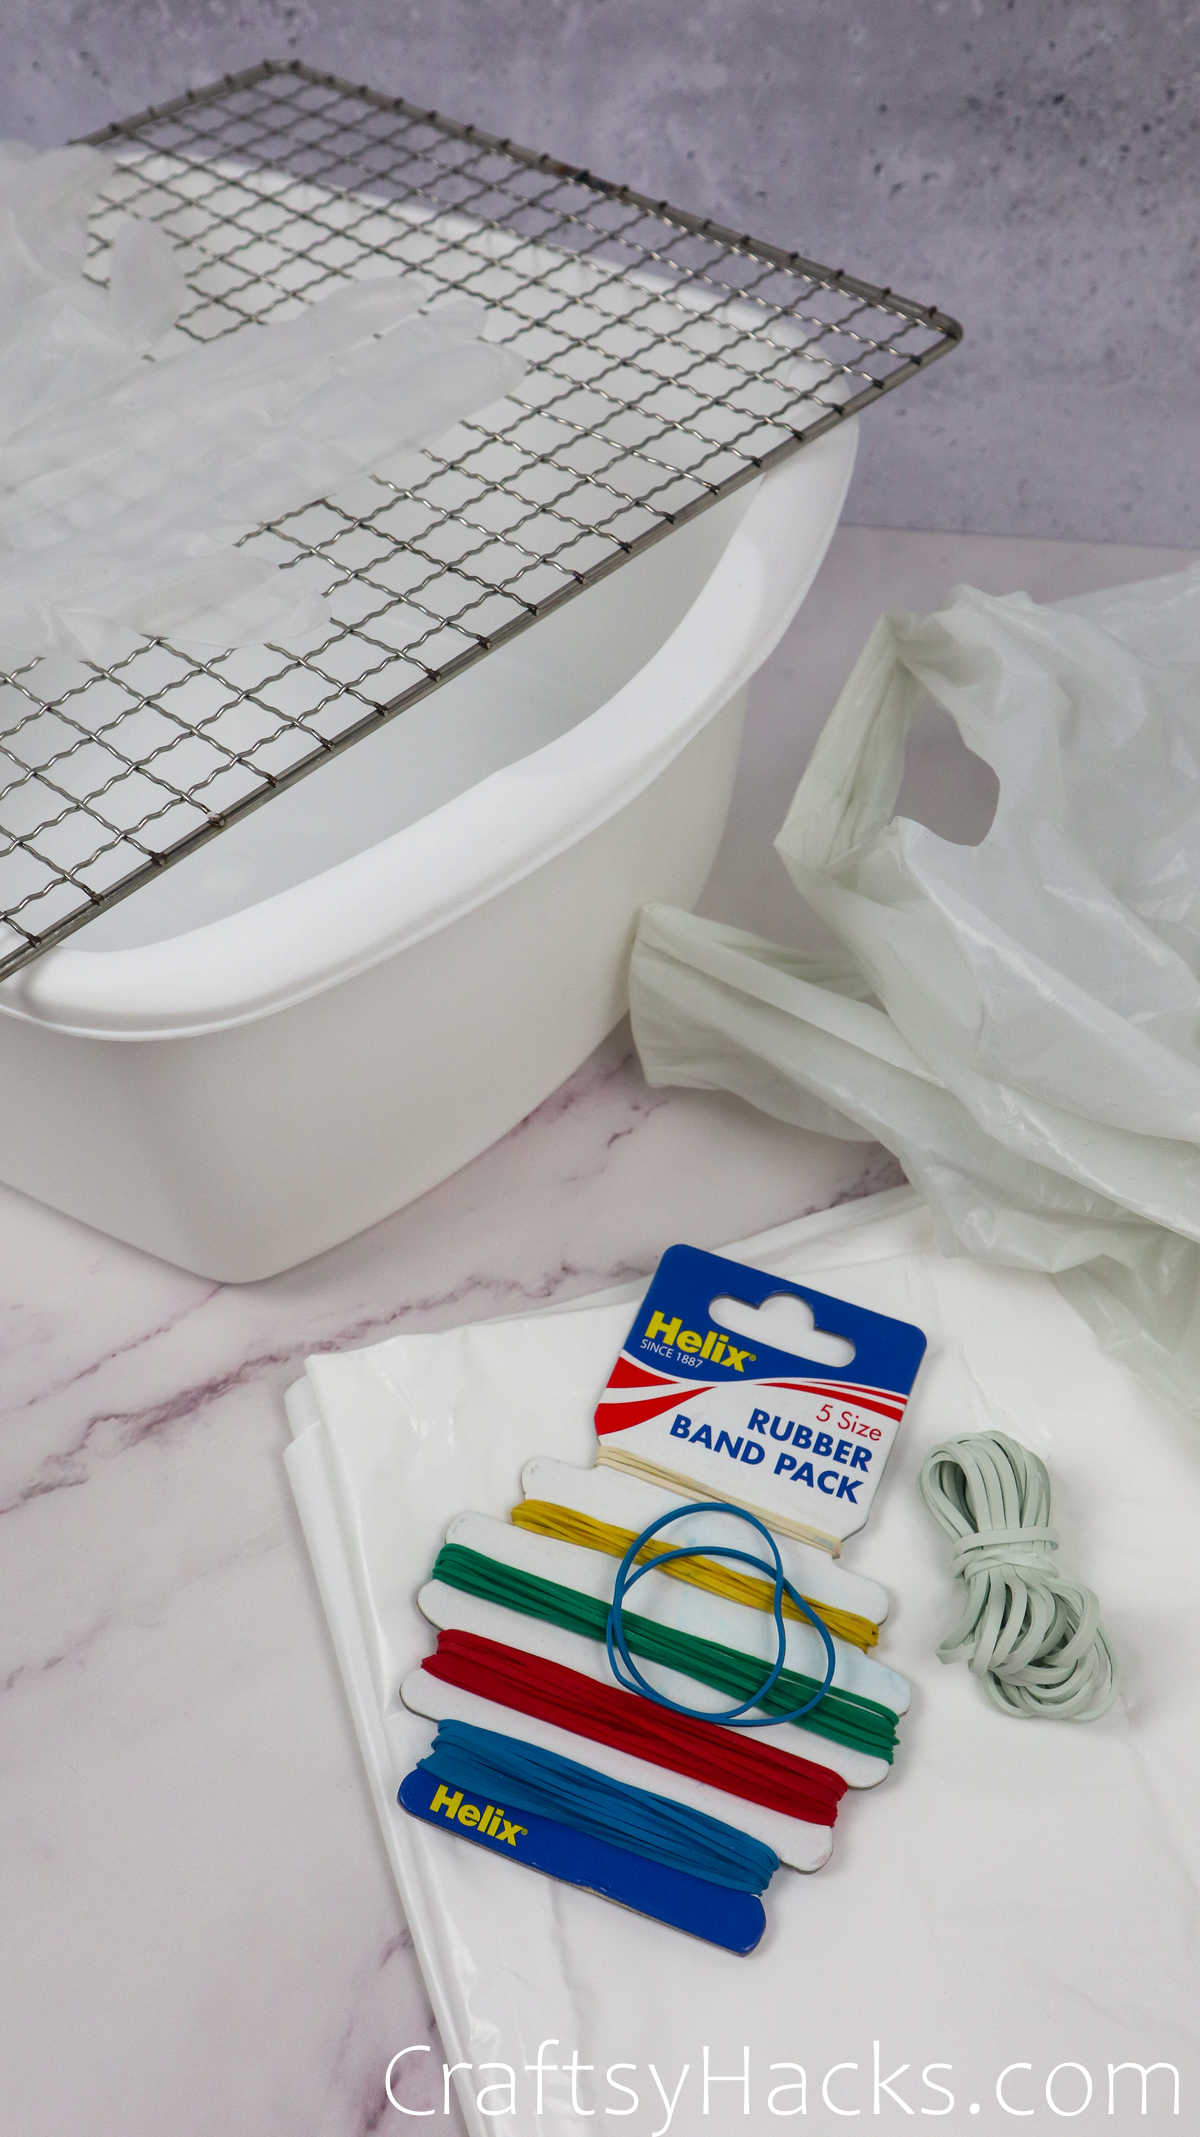
- A white piece of clothing
- Tie dye kit

How to Tie-Dye T-Shirts
There is more than just one way to tie-dye a tee. Each one involves a different technique, and each one is twice as fun as the one before. Here are three ways you can tie-dye a tee!
Before you begin, however, consider dampening all the tees with cold water. This will help the dye stain easier, giving your tee a lovely watercolor finish–if that’s something you want.
Video Tutorial
Method 1
Method 1 is the easiest by far. Check it out!
Step 1
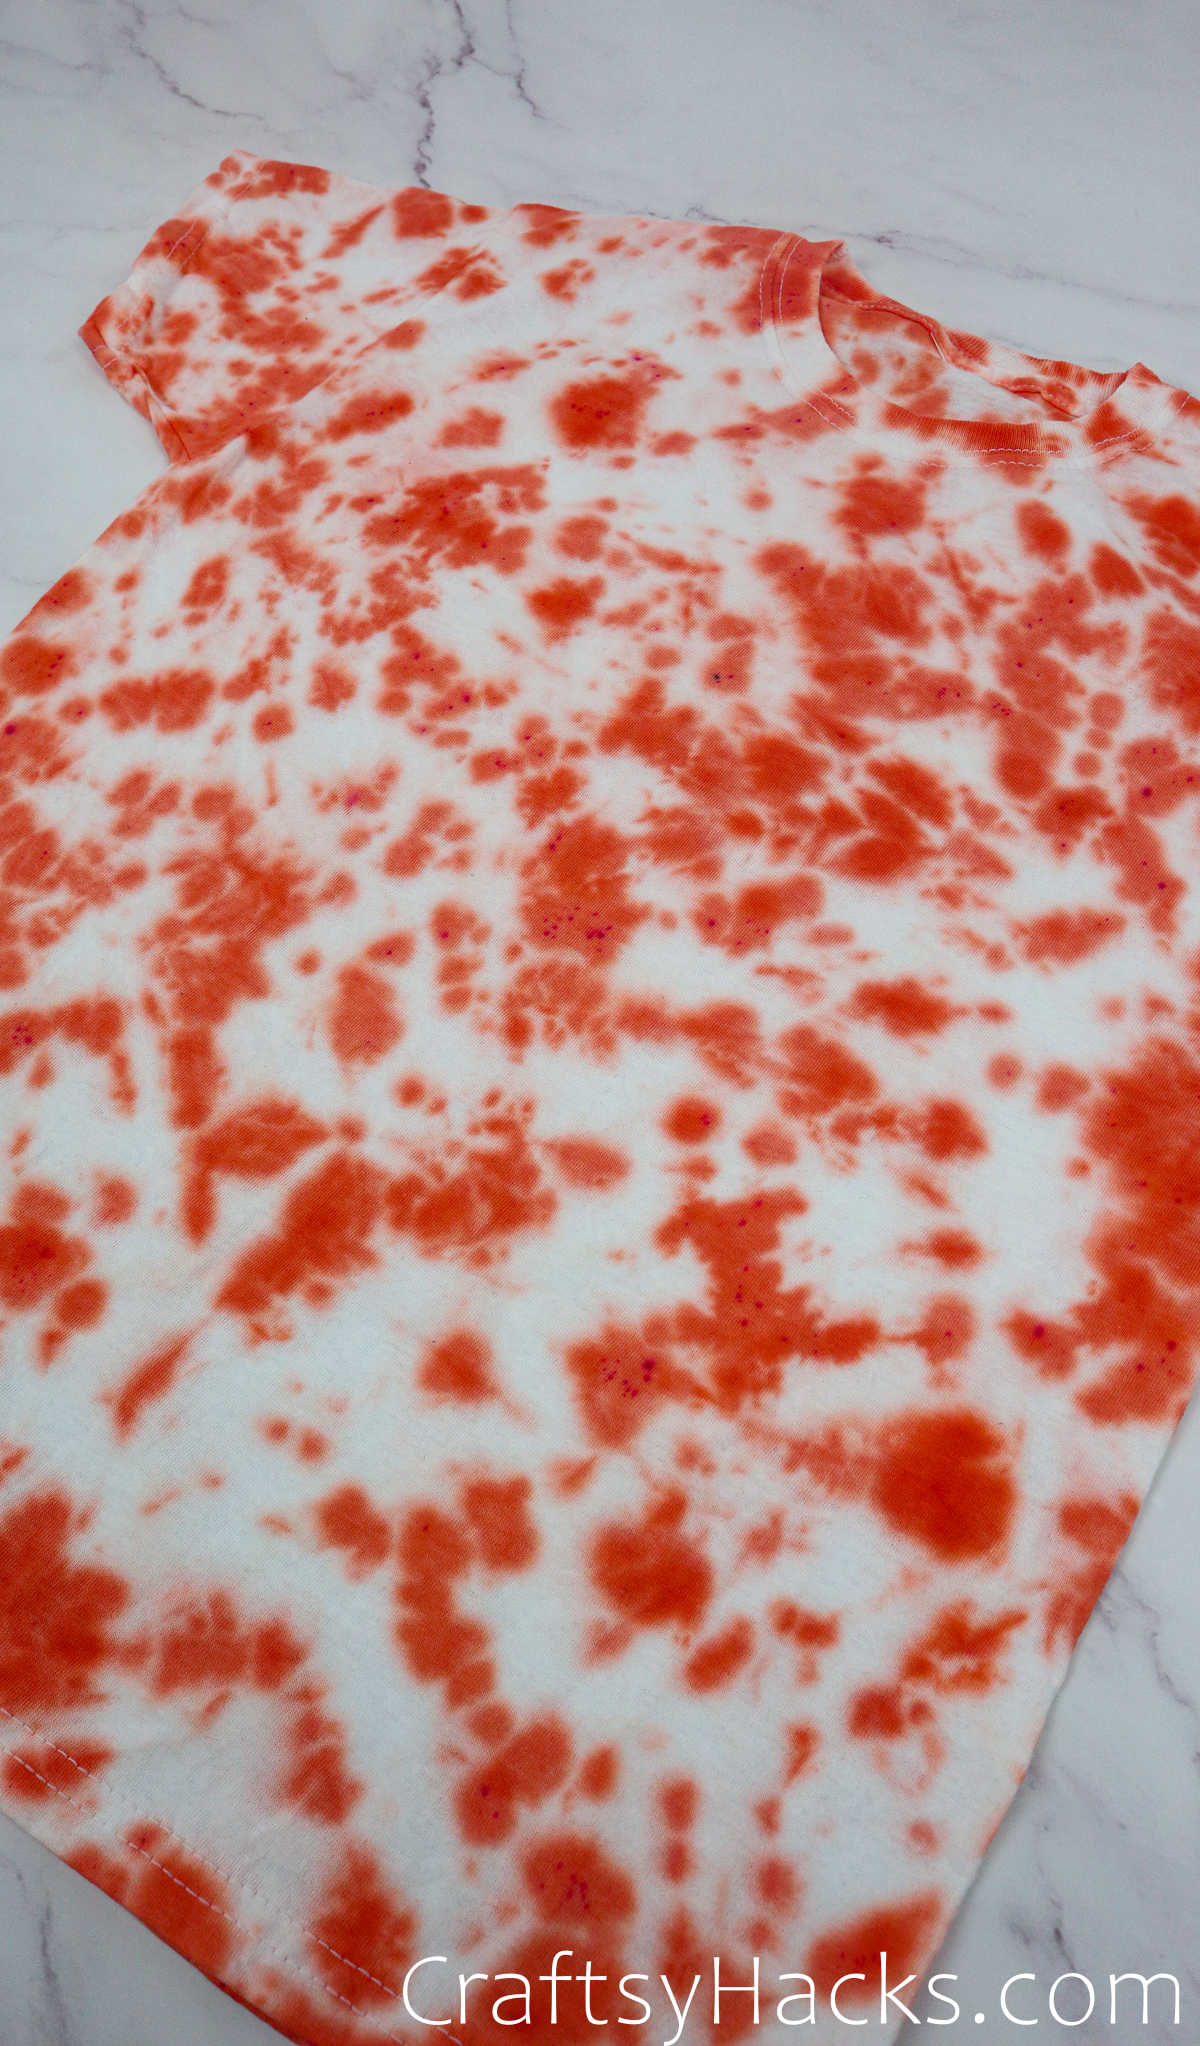
This scrunch or crumble method as it is called requires you to scrunch up the fabric and make random folds and gathers.
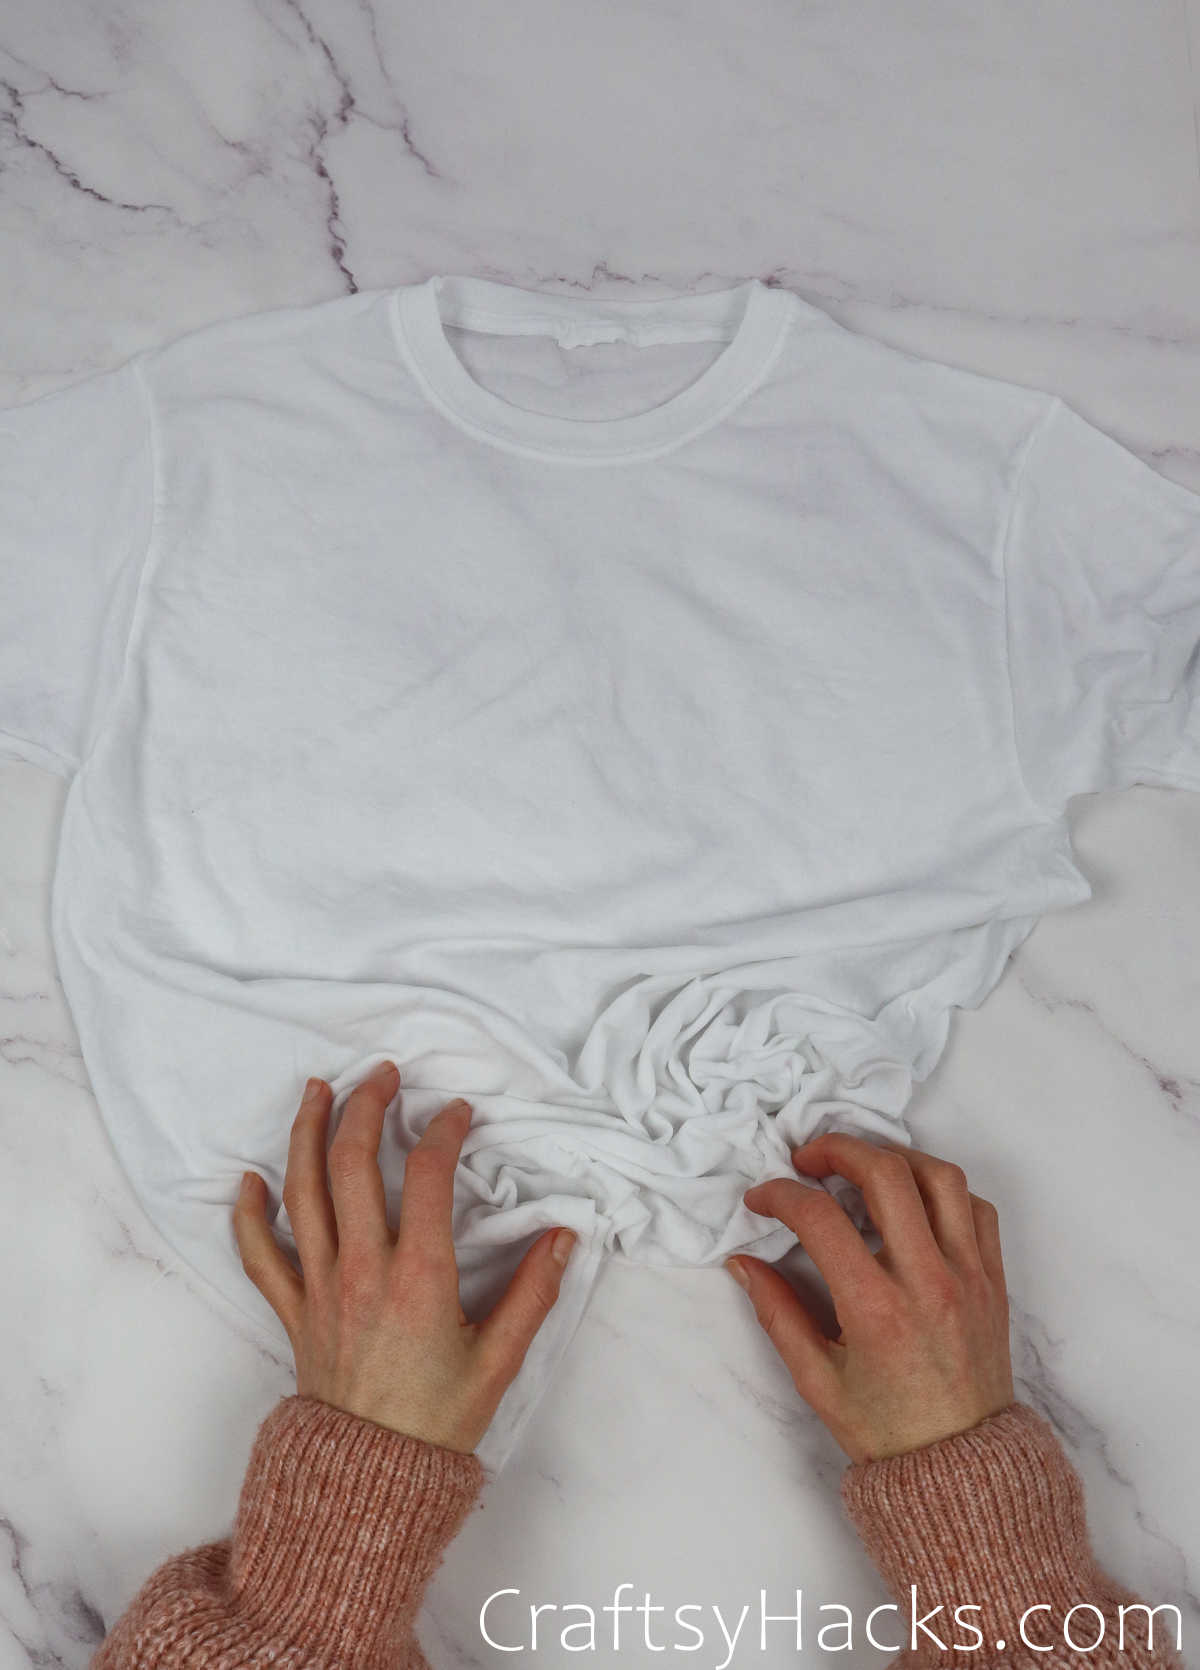
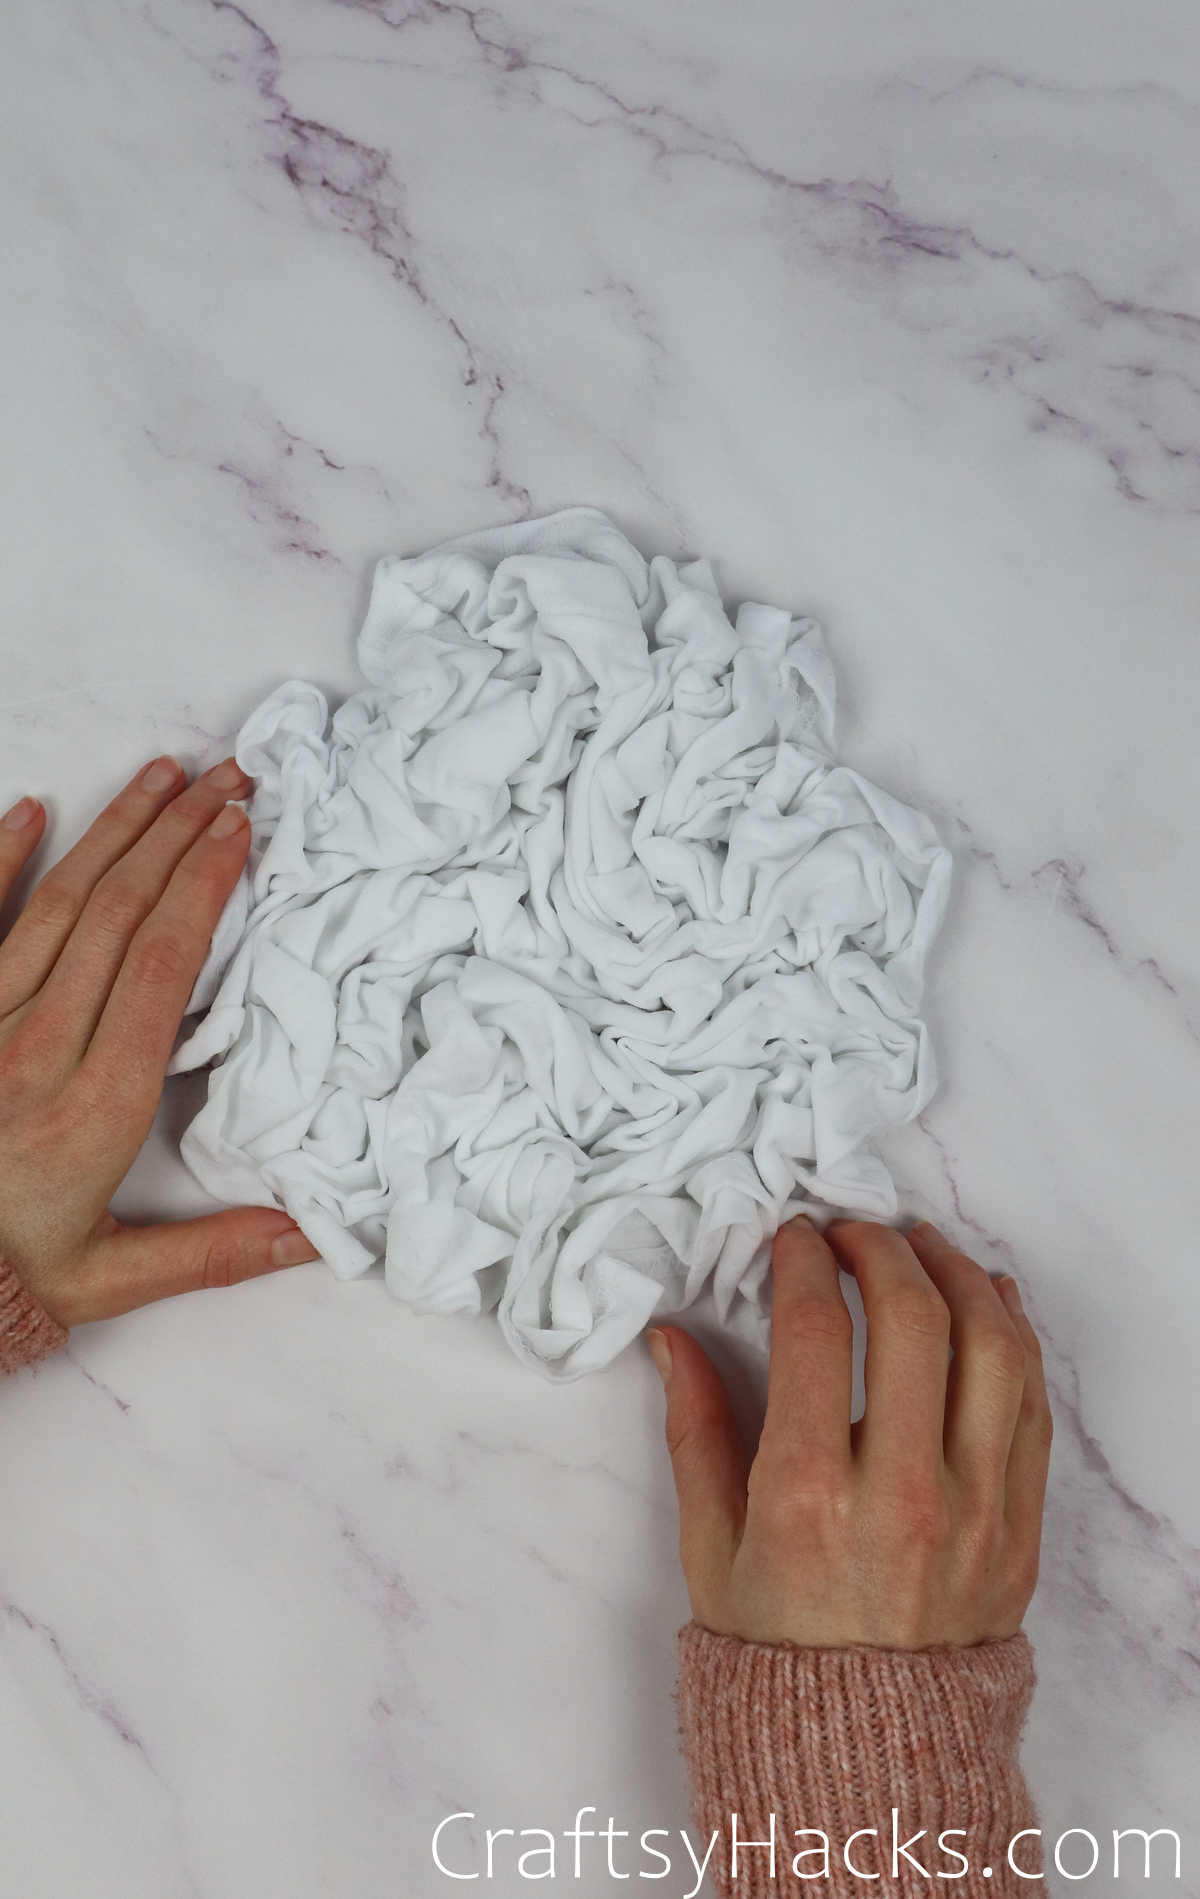
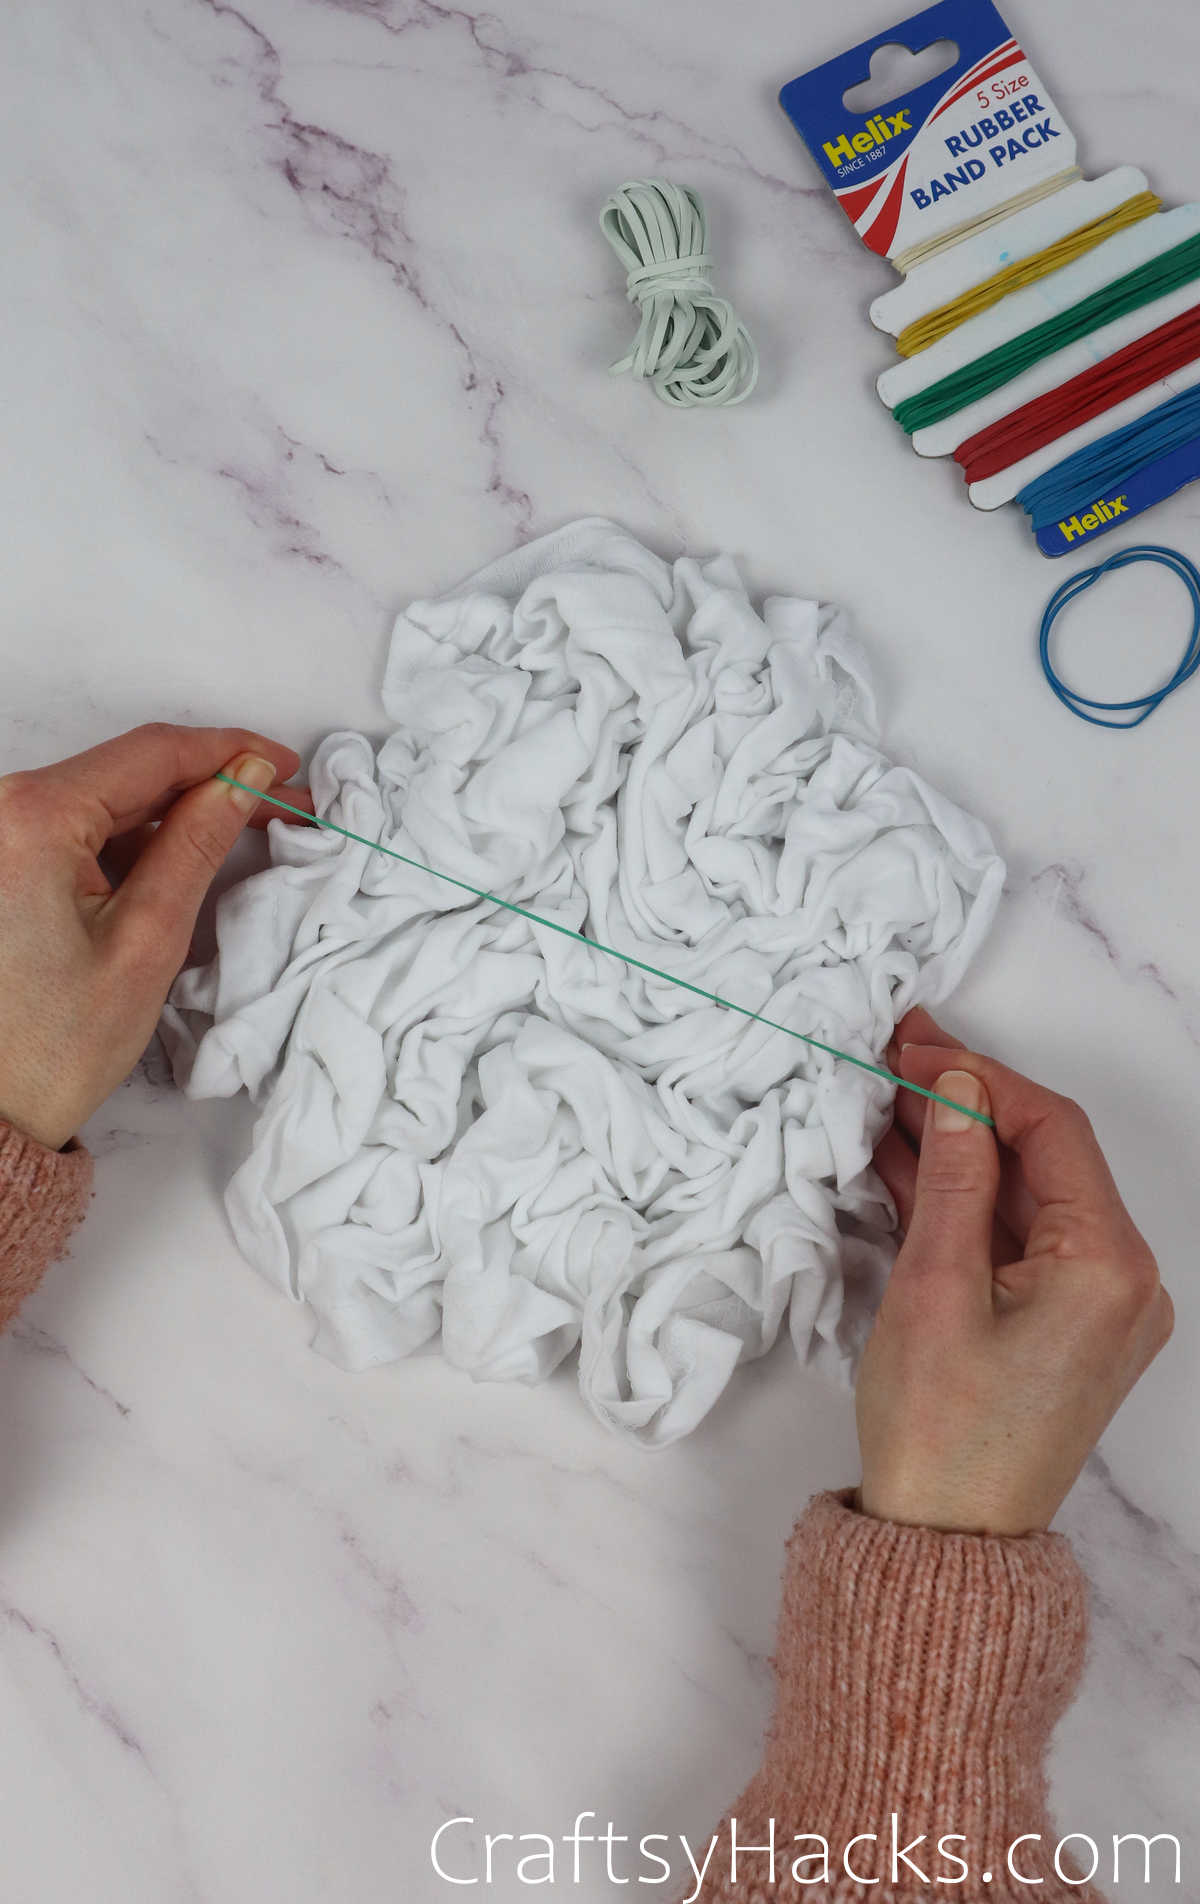
Just secure the shirt along those folds with tight elastic bands to hold the shirt in place. Remember that the tighter the bands, the more effective your pattern will be.
You can create a pattern with the bands, too, and not just with the scrunches and folds, so take a look at how you can secure the tee in specific ways to create that pattern.

Method 2
Take another tee and check out the second method!
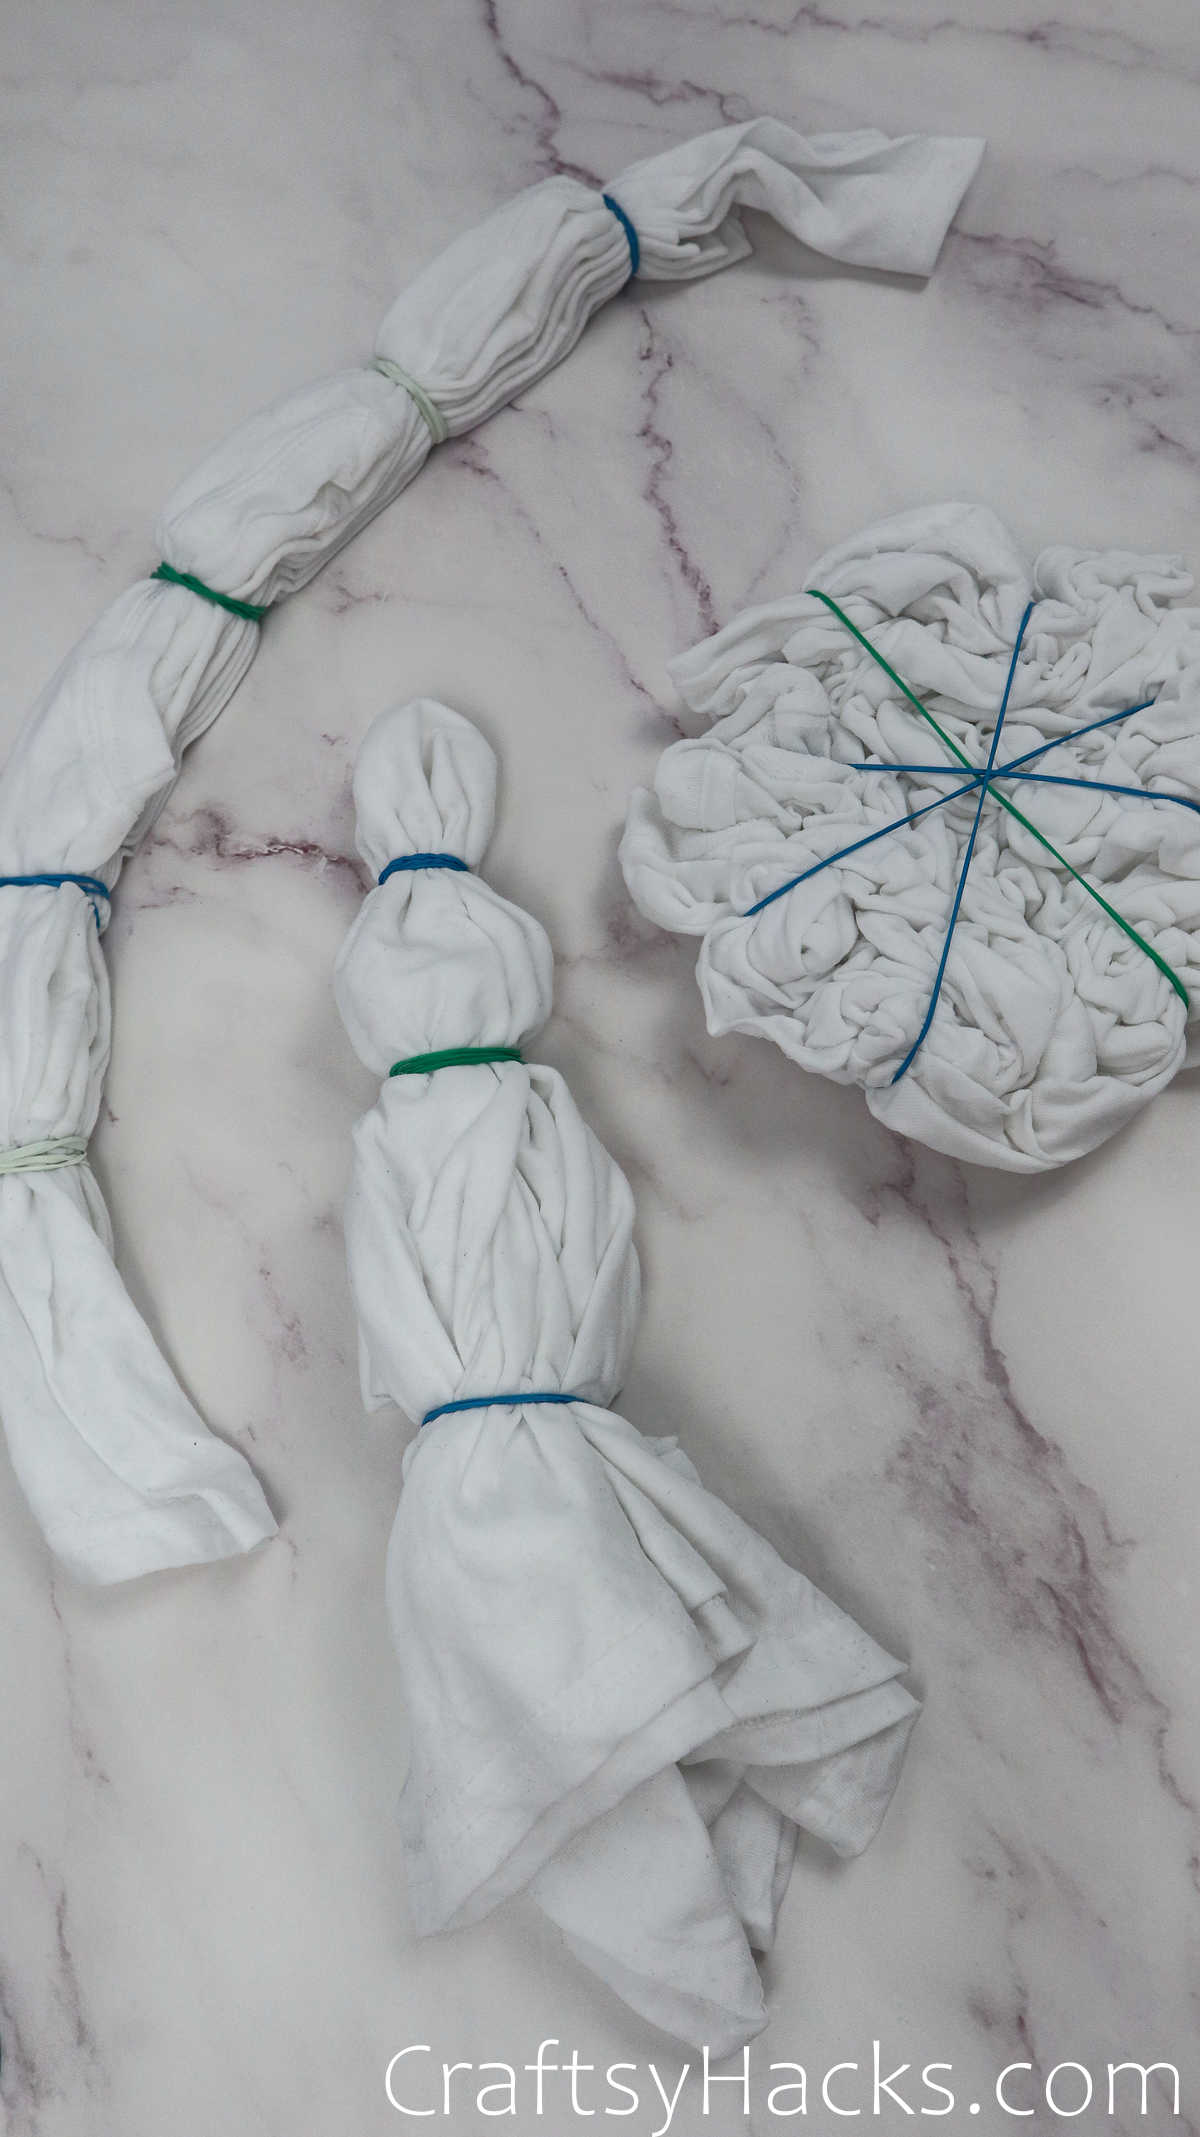
Step 1
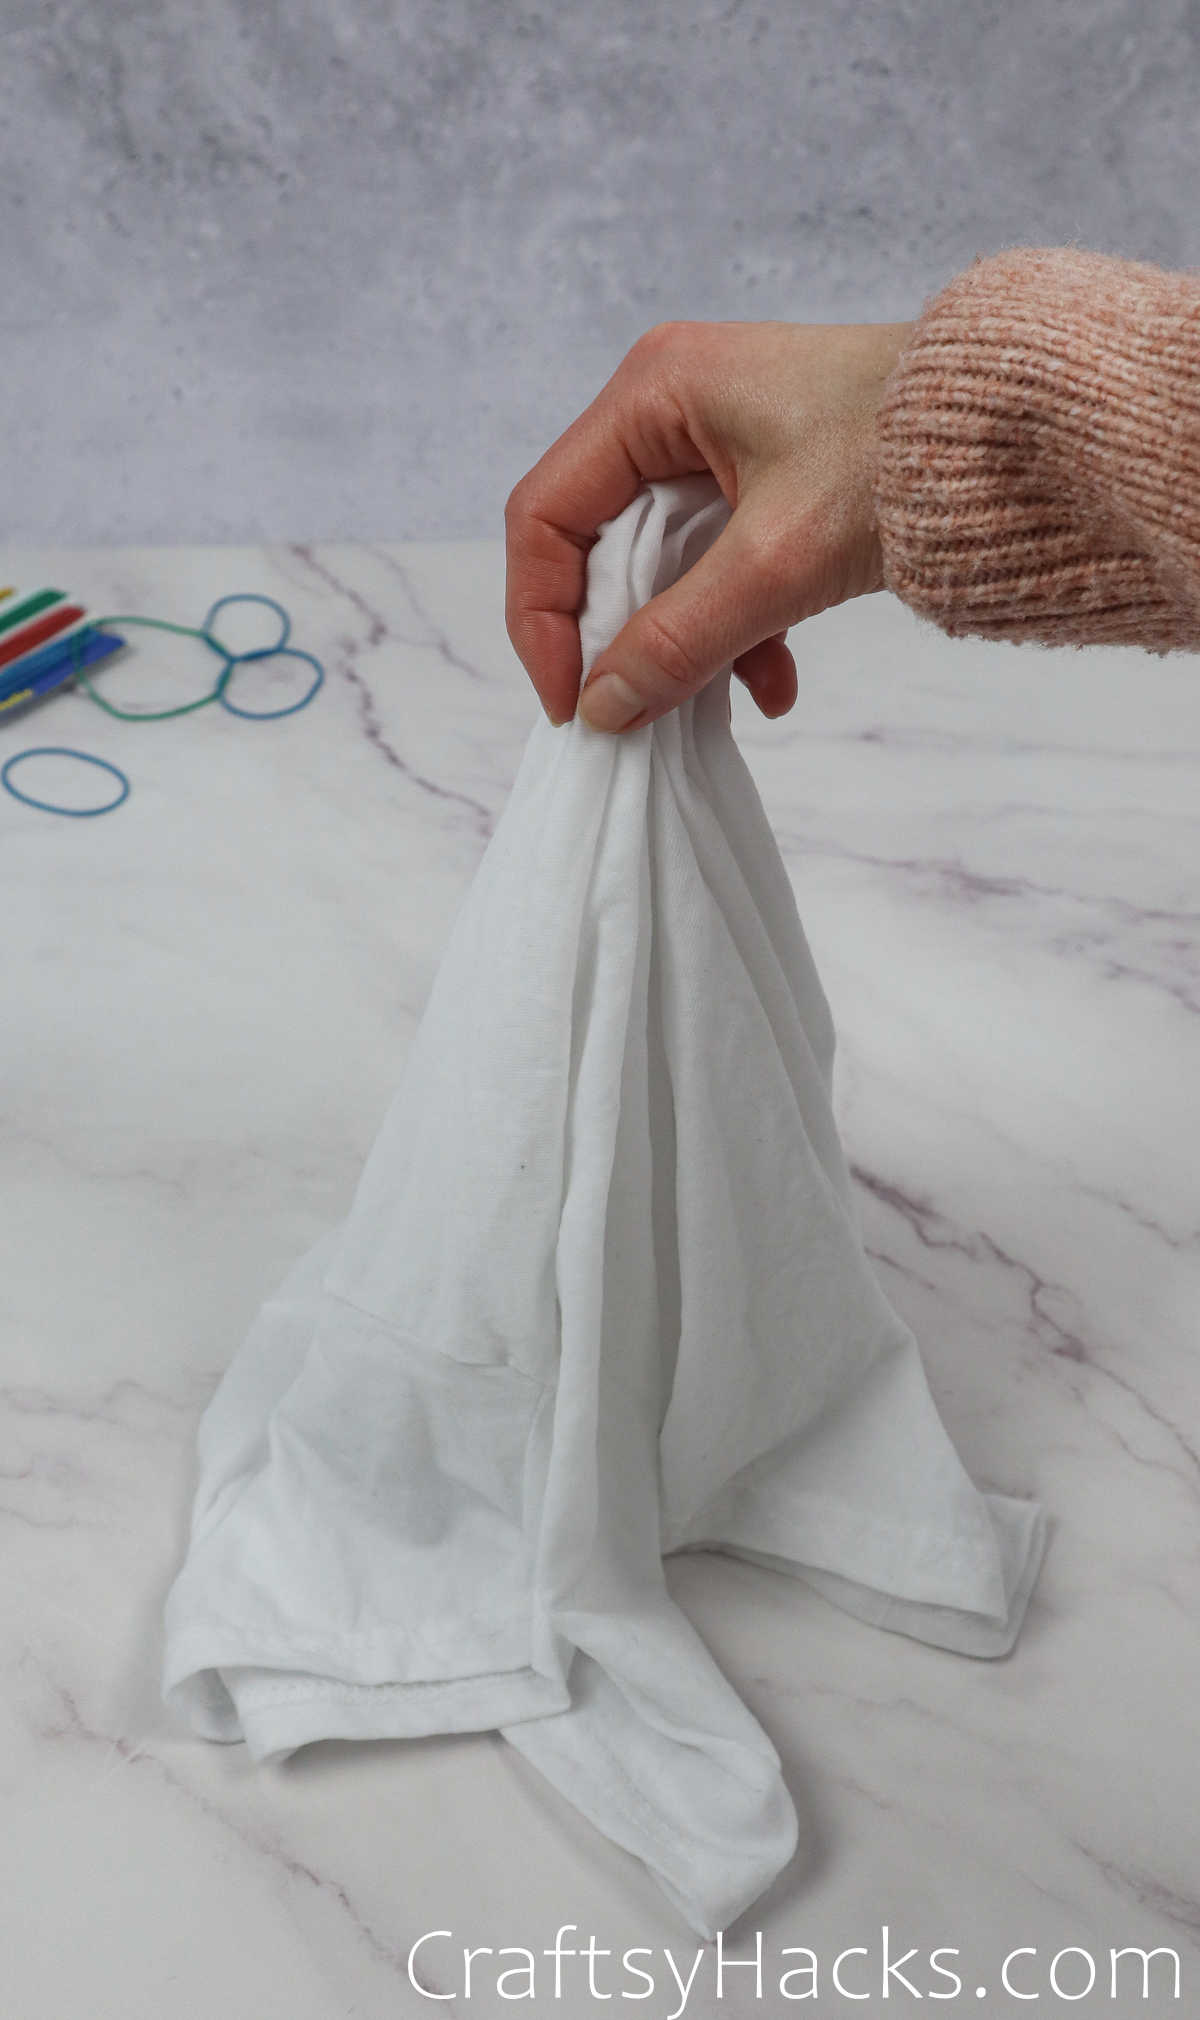
This method is called the ‘bulls’-eye’ method for one obvious reason. You find and take hold of the centre of the tee and you pinch, pull, and twist it to create a small fold right at the top, as seen here.
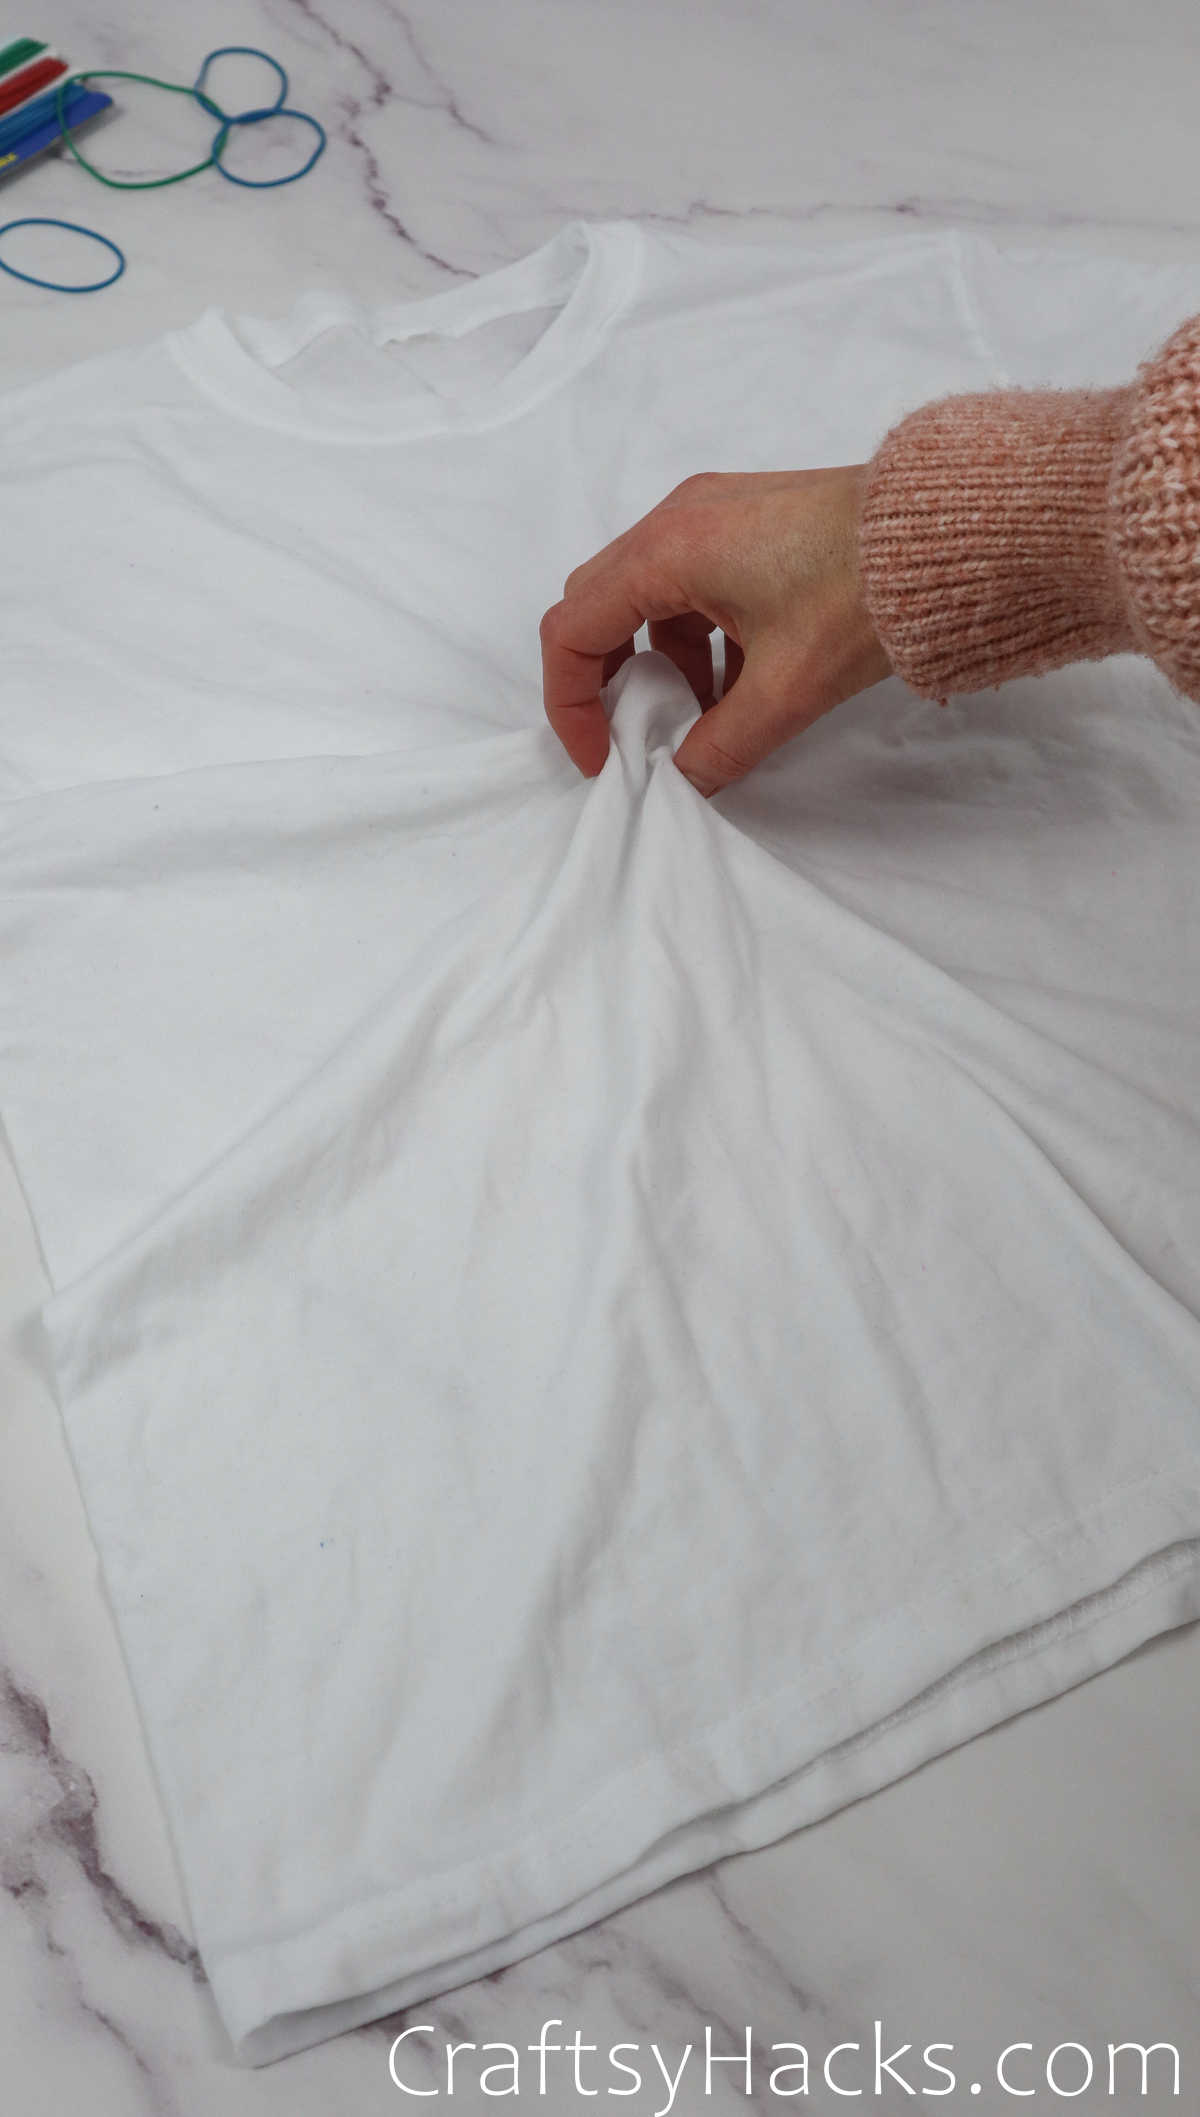
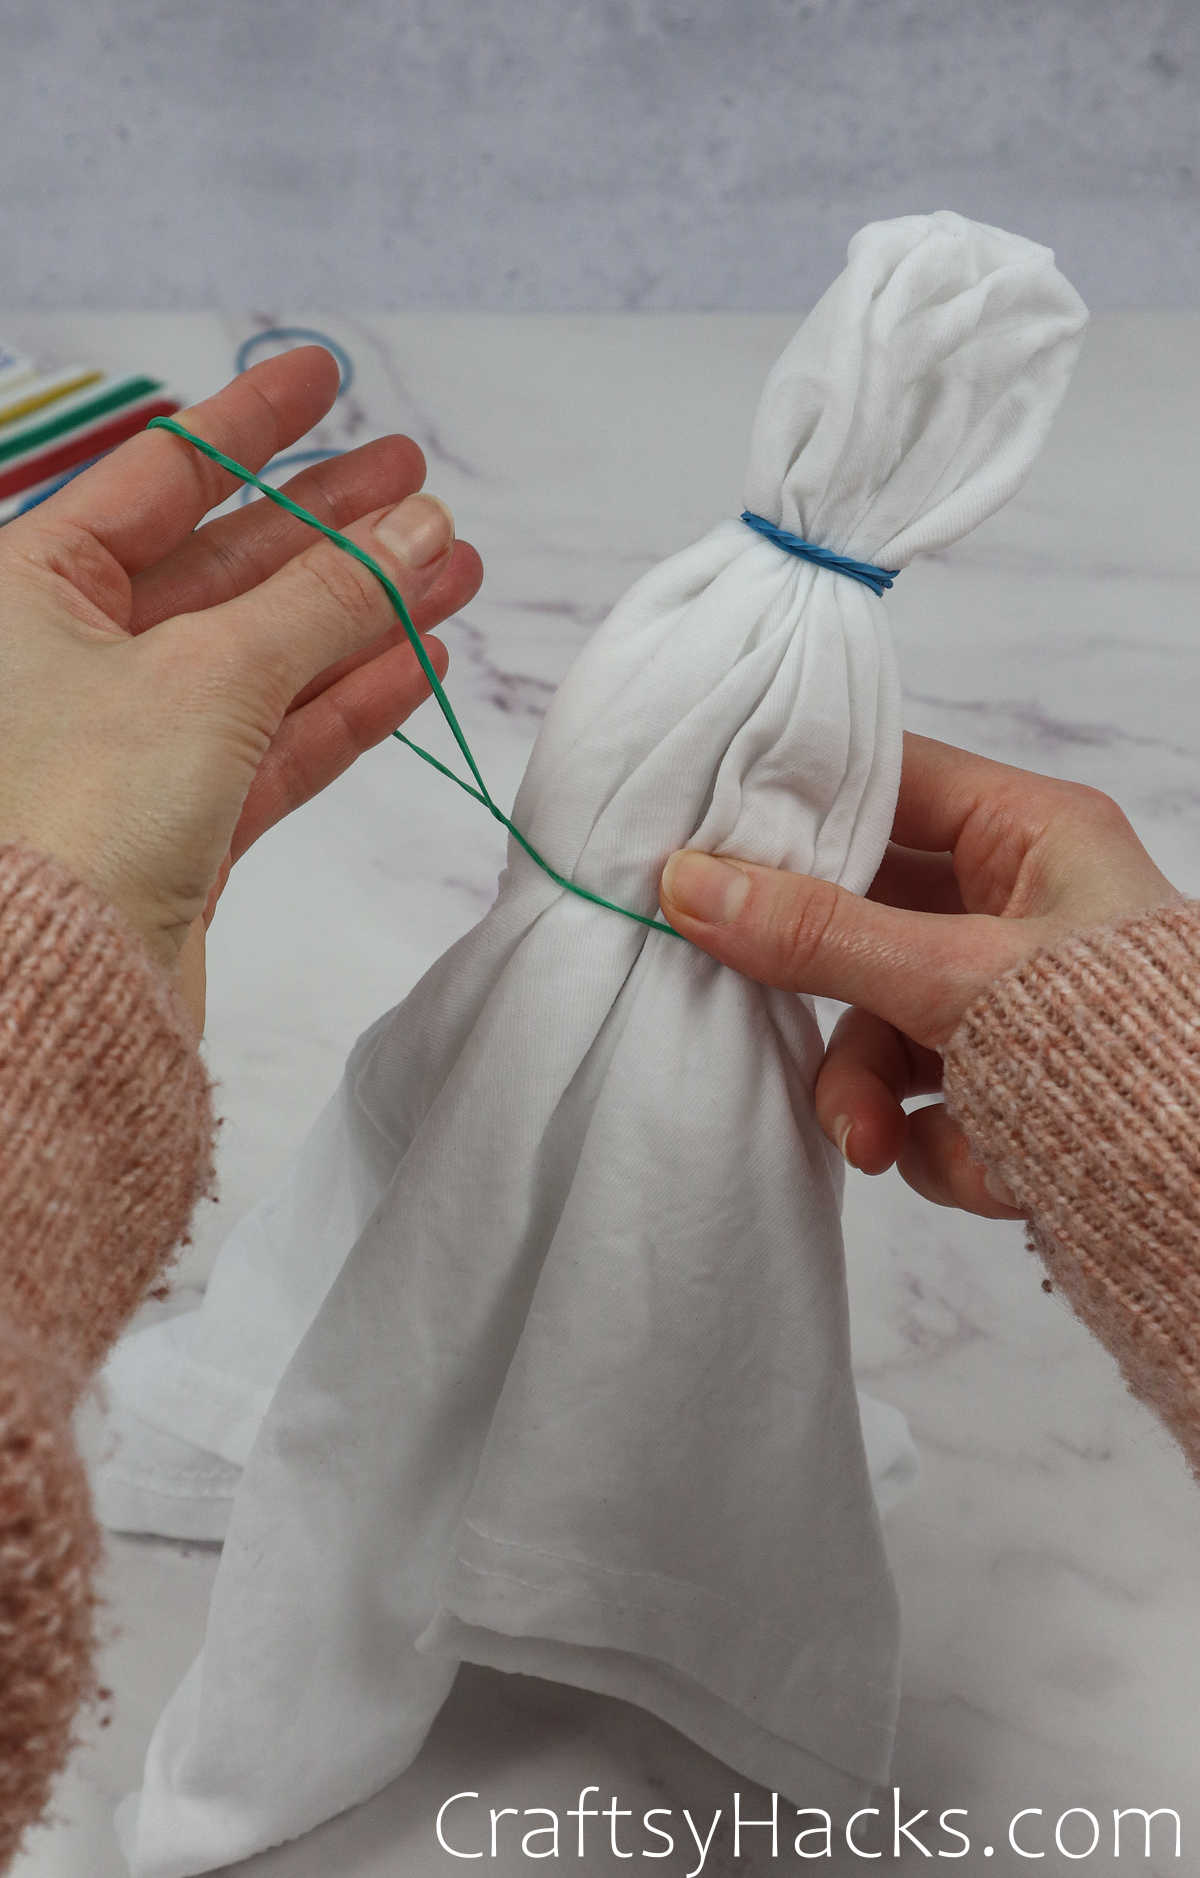
Grab an elastic and secure a tight knot under the bulls’ eye fold.

Next, take another elastic and fasten it a few inches under the first elastic. You can use as many elastic bands as you like, and your color pattern will differ accordingly.

Method 3
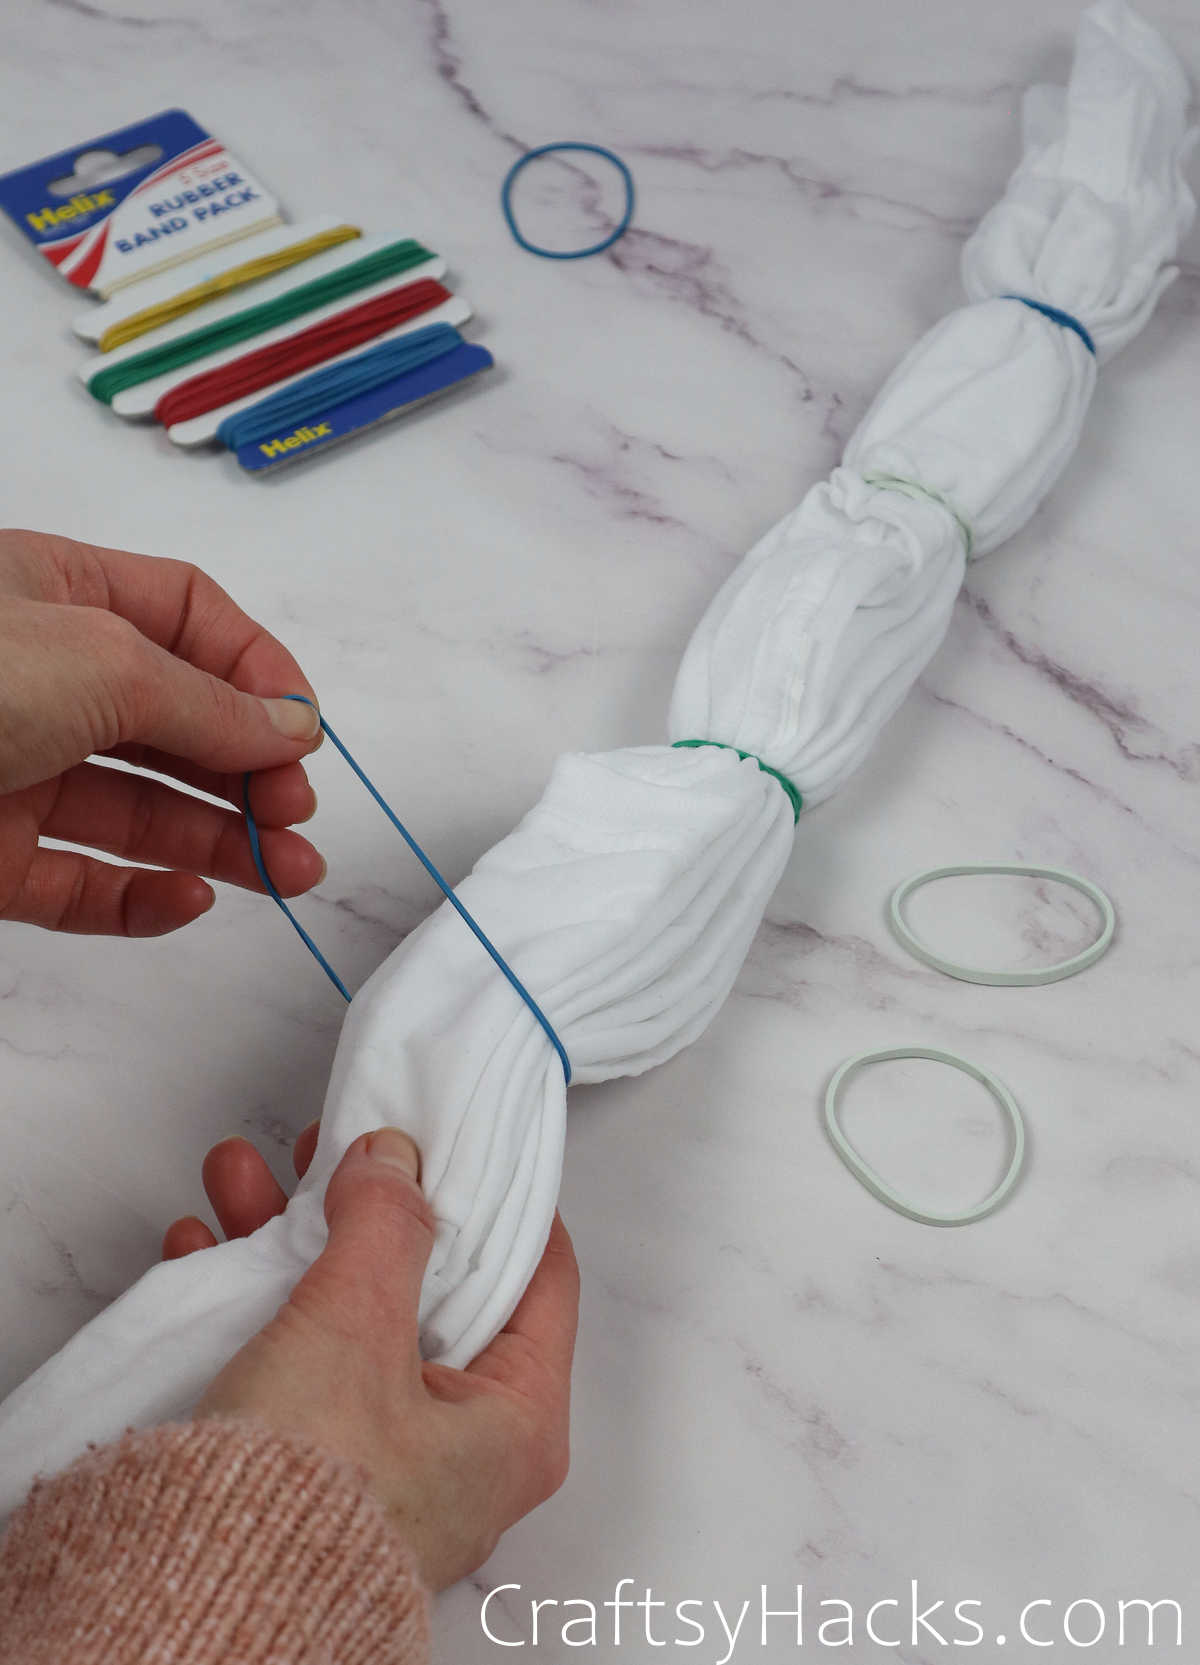
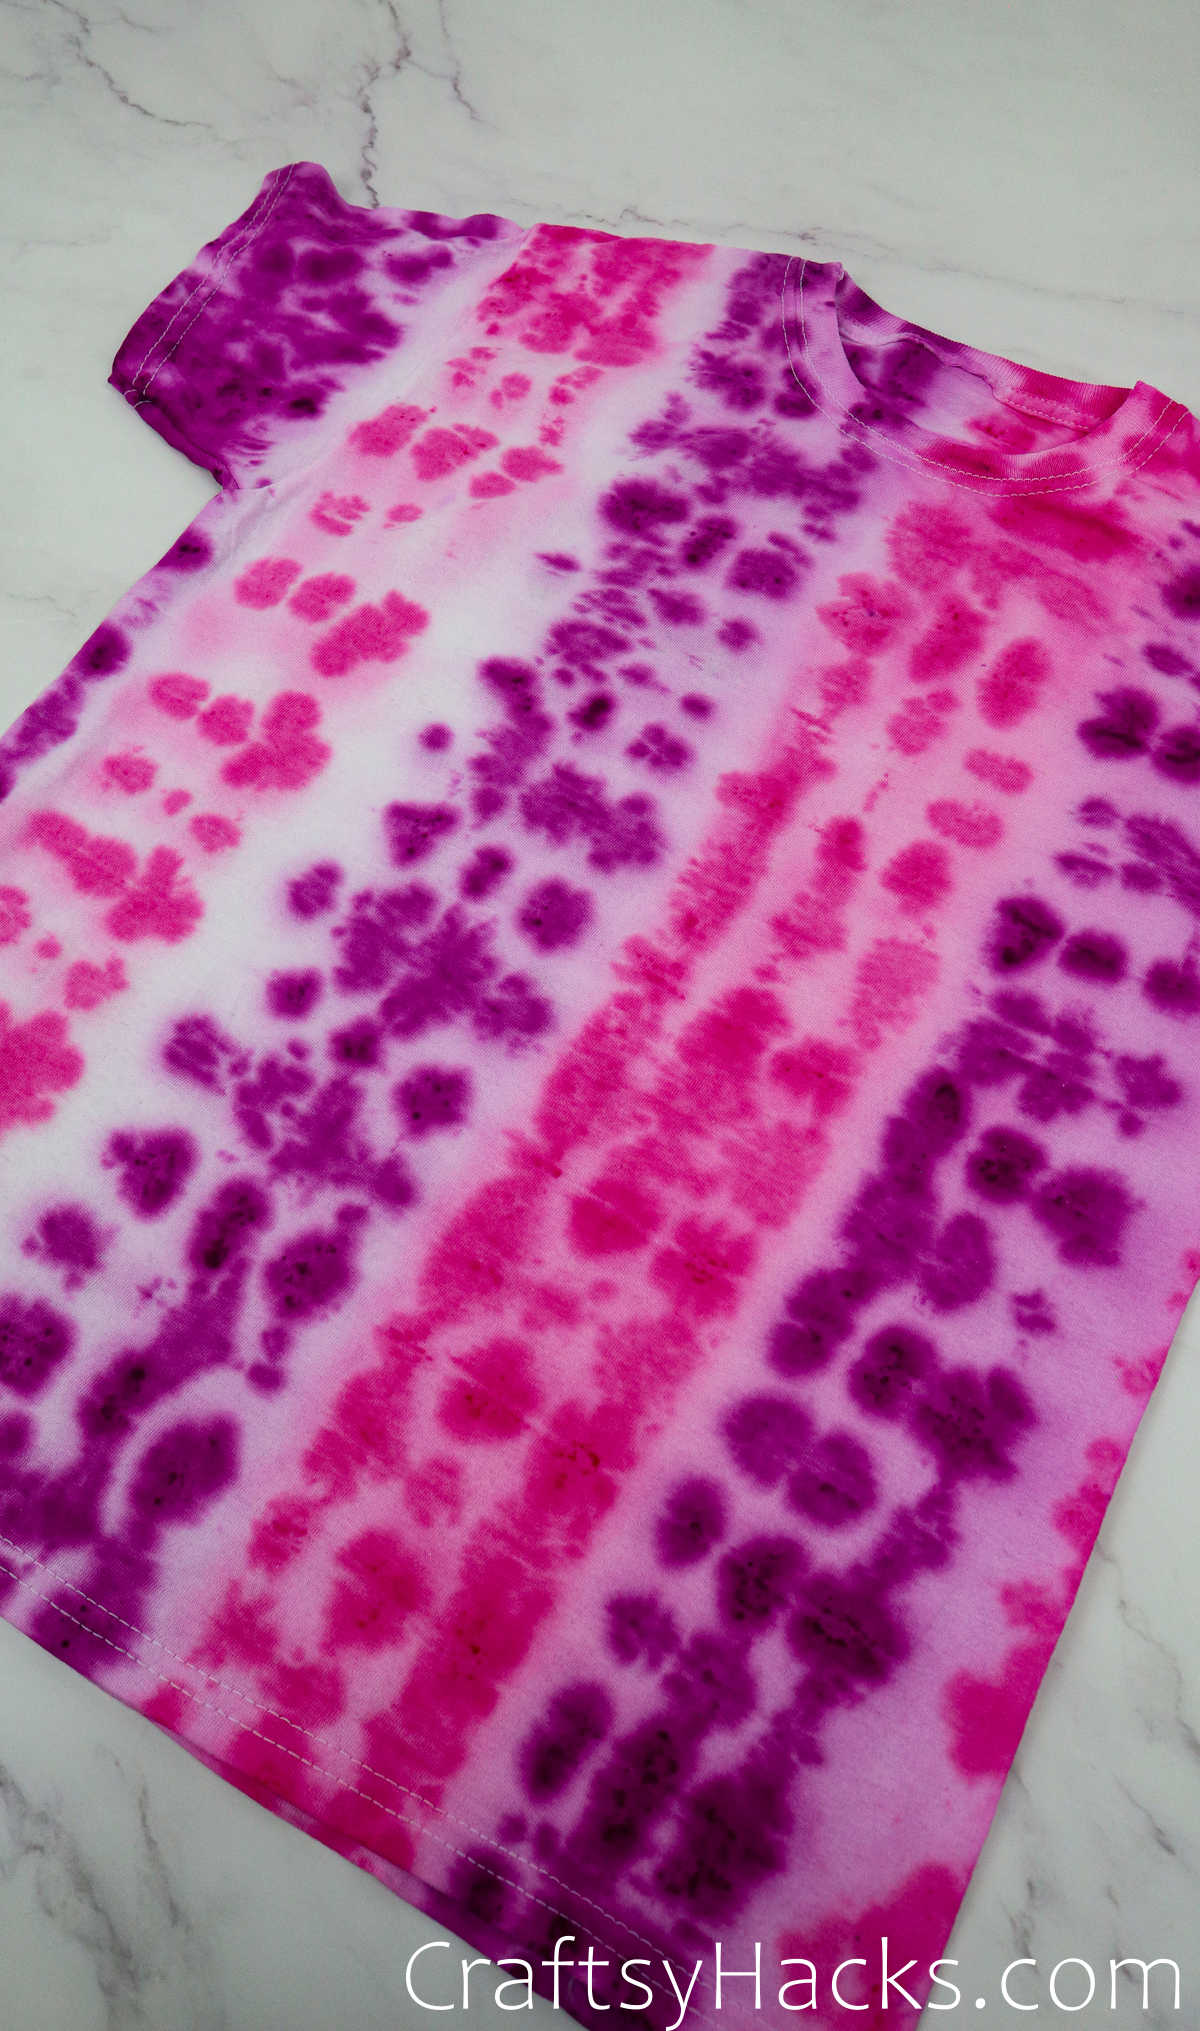
The third method is called the stripes method, and it’s pretty amazing, too.
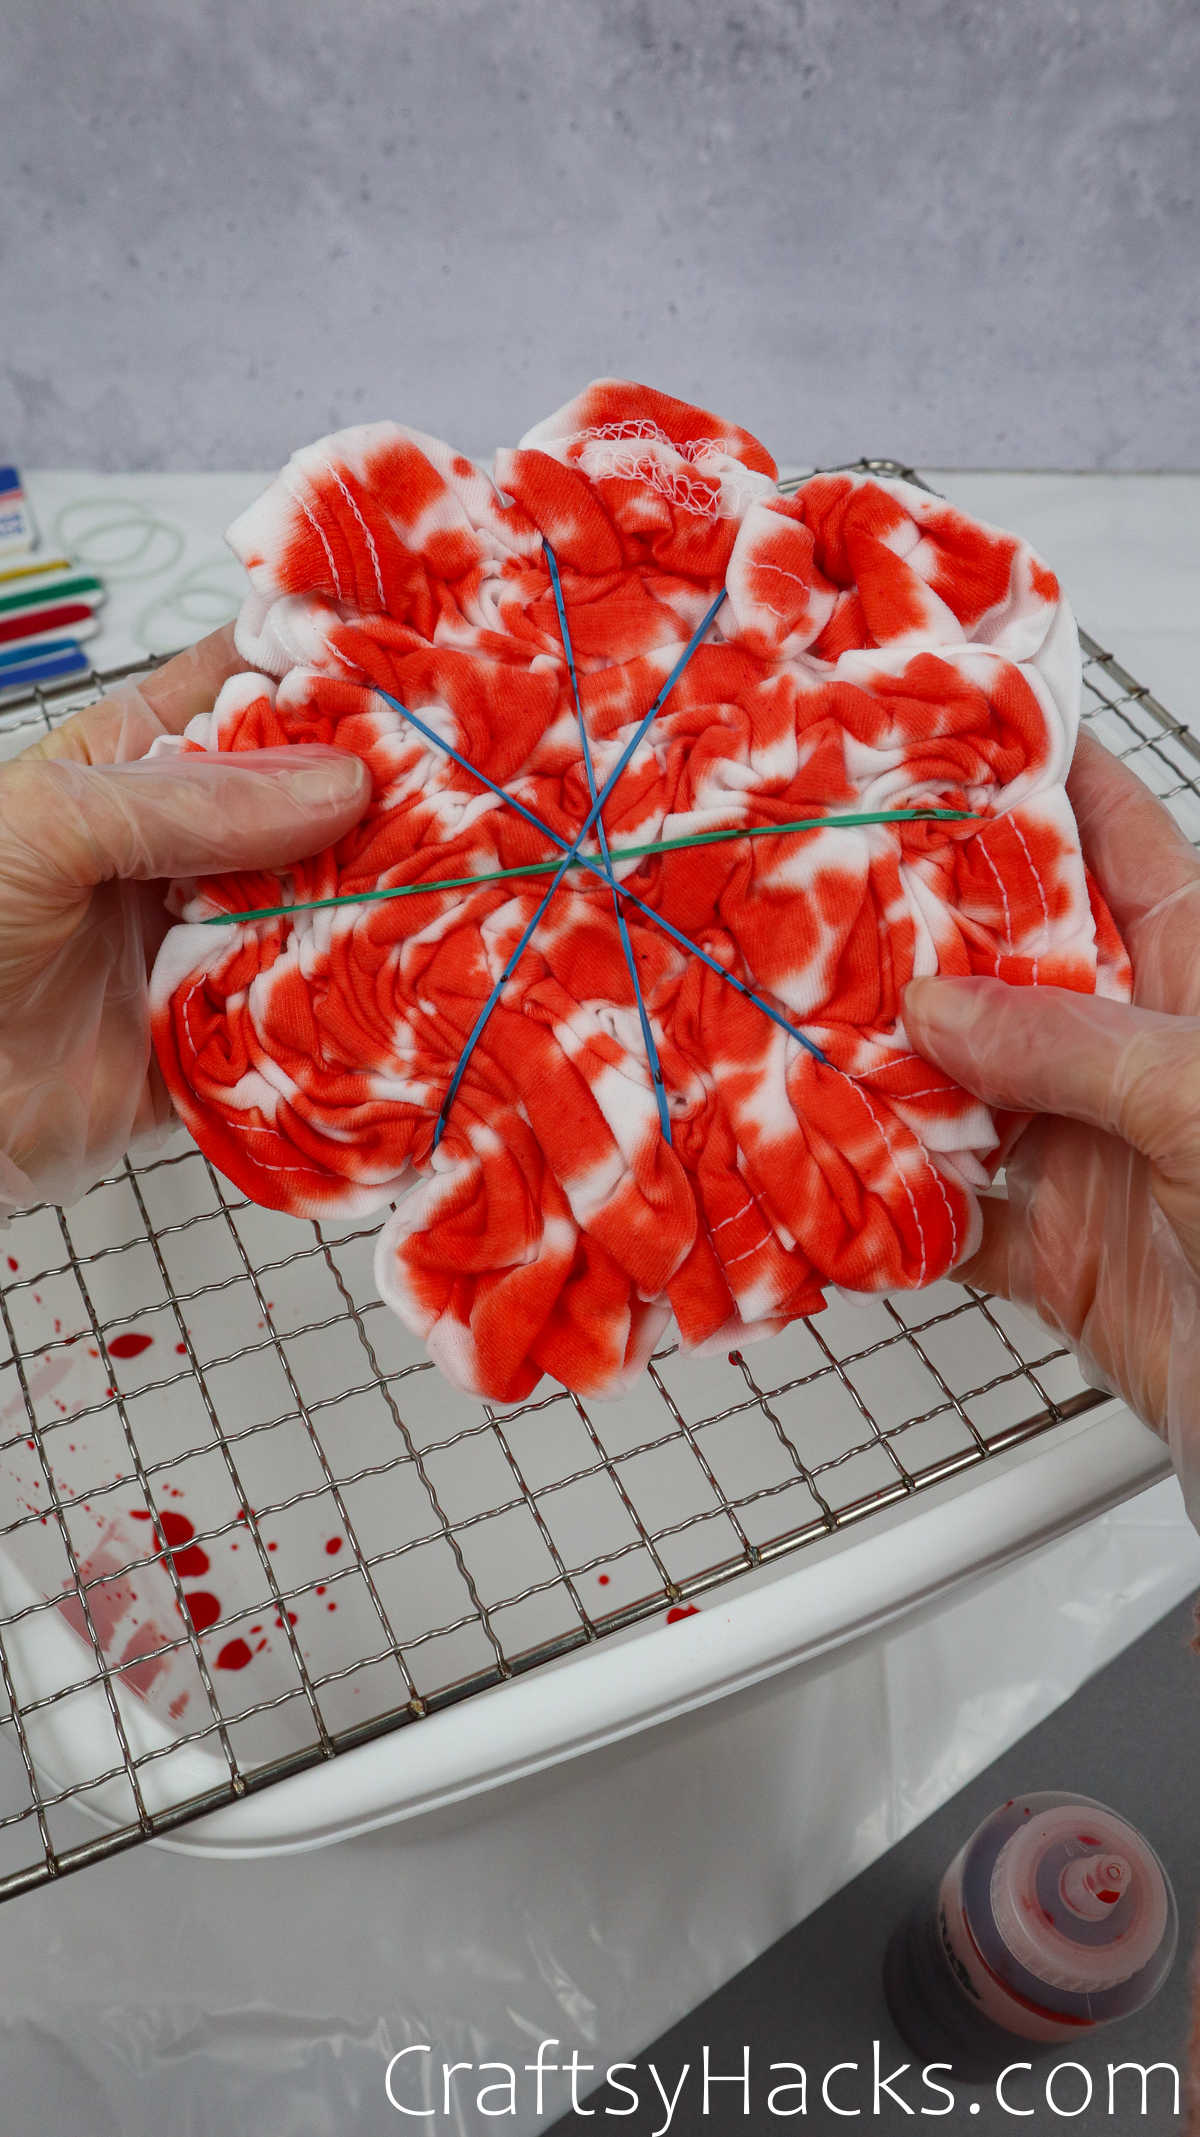
Step 1
You’re going to want to lay your tee flat on a work surface first. You know how you’d make those accordion folds with paper to make a paper fan?
Well, you’re going to recreate those accordion fold here on this tee, starting right at the base and working your way up, folding it as you go.

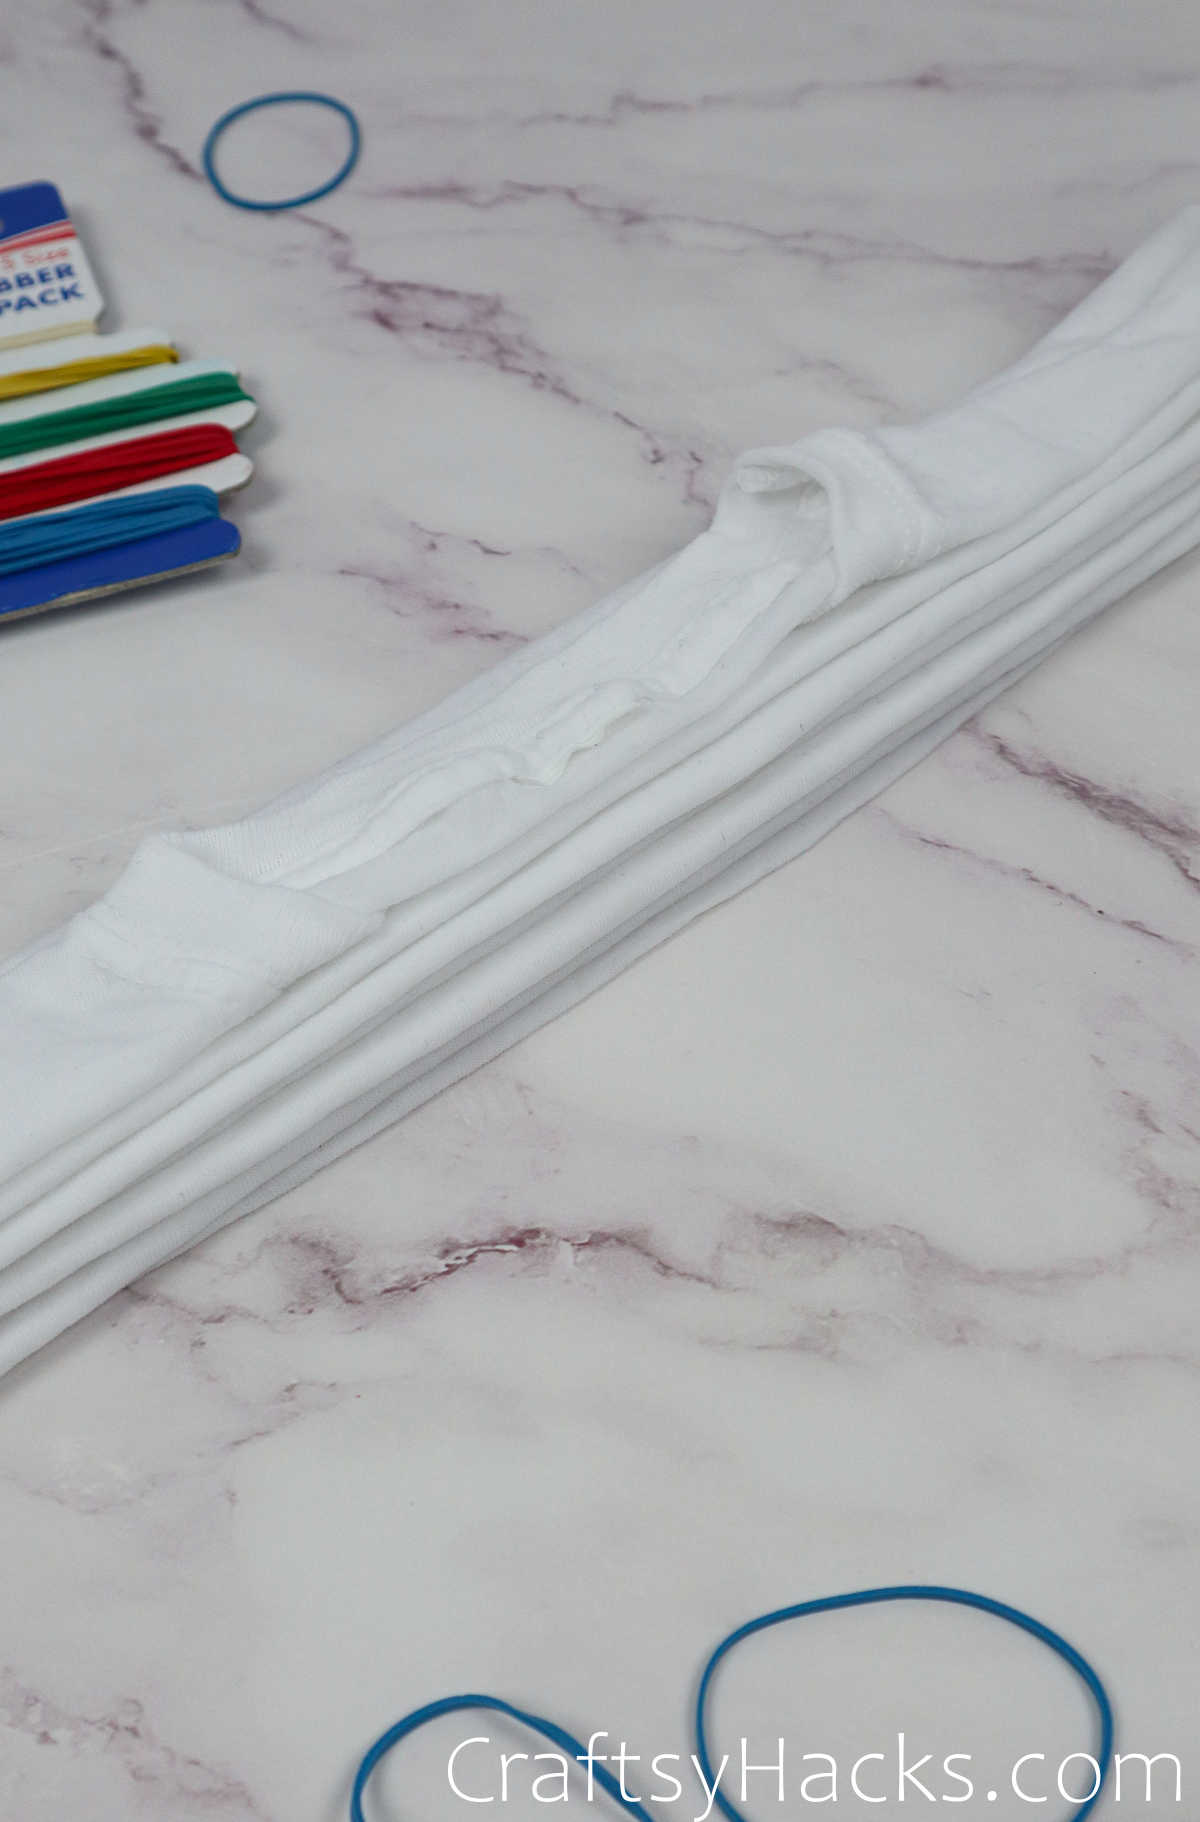
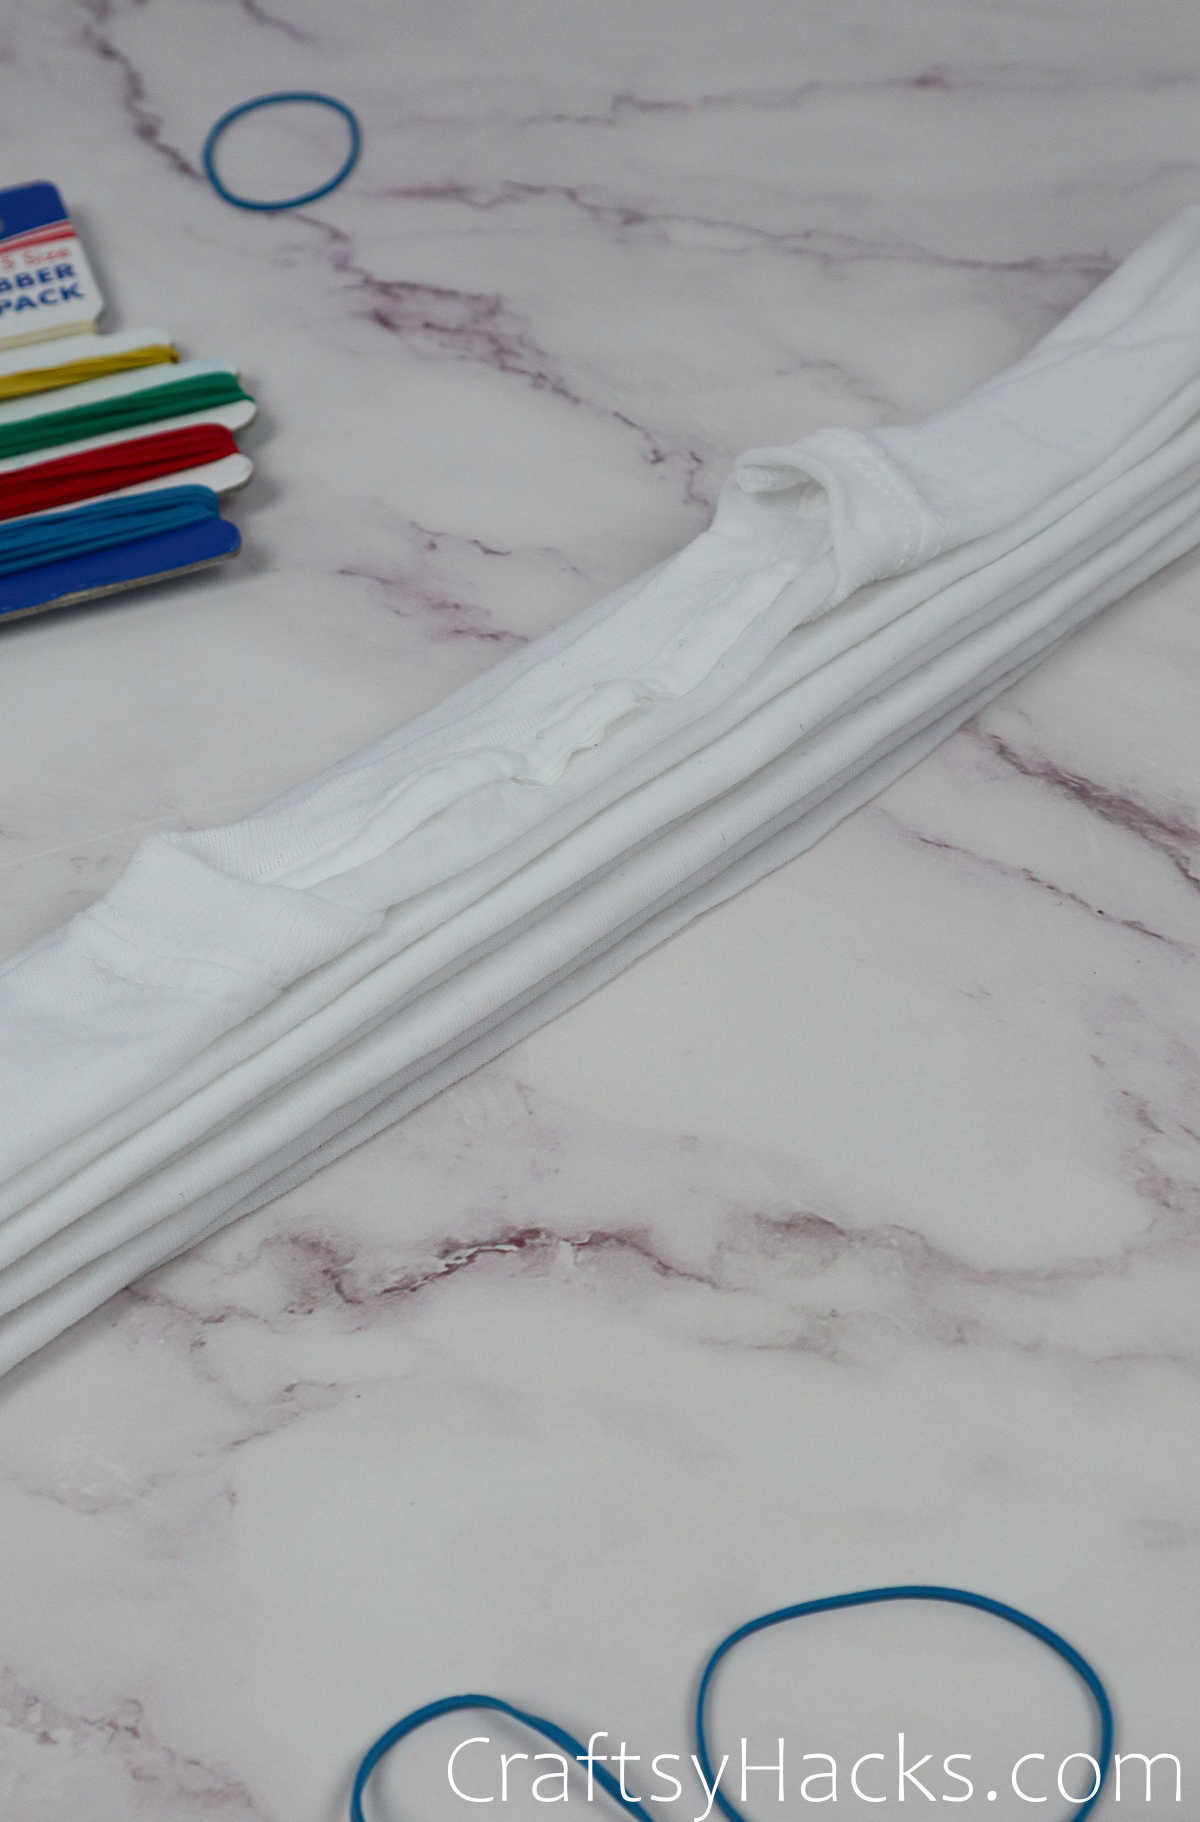
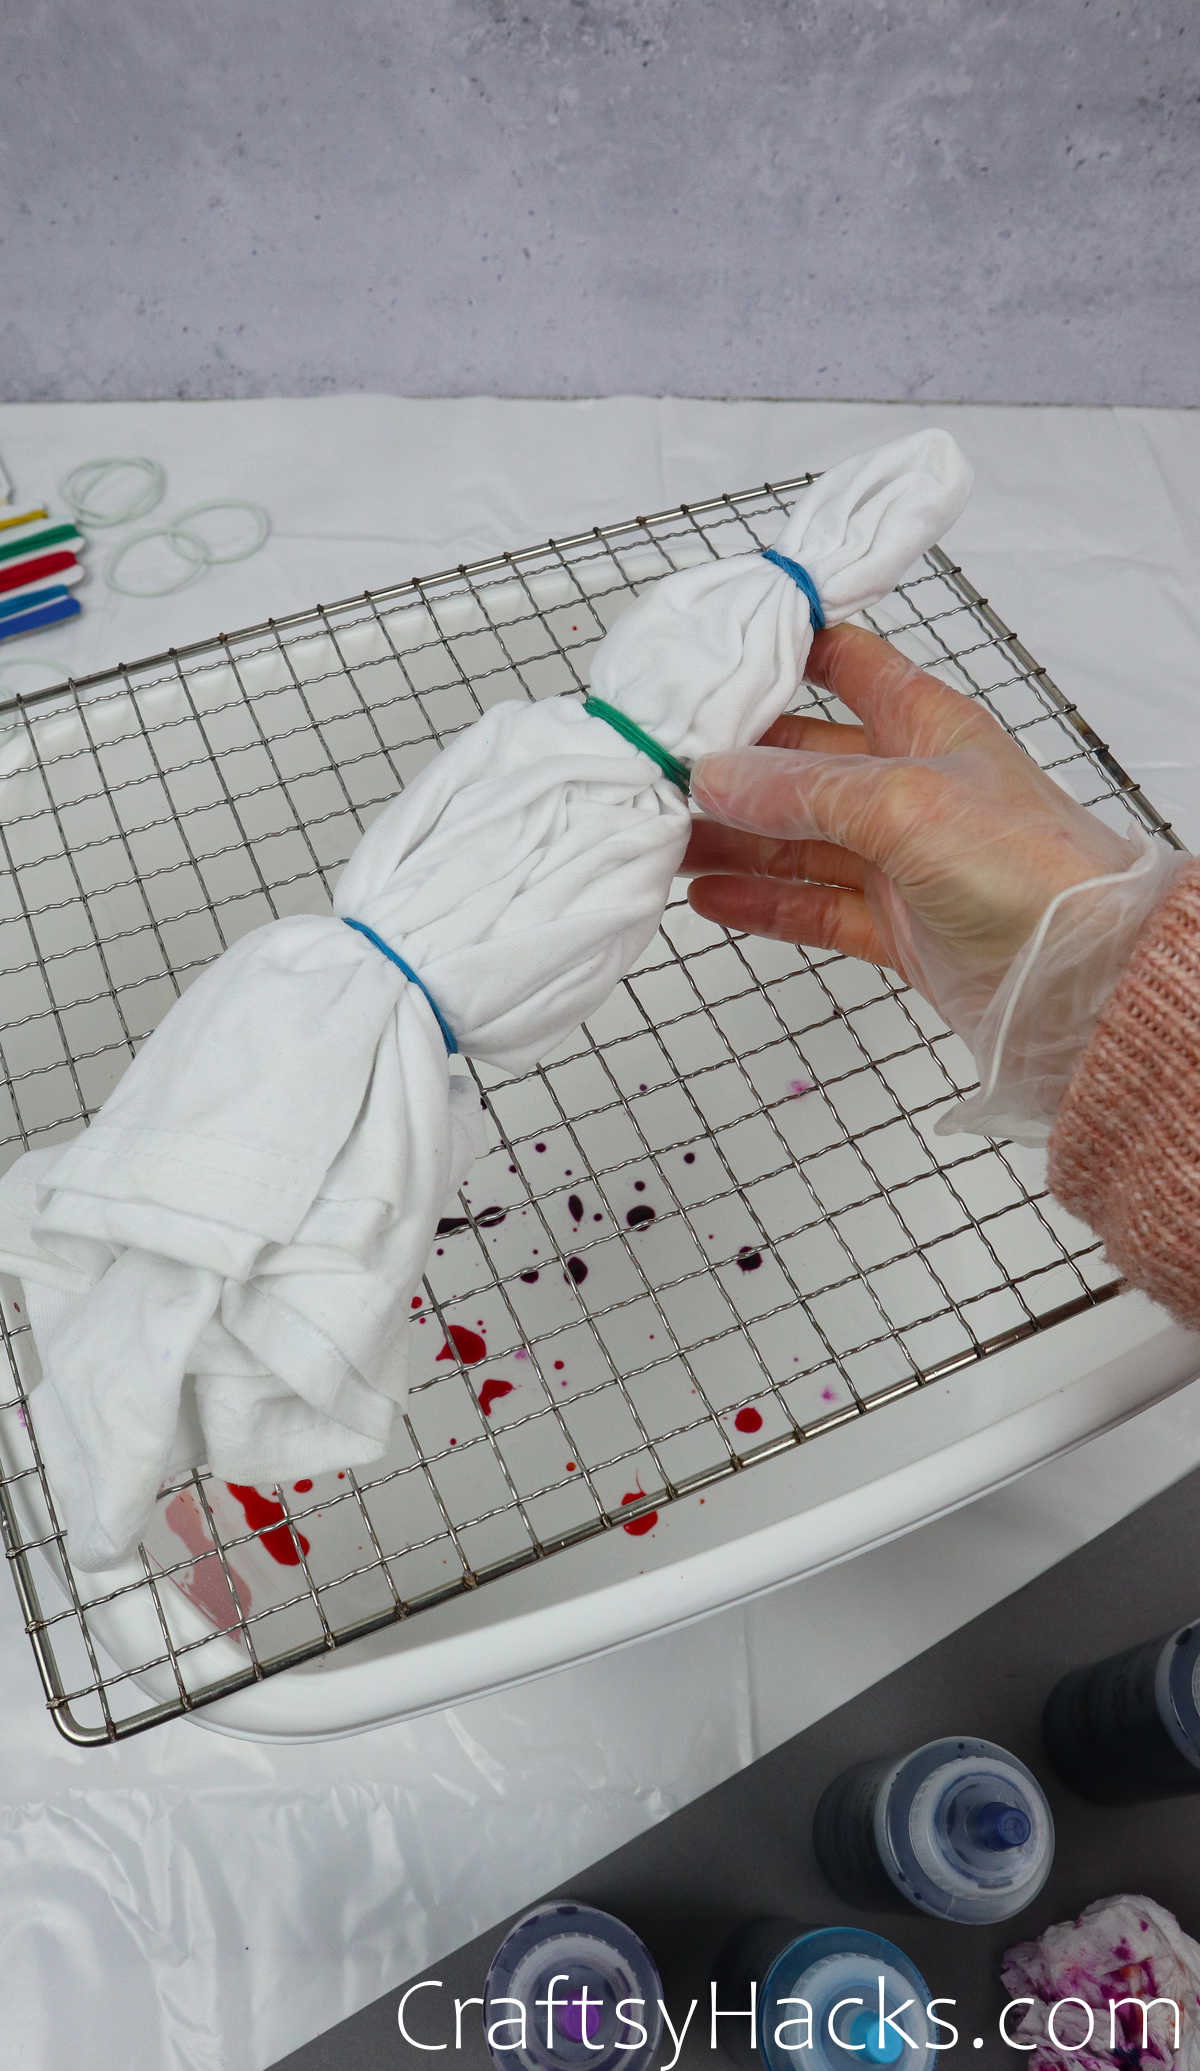
Then, when you reach the neck, just gather a few elastic bands and secure them along the length, equidistantly.
That’s pretty much all there is to it, with regard to different ways you can fold your tee to create different dye patterns. So let’s get down to the fun and messy part: dyeing!
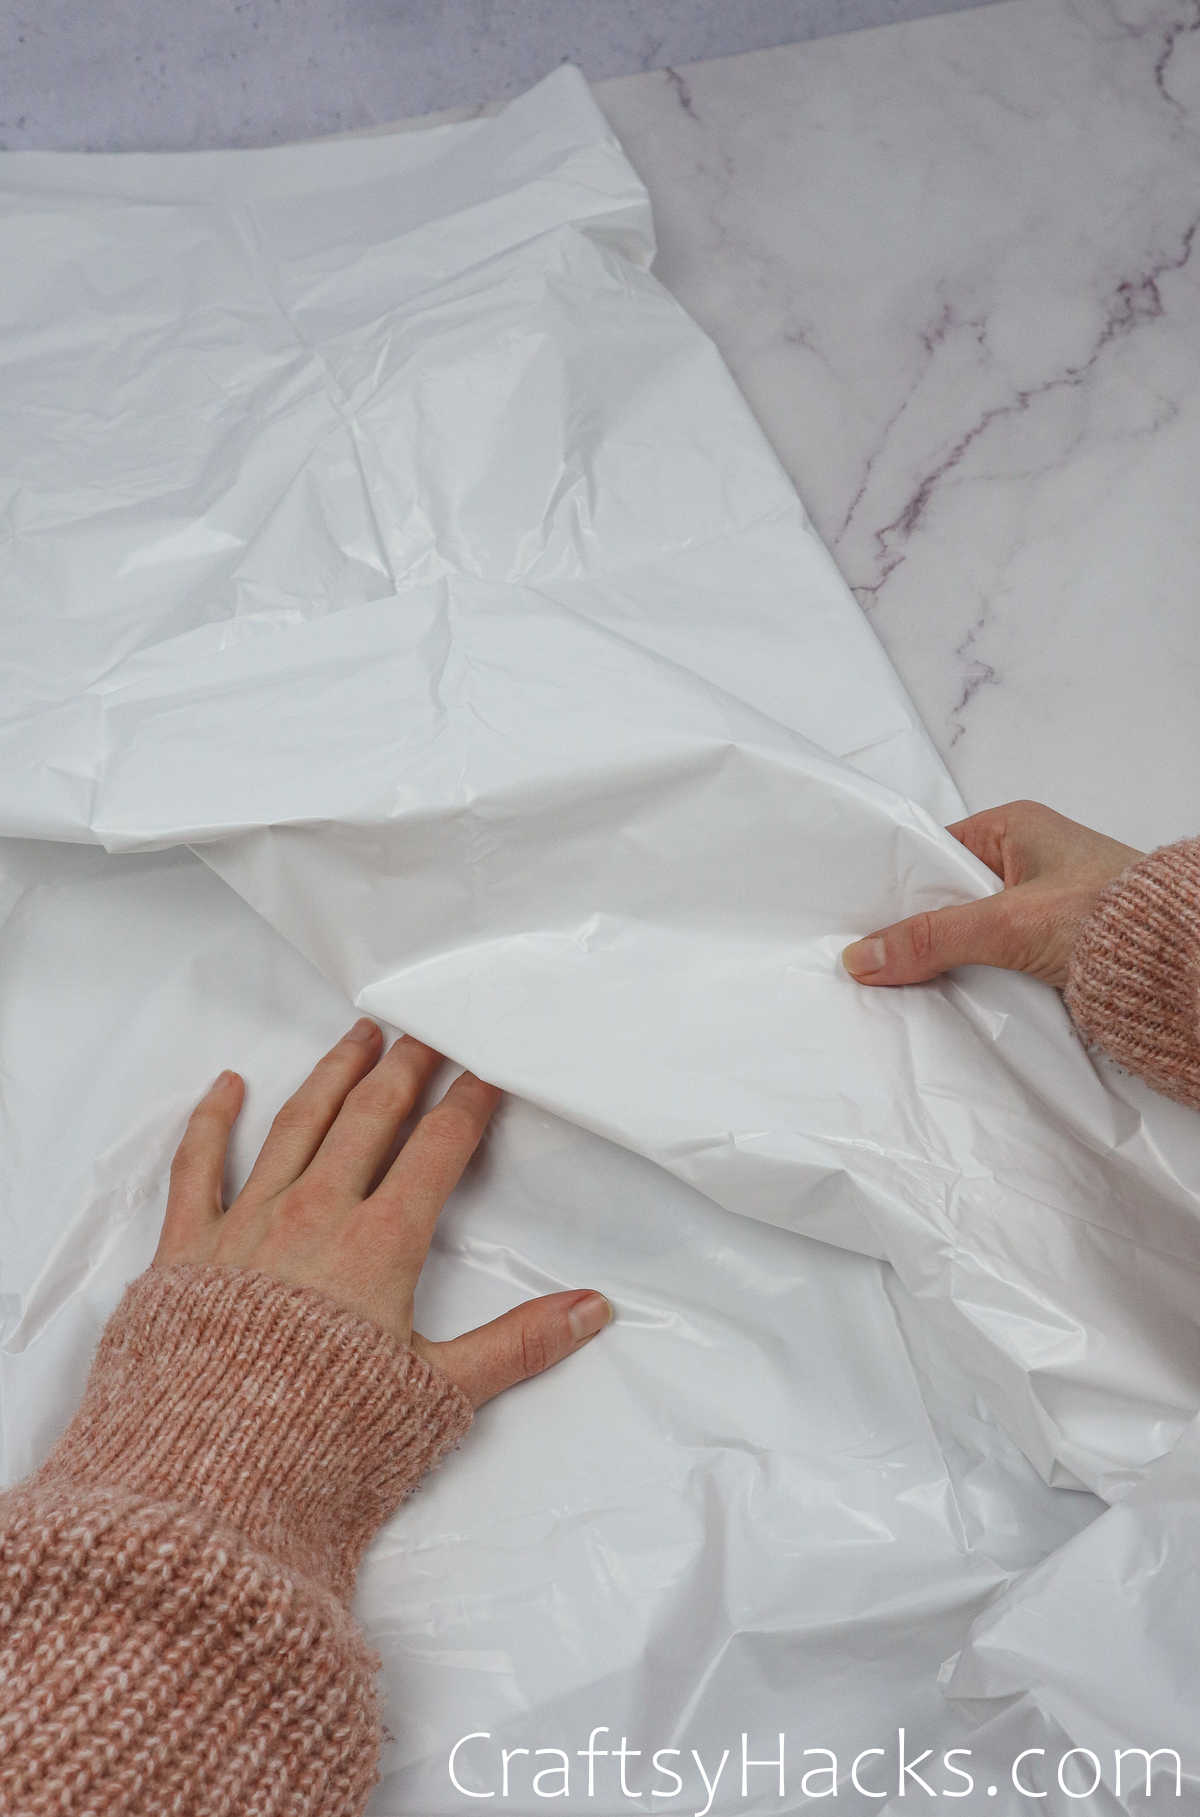
Dying the Shirts
Before you start dying, lay out a plastic sheet to protect your work surface from stains. You should also definitely wear protective gloves on your hands, and a smock over your clothes.
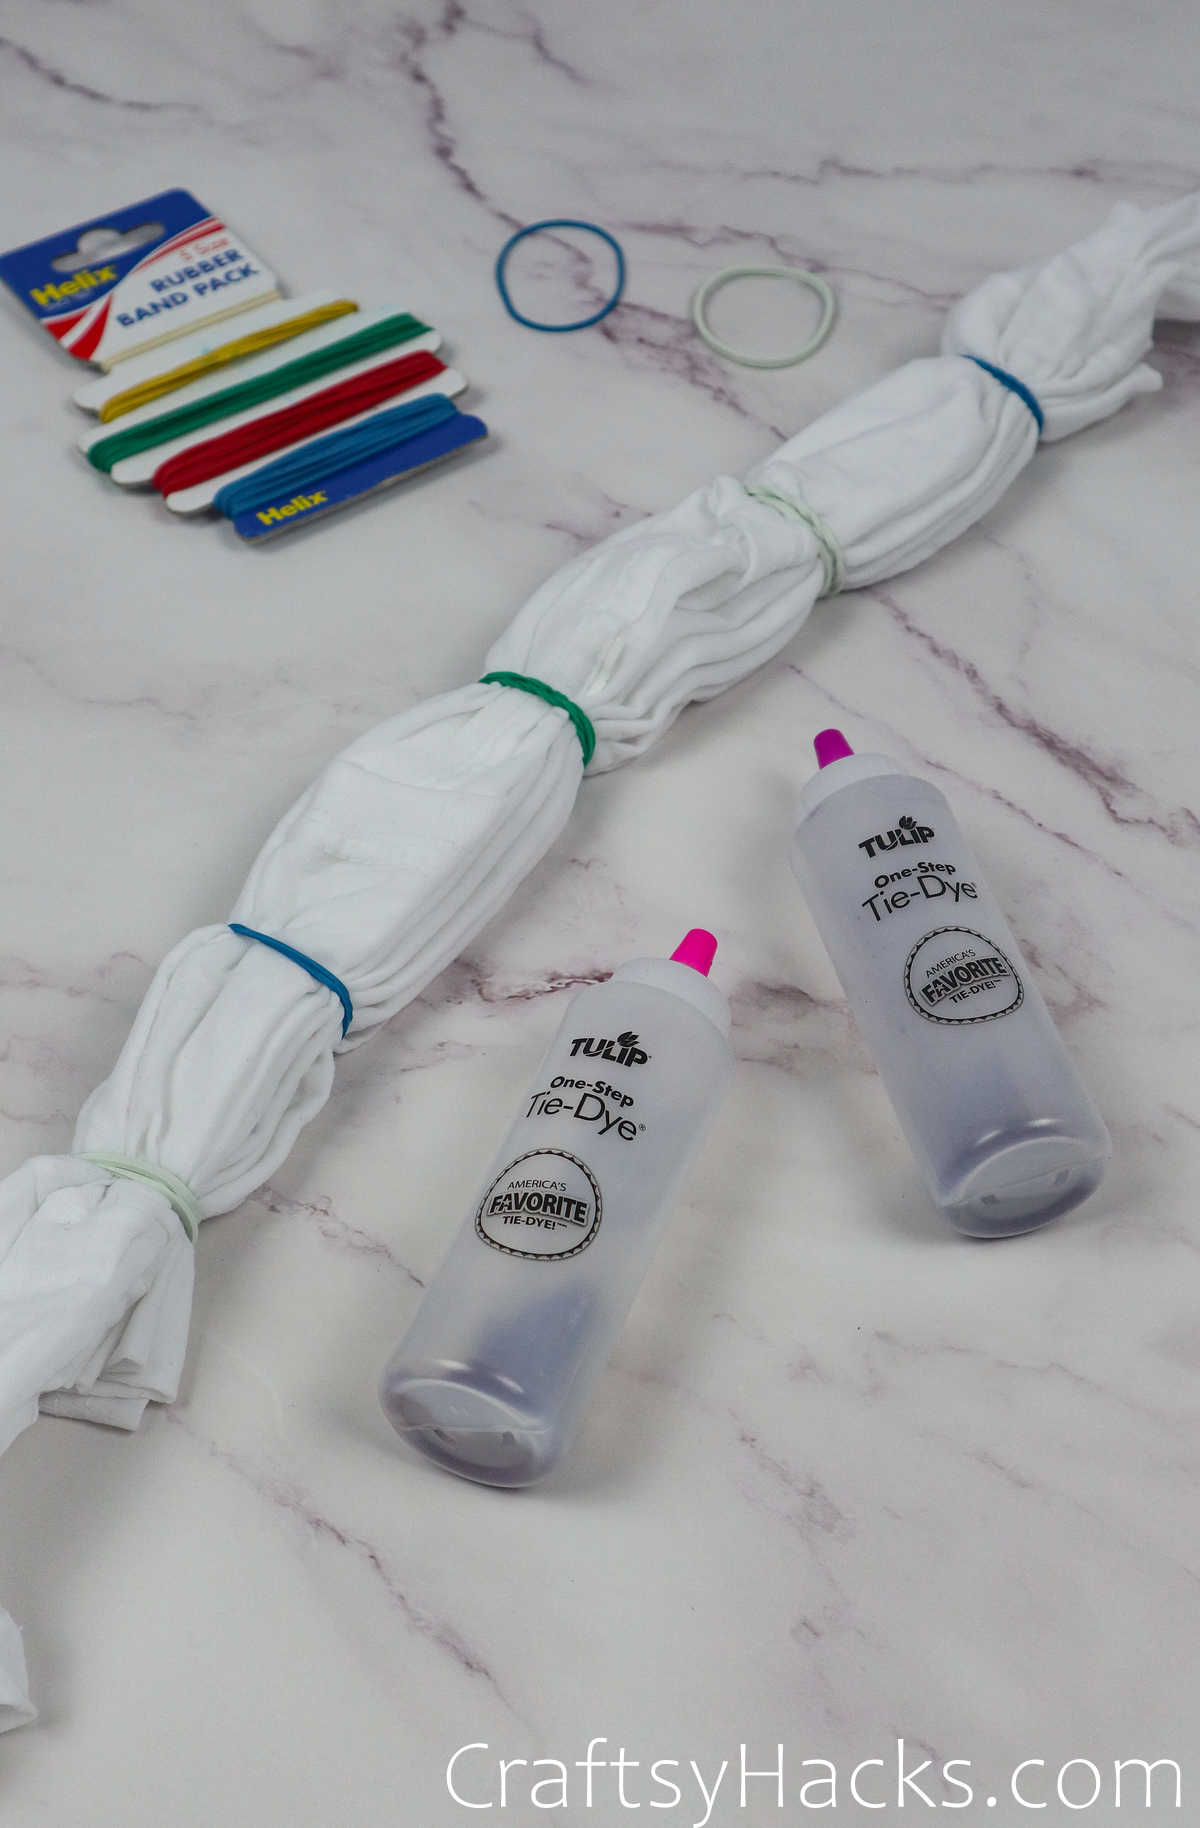
Step 1
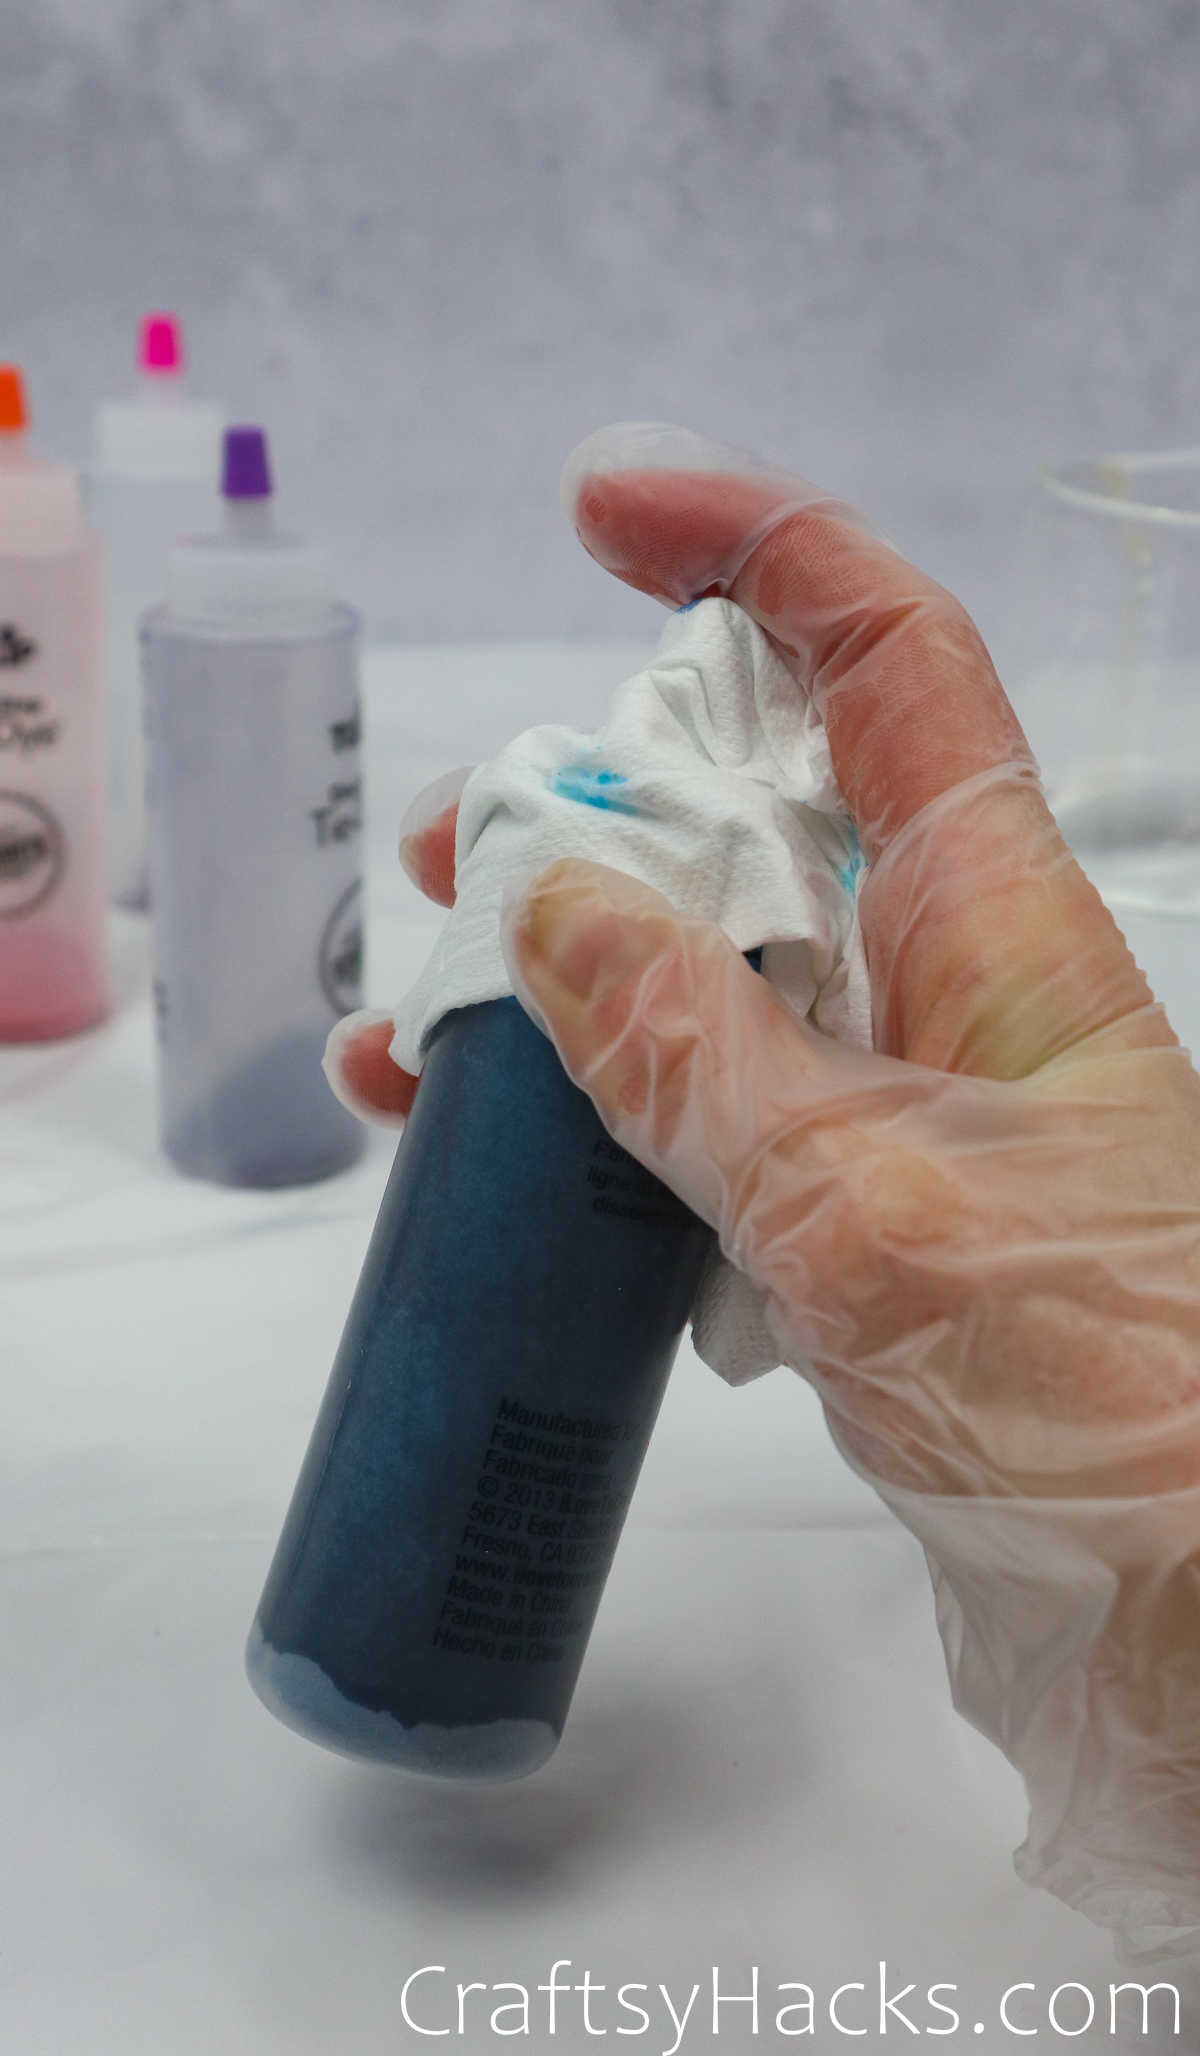
Let’s start preparing the dyes! Depending on the dye kit you’re using, the preparation process will vary. For this particular dye, all you need to do is add water to the concentrated dye and give it a good shake to mix it up–once you’ve closed the lid, that is. We don’t want a Jackson Pollock episode, do we?
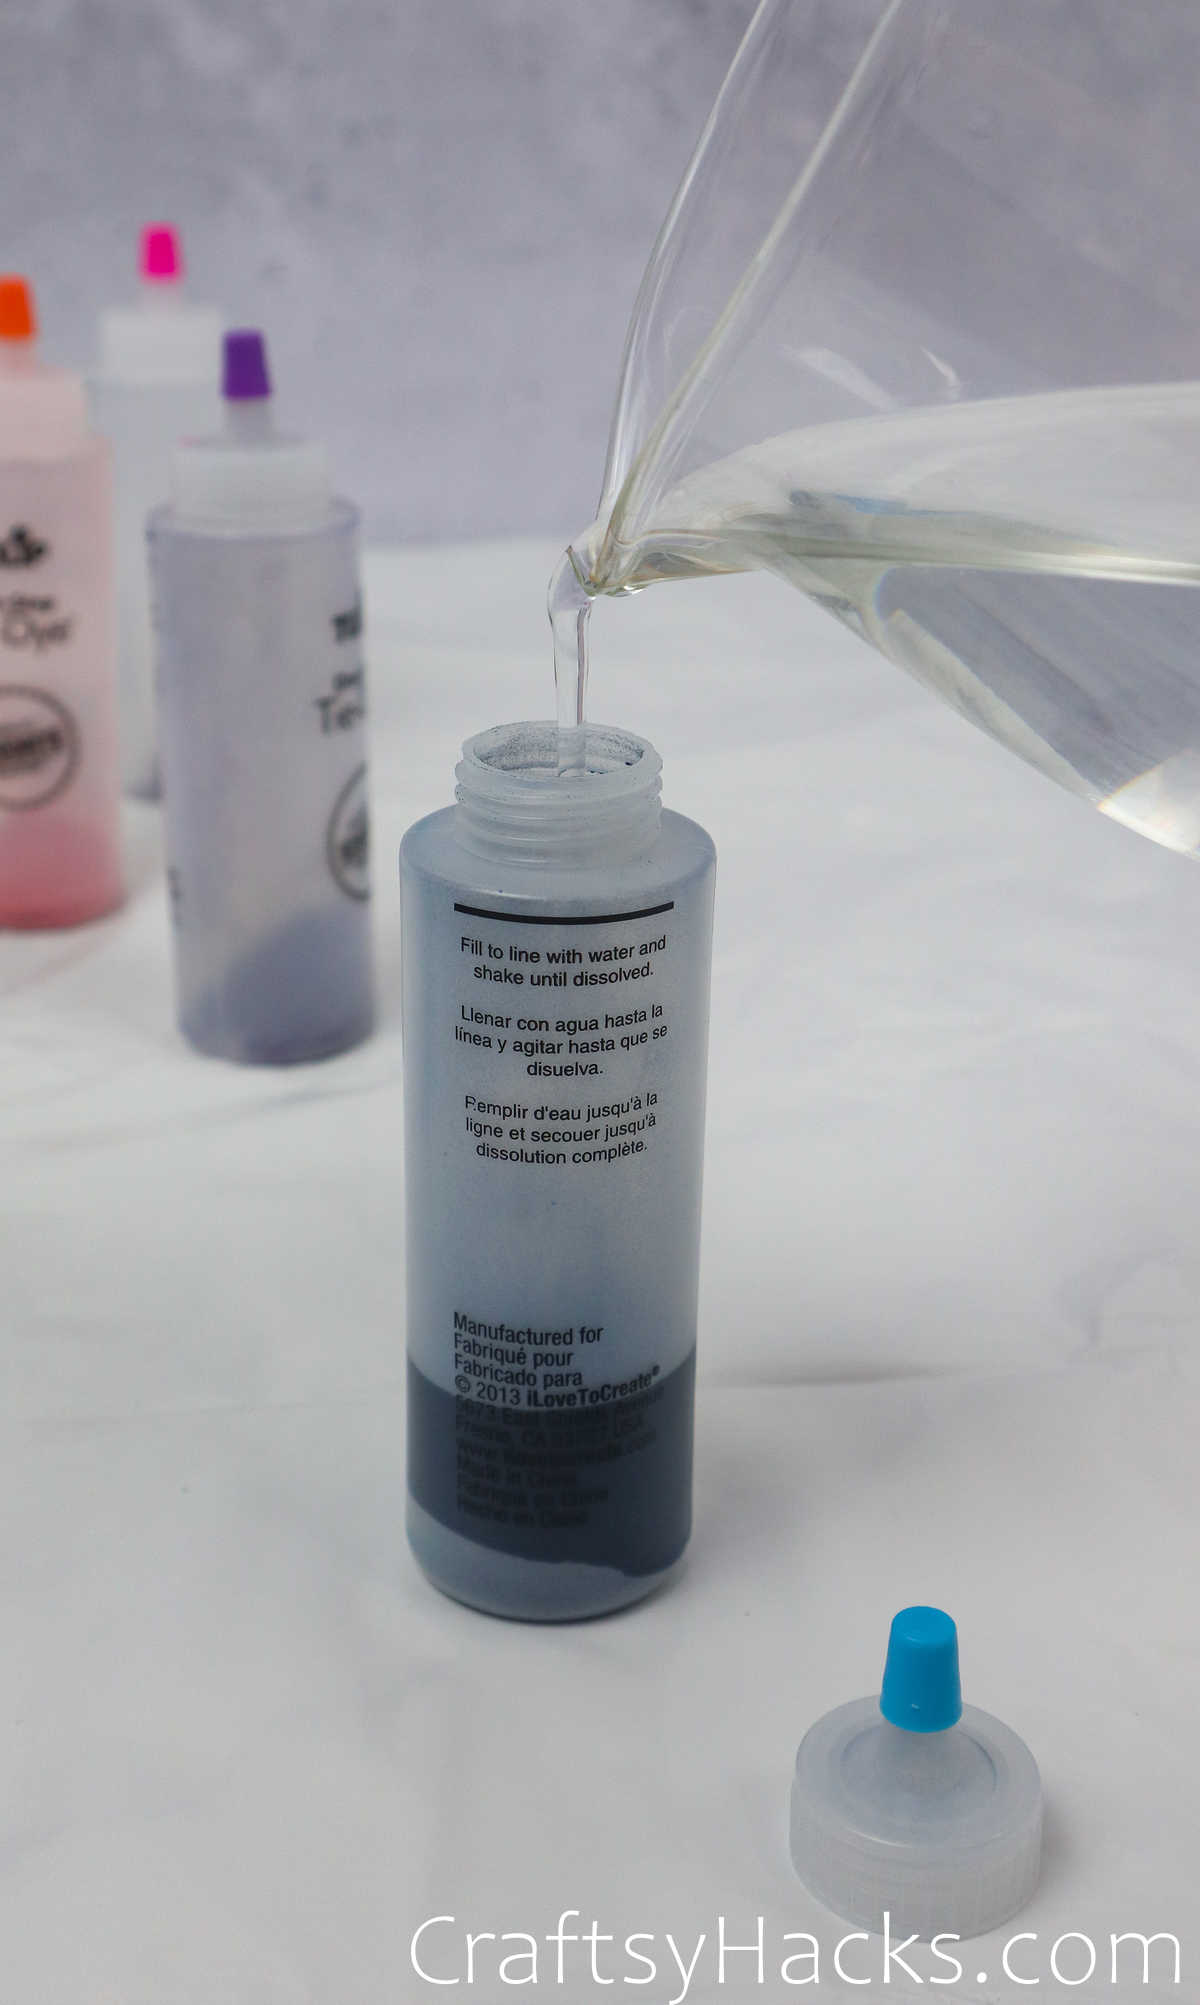
Soda ash or carbonated soda is known to help retain the color stains on the fabric, so consider mixing in some, while you’re mixing the dye.
Step 2
Next, place your first tee on a rack. The rack is optional, as is keeping a bowl right under it to catch the dye spills–but it definitely helps.
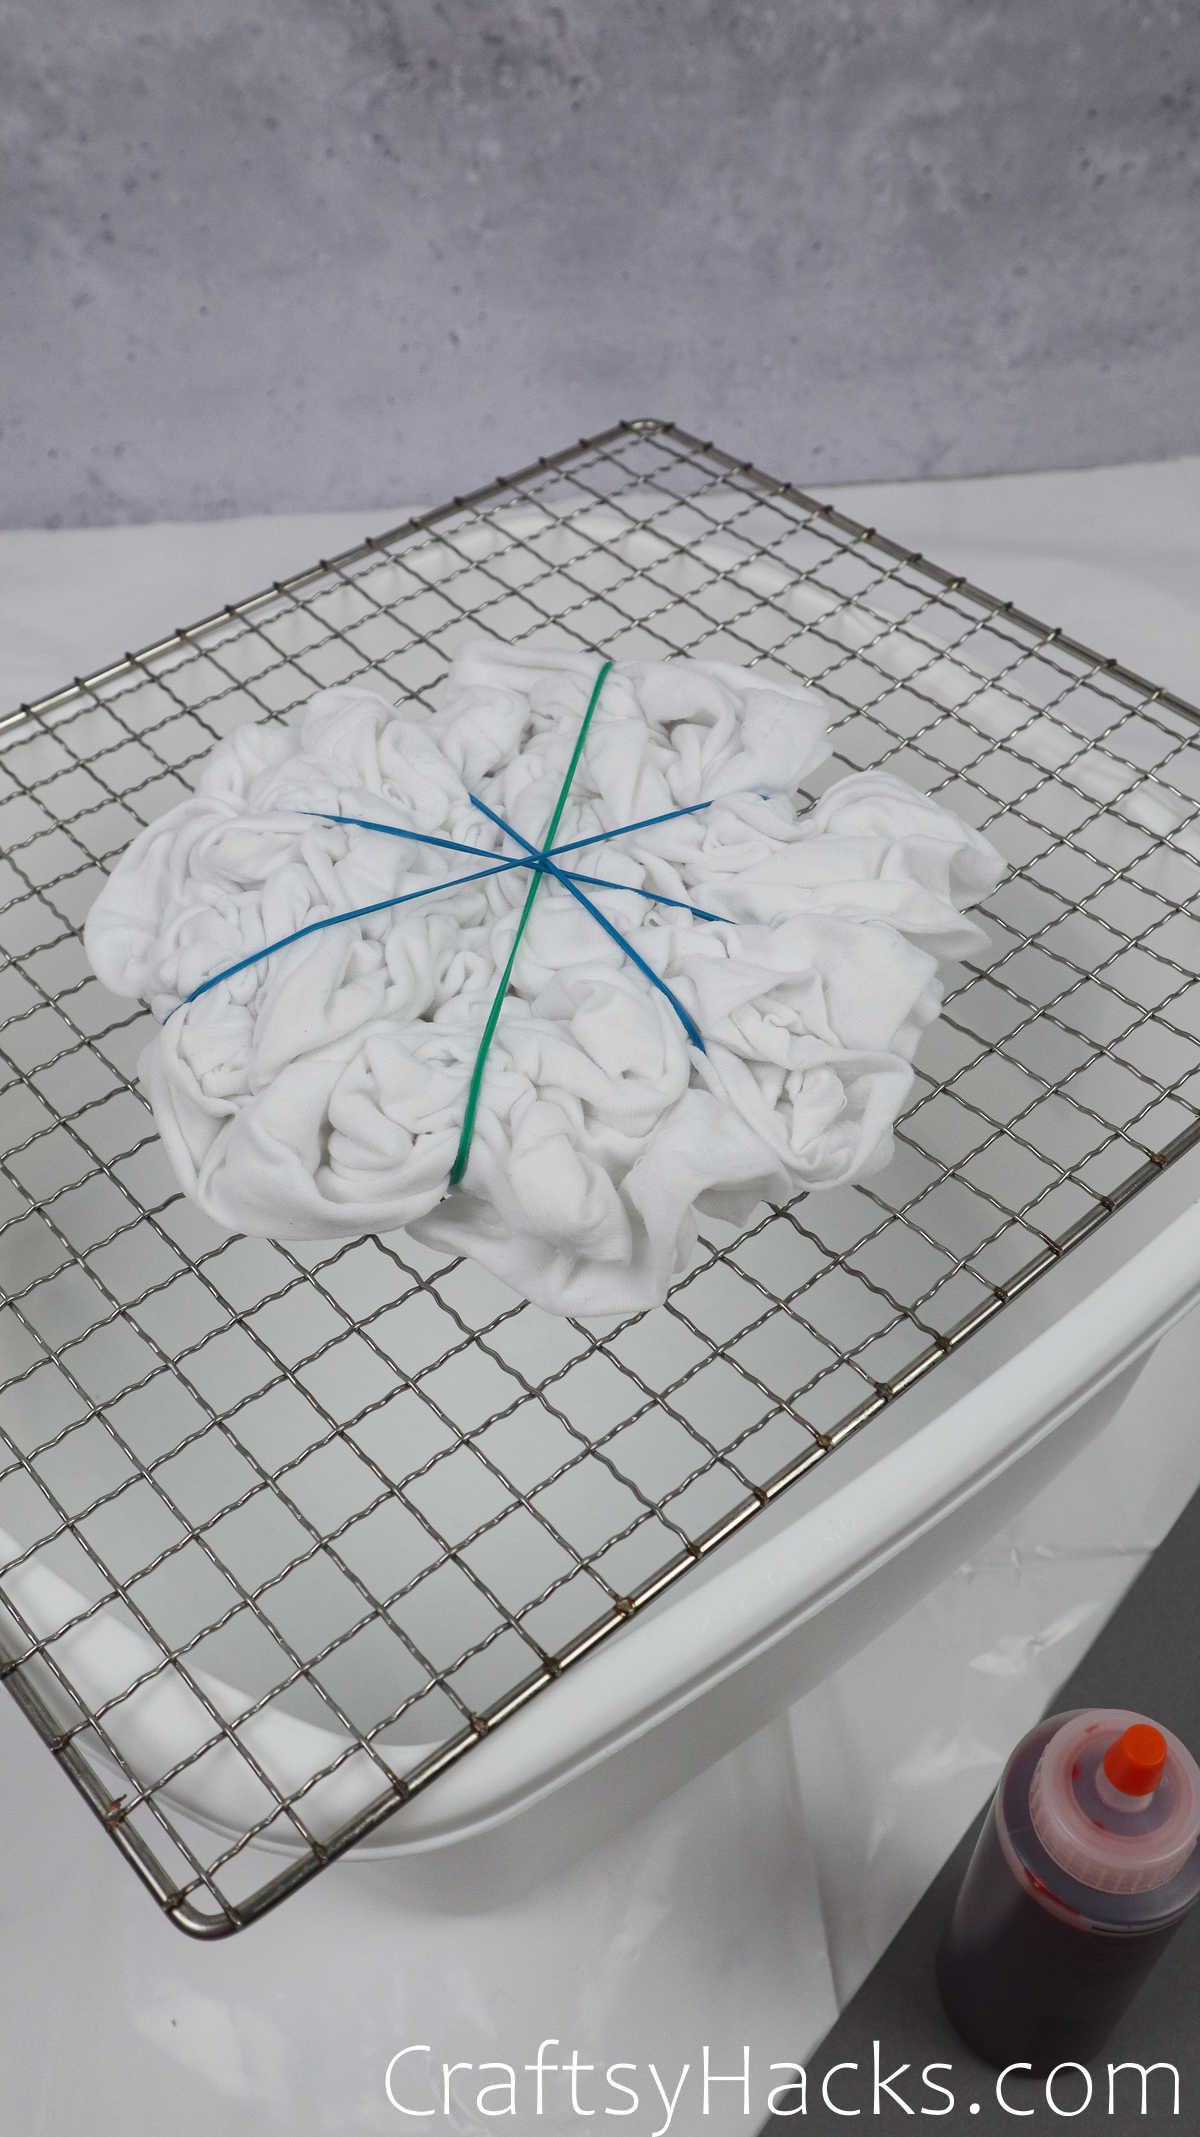
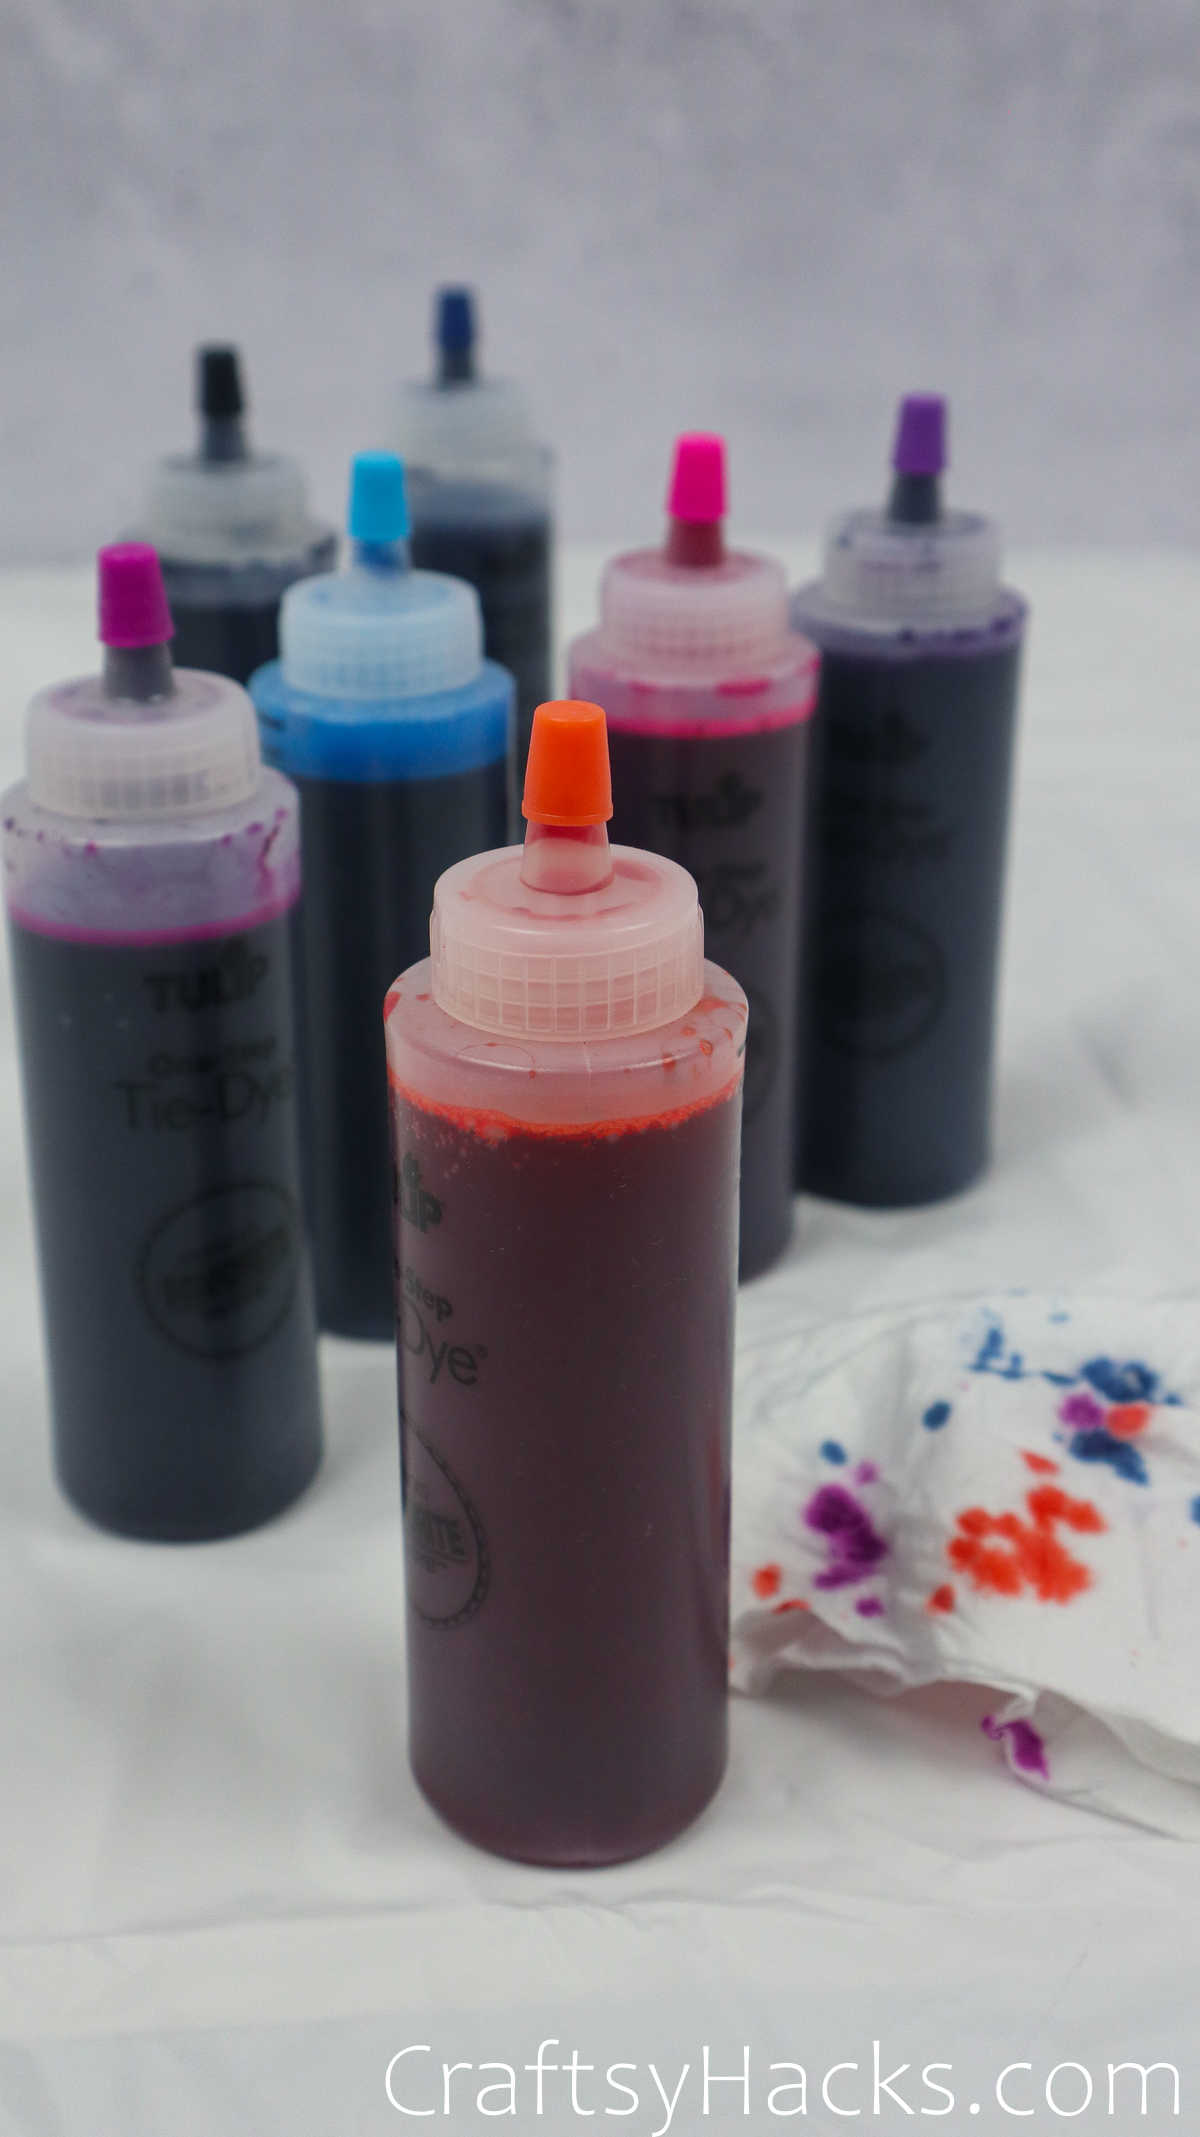
Just grab your bottle of dy and randomly squeeze it onto the top. You can use more than one color, of course. Don’t forget to turn it around and dye the backside, too.
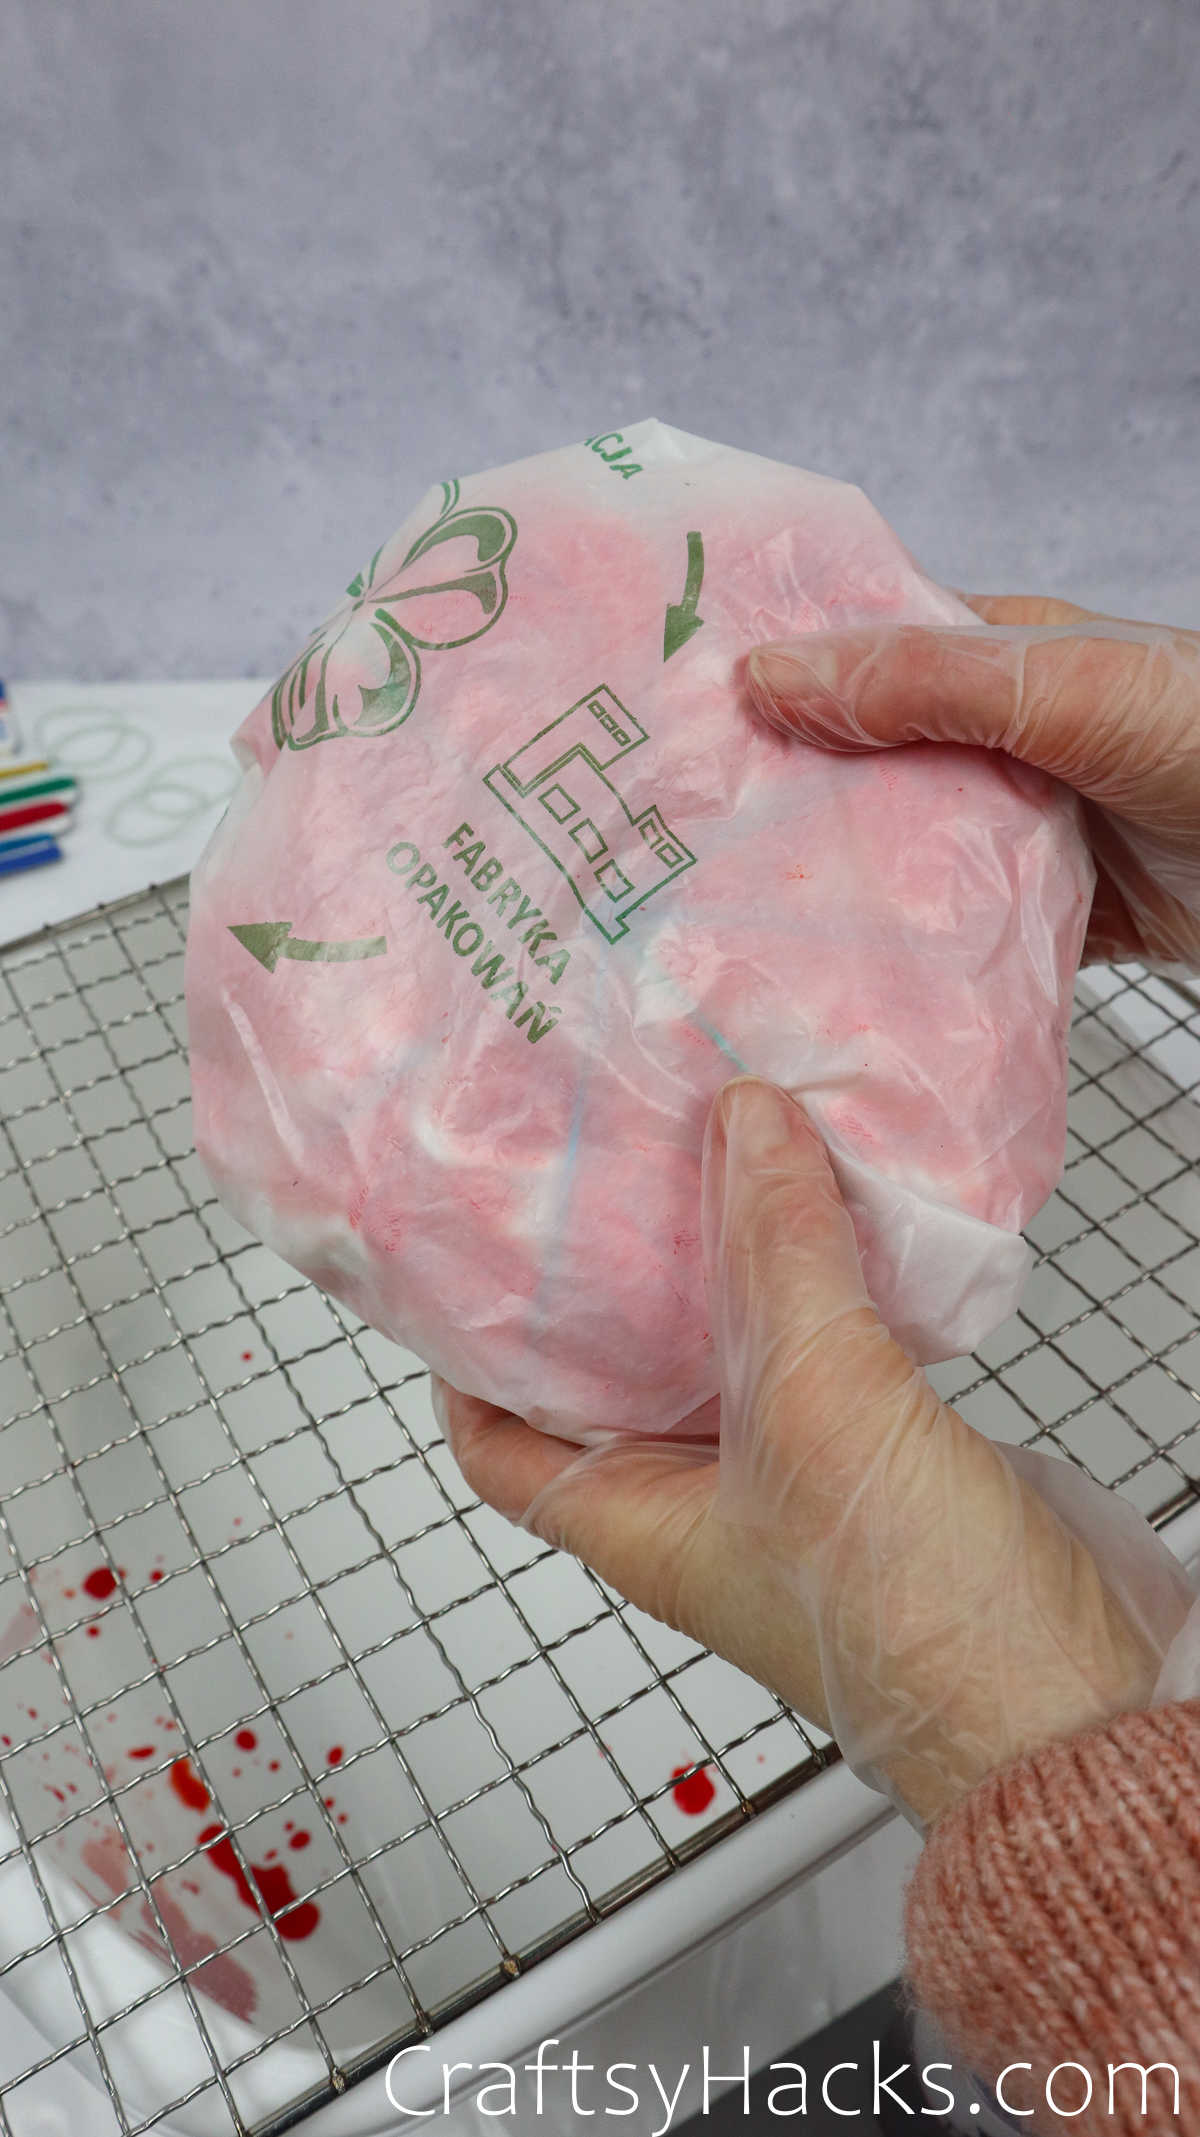
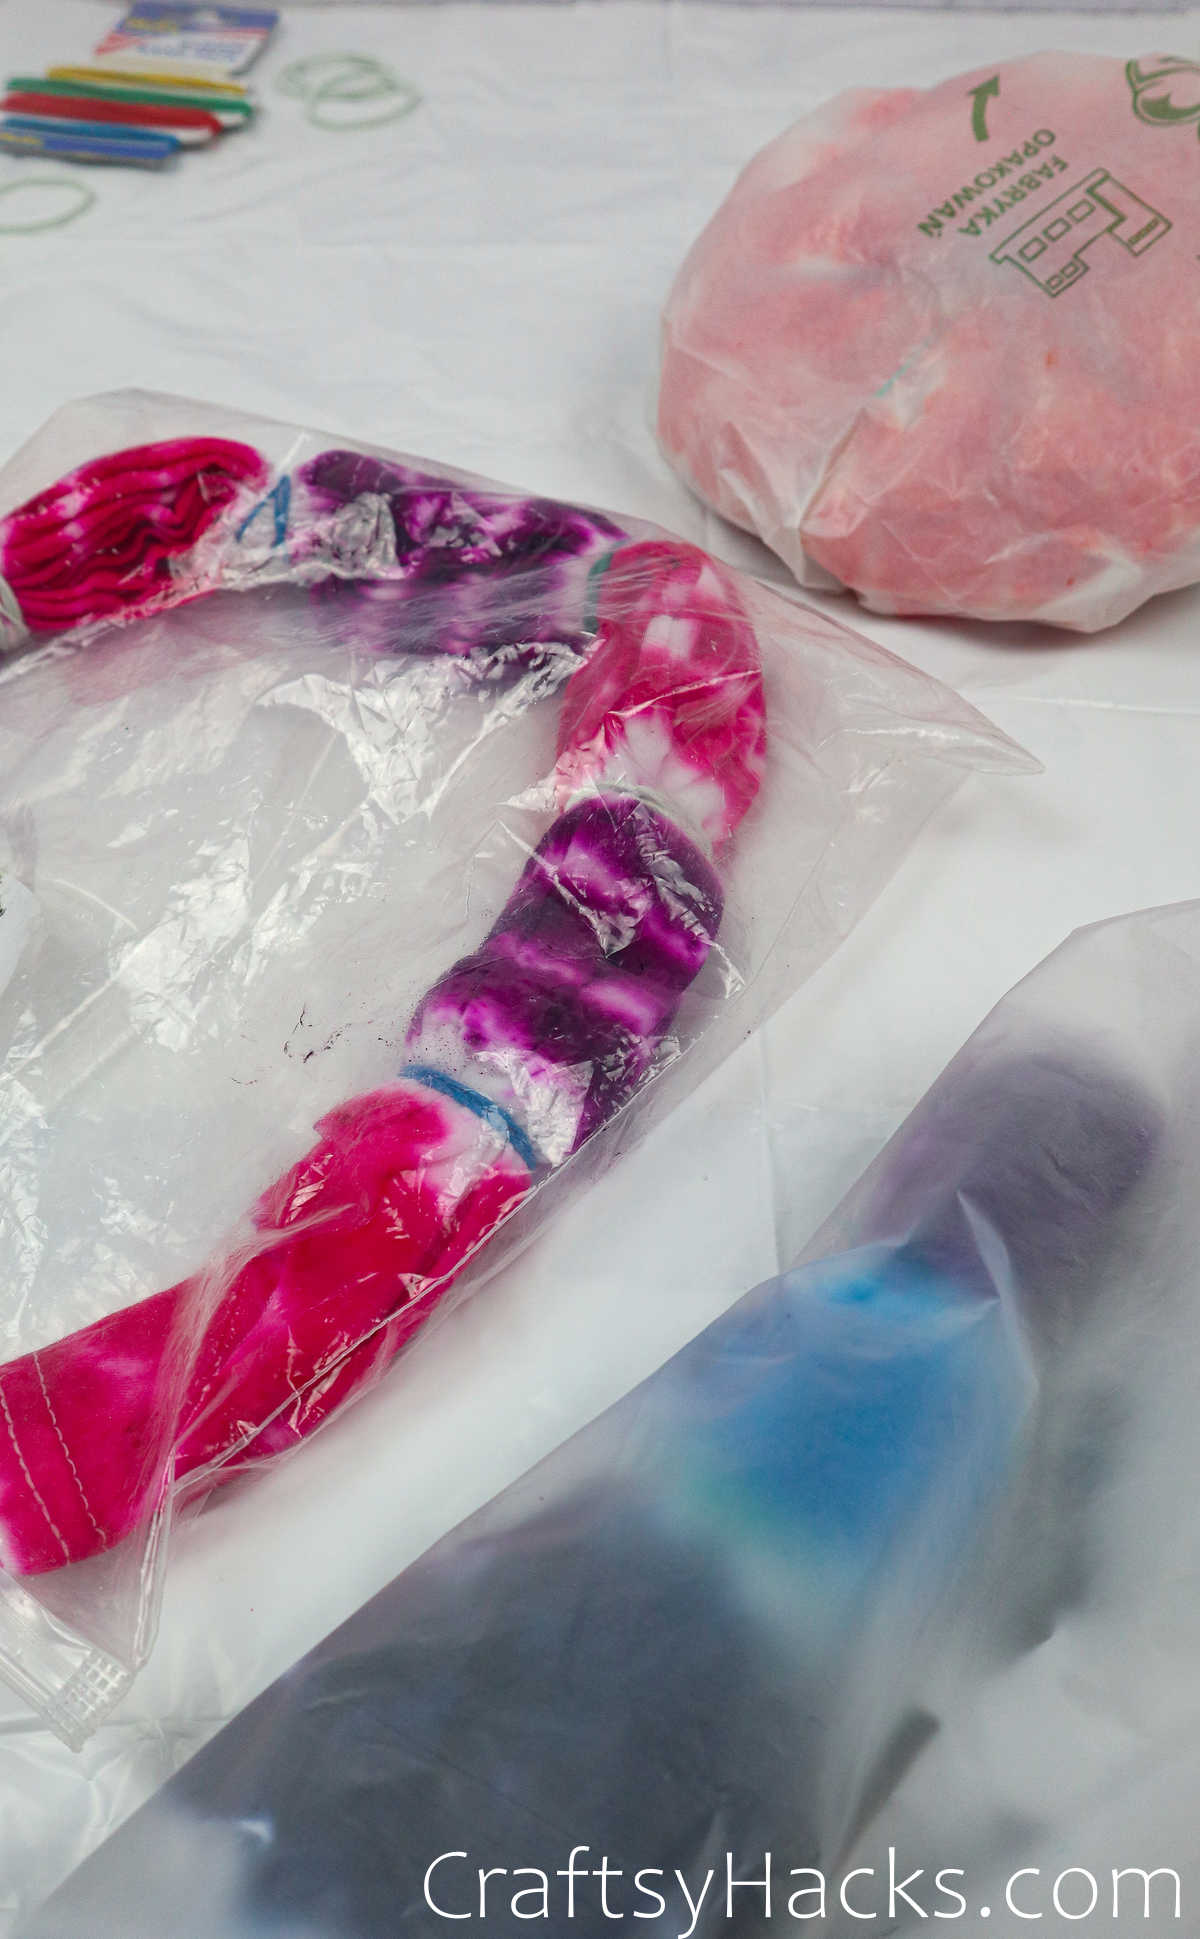
Place the tee into a plastic bag so it stays damp while the dye sets, and just set it aside for now.
Step 3
For the next tee, which is the striped method, place the tee on the rack and grab a bottle of dye. Each portion between two bands can be colored one specific shade and you can work in multiple shades, depending on how quirky you want the tee to be.
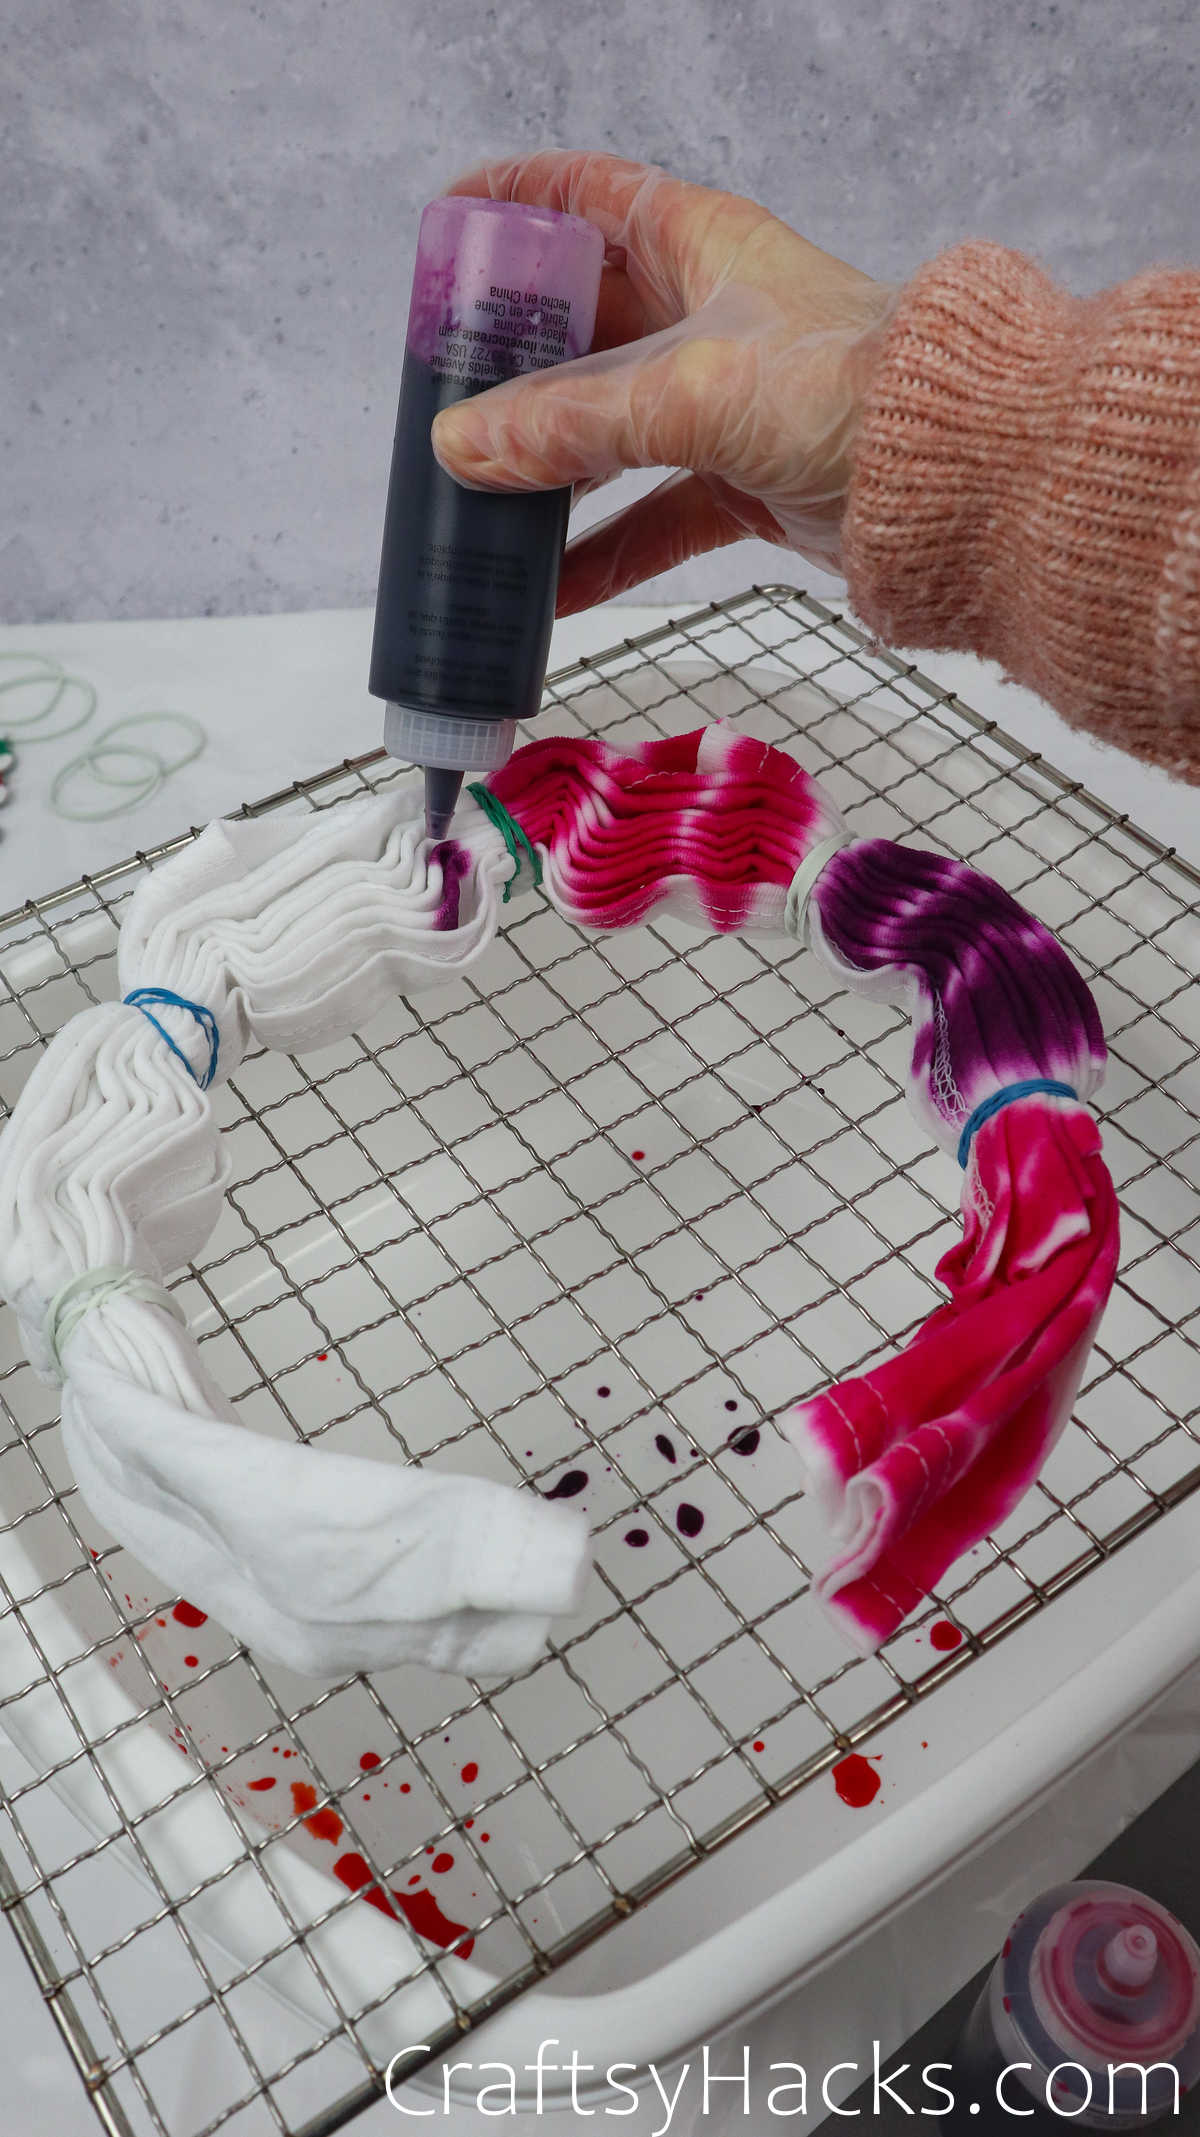
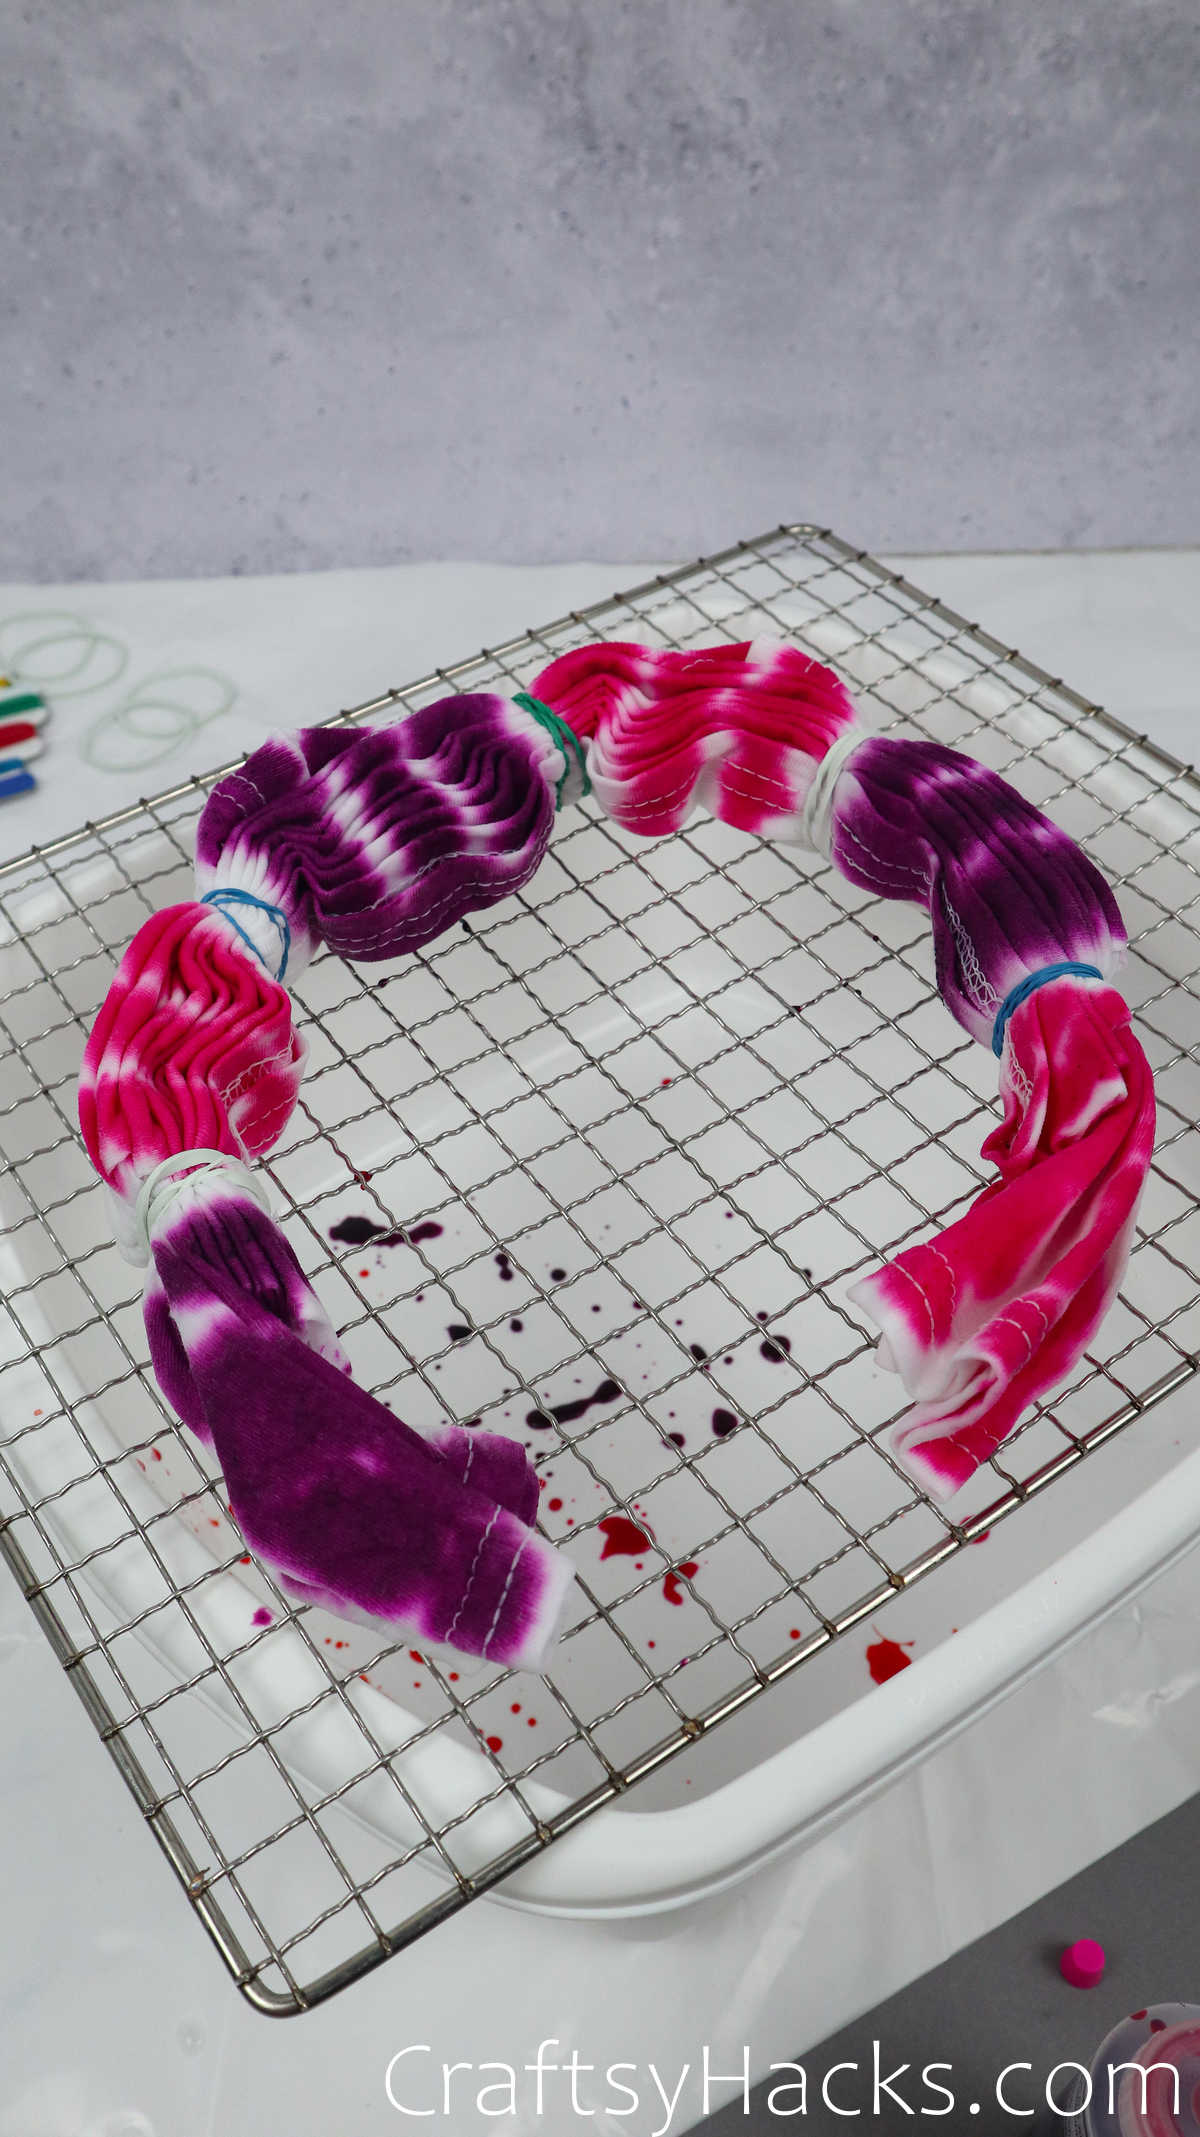
Flip it around and dye the other side, as well.
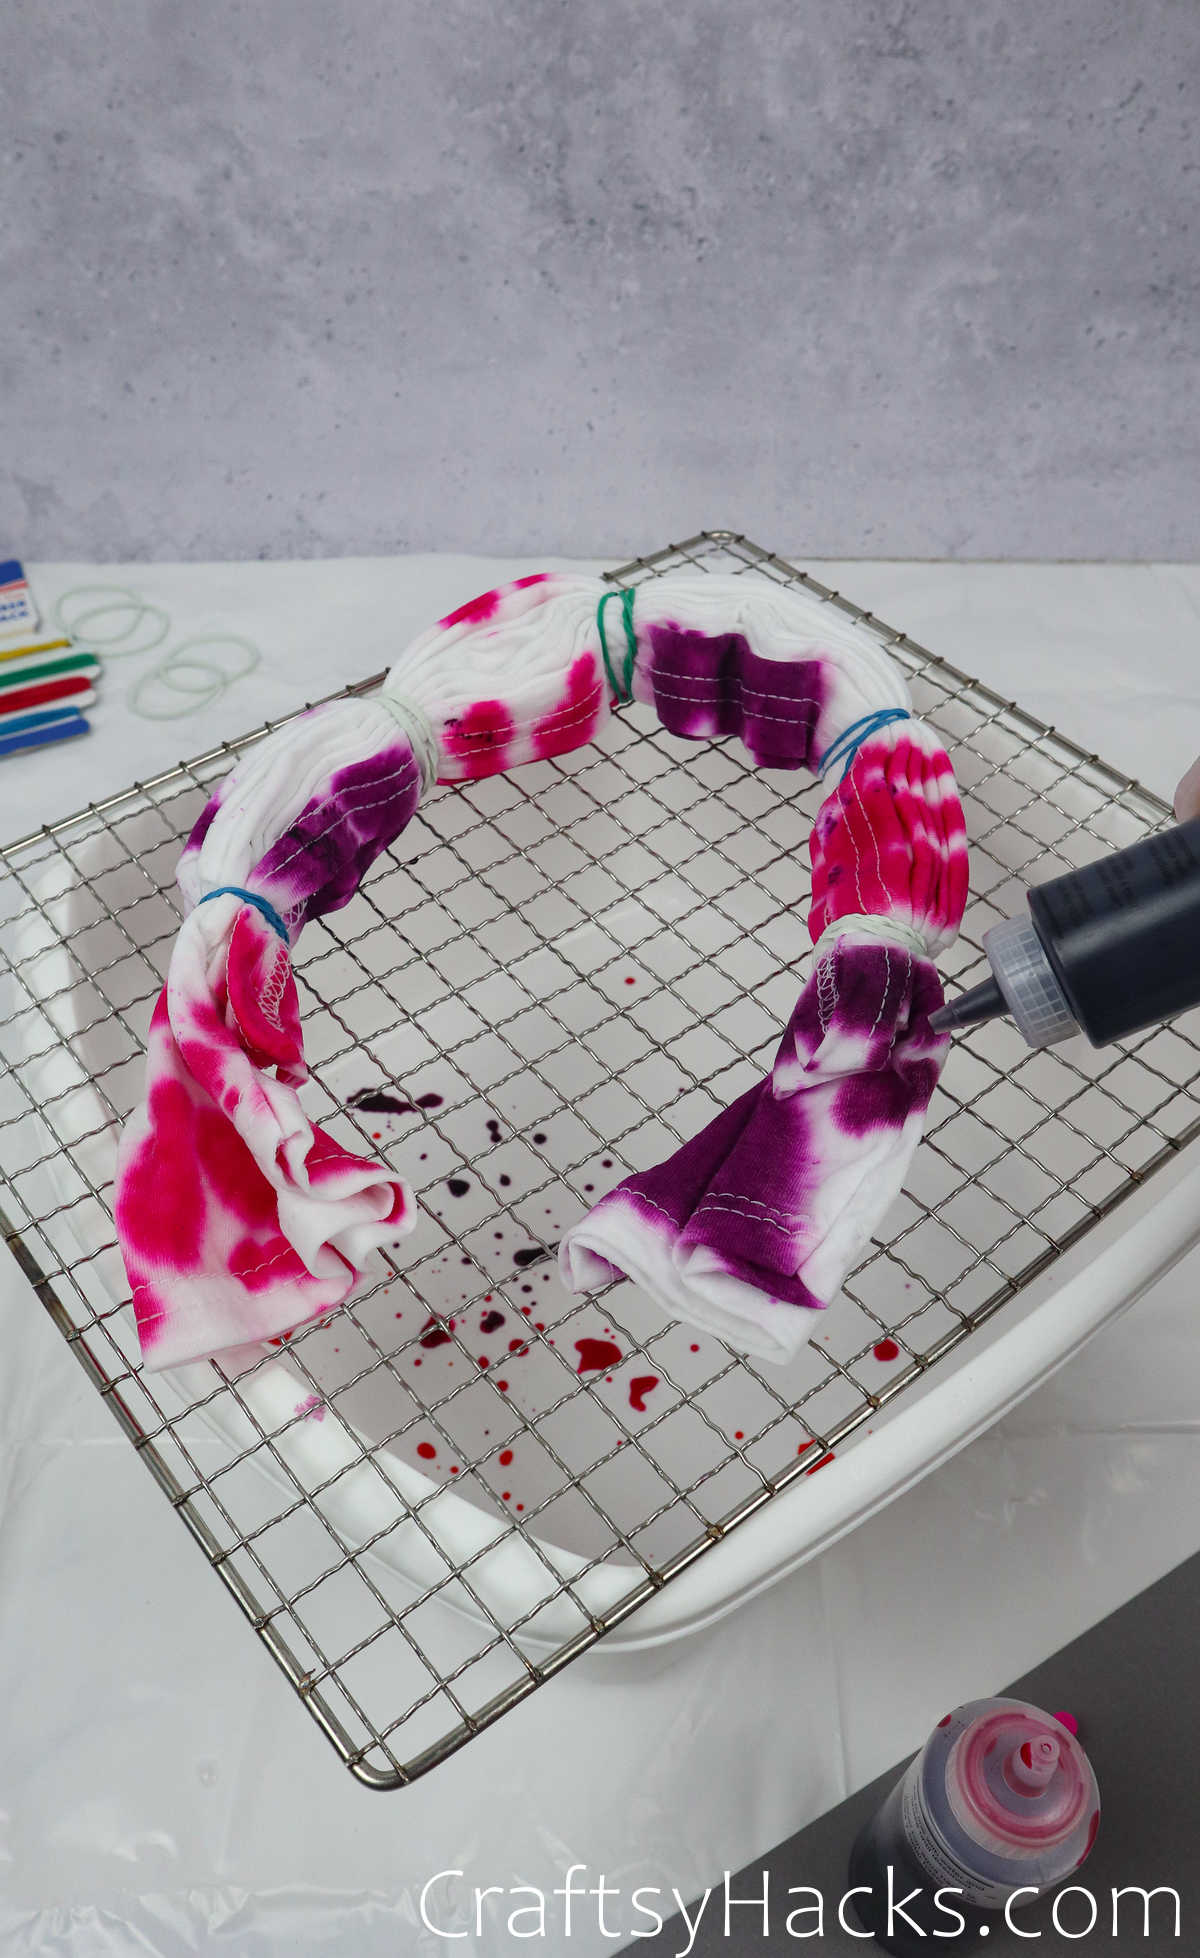
Place the tee in a plastic bag and set it aside.

Step 4
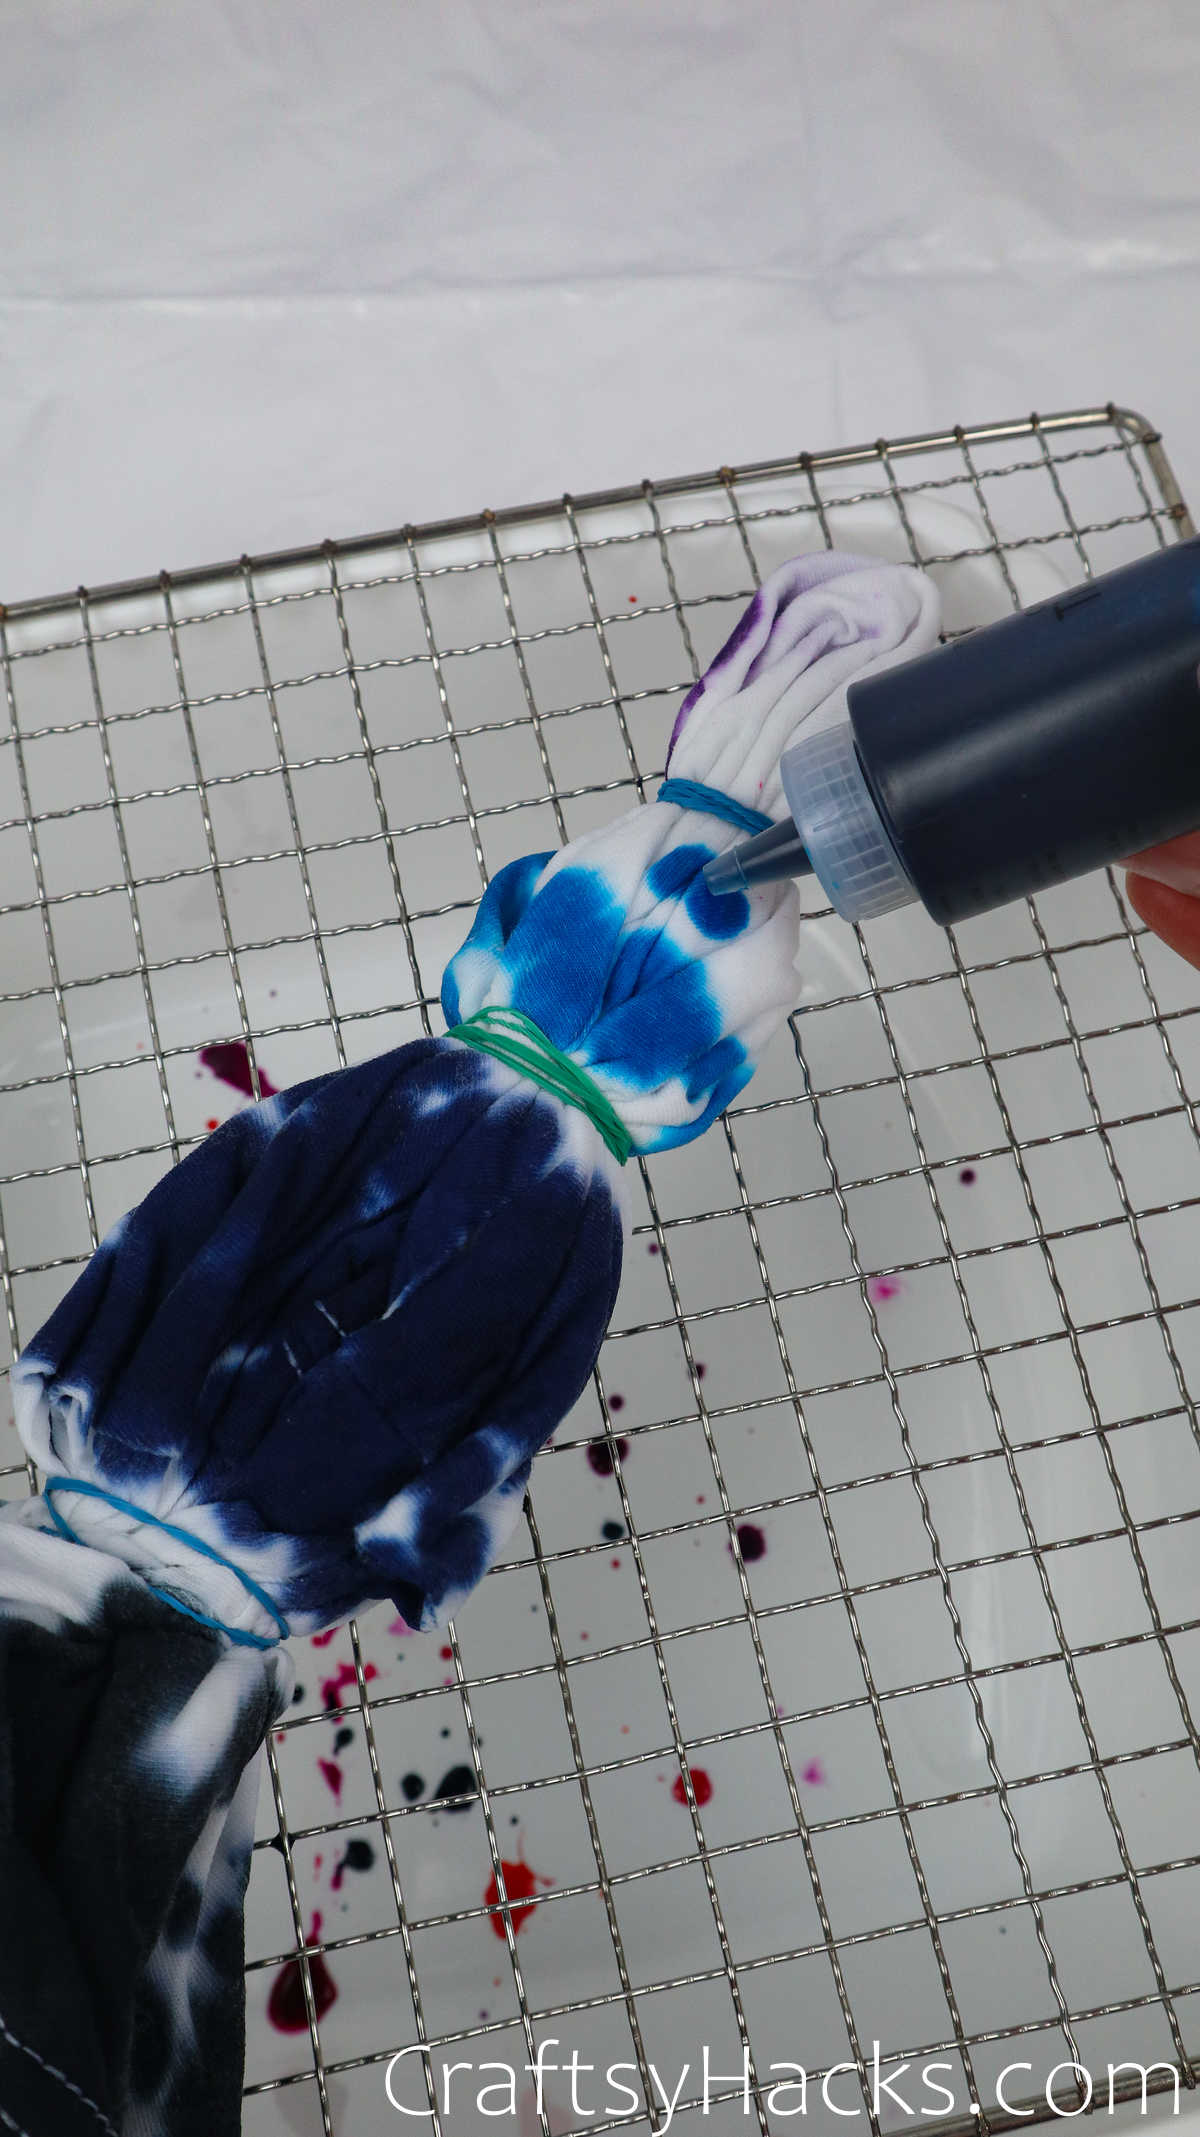
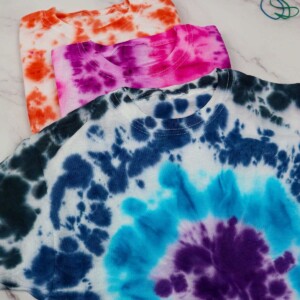
The final tee–the bulls’ eye–is pretty fun, too. Set it on your rack and grab your dye bottles.
This is the perfect tee to work with gradient shades. A lovely deep blue center which fades out into lighter hues of blue? Doesn’t that sound fabulous? You can even go with a classic rainbow color gradient, too!
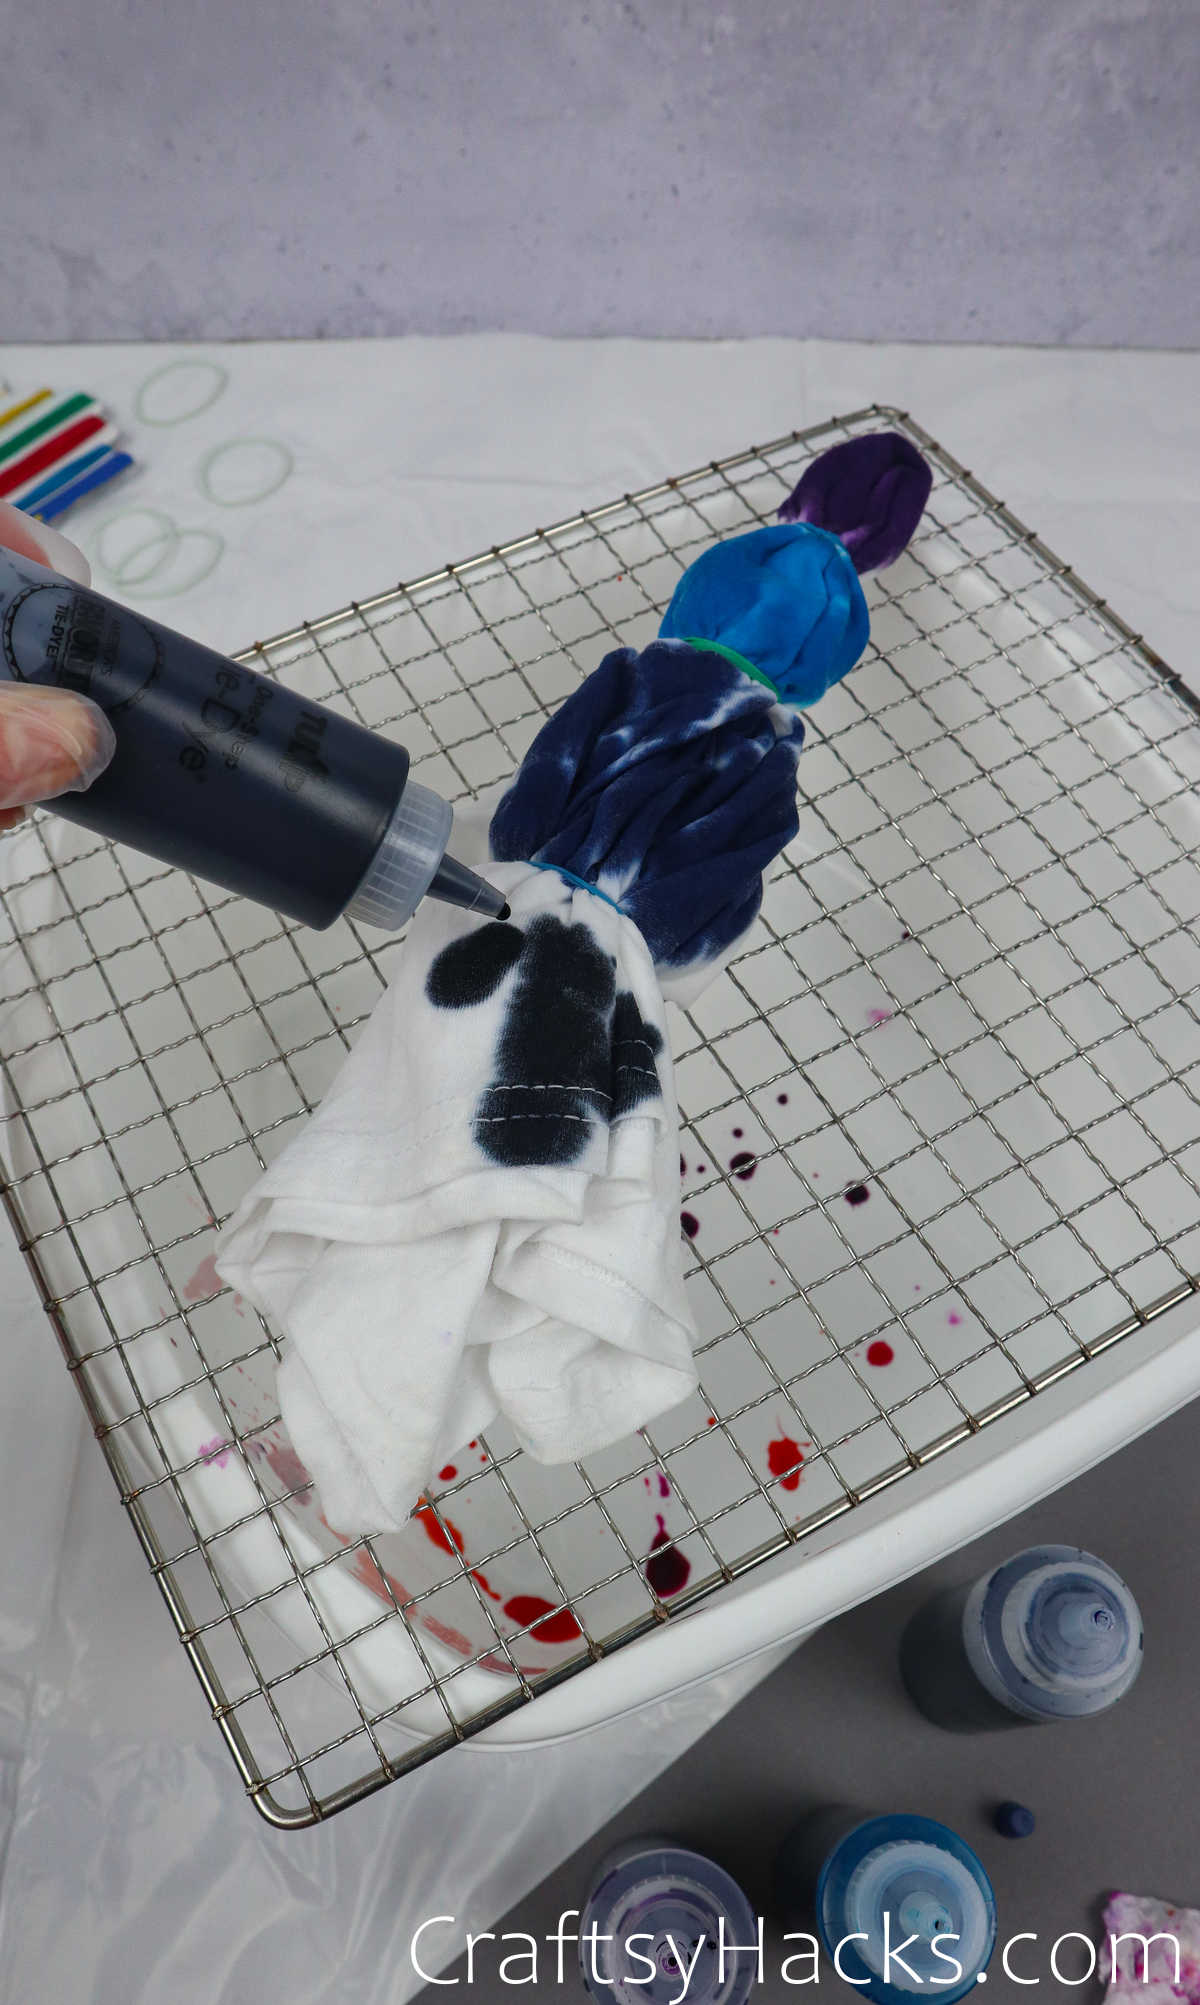
Flip the tee, dye the other side, and then just pop it into a plastic bag.
Step 5
Now you’re going to want to let the dye stain the tees for a good 8-12 hours, allowing the dye to bond with the fabric and fibre and really get in there with the color. The longer you leave it, the deeper the color will be.
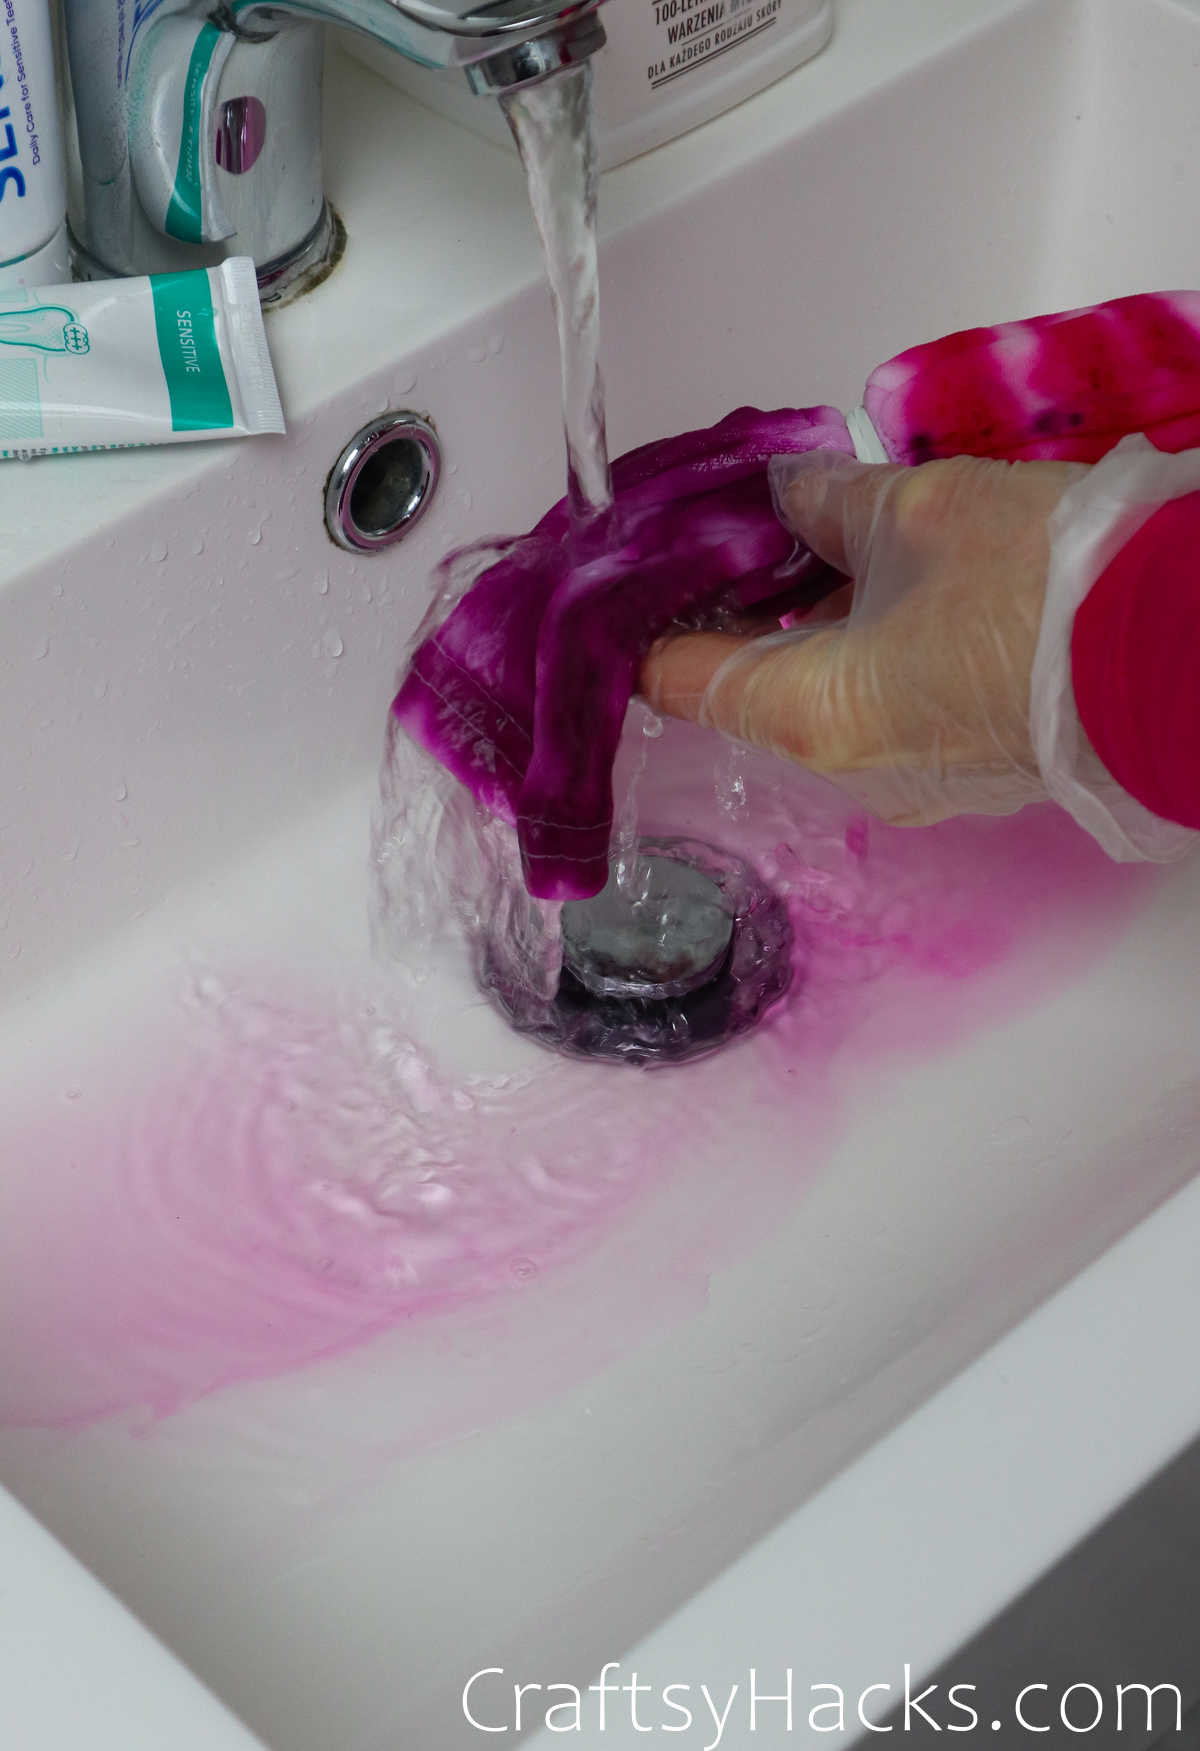
Step 6
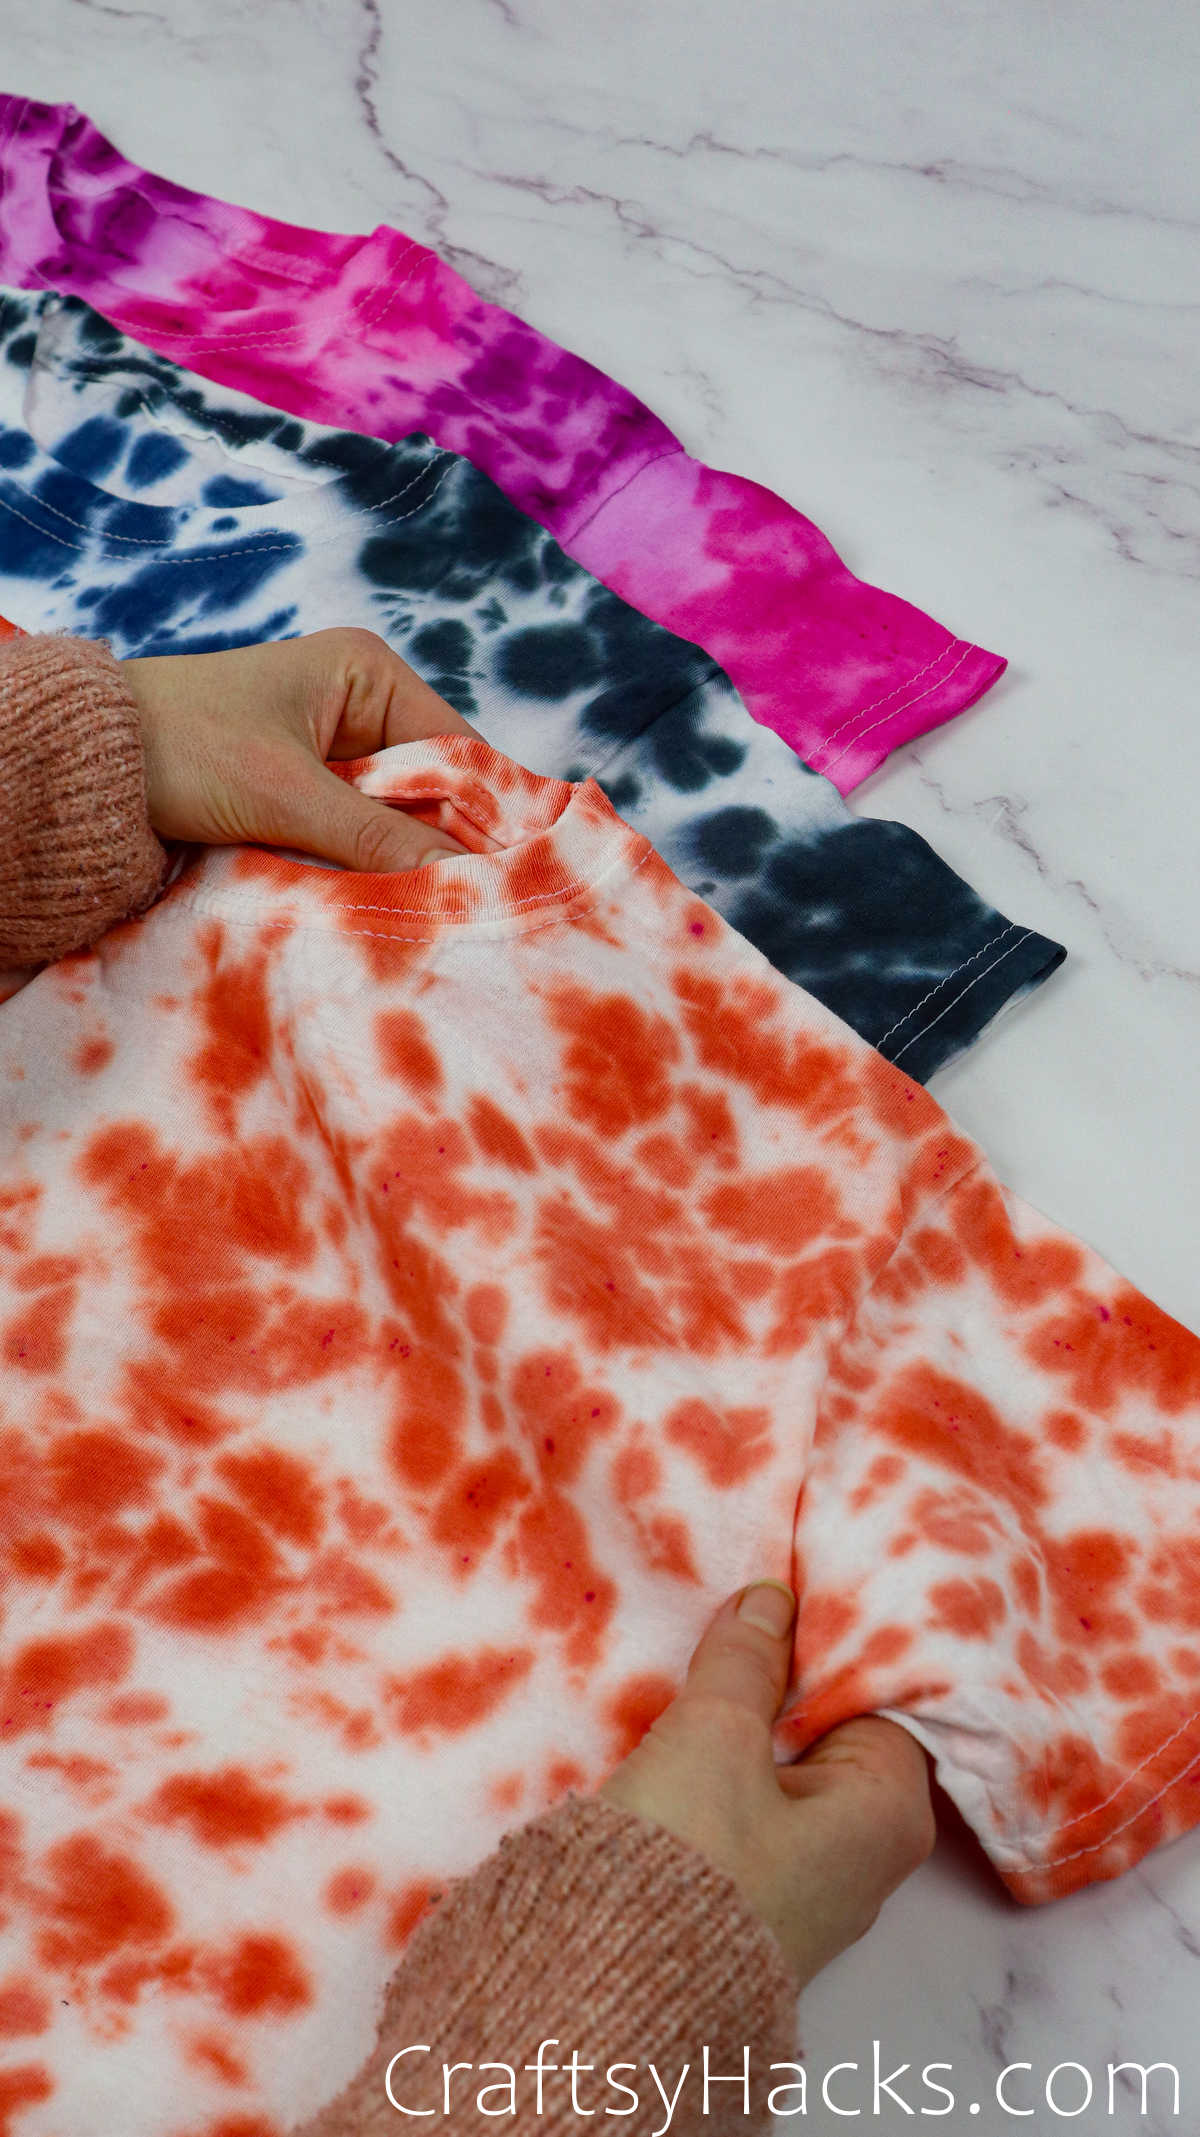
Rinse the tops under running water, but do not allow the tee to sit in the eater as the washed-away dye might ruin the stain pattern. Remember that the dy is still pretty intense so run the tees under a tap individually, and don;t forget those gloves while you’re at it!
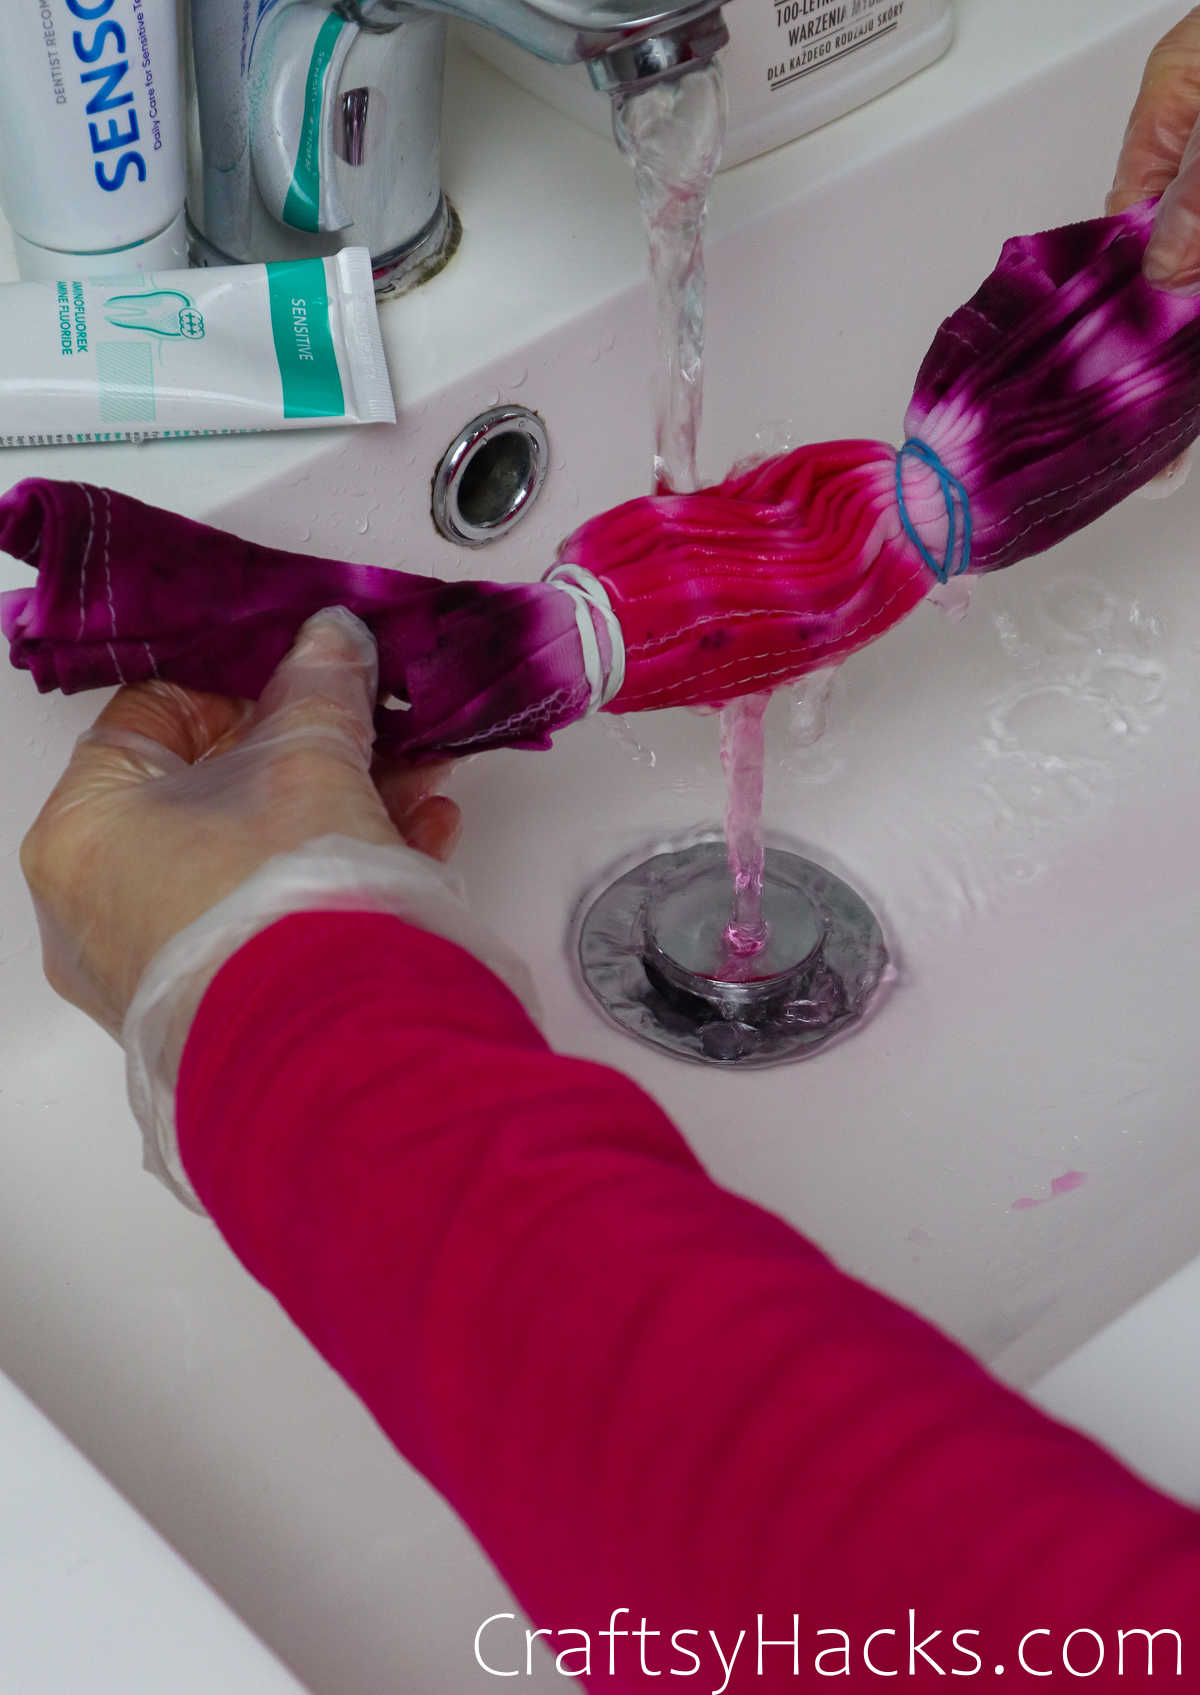
Step 7
Next, just remove the bands and open the tee uto release that excess dye that’s still in the folded up creases of the tee. Rinse the tees again with warm water.
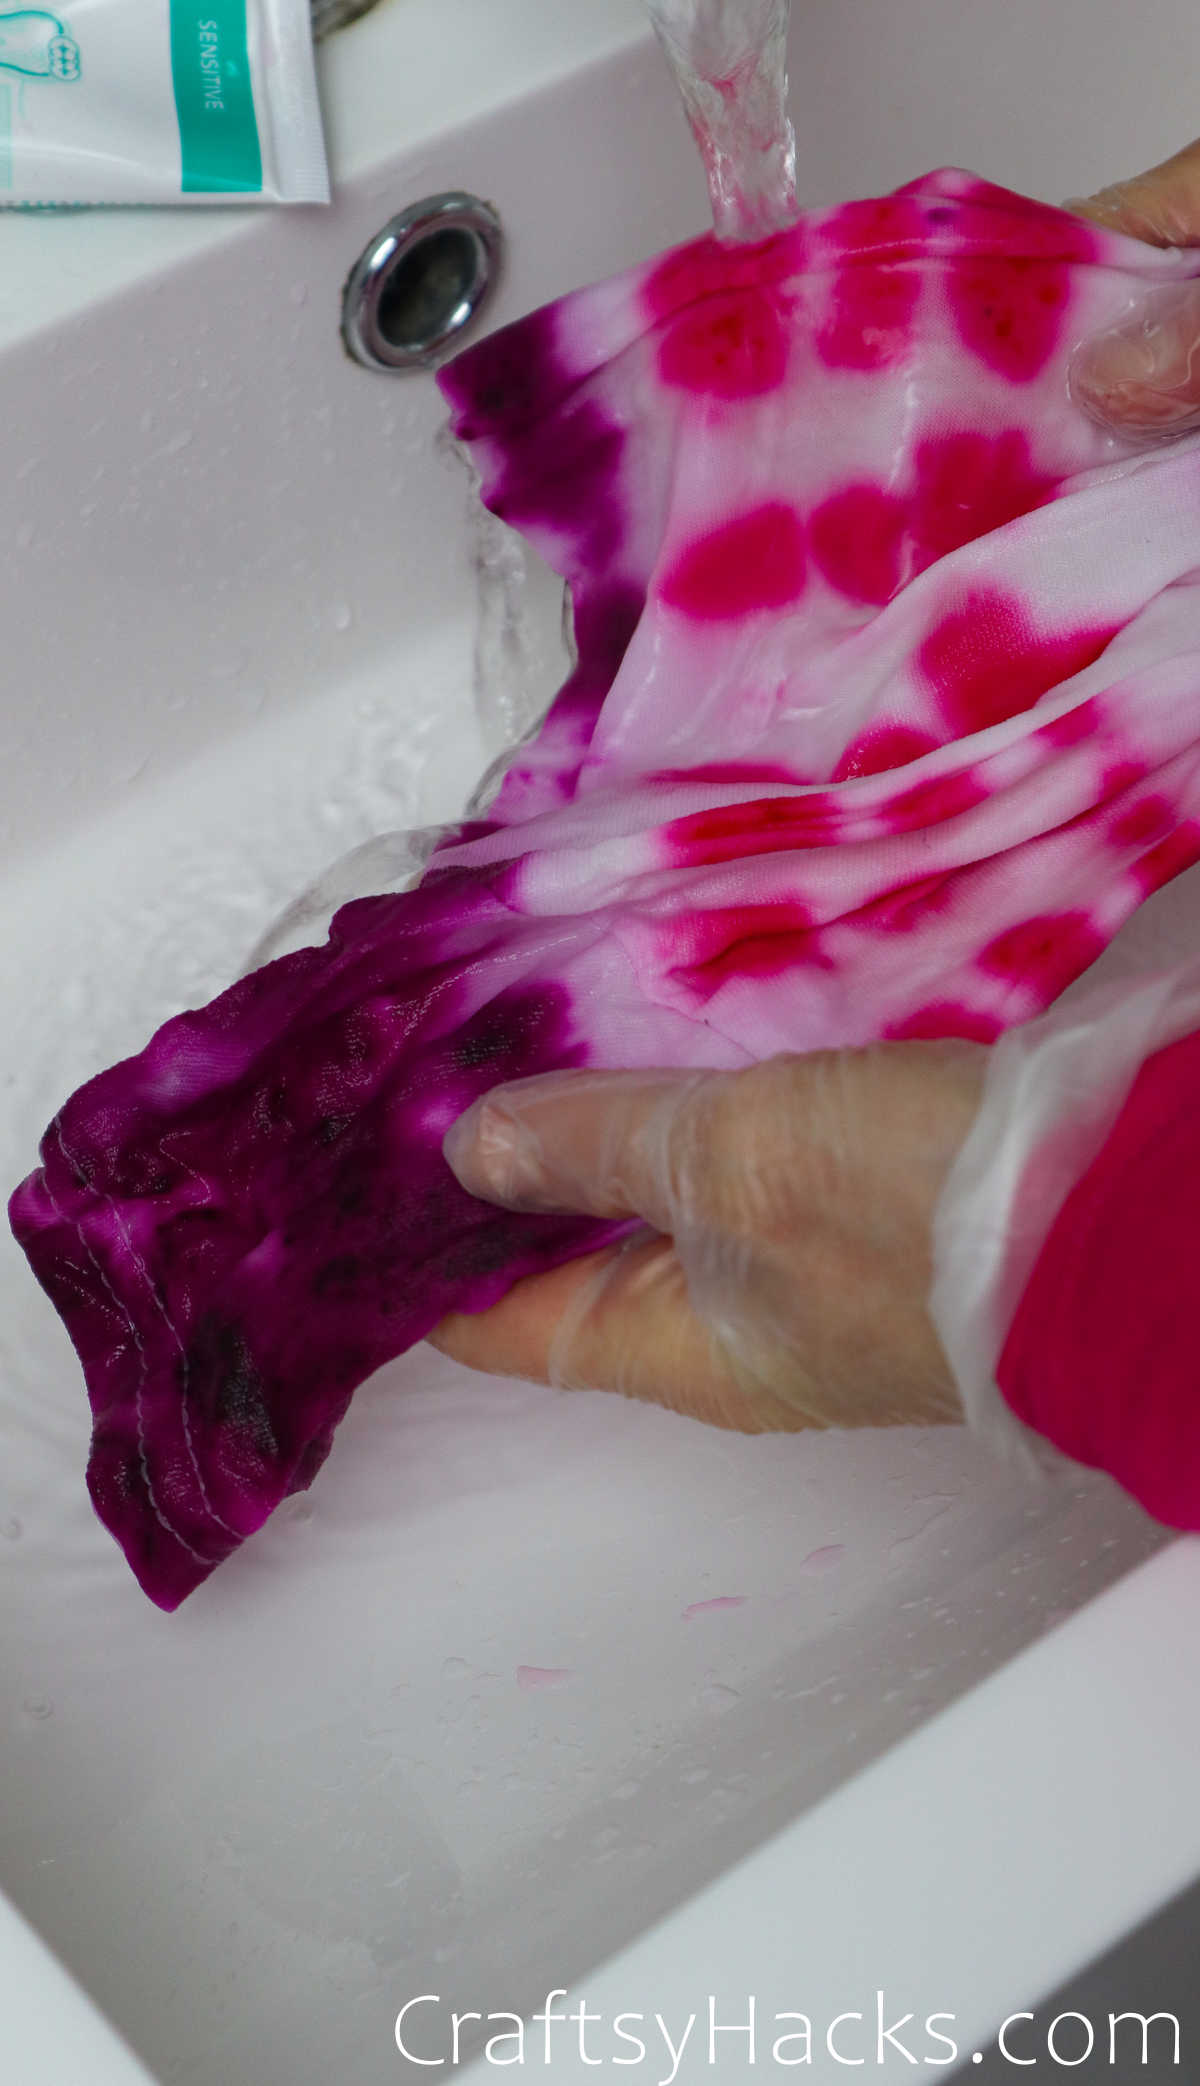
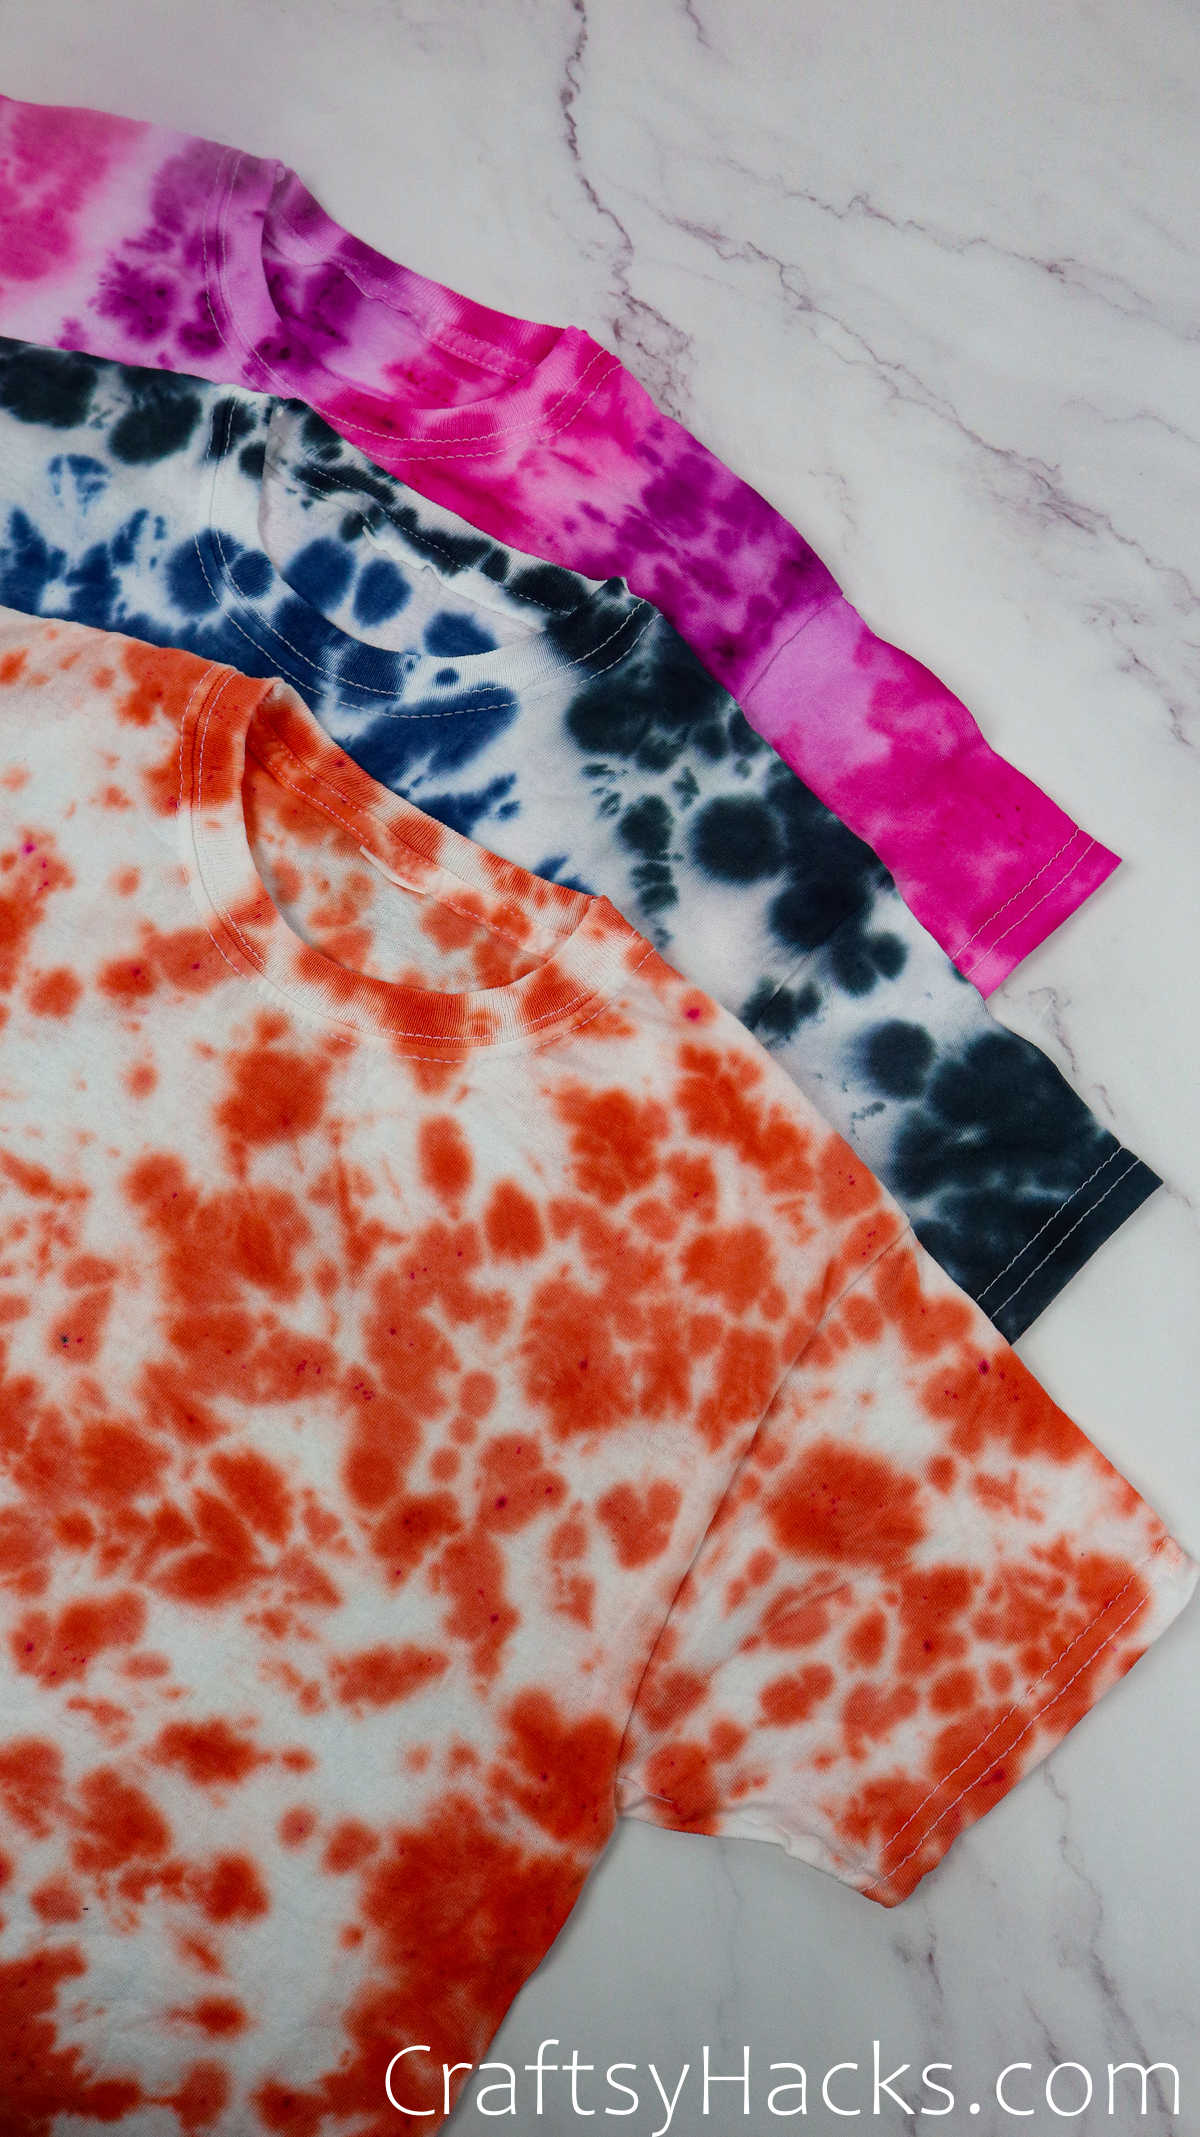
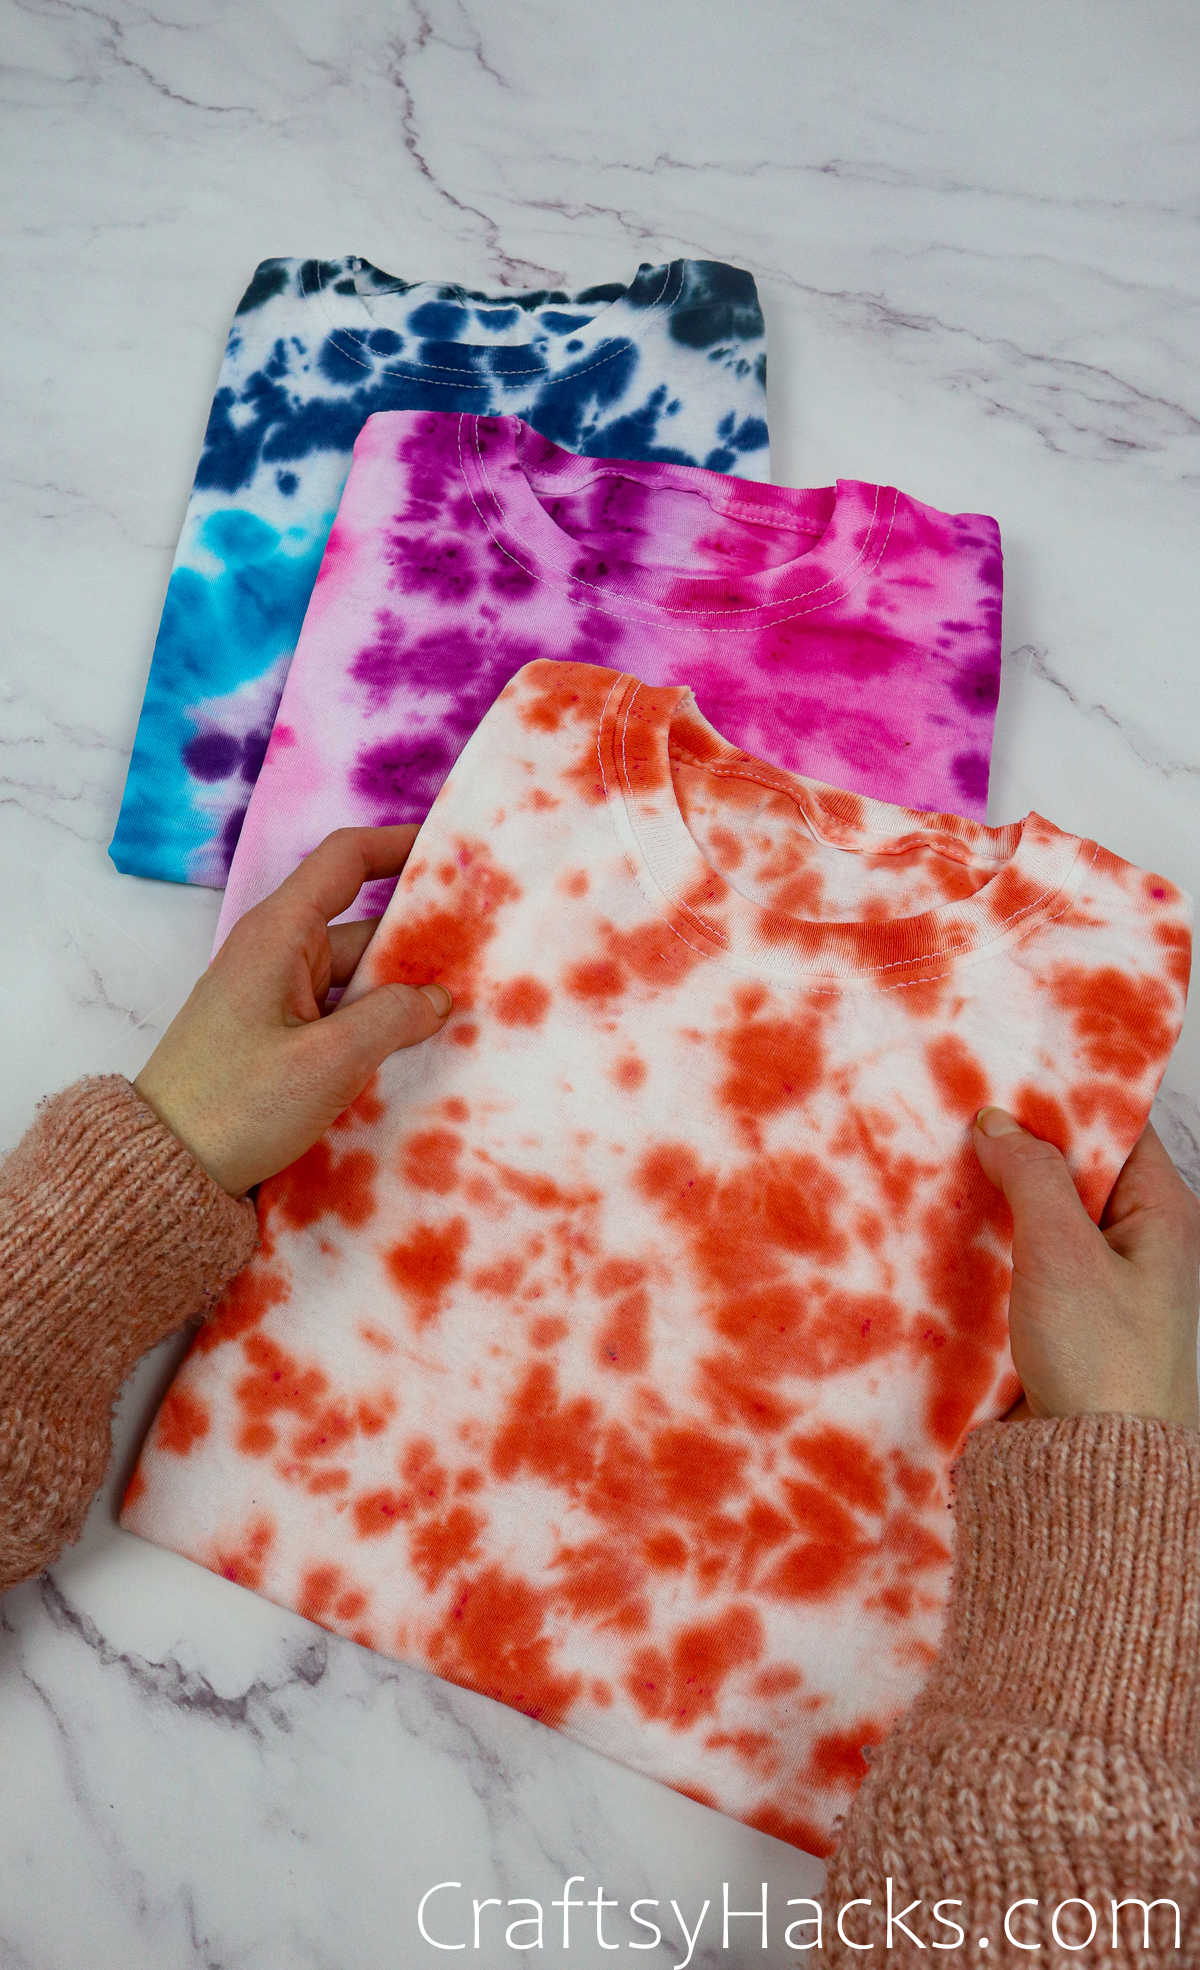
Your tees are ready to wear once they dry. You can toss them in the dryer, or hang them under the sun to air them out.
Is It Best to Tie Dye A Shirt Wet or Dry?
When you dye a wet or damp tee, the colors will flow more freely into the fabric. This will give your tees a lovely watercolor finish, yes, but it will also reduce the control you have on the dye flow. However, this is the preferred method, especially if you’re a beginner who wants a straight-forward tie-dyeing process.
If you’re looking to demarcate the colors more intensely and with more precision, then it would make sense to work with a dry tee asit will give you relatively more control about how the dye flows and stains the fabric.
How Do You Tie Dye a Shirt Without a Kit?
There are plenty of natural color dyes that you can choose from, and some of them you’ll find right at home. This includes acrylic paints, food dyes, natural dyes, and more. However, you will need to do a little research in order to retain the stain for a longer period of time when using dyes that aren’t typically used to tie dye fabrics.
You will also need to gather a few more materials, though, which you would have normally found in one kit.
Other Crafts You Might Like
- 47 DIY Scrab Fabric Crafts
- How to Make an Apron
- DIY Scrunchie
- 47 Easy Sewing Projects
- How to Make Hair Bows
- DIY Headband
- 47 Fun Projects for Adults
How to Tie Dye a Shirt (Step-by-Step)
Video Tutorial
Equipment
- Rubber bands
- Plastic dust sheet
- Washing up bowl (optional)
- Oven rack (optional)
Materials
- Latex gloves
- Plastic bags
- White piece of clothing
- Tie dye kit
Instructions
- Gather all your supplies and materials to get started. Cover your work surface with a plastic cover, and wear gloves and a smock to protect yourself from stains.
There are three ways to fold and bind your tees before you dye them:
- Method 1: Scrunch Method
Simply scrunch and gather your tee in random folds and bind them together securely with tight-fitting elastic bands. The tighter the bands, the more precise the stain and color pattern will be. - Method 2: Bull’s-Eye Method
Find the center of the tee, then pinch, fold, and pull it up. Grab a band and tie up the first fold. You can bind the tie with multiple bands, all of them evenly spaced out. - Method 3: Striped Method
Lay your tee flat on the work surface and start making accordion folds and gathers from the bottom, working your way to just under the neck. Use elastic bands to secure the binds along the length of the tee. - Now, to prepare your dye, simply add water and carbonate soda and mix well.
- For the first tee, just randomly apply the dye from the bottle all over on both sides You can use multiple colors, too.
- For the second tee, you can use a gradient technique to create a pattern that is dark in the center and lighter as it fades out.
- The third tee can be a simple striped multi-colored pattern. Just feel free to experiment with the dye patterns; there is no hard and fast rule.
- Once you’ve dyed the tees, place them in a plastic bag–individually–and allow the dye to sink in for a good 8-12 hours before rinsing them out under a running tap. Do not soak or allow the tee to sit in a pool of water as the dye is still strong as it washes away and can stain the fabric and ruin the pattern.
- Rinse the tees in warm water and then dry them completely.
- Your tie-dye tees are ready to take the world by storm!


