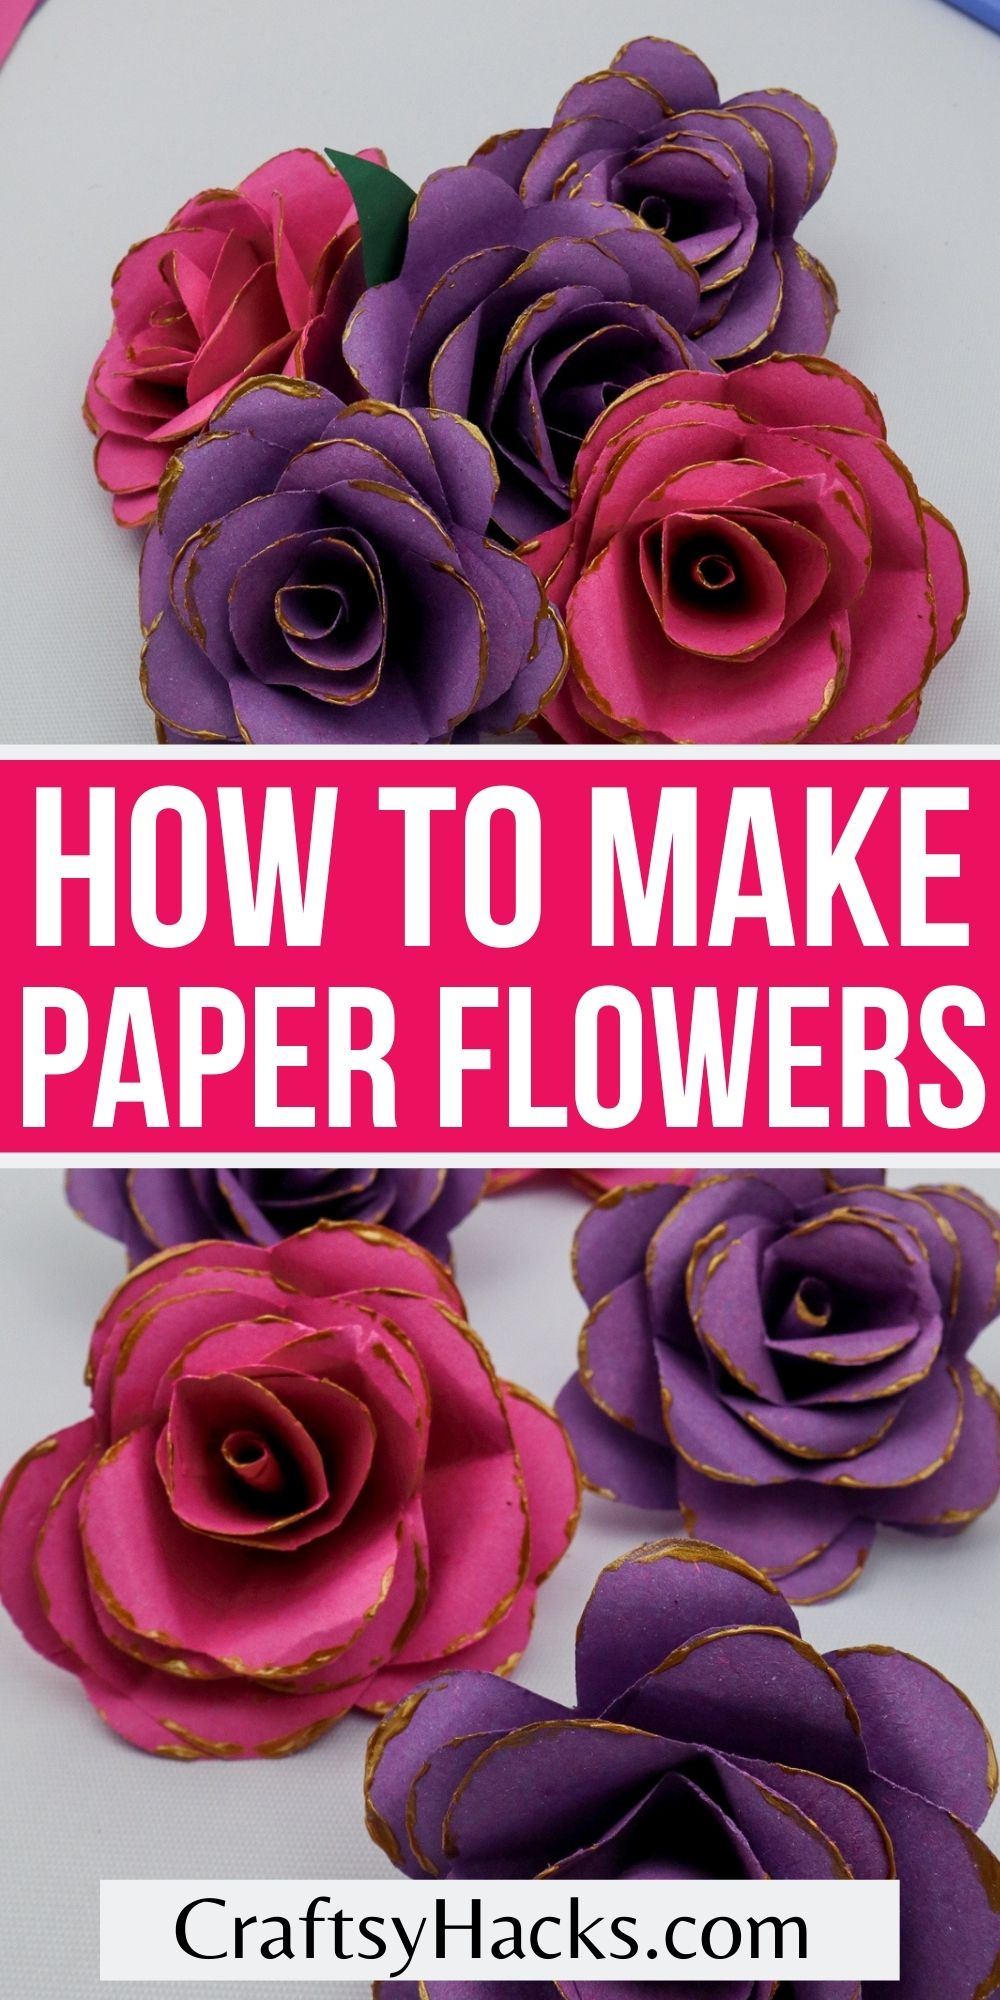
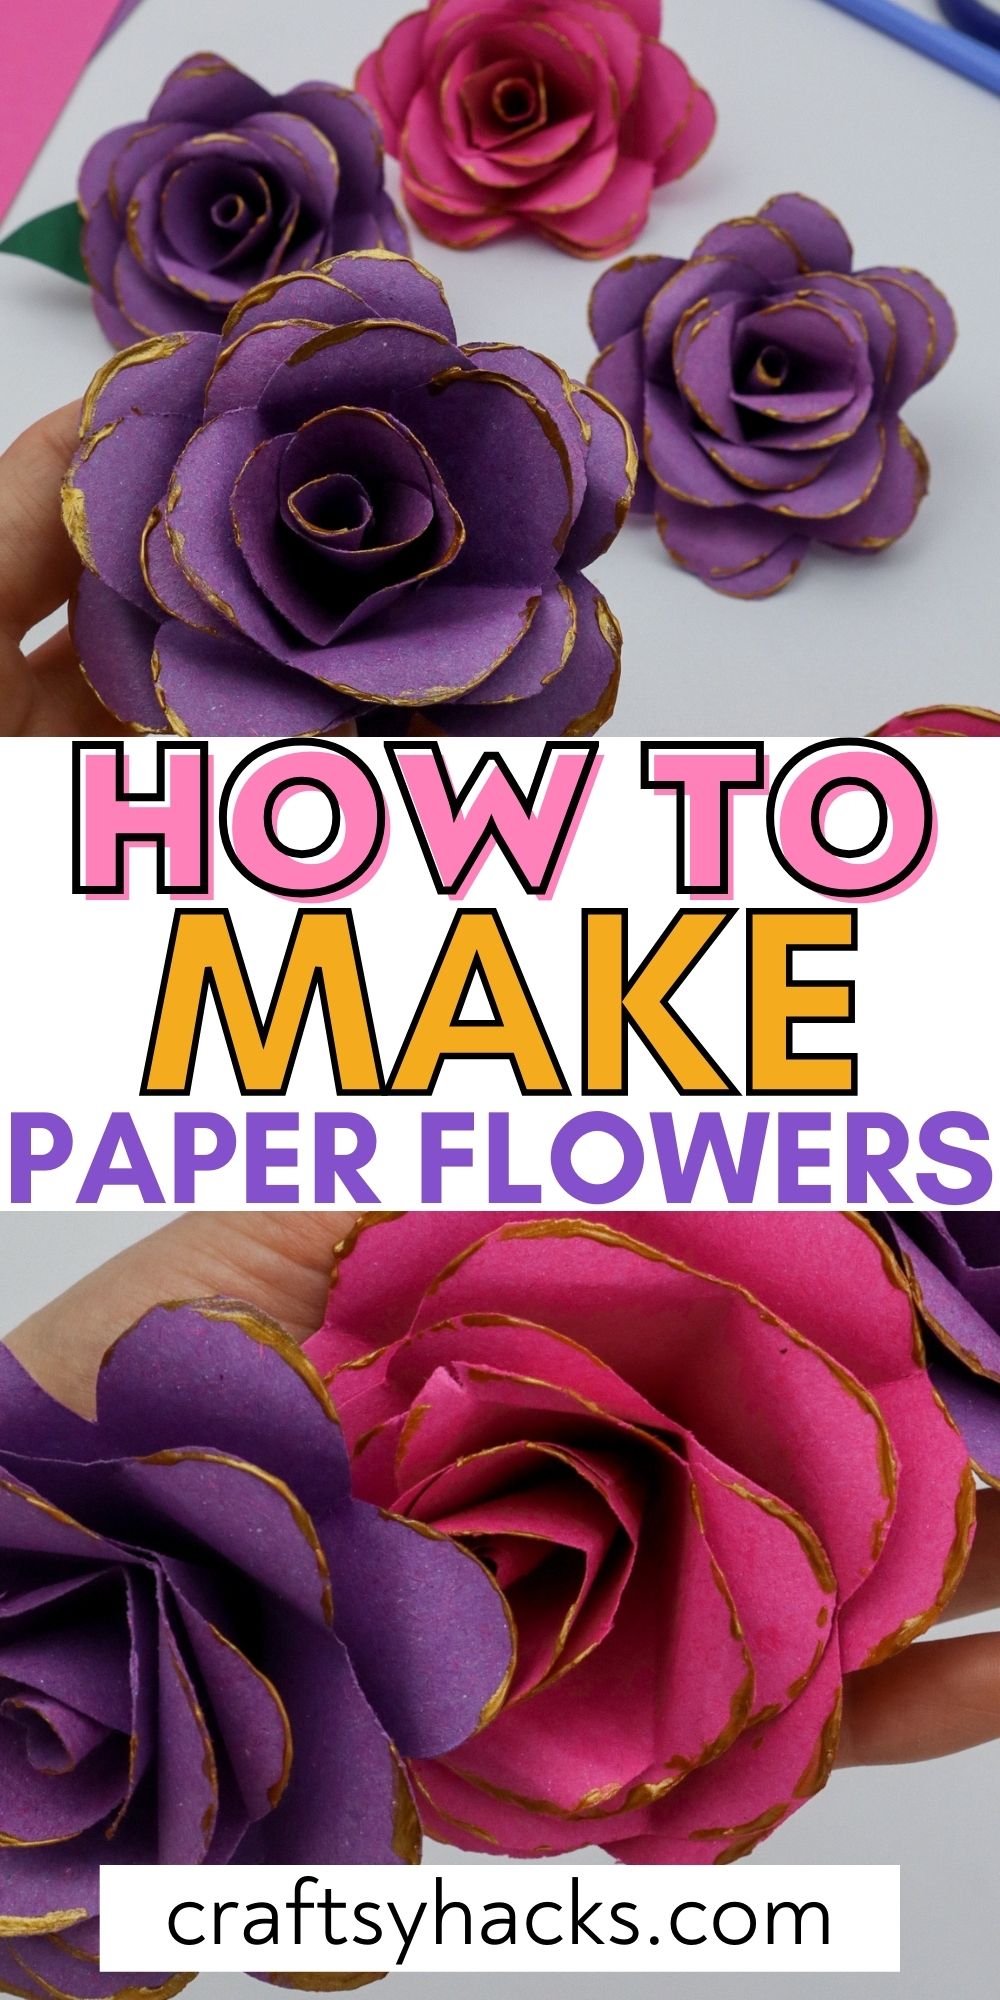
How to Make Paper Flowers
This post may contain affiliate links: full affiliate disclosure.
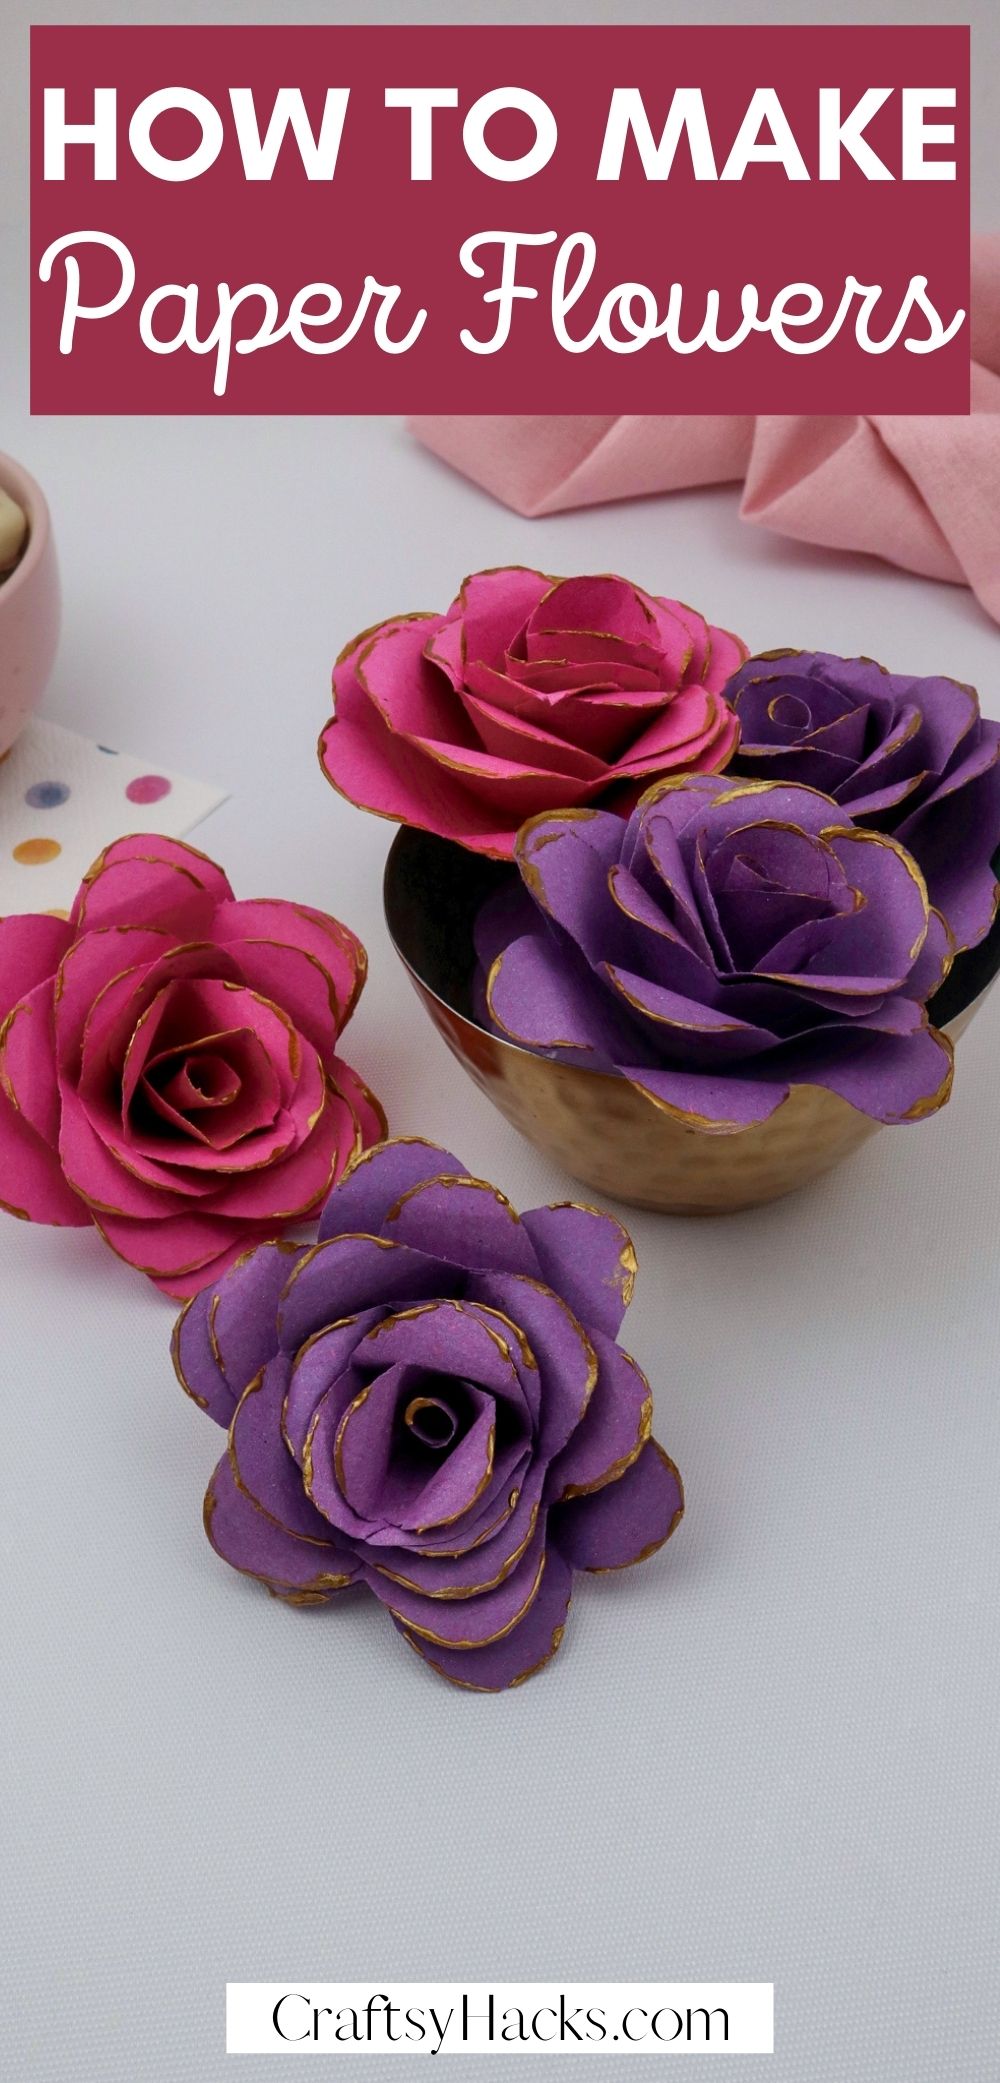
Make your very own paper flowers with the leftover paper you’ve got around! A cute little craft for kids, teens, and adults!
If you are someone who loves to spend hours working on beautiful crafts and art, then I bet you know that you can never have too many paper flowers at hand. There’s always some use to get out of paper flowers in crafts
If you’re looking to brighten up your craft session and creations, then you’ve got a ton of creative ways to do so. One of them being paper flowers! Think about it.
You’ve got a ton of craft projects that, with a couple of these gorgeous papers, can go from good to great. You can add them to photo frames, to birthday cards, or even just use them as a stand-alone project for your craft session.
Supplies You’ll Need for Flowers
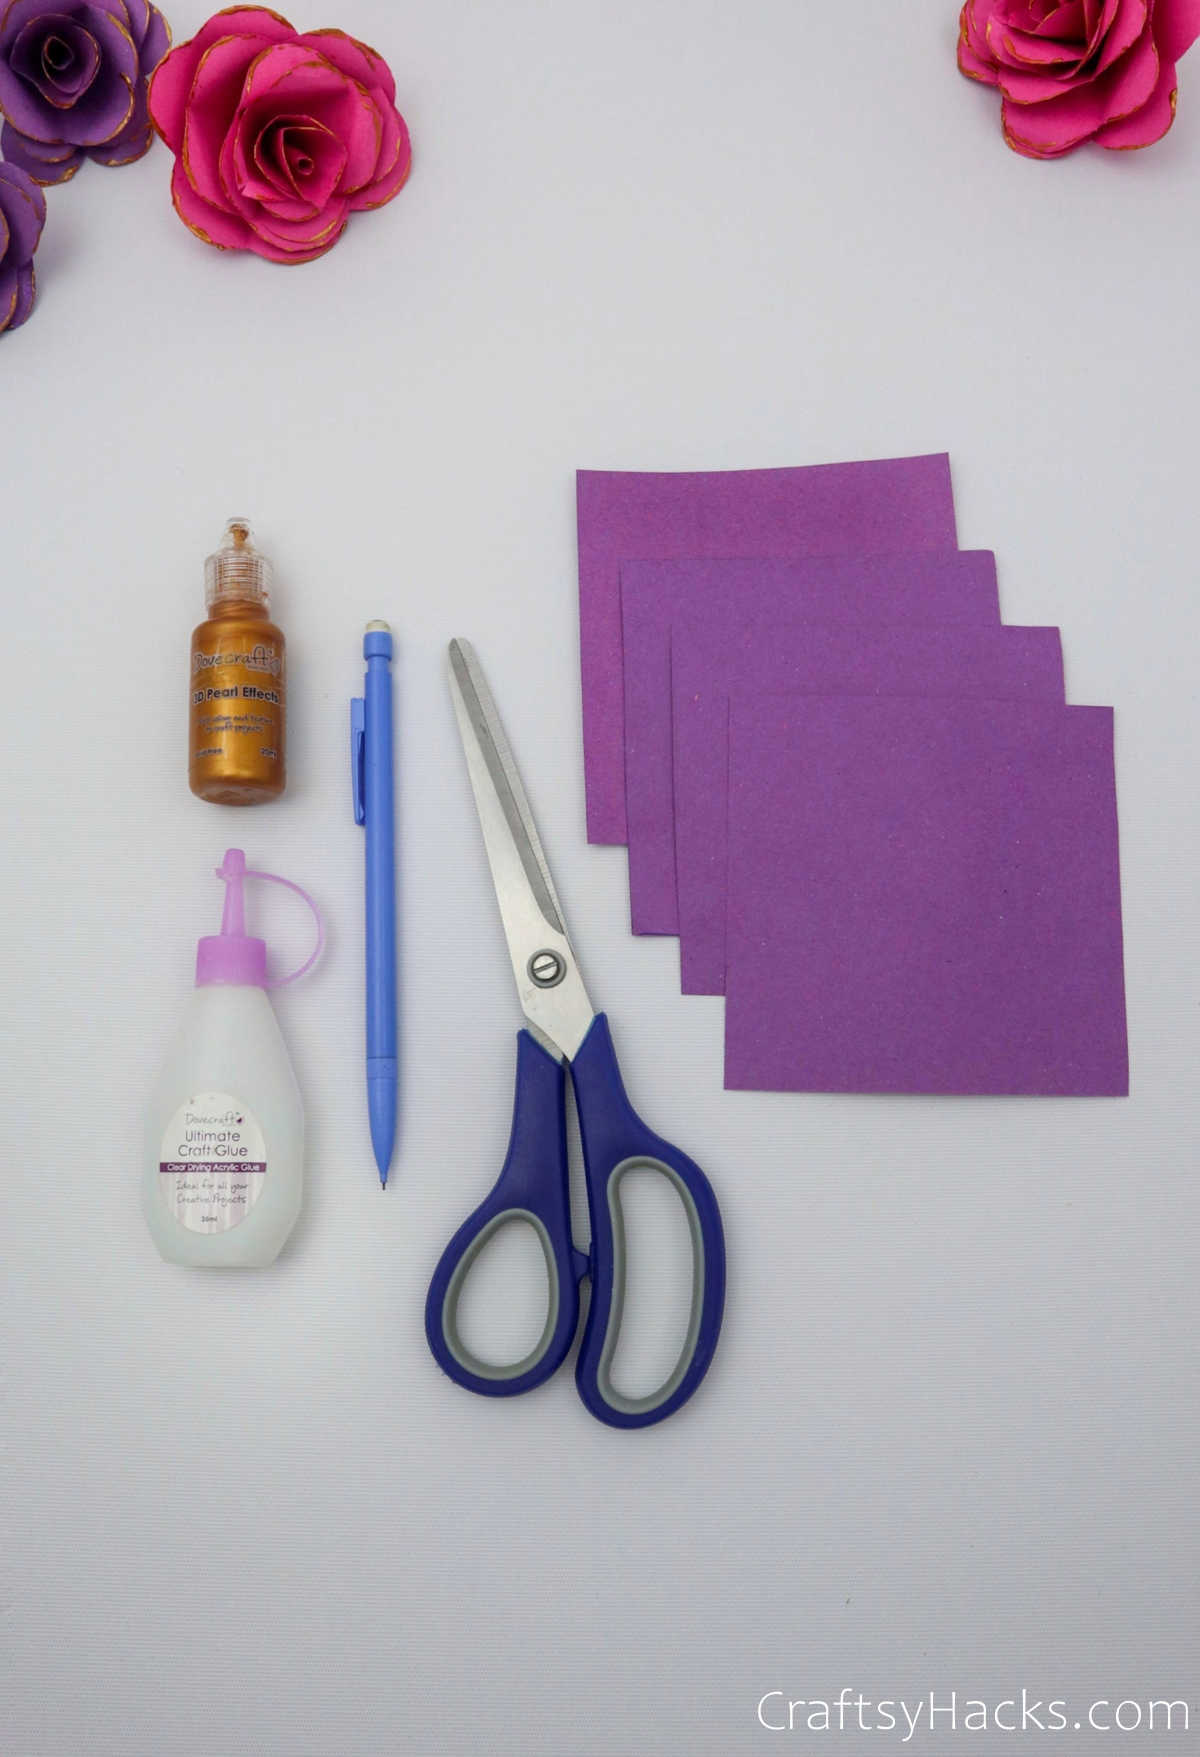
Before you go planning this next craft session with the kids, take a look at the supplies you’ll need to buy:
- 4x paper squares (4’’x 4’’)
- Scissors
- Craft glue
- Pencil
- Glitter glue
How to Make Paper Flowers
Once you’ve picked out your paper and assembled all the supplies you’ll be needing for this DIY, you can get started right away!
Step 1
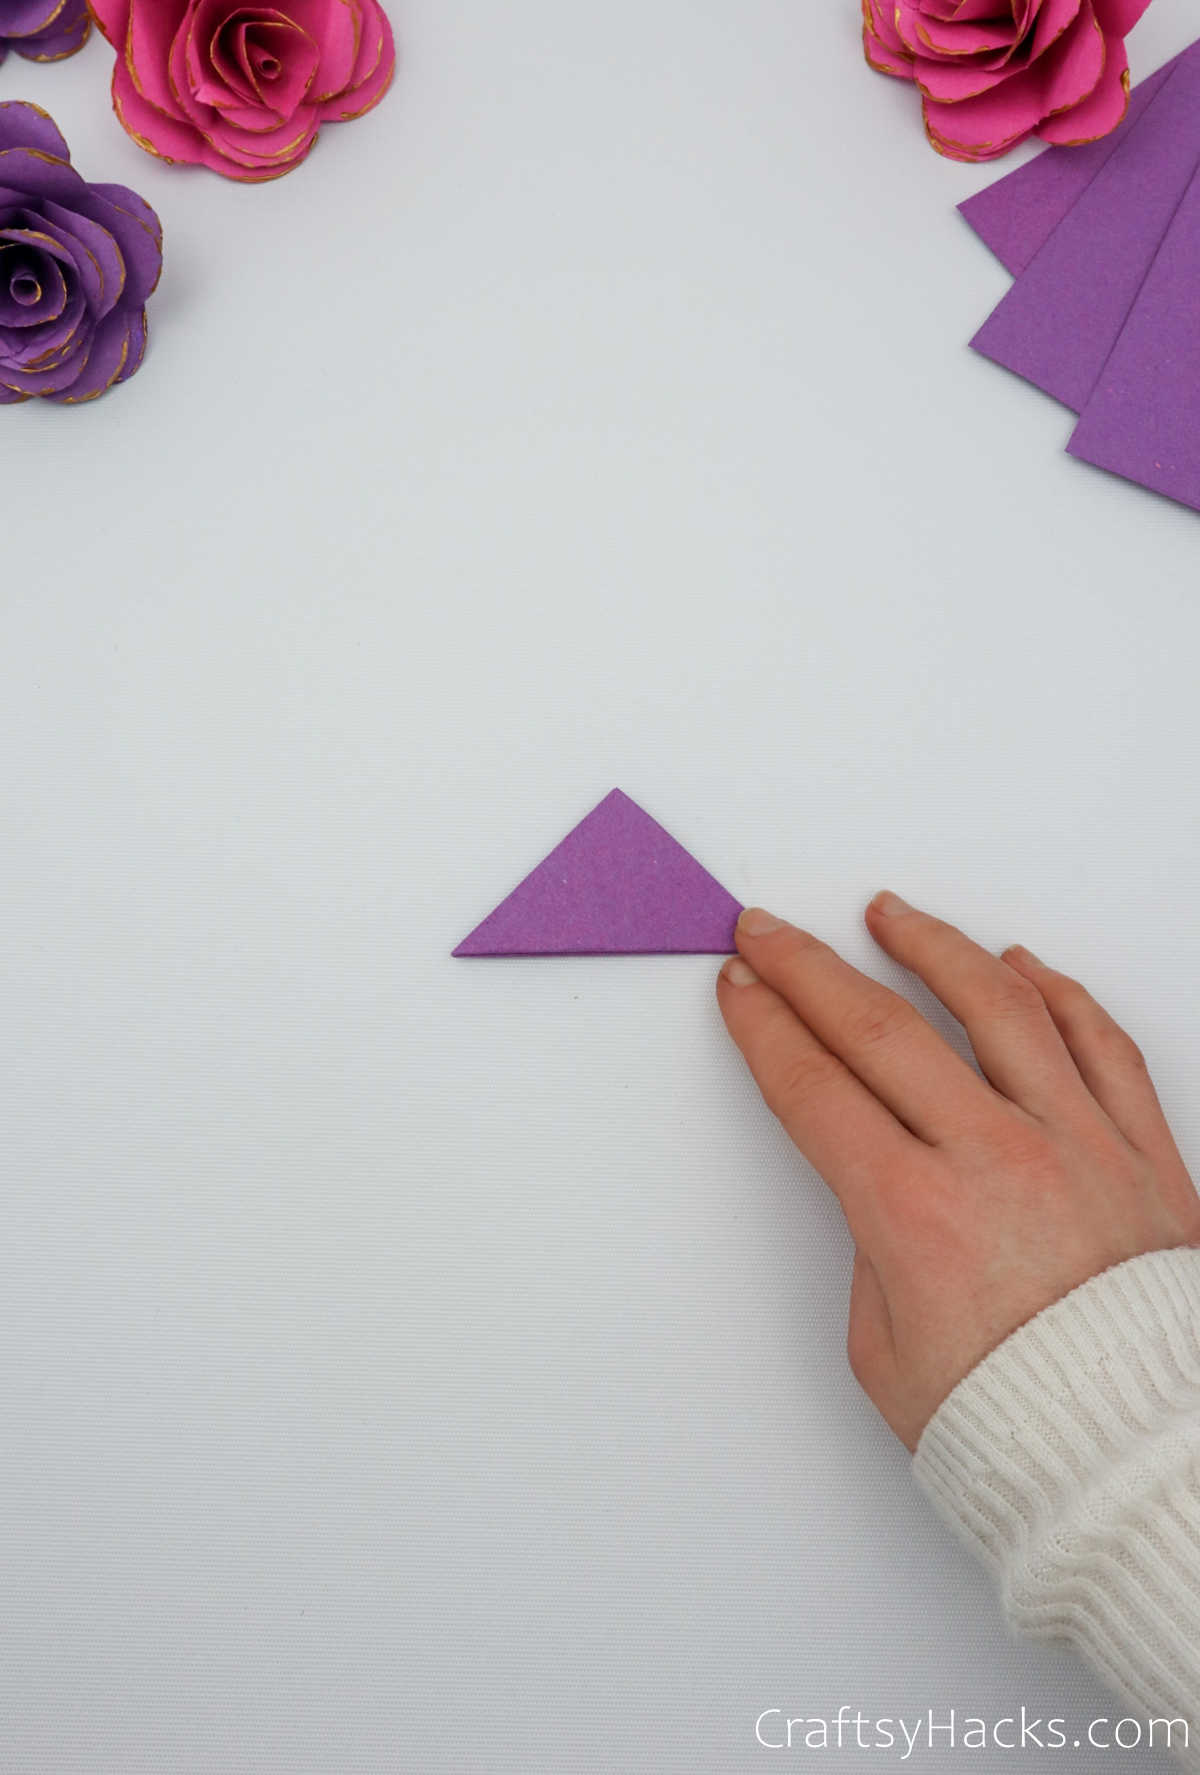
For this DIY project, consider working on a flat surface to help you fold and crease the paper effectively. Bring one end of the paper over to the other side, folding it diagonally over.
Make sure that the ends overlap each other, as shown below.
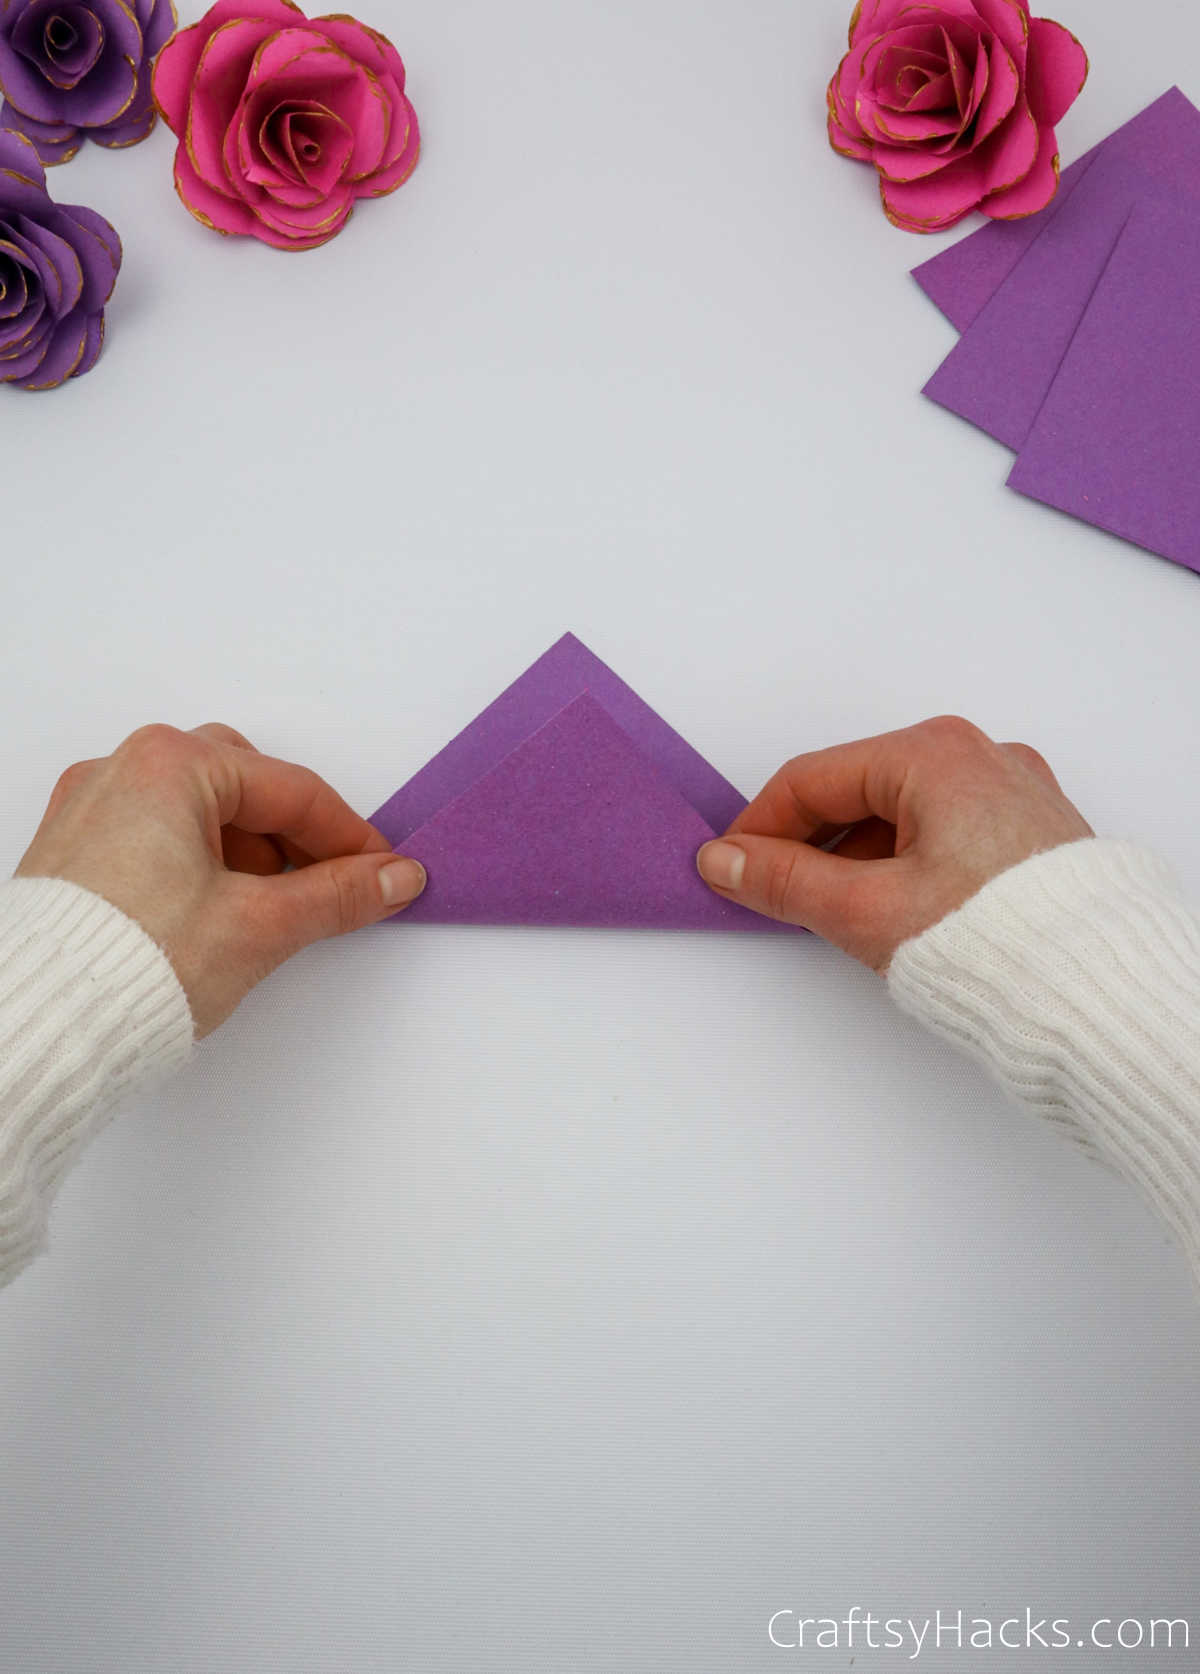
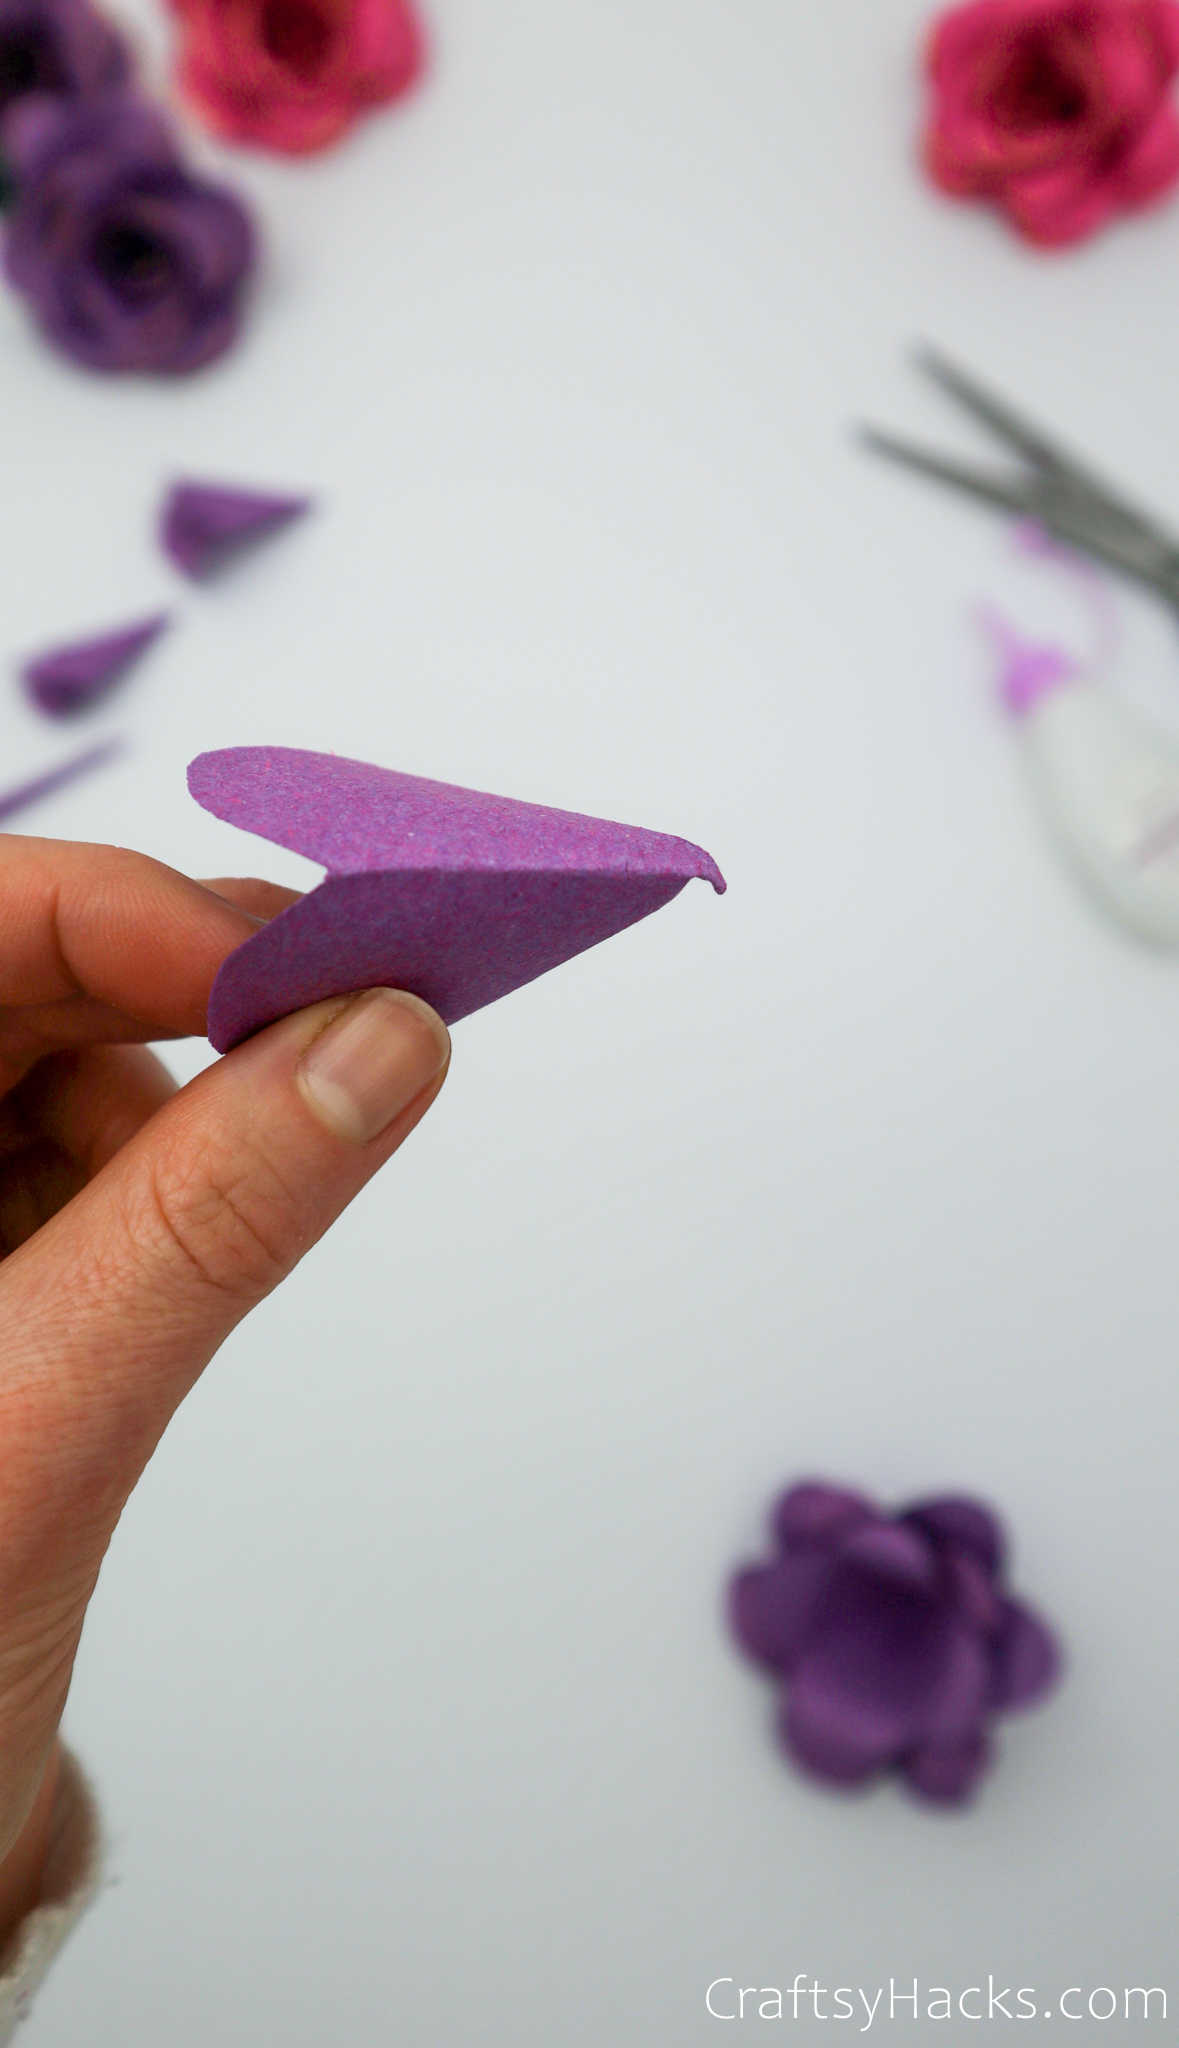
You will have a triangular piece of paper like this.
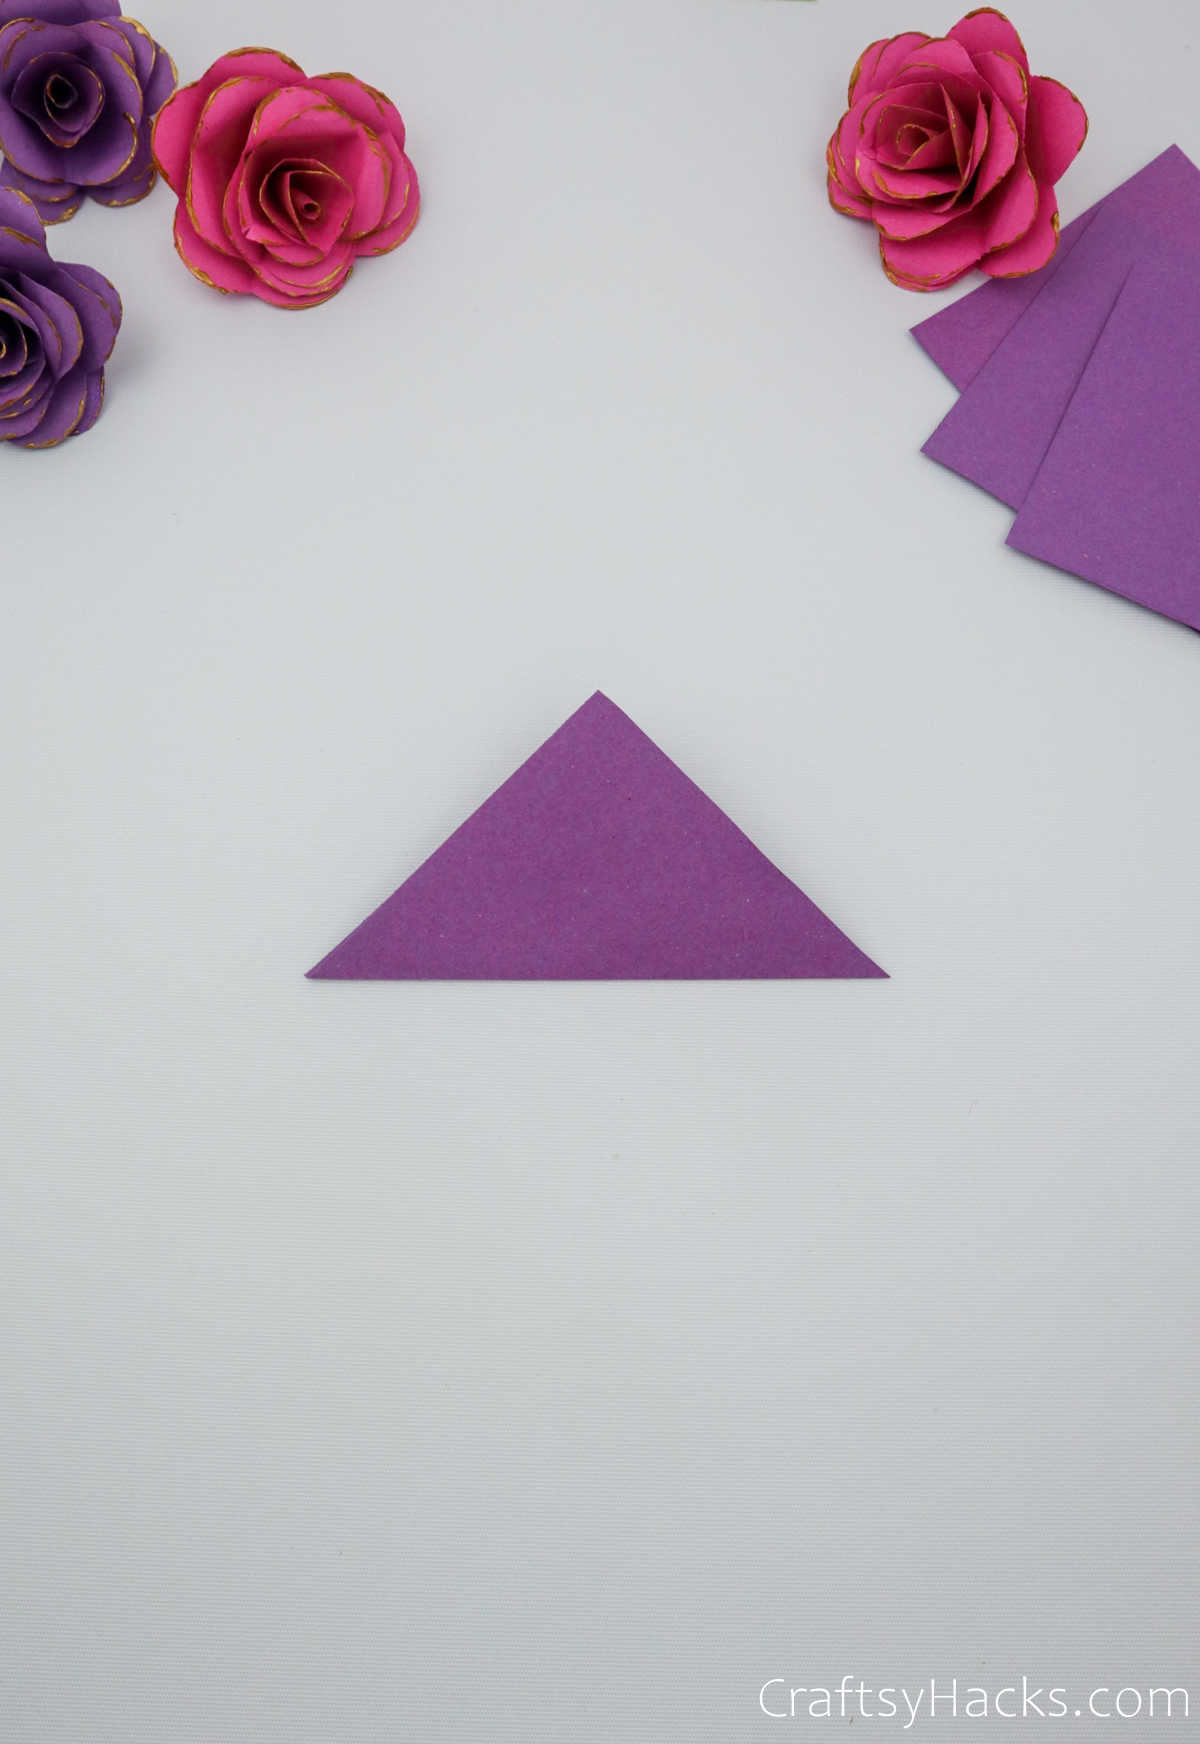
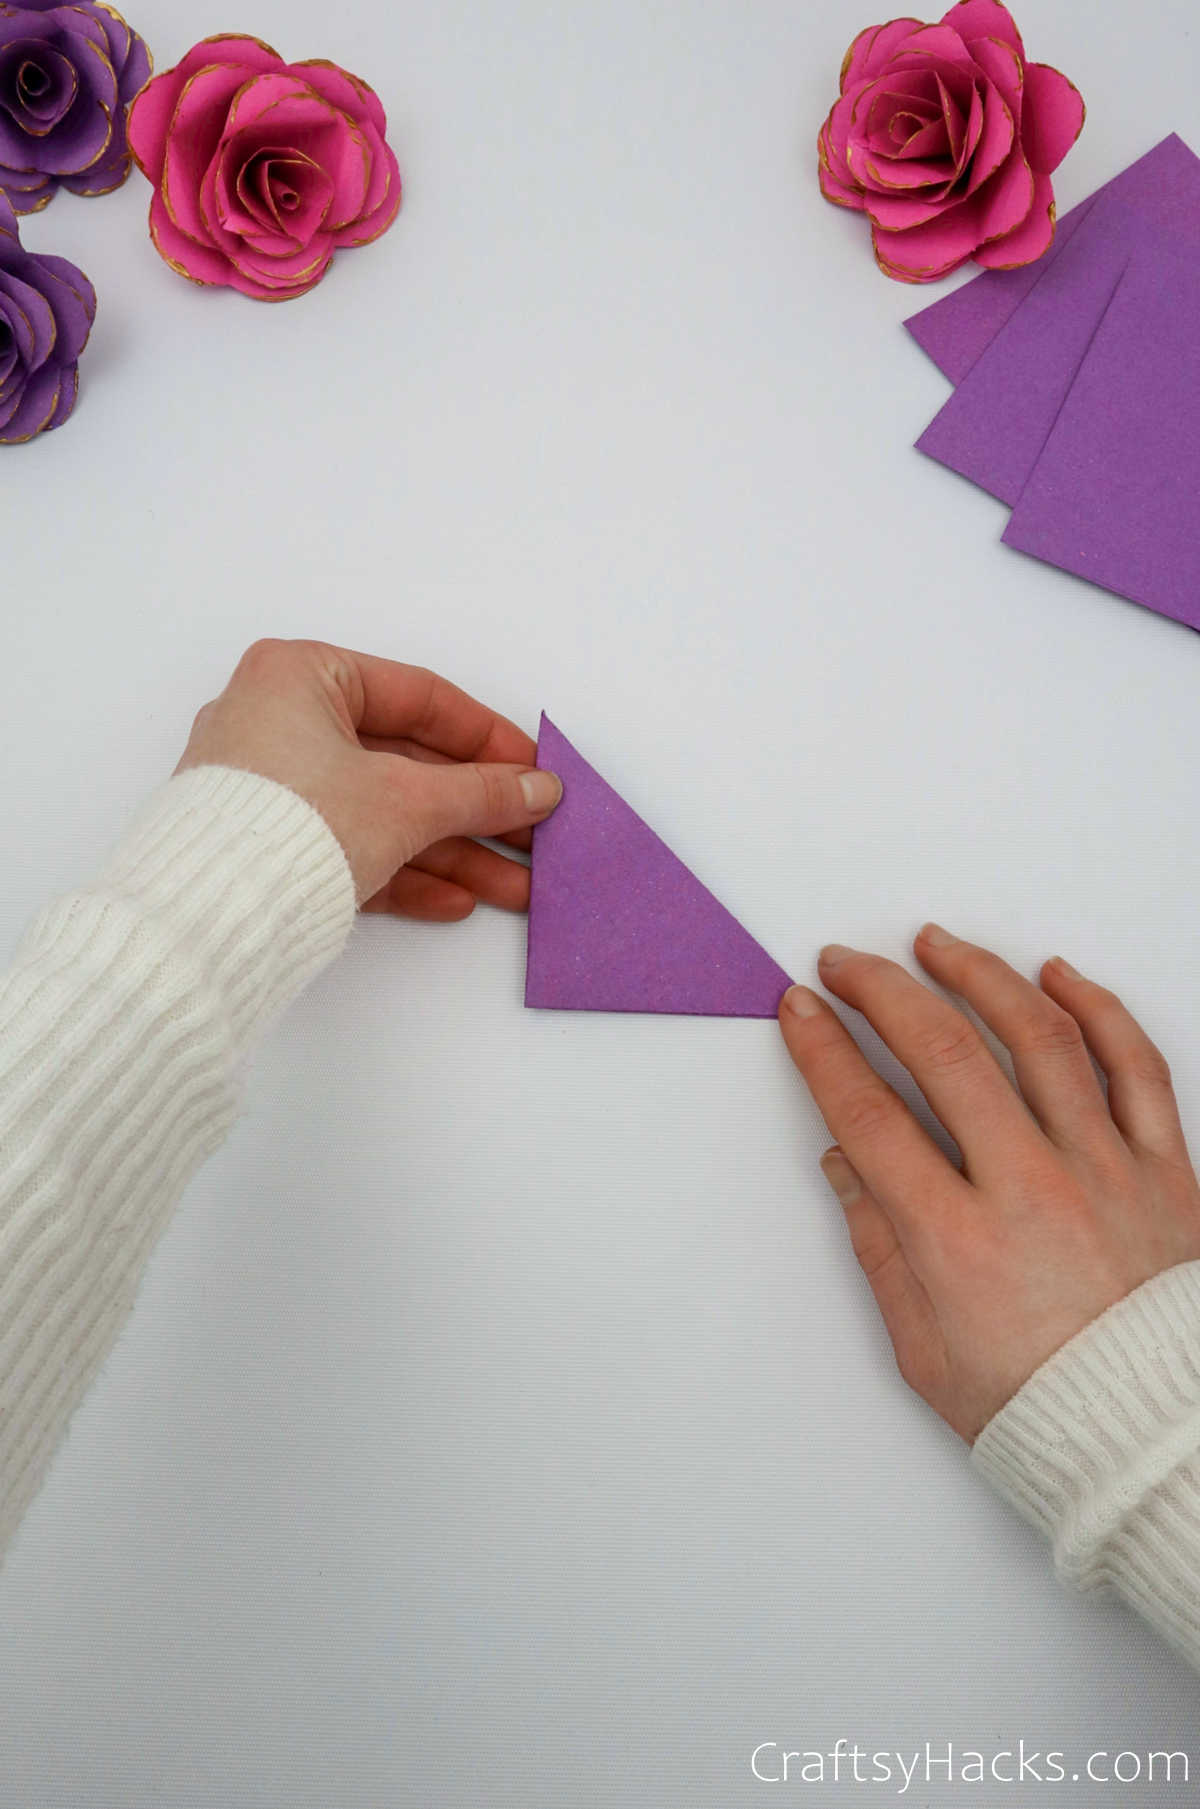
Step 2
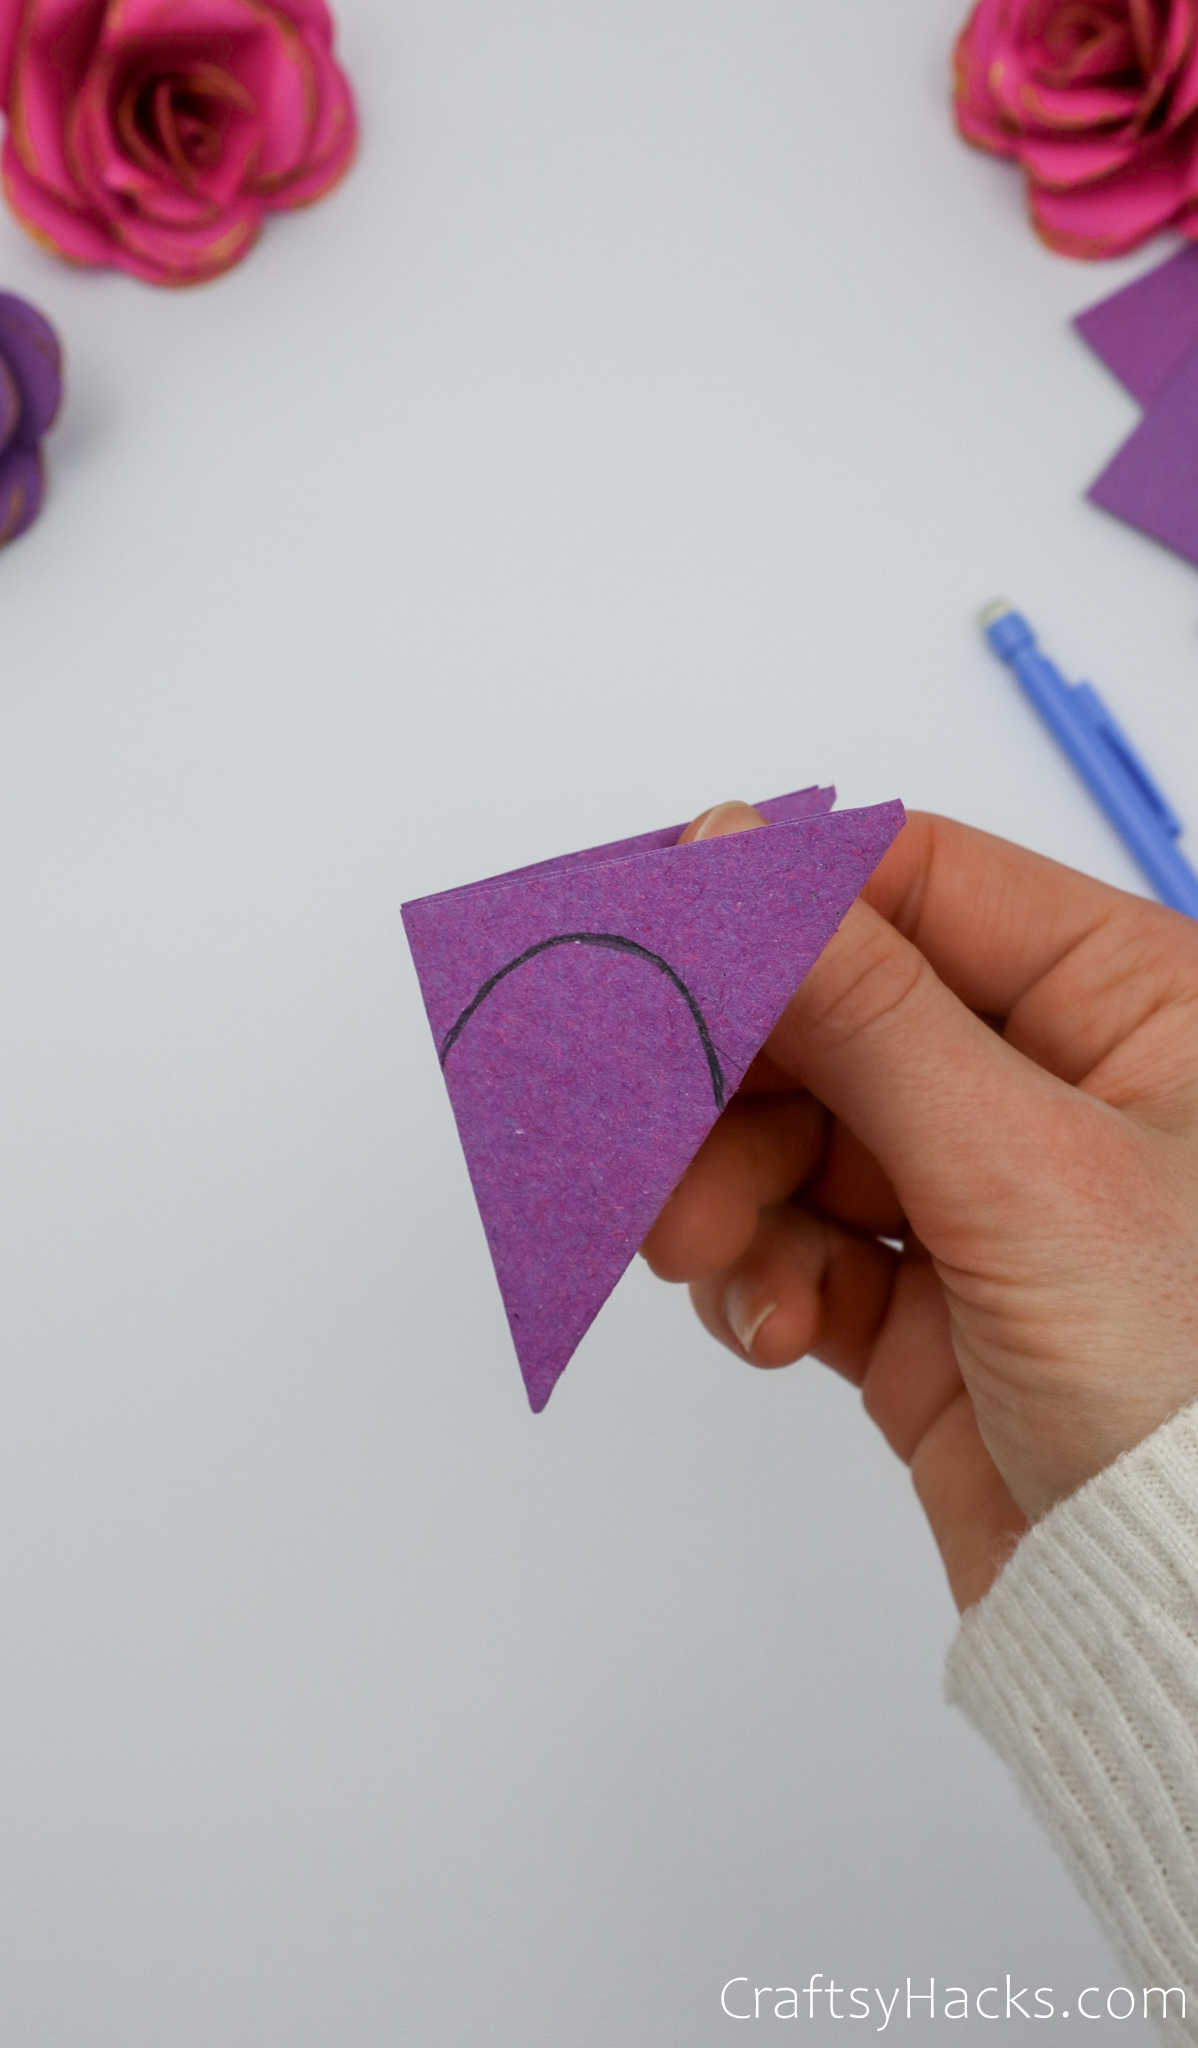
Grab one of the longer ends and fold the paper once more. You’ll find yourself with another triangle, albeit smaller.
Step 3
Grab your marker or pen and draw an arc around one corner of the triangle. This will be your flower’s petal and should look something like the image below.
Step 4
Grab a pair of scissors and carefully cut the paper across the arc.

Step 5
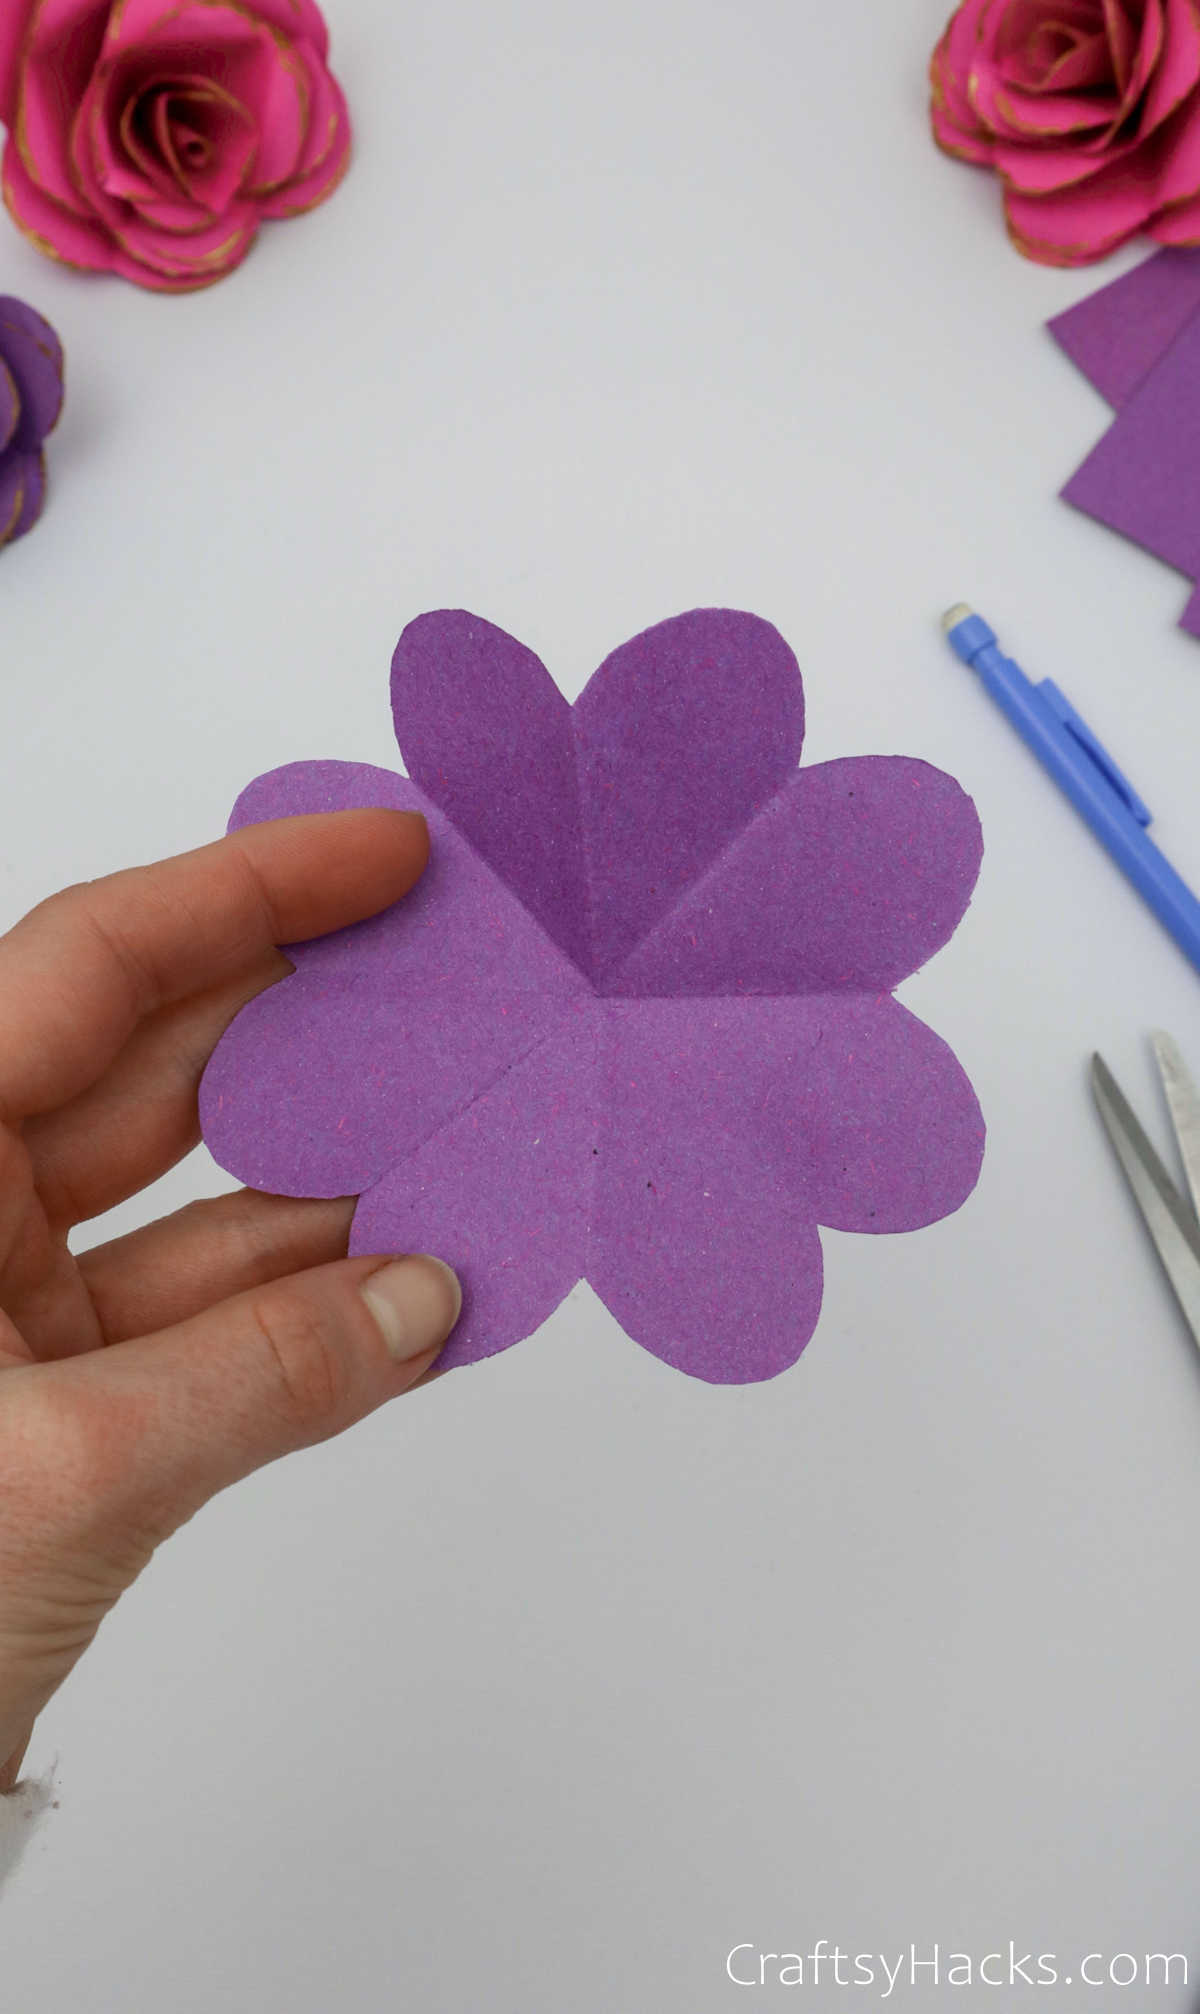
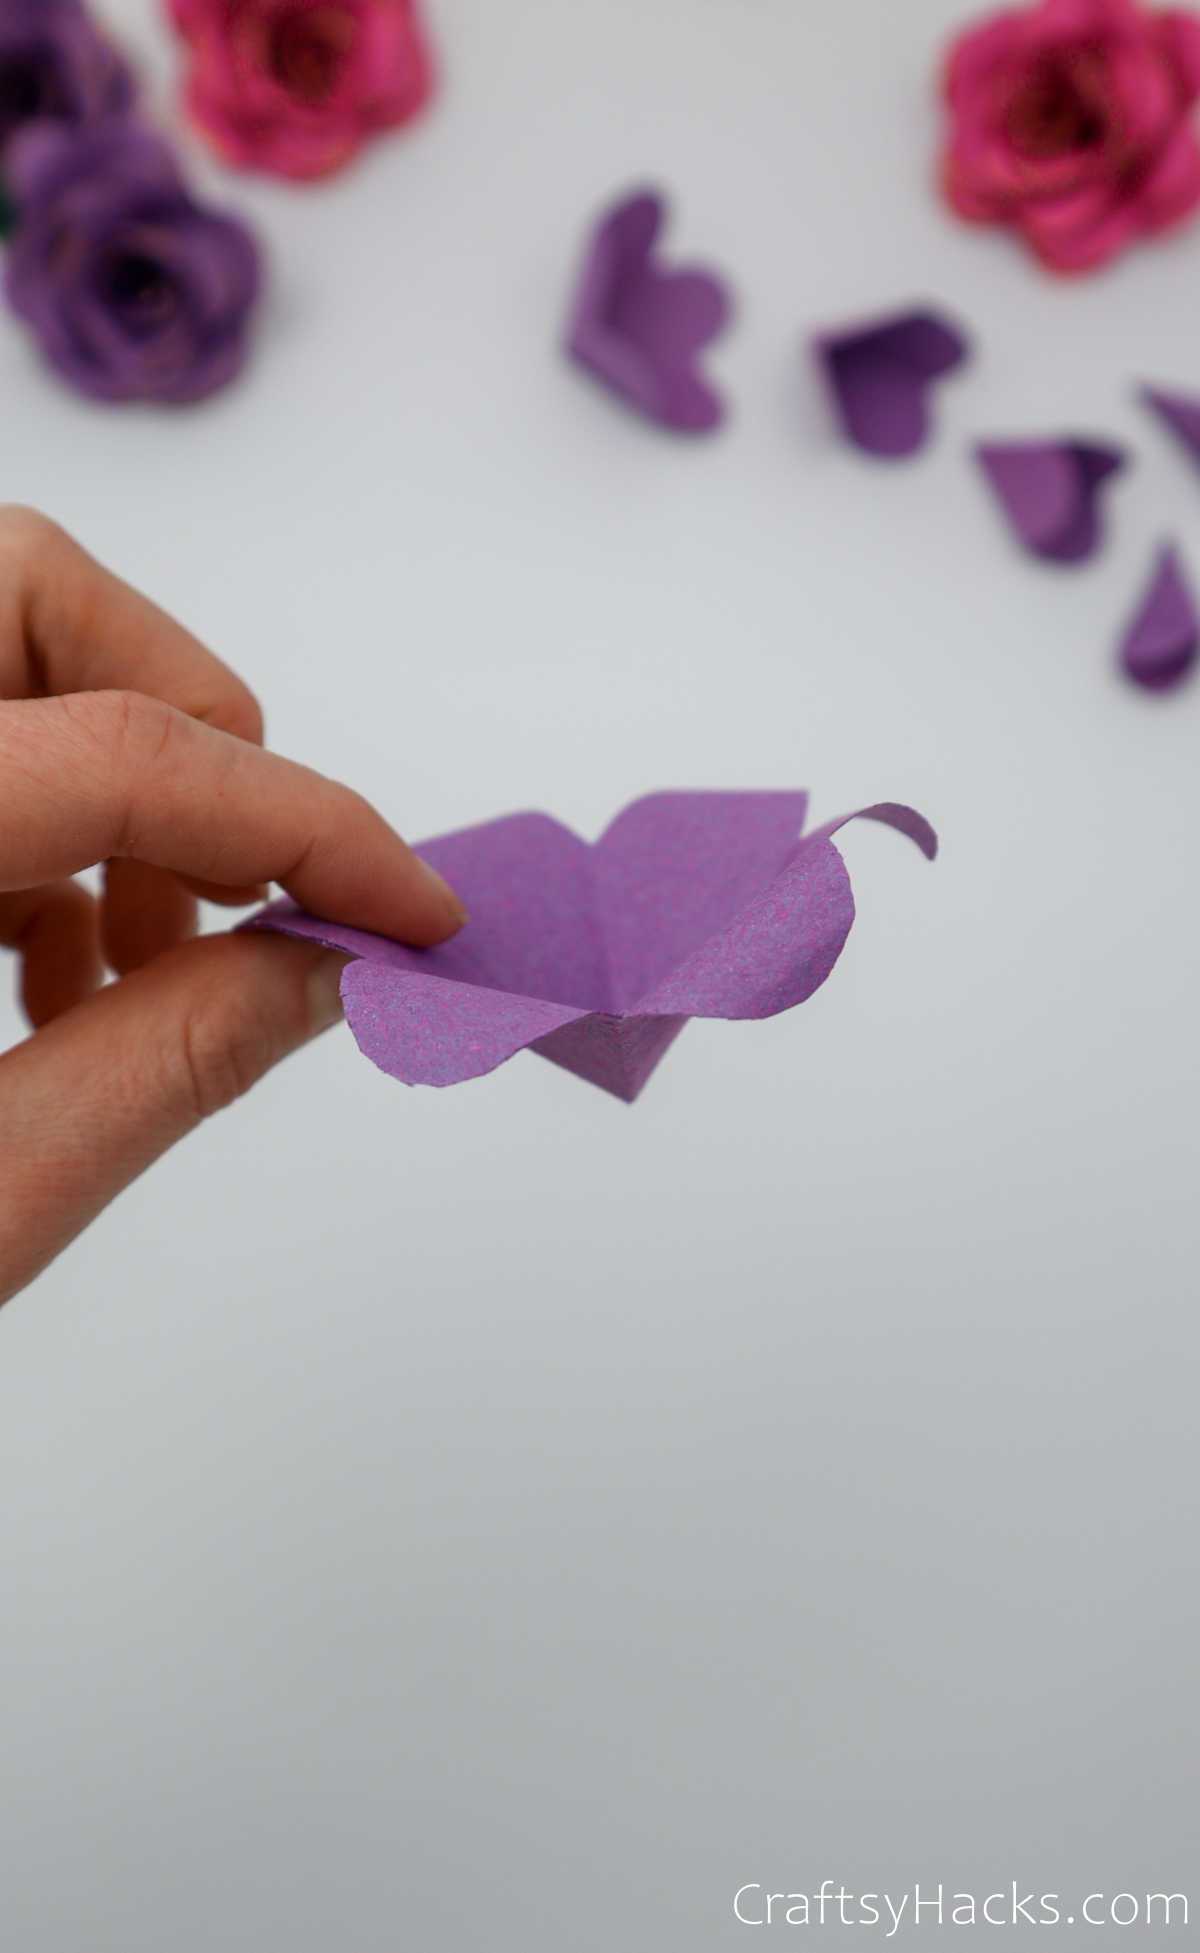
Unfold the paper, and you’ll have the first layer of your paper flower.
Step 6
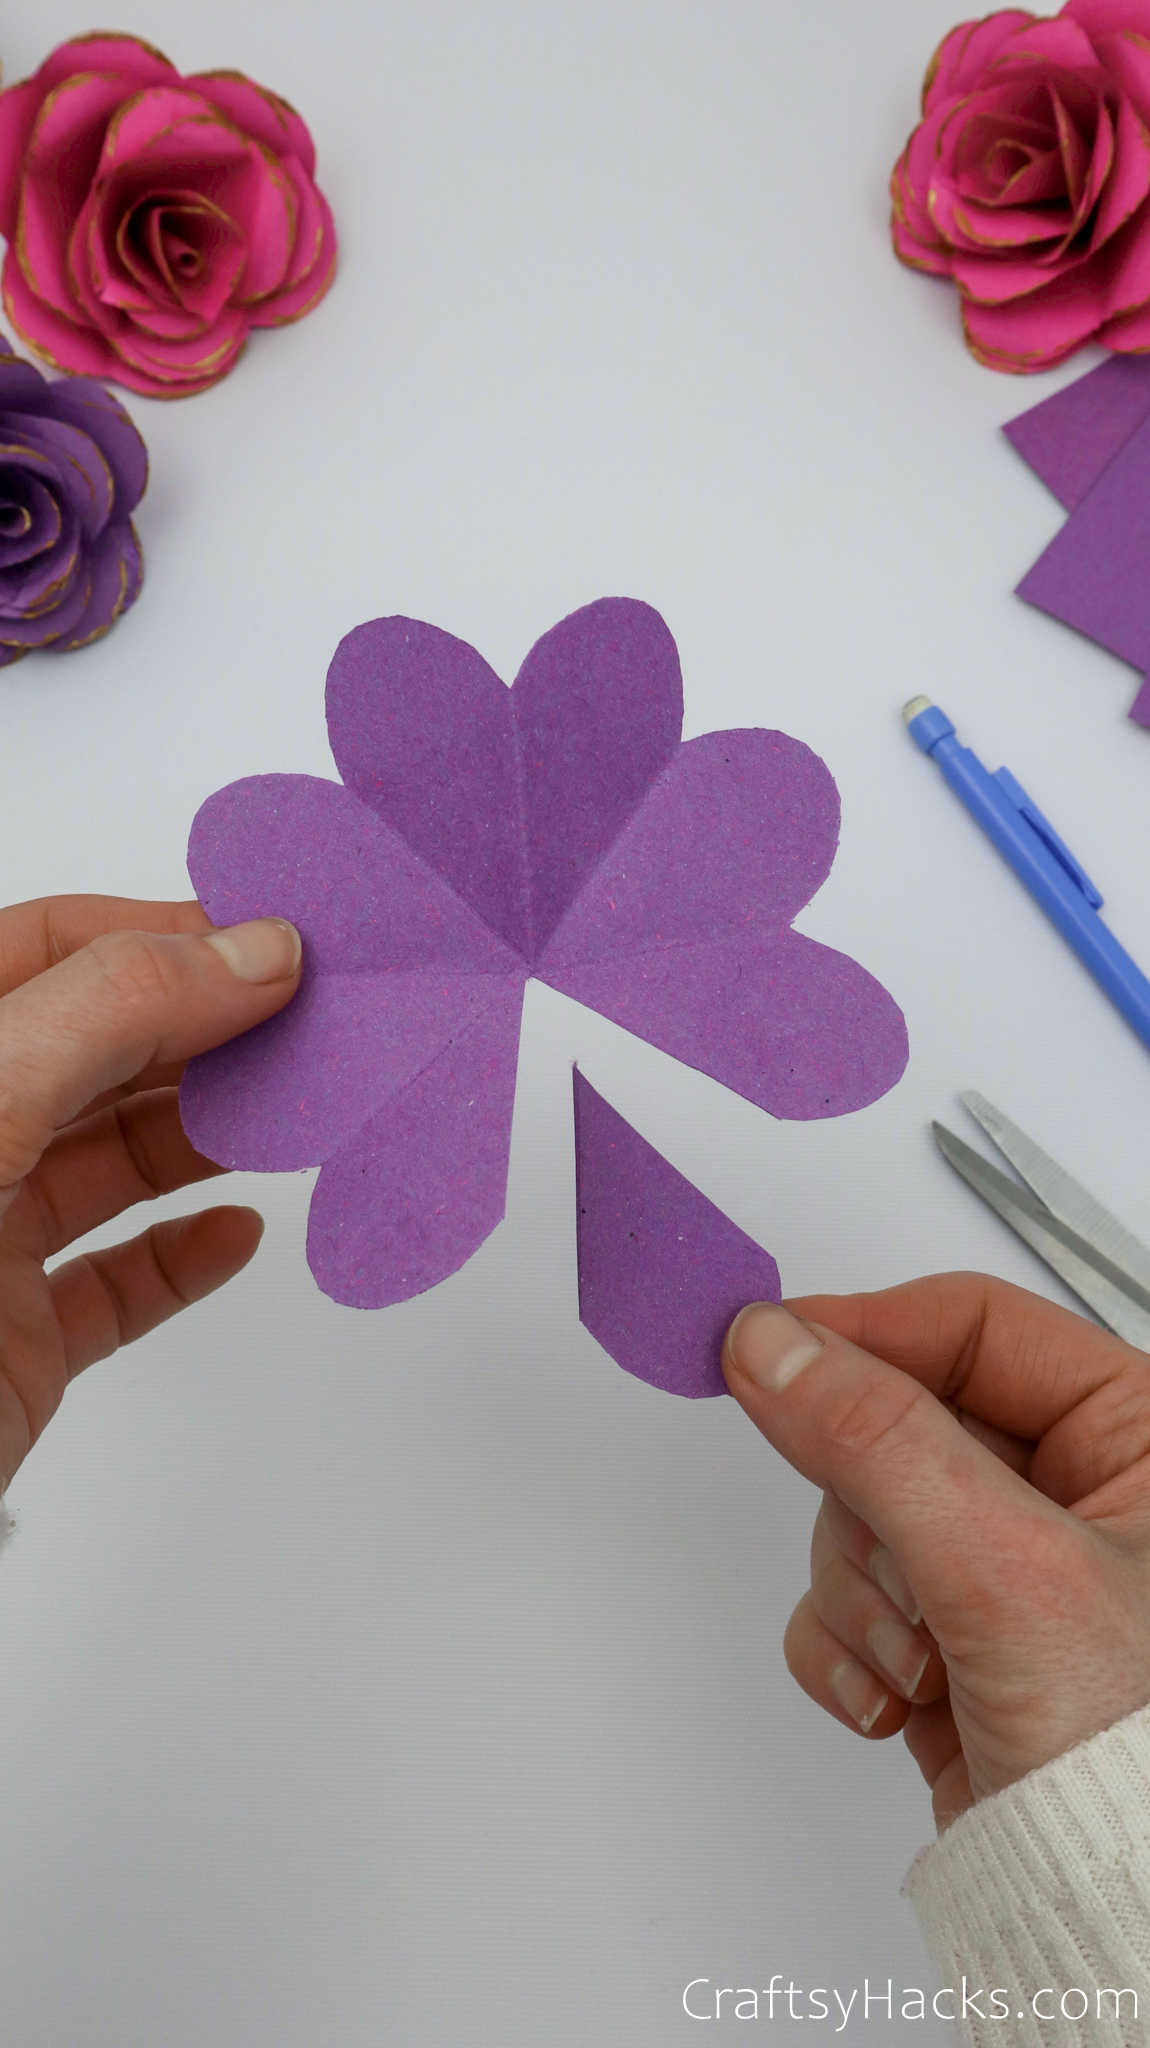
Grab your scissors one again and cut out one single arc of your first layer. This will help you get that curved fold for your flower.

Step 7
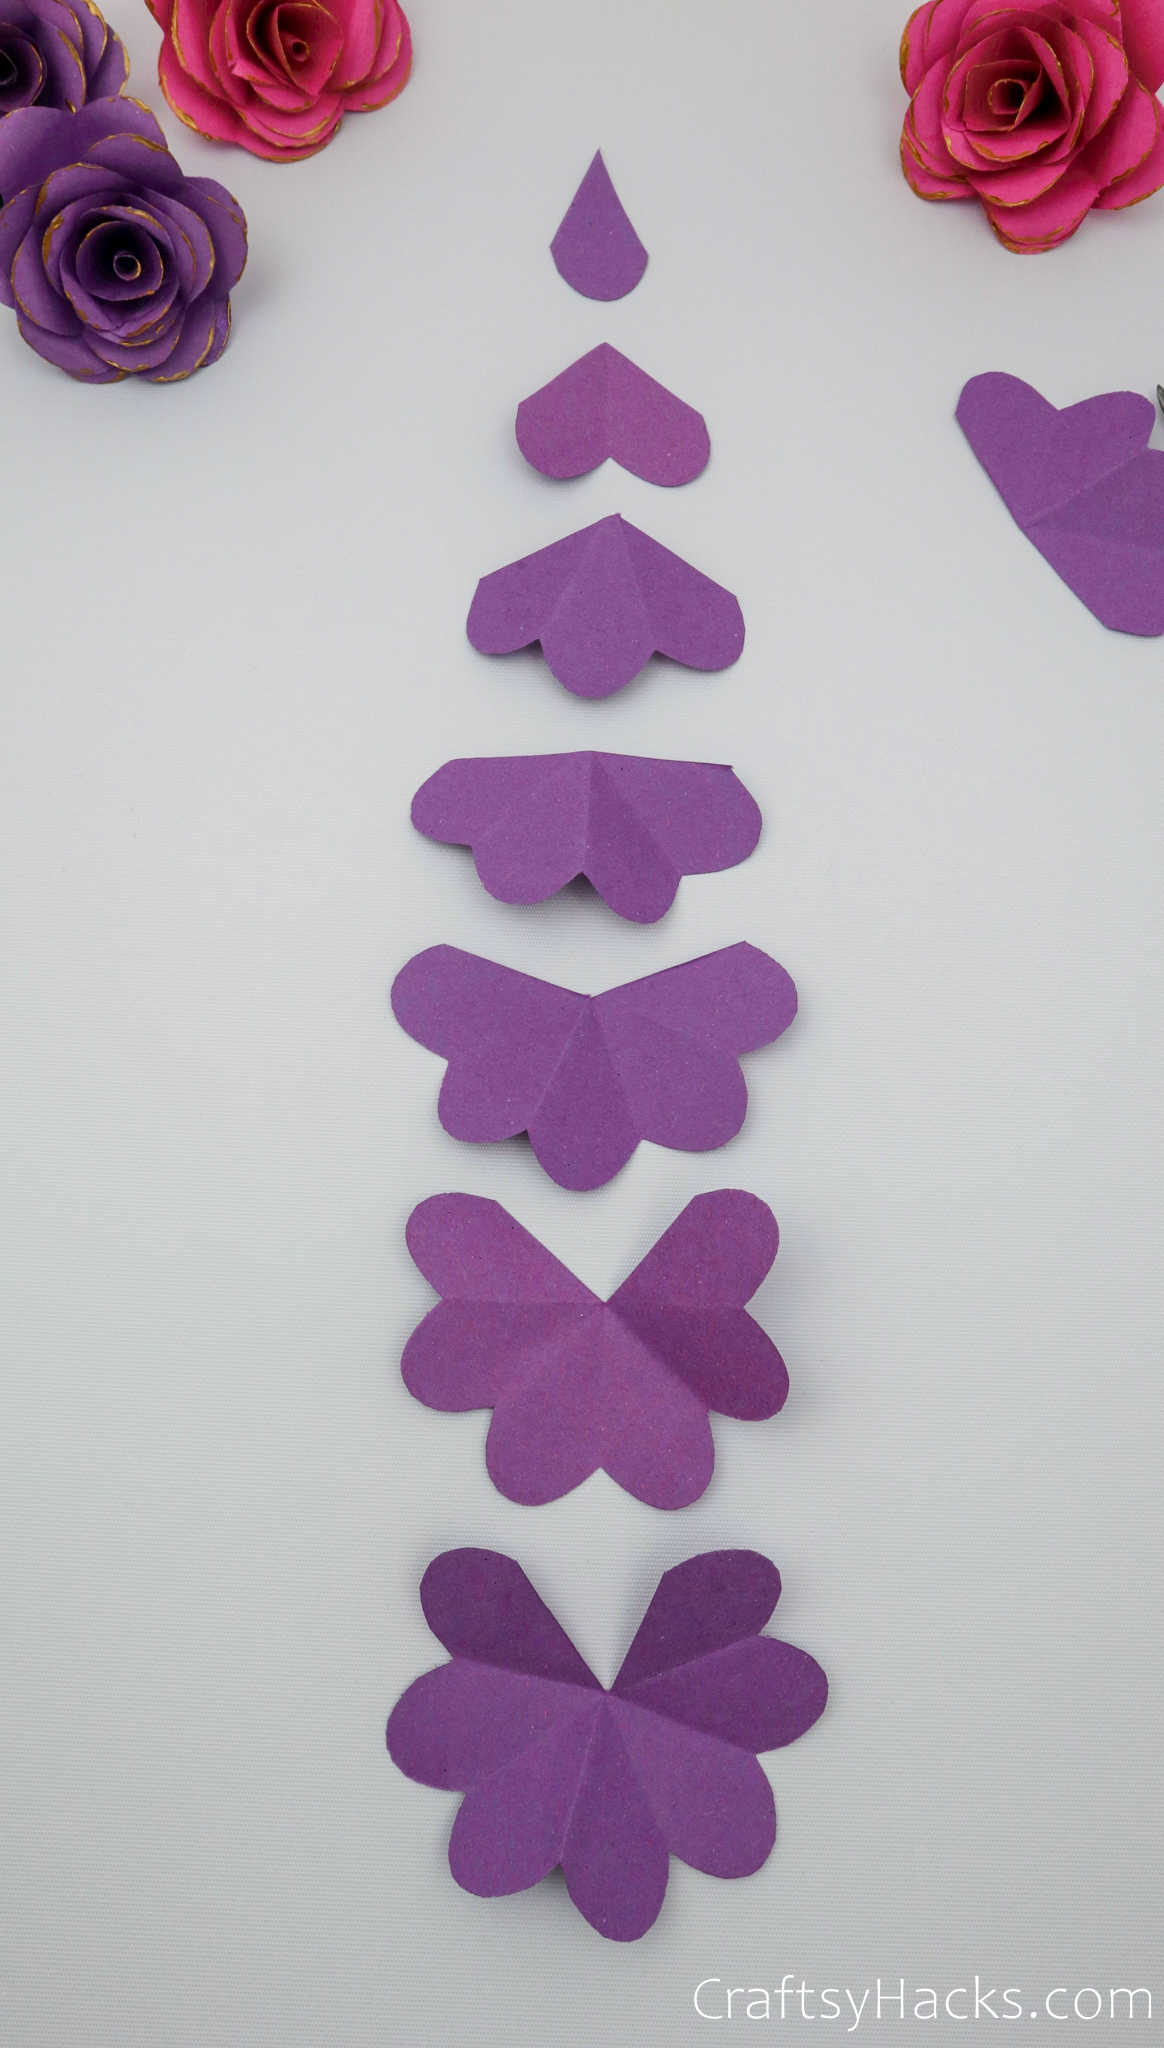
Once you decide how many layers you want your flower to have, you will need to cut out more and more of the petals to get the desired effect.
For example, you will need to cut out one single petal for the first or outer layer. For the second layer, you should cut two petals, three petals for the third, and so on.

This particular pattern calls for seven layers, as seen below.
Step 8
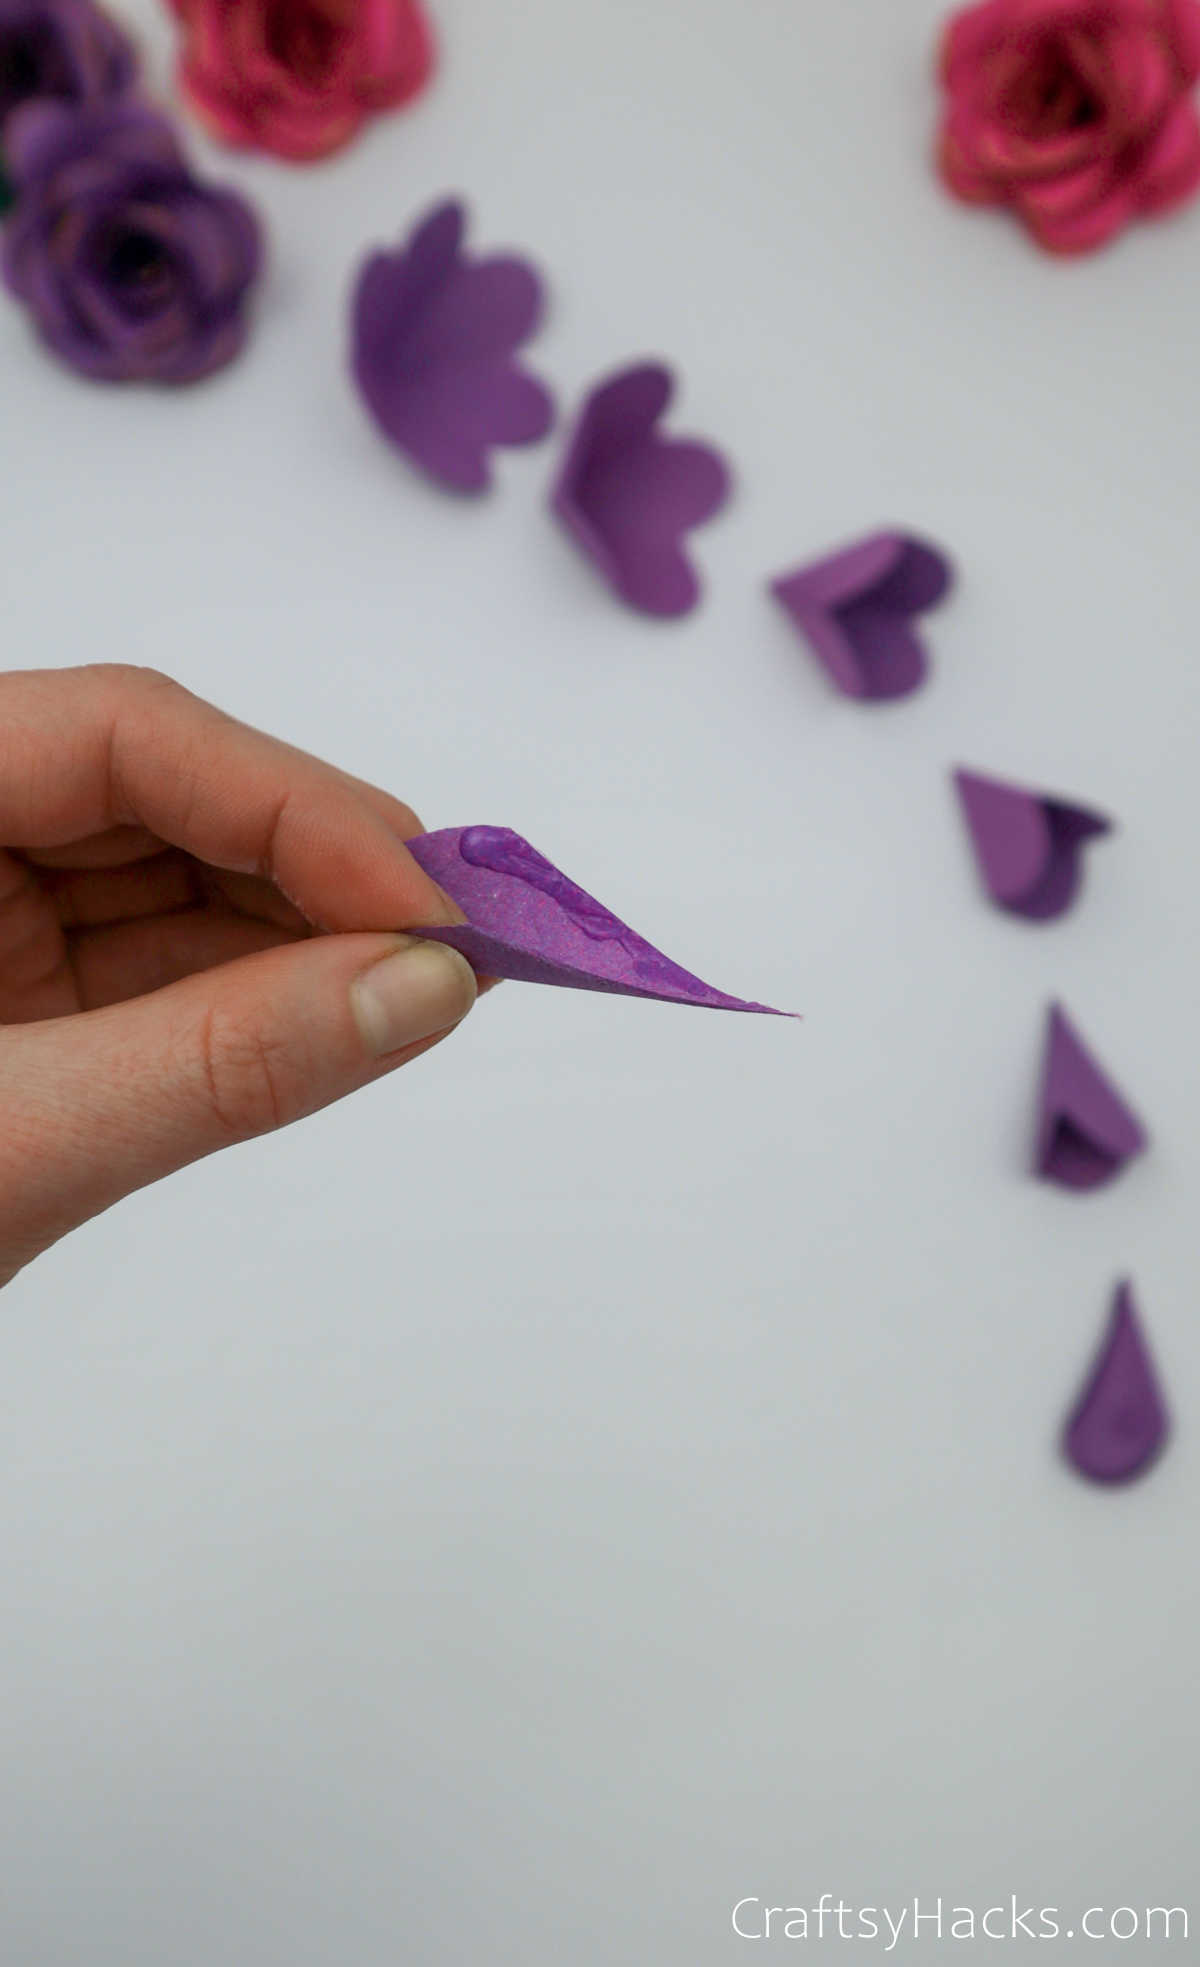
Next, pick up the biggest layer of your paper flower. Grab your glue and apply some over the first arc petal, as shown below.
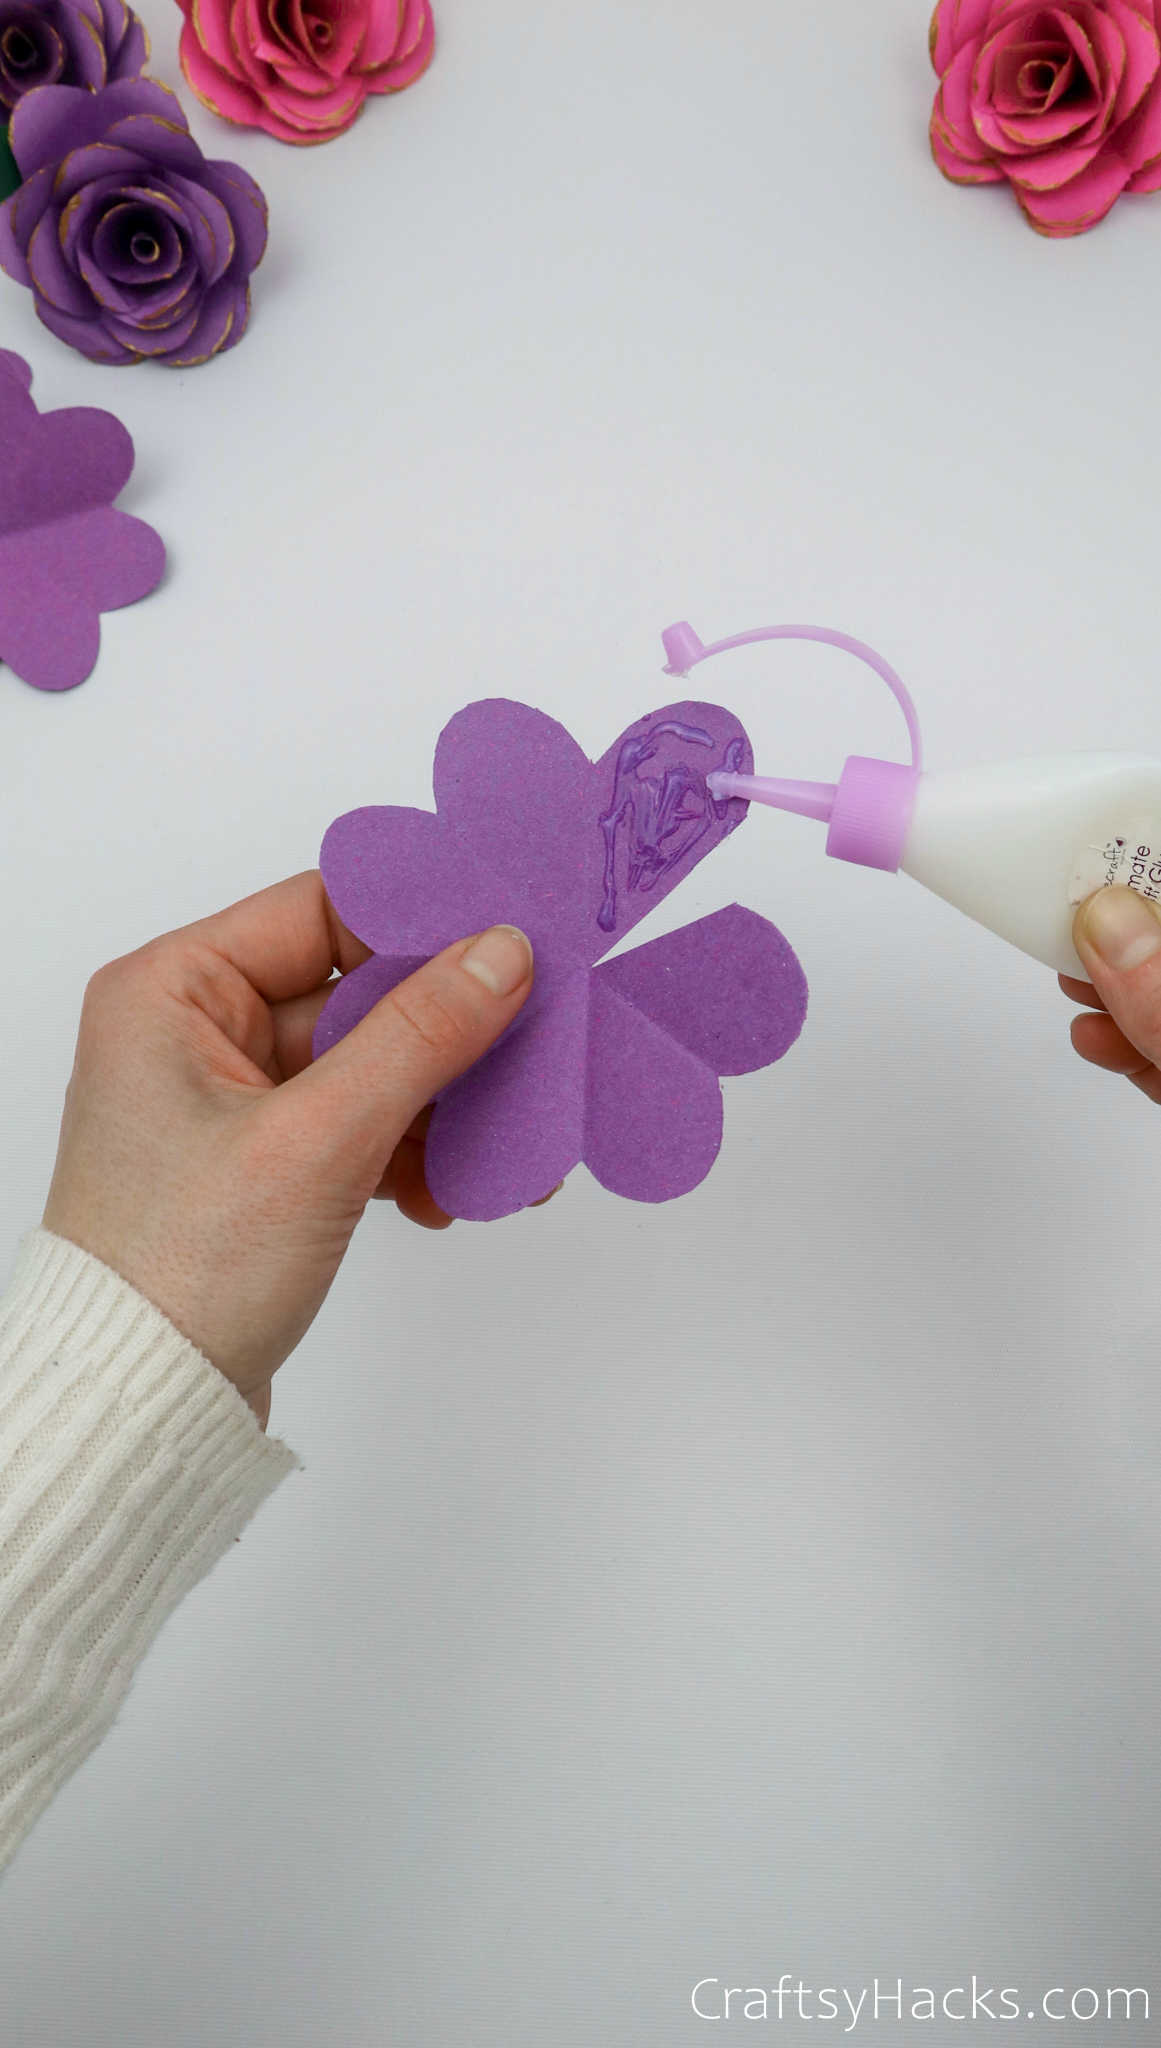
Bring the other end of the paper and stick it over the top of the edge you just applied glue over.
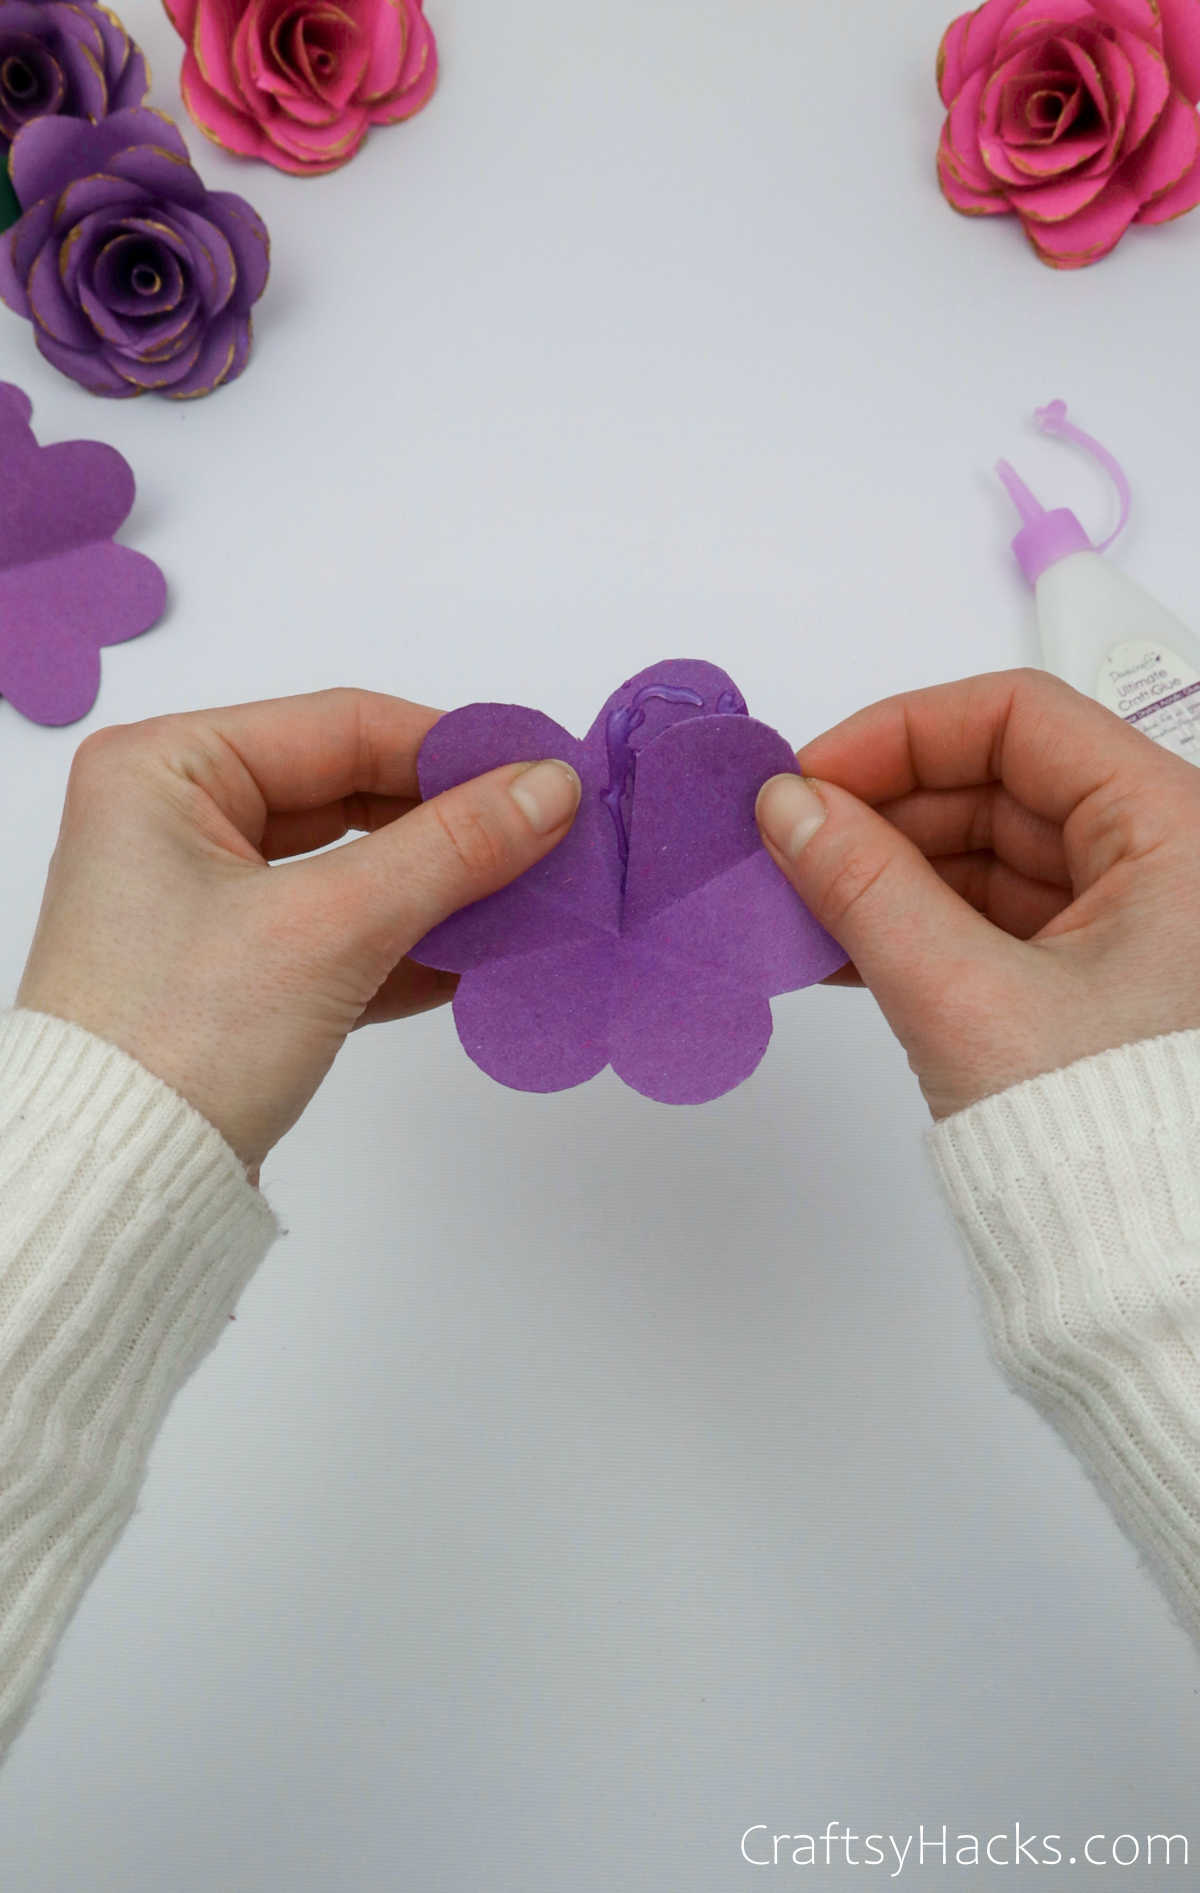
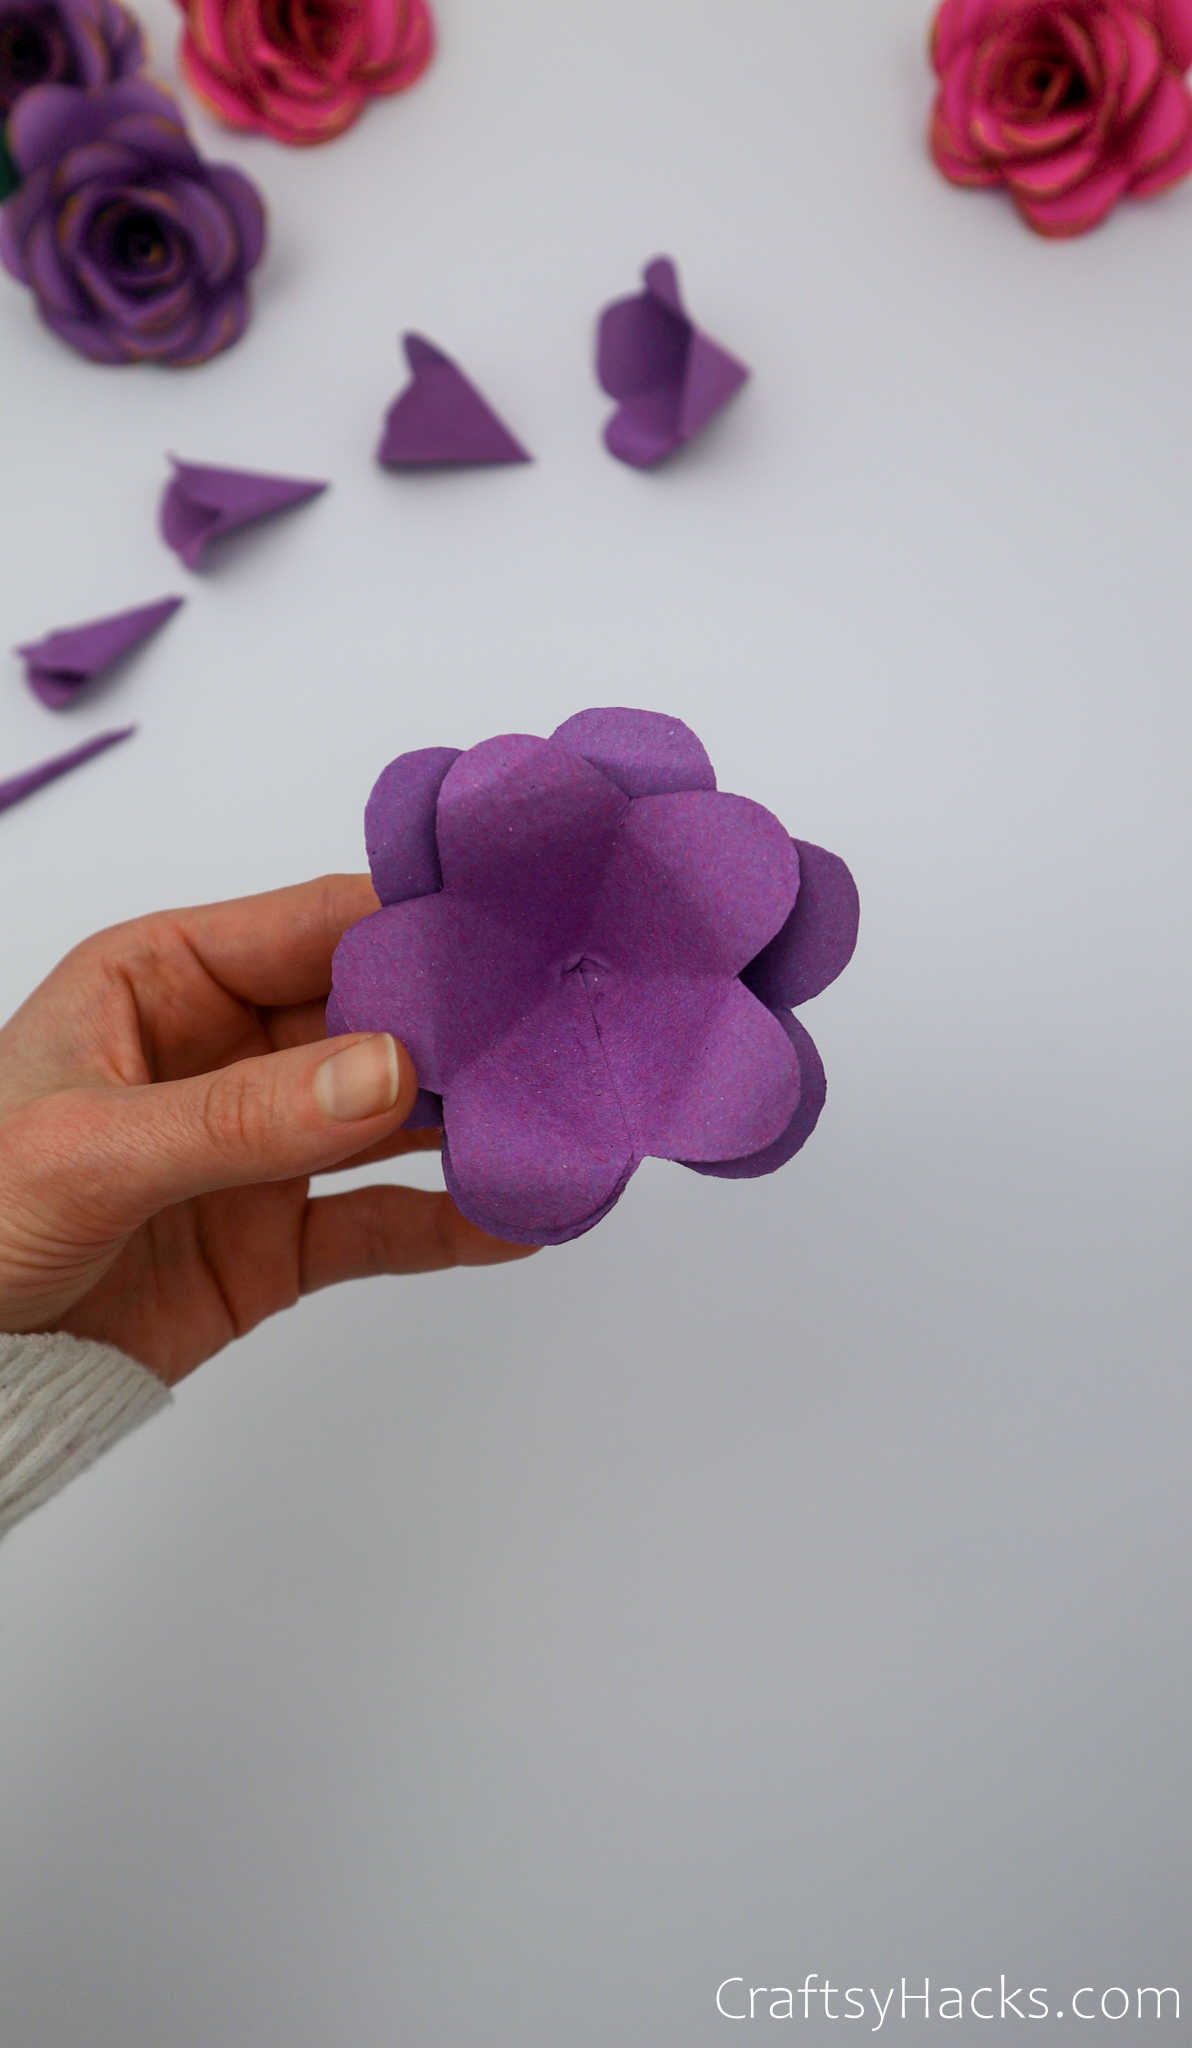
Your first layer should look something like this image, with a pointed end and curved walls.
Step 9
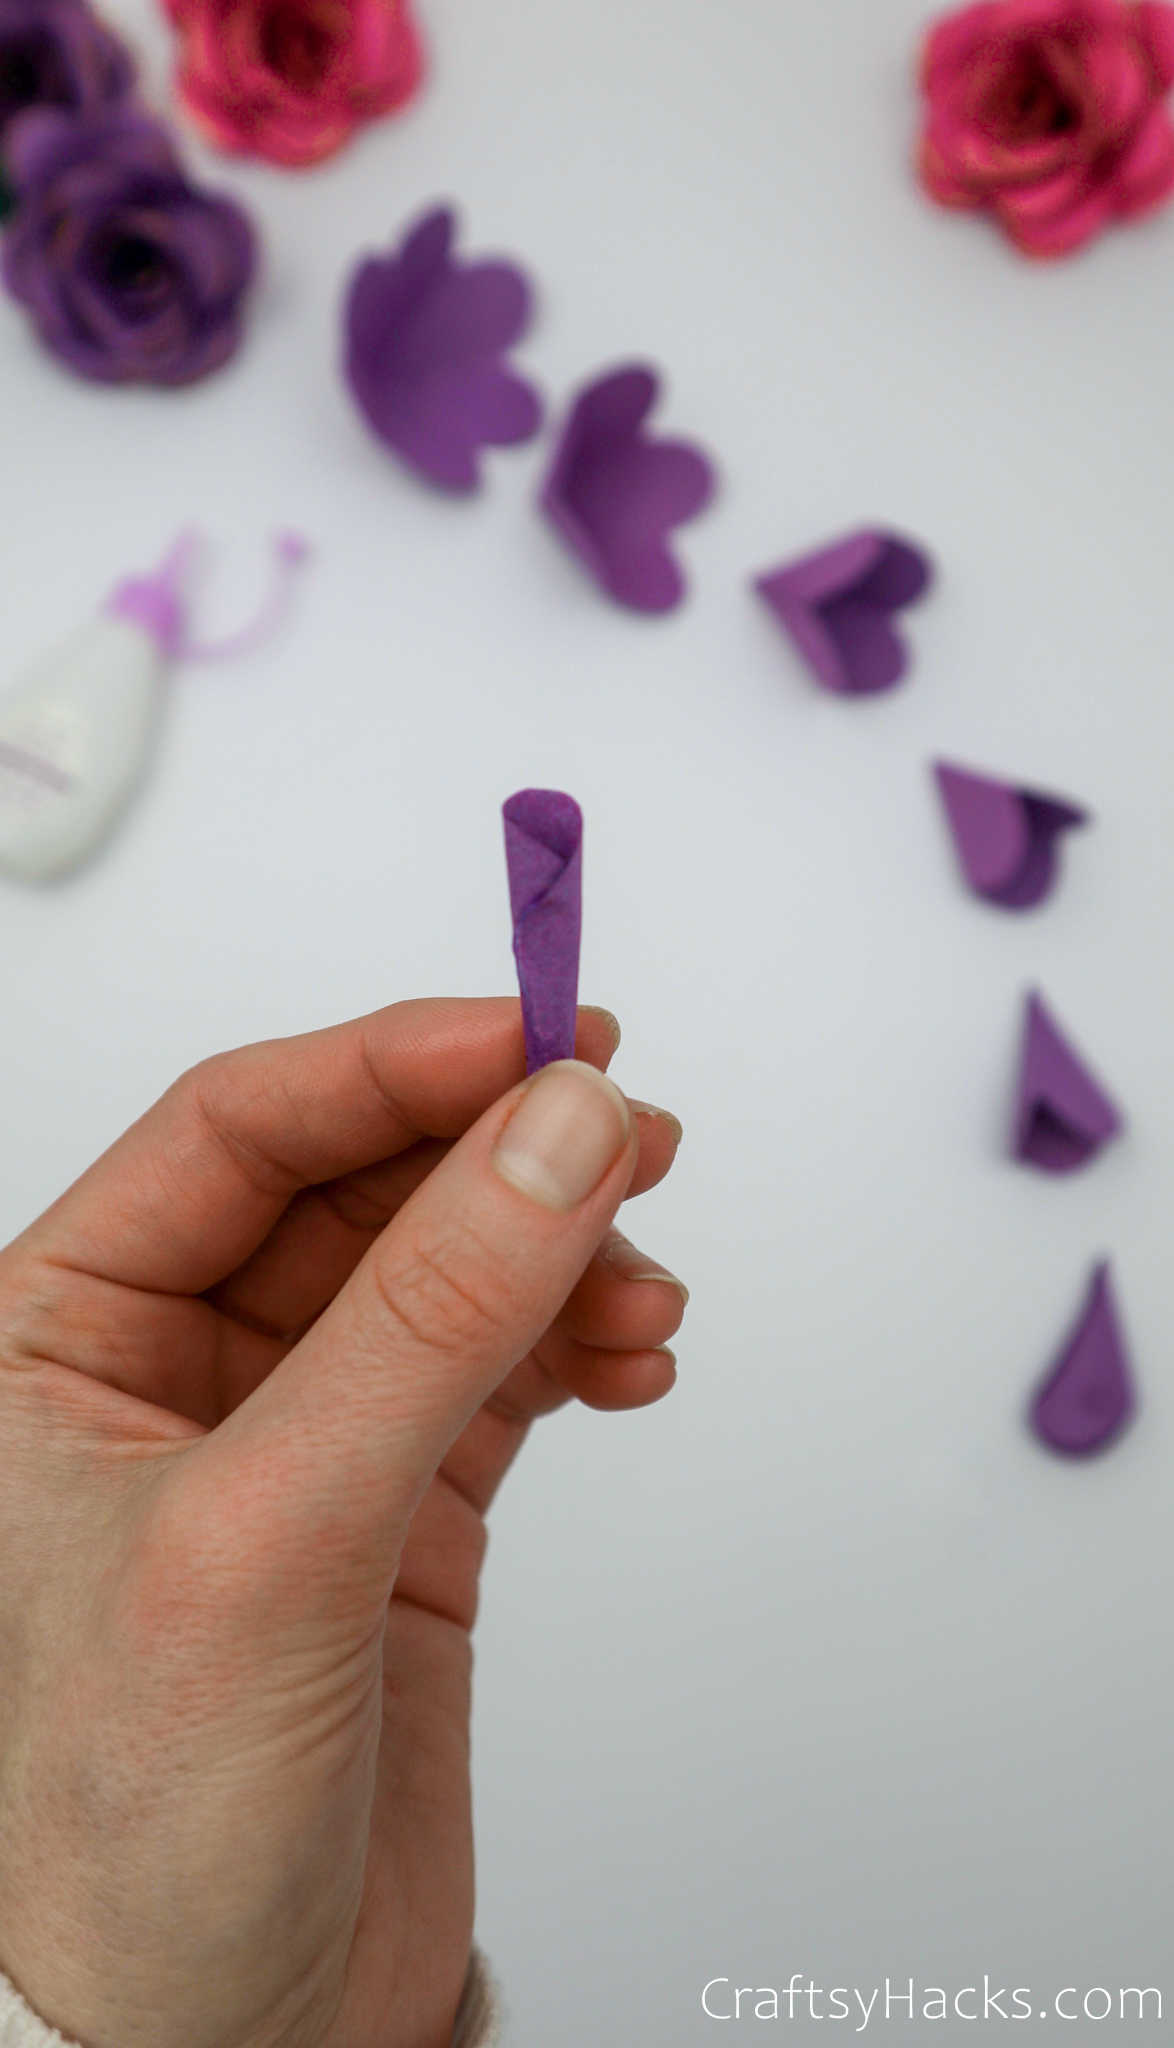
Continue this step for all the layers of petals until you get to the last one. Roll the single petal into a cone-like center for the flower and stick it in place.
Step 10
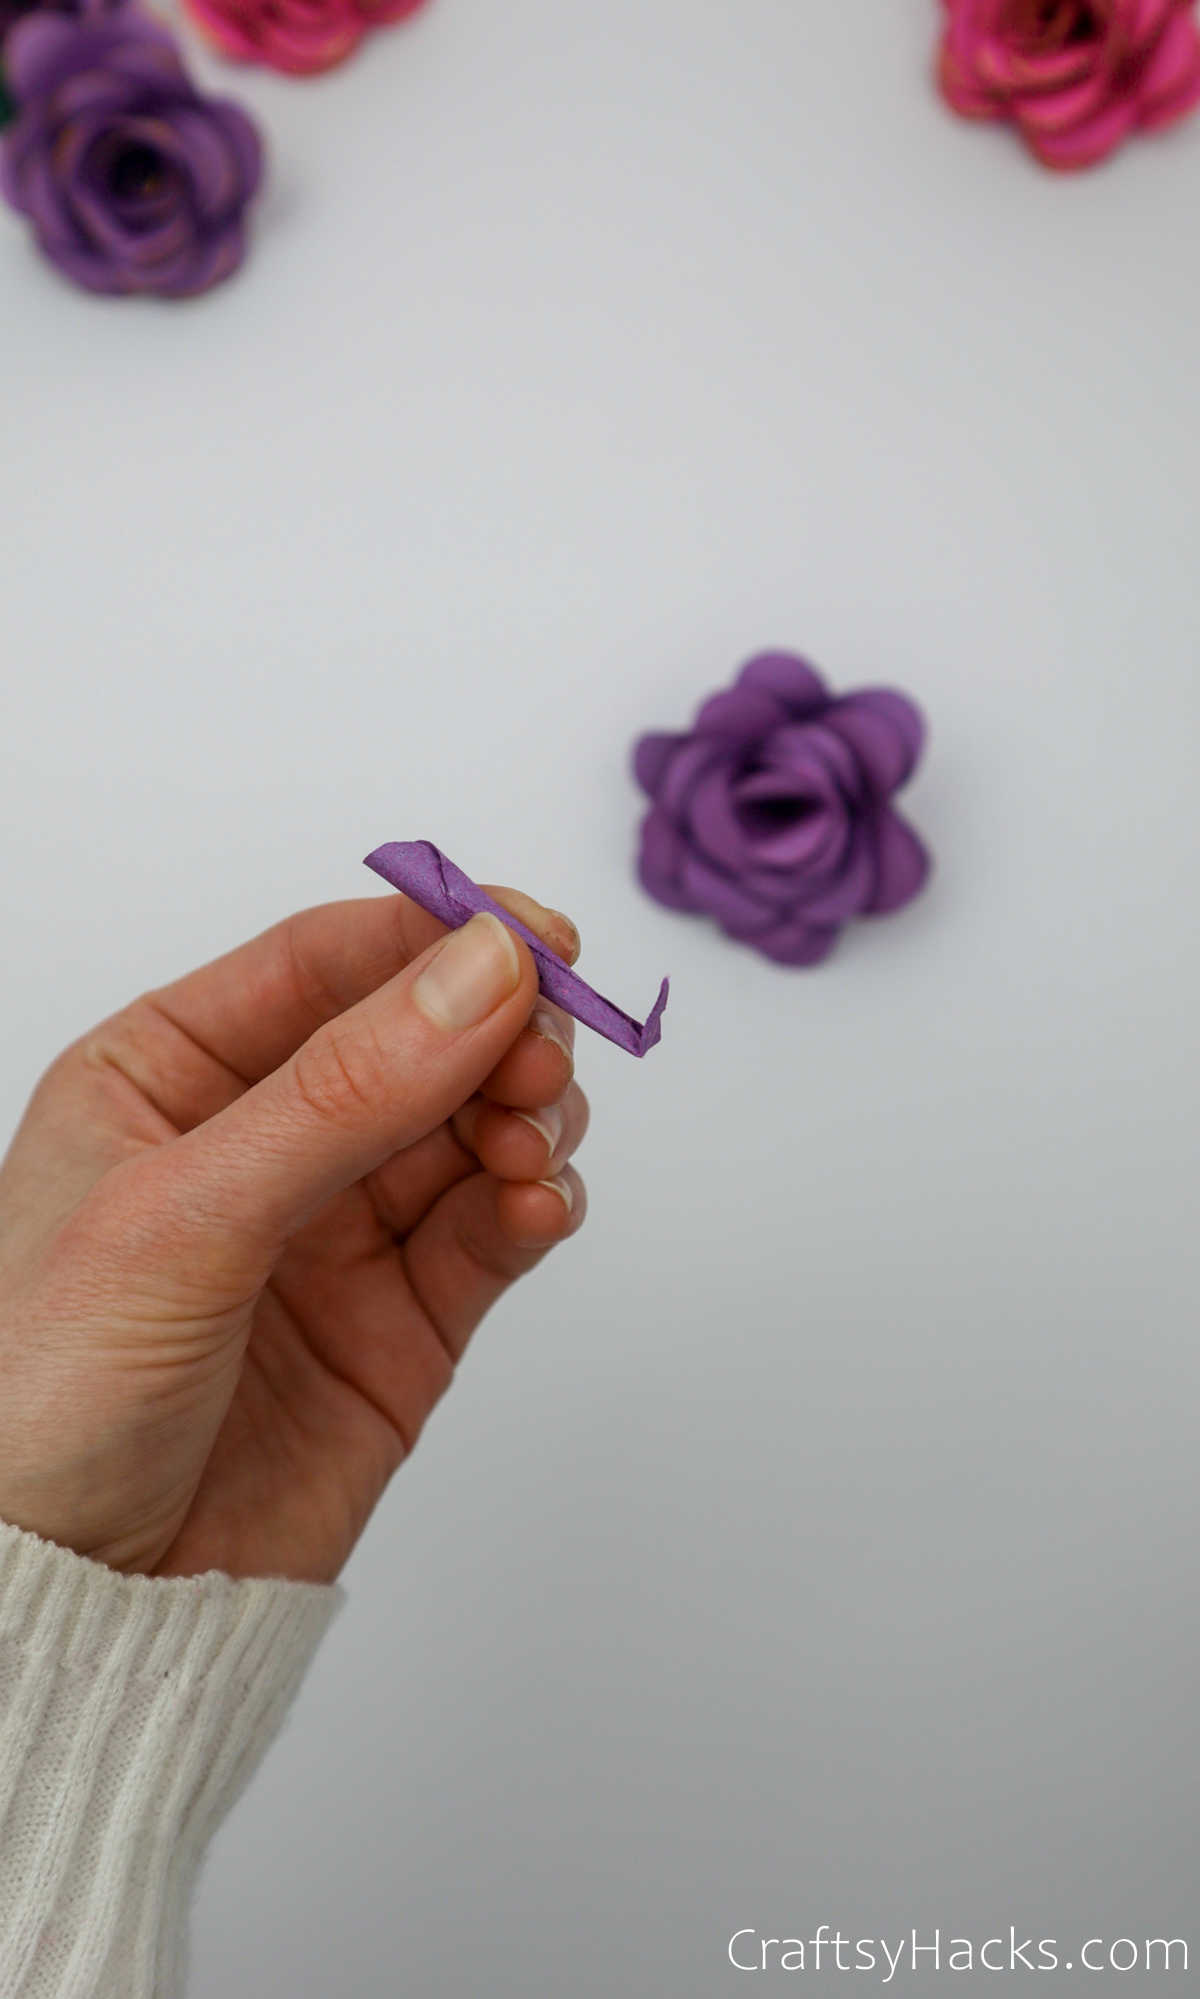
It’s time to curl the edges of your flower petals. It’s a pretty straightforward step, and all you need is a pen or marker.
Wrap the ends of the petal around the pen and carefully roll the paper to bend it into a furled curve, as seen below.
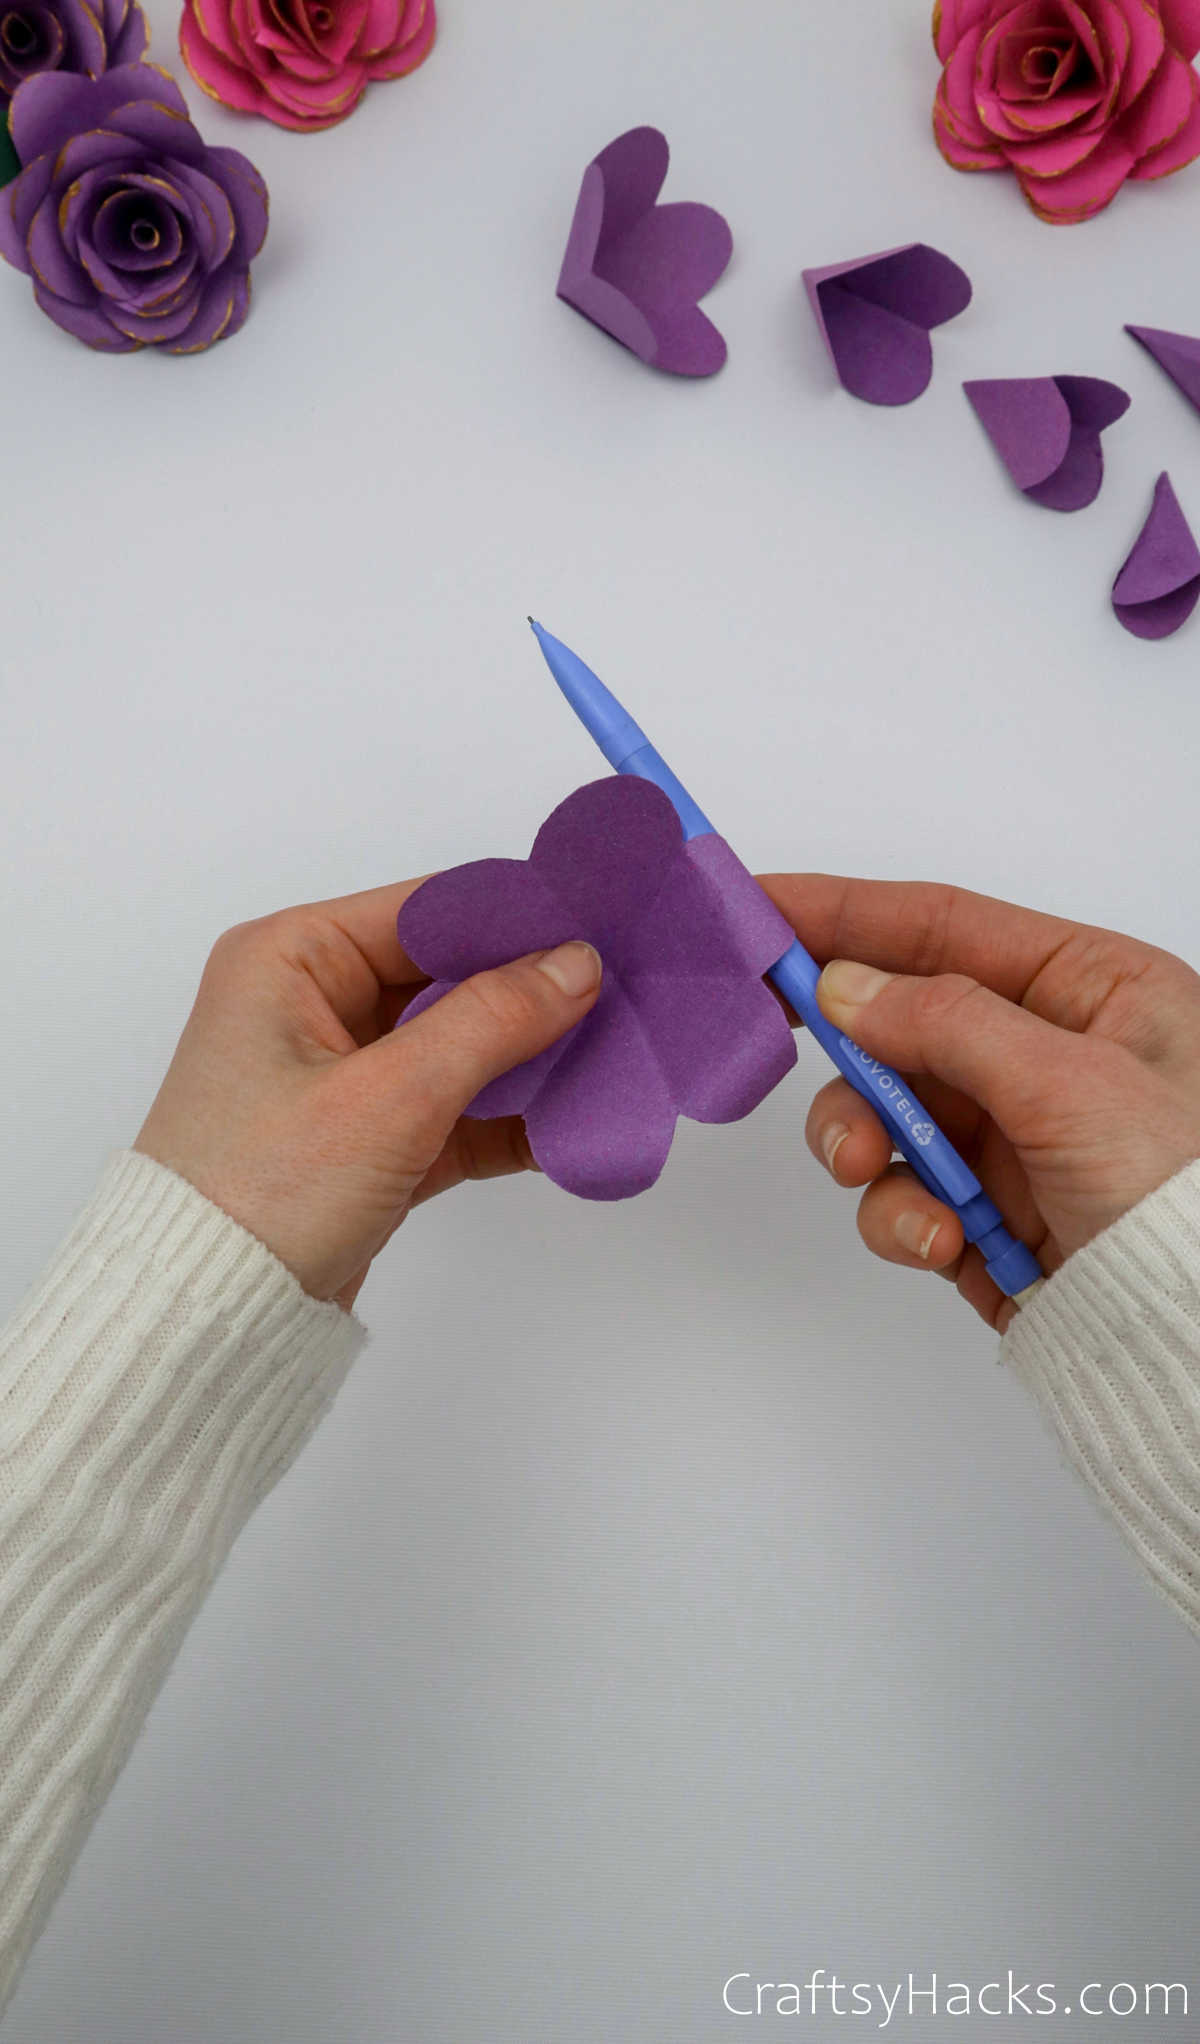
Work your way around till you’ve done the same for all the petals as well as all the layers of your paper flower.
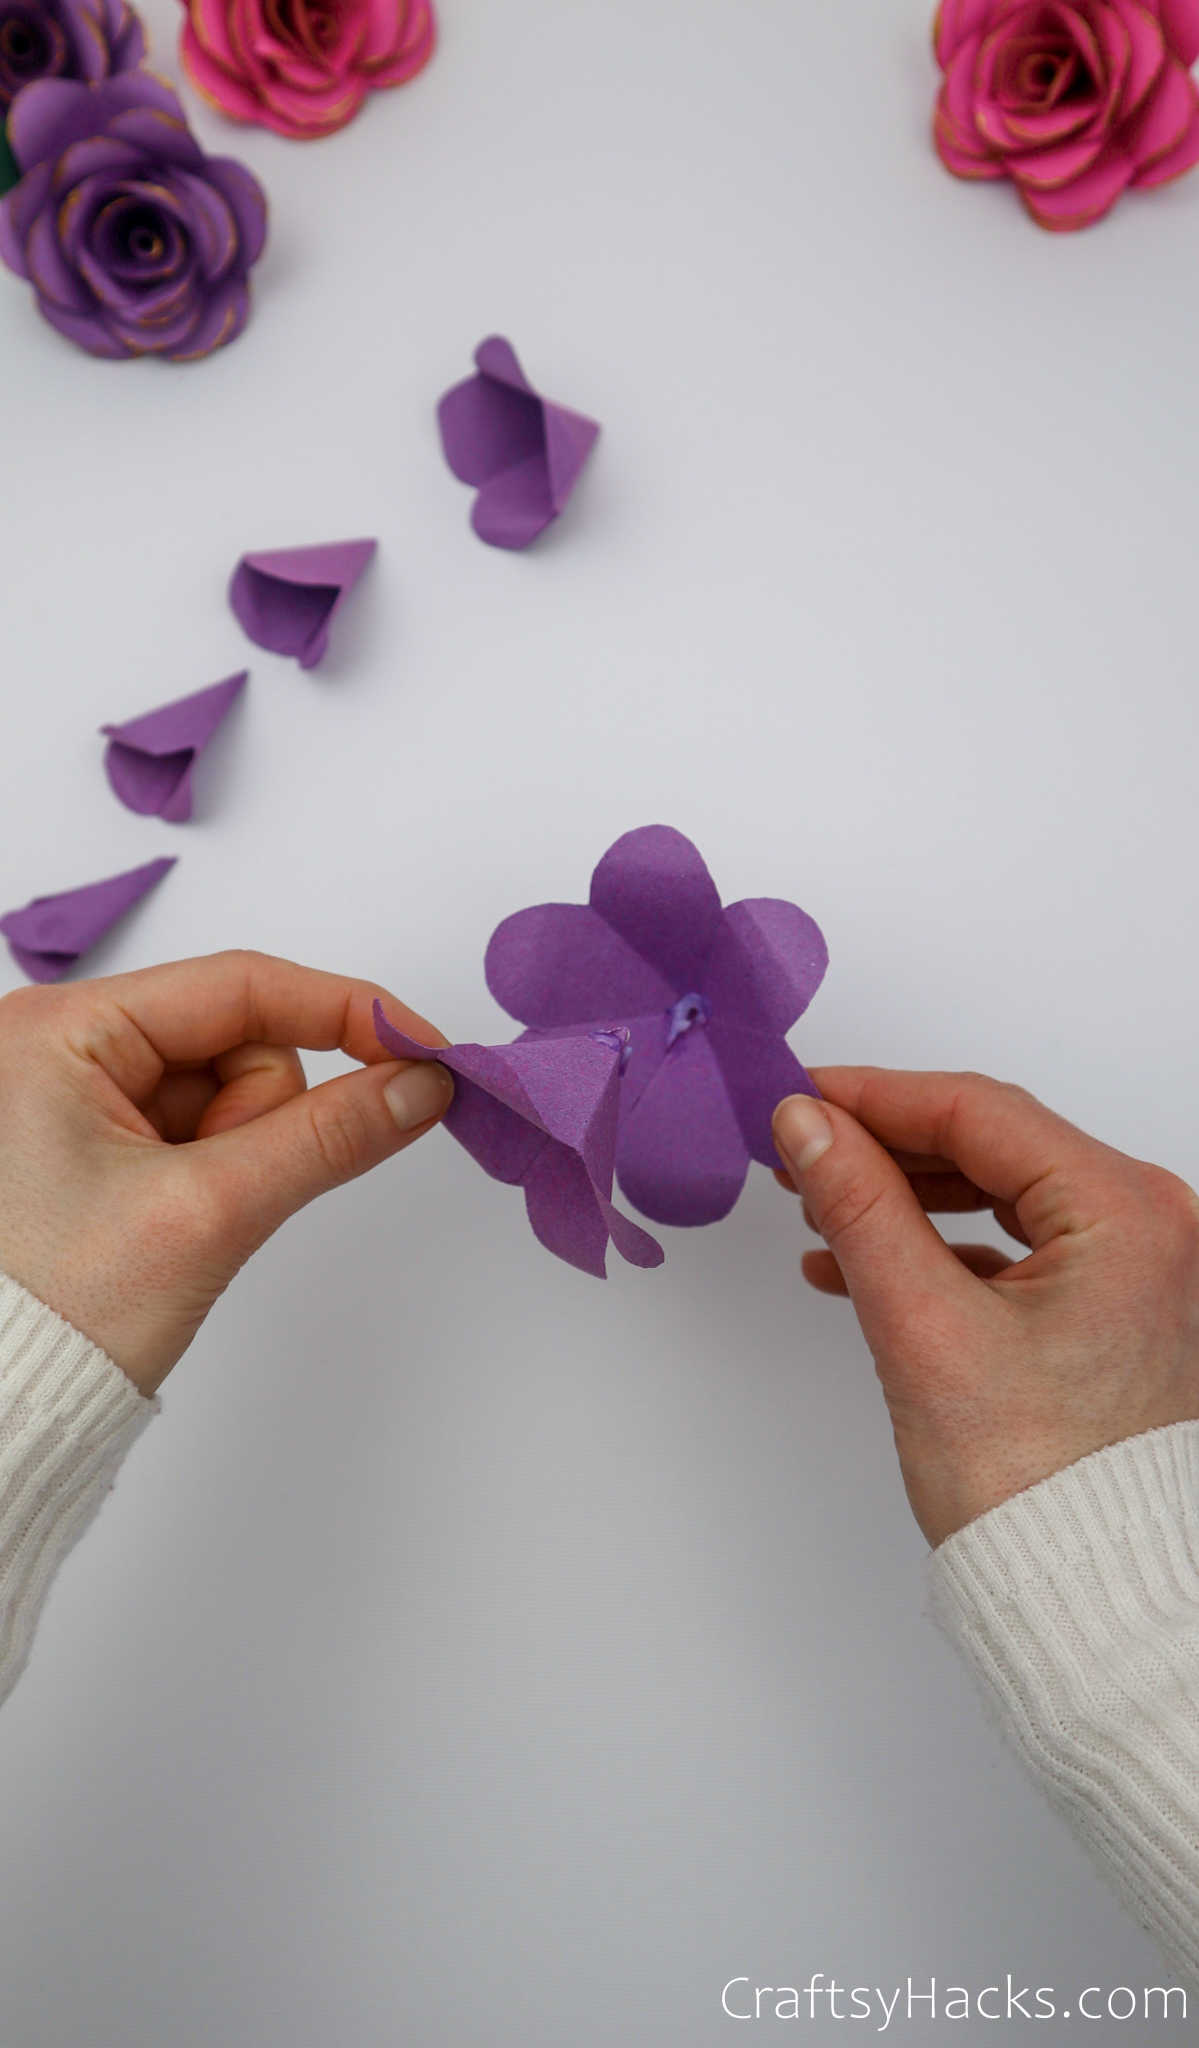
Step 11
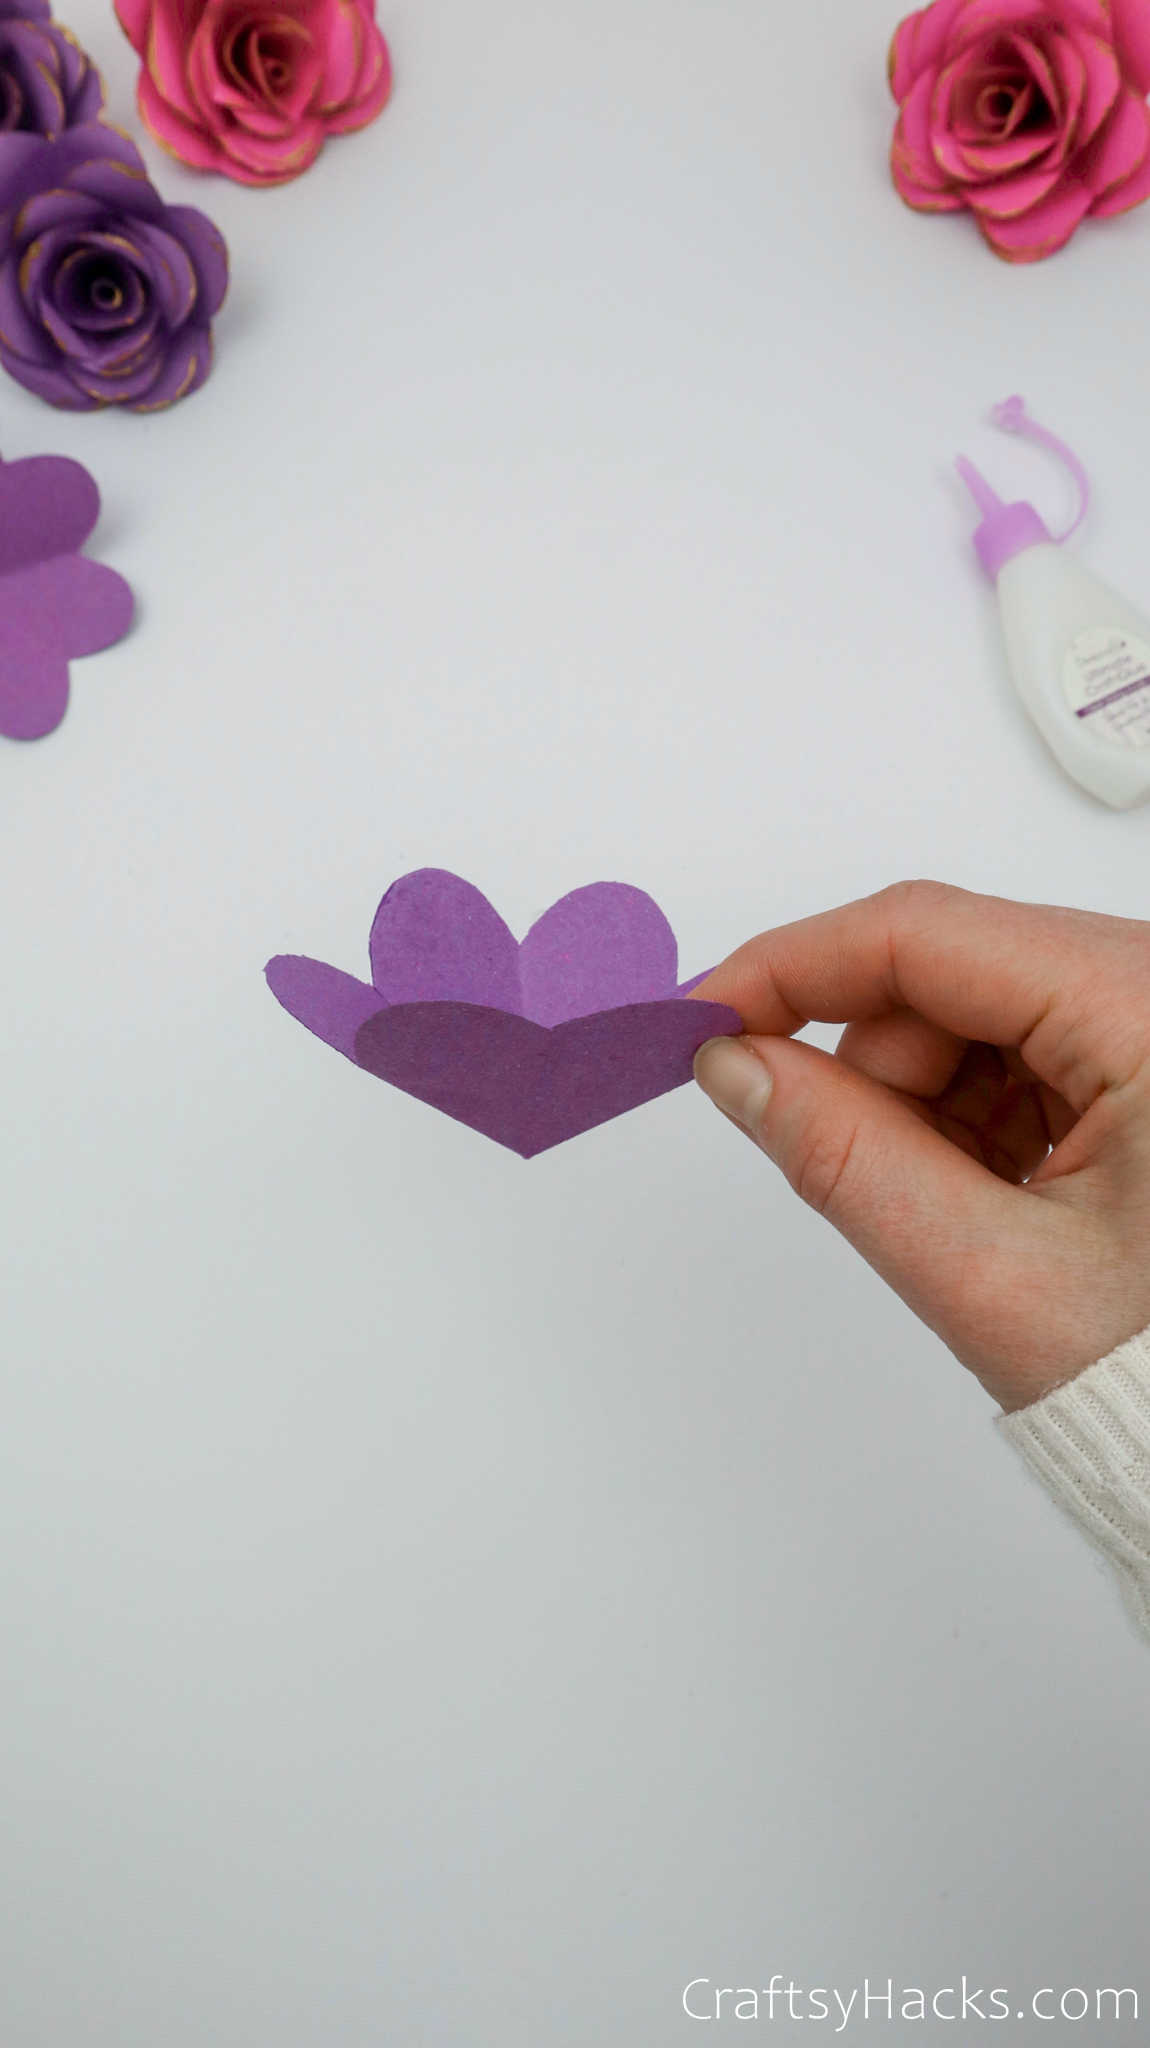
Now it’s time to stick all the layers in place. Just dab some glue to the inside of the pointy tip of every layer and stick the outside of the next layer in.
Hold it in place to allow the layers to set and proceed to do this for all the layers of the flower.
Step 12
The final layer or two of the petals will be harder to stick. So when you get to that layer, line the edges rather than the tips with glue and hold it down to the previous layer until it sticks to it.
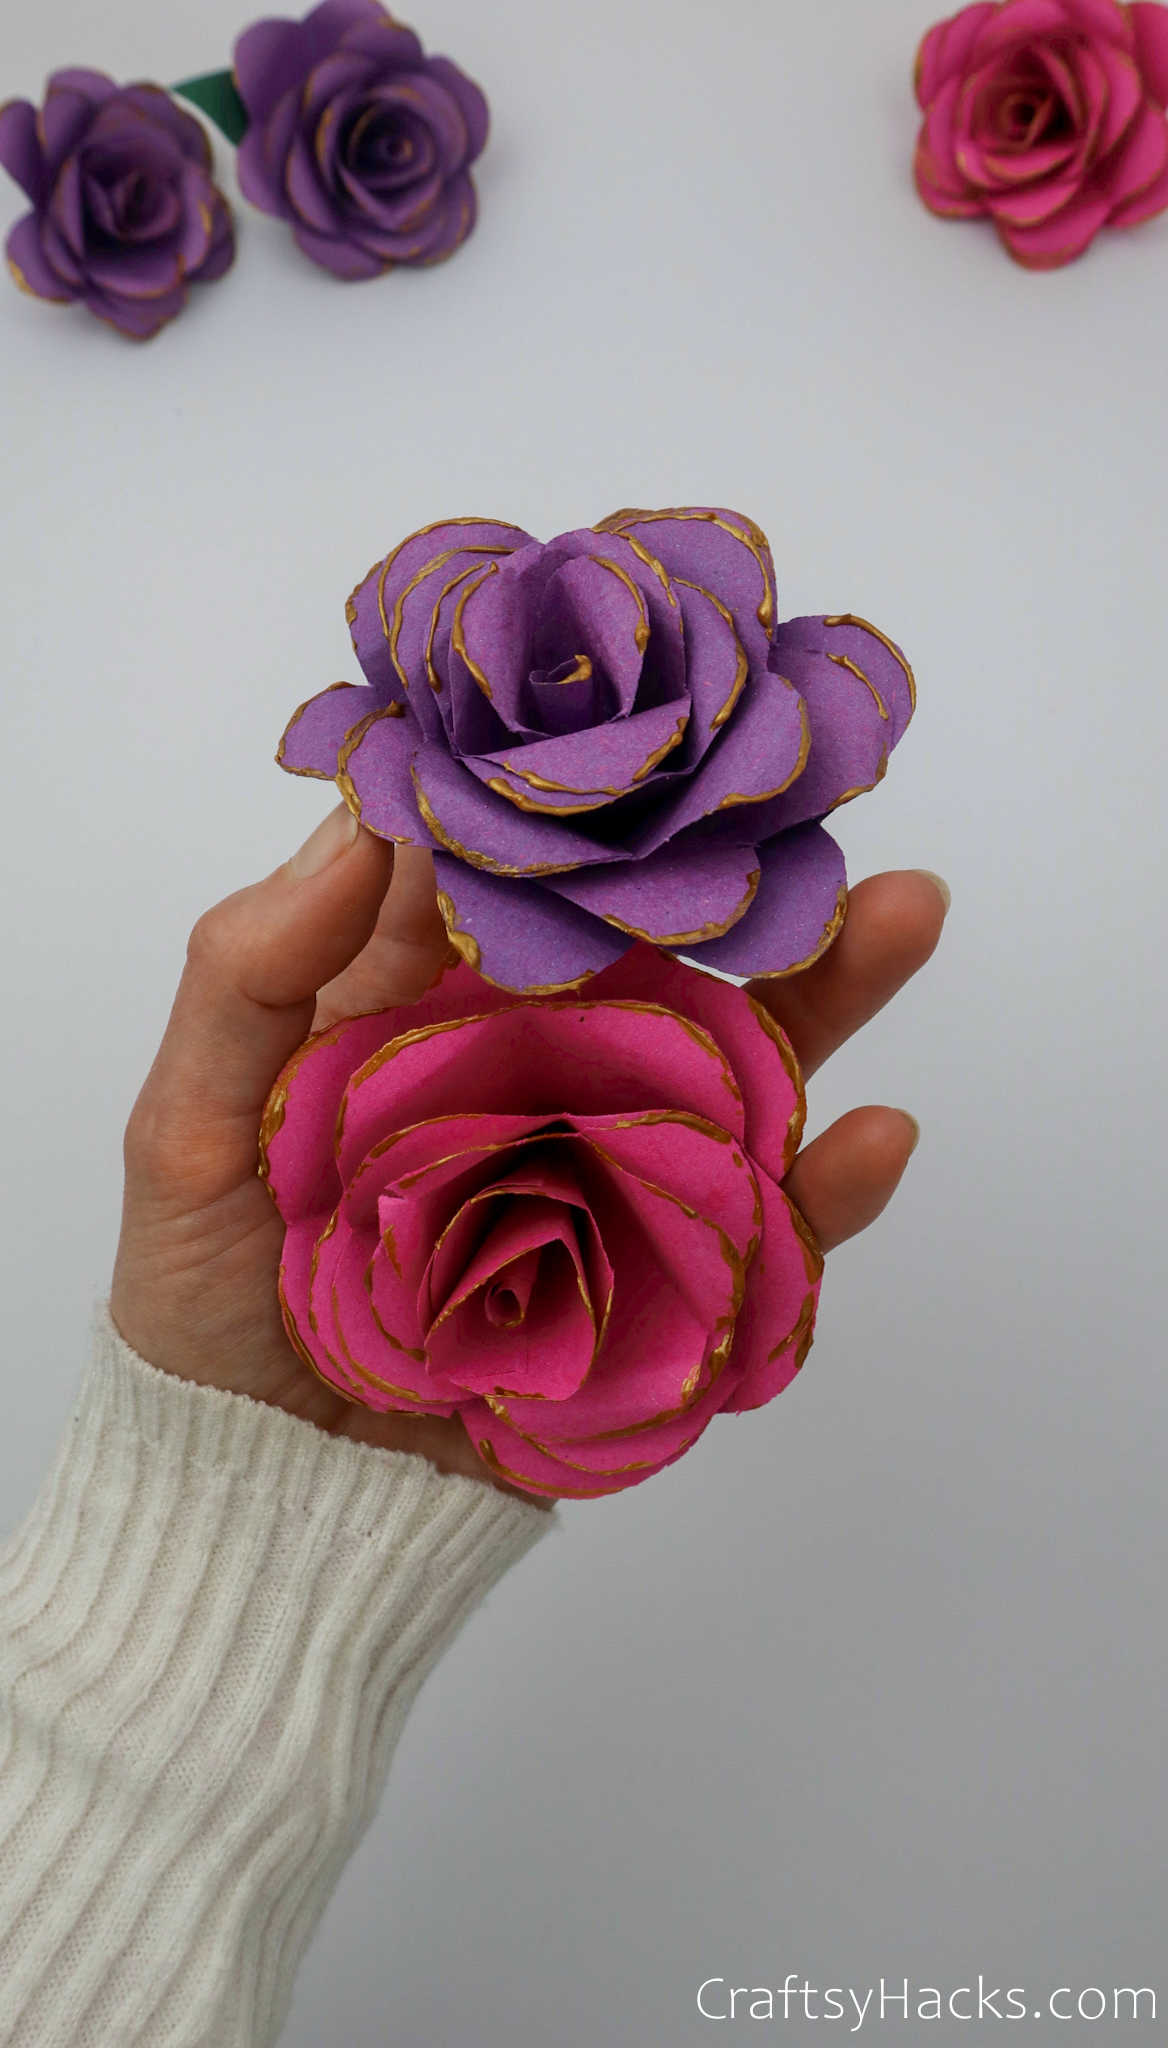
There you go, your DIY paper flower is ready. You can make and store a ton of these flowers to use for later. But wait, there’s one final touch left.
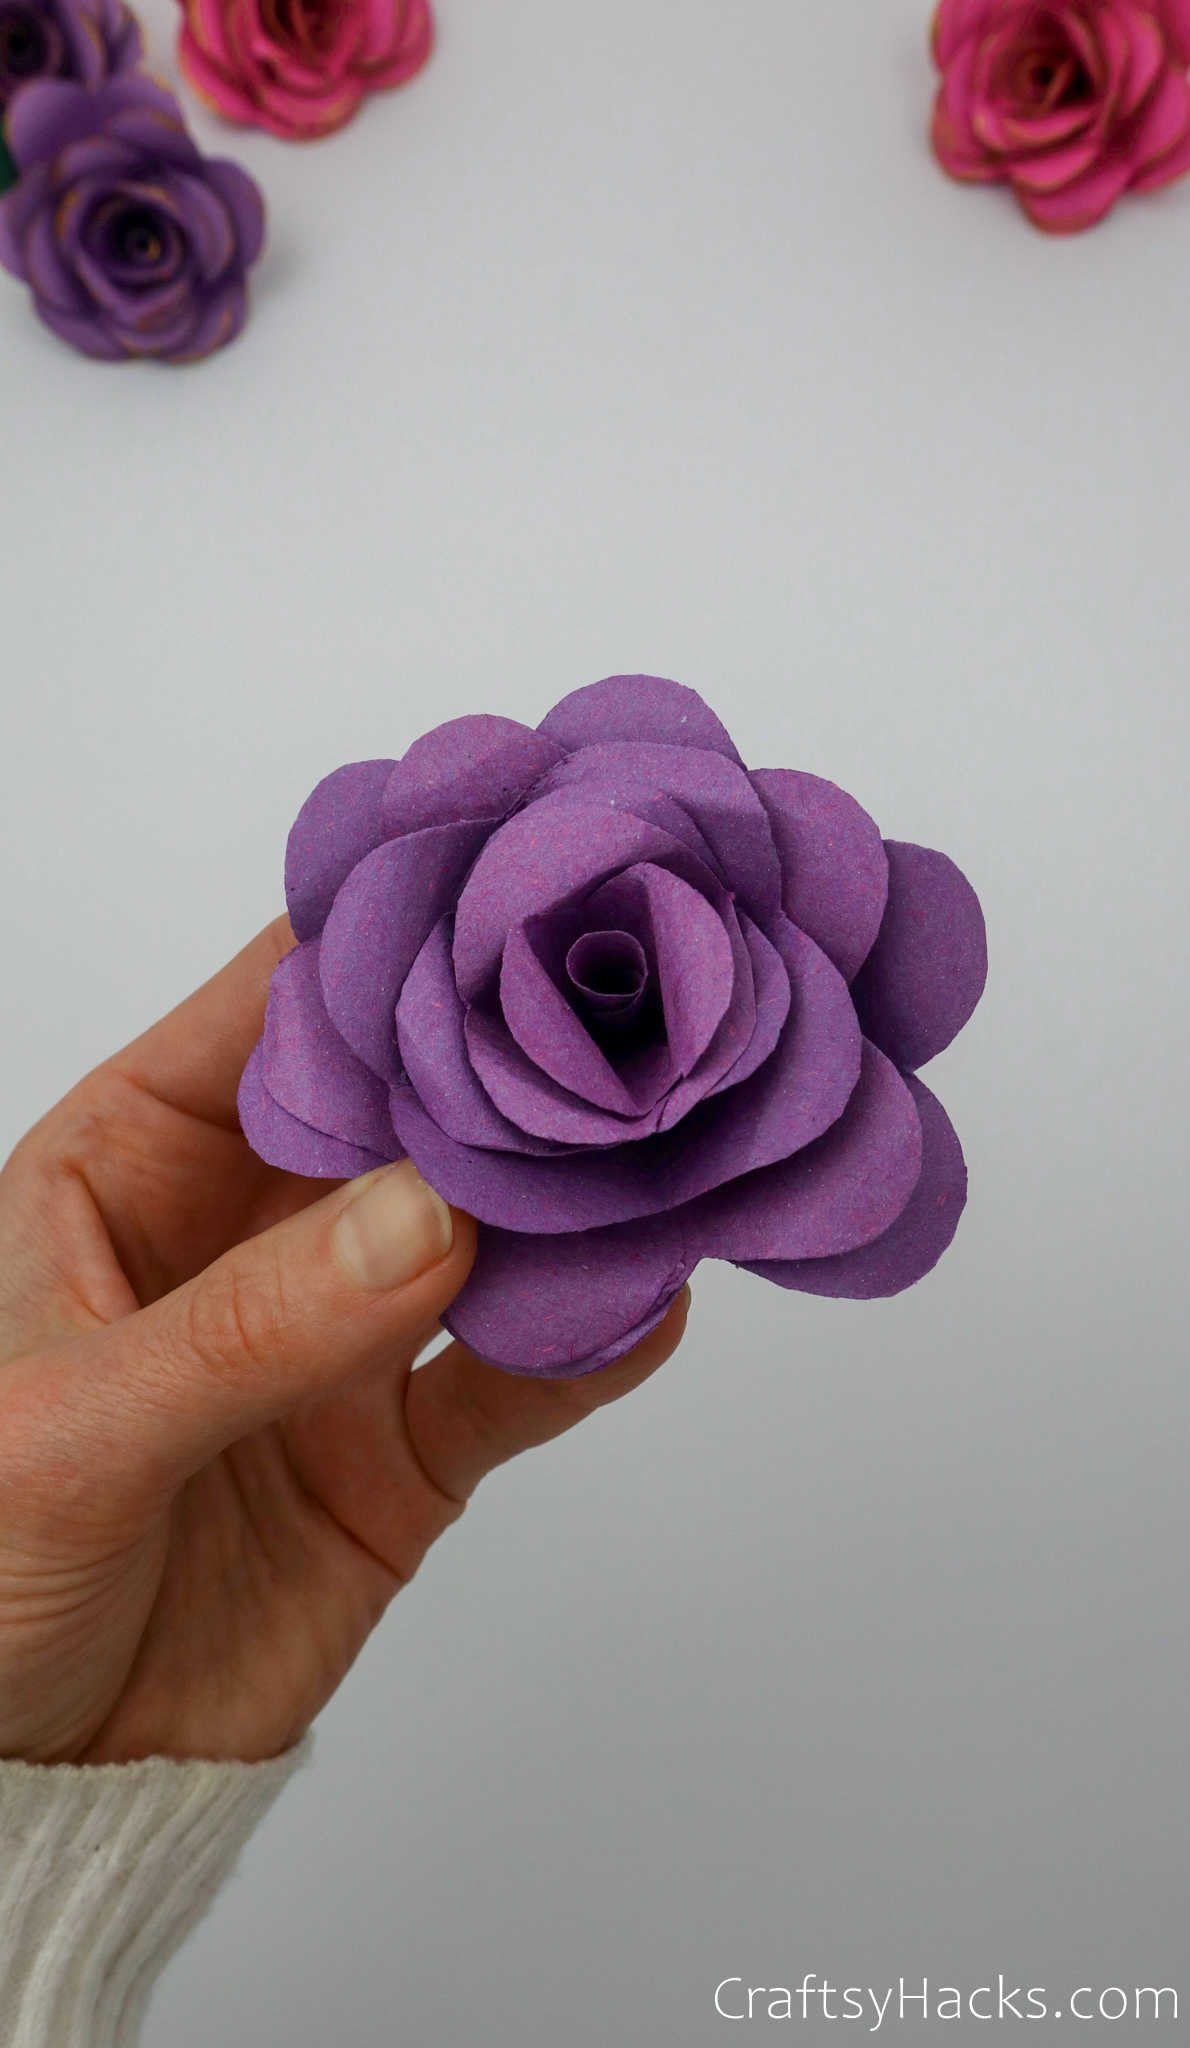
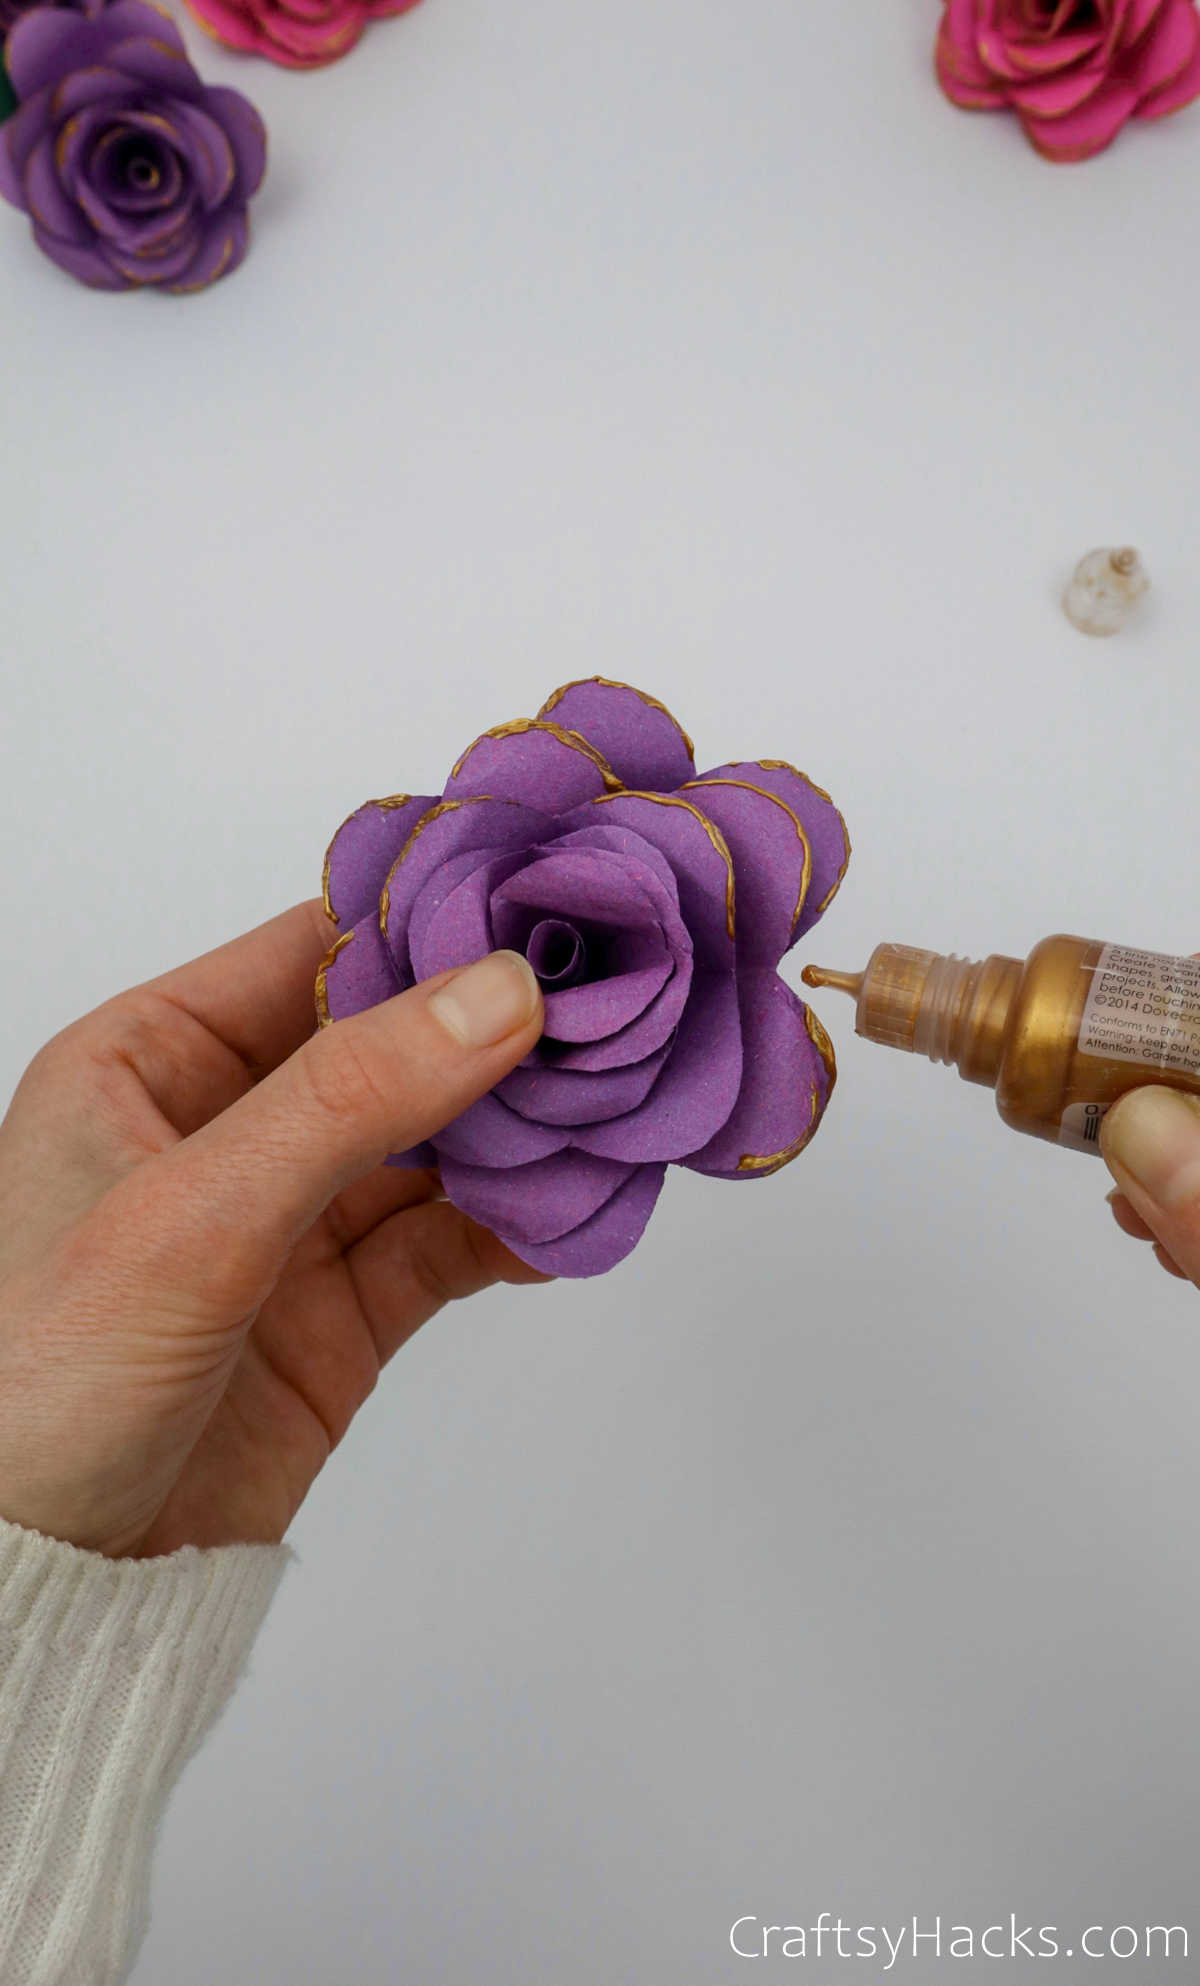
Step 13
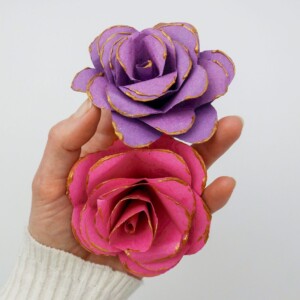
It’s time to decorate your paper flower! You can line the edges with glitter glue or even spray a fine shimmer over it to the same effect!
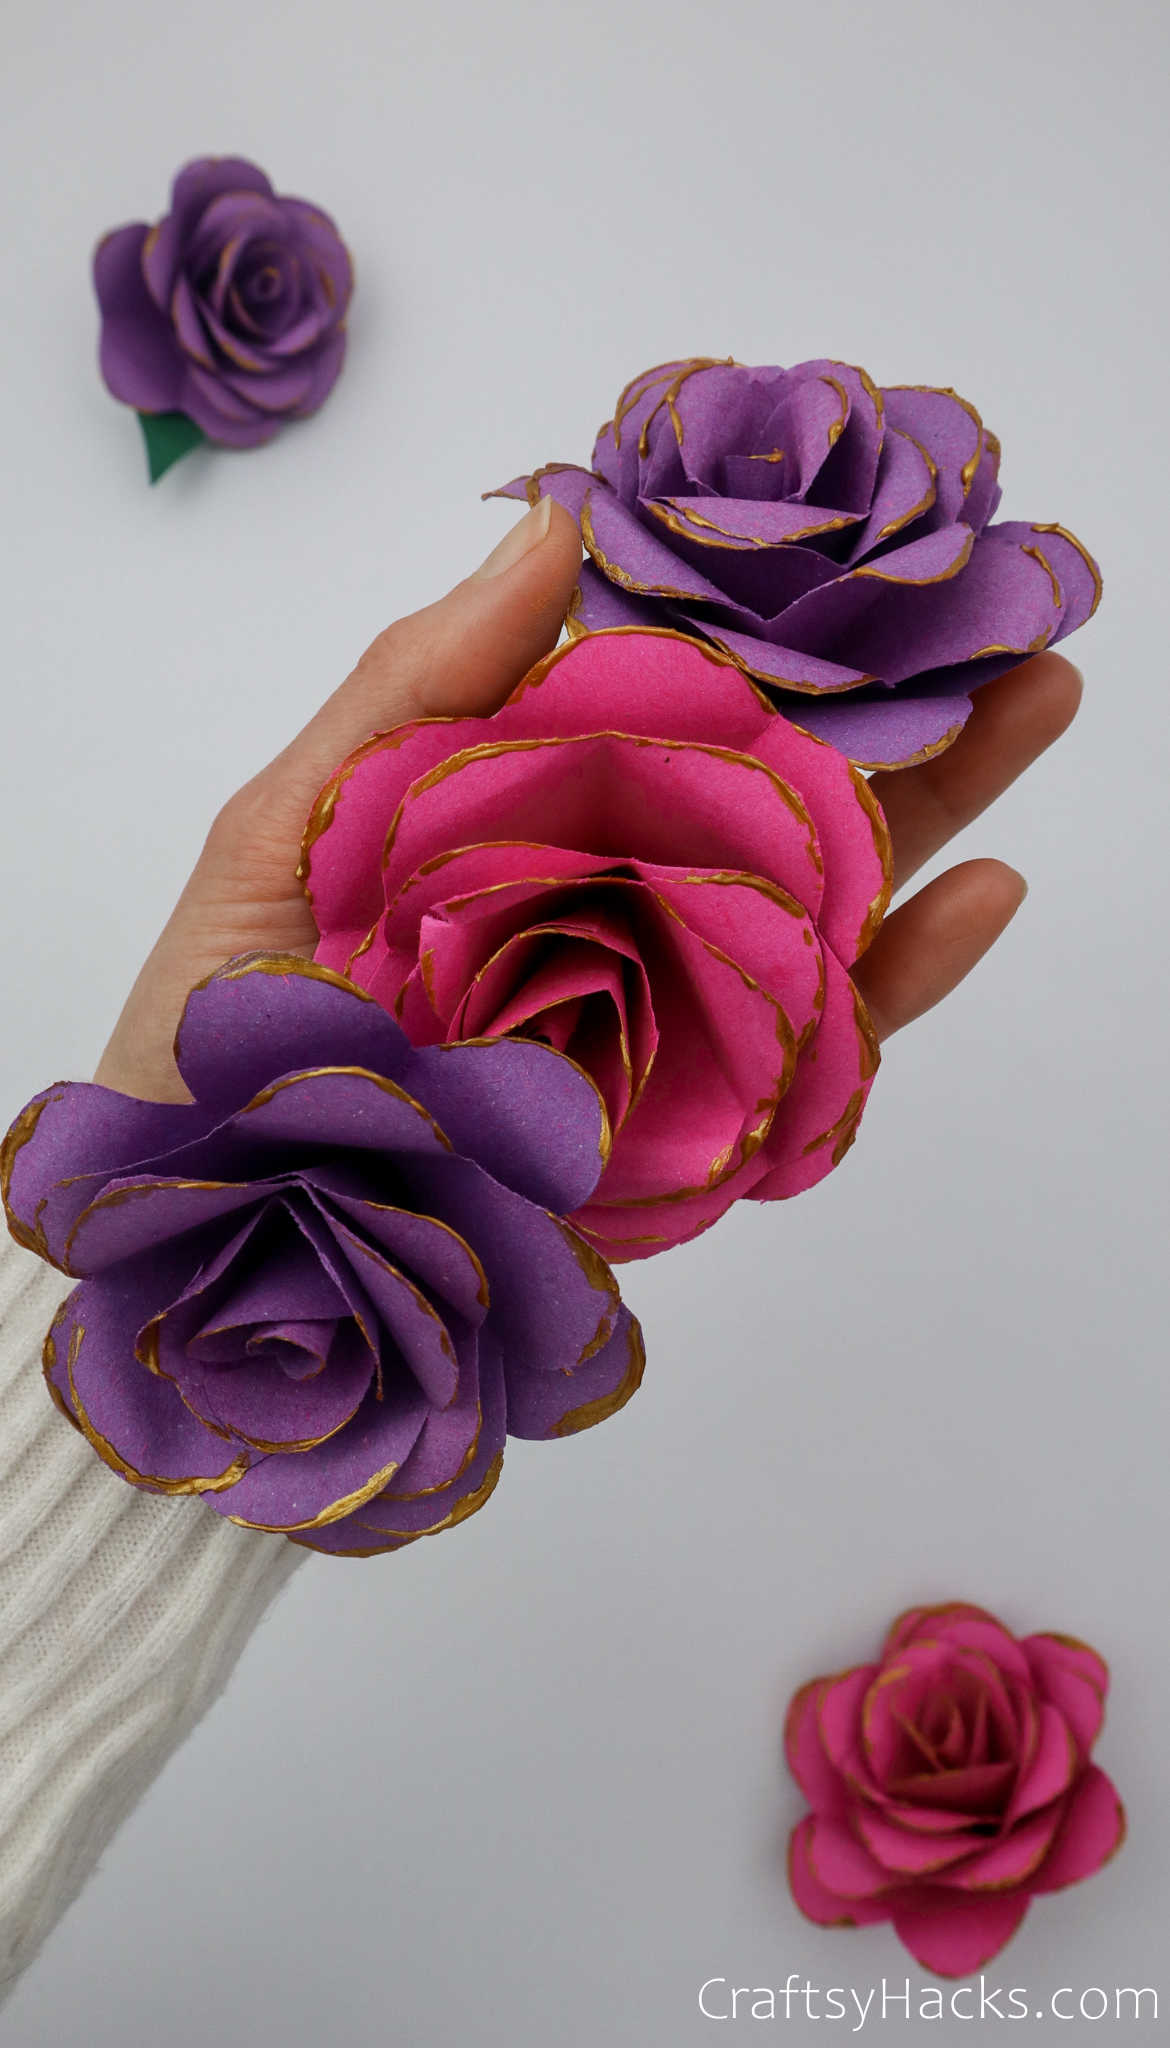
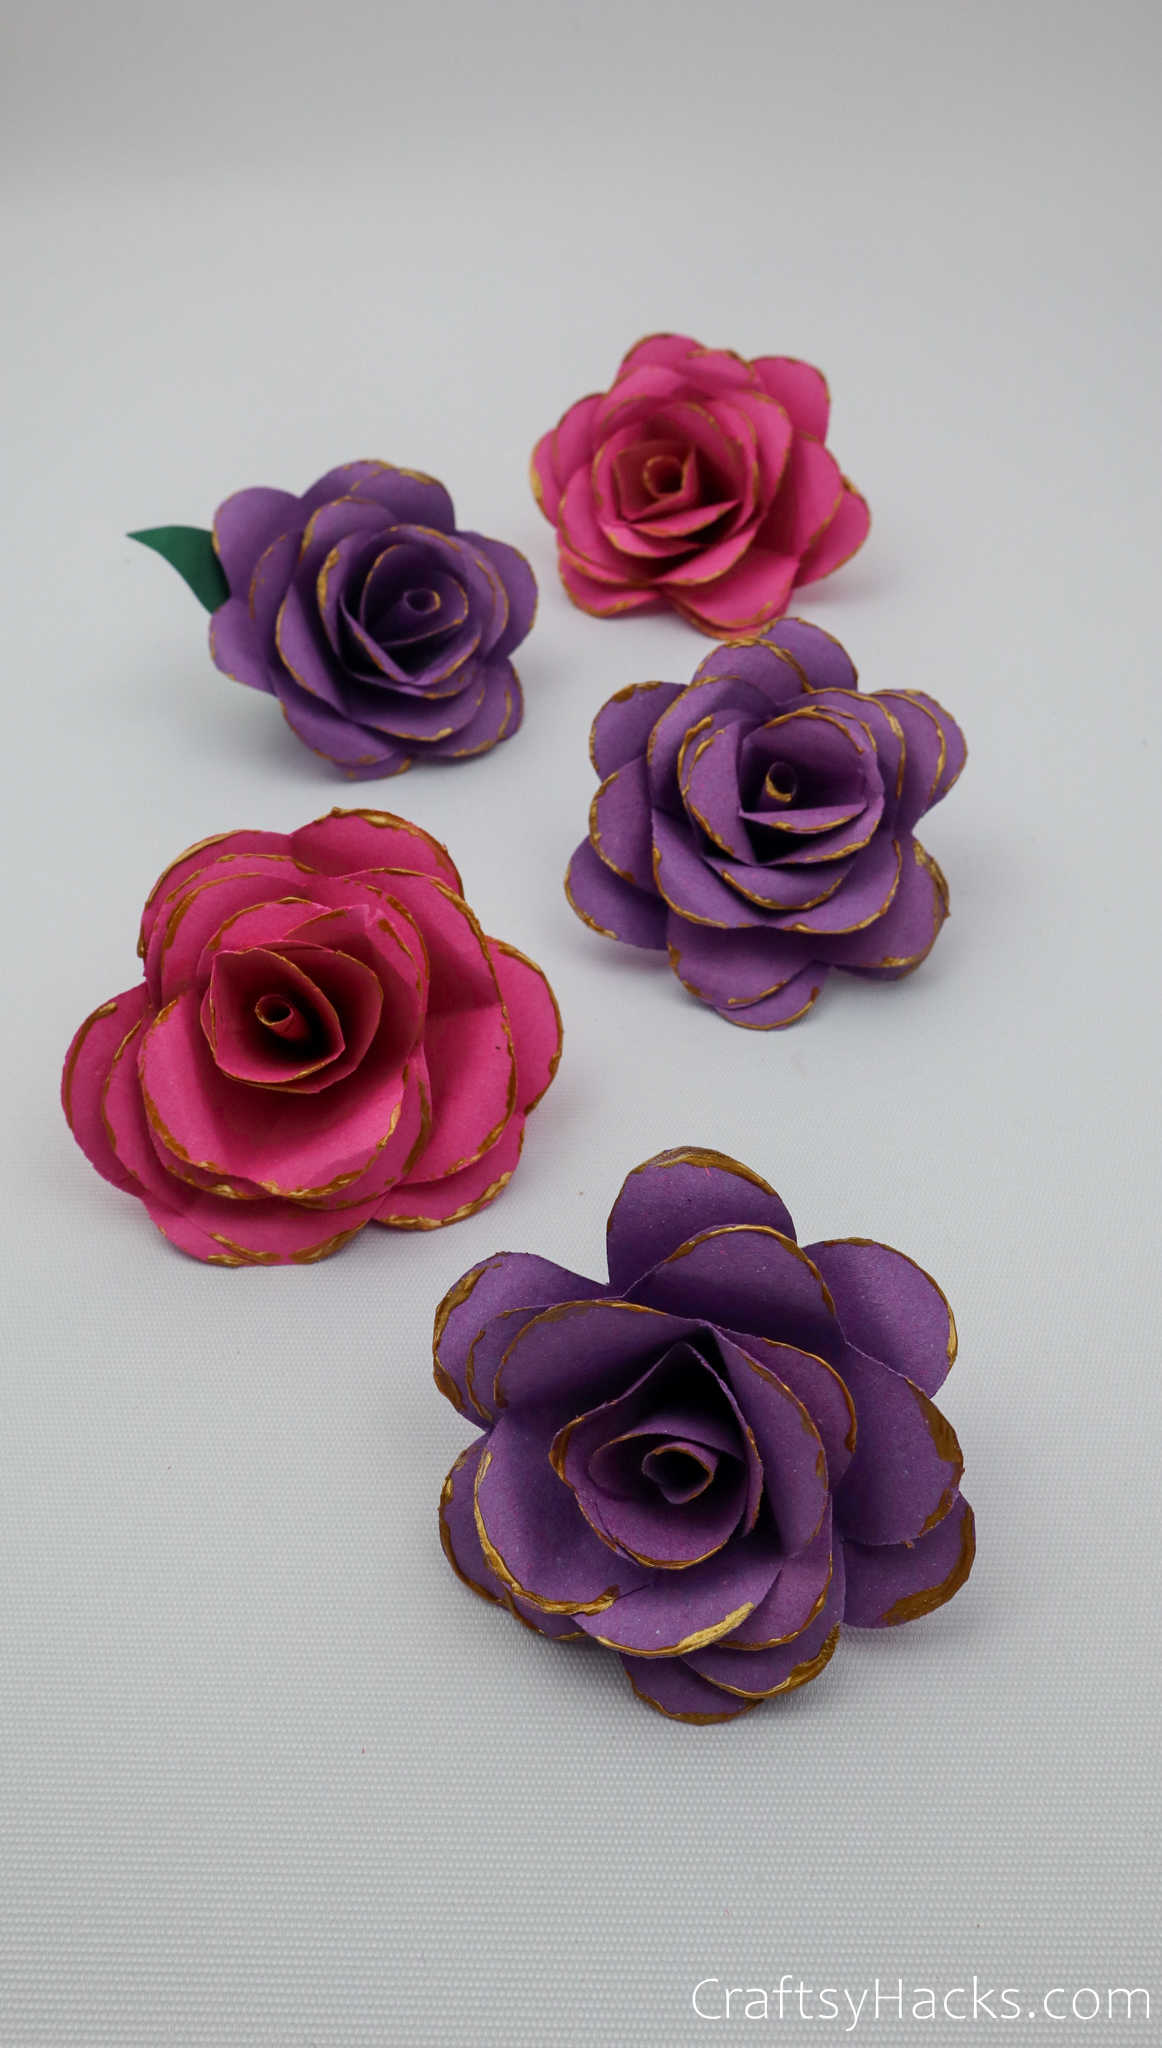
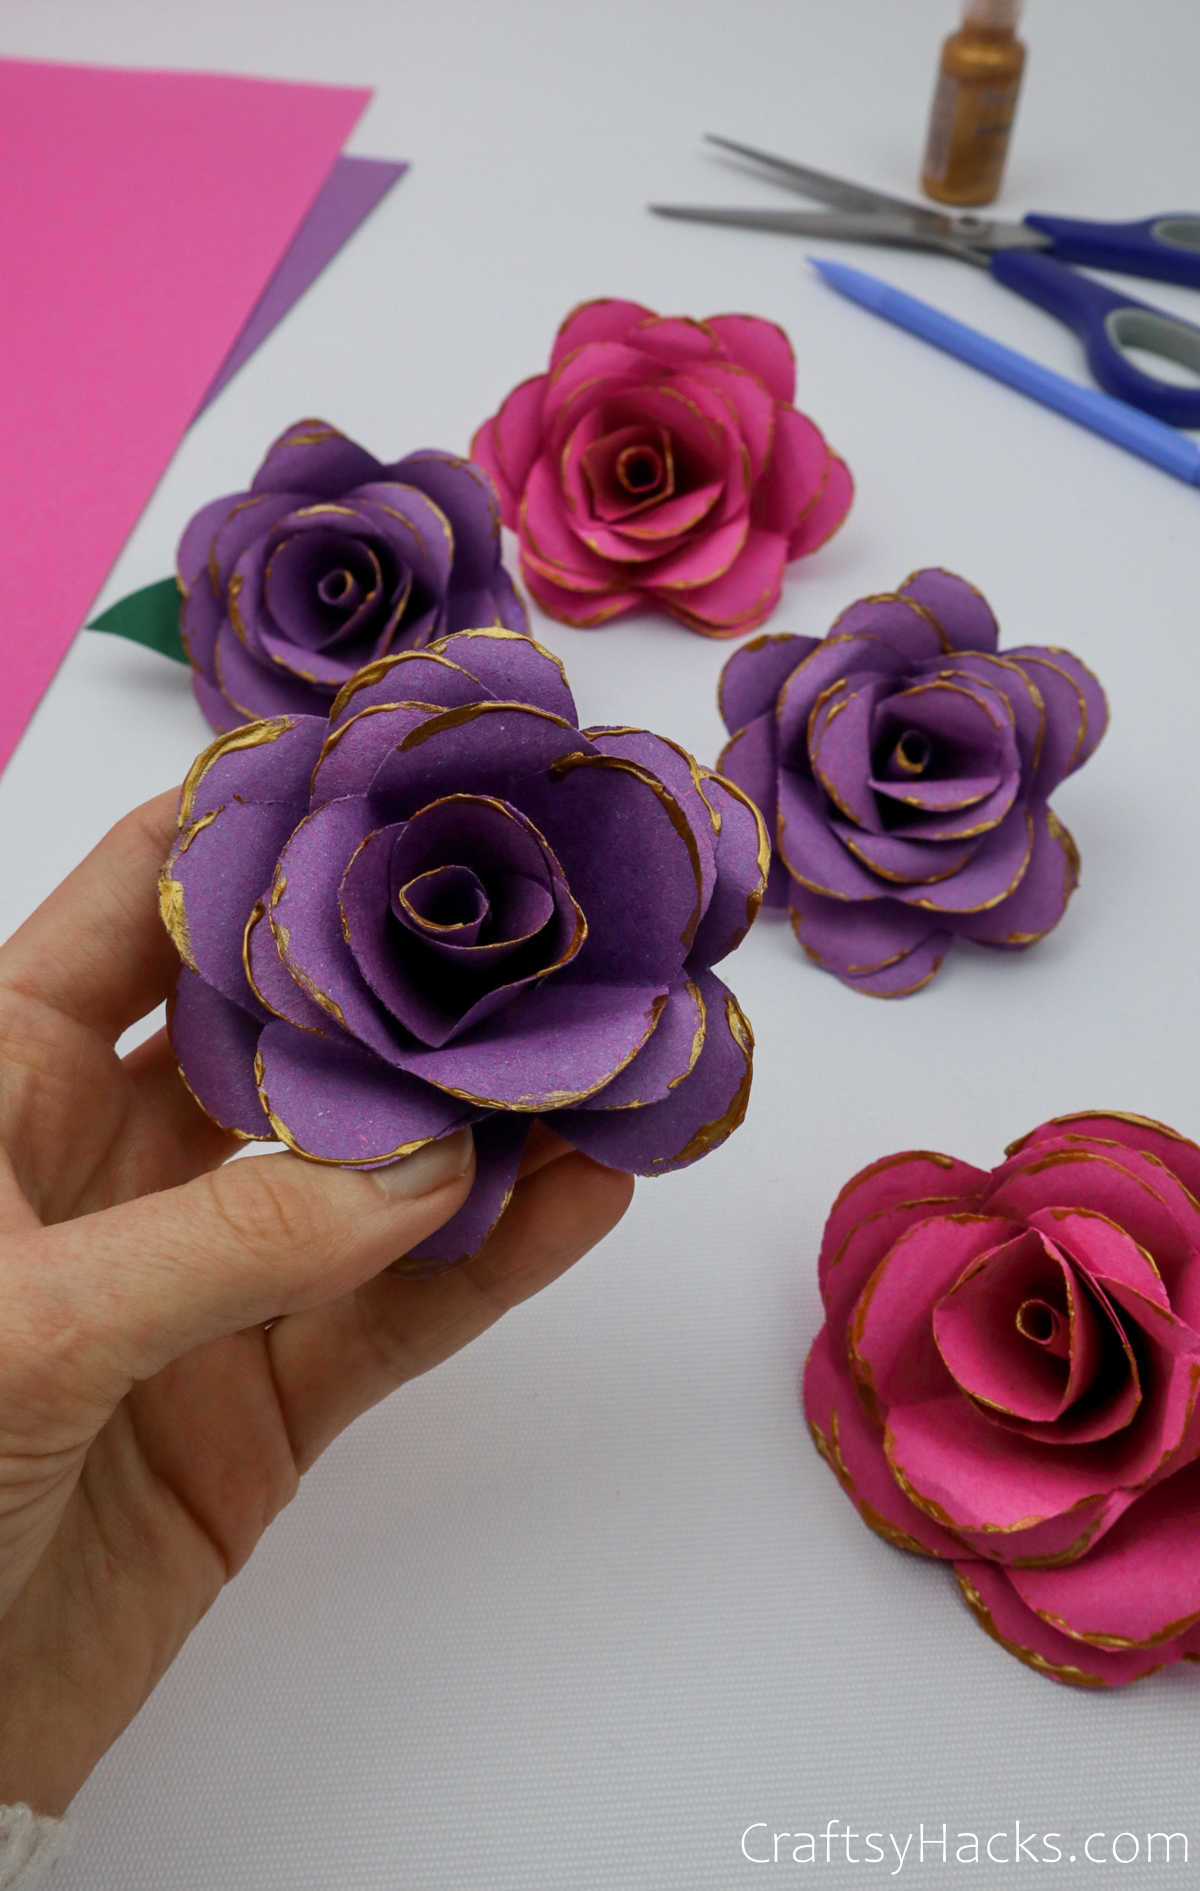
Now your paper flowers are ready!

Where Can You Use These Paper Flowers?
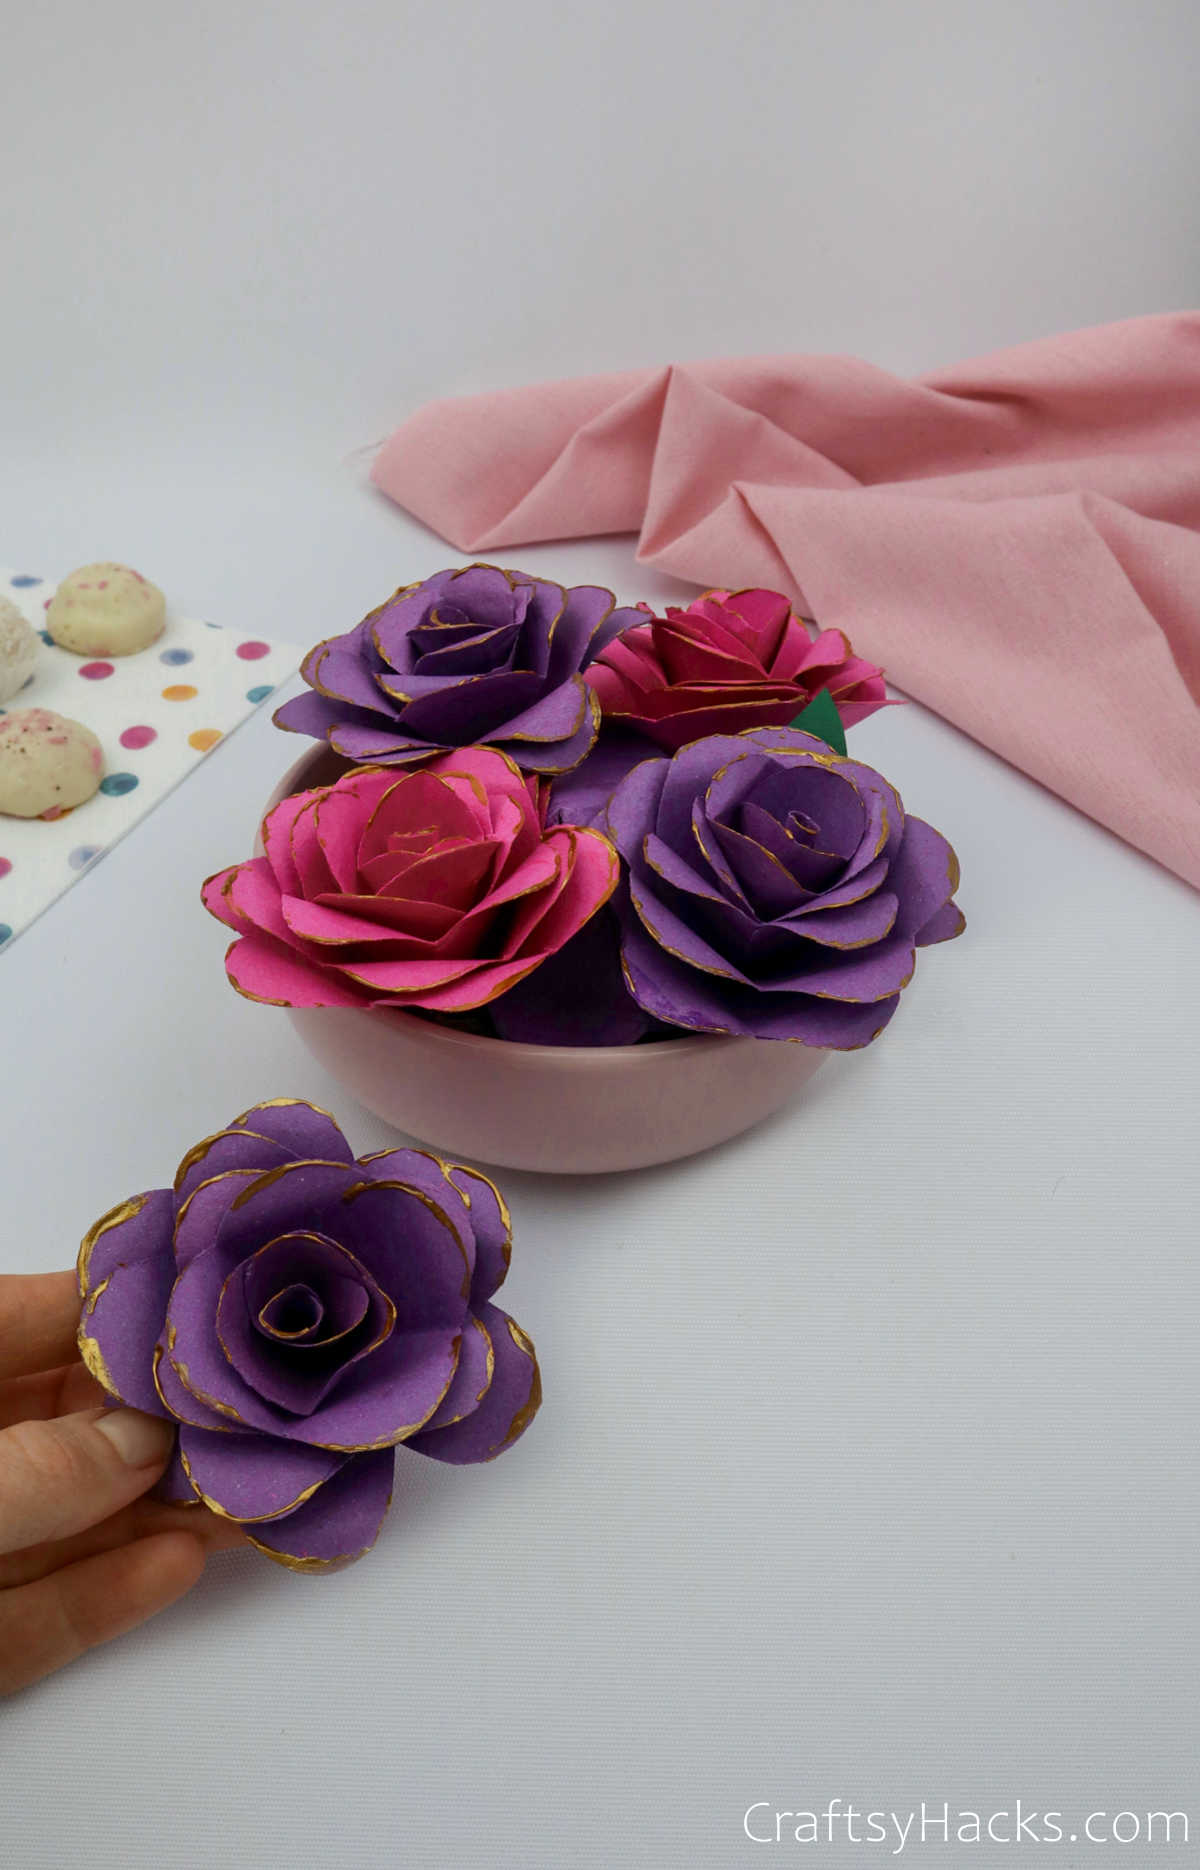
Do you have a craft project that needs sprucing up? A picture frame, perhaps that looks a little too plain, or a birthday card you want to jazz up?
Your paper flowers could make an amazing addition to those craft projects! You can even make a paper flower montage or fill up a box frame with them and mount it on your wall as wall decor!
You can mix these paper flowers with these tissue paper pom poms and really get creative!
Additionally, check out these 31 paper crafts for adults that have a ton of innovative ideas for how to make paper-related crafts.
Other Crafts You May Like
- Construction Paper Crafts
- DIY Photo Album Ideas
- Summer Crafts for Kids
- Crafts for Girls
- How to Make a Paper Envelope
- DIY Bookmarks
- Paper Plate Flower Craft
- How to Make Tissue Paper Pom Poms
- Tissue Paper Crafts
- Projects for Teens
- Paper Picture Frames
- Crafts for Kids
Video Tutorial for Paper Flowers
How to Make Paper Flowers
Video Tutorial
Equipment
- Scissors
- Pencil
Materials
- 4 x paper squares 4’’x 4’’
- Craft glue
- Glitter glue
Instructions
- Gather all your supplies and lay them out on a flat surface.
- Fold a square sheet of paper diagonally into a triangle and press to crease it.
- Fold the paper again into a smaller triangle.
- Next, grab your marker and draw an arc—this will be the shape of your petal for the first layer. Cut out the petal and unfold the paper.
- Next, cut out one single petal in this layer and set it aside.
- Note: As you work your way up every layer, you will need to cut more and more of the paper to help taper your paper flower. For example, for the second layer, you will need to cut out two petals, three petals for the third layer, and so on.
- For the tip of the flower, simply curl one single petal into a cone-like center.
- Stick all the ends of every layer together, making sure they overlap and that they have pointed ends that curve the petals inward.
- Once you’ve stuck the individual components, it’s time to stick them all together and create your flower.
- Just layer the insides of the first layer and stick the next layer over it, holding in place till it sets.
- Once your flower has dried completely, you can curl the ends using a pen.
- The final step is to decorate it with glitter glue, and your paper flowers are good to go!


Your written directions are missing a step. It says to fold twice, but it should be 3 times. other than that, thank you so much for the pattern. it was so helpful to have step by step pictures as well as a video.
@Diana, thank you for pointing that out I was wondering what I was doing wrong
wow! beautiful
What kind of paper is the best? Different paper for different flowers?
We used just regular colored paper. A little thicker but flexible enough to make these flowers. As long as it’s not cardboard, it should work 😉
This flower is tooo beautiful.