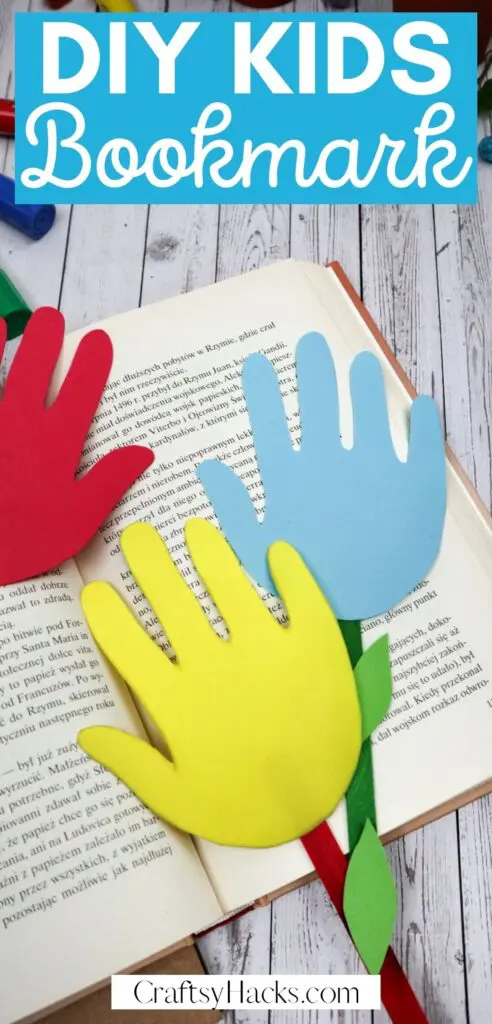
Get kids reading with these DIY bookmarks. Easy and fun to make and on top of it all – useful for the kiddos!
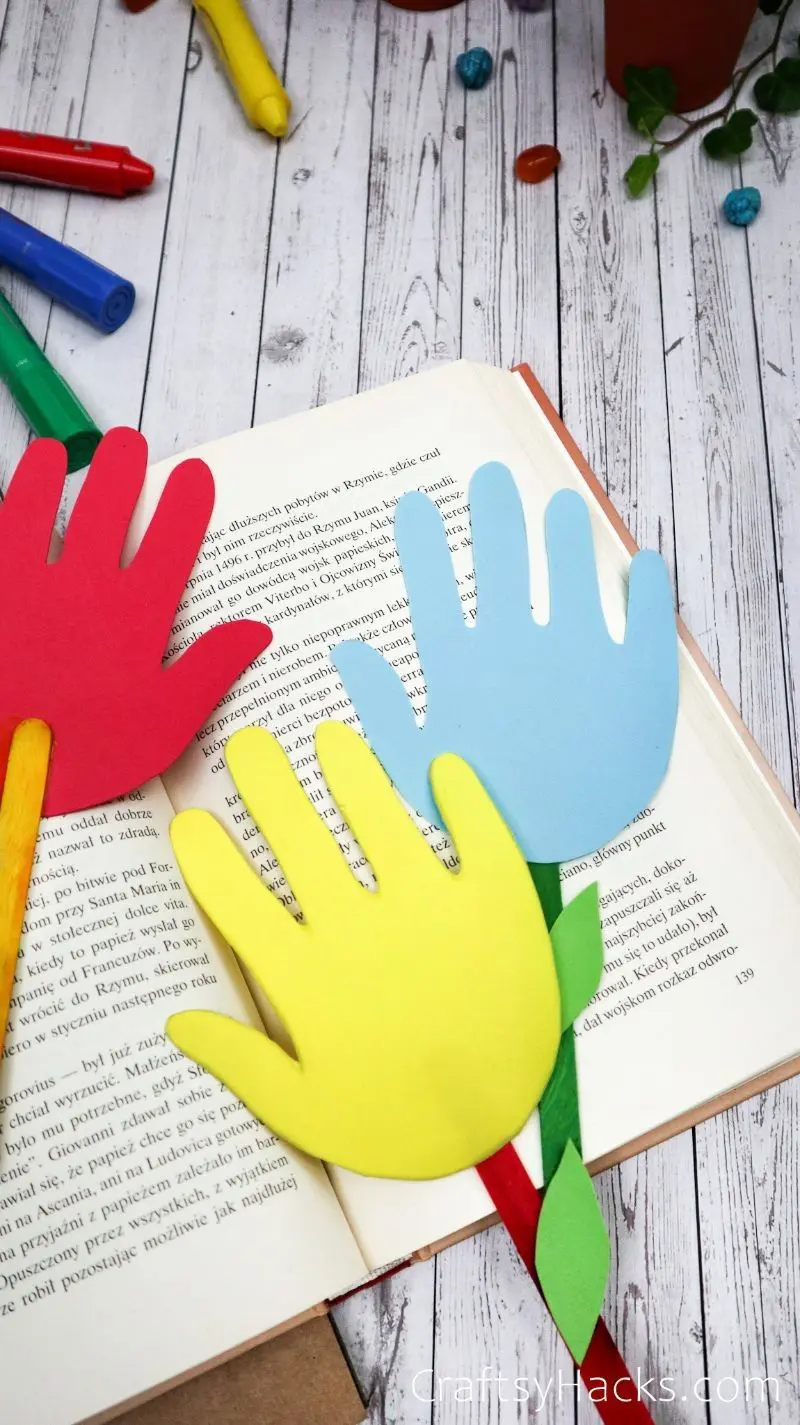
Getting a kid into reading is one of a parent’s ultimate goals, but it’s not that easy if your kids are bored by books! Not to worry, there’s something you can do to brighten their reading experience.
Bookmarks are the perfect thing to make with your kids because they encourage them to engage with the reading experience. Take them to the library once you’re done to pick out some new books to try!
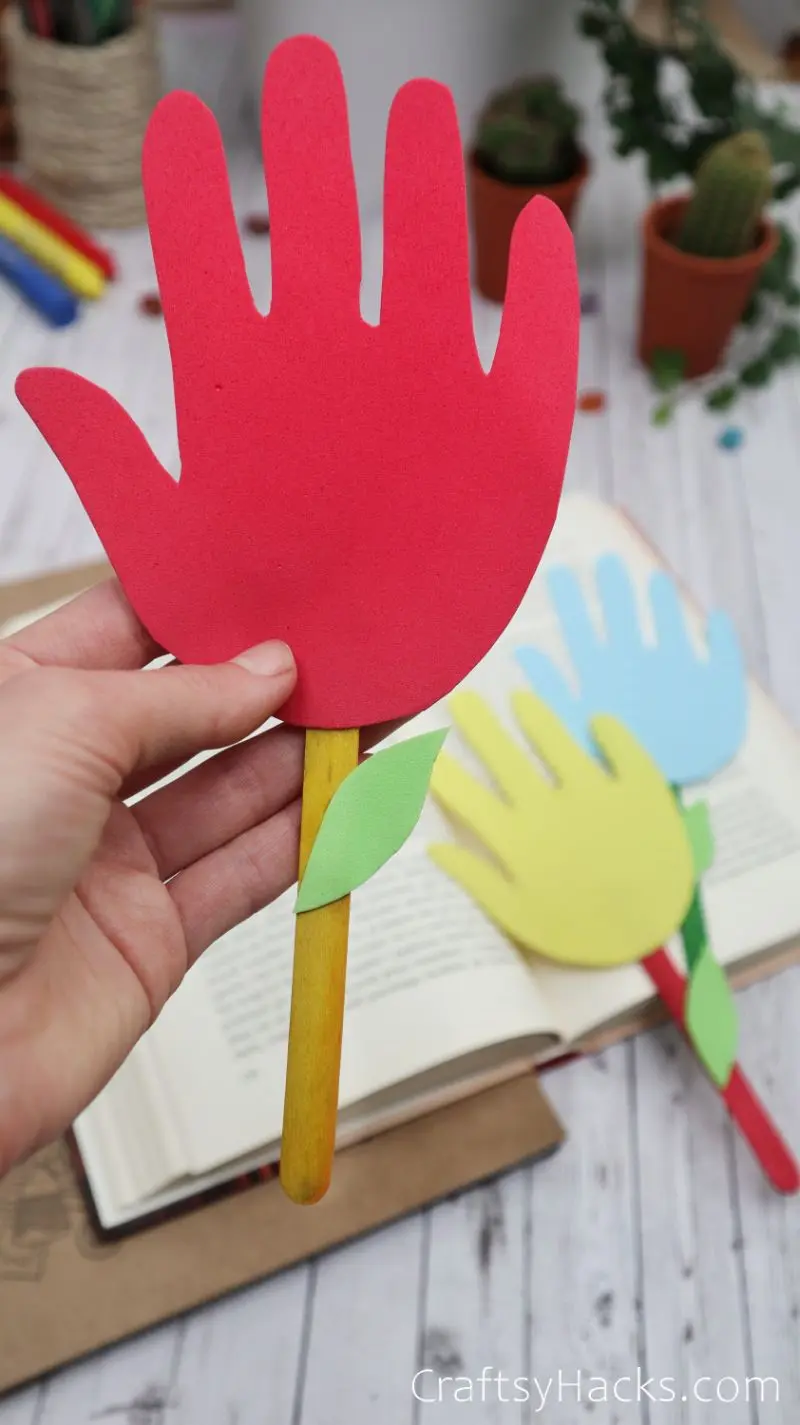
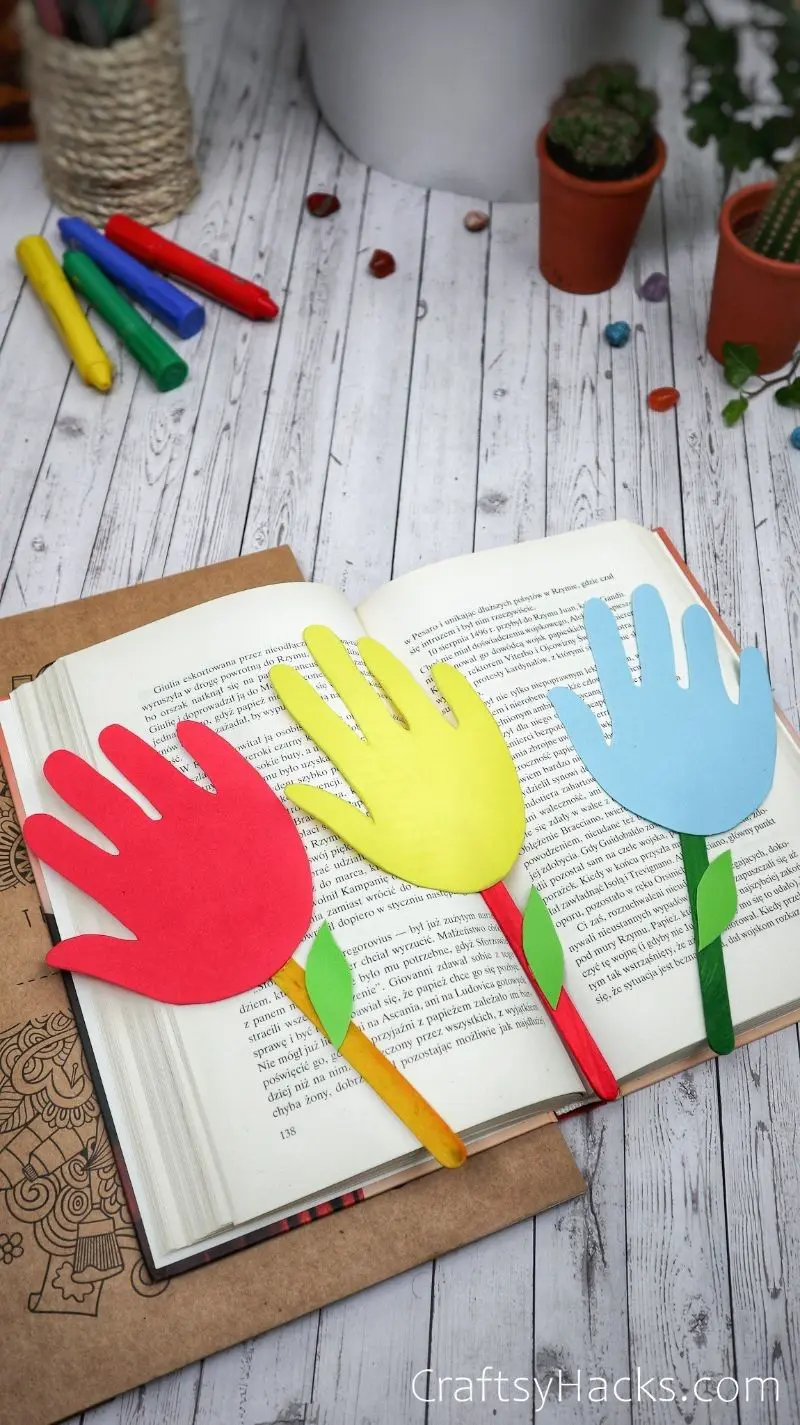
These vibrant bookmarks are heaps of fun to make. Not only are they great to get your kids to pick up that book, but they’re also a fantastic way to spend time with them.
Sit down and make these together.
Not to mention, having their handprint is a great way to hold onto the memory of their younger years. So, grab your colored paper and some popsicle sticks; let’s get started!
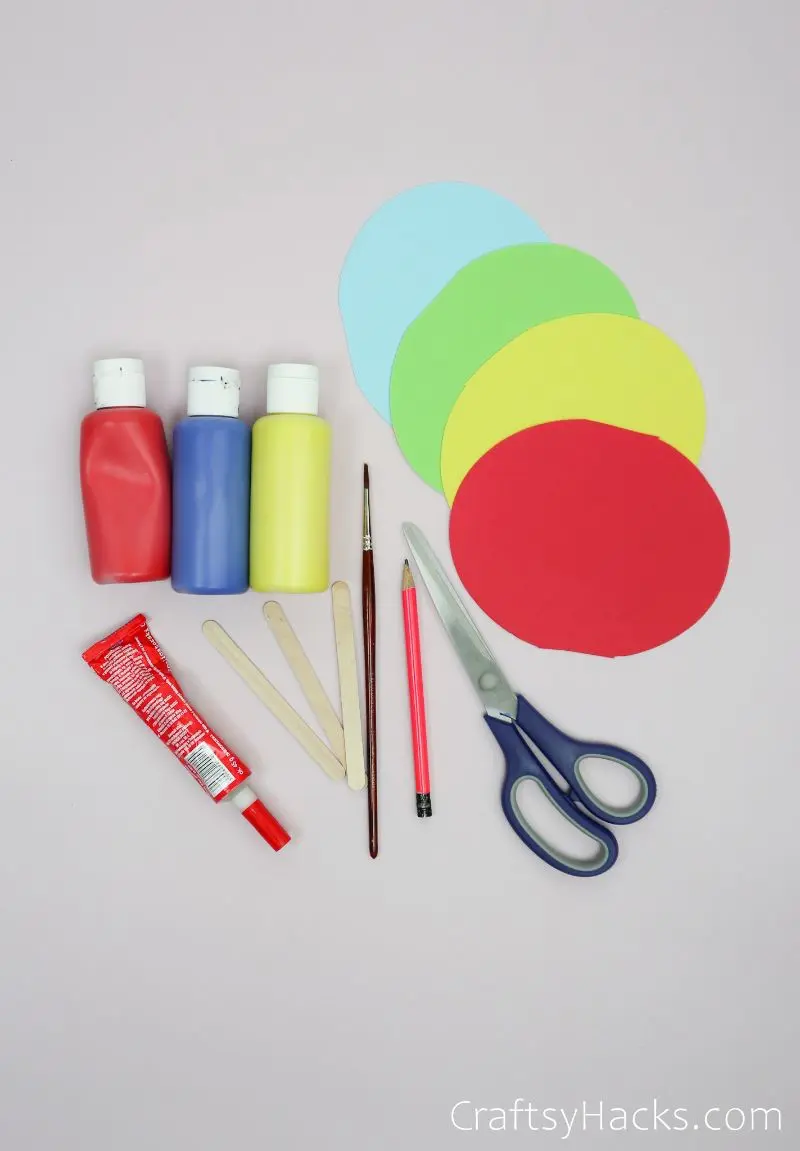
Supplies You’ll Need for These Bookmarks
- Colorful paper
- Scissors
- Pencil
- Wooden sticks
- Paint of Choice
- Glue
- Paintbrushes
How to Make Bookmarks for Kids
Here is a full tutorial on how to make these bookmarks!
Step 1
Gather all your supplies and get ready to start crafting. I used glue for these bookmarks, but you can opt for double-sided tape for a mess-free crafting session. Make sure you have non-toxic paint on hand!
I chose to use poster paint for my craft; it comes in large packs with many different colors, it’s easy to use for kids, and it cleans up so easily.
Step 2
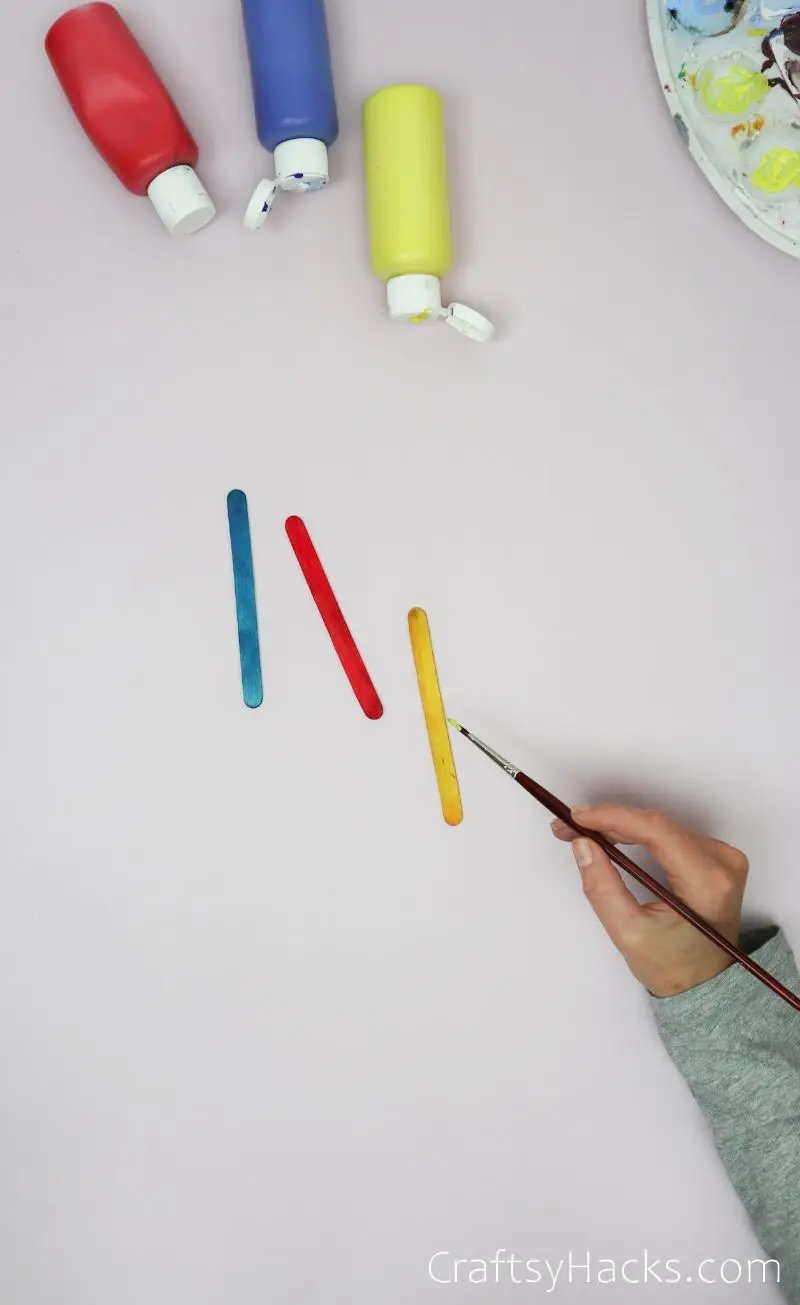
Let’s start off with something entertaining…painting! Your kids will revel in the chance to splash some paint around. So, set them up outside to paint the popsicle sticks and let them go wild.
Set them out in the sun and let them dry.
Step 3
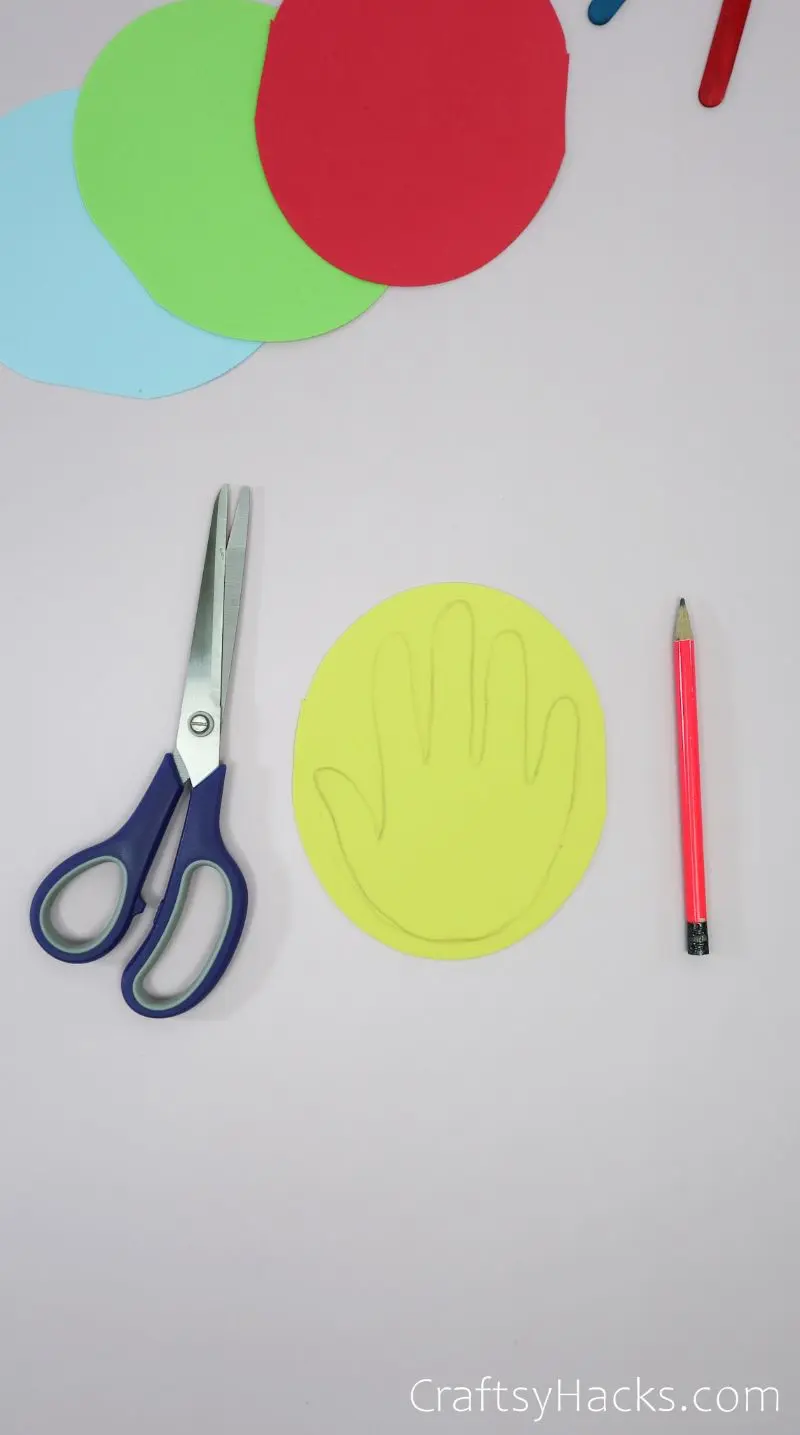
Next up, it’s time to capture some memories. You can download a template online if you like, but I always find using your kids’ hands makes the result extra special.
Have them lay their hand on a colored paper circle. Pick up a pencil and gently trace around the edges of their hands. Don’t worry too much about the tiny details; we just want the general shape.
Step 4
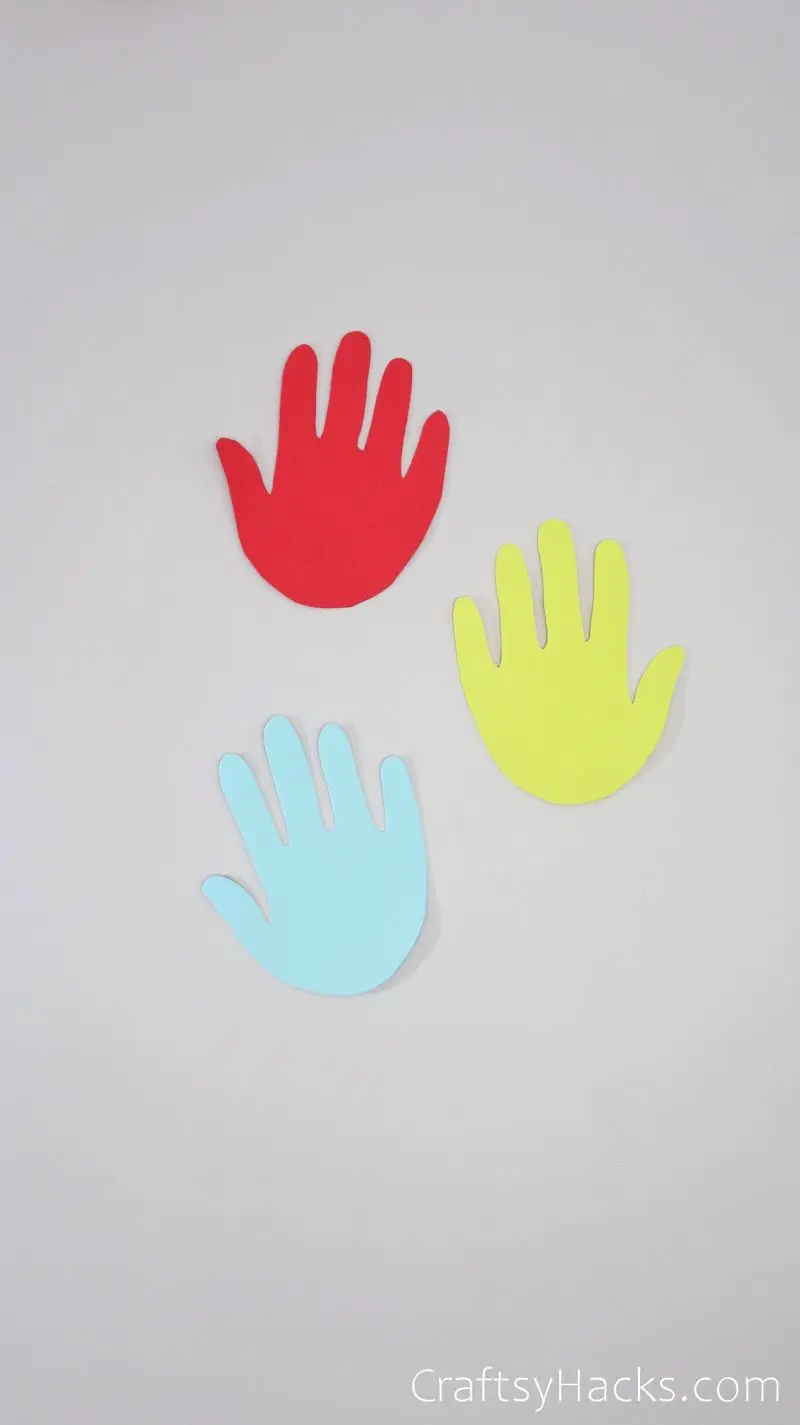
Create as many hands as you like! It’s a 1:1 ratio of hands to popsicle sticks, but you can always glue two hands back-to-back to create a double-sided bookmark. Just have fun with it.
Step 5
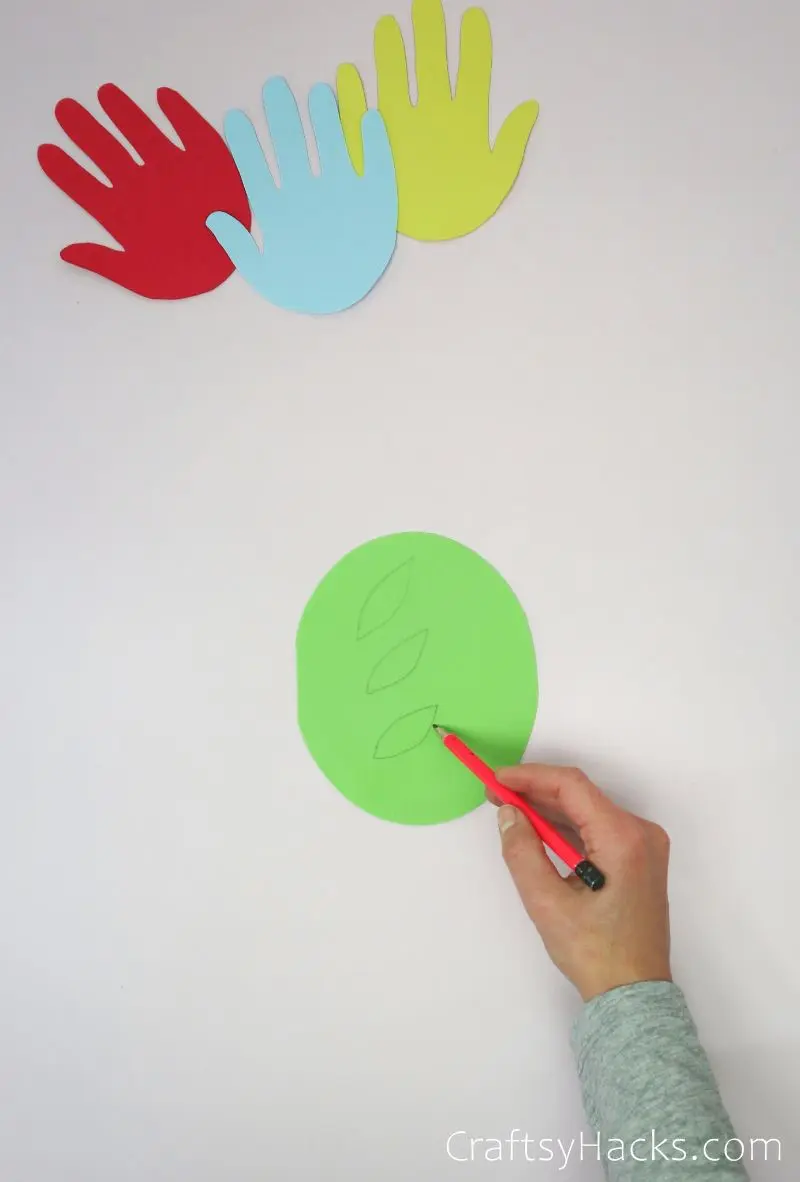
Next up, our little hand trees need some leaves! Draw some leaves—or get your kids to do it—on the green construction paper before carefully trimming them out.
You can use a template for these leaves if you’re searching for something a little more realistic. However, I just sketched a fundamental shape, and that ended up looking great.
Step 6
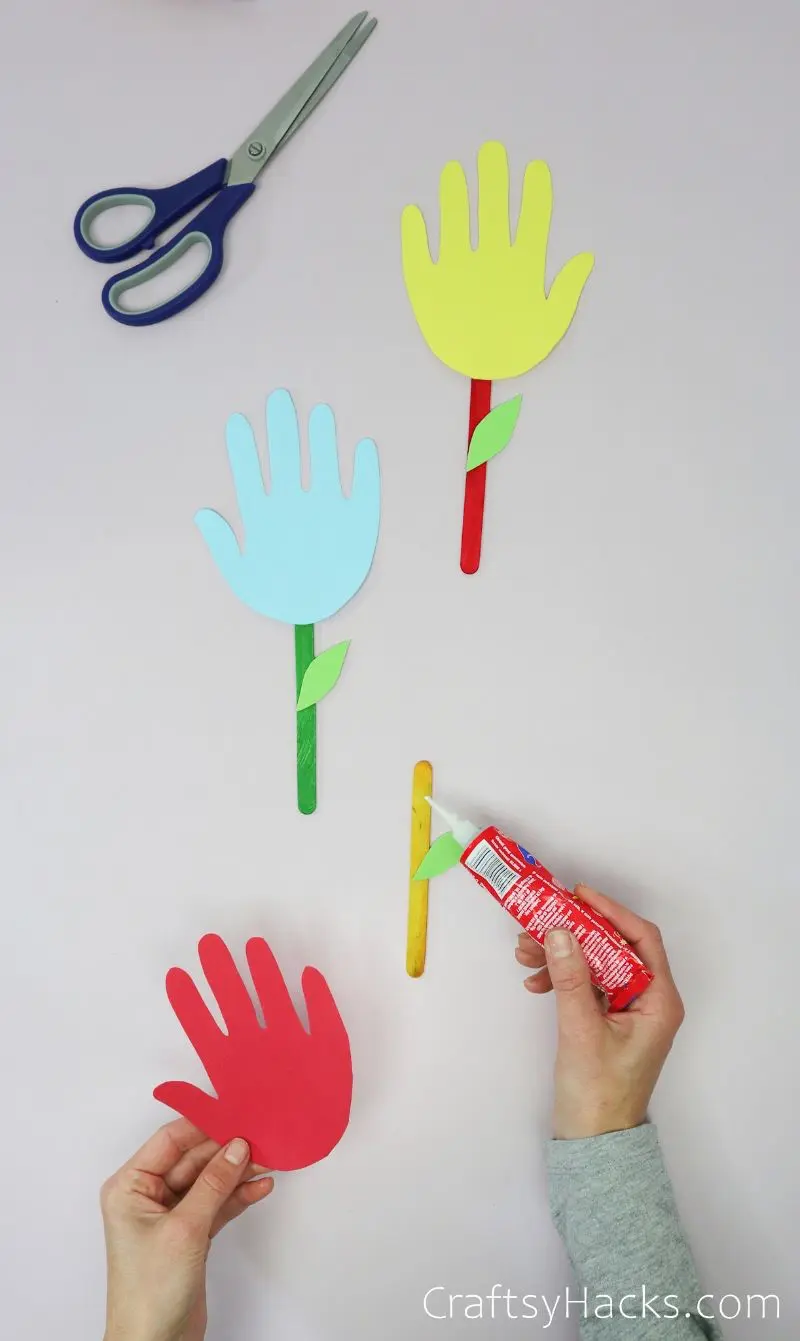
The final step is to assemble all our components. I used a quick-drying tube of glue to attach the paper to the popsicle stick, but you can always use adhesive tape or a hot glue gun.
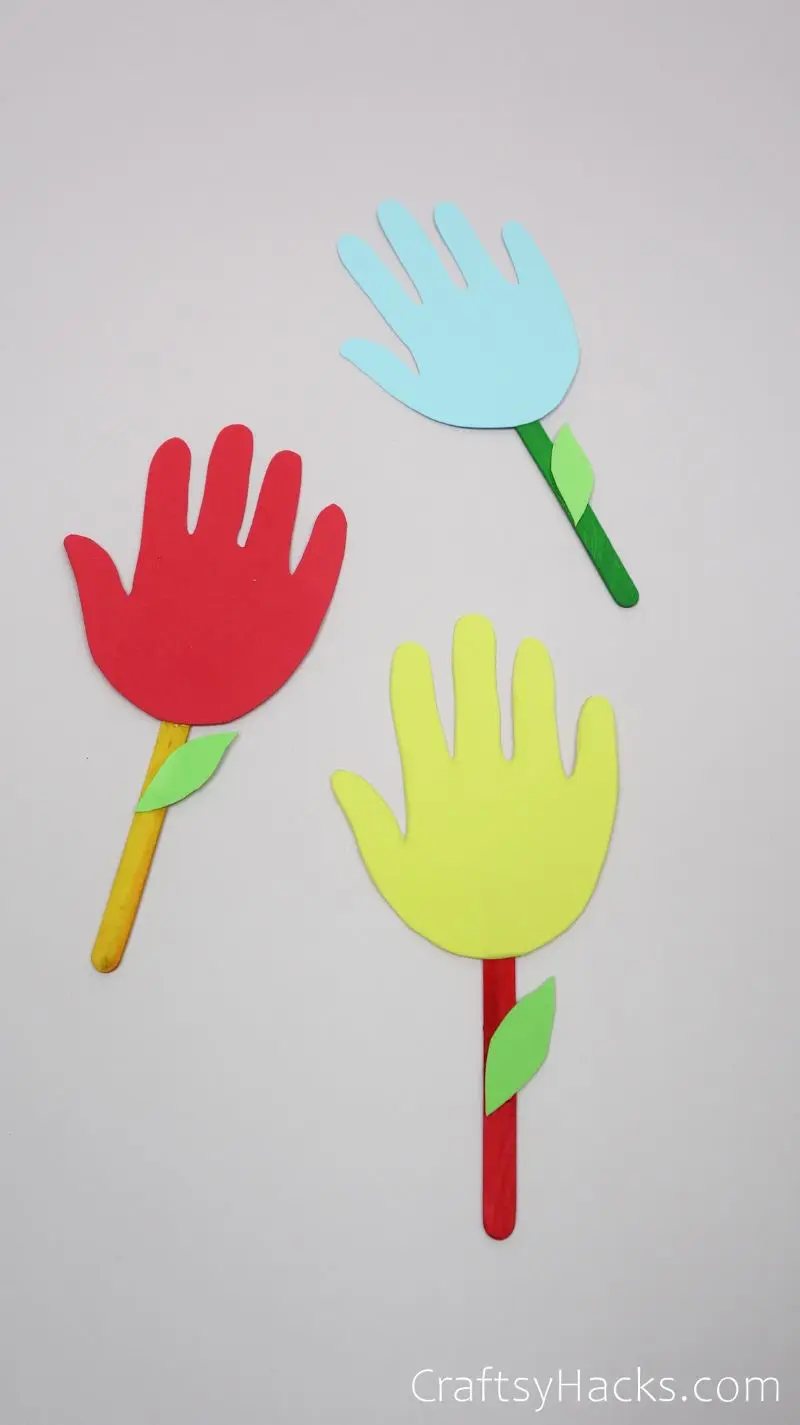
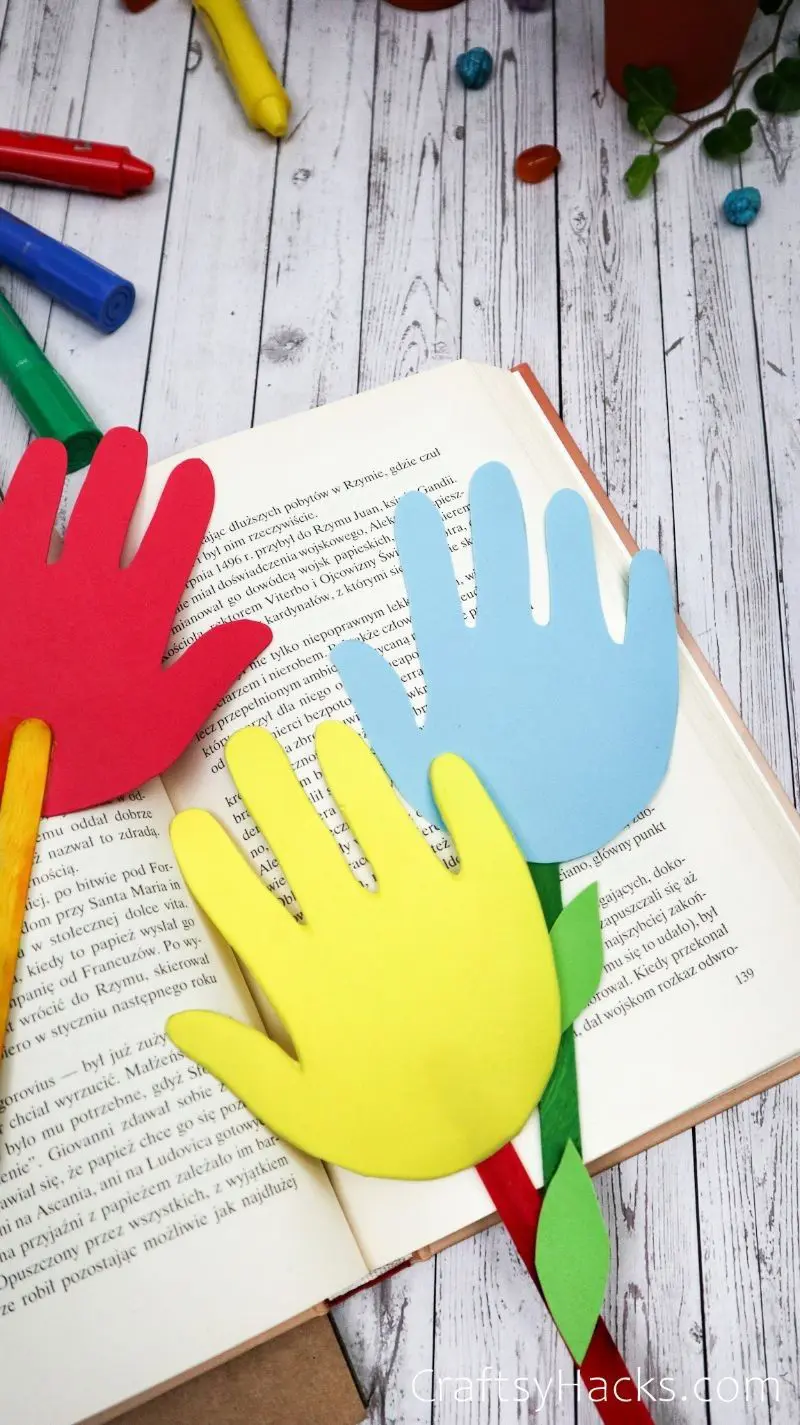
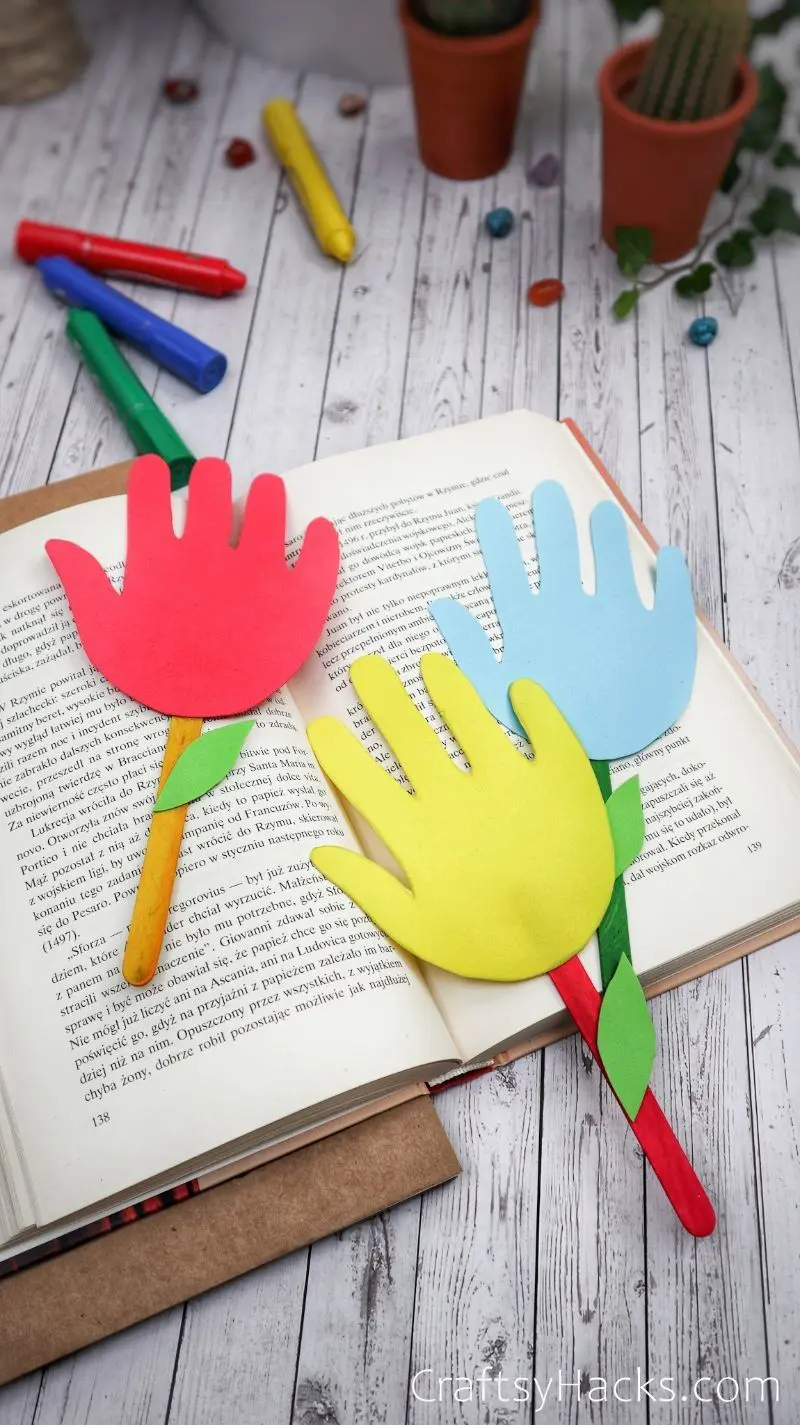
Stick the hand to the top of your popsicle stick. Then add a leaf (or more) near the middle, and you’re done! These hand bookmarks are so easy to make and look so adorable once finished.
That’s why they’re the perfect kid-friendly craft. If you’ve got really young kids, simply cut out the shapes for them and only do the assembly stage for a family-friendly craft afternoon.
What Kind of Paper is Used for Bookmarks?
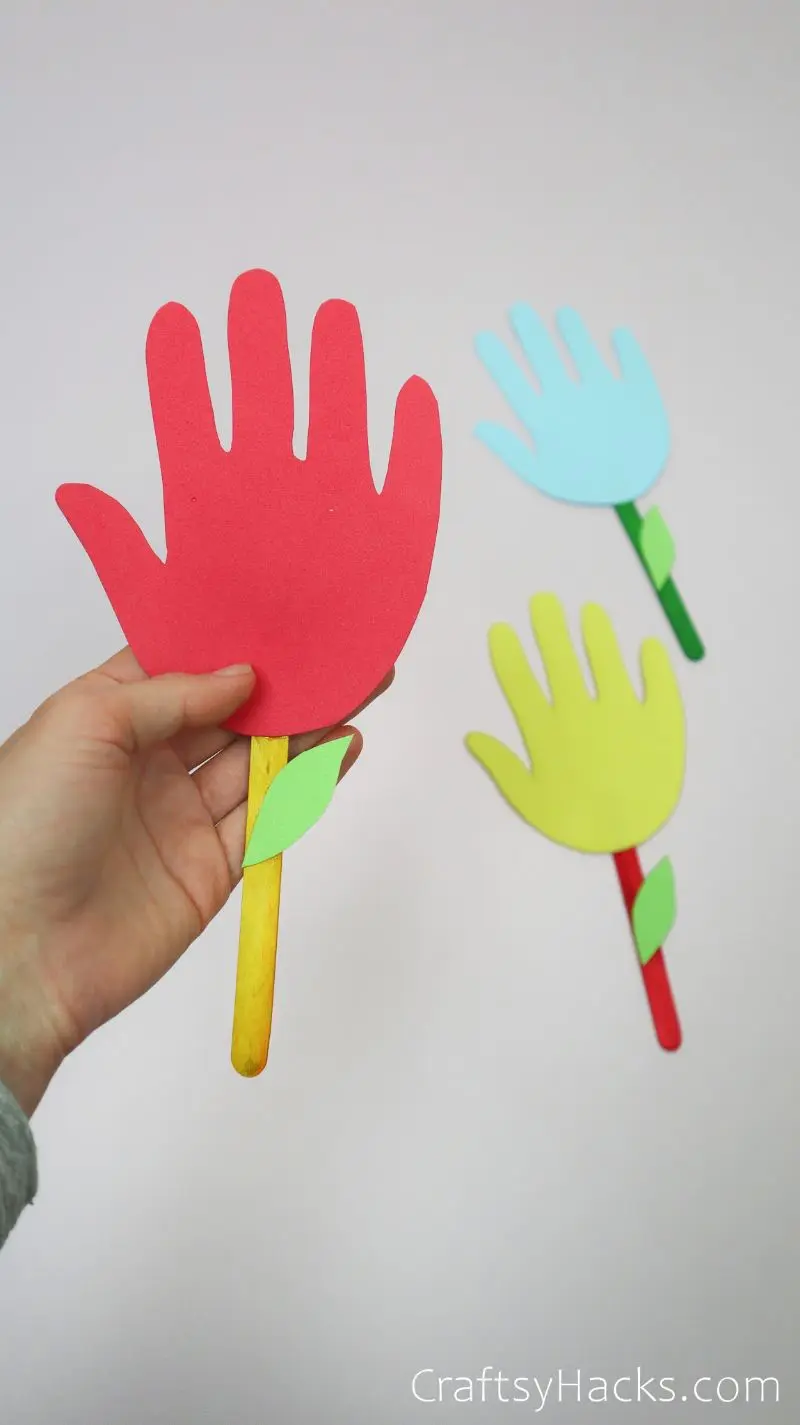
The key to the success of these bookmarks is using the right kind of paper. If it’s too flimsy or thin, the bookmarks won’t stick up when they’re sitting between the book’s pages.
That’s why I usually opt for cardstock or something of similar thickness, as that will make sure your little one’s bookmark stands the test of time.
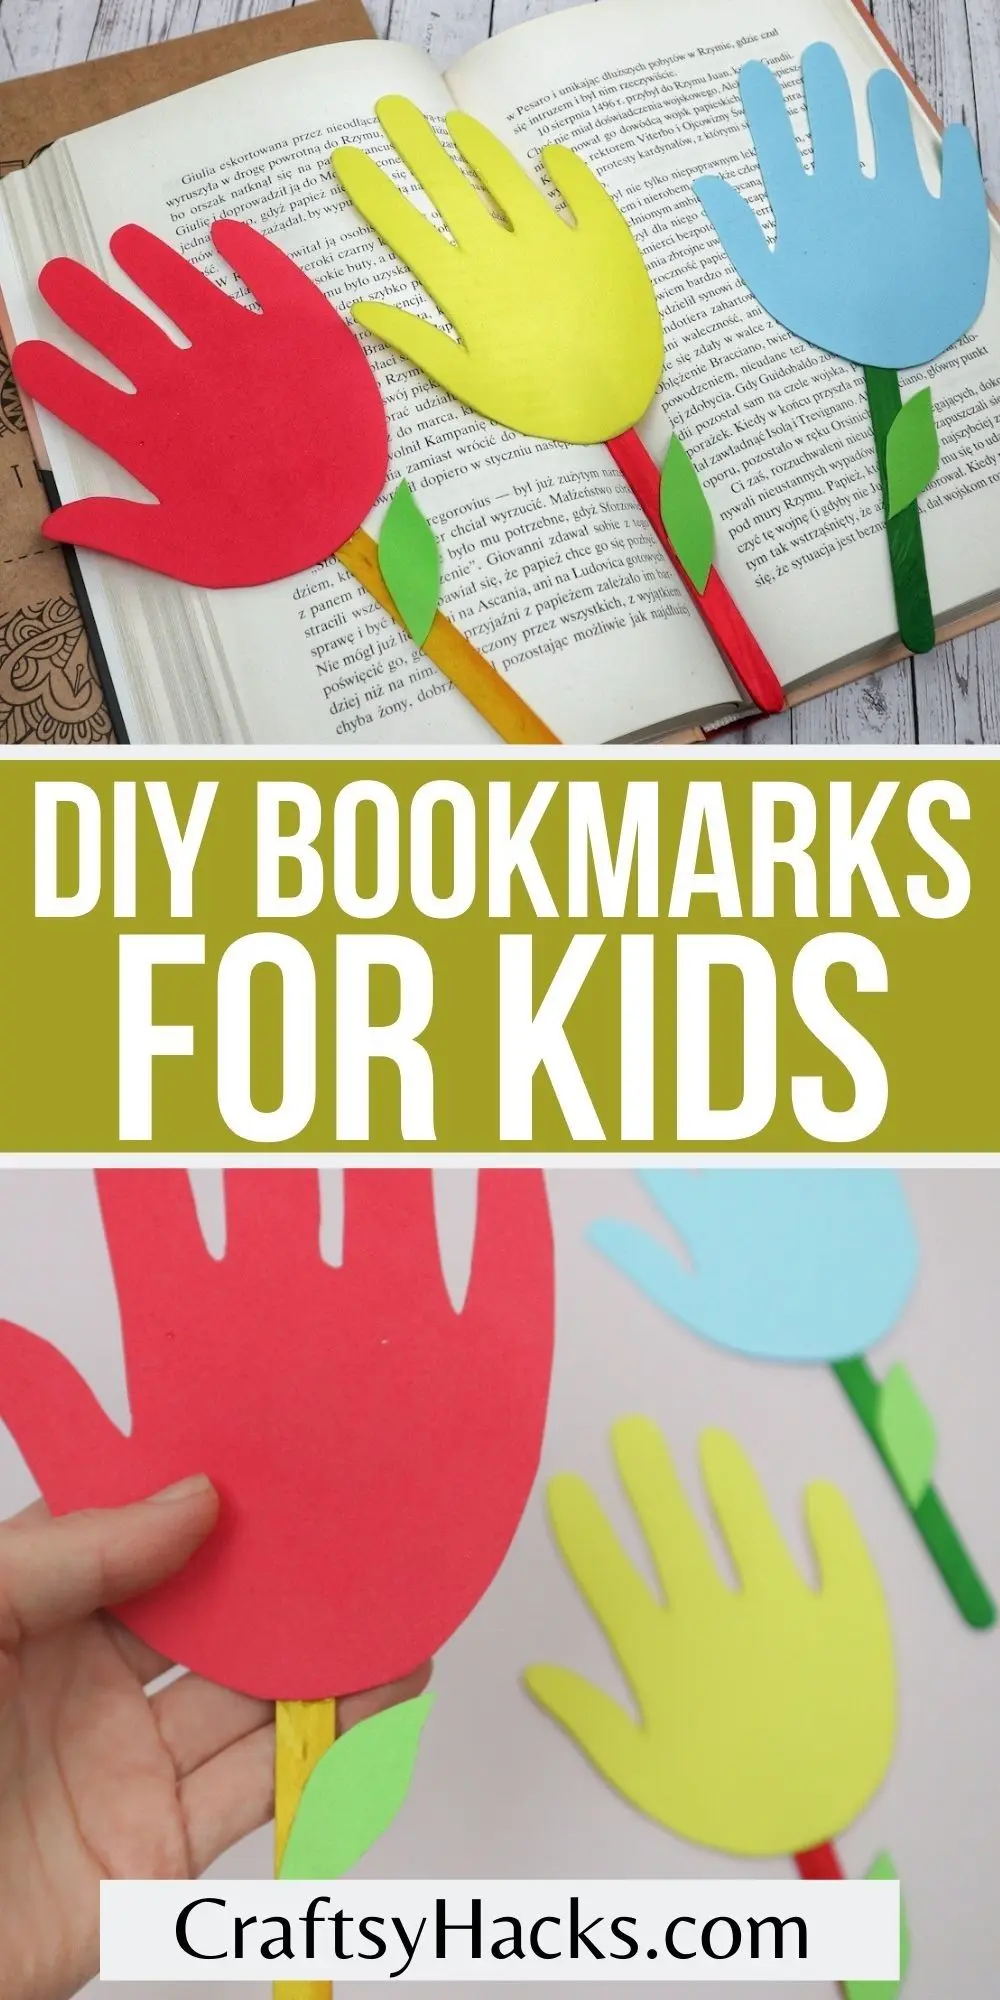
If you want to make the bookmark even more interesting to look at, pick out some colored paper! You can even make multiple hands, cut them up, and piece a new one together for some color-blocking.
Other Crafts for Kids
- 21 Ladybug Crafts for Bug Lovers
- 18 Mermaid Crafts for Little Ariel Lovers
- 24 Bee Crafts for Kids to Try
- 27 Delightful Unicorn Crafts
- 27 Spider Crafts Your Bug-Loving Child Will Adore
- 20 Paper Crafts
- Rock Painting Ideas
- DIY Projects
DIY Bookmarks for Kids
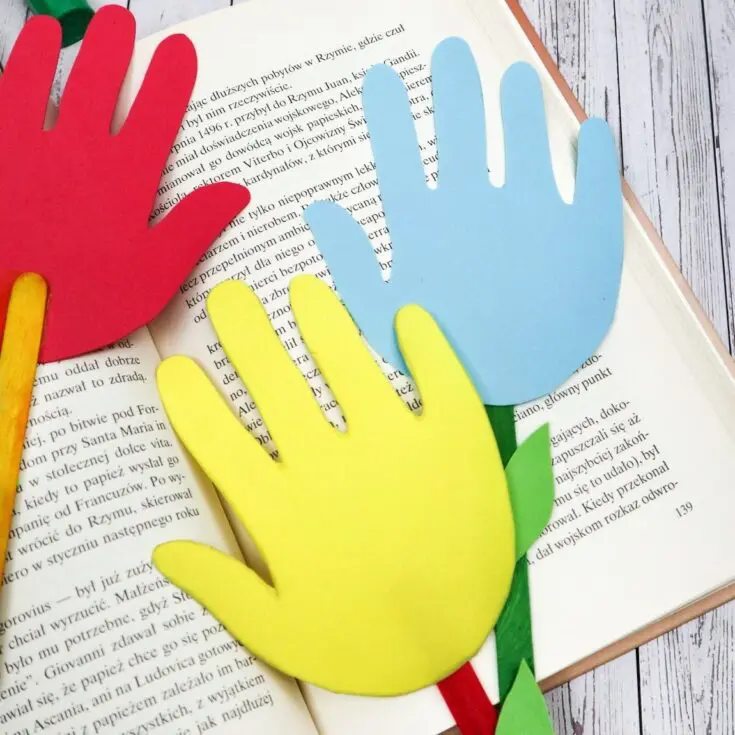
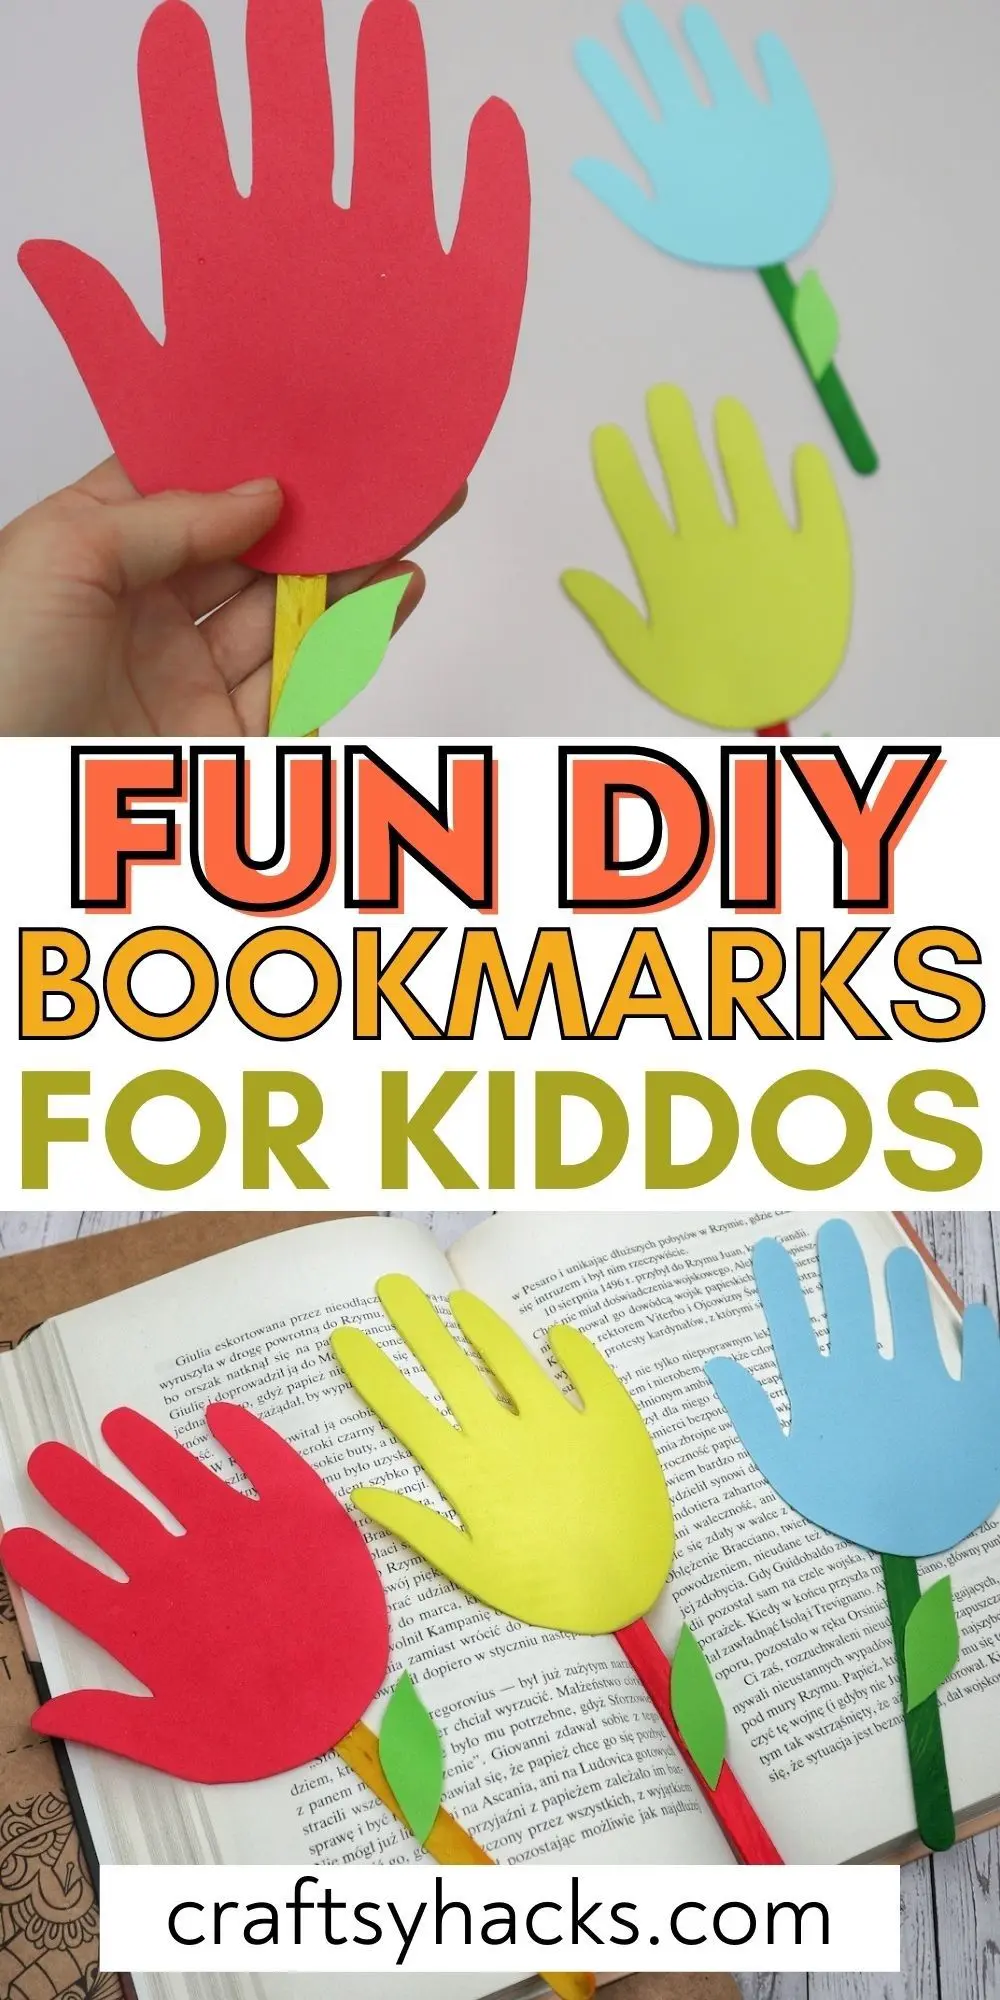
These hand bookmarks are easy and fun to make. It’s a perfect craft for kids that will encourage learning.
Materials
- Colorful paper
- Wooden sticks
- Paint of Choice
Tools
- Glue
- Paintbrushes
- Scissors
- Pencil
Instructions
- Start off by gathering all your supplies. If you’re working with young kids, try cutting out everything that needs to be cut out and just letting them do the assembly part.
- Lay some newspaper on your surface, then paint the popsicle sticks in any color you like. Let them dry.
- Next up, draw a hand on the colored paper. You can use your own hand or a template from the Internet, but I think using your child’s hand makes it extra special for them!
- Cut out the hand.
- Now, draw a few leaves on your green-colored paper. Cut them out.
- Finally, it’s time to assemble our bookmarks. You can use hot glue or glue from a tube for this (I went with tube glue). You can even use adhesive tape to minimize the mess.
- Stick your little hand cut-outs at the top of the popsicle sticks, then adorn the stem with leaves.
- There you have it! An adorable set of hand bookmarks ready to draw your kids into the world of reading.
