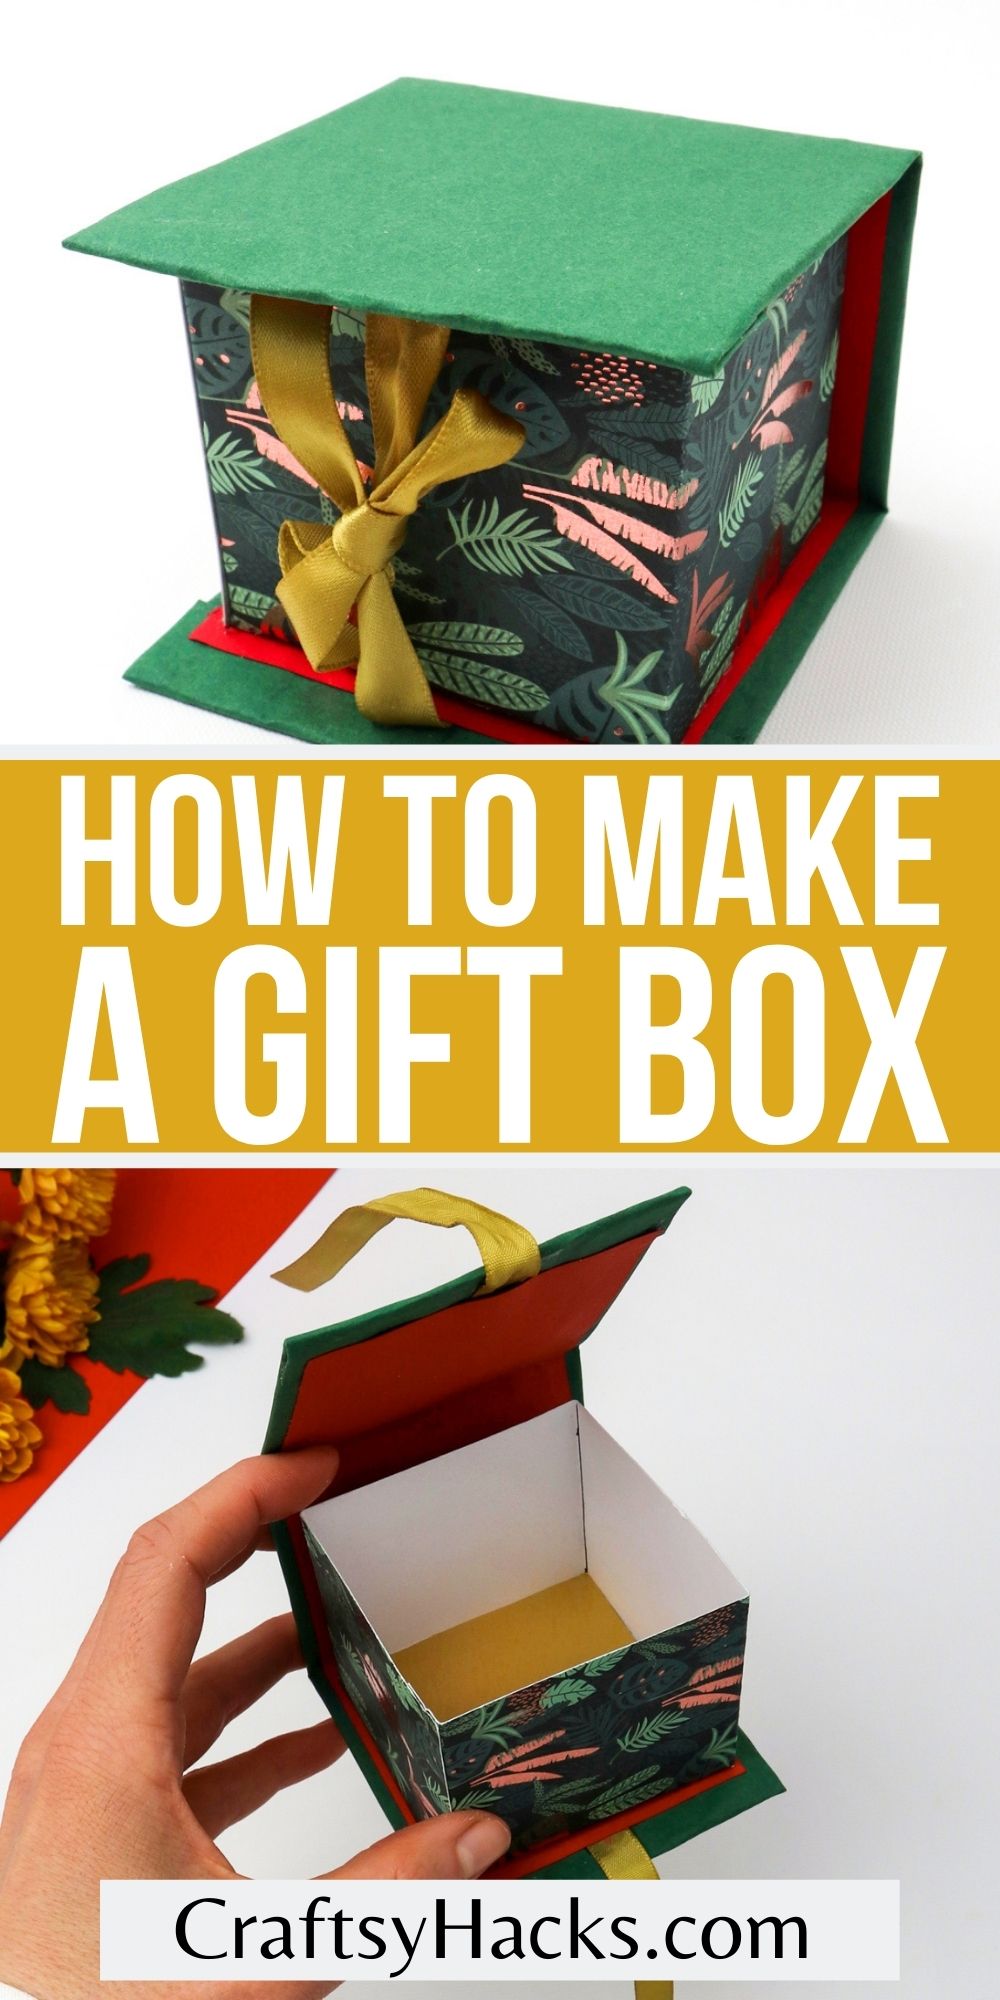
How to Make a Gift Box
This post may contain affiliate links: full affiliate disclosure.

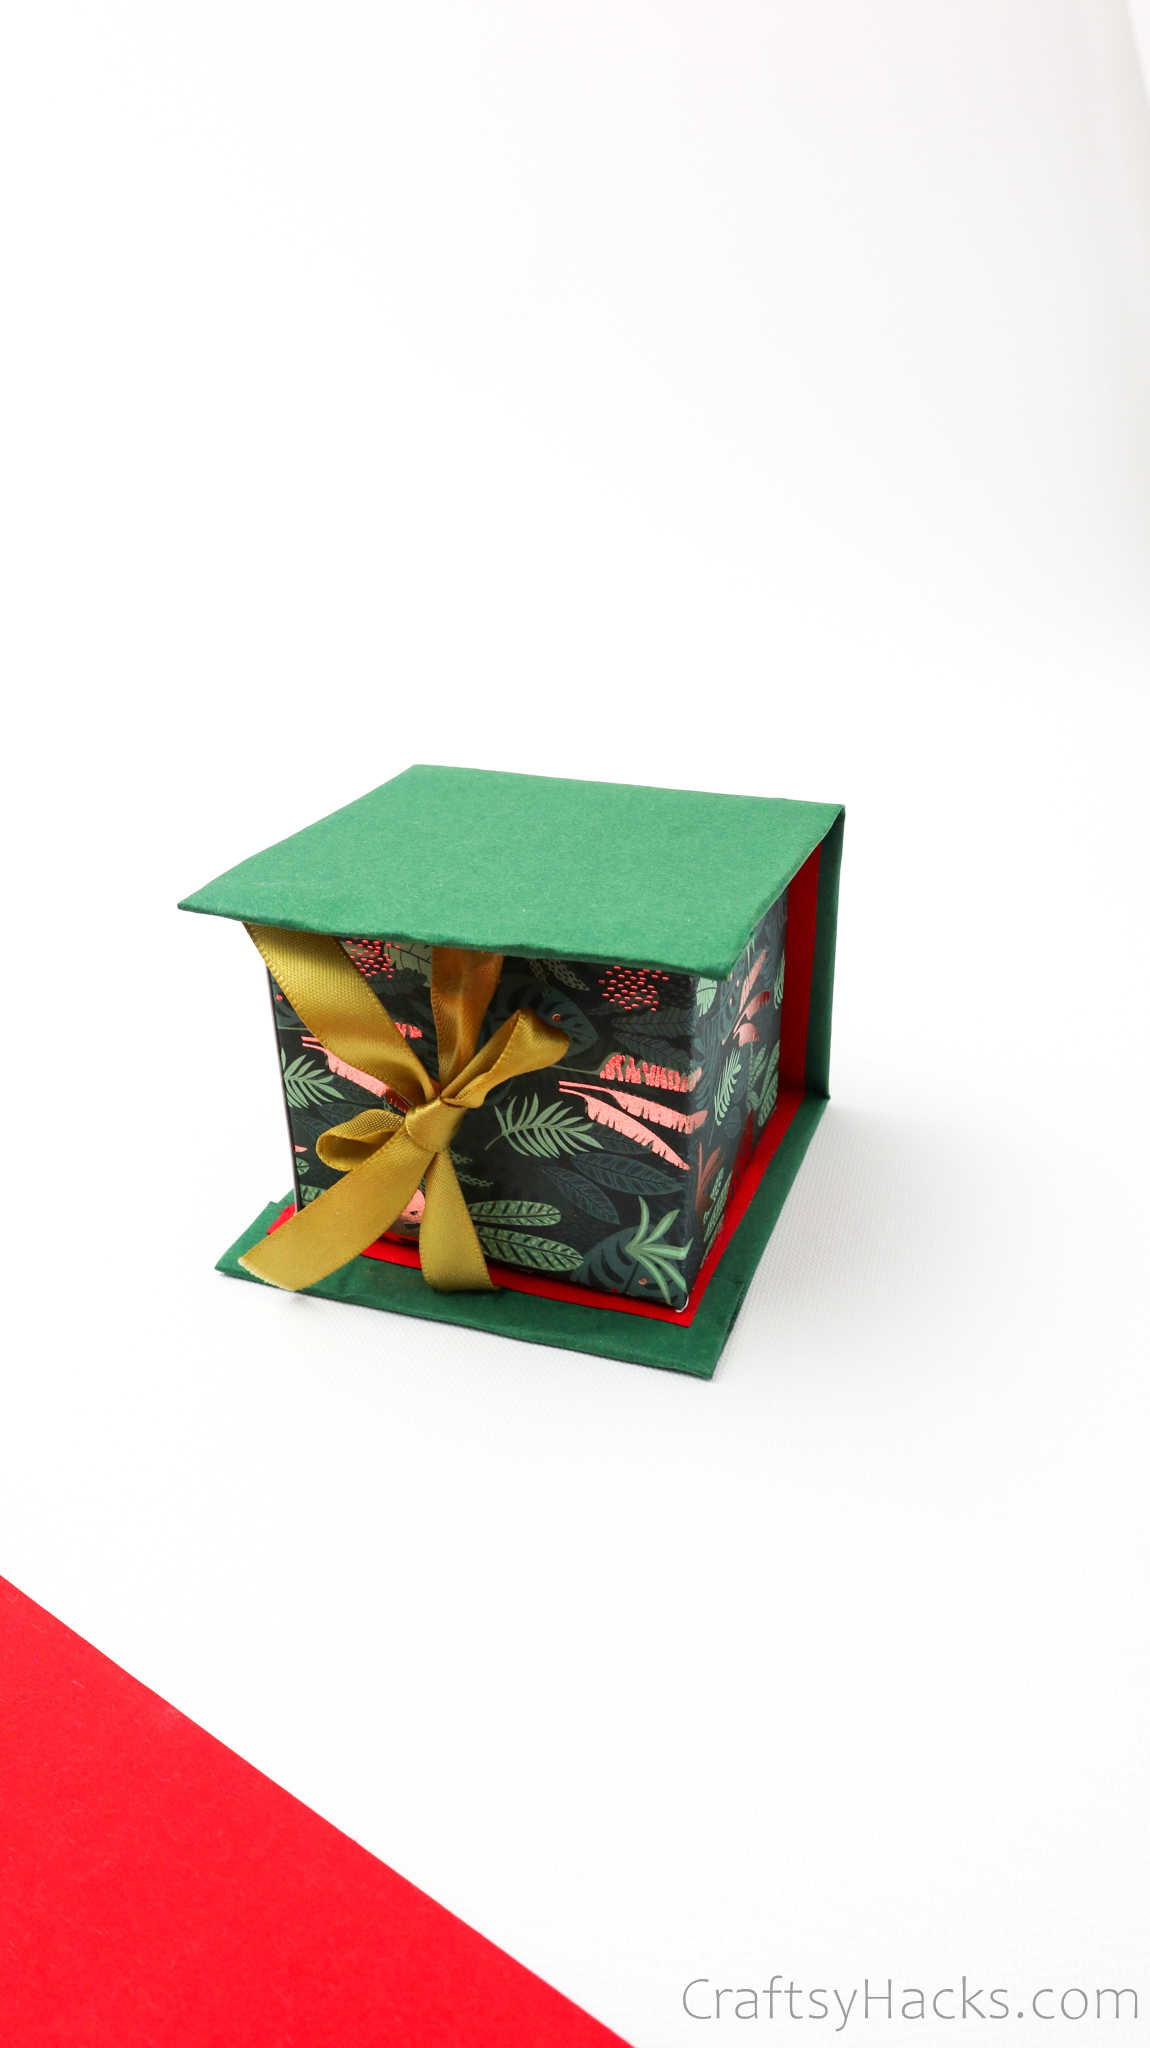
This fun little DIY gift box is a cute craft for teens and adults. Make your gift to your loved ones a little bit more special.
I hate to be the one to say it, but gift boxes are way too expensive. It shouldn’t be this hard or expensive to find a pretty gift box.
I think it’s high time we took matters into our own hands and made our very own gift box at home. This DIY project is easy, affordable, and you can customize your gift box any way you like.
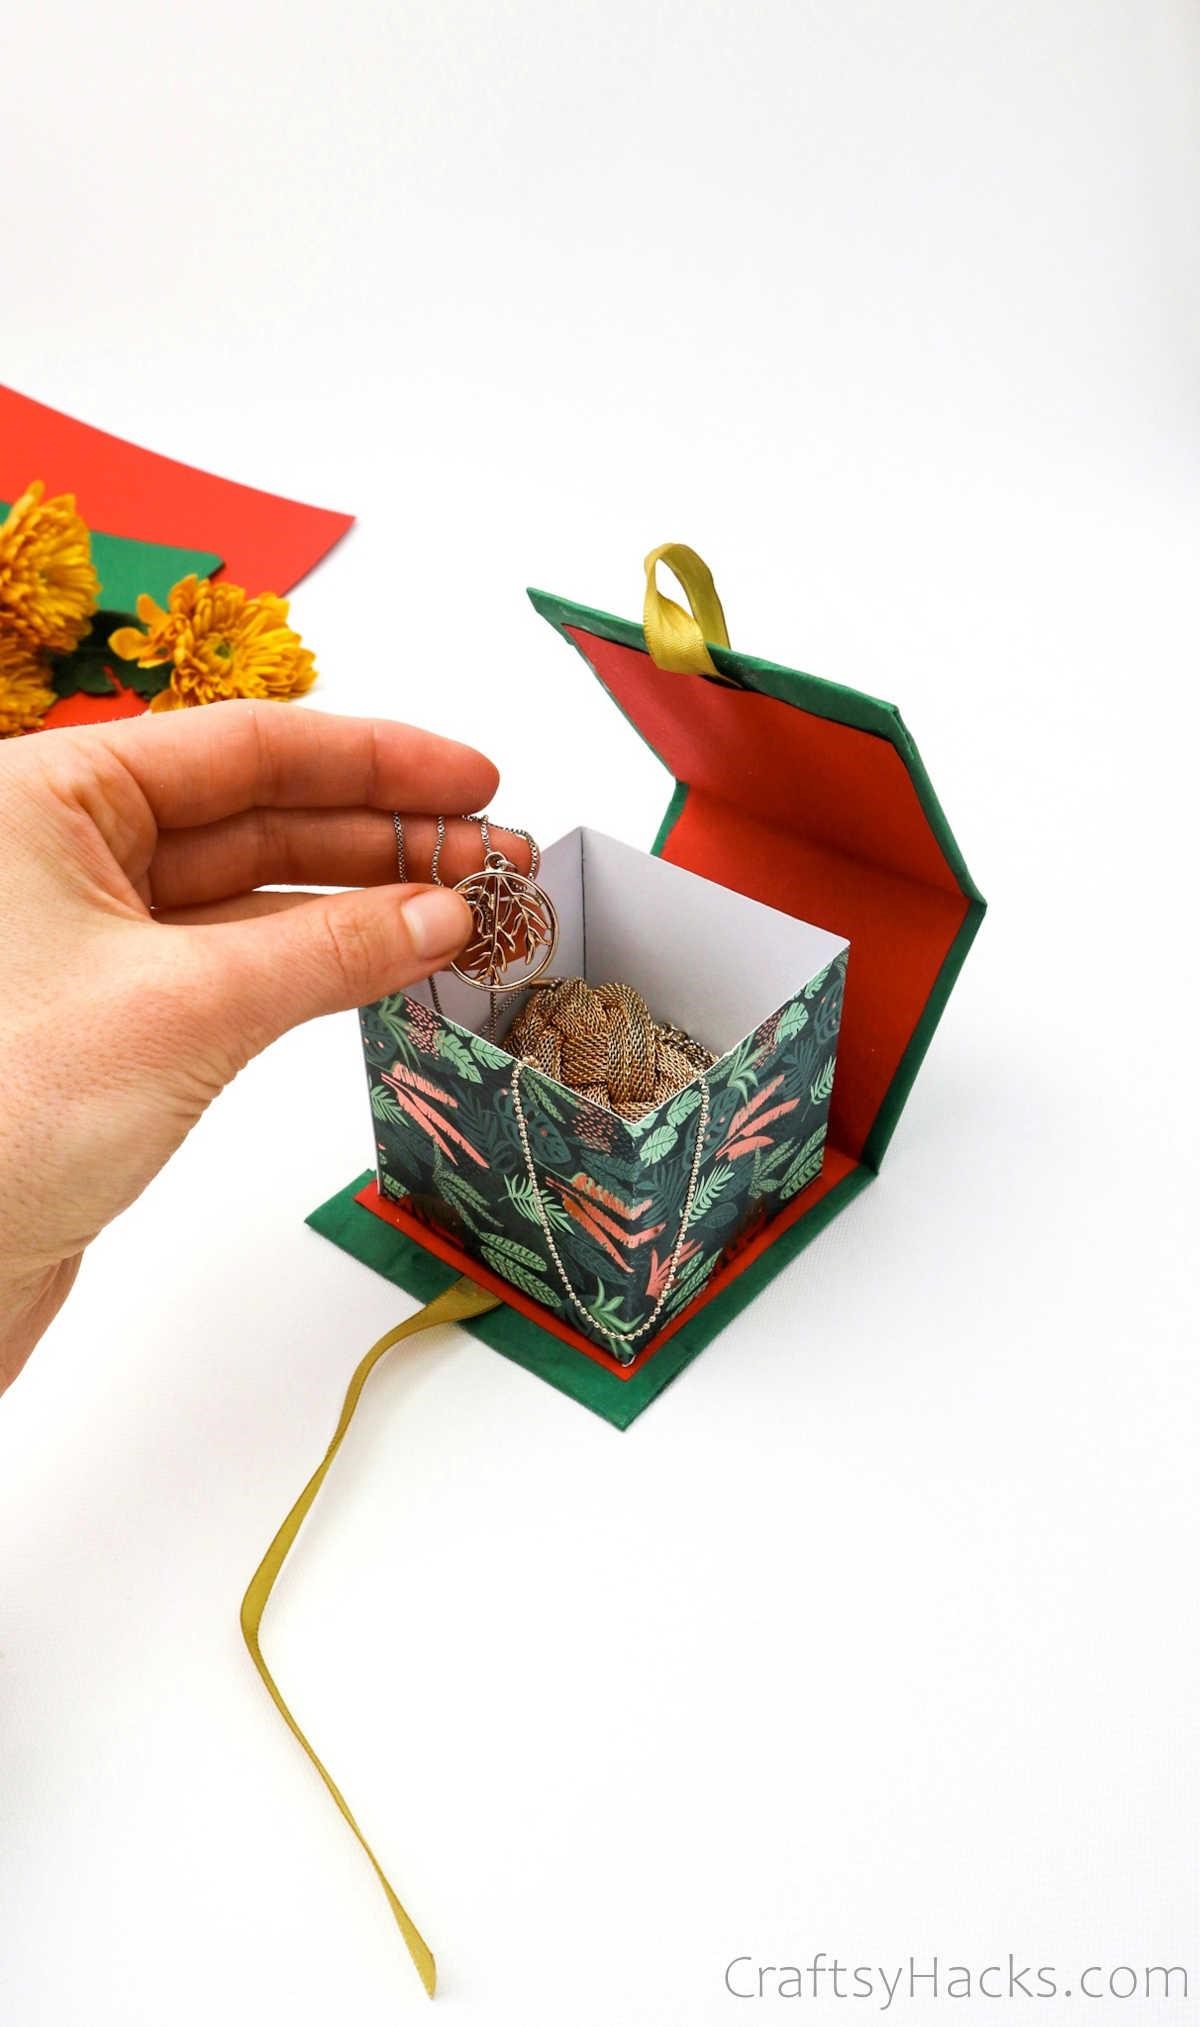
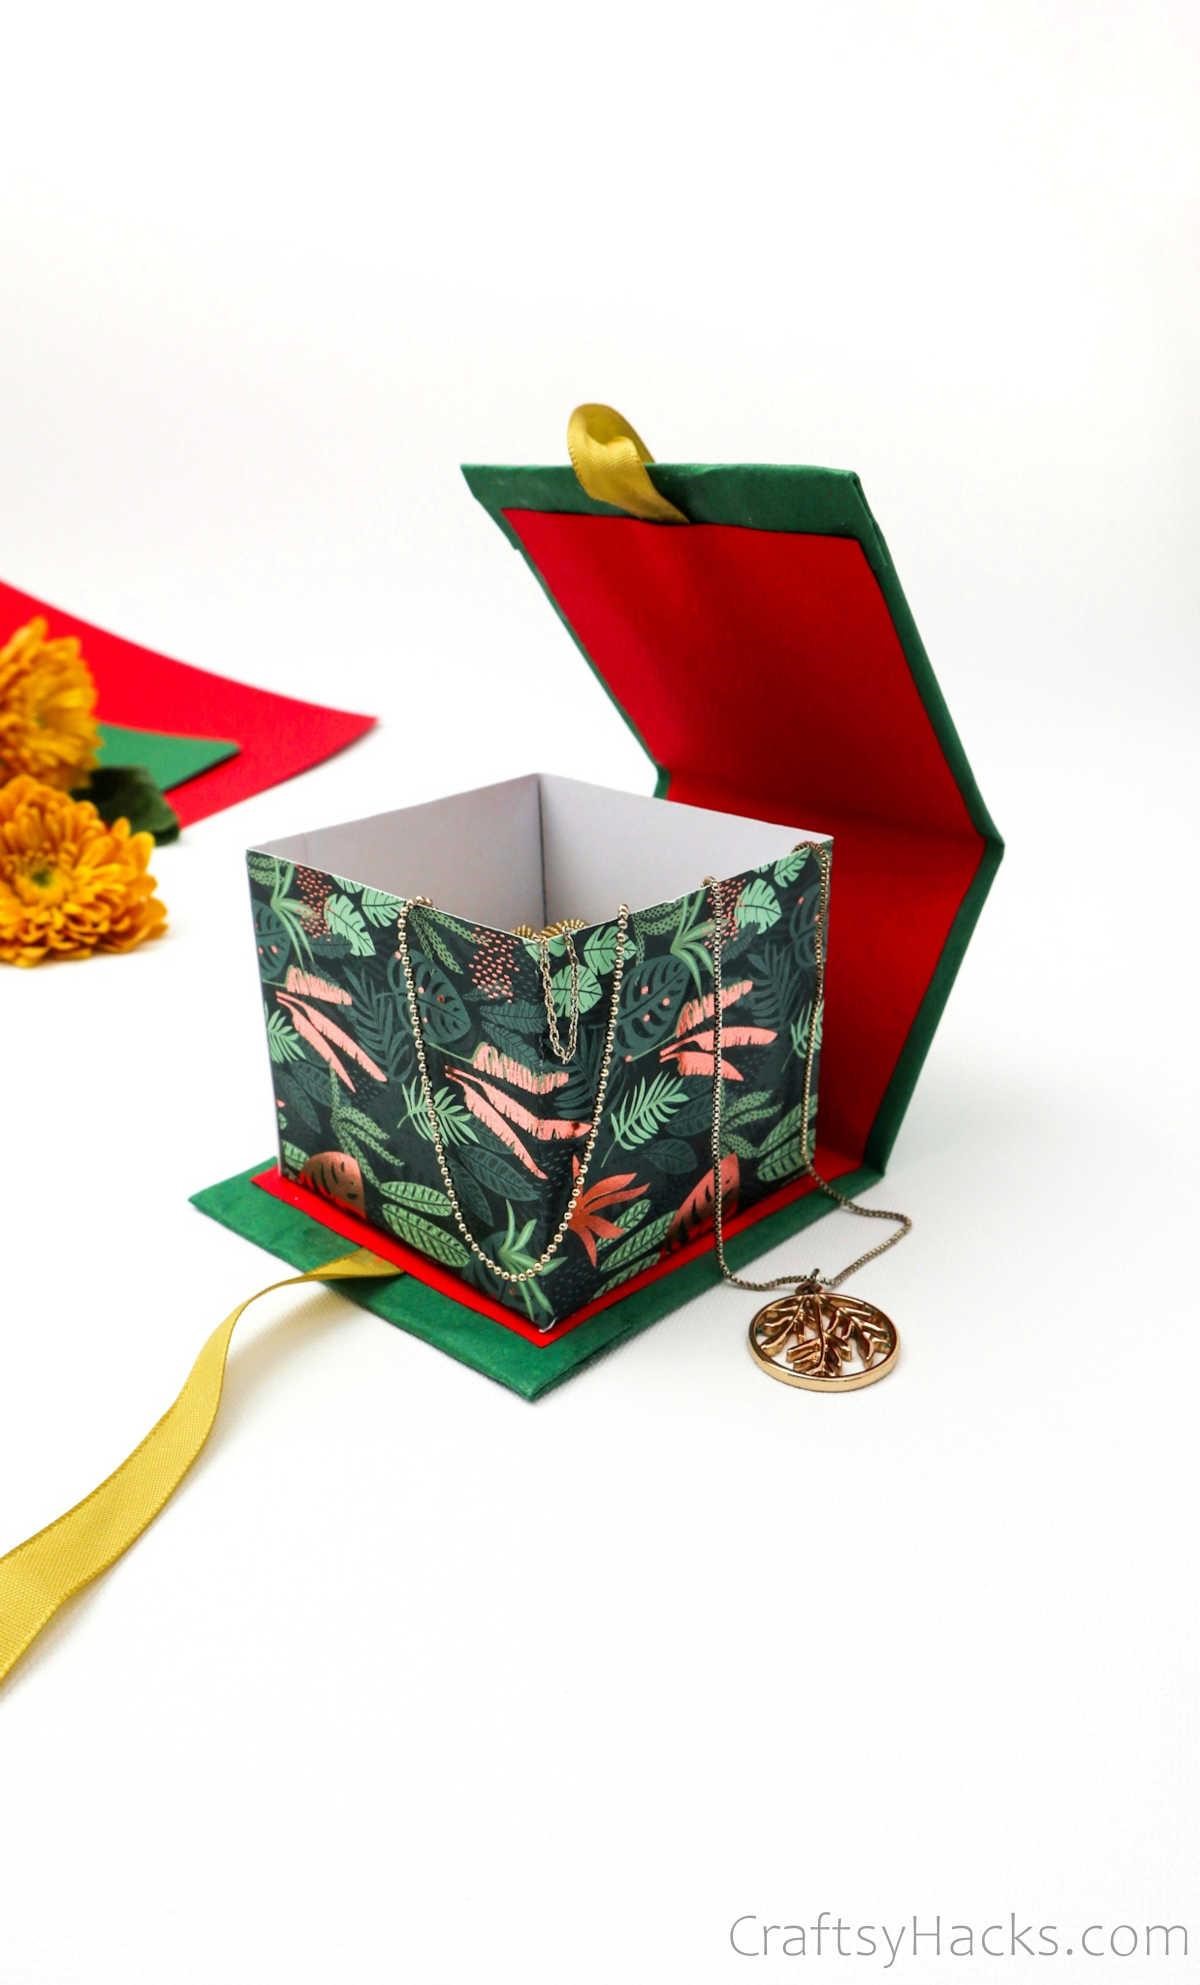
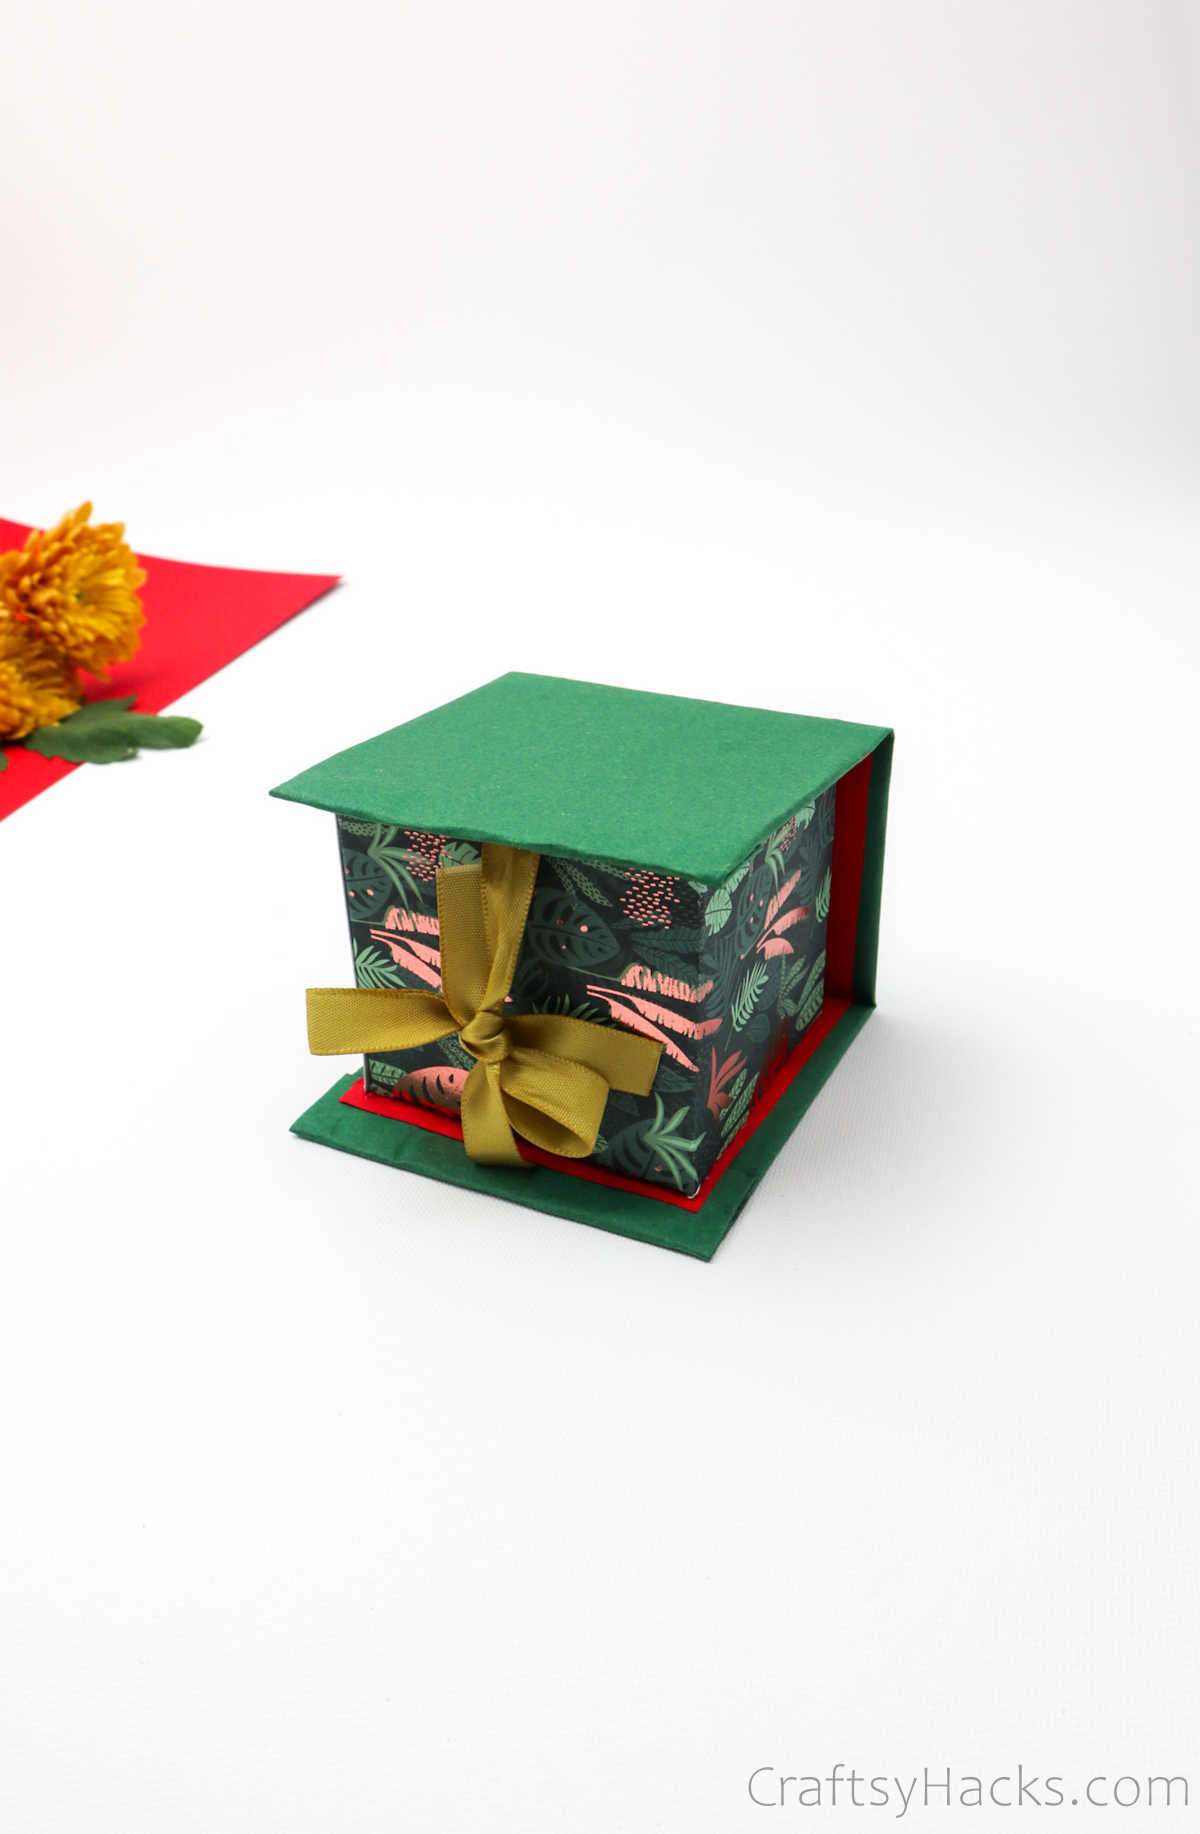
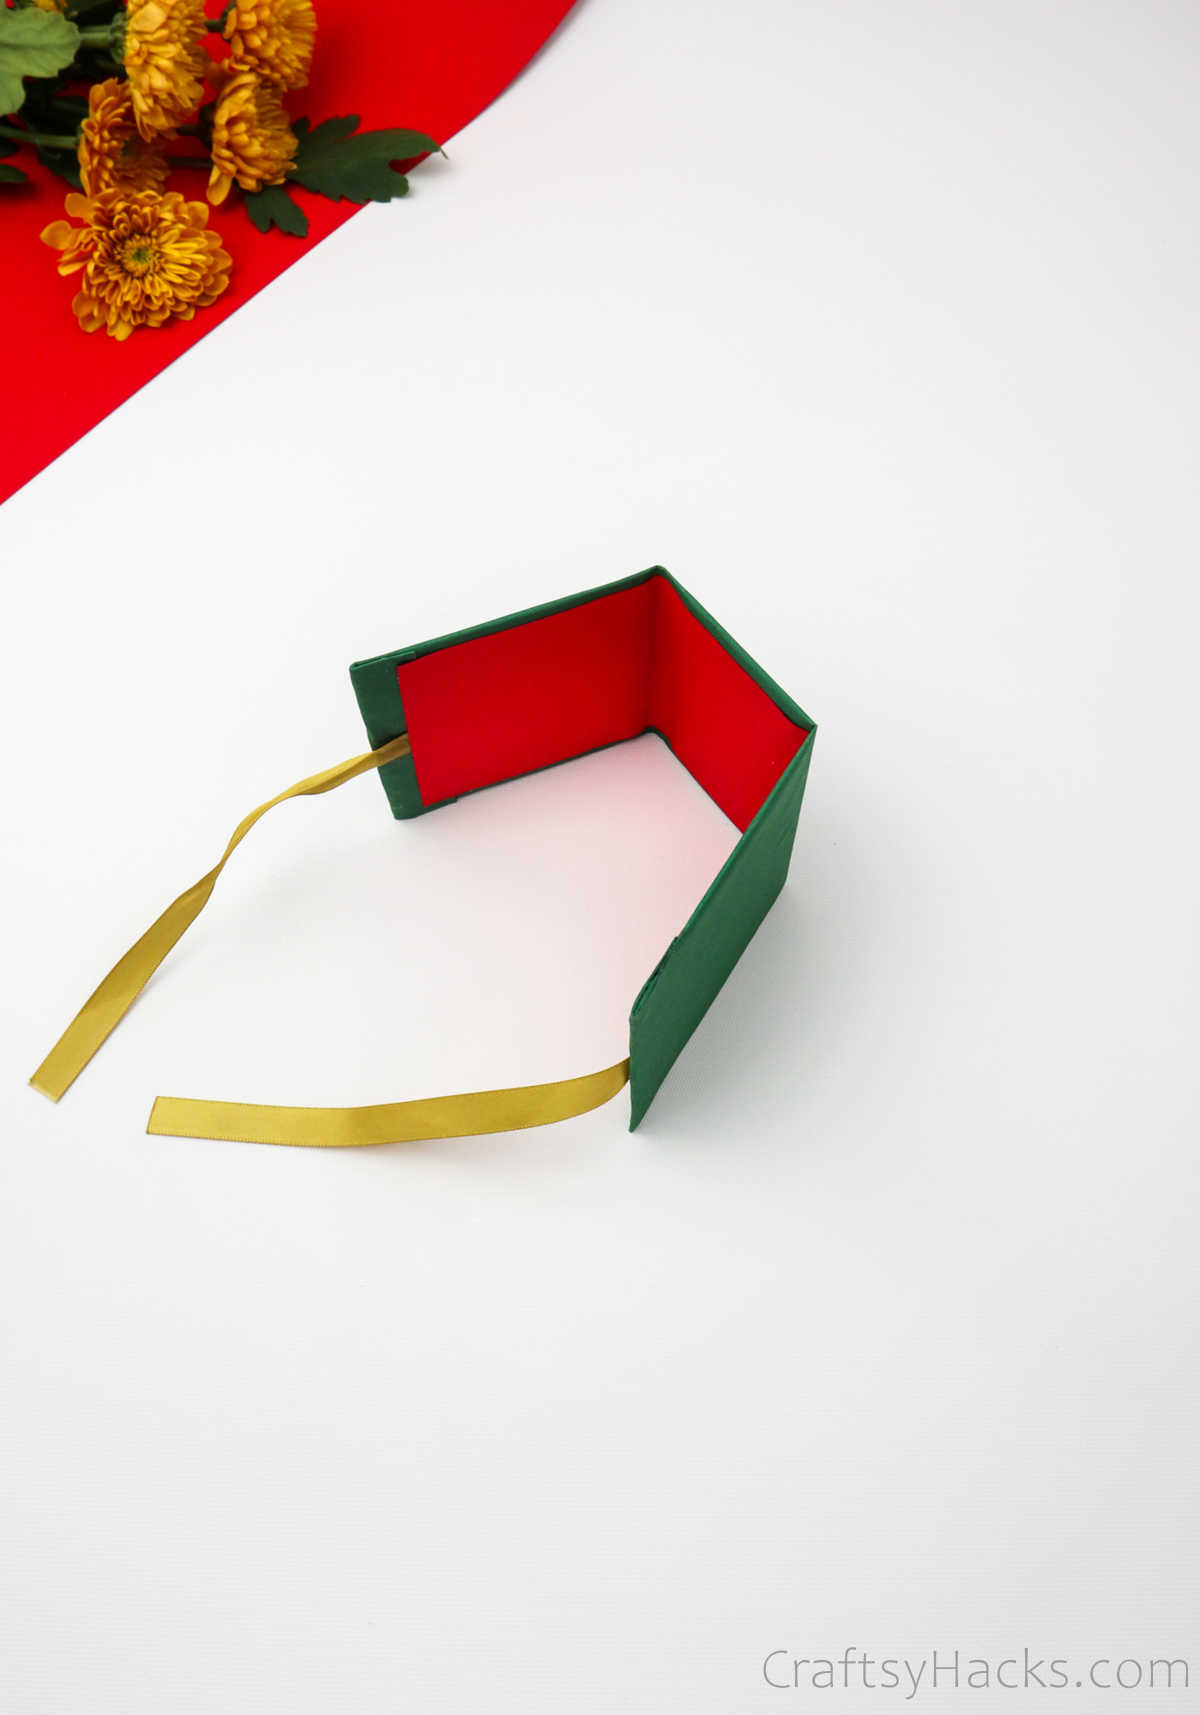
Don’t you think it looks gorgeous? You can make this exact same box in under an hour and with just your basic craft supplies. Let’s get right to it, shall we?
Supplies for a Gift Box
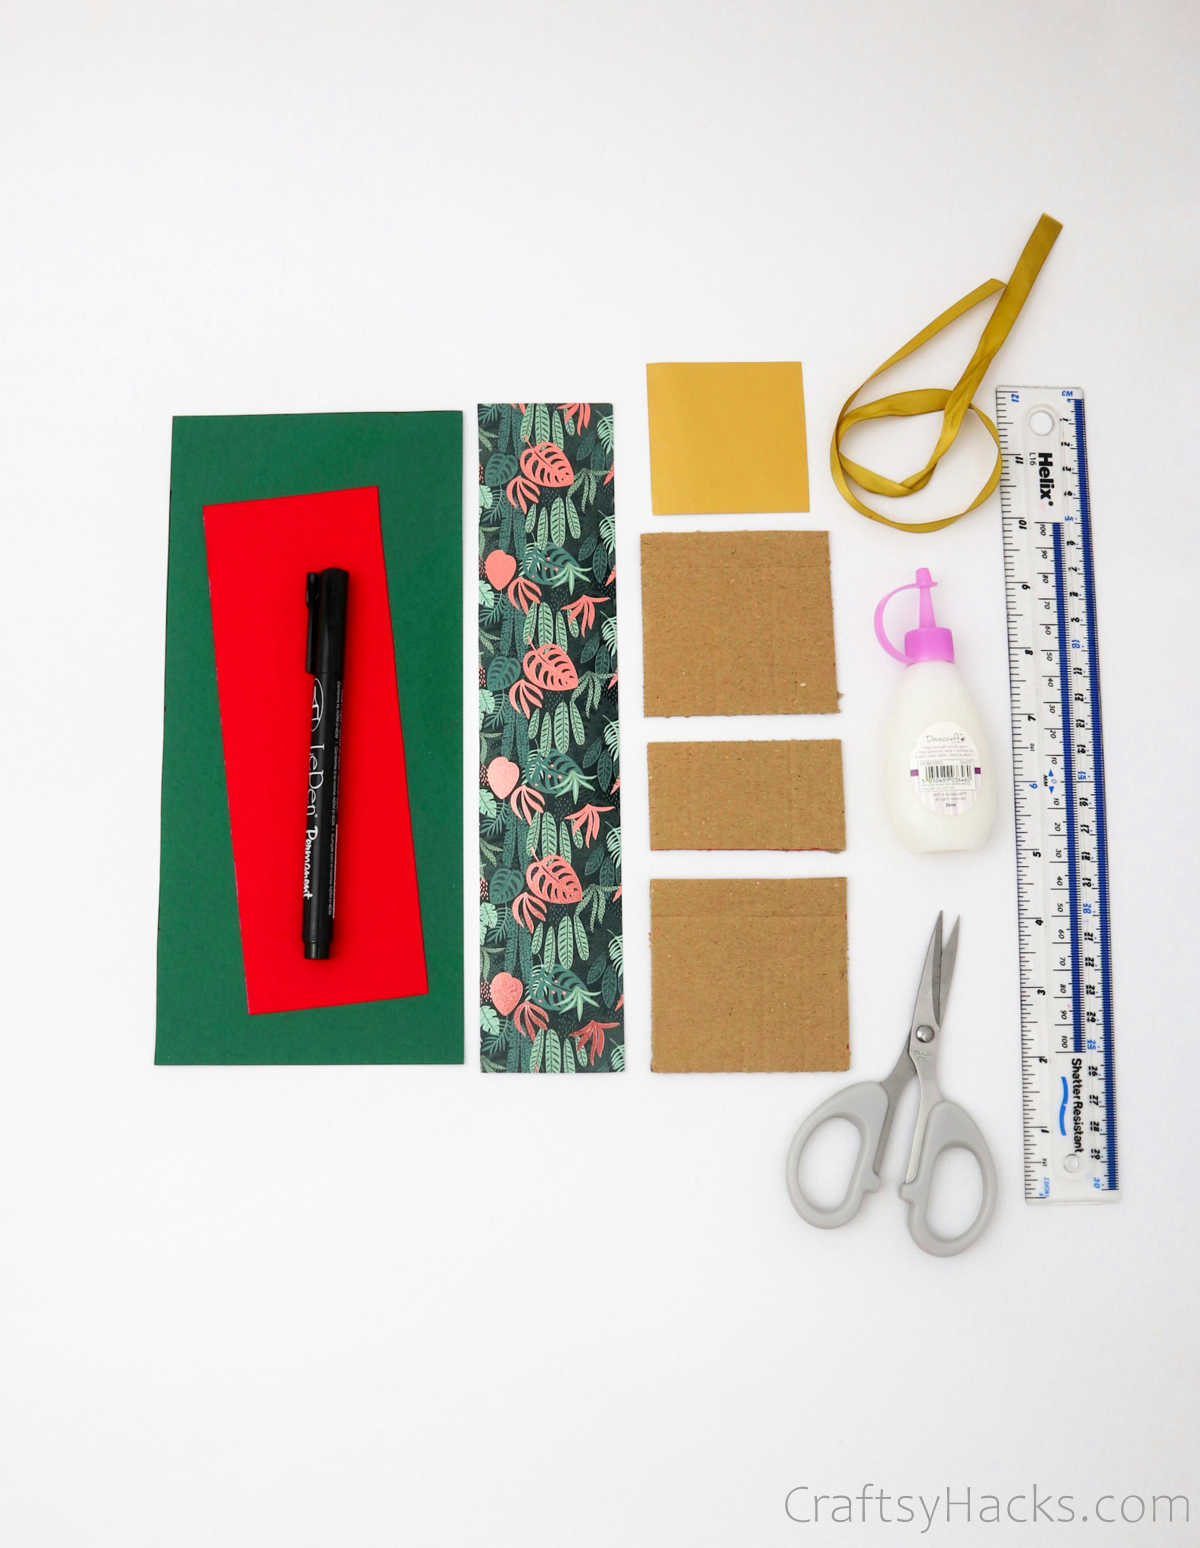
Here’s an exhaustive list of all the supplies that you’ll need for this DIY project. Go ahead and gather your supplies to begin.
- 2x cardboard squares (3’’ x 3’’)
- 1x cardboard piece (3’’ x 1.5’’)
- Green craft paper (9.5’’ x 4’’)
- Red craft paper (8’’ x 2.5’’)
- Ornamented craft paper (10.5’’ x 2.5’’)
- Yellow craft paper (2.5’’ x 2.5’’)
- Craft glue
- Ribbon (20’’)
- Scissors
- Ruler
- Pencil
How to Make a Gift Box
The key to making this DIY gift box is to get the measurements right. First, you’ll need to figure out how big you want your gift box to be.
Once you’ve got those measurements down, you can get started on making your personalized gift box.
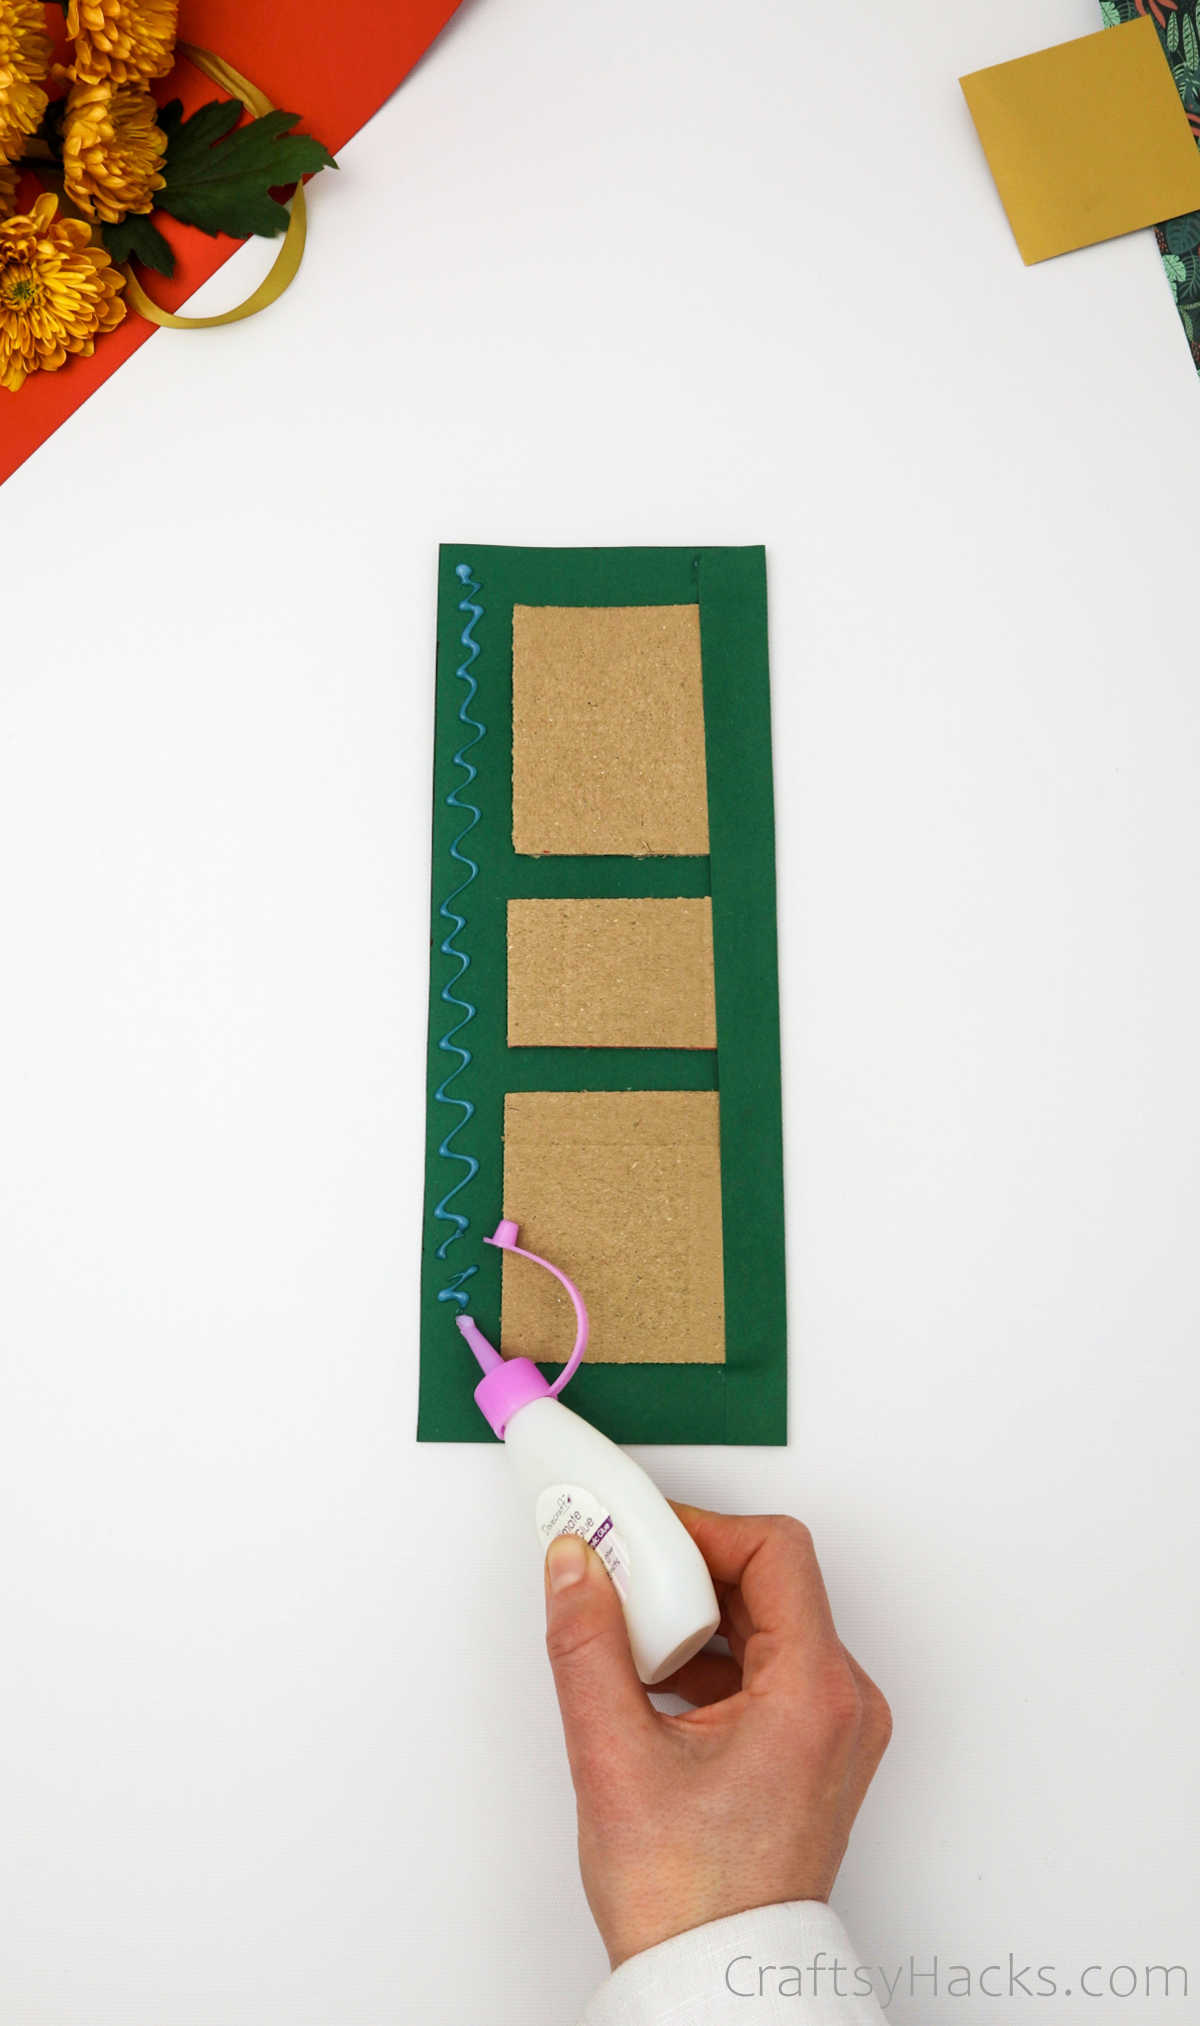
Step 1
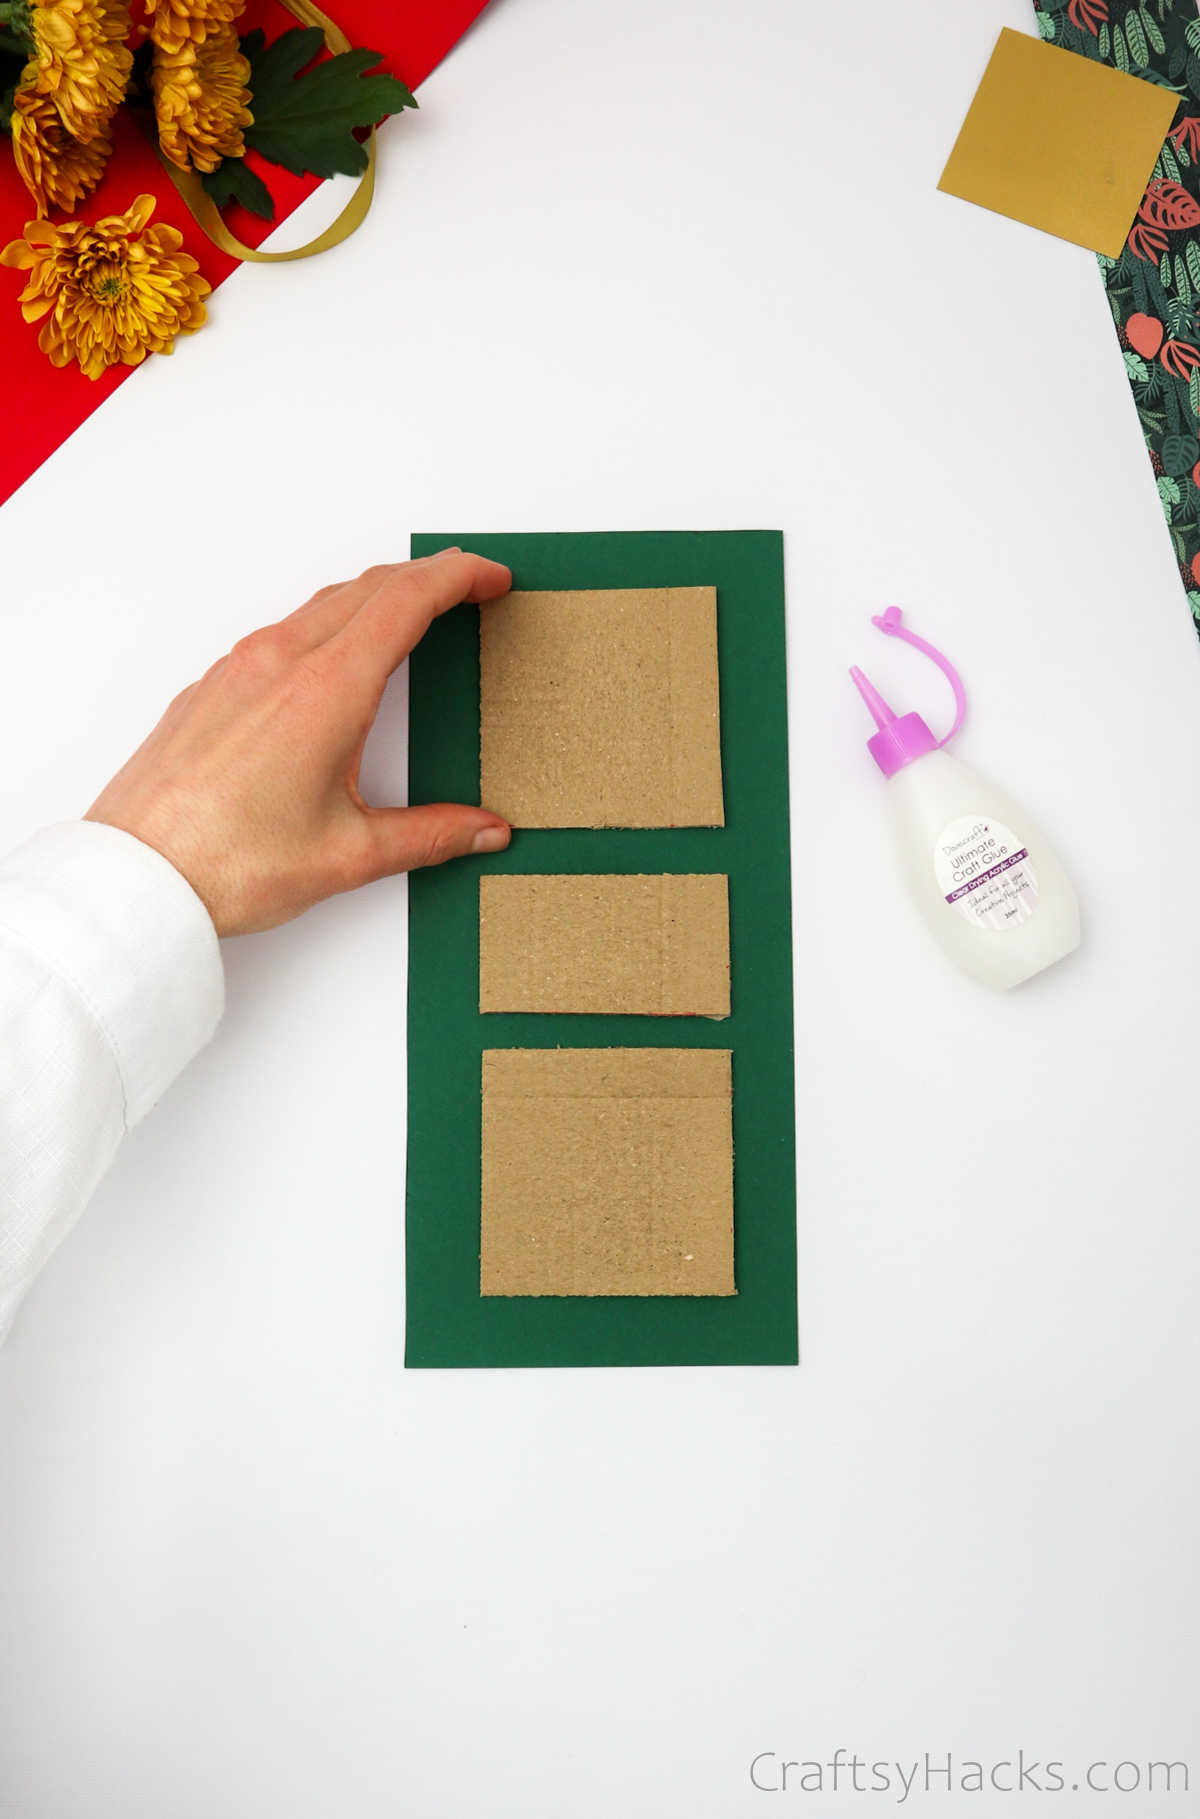
Lay your cardboard pieces one by one over the green craft paper. The two larger pieces need to encompass the small piece. Ensure that there is at least 2 cm gap around the edges.
Also, make sure that there’s an equal gap between the cardboard pieces as well.
Step 2
Grab your craft glue and apply it all the way around the edges.
Step 3
Grab the left side of the paper and fold it inward to stick over the cardboard pieces.
Continue to apply glue and subsequently fold the edges inward over the cardboard. You can follow the guidance that the following pictures provide to help you along your way.

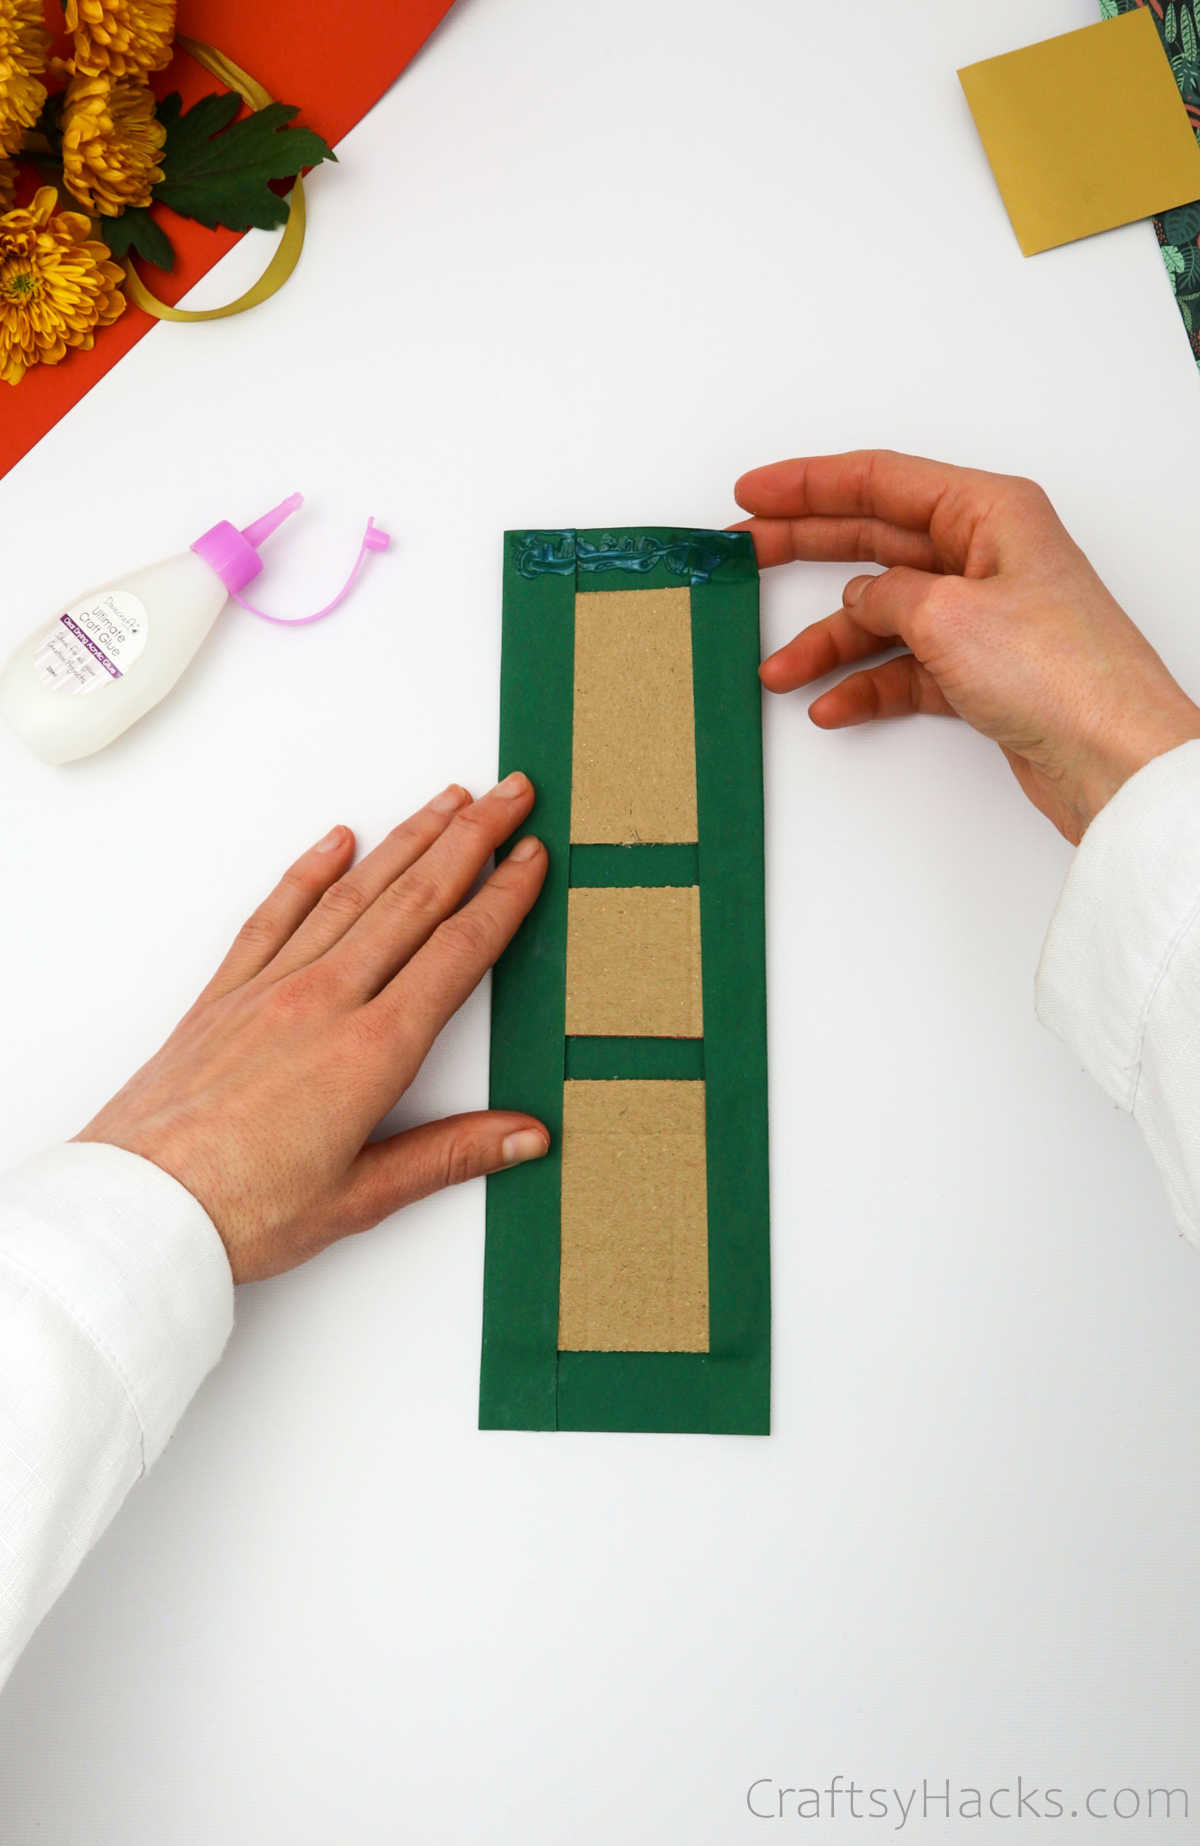
This is how your cardboard should look when you’re done folding all the edges and sticking them in place.

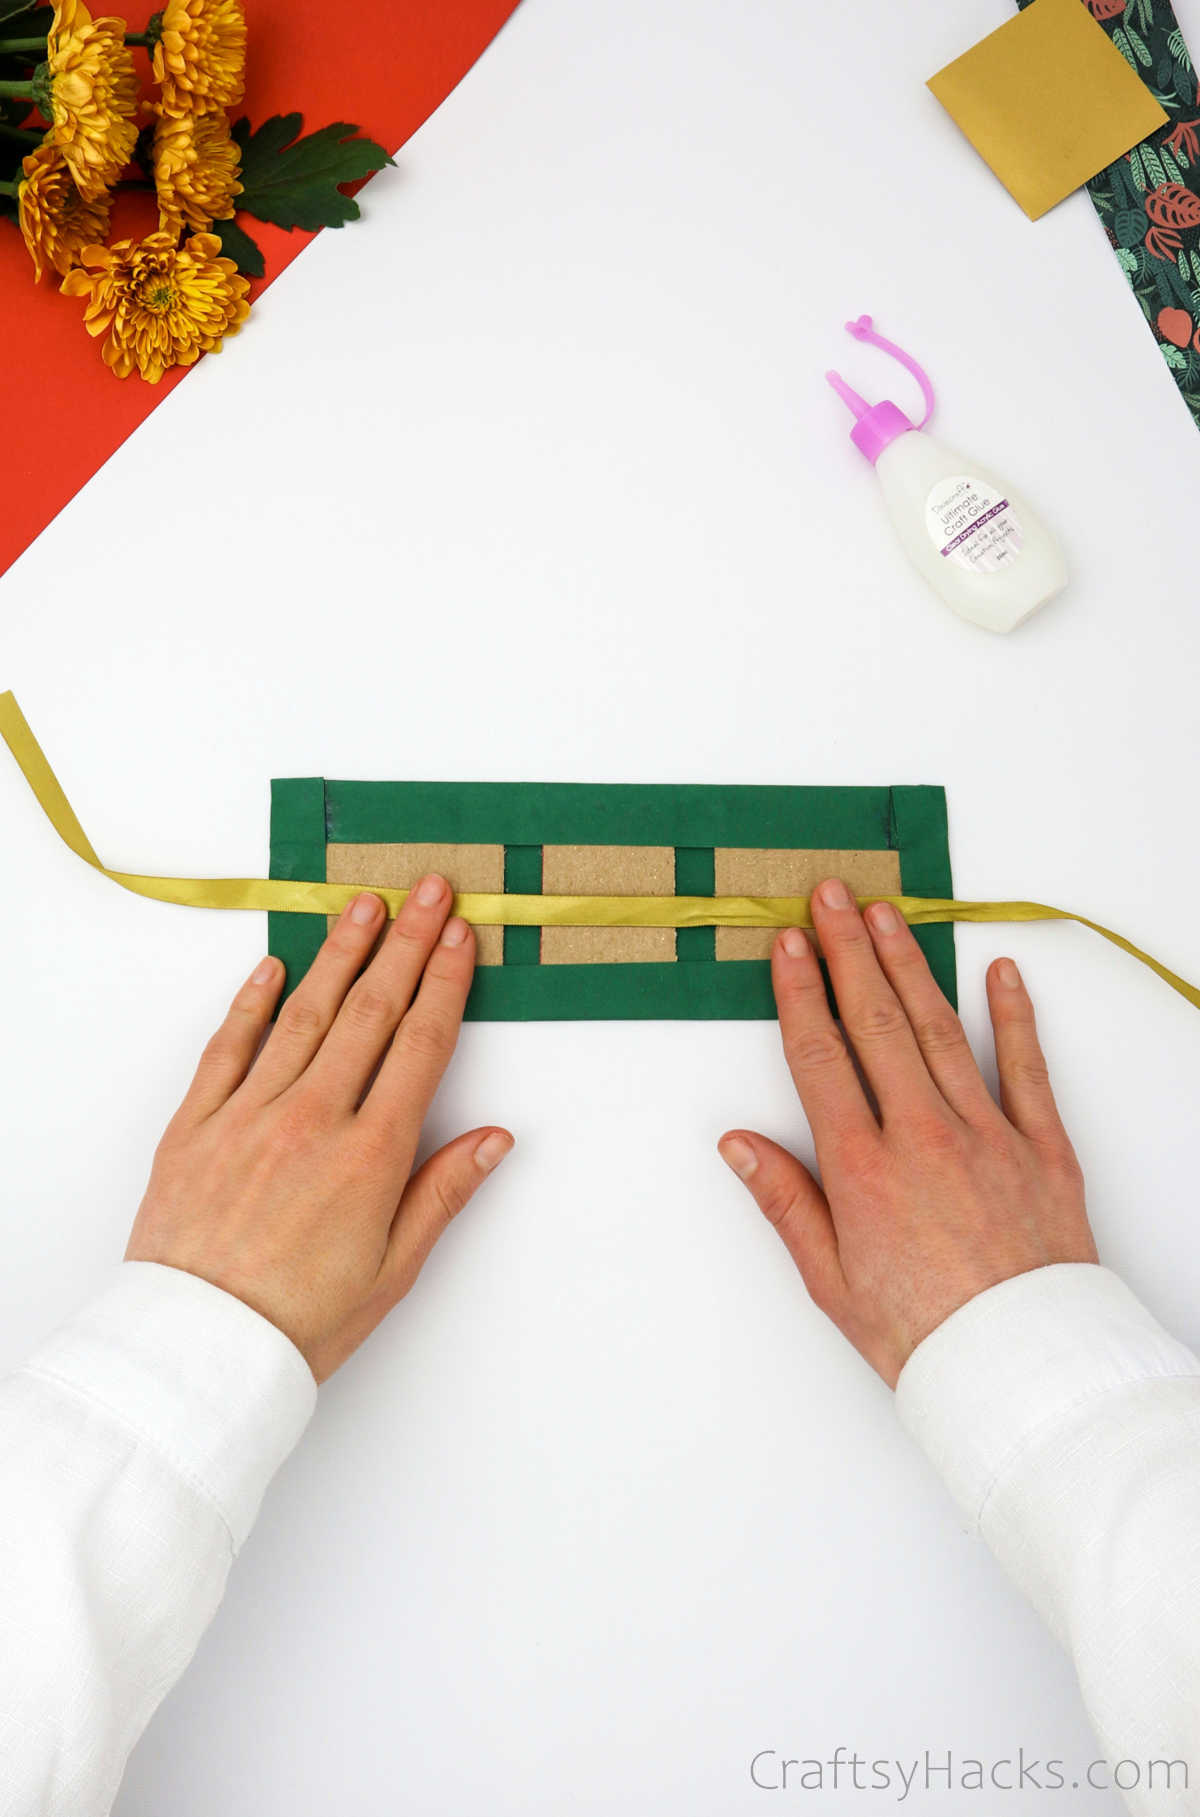
Step 4
Next up, grab a length of ribbon and carefully lay it down along the center of the cardboard. Glue it in place with the ends left free over the sides.
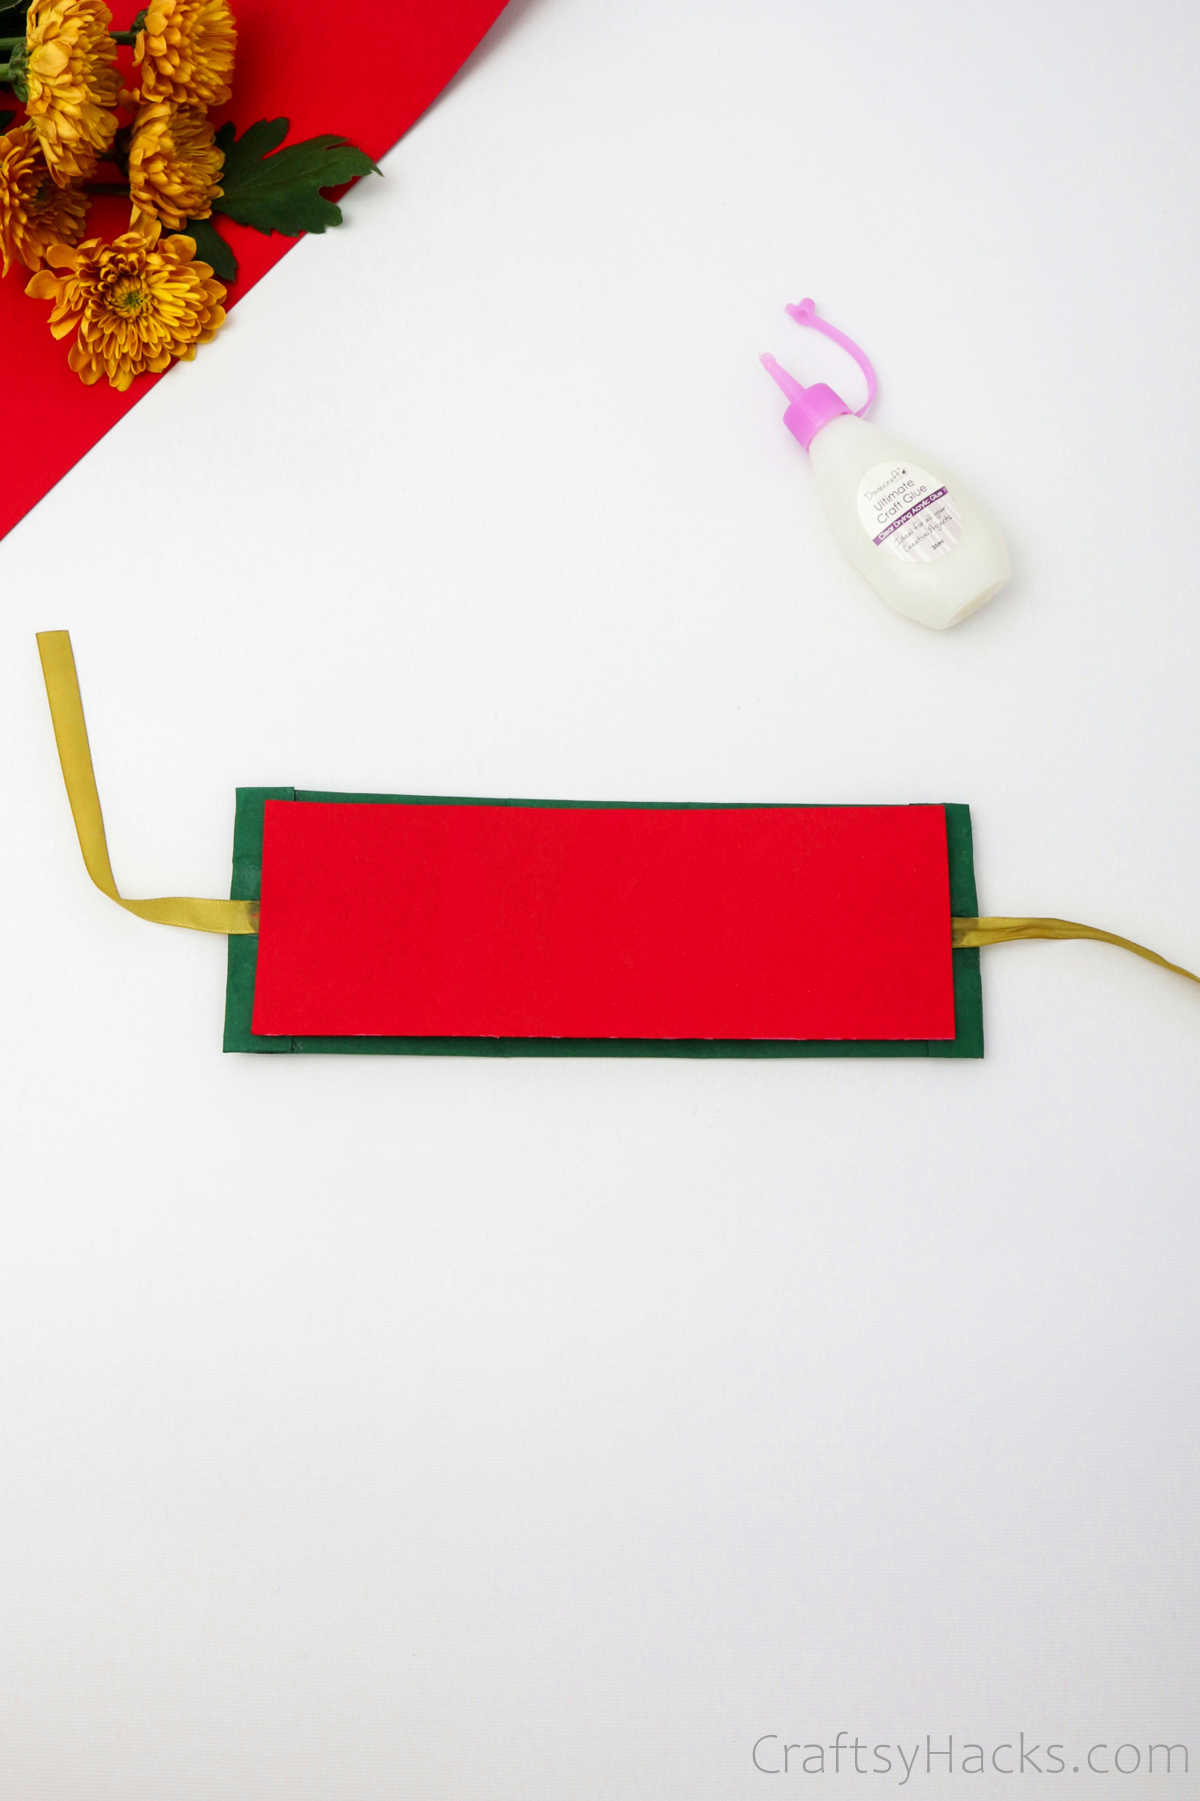
Step 5
The next step is to measure and stick another piece of craft paper over the ribbon and cardboard.
Step 6
Now, this step might get a little tricky, but it isn’t too hard to pull off. It all comes down to figuring out where the cardboard bits are placed. Use your fingers to find the ridges and then fold them, as seen below.
You will have a three-walled structure like this when you’re done. Set it aside for later.
Step 7
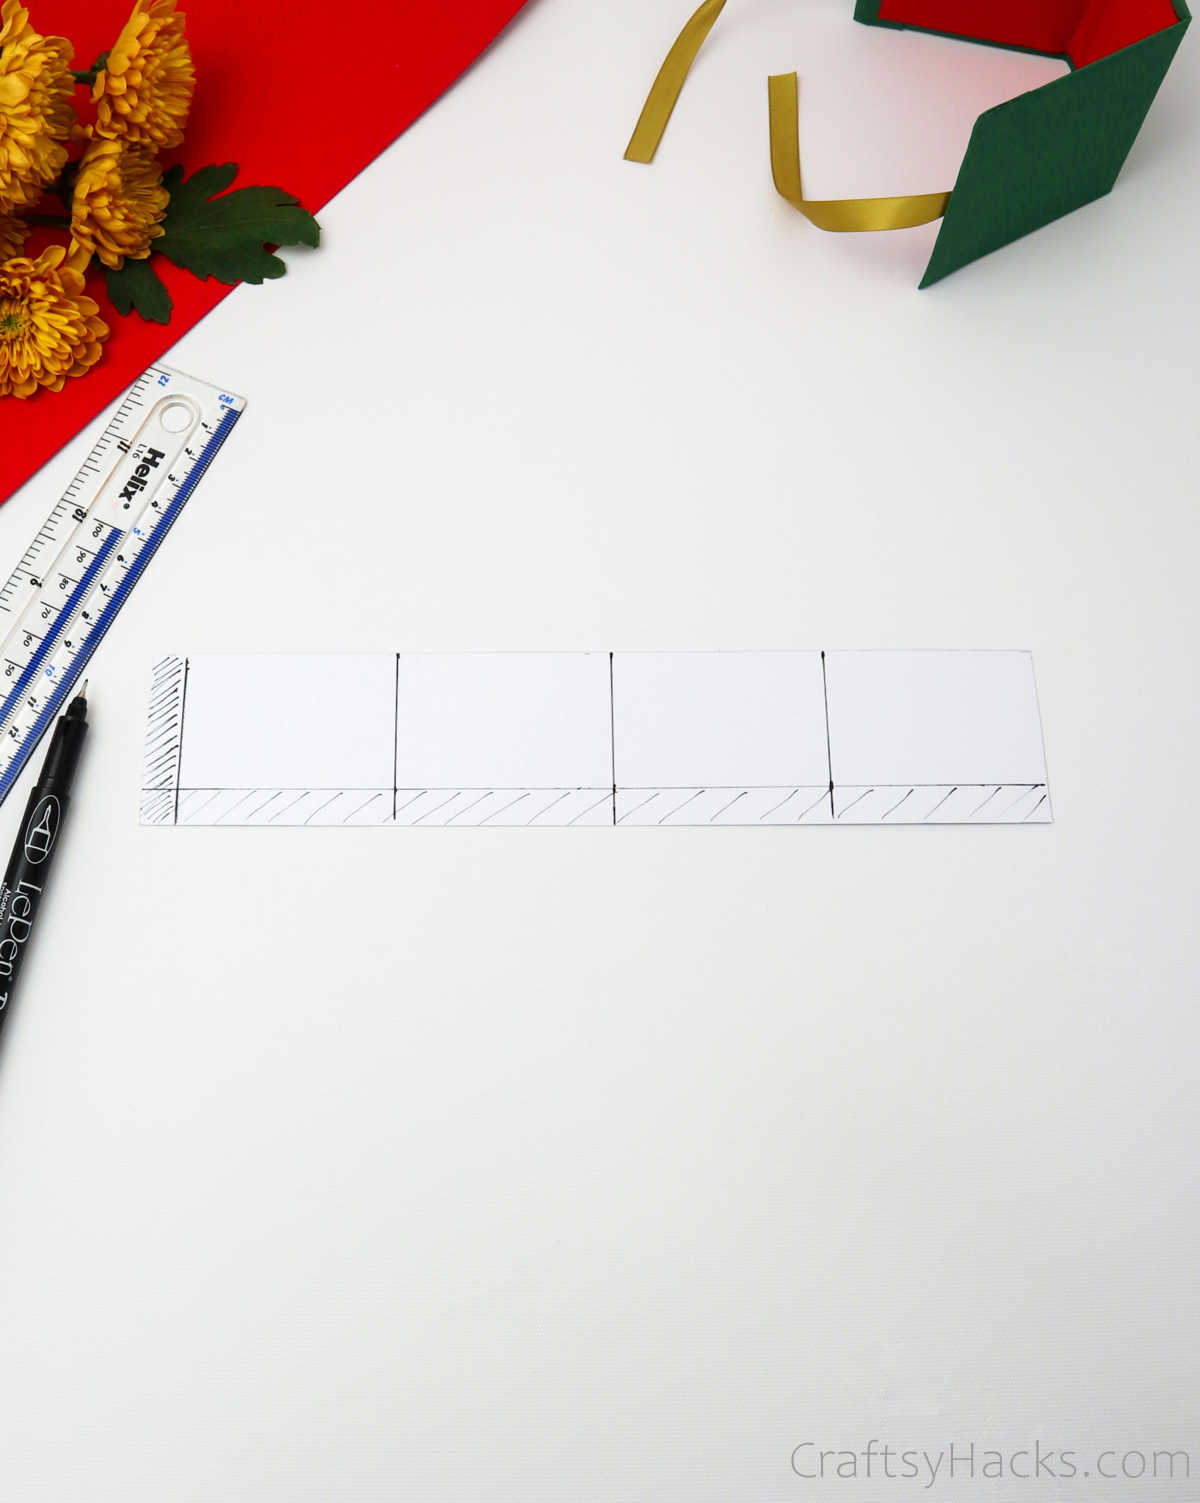
Take another piece of paper and draw an outline to make an overlap. The horizontal and vertical flaps should measure 1cm each. Check out this image to help you with this step.

Step 8
Divide this overlap into four equal parts by drawing vertical lines along its length at an interval of 6cm. Your outline should look something like the picture you see below.
Step 9
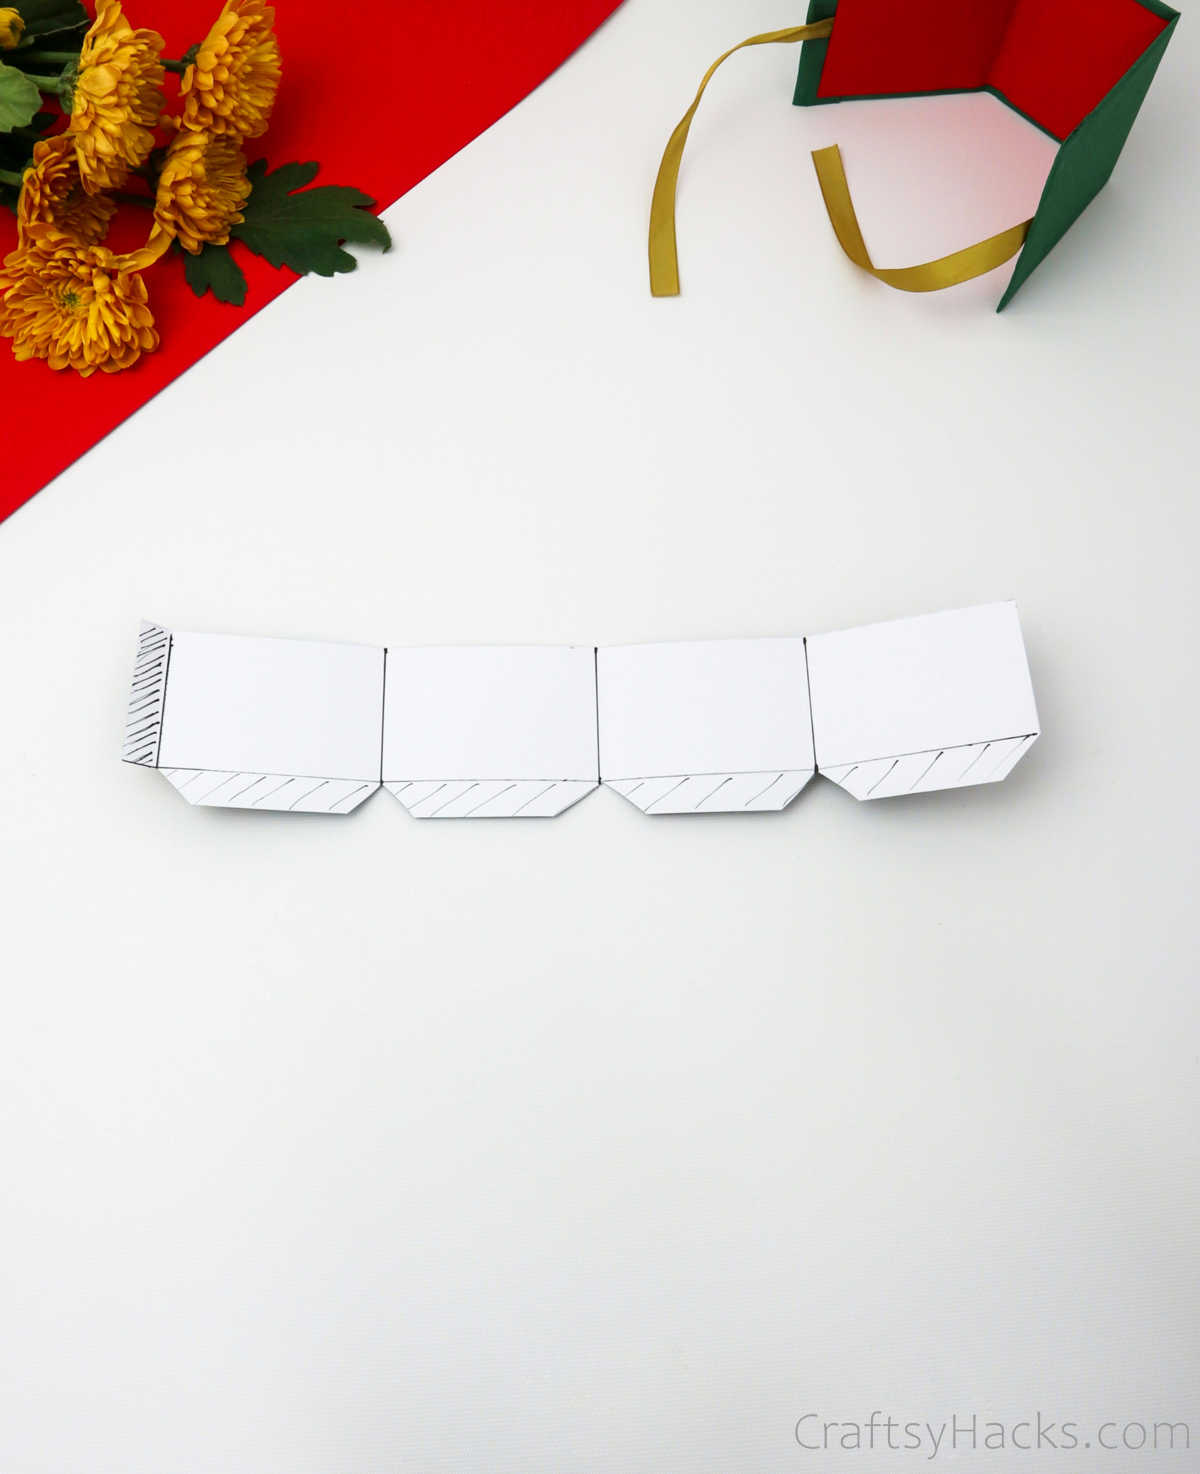
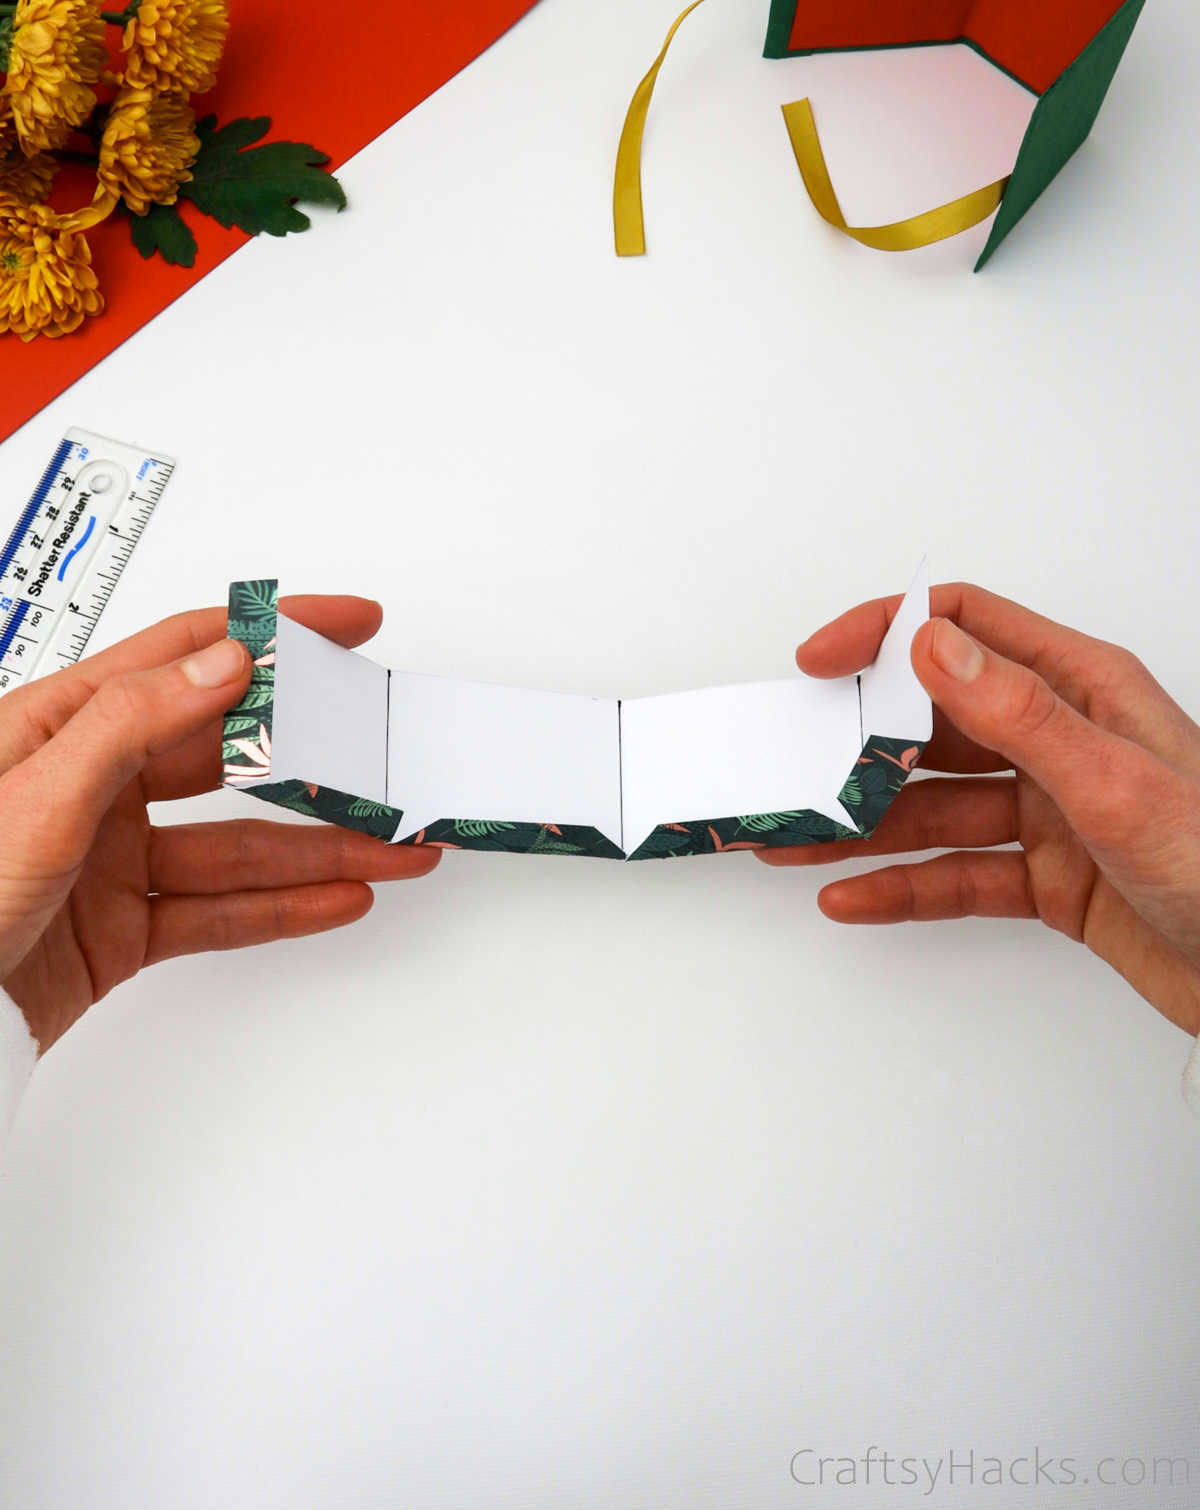
Using a pair of craft cutters or scissors, carefully cut the paper along the edges, as seen below. If you noticed, the flaps have a slanted edge, so clip away the extra bits to achieve the same effect.
Step 10
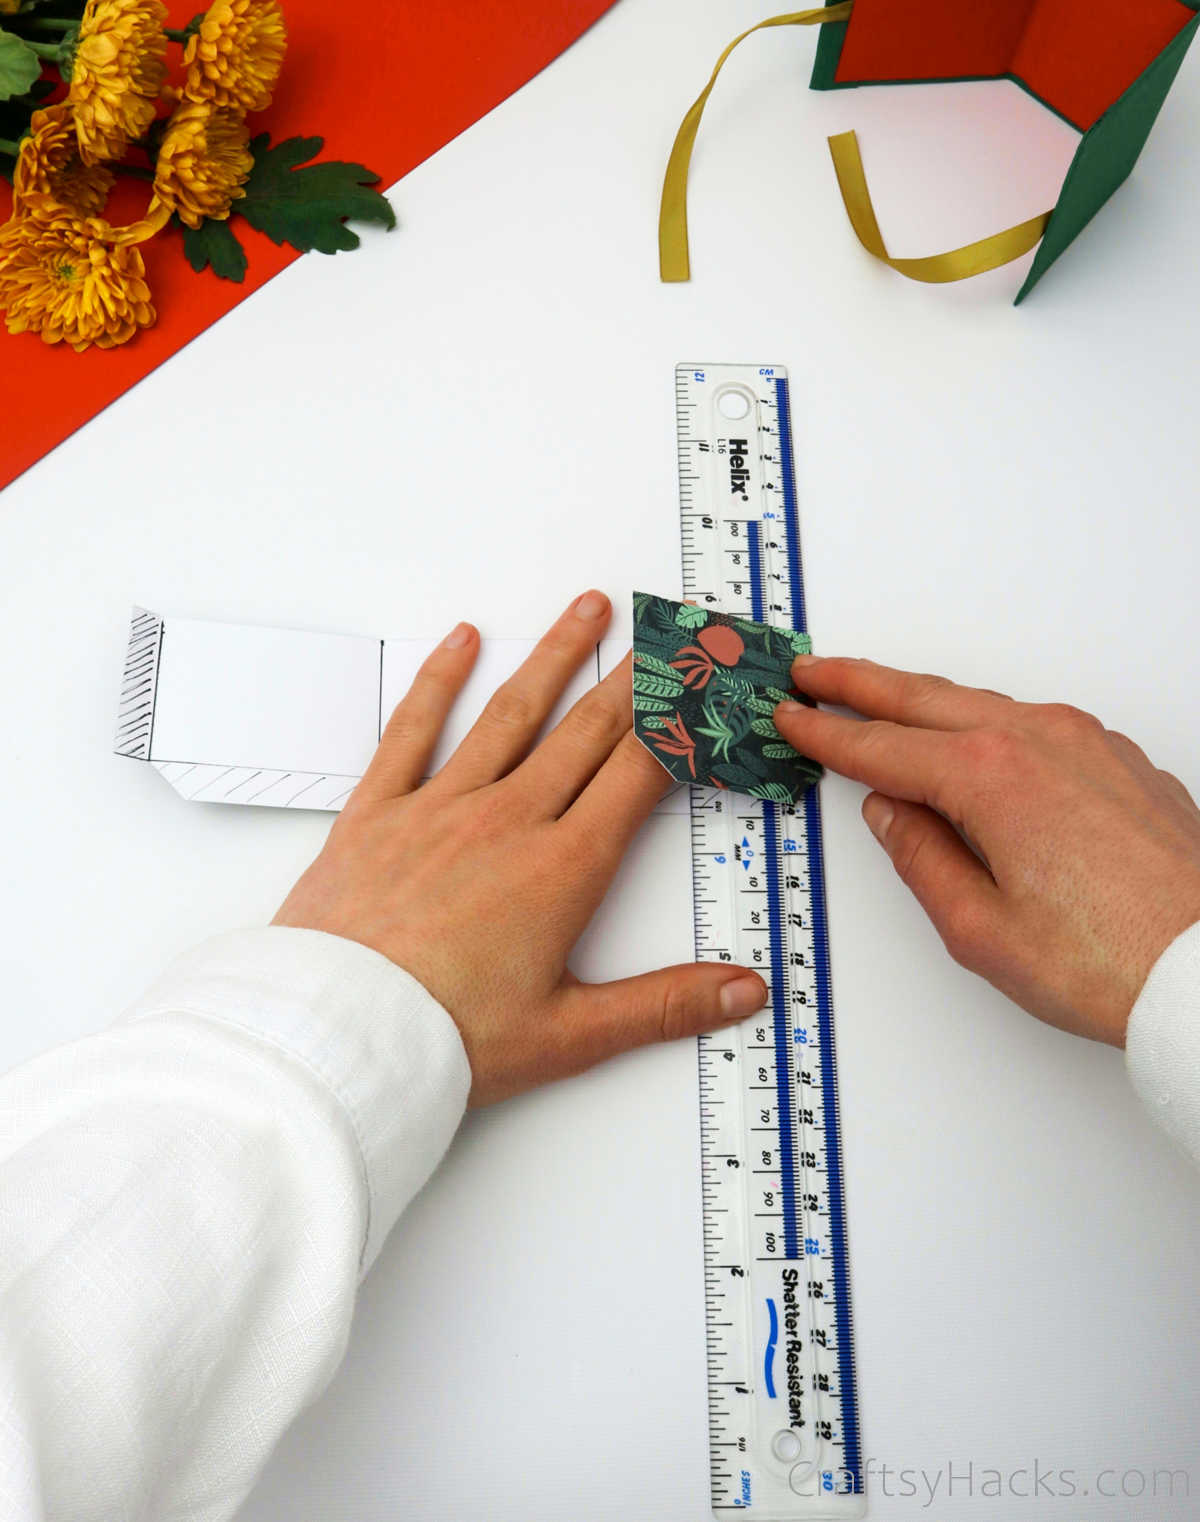
Use a ruler to bend the overlaps along each vertical line.
Remember to also fold the overhang flaps, as seen below.
Step 11
Next, apply a layer of glue around the edges. Be careful to only use a smidgen of glue, or you’ll end up with soggy craft paper.
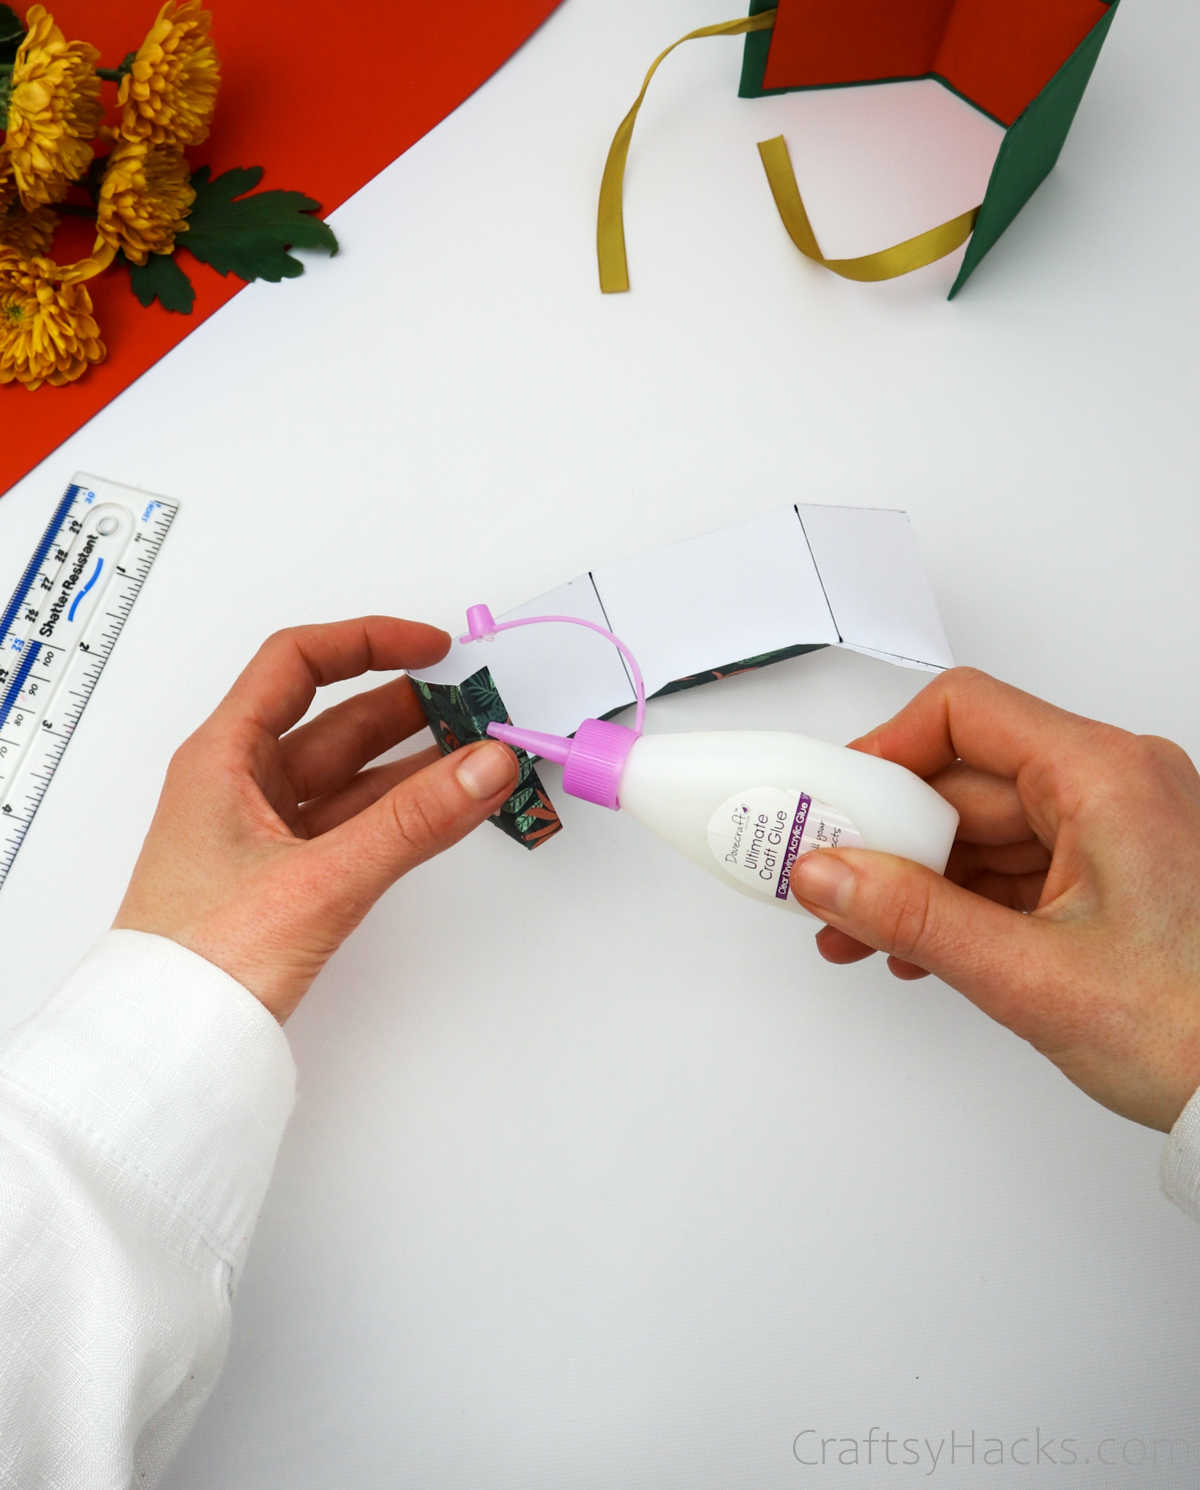
Step 12
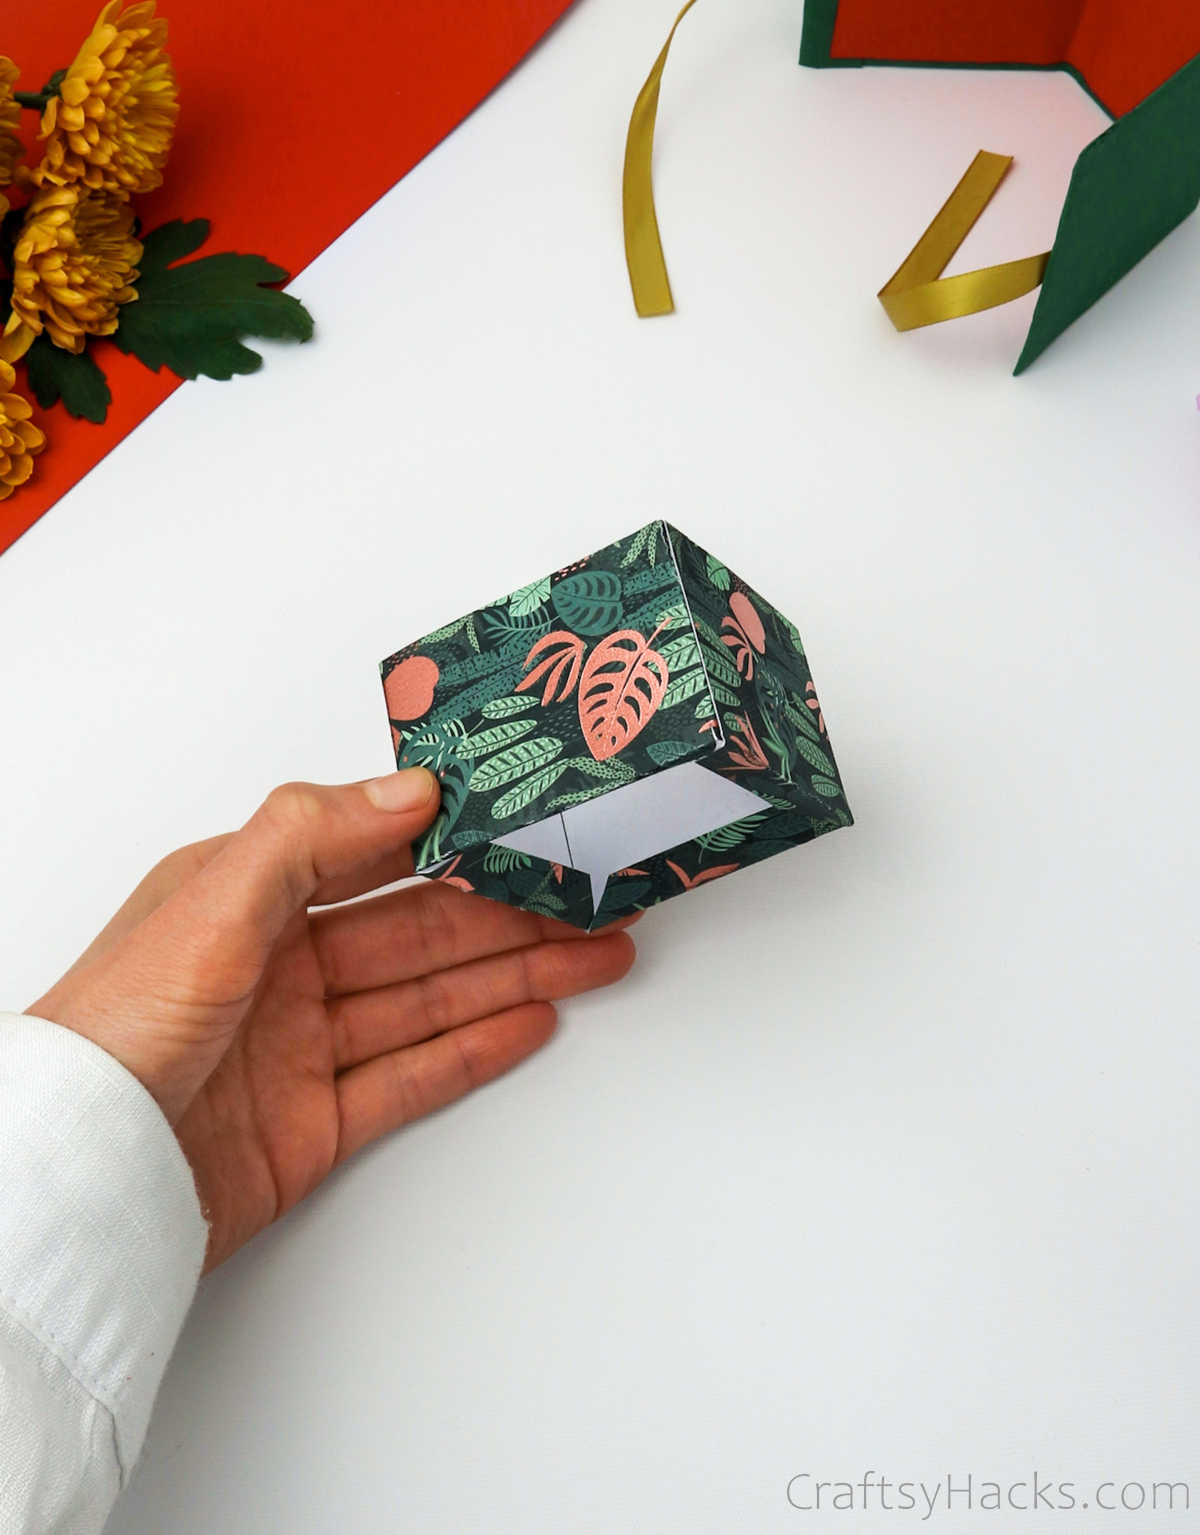
Carefully fold the paper inwards to create a 3D four-walled square structure.
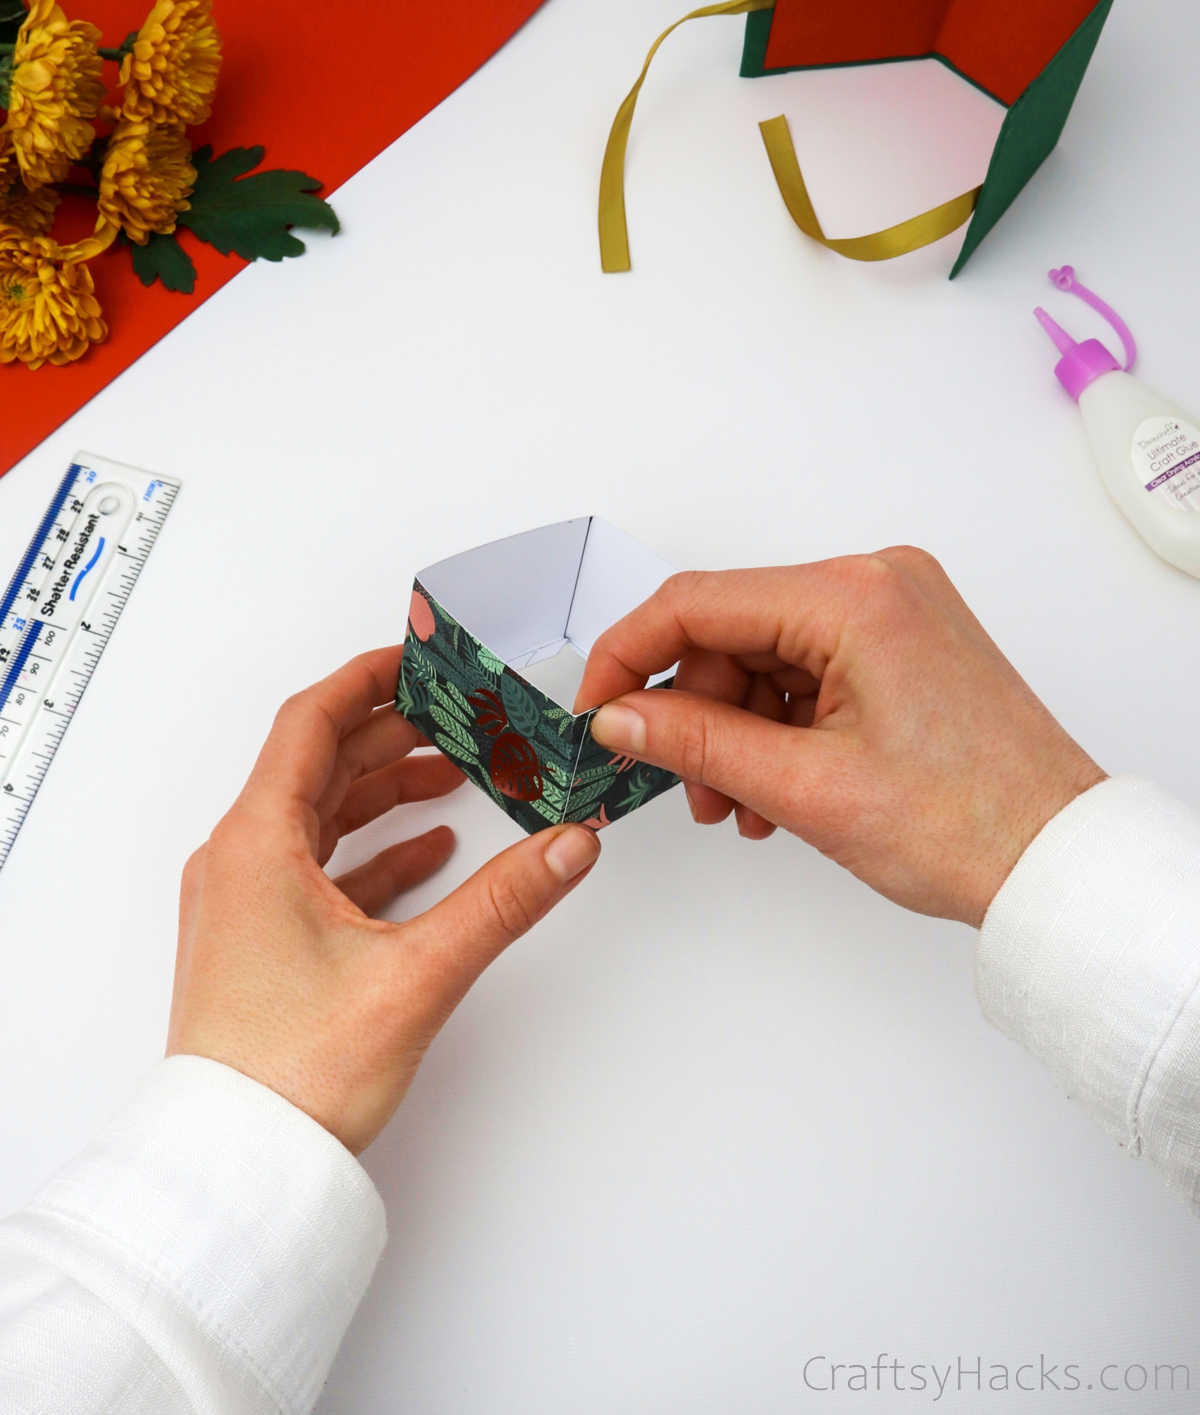
Allow it to completely dry before moving on to the next step in this project.
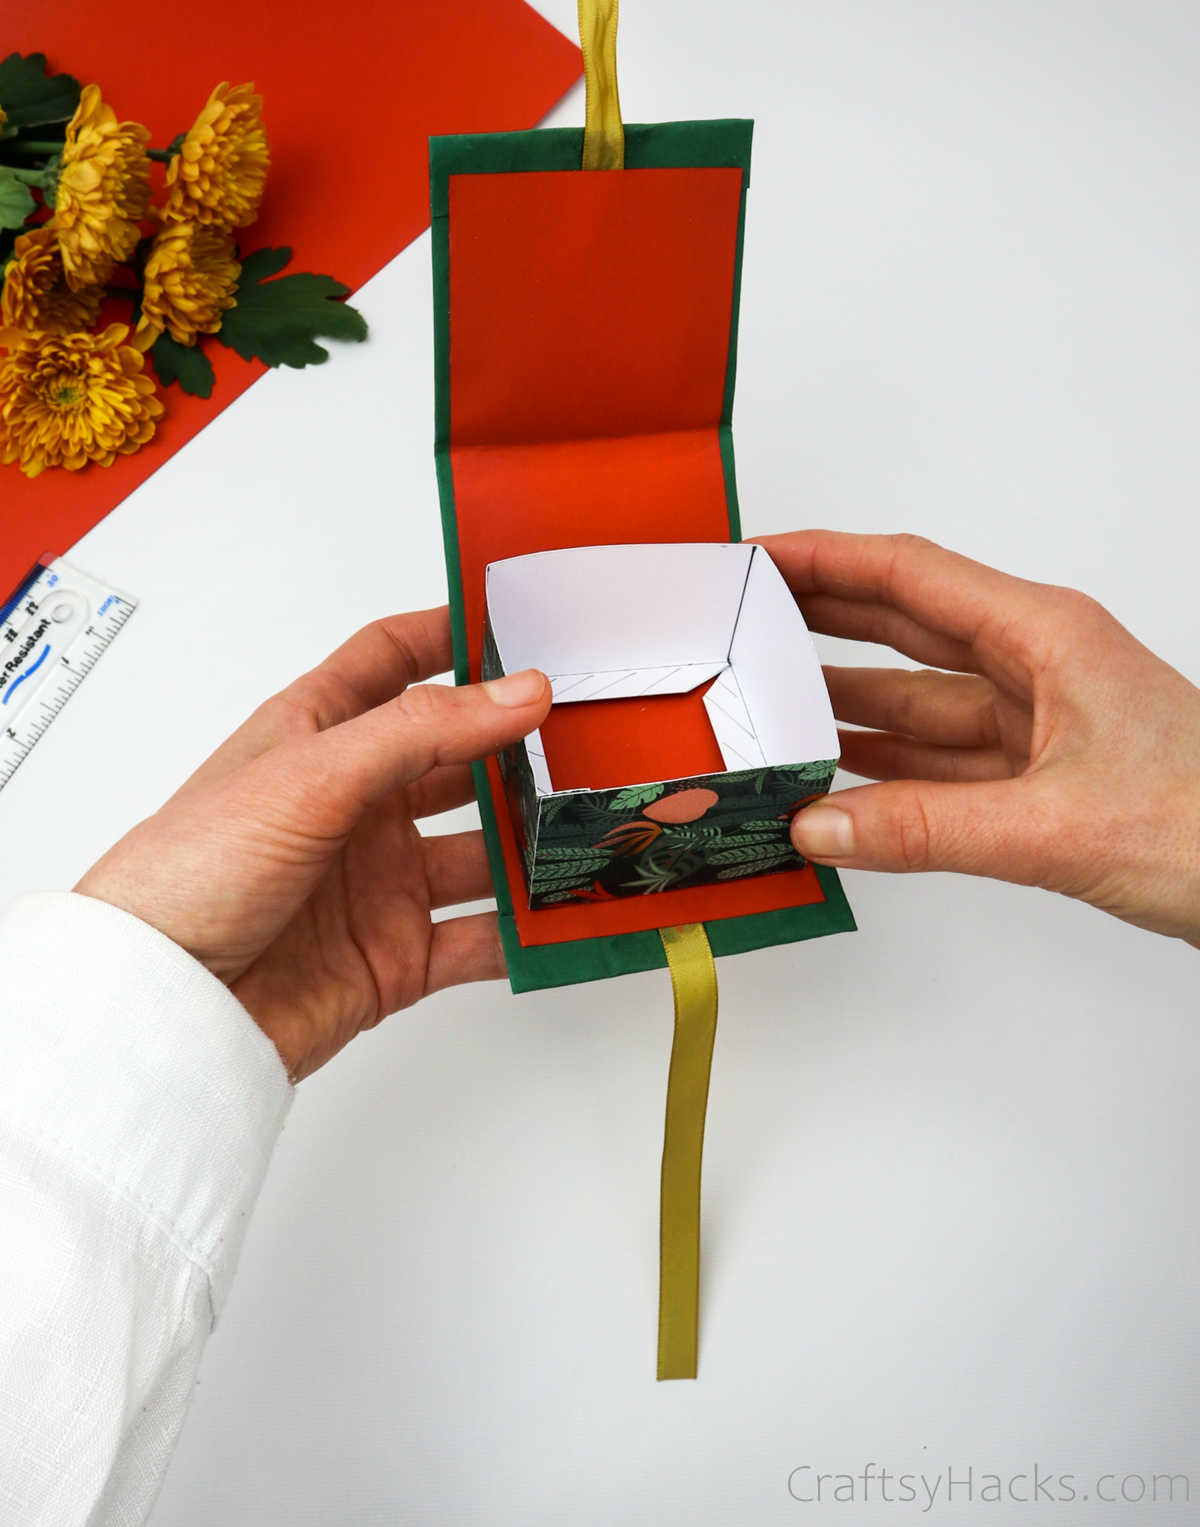
Step 13
Grab your craft glue once more and apply a layer of adhesive on the bottom flaps.
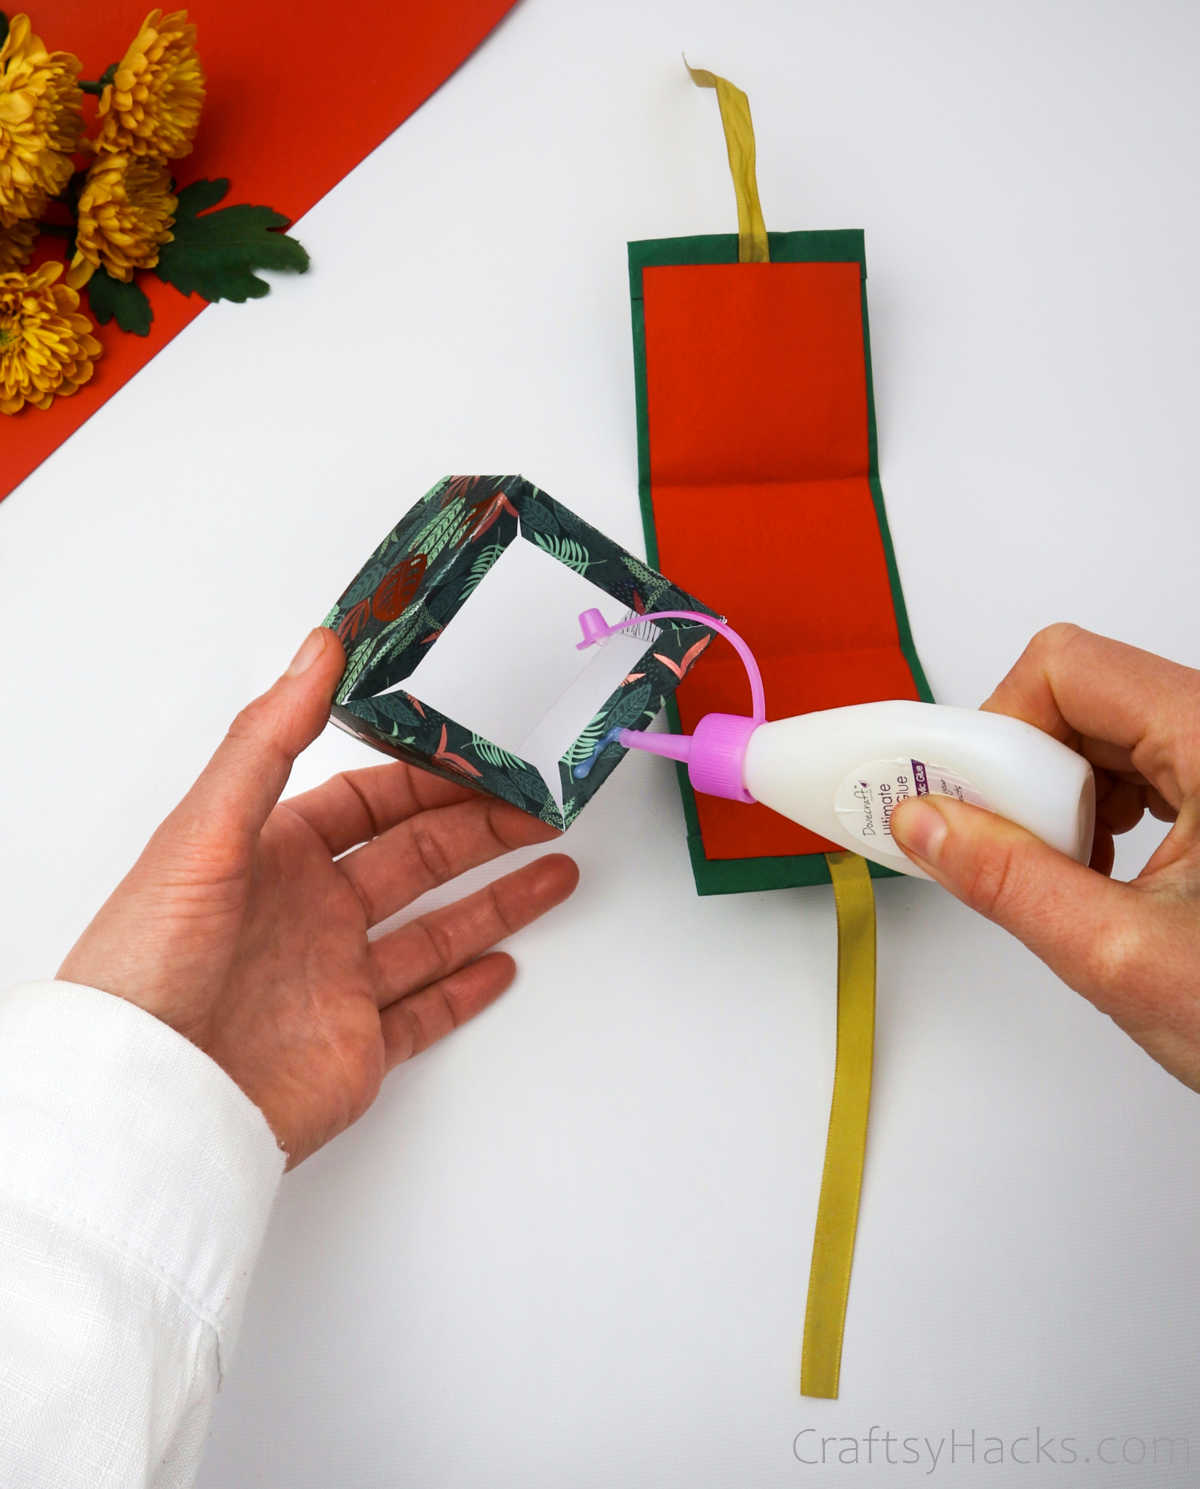
Stick the cube onto the surface of the first component of the project that you set aside earlier. Be careful not to press down too hard on the paper walls of the cube, lest you crumple it.
Step 14
If you remember, you had initially divided this cube structure into four equal parts. Based on those measurements, you will need to cut out a small scrap of paper for the base of your gift box.
This particular project calls for a 6cm x 6cm base
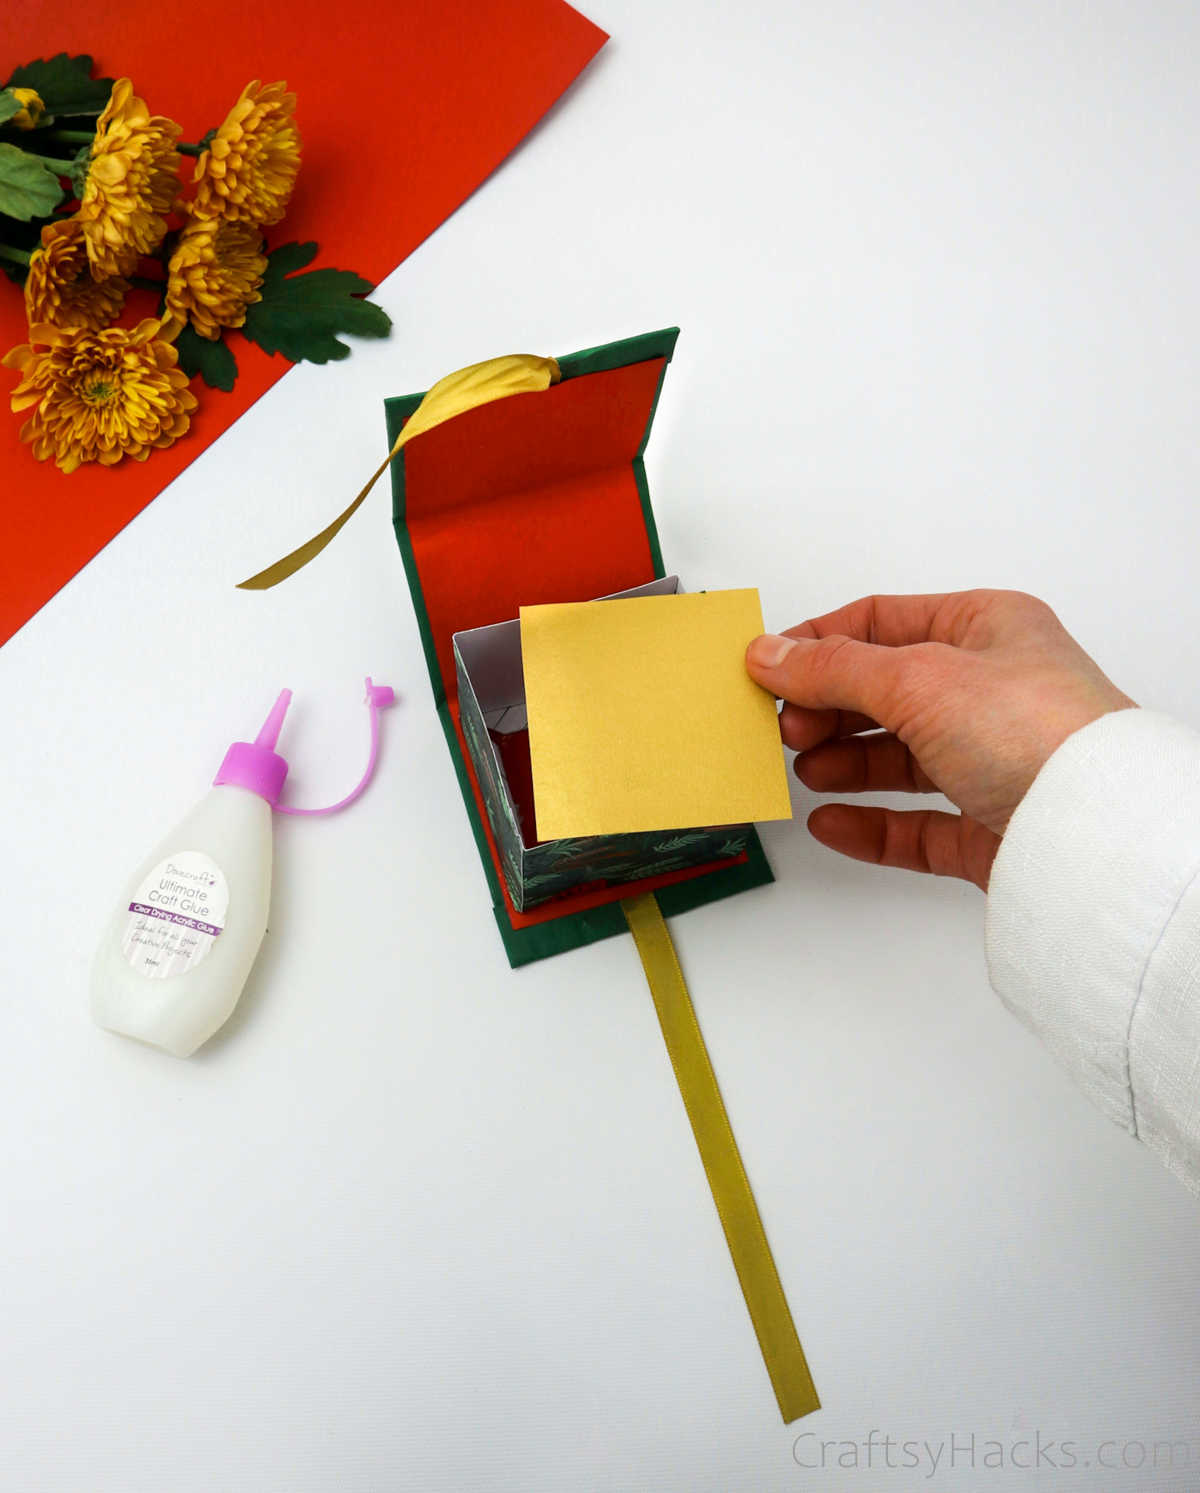
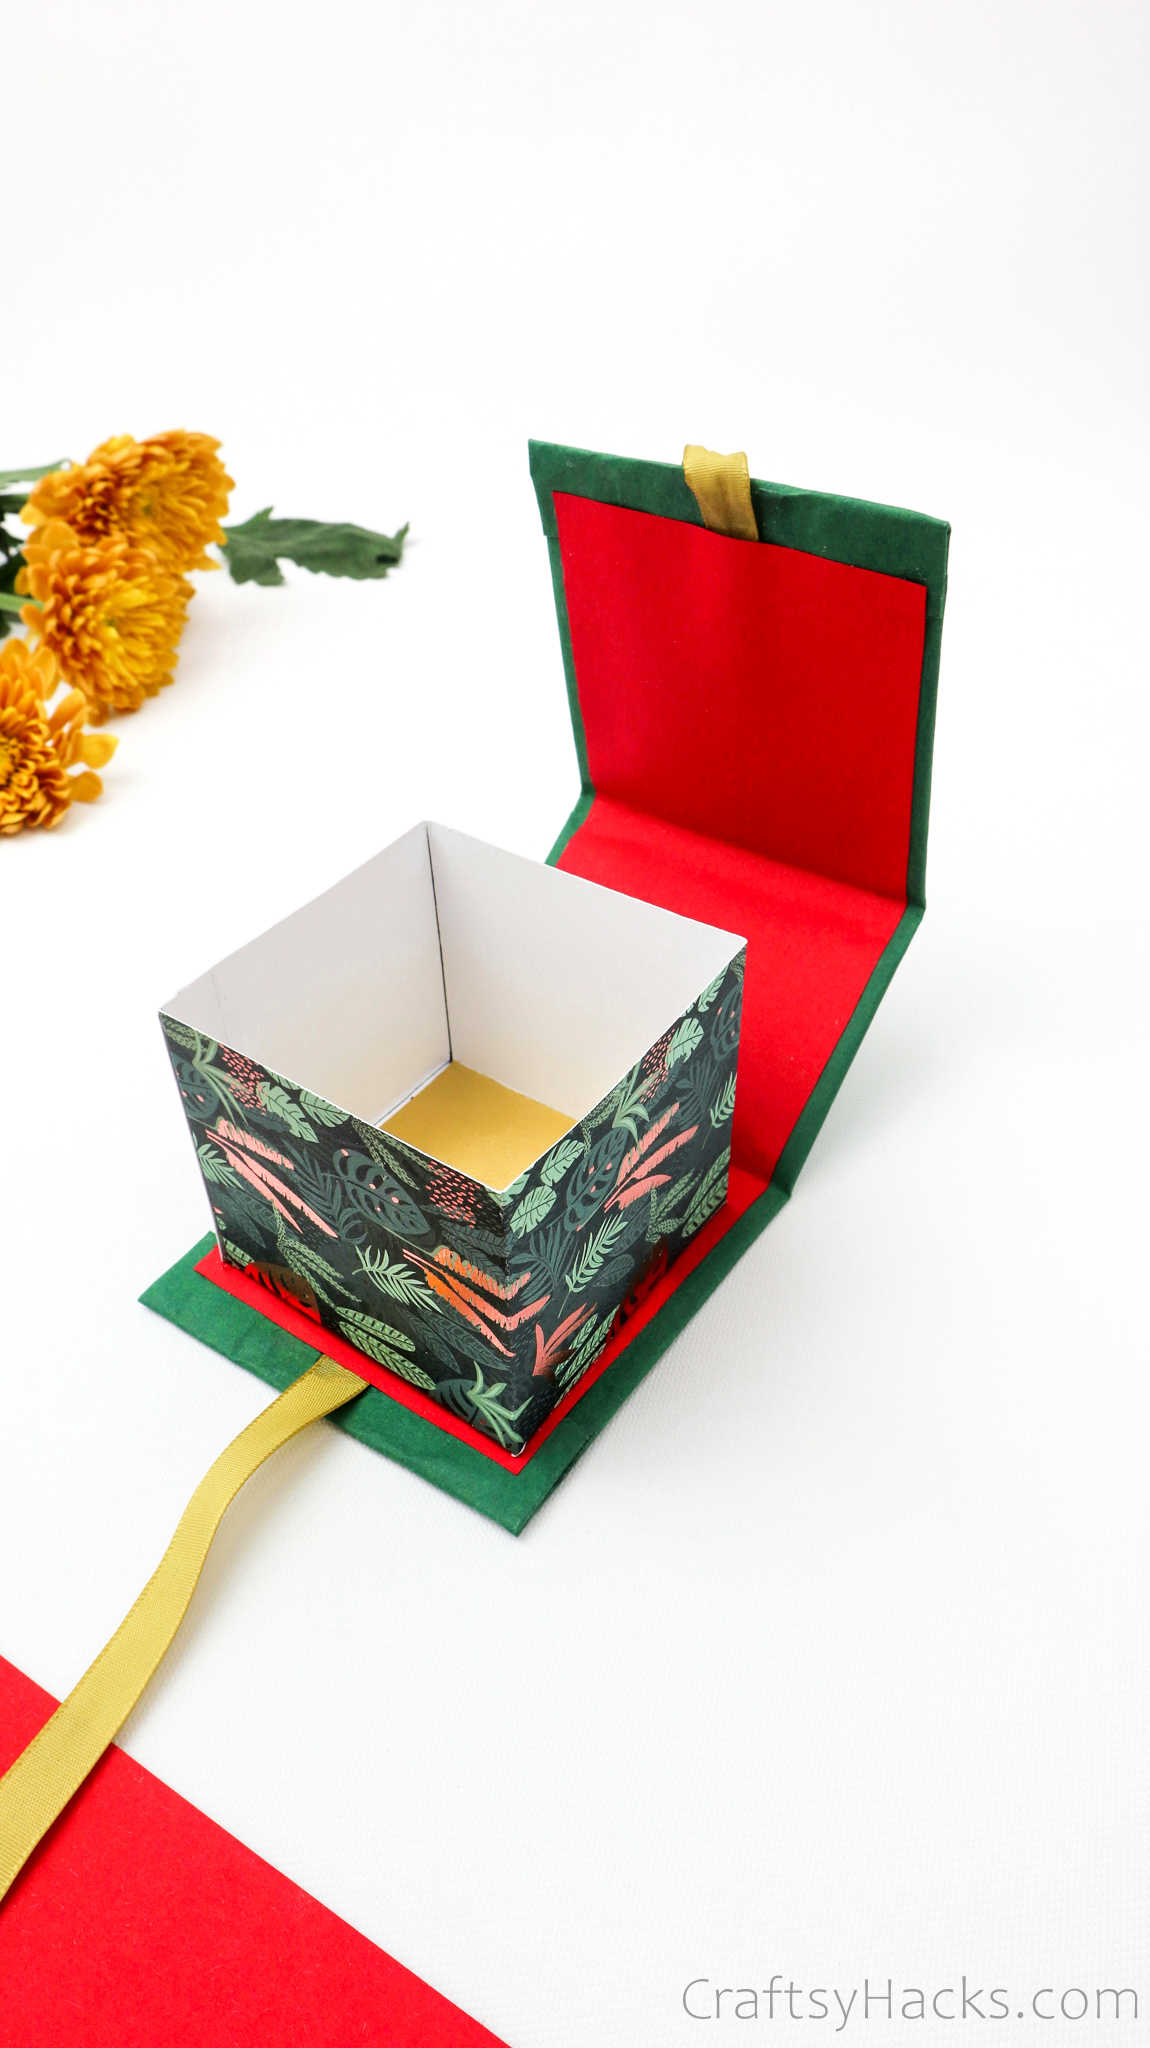
Stick it in place and you’re all done reading about how to make a gift box right at home. So go ahead and make one—no, a dozen!—on your own.
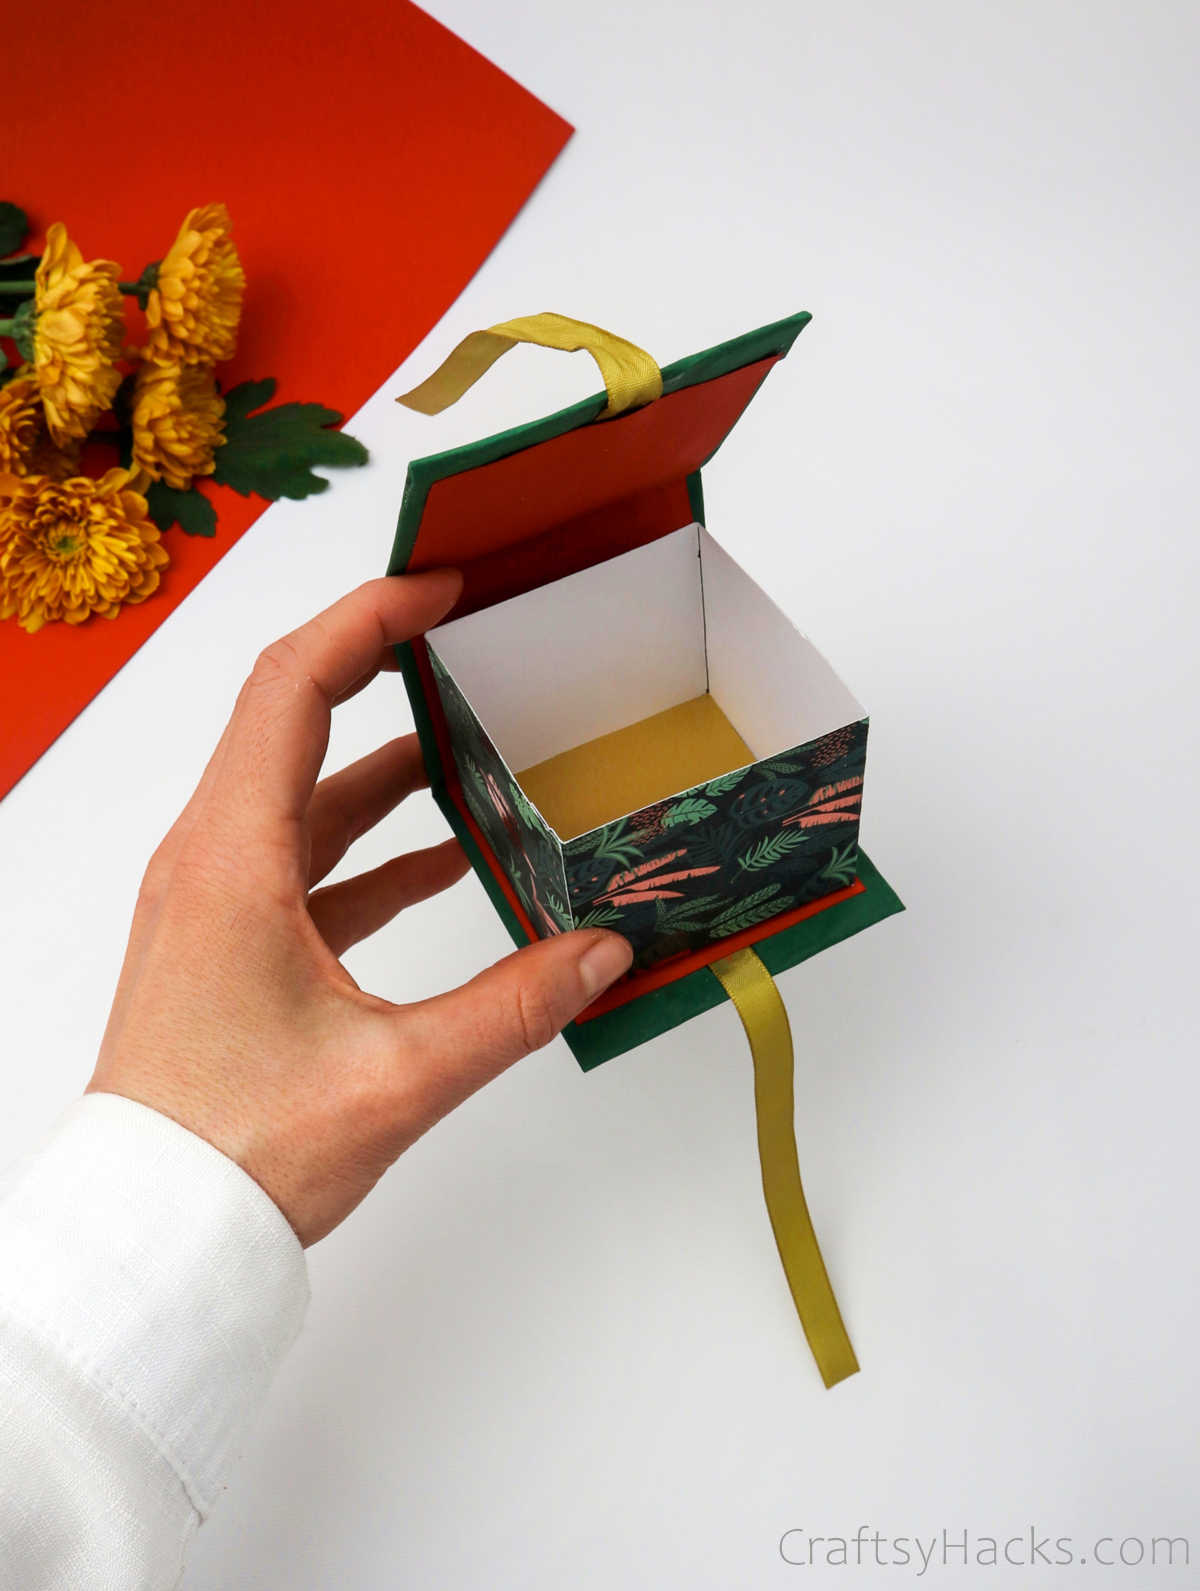
What Can You Use This Gift Box For?
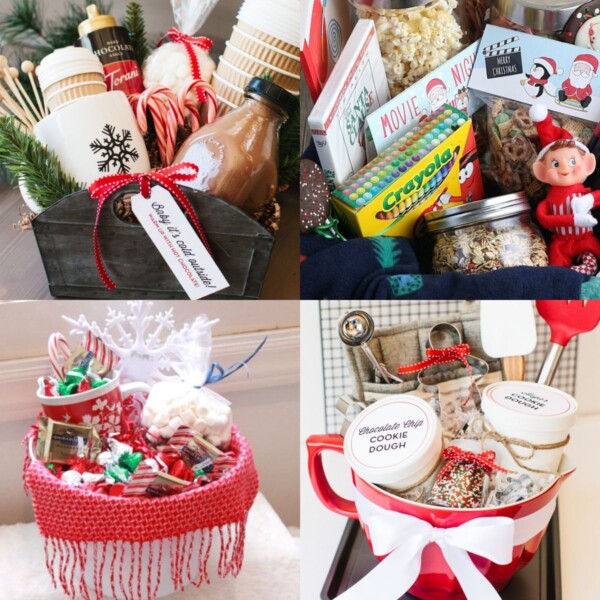
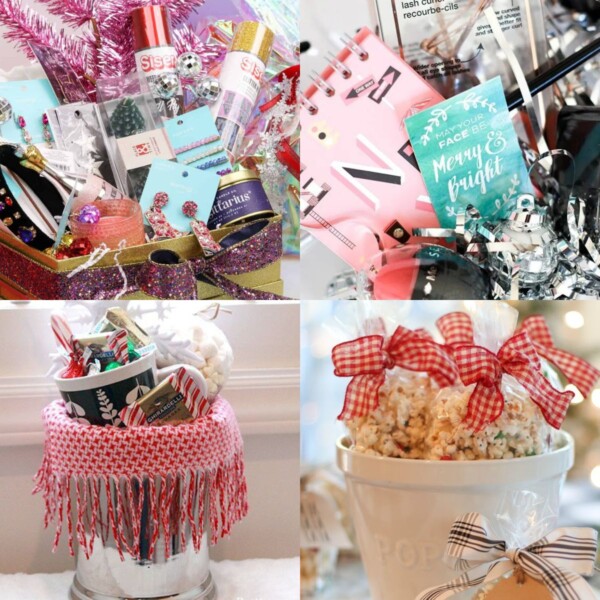
There’s absolutely no end to the number of ways to use this gift box. You can fill it up with little knick-knacks, party favors, confetti, and even candy. They’re the perfect gifts for friends, your mom or sisters!
Speaking of gifts for mom, check out these 20 christmas gift ideas that your mom would adore!
Alternatively, you can use it as a jewelry box and use it to store rings, earrings, and the likes.
Other Gift Ideas
- DIY Birthday Card Ideas
- Christmas Gifts for Dads
- Birthday Gifts for Him
- Anniversary Gifts for Him
- Romantic Gifts for Him
- College Graduation Gifts
- How to Make Wire Ornaments
- Christmas Gifts for Moms
- Christmas Gifts for Boyfriend
Full Video Tutorial


How to Make a Gift Box
Video Tutorial
Equipment
- Scissors
- Ruler
- Pencil
Materials
- 2 x cardboard squares 3’’ x 3’’
- 1 x cardboard piece 3’’ x 1.5’’
- Green craft paper 9.5’’ x 4’’
- Red craft paper 8’’ x 2.5’’
- Ornamented craft paper 10.5’’ x 2.5’’
- Yellow craft paper 2.5’’ x 2.5’’
- Craft glue
- Ribbon 20’’
Instructions
- Go ahead and grab your supplies.
- Lay out the green craft paper on your flat work surface.
- Place three cardboard pieces next to each other with the smaller one sandwiched between the larger ones. Ensure that there is an adequate gap around and between the pieces.
- Glue the sides of the green craft paper and fold the edges inward and over the cardboard.
- Cut out some ribbon and stick it along the length of the cardboard with the ends sticking out.
- Grab your red craft paper and stick it over the ribbon and cardboard. Allow it to dry completely. Bend the cardboard pieces to form a three-walled structure.
- Take another sheet of paper and draw the outline for the overlaps. Subsequently, cut the outline you’ve drawn and carefully bend them into 4 equal parts along the vertical lines.
- Use an adhesive to fold and attach the ends of the overlaps to form a cube.
- Next, stick the overlaps in place over the cardboard.
- Finally, cut out a square of craft paper and stick it inside the box to form the base of the cube.
- Allow the glue to dry completely before you fill it up with your baubles and party favors!