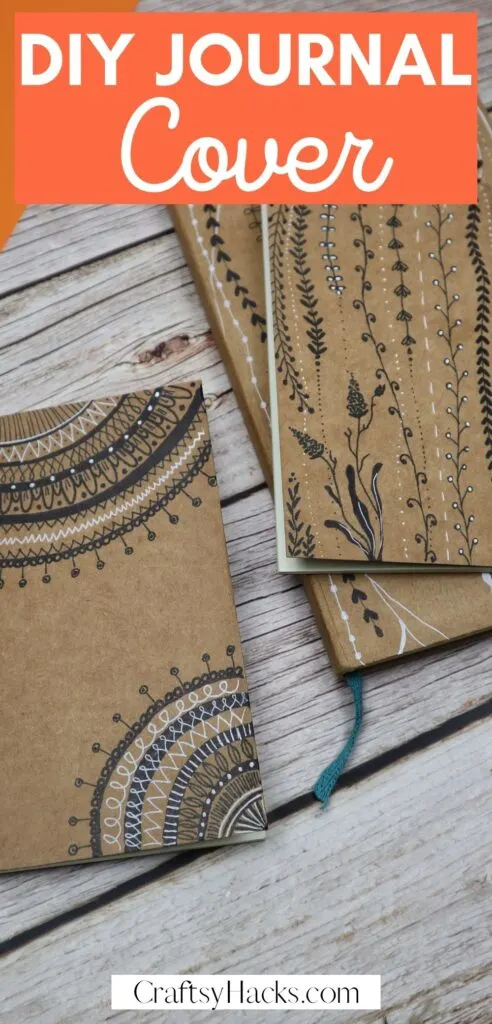
Make your very own journal cover and take your journaling to a whole new level. It’s a lovely paper craft teens, adults and even kids can make.
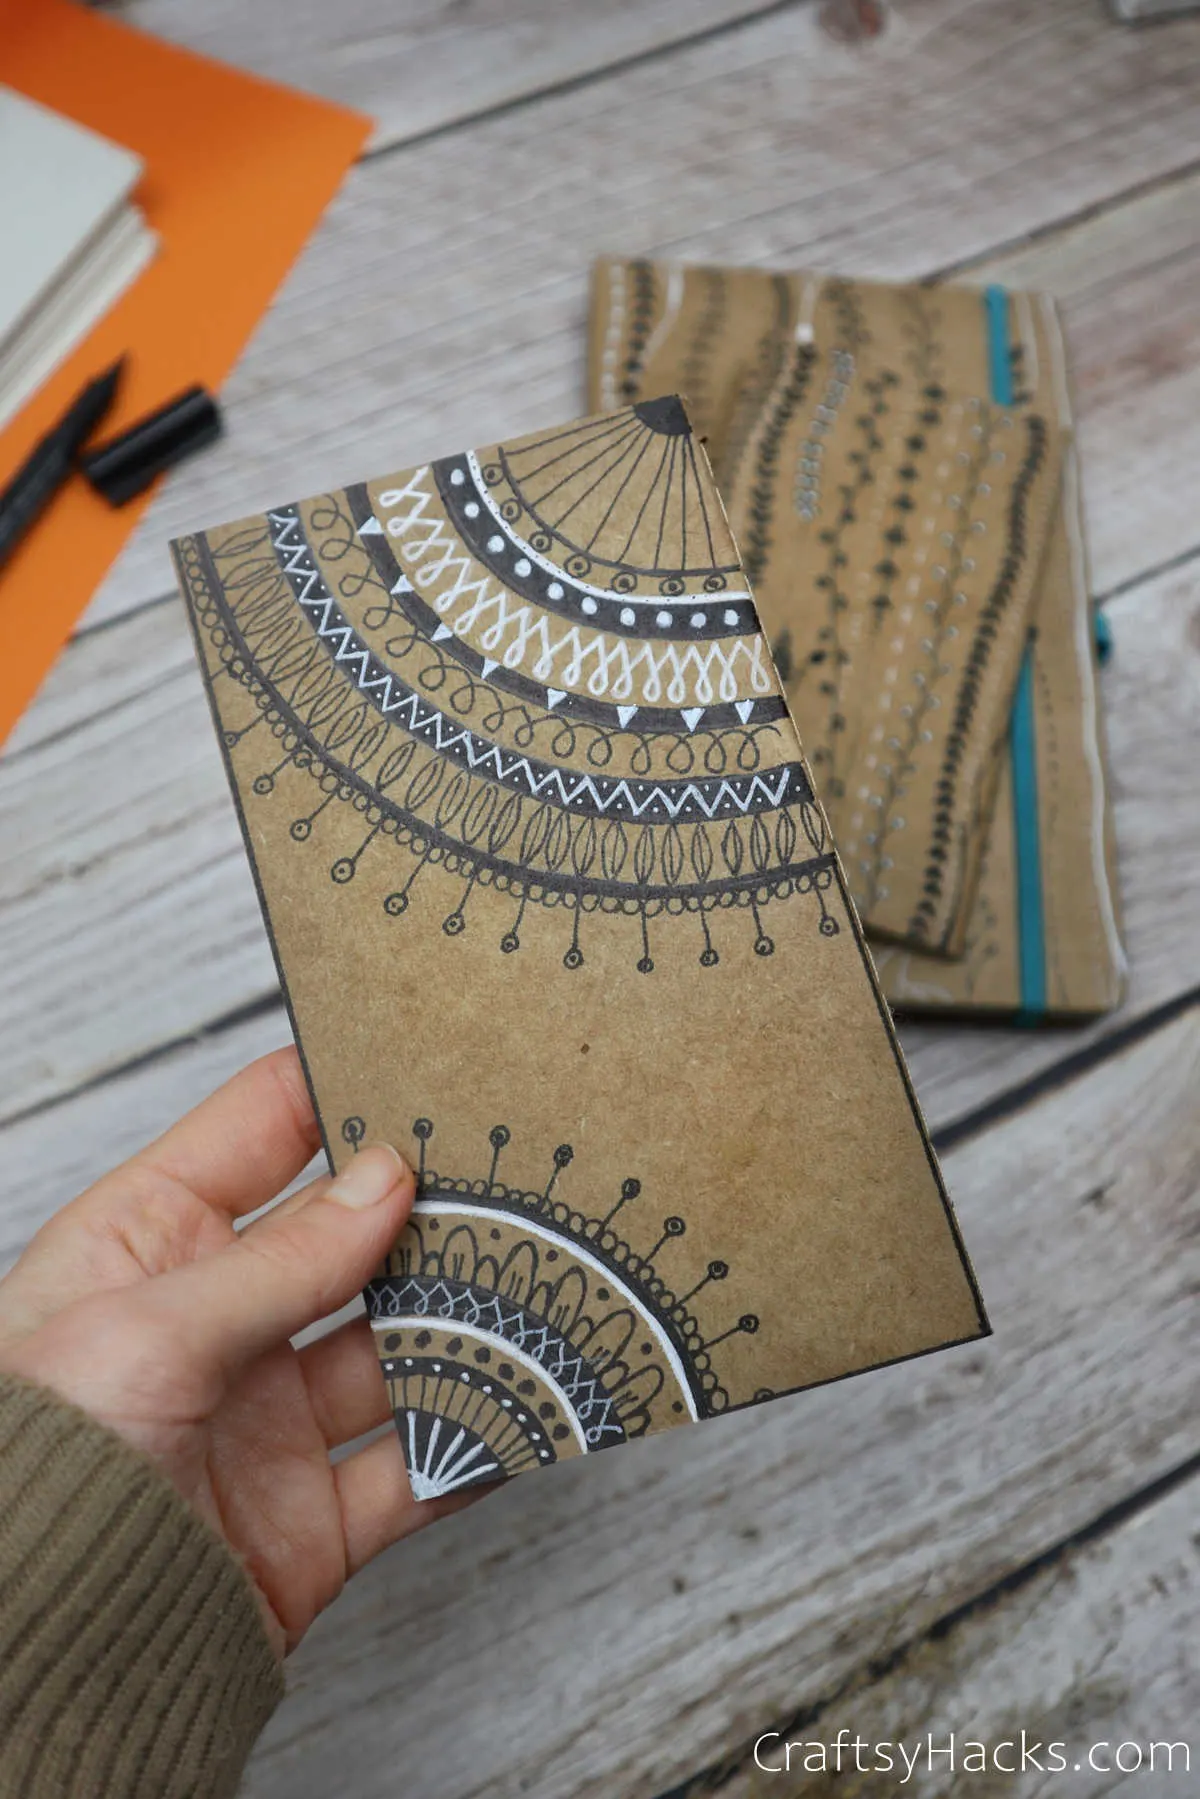
Is it the start of the school year already? Time to buy your school notebooks, planners, and perhaps even a journal?
I don’t know about you but I can never find the perfect journal. Something is always off—be it the size, the color, or the pattern.
The solution? Let’s make a DIY Journal cover! This way you can customize your entire journal exactly how you like!
If you’ve got a creative flair, and a fair hand at drawing, doodling, or painting, then you’ll definitely enjoy this project.
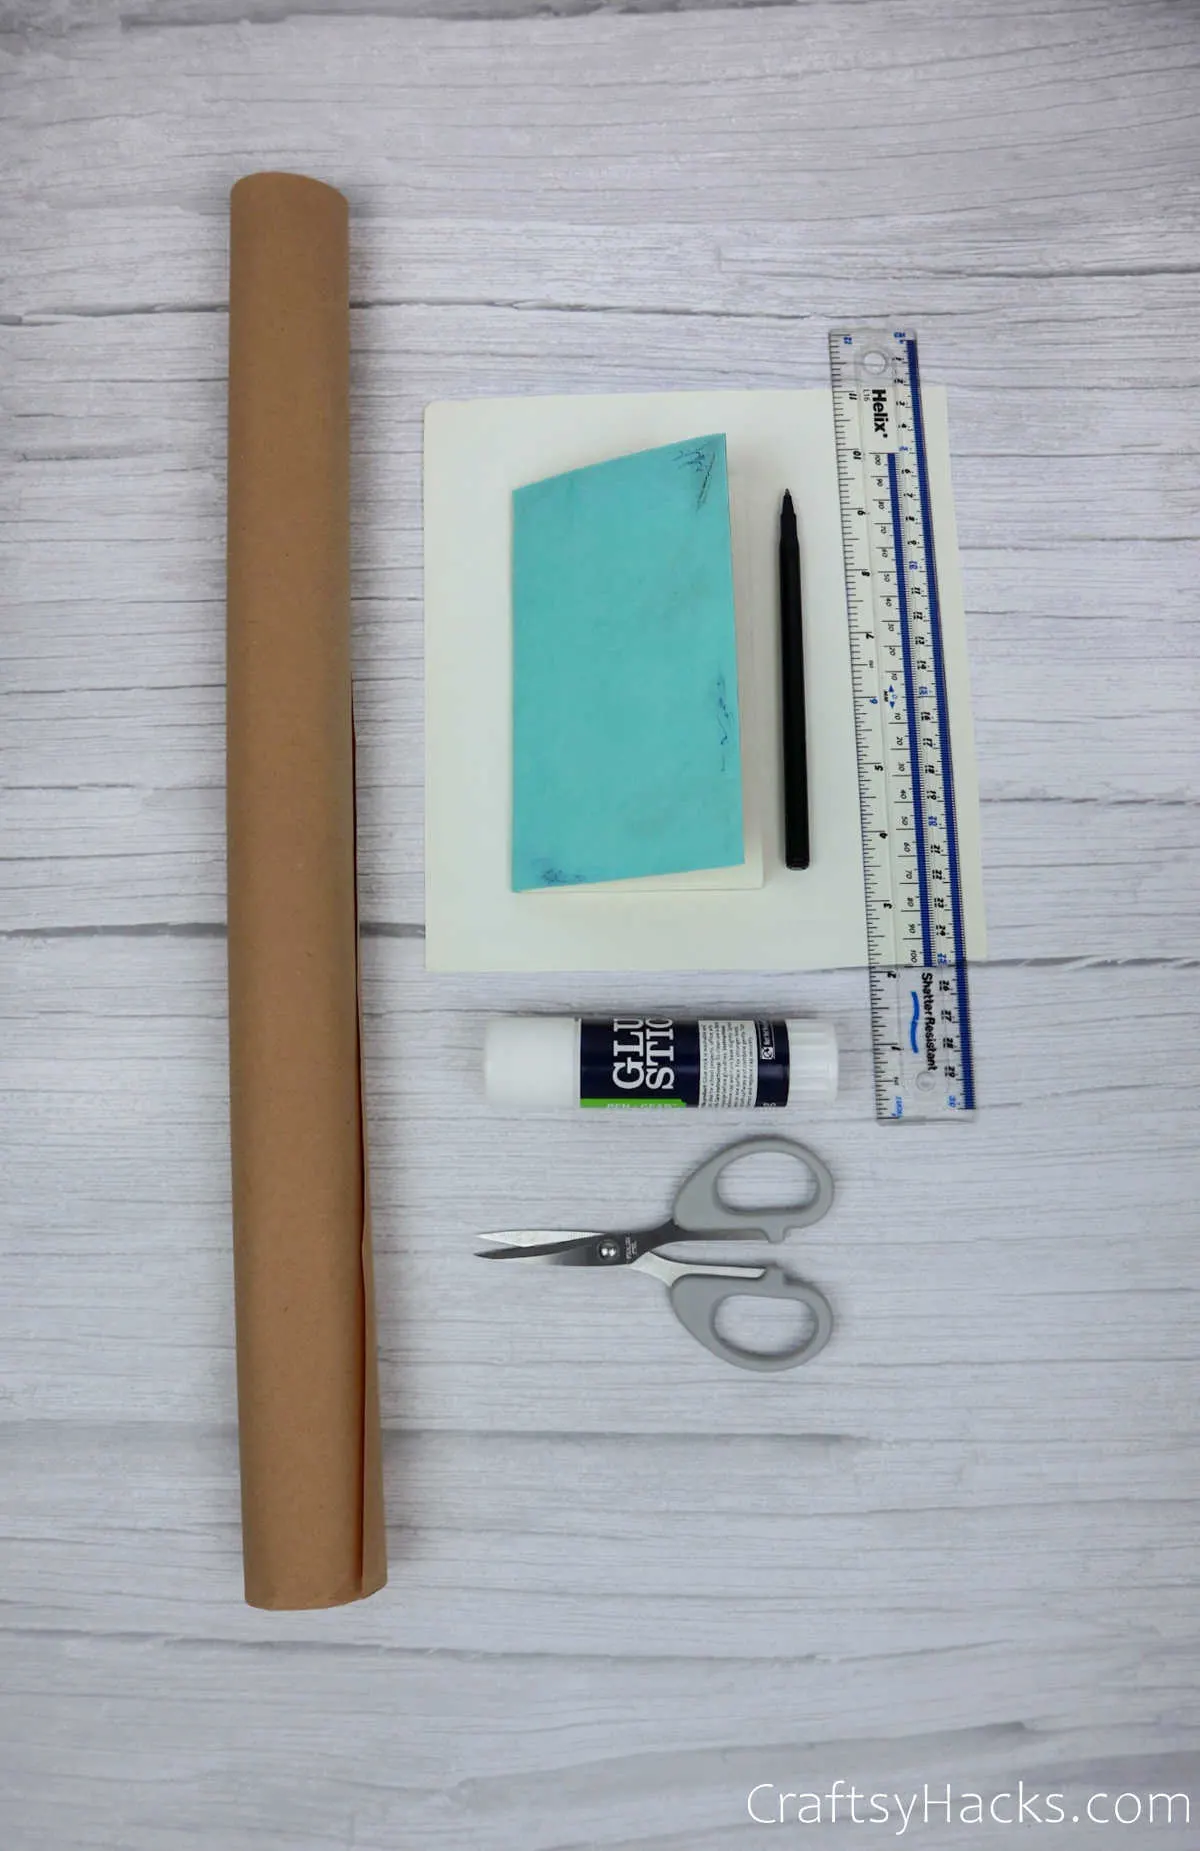
Supplies for a Journal Cover
Here’s a list of everything you’ll need for this project. Go ahead and grab them to get started.
- Kraft paper
- Old notebook
- A plain piece of paper
- Pen
- Ruler
- Glue stick
- Scissors
How to Make DIY Journal Cover
Here is a full step-by-step tutorial on how to make this cover.
Step 1
Since we’re making our own notebook and its cover, you have a ton of room to customize and personalize the journal. So once you’ve picked out your craft paper of choice for the cover, lay it out on a flat surface.
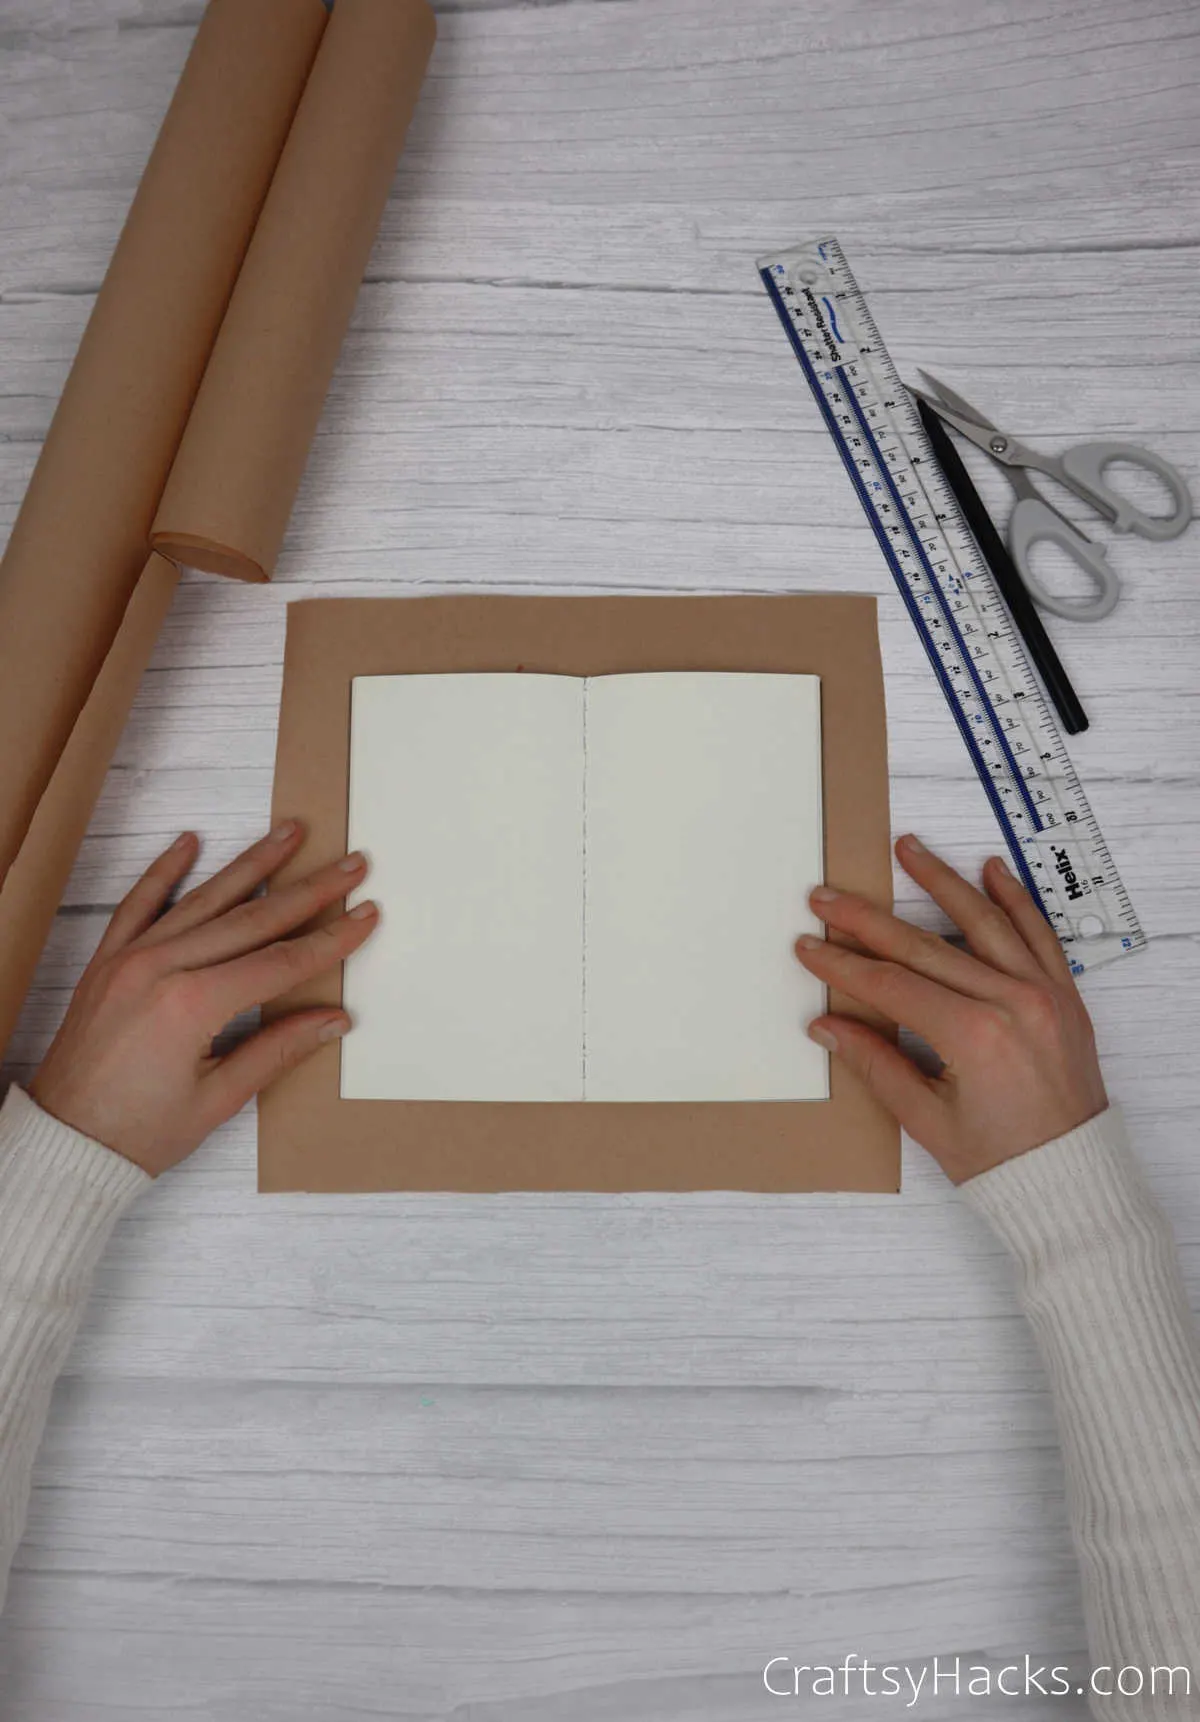
Place your notebook over the paper and lay it open. This step is to figure out the dimensions of the notebook in order to mark the measurements for the cover.
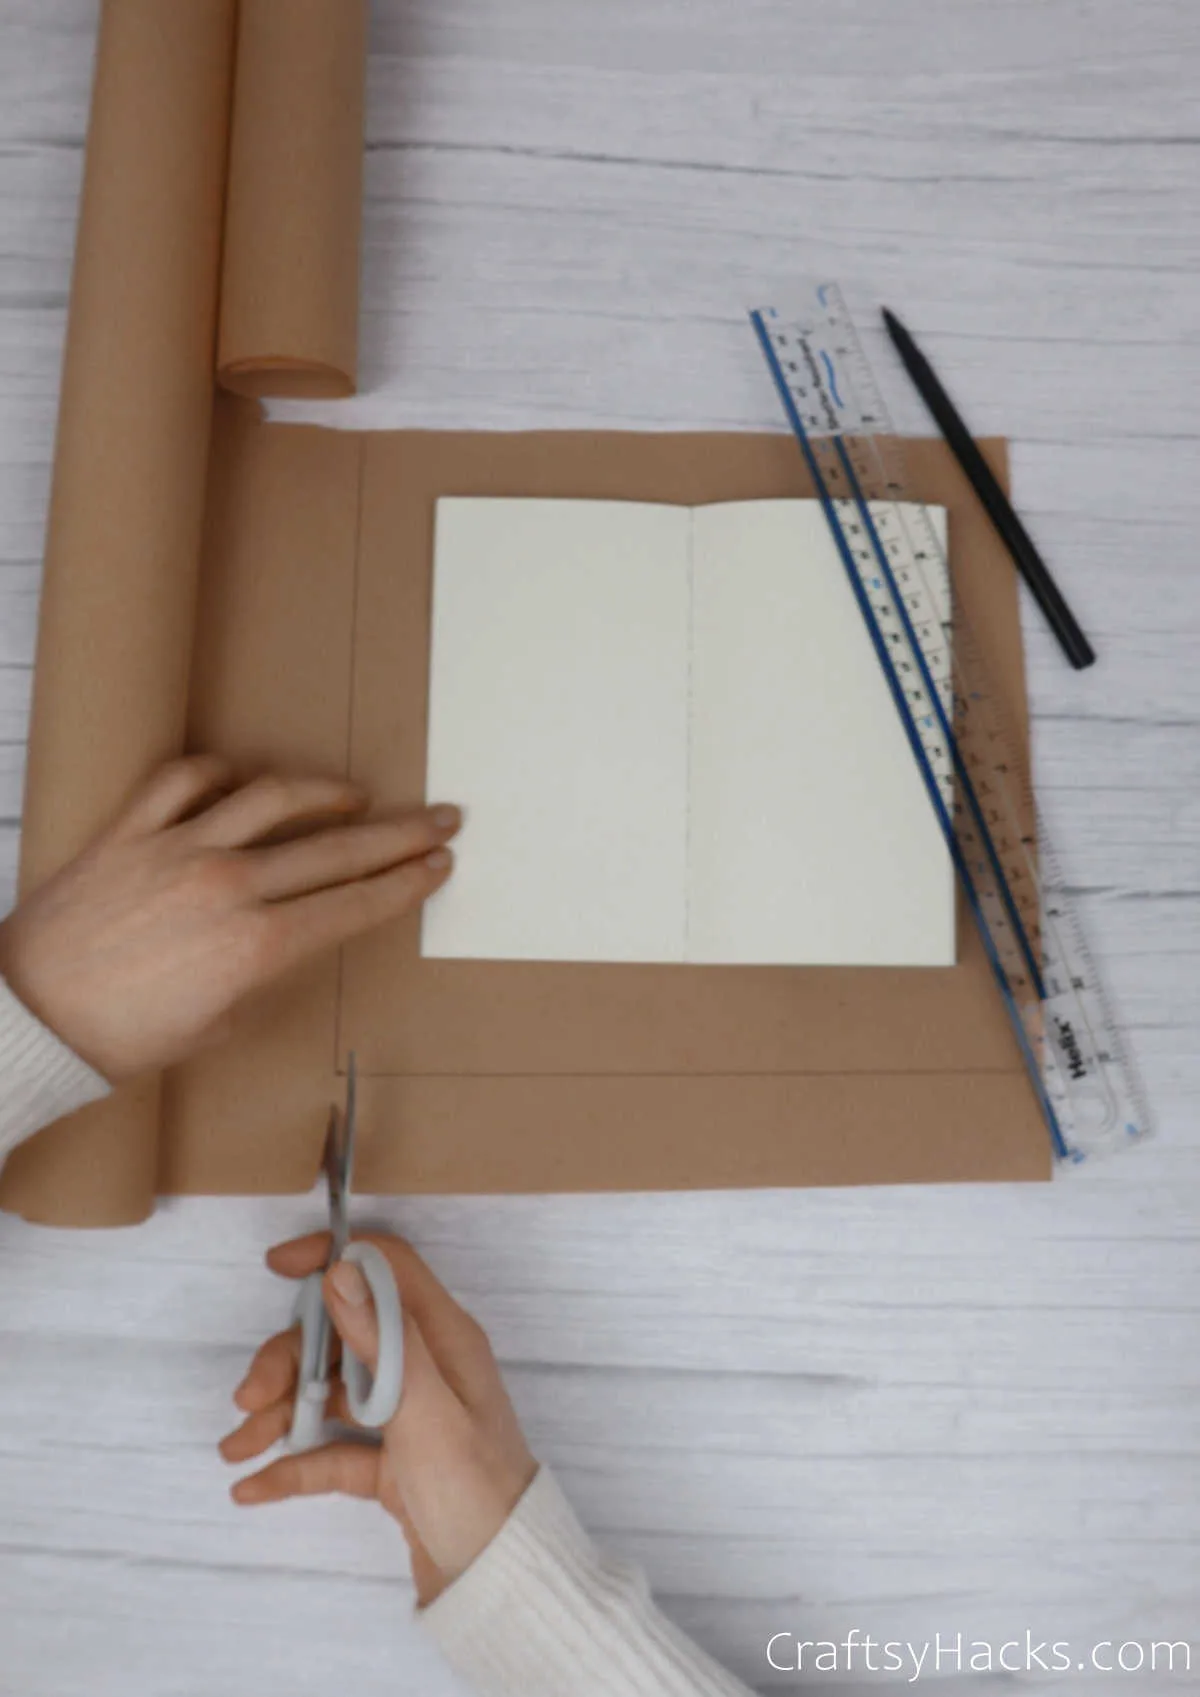
Make sure you leave at least an inch gap of paper all around the notebook before cutting away the rest of the craft paper.
Step 2
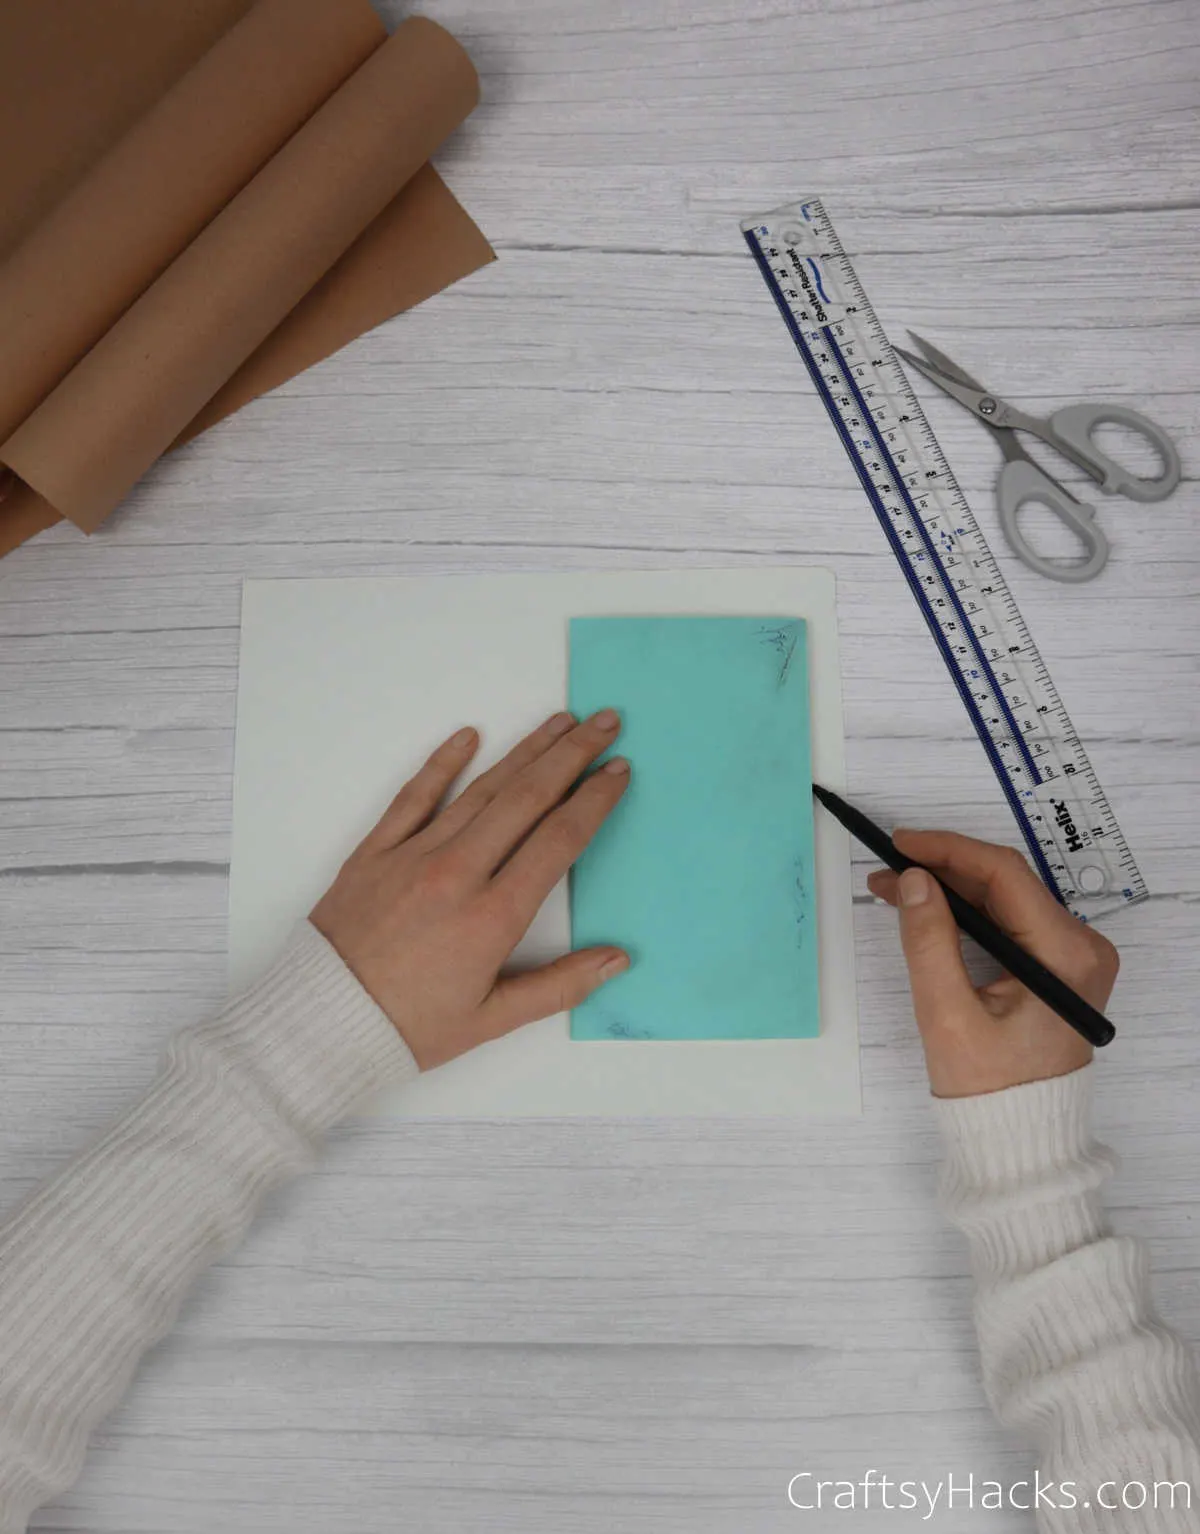
Now take a plain sheet of decorative paper and place the notebook, with its pages shut, on it.
Without dislodging the spinal alignment of the notebook, carefully draw an outline around it. Next, repeat this process on the other side of the paper until you have two identical rectangles.
Step 3
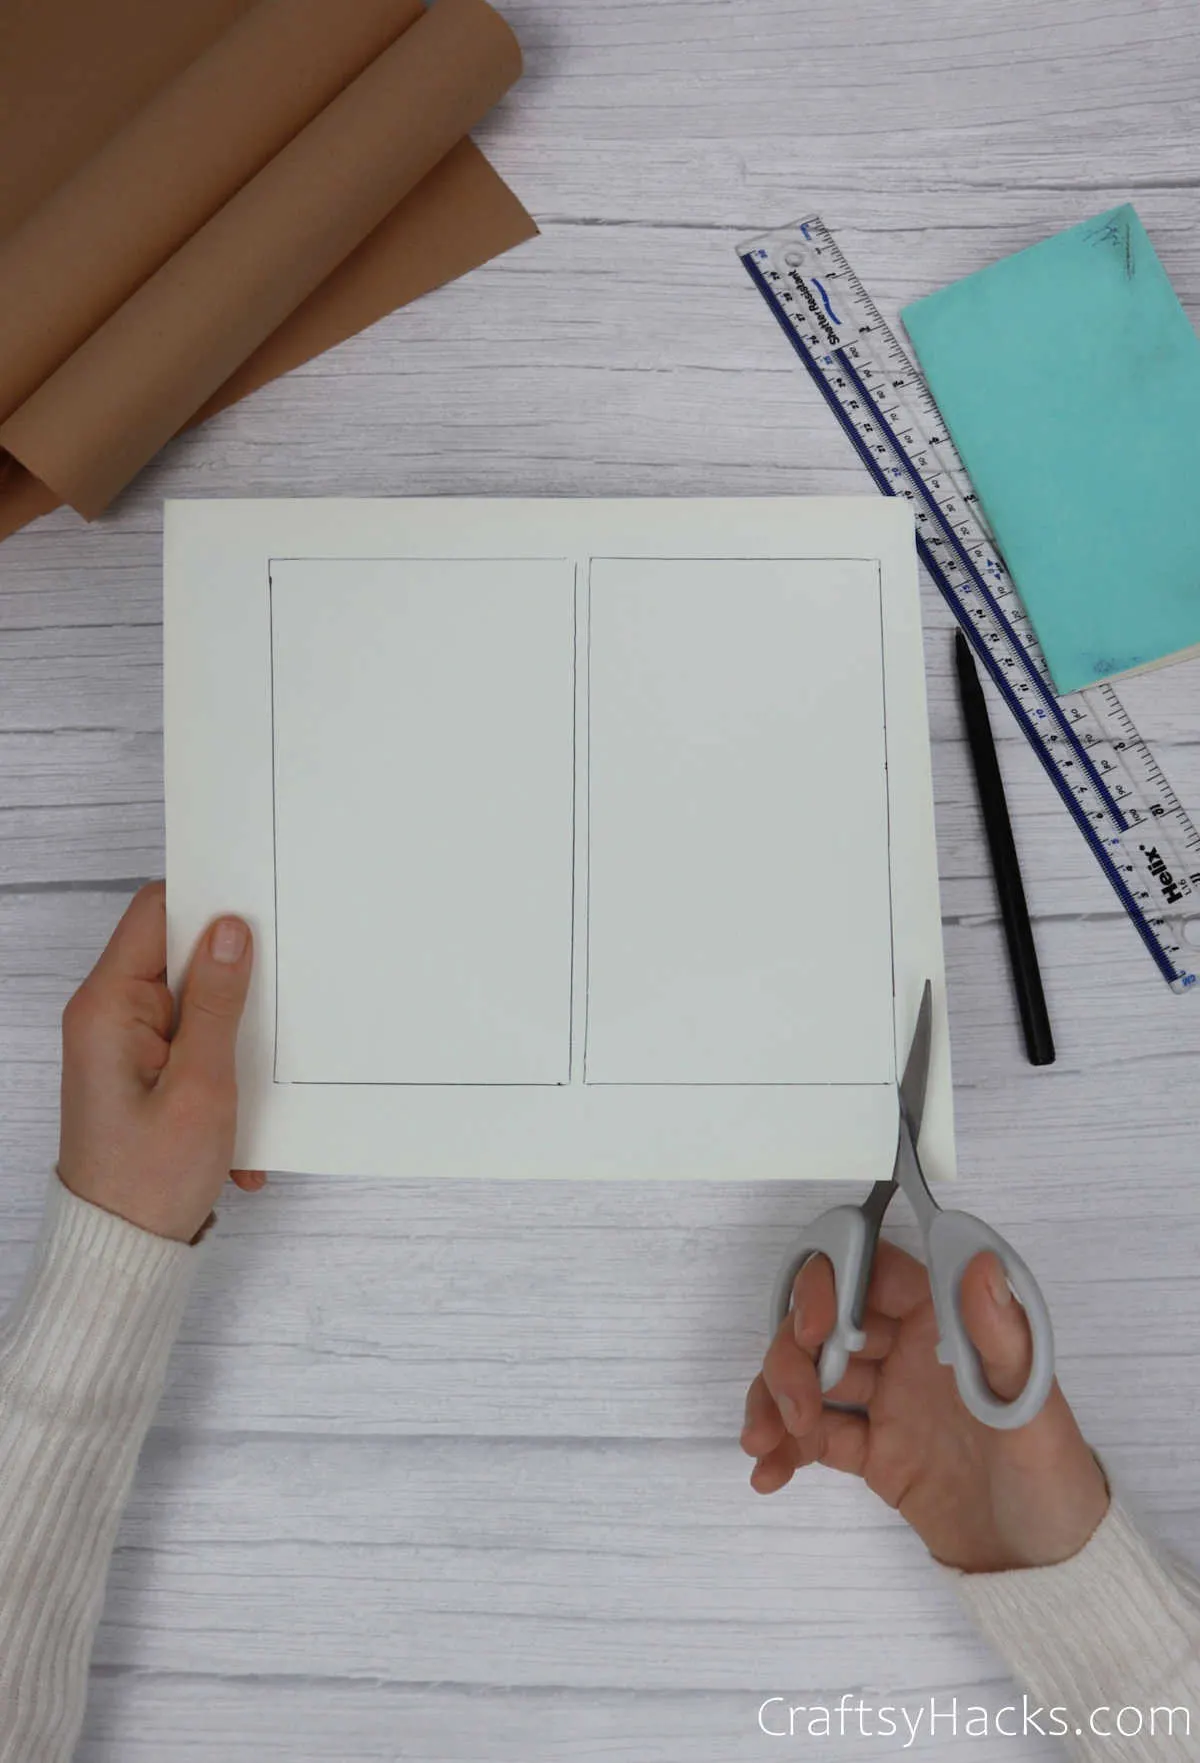
Cut out the two rectangles as shown below.
Step 4
The next step in this process is to apply a layer of liquid adhesive over the back and front covers of the notebook.
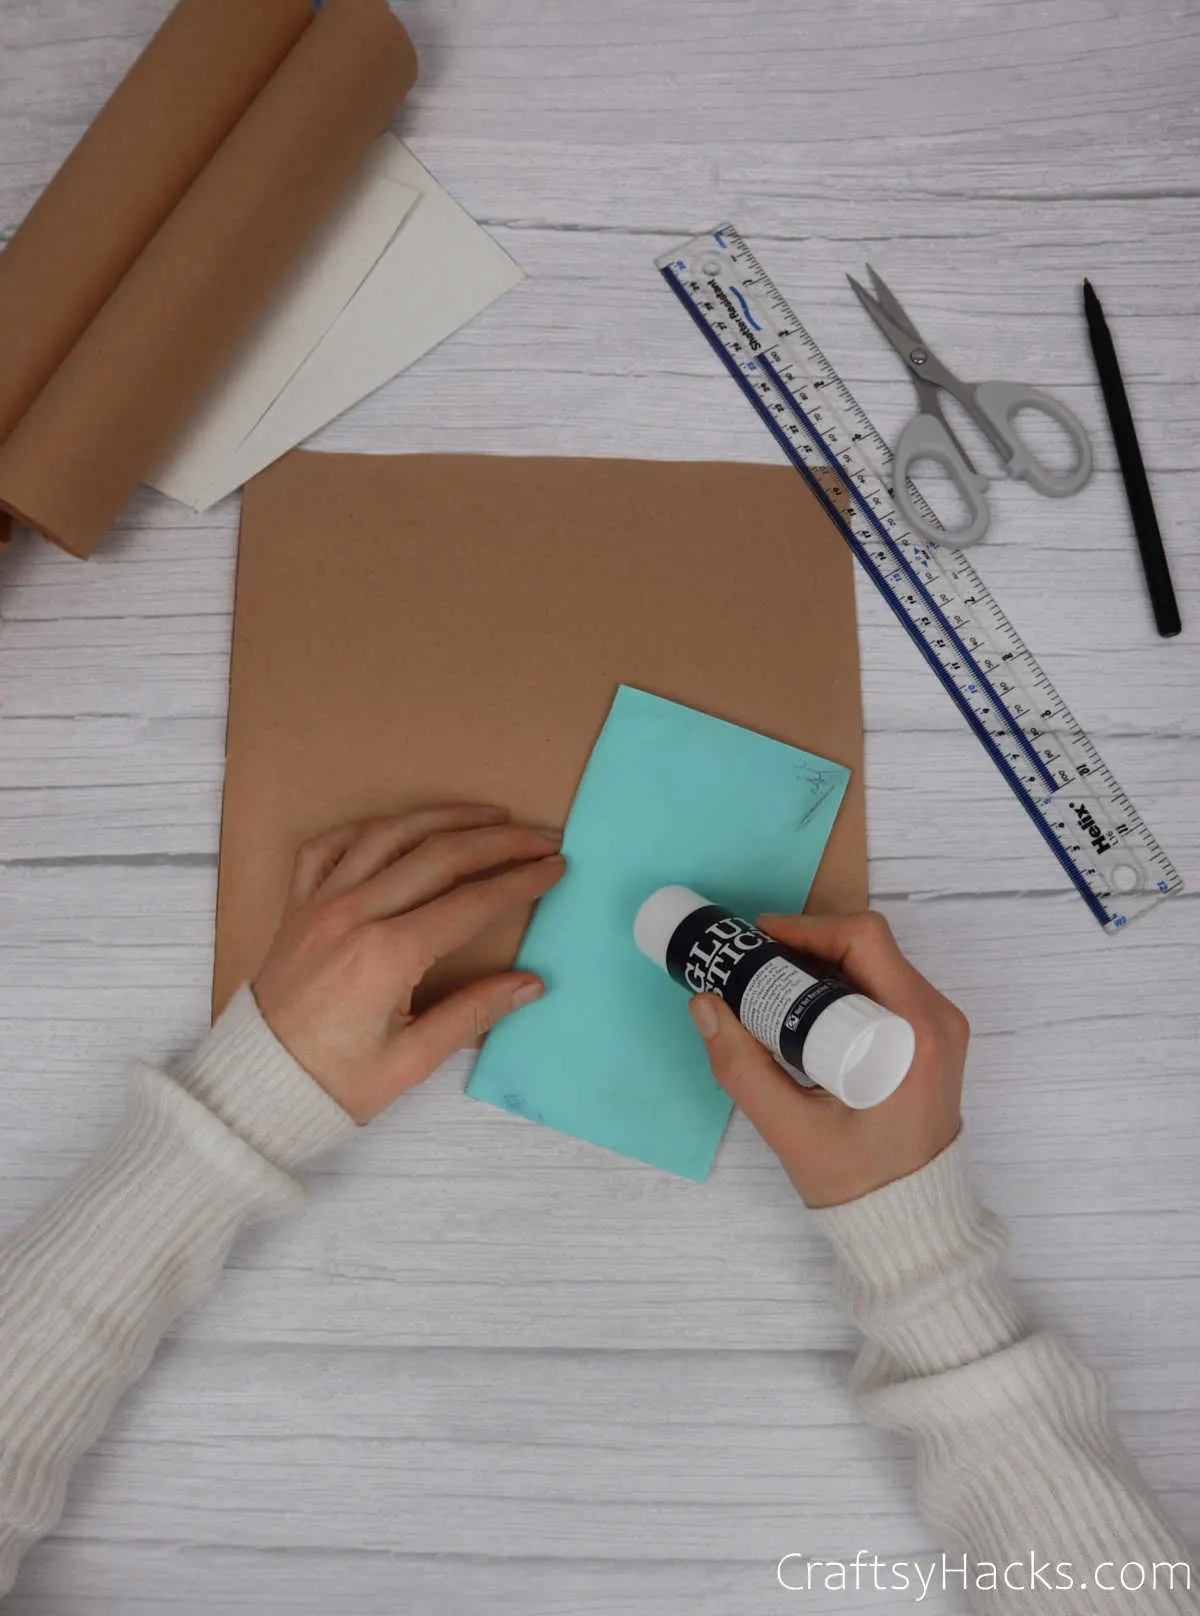
Carefully stick the notebook—with the adhesive side facing downward—onto the kraft paper. Just make sure you center the notebook before pressing firmly down to secure it in place.
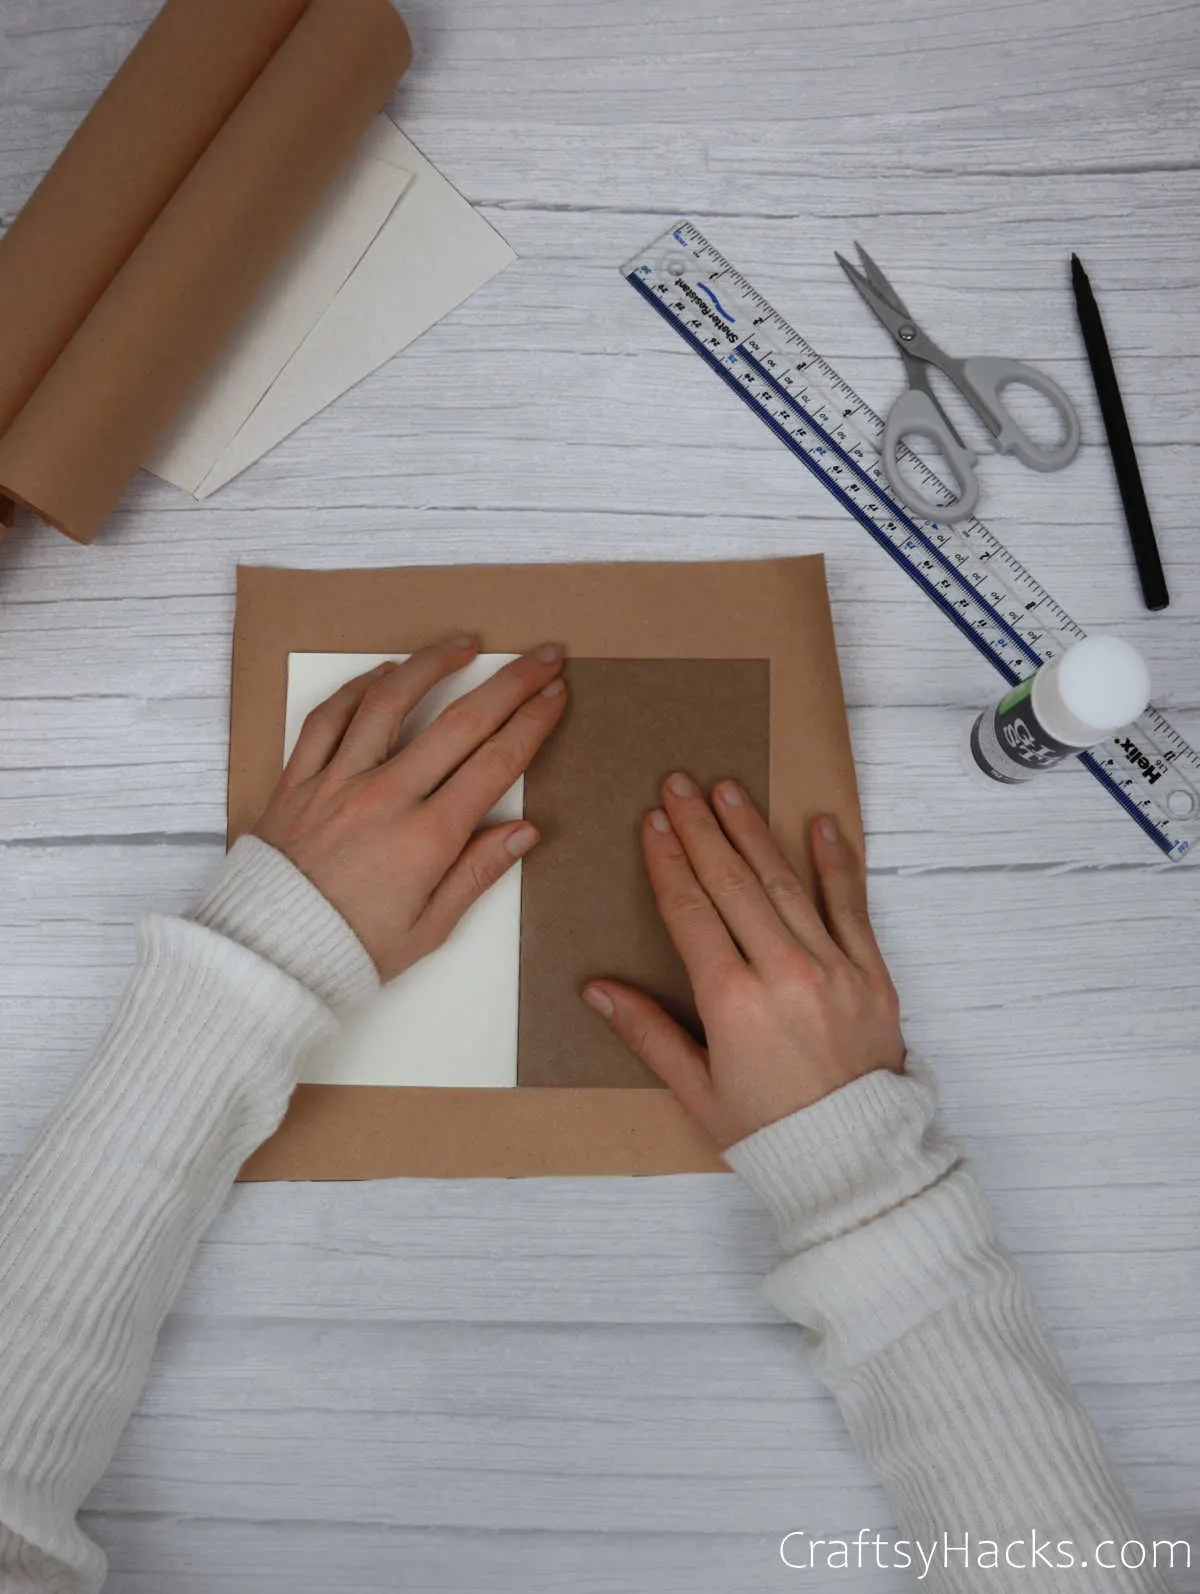
Step 5
Once you’re sure that the notebook is secure, gently fold it shut. This will allow the craft paper to crease along the spine.
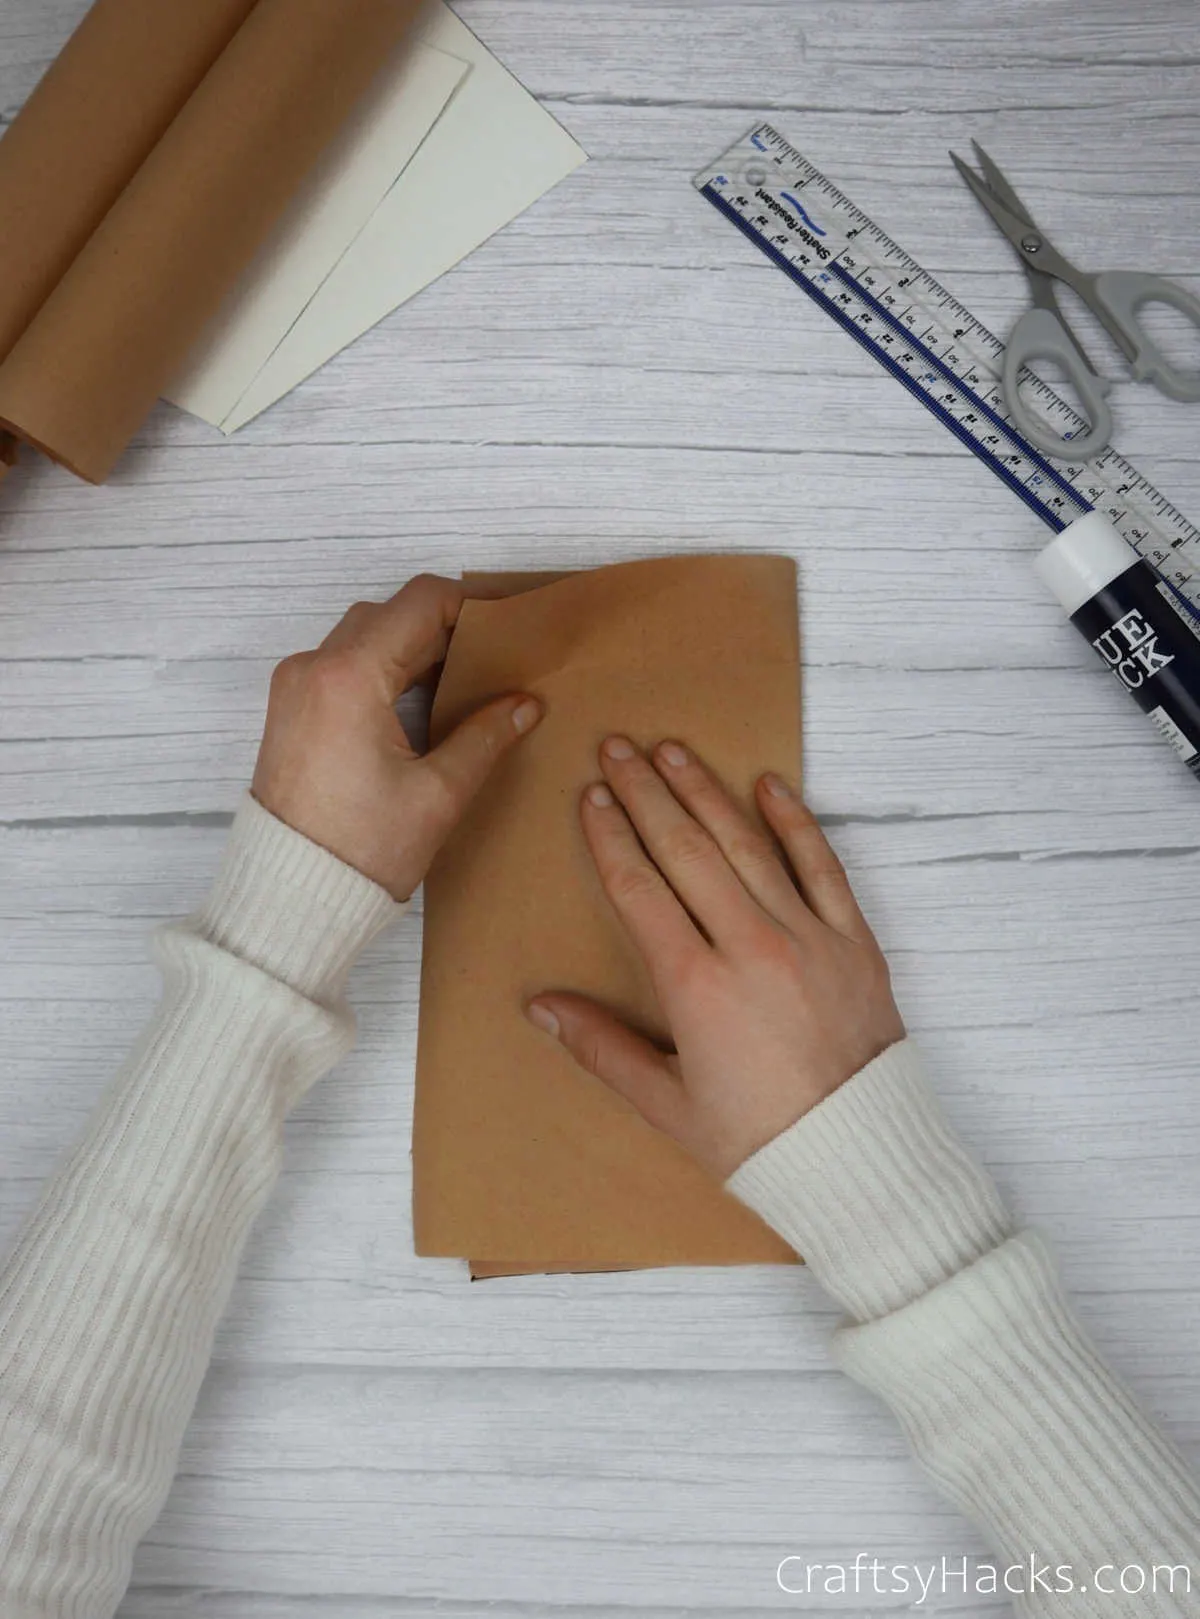
Step 6
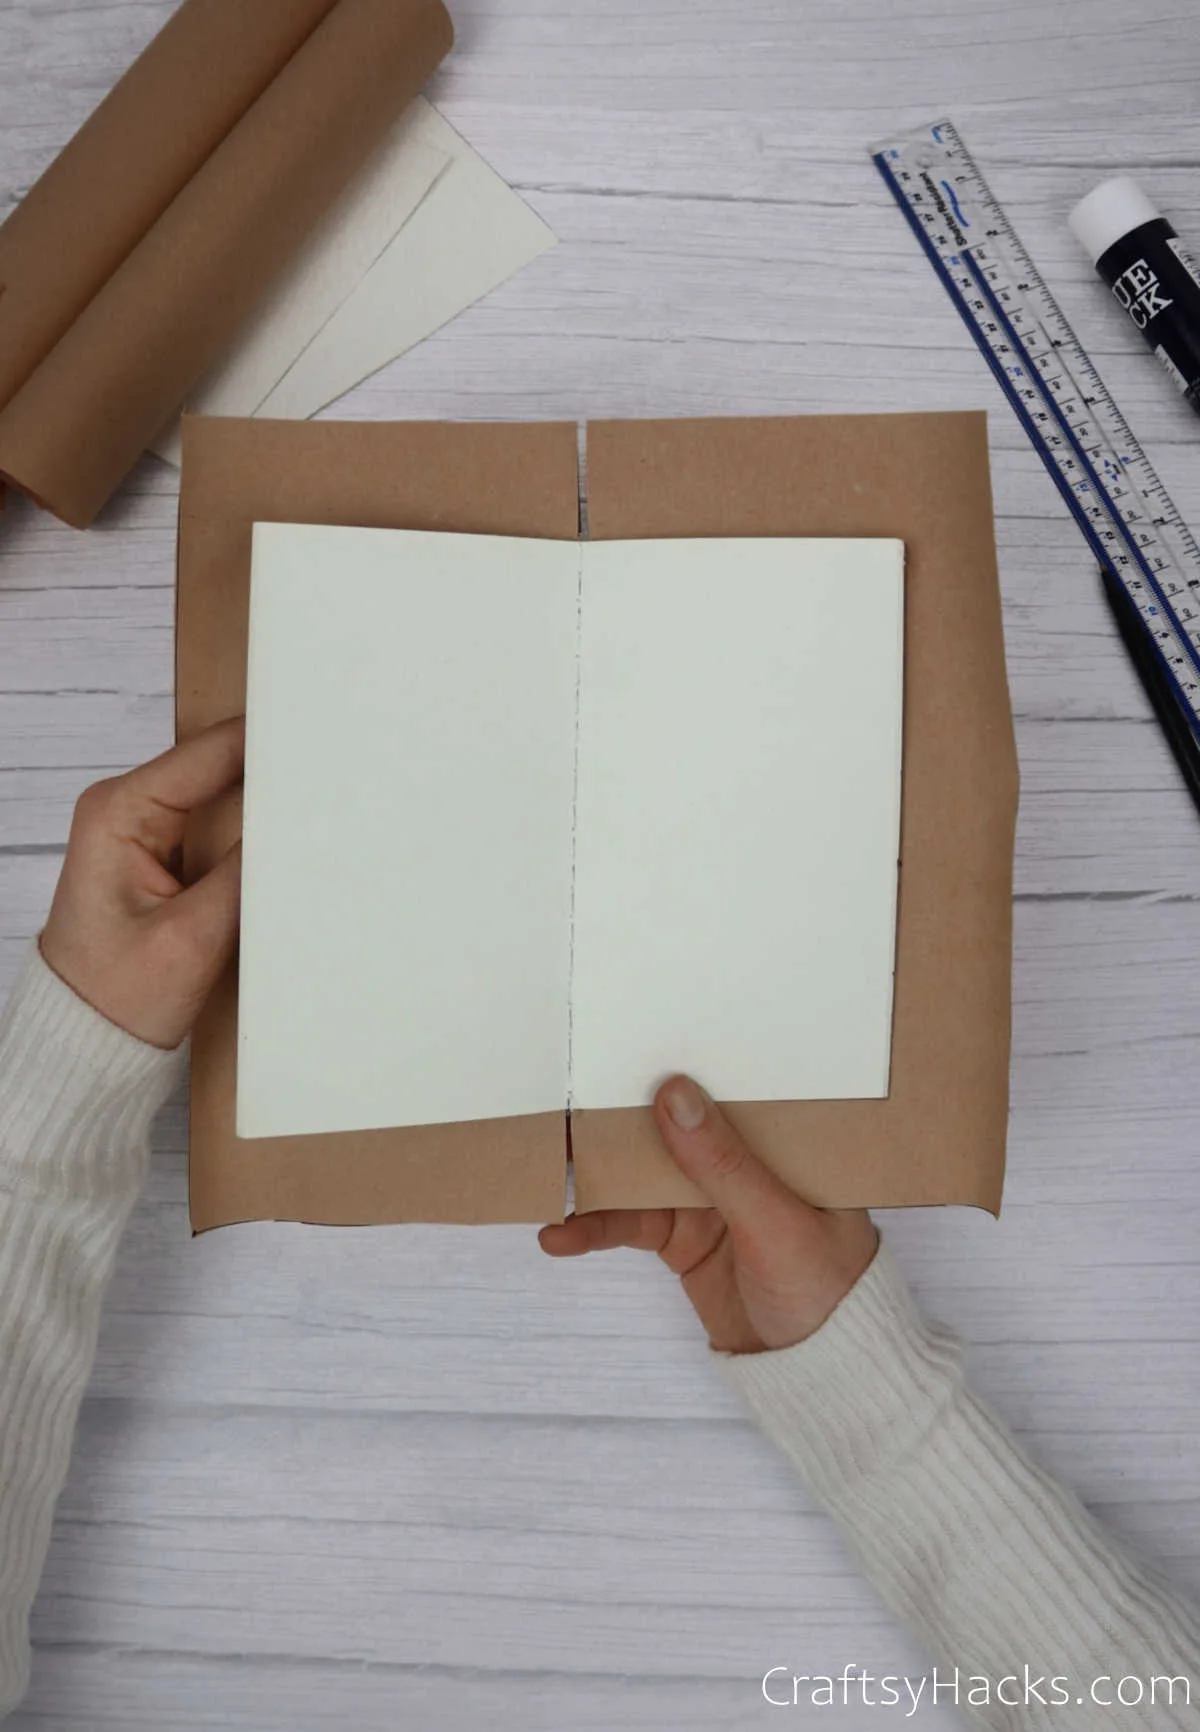
Have you ever brown paper wrapped a notebook for school before? Well, this particular step is not all that different. Go on and grab a pair of scissors.
Cut a line straight up from the bottom to the edge of the notebook. Repeat this incision on top as well.
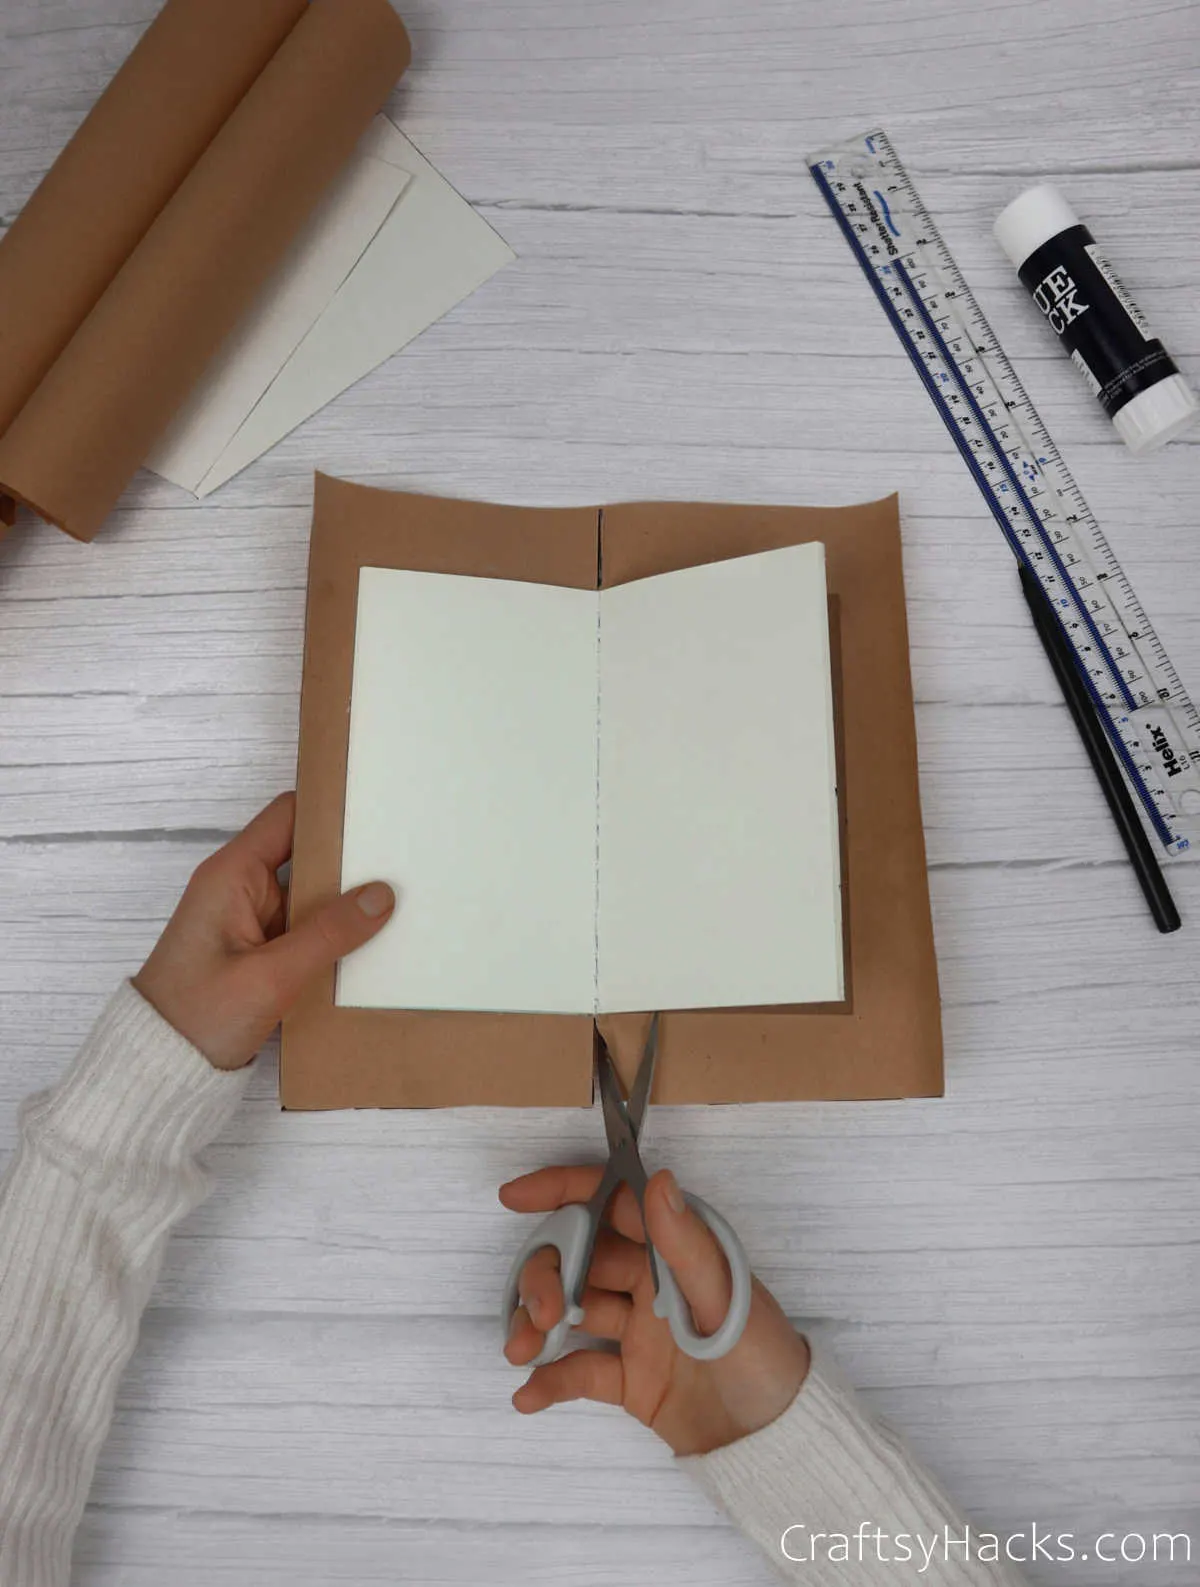
Keep an eye out, though; you don’t want to accidentally cut the notebook in the process.
Step 7
Apply a layer of adhesive along all the edges of the craft paper. You will be folding the edges inward and sticking it onto the cover of the notebook.
Just remember to fold the edges down in a crisp and creaseless manner. This will help you avoid any wrinkles as well as ensure that the cover doesn’t pull or give way.
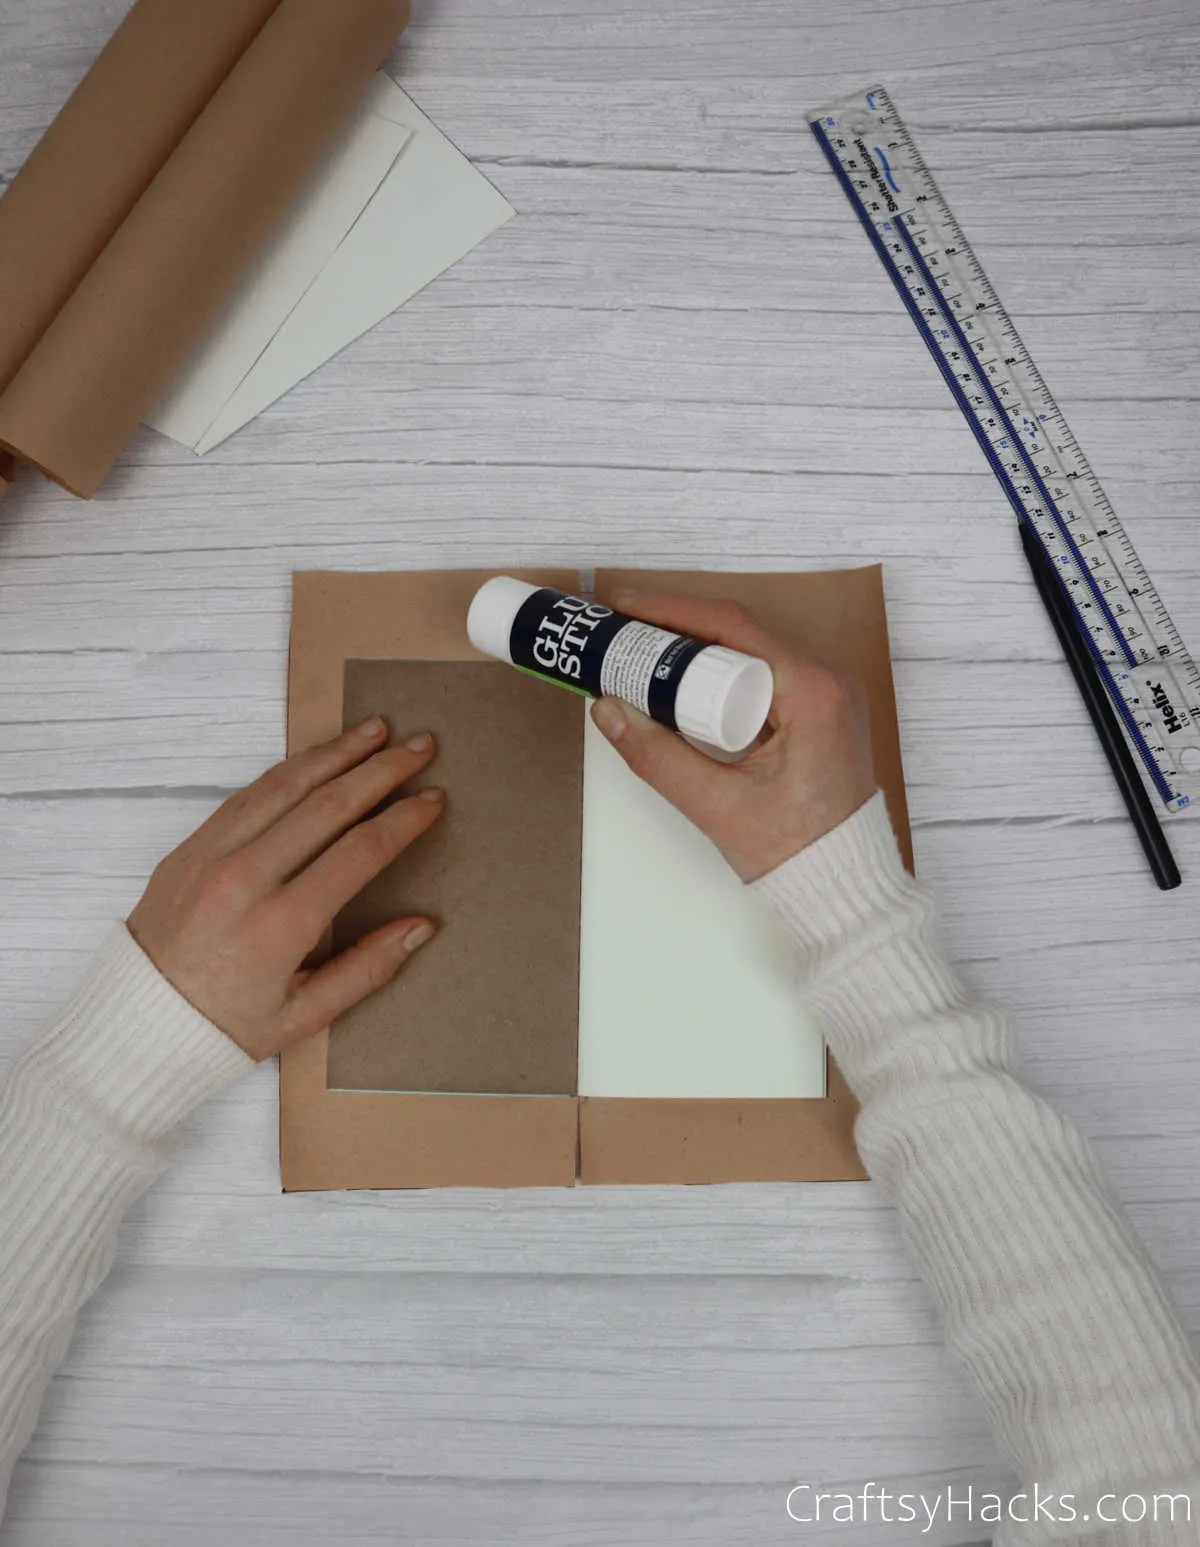
Here’s how your journal should look when you’re done folding and sticking one side. Repeat the same process for the other side as well.
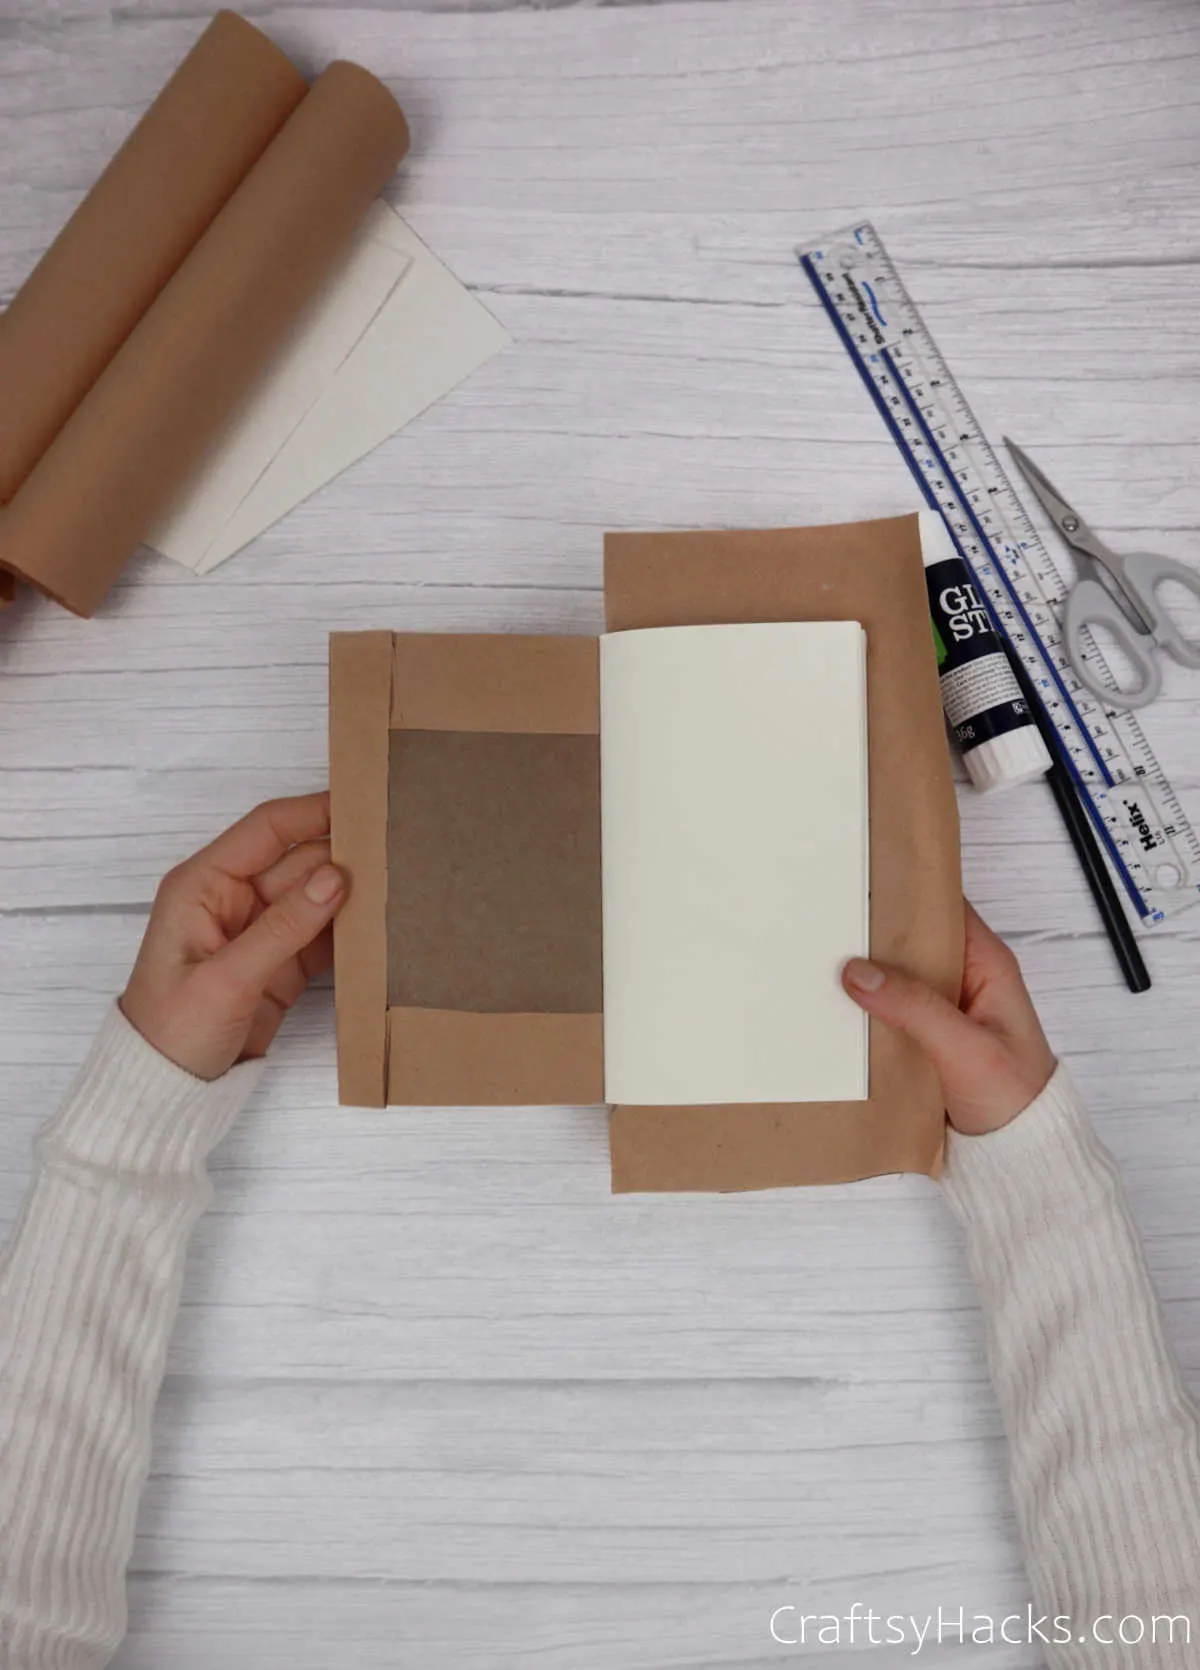
Step 8
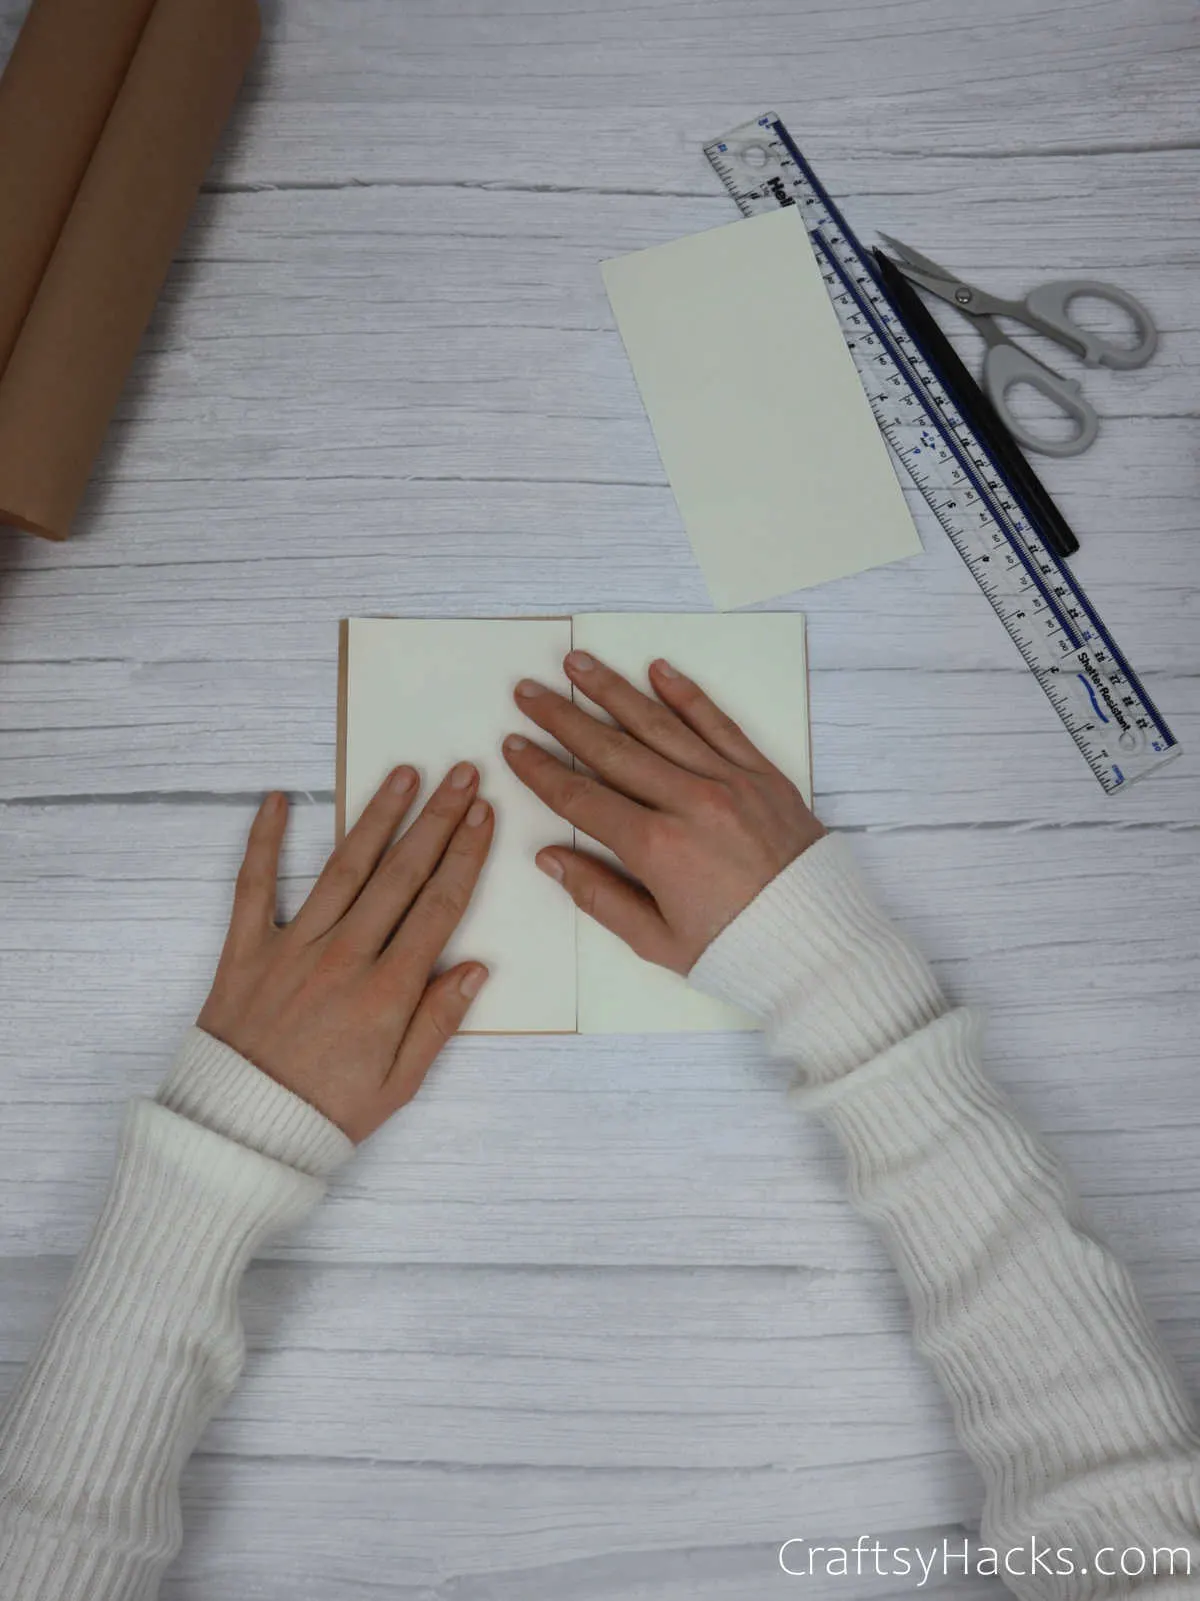
Do you remember when you cut out two plain rectangles and set them aside? Well, now is when they’re going to come in handy.
While your notebook looks great as is, you might find that you don’t like how the folded cover looks.
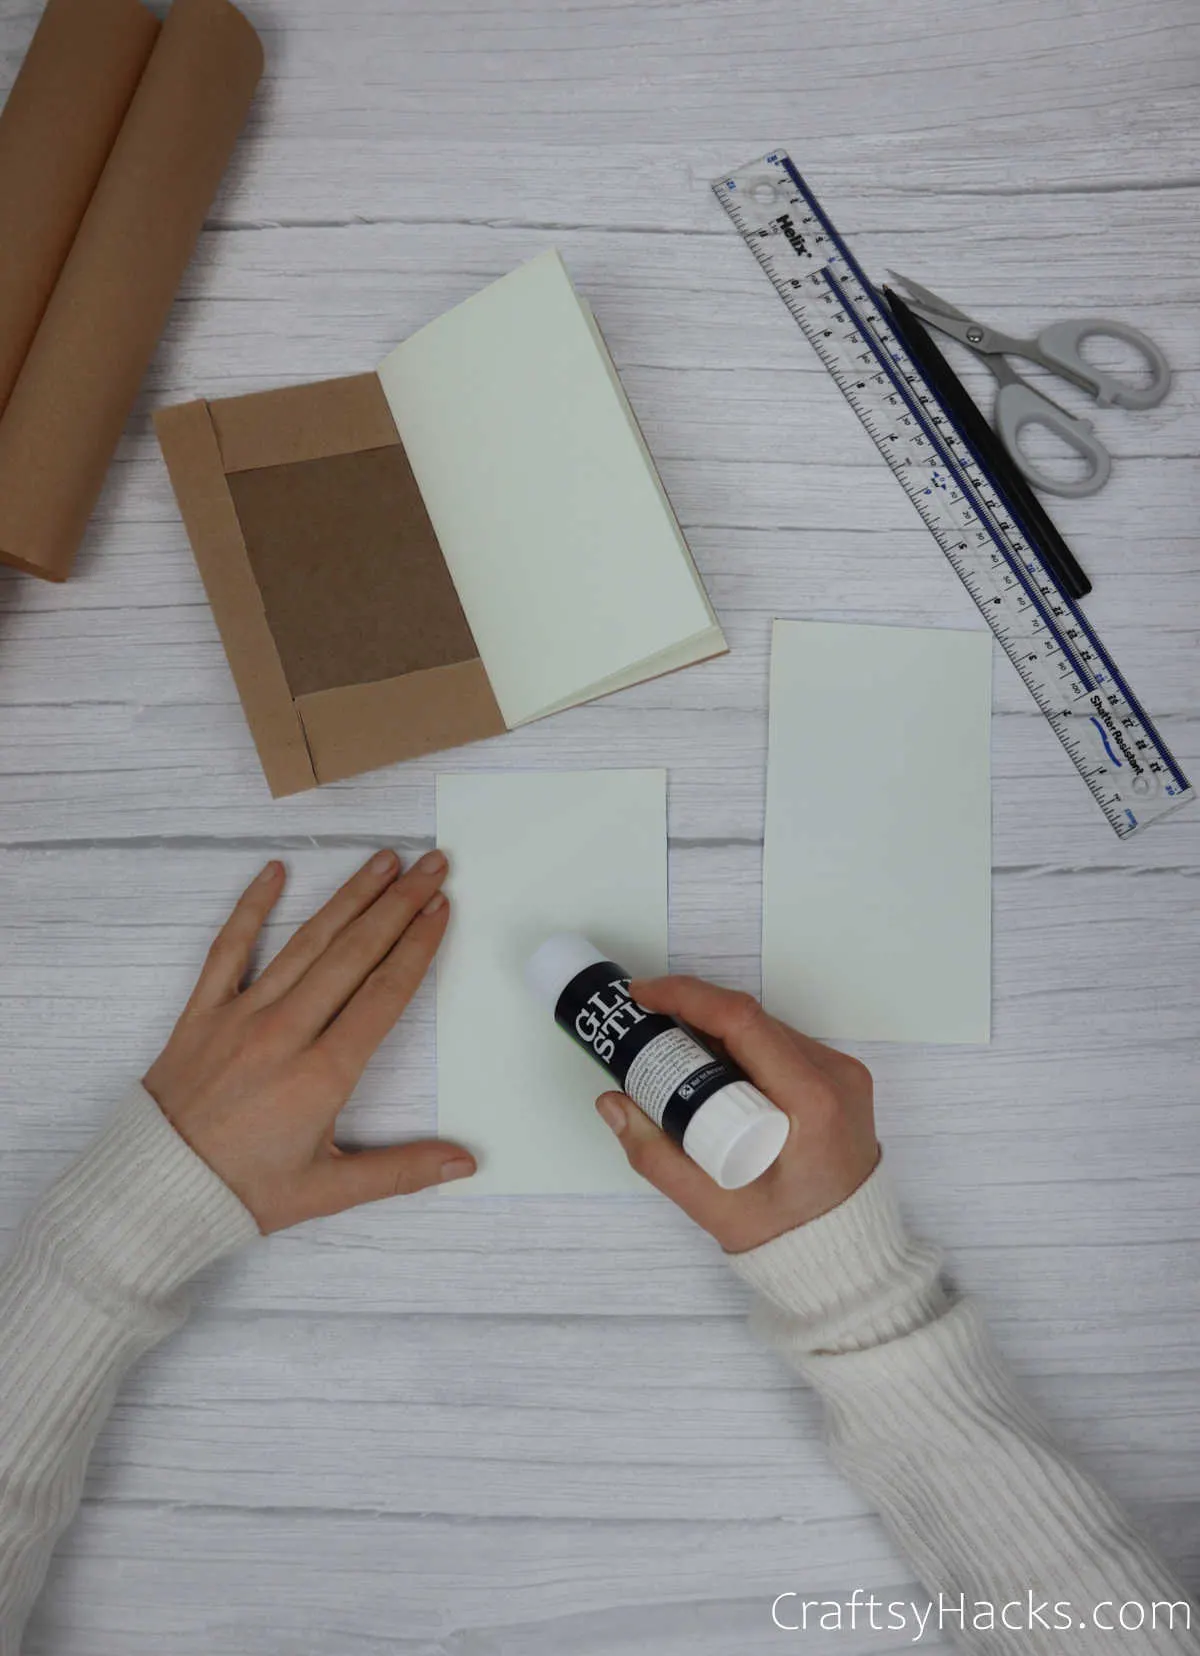
All you need to do is to apply some glue on one side and stick it onto the notebook’s cover. You’ll find that it will cover up any unseemly folds, or even just the flap of the craft paper.
Cover up the other side of the notebook and you’re all set.
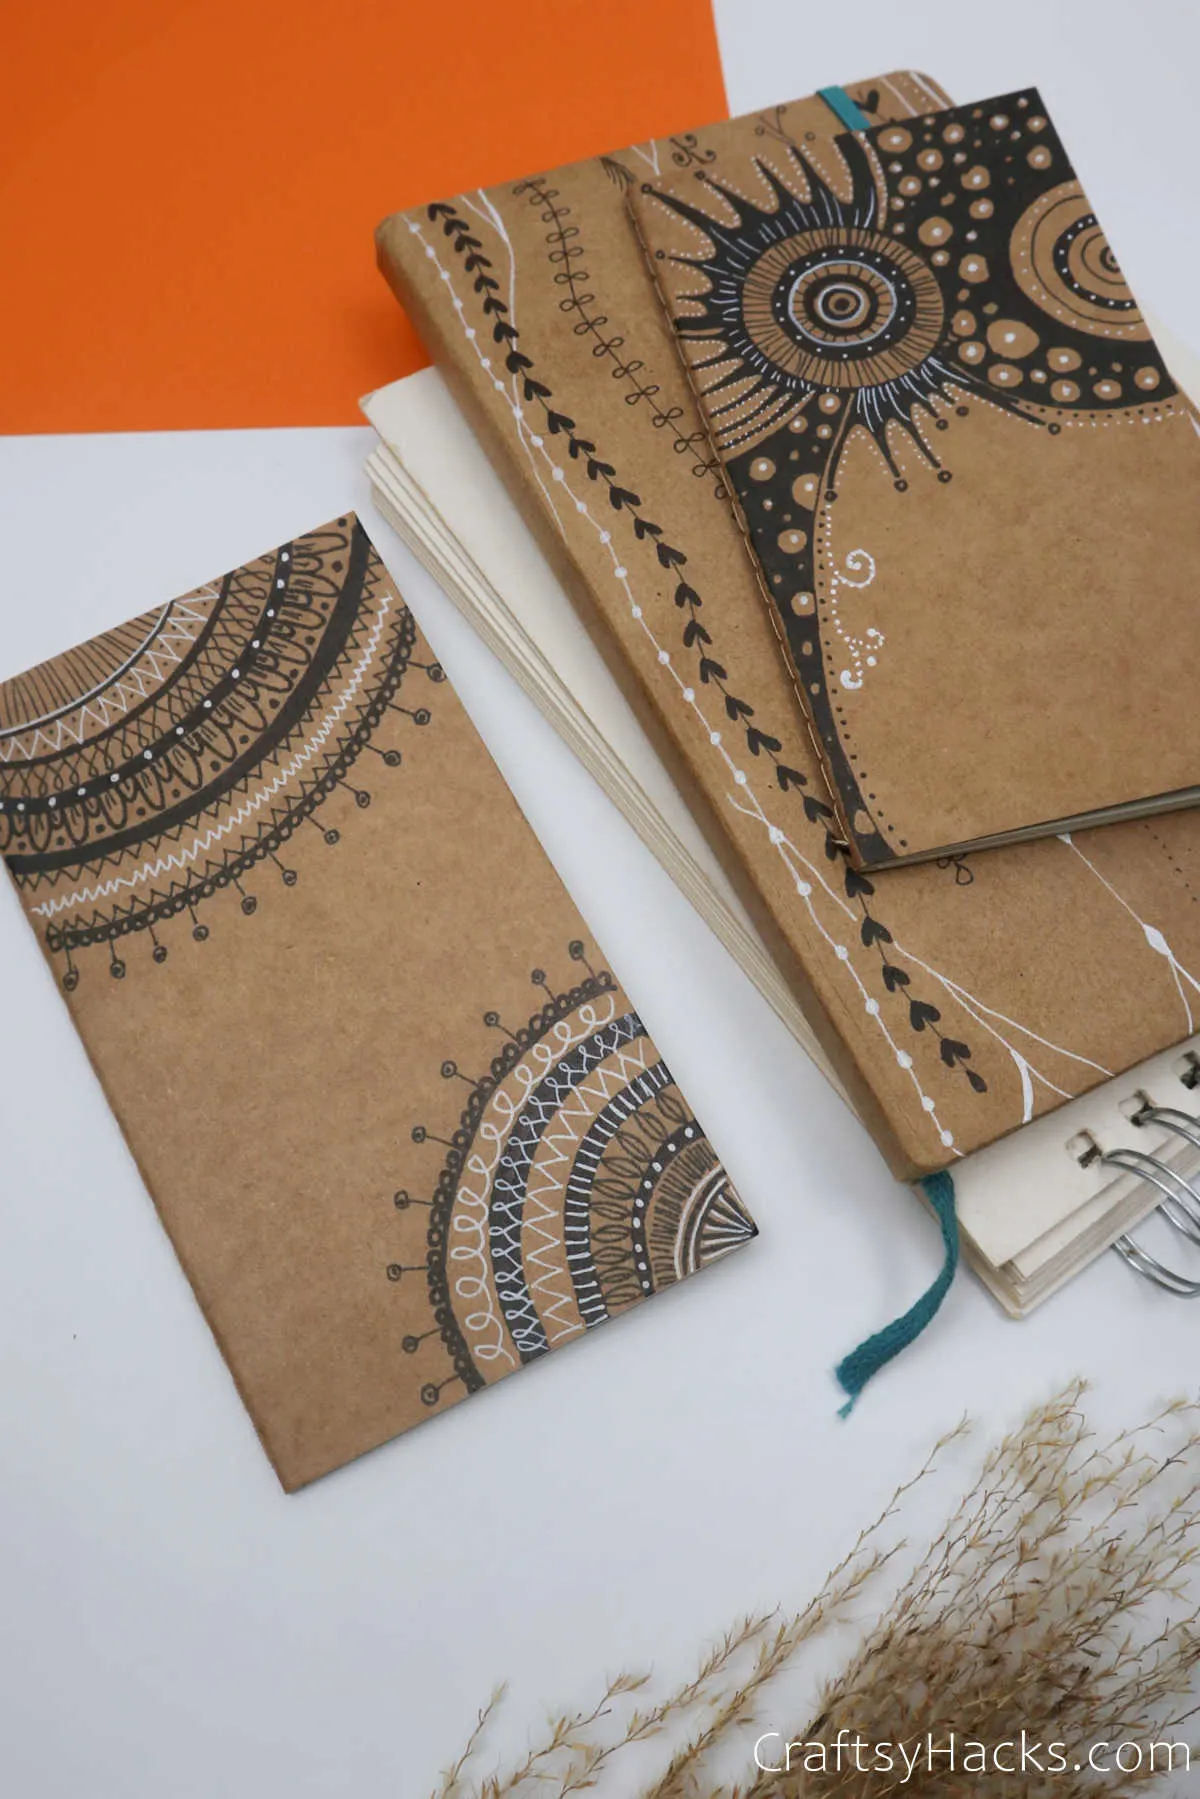
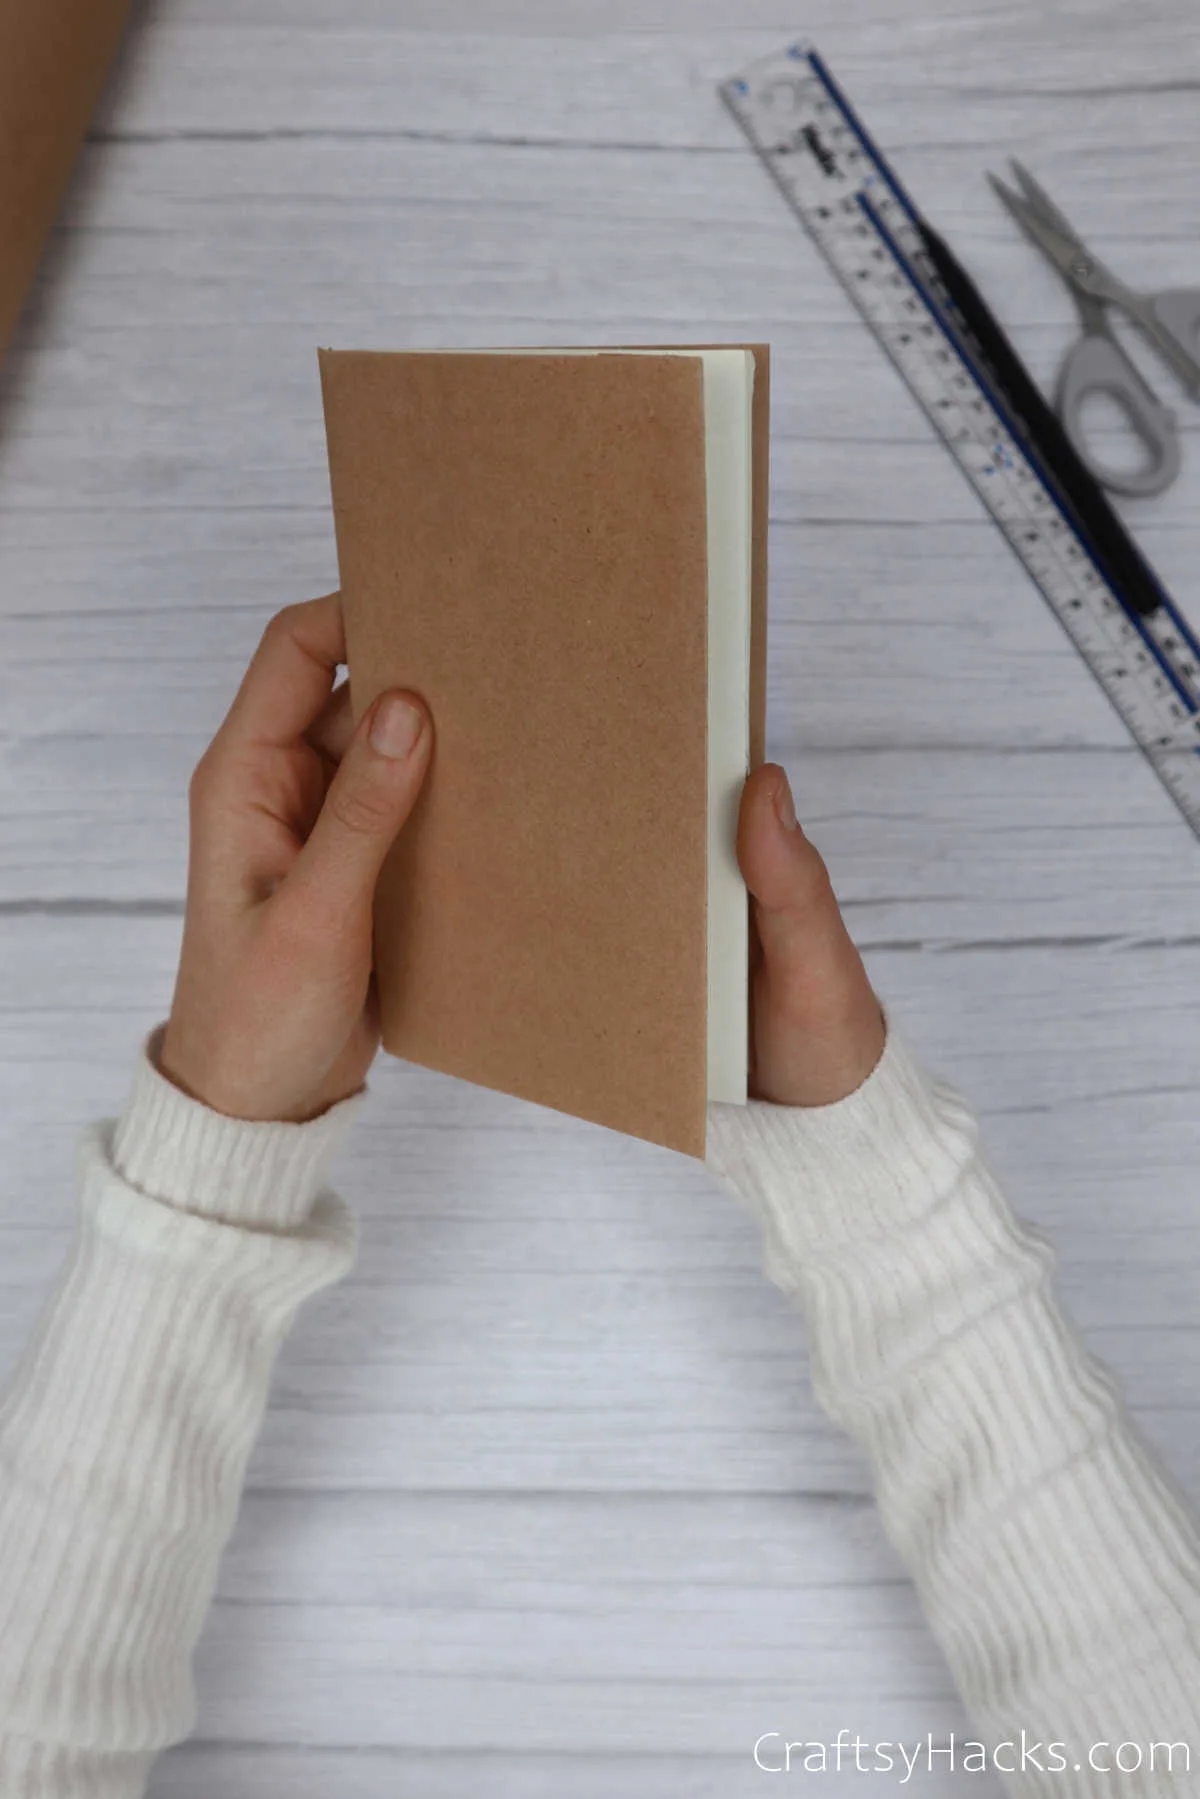
This is how your notebook will look once you’re done. Now, remember, you’re more than welcome to use any other color of craft paper, or even just patterned paper if you don’t want to draw or design it.
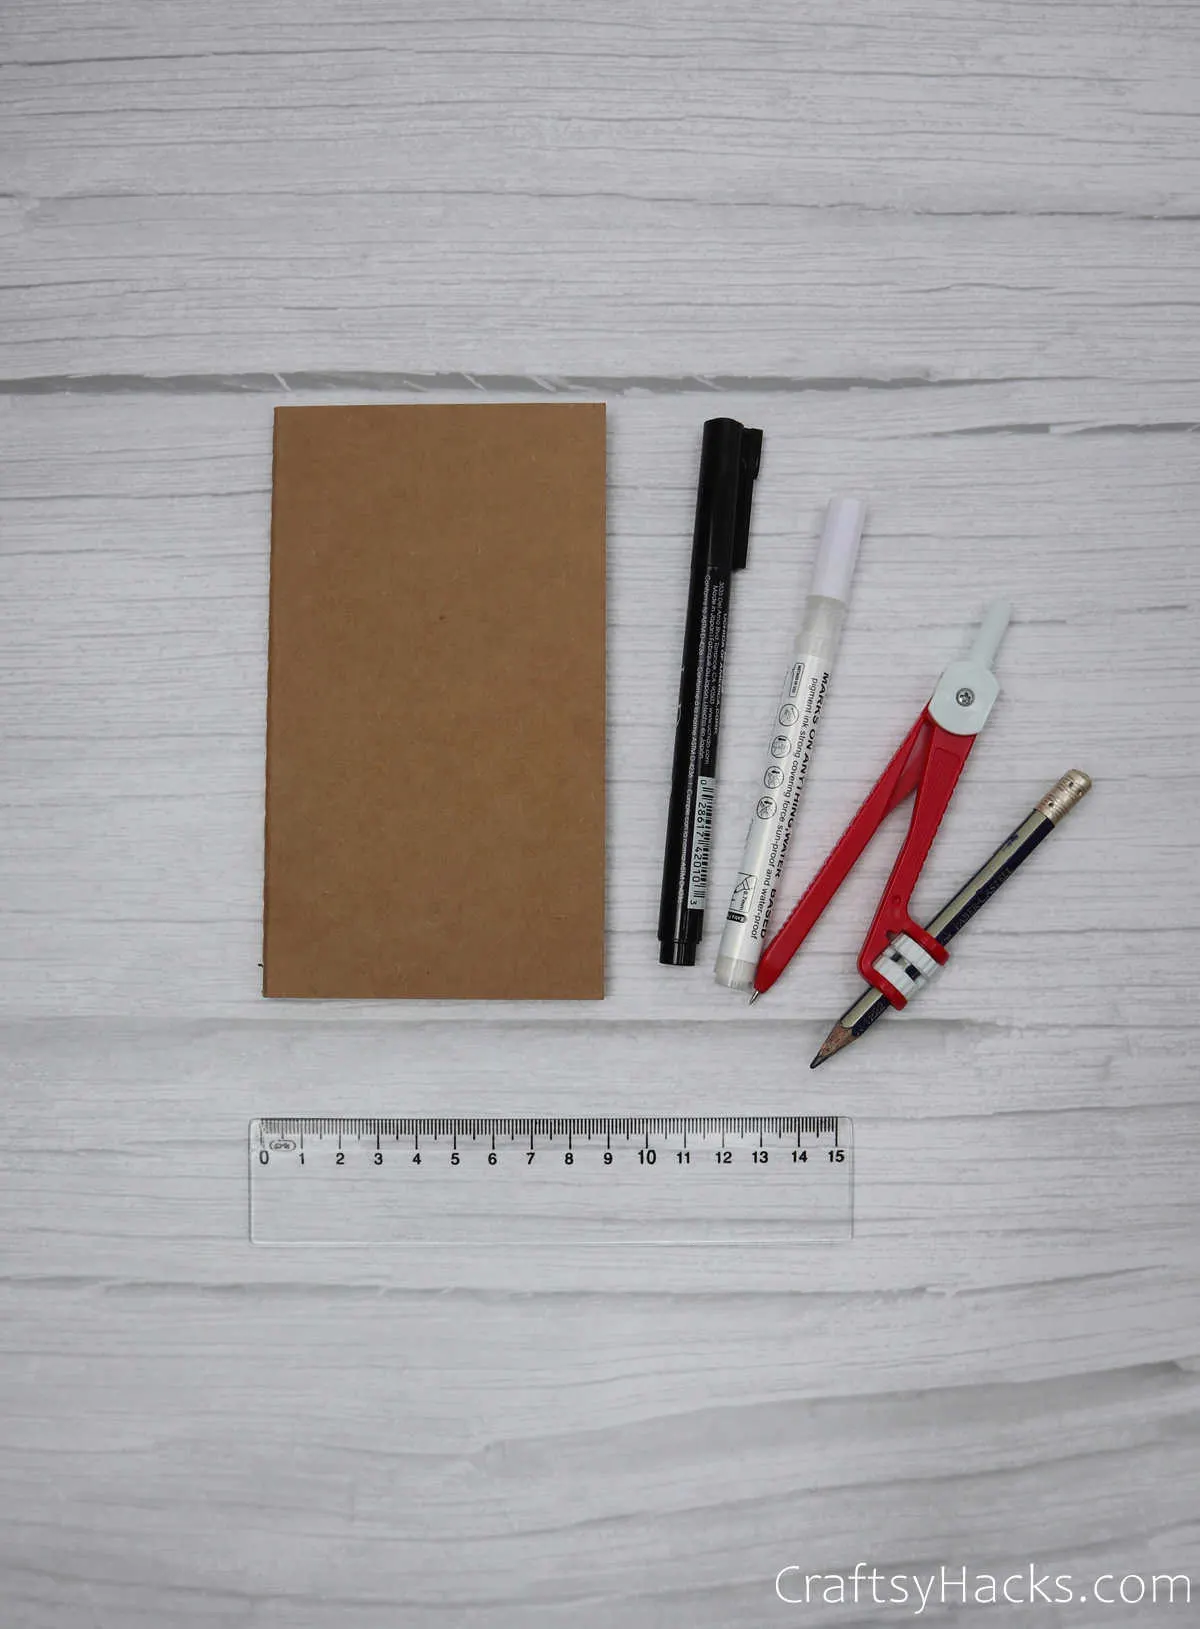
Tools for Decorating the Notebook
Speaking of drawing and designing your DIY journal, let’s take a look at what you’ll need to make your journal cover fabulous:
- Ruler
- Permanent markers
- Ruler
- Compass with a pencil
Step 1
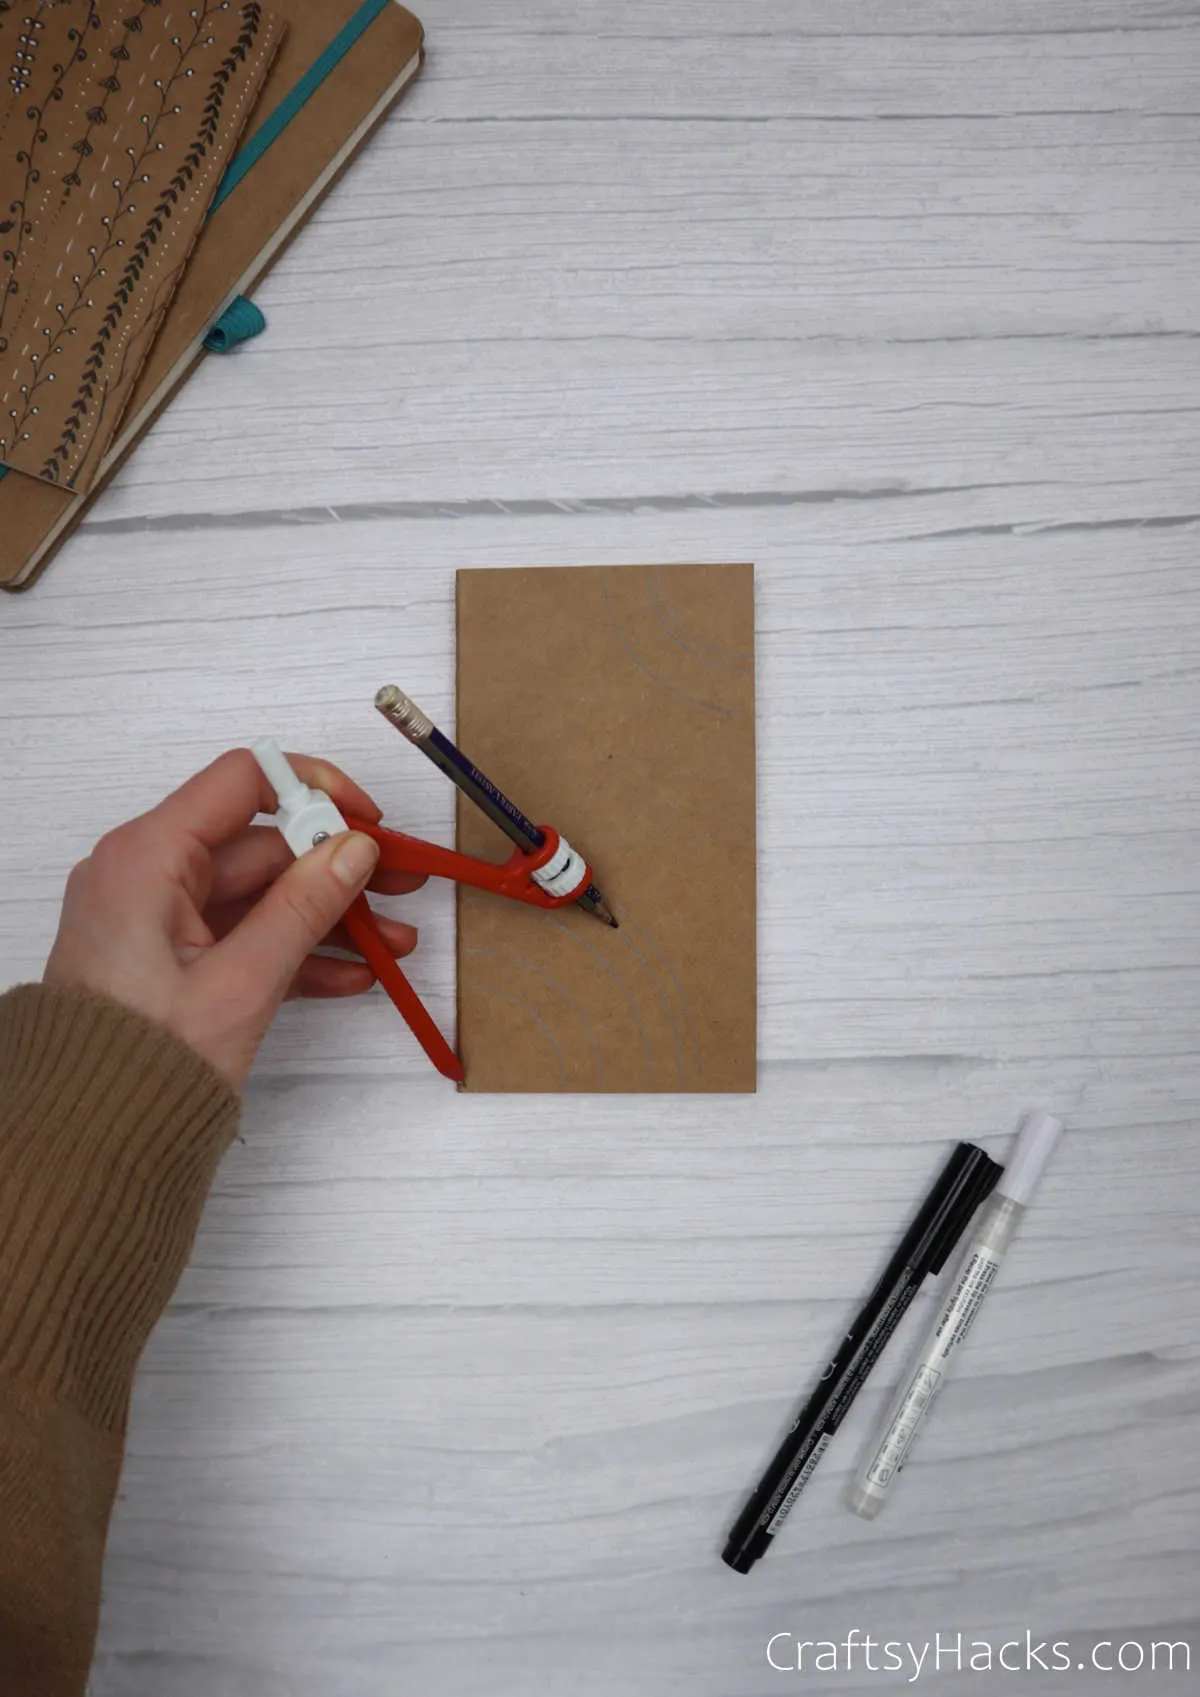
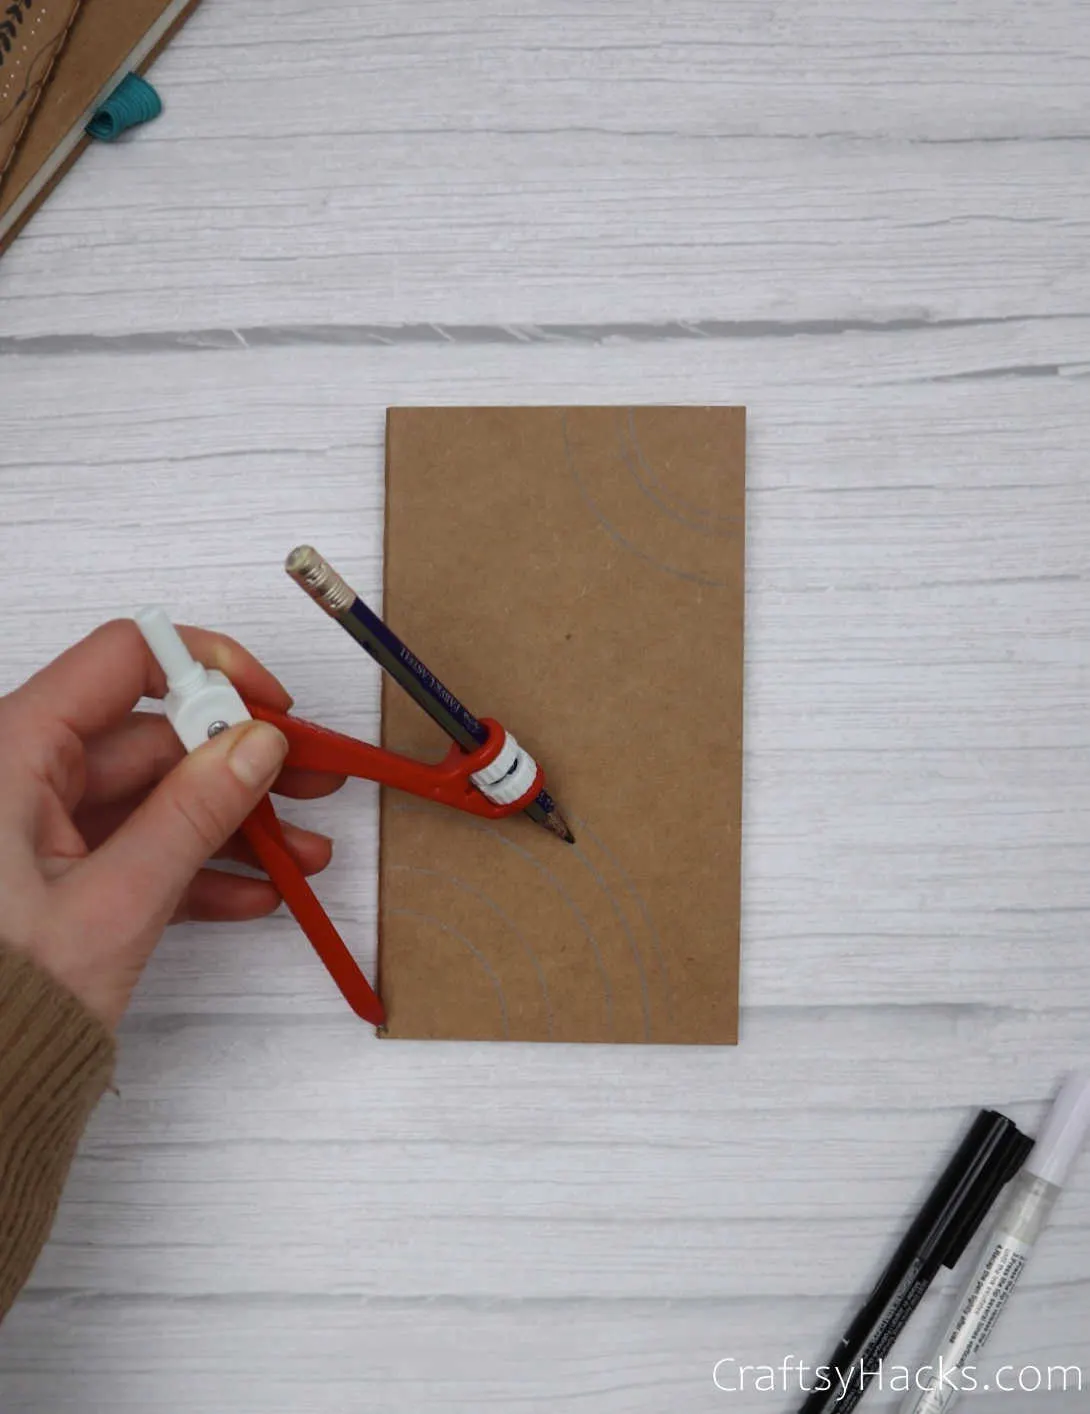
This particular project uses a blend of mandala designs with what I like to think of as some edgy zentangle doodles thrown in. You can use a combination of black and white markers.
White, especially, can really make your designs pop! So grab your compass and start off by marking your design according to your specifications.
Step 2
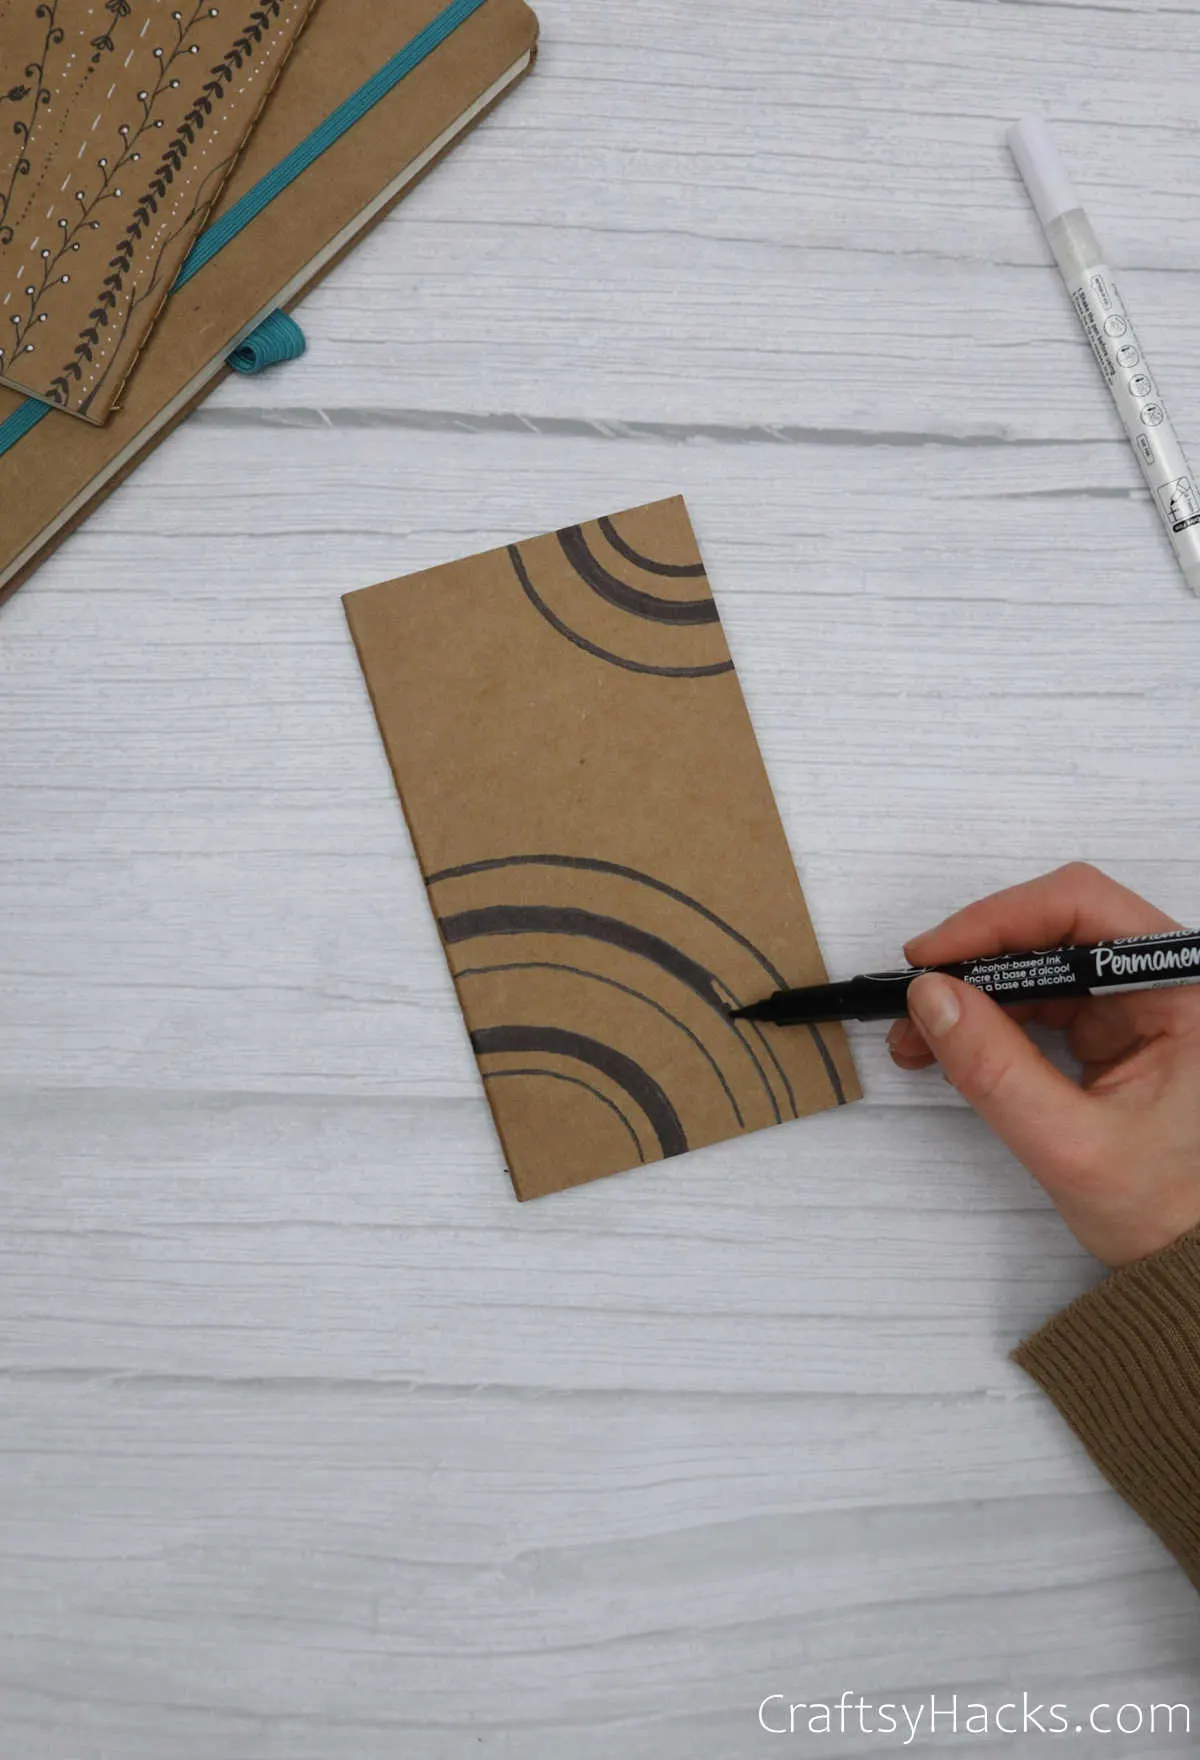
Fill in the designs with black, white, or colored markers. You’ll find a ton of inspiration on Pinterest.
You can also check out these 31 paper crafts for adults if you’ve got some craft paper leftover for your next crafts session.
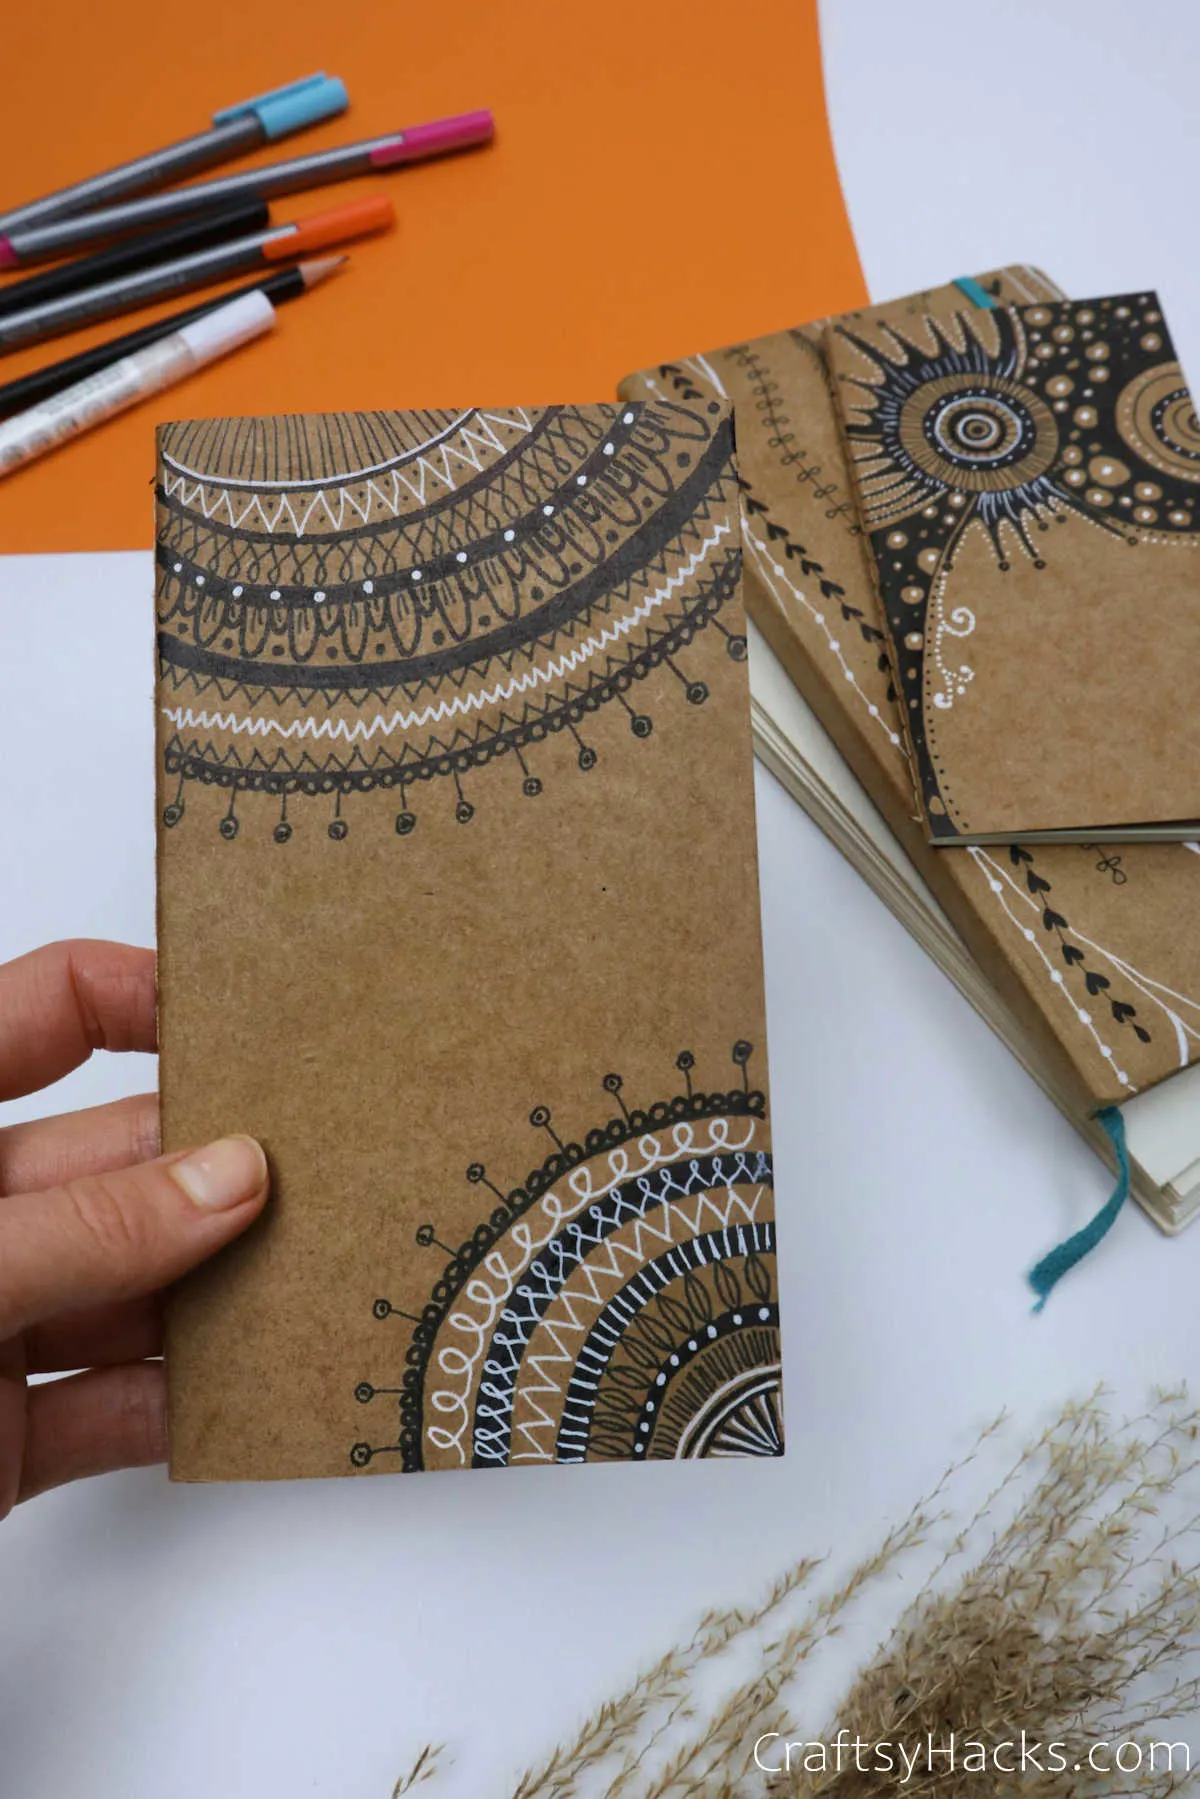
There you have it! Your very own DIY Journal with a super gorgeous cover. You can use this journal as a diary, a tracker…the choices are endless!
Other Crafts You Might Like
- 37 Crafts for Girls
- How to Make a Paper Envelope
- DIY Bookmarks for Kids
- Paper Plate Flower Craft
- 20 Projects for Teens
- DIY Paper Picture Frames
- Paper Wallets
- Crafts for Adults

DIY Journal Cover
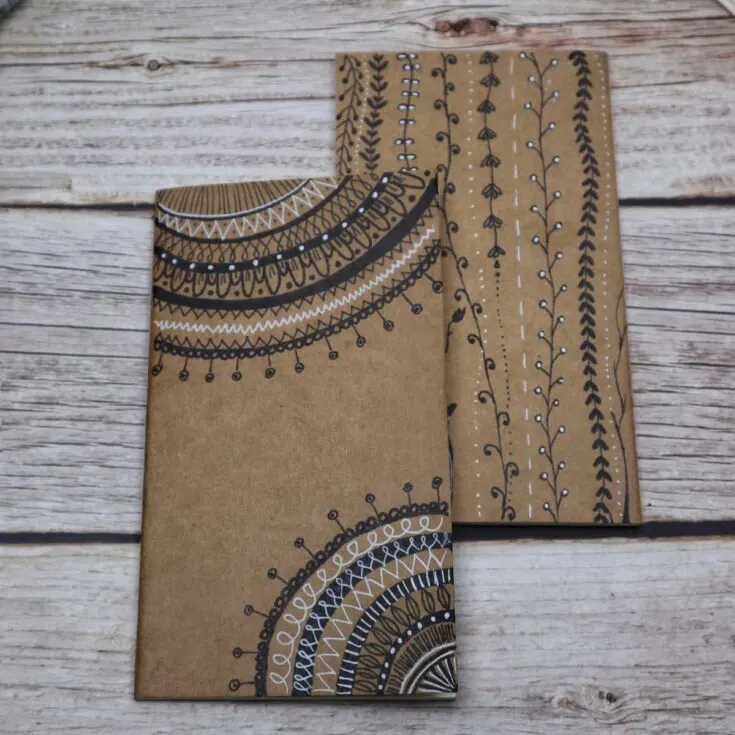
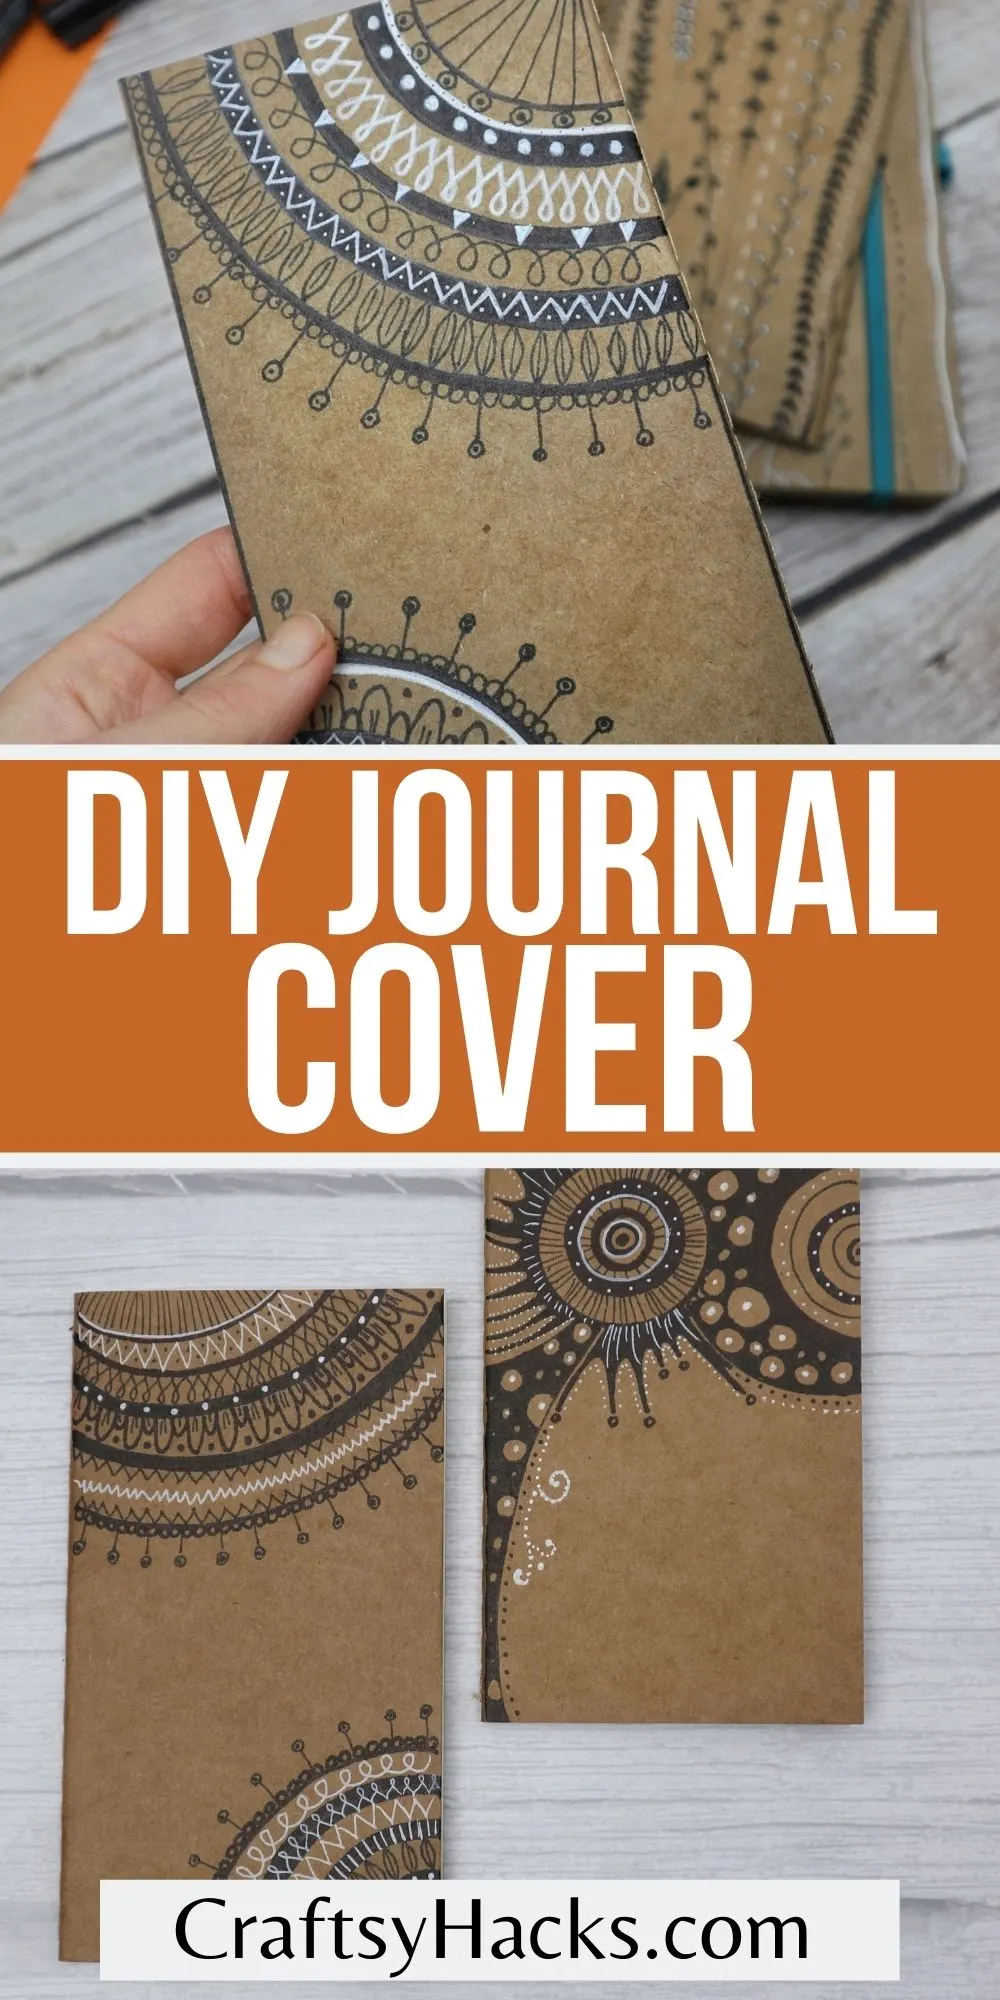
These DIY journal covers are easy to make. A fun paper craft that will keep your journals looking cute!
Materials
- Kraft paper
- Old notebook
- A plain piece of paper
Tools
- Pen
- Glue stick
- Permanent markers
- Scissors
- Ruler
- Compass with a pencil
Instructions
- Gather your supplies to get started on your DIY journal and its cover.
- The first order of business is to cut out the craft paper, leaving an inch or so gap around all four sides. Set aside for later.
- Grab some plain craft paper and measure out the cover of the closed notebook. Subsequently, cut out the two rectangles and set them aside.
- Place the notebook over the brown craft paper once more and stick both surfaces together.
- With a pair of scissors, cut a line up the top and bottom of the paper, along the center, up to the point where the spine begins.
- Fold the edges inward and ‘wrap’ your journal, like you would brown-paper wrap your school notebooks. Stick the edges in place along the inside of the notebook. Keep in mind not to stick the pages of the book along with it.
- Next, stick the two rectangles you’d set aside over the fold of the cover. This will cover any unseemly creases and give your covered notebook a much more finished look.
- The only thing left to do is design the cover. Let your creative instincts take over and enjoy the process of designing and creating this DIY journals’ cover!
