DIY Journal Cover
These DIY journal covers are easy to make. A fun paper craft that will keep your journals looking cute!
Video Tutorial
Equipment
- Pen
- Glue stick
- Permanent markers
- Scissors
- Ruler
- Compass with a pencil
Materials
- Kraft paper
- Old notebook
- A plain piece of paper
Instructions
- Gather your supplies to get started on your DIY journal and its cover.
- The first order of business is to cut out the craft paper, leaving an inch or so gap around all four sides. Set aside for later.
- Grab some plain craft paper and measure out the cover of the closed notebook. Subsequently, cut out the two rectangles and set them aside.
- Place the notebook over the brown craft paper once more and stick both surfaces together.
- With a pair of scissors, cut a line up the top and bottom of the paper, along the center, up to the point where the spine begins.
- Fold the edges inward and ‘wrap’ your journal, like you would brown-paper wrap your school notebooks. Stick the edges in place along the inside of the notebook. Keep in mind not to stick the pages of the book along with it.
- Next, stick the two rectangles you’d set aside over the fold of the cover. This will cover any unseemly creases and give your covered notebook a much more finished look.
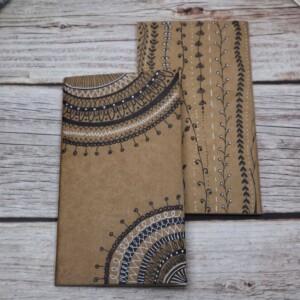
- The only thing left to do is design the cover. Let your creative instincts take over and enjoy the process of designing and creating this DIY journals’ cover!
Tried this craft?Leave a comment below with your rating! I love the feedback and respond to every comment!