DIY Dollar Tree Lantern
This post may contain affiliate links: full affiliate disclosure.
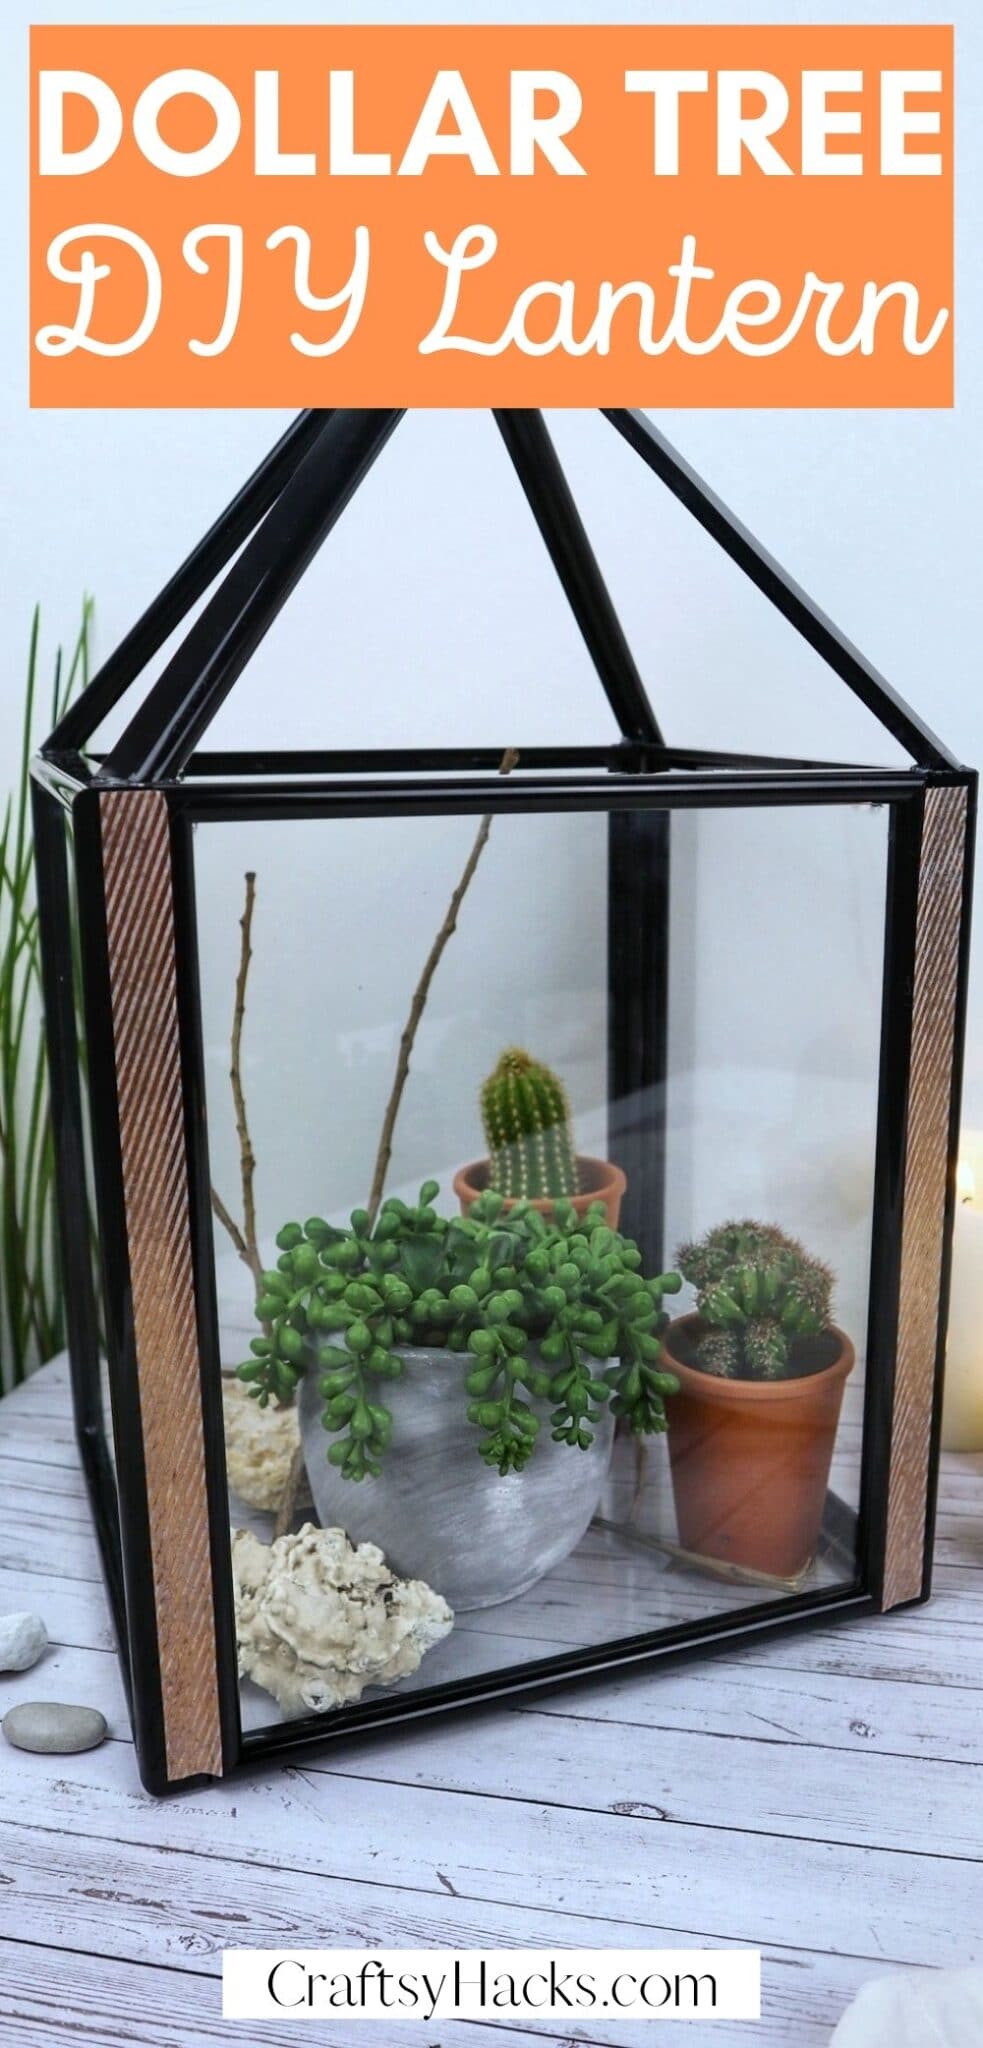
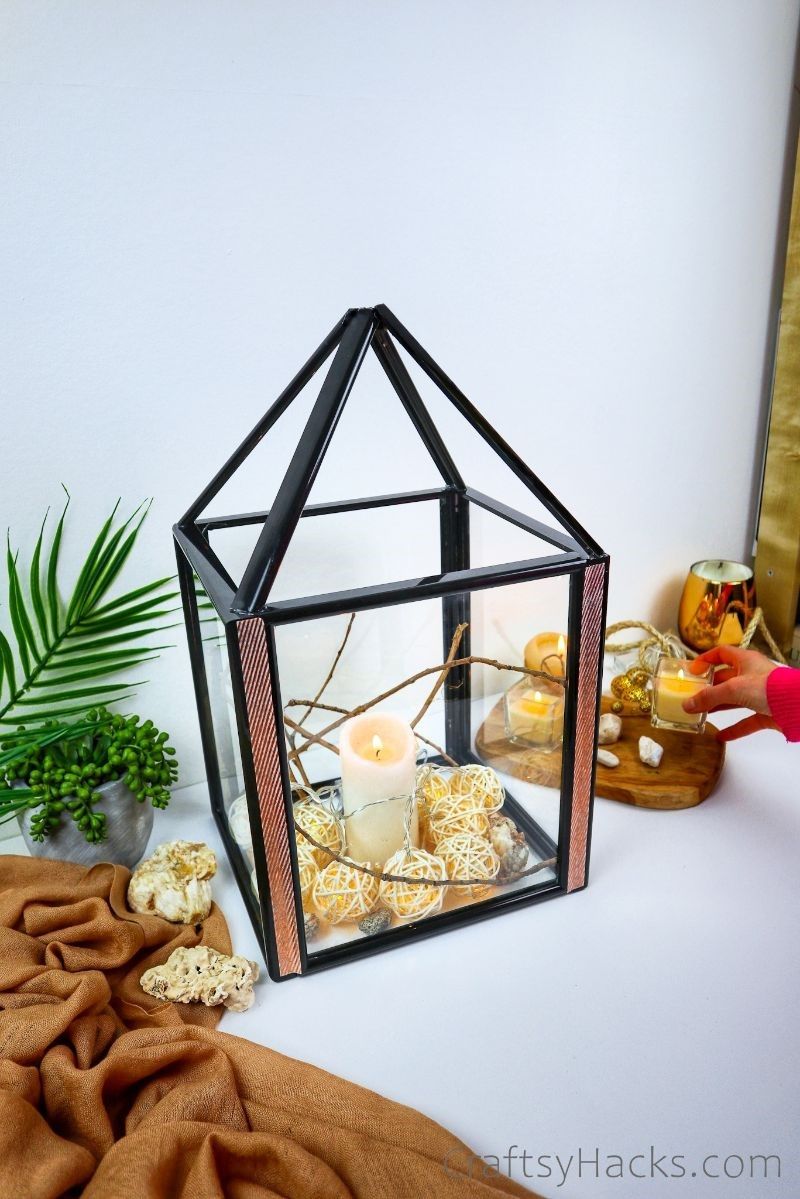
Use Dollar Tree frames to make this DIY lantern. It’s an easy, beautiful decoration item for your home that you can make on a budget.
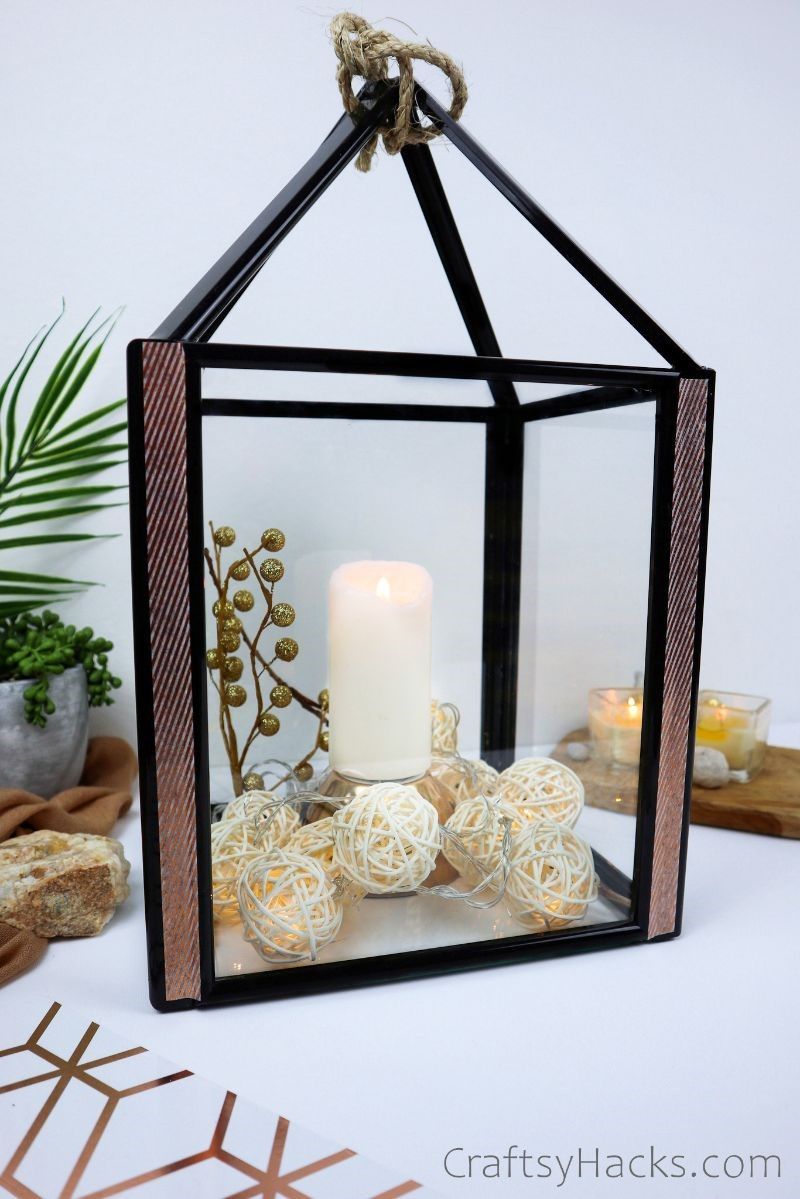
I’ve always thought of crafting as an avenue to create things you wouldn’t otherwise be able to afford for your home, and I’m sure I’m not alone.
Whether you see it online or in a store, you can find a way to make it yourself without breaking the bank. Dollar stores are super helpful in this endeavor, and this lantern is a great example!
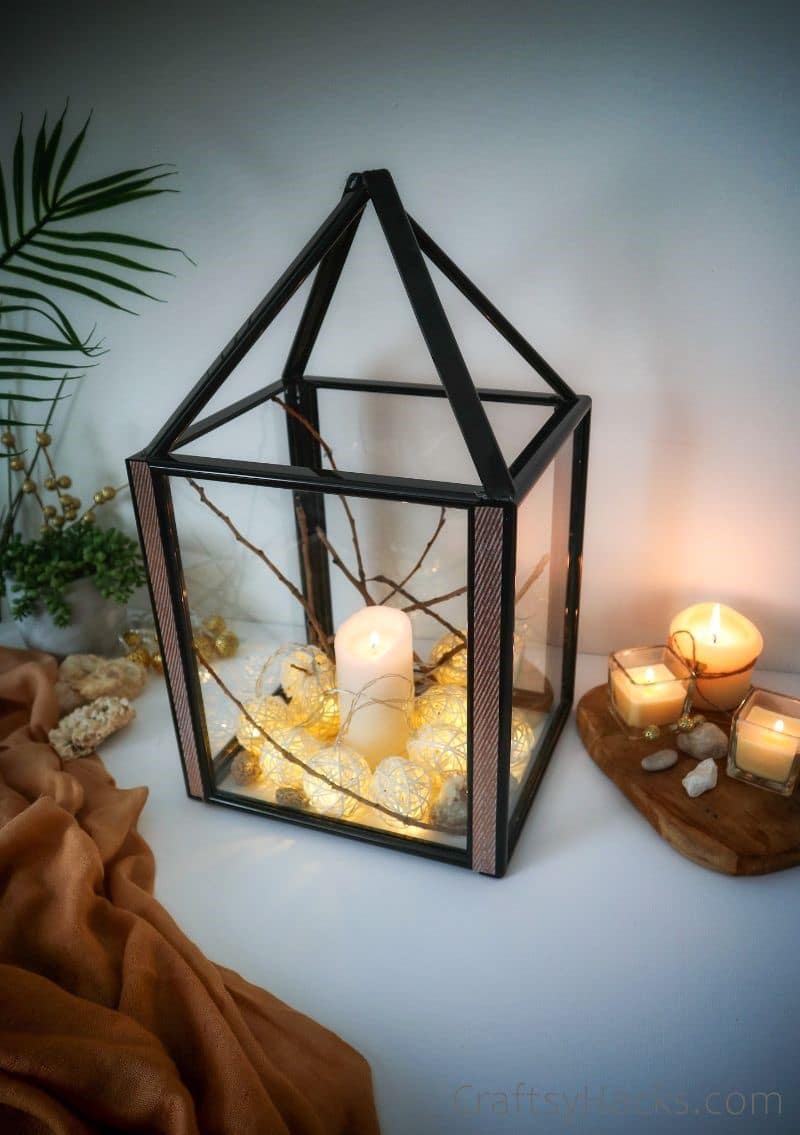
Follow along and create your very own DIY Dollar Tree lantern!
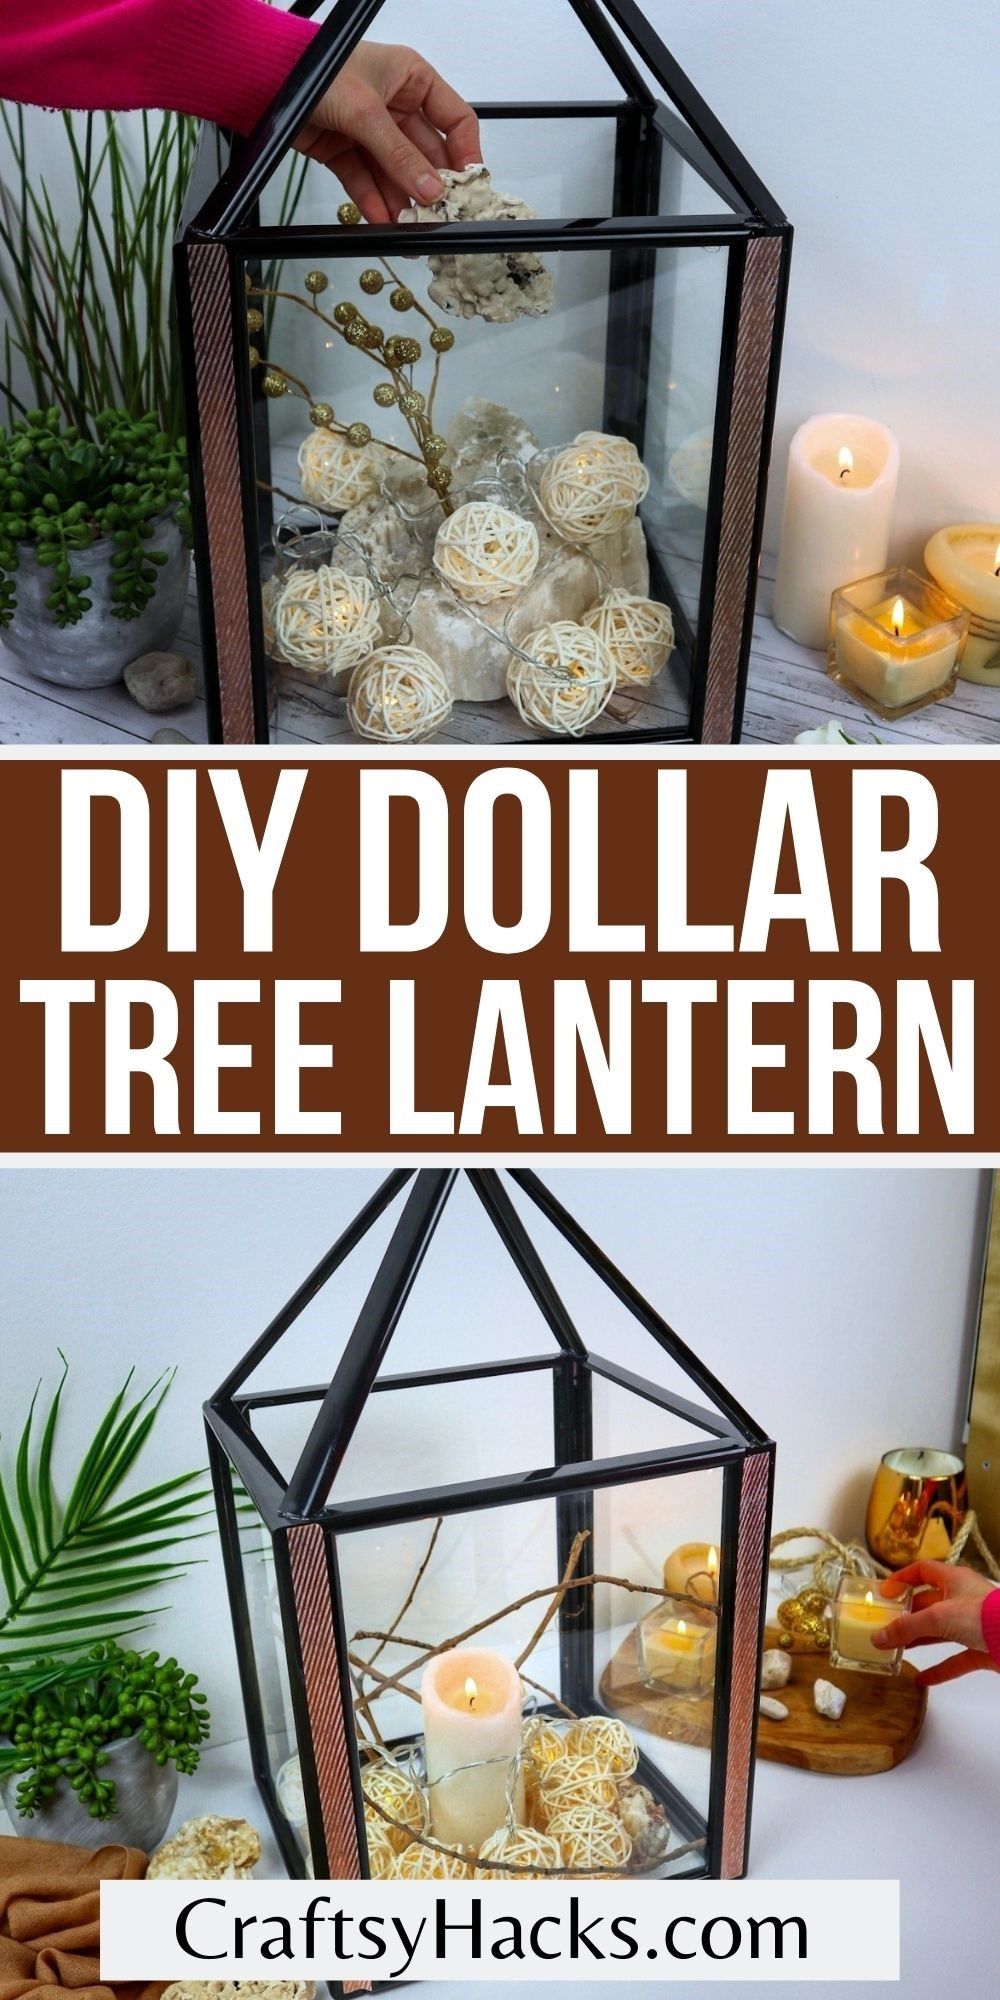
Supplies to Make the Lantern
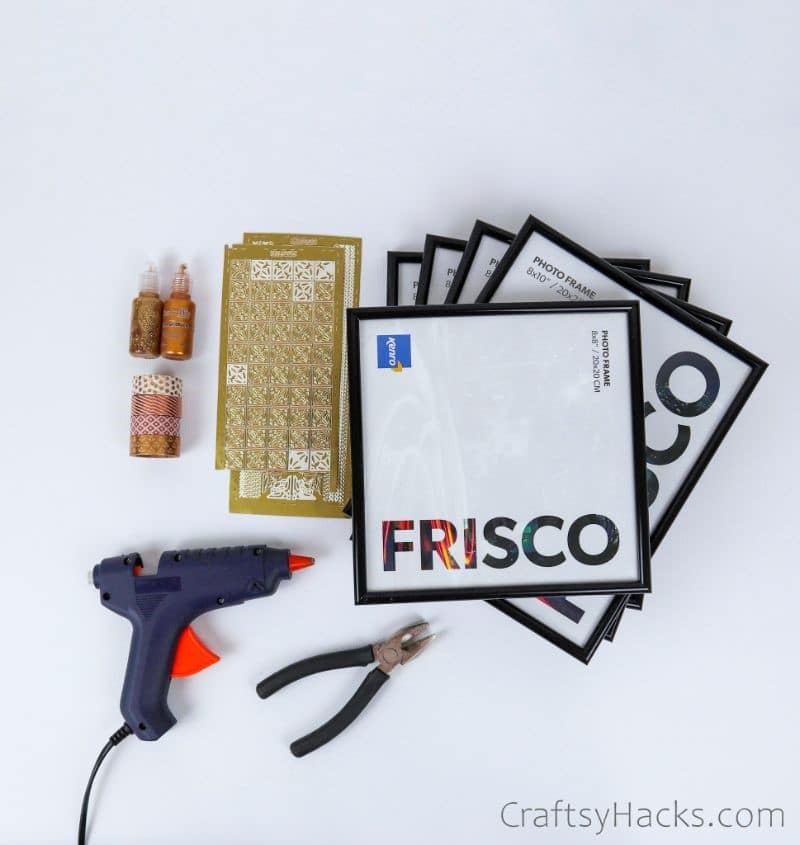
- 4x Dollar Tree frames (8×10 inch)
- 1x Dollar Tree frame (8×8 inch) or 2x (8×10 inch)
- Hot glue gun
- Pliers
- Decorative tape/ Glitter glue/ Sticky labels/ Spray paint (optional)
How to Make Dollar Store Lantern
Here is a step-by-step tutorial on how to make this beautiful lantern.
Step 1
Let’s start by gathering our supplies! The only adhesive you need is hot glue, so set yourself up near a plug, and you’ll be good to go.
Step 2
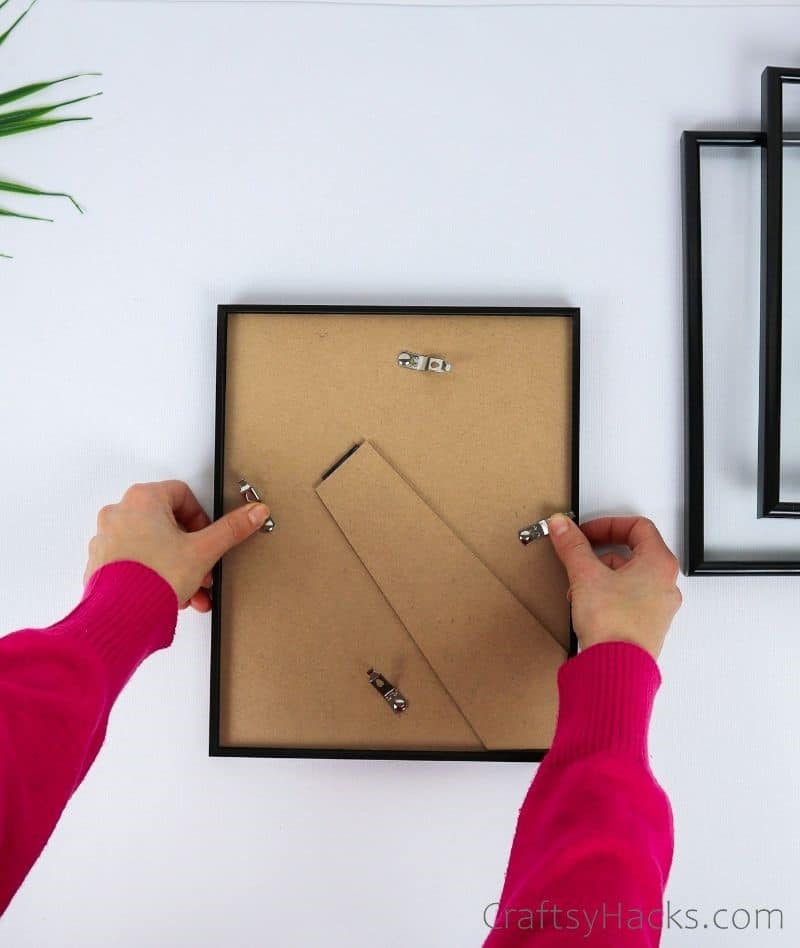
To prepare your frames, remove the wooden backs, and set them aside. Do this for both sizes. If you’re not sure what to use them for, consider using Mod Podge to create a freestanding picture!
Step 3
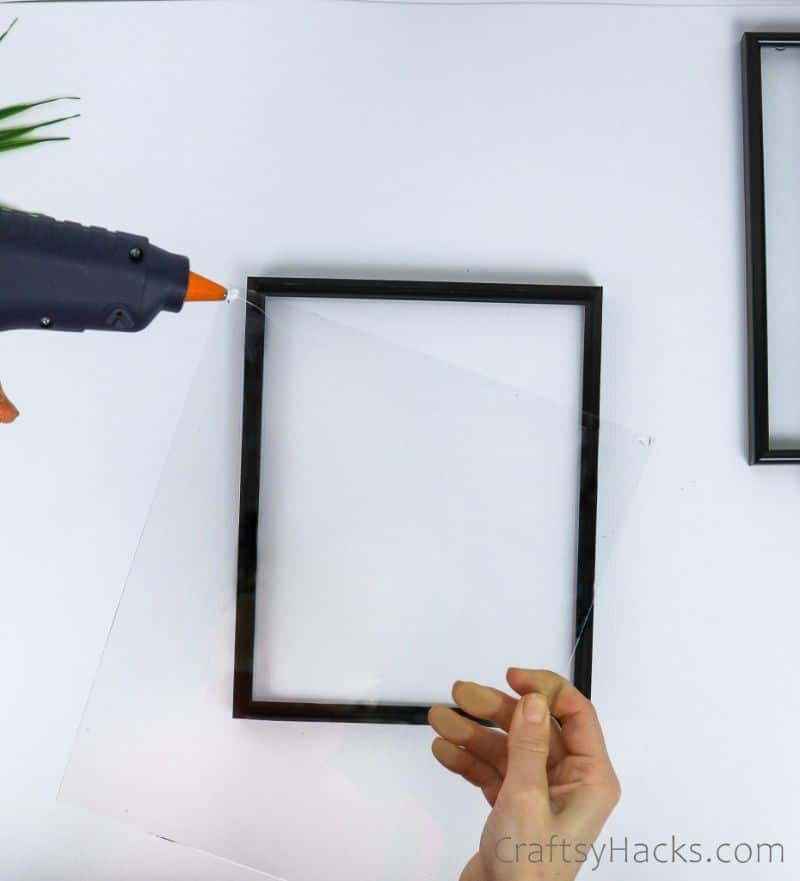
Next up, we want to make sure the glass won’t fall out of the lantern when standing vertically. So, grab your hot glue gun and run some glue along the edges of each glass frame.
Step 4
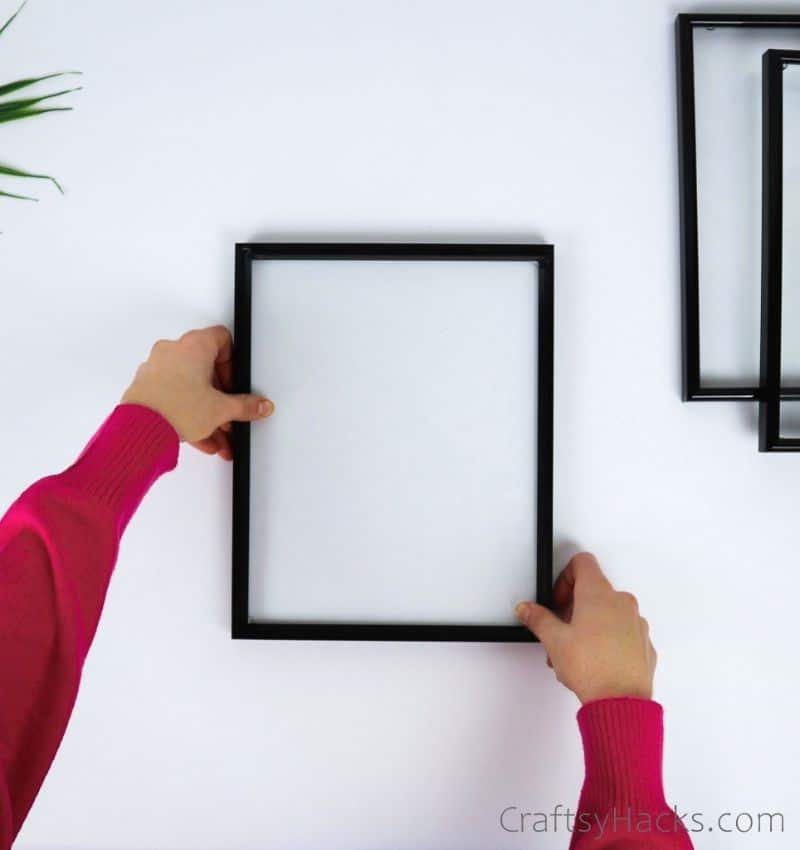
Affix your glass on the inside of the frame as you usually would, then press down firmly to solidify the connection. Do this for all four of the smaller frames but leave the large ones alone. Let them dry.
Step 5
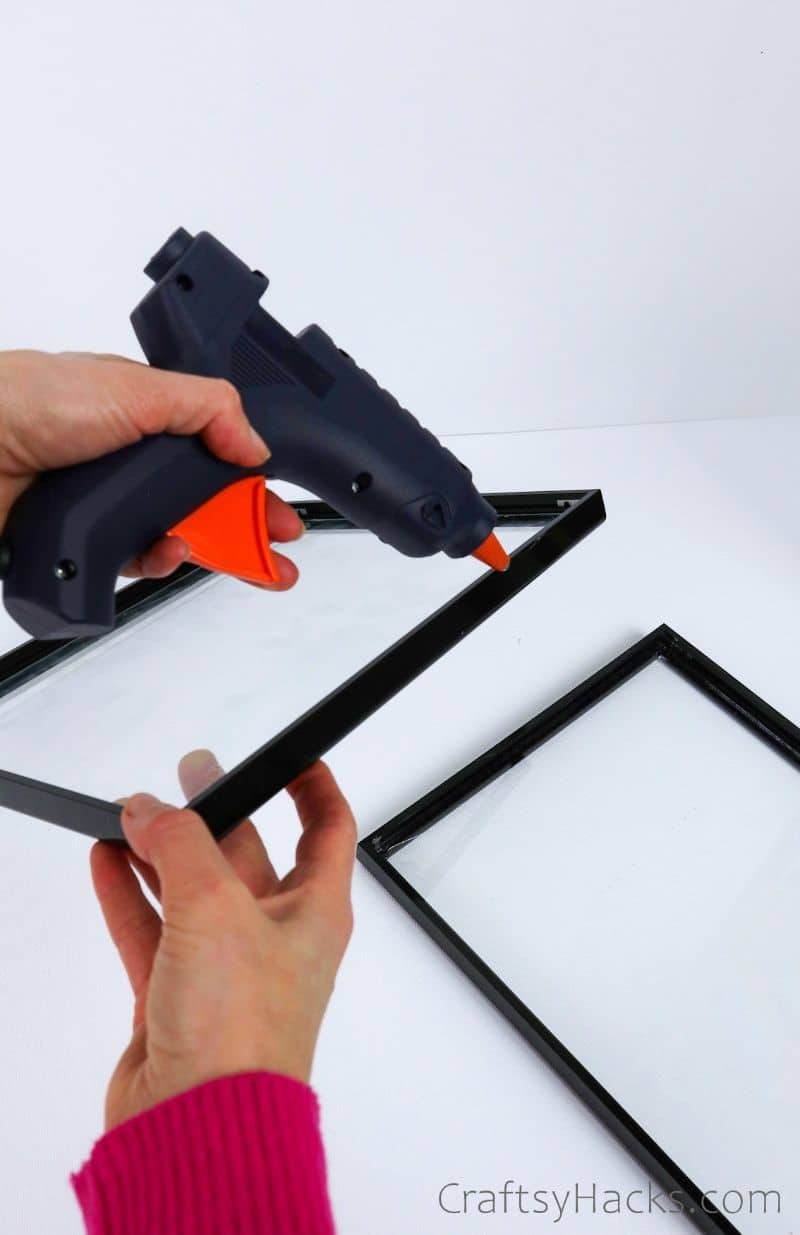
The next step is to construct the lantern itself. We’ll be connecting the frames by the long edges to create a tall rectangle. So, run your hot glue gun along the first frame’s long edge, with the second nearby.
Step 6
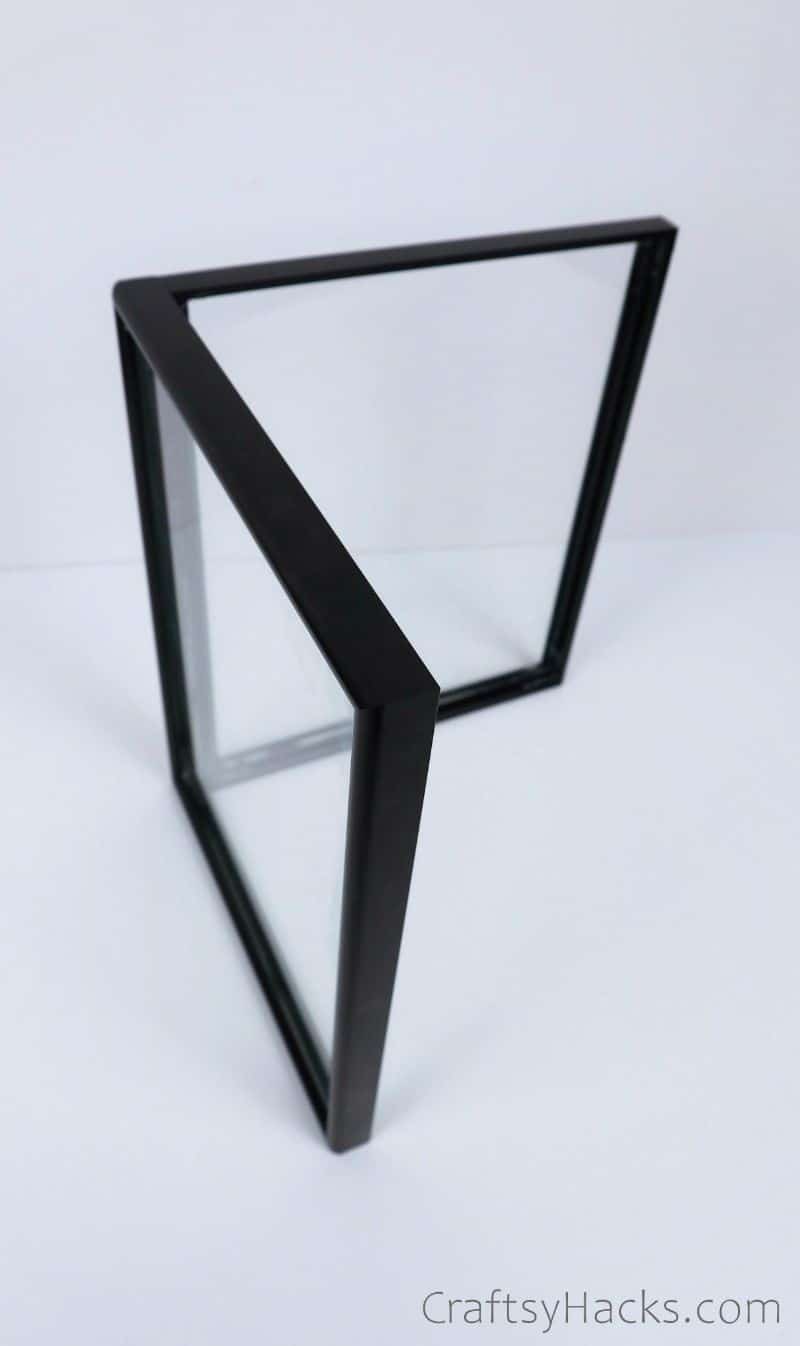
Now, quickly, glue that long edge to the long edge of the second frame at a right angle. If it helps, you can use the edge of a table to measure the right angle, or a proper right-angle tool if you have one!
Step 7
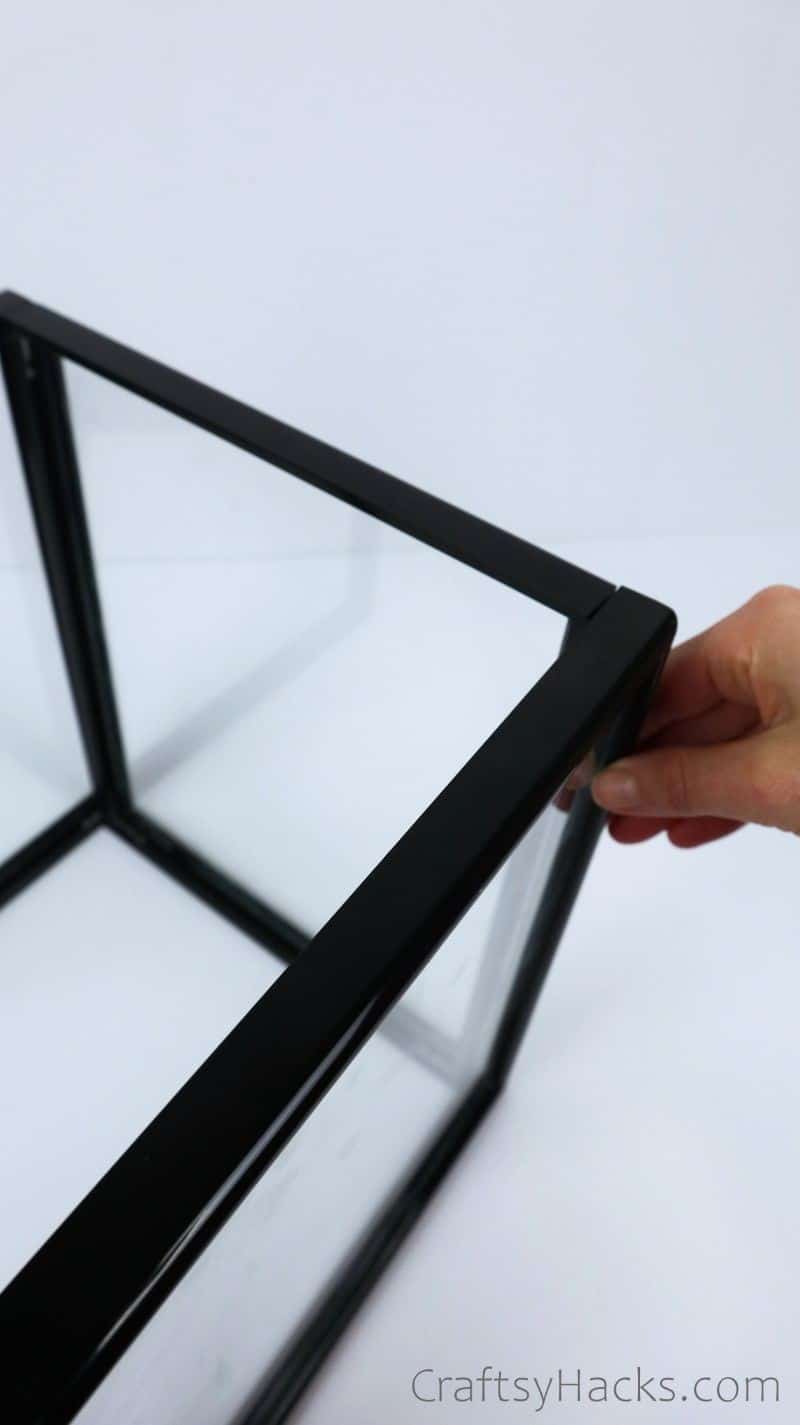
Keep going just like that, making sure each corner is a proper right angle. I recommend working on a level surface (such as a table or counter) to make sure everything lines up correctly.
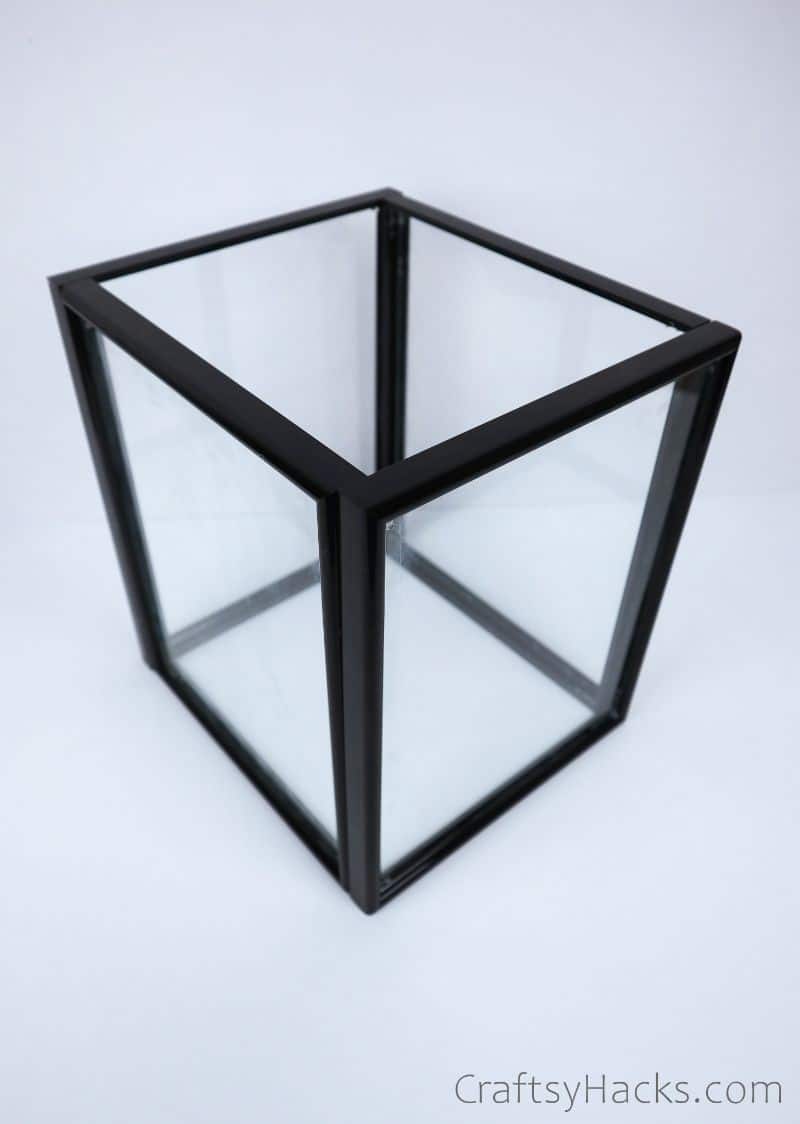
Once you’re done, you should have a rectangle that looks like this!
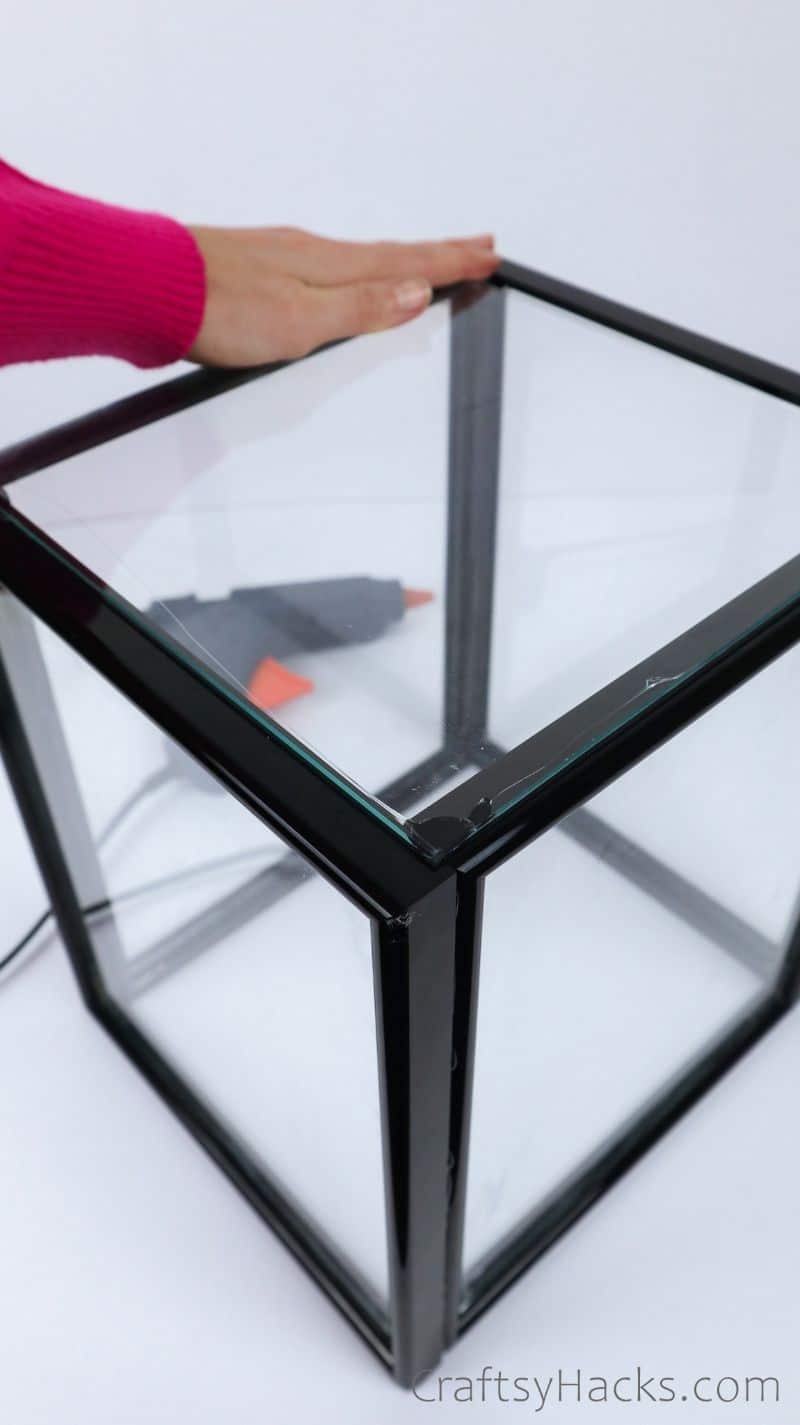
Step 8 (Optional)
If you’d like to give your lantern a floor (which can help catch ashes), all you’ll need is the glass from an 8×8 frame. Simply affix it to the bottom of the rectangle, let dry, then flip.
Now, if you’re shooting for a modern look, you can stop here. However, if you’re keen on the farmhouse aesthetic, keep following along!
Step 9
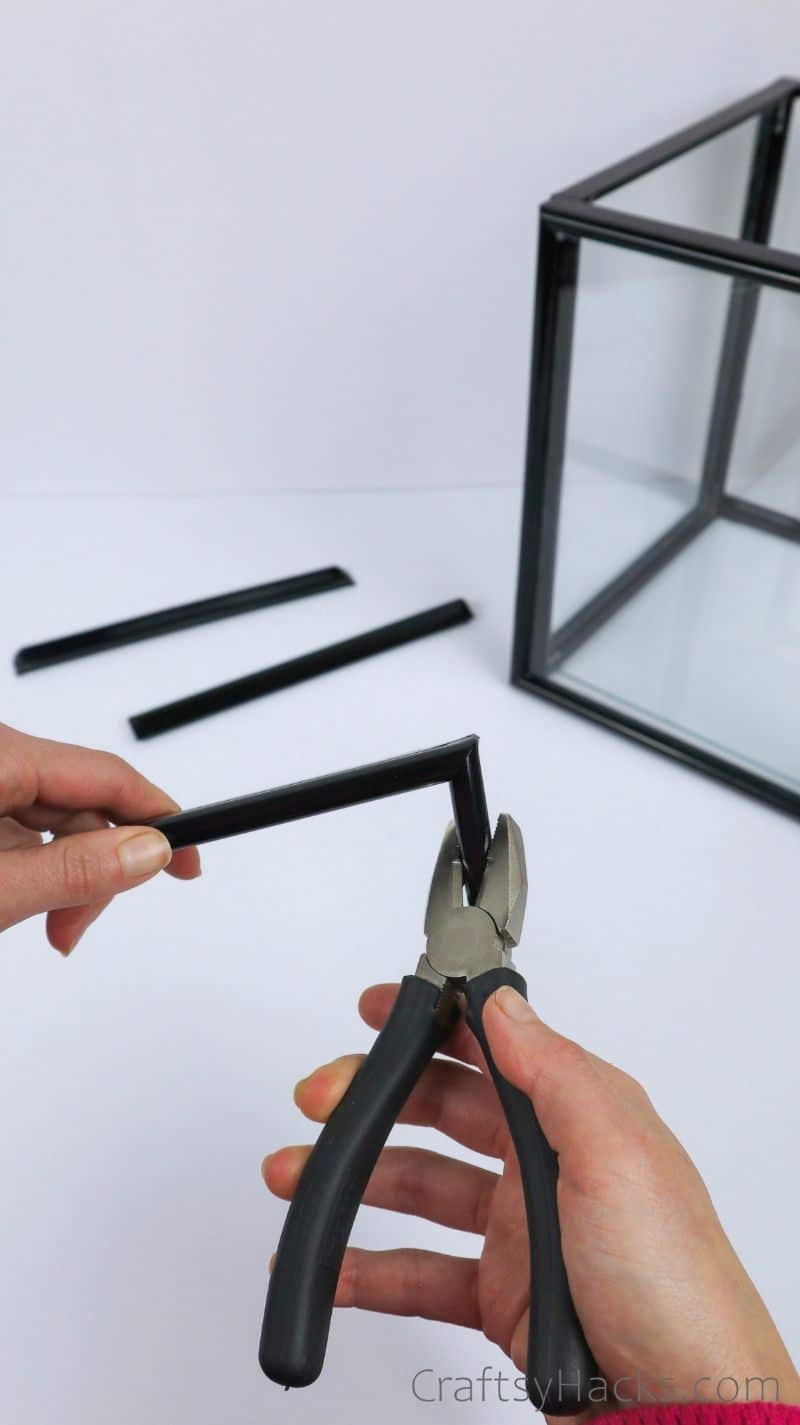
The arch is where your pliers come in (trust me, this part is so satisfying).
You want to end up with four eight-inch pieces. So, if you have a single 8×8 frame, simply use all four pieces from that. Otherwise, disassemble two 8×10 frames and just use the eight-inch parts.
Step 10
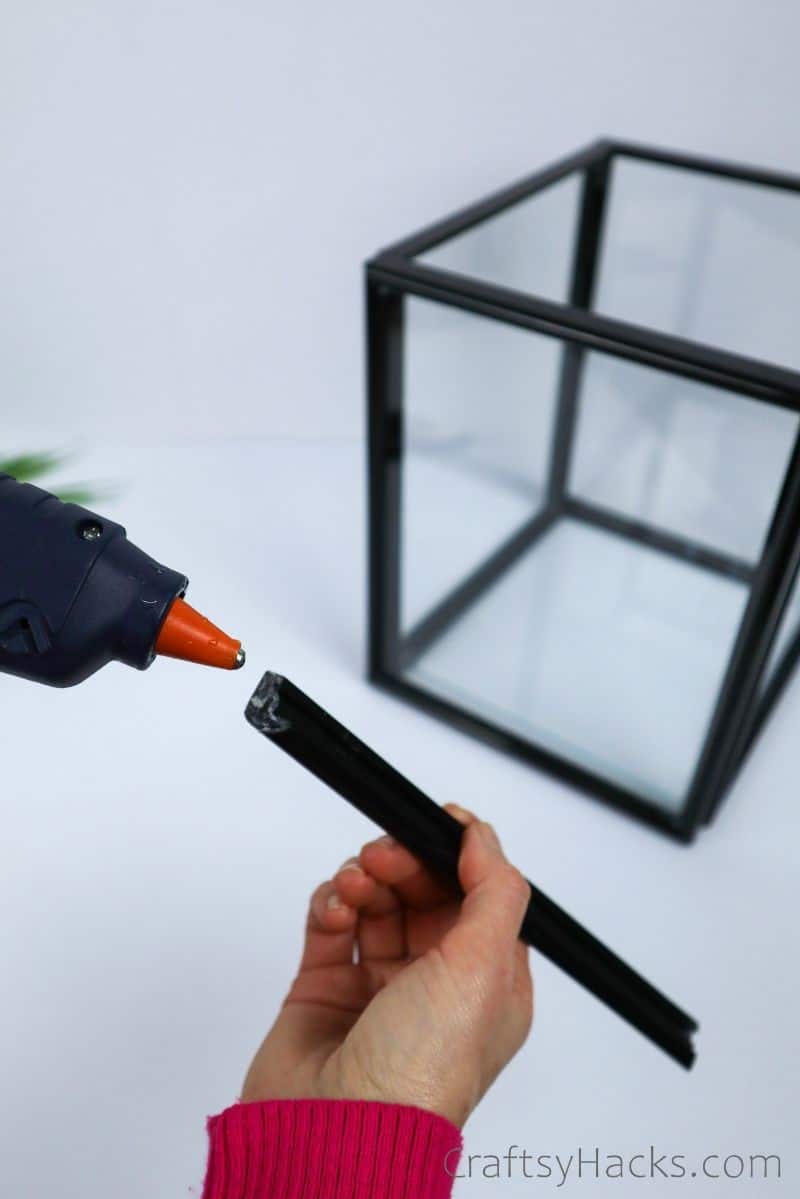
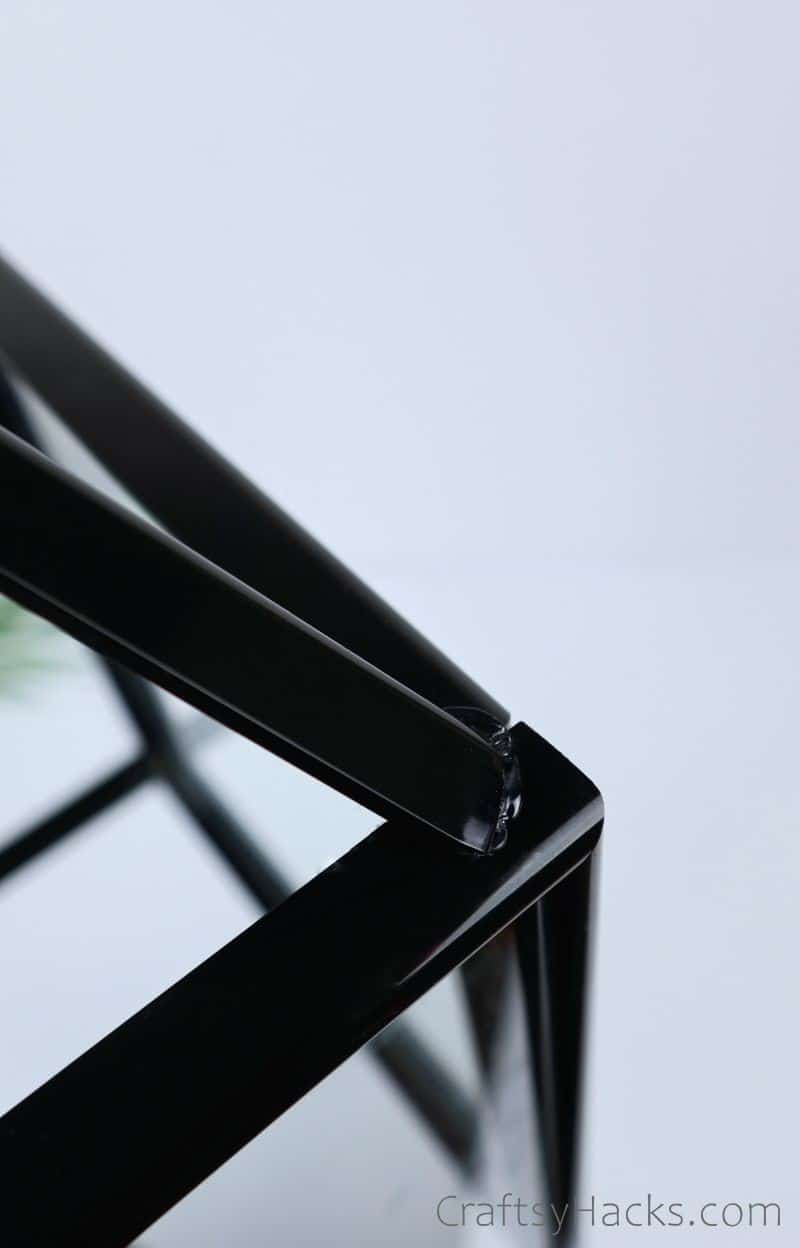
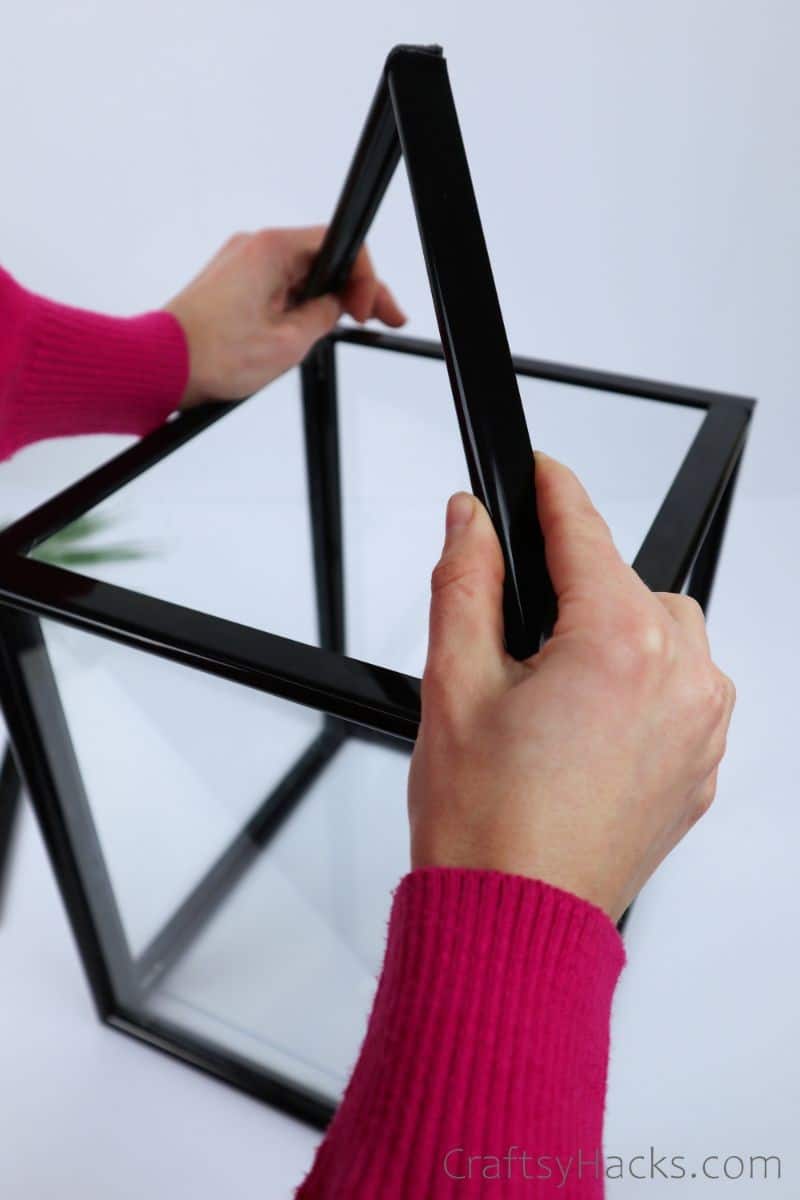
Start with one of the pieces, dabbing a glob of hot glue onto the end. This will sit at an angle, extending from the lantern’s corner and meeting another arch piece in the middle (as below).
Step 11
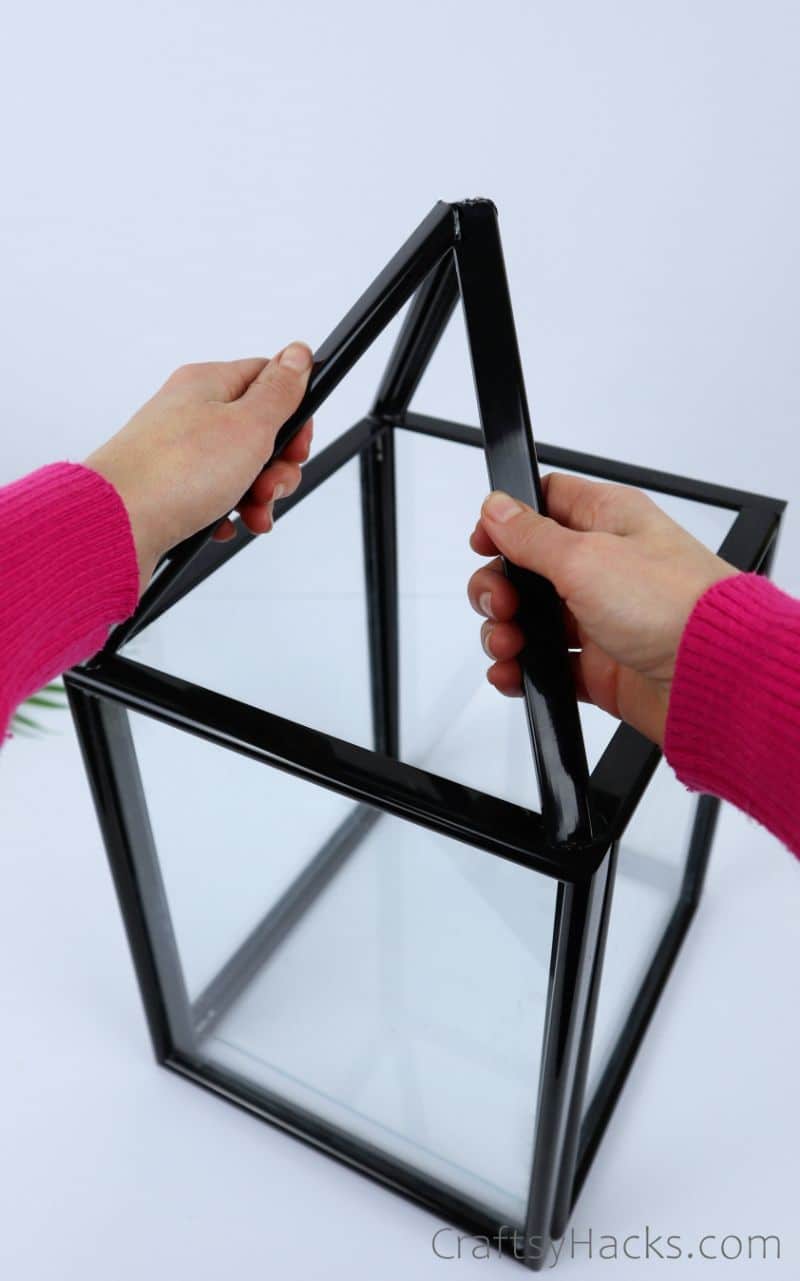
I recommend dabbing glue on both ends of two pieces, then affixing them to your lantern at the same time. This will make sure the two pieces line up accurately and save you trouble later.
Hold them in place until the pieces are set and dry.
Step 12
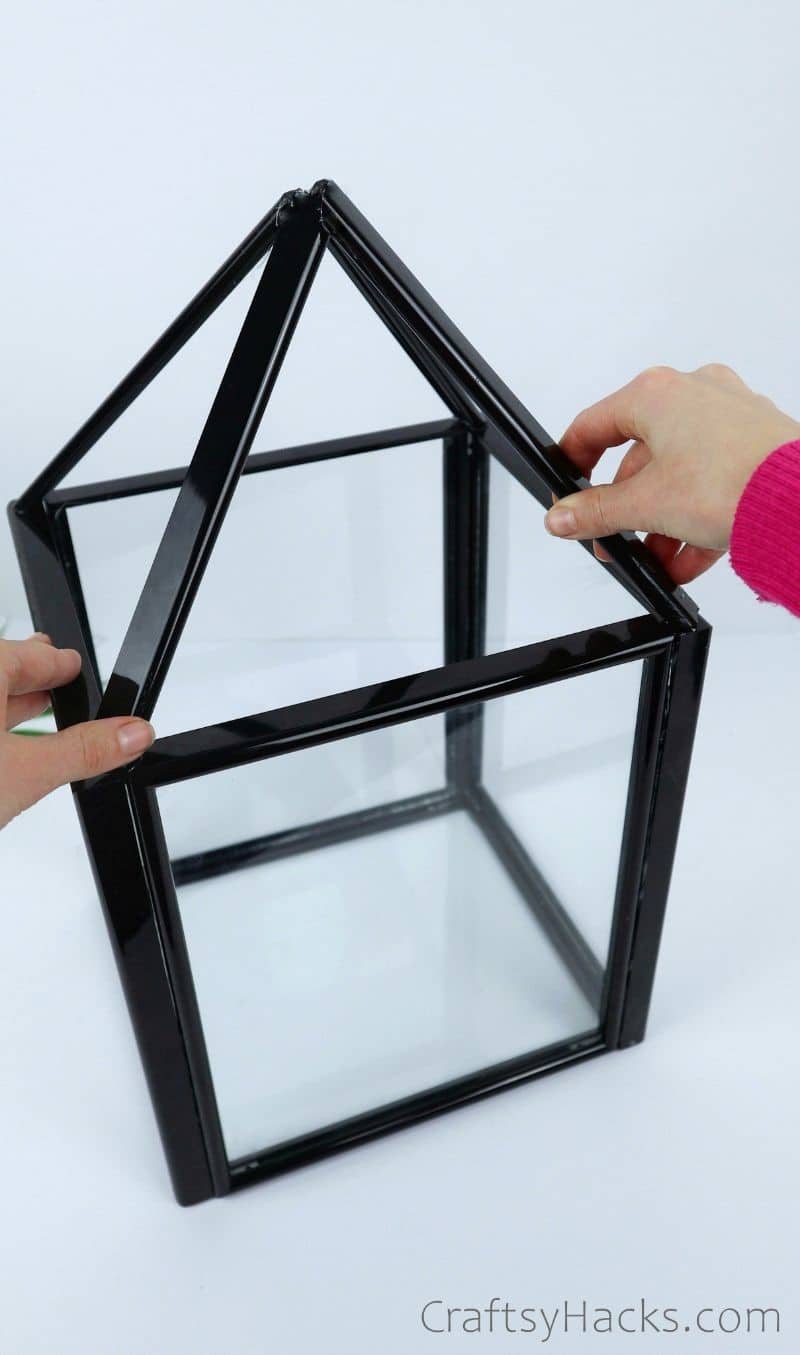
It’s starting to look much more like a lantern now! Hold the middle strut steady and attach the third piece, making sure it meets in the middle with the others.
Step 13
Finally, glue the final arch piece on. If you like, you can place an extra dab of hot glue on top of the intersection to make it more stable, but that’s up to you.
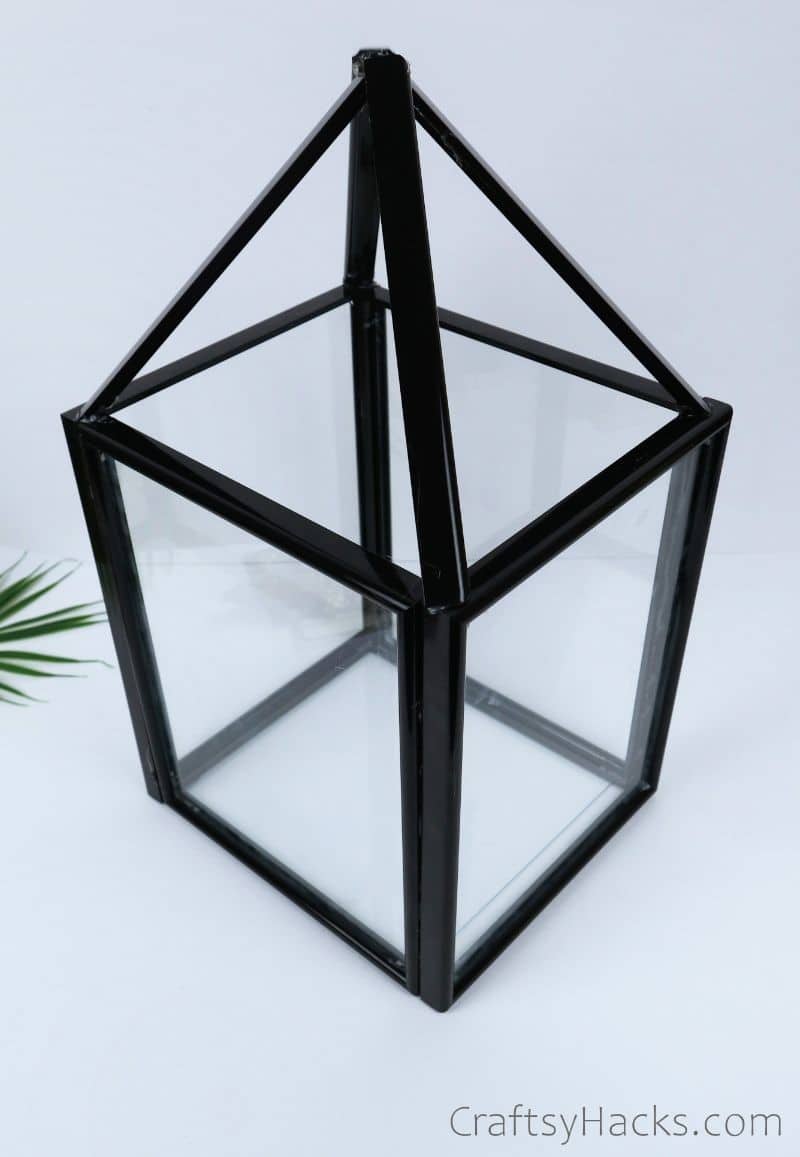
Now you have a completed lantern base!
Step 14
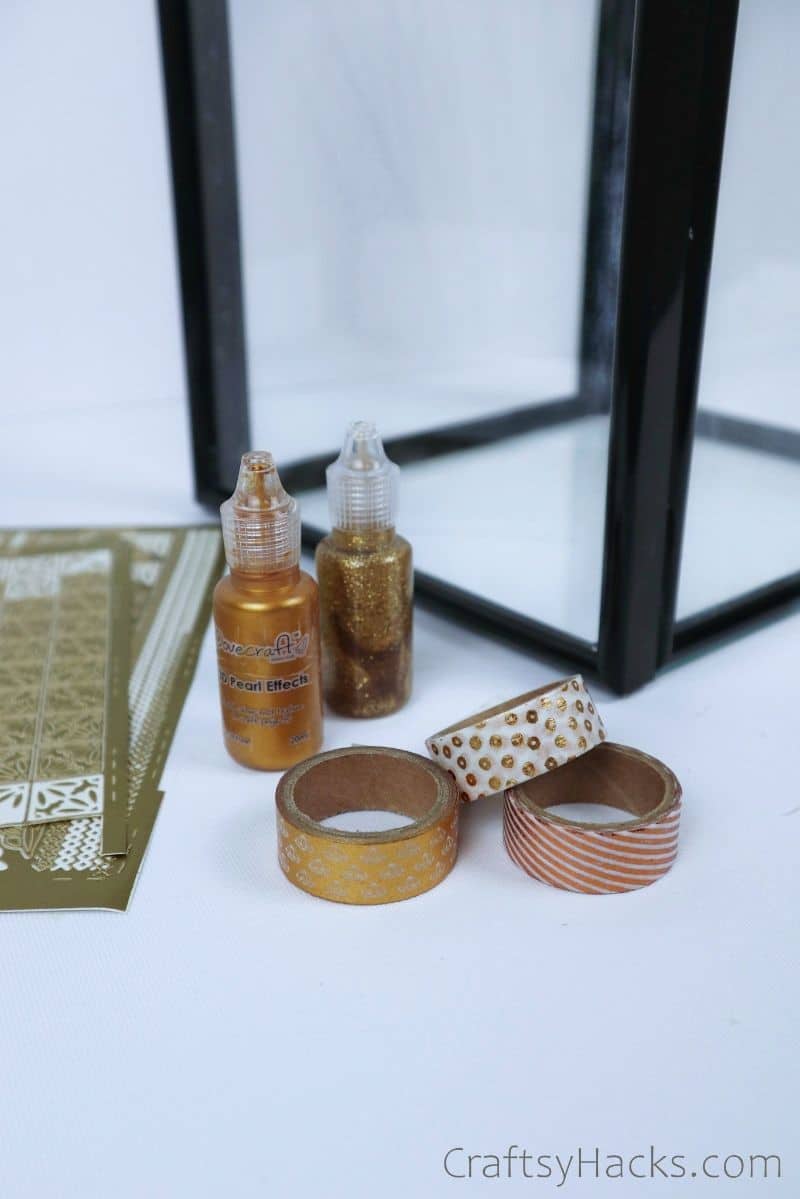
Gather your decorating supplies—from stickers to washi tape—and get ready to make it beautiful.
Step 15
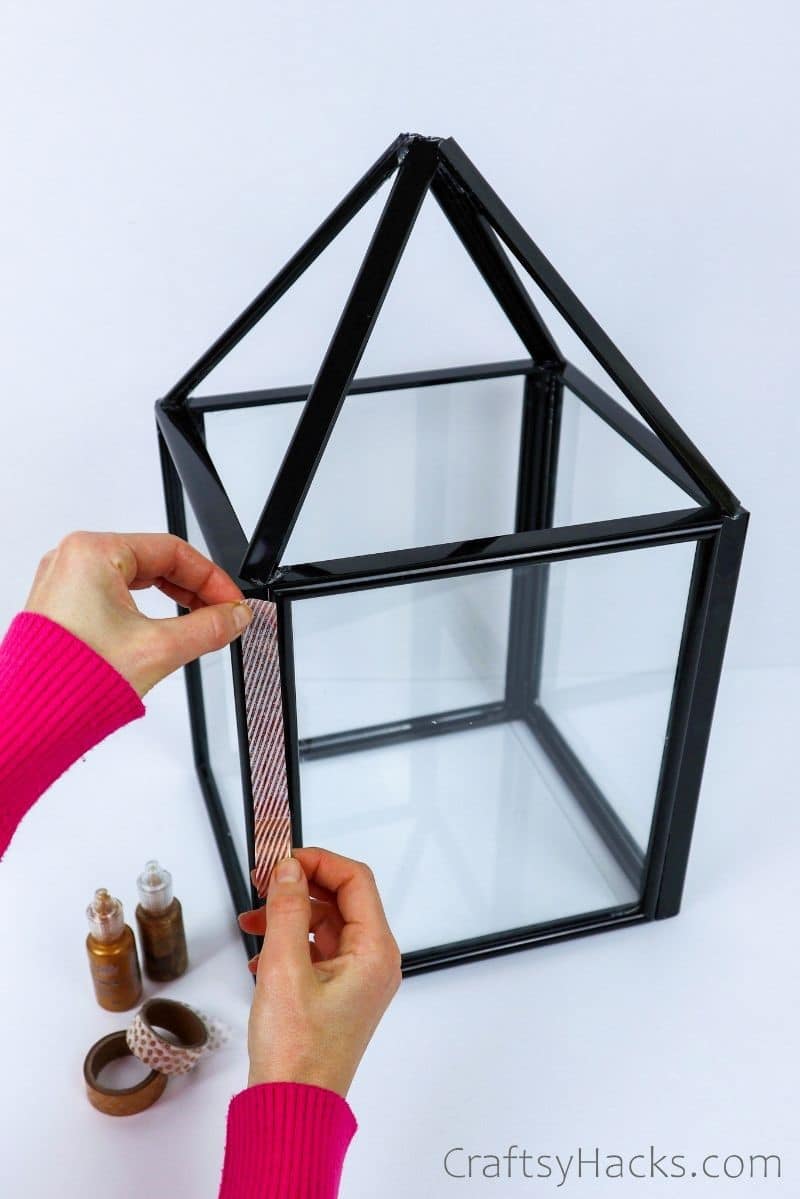
I chose to use washi tape for my lantern. If you’re not putting candles in this lantern, you can also burlap, ribbon, or even fake foliage wrapped around the arch to take it to the next level.
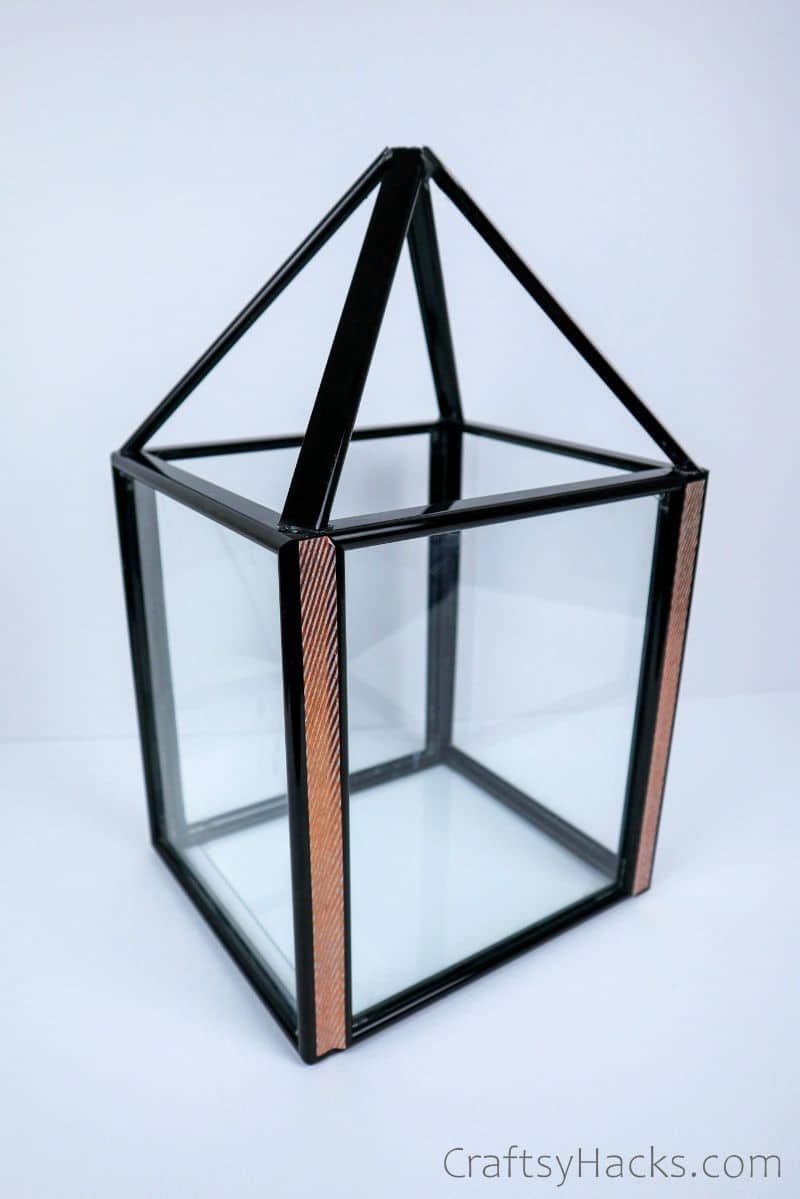
Once you’re done decorating, you’re officially ready to fill your lantern with your chosen items!
Watch Full Video Tutorial
Where Can You Use This Dollar Tree Lantern?
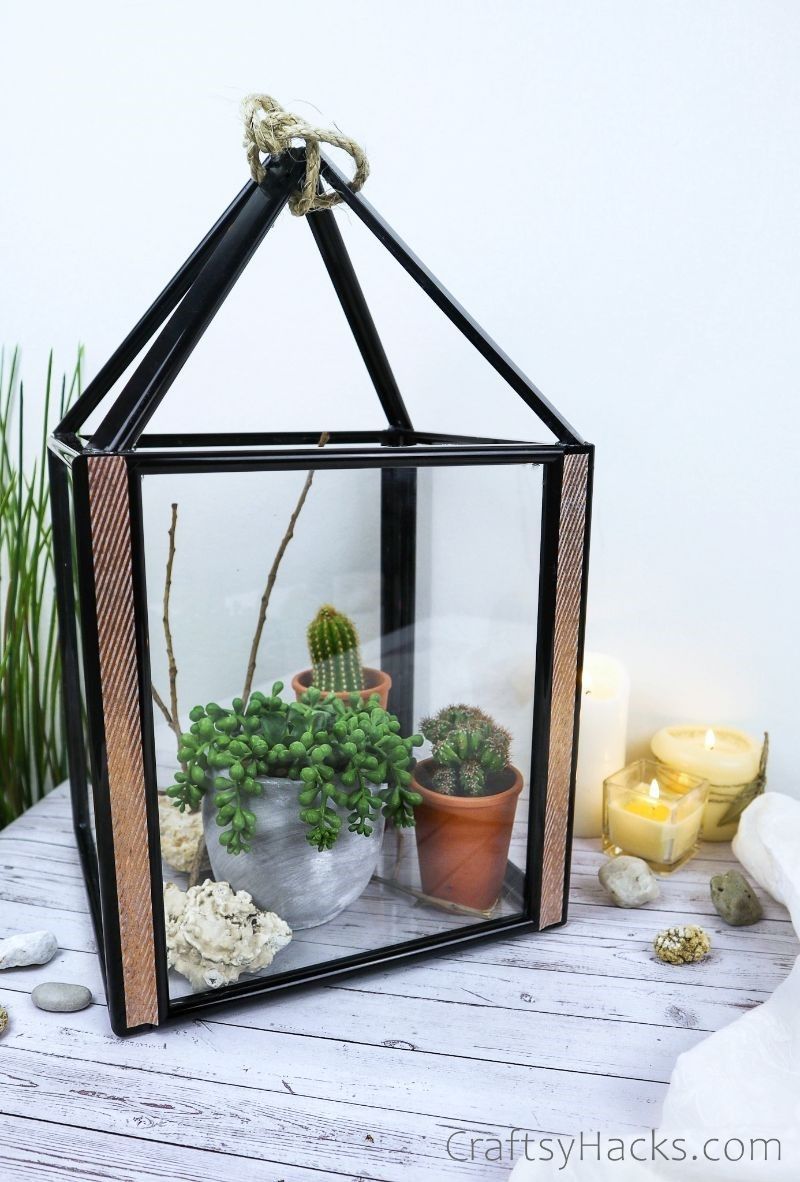
This lantern can be used pretty much everywhere, thanks to its versatility. Whether you want something to spice up your desk or a new porch decoration, this is the answer.
I love the idea of filling this with succulents and using it as an outdoor accent (as you see above). It adds a gorgeous touch of greenery that never goes amiss.
More Dollar Tree Crafts
- 21 DIY Dollar Tree Centerpiece Ideas
- 20 Dollar Store Decorating Ideas
- 20 Genius Dollar Store Planter Ideas
- 21 Cute Dollar Store Crafts for Low Budgets
- 20 Cute Dollar Tree Crafts for Children
- 15 Dollar Store Frame Crafts
- 20 DIY Dollar Tree Vases
- 37 Crafts to Make and Sell
DIY Dollar Tree Lantern
Equipment
- Pliers
Materials
- 4 x Dollar Tree frames 8x10 inch
- 1 x Dollar Tree frame 8x8 inch or 2x (8x10 inch)
- Decorative tape/ Glitter glue/ Sticky labels/ Spray paint optional
Instructions
- Gather your materials, and make sure you’re working on a flat surface.
- Begin by removing the wooden backs and gluing the glass inserts into the 8x10 inch frames. Let them dry. Leave your 8x8 frame (or two 8x10 frames) for later.
- Gluing along the long sides, assemble your four 8x10 frames into a vertical rectangle and let it dry.
- Using the glass from an 8x8 frame, glue it to the rectangle’s bottom to form a floor (optional).
- If you want to create an arch for the lantern, begin by disassembling the leftover frames with your pliers. You need to end up with four 8-inch pieces.
- Place a dab of glue on one end of an eight-inch piece and situate it on one of the lantern’s corners.
- Do this with the three other pieces, making sure each one meets the others in the middle at an angle.
- Finally, you can choose to decorate the lantern using any materials you like.
- There you have it! A completed lantern ready for any surface in your home.
