How to Make Yarn Pom Poms
This post may contain affiliate links: full affiliate disclosure.
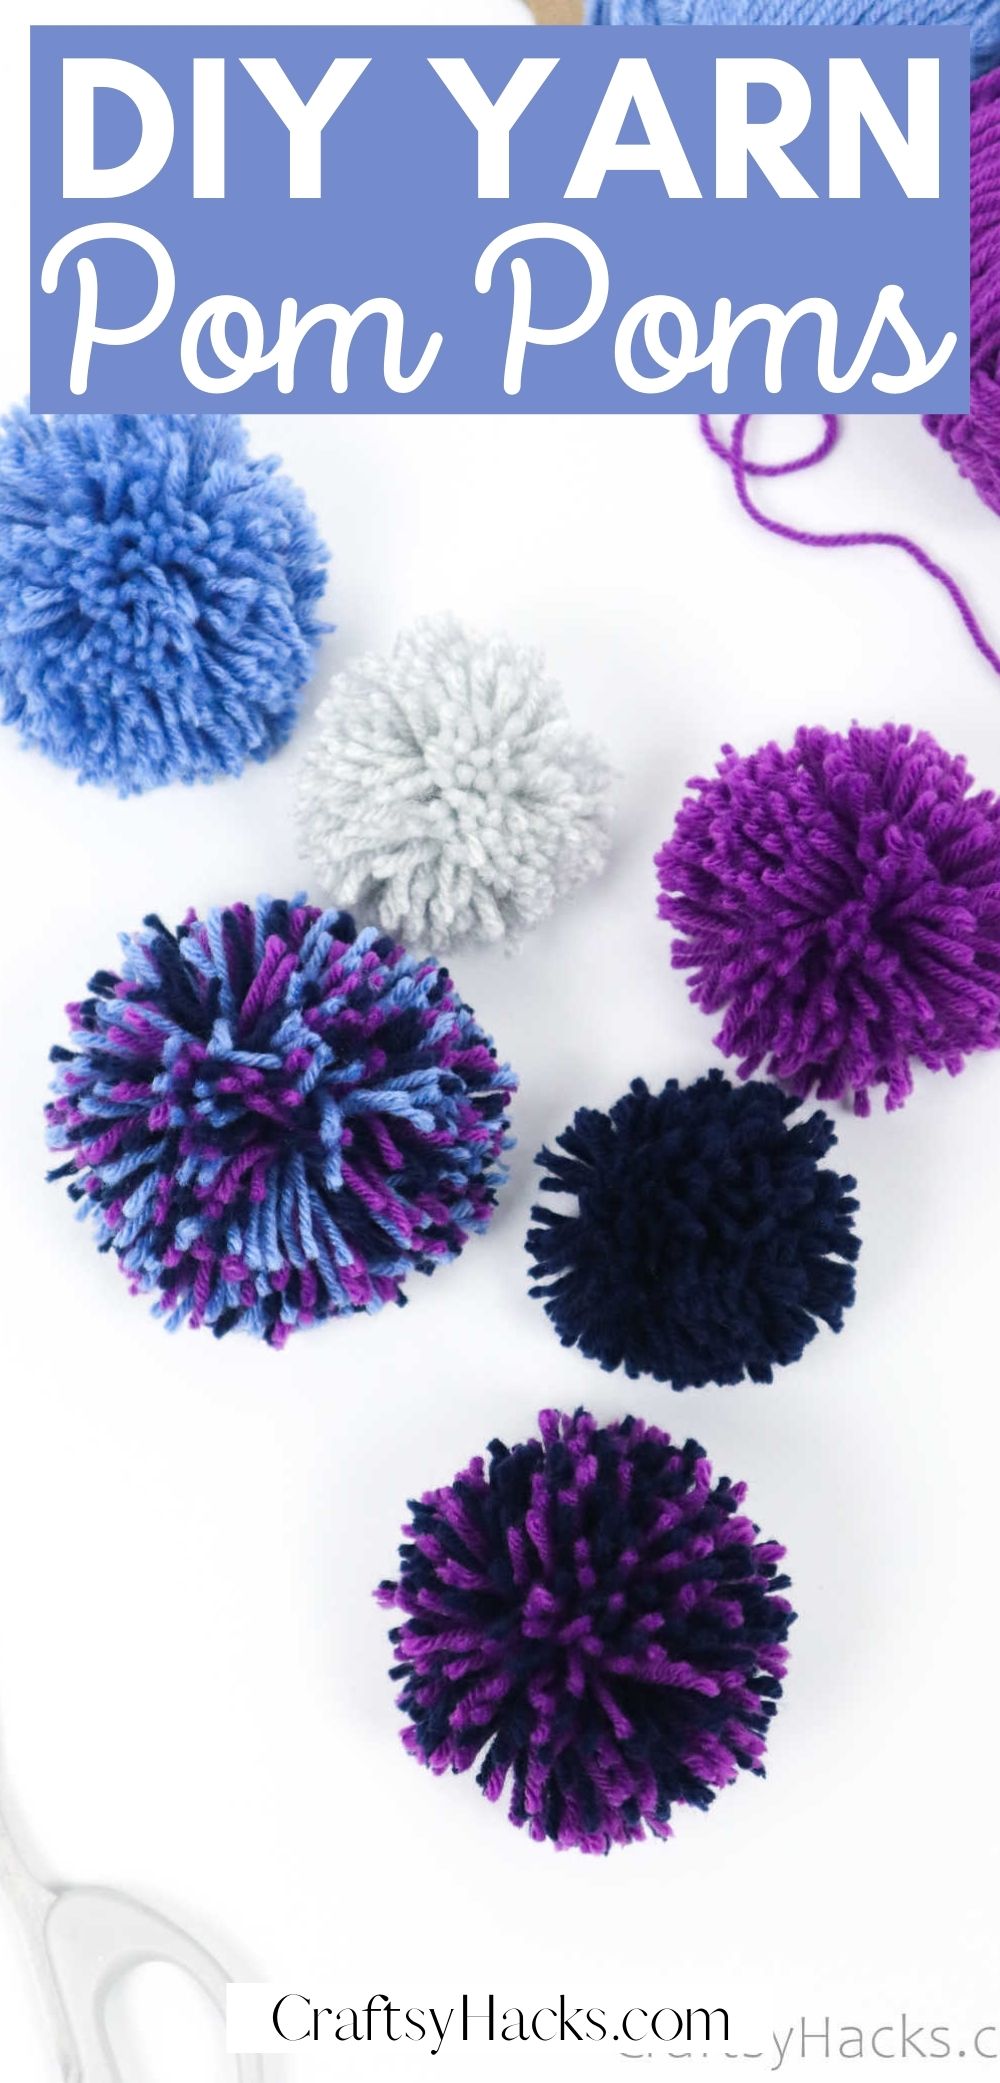
Yarn pom poms are super fun to make. This is an easy project for kids, teens, and even adults and you can use these to add to add that extra whoomph to your clothing!
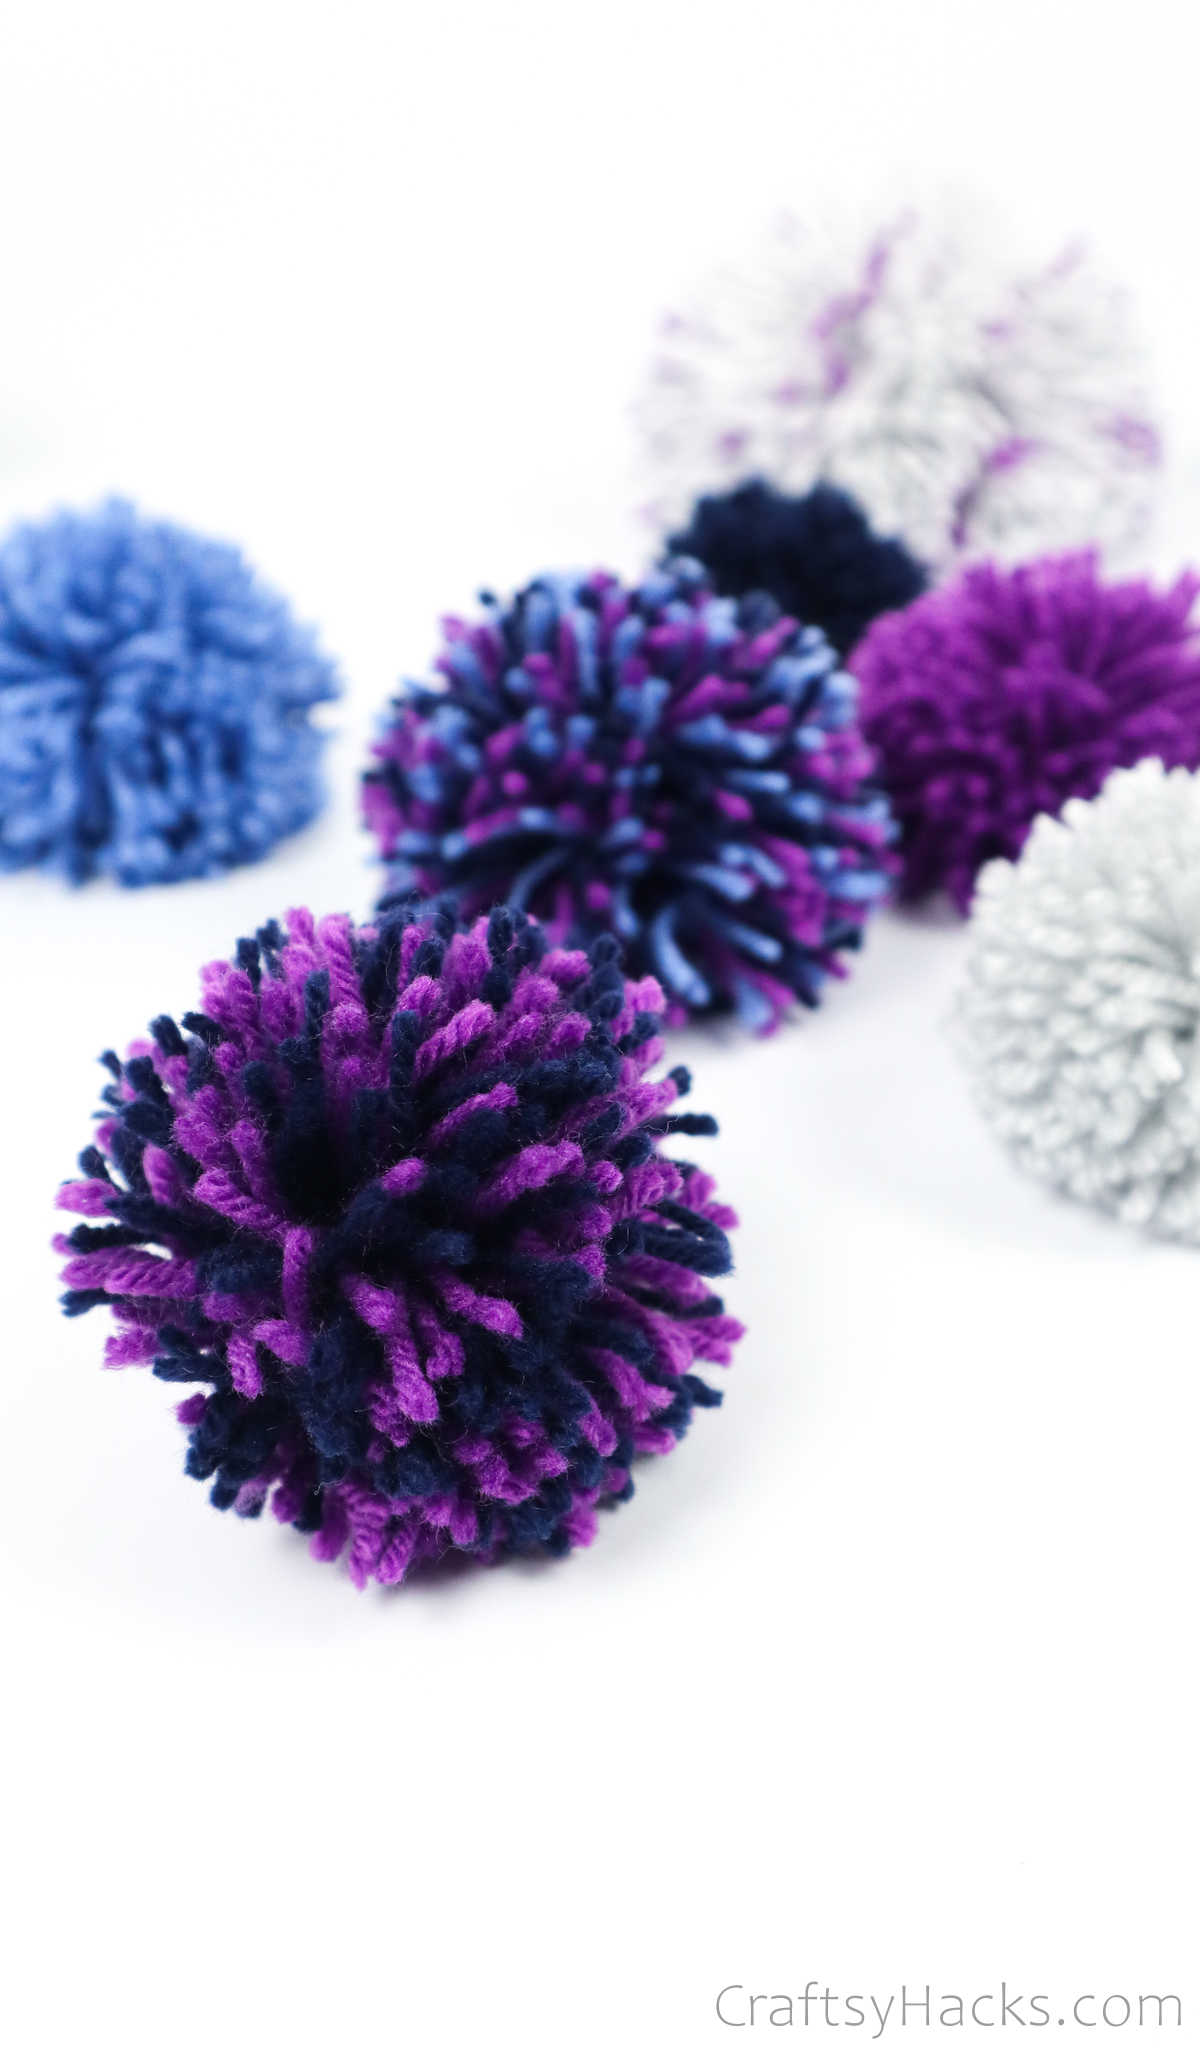
Who doesn’t love pom poms? They’re little fluffs of fun, sass, and color that can brighten up just about anything. Whether you want one to sit atop your beanie or to use in yarn projects, pom poms are my go-to craft item.
Did you know how easy they are to make and how inexpensive? I used to buy a packet of assorted pom poms off Amazon, but that was before I realized how incredulously easy they are to make.
If you set aside an hour or two, you can make dozens of them and store them to use later on in different DIY projects.
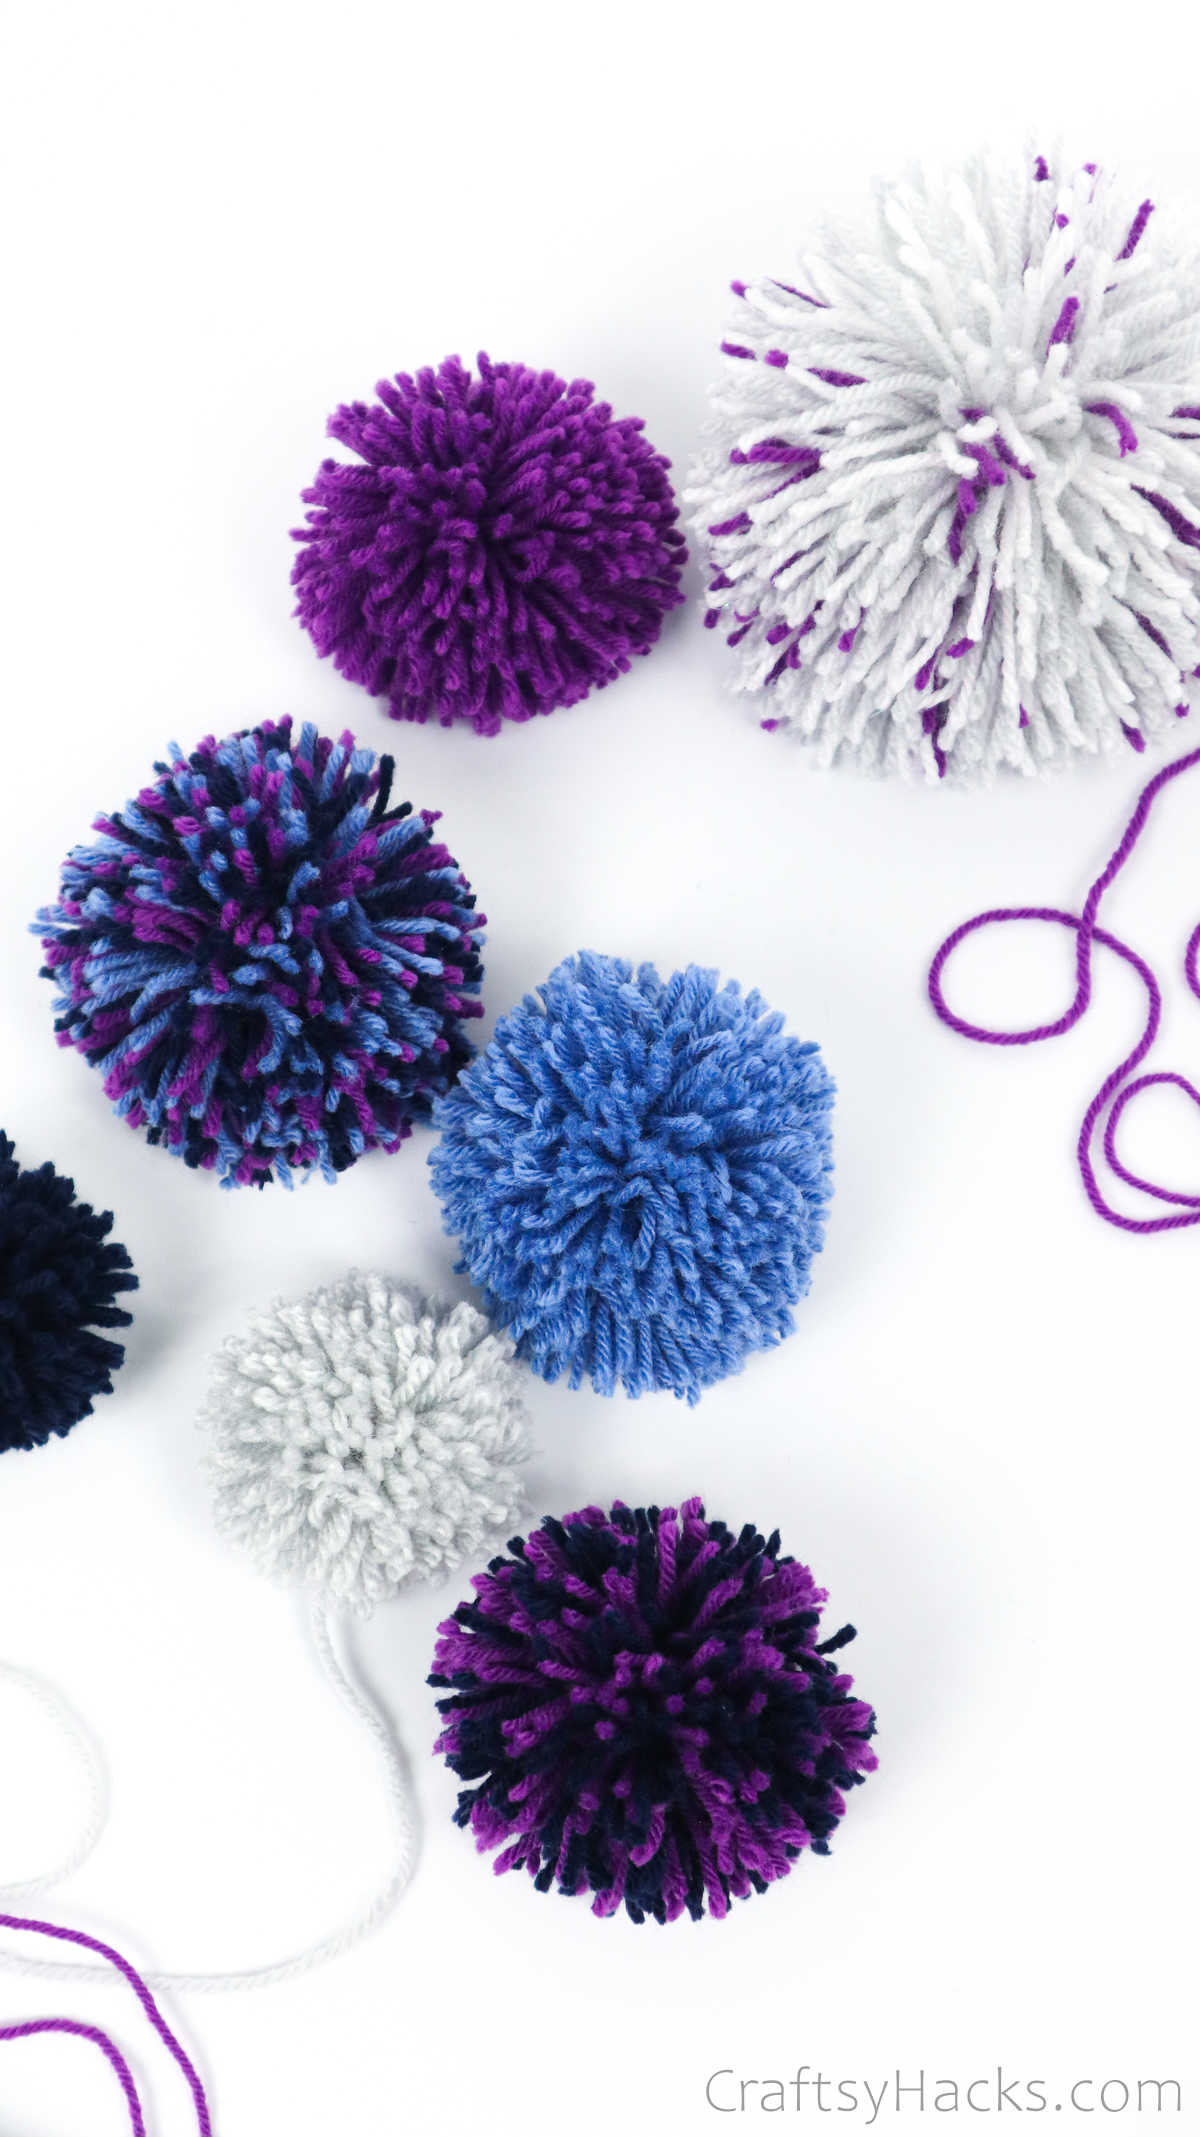
When you make them, you get to customize them, as well. You can experiment with size, color, shape, and even how fluffy you want them to be!
Supplies and Tools You’ll Need
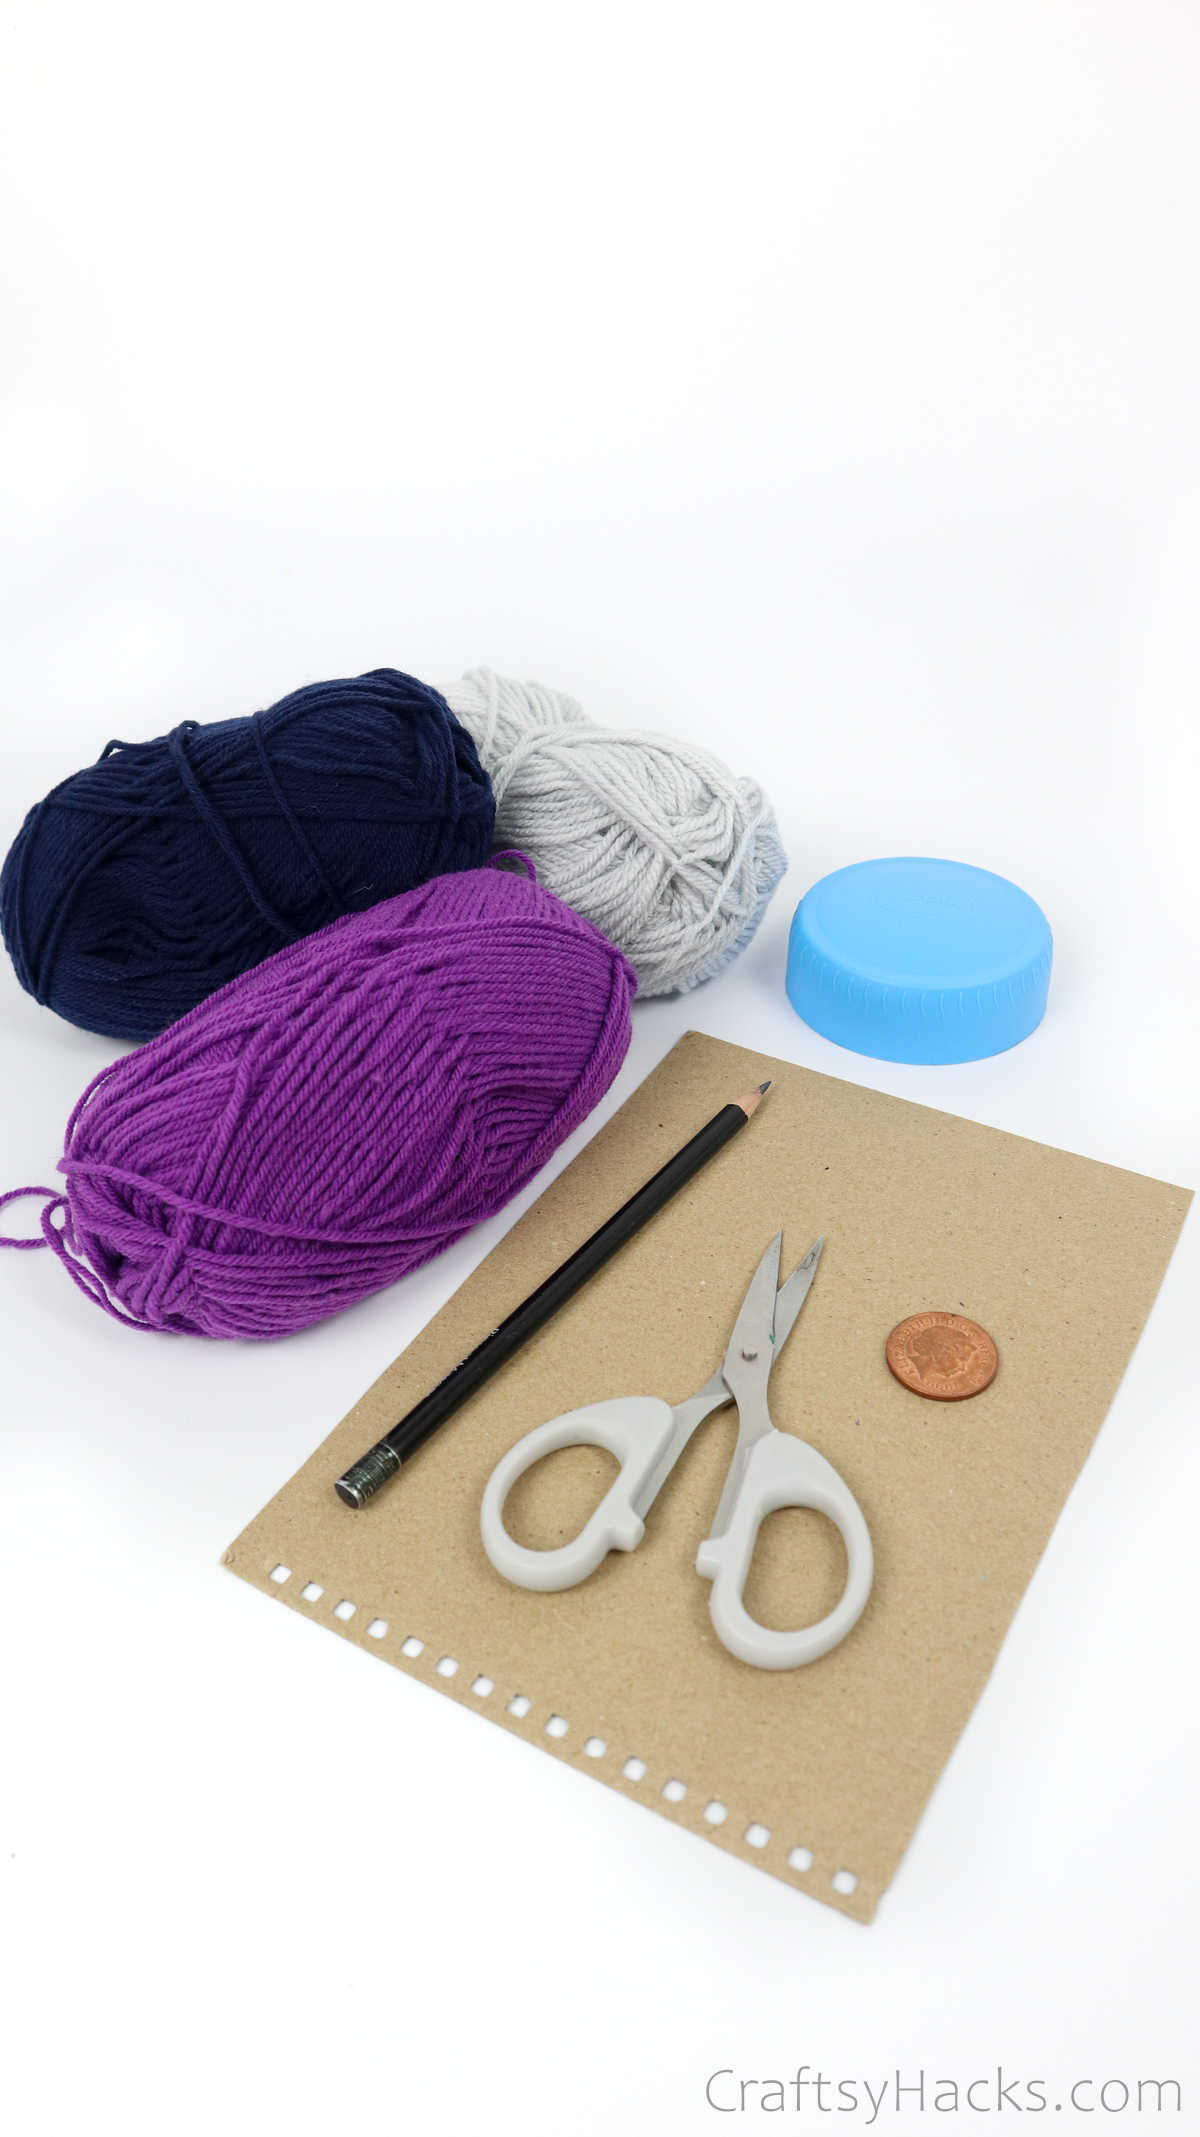
A lot of people just invest in a pom pom maker, but you can just as easily make one with plain old cardboard. Just take a look at the supplies you’ll need, and you can get started:
- Piece of cardboard
- Shaker lid
- Pencil
- Scissors
- Knitting yarn
- Coin

Watch: DIY Yarn Pom Poms (Step-by-Step)
How to Make Yarn Pom Poms
Once you’ve gathered all your supplies, you can get started on making your pom poms.
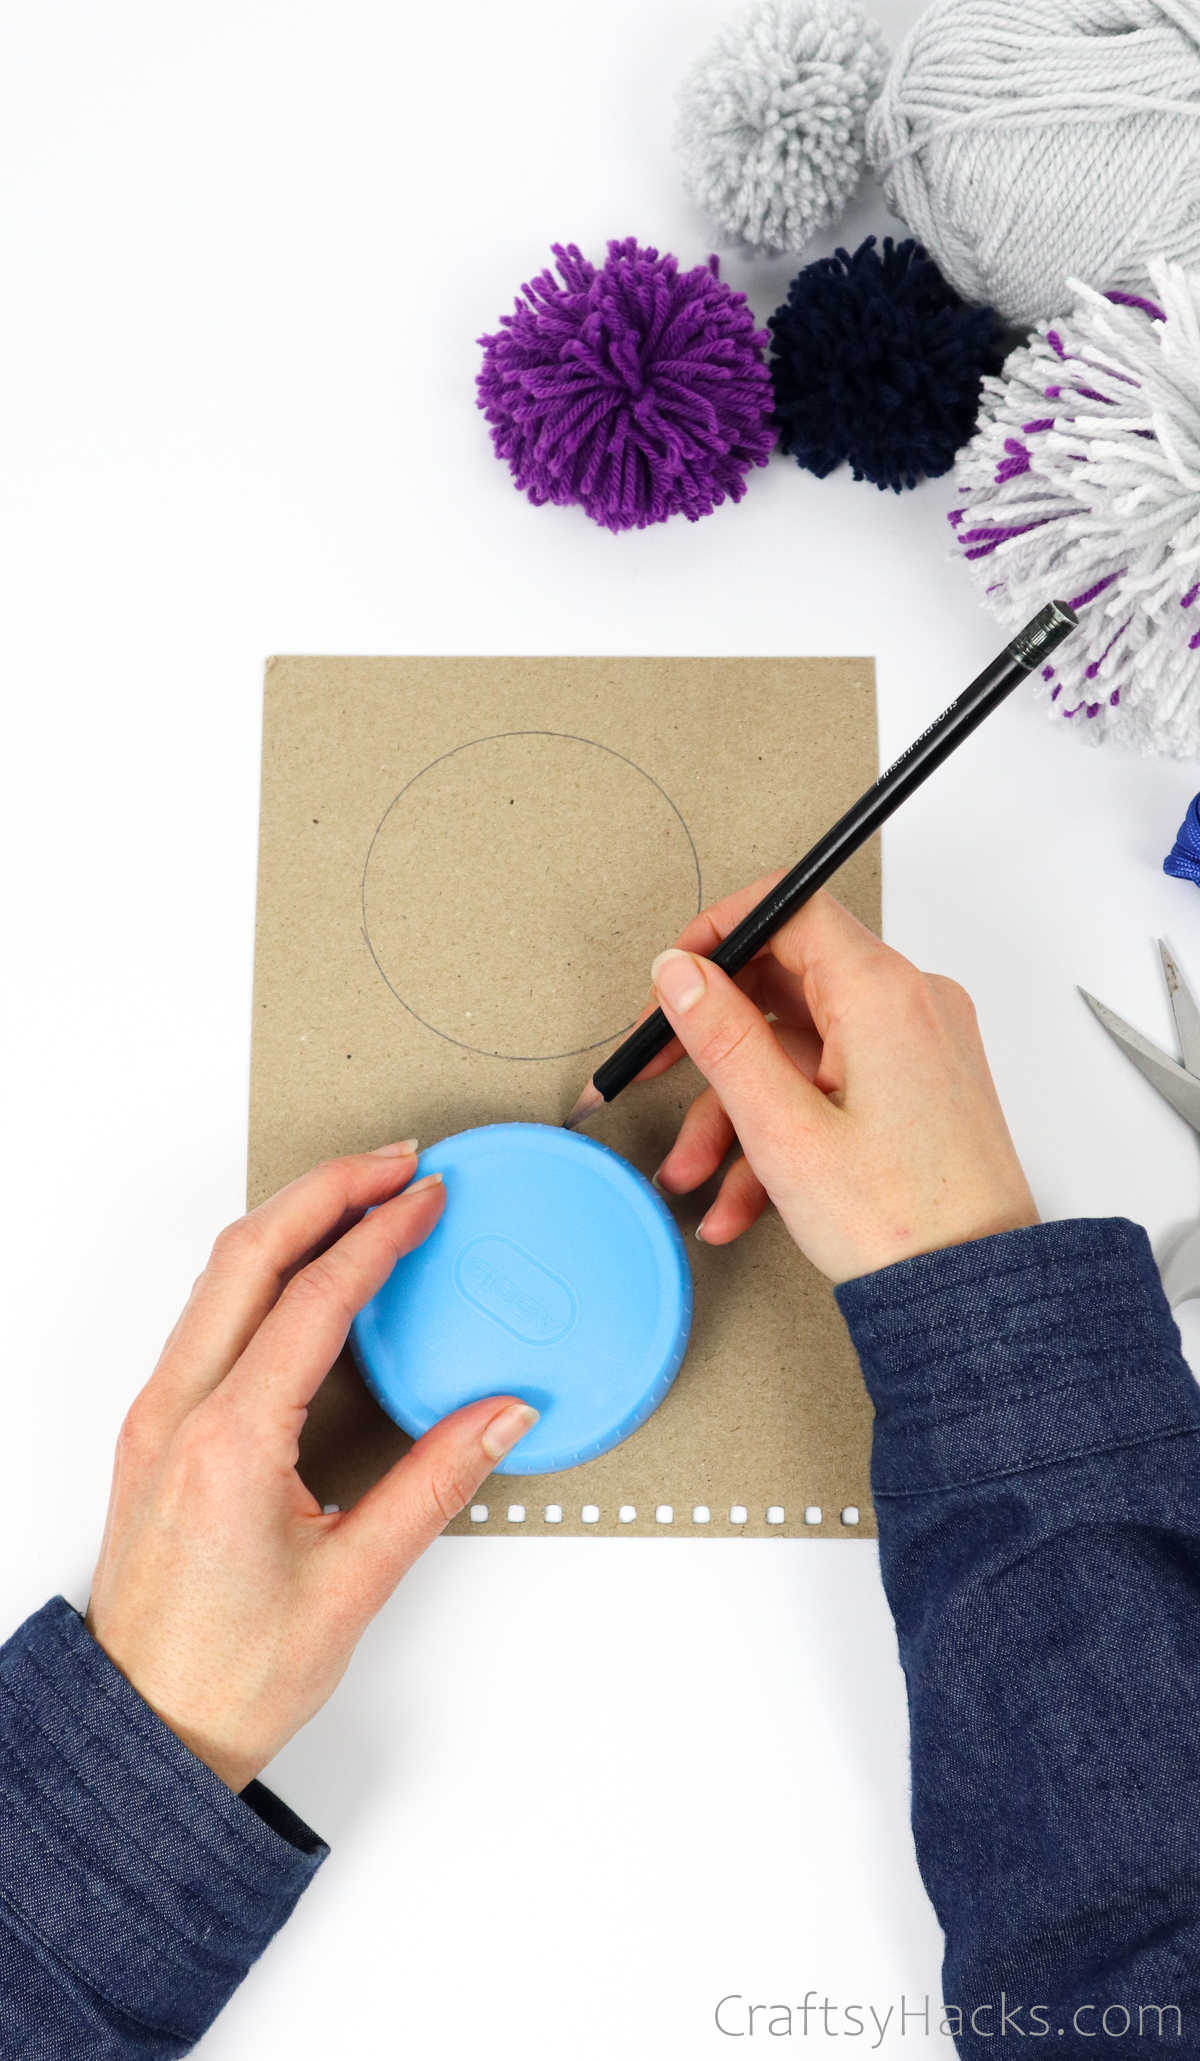
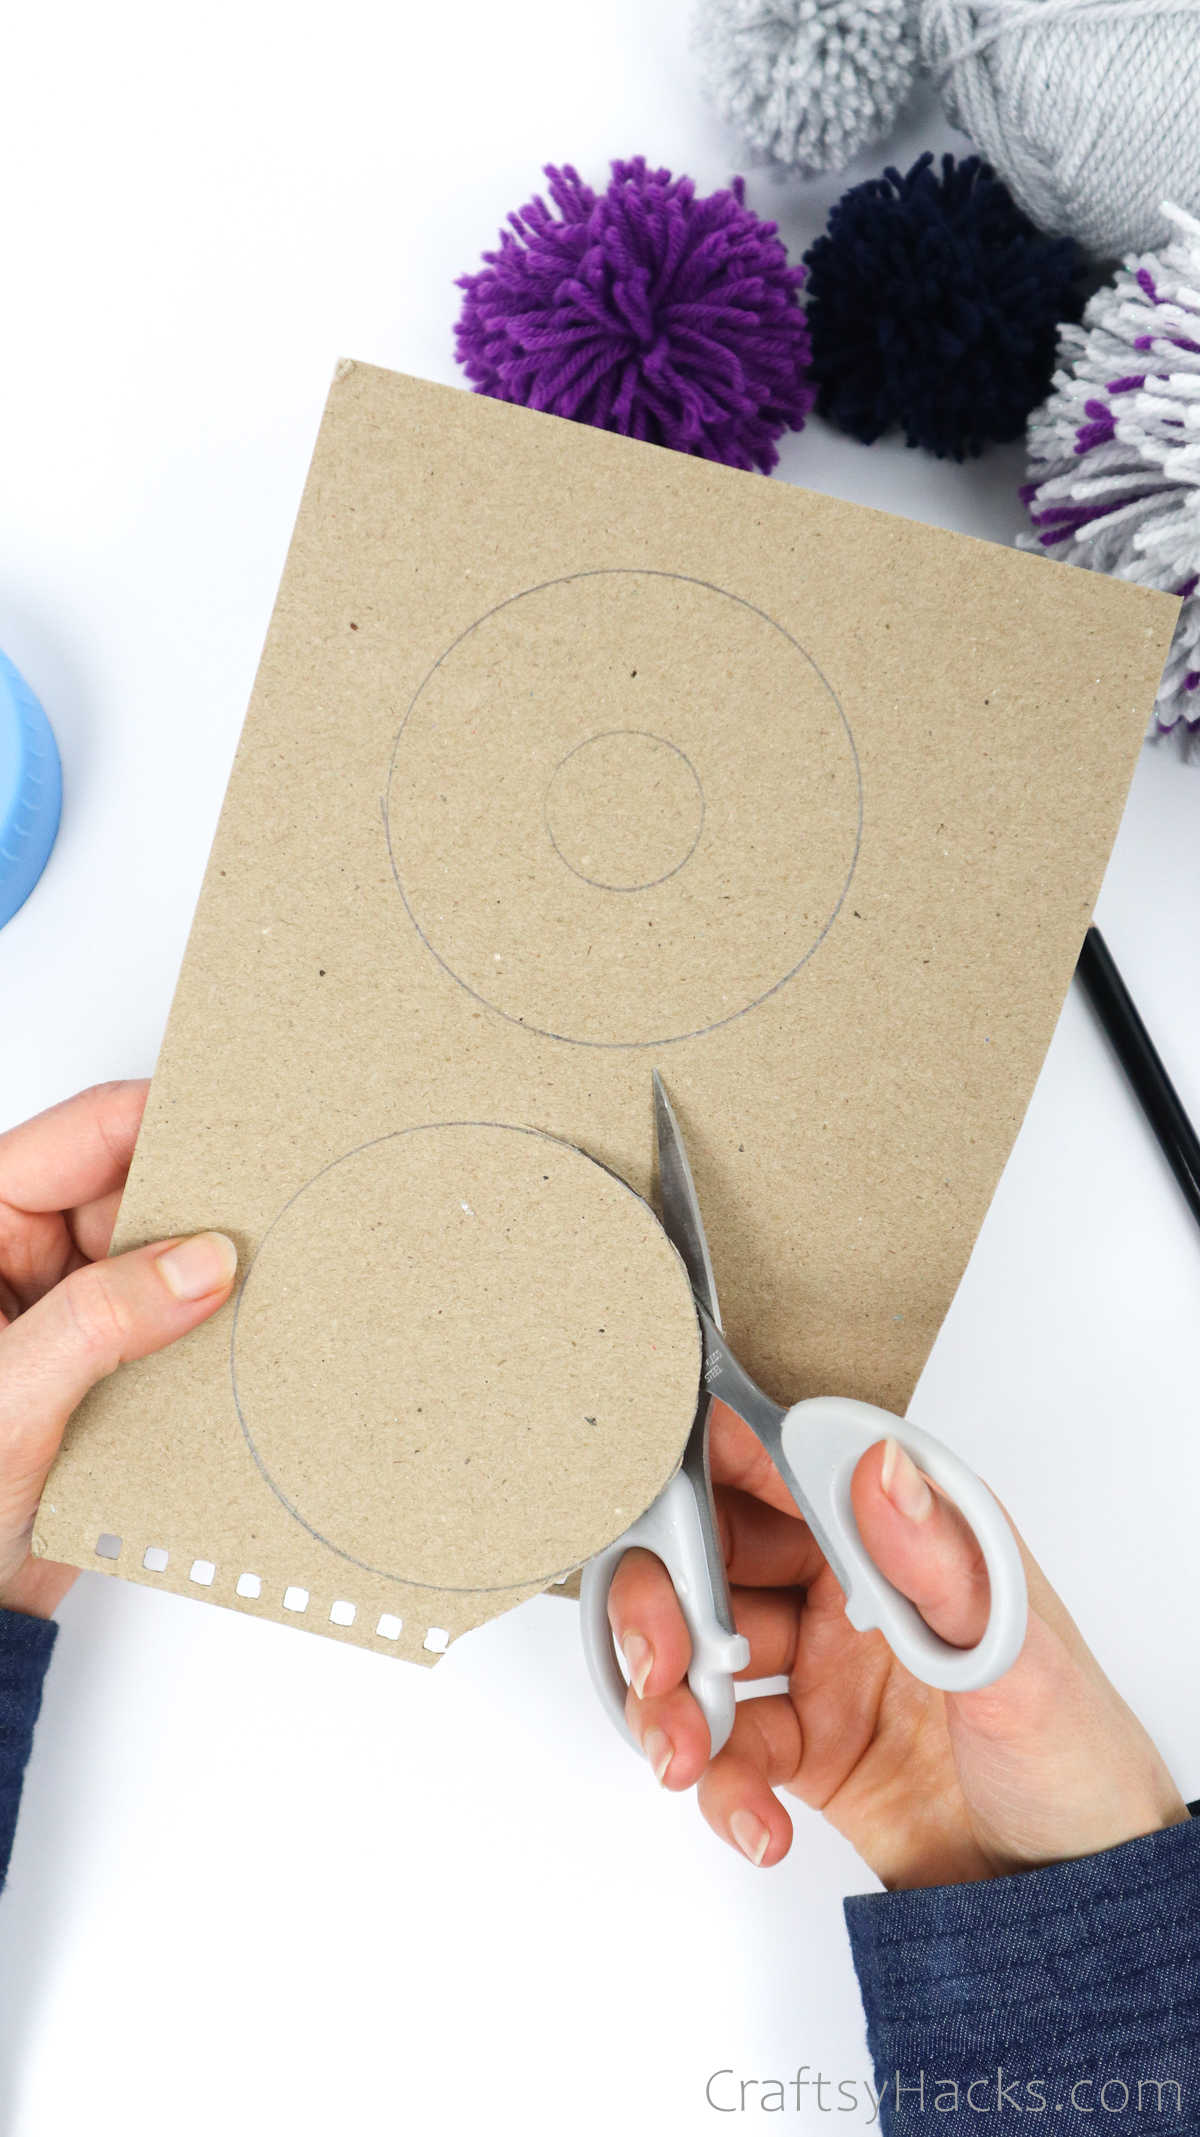
Step 1
First, place a lid, or bowl, or just about anything you have for size over a cardboard sheet. Grab your pencil and draw an outline of that. You will need to draw two outlines, so repeat that step once more.
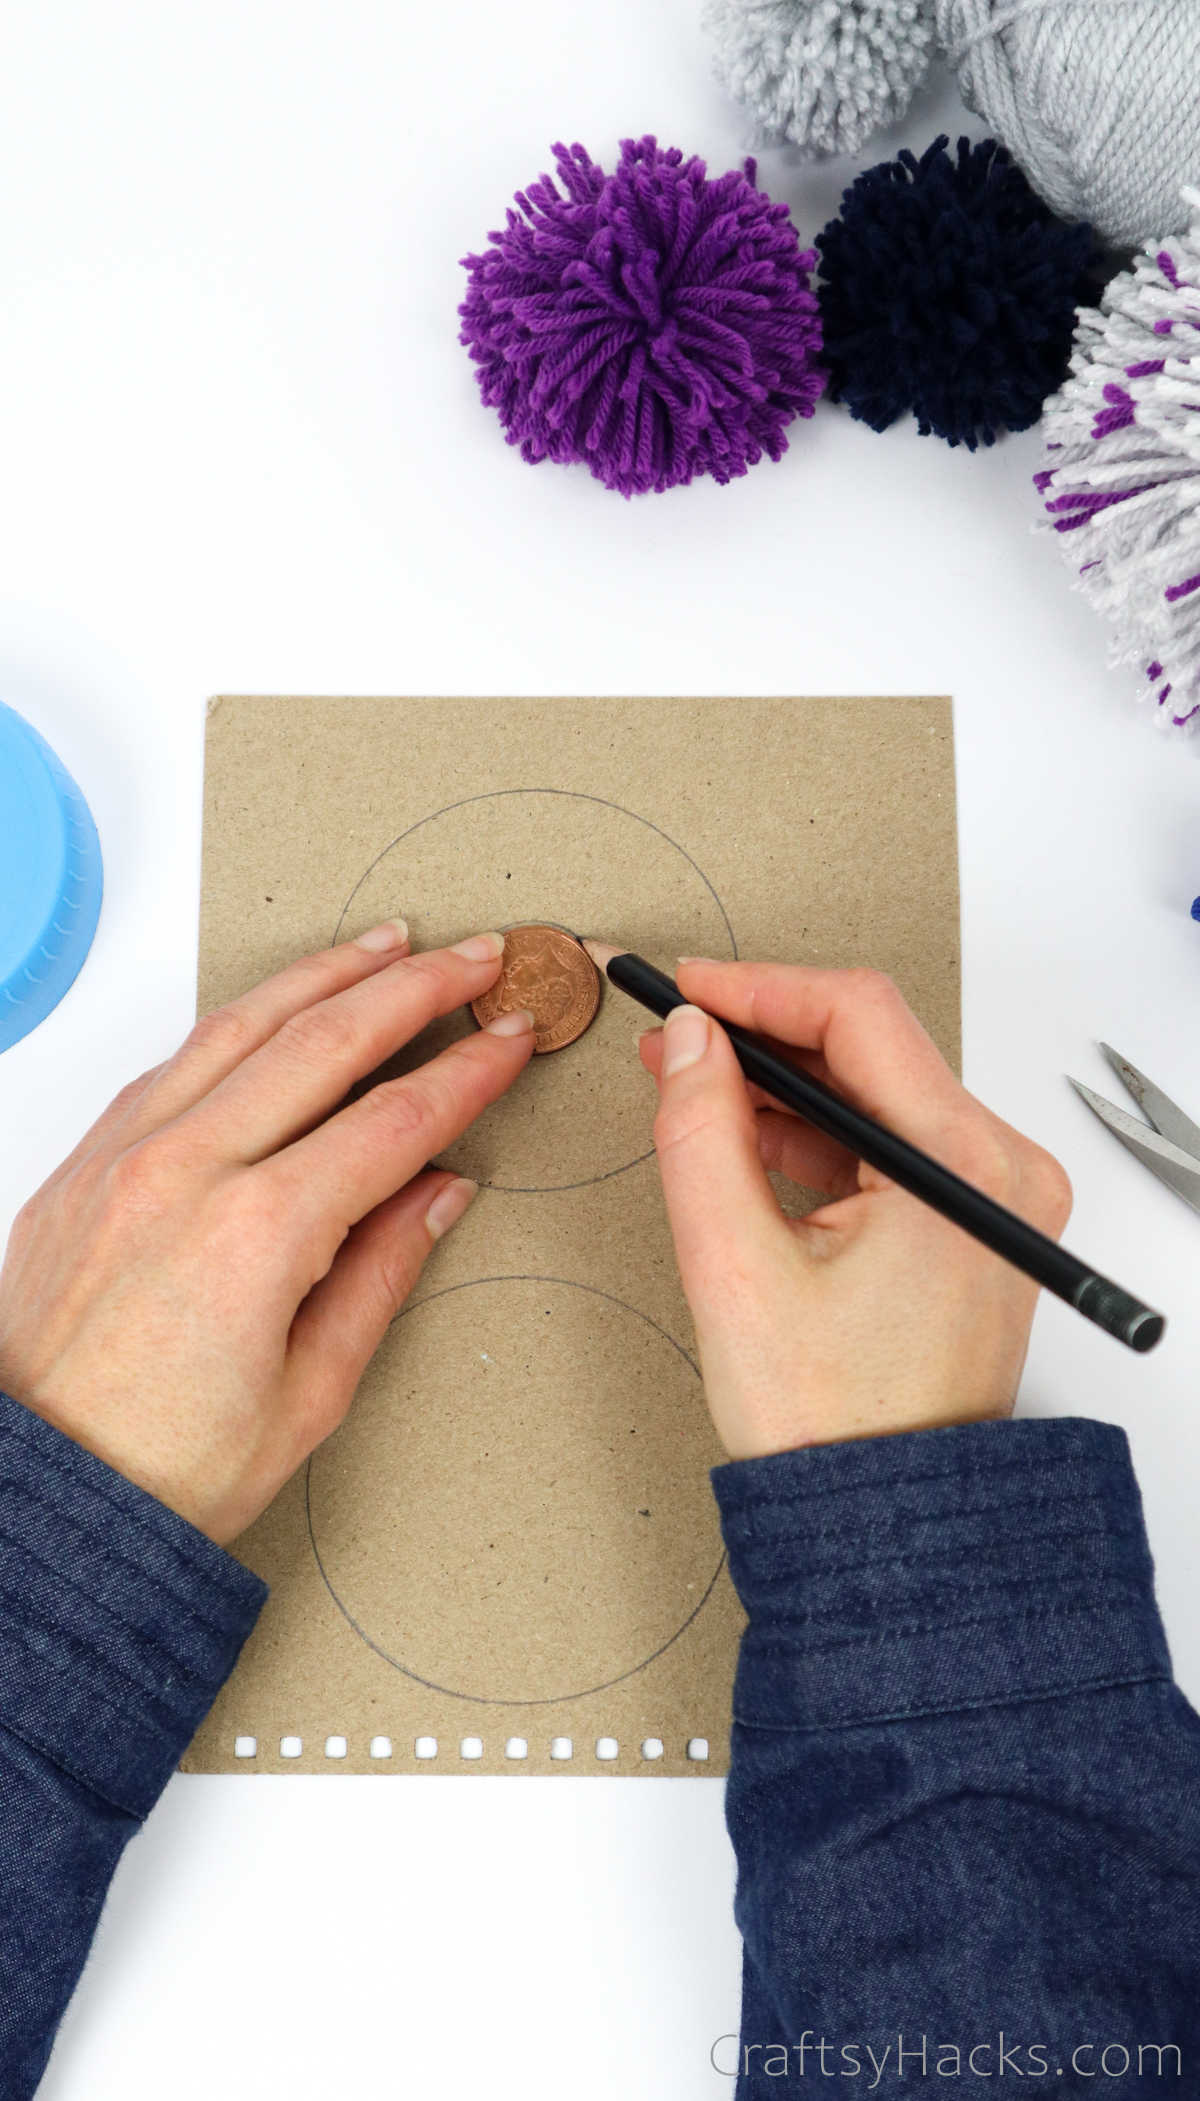
Step 2
Next, take a coin and place it in the middle of the circle outline you drew and draw an outline of the coin, as well. But this time, just draw one outline inside one circle.
Step 3
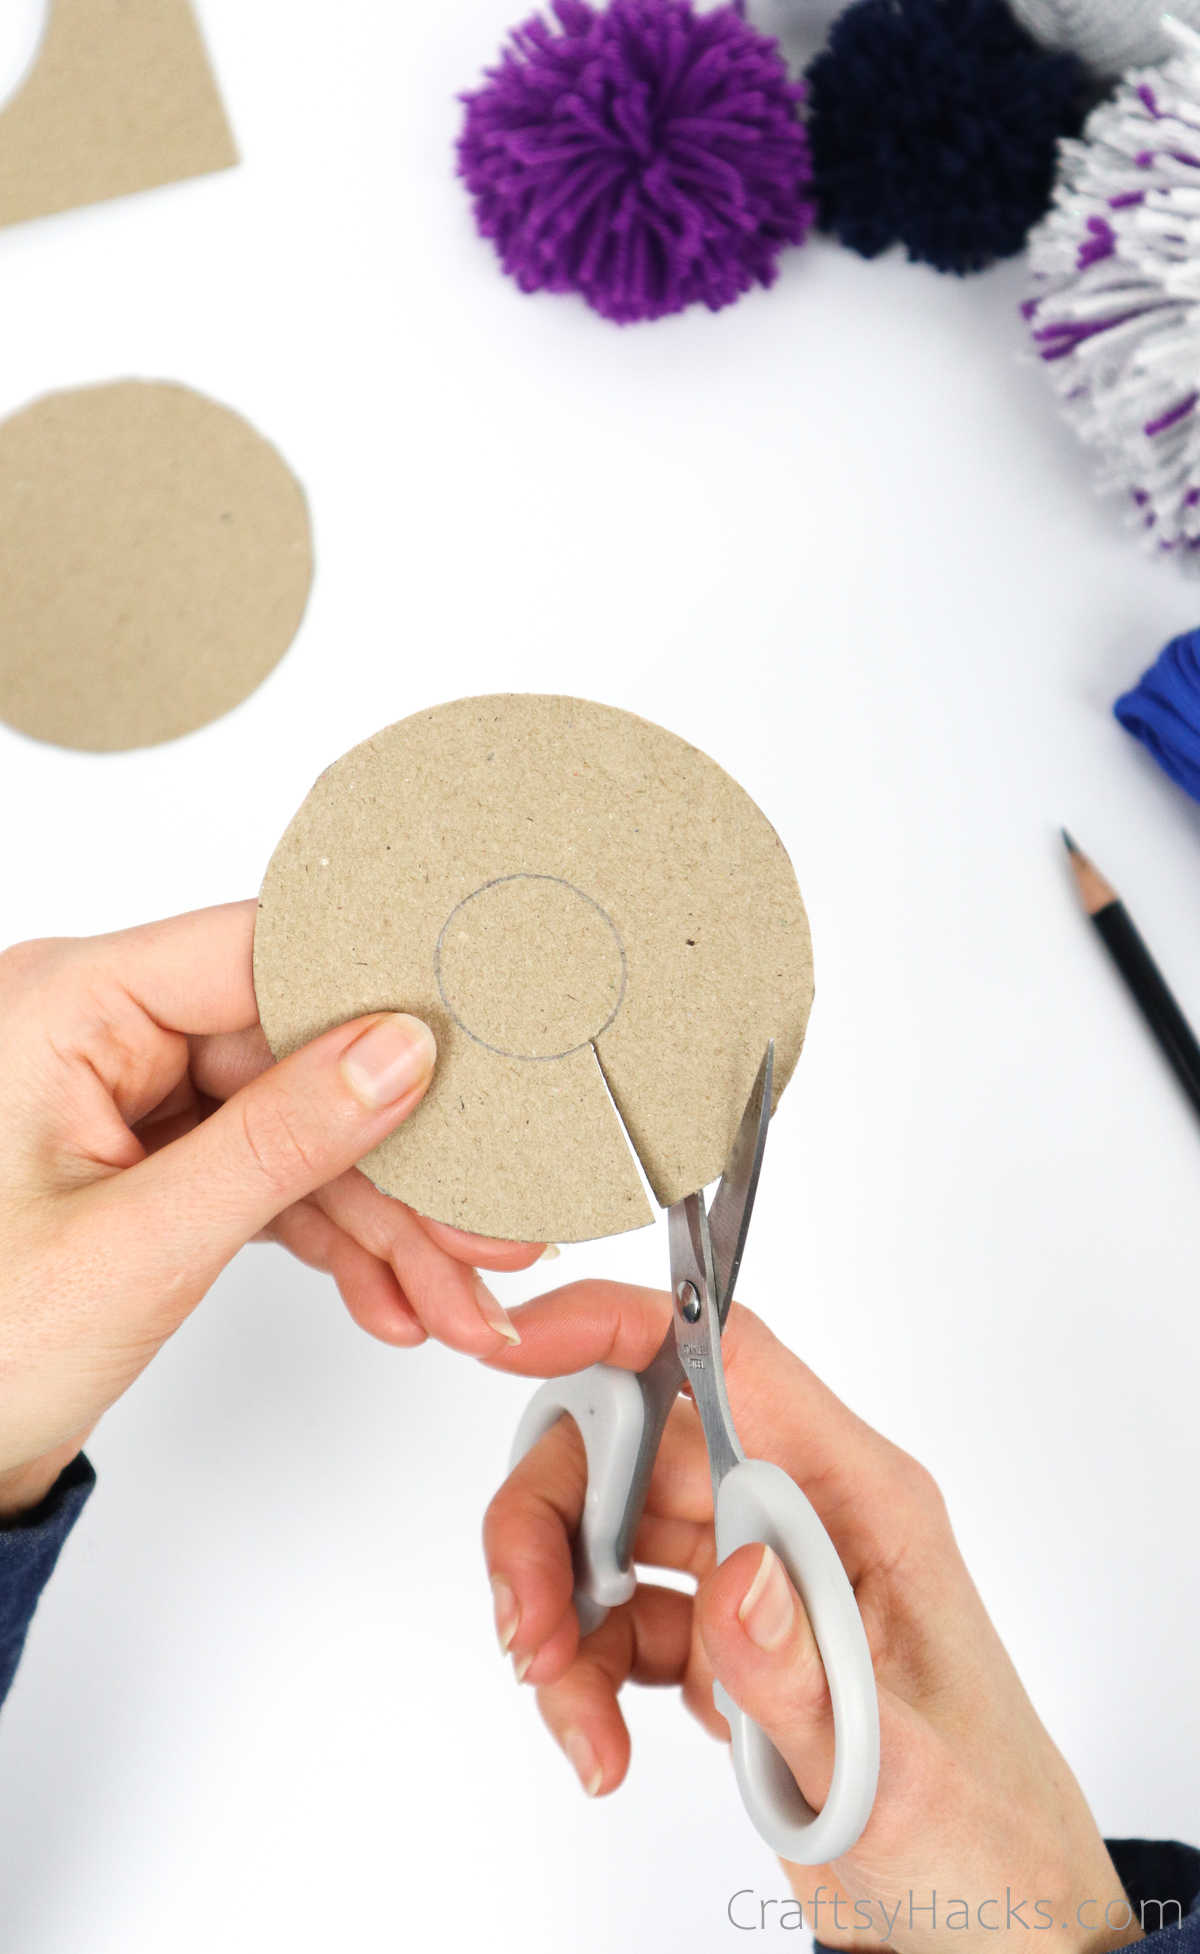
Grab a pair of scissors and cut the two outlines.
For the one you see below, just cut a line across the middle to the inner circle and then cut it out. Alternatively, you can use a craft knife to do the same.
Step 4
Align the two cutouts with the donut hole circle disk on top. Now, use a pencil to draw an outline of the inner circle hole onto the circle cutout underneath.
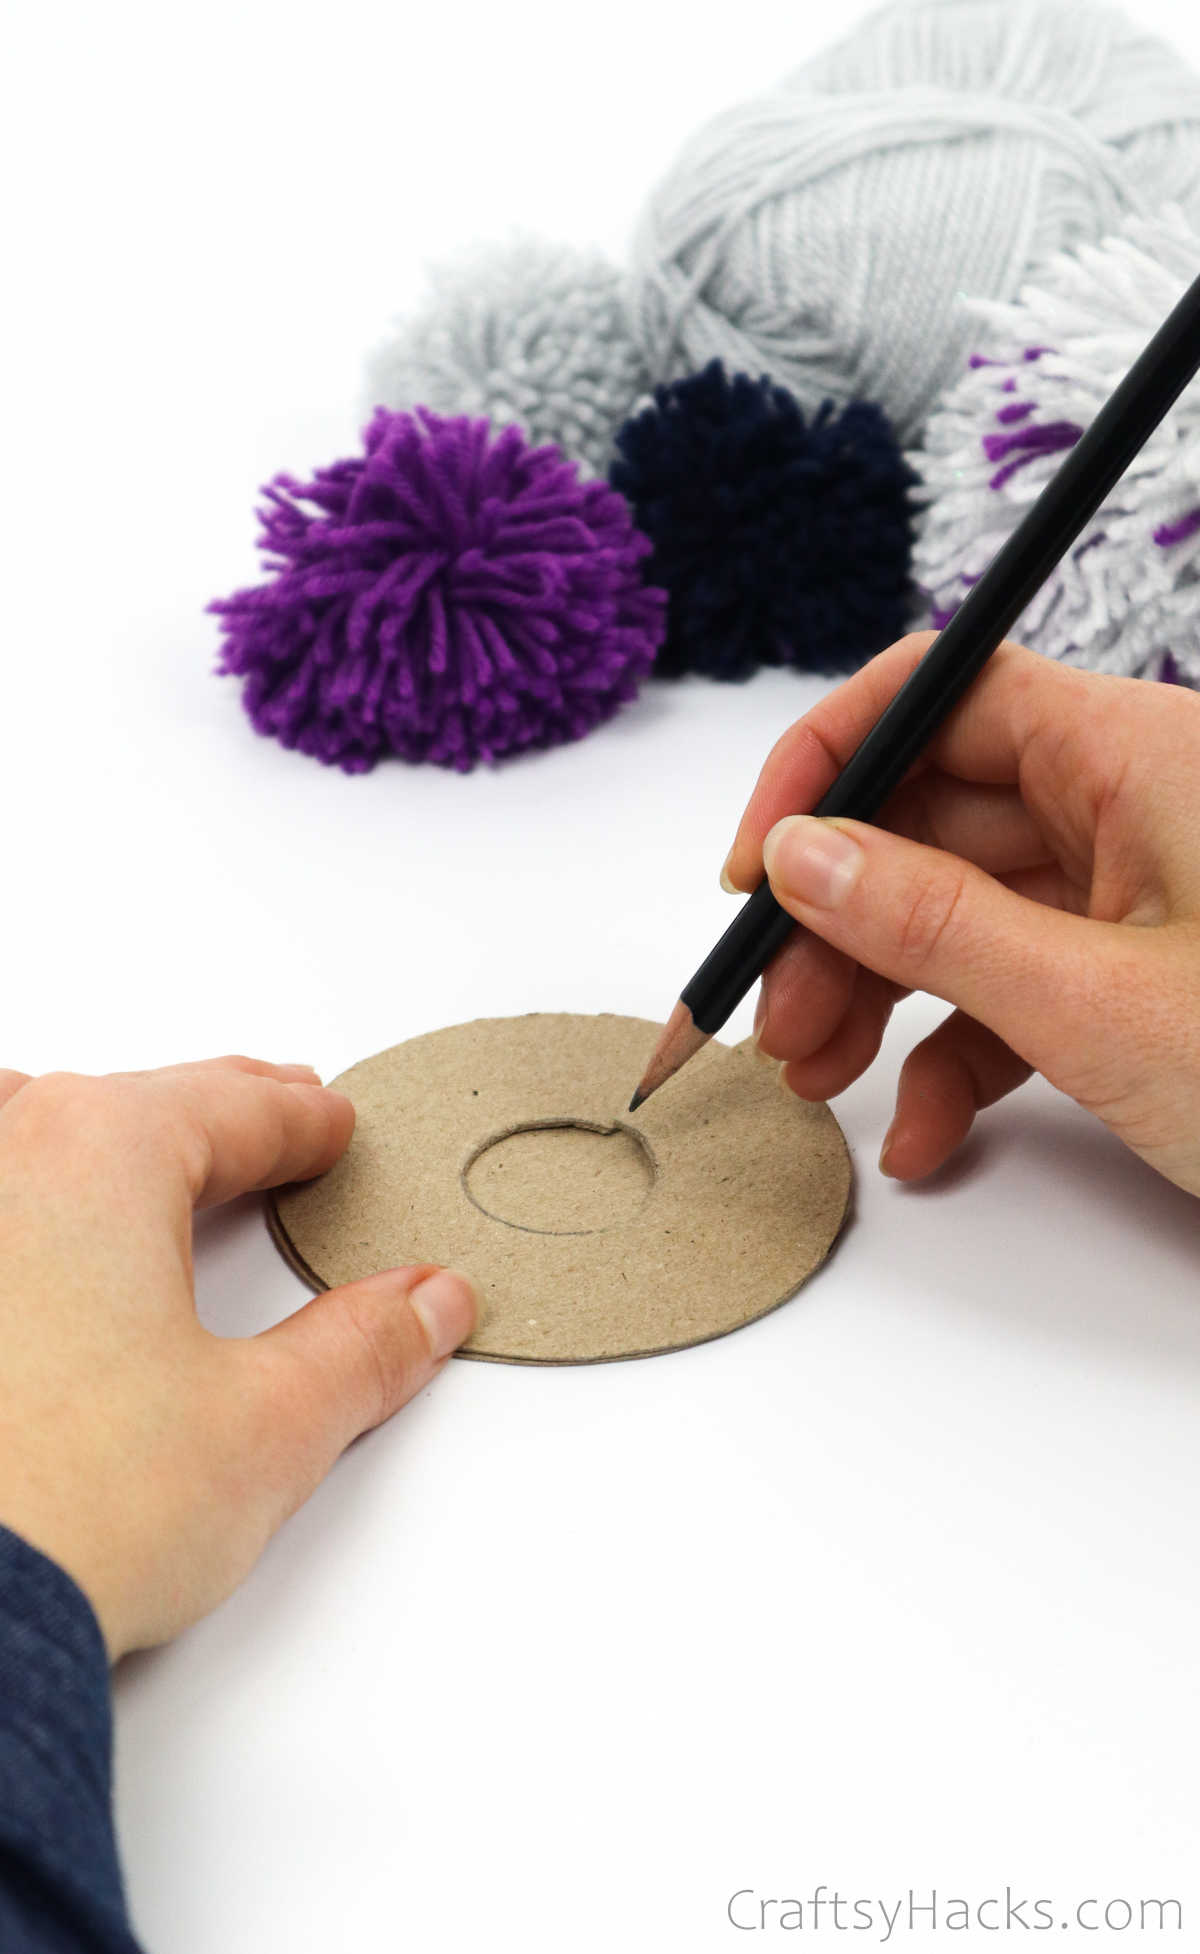
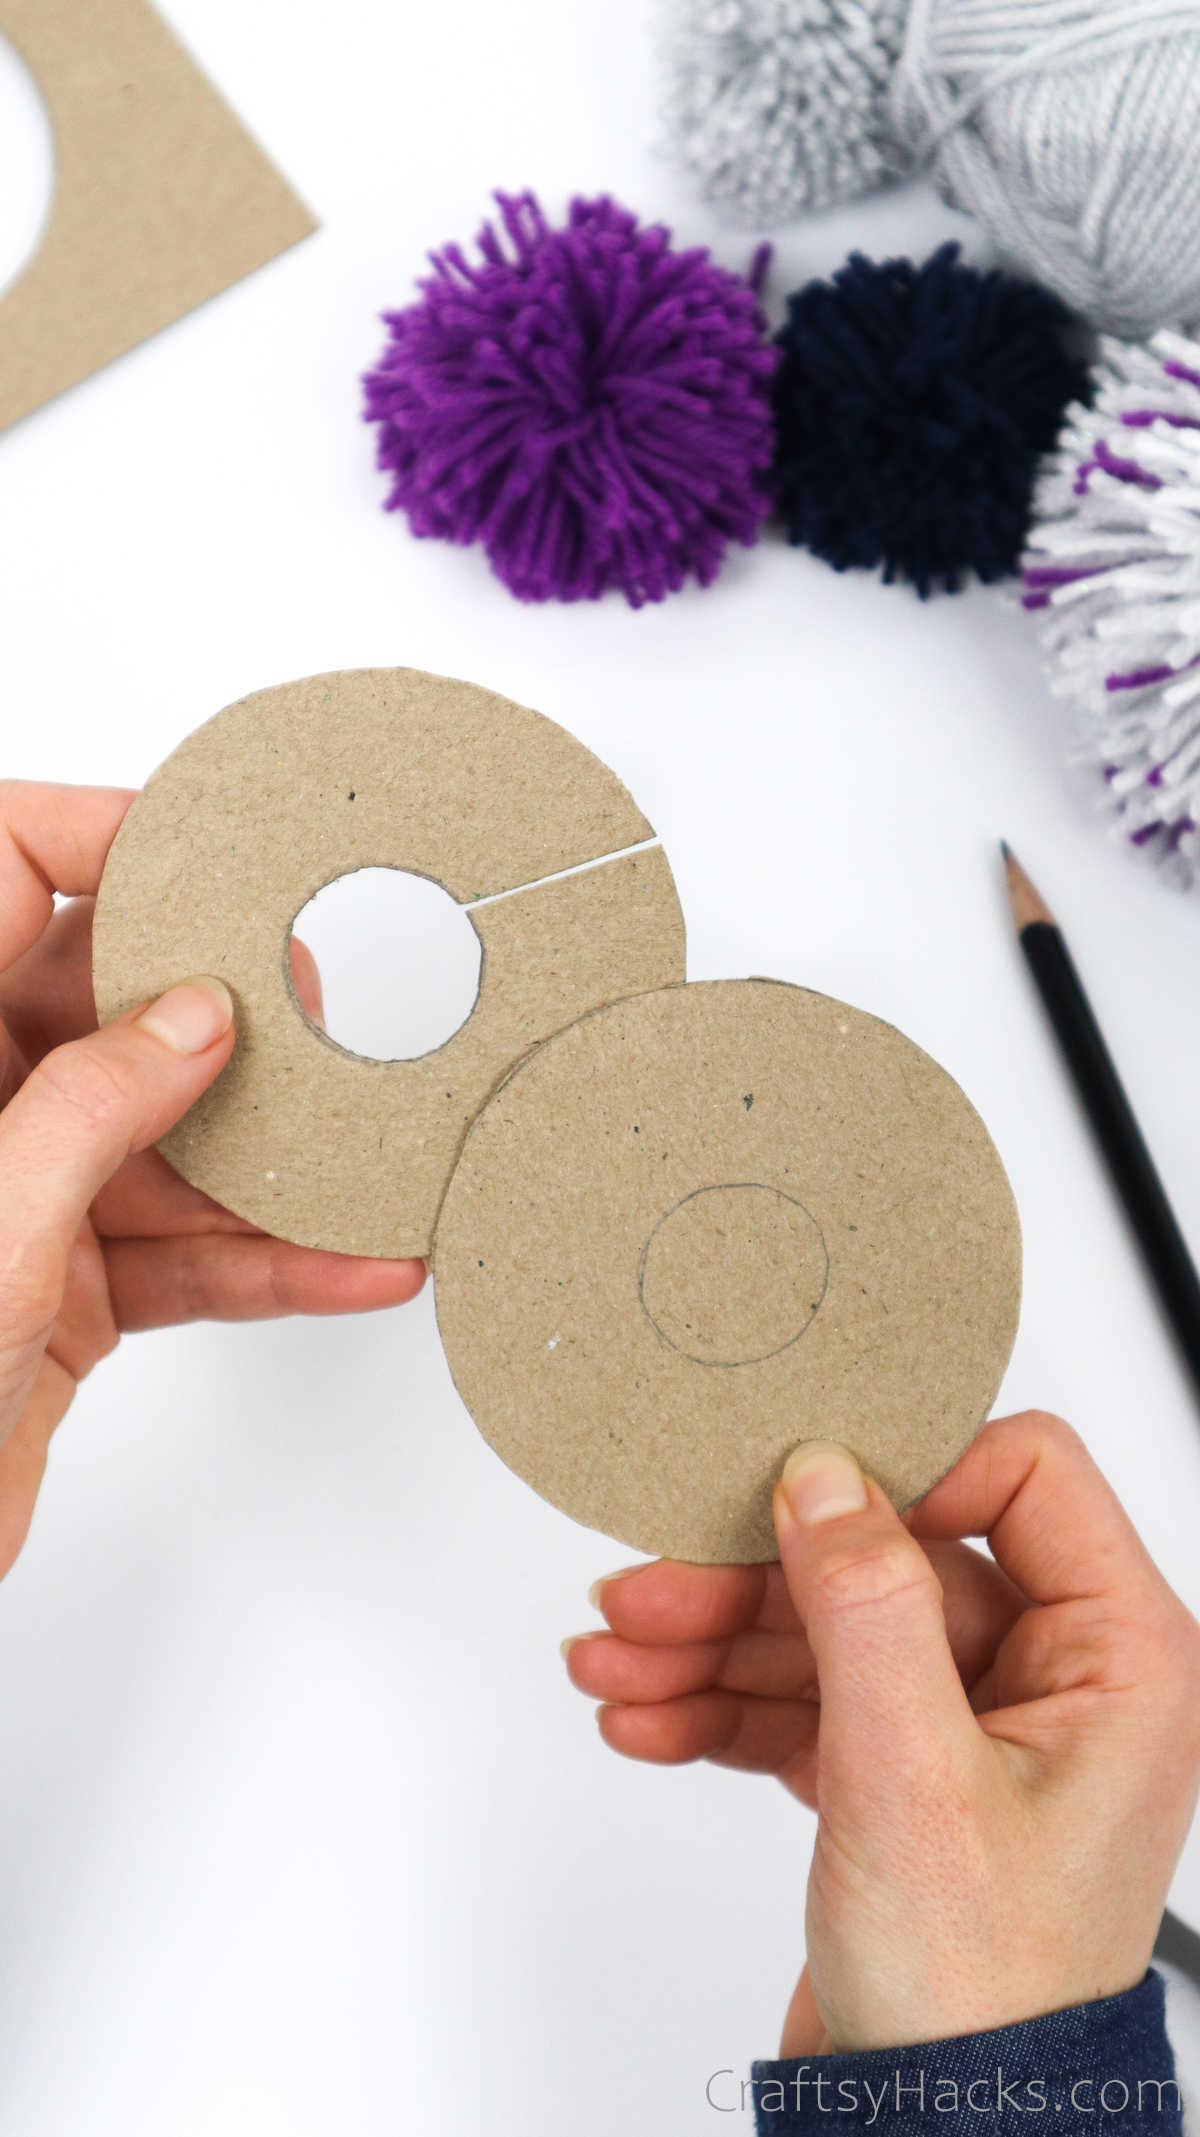
Go ahead and cut out that inner circle for the second piece, too!
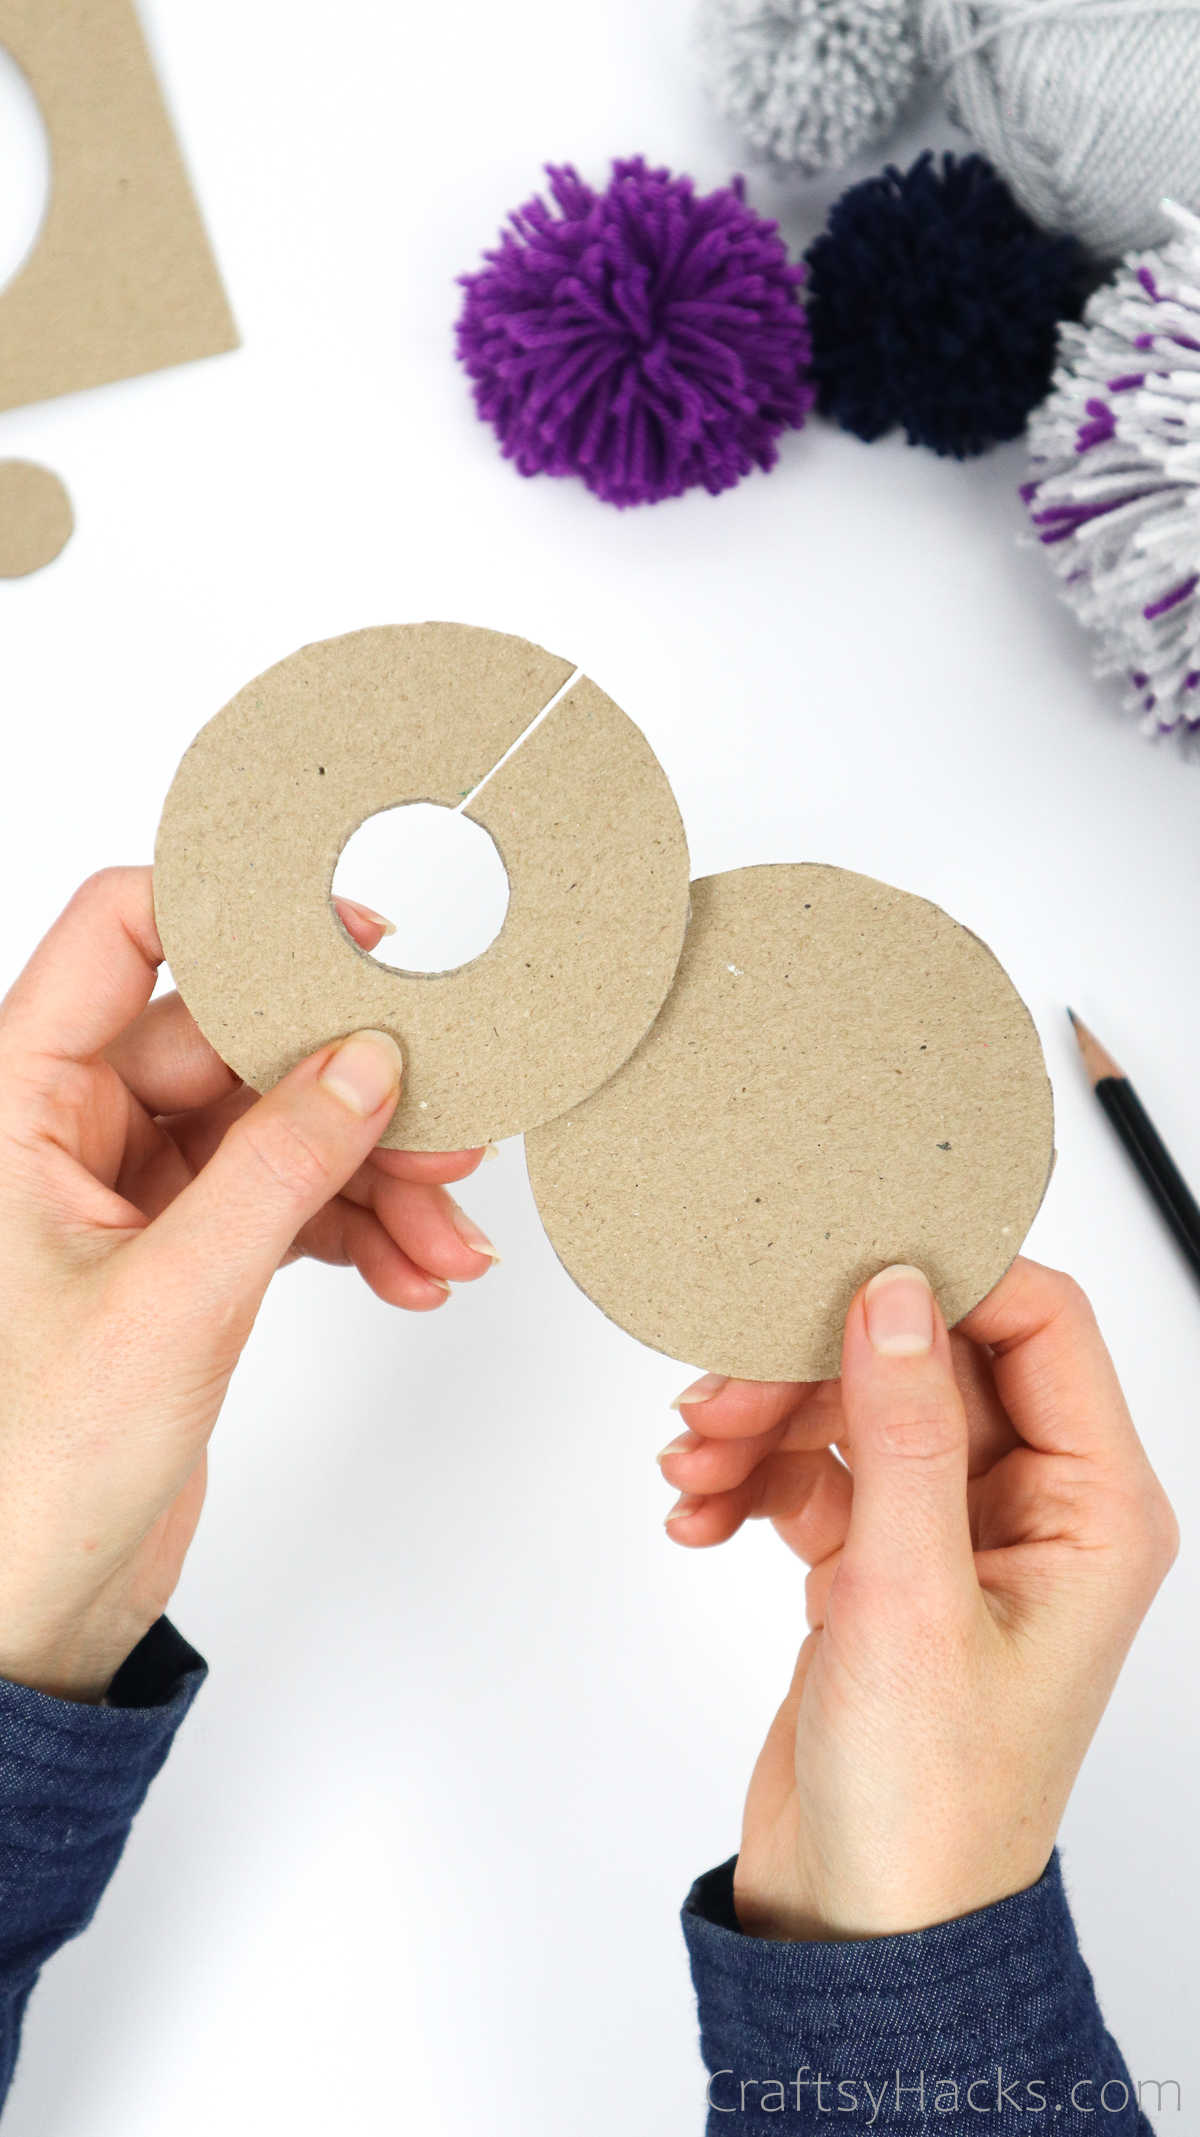
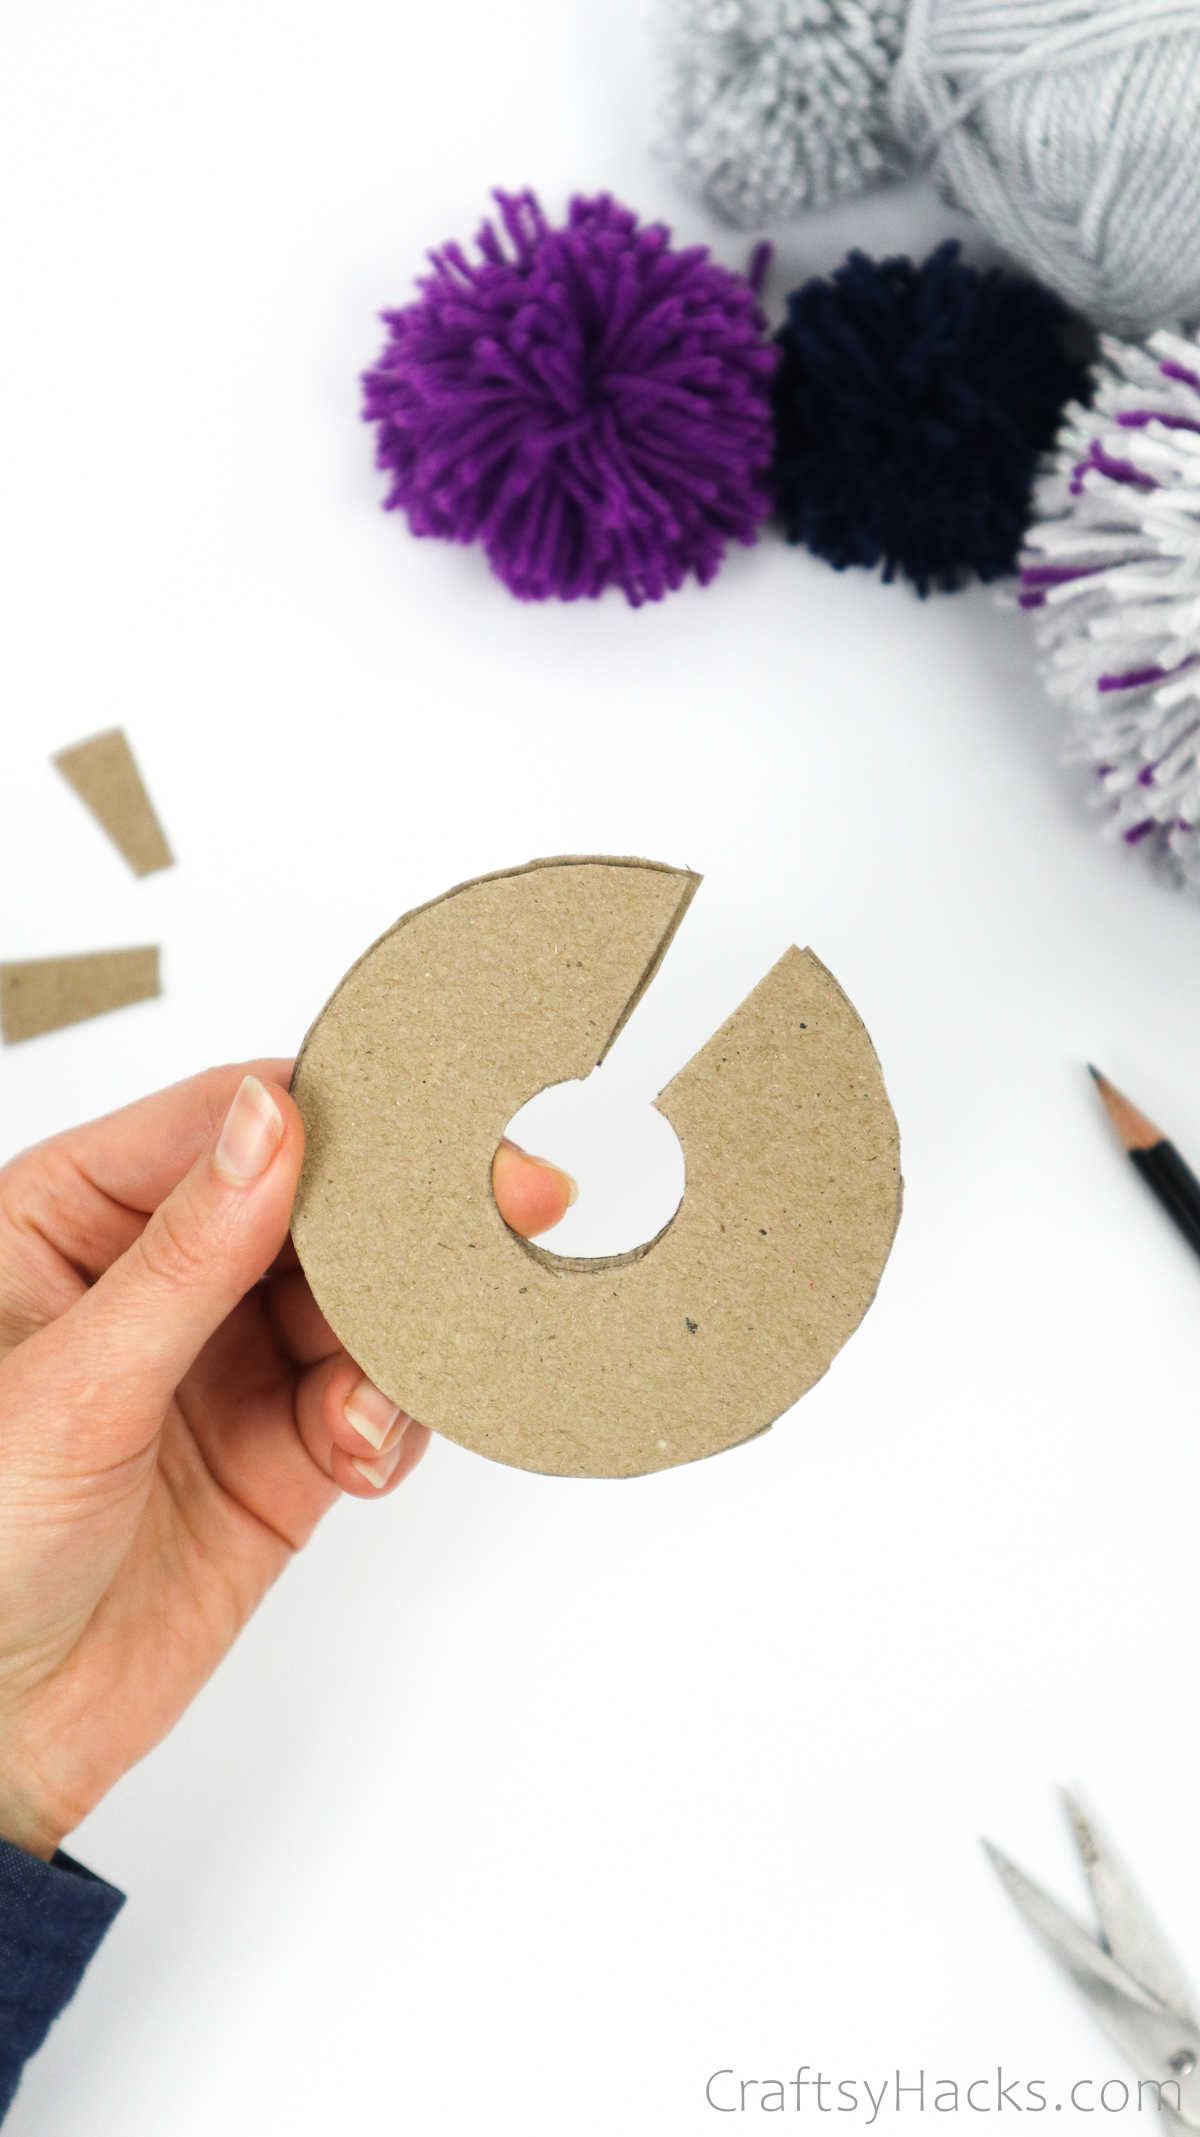
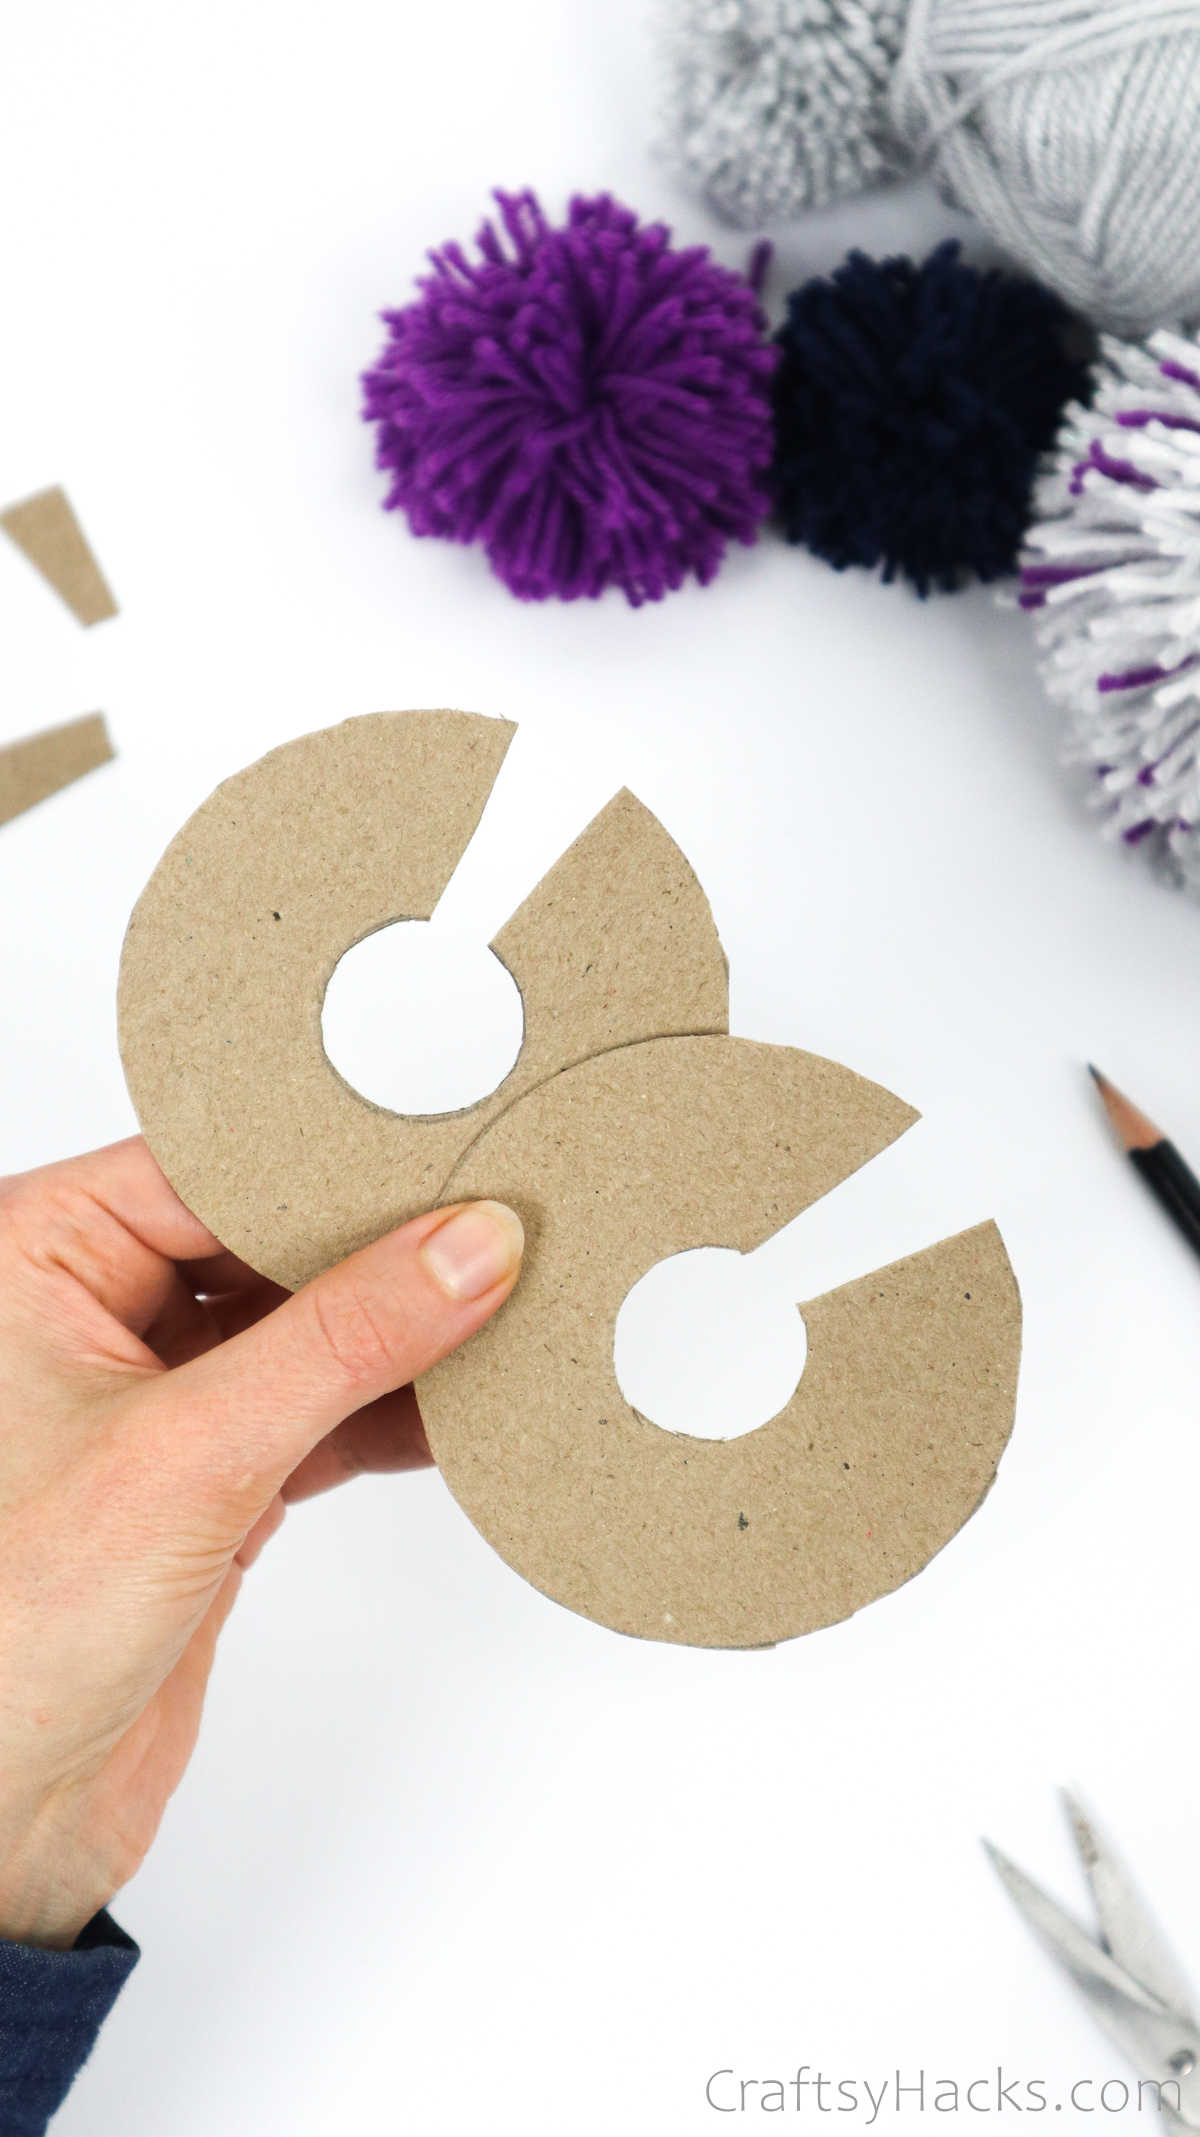
And, while you’re at it, align both the disks and cut a bit of cardboard off the incision you made earlier. This should give you an entrance of sorts, which you’ll need to wrap your yarn around later.
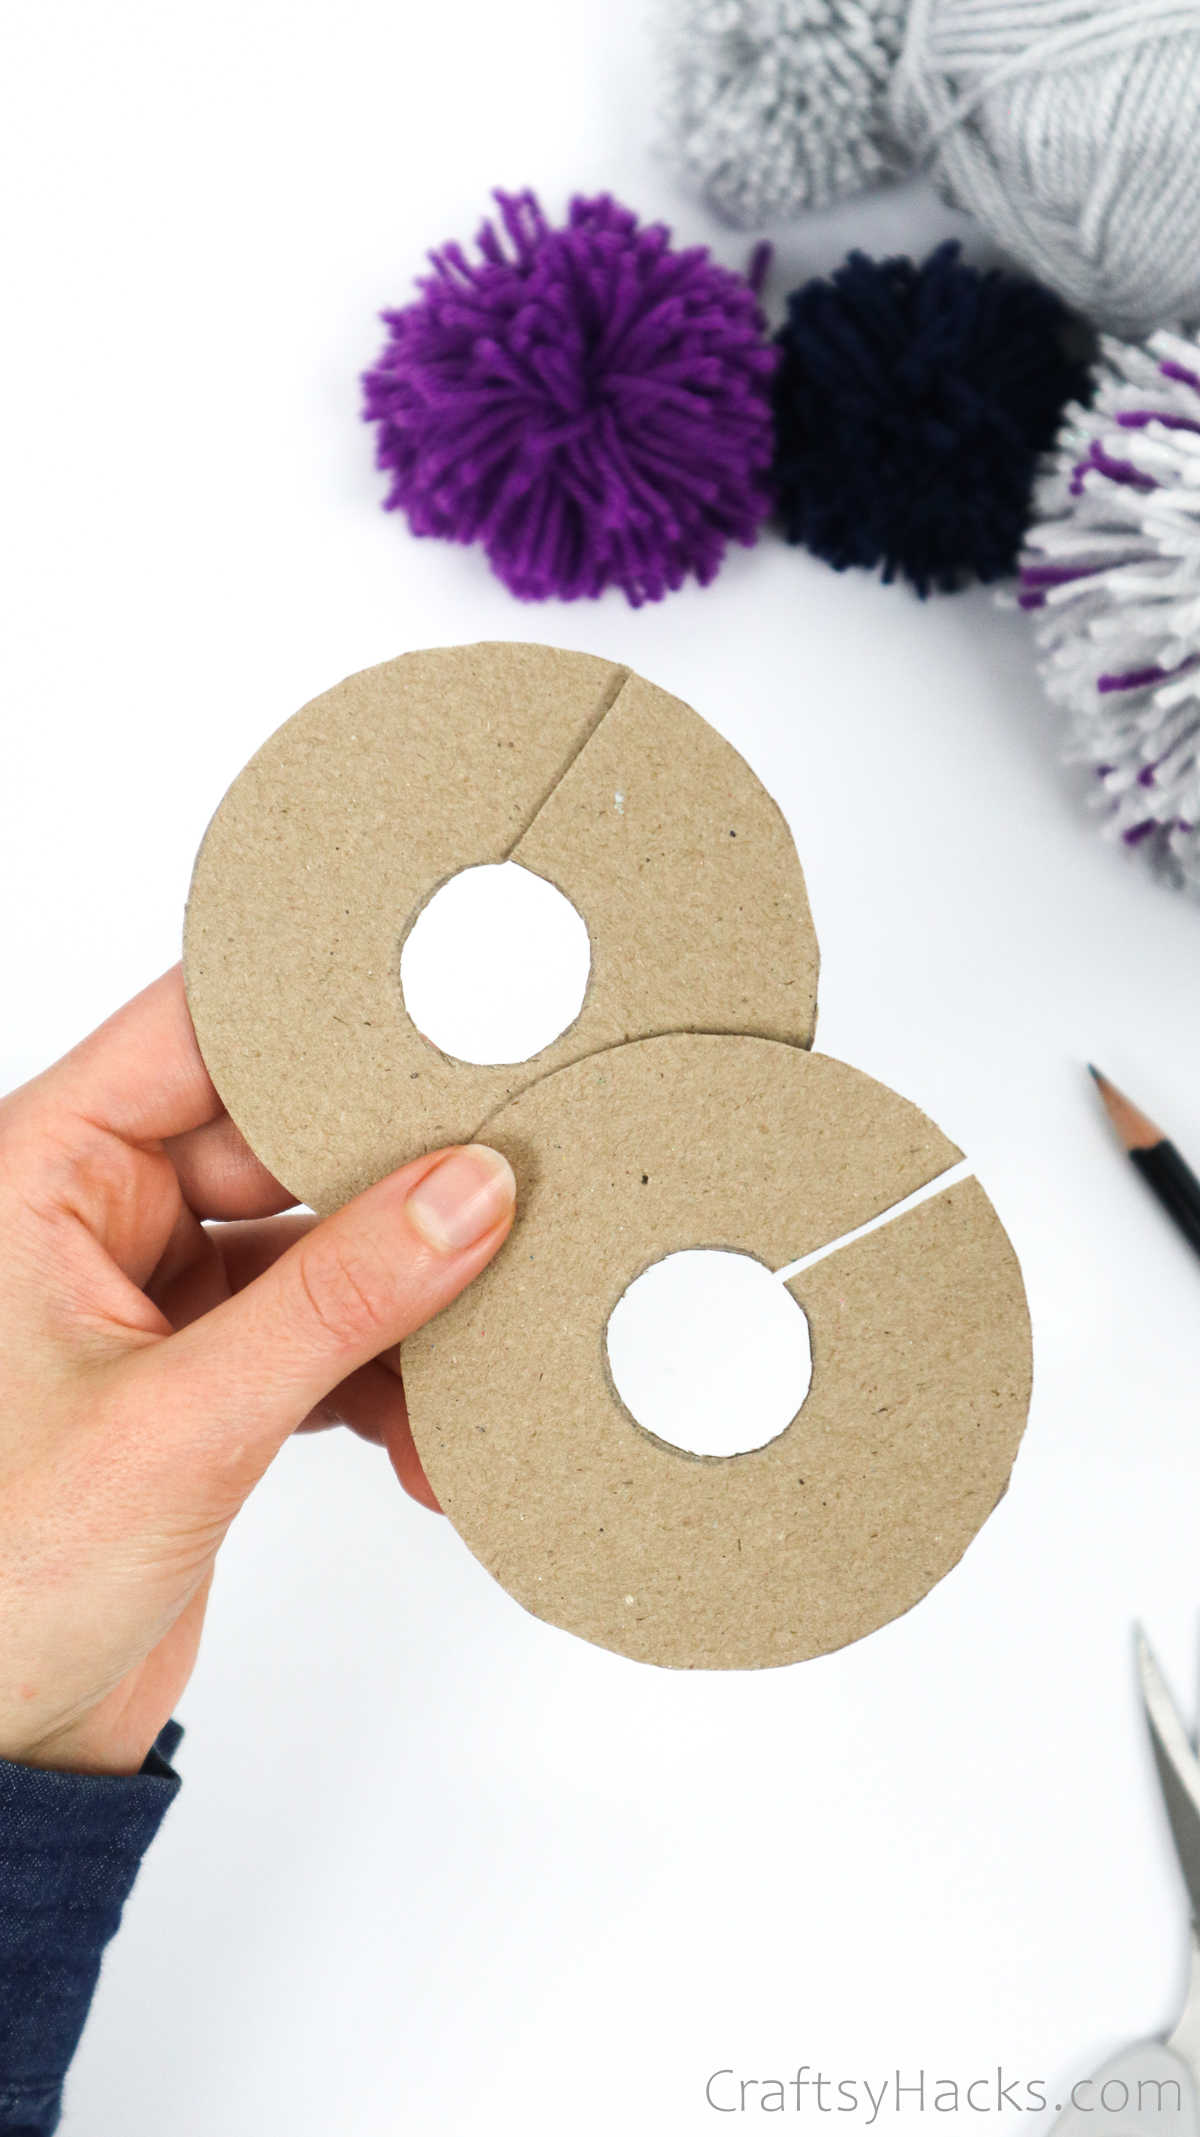
The disks should look something like this when you’re done.
Step 5
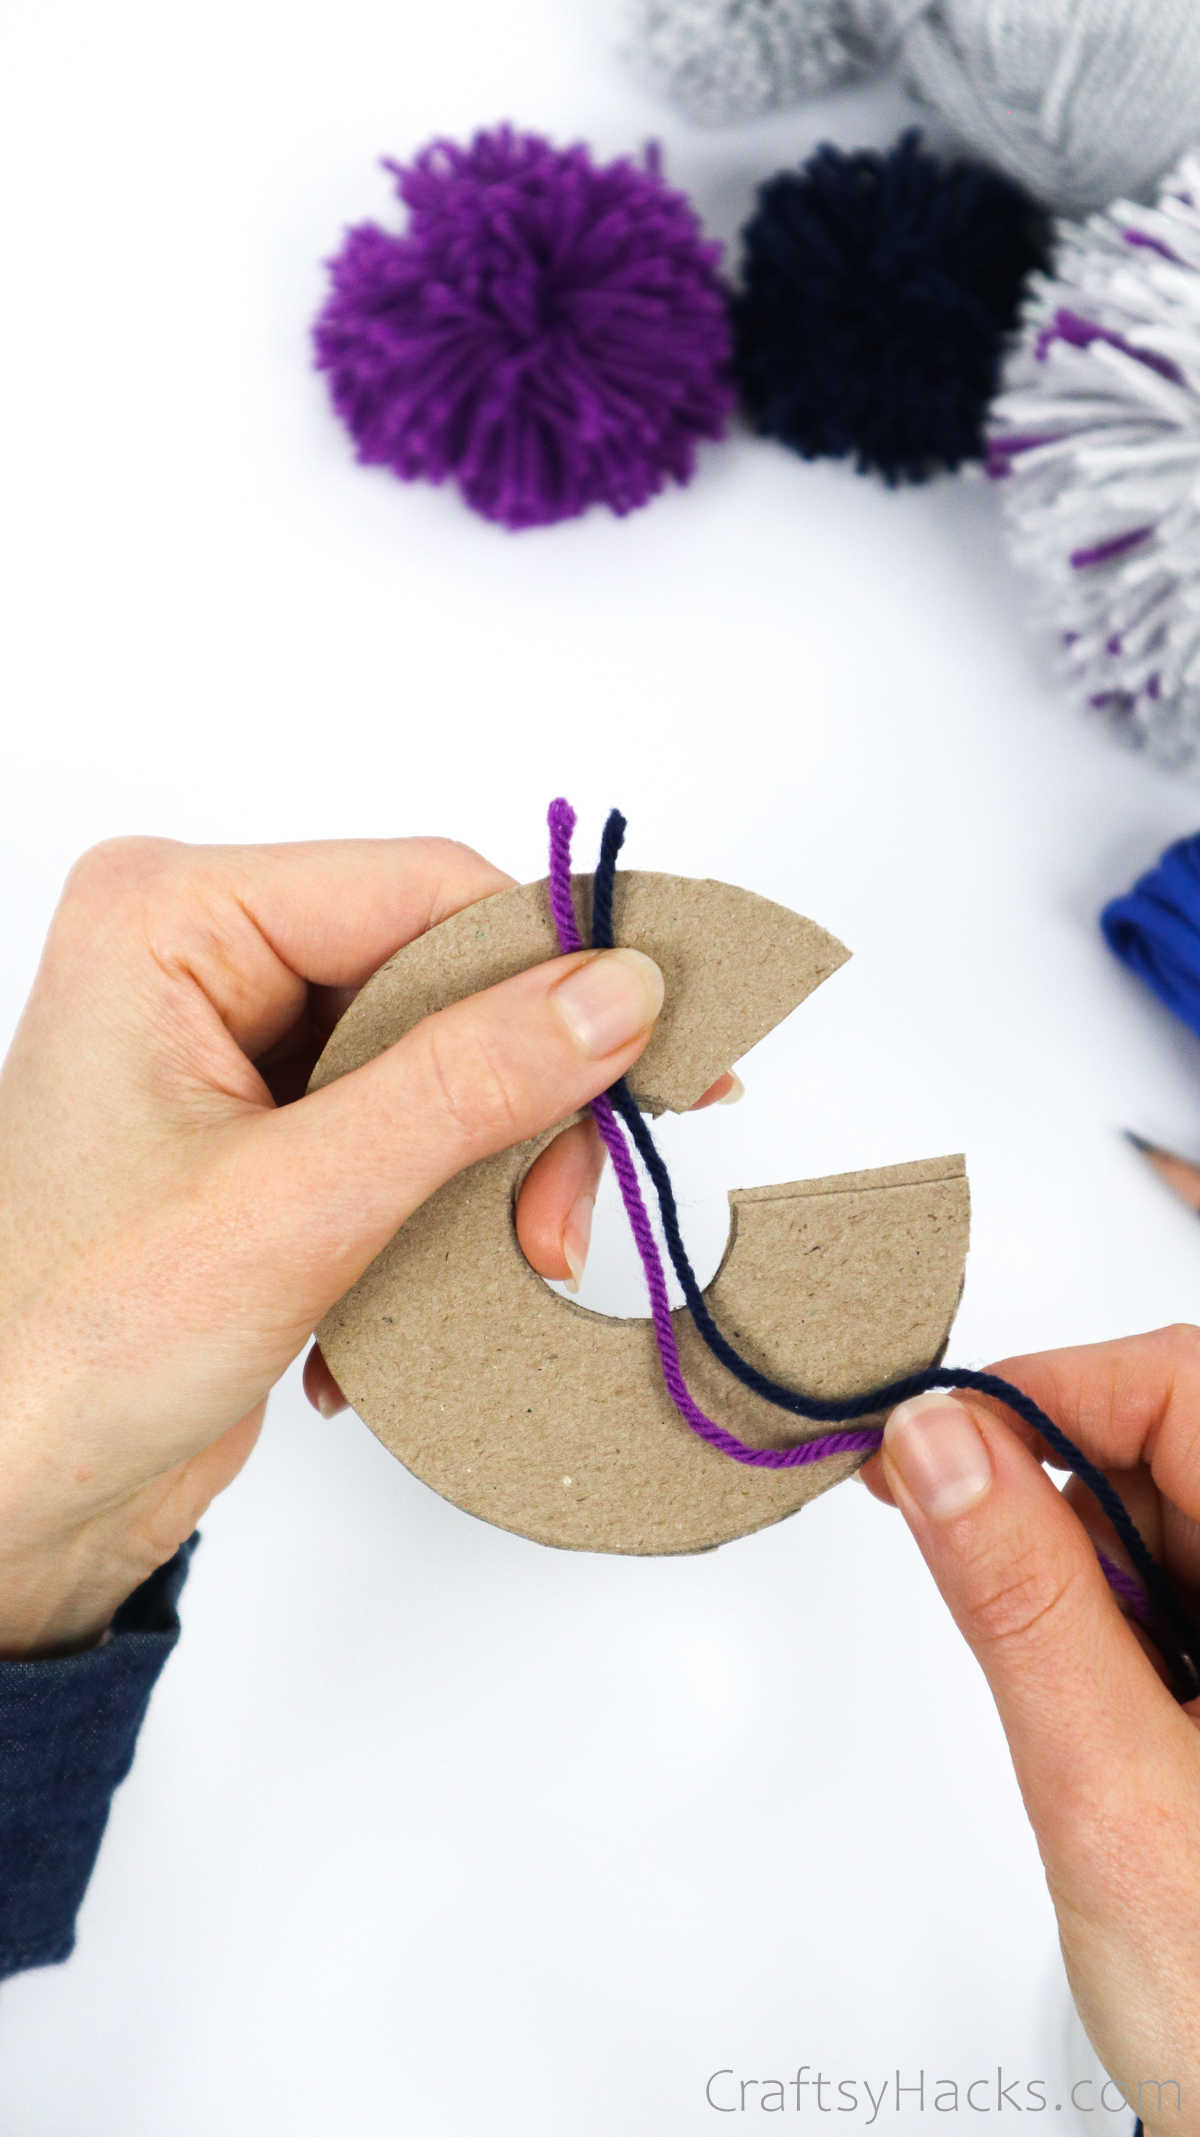
Take a strand of your yarn and pull it through the hold inside the disk, with the end facing out over the top.
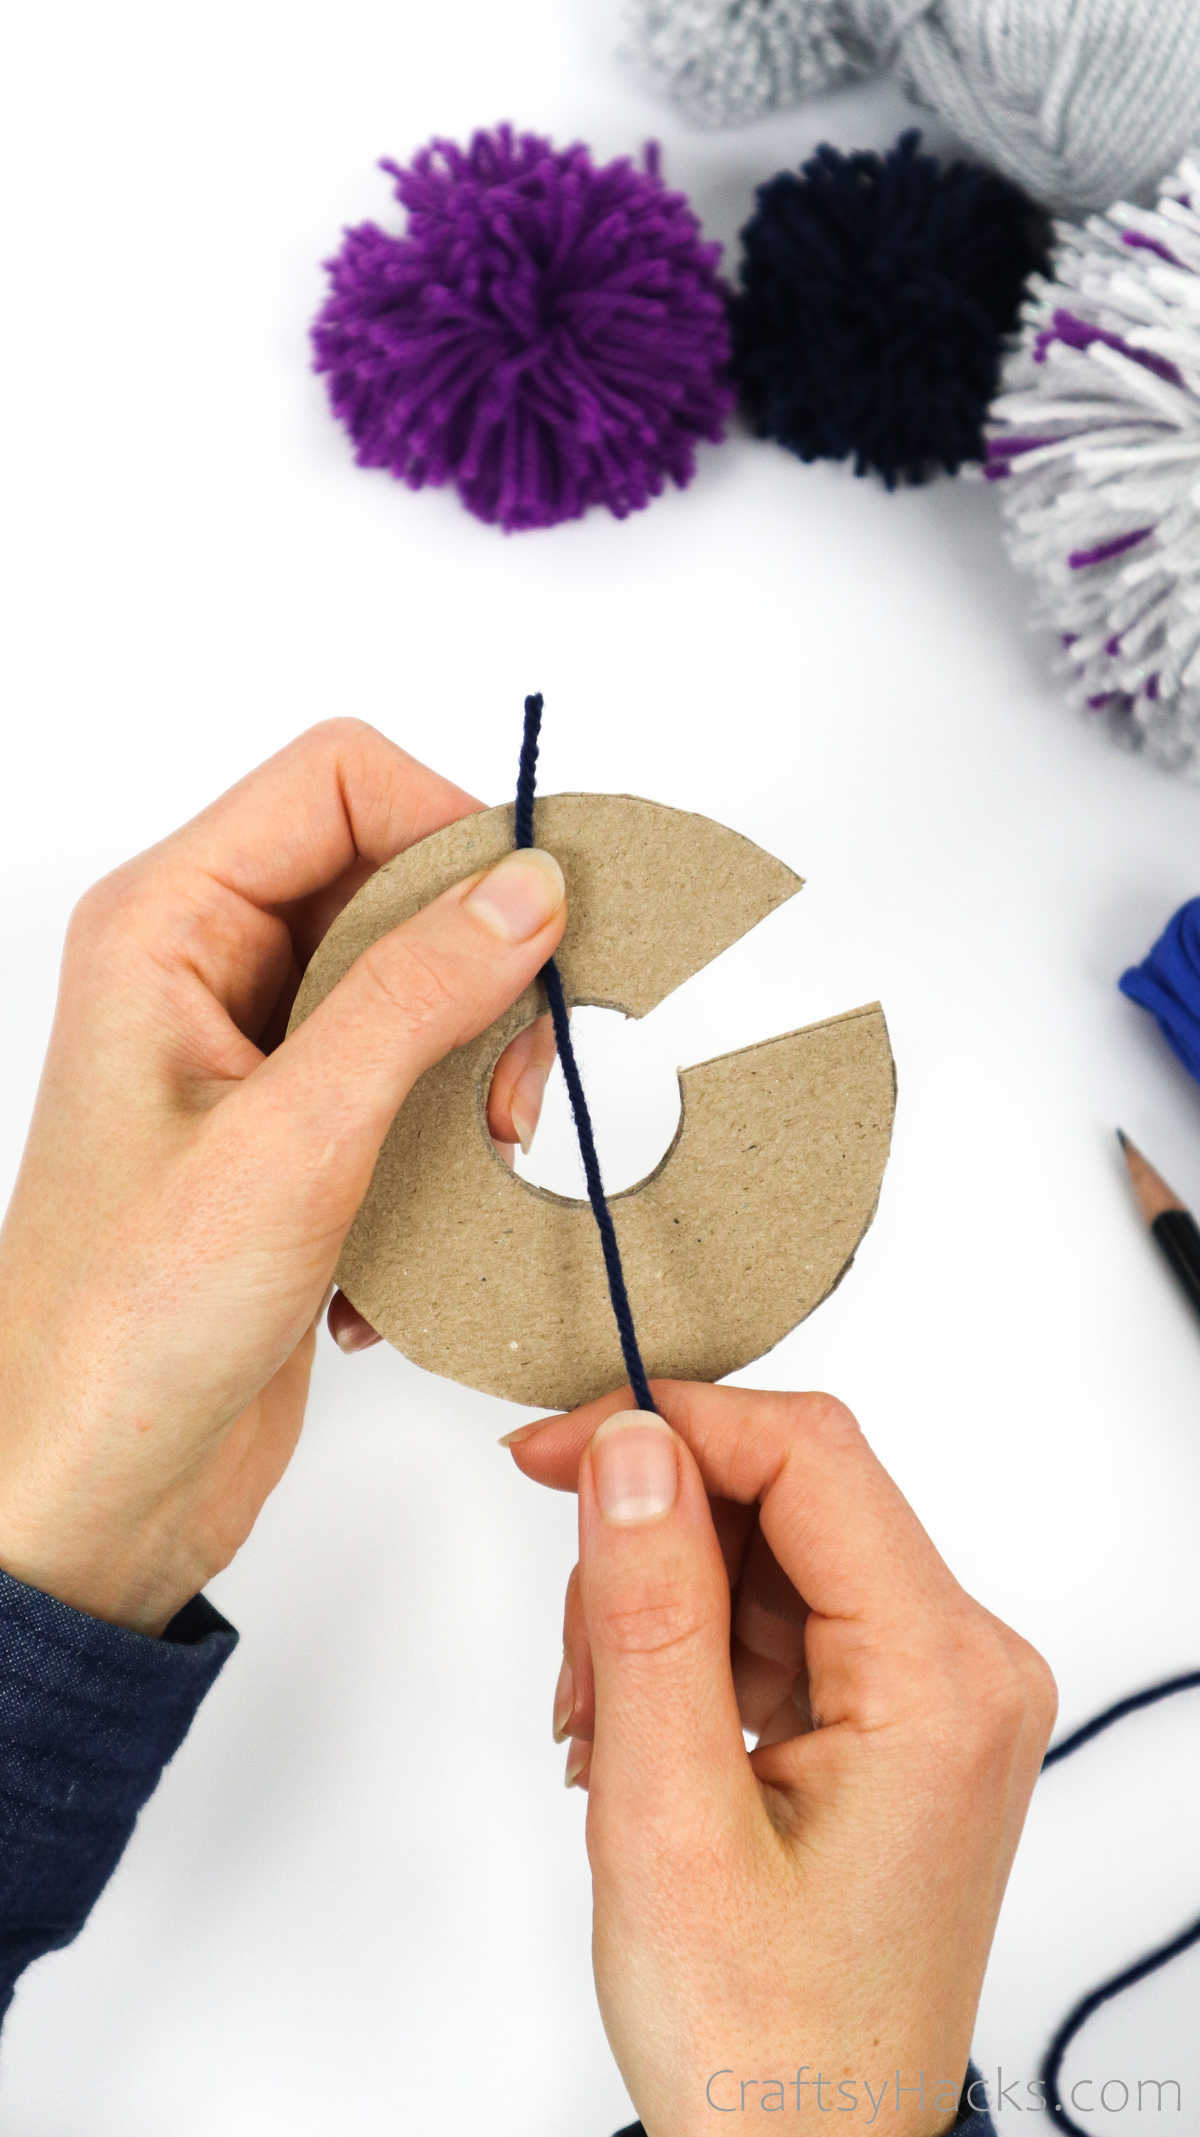
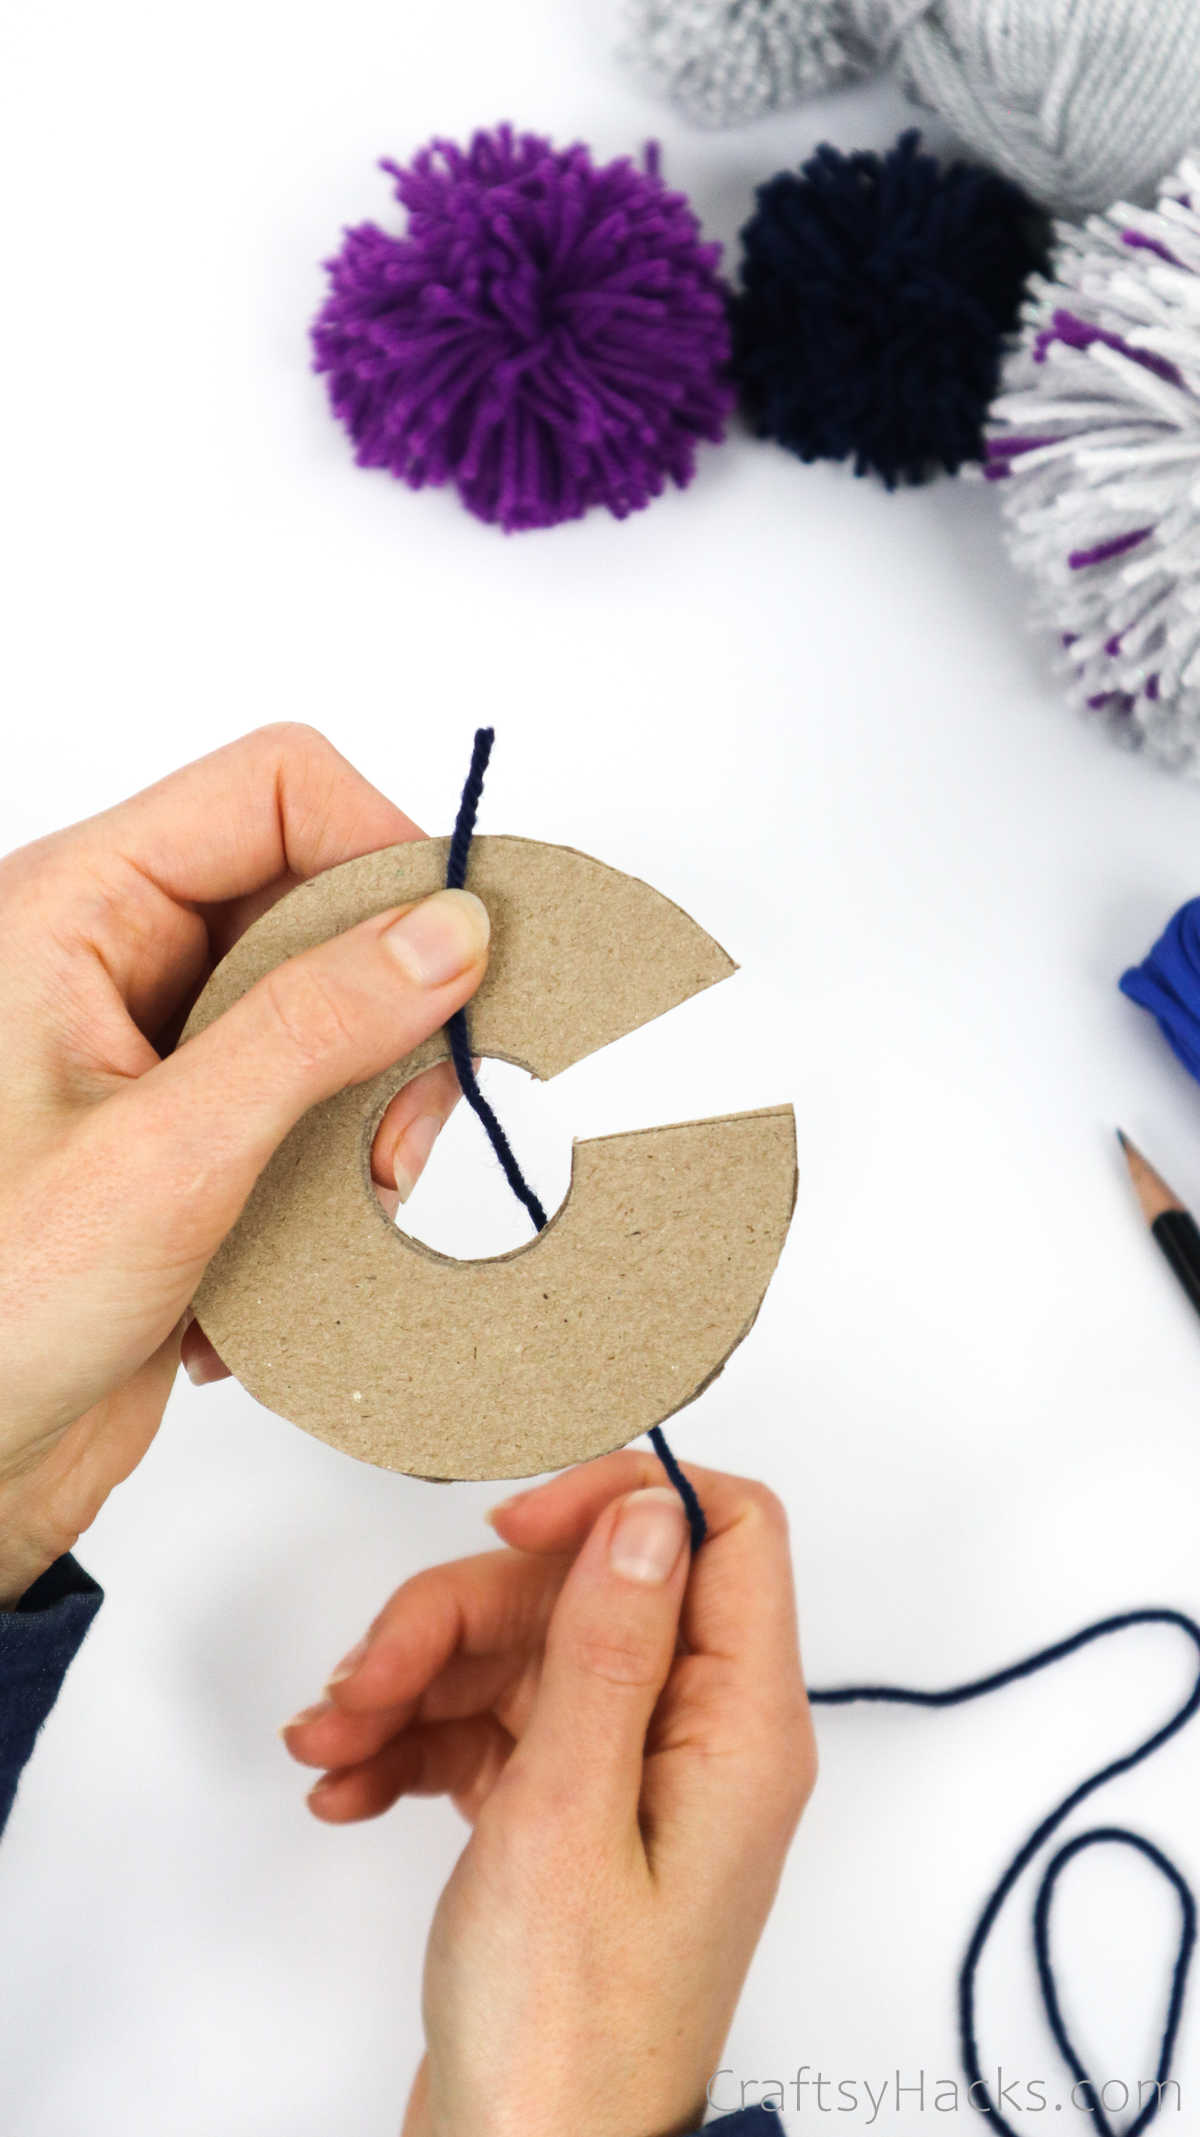
Now begin wrapping the yarn around the top of the disk, right above the hole.
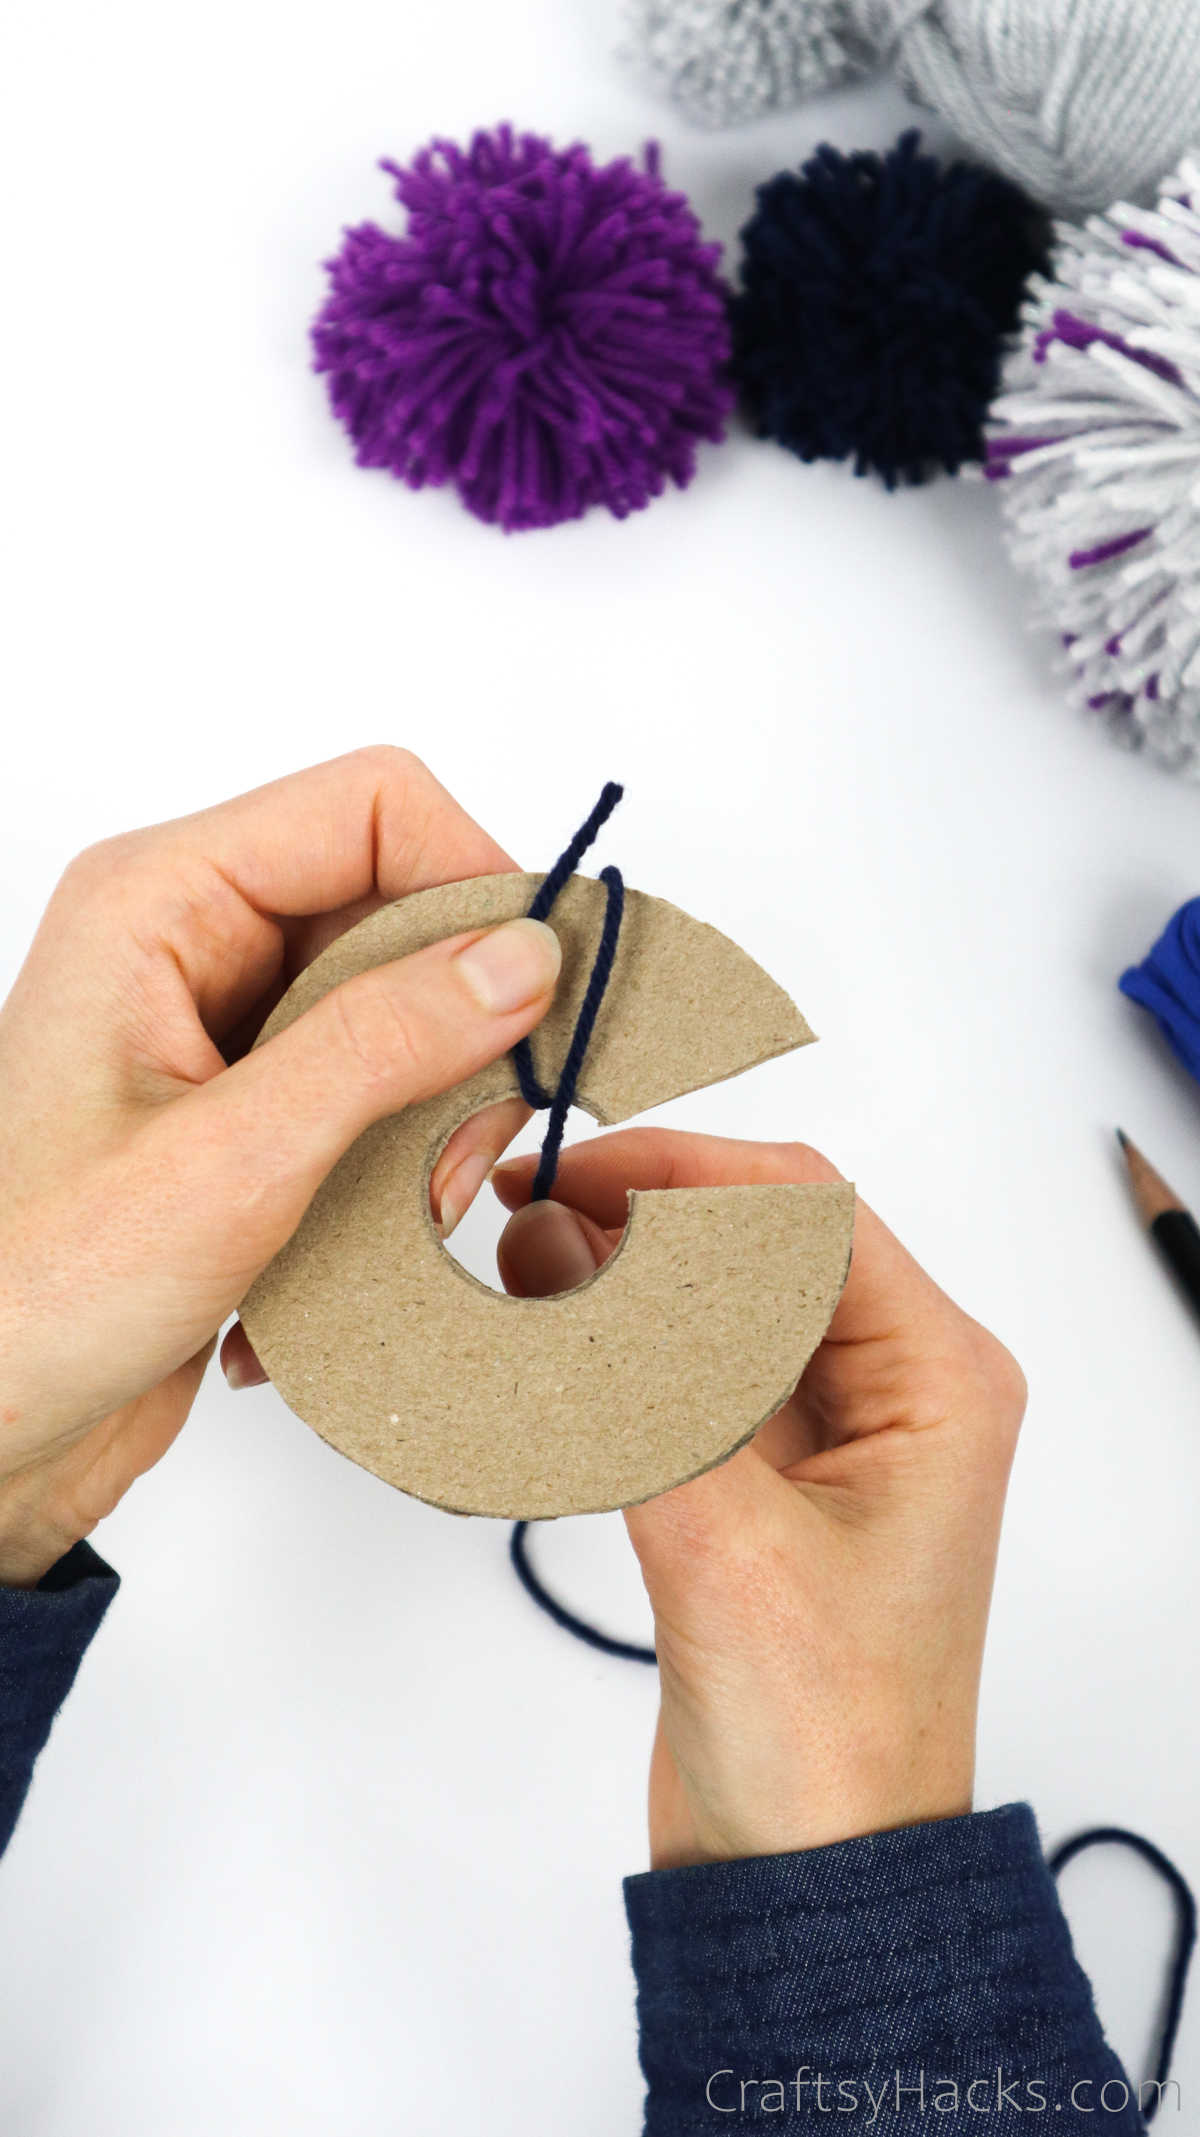
Alternatively, if you want to blend another color, grab two strands of yarn, one of each color you like, and wrap it around the disk.
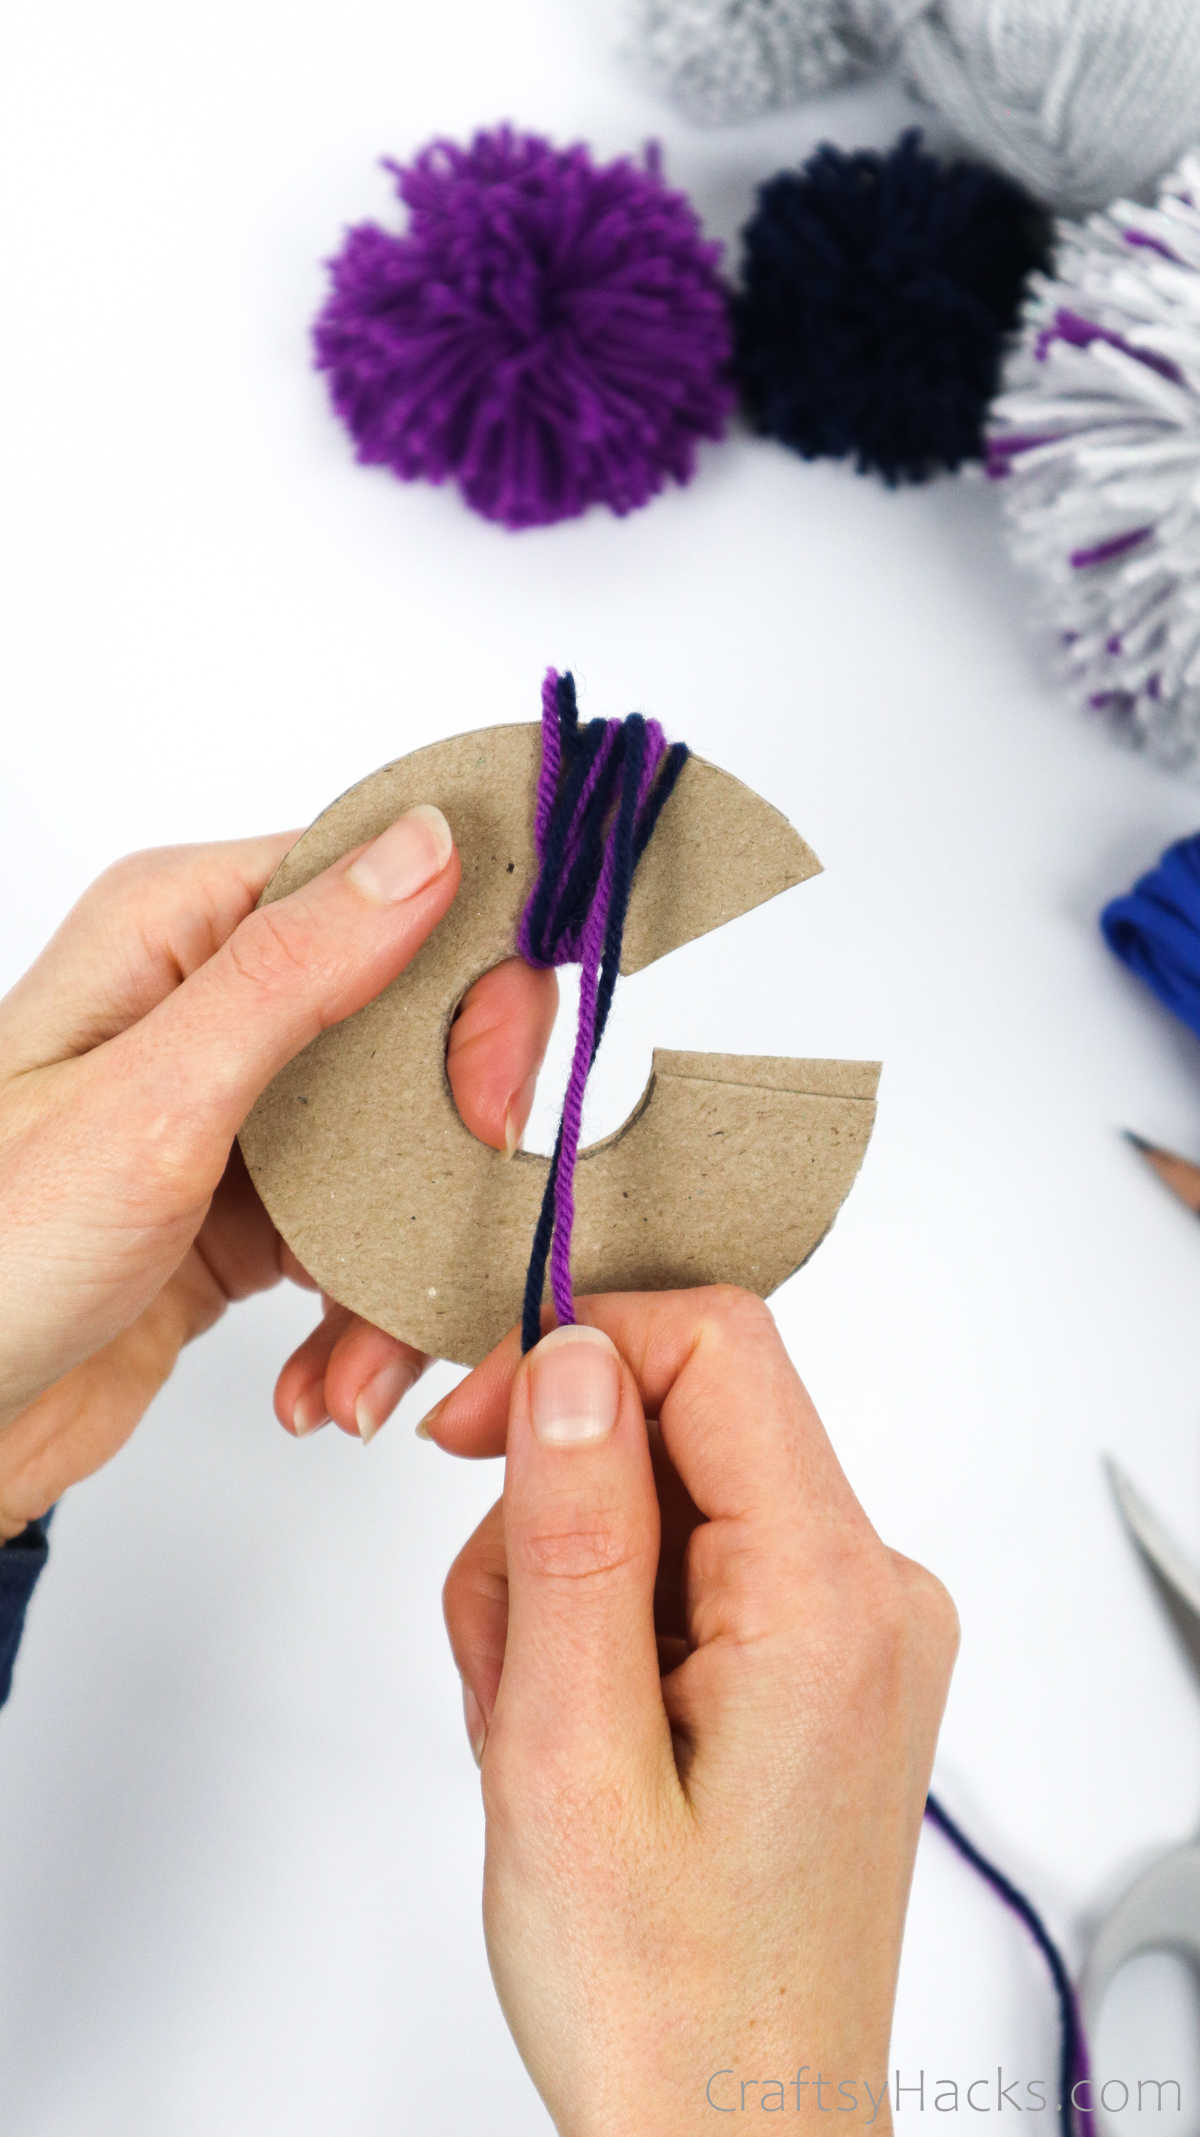
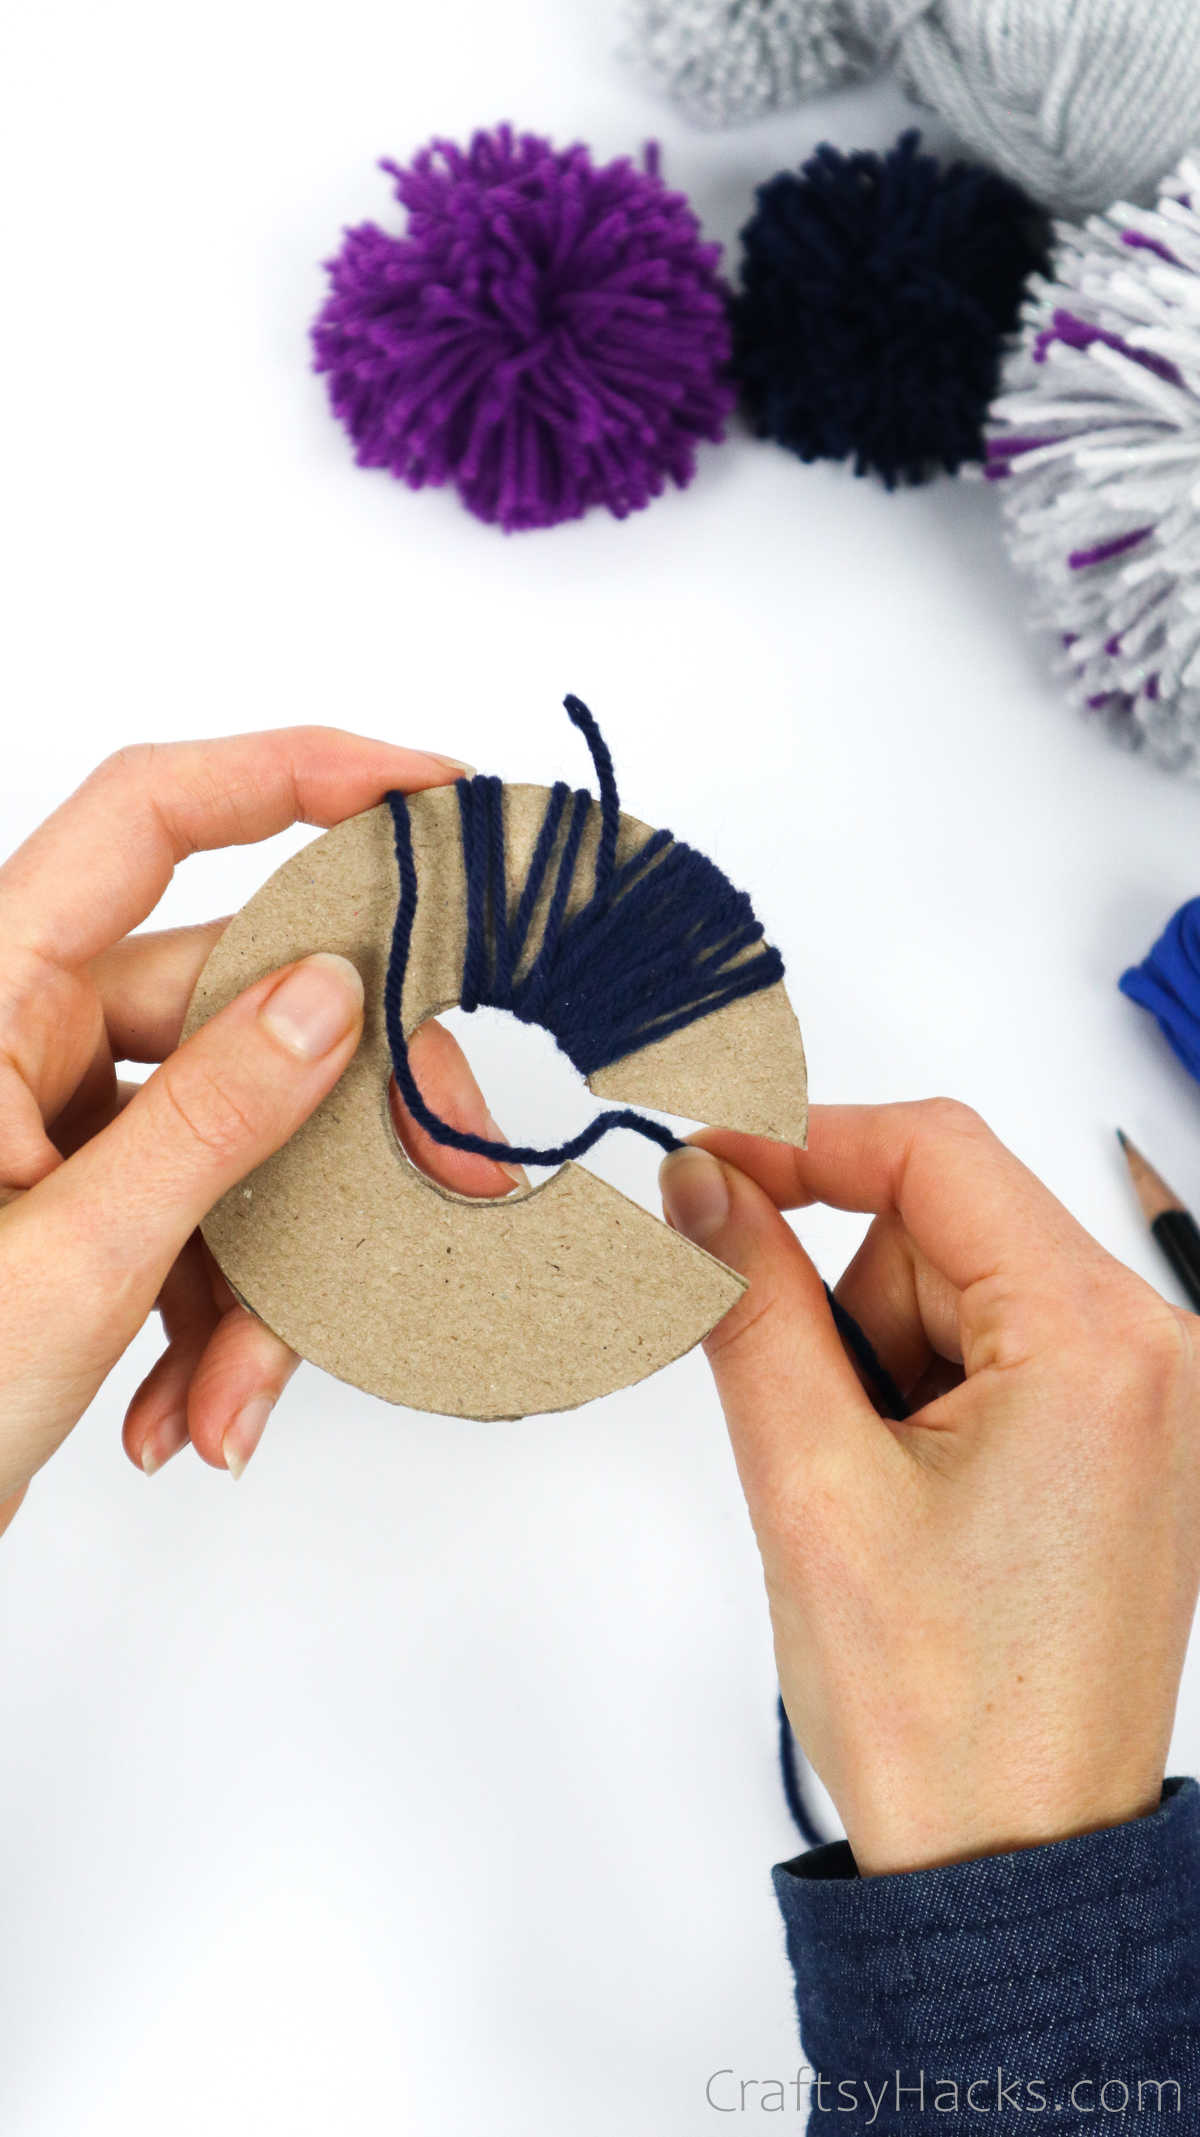
Keep wrapping the yarn over and over and make your way around the disk.
When you’re done wrapping the yarn, just snip off the ends.

Step 6
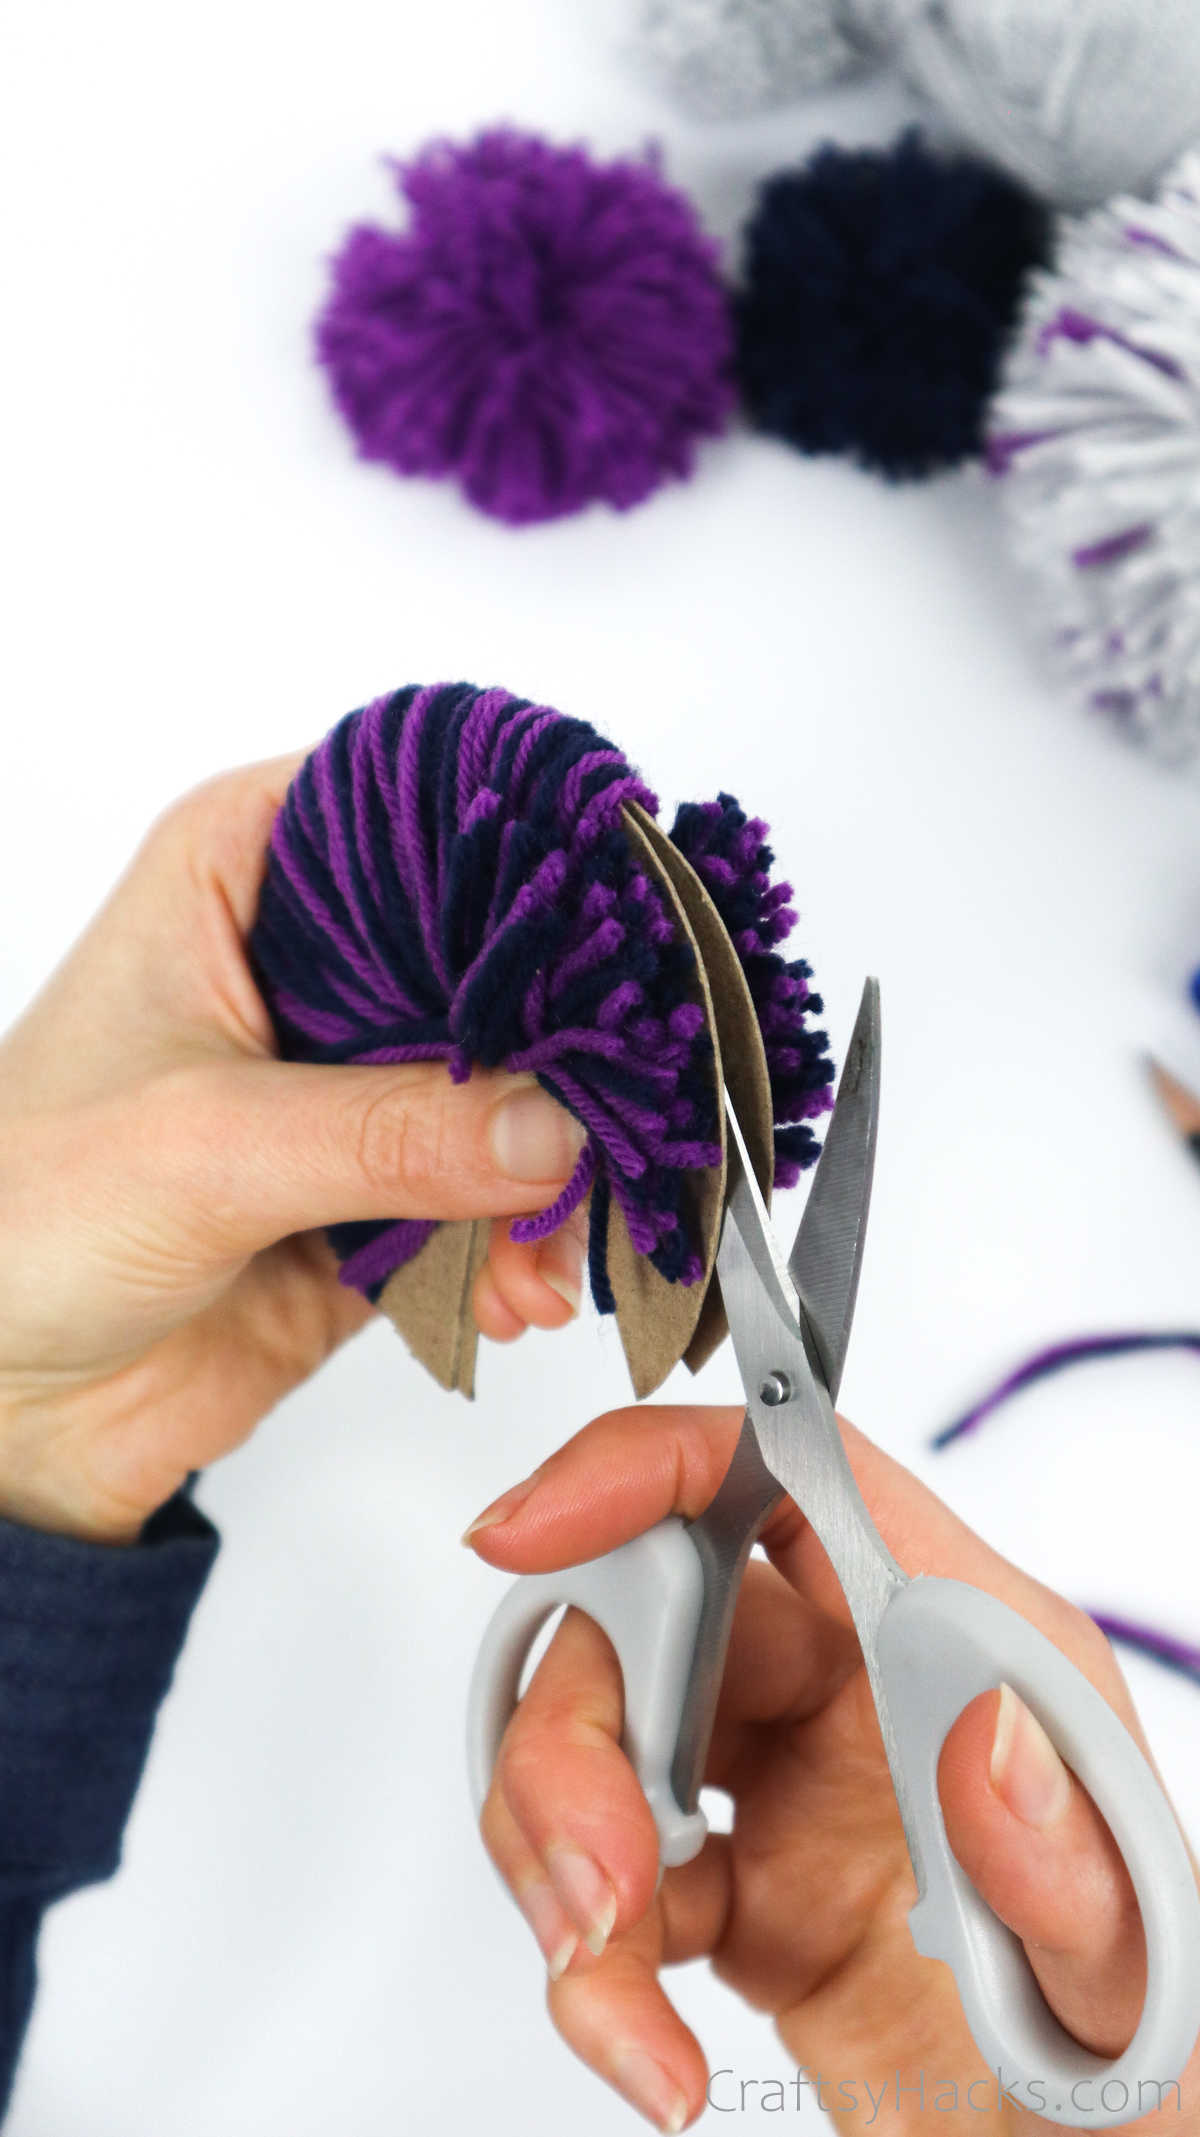
Don’t put away those scissors just yet; you’ll need them to cut through the yarn.
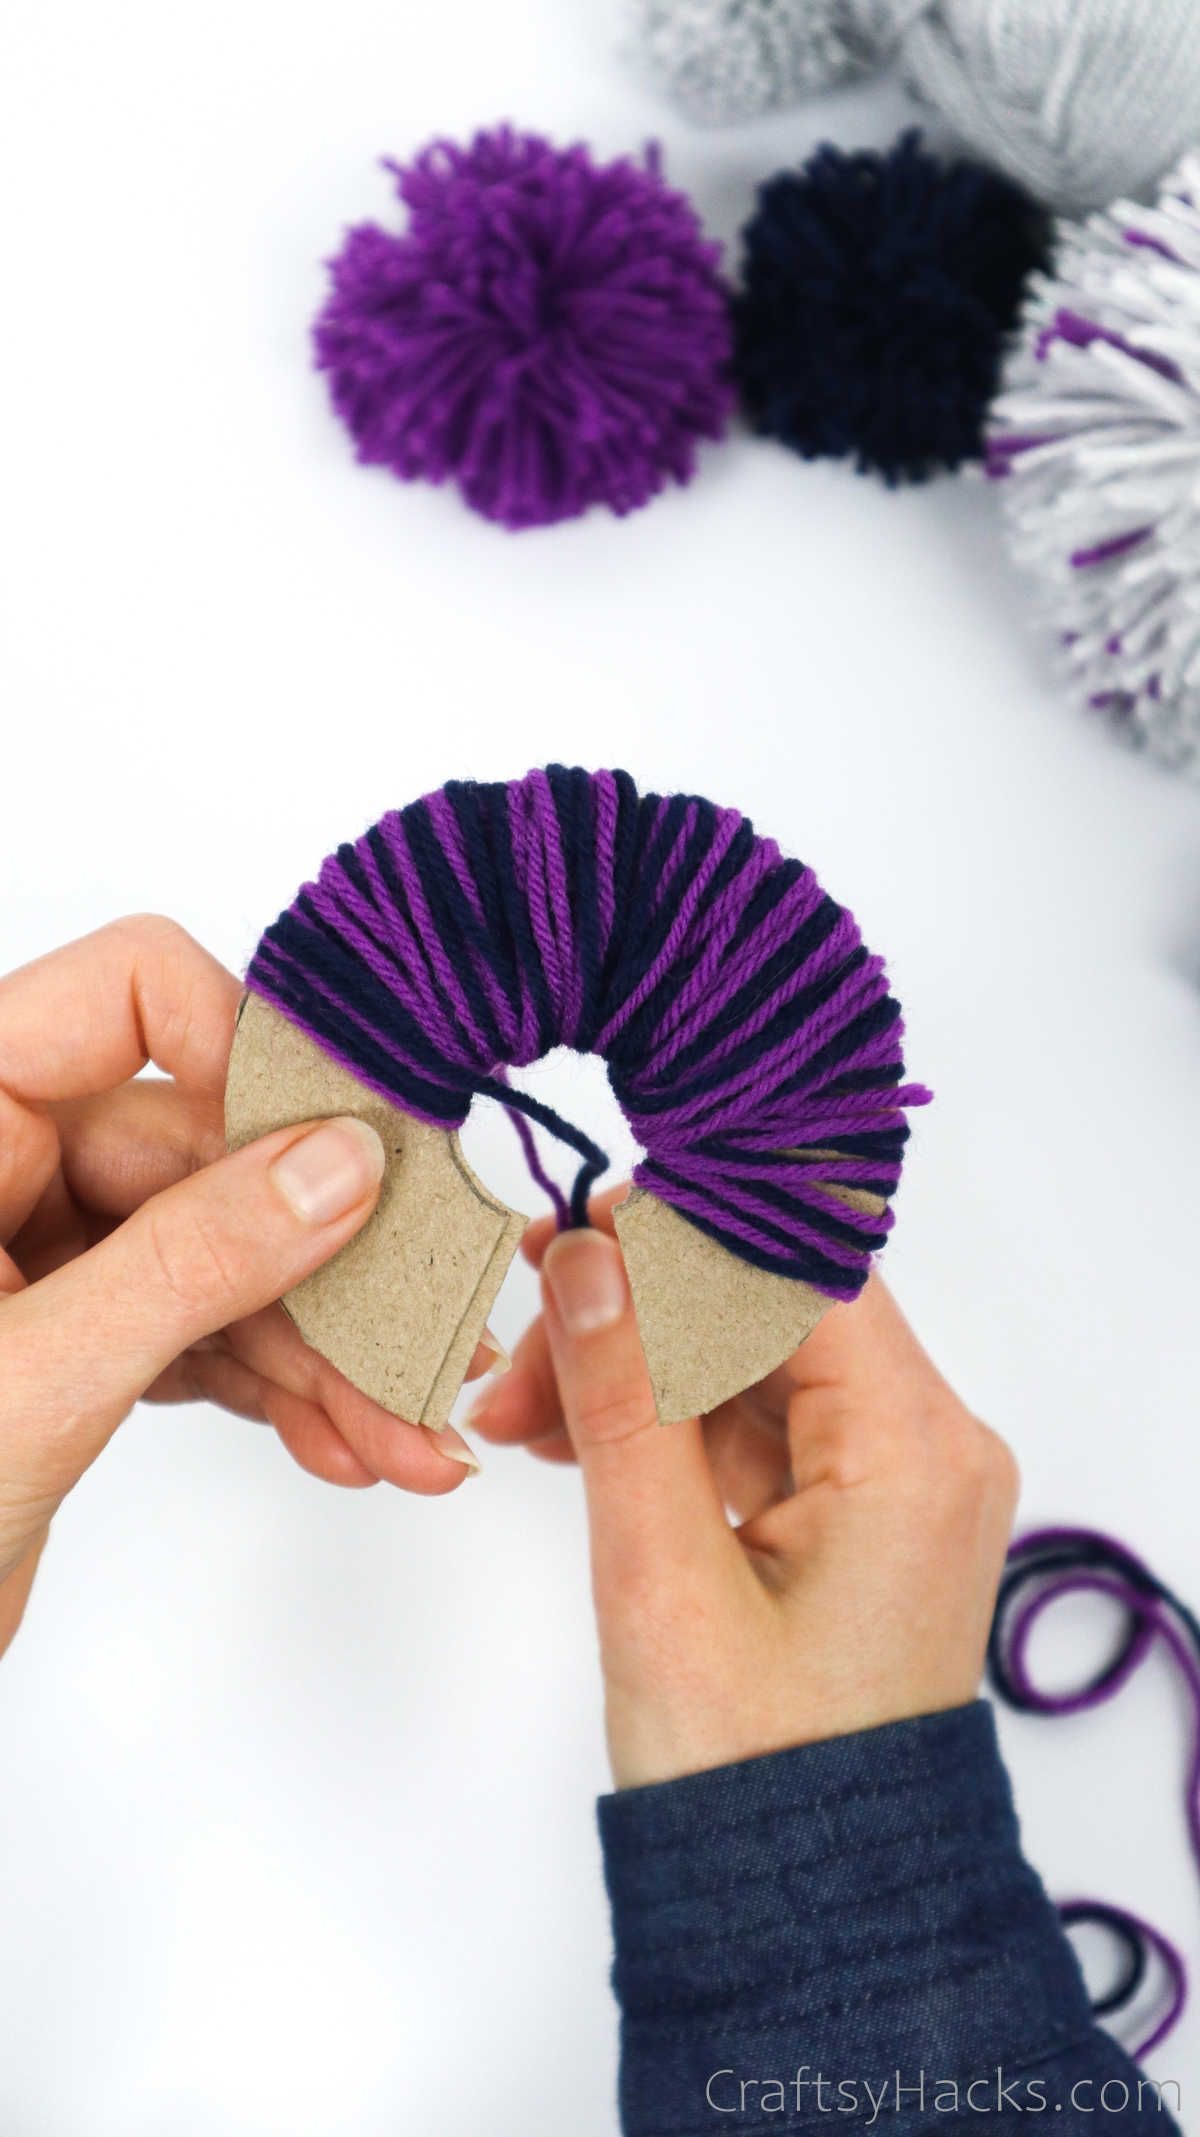
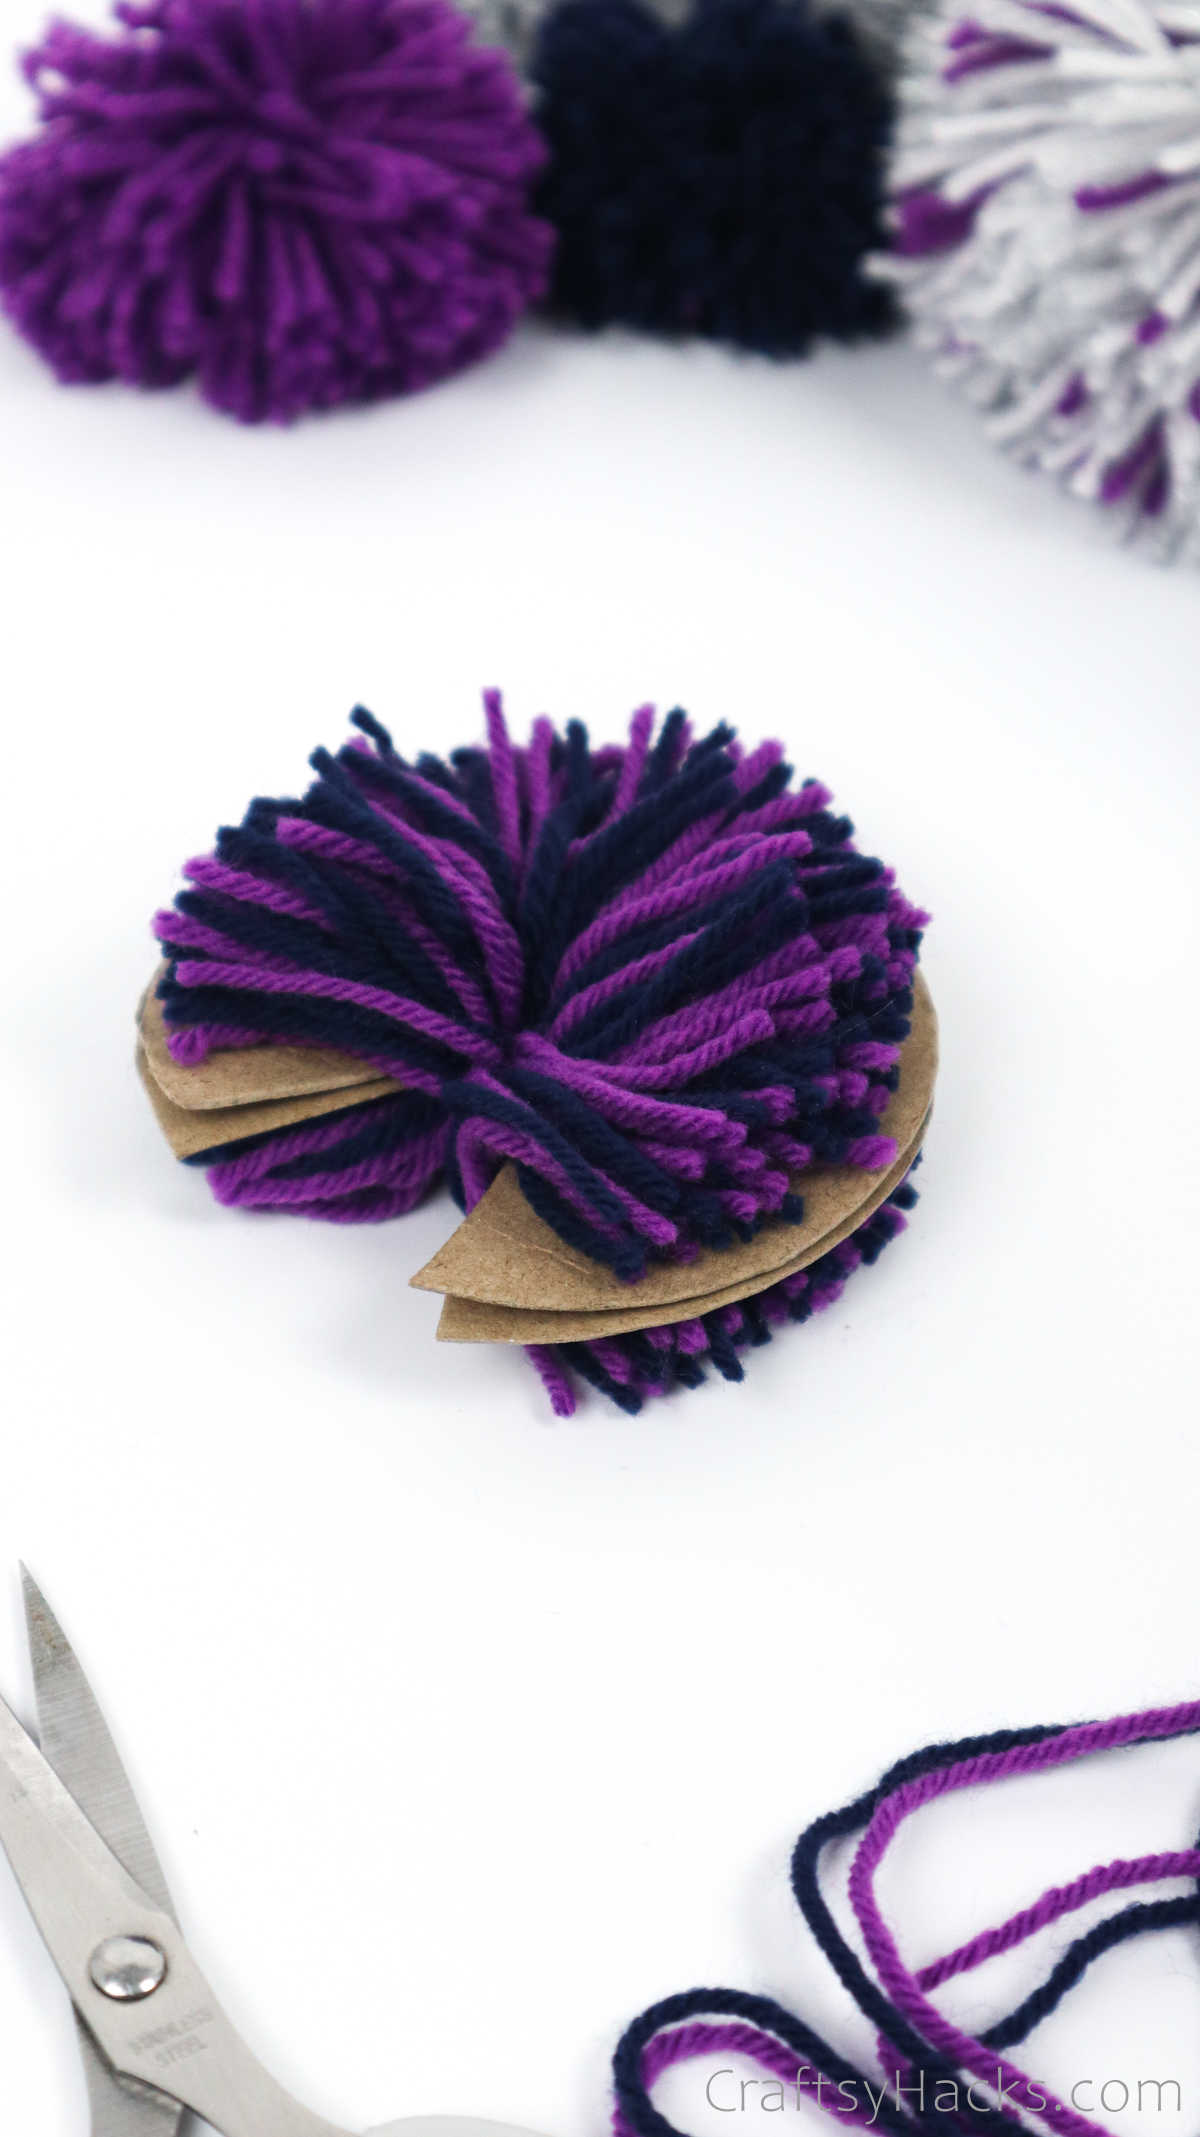
You’ll notice that there’s a slit between the two disks. Cut along that slit from the entrance of the disk and work your way around. Just remember to hold on to the yarn as you cut it, or it will slip through the hole in the center.
When you’re done, your yarn-covered disk should look something like this.
Step 7
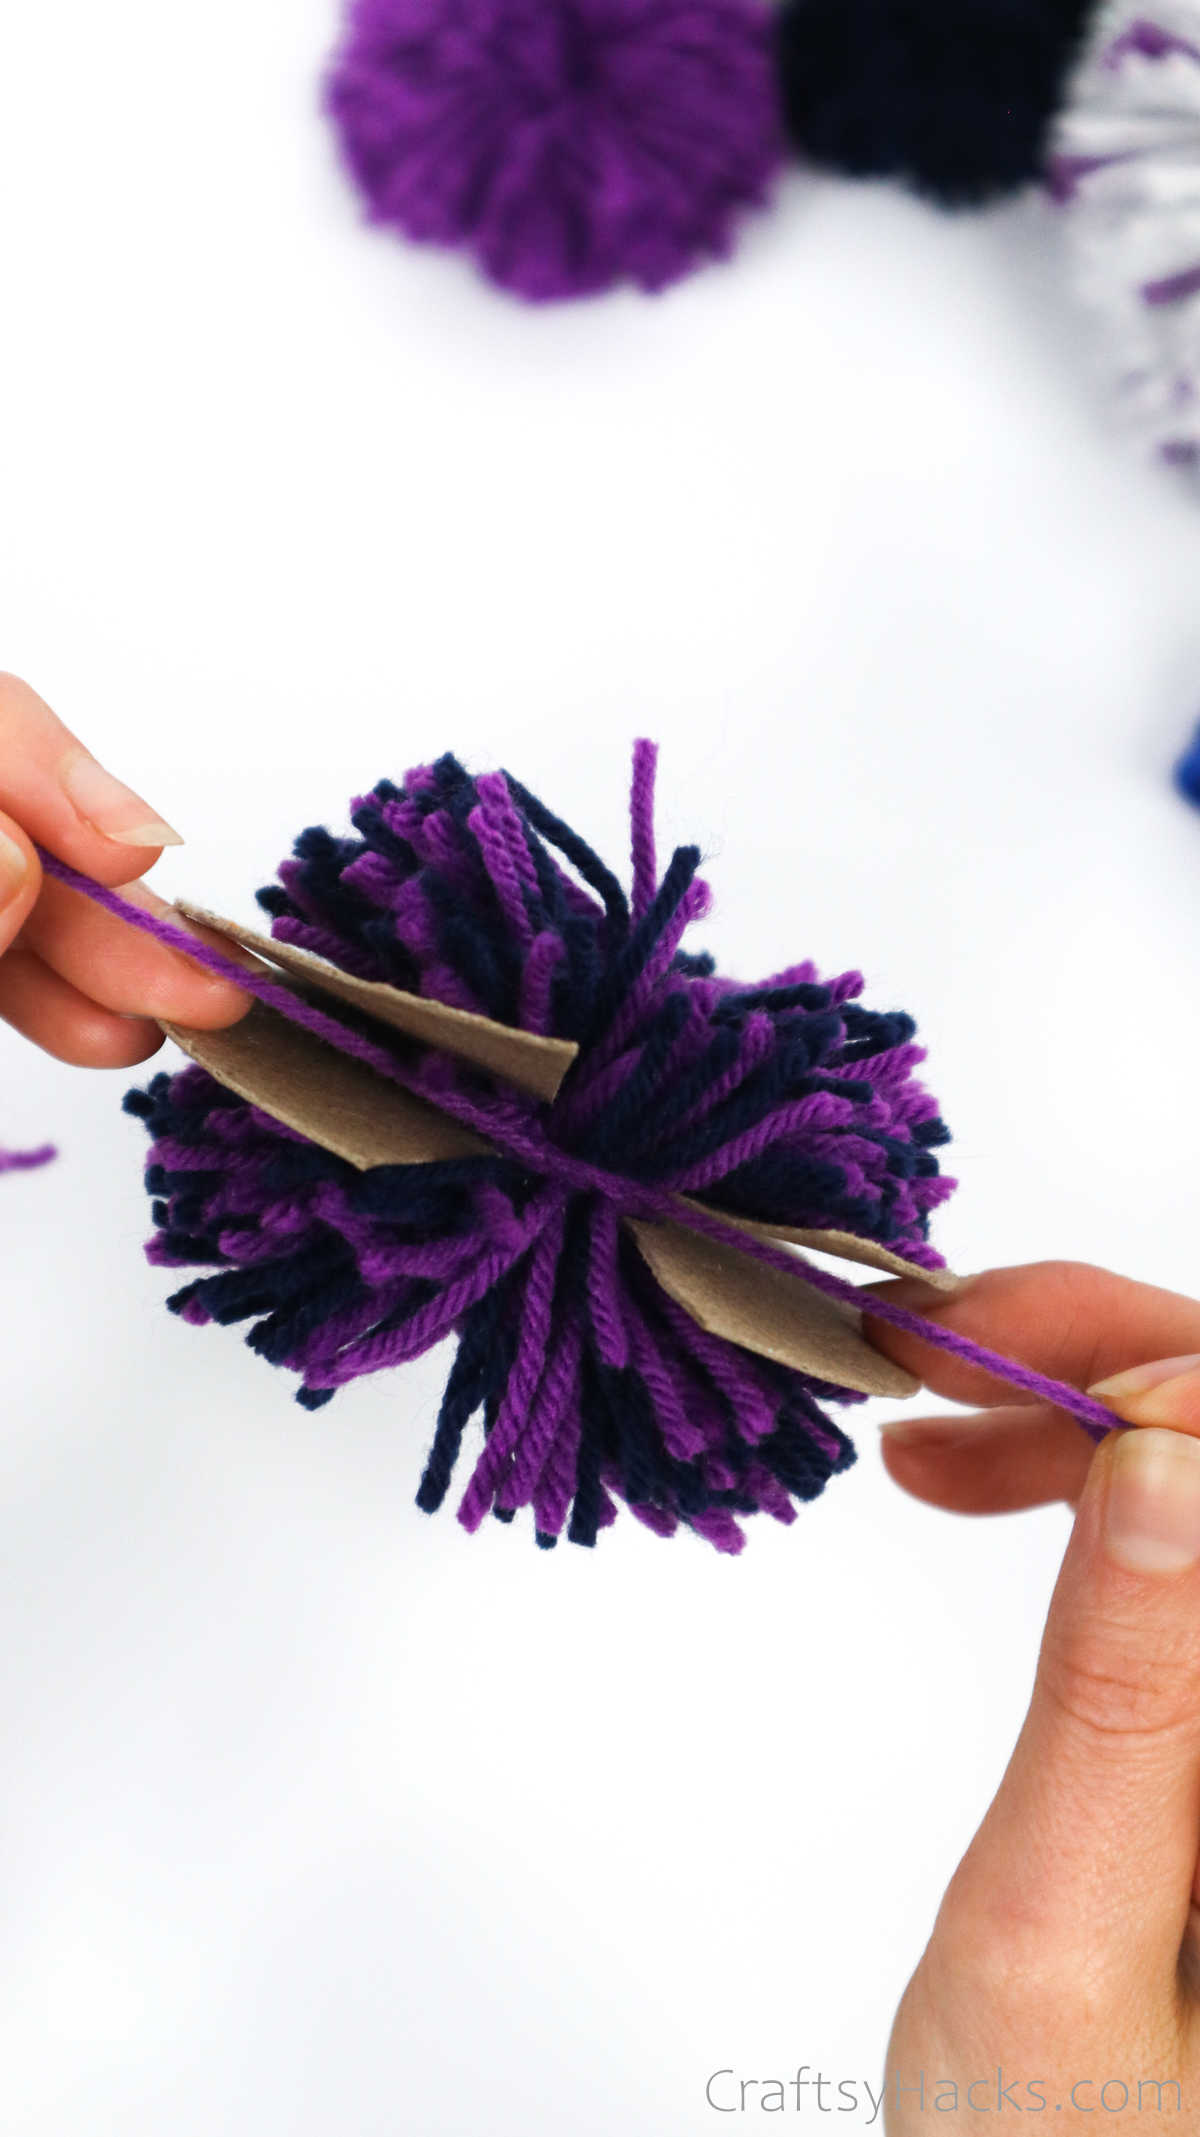
Cut a bit of yarn—about eight to ten inches long. Slide it between the two disks and pull it out through the entrance on either side.
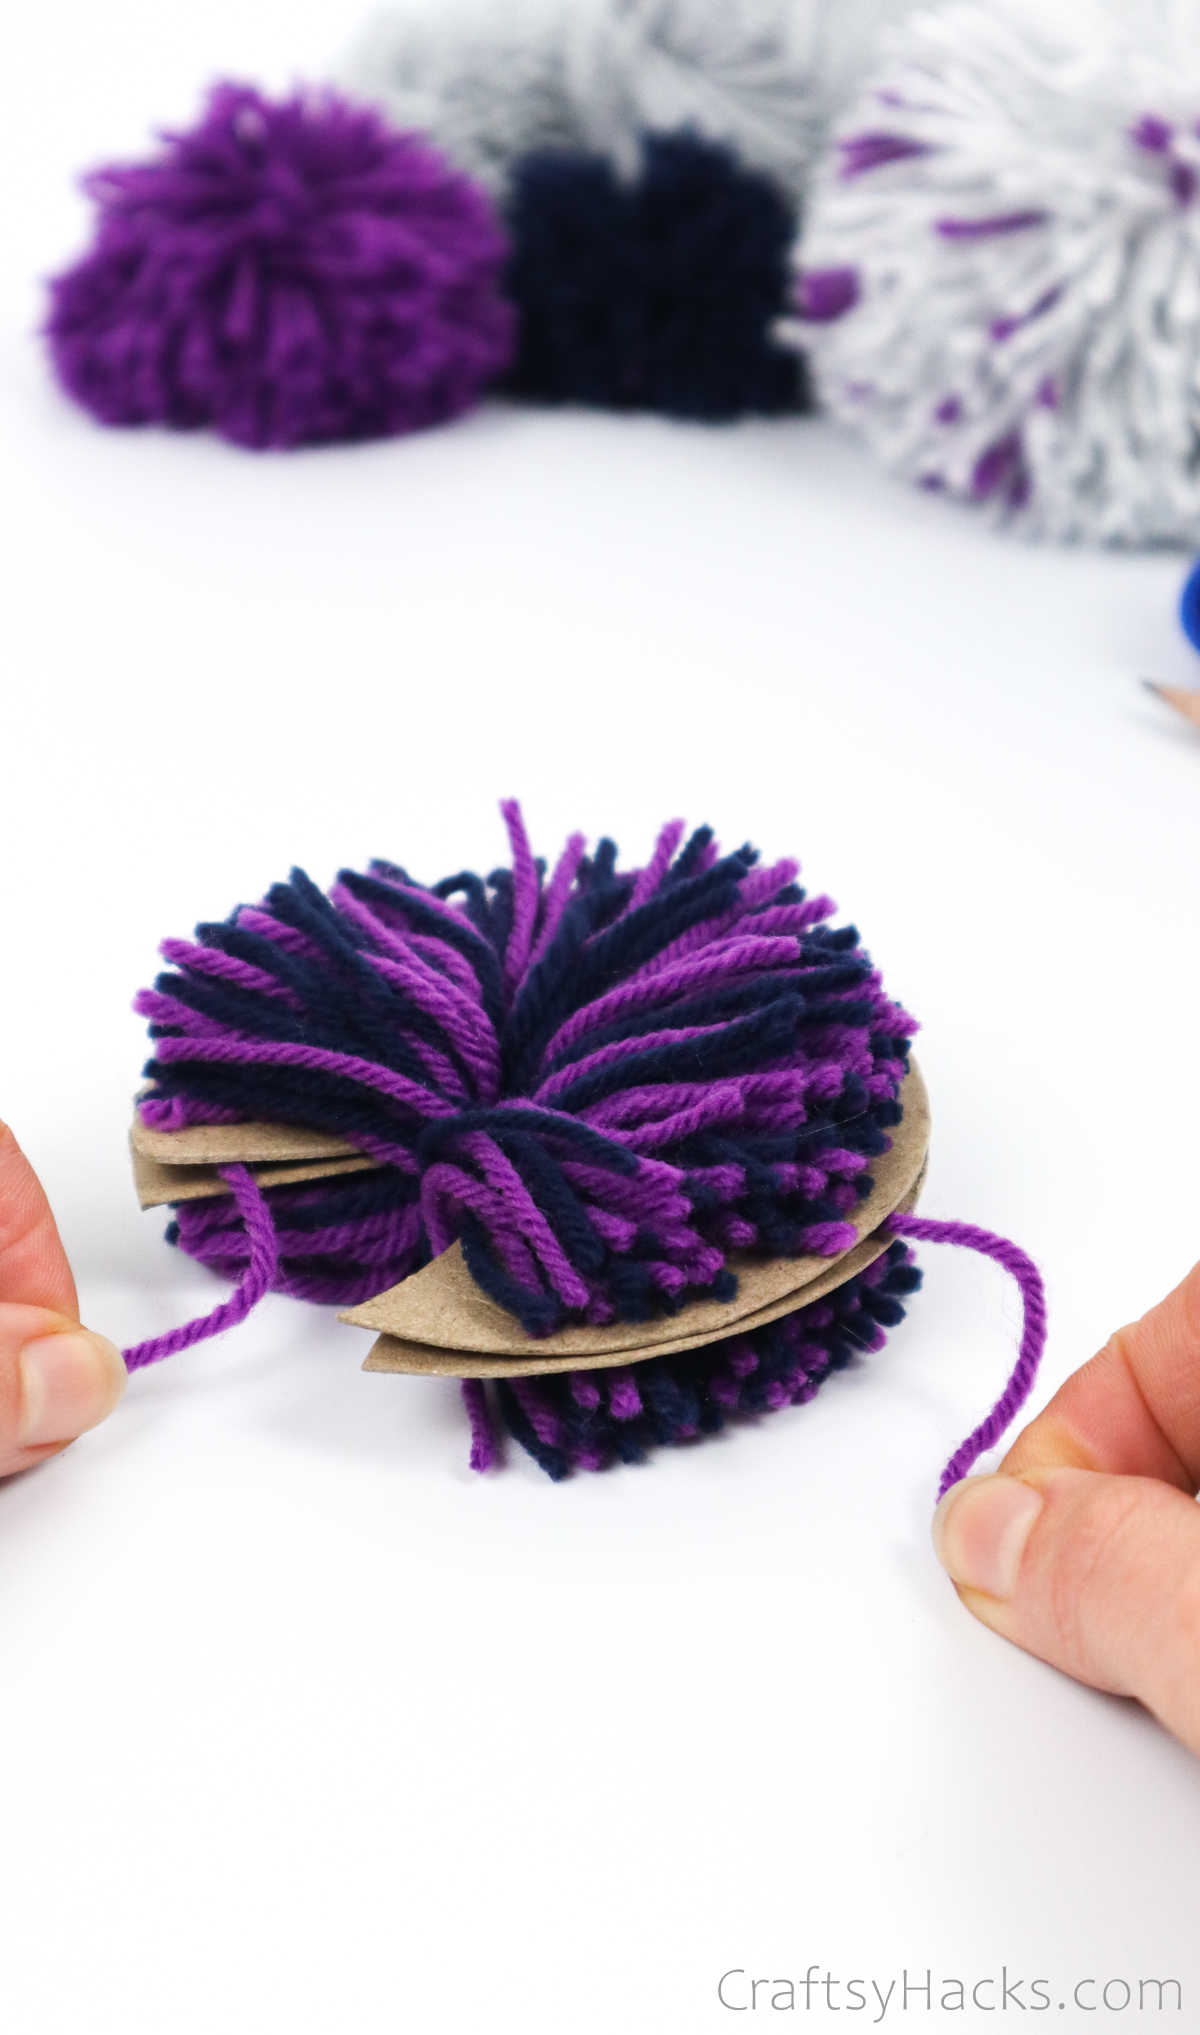
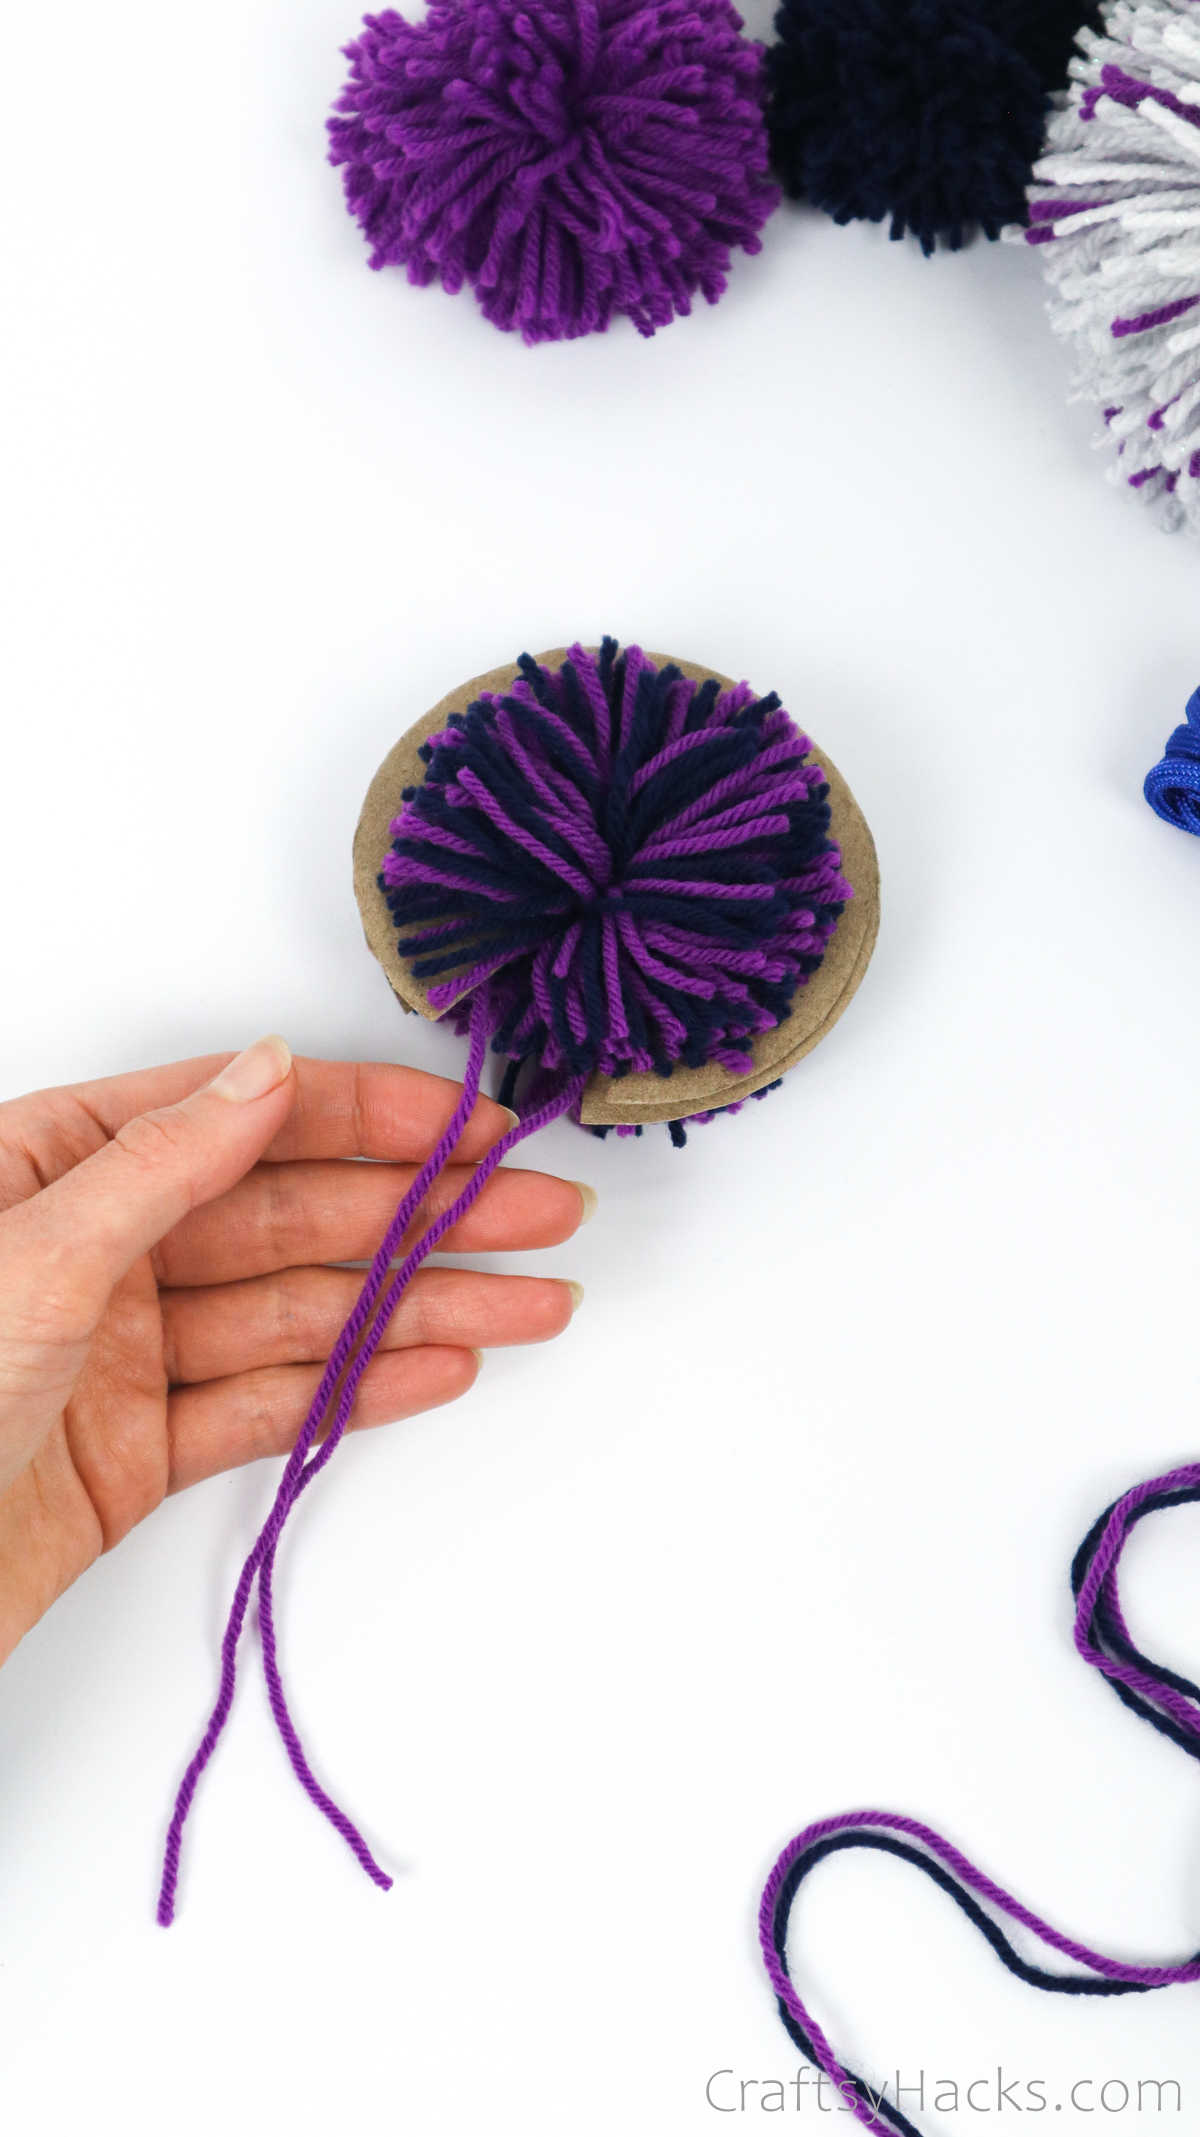
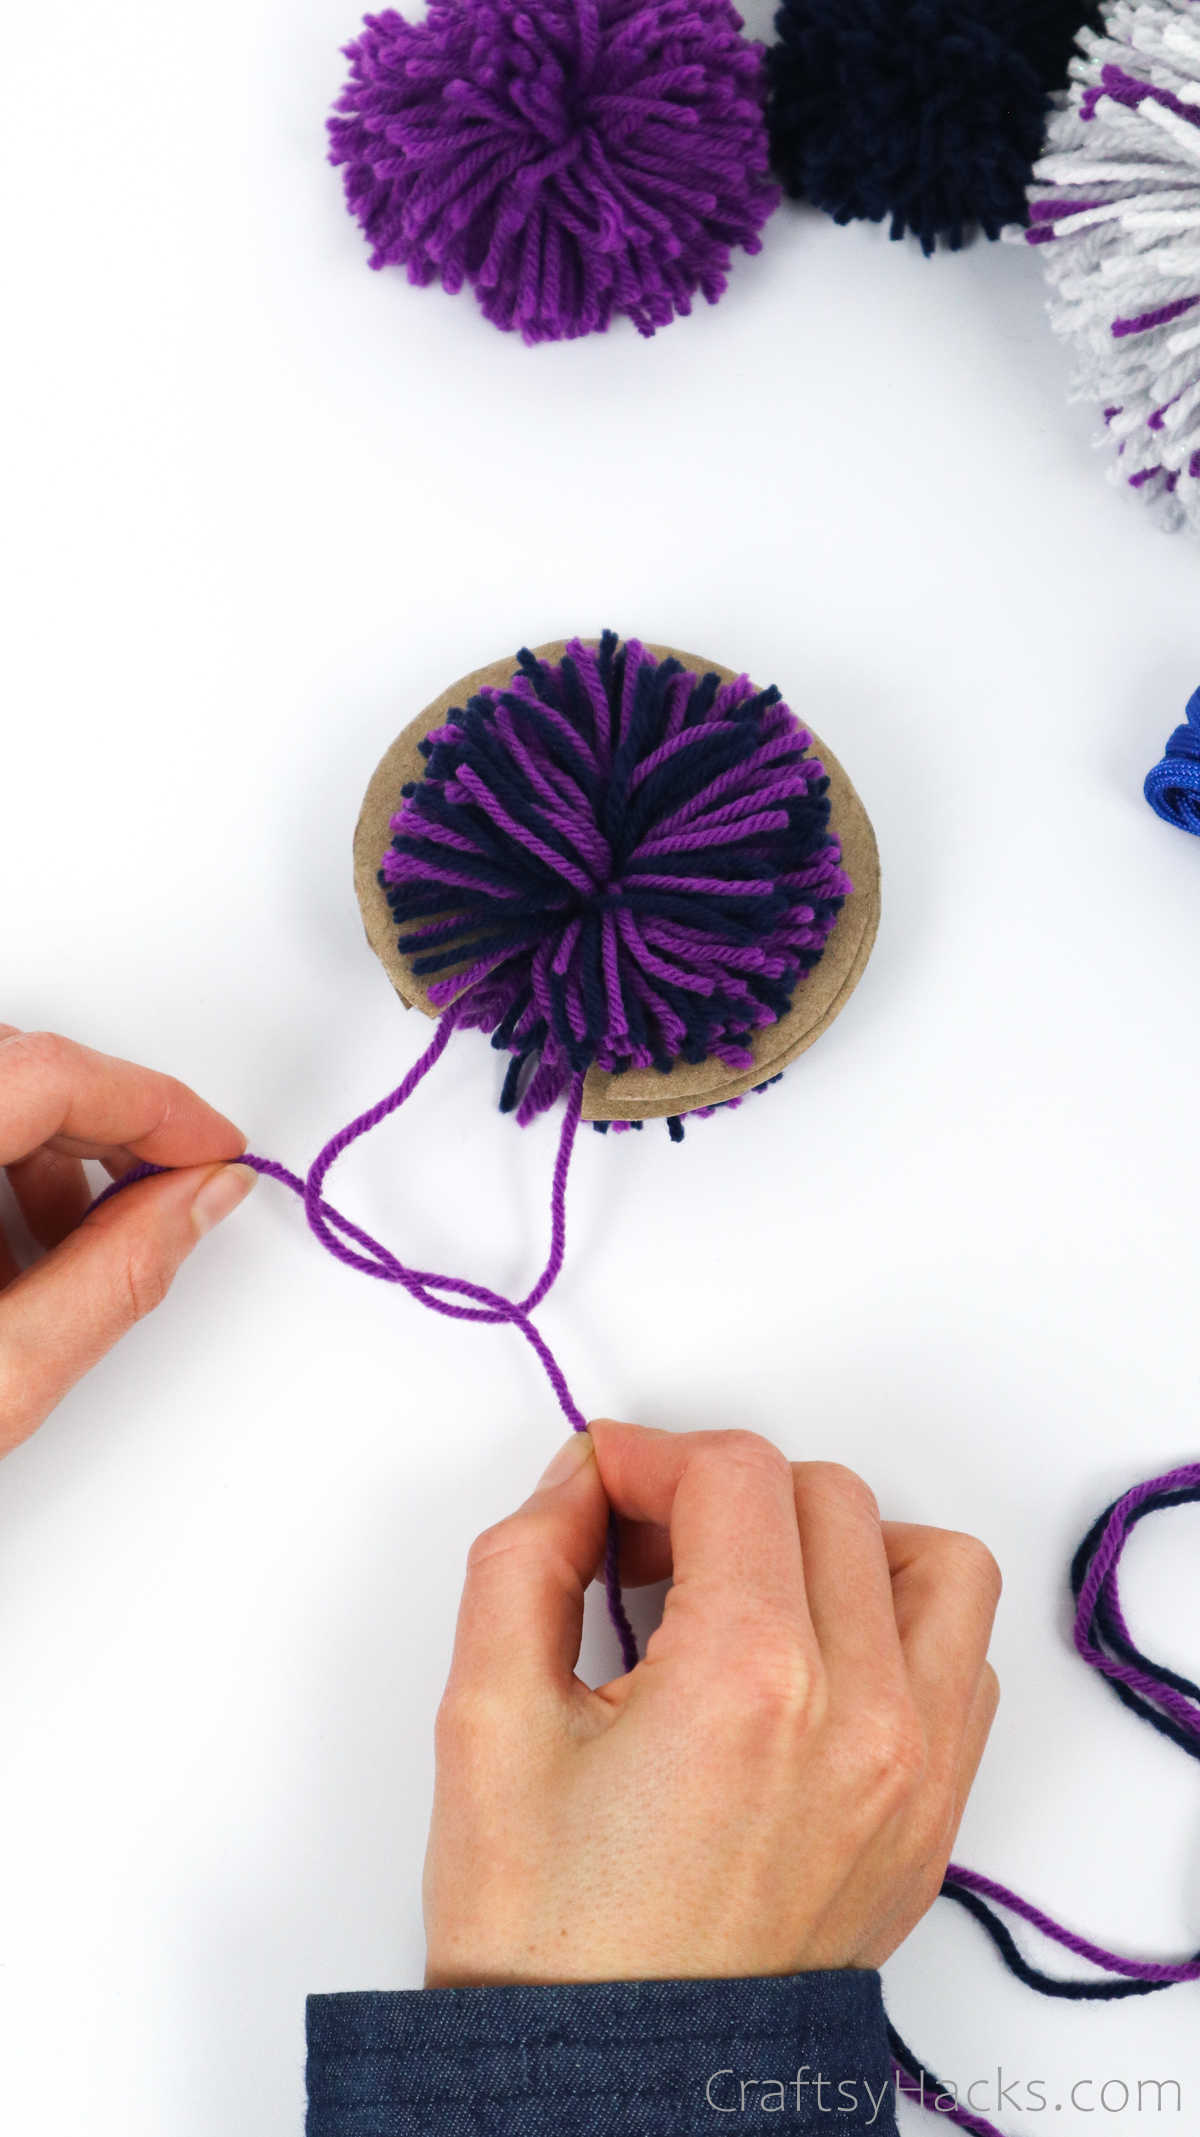
Now, just knot the ends together twice right at the base of the yarn in the disk and tighten it, so it secures it.
Step 8
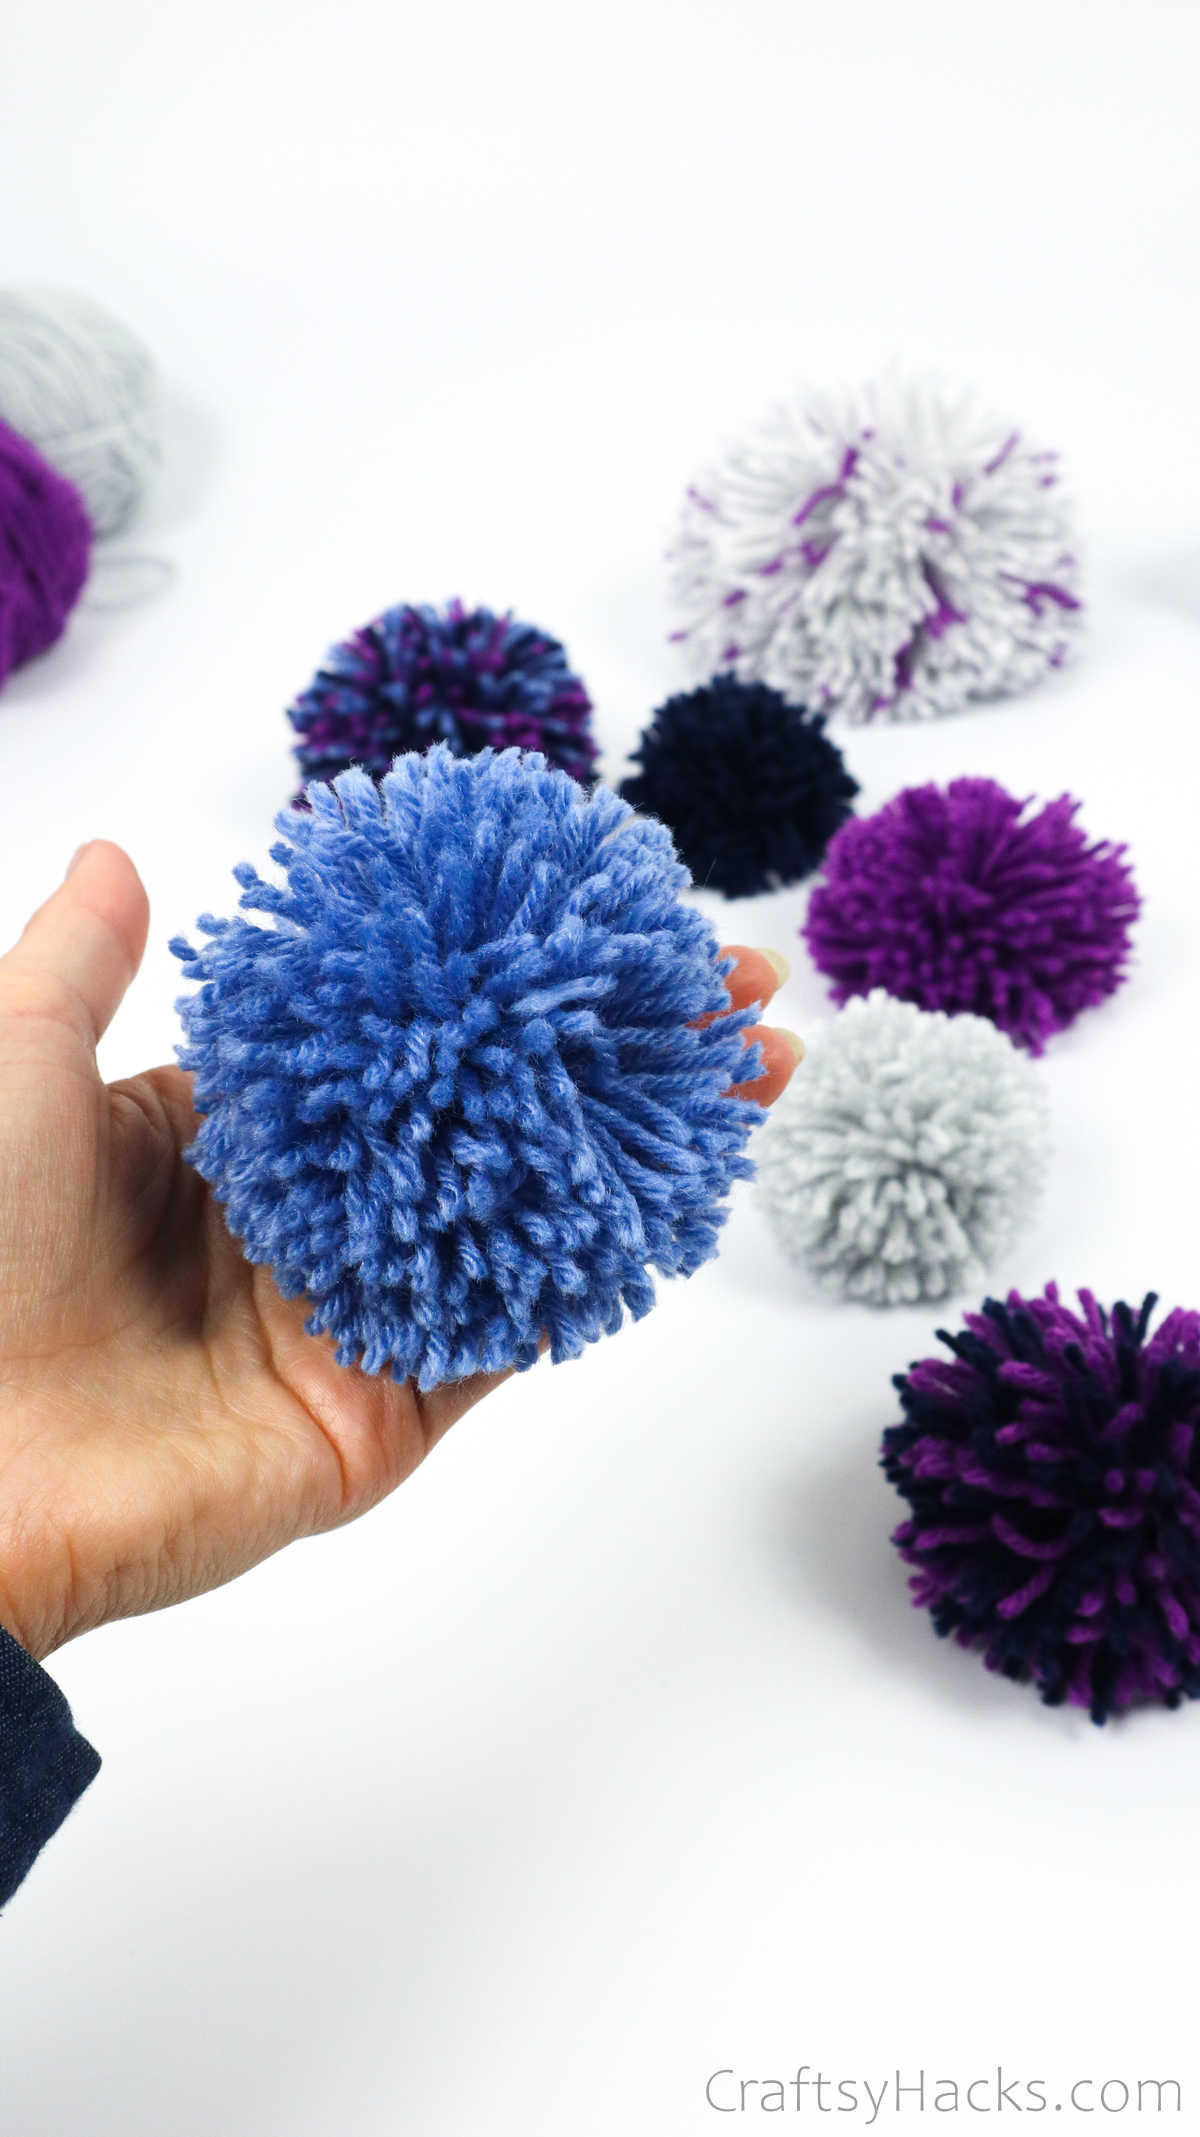
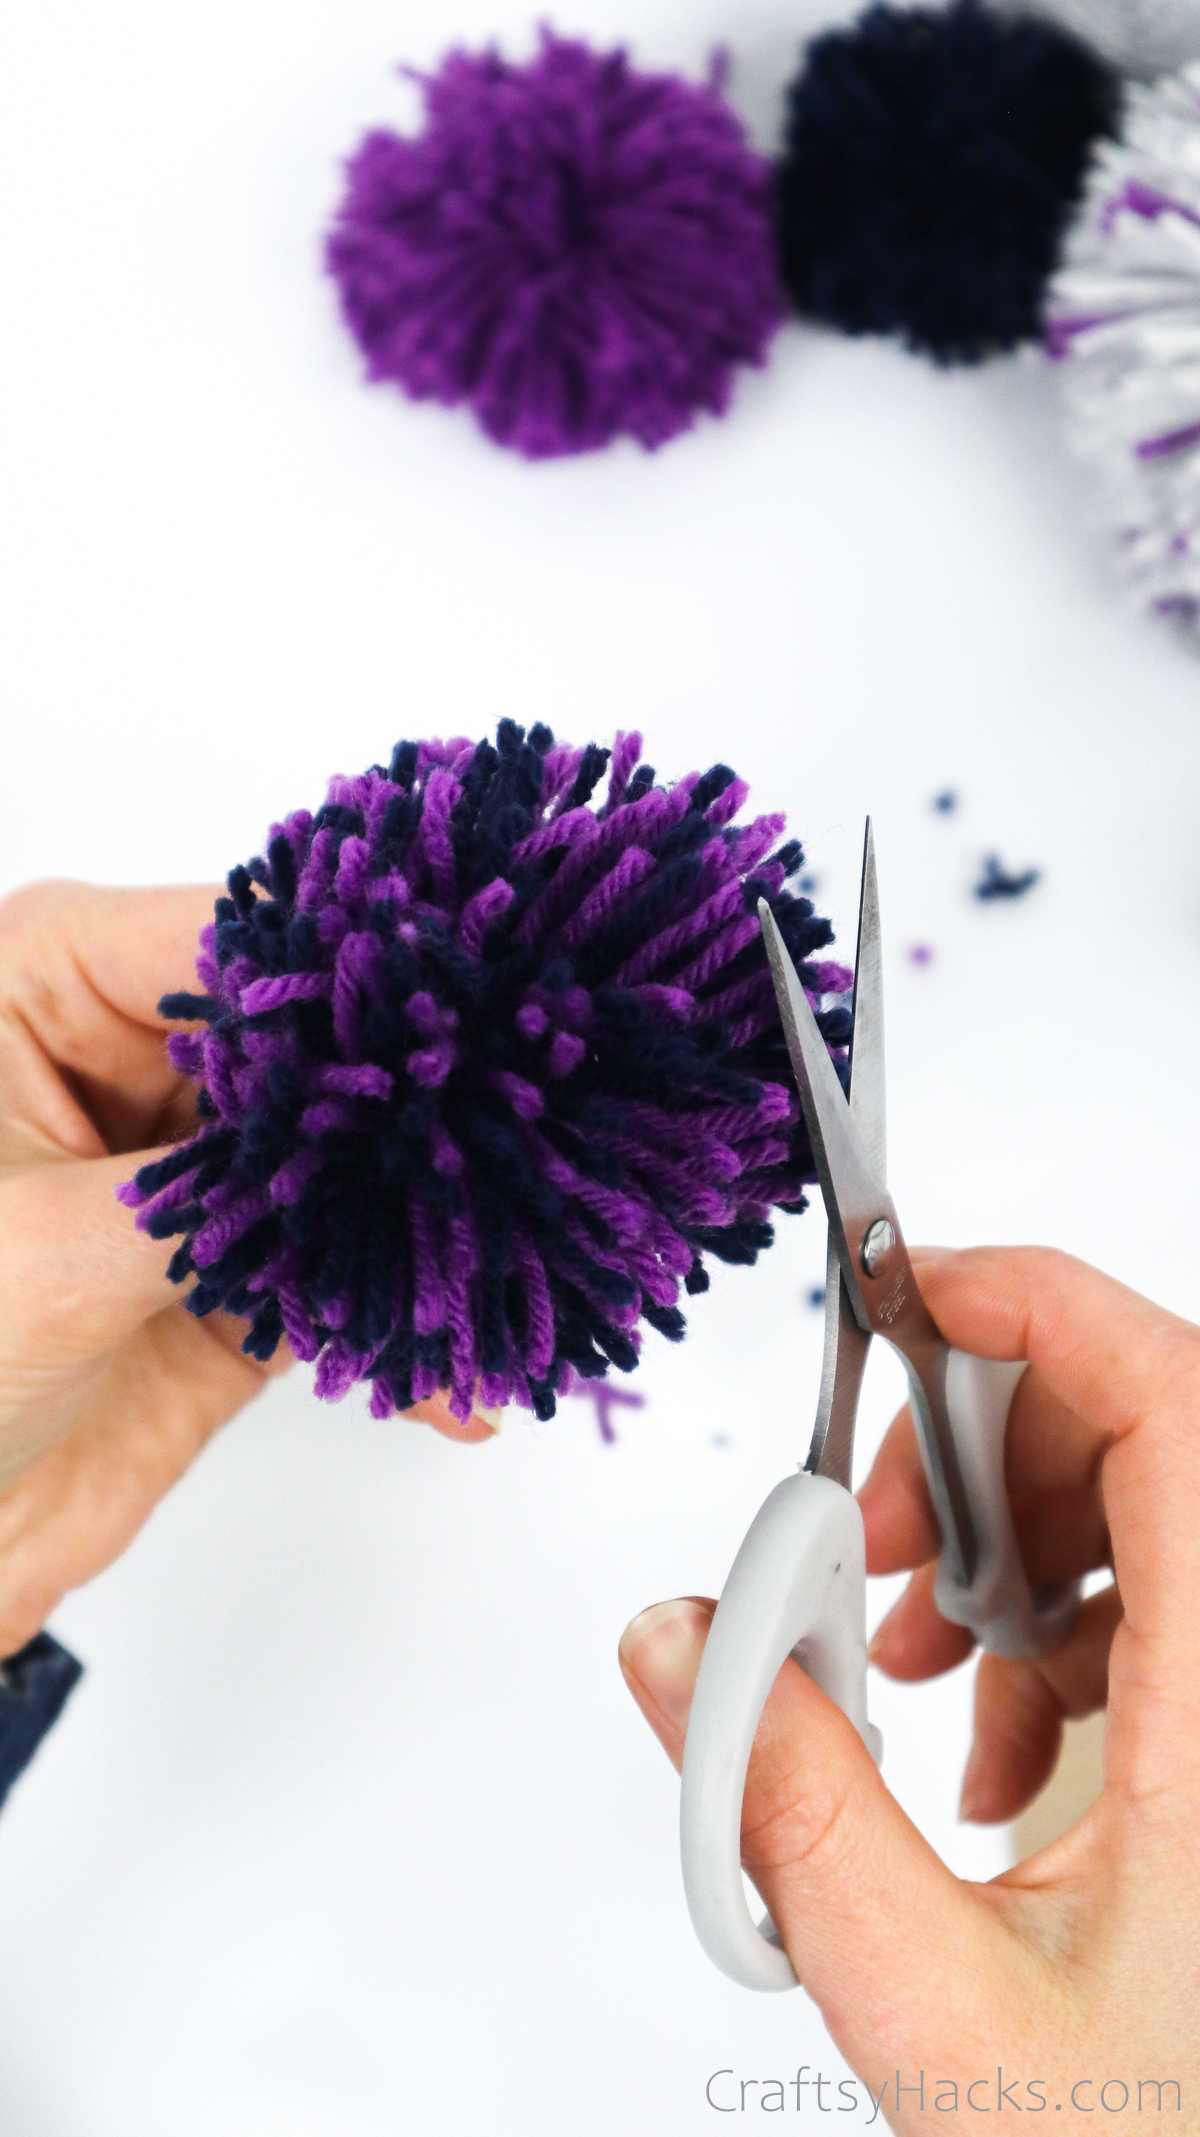
Slide the pom pom out through the entrance. While it already looks pretty amazing, you still need to fluff it out a little and trim out the edges.

Grab a pair of scissors and trim the pom pom evenly. That’s pretty much it, your pom pom is all done!
How Do You Make Yarn Pom Poms Fluffy?
The more yarn you wrap around the disk, the thicker and fluffier your pom poms will turn out. But you don’t have to stop there. You can also run a grooming brush through the strands to fluff it out.
You’ll have a really big and fuzzy pom pom when your brush it out that way!
Where Can You Use These Pom Poms?
Pom poms can be used in a multitude of projects. Here is a list of where you can make use of these pom poms:
- As ornaments to decorate your Christmas tree
- String a few pom poms into a garland and hang it up
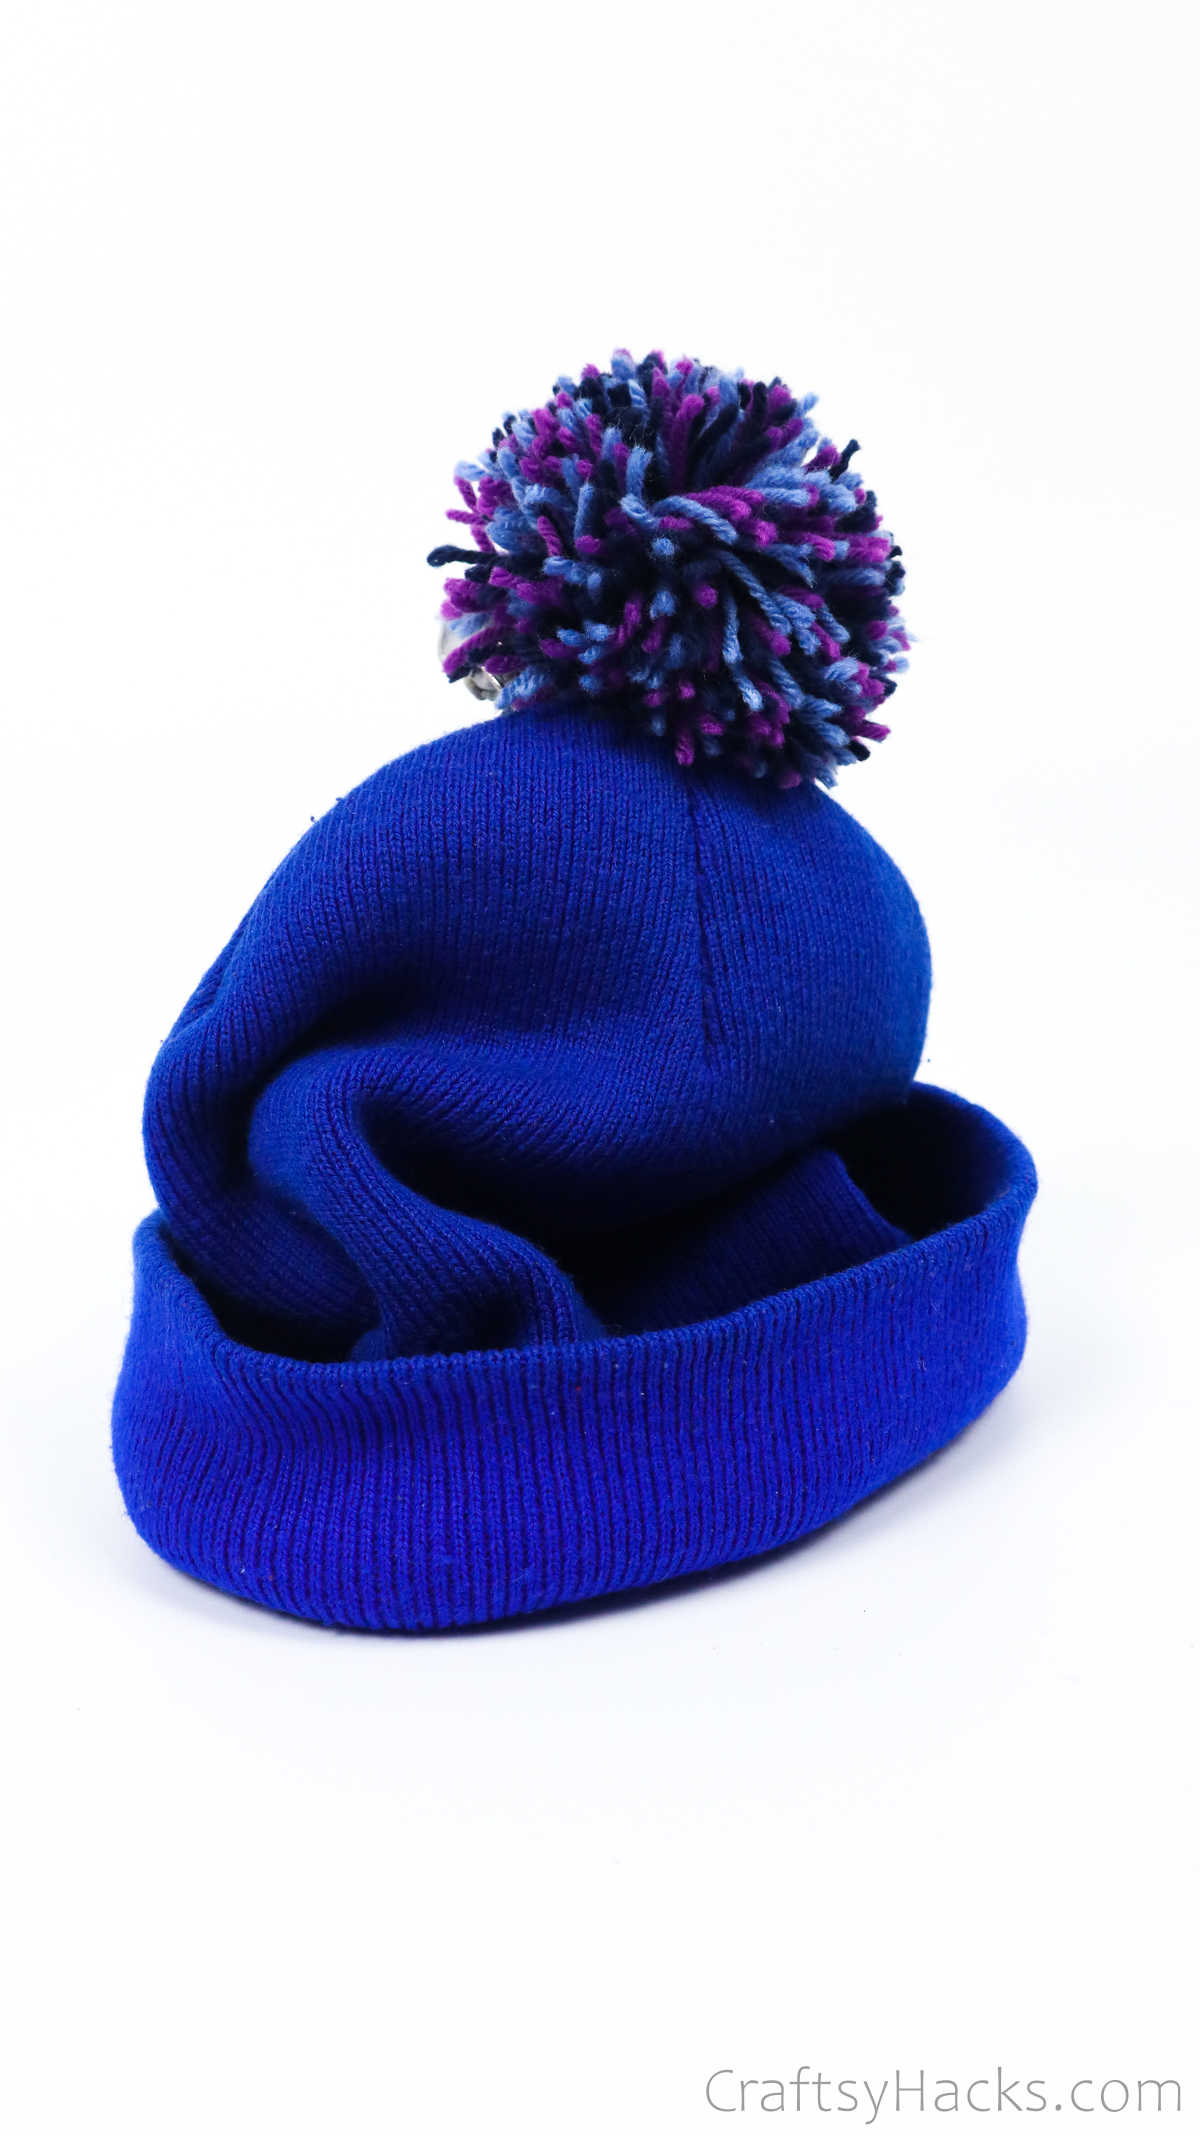
- Atop your hat or beanie
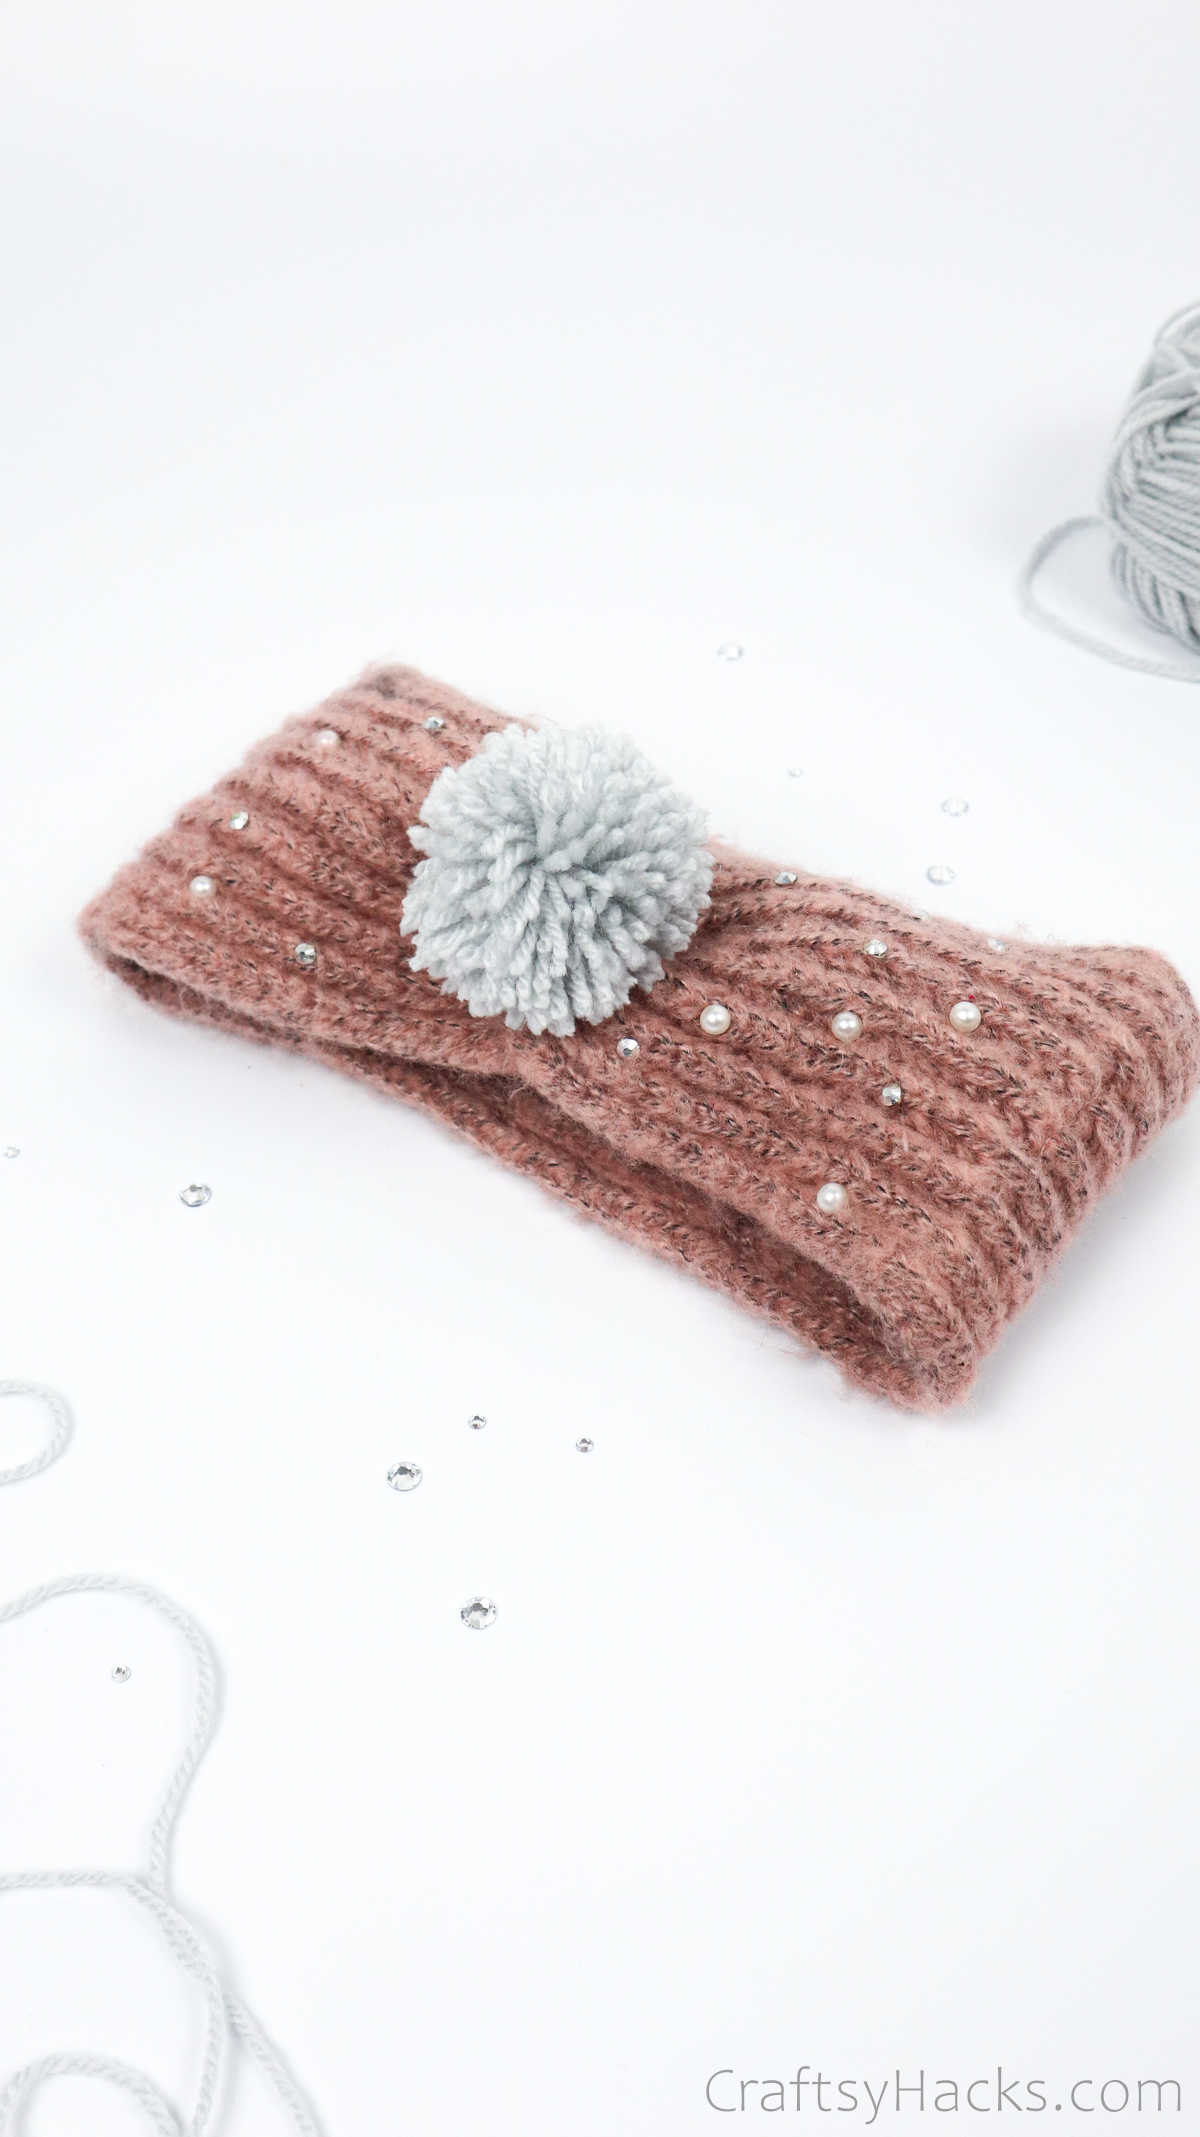
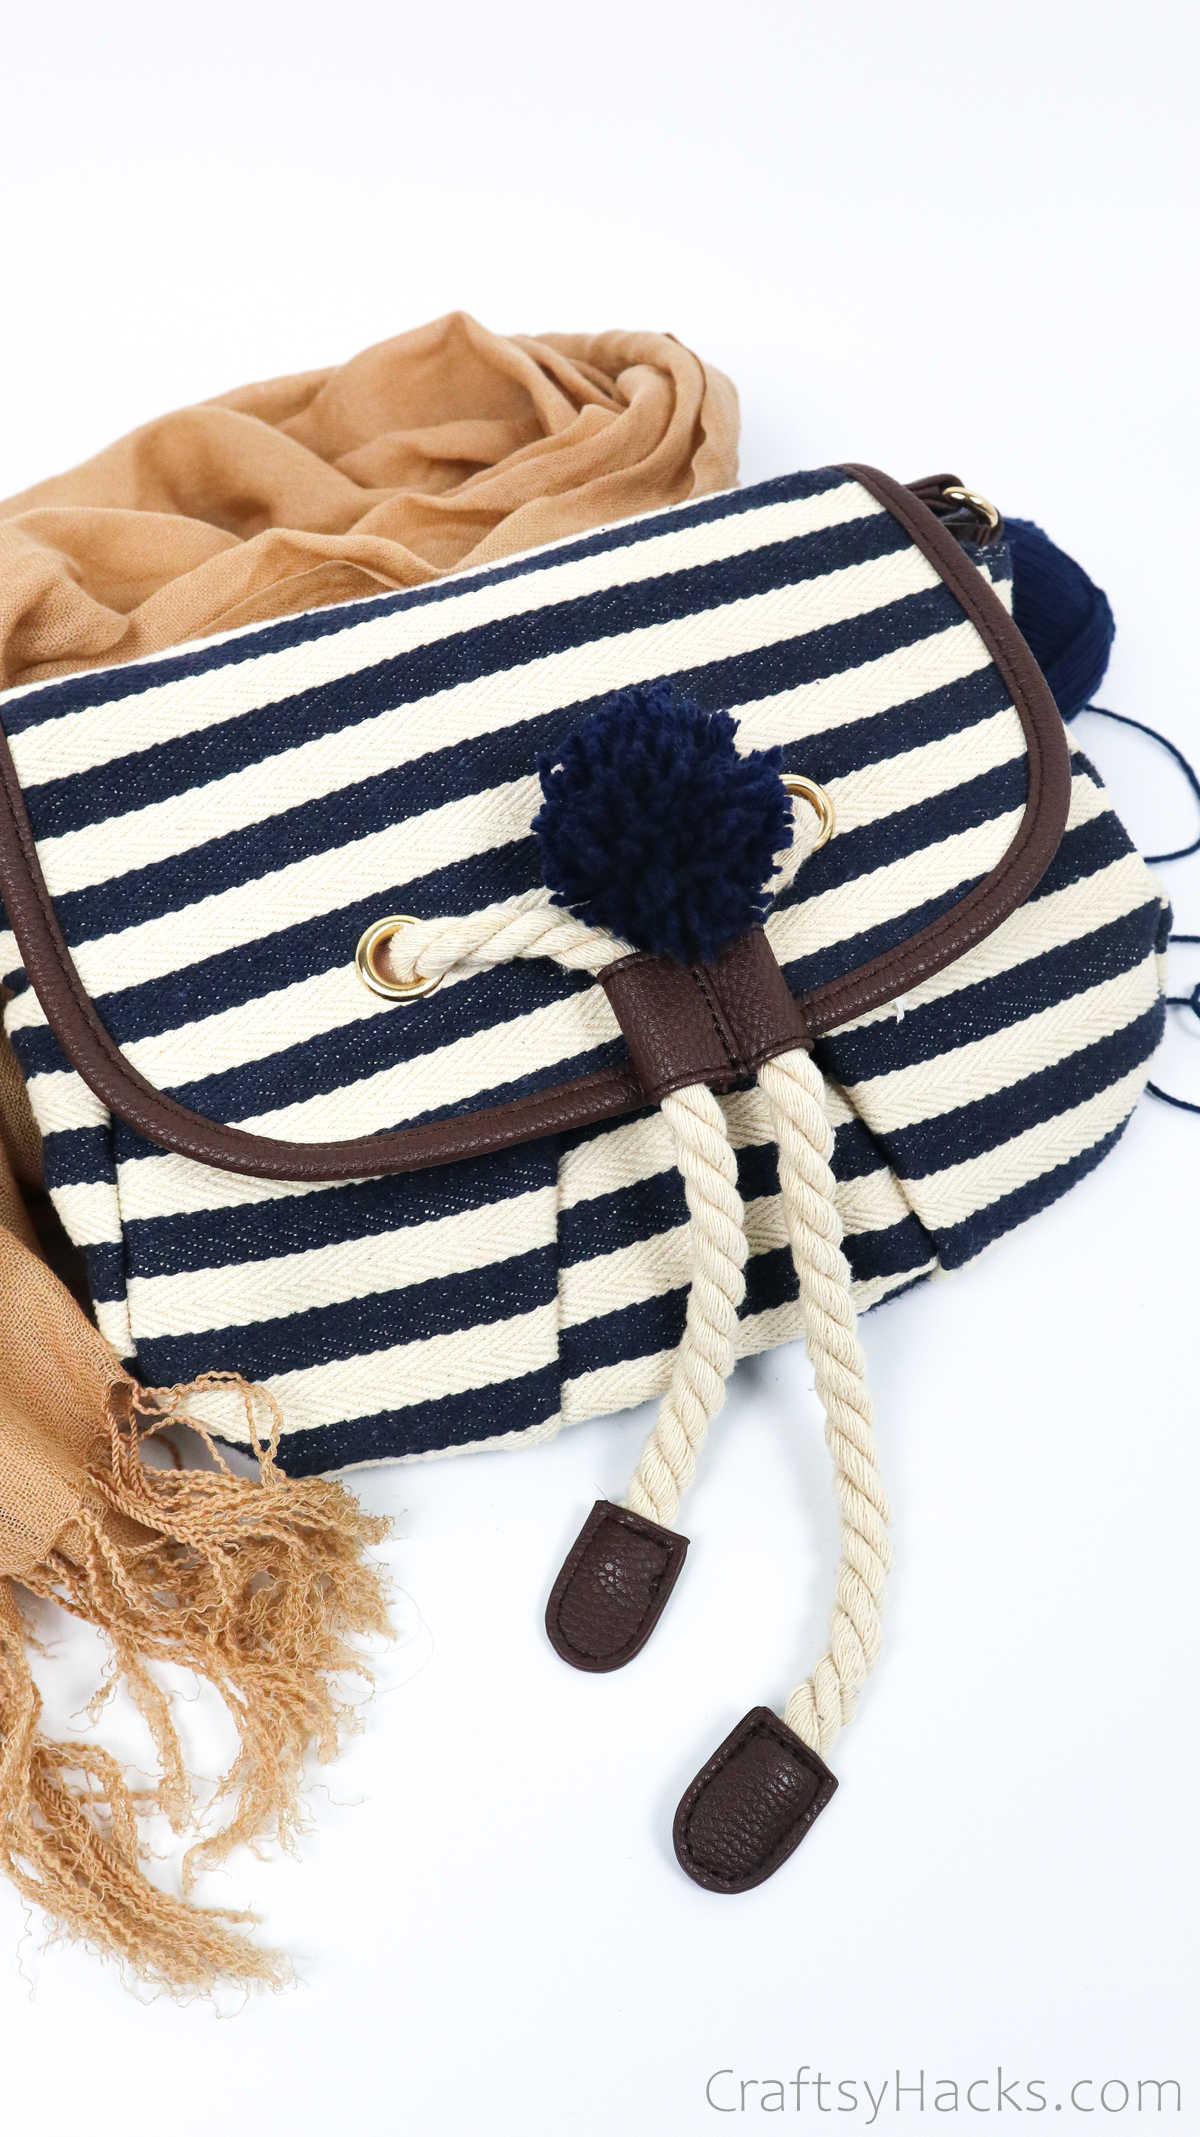
- To accessories bags, scarves, and headbands
- To jazz up gift boxes or goodie bags
- In craft projects to make a pom pom mat or rug
- Pom Pom wreaths and more.
Other Crafts You Might Like
- 47 Easy Sewing Projects
- 41 Hot Glue Gun Crafts
- 41 Cardboard Crafts
- DIY Macrame Keychain
- 47 Upcycling Crafts
- How to Make a Dreamcatcher
- 41 Rock Painting Ideas
- 33 Pine Cone Crafts
- How to Make Paper Flowers

How to Make Yarn Pom Poms
Video Tutorial
Equipment
- Shaker lid (or a glass or a small bowl)
- Pencil
- Scissors
- Coin
Materials
- Piece of cardboard
- Knitting yarn
Instructions
- Gather all your supplies to begin.
- Take a piece of cardboard and use a lid or a glass bowl to trace two circles on the cardboard sheet.
- Place a coin in the center of the one circle and trace the outline of that, as well. Grab a pair of scissors and cut out the two disks.
- Now, make an incision right down the middle of the disc with the inner circle and cut a hole around the inner outline.
- Align the two disks with the donut hole disk on top and draw an outline of the inner circle onto the disk at the bottom.
- Once again, cut a hole around the inner outline of the second disk, as well.
- Next, widen the incision to make an entrance of sorts for both disks.
- Grab a strand of yarn. You can use two strands if you want a two-colored pom pom. Holding both disks together, pull the yarn through the hold in the middle and start wrapping it around the entire disk.
- Work your way along the entire disk and snip off the ends when you’re happy with the thickness of the yarn.
- Next, insert your scissors between the two disks and cut around it, cutting through the yarn in the process. Remember to hold the yarn in place as you cut it or it will fall through the hole.
- Next, cut a bit of yarn, about 8-10 inches long, and pull it between the two disks, bringing it out on either side of the entrance. Now, make two knots to secure the yarn in place.
- Slide the yarn off the disks and trim the edges to even them out. Your yars should look like a round fluffy ball.


