Upcycled Tin Cans
This post may contain affiliate links: full affiliate disclosure.
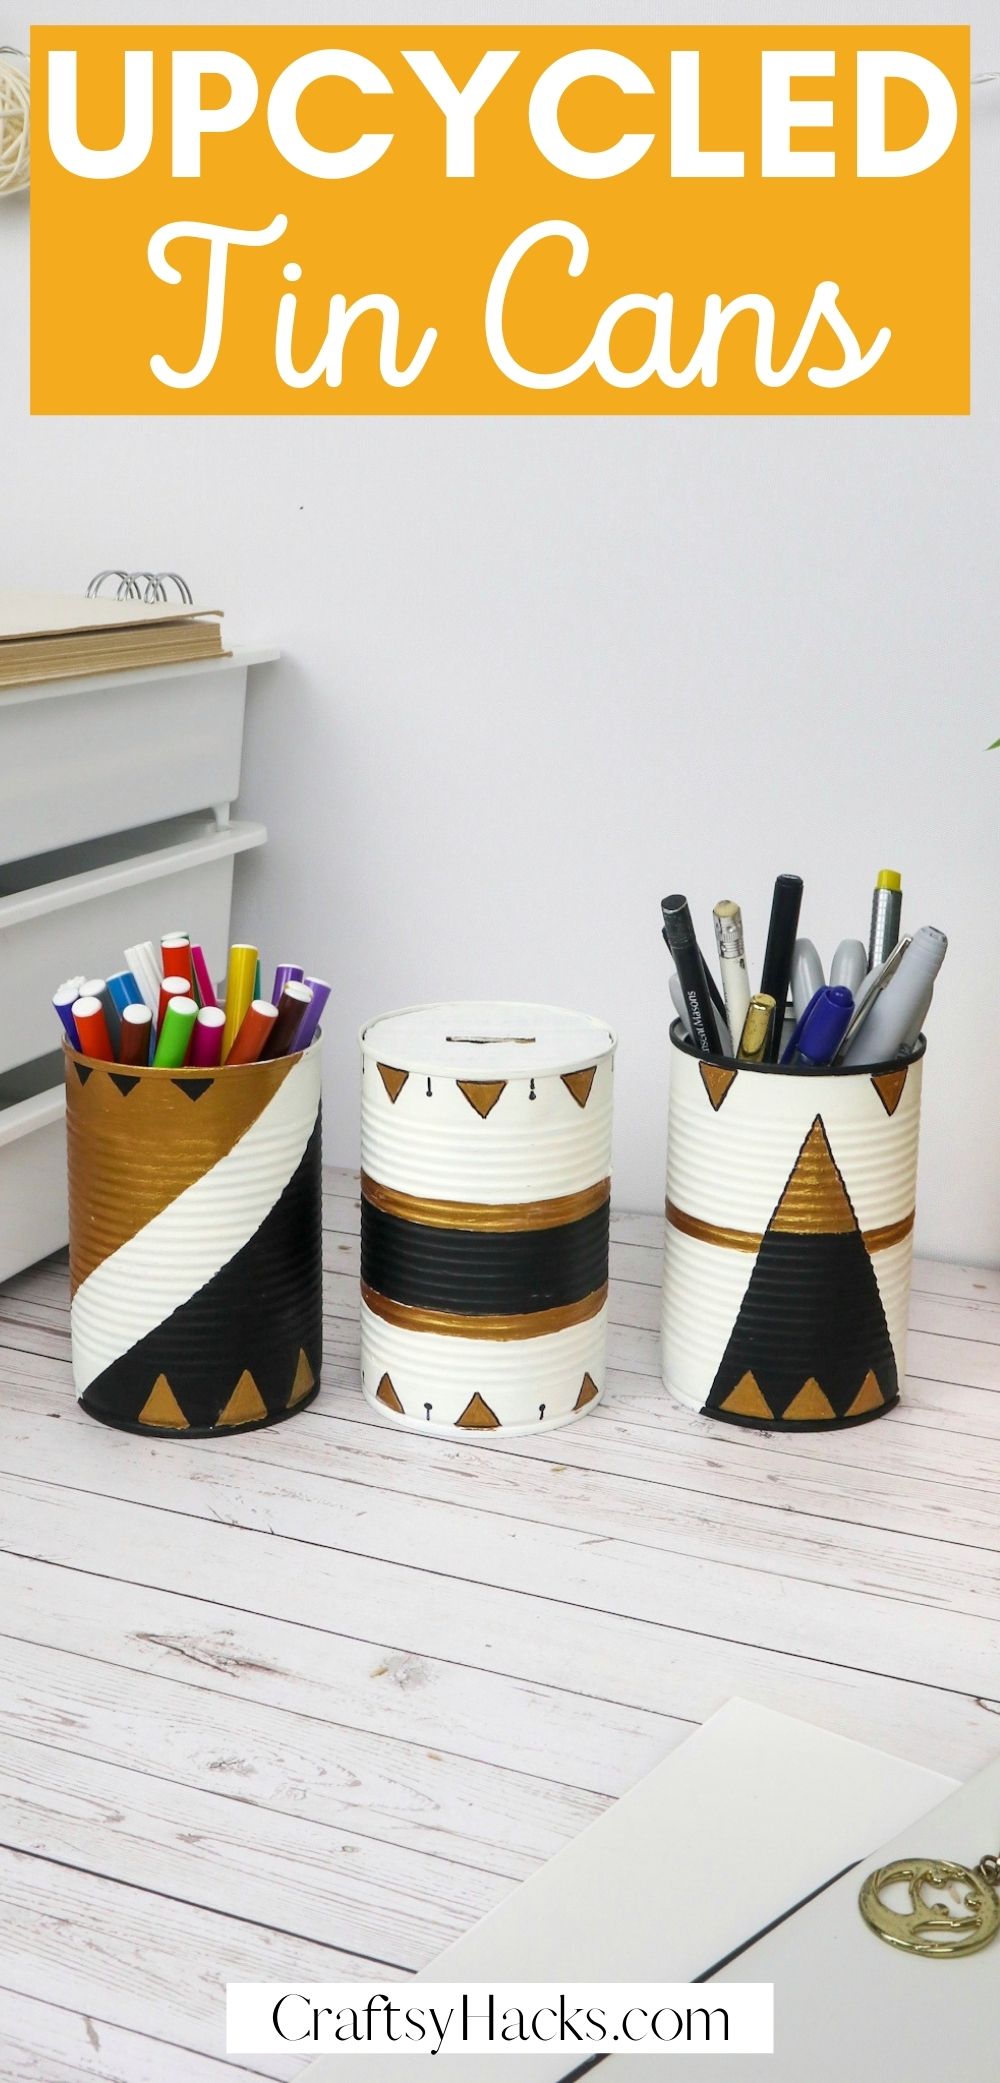
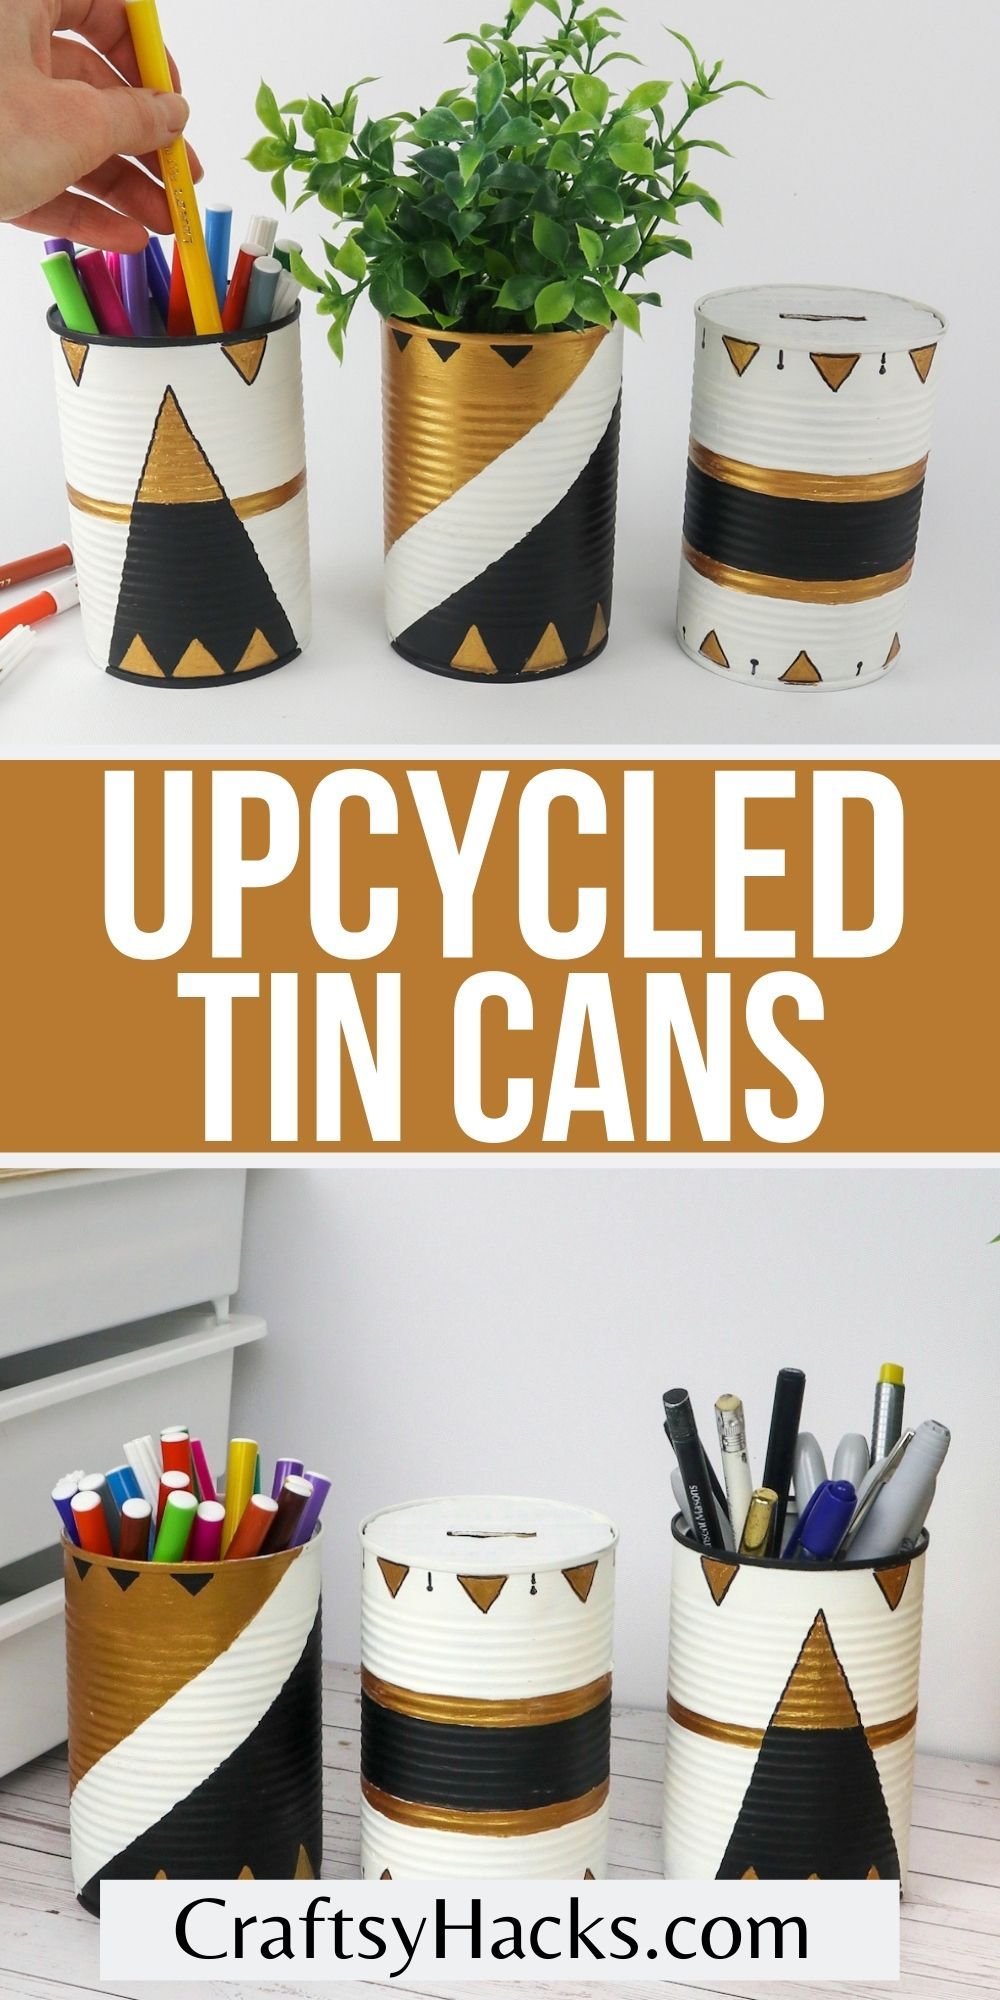
In need of an easy upcycled craft, you can use for storage? Make these upcycled tin cans for your desk!
I don’t know about you, but office supplies like pencil holders are super expensive. Unless you pick them up at a Dollar Store, you’ll probably have to shell out a pretty penny.
So here’s the perfect DIY project for you: an upcycled tin can that is perfect for holding all your stationery and office supplies.
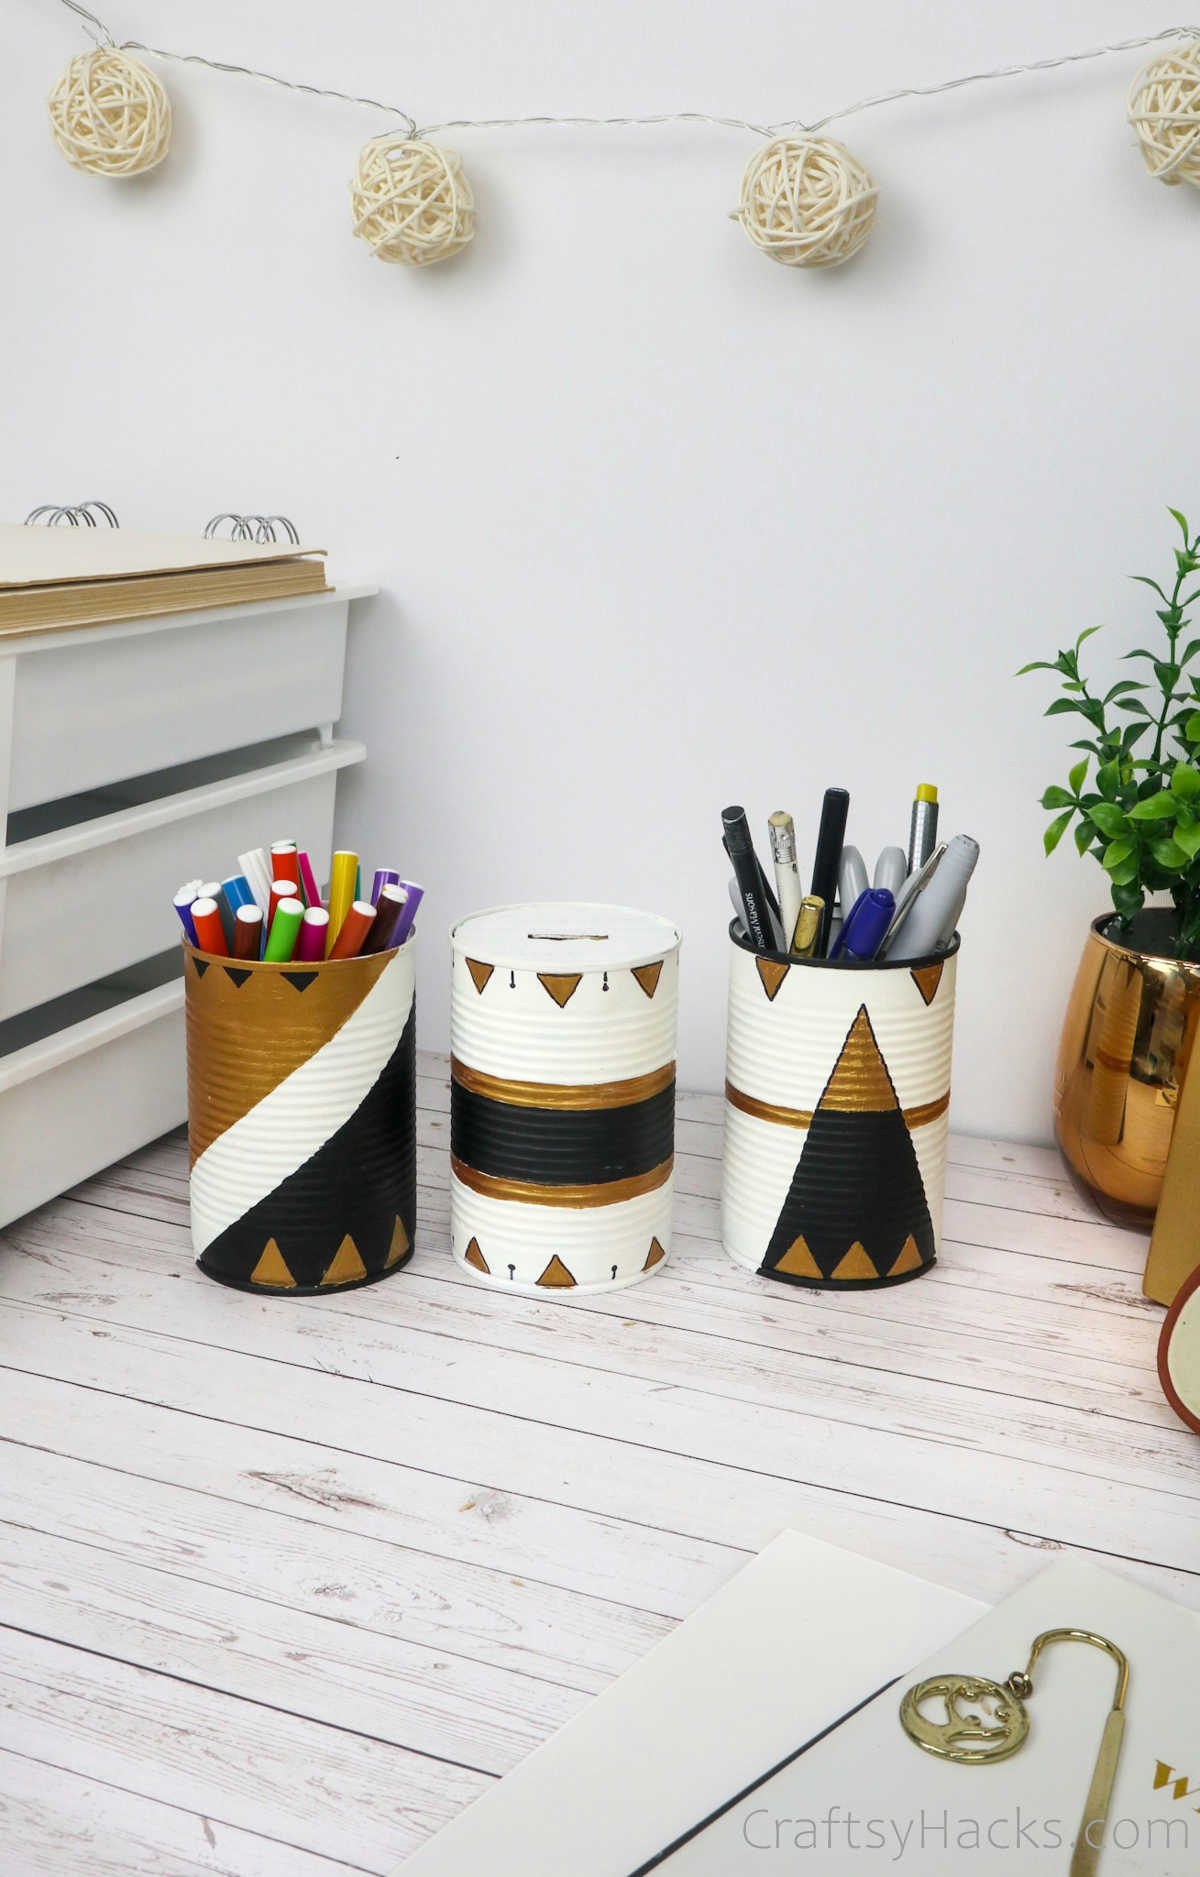
With your basic crafting essentials, your choice of paint, and embellishments, you can turn a plain old tin can into these gorgeous pencil holders. Just think how pretty they’d look sitting on your desk.
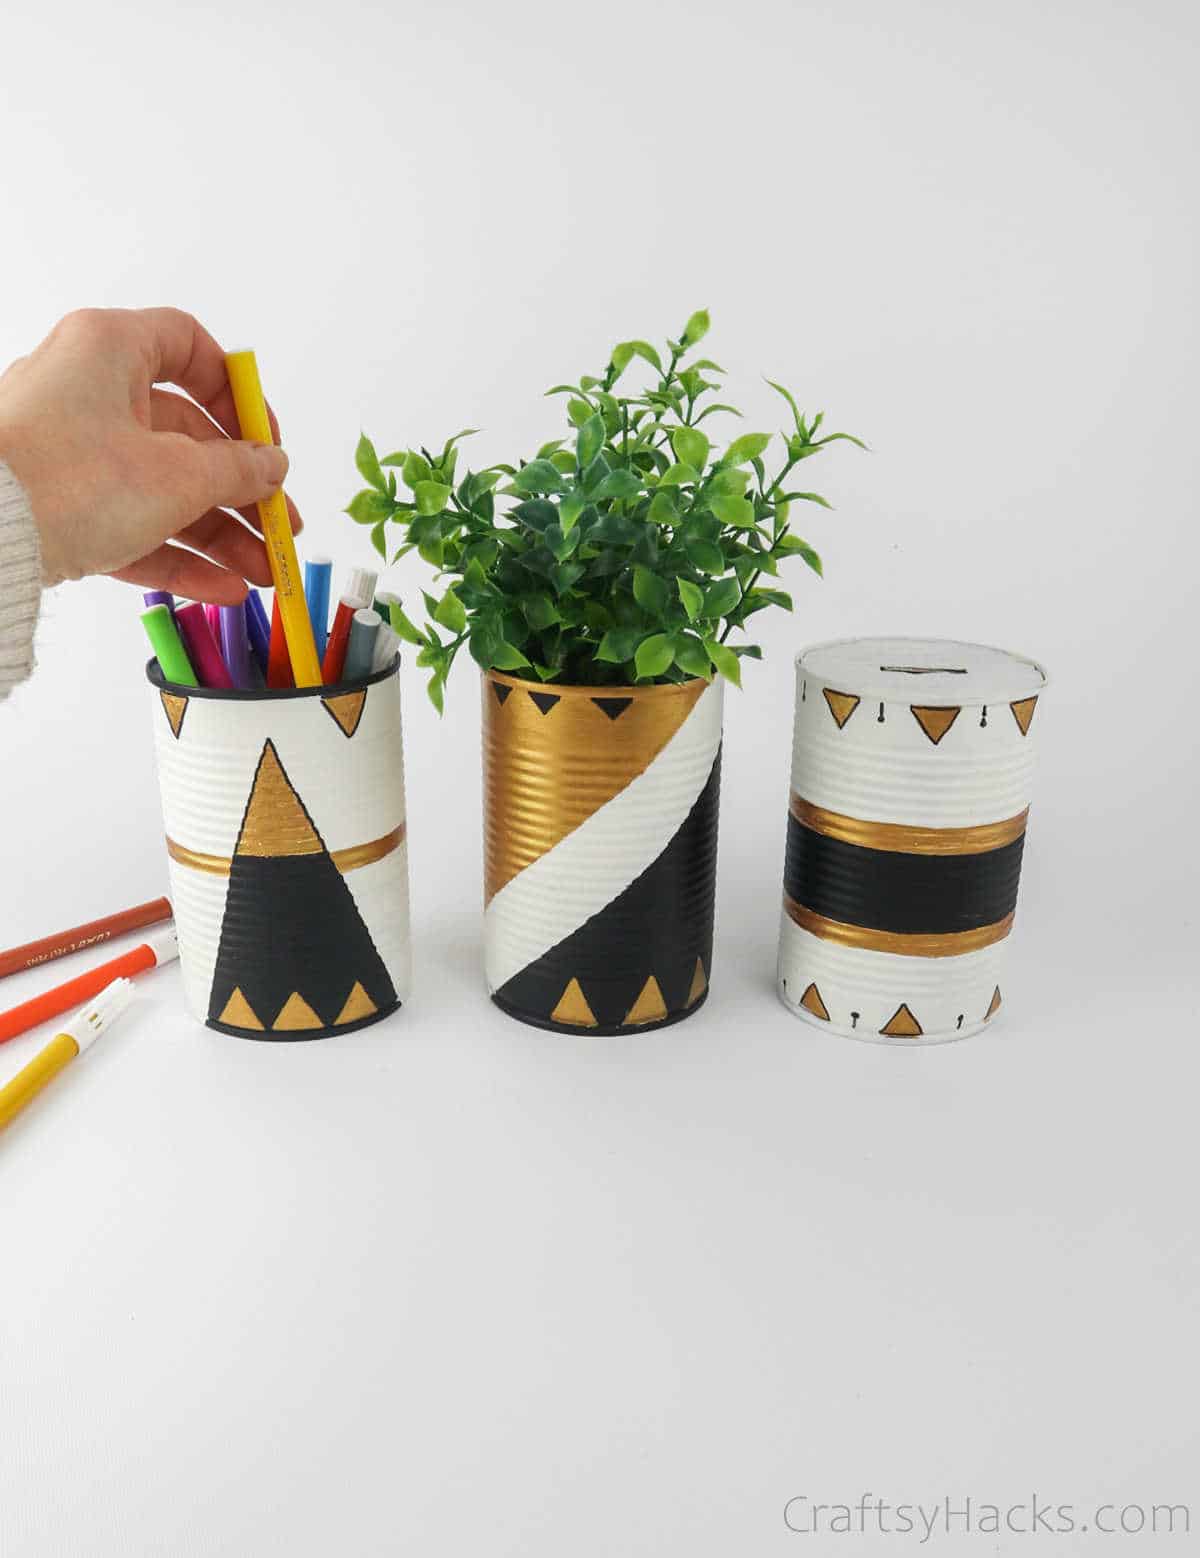
You can customize them however you like, too. While you’re at it, you can even use these holders as tiny desktop planters!
Before we get to how you can go about making these snazzy, upcycled tin cans, first take a look at all the supplies you’ll need for this DIY project.
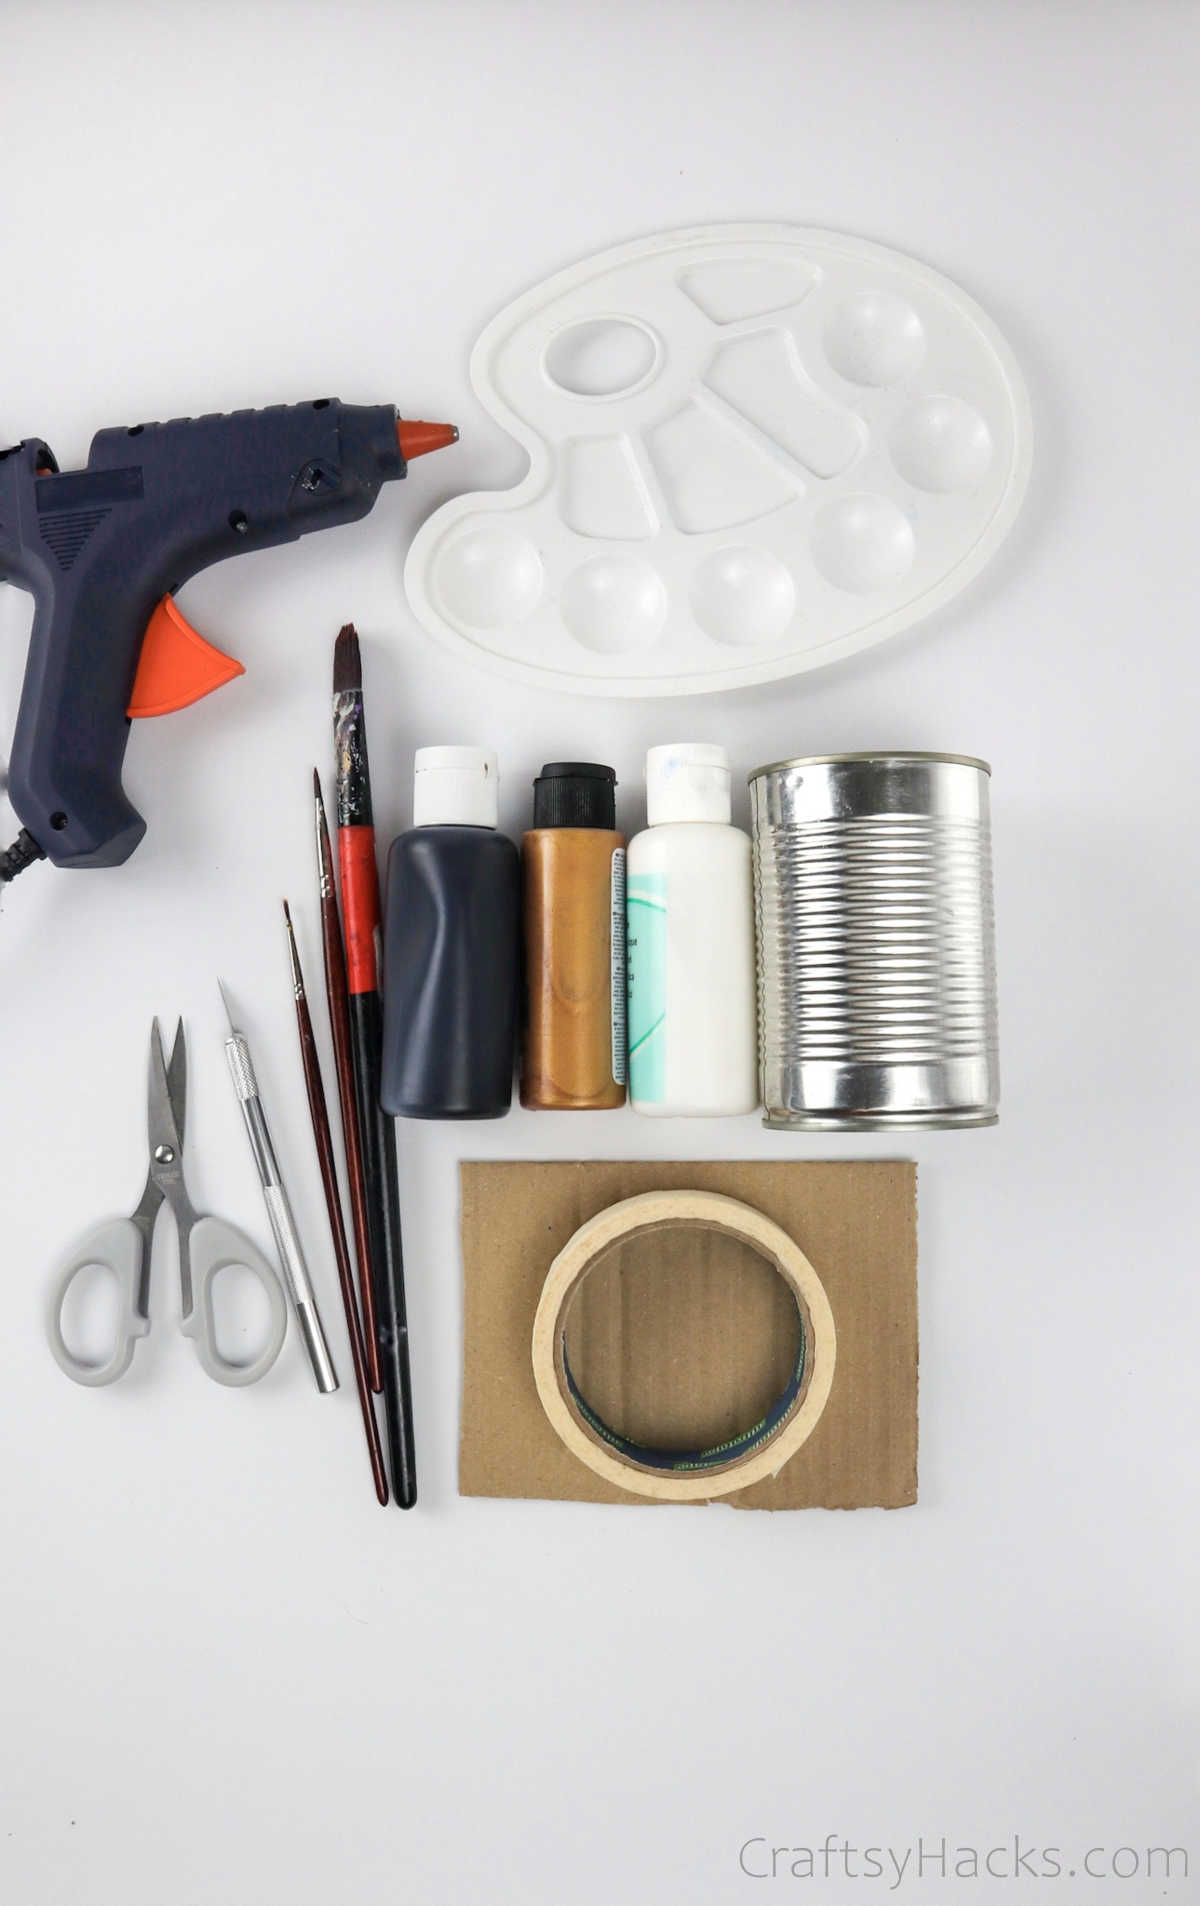
Supplies You’ll Need
- Tins
- Acrylic paint
- Paint palette (or a jar lid)
- Masking tape
- Paintbrushes
- Scissors
- Glue gun (optional)
- Piece of cardboard (optional)
- Hobby knife
Go on ahead and gather all your supplies. Once you have them assembled, lay out some newspapers too, just in case it gets messy!
How to Upcycle Tin Cans
Let’s start with the full step-by-step tutorial!
Step 1
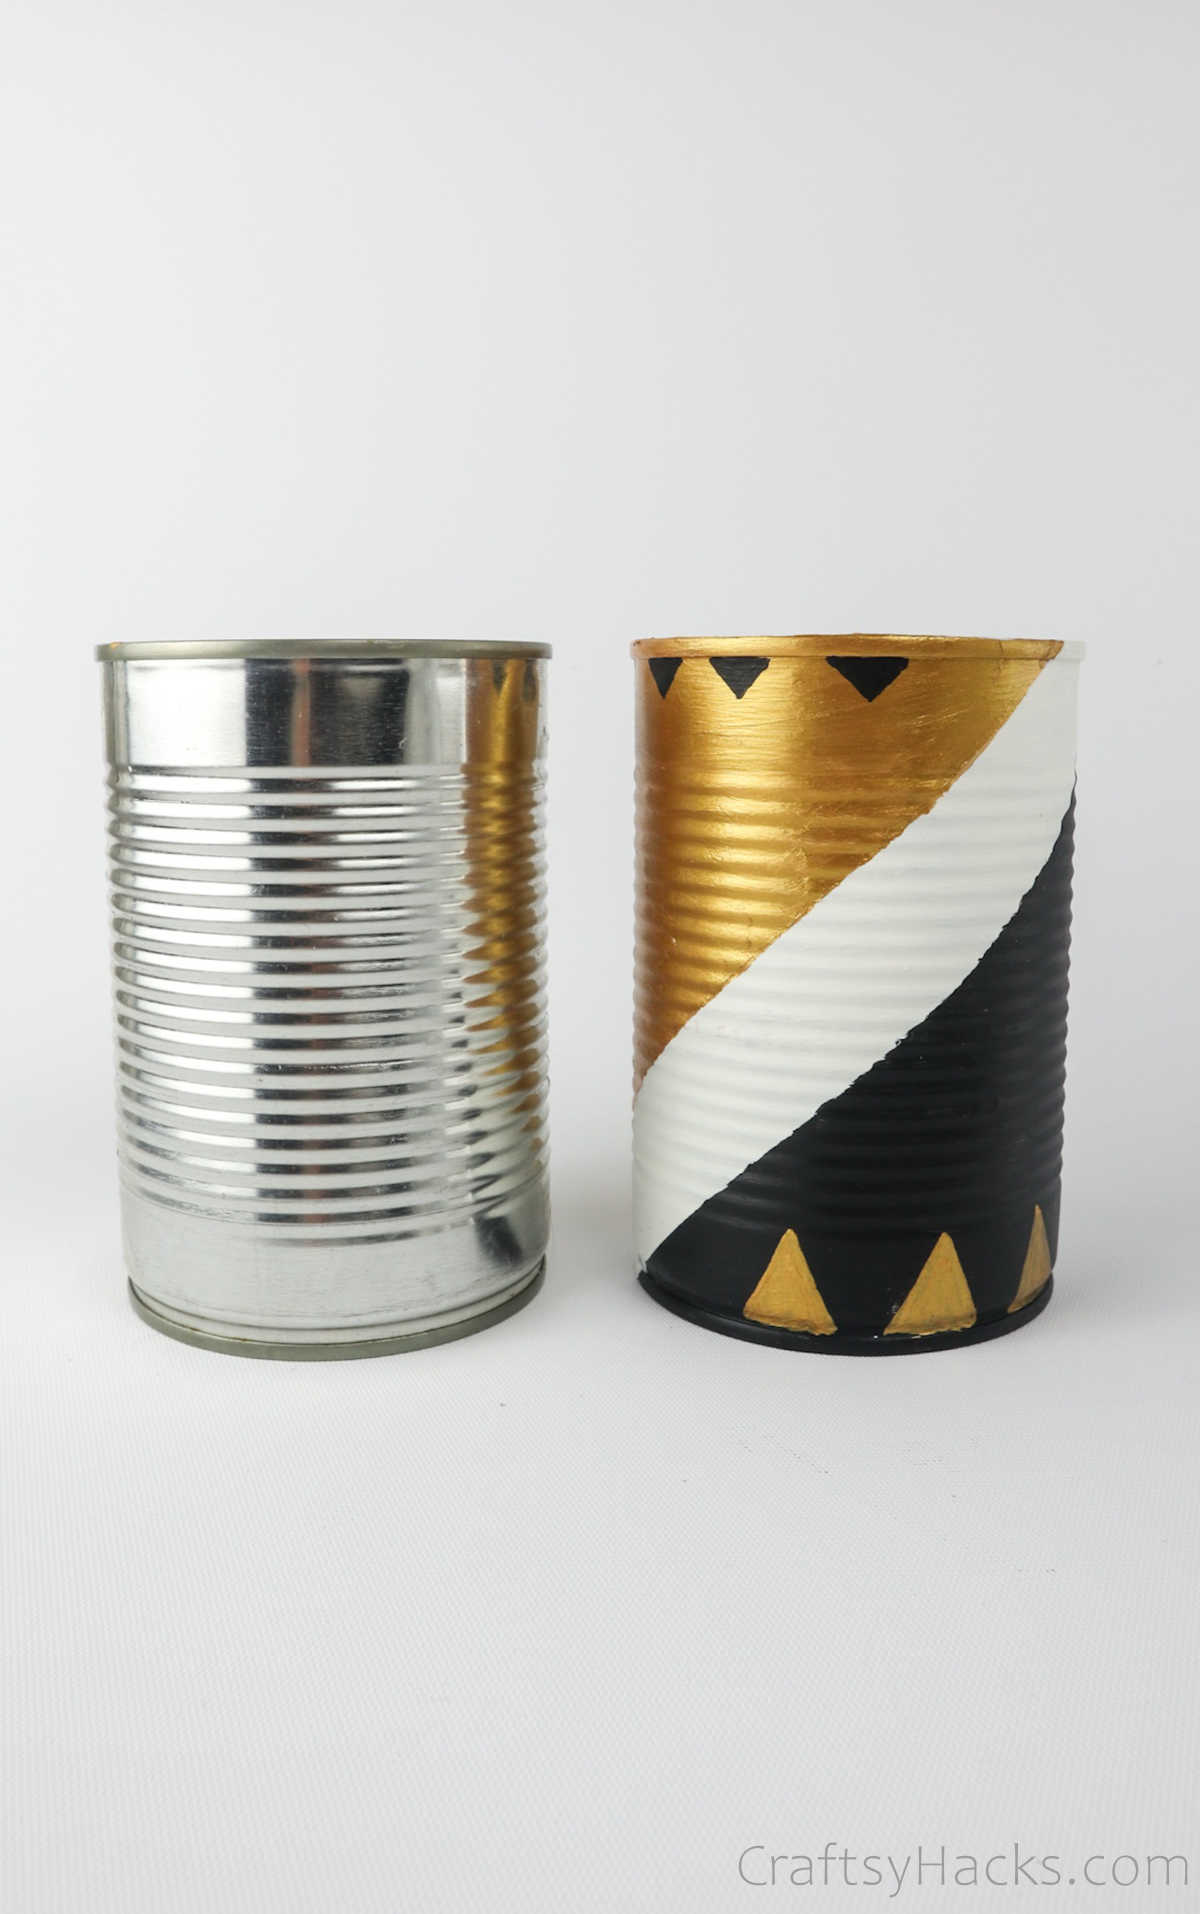
Have you laid out a few newspapers? Good, they’ll help you catch any paint spills during this step of the process. Grab your paintbrush, because it’s time to paint your tin cans!
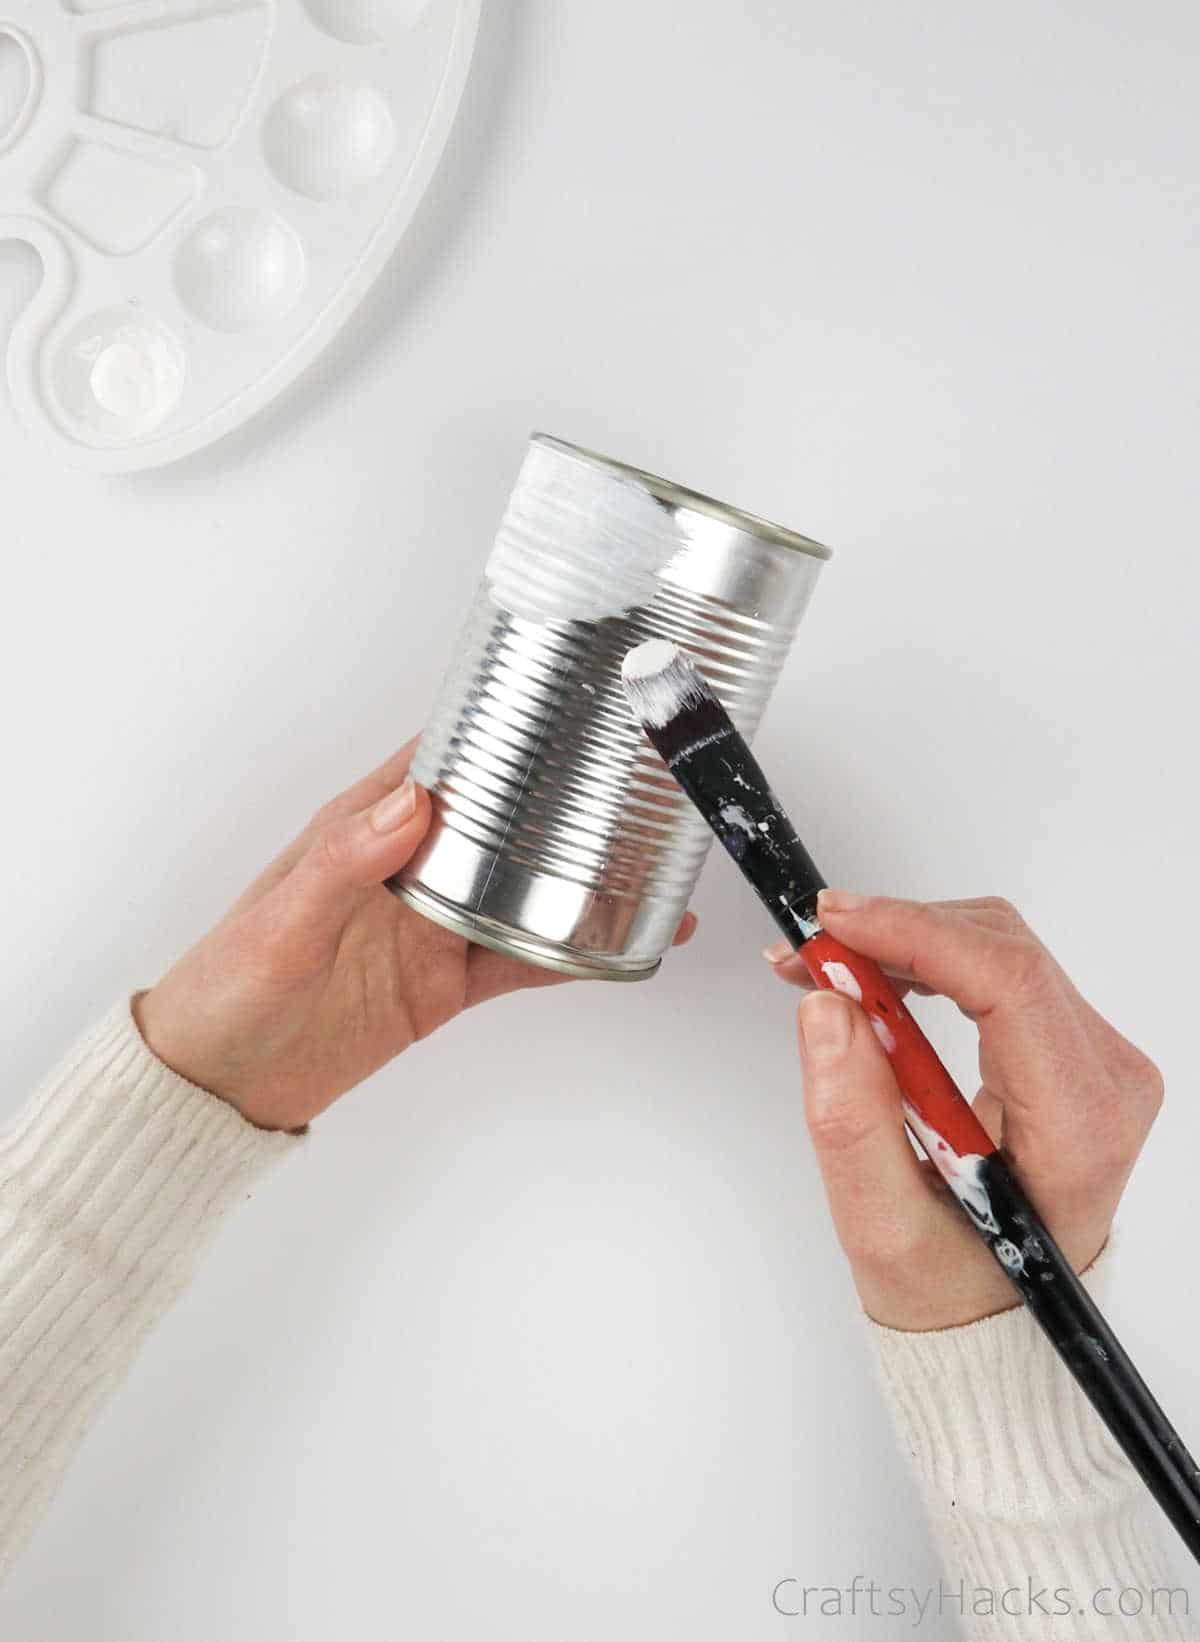
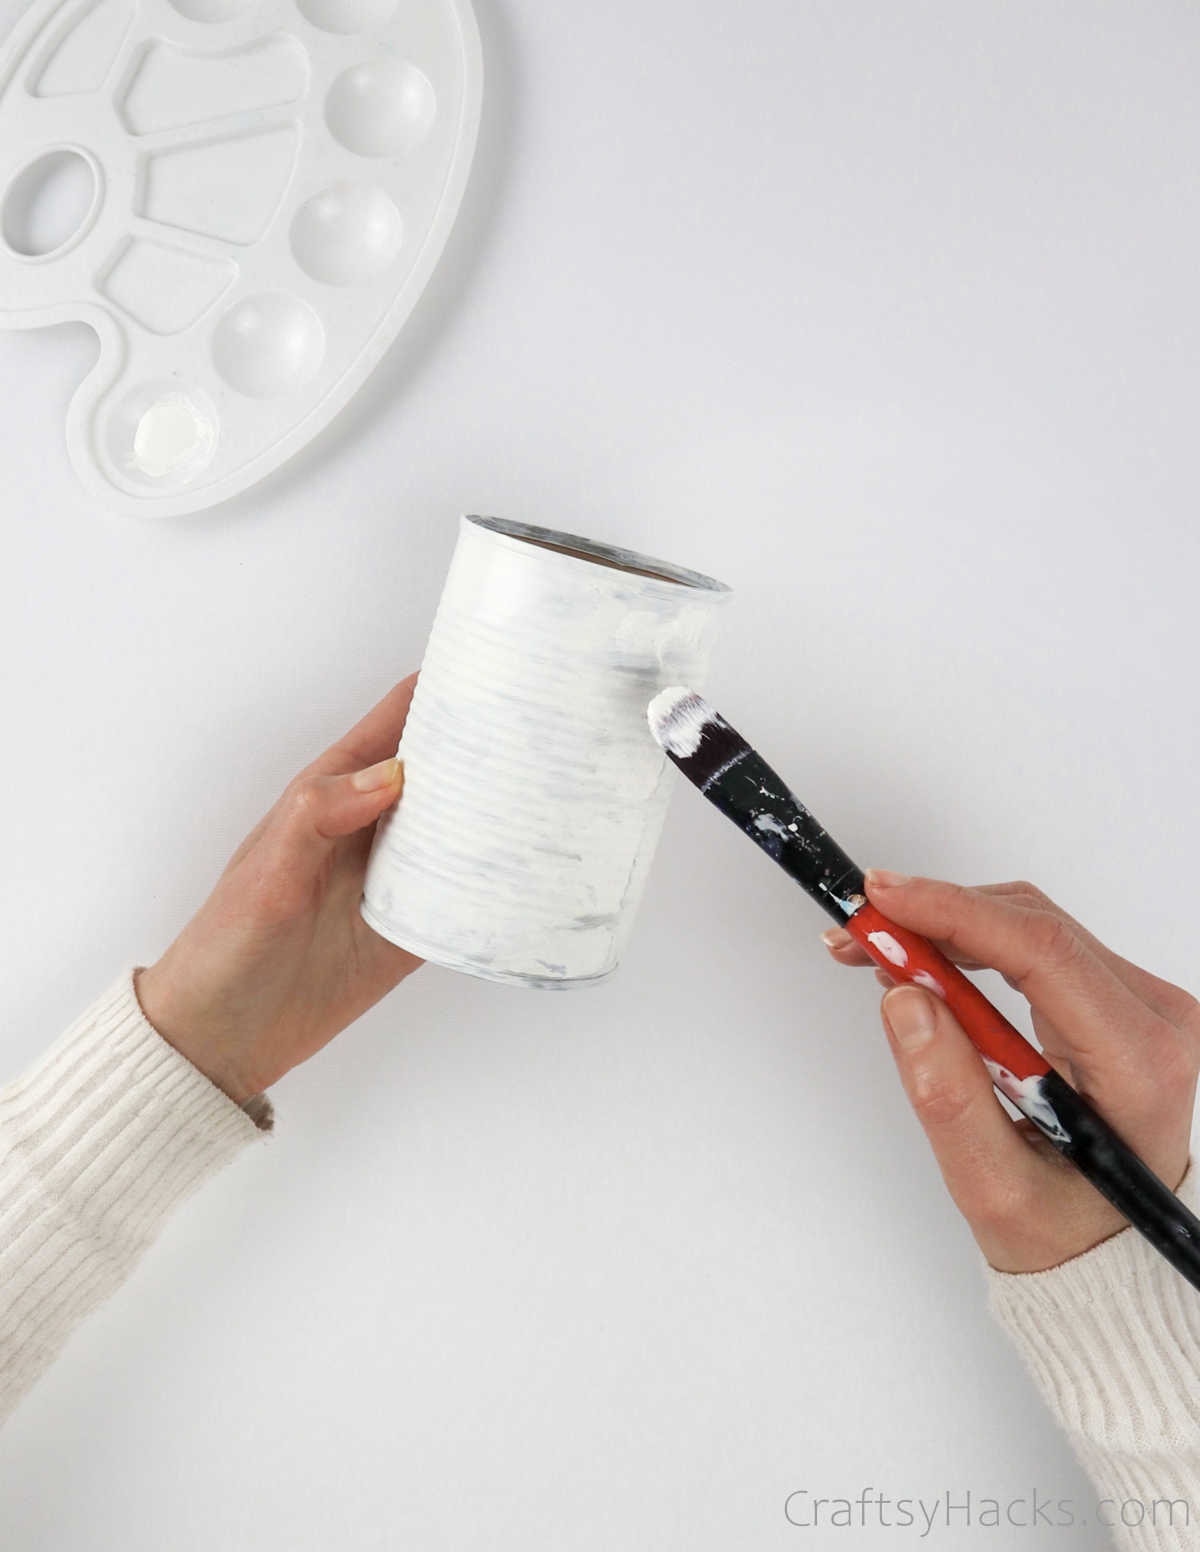
Coat the entire tin with a base layer of white paint. You can use acrylic paint, of course, or any kind that you can use on a metal surface, like tin.
Wait for the paint to dry completely before you give the can another layer or two of paint for better coverage.
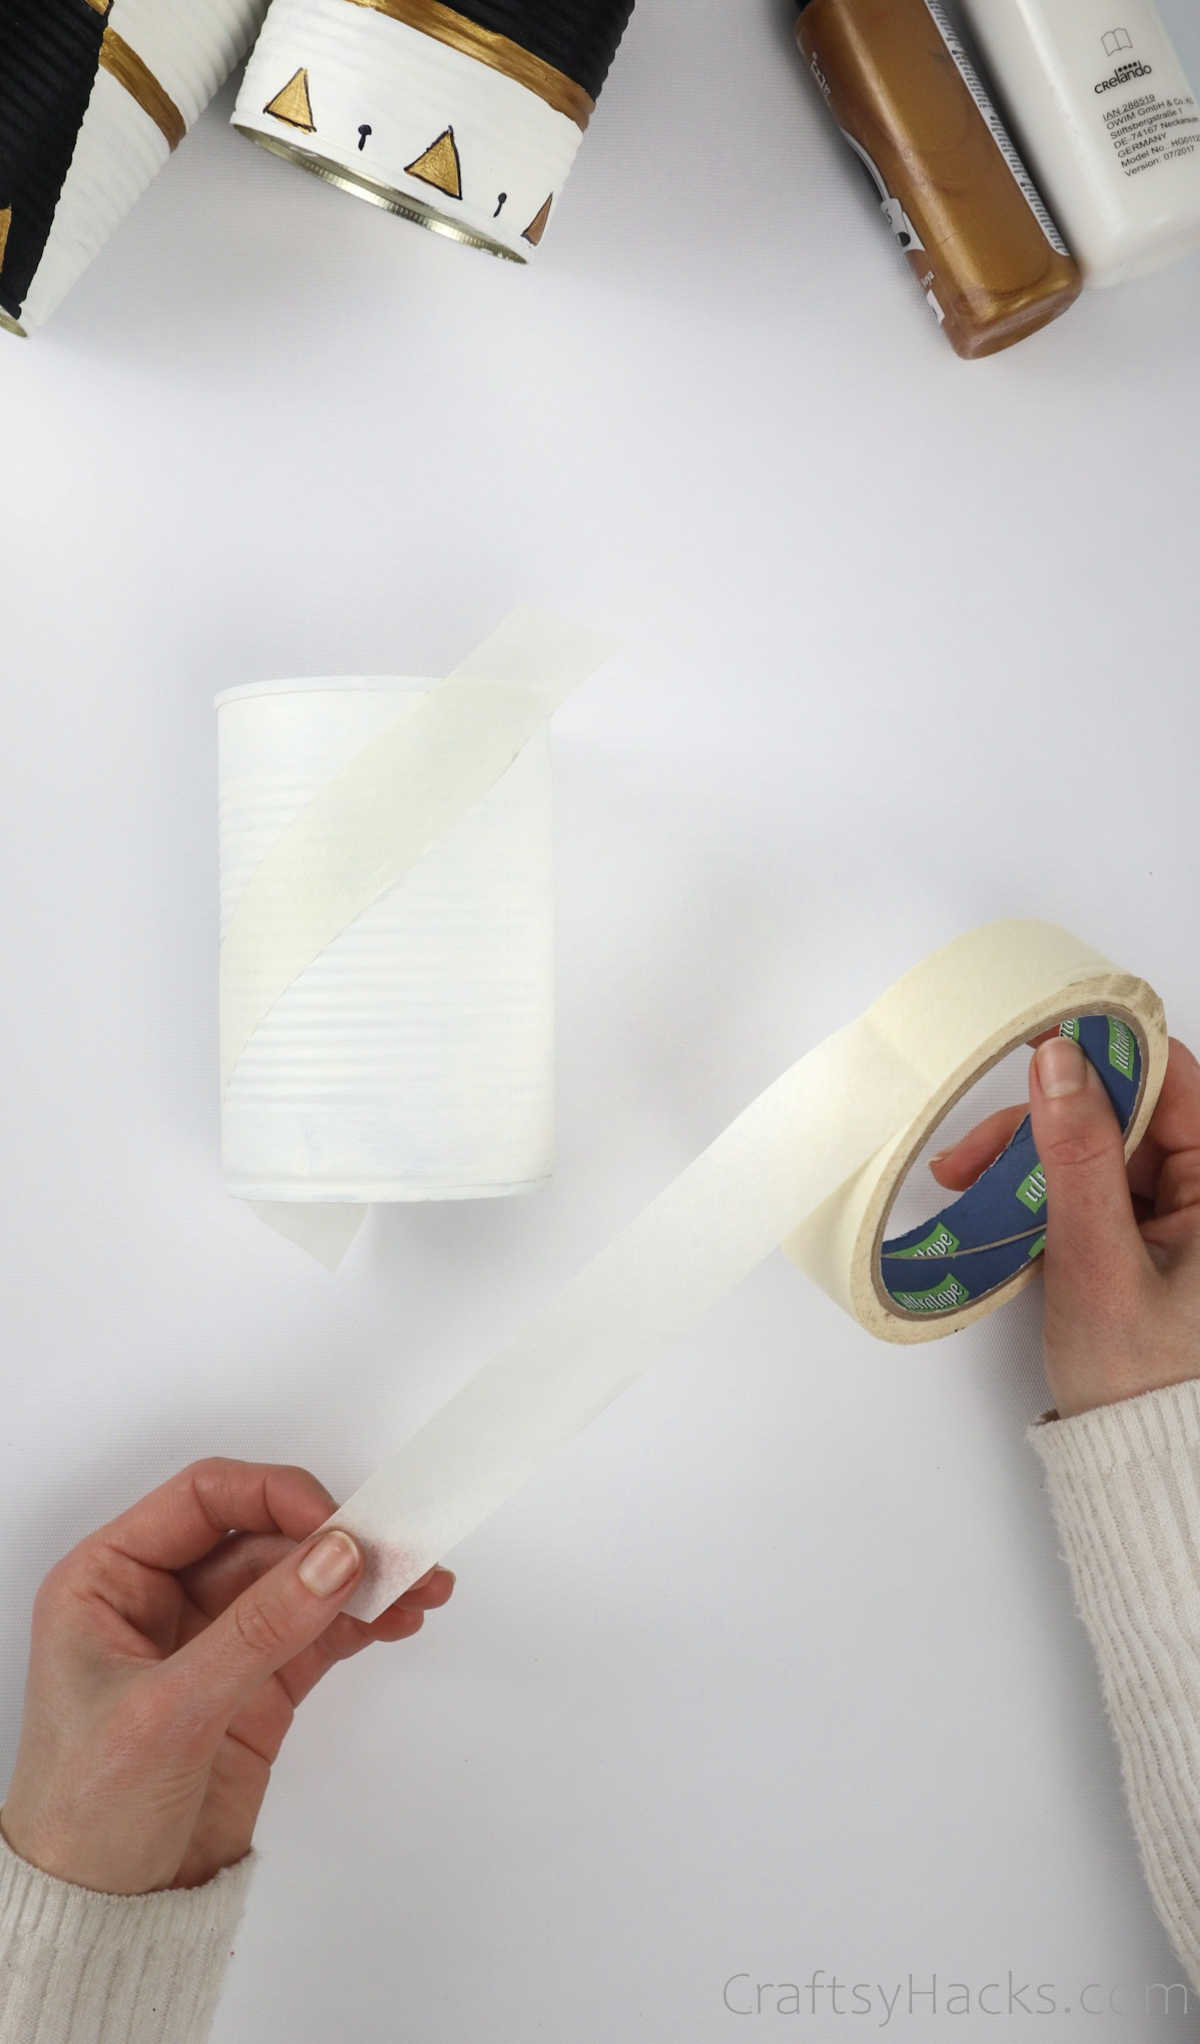
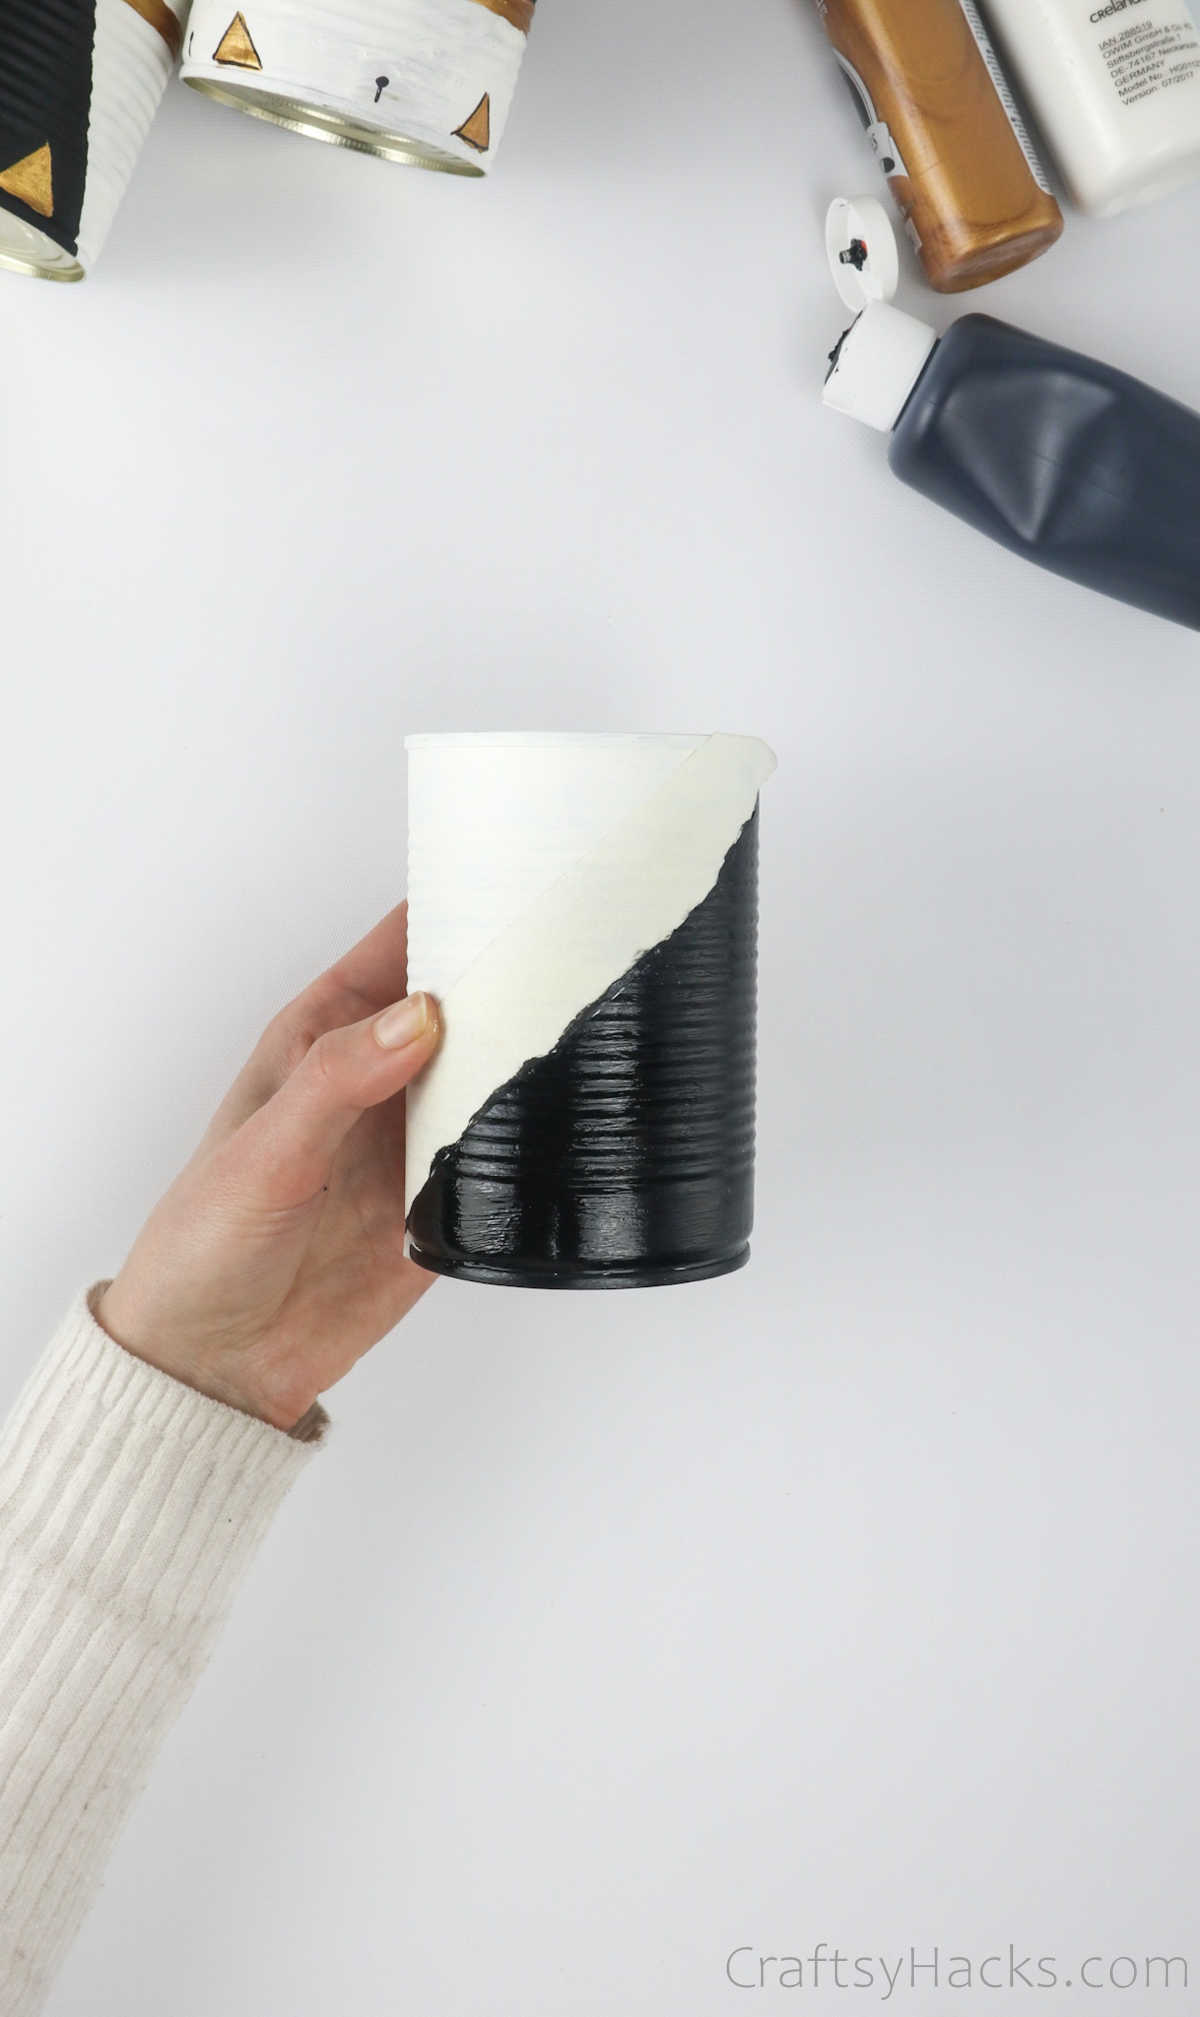
Step 2
Use masking tape or painter’s tape to portion off your can into different sections. This will make it easy for you to design a pattern and subsequently paint it without worrying about smudges.
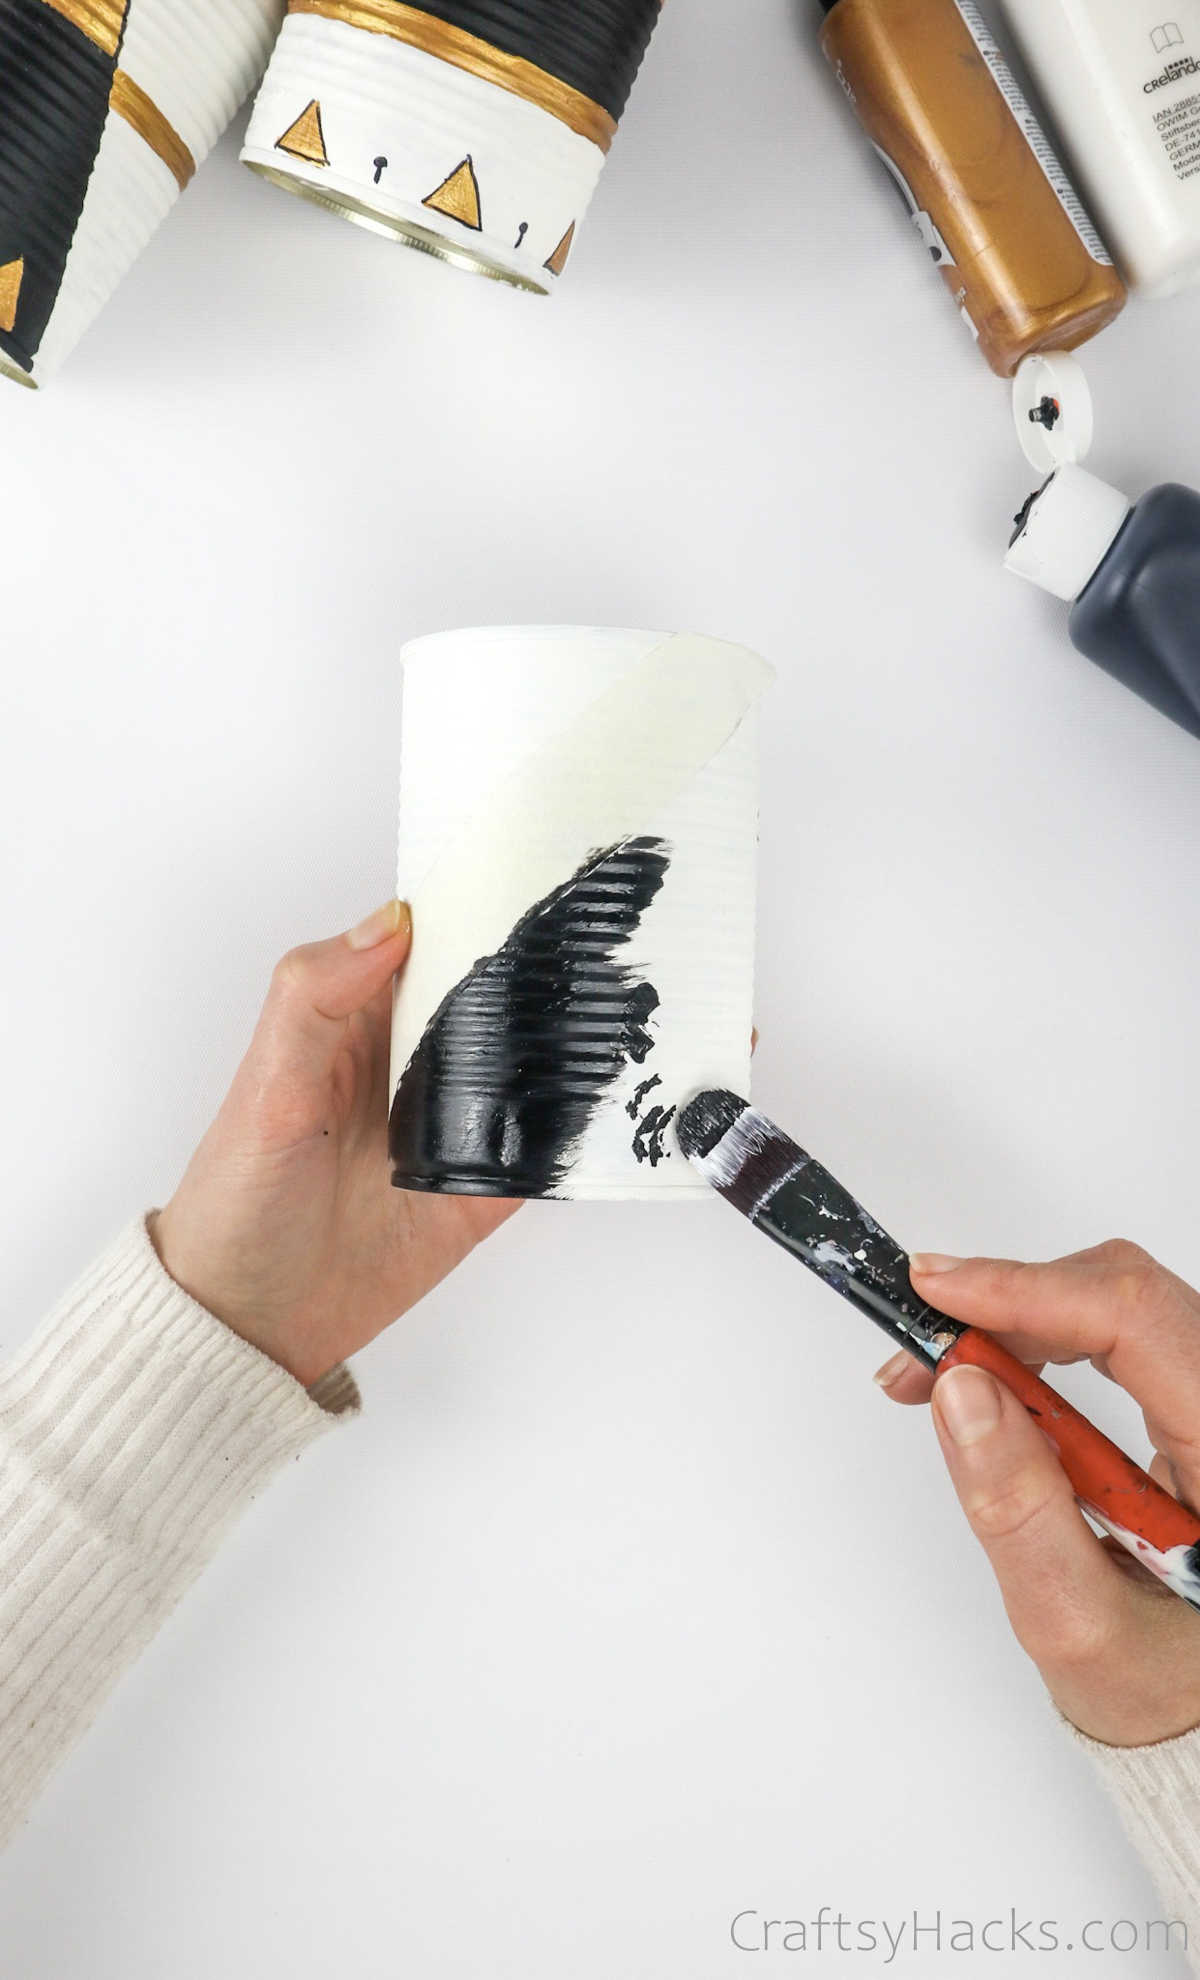
Step 3
Paint the can according to your design. You can use a number of colors and patterns. This particular project calls for black with gold painted Aztec-like detailing.
You can choose other metallic colors, or stick to simple and elegant and go for muted florals and pastels.

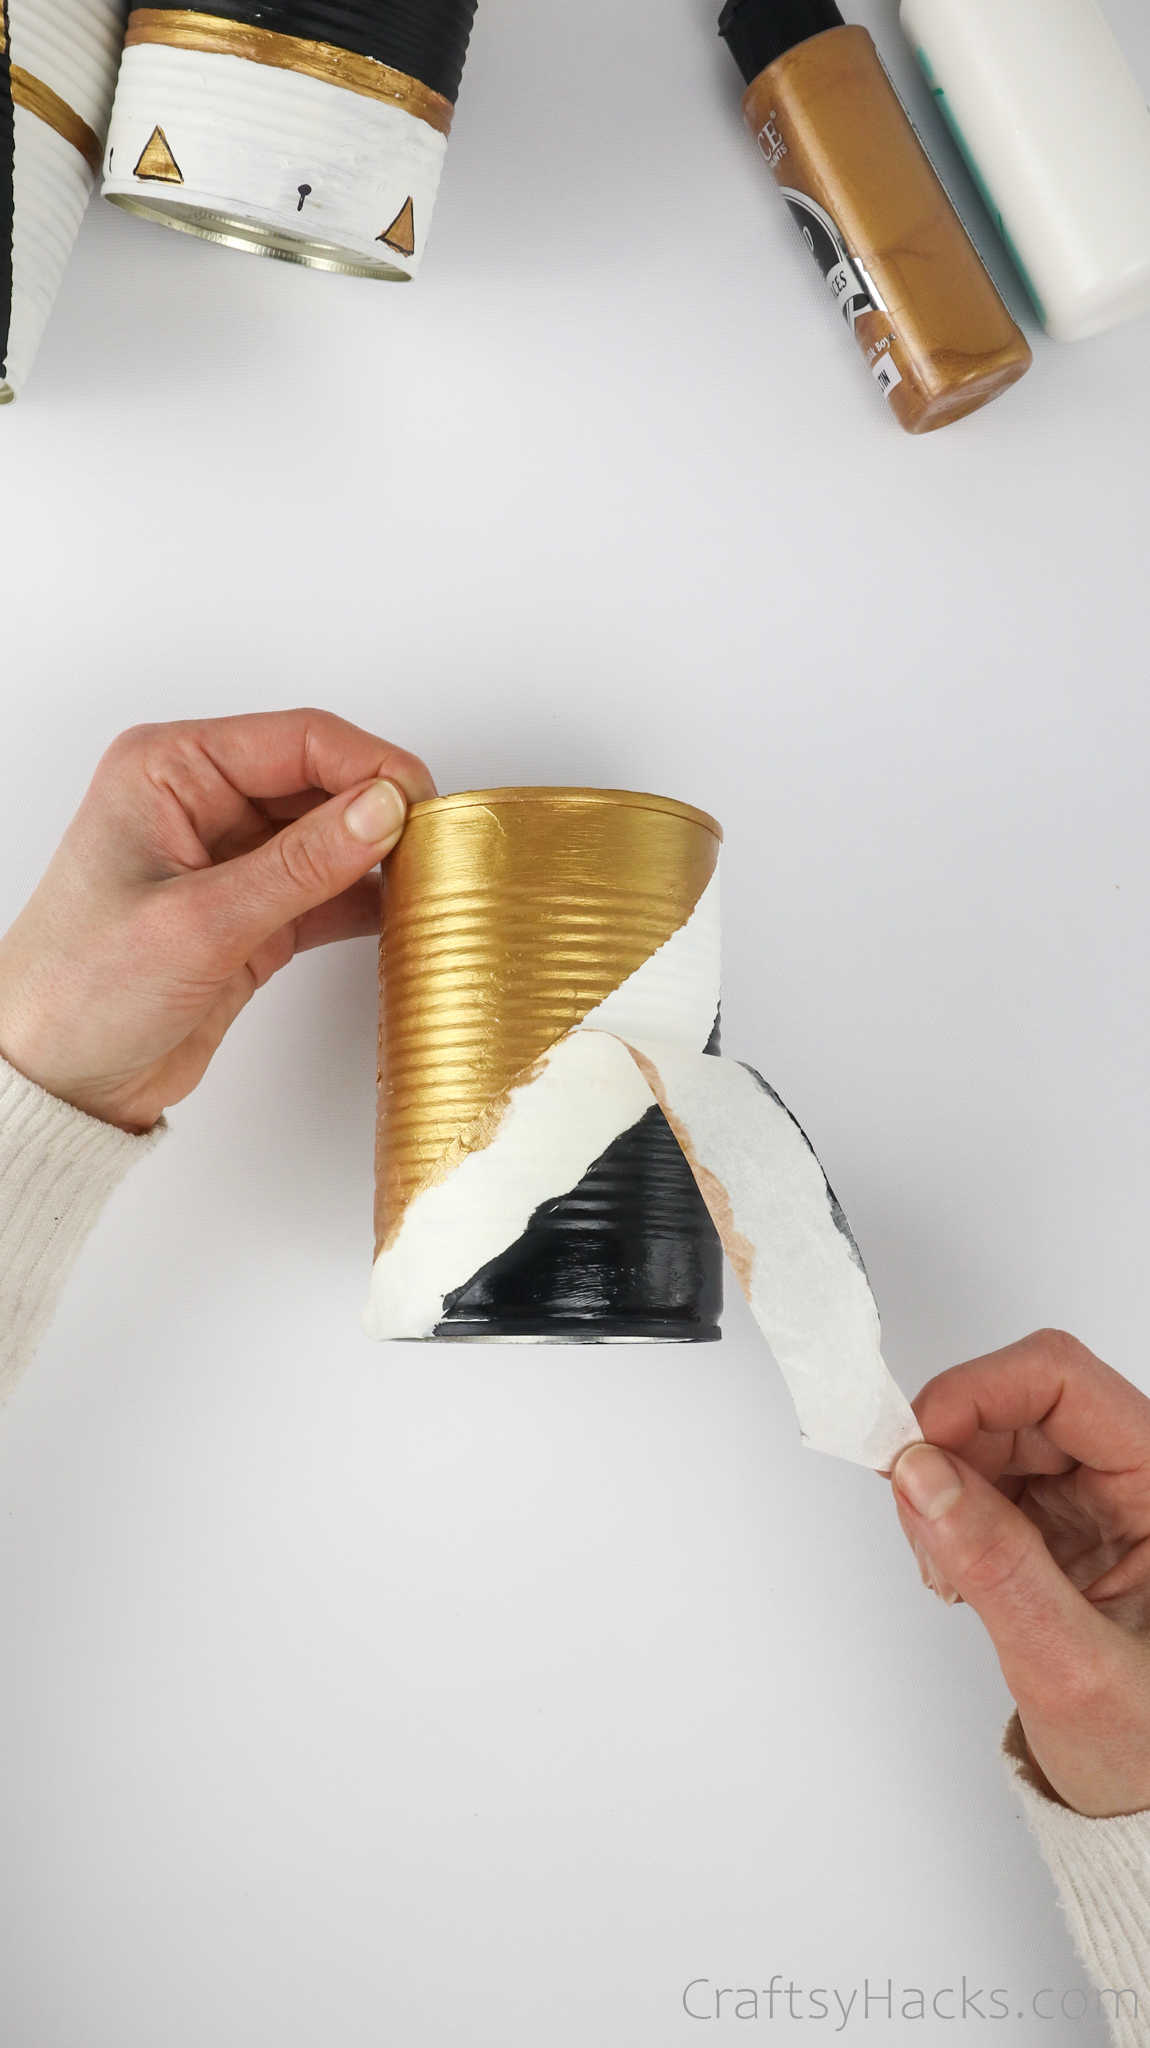
Step 4
Once you’ve finished painting the surface and are happy with your design, you can peel the tape away.
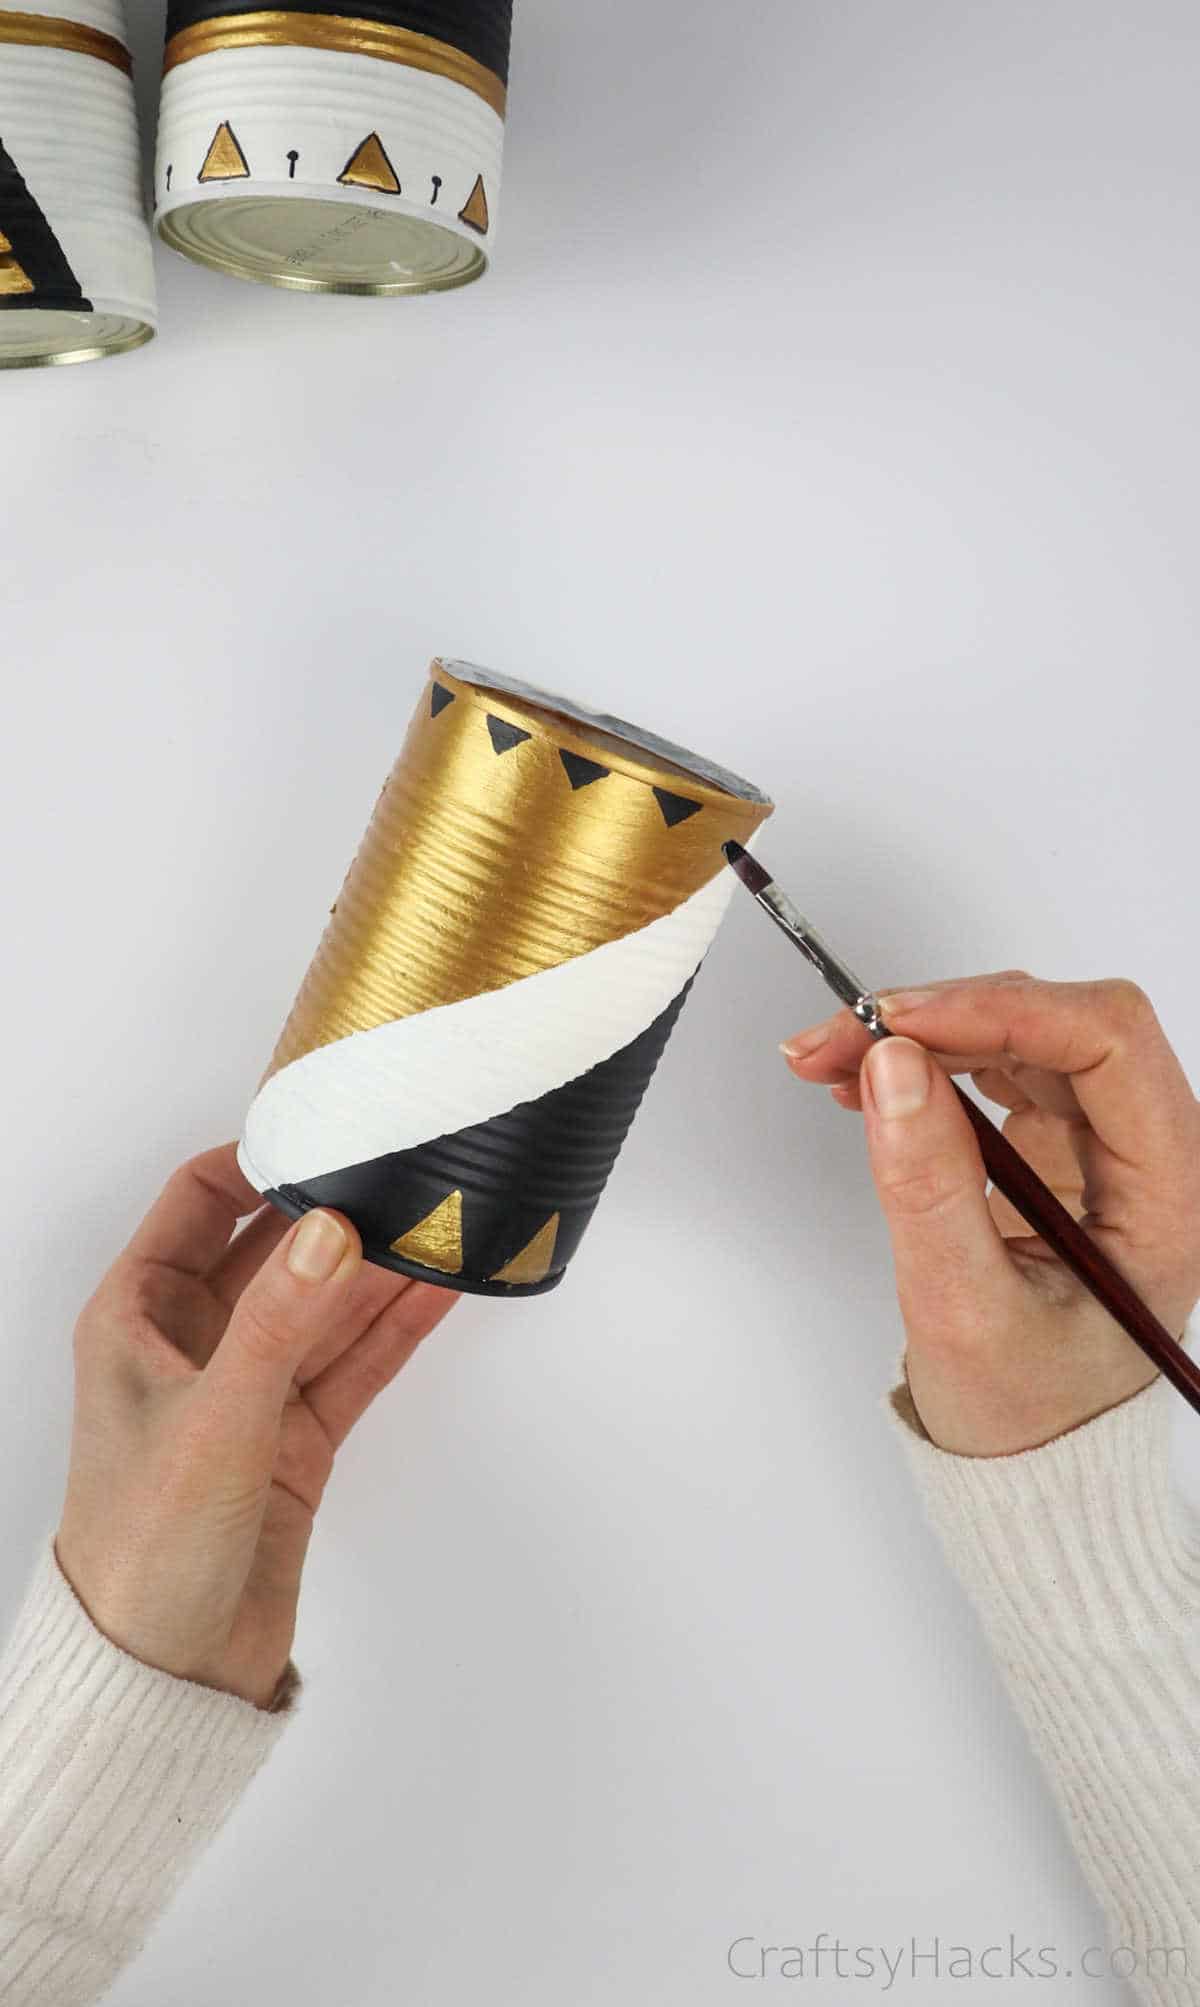
Make sure your can is completely dry before moving on to the detailing and embellishments—if you’re using any.
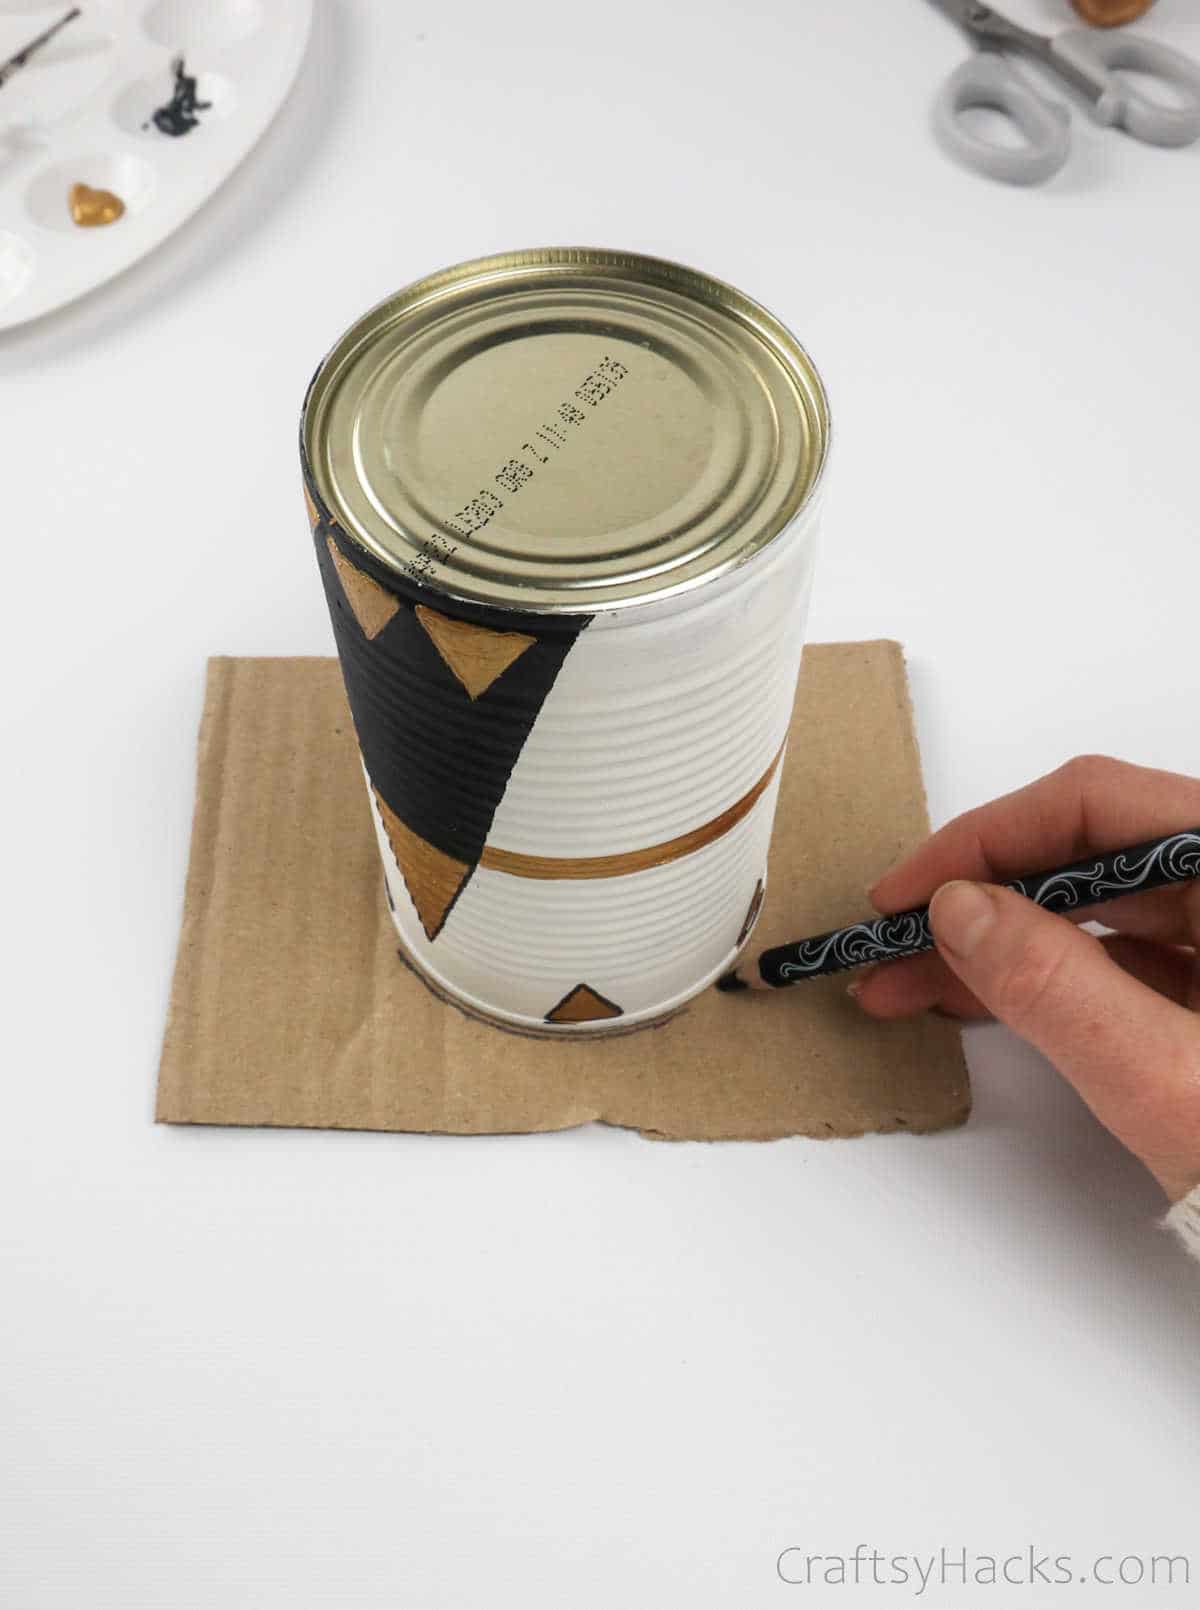
Use a thin-bristle paintbrush, a detailing brush, or even just a permanent marker to draw the finer parts of your design. Once again, allow the surface to dry, and watch out for smudges!
Step 5
Once your tin has dried up, your pencil holders are officially ready. You can arrange your stationary in it, and you’re all set.
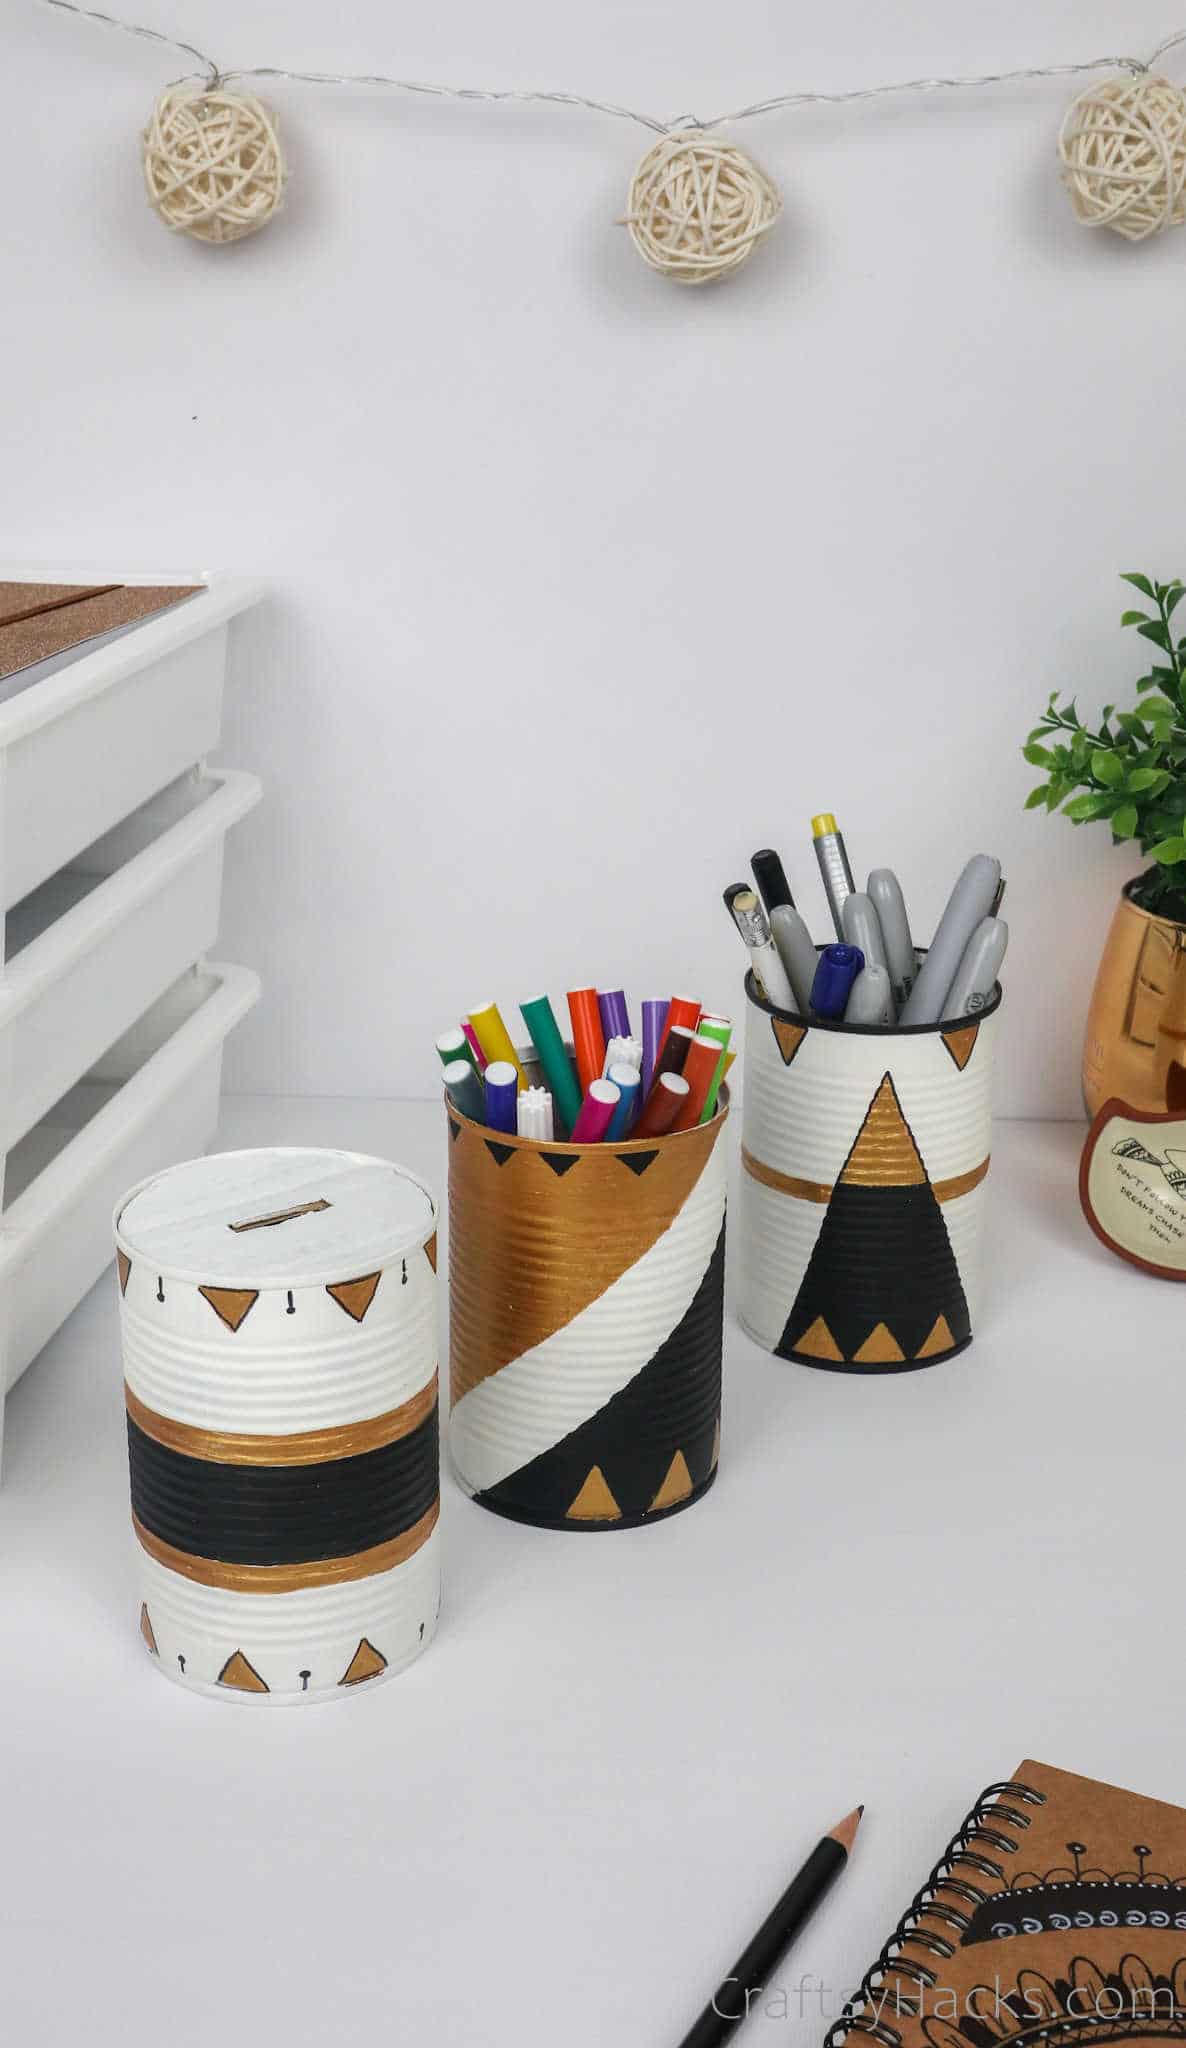
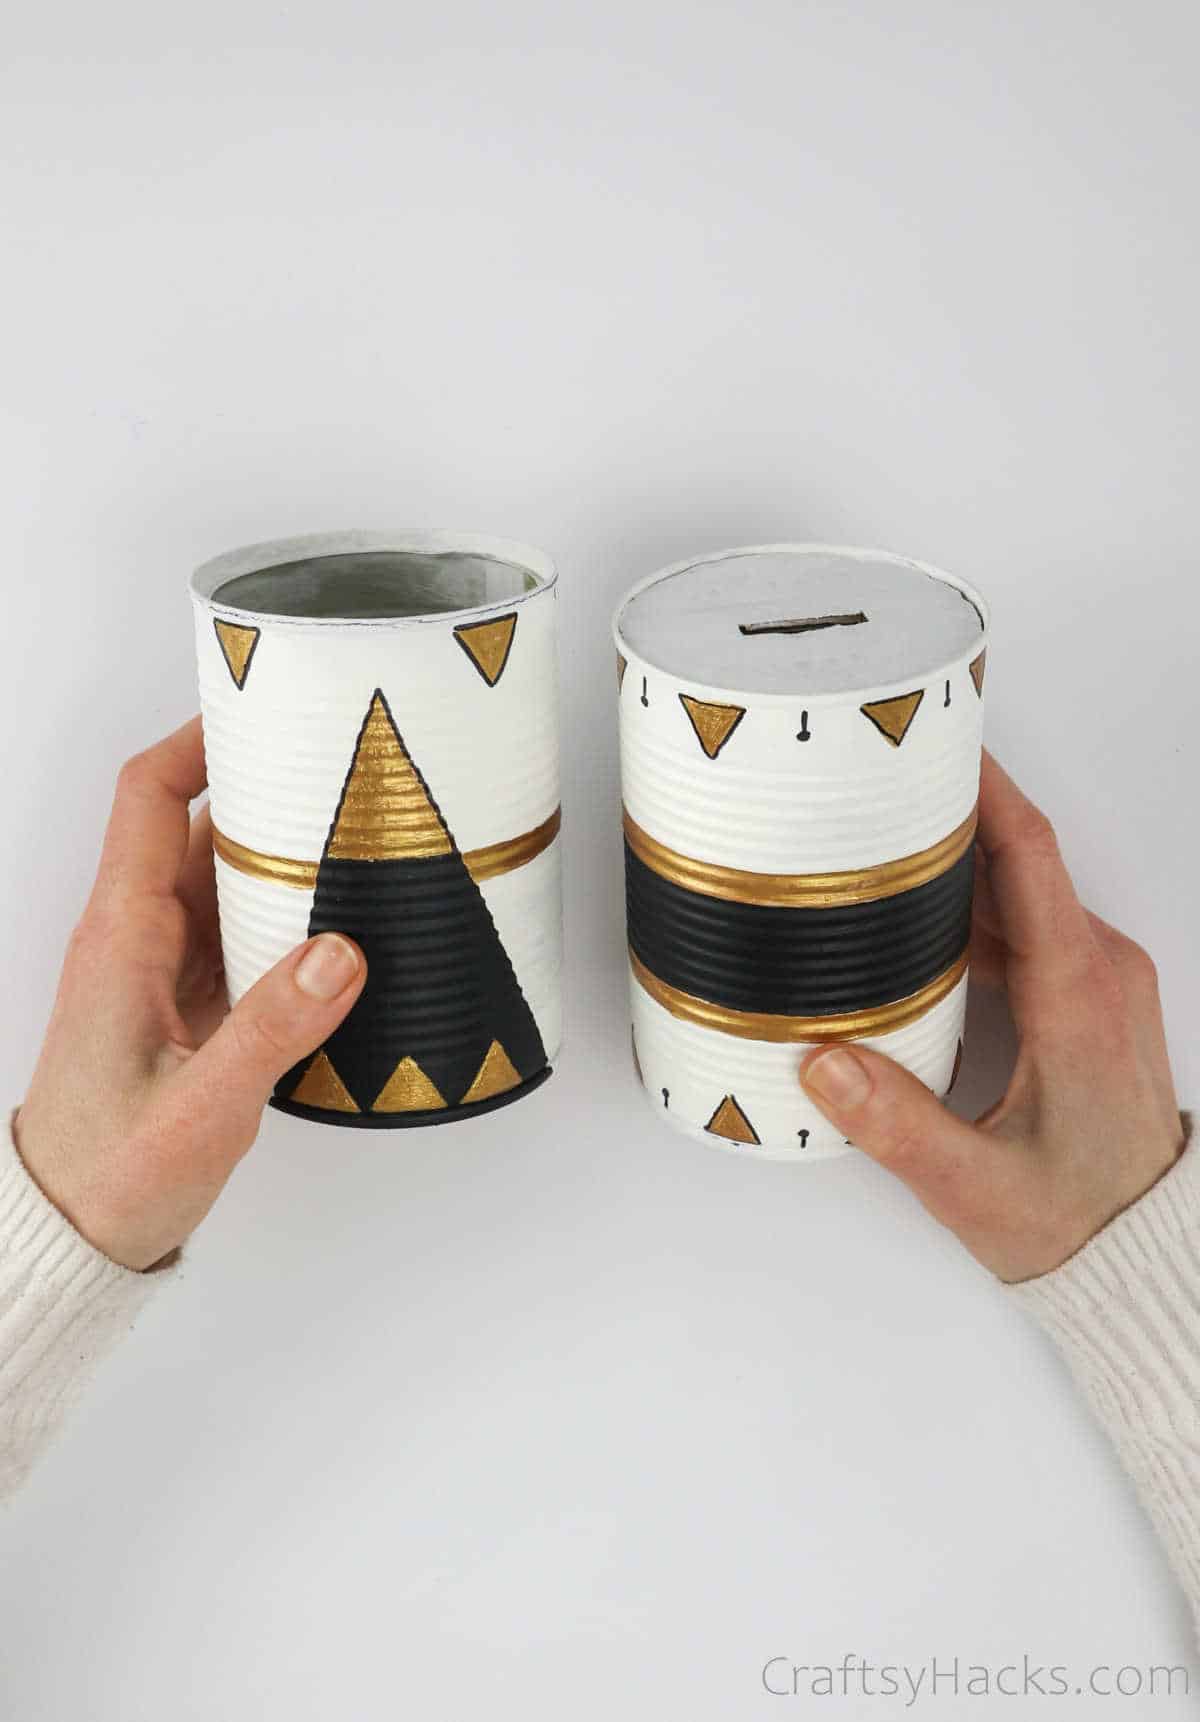
However, seeing as how this is an upcycling DIY project, you can also experiment with other uses for your can, like a tabletop planter or even a piggy bank or money box!
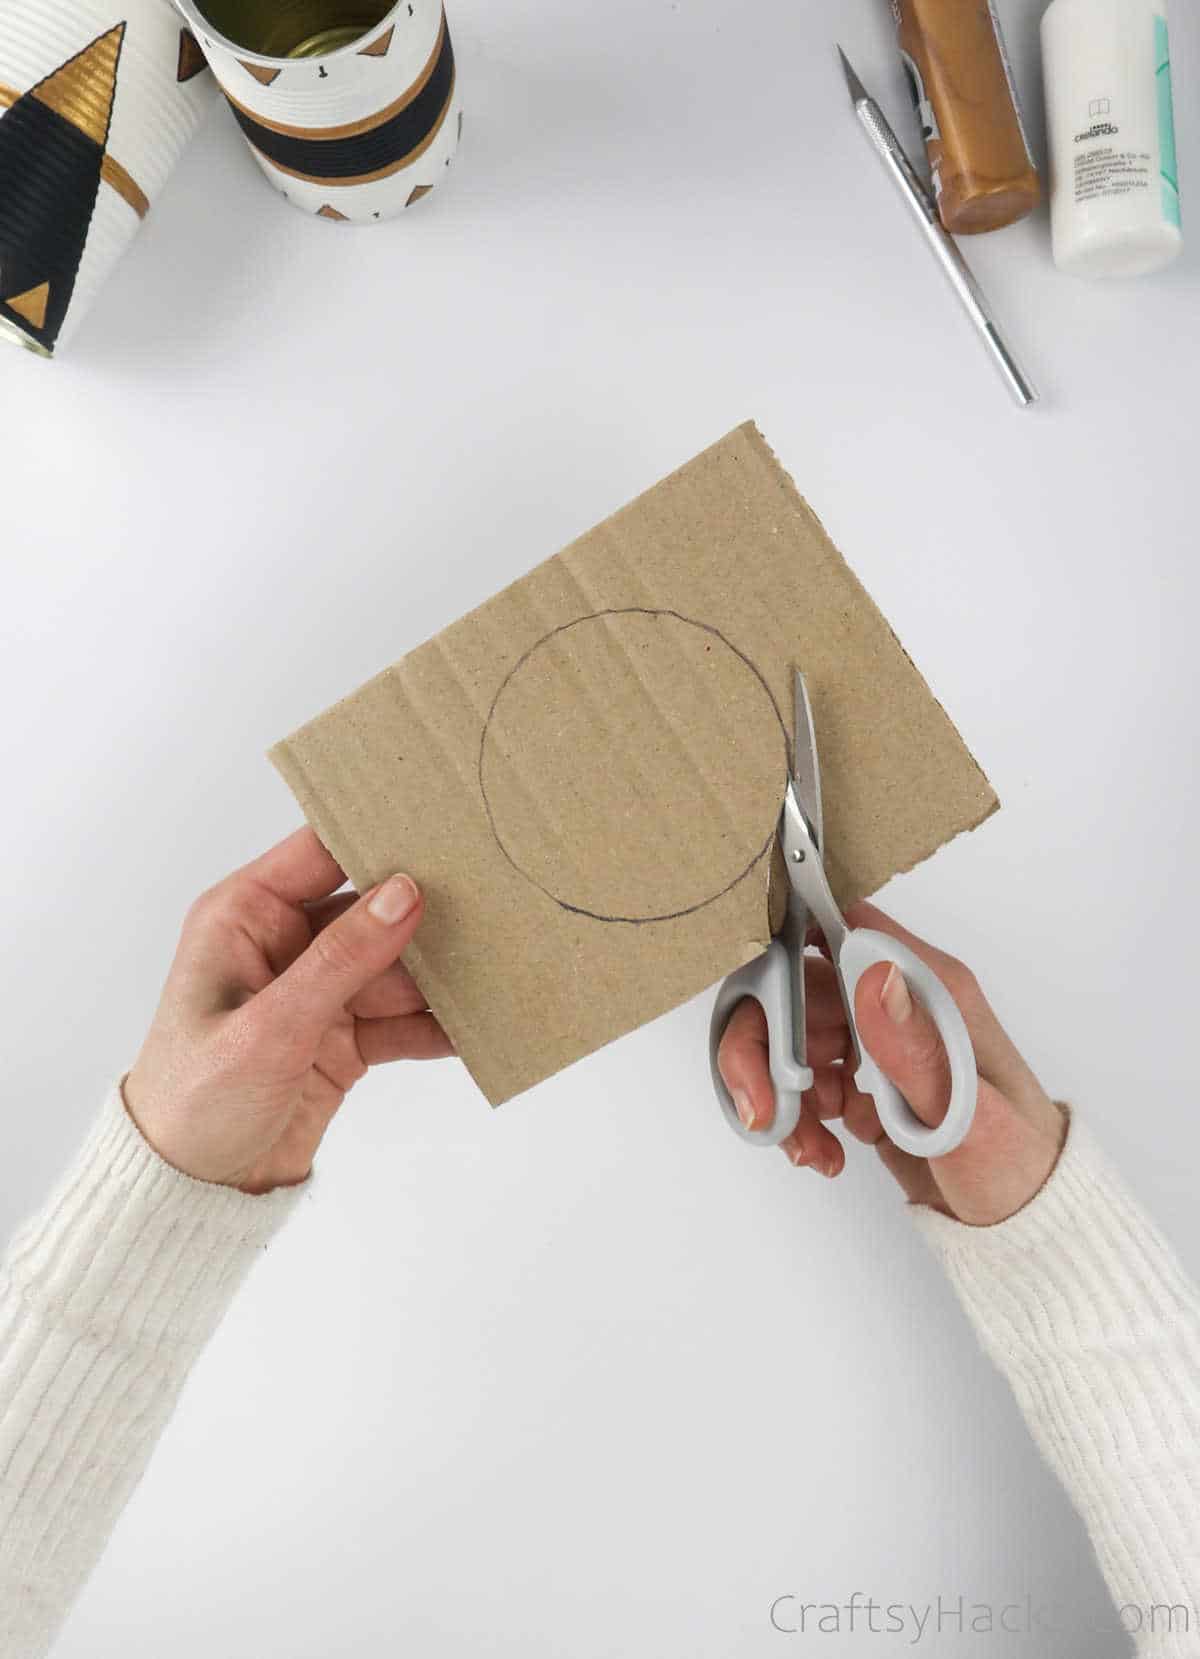
Using a piece of cardboard, measure the diameter of the mouth of the can.
Step 6
Use a sturdy pair of scissors and cut out the traced shape. This will be the lid for your money box, so make sure that it fits snugly in place.
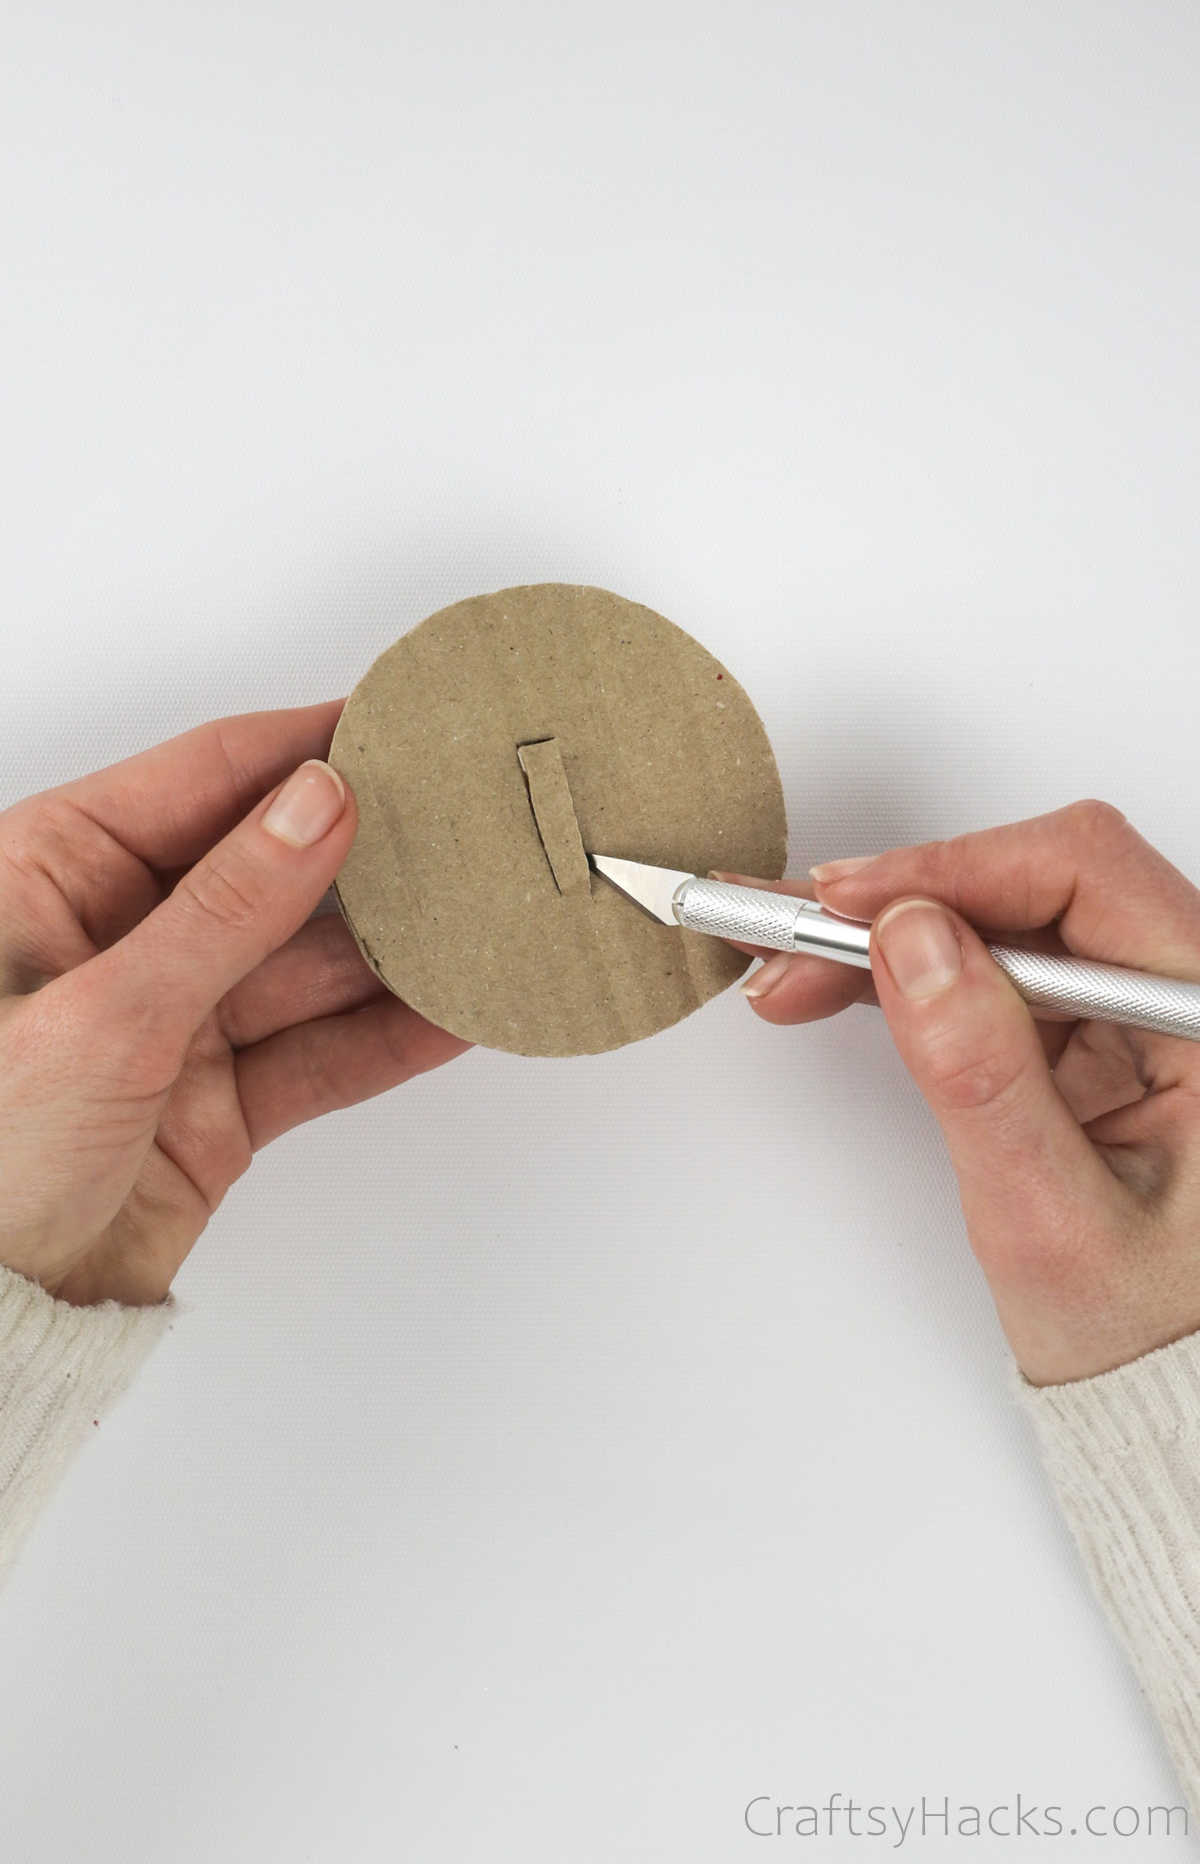
Step 7
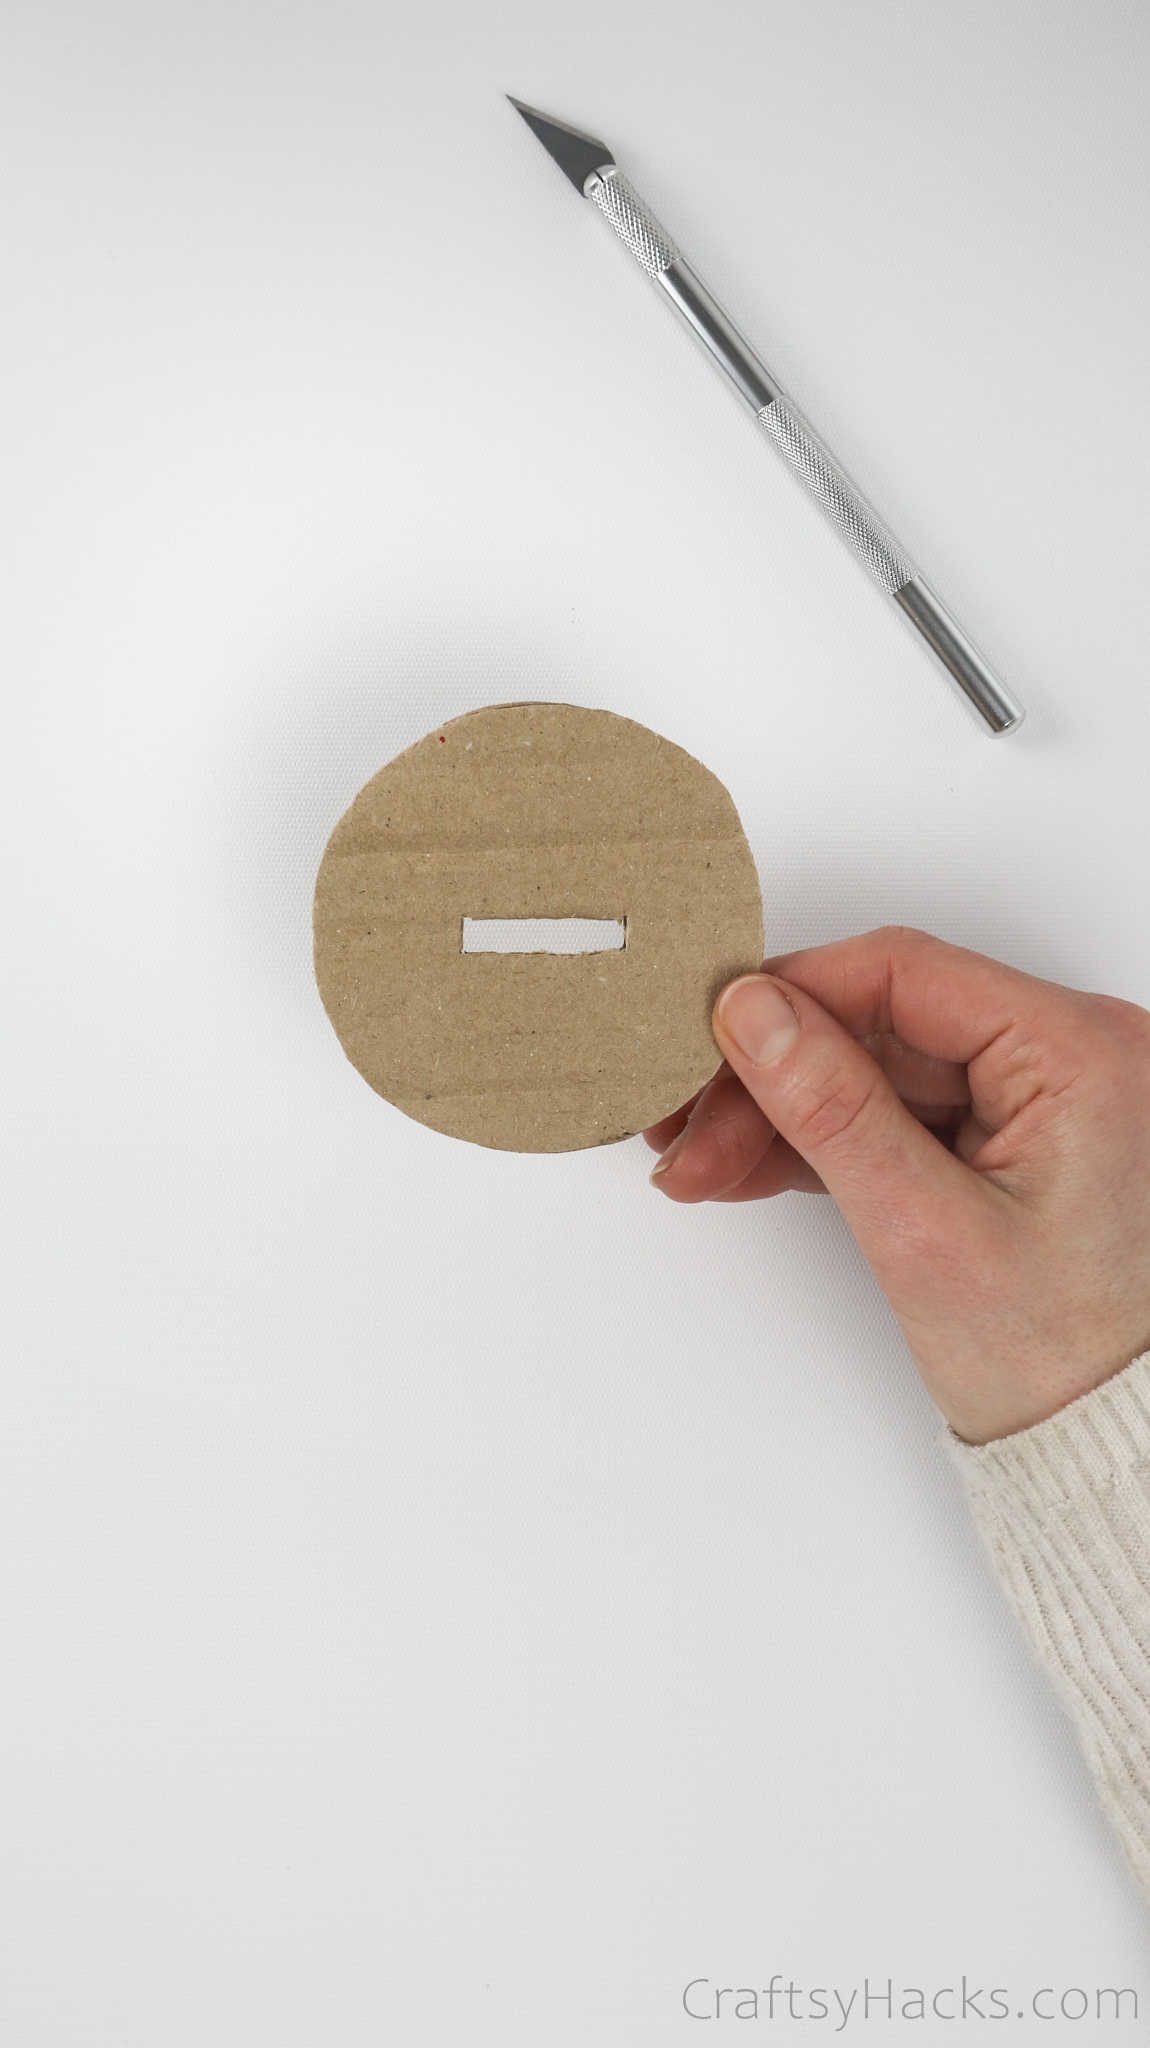
Use a marker to draw a rectangle in the center of this cardboard cutout. This is the slit where you’ll insert the coins. Next up, use a craft knife or a hobby knife to cut through that rectangle.
Watch out for the tricky corners, and make sure you cut through them for the best possible finish. Alternatively, you can opt for rounded corners, too!
Step 8
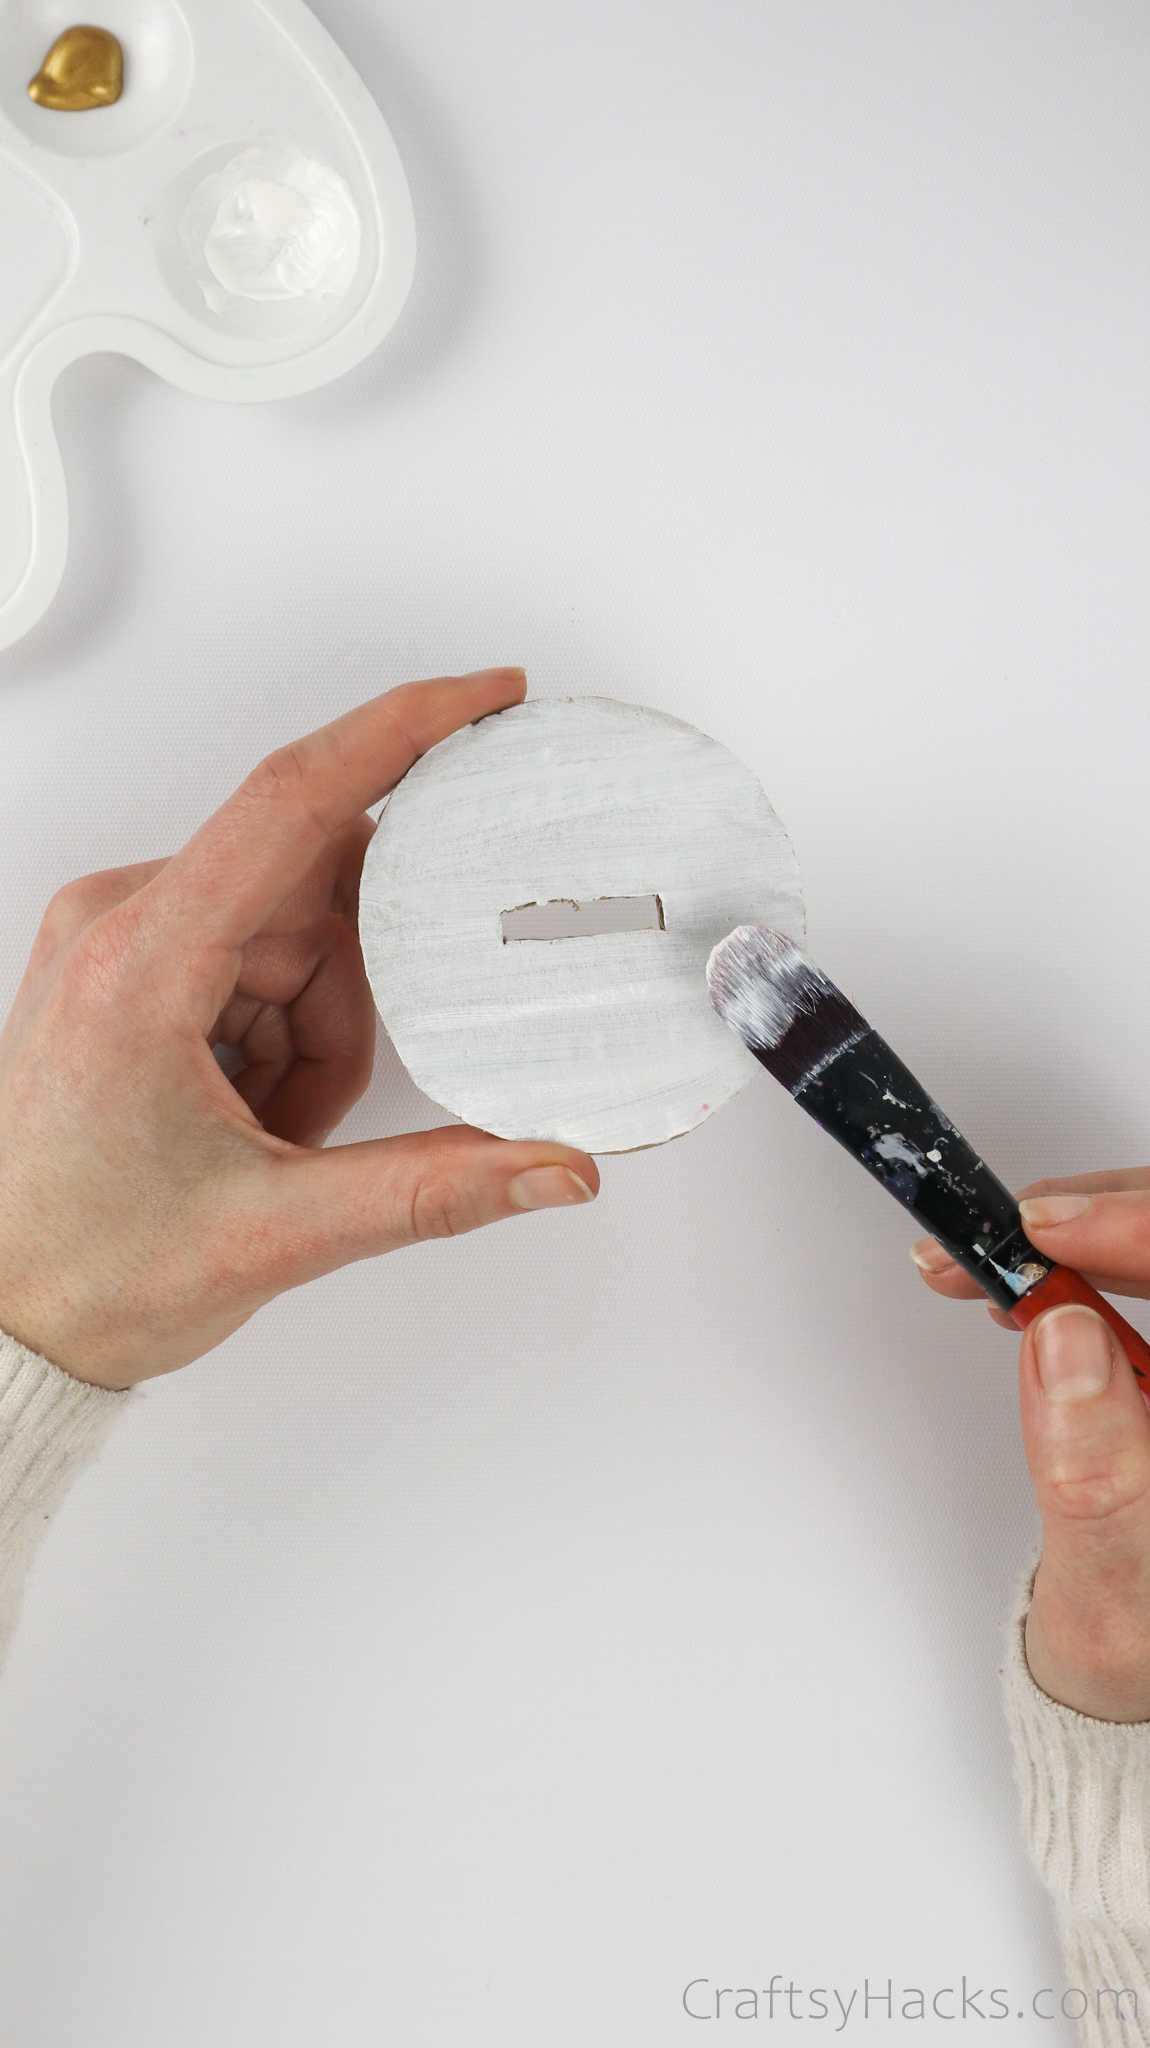
Grab your paintbrush again, and coat the cardboard with a solid base coat. Follow it up with another coat or two of paint.
Step 9
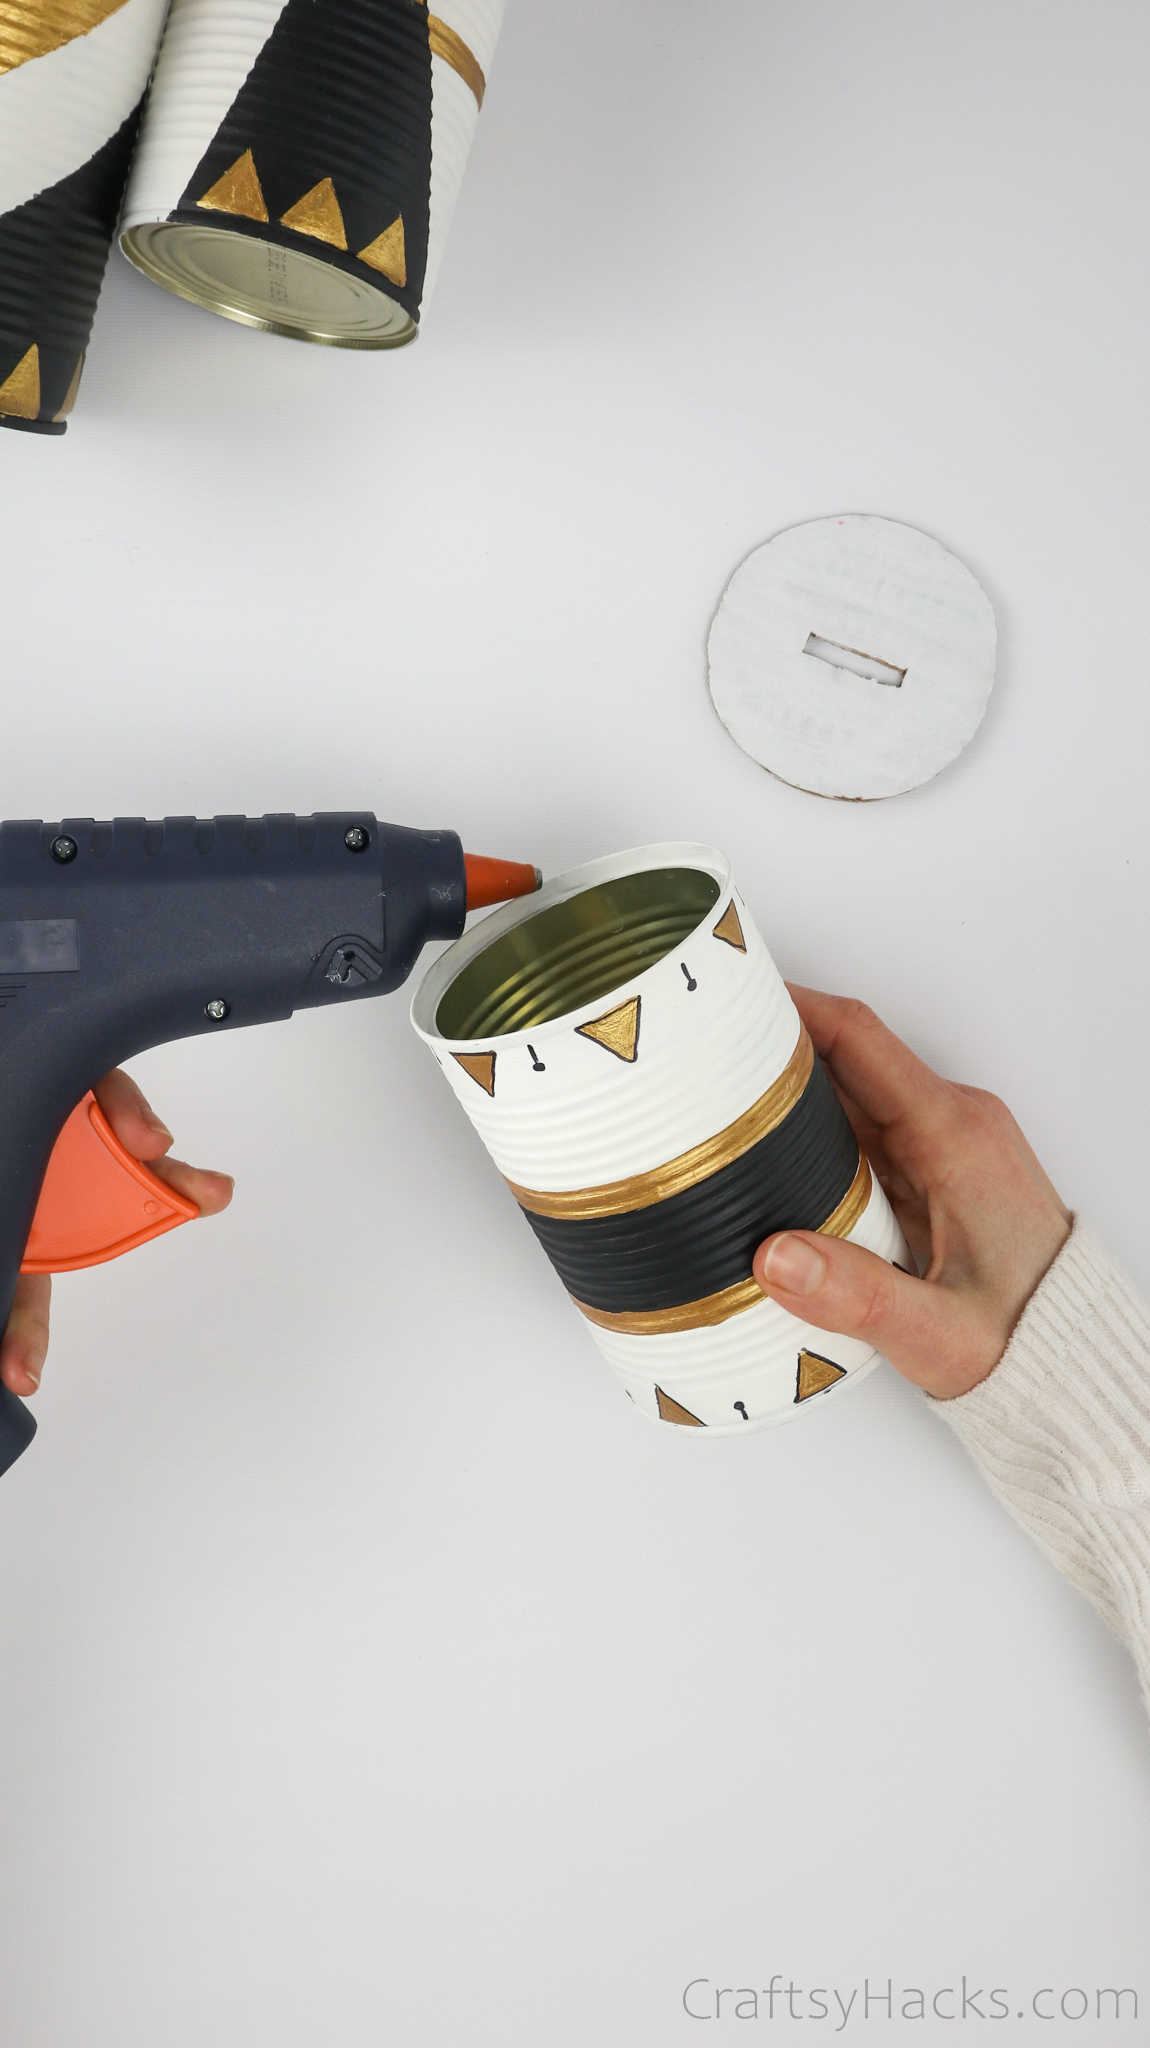
Grab your trusty hot glue gun—it’s time to attach the lid to the mouth of your can. When you secure the lid in place, and make sure it sits snug. Remember to allow the glue enough time to air dry.
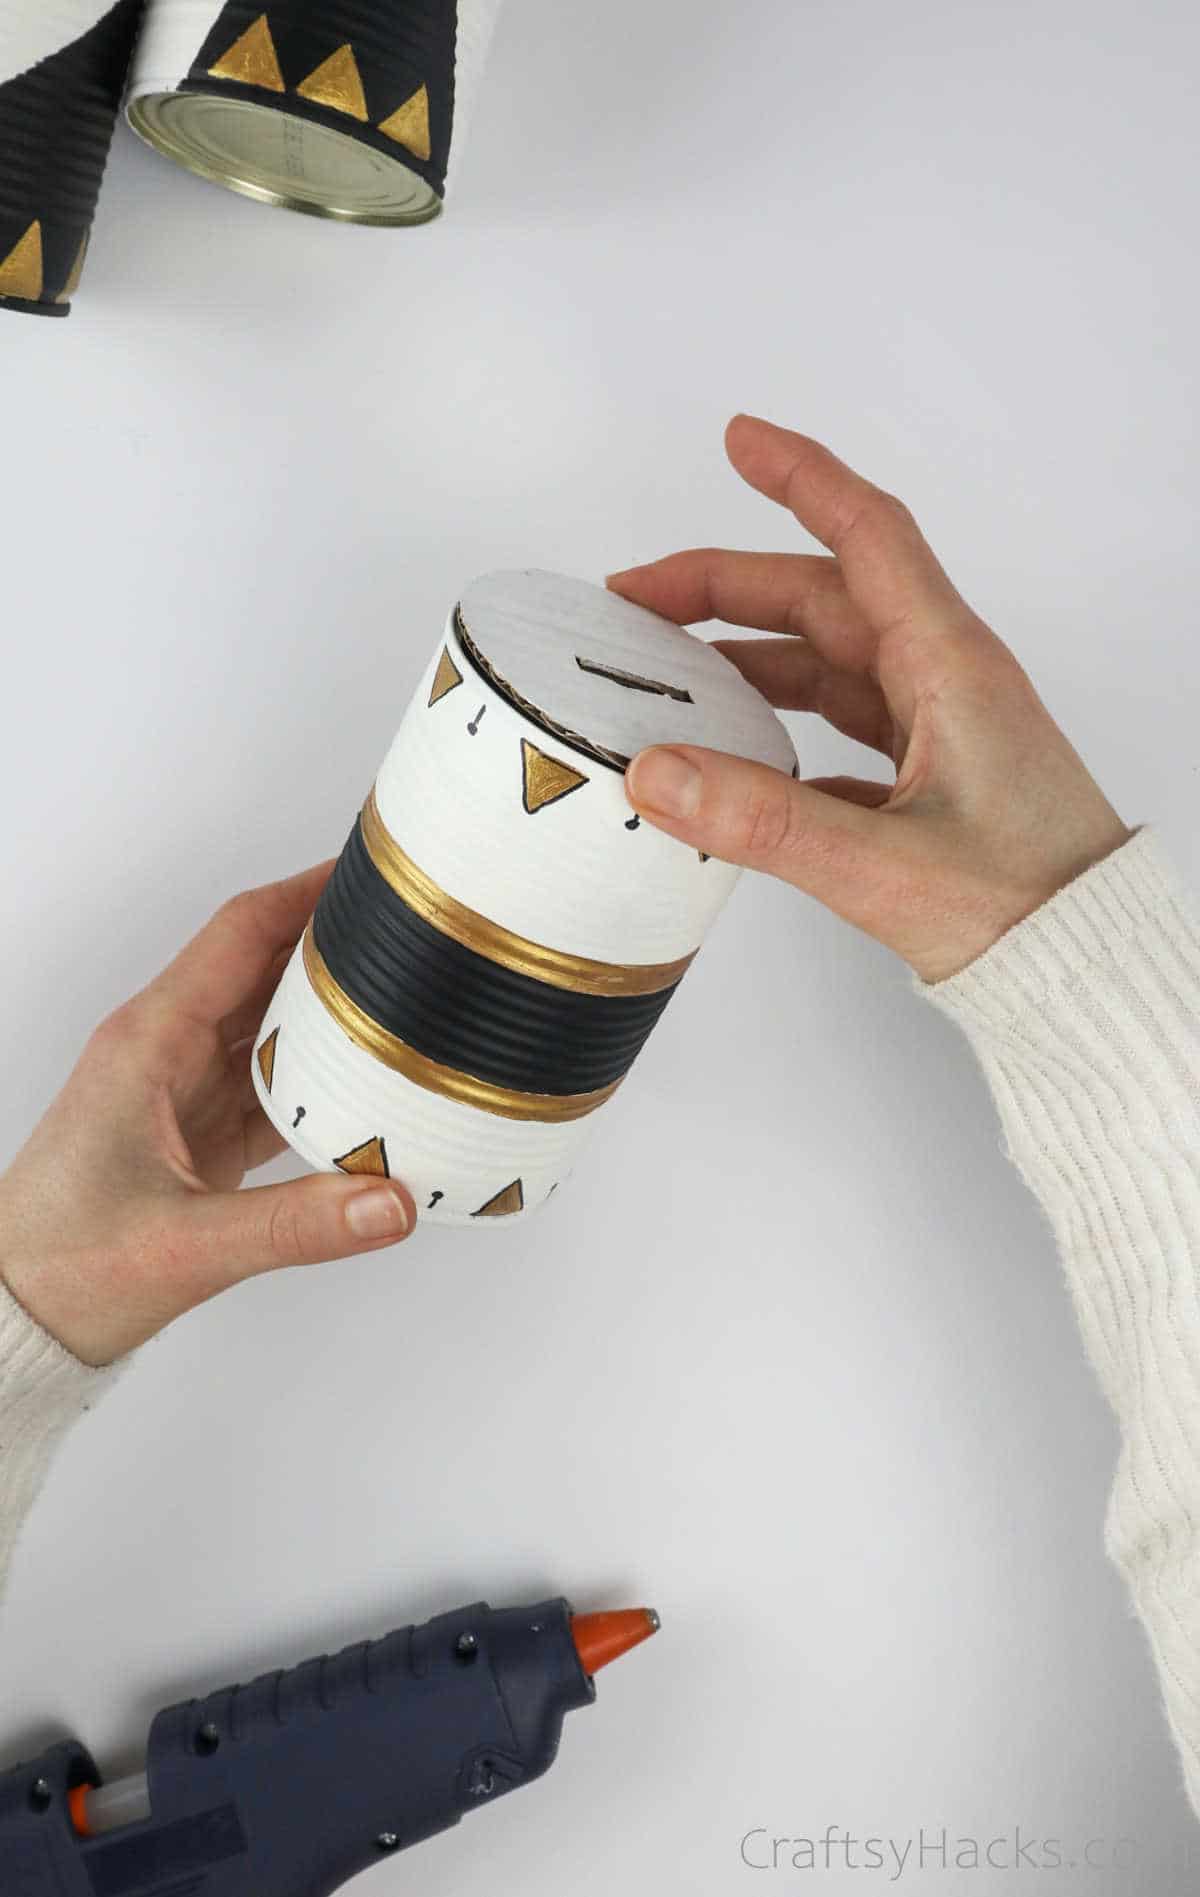
Once your tin cans are all nice and dry, they’re ready to be used and you’re all set!
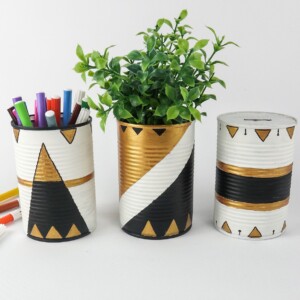
Your upcycled cans are ready to use. They also make amazing gifts for fellow upcycle fanatics!
Other DIY’s You Might Like
- 37 Crafts to Make and Sell
- 20 Dollar Store Decorating Ideas
- Projects for Teens
- Crafts for Adults
- Crafts for Teens
- Crafts for Teen to Make Money

Where Can You Use These Upcycled Tin Cans?
These upcycled tin cans are perfect to place on your desk, or even to adorn your shelves. They can hold all your knick knacks, stationary and, if you use a big enough can, you can even use it as a utensil holder!
The possibilities are endless!
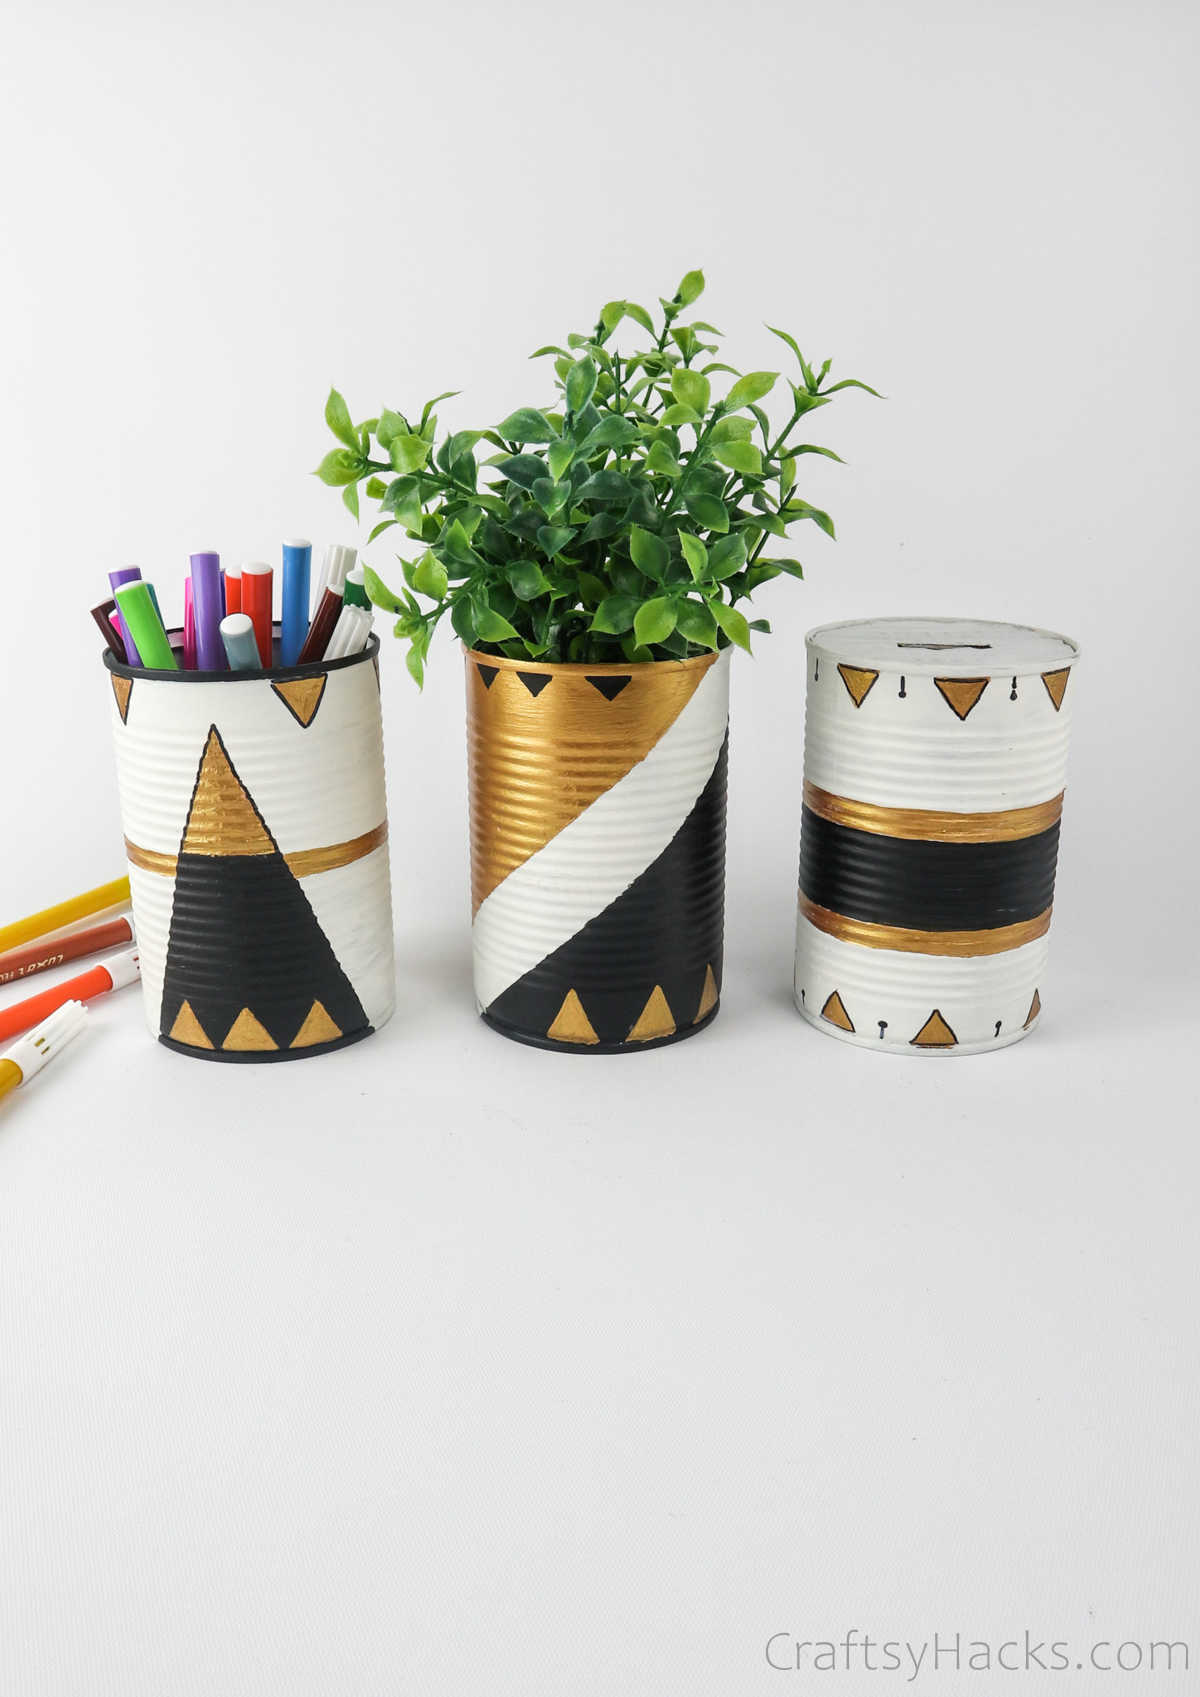
Take a look at the planter, for instance. You can follow the same method to make this tin planter. Just remember to puncture a few holes under the can to allow water to seep through, and you’re all good!
Check out these 20 genius dollar store planter ideas for more inspiration!
Upcycled Tin Cans
Video Tutorial
Equipment
- Paint palette (or a jar lid)
- Paintbrushes
- Scissors
- Hobby knife
Materials
- Tins
- Piece of cardboard optional
- Acrylic paint
- Masking tape
- Glue gun optional
Instructions
- Grab all your supplies to get started, and lay out newspapers to control possible splatters.
- Paint the tin can with multiple coats of colorful acrylic paint. Using a length of masking tape will give you defined edges and help you avoid paint smudges.
- Once the paint has dried, grab a permanent marker or a detailing brush. Start designing or drawing the patterns on the tin can.
- Allow the can to completely dry. Your upcycled pen holders are ready!
- If however you want to make a money holder or piggy bank instead, then grab some cardboard.
- Cut out a rectangular slit through which you can drop your money inside.
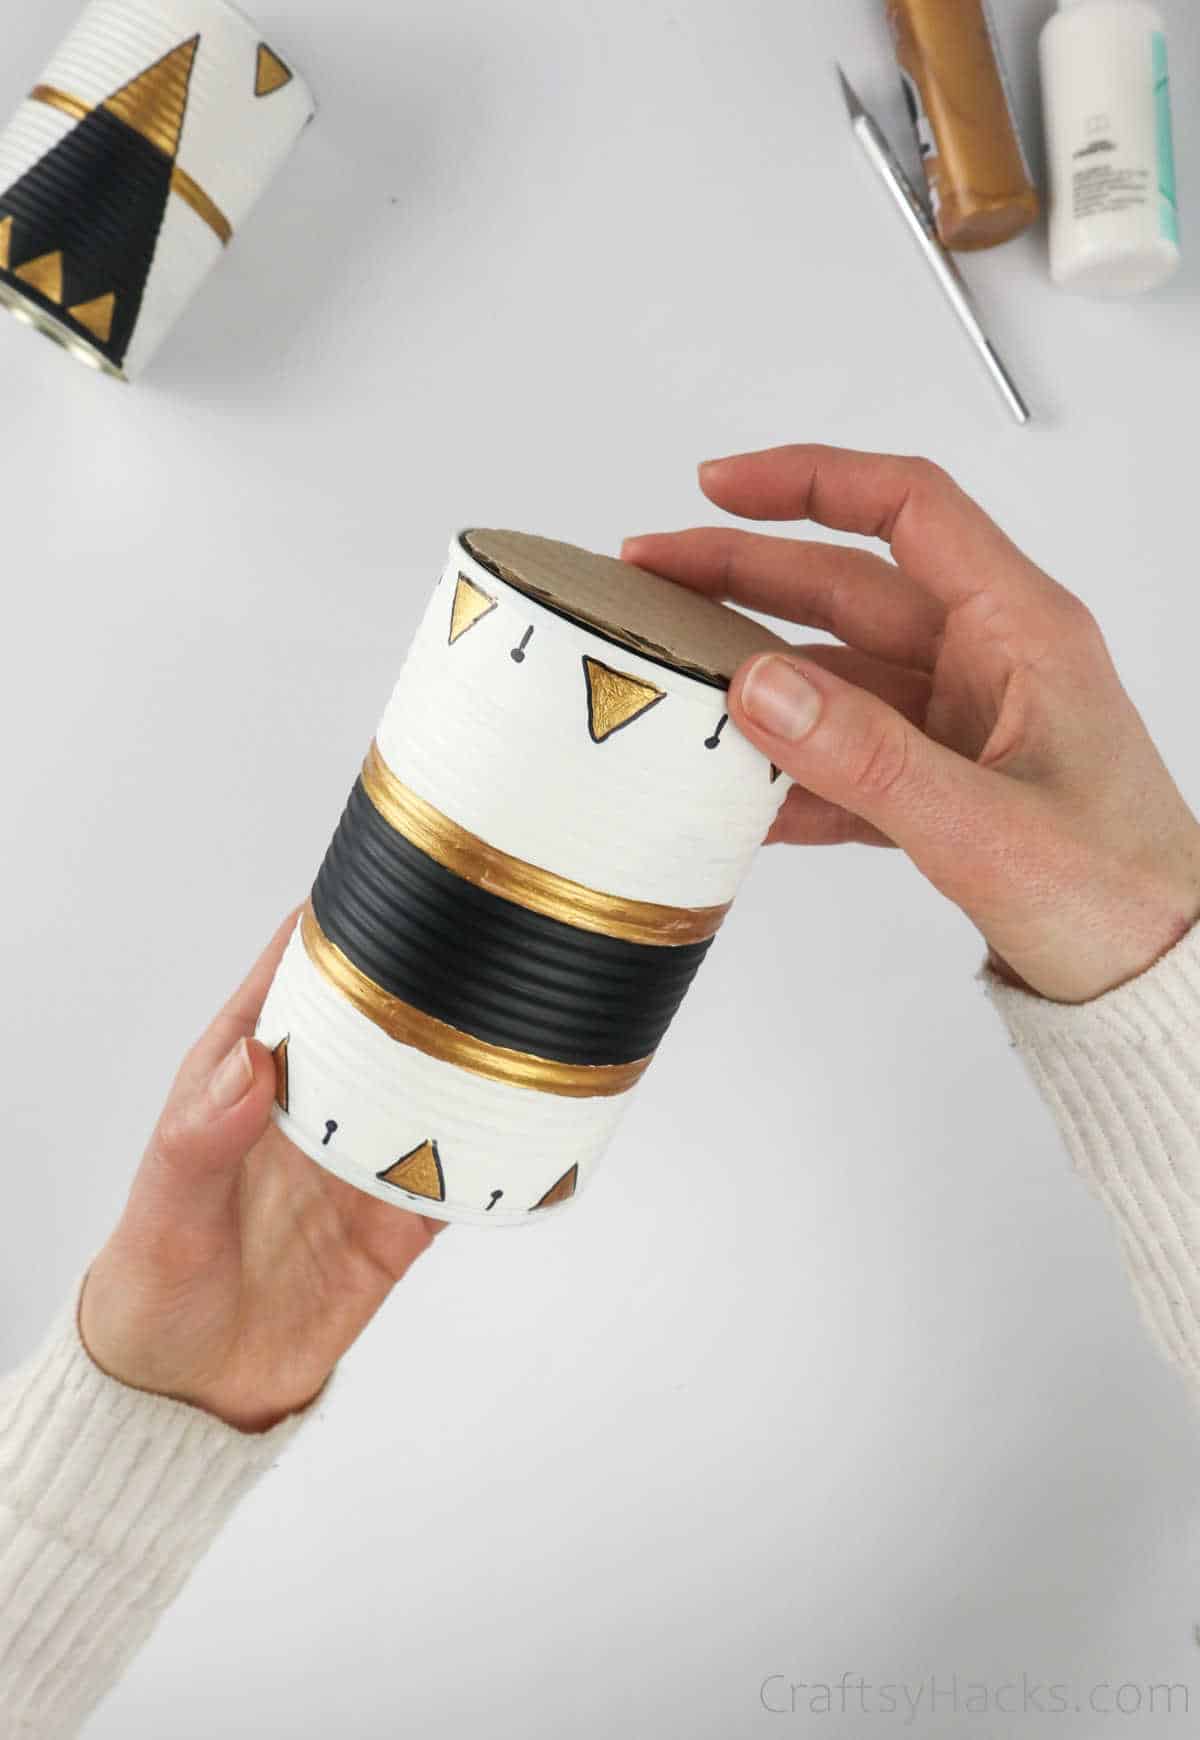
- Check to make sure the lid fits; adjust the lid as needed.
- Use a hot glue gun to secure the lid in place and allow it to dry completely.
- If you’re upcycling your can into a planter, puncture a couple of holes at the bottom of the can to use as a drainer.


