Storage Box Out of an Old Sweater (Step-by-Step)
This post may contain affiliate links: full affiliate disclosure.
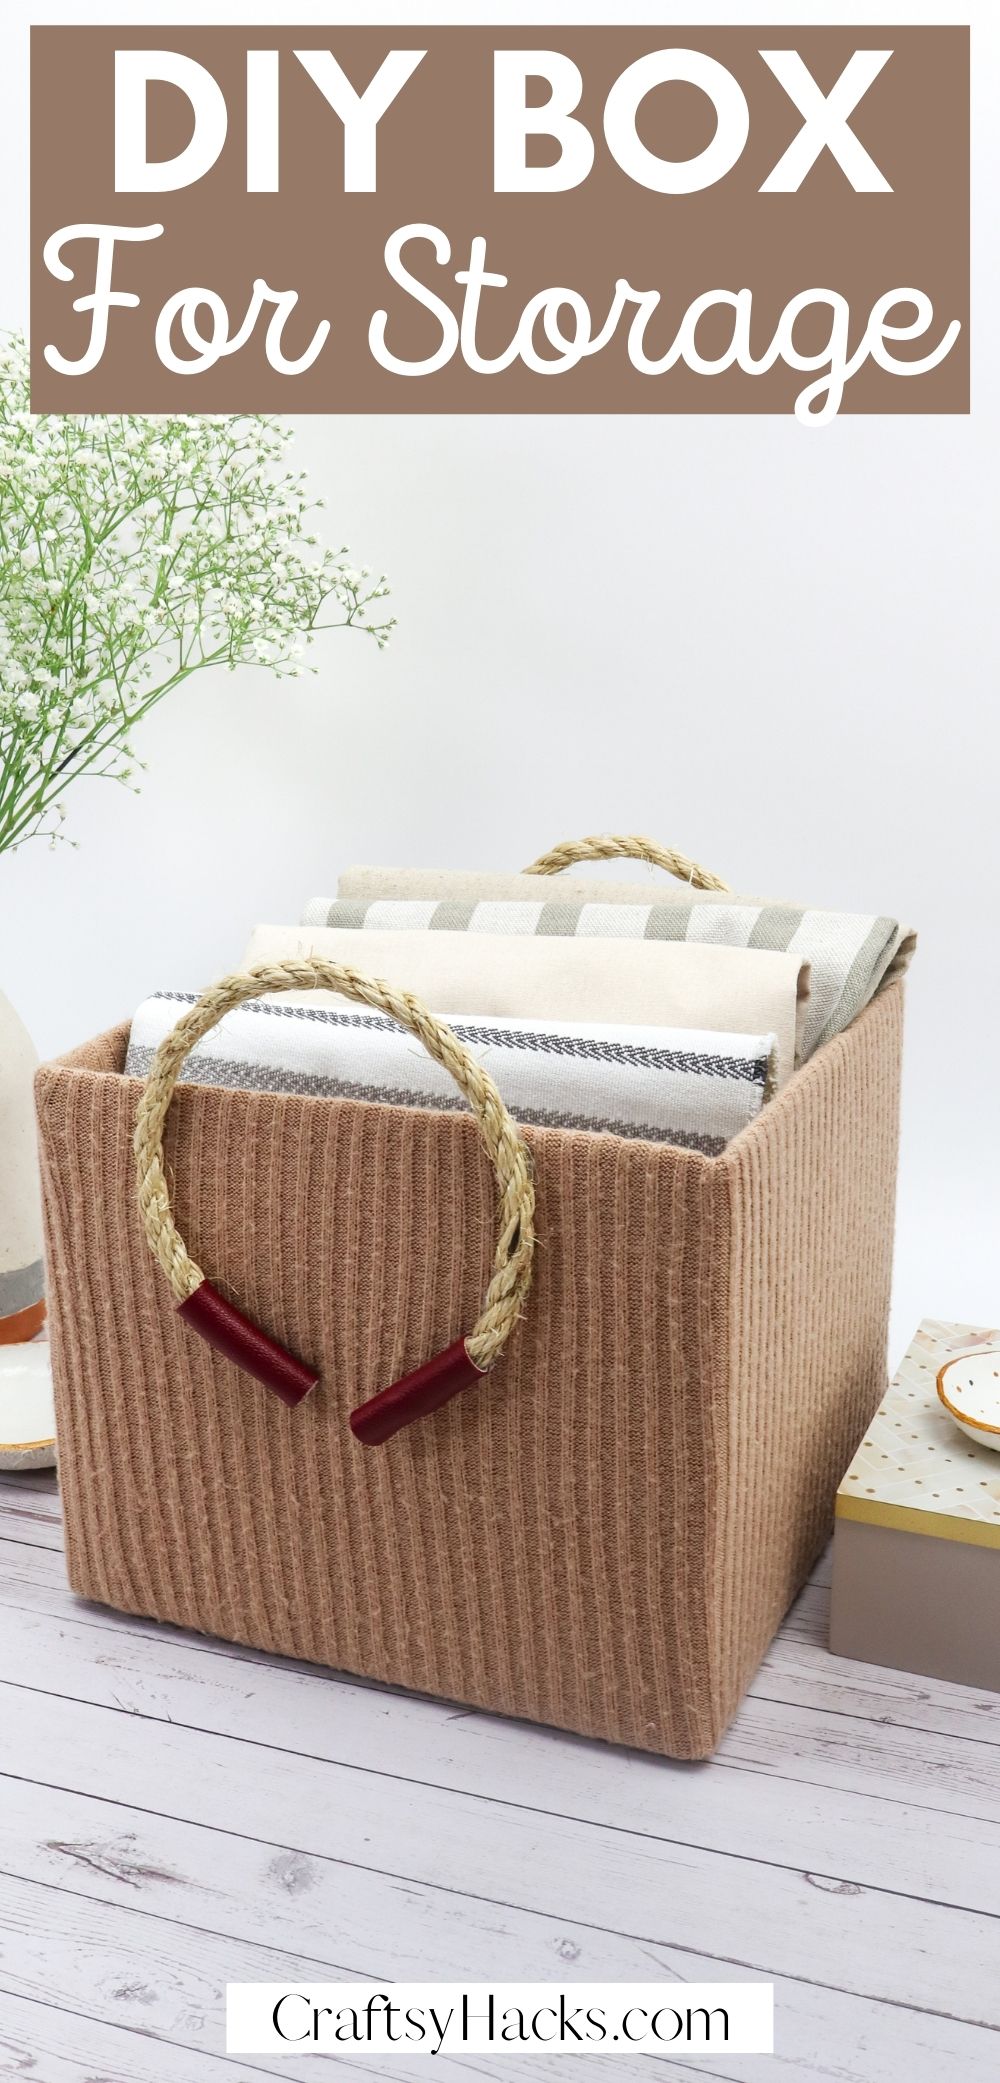
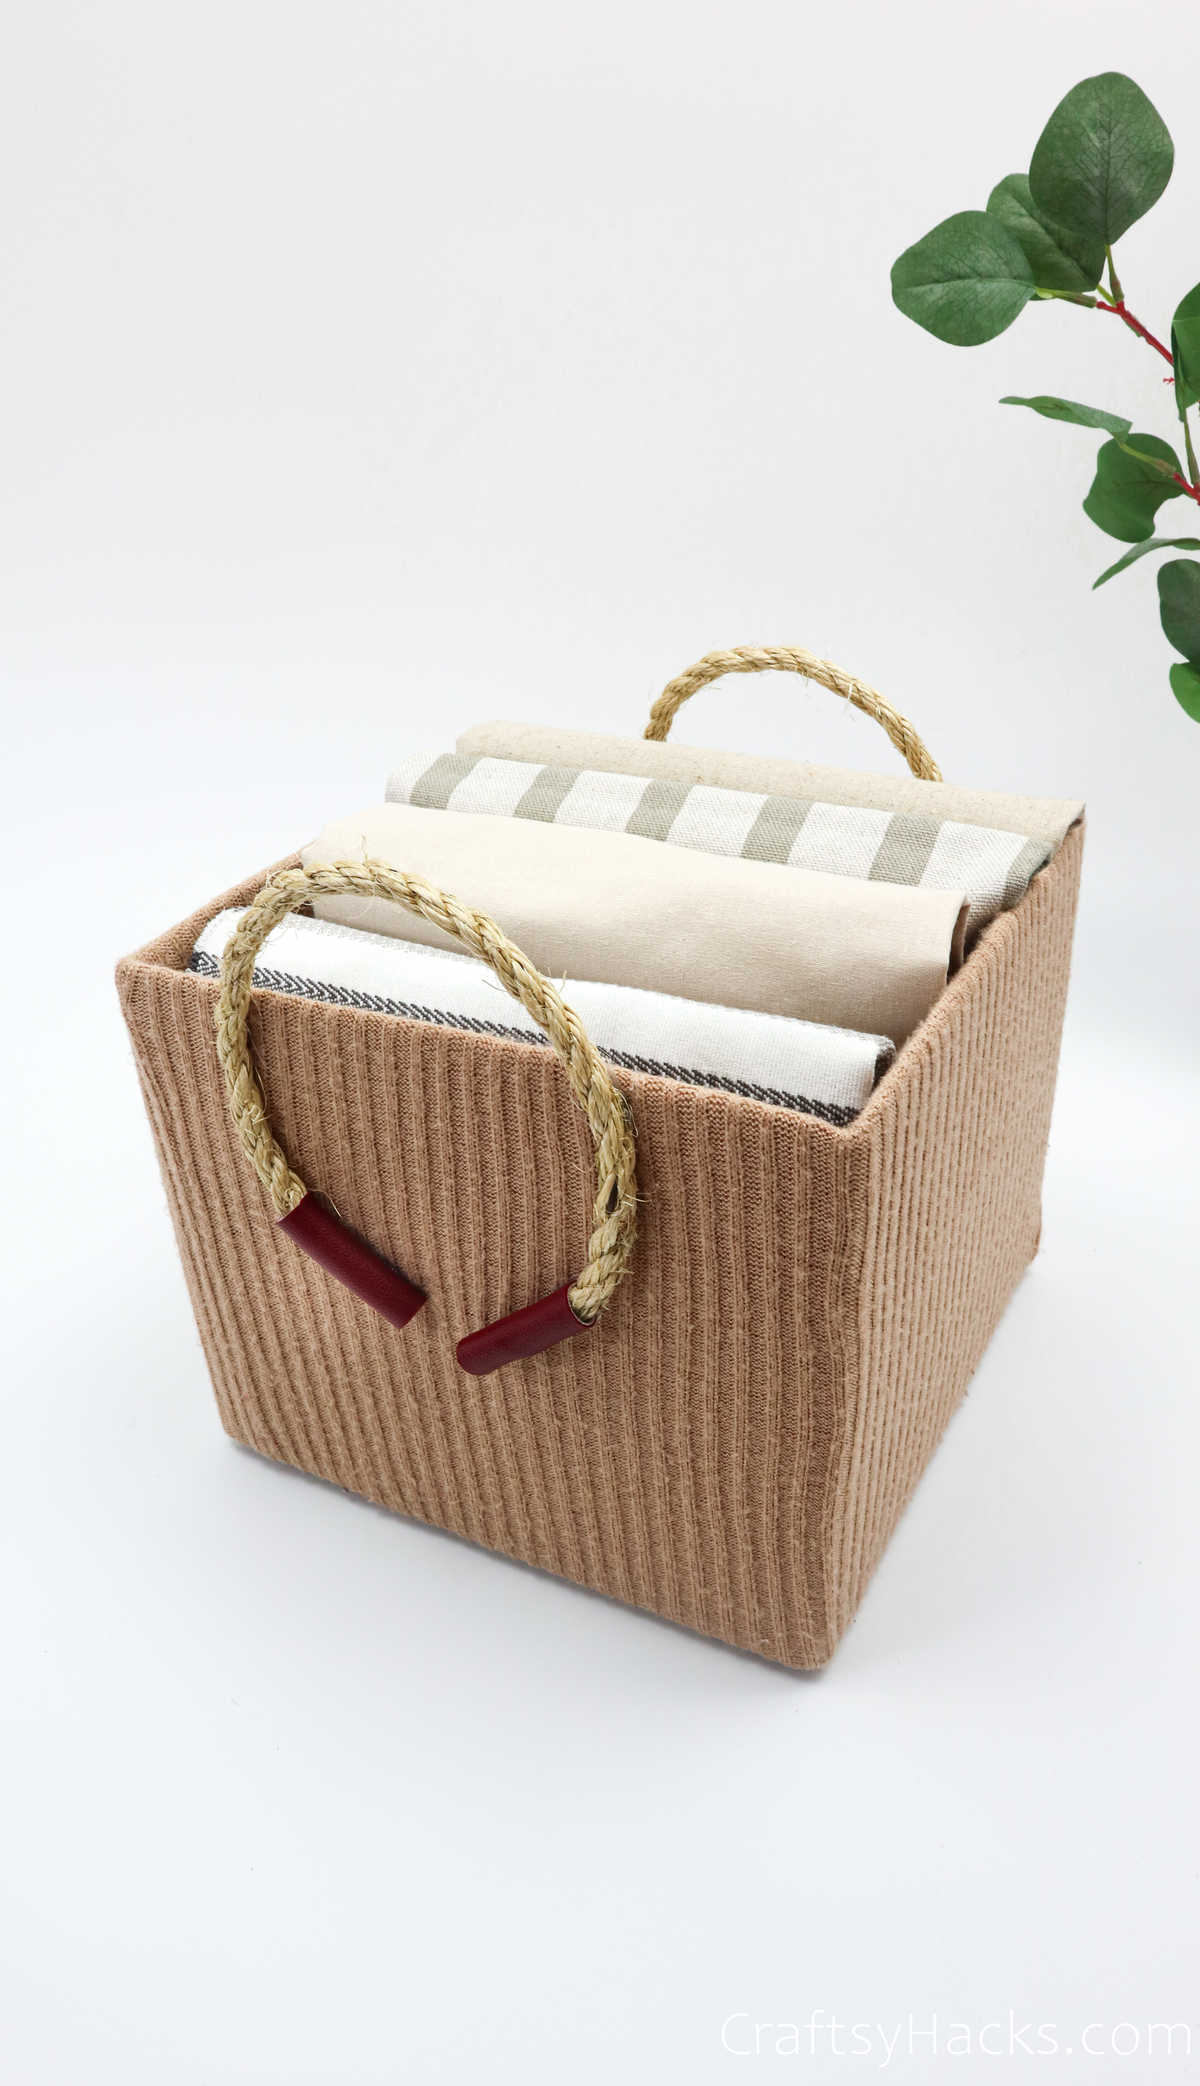
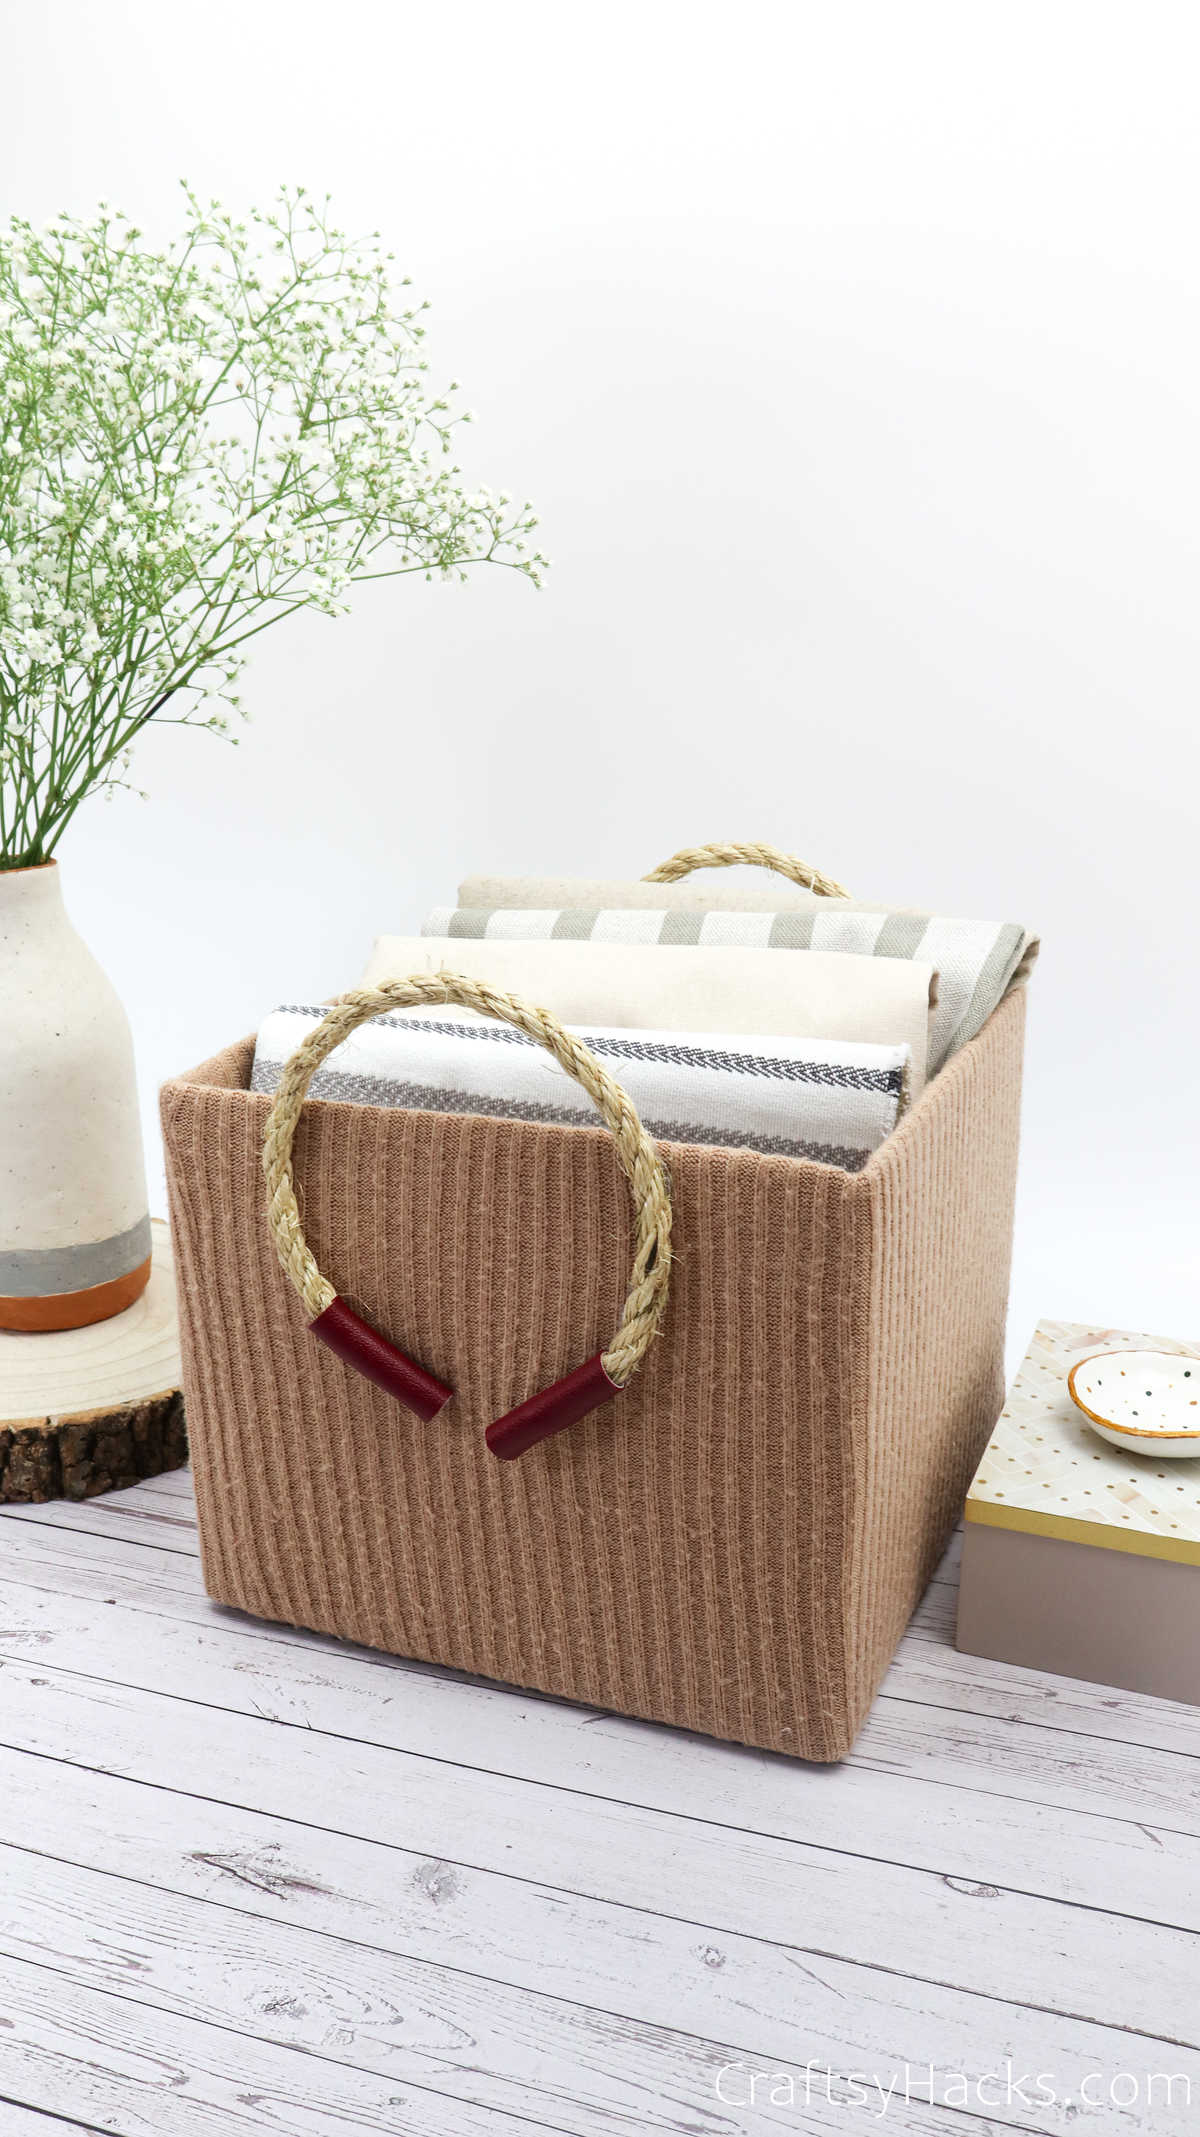
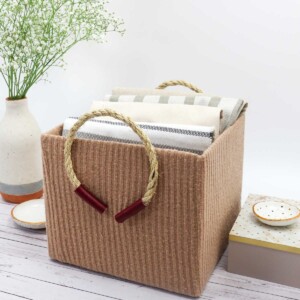
Got an old sweater and a cardboard box? Make a storage box that will fit into your home décor, provide some extra storage space and look cute!
You’ll find that storage boxes are always in demand around the house, but there never seems to be enough. No matter how many you buy, there’s always another stash of sweaters, skeins of yarn, or craft supplies that need to be boxed up and stored.
When you buy a lot of those fancy storage boxes, you’ll find that expenses can pile up. But these boxes will always come in handy—they’re a great investment, and they’ll help you declutter and organize, so you can’t do without them.
So, what’s the solution?
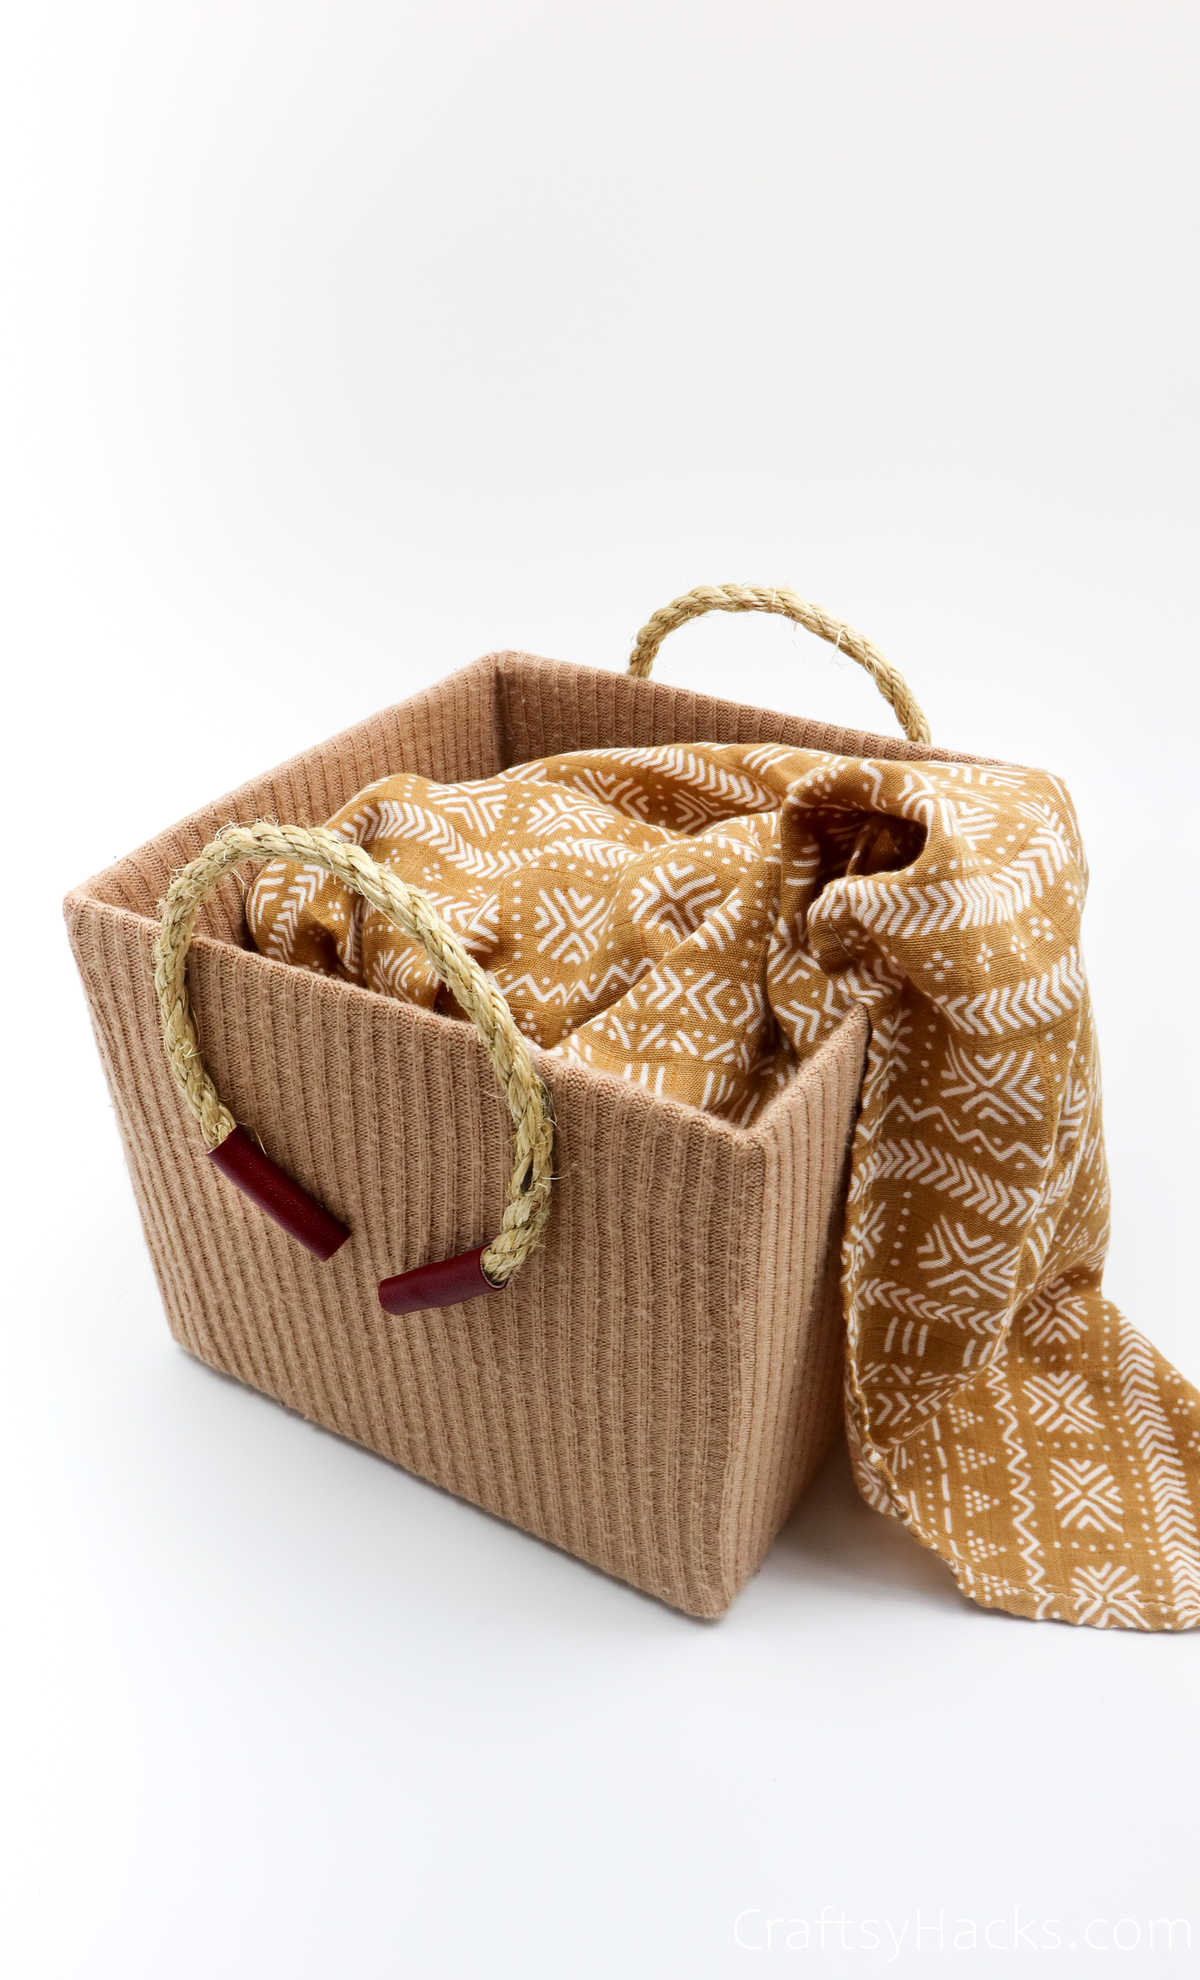
You make your own storage boxes, of course. Only, you’ll be making them out of old cardboard boxes, which I’m sure we all have a ton of in the attic just waiting to be recycled.
Supplies and Tools You’ll Need
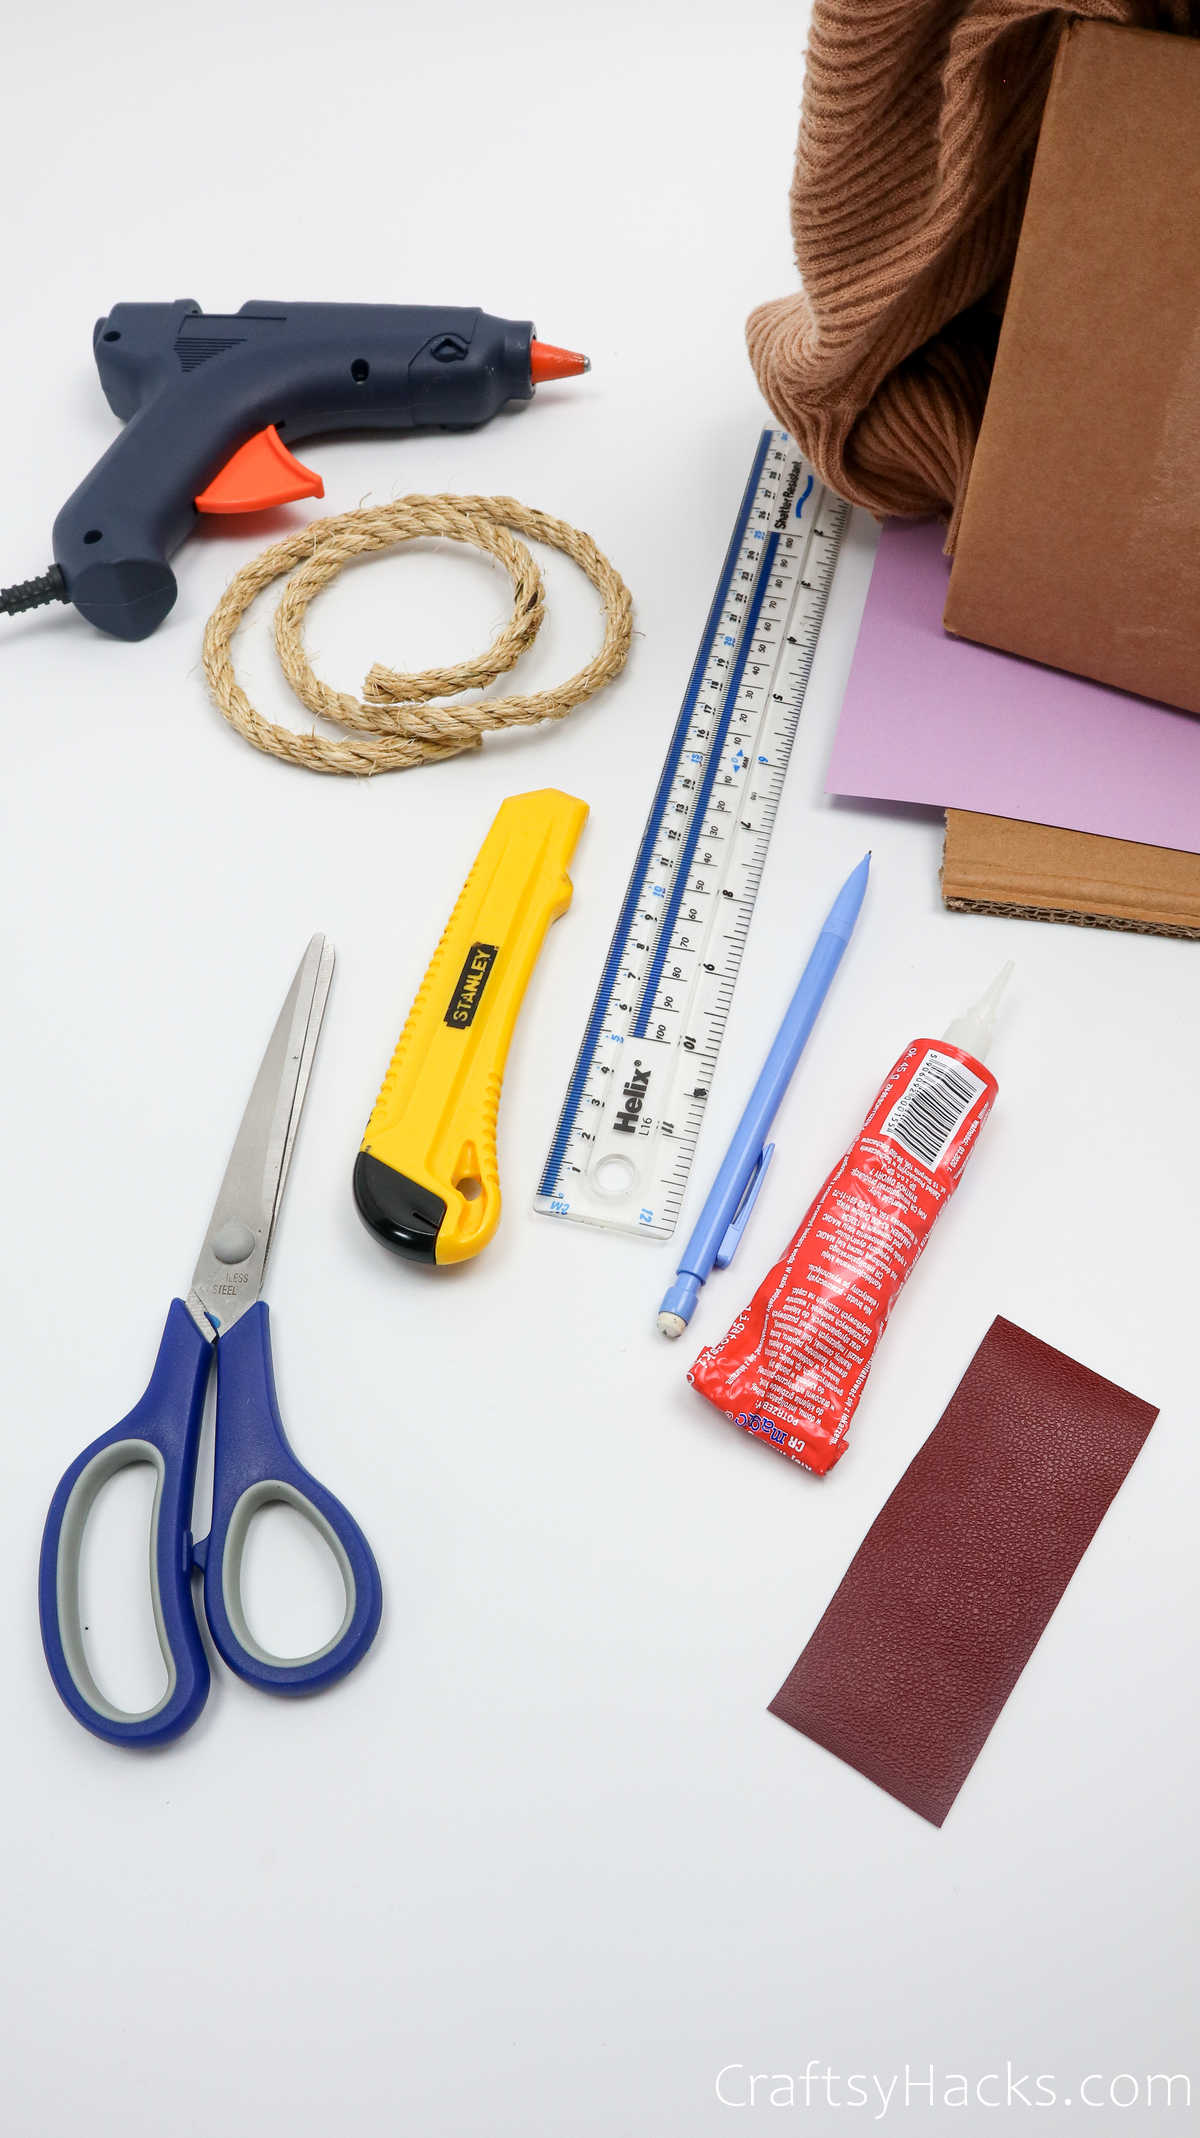
So, here’s a list of the supplies you’ll need:
- Cardboard box
- Old sweater
- Hot glue gun
- Scissors
- Decorative paper
- Cardboard sheet
- 1/5’’ rope (24’’ long)
- Glue
- Ruler
- Retractable knife
- Pencil
Optional
- Leather fabric (1″x 6″)
How to Make a Storage Box
You’ll not only be recycling old cardboard boxes, but you’ll also be upcycling an old sweater for this project. I bet you have a couple in the back of your closet that you haven’t worn in ages because it’s just so darn scratchy.
Go ahead and grab one for this project, preferably one that is stretchy and elastic.
Step 1
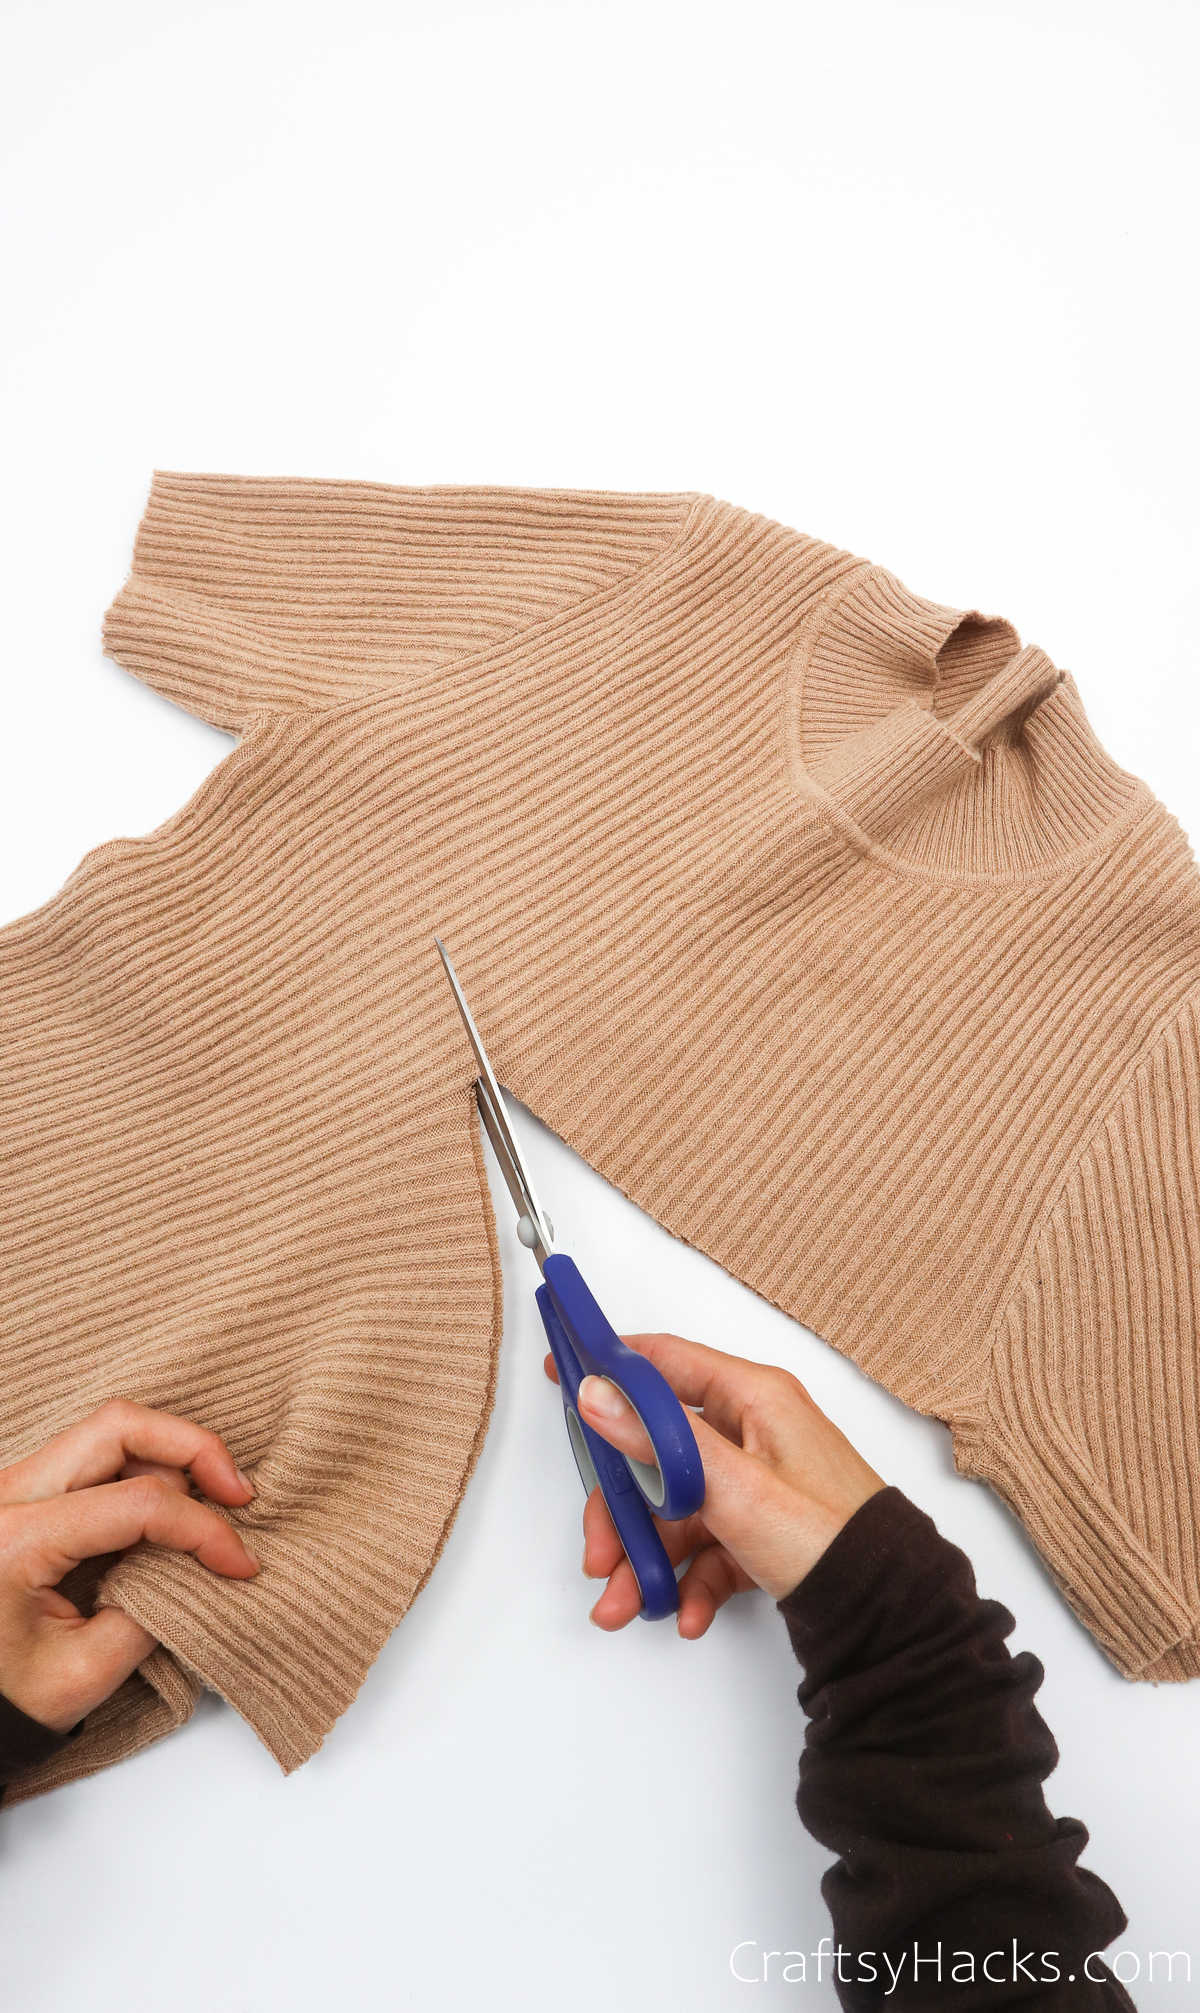
Grab a pair of scissors and cut the sweater right under the arms. Cut as close to the arm as possible to get as much fabric out of the sweater as you can.
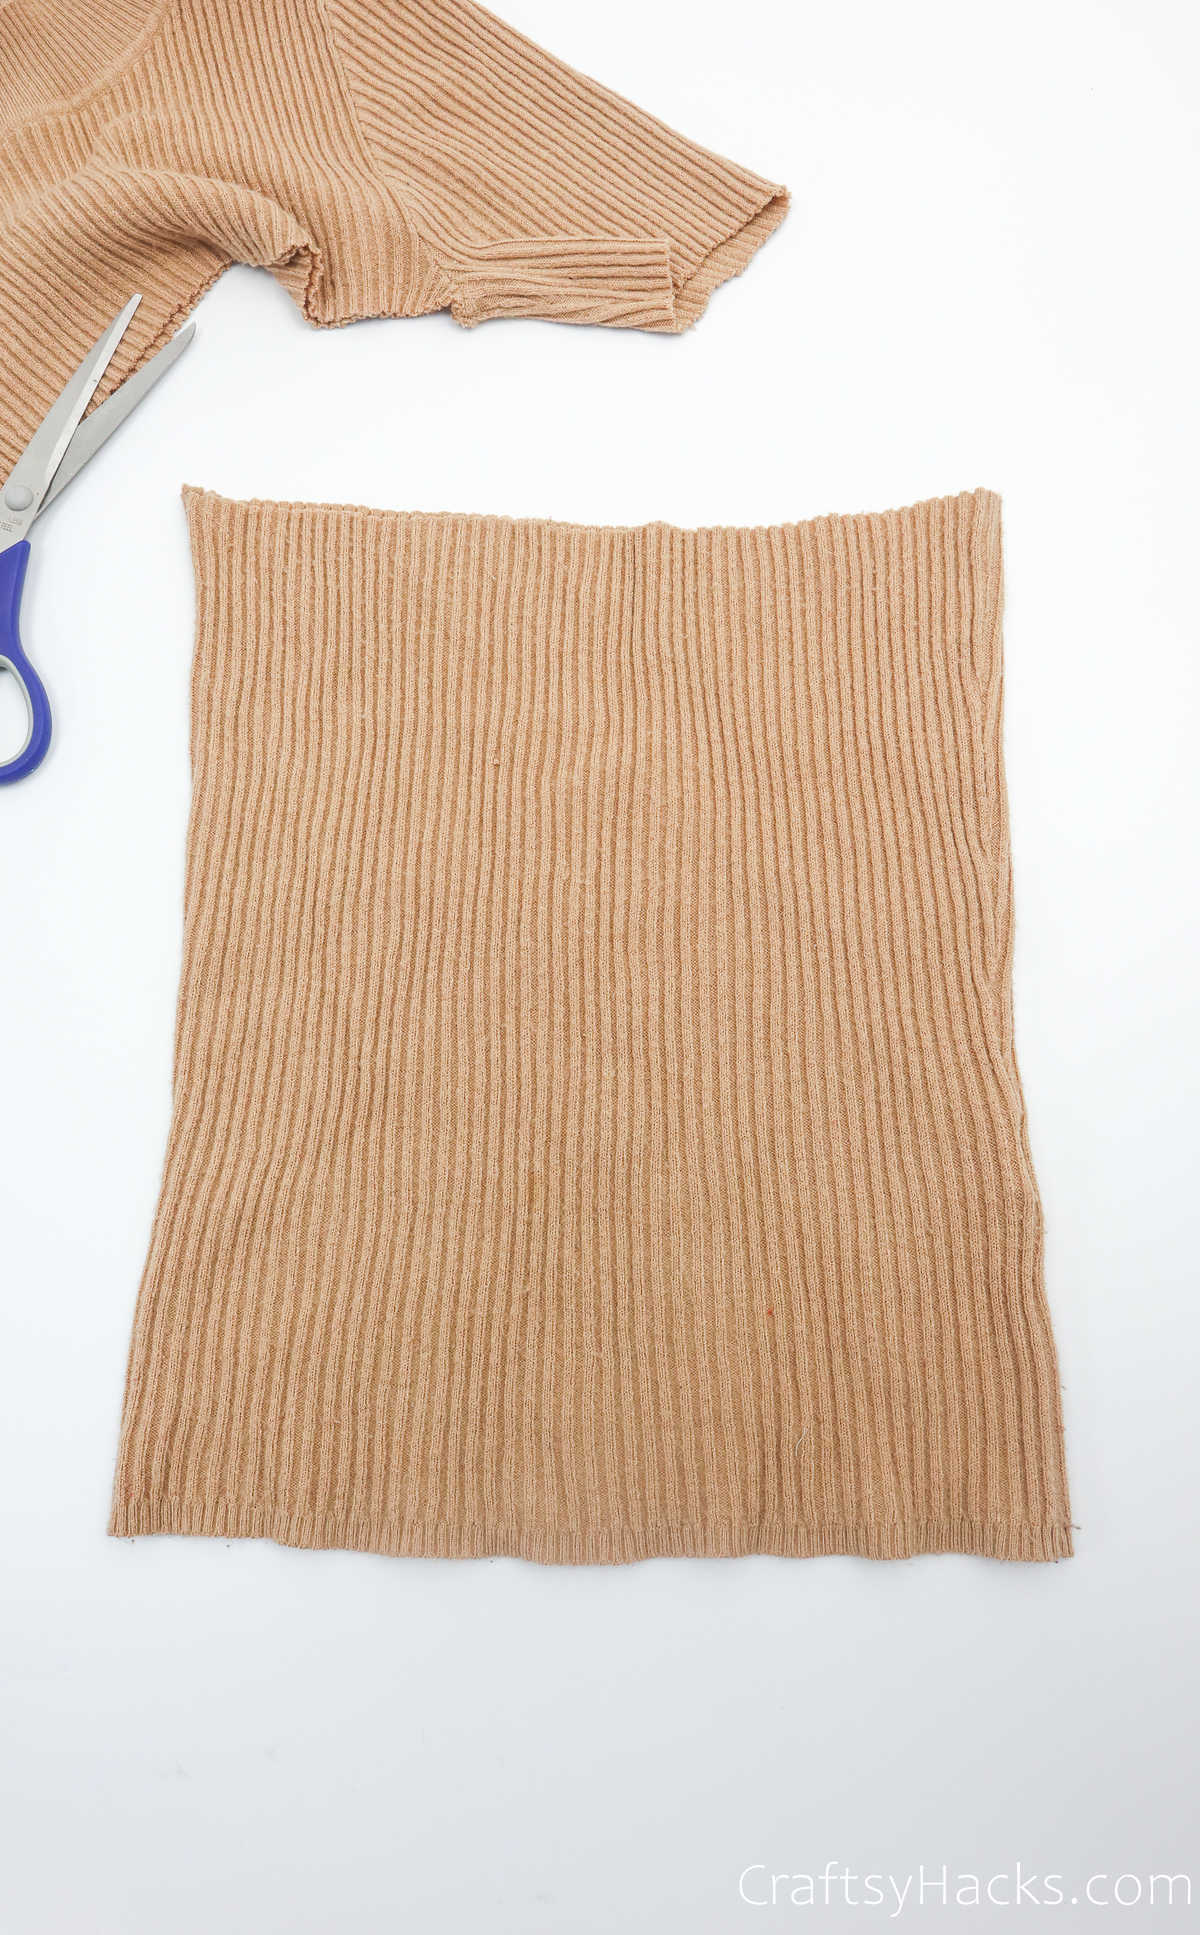
Step 2
Grab your cardboard box and pull the sweater over it. This is when the stretchiness of the sweater will really come in handy, so pull the sweater all around the box.
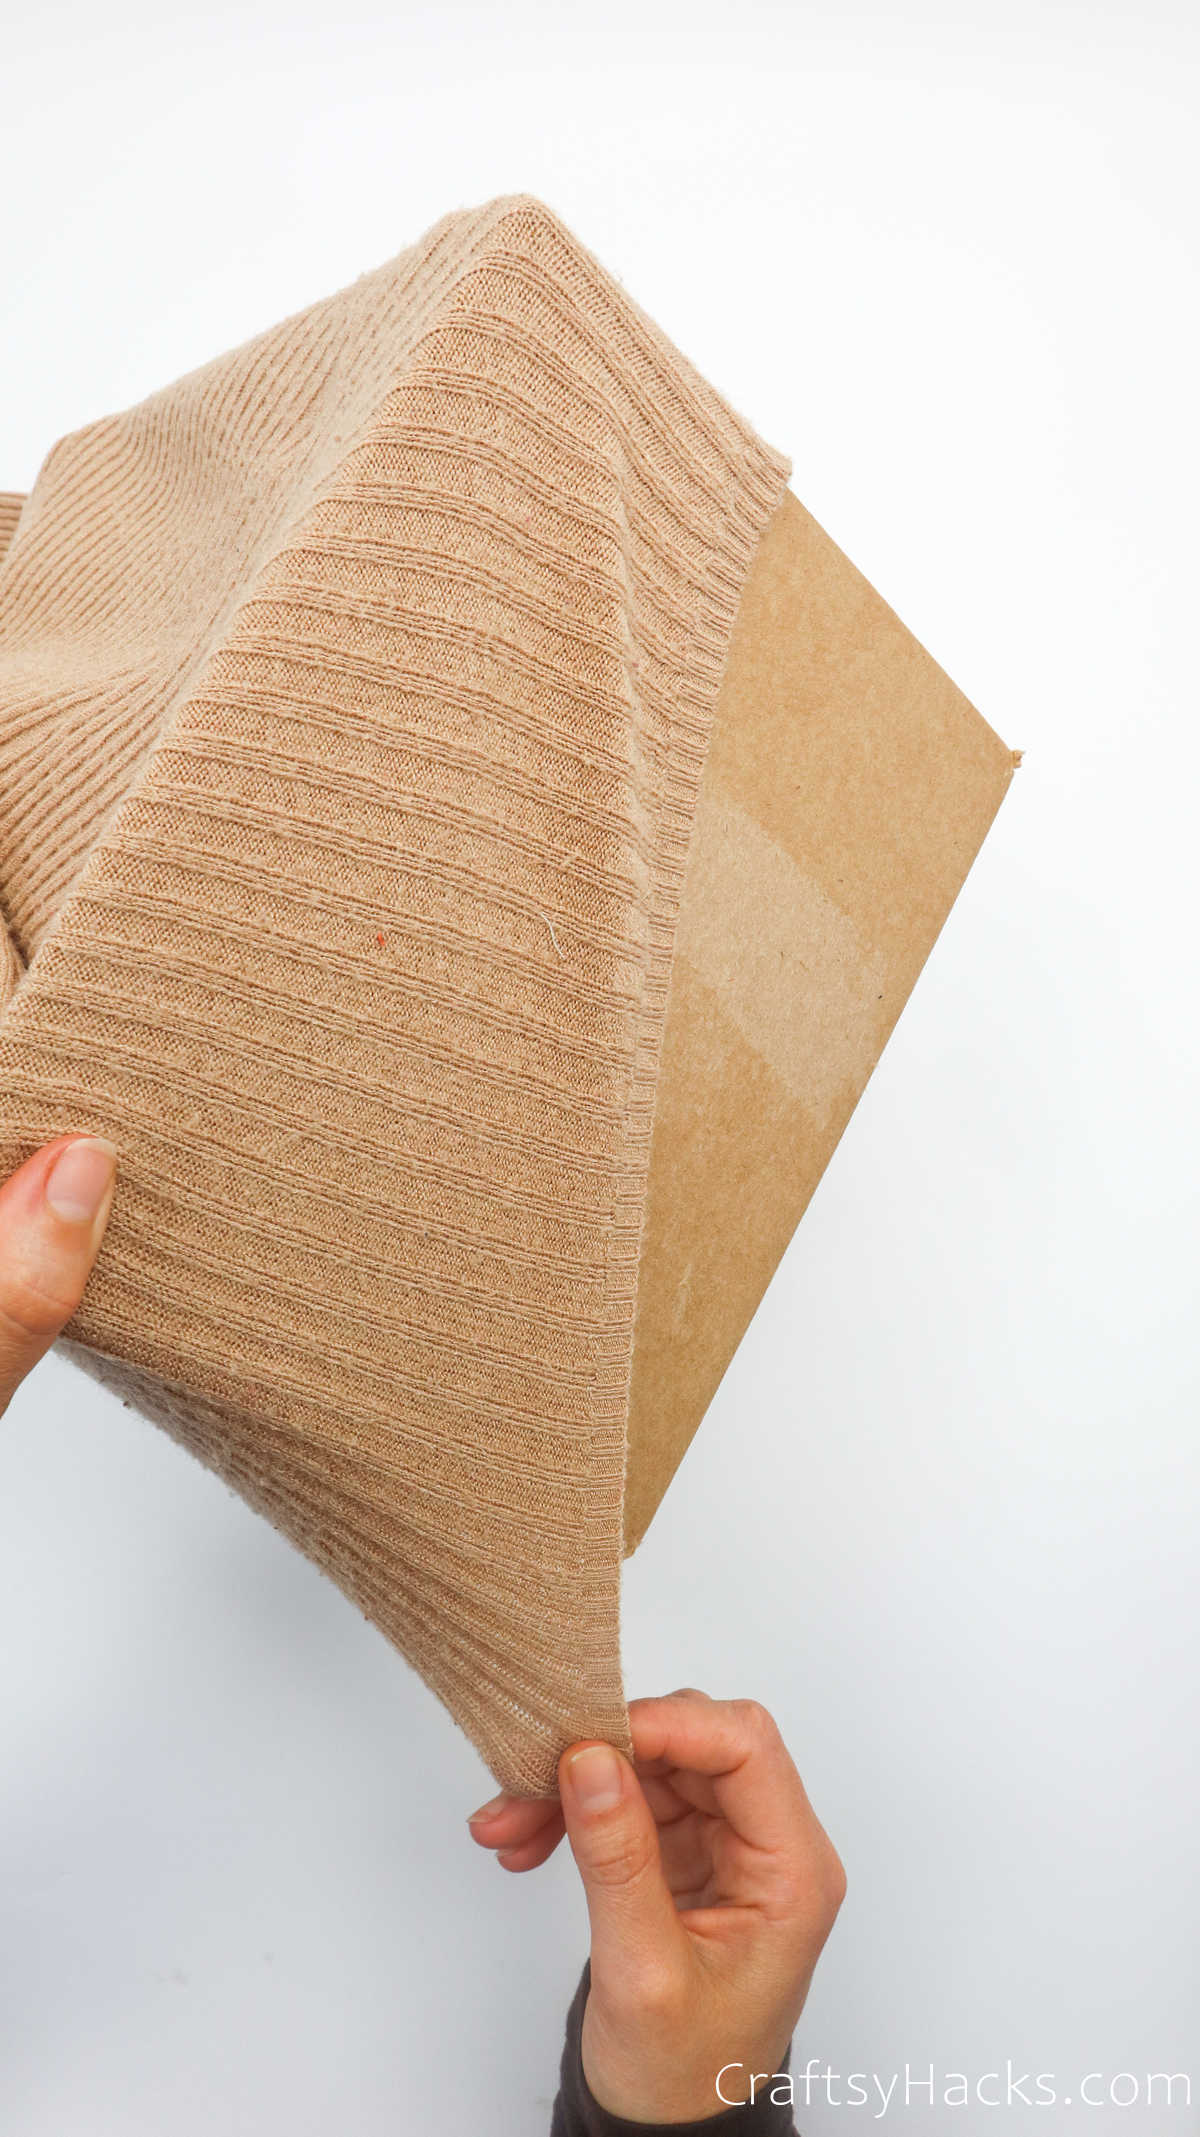
The edges of the sweater should ideally reach the base of the inside of the cardboard box, as indicated here.
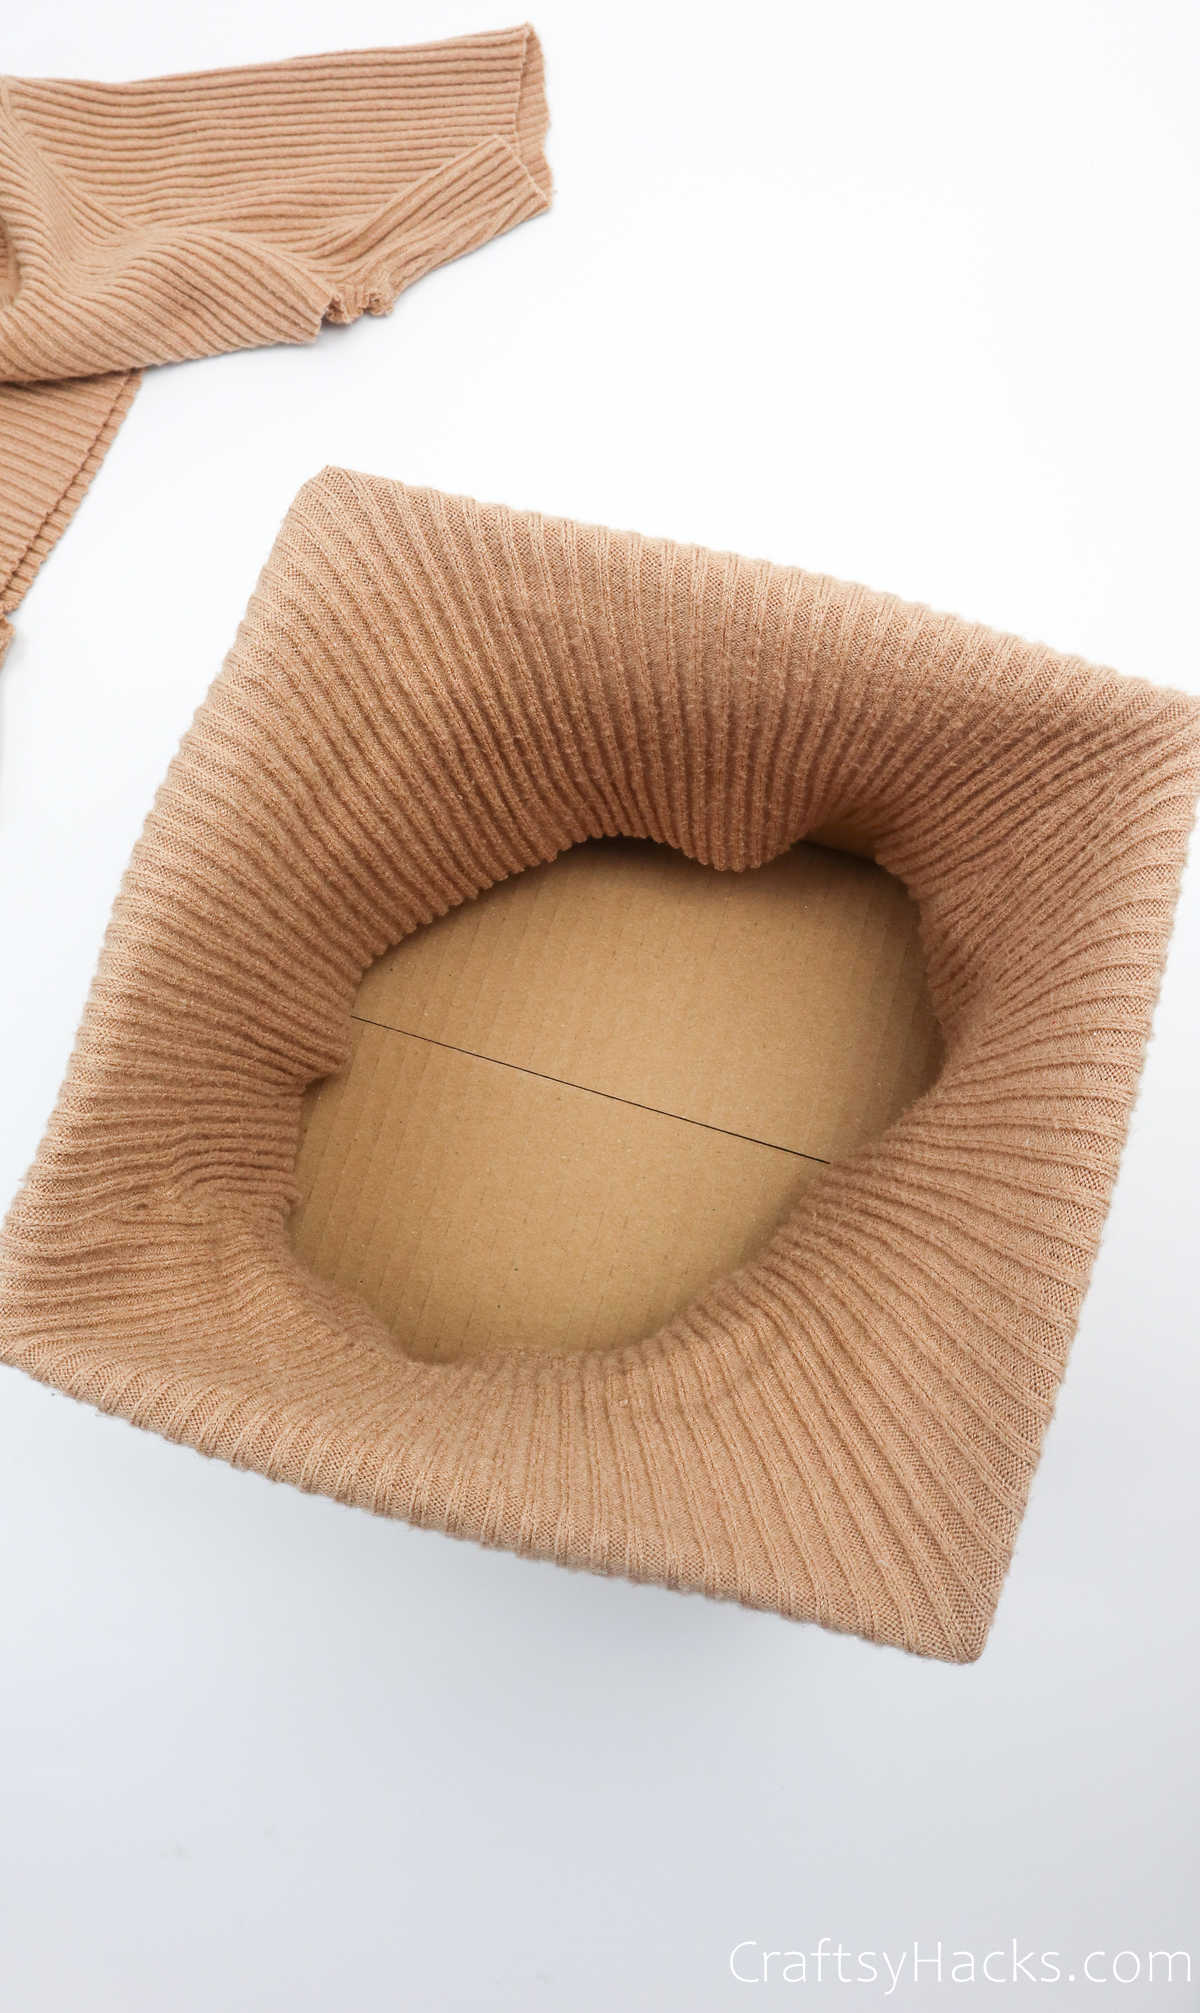
Step 3
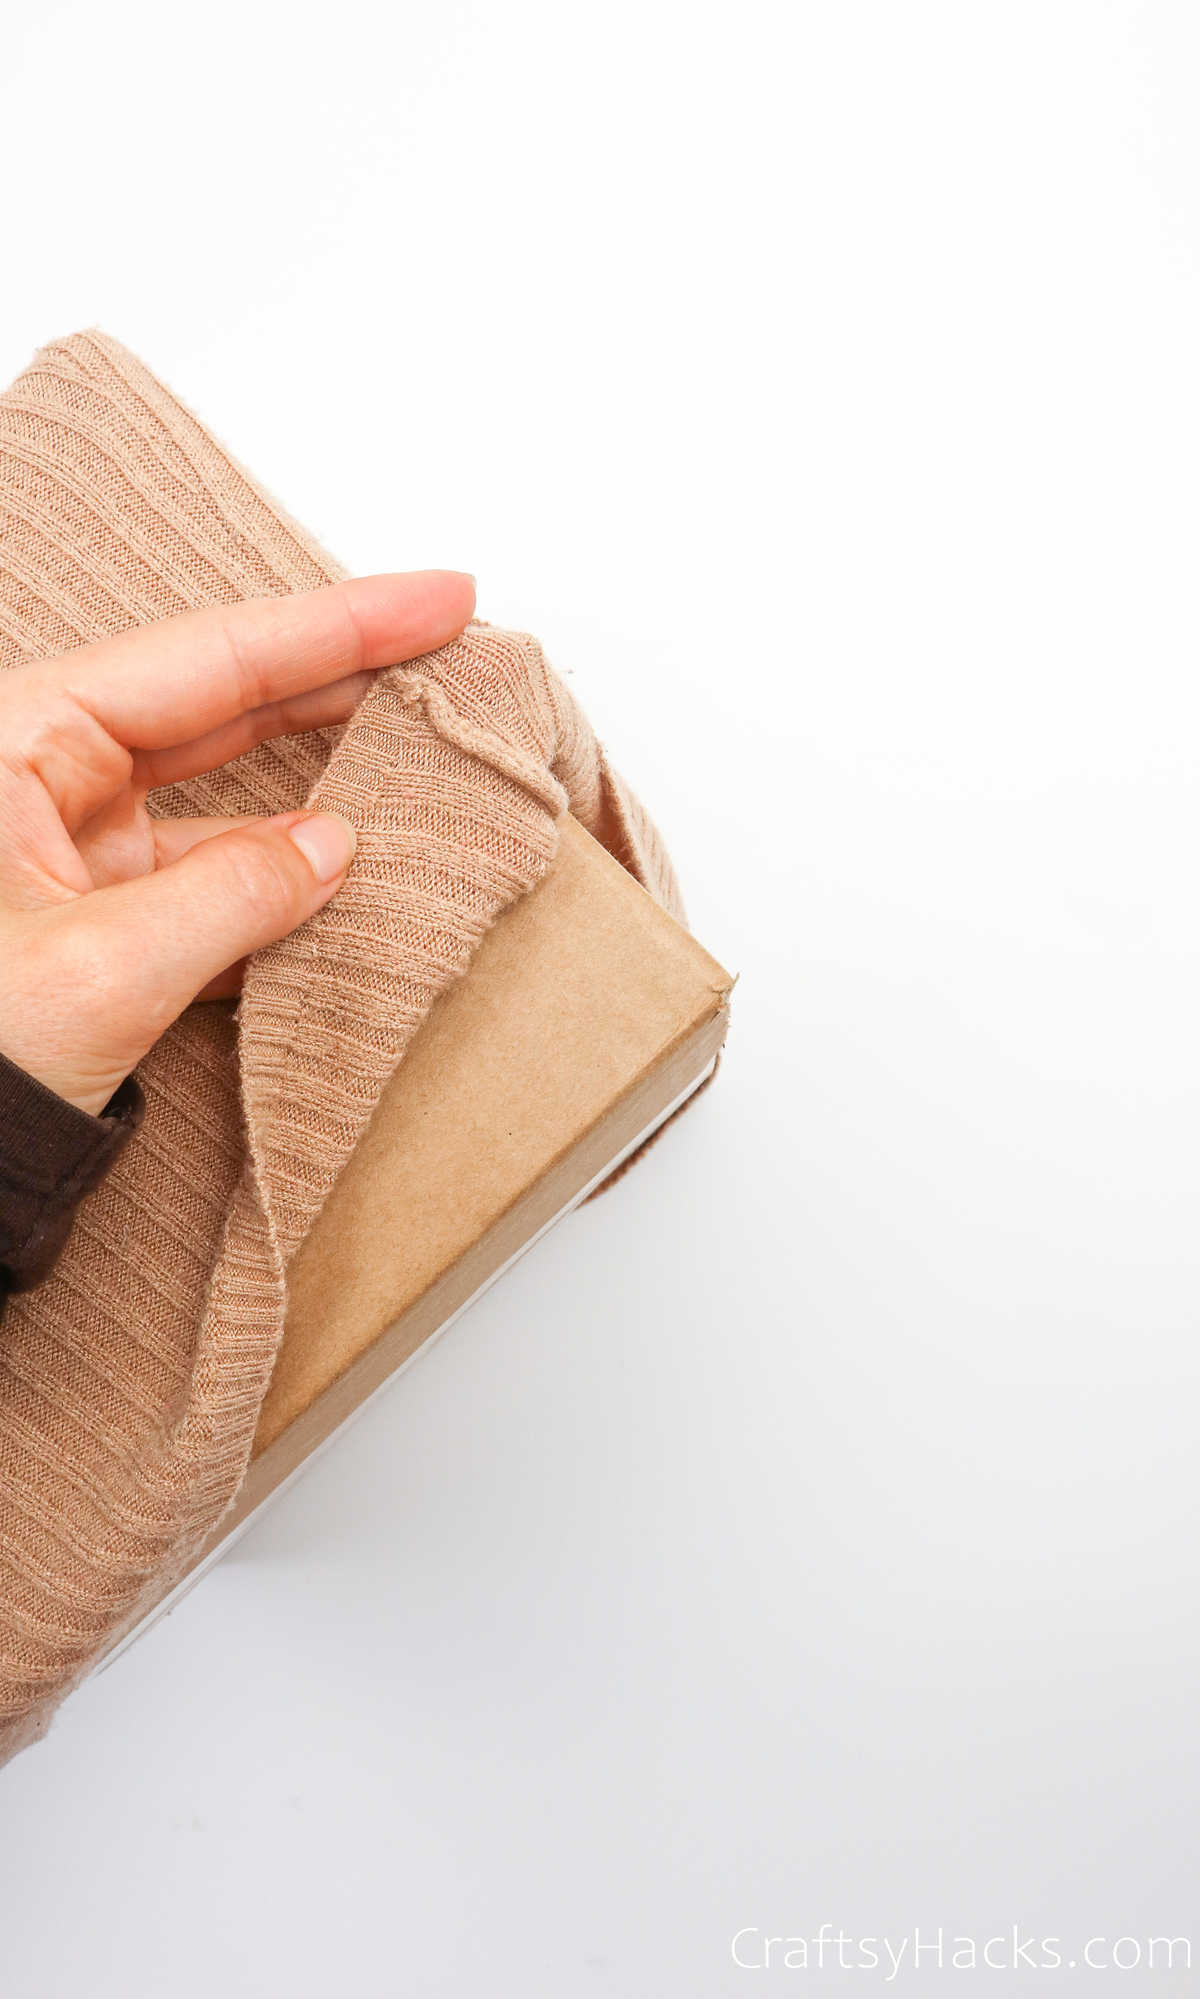
Next, turn the box upside down so you can see the base. You should have at least an inch-wide strip of the sweater here so you can hot glue the ends of it all around the base of the cardboard.
If you’re super careful, you’ll be able to line the sweater neatly around the base when you’re adhering it to the box.
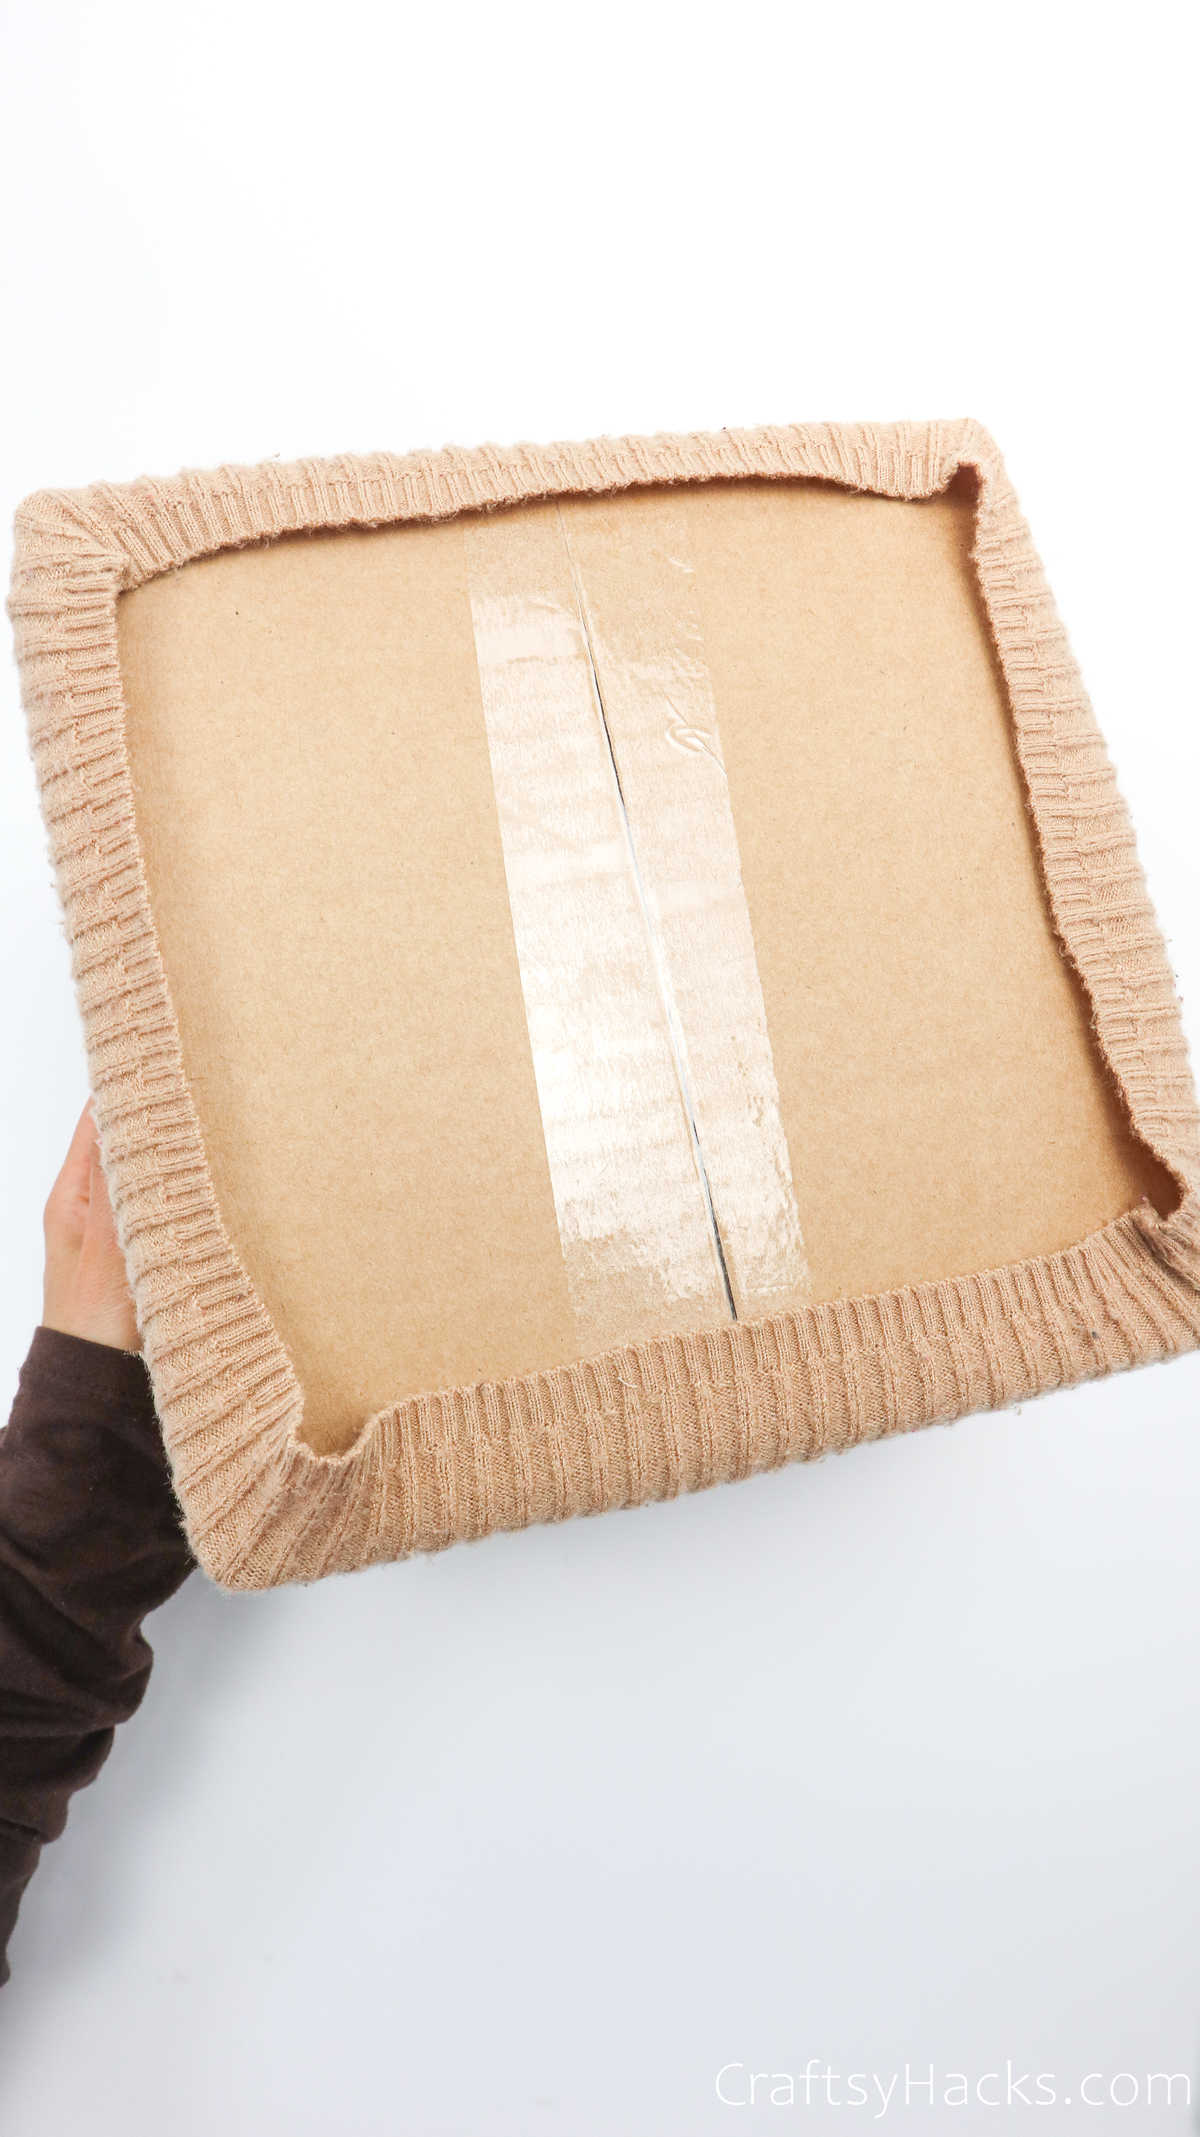
Step 4
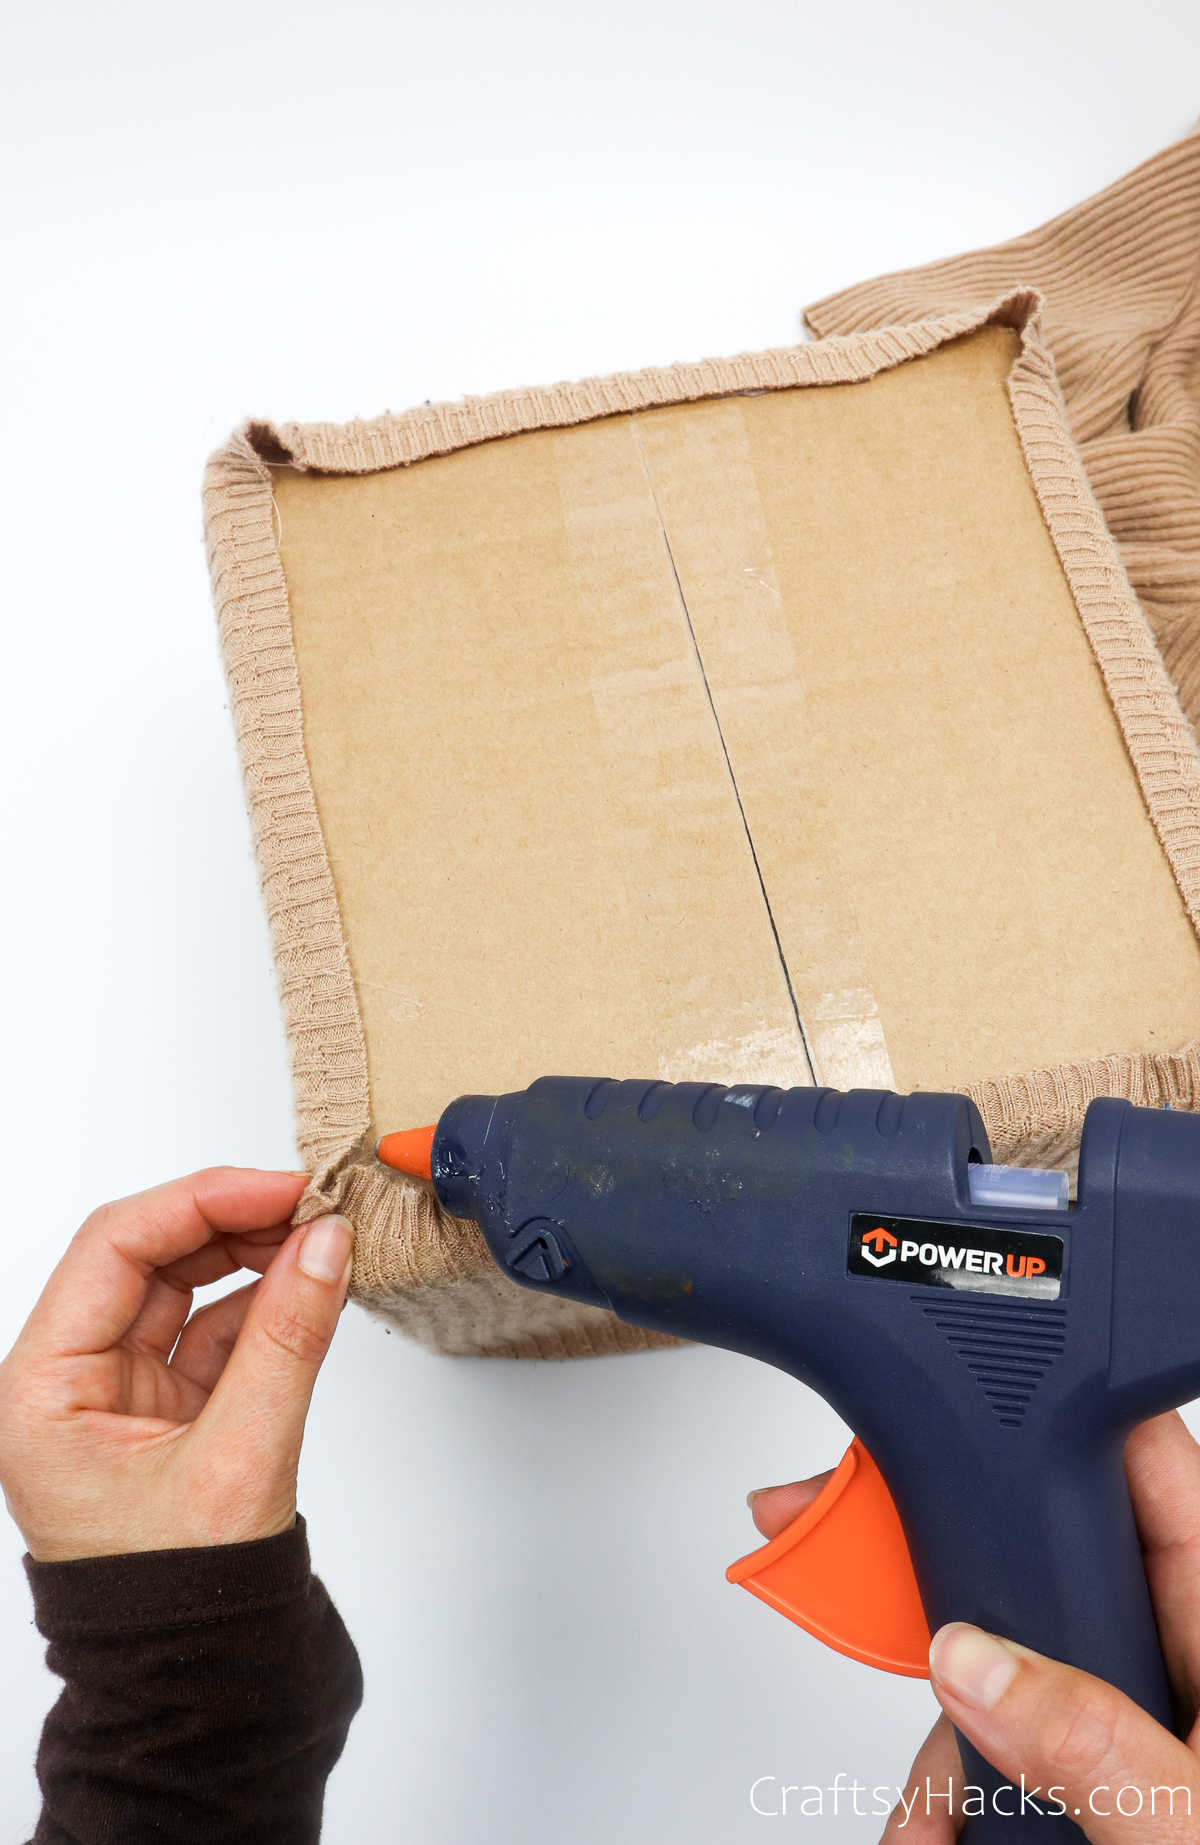
Now, grab your glue gun. Pull the sweater you line away from the base of the box and line hot glue around all four sides. Then, carefully and neatly fold and press the sweater to the box to adhere it.
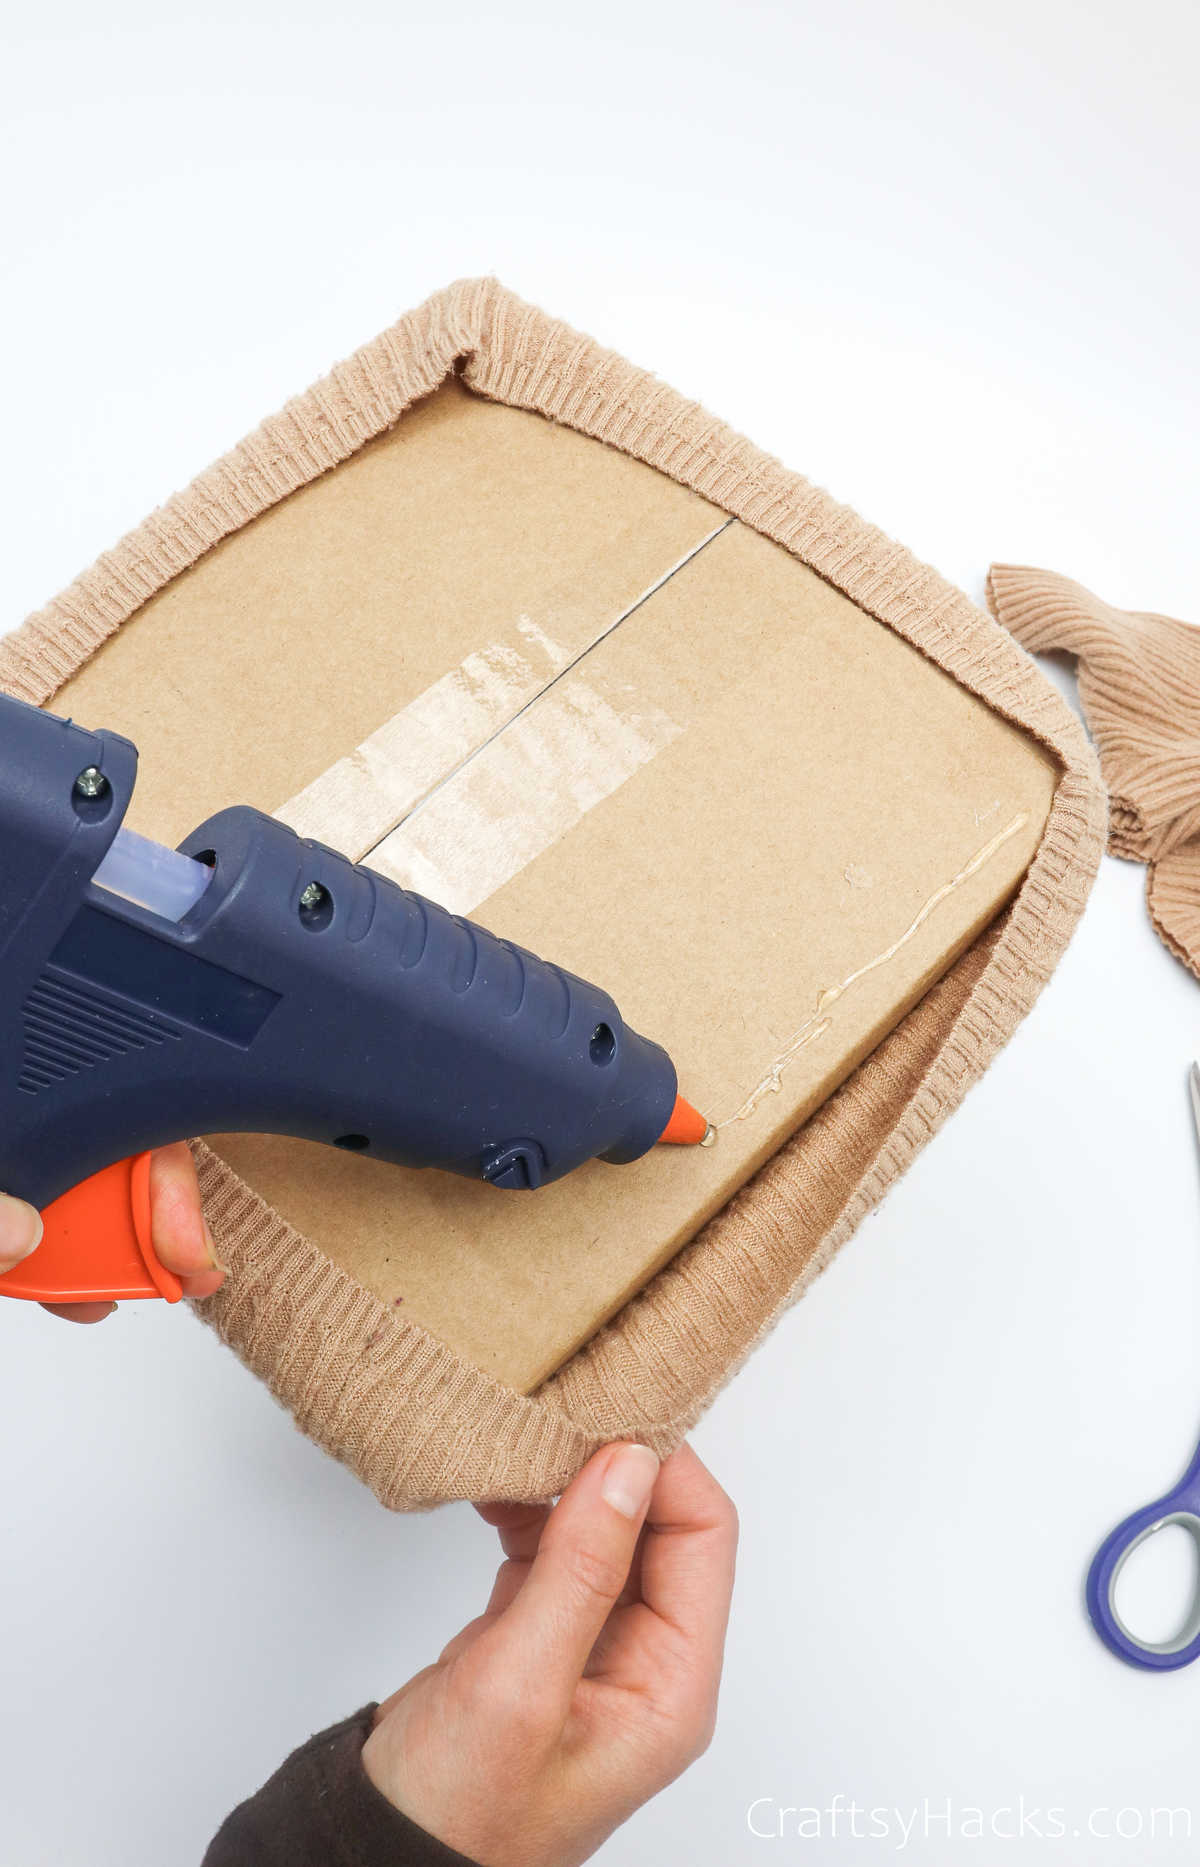
You can pinch the four corners and hot glue them flat onto the base, too. That will ensure that the fabric doesn’t gather or become lumpy in the corners and unbalance the box.
Step 5
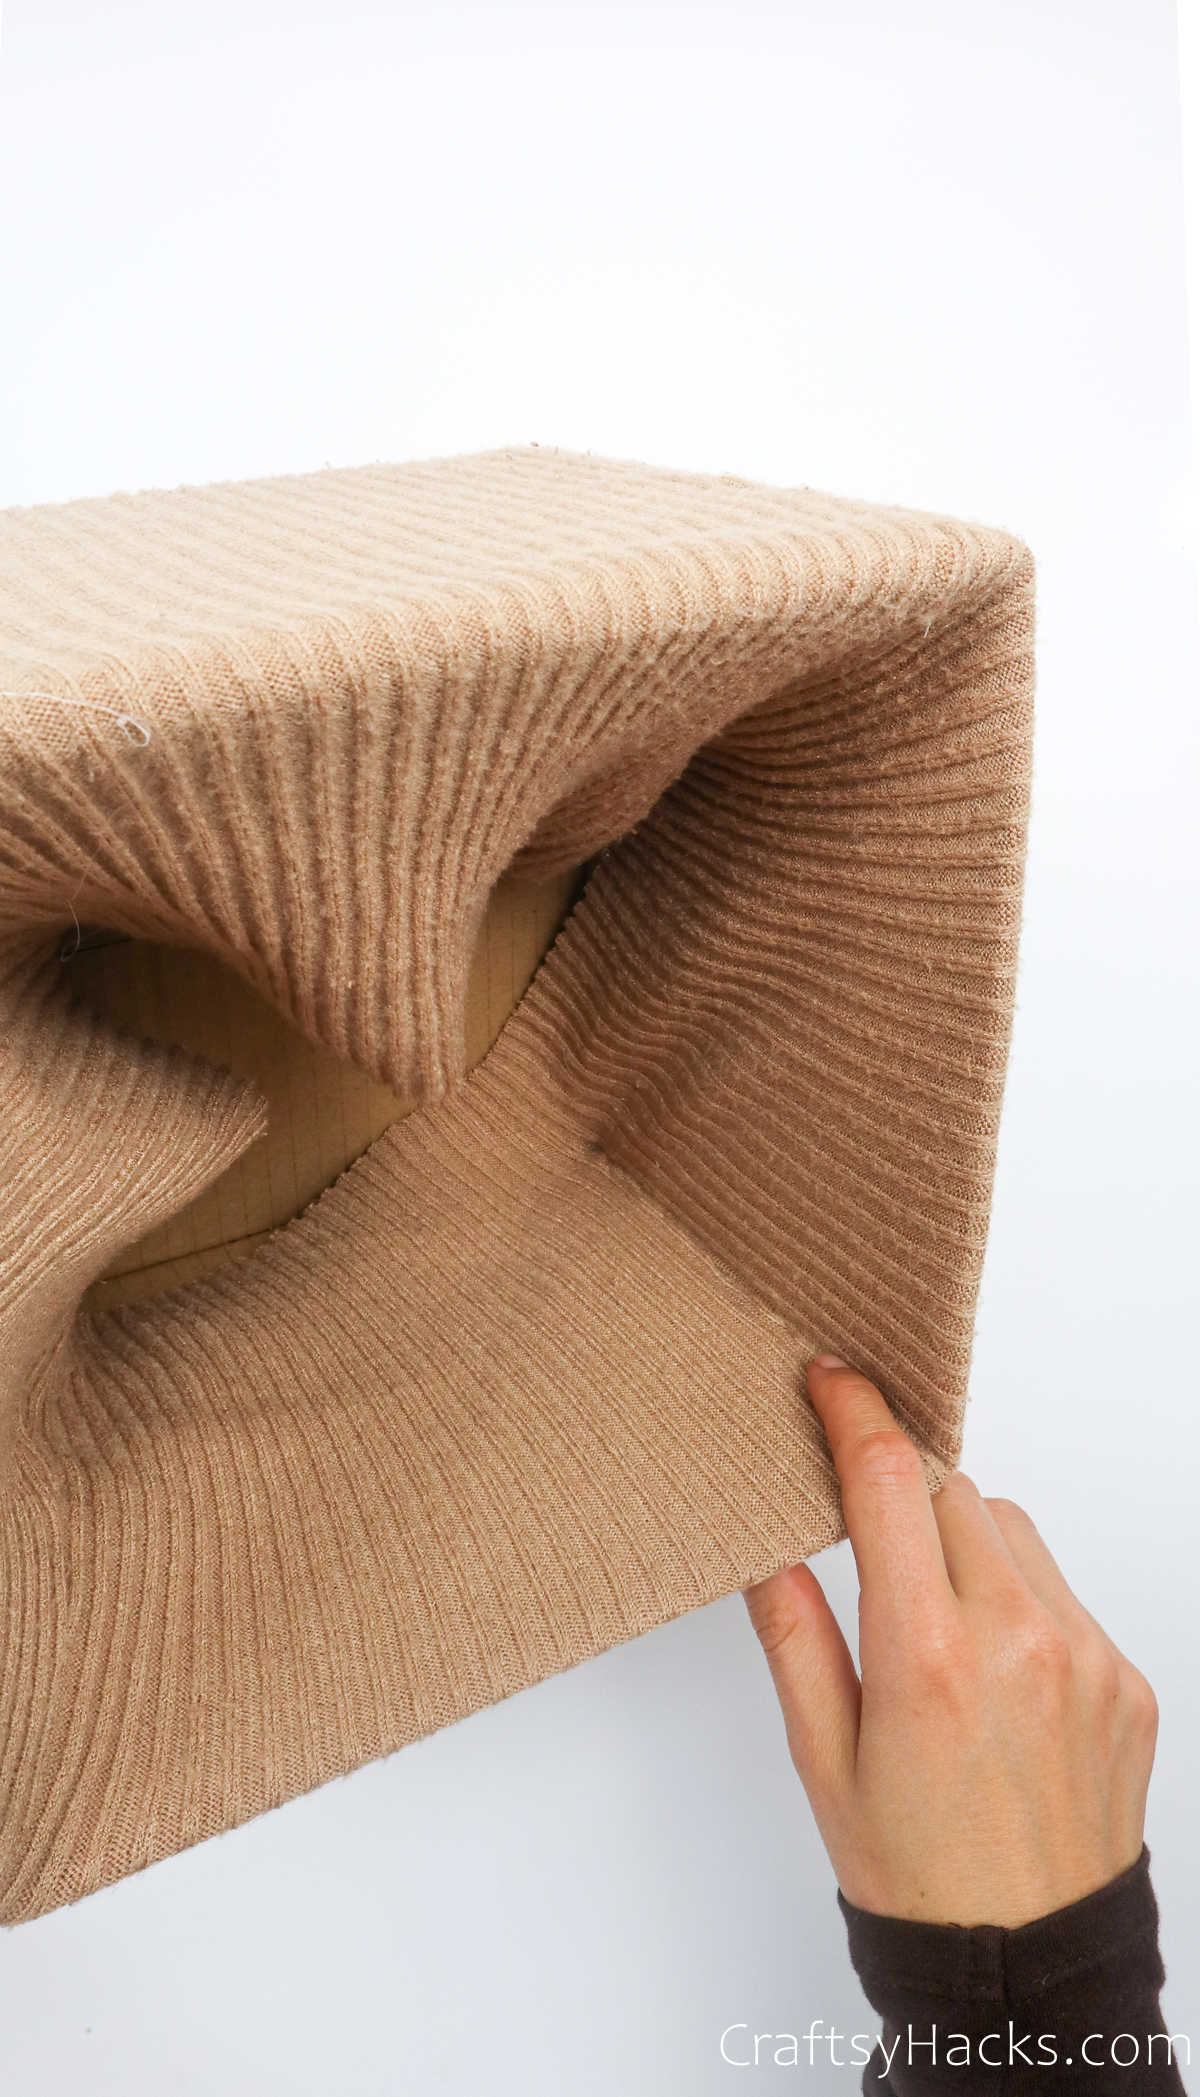
Next, it’s time to move on to the inside of the box. But before you flip the box over, allow the hot glue at the base to dry completely.
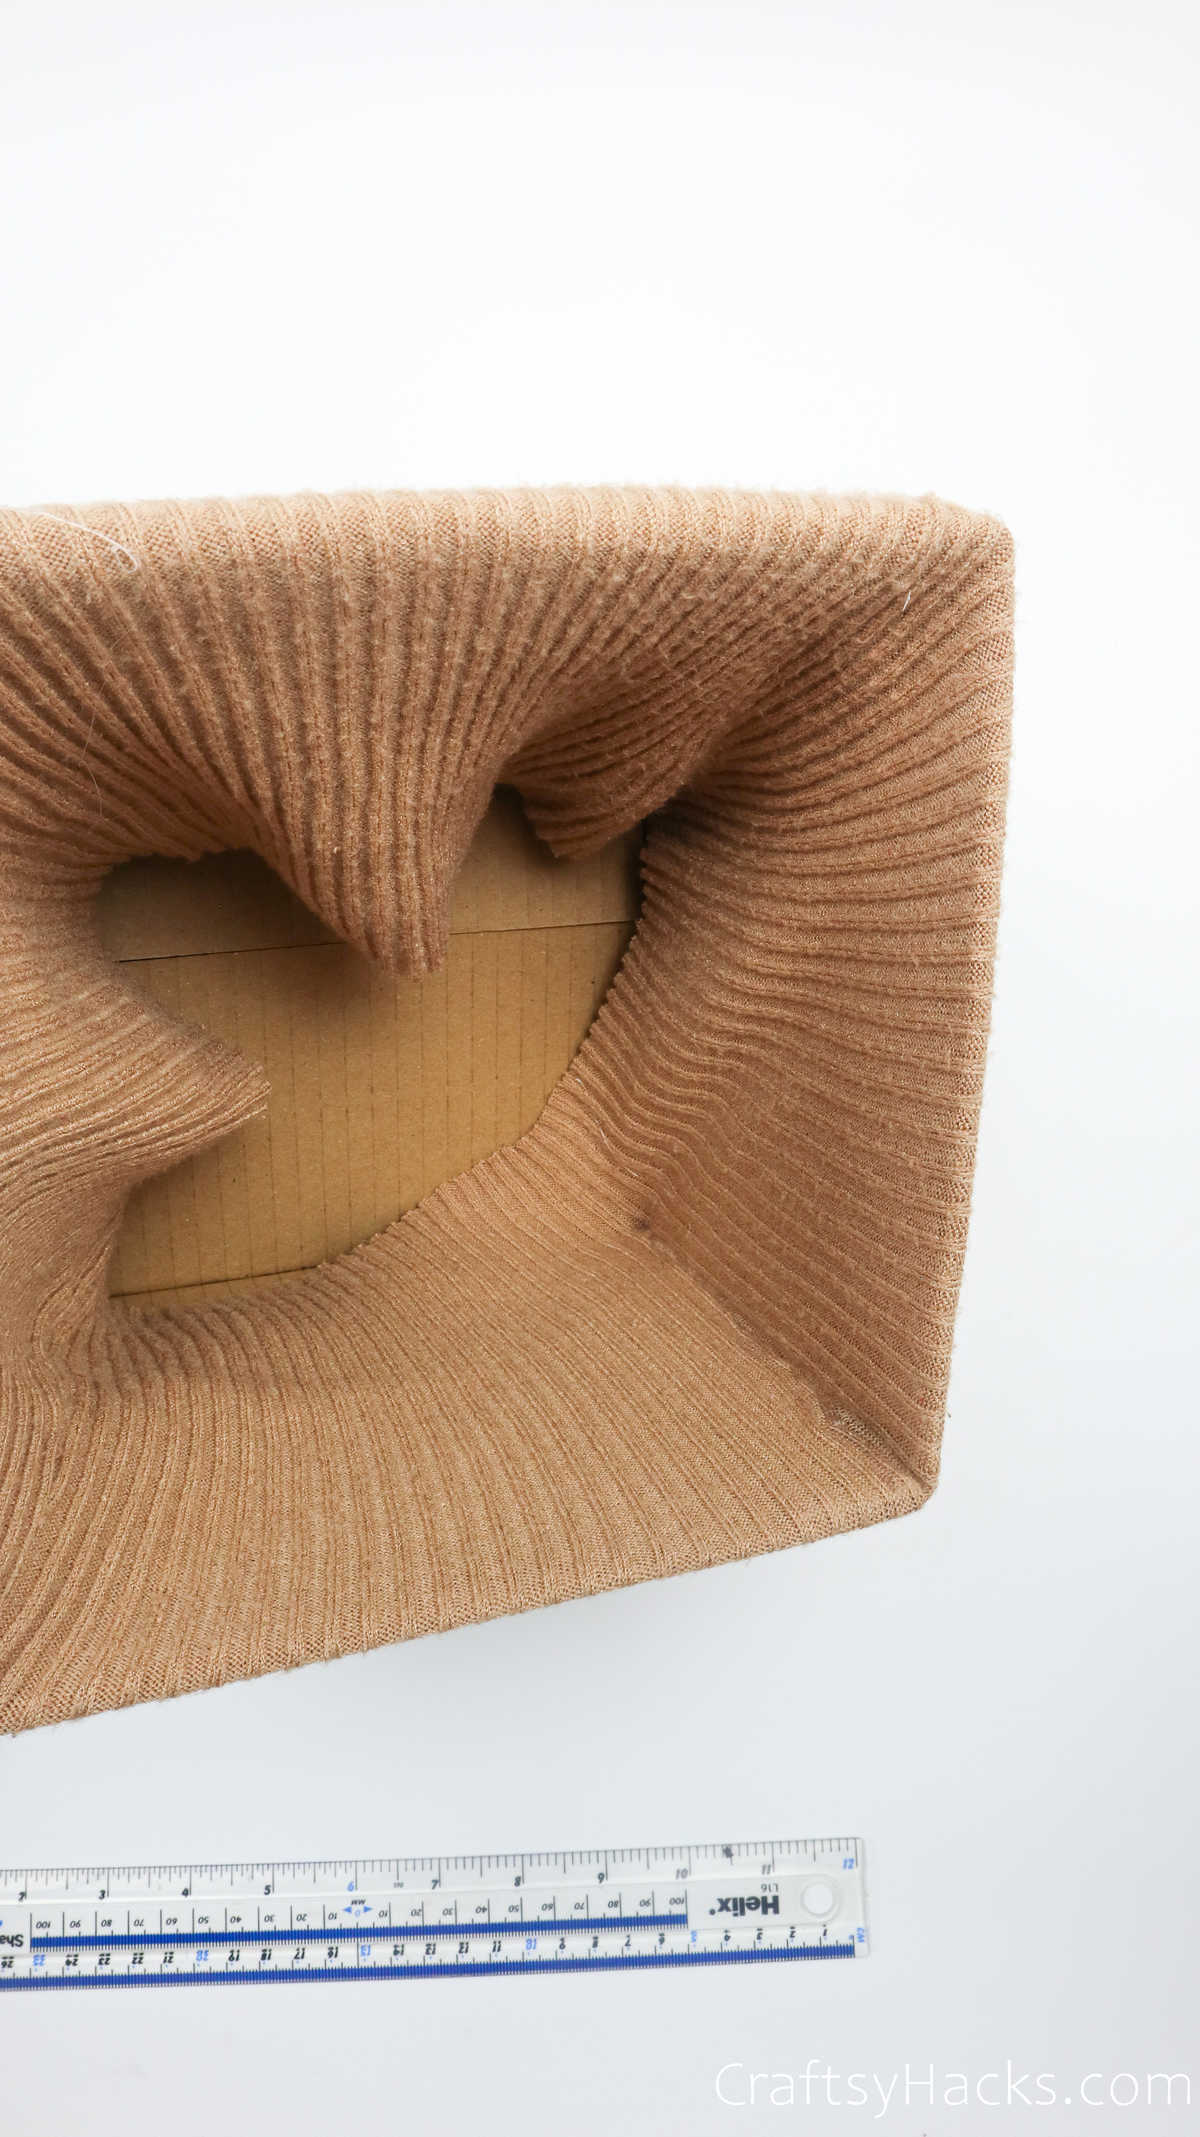
Next, run your finger along the seams of the box, creasing the sweater neatly along the way.
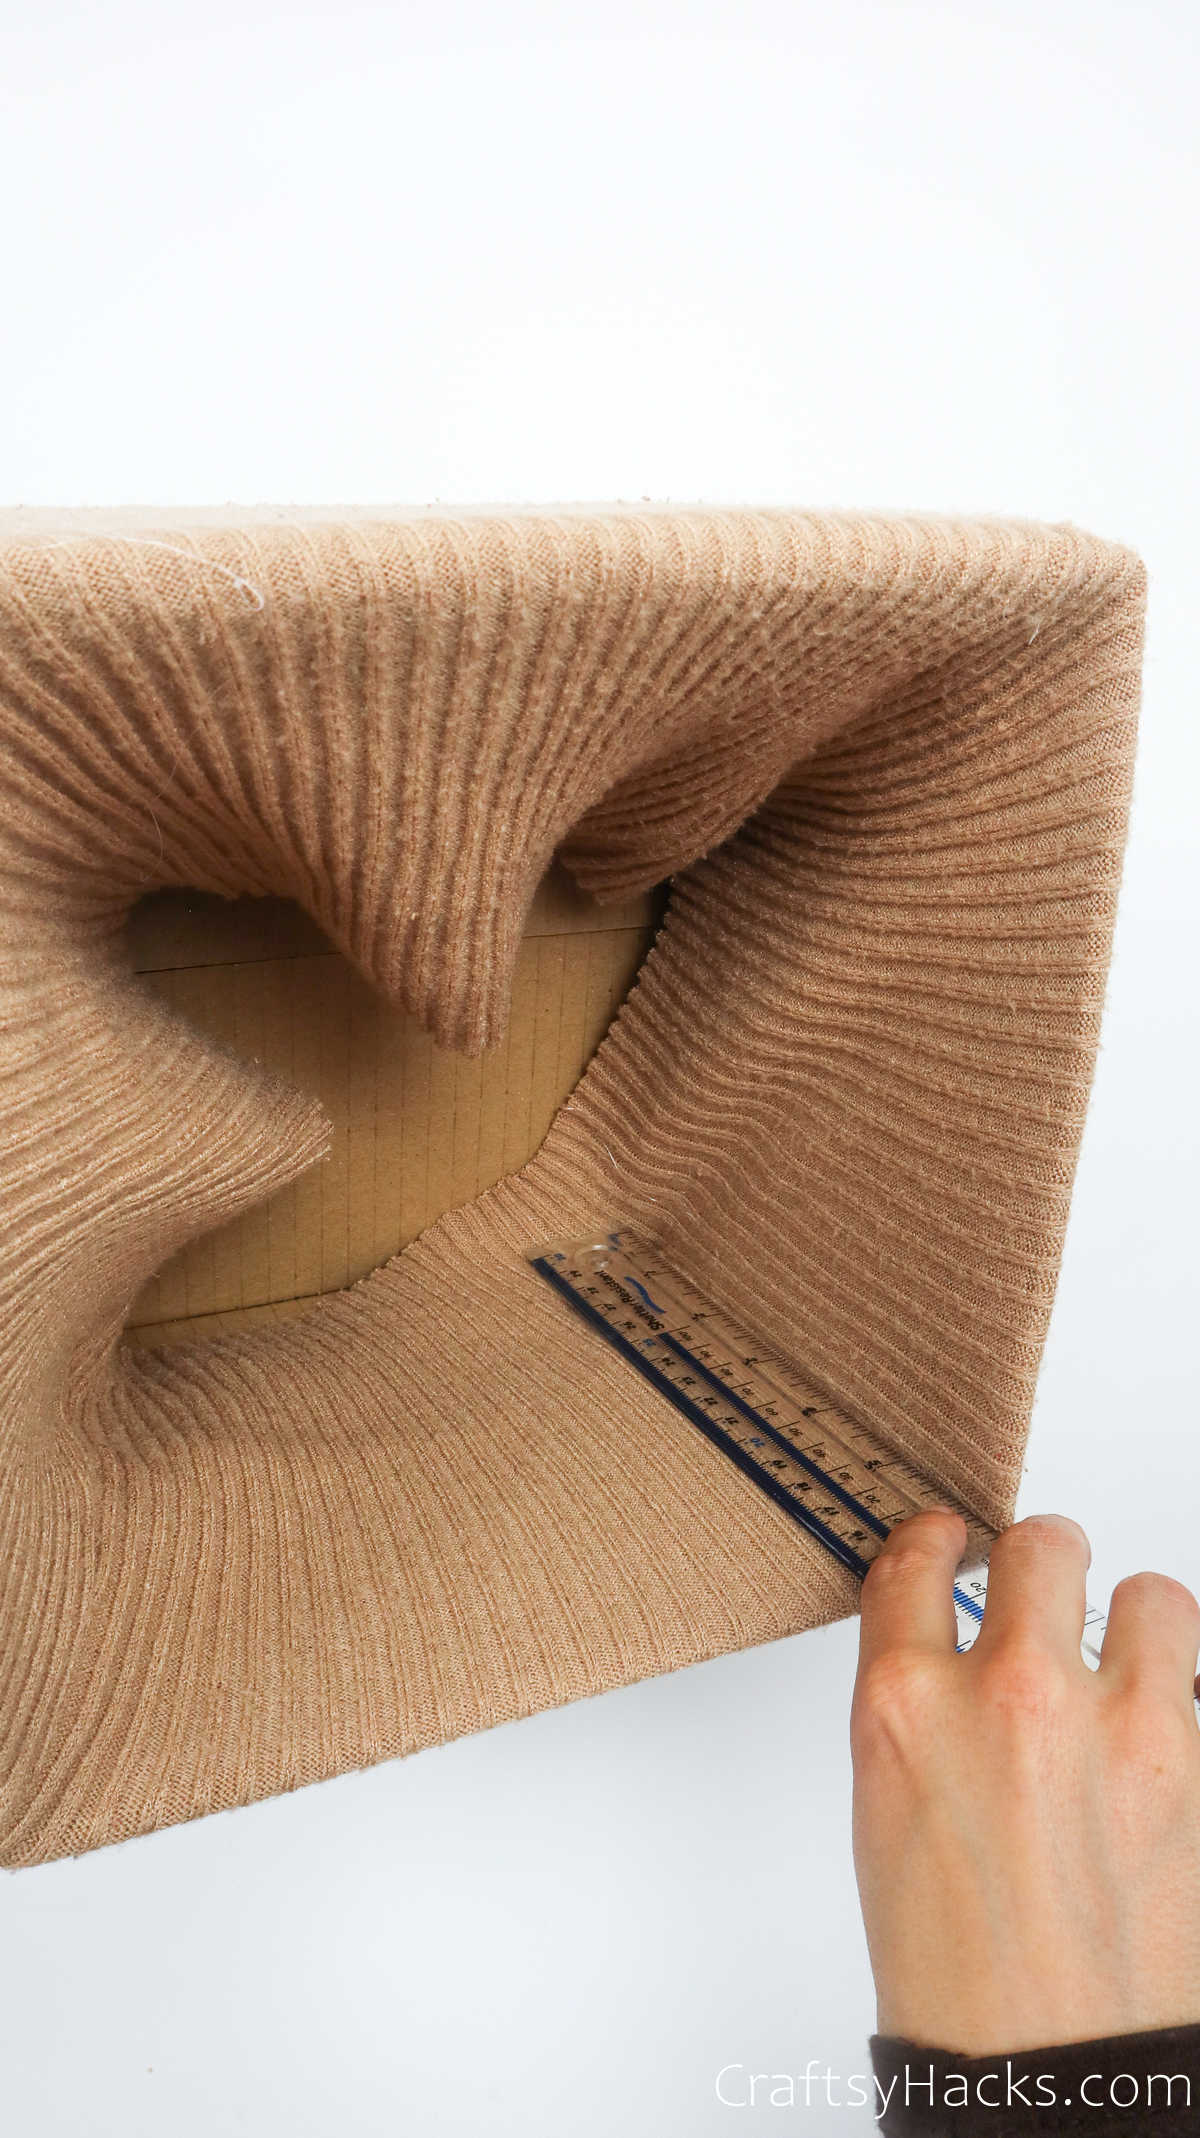
You can use a ruler to measure the inside of the box and also to help you flatten the sweater along the sides.
Step 6
Grab your hot glue gun again and, pulling the sweater aside, line all the corners of the inside of the box with glue.
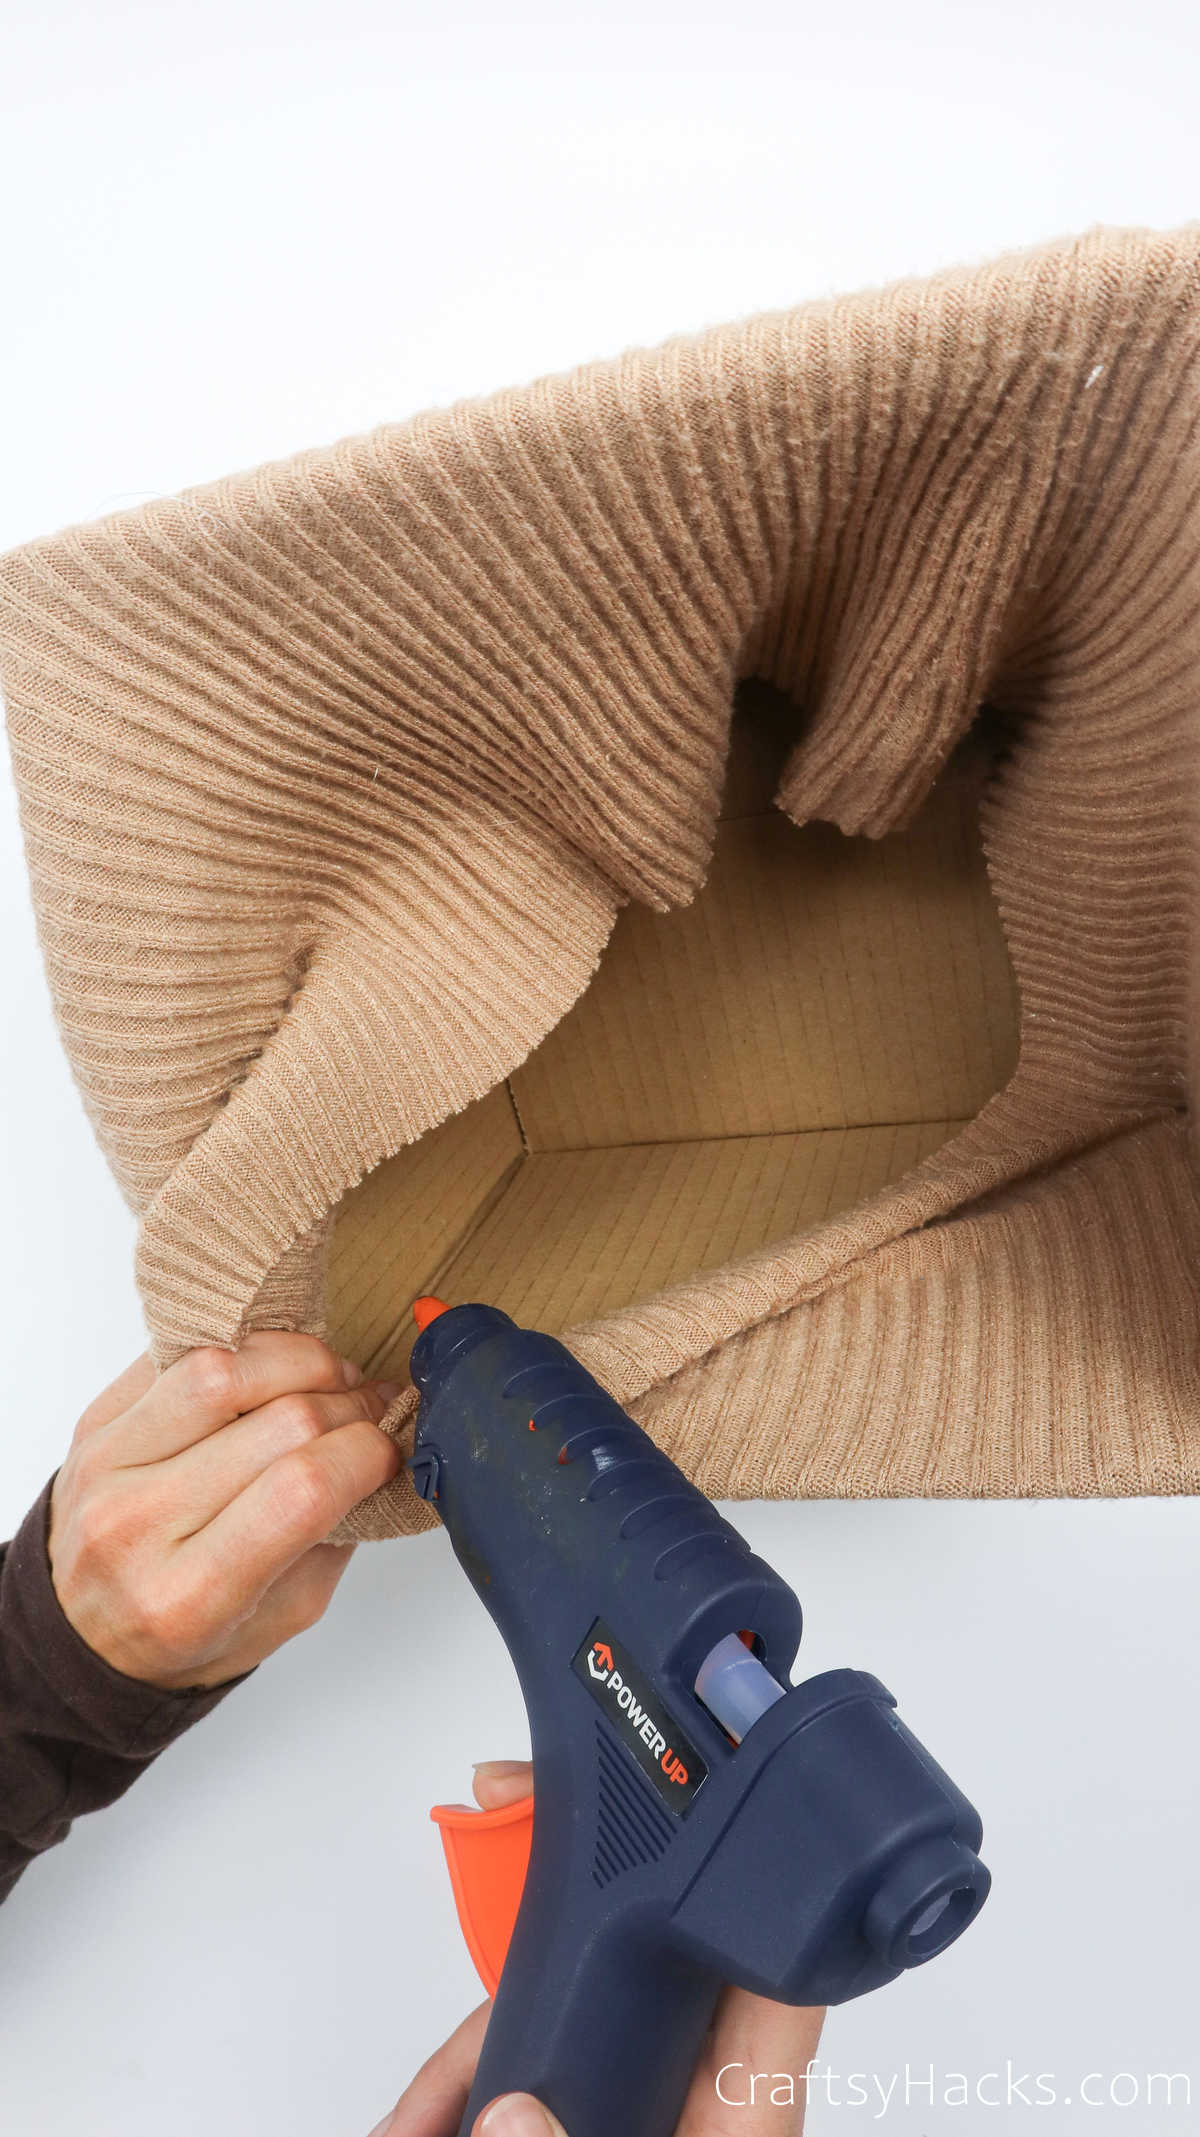
Then gently press the sweater back in place and adhere it to the box. Make sure you don’t have any creases or wrinkles and that the sweater is stretched taut over the walls of the box.
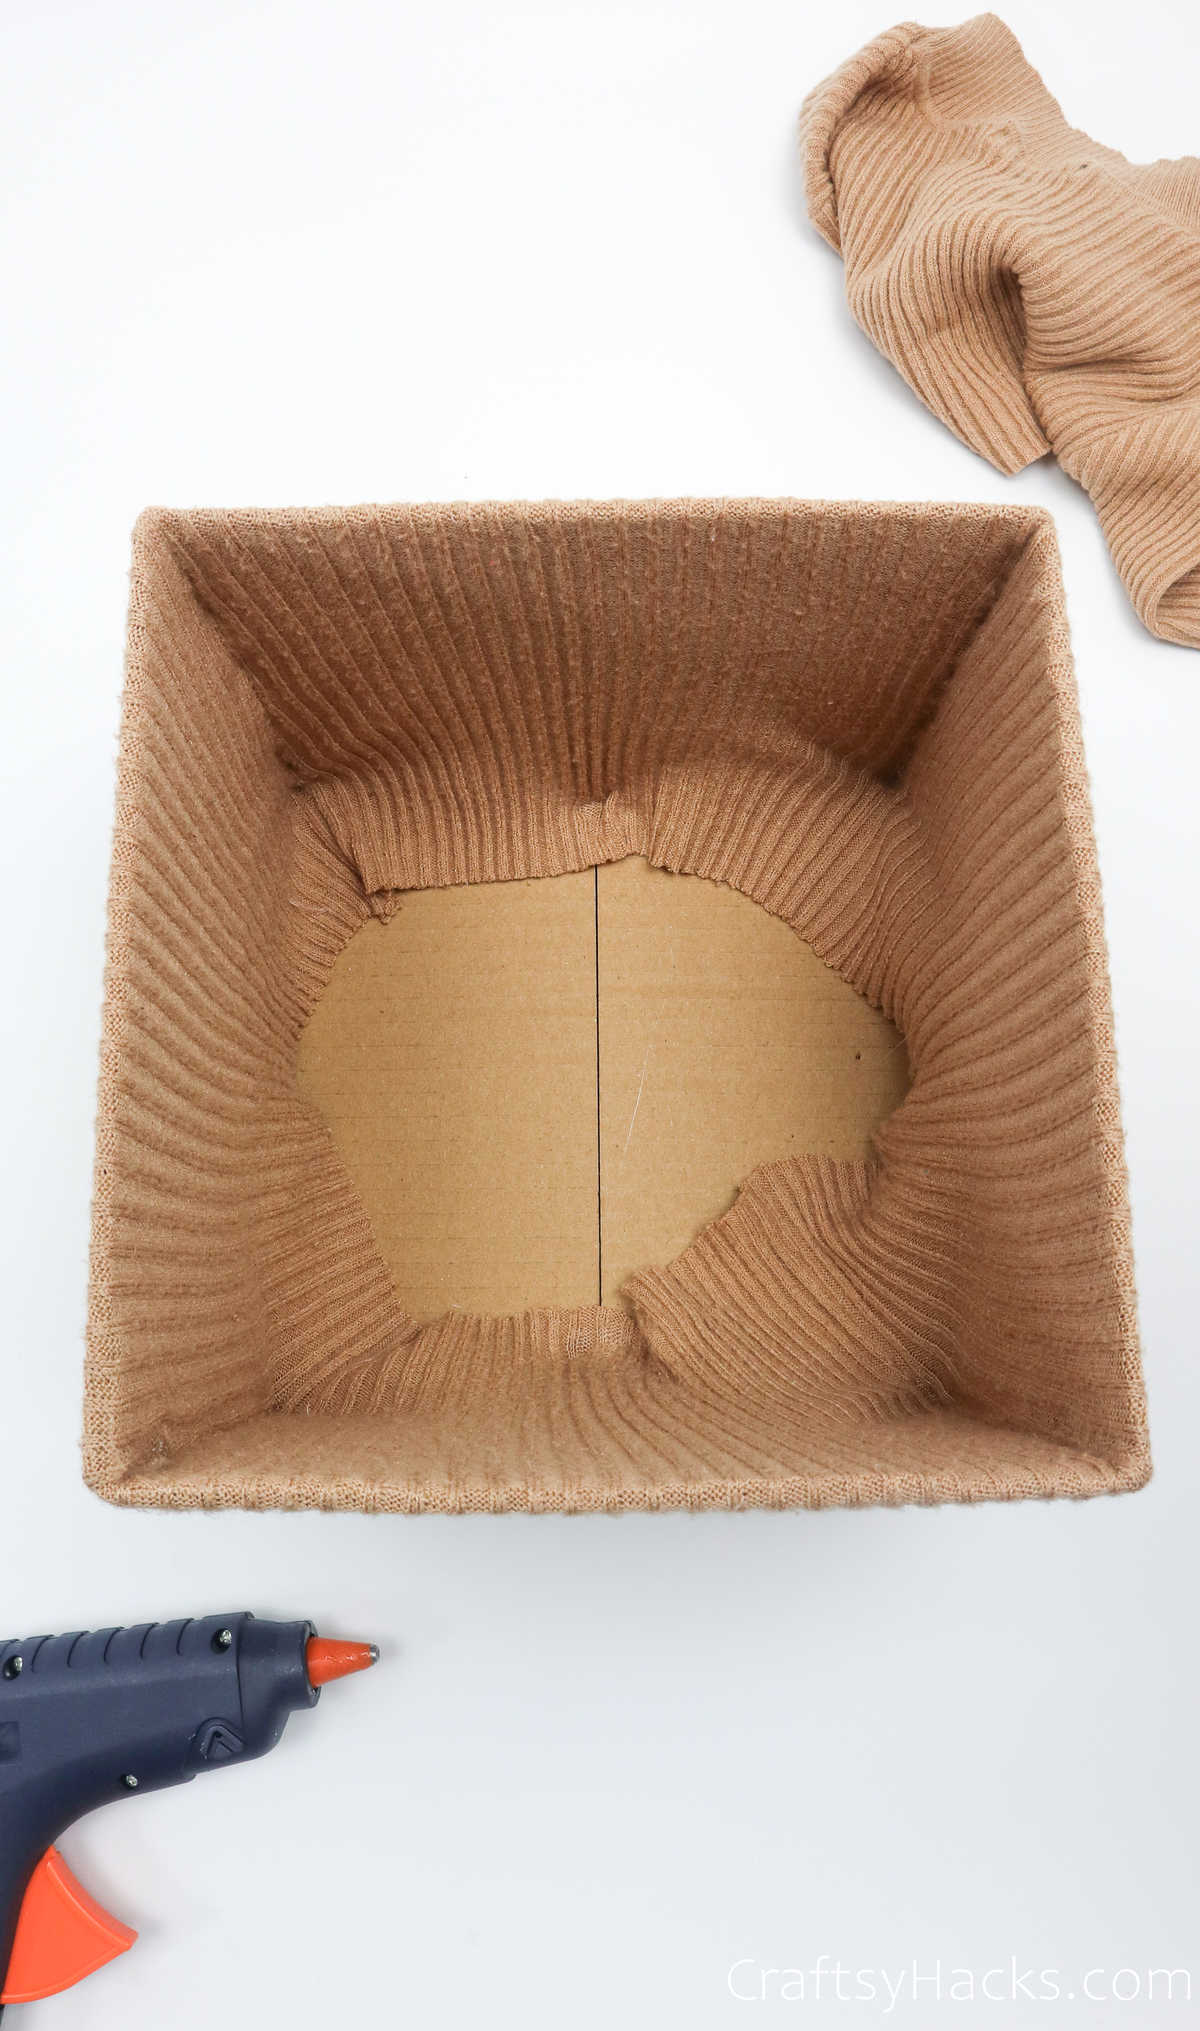
Step 7
You can’t just leave the base of the box as it is with the sweater all bunched up and uneven. You’ll need to make a base out of cardboard, so first, let’s measure the dimensions.
Grab a ruler and measure across the center of the box over the mouth, as seen here.
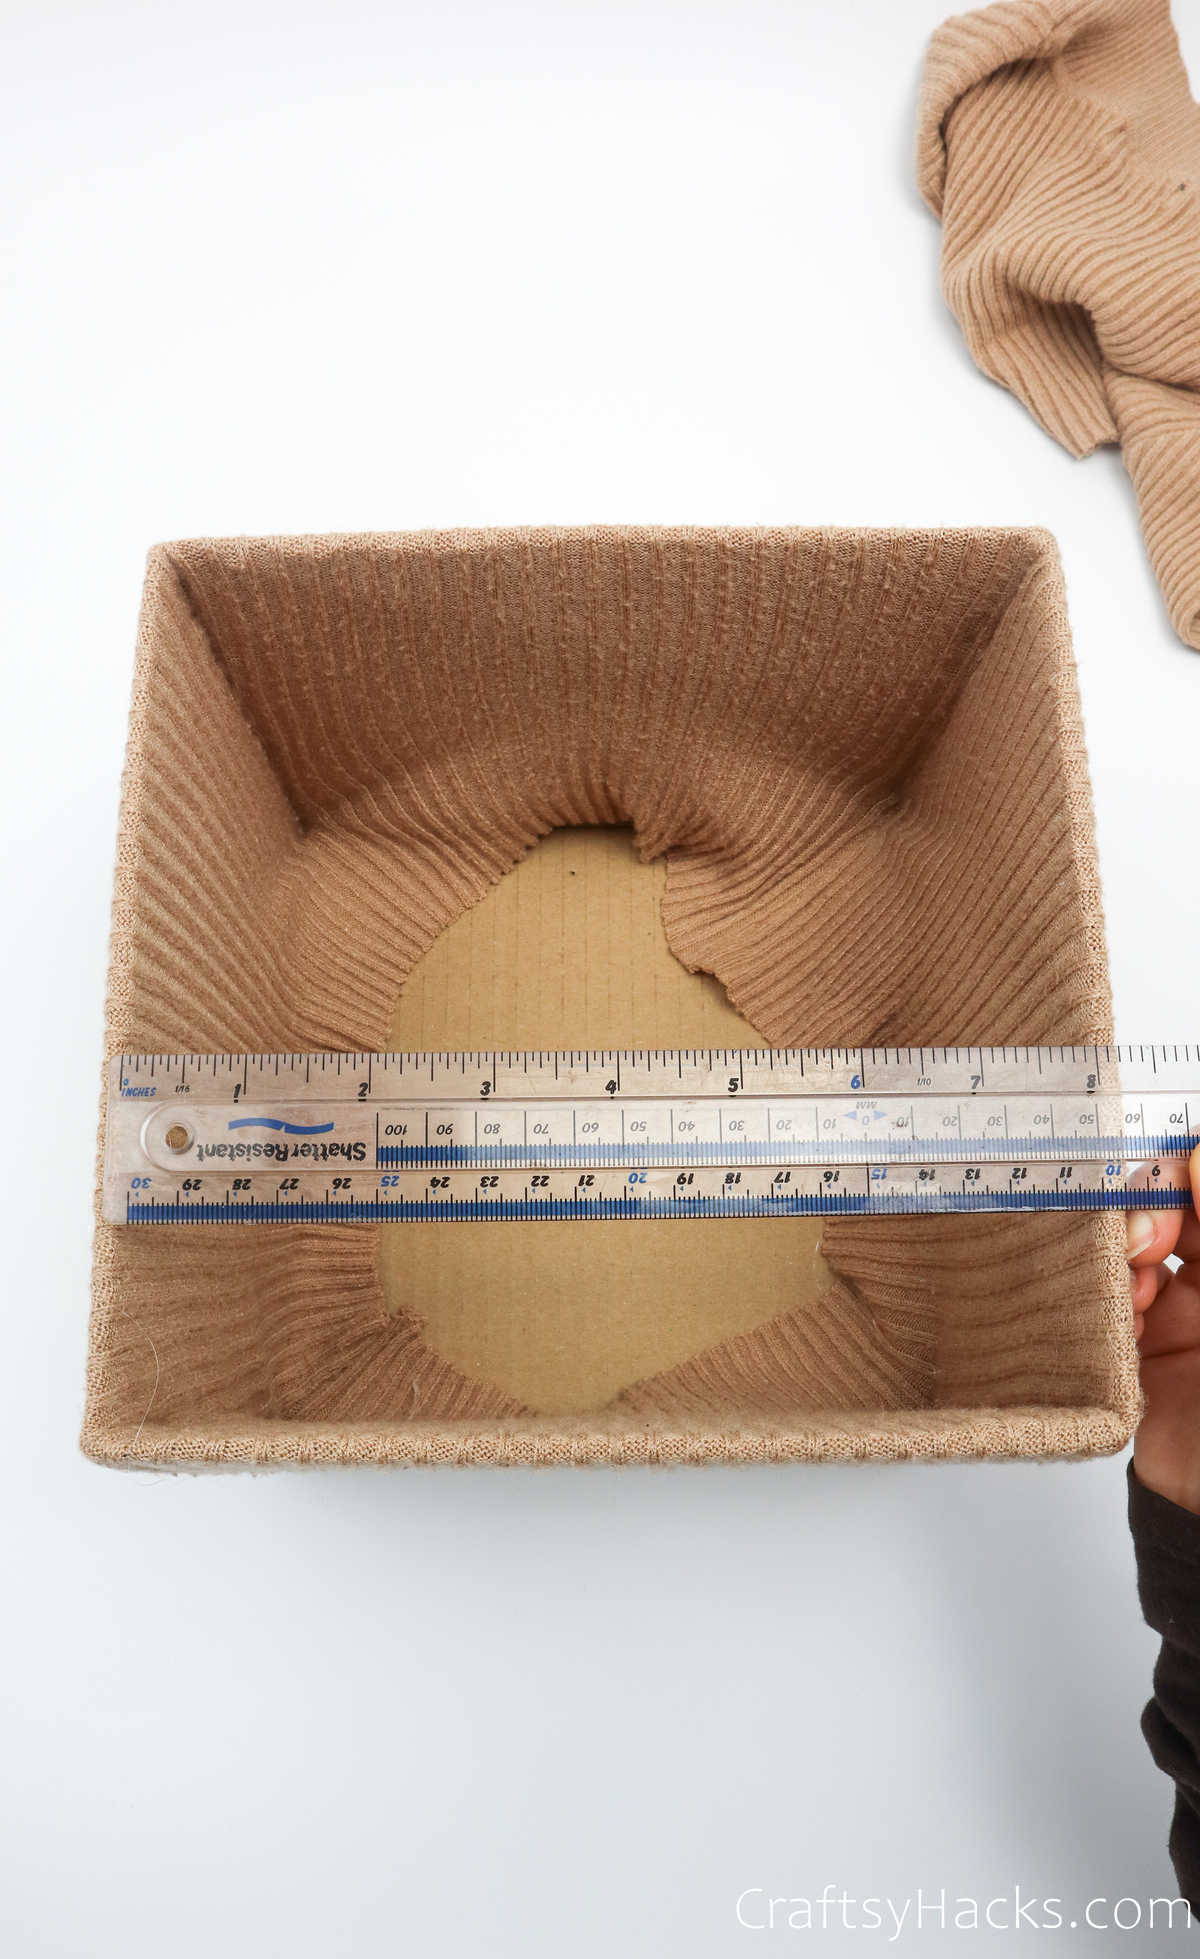
You’ll also need to measure the opposite side of the box so that you have both the width, height, and breadth of the box.
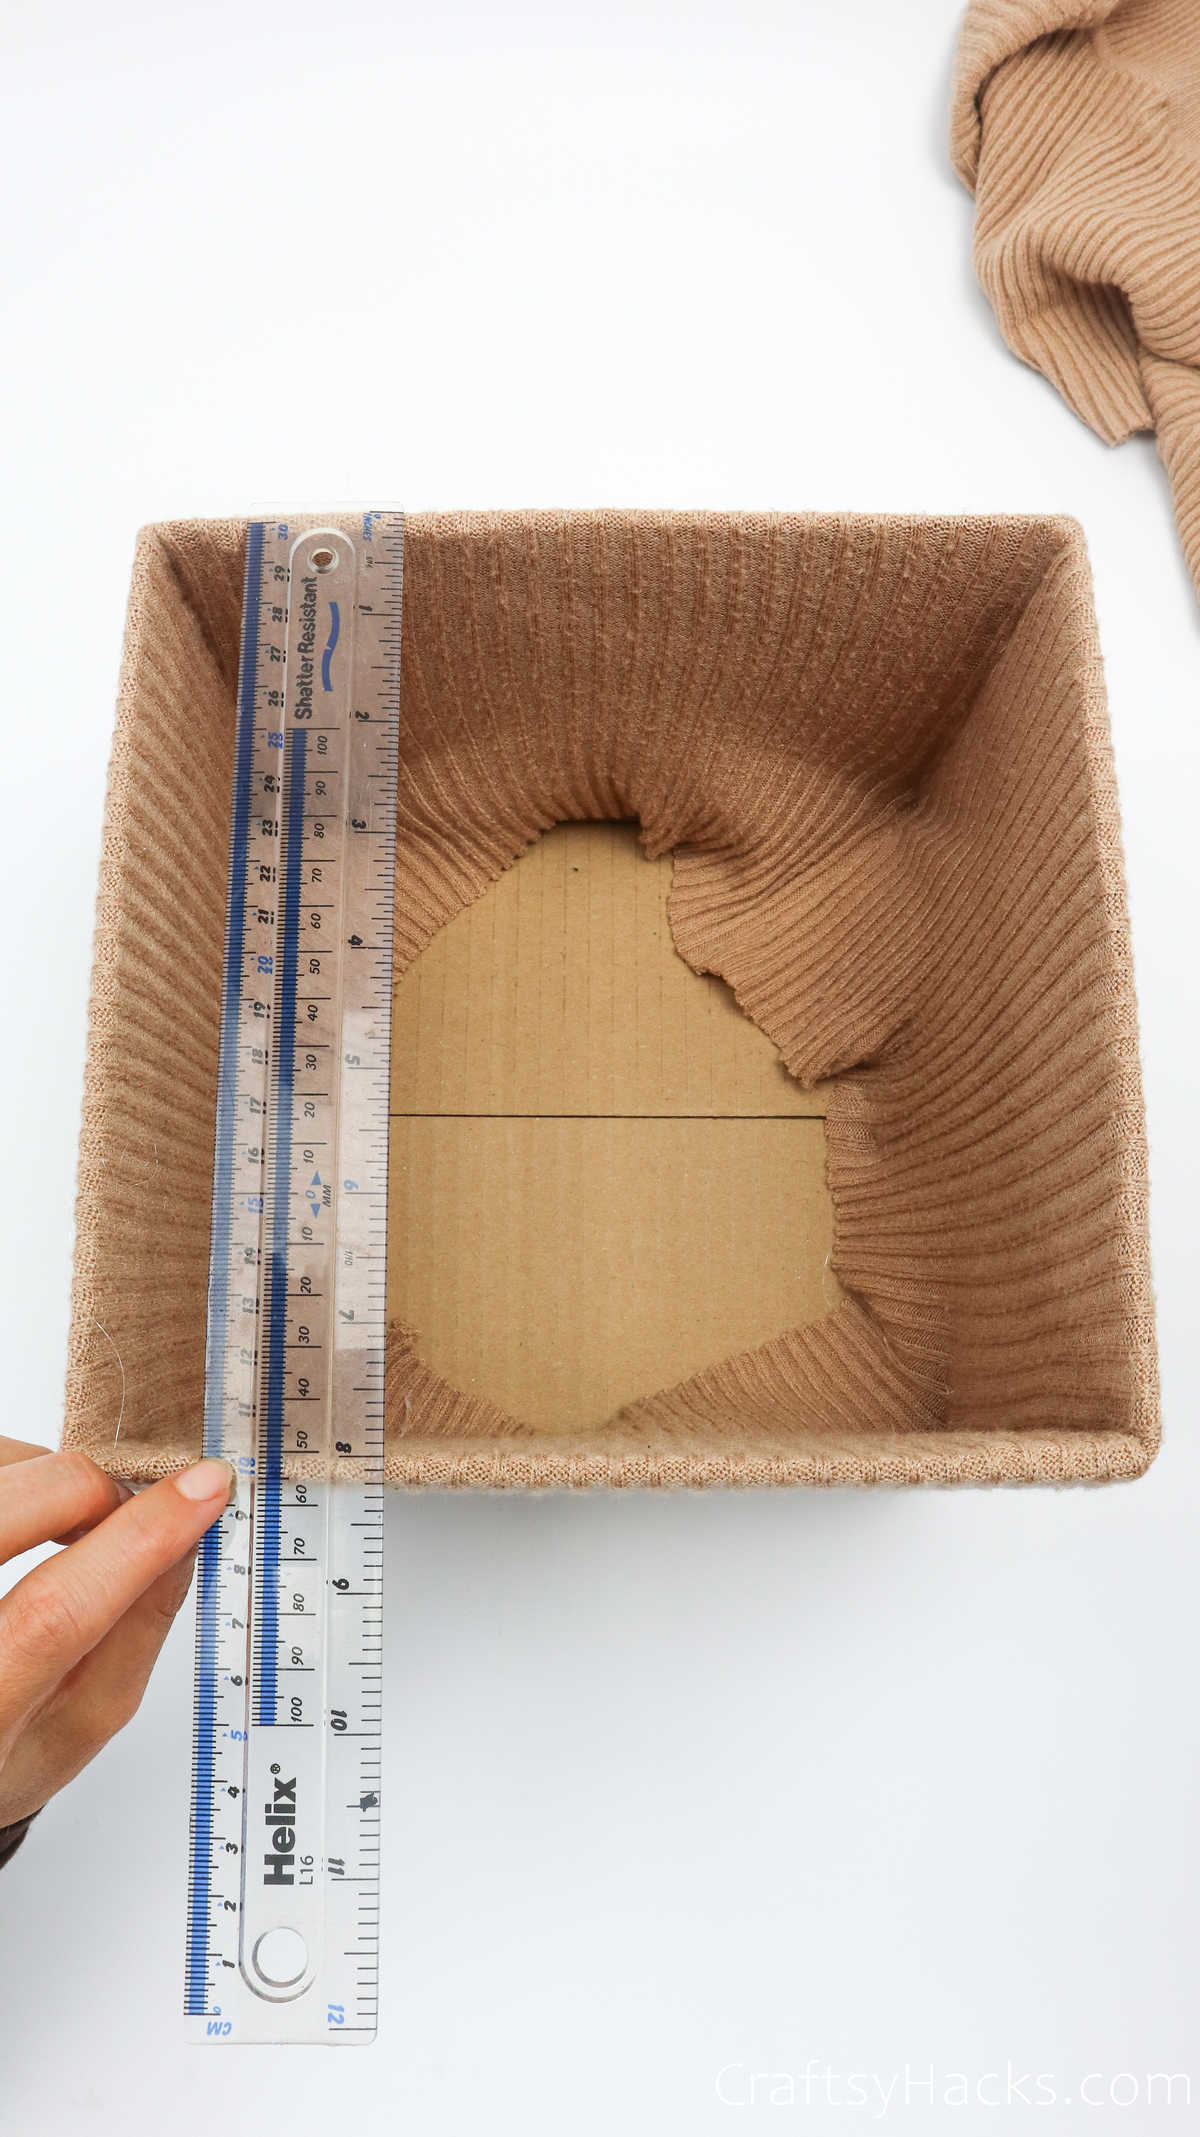
Step 8
Now, grab another sheet of cardboard and use a pencil and ruler to transfer the measurements you just took onto the sheet.
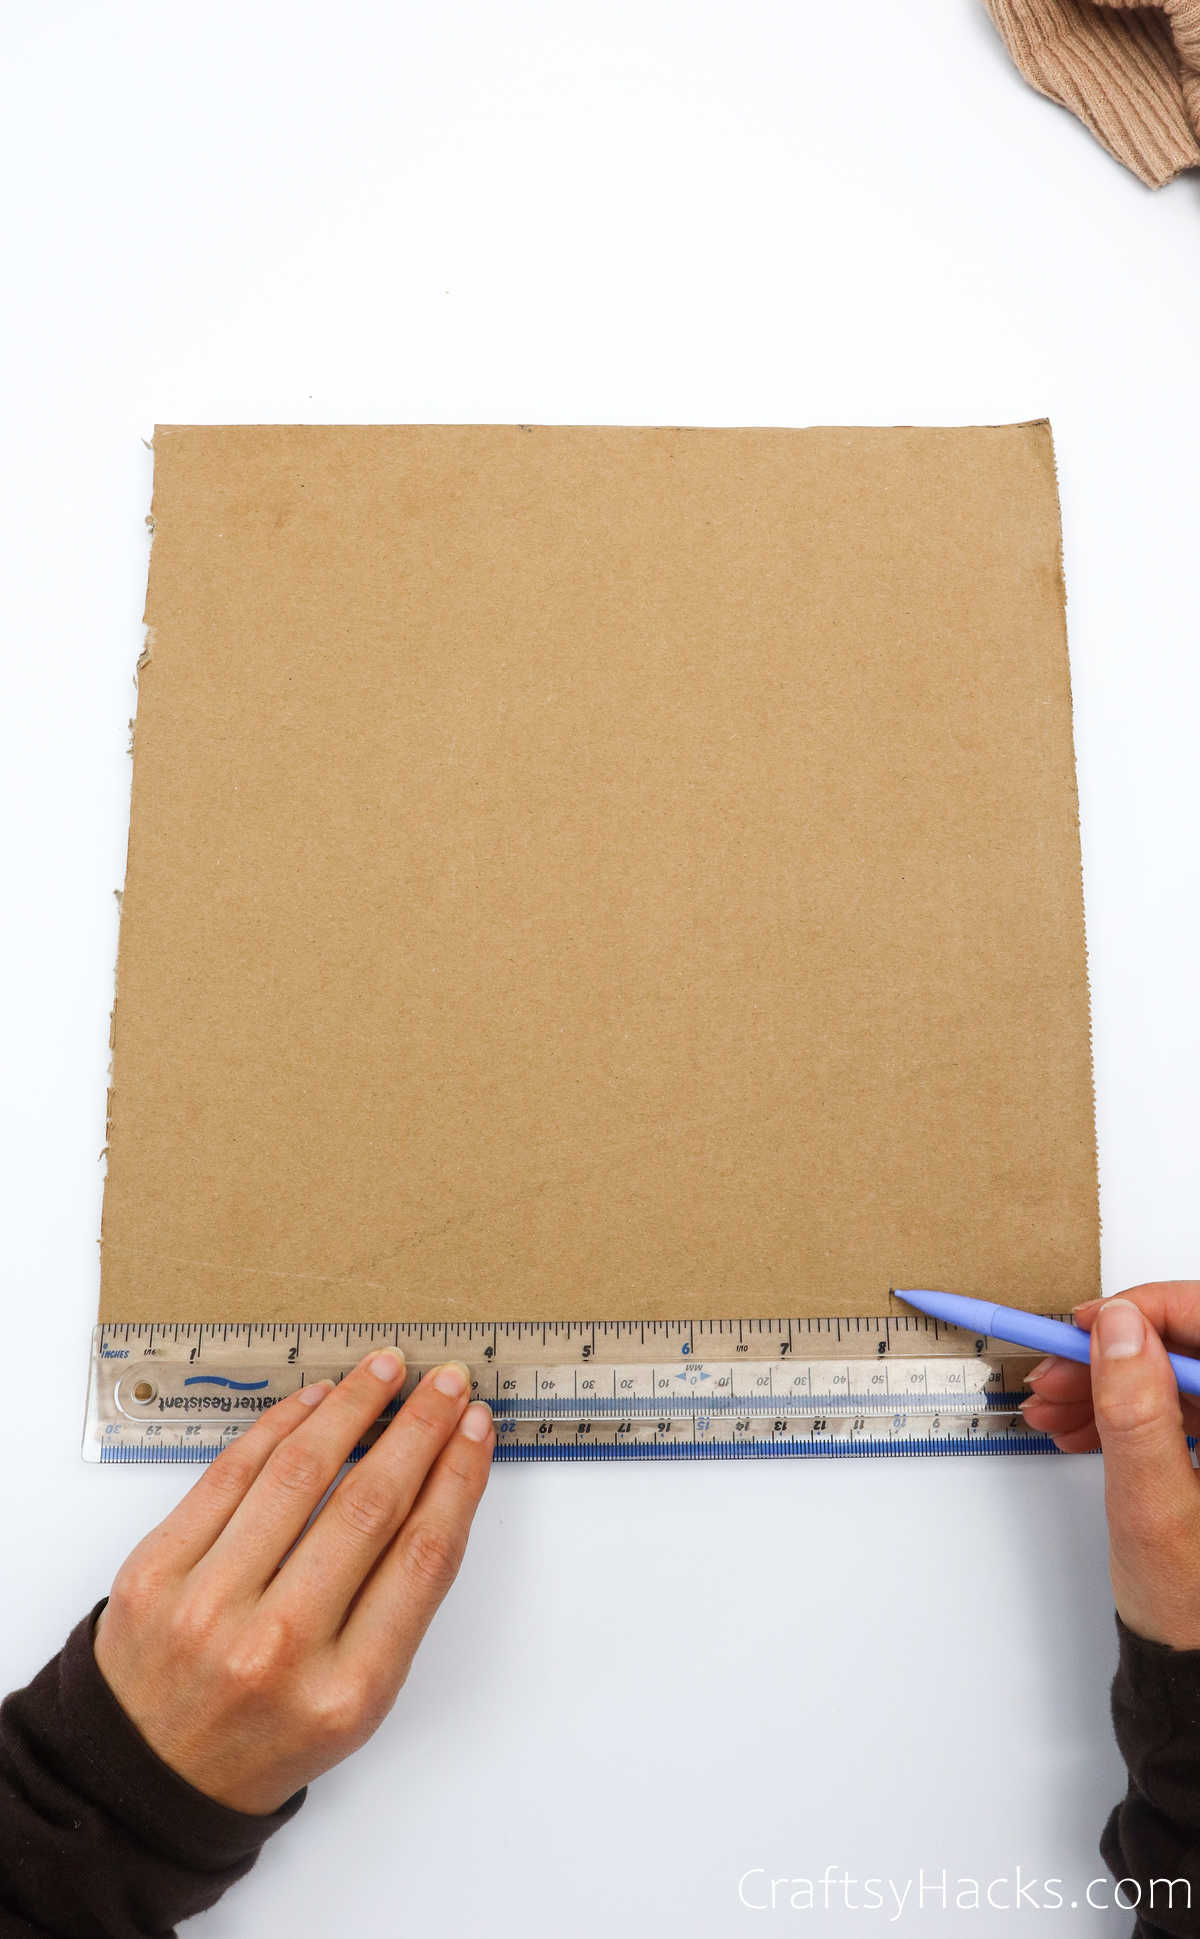
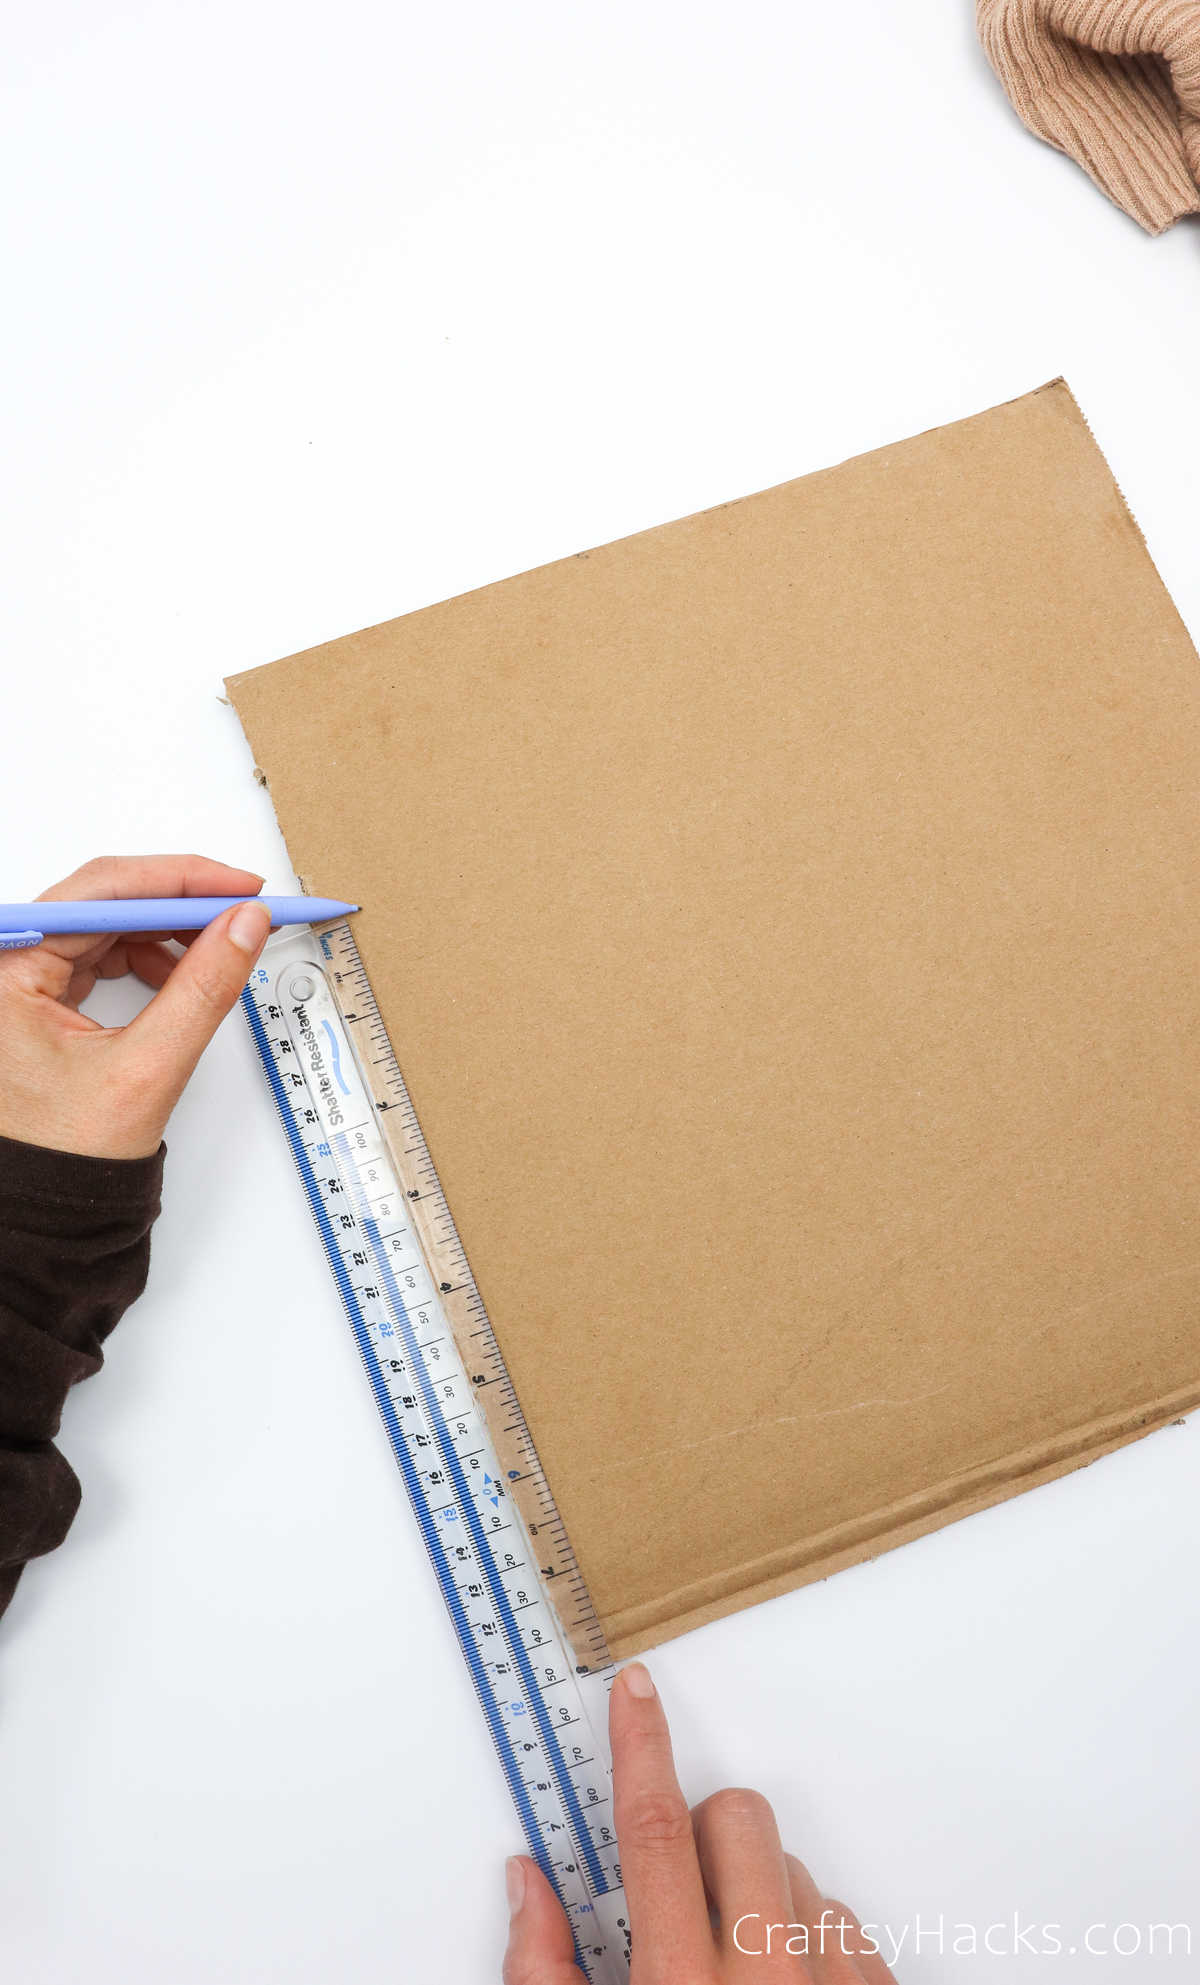
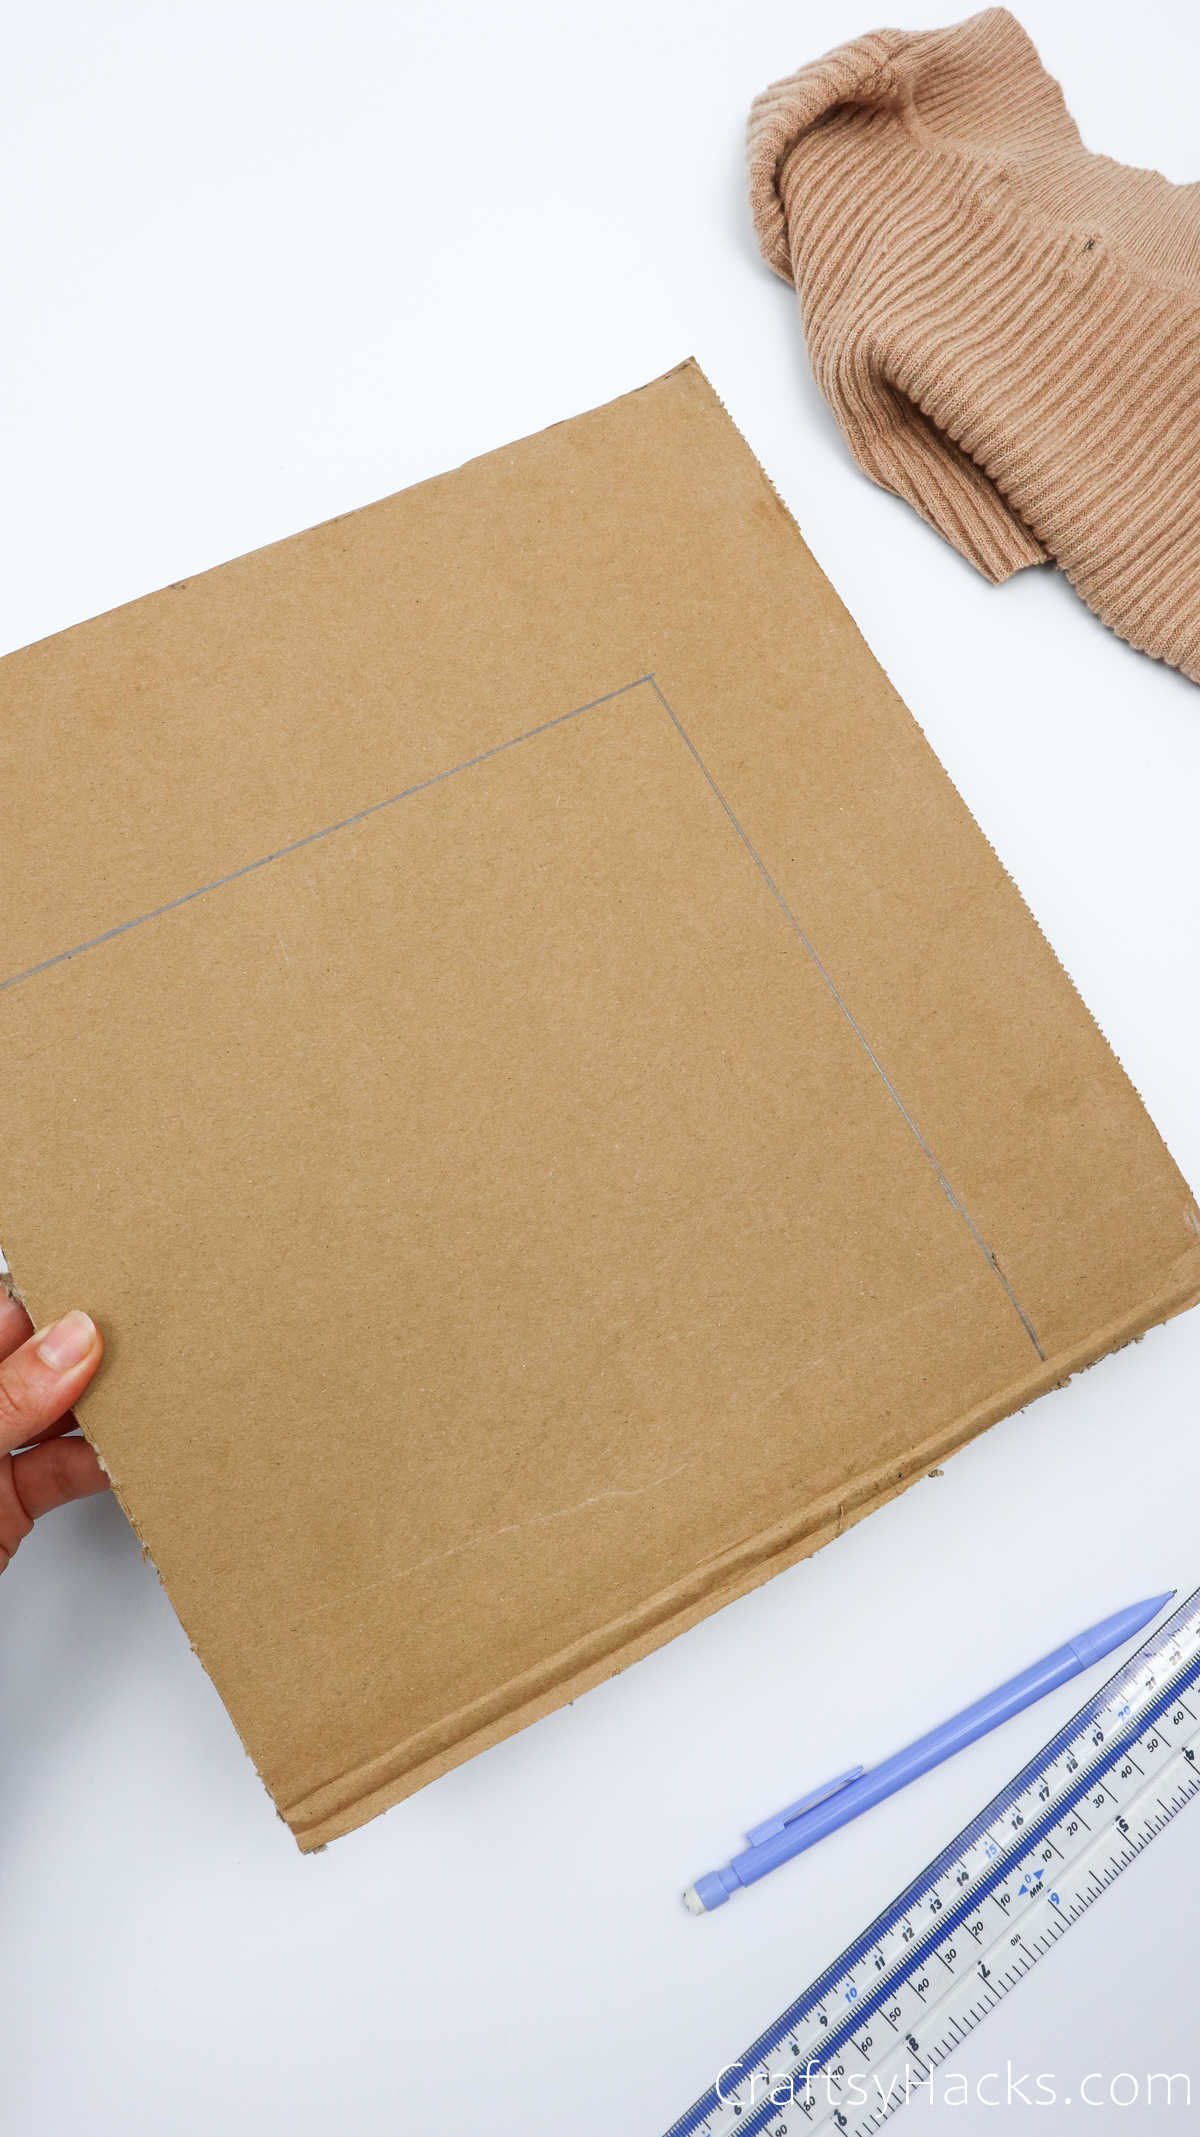
Draw two lines to connect the marking you made, and the square you see is the same measurement as the base of your cardboard box.
Step 9
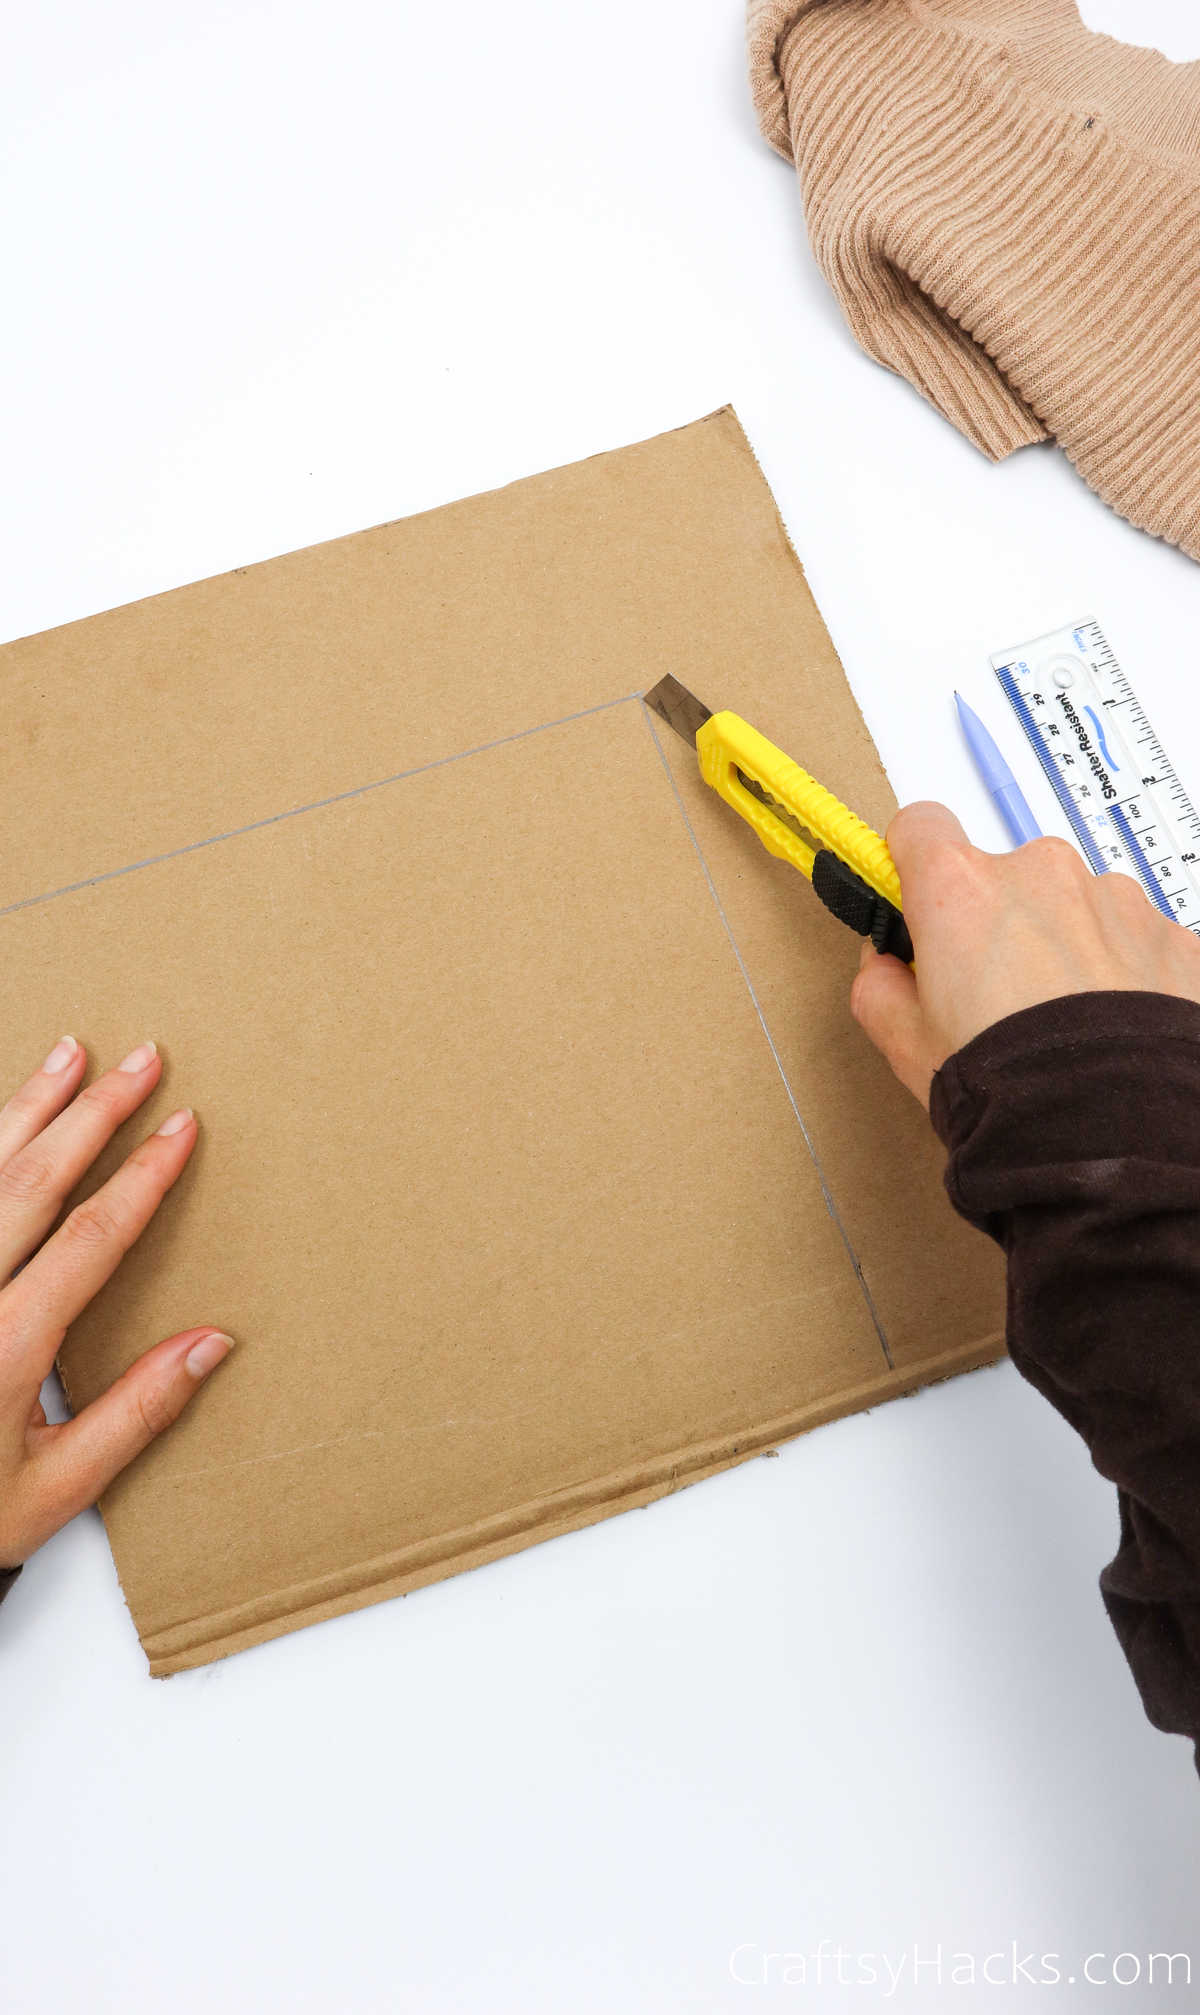
Next, grab a box cutter and cut the cardboard base.
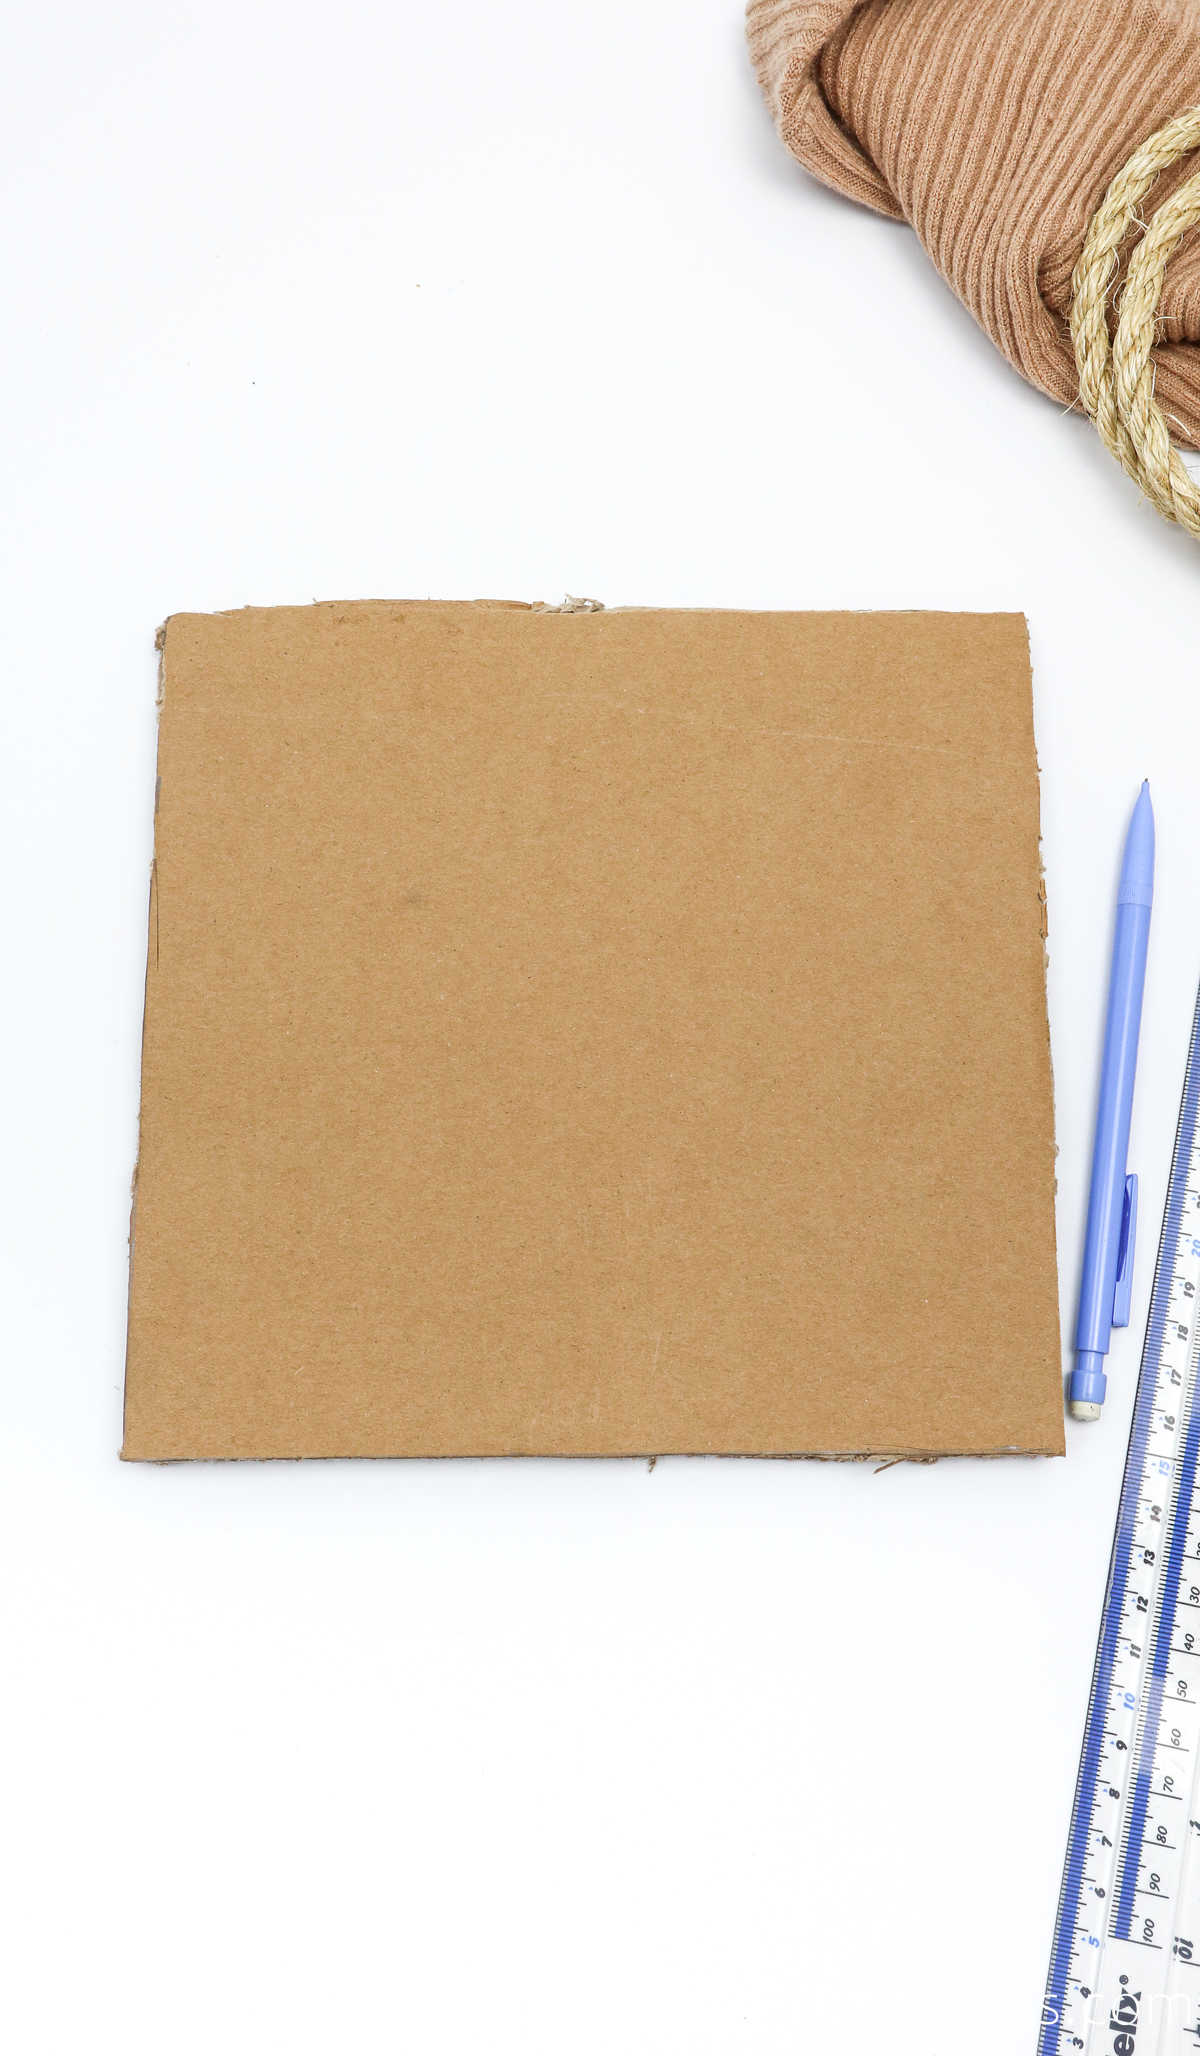
Step 10
You can also cut some craft paper in the same dimensions as the base if you want to line it with some colorful paper instead of plain old cardboard.
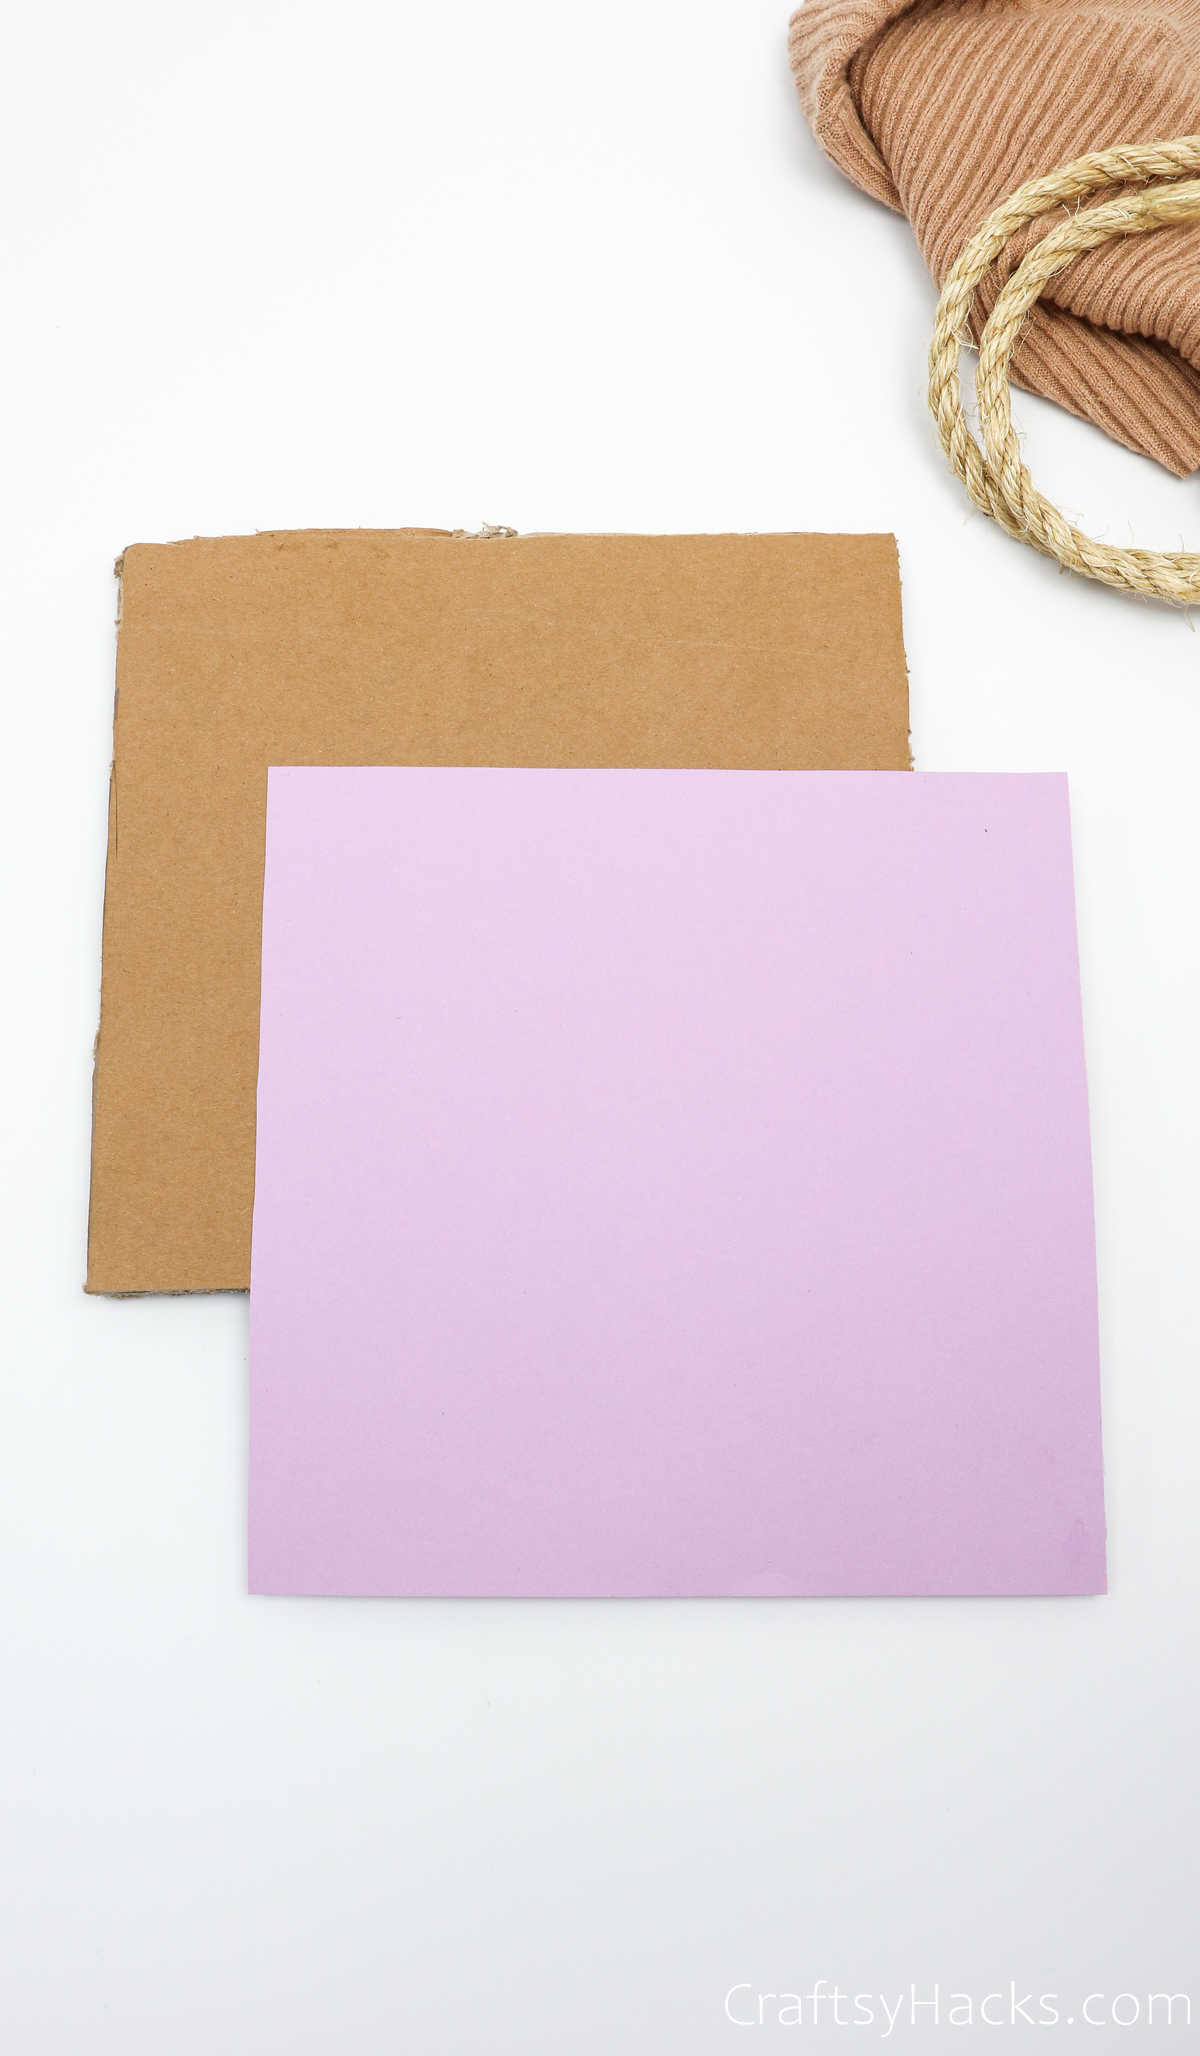
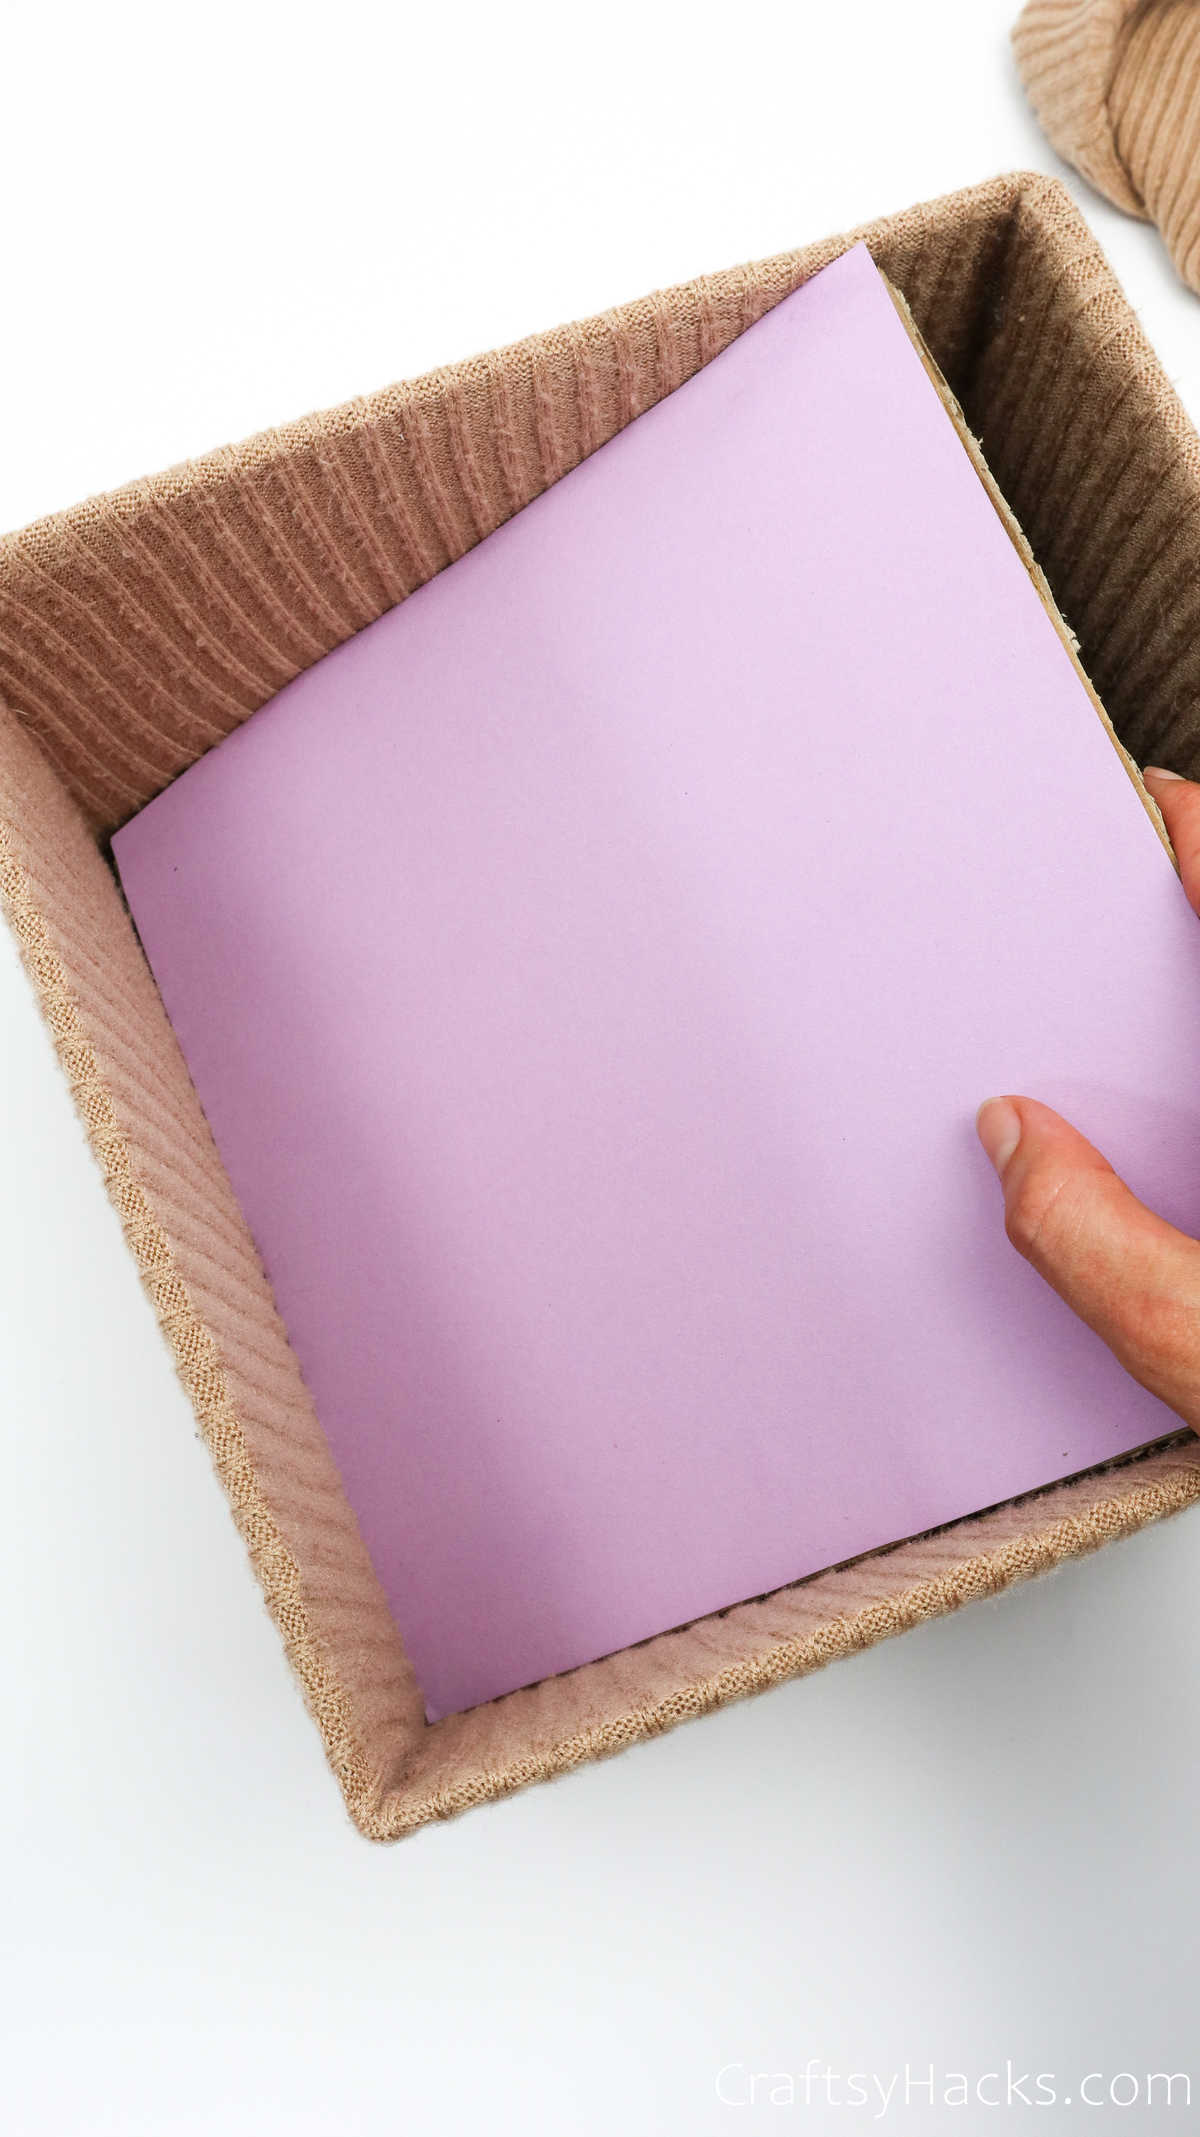
Line the craft paper with adhesive and adhere it to the cardboard sheet. Allow it to dry completely before you proceed.
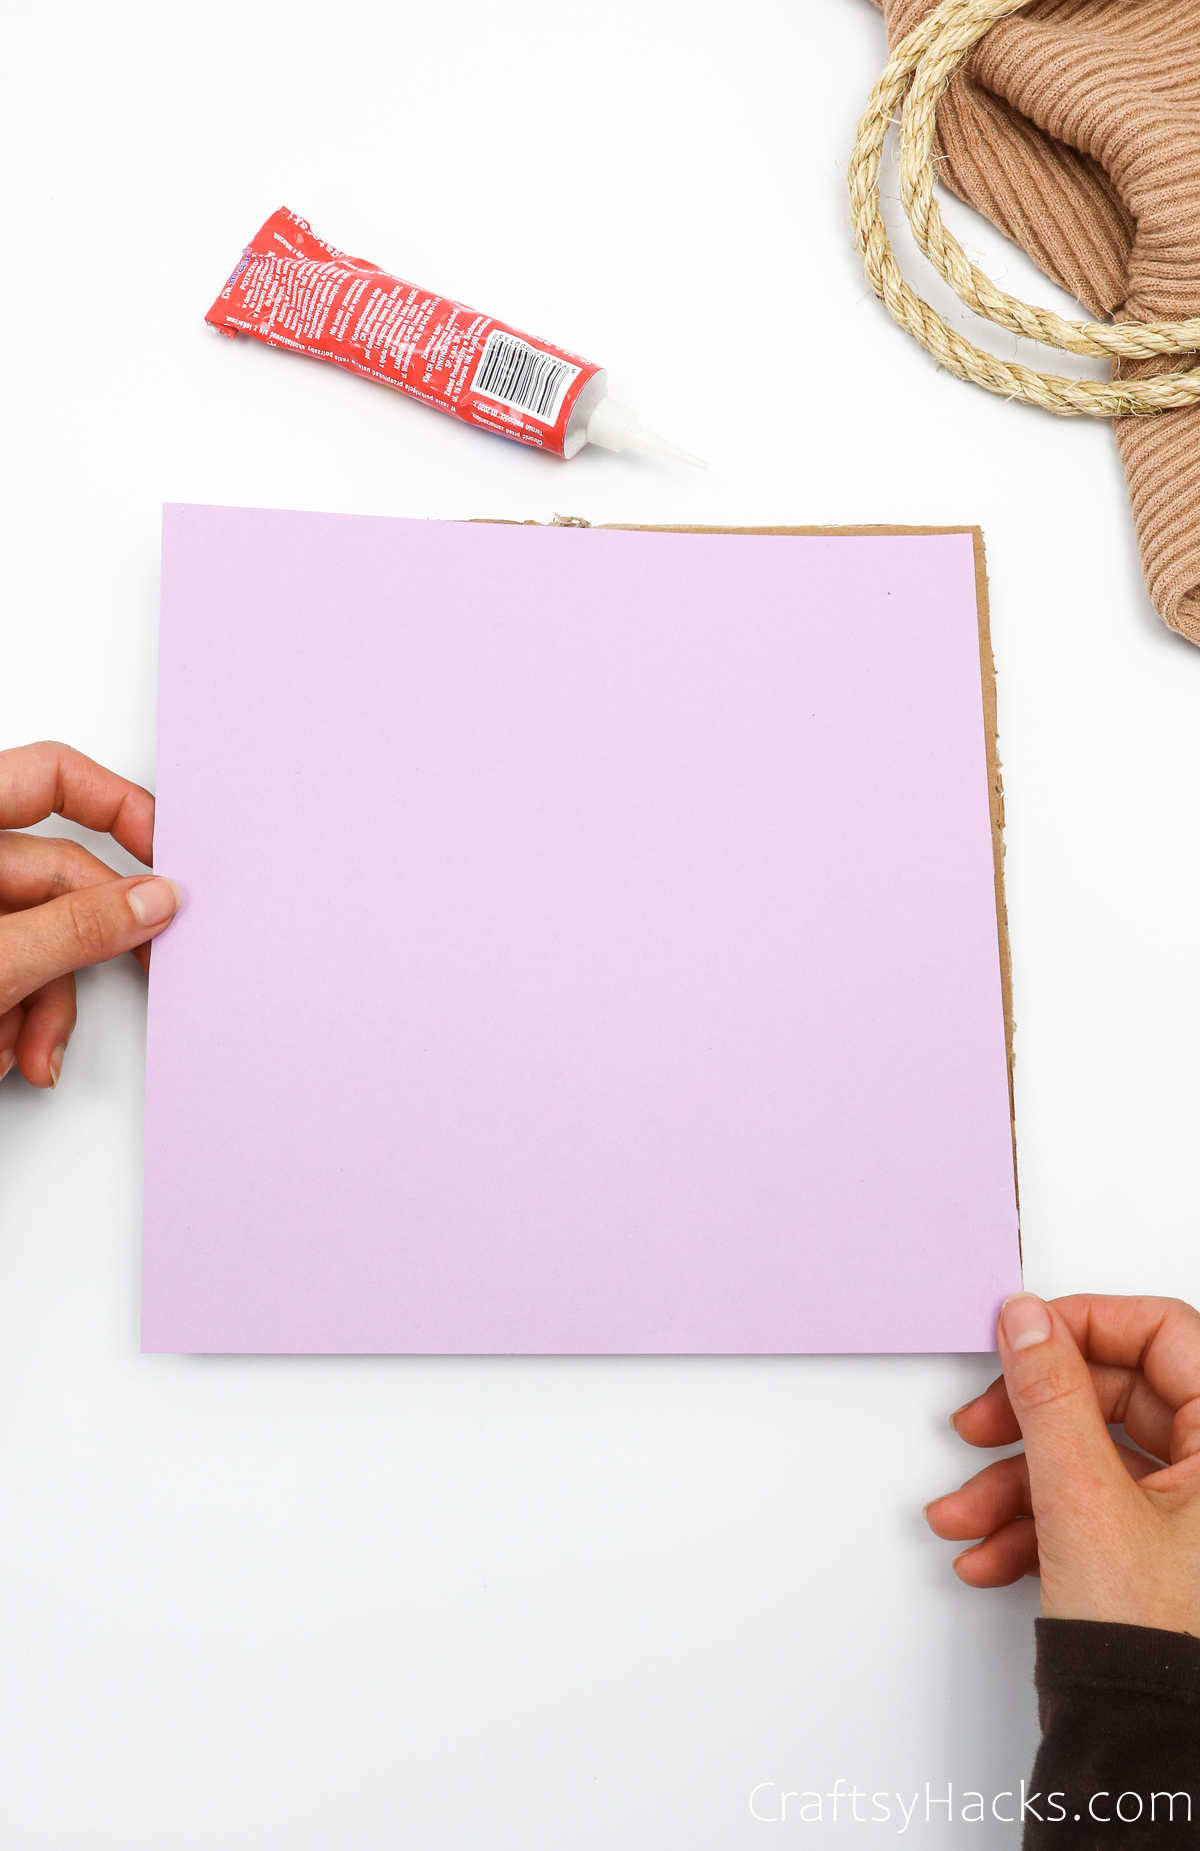
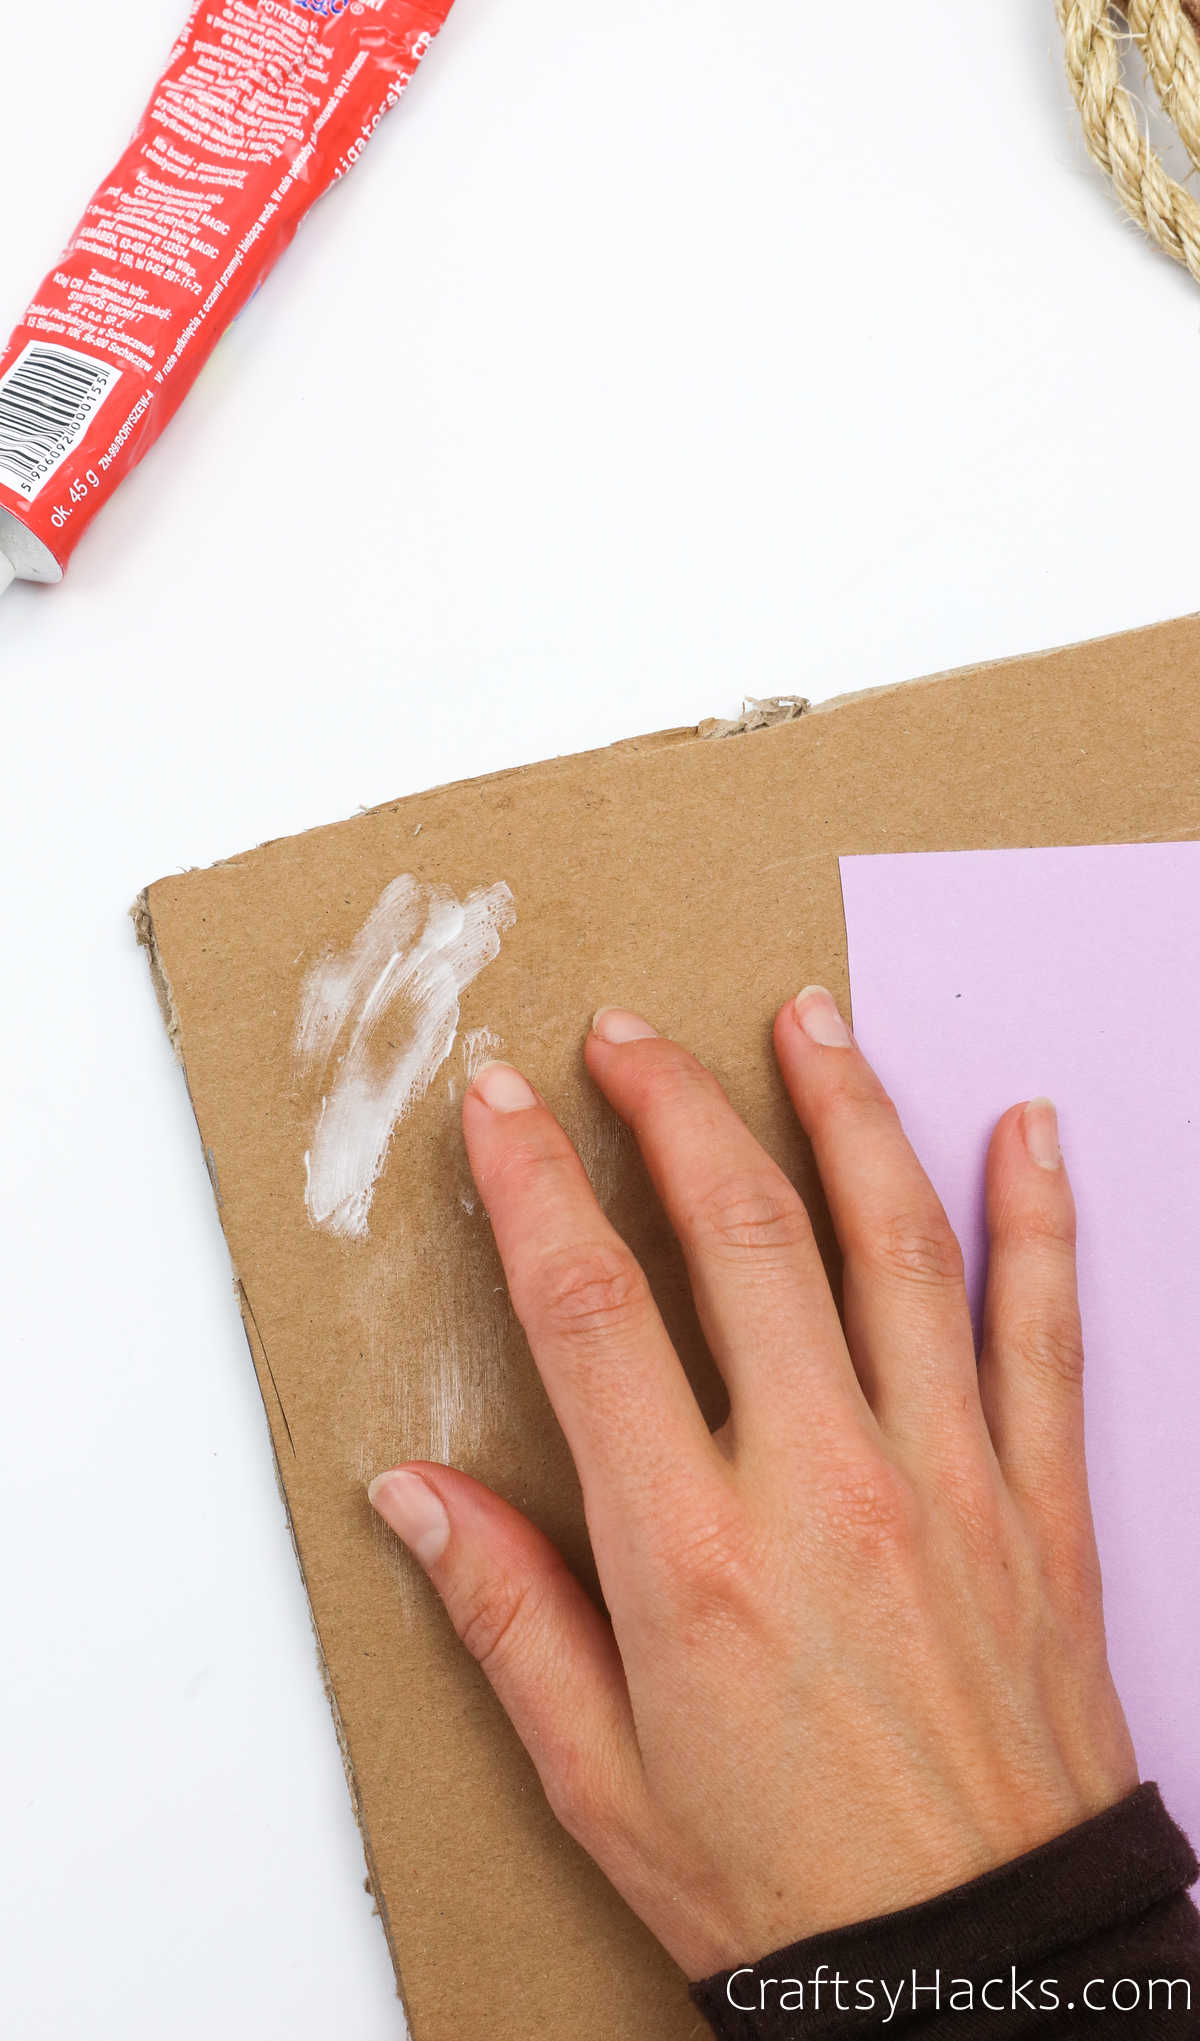
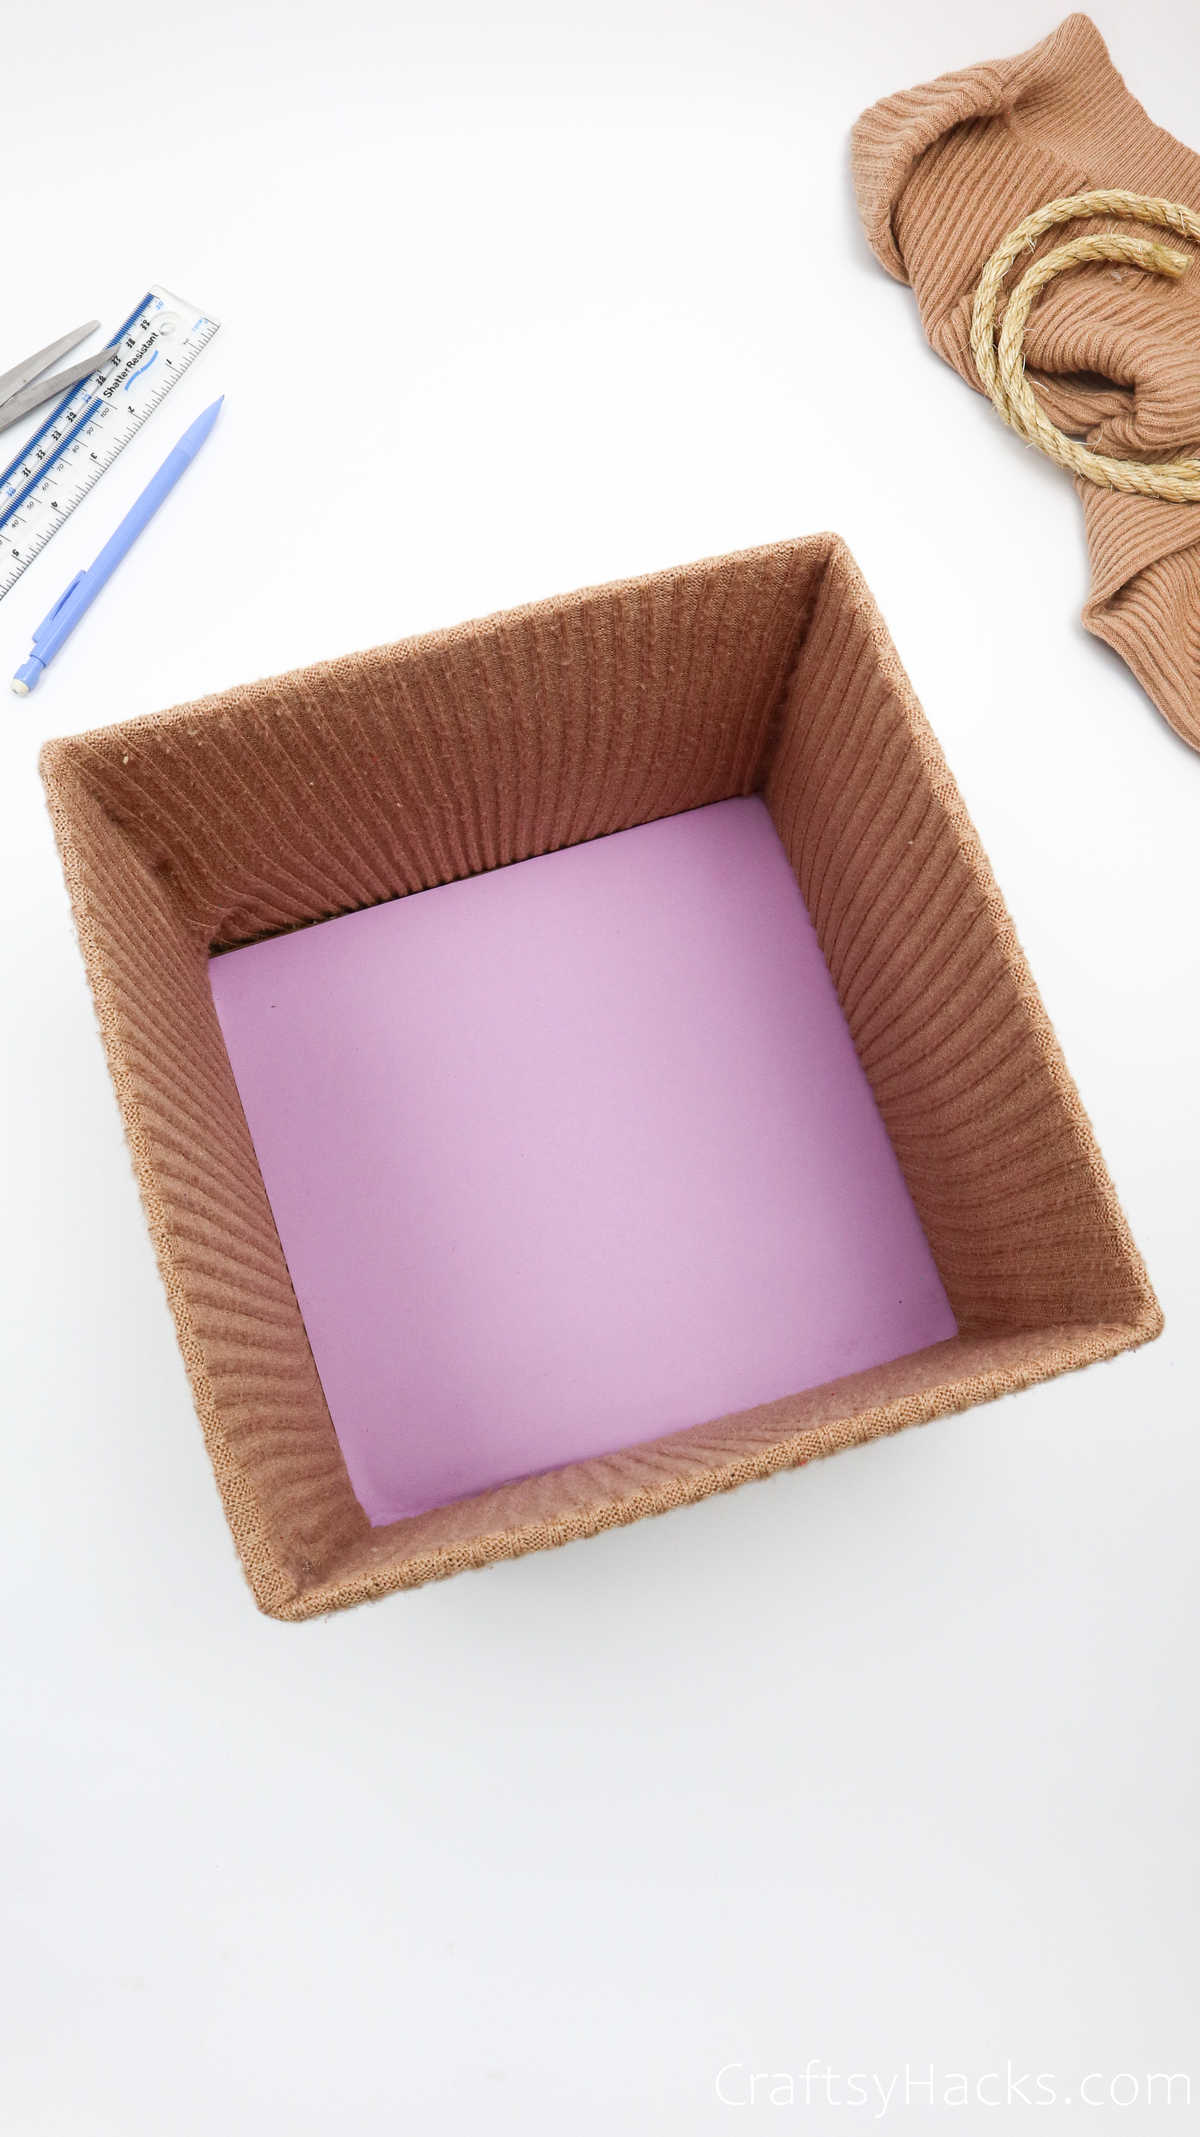
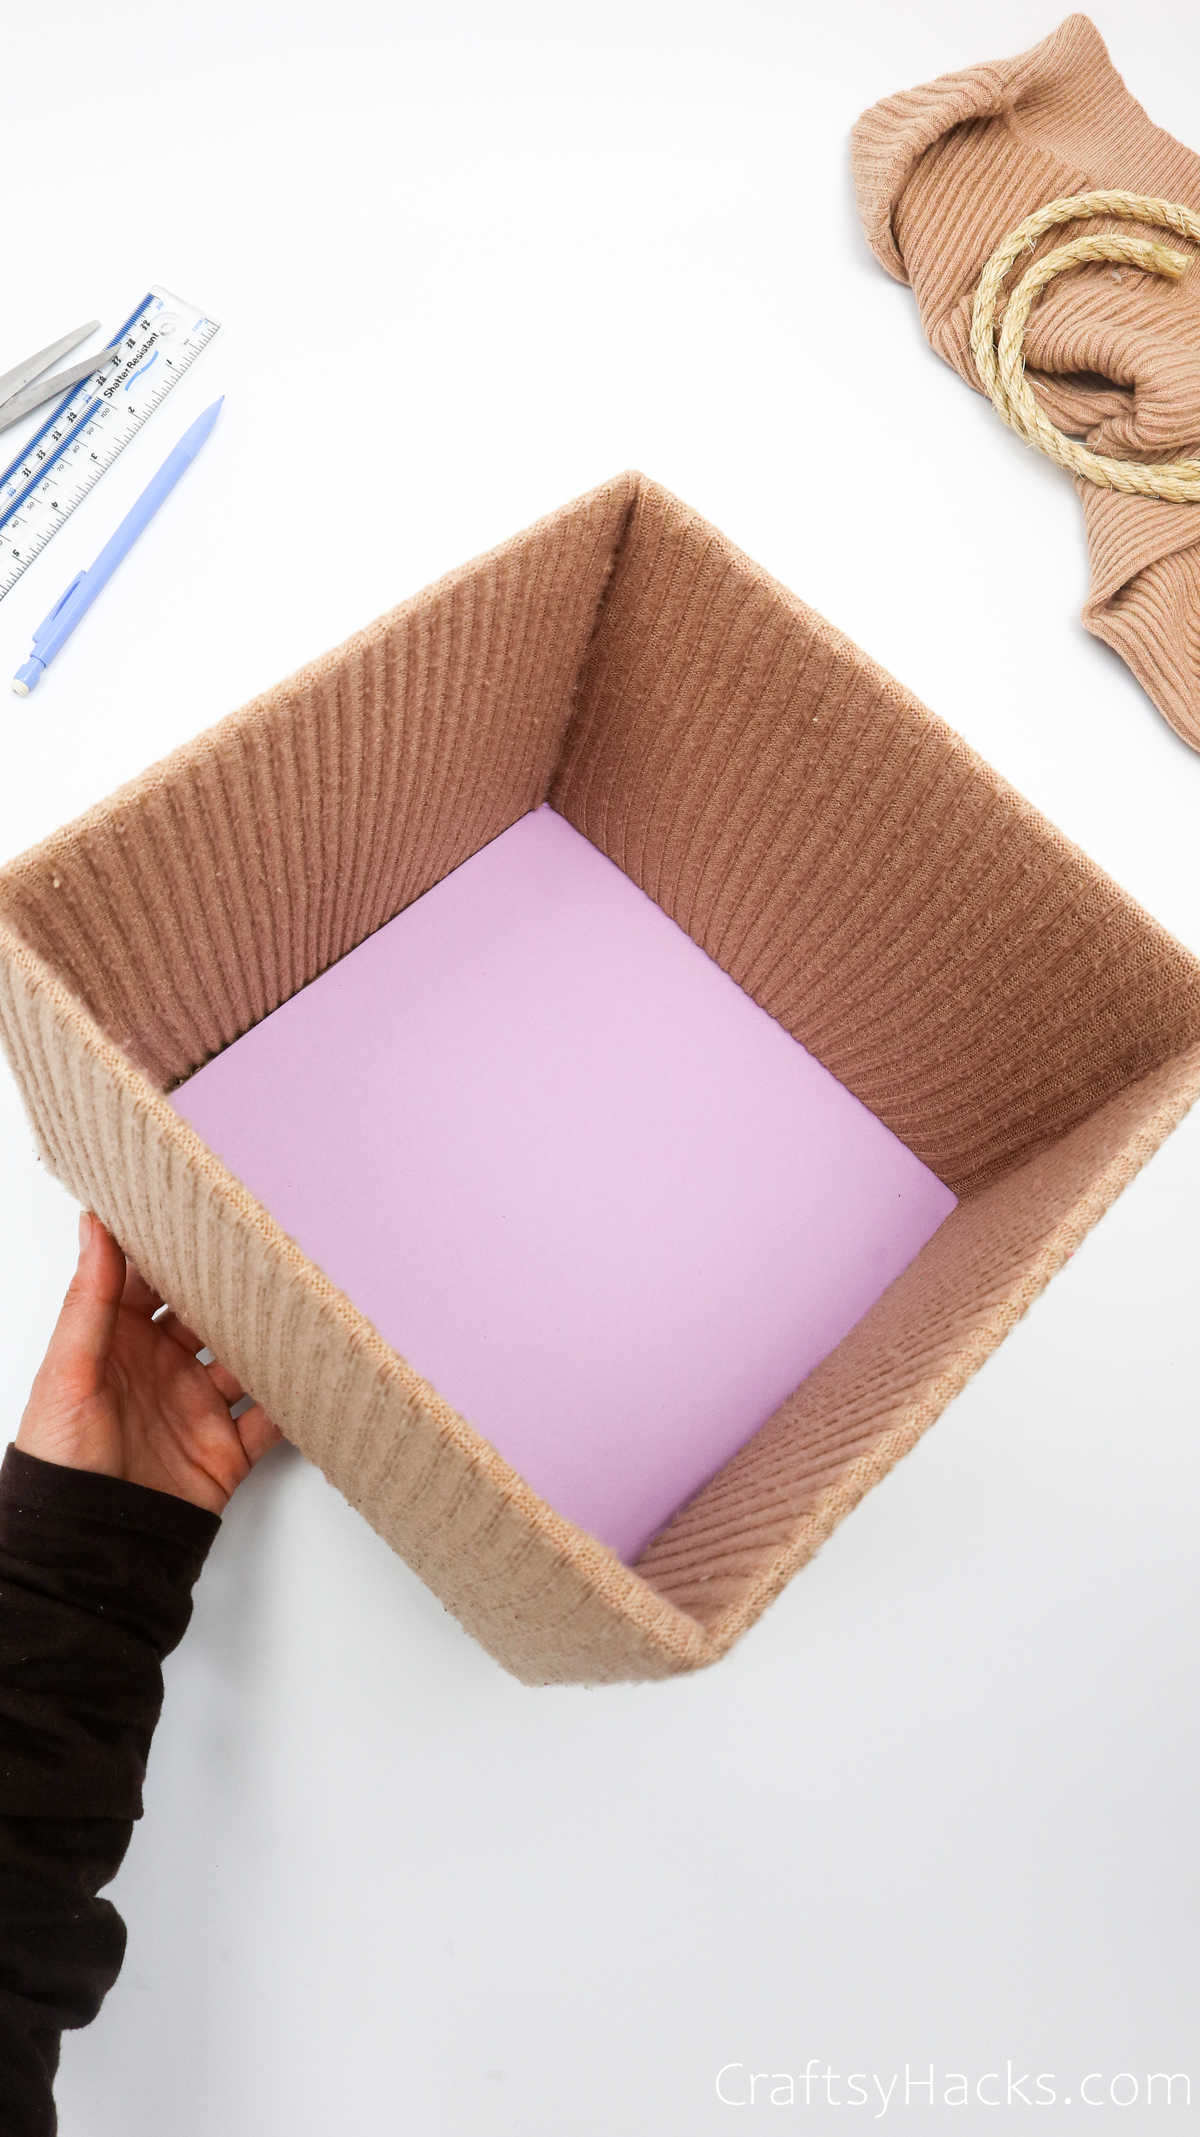
When you’re sure that the adhesive has dried, place the base of the board into the box and press it down gently to settle it at the bottom. This will cover the uneven folds of the sweater.
Step 11
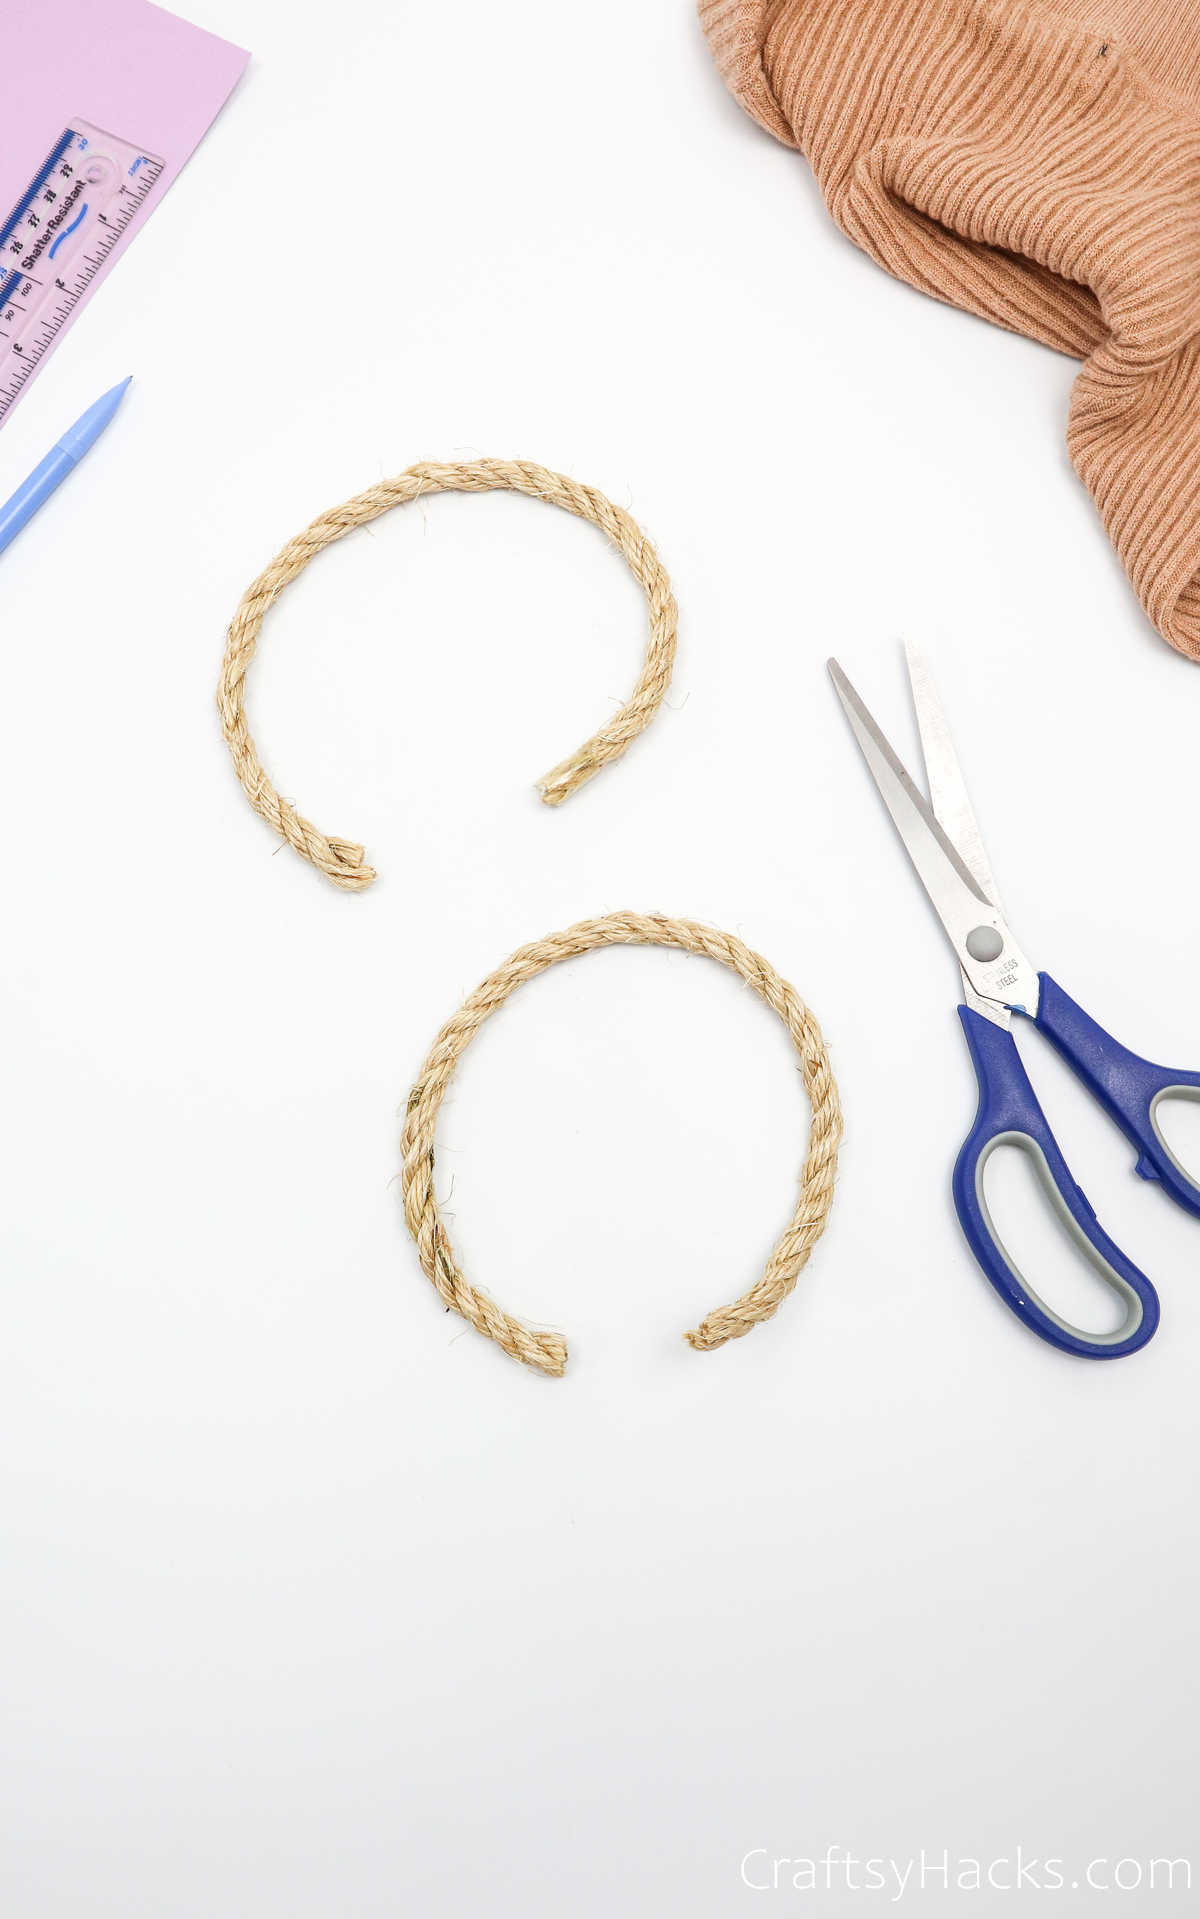
Now that you’ve completed the box, it’s time to attach some handles. You can use strips of jute or hemp rope for the handles. Just cut two strips with a pair of scissors.
Step 12
Now, this step is completely optional. If you like the rope as it is and the rusticity it brings to this box, you can leave it as it is and attach it to the box.
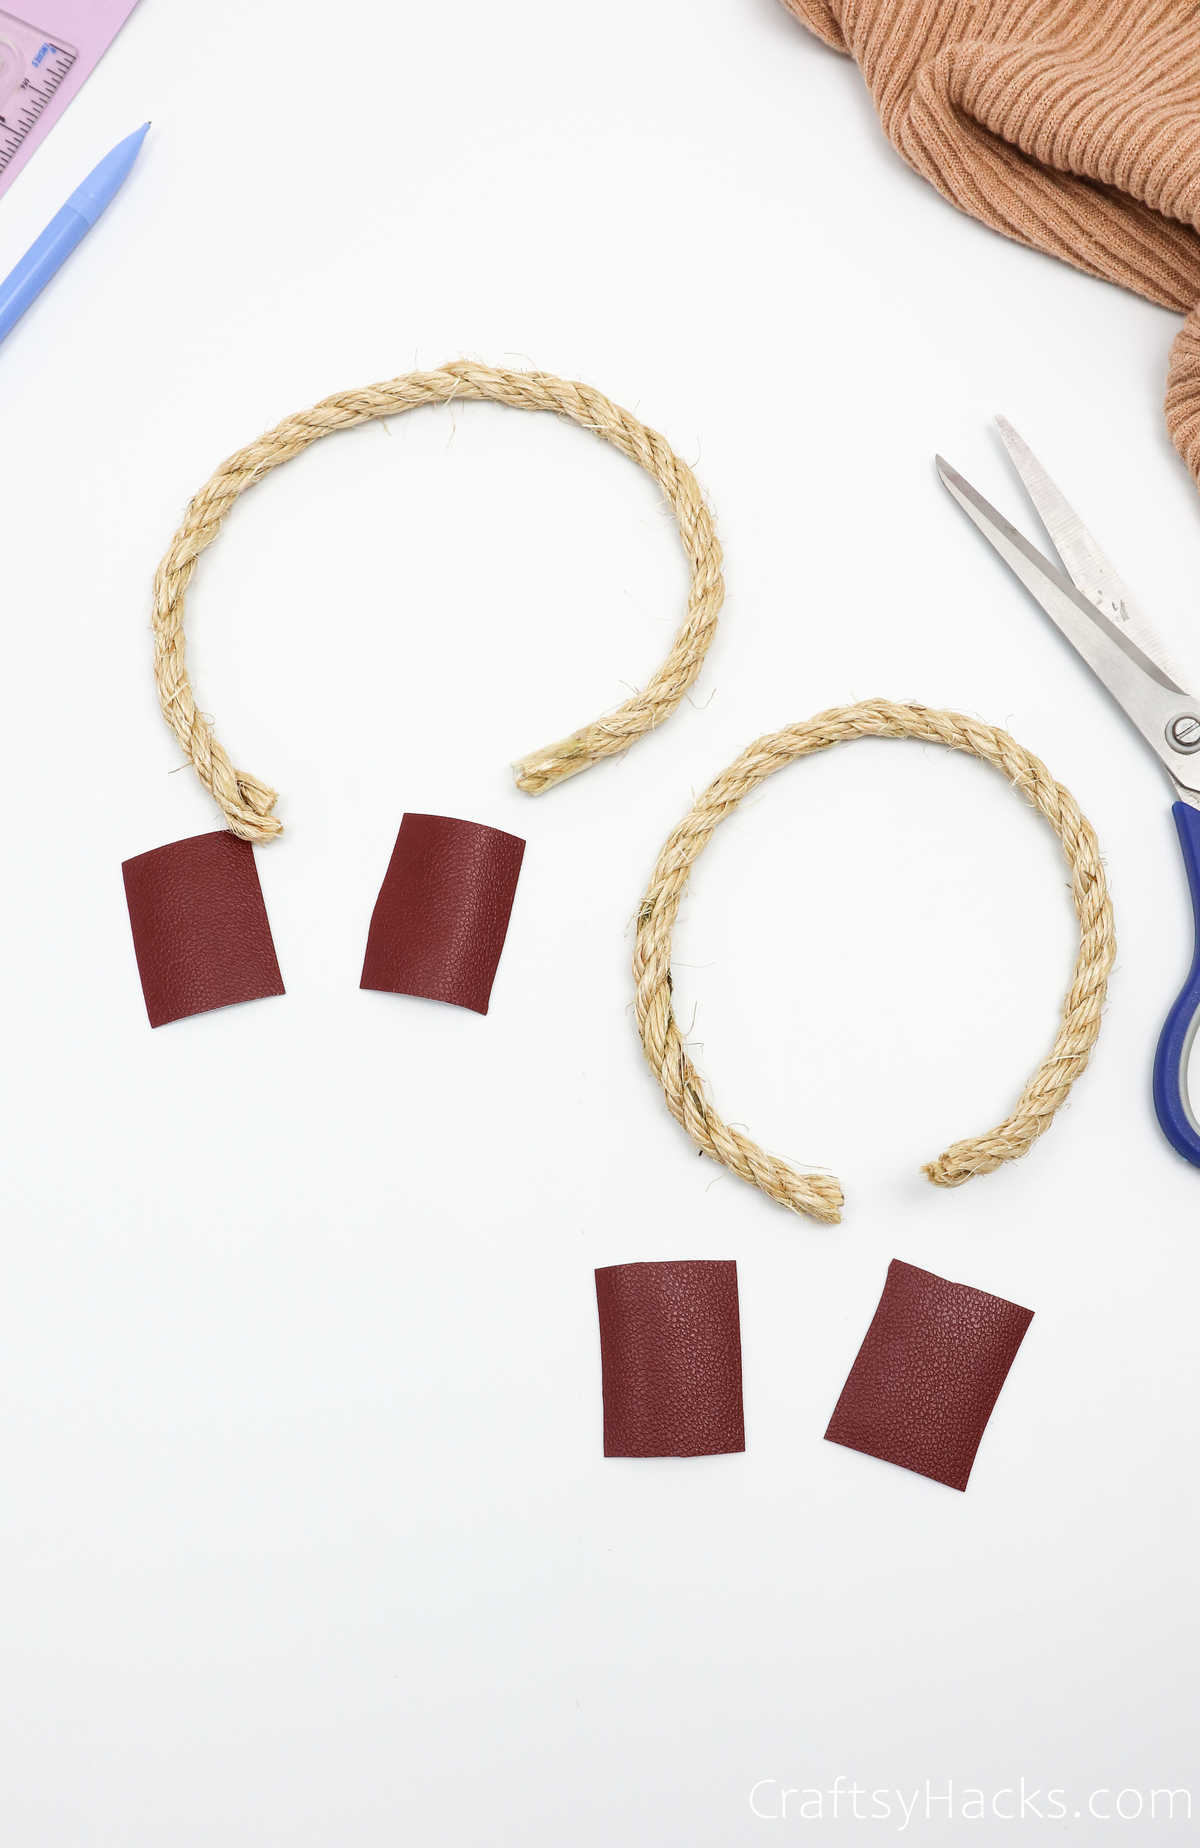
But if you want some extra color, then you can cover the base of rope with some colored or textured paper. Covering the base will also act as a protective layer to the ends of the rope. Should the ends ever fray or unravel, this paper cover will keep it secure.
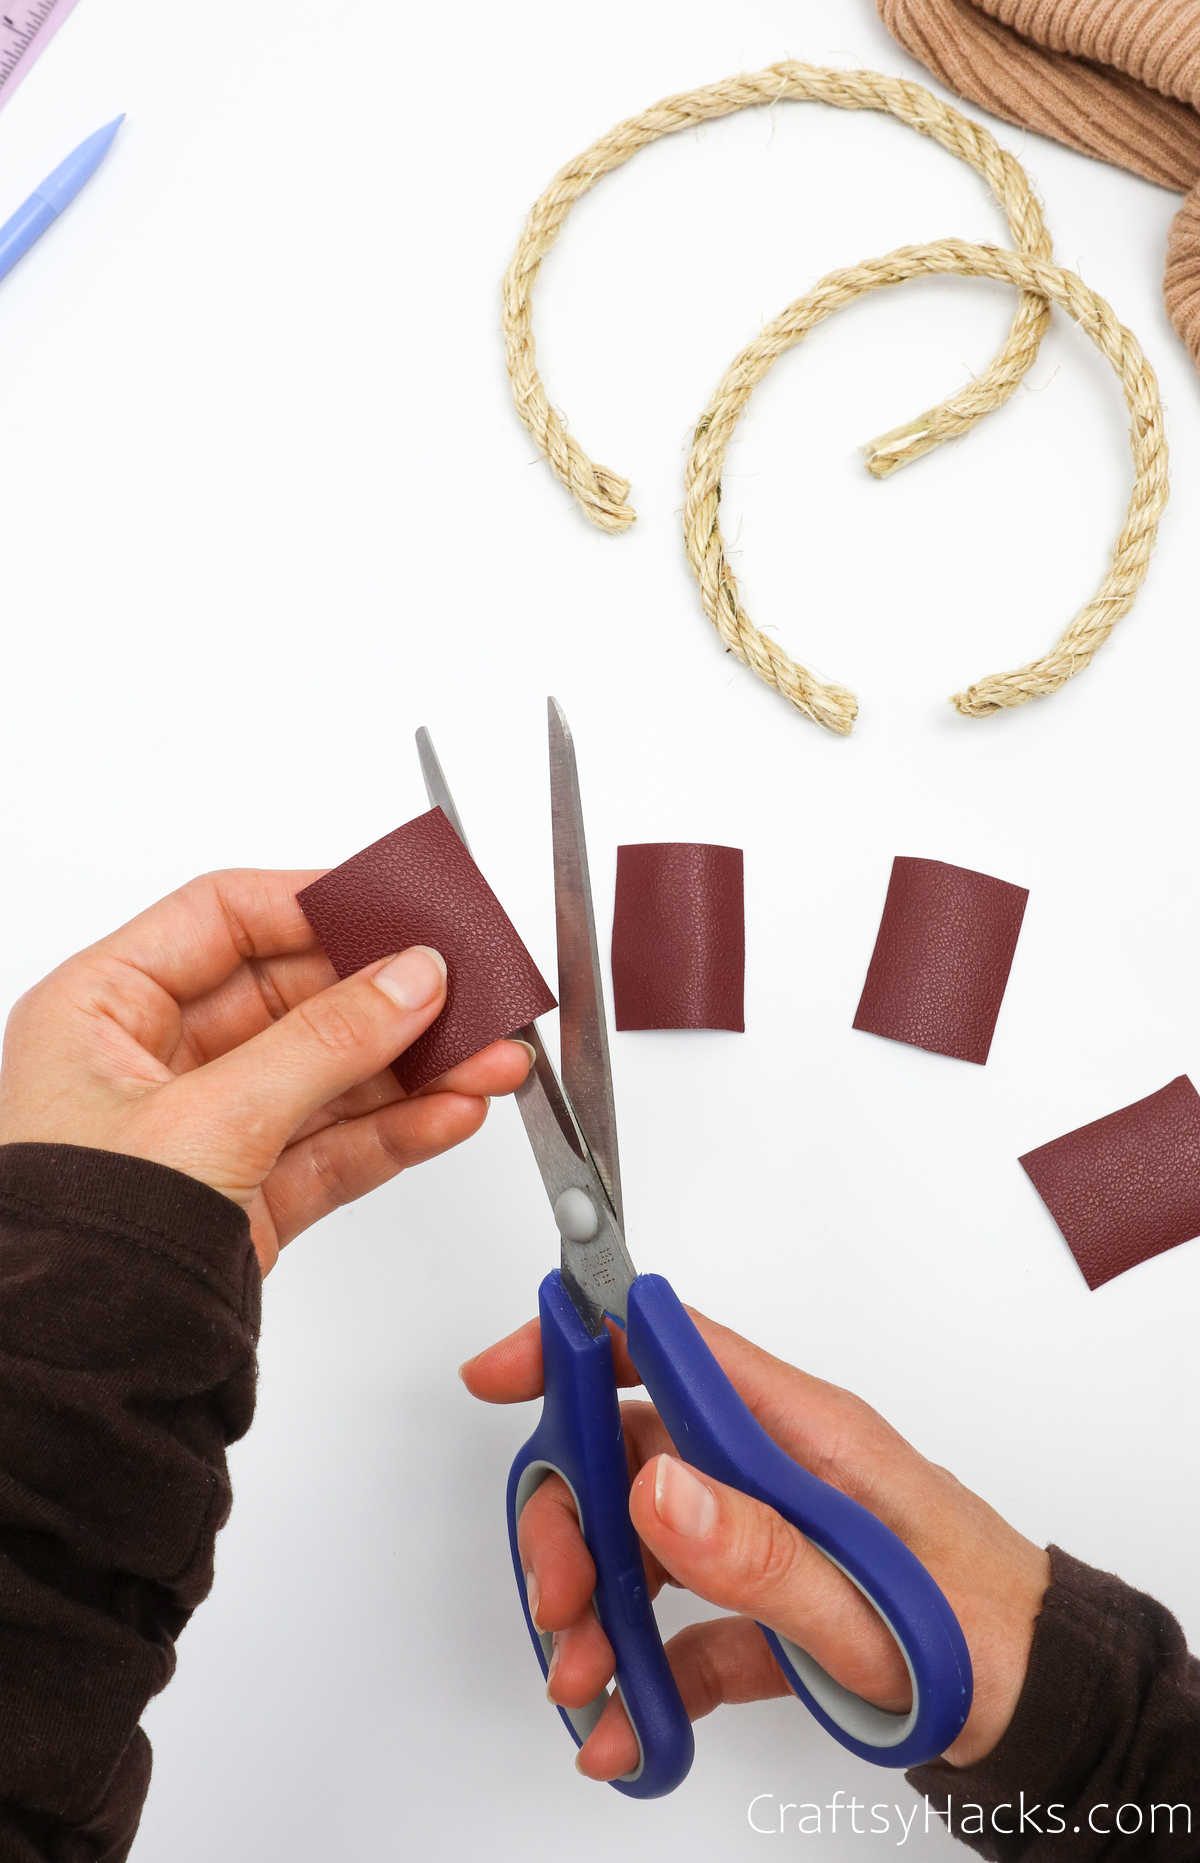
So, cut four pieces of paper, one for each end of both ropes.
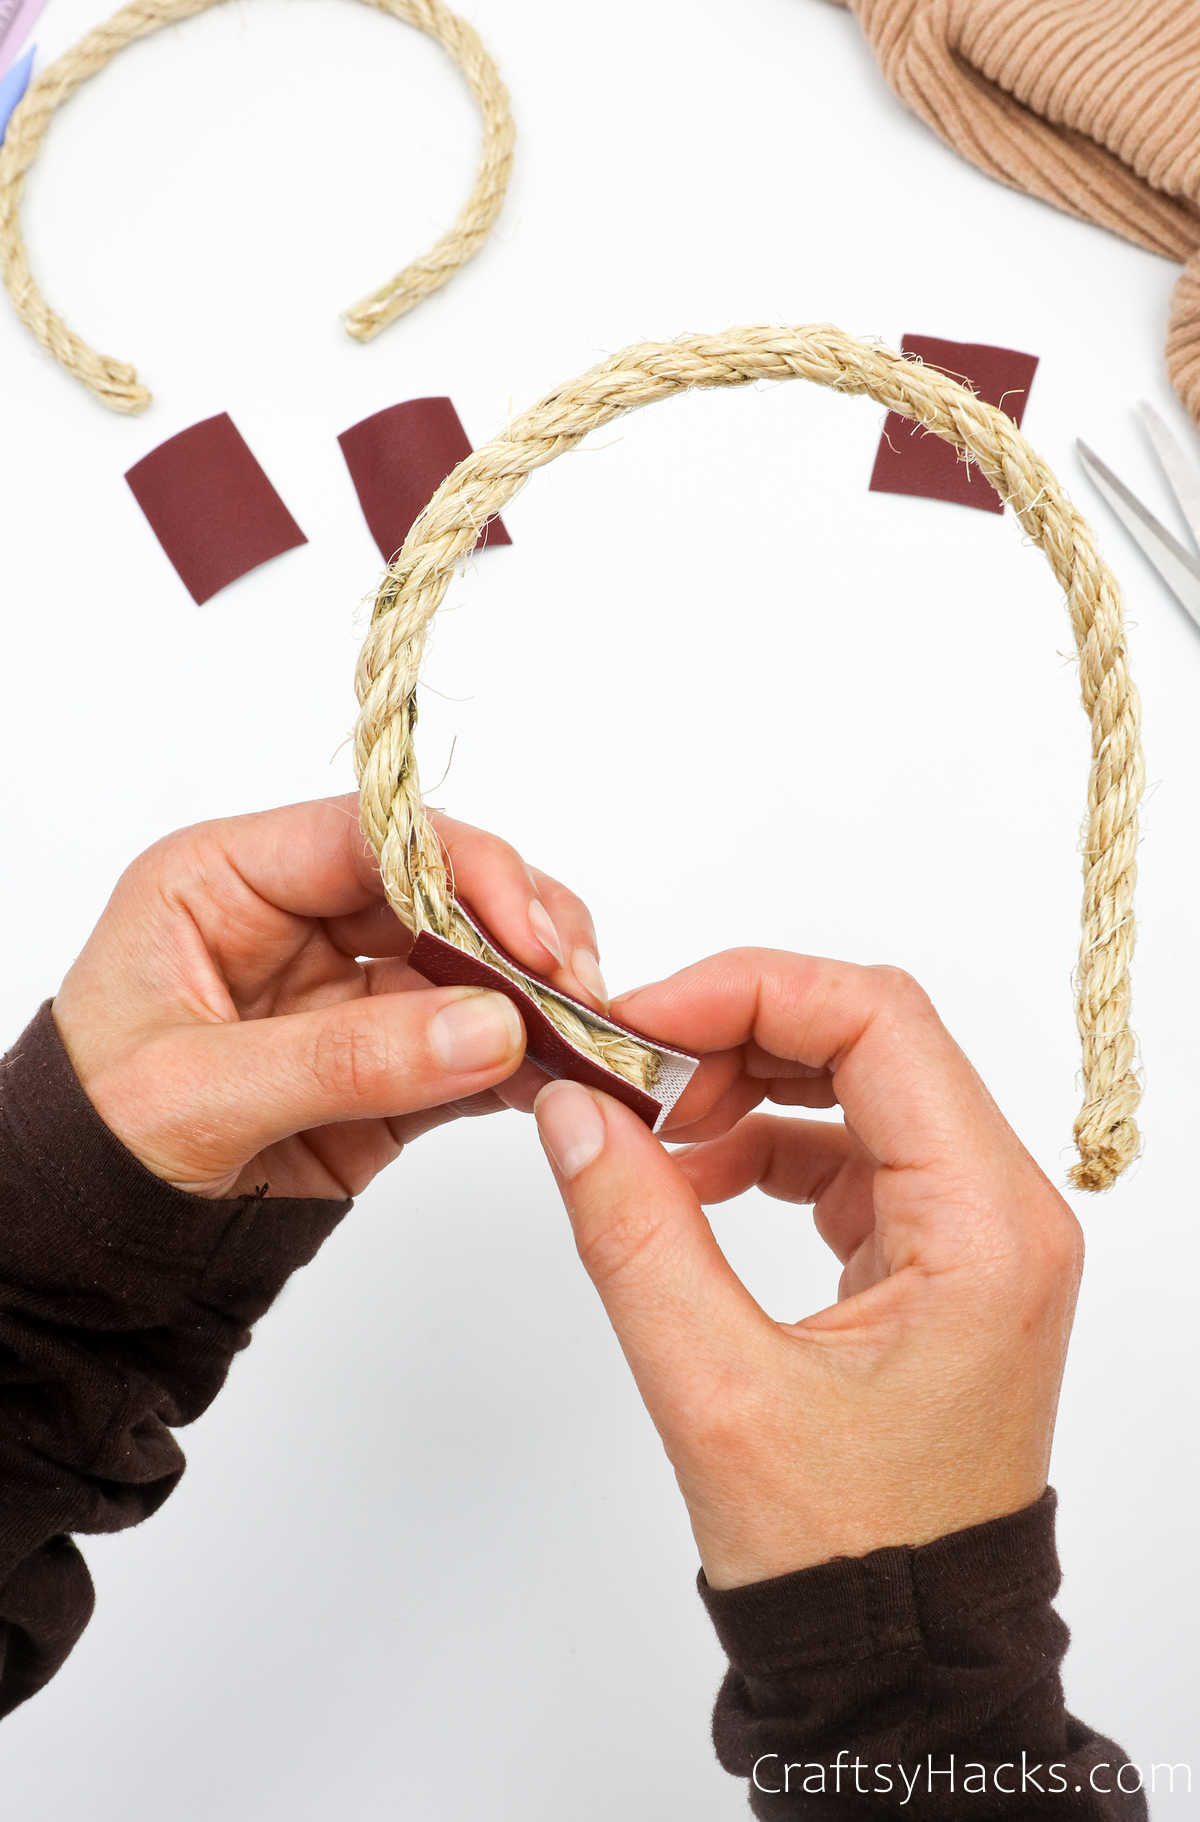
Twist the paper around the base of the rope and hold it in place while you grab your hot glue gun. Line the rope with some glue and press the paper over the rope to secure it.
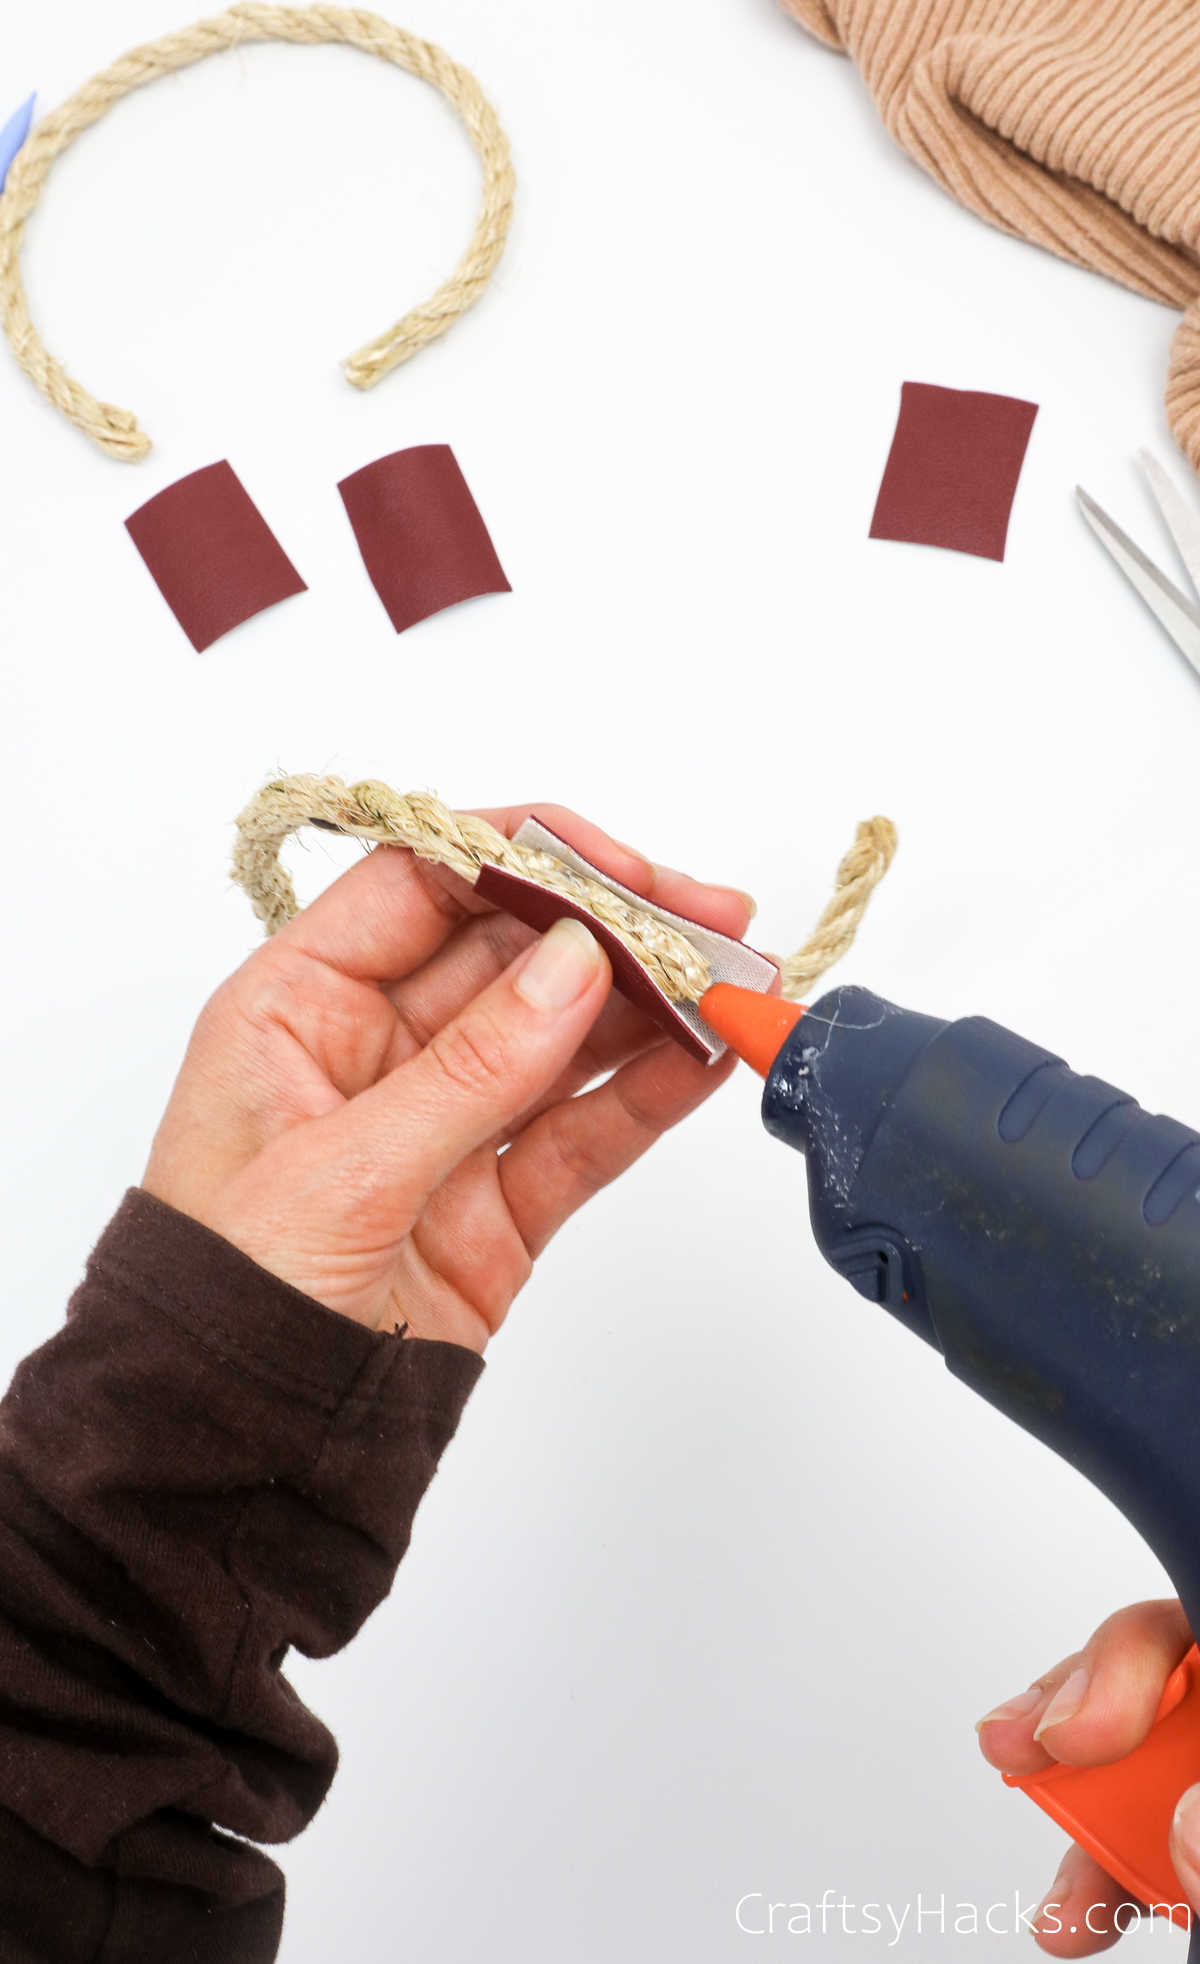
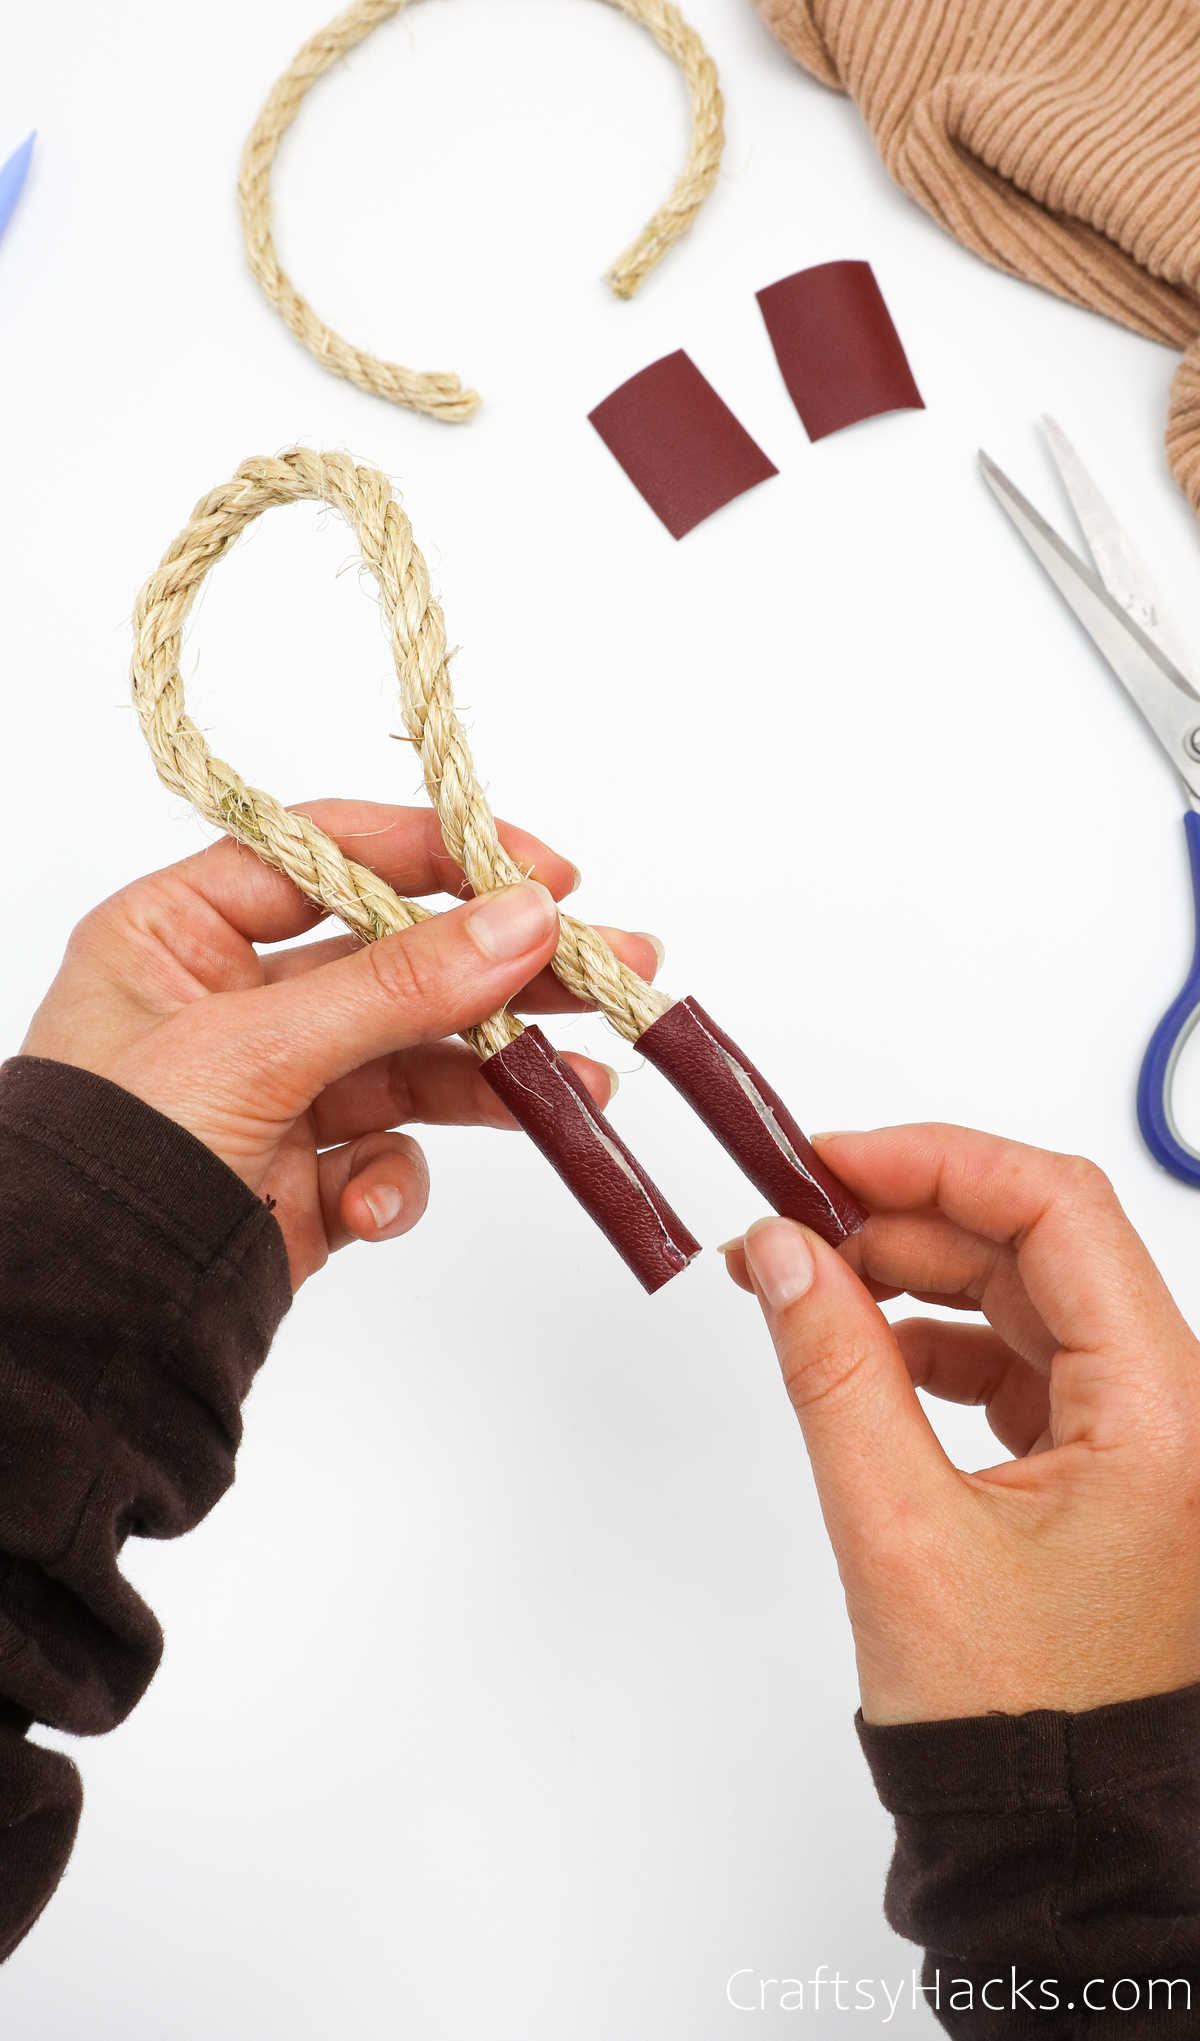
Repeat this step for all four ends.
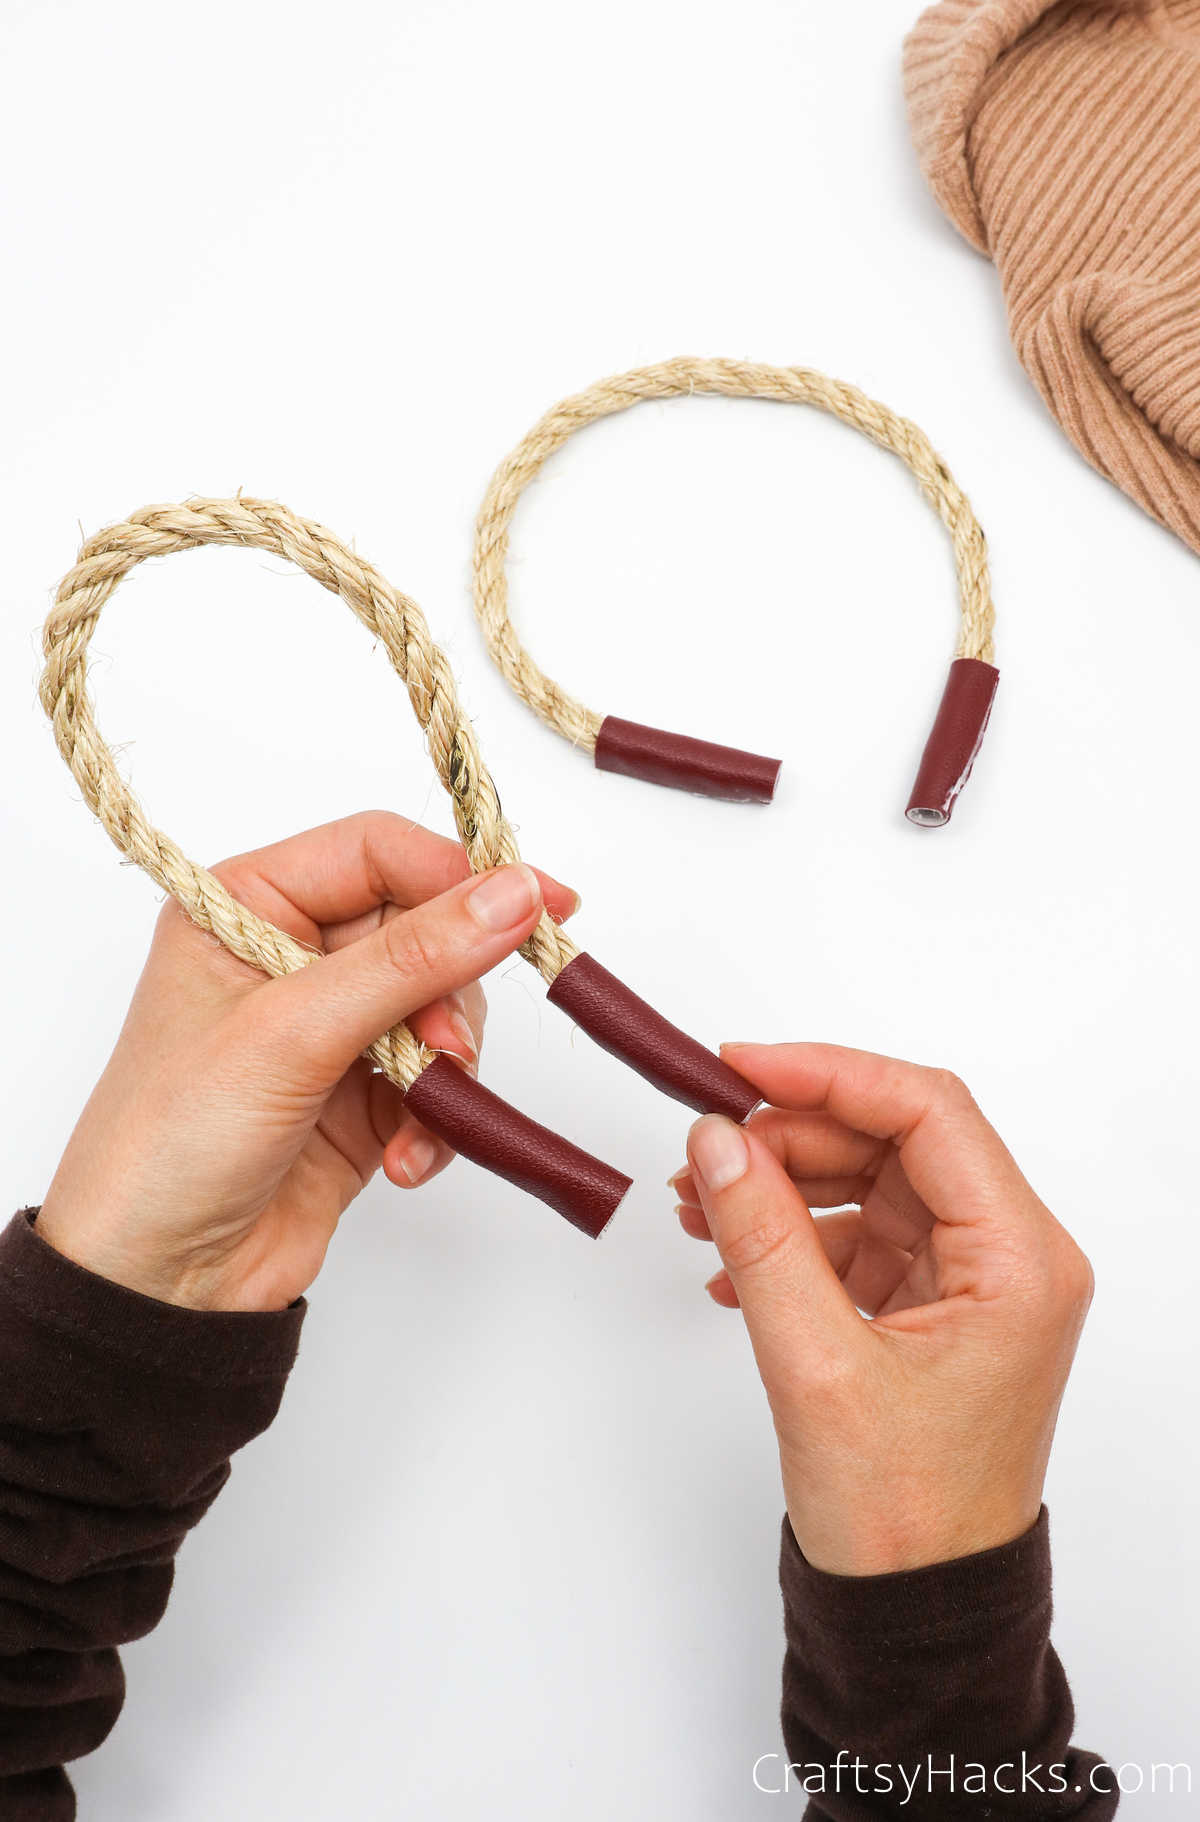
Step 13
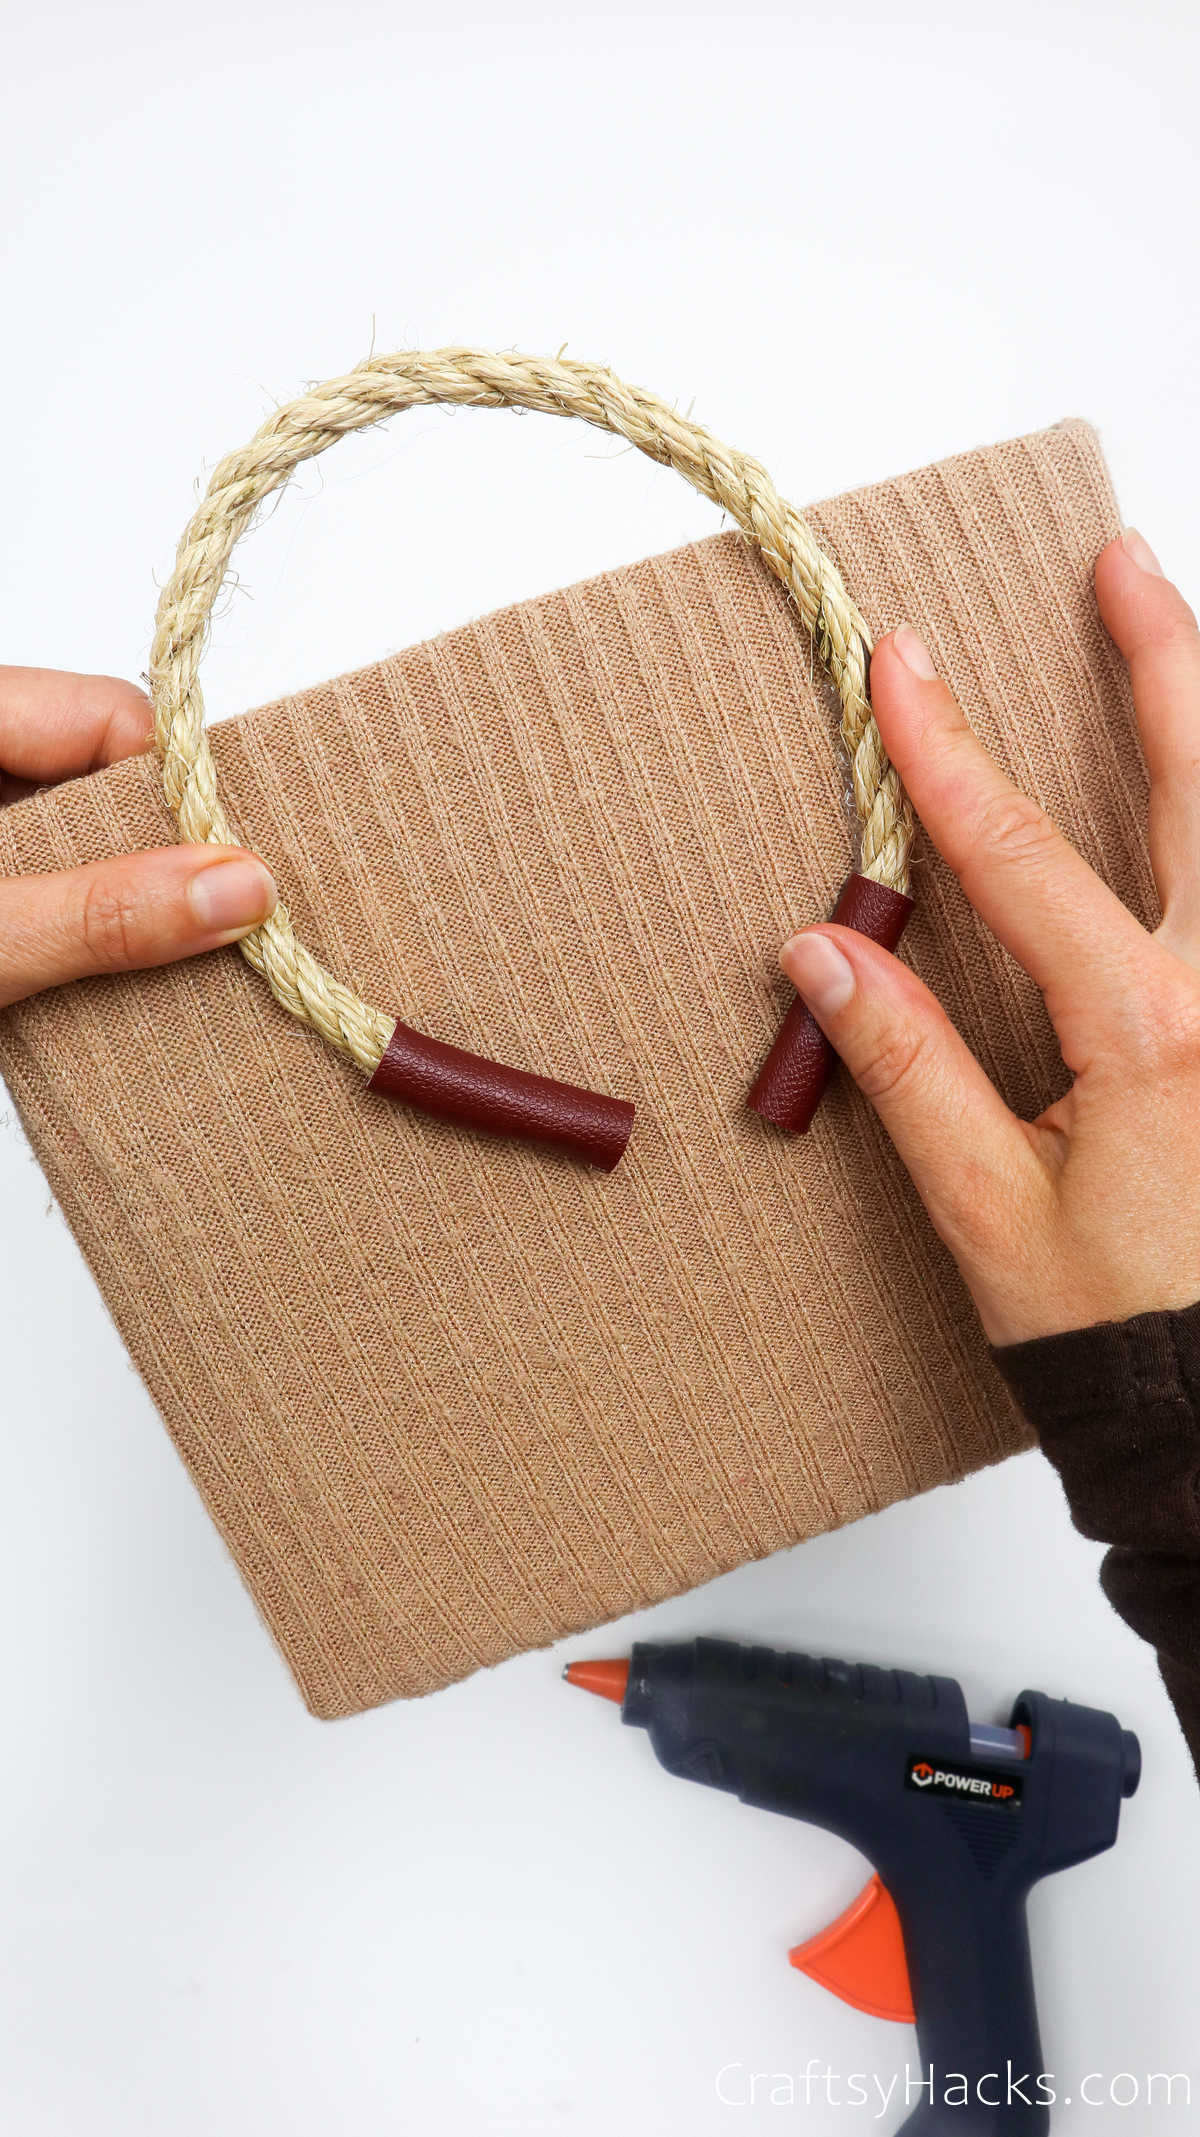
Top attach the rope to the box, grab your glue gun again and apply some glue to the side of the box where you want the handles to go.
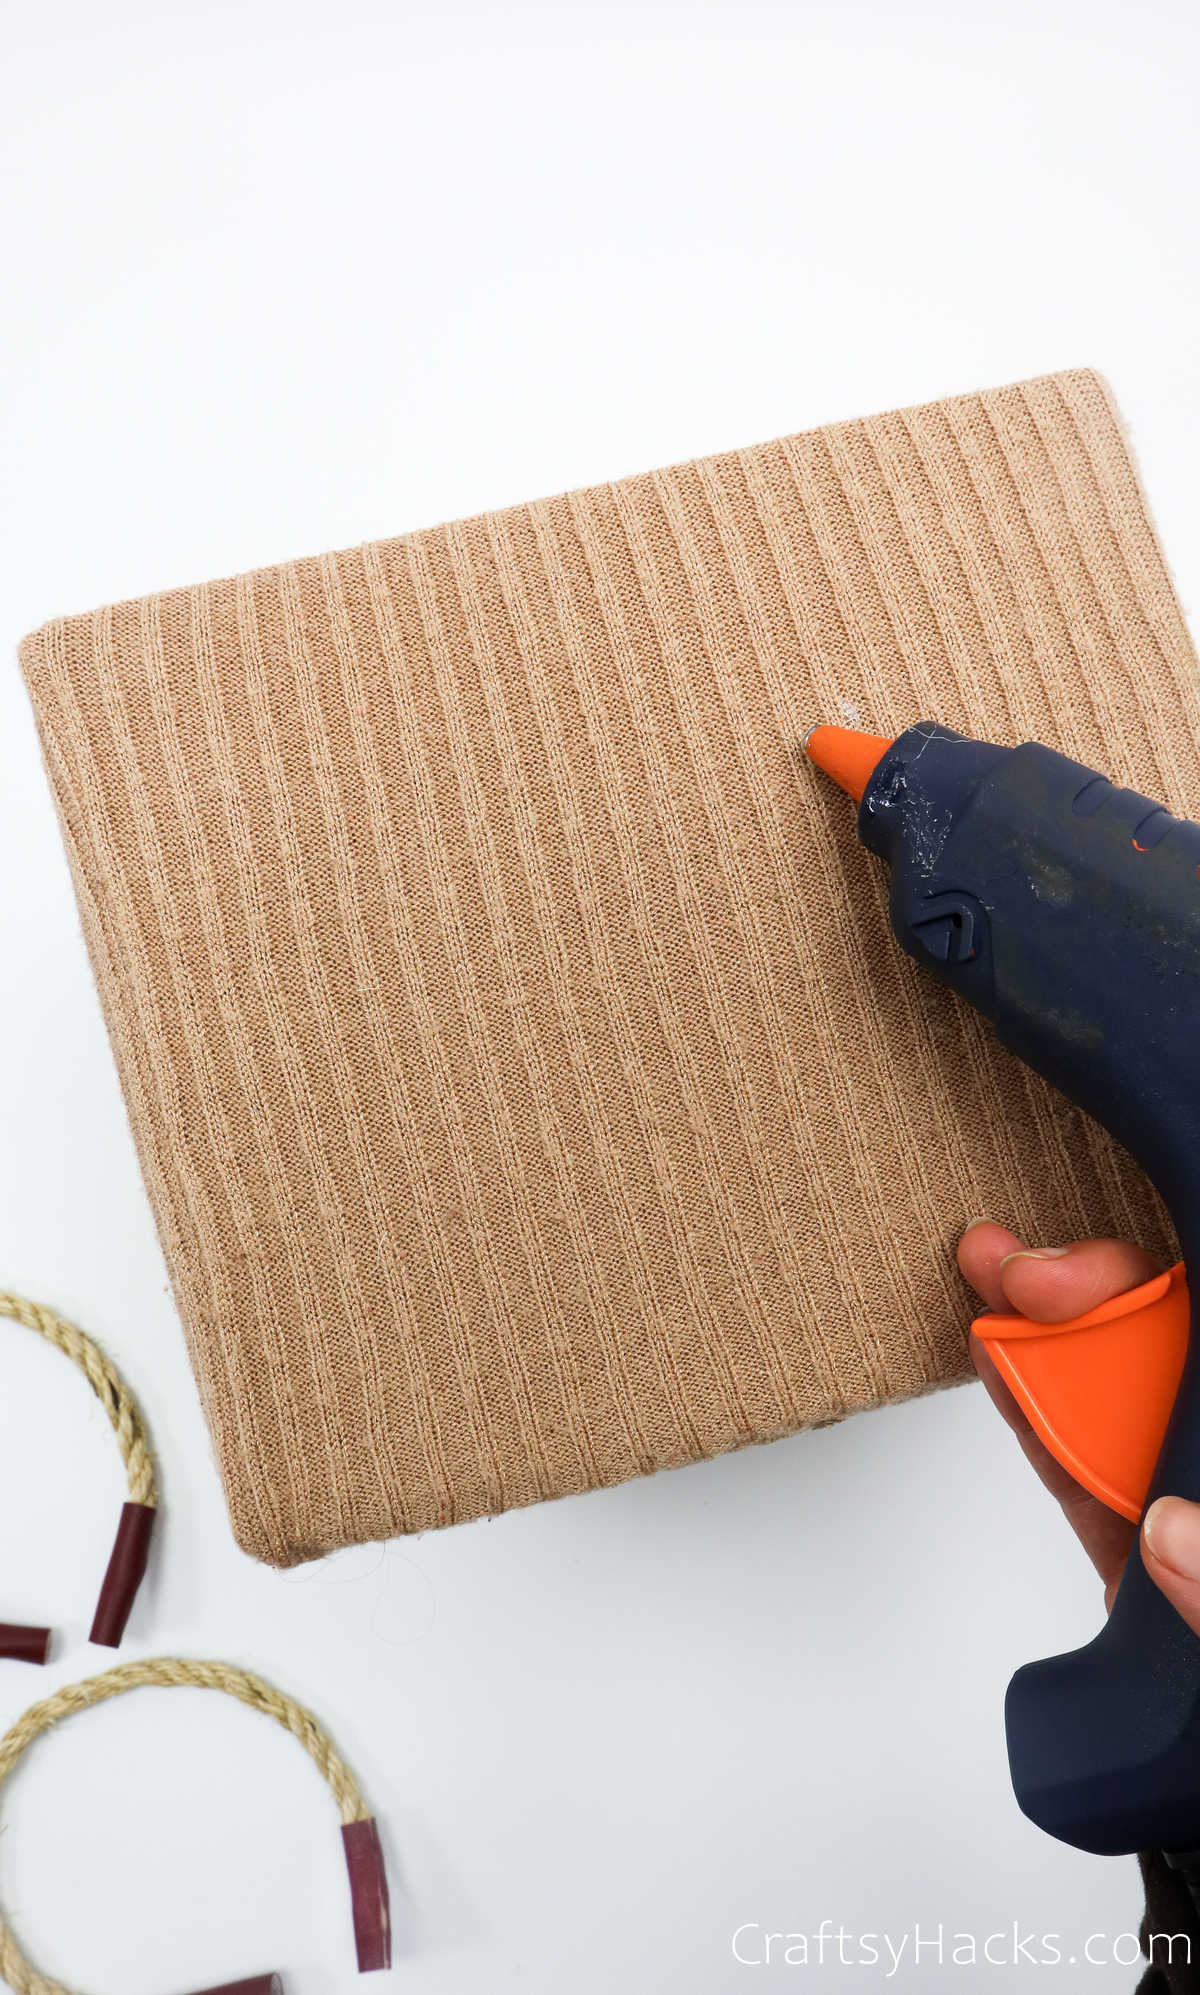
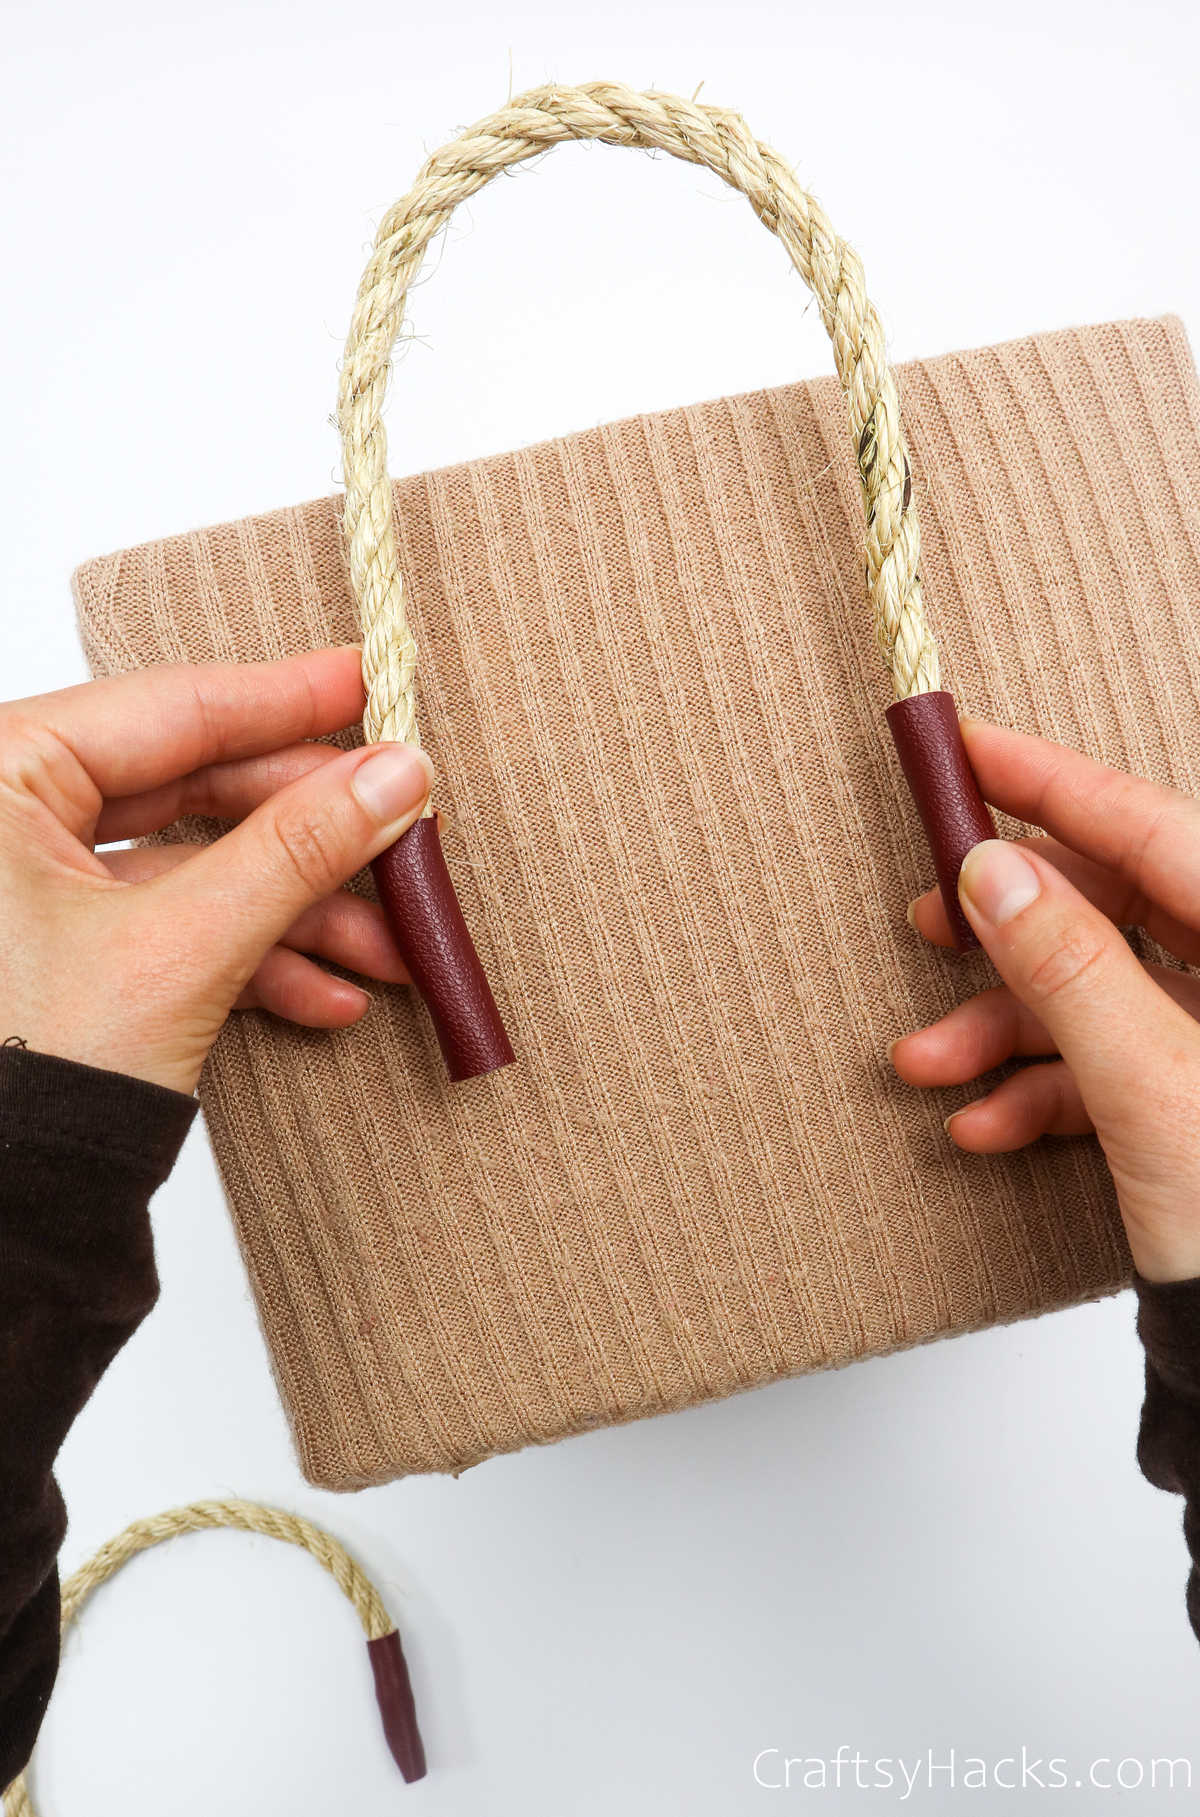
Then press the ends of the handle down over the glue and hold it down until it sticks to the sweater.
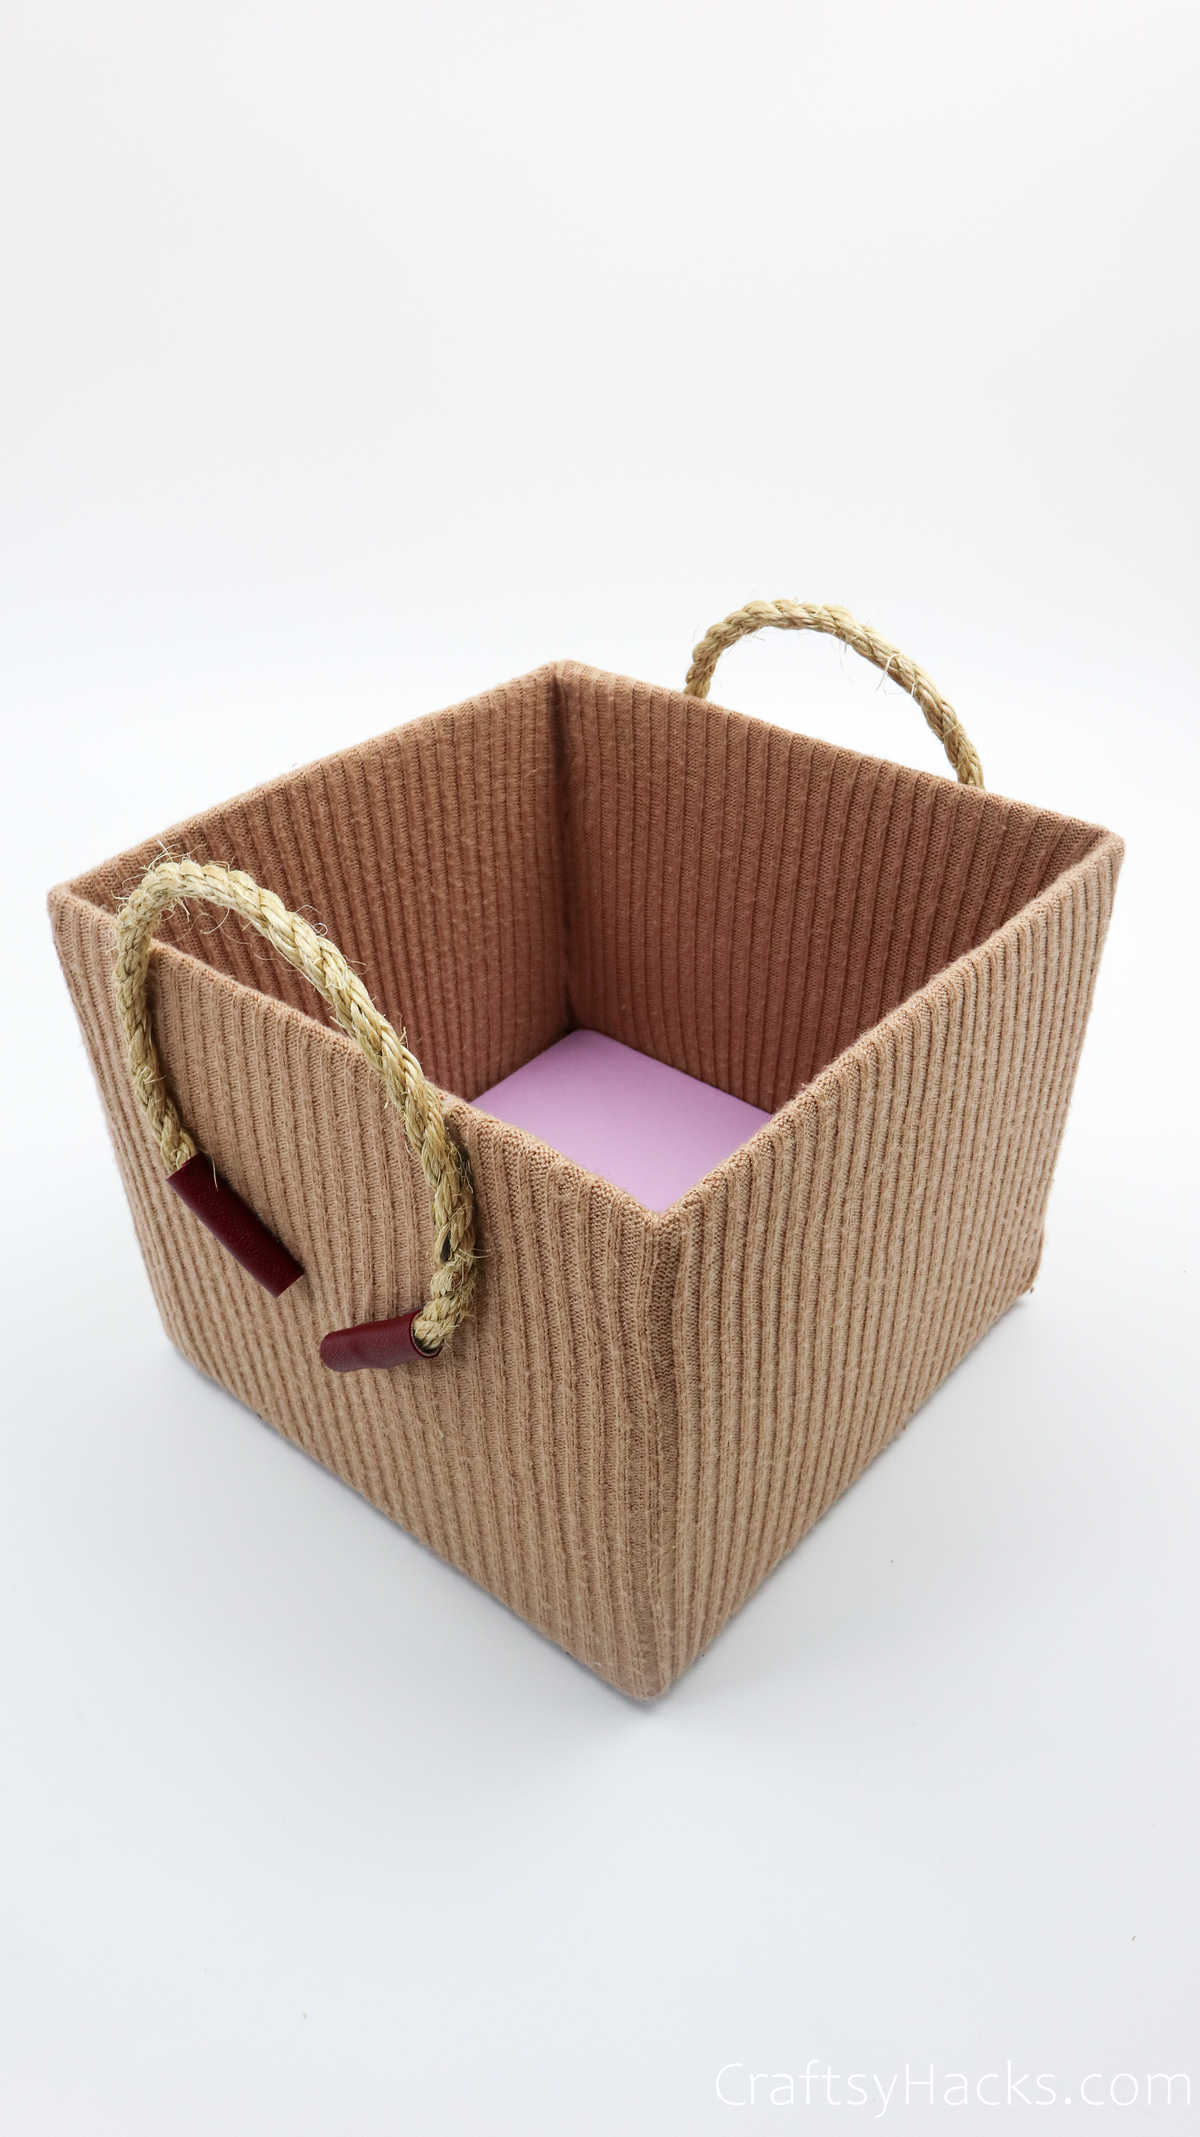
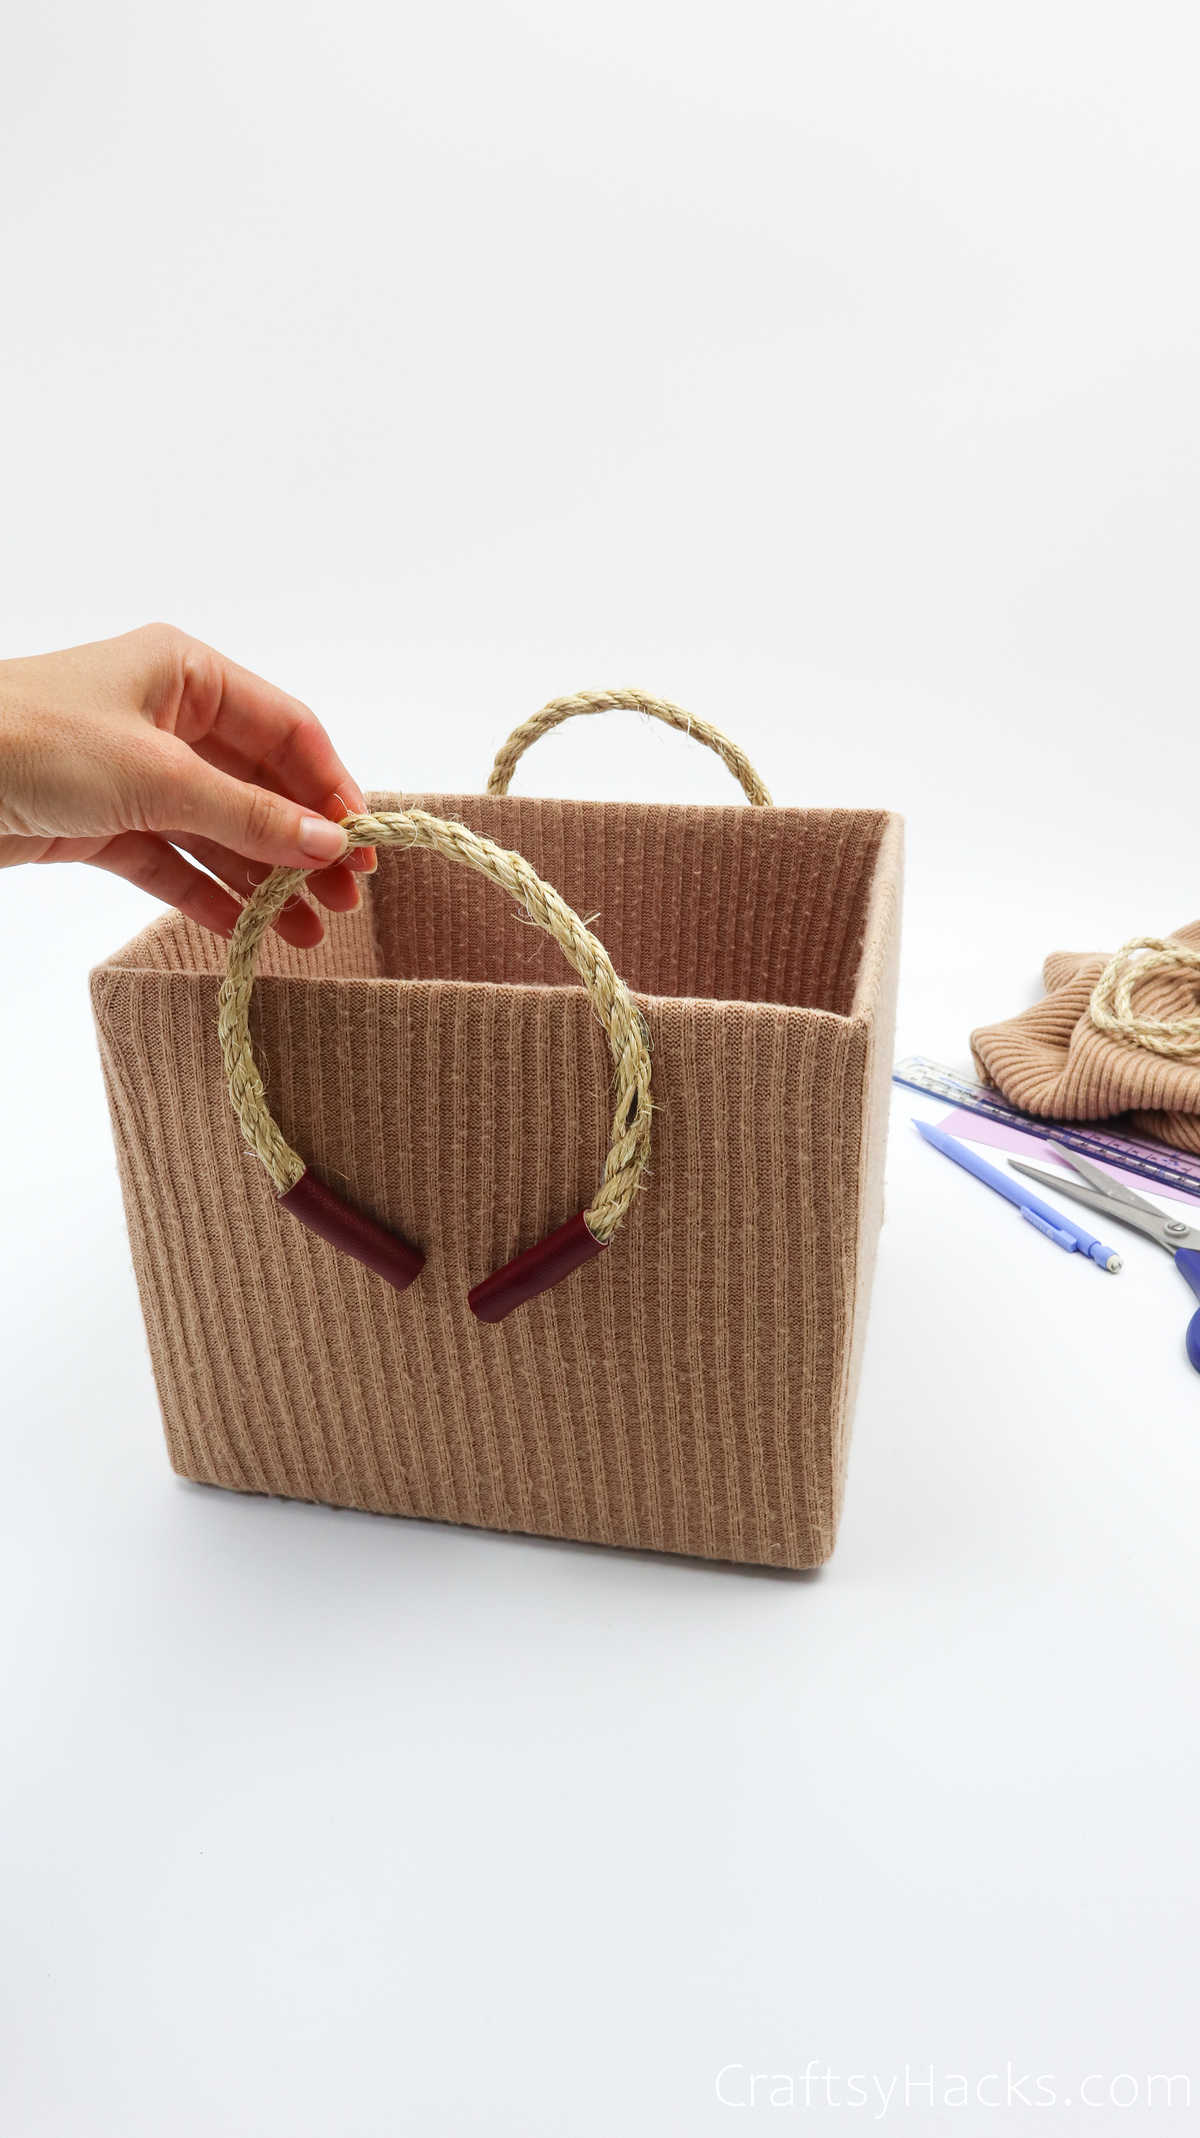
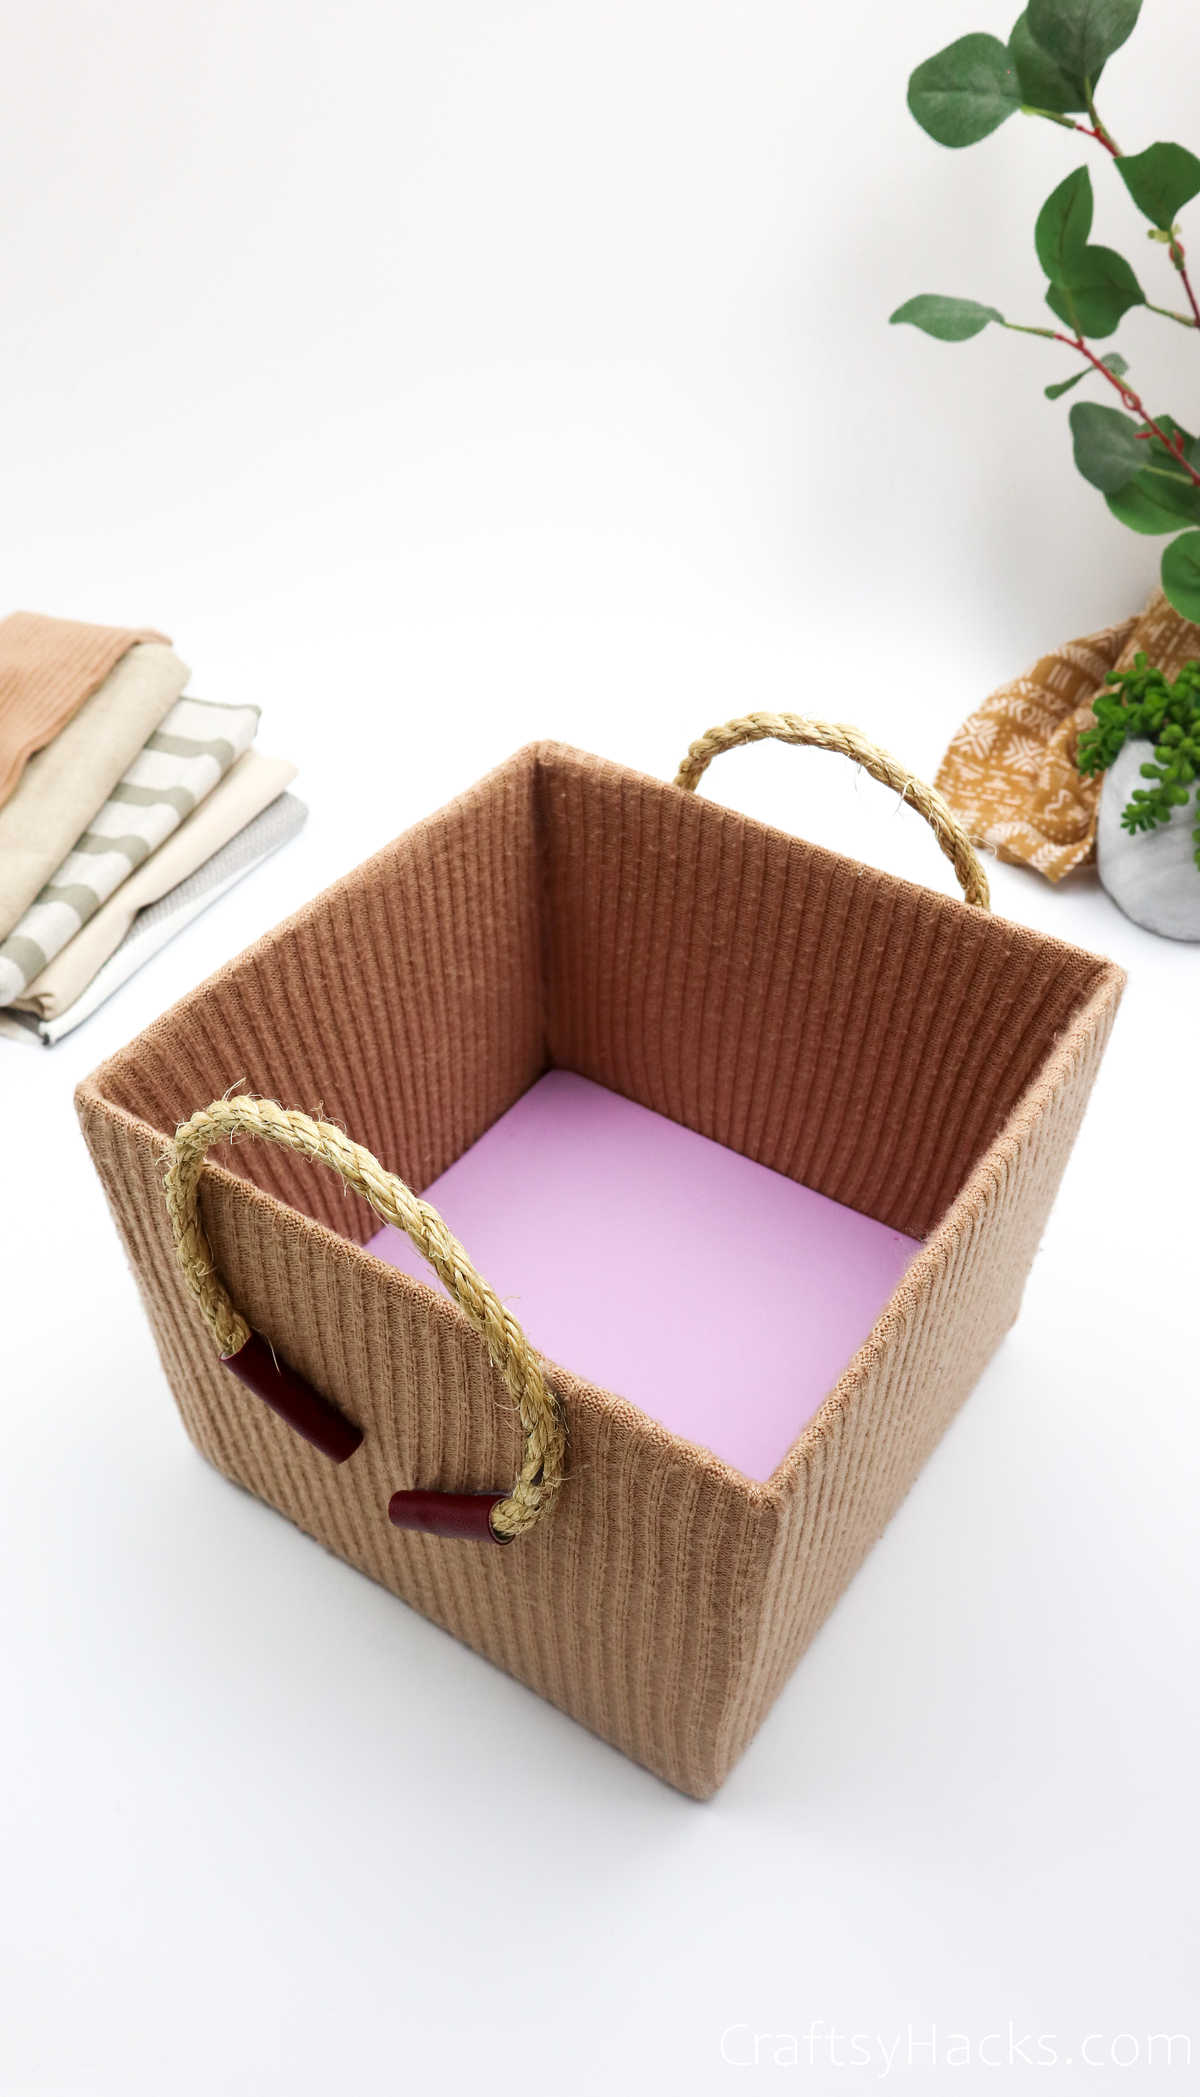
That’s pretty much it; your DIY storage box out of an old cardboard box is ready!
Watch Video: DIY Box Storage Box
Check the full tutorial on how to make this DIY organizer on a budget.
What Can You Store In This Storage Box?
You can store just about anything in these boxes. They don’t just help you to declutter, they also help you to keep things organized. Here’s a list of things you can keep in this box:
- Clothes: Underwear, socks, sweaters, shirts, towels, and more.
- Accessories: Bags and wallets, scarves, beanies, gloves.
- Craft supplies: yarn, sewing supplies,
- Office supplies: folders, files, documents, papers
- Tools and outdoor equipment
- Cleaning supplies
- Pantry items: Jars, spice bottles, cereal boxes, utensils, and more.
- Electronics: wires, chargers, USBs, earphones, and more.
Other Organization Ideas for You
- DIY Mail Organizer
- DIY Earring Organizer
- 47 Organization Ideas
- 21 Tool Storage Ideas
- 23 Towel Storage Ideas
- 40 Office Organization Ideas
- 20 Bedroom Organizing Ideas
- Storage Ideas for Small Spaces
- 25 Ways to Organize Children Toys
Storage Box Out of an Old Sweater
Equipment
- Scissors
- Glue
- Ruler
- Retractable knife
- Pencil
Materials
- Cardboard box
- Old sweater
- Decorative paper
- Cardboard sheet
- 24 " rope 0.2" thick
- Leather fabric 1"x 6"
Instructions
- Gather all your supplies to get started.
- When you’re picking out a sweater for this project, pick one that is stretchy and elastic.
- Grab a pair of scissors and cut the sweater just under the arms.
- Pull the sweater over the box until one end reaches the base of the inside of the box. The other end, however, should be able to reach the bottom of the outside of the box.
- Flip the box till the base is facing upward and line the sweater over the edges so an inch-wide strip of sweater encases all the sides.
- Grab your hot glue gun and line the four sides with adhesive. Neatly press the ends of the sweater down to adhere it to the base of the box. Pinch the four corners and press it flat against the base and glue it in place.
- When the glue dries, flip the box back right side up to work on the sweater inside the box. Run a finger down the edges of the box, over the sweater, to crease it all the way down to the base.
- Then, pull the sweater back, line the edges with hot glue and press the sweater back down to adhere it to the edges. Smoothen the sweater across the walls of the cardboard box and make sure all four sides are firmly attached to the box, all the way down to the base.
- You can’t leave the base of the box as it is with the fabric of the sweater all bunched up. So, to make a base, grab a sheet of cardboard. Then, grab a ruler and measure both sides of the box over the mouth and across the opening.
- Using a pencil and ruler, transfer the measurements onto the cardboard sheet and mark the dimensions of the base on it. Draw two lines to connect the marking you made and the square you see is the same measurement as the base of your cardboard box.
- On a sheet of colored craft paper, replicate the same dimensions and cut out another square that’s the same size as the base.
- Line the paper and the cardboard and make sure they’re aligned before you stick them together. Now place this cardboard cutout into the box and push it to the bottom to cover the sweater.
- Cut two strips of rope for the handles. You can adhere them to the sides of the box as they are, or you can cover them with some paper. Should the ends of the rope ever fray, the paper cover around them will prevent them from unraveling.
- Cut four strips of paper and glue them around the ends of both strips of rope. Finally, attach the handles to the sides of the box where you want them, and your storage box is ready!
