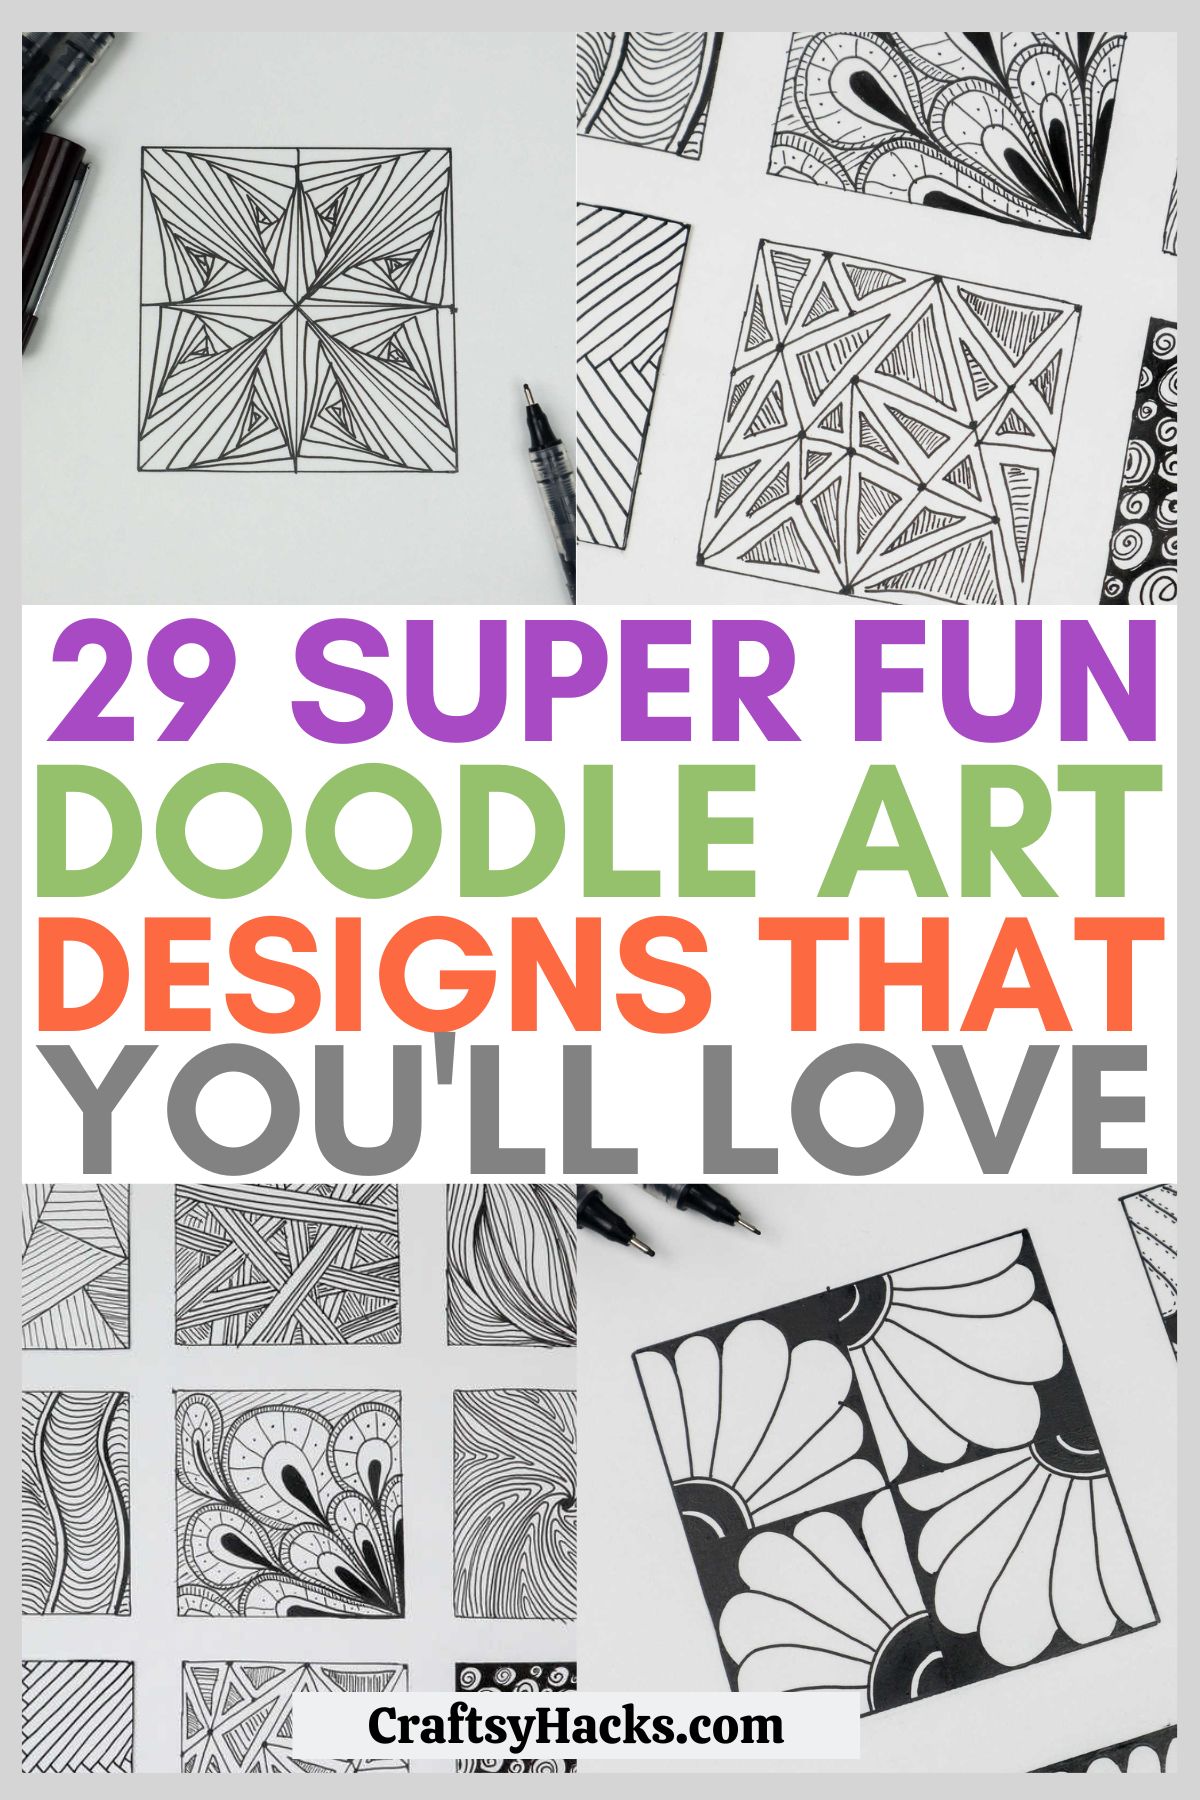
29 Easy Doodle Pattern Ideas
This post may contain affiliate links: full affiliate disclosure.
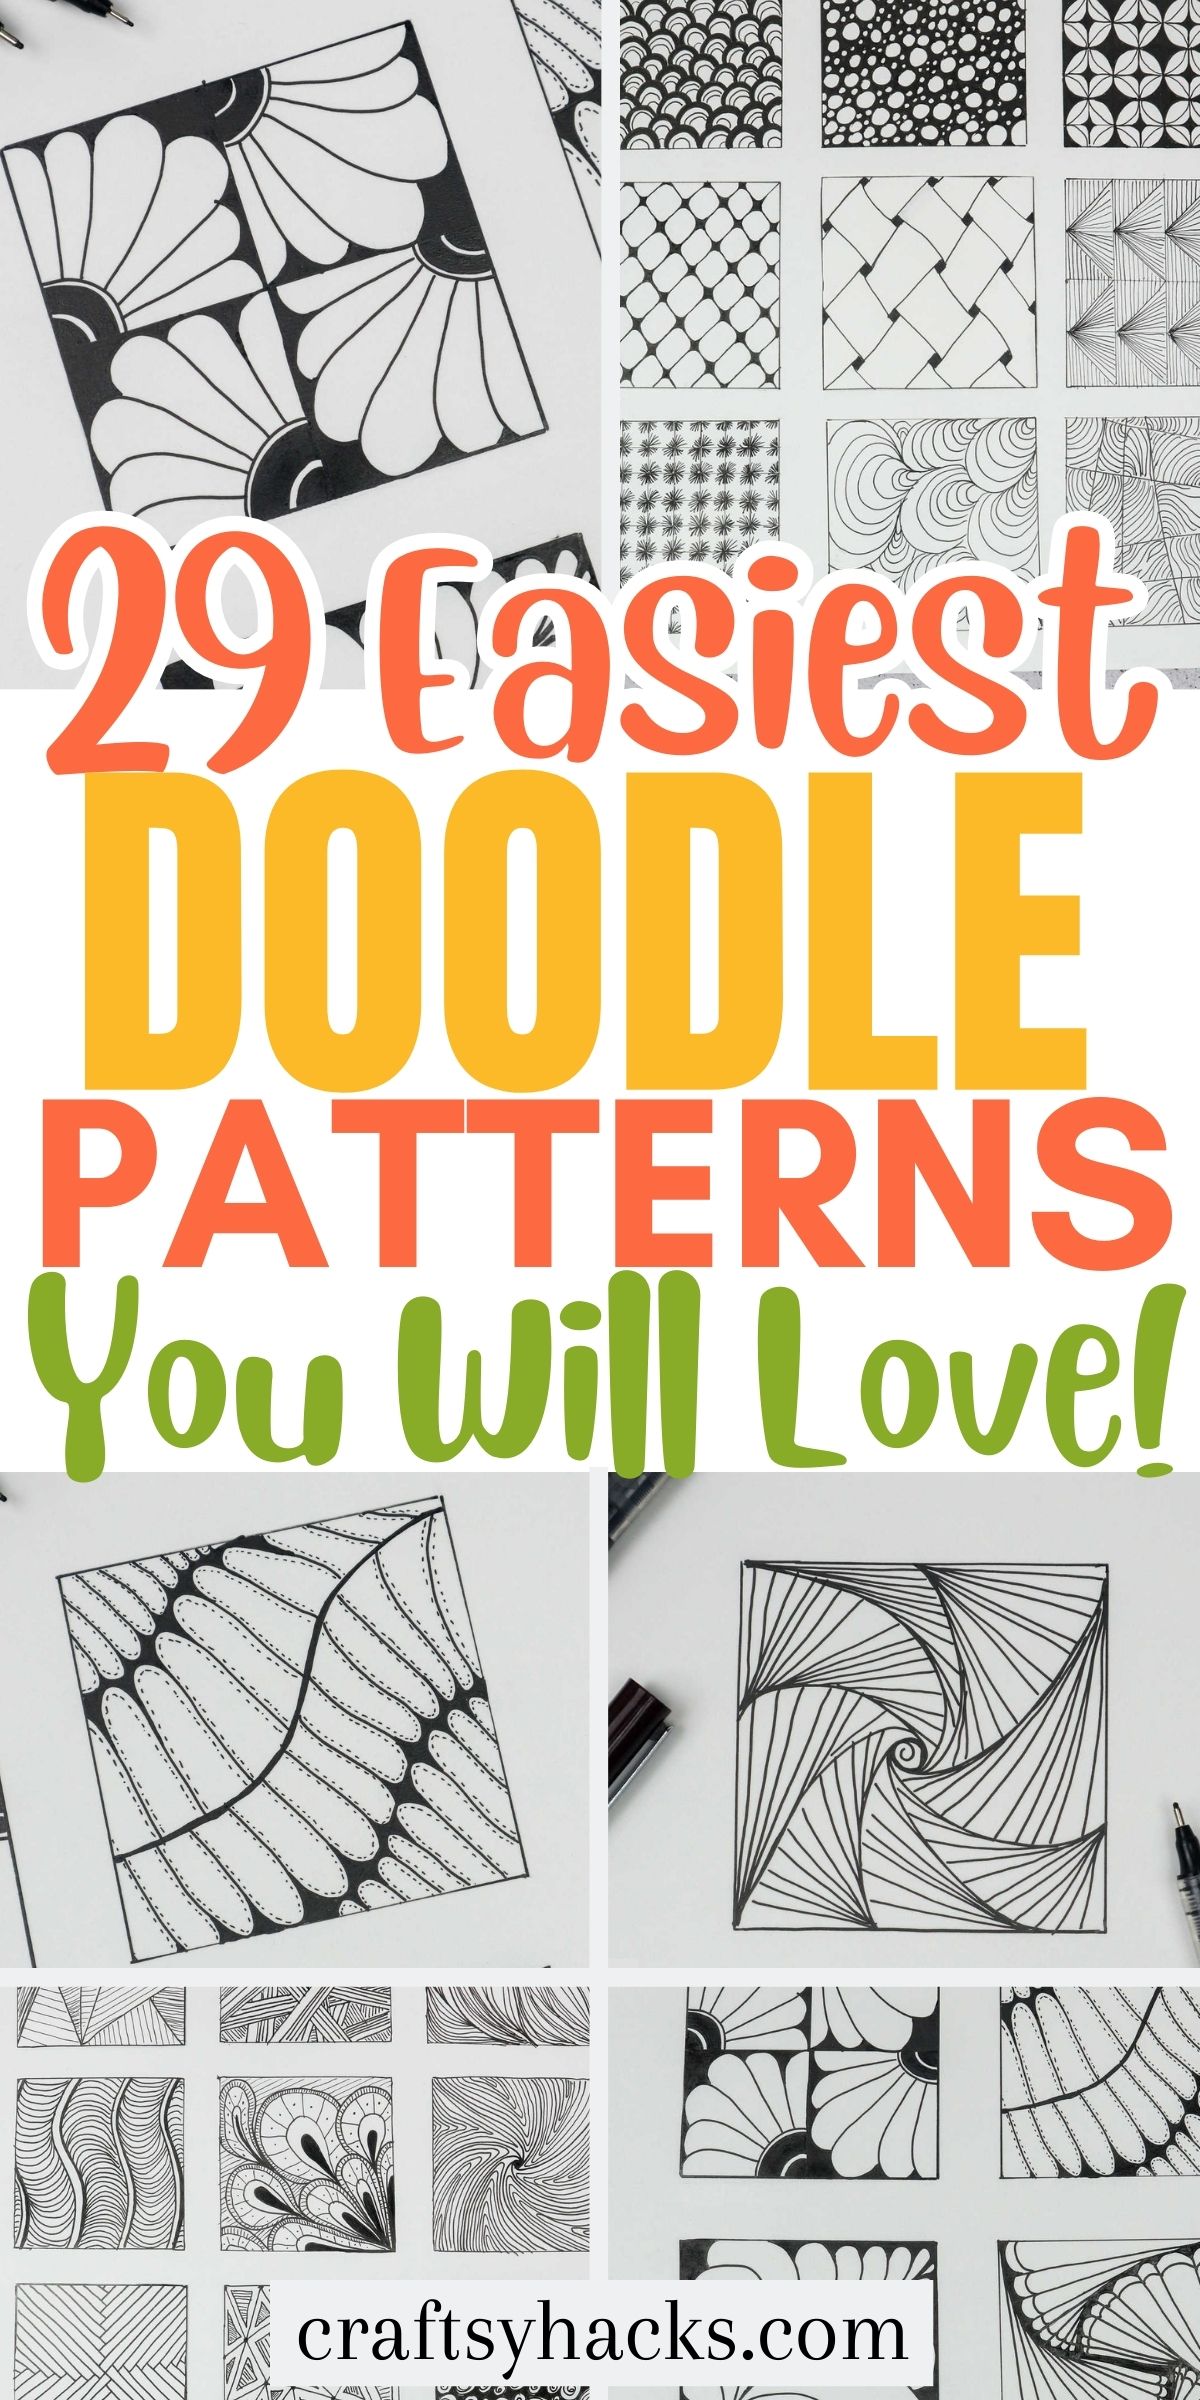
Looking to expand your doodling skills? These easy doodle pattern ideas are the perfect pass time for scrap paper, journals, and more!
Doodling is such a pastime of mine. If you’re anything like me, you’ve caught yourself in the middle of a doodle anytime your mind wanders while you have a pen in your hand.

It is something that I grew to do beyond just casually. The practice is meditative and fun, and it’s possible to turn it into a side hustle!
If you’re interested in flexing your artistic side or just loving the reflective practice, I’ve assembled some favorites to share. If you’re wondering what materials I like to use, here are some I used for this project:
This paper, this ruler, these pens, and these pencils.
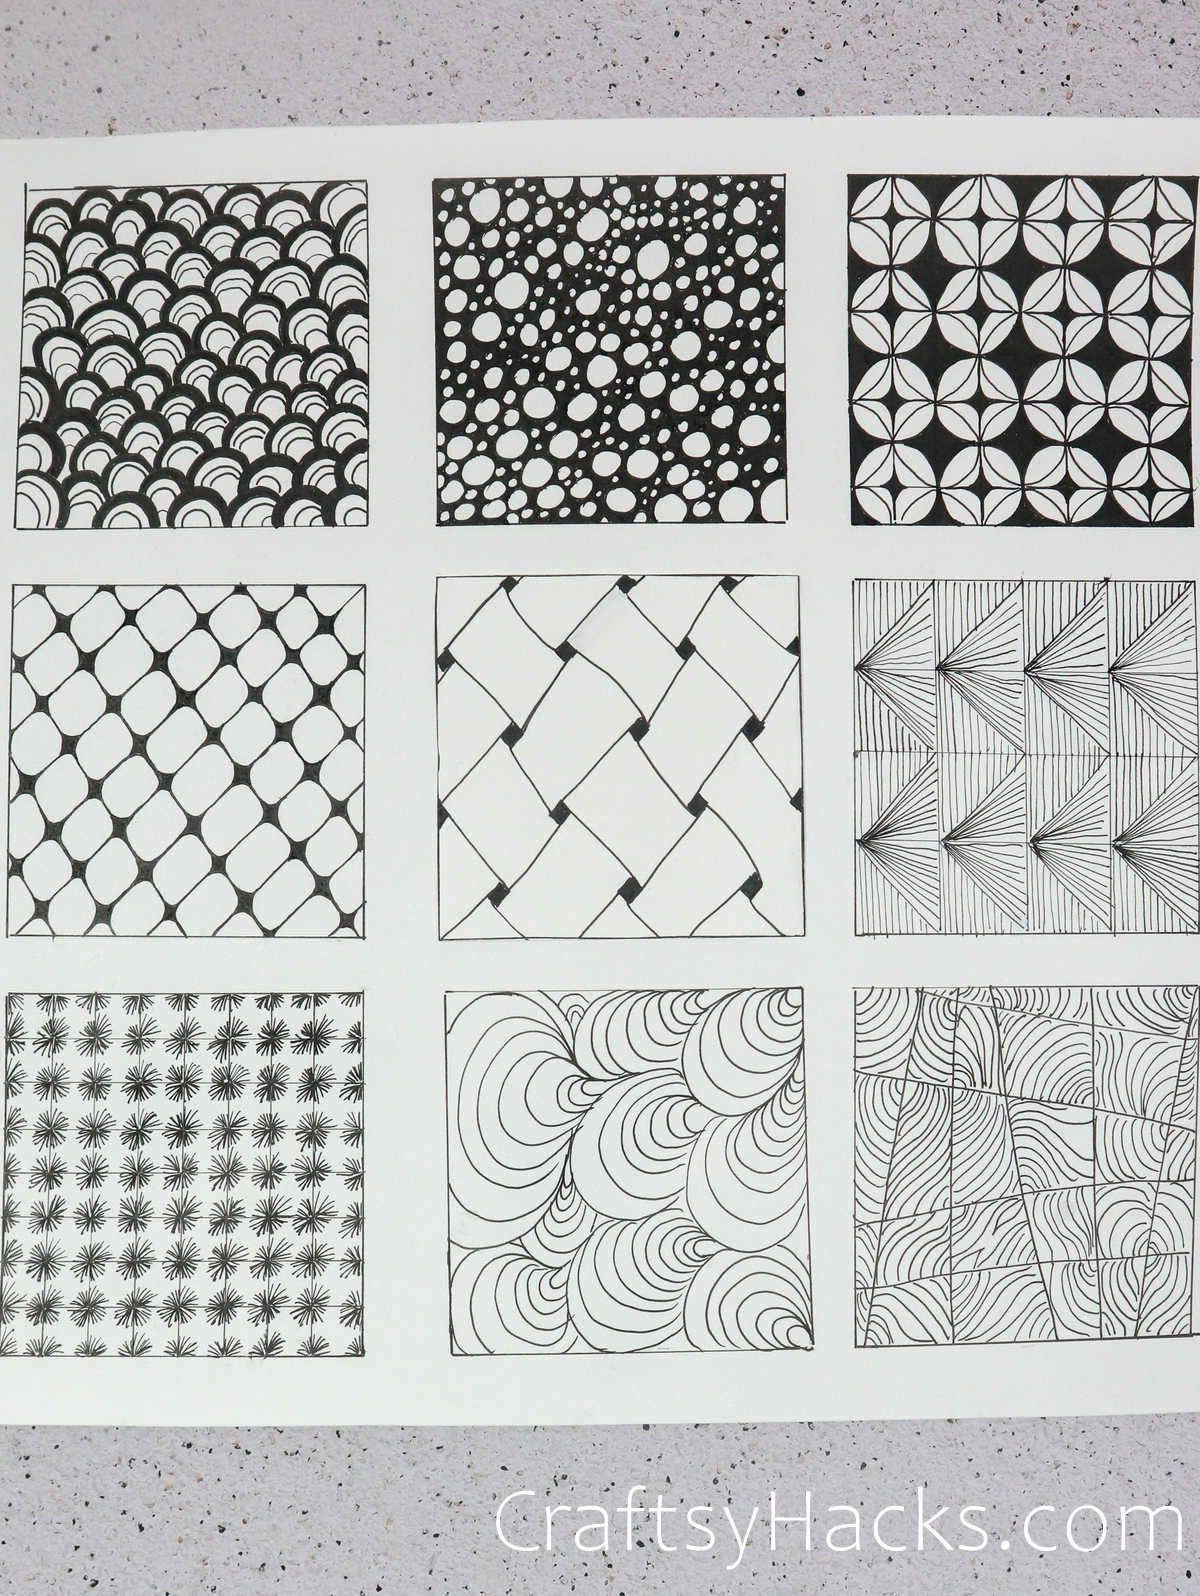
As you go through the article, I’ve grouped my drawings instead of individual images. The squares’ numbers will go from top left to bottom right in ascending order.
If you’d like to see a visual demonstration of most doodles, check out the Youtube video with almost the same name: 23 Easy Doodle Pattern Ideas.
Watch: 23 Easy Doodle Pattern Ideas
1-4
- In the workspace, draw even circles in rows, even the ones that may go off the page–we want the whole space filled.
Afterward, you’ll stagger another round of rings, ensuring the previous negative space is in the middle of the new circles.
Then, you’ll want to shade in anything you’d like and add the stars into the remaining holes.
- Start at the bottom of the page and work your way up by drawing in small arcs.
Use all the space provided and then come back into the areas created with lines that mirror the bend of the mounds.
- We’ll begin by sectioning your surface into four equal parts, then adding large “Xs” that divide each square into four triangles.
After, we’ll draw small web-like lines in each triangle point in the center.
Then make soft peaked arced lines to mirror the diamond shape just drawn and continue until all negative space has lines.
Color in the centers, even if it’s half of one going off the page.
- Again, divide your page into four squares and make a sizable dot in each center. Pull your line away and up from the center of the bead, creating a wave-esque line.
Repeat for all sections, and then continue making that wavy line as you fill in the space shortening it as you go.
You can store your doodling pens in this DIY pencil case! And draw more of these cute drawings!
5-8
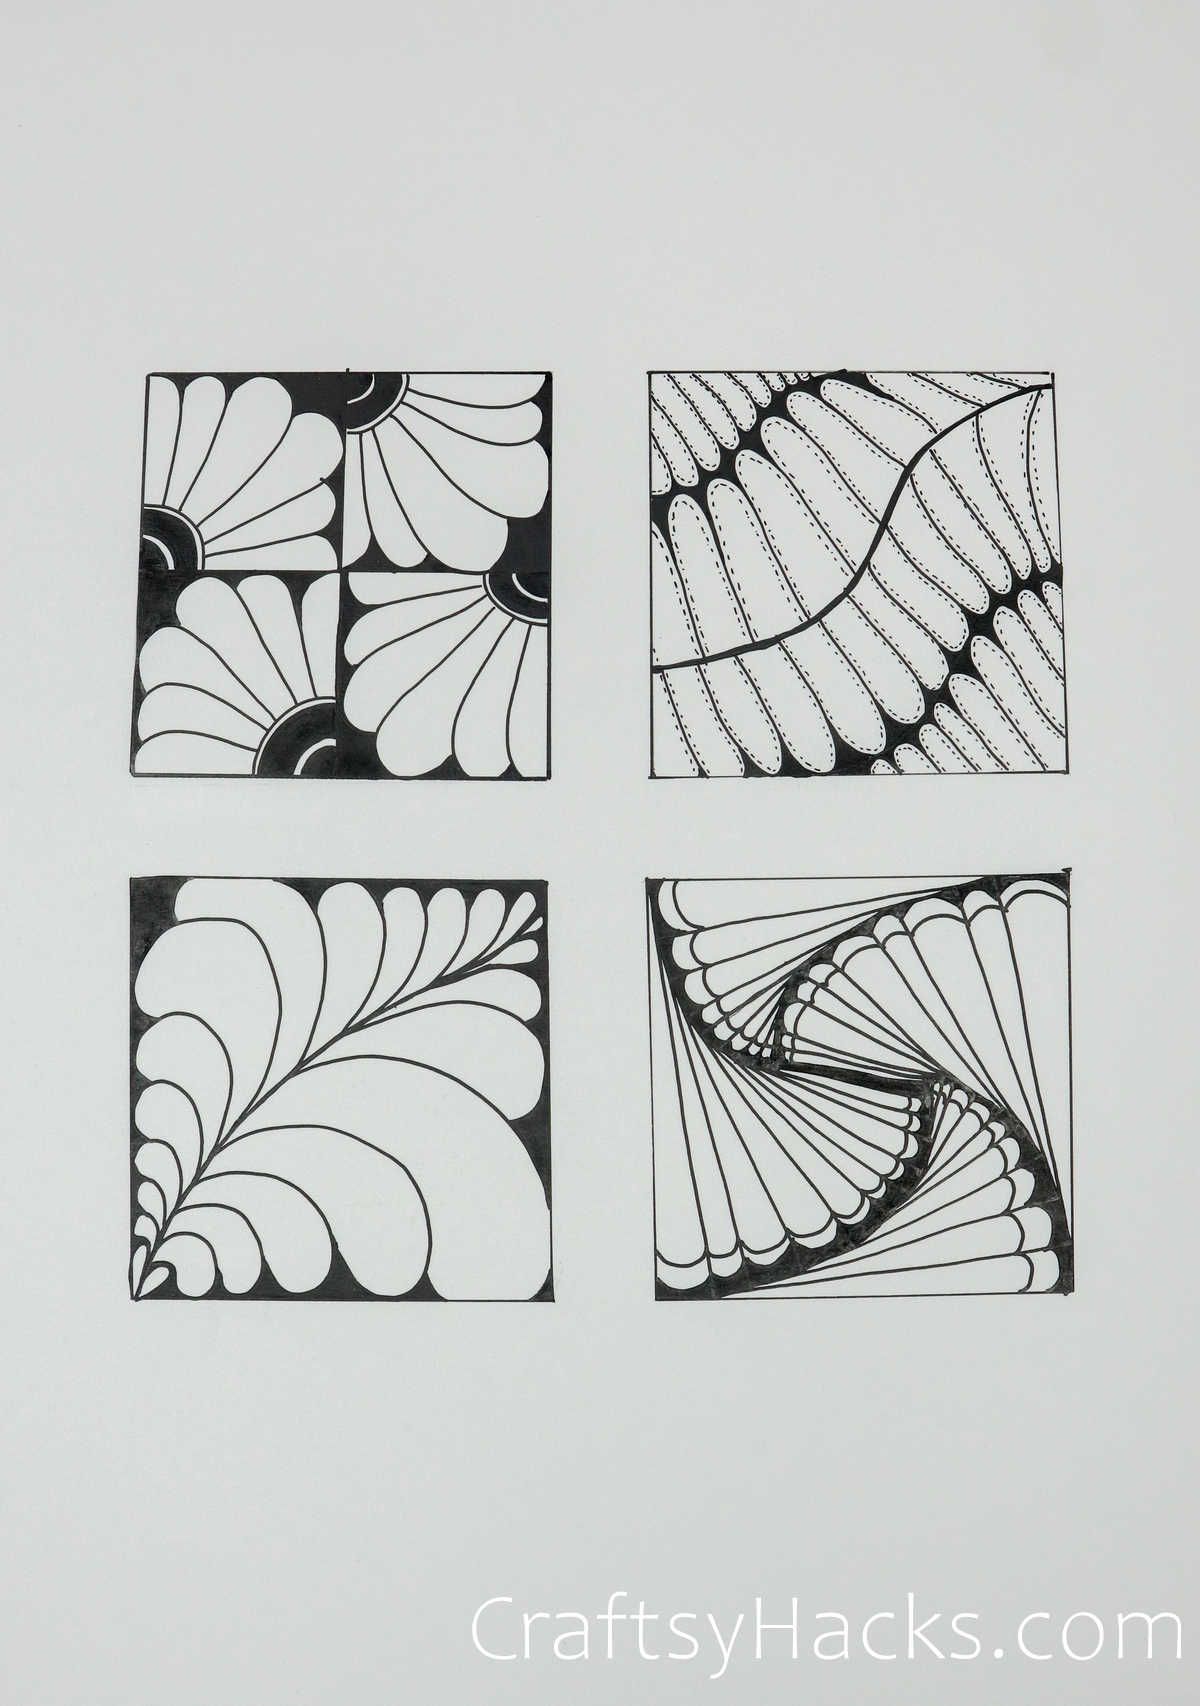
- Divide your space into four and draw an arc in a separate corner of each square. Then, as if you are drawing flower petals, fill in the rest of each space’s box.
Return to the corner circles to draw a thin line that mirrors the original arc and repeat for the most minor point. Fill in between each set of bands and the outside of the flower petals.
- Draw three wavy lines heading diagonally, splitting the page into pretty equal thirds. Fill each section fully with the petal-like shape.
Do this for all areas and then color in any unused space.
Go back over the centerline, making it bolder, and add little dashes to each rounded shape.
- Start with a wavy line diagonally across the space, and add a heart shape at the bottom left of your page.
Build off the heart with leaf-shaped drawings and let them grow as it gets to the middle, then return to tapering as you hit the other side of the page.
Fill in any area that your lines didn’t reach.
- From the top left of your page, bring your line down at an angle to the bottom of the page resulting in a small isosceles triangle. Repeat this process for each side of the page.
Once you’ve completed the first round, do it again, but stagger it, so the angles get smaller as you get closer to the center.
Then, add a cloud or spider web-like line to the bottoms of all the triangle bases.
Color above the line you just created (at the widest points), and then make another line mimicking the spider web line.
Want to try another art style? Try these easy paintings for beginners or these aesthetic drawing ideas!
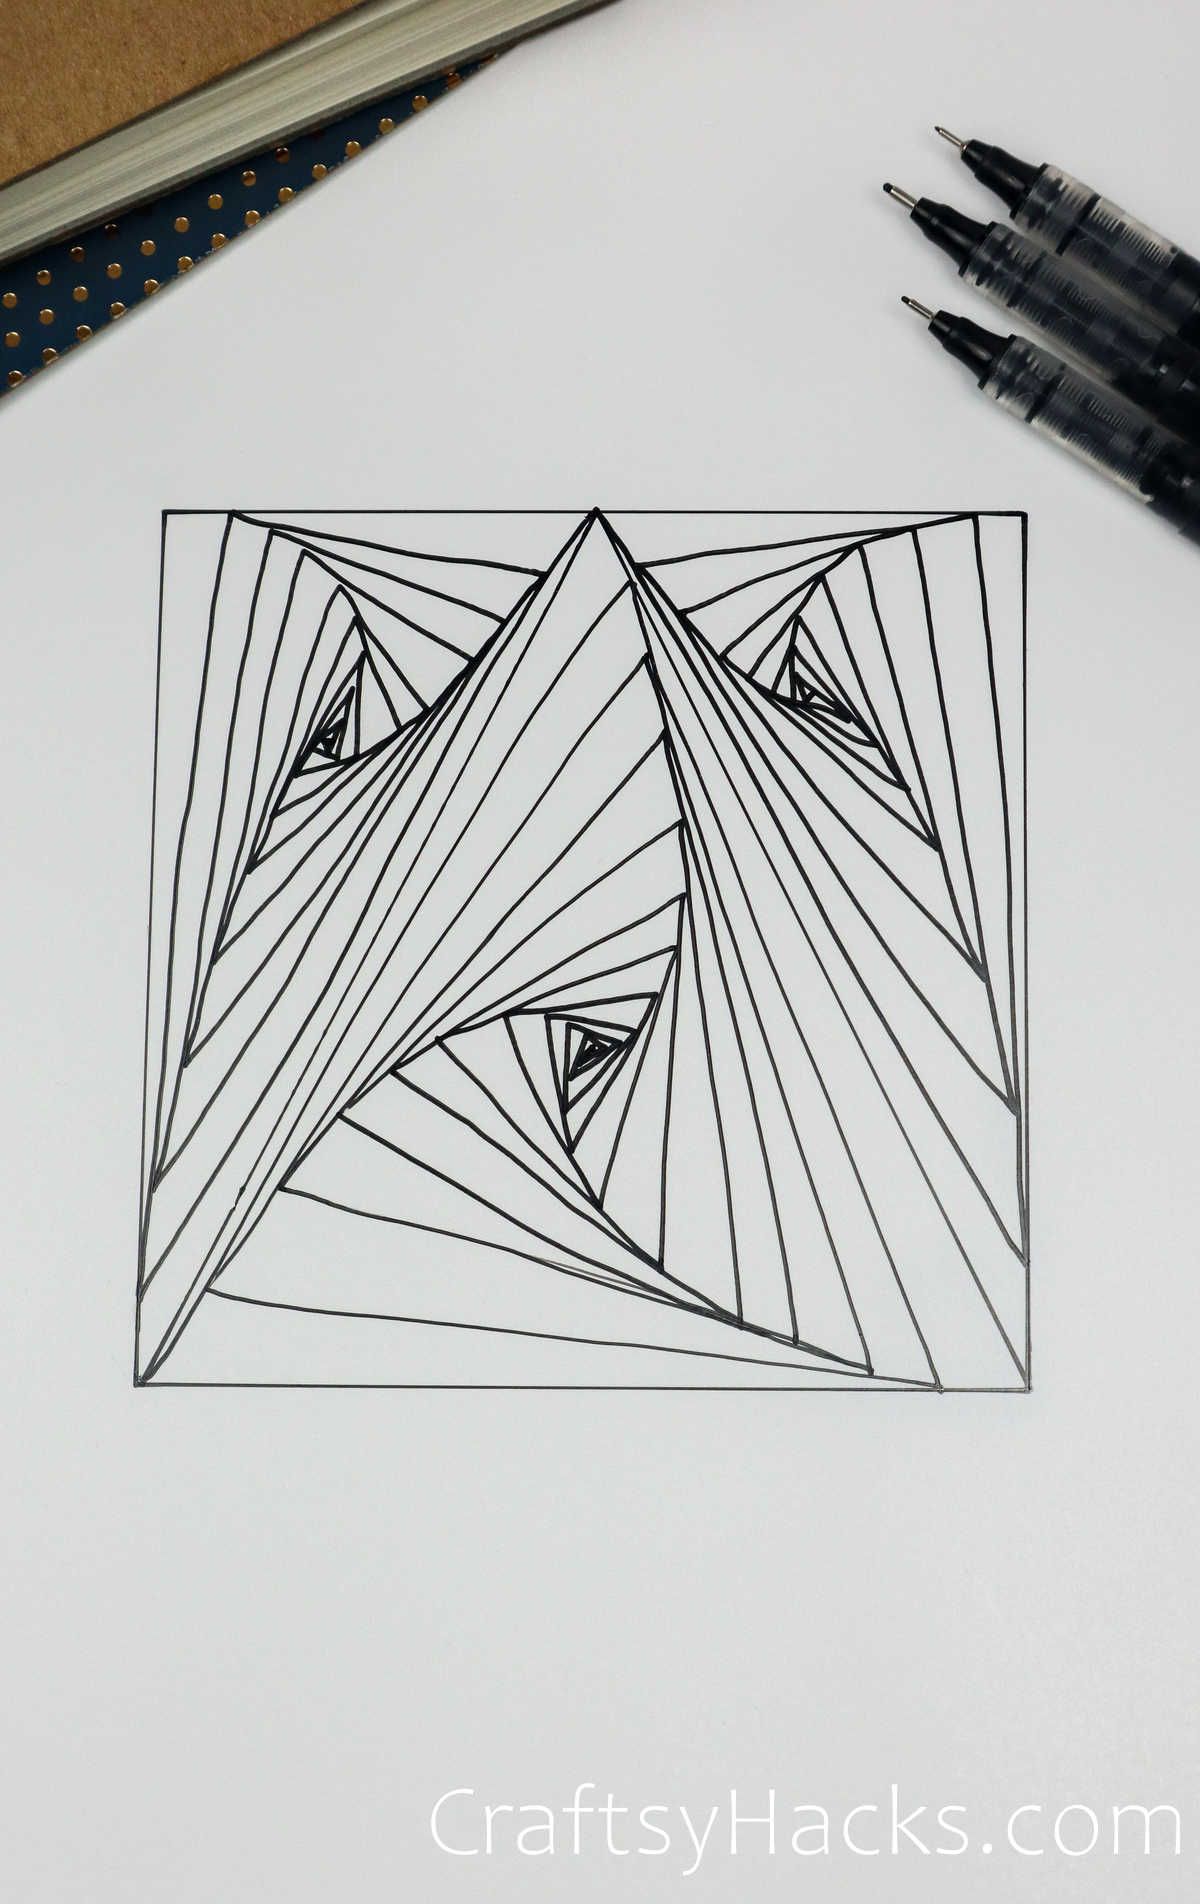
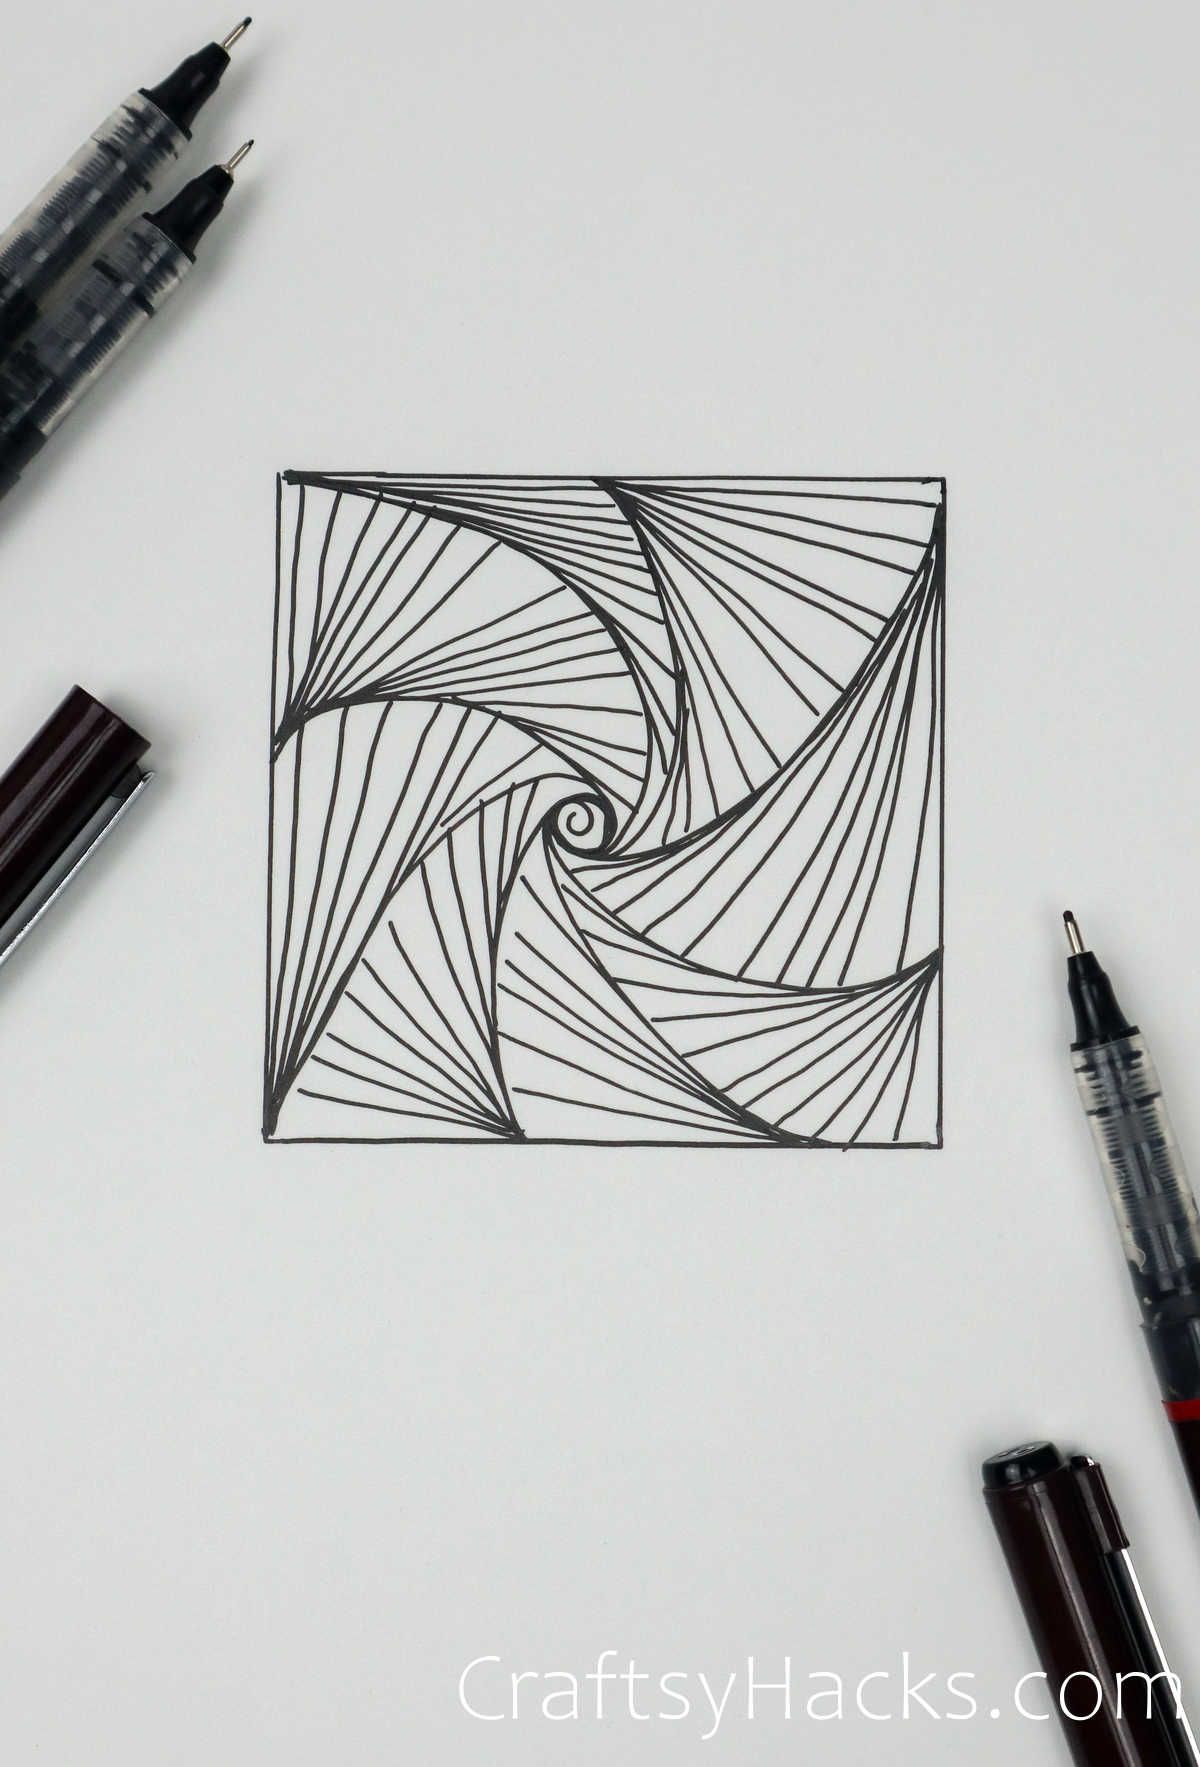
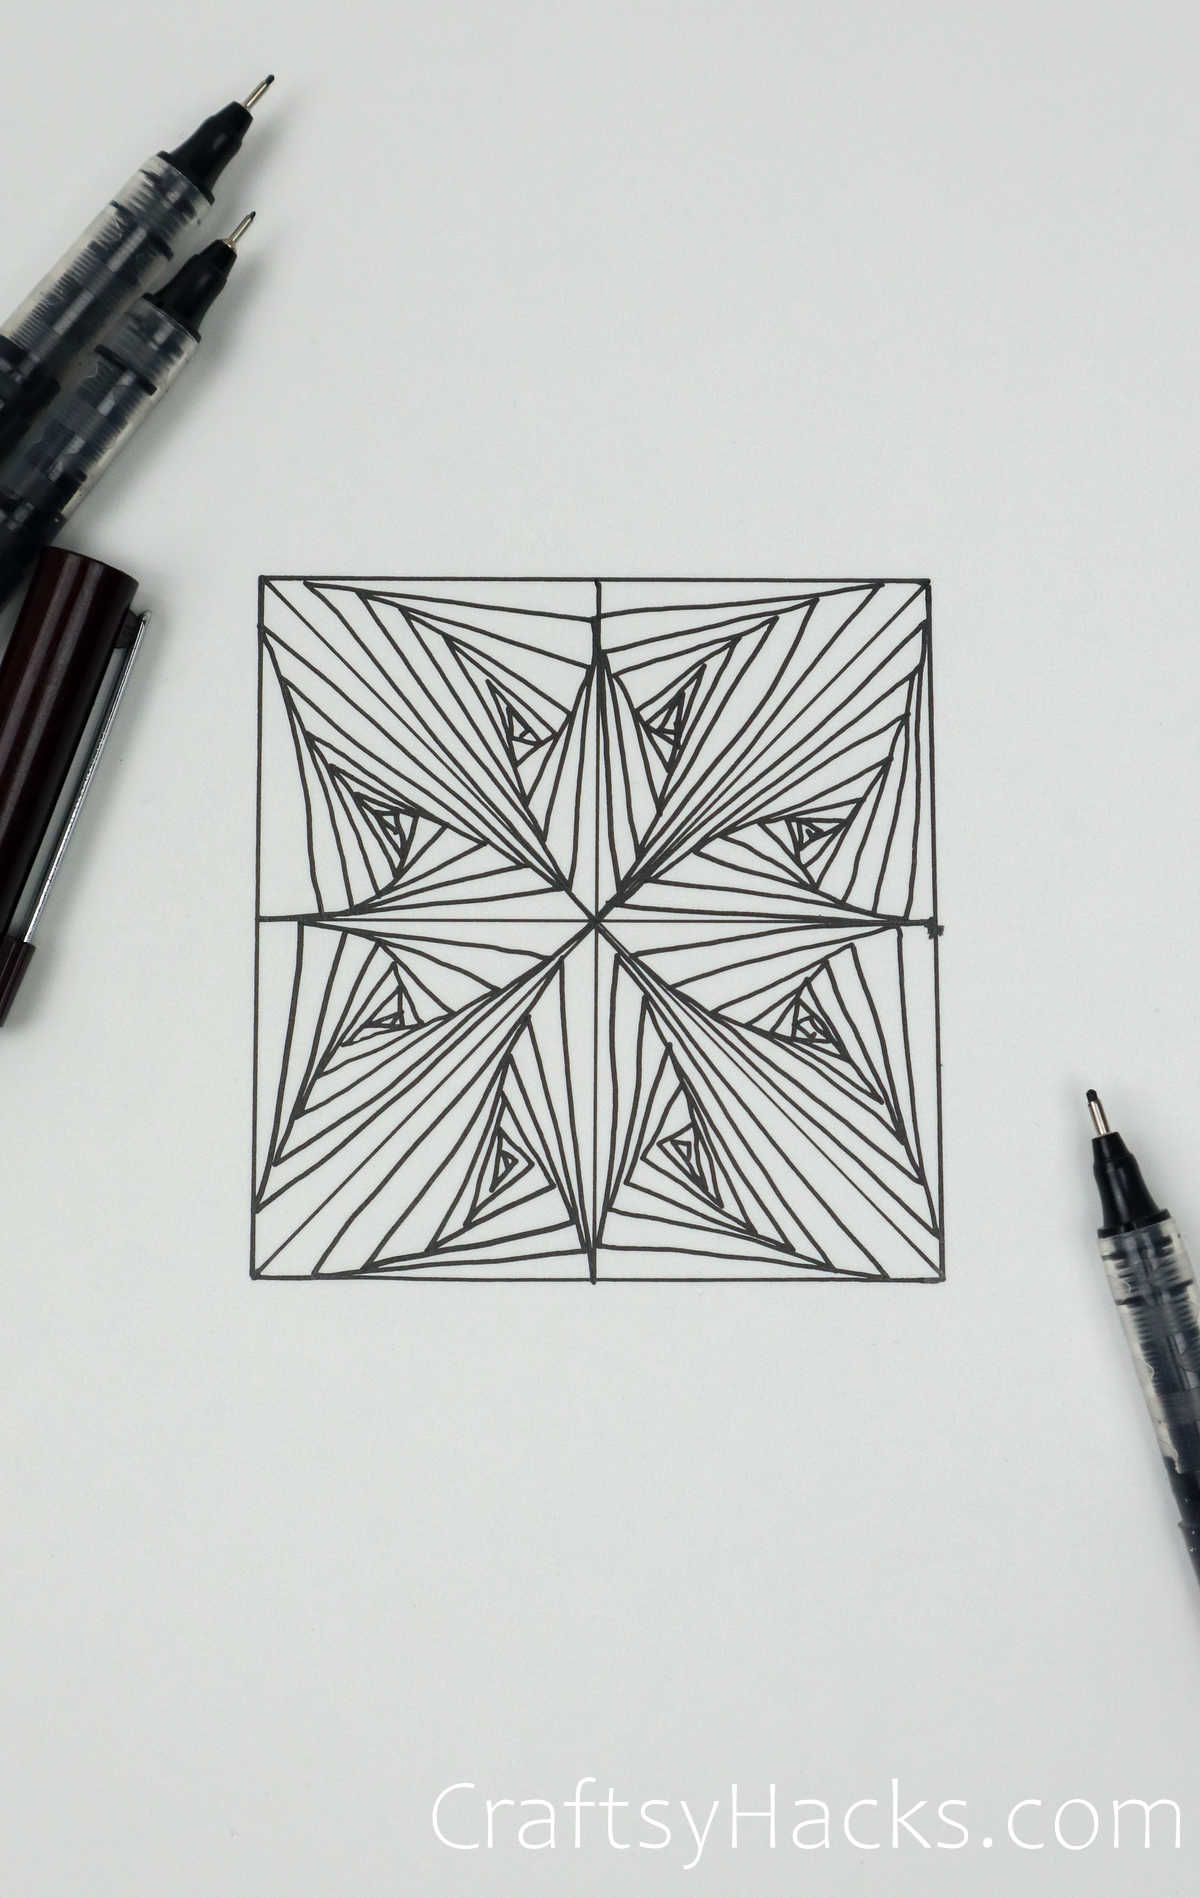
9-17

- Feel free to play around with this one a little. All you need to do to start is make a series of angled lines intersecting or meeting.
Next, fill each triangle with as many lines as you’d like. I like to vary the amount in each–it gives the image a little more depth.
- This image is another one to have some fun. There will be one central set of lines that won’t overlap with everything else, so decide on its boldness and placement.
The way you want to draw your lines will dictate how the picture goes. It’s groupings of lines angled every which way and smaller or bigger depending on the space you allot.
- Again, another variation of the previous two, but with wavy lines.
Start with as many more significant lines as you’d like and go from there, staggering some at different points along the main lines.
- Four sets of two wavy lines from top to bottom start this doodle–one line being bolder than the other.
Once you have those spaced to your liking, you start with slightly rounded arcs alternating the direction of blank spaces.
- From the bottom right corner, we’ll start drawing the petal shape again to about the halfway point of the page.
Following that shape, we’ll add rounded pieces, fitting them precisely to the allotted space.
Then, we’ll mirror every shape with more lines, smaller than the originals, adding hash marks to the space between the new and old markings.
Next, two smaller arcs get drawn in at the smallest or base of each shape, and then one is colored.
Another round of more prominent hash marks follows in the blank spots and horizontal lines in the background.
- Add a dot to the center and draw curved lines out and away from the middle. It should look wave-like and then continue to fill in the waves with smaller mirrored lines.
- Make a large “X” on the page, and then each respective section start with one line that is the whole length of a side.
Follow it by one on the opposite side, but have it intersect with the new line instead of the “X.”
Alternate this idea until there isn’t room, and repeat it three more times.
- A more customizable one, start by making a series of angled lines however you see fit across the page.
When you’re pleased with that step, draw smaller triangles wherever works for you and dot the exterior angles.
- Add spirals of any size close together, including half ones leading off the page. After, fill in the background.
Ready to keep exploring your creativity? These watercolor hacks for beginners will help you learn a new art!
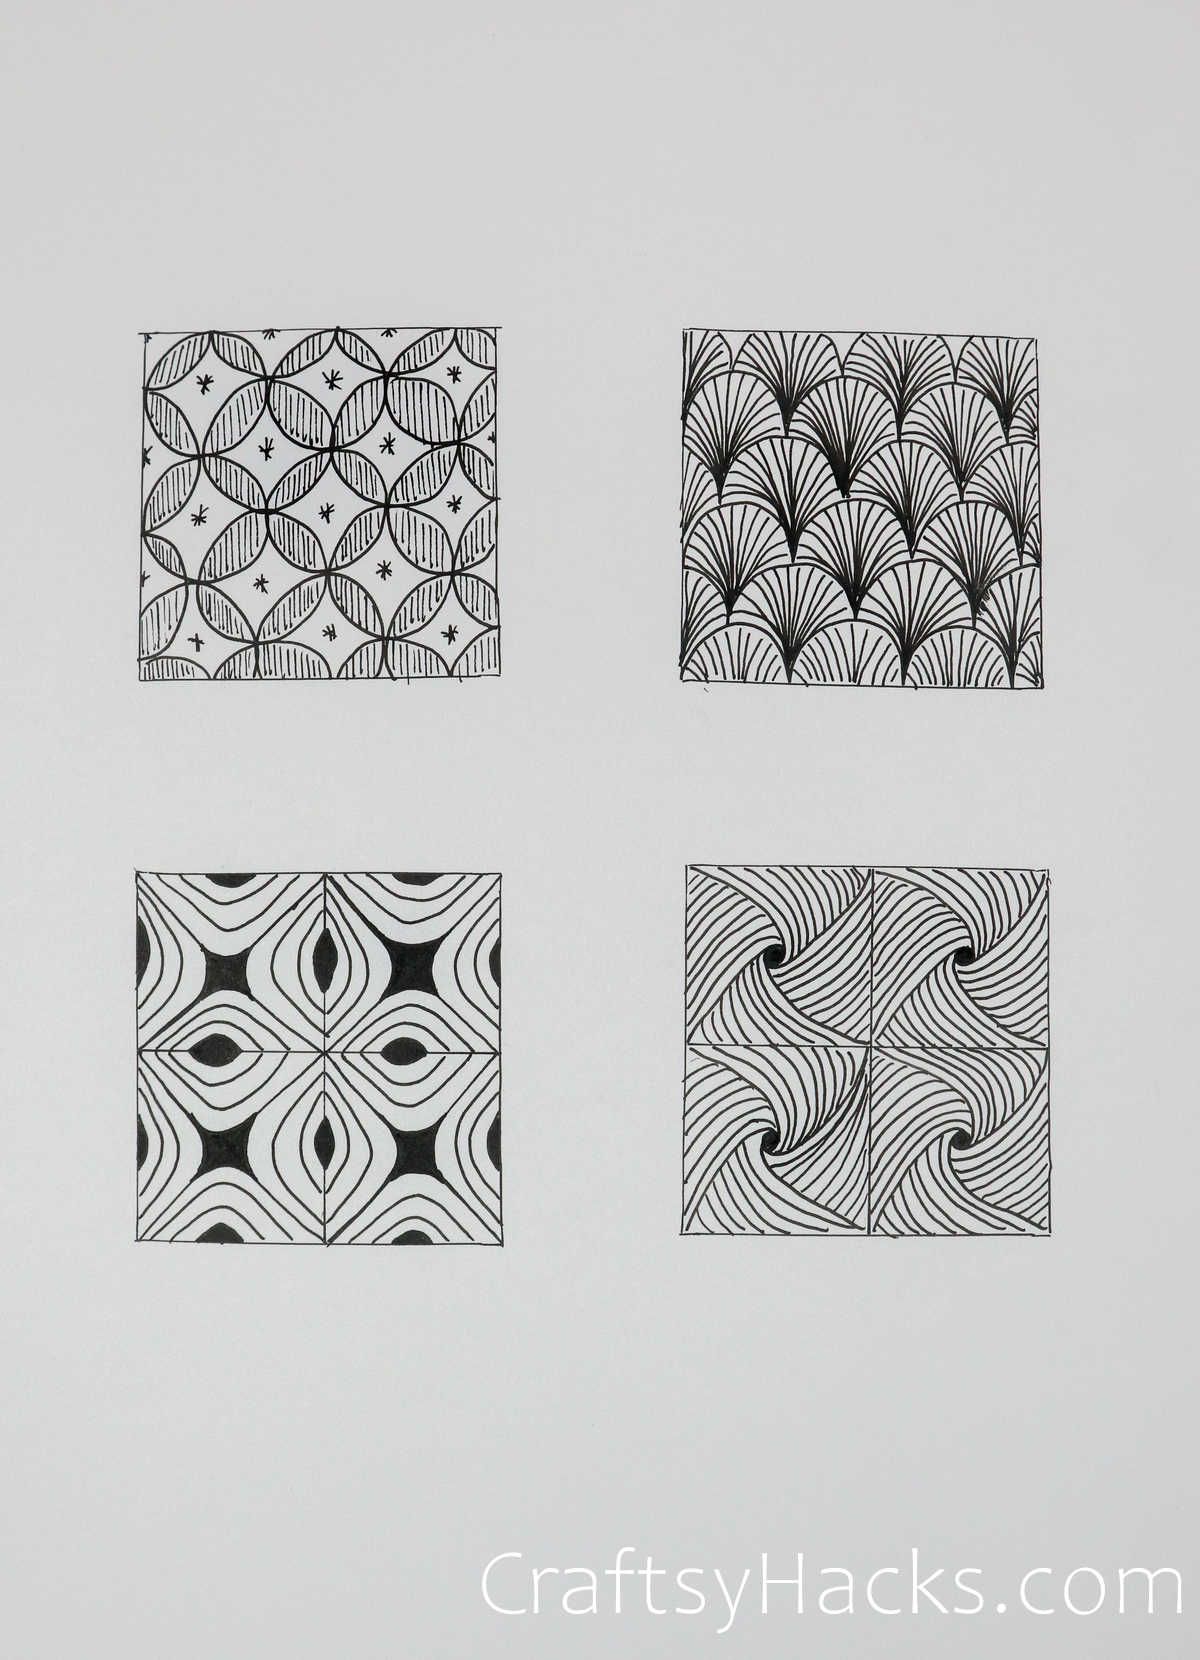
18-26
- Start with a rainbow-shaped arc and repeat until the page gets filled up. Return and add a couple of mirrored lines to each, and color in the top band.
- Draw any shape circle you’d like, and then go back to fill the background.
- Divide into four, divide those four into four more, and then quarter them one more time–we’re looking for an 8×8 grid.
Draw sixteen circles–one per every four squares and a diagonal web-like line in each cell.
After making a diamond shape in the intersection of each circle, all leftover crosses will get colored in.
- Start with diagonal lines, cross-hatching as they go, then trace over the whole thing, making the center points bolder.
- Stagger diamonds across the whole space, following those with soft lines connecting each and alternating sides as you work. Do all of one direction and then all of another at a time.
- Grid your paper 4×4 and then add diagonal hashes alternating them by row so once done, it’ll look like an “M” or the triangles.
Add vertical lines to all squares except the areas where the triangles are. For the triangles, add more angled lines and taper them with the space given.
- Again, grid your space 8×8, add simple angled lines in the bottom left of each square and then do the same in the opposite corner.
Fill in next to the top right and then the bottom right.
- From one side of the page, make small-shaped horseshoes and continue to draw them at any angle you want, anchoring from the one before it.
- Make a natural-looking cross-hatch–nothing too perfect–and add wavy rainbow lines inside each square.
You can use these doodles to decorate this DIY journal cover, and you can use these circle drawing ideas too!
27
Draw an isosceles triangle starting from the middle top of your page—no need to close the bottom of the shape.
Continue with a slightly angled triangle inside the original, ensuring not to overset any previous lines and repeat.
Take it line by line until you feel confident enough about your ability to make everything proportionally sensible. Do the same process on either side of the triangle.
28
Draw a small spiral, but keep the pen down and bring the line to the top left corner. For the following lines, stagger them as needed to ensure the more significant spiral start on the page.
Add a series of strokes from the smallest part of each swirl to fill in the space.
29
Begin with a simple asterisk or snowflake on the page. For each triangle, there should be eight–use the tilted triangle method mentioned in earlier doodles.
Simple as that! There it is, some of my favorites and coolest looking–I hope you enjoy it!
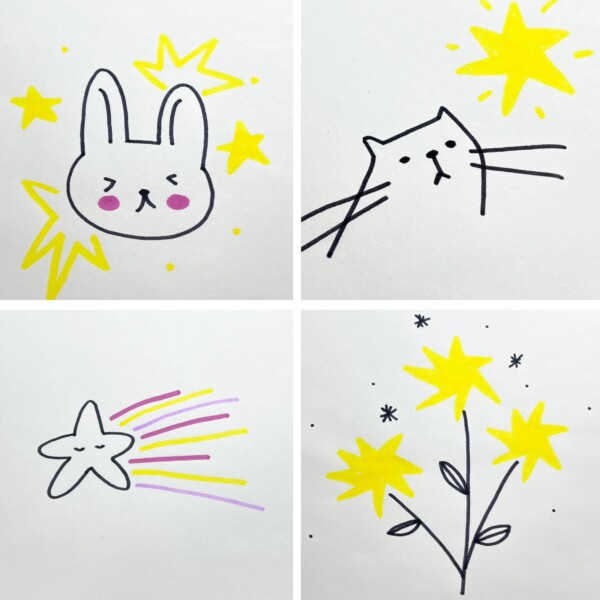
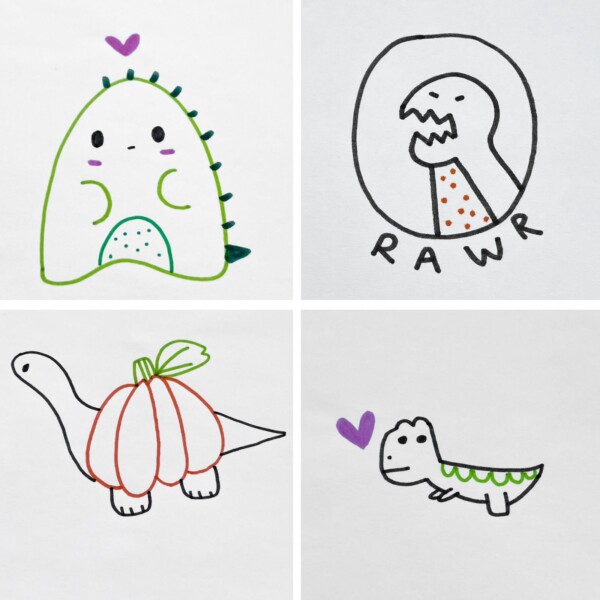
Ready for more cute drawings? Try these cute animal drawings!


This is one of the best tutorial videos I’ve seen! Nicely shot with good, unobtrusive background music and the person’s hands weren’t distracting.
I will be learning more zentangle patterns because of that. Thanks for making this!
These are so beautiful
Brilliant. Thank you for sharing