10 Easy Watercolor Hacks for Beginners (Tips & Tricks for Noobs)
This post may contain affiliate links: full affiliate disclosure.
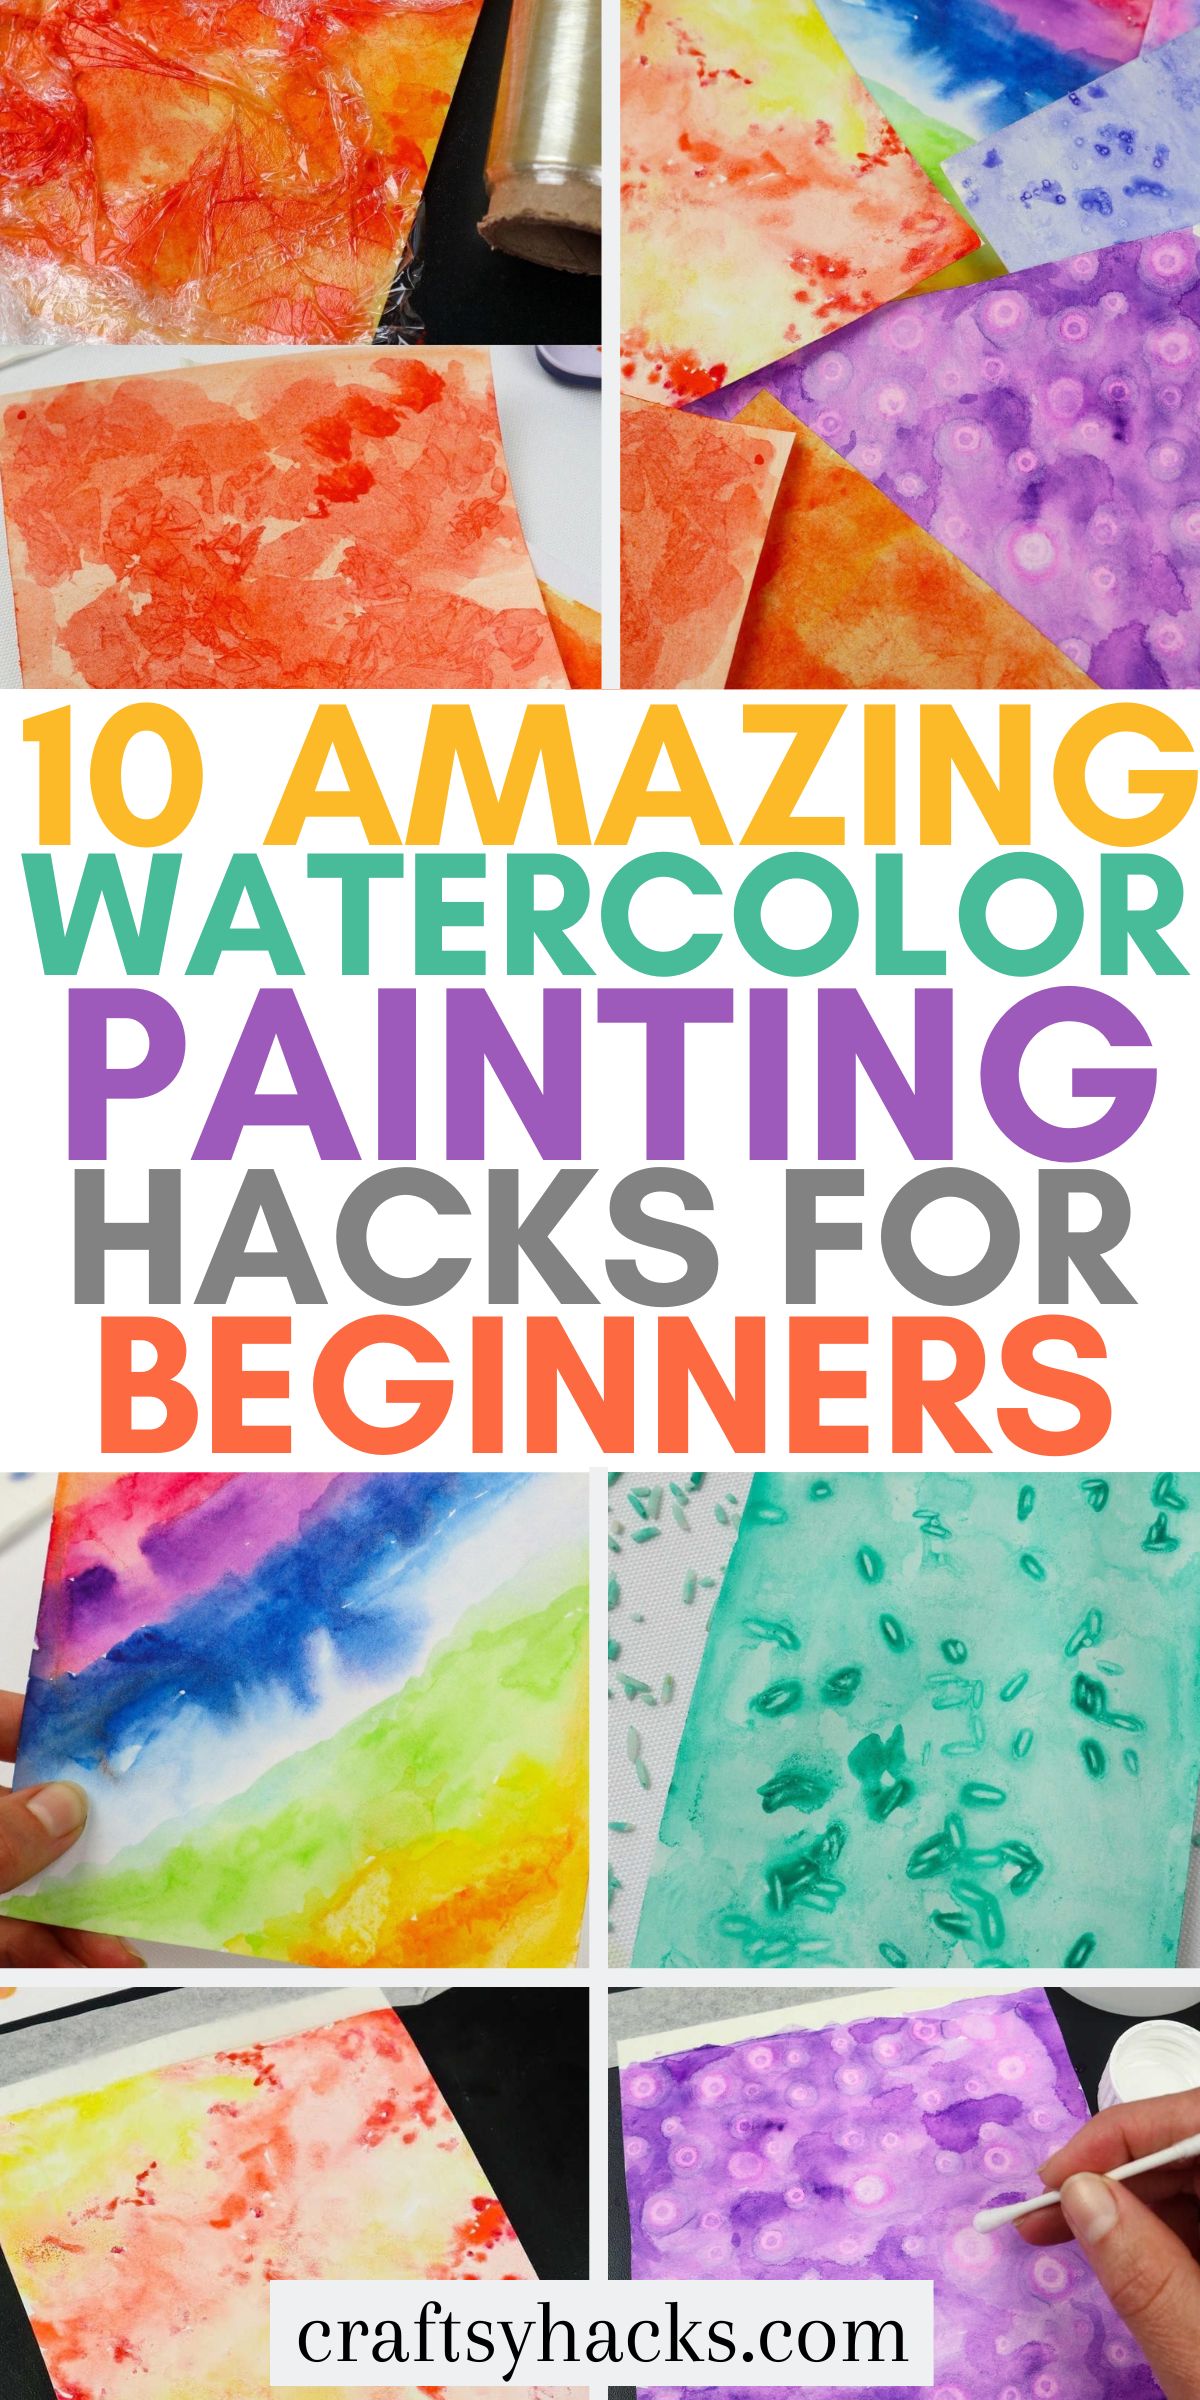
Looking to explore the world of watercolor? Watercolor painting doesn’t have to feel intimidating when you use these watercolor hacks for beginners!
You’ve gotten into watercolors. That’s great! Maybe you’re looking for guidance on how to level up your game or anything in between.
You’ve come to the right place! Here are ten cool hacks to help beginners continue their craft and become better artists.
Below you can find different techniques, tools, and use items to help create textures.
I hope you try some of our hacks and let us know how it went! And if you need a little extra guidance, check out the YouTube video: 10 Watercolor Hacks for Beginners!
Now, the hacks!
10 Watercolor Hacks on Video!
1. Reduce Masking Tape Stickiness
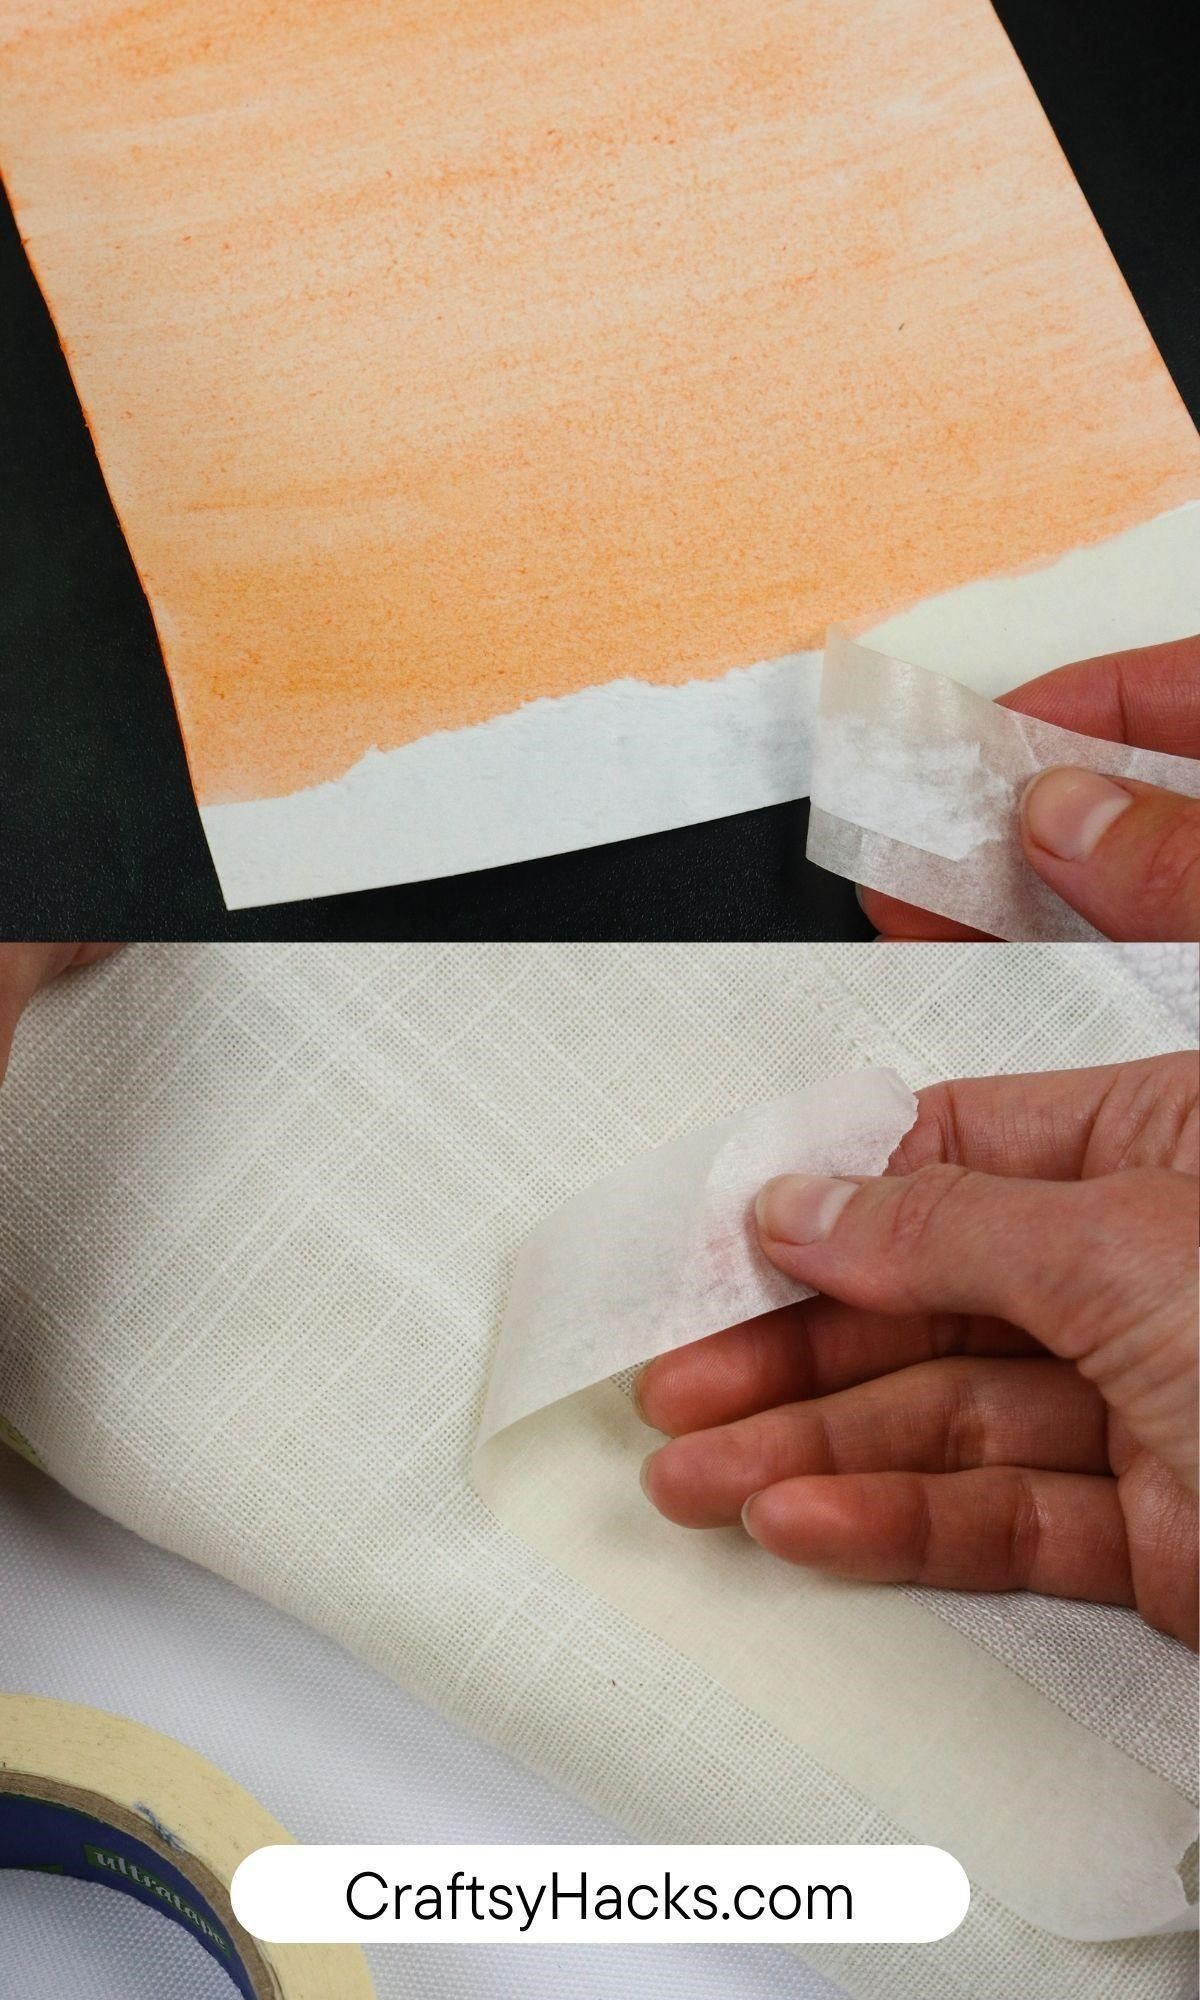
Have you ever pulled some masking tape off your finished watercolor only to have it ruin your piece? Worry no more; there’s a trick to save all your future works of art!
You’ll need the trimmed piece of tape and a bit of fabric. Make sure it’s a lighter blend of material so as not to pull all the stickiness from your bit.
For the first step, pull the piece of fabric in front of you.
Next, place your tape, sticky side down, onto the textile.
In a bouncing motion, pull it off and put it back on a few times, not letting go of either side until desired stick.
Once finished, apply to your blank page and begin to paint!
Remember, you still want your strips of tape to hold down your artwork, so don’t overdo the de-sticking process!
2. Use a Clipboard Instead of a Fancy Hardboard

Painting as a hobby can become pricy pretty quickly, so I like to innovate when possible! If you have a clipboard around the house, it gets the same job done as a fancy hardboard.
Repeat hack one with the de-sticking technique, set up your workstation, and get to work! Most of the time, clipboards are easier to clean during post-paint sessions. And some clipboards even, on the clip area, have a place to rest a paintbrush!
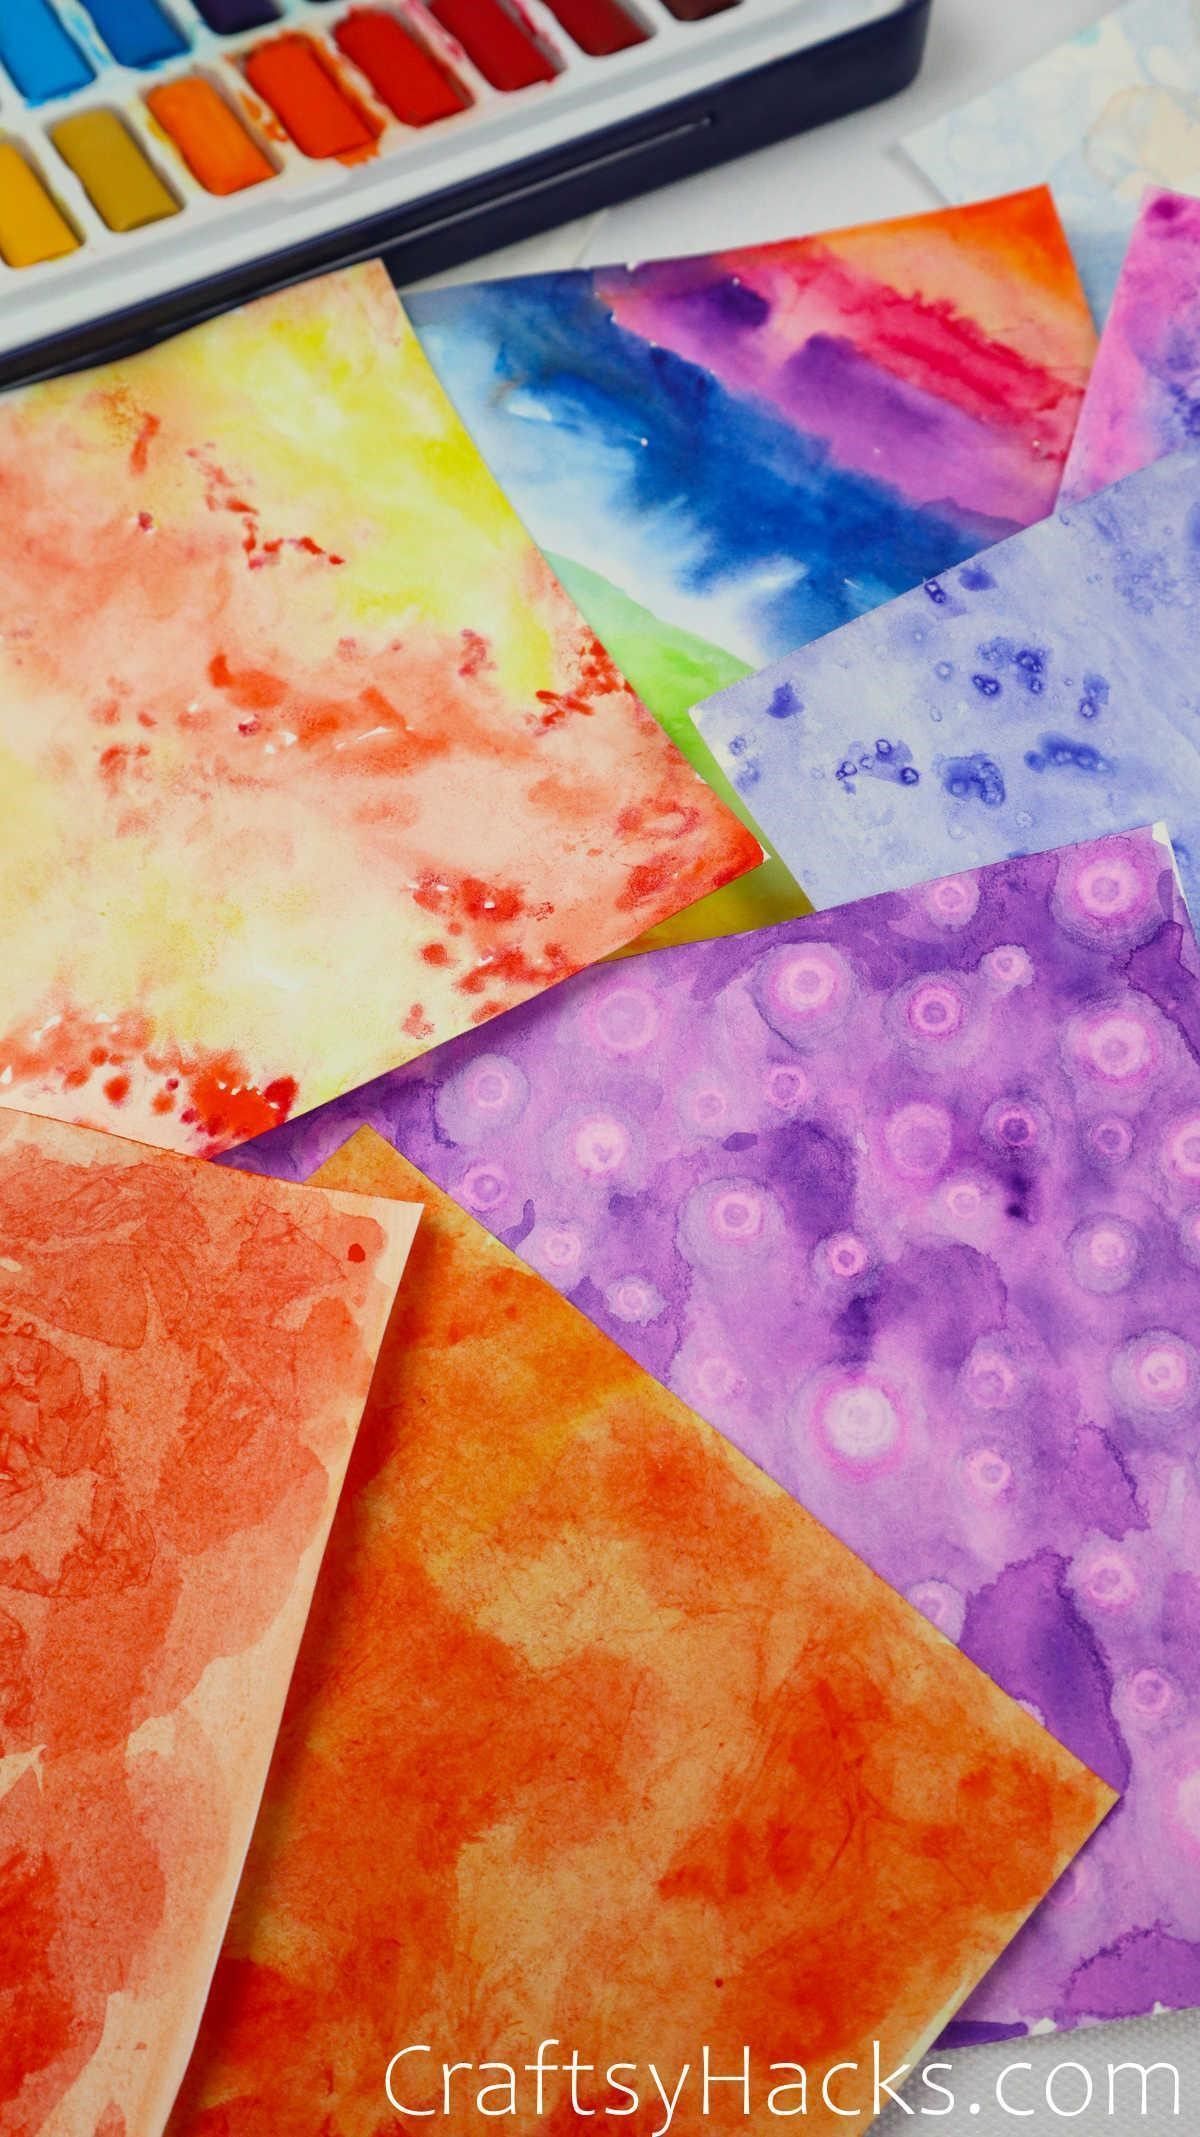
3. Use Salt to Create Texture and Patterns
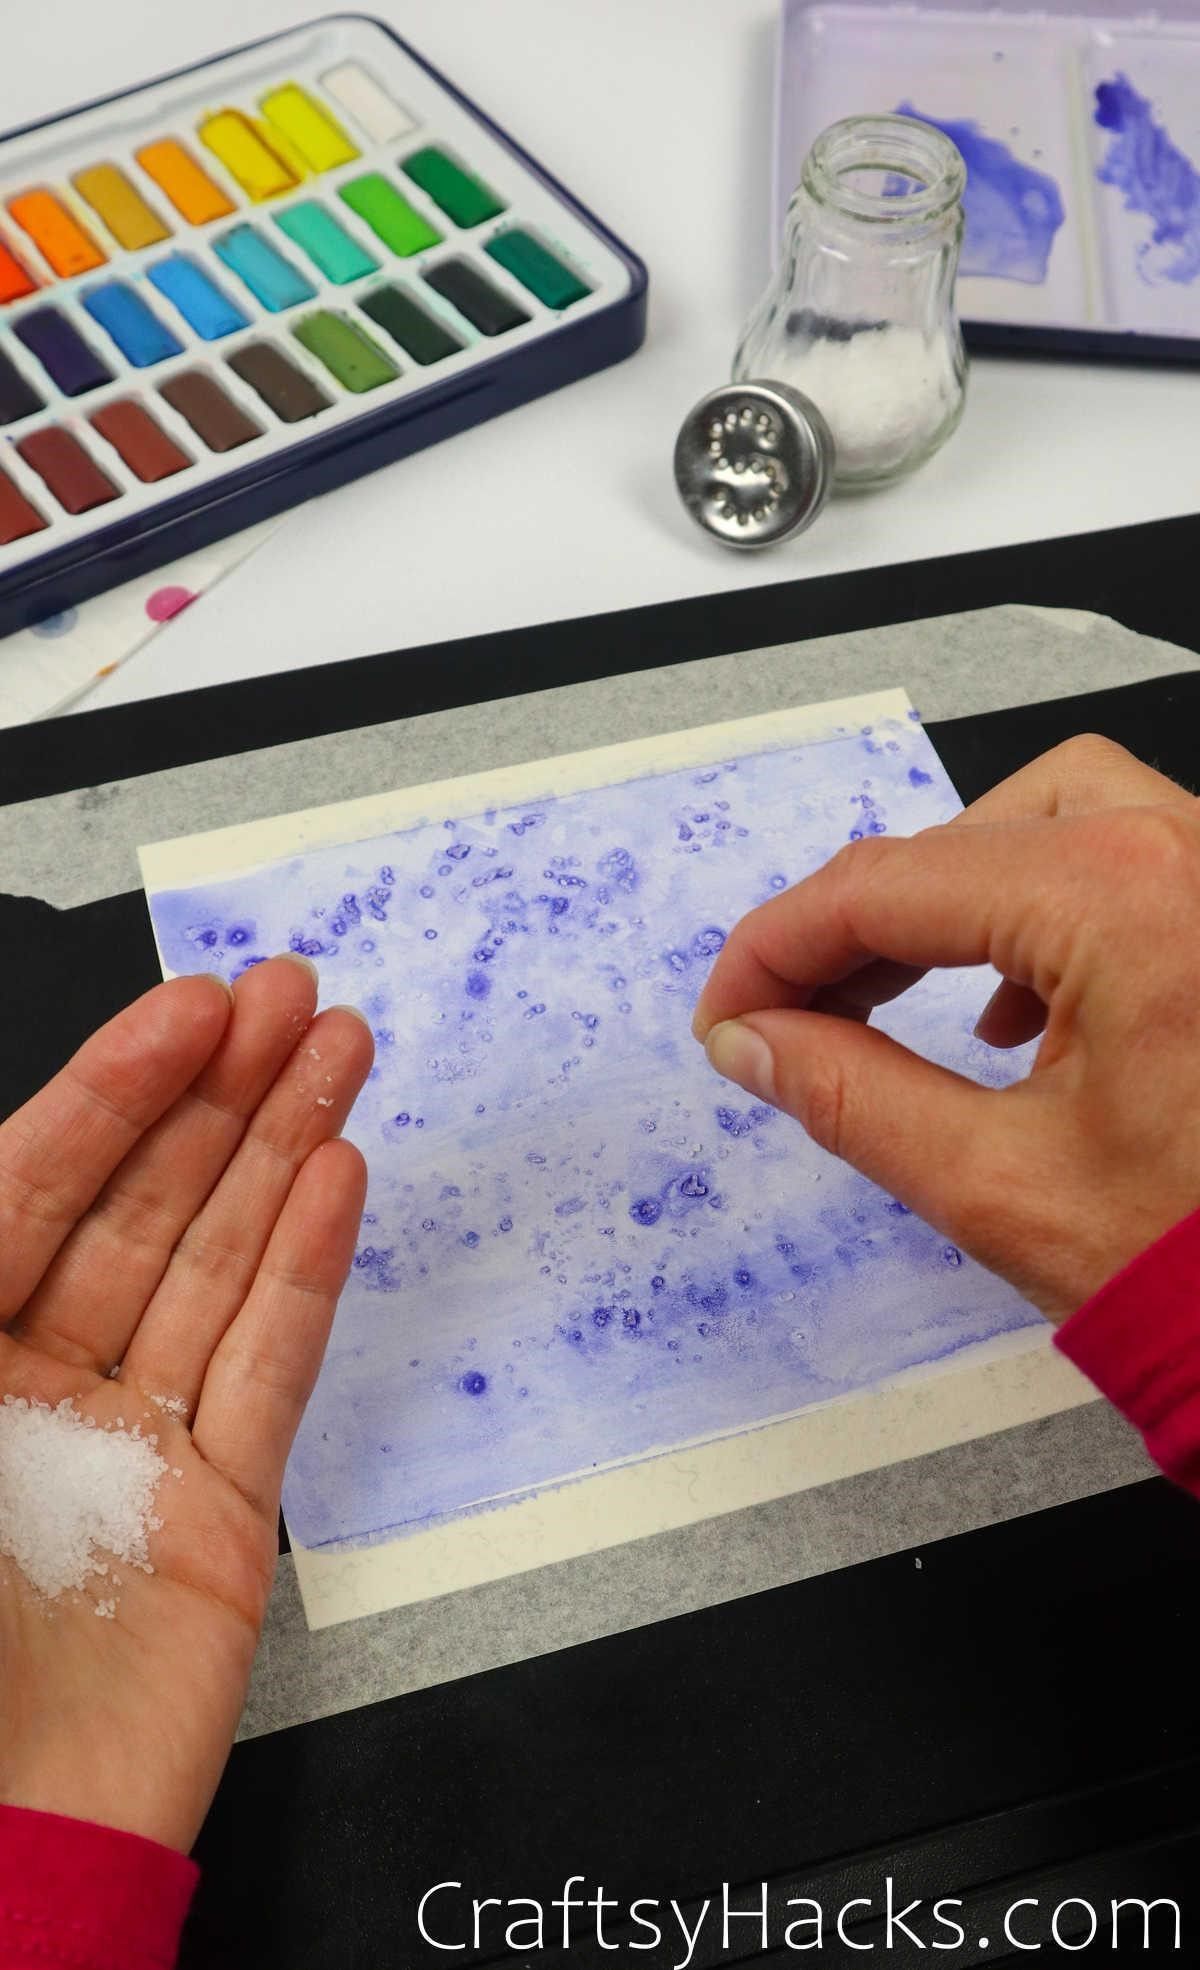
Yes, you read that right! Salt can bring a great texture and dimension to your art after all is said and done.
Now, this will only work while the paint is wet. Try a whole project with it or a small section in a piece. Just follow your heart on this one. With time you’ll figure out how this technique can benefit you.
So, as I mentioned, sprinkle salt on any wet part you feel compelled to do so, and then continue painting. After finishing, let it sit, salt included.
Once dry, brush the salt away with your hand or whatever works best for you.
Play around with salt and watercolors; you never know how it could turn out! In the video, I used salt water on a blank sheet of paper and then dotted over it with watercolors.
Make sure to check it out to see the results!
Check out these easy canvas painting ideas for beginners if you want to keep exploring painting techniques!
4. Speed Up Drying with a Heat Gun
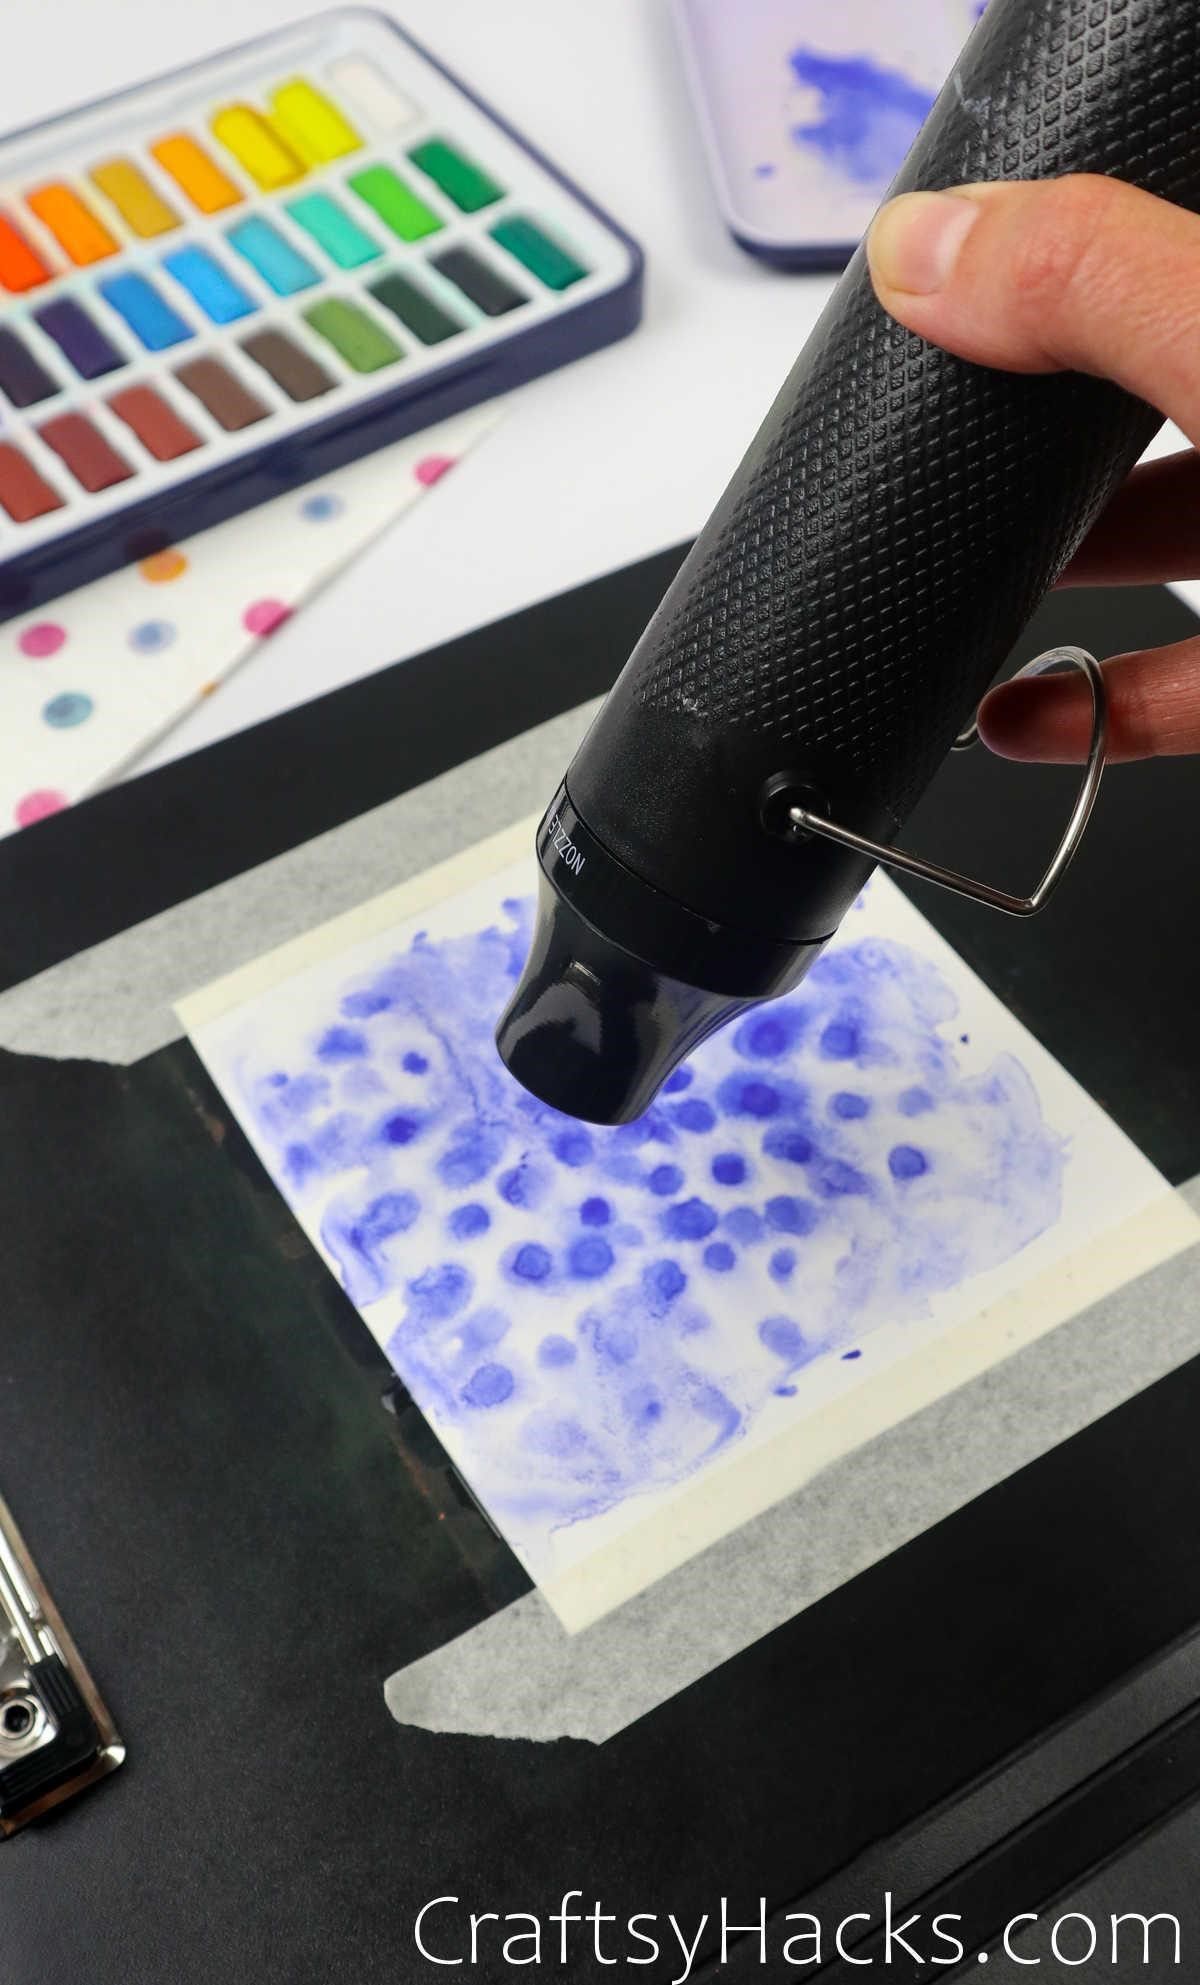
Can’t wait for your painting to dry by itself? Grab this heat gun!
Hold it far enough away not to mess up your work. As you go, a little gun movement will help disperse the heat more evenly.
Drying time varies on the size of piece. You’ll find that it’s pretty peaceful once you’ve got the hang of it.
Looking for more painting ideas? Try these fun flower painting ideas.
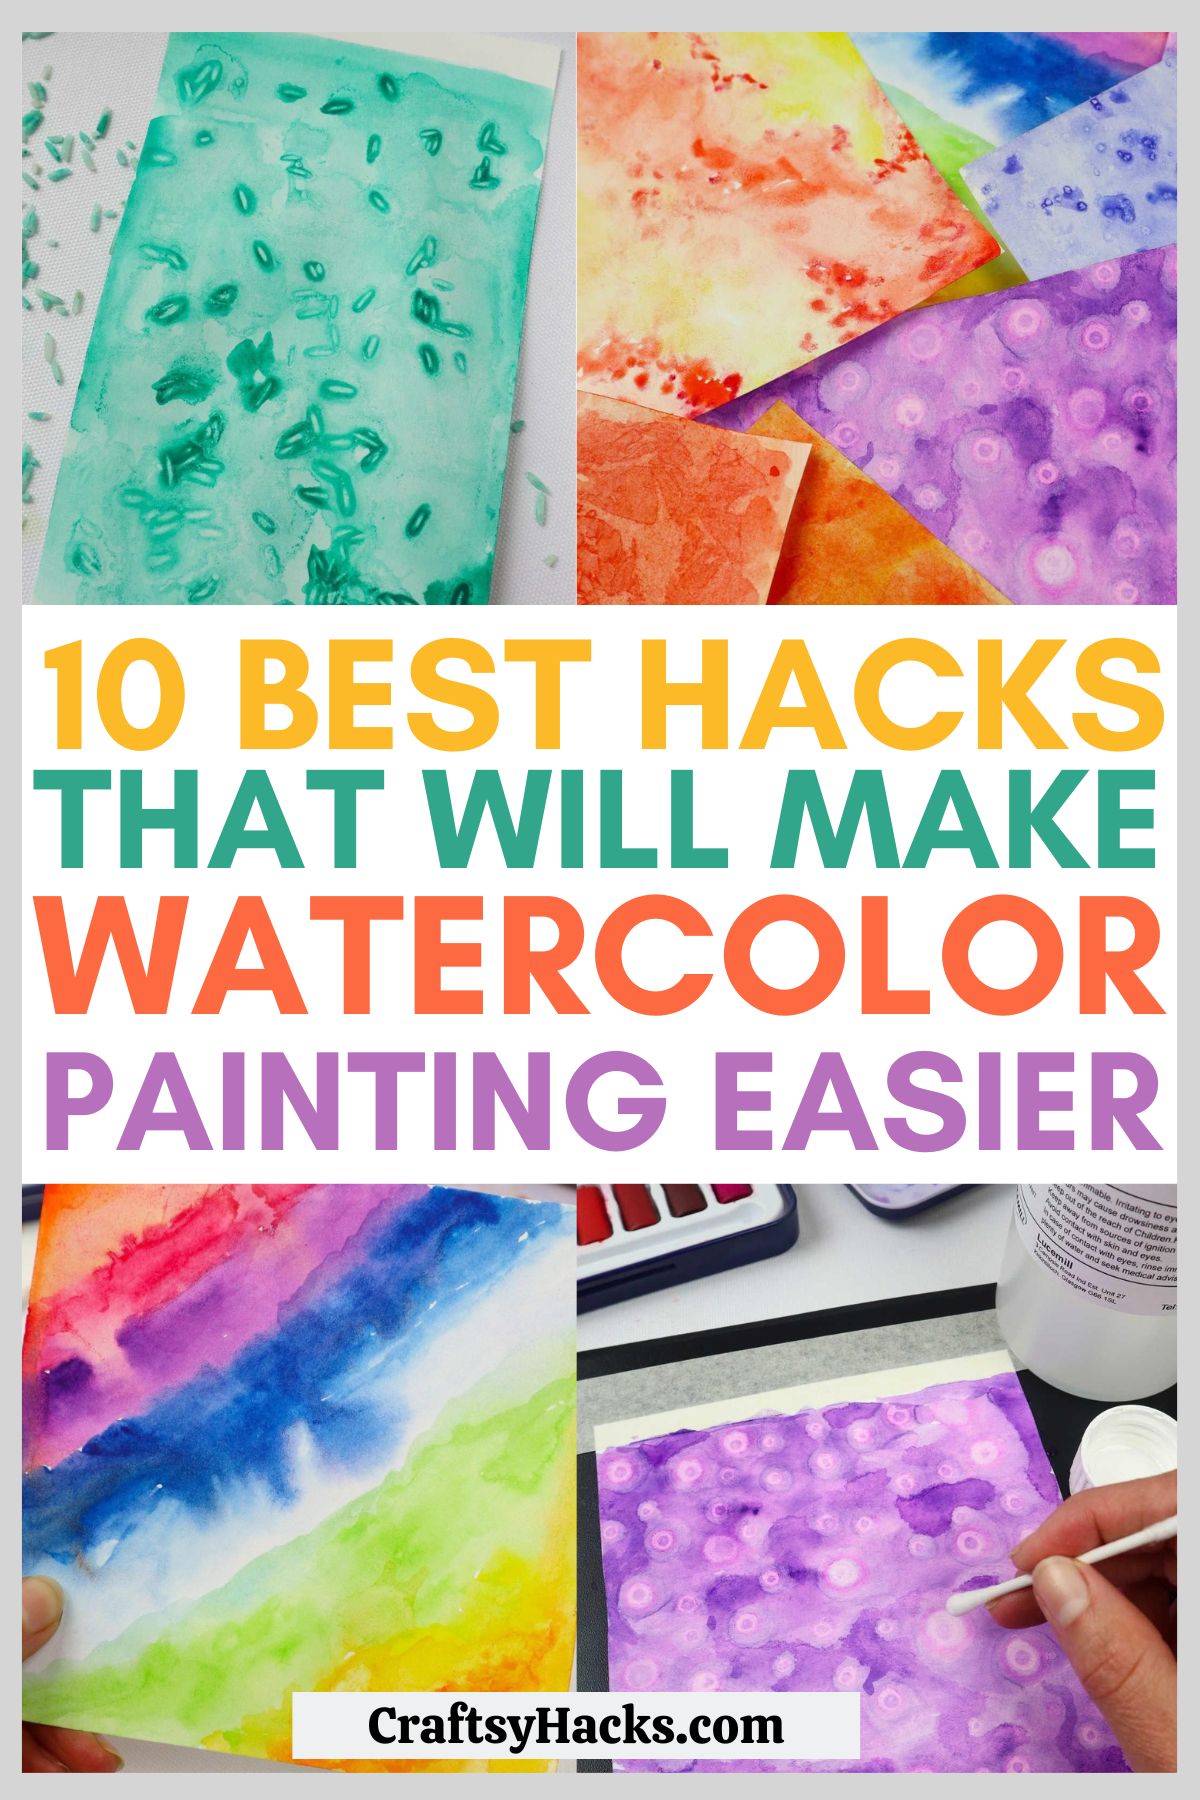
5. Create Patterns with Rice
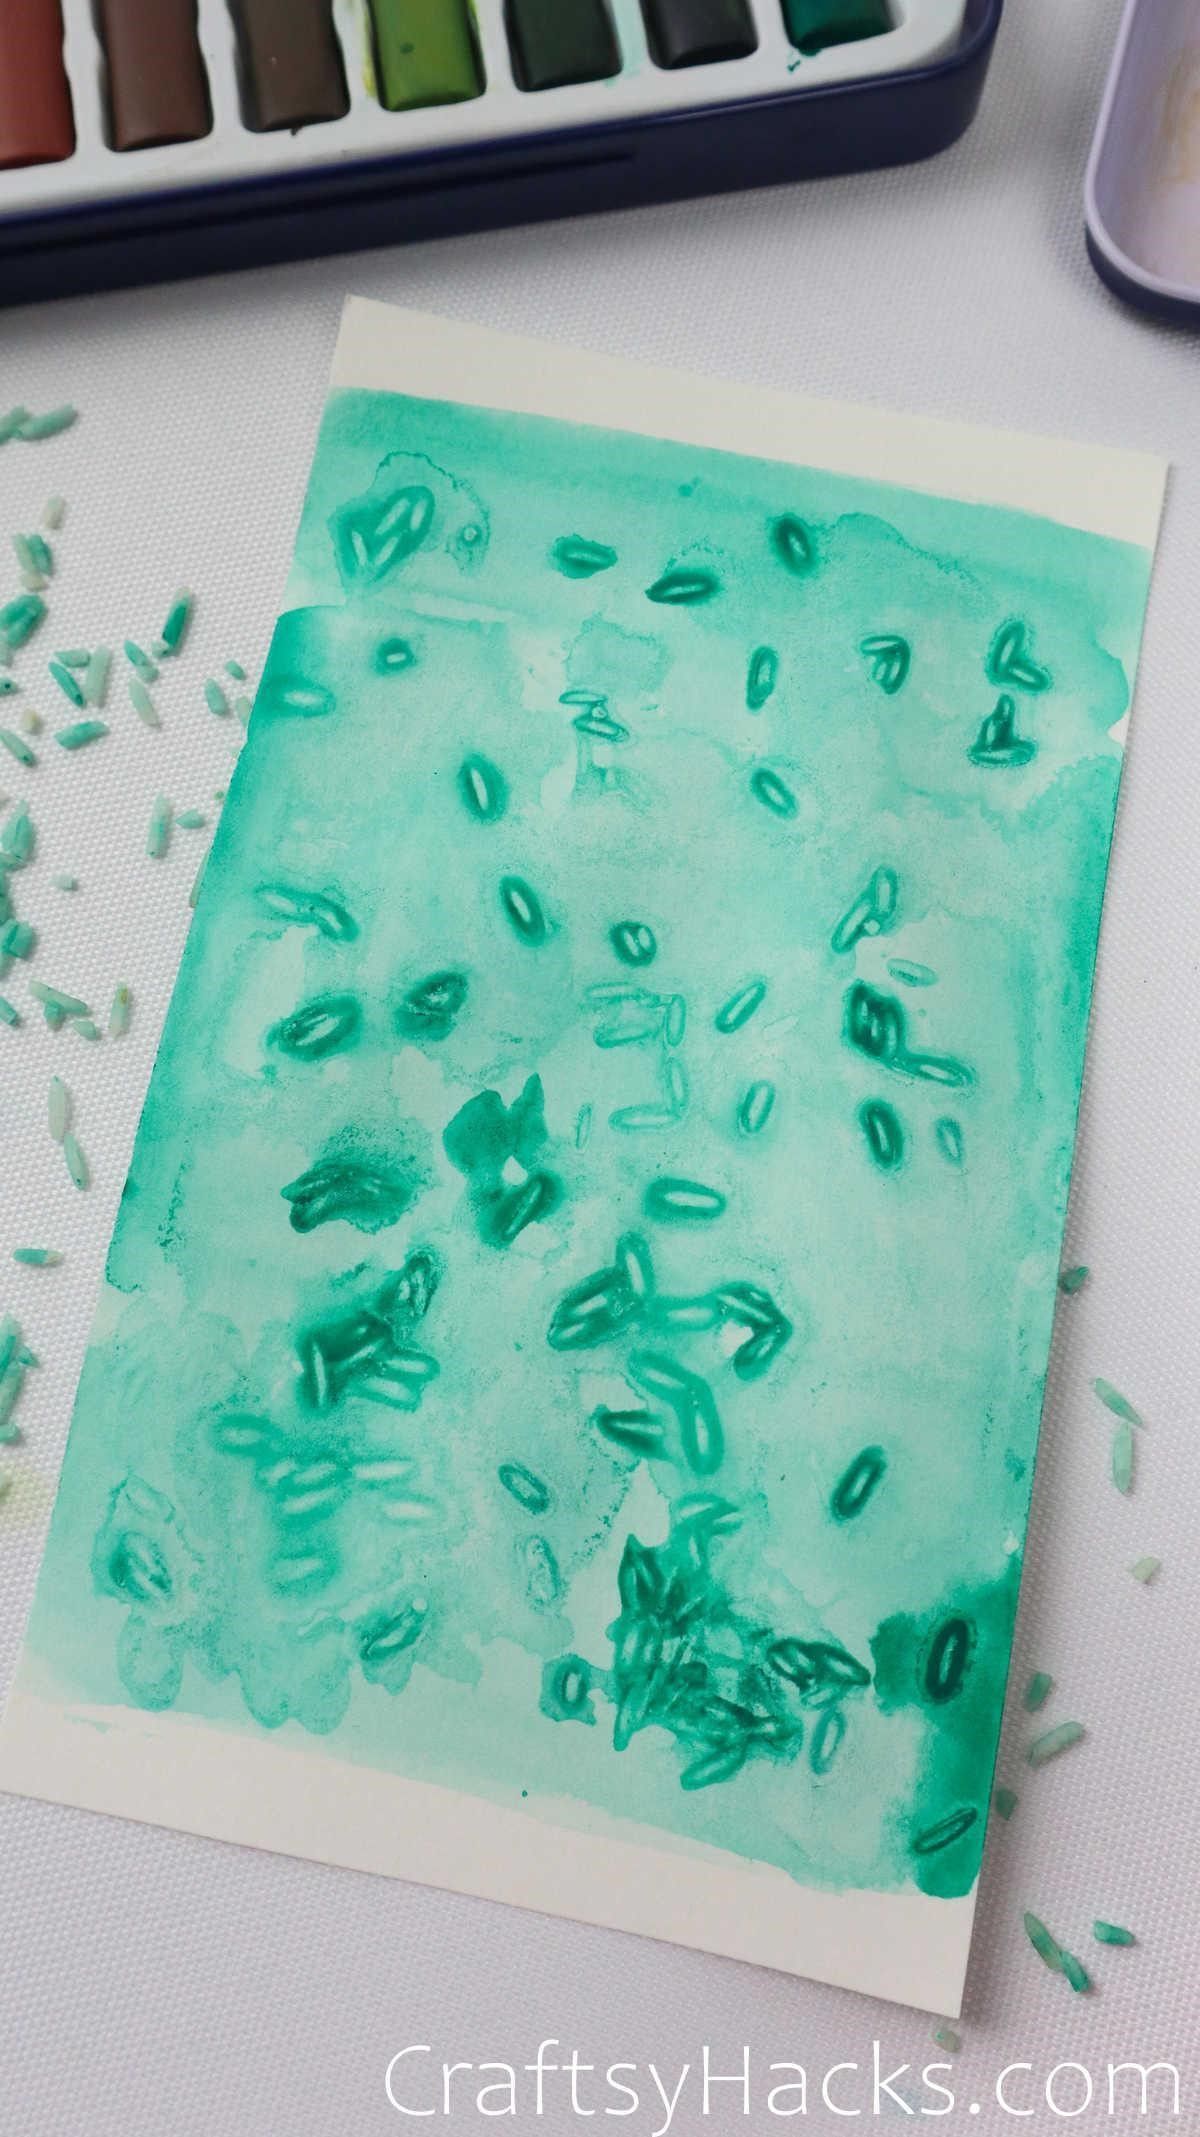
Rice can also achieve a cool textured or patterned look in the same spirit as salt. Again, to do this successfully, the paint has to be wet when the rice comes in contact with the page.
Paint whatever you’d like when trying this out and sprinkle or place the rice where you’d like it to dry. When finished, let sit.
Once dried, brush the rice away to reveal your finished design.
6. Get Creative with Cling Film
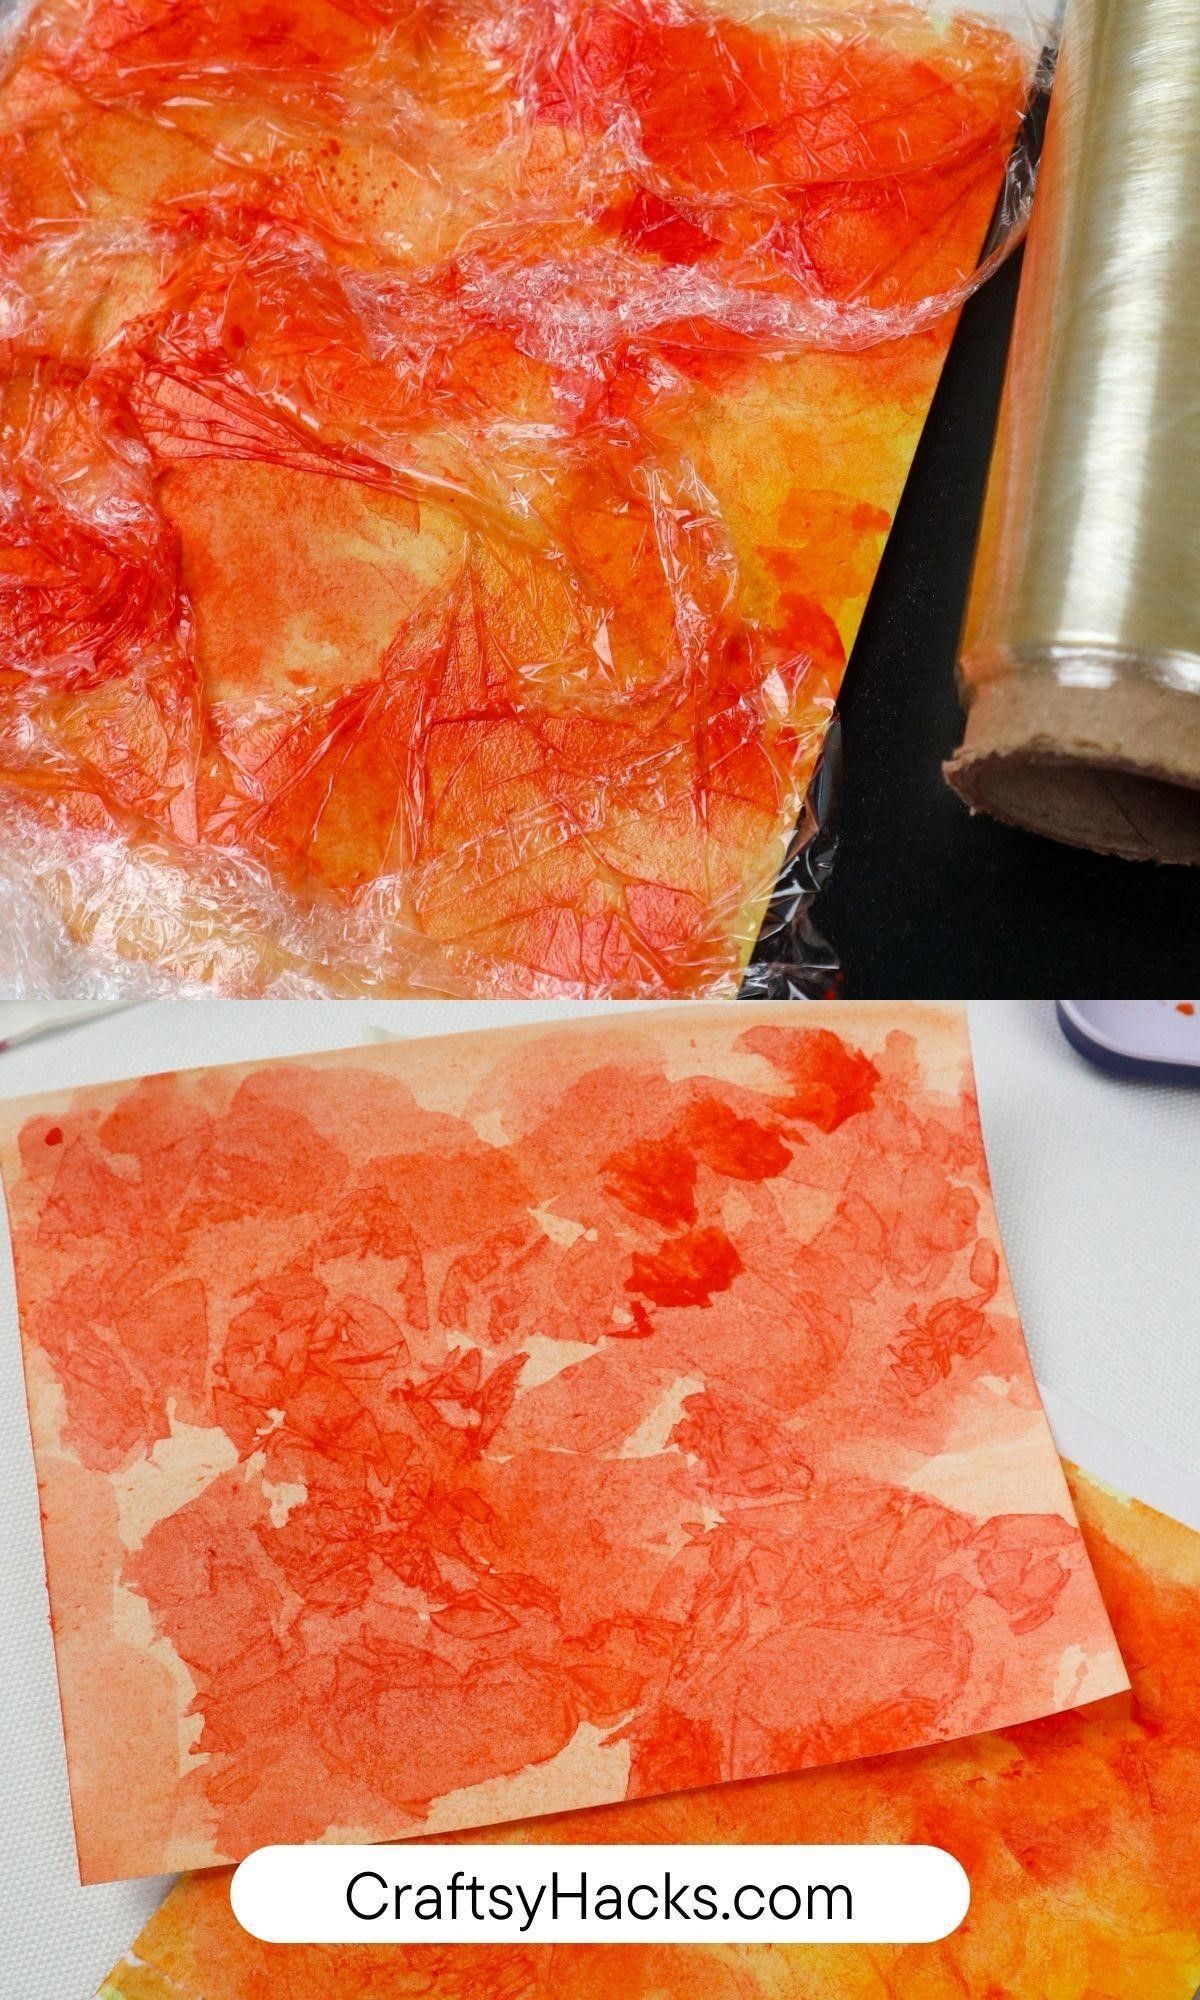
Here is another textural trick that comes out differently every time! Go about your regular painting routine.
At a point where you think it could use texture, pull out this saran wrap, rip off what you need and then contort it to how you see fit for your painting.
Do not remove it once it’s down. Let sit until dry and remove carefully.
7. Dot Your Painting with Alcohol
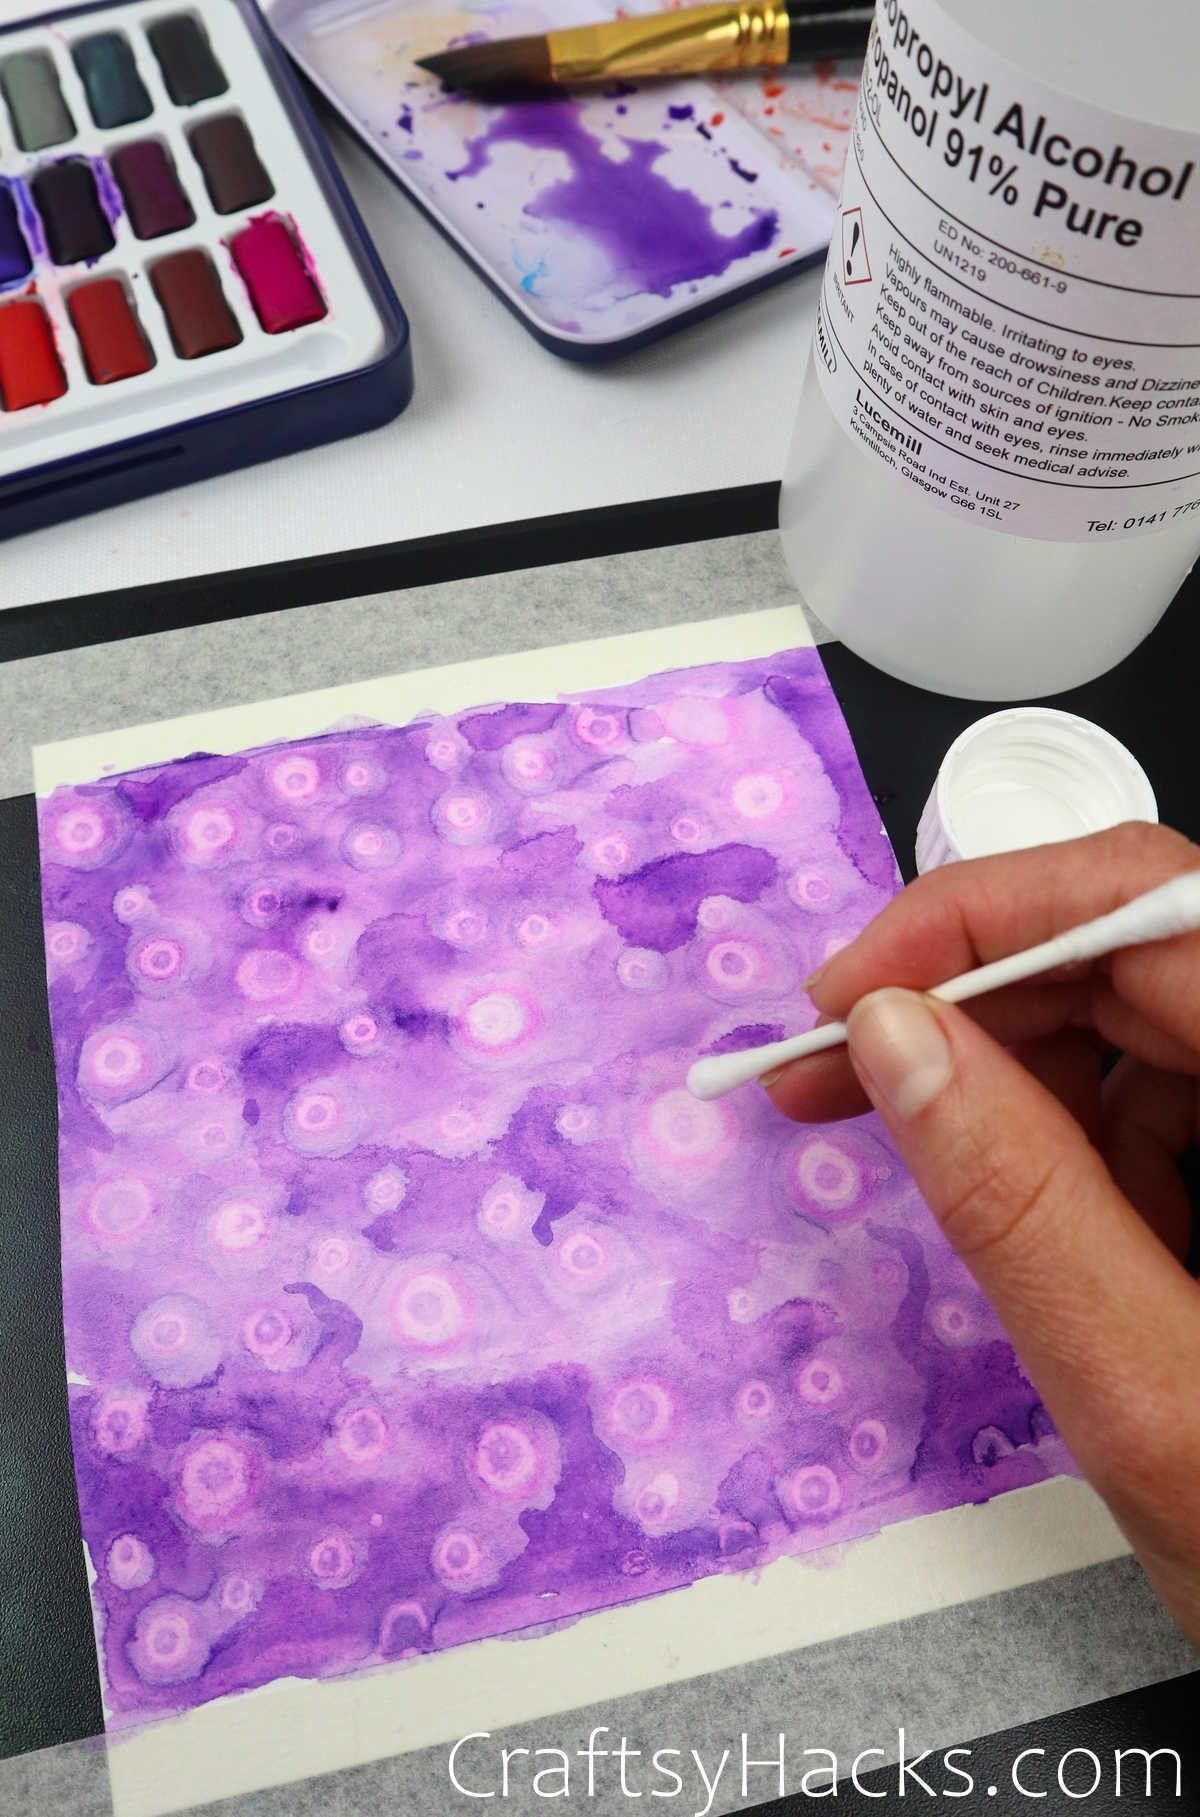
Isopropyl alcohol can also have an excellent effect on watercolors. Grab a small capful; you don’t need much to yield exciting results.
I used a q-tip to dot in the video on my project, but you could experiment with different items—disposable straws, paper clips, or paintbrush tips. Make sure to wash it off afterward.
Play around with it! Try different ratios of alcohol to watercolor–the possibilities are endless
Alcohol also has a cool effect with resin. Check out the fun resin craft ideas.
8. Flatten the Paper with an Iron
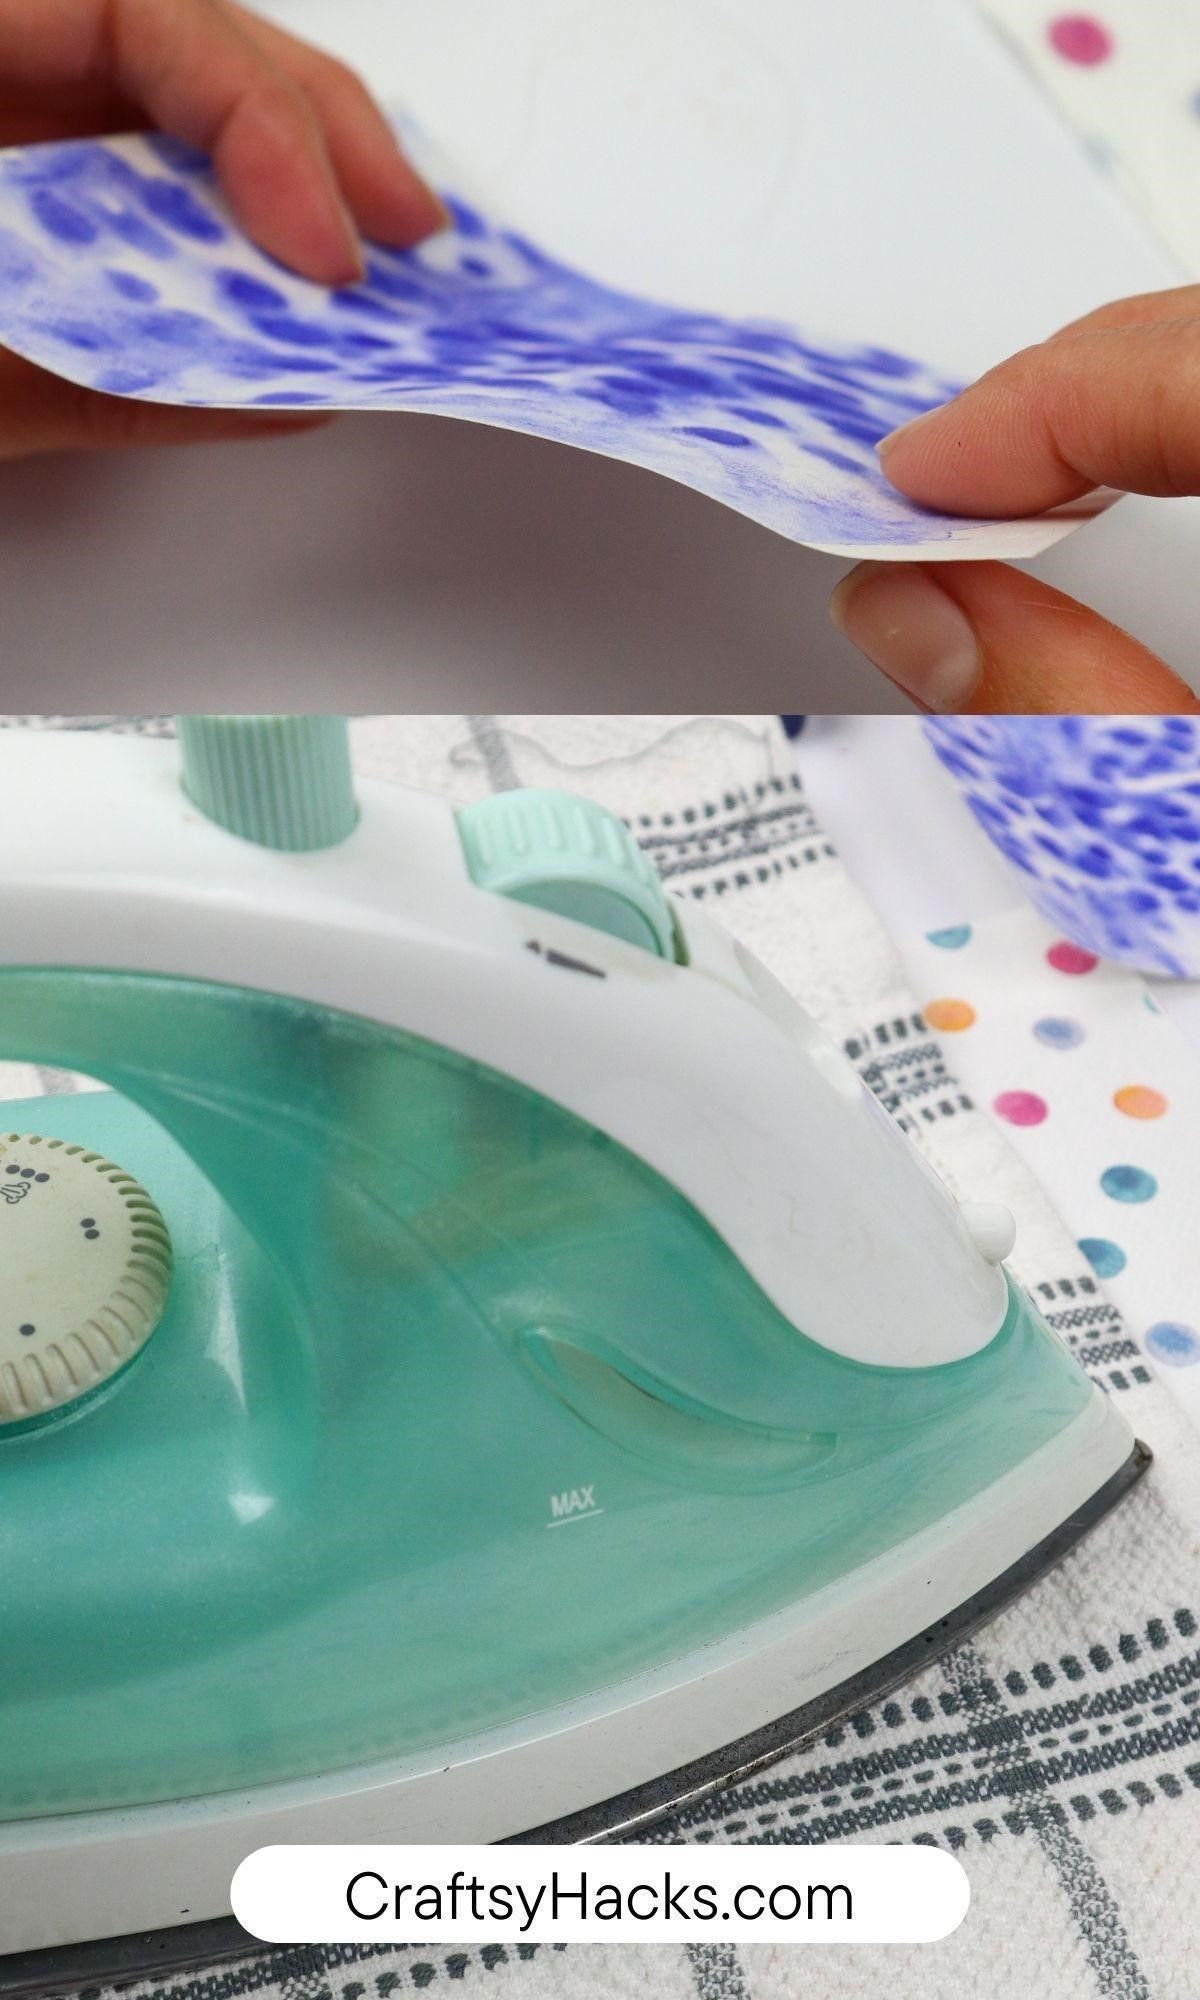
Have your pieces gotten a little warped during the drying process? No worries, iron them flat.
Be sure to pay attention to the materials needed on this one so no artwork gets damaged in the process!
Grab your iron, art, a drop cloth (anything that can get a little messy, on the off chance), and a washcloth or towel sufficient in size to cover your piece safely. I also recommend doing this one work at a time.
Lay down your first artwork on your drop cloth of choice, and cover it with a towel, making an oreo-esque situation: cloth, art, towel, and then gently iron.
You don’t need much heat since the material we’re working with is delicate.
Once your artwork is complete, frame it with these DIY rock photo holders.
9. Use Dishwashing Liquid to Create Bubbles
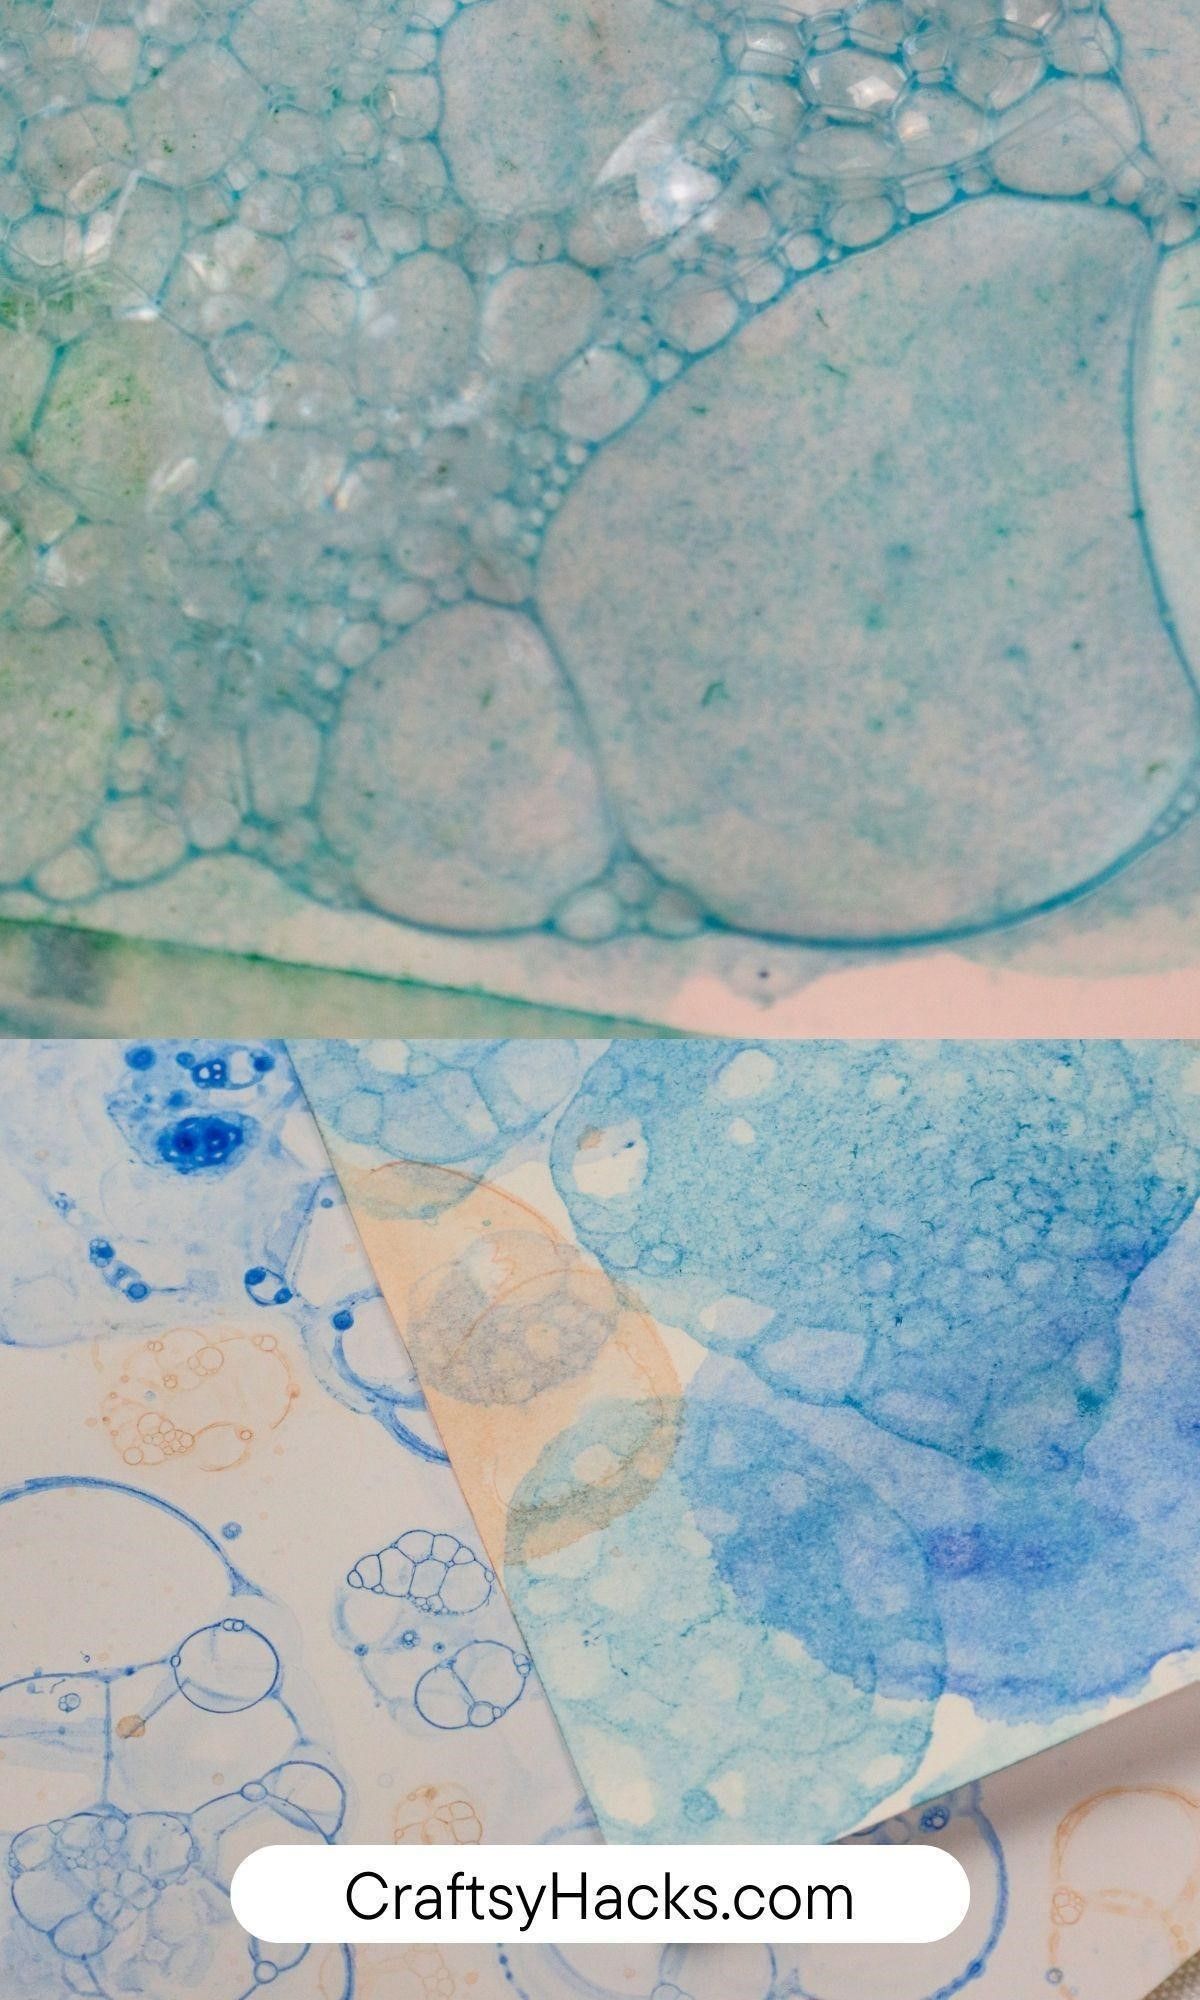
The following hack seems like a kid could’ve created it; it’s so much fun!
Dilute a little watercolor of your choice into a cup of water. Add some of this dish soap to the mixture and stir it up.
Here is where the real kid vibes show up–blow bubbles into the paint mixture until they bubble past the brim of your vessel.
Dip your bubbled-up bubbles onto your paper however you see fit. Continue the process until done.
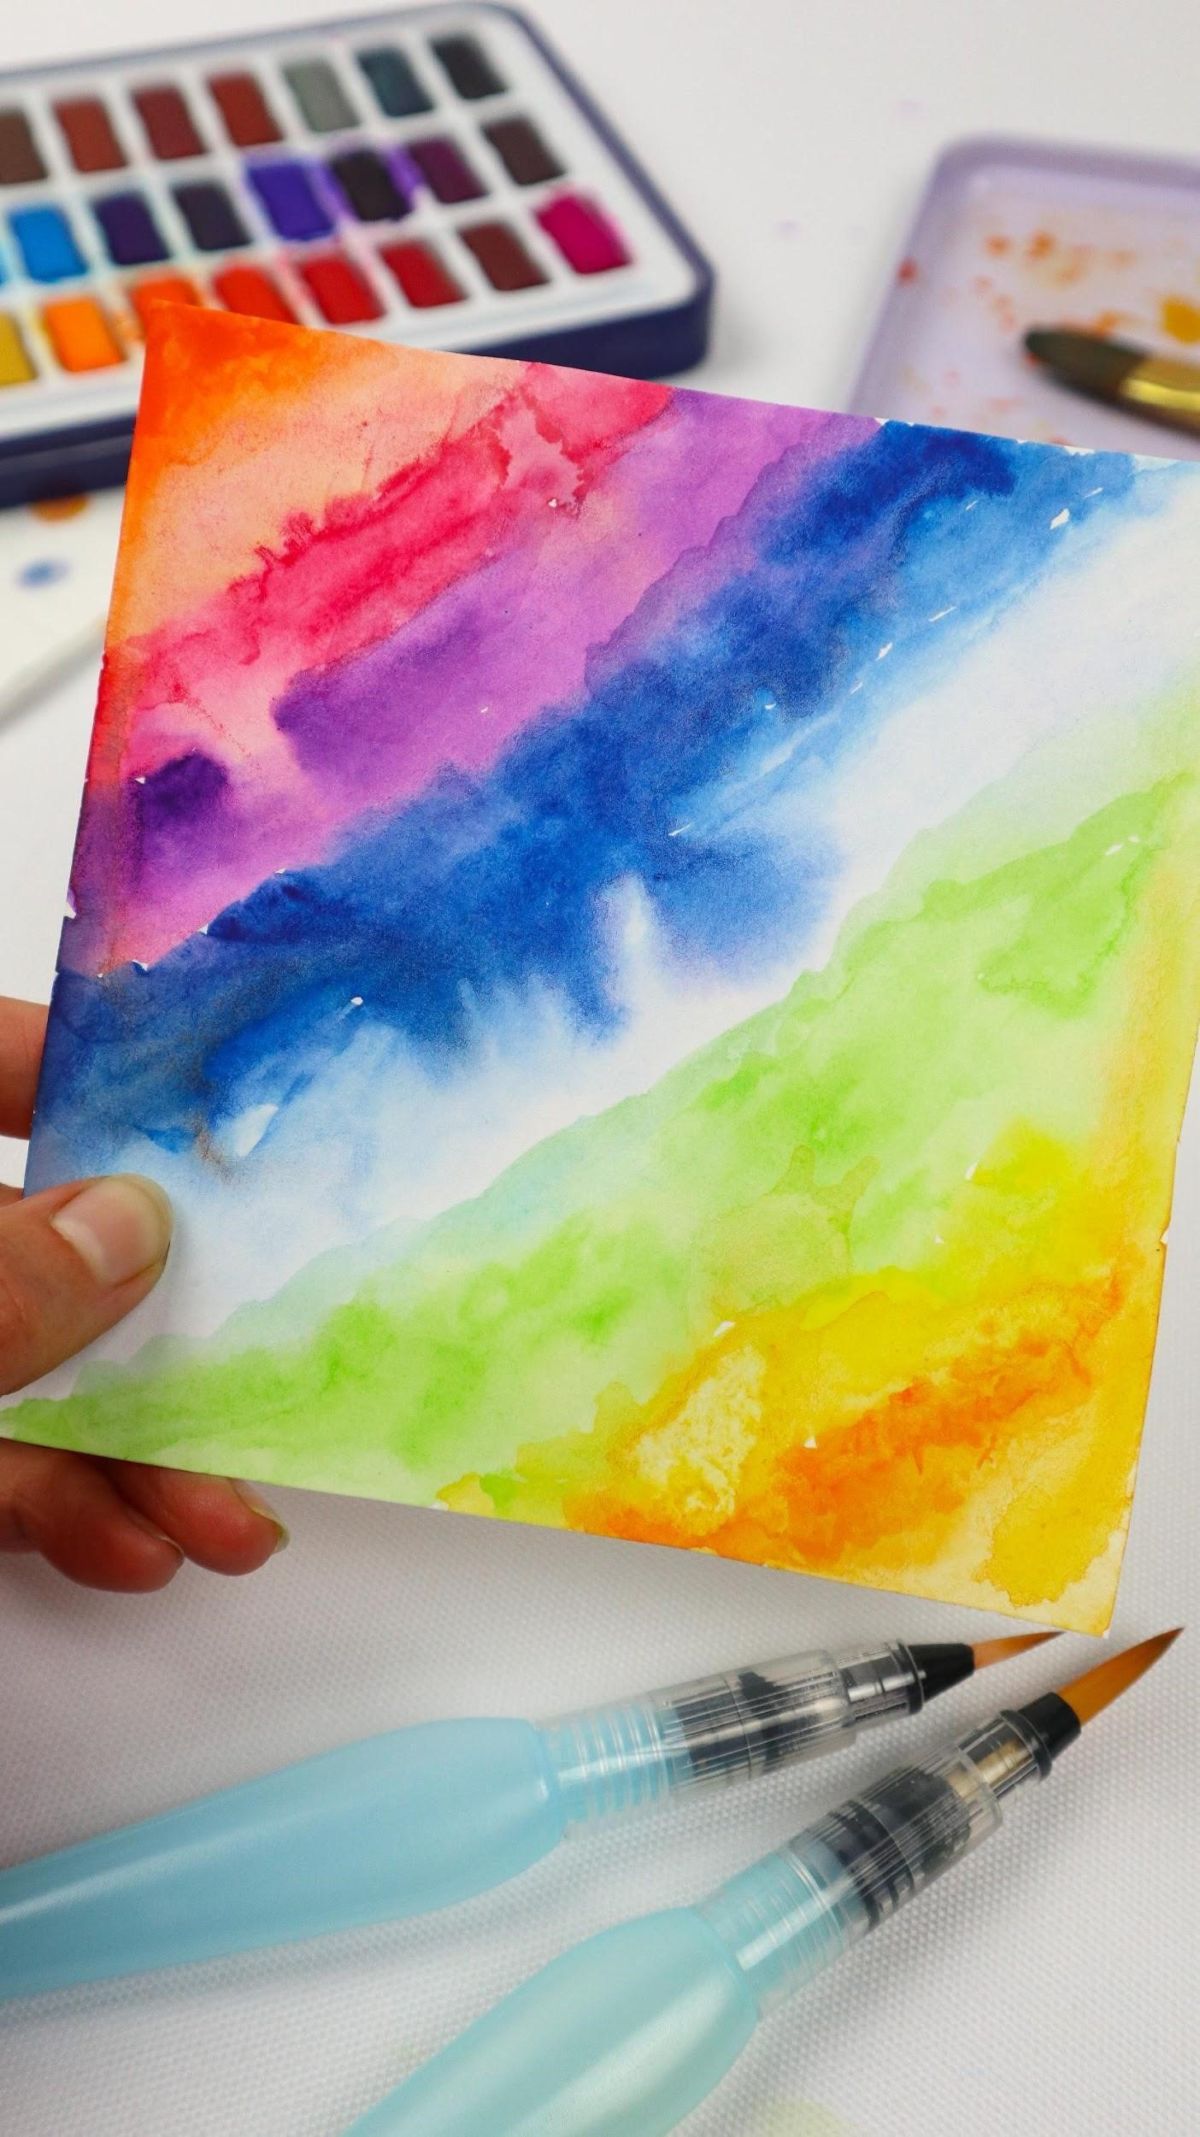
10. Paint with Water Brush Pens
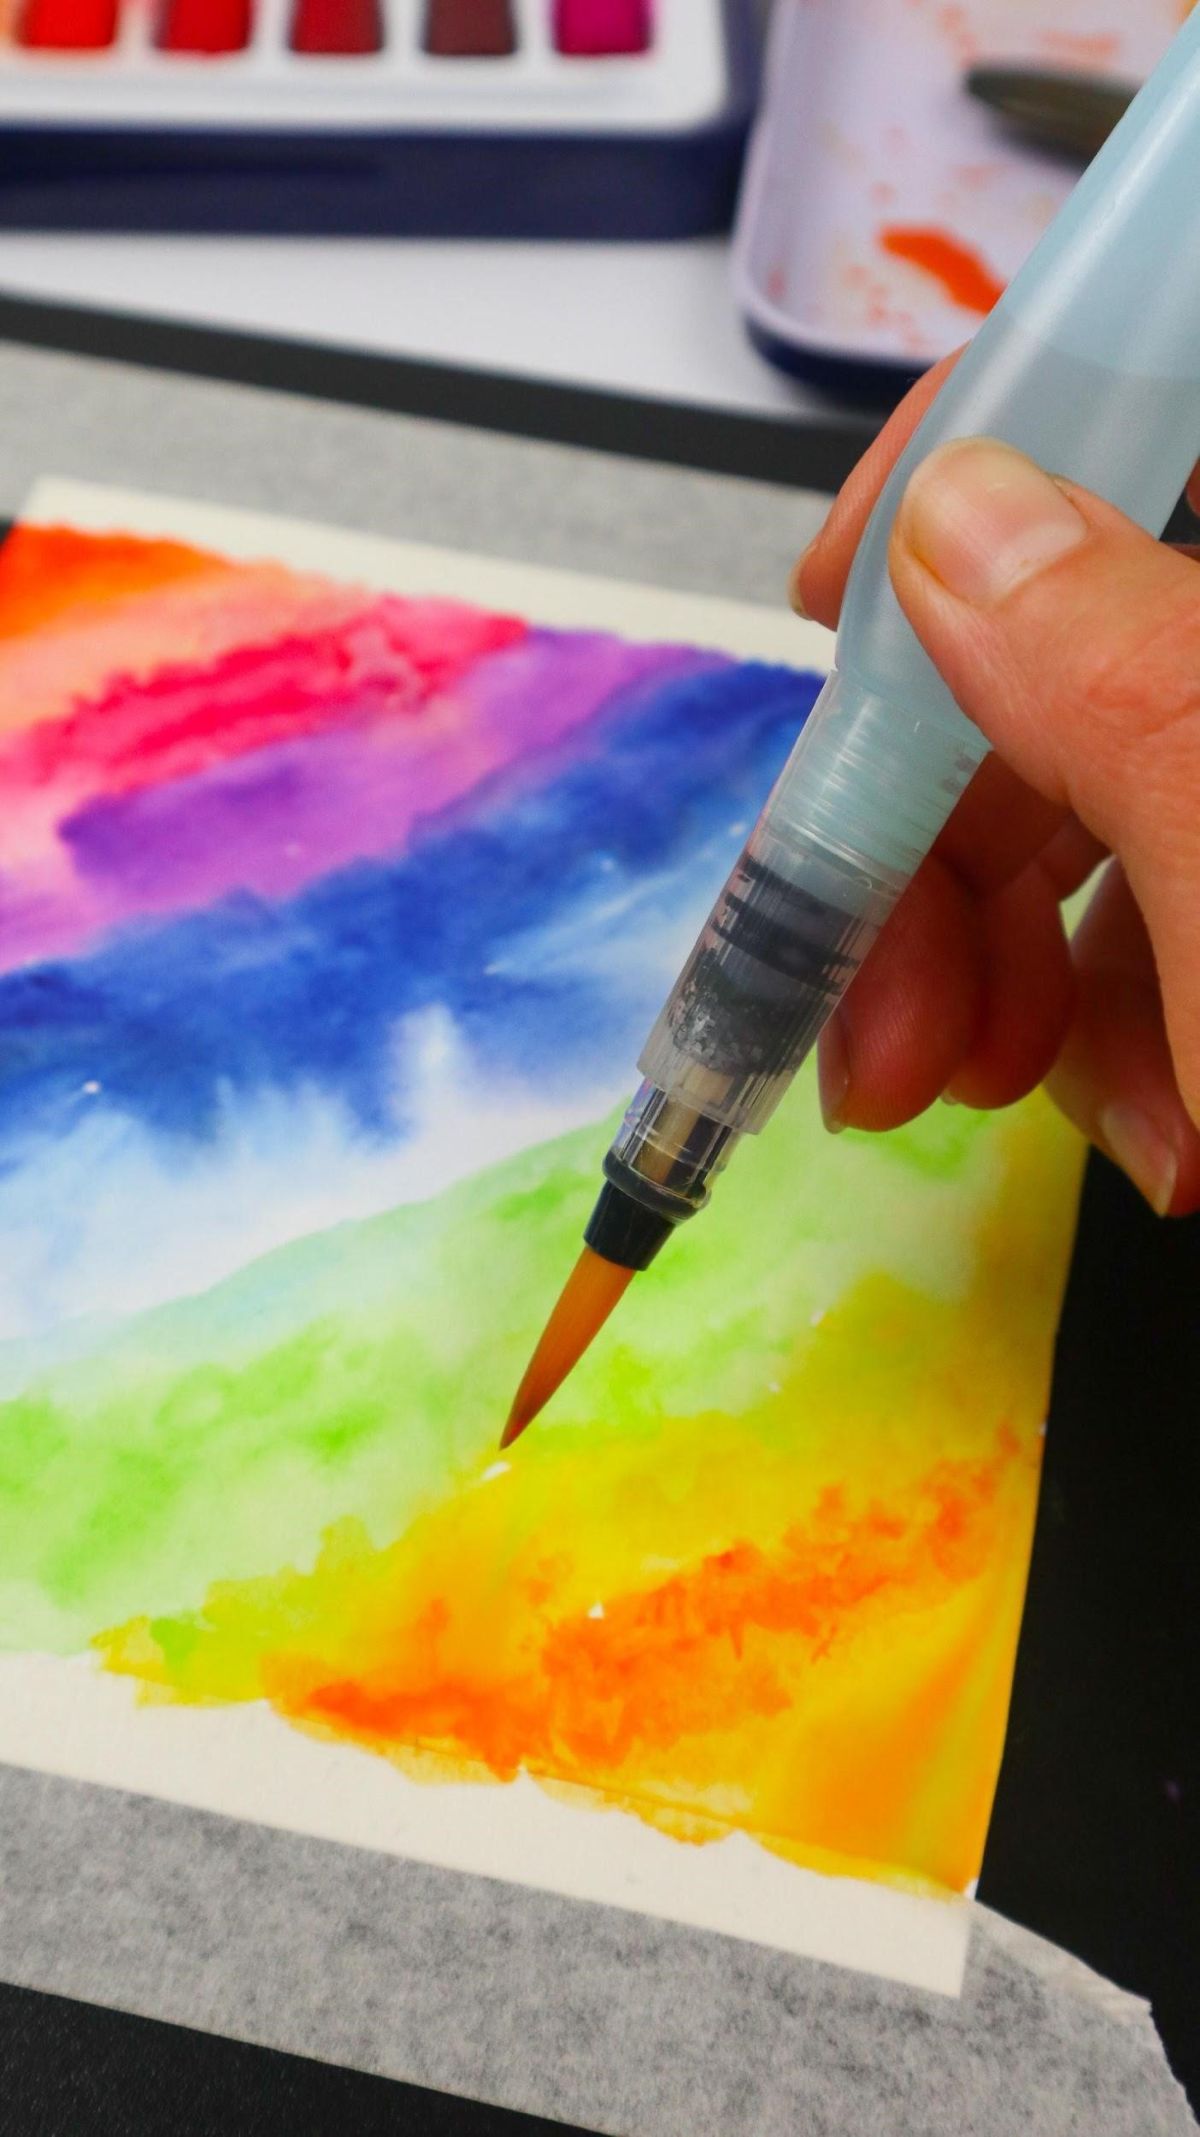
Last but not least, water brush pens! I have to admit. These are such fun—a little lighter clean-up, with the water inside the pen and all.
Water brush pens are a great way to play around with water dispersion on the page. You squeeze near the naturally held area for most pens, and the brush dampens.
You can get a better handle on pigmentation too. As we all know, the amount of water affects the brightness of color on the page.
There’s so much to do with these brush sets. I recommend test-driving some at some point if you haven’t already!
If you loved these tips, you should check out these easy paintings for beginners.


Thank you