
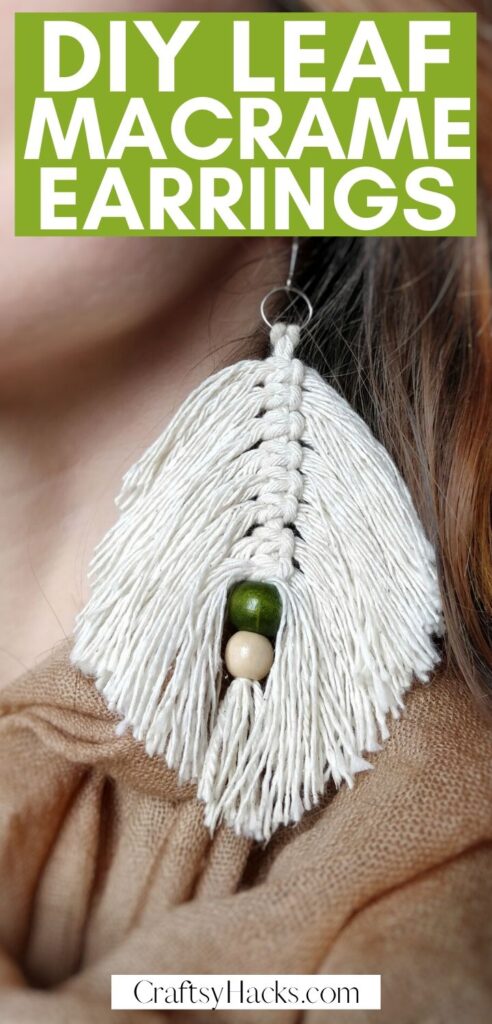
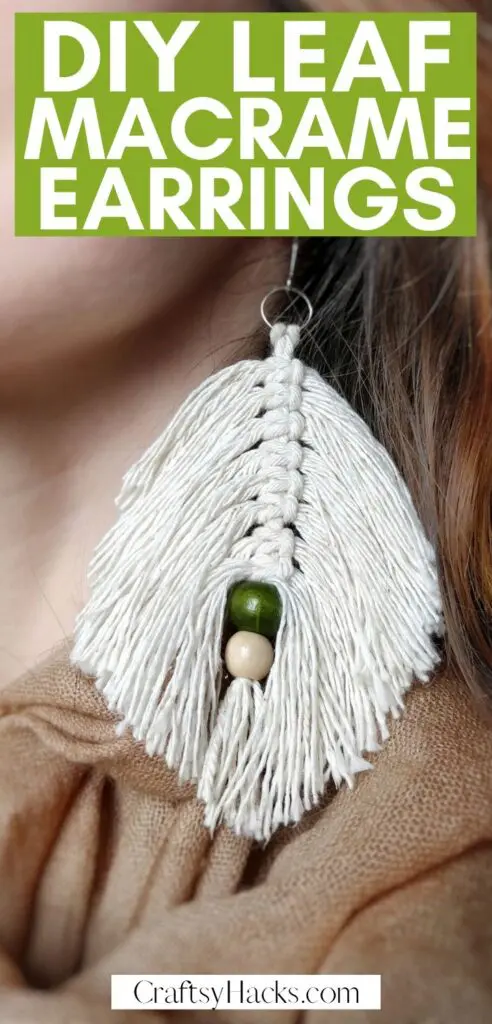
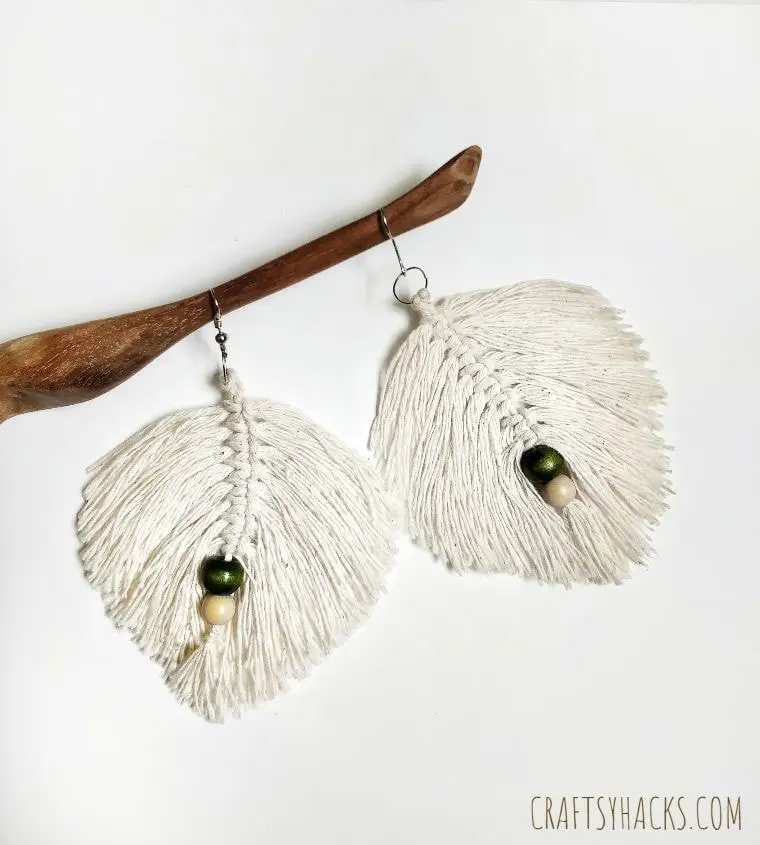
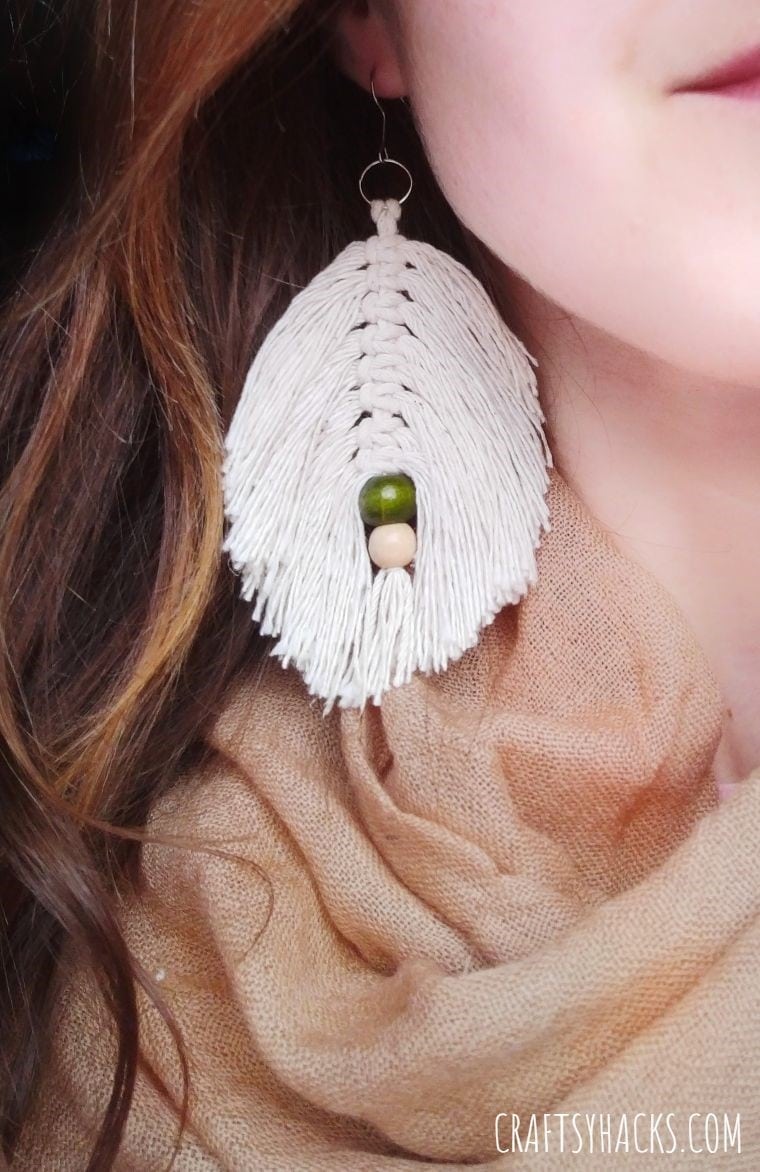
These macrame leaf earrings are beautiful craft adults and even teens can make. These earrings are extra cute and a great accessory for any time of the year.

Boho jewelry is gradually making its way into mainstream jewelry designs. This is not surprising – the boho style will never go out of fashion, period.
But because it is becoming increasingly popular, it can be challenging to find something unique. I’ve tried – and while there are some, they’re not exactly budget-friendly.
After endless searching, I have concluded that the only way to have an authentic piece of jewelry is to make your own set. Believe me, it is not as difficult as it sounds.
Take these macramé earrings, for example. It’s an effortless way to craft a gorgeous pair of personalized and unique DIY earrings to help you achieve that perfect chic boho look.
How to Make Macrame Earrings
Making these beautiful Macrame earrings are easy and take little time. The process is straightforward, allowing you to style them to add a touch of your personality to your jewelry.
Once you have the materials, and all you have to do is follow the simple steps below.
Supplies
4mm Single Stranded Cotton Rope
2x jump rings
Tape (or clips)
Scissors
Haircomb
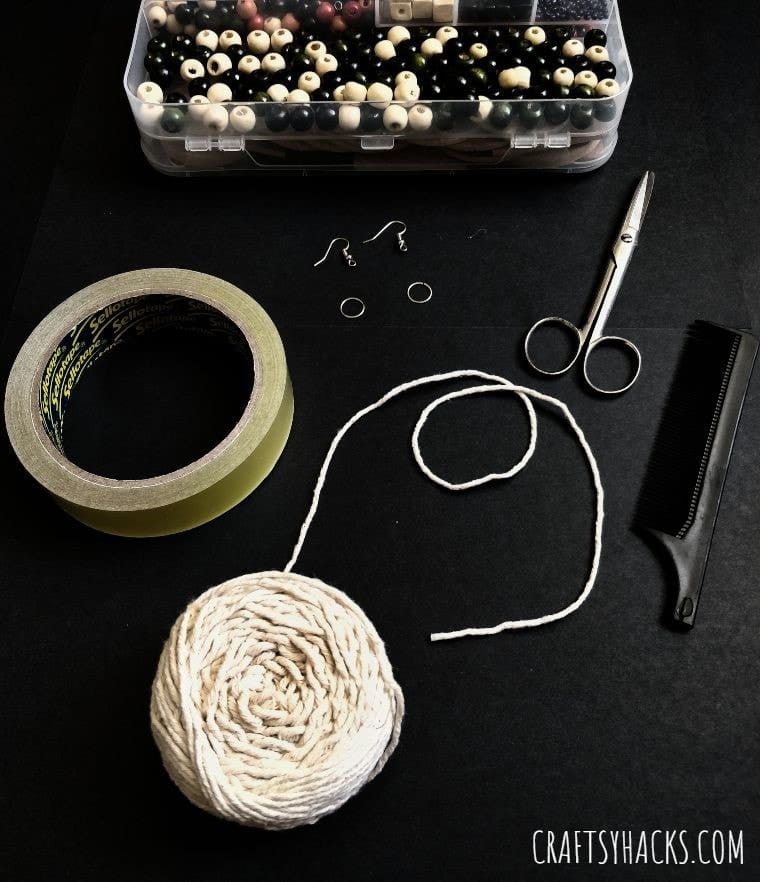
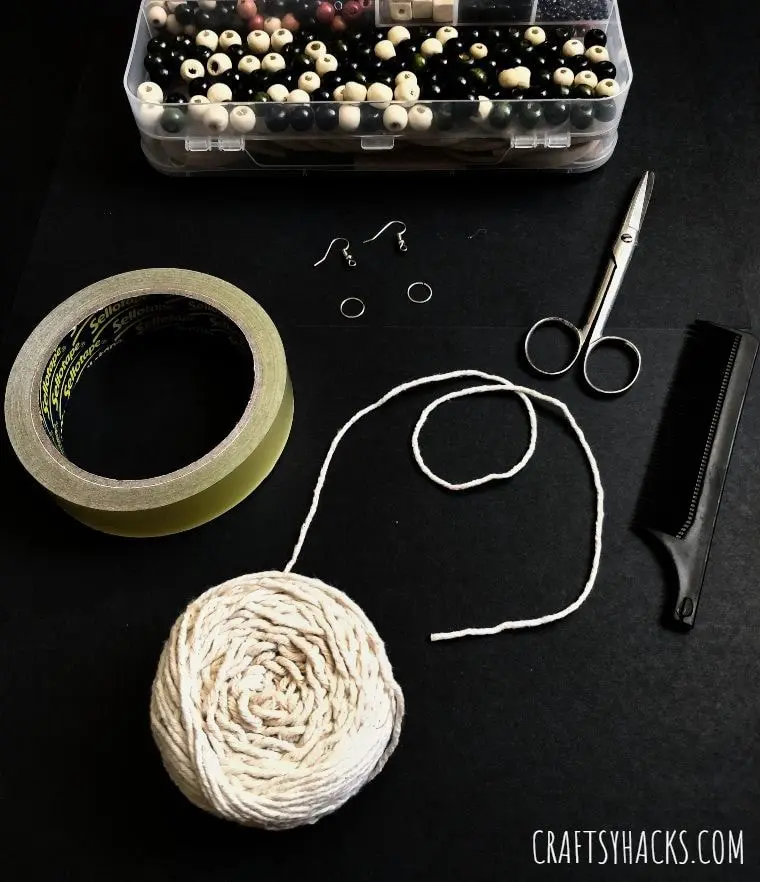
Gather all the things you are going to need in one place. Take the bundle of the rope and cut out strings in preparation for the next steps.
Each pair of earrings requires two long strings and 16 short strings. This is because you will need one long string for the spine and eight (or more) short strings to make each medium-sized feather.
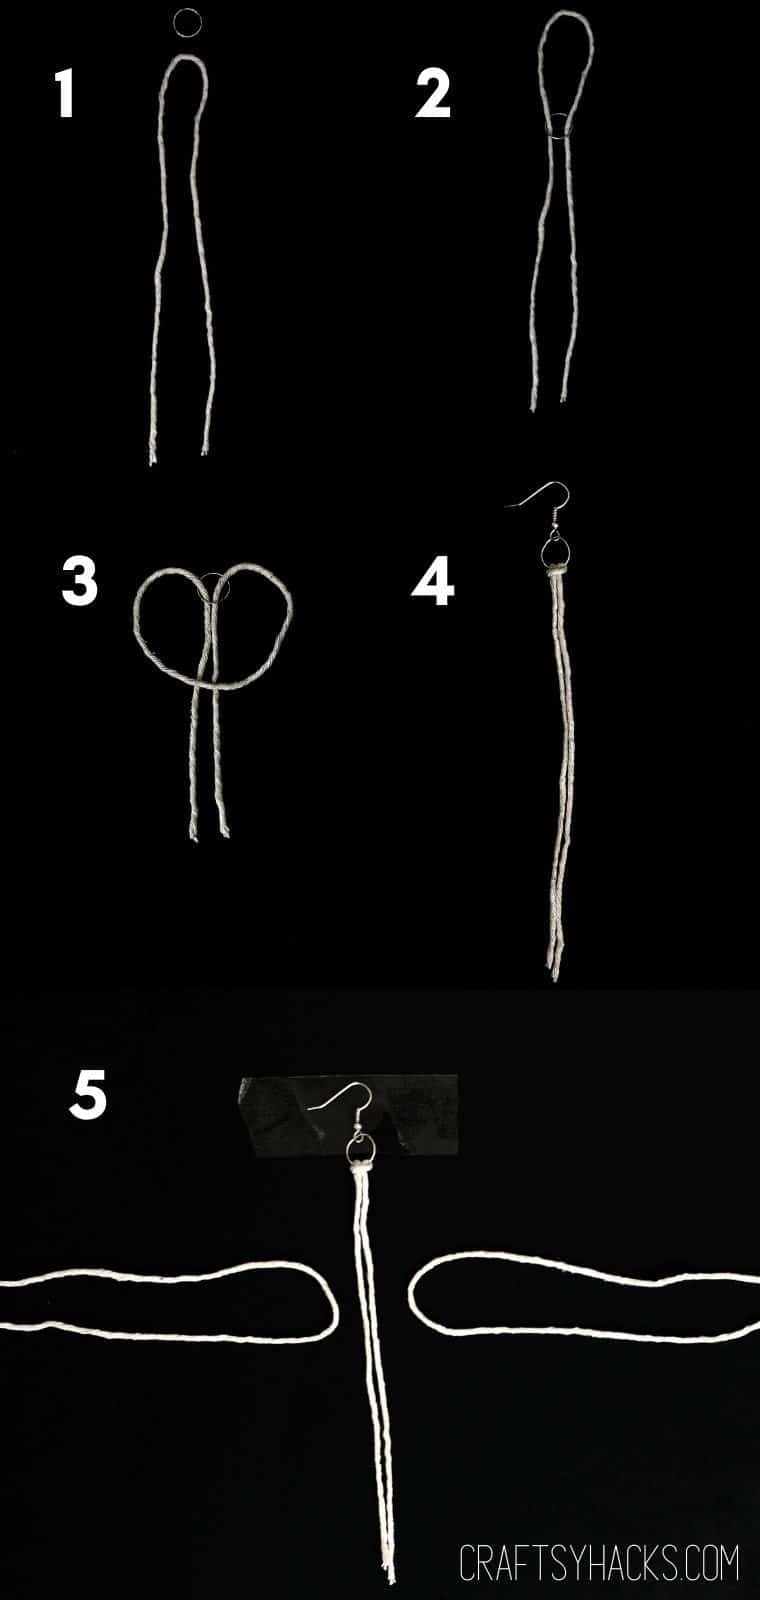
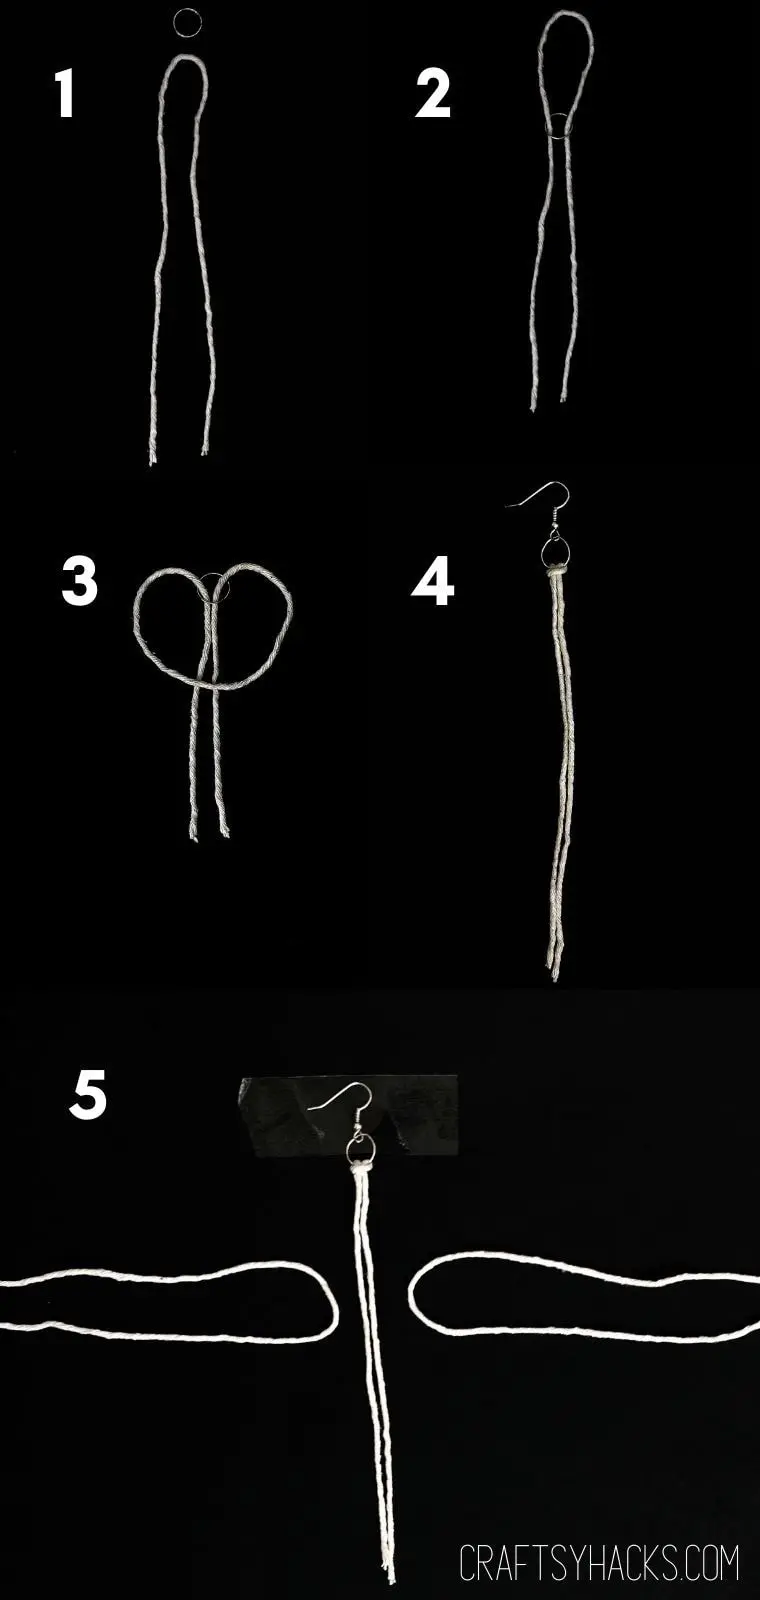
STEP 1
The first step is to take the long string and fold it in half. This will be the center string or spine of the earring. Keep the jump ring handy as we are going to need it for the next step.
STEP 2
Put the jump ring through the folded spine, creating a cotton loop at the top.
STEP 3
Take that loop from the top and bring it down, so it is overlapping the jump ring. It should be on the top of the two loose strings.
STEP 4
Pull the loose strings through the loop. It should create a head knot. Now tighten the knot to secure it. Once the knot is secure, you can move to the next step.
STEP 5
Attach the hook onto the jump ring and use the tape or a clip to hold the top of the earrings in place to keep it stable during the next steps. You are going to need two short strings for either side of the spine to make one knot.
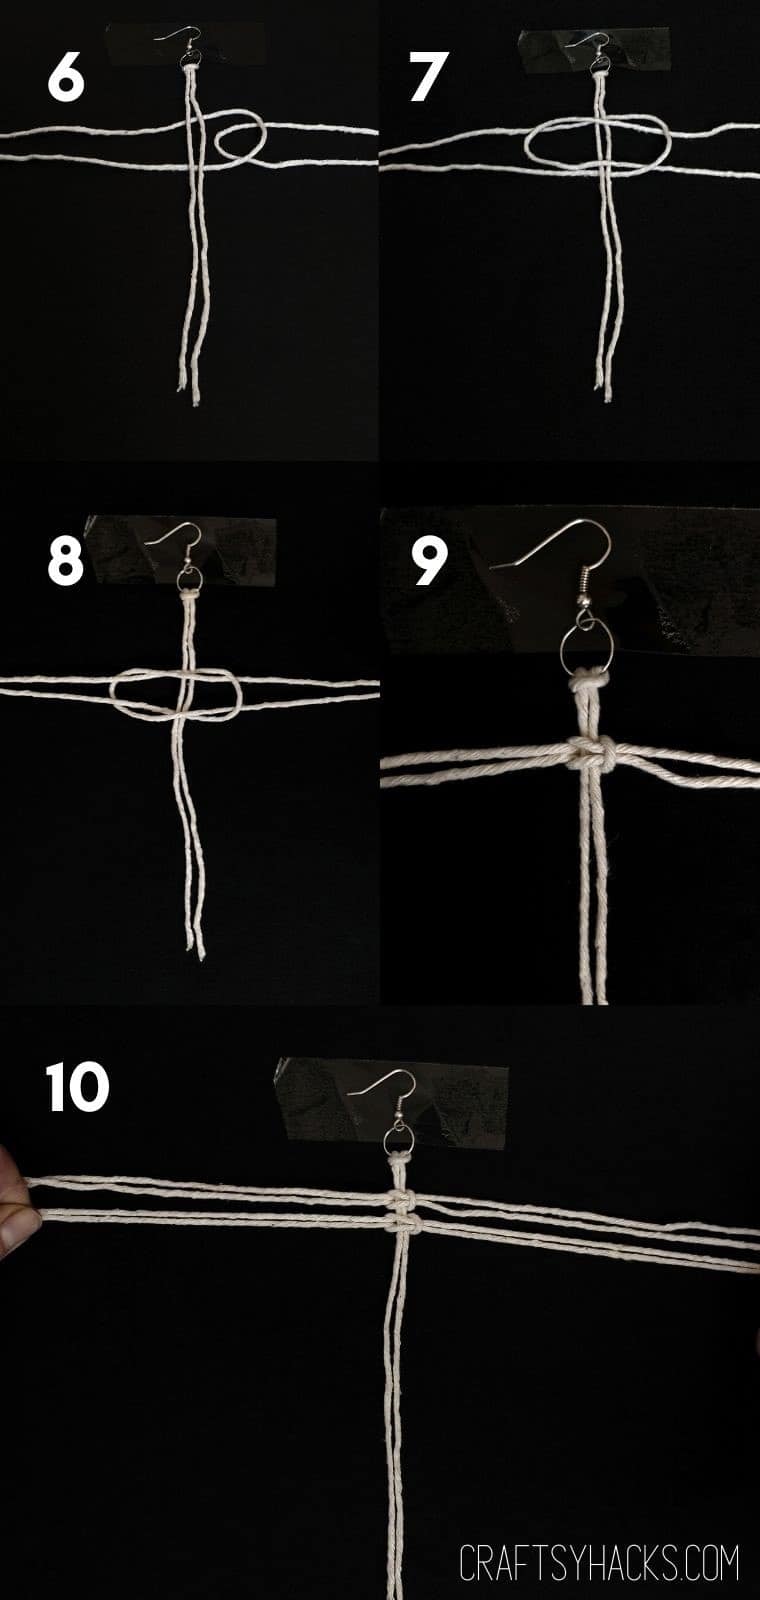
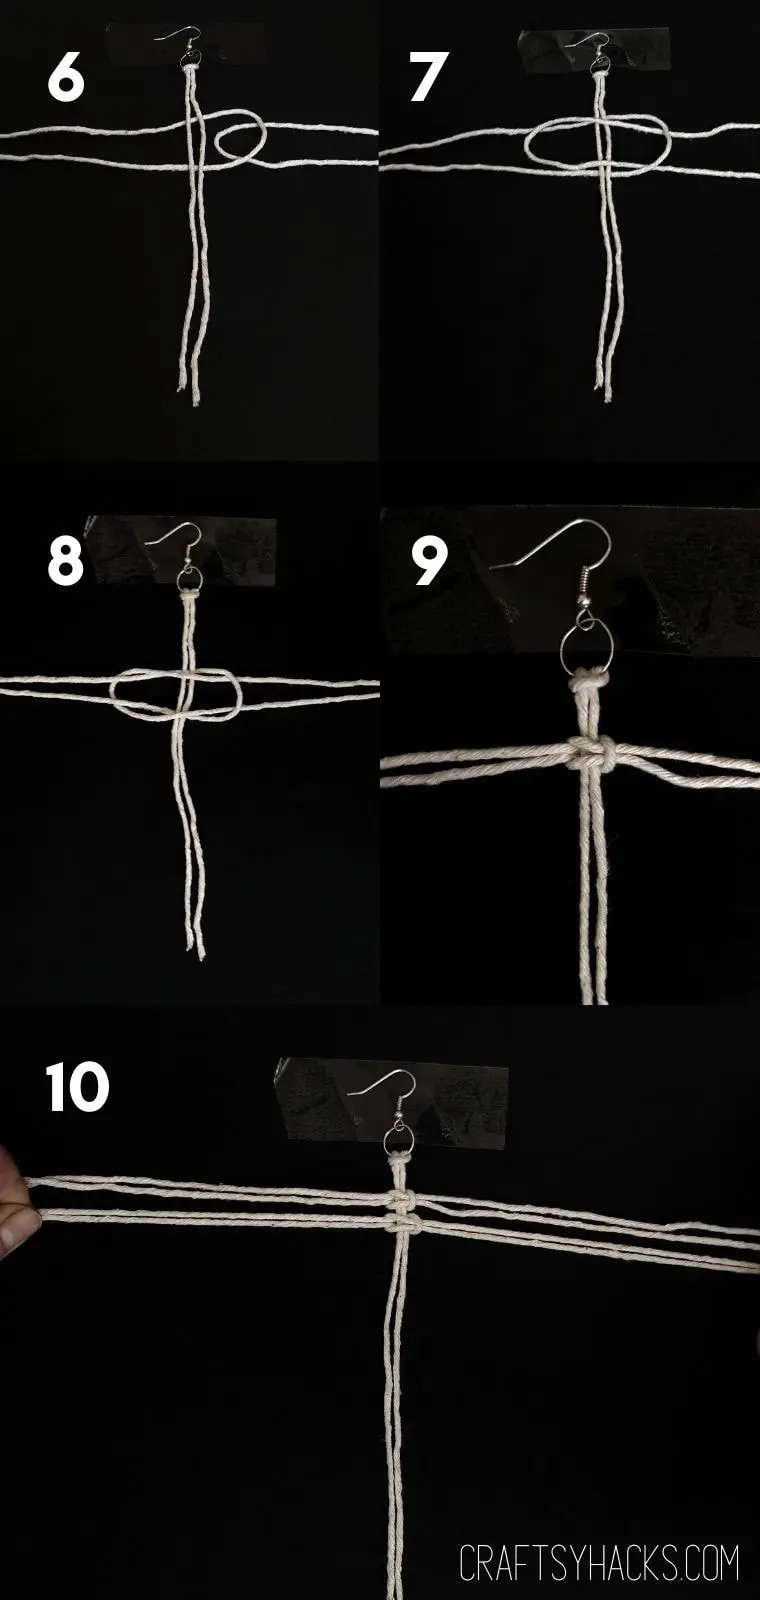
STEP 6
Put one of the folded short strings underneath the spine. Take the second one, fold it in half, and insert the loop of this one into the ring of the top horizontal strand.
STEP 7
Pull the second string through (without letting it entirely pass through) and lay it horizontally on top of the opposing strand.
STEP 8
Pull the loose ends of the bottom strands all the way through the top loop.
STEP 9
After pulling both sides tightly, you should have a firm knot.
STEP 10
For the next step, change the starting side. For example, if you started the first from right to left (it will make a loop on the right), then start this one from left to right (the loop being on the left).
Repeat the steps given above. Position the first folded strand under the spine. Thread another doubled strand into its loop.
Pull the loose ends of the lower strands through the loop of the top strand and tighten it. Keep repeating this until you have enough strands to create the feather shape.
STEP 11
Keep going, working gradually down in size. After each knot, be sure to push the strands up to tighten them.
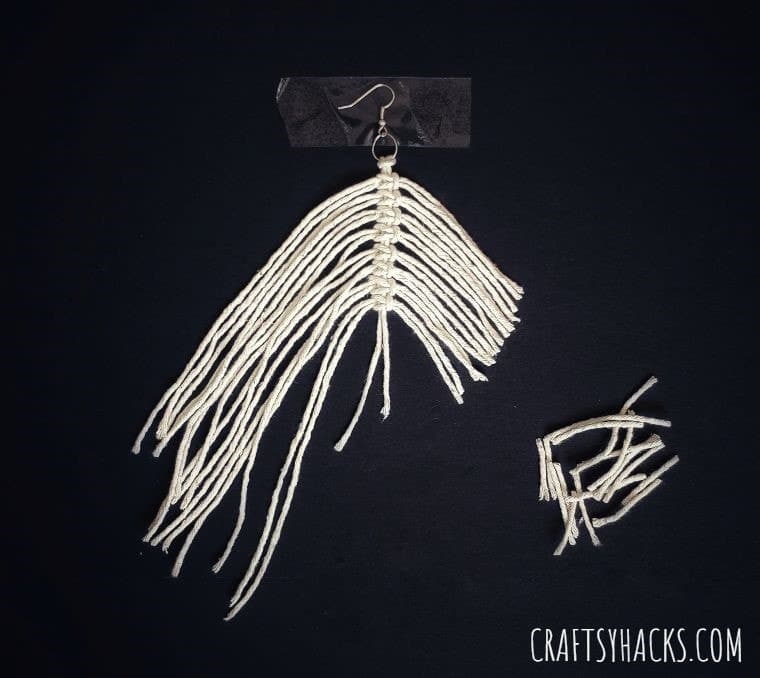
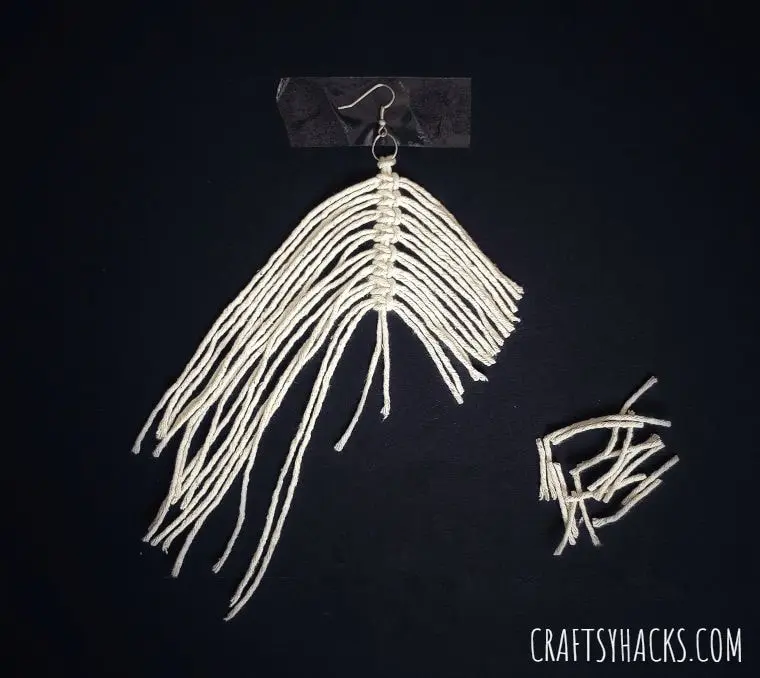
Don’t leave gaps between two knots as the feather will not be dense enough. Comb out the strands before you give it a trim.

STEP 12
Once you have combed the strands to remove unnecessary knots or folds, give it a rough trim. Don’t worry if it isn’t too perfect at this point, as it is just a guide.
This not only helps in guiding the shape but also makes it convenient to brush the strands out. The shorter the strands, the easier it is for you to brush it out.
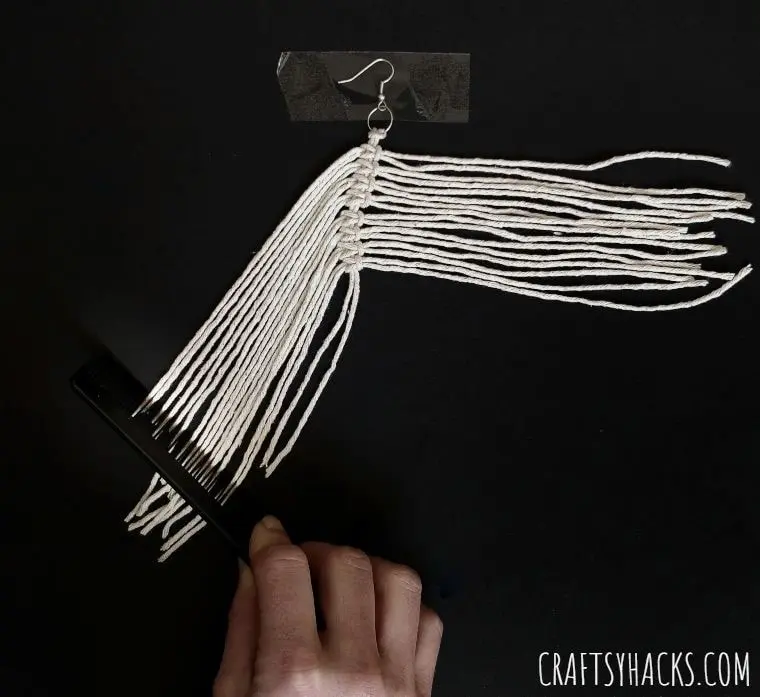
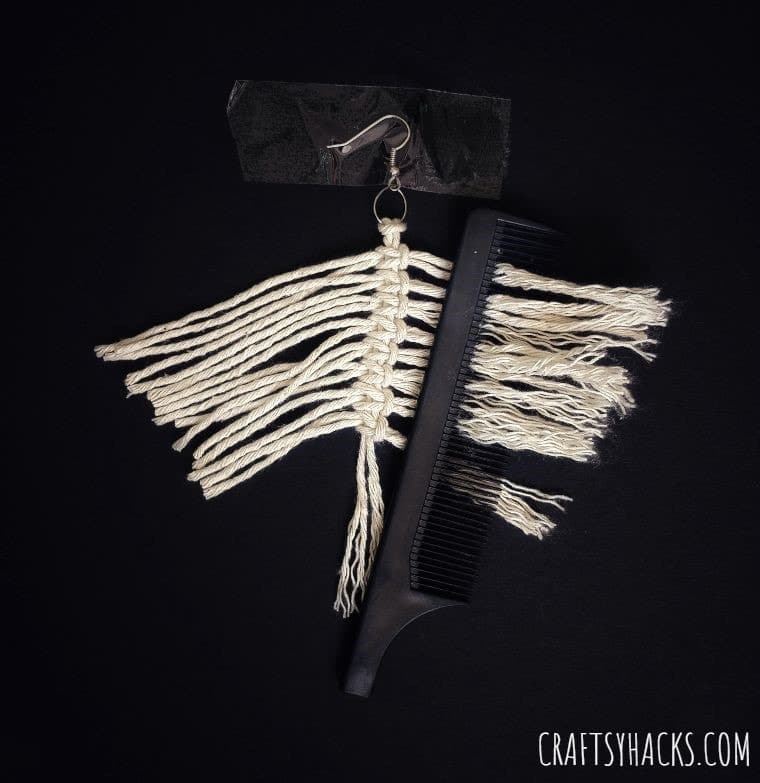
STEP 13
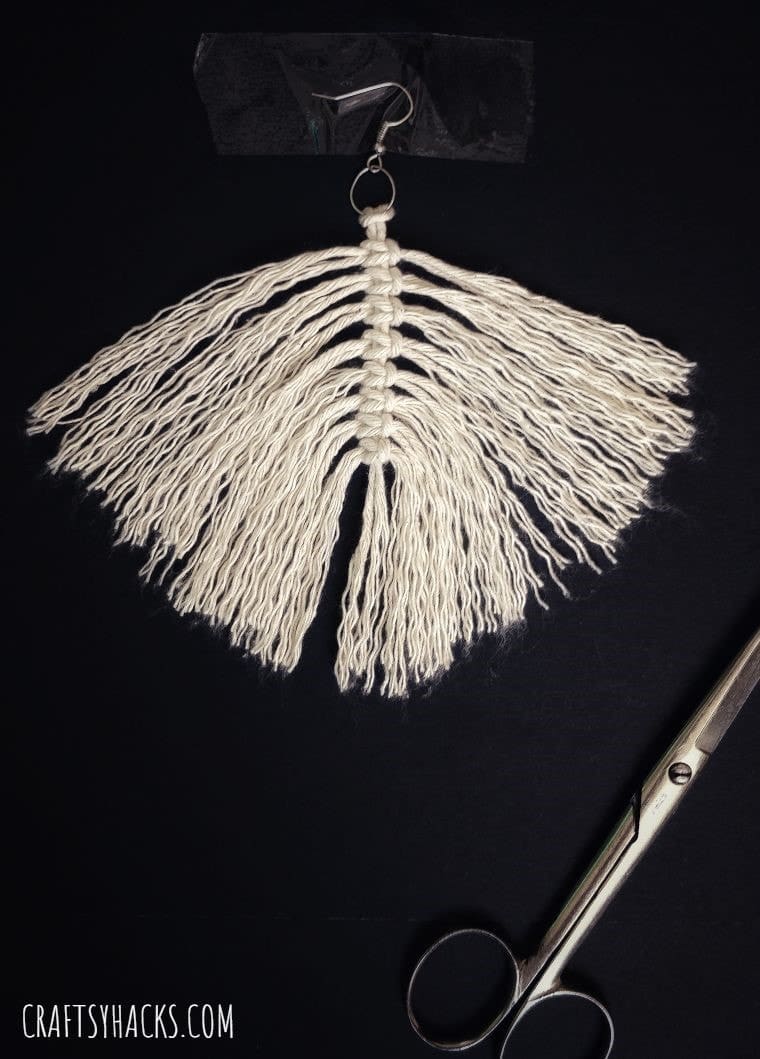
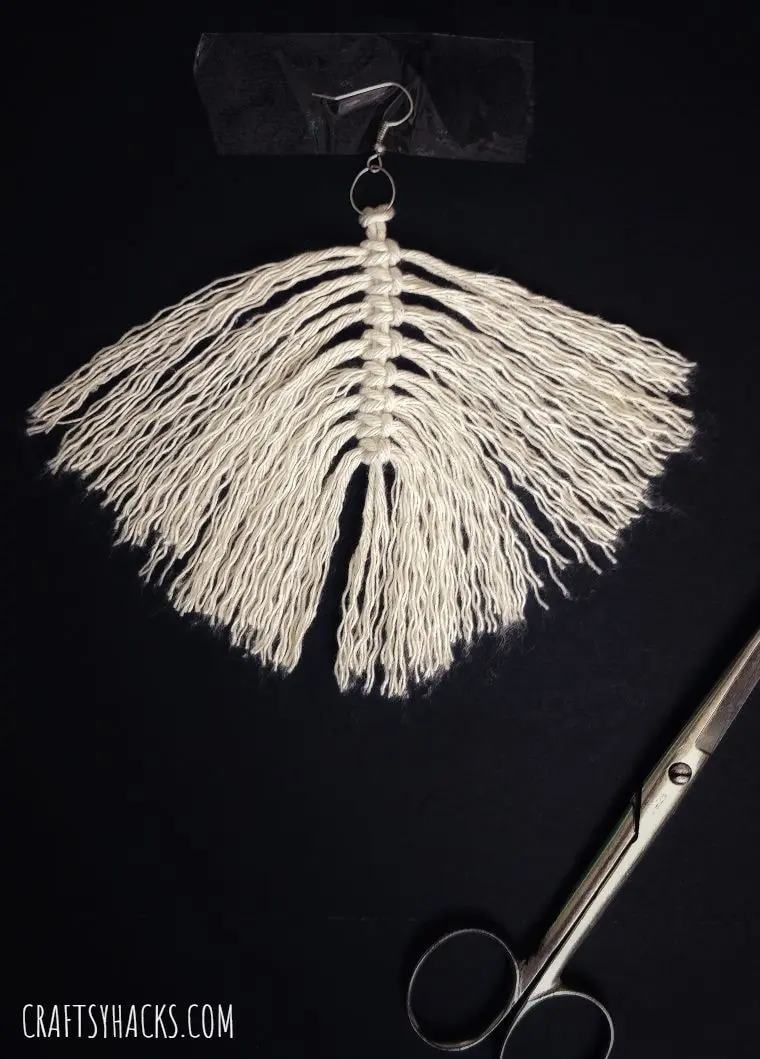
After giving the strands a rough trim, start brushing the strands to separate each thread and uncurl the rope to get the smooth texture of a feather. You have to brush outwards, starting from the spine towards the ends just like you would brush your hair.
Push hard into the cording when brushing to untangle the twist. Start from the top, working your way down.
While combing out the lower strands, hold the bottom of the spine to keep it safe against the force of brushing as it is delicate, and the knot might loosen up.
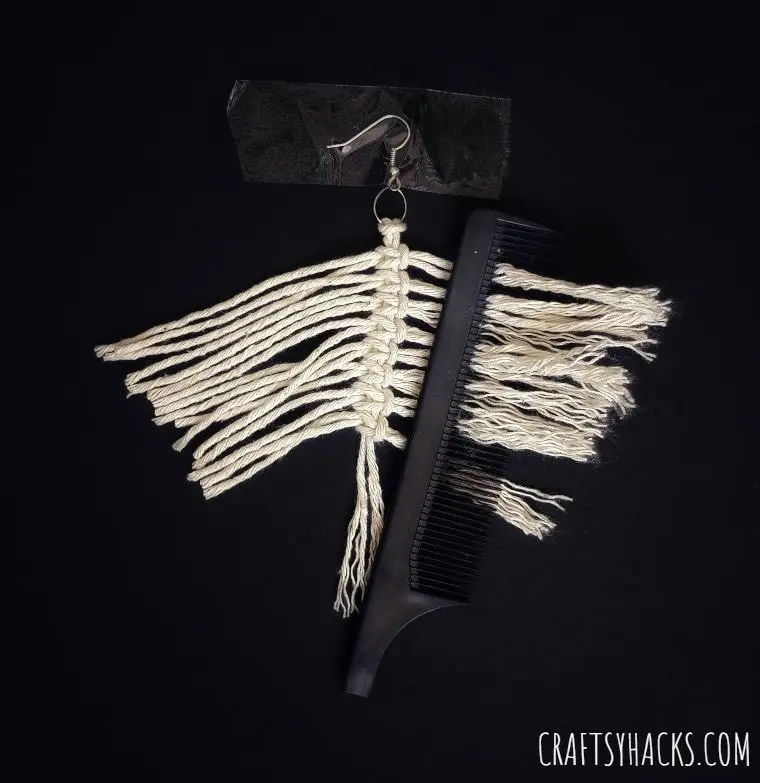
STEP 14
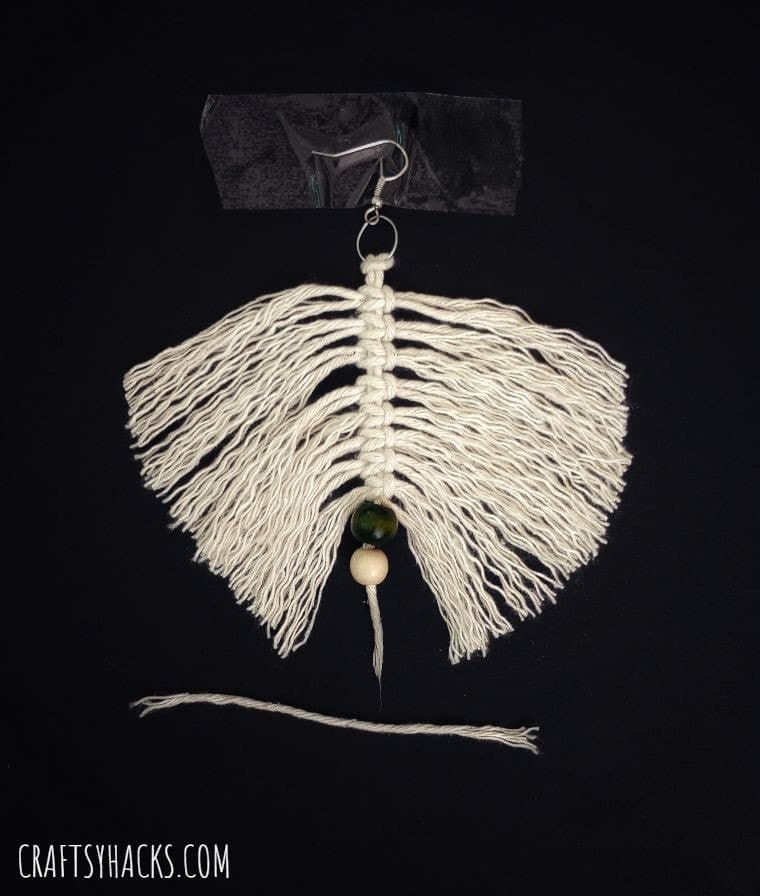
Repeat the process on both sides, and you should have a basic structure. You should be able to see each separate thread by now, as shown in the picture below.
STEP 15
You can add beads of your choice before the final trim. This is an additional optional step.
You can totally skip it, but I thought it would be a great way to add your personality to your piece. It adds that extra element to make it more unique.
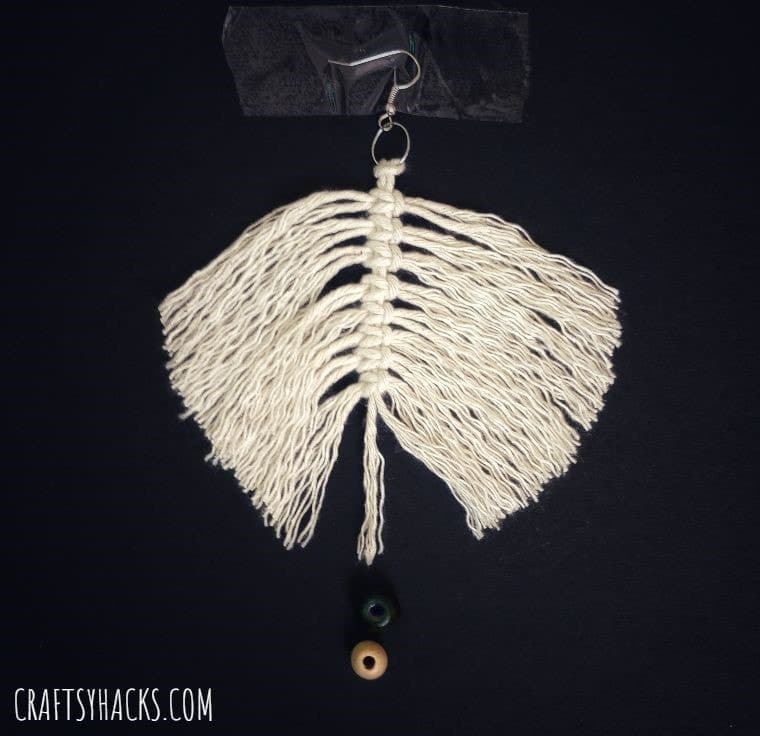
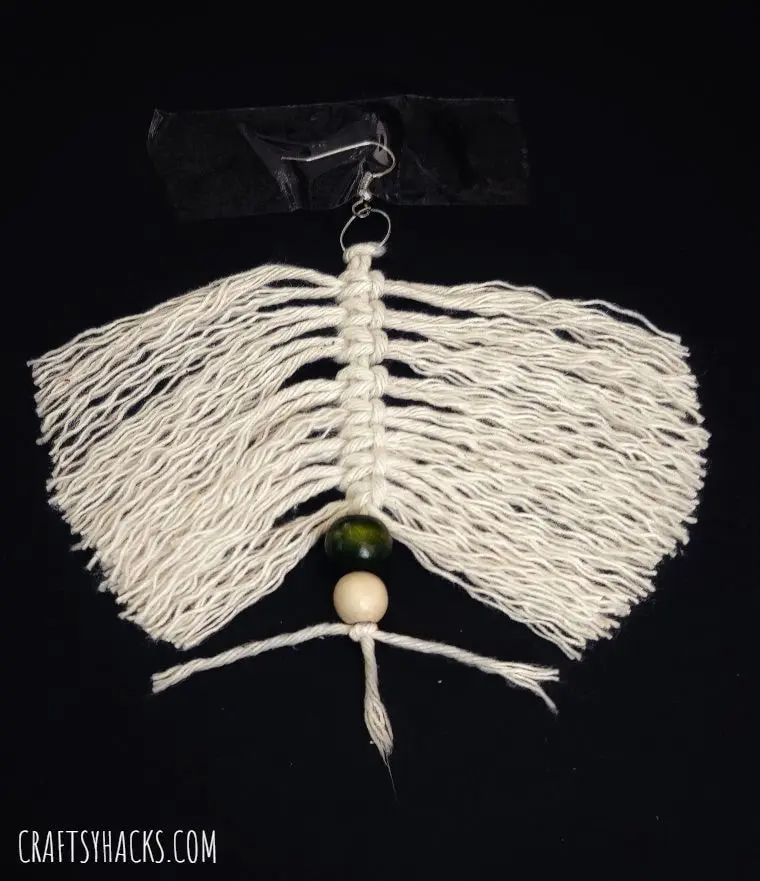
STEP 16
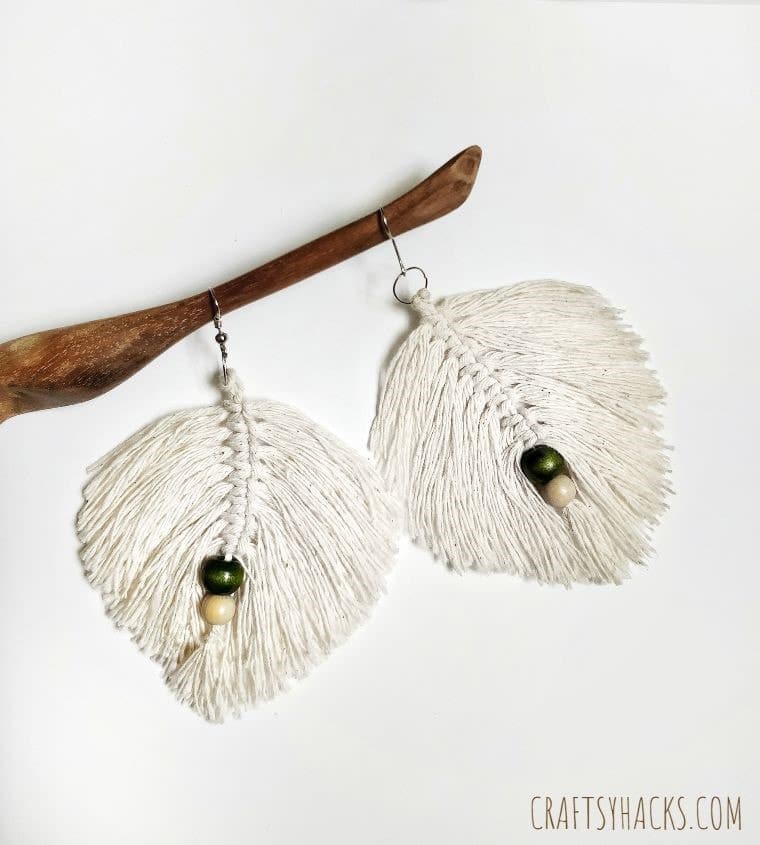
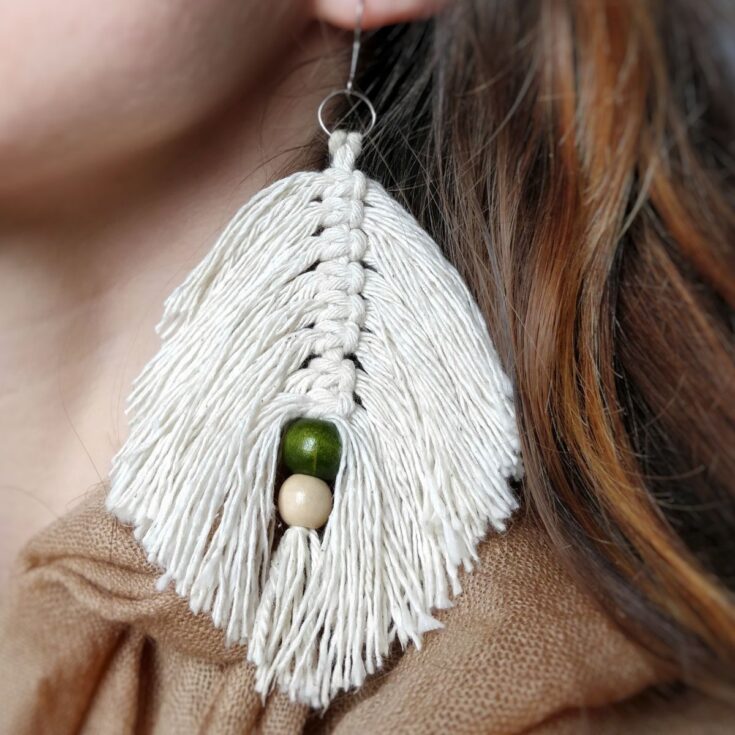
Put the beads through. Choose the colors of your own choice. Two beads are enough.
Once the beads are through, cut one more short string to secure the beads.

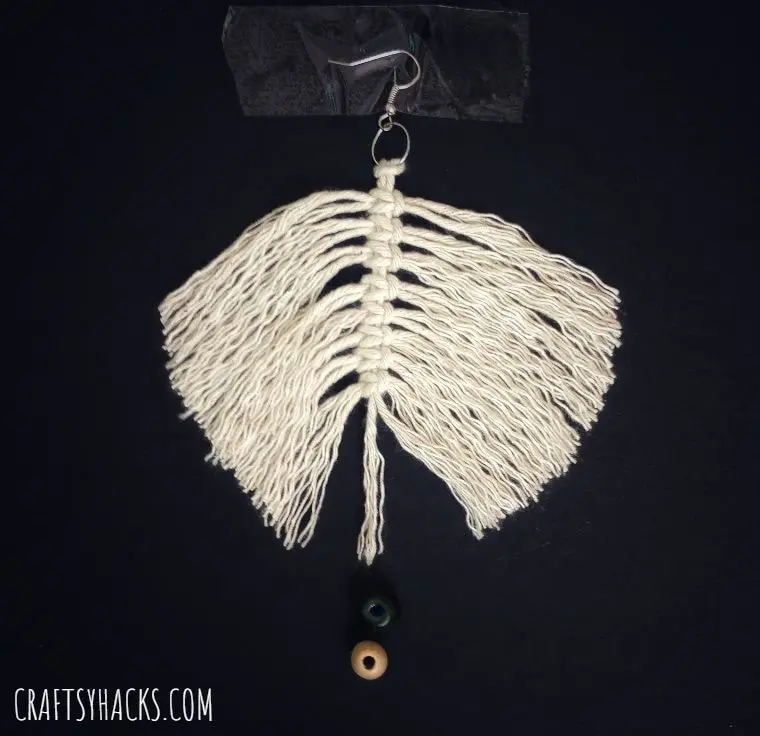
STEP 17
Tie a thumb knot at the bottom to secure the beads in place. Tighten the knot to make sure it is secure.
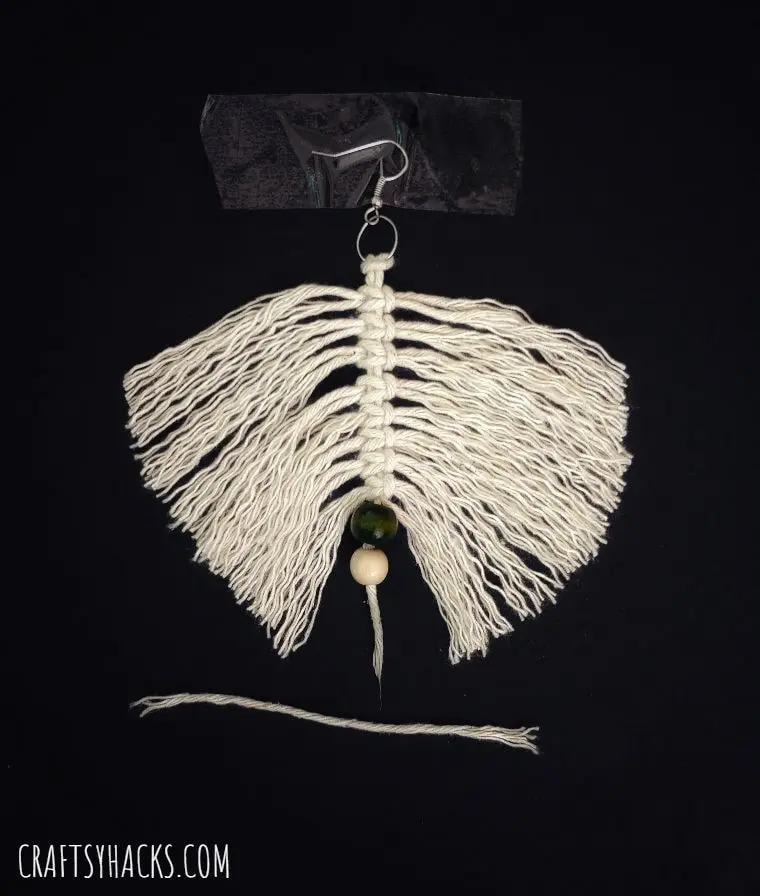
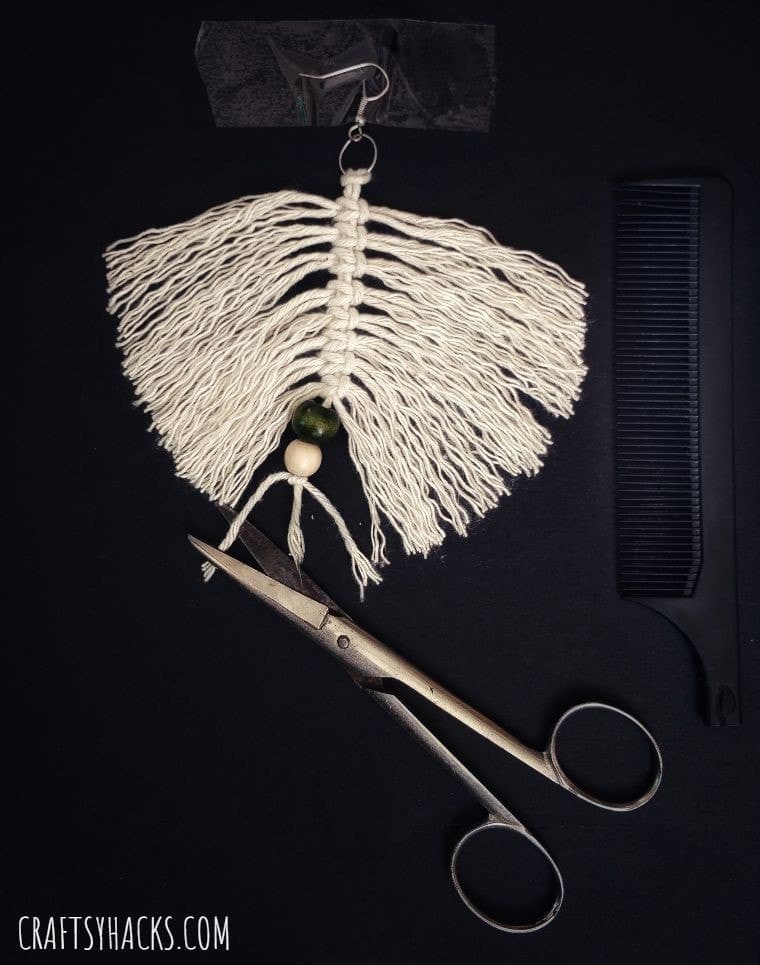
STEP 18
Comb out the last string and now give the final trim. Be careful while cutting, as this is a challenging part. How you cut the feather is very important as this determines the final shape.
You can use water or stiffener to make the threads a little stiff, making it a lot easier to cut and also makes the thread more durable.
Once you have given it the final trim, let it dry for some time.
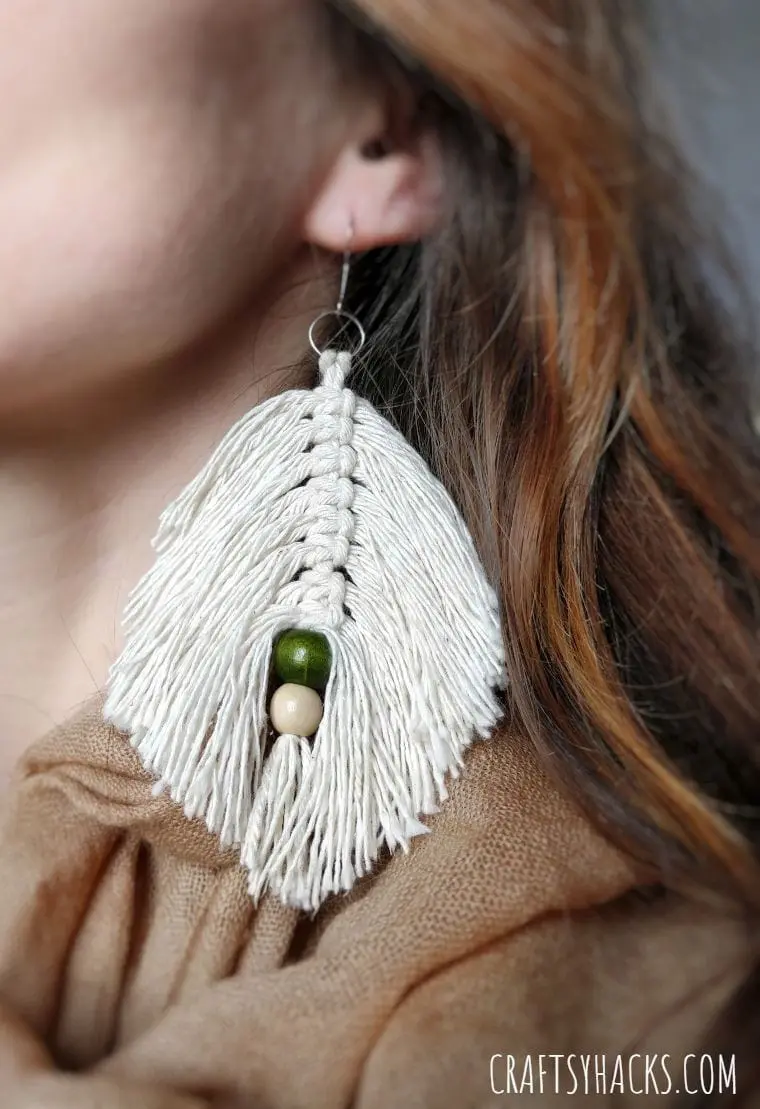
That’s it – you finally have a quirky pair of earrings ready to be a part of your next OOTD!

What Can I Use for Macrame Earrings?
To make these macramé feathers, you can use nylon, silk, satin, rayon, and cotton single twist ropes. It is best to use natural threads like cotton and silk, but you can also use synthetic ropes.
Cotton or other natural fiber gives it a more boho look, but synthetic thread makes it very durable and resilient.
You can go for any of the above threads as all of them work just fine. Go for the ones that are easily available to you.


Other Crafts You May Like:
- 20 Creative DIY Crafts for Teens That Can Make $$
- Yarn-Wrapped Flower Pot
- Yarn-Wrapped Glass Vase
- 20 Creative Dollar Tree Crafts
- 25 Cute Crafts for Teens
- 37 Crafts to Make and Sell
- Paper Crafts
- Scrap Fabric Projects
- Upcycling Ideas
- DIY Projects

DIY Macrame Leaf Earrings
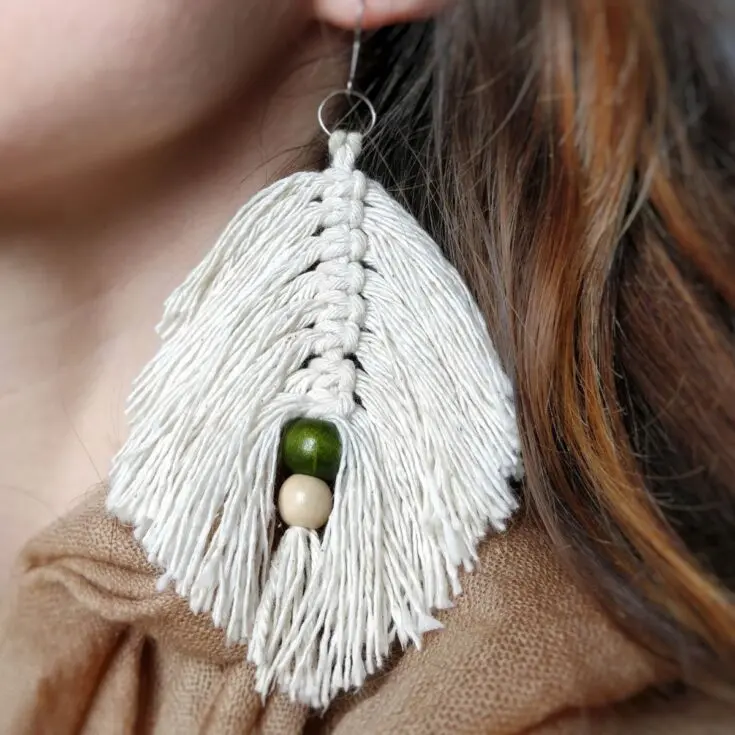
These DIY macrame earrings are fun to make and you'll be able to use them as an accessory! These will be a nice addition to your wardrobe and just a nice DIY project.
Materials
- 4mm Single Stranded Cotton Rope
- 2x jump rings
- 2x earring hooks
- 4 beads of choice
Tools
- Tape (or clips)
- Scissors
- Haircomb
Instructions
- Gather all your supplies.
- Cut two long strings and 16 (or more) short strings for two earrings.
- Fold the long string in half and put a jump ring through it.
- Secure the jump ring with a knot. Fold the cotton loop downwards and pull the loose strings through it and tighten.
- Attach the hook onto the jump ring and secure the top with a tape or a clip.
- Take a short string, fold it in half with a loop in the middle, and put it under the spine.
- Take the second one then fold it in half.
- Insert this folded one into the horizontal strand's loop.
- Pull it through and position it horizontally above the opposite strand.
- Now, pull the bottom strands all the way around the top loop. Pull both sides tightly. For the next knot, start with the other side and repeat the steps.
- Carefully comb out the strands.
- Add beads if you like (if you add beads, then add one more string to secure the beads in place).
- Make the final trim. Wet the strands to make it more manageable to cut.
- Let it dry.
- Your earrings are ready to be flaunted!
Conclusion
If that wasn’t enough proof that creating something beautiful and useful doesn’t have to be complicated or expensive, I don’t know what will.
Try making these earrings in a myriad of colors using different beads to match your style. You can also create various patterns and sizes as you please.
All the supplies are very affordable and easily available, allowing you to make one for each of your outfits. You can also craft these beauties as a gift your friends and family will surely love and cherish.
Jessica
Wednesday 22nd of March 2023
These are beautiful! 😍 about how long does it take from start to finish? Thanks!
Karo @ CraftsyHacks.com
Thursday 23rd of March 2023
About 2 hrs, Jessica ;)