How to Make Paper Mache
This post may contain affiliate links: full affiliate disclosure.

Make paper mache with kids with all-natural ingredients. You can then use it to create all sorts of cute projects for kids and teens.
Doesn’t paper mache just take you right back to your childhood? I remember long summer afternoons when my mother and I would get our hands all messy and squishy making our very own paper mache dough from scratch!
Just making the dough—we called the lumpy paper that and the name stuck—was super fun, but why stop there? You can make a ton of craft items with it, like little trinket bowls, ornaments, and even paper mache alphabets.
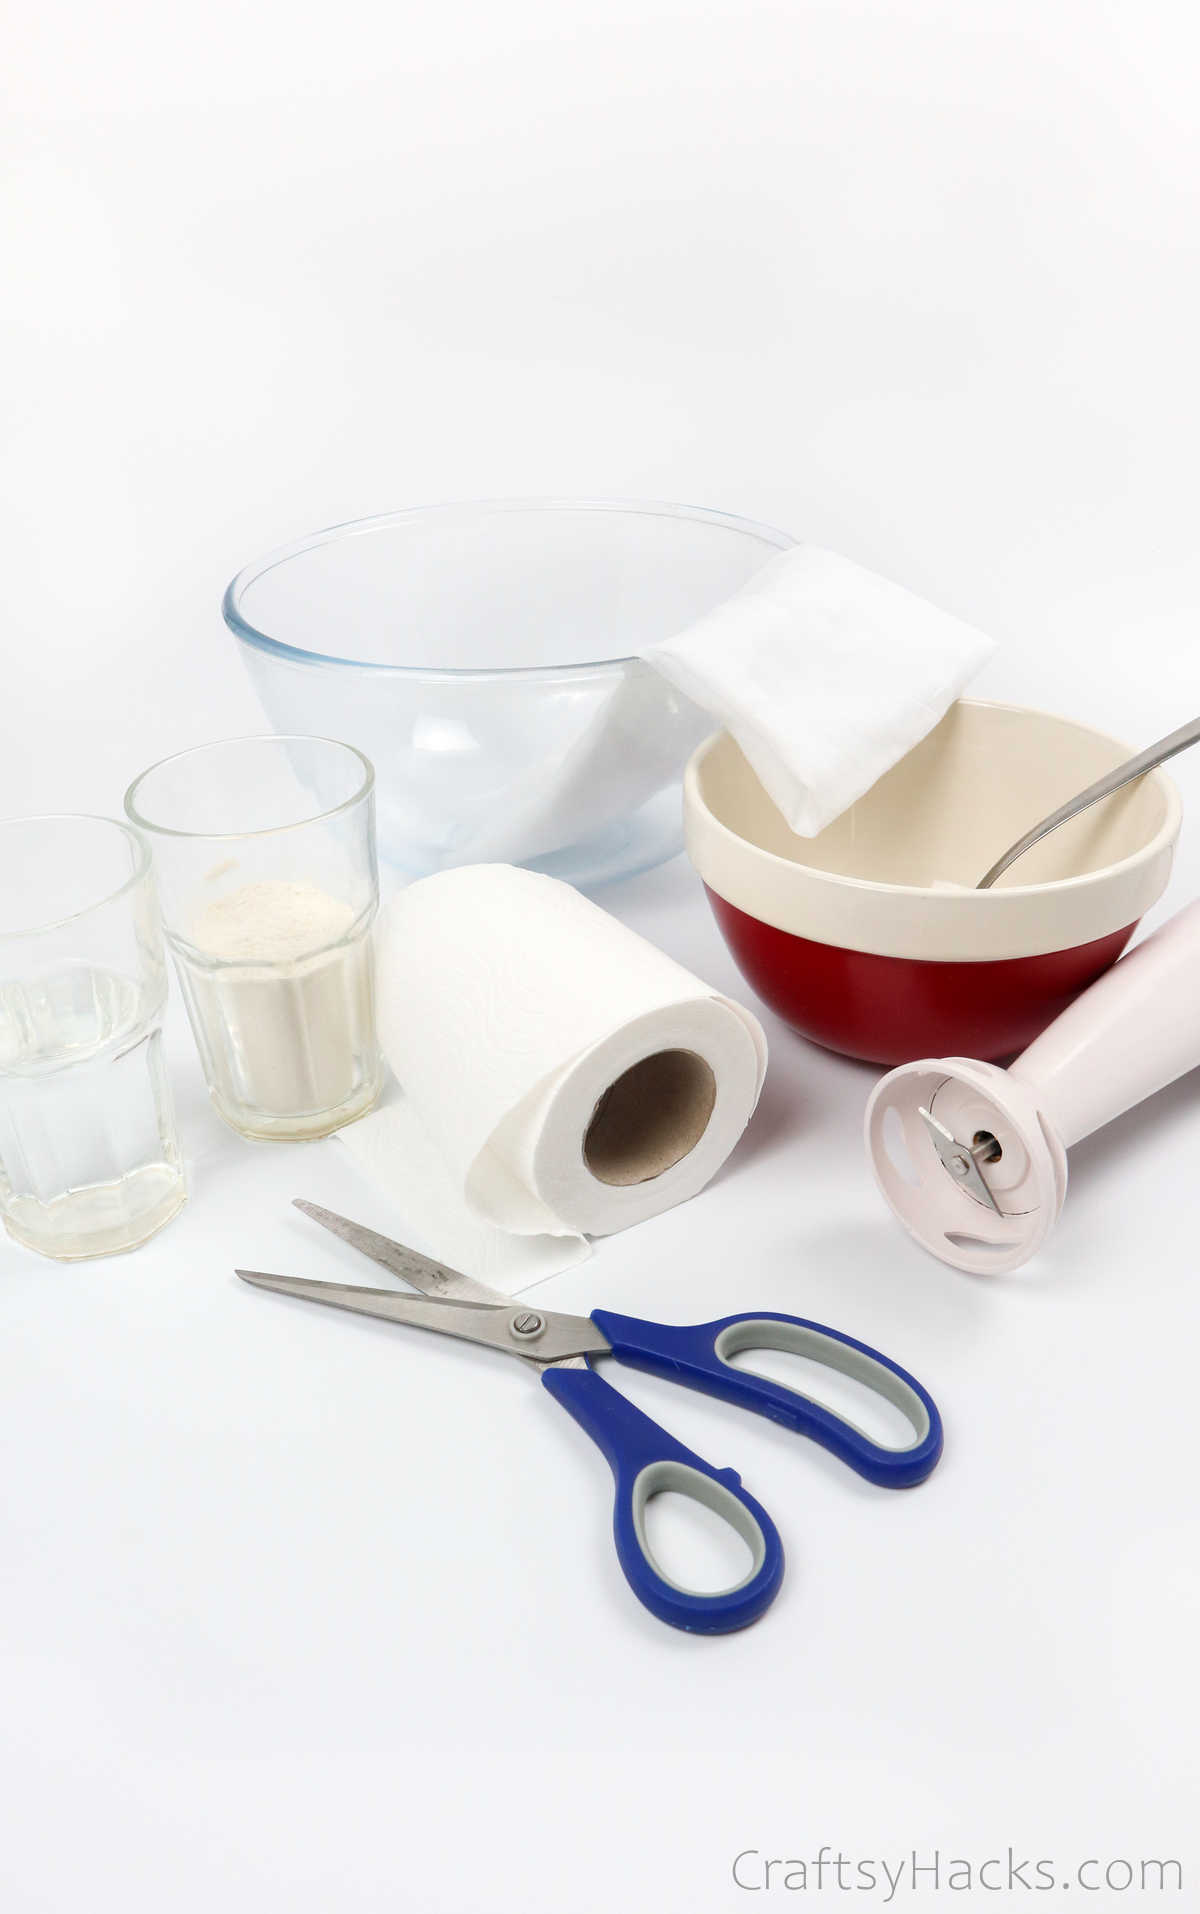
Supplies and Tools
Here’s a list of supplies and tools you need to make your paper mache dough:
- 1/2 toilet paper roll
- Cheesecloth
- 1/2 glass of water
- 1/2 glass of wheat flour
- Spoon
- Blender
- 2x bowls
How to Make Paper Mache
You should definitely consider laying out plenty—and I mean plenty—of paper towels or newspapers around you while you work on this DIY project. It’s going to be messy right from the get-go.
Step 1. If you’ve laid out newspapers over your work surface, you can get right down to the fun and therapeutic part of this project: shredding paper!
Go ahead and start ripping your paper into smaller pieces before putting them in a bowl.
You can definitely use newspapers, as well. Just remember to tear the newspaper into really small pieces as the dough will end up thicker and harder if you don’t.
Step 2. While you’re shredding the paper, put a kettle on. It’s not just to make yourself a cup of tea, although you definitely should. You’re going to pour boiling water over your shredded paper and let it sit for a couple of hours.
The hot water helps with breaking down the cellulose, and your paper will get all soft and squishy. Don’t skip this step, though. When you let the paper sit in the boiling water, your dough will end up more pliant.
Also, if you use newspaper, then you will have to let it sit in the water overnight. Newspaper is much thicker and needs more time to soften and for the cellulose to break down.

Step 3. Next, when you’re sure your paper has been sitting in the water long enough, grab a hand blender and mush everything into pulp. You will either love the squelching sounds you’ll hear, or you won’t.
Me? I get a kick out of it!
Stop pulping the paper when it looks something like this.
Step 4. It’s time to strain your pulp and drain all that water. Place a cheesecloth over a big bowl and carefully pour your paper pulp into the cloth.
Gather the ends and squeeze the excess water out of the pulp into the bowl below. If you think you’ve squeezed enough, just do it again, just to be extra sure!

Step 5. When you take the pulp out of the cheesecloth, it should look something like this. Break the pulp into little pieces and put them into a bowl.
If I didn’t know better, I’d say it looks an awful lot like ricotta or cottage cheese.
Step 6. Now, you’re going to prepare the binding paste to turn that pulp into your paper mache dough. Grab another bowl and add your white flour to it. You can just as easily use cornstarch which will be just as effective, if not more so.
Stir your water in—not all at once, but in parts so that the flour doesn’t turn lumpy. Your paste should be smooth and sticky but not runny. You will need to cook this paste, so to speak. Place the contents in a saucepan with the heat on low.
The mixture needs to be heated for around five minutes, or until the water evaporates and you have a thick and creamy paste. You have to keep stirring the paste constantly, or it will burn.
Alternatively, you can pop it into a microwave. Heat the paste for 15-20 seconds, take it out, stir vigorously, and then it goes in there again for another round. Repeat this a few times till the paste thickens.

Step 7. Spoon the paste onto the pulp.
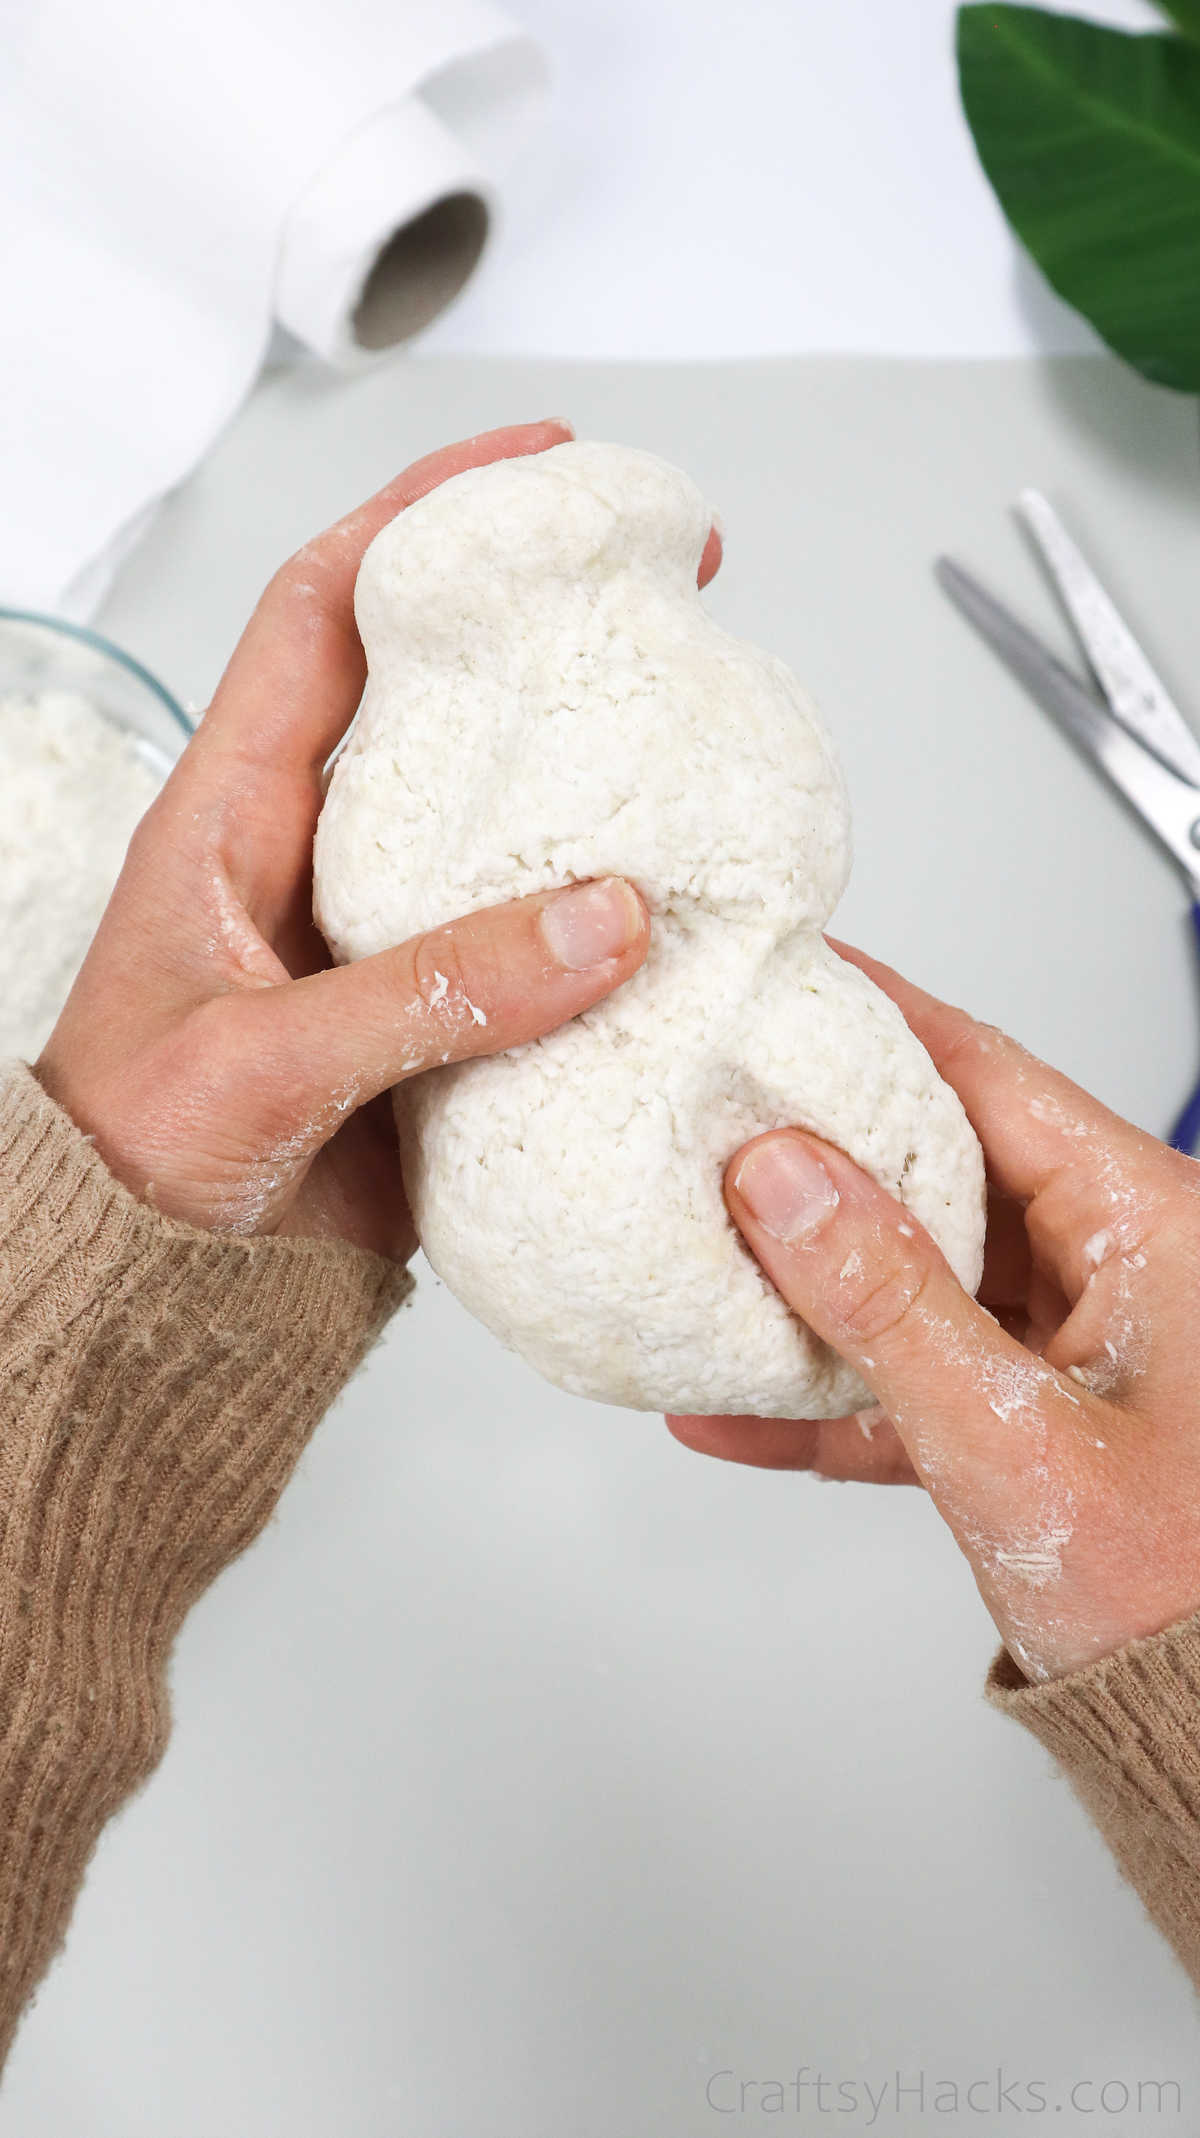
This part is my absolute favorite: rolling and kneading the dough. But first, roll up your sleeves; it’s going to get messy.
If your dough is wet, just sprinkle a little flour over, and keep rolling. If it’s too dry, just a few drops of water should help soften it. Kids, in particular, will love this part of the activity!

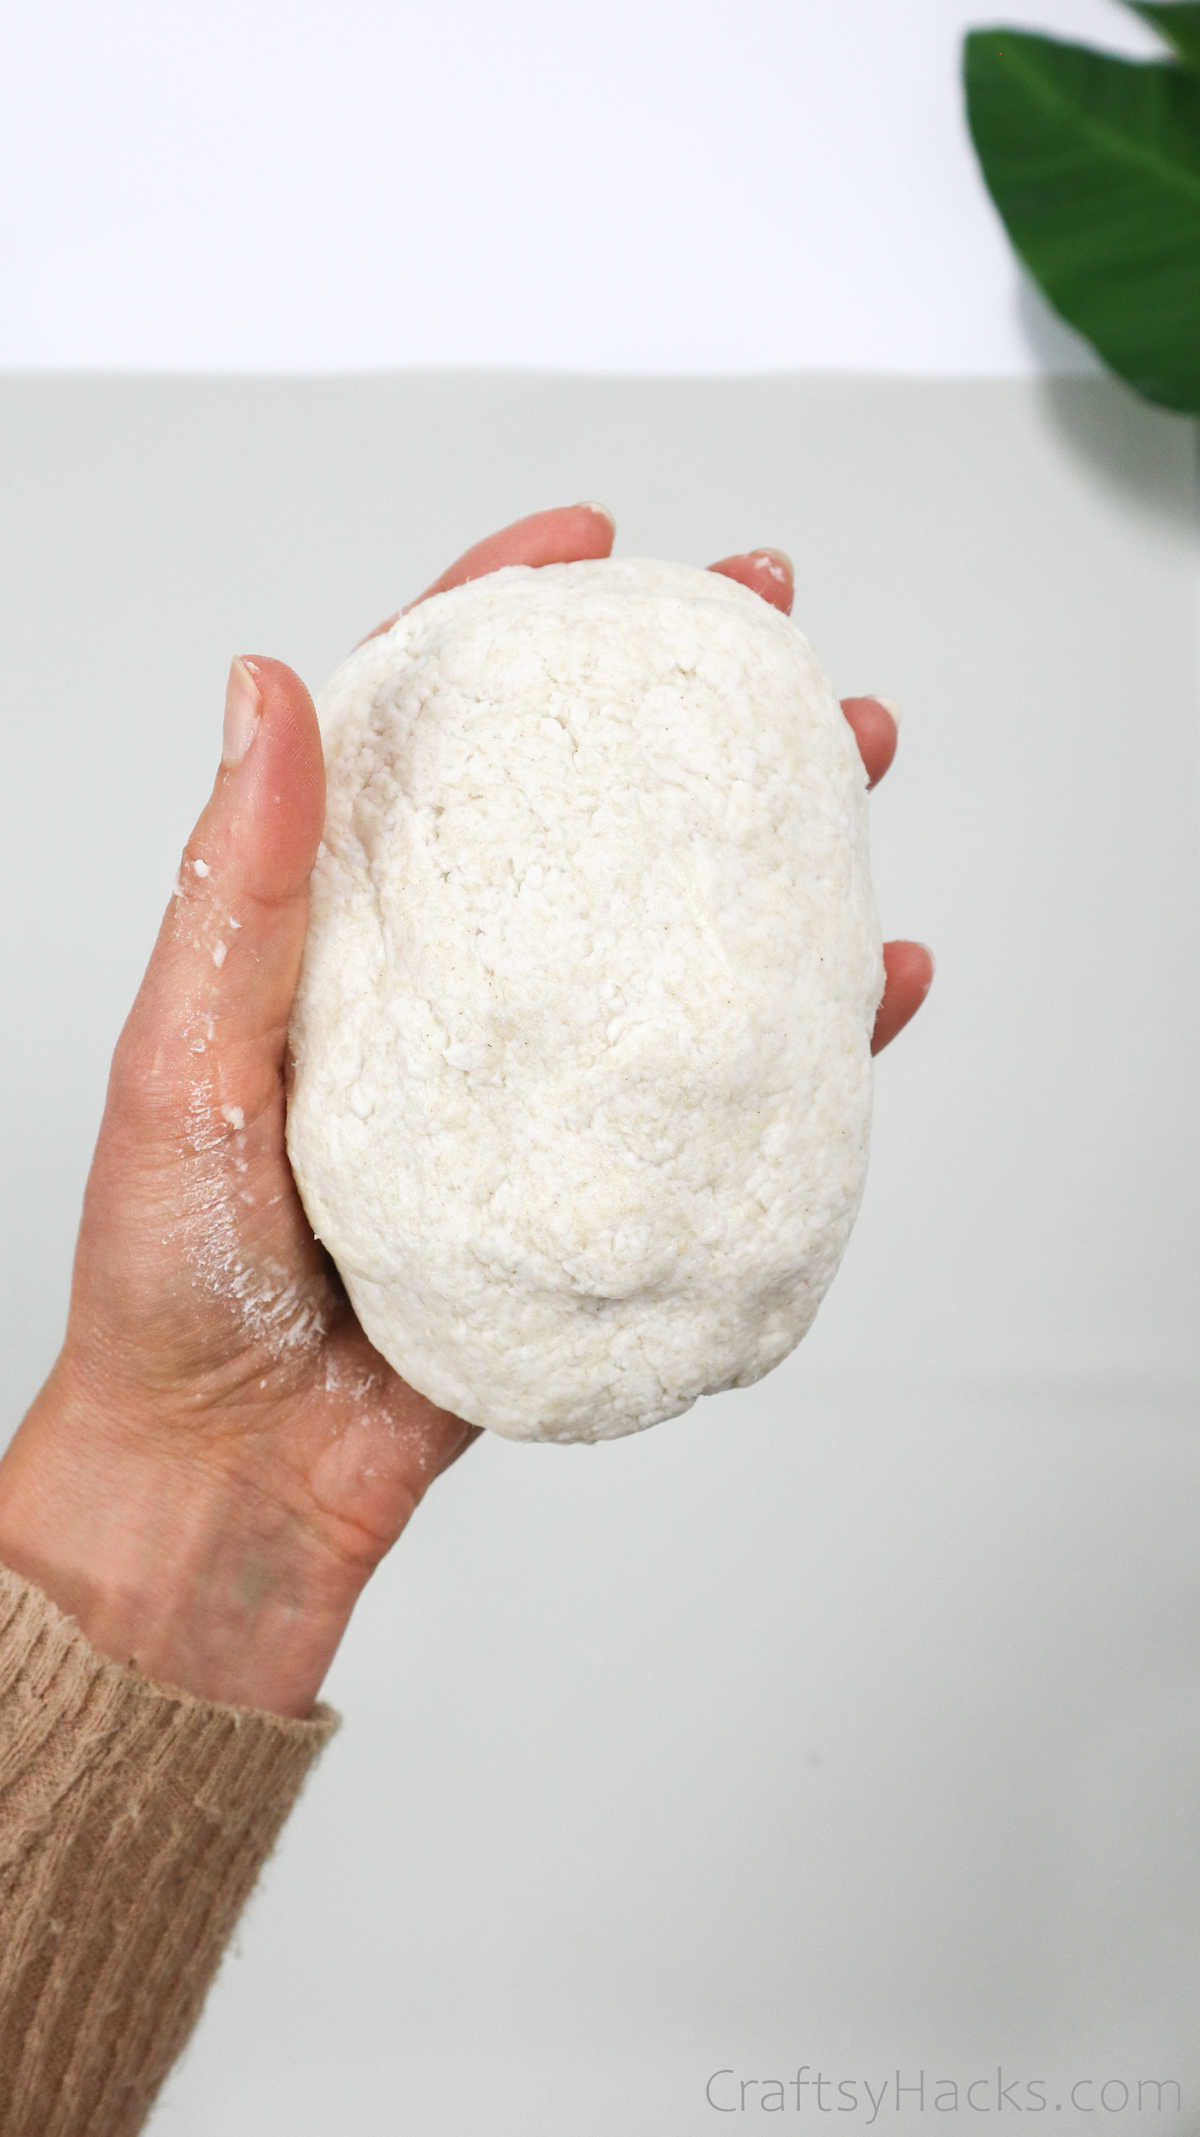
When you’re all done, your paper mache dough will look like this—good enough to eat and even better to start making your paper mache craft items.
What Can I Make from Paper Mache?
There’s absolutely no limit to what you can do with paper mache. Just making the dough can be a great activity, but when you do have the dough ready, you can make a ton of things.
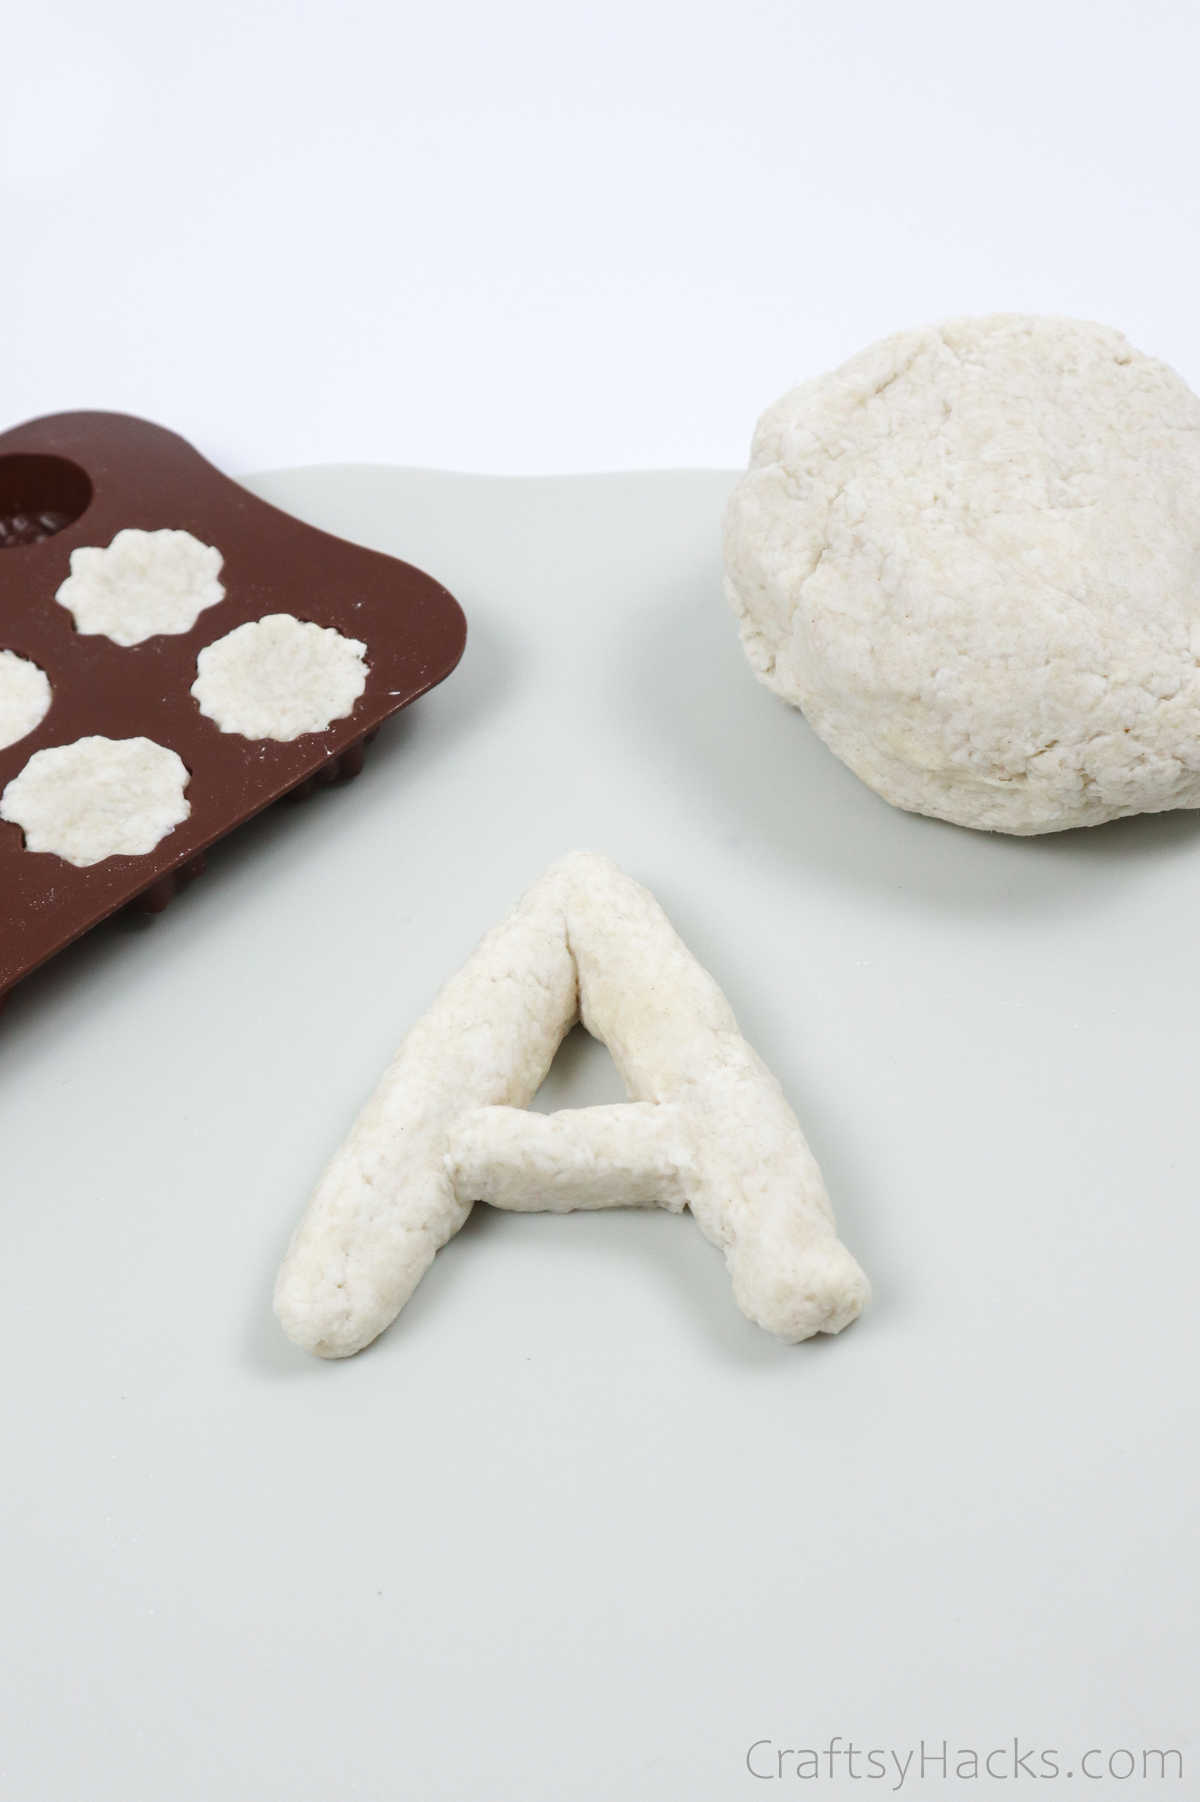
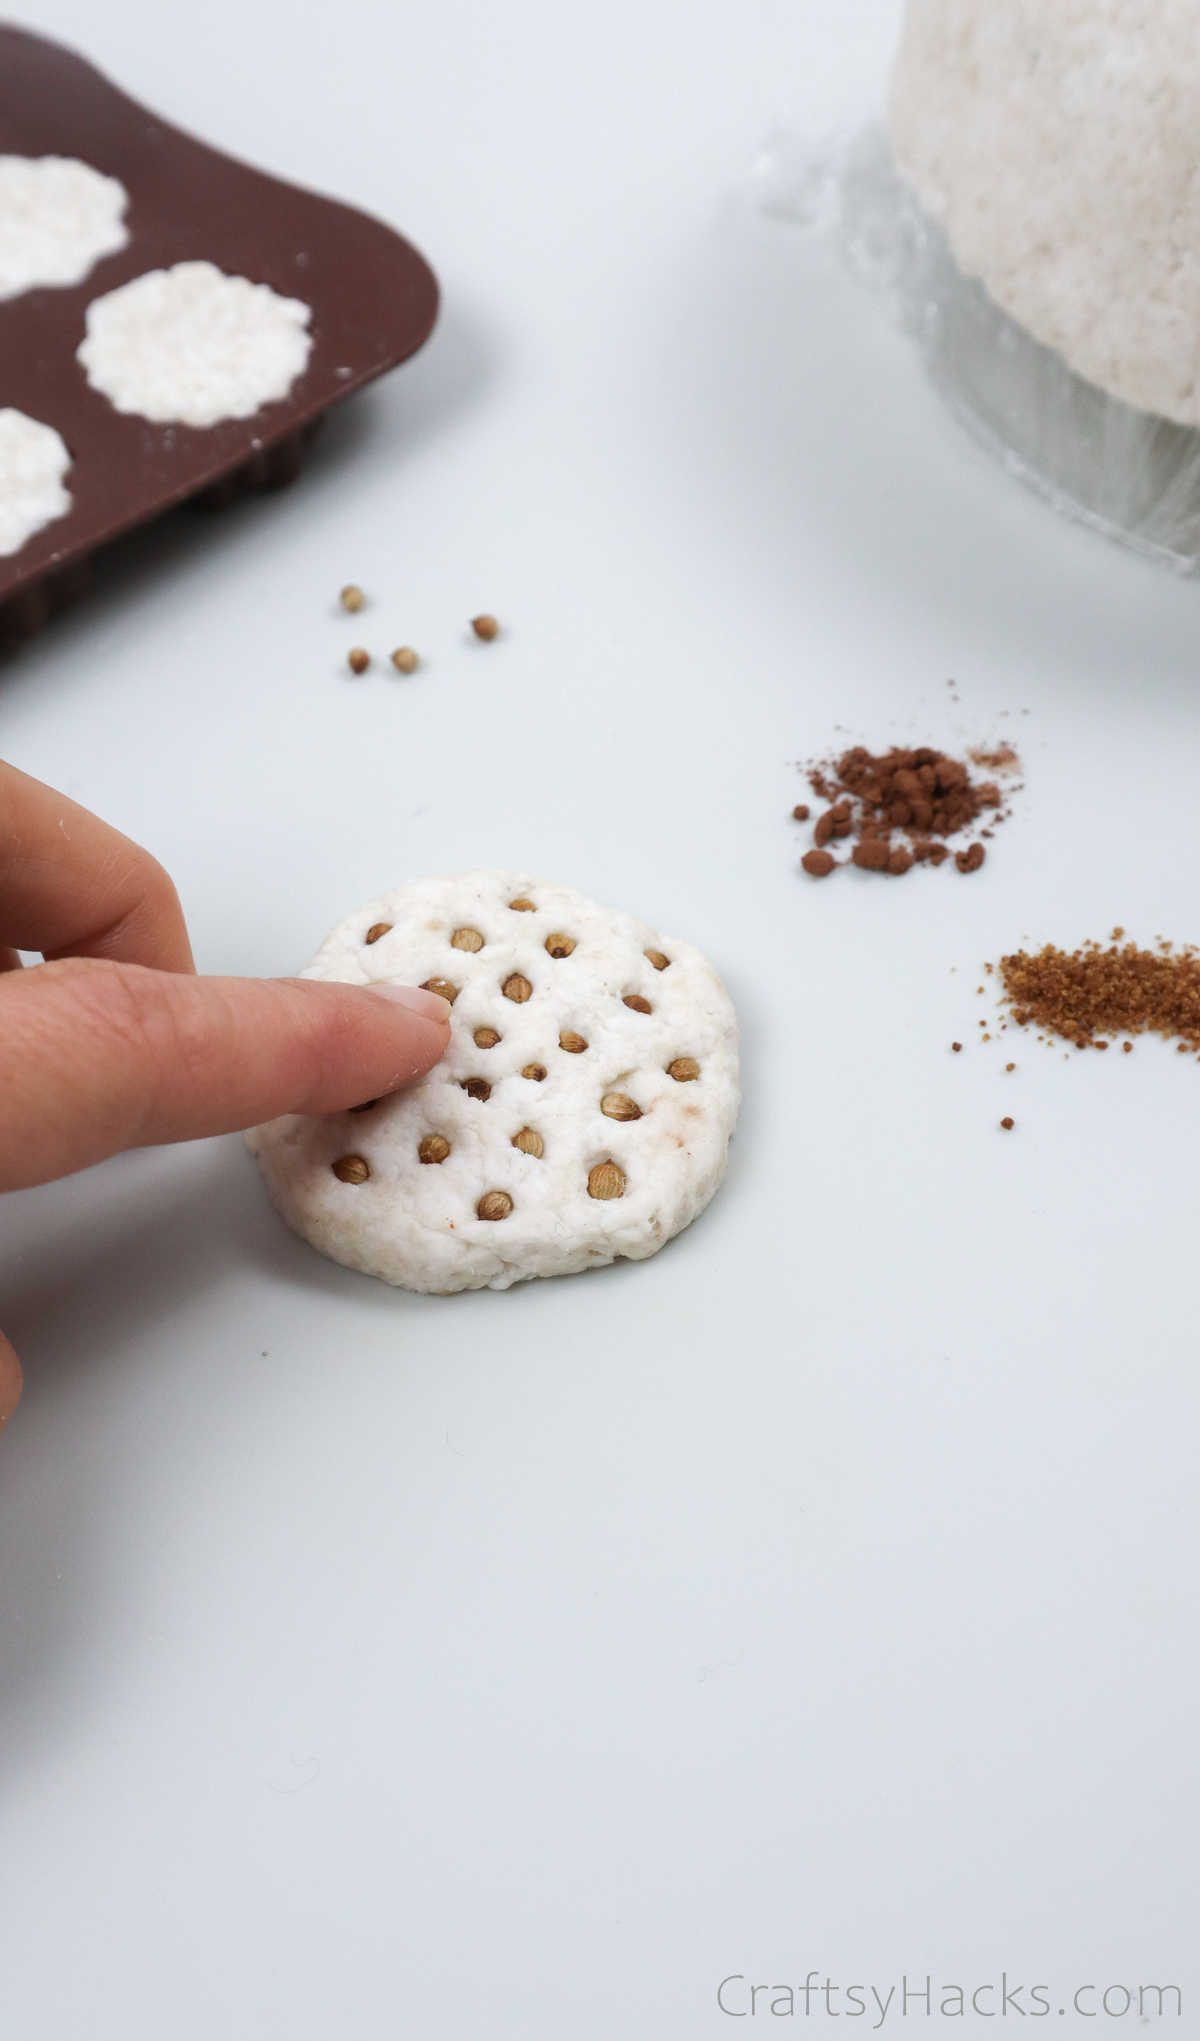
If you have a chocolate or candy molk just press the dough into it and flatten it out. When it’s dry, you can pop it out, paint it, and use it as ornaments and baubles.

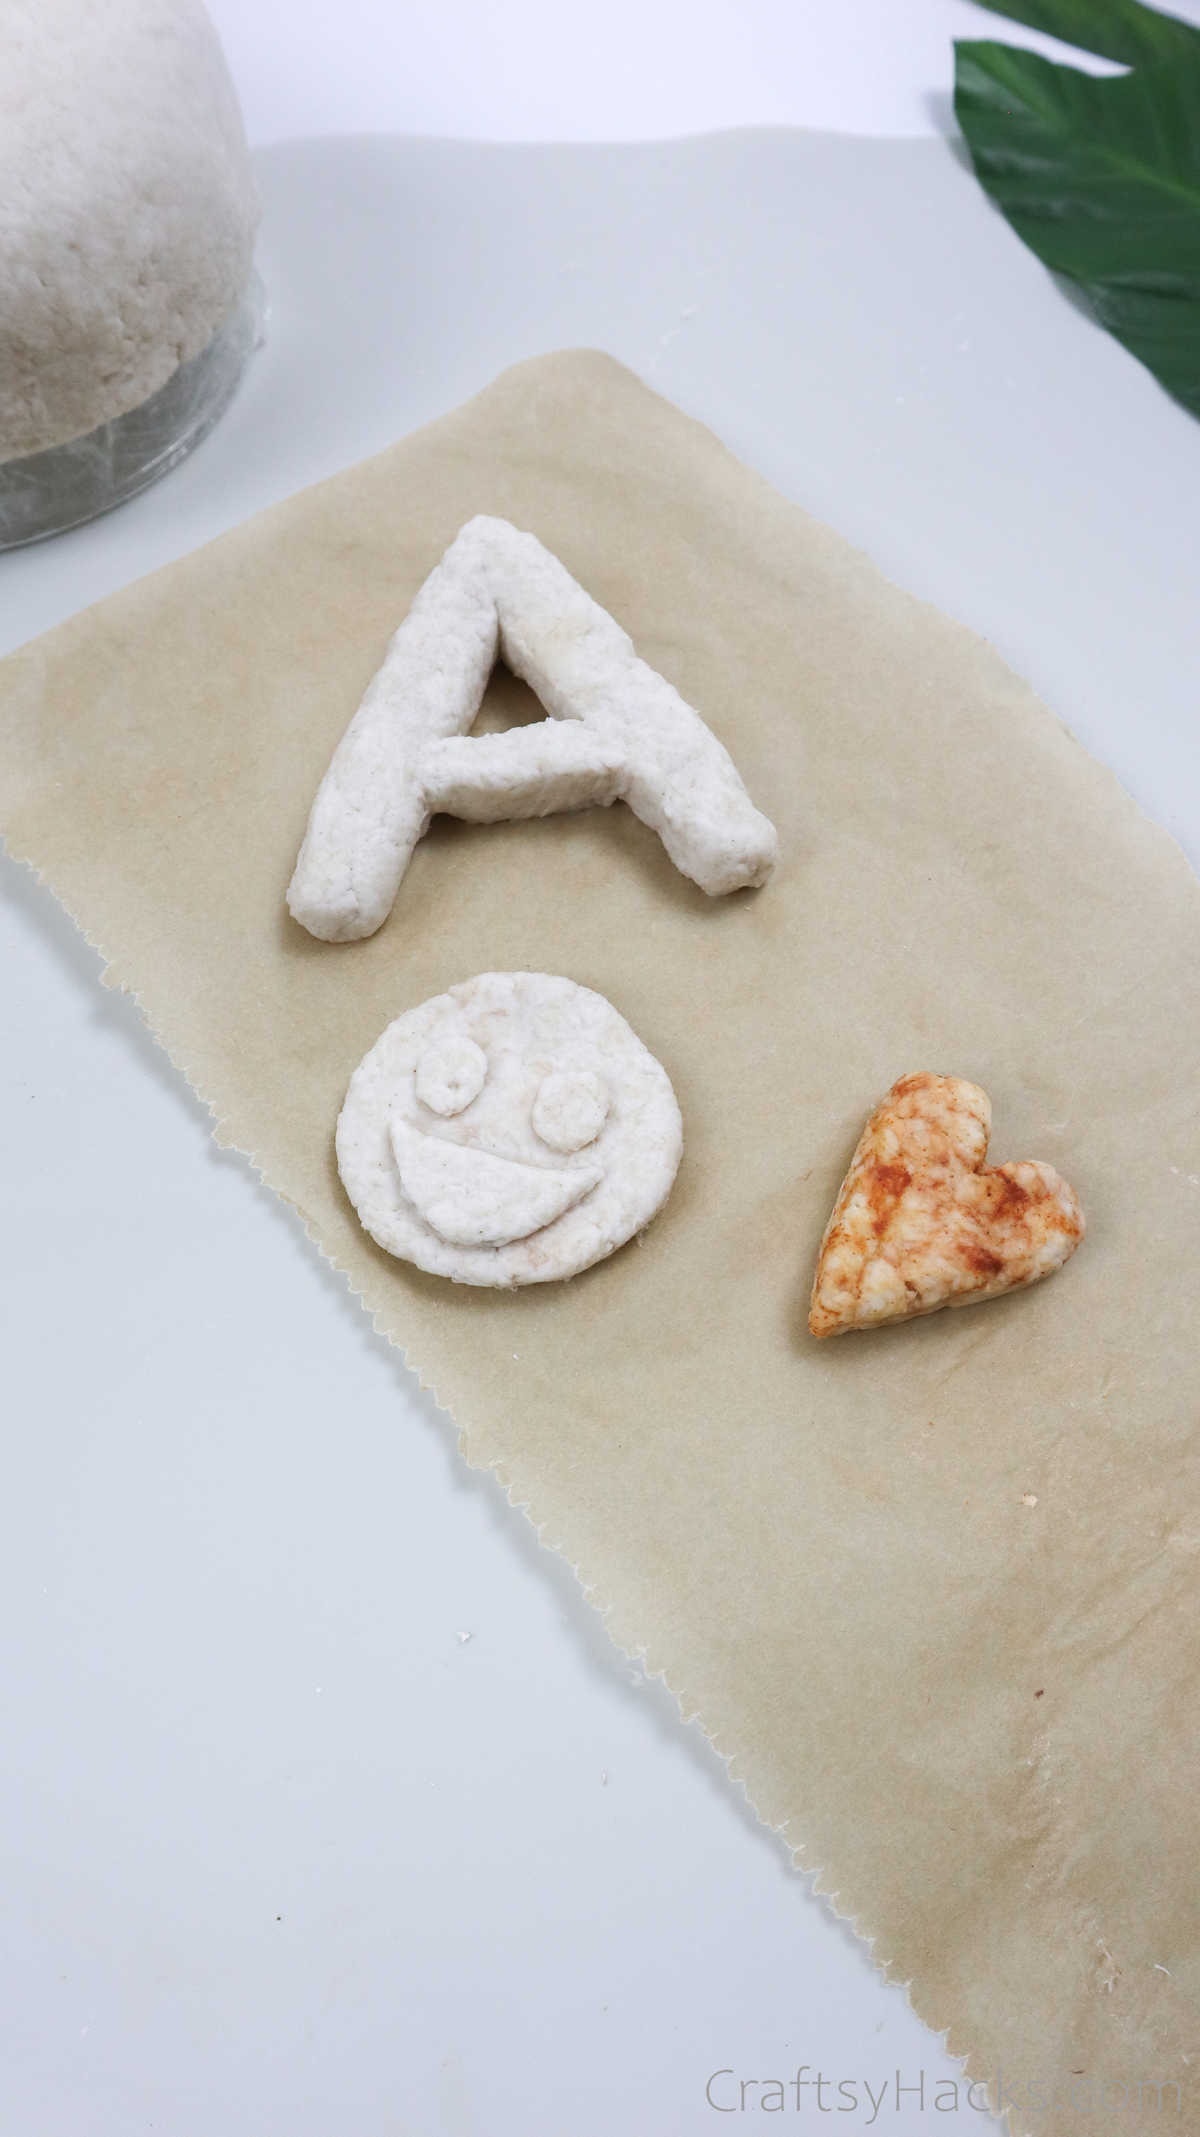
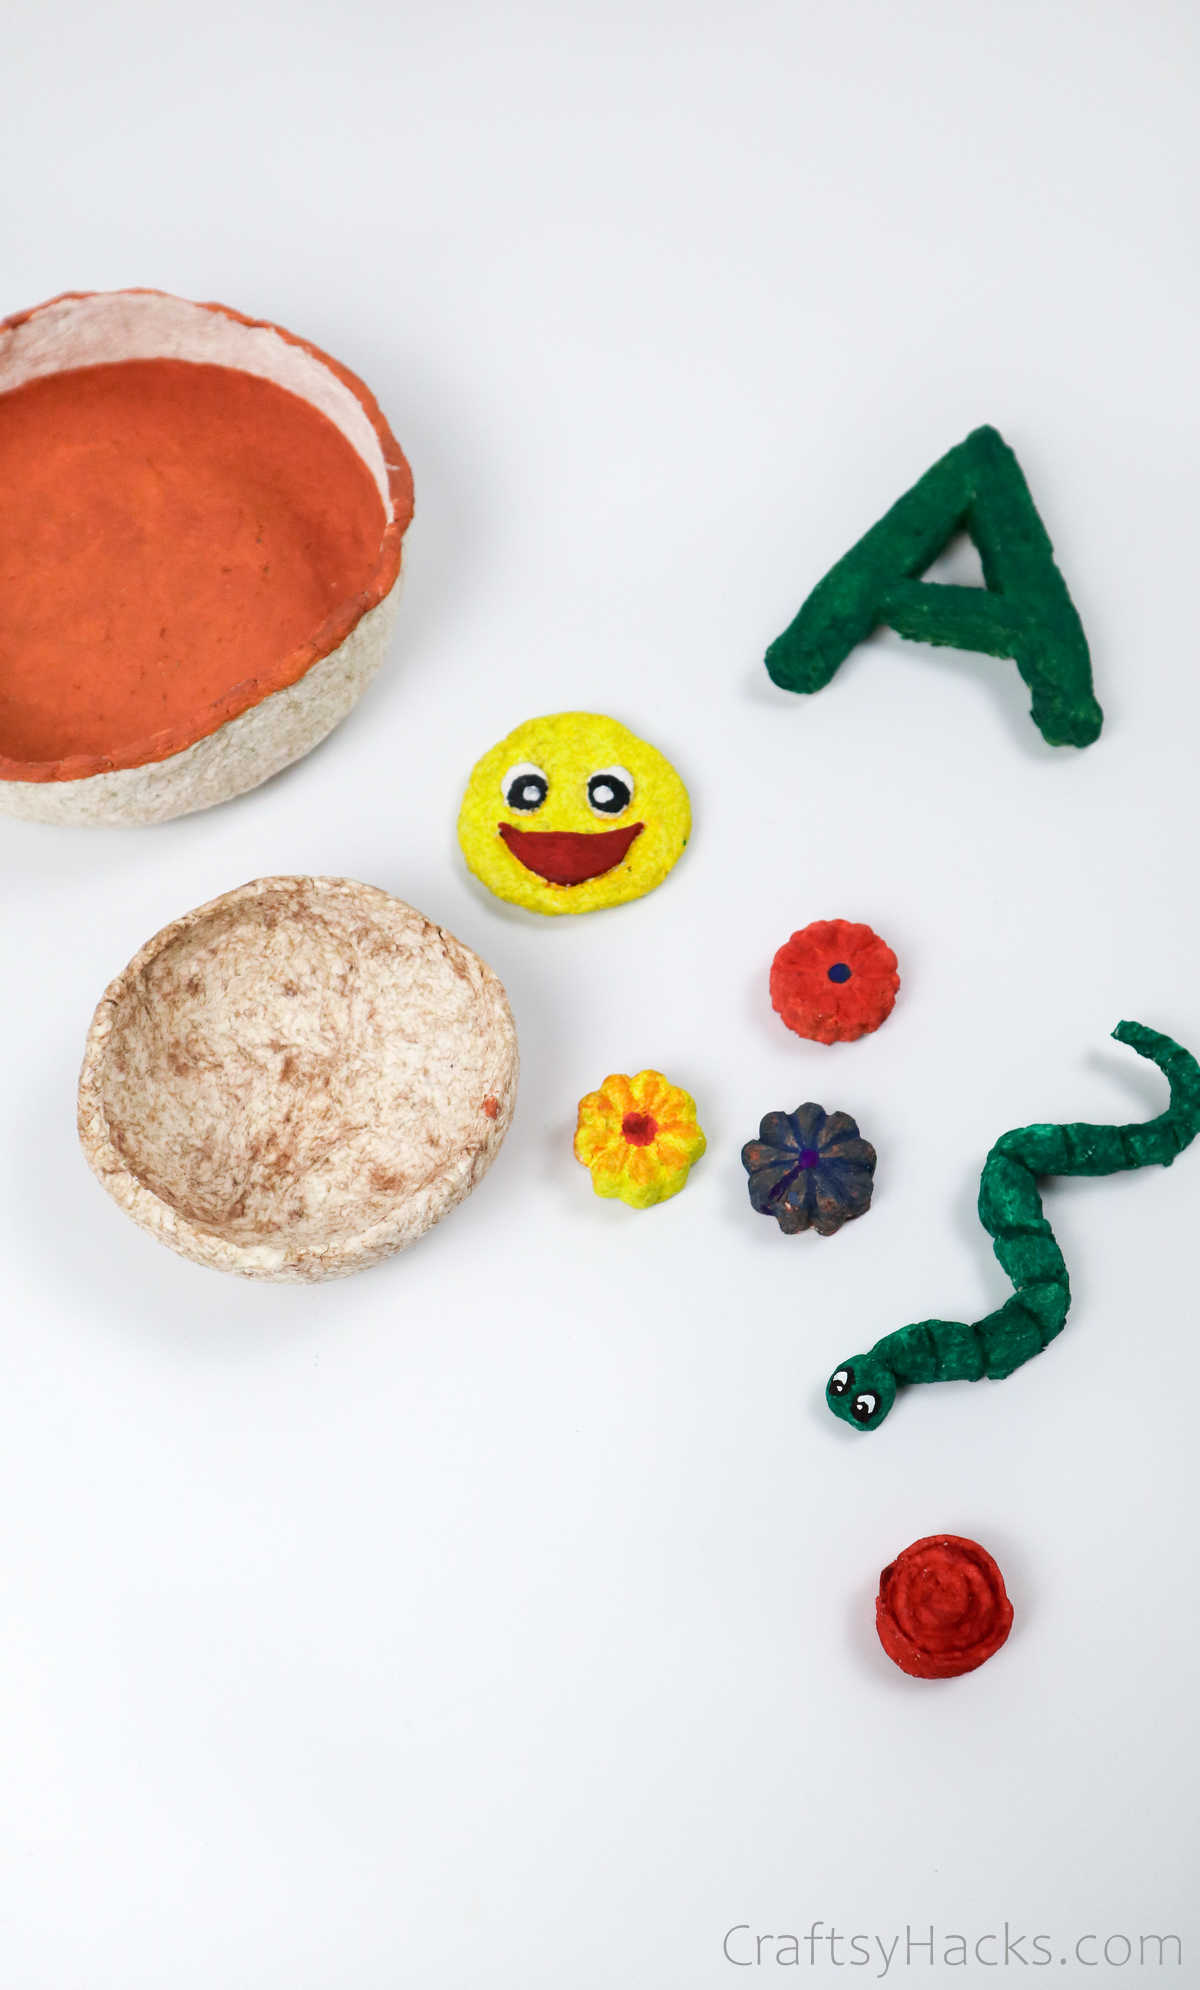
If you want to make lesson time more fun and creative for your little ones, then make a set of paper mache alphabets and use them to teach toddlers their ABCs.
You can also make trinket trays, bowls, and small dishes, and use it to store, well, trinkets! Just cover the outside of a plastic or glass bowls with clear wrap or cling film, spread a drop of oil around it, turn it around, and stick paper mache dough around it, just so.

Can You Use Hairdryer to Dry Paper Mache?
Yes you can use a hairdryer to dry your paper mache. However, you should turn the heat setting down to low, or your mache will scorch. Remember, paper mache is pretty flammable! Besides, using a hairdryer might not dry the paper mache evenly, either.
Smaller pieces will dry up faster, while bigger ones will definitely take longer. Just allow whatever you end up making to air dry for at least 2-3 days—longer if the item in question is thicker. Once dry, you can go ahead and paint it.
Here’s a tip: if you want your paper mache to last longer, add a teaspoon of salt to the dough just before you start kneading. You can store the dough in the fridge for up to a week, as well!
Other Crafts You Might Want to Make
- 41 Cardboard Crafts
- How to Make Paper Tissue Paper Flowers
- How to Make Paper Lanterns
- 27 Classroom Crafts
- How to Make Paper Squishies
- DIY Paper Flowers
- DIY Paper Rings
- 31 Summer Crafts for Kids
- 31 Paper Crafts for Kids
- 37 Tissue Paper Crafts

How to Make Paper Mache (Step-by-Step)
Video Tutorial
Materials
- 1/2 toilet paper roll
- Cheesecloth
- 1/2 glass of water
- 1/2 glass of wheat flour
- Spoon
- Blender
- 2 x bowls
Instructions
- Gather all the materials listed out to begin.
- First, lay out plenty of paper towels over your work surface to control messes and spills.
- Now, tear paper or newspaper into tiny pieces and put them in a big bowl. You can also use a pair of scissors. Newspaper is thicker and so, tear it into much smaller pieces.
- Next, pour boiling water over the paper and let it sit for at least 2 hours(overnight if you used newspaper). The hot water will break down cellulose and turn your paper into pliable pulp.
- Drain the pulp into a cheesecloth and squeeze the excess water out. Squeeze until you’re sure you managed to get all the moisture out of the pulp.
- Remove the pulp from the cheesecloth and break it into tiny pieces and put everything in a bowl.
- To make the flour paste, add flour(or cornstarch) to another bowl and mix in some water. Then, place this paste over low heat and stir continuously as it ‘cooks’ for 4-5 minutes. When the excess water evaporates, your paste should be smooth and sticky.
- Alternatively, pop the paste into a microwave for 15-20 seconds, take it out, stir it, and pop it back in for another round. Repeat this 4-5 times and you’ll have your paste.
- Pour the paste onto the pulp and knead them into a pliant dough. You can store this dough for up to a week in the refrigerator.
- Go ahead and make a ton of paper mache craft items with your dough. Once you allow everything to air dry for a couple of days, you’re all done!


Awesome. It’s such an easy tutorial to follow & make. I’d never heard of the homemade paste which sounds to be a lot greater than glue/wtr I’d always used. Tyfs