How to Make a Bookmark With Paper Clips
This post may contain affiliate links: full affiliate disclosure.
Need a bookmark? Here is a quick tutorial on how to make a bookmark the kids, teens, and even adults will love.
Who says a bookmark needs to be boring? Who says it even needs to be made of paper?
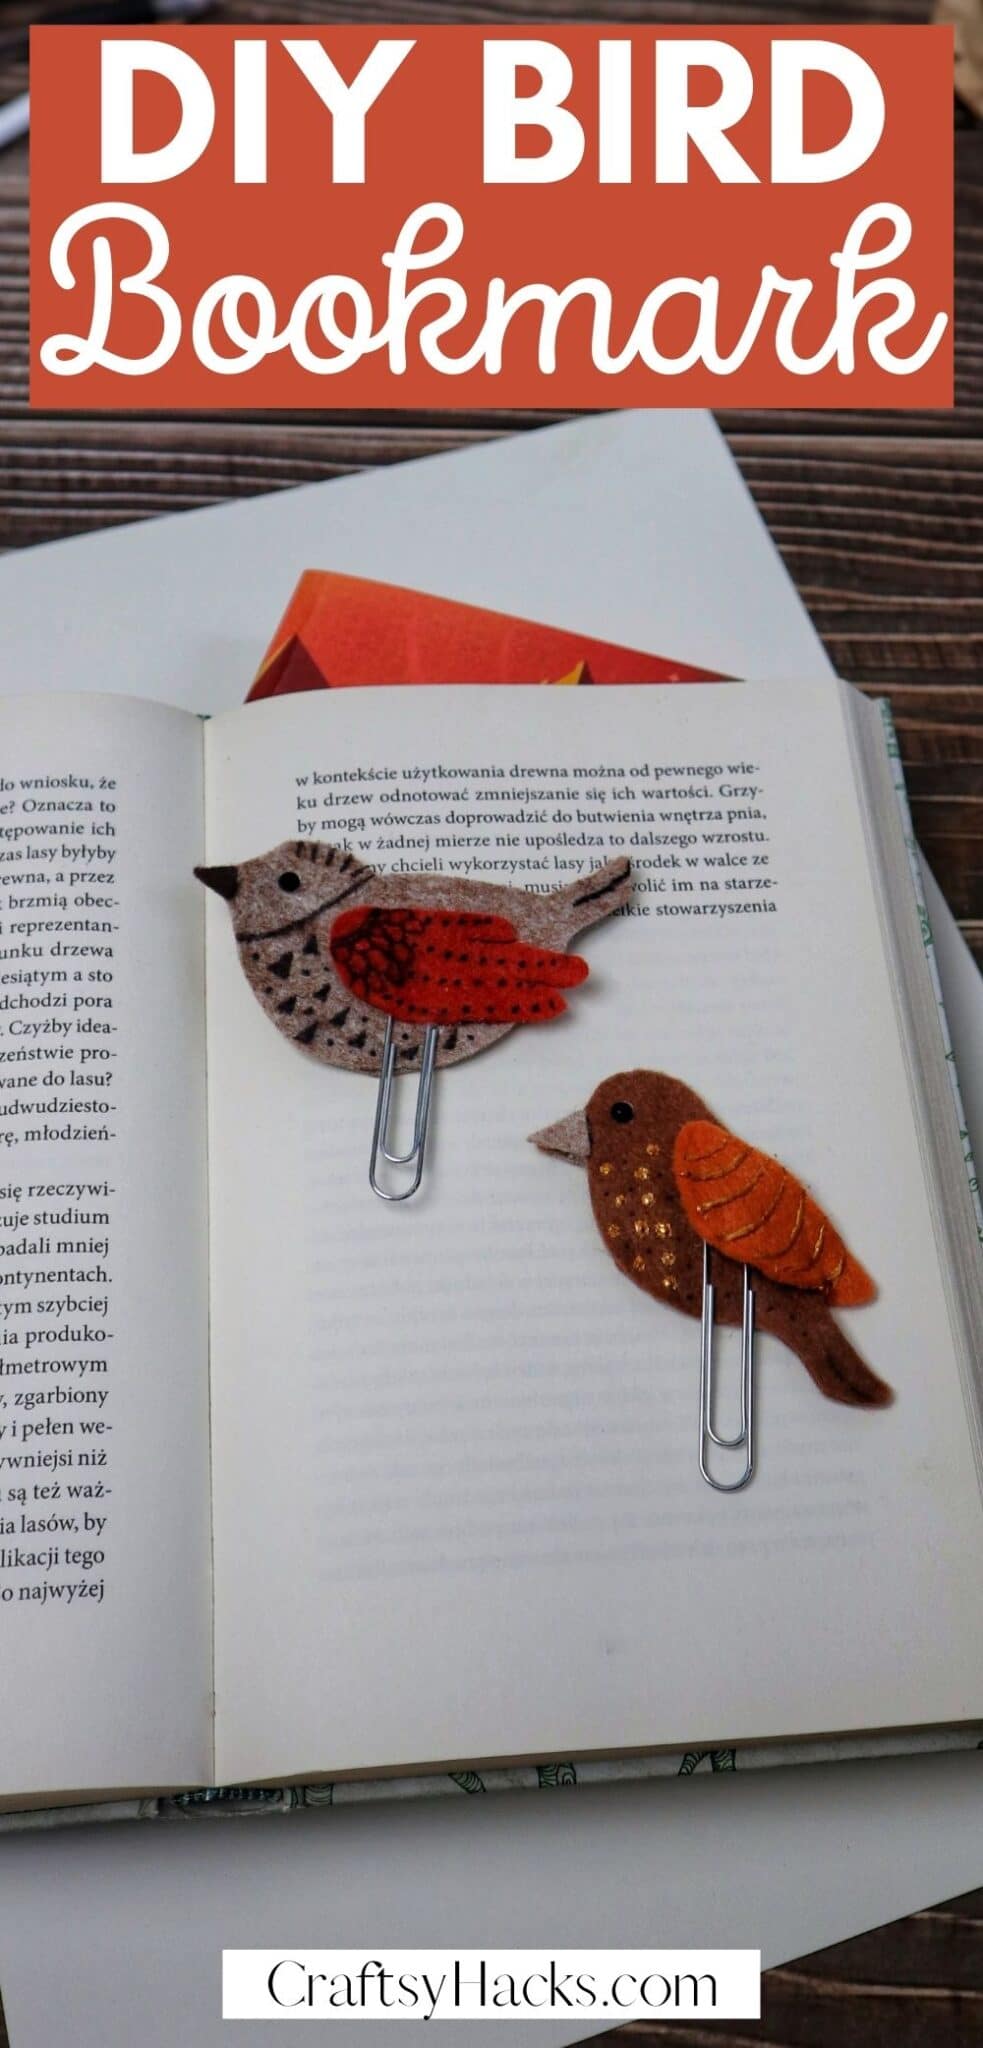
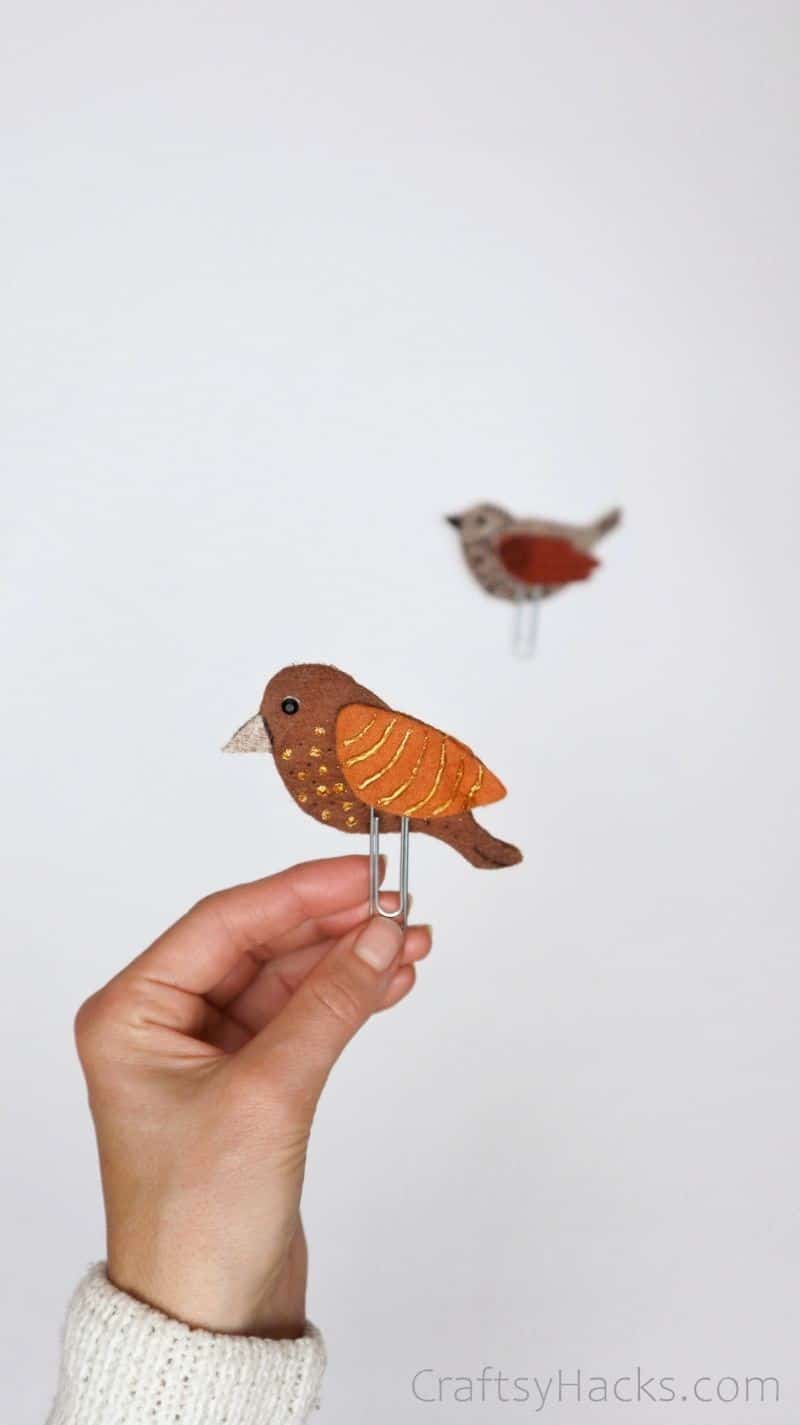
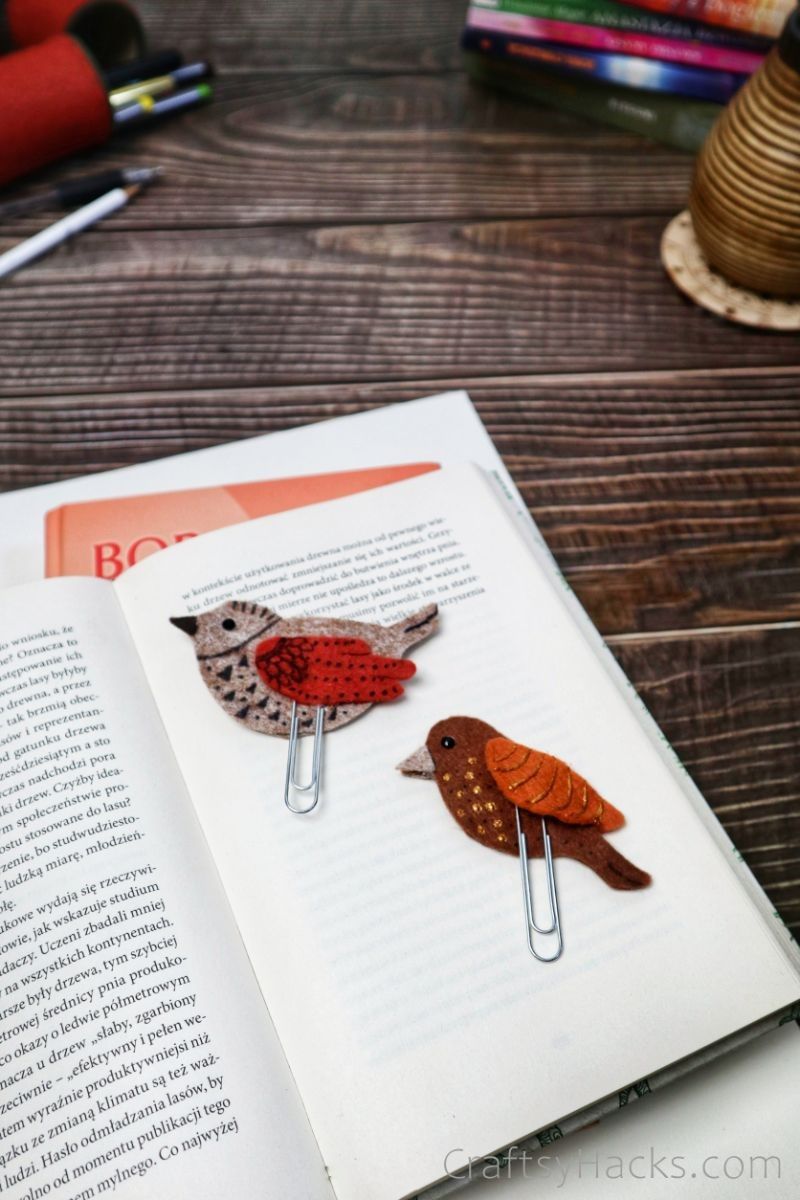
This adorable bookmark embraces nature, bringing a tiny little songbird to nest on the pages.
Keep your place in your latest riveting read with these nesting beauties. Follow along step-by-step to create a bookmark identical to this one or use it as inspiration for your very own spinoff.
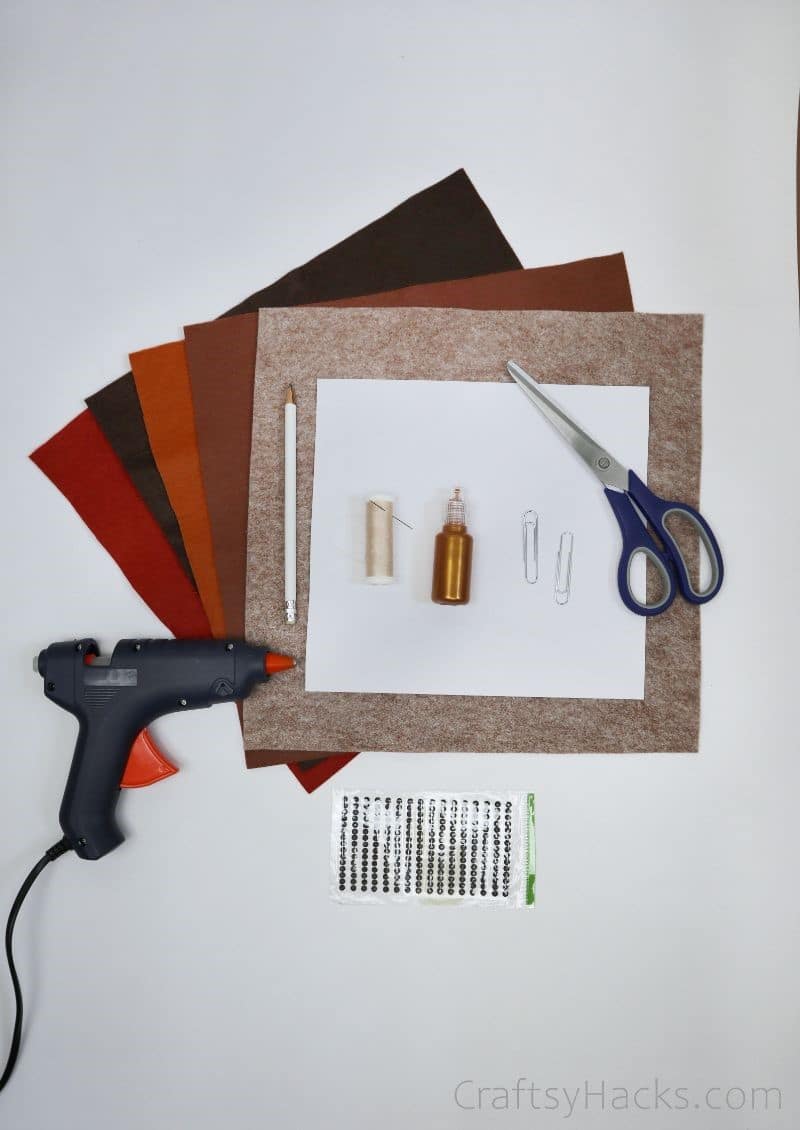
Supplies for Bookmarks
- Colored felt sheets
- Scissors
- Pencil
- A piece of paper
- Hot glue gun
- Jumbo paper clips
- Needle
- Thread
- Glitter glue
- Black marker
How to Make a Bird Bookmark
Want to make one of these? Here is a step-by-step tutorial.
Step One
Start off by gathering your supplies and finding a nice spot to work. I love crafting with an audiobook in the background. So, is there any craft more appropriate for that than this one?
You need a large paperclip to make this bookmark; otherwise, it’ll get lost easily between the pages (despite the felt bird crowning it). You can find jumbo paperclips at any nearby craft store!
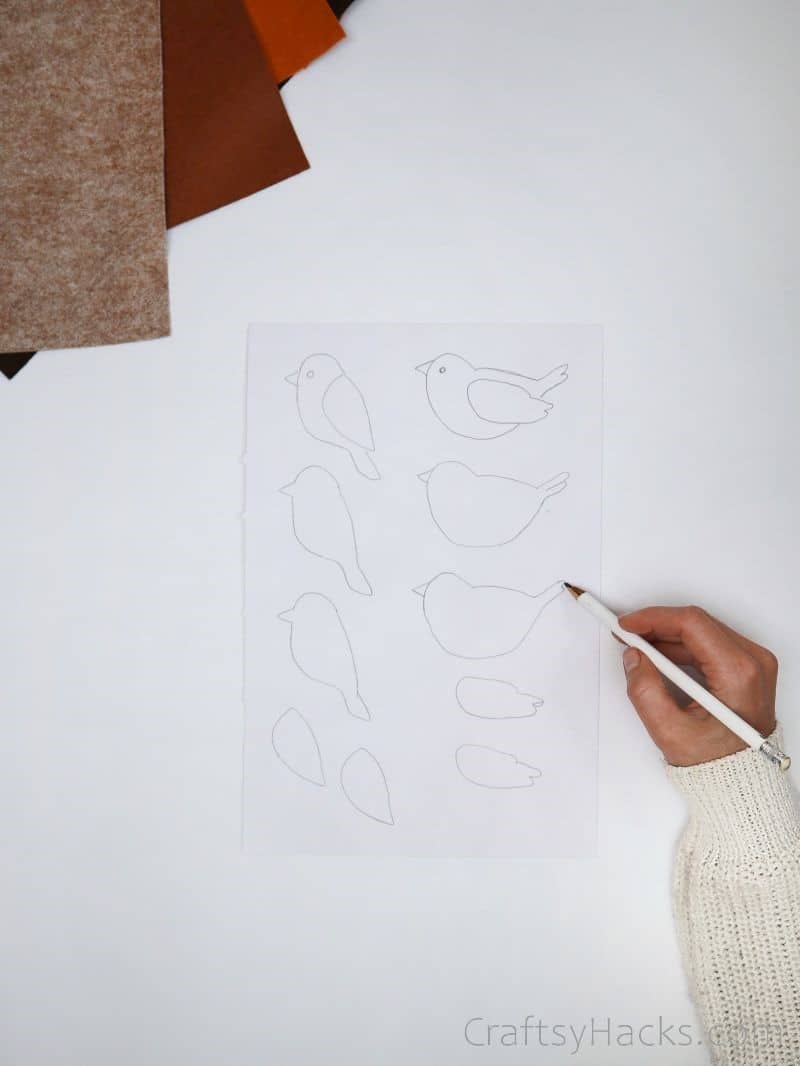
Step Two
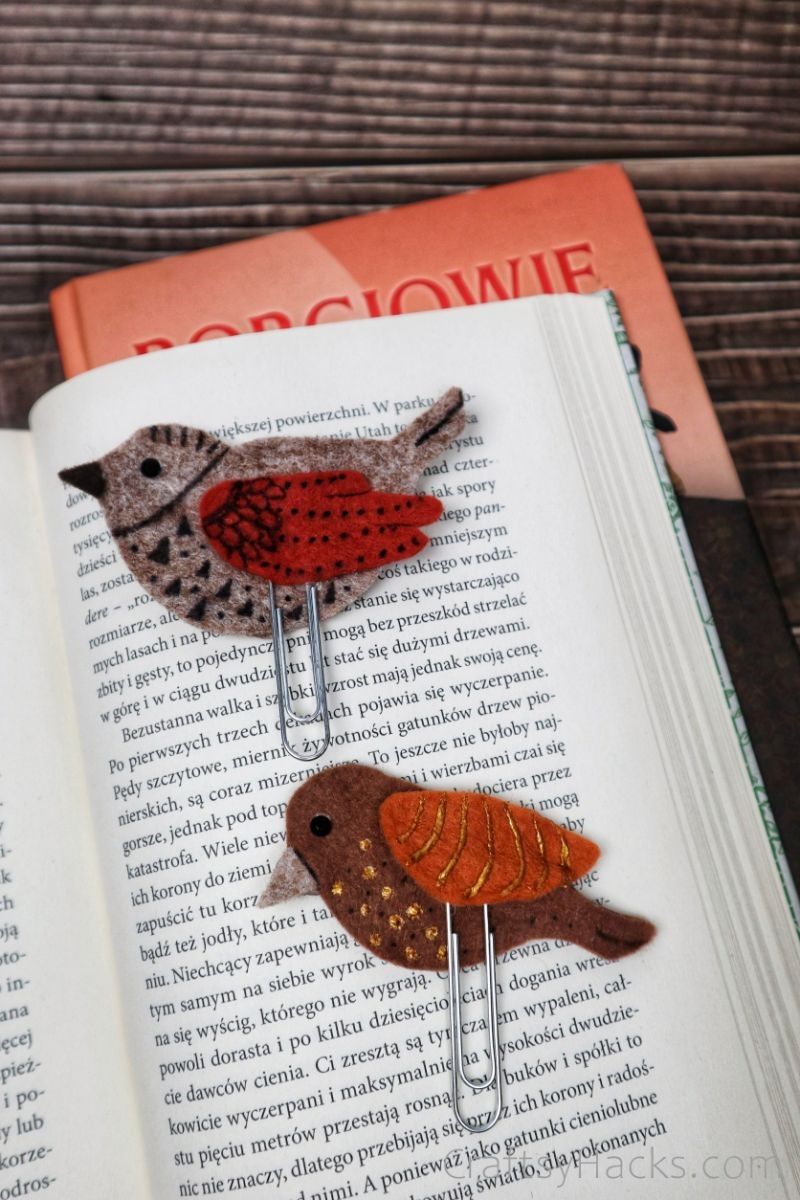
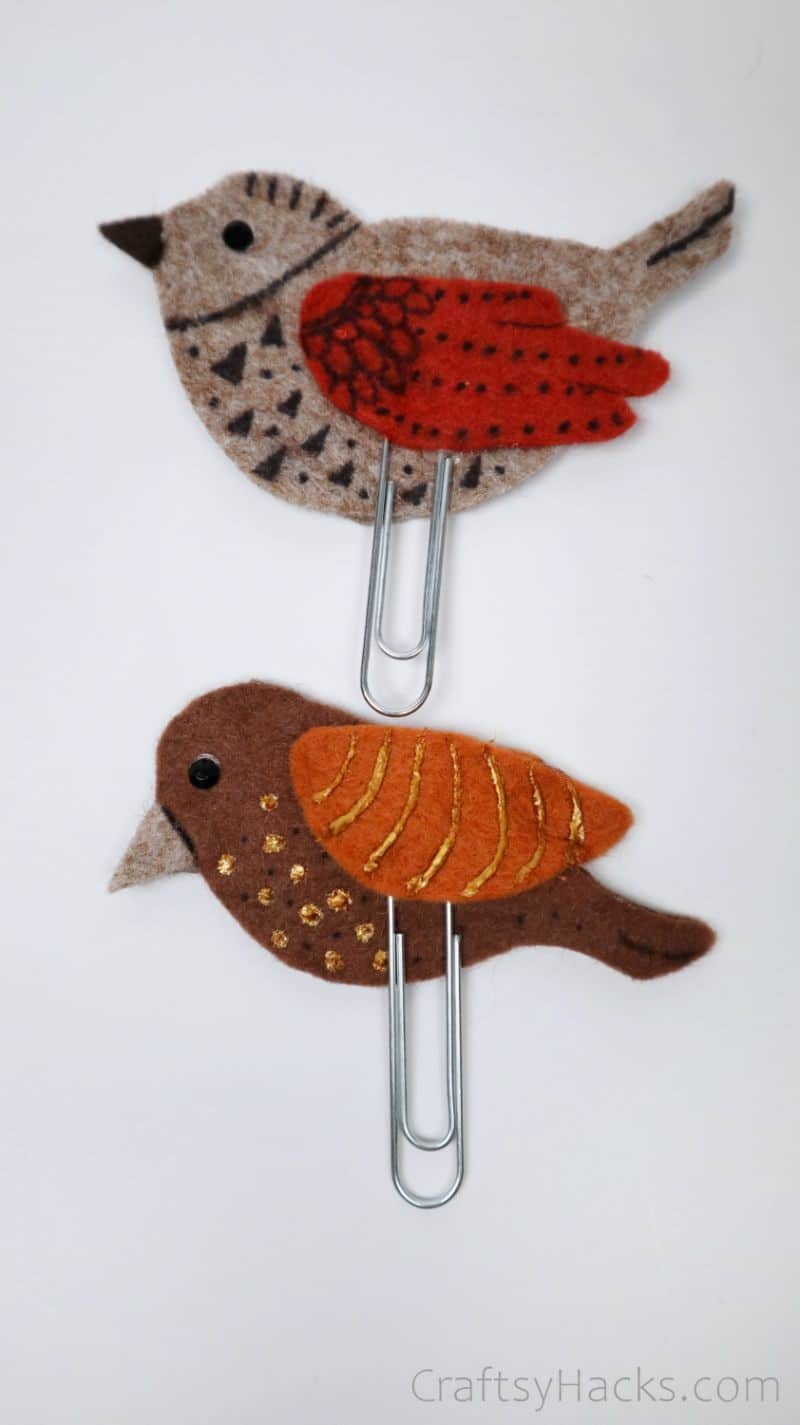
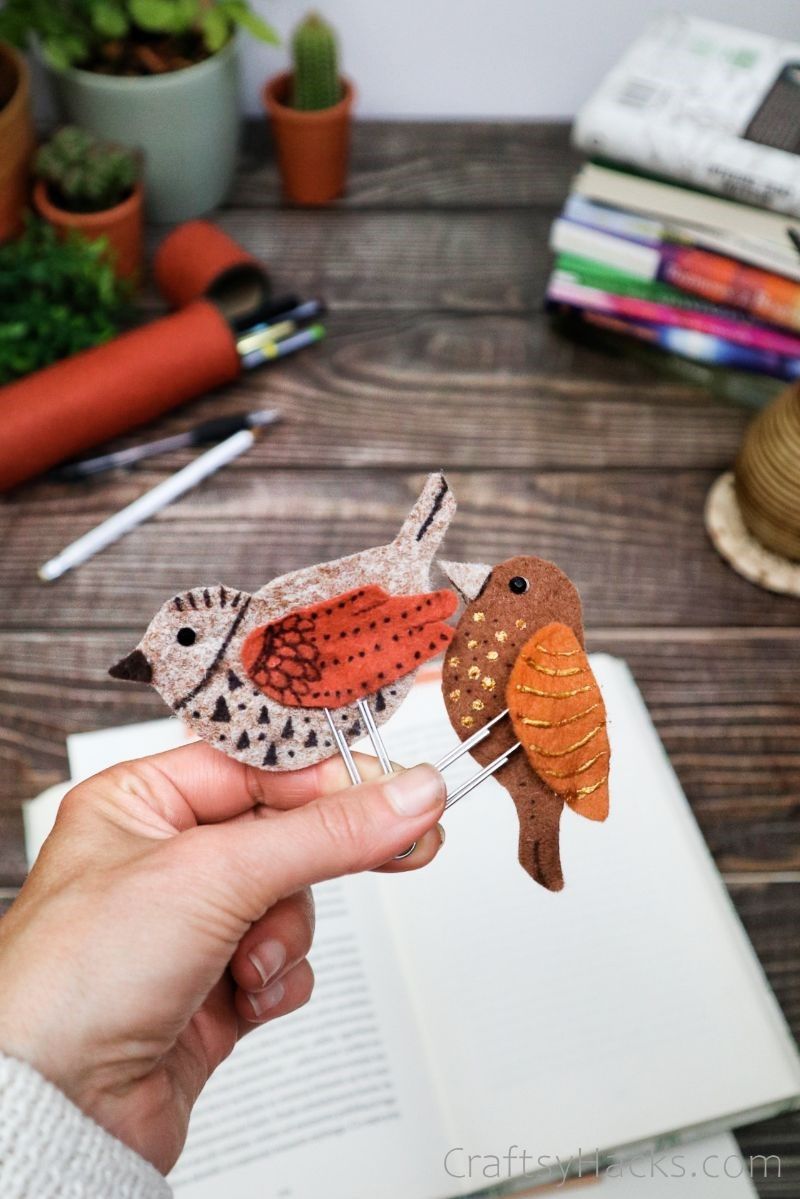
The first step we need to execute is to create a template for your felt birds. I’ve drawn two types here: one with a rounder, more squat bird, and the other as a perching sparrow.
Draw your birds carefully, creating separate templates for each new spot with a different color. Notice how I’ve drawn two of each body and wing to make the cutting process a little easier.
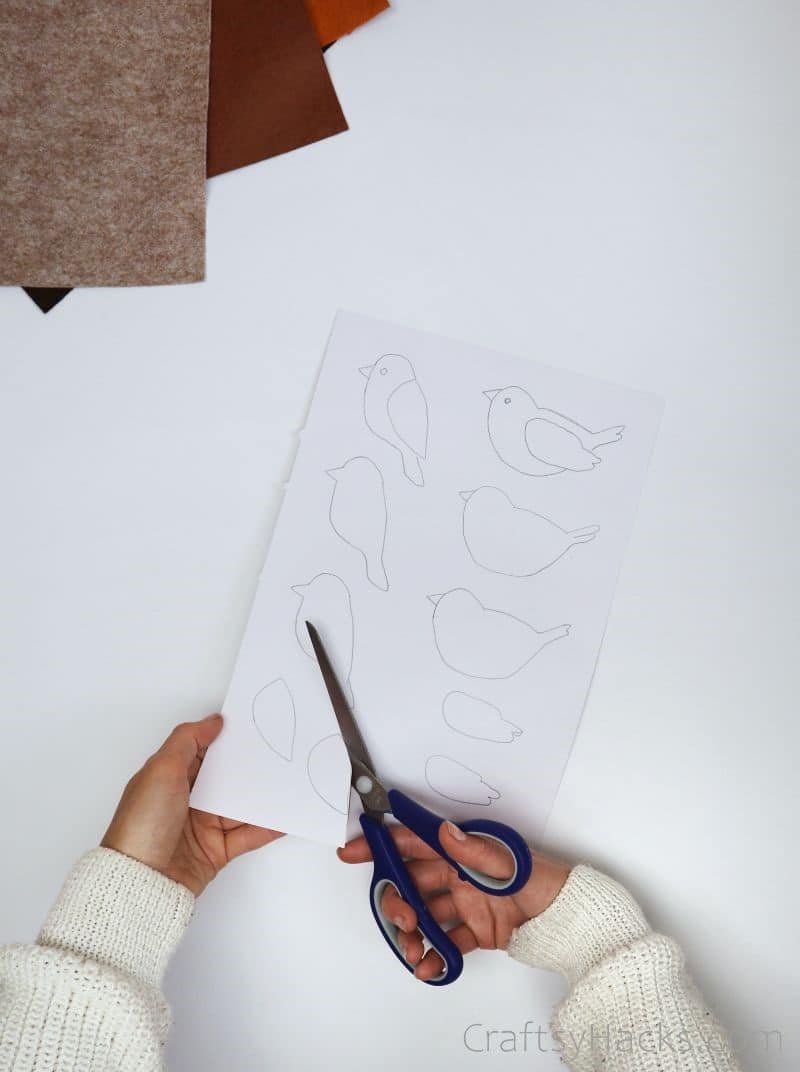
Step Three
Cut out the templates. You don’t need two of each kind. However, it does make it easier when you’re cutting the shapes out of felt.
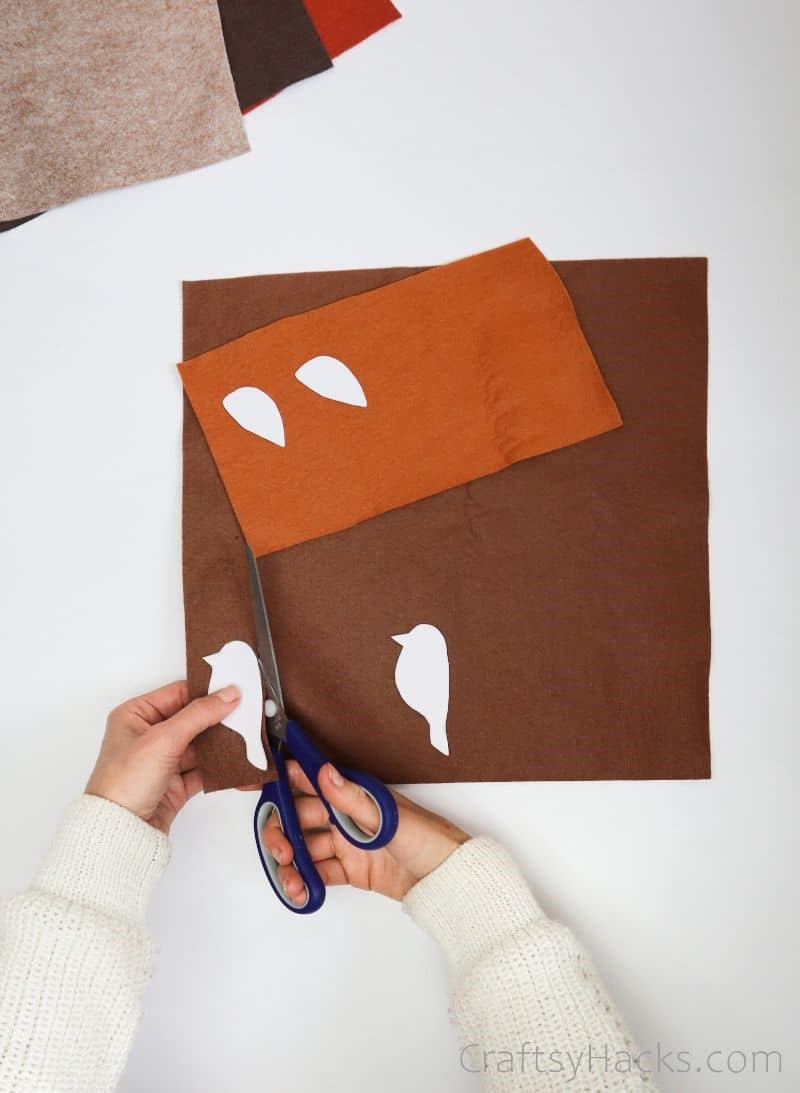
Step Four
Next up, let’s free these birds from their felt cages. Lay out the templates and cut around them, slicing as close to the edges as you can. We don’t need a seam allowance, so don’t leave a lot of extra fabric!
Cut two wings and two bodies, ensuring the wings are in a contrasting felt color. You also need to cut a tiny triangle out of another color to form the bird’s beak.
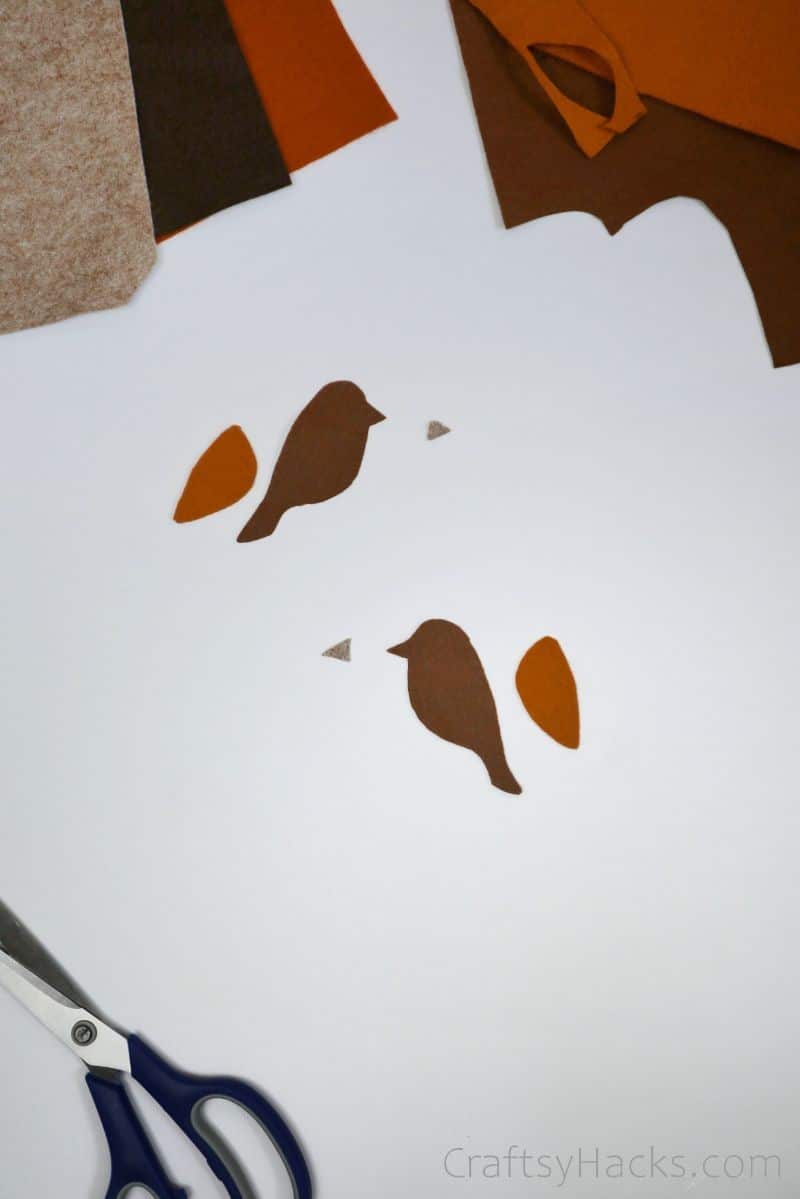
Once you’re done, you should have six pieces that look like the above.
Step Five
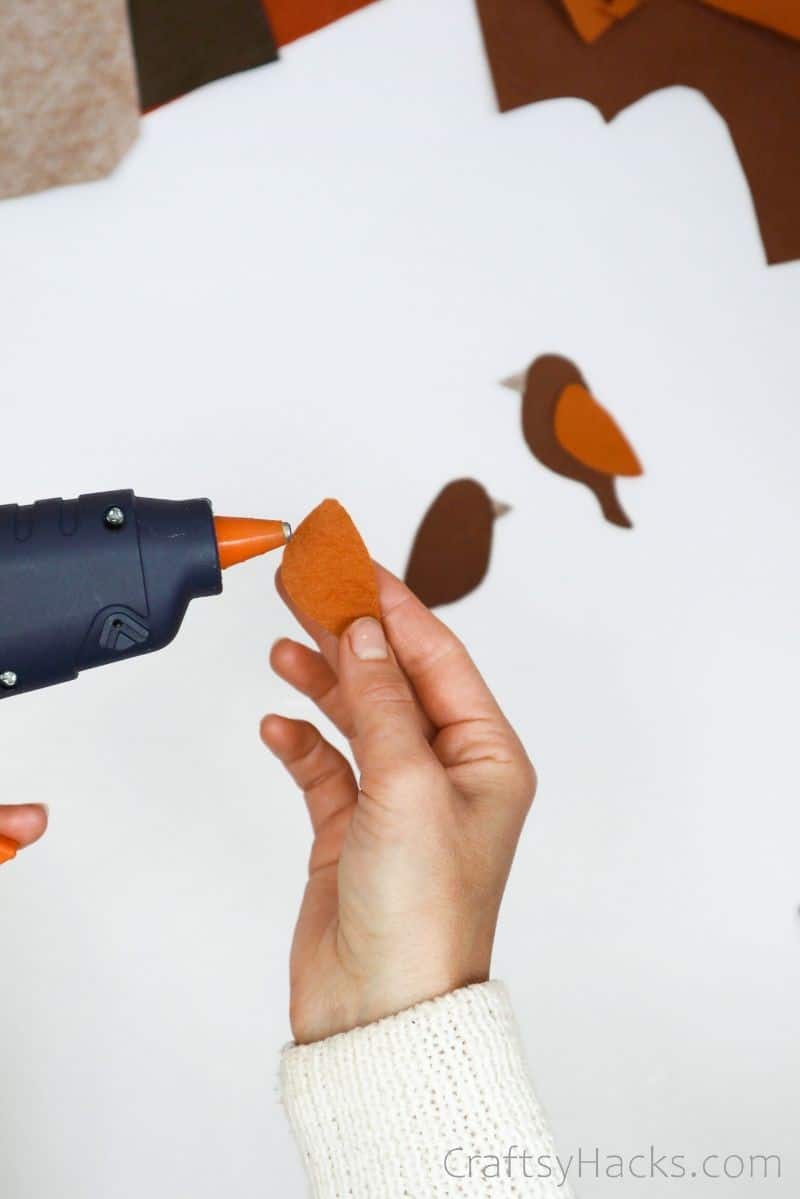
Let’s start assembling the birds! Now’s the time to whip out your glue gun (although you can use a cold glue if you’re making this with kids).
Step Six
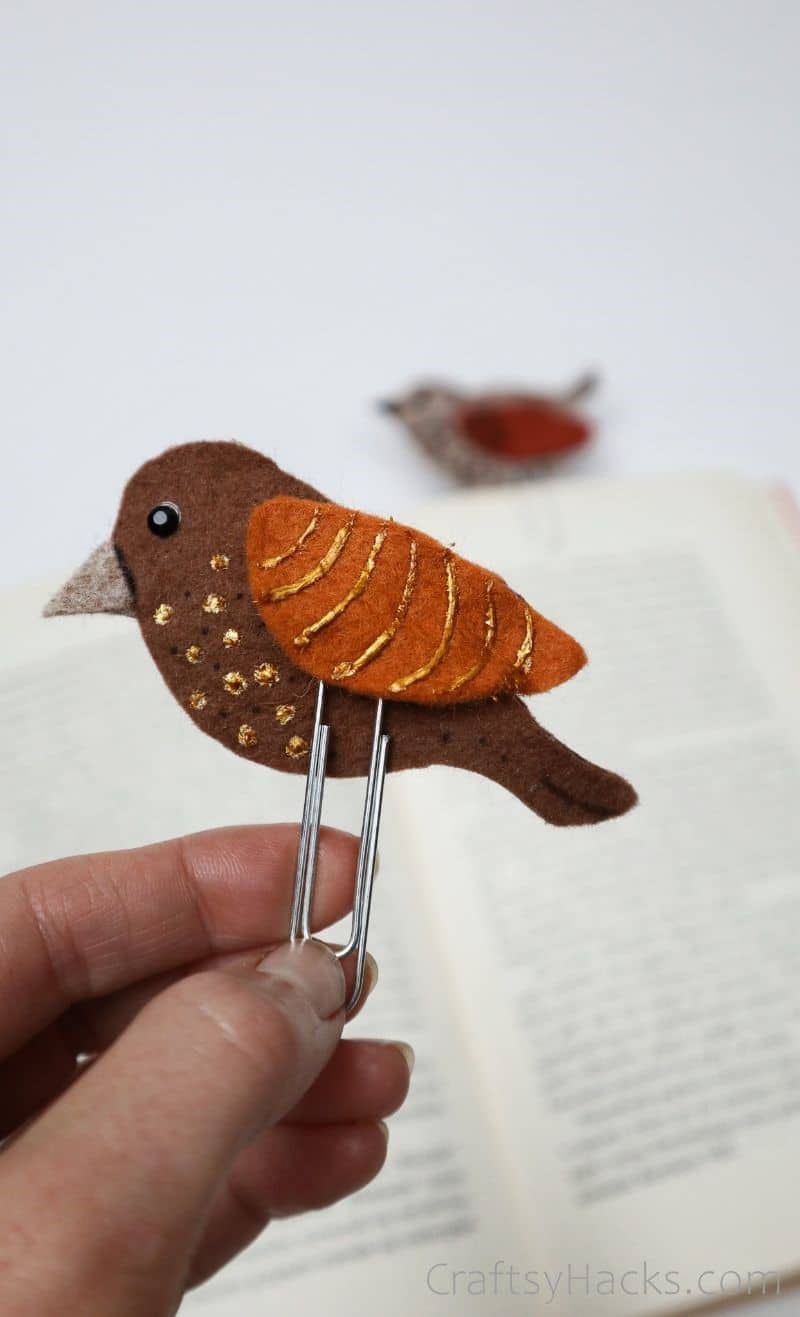
Glue the beak onto the main body, then glue the two main body pieces back-to-back. Next, glue the wings to either side of your bird, taking care to leave space for your paper clip.
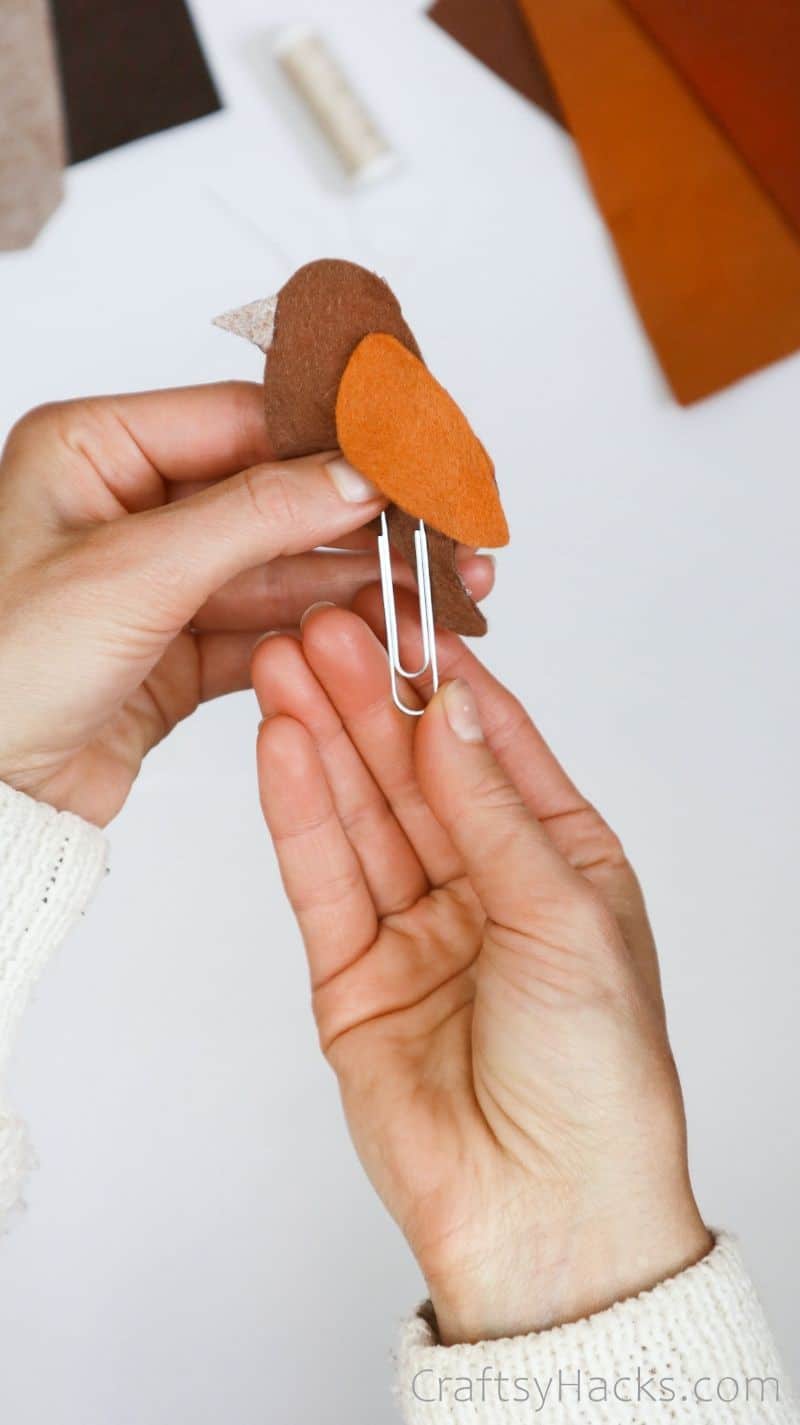
The jumbo paperclip should fit snugly underneath the wing, with enough jutting out to be used as a bookmark.

Step Seven
Attaching the paperclip to your felted finch takes no time at all! You can use glue or a needle and thread (I chose to sew because it’s more secure).
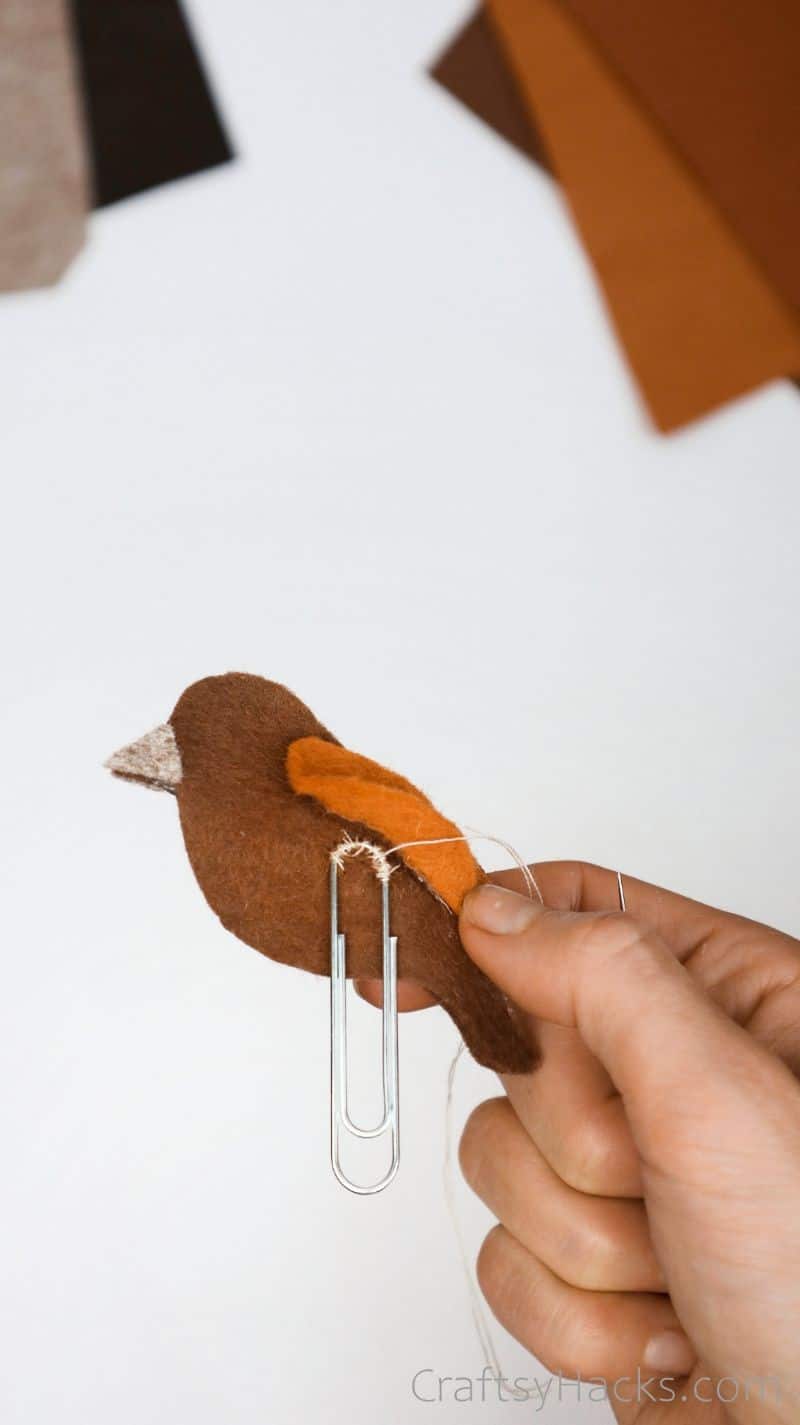
Using a single strand of thread, sew the top of the paperclip to your bird in an arch. This will keep it from moving around unnecessarily, as it would if you just sewed it down in one spot.

Step Eight (Optional)
If you’re gluing your clip, just dot the top of the paperclip with glue before pressing it down beneath the wing. Let it dry.
Step Nine
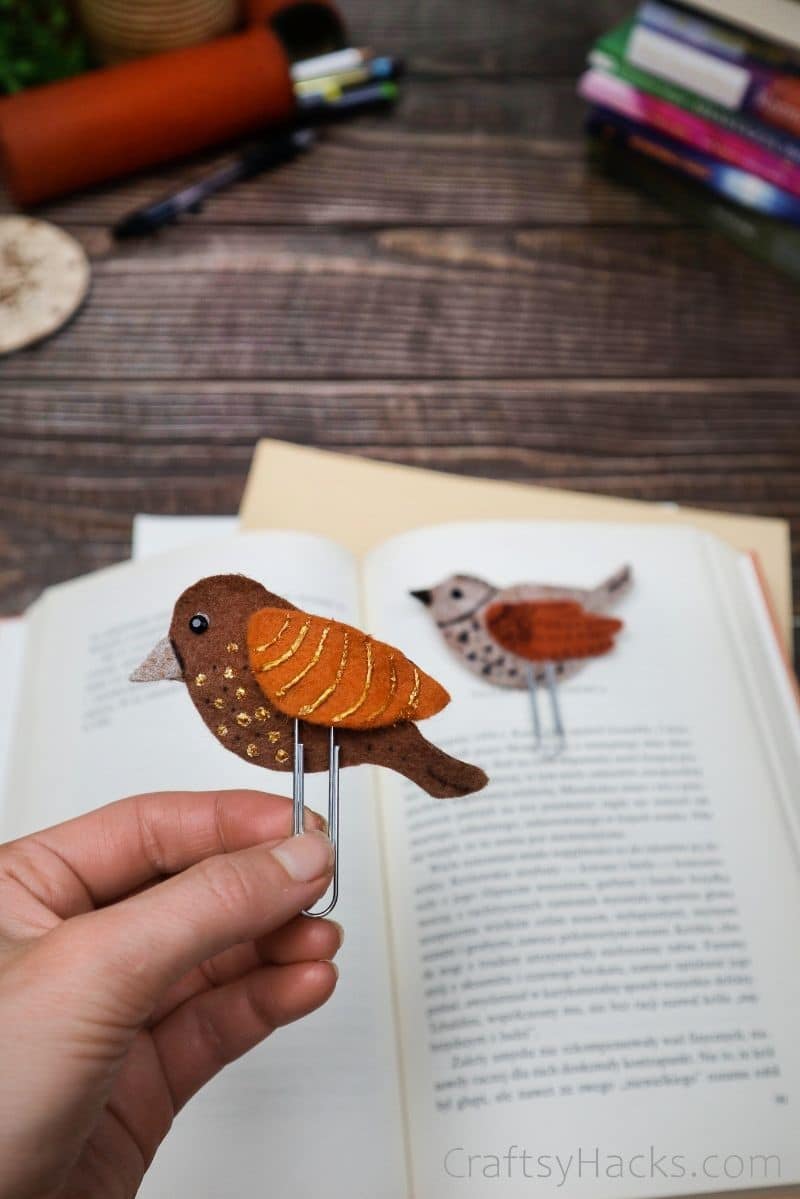
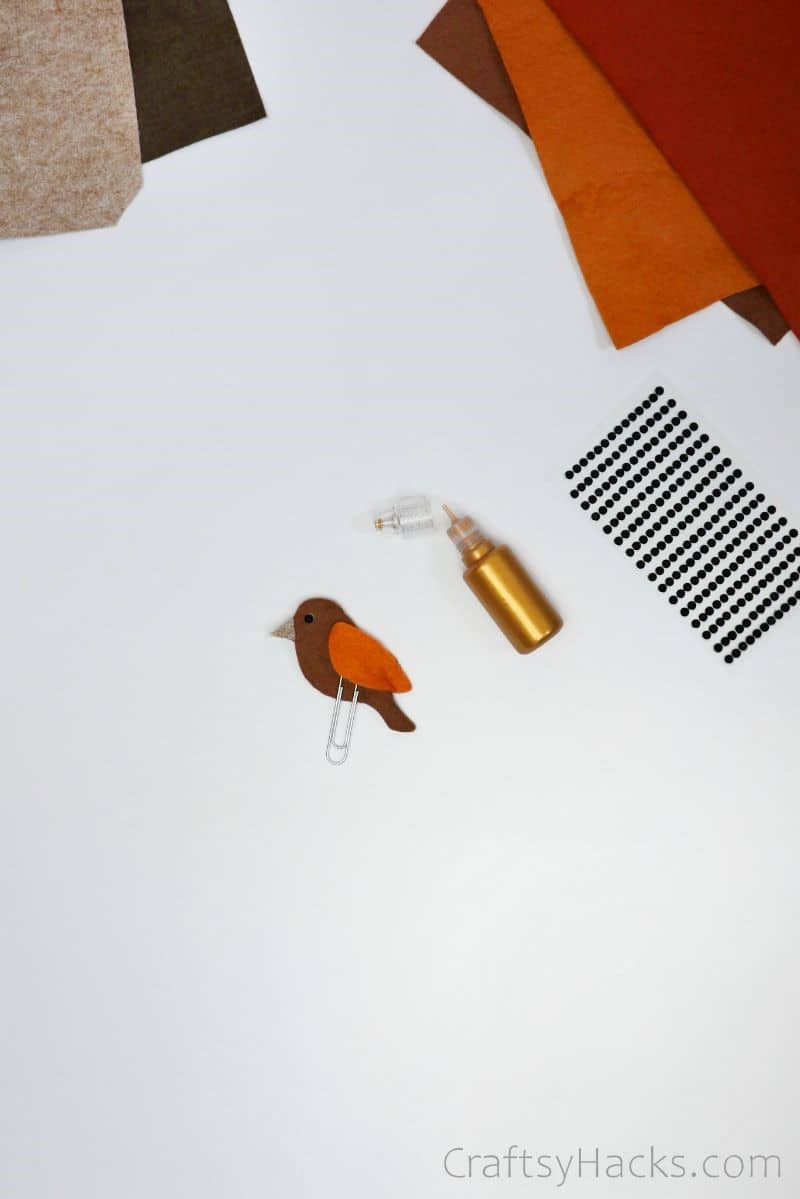
Now that you have your base bird, it’s time for my favorite part of any craft… the decorations! I used glitter glue and a tiny black bead to adorn my bookmark, but you can use anything under the sun.
Sew sequins onto the bookmark for a more glamorous look, draw with markers, or keep it understated and straightforward if you’re more attached to the farmhouse aesthetic.
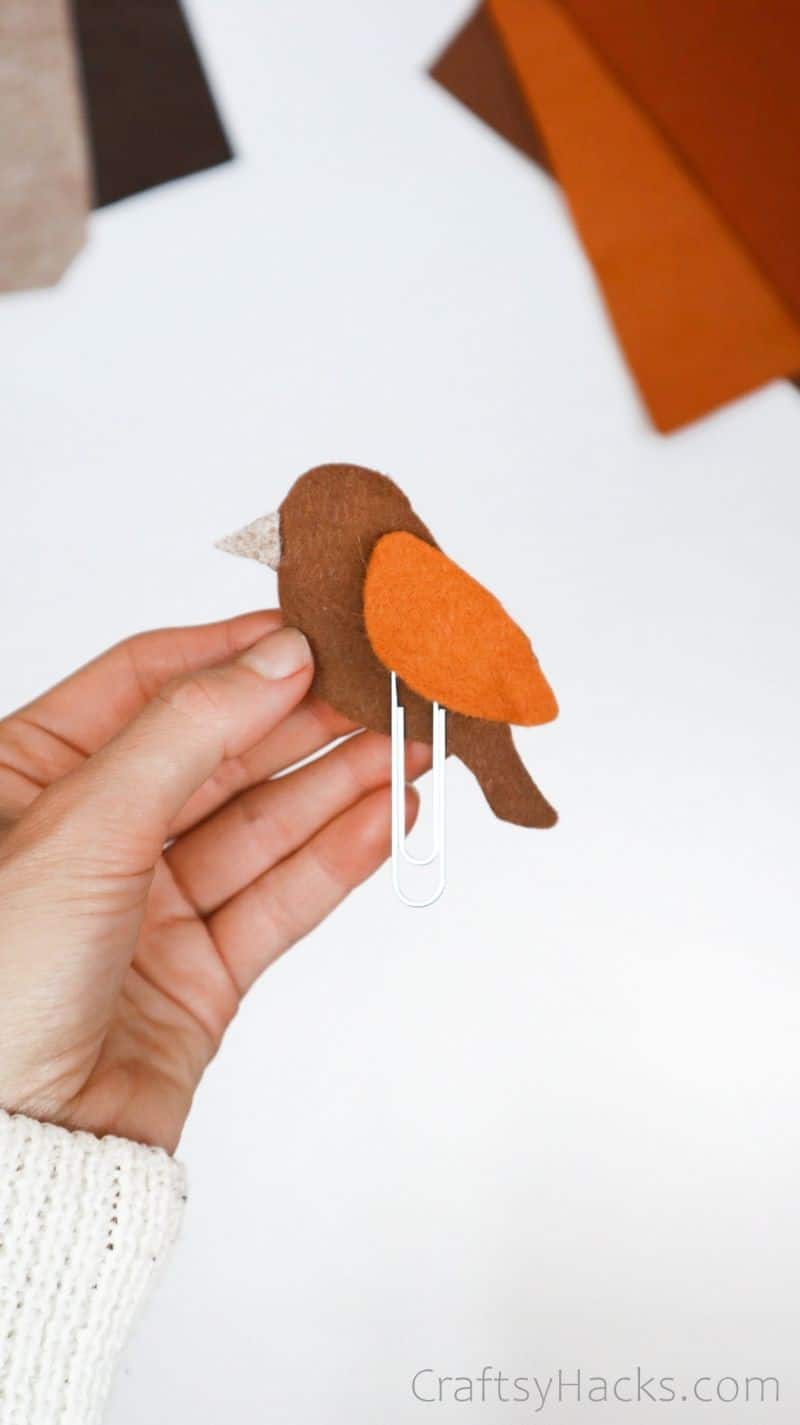
In no time at all, you’ll have your very own custom bookmark! I guarantee that people will be clambering for one as soon as they see yours, so make sure you have extra felt handy.
Happy reading, you beautiful bookworms!
How Much Will These Bookmarks Cost in Total?
One of the great things about these adornments (besides how they look) is how cheap they are to make. I love making these to rid myself of any felt scraps lying around.
However, even if you’re making these from scratch, you won’t have to turn out your wallet to get a great result. No matter where you go, this shouldn’t cost more than $10 to make.
Other DIY Projects for You
- 15 DIY Dollar Store Frame Craft Ideas
- 23 Perfect Penguin Crafts for Kids to Try
- 20 Dollar Store Decorating Ideas
- DIY Wire Rings
- 20 Projects for Teens

How to Make a Bookmark
Video Tutorial
Equipment
- Needle
- Thread
- Pencil
- Scissors
- Black marker
Materials
- Colored felt sheets
- A piece of paper
- Jumbo paper clips
- Glitter glue
Instructions
- Begin by gathering all your supplies. Make sure you have paperclips big enough to act as a bookmark; if they’re too small, they’ll disappear into the pages.
- Next up, sketch out your birds! Your bird needs two identical sides, so you can do this one of two ways: sketch two identical templates or use the same ones twice.
- You need a bird body, wings, and a tiny little beak to bring these critters to life.
- Now, it’s time to unearth your pieces from the felt. Use a dark body color and a contrasting wing color to make these beauties pop.
- To assemble the birds, use a glue gun to stick the beak to the base. Then, glue both bases together. This forms your double-sided bird.
- The wings are next! Glue the wing down on one side, then glue the second wing on the other side, leaving a space big enough to fit the paperclip.
- Now for the final step. You can use glue to attach your paperclip, or you can use a needle and thread. Whichever method you choose, affix the clip under the bird’s wing, and you’re done!


