DIY Phone Holder from Toilet Paper Roll
This post may contain affiliate links: full affiliate disclosure.

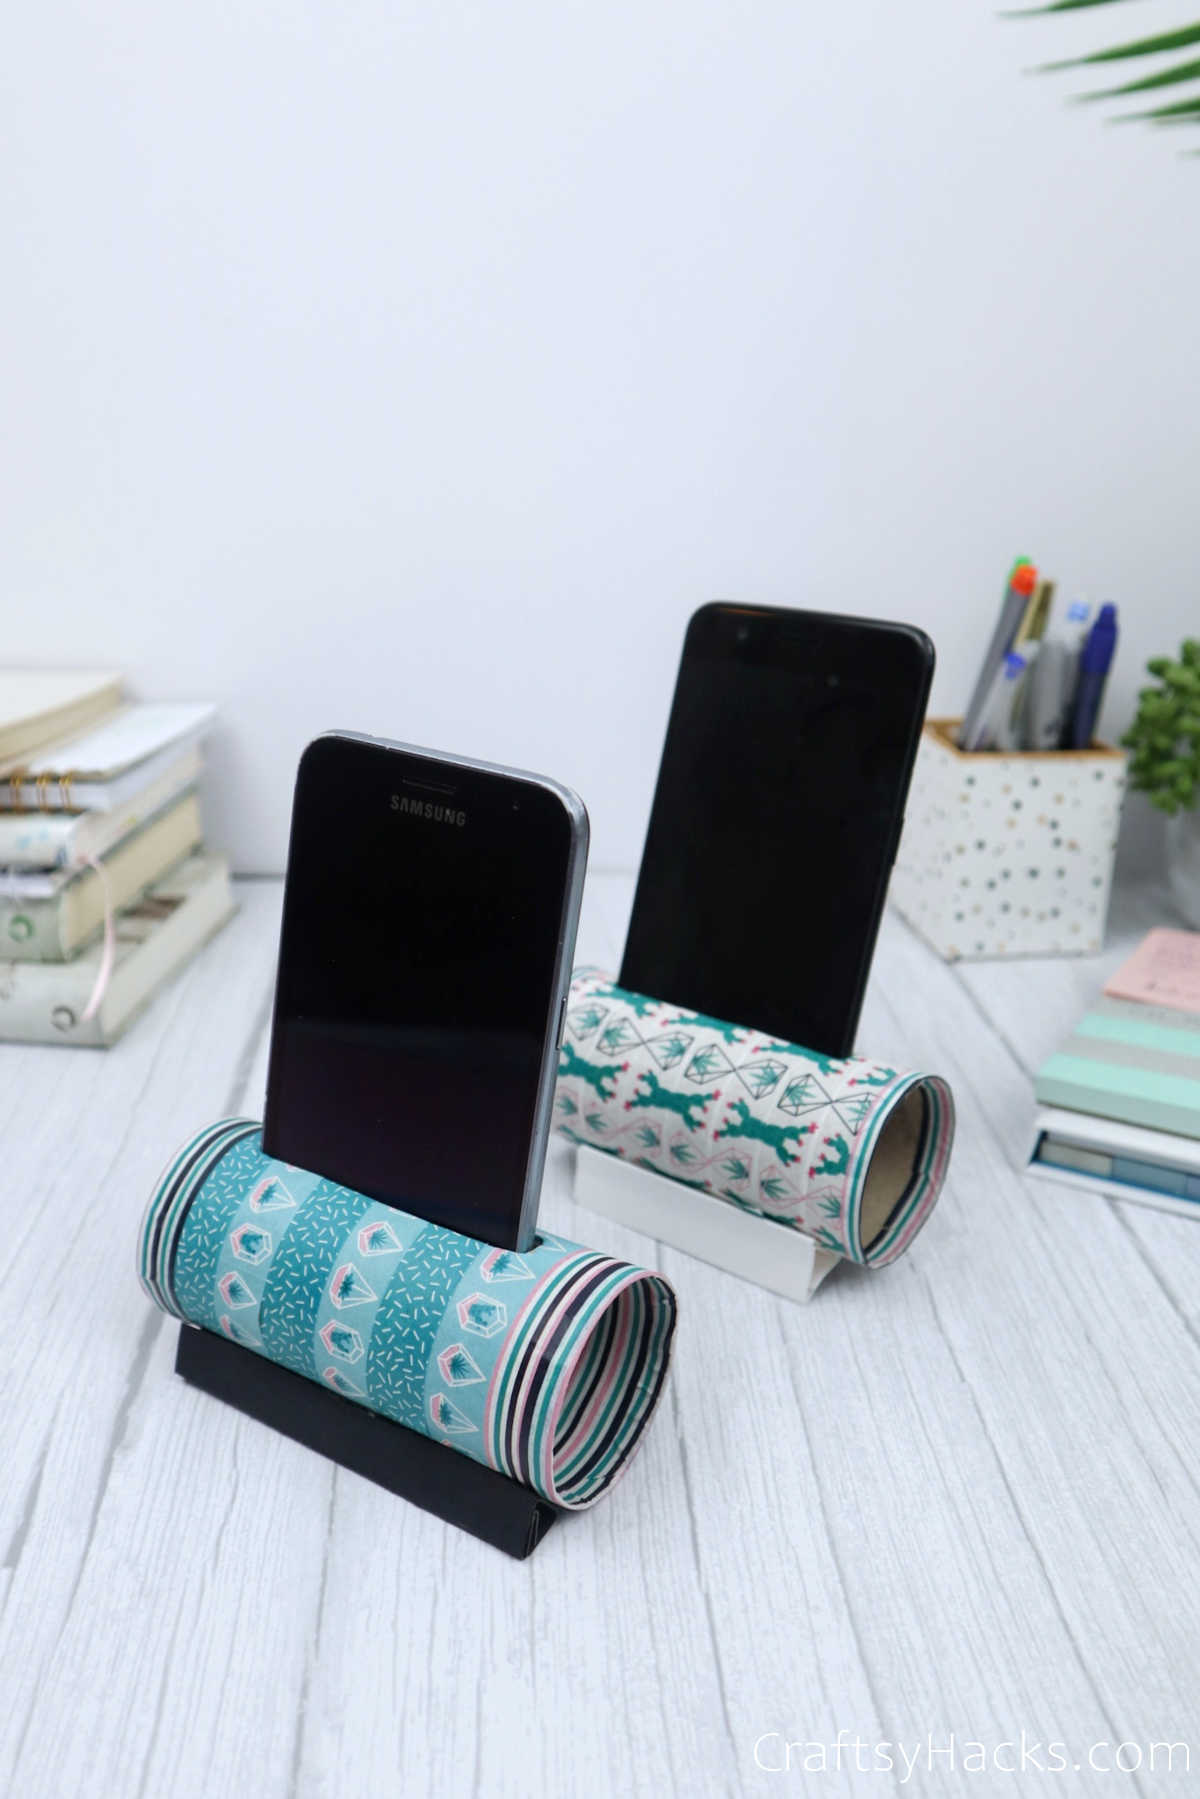
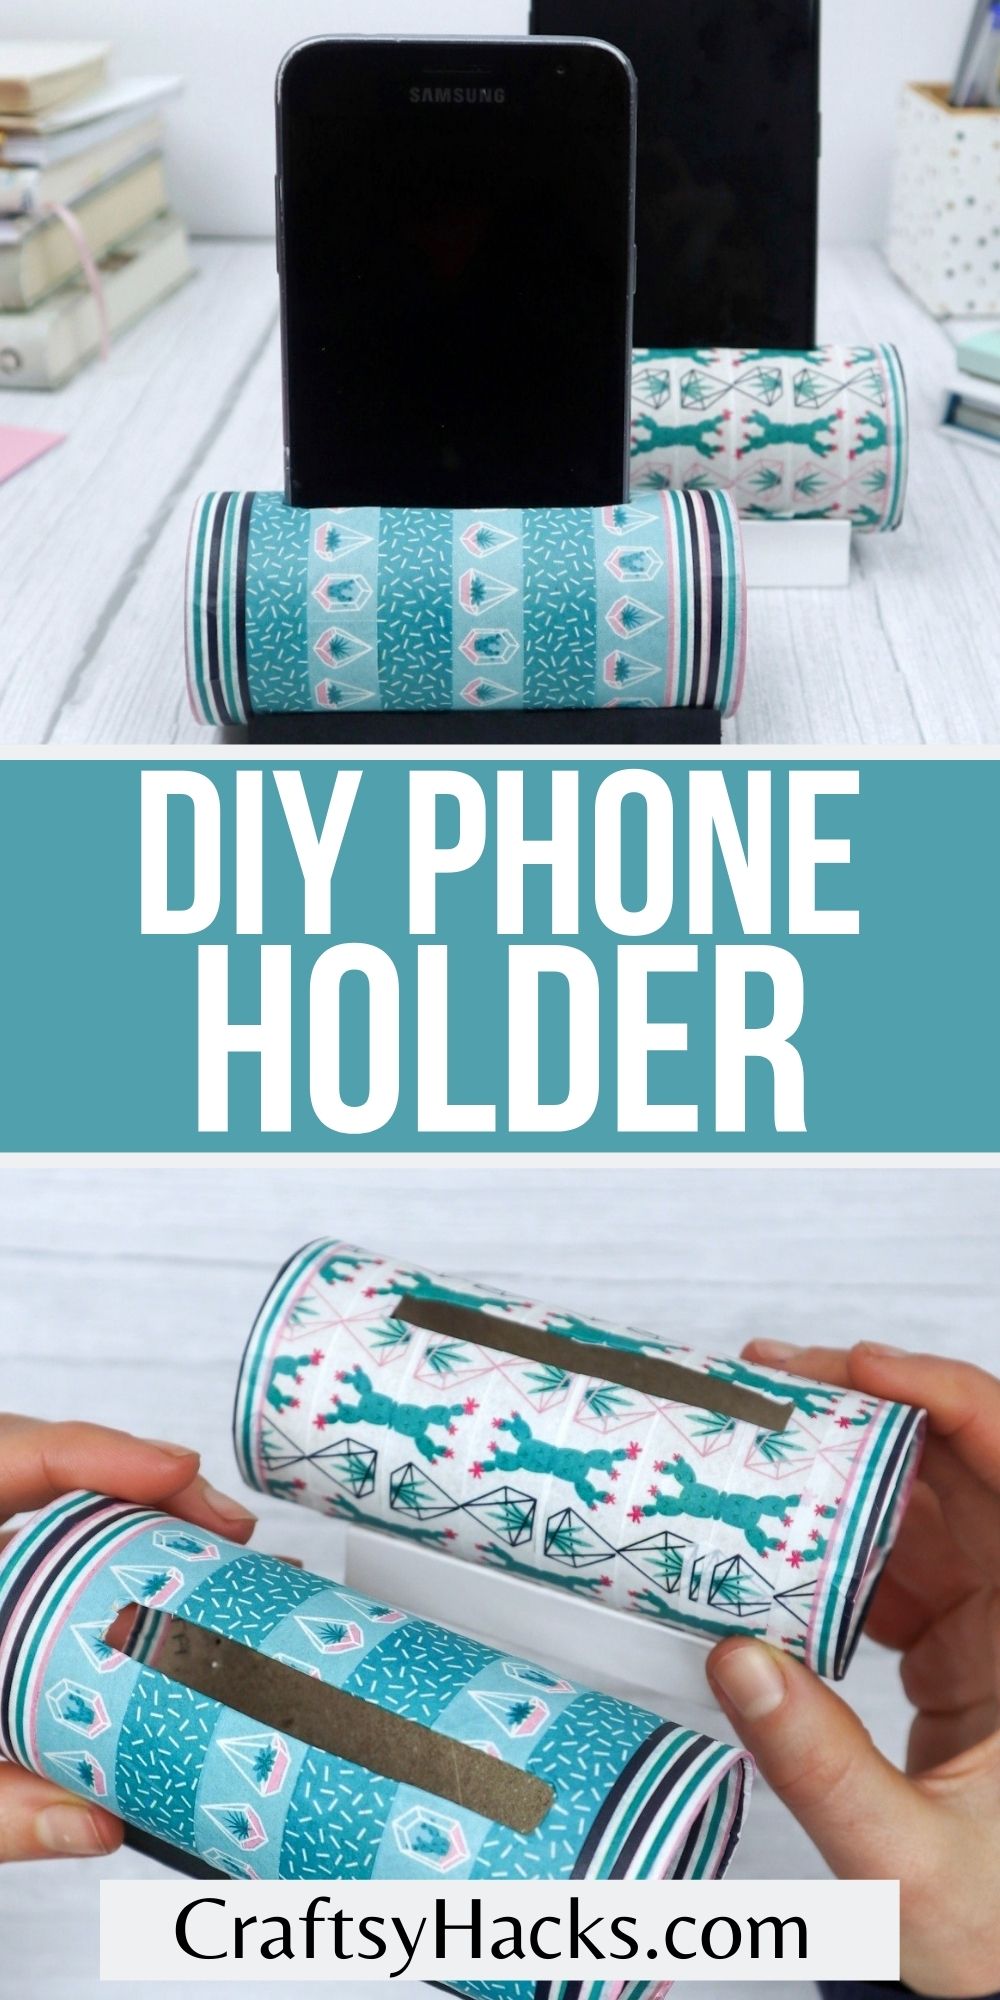
Upcycle leftover toilet paper rolls and make your very own DIY phone holder. It’s a fun craft for teens, kids, and even adults.
Can we just take a minute to truly appreciate this uber nifty craft project? A DIY phone holder made from a toilet paper roll—it really doesn’t get craftier than that!
Never again will you go out and shop for a phone holder, not when you can make one this snazzy right at home!
The best part about this project is that it is budget-friendly, easy to make, and you probably already have everything you need right at home.
What You’ll Need to Make These Phone Holders
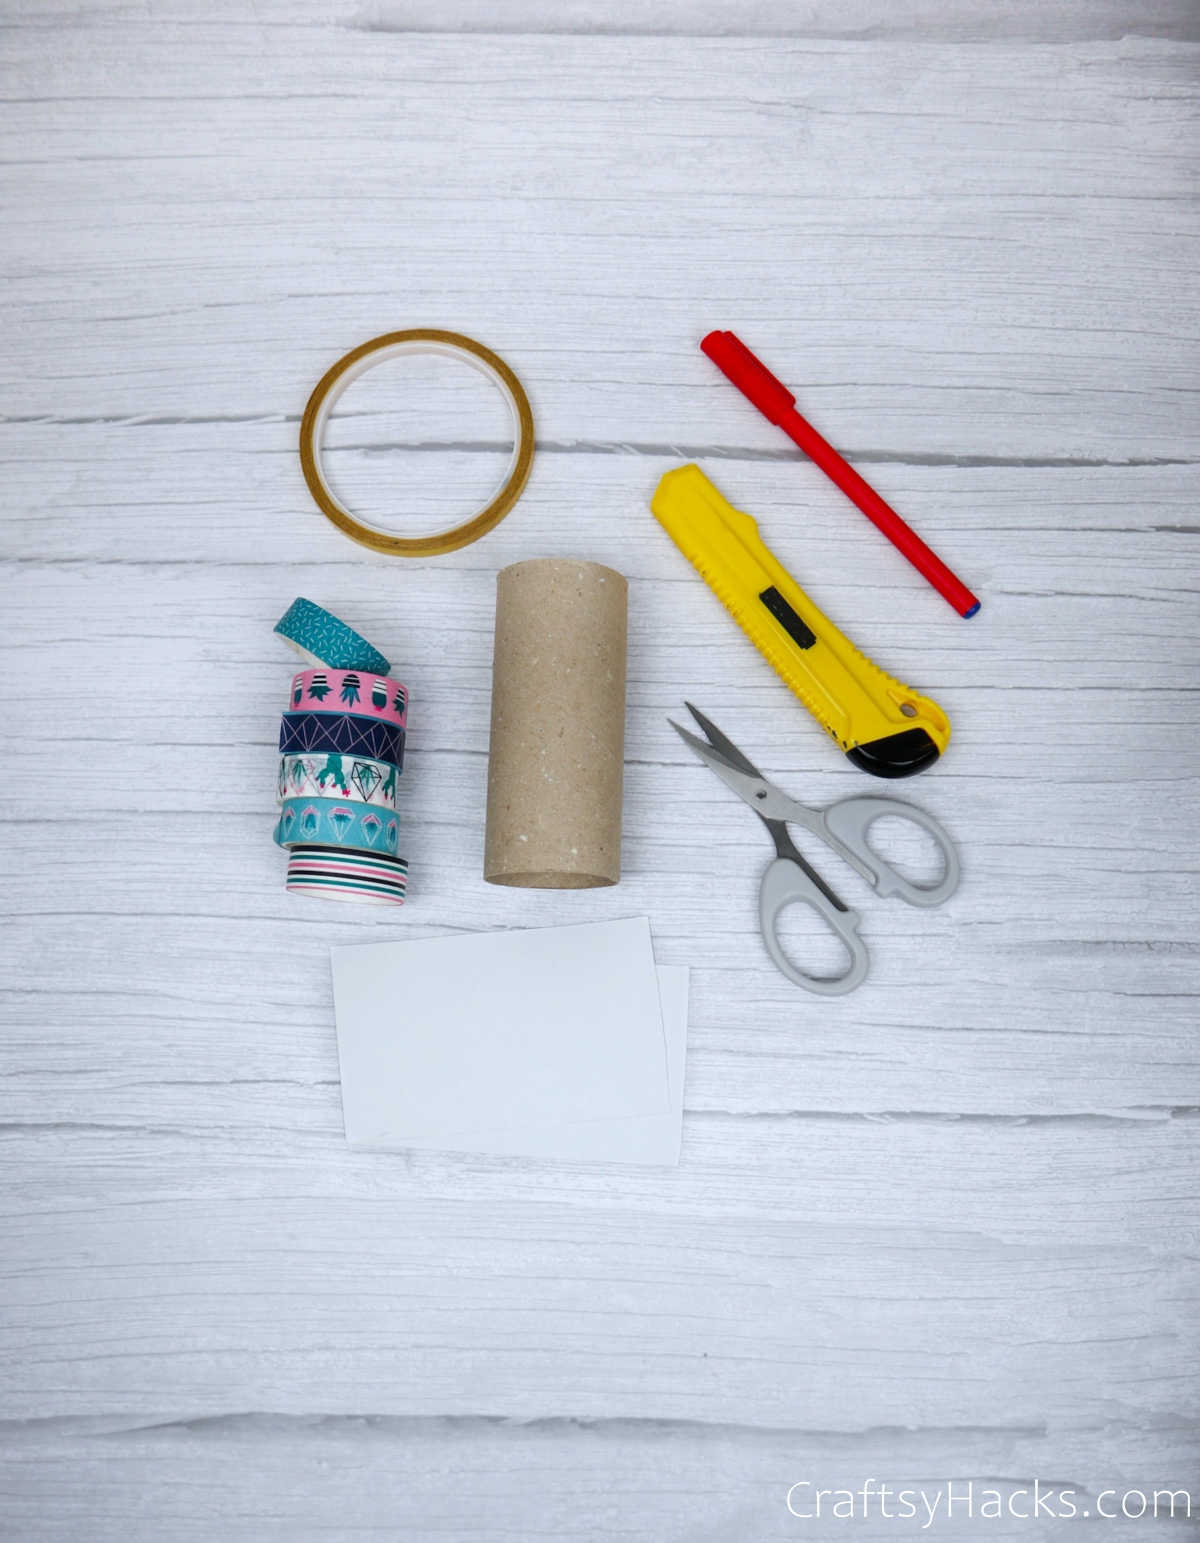
So take a look at what supplies you’ll be needing to make this DIY project.
- Scissors or cutter
- Marker
- Toilet paper roll
- Washi tape
- Double-sided tape or glue
- 2x pieces of paper (2.5” x 3”)
- Ruler (optional)
Once you’ve gathered your supplies, go ahead and check out this step-by-step tutorial to guide you along the way!
How to Make DIY Phone Holder from Toilet Paper Roll
Are you ready to get cracking on this DIY project? Awesome! Just grab your mobile phone first.
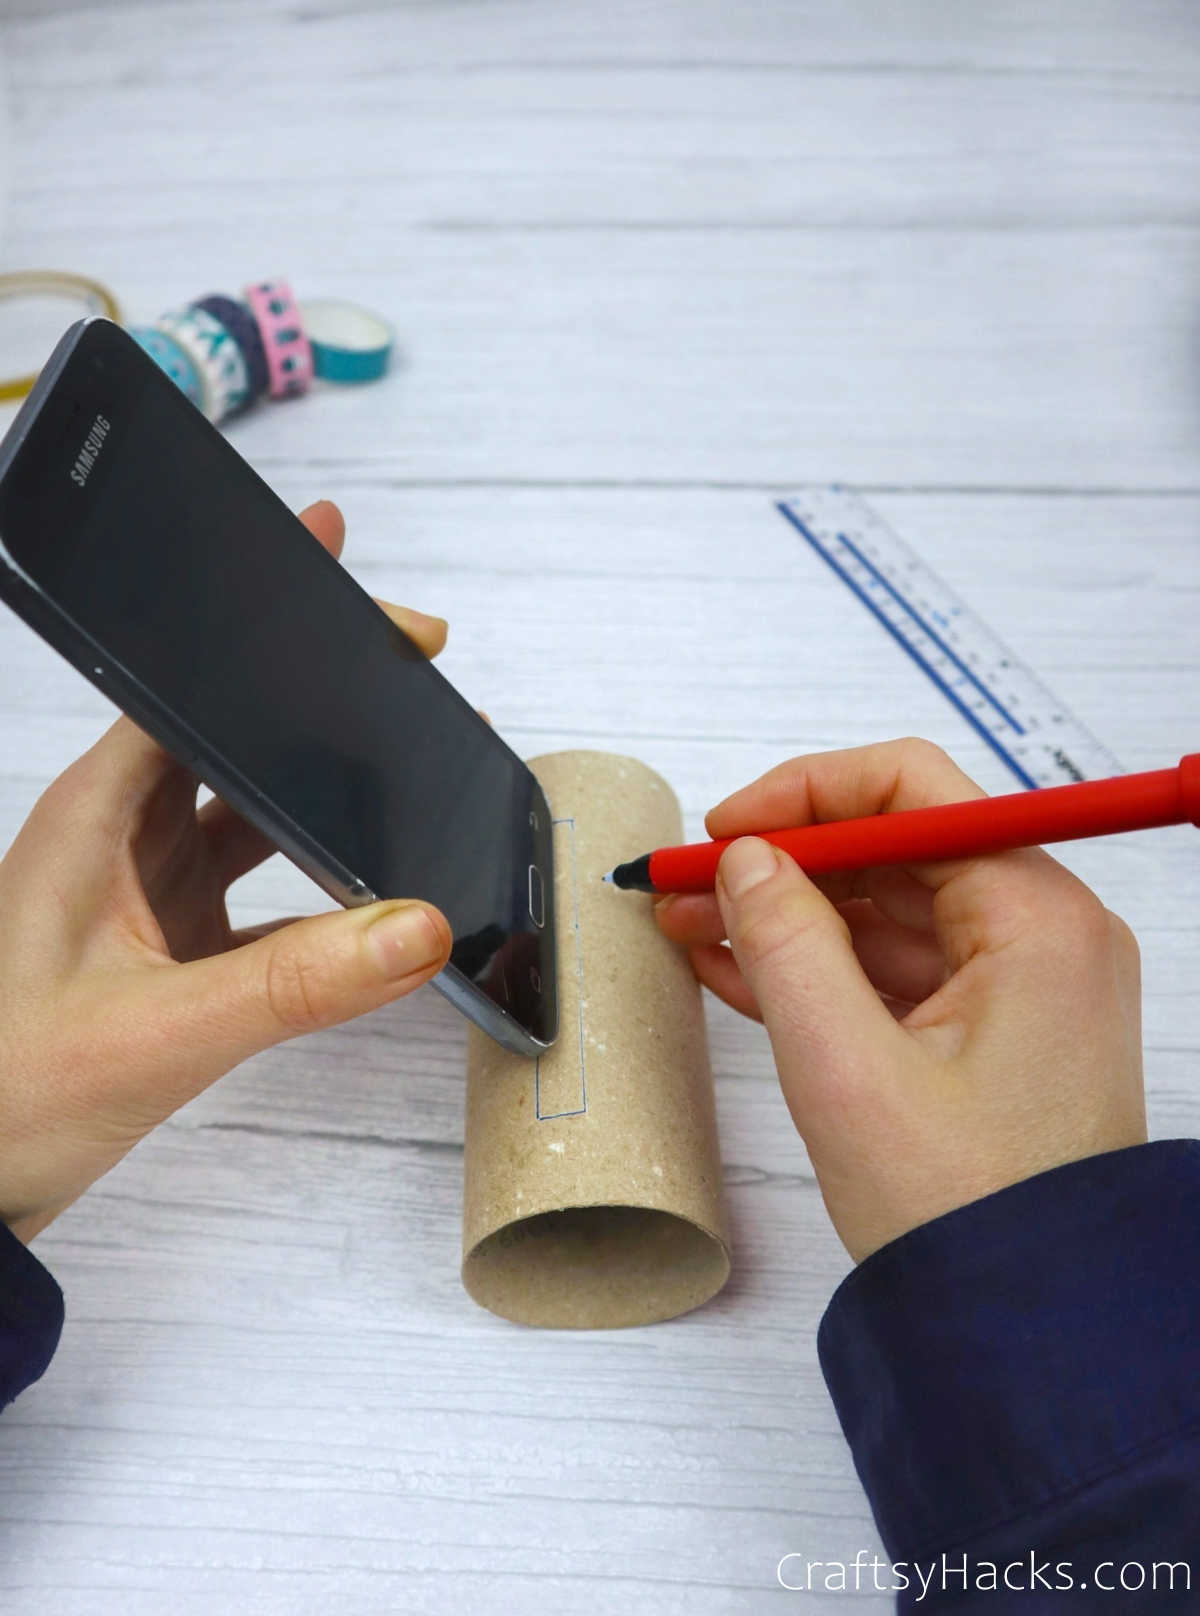
Step 1
To figure out exactly how big your mobile holder slot needs to be, just hold it up against the toilet roll.
Using a pencil or just a marker, draw an outline of the base of your phone. Make sure you give enough room for the phone to go in and out. That being said, it also needs to be snug enough to keep it in place.
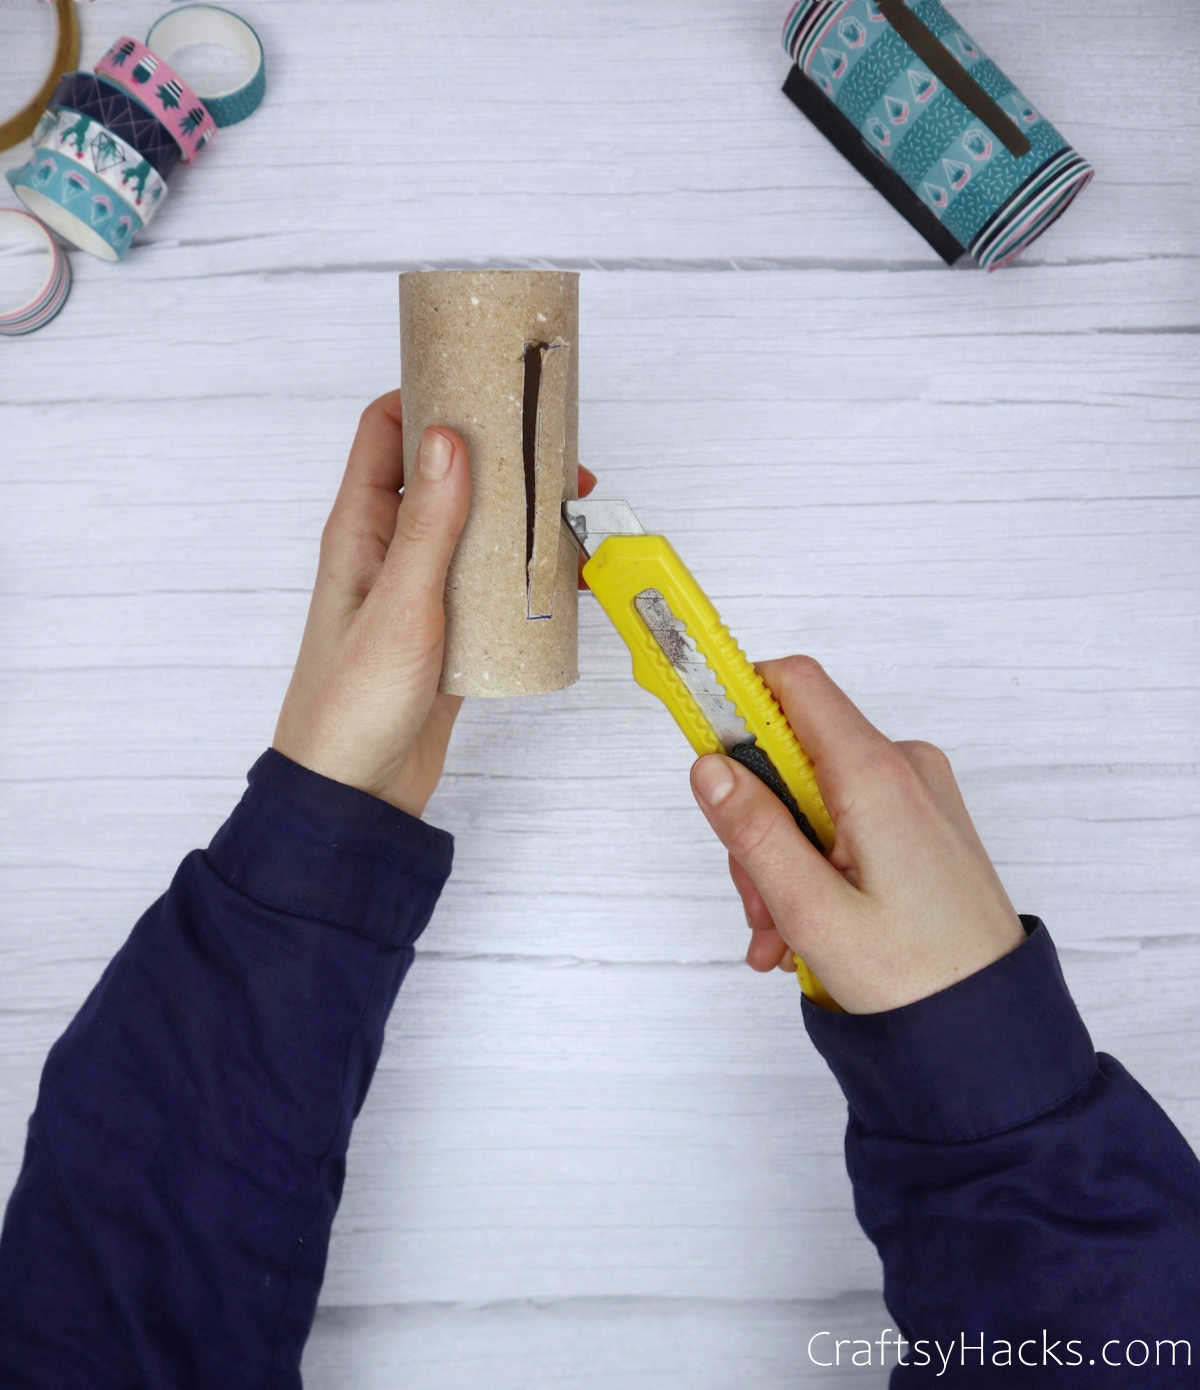
Step 2
Use your craft cutter to cut out the outline you just drew. You have to ensure that the edges are smooth and clean.
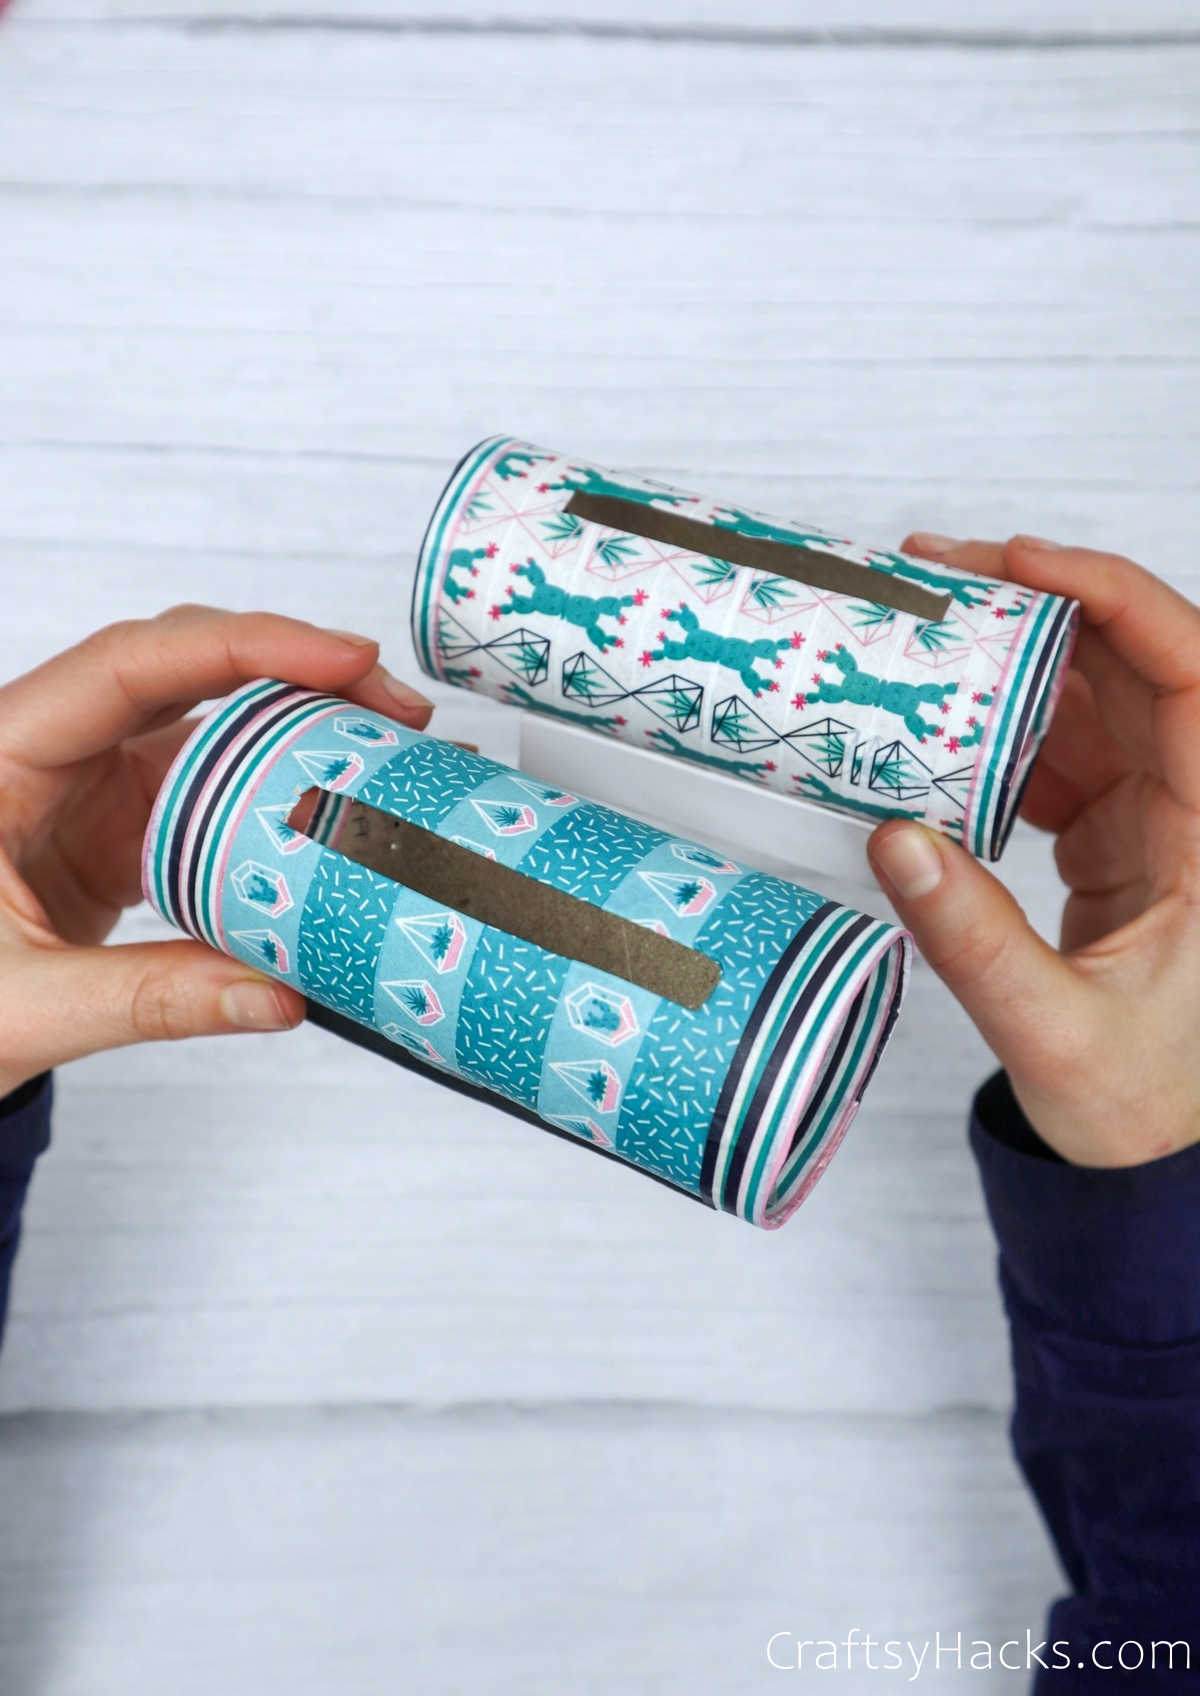
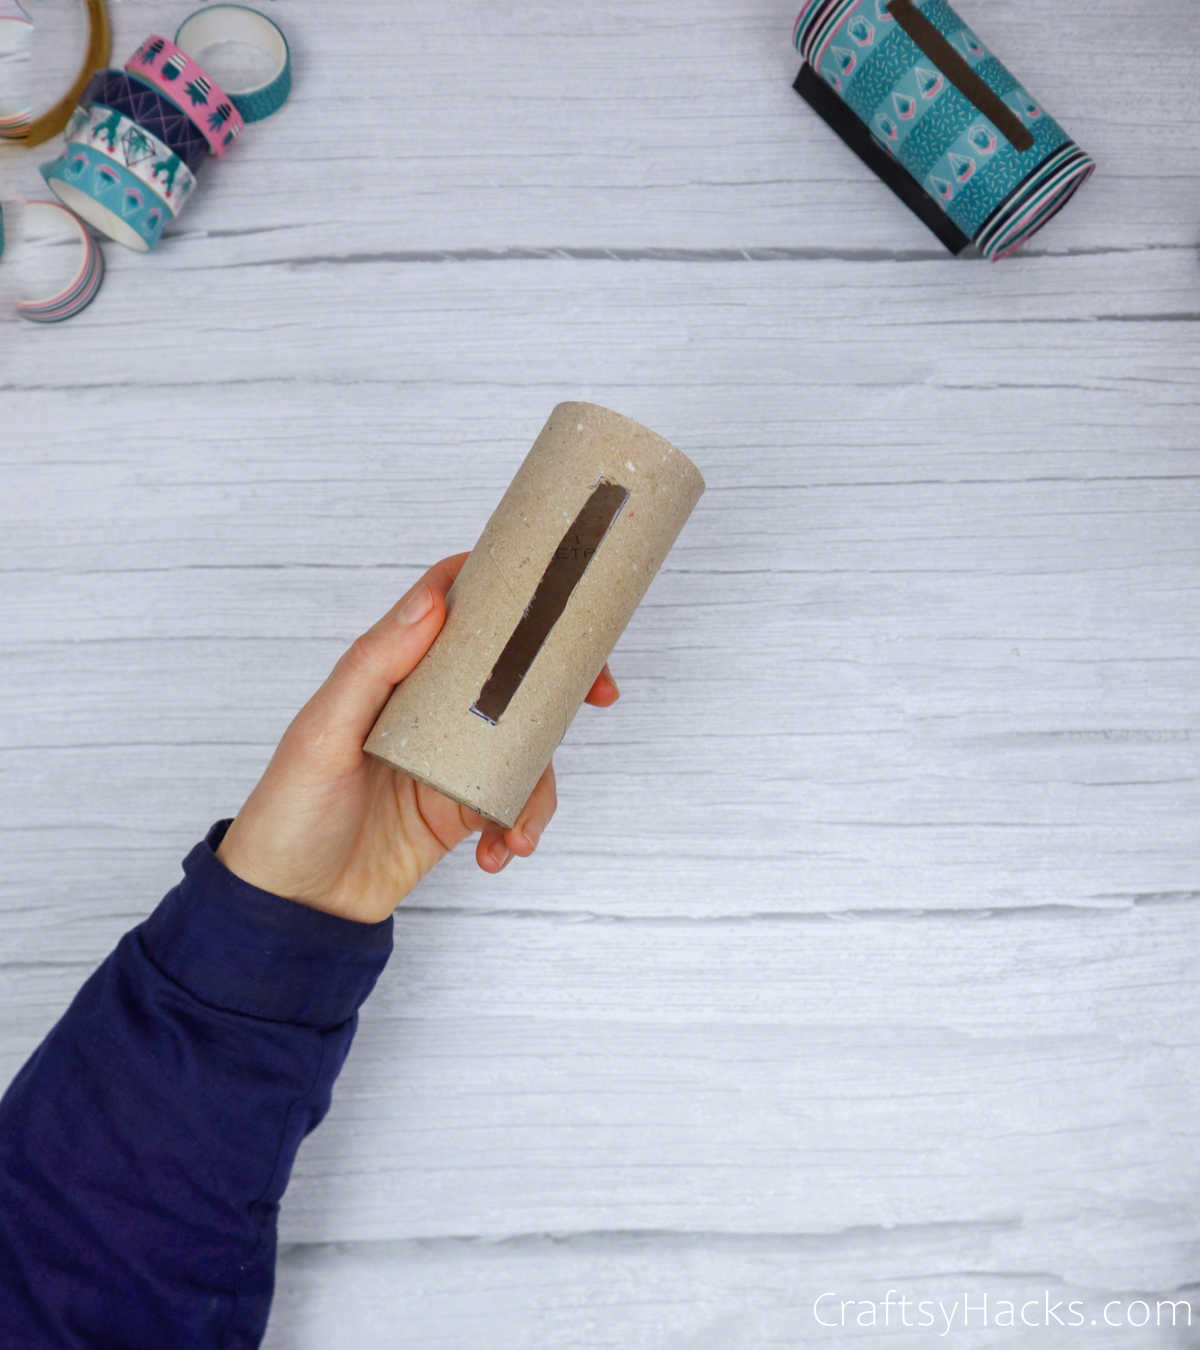
This is how your toilet roll should look like at the end of step 2.
Step 3
Step 3 is perhaps the best part of this entire DIY project—decorating! Do you have a couple of rolls of washi tape ready? Perfect! Grab your tape and start wrapping it around the toilet paper roll.
You can use one particular washi tape or jazz it up and create something themed and colorful! Don’t worry about covering the phone slot—we’ll get to that part in a little while.


Step 4
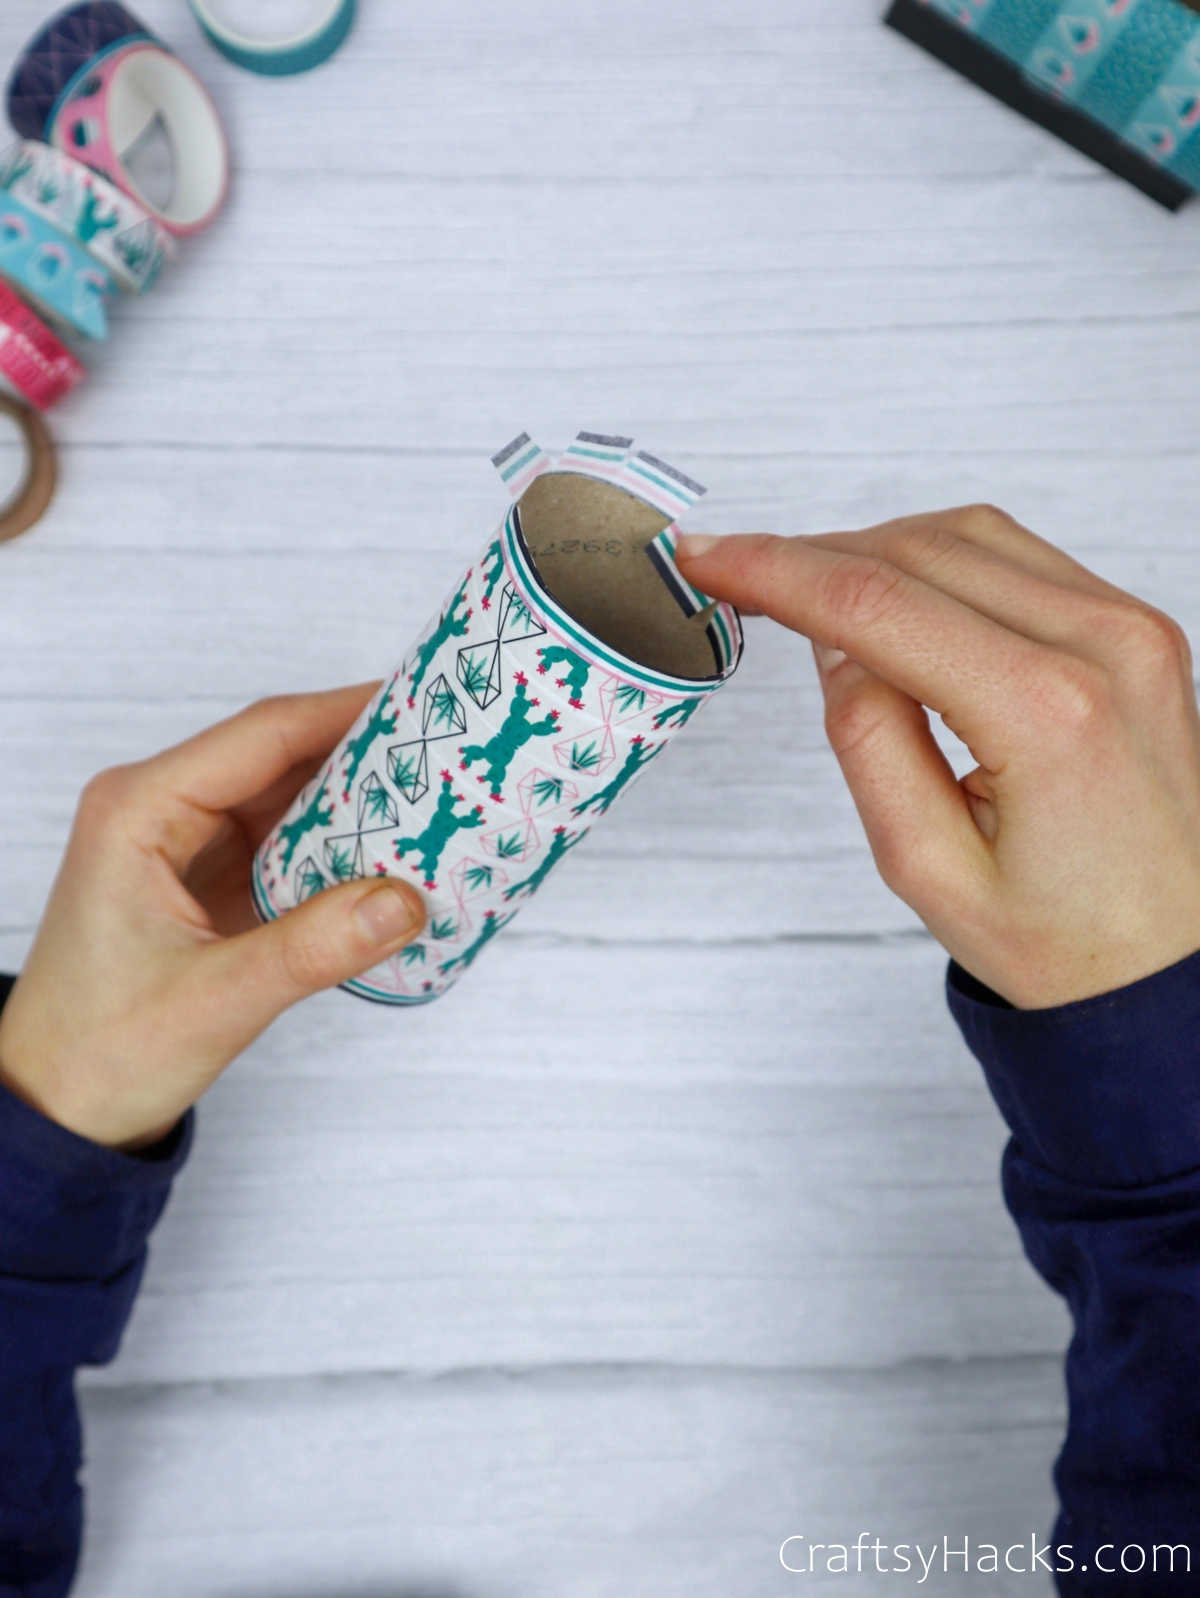
If you noticed, the rims of the toilet paper roll are still visible, and you can see the drab brown cardboard inside it. Grab your washi tape again!
Wrap a layer around the rim, with three-quarters of the tape sticking out.

Step 5
Grab a pair of scissors and make incisions around the tape, creating little flaps.
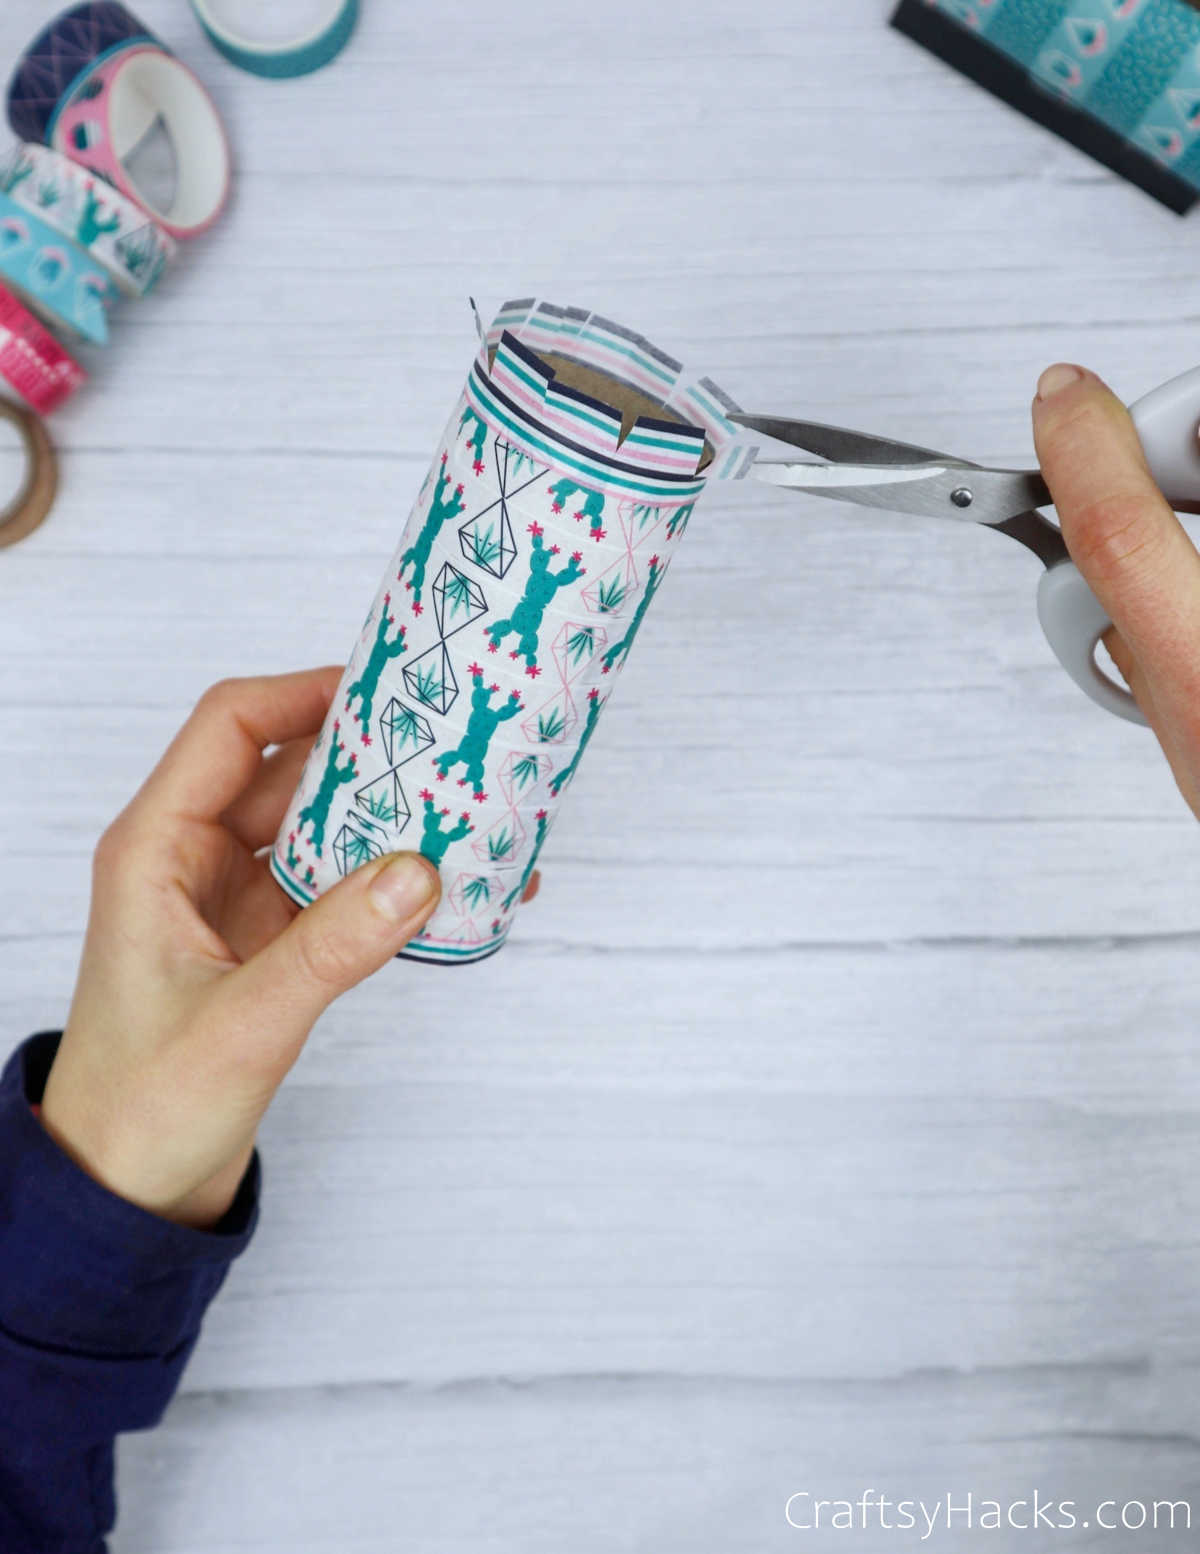
Next, press those flaps inward, stick the tape to the cardboard, and line the entire diameter with a border-like trim. There you go, looks much better, doesn’t it?
Step 6
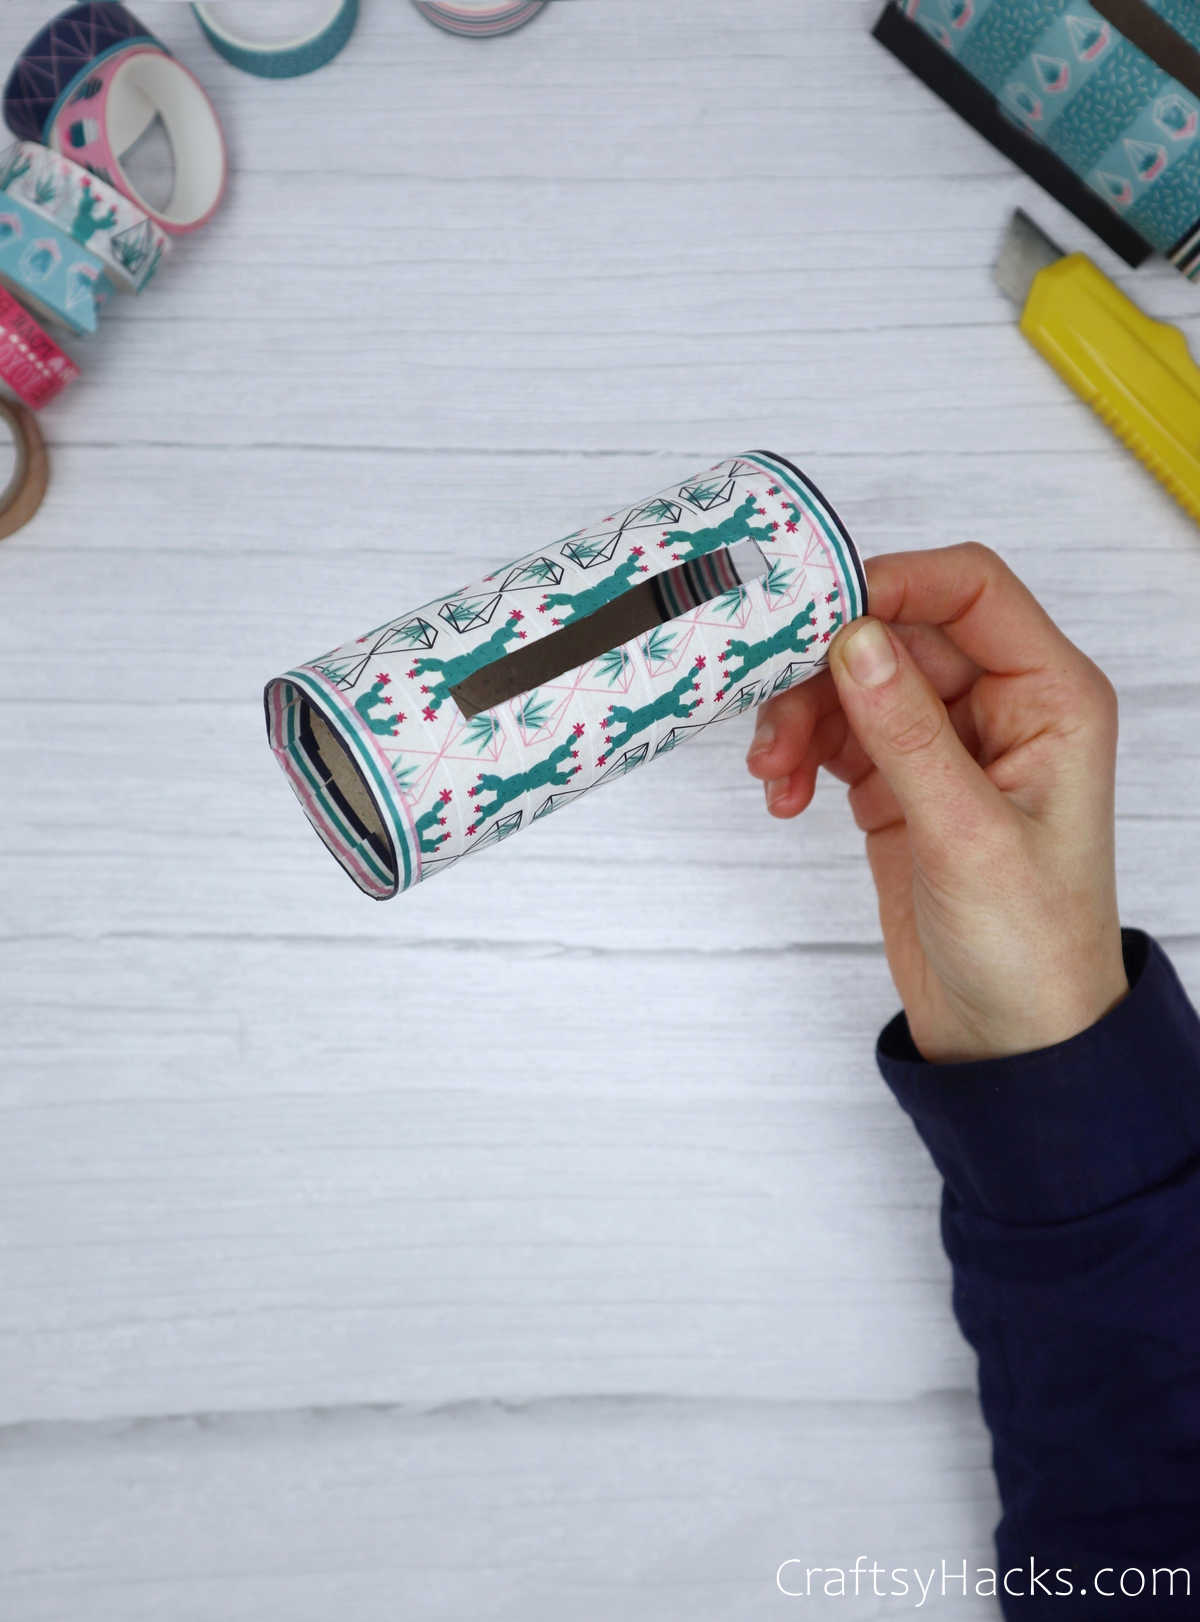
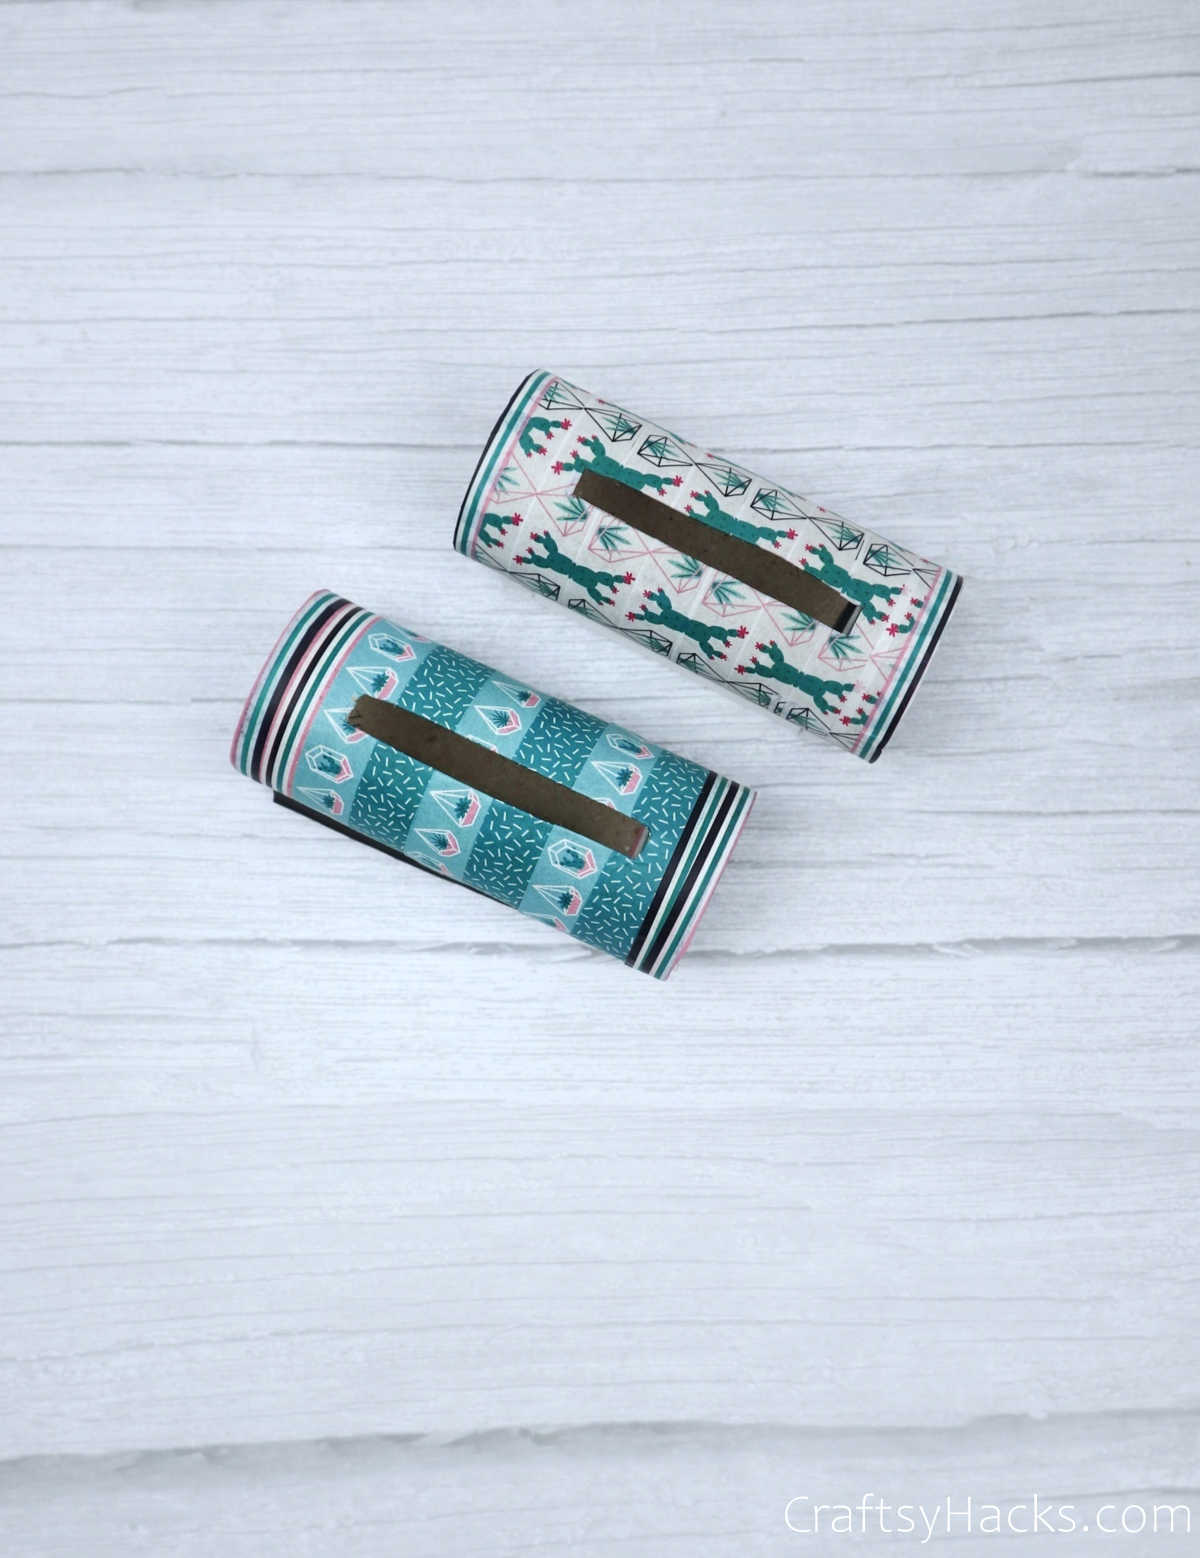
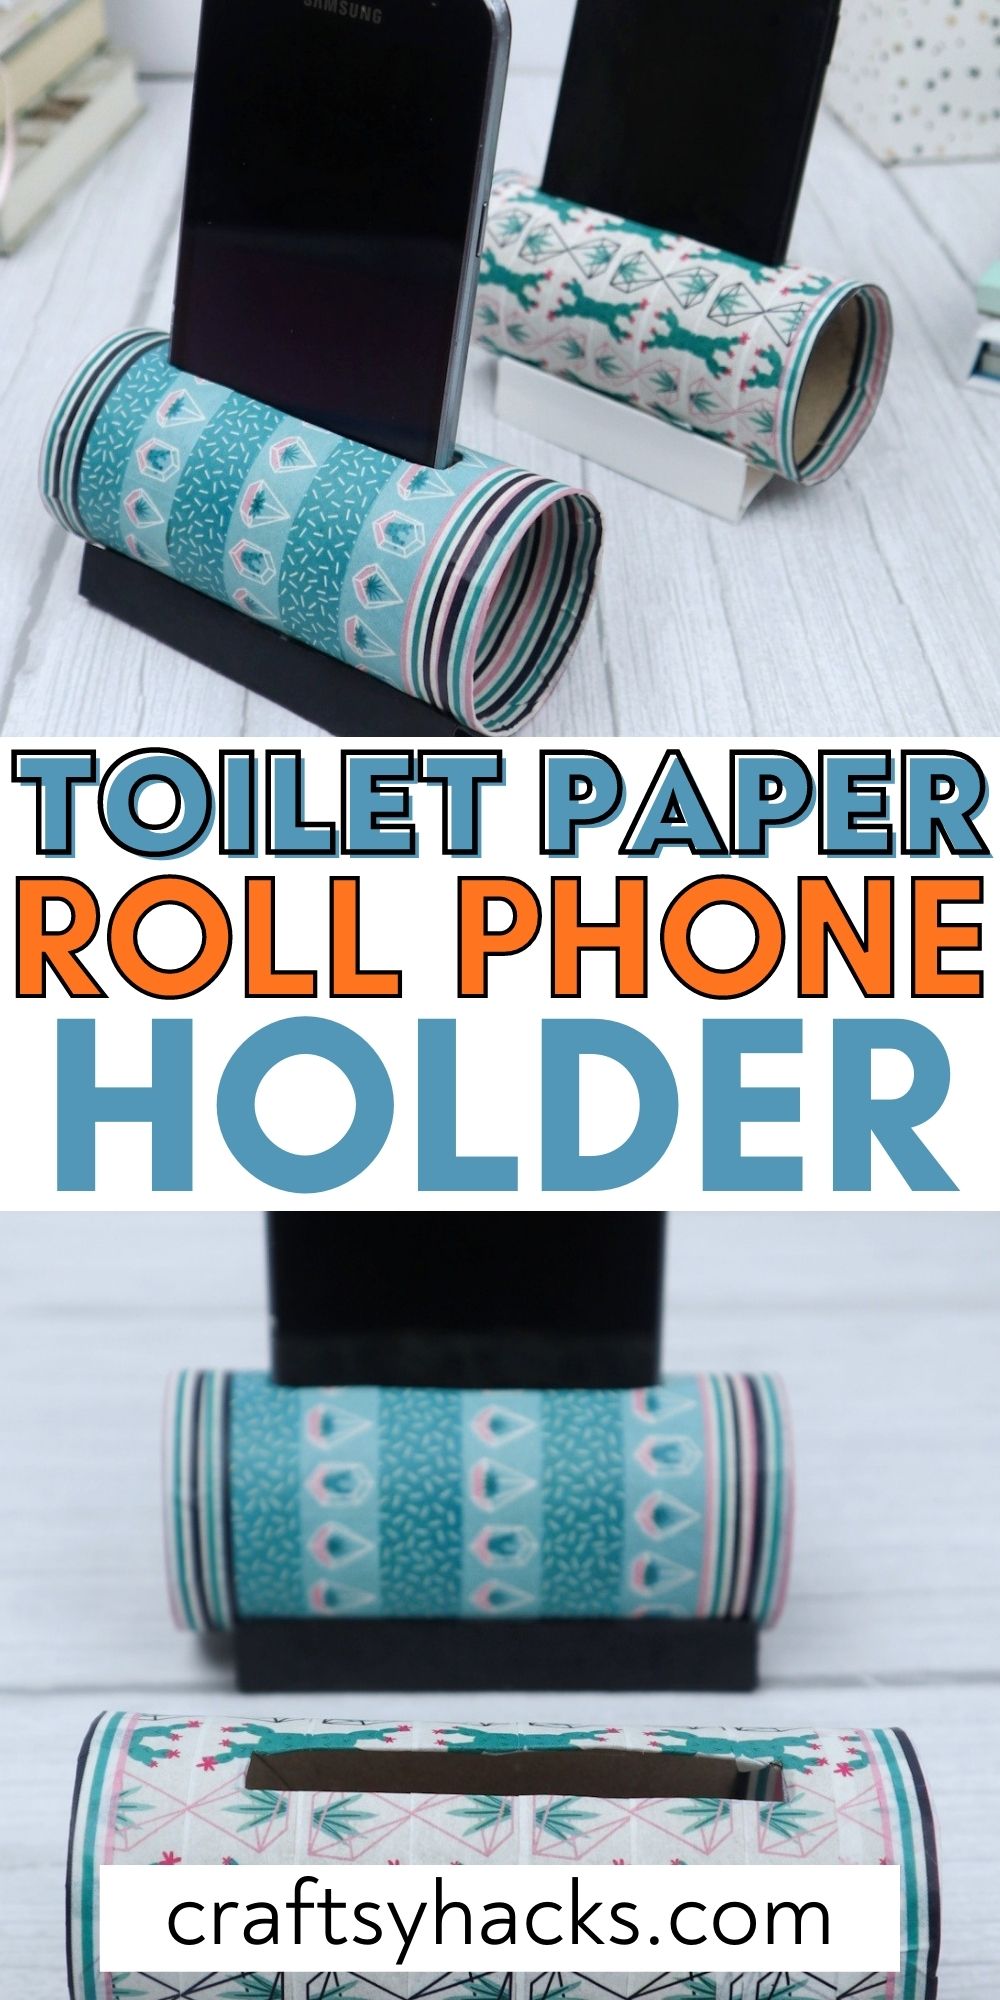
If you covered your phone slot, then fret not! It’s time to see how you can deal with that little detail. Grab your craft cutter and carefully cut a neat line along the outline of the hole.
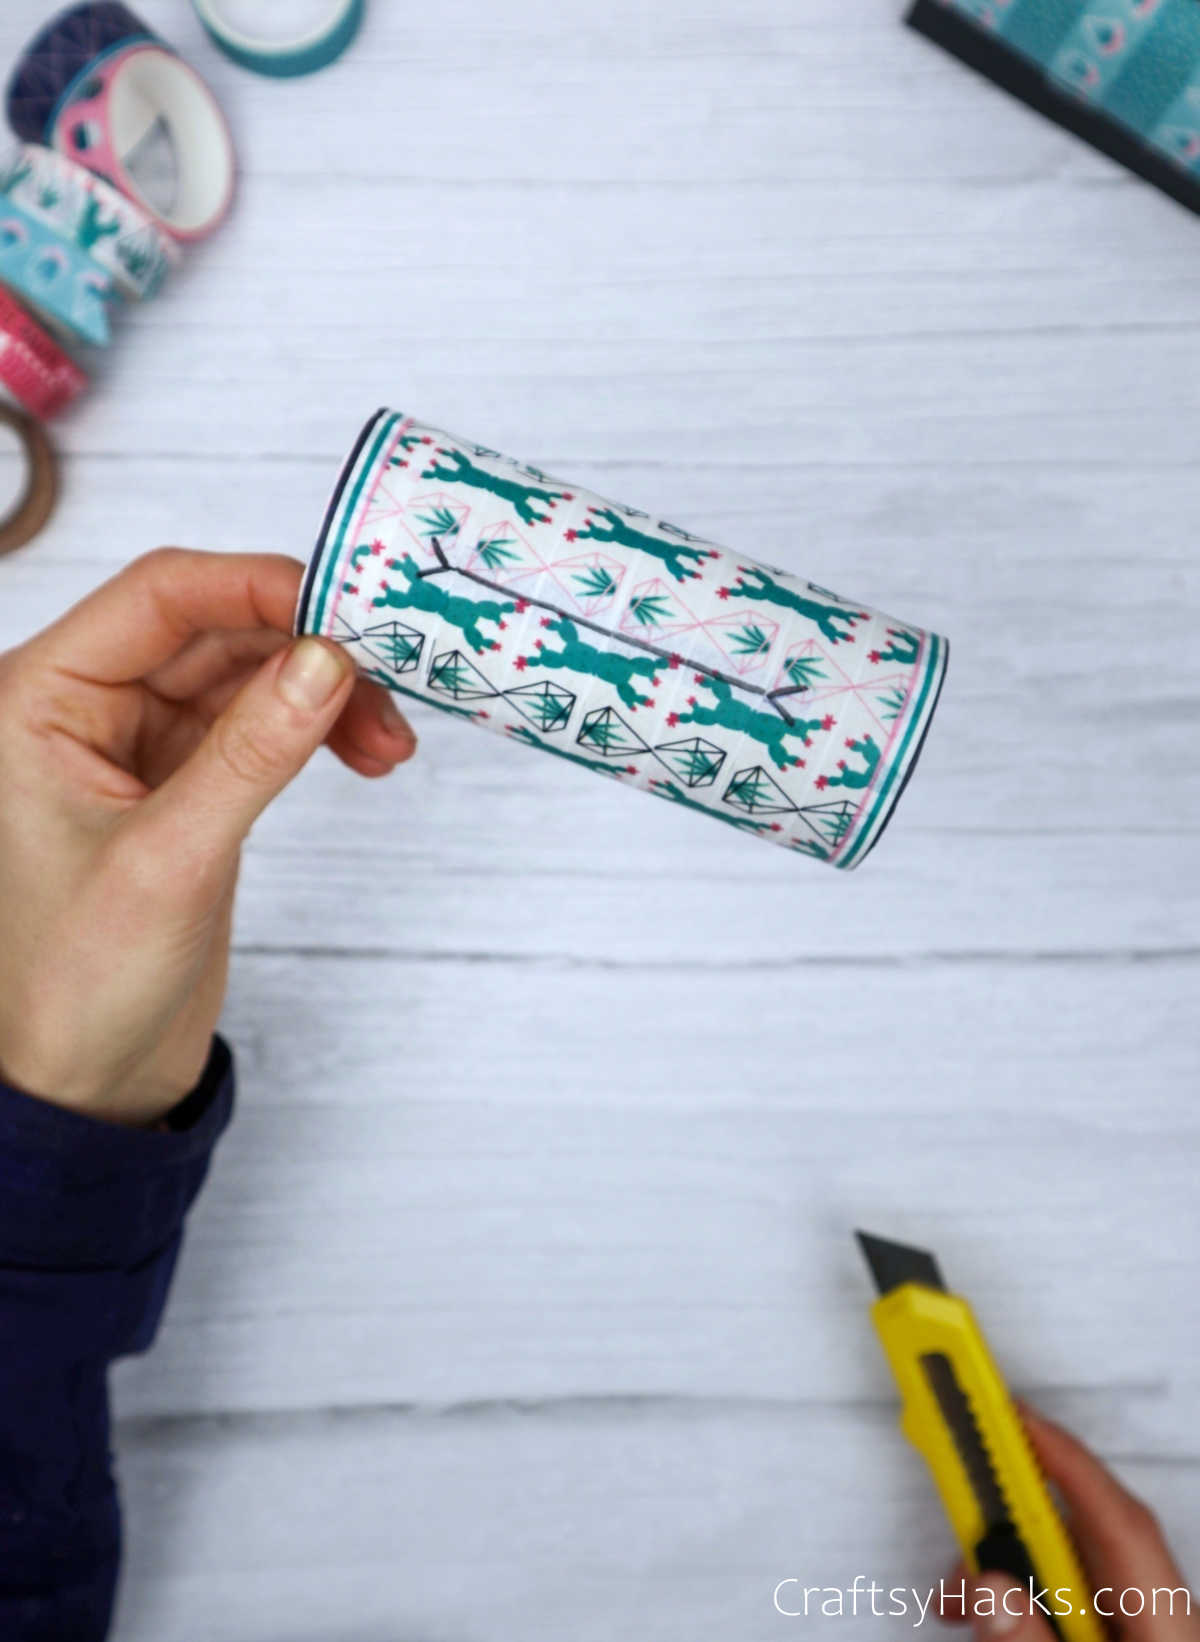
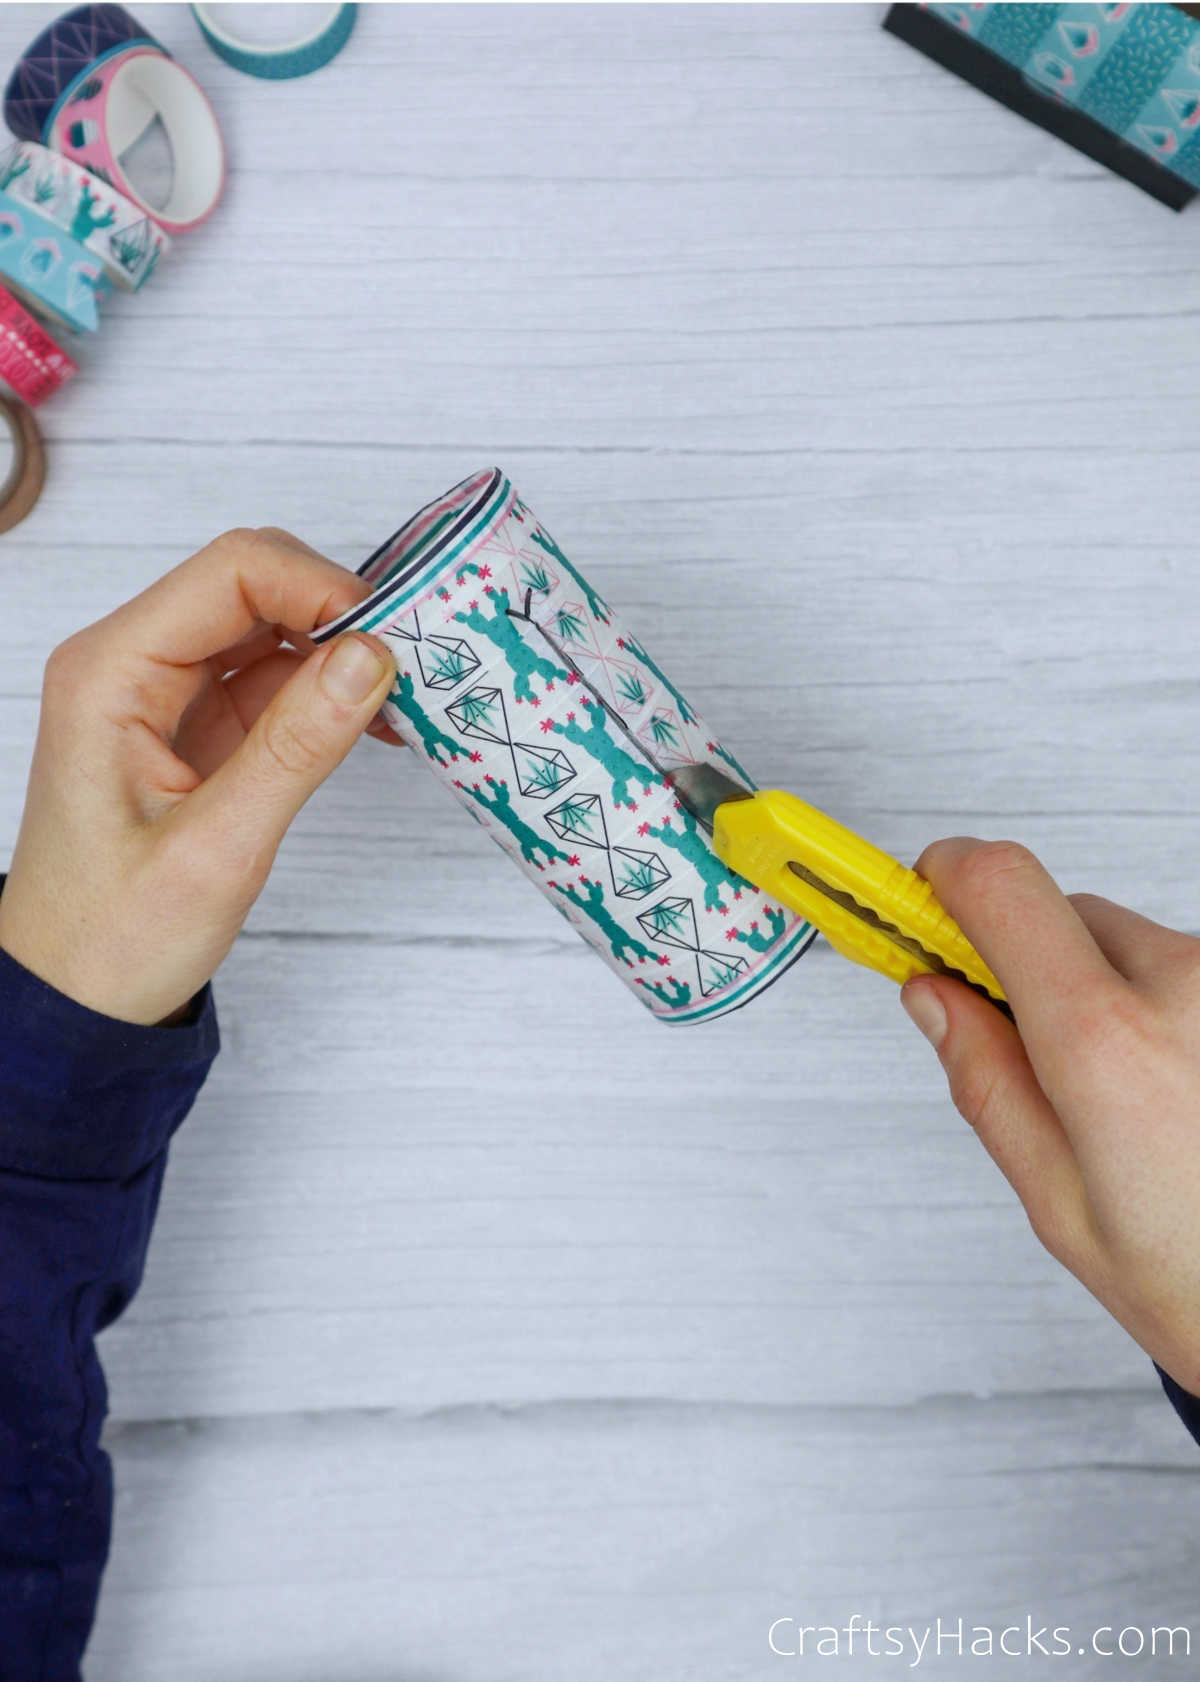
Here’s a really useful tip: when you’re cutting down the length of the tape, make sure you make one clean line with two little v-like incisions at either end.
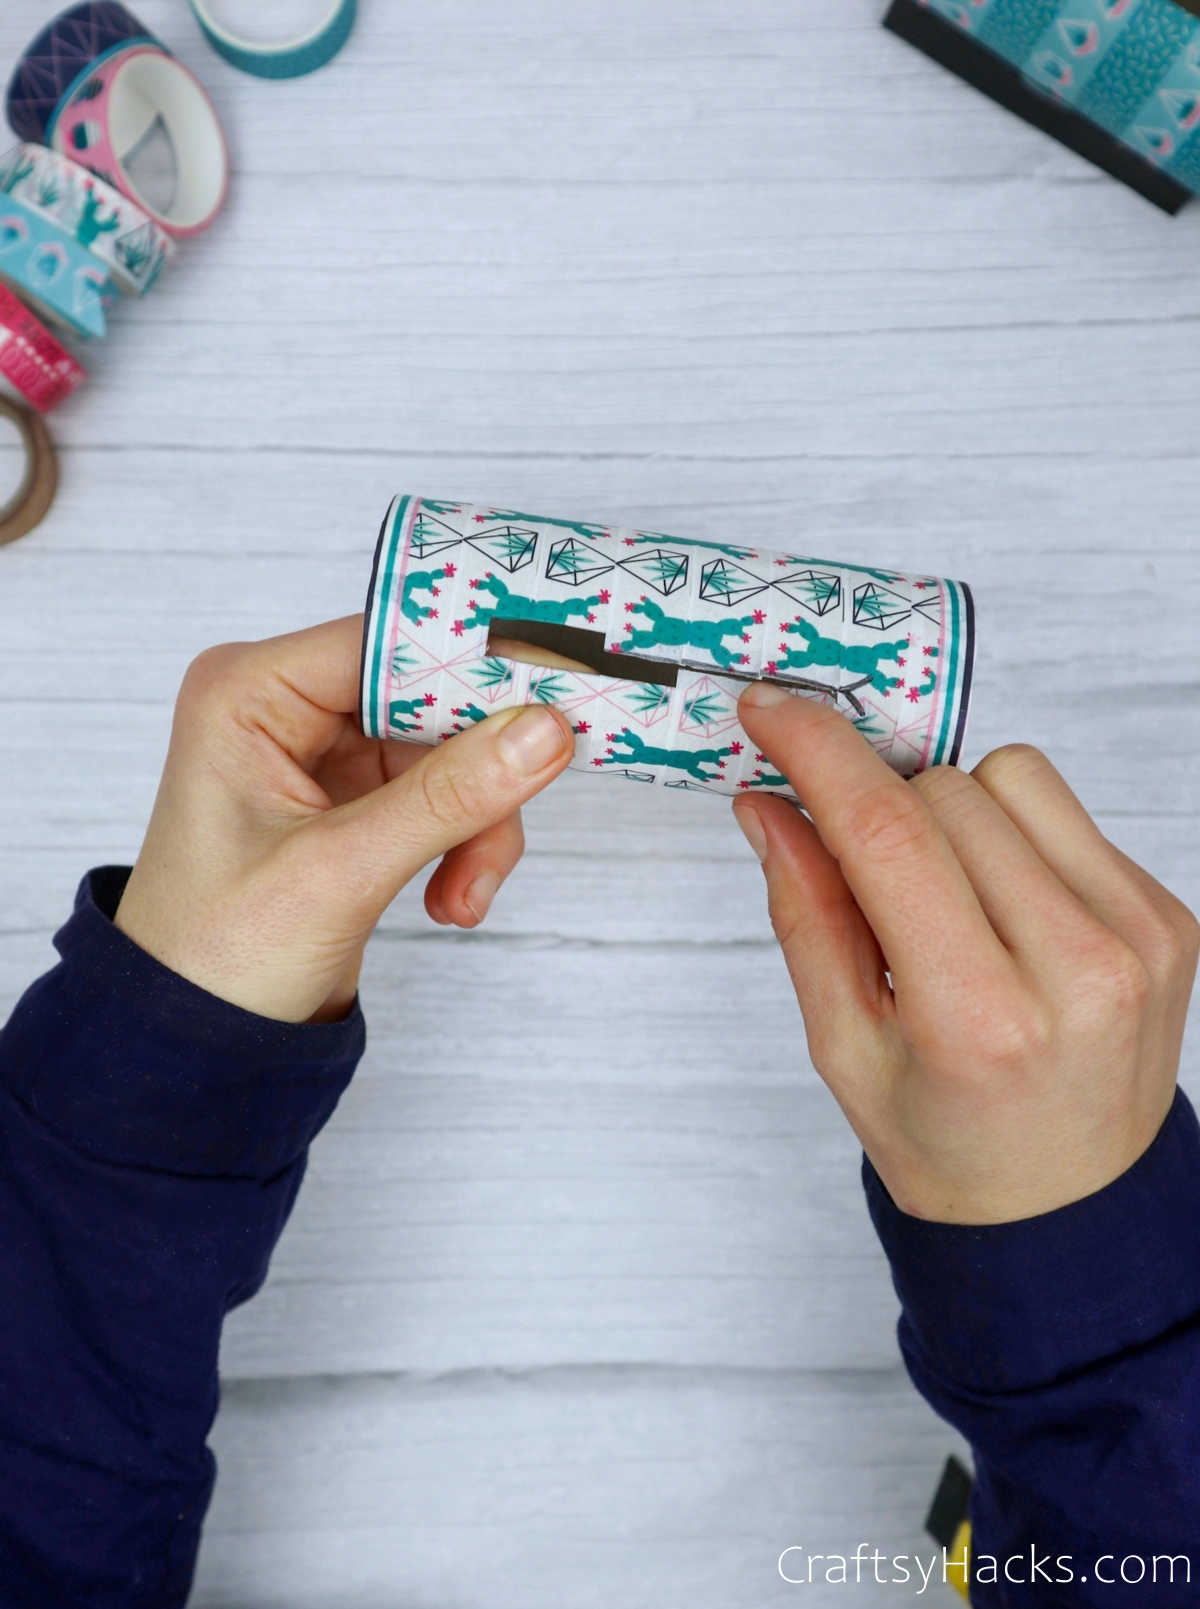
When you cut the tape this way, you’ll be able to press the tape inside and line the edges with it.
You won’t have to worry about the cardboard inside making an appearance, and this will make your finished project all the better!
Step 7
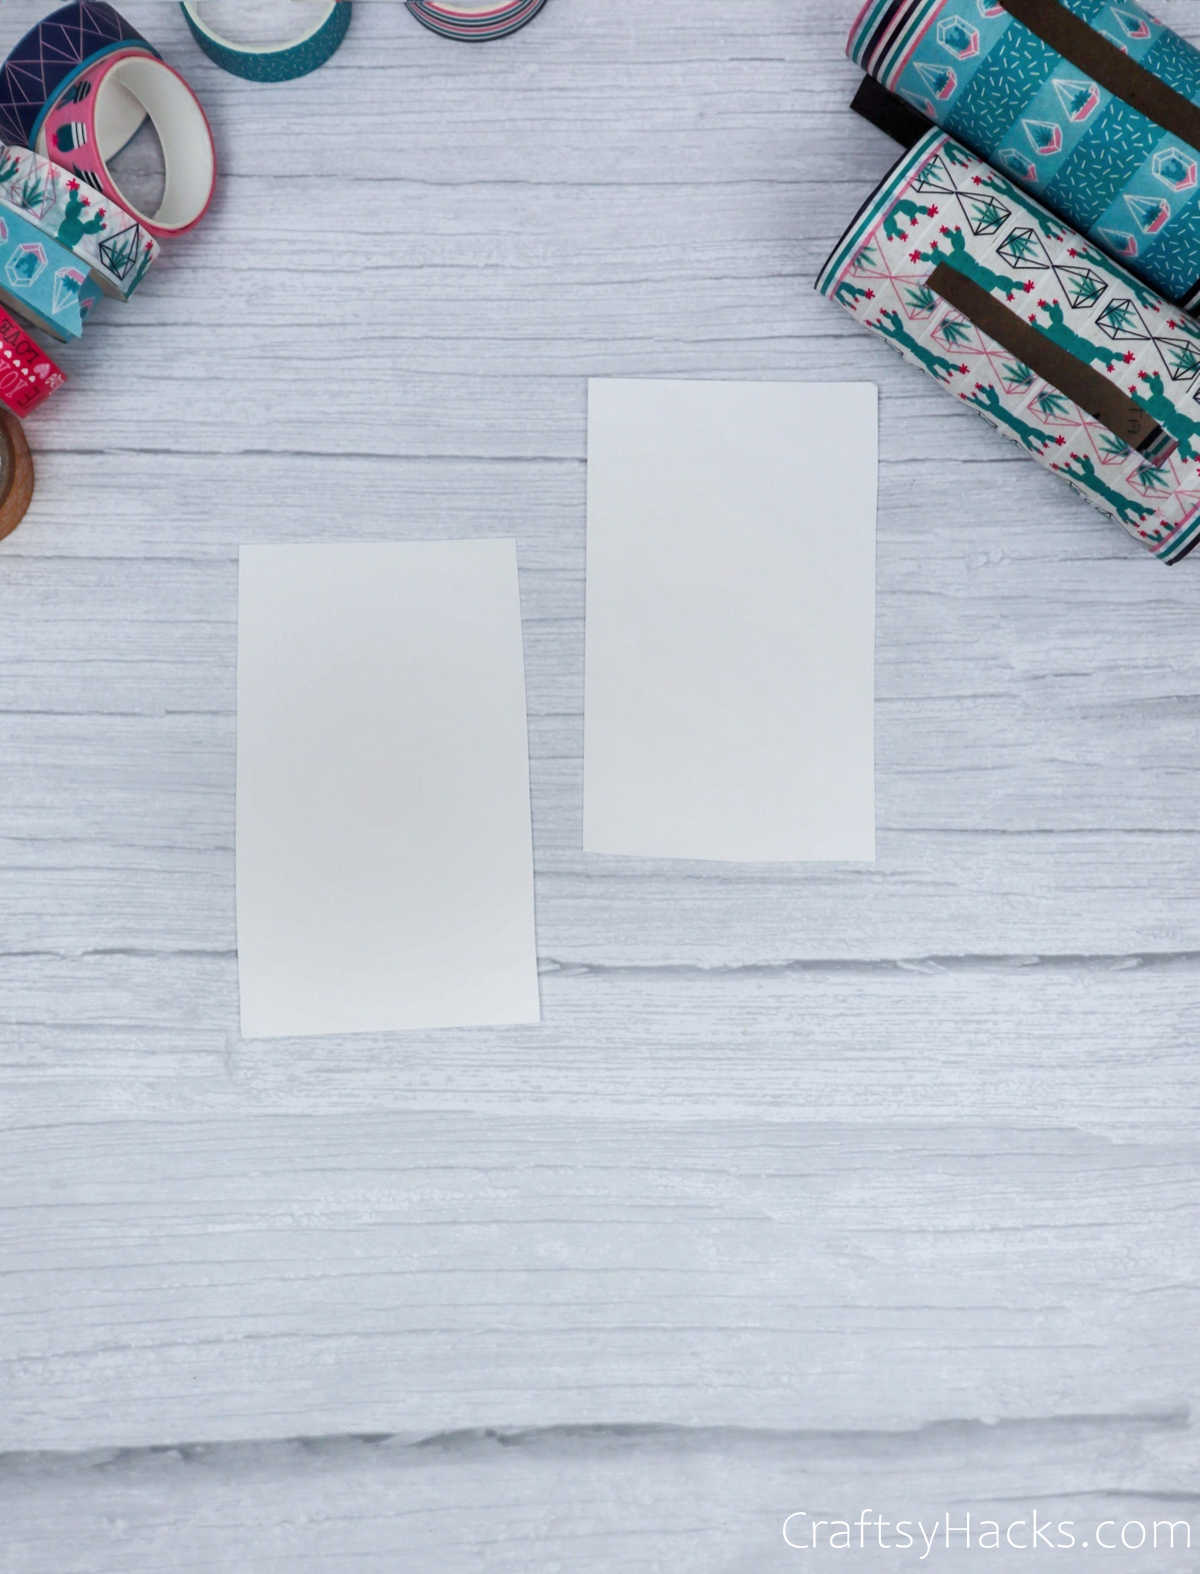
It’s time to make the legs or the holders for your DIY project. It’s pretty straightforward, and all you need is your paper of choice. Divide one sheet into six equal strips.
Step 8
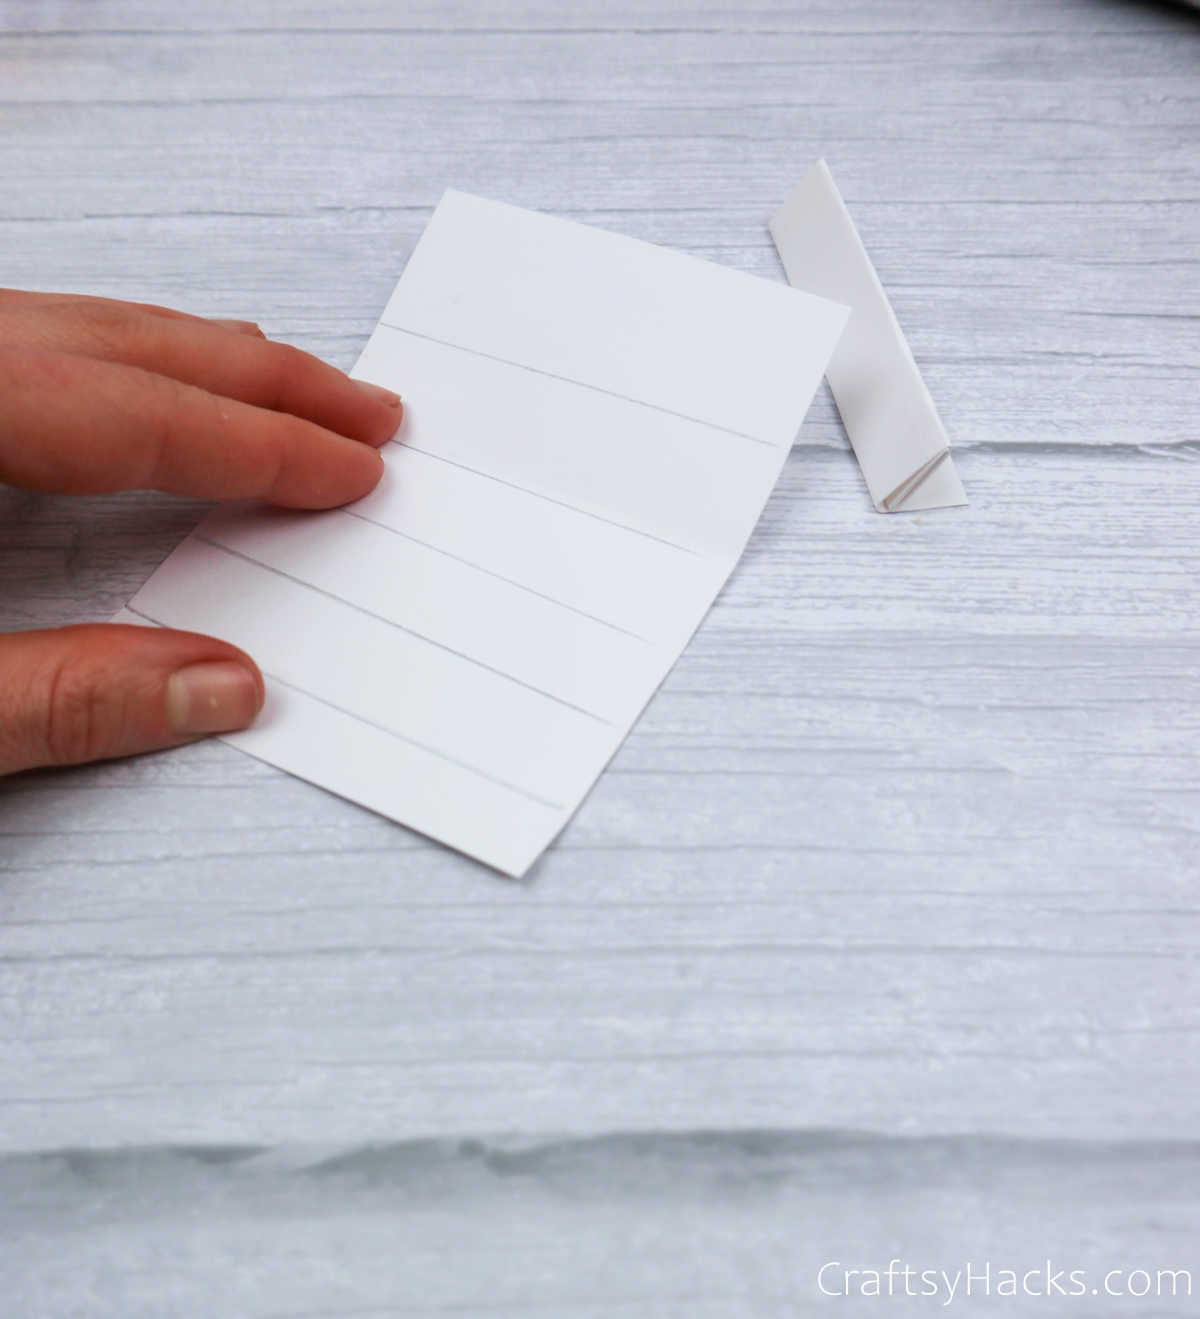
Fold the strips inward as shown below, and press down on them once you’re done to crease every fold. Next, unfold them, so you have a nice zig-zag strip of paper.

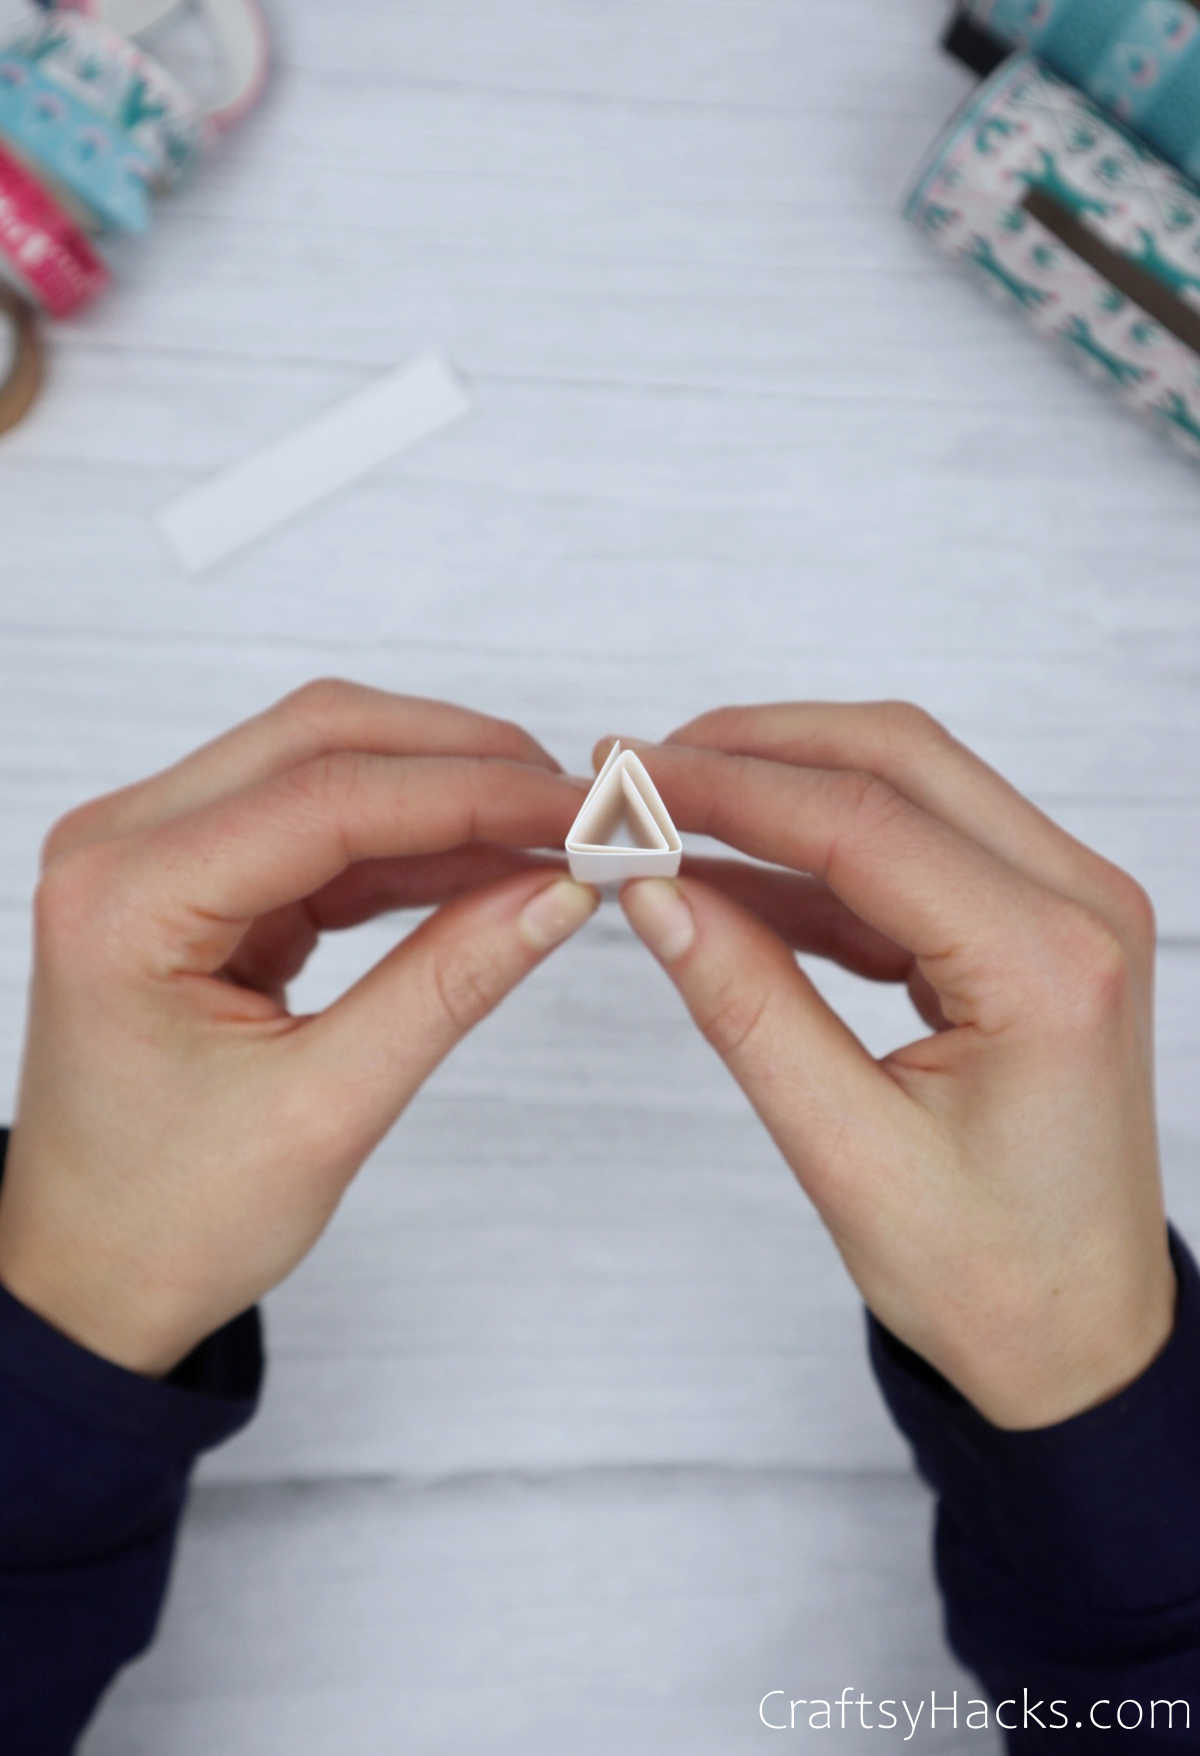
Step 9
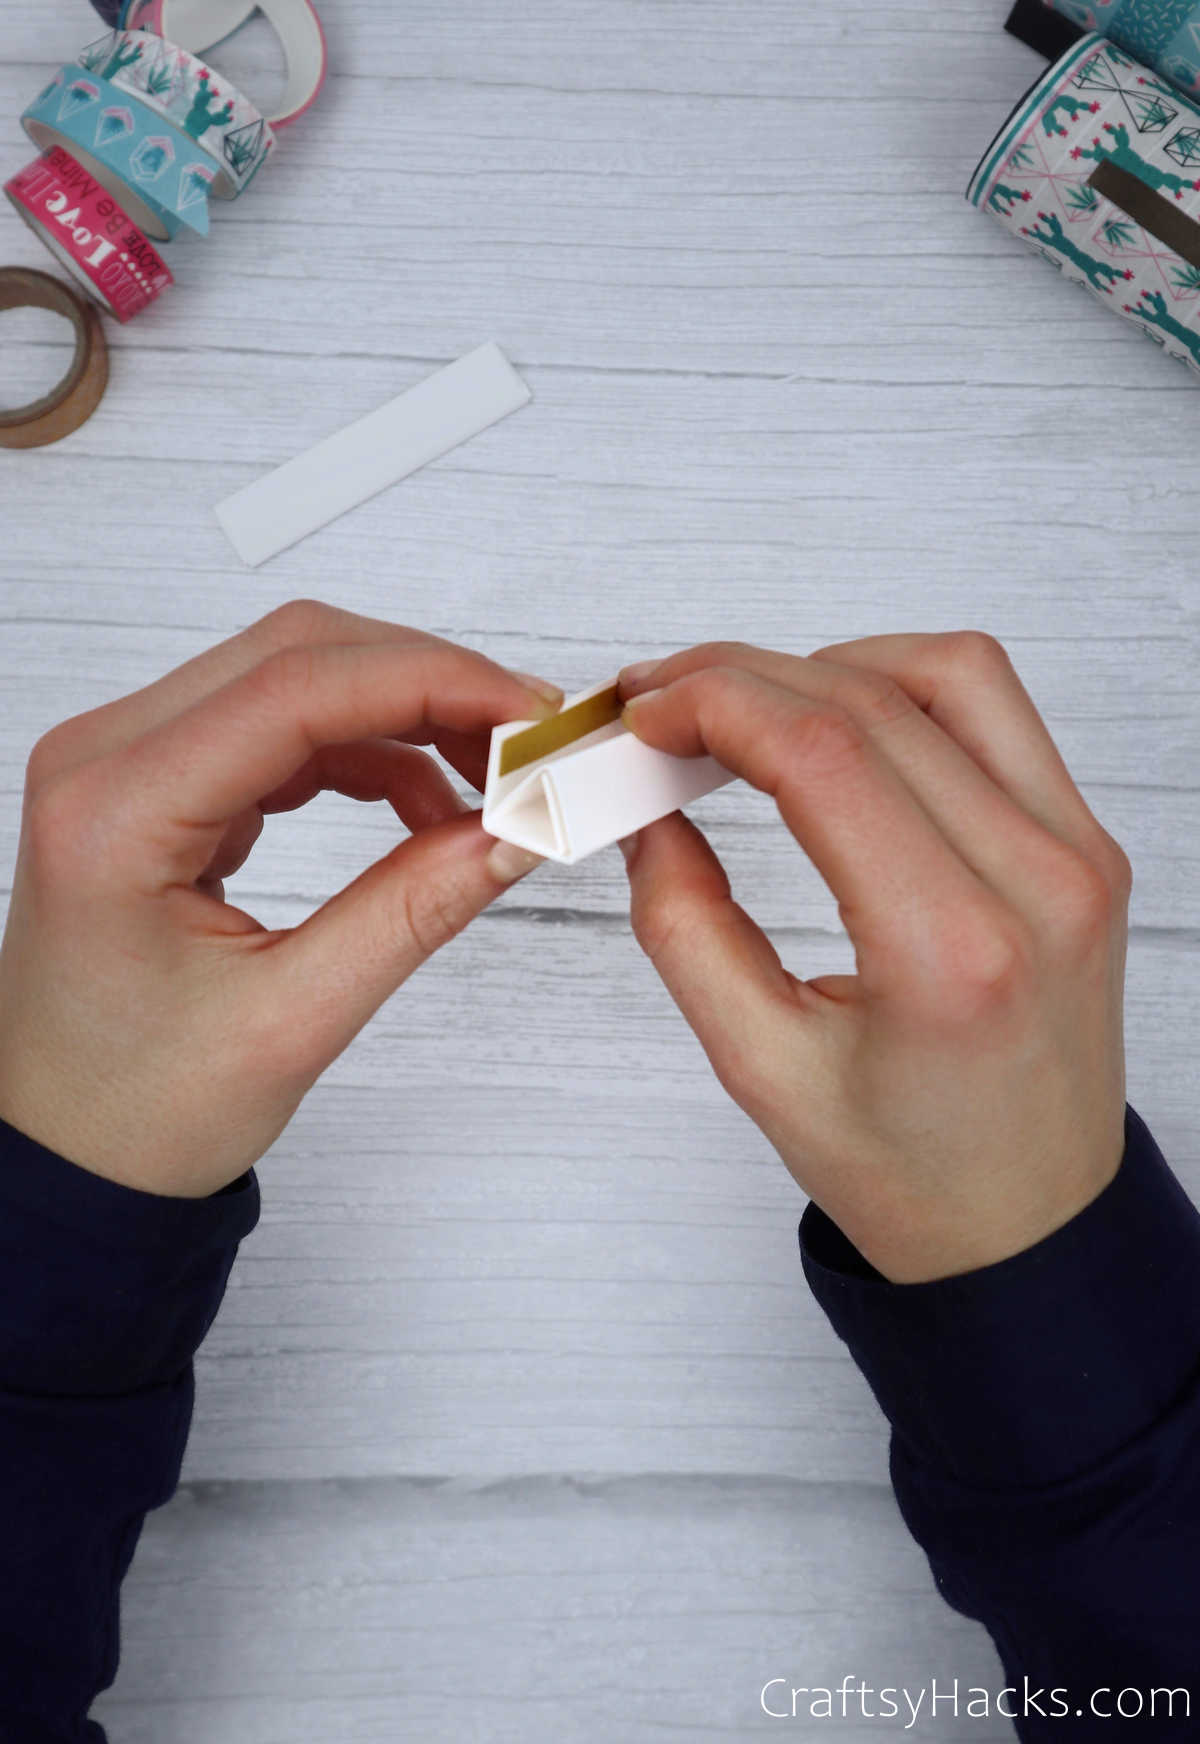
For this step, you will need to create a triangle by folding the strips accordingly. You will end up with a 3D, three-walled triangular strip of paper.


Step 10
Attach the open end using double-sided tape and press gently to secure the adhesive.
Repeat this step till you get both your stands ready. They should look something like this.

Step 11
Before you place the legs against the toilet paper roll, you’re welcome to wrap it with washi paper to fit the pattern.
Once you’re satisfied, attach the legs to the toilet roll using a few strips of double-sided tape. Alternatively you can use liquid glue, but remember that it can end up making your washi tape soggy.
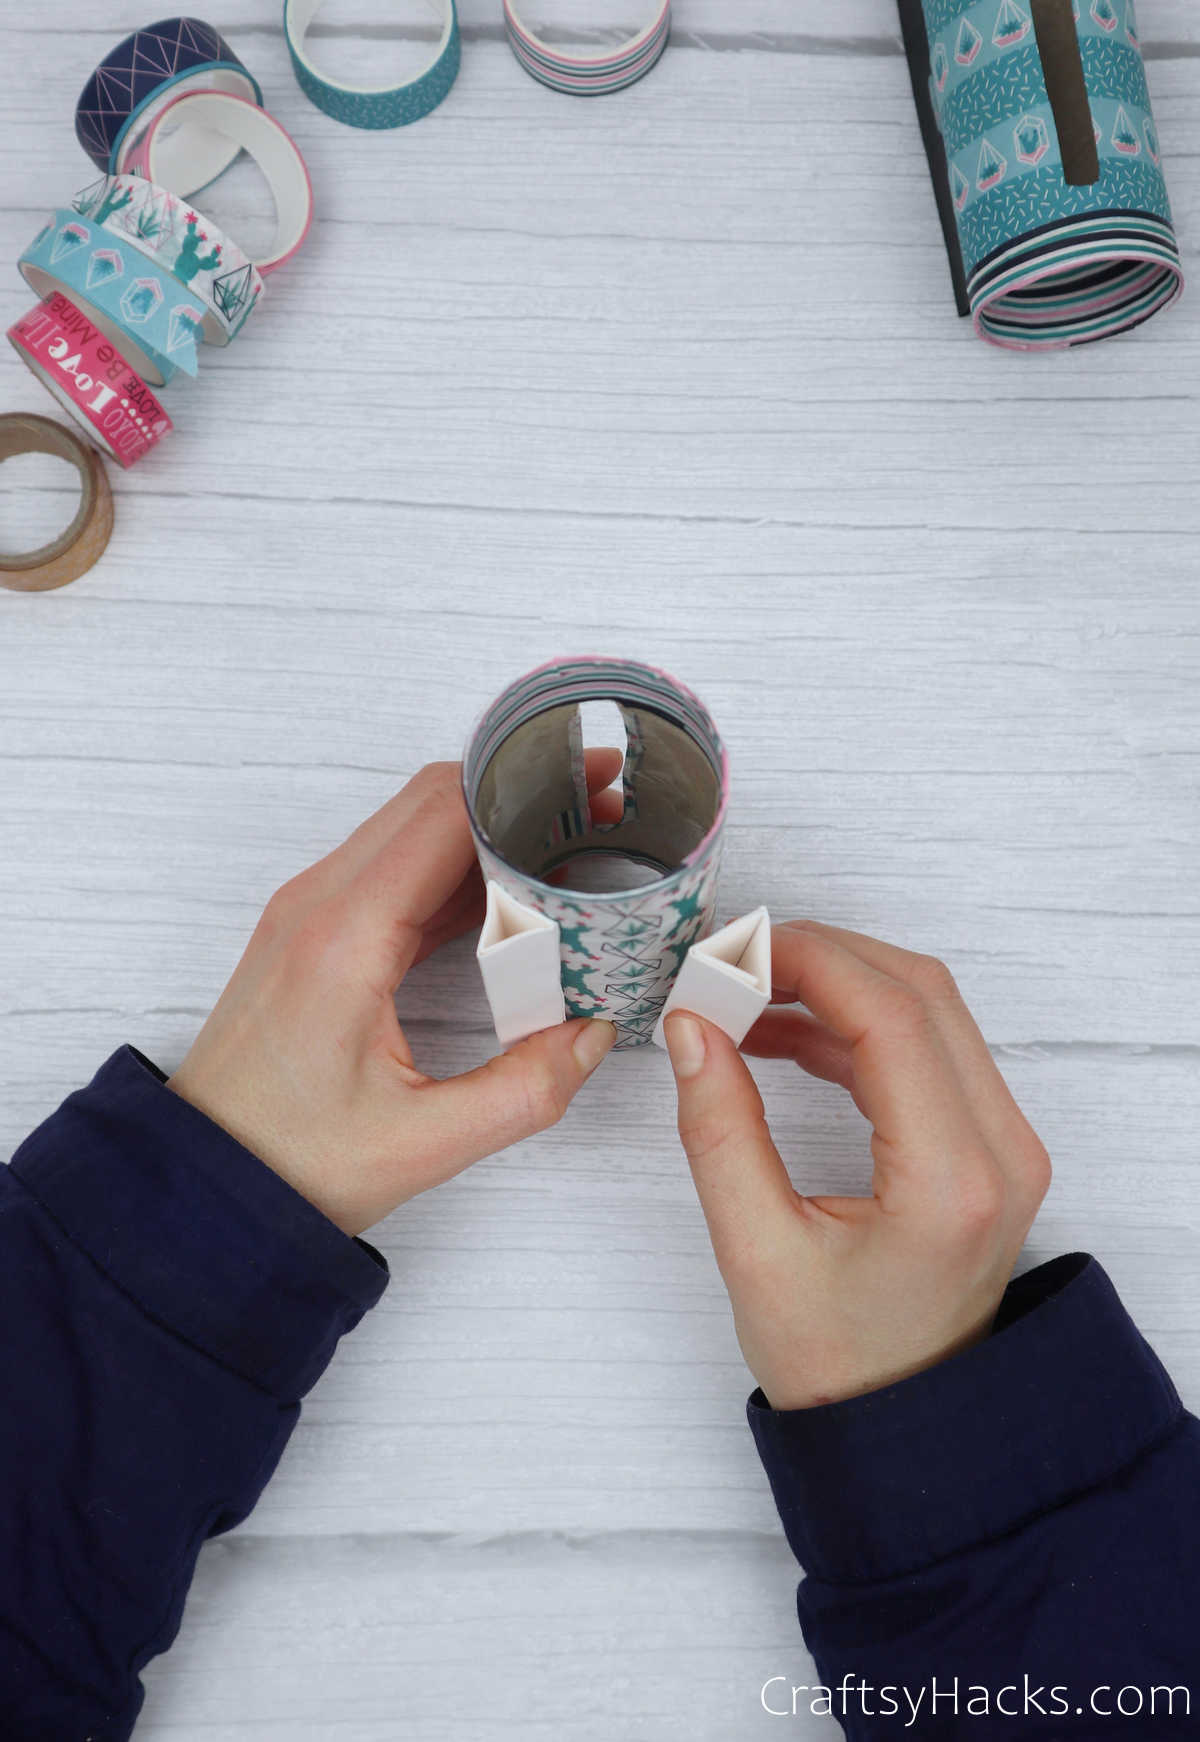
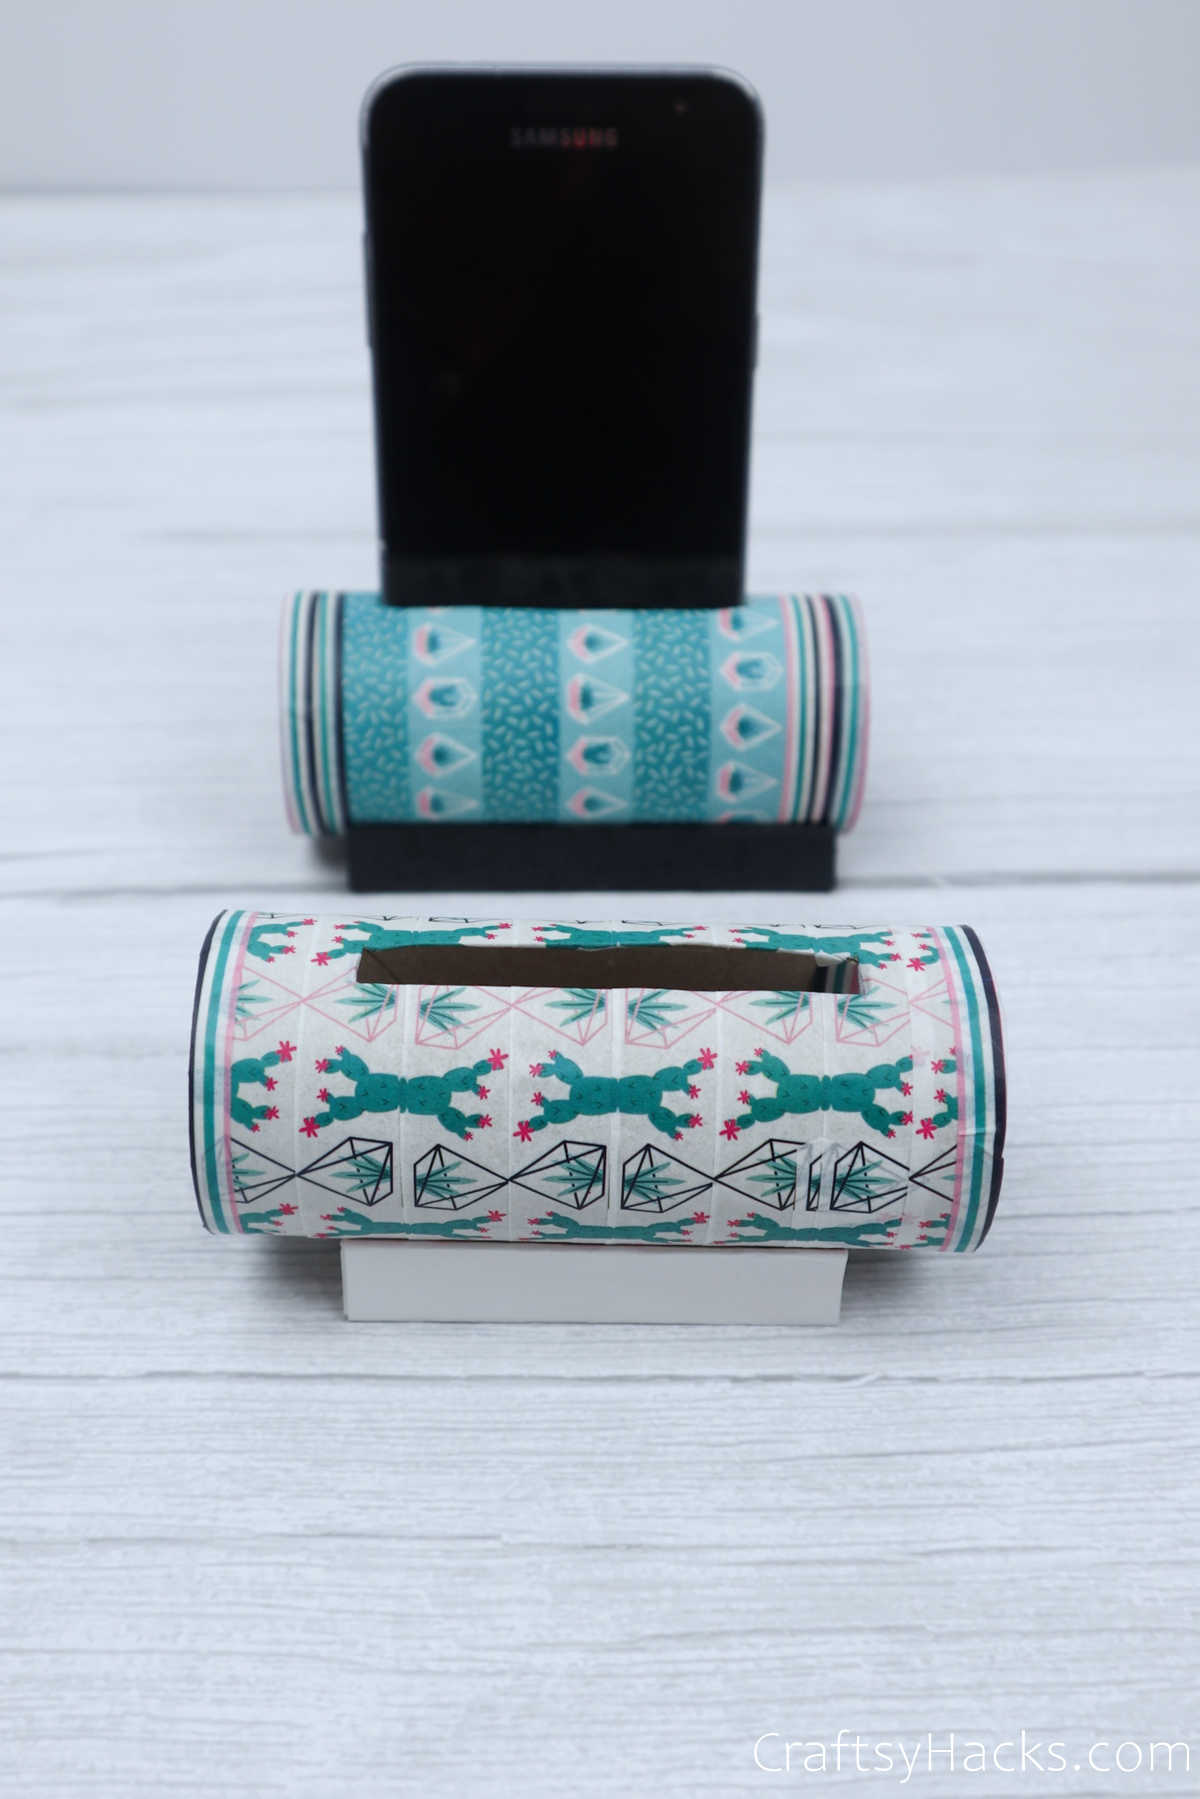
Place the phone holder down on its legs and check to see if it stays in place and looks sturdy enough to hold your phone.
If you’re not too happy with the stands, you can also use four pushpins as the legs instead. They’re just as good and will probably save you some time as well.
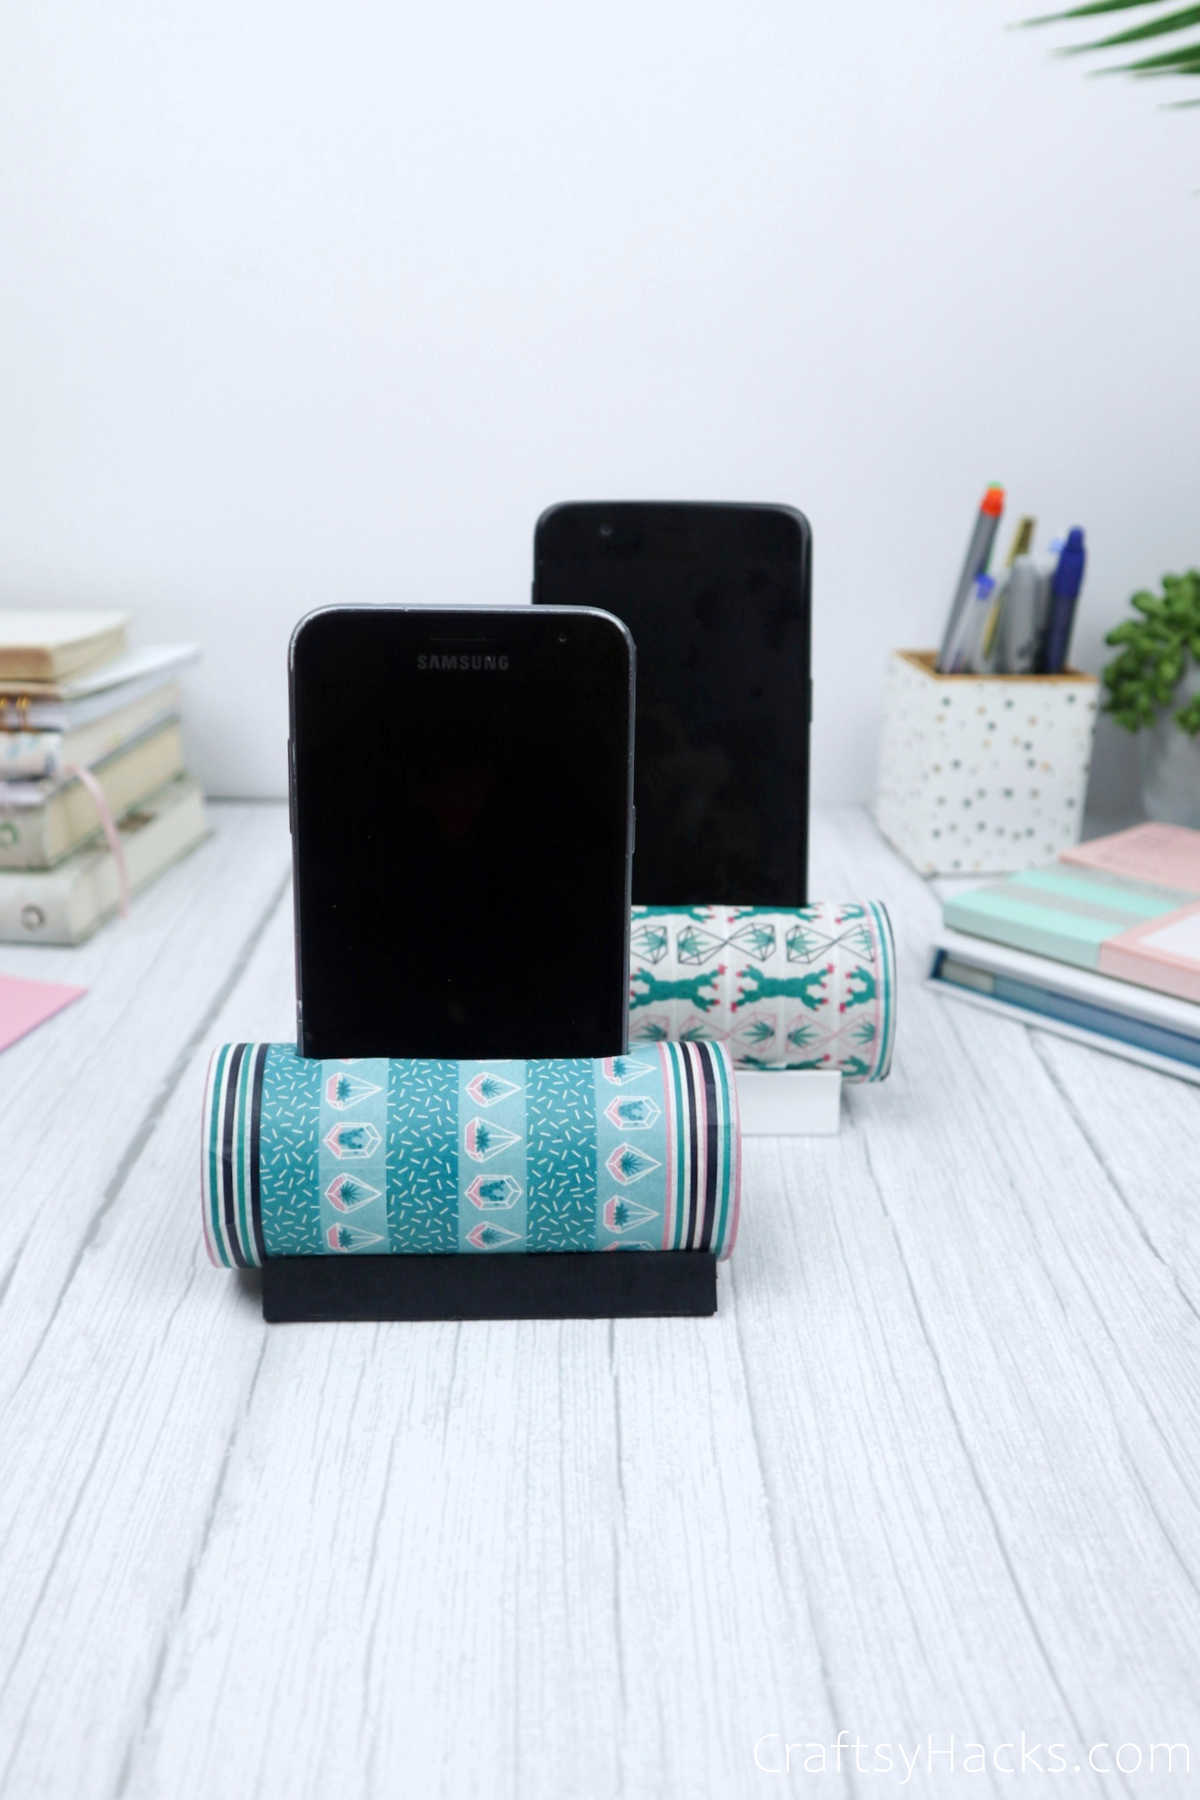
Just pop your phone inside the phone holder and there you go! Doesn’t this toilet paper roll phone holder look like a million bucks?
If you’re interested, check out these 20 toilet paper roll crafts that are fun and easy to make!
Other DIY Crafts
- Construction Paper Crafts
- Summer Crafts for Kids
- Paper Crafts for Adults
- Crafts for Girls
- Crafts to Make and Sell
- How to Make a Paper Envelope
- Projects for Teens
- Paper Crafts

DIY Phone Holder from Toilet Paper Roll
Video Tutorial
Equipment
- Scissors or cutter
- Ruler (optional)
Materials
- Marker
- Toilet paper roll
- Washi tape
- Double-sided tape or glue
Instructions
- Grab your supplies to get started.
- Trace an outline of the base of your phone on the toilet paper roll. This will be the slot where you will insert your phone.
- Using a craft cutter, carefully cut the cardboard roll and clear away the edges, too.
- Wrap the toilet paper roll with washi tape.
- To cover the cardboard that is visible around the rims, wrap a strip of washi tape around it with the ends sticking out.
- Use your pair of scissors to cut flaps around the washi tape and carefully press them inward to cover the cardboard.
- Next, you’ll need to cut the washi tape that’s covering your phone slot. Just place an incision down the center of the gap and two v-like cuts at either end. This method of cutting the tape will ensure smooth and pretty edges.
- To make the legs, divide a sheet of paper into 6 equal strips and fold them inward, pressing each fold firmly to crease the paper. Unfold the paper.
- Now, form a 3D triangle by folding the creased strip of paper until you have a three-walled triangular leg. Stick the ends closed with double-sided tape.
- Alternatively, you can use 4 push pins instead to act as the legs for your phone holder.
- Once you’re happy with the stability of the legs, your phone holder is ready to go!


