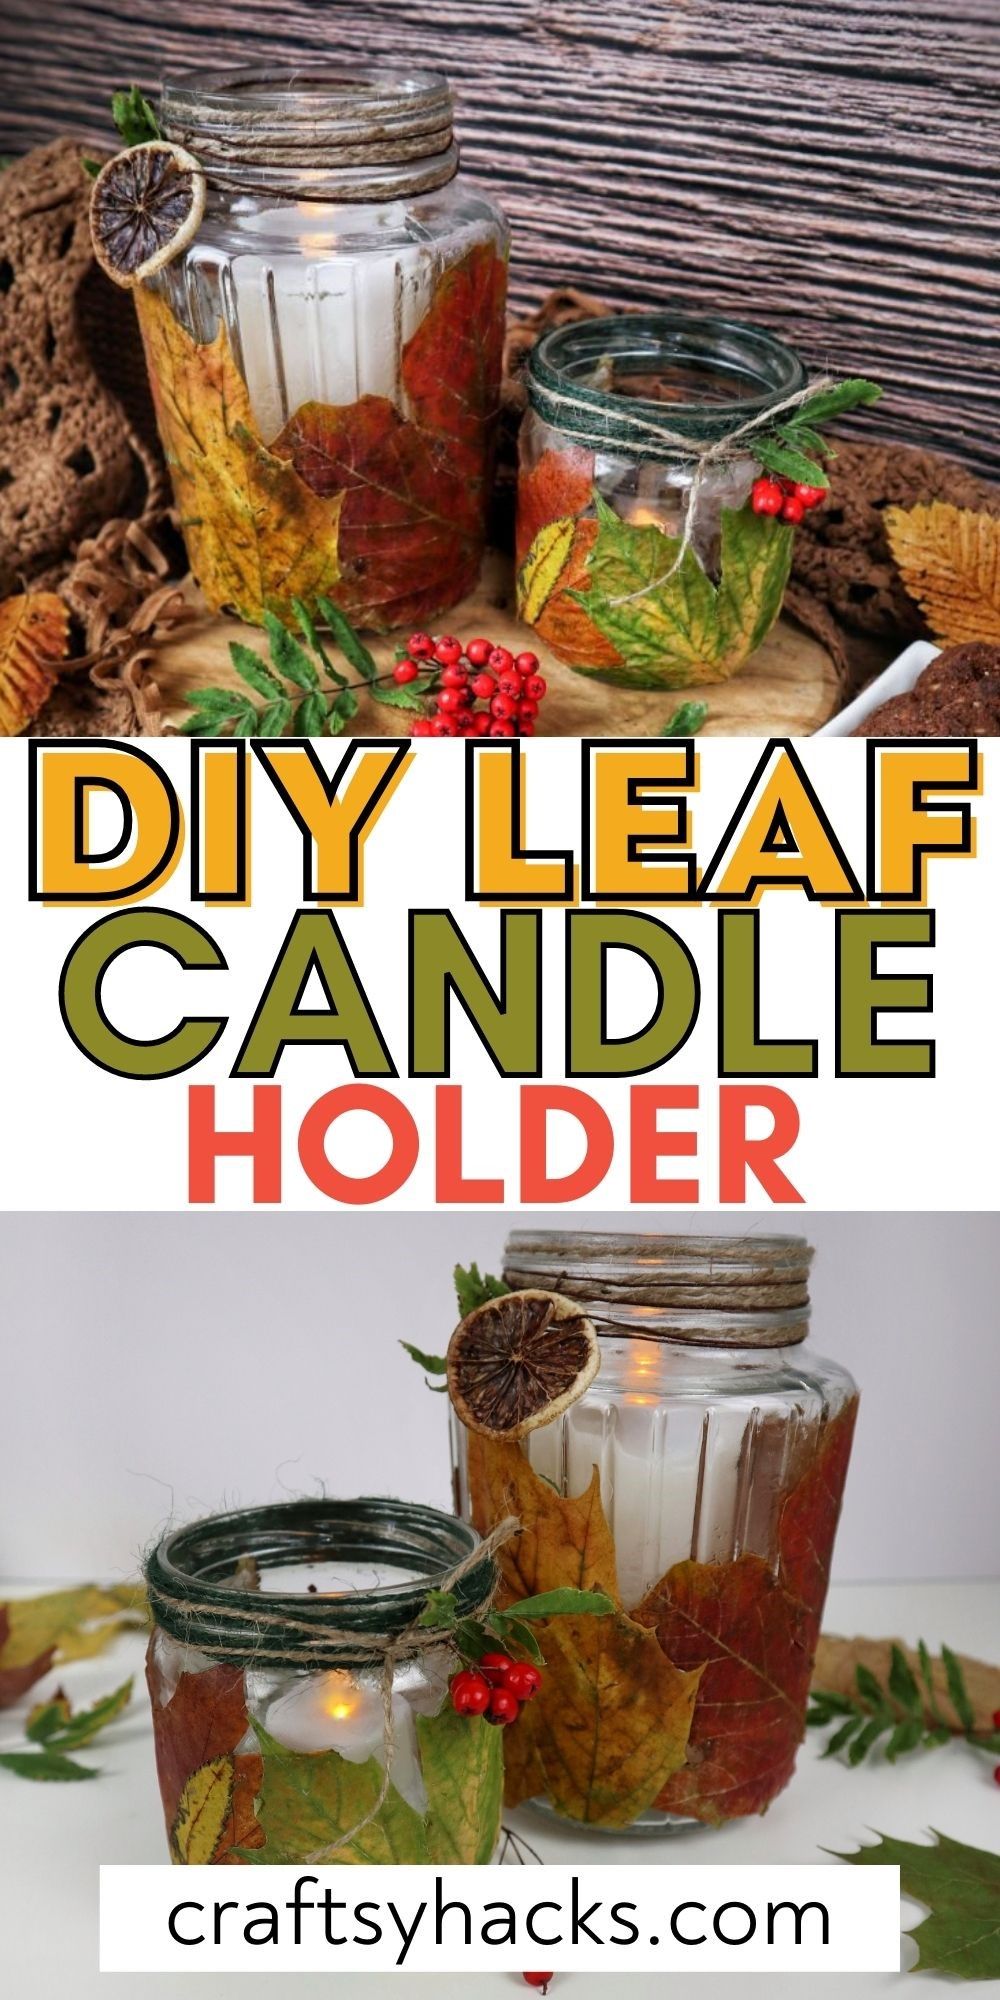
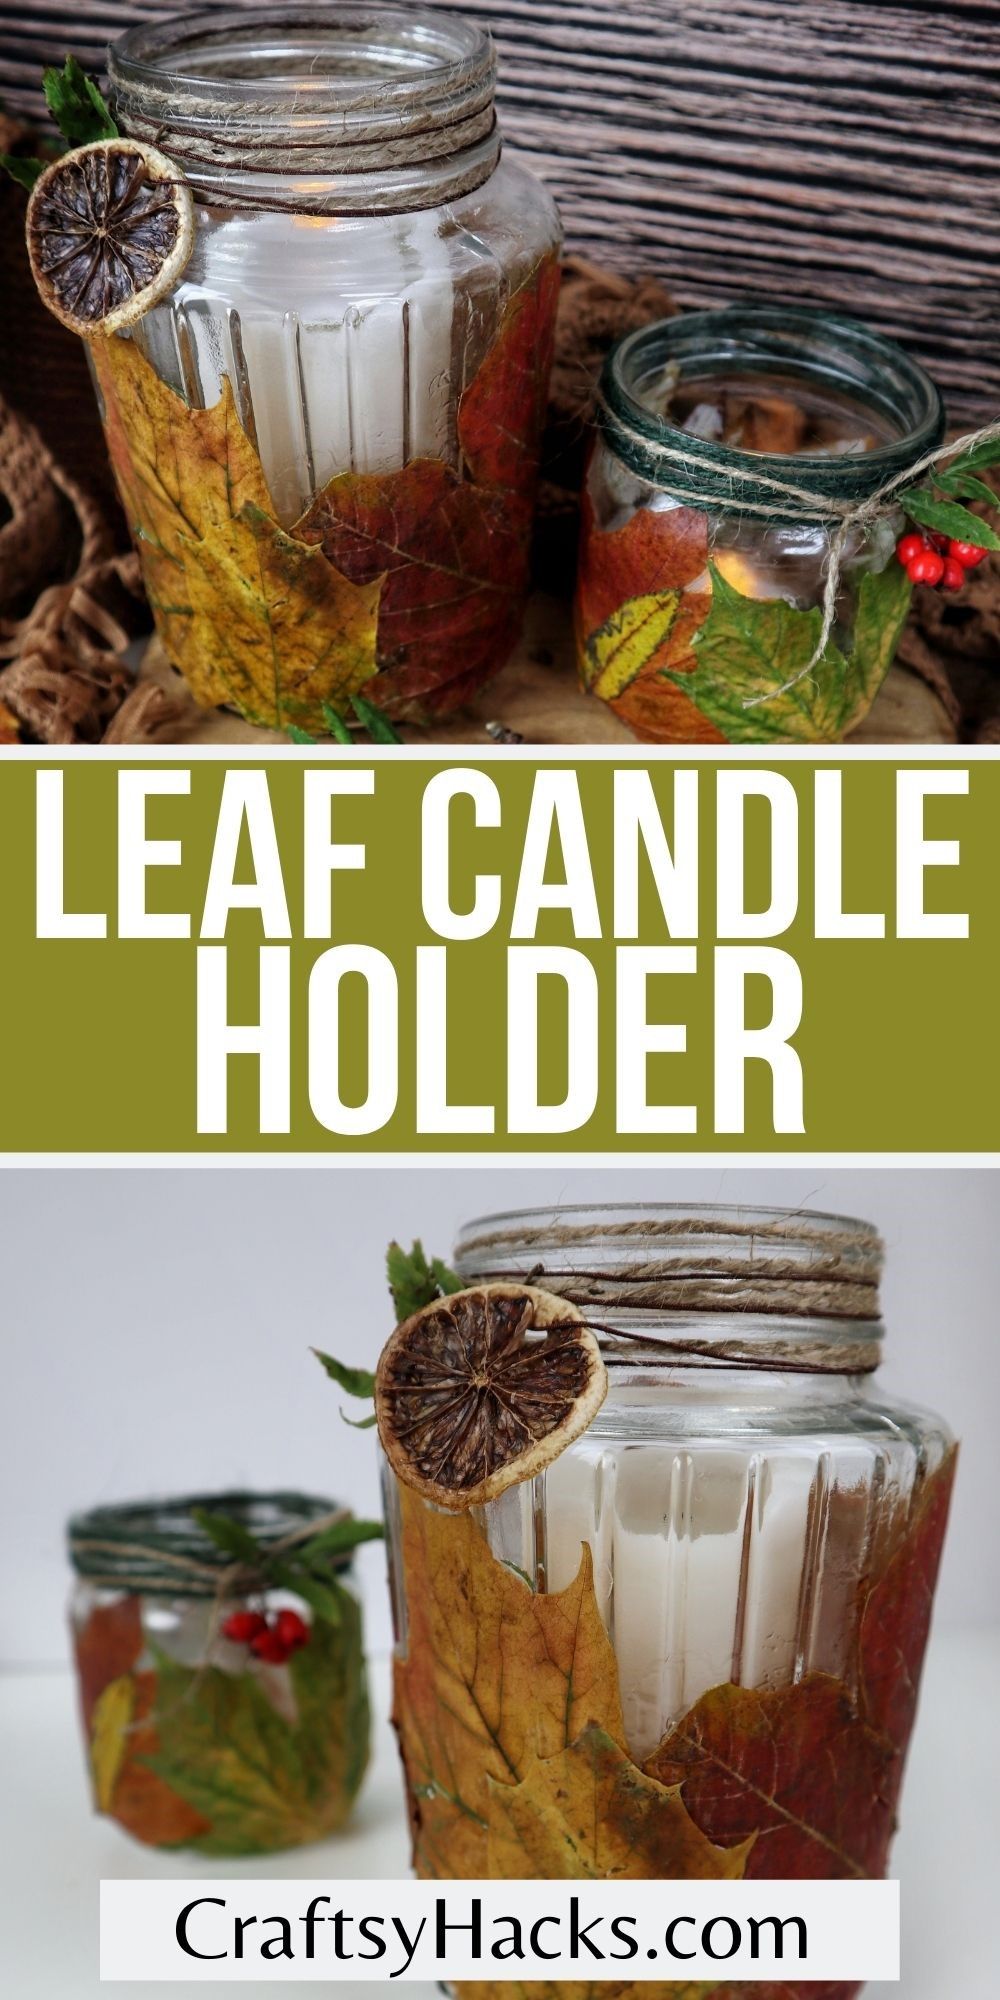
DIY Leaf Candle Holder
This post may contain affiliate links: full affiliate disclosure.
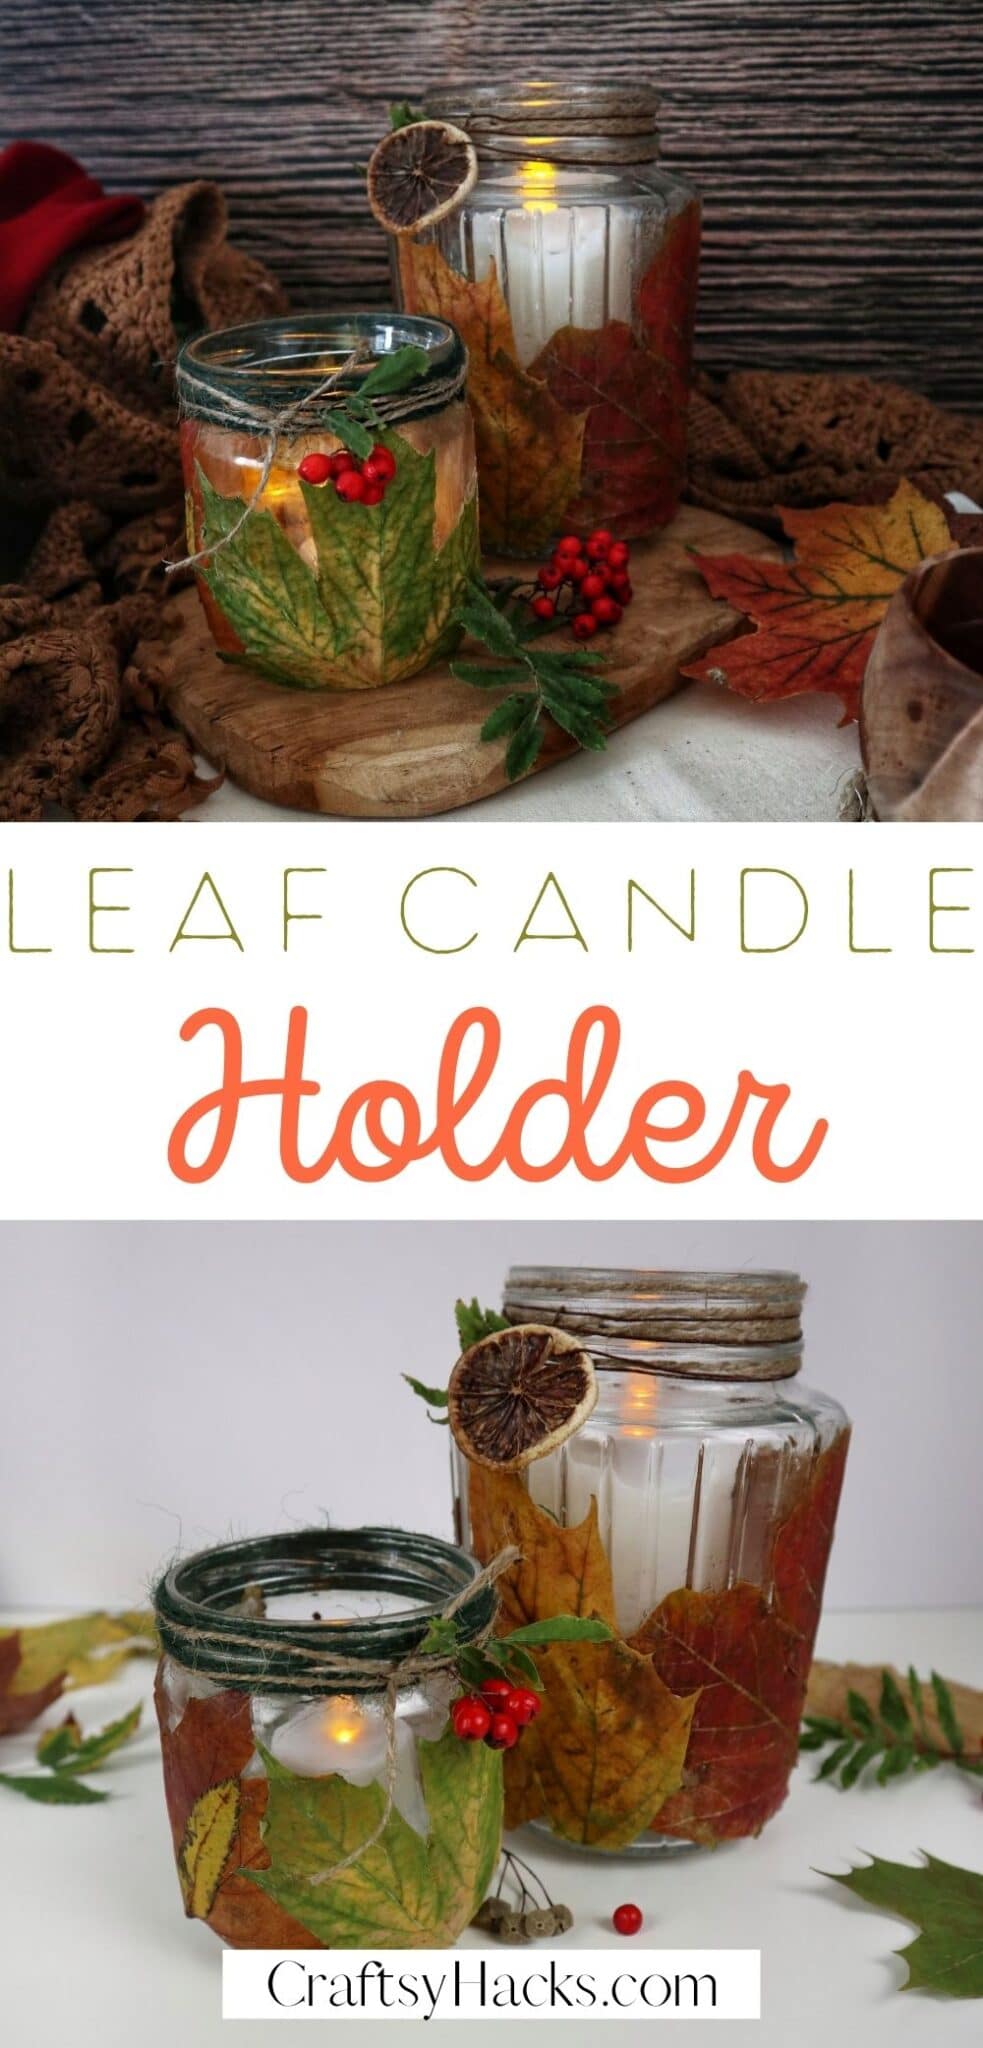
Looking for a perfect DIY candle holder? Make this DIY all by yourself and have with it. This candle holder is also a great décor piece.

Fall décor is sweeping the internet once again, and I, for one, couldn’t be more on board. This season has such a unique quality, offering beautiful colors and a sense of inevitable change.
So, it makes total sense to use those changing leaves indoors as well. That’s where these DIY leaf jars come in.
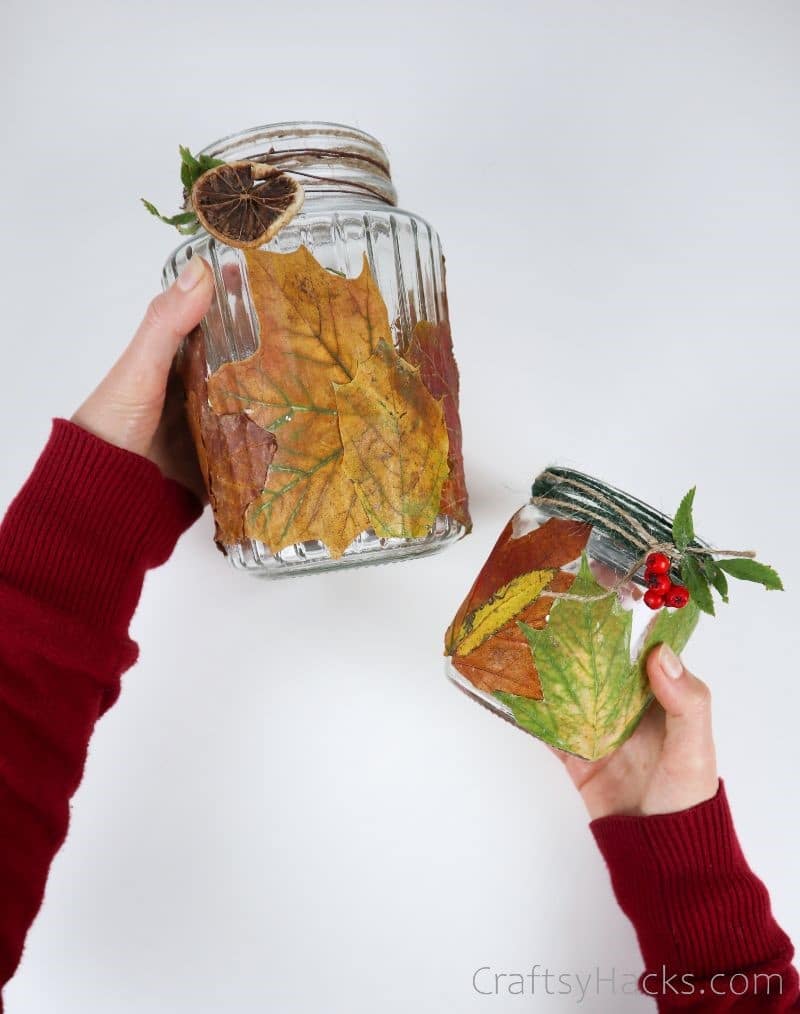
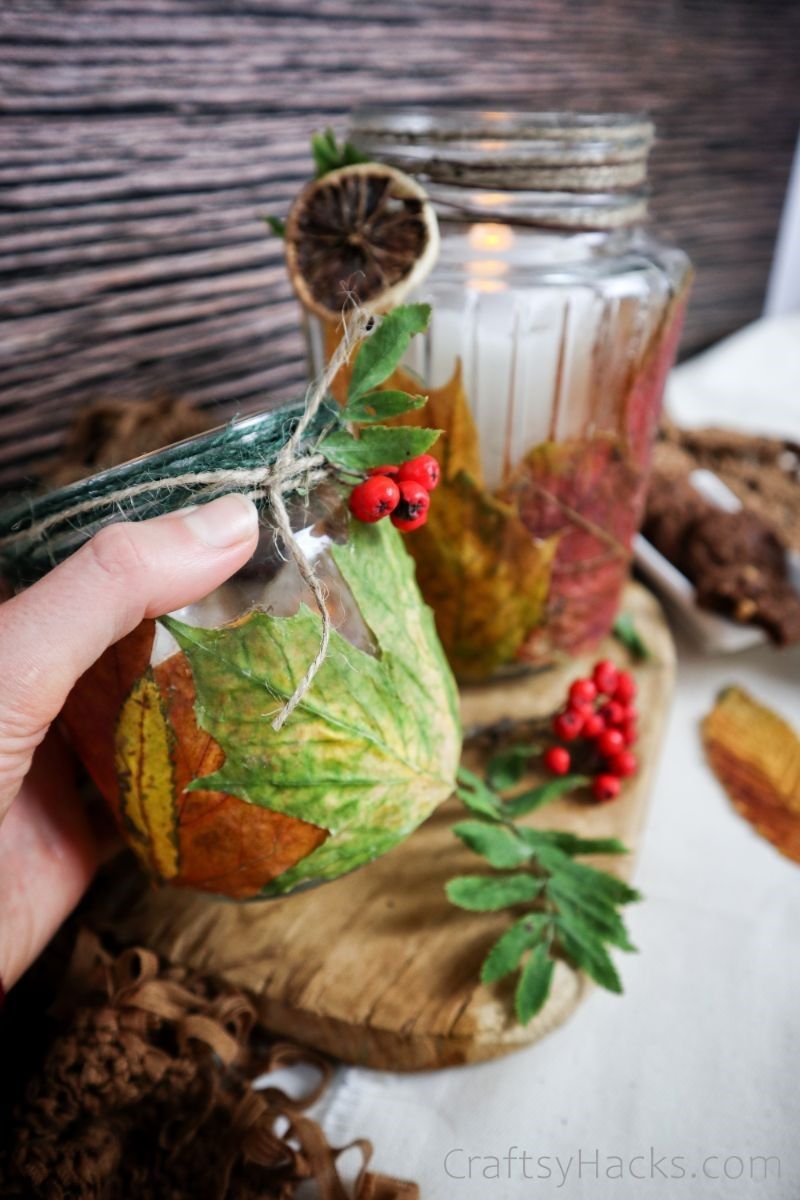
These jars have a lovely, natural feel to them. You can practically hear the leaves rustling.
Adorn your nightstand with autumnal beauties or use them to bring the fall breeze into your kitchen. Thanks to their natural components, these are cheap to make, so you can crank them out at will!
This is a great DIY project for teenagers.
Follow along with the easy steps to create this delightful decoration. Let’s get started!
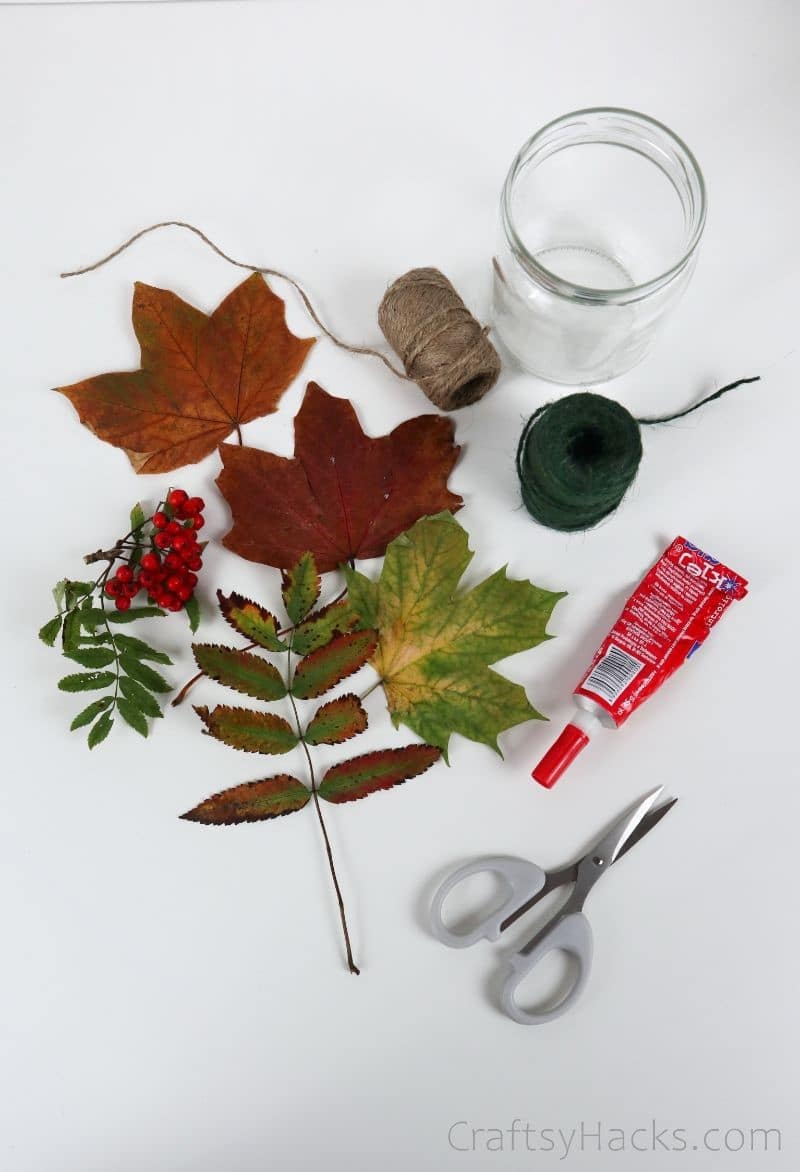
Supplies You’ll Need
- A jar
- Leaves (real, plastic, textile) – ideally, the leaves should be flat, flexible, and easy to mold. Leaves that are too dry might be too stiff or crumble apart. If you use faux leaves, remove plastic veins.
- Mod podge ( or other glue)
- Decorative ribbon, strings, tags, beads, dry flowers (for decoration)
How to Make This Candle Holder
Here is how to make the candle holder from scratch step by step.
Step 1
The leaves you use can be plastic, textile, or even plucked from your own backyard. The key is to make sure they’re flat and not too dry, as you need them to be moldable.
Pro tip: If you use faux leaves, remove the plastic veins to make sure they lie flat and smooth.
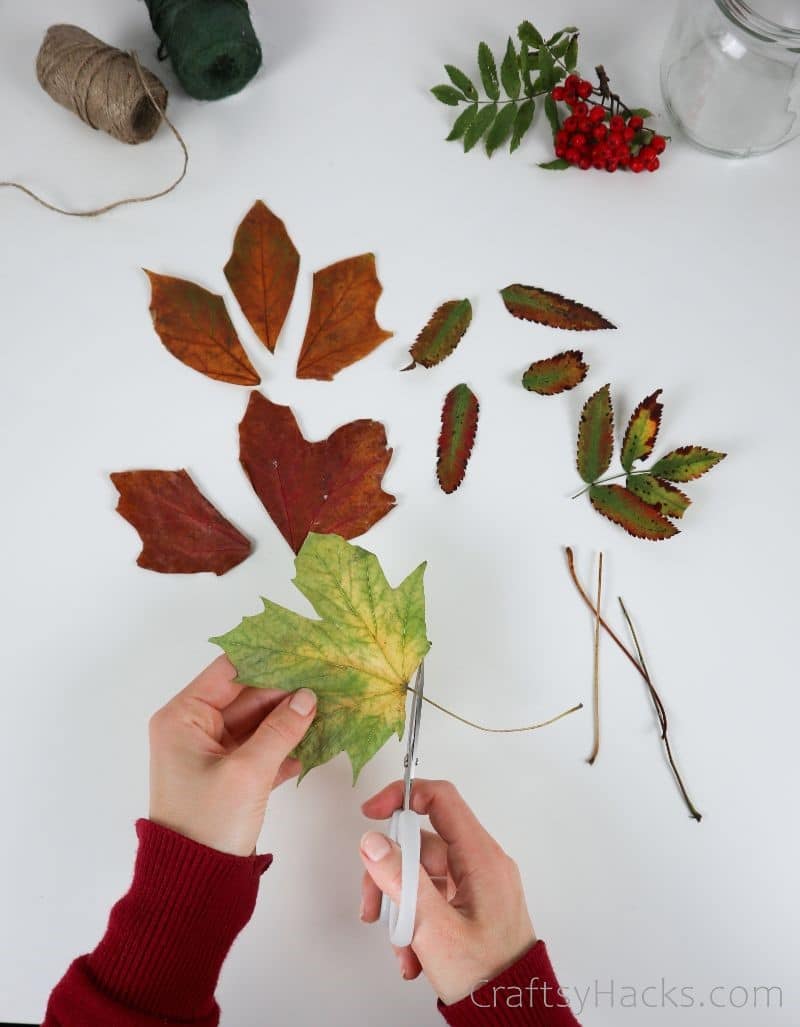
Step 2
Let’s start by preparing the leaves. You can use whole leaves or cut them into a jumble of pieces. Just make sure to cut off the hardtails first.
Try to use a bunch of different colors for some additional interest.
Step 3
Ensure the outside of your jar is clean, dry, and not greasy before you start gluing. You can use Mod Podge as your adhesive or (like me) any glue that holds well and dries transparent.
If the jar has grease on the outside, the glue won’t hold as well, causing the leaves to crumble and fall off with time.
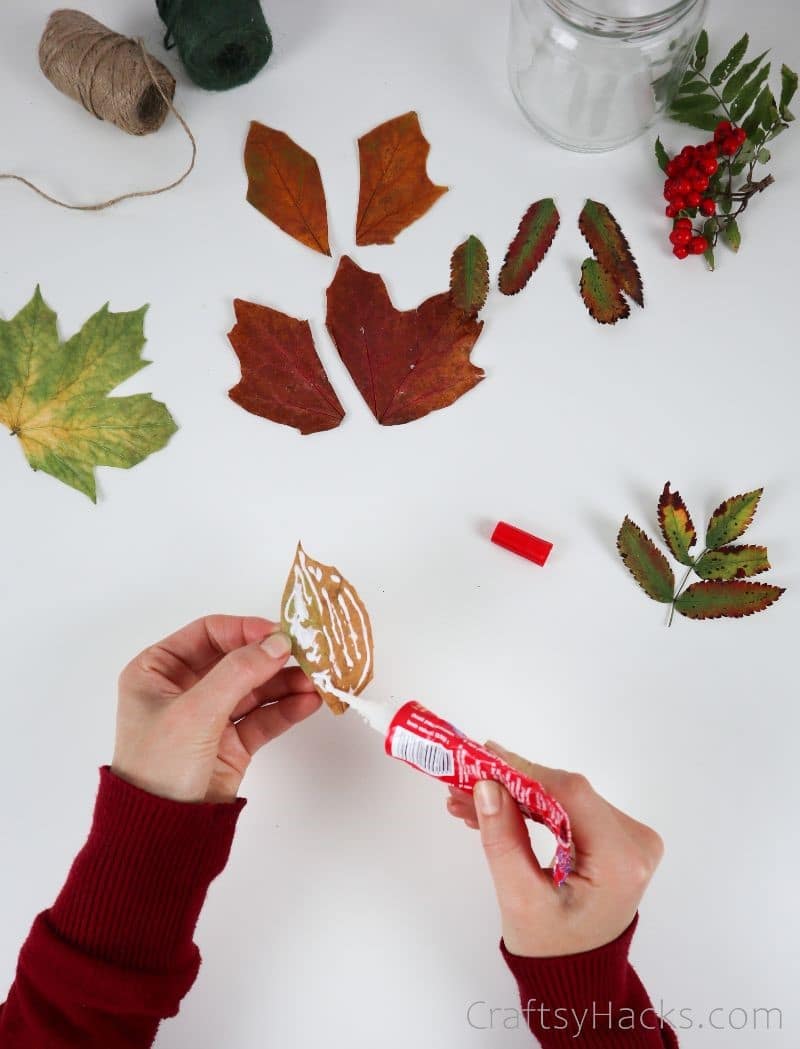
Step 4
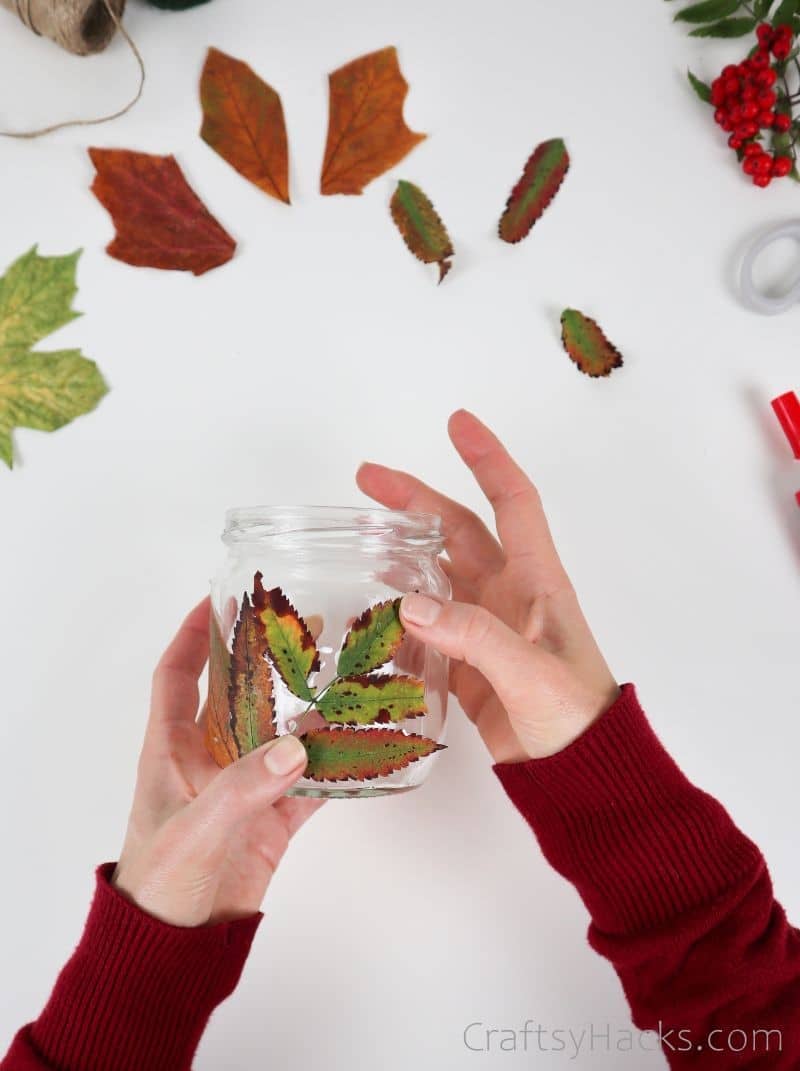
Apply a thin layer of your chosen glue to a leaf’s back (you can even use a brush to spread it more delicately).
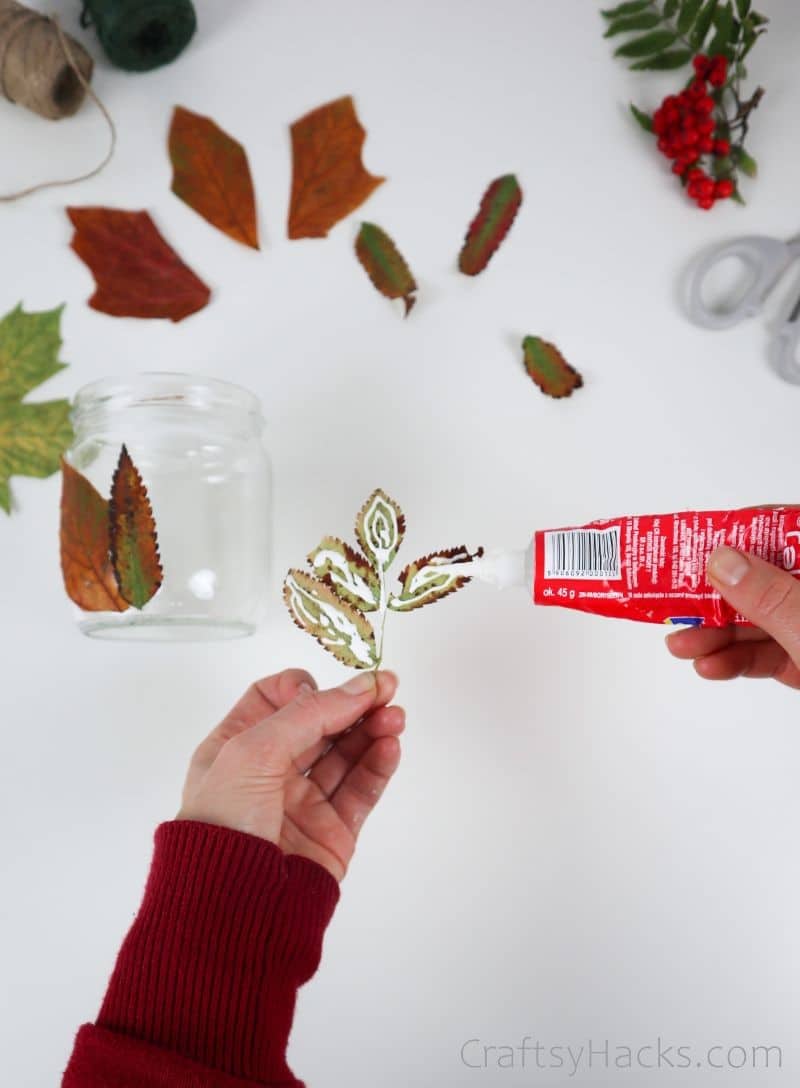
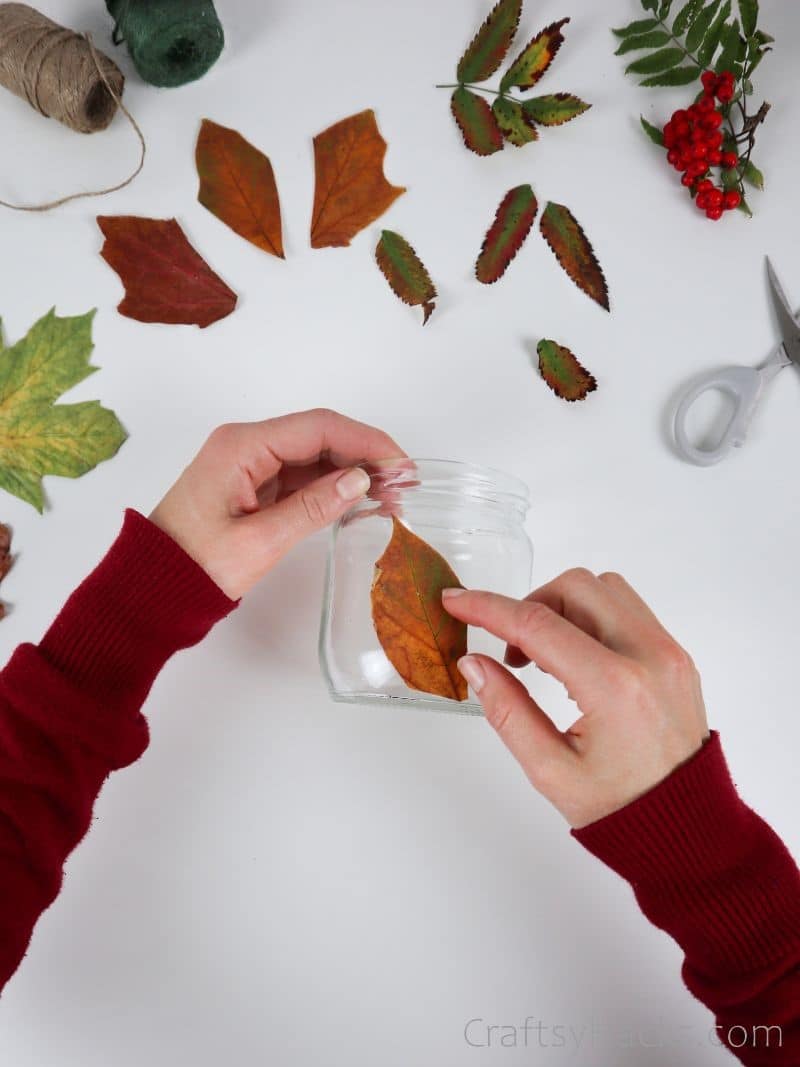
Press the leaf to the jar and mold it to the curve, holding it in place until the glue has partially dried. Overlap the leaves to create a more textured effect.
If you’re using a lid on the jar, you can stop here and enjoy your new autumnal decoration. If not, keep following along for some more tips.
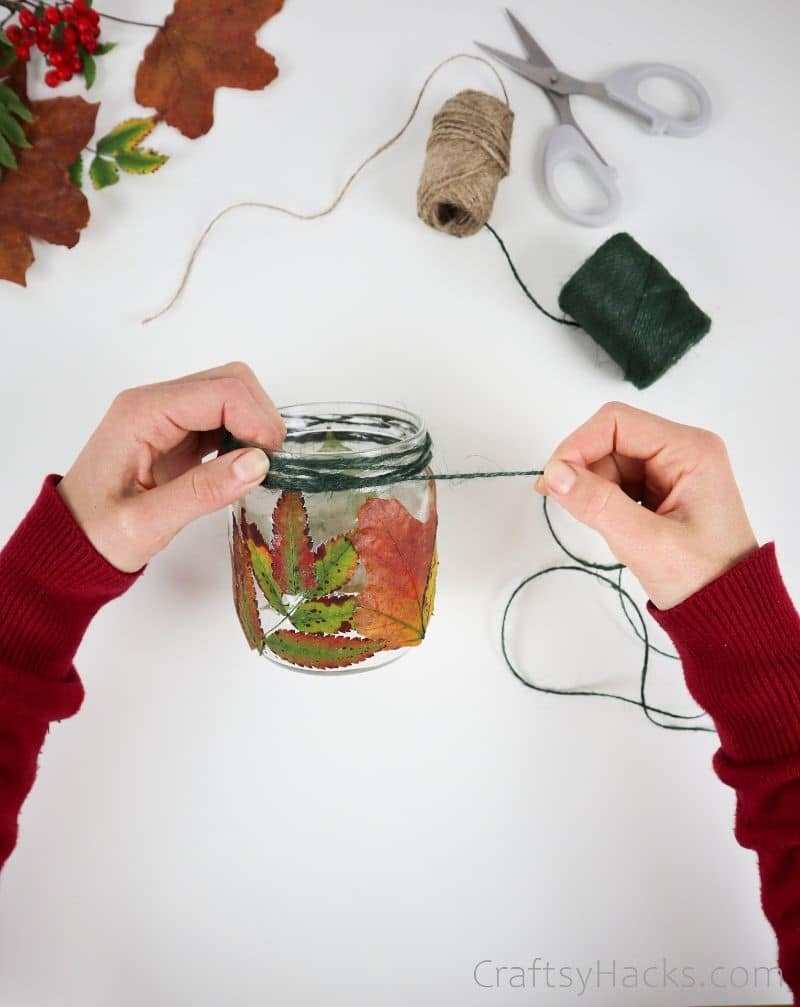
Step 5
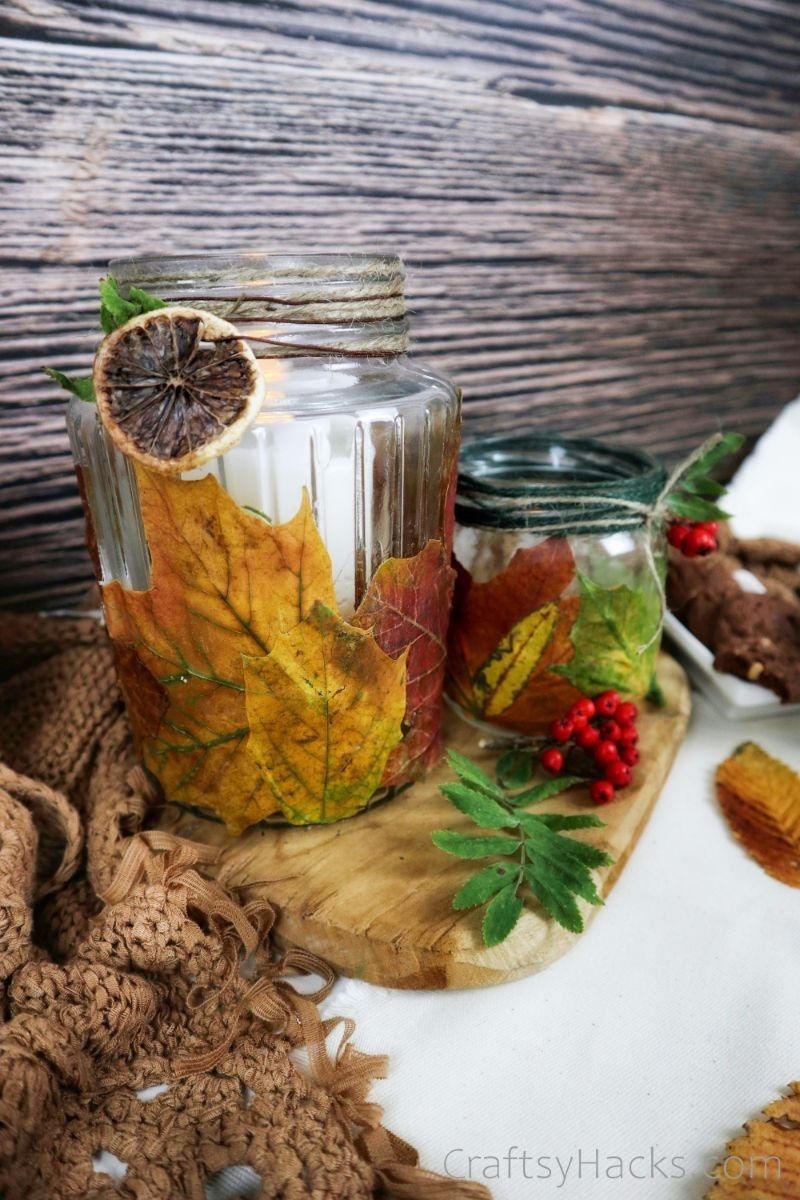
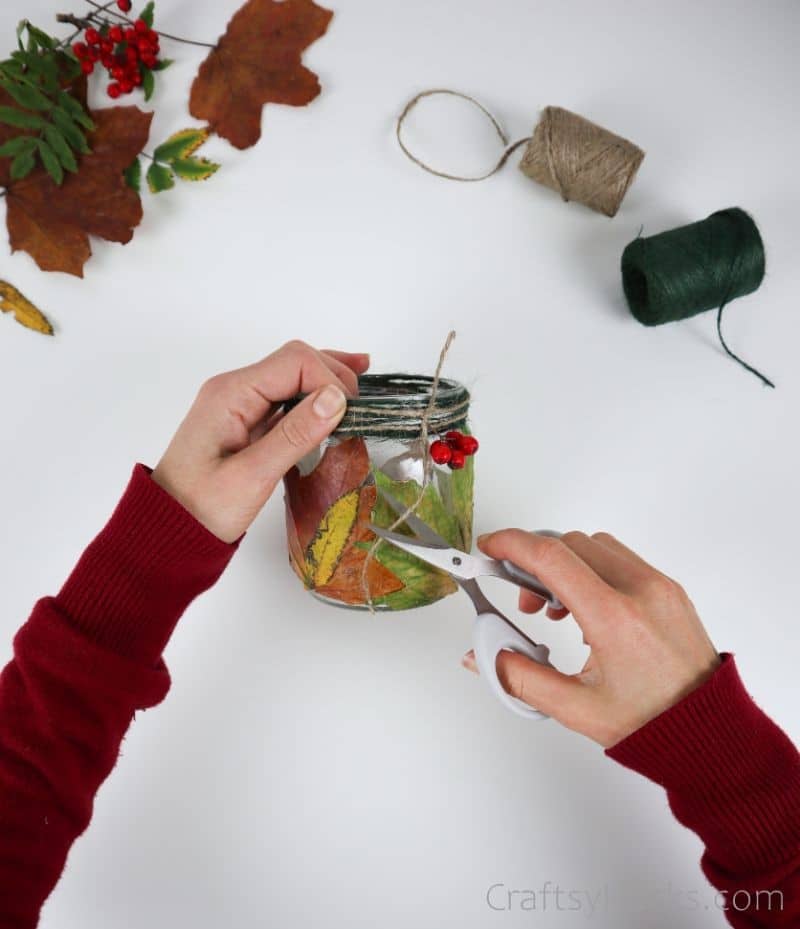
The glass thread around the jar’s top can be easily hidden with some colored jute twine. Not to mention, the natural texture contributes to the overall rustic vibe.
Step 6
Here’s where the additional decorations come in. From decorative ribbons to brown paper tags, beads, or even dried flowers, this is where you can make these jars your own.
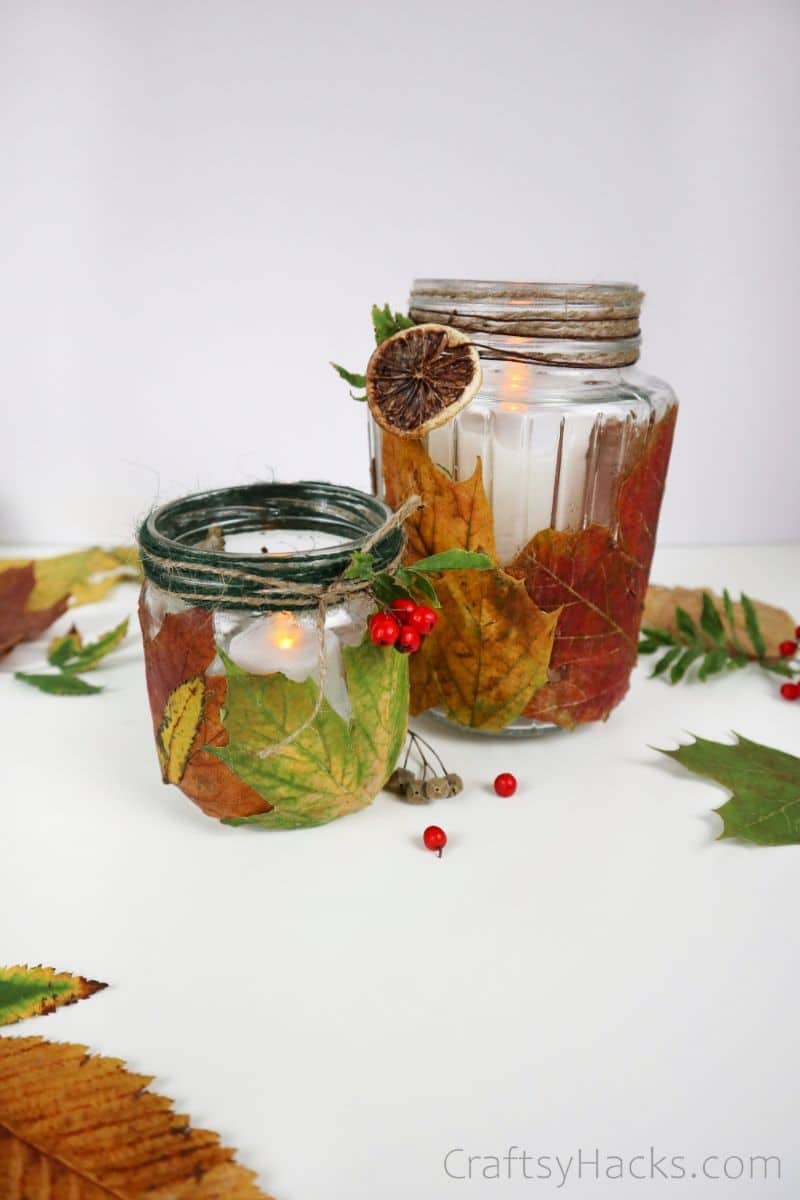
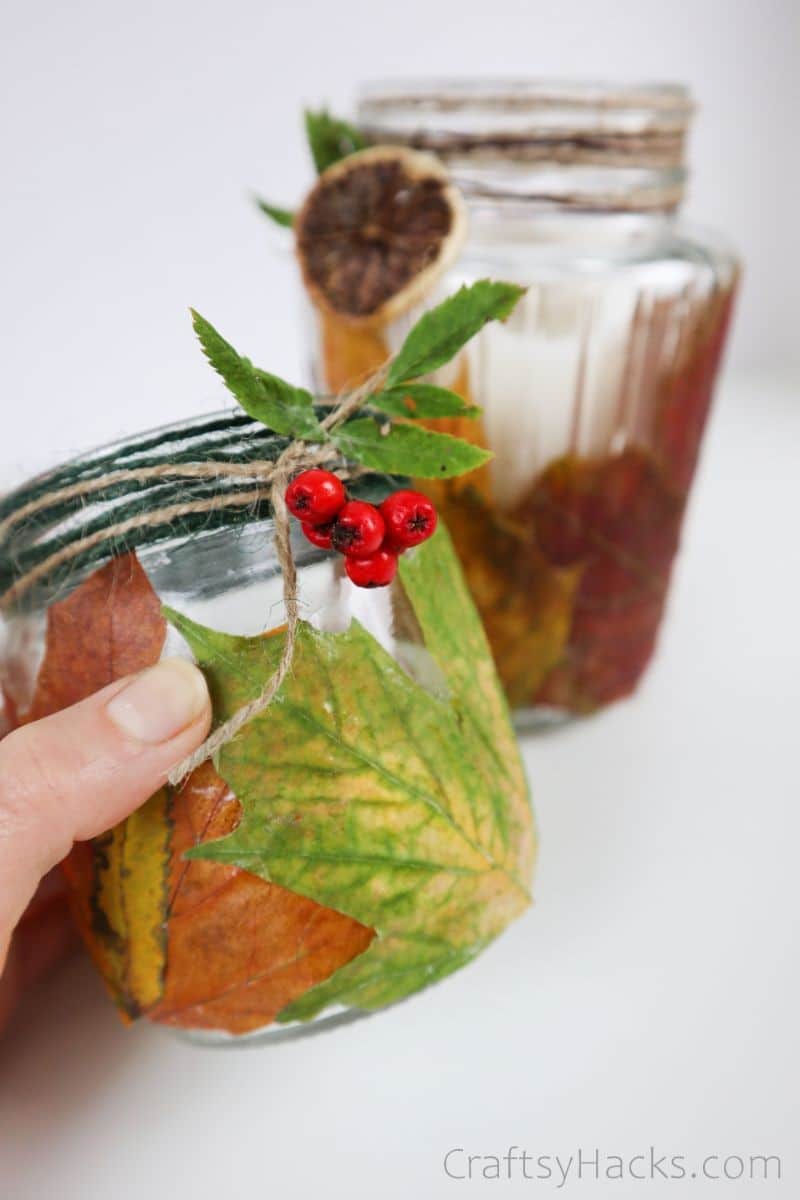
I chose to use some adorable miniature glass berries to add to that fall theme.
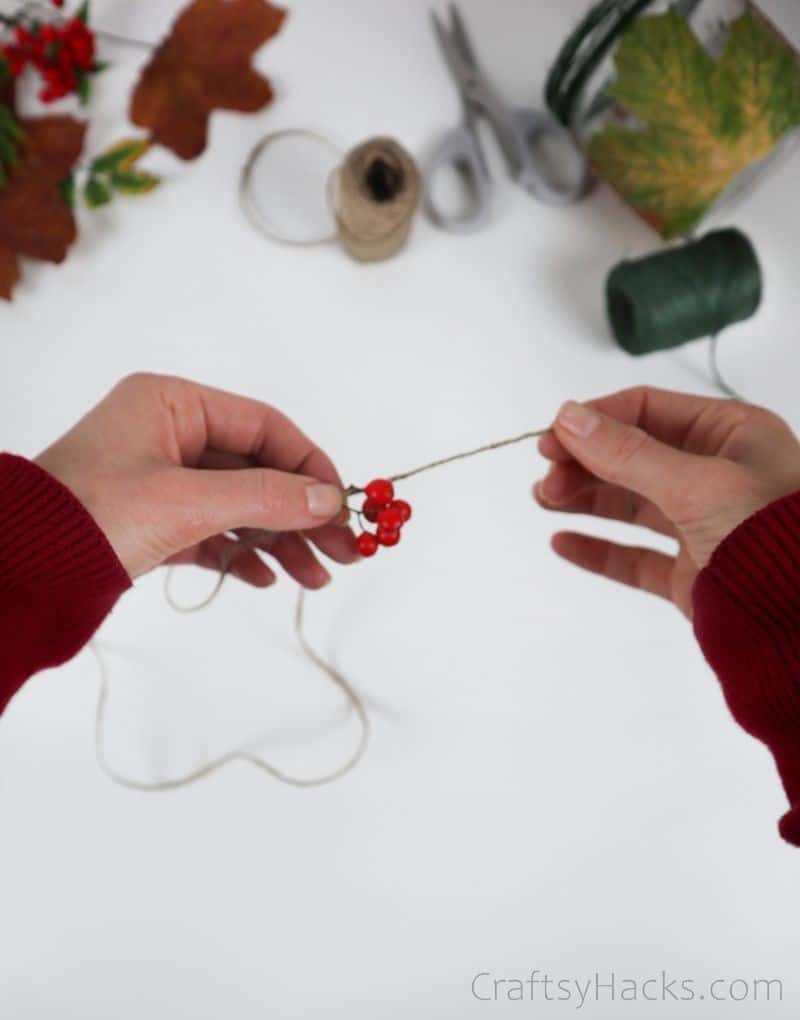
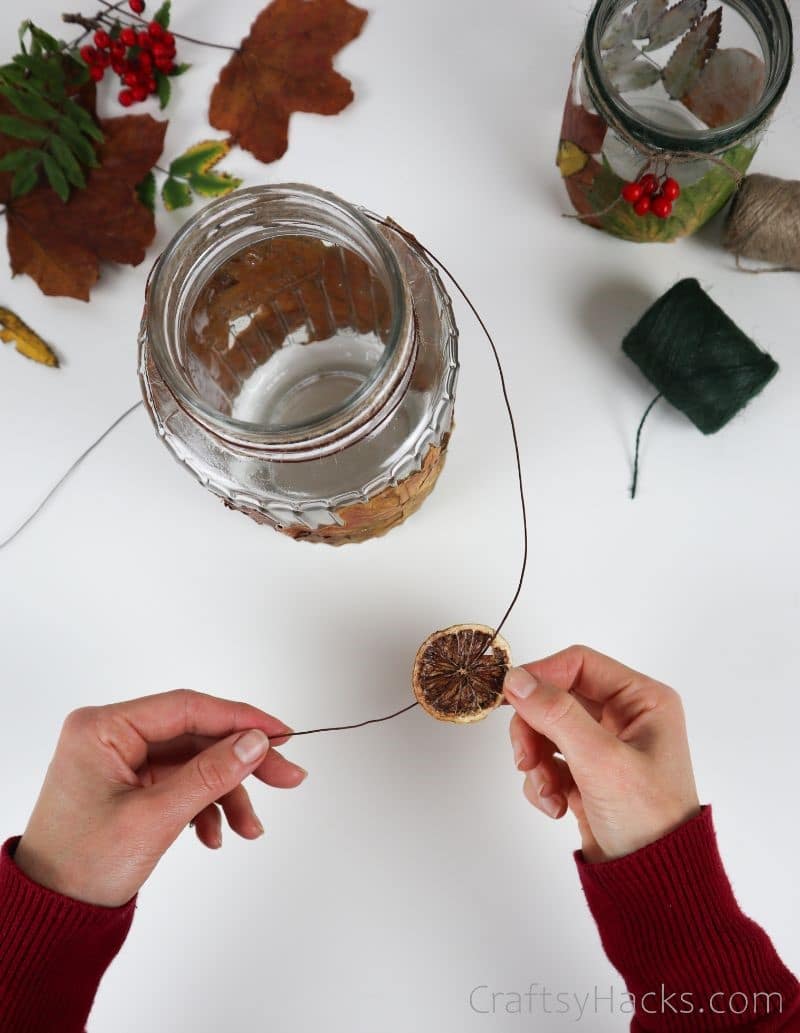
Simply string it on some jute twine, tie it around the top of your jar, and voila! You have an accent piece. I did the same thing with a slice of dried clementine (it adds a lovely smell).
Step 7 (Optional)
To seal it, you can spray the jar with a clear varnish. Alternately, brush a thin layer of Mod Podge over the entire thing and wait several hours for it to dry clear.
I didn’t do that, because I love the simple, natural look, but it’s up to you.
Where You Can Use DIY Leaf Candle Holders
I’m a massive fan of these jars, not the least because you can use them for anything! Gifting a fall-lover something this season? Package it up in one of these jars and use a brown tag for their name.
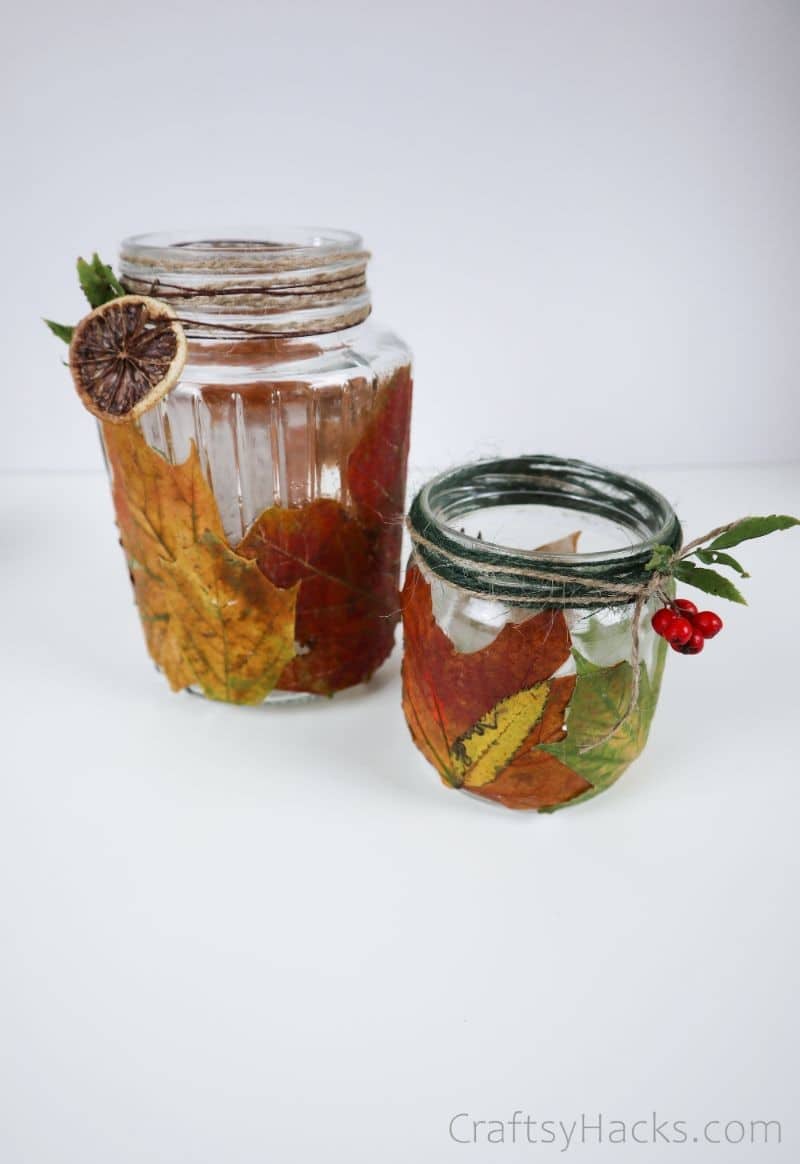
Alternately, use these jars to hold your coffee, tea, and sugar as they sit on your kitchen counter. They also make lovely candle holders, but make sure you’re using battery-powered candles for safety.
Centerpieces, nightstand décor, toothbrush jars, and pantry storage; you can use these jars for anything under the sun.
Other Decorations You Can Use
I used leaves, jute twine, some fake berries, and a dried clementine for my jar, but there are so many other decoration options out there.
Here are some decoration ideas to get your creative juices flowing:
- Wrap your jars in fake moss at the base to create some lovely candle holders.
- Take washi tape and give it new life by using it to pattern the jars.
- Got some old lace hanging around? Spray glue them to the jars for a vintage take on fall décor.
- Use cinnamon sticks and twine to create a votive candle jar that looks and smells fantastic.

Other DIY Decorations
- DIY Bottle Cap Candles
- Rope Coasters
- DIY Woven Bowl Out of Paper Plates
- Upcycling Ideas
- Rock Photo Holders
- 20 Crafts for Adults
- DIY Projects
- 20 Dollar Store Decorating Ideas
- Paper Crafts for Adults
- DIY Dollar Tree Centerpieces
DIY Leaf Candle Holder
for your home.
Video Tutorial
Equipment
- Mod podge (or other glue)
- Brush (optional)
Materials
- A jar
- Leaves real, plastic, textile
- Decorative ribbon string, tags, beads, dry flowers
- Clear spray varnish
Instructions
- Begin by gathering all your supplies.
- Make sure your jar is clean and dry, with no grease or fingerprints on the outside. Rubbing alcohol works well to get it really clean.
- Prepare your leaves by cutting off the hardtails. You can also chop them into exciting pieces if you like. (If you’re using faux leaves, make sure to remove the plastic veins).
- Spread a thin layer of your chosen adhesive on the back of each leaf, then mold to the curve of the jar. Let dry.
- Layer leaves on as you like. You’re shooting for a natural texture here.
- If you like, add more decorations. Try wrapping some twine around the jar’s top, or tie some dried fruit to the rim for a little interest.
- For extra durability, spray the finished jar with clear varnish to protect the leaves from moisture in the air (optional).
- You’re done! Place these throughout your home and enjoy the feeling of fall now adorning your house.


