How to Make Air Dry Clay Bowls (DIY Jewelry Trays)
This post may contain affiliate links: full affiliate disclosure.
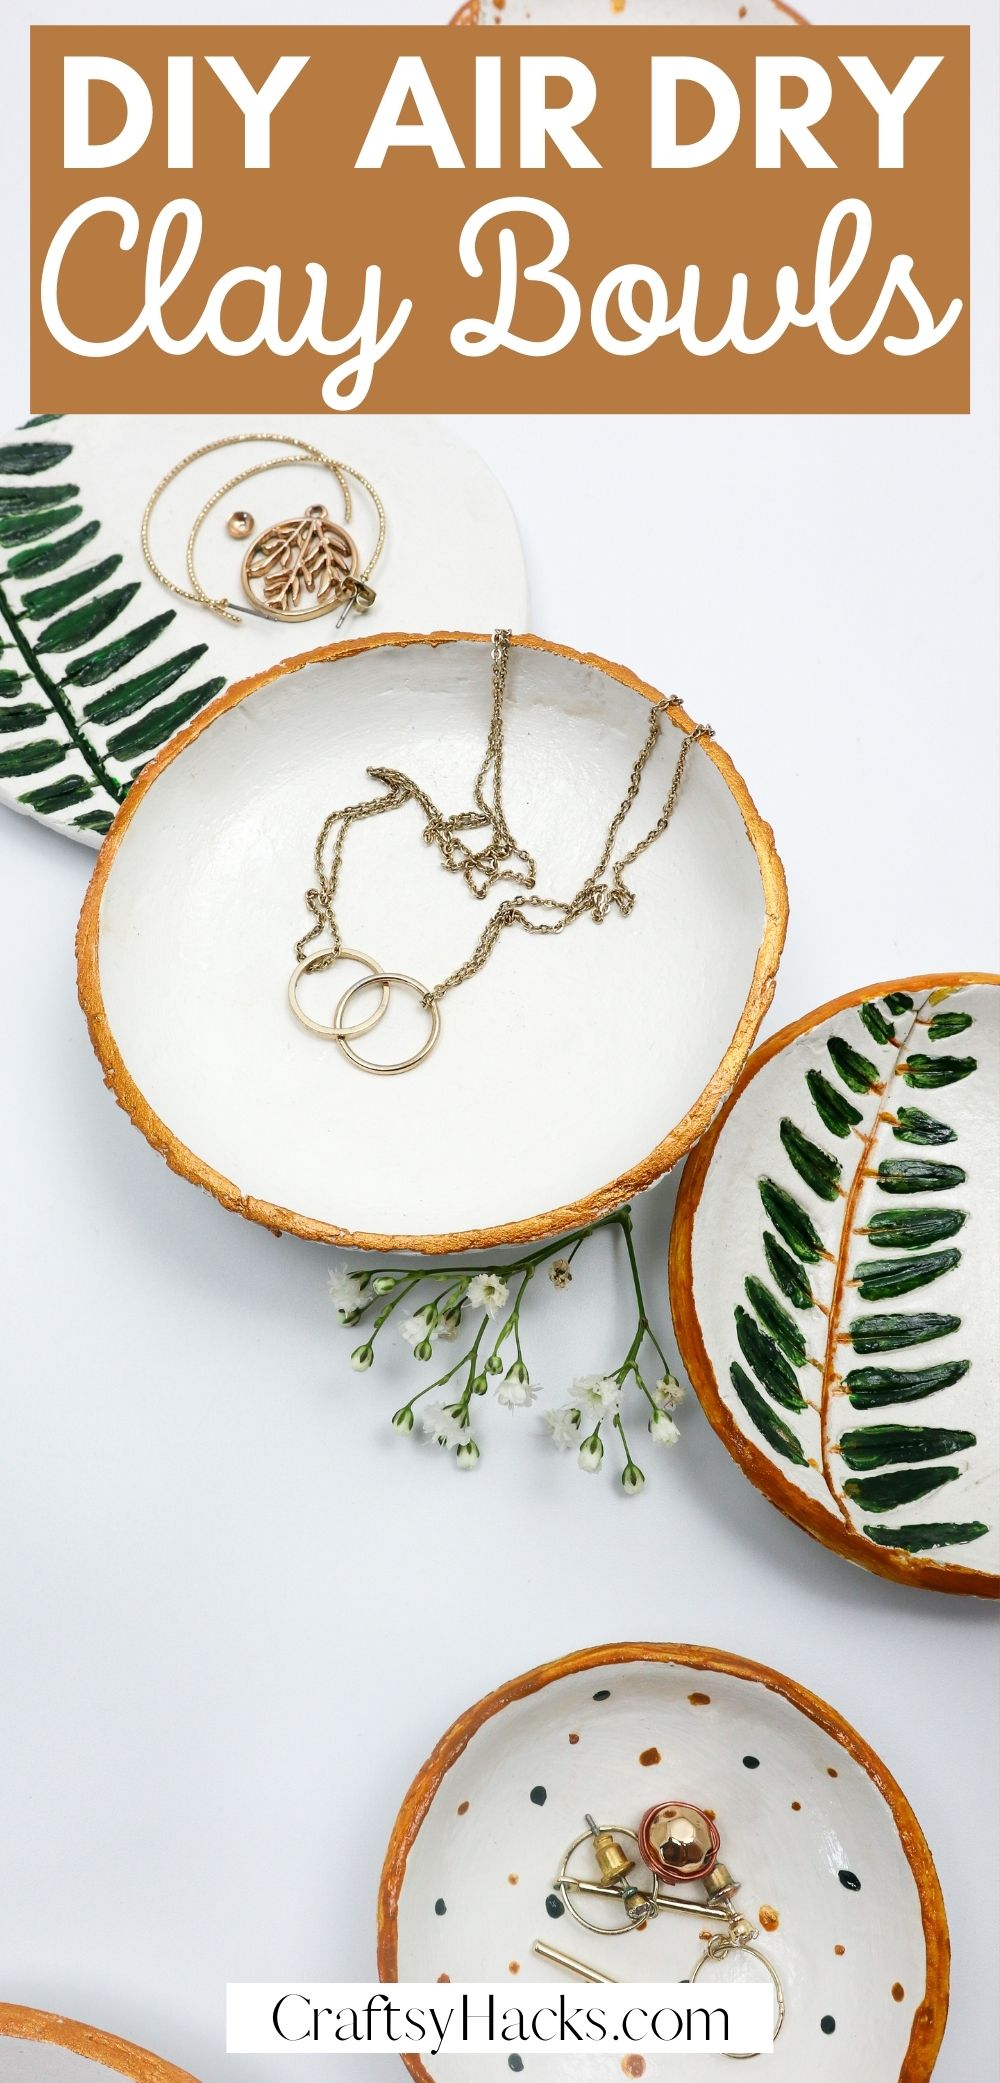
Got a bunch of jewelry laying around? Why not make your very own jewelry trays with air-drying clay?
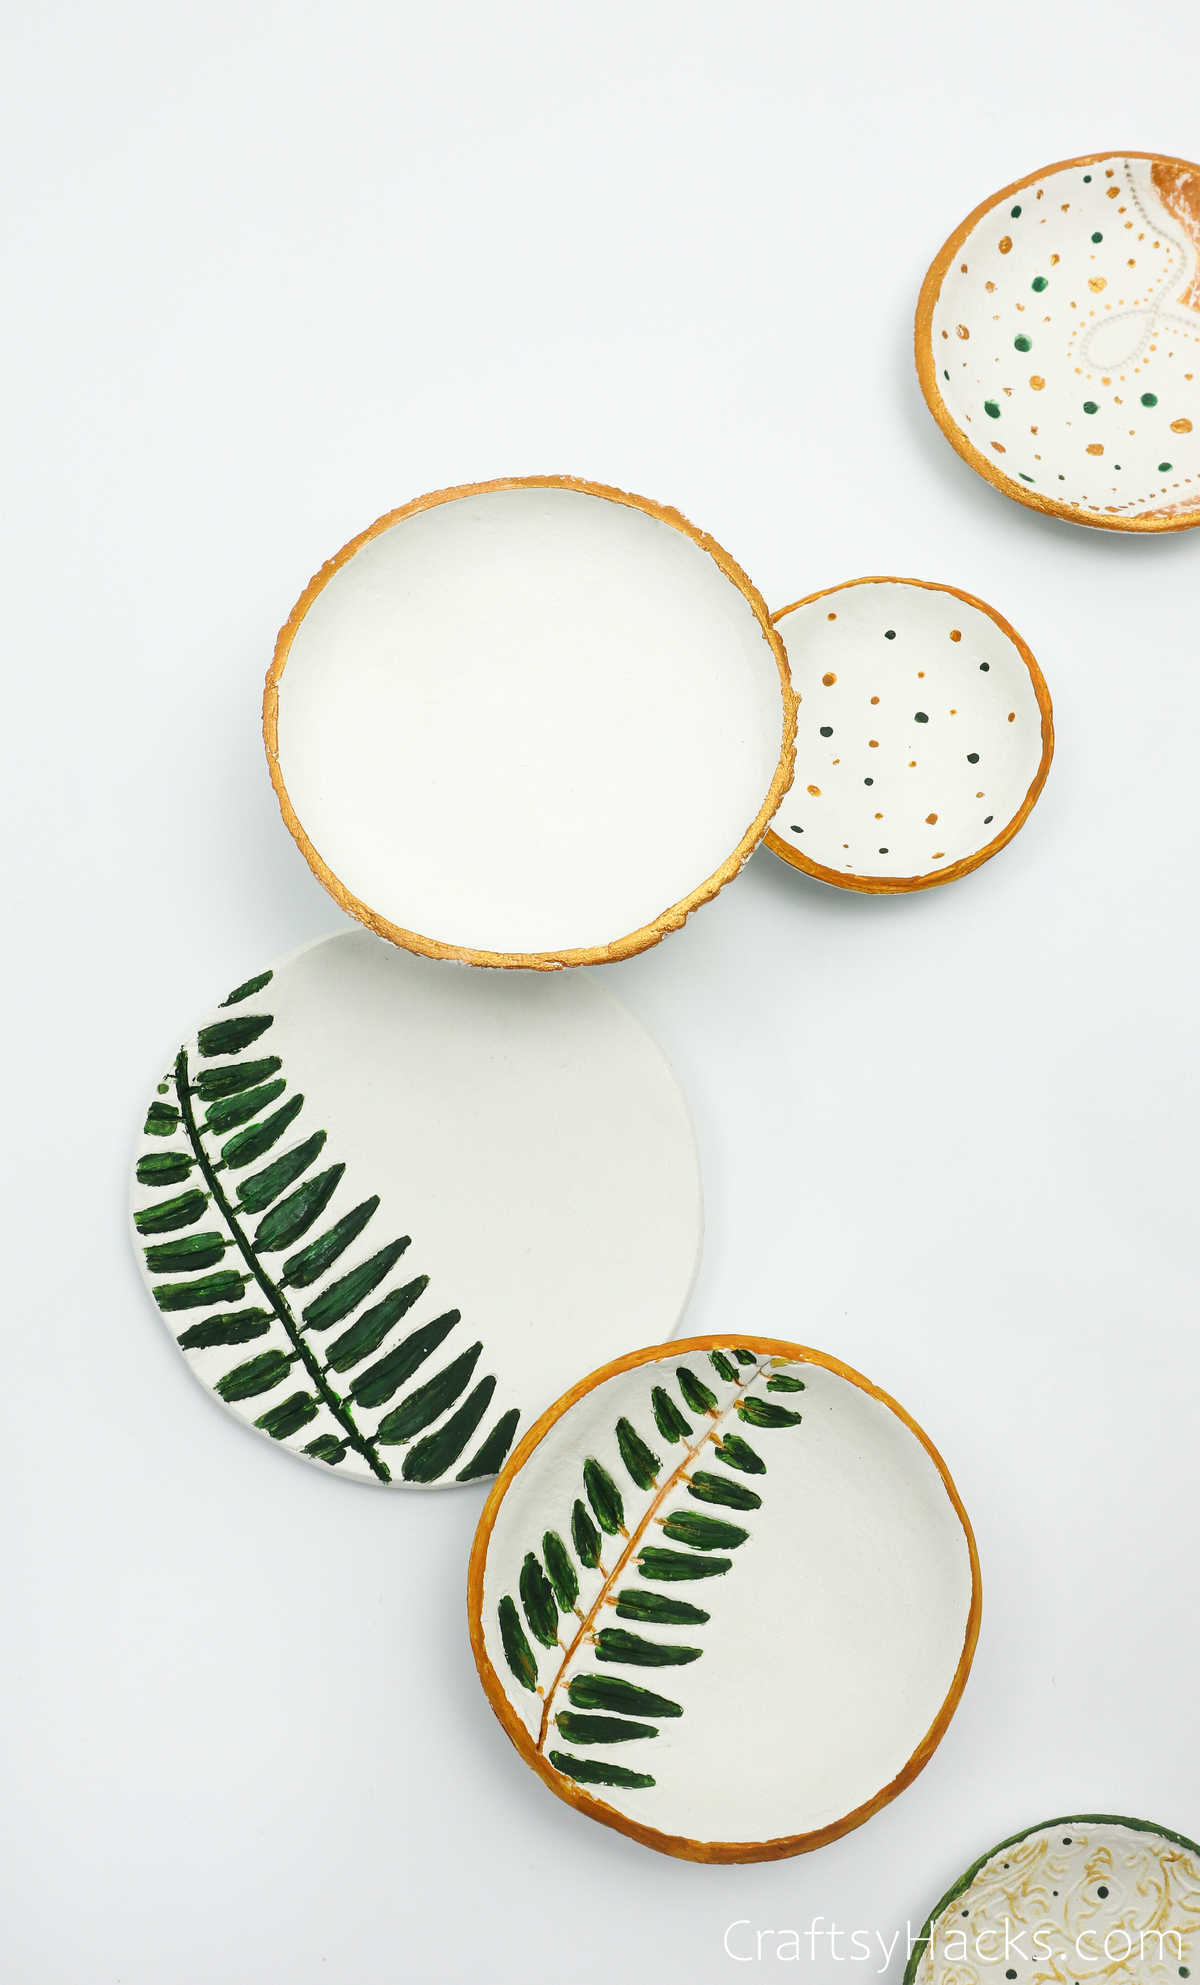
Don’t you think there’s something so fundamentally rustic about clay bowls? I did…until I saw these uber-chic, classy creations! I love that these bowls are so simple and unique.
This is a perfect craft to make and sell!
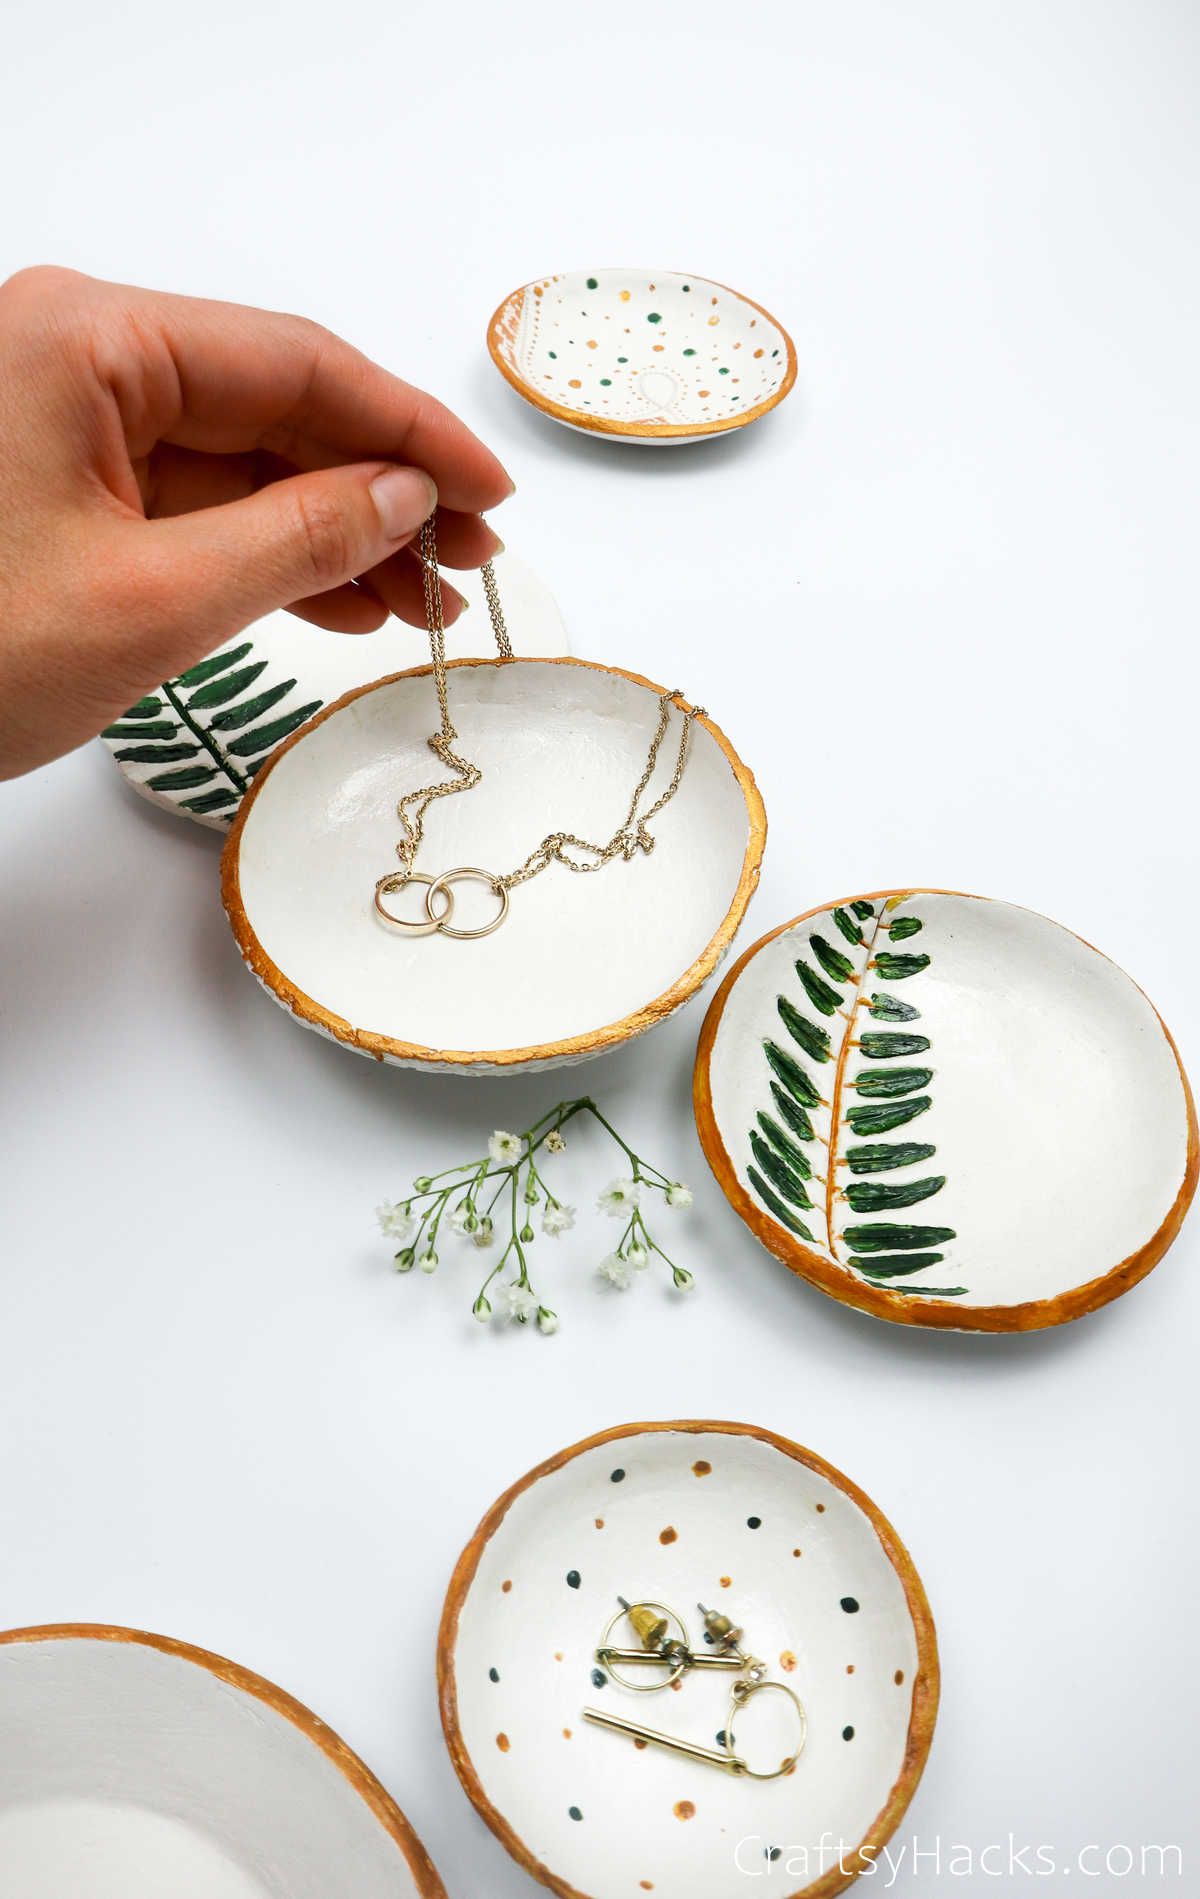
I also love how versatile they are. You can use them as trinket dishes, as serving bowls, as bowls to place little odds and ends, loose change, or even your keys.
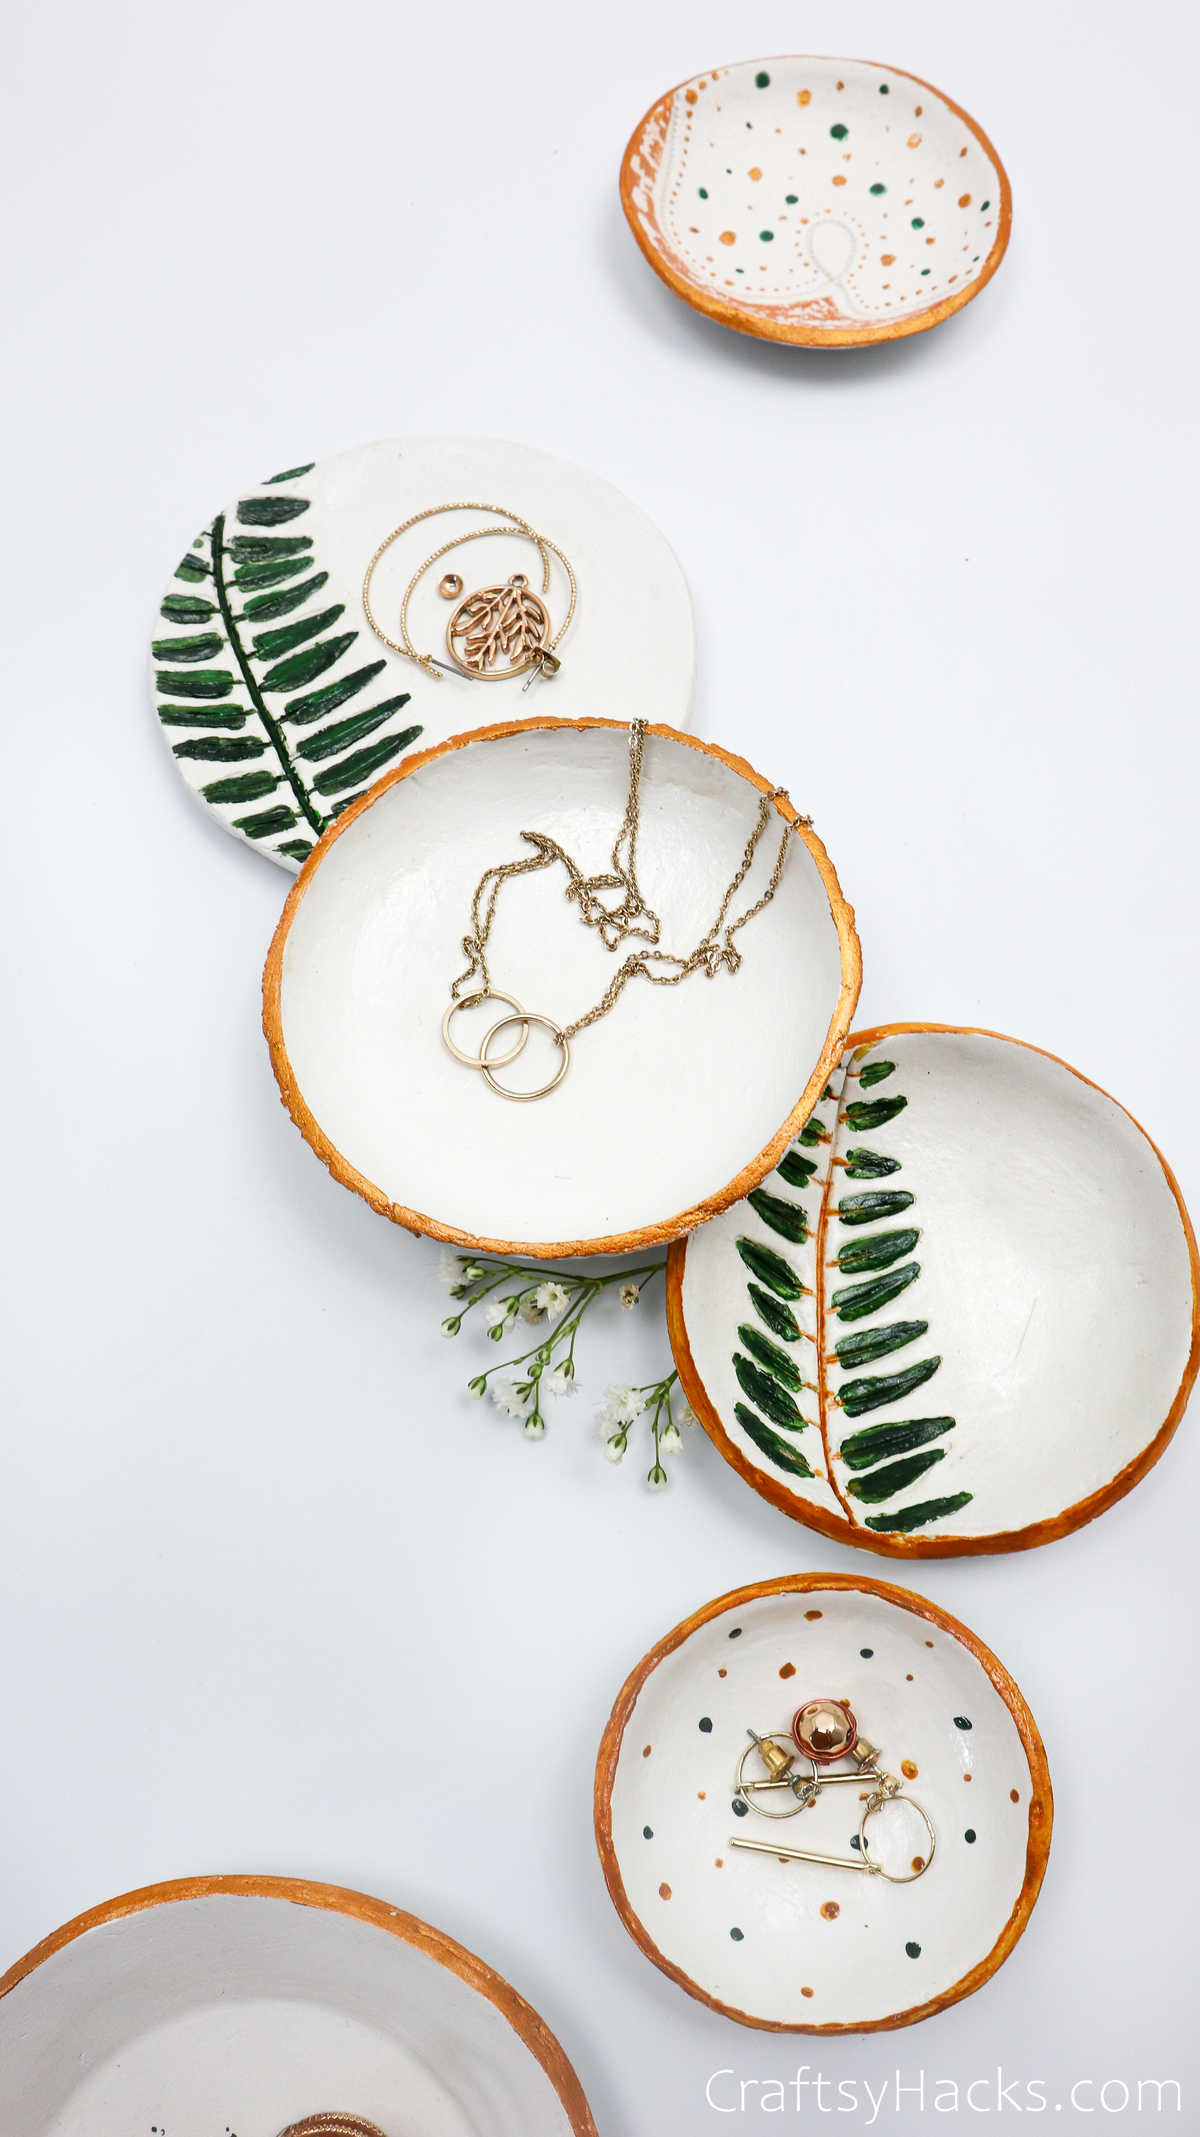
Depending on the size and shape, you can make entire sets! Don’t you think they’d make great presents? You can even have them personalized!
Supplies and Tools You’ll Need
Before we get started on making the actual bowls, let’s take a look at all the supplies you’ll need:
- Air drying clay
- Acrylic roller (or a bottle instead)
- Nonstick placemat
- Bowls (different sizes to use as molds)
- Acrylic paints
- Paintbrushes
- Craft knife
- Fine sandpaper
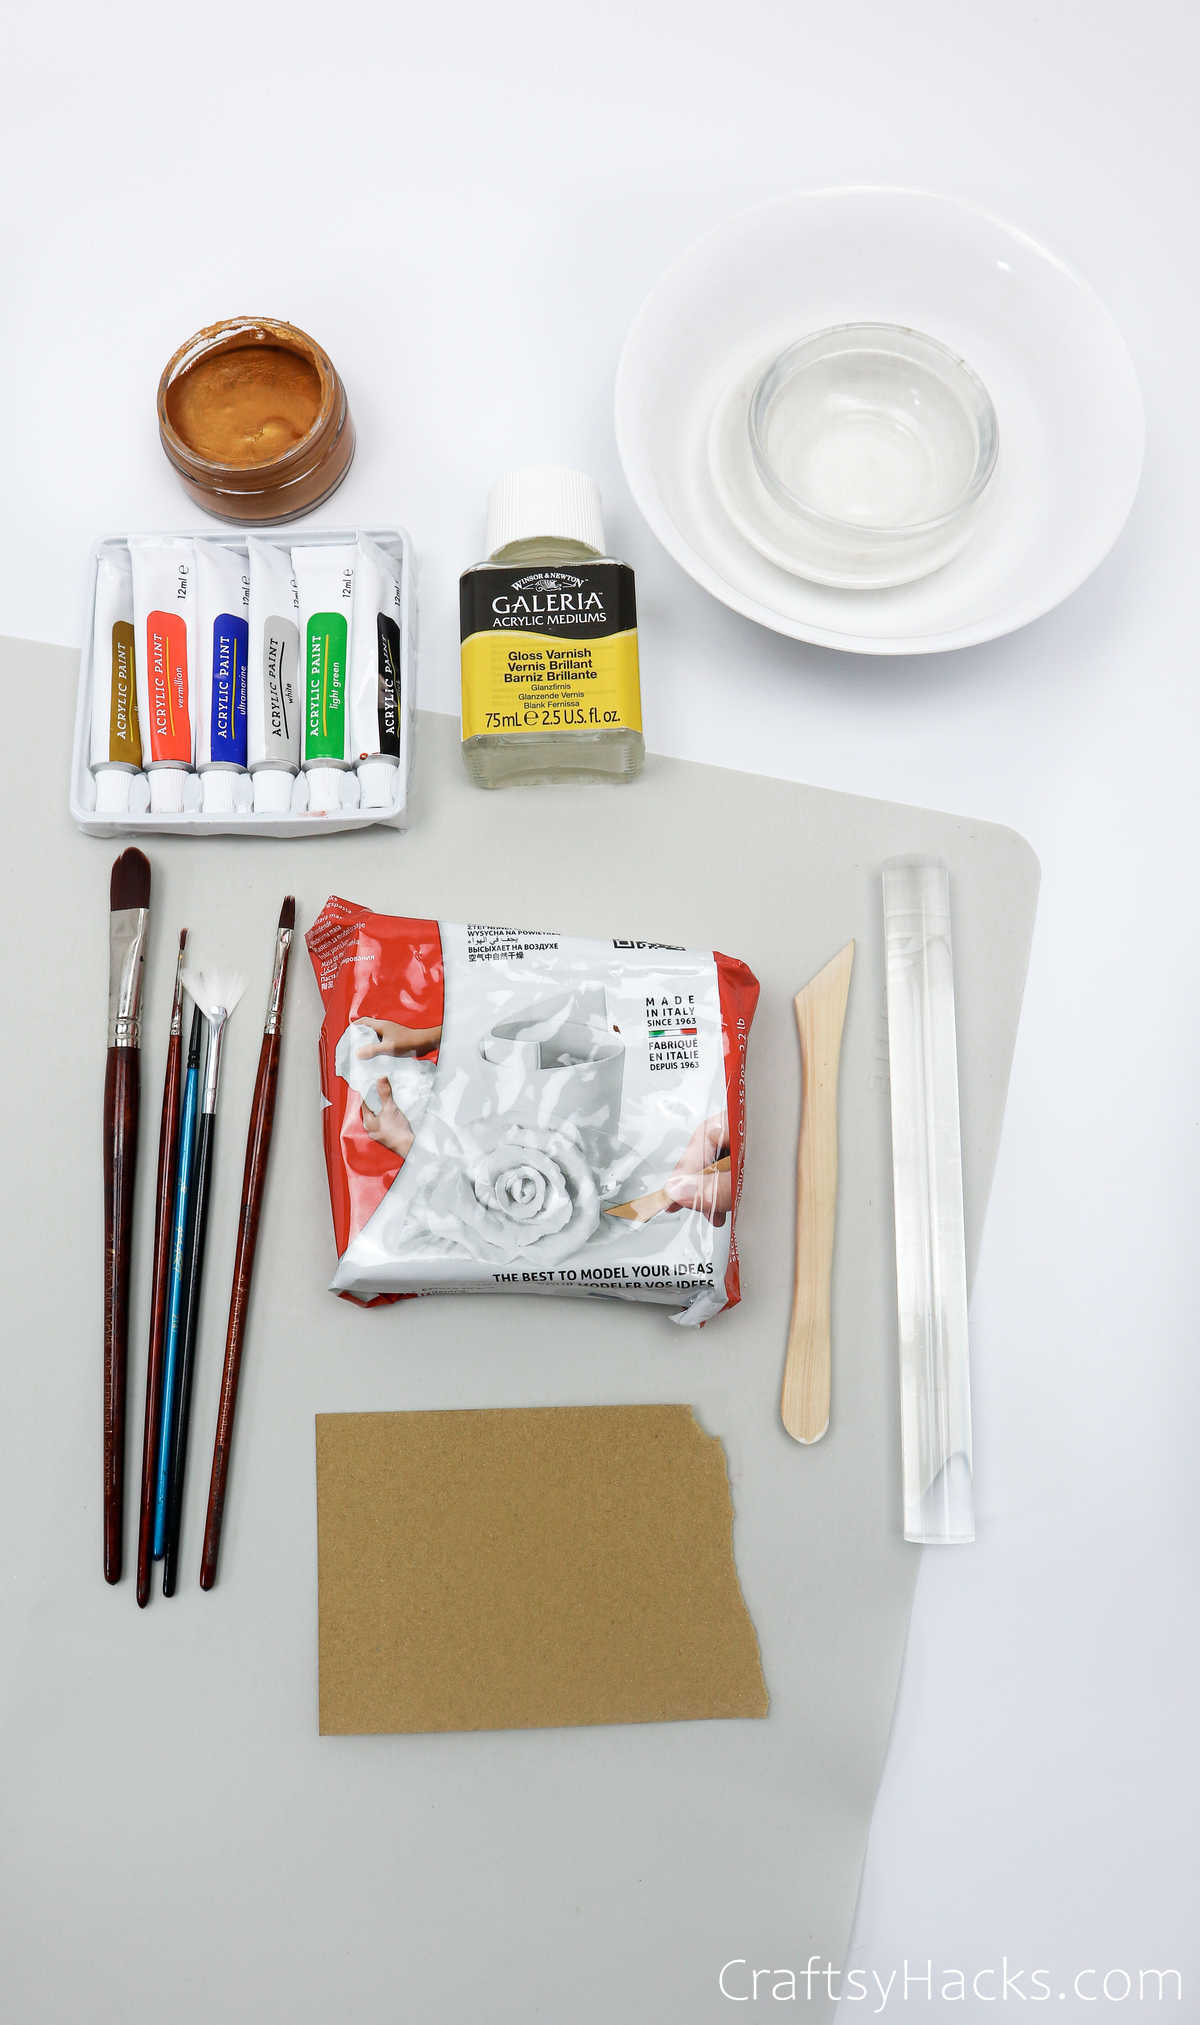
- Acrylic gloss varnish (optional)
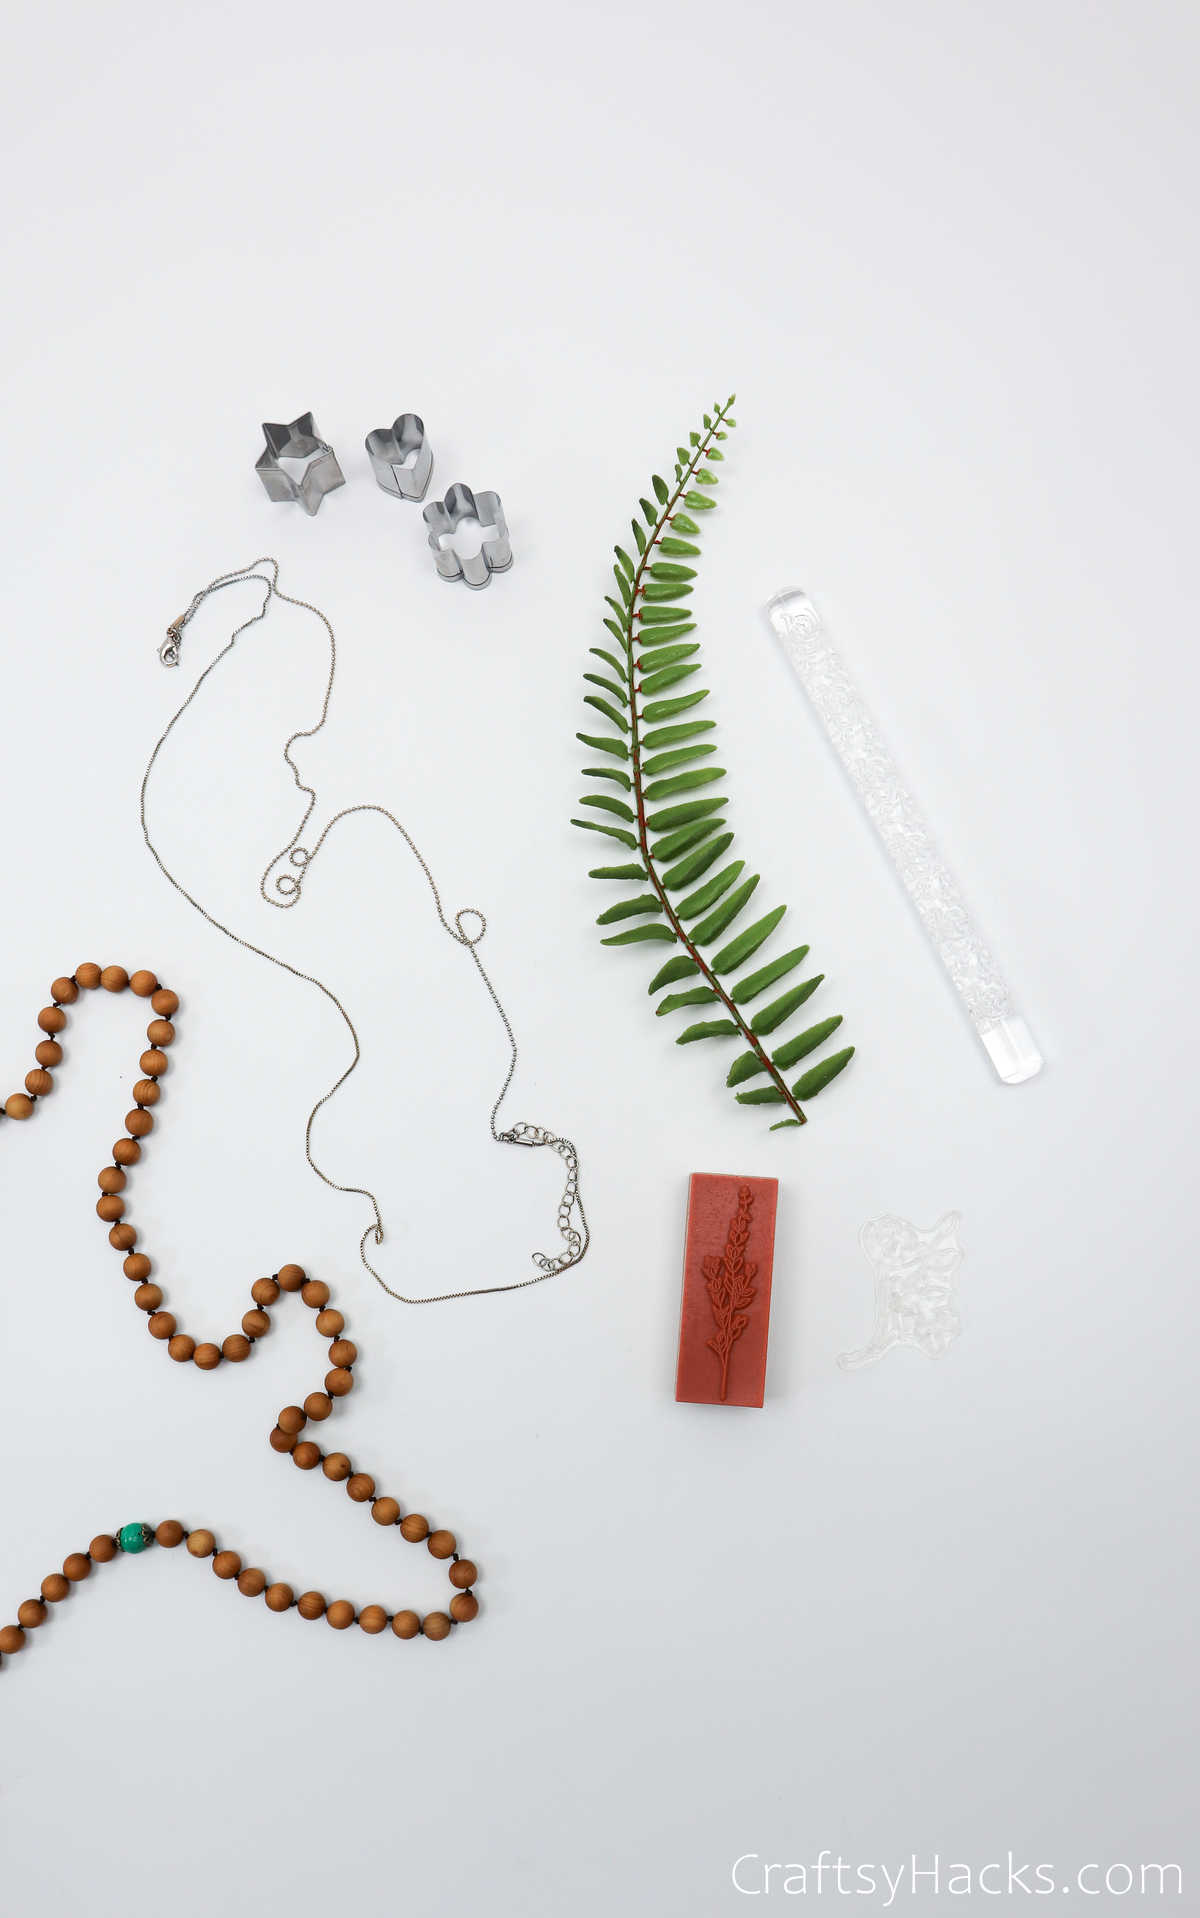
- Artificial leaf (optional)
- Ball Chain, beaded chain (optional)
- Embossing rolling pin (optional)
- Stamps (optional)
Don’t get intimidated by that long list—most of the items on there are for decorative purposes. That means that you only need the basic essentials to make the bowl, and then it’s up to you how you decide to decorate them.
Watch: DIY Jewelry Trays
In case you’re more of a visual learner, check out the full tutorial on video!
How to Make Air Dry Clay Bowls
Here is a full step-by-step tutorial on how to make these clay bowls.
Step 1
So, let’s get down to actually making the bowls now. Cut off a portion of clay and carefully repack the rest of it back in the box before you continue.
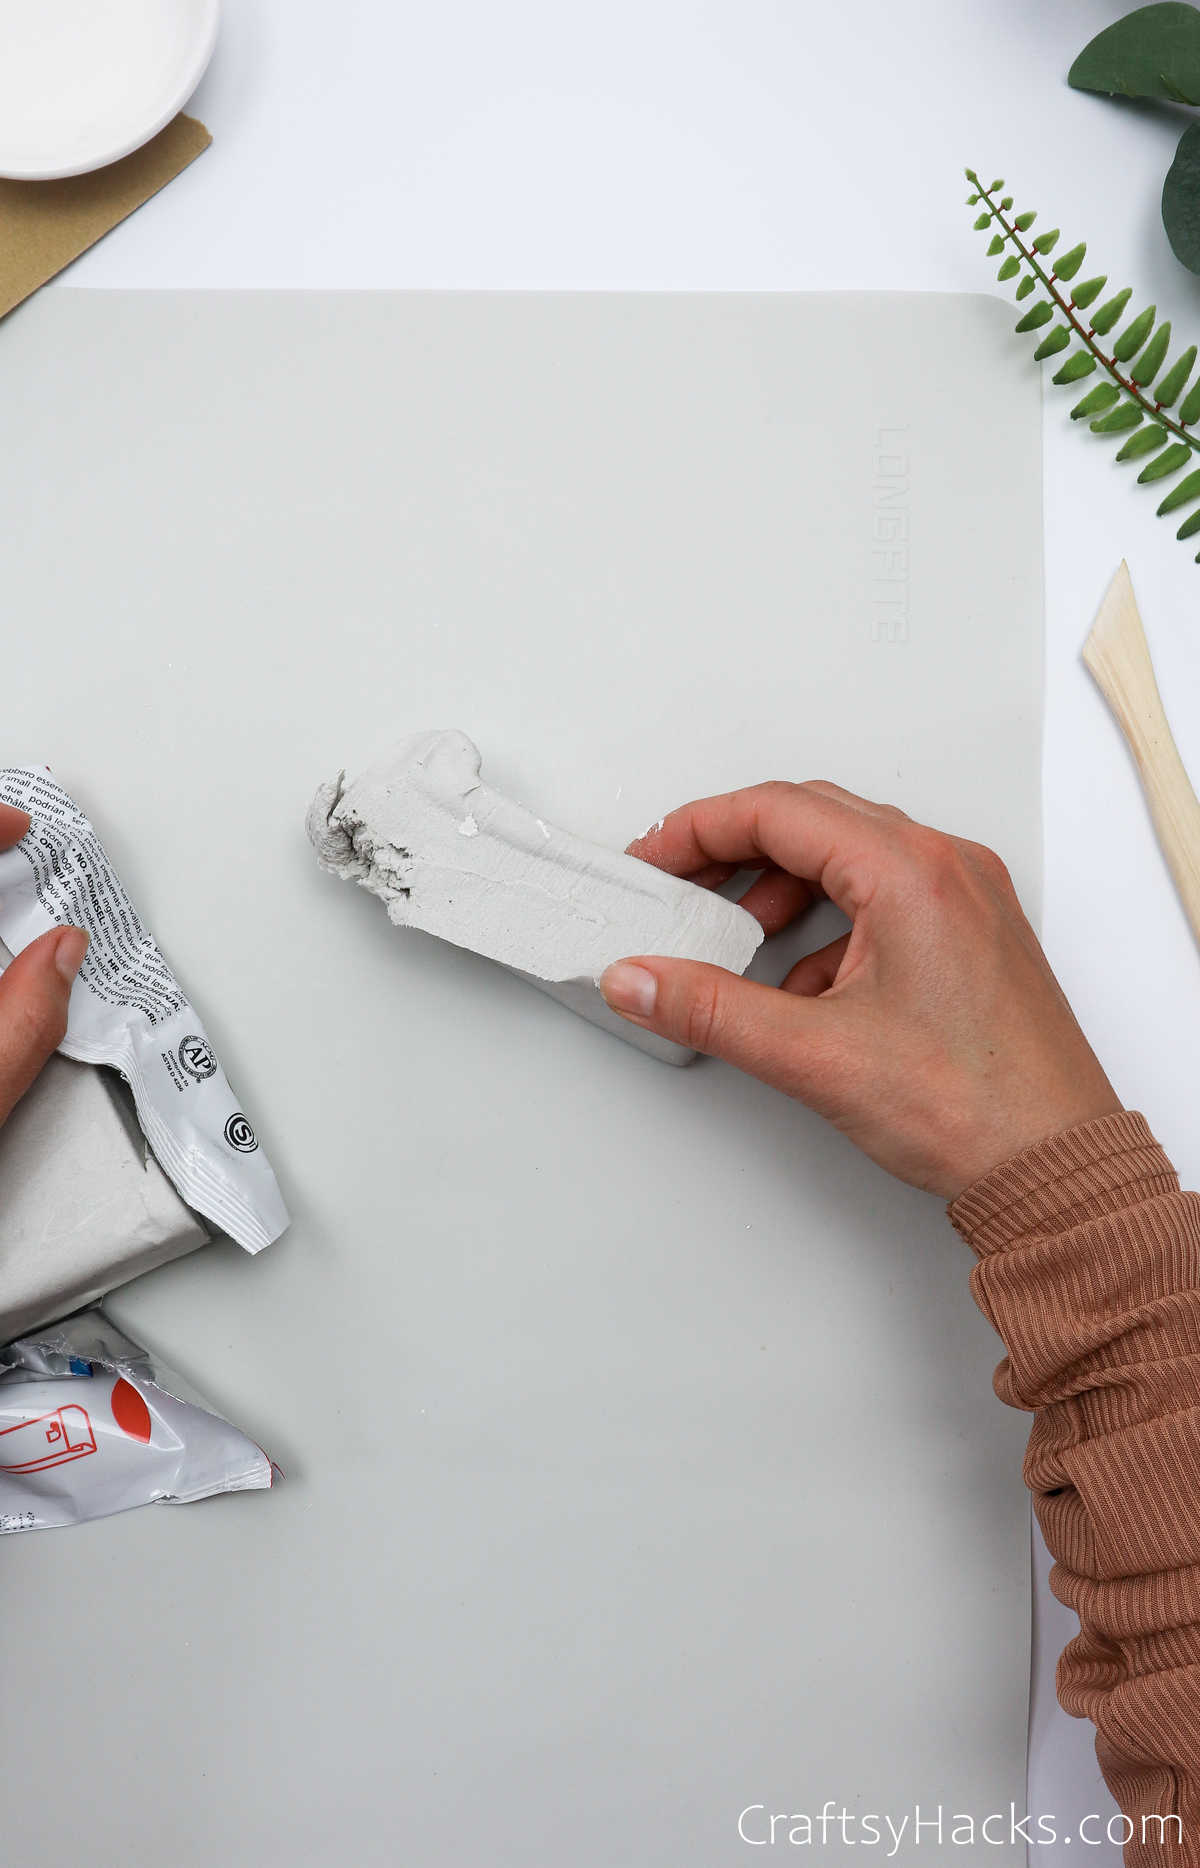
Step 2
Use the palm of your hands to warm and knead the clay until it is lump-free, soft, and pliable.
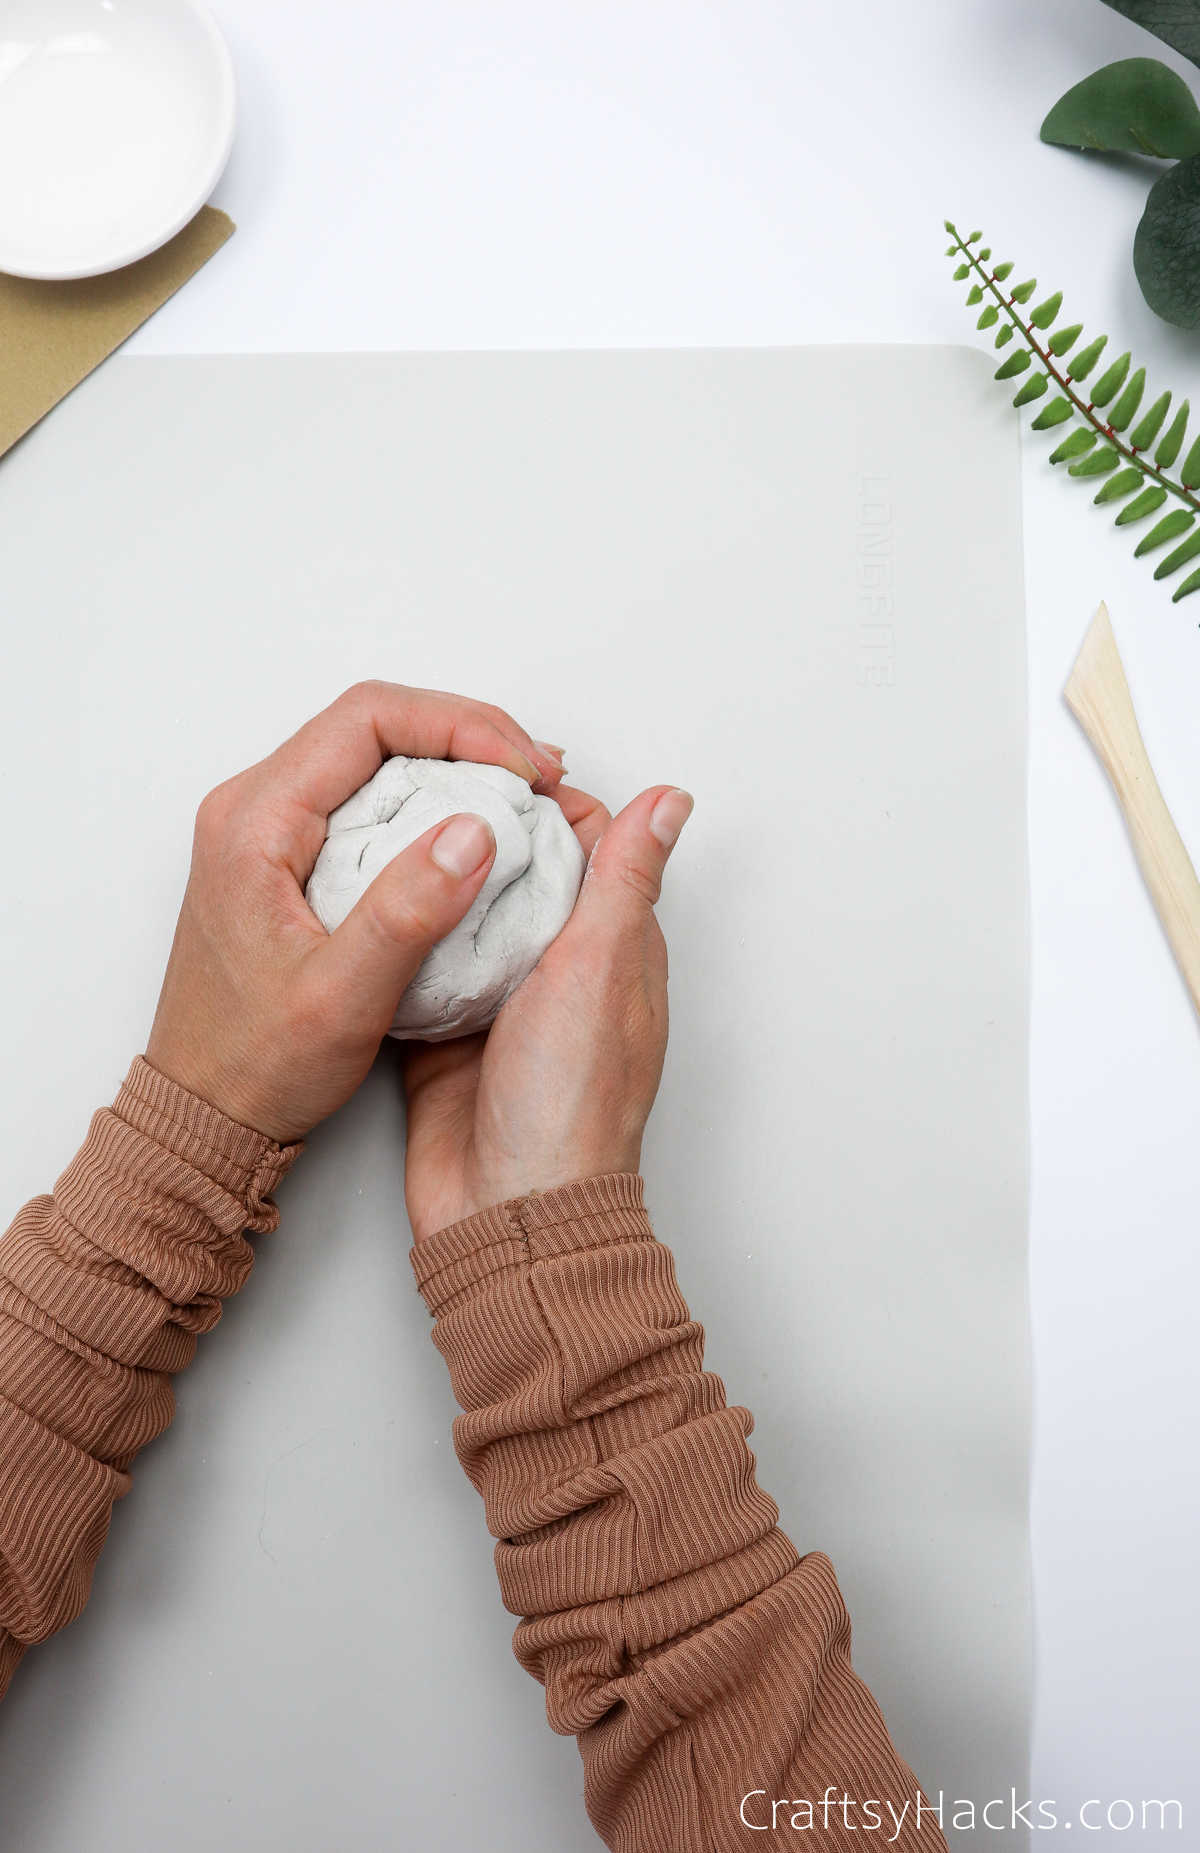
Once you’re done kneading it, grab a rolling pin—or a glass bottle—and roll the clay out.
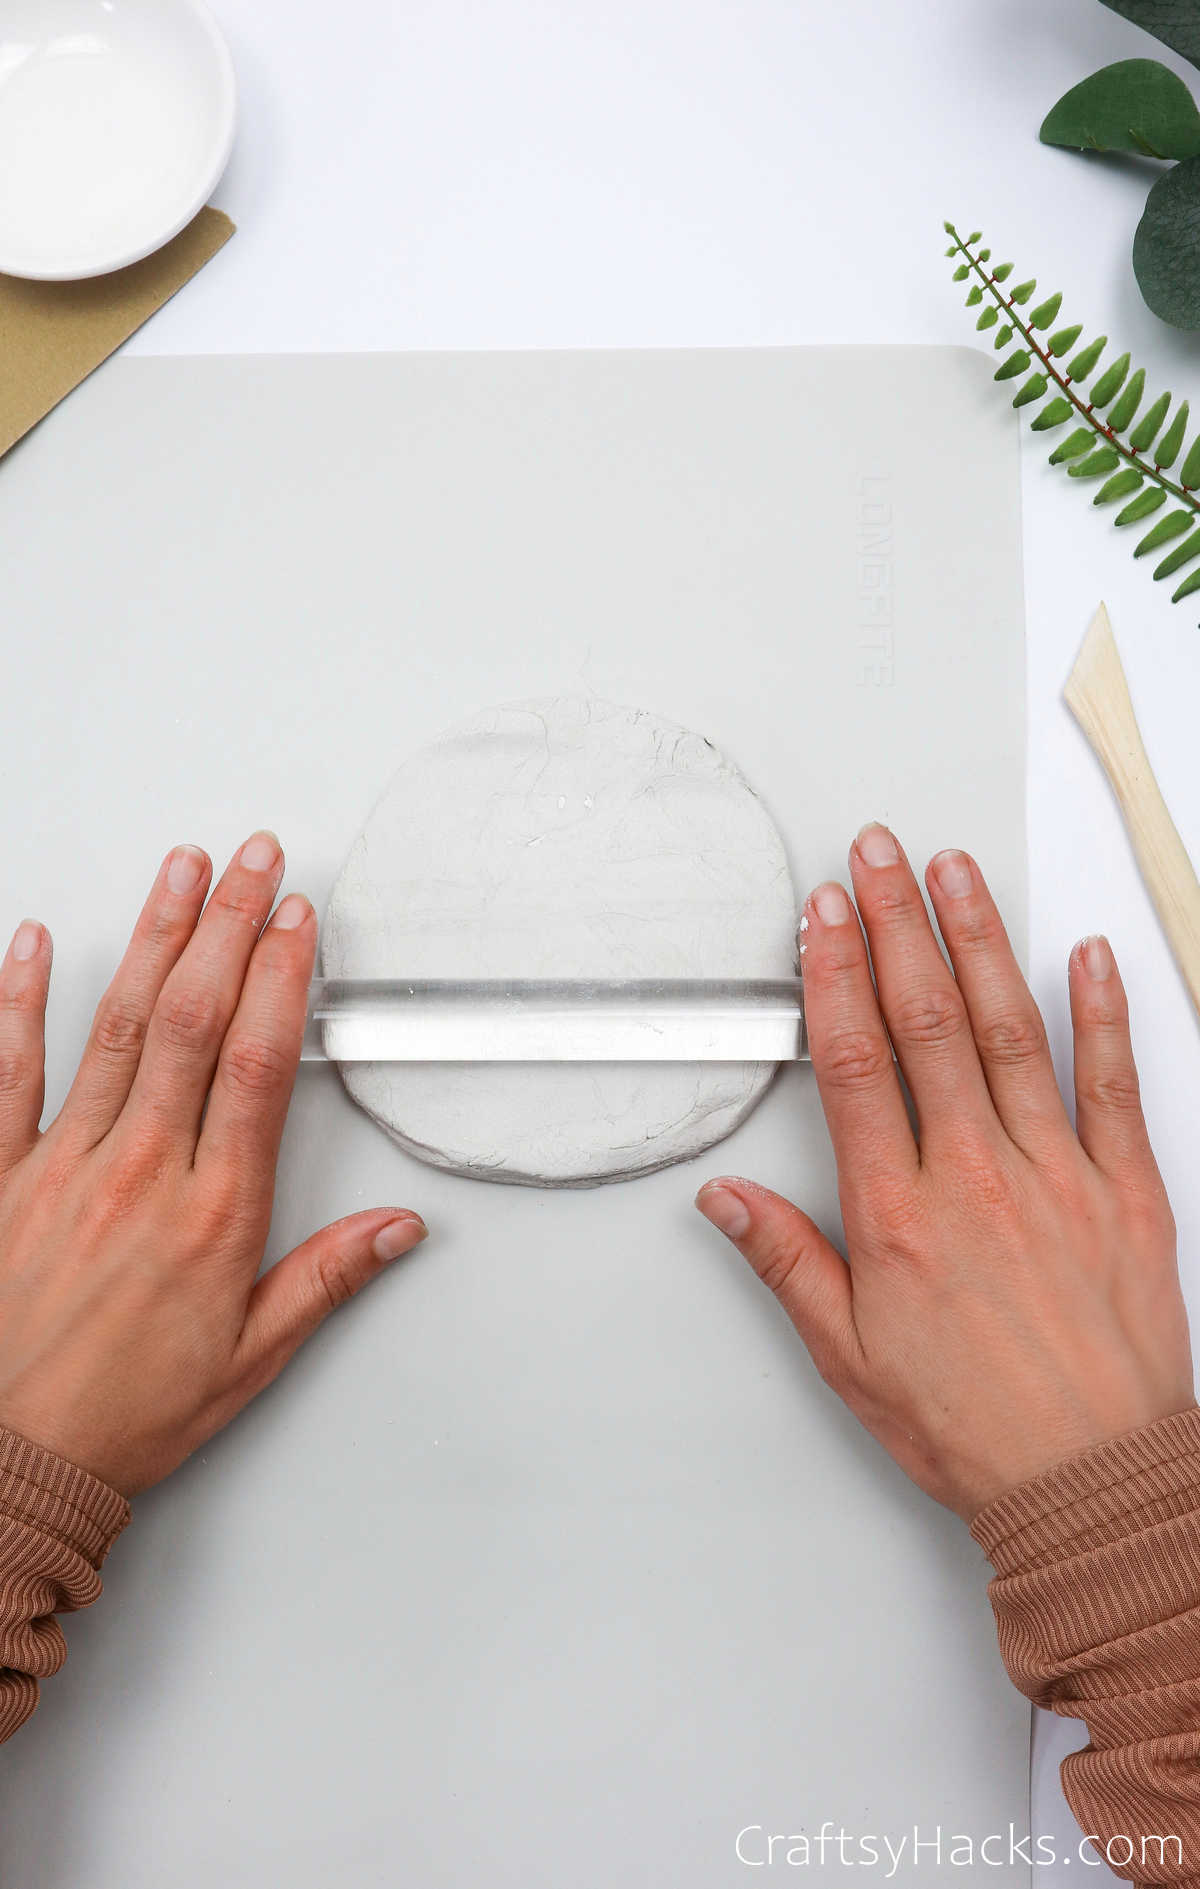
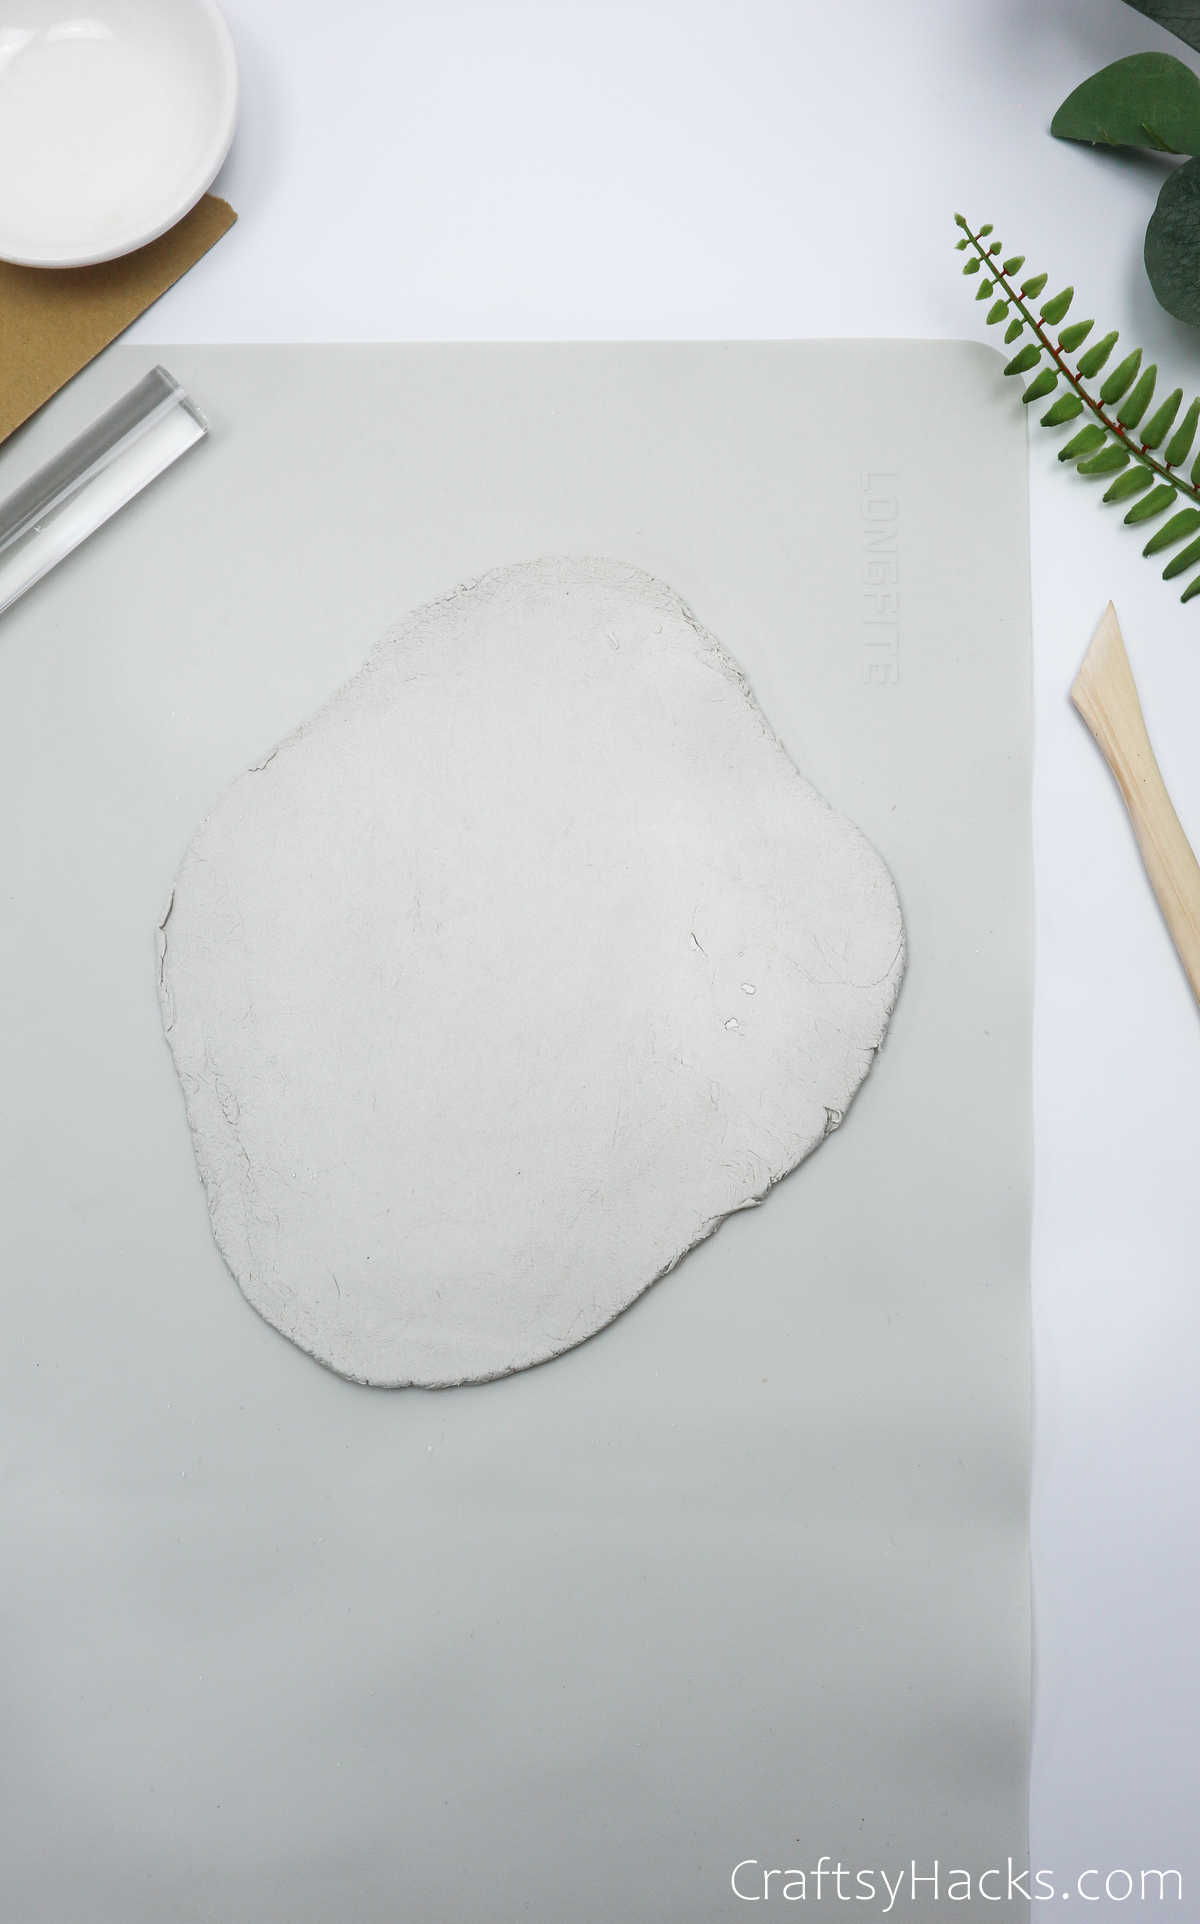
Make sure that the clay doesn’t become too thin; otherwise, it will crack when it dries. But, if you roll it too thick, it’s going to take an age to dry up.
So, use your discretion to roll it out just right—around 5mm.
Step 3
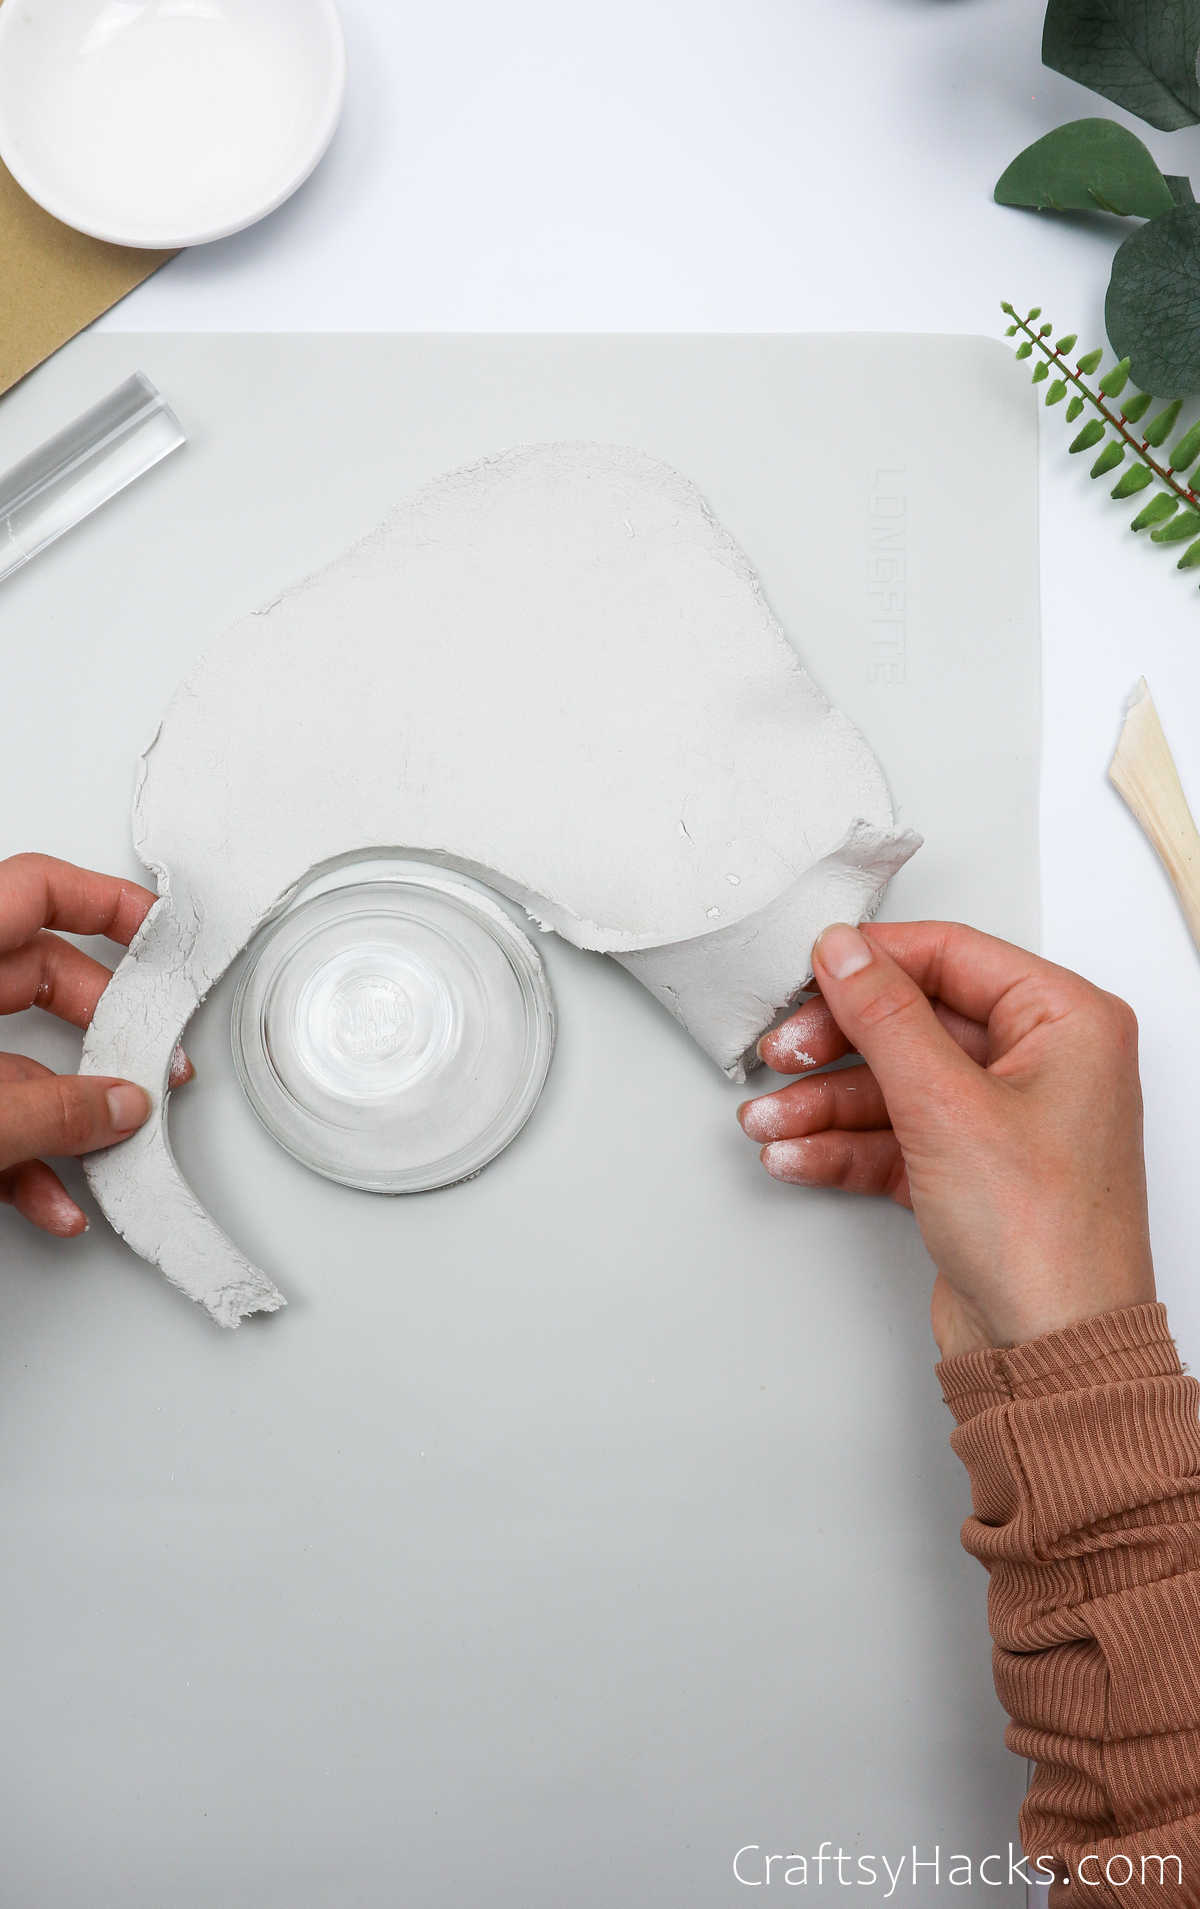
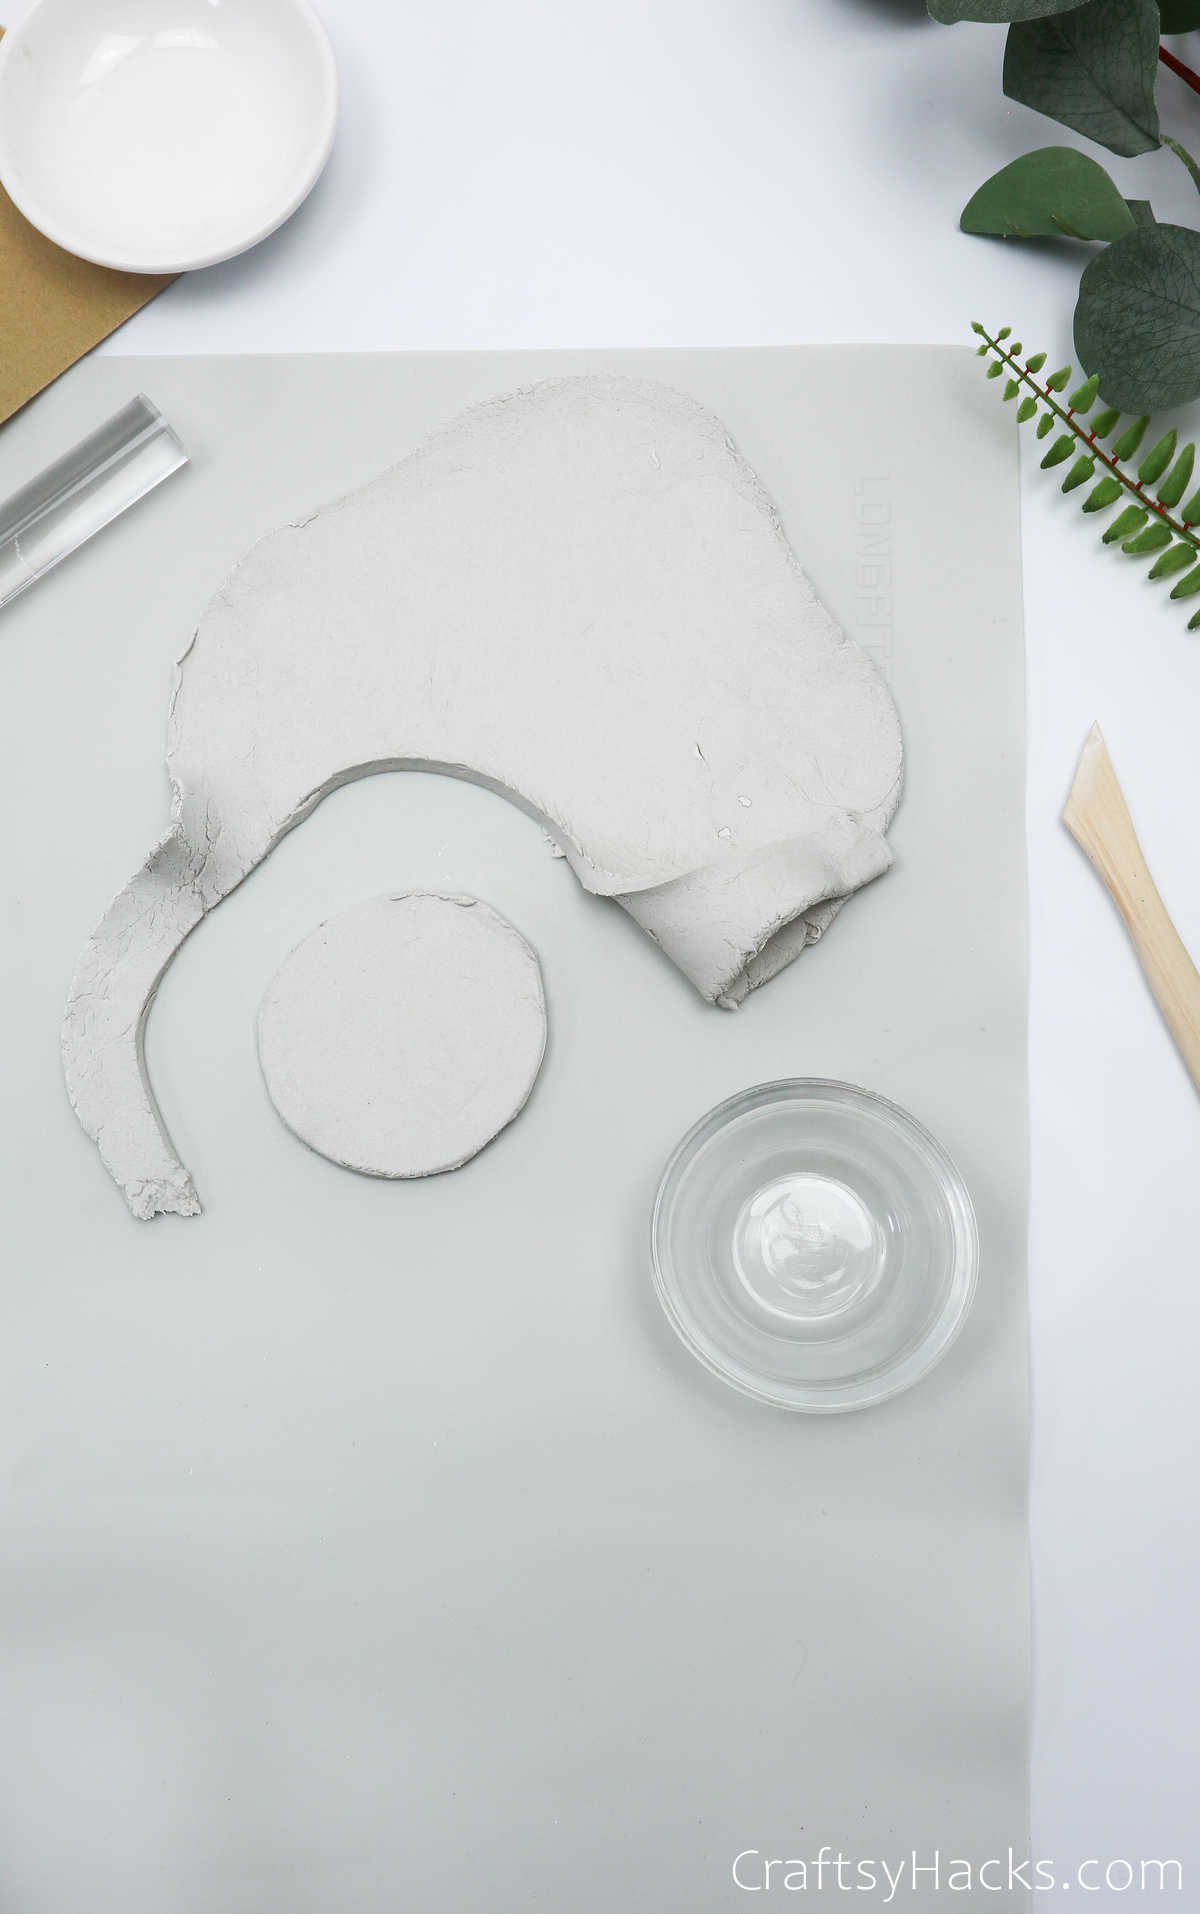
Grab a bowl and place it over the clay. Use a craft knife or cutter to cut around the bowl. You’ll be using the bowl as a mold, by the way.
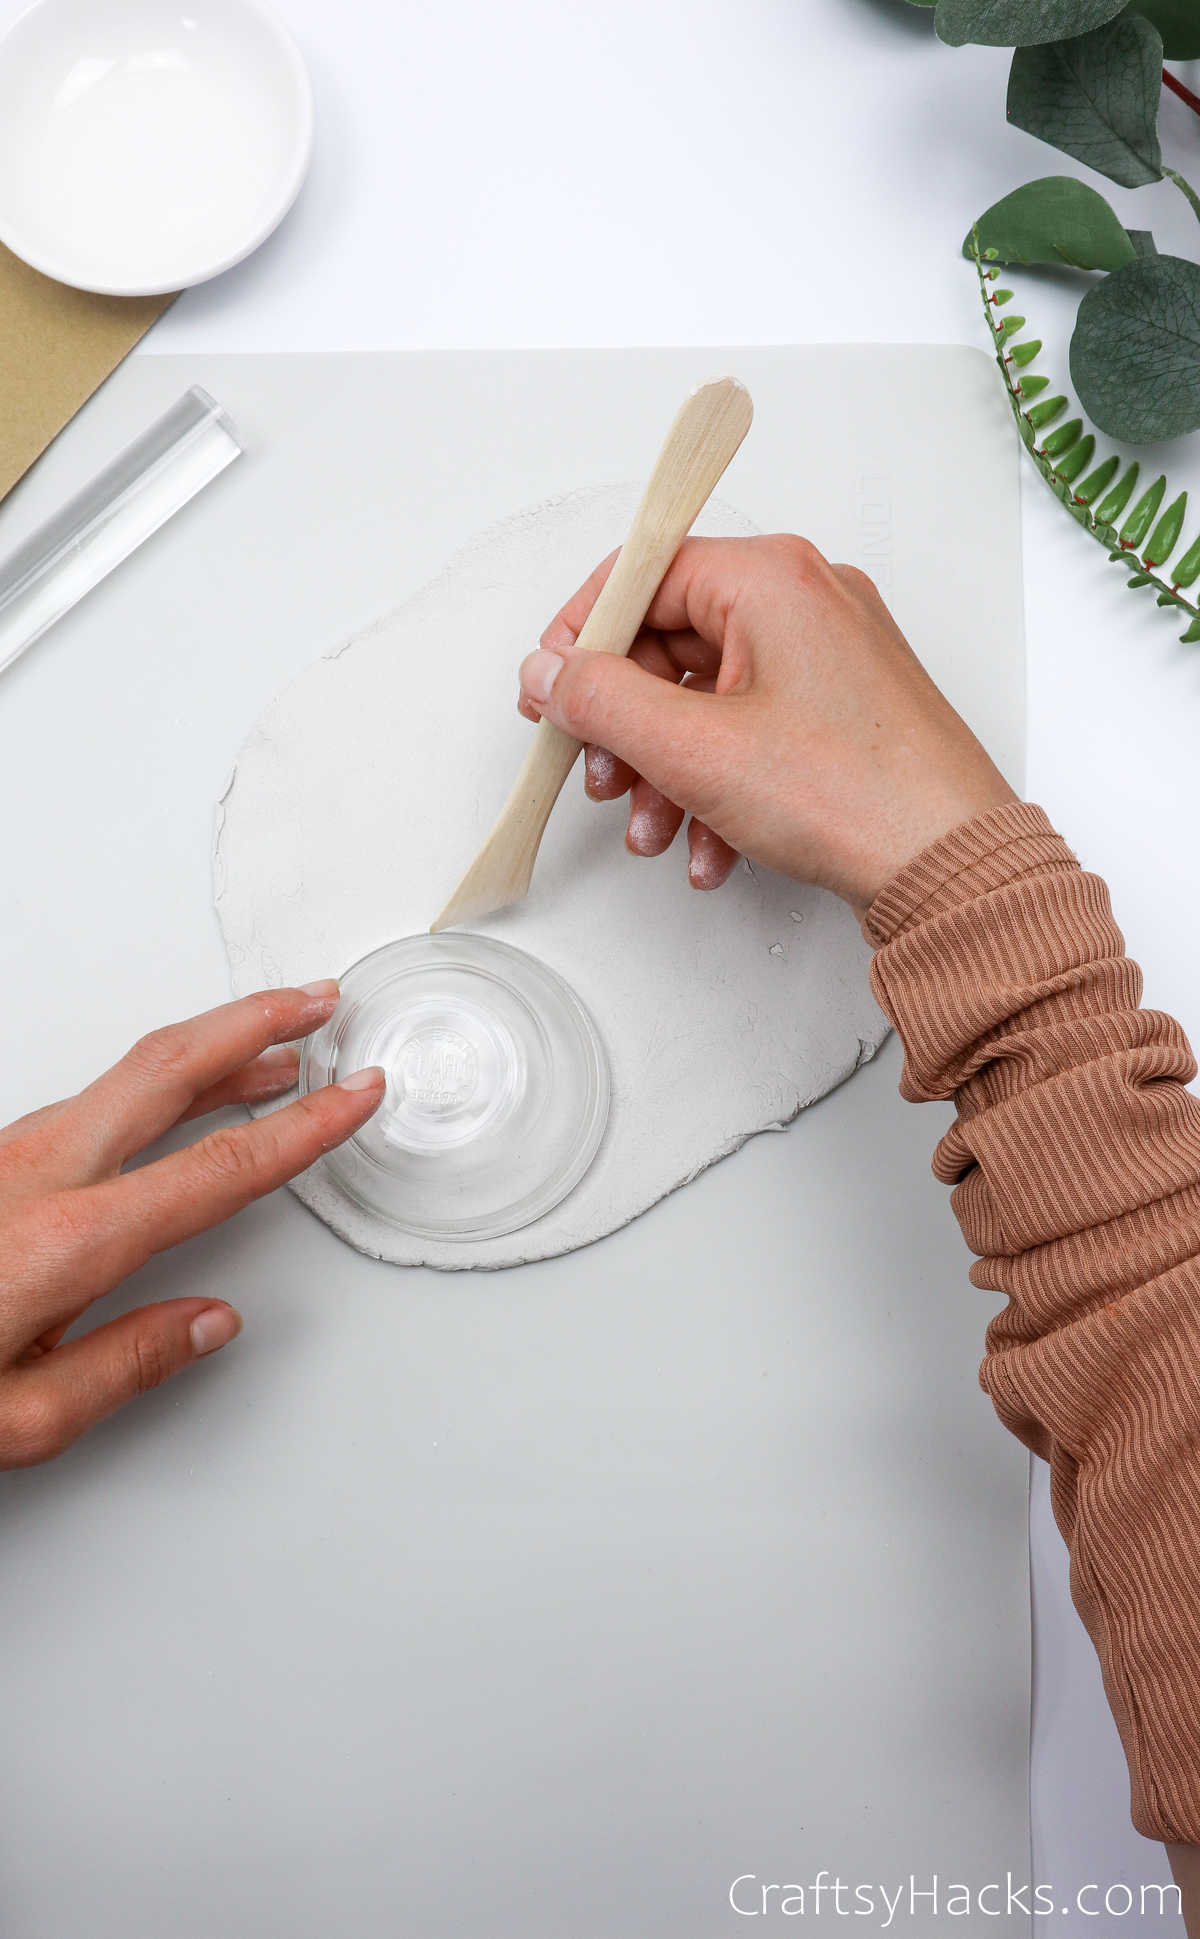
Carefully peel the excess clay away and set it aside.
Step 4
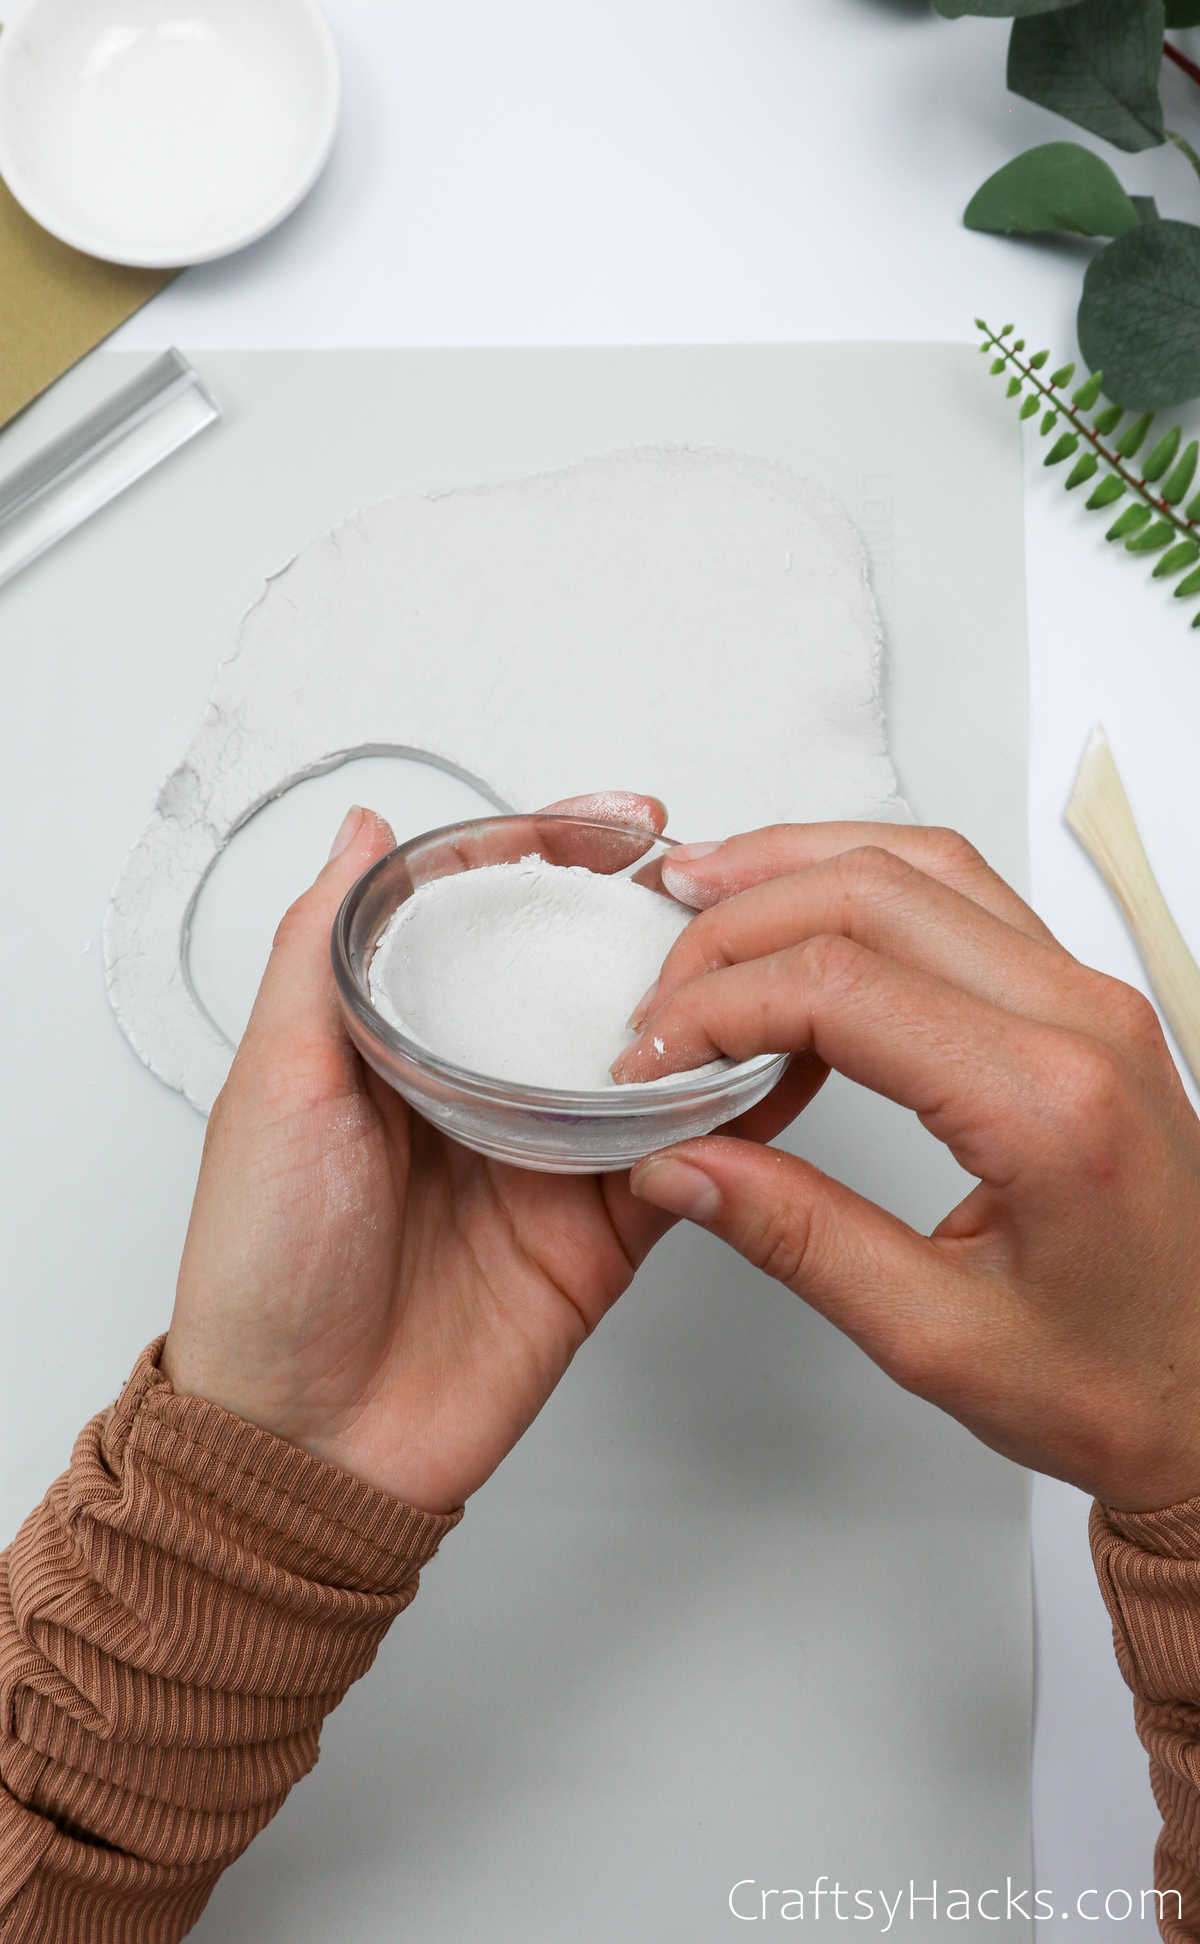
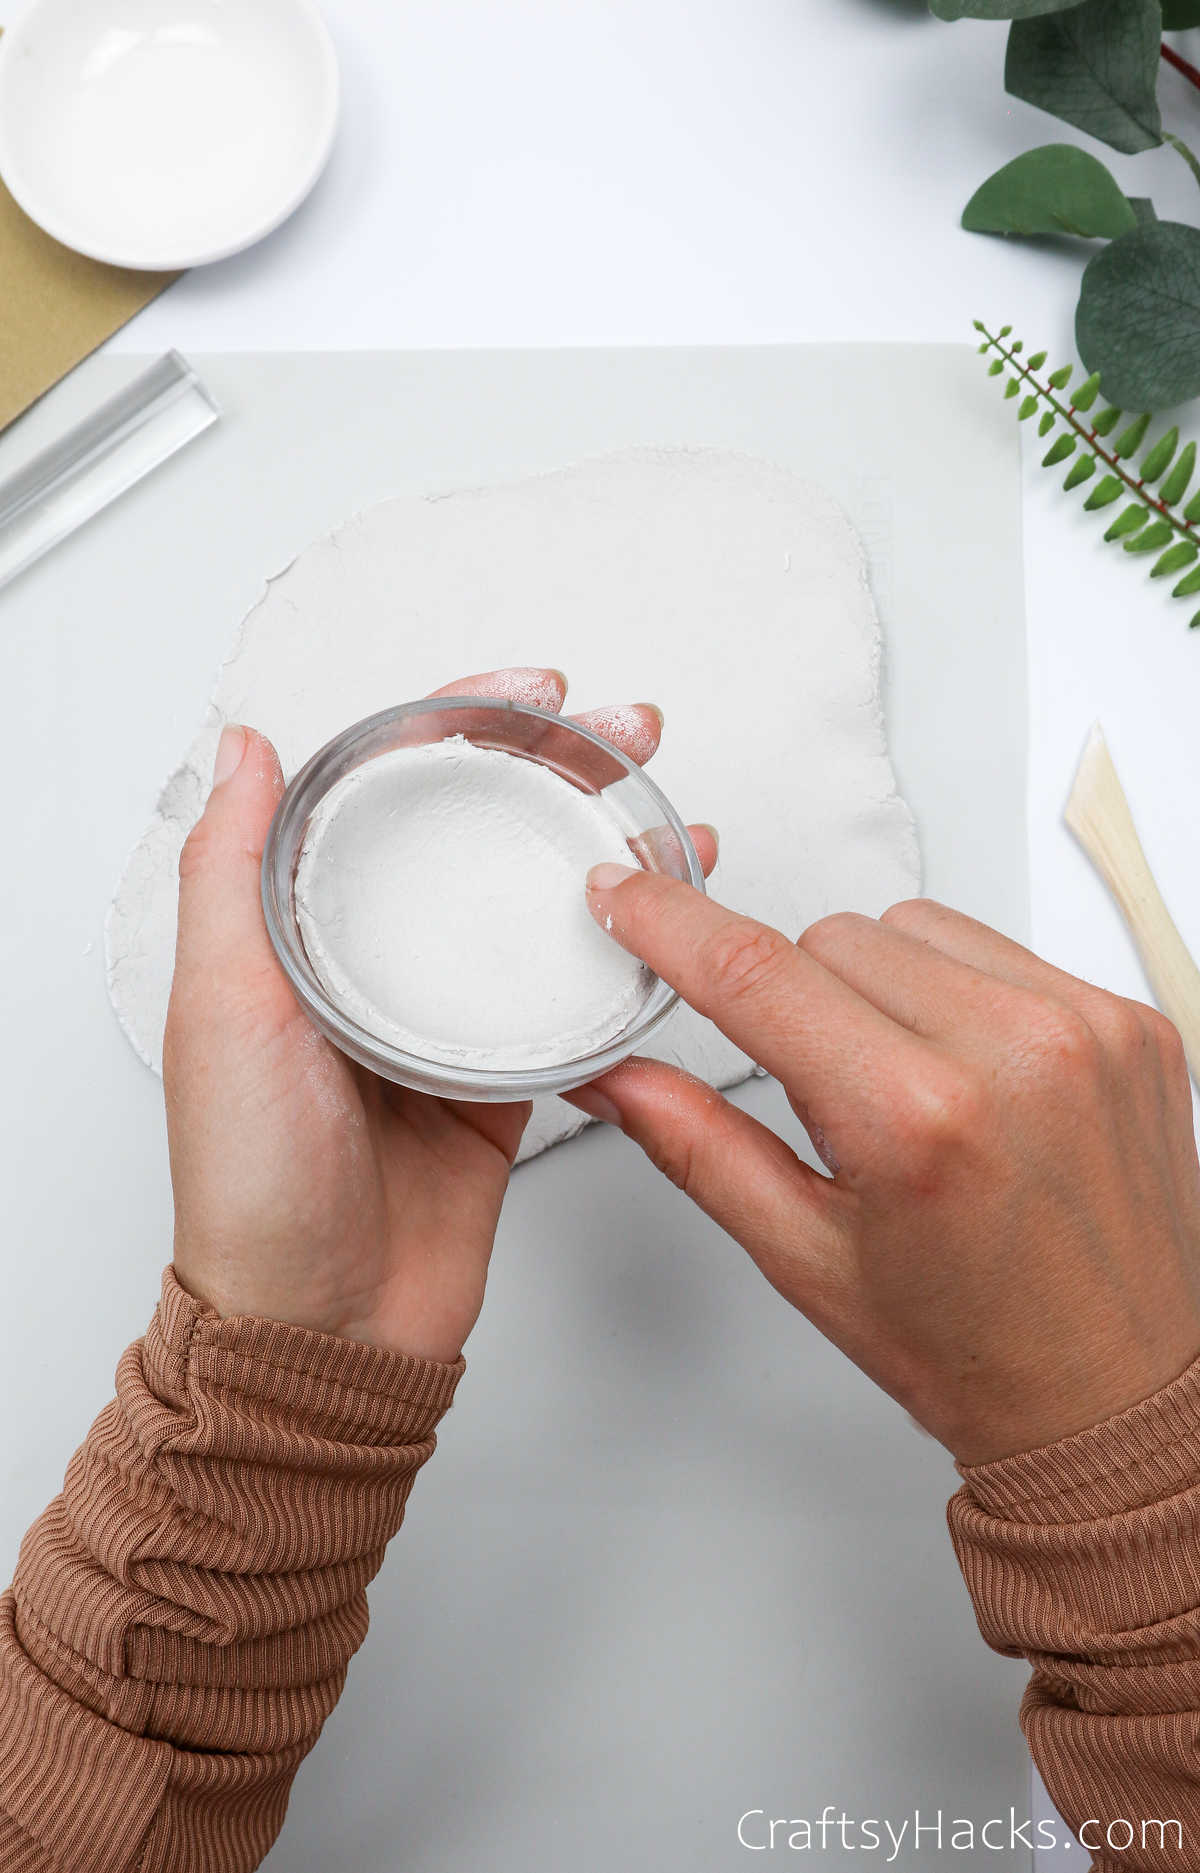
Place the clay inside the bowl and press it down. But don’t press it in too hard—you don’t want fingerprints on it, do you?
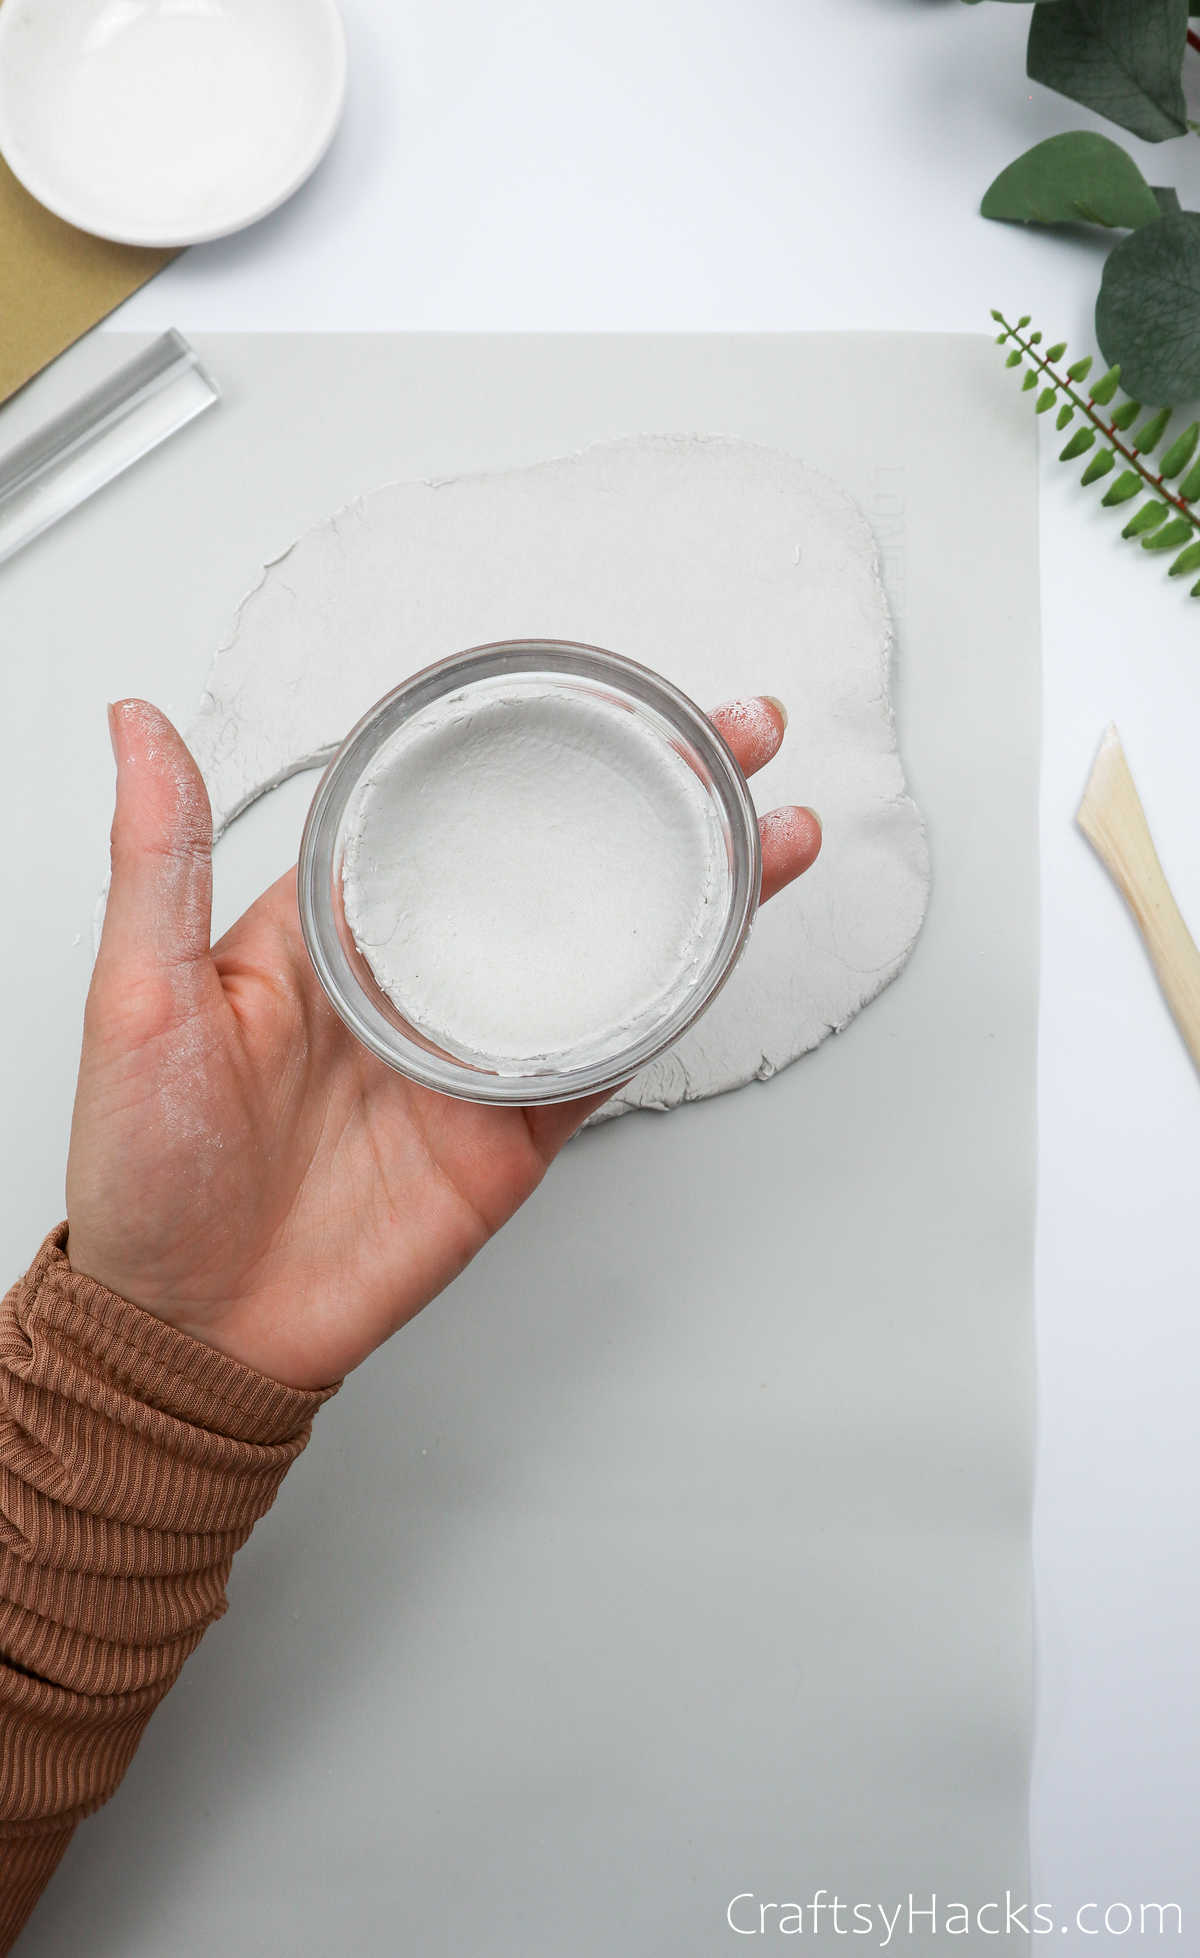
You can smoothen out the edges and any cracks that appear quite easily. Just dip the tip of your finger in water and smooth the surface. But just a drop, or else the clay will turn sticky.
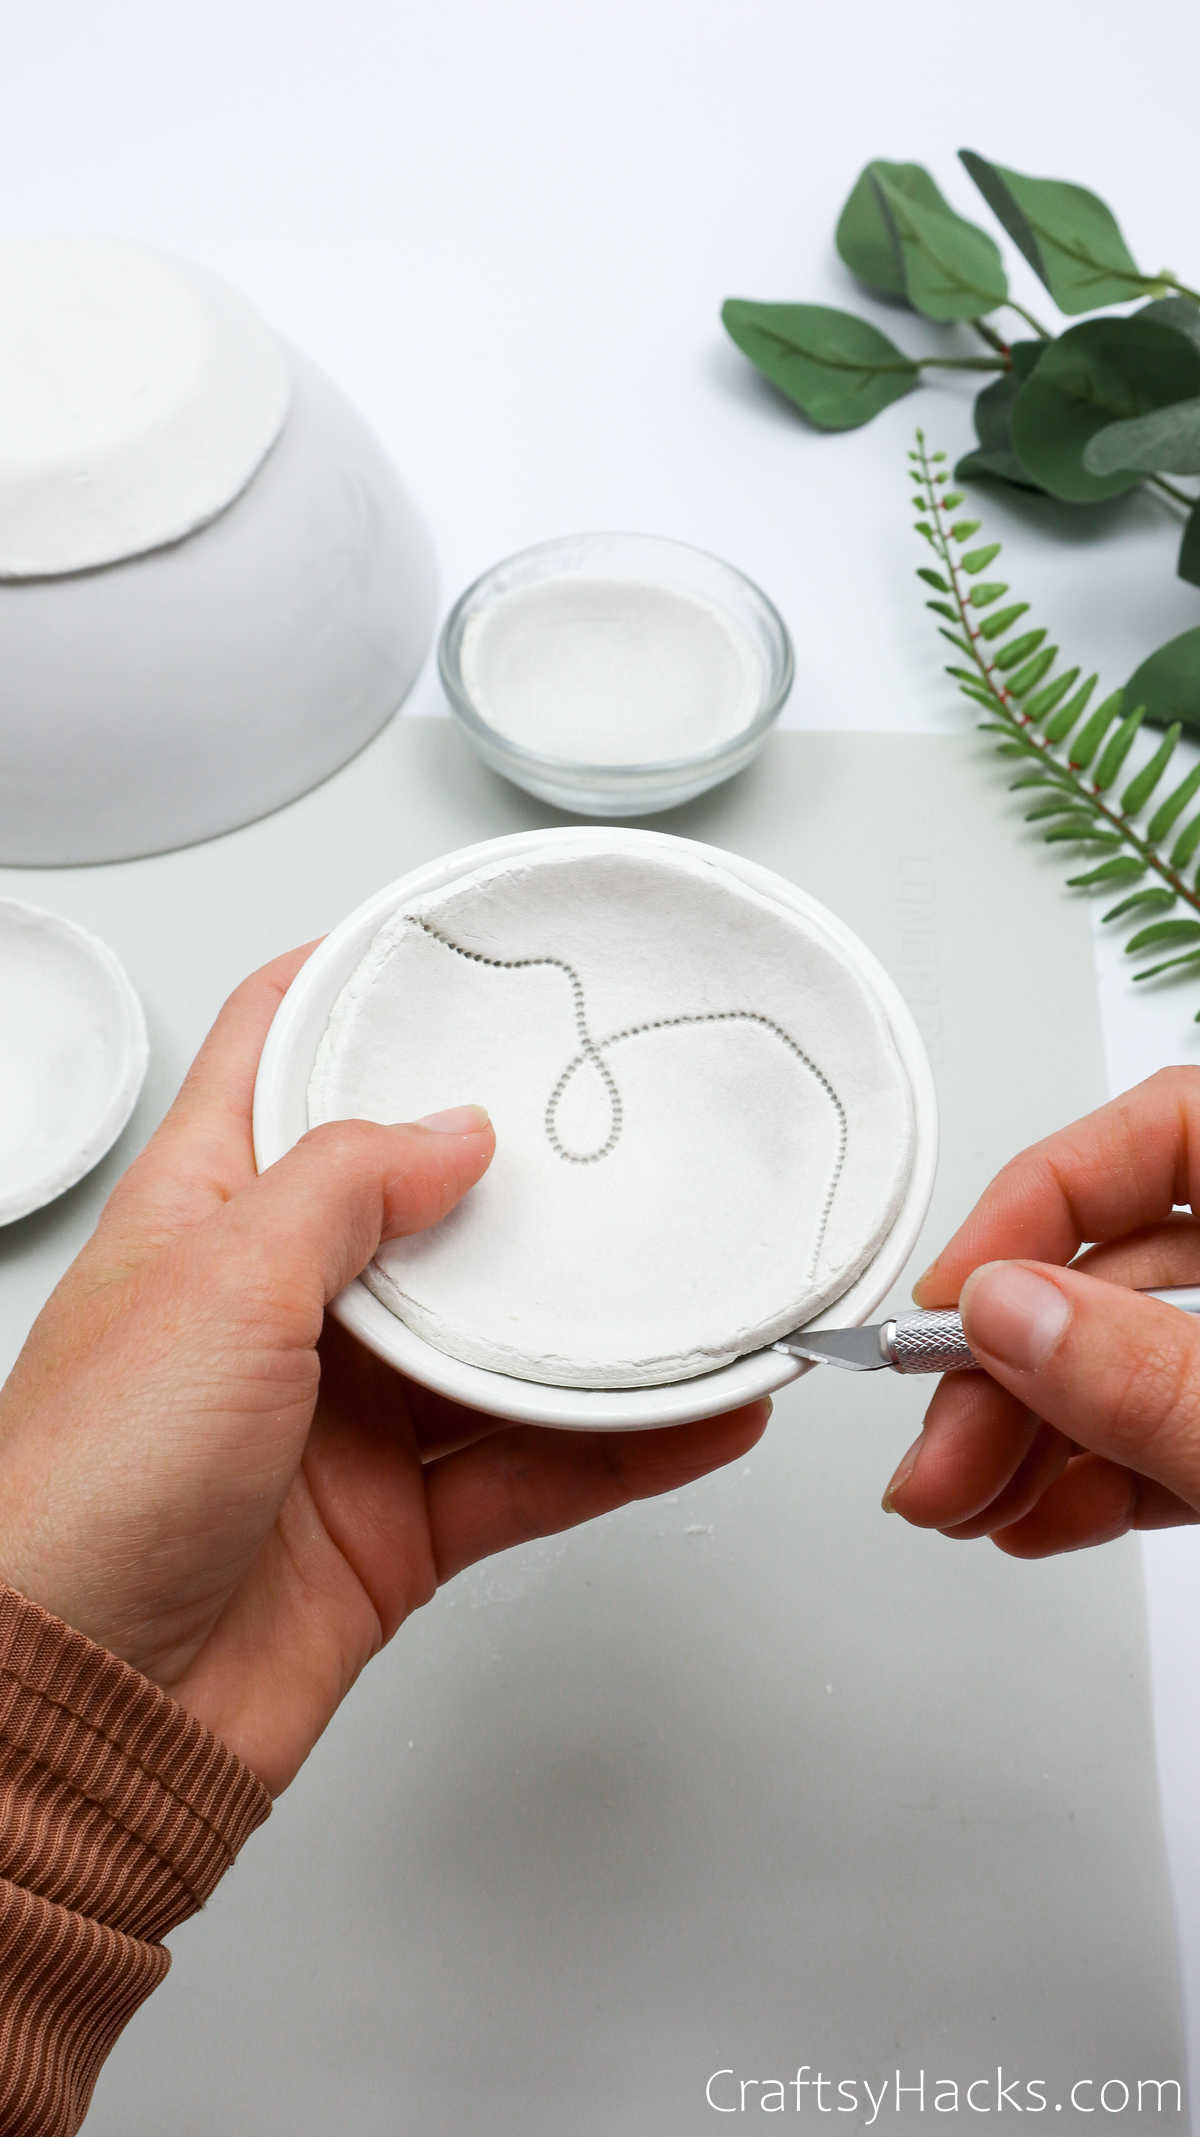
Step 5
Now that you know how to work the clay into the bowl, you’ve got the basic idea behind this craft project. So, let’s have a little fun and work some designs and patterns into the bowls!
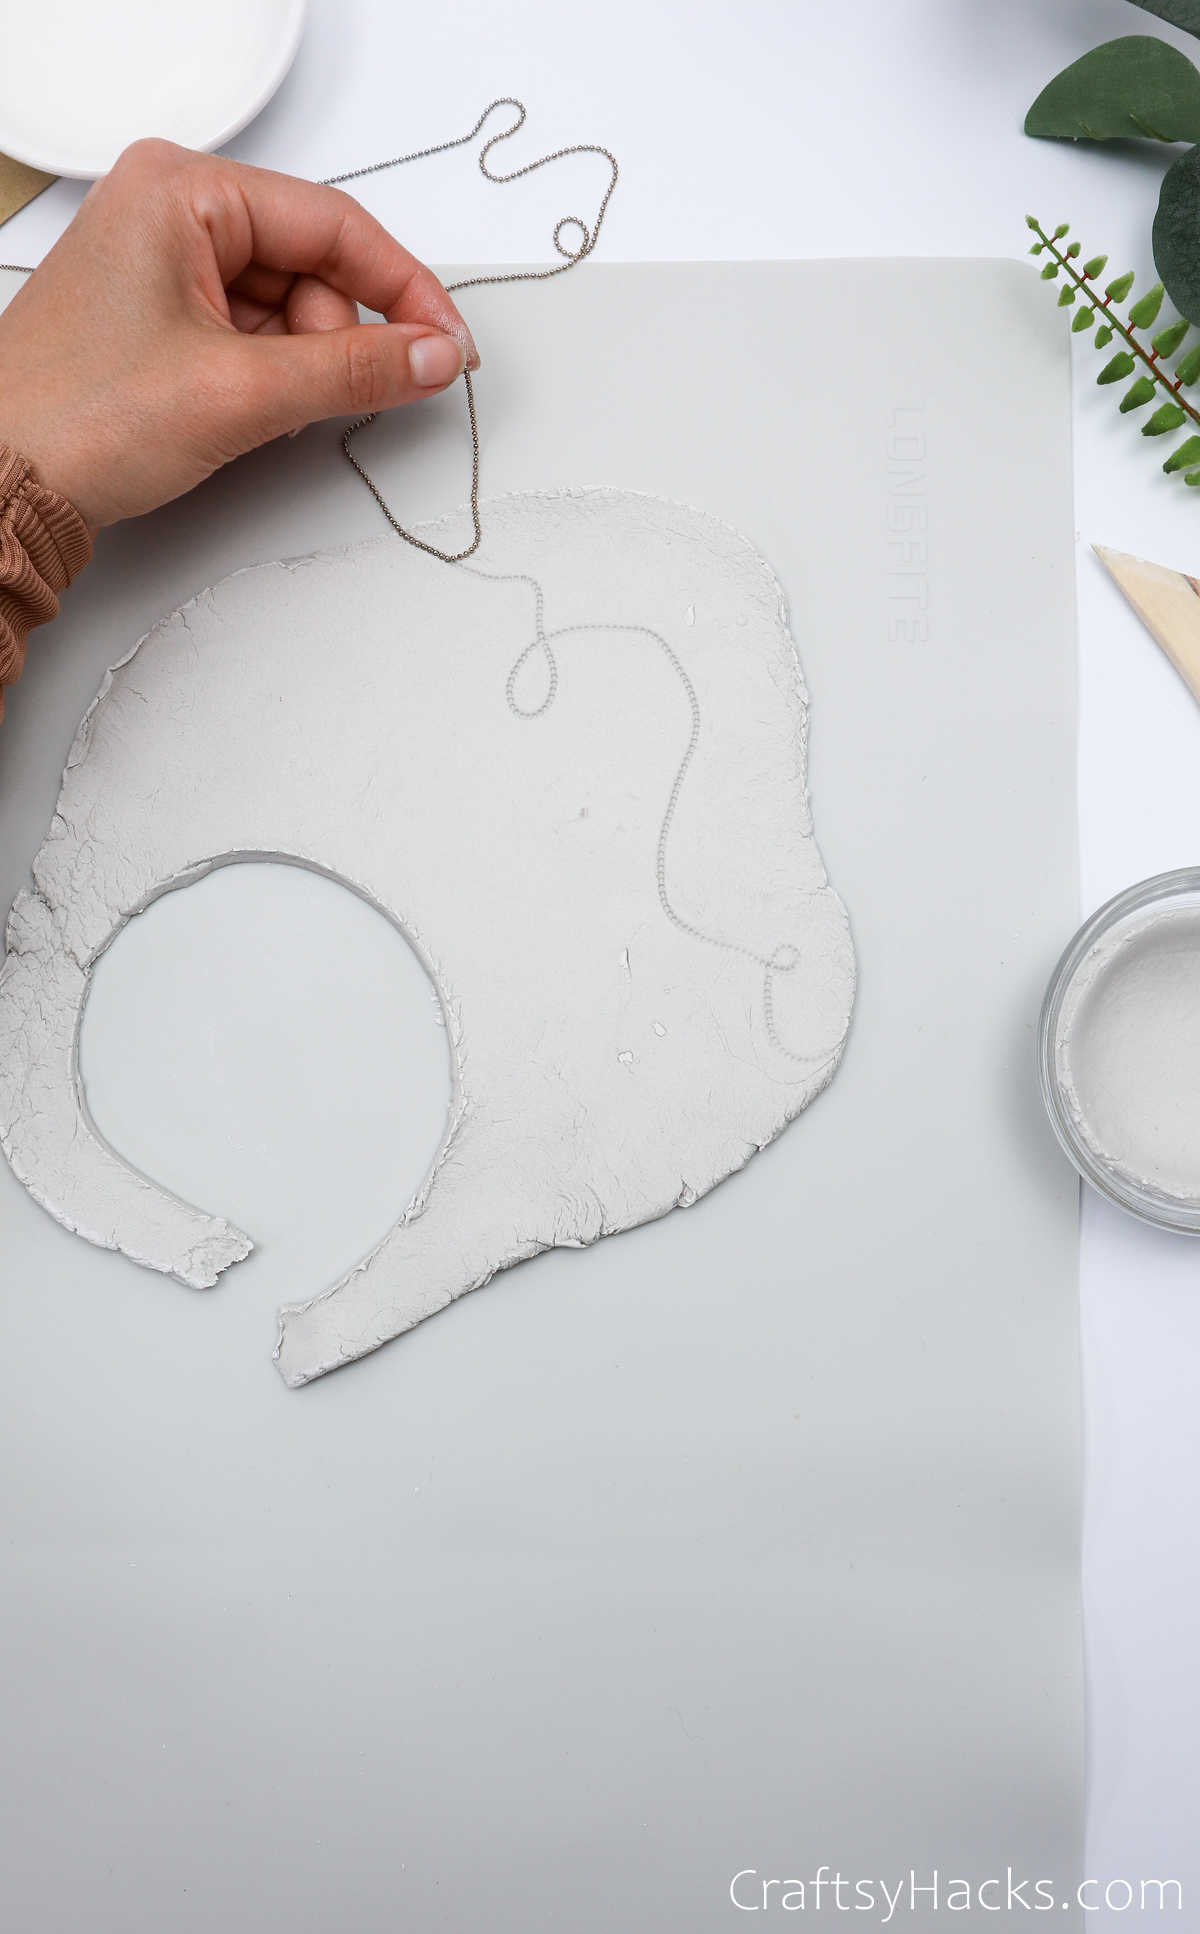
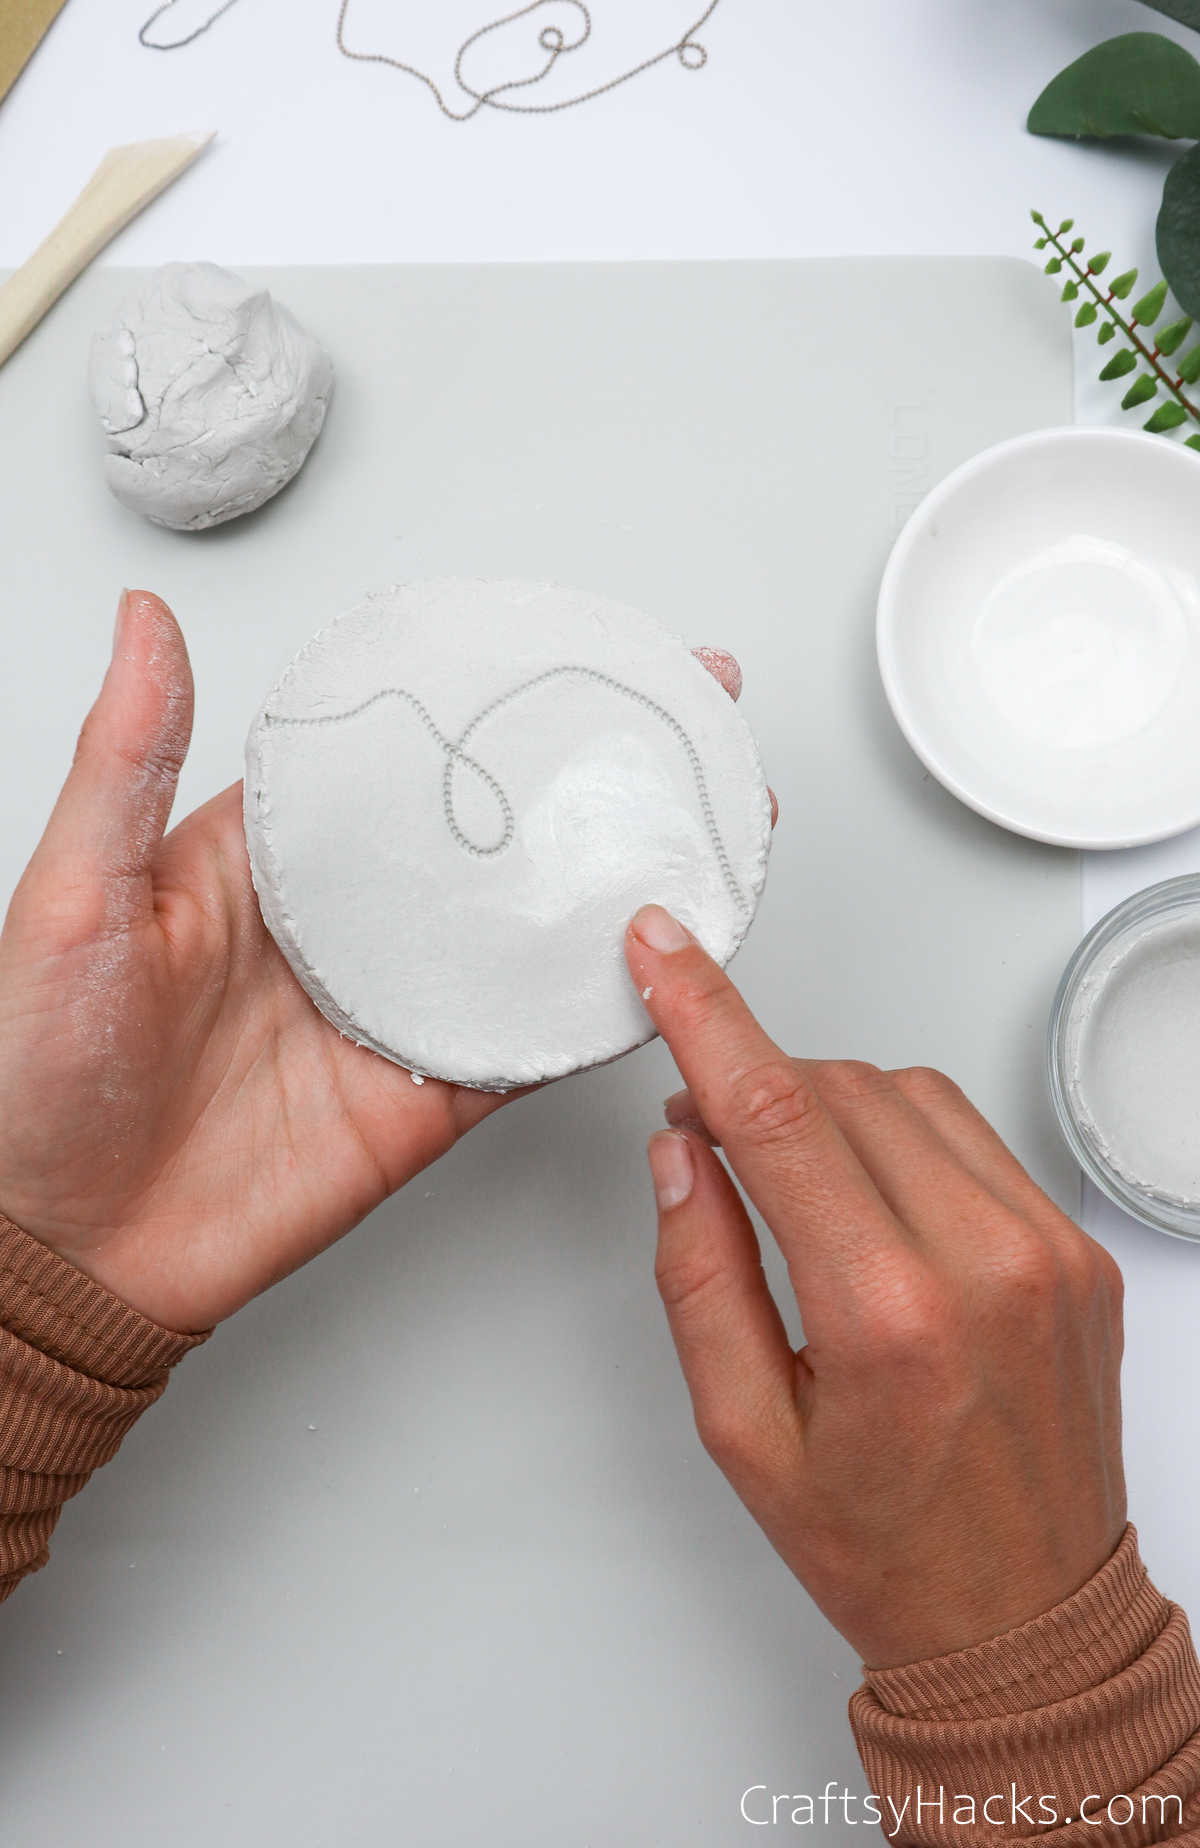
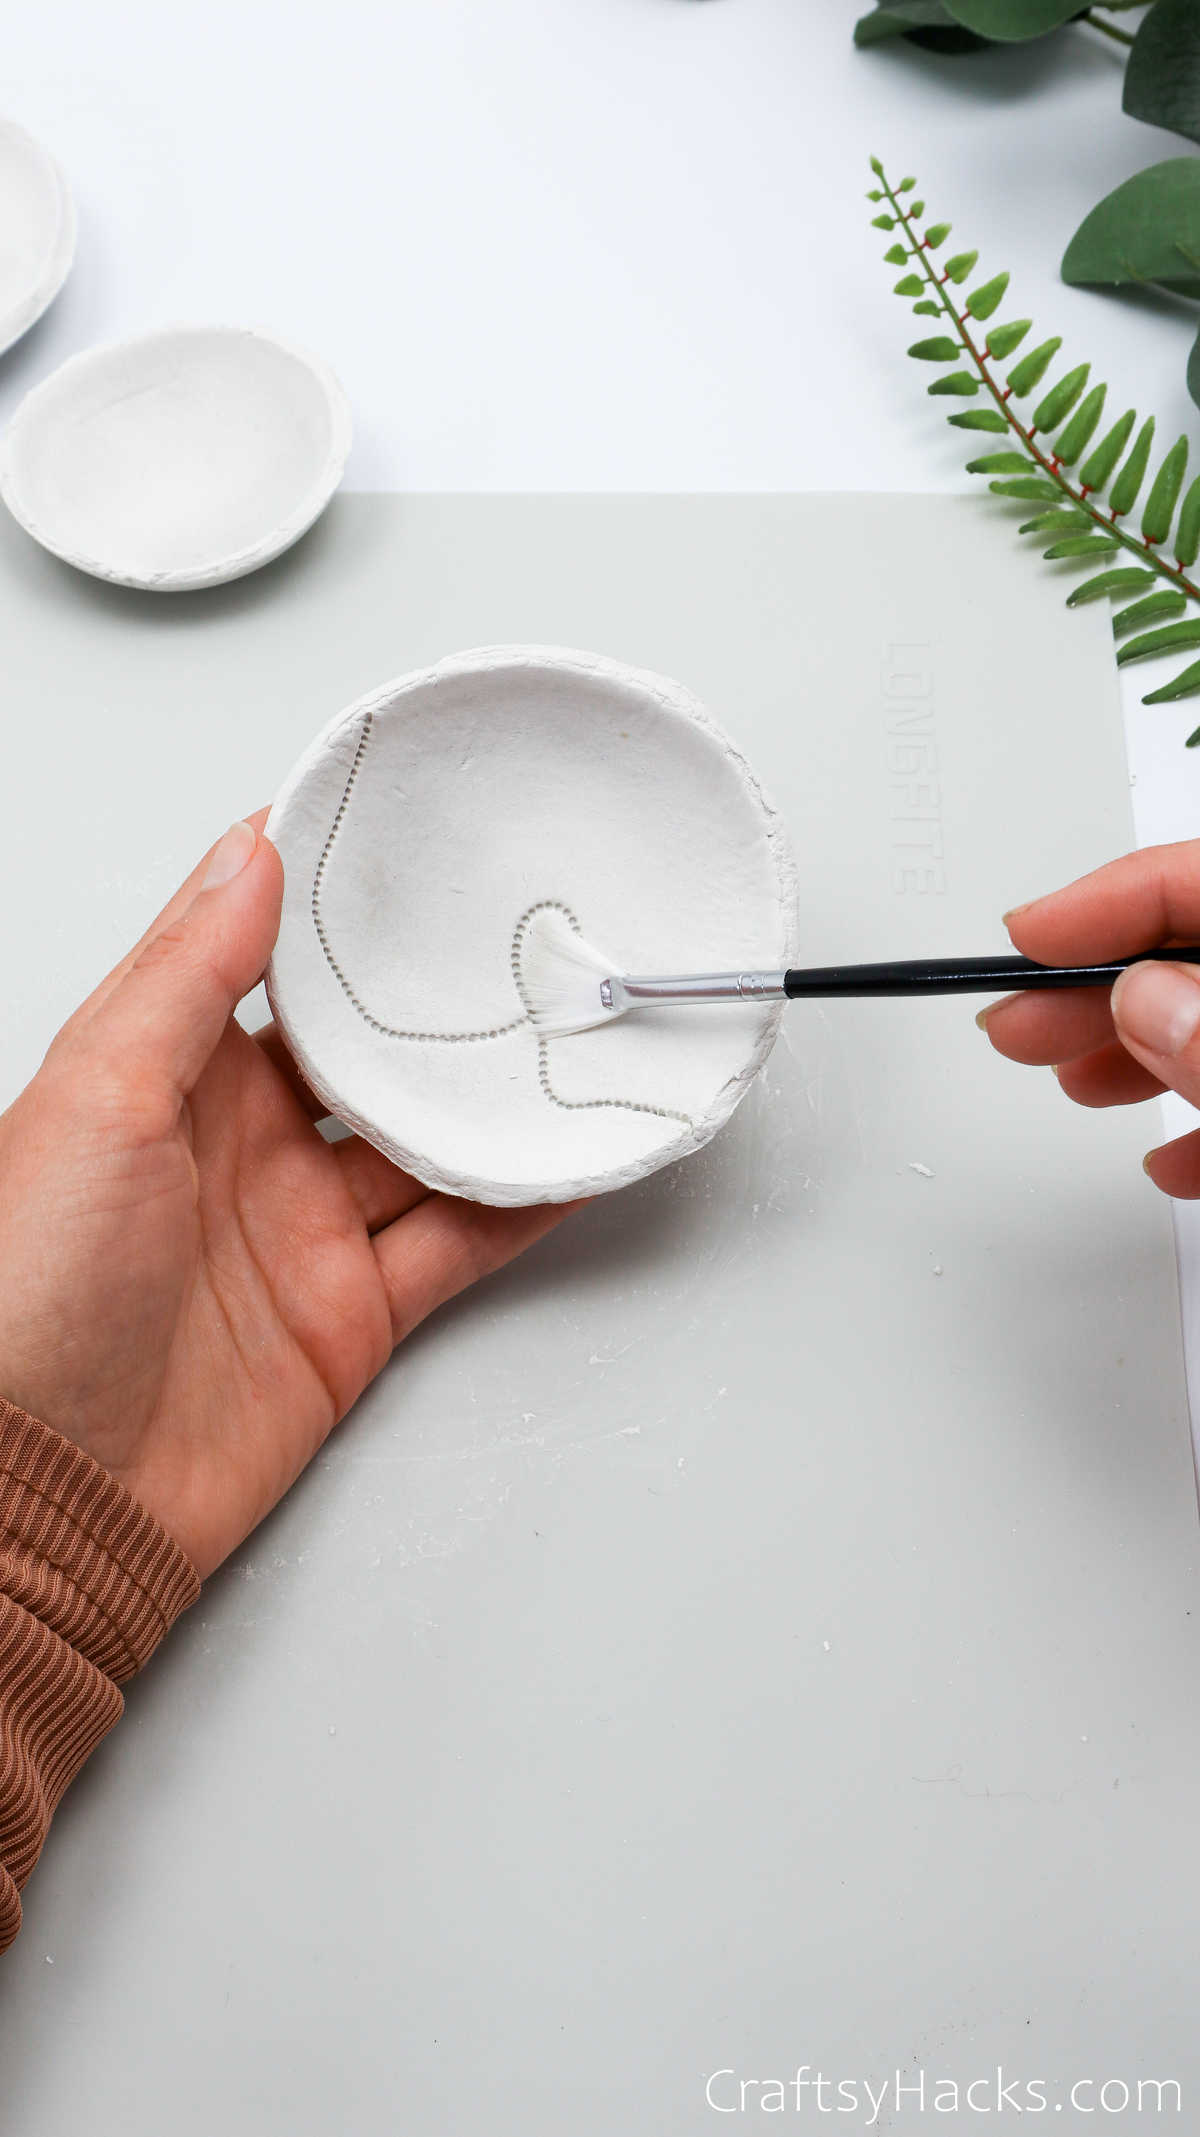
Grab a length of chain and, using a rolling pin, press it down into the clay you set aside earlier.

Gently peel the chain away. Can you see that pattern?
Step 6
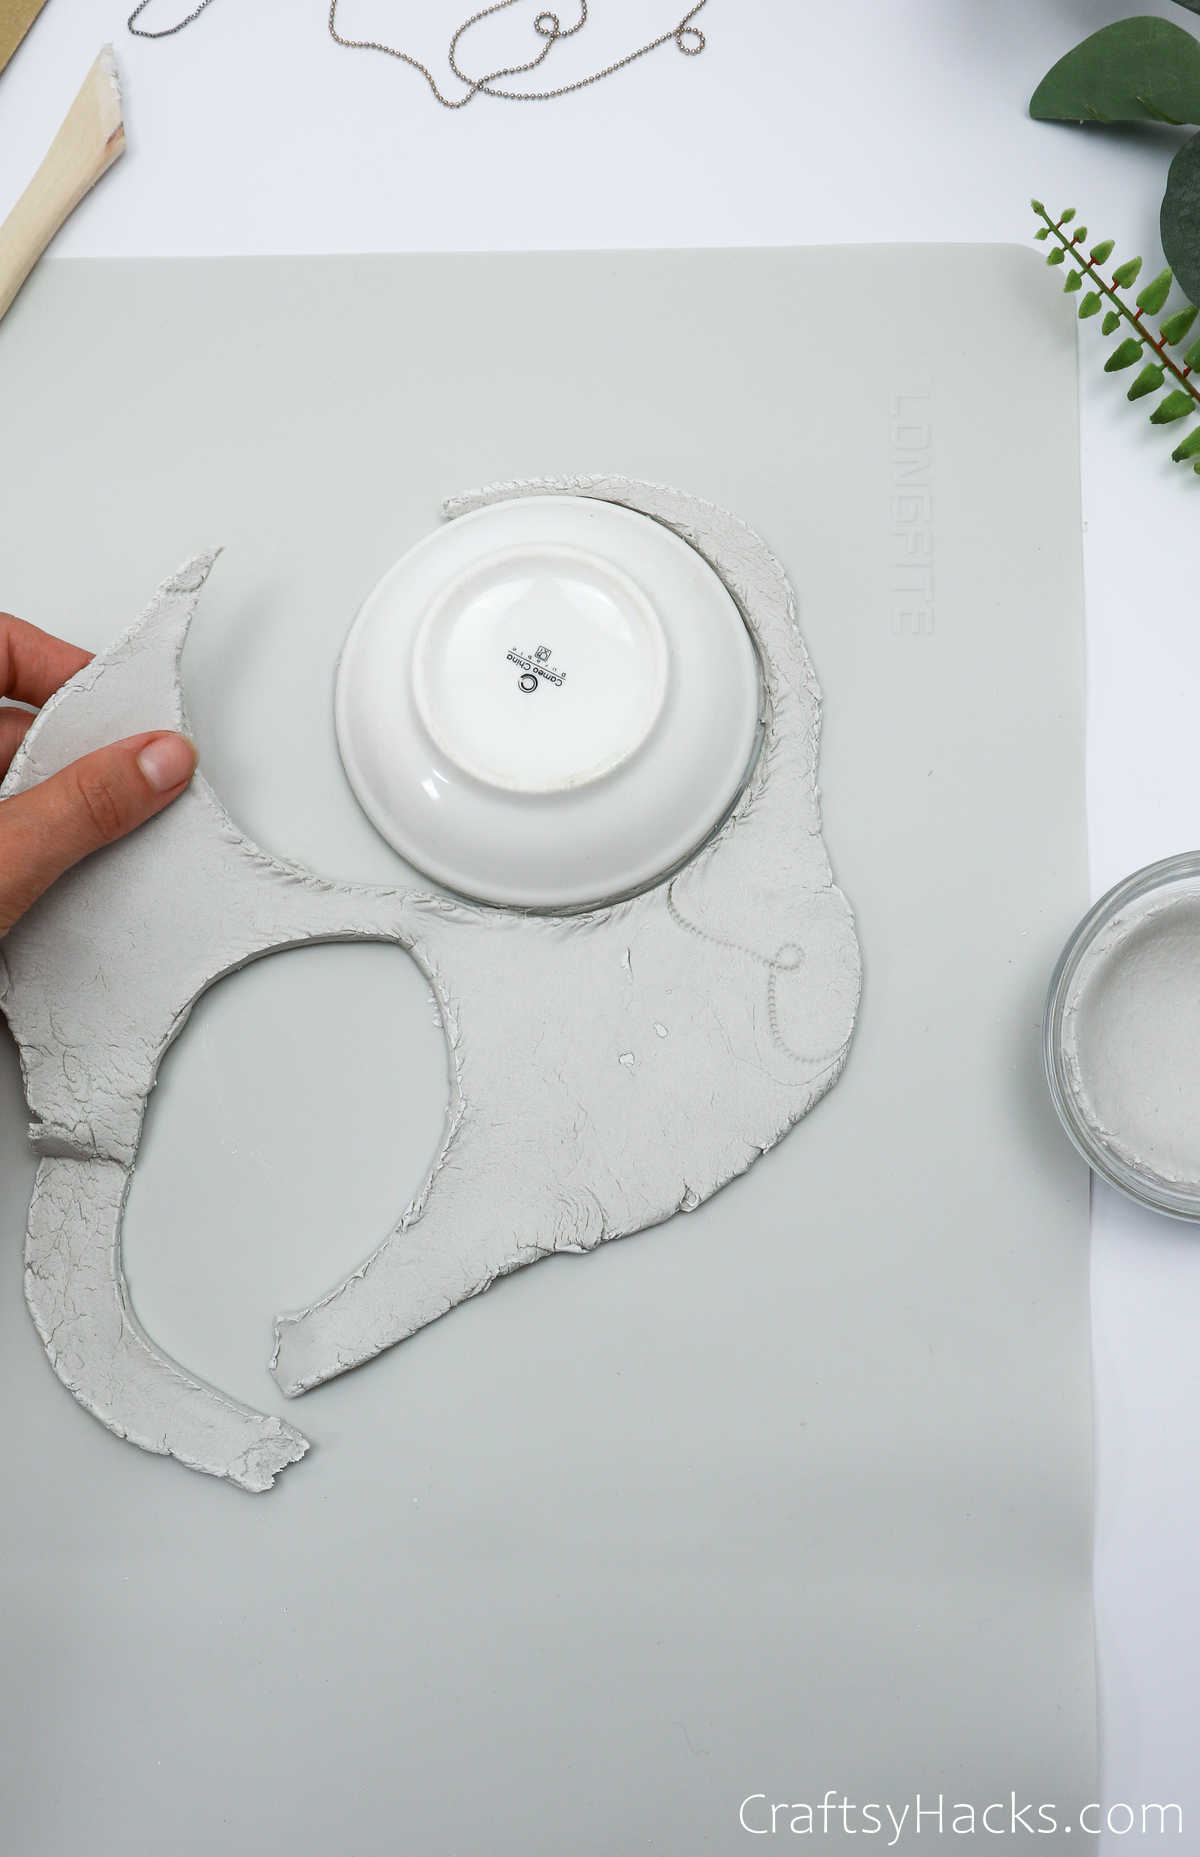
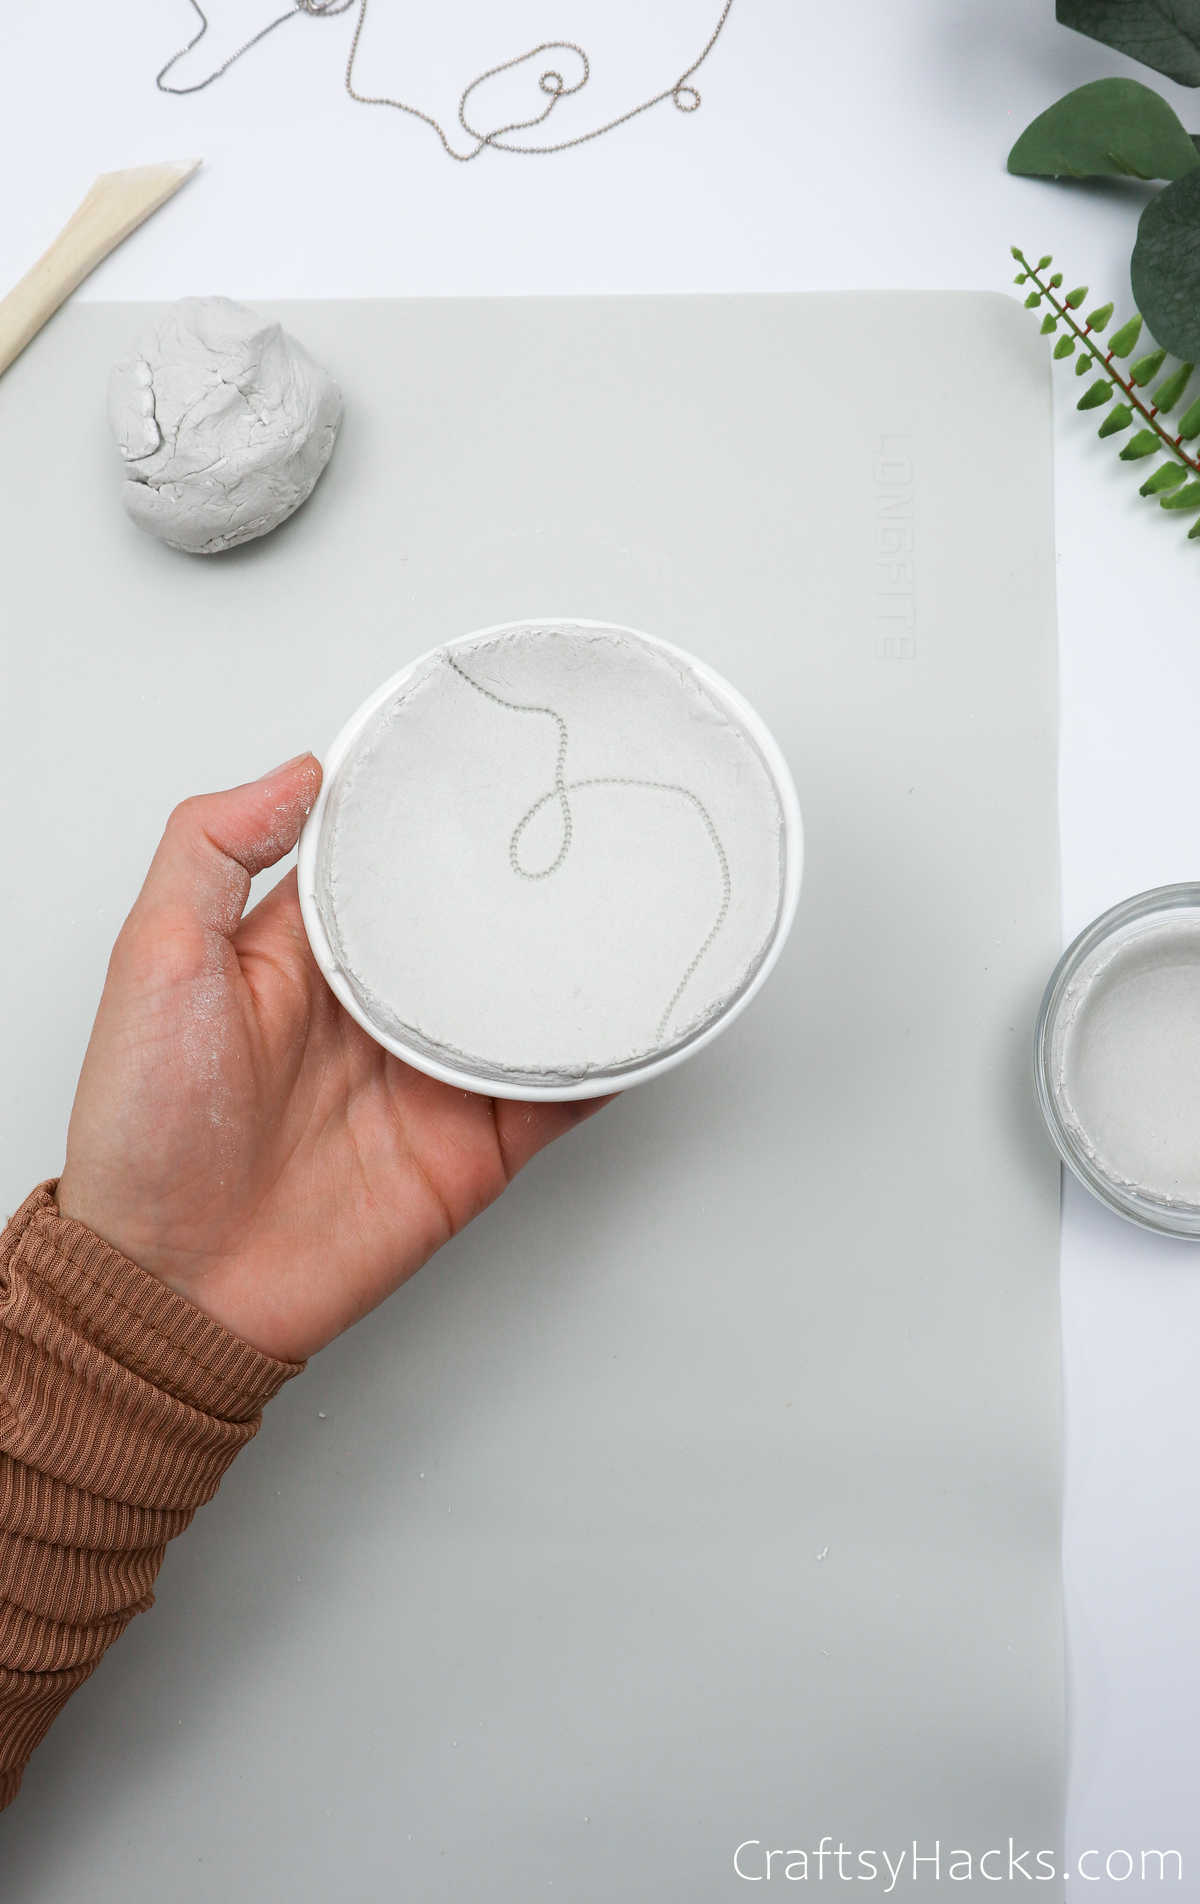
Grab another bowl and lay it facing down on the clay, over the imprint. Then, use a cutter to cut the clay around the rim, as seen below.
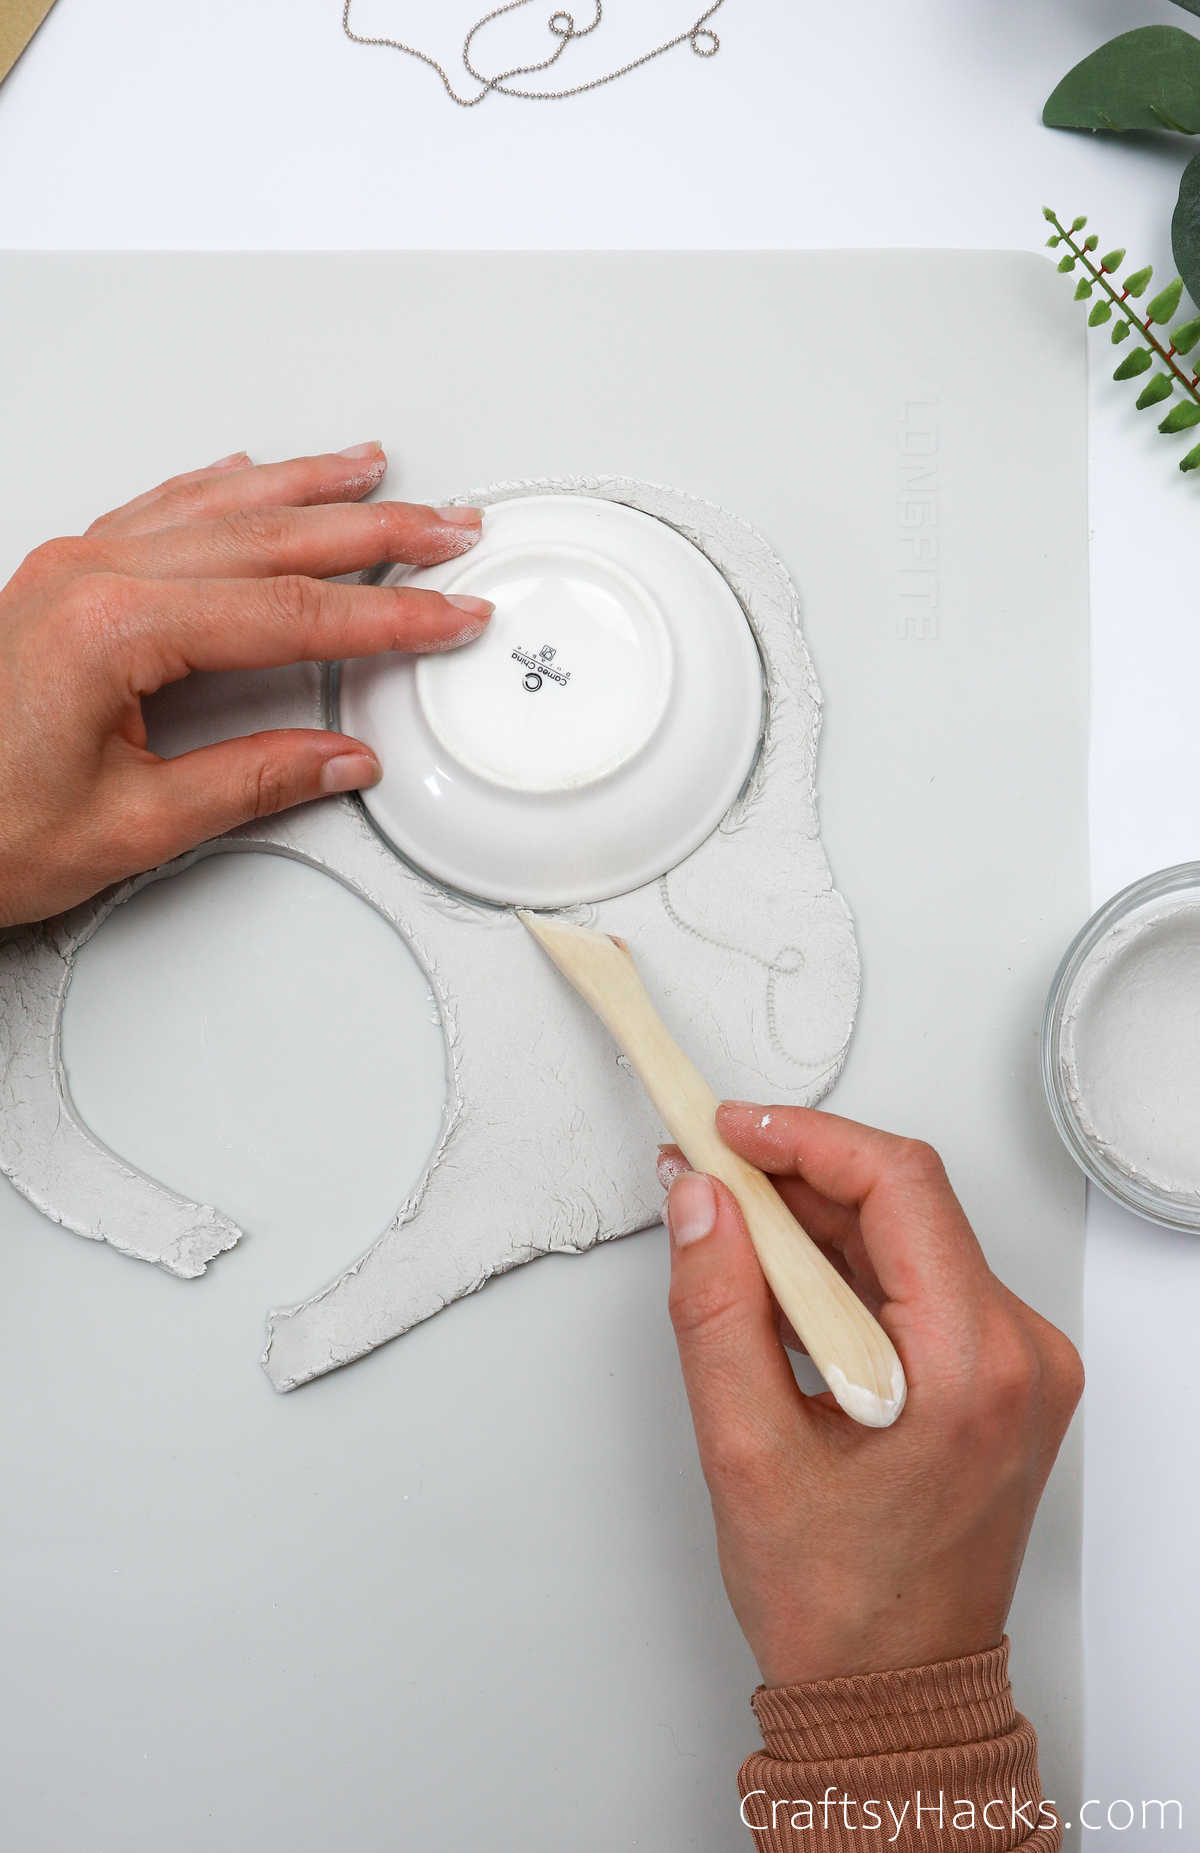
Gently peel the excess clay away from the bowl.
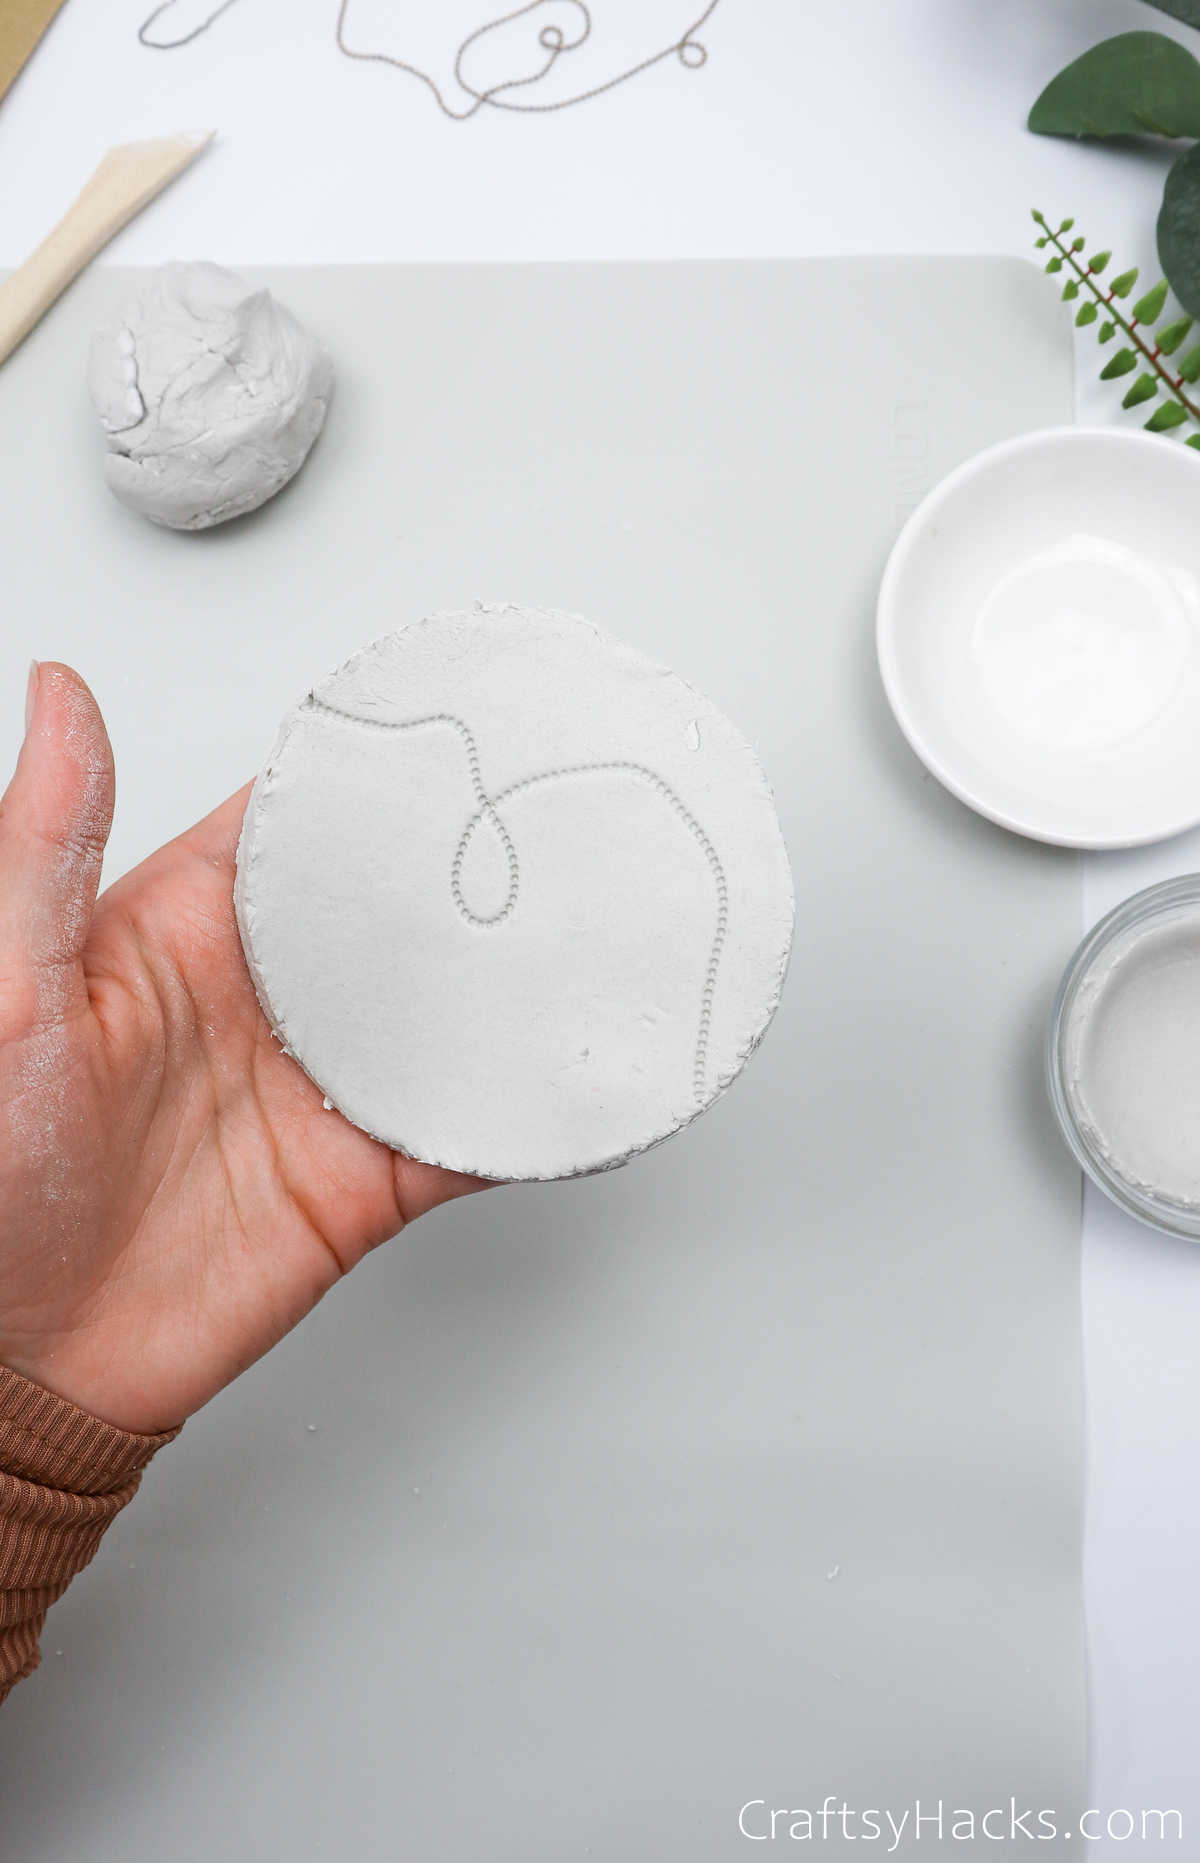
You know the drill: use your fingers to carefully smooth the embossed clay into the bowl. You can add a drop of water to smoothen out any cracks.
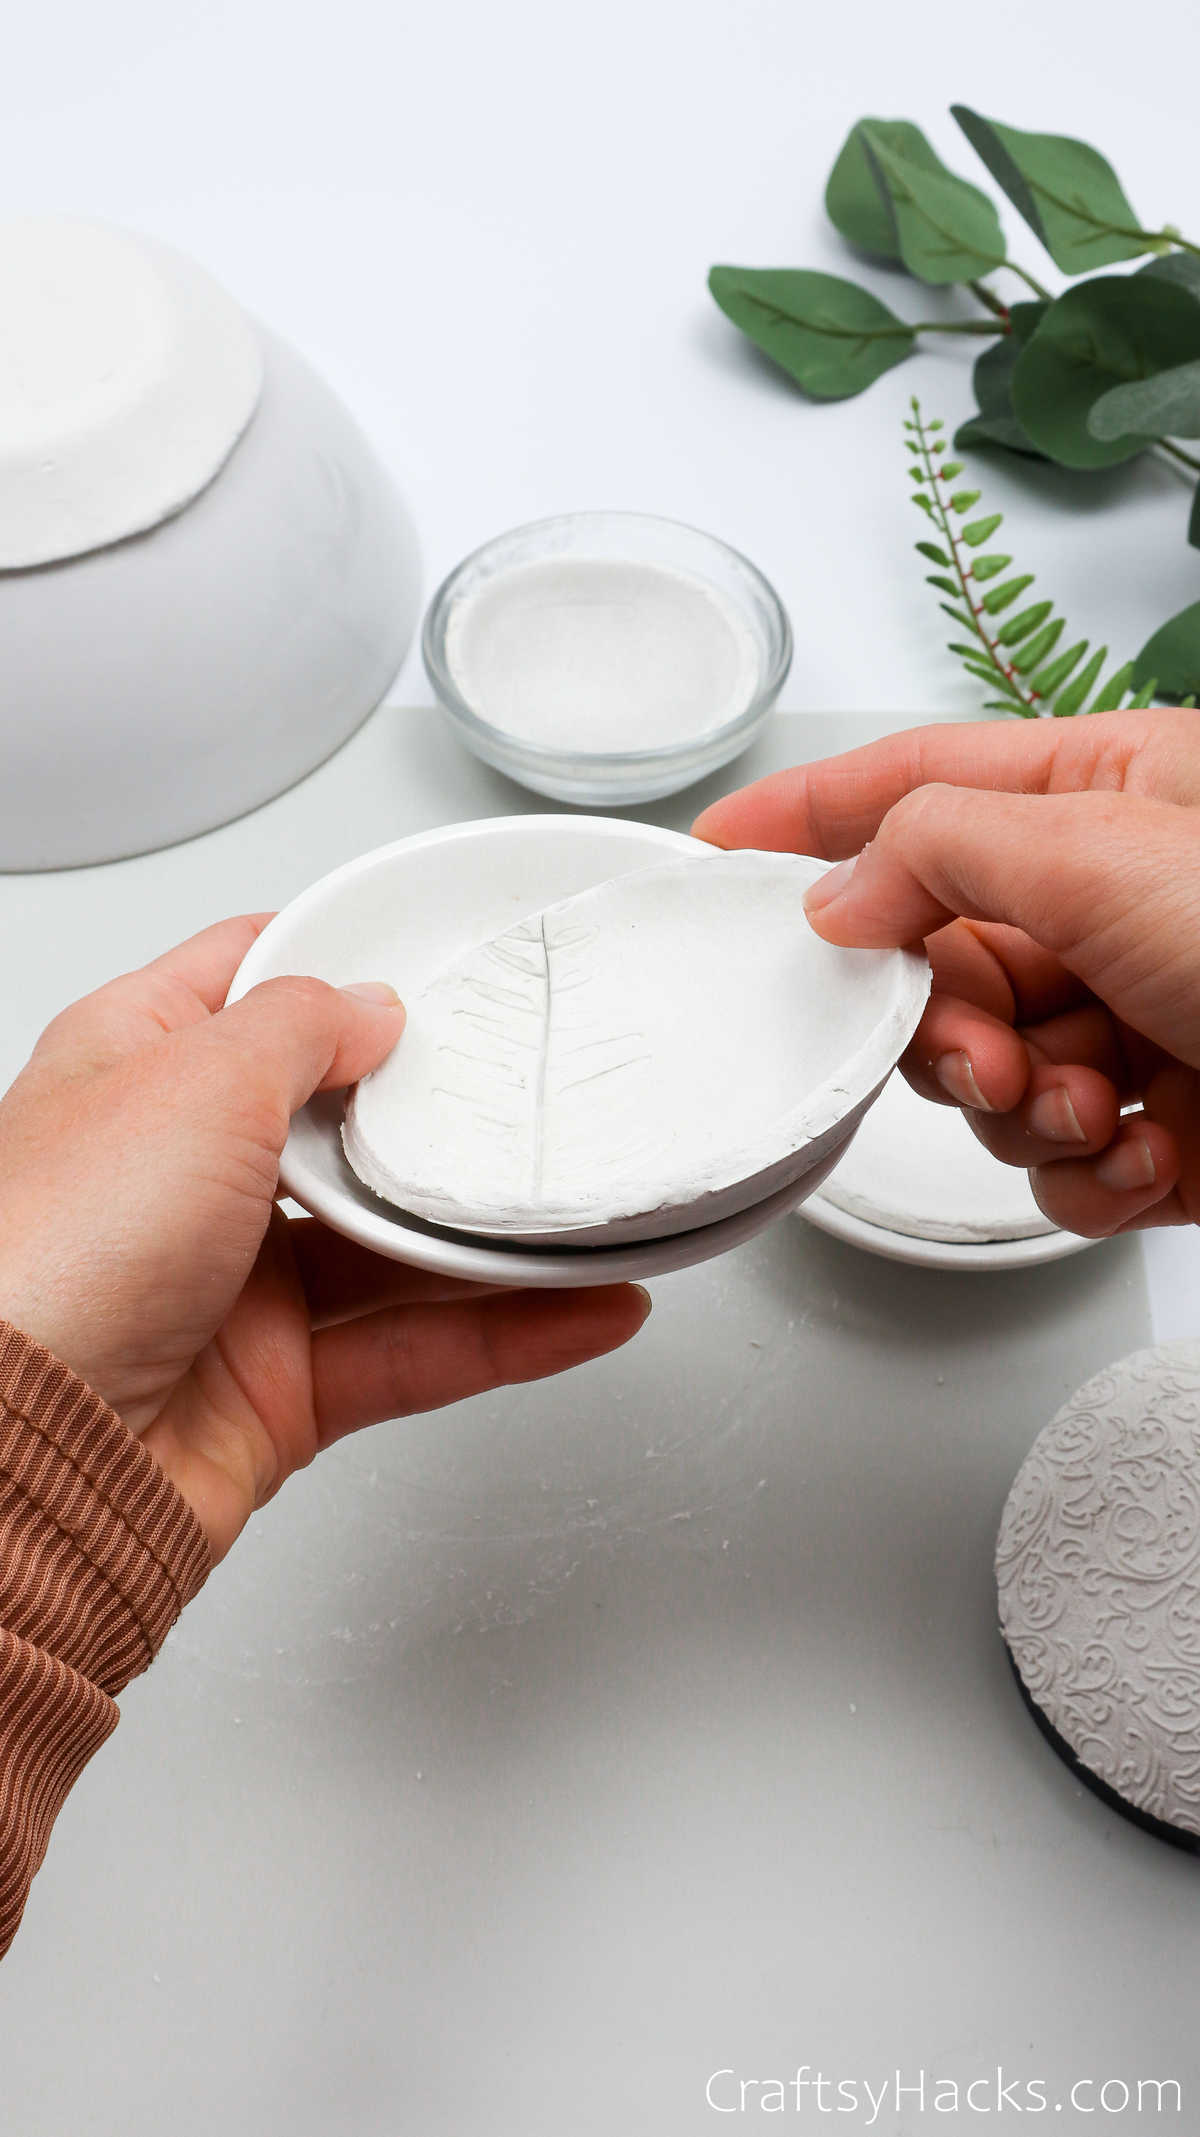
Step 7
The third design is an all-time favorite. For this one, you’ll need to grab a branch with leaves, like the one you see here. You know what to do next; grab your rolling pin and carefully press the leaf into the clay.
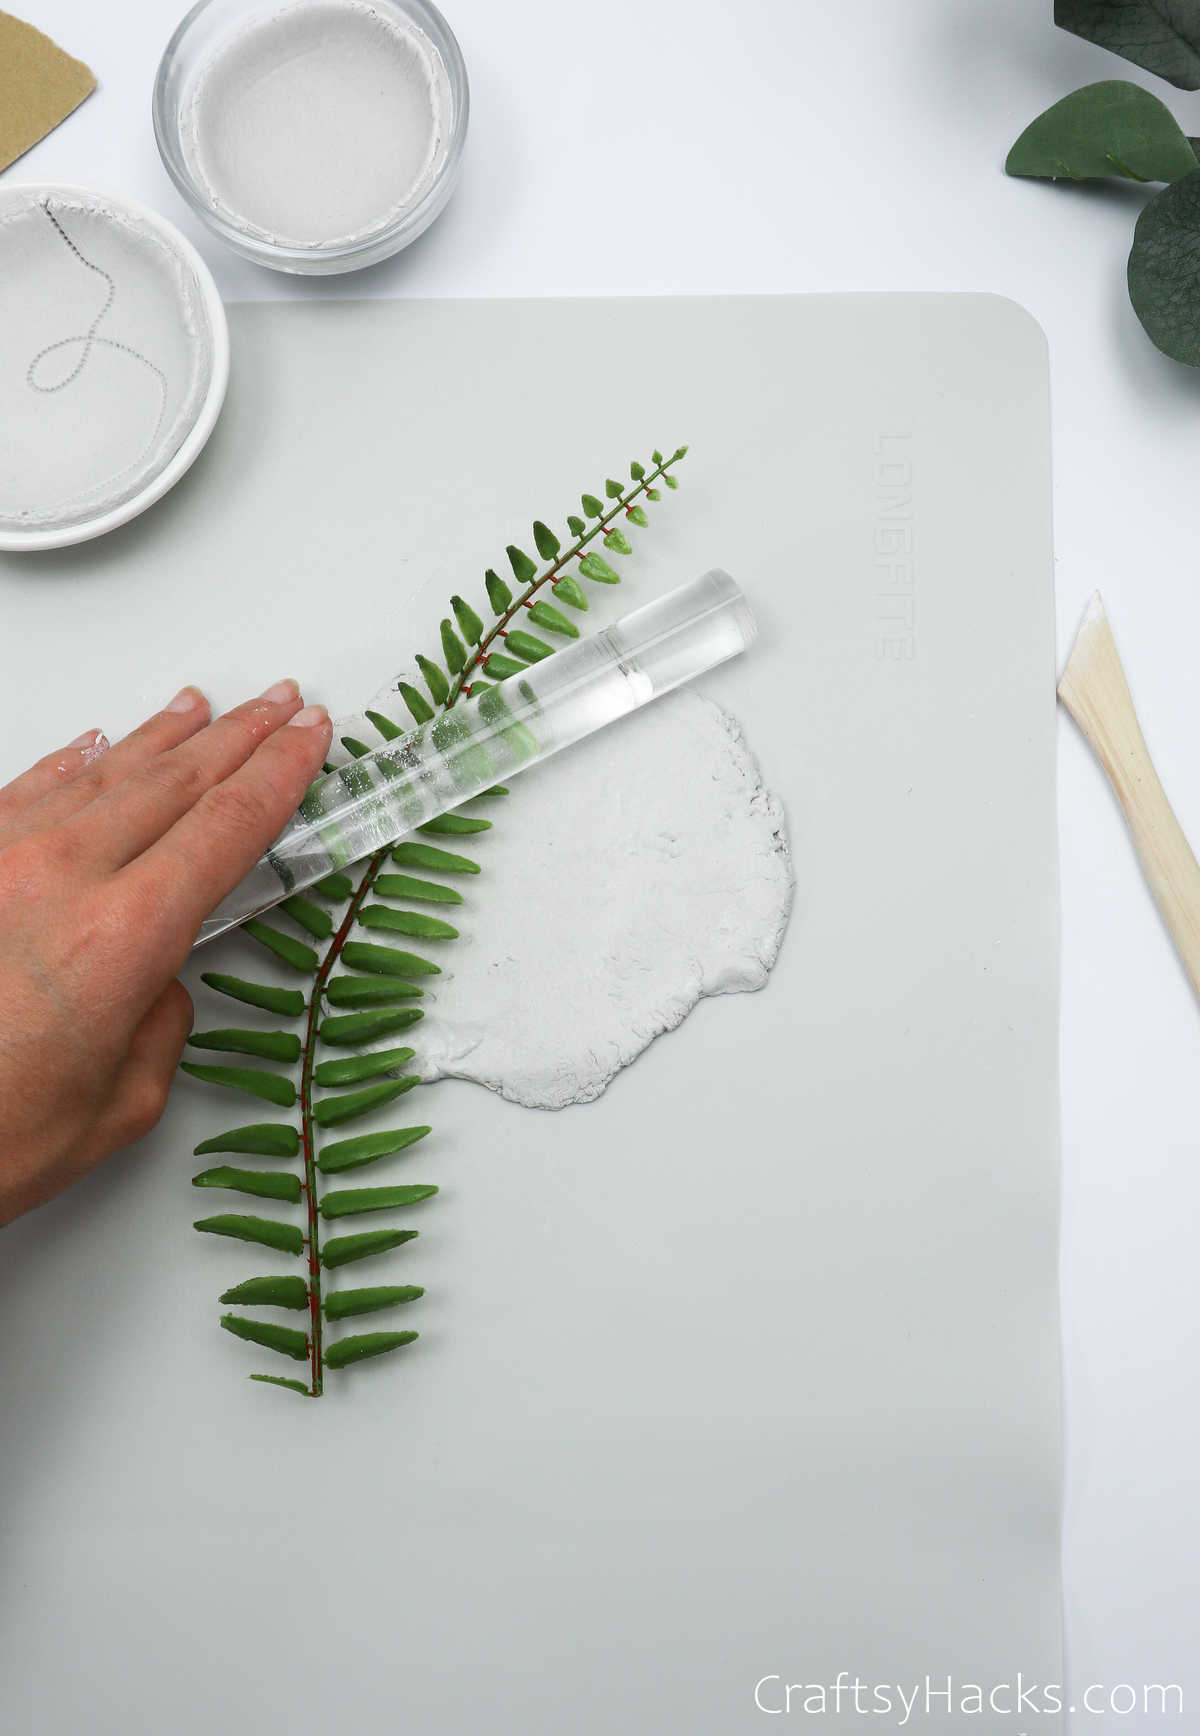
When you pull it away, your clay should look like this.
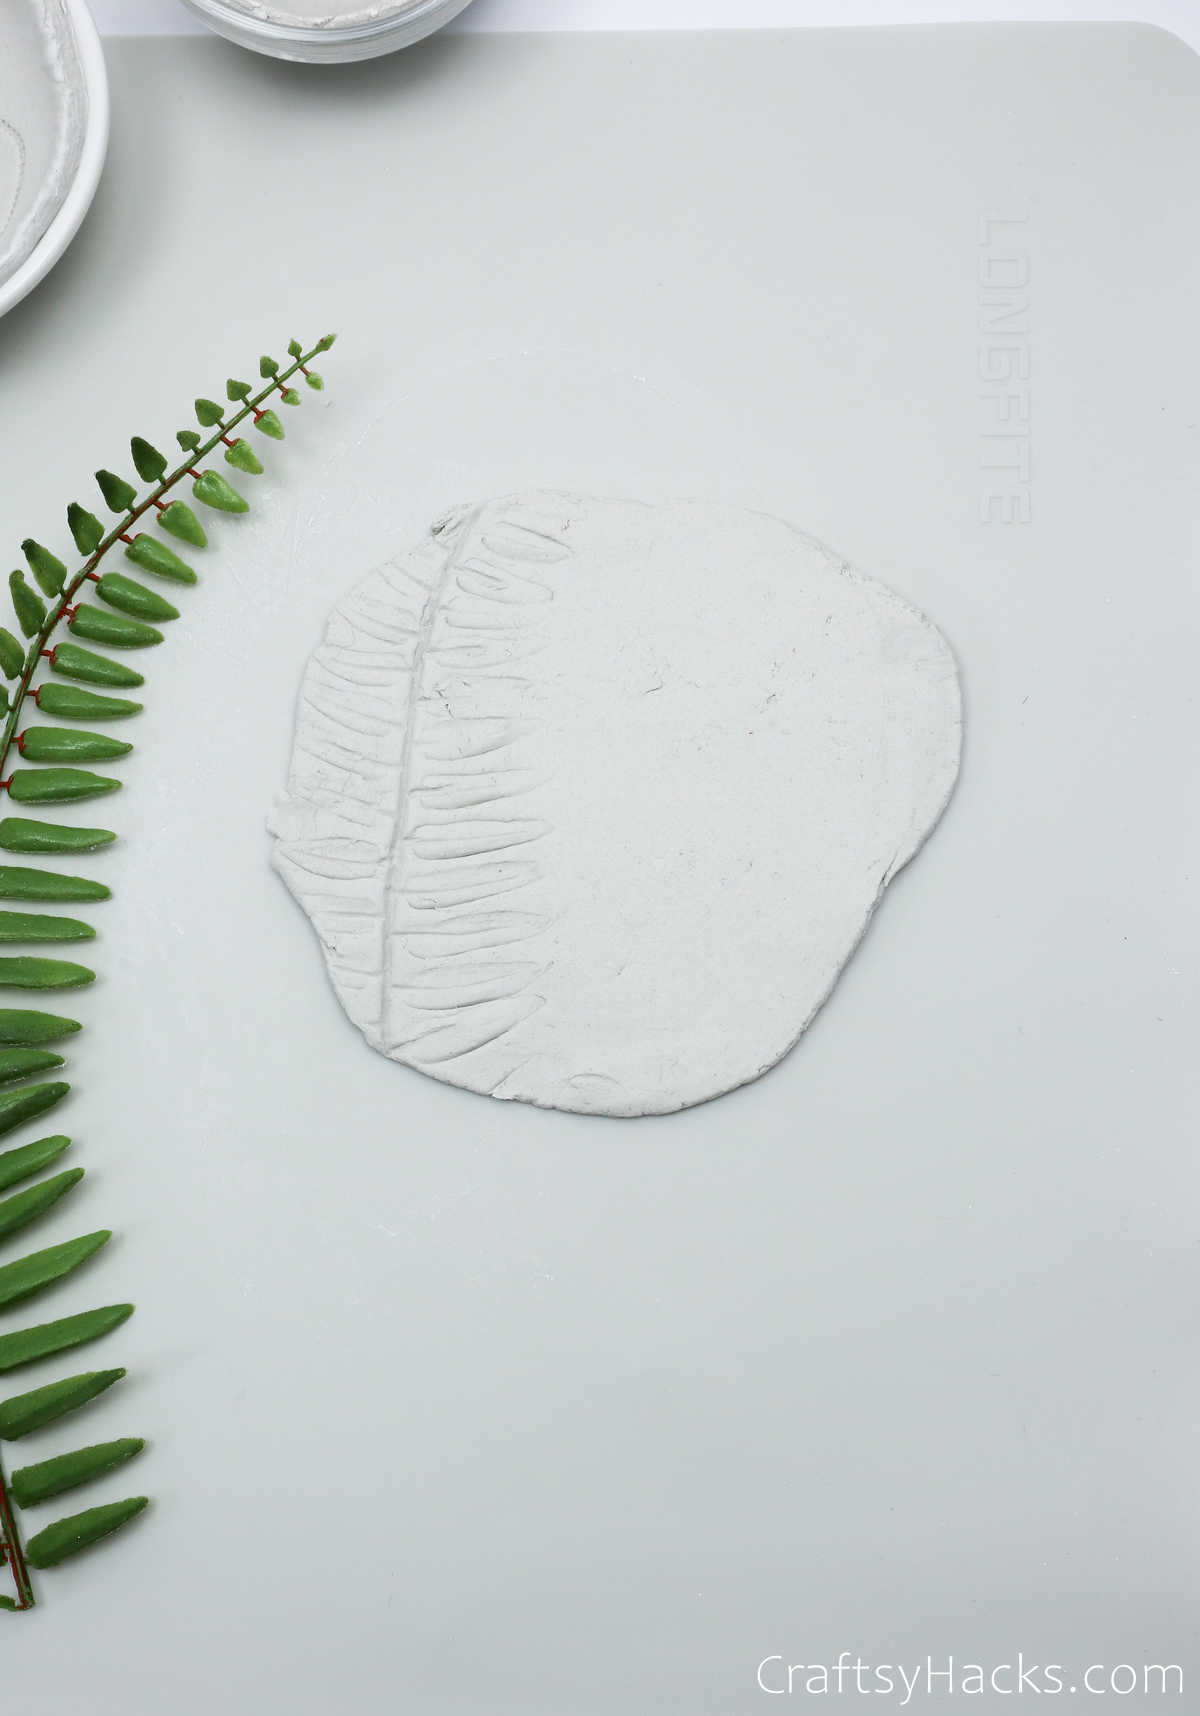
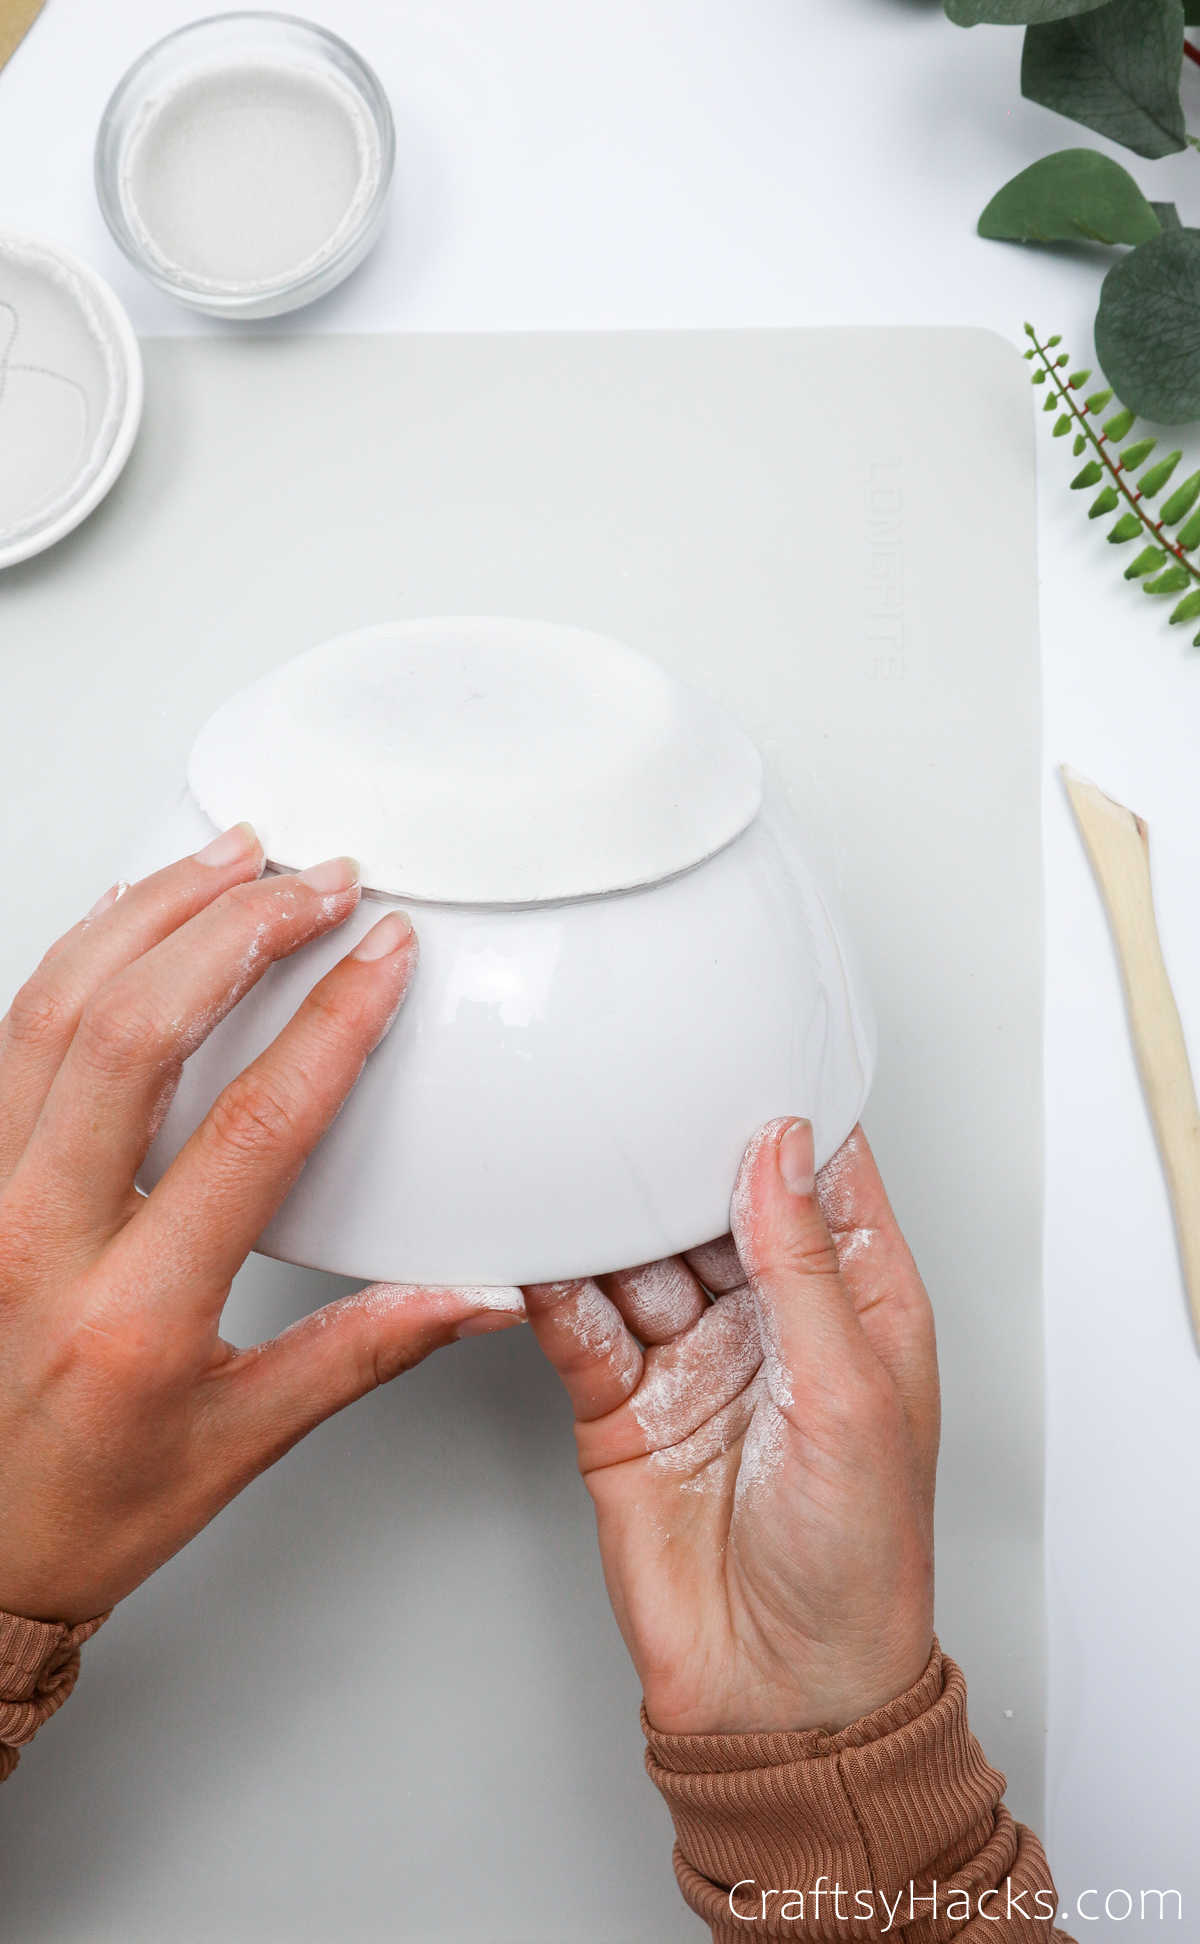
Step 8
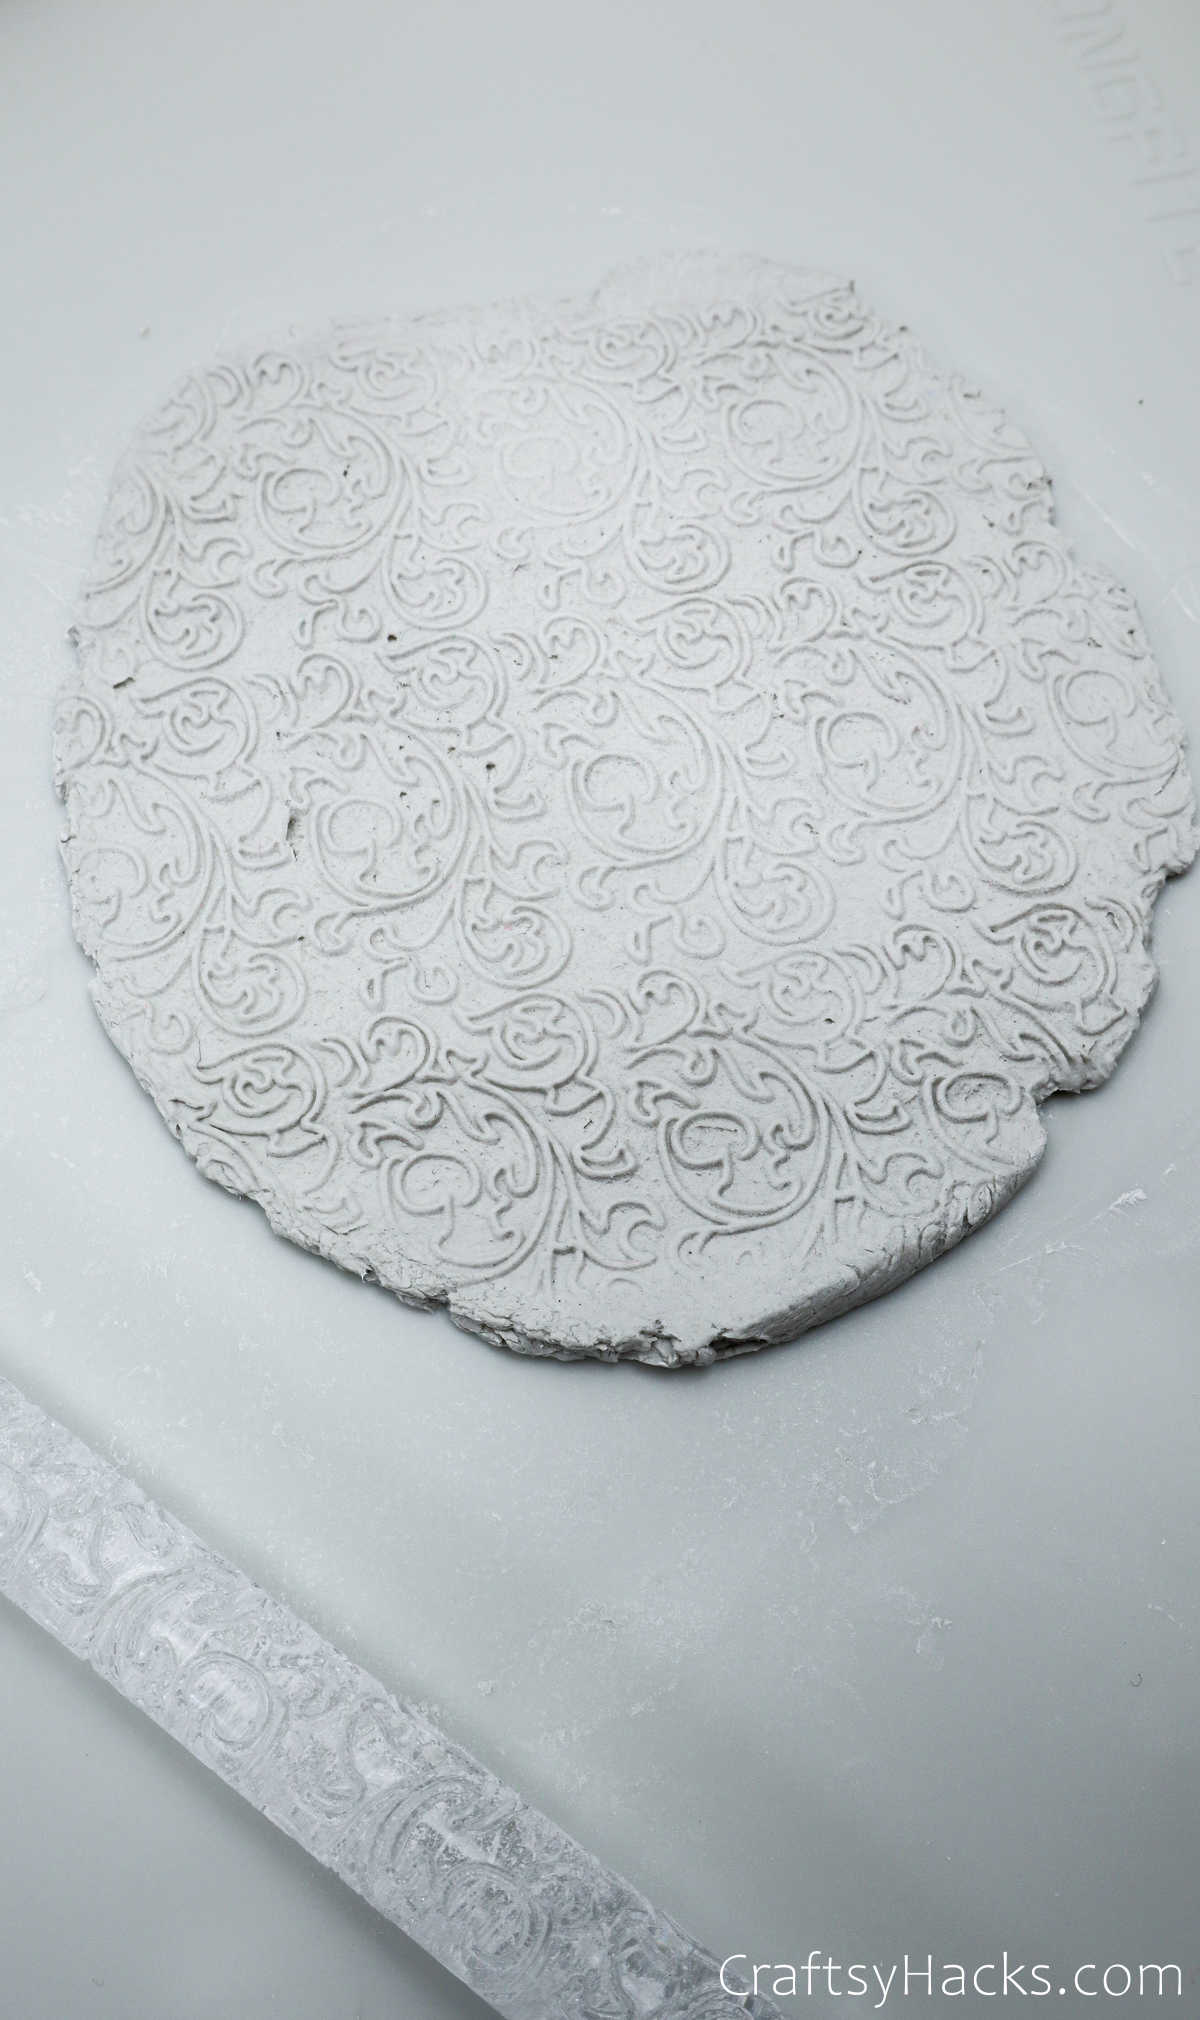
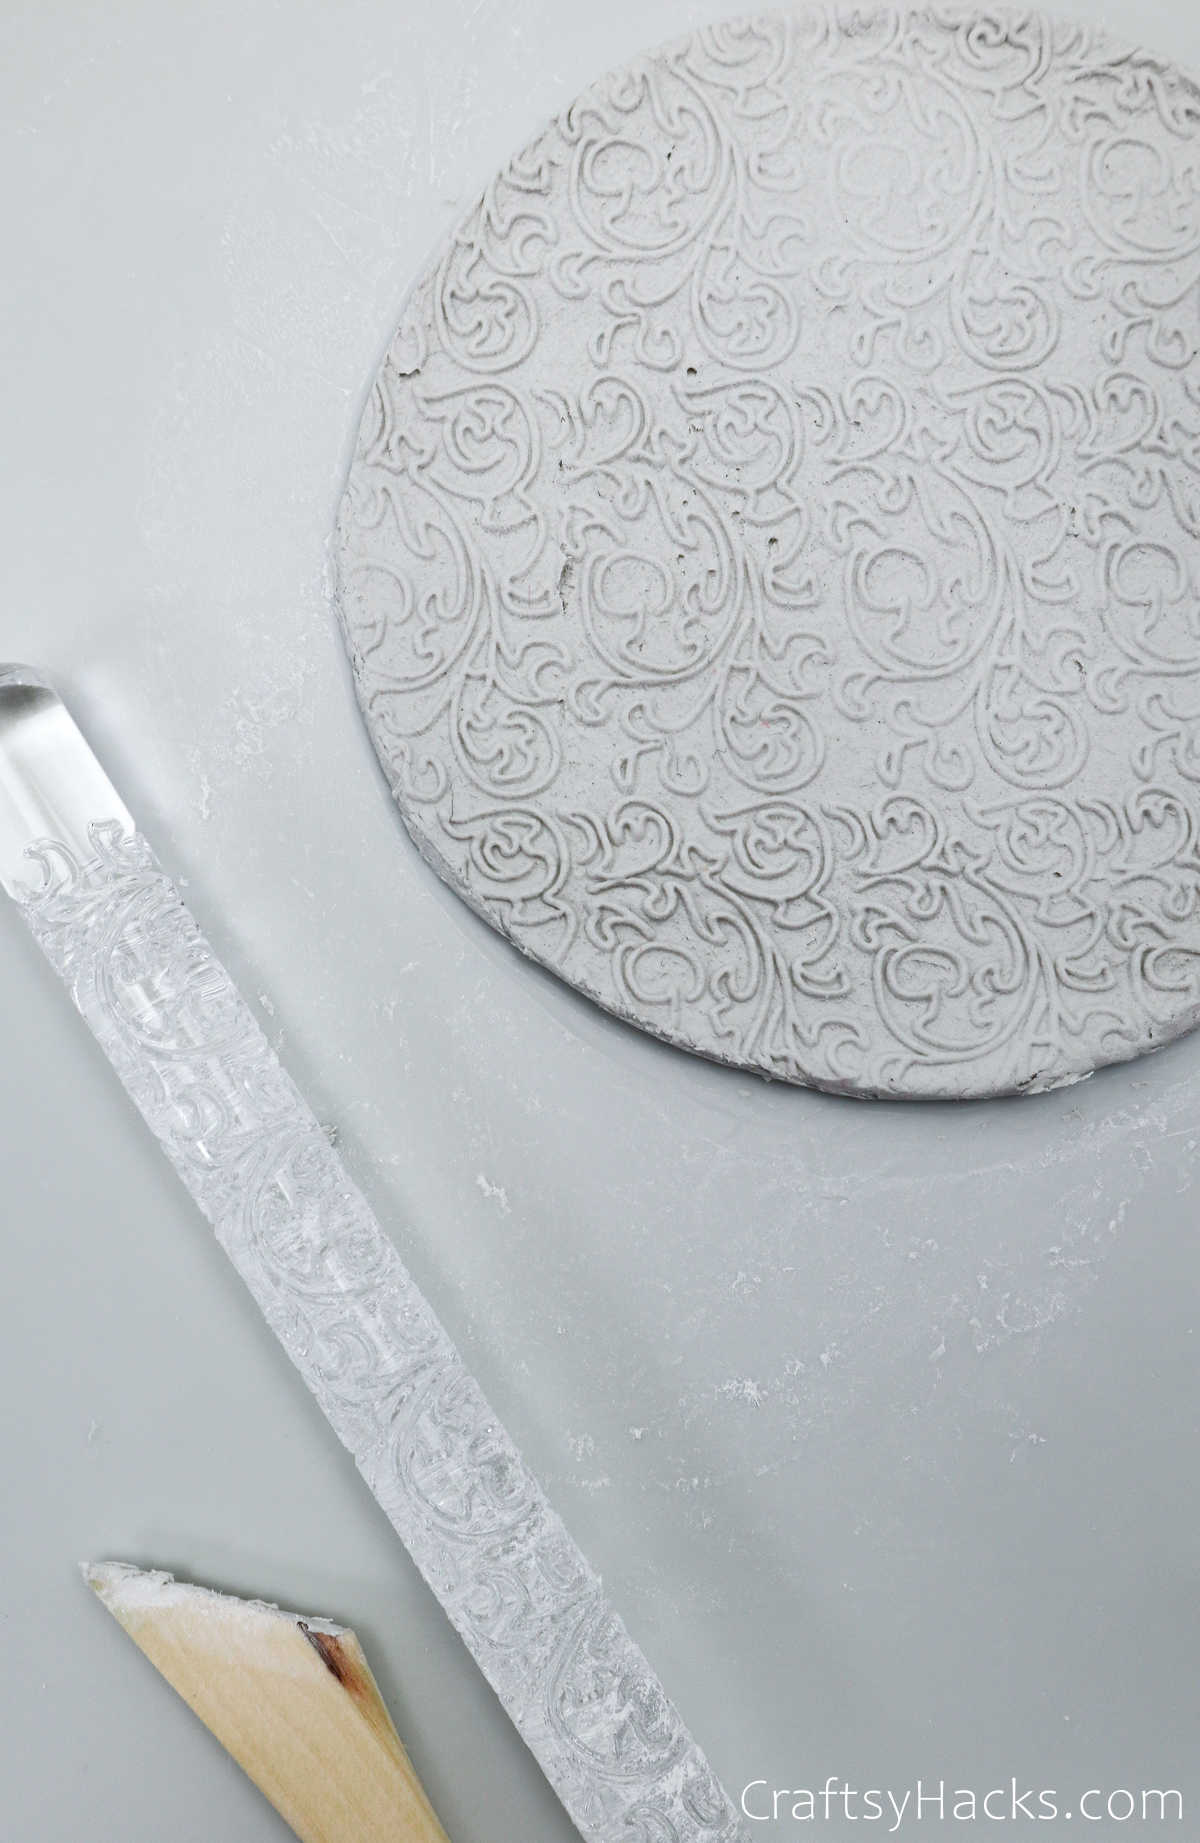
You can use an embossing rolling pin or stamp to etch a pattern onto the clay with the remaining clay.
Then, tip a bowl over and carefully lay the clay over the underside of the bowl while simultaneously molding the ends into the sides.
Step 9
Now, all you have to do is wait for the clay to dry. To be extra careful, I’d let the clay dry for at least 48 hours, especially if you’re working with bigger pieces.
The clay should come out of the bowl relatively easily. If you’re facing any difficulties, just use a sharp knife to cut around it carefully.
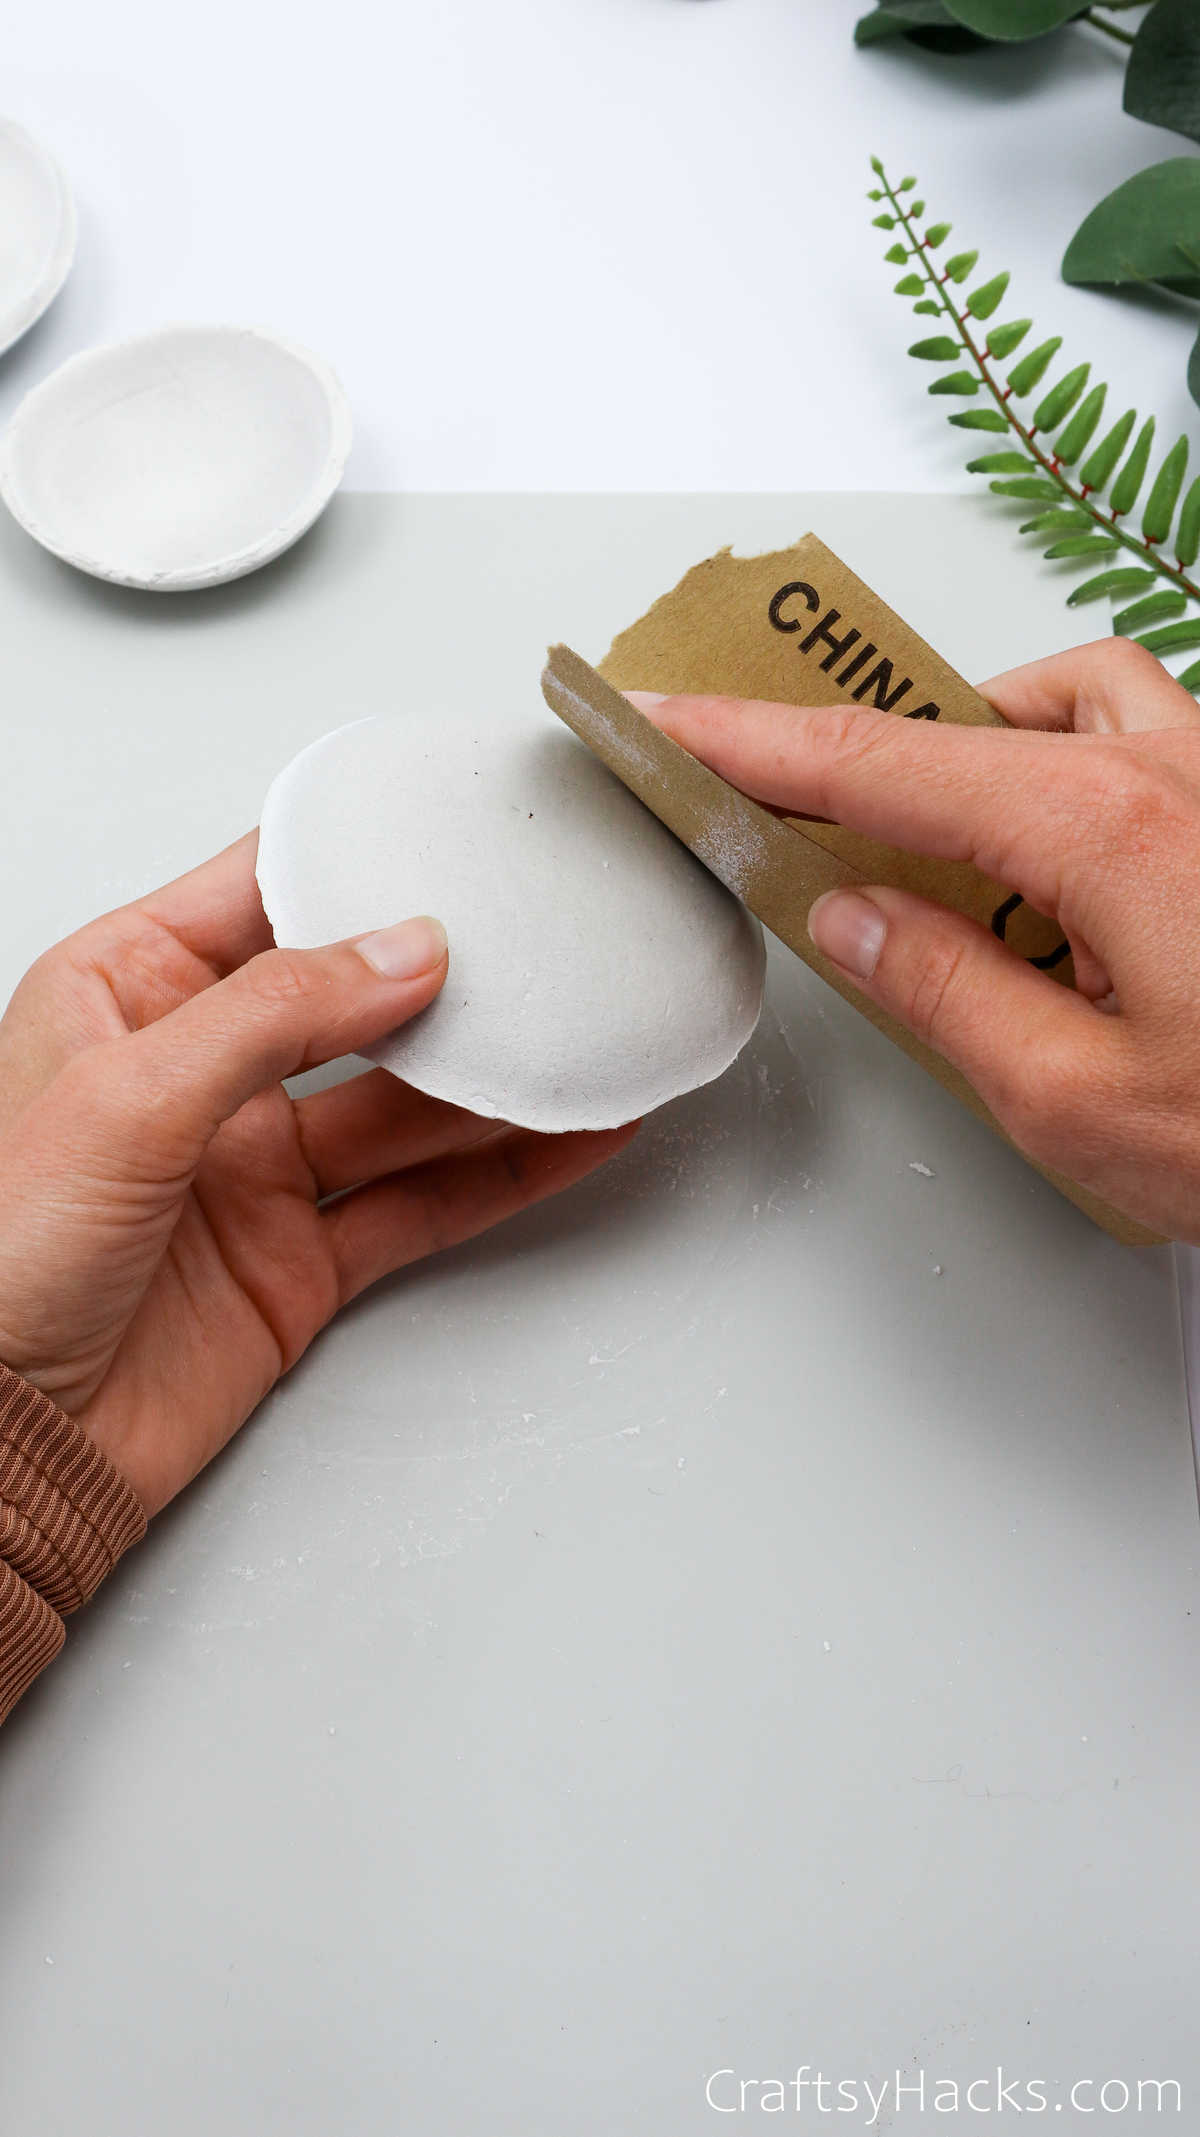
Step 10
Now comes my favorite part. Don’t you find the process of sandpapering utterly fabulous? I do!
Grab a bit of sandpaper and scrub the sides and edges of the clay to smoothen them out.
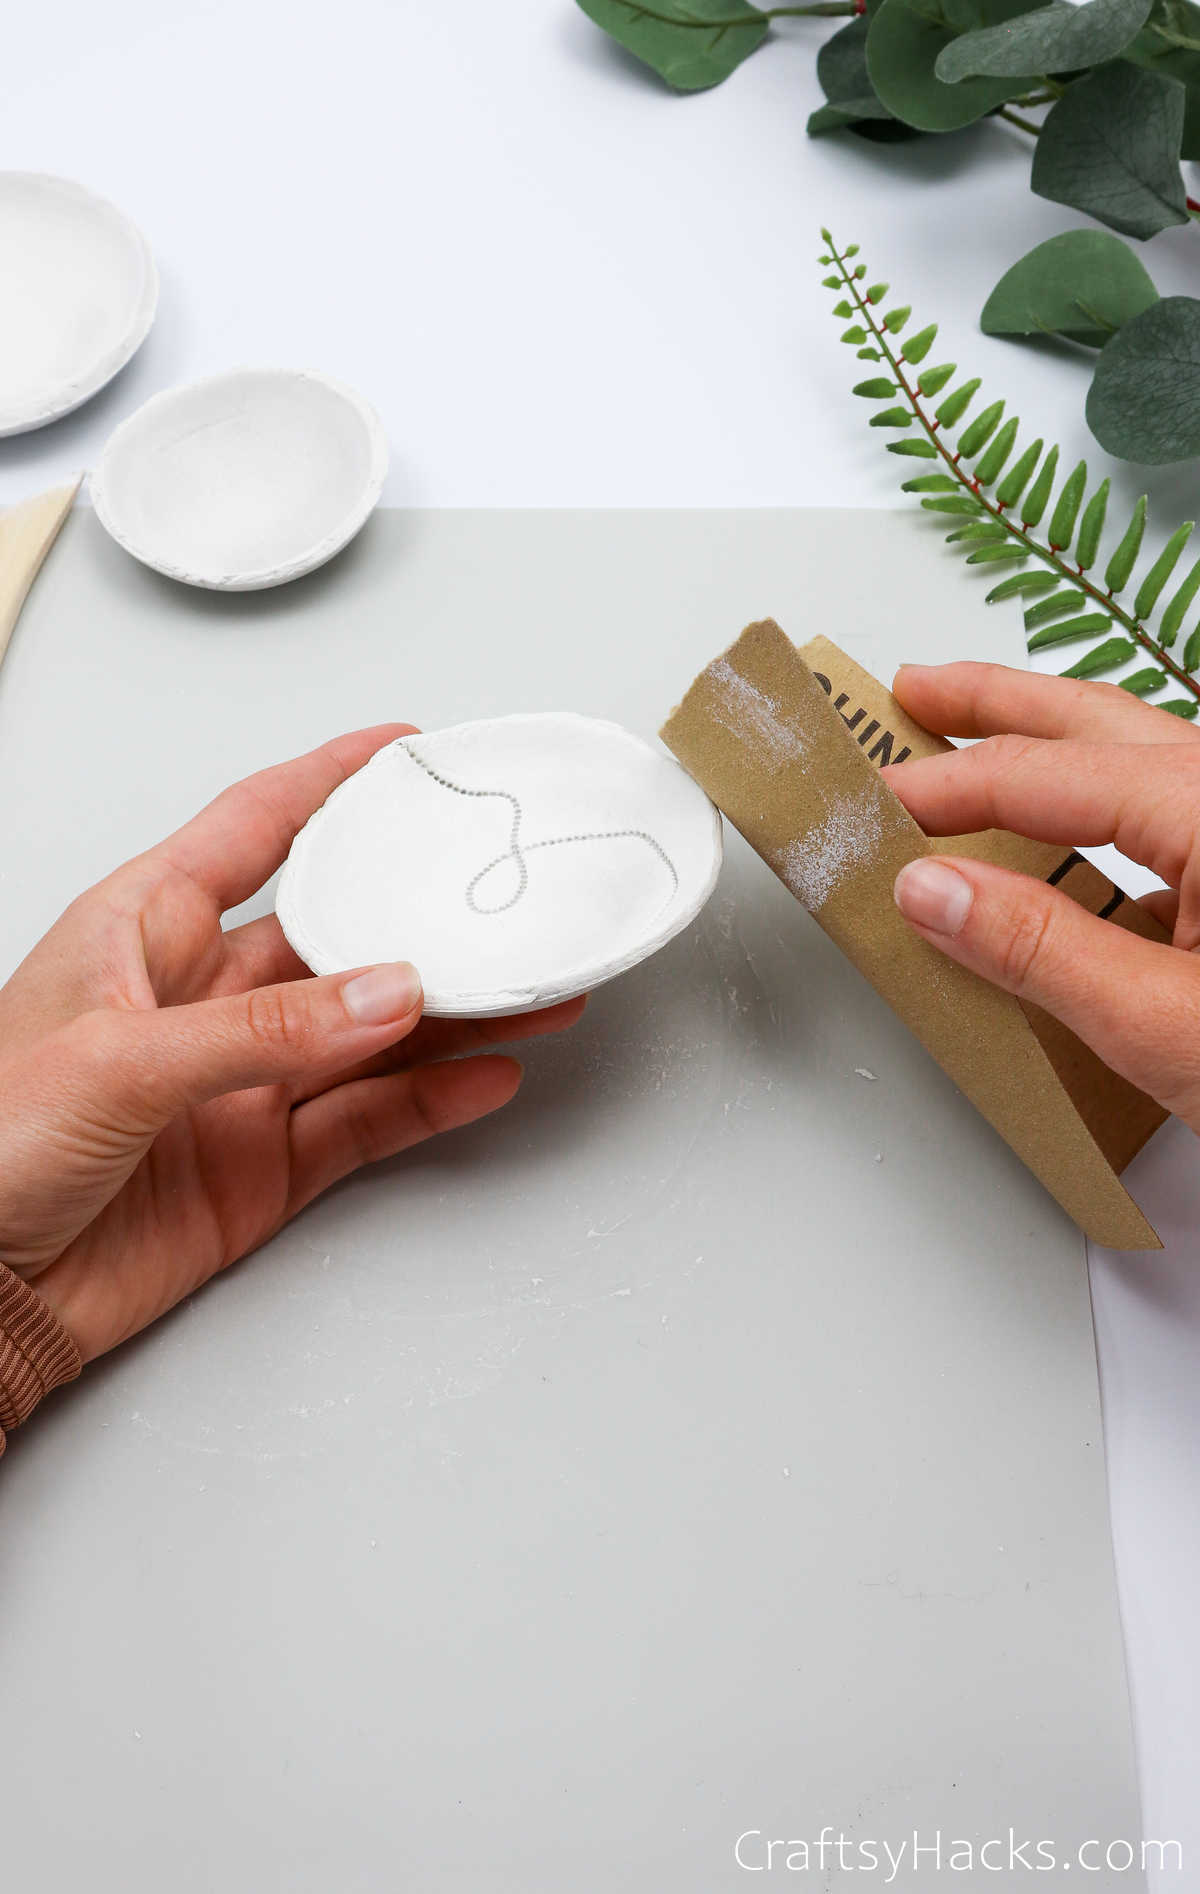
Don’t forget to smoothen the bottom of the bowl, too!
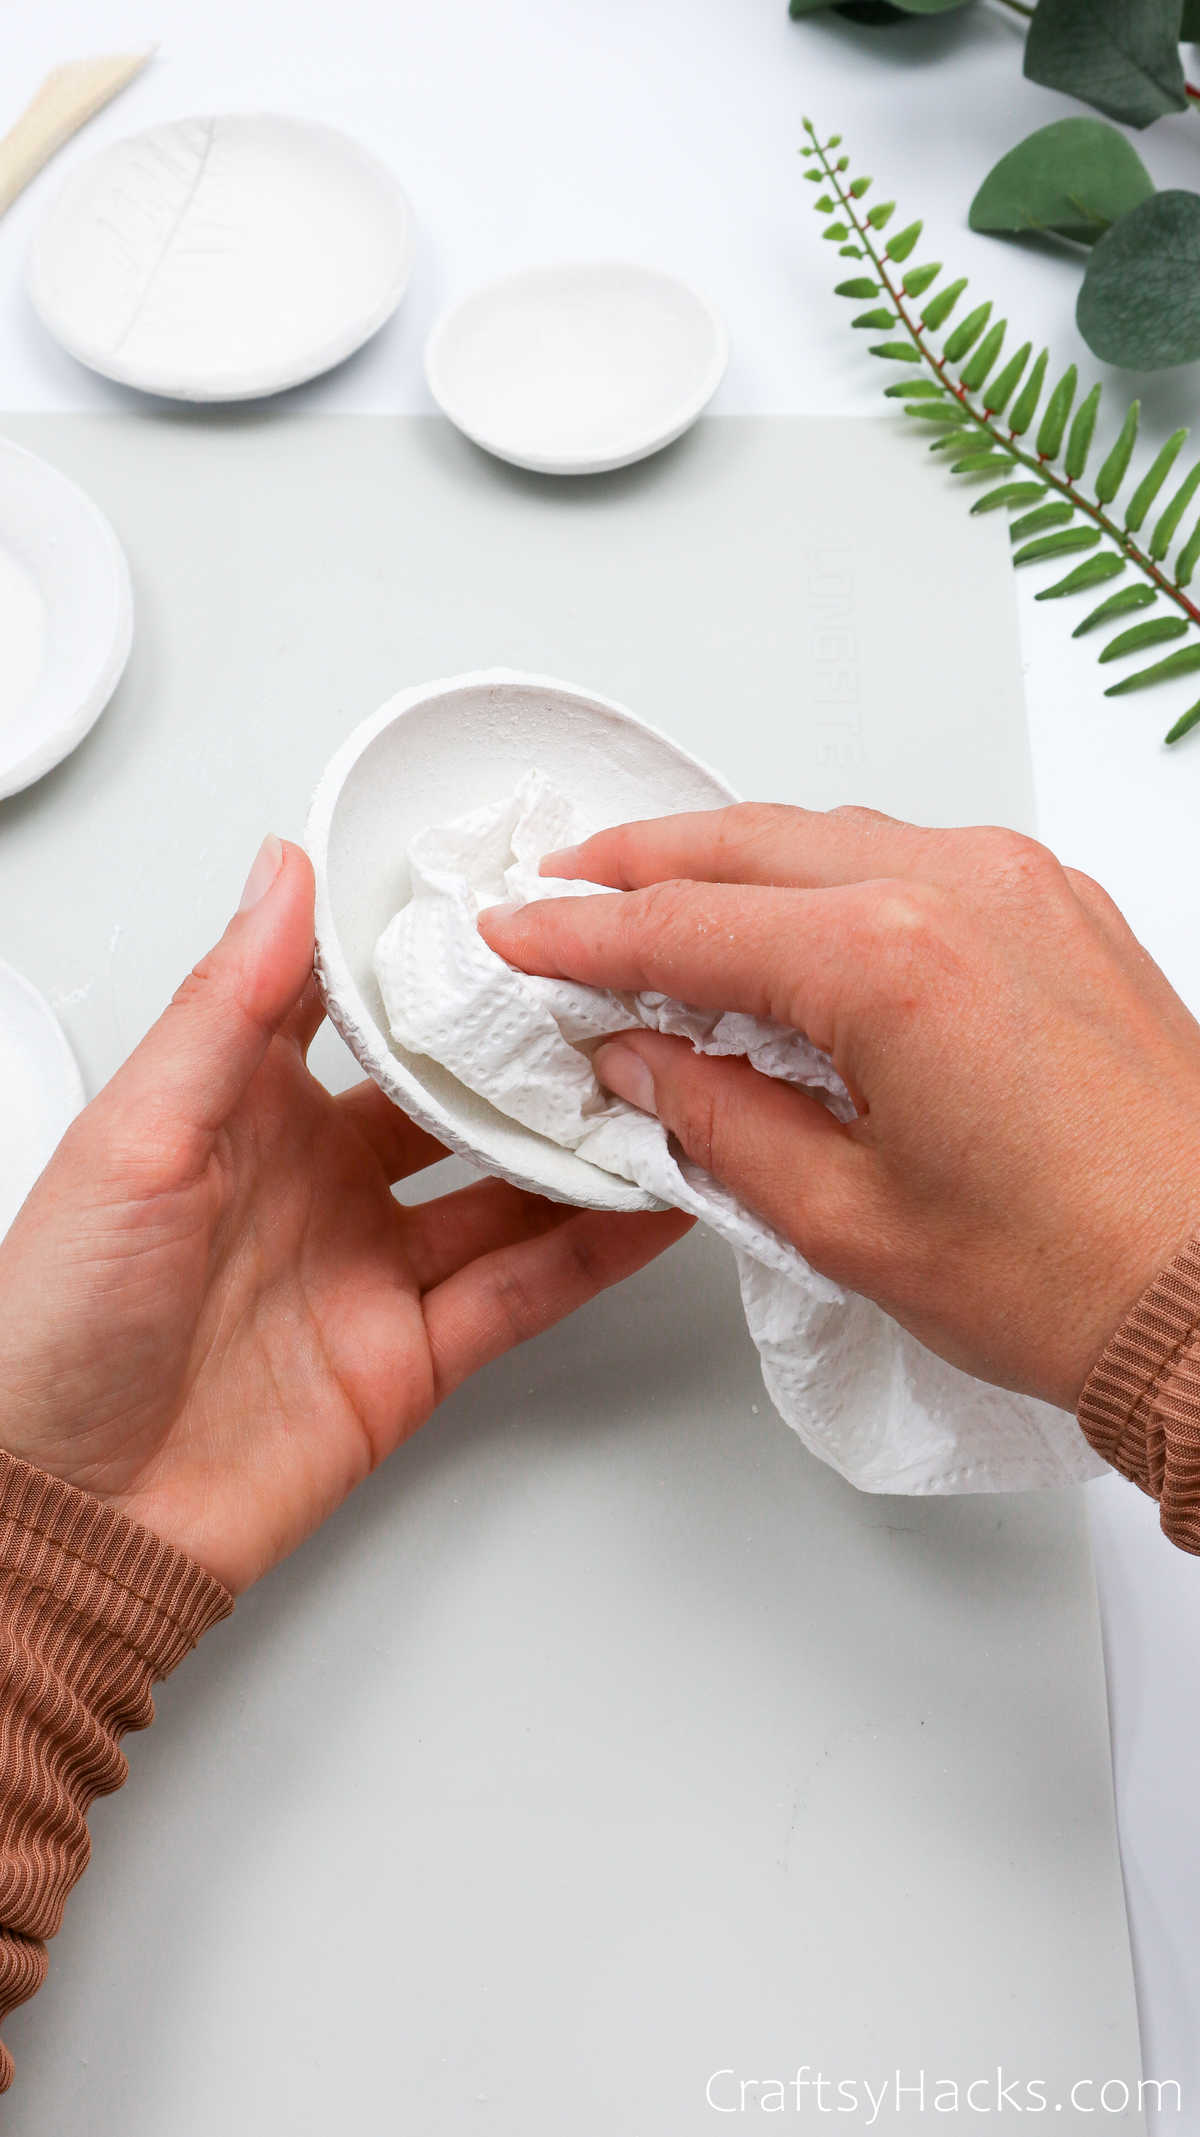
Use a fine-bristled brush to gently brush away the powdered clay bits out of the bowl. Remember to be extra careful when working with the patterned pieces as the dust can settle into the actual prints if you don’t brush them away properly.
You can also use a paper towel to wipe off any stray particles.
Step 11
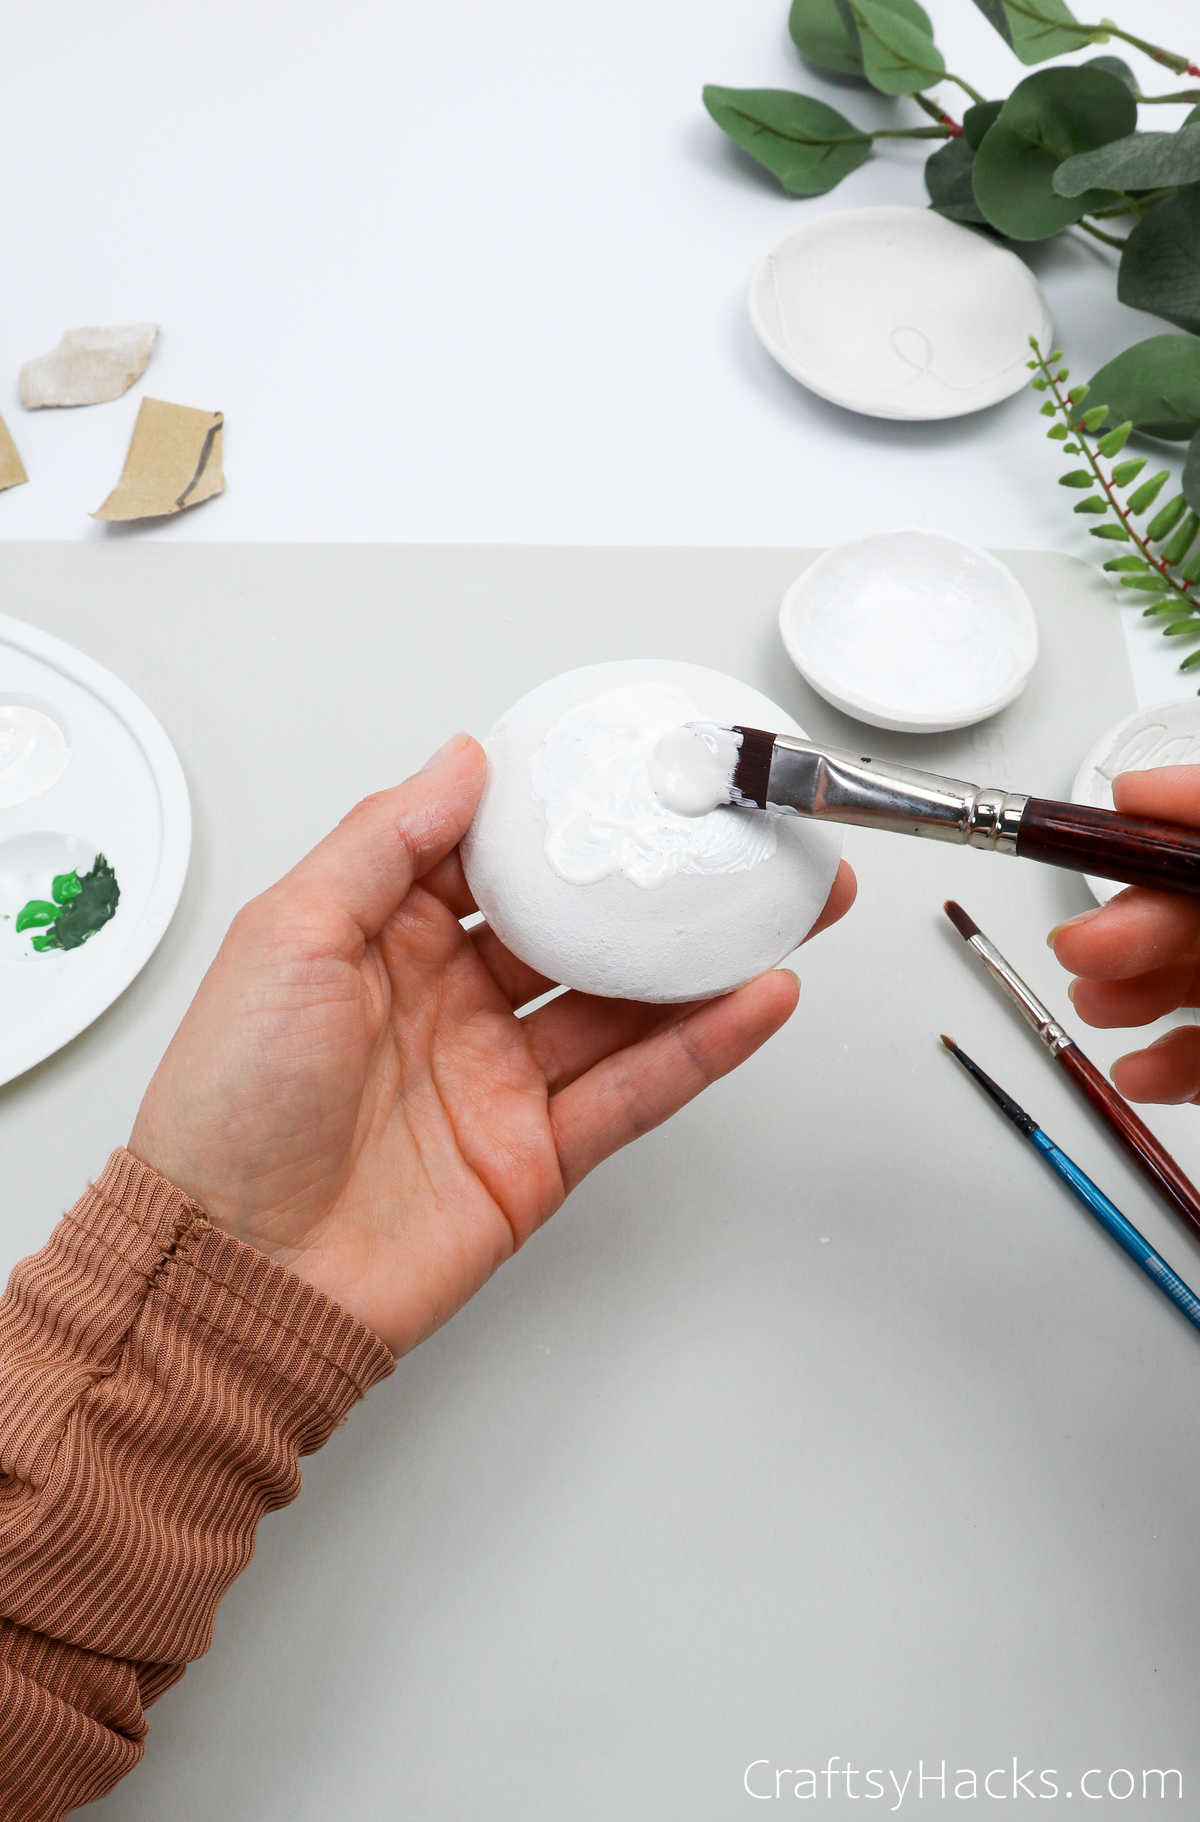
If you’re happy with that shabby-chic finish you already have, then you’re pretty much done with the project. But you can also use acrylic paint to jazz it up.
Apply two to three coats of paint, with enough time for each coat to dry before painting the next one.

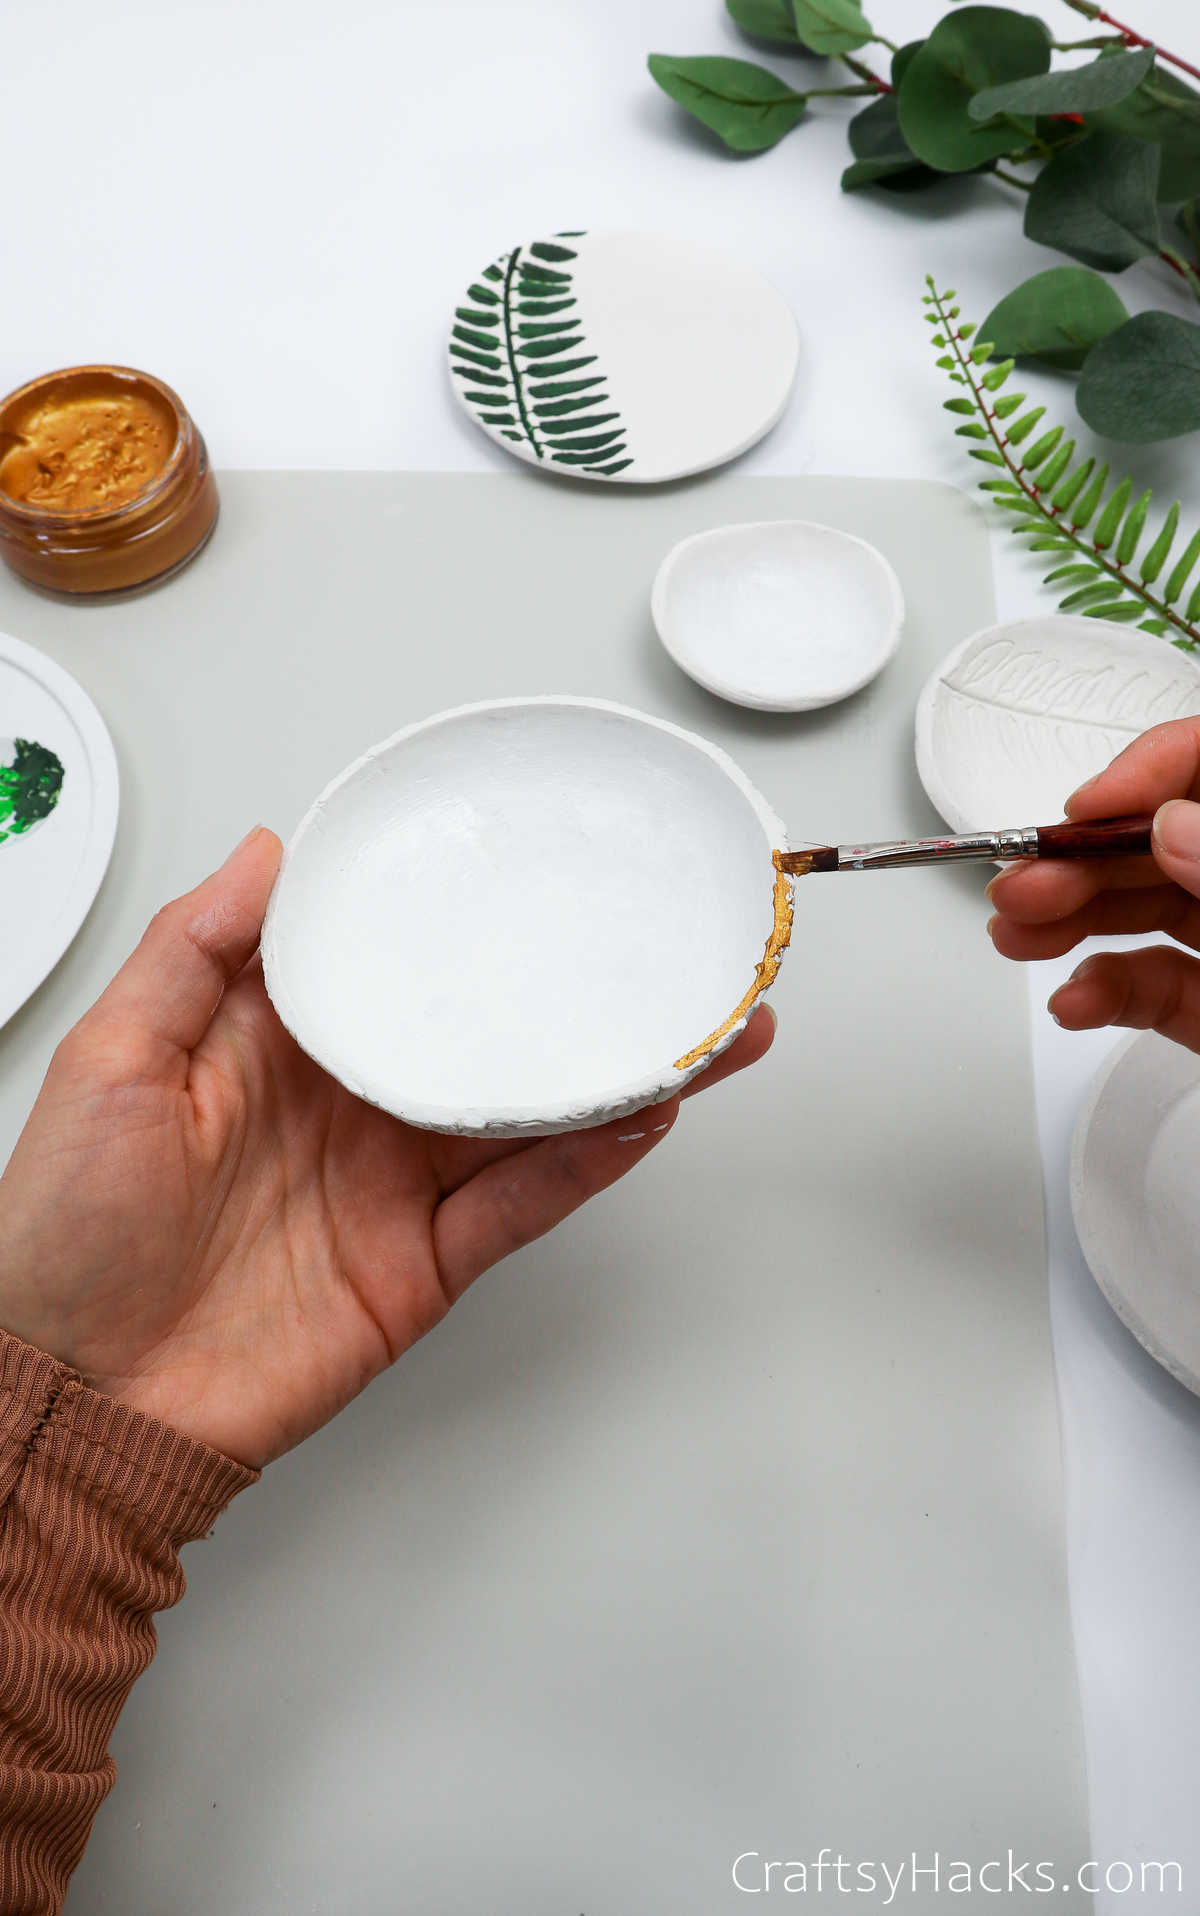
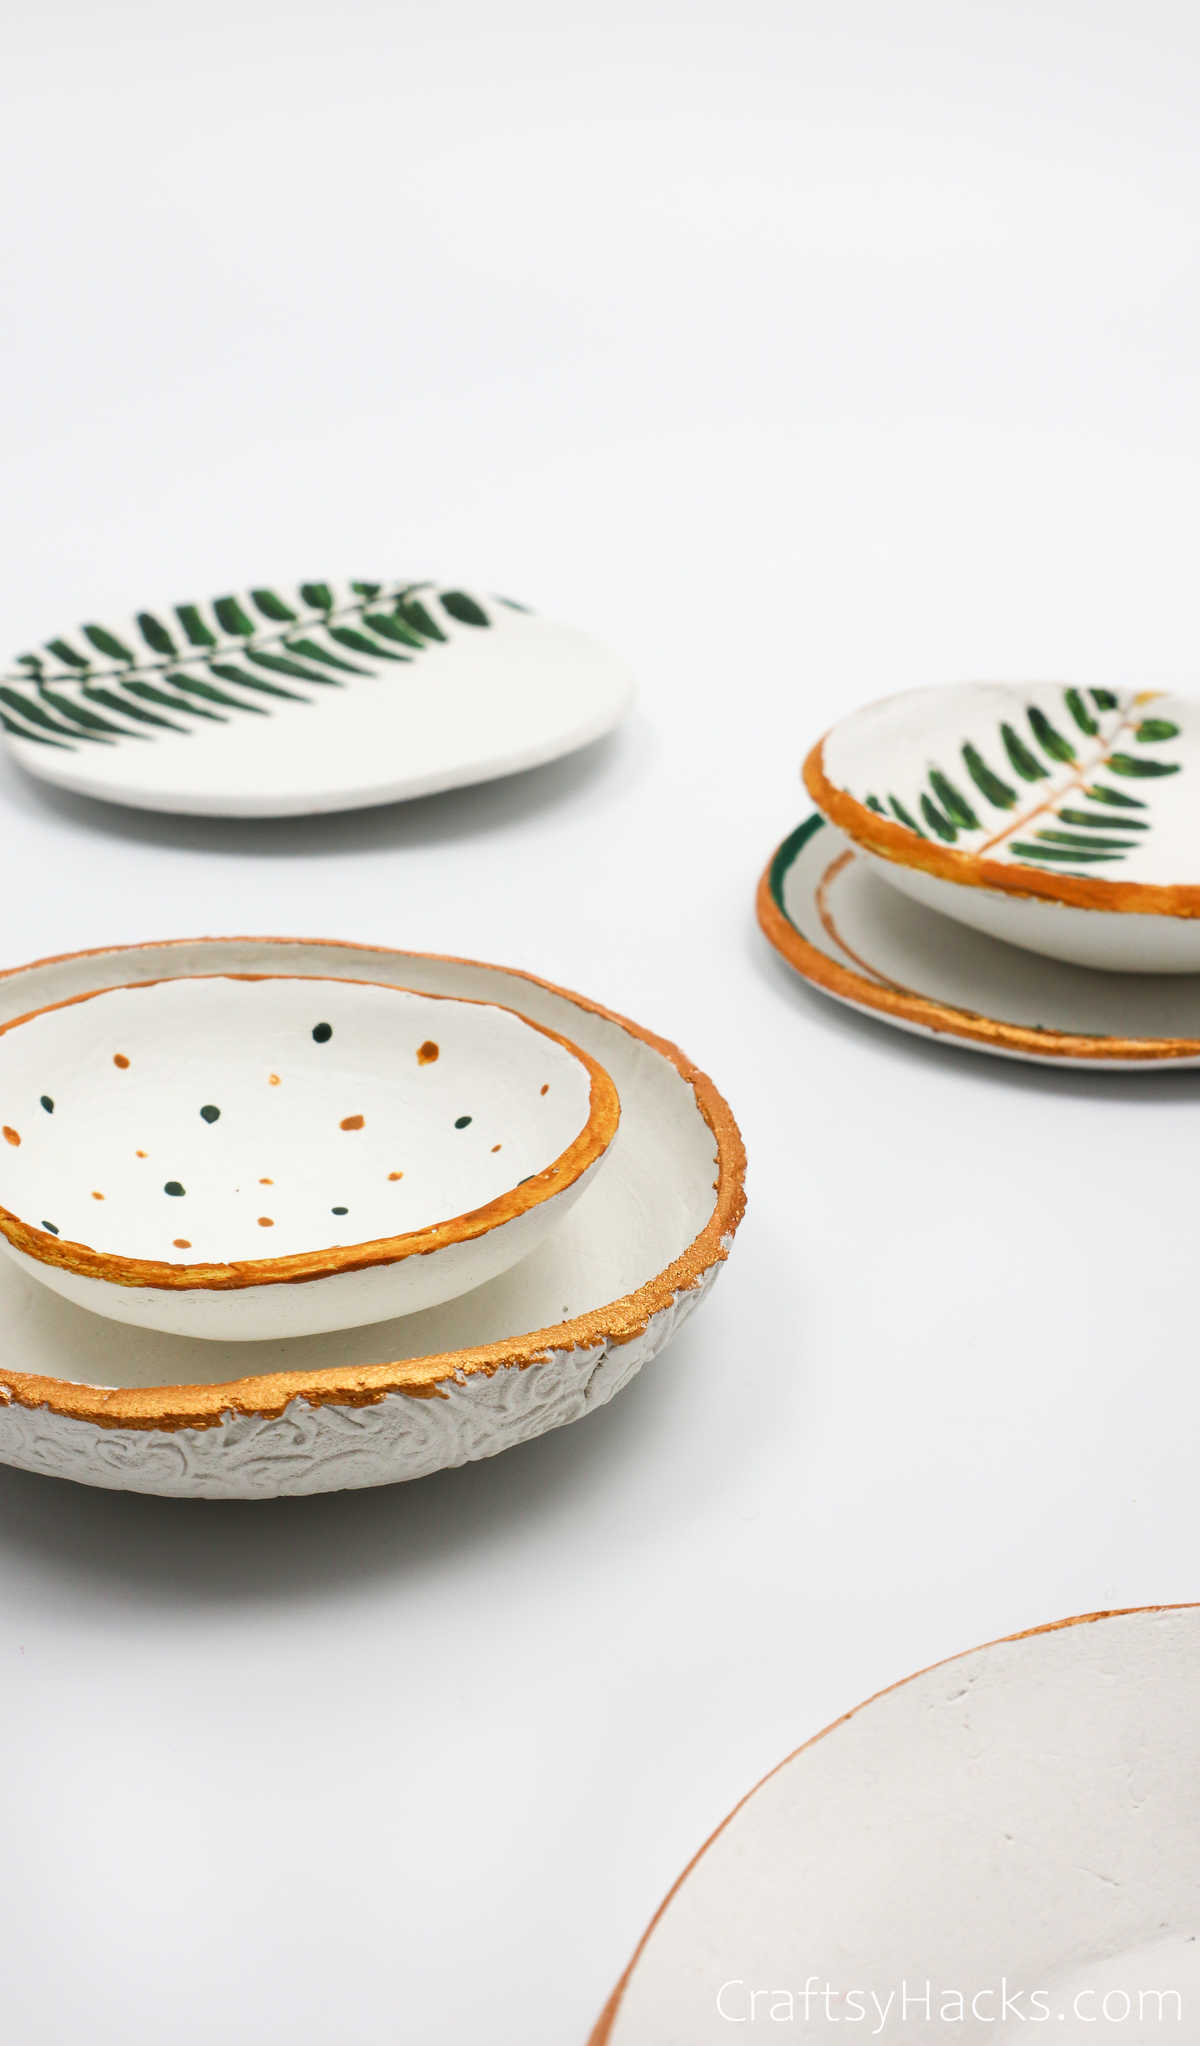
You can also paint the bottom and the rim of the bowl, as you see here.
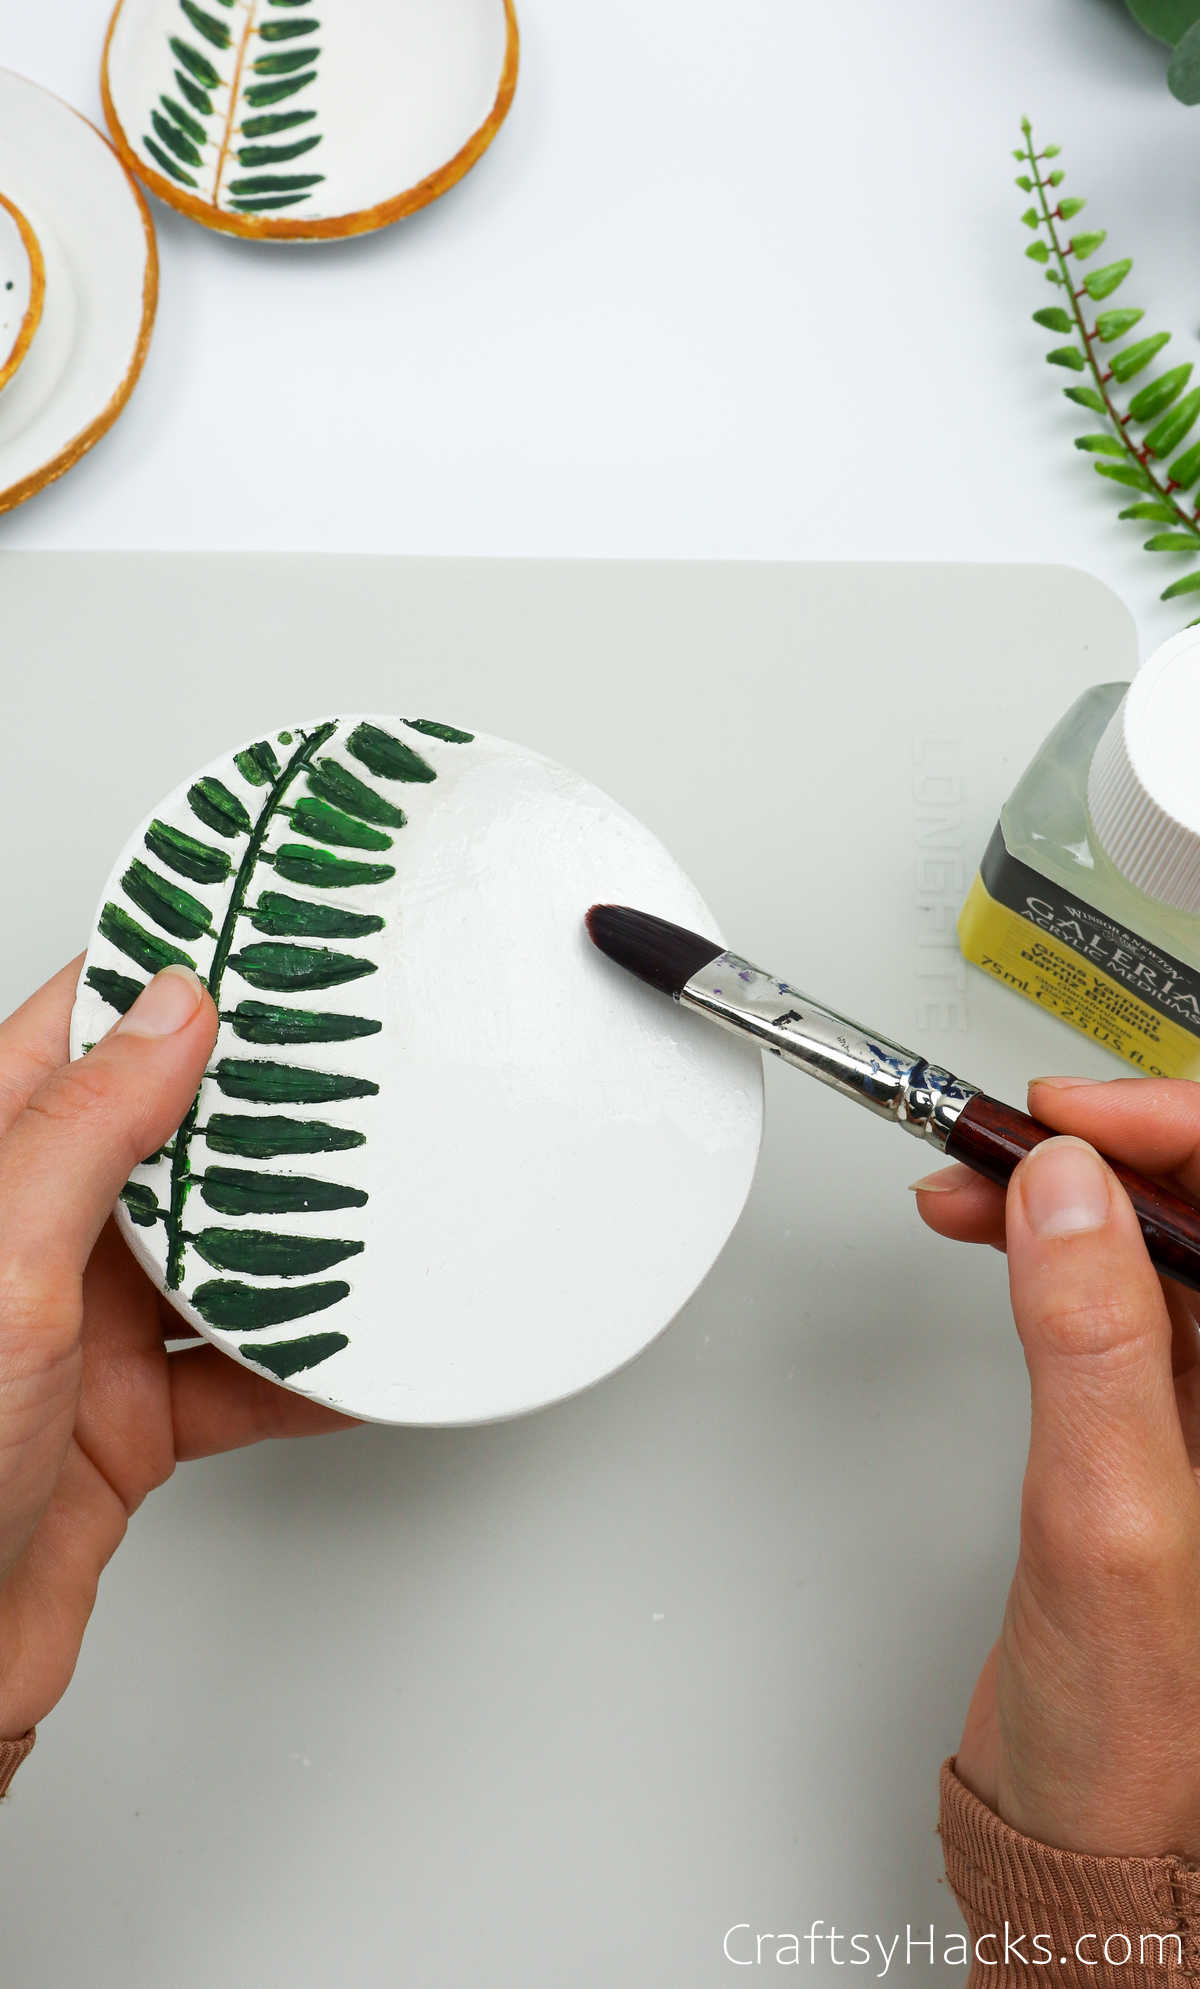
When you get to the part where you imprinted decal and etchings, feel free to paint over it in the same base color. But, if you prefer something brighter, you can use a fine-tip brush to paint the finer details.
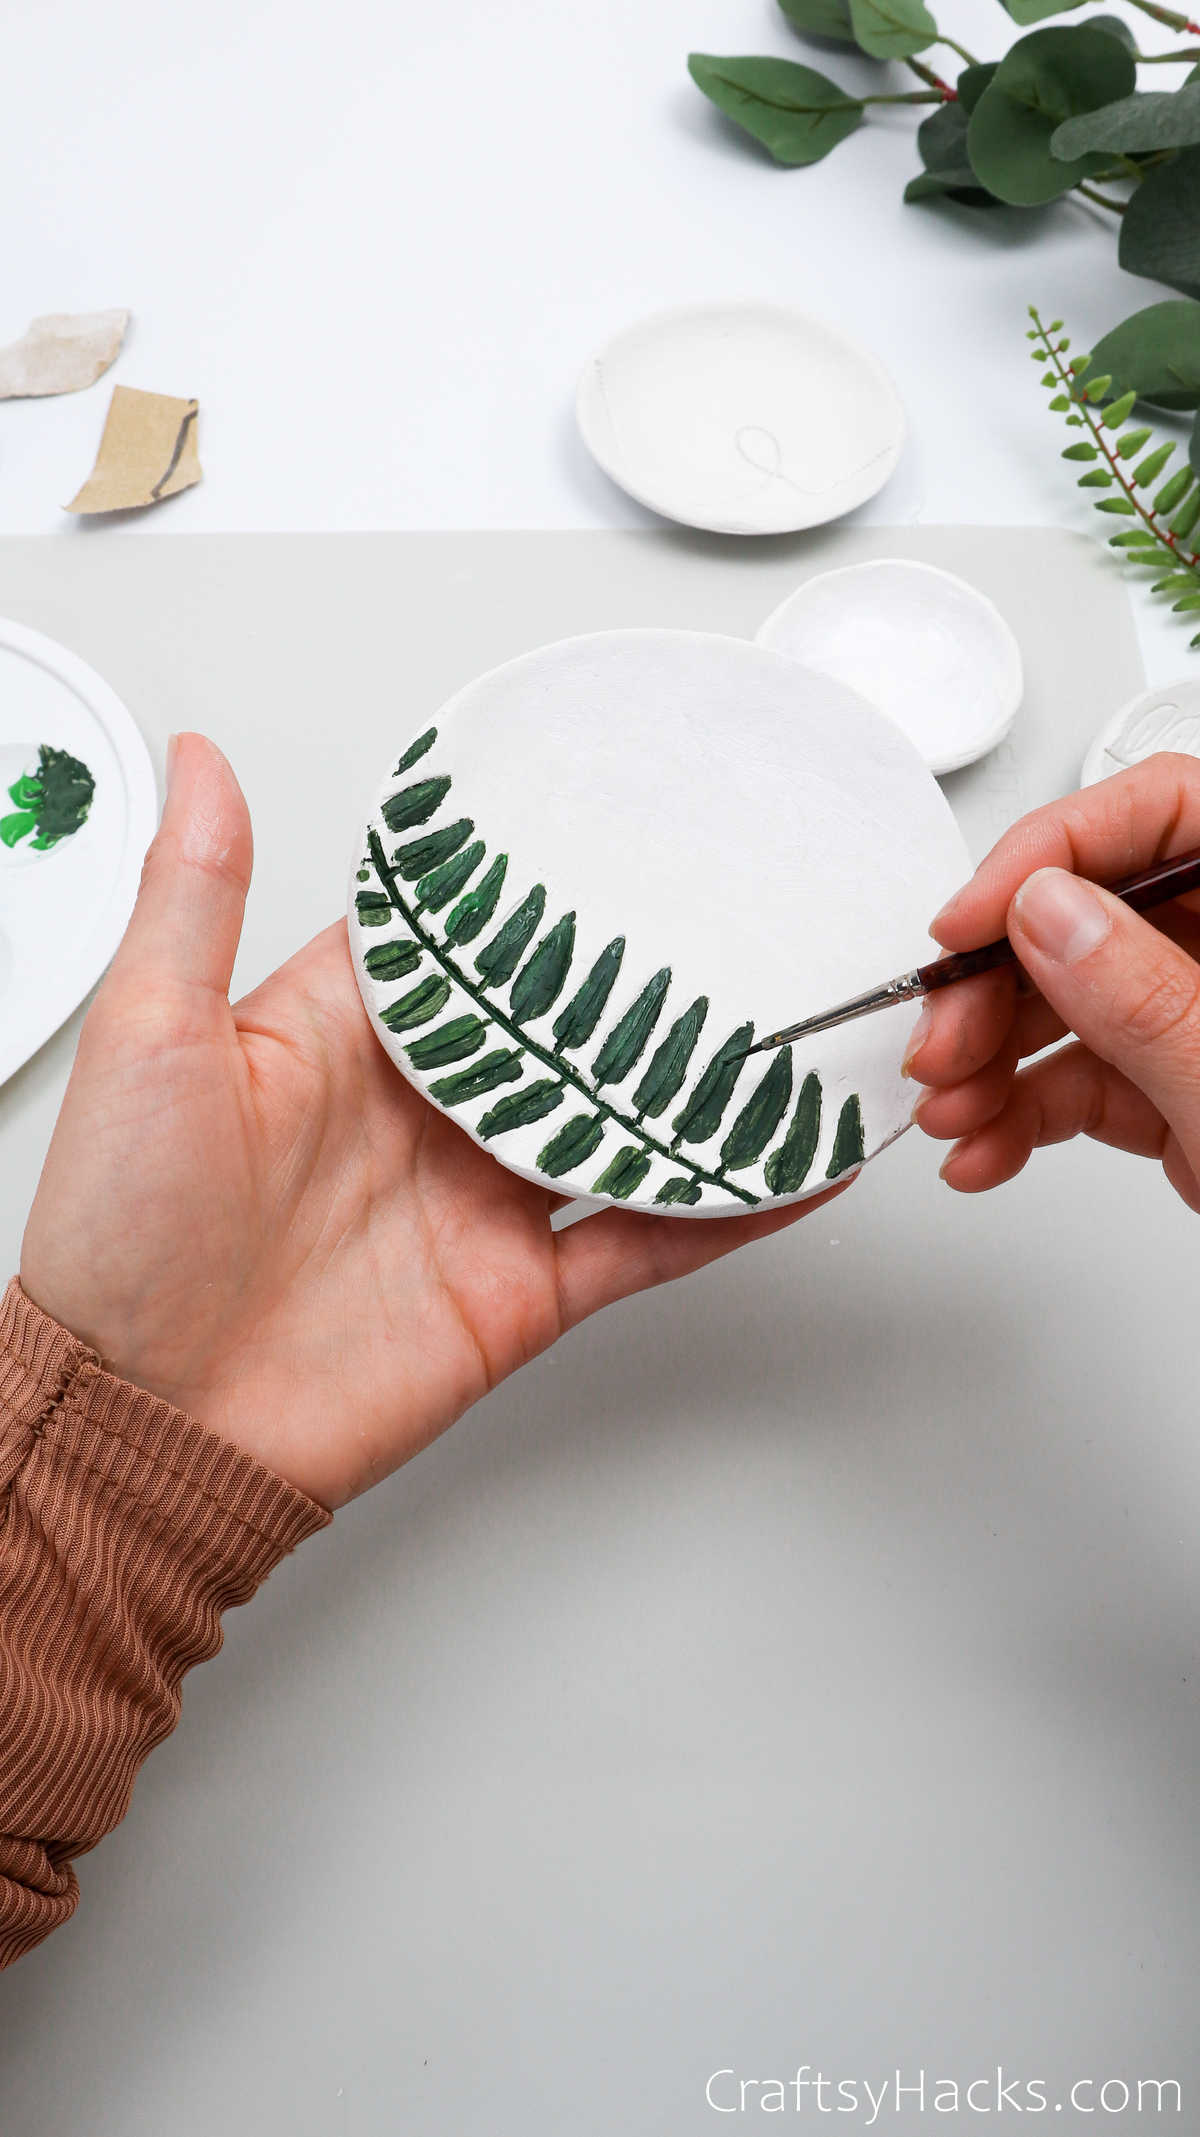
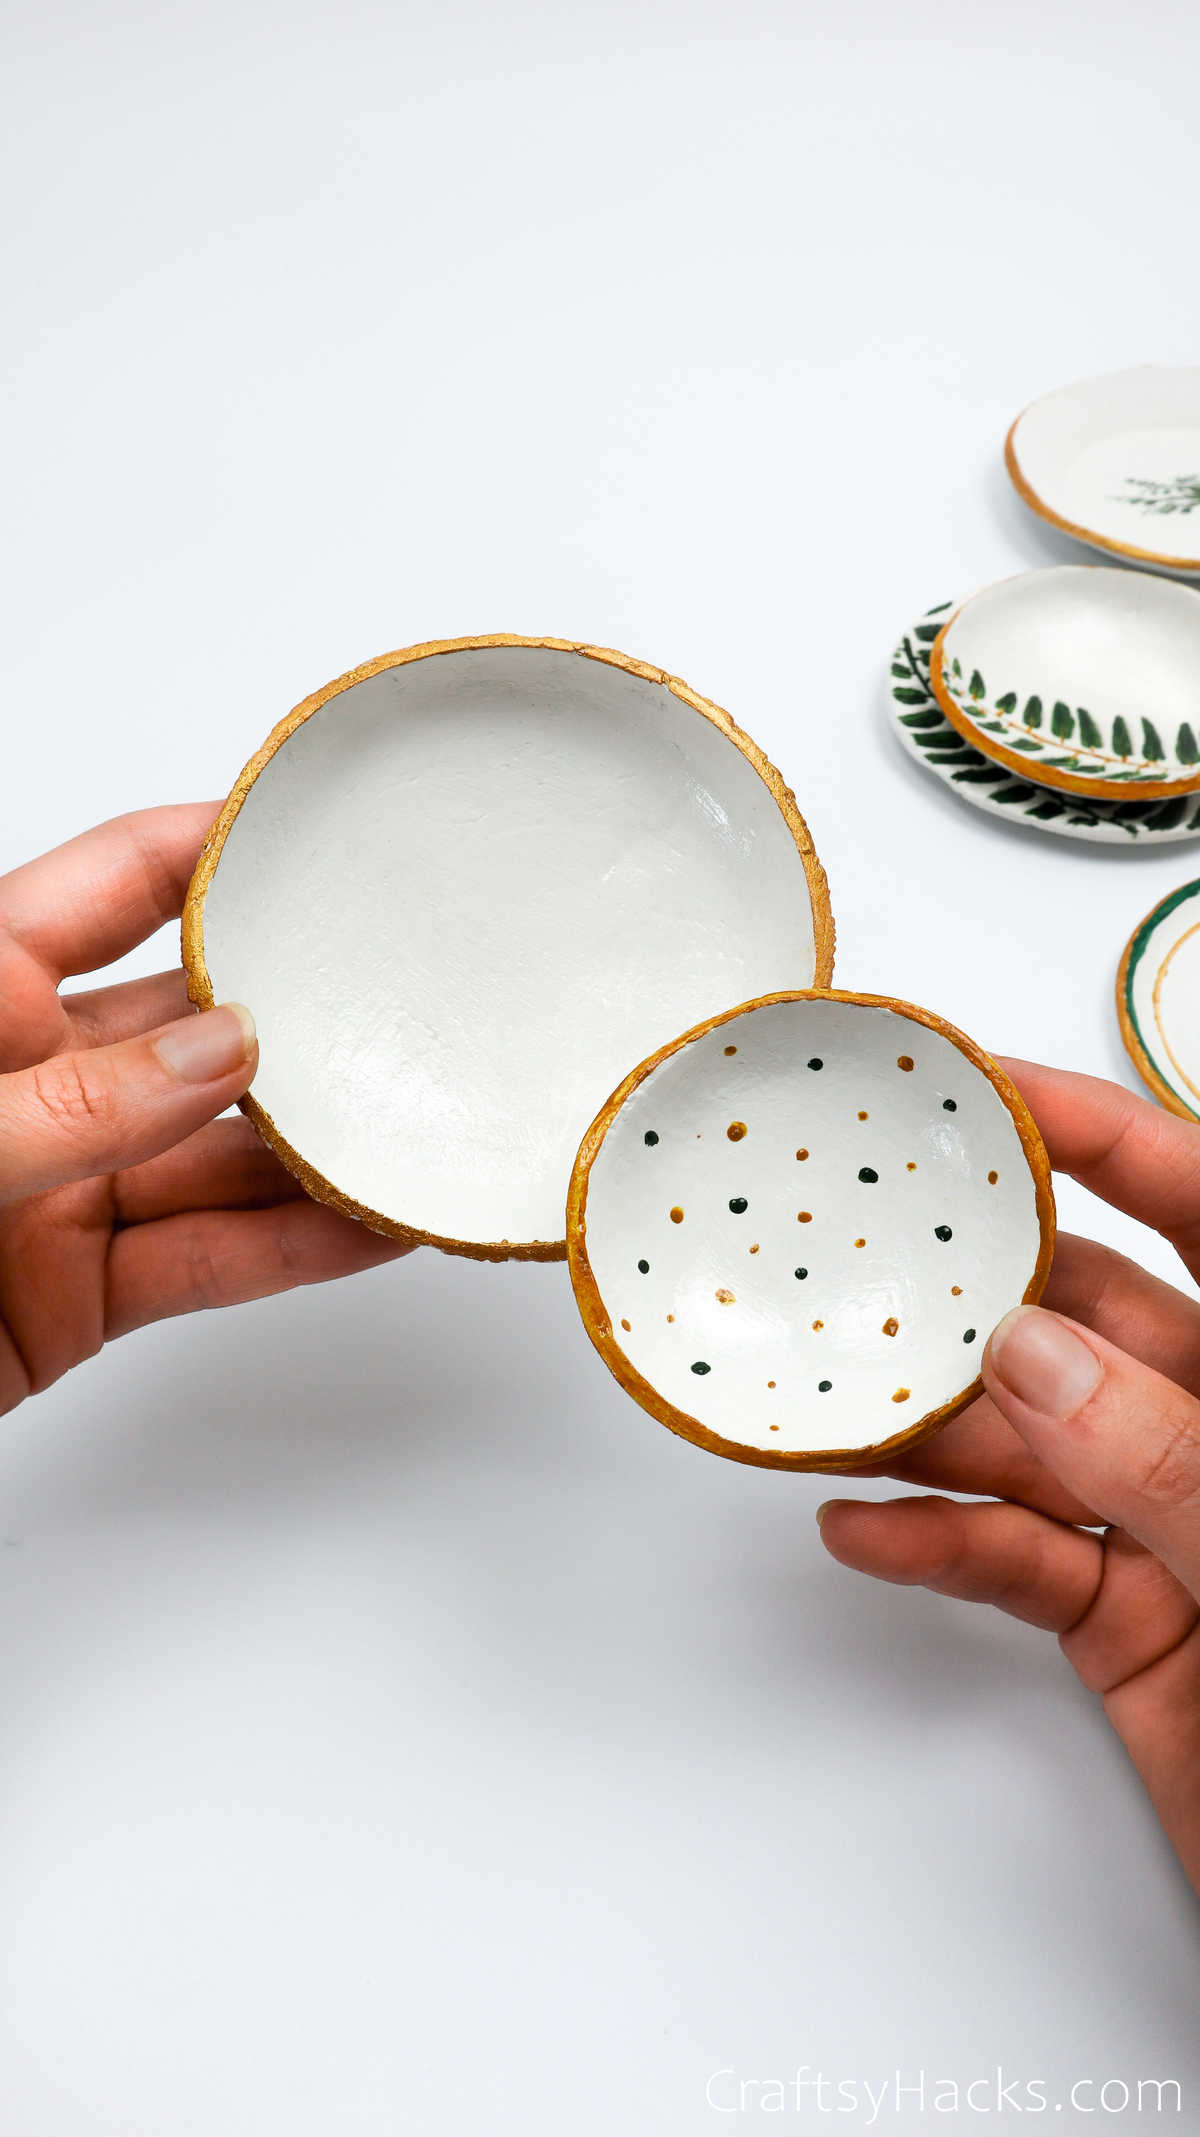
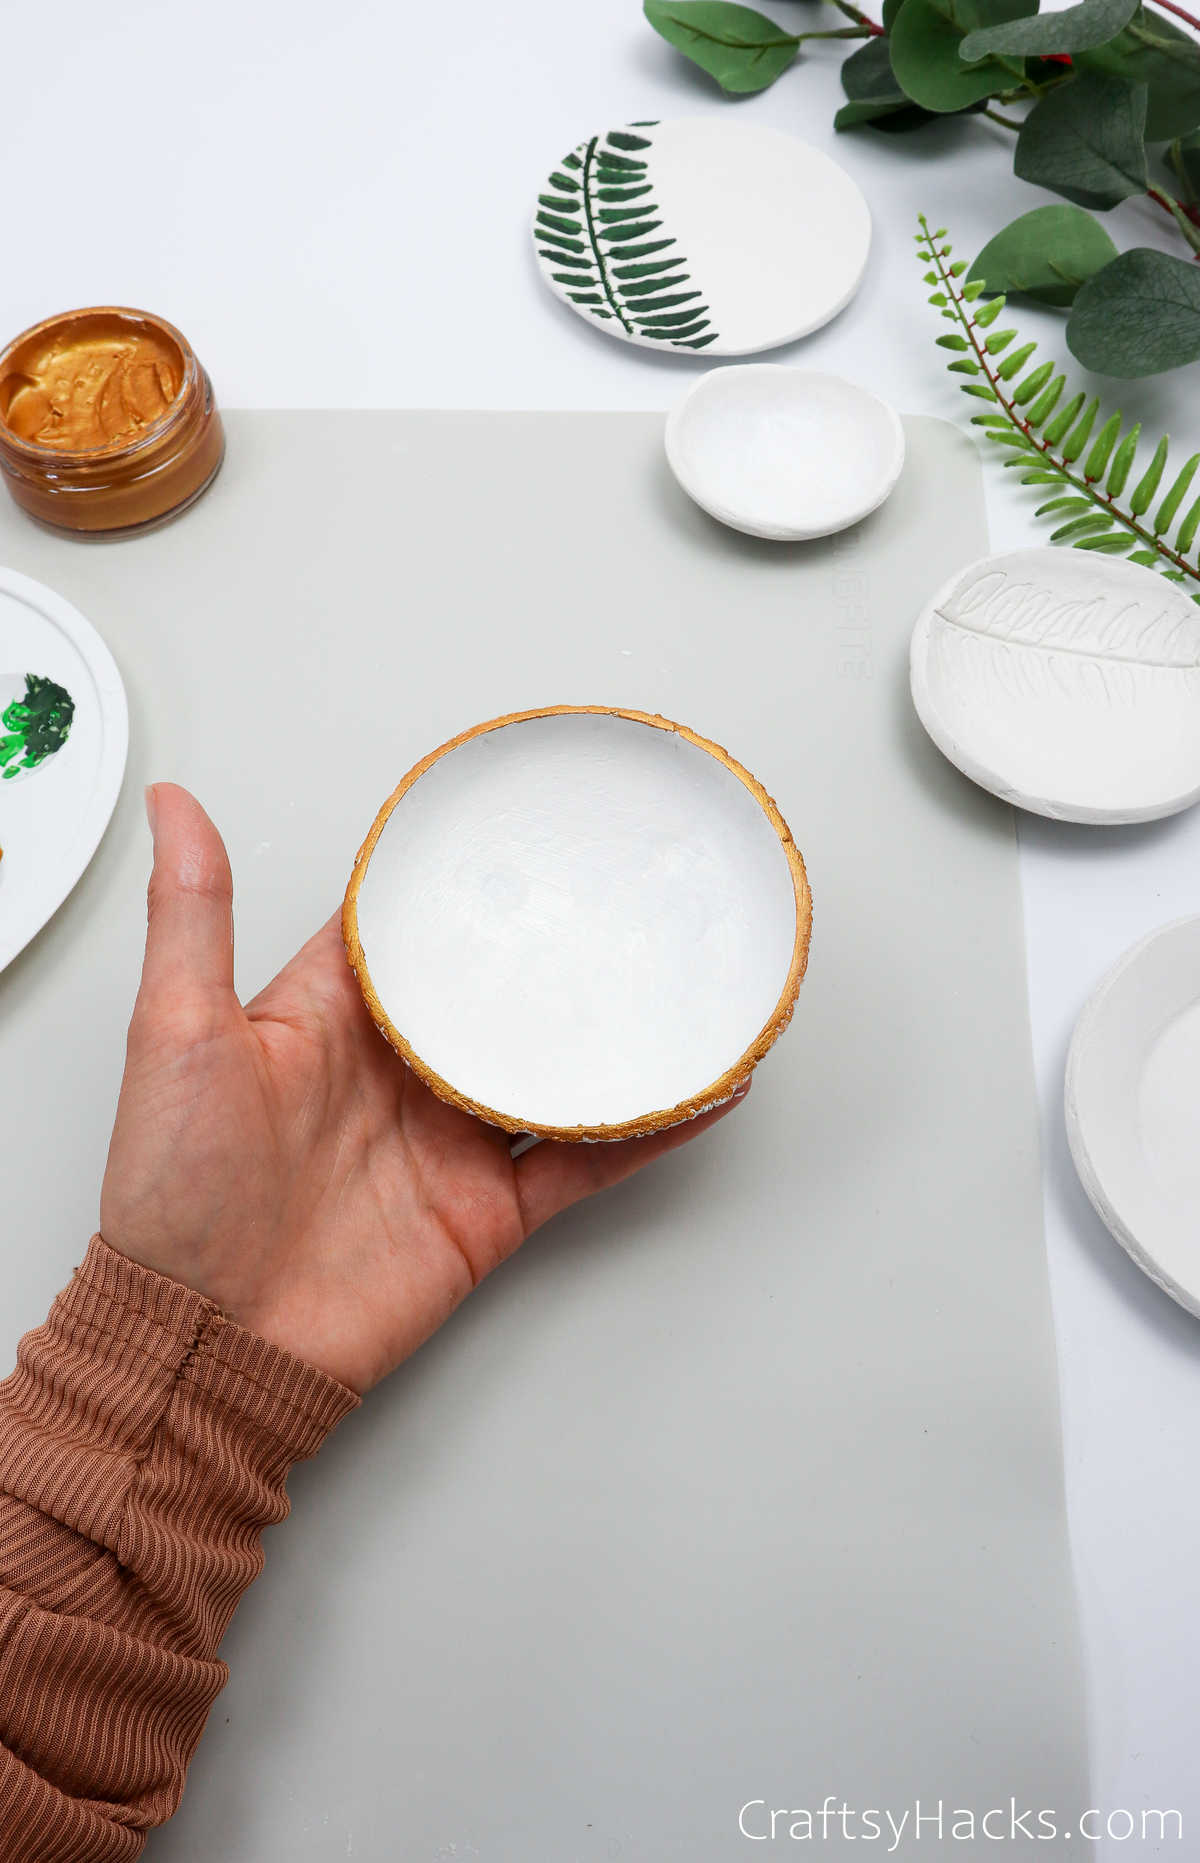
A nice metallic color for the rim will certainly boost the elegance of the bowl!
Step 12
The last step is to seal the paint, so to speak. Grab a flathead paintbrush and paint a gloss or matte-finish varnish over the clay. Mod Podge is always a popular choice of sealant, especially for acrylic paint on clay mediums!
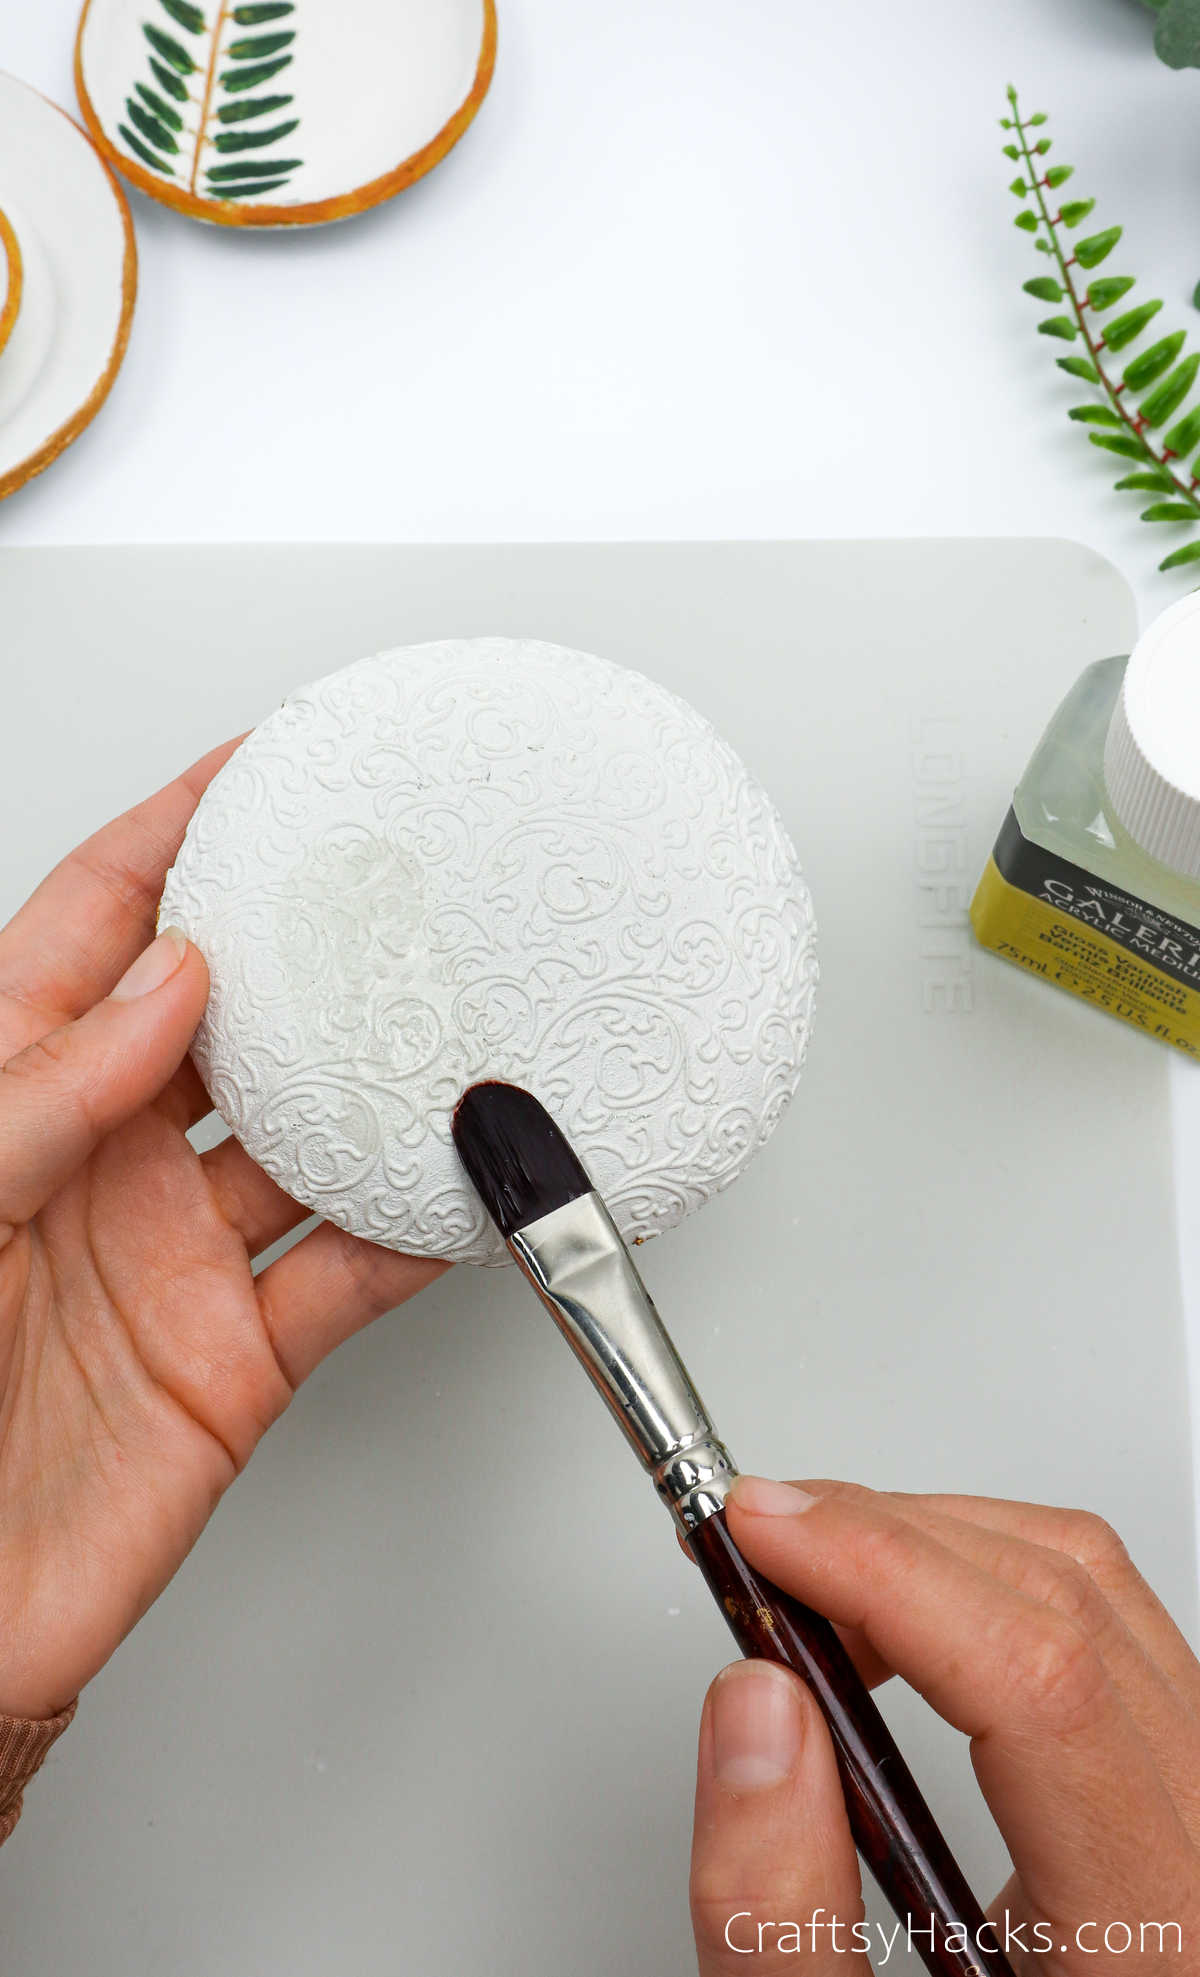
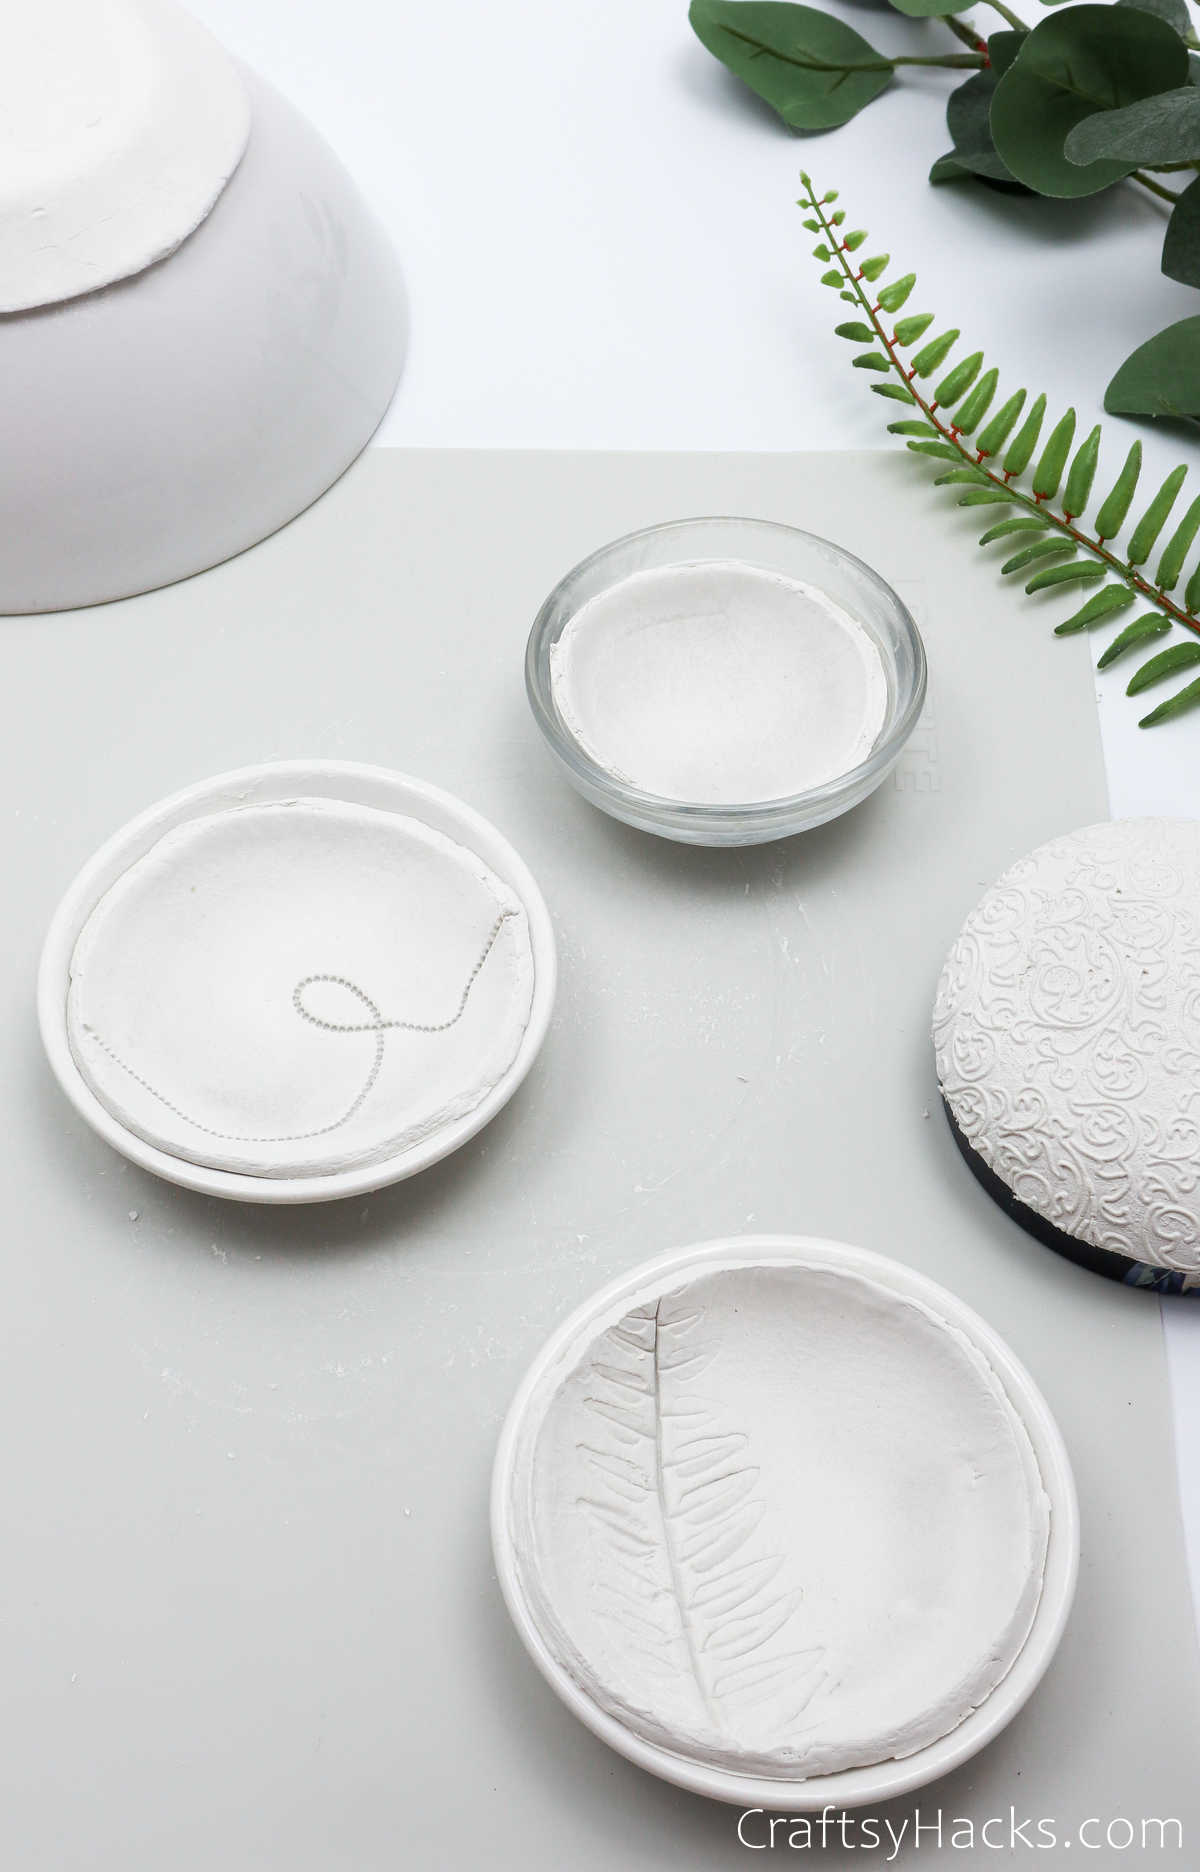
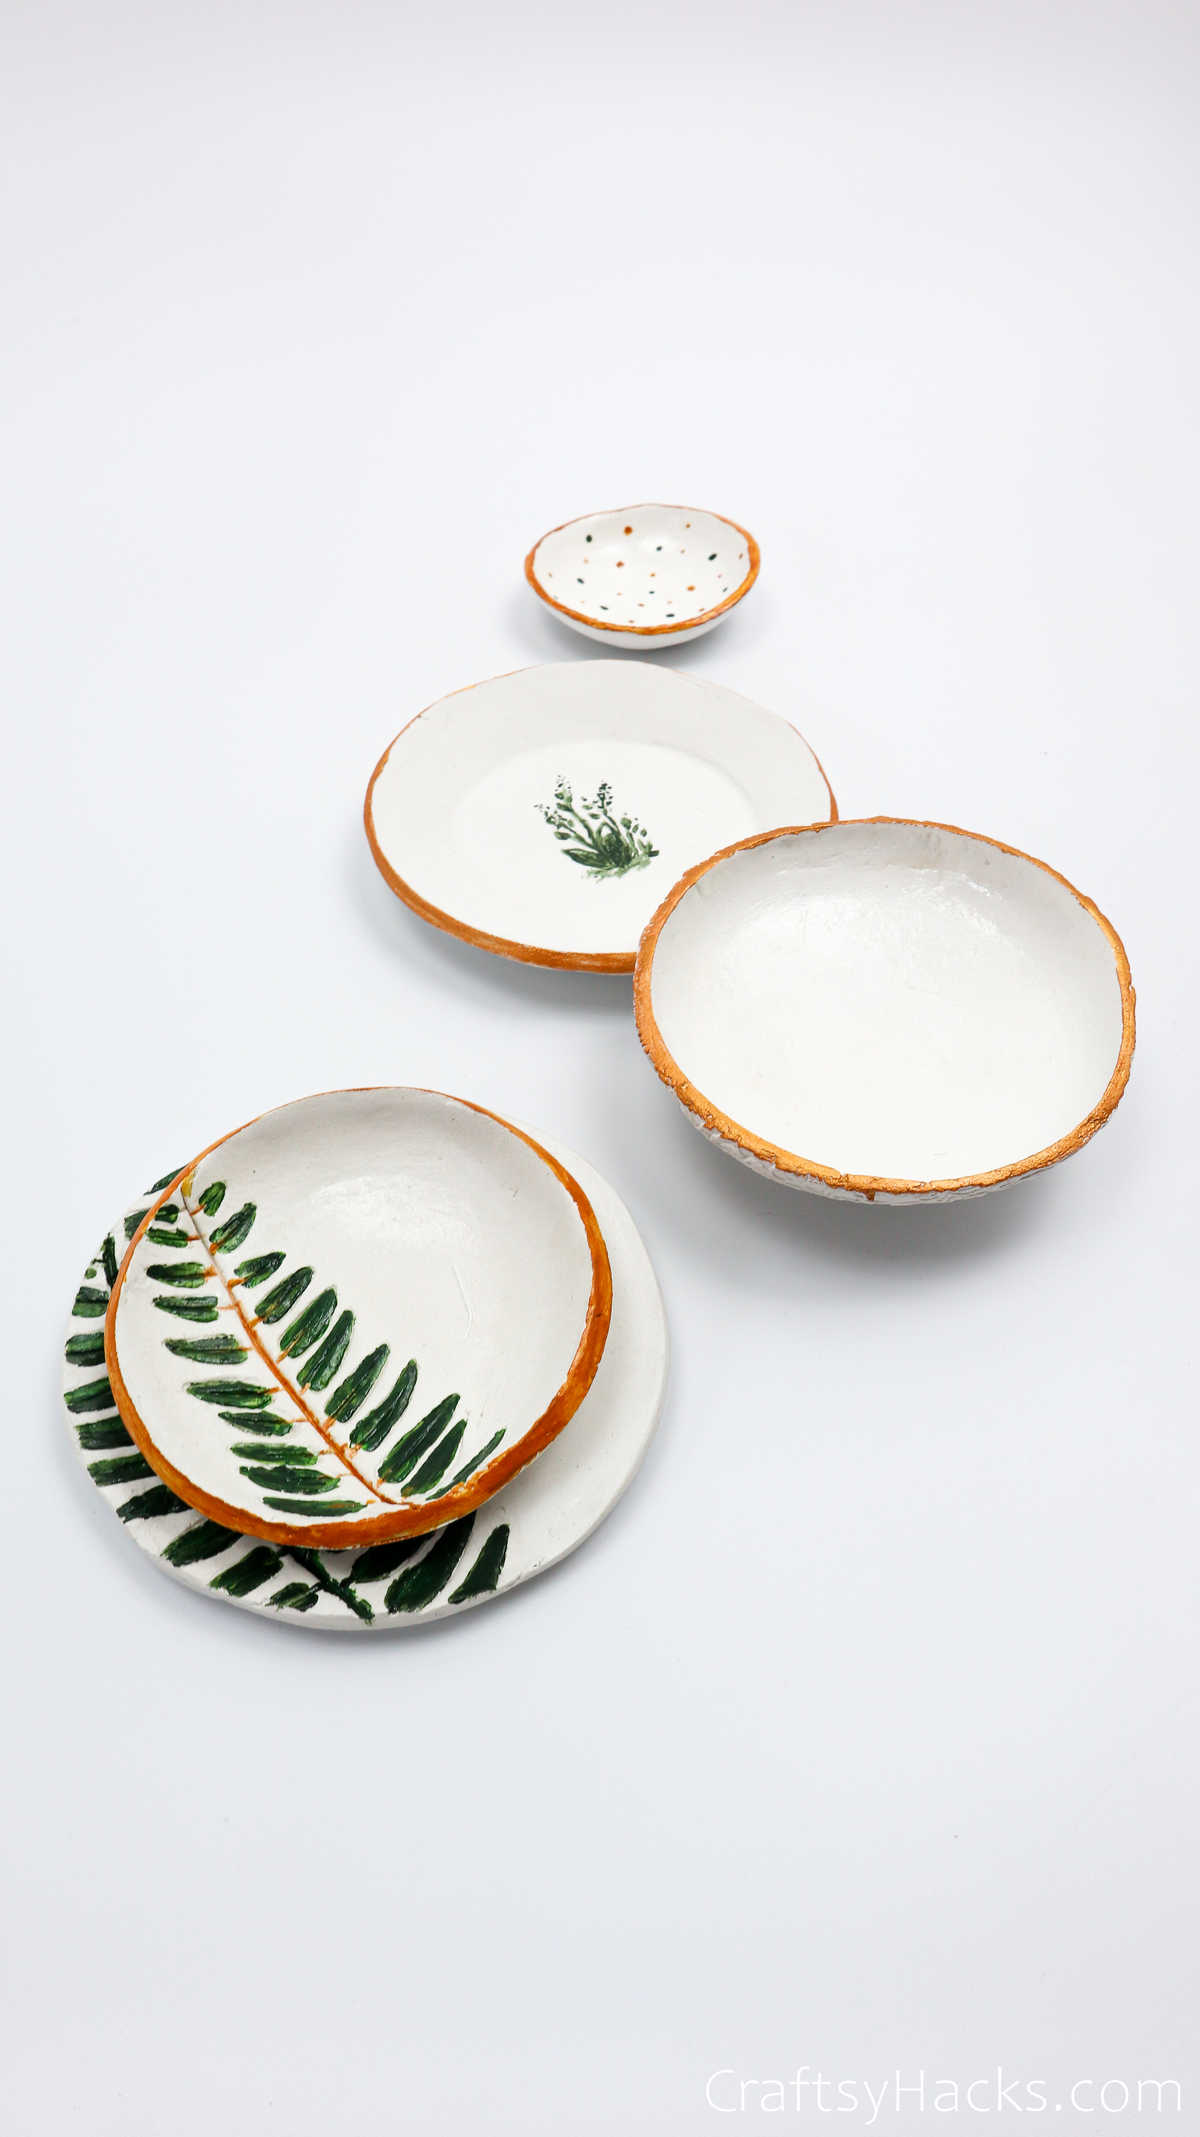
Just let your sealant work it’s magic and let the bowls dry completely. Don’t they look like a million bucks?
What You Can Use These Clay Bowls for?
You can use these bowls in a ton of different and creative ways. The fact that they’re so versatile is what makes them such a wonderful project. They can be used as:
- A trinket dish
- A bowl to place your accessories
- A display bowl
- A bowl to hold your lemons
- A bowl to put your keys, loose change, and bits and bobbins in.
- A stand-alone decorative piece on the mantel or coffee table.
Other Crafts You Might Like
- 40 Teen Crafts You’re Going to Love
- 47 Crafts for Adults
- 37 Cute Crafts for Girls
- Classroom Crafts
- How to Make Candles
- DIY Bracelet Out of Shoelaces
- DIY Wire Rings
- Macrame Leaf Earrings
How to Make Air Dry Clay Bowls (DIY Jewelry Trays)
Video Tutorial
Equipment
- Acrylic roller (or a bottle instead)
- Nonstick placemat
- Bowls (different sizes to use as molds)
- Paint brushes
- Craft knife
- Fine sandpaper
- Ball chain, beaded chain (optional)
- Embossing rolling pin (optional)
- Stamps (optional)
Materials
- Air drying clay
- Acrylic paints
- Acrylic gloss varnish optional
- Artificial leaf optional
Instructions
- Gather all your supplies to get started.
- Cut away some clay and repack the rest in an air-tight package.
- Knead the clay with your hands until lump-free, soft, and pliable.
- Next, use a rolling pin or glass bottle to roll the clay over a flat surface, about 5 mm in thickness.
- Grab a bowl and place it over the clay. Use a craft knife to cut around the rim and carefully peel the excess clay away.
- Remove the bowl, and, using your fingers, gently press the clay into the bowl with a mind not to press too deep or leave fingerprints on it. You can add a drop of water to help you smoothen the edges or any cracks that may appear.
- For the next few bowls, you can press a leaf, or a ball chain, or any other engraving you might have over the clay first. Use a rolling pin to imprint the design on the clay and then gently pull it back.
- Then, repeat the process of placing a bowl over the design, then cutting around it before you smoothen the clay either into the bowl or around the outside.
- Allow the clay to dry for 48 hours. The hardened clay should detach easily, but if it doesn’t, use a sharp knife to cut around the rim.
- Next, use a sandpaper to smoothen the clay all around the sides, under it, the rim, and also the inside. Grab a brush or a paper towel and dust all excess dust and particles out of the way.
- Paint and decorate the bowls as you see fit and feel free to add color to the finer details and designs.
- Finally, seal the paint by layering a clear gloss or matte-finish sealant like Mod Podge or varnish. Let that dry completely, as well before you use your clay bowls. Alternatively, you can eschew a sealant for a more rustic-chic finish.


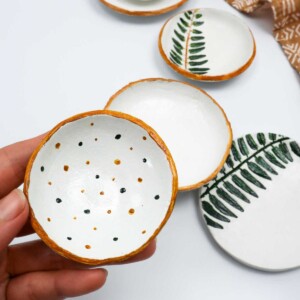
Sooo cute!! I love them!