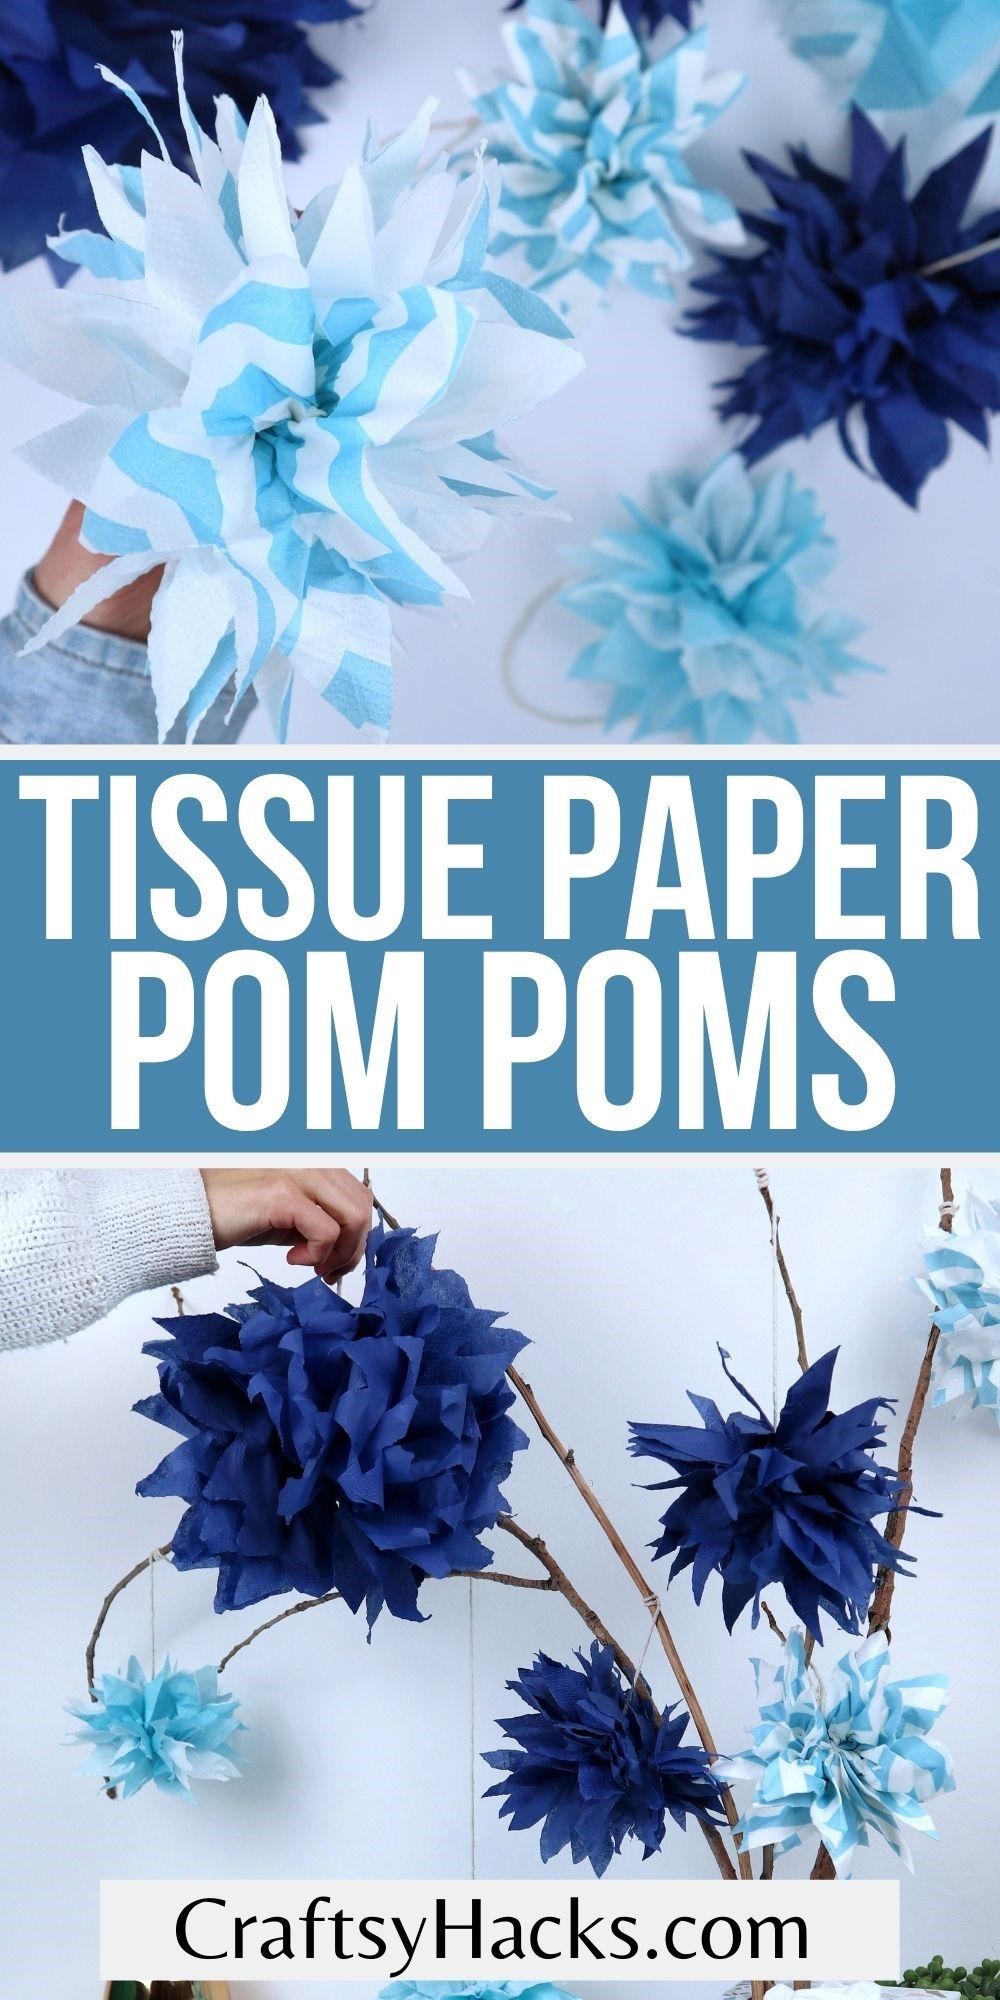
How to Make Tissue Paper Pom Poms
This post may contain affiliate links: full affiliate disclosure.
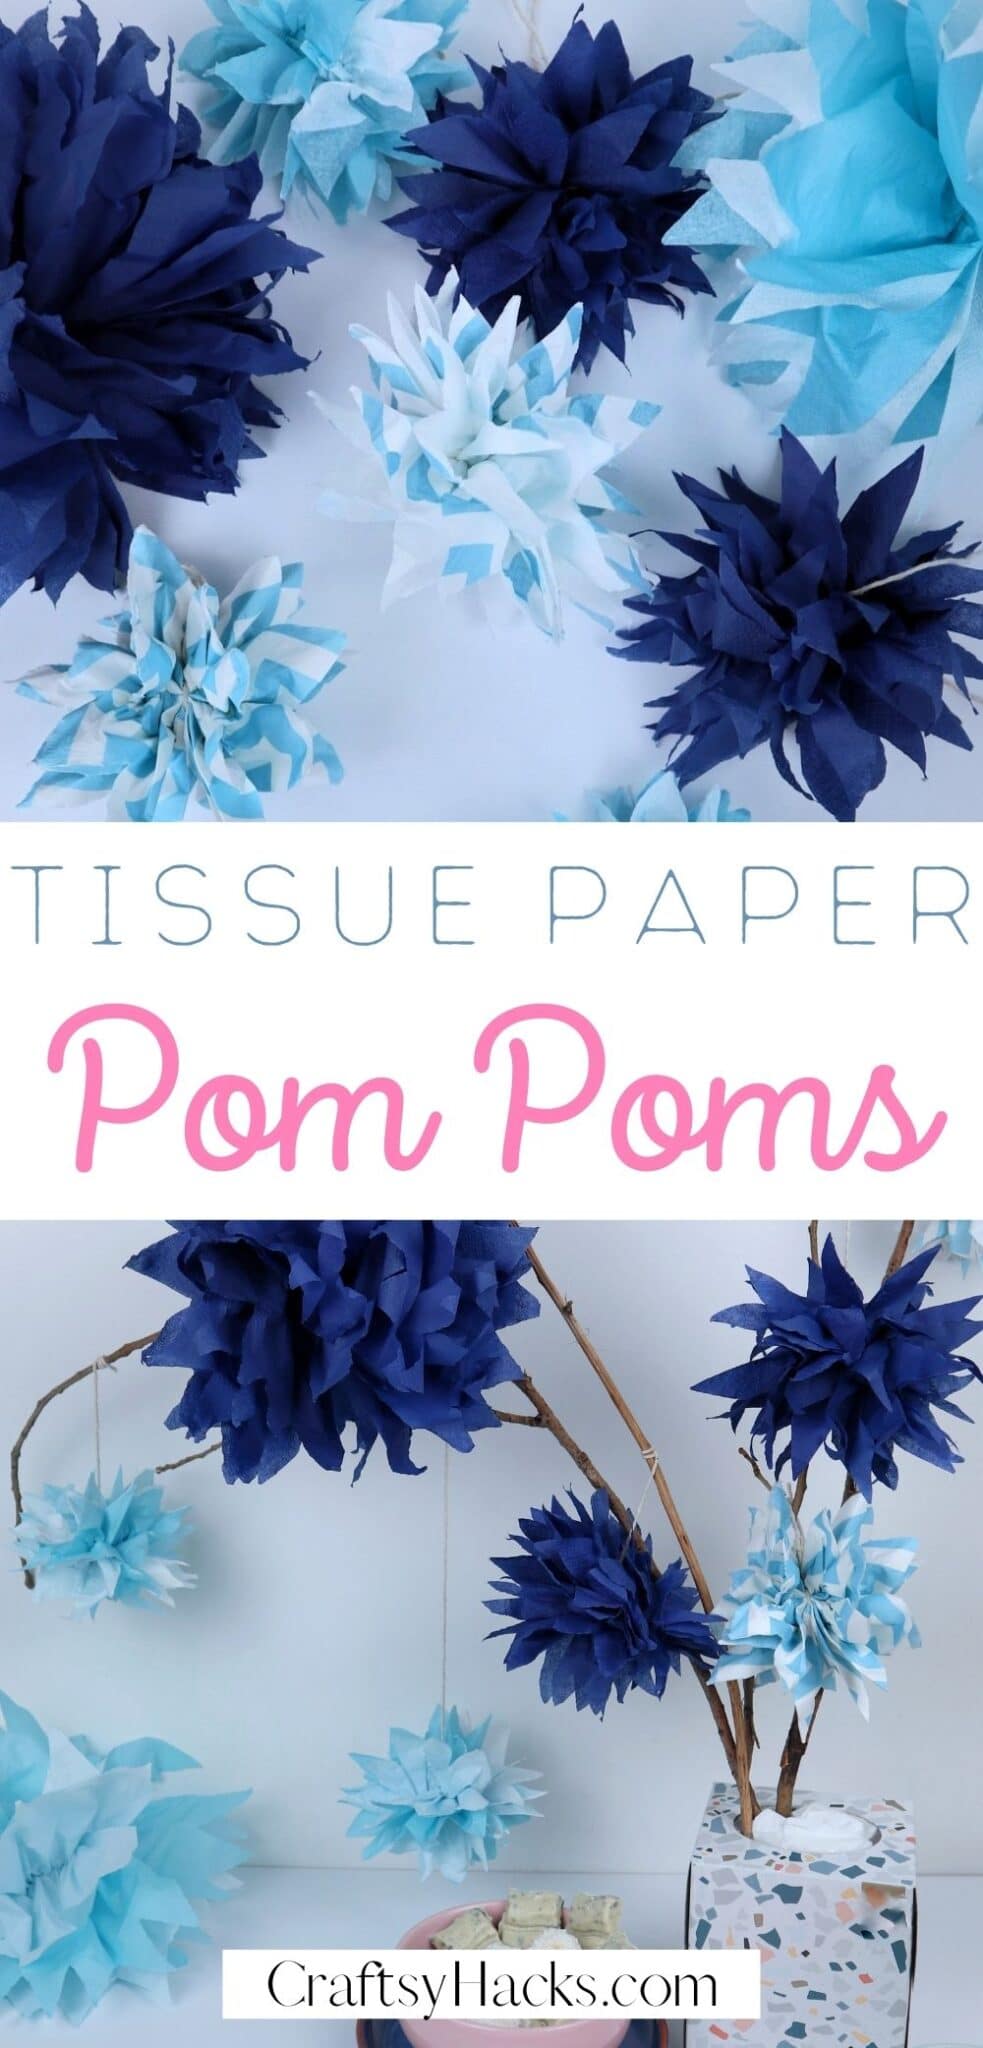
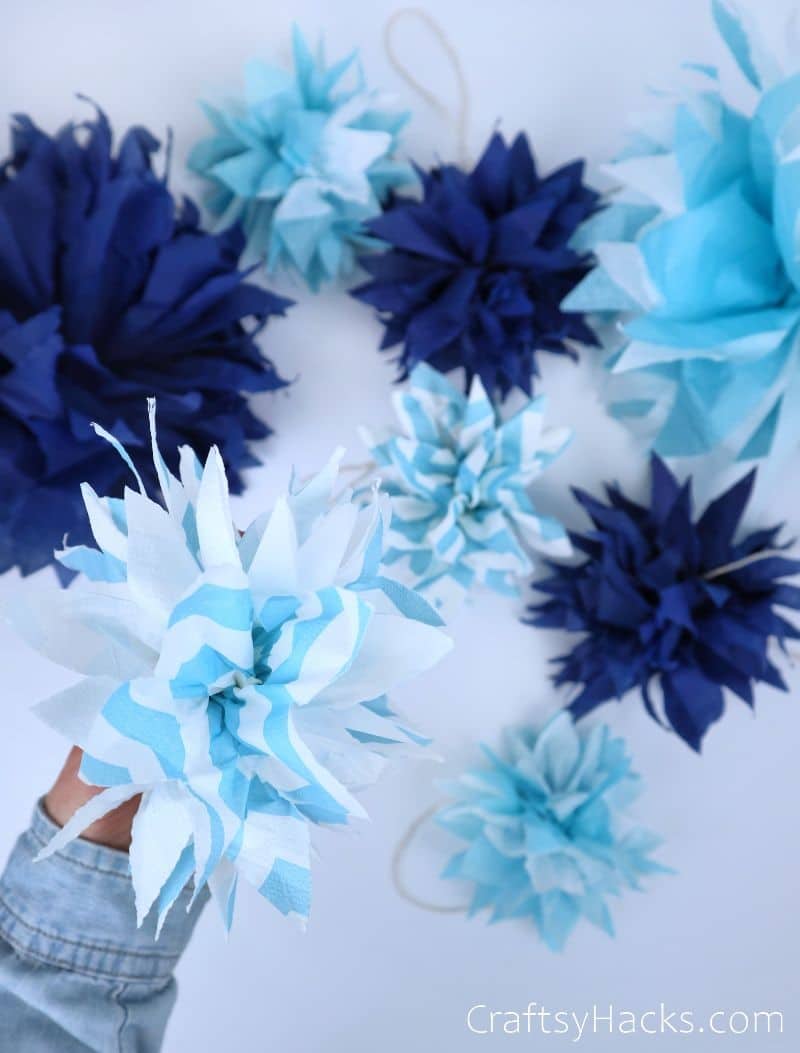
Tissue paper pom poms are a fun, cheap decoration that anyone can make. Today I’m showing you how to make paper pom poms step-by-step.
Whether you’re gearing up for wintertime or just looking for a new way to decorate your space, these beautiful tissue paper pom poms are just the thing.
No matter where you hang them from, these beauties look like they just leaped out of a home décor magazine spread.

With a feathery appeal and an ethereal shape, these are the perfect way to dress that dull corner that’s been bothering you.
A Great Craft for Teens, Kids, and Even Adults
Anyone in your household can get their hands dirty with this craft (figuratively, of course). From little tots to teenagers, these paper pom-poms fit into any age bracket.
In fact, making these decorations is the perfect way to spend a family afternoon. Gather around your dining room table and work together; who said you can’t bond over tissue paper and yarn?
Ready to get stuck in? Let’s get cracking! And make this tissue paper craft!

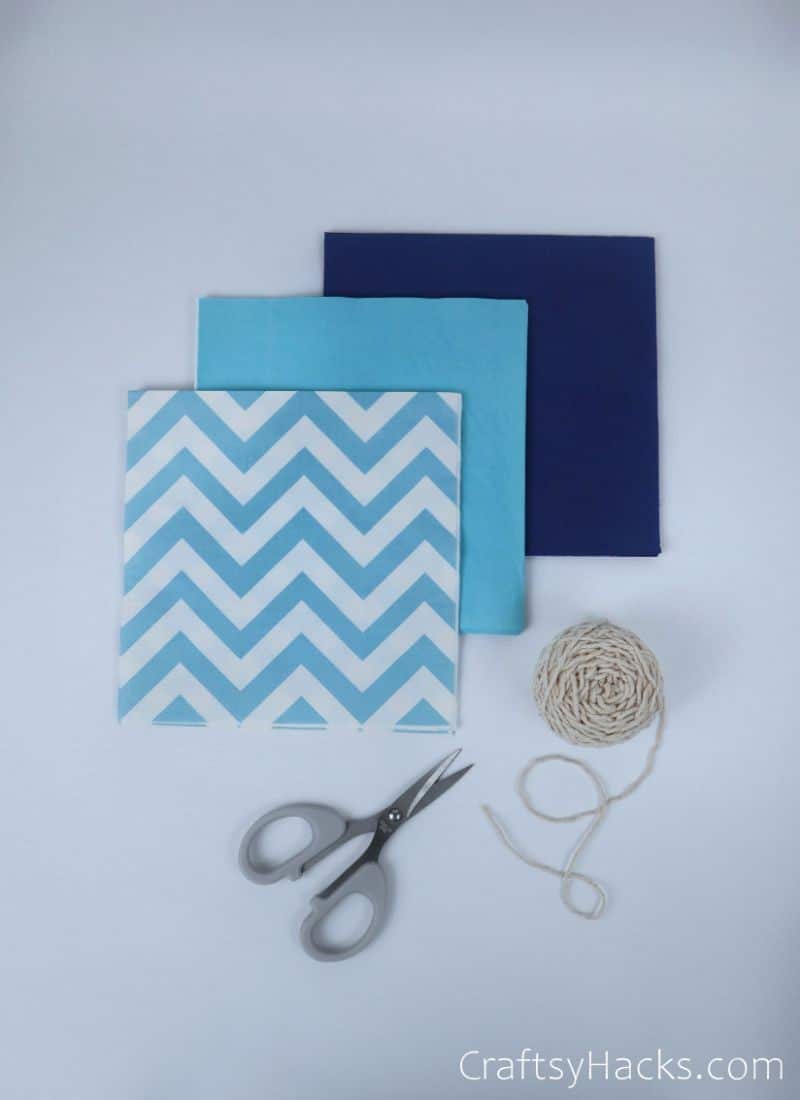
Supplies You’ll Need for 3 Pom Poms
- 3 folded sheets of paper tissue
- Yarn
- Scissors
How To Make Tissue Paper Pom Poms
Follow these directions step by step and you’ll have beautiful pom poms in no time.
Step 1
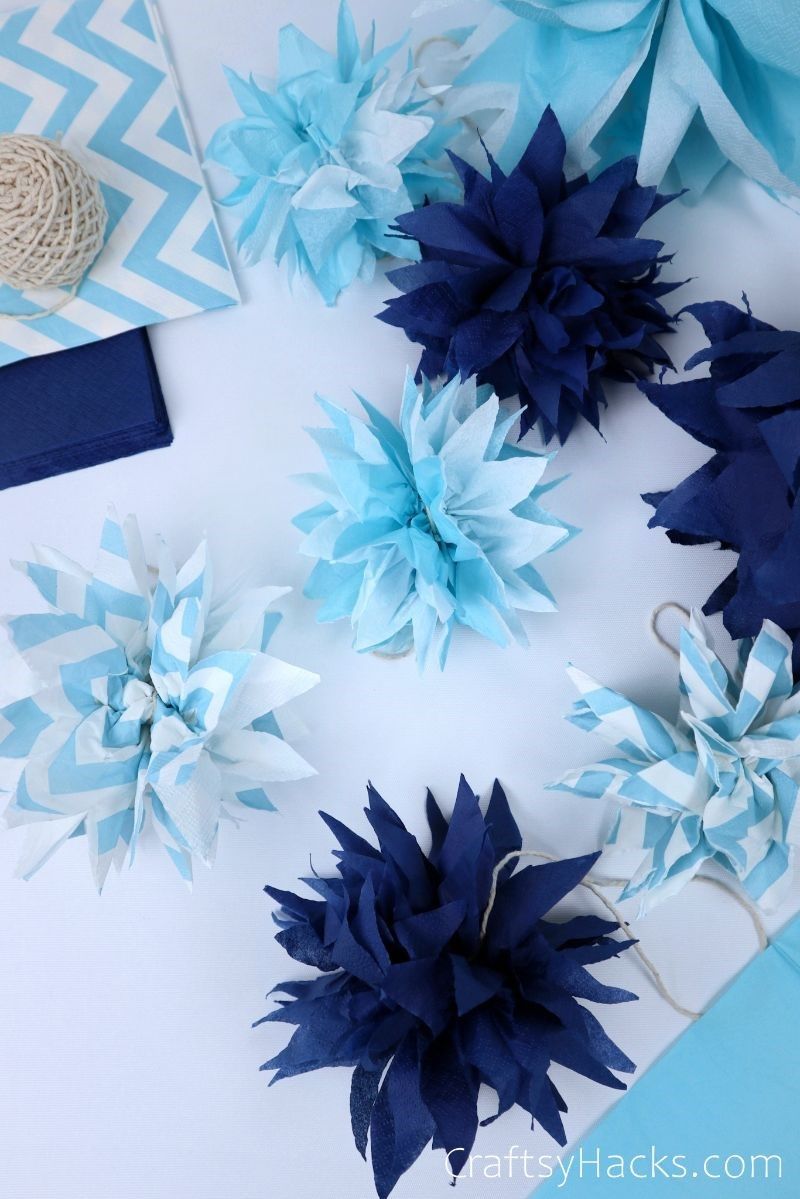
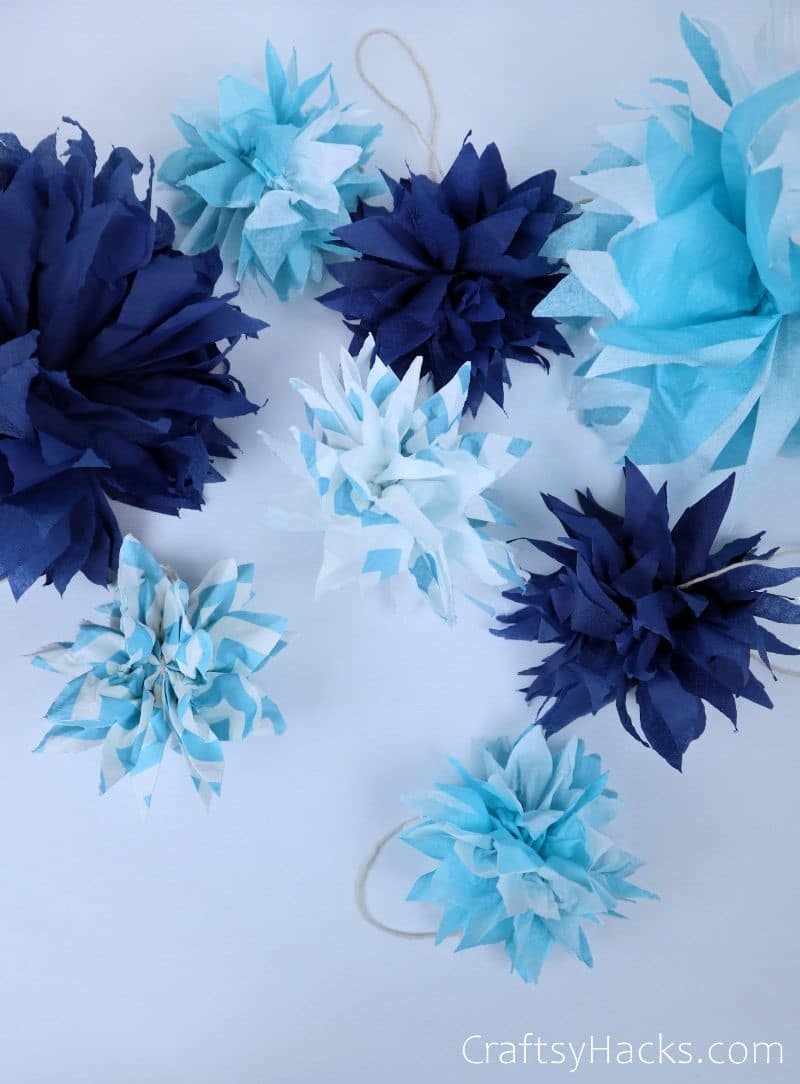
Start off by grabbing everything you’ll need. I chose three tissue paper types: two solid and one patterned, all in the same color family (blue). That way, they’ll look interesting when hung together.
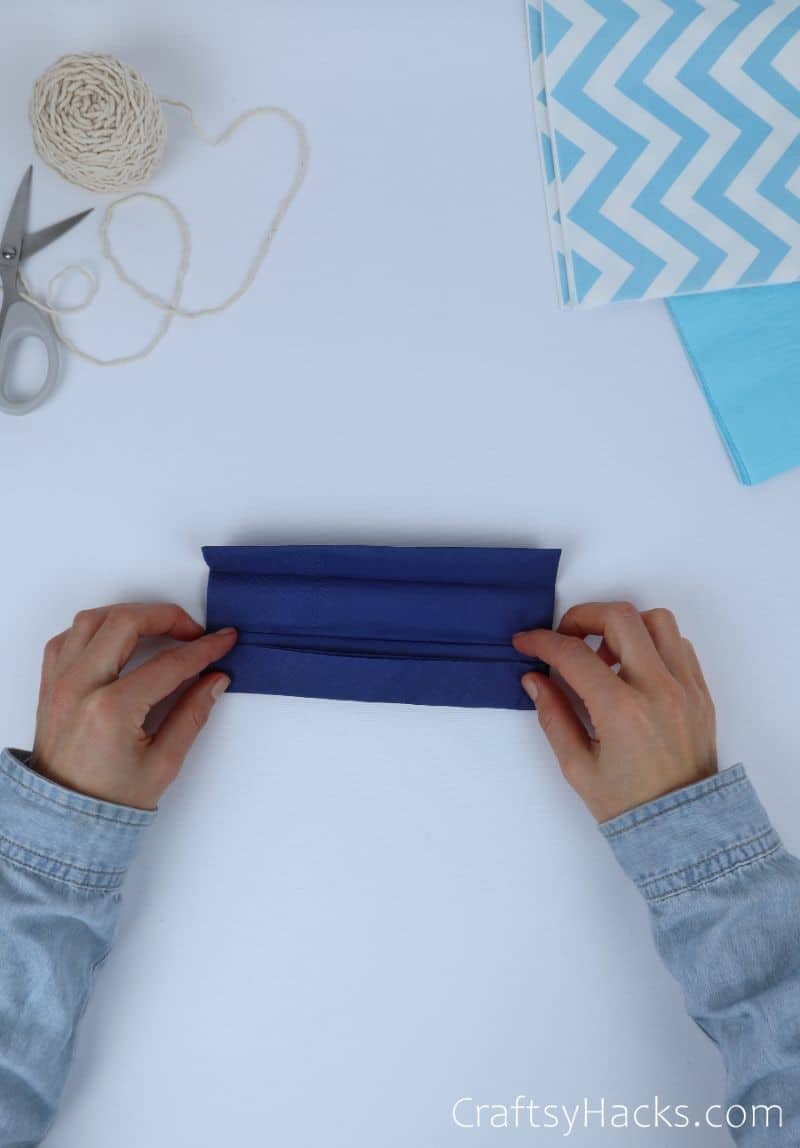
Step 2
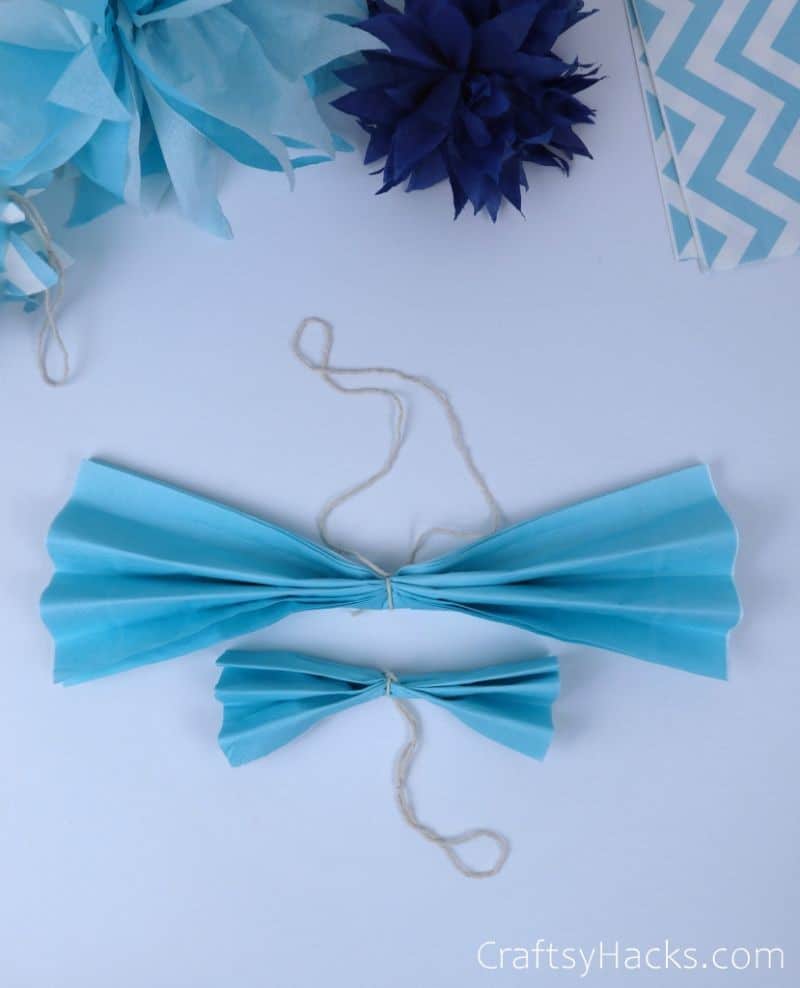
Take a folded square of tissue paper and do a “fan fold.” Pick up the edge, fold it about a sixth of the way in, then pick up that edge and do the same thing.
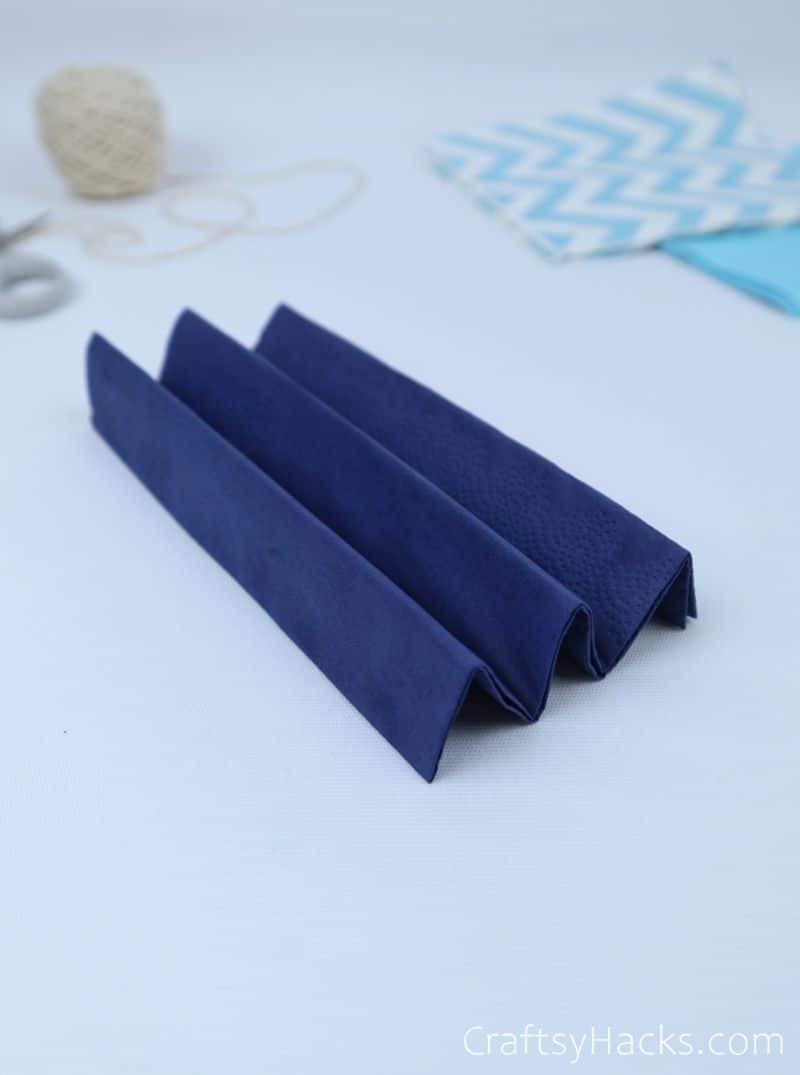
Continue doing this until you have a corrugated shape.
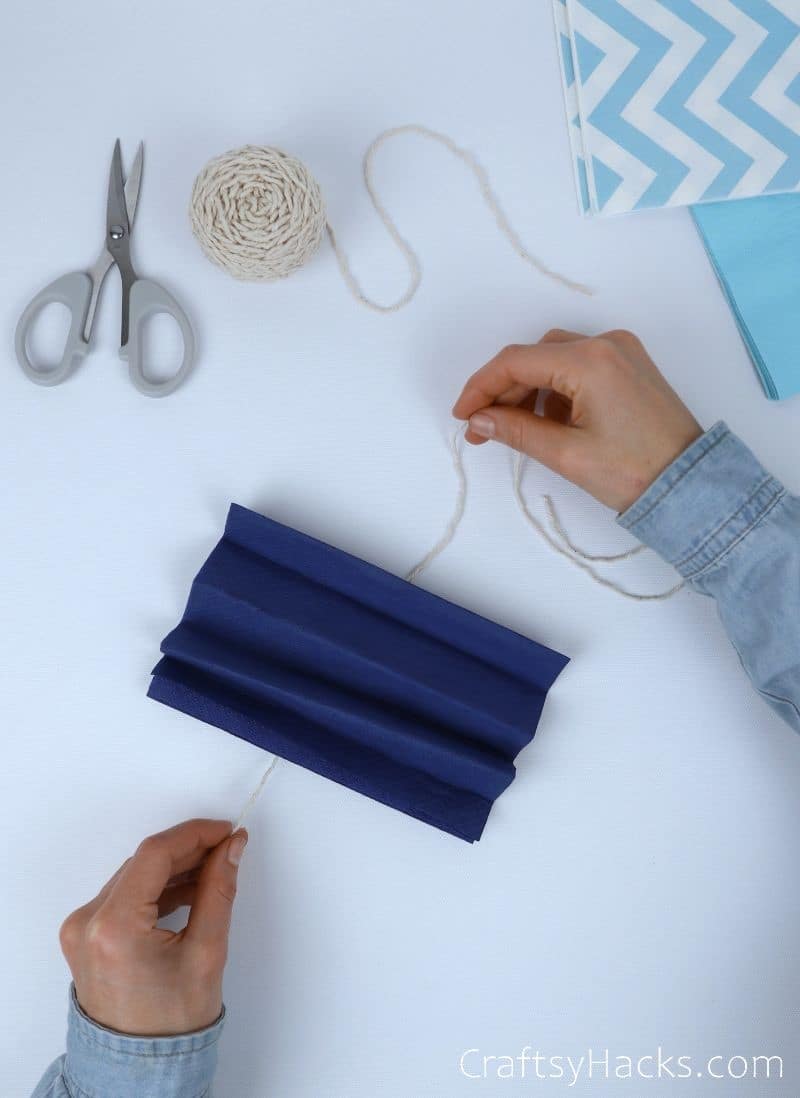
Step 3
Next up, whip out your yarn and cut an appropriate length. The right size will depend on how you’re hanging these since this is the string that will suspend your pom-poms once finished.
I went with a piece of string the length of my forearm. Better to have more than you need than not enough, am I right?
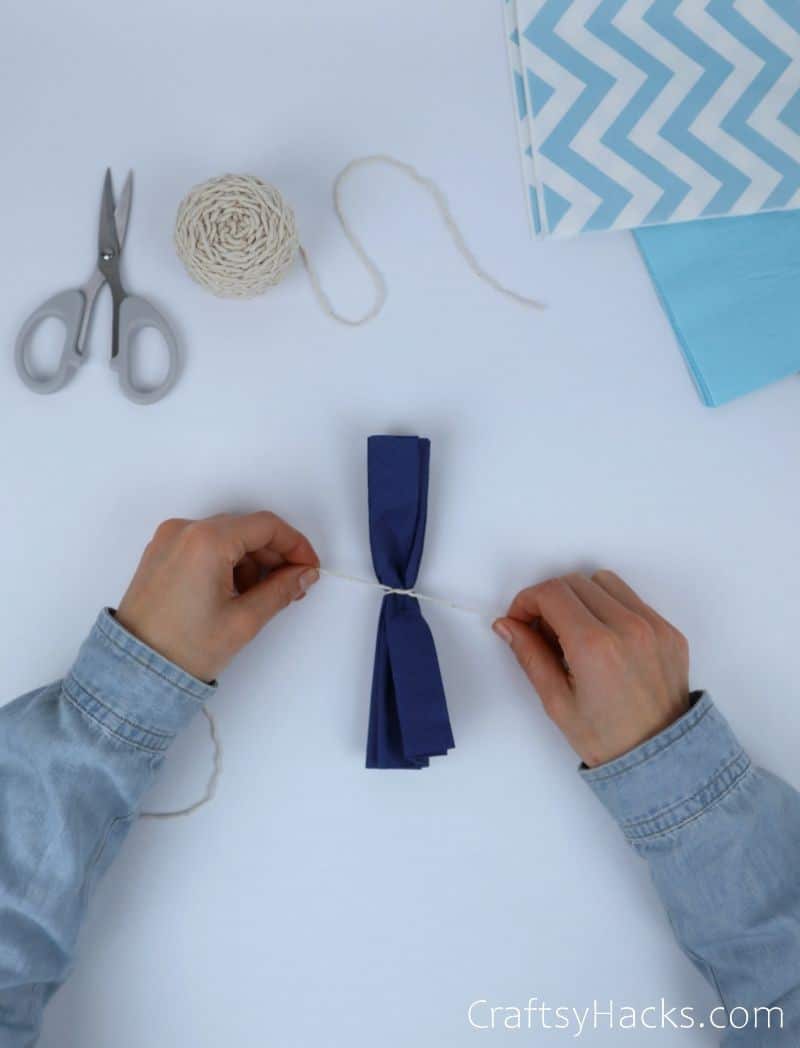
Step 4
Tie the yarn around the middle of your folded tissue paper, twisting and tying it securely. The ends of the tissue paper should be fanning out on their own just a bit.
Step 5
Slice off the shorter end of your yarn, leaving the rest for when you suspend the finished product. If you’re not hanging the pom poms, feel free to cut both ends off, leaving just the knot.

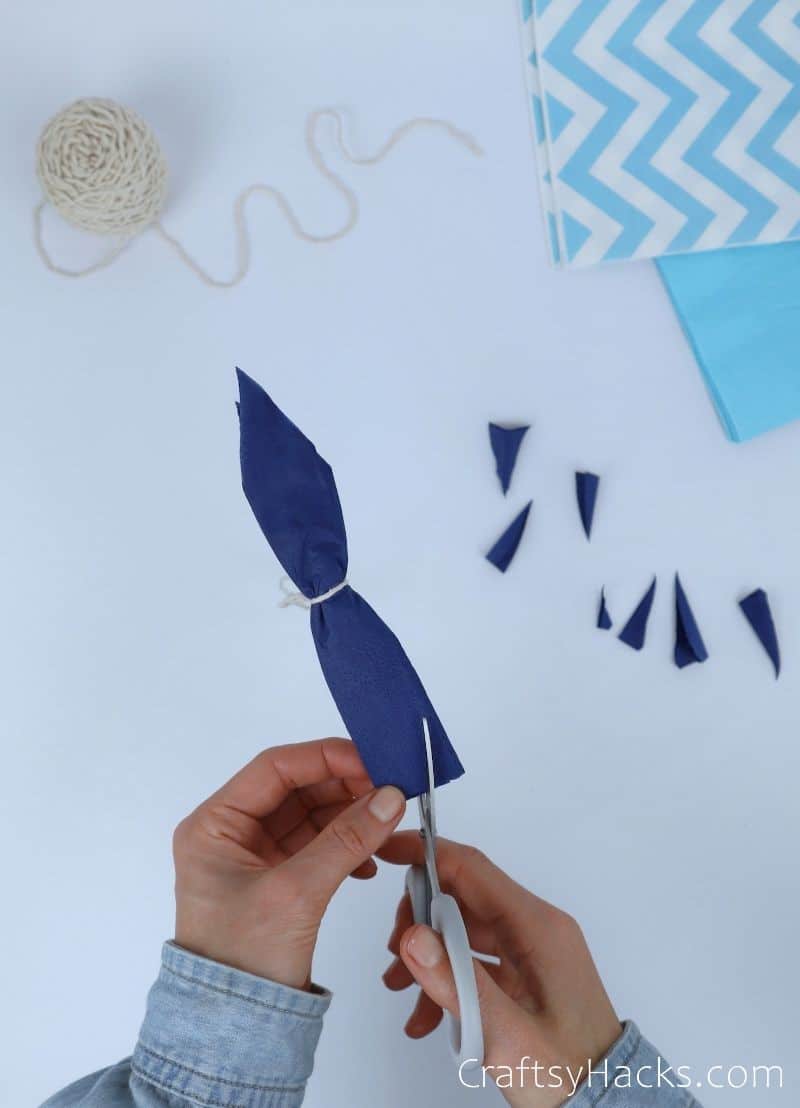
Step 6
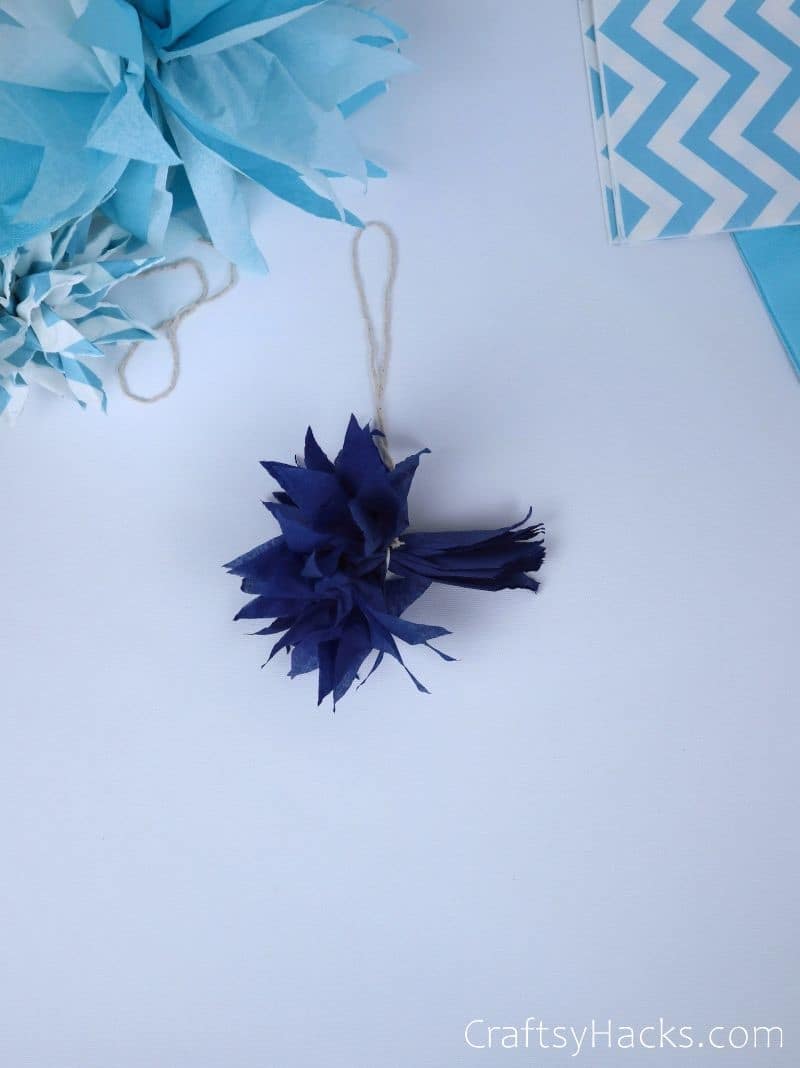
Now, it’s time to add some flair! Grab your scissors and get to work on the ends of the tissue paper bundles. Slice it any way you want to create some interesting shapes.
Once the pom poms are flared out, these shapes will take on a whole new dimension. So, don’t be afraid to experiment!
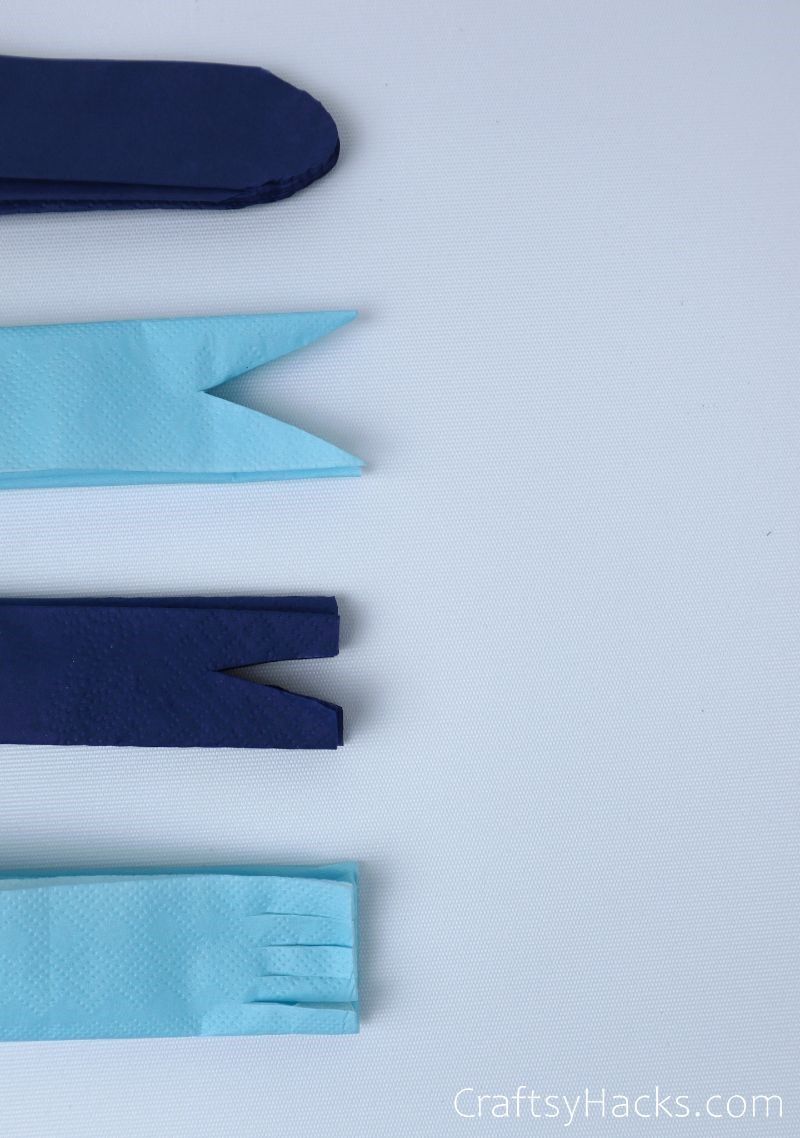
If you’re stuck on some ways to trim the ends, I tried four different styles below. Give them each a go and see which you like best, or vary the shapes for a wilder, more dynamic decoration.
Step 7
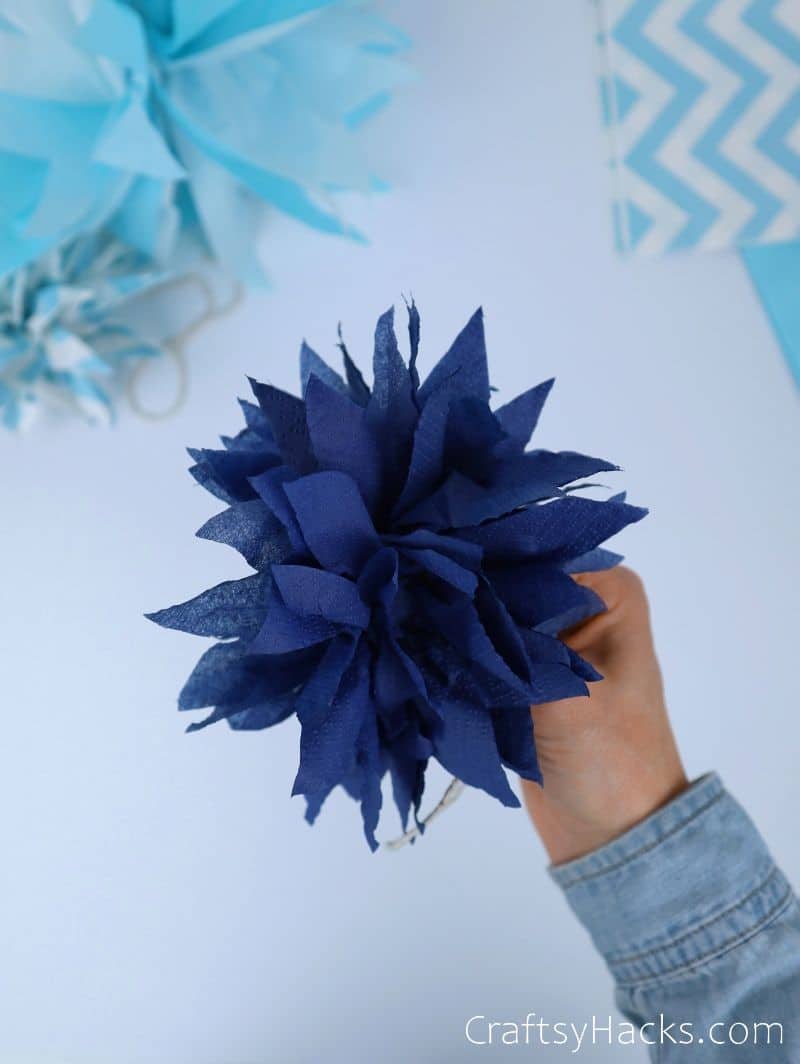
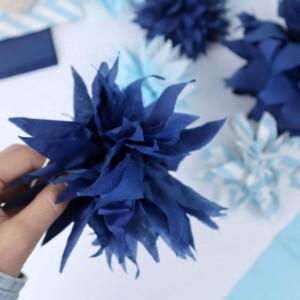
Now, it’s time to give our pom-poms some of their characteristic “fluff.” Start by spread out the “fan” shape we created with the folds; just start on one side as I have below.
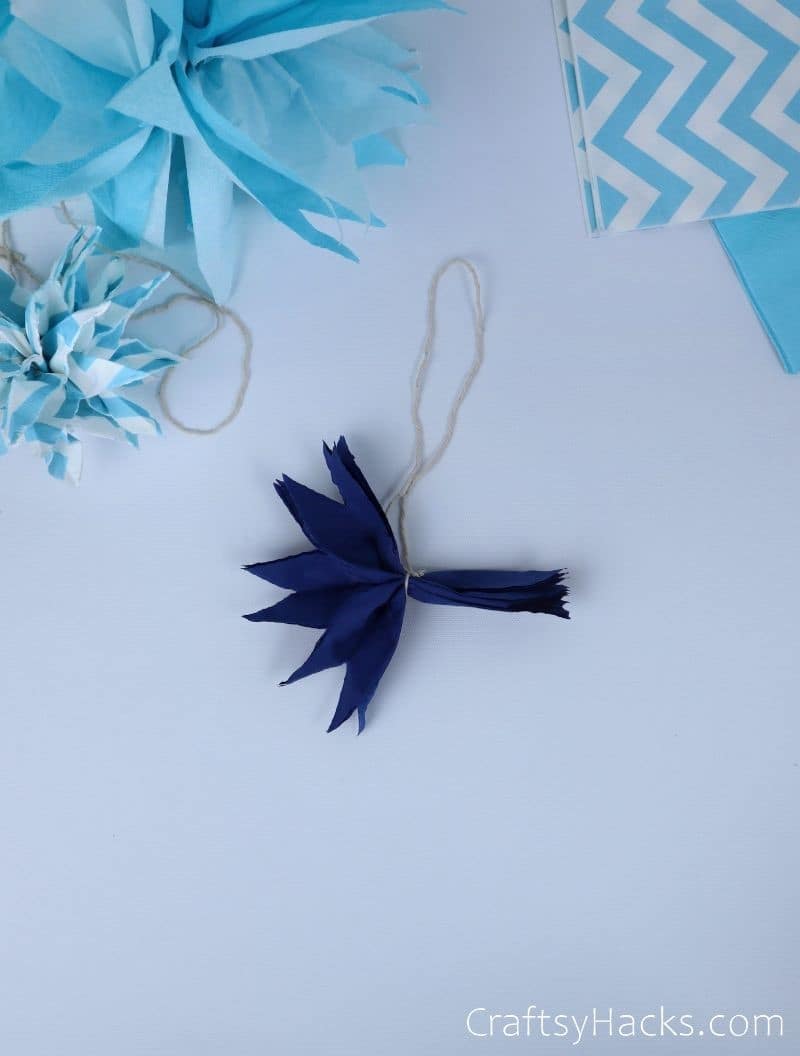
Once you have the folds spread out, go in and separate each sheet of tissue paper from the others. The shape of each sheet is how we get that coveted feathered pom-pom effect!
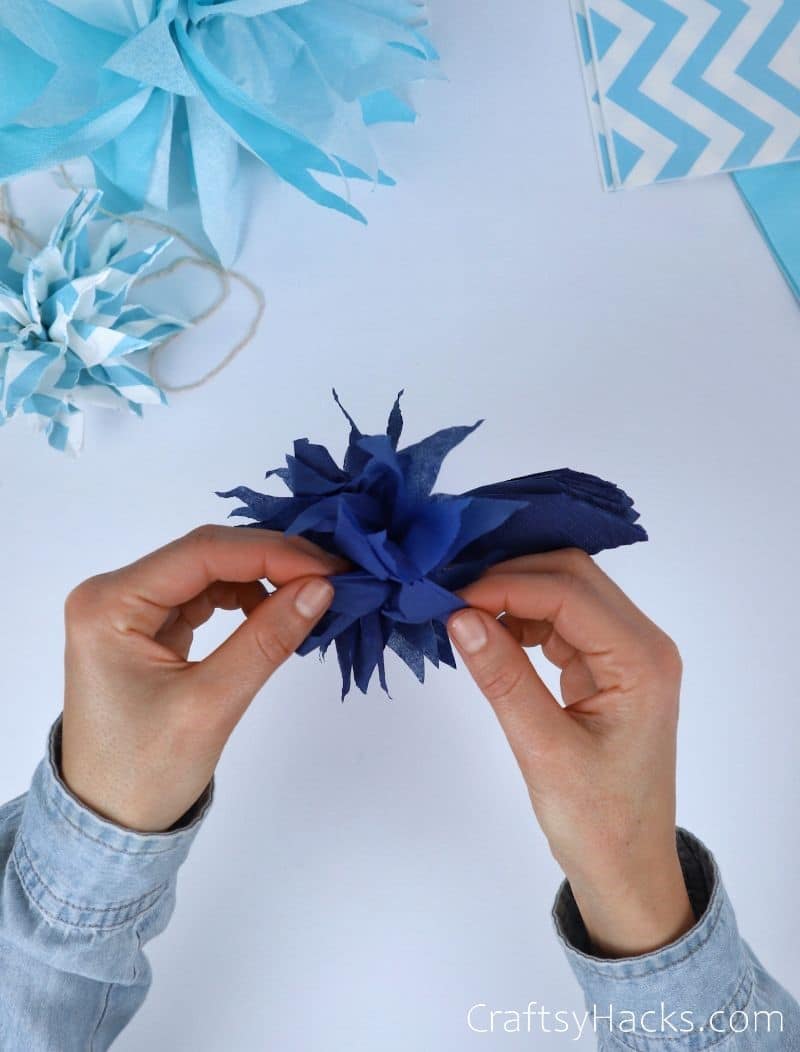
Step 8
Once you’re done with the first side, get cracking on the other side. The key is to try to match the sides in terms of volume, as this will give you a rounded, ball-like shape. In other words, a pom pom!

How to Make a Paper Pom Pom of a Different Size?
Varying the pom-pom sizes makes for a more exciting decoration (after all, repeating the same size can look a little uniform). If you’d like to try it, simply spread out your tissue paper and layer it.
This should give you a lot more volume to work with. You can even go in the opposite direction and make smaller pom poms by removing some tissue paper layers. The sky’s the limit!
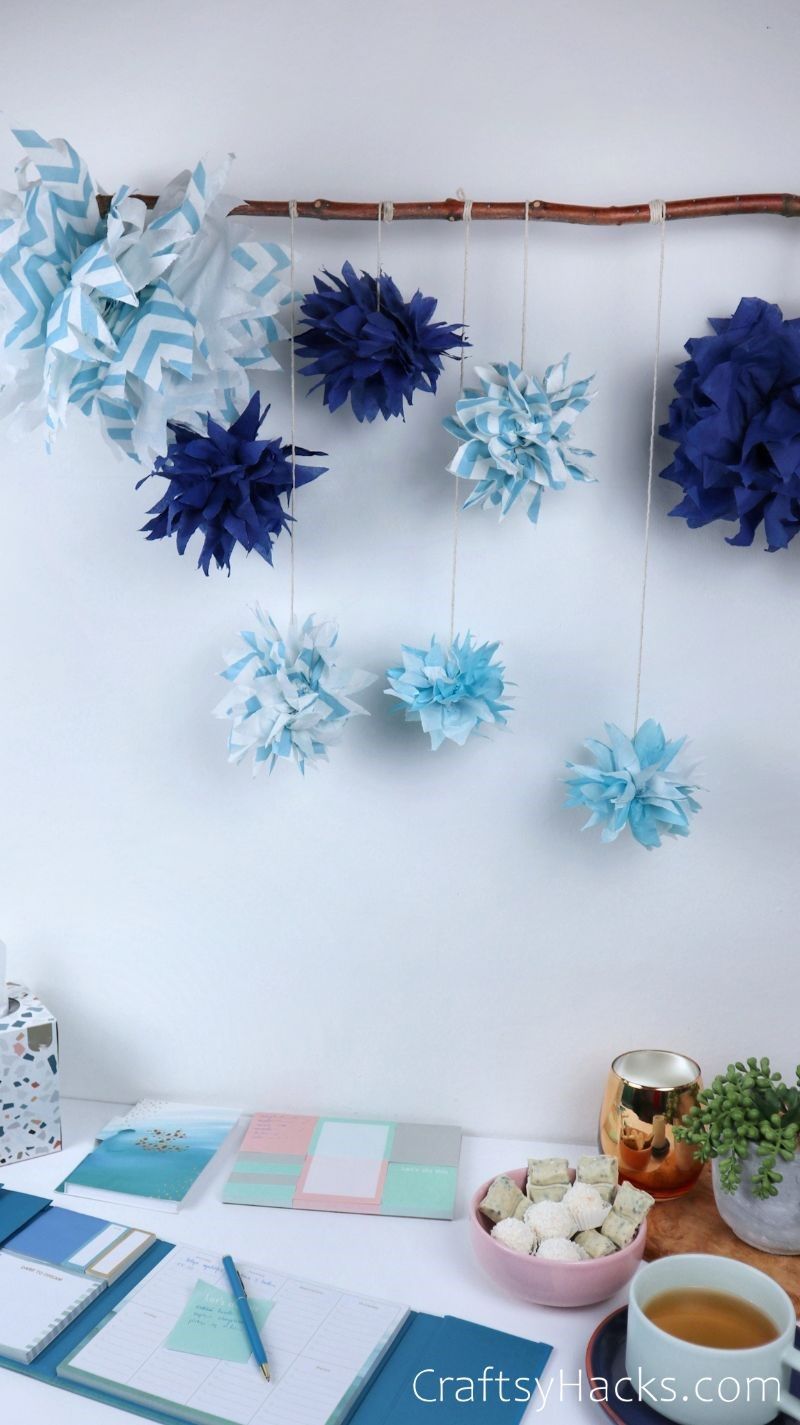
How to Use Pom Poms for Decorating
If you’re stuck for ideas, don’t worry, I’ve got your back. As I’ve said, these are some of the most versatile decorations, and you can tailor them to your needs.
Here are just some of the ways you can use these pom poms to take your décor to the next level:
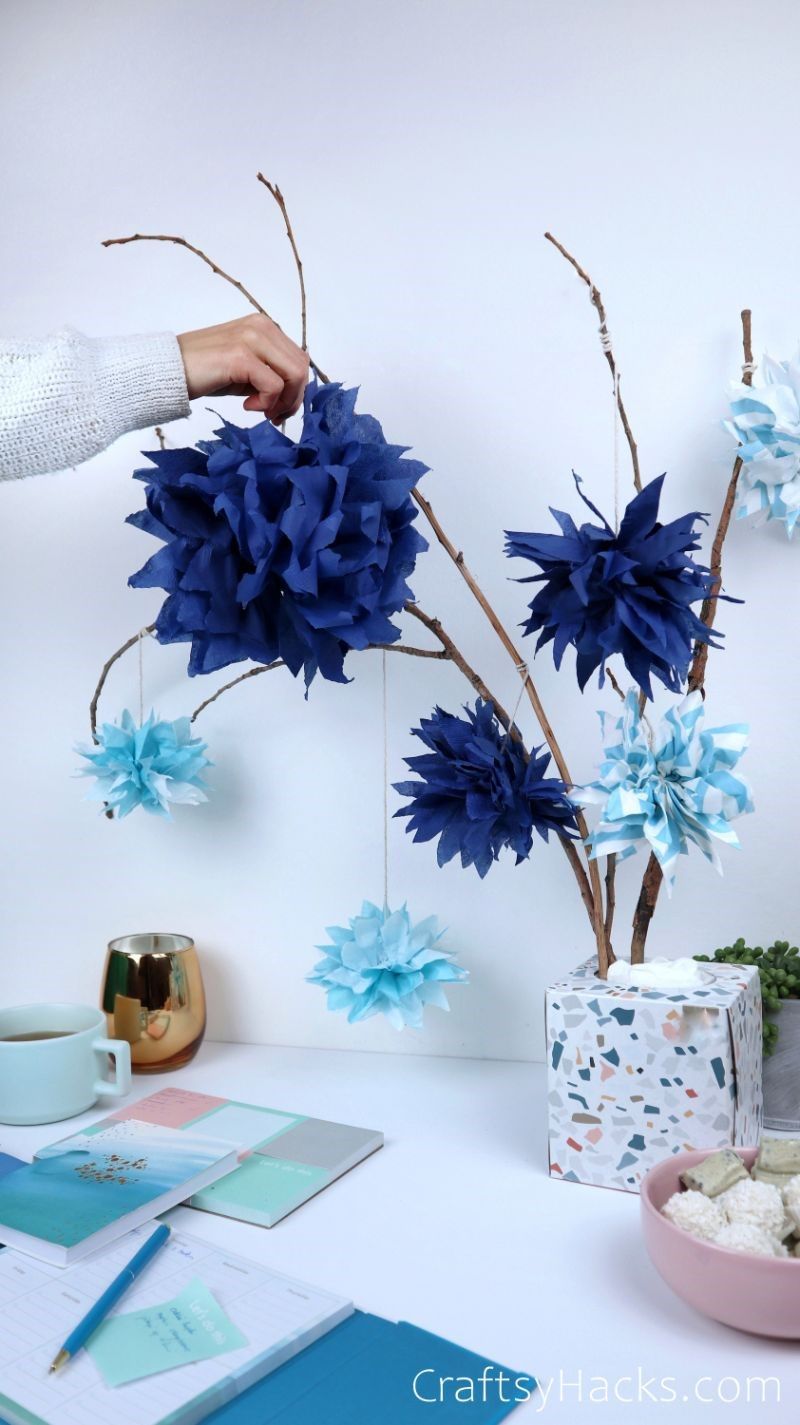
- Hang them from tree branches in a vase.
- Stick them to faux stems and arrange them like flowers. Not only will these never wilt, but I also dare you to find flowers like this out in the wild.
- Fill a glass pillar vase with many small pom poms in complementary colors for a unique, attractive centerpiece.
Do you have an idea I haven’t mentioned above? Tell me about it in the comments!
Other DIY Decorations We Love
- DIY Rock Photo Holders
- DIY Woven Bowl Out of Paper Plate
- 20 Dollar Store Decorating Ideas
- DIY Rope Coasters
- DIY Bottle Cap Candles
- 20 Dollar Store Party Ideas
- 37 Tissue Paper Crafts
How to Make Tissue Paper Pom Poms
Video Tutorial
Equipment
- Scissors
Materials
- Yarn
- 1 folded sheet of tissue paper
Instructions
- Take a piece of tissue paper that’s been folded into quarters and create a fan fold. Carry the edge forward and backward to create a corrugated effect.
- Cut a piece of yarn the length you want your pom-pom to hang, plus a few inches. Tie this around the middle of the tissue paper in a tight knot. Snip off the shorter end.
- Grab your scissors and cut the ends of the tissue paper into any shape you like (some options are in the explanation above).
- Then, fan out both ends of the tissue bundle to create that characteristic pom-pom shape.
- Voila! Vary the size, color, and length of these to create a truly unique decoration for any spot in your home.


Umm, I kinda sped through the video and instructions, how many sheets per pom pom did you use?
Hi,
just one sheet of tissue paper like you’d get in the store all folded up in quarters.