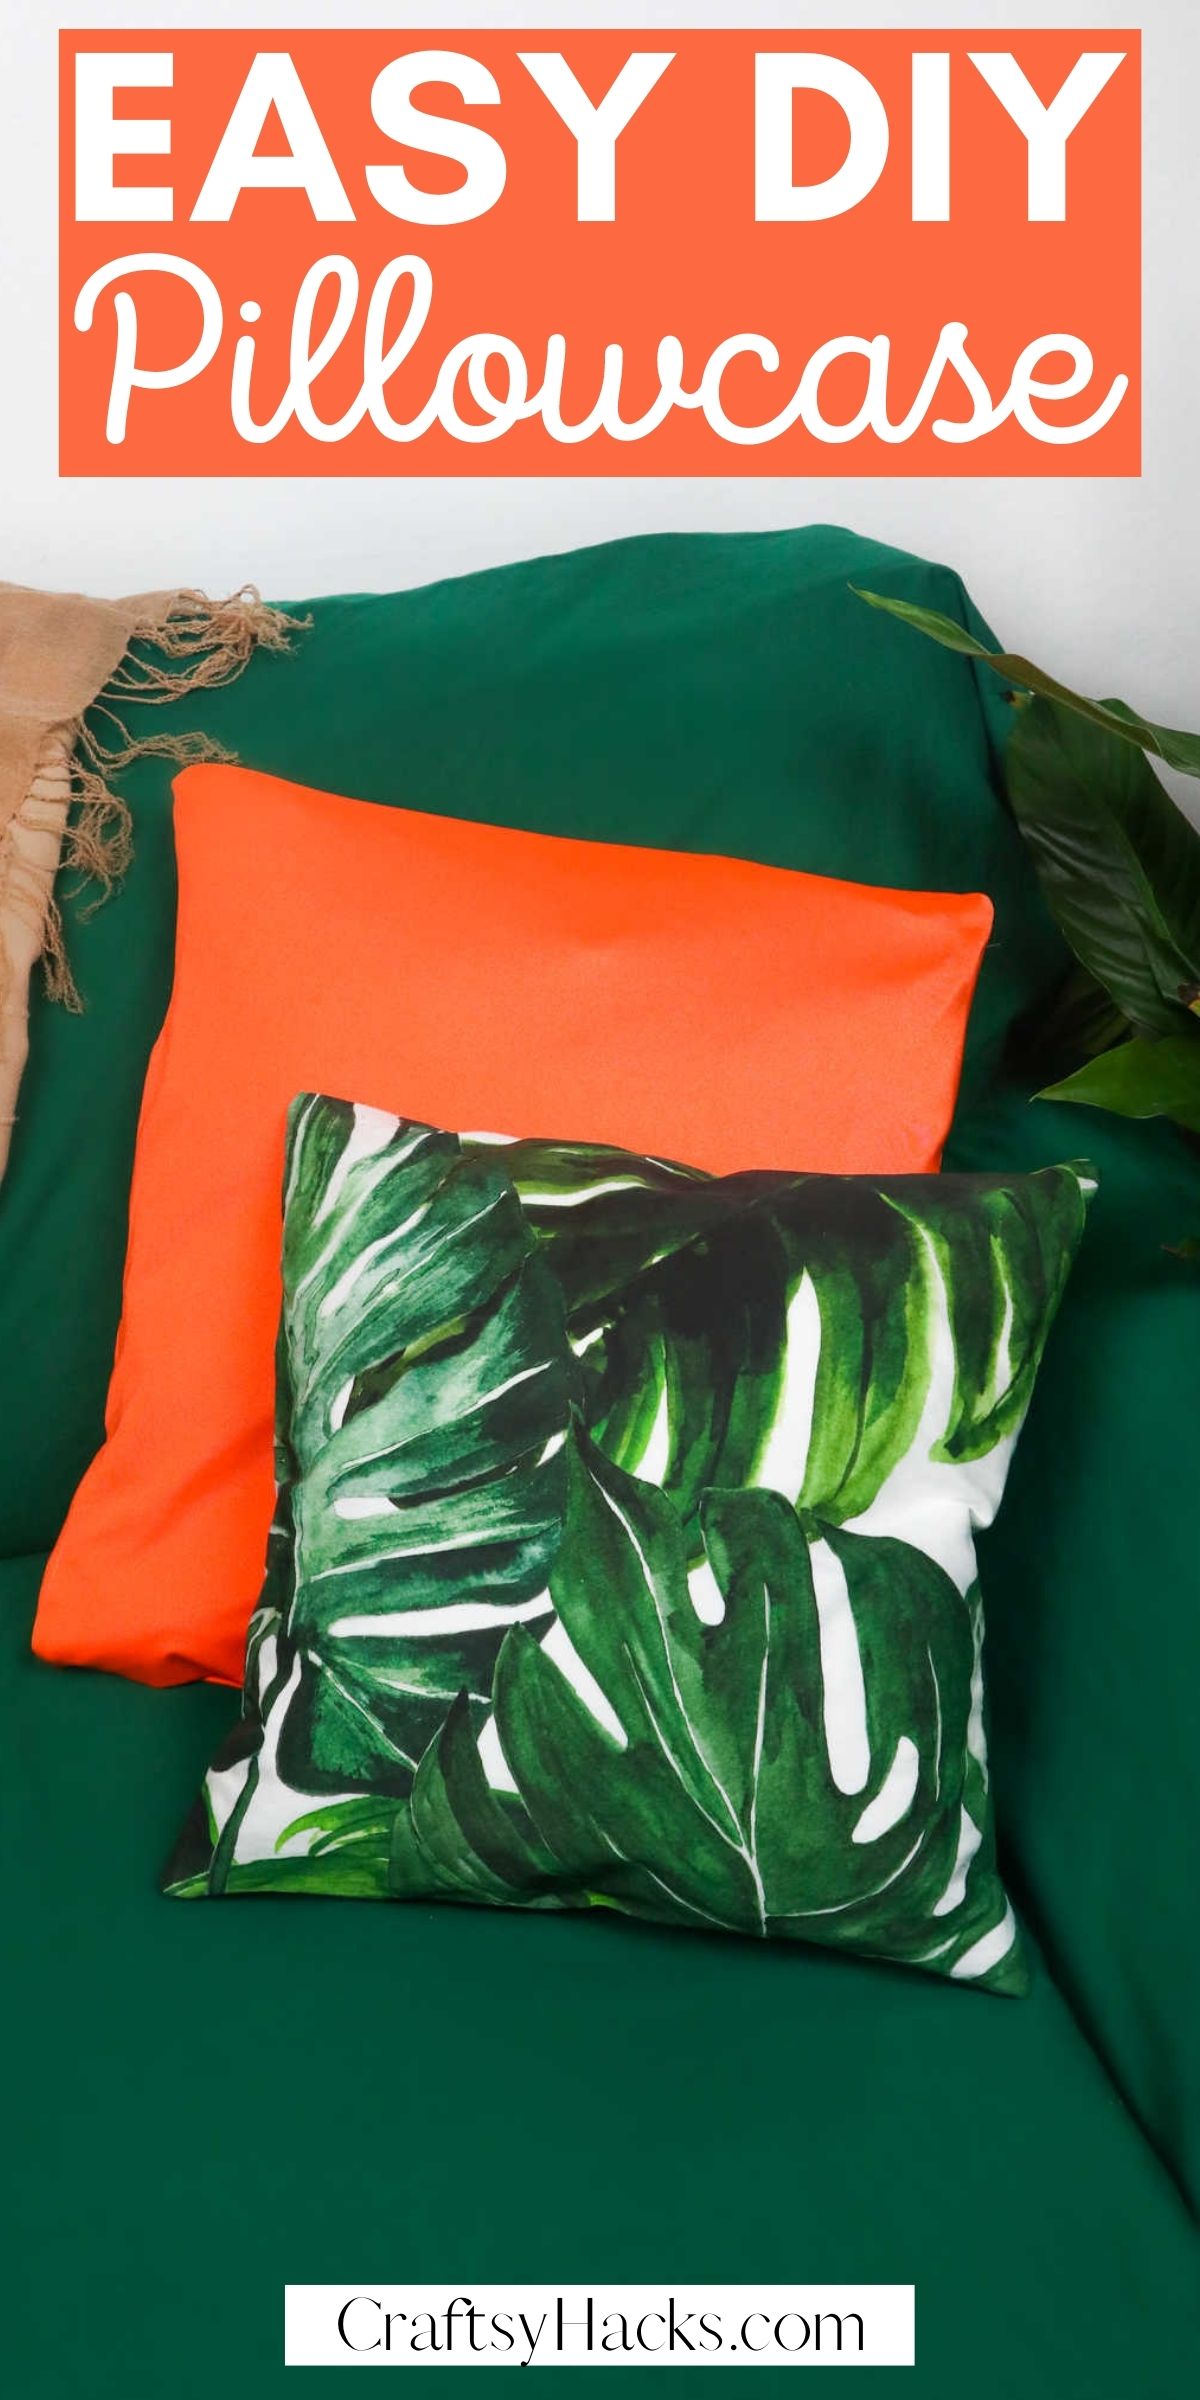
How to Make a Pillowcase (Step-by-Step)
This post may contain affiliate links: full affiliate disclosure.
New to sewing and need an easy project? Or just looking for a practical craft to make for your bedroom or living room area?
These DIY pillowcases are fun and easy to make. A great beginner-friendly sewing project that will get you going.
You know that feeling when you walk into your living room one morning, look around you, and everything just feels…the same? If you’re starting to feel bored with your decor then it’s time for a change and I know just where you can start making those changes: pillowcases!
New pillow covers or cases can instantly change the entire tone of the room. It’s the easiest way to add color, texture, patterns, and even make a statement, so to speak.
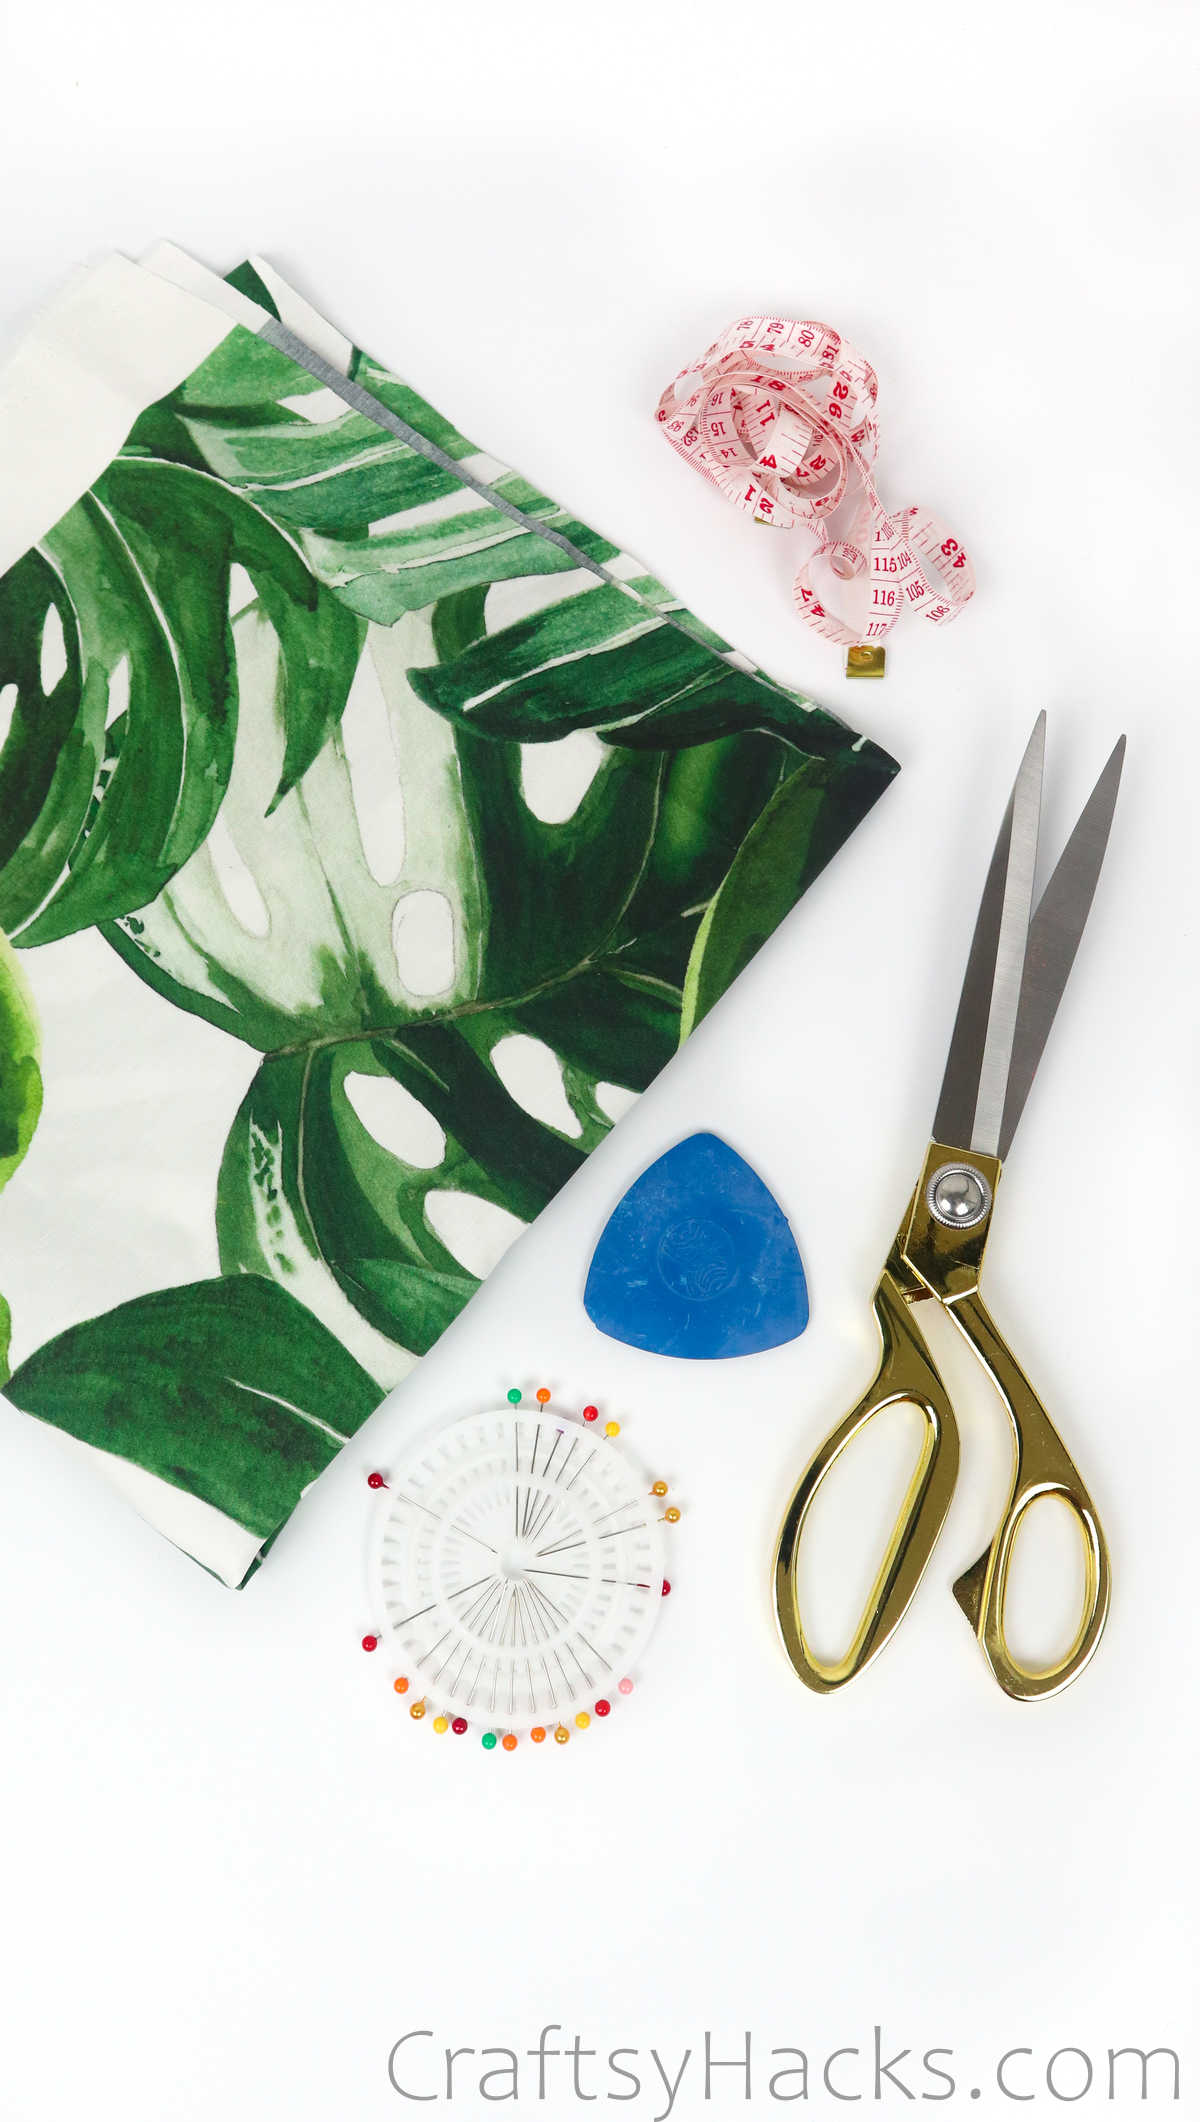
If you’re ready to begin, then start gathering the following list of supplies and tools you’ll need!
Supplies and Tools You’ll Need
- Cotton fabric
- Tape measure
- Scissors
- Sewing pins
- Tailor’s chalk
How to Make a Pillowcase
Here is the step-by-step tutorial on how to make these pillowcases happen.
Video Tutorial
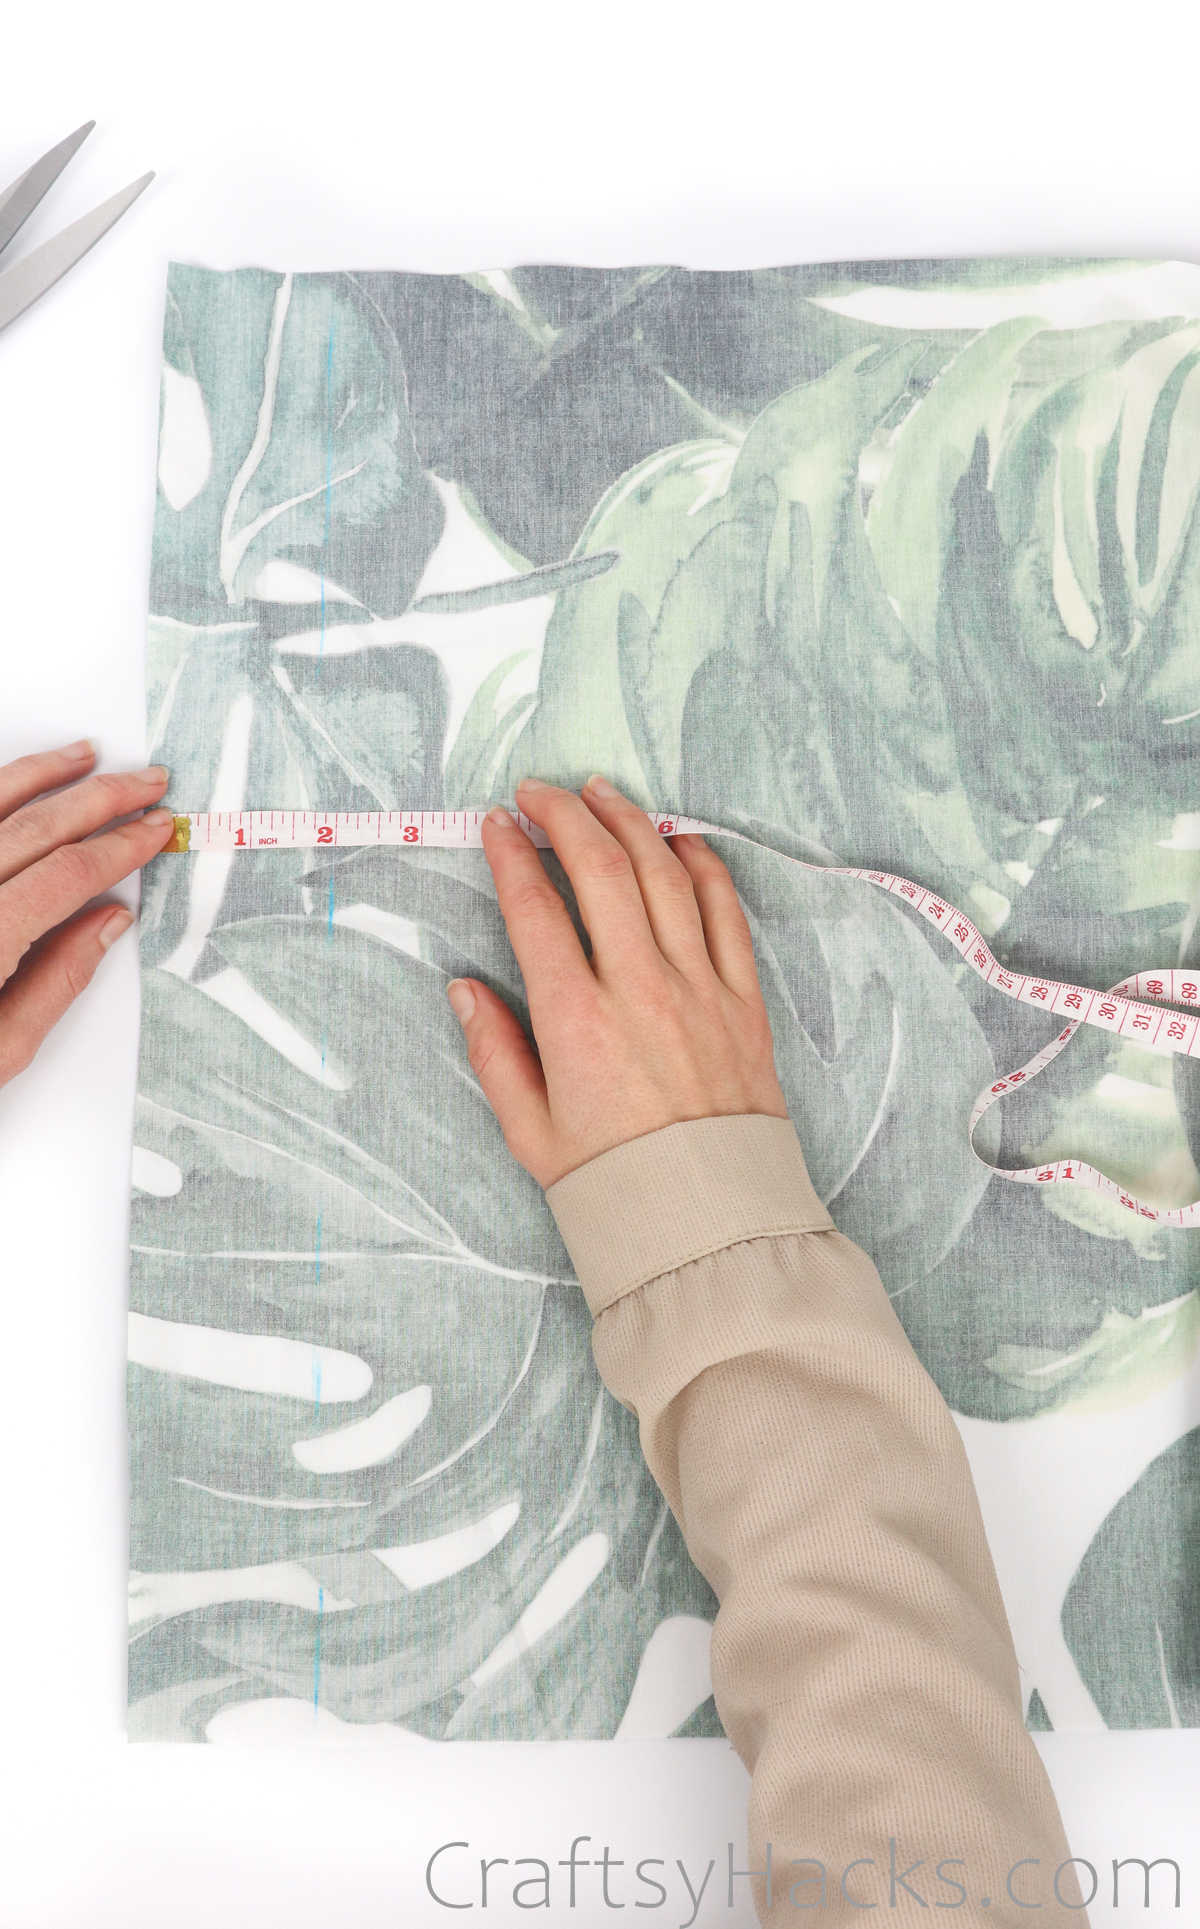
Step 1
The first step is to measure your pillow insert. But before you do, remove the existing case., then grab your measuring tape and measure across both sides.
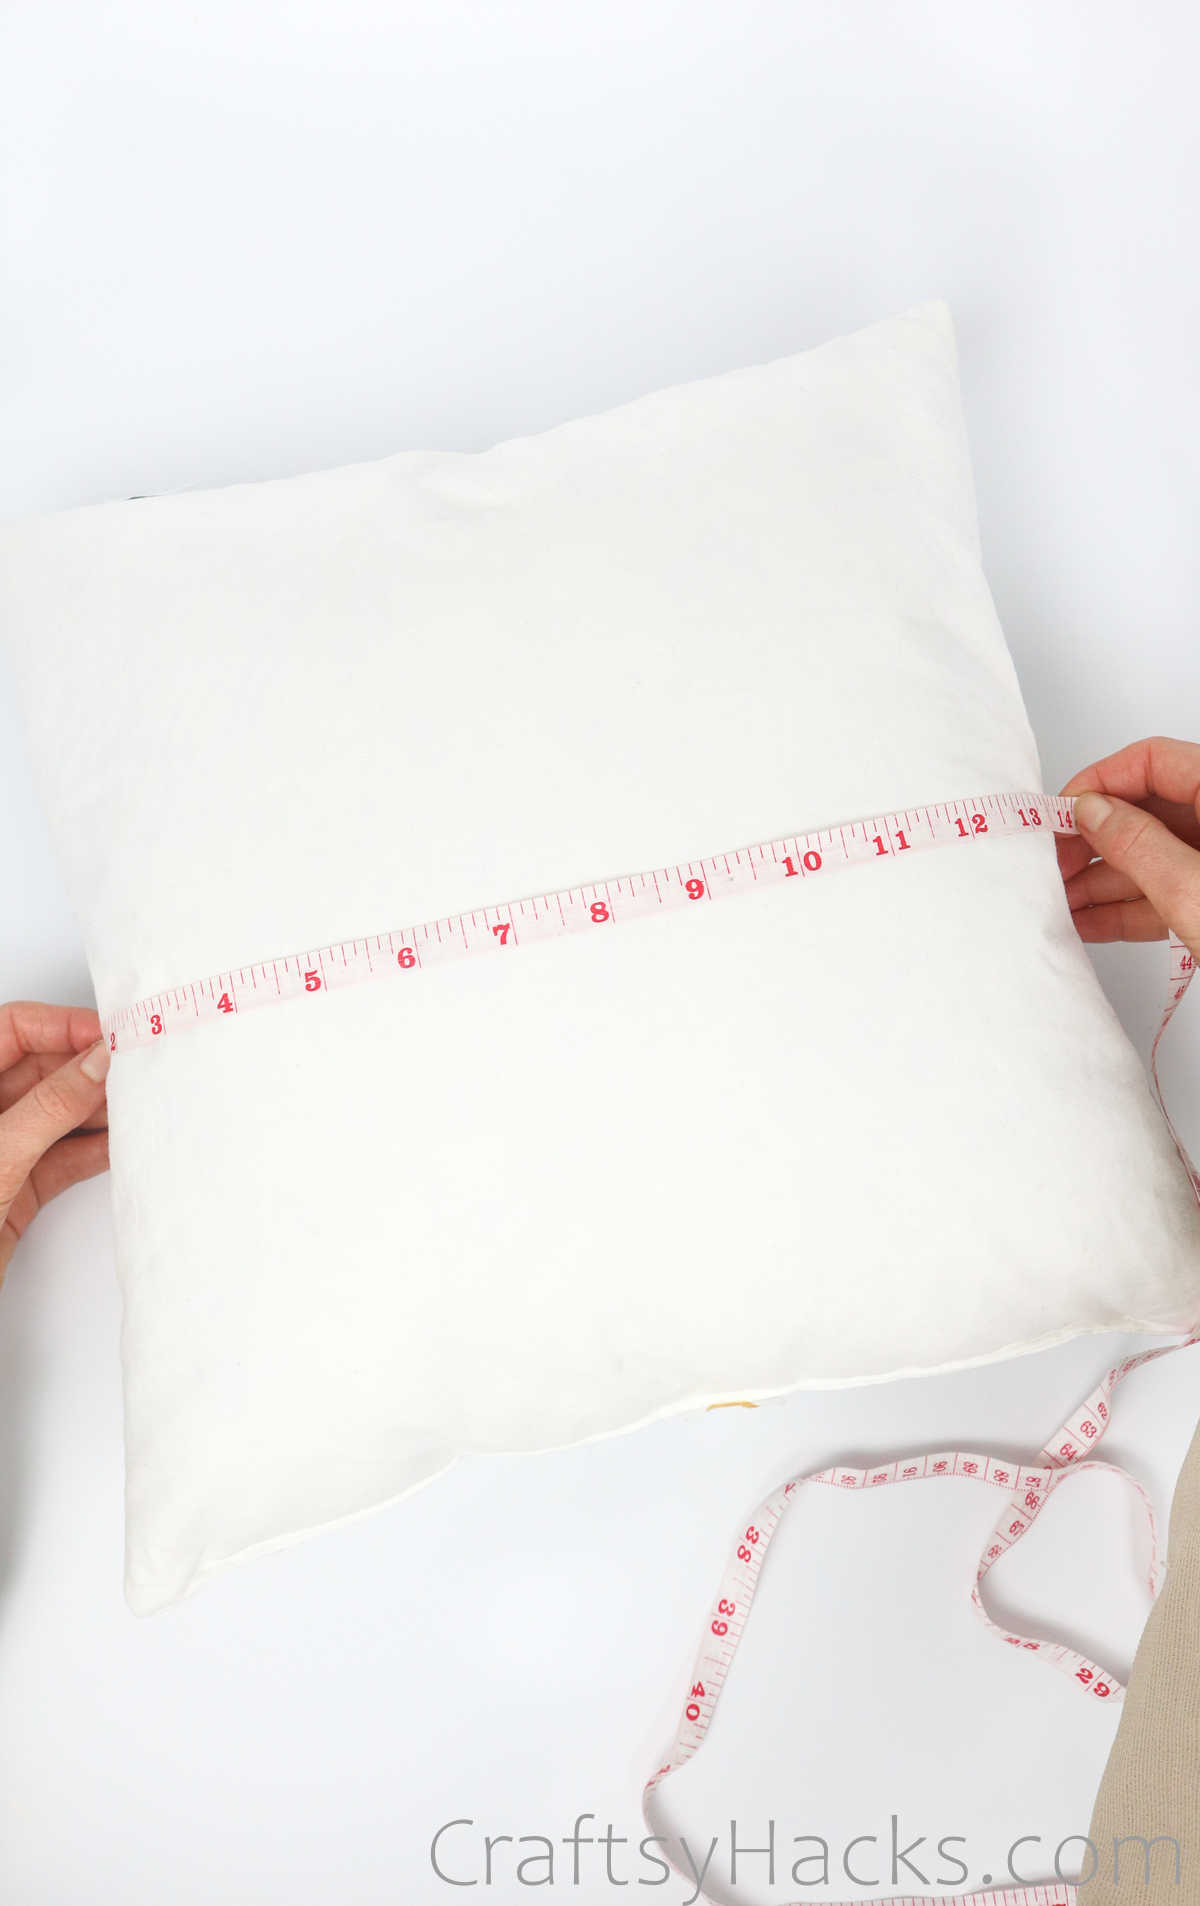
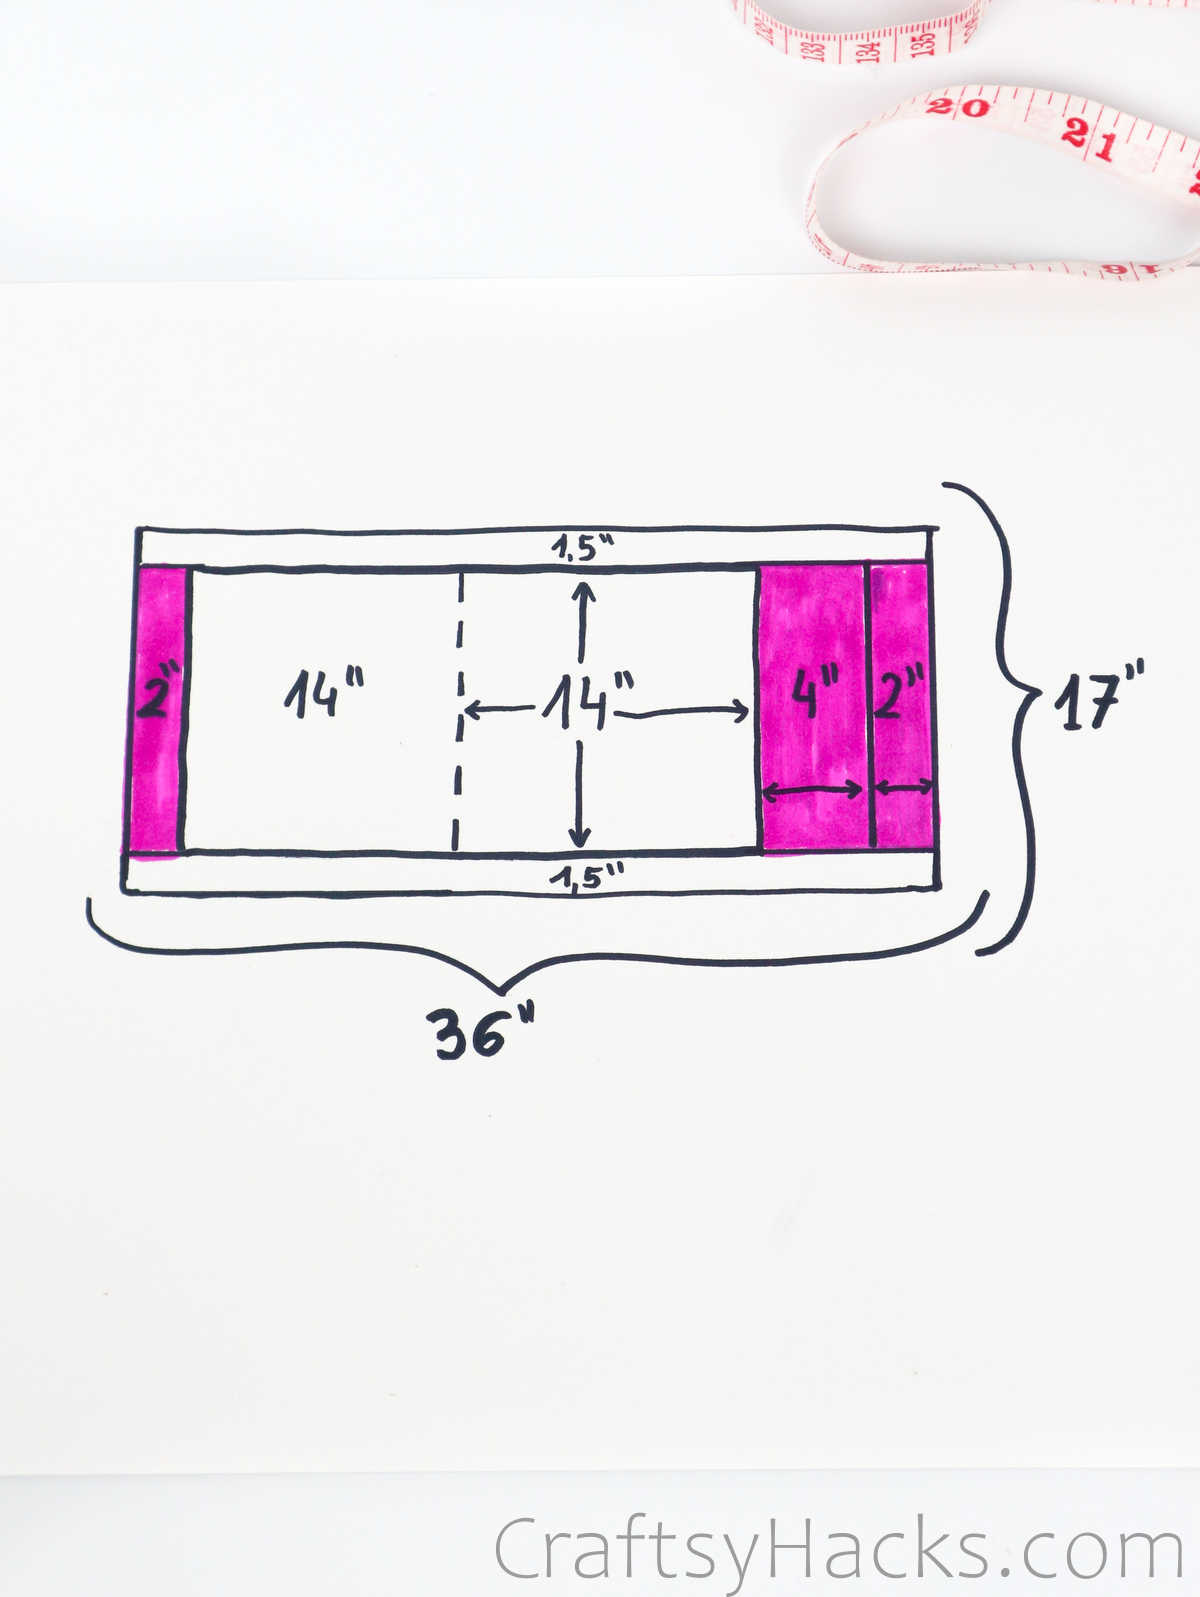
Here’s a simple template to help you work out exactly how much fabric you’ll need for your pillowcase. Let’s just assume for a minute that your pillow insert is 14” both ways across.
You will need two square swatches, each 14” in length and breadth.
So you will need 2” inches to the left, plus 4” on the right, lined up with another 2”. Your entire length should be 36” As for the width, allow two long strips, each 1.5” wide, and 36” long for the sewing allowance. So that brings your width or height to 17”.
Step 2
That was the hard part, trust me. Next, grab some tailor’s chalk and make the markings on the fabric so they reflect the measurements you need.
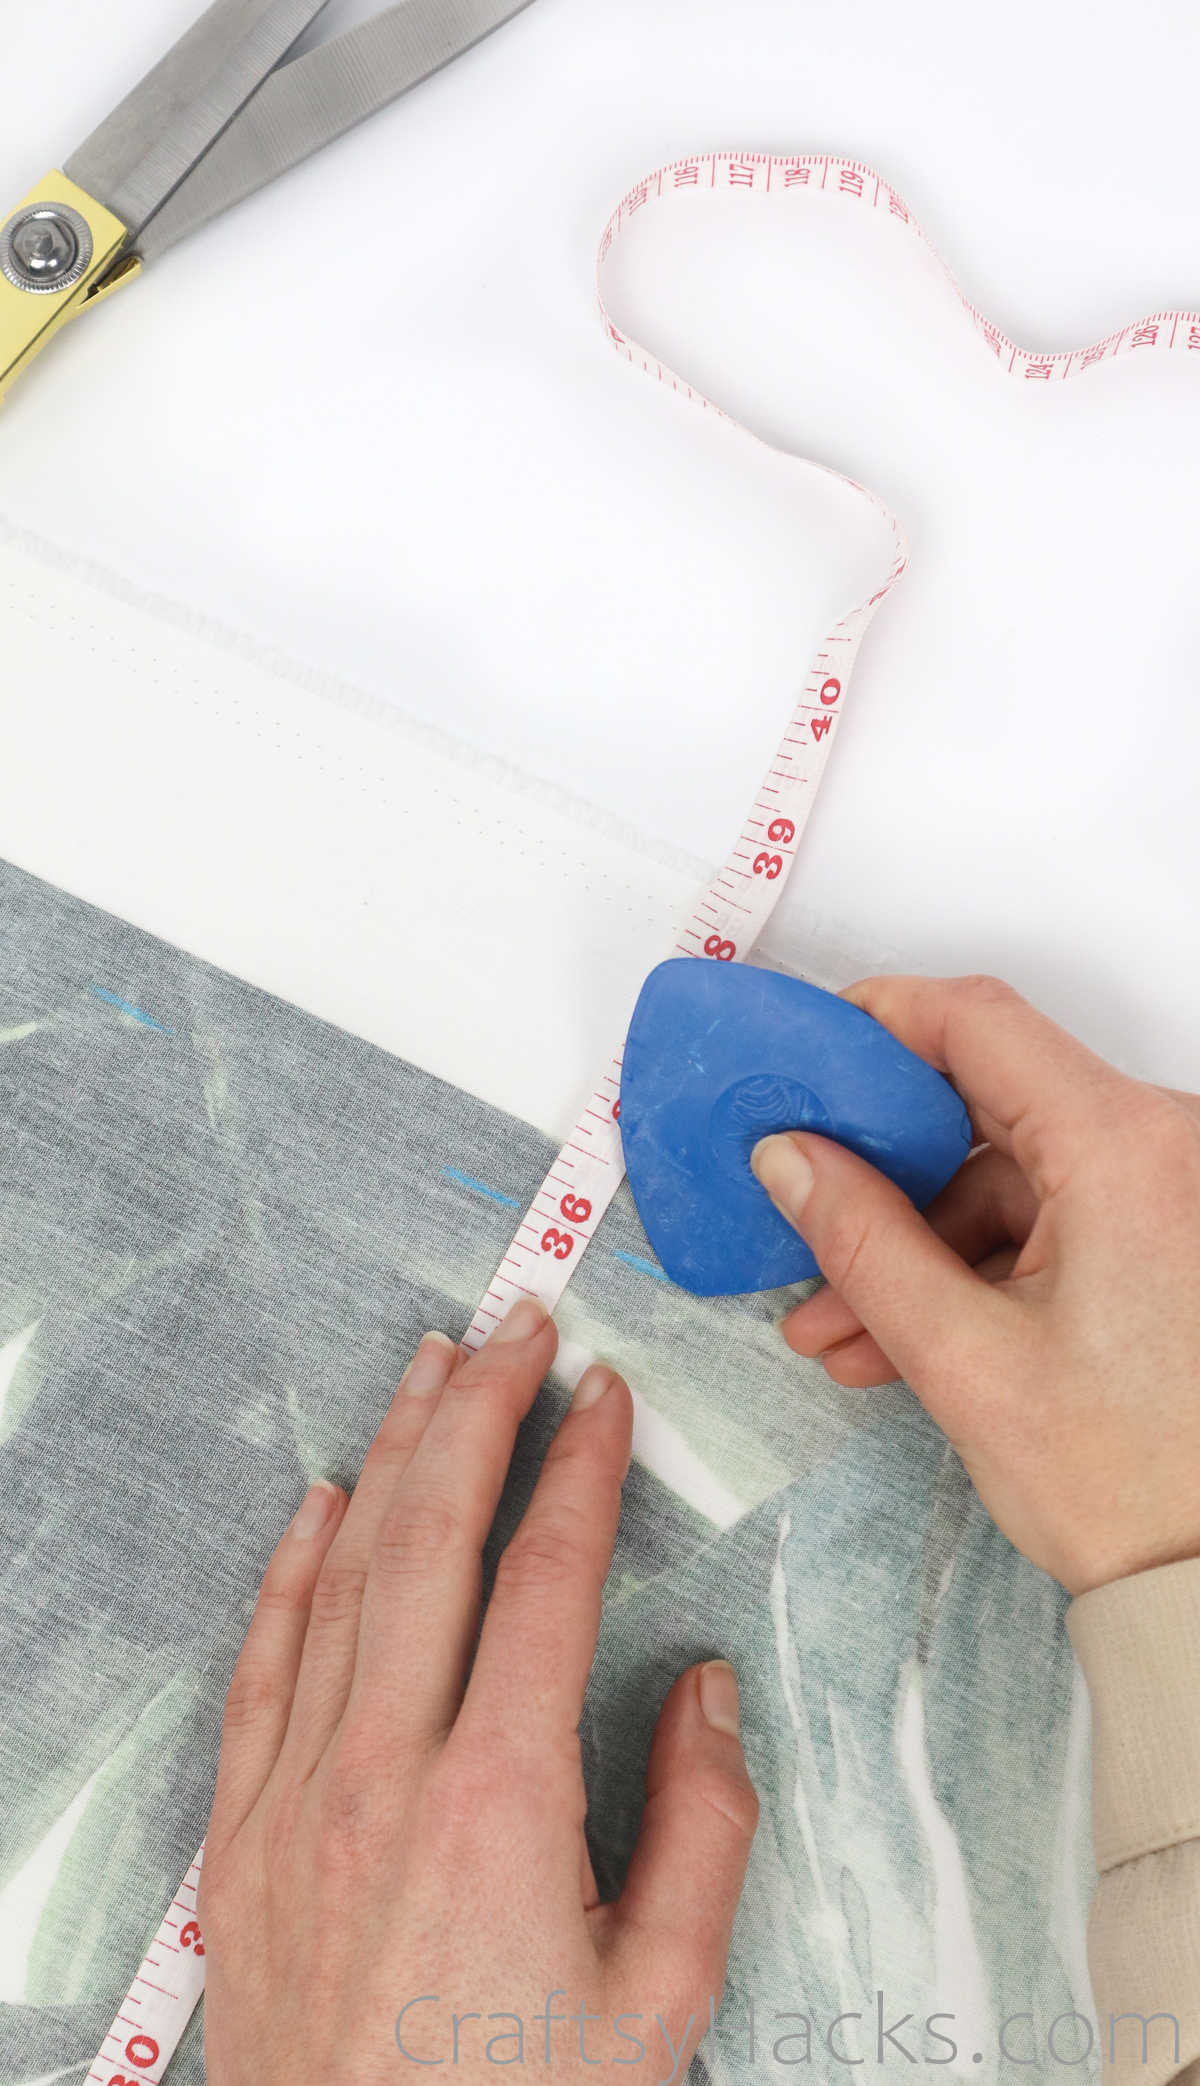
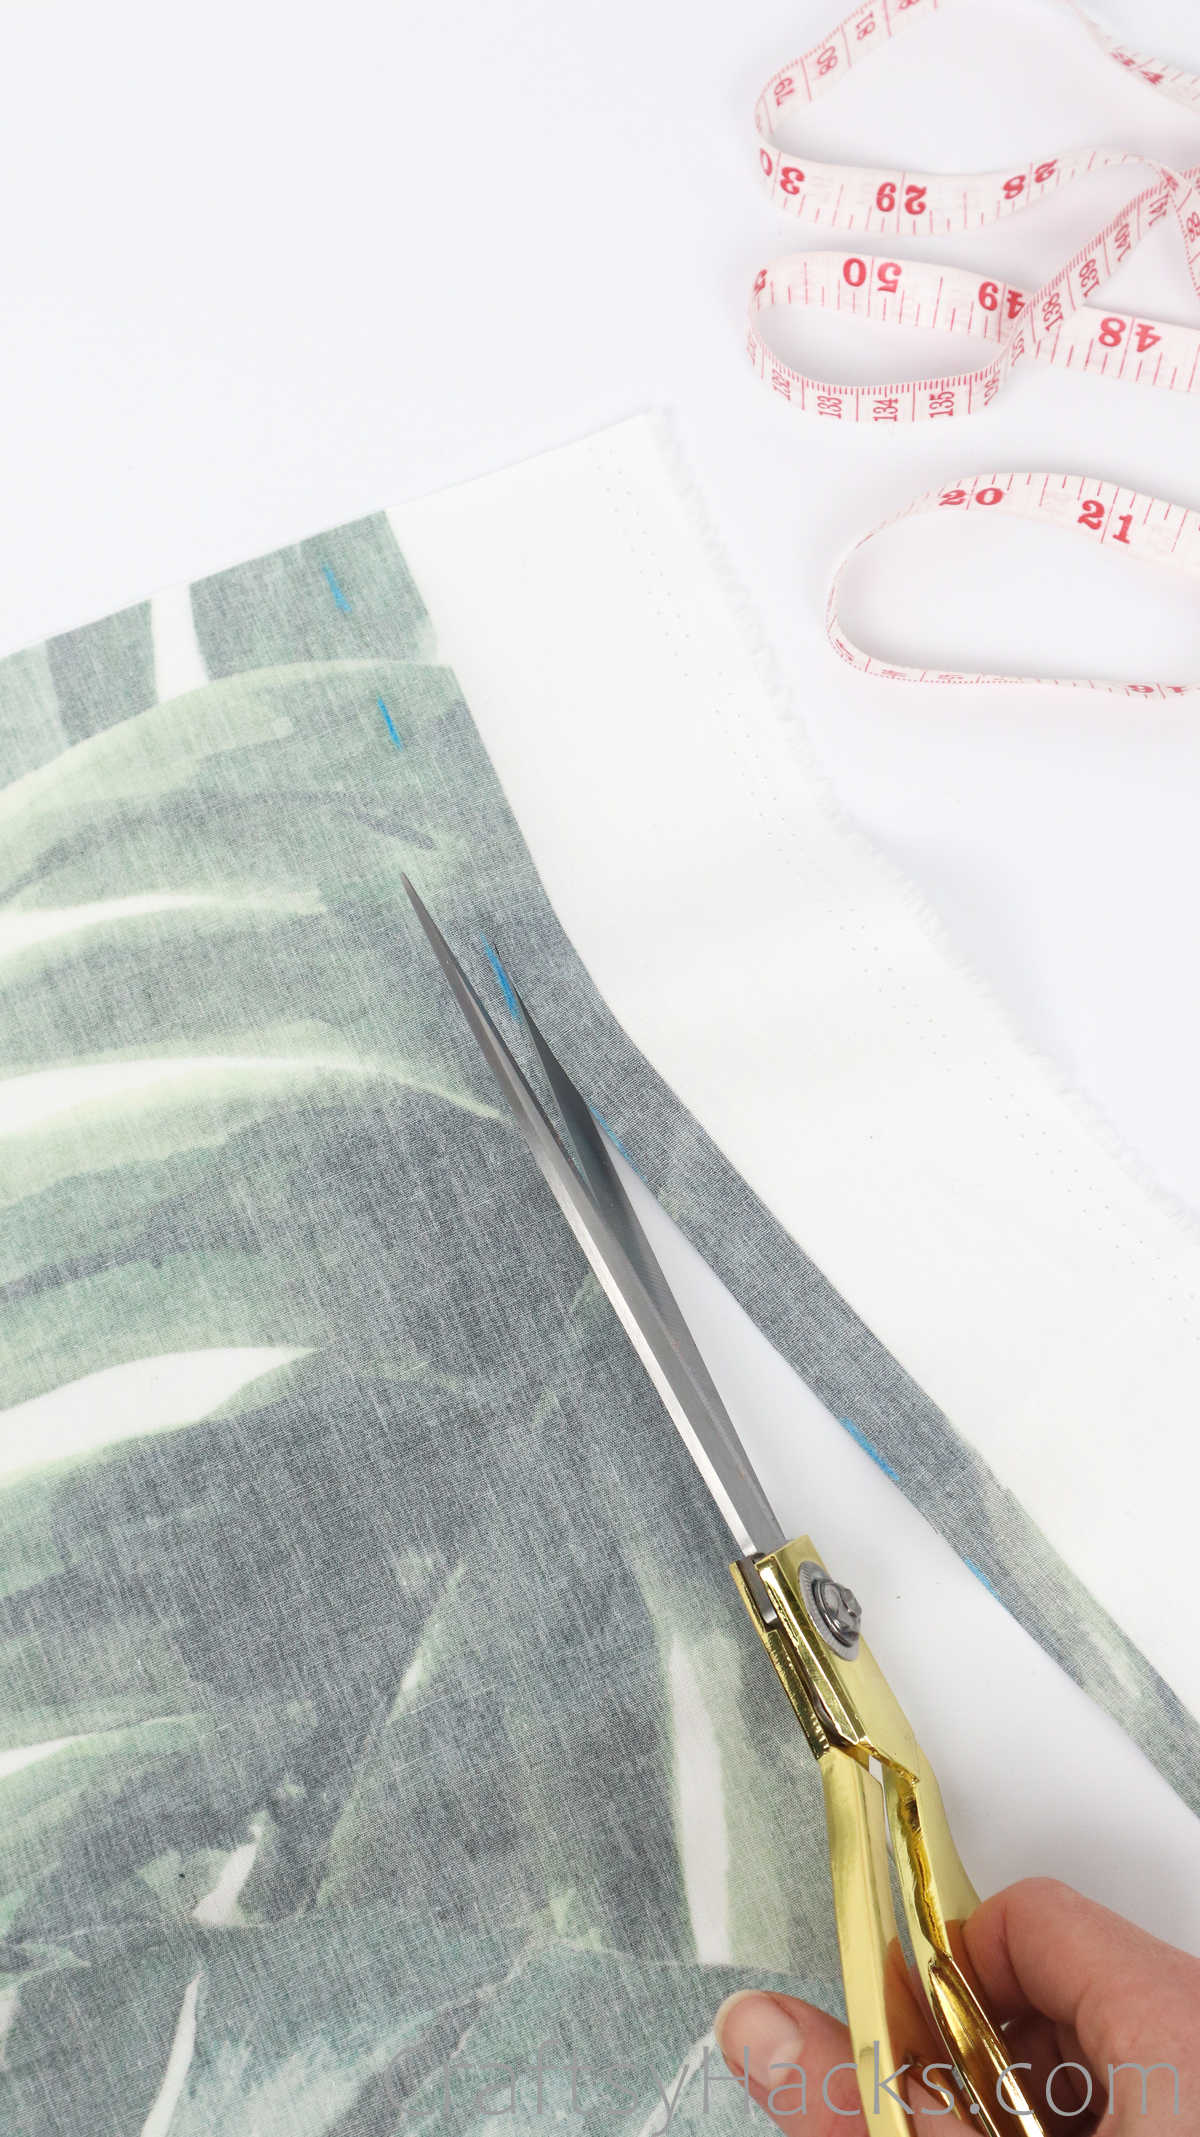
Step 3
Now grab a pair of scissors and just cut one complete piece, 36” x17”.
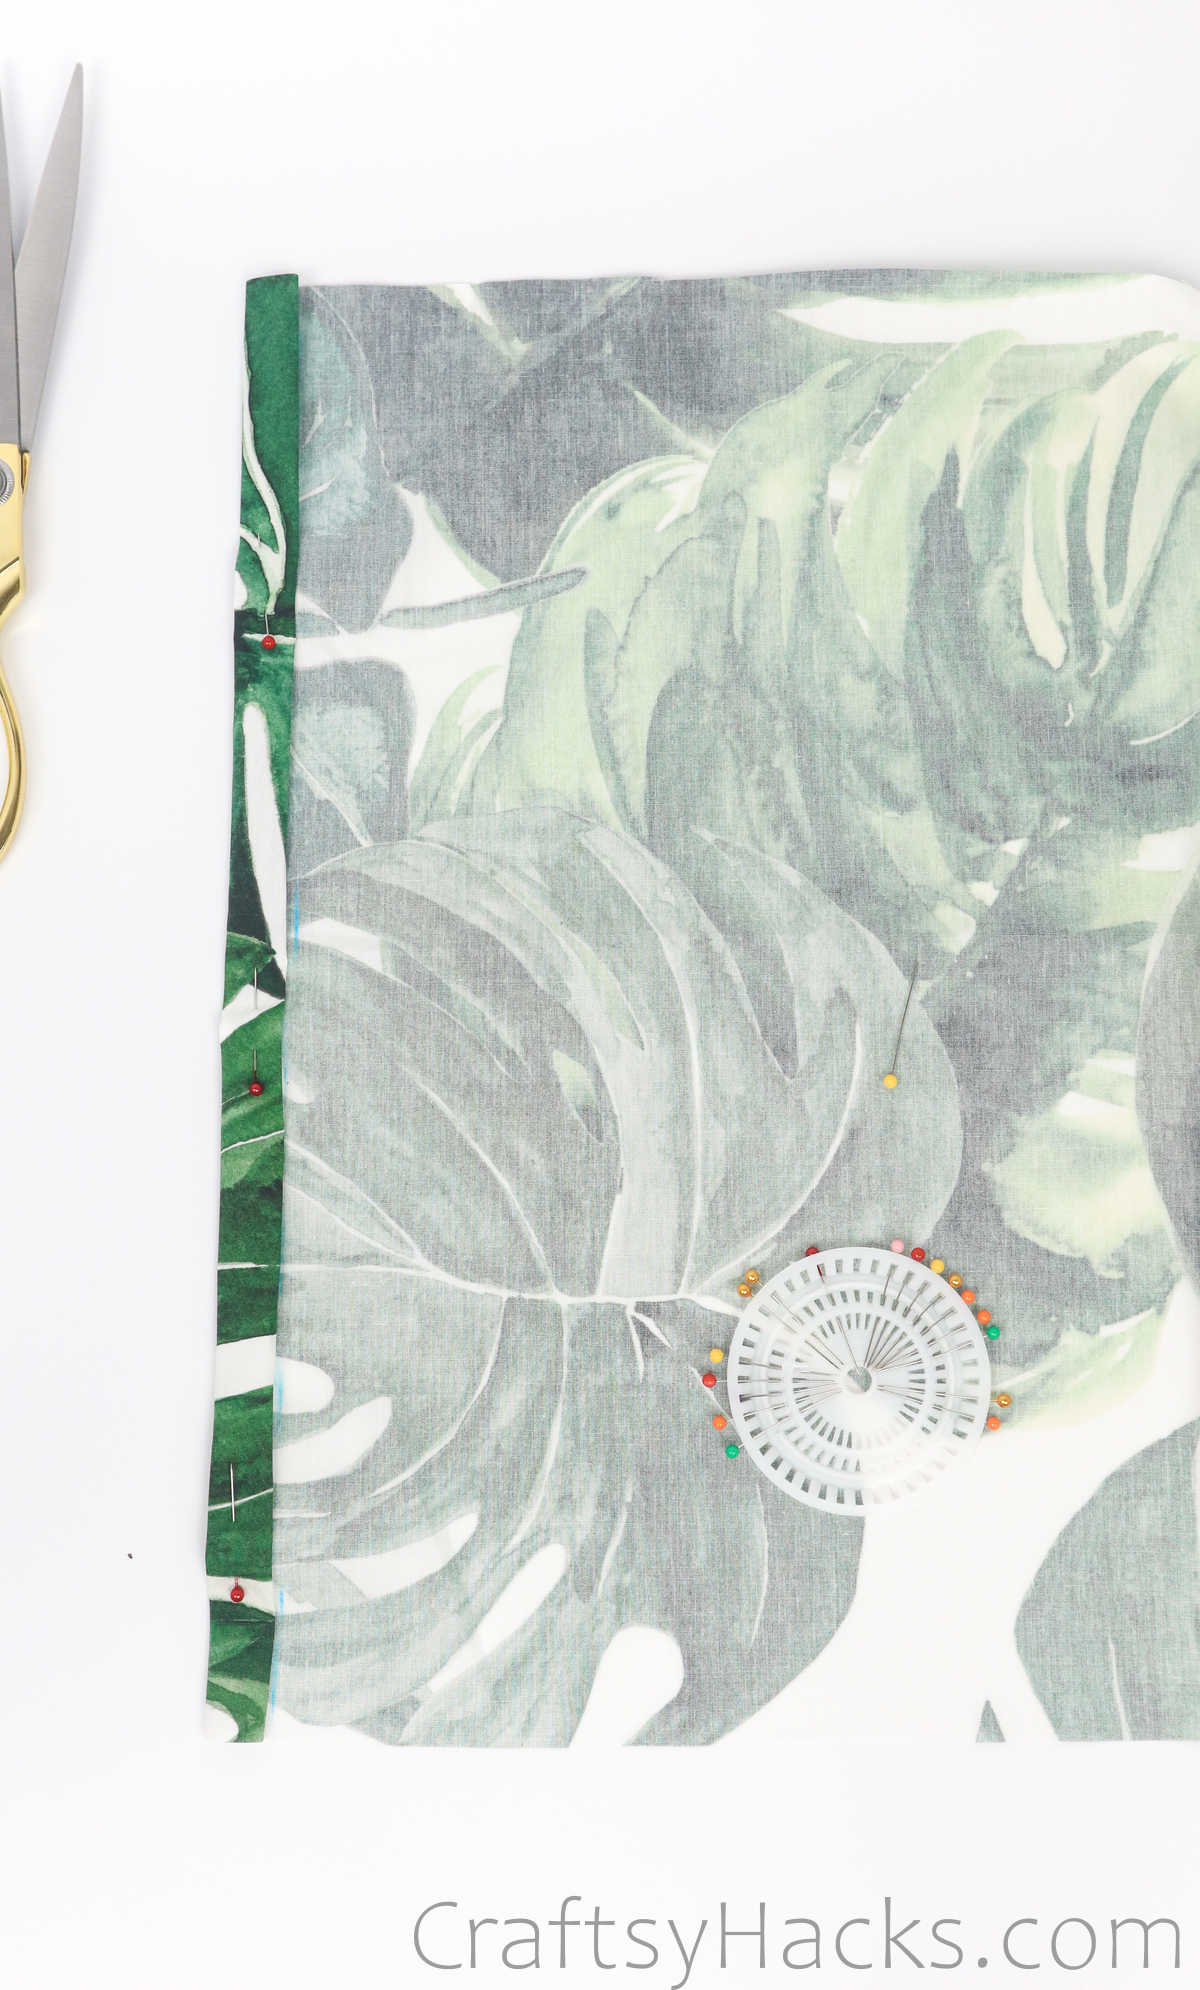
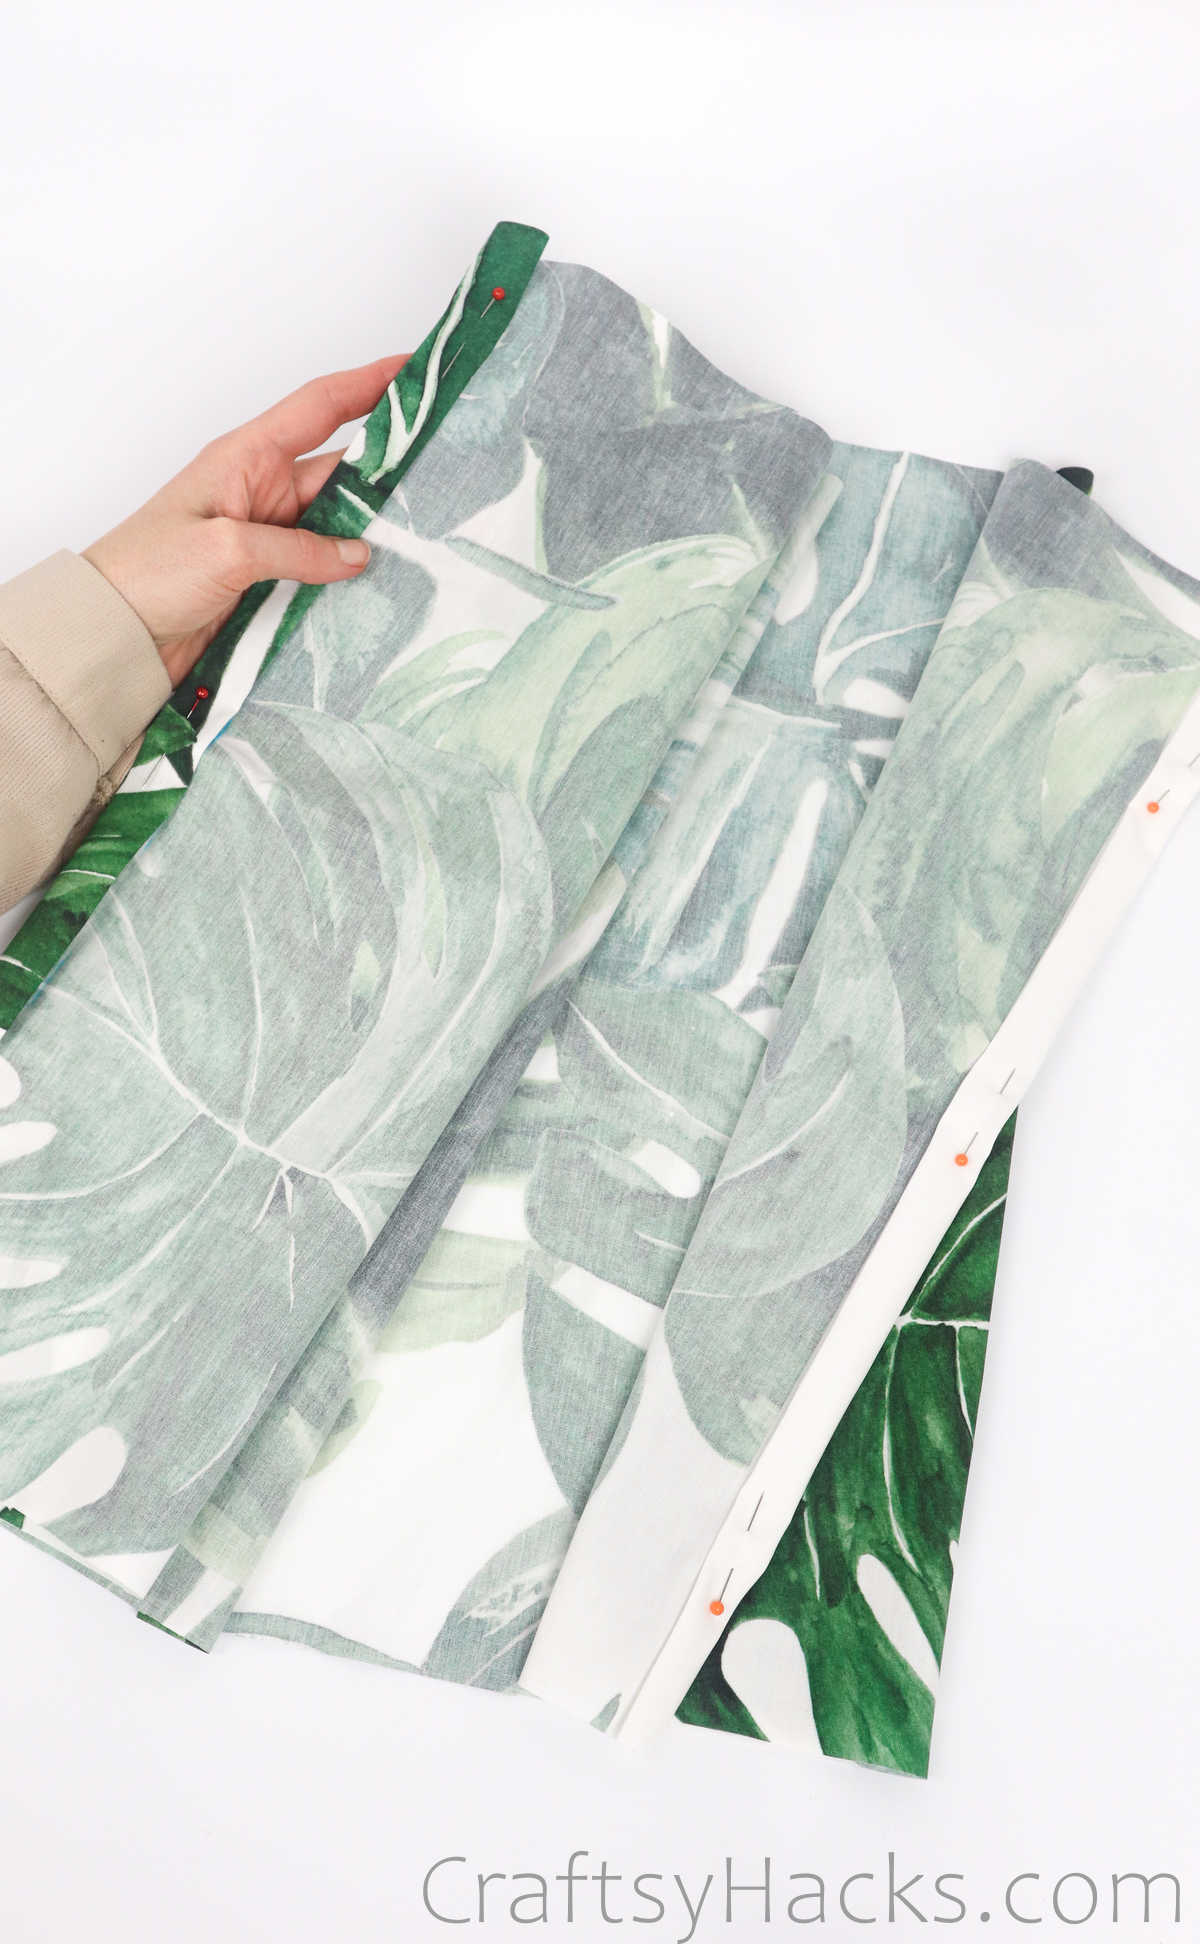
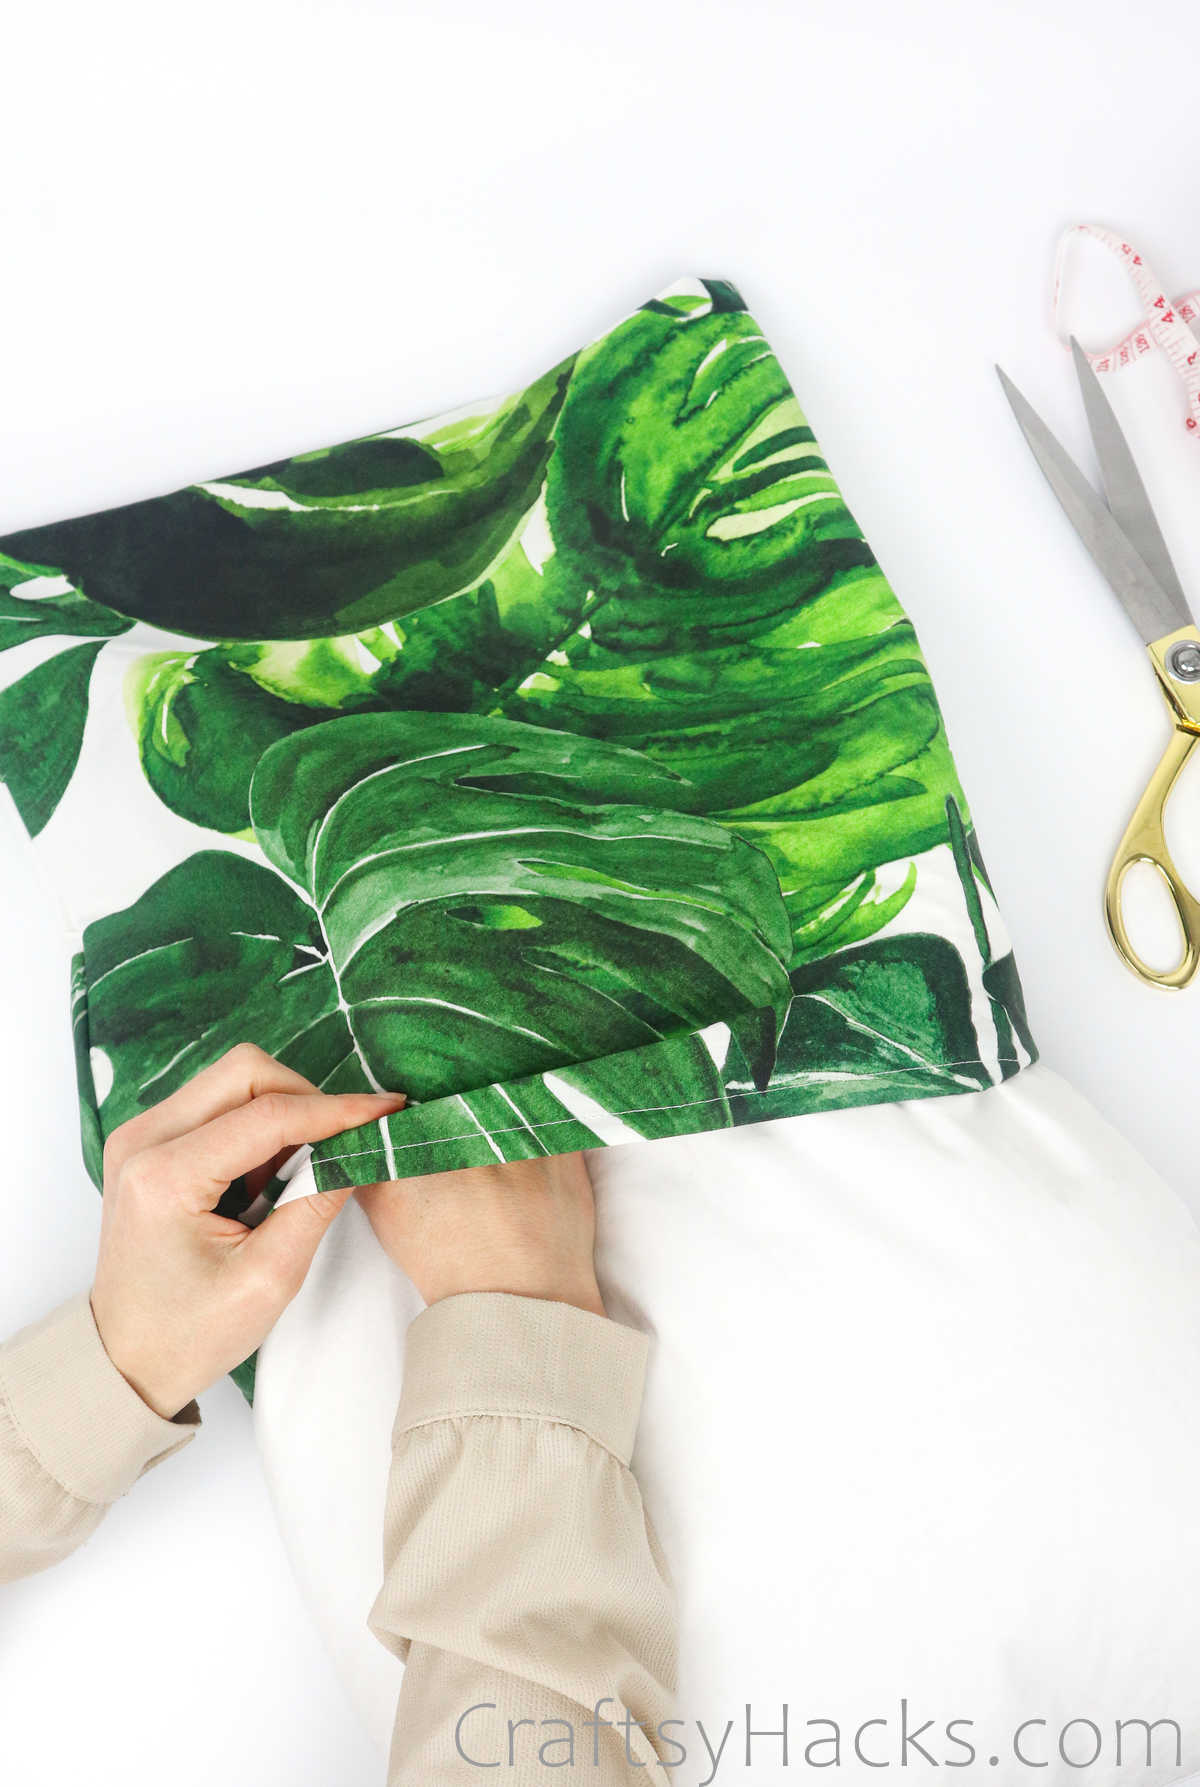
Next, fold about an inch of the fabric as overlap and use sewing pins to hold them in place, as seen below.
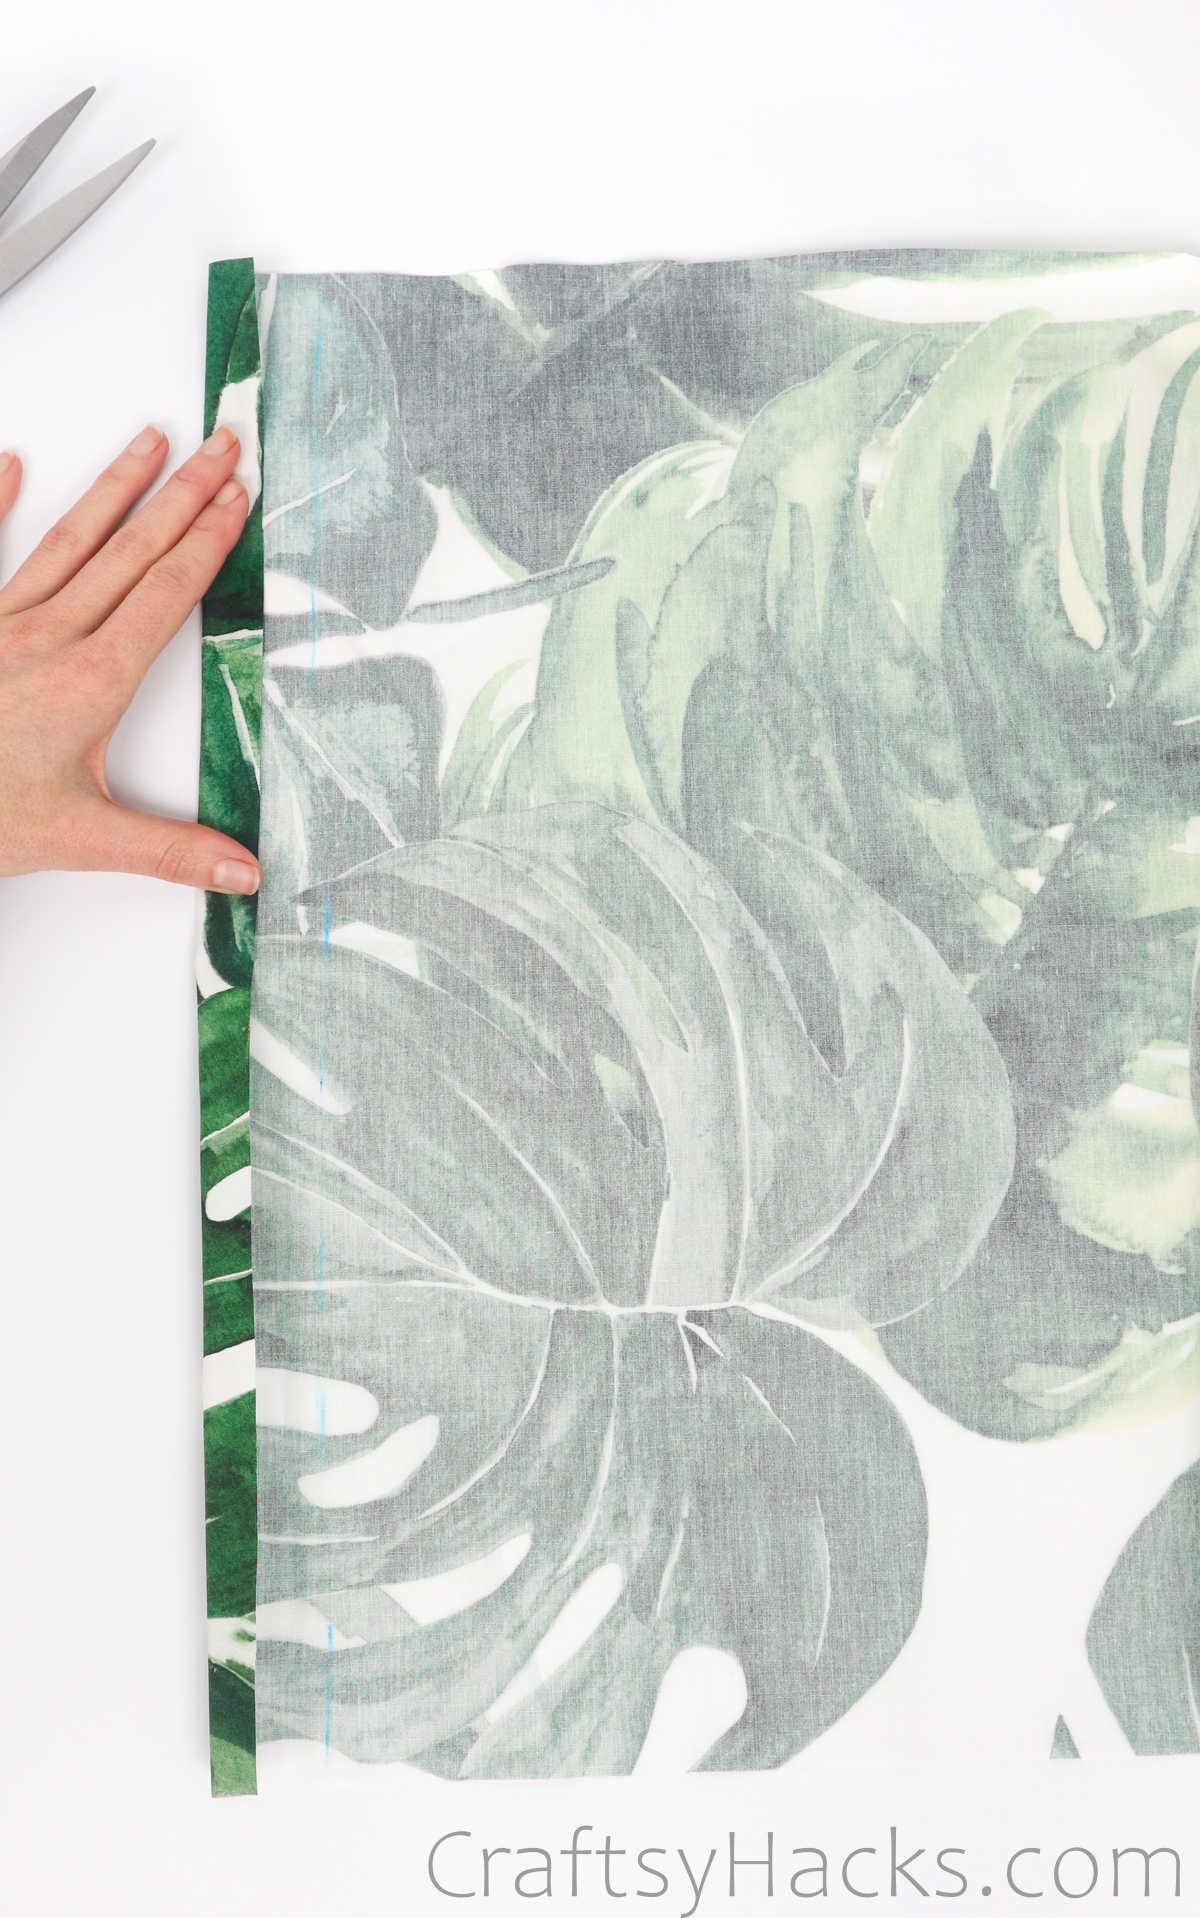
Remember to work on the ‘wrong’ side of the fabric, as you’ll be sewing the seam allowance facing inward.
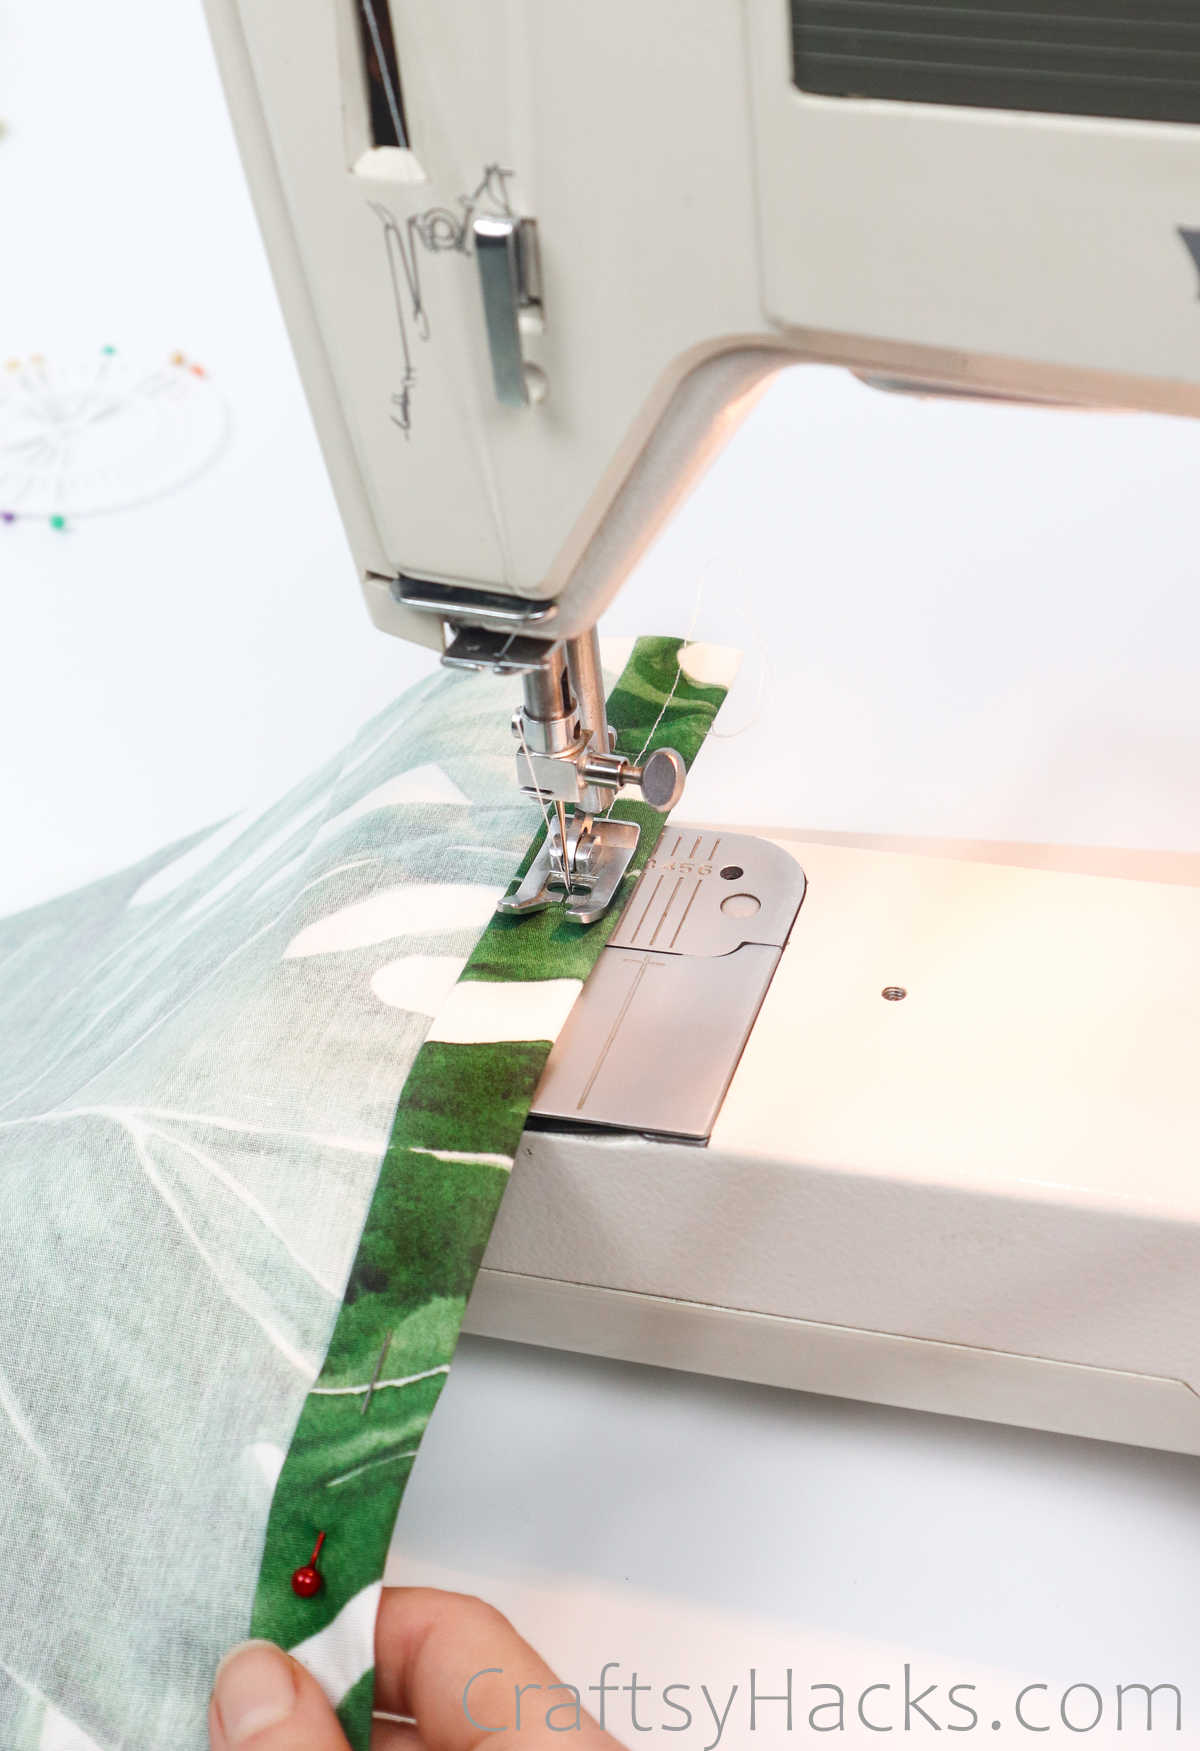
Step 4
Go ahead and pull out your sewing machine. Hold the fabric in place and start sewing down the length of the fabric.
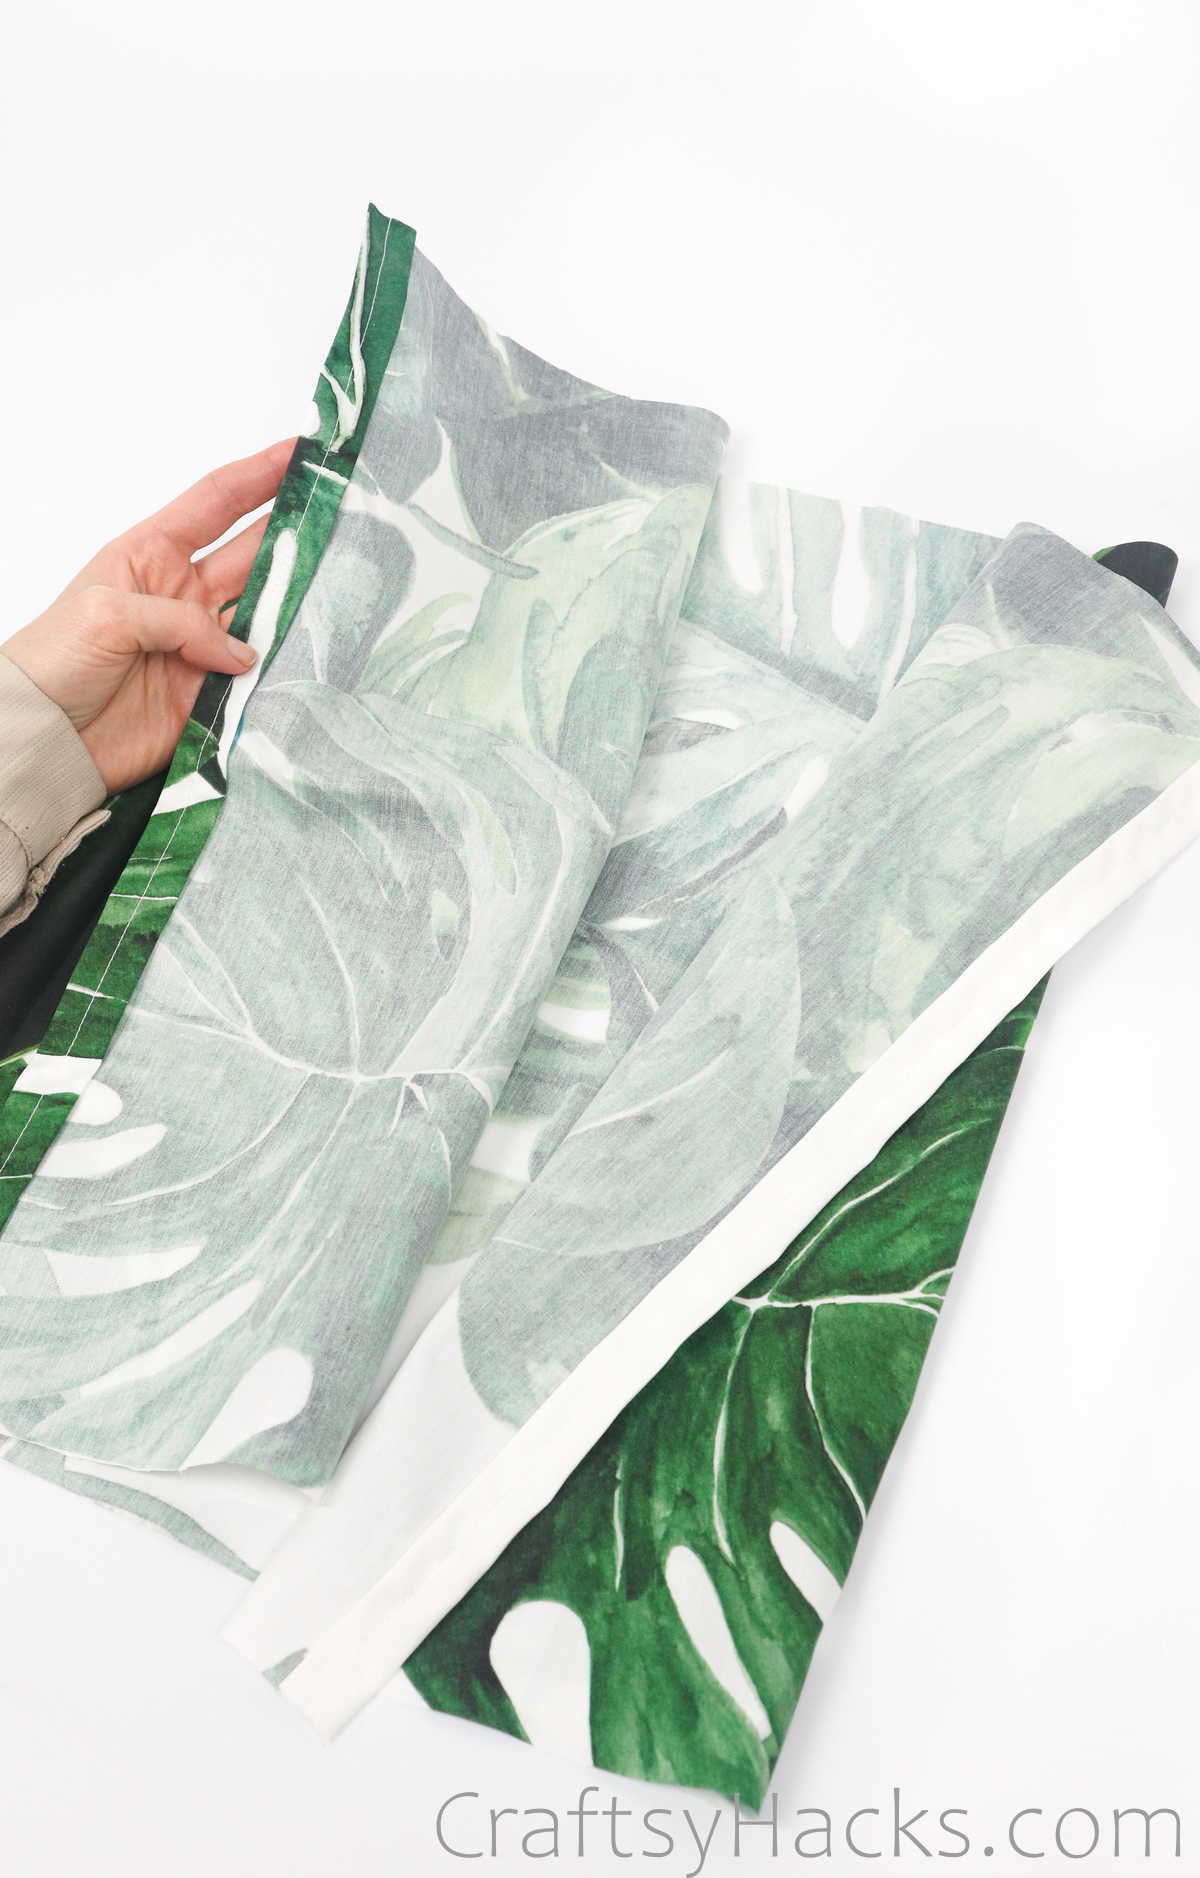
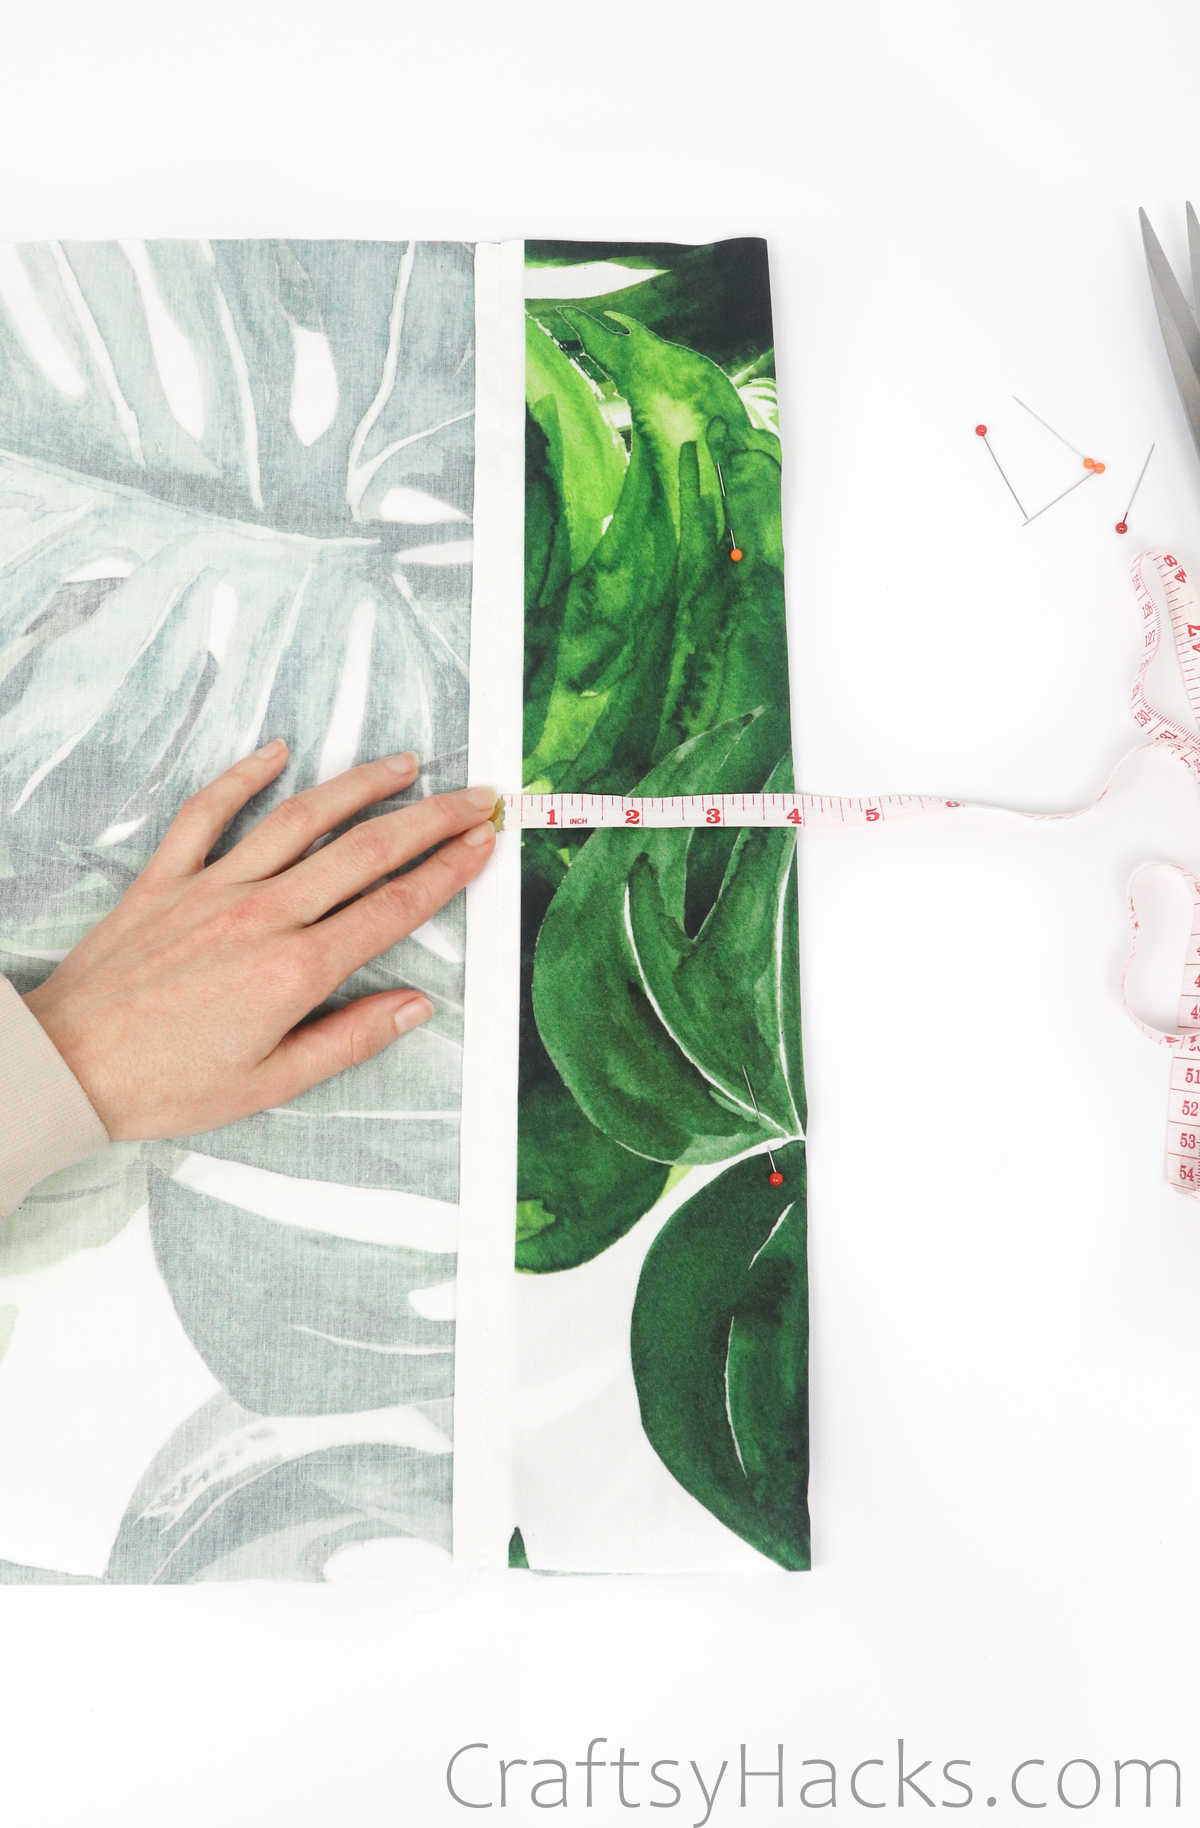
Step 5
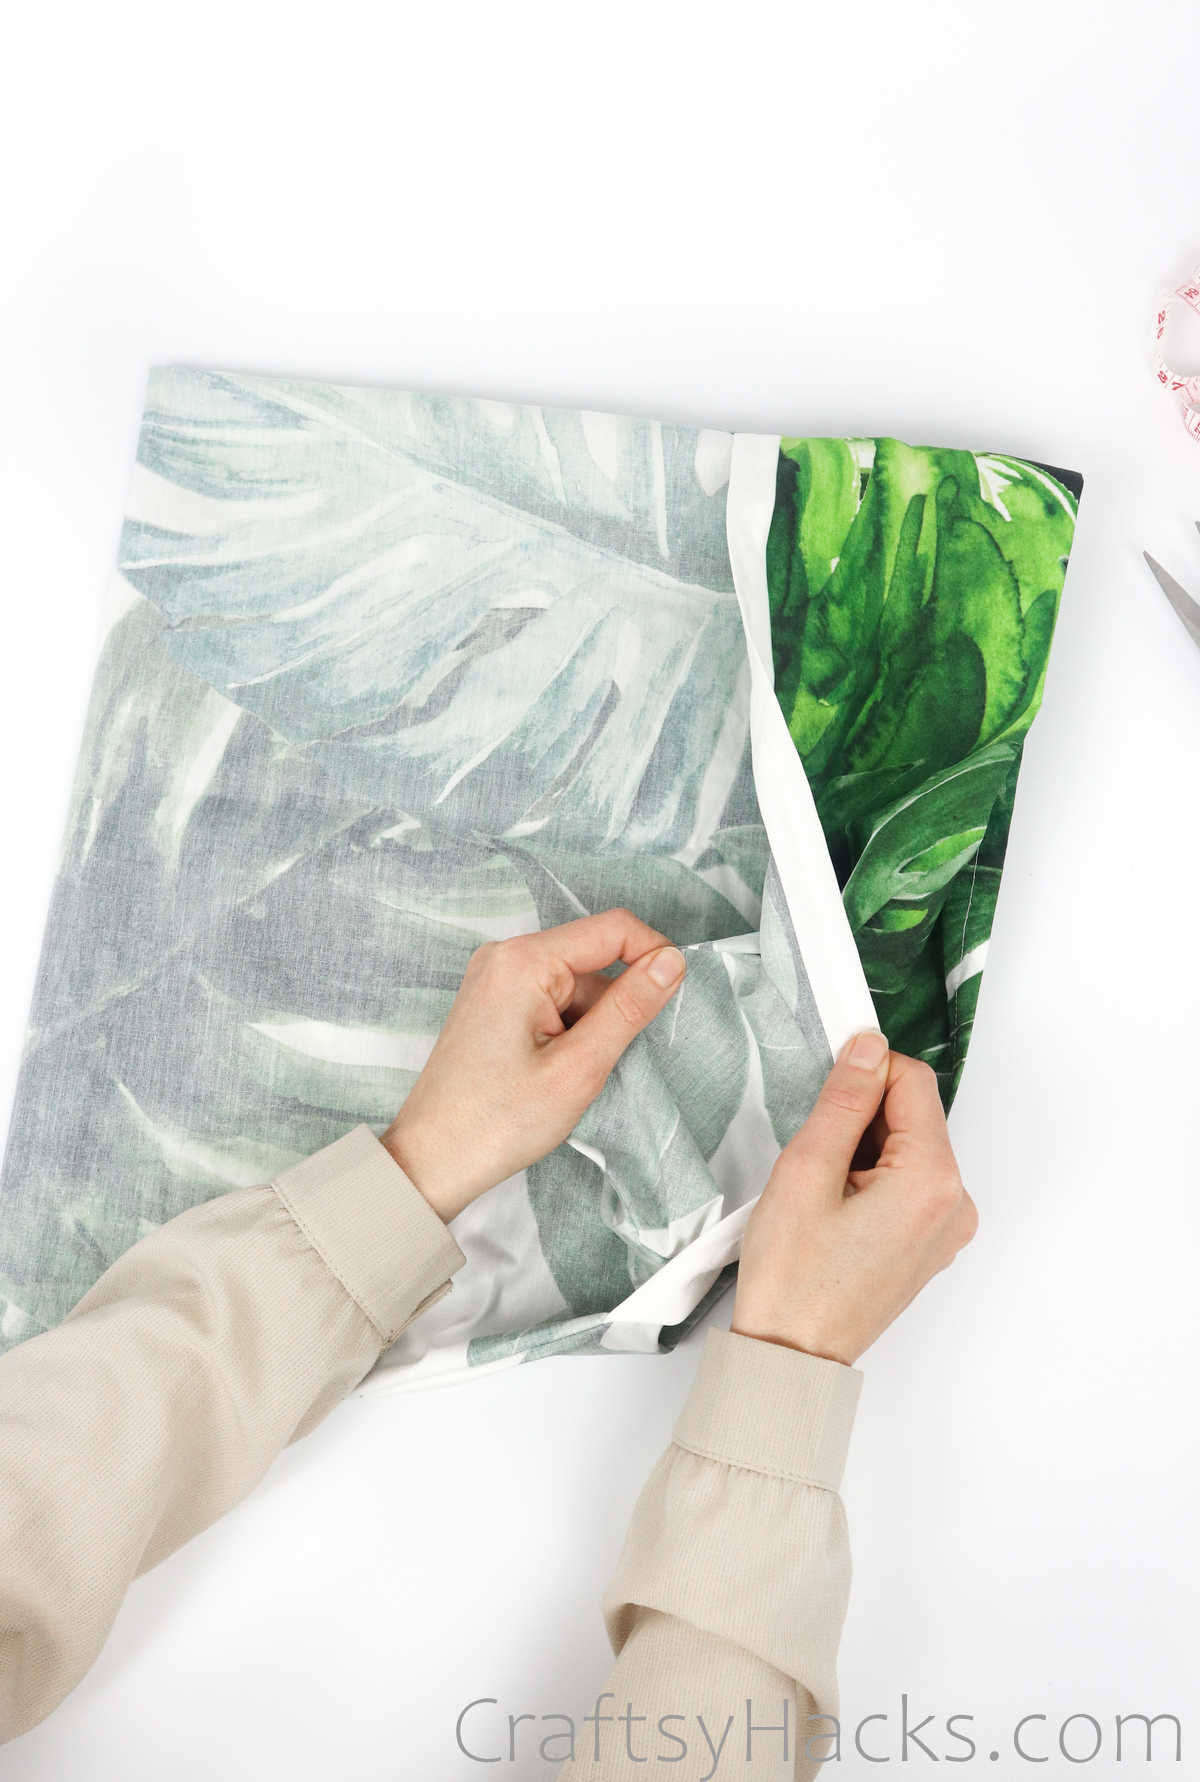
Now it’s time to fold the overlap. Just measure and fold 4” width on one side and use pins to secure the flap in place.
Step 6
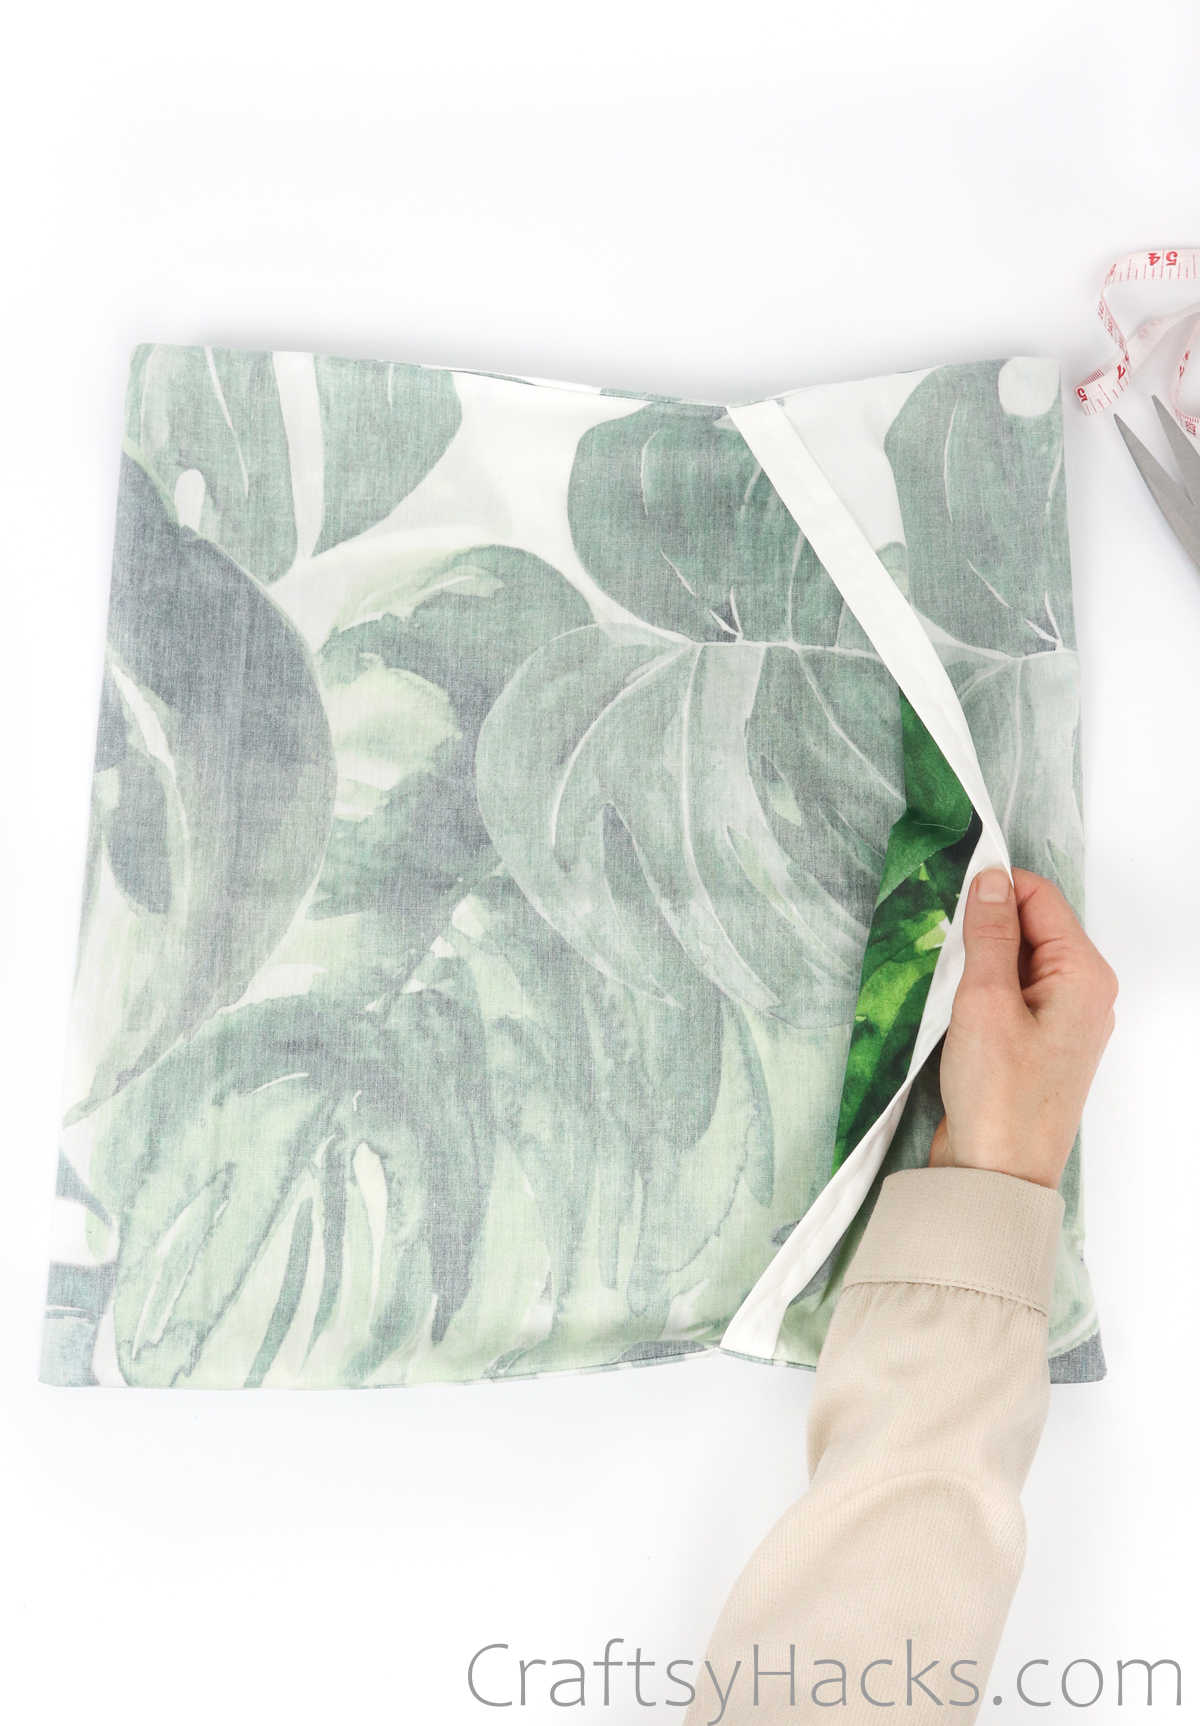
Now, just fold the fabric in half right down the middle and align the edges. Here’s just something to keep in mind: when you fold the fabric.
Just make sure that the overlap is on the underside and that the printed side of the fabric is facing out.
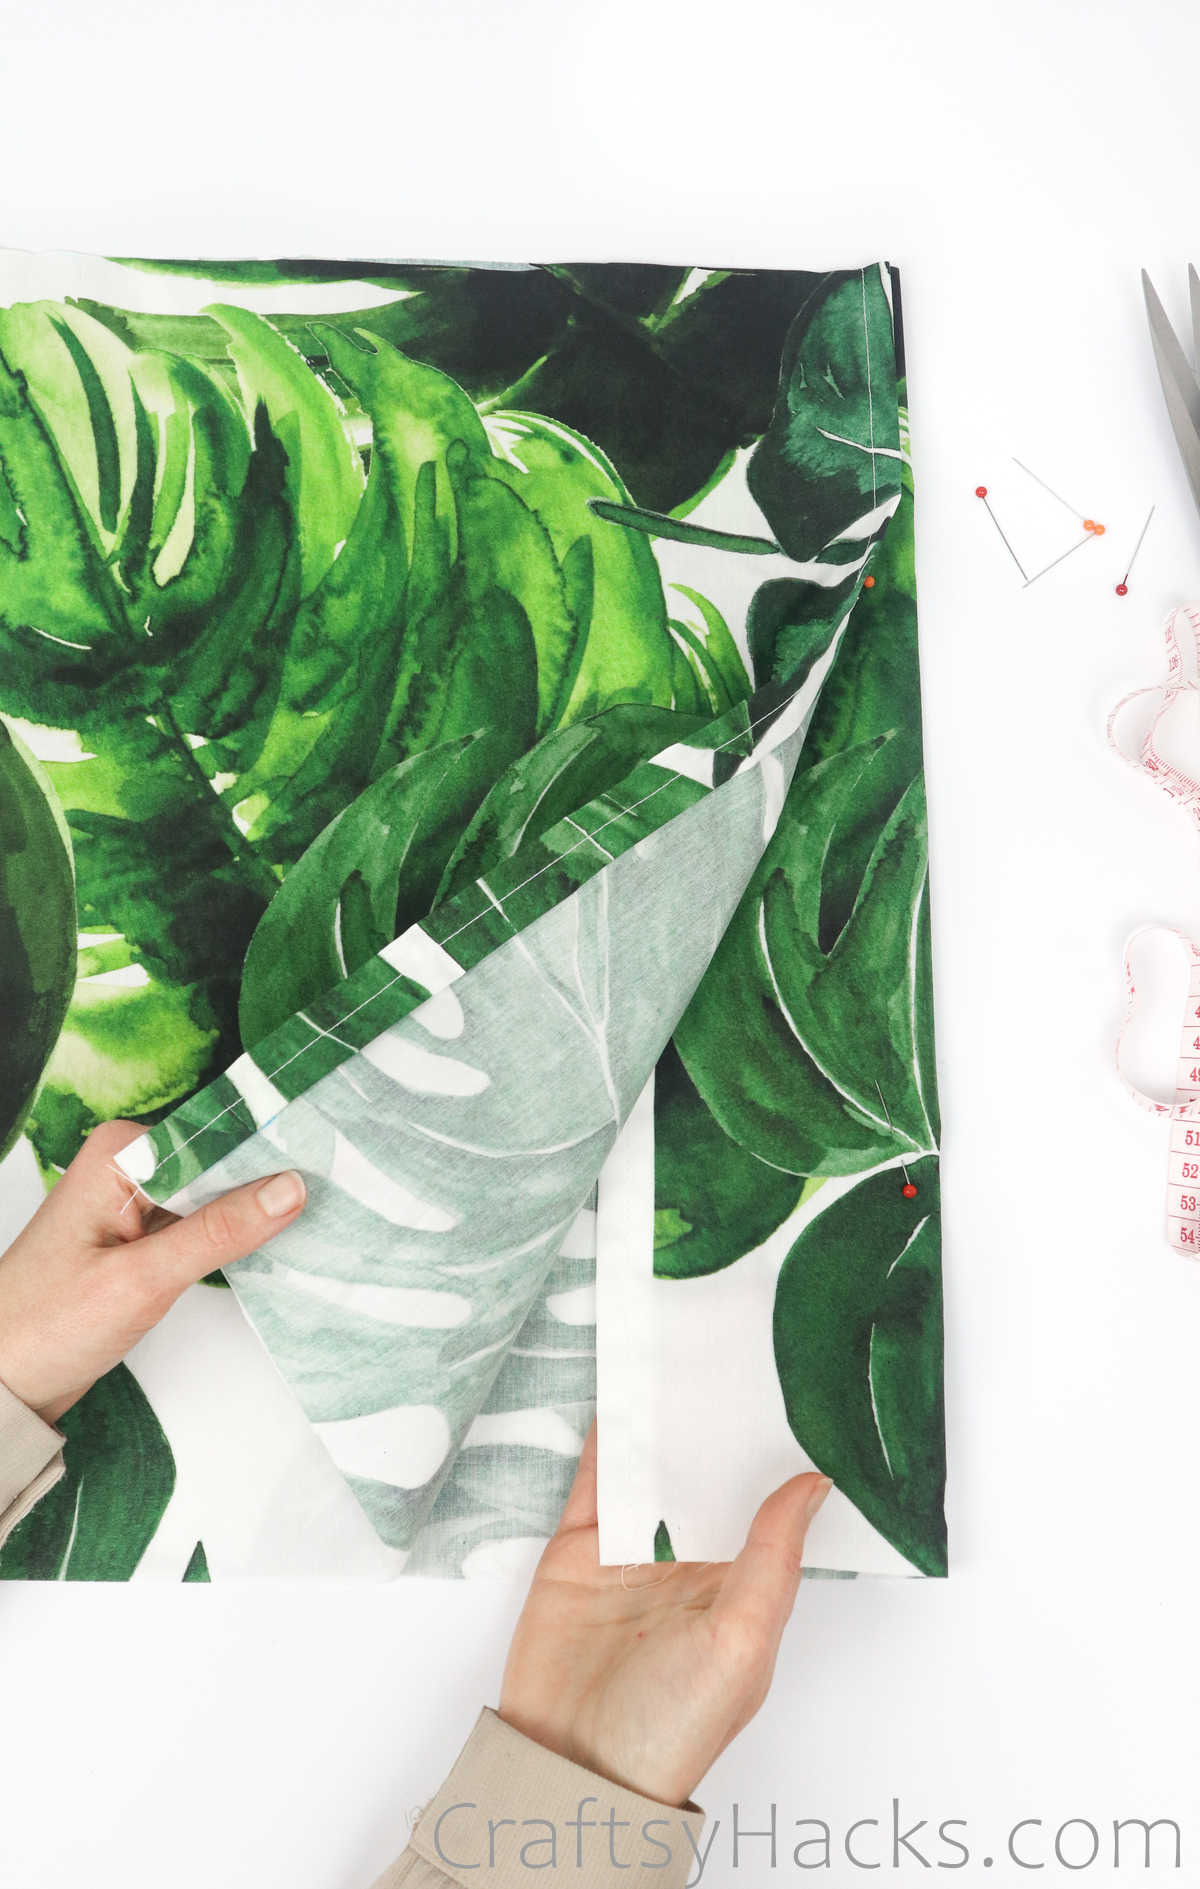
Grab a few pins and tag the fabric in place till you’re ready to sew. You should have a definitive pillowcase shape by now, so make sure you’re happy with how the edges are aligned before you proceed.
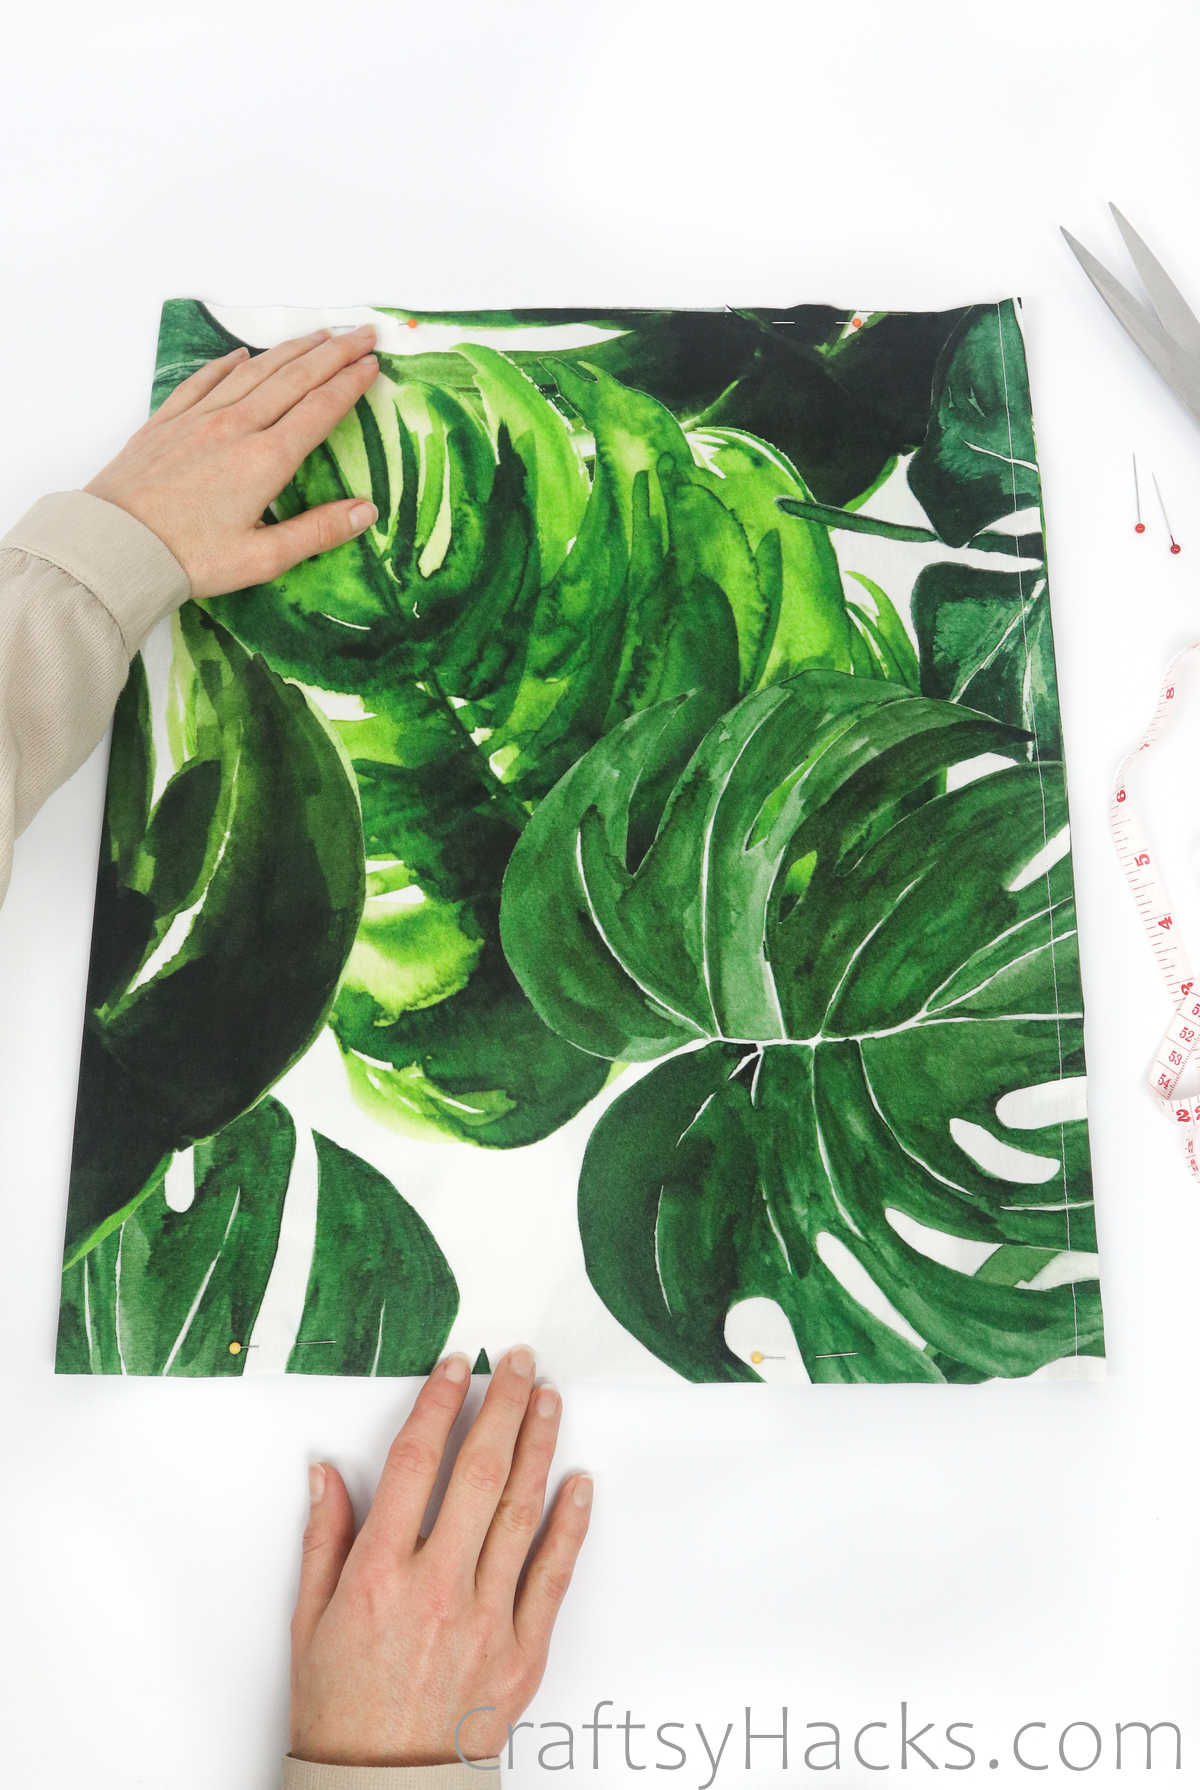
Step 7
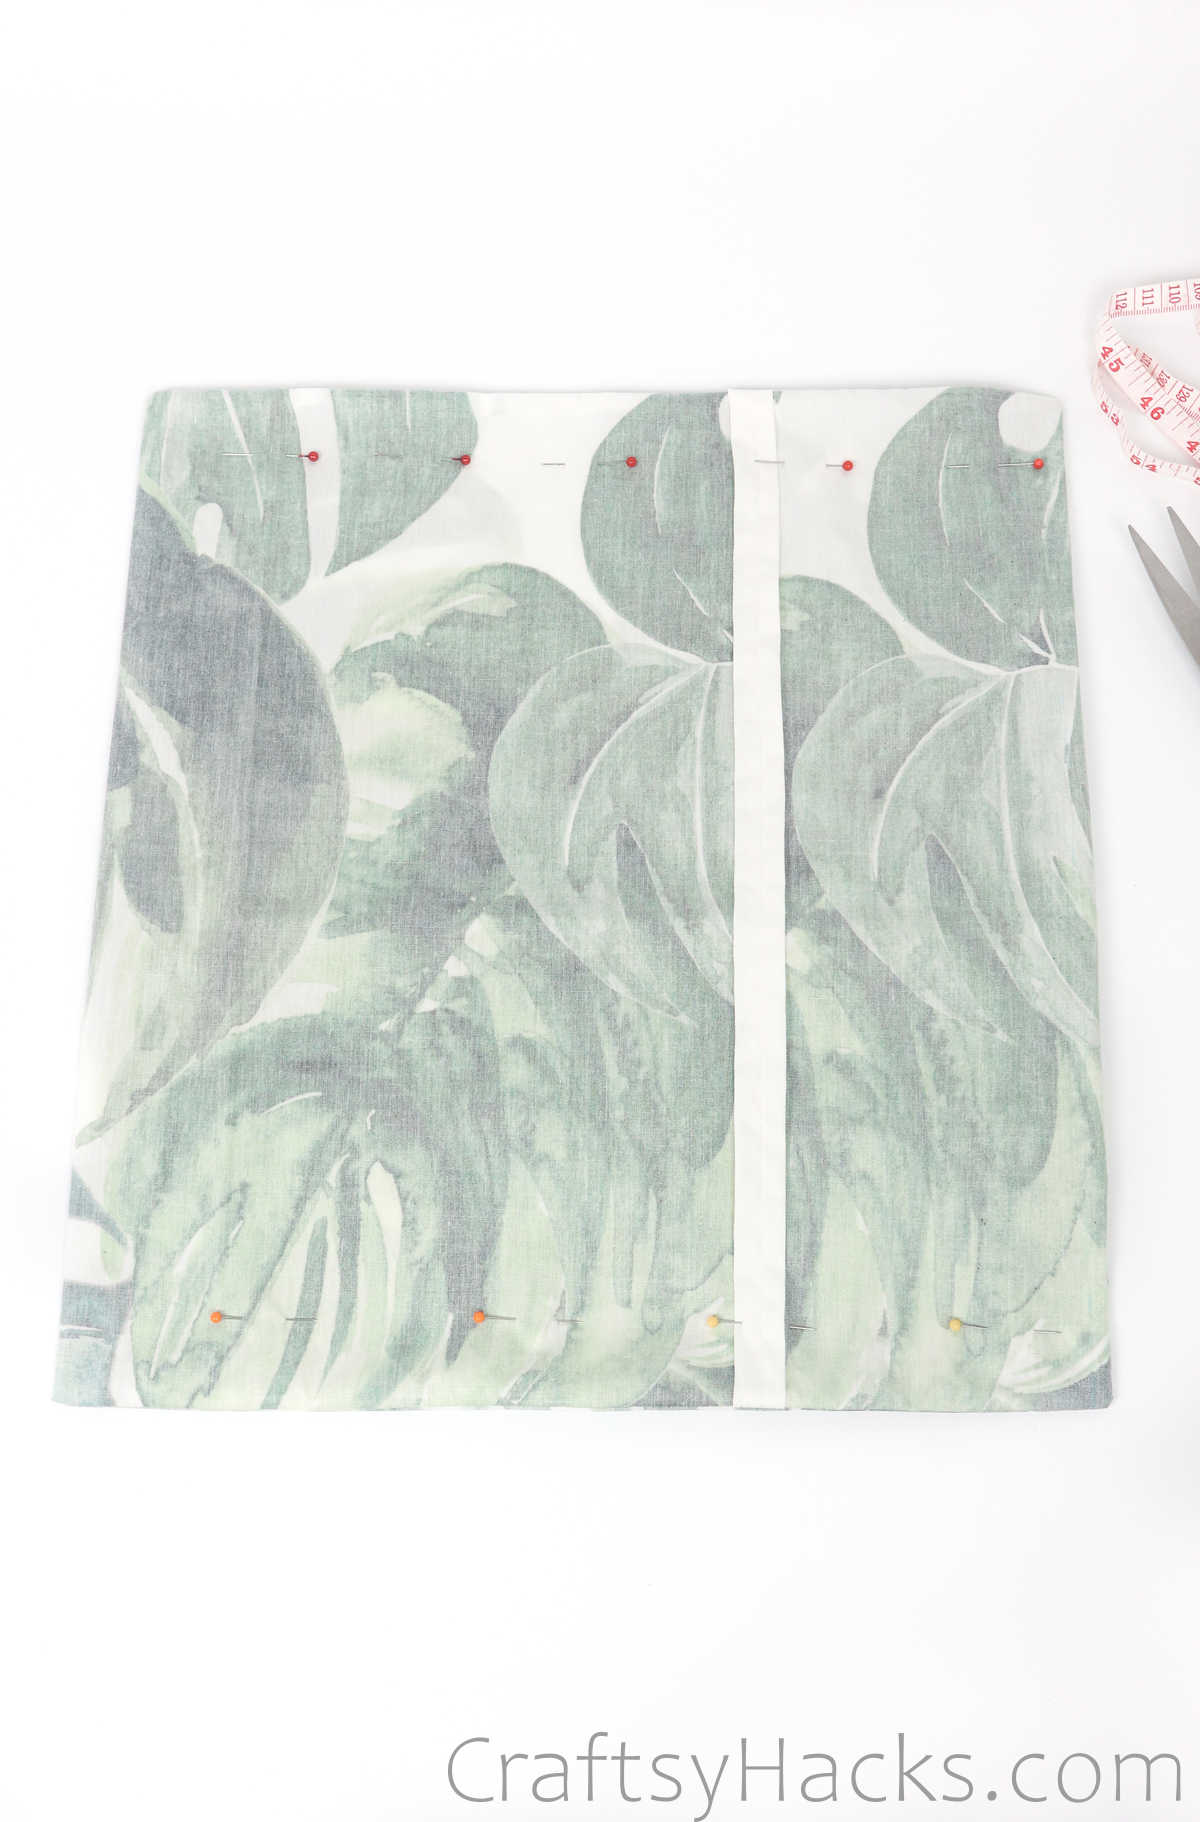
Now carefully turn the pillow case inside out so that the wrong side is facing upward, and the printed side is inside.
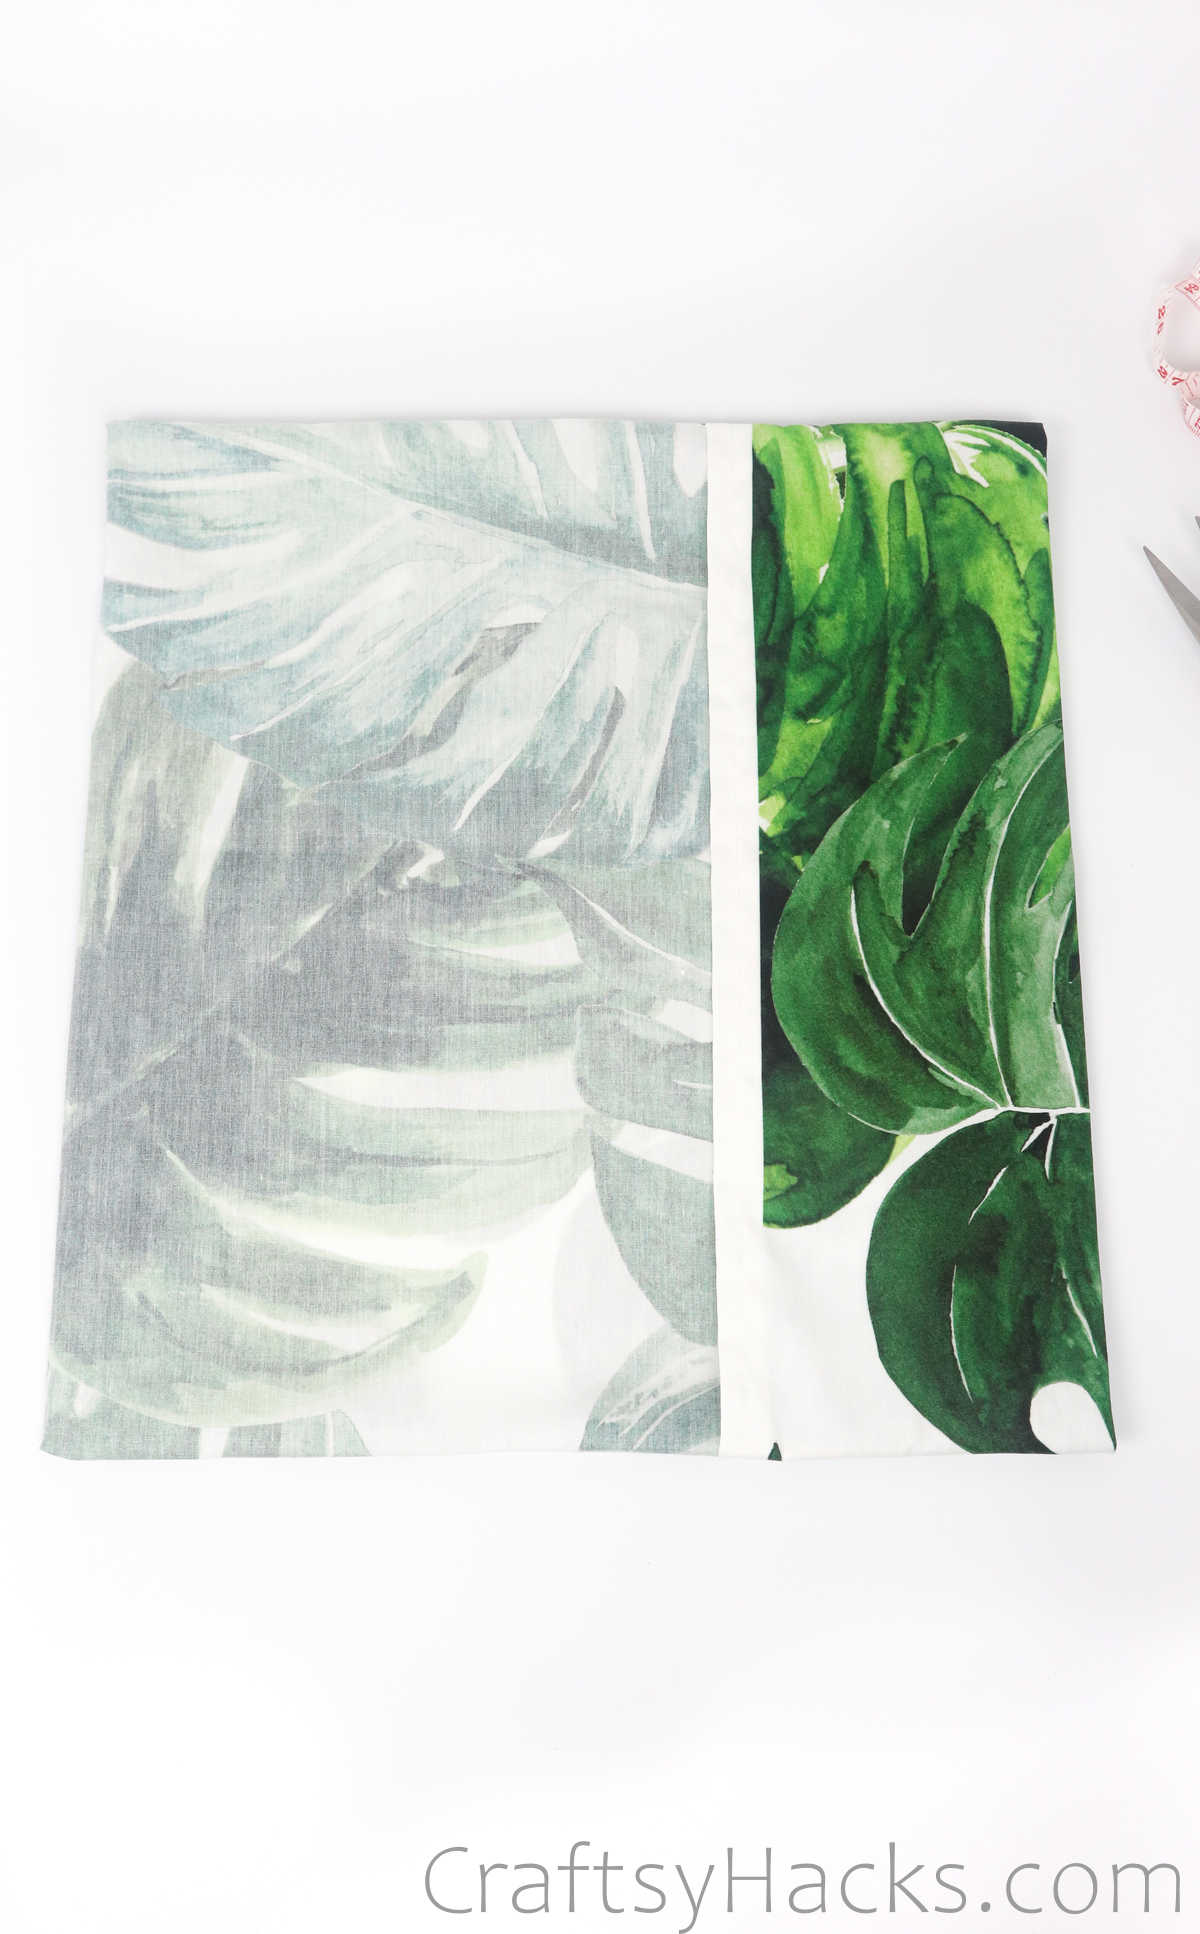
You will also need to turn the flap inside out so that the right side is facing inward, as seen here. At this juncture, don’t forget to mark another inch for seam allowance.
Just fold an inch wide strip of the edge of the fabric and pin it in place.
Then grab some more pins and pin all four sides of the pillowcase. You are now ready to sew the pillowcase, so go ahead and do just that!
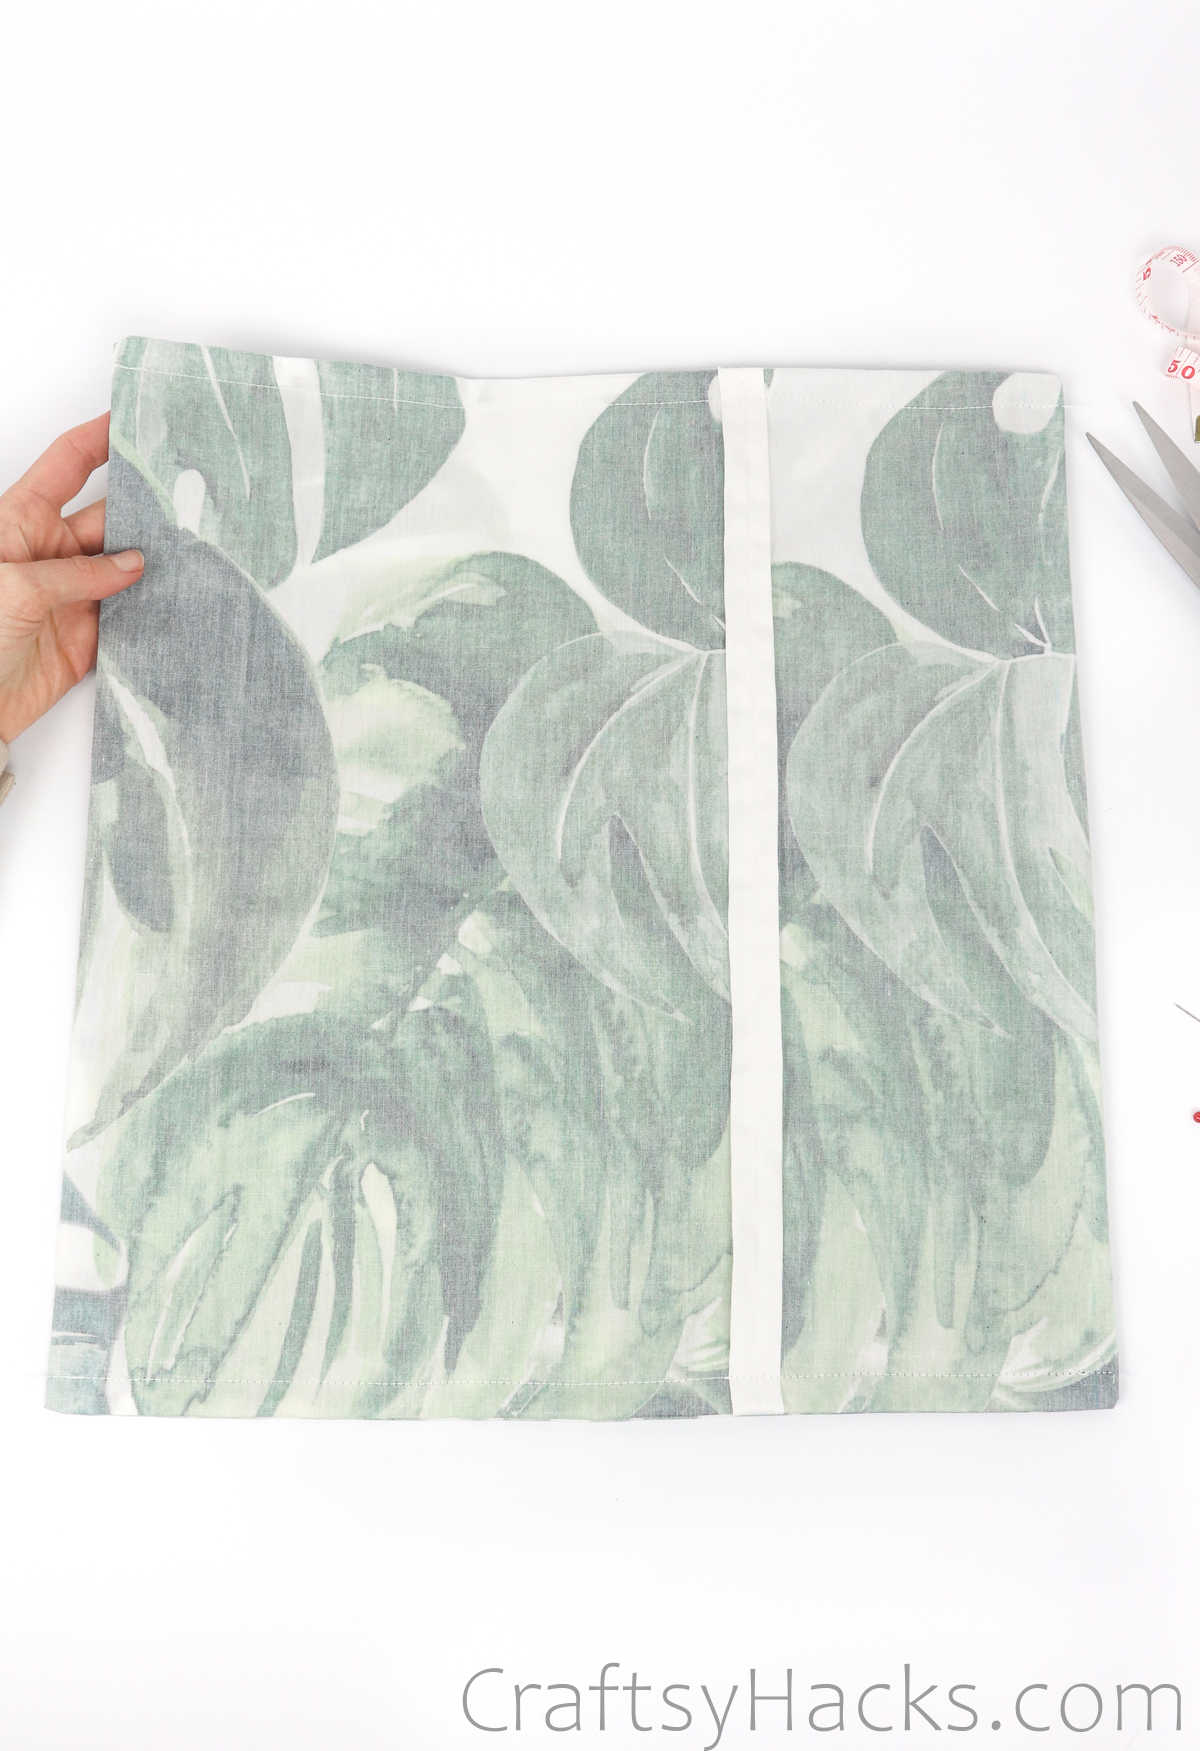
Step 8
Once you’re done sewing around all four sides, your fabric should look like this. Remember to first sew the top and bottom, and to also use back stitches to secure the stitches firmly in place.
Step 9
Are you ready to flip your pillowcase over to the right side? Then go ahead and turn the fabric inside out. Use the tip of your fingers to push the corners all the way out.
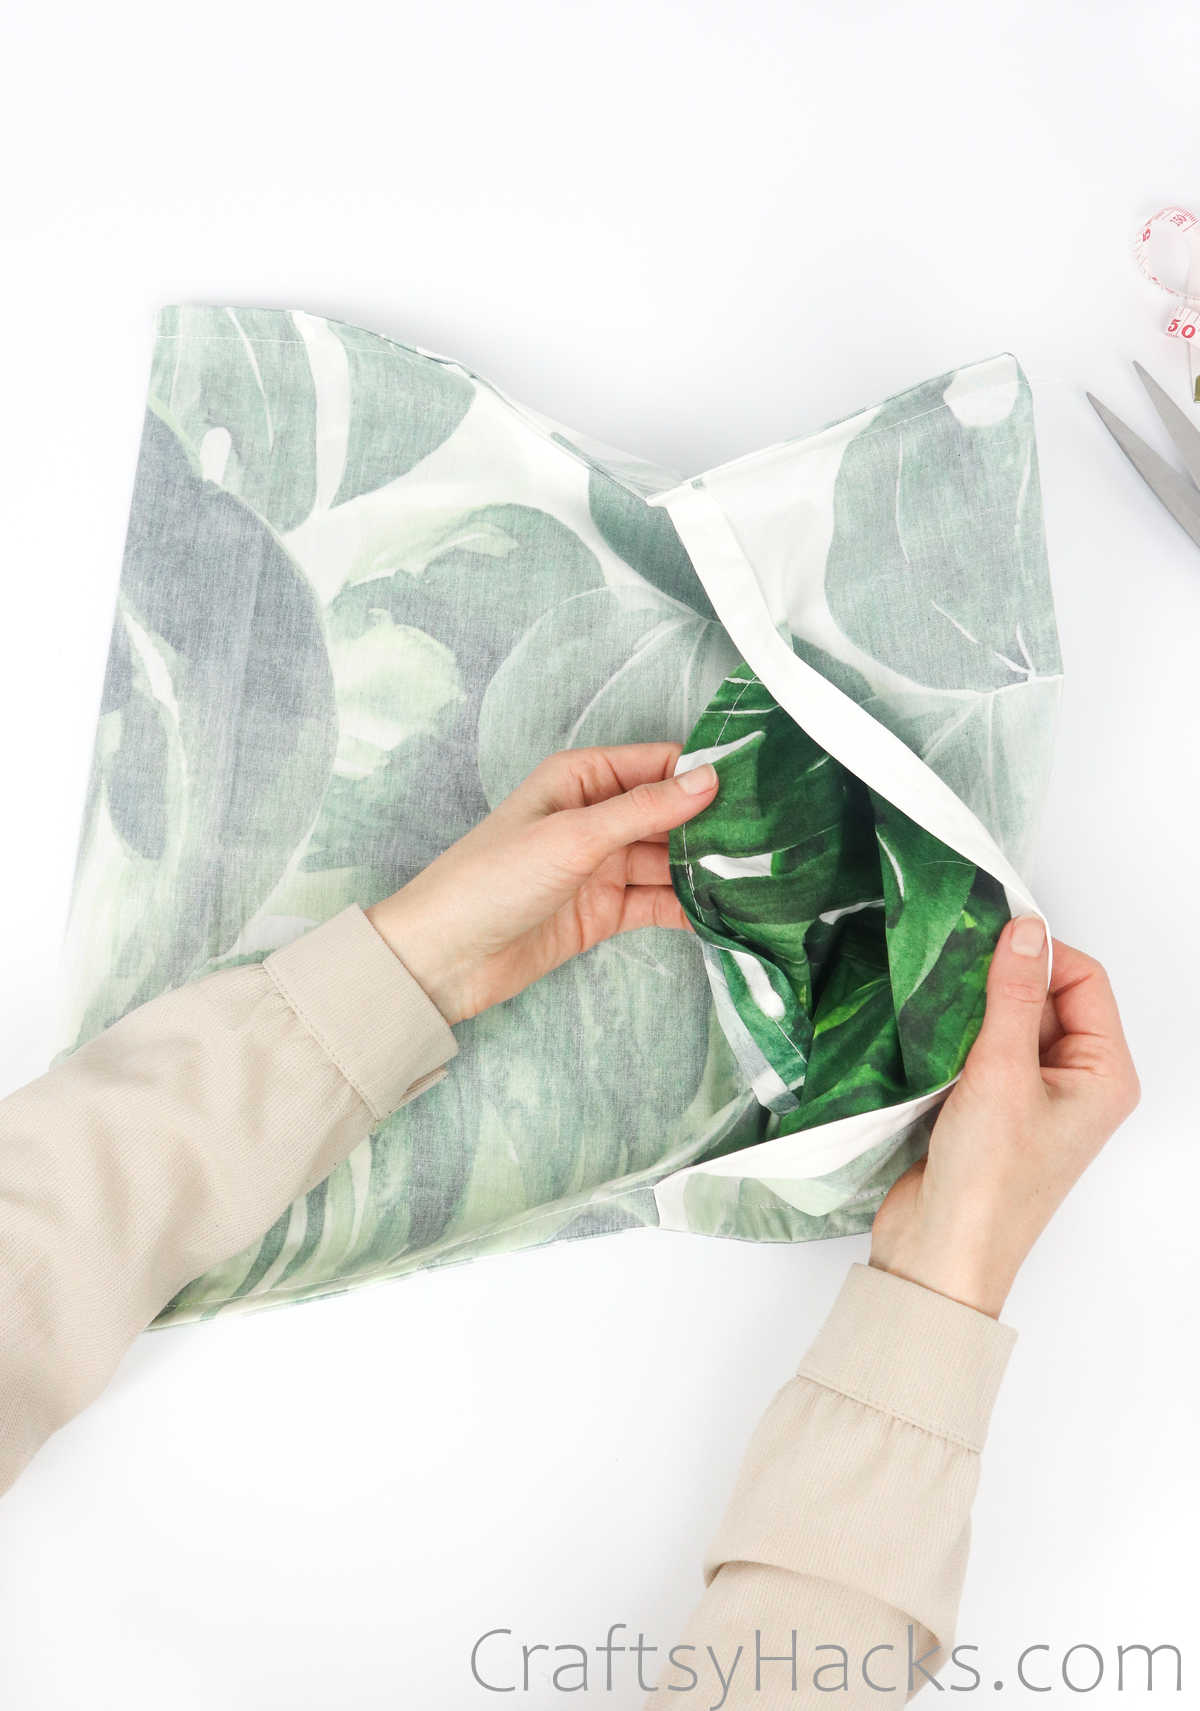
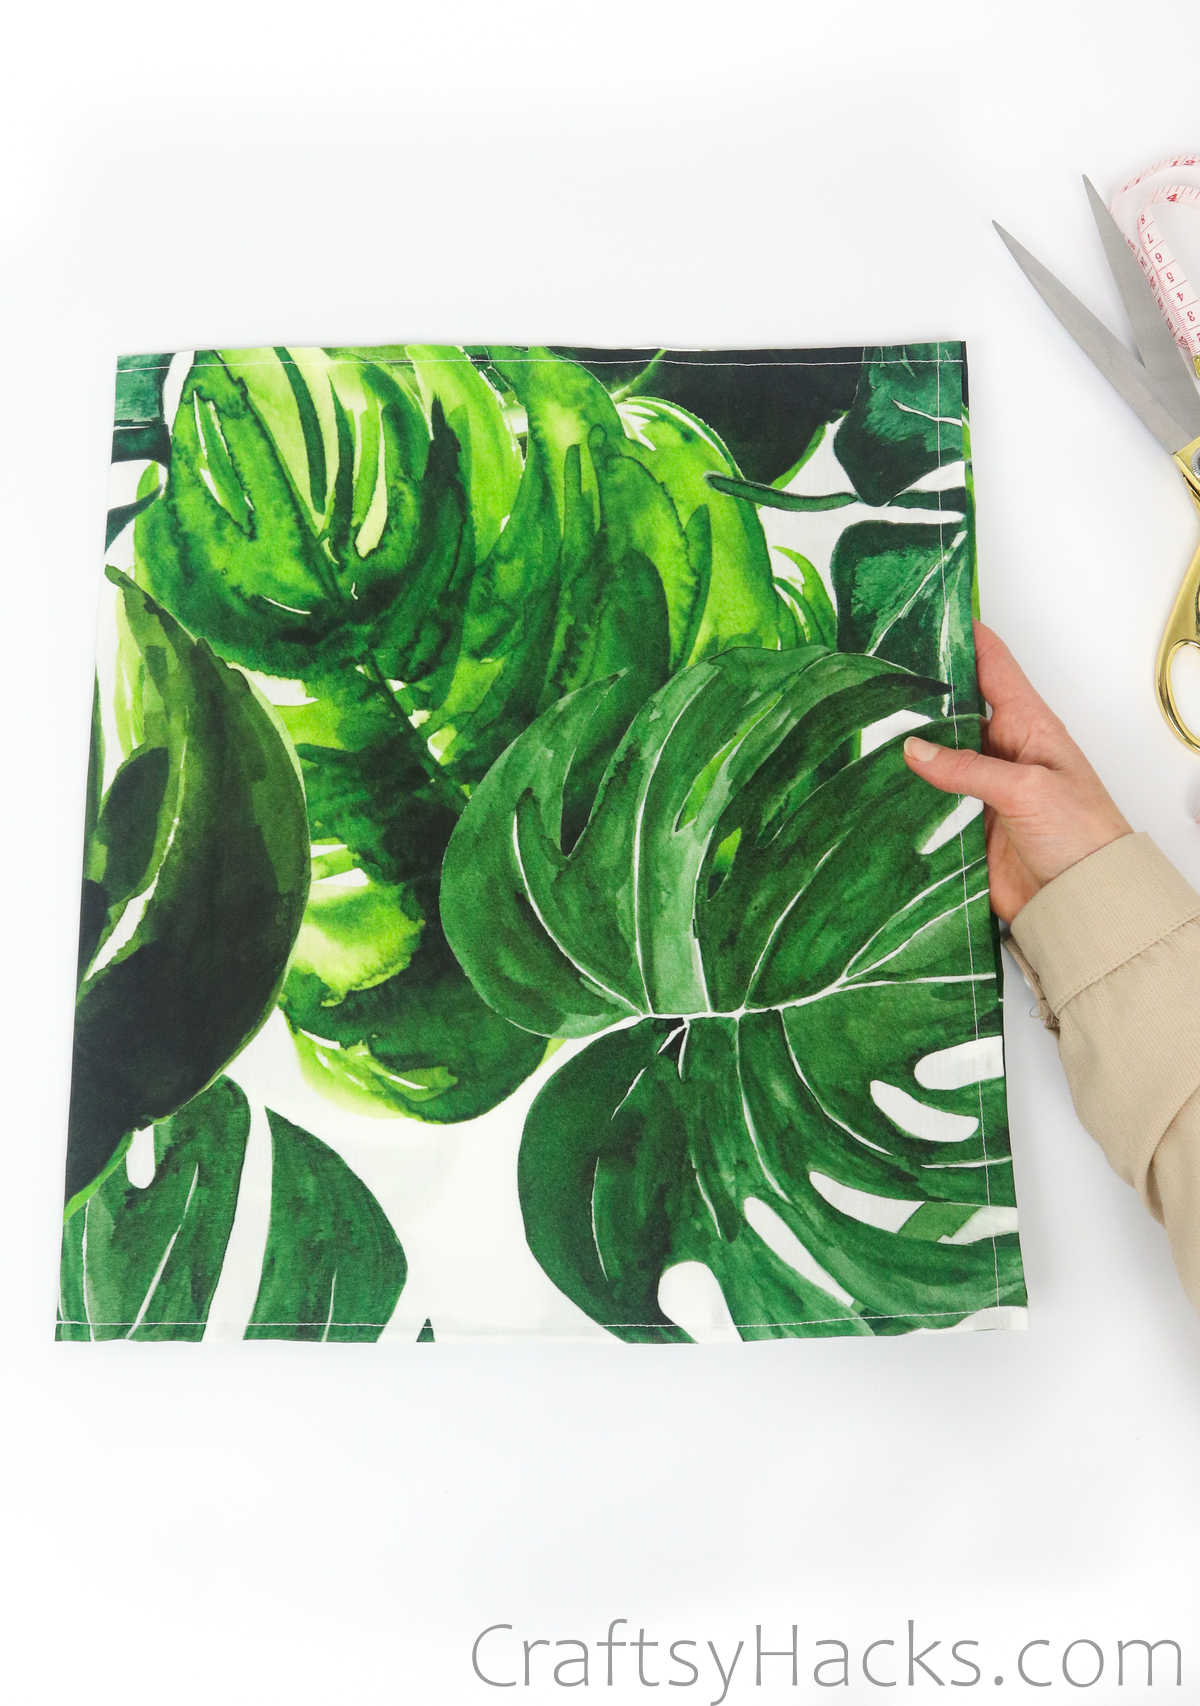
Step 10
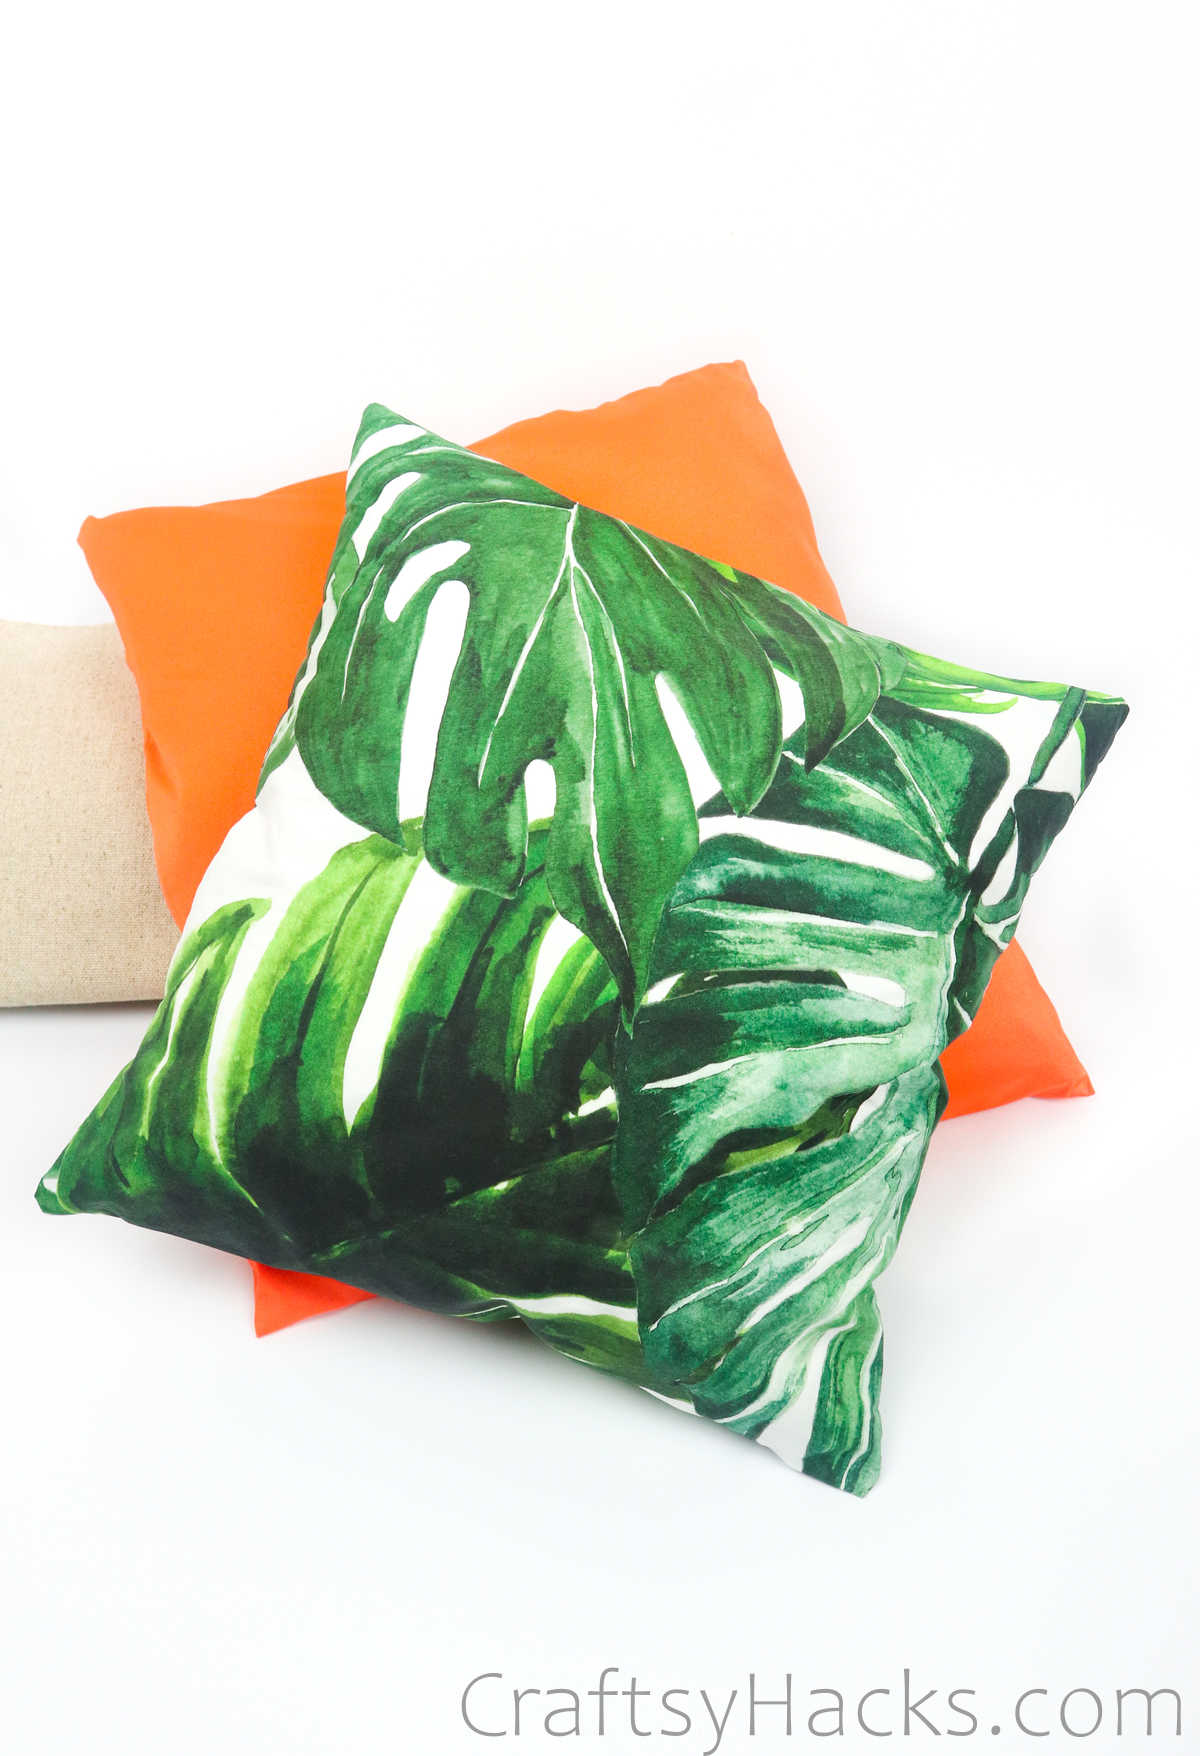
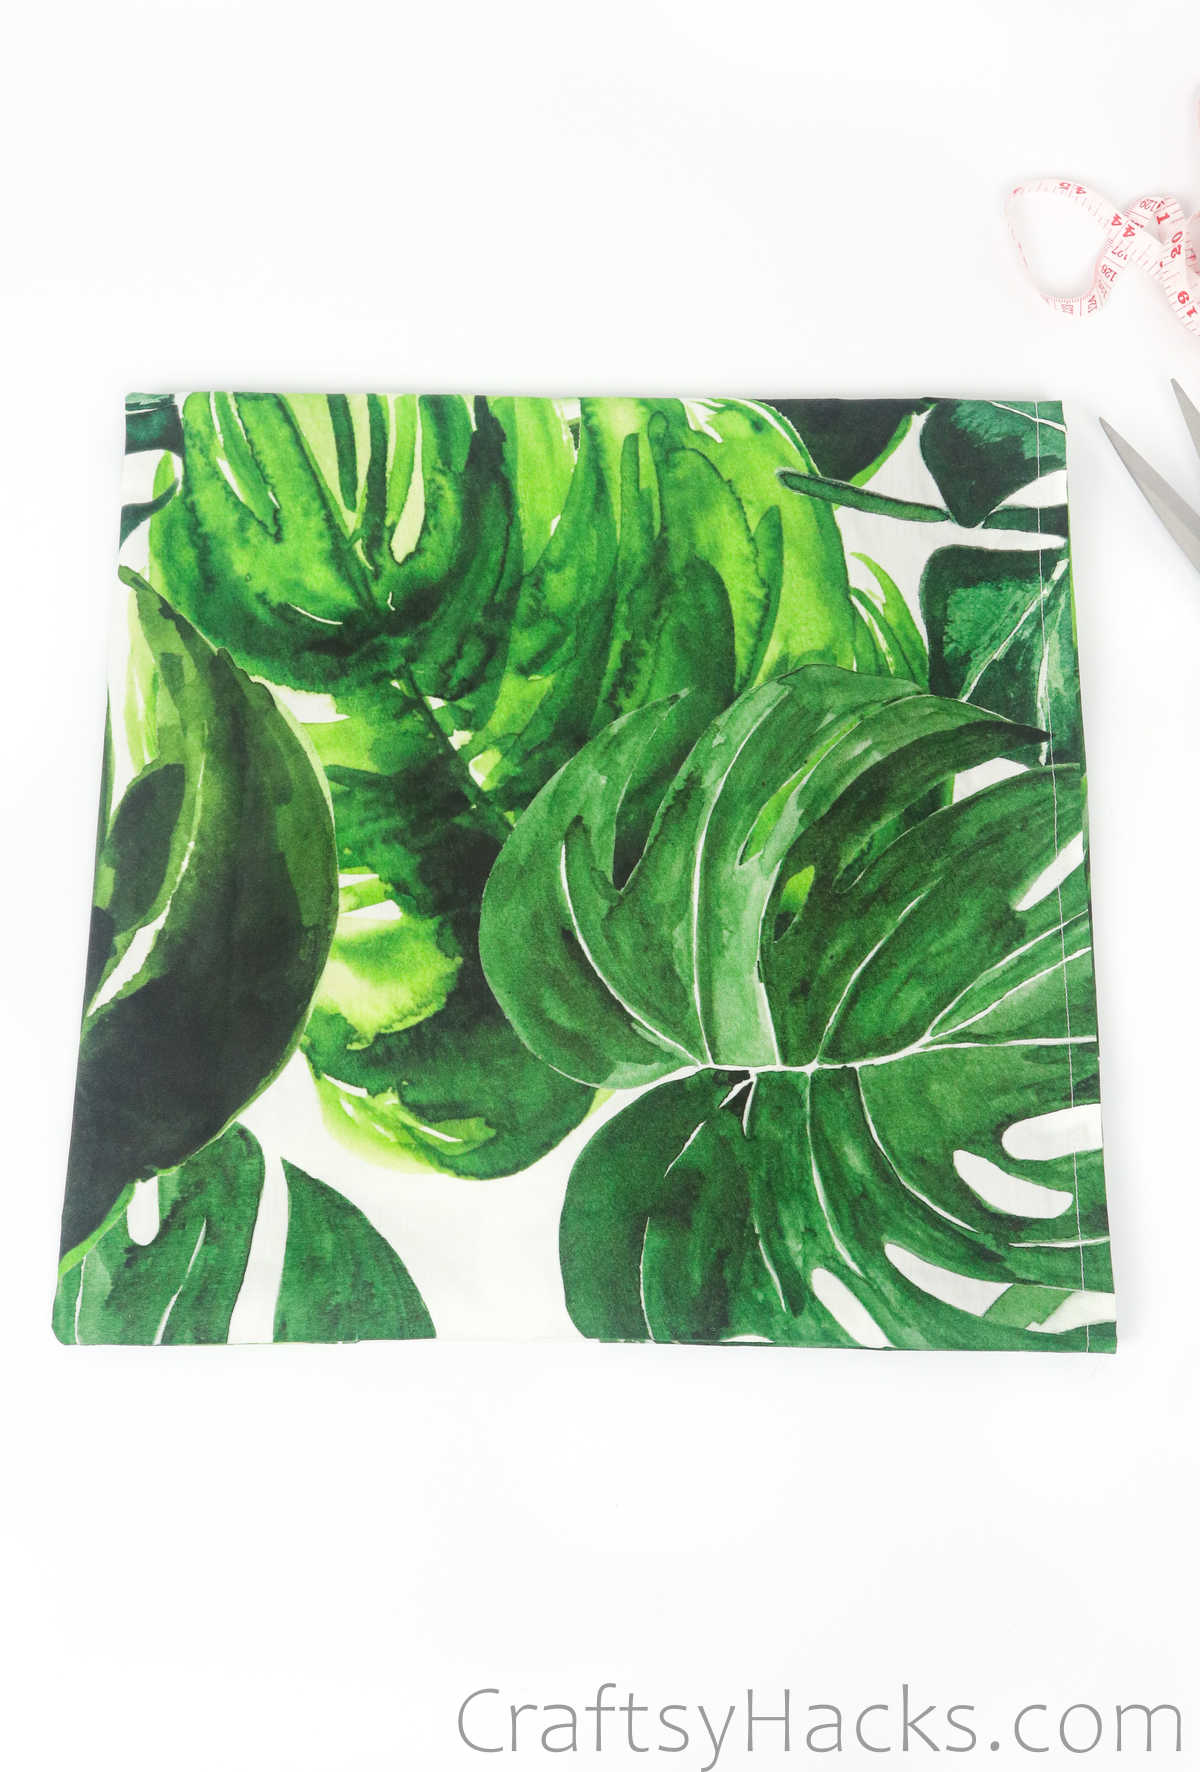
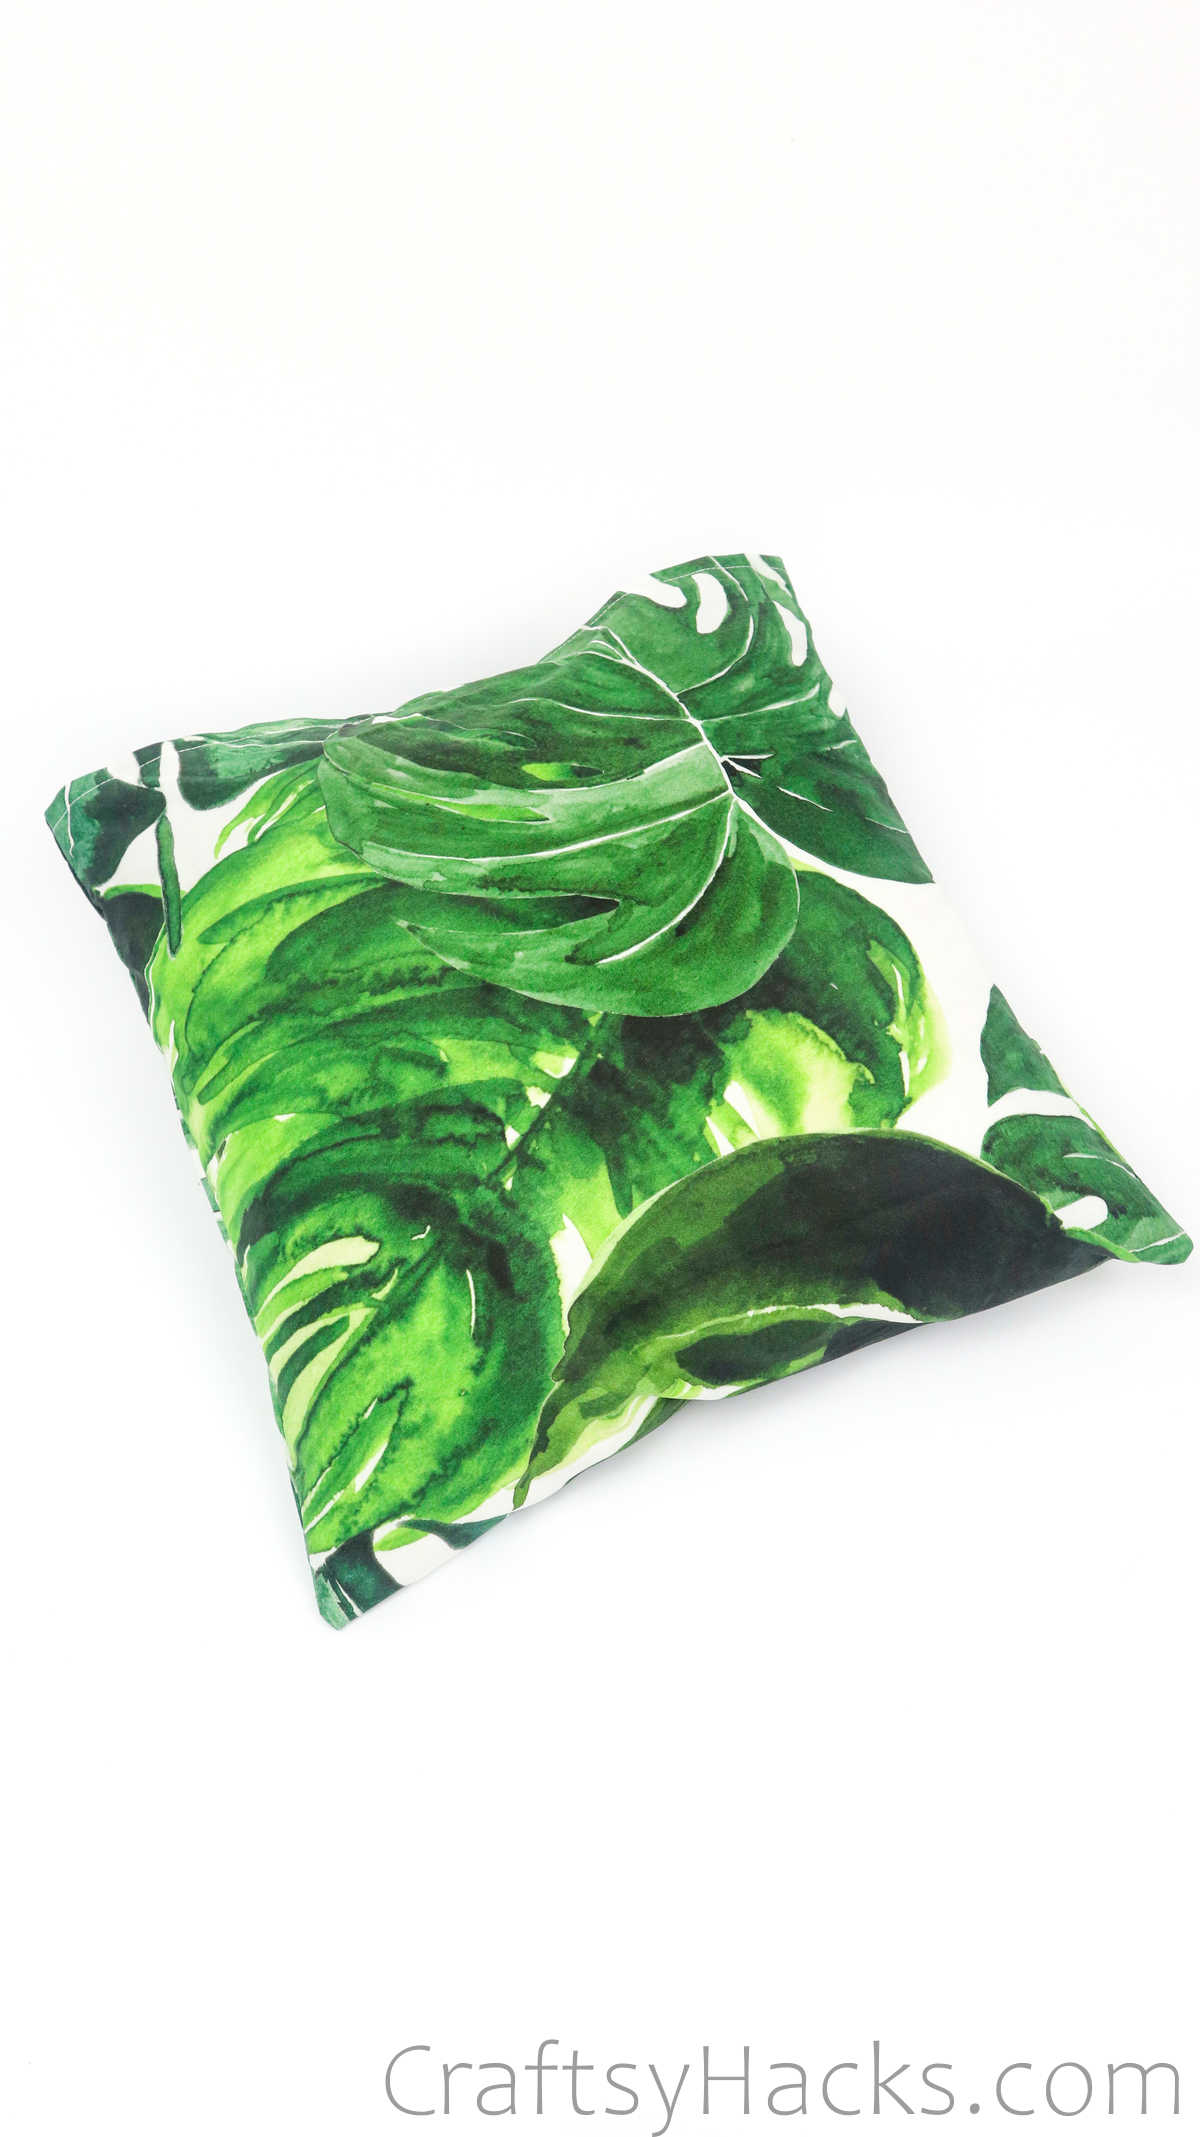
Your pillowcase should look something like this by this point. Looks fabulous, doesn’t it?
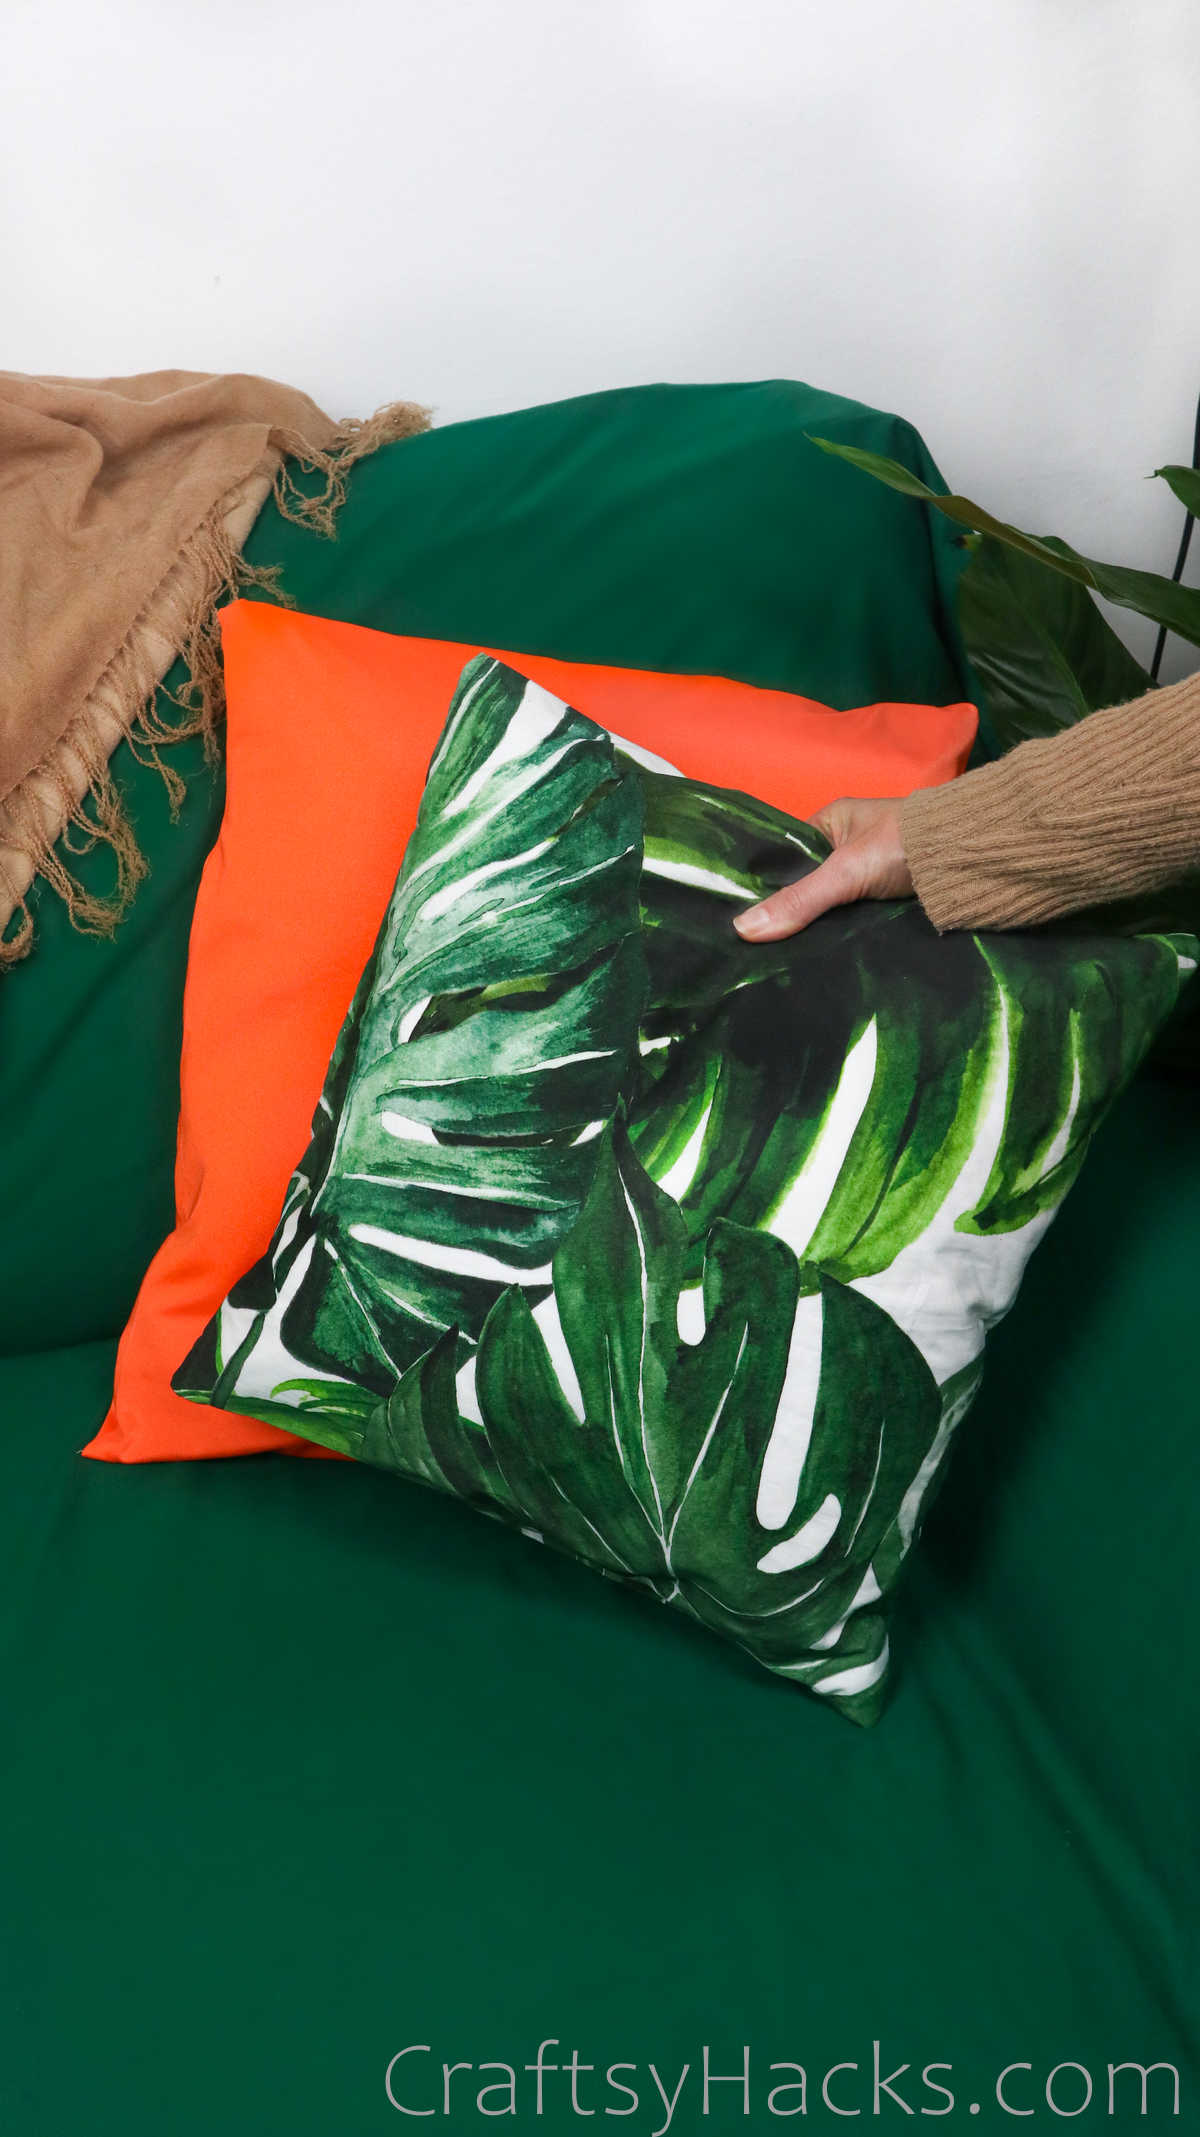
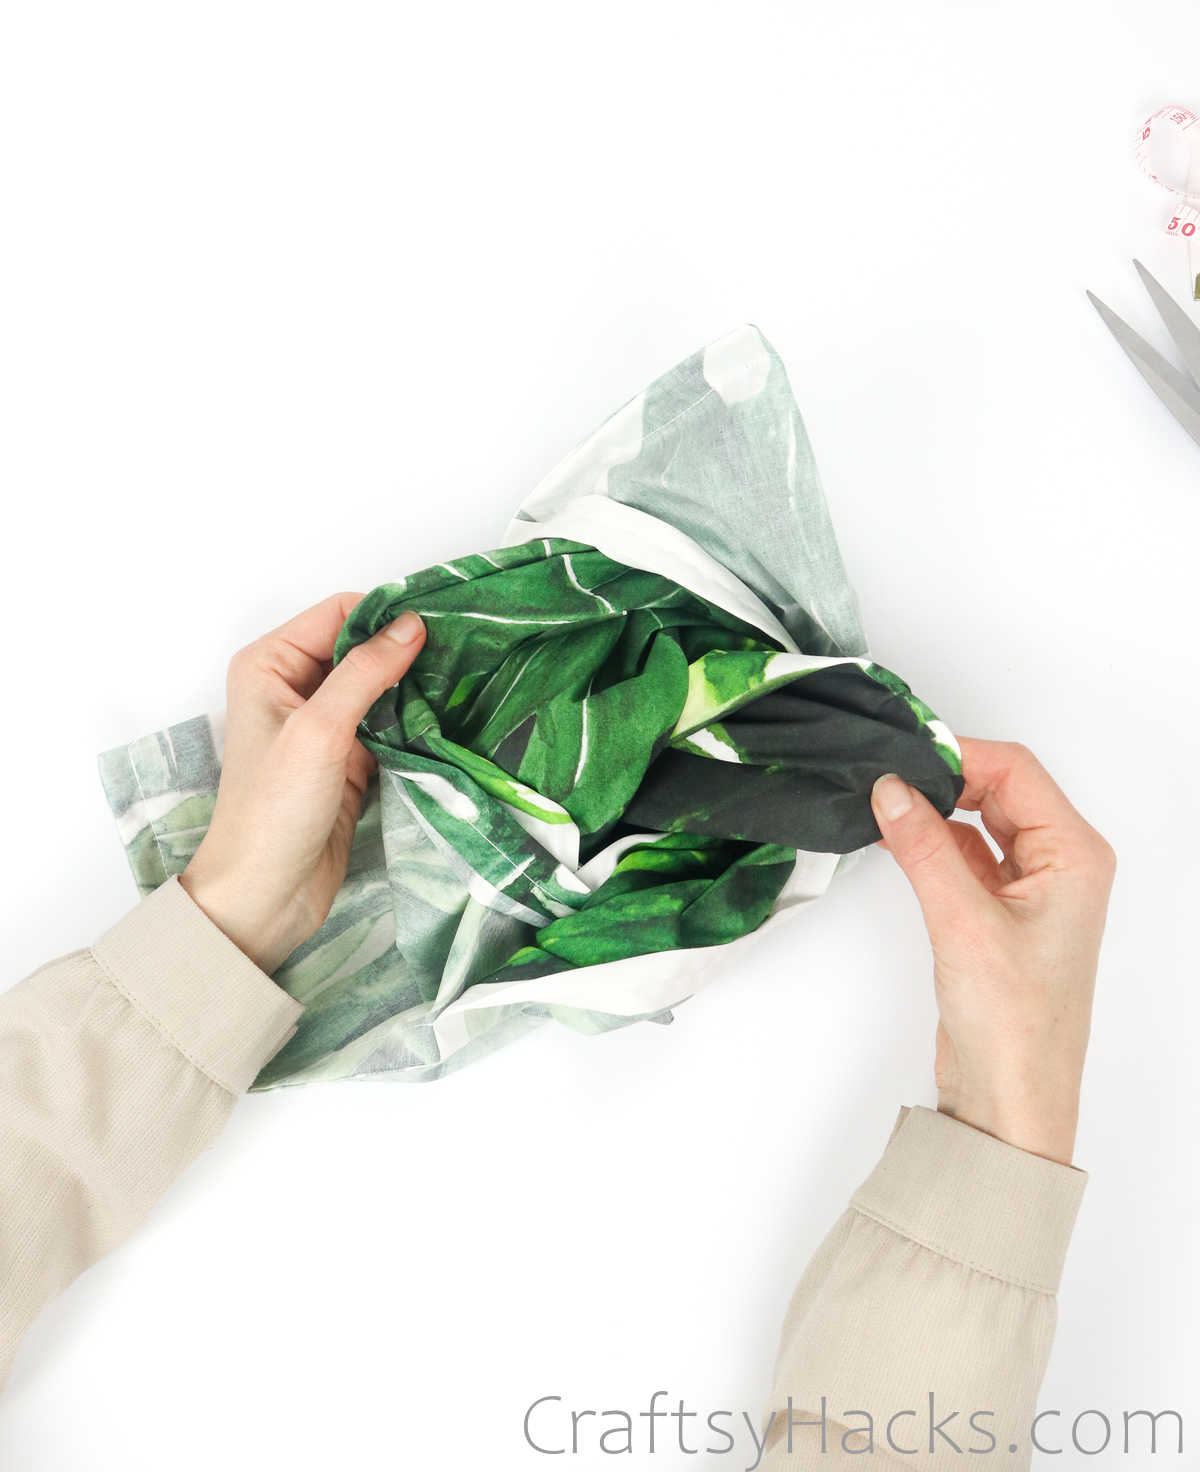
Now just grab your pillow insert and push it in through the flap. You can use your hands and fingers to smoothen out any wrinkles and adjust the pillow insert till it sits snugly in place.
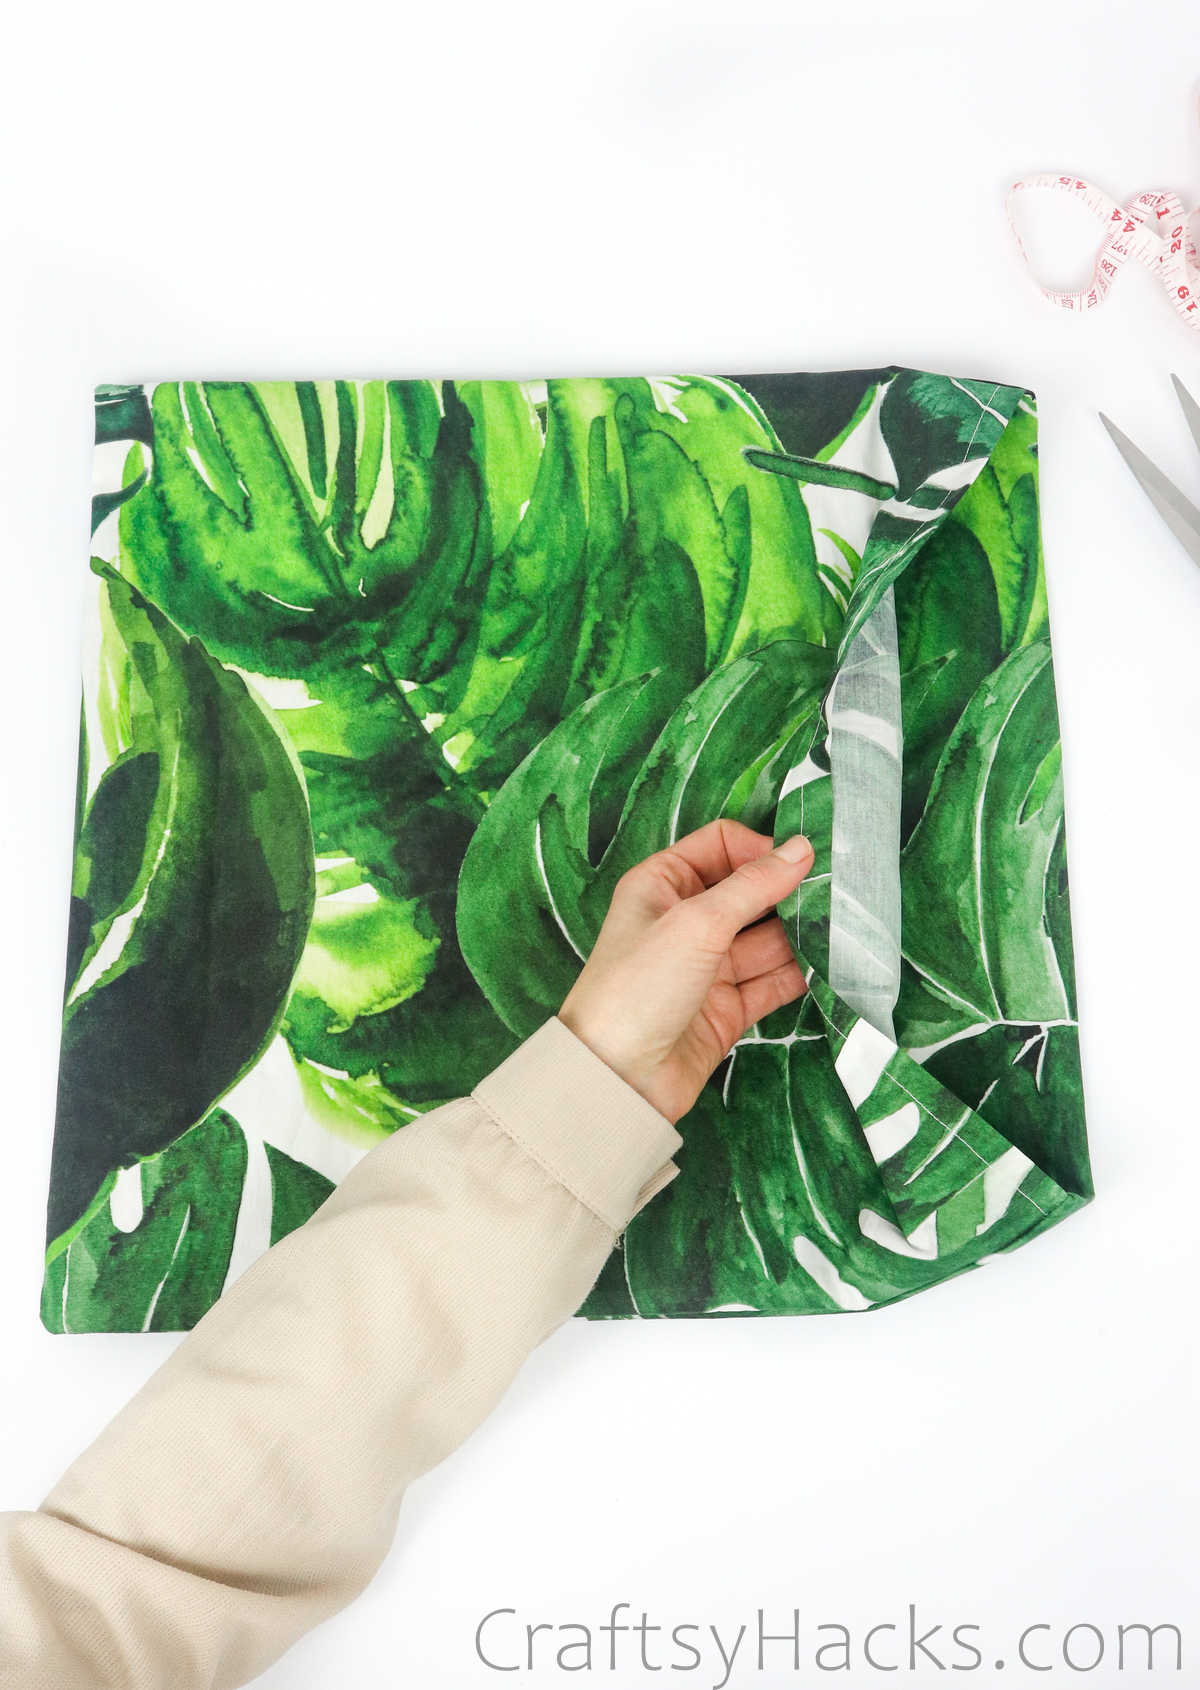
Tadaa! Your pretty pillowcase is all ready. This envelope-style of sewing the pillowcase gives you easy access to the pillow inside.
This way you can keep switching out your pillowcases whenever you feel like redecorating and it also comes in handy when you want to clean and wash your pillows.
Just plump it up a bit and set in place to enjoy your efforts!
Other Projects You Might Like
- 47 Easy Sewing Gifts
- 47 DIY Sewing Projects
- How to Make a Scrunchie
- DIY Zipper Pouch
- How to Make an Apron
- DIY Tote Bag
- 37 Brilliant Crafts to Make and Sell

How to Make a Pillowcase (Step-by-Step)
Video Tutorial
Equipment
- Tape measure
- Scissors
- Sewing pins
Materials
- Cotton fabric
- Tailor’s chalk
Instructions
- First, gather all your materials and tools to get started.
- Next, grab your measuring tape and measure the dimensions of your pillow.
- Figure out the length and width of the pillow case and mark them on your fabric. You will also need to leave room for the overlaps, as well as the seam allowance. Once you figure out the math, simply make the markings on the fabric using tailor’s chalk.
- Grab a pair of cloth scissors and cut out the fabric accordingly.
- Fold an inch wide strip of cloth twice to use as hems and tag them in place with sewing pins. You can also iron the folds if you want neater and more defined seams.
- Sew the hem on both sides.
- Now repeat this for the overlap flap, as well. Fold a 4-inch wide strip of cloth and use sewing pins to secure it.
- Next fold the fabric in half and align the ends. Once again, use sewing pins to secure the ends in place and then sew along the top and bottom of the pillow case. You can back stitch all through to really secure your stitches, especially around the corners.
- Next, turn the fabric inside out. The wrong side of the fabric will be facing up, with the flap on the out as well, and the right side is facing in.
- Now, use sewing pins to mark and tag your guide for the seam allowance and then just sew the two remaining sides.
- Turn the fabric inside out, with the printed side facing out. Use your fingers to poke the corners out.
- Finally, just insert the pillow into your pillow case and hide the edge under the flap. Your pillowcase is ready!


