How to Make Paper Roses (Step-by-Step)
This post may contain affiliate links: full affiliate disclosure.
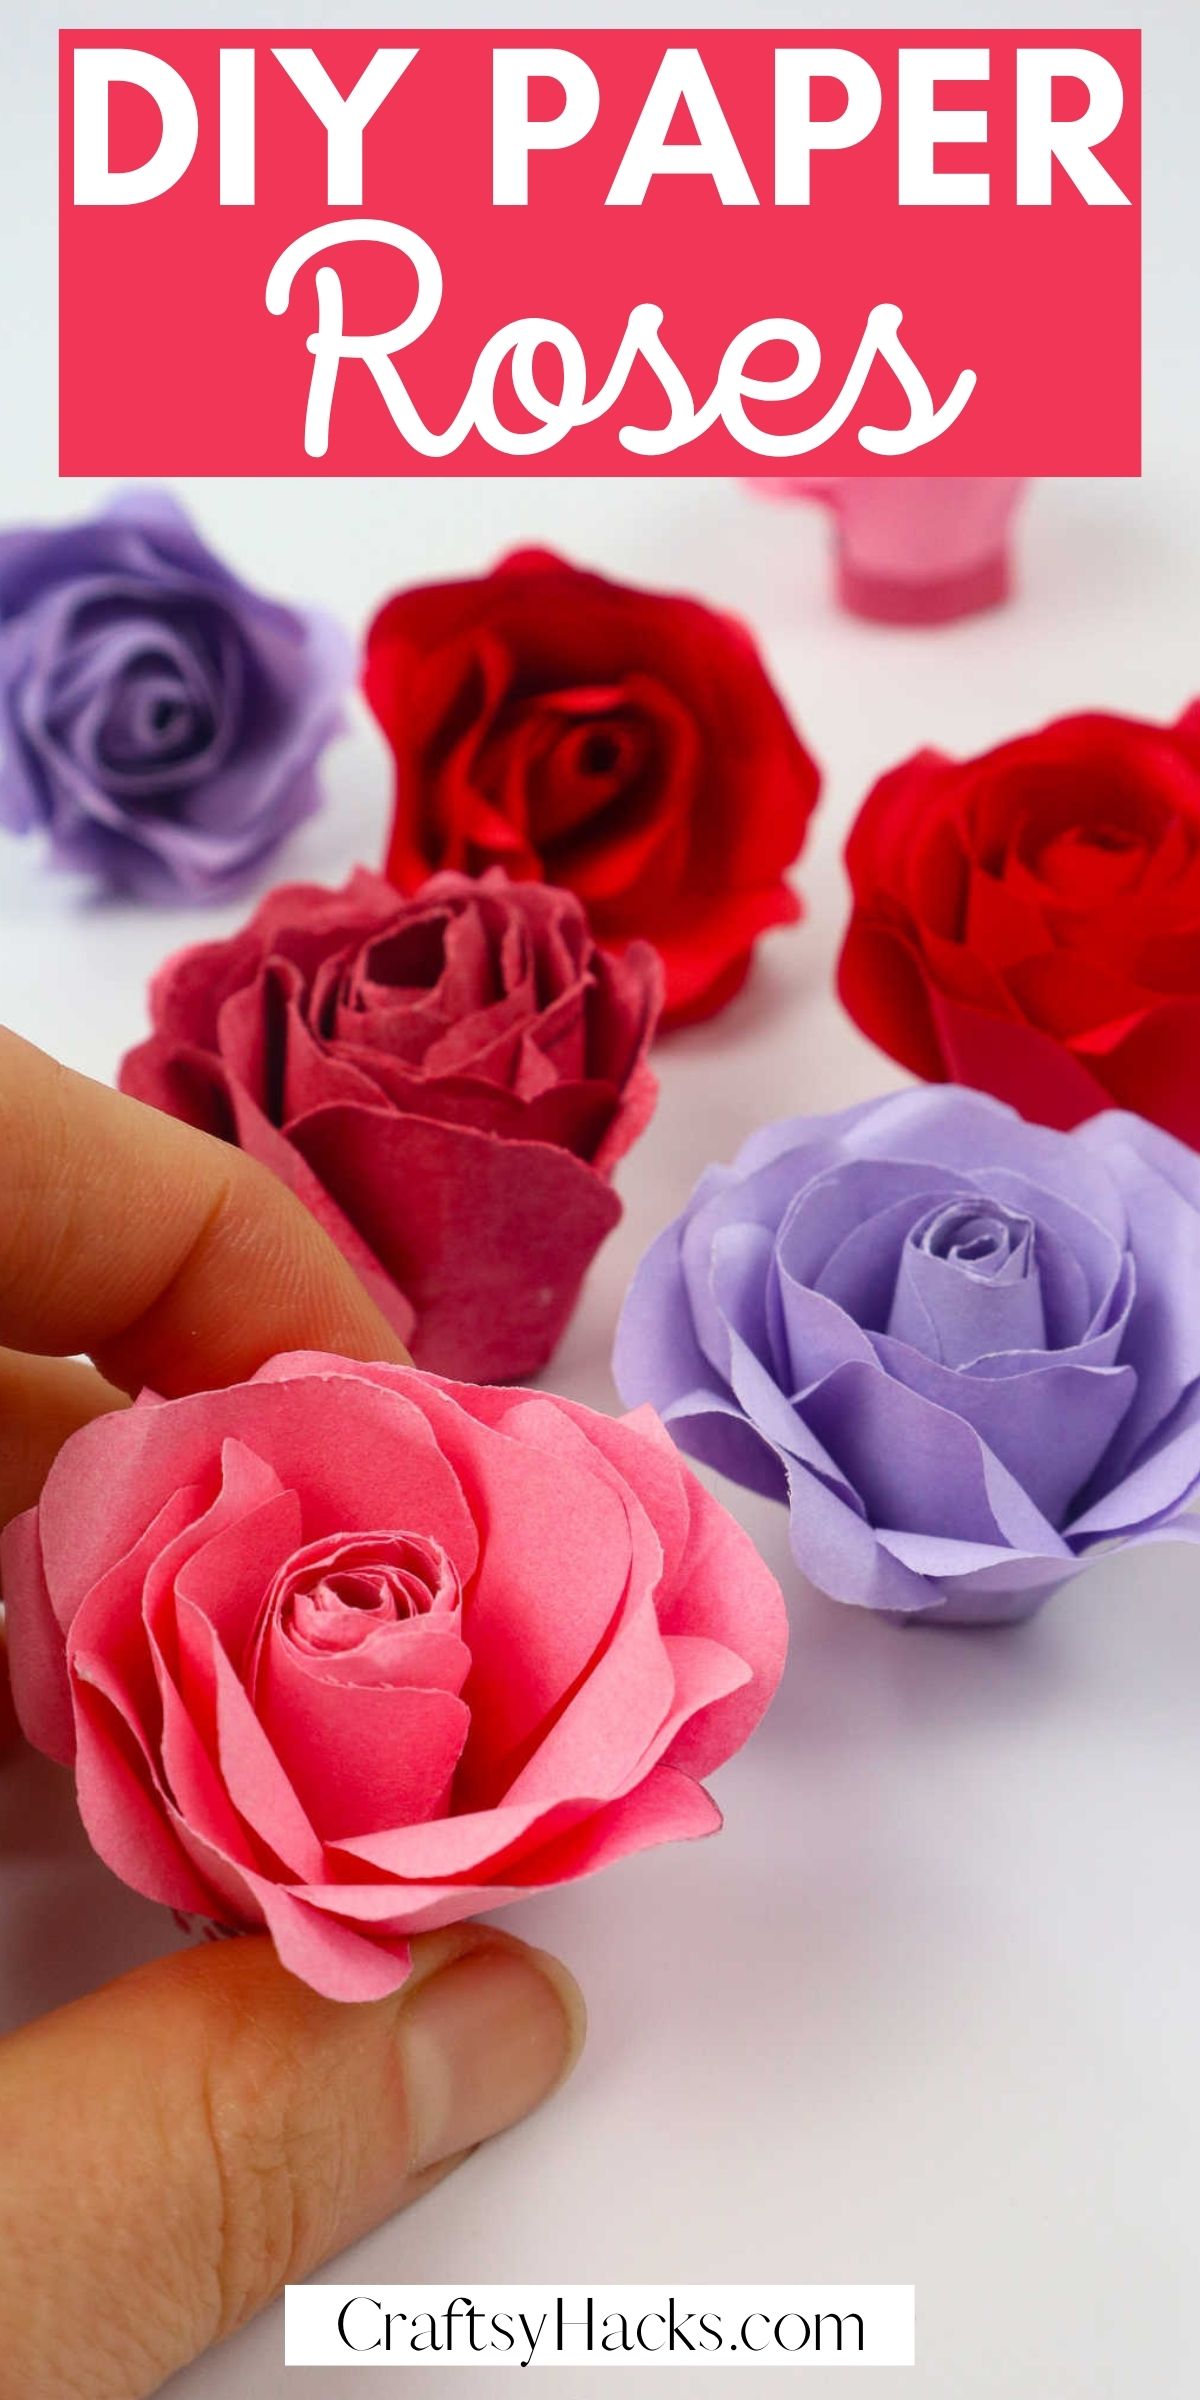
Roses are some of the most beautiful flowers out there. Make your own DIY roses with just a couple pieces of paper and let your creativity flow.
Check this step-by-step tutorial and learn how to make paper roses from scratch.
You can never have too many flowers anywhere, especially not in a craft project. Do you want to turn something simple and boring into something pretty and colorful? Do you want to soften a project, perhaps, and add texture to it, as well?
Then you’ve got to have paper flowers, paper roses in particular.
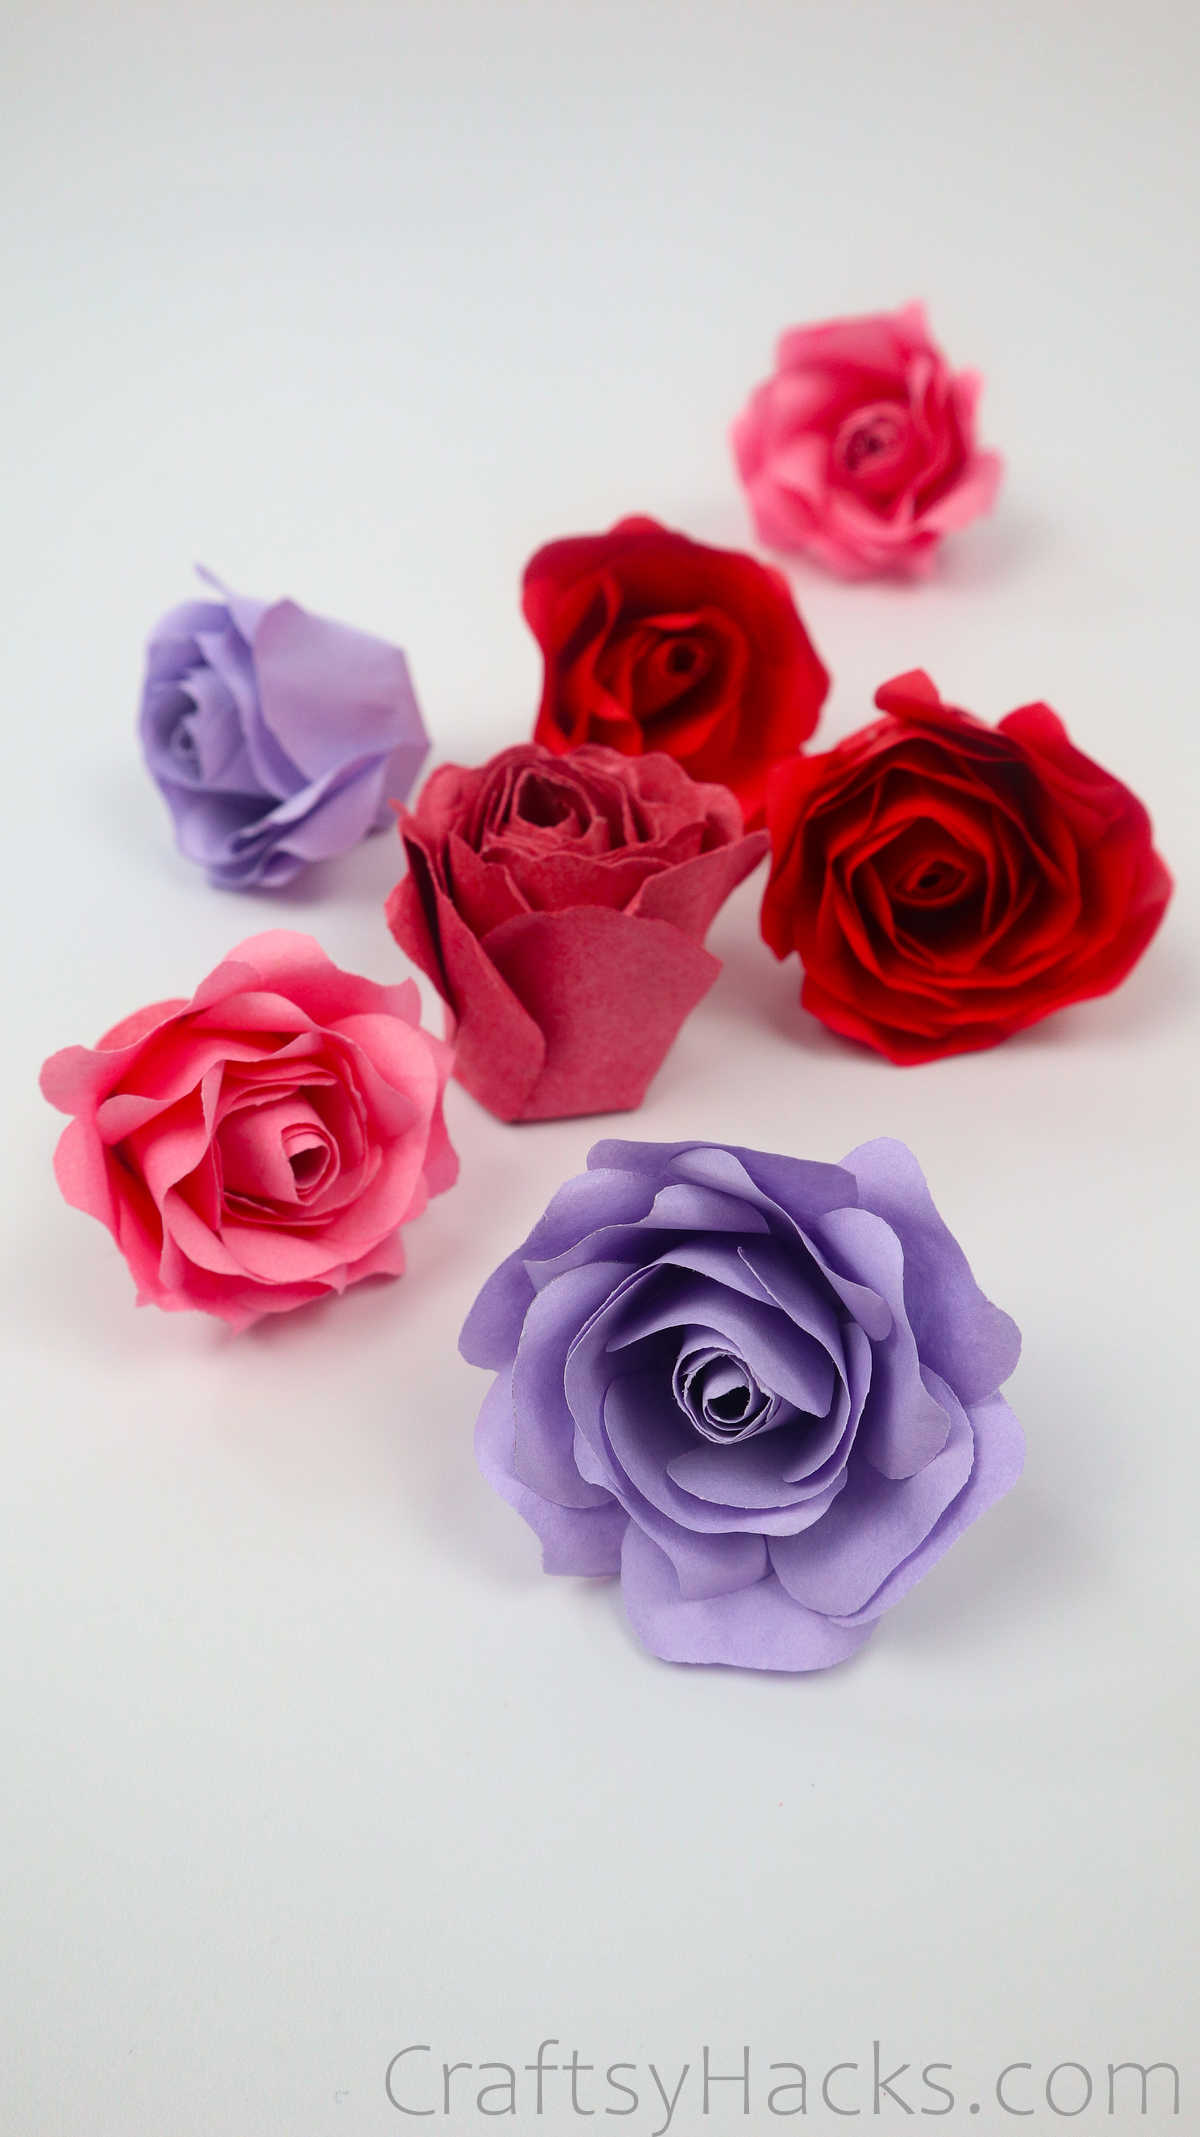
They are so exquisitely easy to make, but they do take time. That’s why you should make a couple dozen of these paper roses beforehand and store them for later. So sit yourself down, put on a movie, and get some munchies out for this fun craft session!
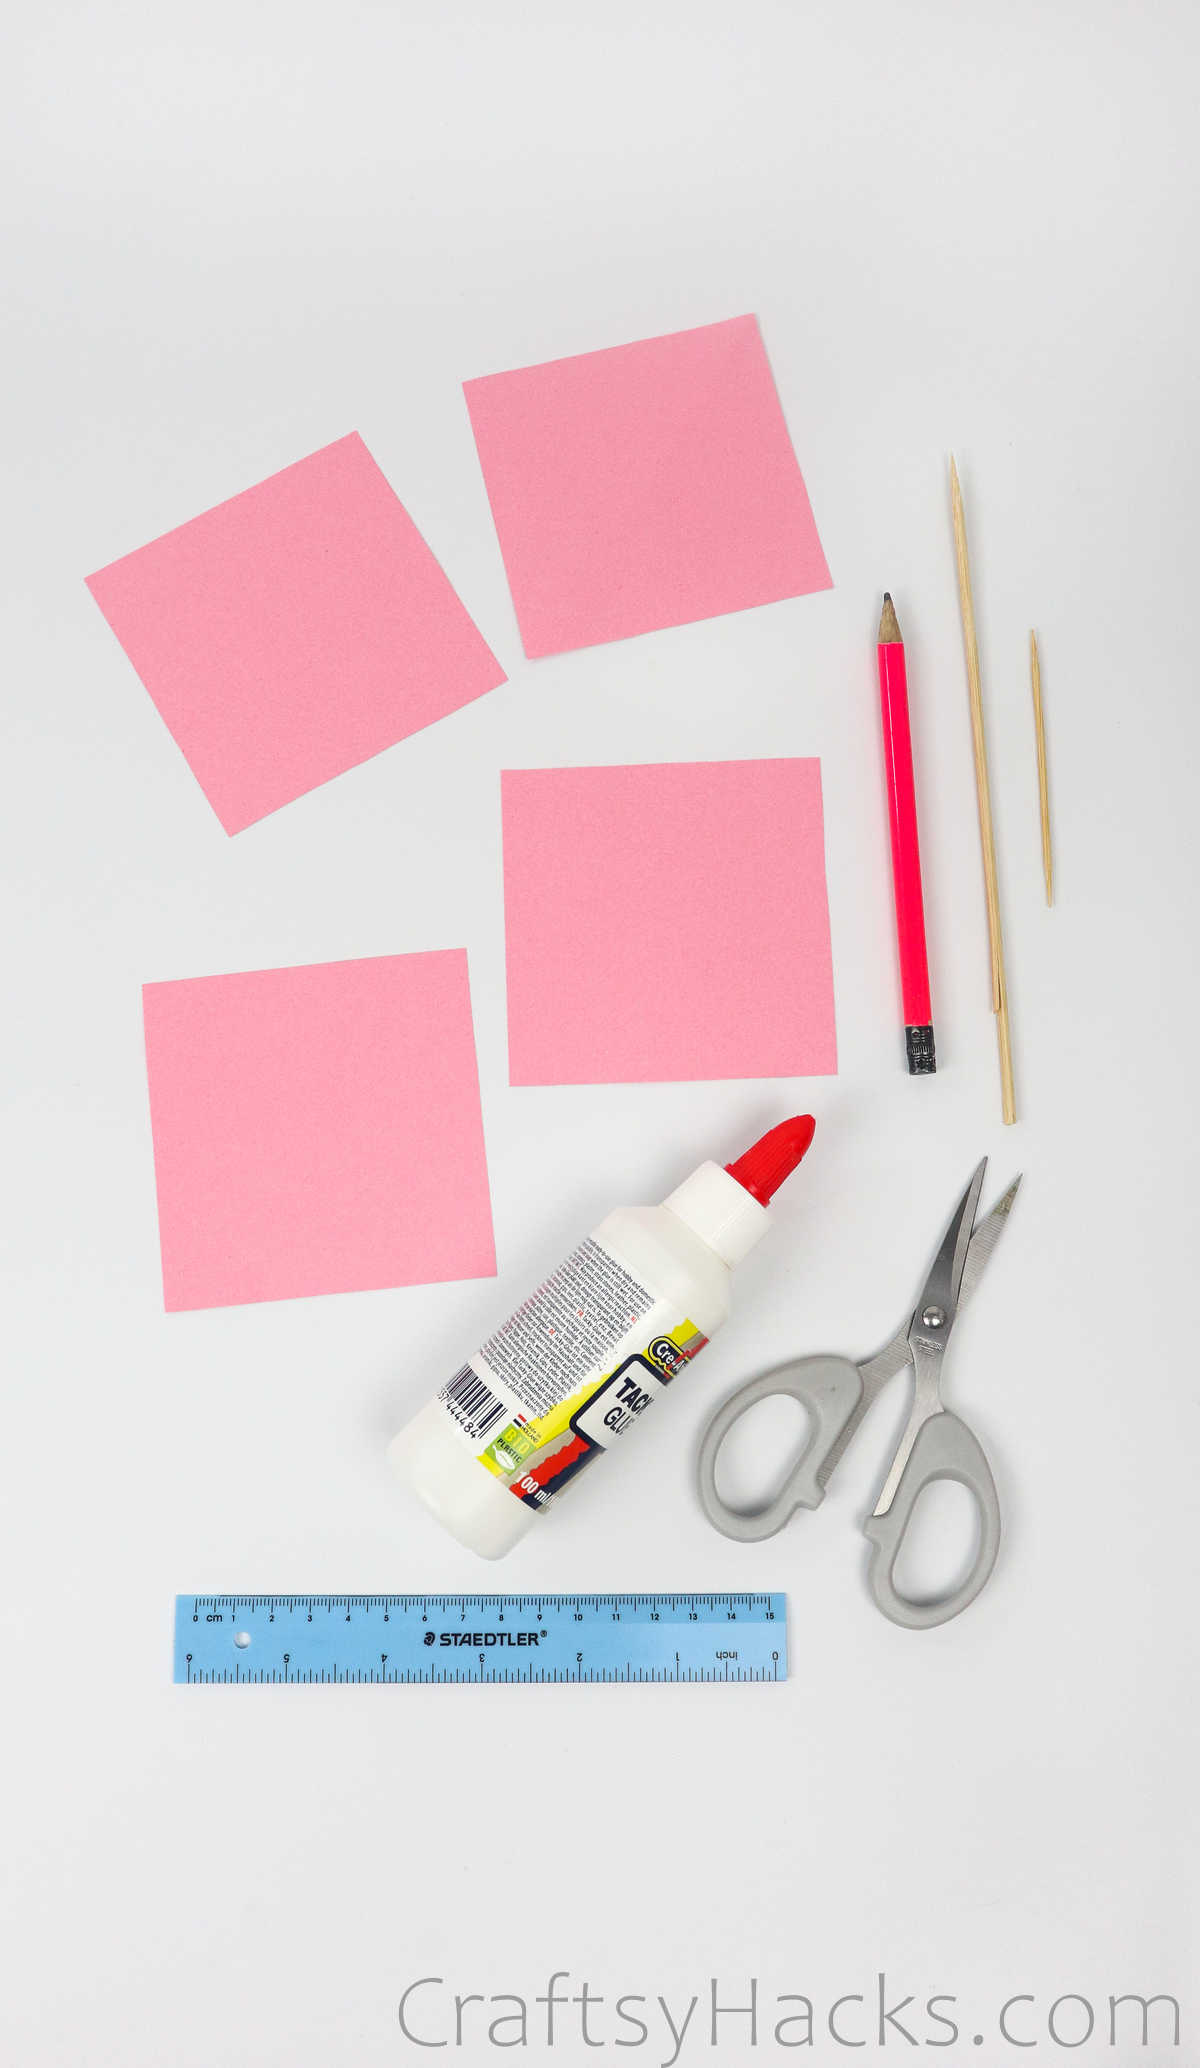
Take a look at the supplies you’re going to need for this project.
Supplies and Tools You’ll Need
- 4x paper squares* (3.5″ x 3.5″)
- Pencil
- Scissors
- Paper glue
- Toothpick
- Wooden skewer
- Ruler
How to Make Paper Roses
The first step is to pick out the type and color of paper you plan to use as the flowers you make will vary depending on both factors. So take a look at step one of making paper roses!
Video Tutorial
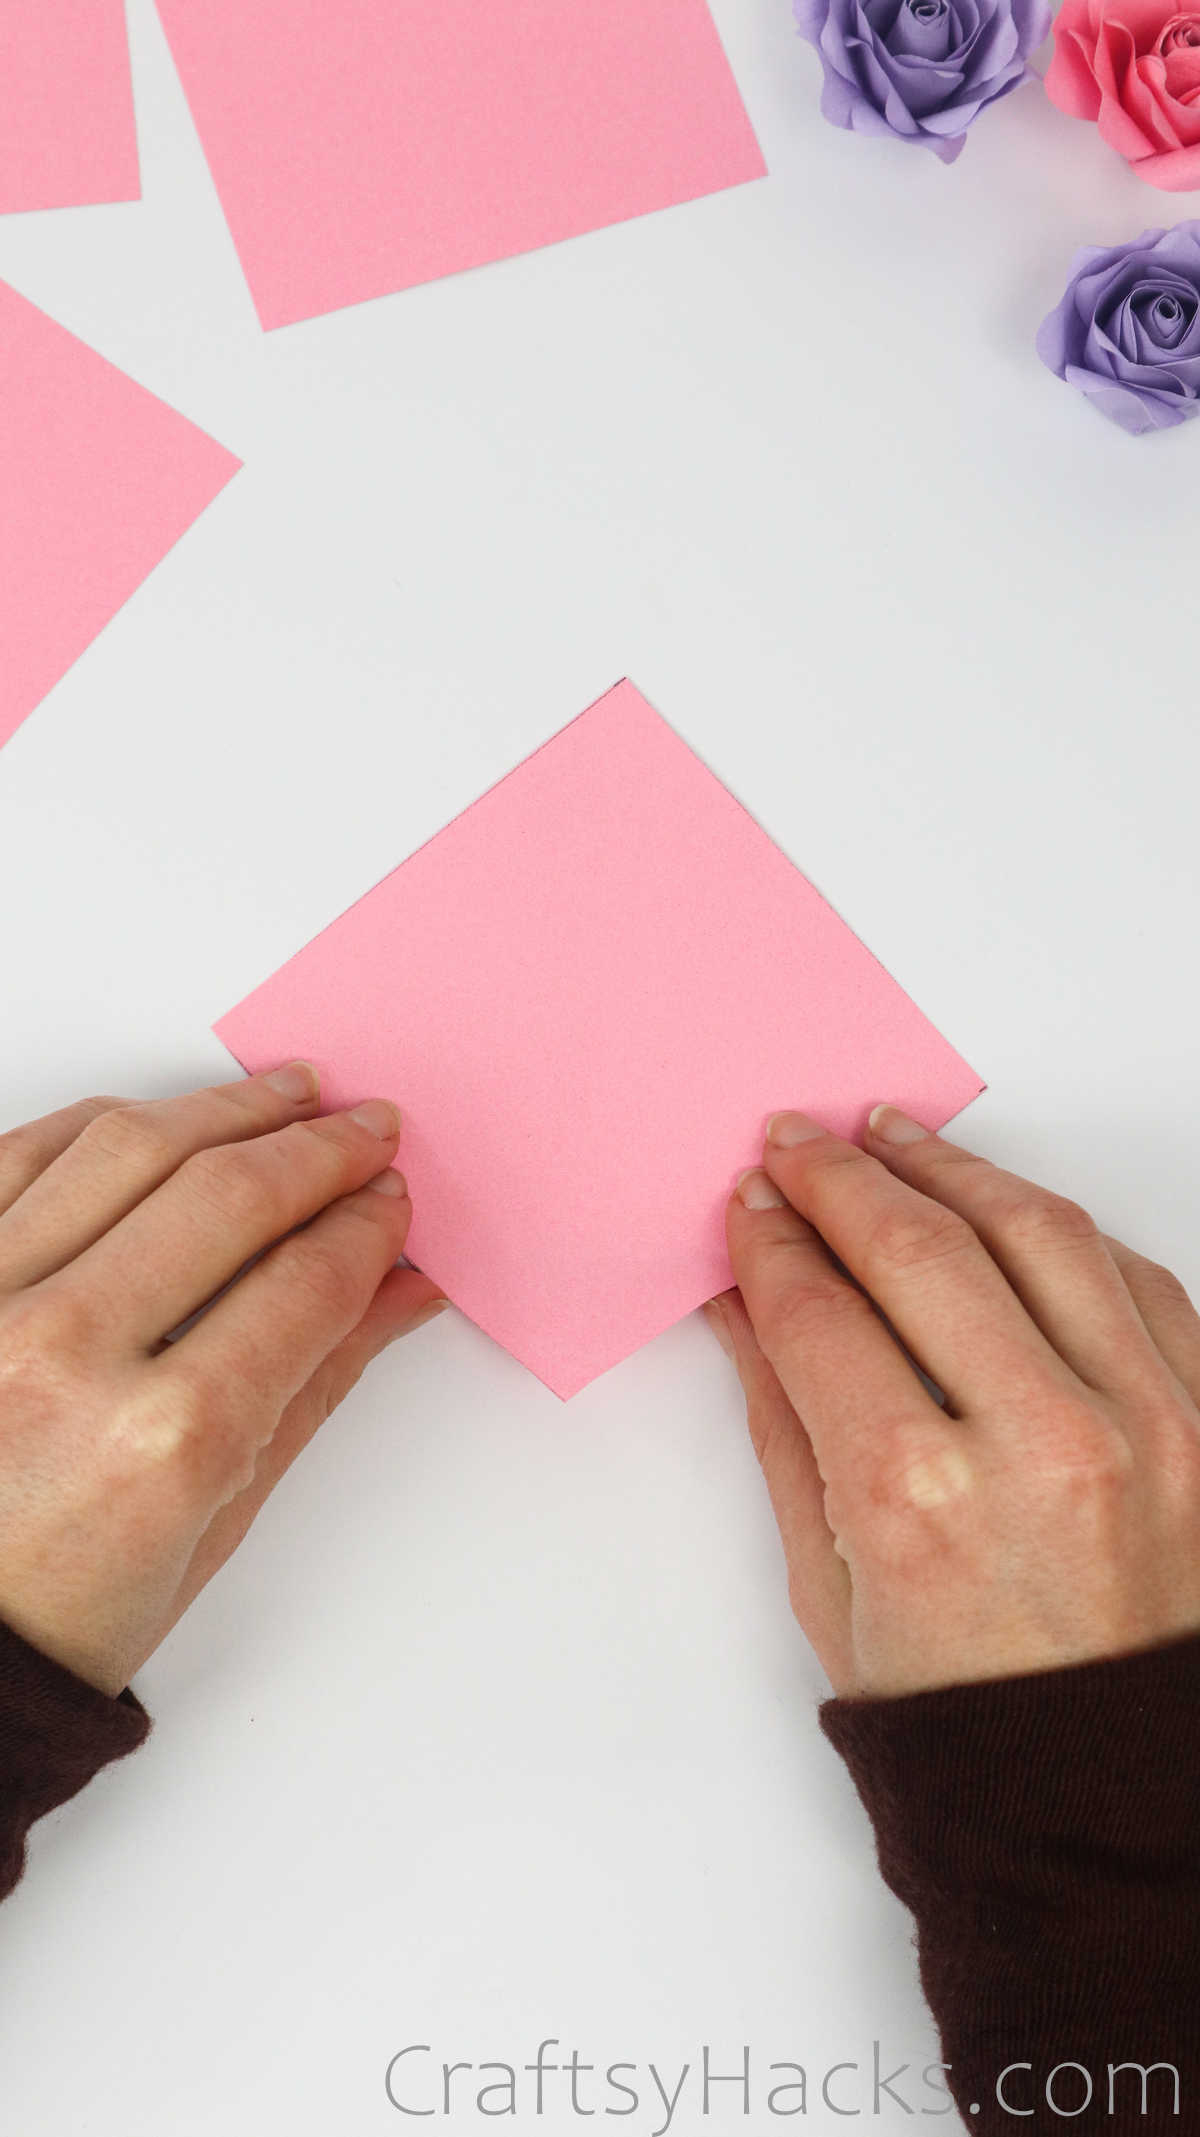
Step 1
First, grab your paper and lay it out on a flat work surface. Grab one corner and bring it towards the opposite corner and fold it in half to make a triangle.
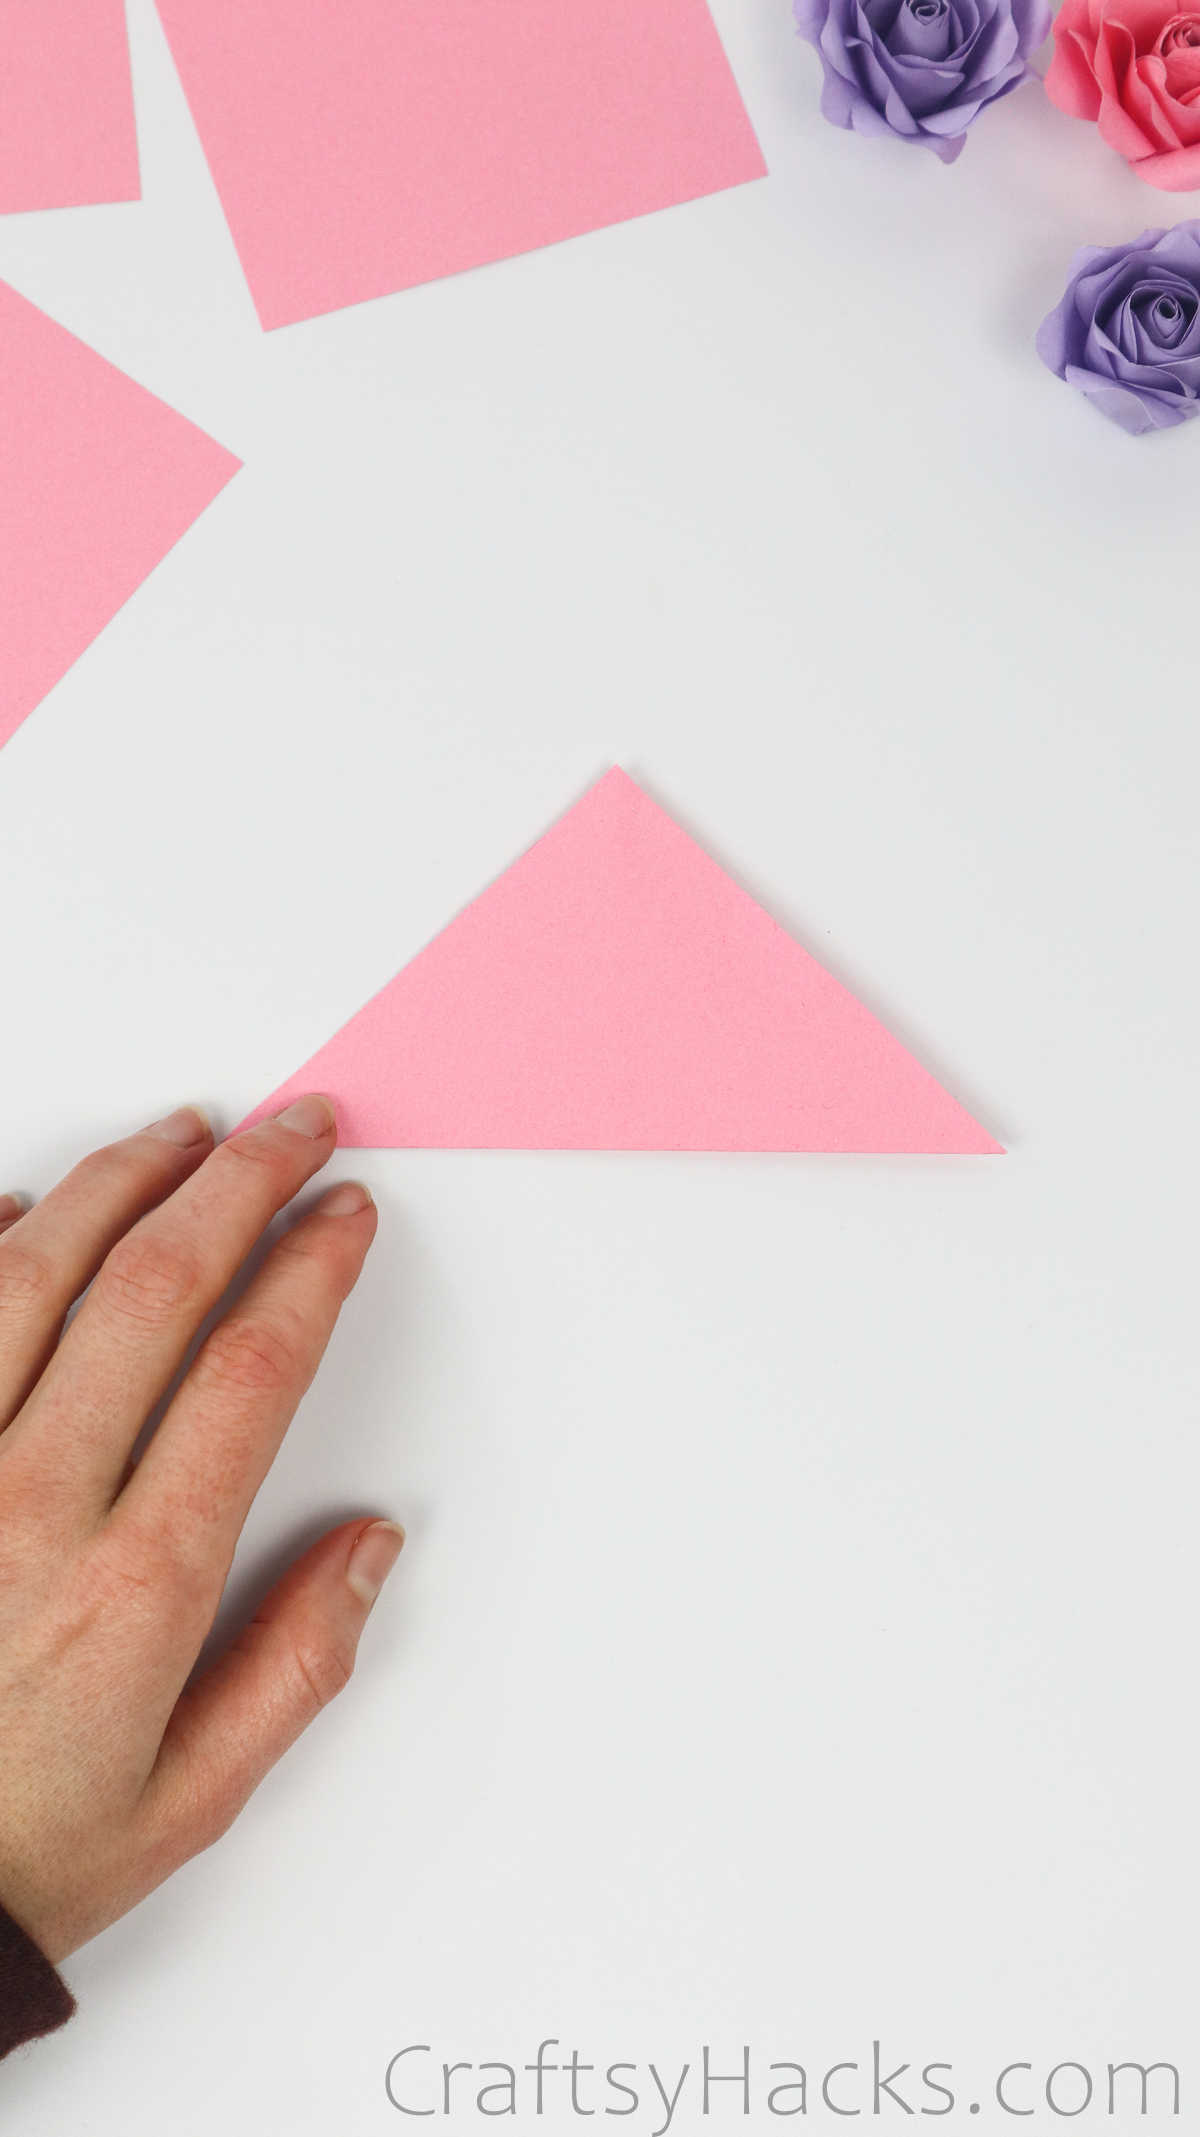
Fold the triangle once again to make an even smaller triangle.
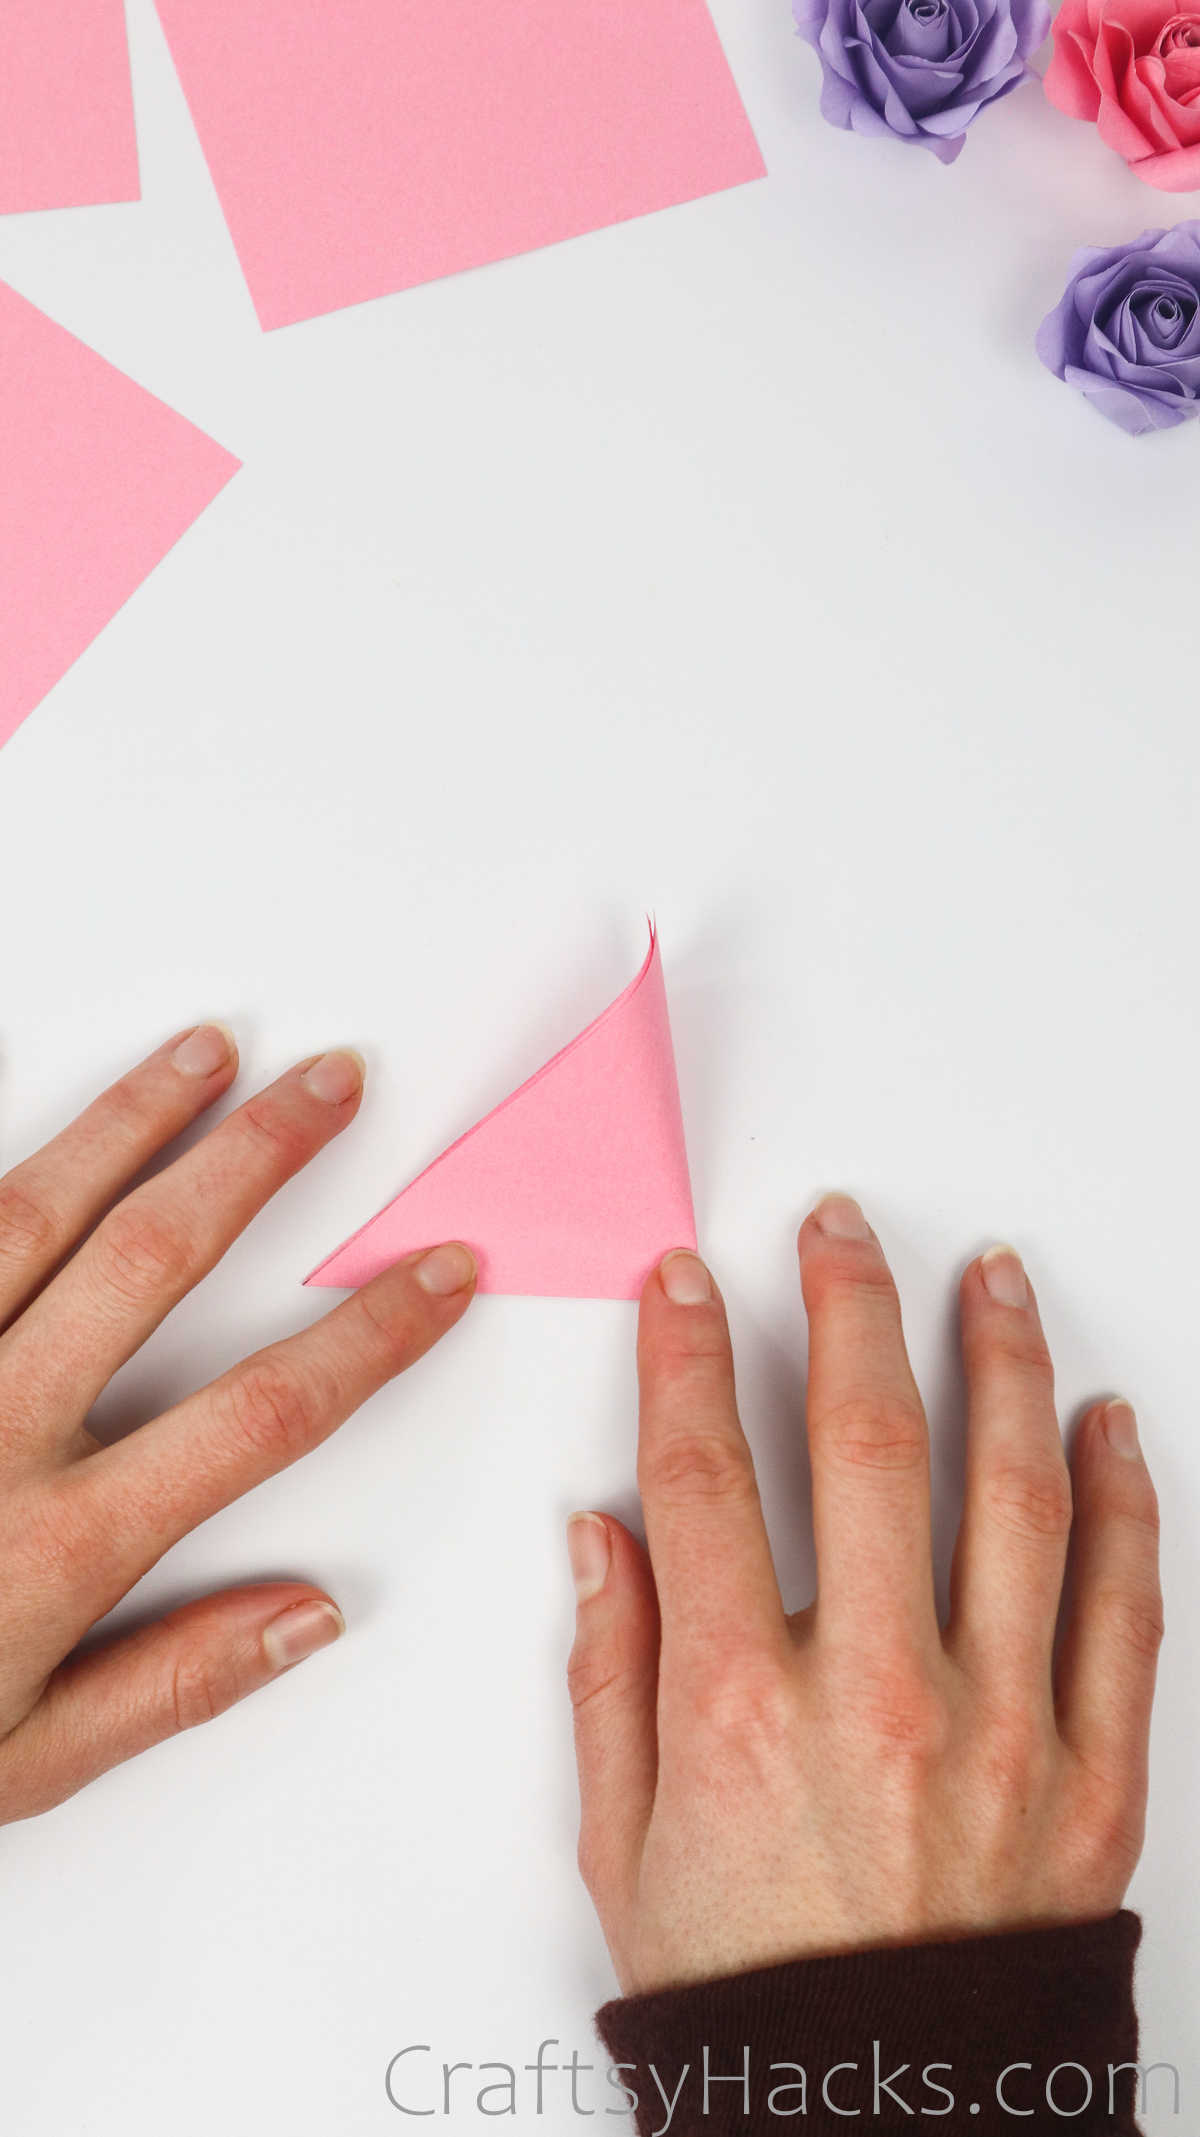
Now, open out the last fold you just made and you’ll have a perpendicular fold along the center of your triangle.
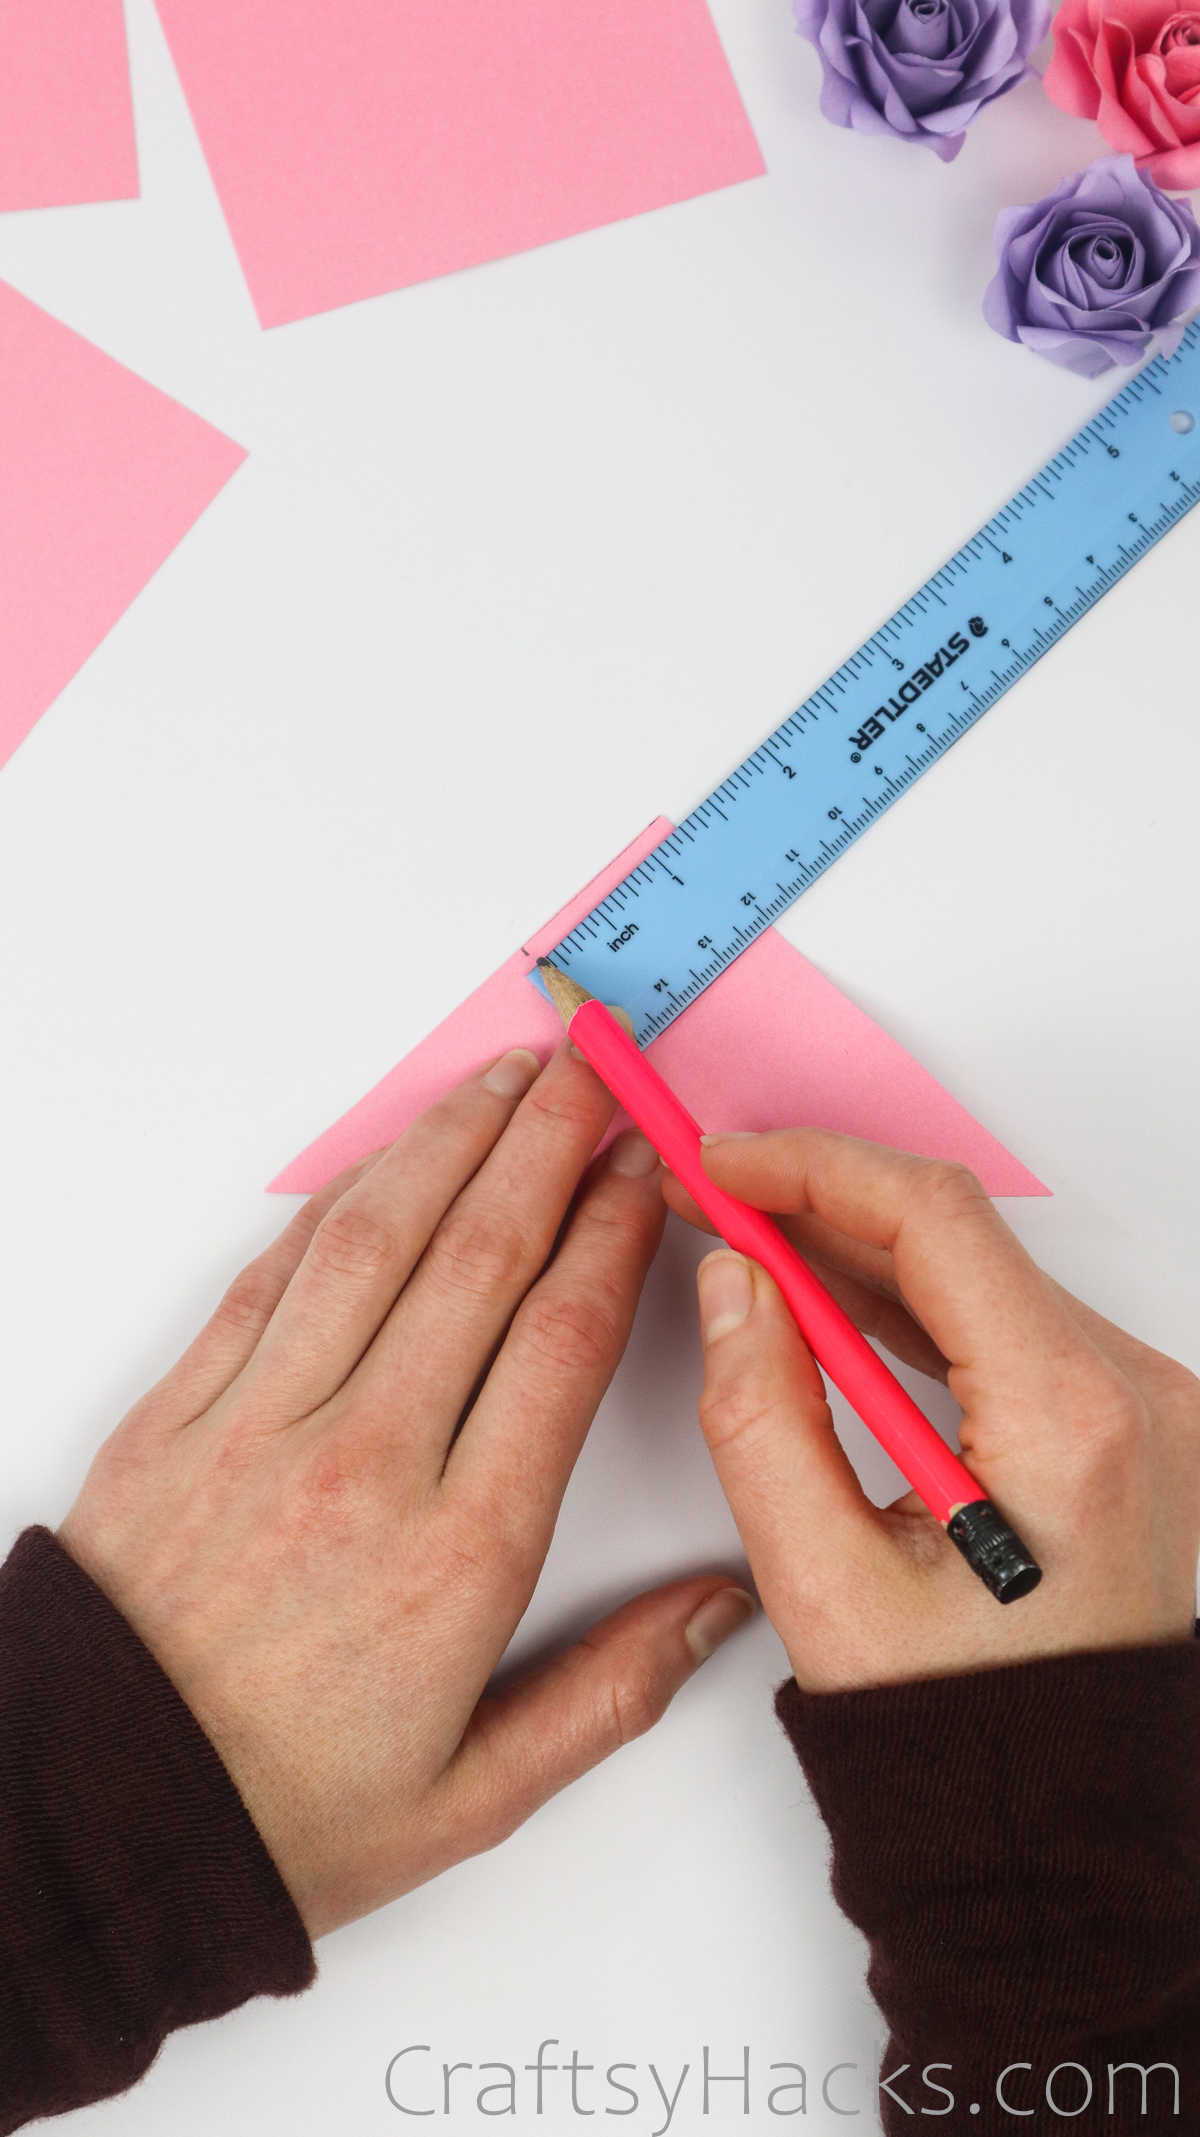
Step 2
Grab a pencil and make a marking about an inch and a half down one side.
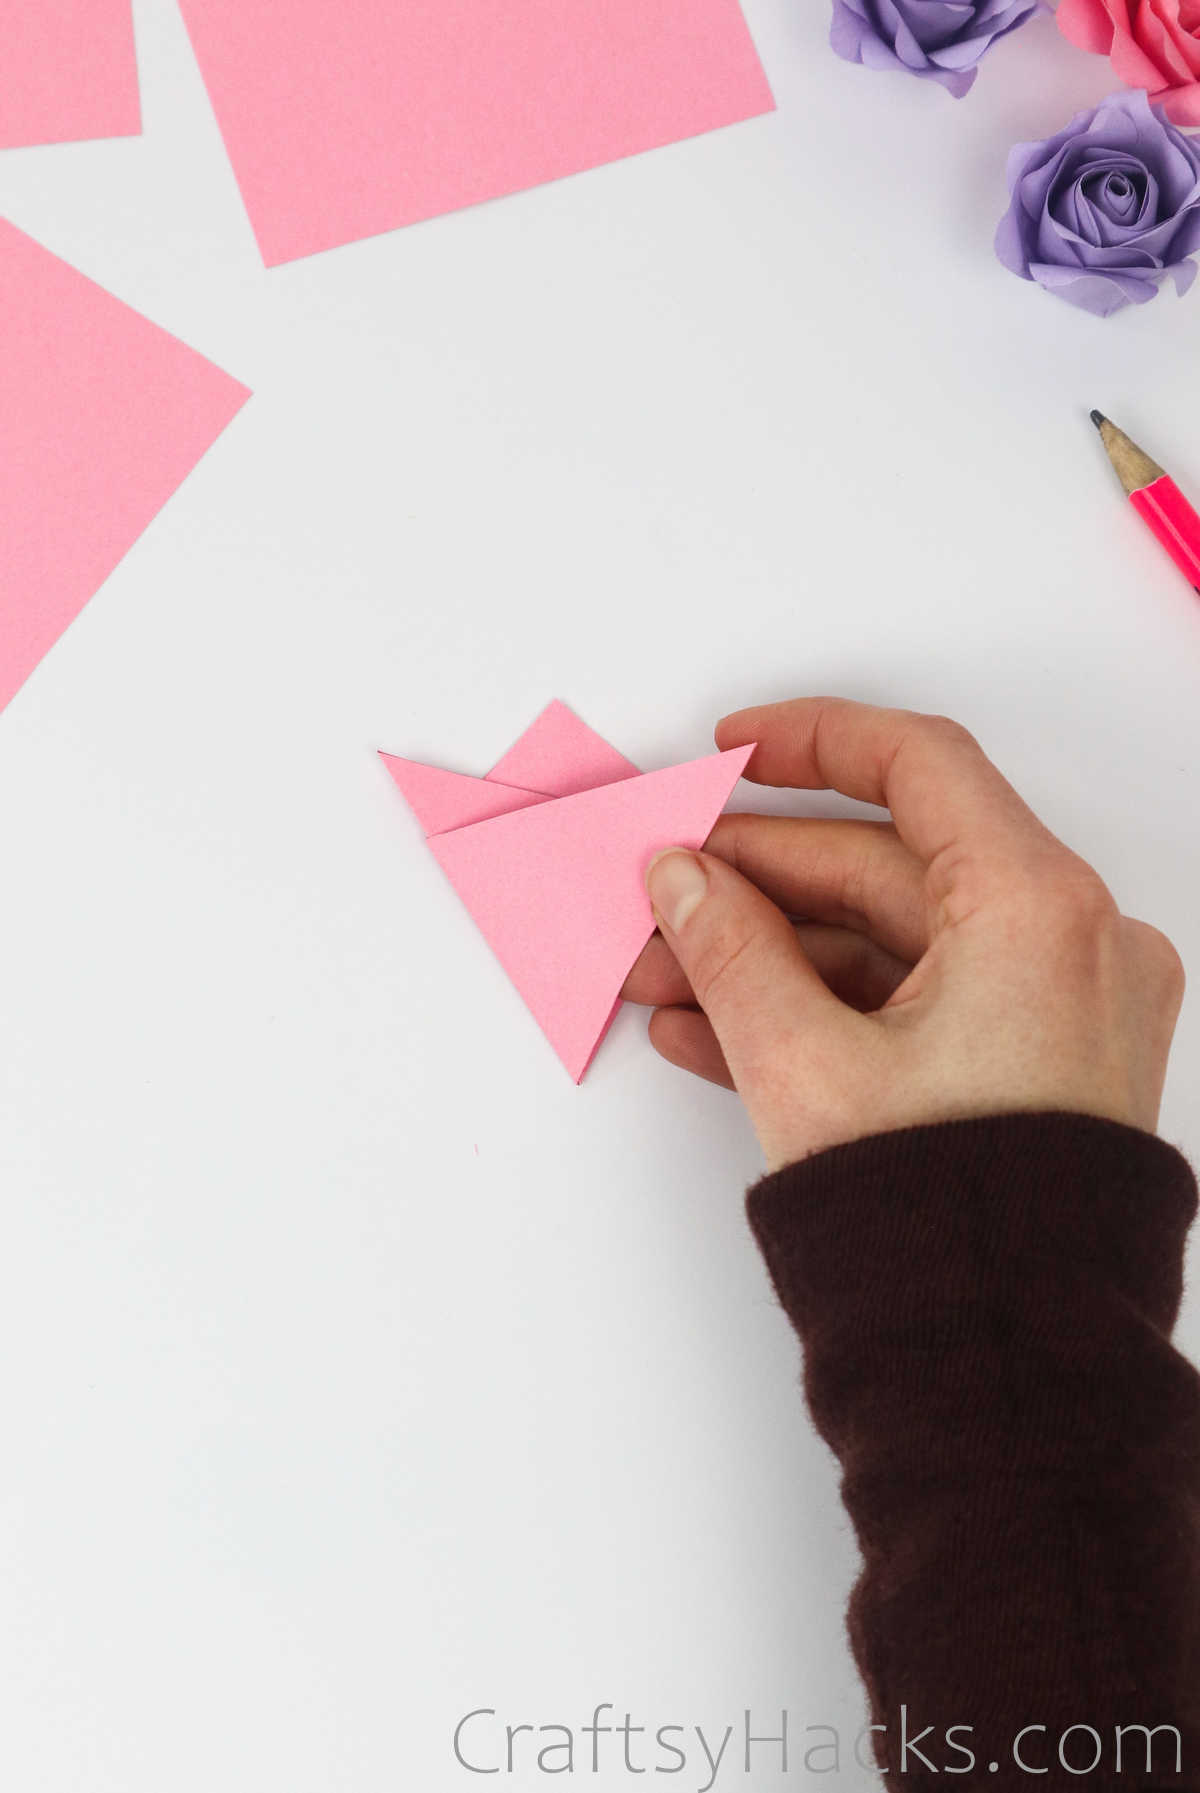
Grab the opposite corner and bring it up towards the marking you just made, pressing down to crease the paper.
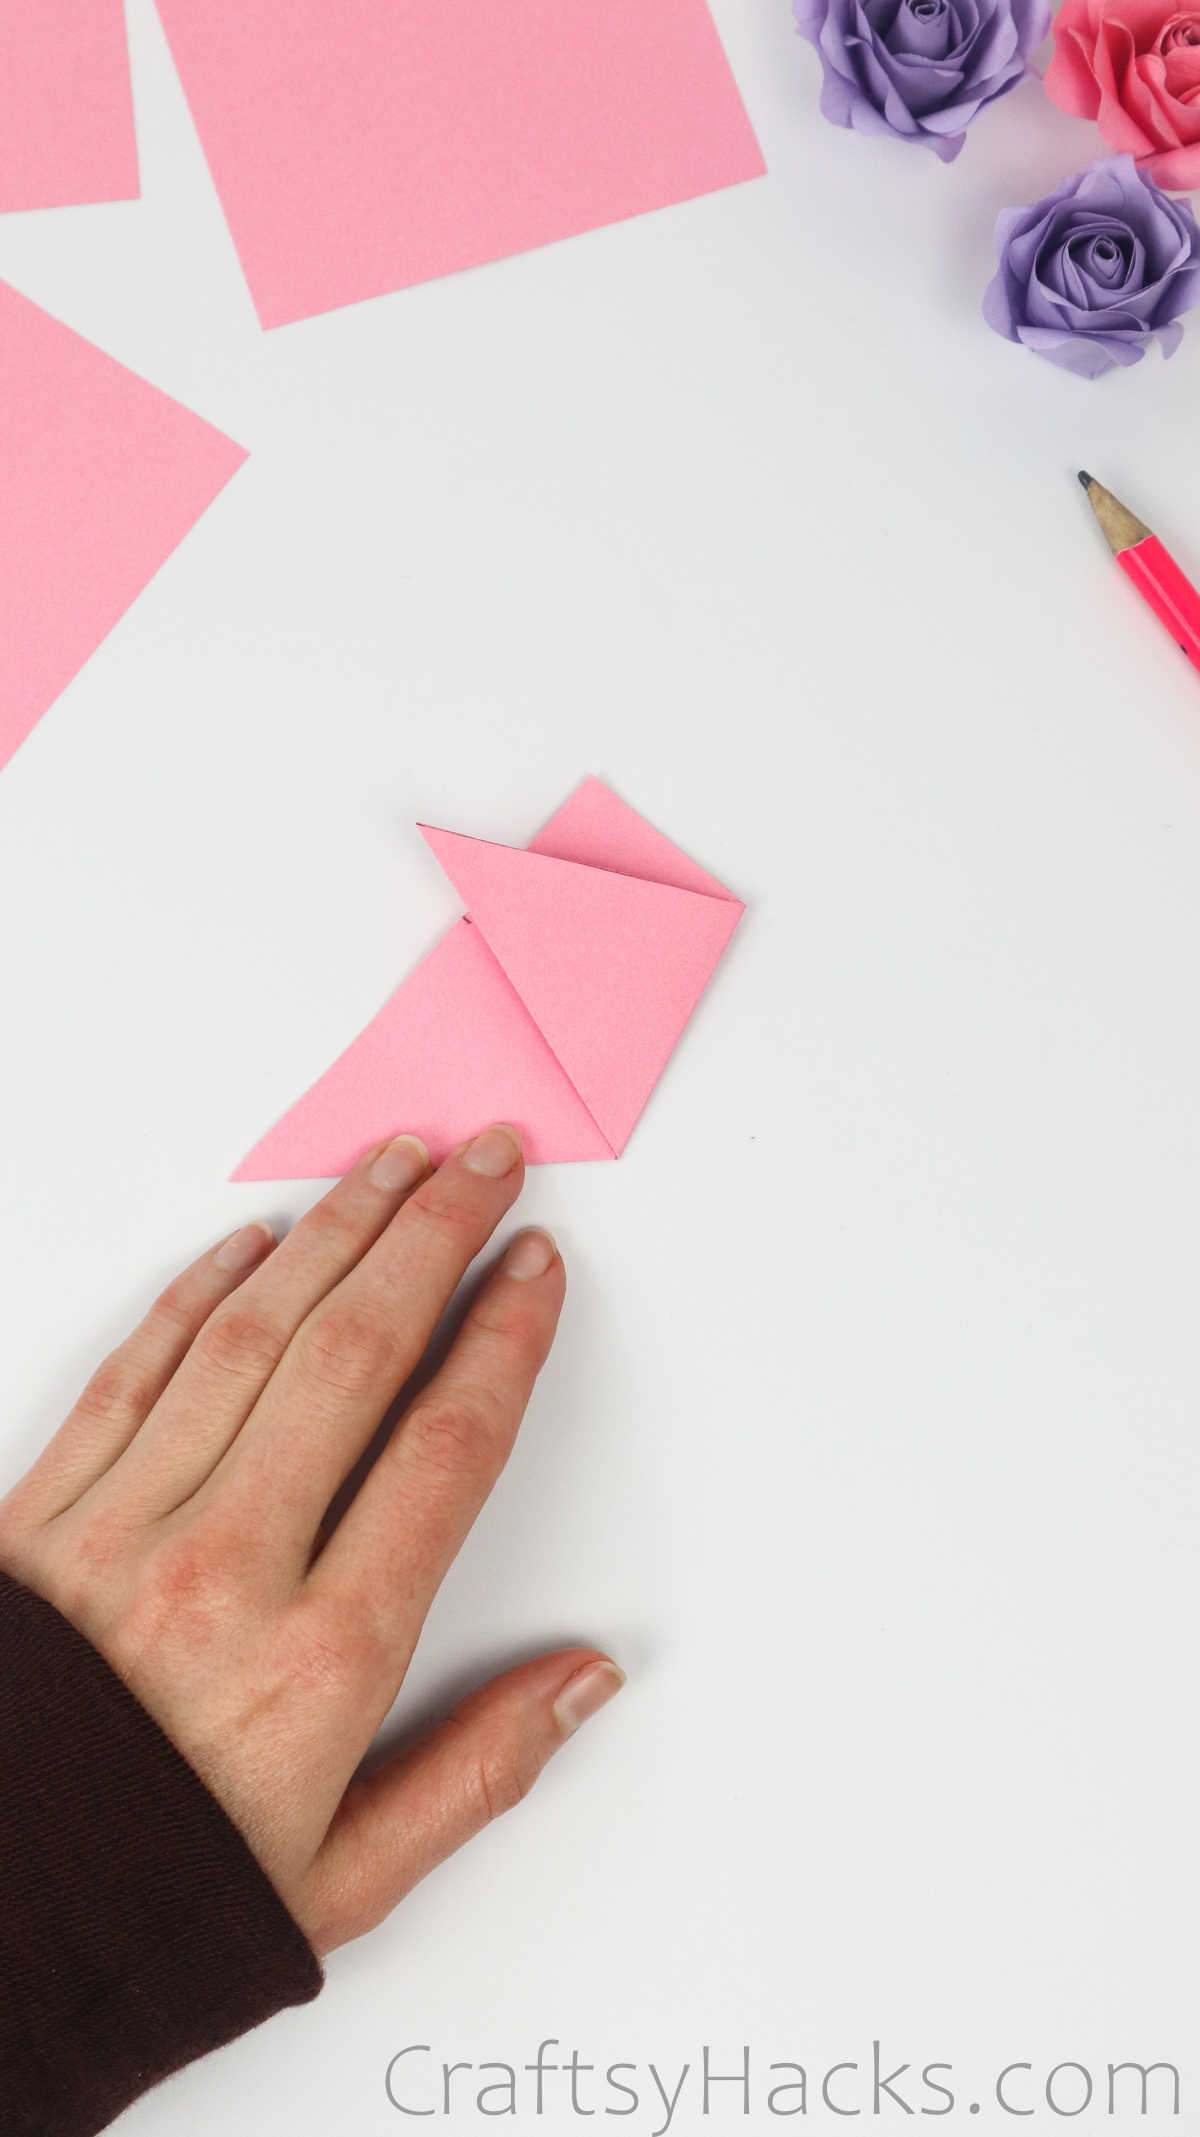
Repeat this step with the opposite side as well, making the marking the same inch and a half down from the top and then folding the opposite end up and creasing it in place.
Step 3
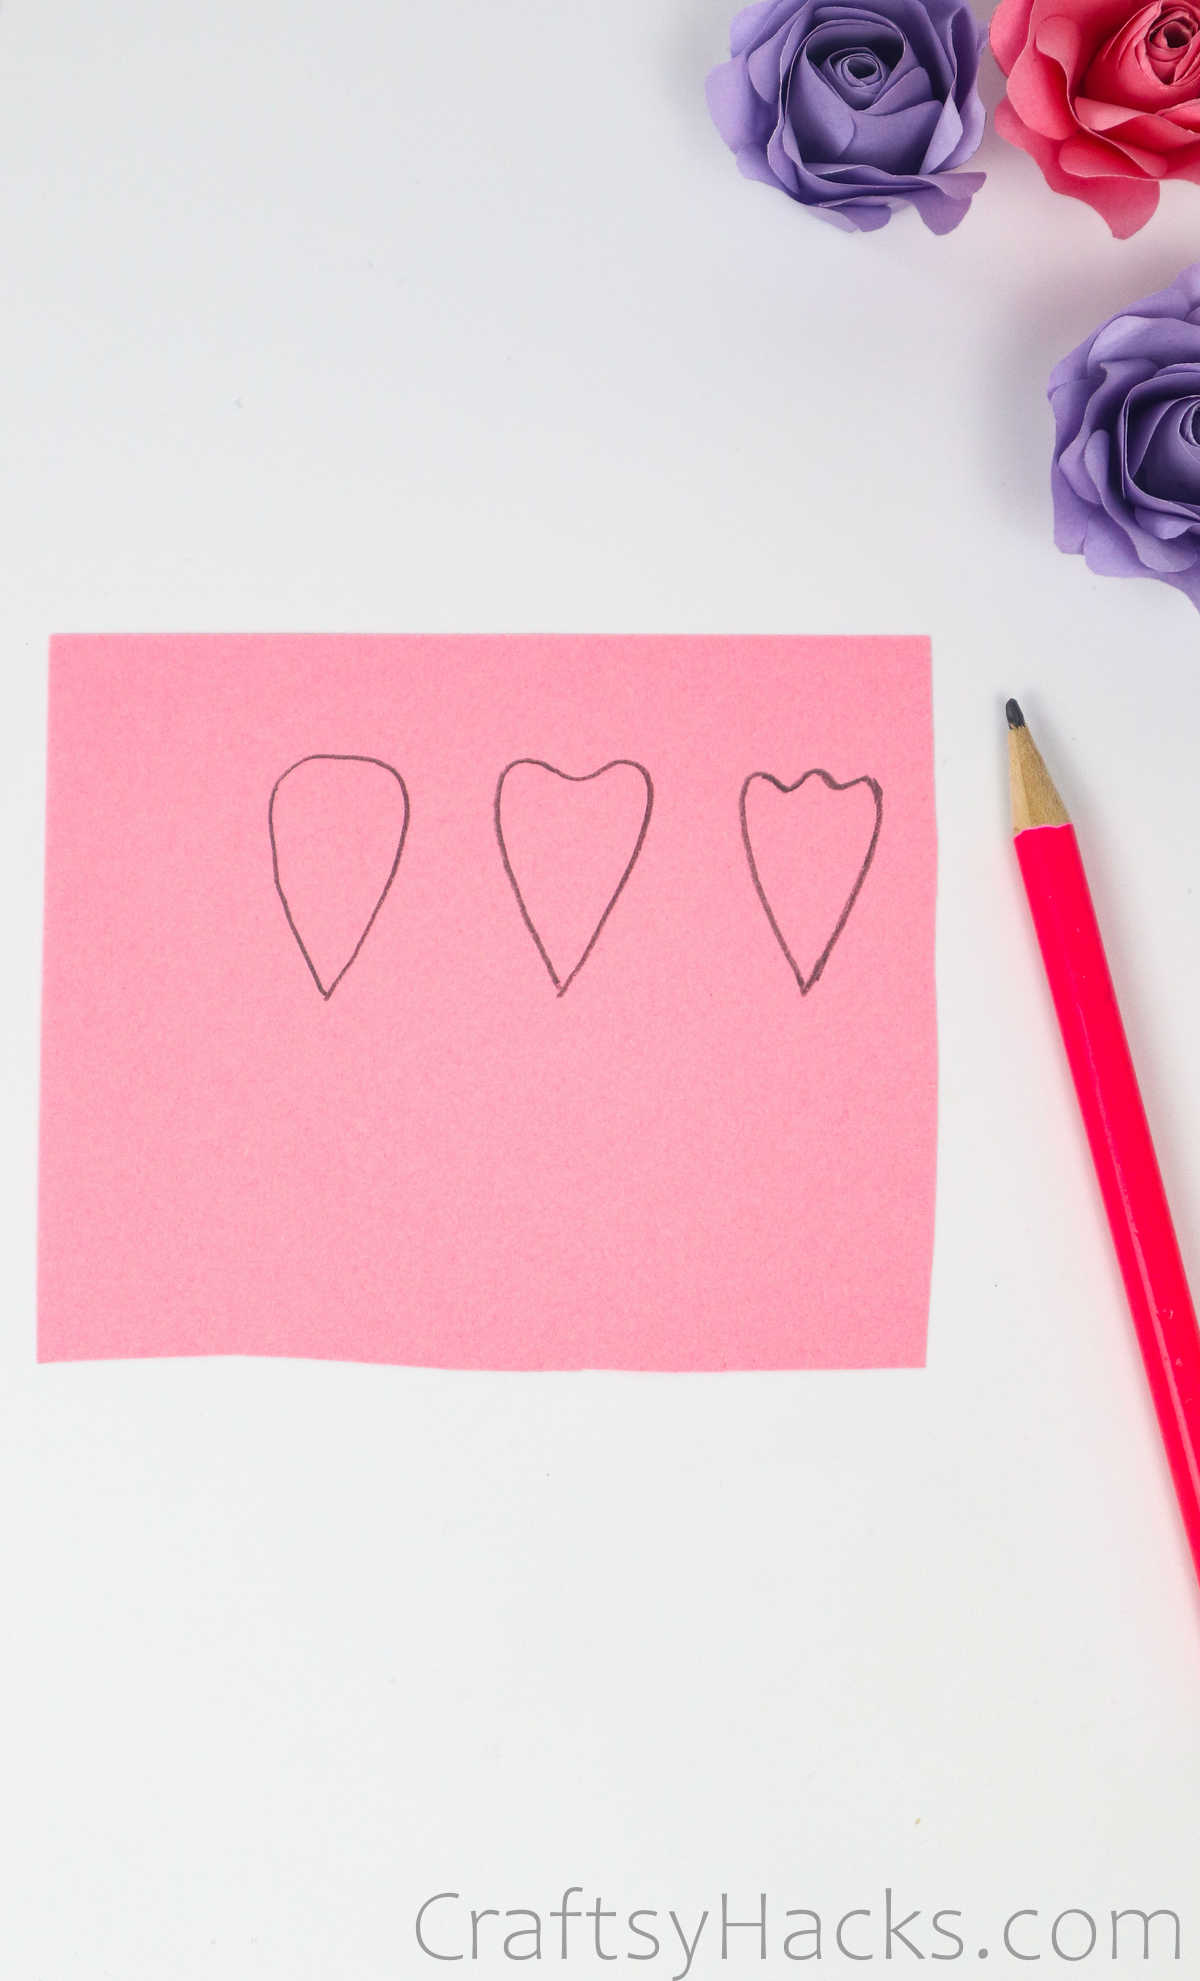
Grab your pencil once again and draw a little petal at the bottom of the paper, as indicated here.
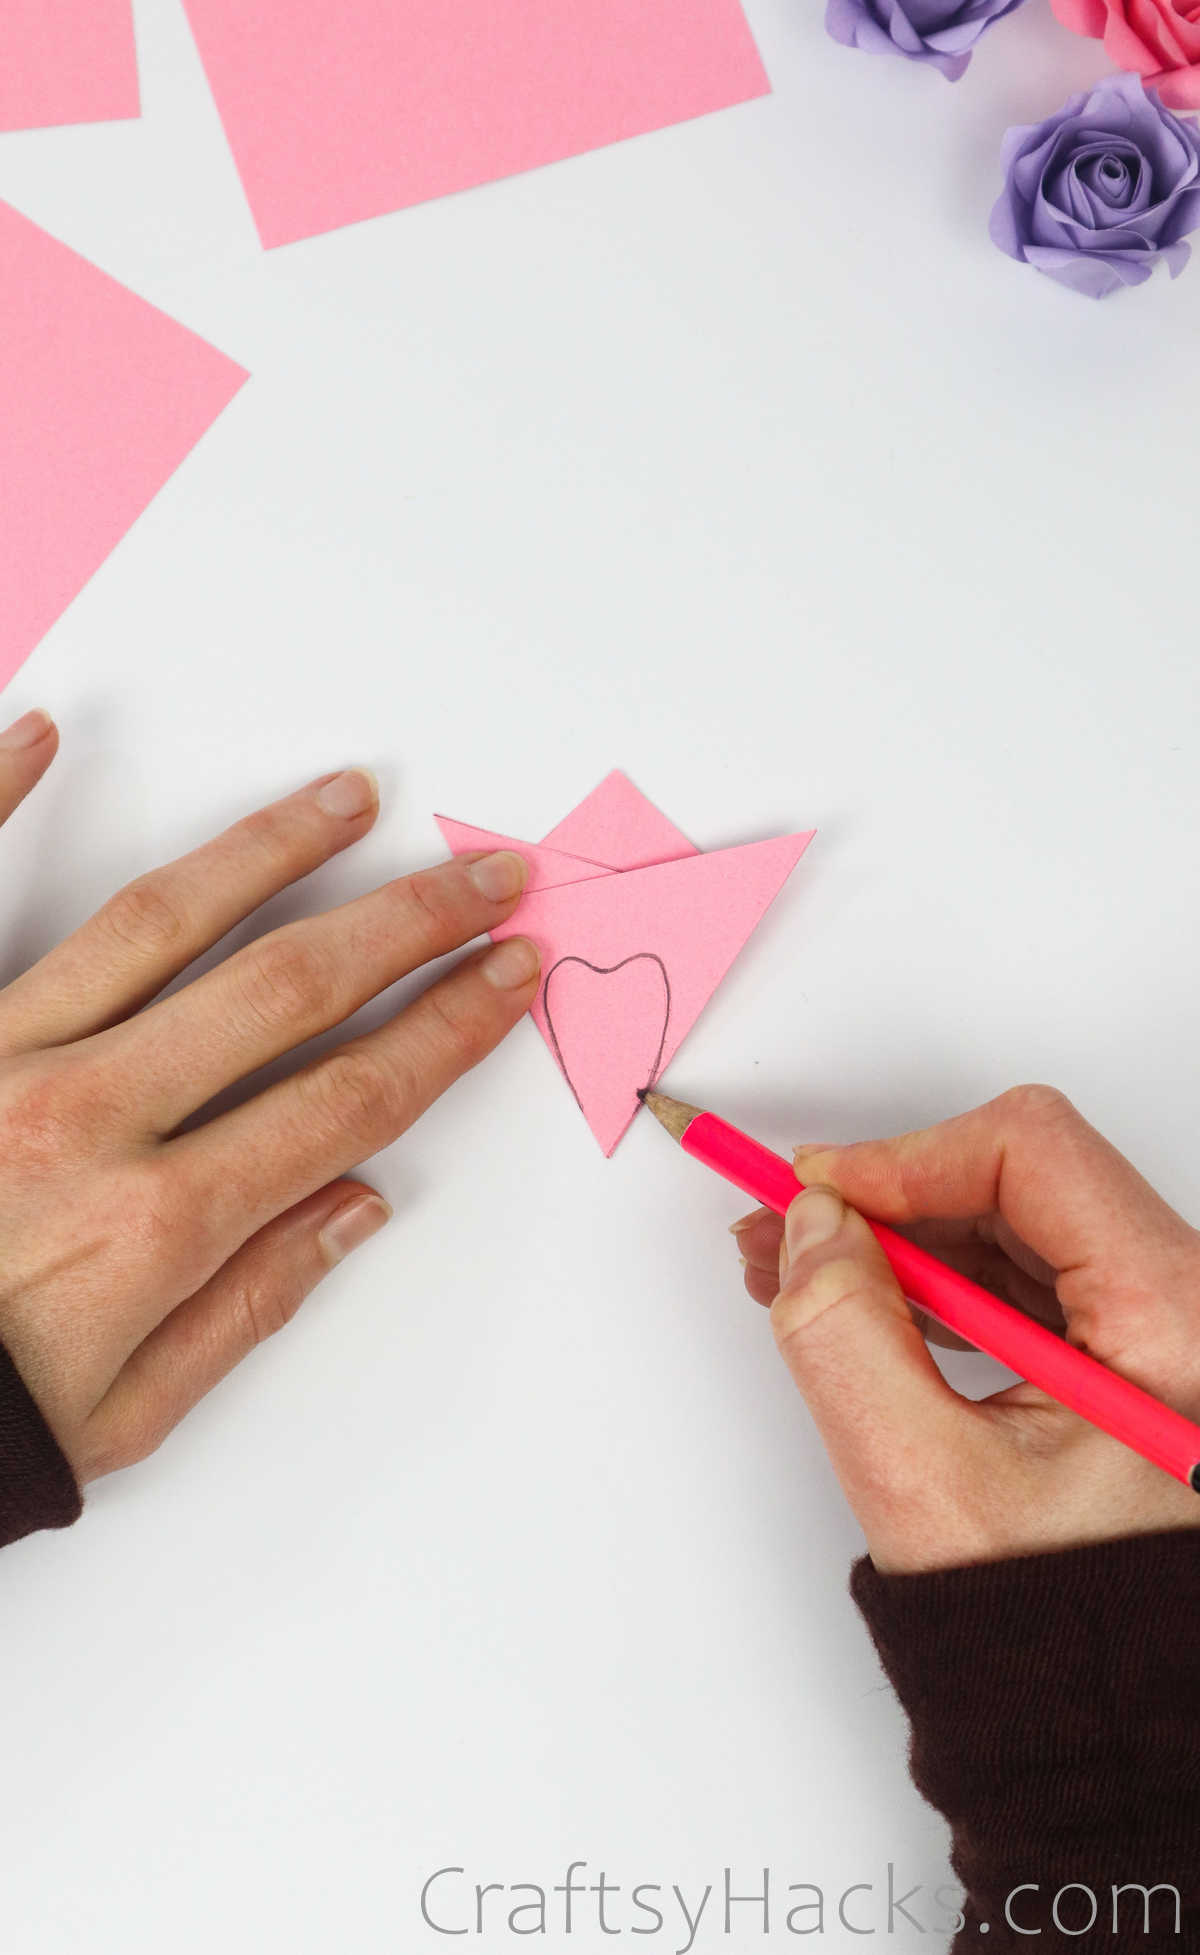
You can experiment with different petal styles, sizes, and designs, as well.
Step 4
Grab a pair of scissors and cut the paper along the petal you just drew.
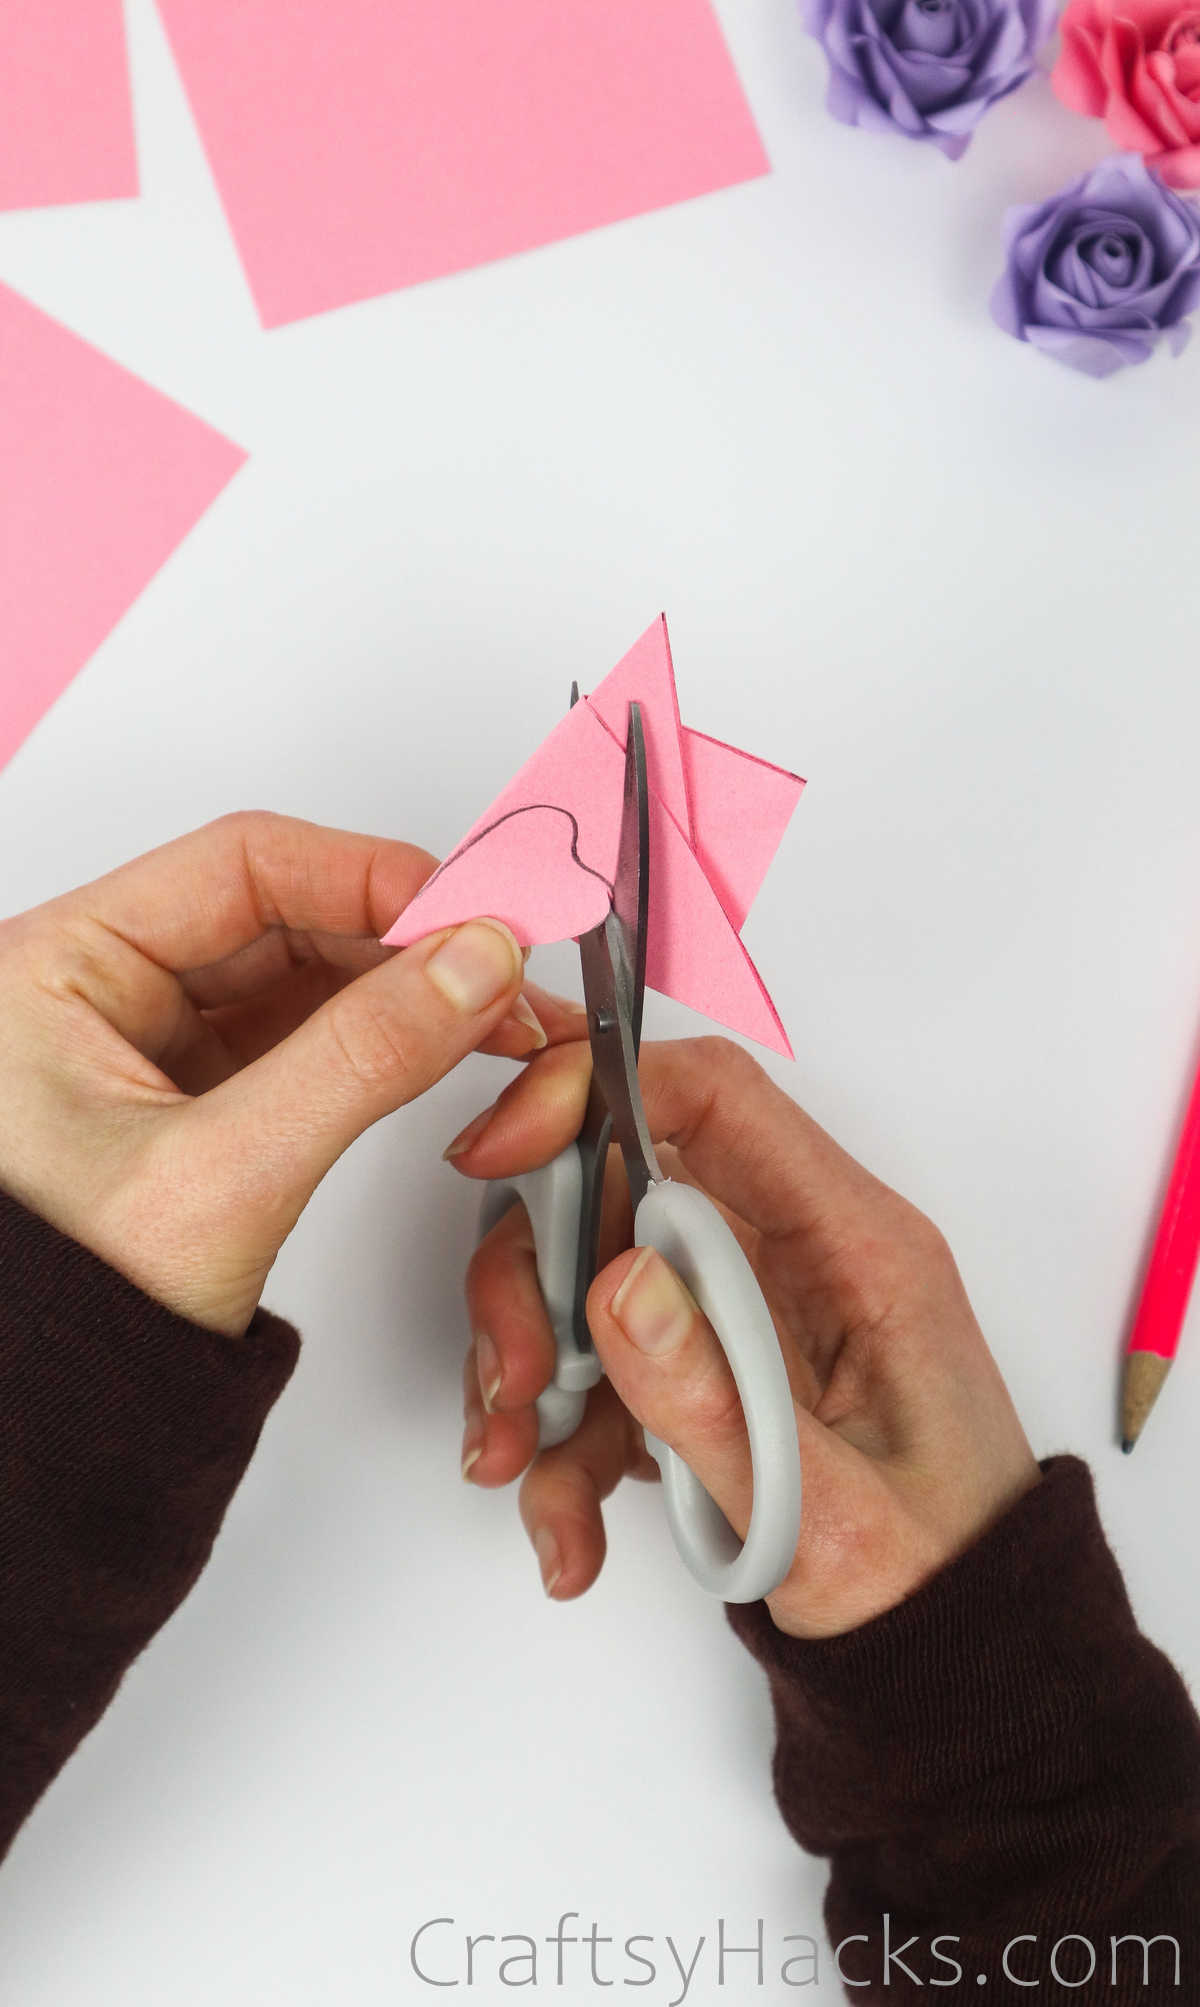
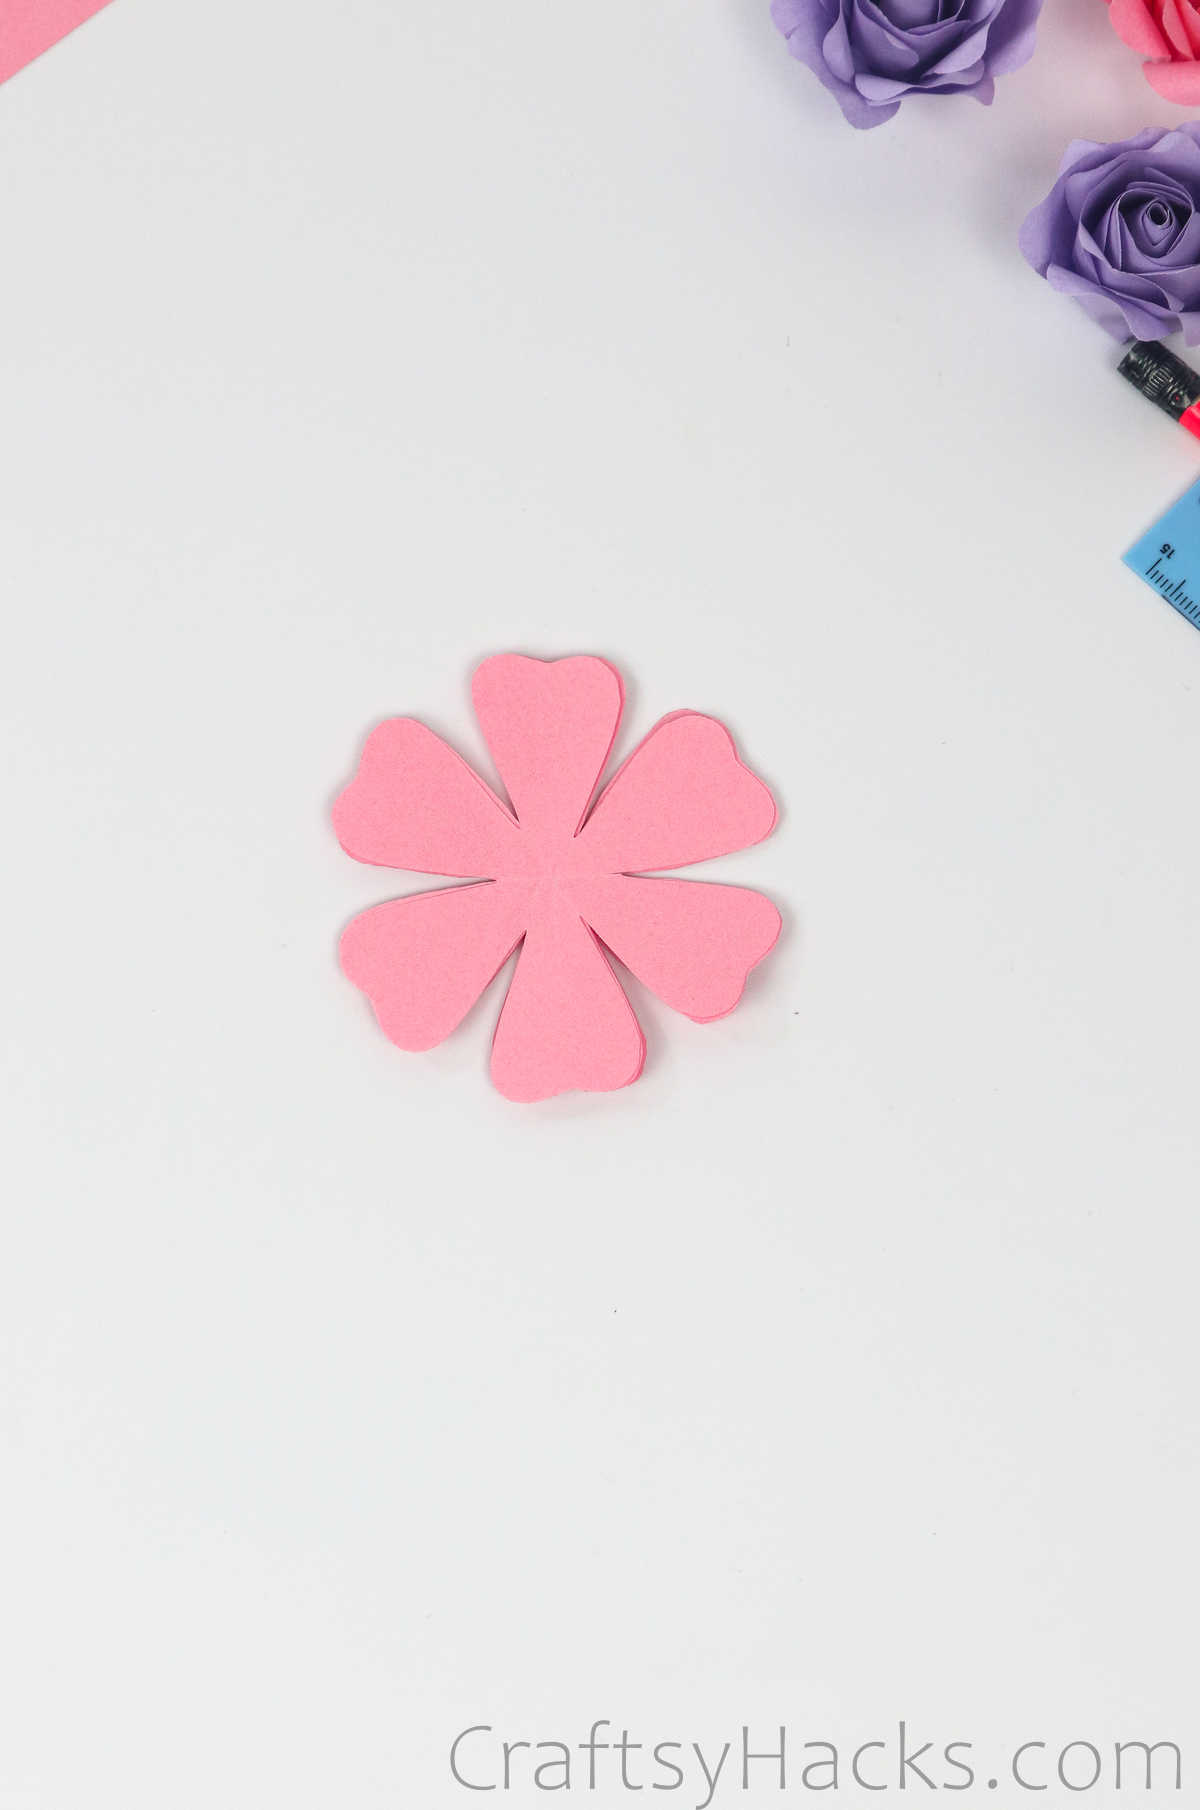
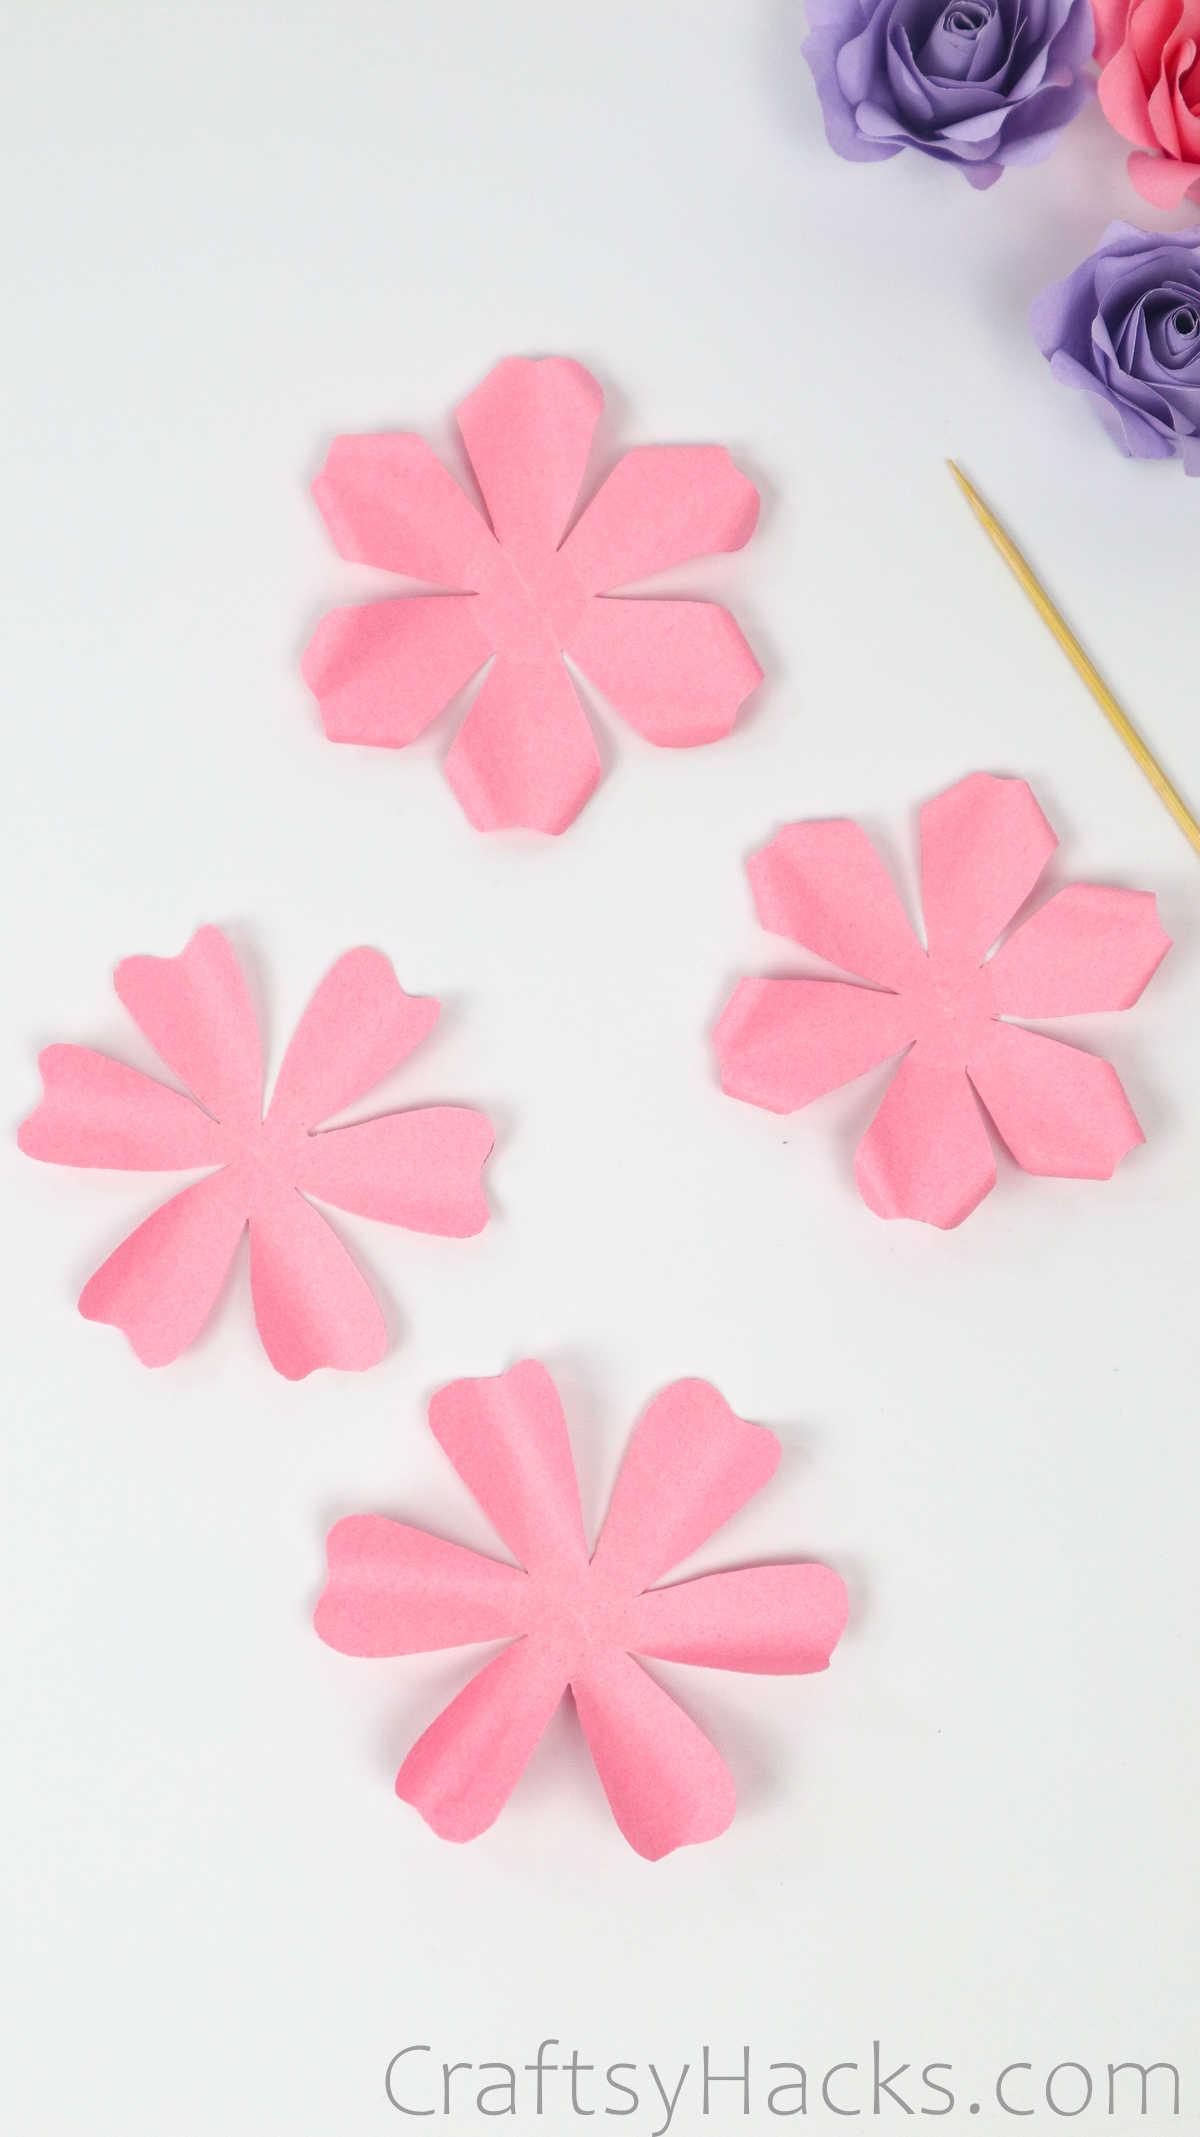
Your cut out should look like this.

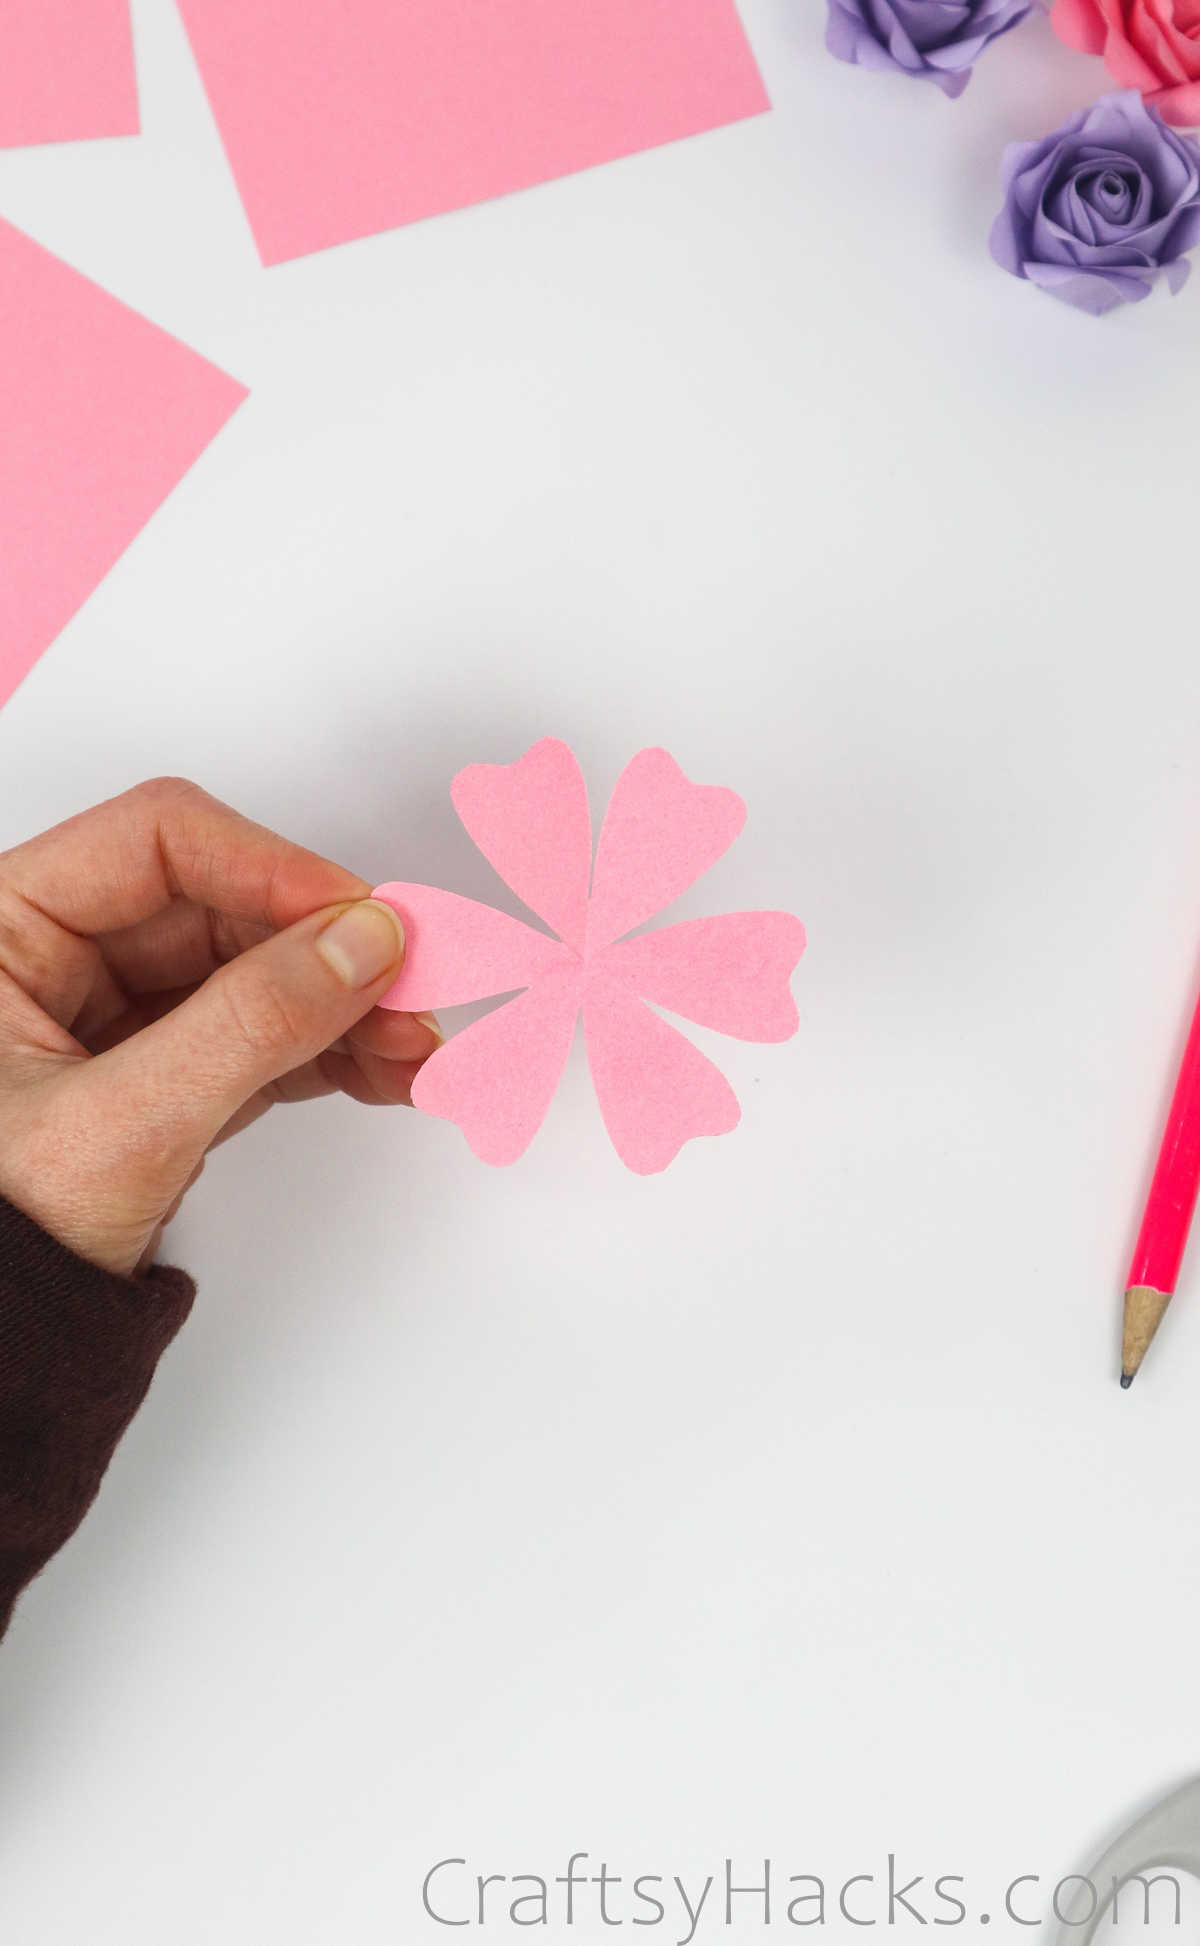
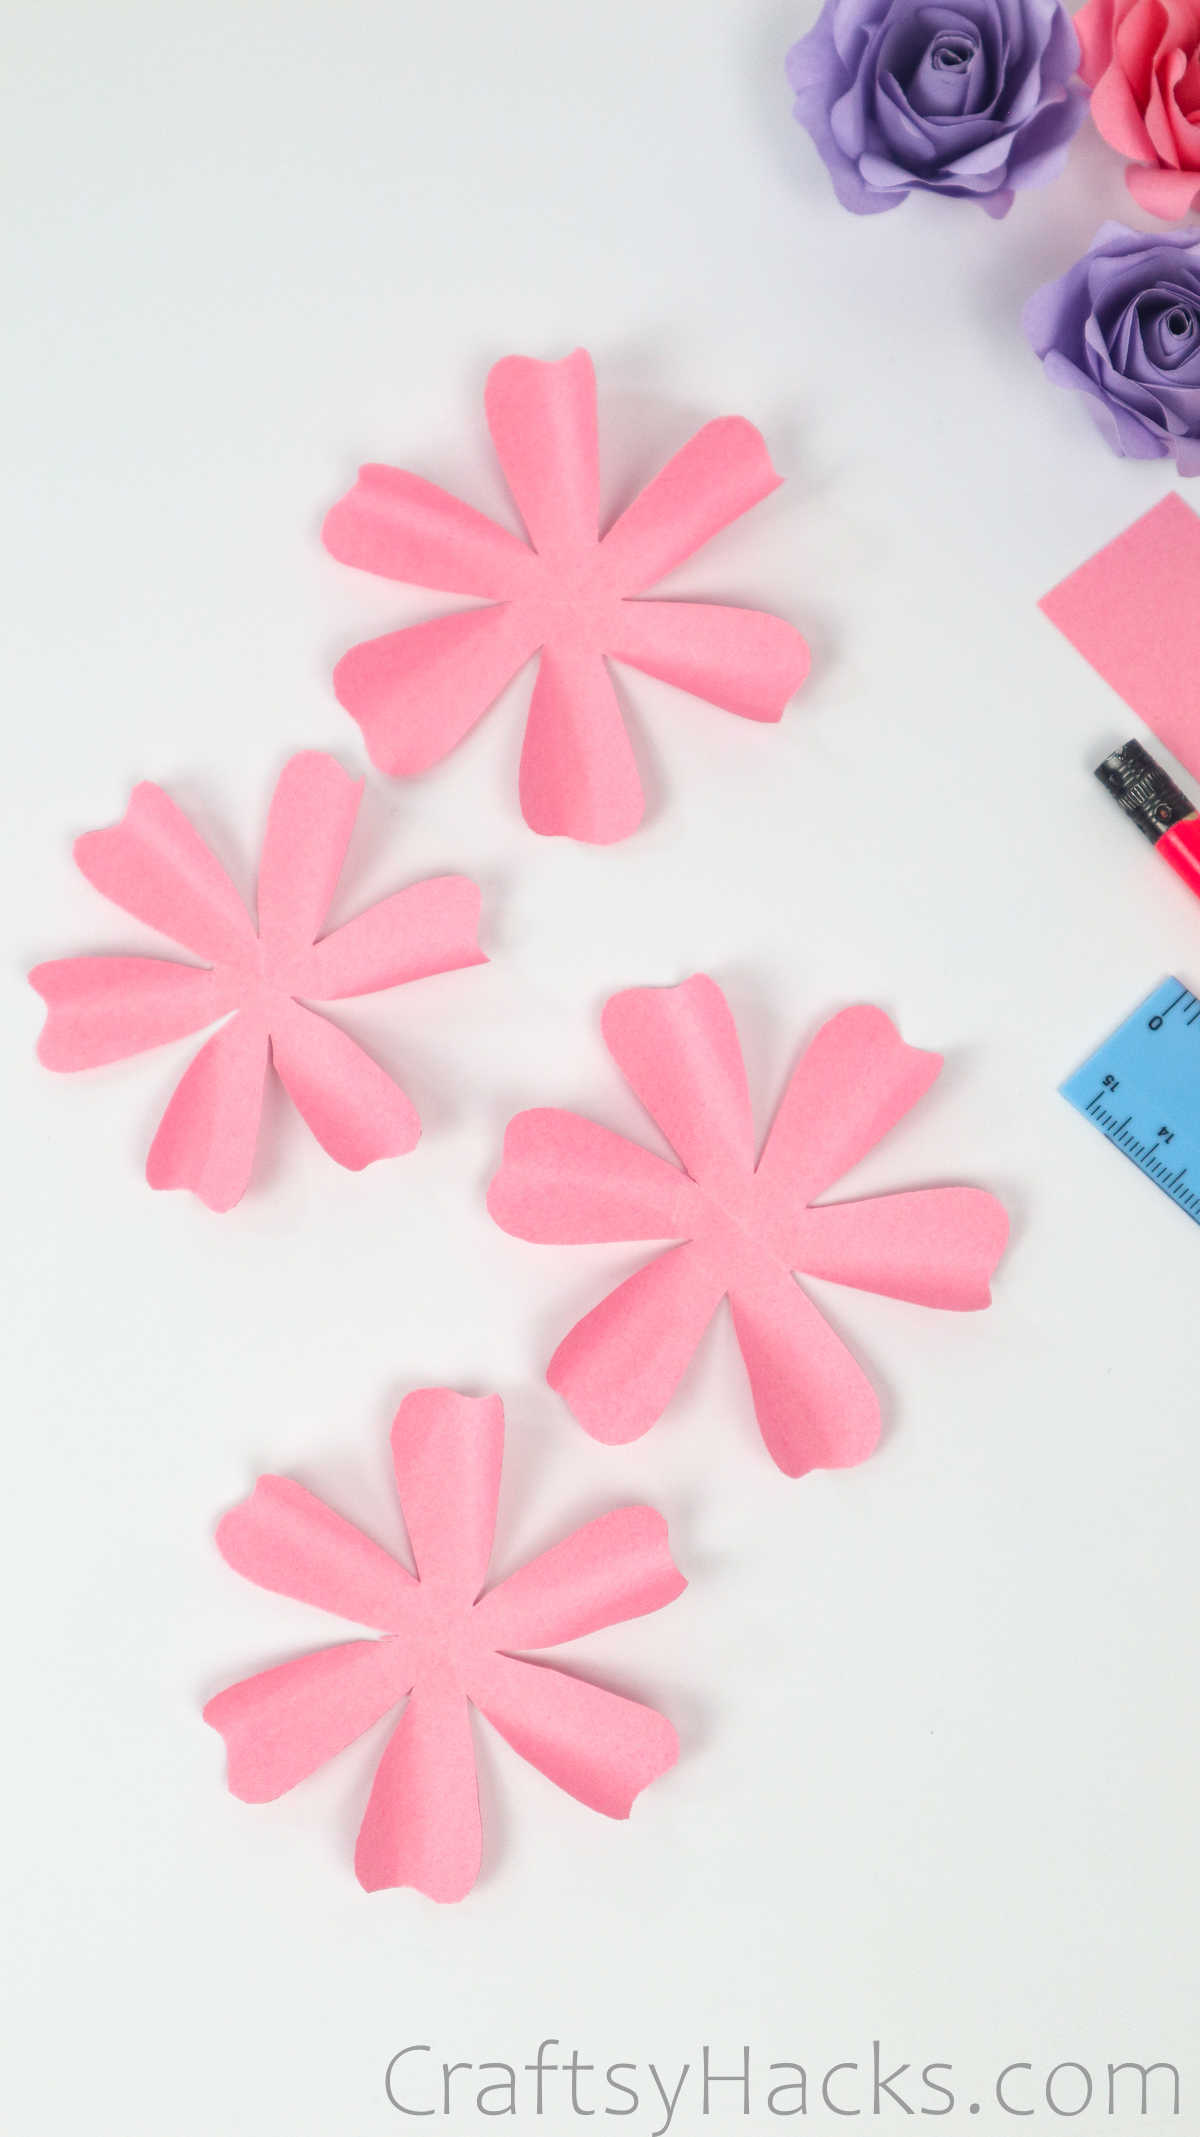
When you open it out, you should have a pretty little flower like you see below with six petals!
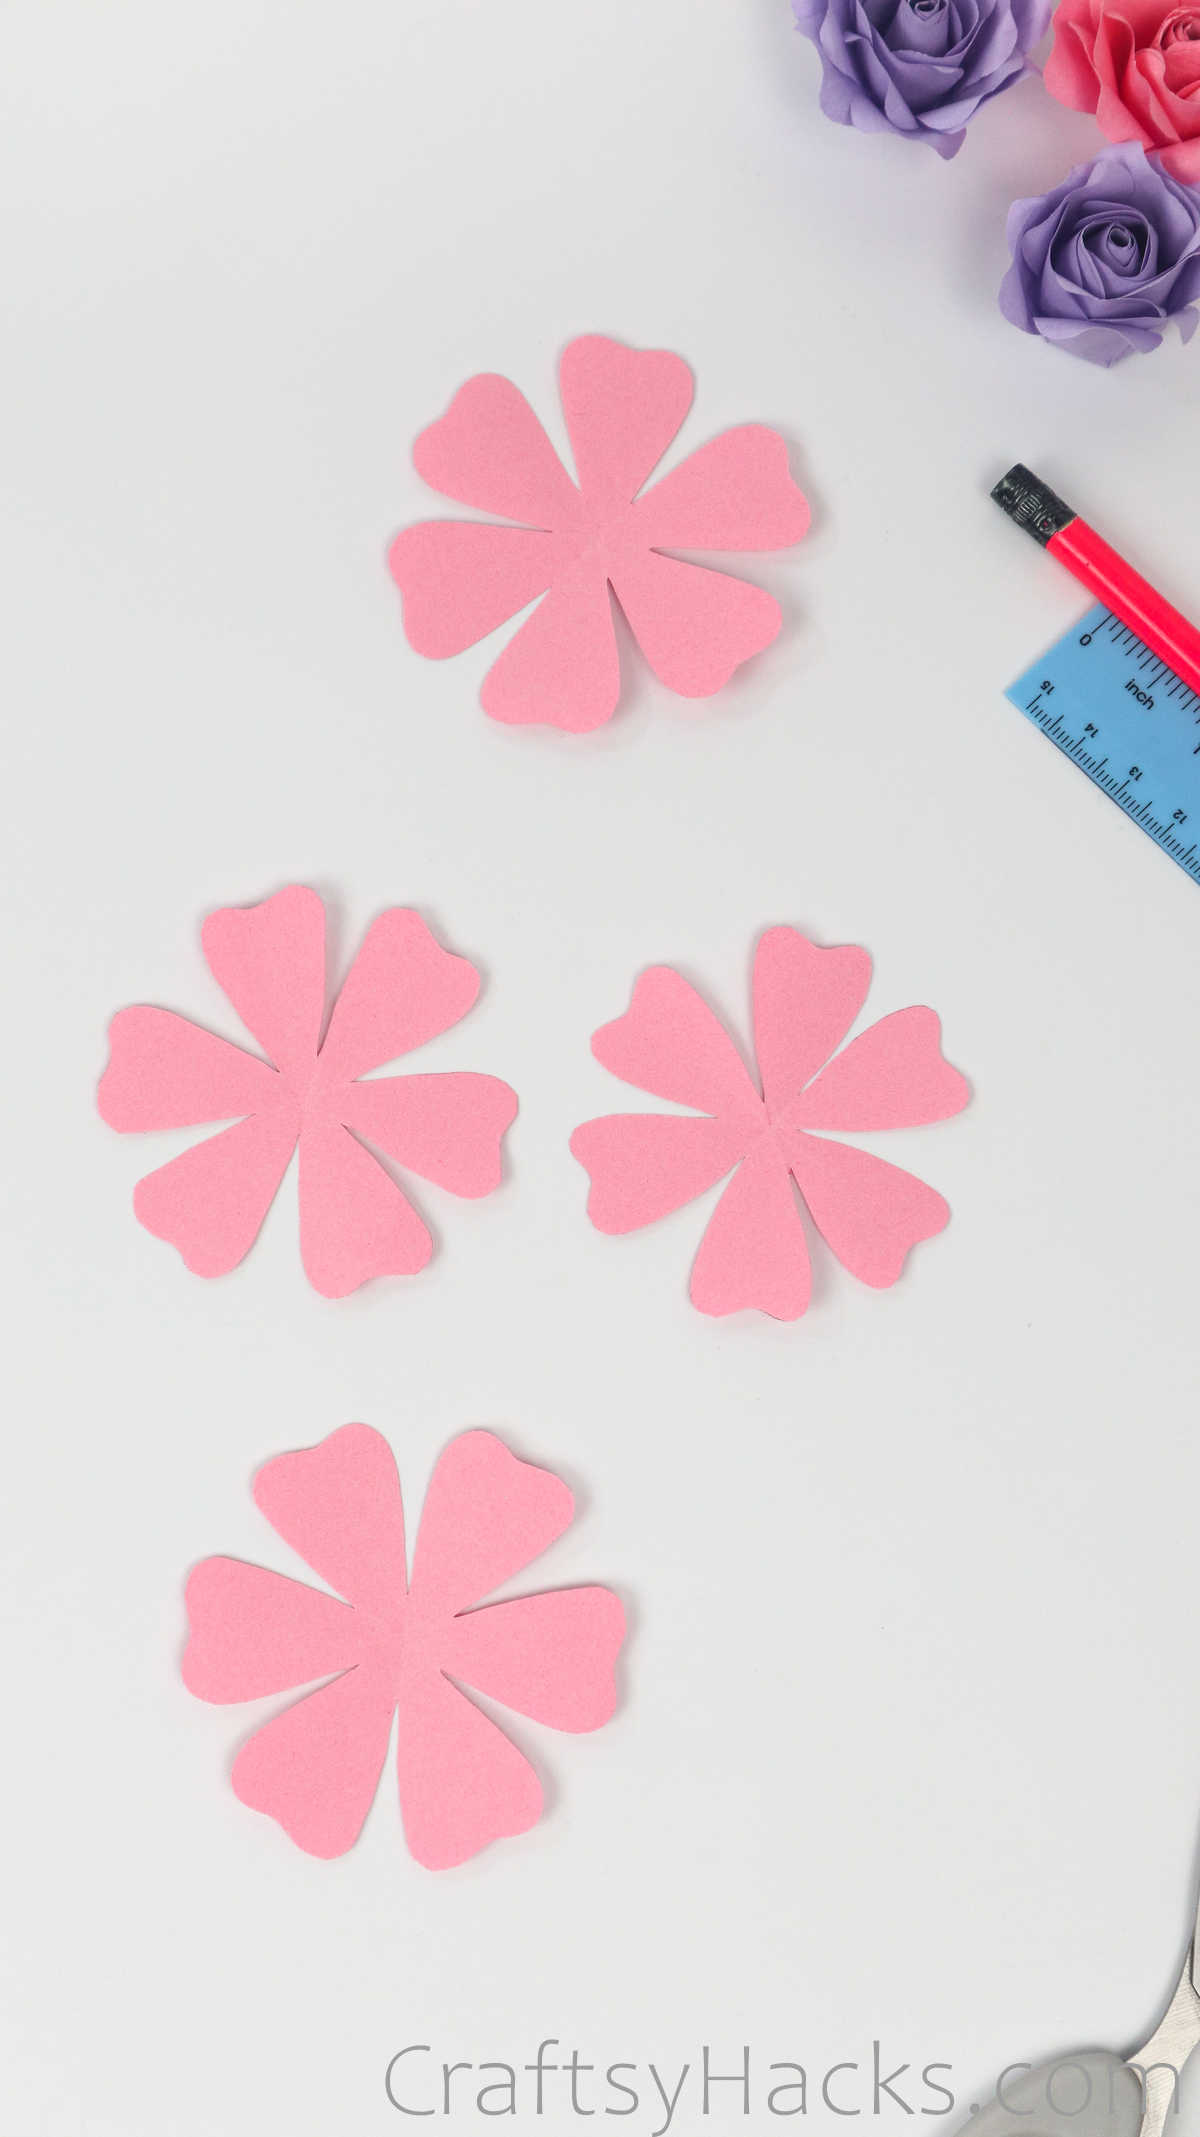
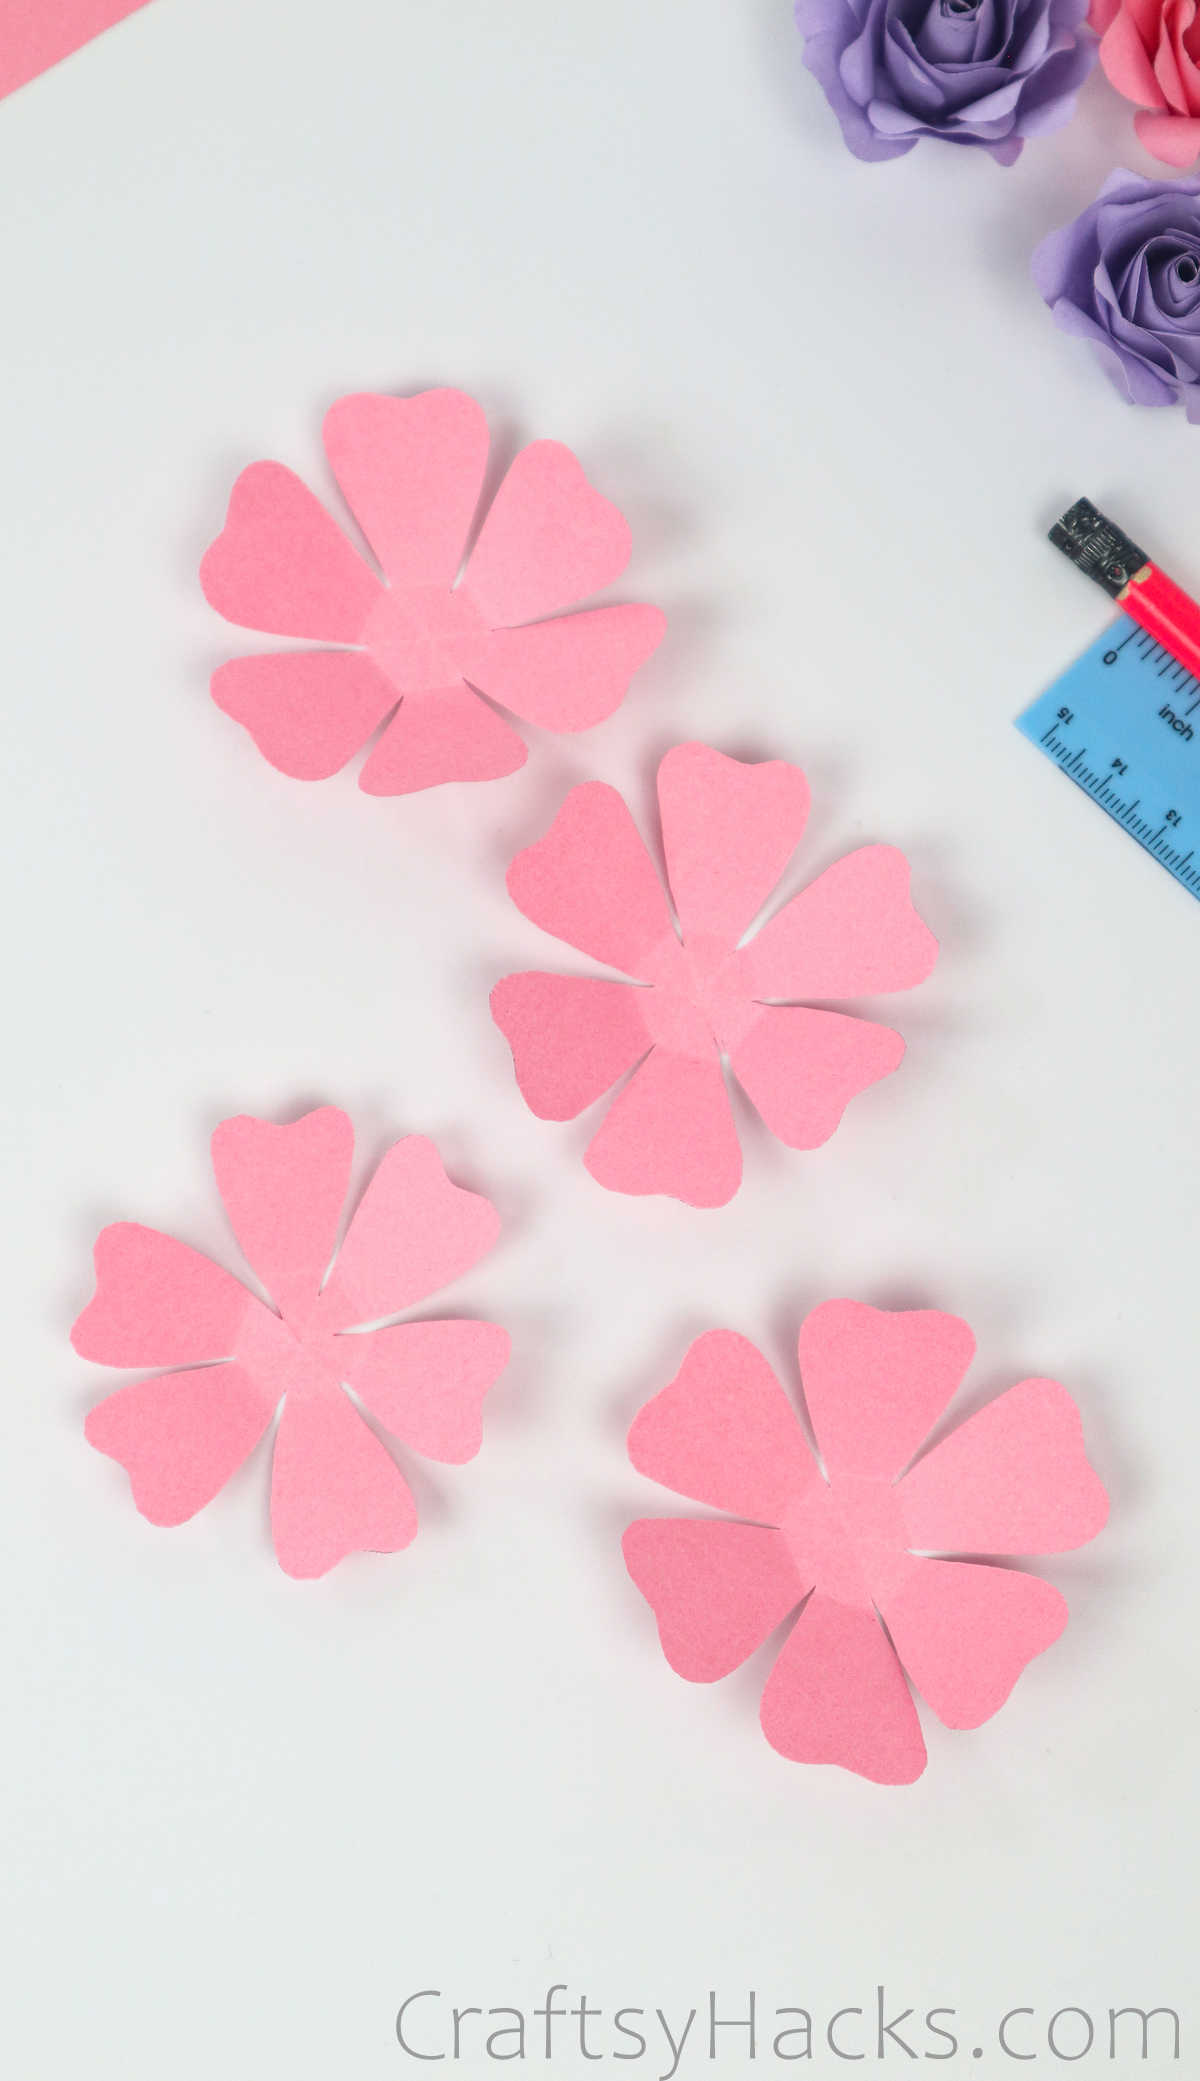
Go ahead and make three more of these flowers before you move on to the next step. All four pieces should be identical.
Step 5
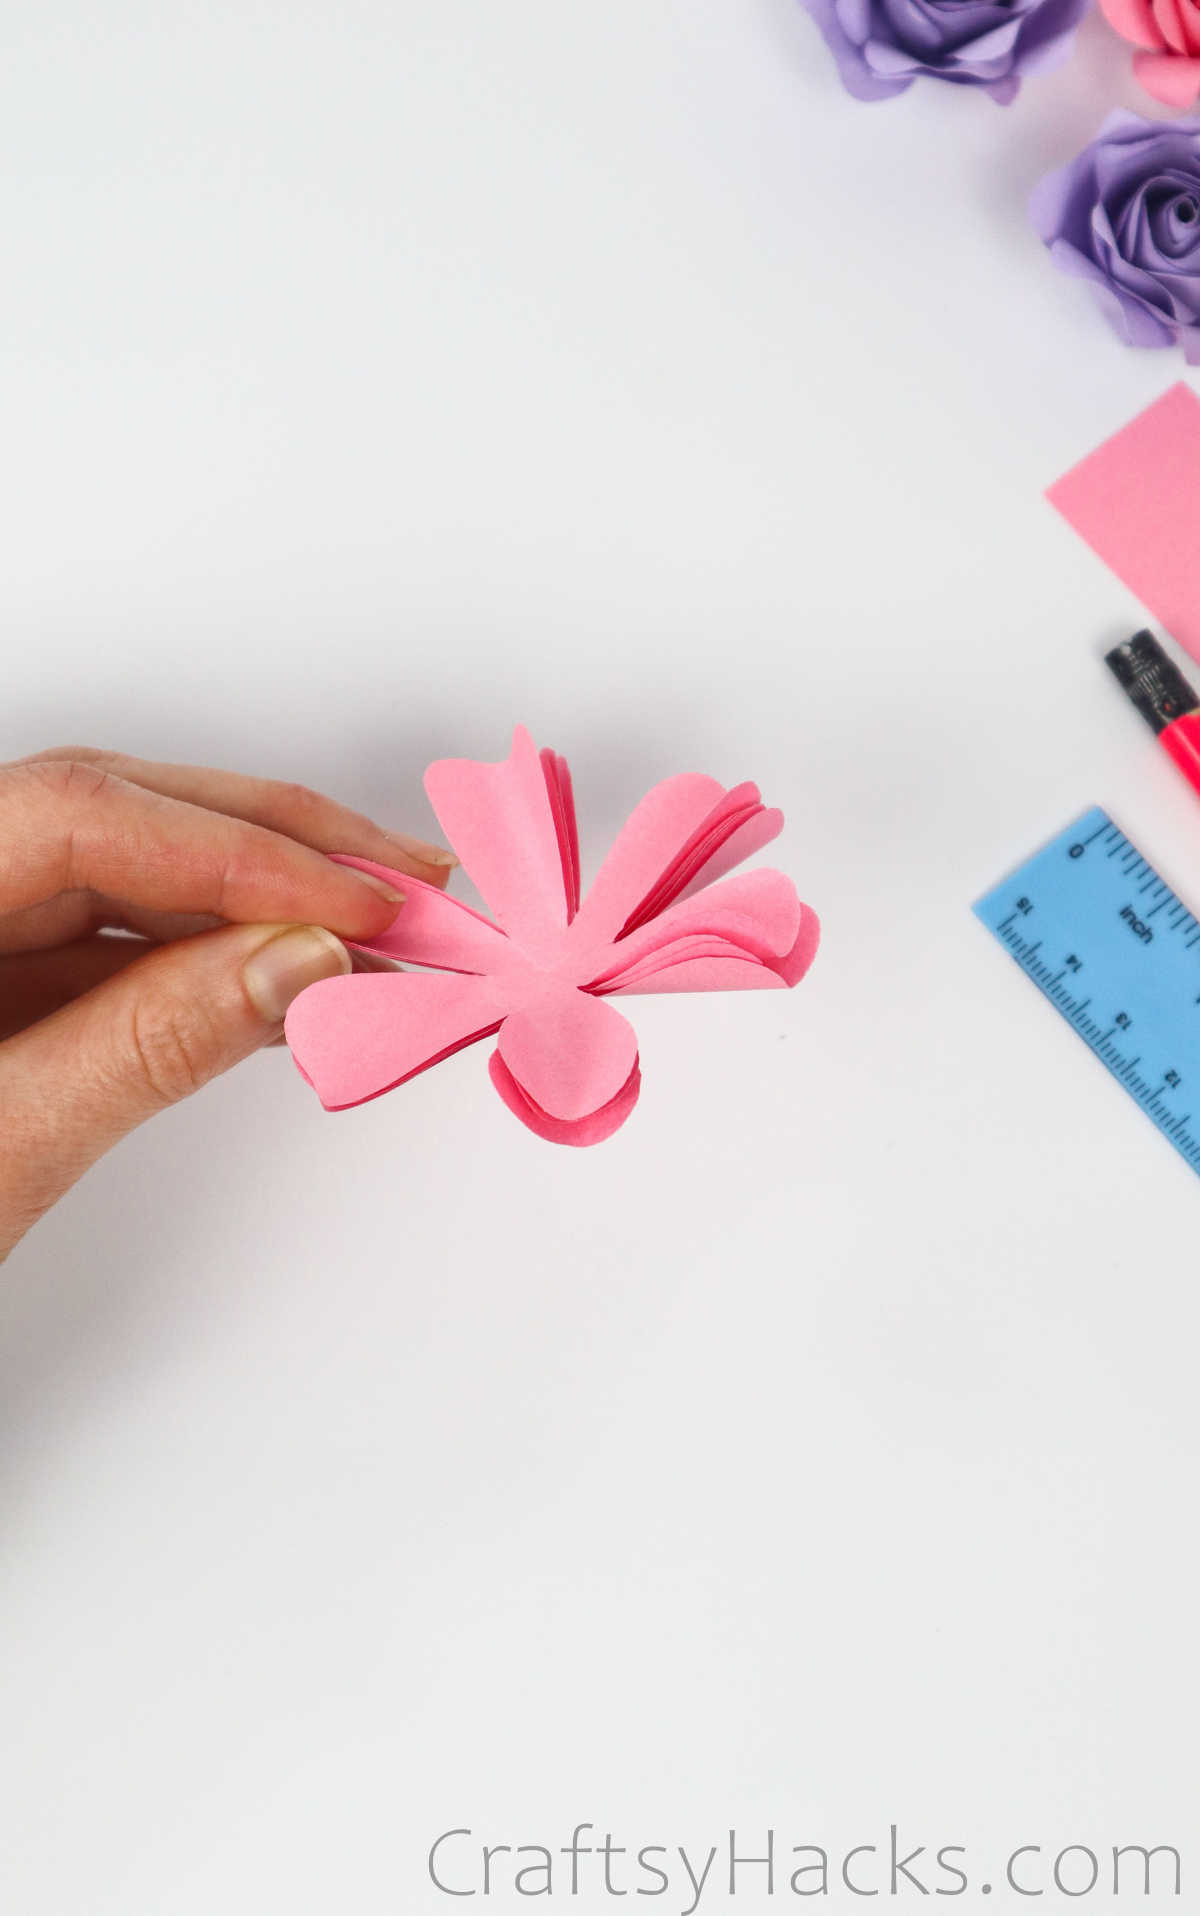
Place all four pieces one atop the other and line them up.
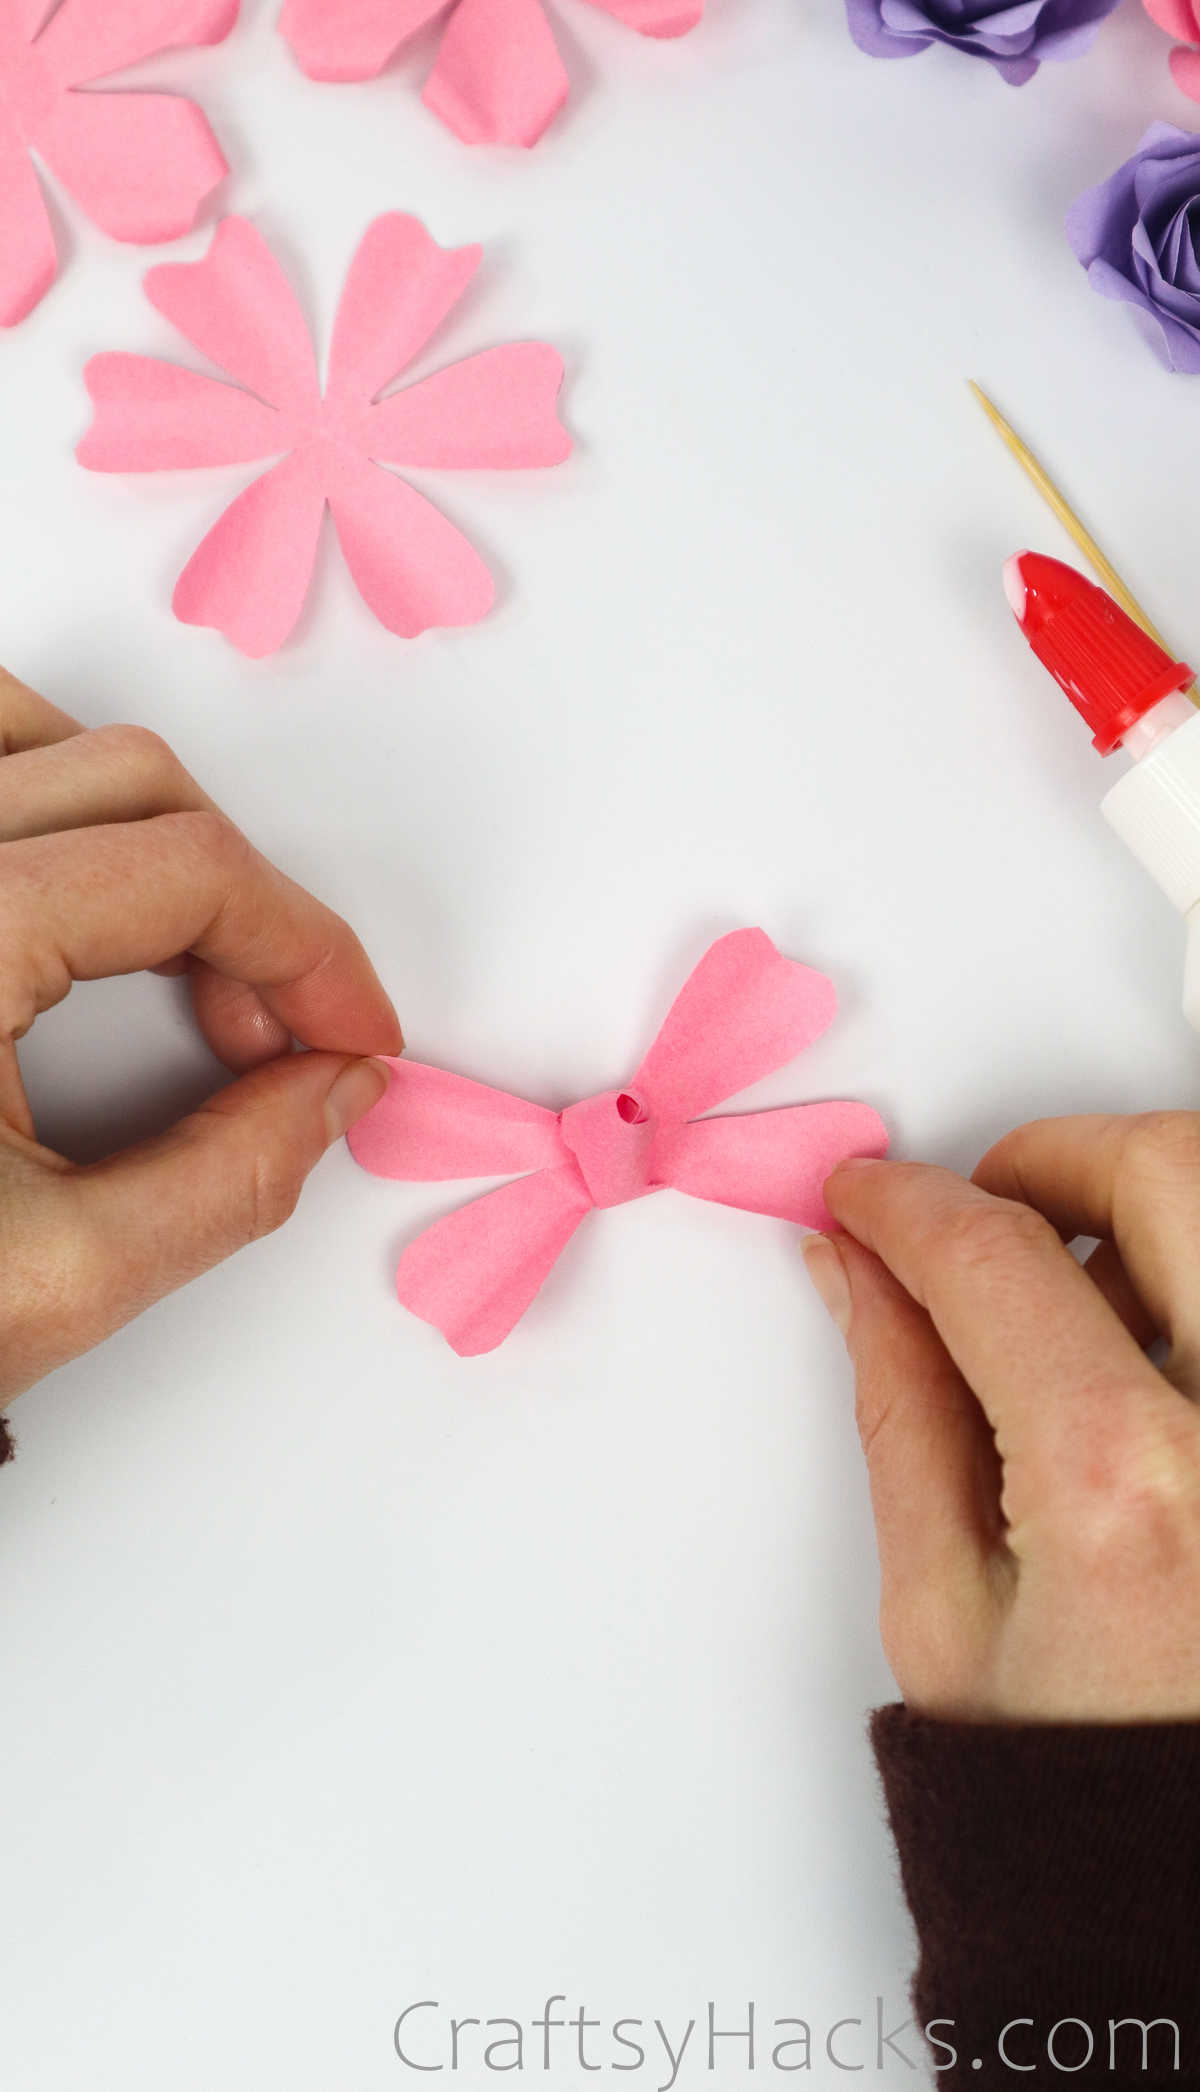
Then grab one petal and bring it inward to fold it. Repeat this with the other five petals as well, making sure you grab all four flower sheets as you do so.
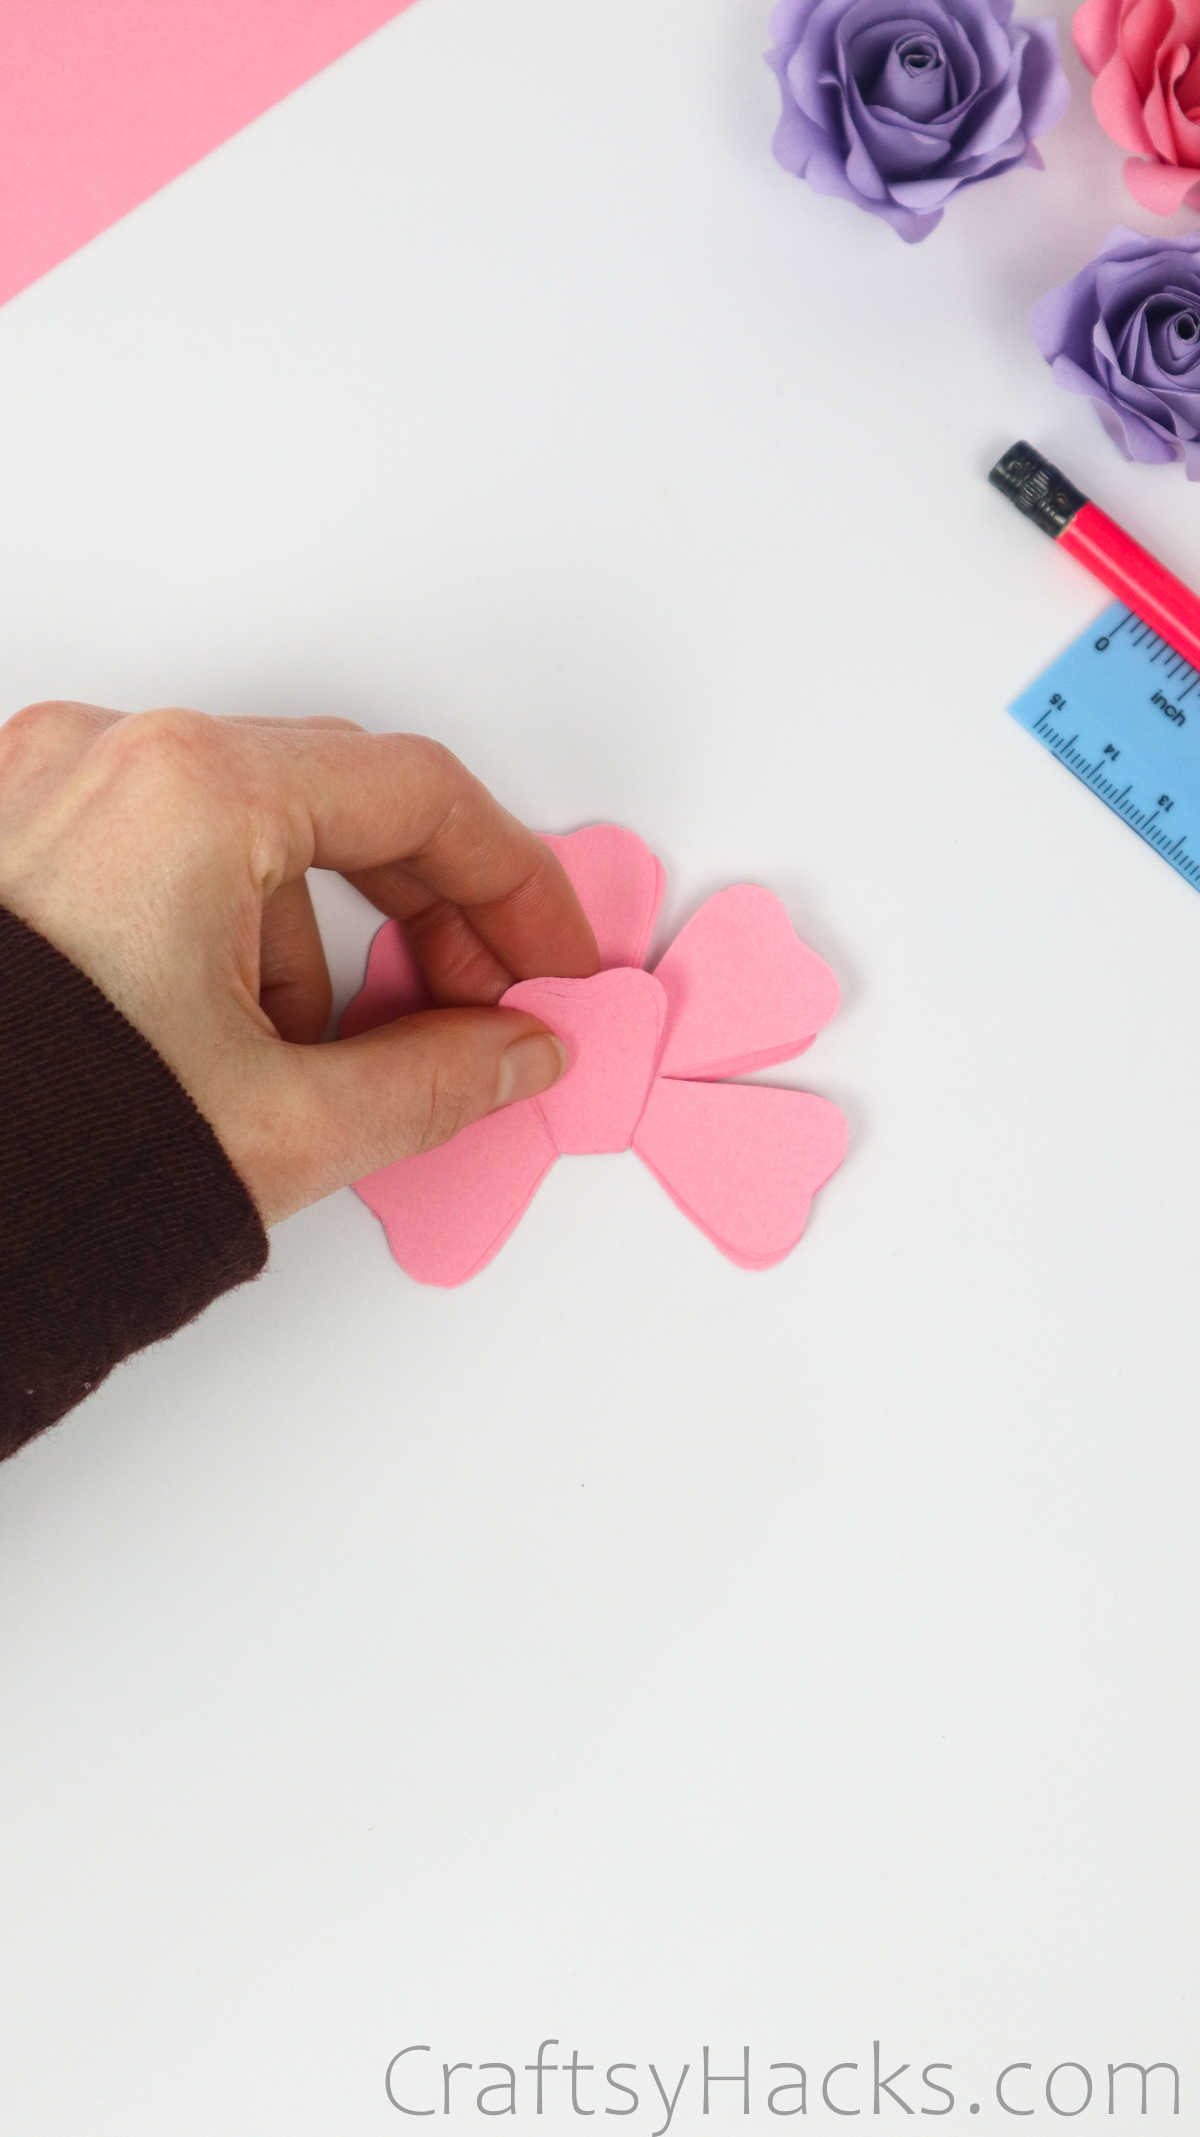
Each of the four flower sheets should look something like a hexagonal cup.
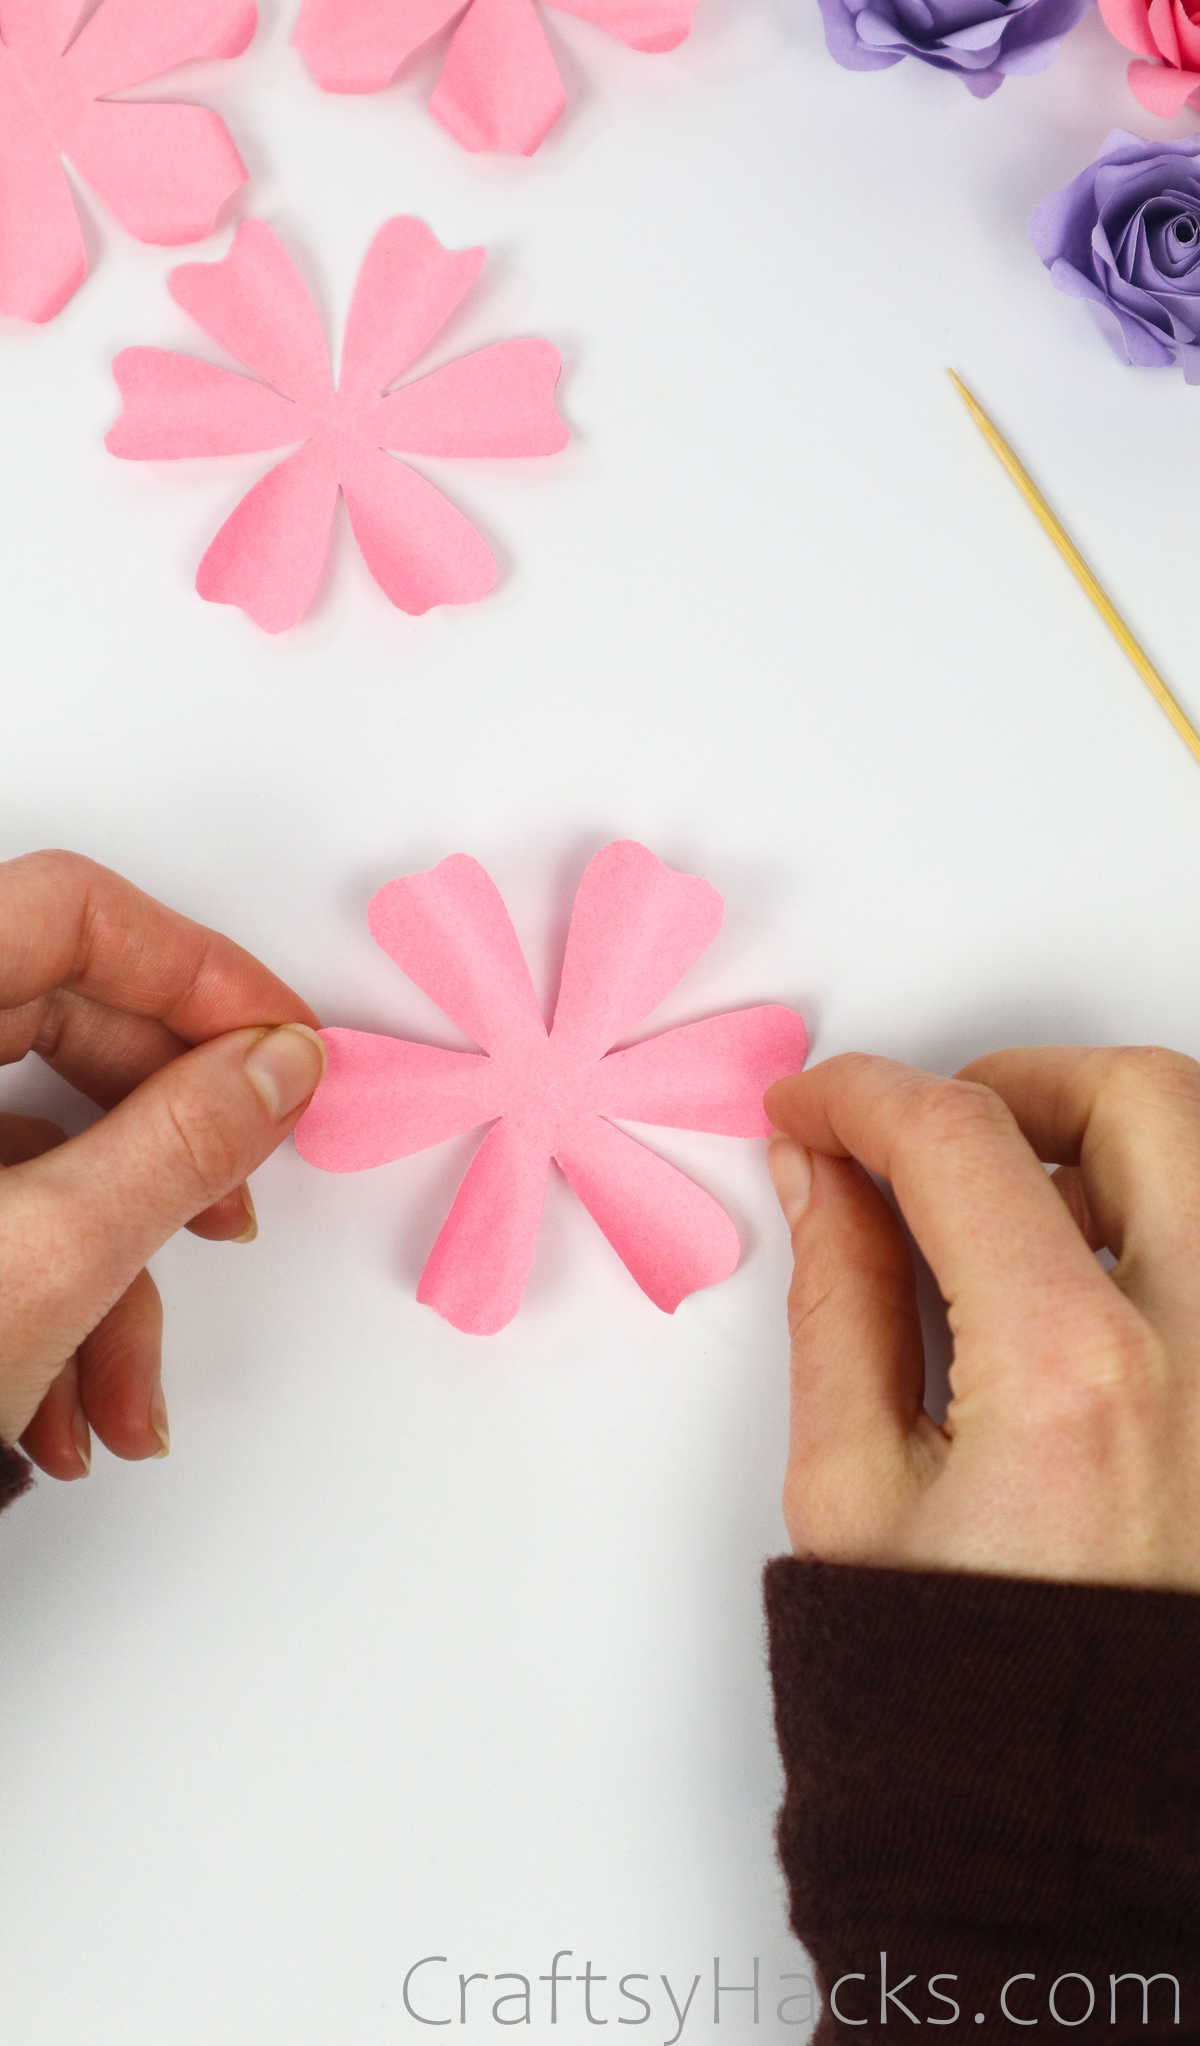
Step 6
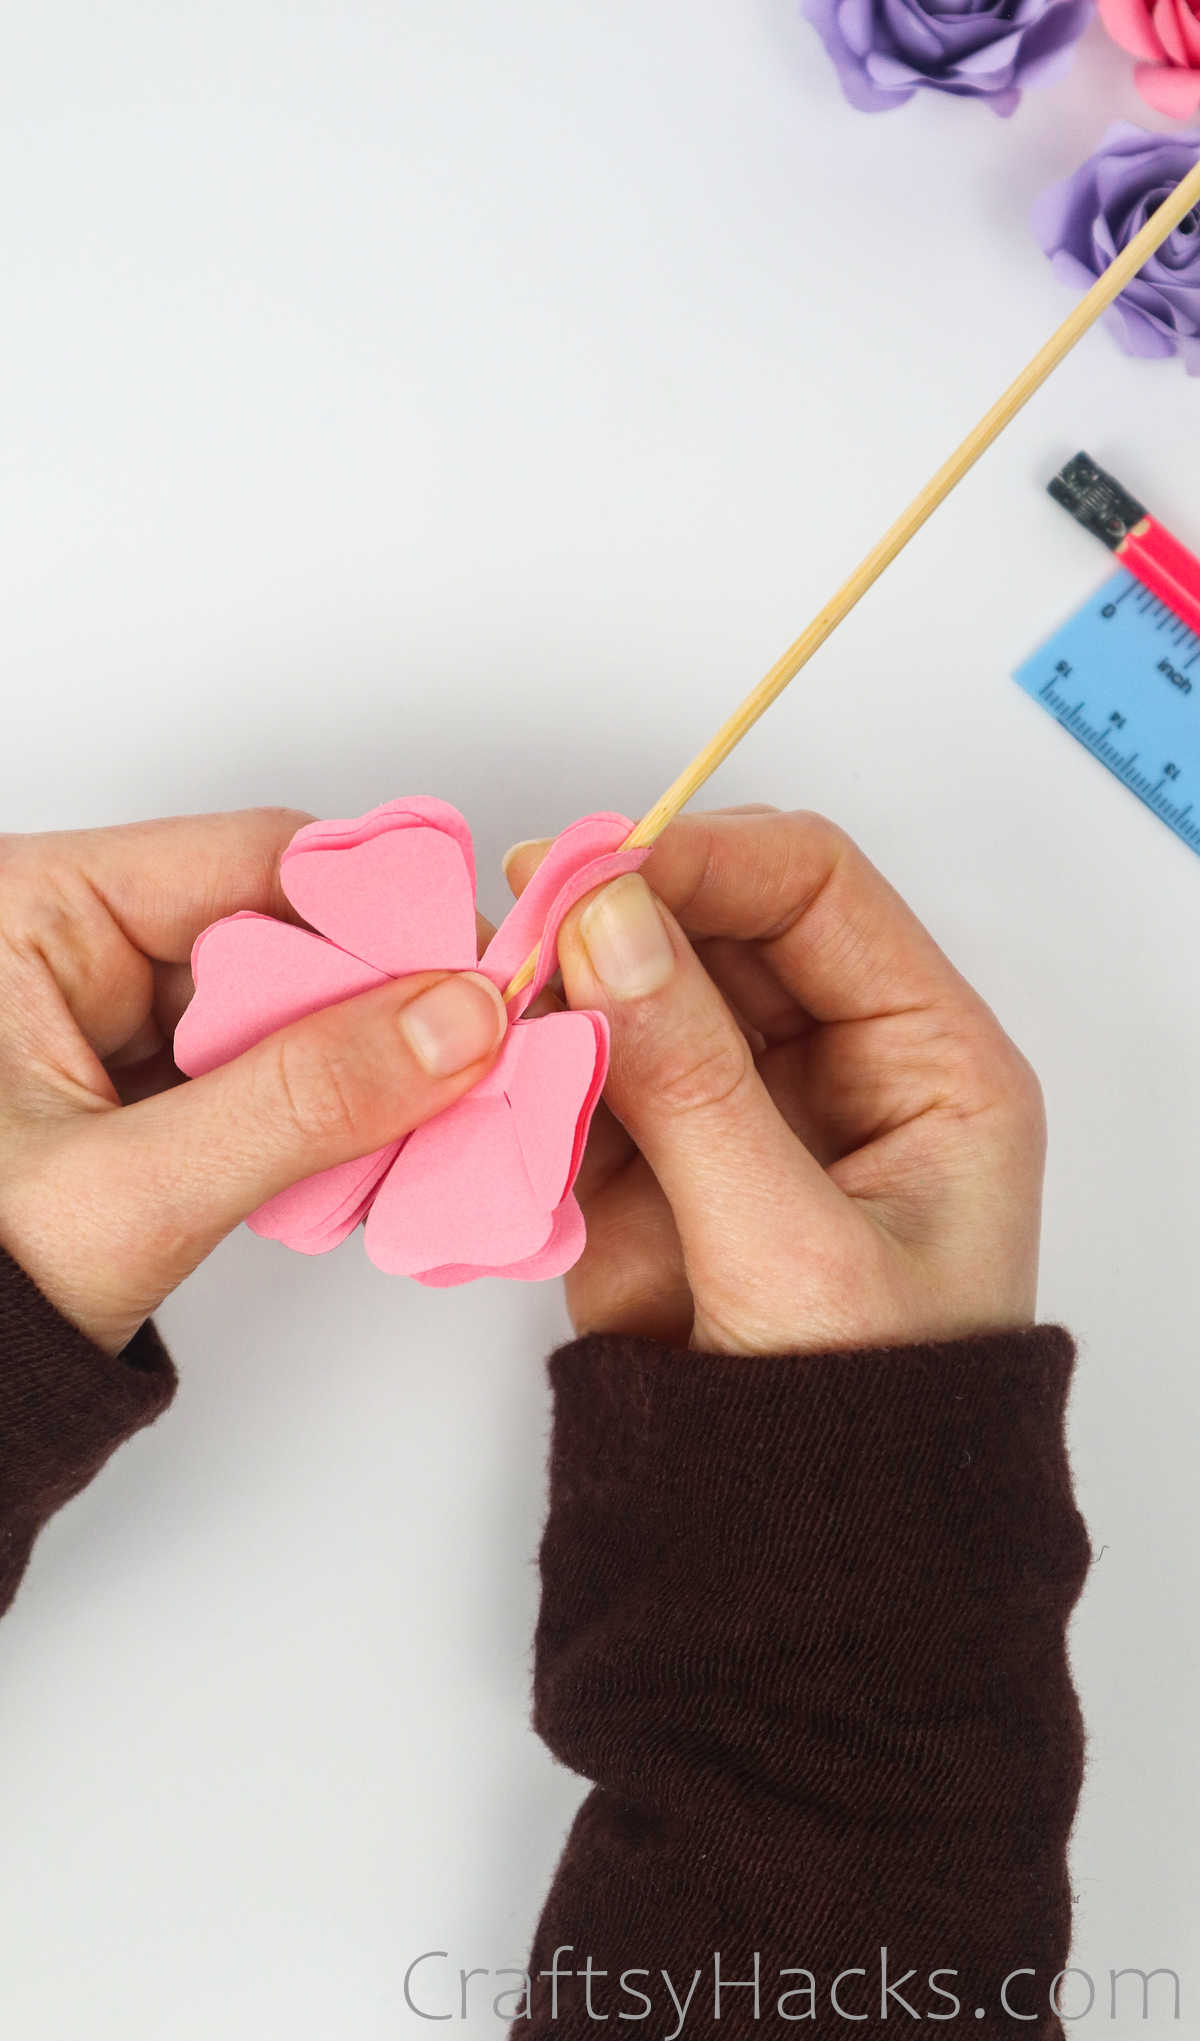
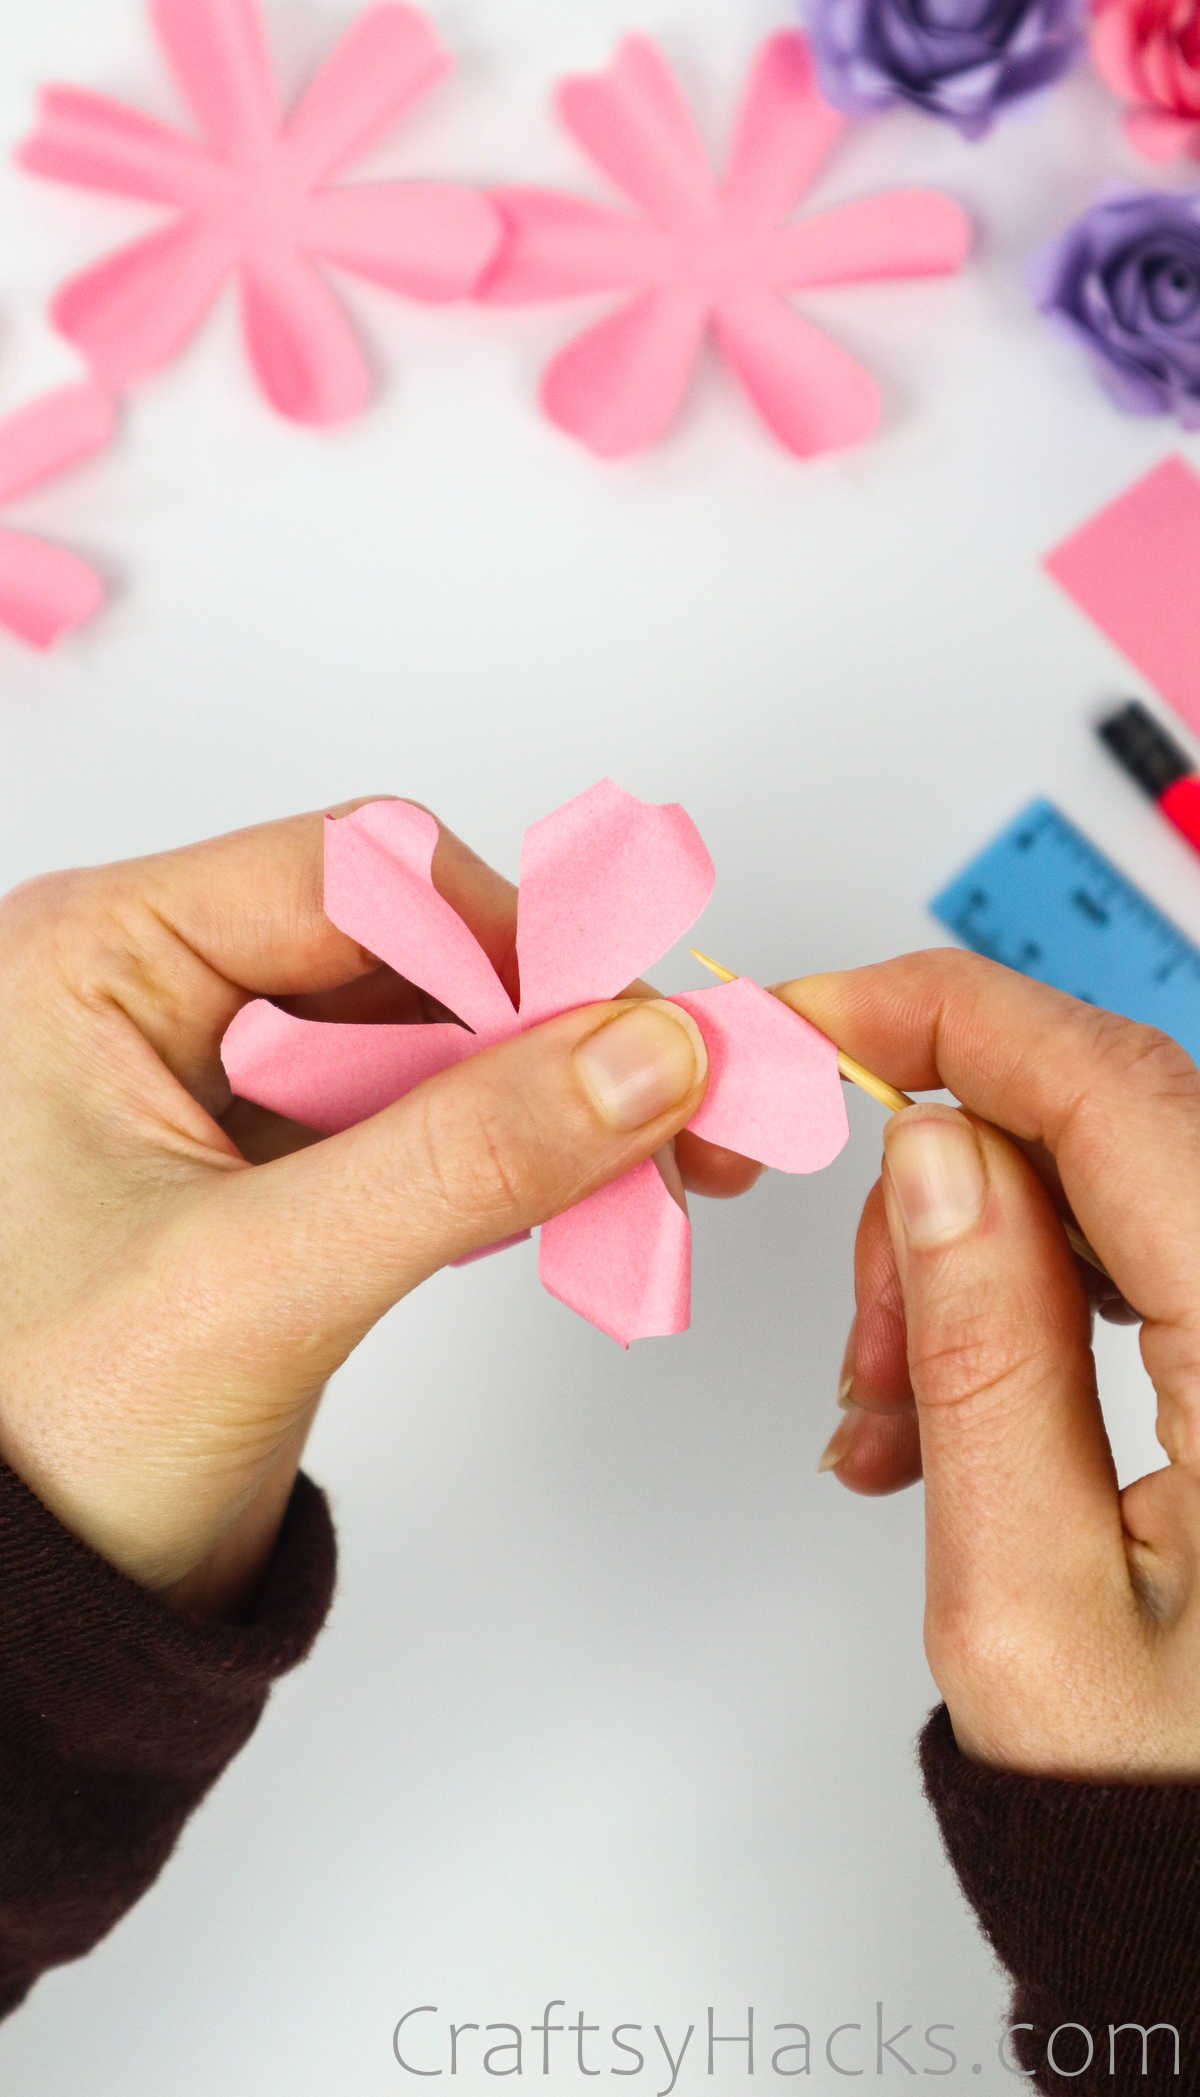
Now, grab a wooden skewer and place it in the middle of one of the petals. Carefully fold the paper around the skewer to ‘curve’ it into a flowery petal shape. Repeat this with all six petals till your petals are looking softer and more curvy.
Step 7
To soften the edges out some more and really give your petals some depth and definition, grab a toothpick and use it to curl the tips of the petals, as well. Each petal can be curled twiced, either facing inward or outward, depending on the finish you’re looking for.
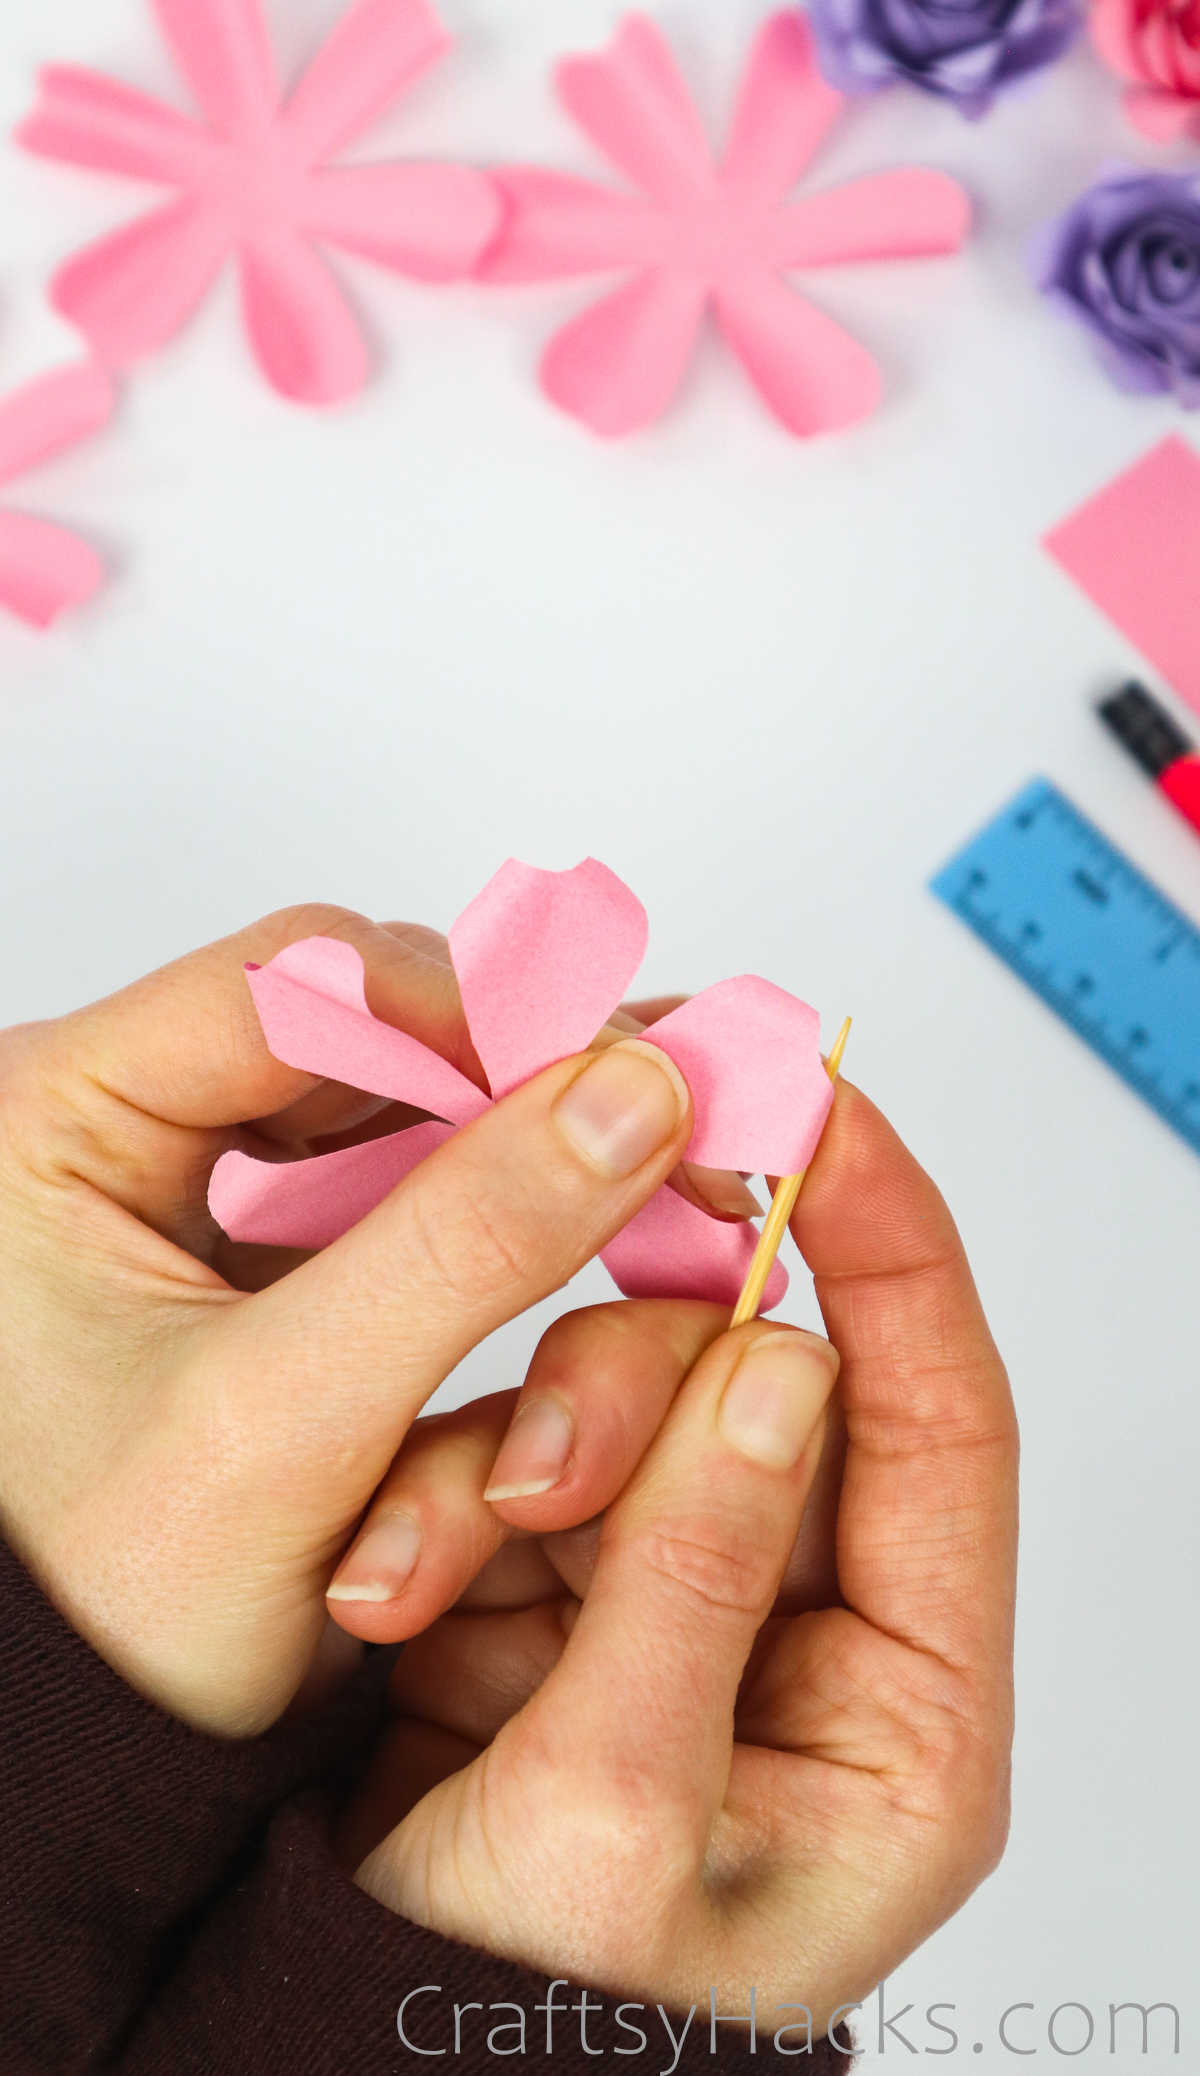
However, you only need to do this for two of the four sheets as they’ll be the outer petals. The other two will go inside.
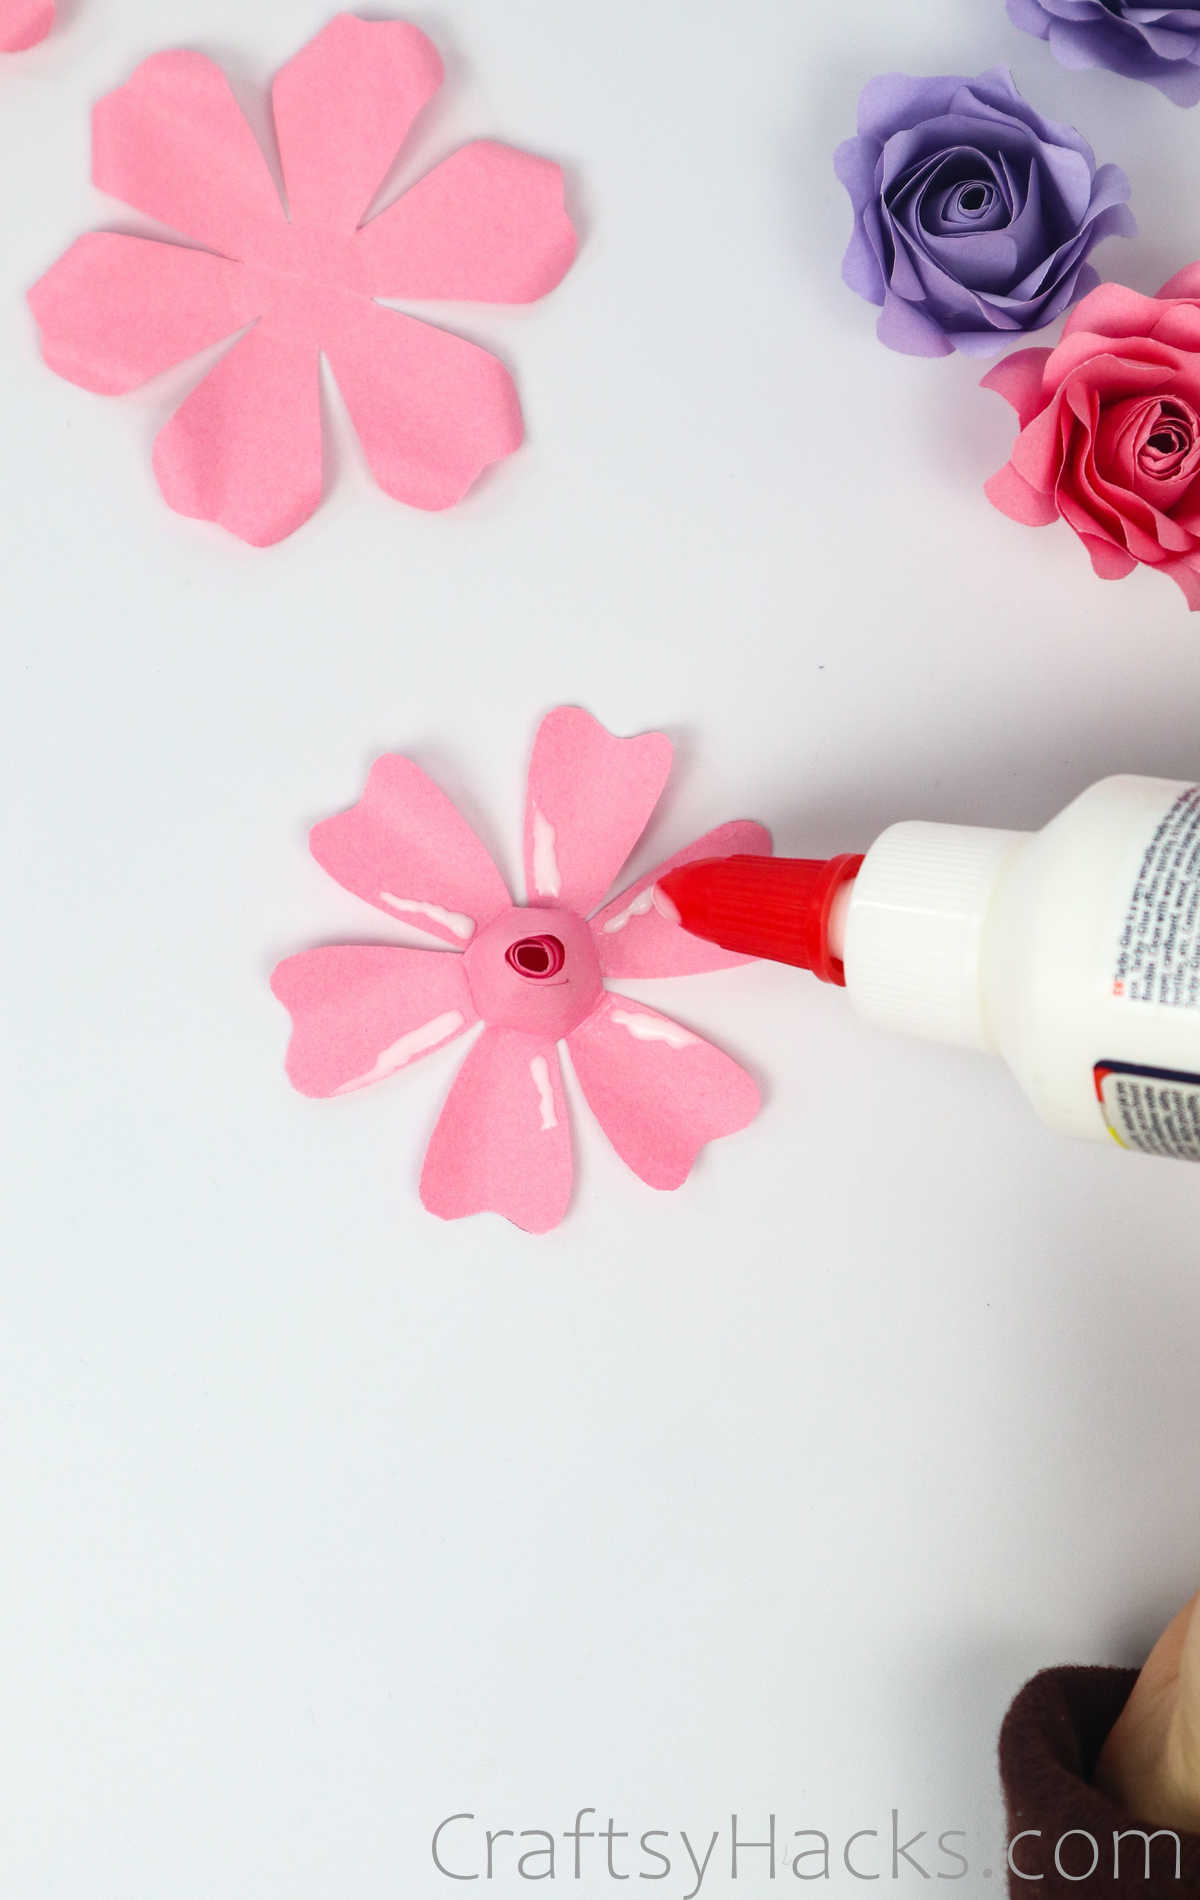
Step 8
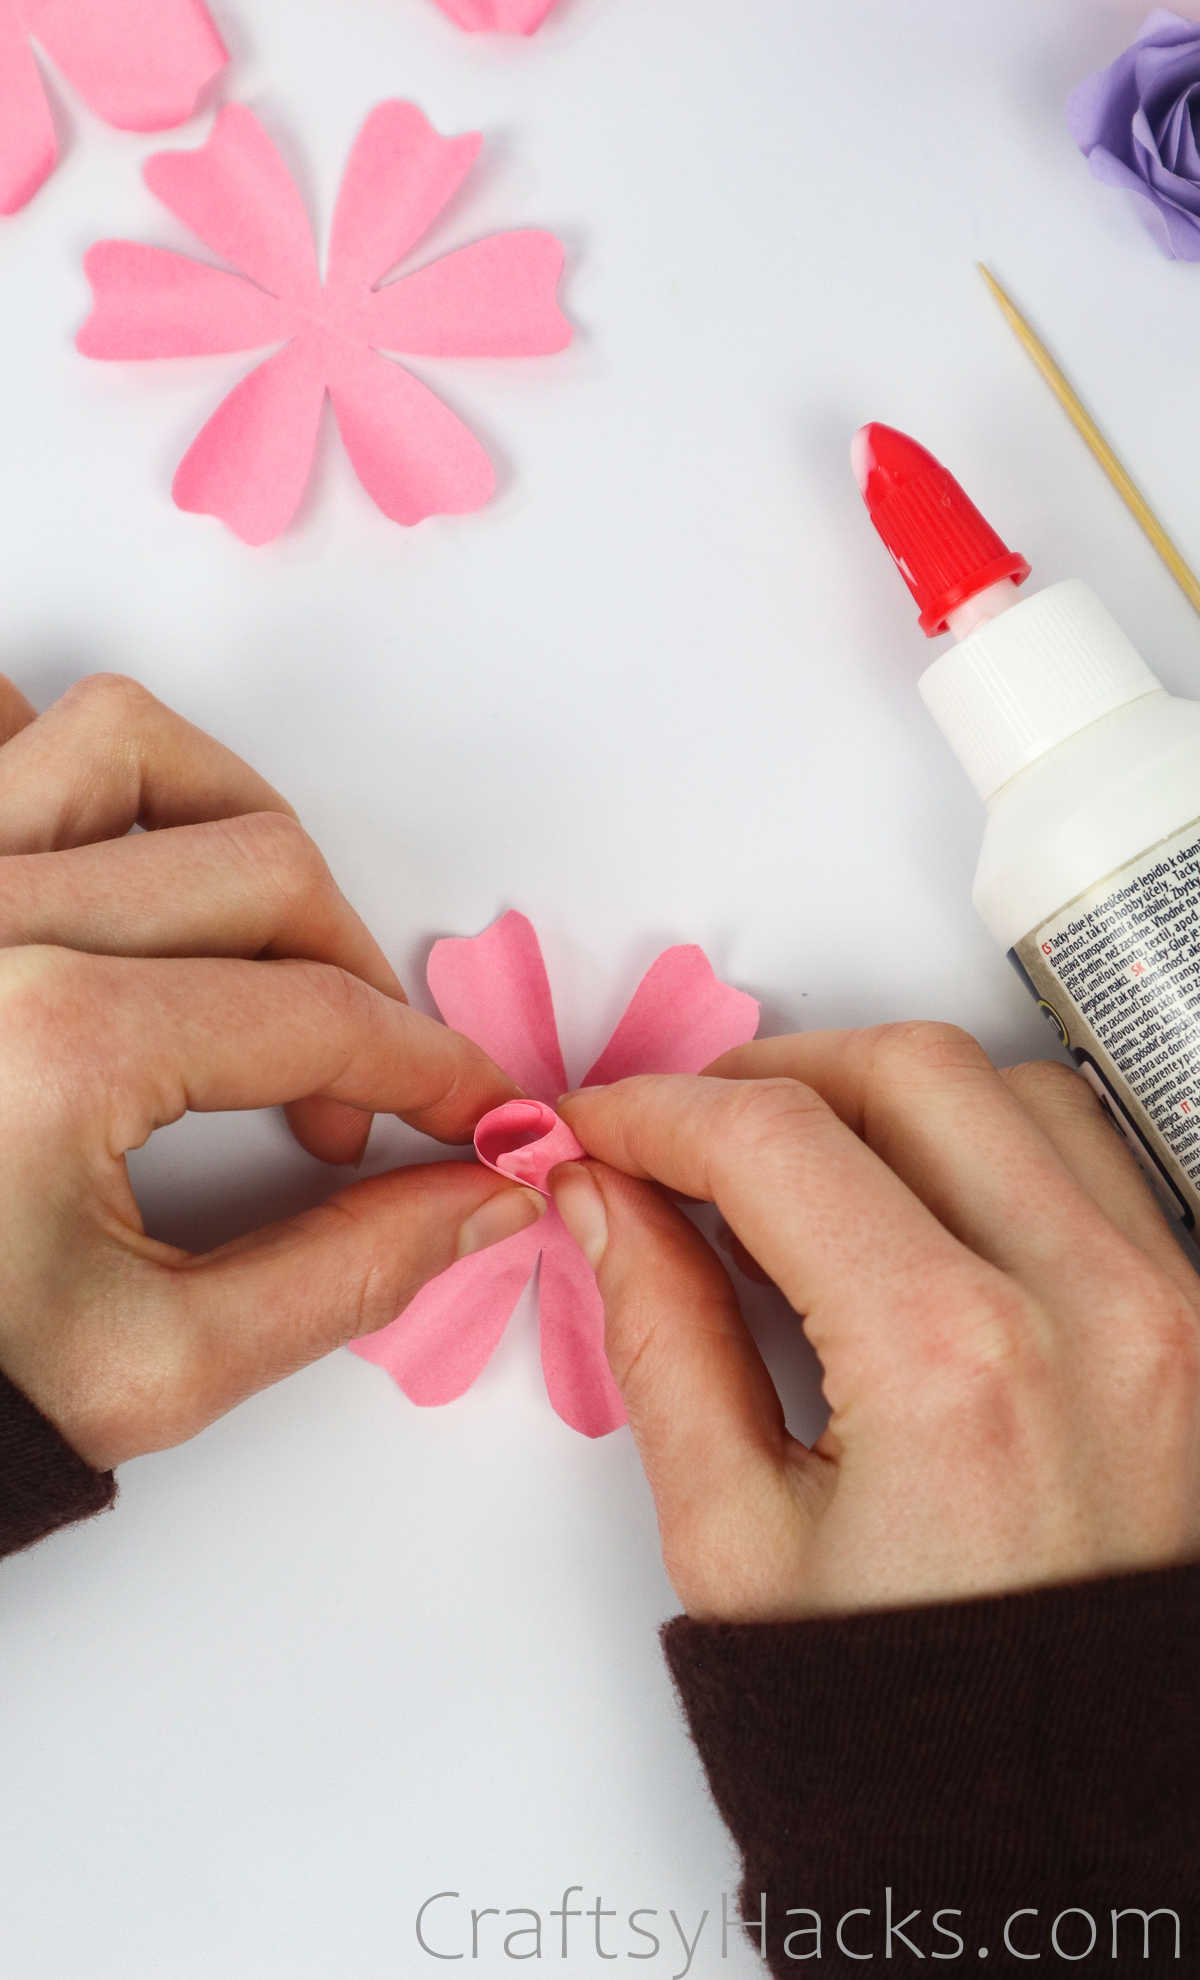
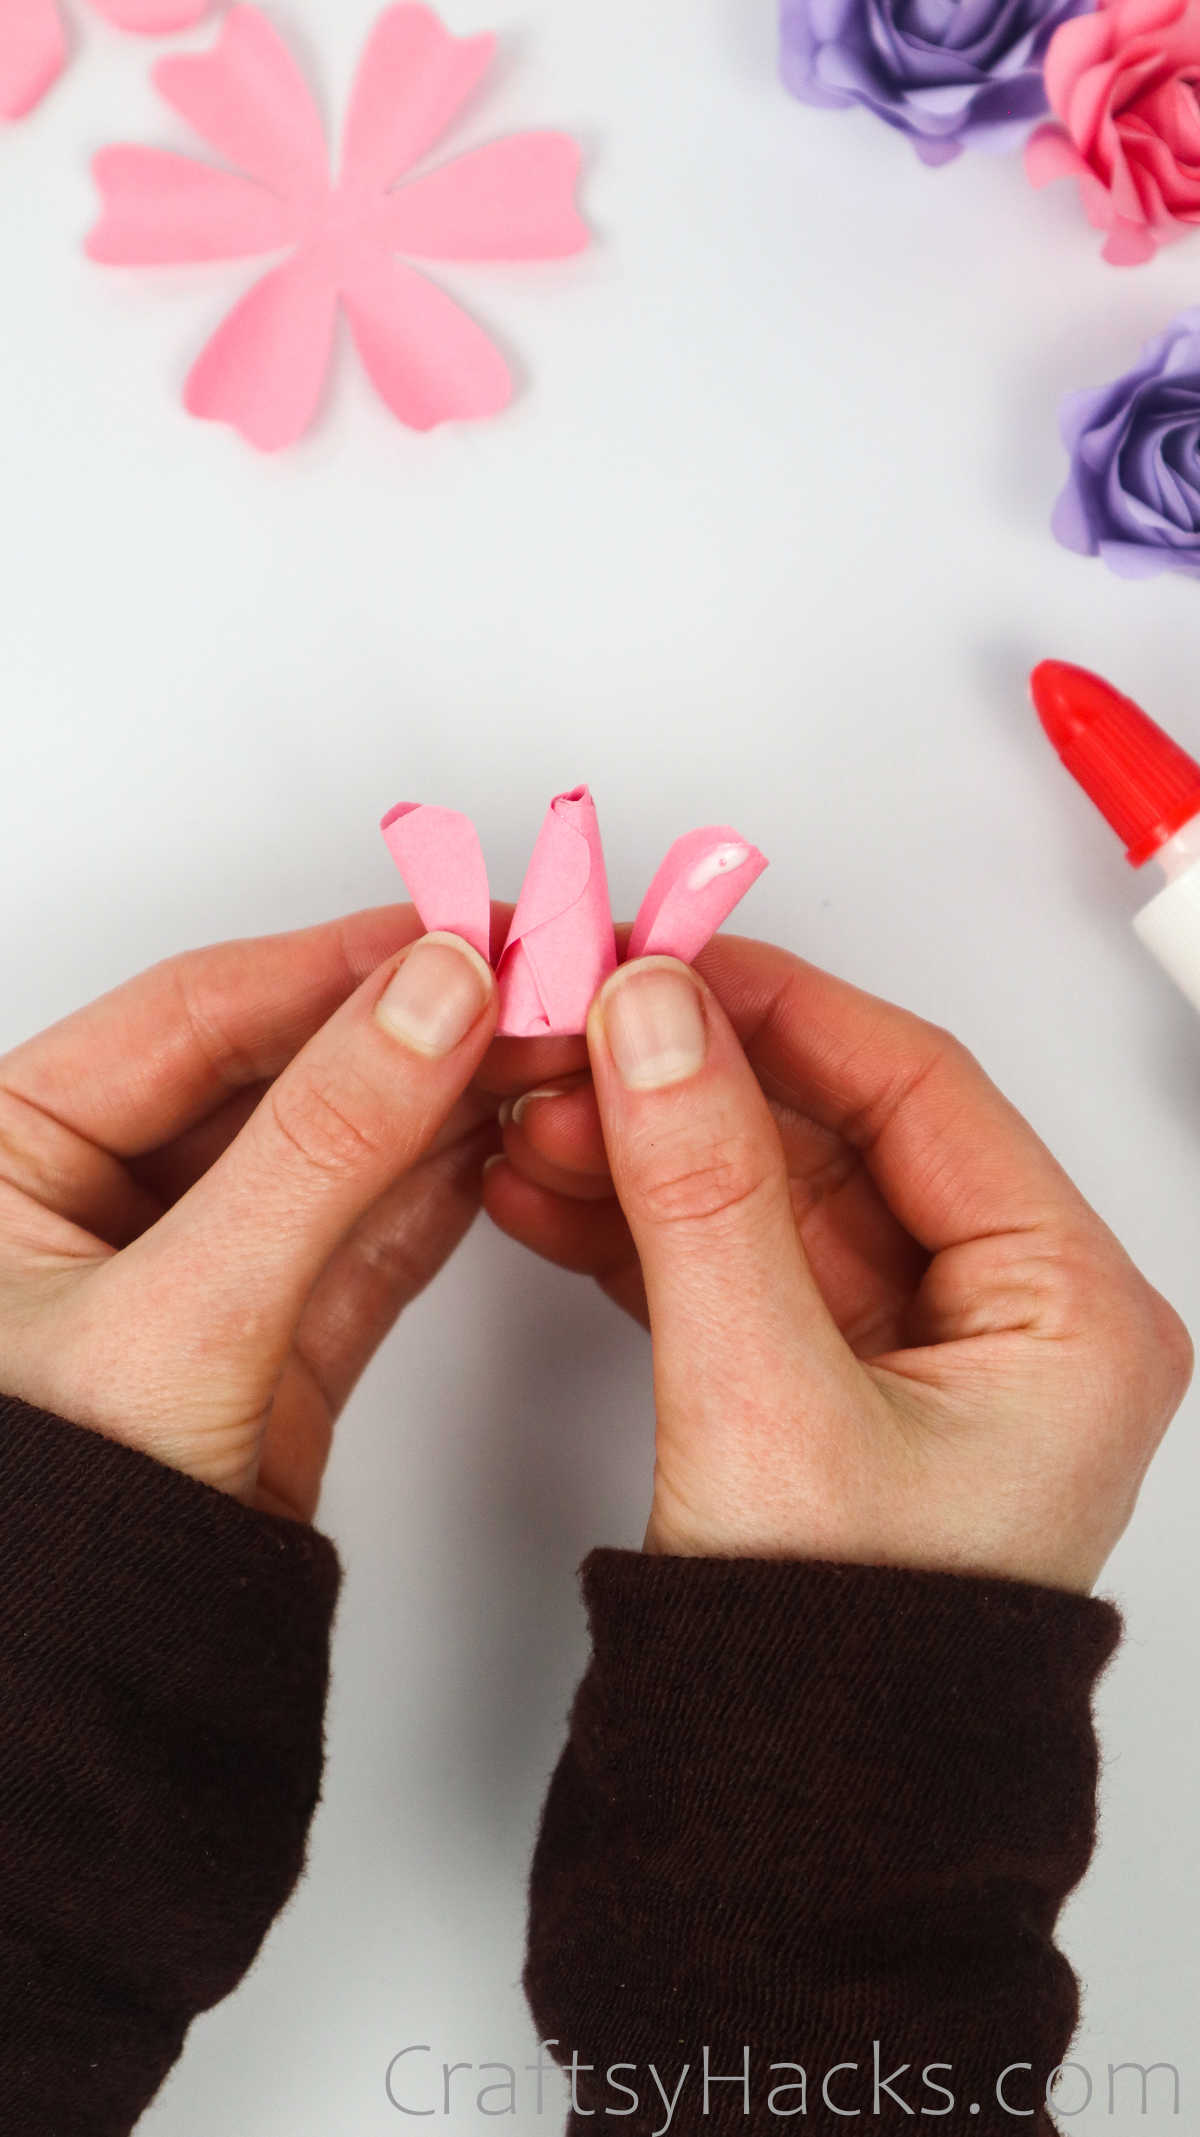
This next step might prove to be a little tricky. carefully dab just a little glue on two opposite petals.
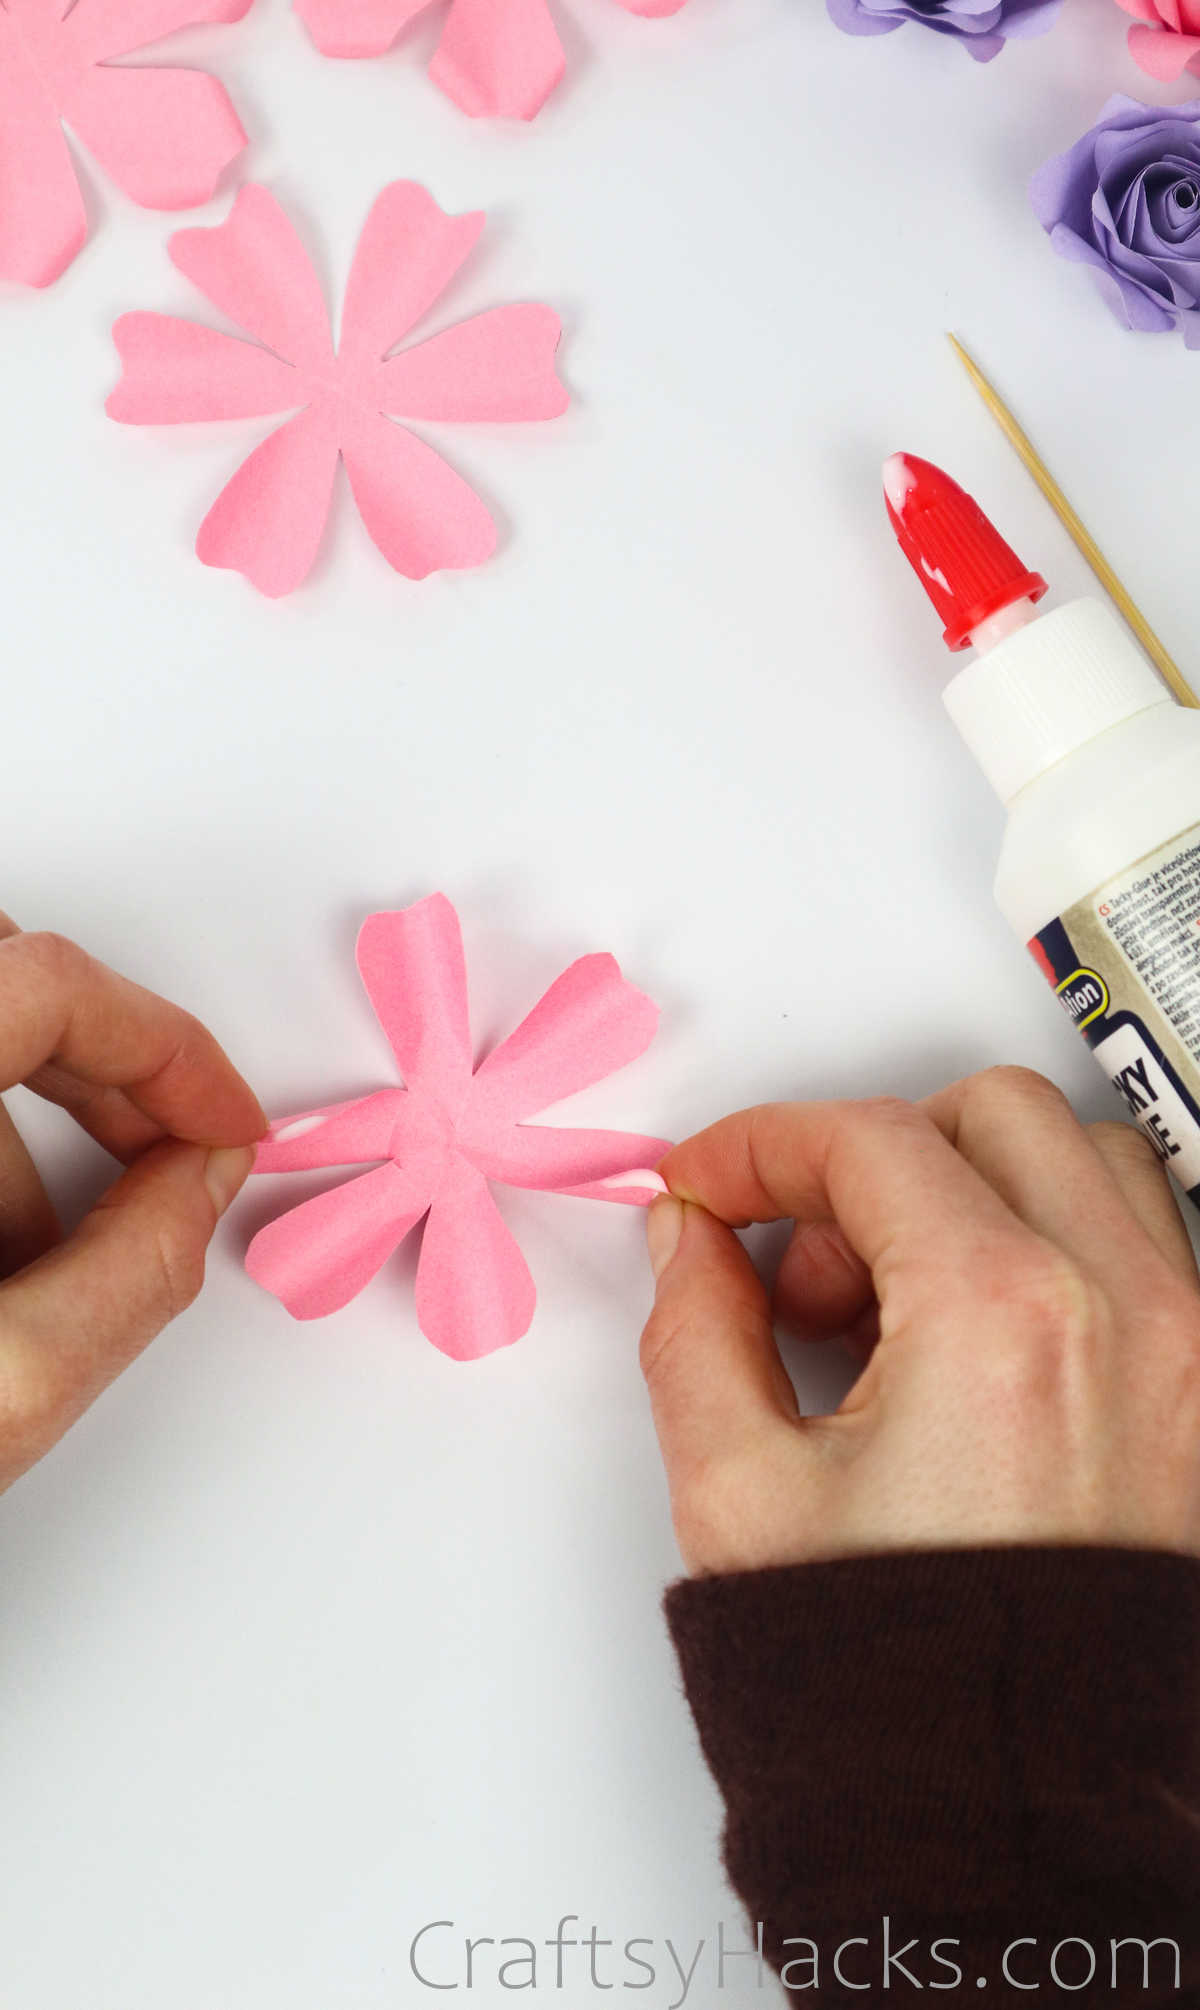
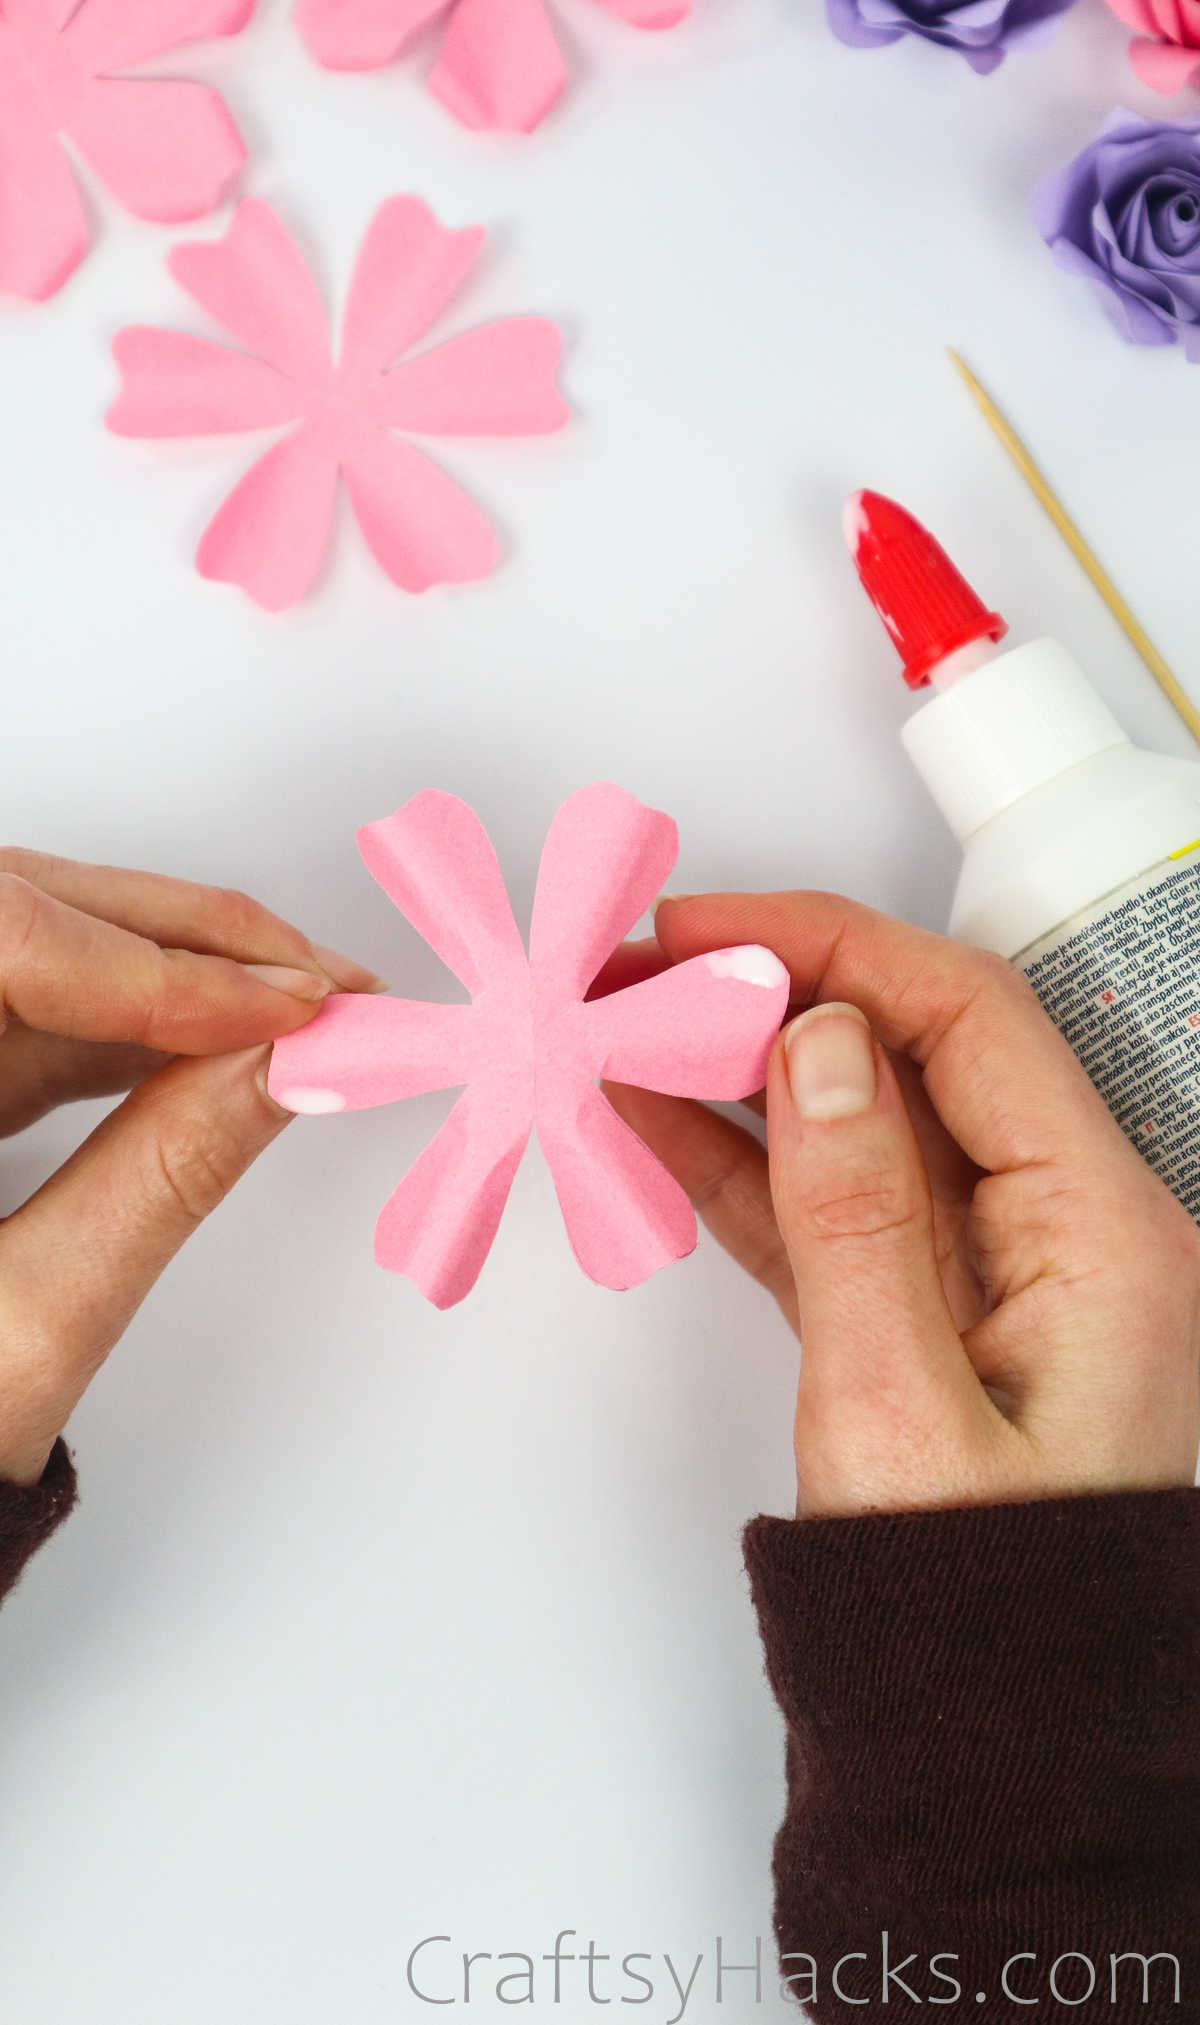
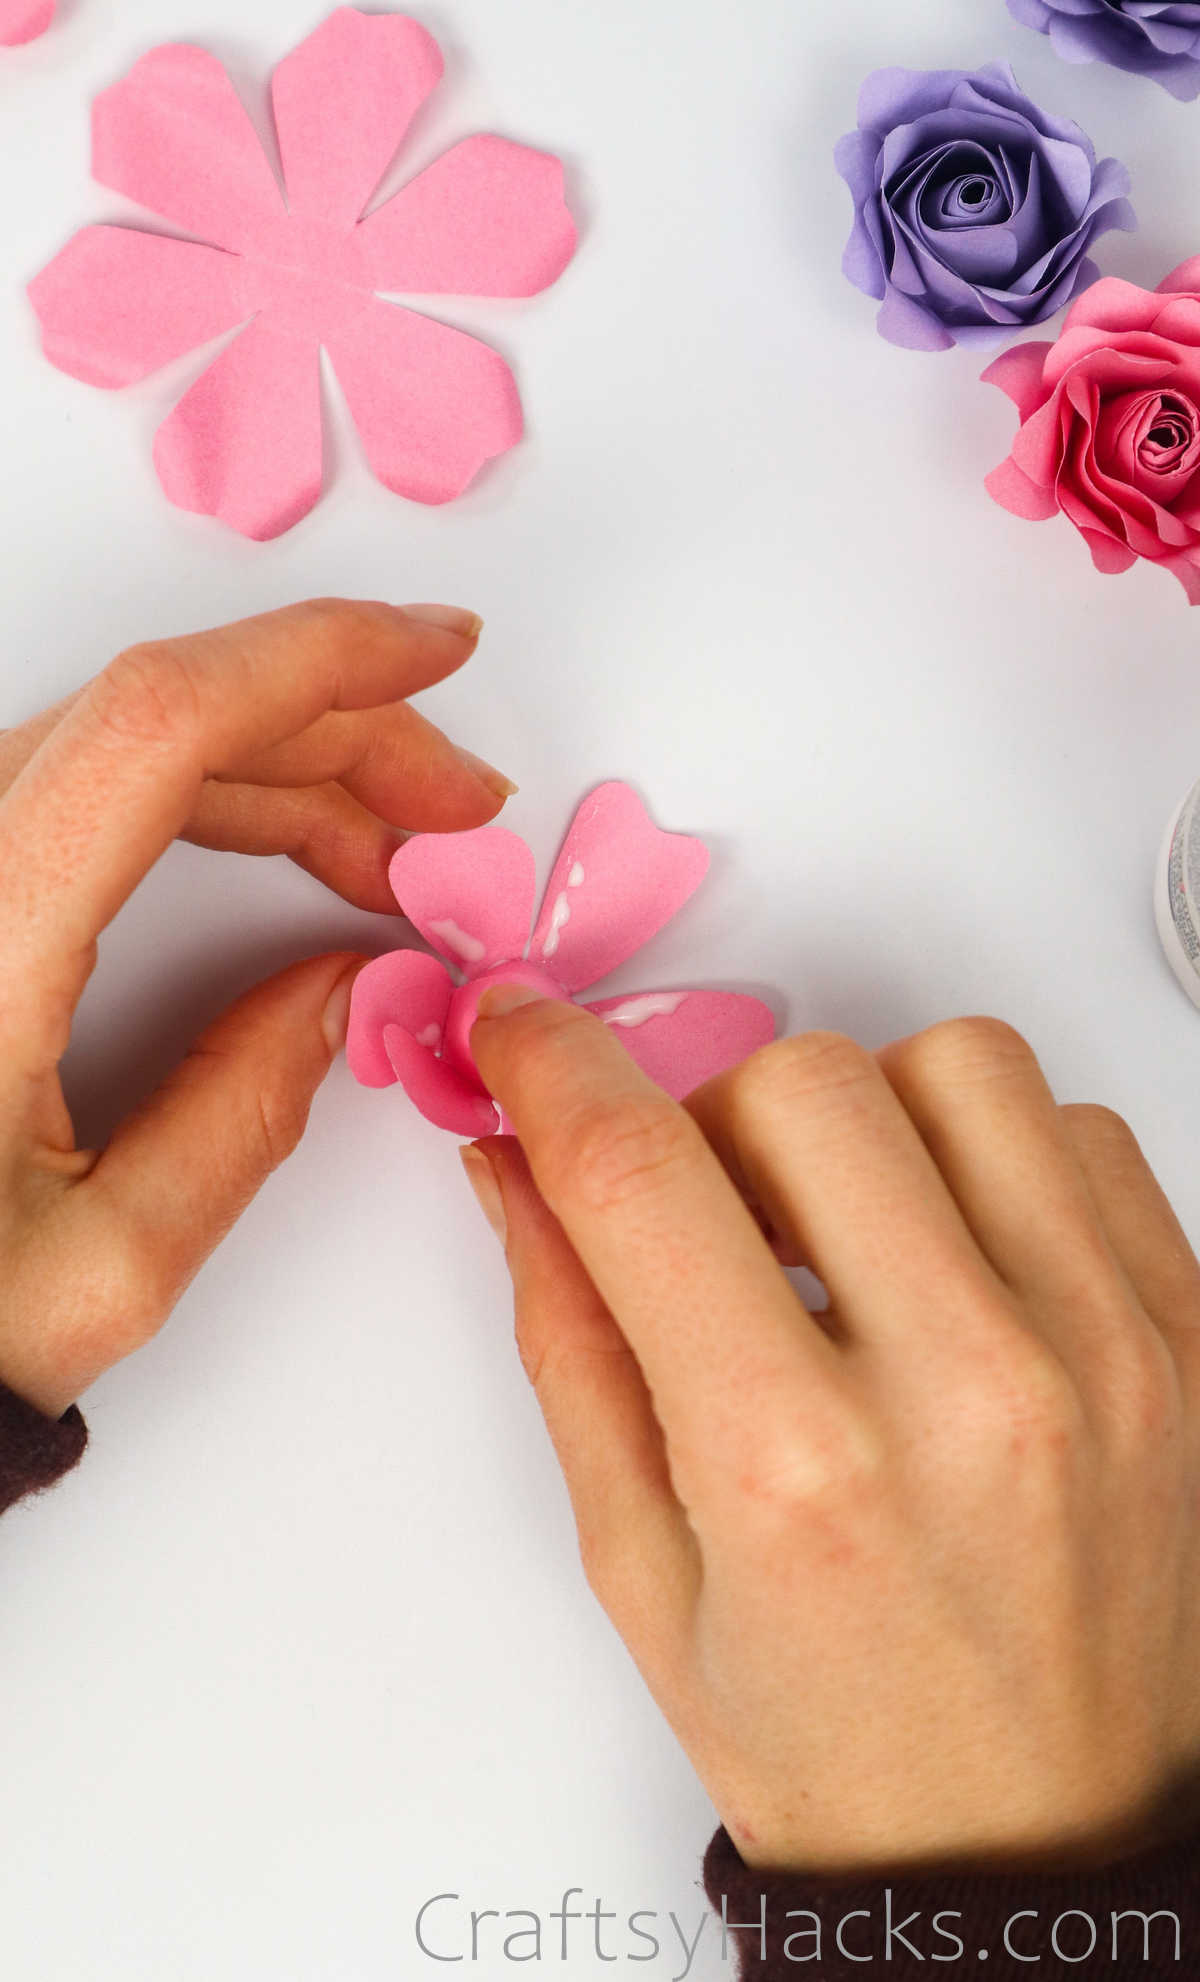
Next, bring the two glue-dipped tips together and stick them in place to form the center bud, as seen below.
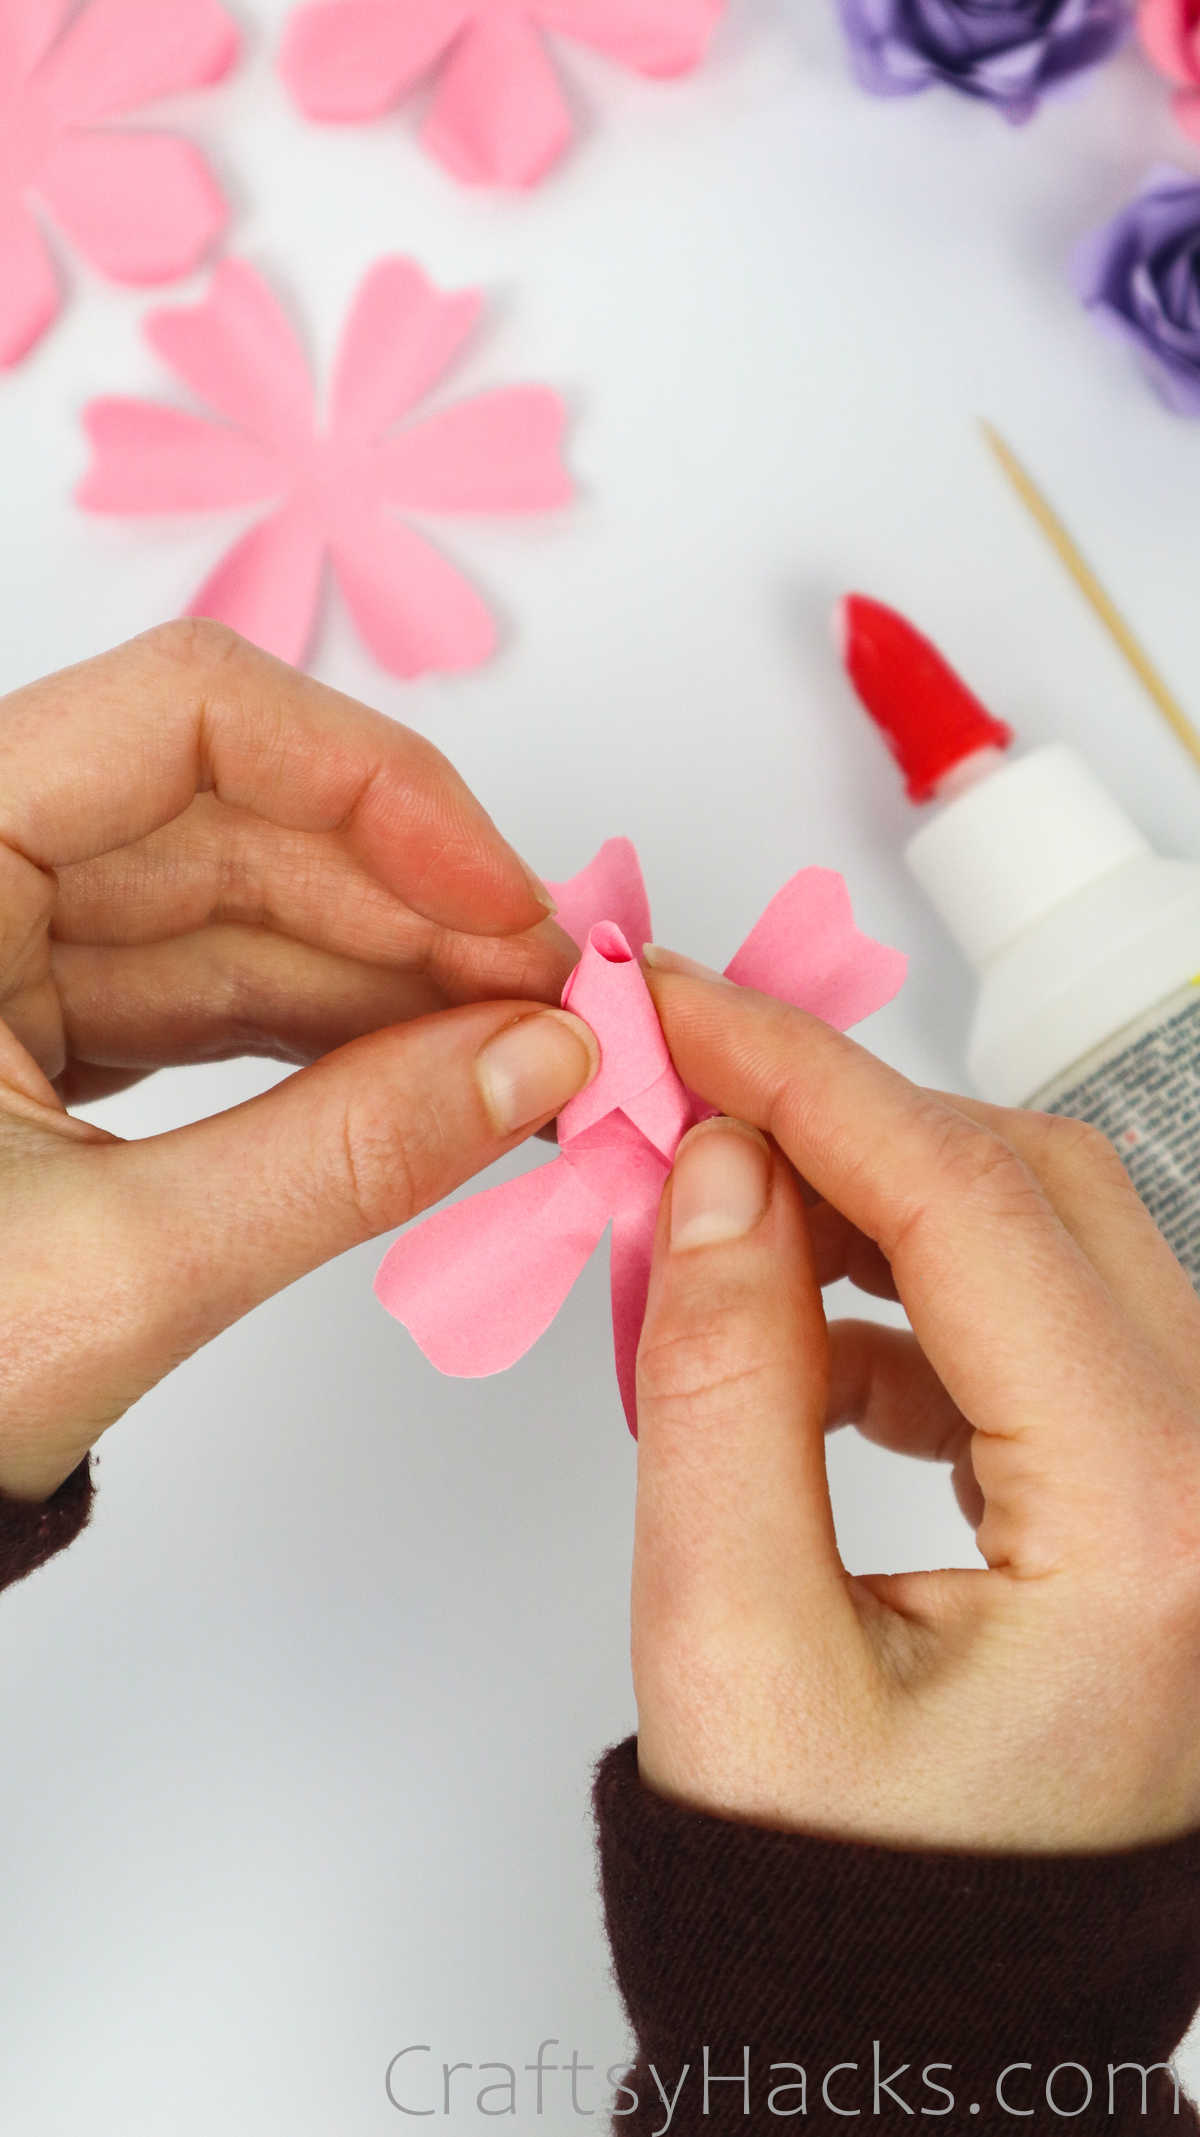
Now dab some glue on two more opposite petals and bring them in to stick them around the center bud.
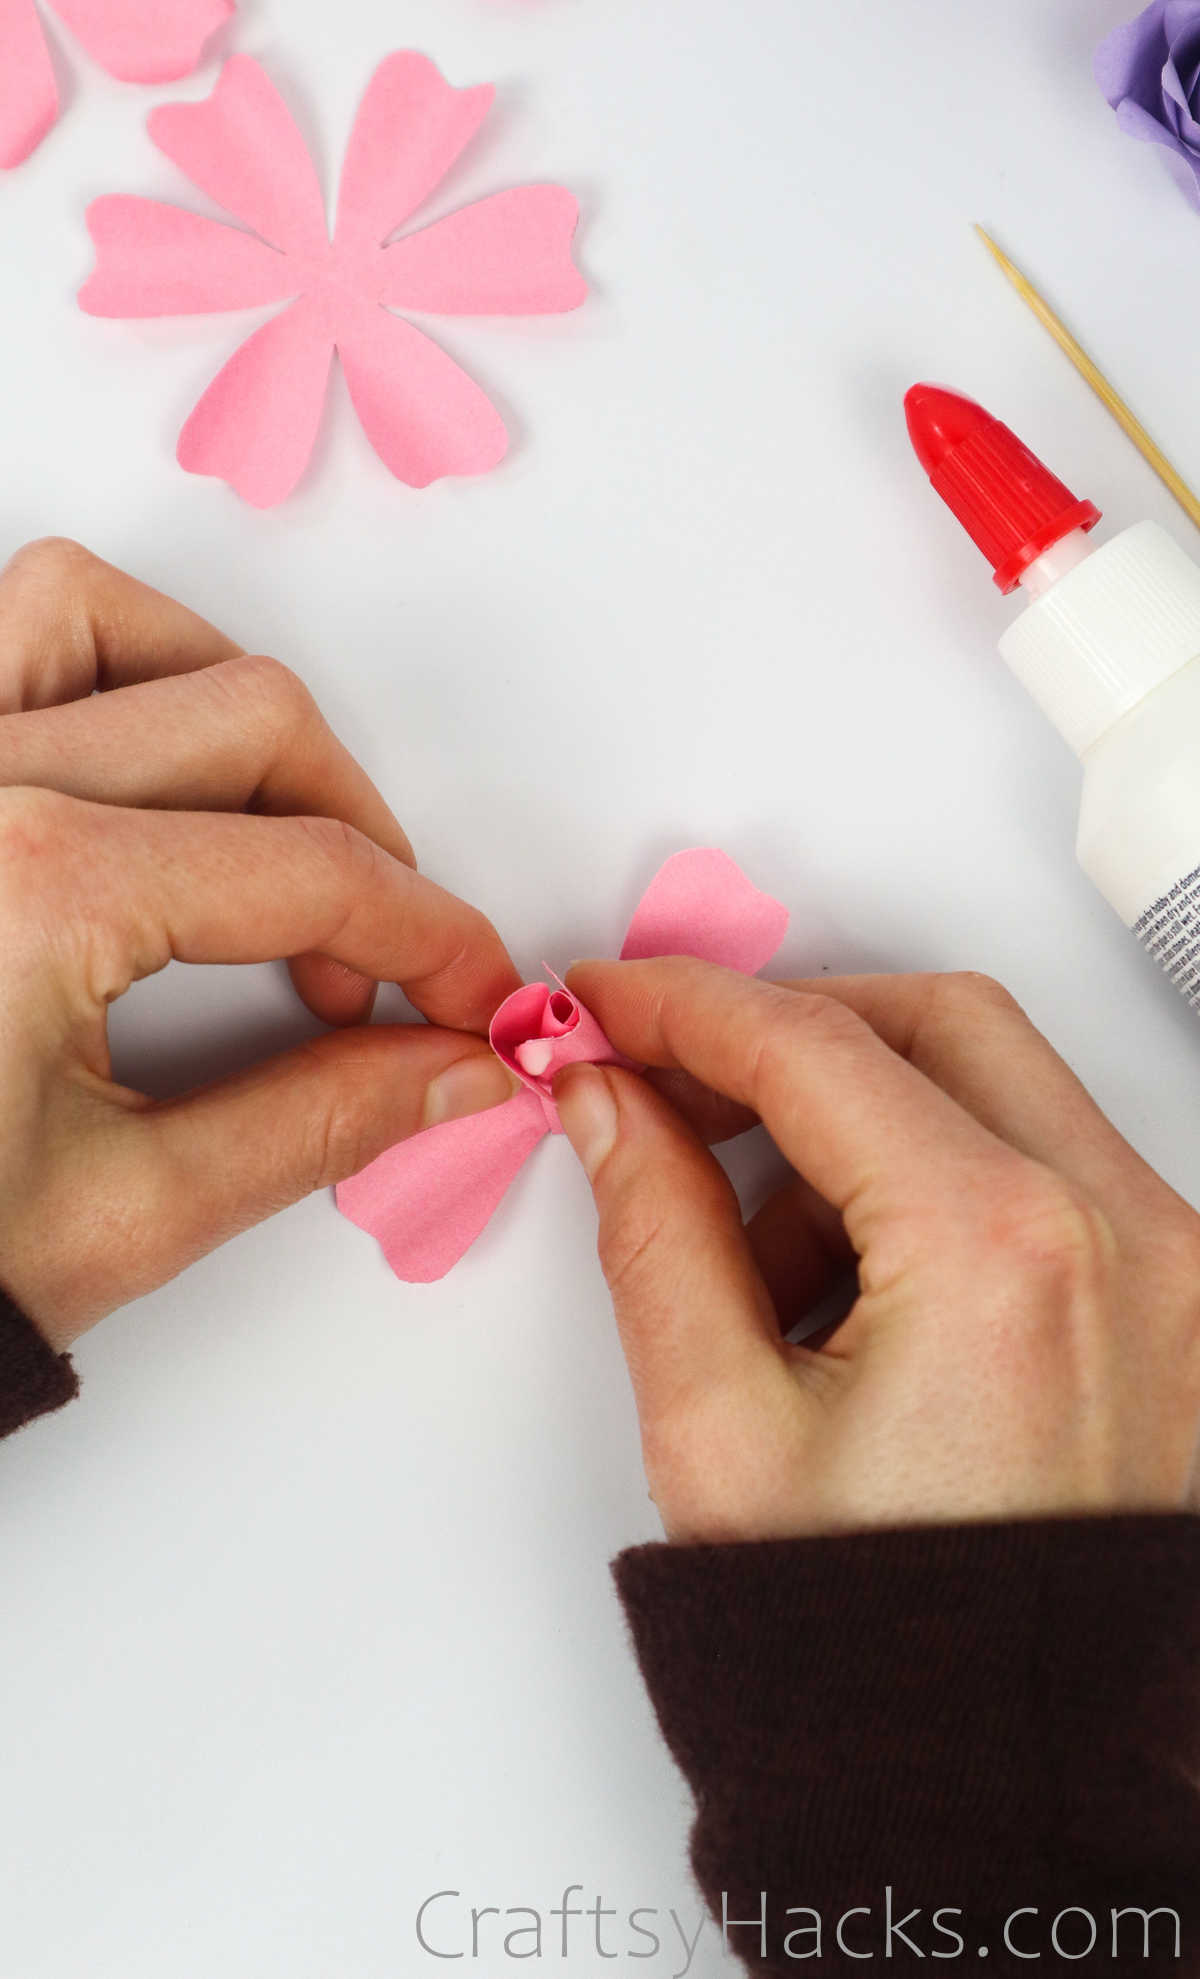

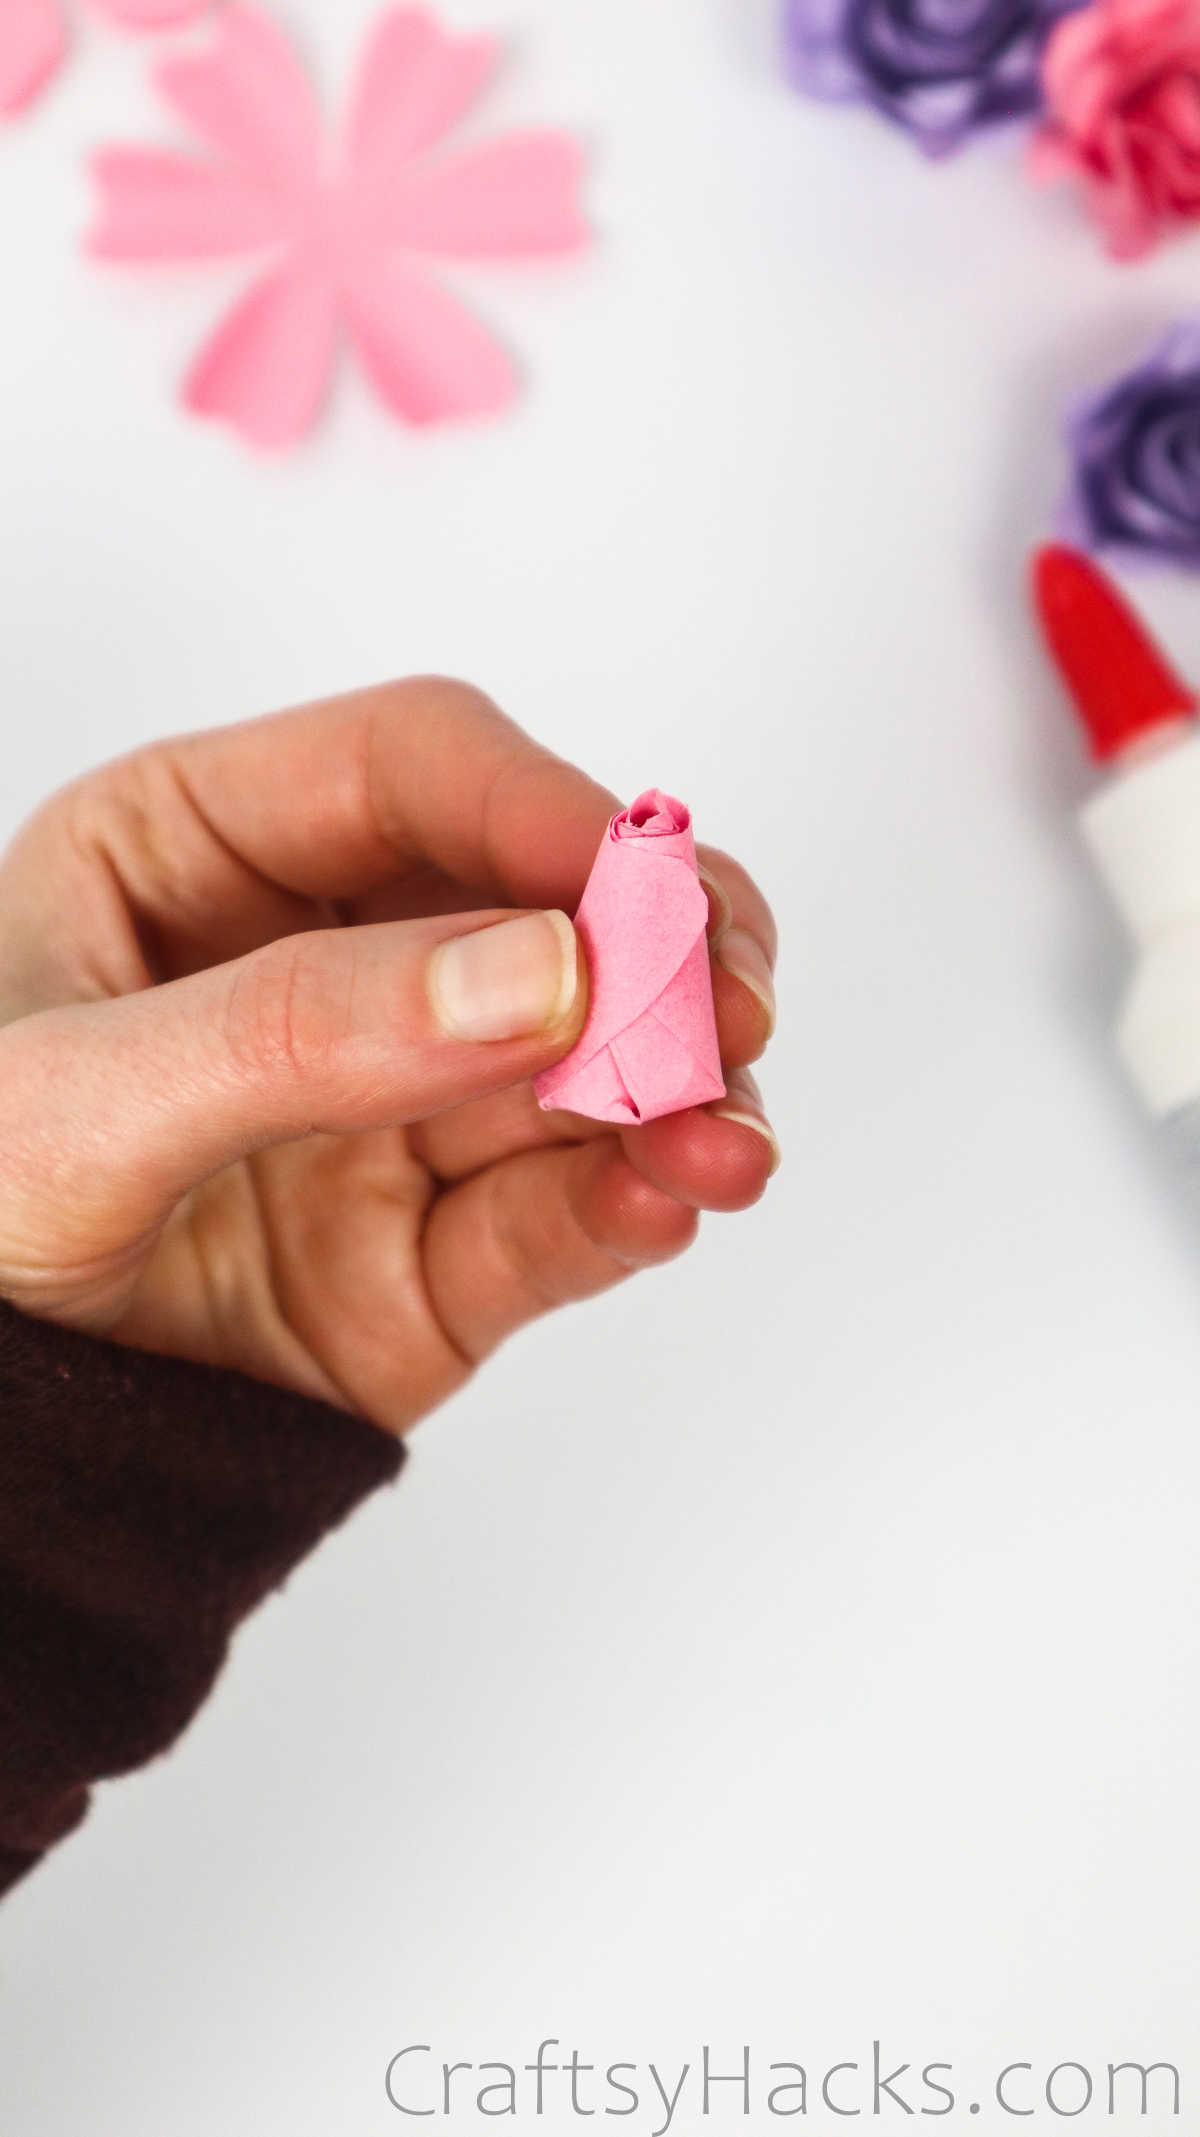
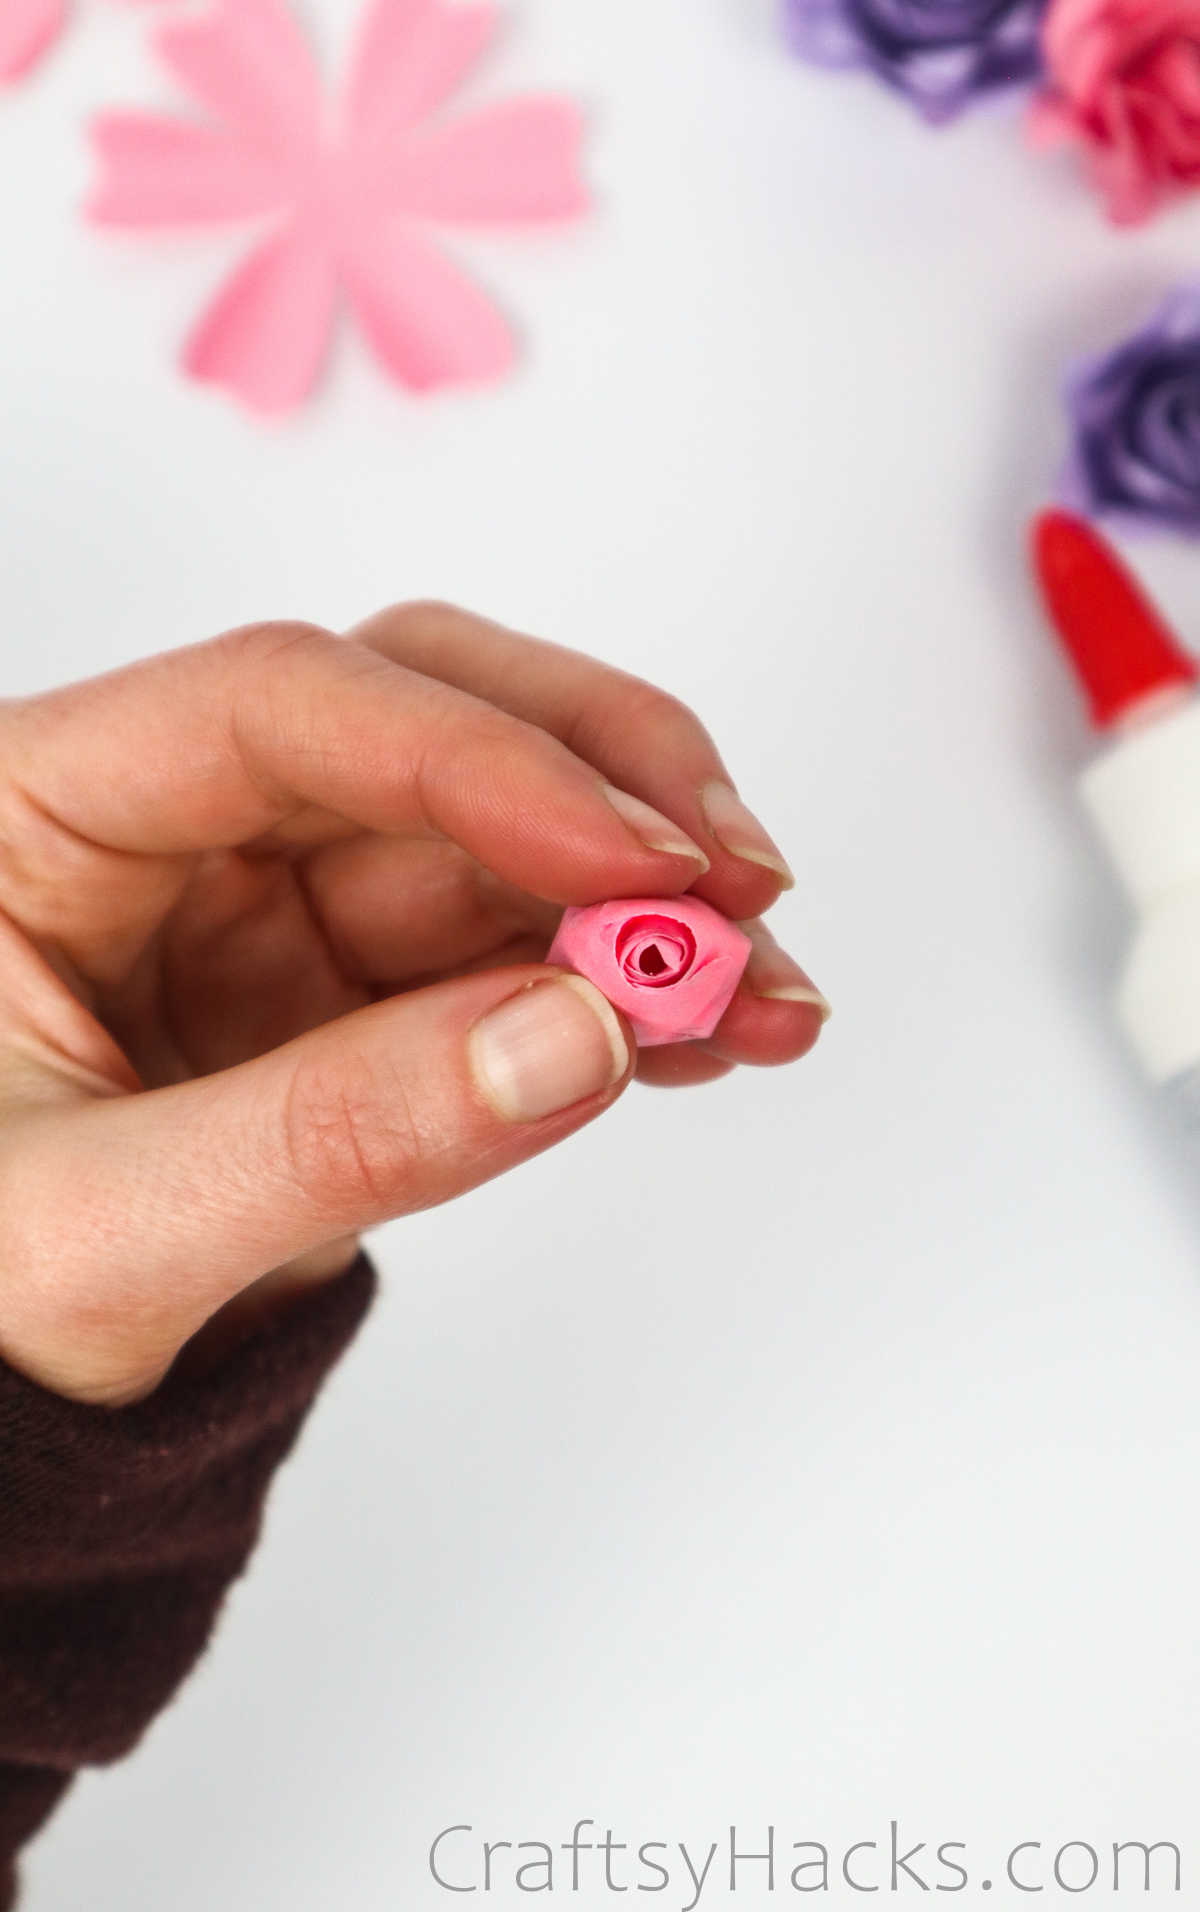
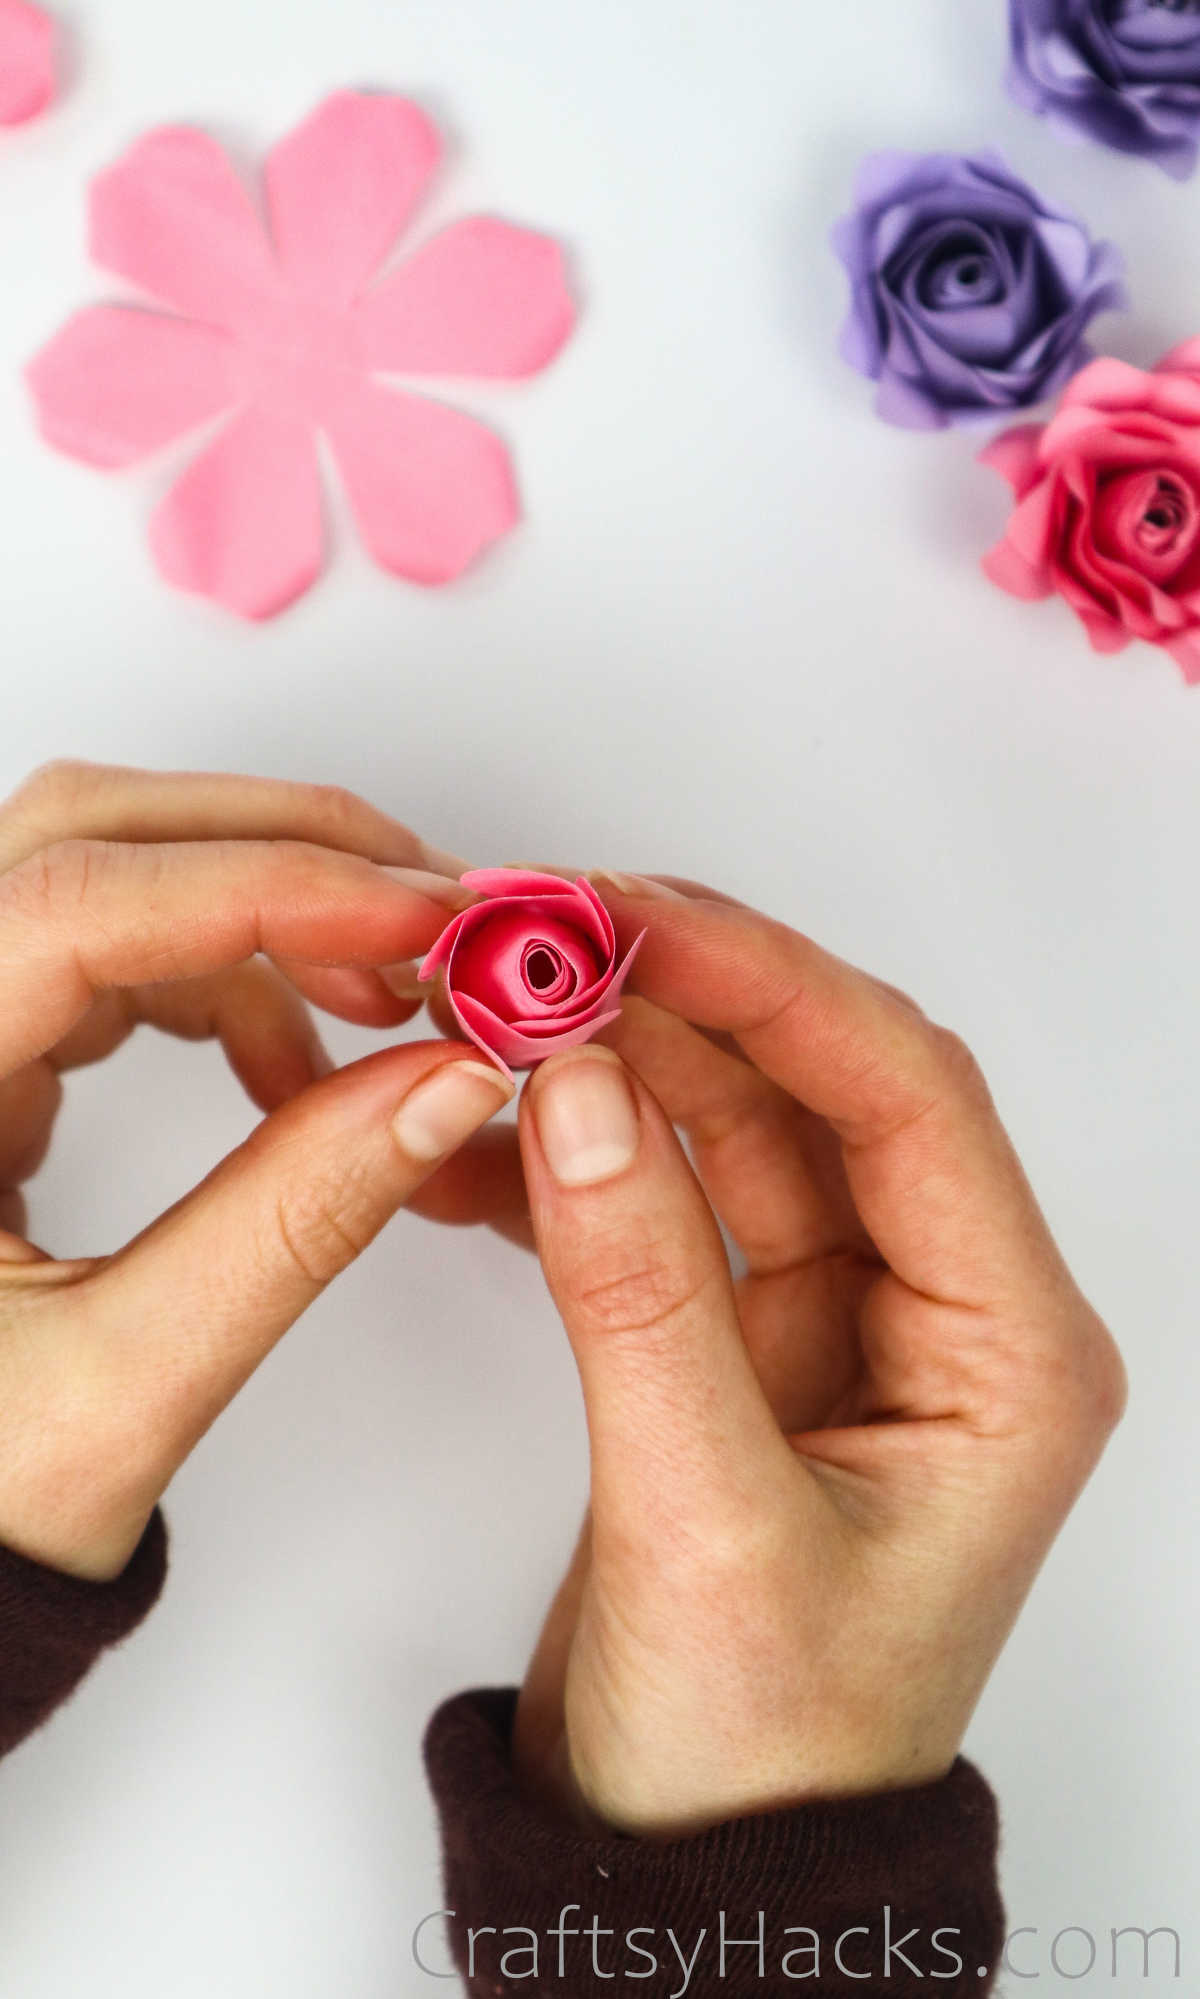
Repeat this one more time with the remaining two petals, and you’ll have a nice little bud for the center of your rose.
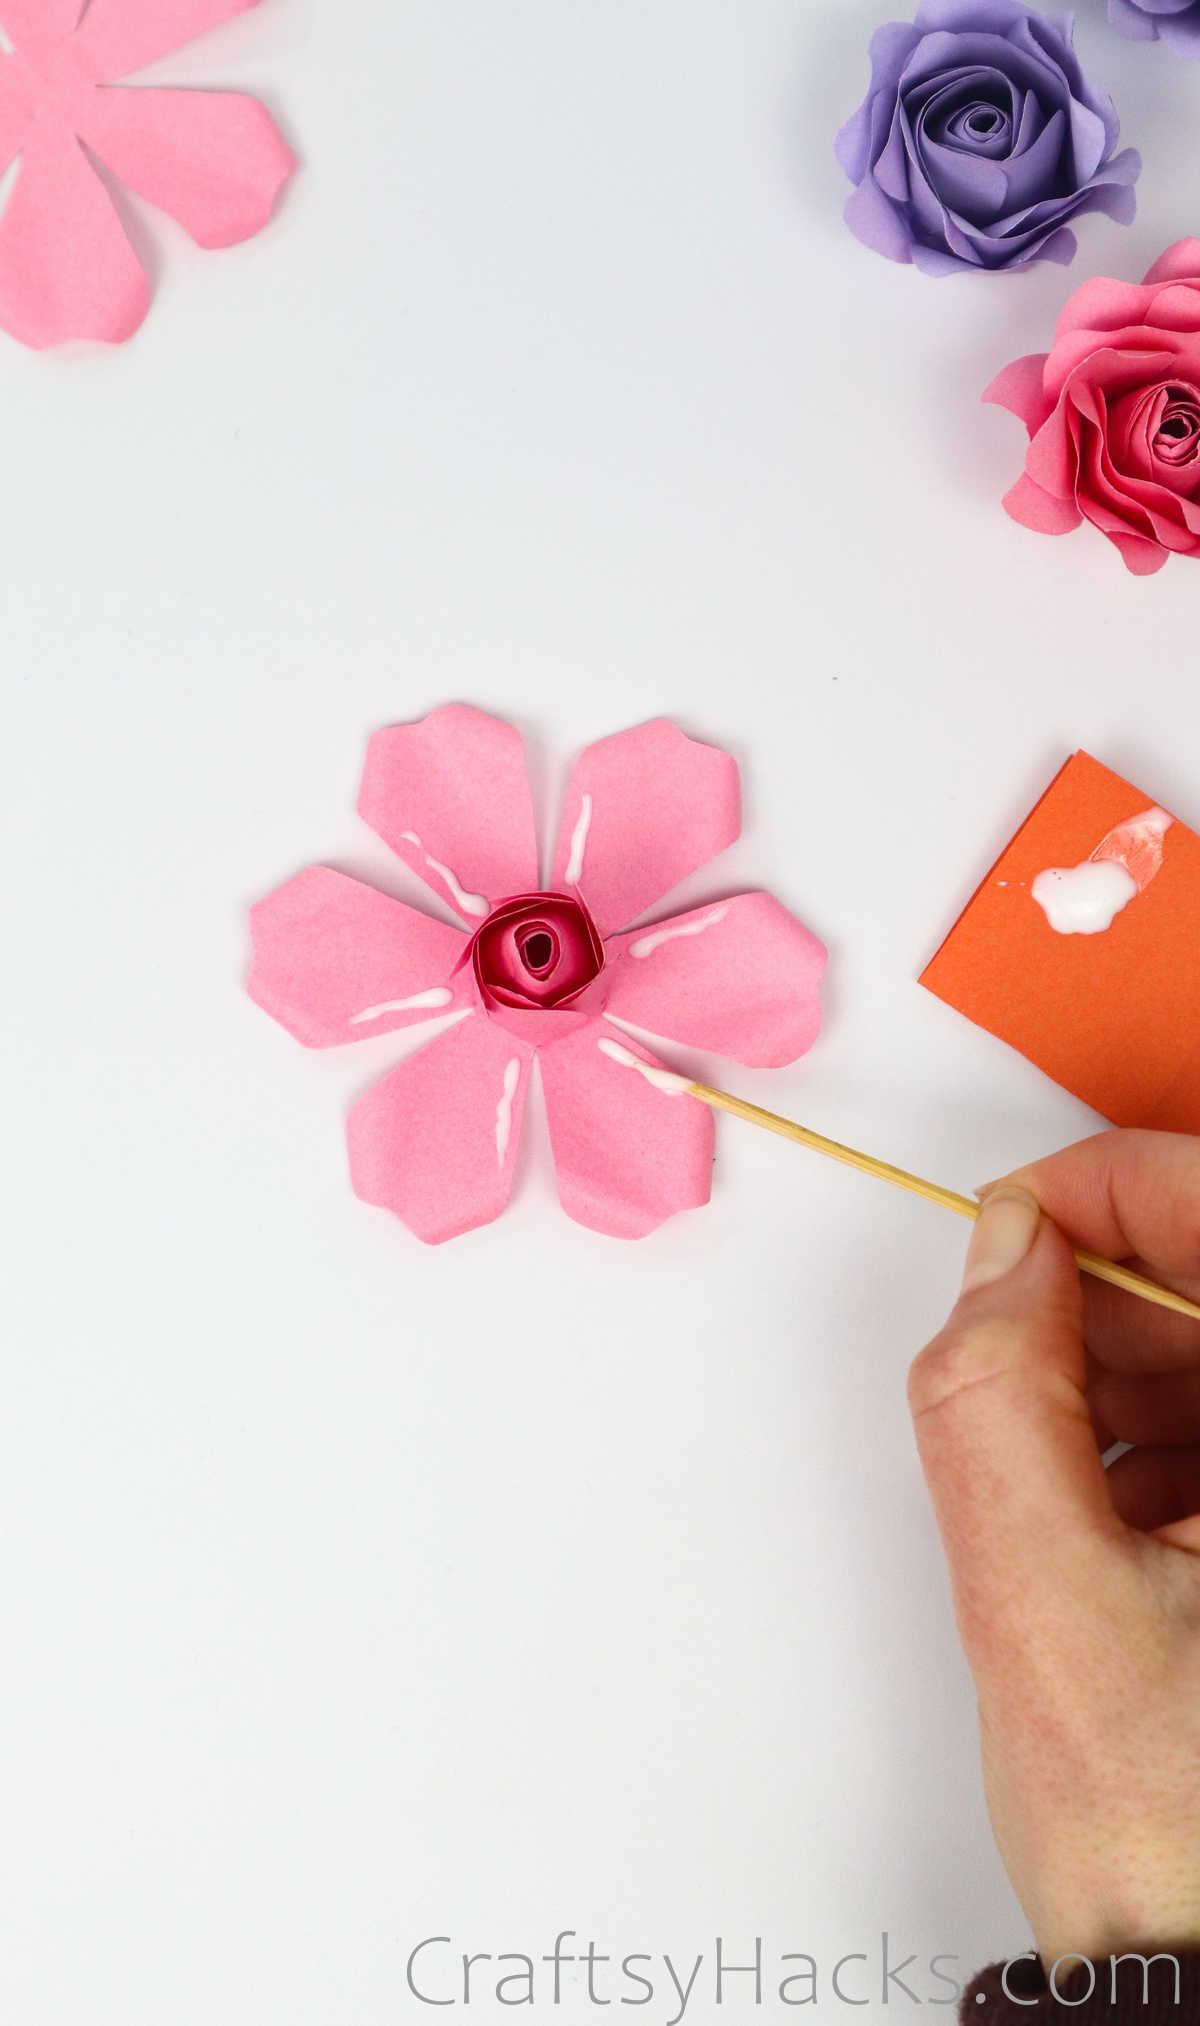
Step 9
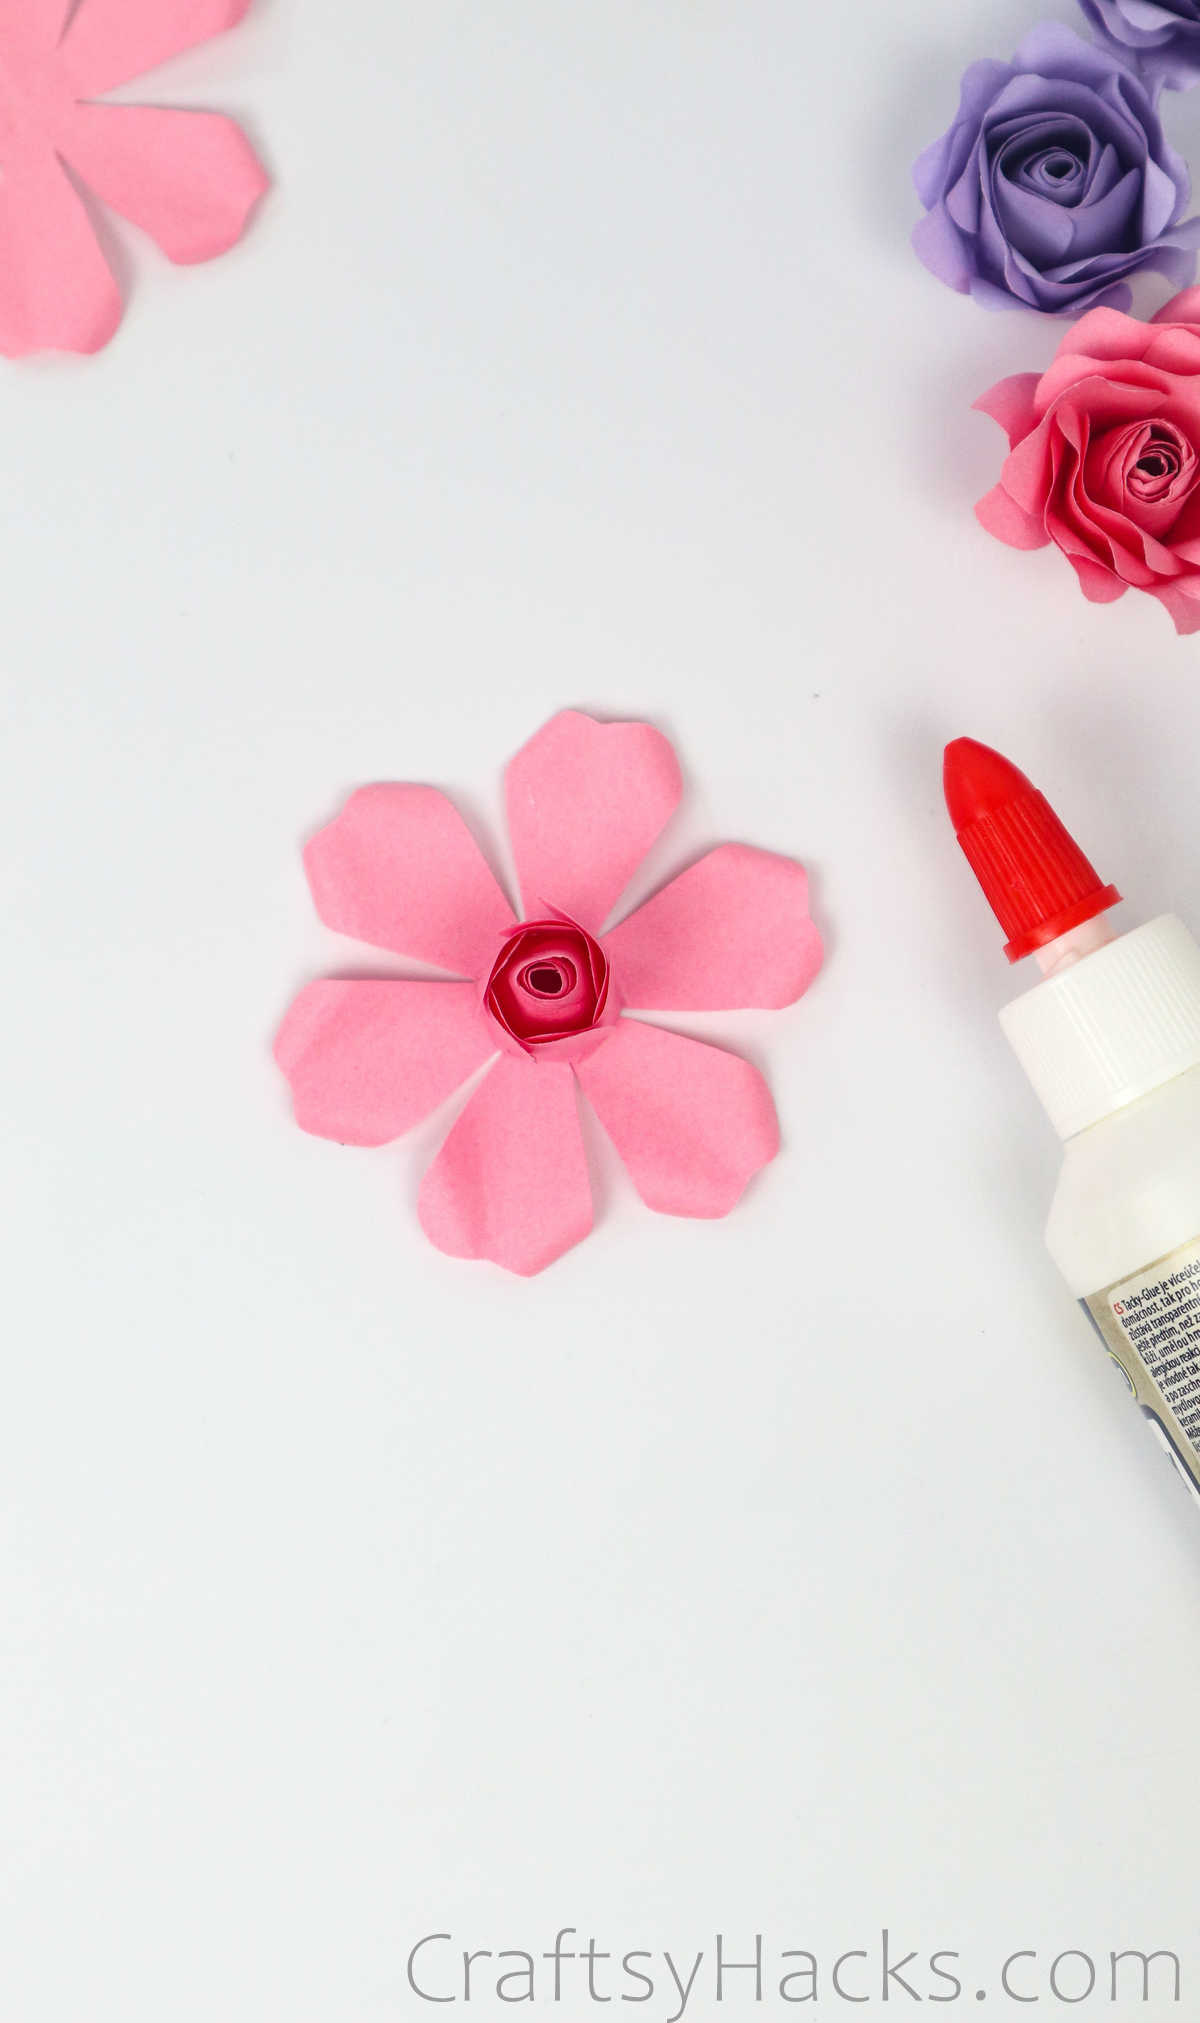
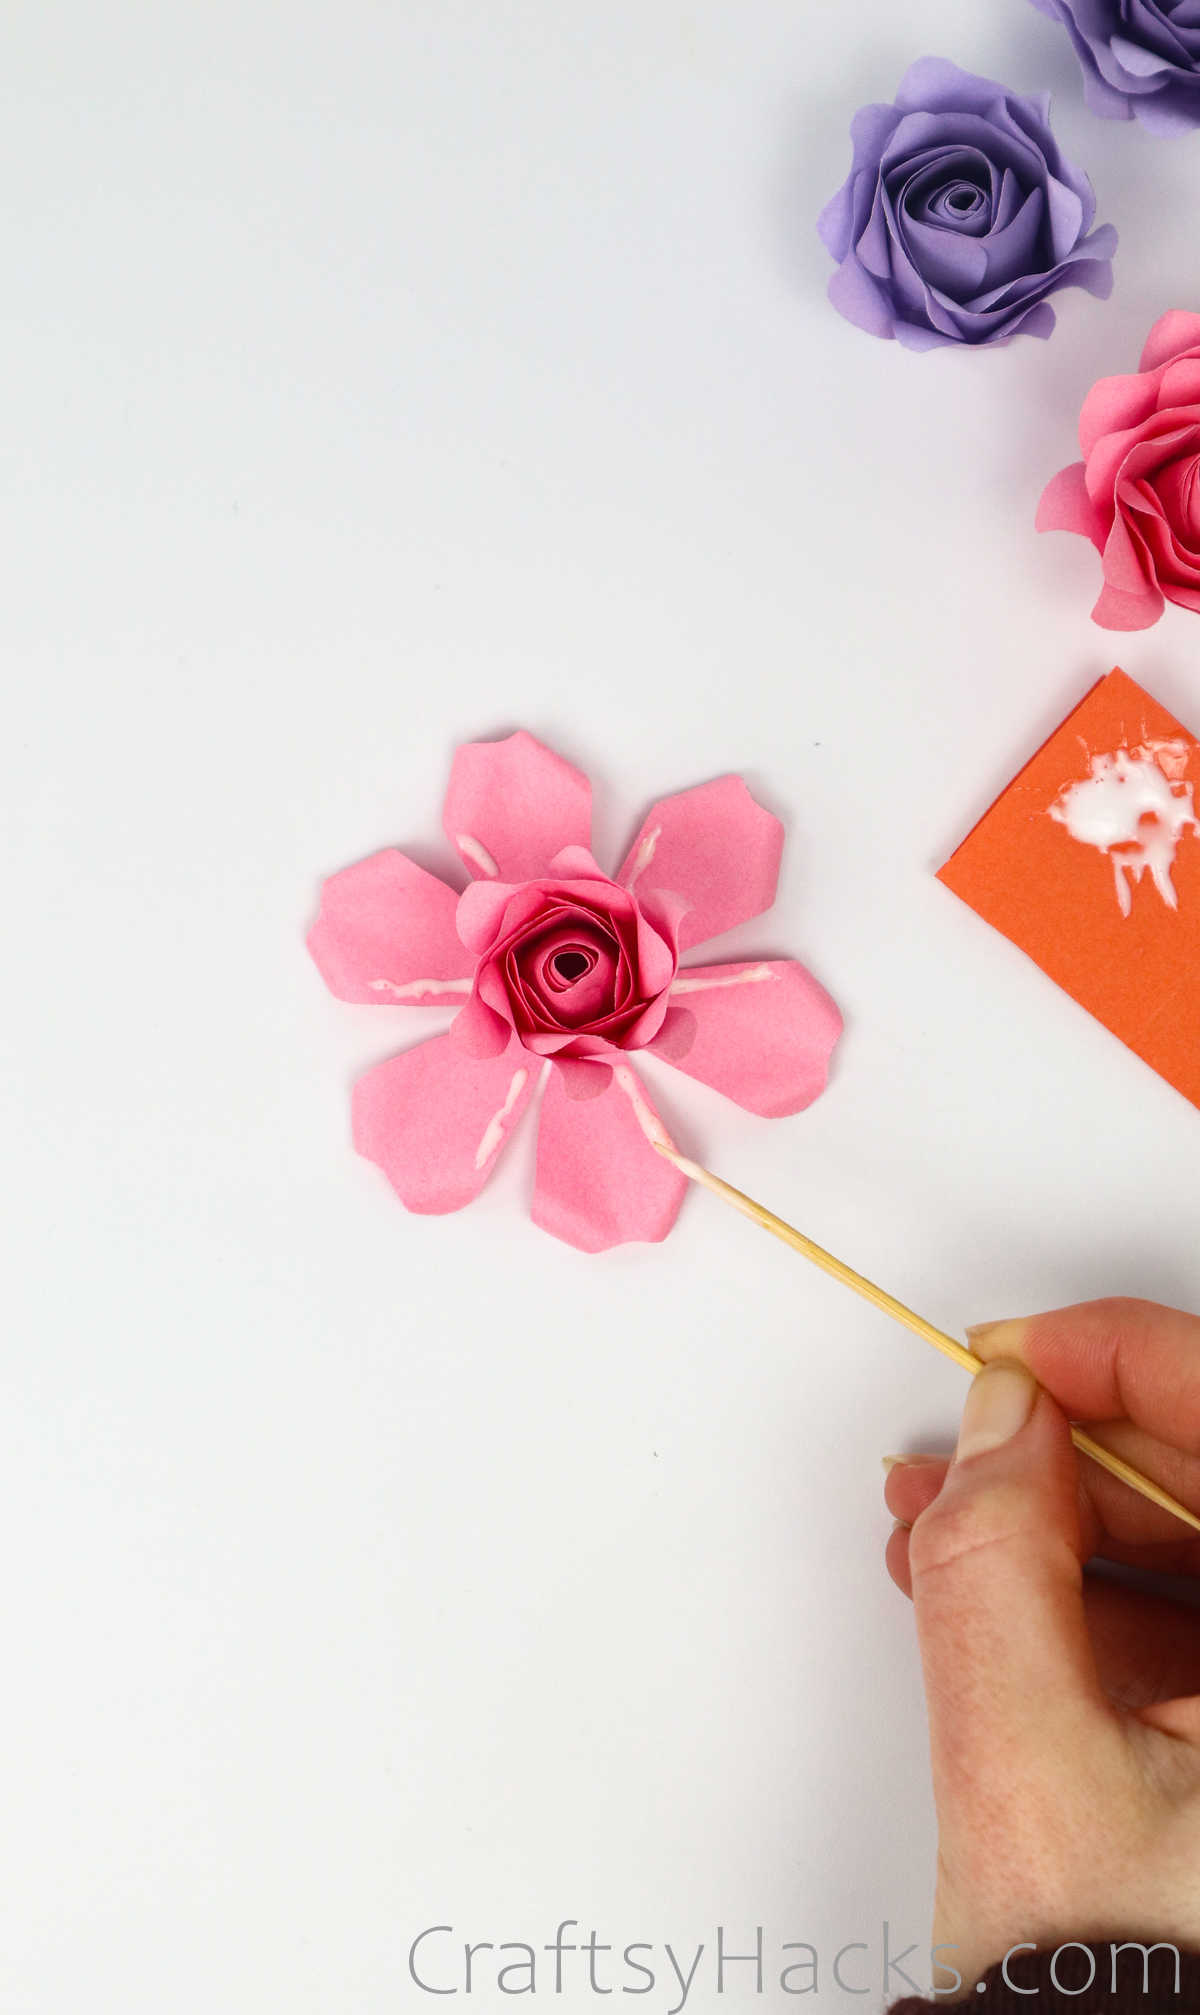
Grab the second of the inner layer sheets and apply glue to the center. Gently stick the conical bud you made just now in the center and hold it till the two components are stuck together.
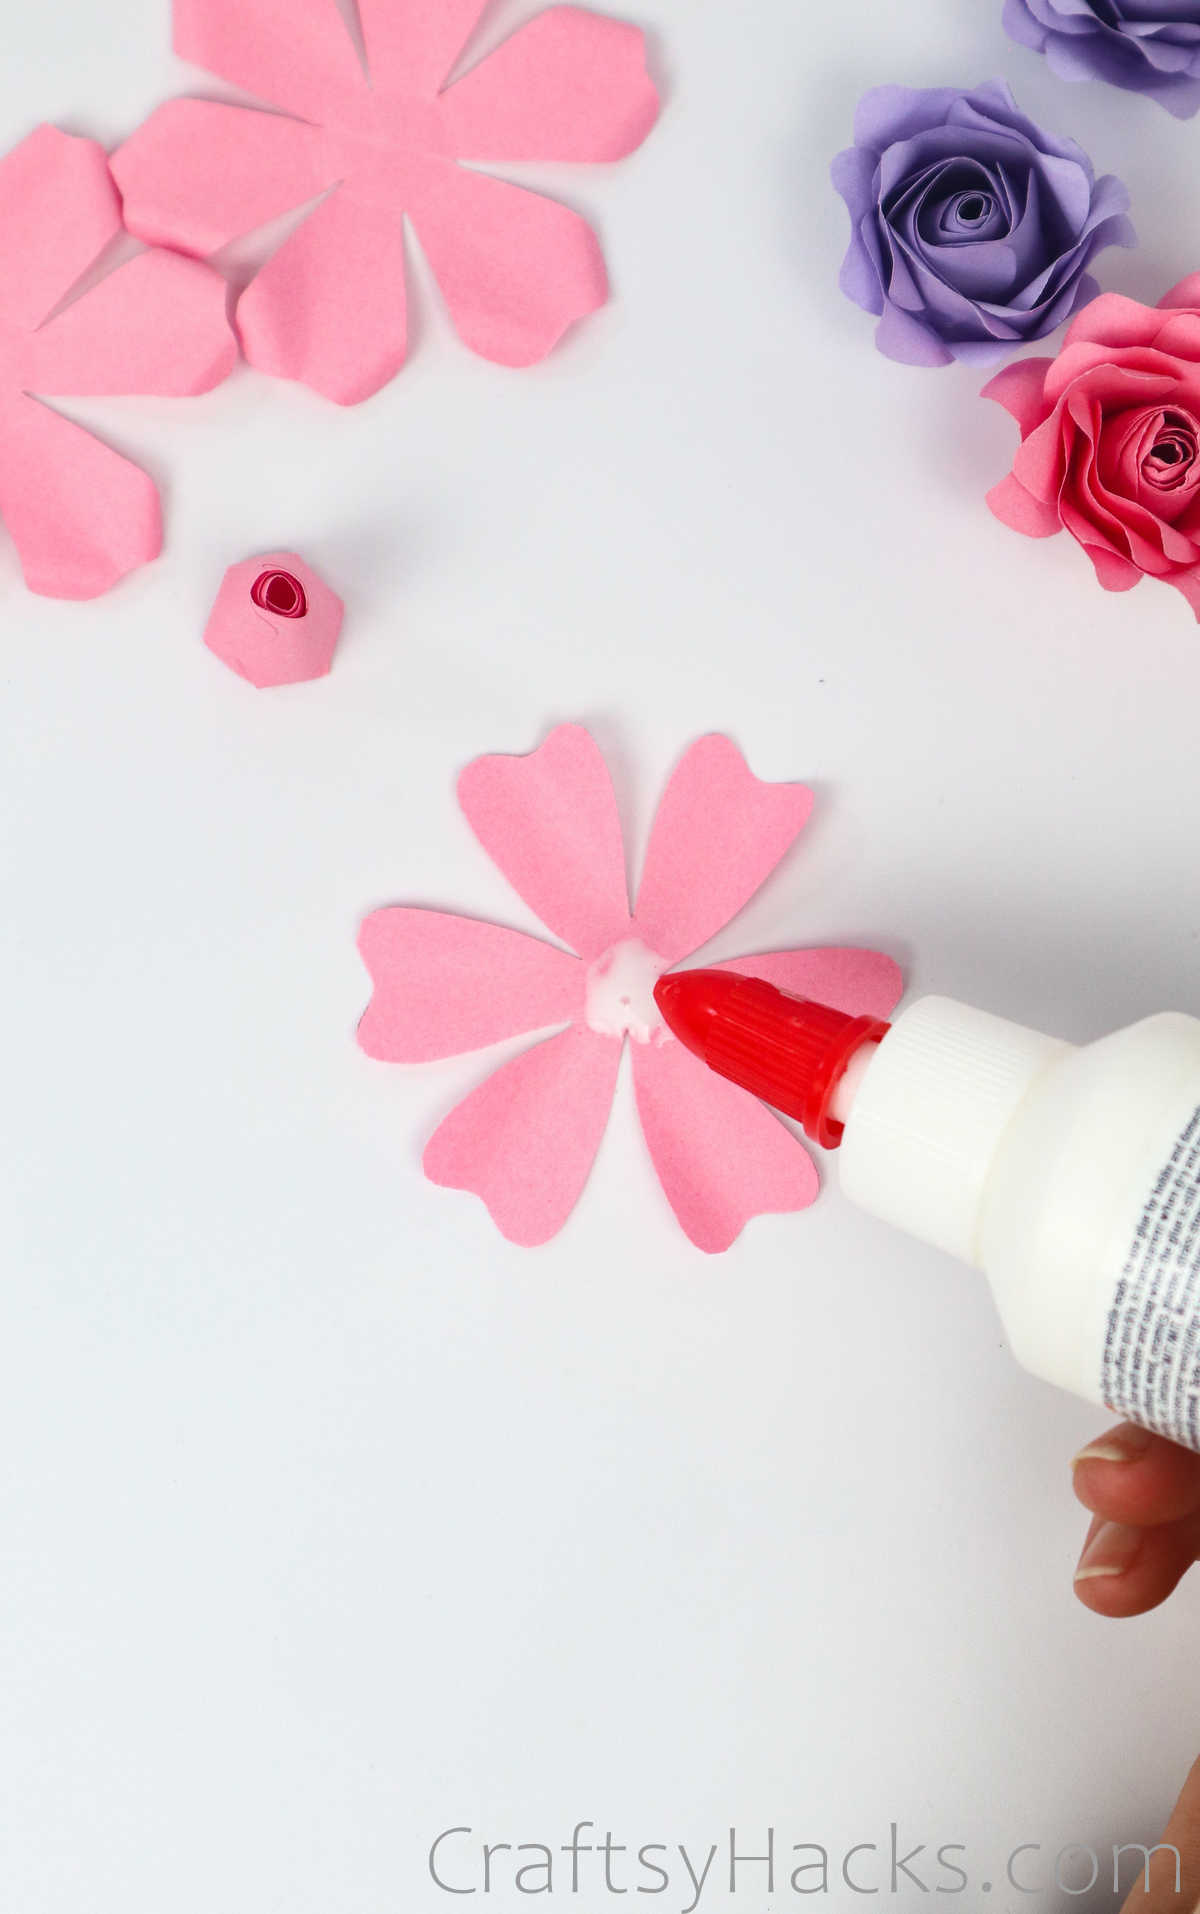
Net, apply thin lines of glue down each of the six petals.
Pull them towards the bud and stick them all together, albeit with some room for them to look like the petals are unfurlurling.
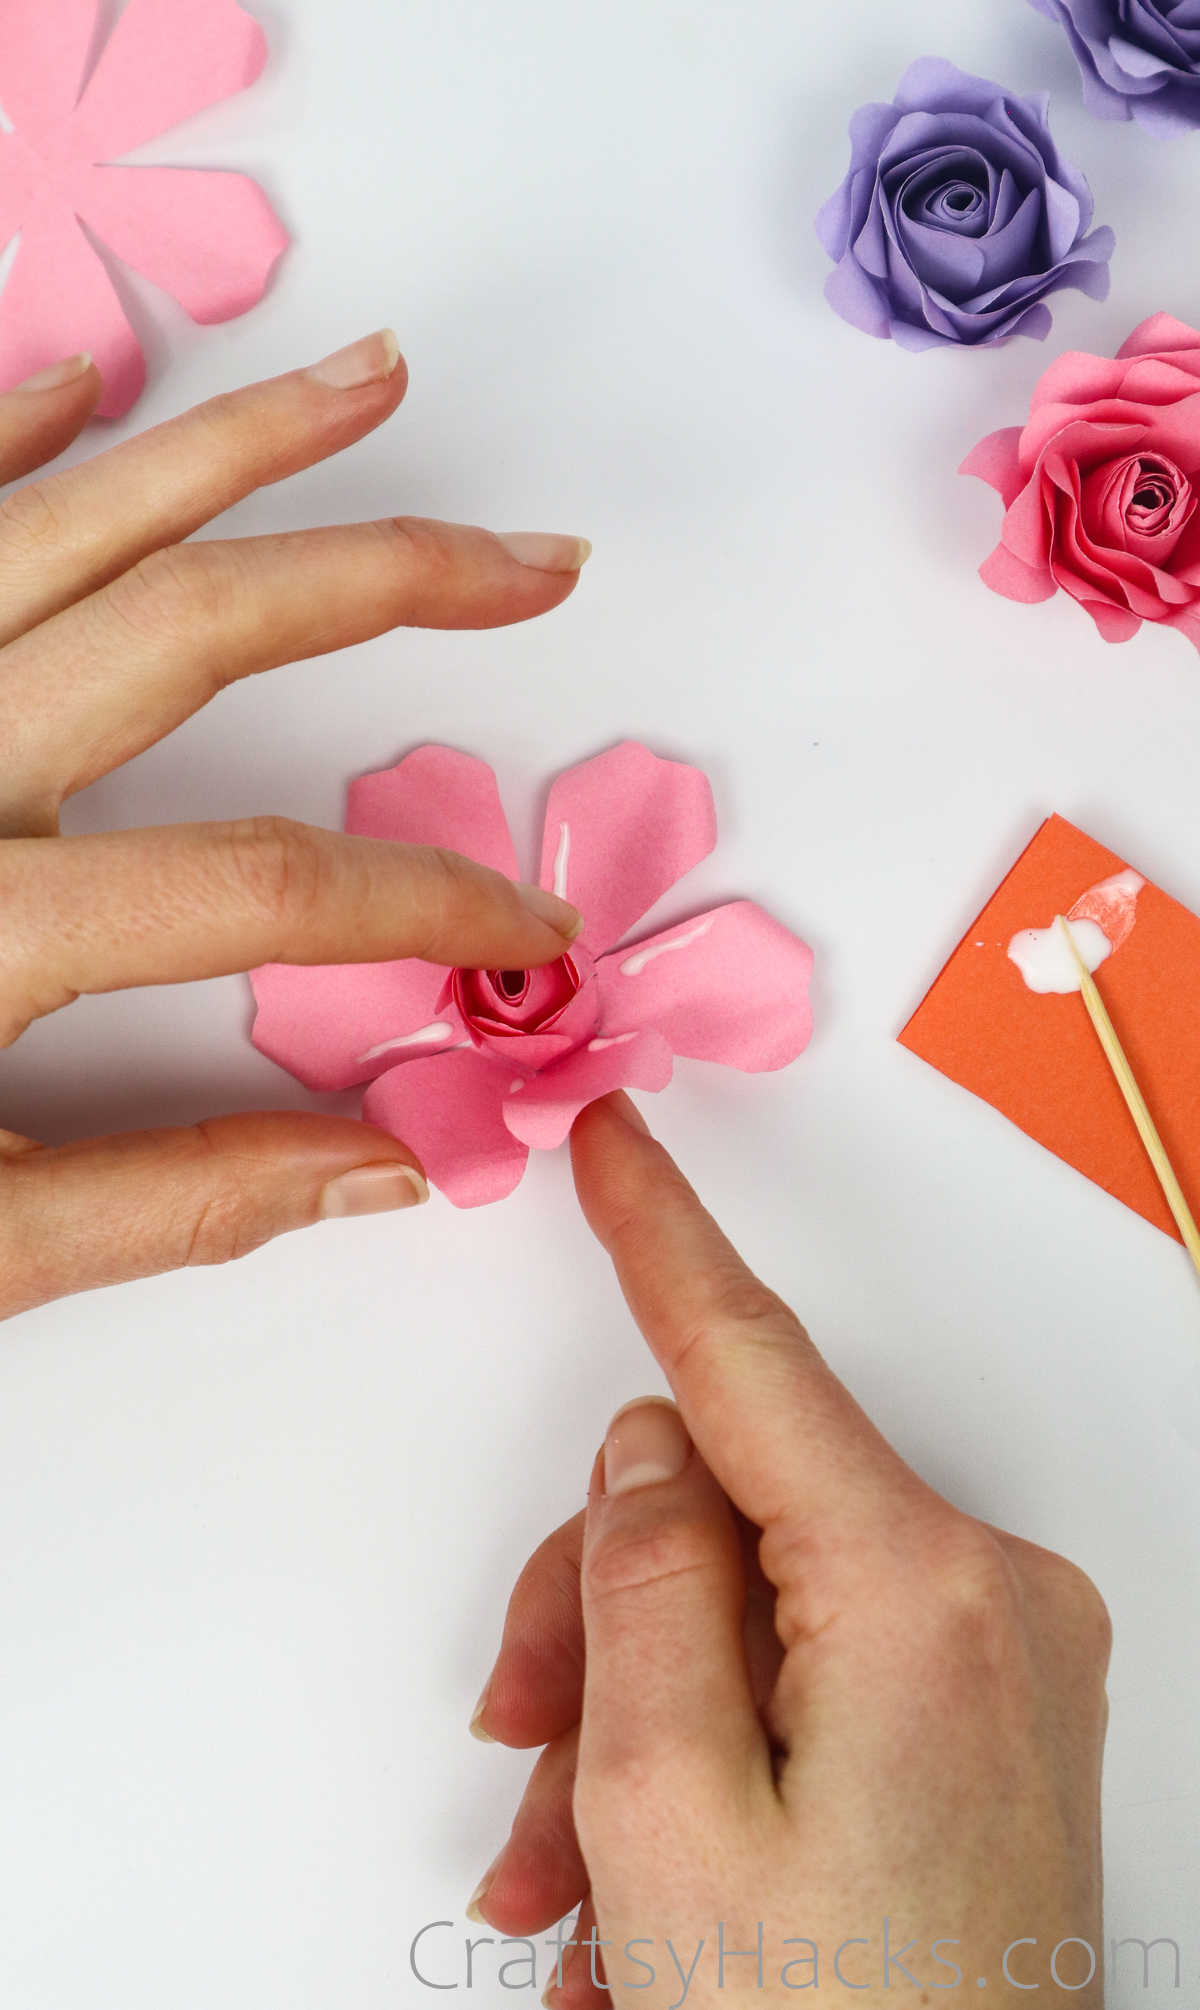
Step 10
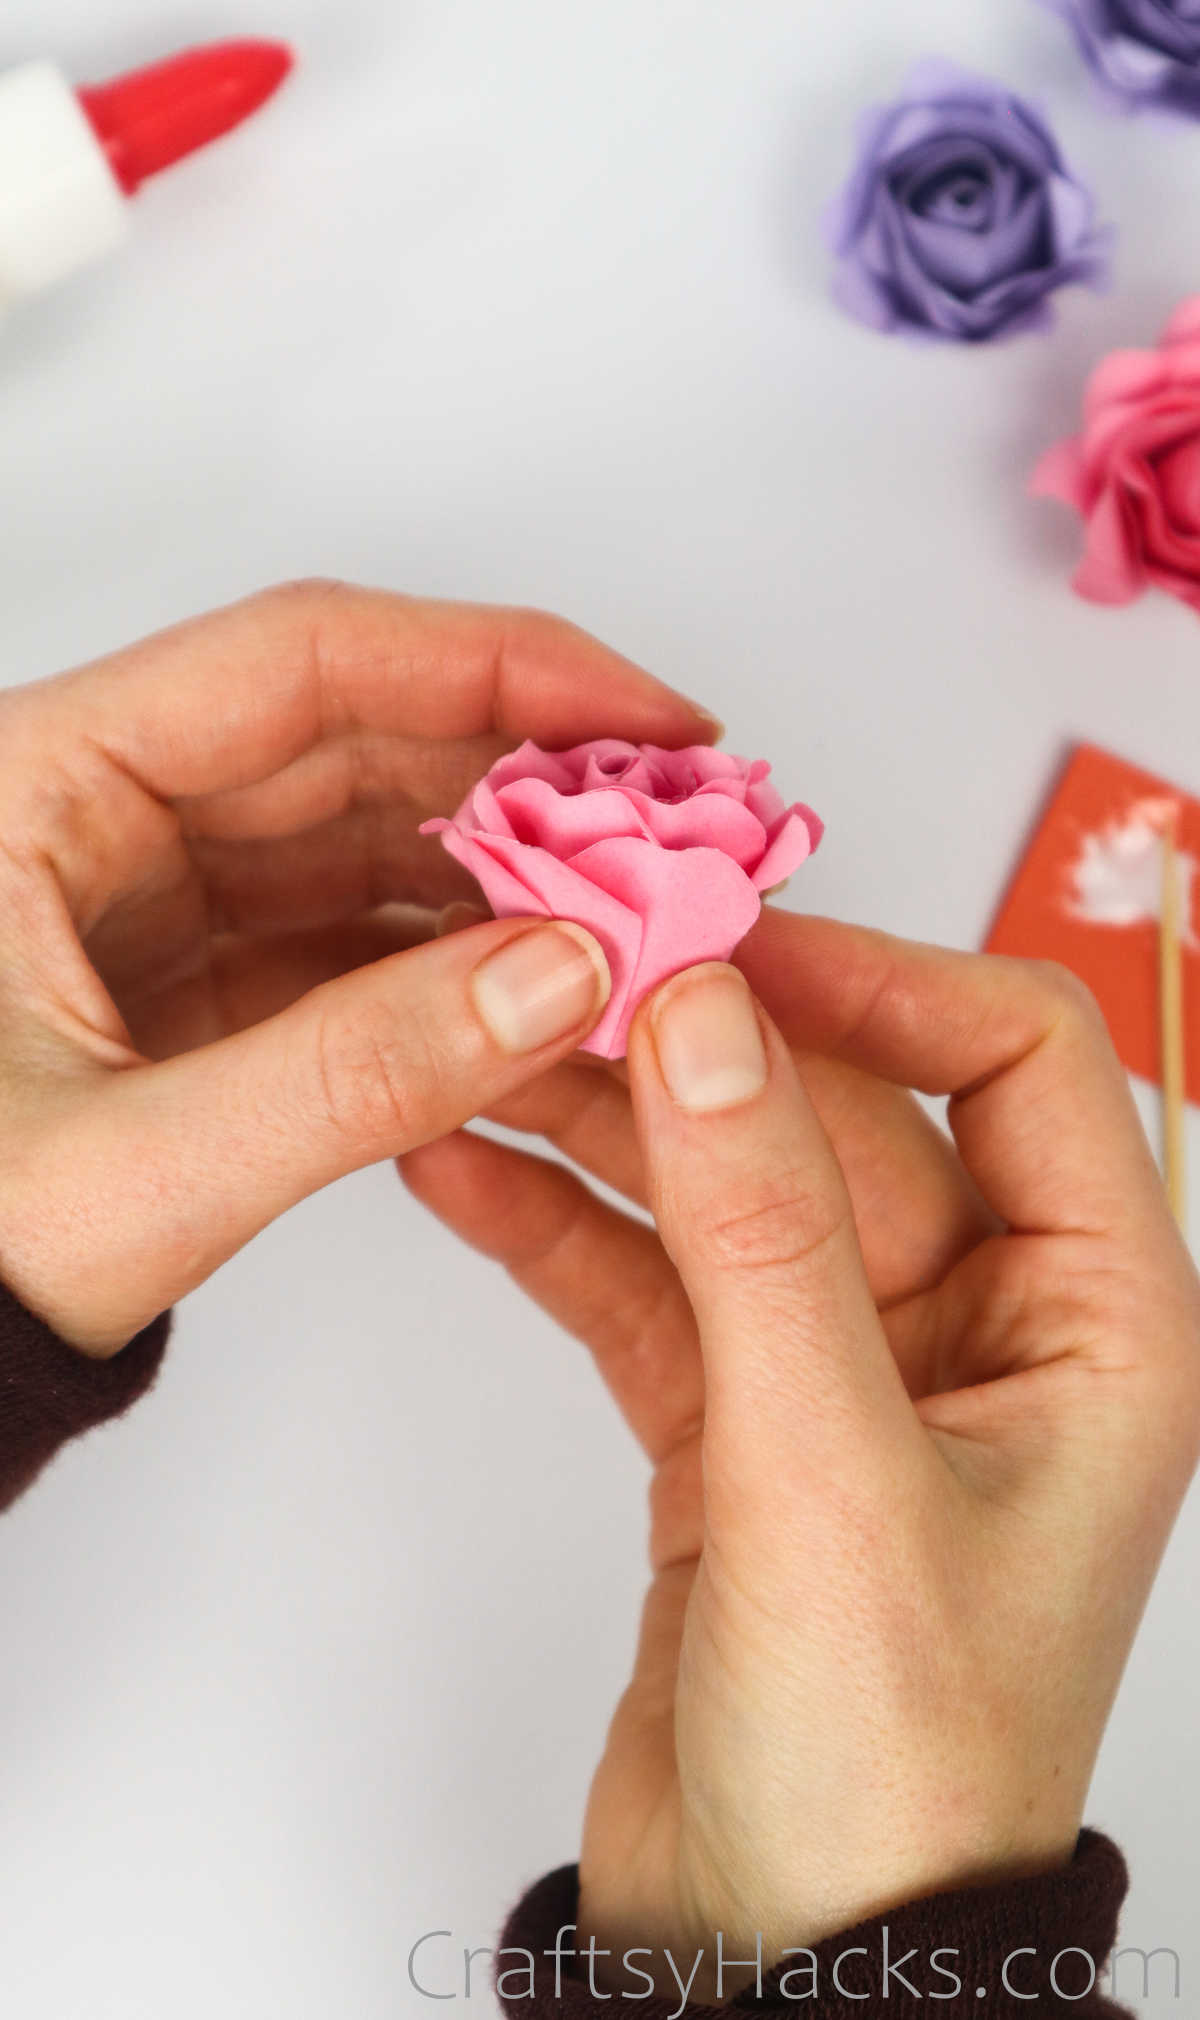
Take on of the outer sheets–the ones whose edges you curled–and stick the center to the bud, as seen below.
Once again line some glue along the petals and bring them inward to stick them in place.
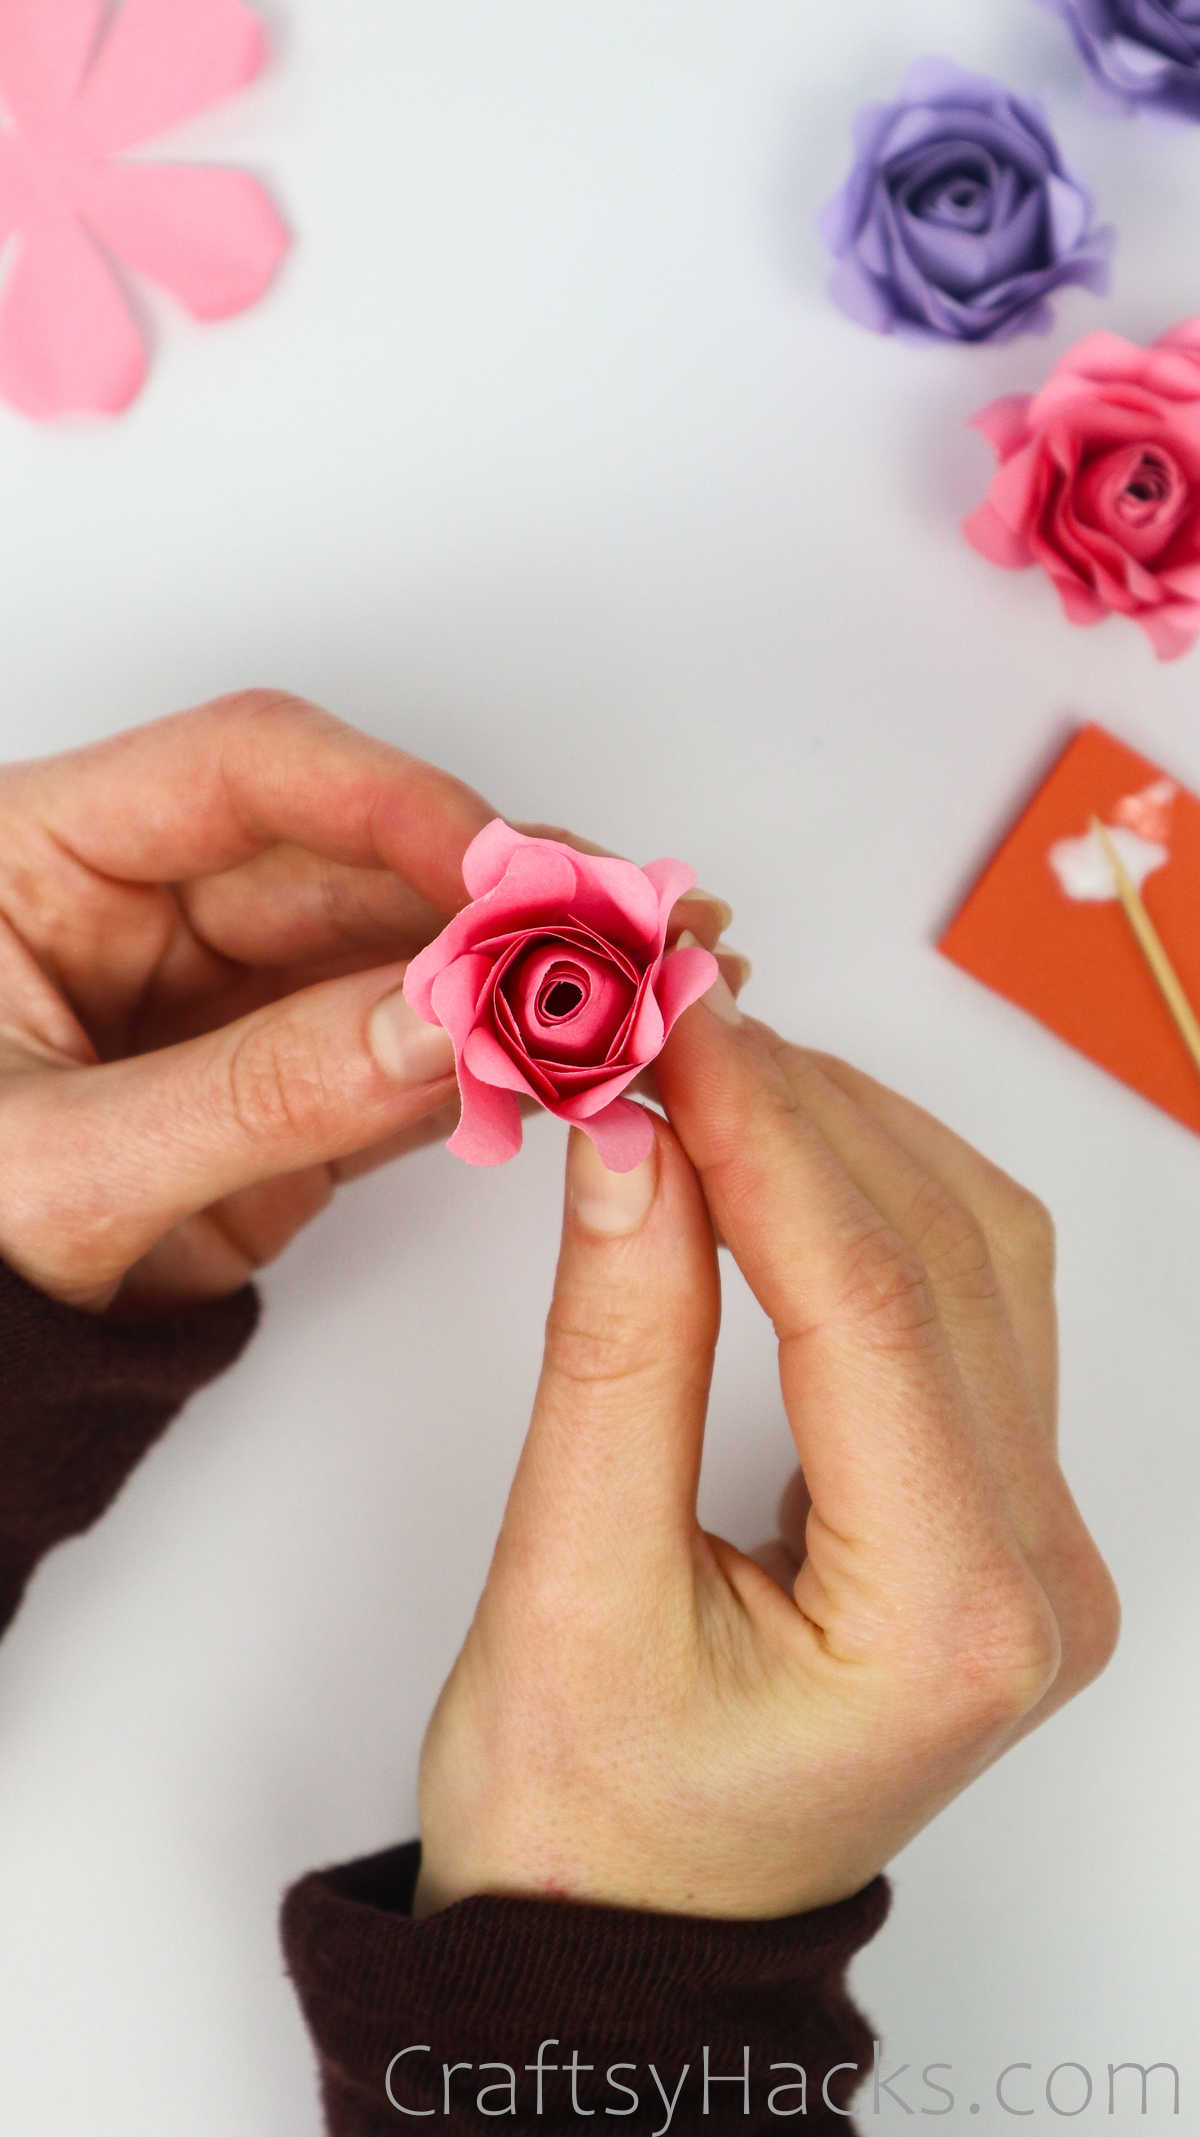
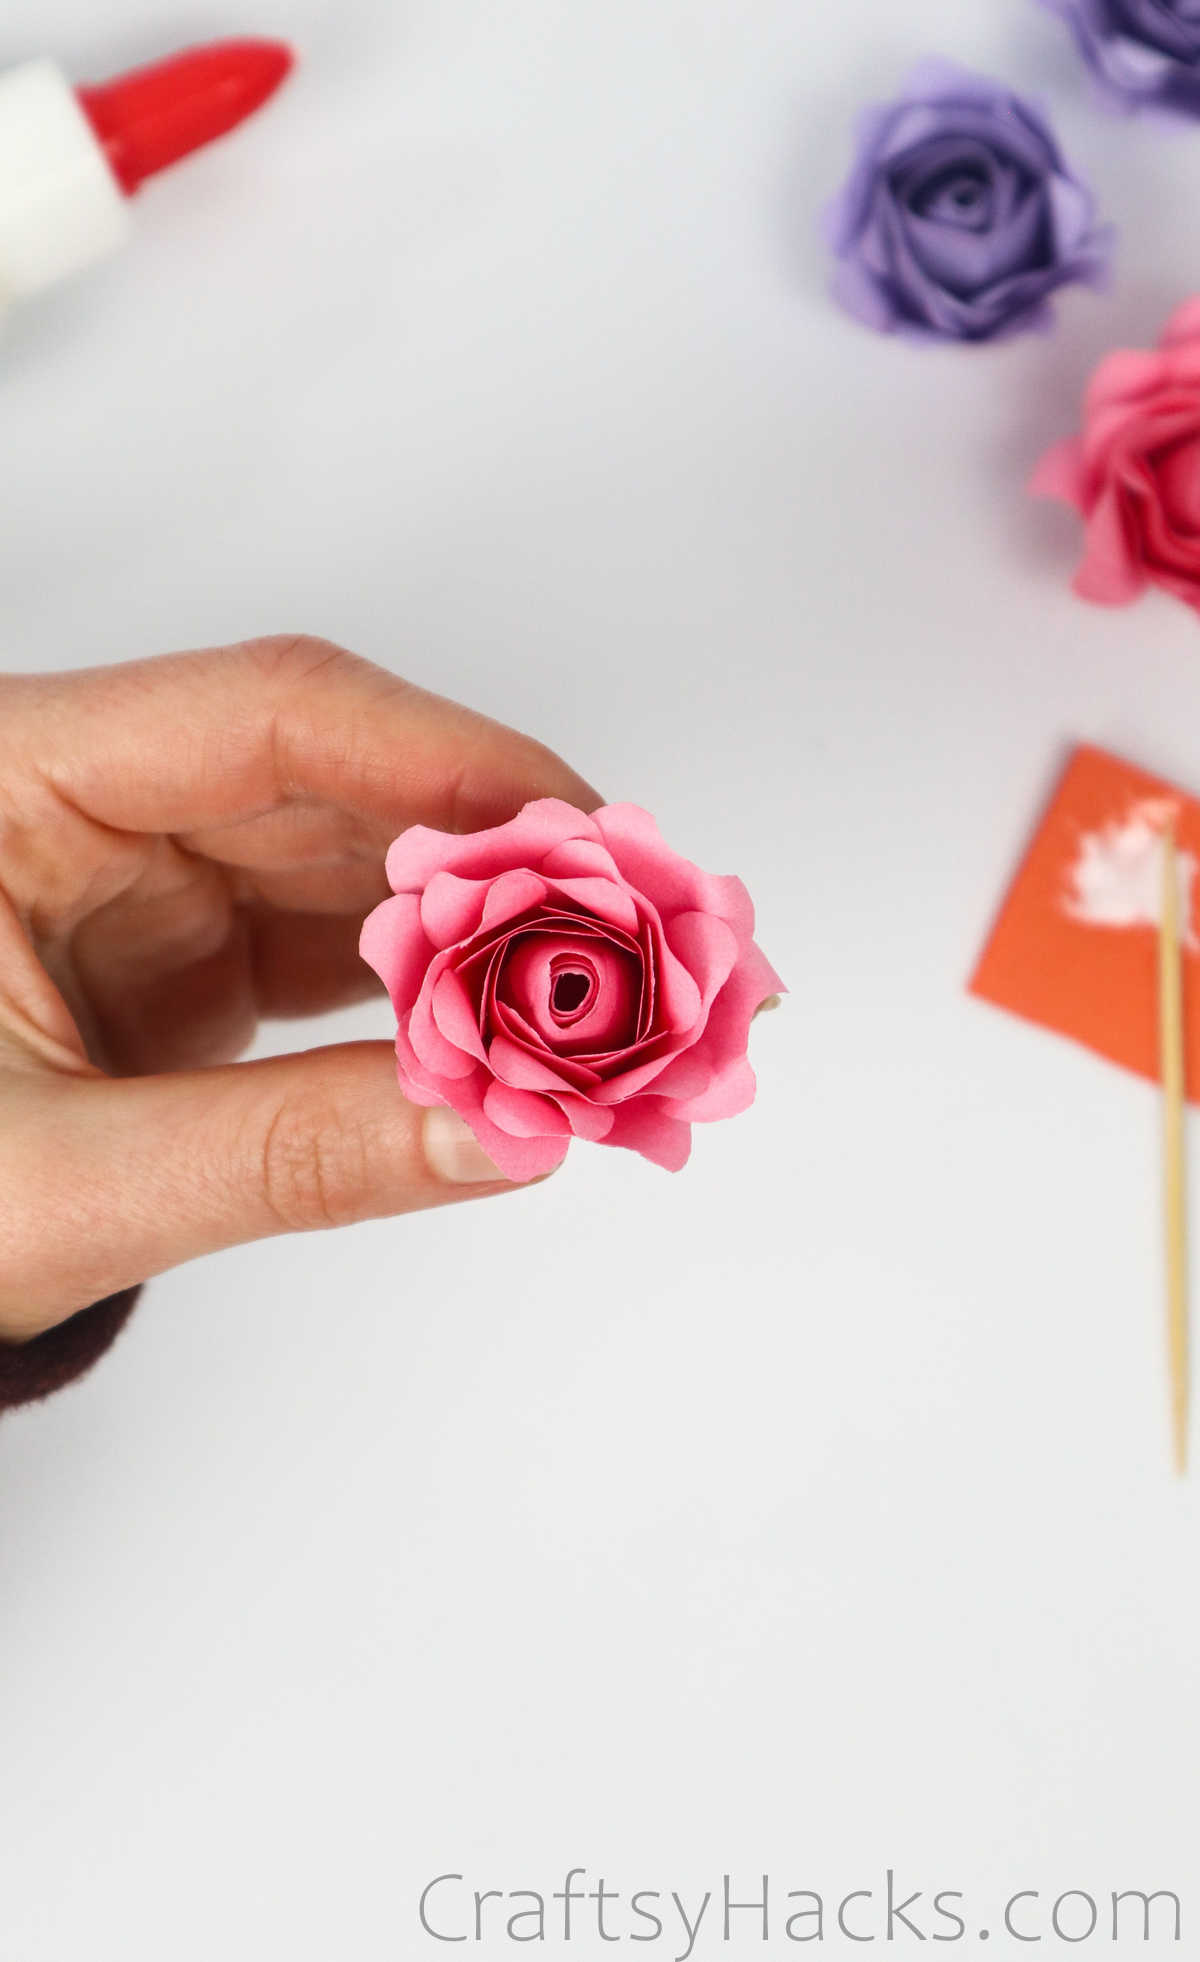
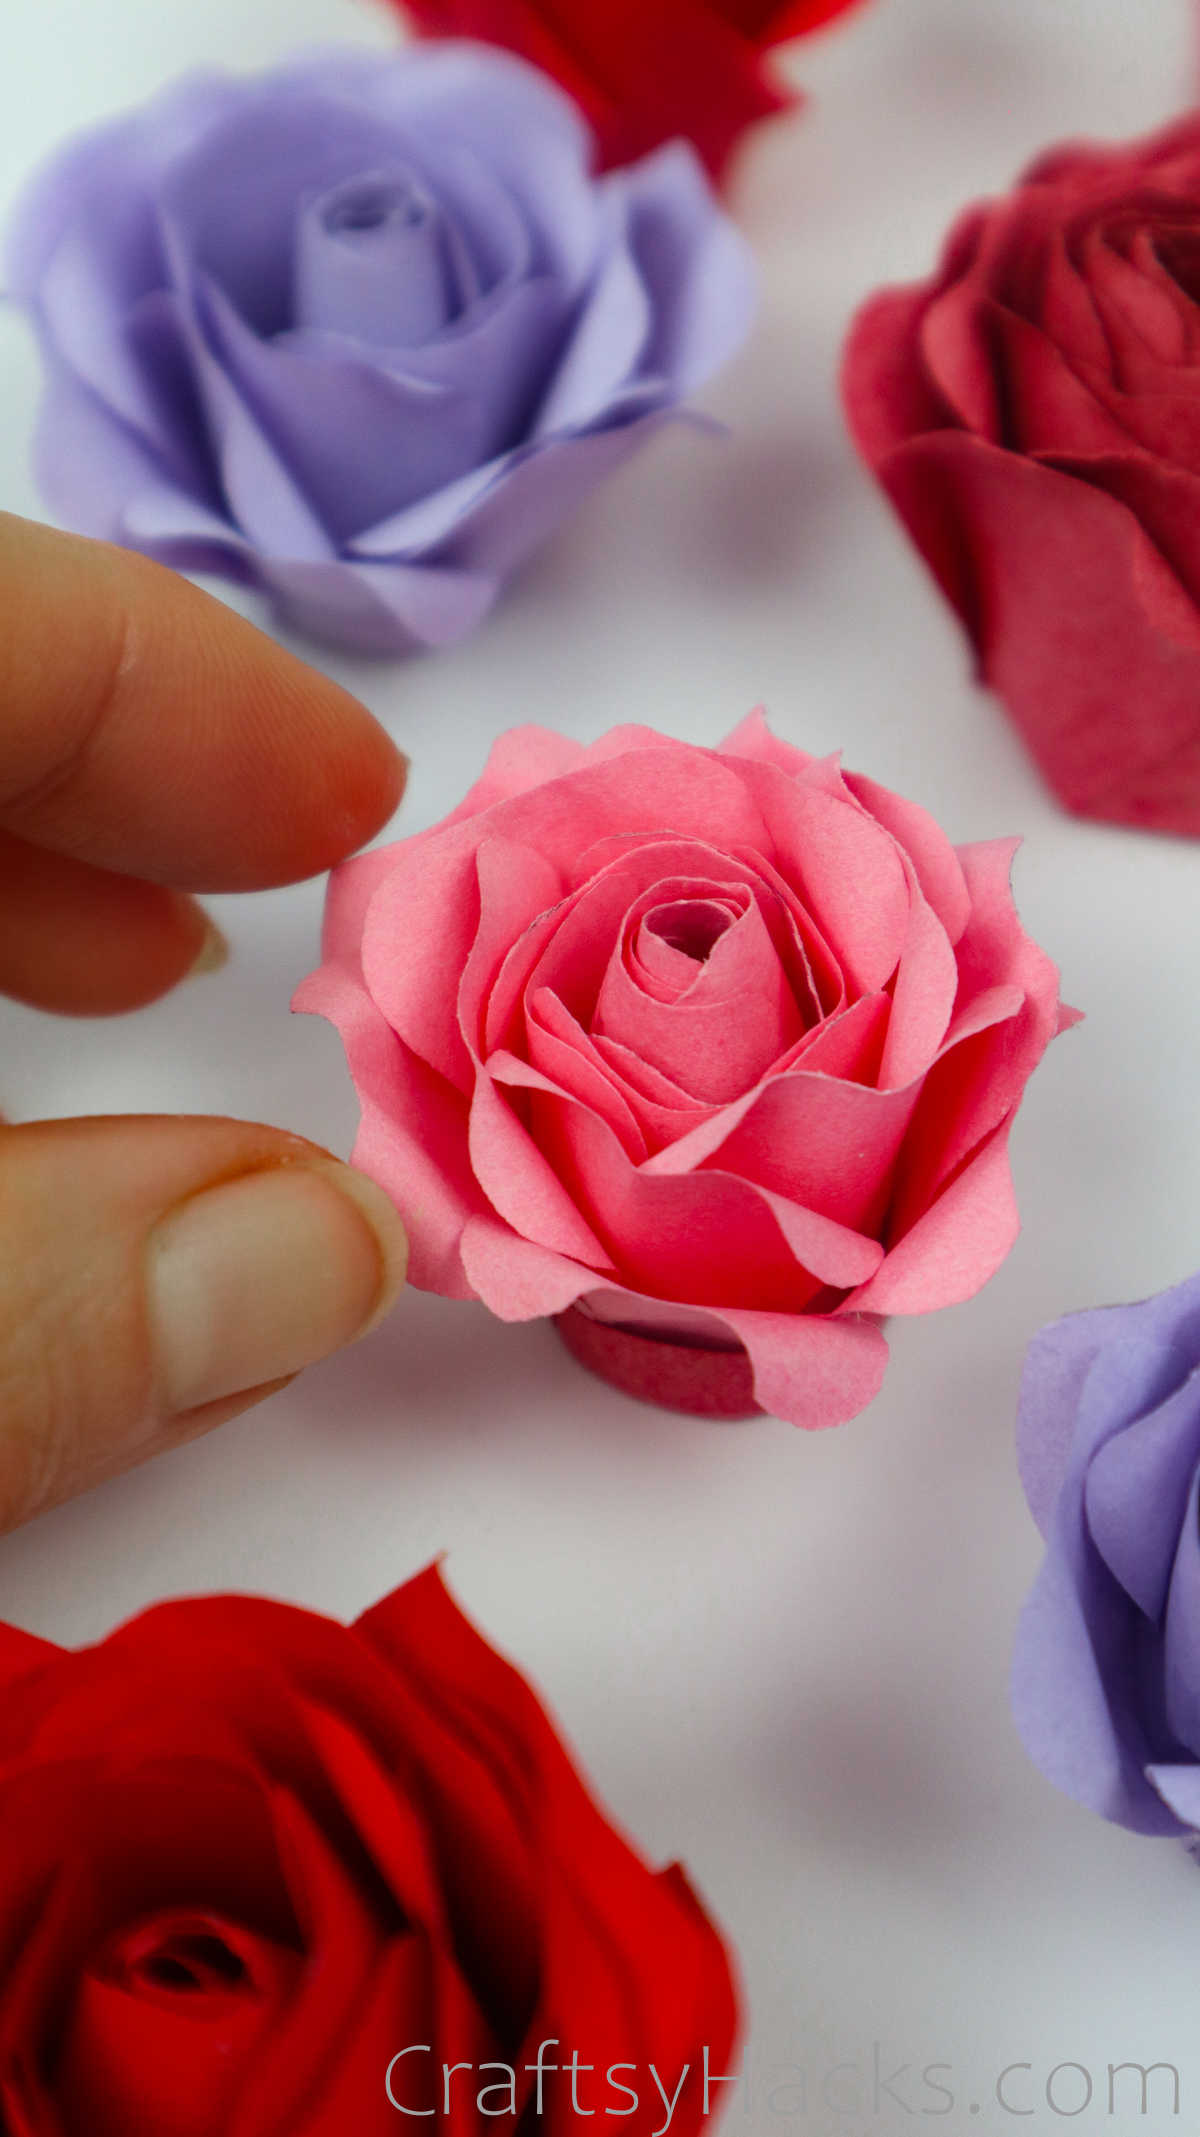
Repeat this one last time for the outermost petal layer and once you’ve stuck the center to the bud, you can proceed to glue the petals, too. You will notice that the petals look fluffy add soft because of how you curled the tips earlier!
Step 11
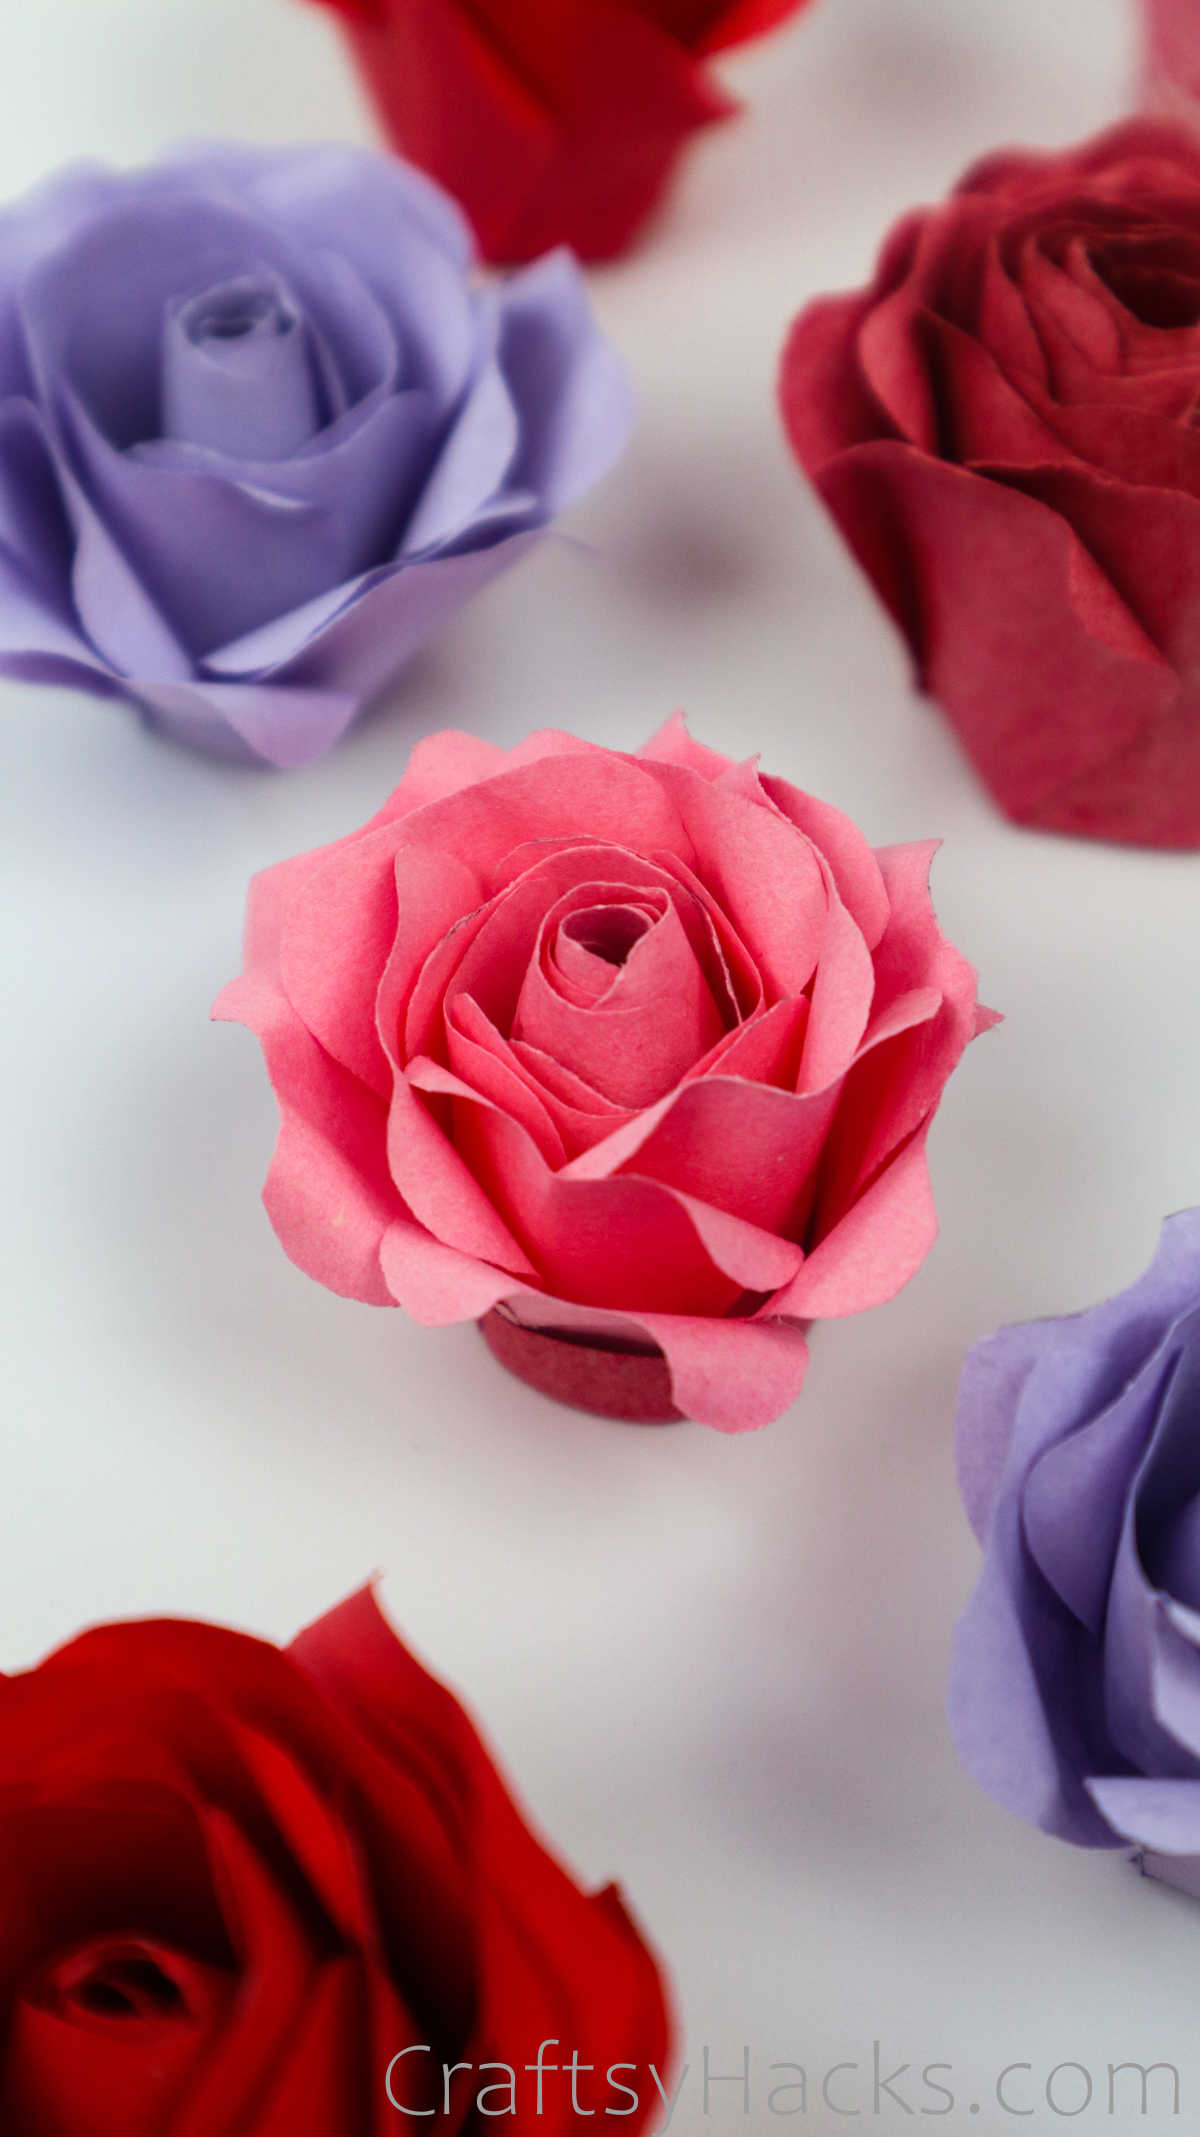
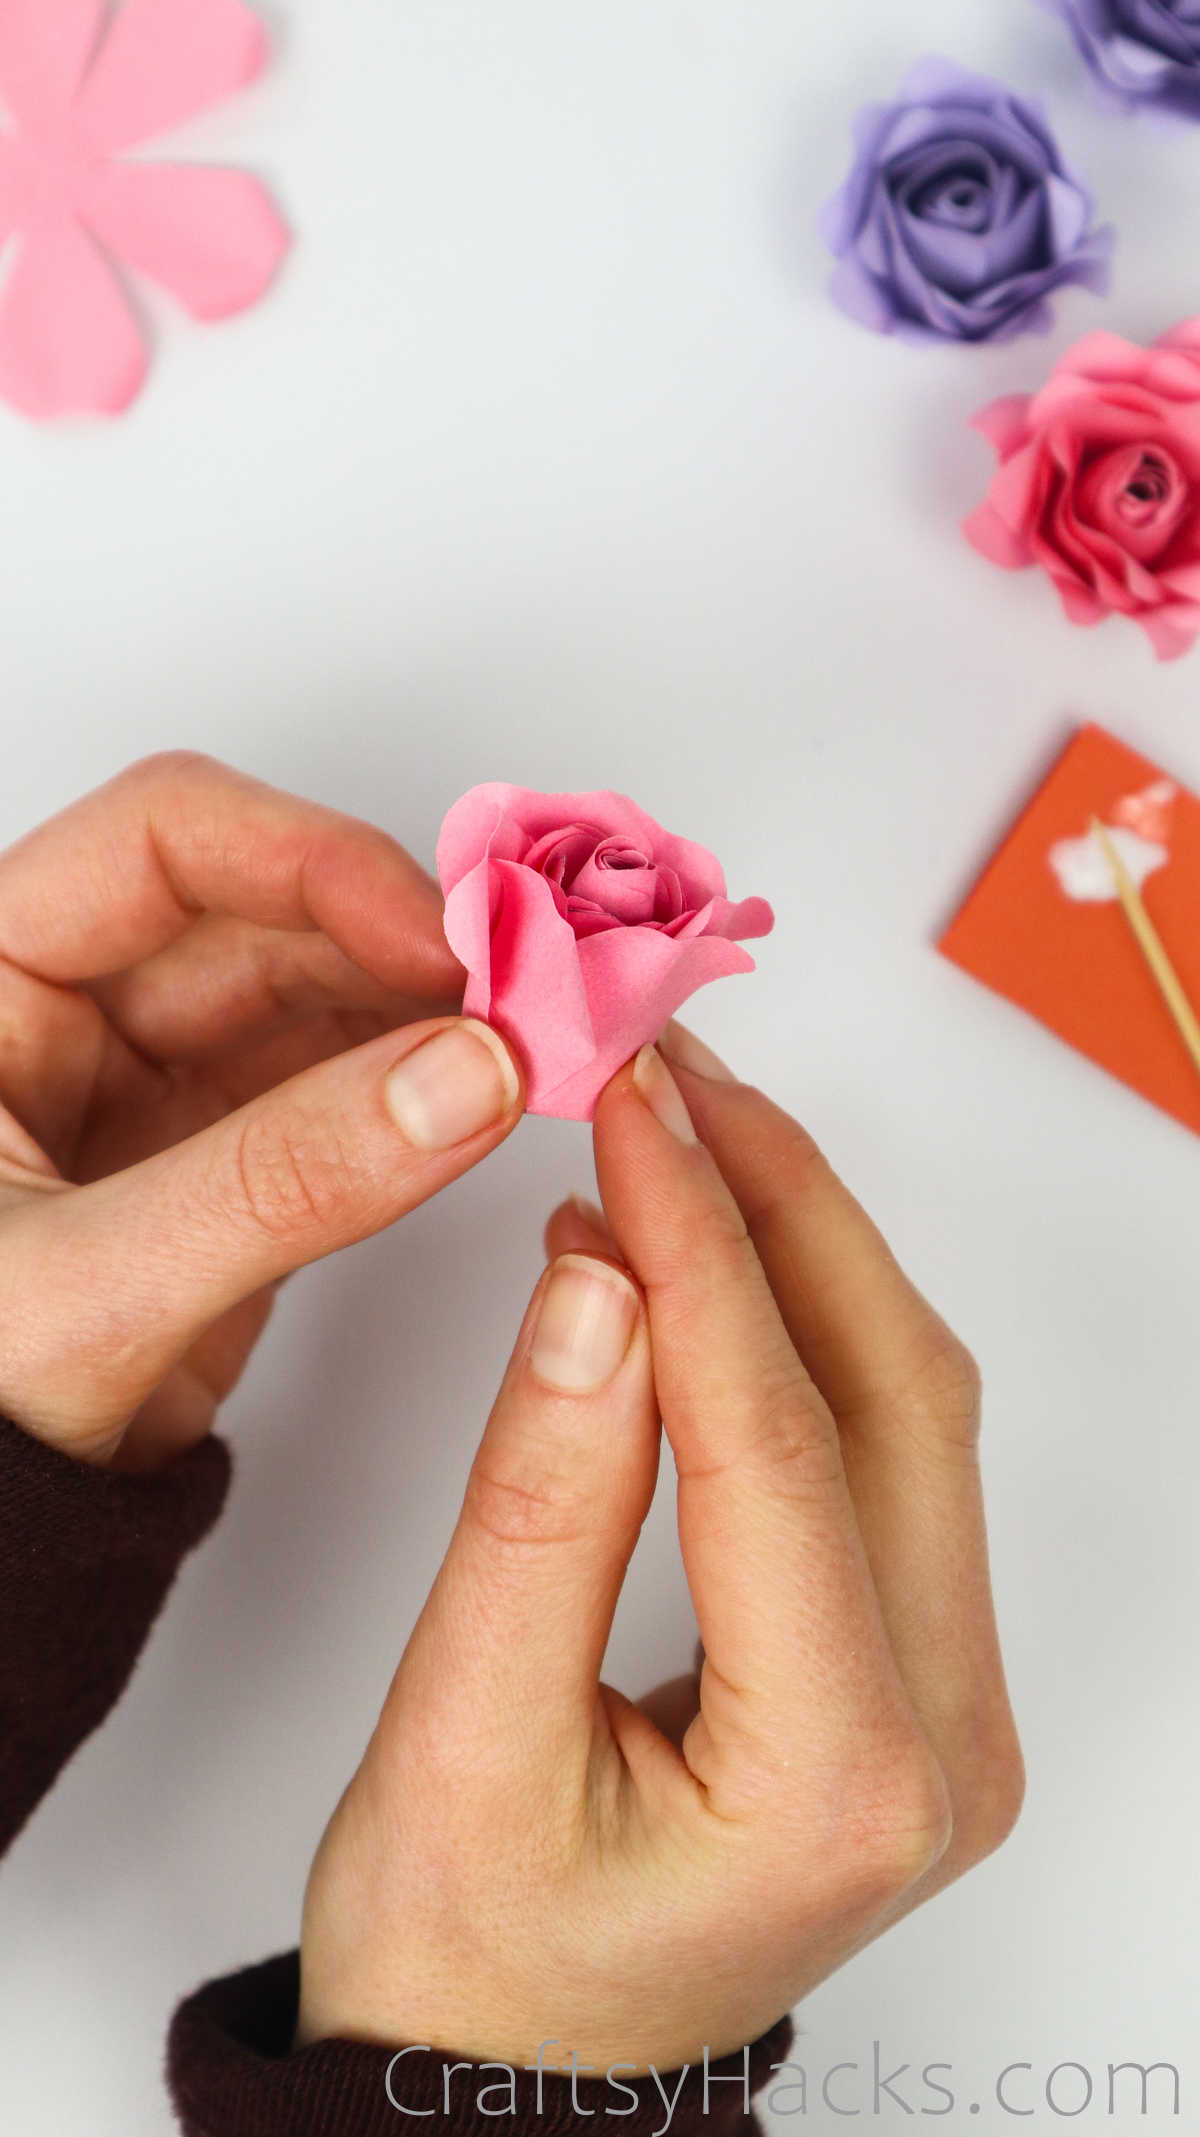
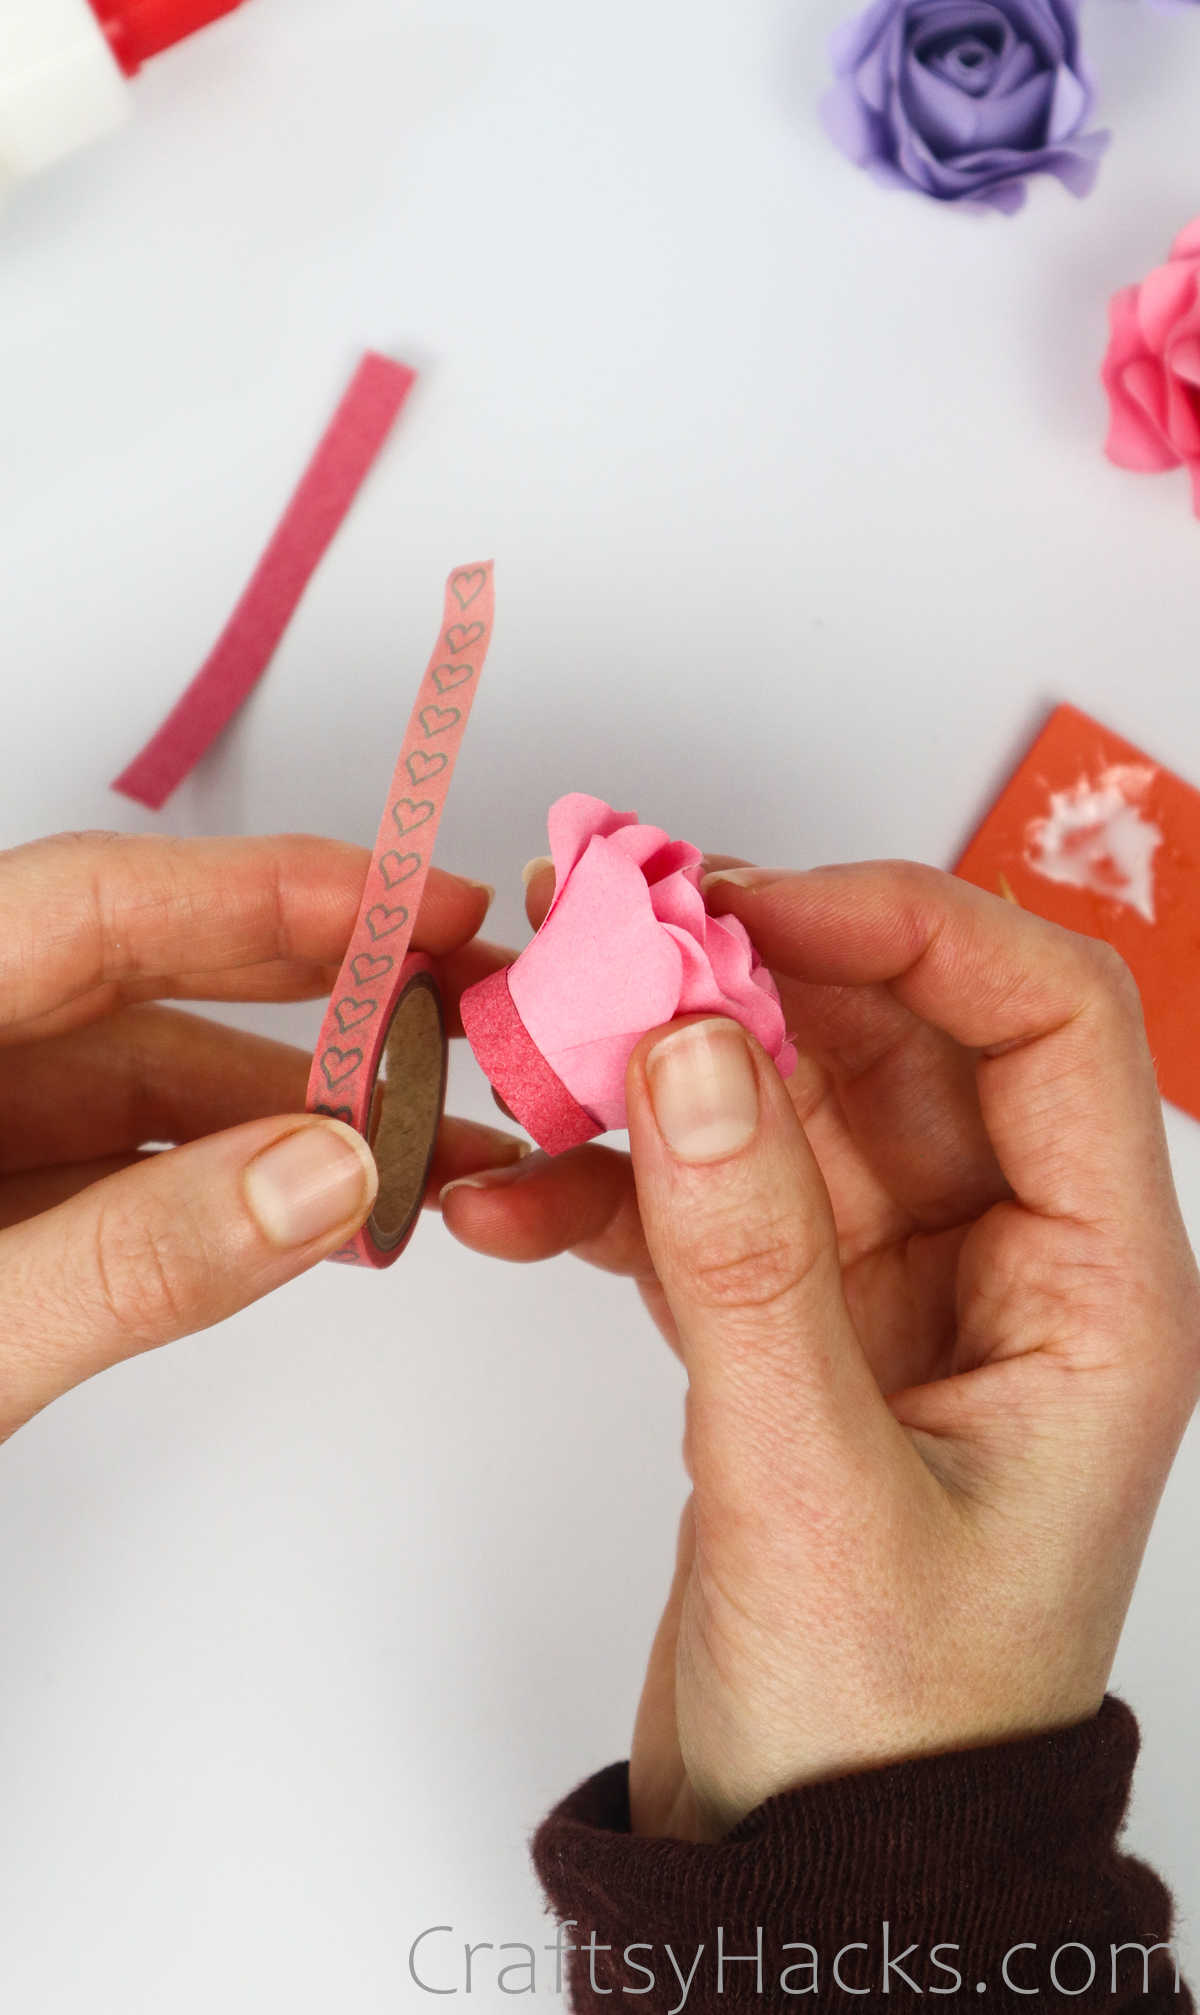
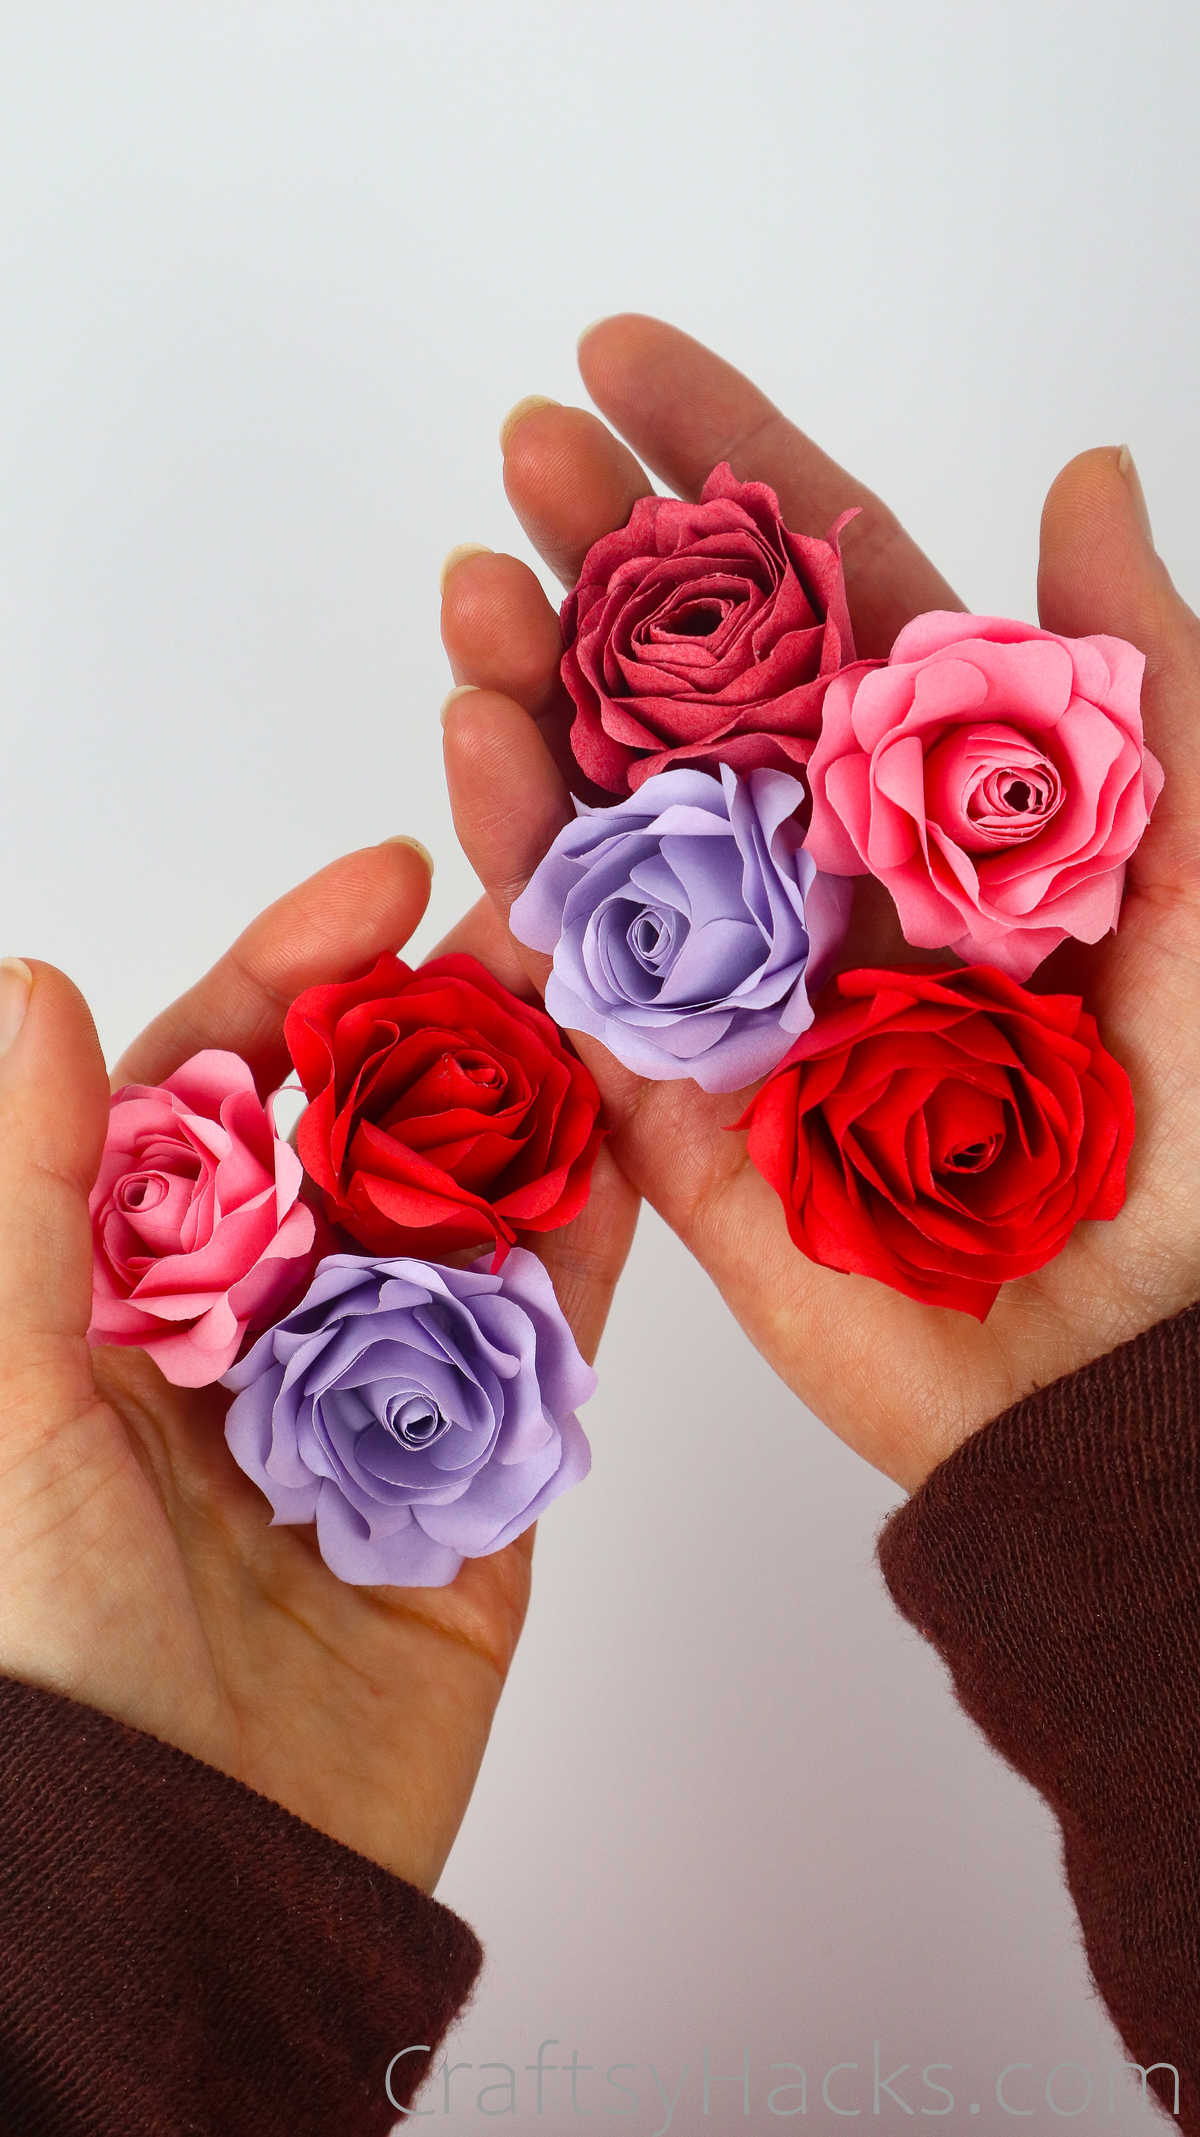
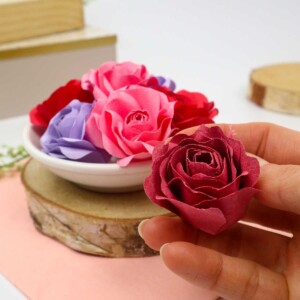
If you like, you can stick a circle of washi tape around the bottom of the flower, for an added decorative touch! Your roses are all done, and don’t they look like a million bucks?
Here you go, your roses are finished.
Other Crafts for You
- How to Make a Paper Envelope
- Paper Plate Flower Craft
- How to Make Tissue Paper Pom Poms
- 37 Tissue Paper Crafts
- 47 Fun Craft Projects for Adults
- 53 Paper Crafts That Will Inspire Anyone
- 31 Paper Crafts for Adults
How to Make Paper Roses (Step-by-Step)
Video Tutorial
Equipment
- Pencil
- Ruler
- Scissors
Materials
- 4 x paper squares* 3.5″ x 3.5″
- Paper glue
- Toothpick
- Wooden skewer
- Ruler
Instructions
- Gather your supplies to get started on making these paper roses.
- To begin with, take the first of your four square sheets of paper and fold it in half to form a triangle. Fold it in half once again to form a smaller triangle, and crease it down the middle before unfolding this last fold.
- Grab a pencil and make a marking about 1.5 inches from the top centre. Bring the opposite corner up towards that mark and fold the paper all the way down. Repeat this step with the opposite as well, and fold the coinciding corner.
- Now grab your pencil and draw the petal. You can experiment with the shape and size. Grab a pair of scissors and cut out your six-petal flower sheet. Repeat these steps with all four sheets of paper.
- Next, grab a wooden skewer and place it along the center of one petal, carefully curving the paper around the skewer to plum up the petal. Repeat this with all six petals of all four sheets till they look like little hexagonal cups.
- Now grab a toothpick and curl up the very tip of the petals of just two of the four sheets of paper. These will be the outer petal layers and will make your rose look fluffy.
- Take one of the inner sheets and line the tips of two opposite petals with glue.bring them up and stick the ends together to form a conical bud. Repeat this with the remaining two opposite-facing petals till you have a nice bud for the center of the rose.
- Take the next layer and apply glue to the center before sticking the center bud on top of the second layer. Hold the two together till they adhere. Now use a toothpick to apply a thin line of glue down each petal and gently bring them inward and overlap them when you stick them to the back petals of the bud.
- Repeat this step with the two outer petal layers, too. You will notice that the tips will be fluffy frow=m when you curled them with toothpicks.
- You can stick a bit of washi tape around the bottom of the flower, too, for an added decorative touch.
- Your paper roses are all ready. Just allow them to dry completely first, and you’re set.


Did these with my family and they all turned out terribly. Instructions were hard to follow, or incomplete, and they look like a crumpled up ball of paper. ¯\_(ツ)_/¯
Hey Thomas,
did you check the video as well? We make videos for all of our crafts, so that doesn’t happen! I know I can find it hard to follow instructions myself but the pictures should be helping with that: https://www.youtube.com/watch?v=SAvQw9nCIwg
Anyway, sorry to hear it! I hope the video is of better help.
These are absolutely beautiful and you’ve made it look so easy!
Your web page isn’t fully loading for me though and I am not able to see all of each flower. Is there any way you can make this printable? I do better with it on paper in front of me at the beginning. I’m just wondering about it.
Thank you so much!
I don’t have a printable but you can watch the tutorial on video as well if that would make things easier for you 🙂 https://www.youtube.com/watch?v=SAvQw9nCIwg