How to Make Paper Lanterns (Step-by-Step)
This post may contain affiliate links: full affiliate disclosure.
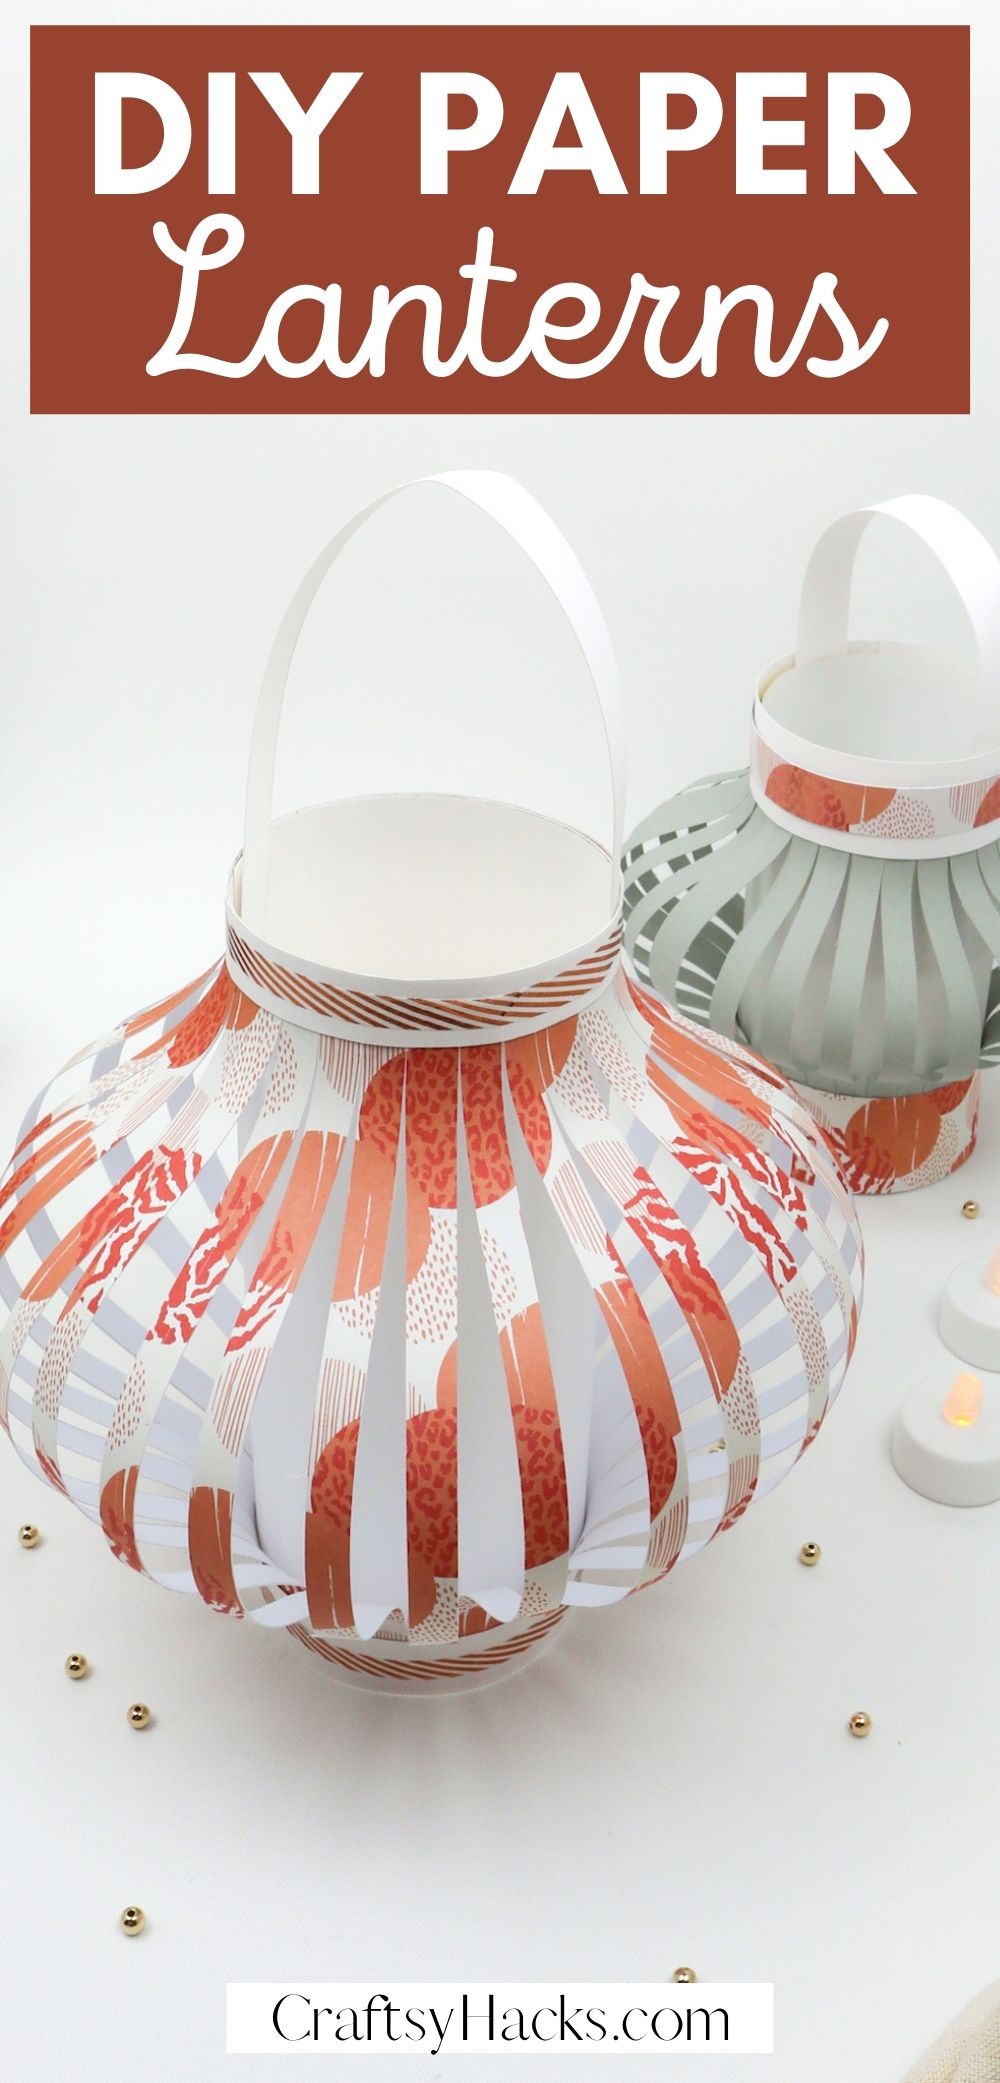
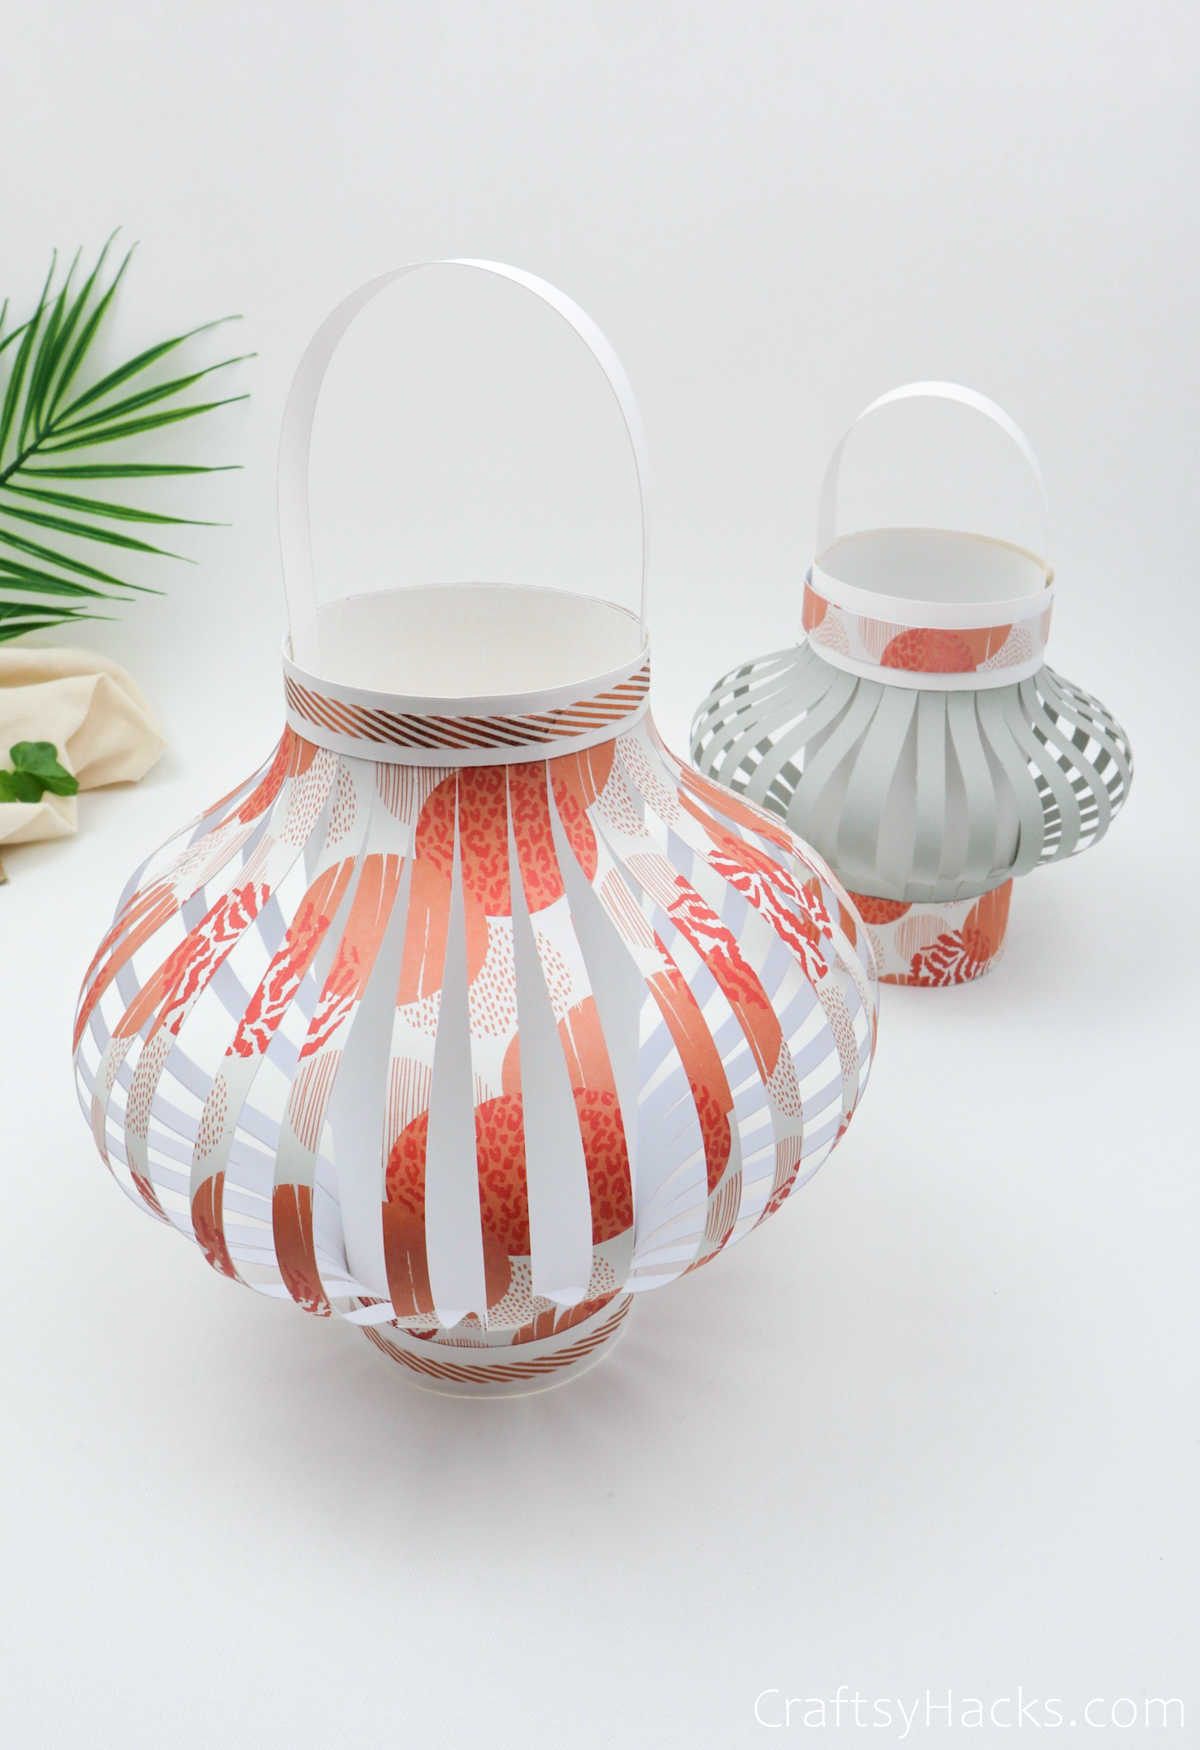
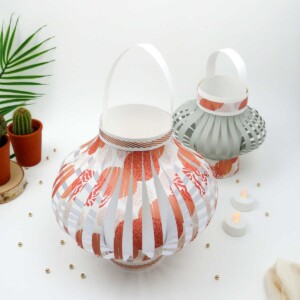
These Chinese paper lanterns are such a fun paper craft for anyone to make. They do for beautiful cozy decorations at home.
Did you know that paper lanterns have different meanings and symbolism in different countries? And, depending on where they’re from, they can be made using paper, silk, with bamboo or wood, with real candles or just a pseudo-source of light?
There are also dozens of different festivals across the globe that are celebrated with lanterns at the heart of the celebration and festivities. Lanterns are just that amazing.
So, in the spirit of all that festivity and celebration of light and traditions, let’s take a look at how to make a paper lantern of our own right at home!
Also, give these paper crafts for adults a chance in case you love a good paper DIY project.
Supplies and Tools You’ll Need
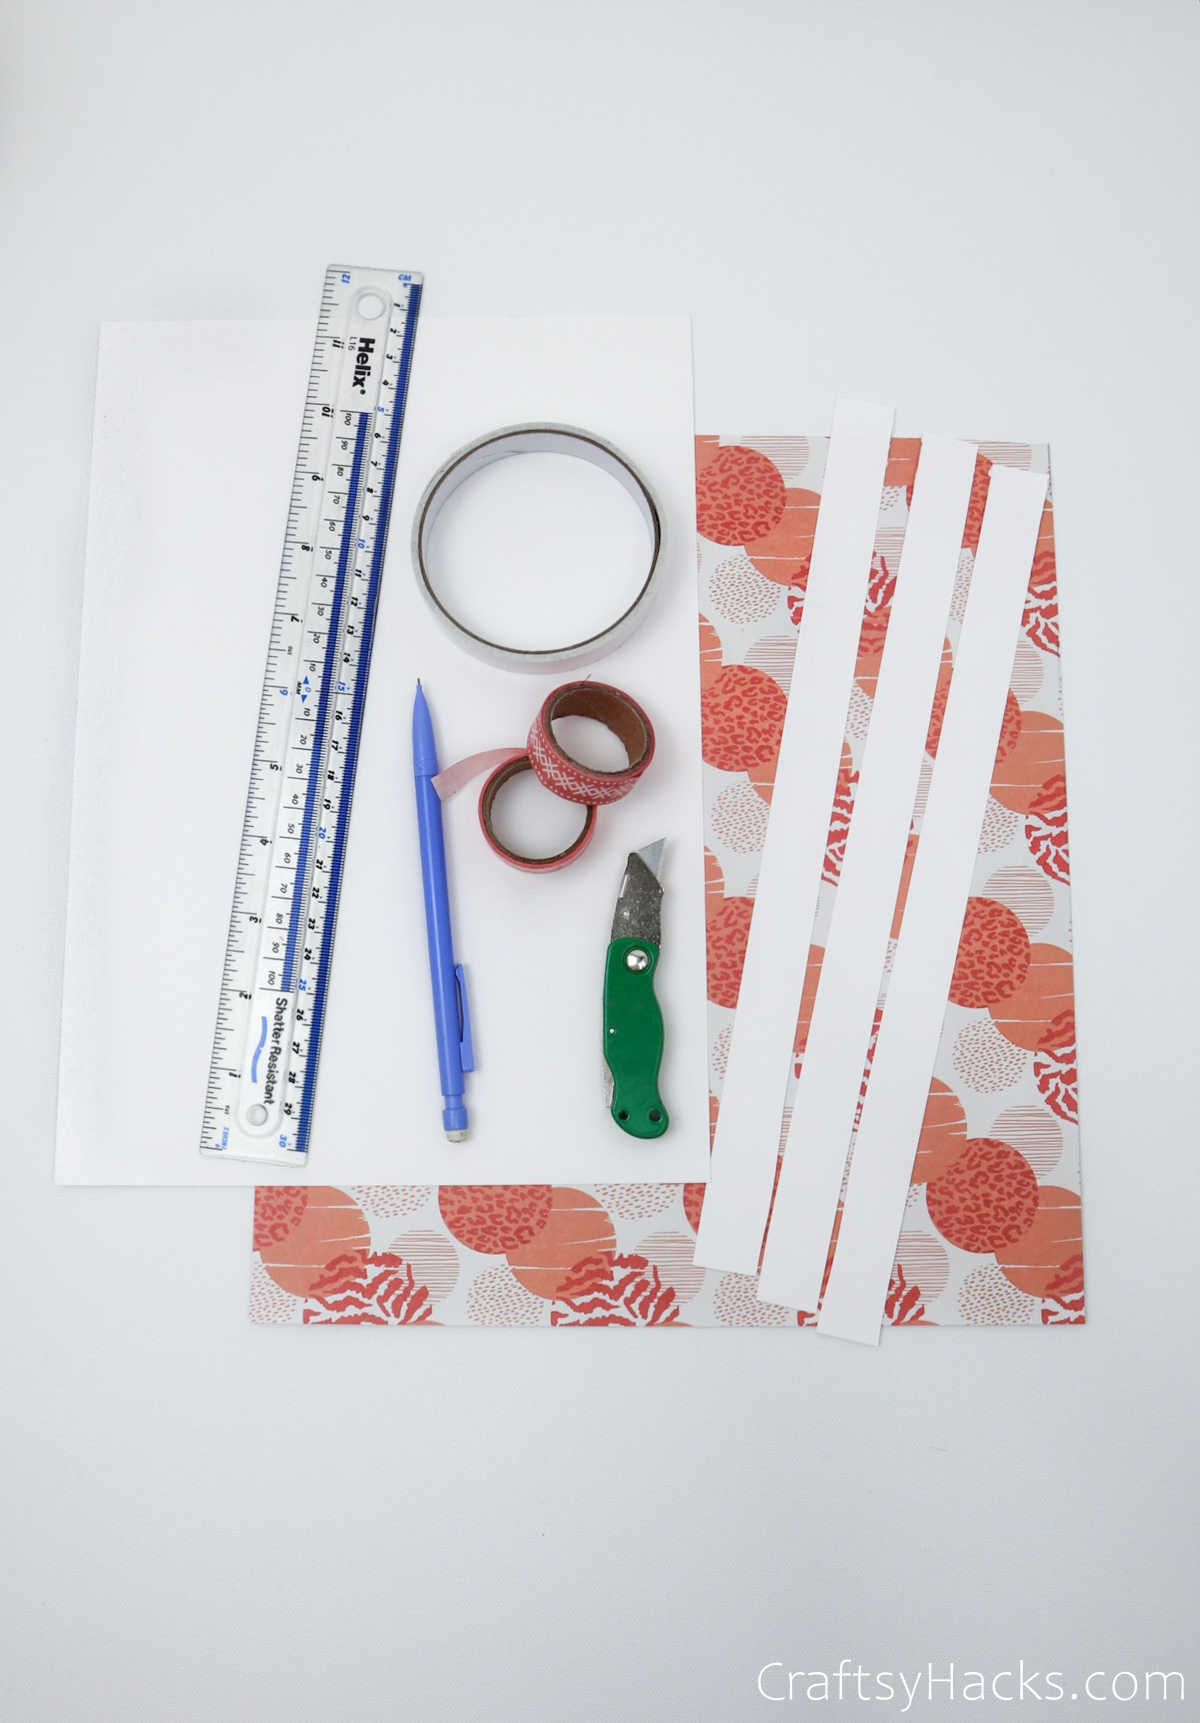
Here’s a list of everything you’ll need for this project:
- 1x sheet of white paper (10″x 12″)
- 1x craft paper (12″x 12″)
- Pencil
- Ruler
- Decorative tape
- Double-sided tape
- Retractable blade knife
- 3x paper strips (12″x 1″)
Watch: DIY Paper Lanterns
Not much of a reader? Check out a full tutorial on how to make these on video!
How to Make Paper Lanterns
So, if you’ve gathered all the different materials you’ll need, read ahead to find out how you can make your own paper lanterns.
Step 1
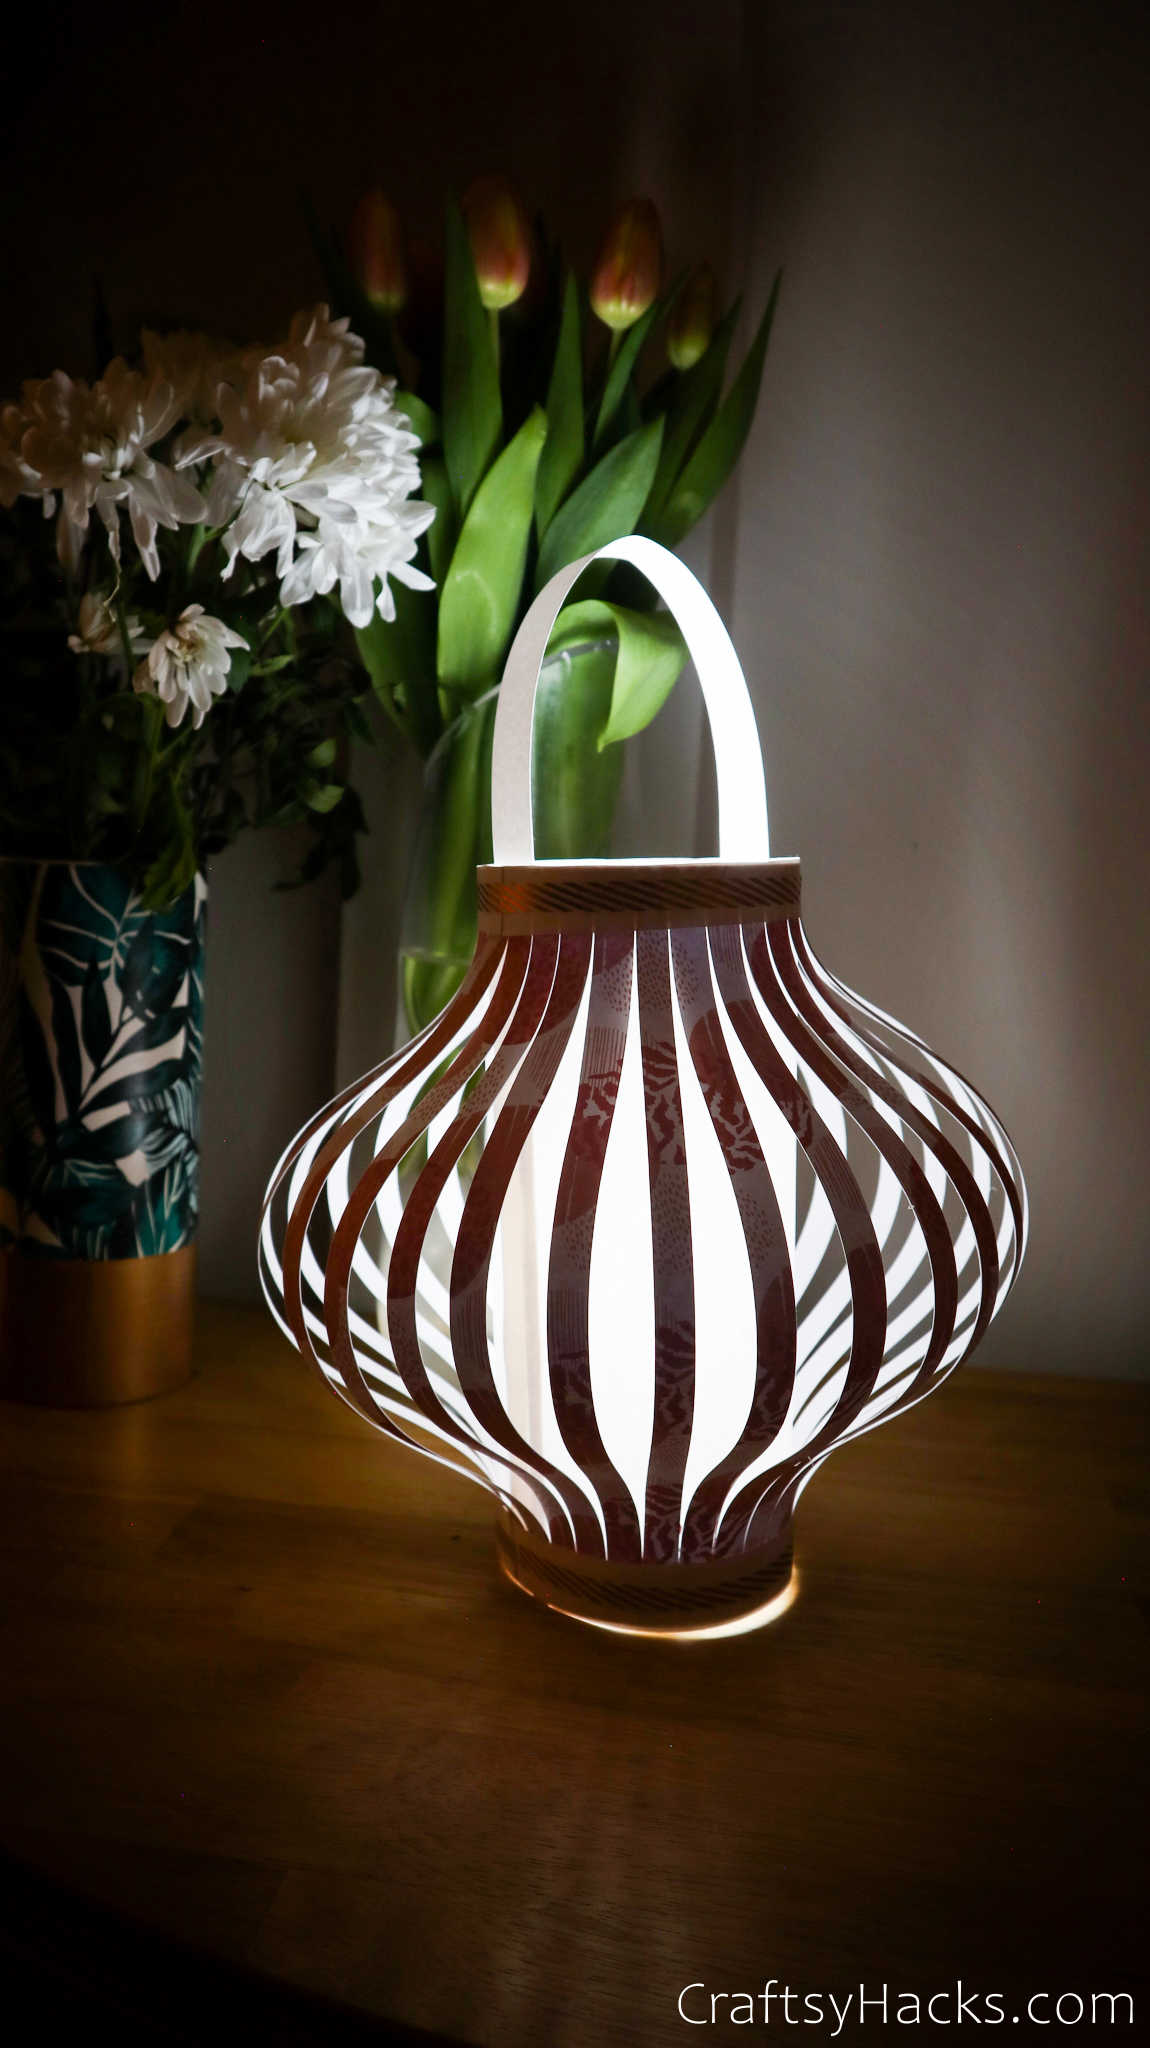
The first step is to pick out craft paper that you really like. You can use textured, colored, and printed paper, as long as it’s colorful and pretty and not too opaque that the light can’t filter out.
So, once you’ve picked out the paper, turn it over on your work surface. Using a ruler and a pencil, draw two lines: one each about half an inch or 1 cm away from the bottom and top of the paper.

Step 2
Don’t put away your ruler and pencil just yet. Place the ruler over the line you just drew and draw markers along that line at every centimeter gap.
Repeat this for the second line at the bottom of the sheet, too.

Step 3
Next, turn your ruler around and line it up so that the top edge and bottom edge of the ruler are both on the first markers of both lines. Draw a line connecting the two.
Proceed to draw vertical lines connecting each of the markers across the top line with their subordinating ones.

Step 4
Grab a craft cutter and use your ruler to cut down the lines, as seen below. Just a word of caution: don’t cut beyond the two lines at the top and bottom of the page, or your lantern will just fall apart.
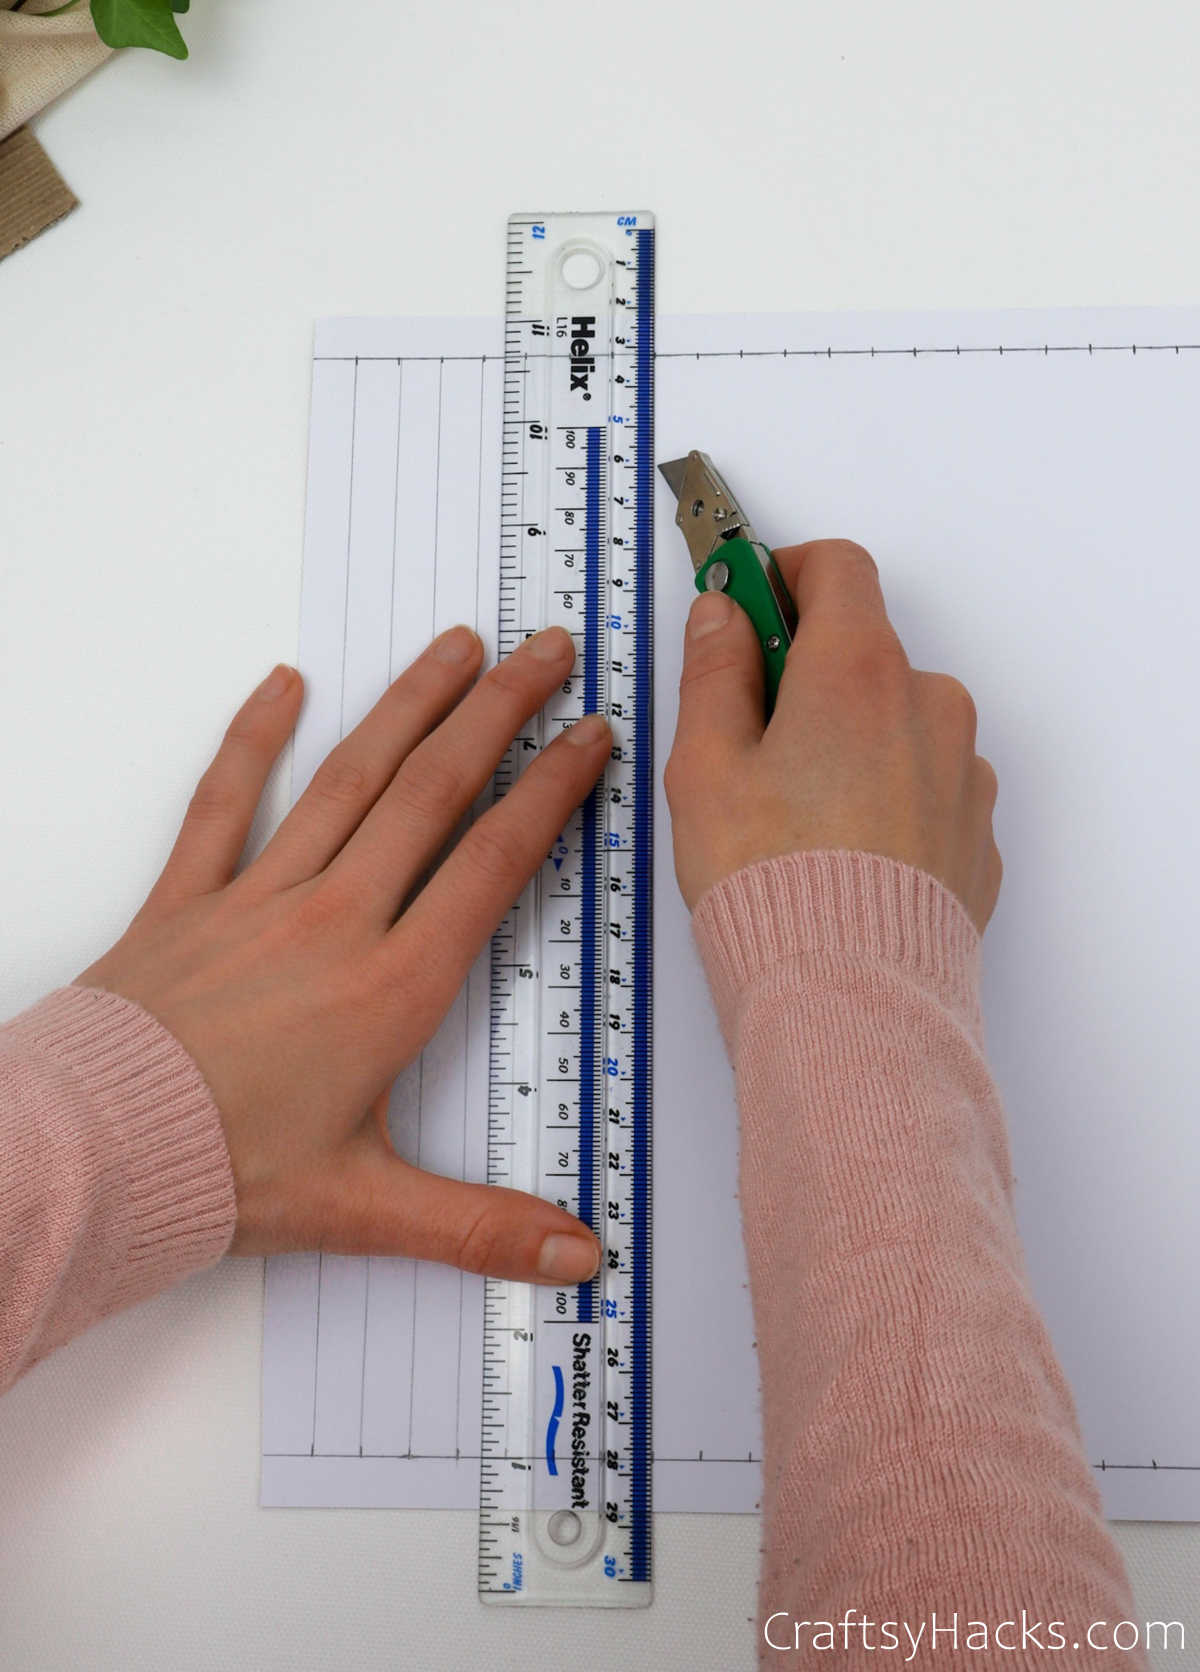
After you finish cutting the paper into strips, your craft paper should look like this.
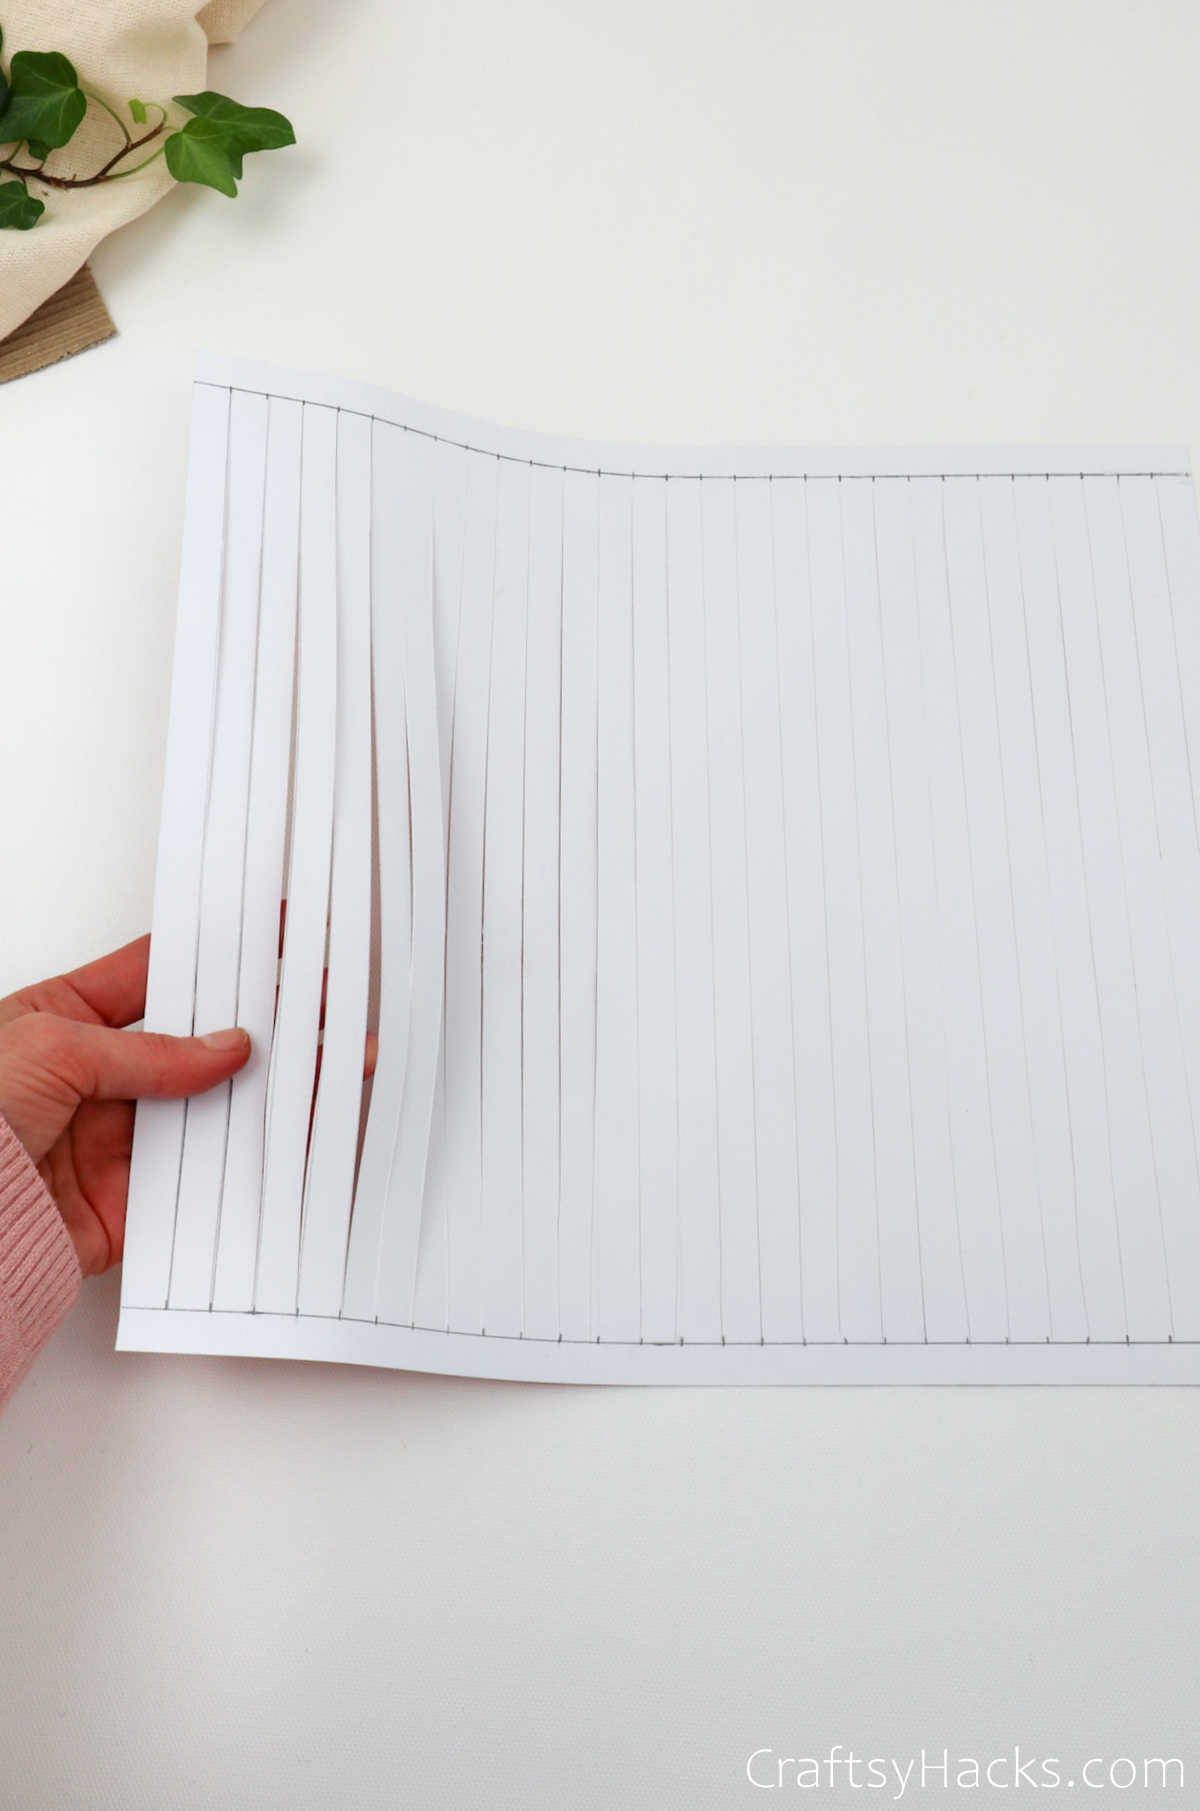
Step 5
Next, use your cutter to remove just one strip right at the end of the sheet so you can make a gap, as seen below.

Step 6
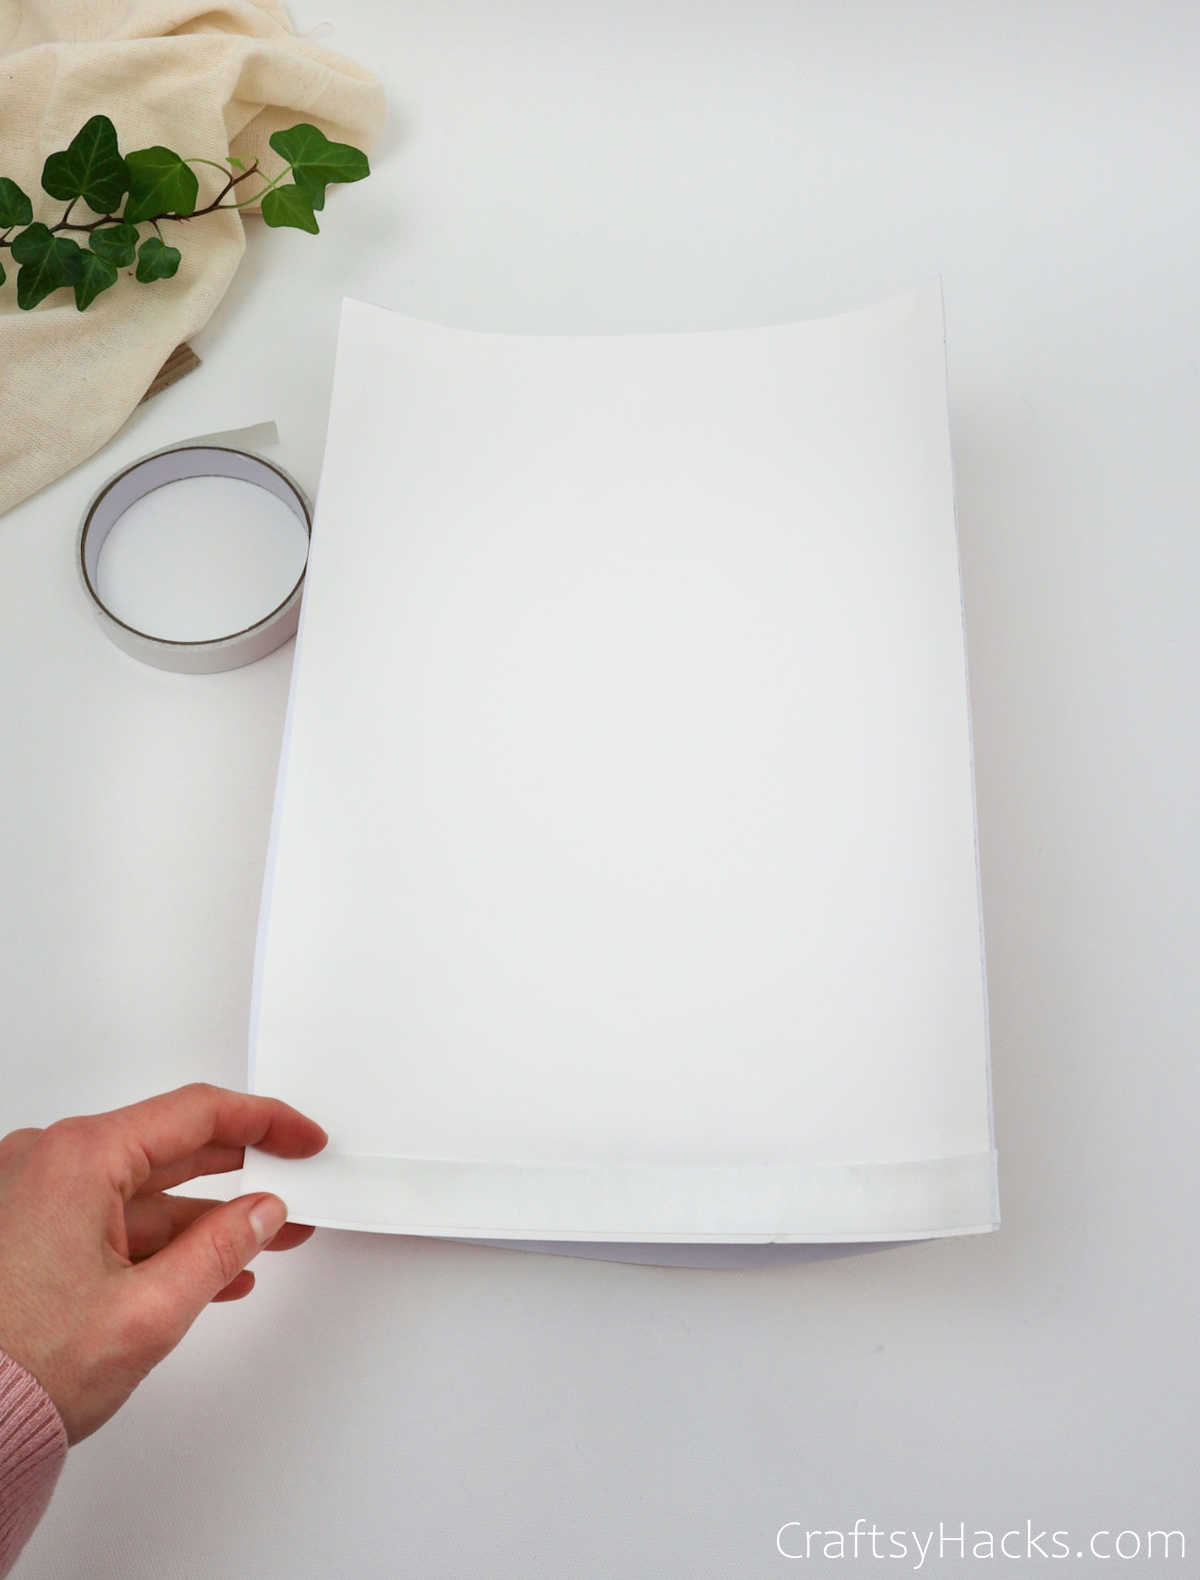
Next, grab a roll of double-sided tape and a plain white sheet of paper. Tape two long strips of the double-sided tape at the top and bottom of the sheet.

Step 7
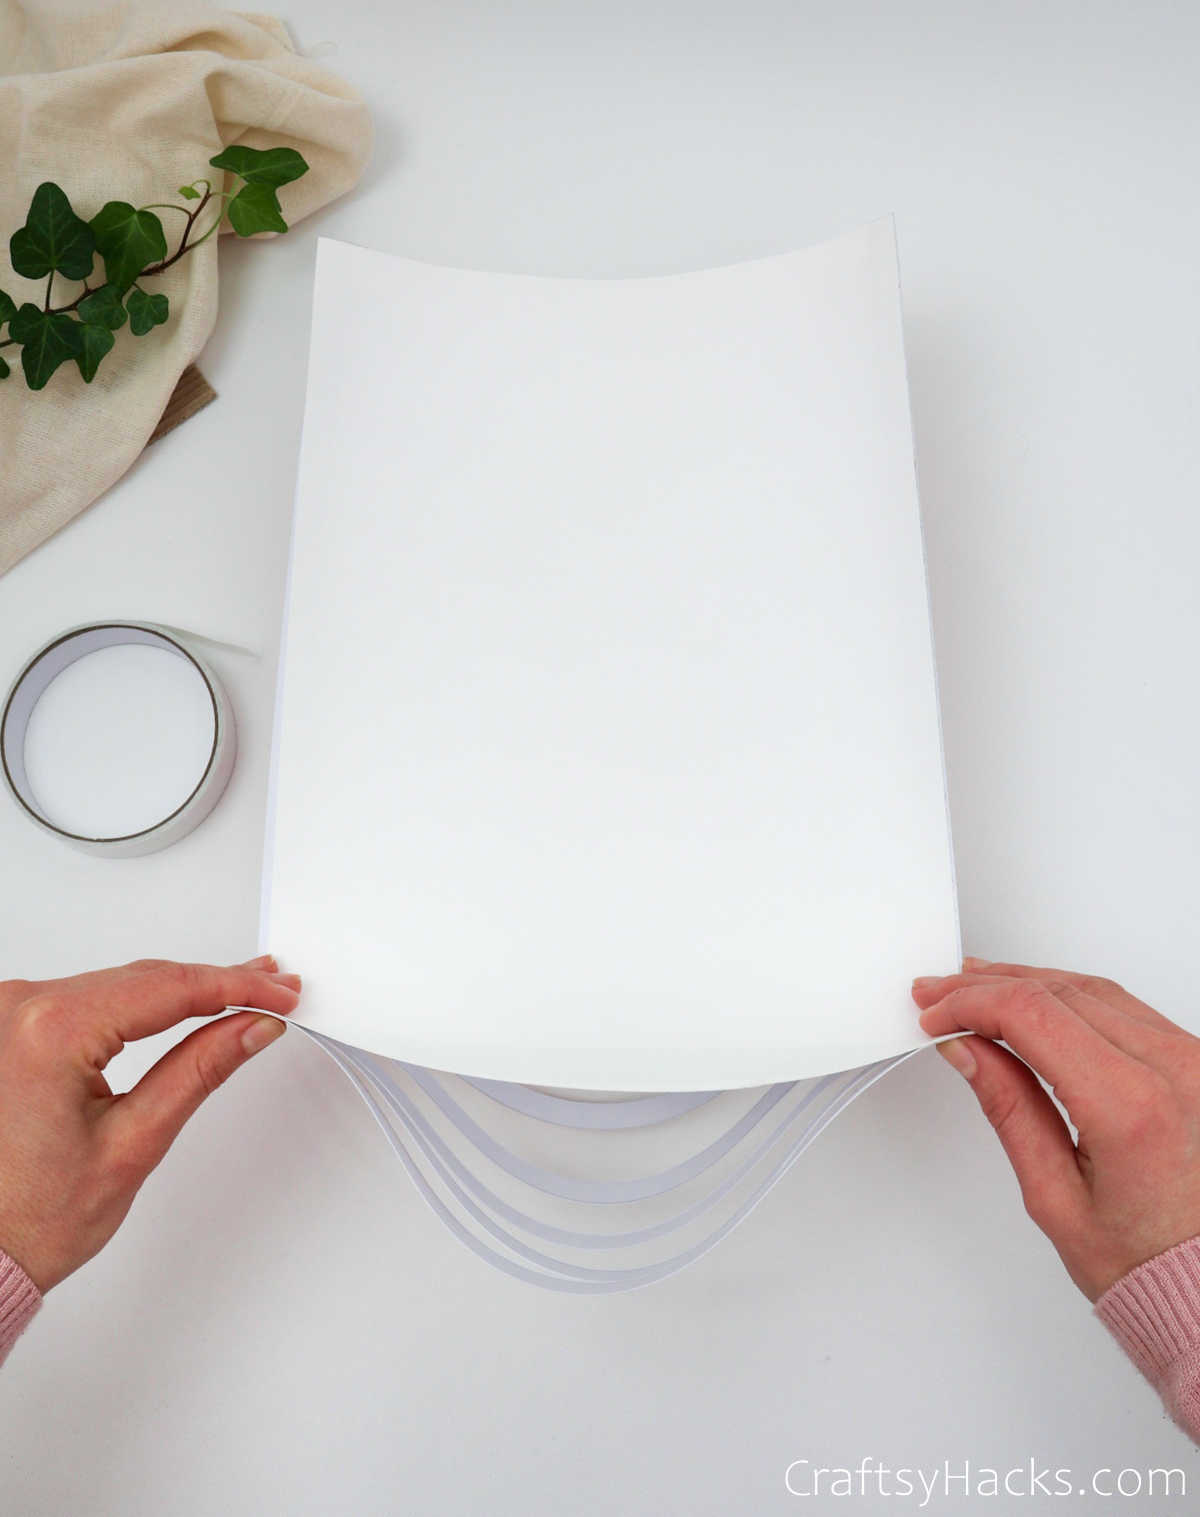
Stick both the top and bottom of the craft paper to the top and bottom of the white sheet.

The white sheet is smaller than the craft paper, so when you tape them, you’ll find that the latter will create a tunnel or mound-like bubble down the middle.
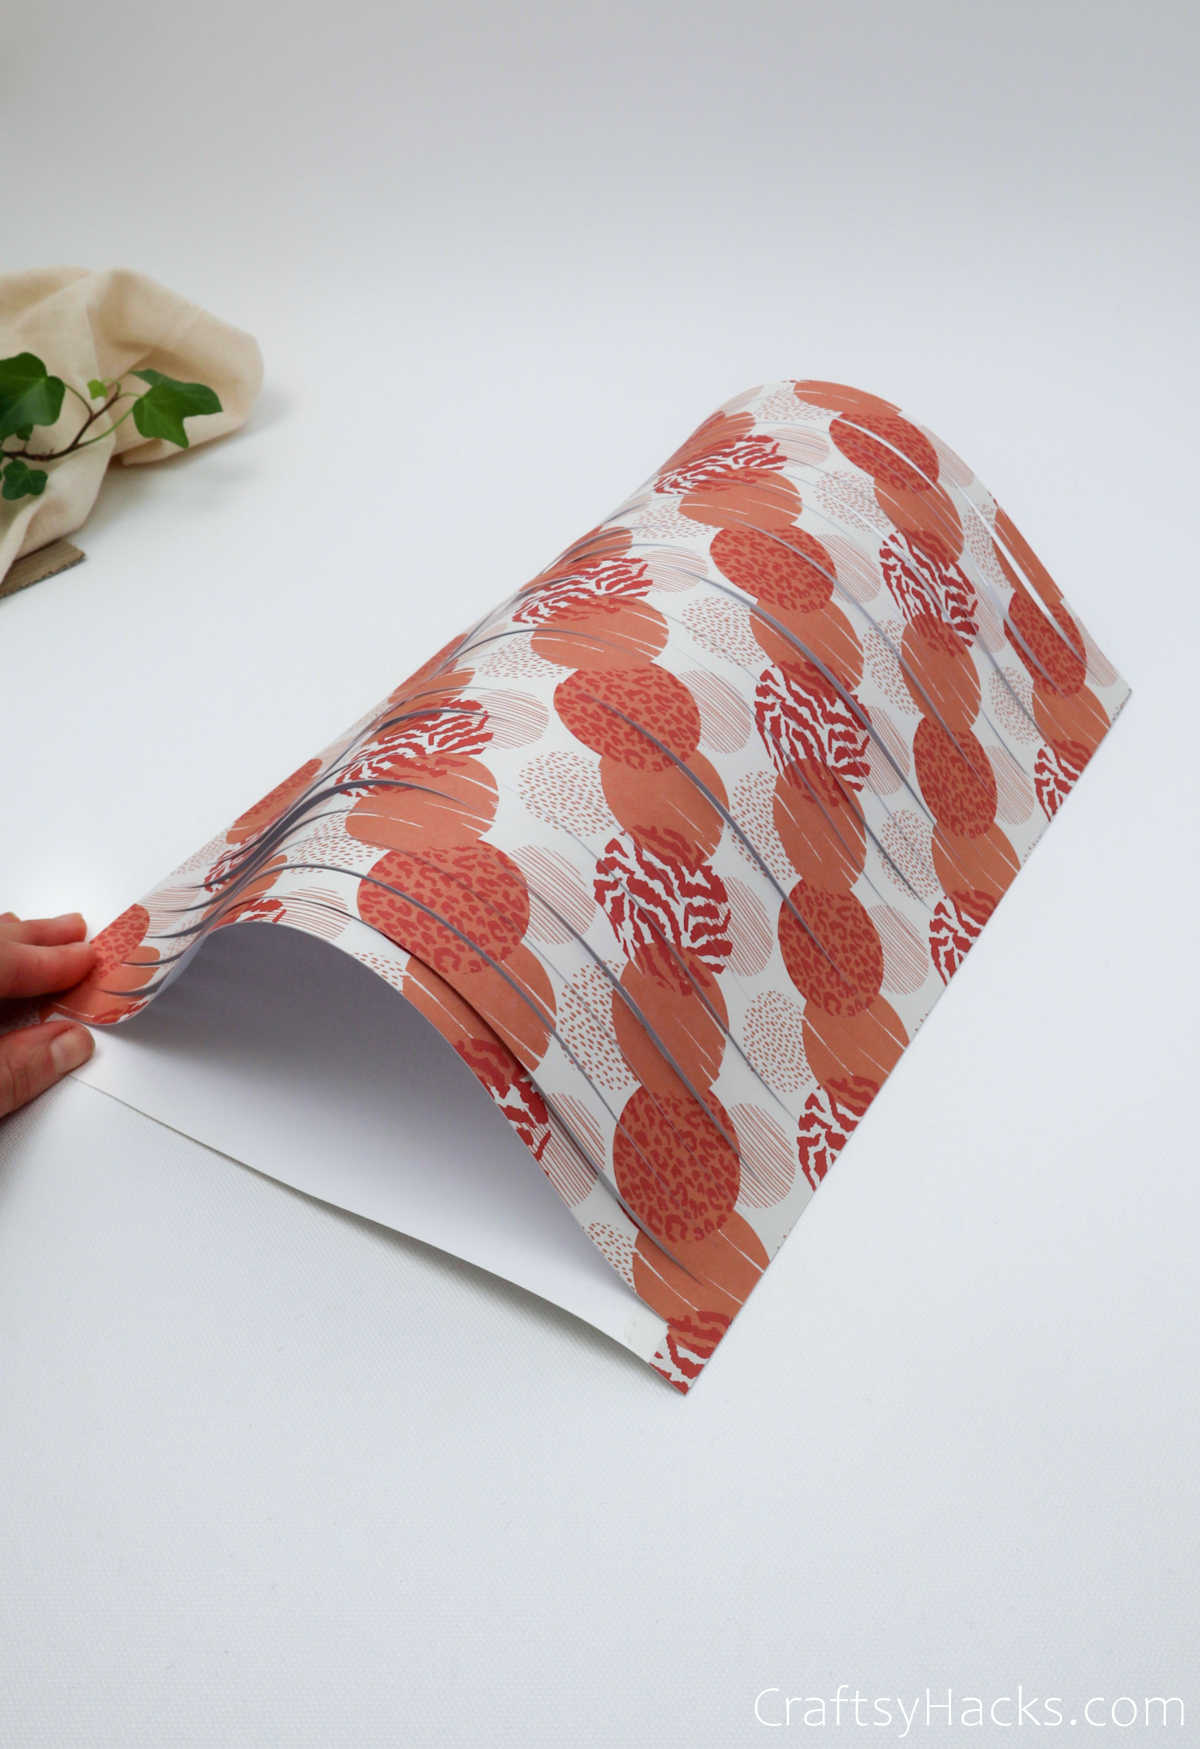
Step 8
Turn the paper around and tape another strip of double-sided tape, this time on the side of the paper, as seen here. Don’t worry; just trust the process, and you’ll see why we’re all out of proportion at the moment.
Step 9
Next, grab the side you just taped and carefully fold it over to the opposite end.
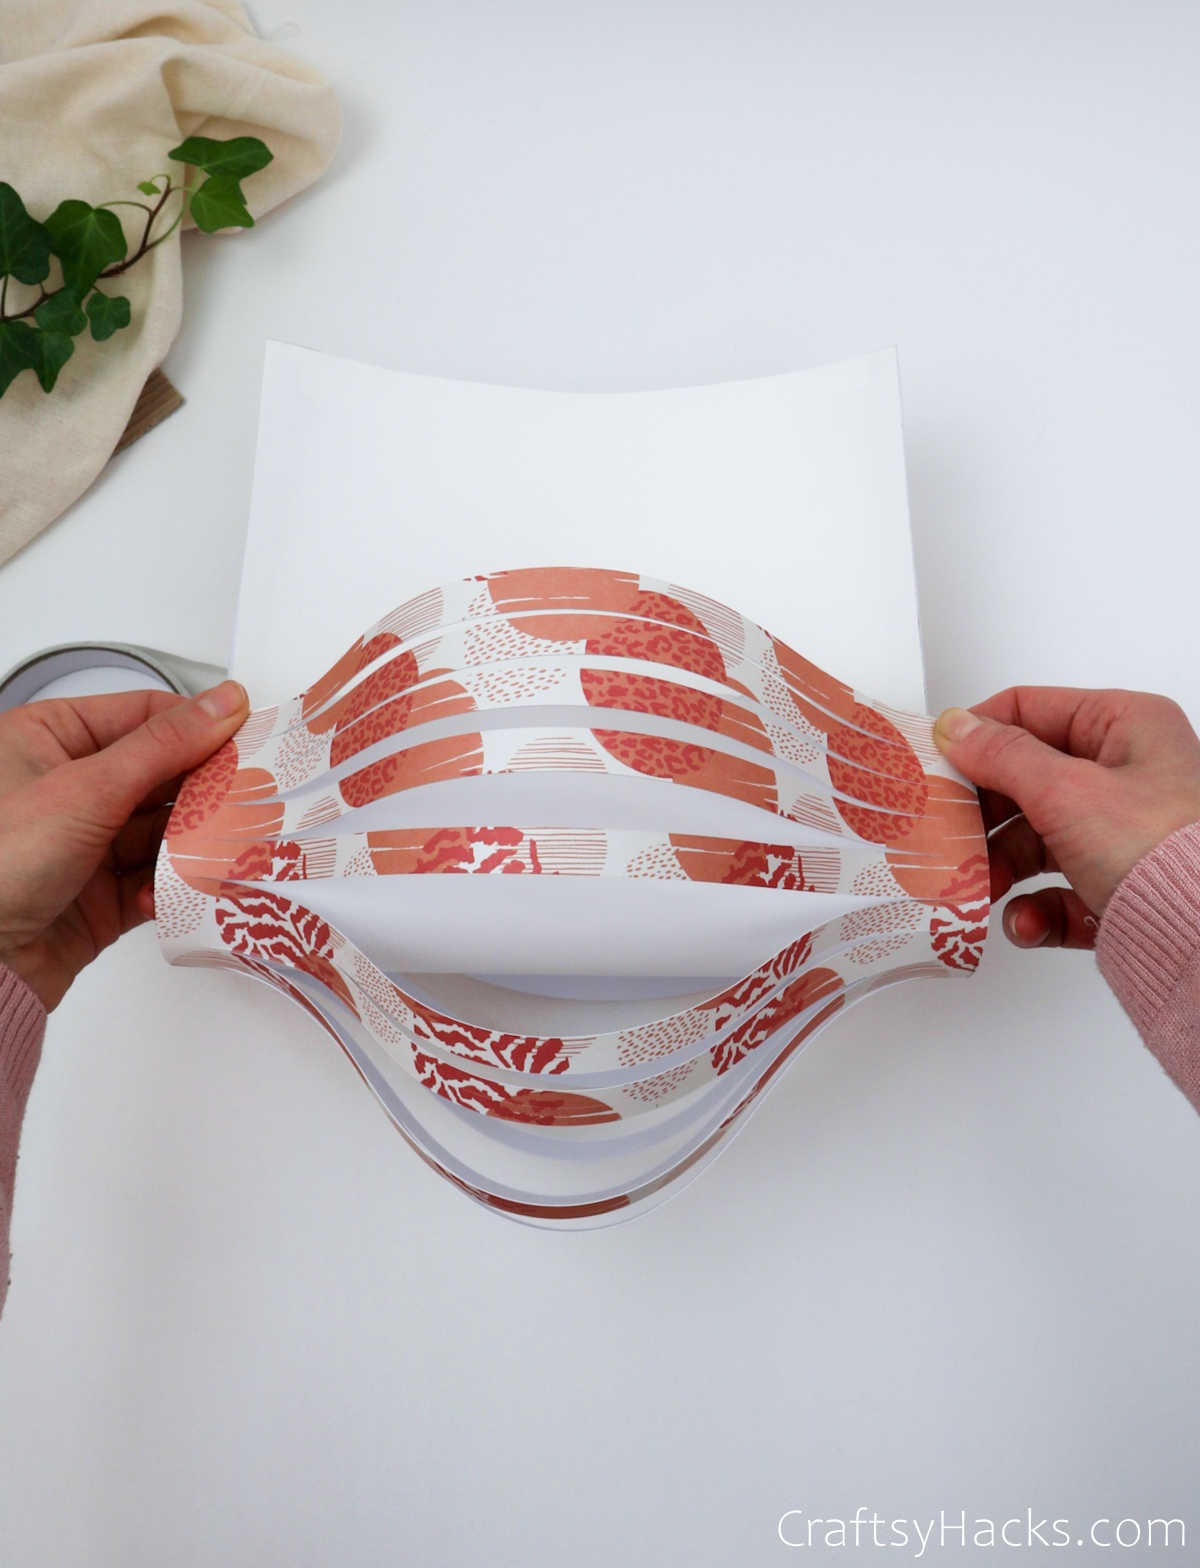
Remember when you cut out one strip to leave a gap on that end? Well, you’re going to stick the taped side to that end of the paper. Don’t you just love how the craft paper strips are billowing out?

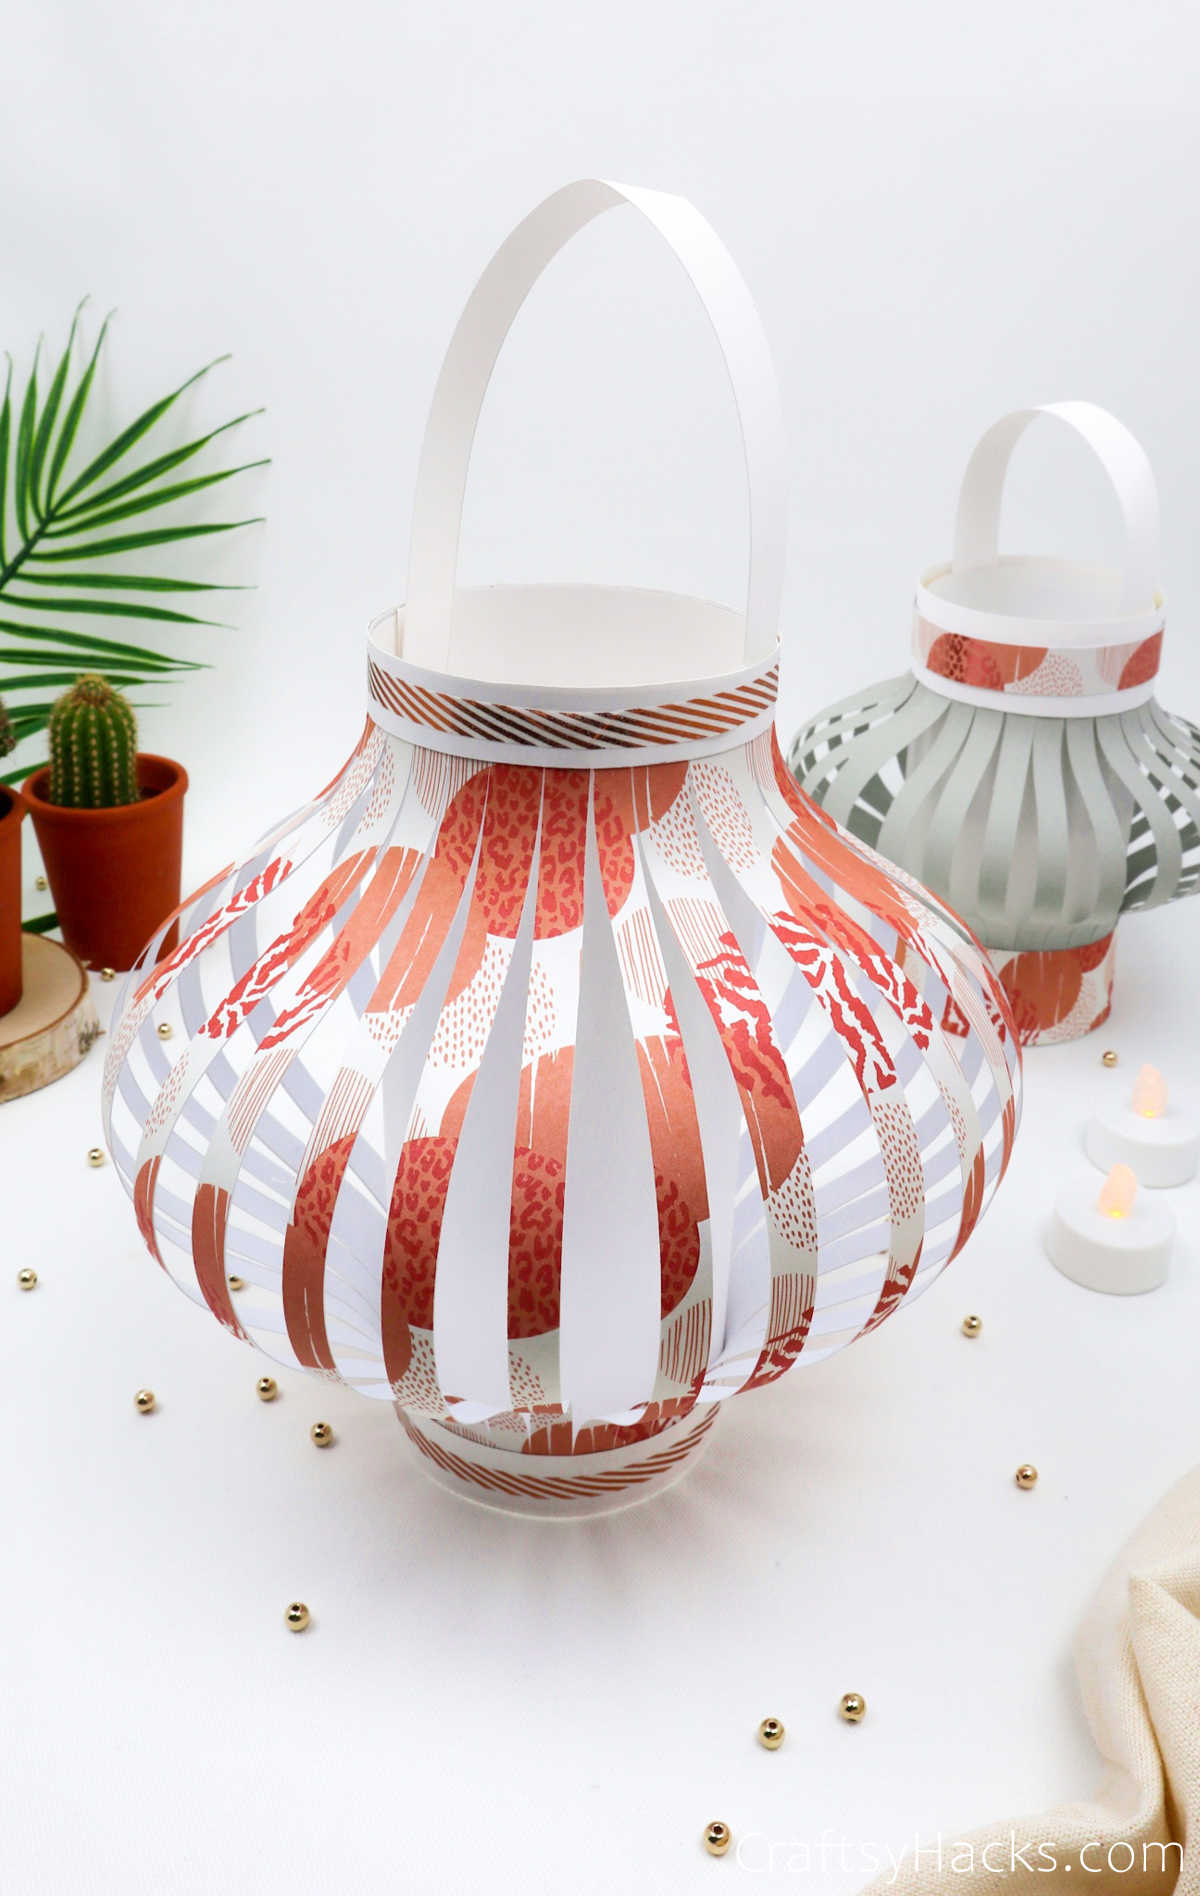
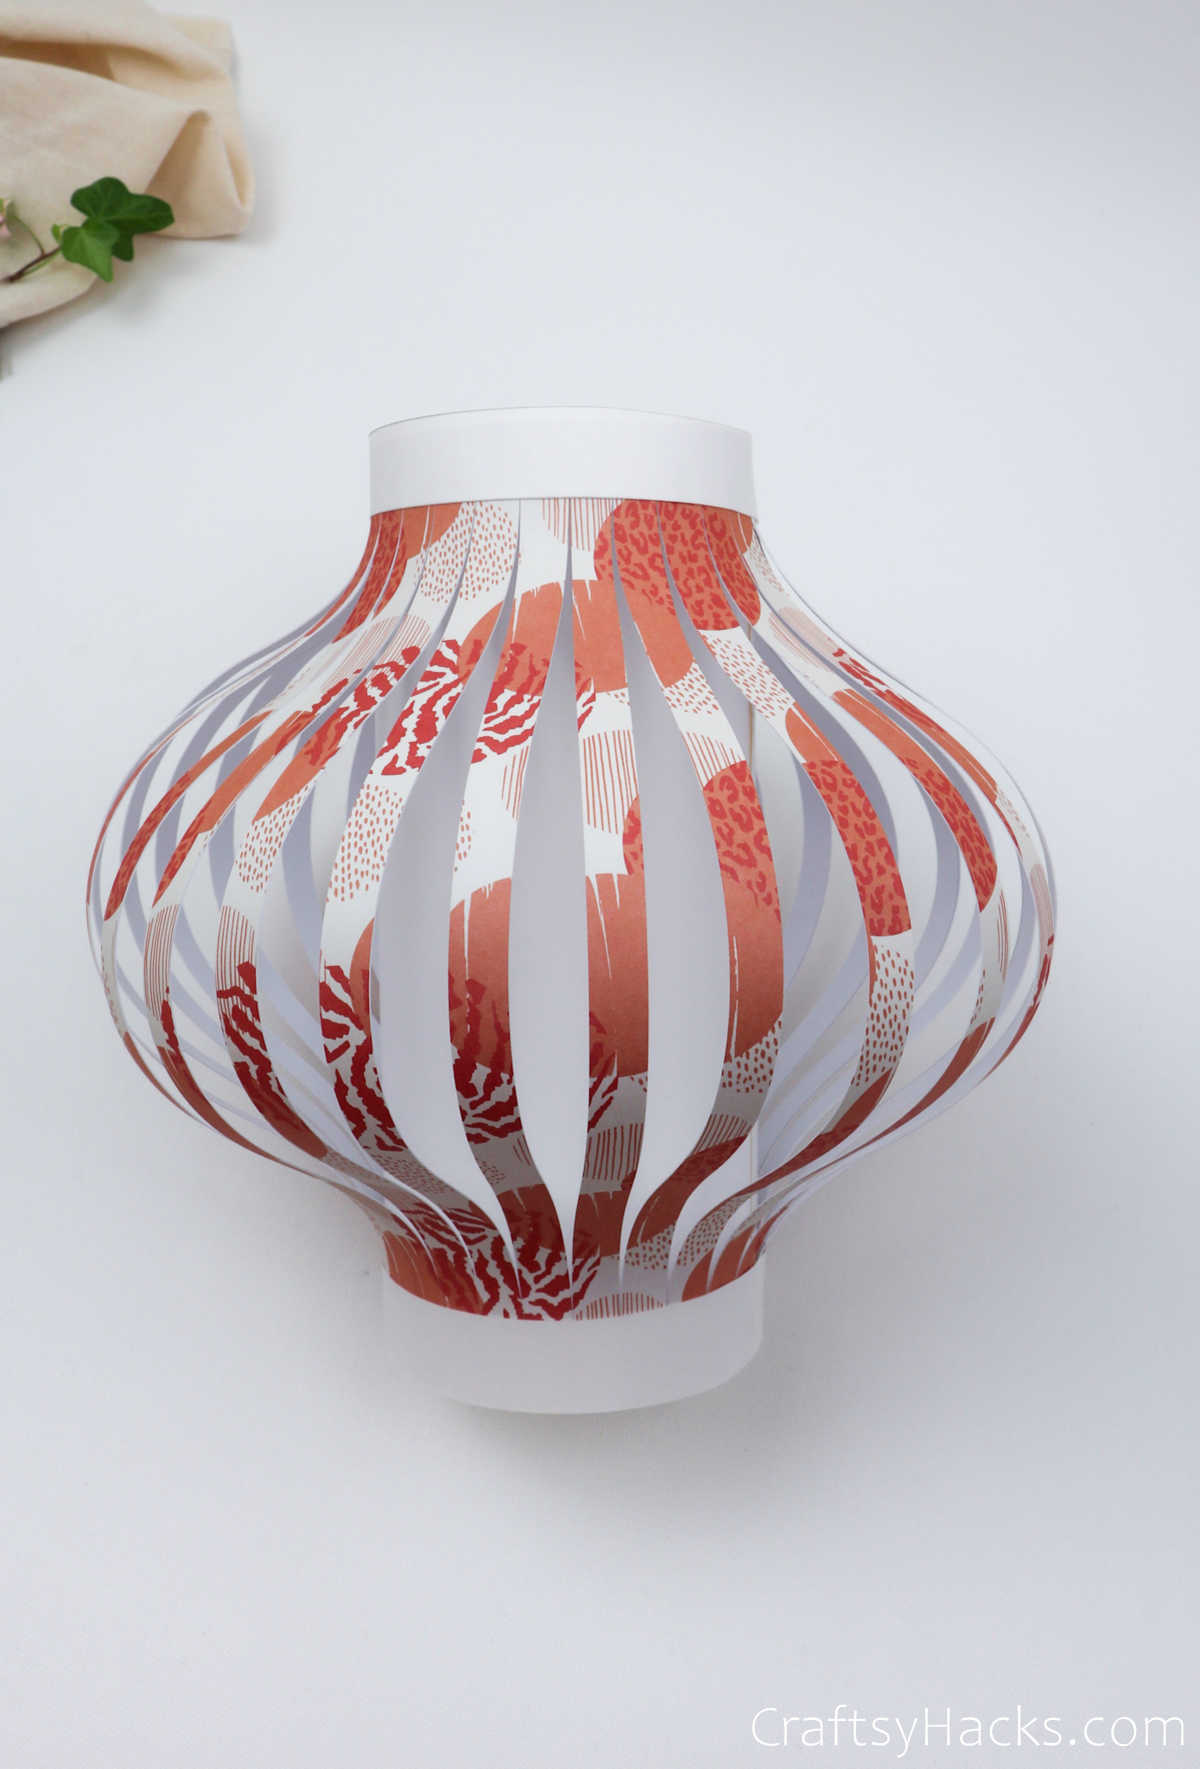
Your lantern should look something like this once you’ve taped the ends together.

Step 10
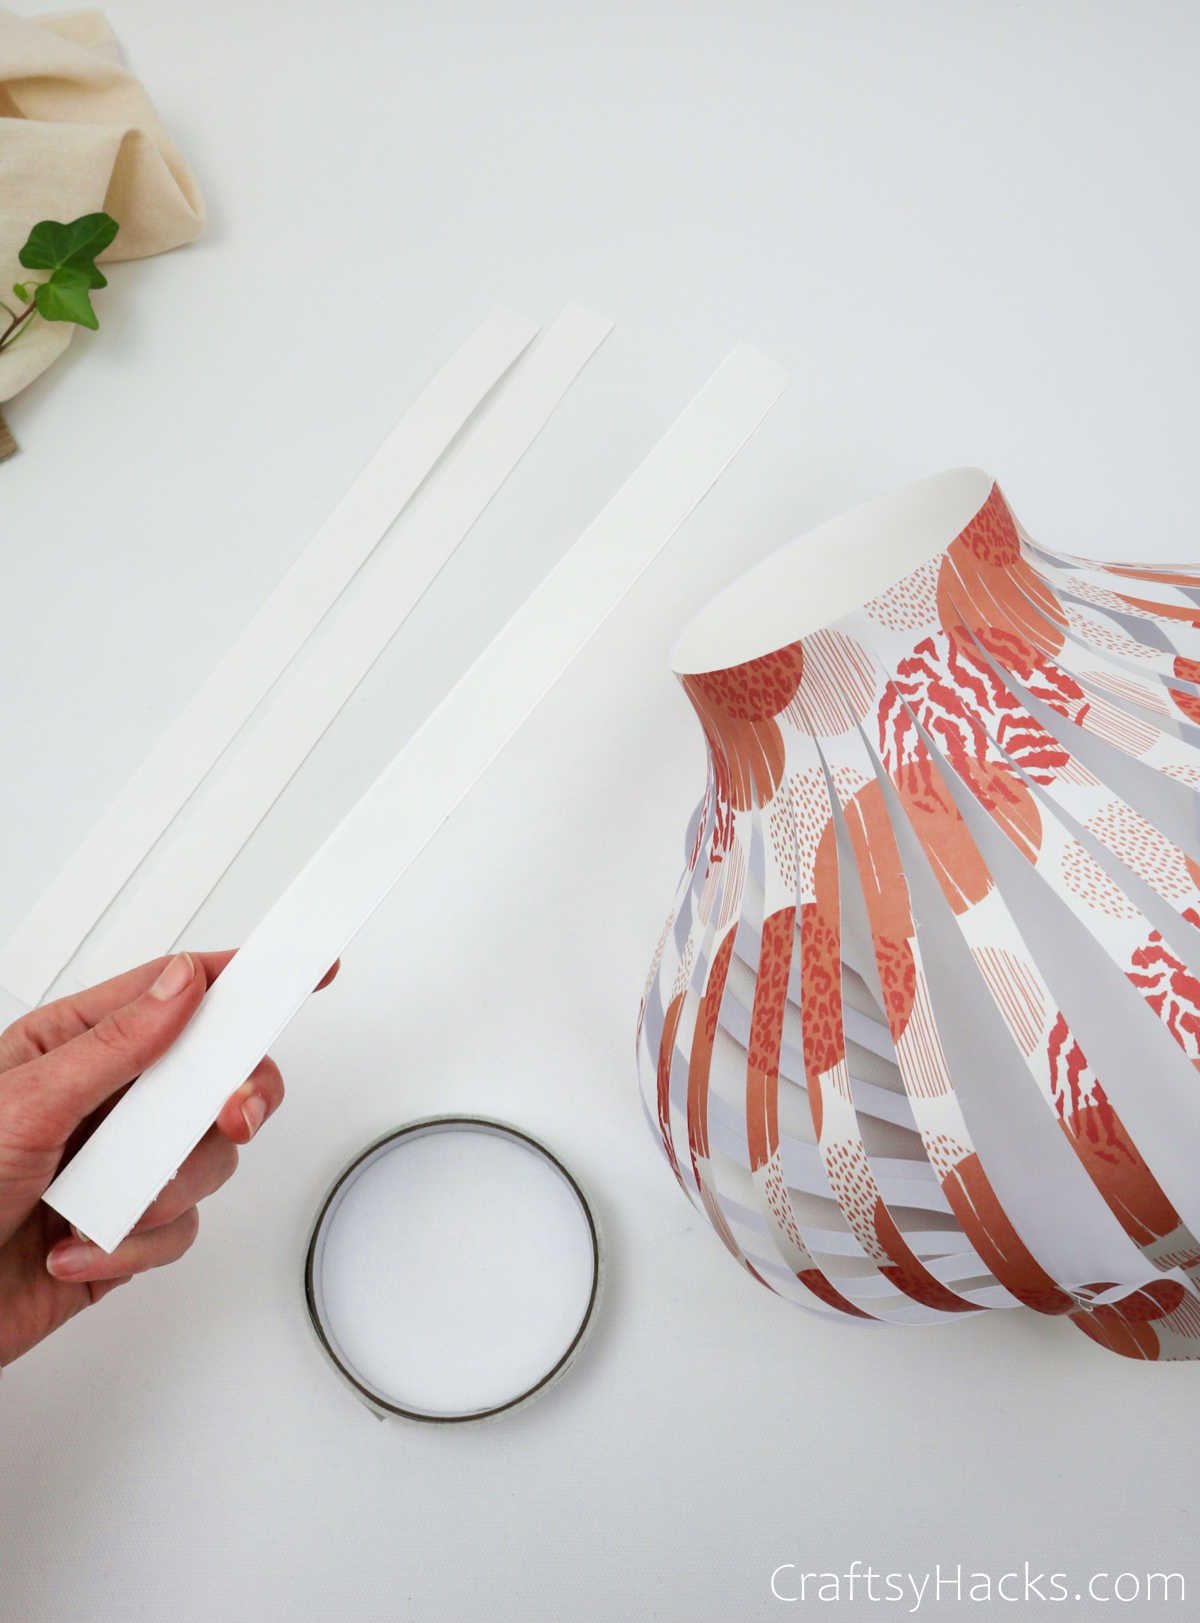
But we’re not quite done just yet. If you want a little extra jazz and a better finish for your lantern, then start by cutting two strips—three strips if you want a handle—of white paper.
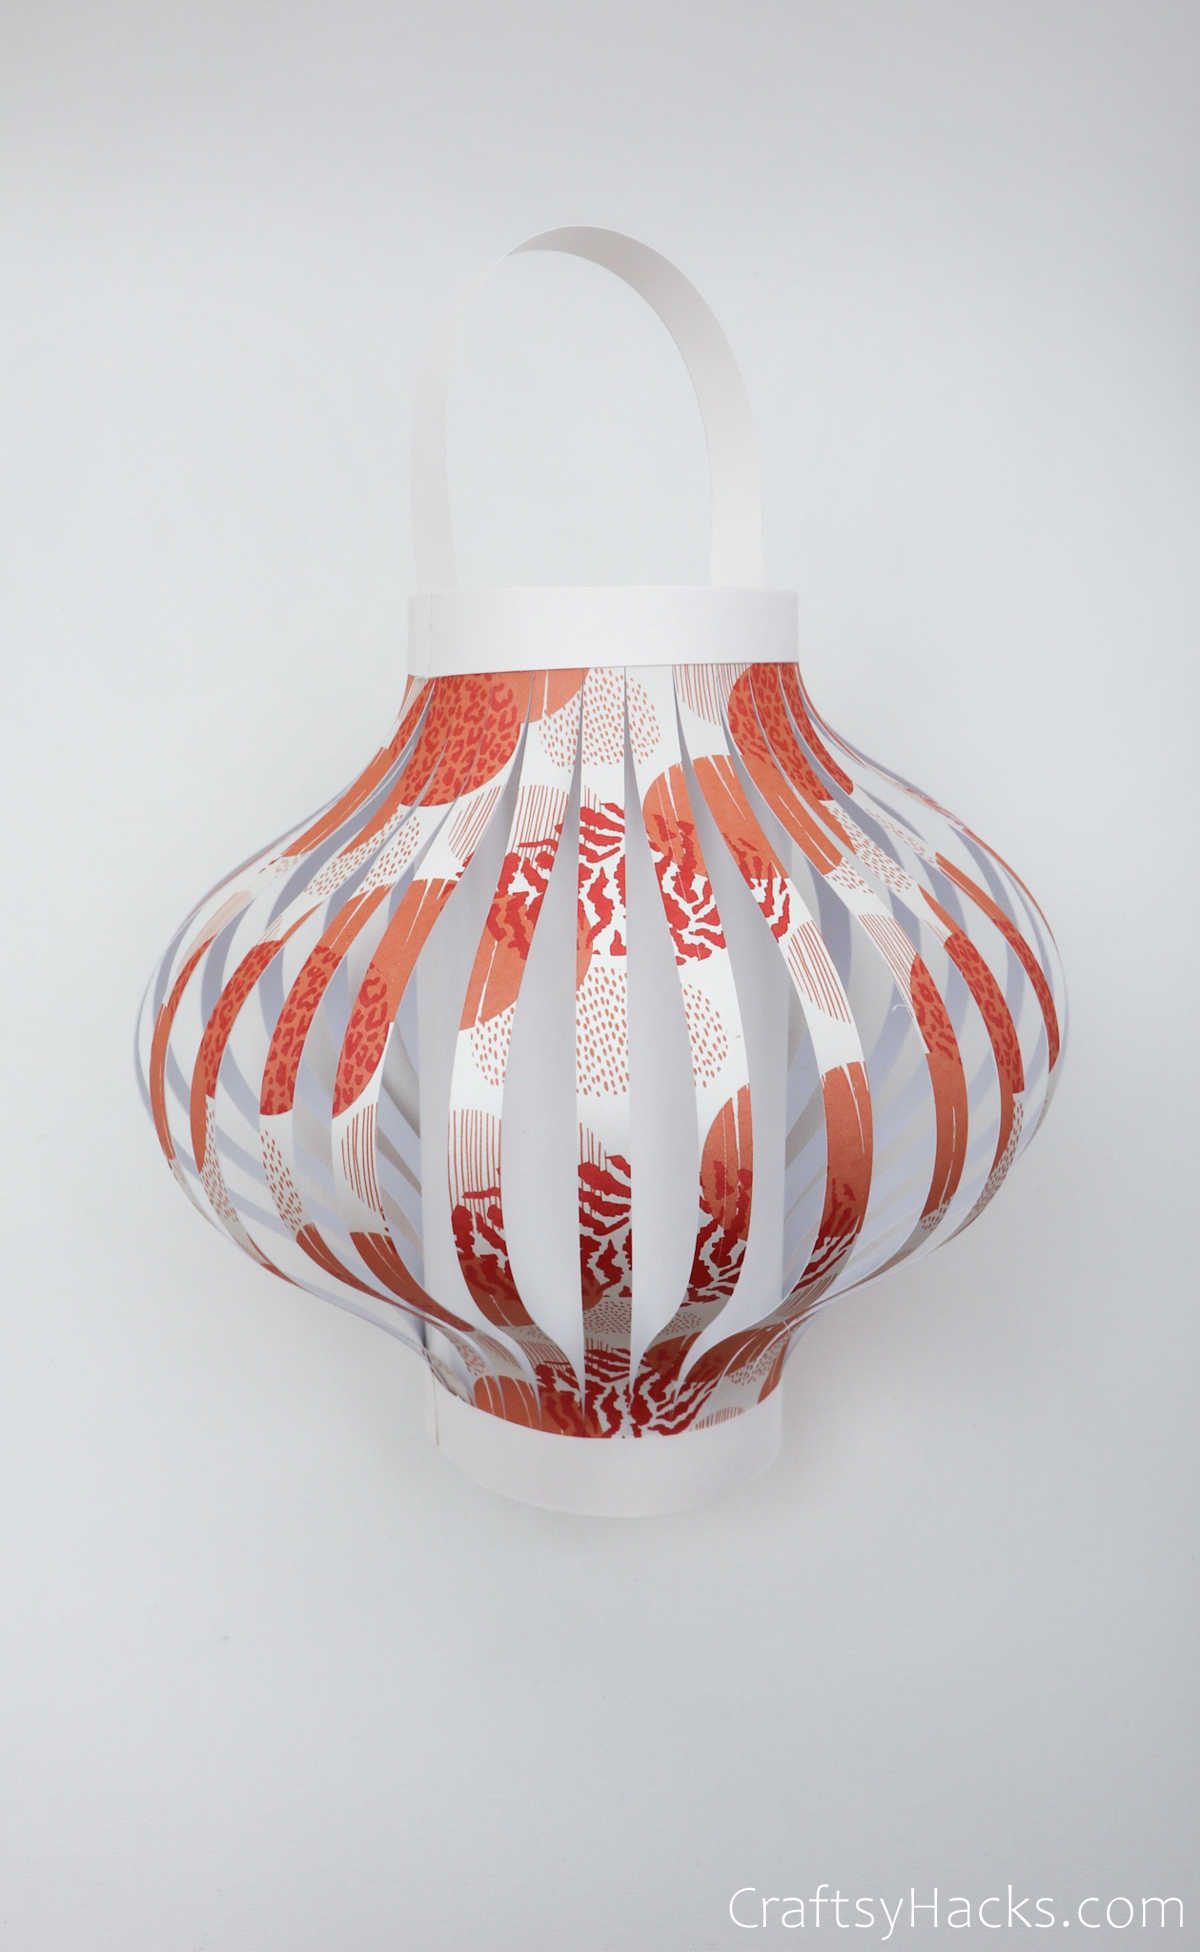
Step 11
Tape a bit of double-sided tape along two of the strips and stick them around the top and bottom of the lantern.
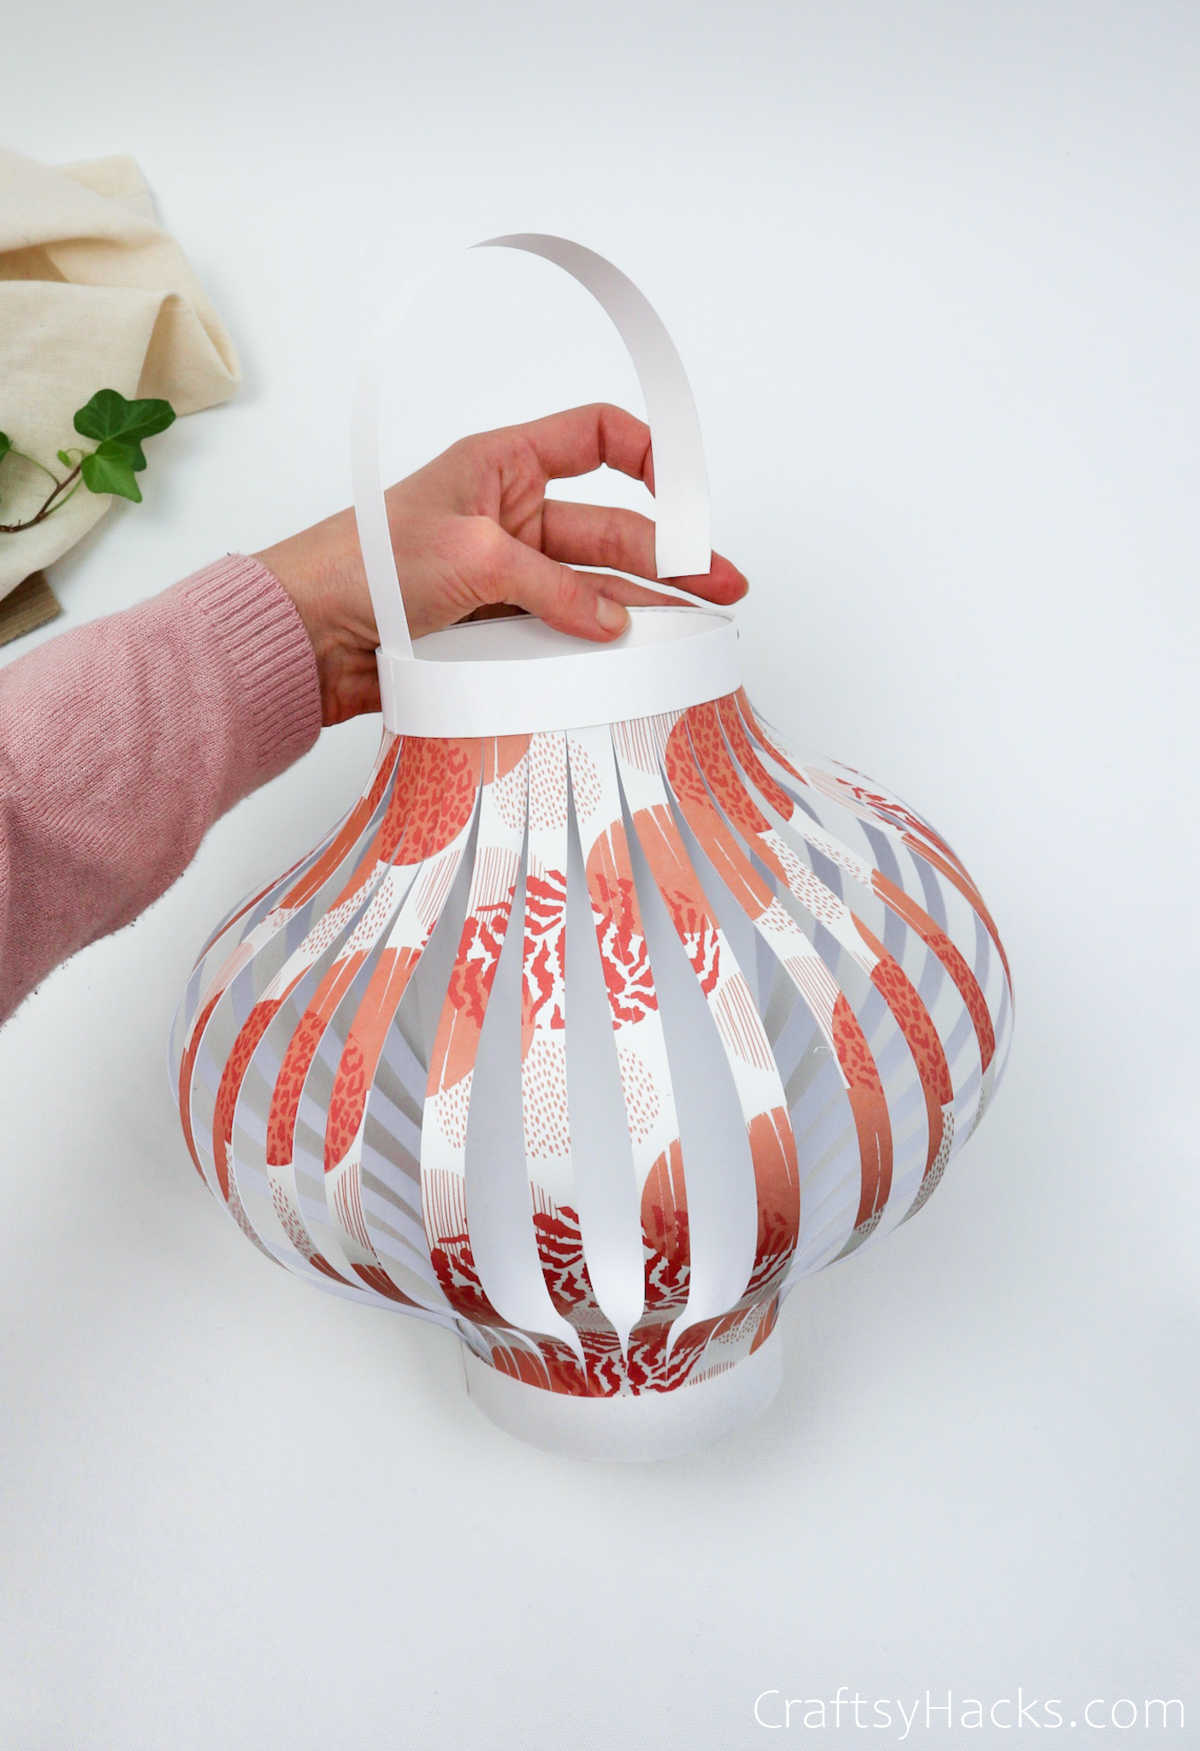
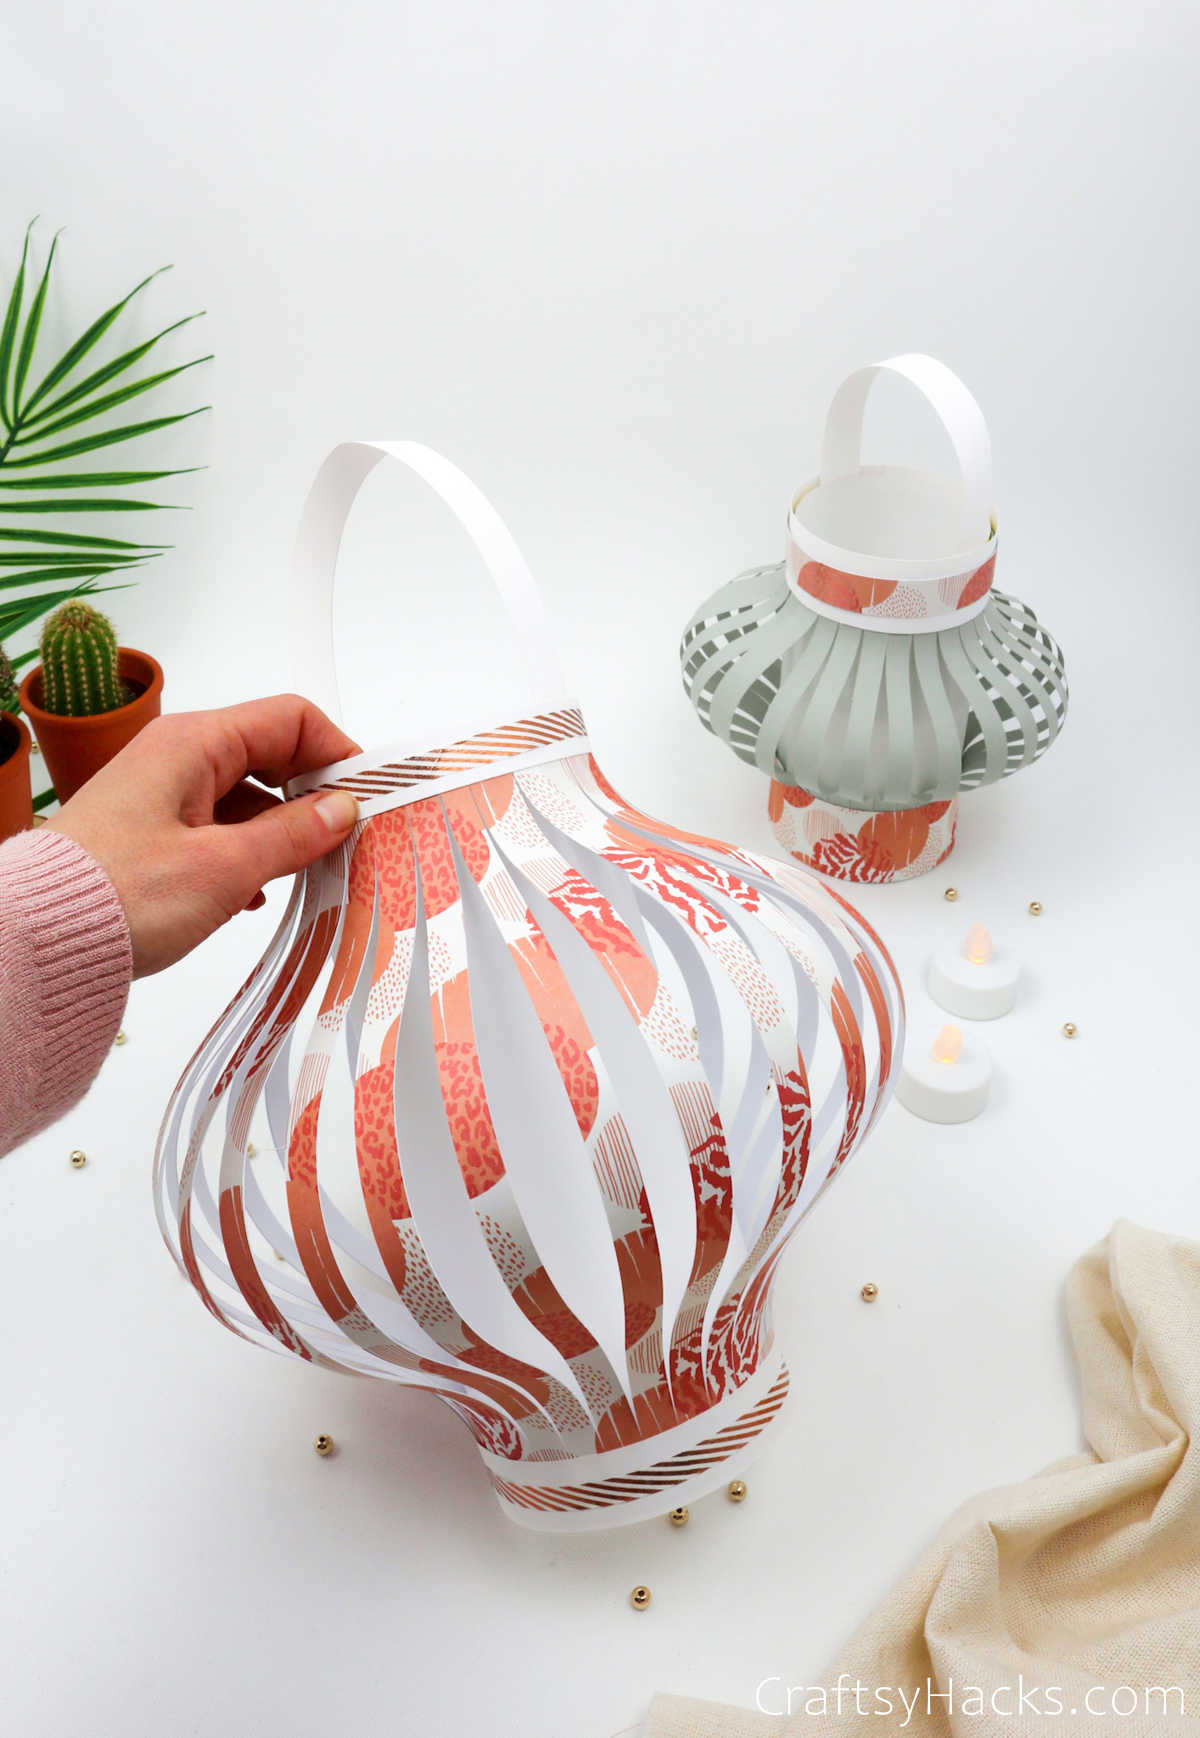
With the last strip, simply tape either end of the paper and fold it into a curved handle as you stick it in place at the top.
Step 12
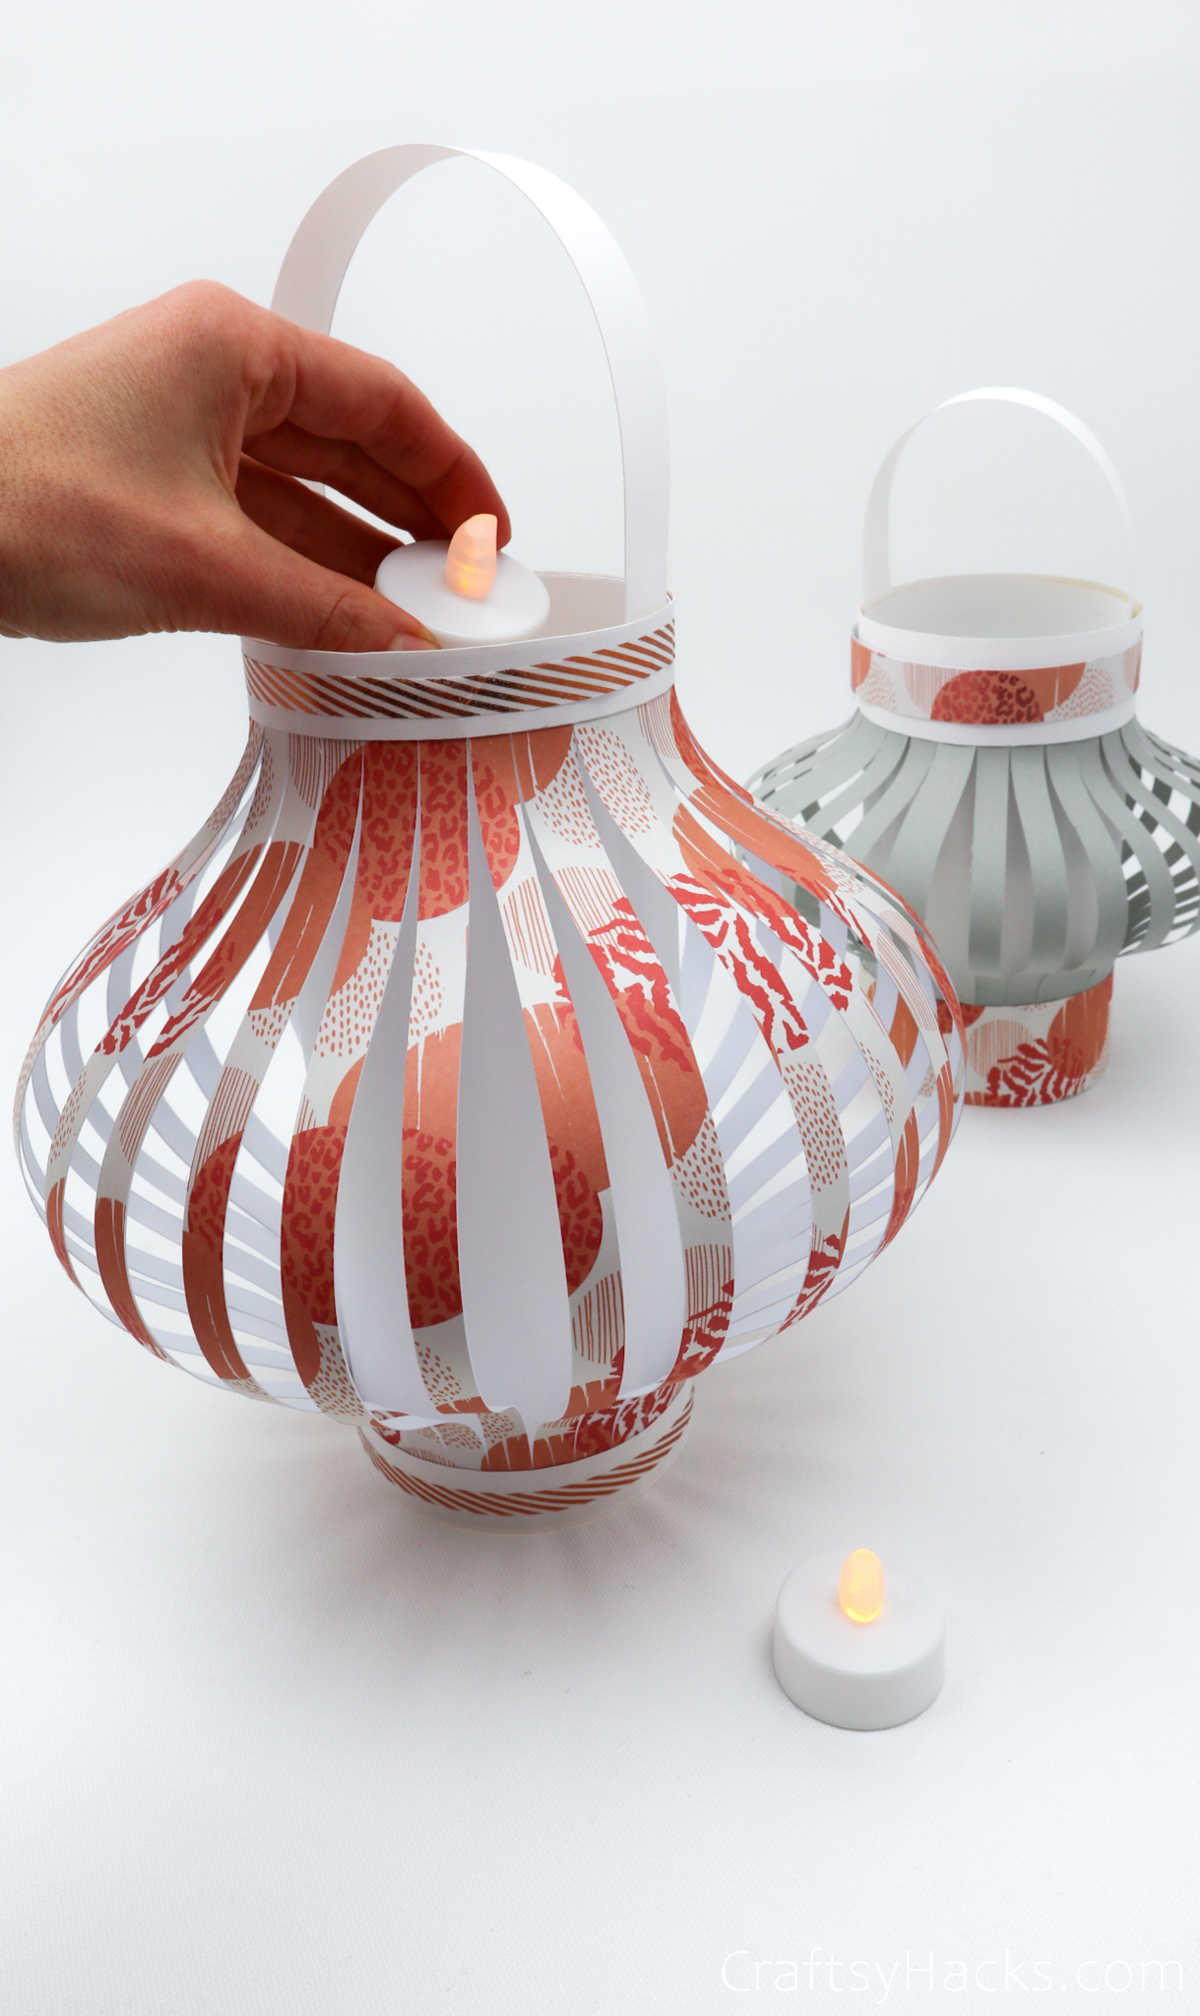
Feel free to decorate your paper lantern with washi tape, glitter, and any other embellishments you can think of.
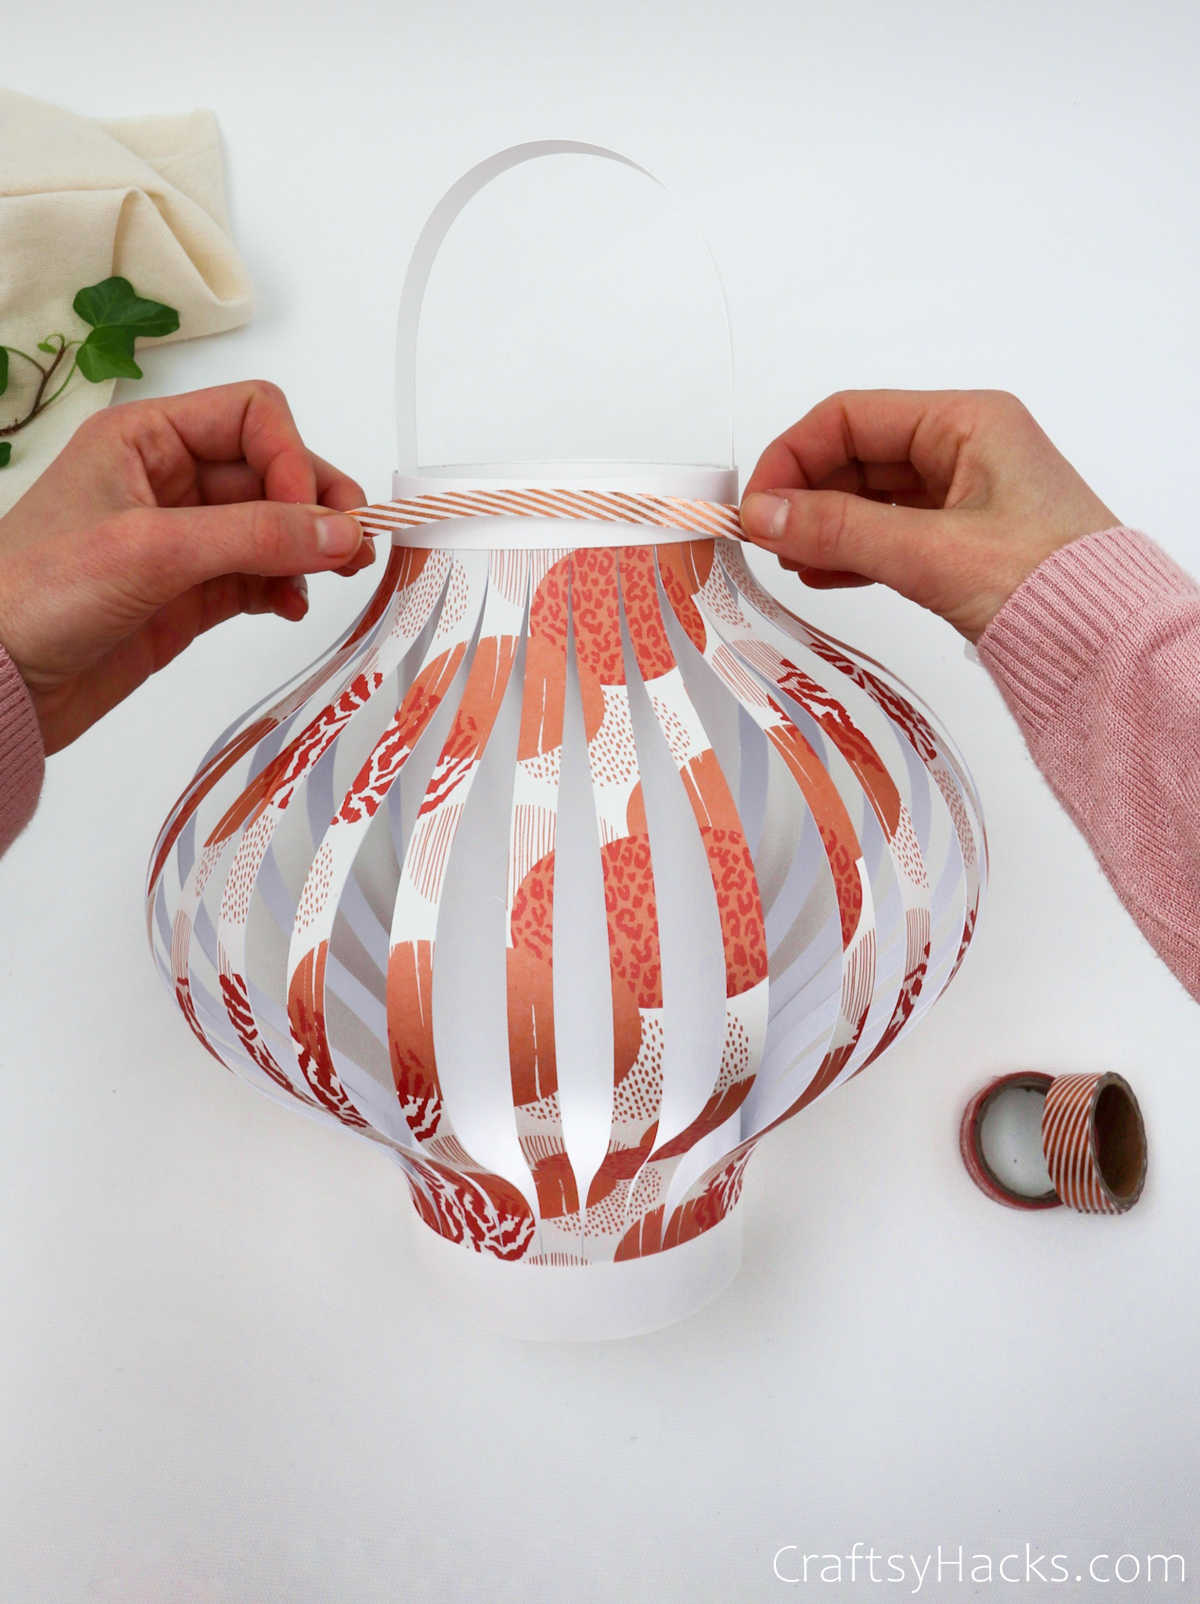
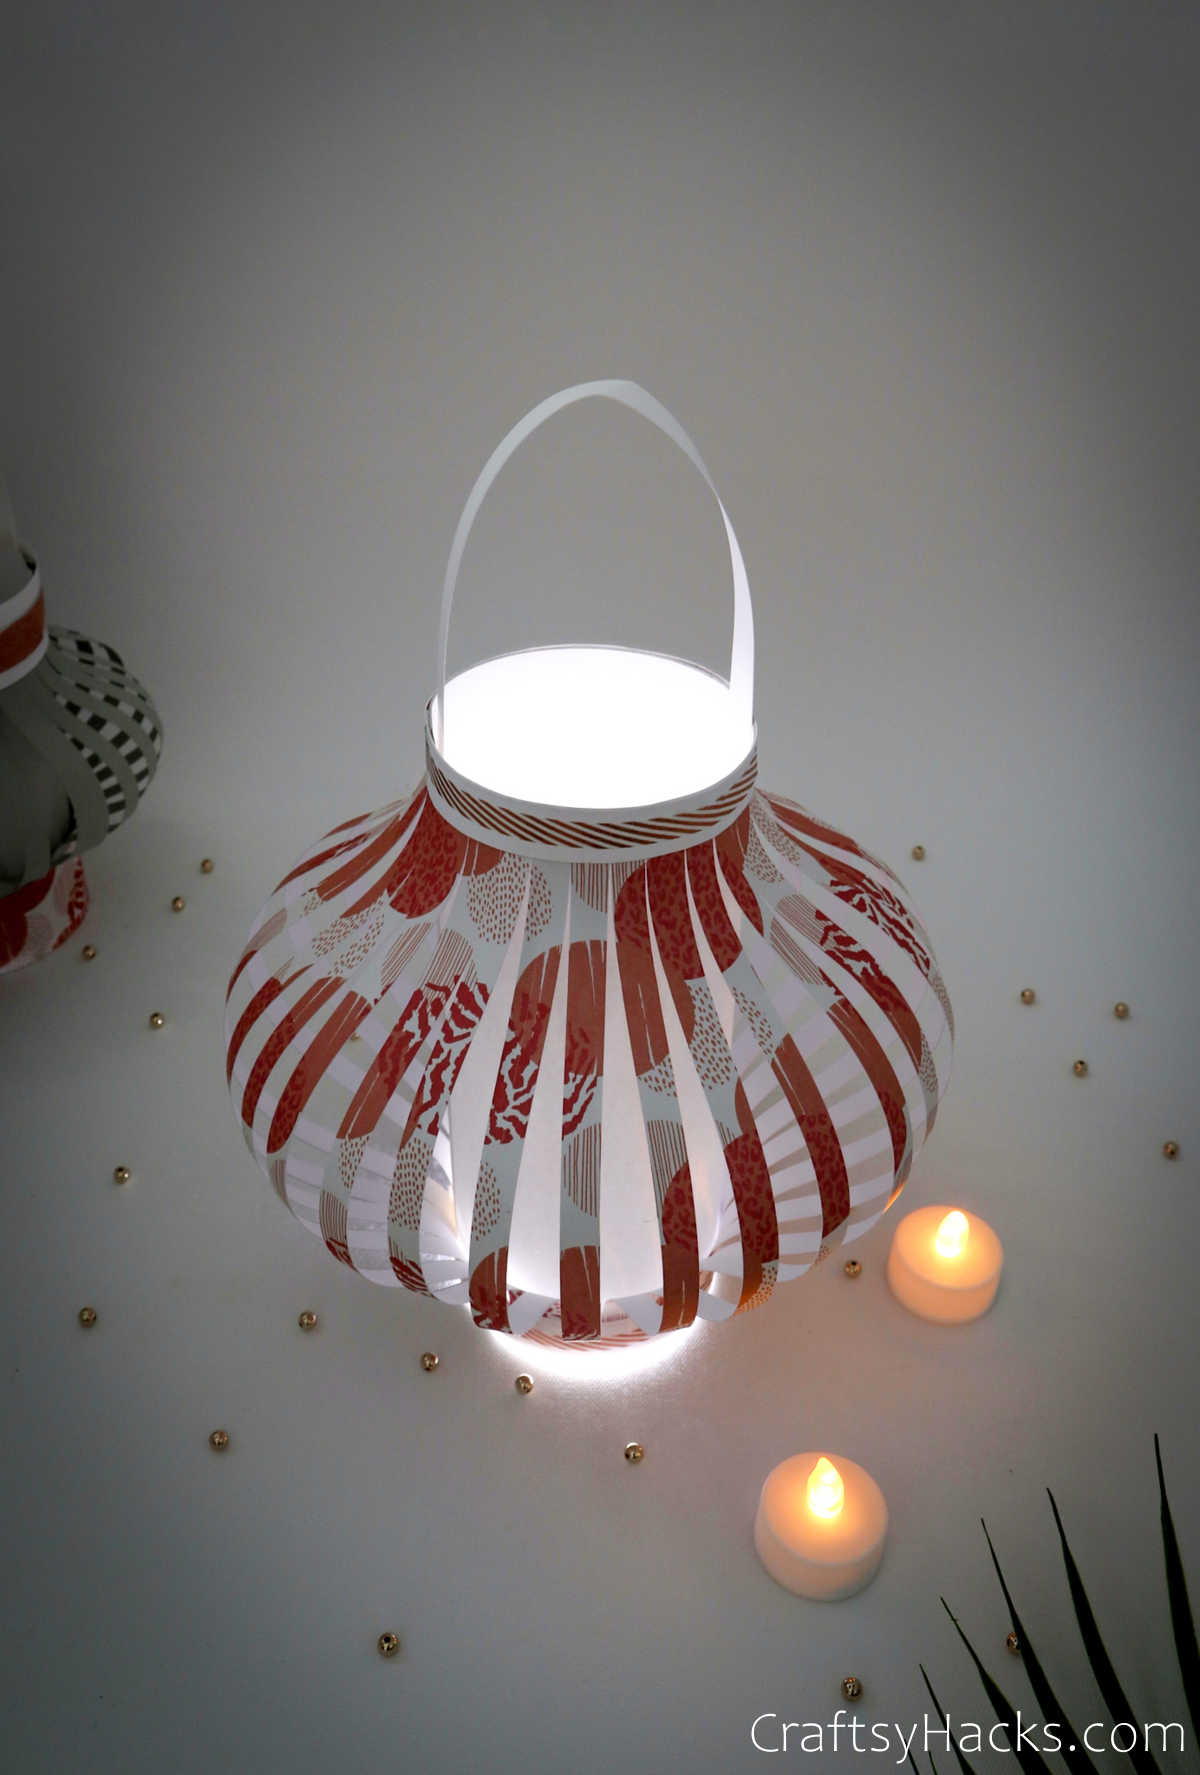
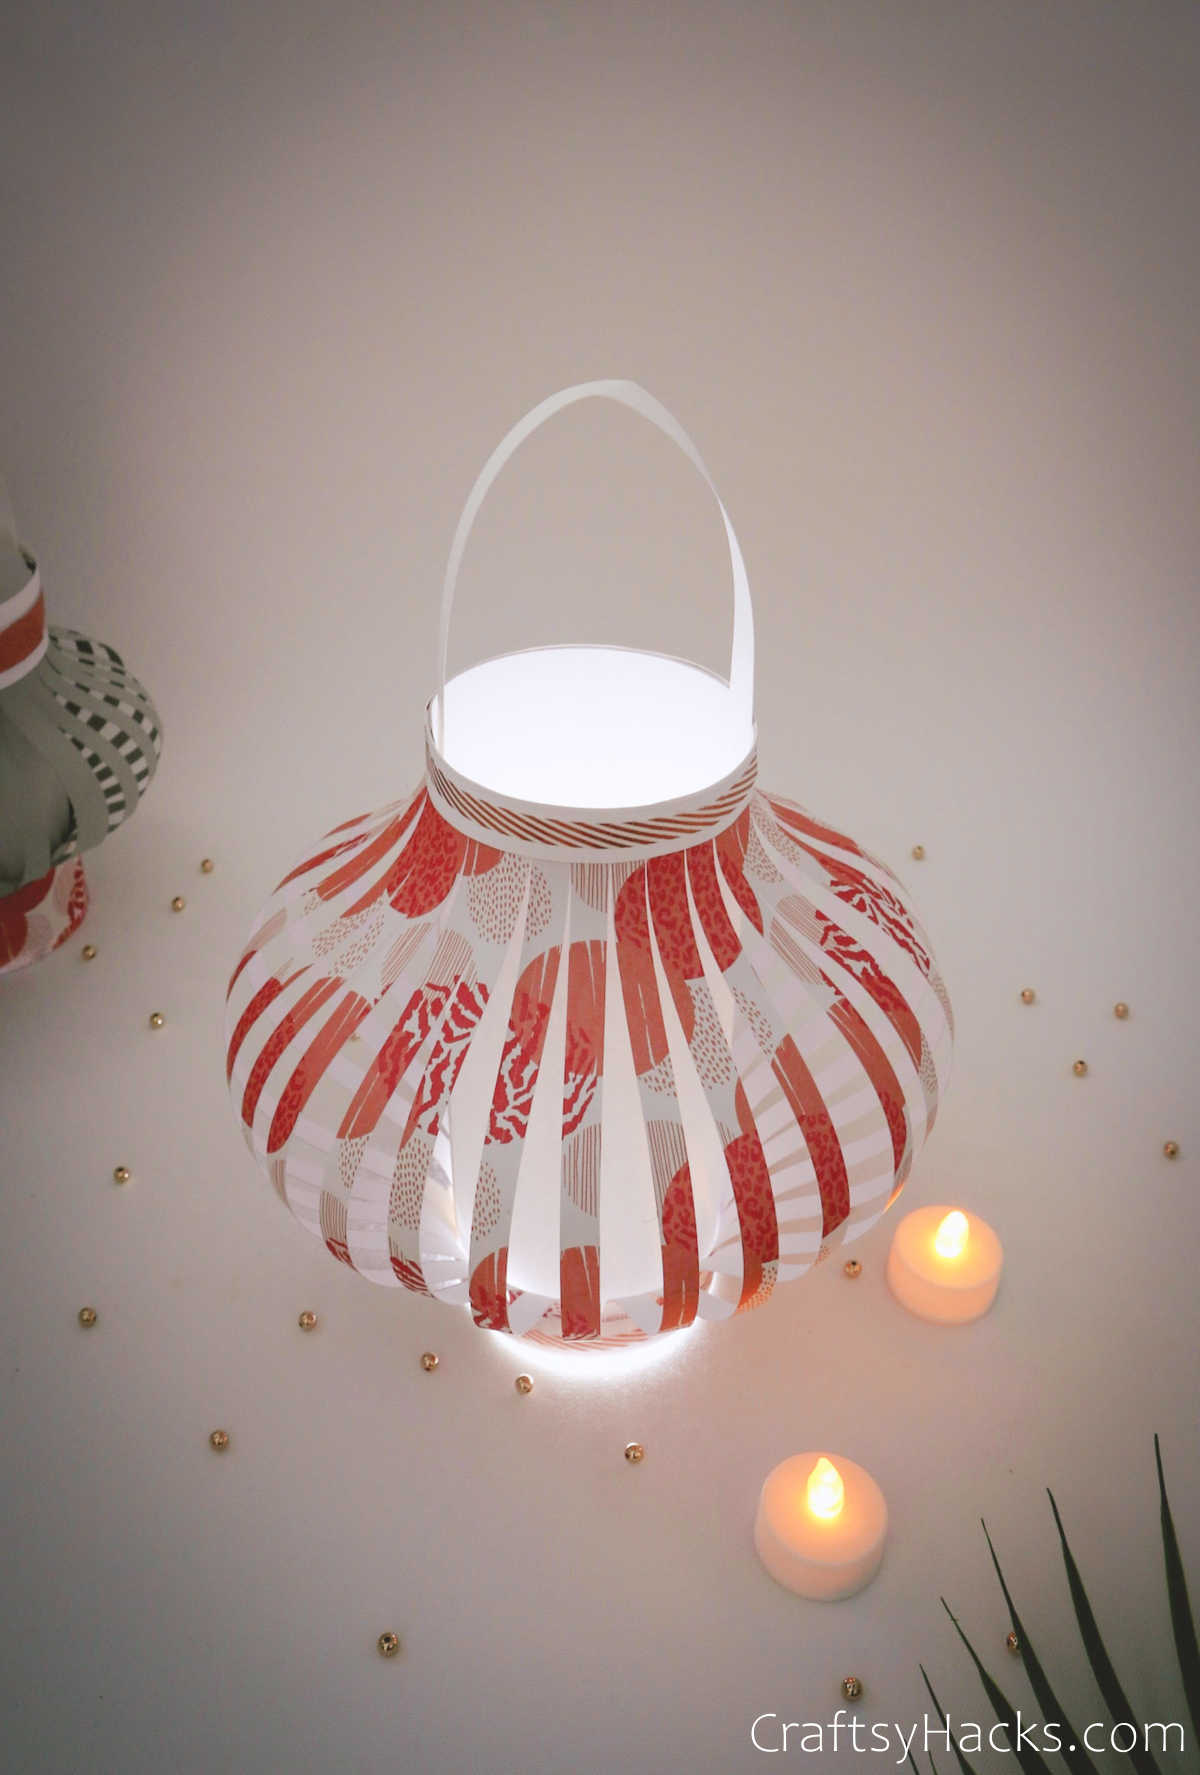
You can also place an electric tea light candle inside to light it up.
What Kind of Paper Do You Use to Make Lanterns?
You can use different types of paper to make your paper lantern. Just take a look at your options:
- Construction paper is perhaps the most popular choice as it’s easy-to-find, cost-effective, and comes in pretty colors and prints.
- Card stock, too, is pretty popular. But, it can be a little too opaque, especially if you pick up heavy card stock.
- You can also use tissue paper or copy paper, but they’re not going to be as durable or easy-to-handle as the other two.
How to Use these Chinese Paper Lanterns?
Paper lanterns would look gorgeous just about anywhere, don’t you think? Here a list of where you can use the and how you can use them:
- At parties and gatherings as decorative pieces.
- During festivals and rituals. You can hang them up from the porch, the deck, or even from an awning or rooftop.
- You can set them on the mantel, on a low side table, or on your craft desk.
- String them up with some twine and hang them across the backyard or over doorways.
Other Crafts You Might Want to Make
- DIY paper squishies
- How to Make Scented Candles
- DIY paper flowers
- How to Make Paper Rings
- DIY Hair Bows
- DIY Phone Holders
- 47 DIY Projects That Are Fun to Make
- 41 Rock Painting Ideas
- 36 Construction Paper Crafts
How to Make Paper Lanterns (Step-by-Step)
Video Tutorial
Equipment
- Pencil
- Ruler
- Retractable blade knife
Materials
- 1 x sheet of white paper 10″x 12″
- 1 x craft paper 12″x 12″
- Decorative tape
- Double-sided tape
- 3 x paper strips 12″x 1″
Instructions
- Gather all your supplies to get started on this project.
- Turn your craft paper over with the right side facing down.
- Using a pencil and a ruler, draw two lines—one each at the top and bottom of the paper about a centimeter away from the edge.
- Next, make markers at every centimeter gap along both lines.
- Using the ruler and pencil, connect the markers on either end by drawing a line from top to bottom. Repeat this across the paper with all the markers.
- Grab a craft cutter and make incisions down each individual line you just drew. You paper will now be divided into strips joined by the strip
- Cut out the very last strip to create a gap.
- Next, grab your white paper and line both the top and bottom with a length of double-sided tape. Carefully stick the top and bottom of the craft paper(with the printed side facing up) to the top and bottom of the white paper.
- The white paper is smaller in size, so the craft paper will billow out.
- Next, line the sides of the white paper with double sided paper and roll it inward to stick the ends together. If you remember, you cut out one strip right at the end to create a gap. So, stick the side of the paper you just rolled onto that gap.
- To get a better finish on your lanter, cut out three more strips of white paper. You can line two of those strips with double-sided tape and stick around the top and bottom of the lantern.
- The third strip can be folded into a handle and then stuck onto the top.
- Feel free to decorate your lantern with washi tape, stickers, glitter, and other embellishments. You can also place an electric tea light candle inside to light it up.


