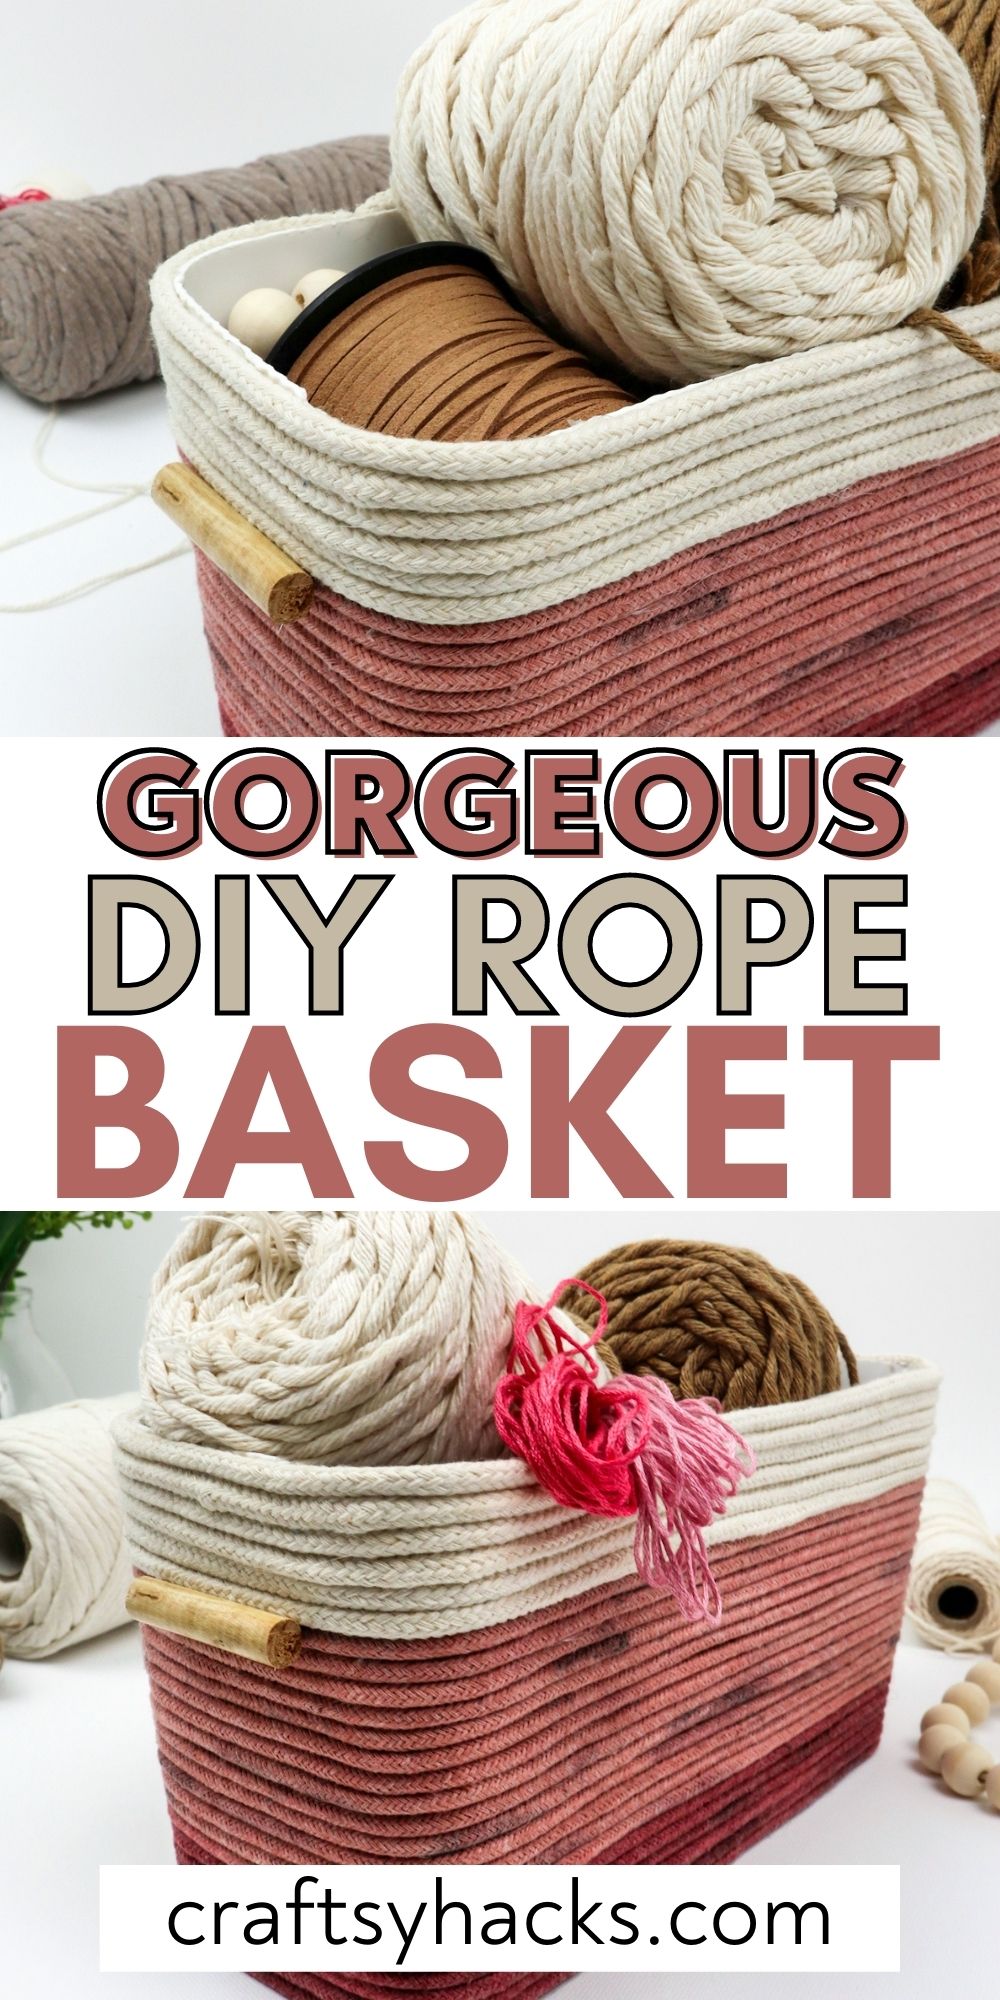
DIY Rope Basket
This post may contain affiliate links: full affiliate disclosure.
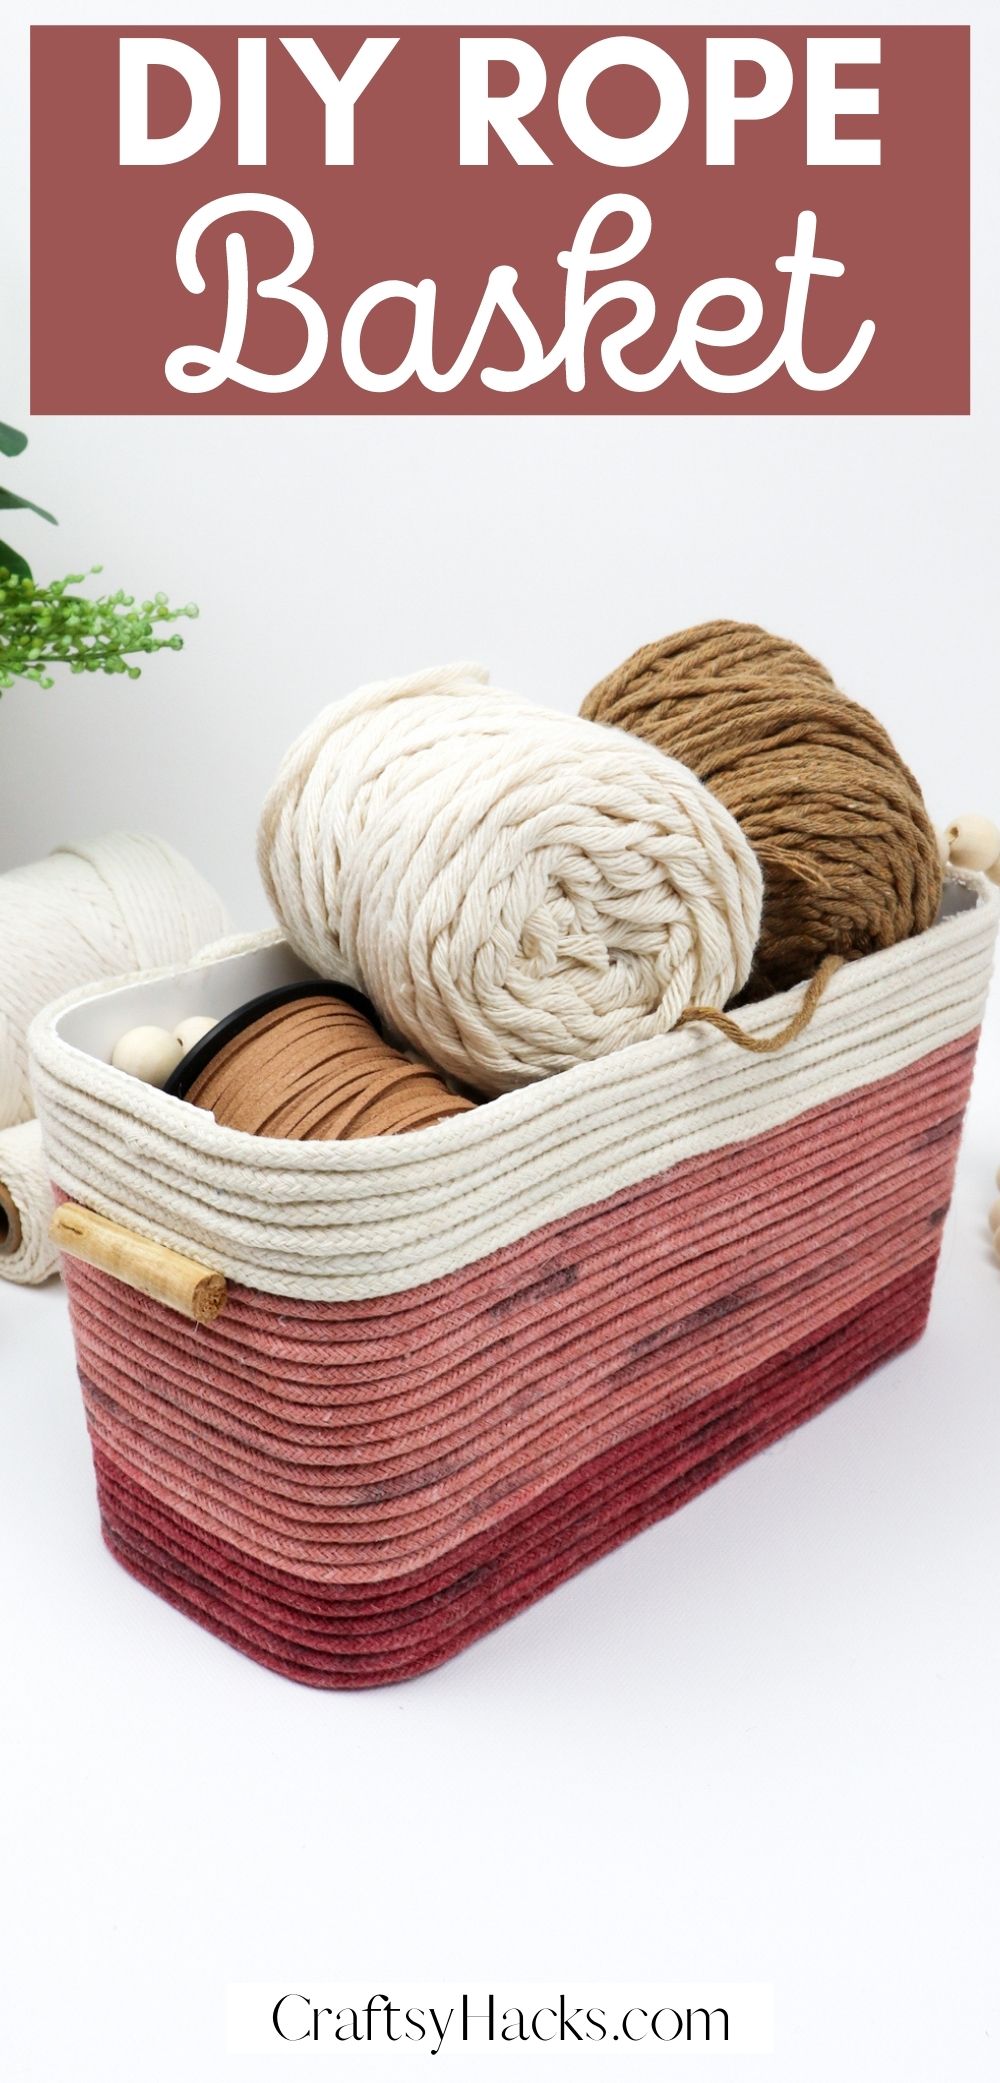
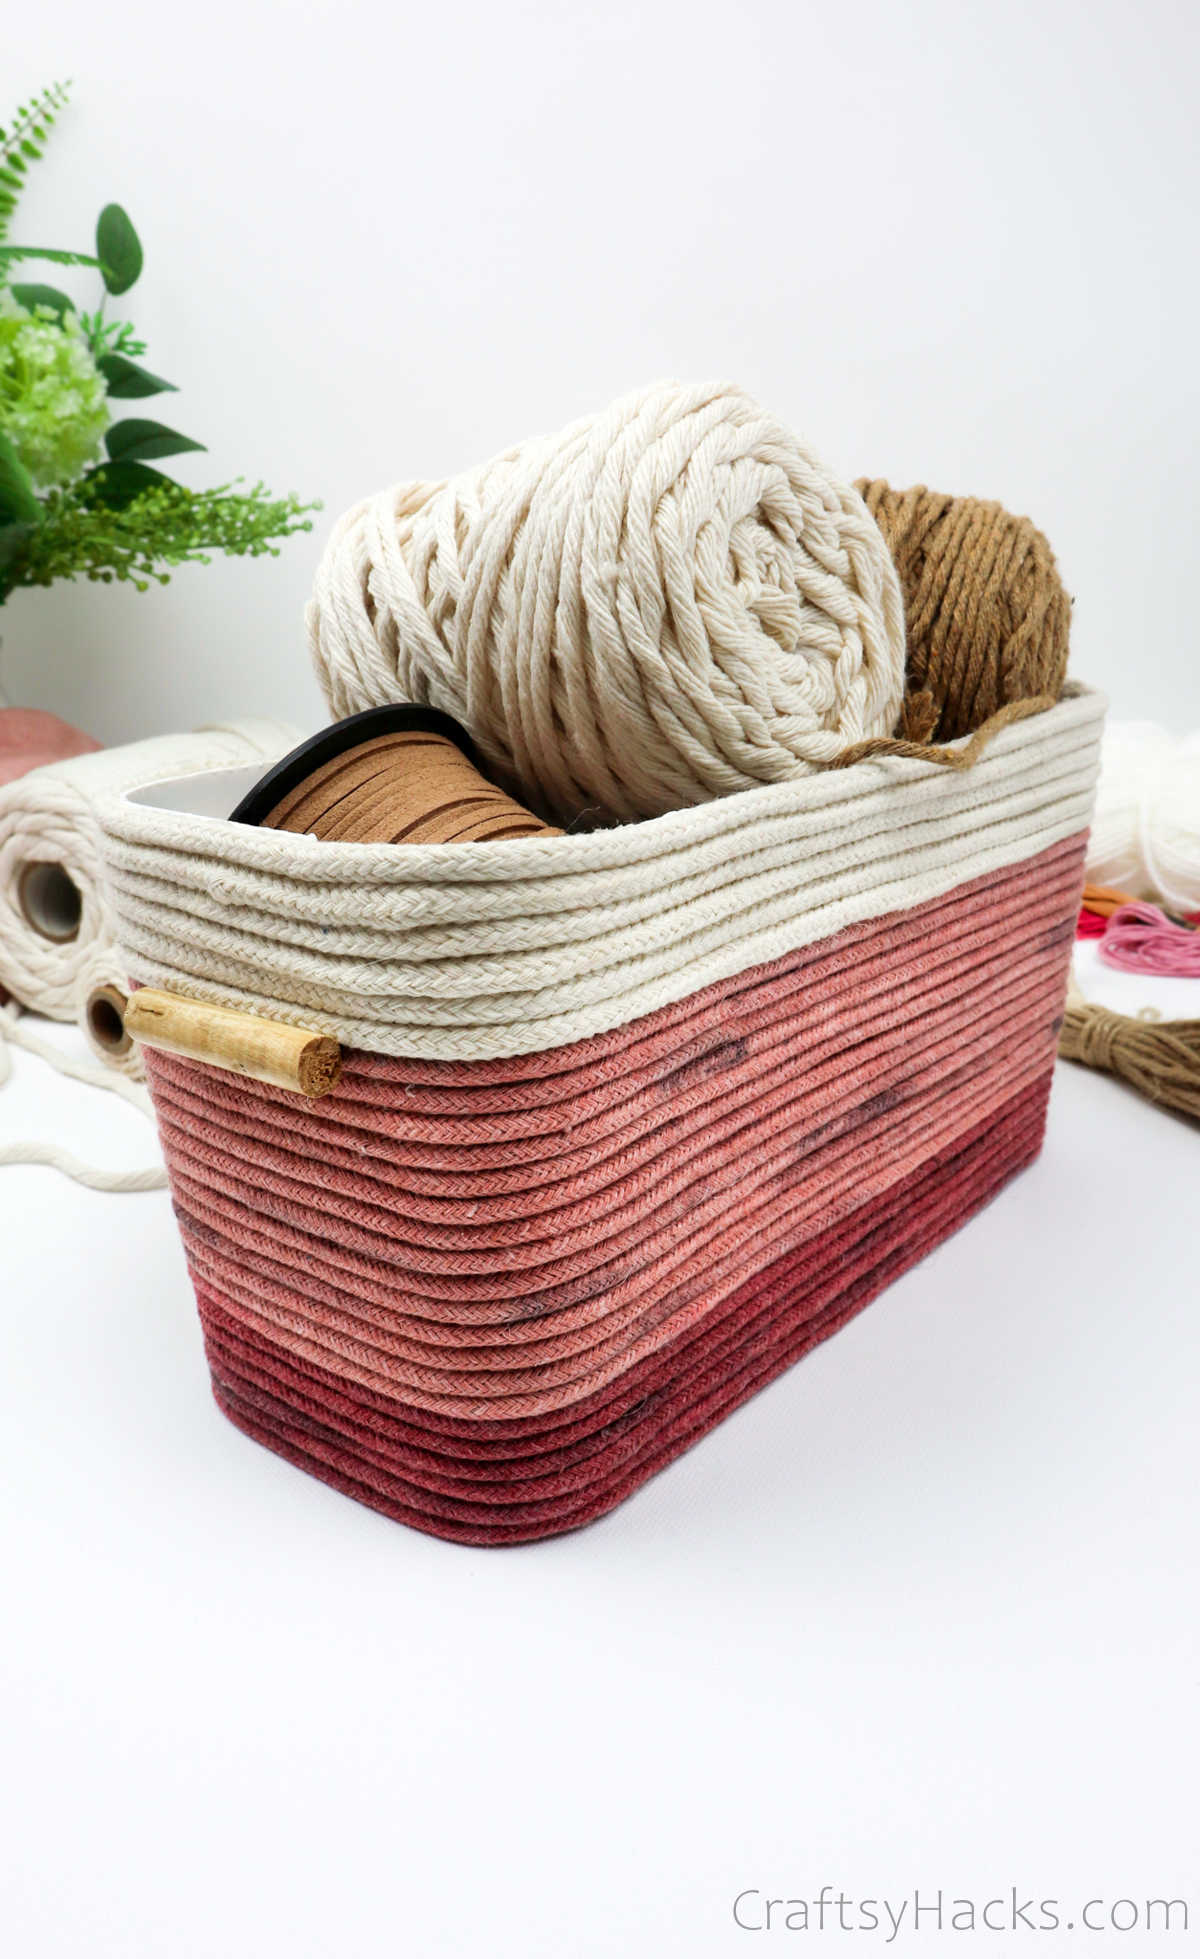
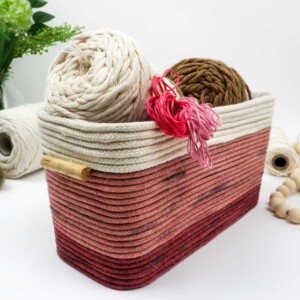
Upcycle your boxes by making this DIY rope basket. A great organizer for increasing your storage space in style.
Are you a fan of macrame crafts? Don’t you just love you can twist, braid and knot something as simple as rope, and hey presto, you’ve got a work of art on your hands.
This DIY rope basket might not require elaborate macrame skills but is just as crafty, just as trendy and bonus, super easy to make. In under an hour, you’ll have a gorgeous rope basket.
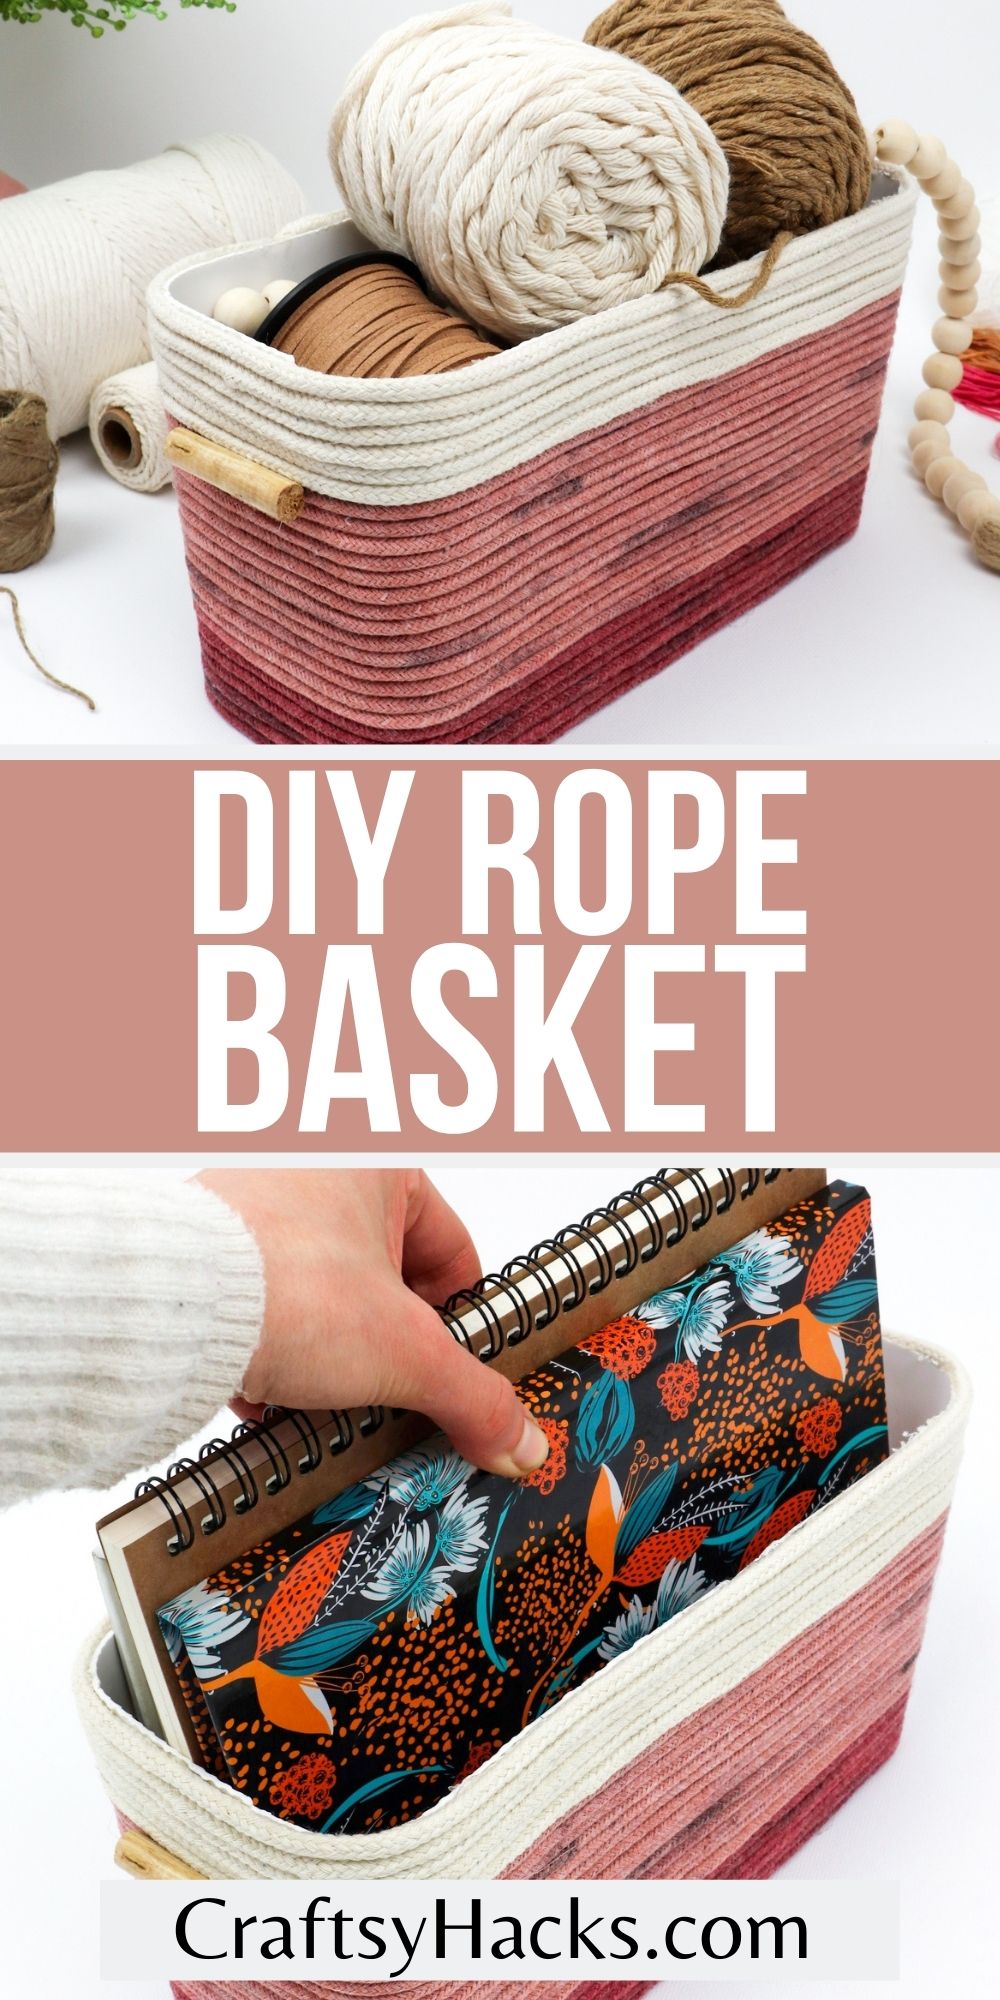
You can use it as a gift basket, organize your sewing supplies, knit and crochet hooks, needles, and yarn. Depending on how big your basket is, you can even use it as a folding basket!
What You’ll Need to Make the Basket
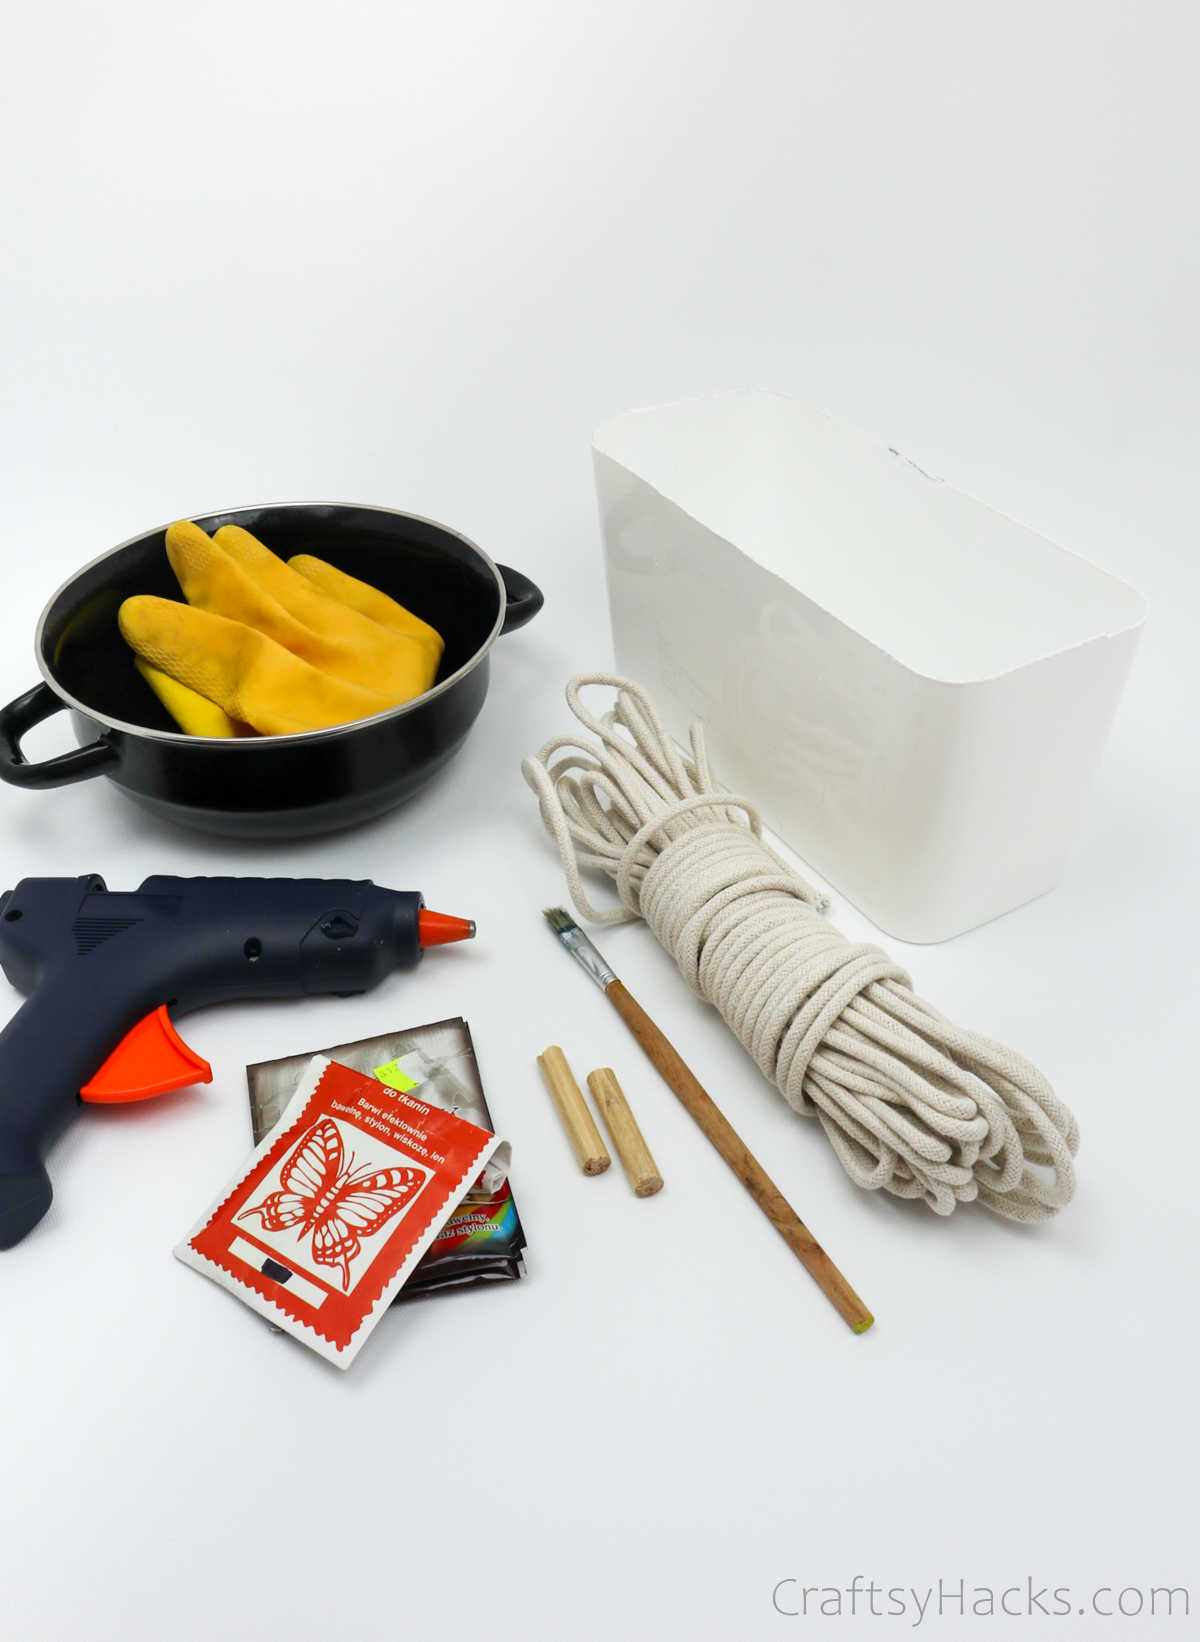
So, without further ado, here’s a list of everything you’ll need to make this DIY rope basket.
- Plastic box (or just use any box you have, can be cardboard too)
- Clothesline rope
- Fabric dye powder
- Hot glue gun
- Scissors
- Paintbrush
- Old pot
- Gloves
- Wooden sticks (optional)
How to Make DIY Rope Basket
It all comes down to the rope you plan to use. It’s much easier—and practical—to buy some run-of-the-mill rope and then dye it using food dye.
You’ll be able to experiment with color and patterns. You’ll also have that added satisfaction of taking your crafting skills one step further by starting from scratch.
Step 1
So the first order of business is to cut the rope into the length you plan to use.
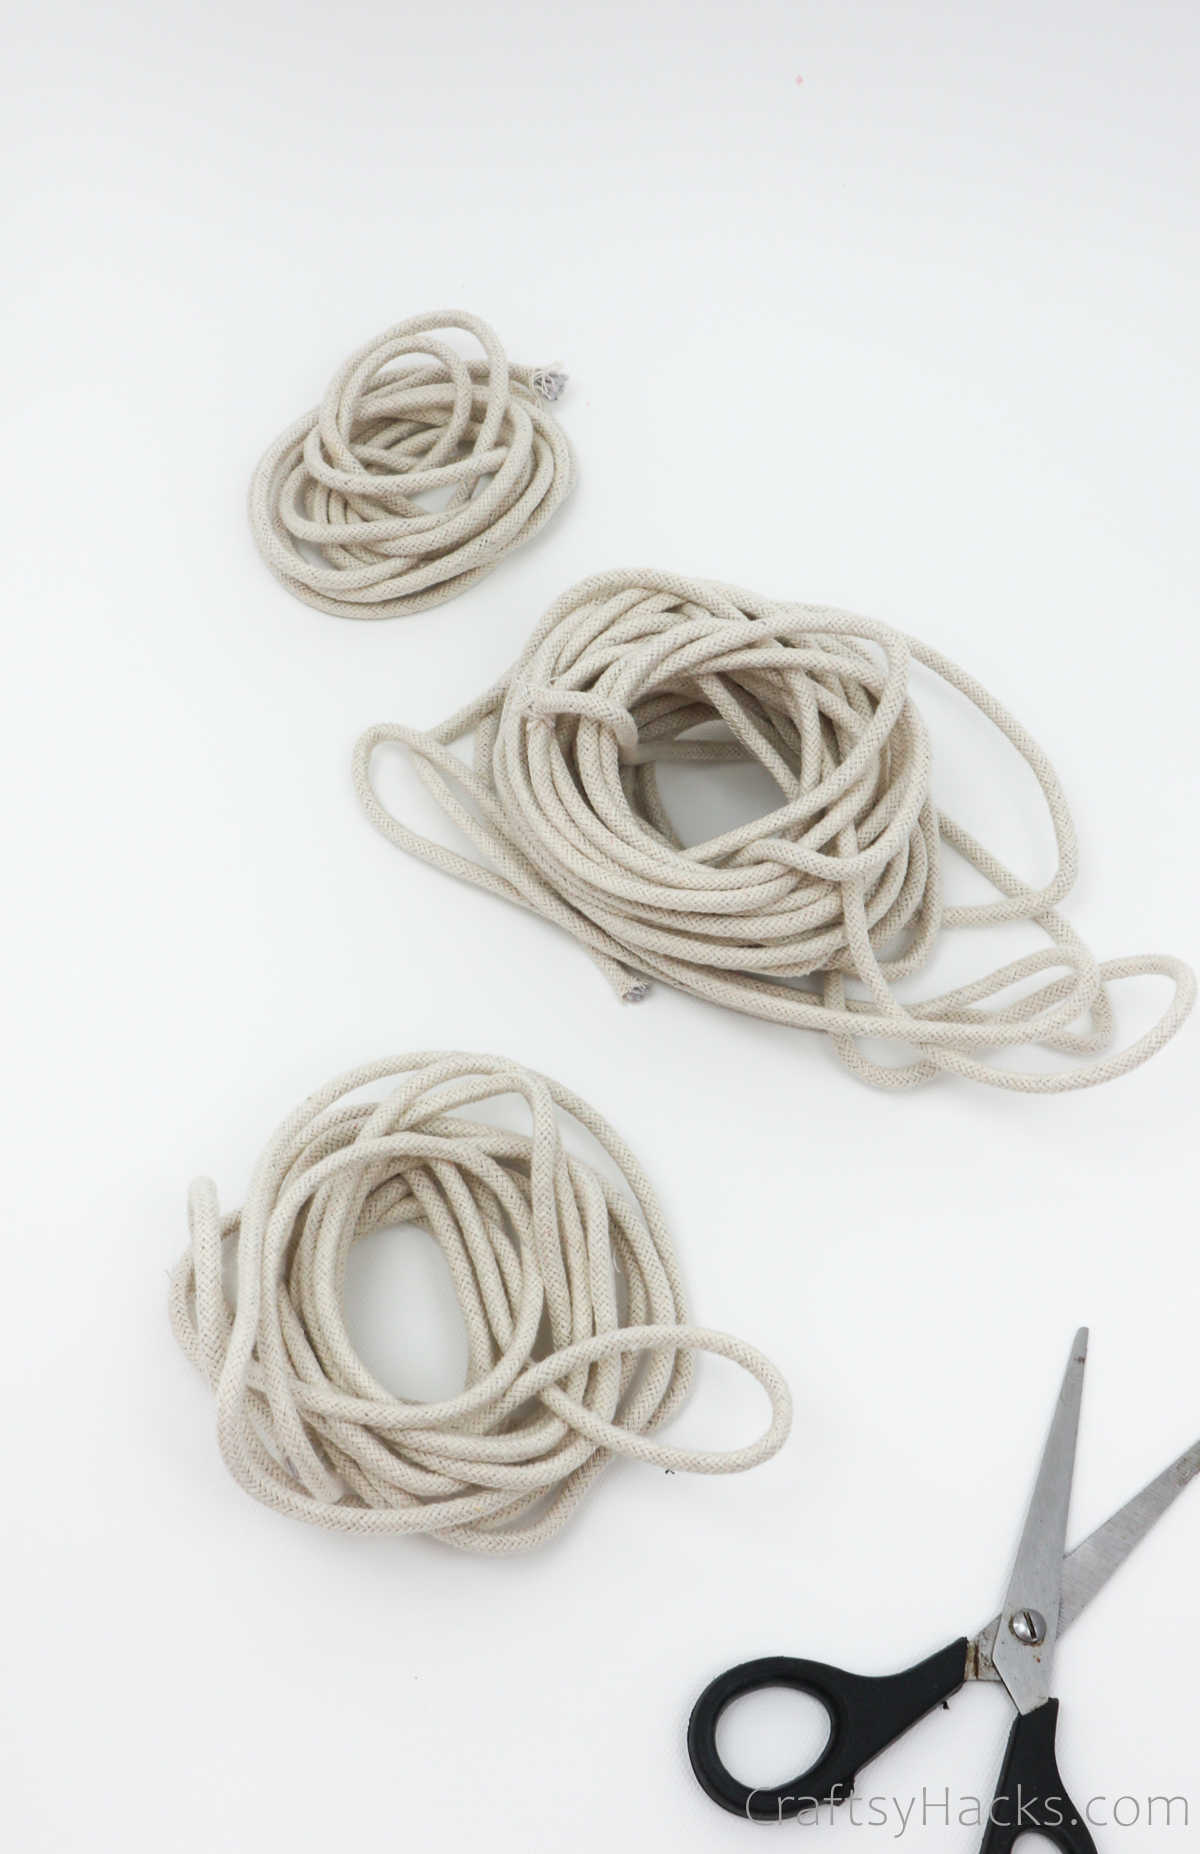
Step 2
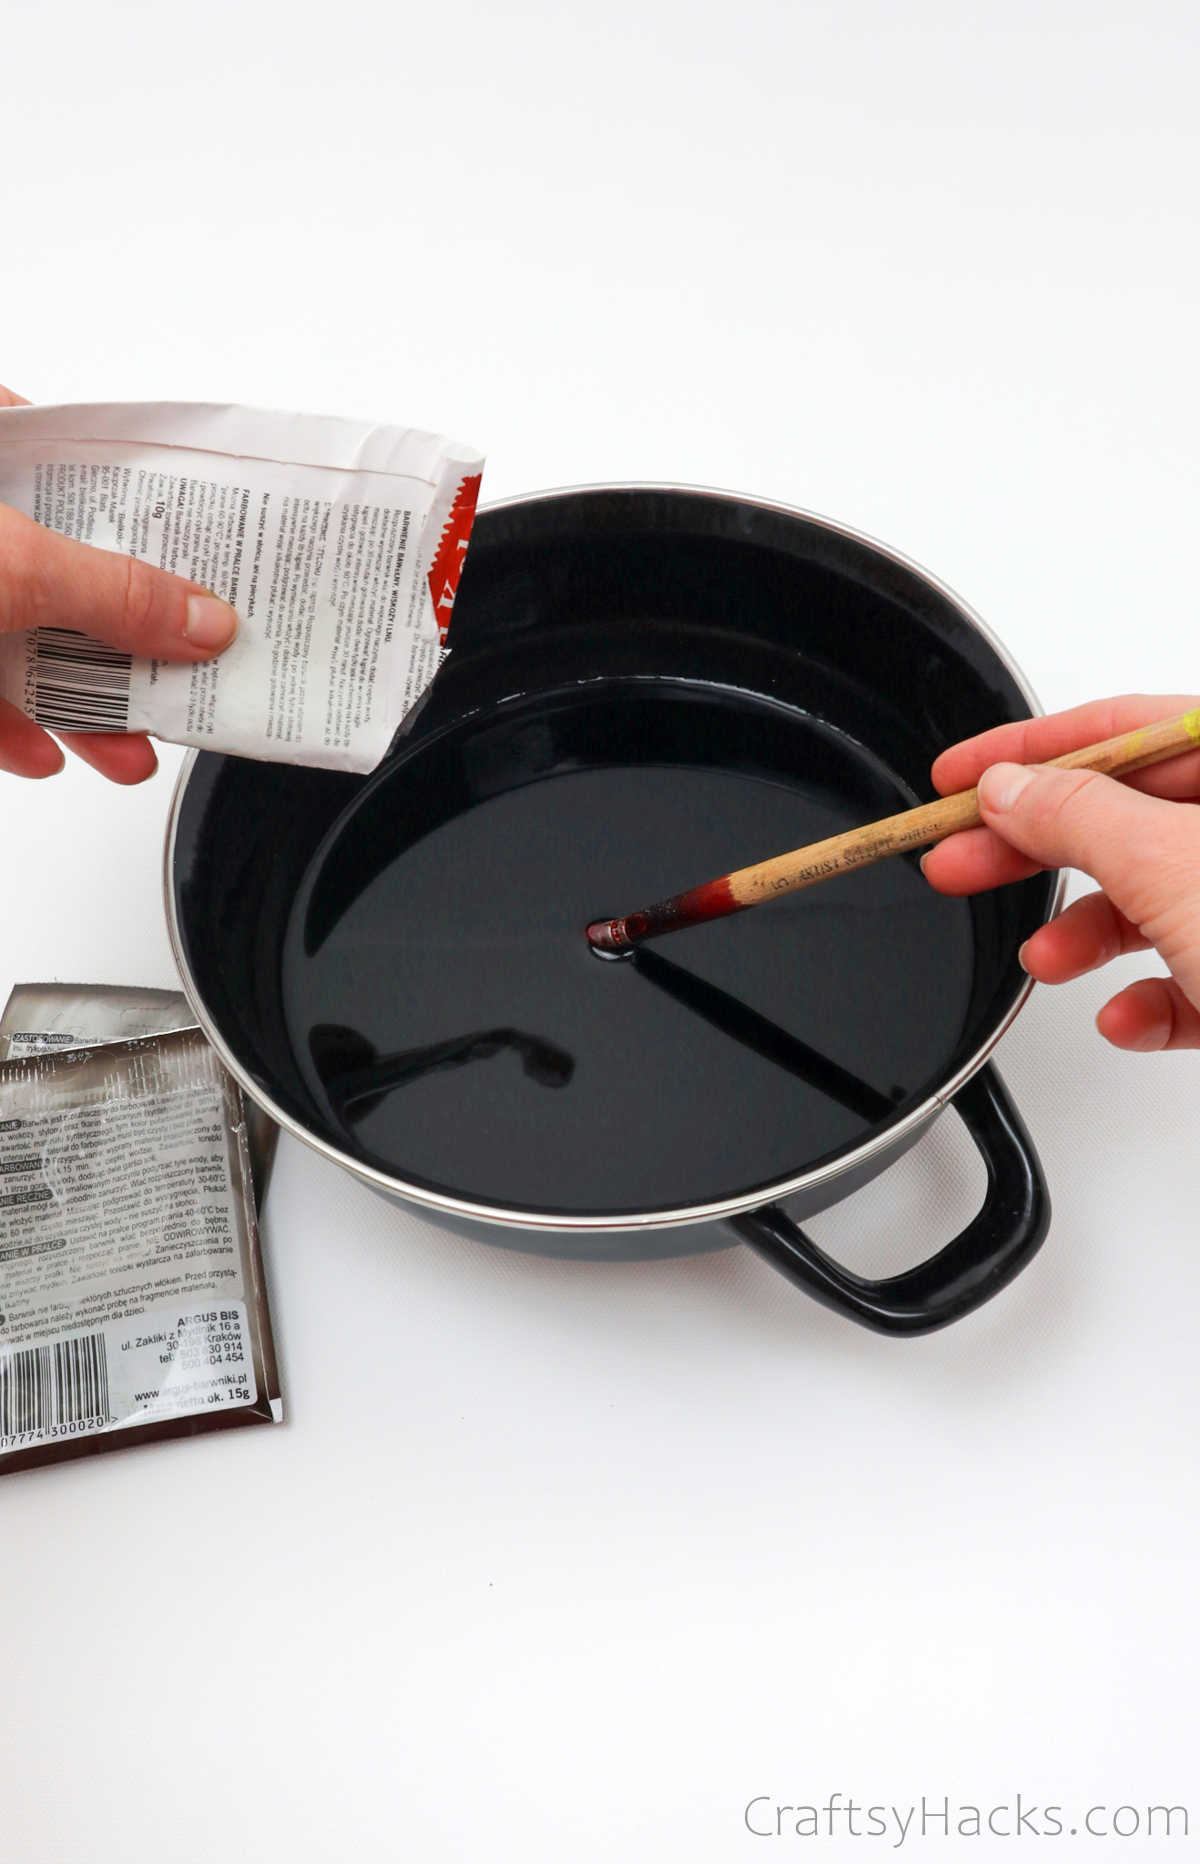
Step 2 is the fun part-dying! But, before you start the dyeing process, always-always-remember to spread out plenty of newspapers to catch drips and dye spills.
Grab your food color(s) of choice and mix it with some water. Don’t forget to don protective gear like gloves. This will help you avoid staining your fingers and nails.
Use a wooden stick, stirrer, or chopstick to stir the food dye and mix it into a smooth paste.
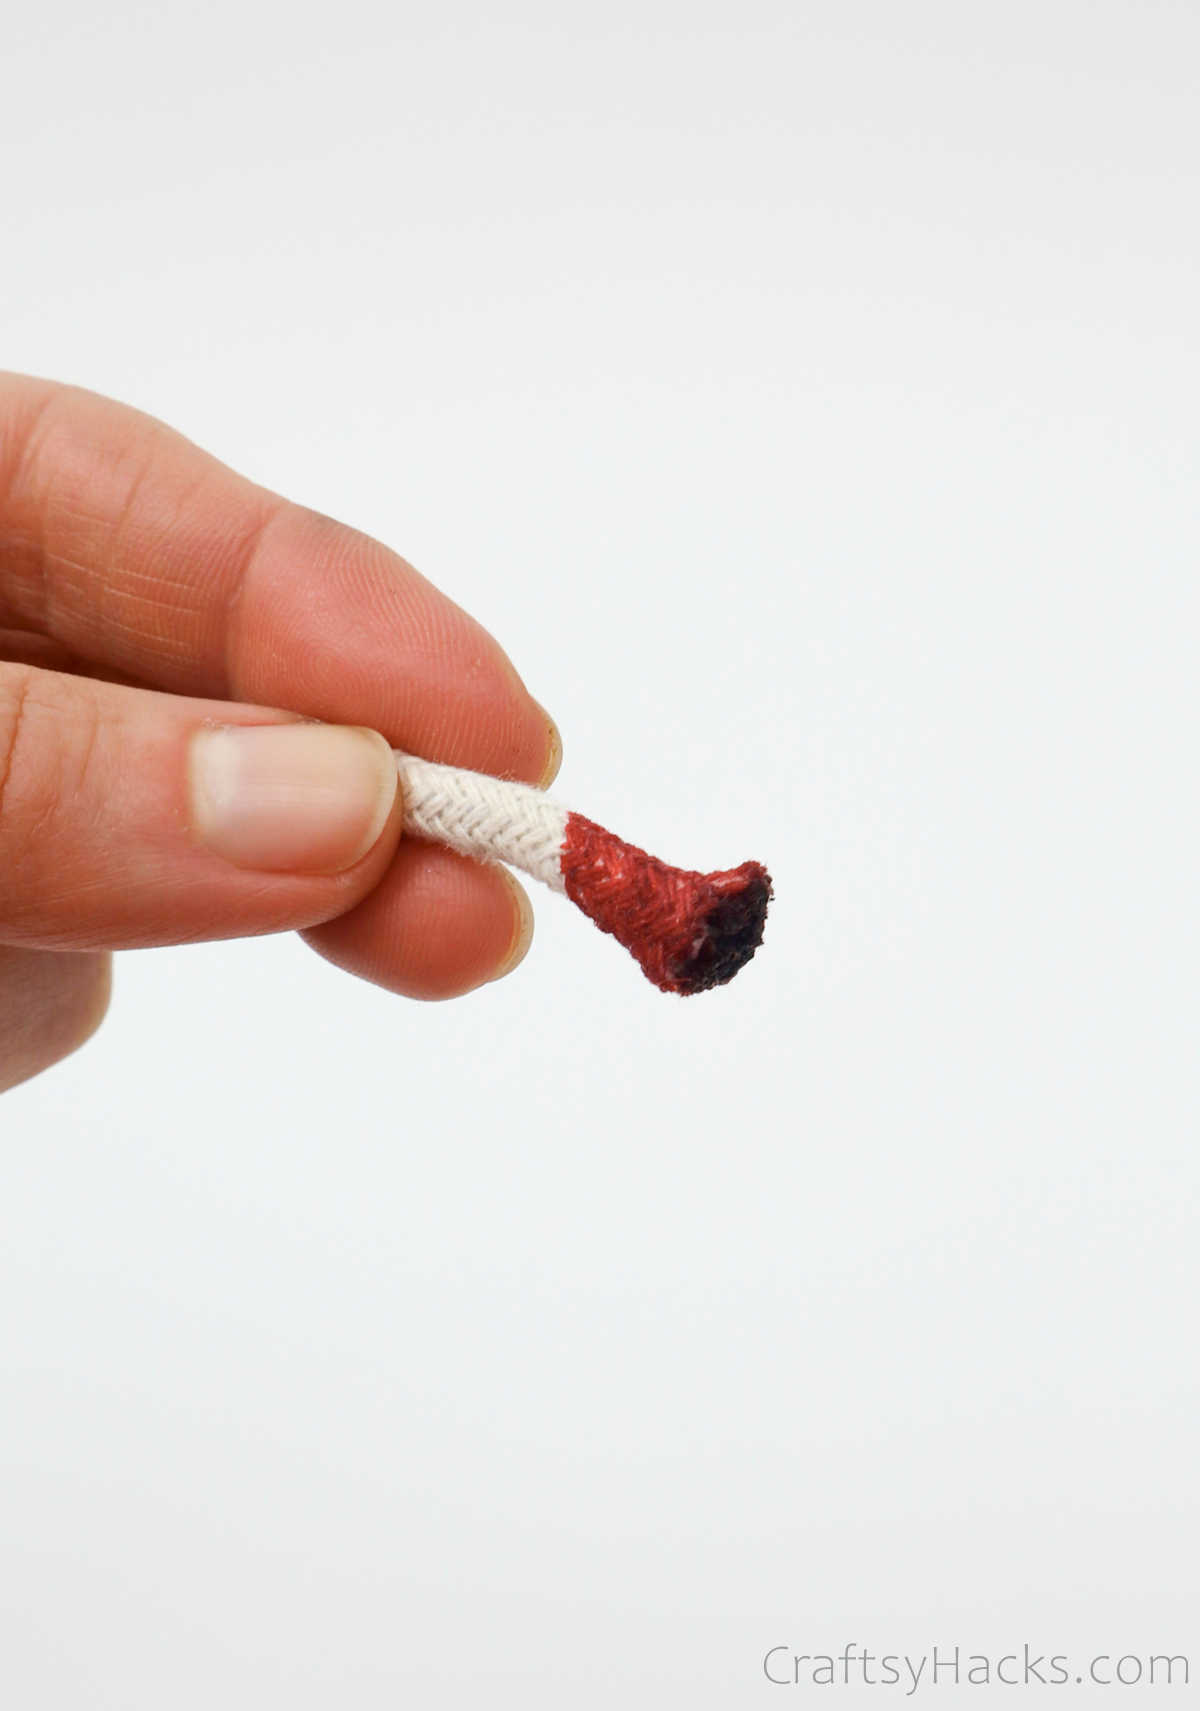
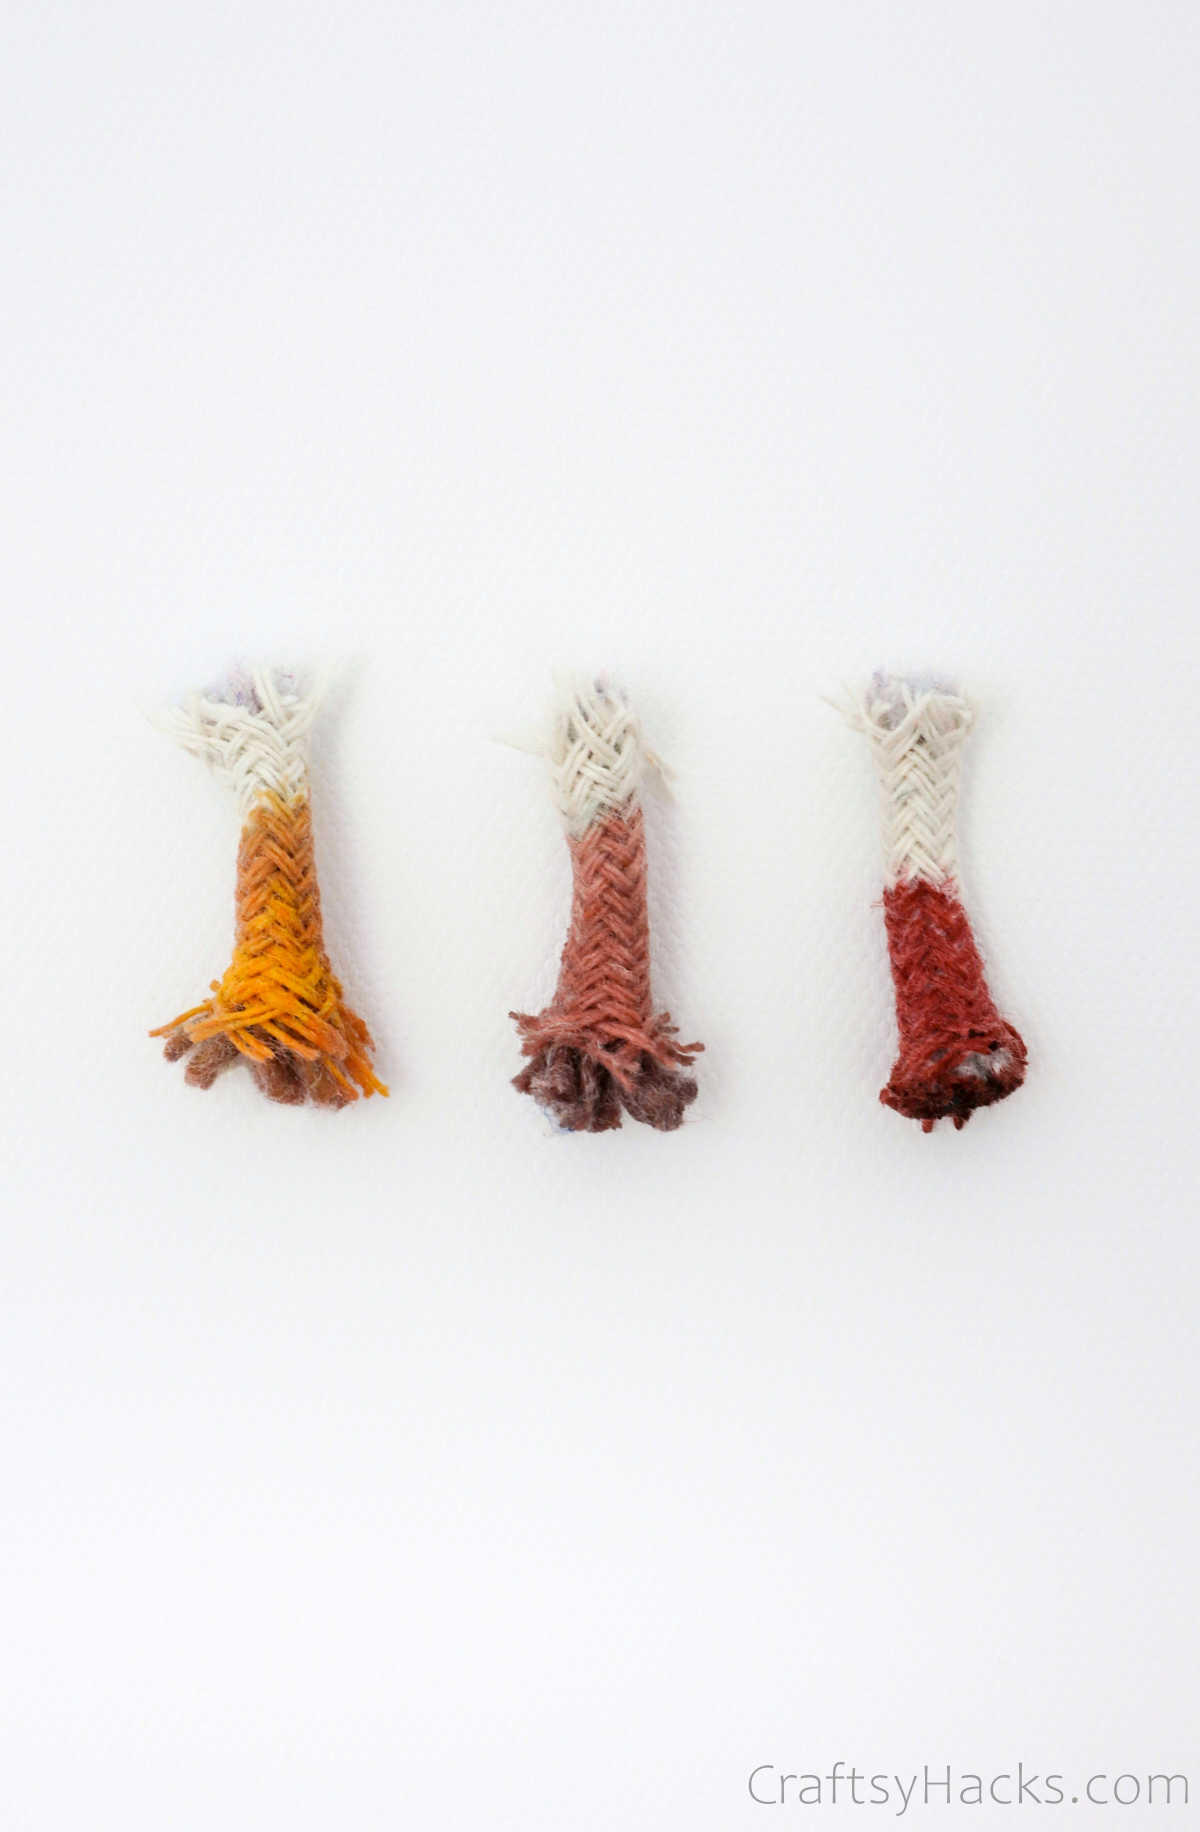
Here’s a tip for you: cut small bits of rope—around an inch or so in length—and dip it into the dye to determine how the rope absorbs the dye and what color it turns into.
Step 3
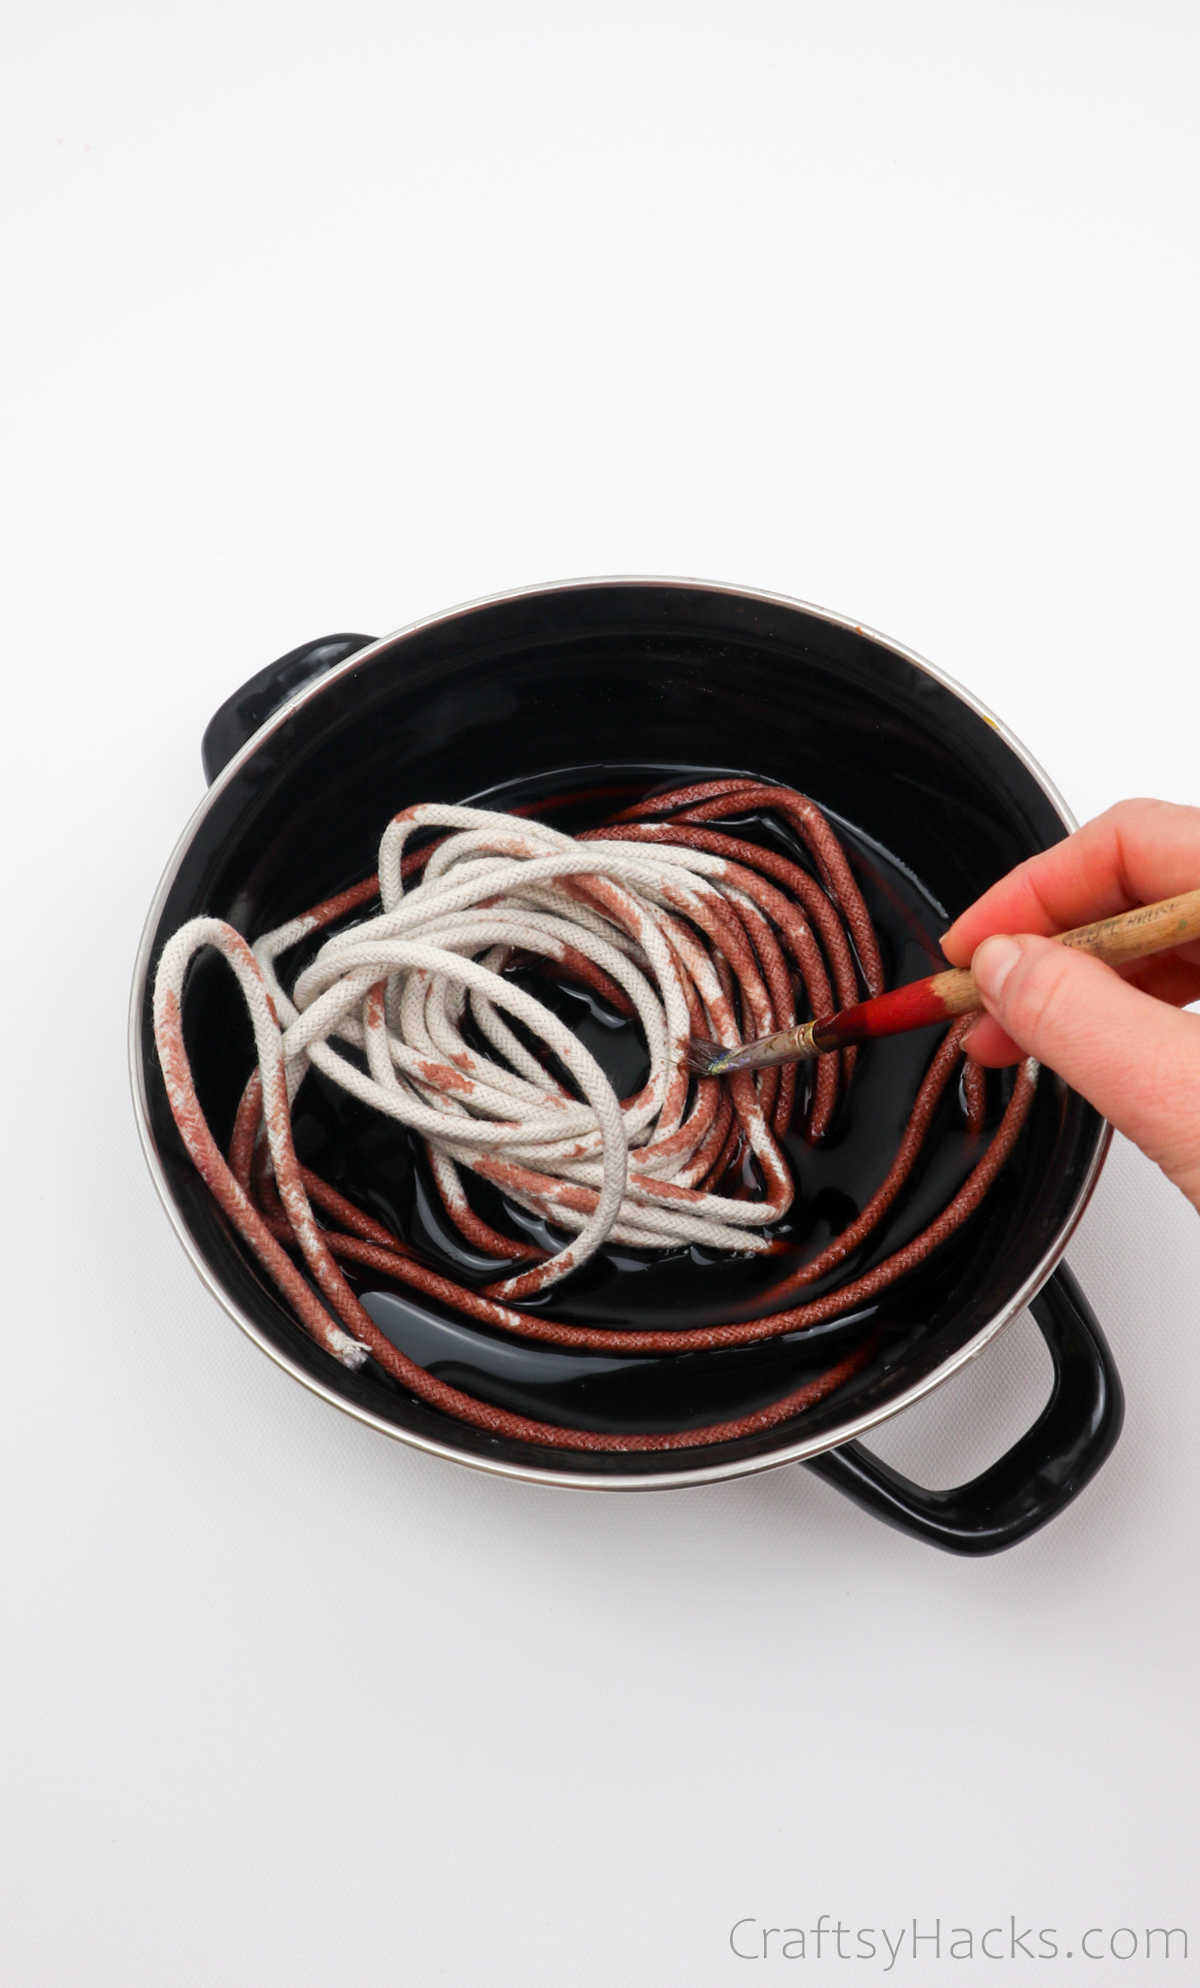
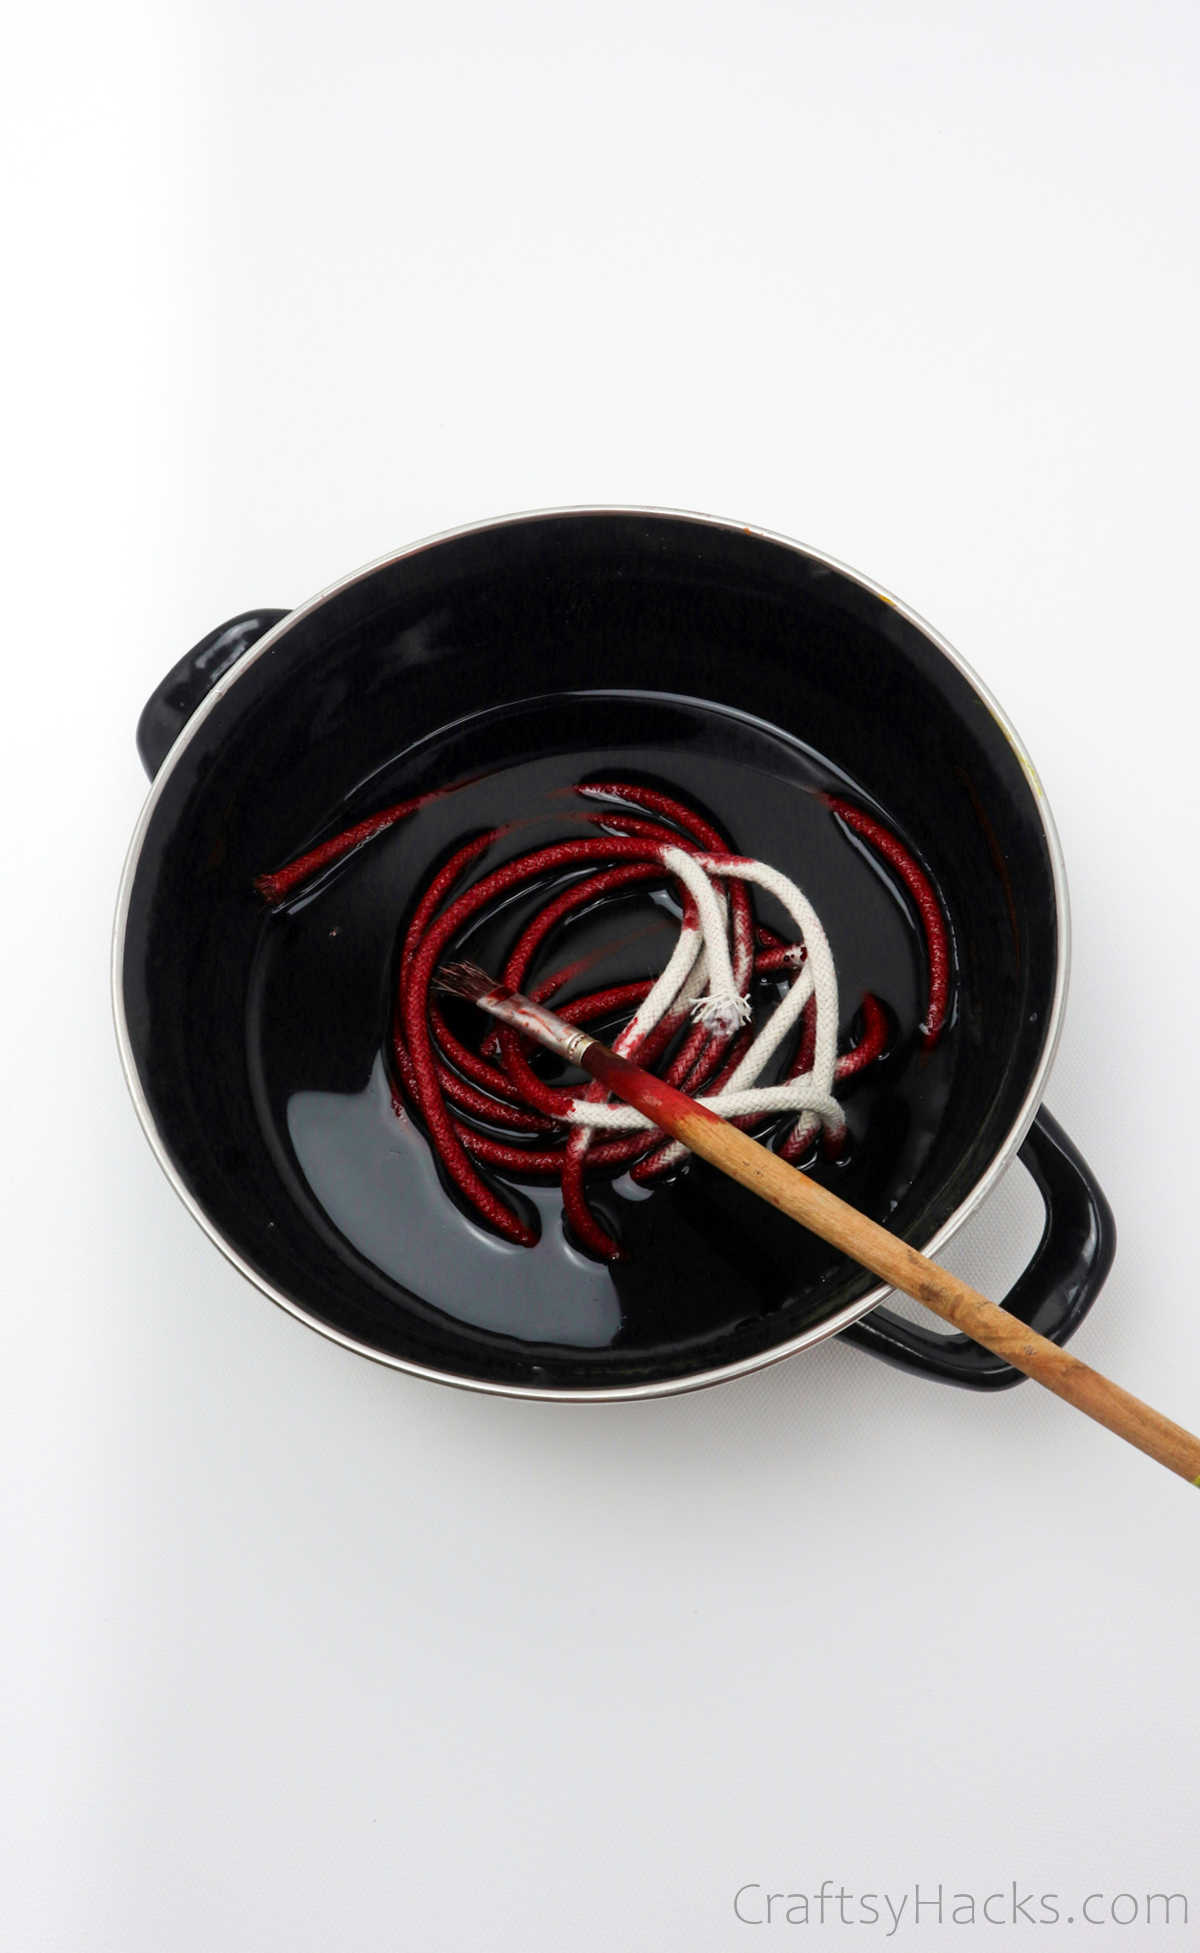
Dip the actual rope you’ll be using in the dye and use the wooden sticks to stir them around in there. Ensure that the dye coats the rope evenly.
Swirl the rope around until it’s fully colored and you don’t see any white patches.
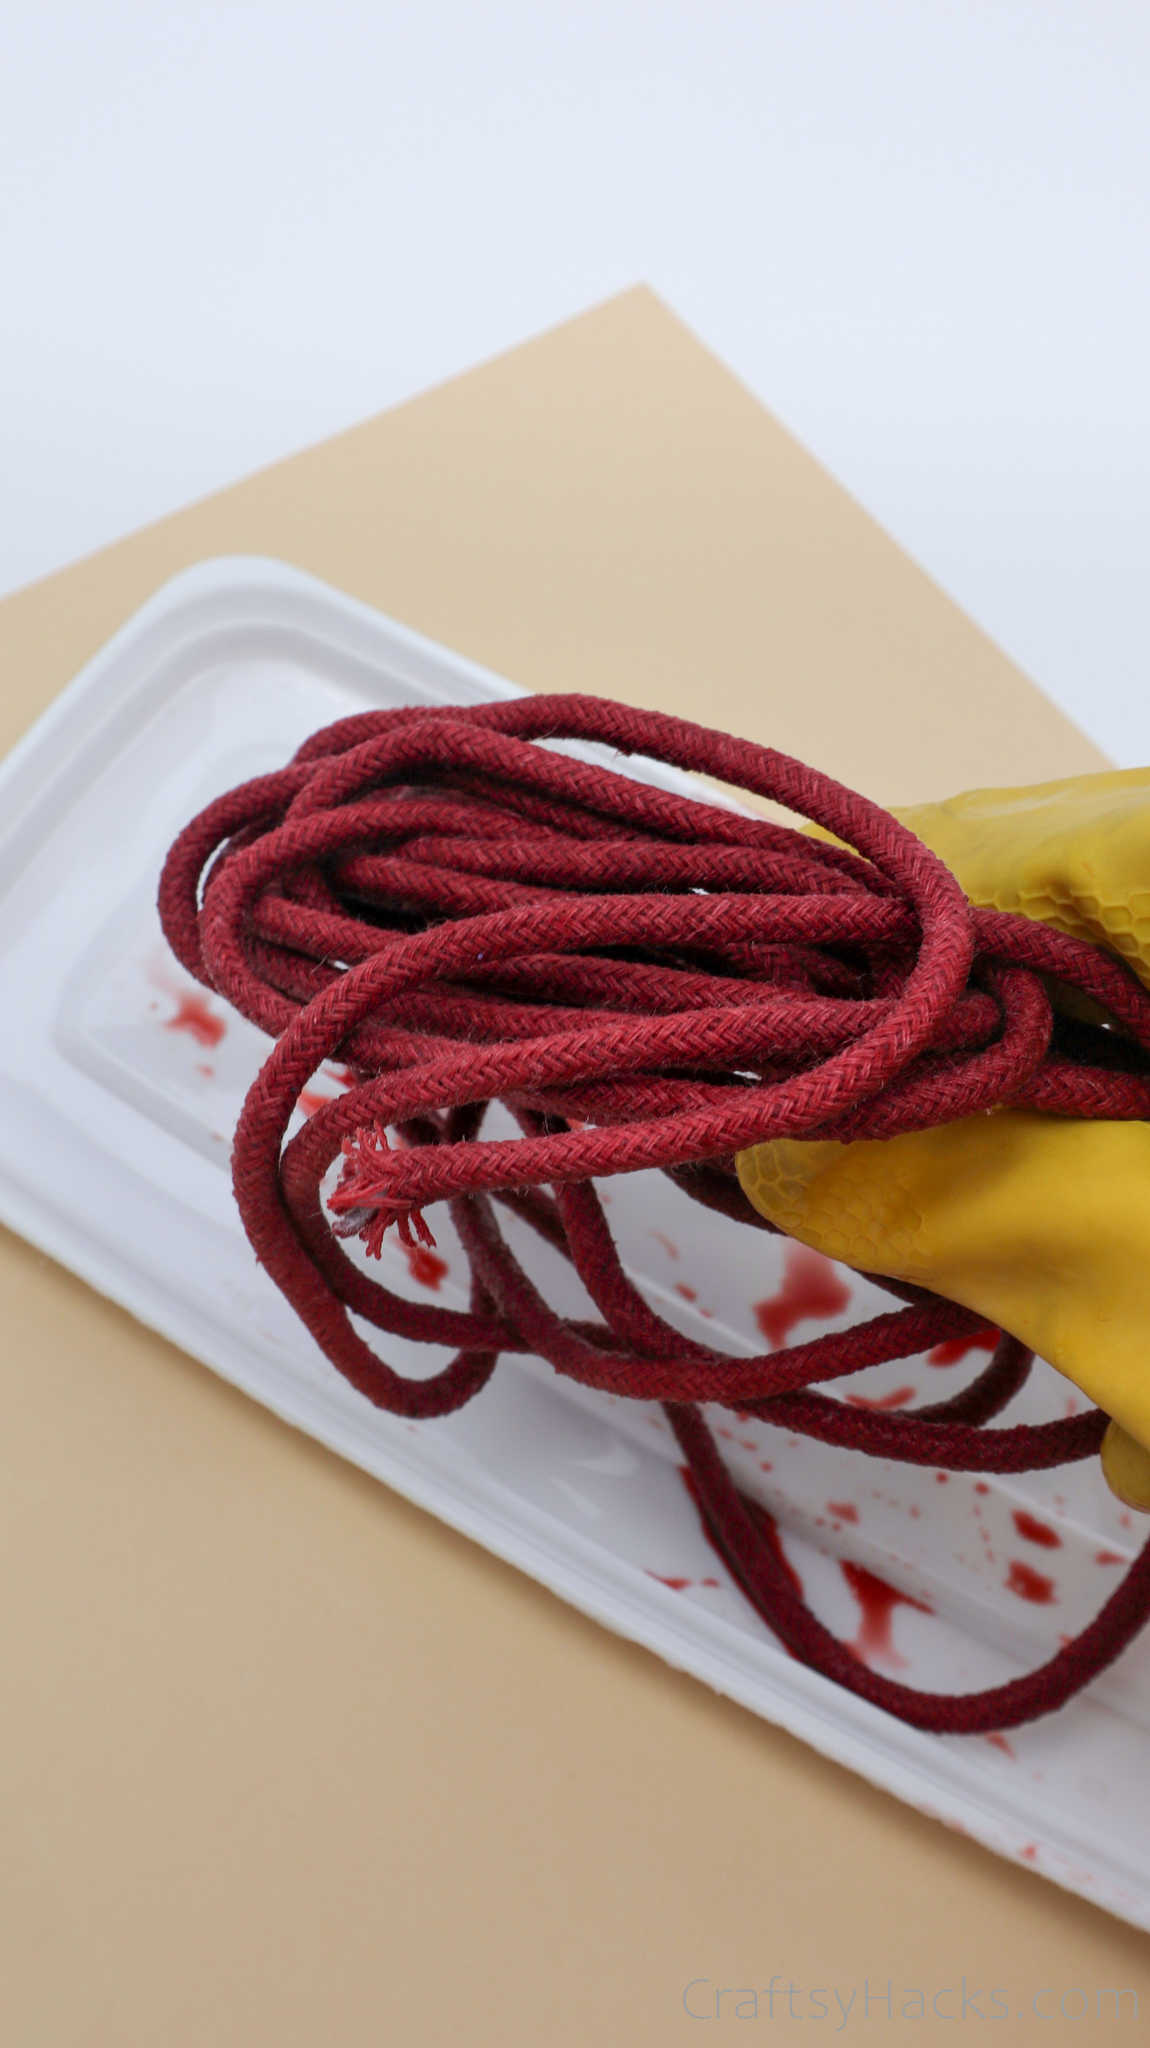
Your dyed rope should look like this when you’re done with it. Set it aside and allow it to dry.
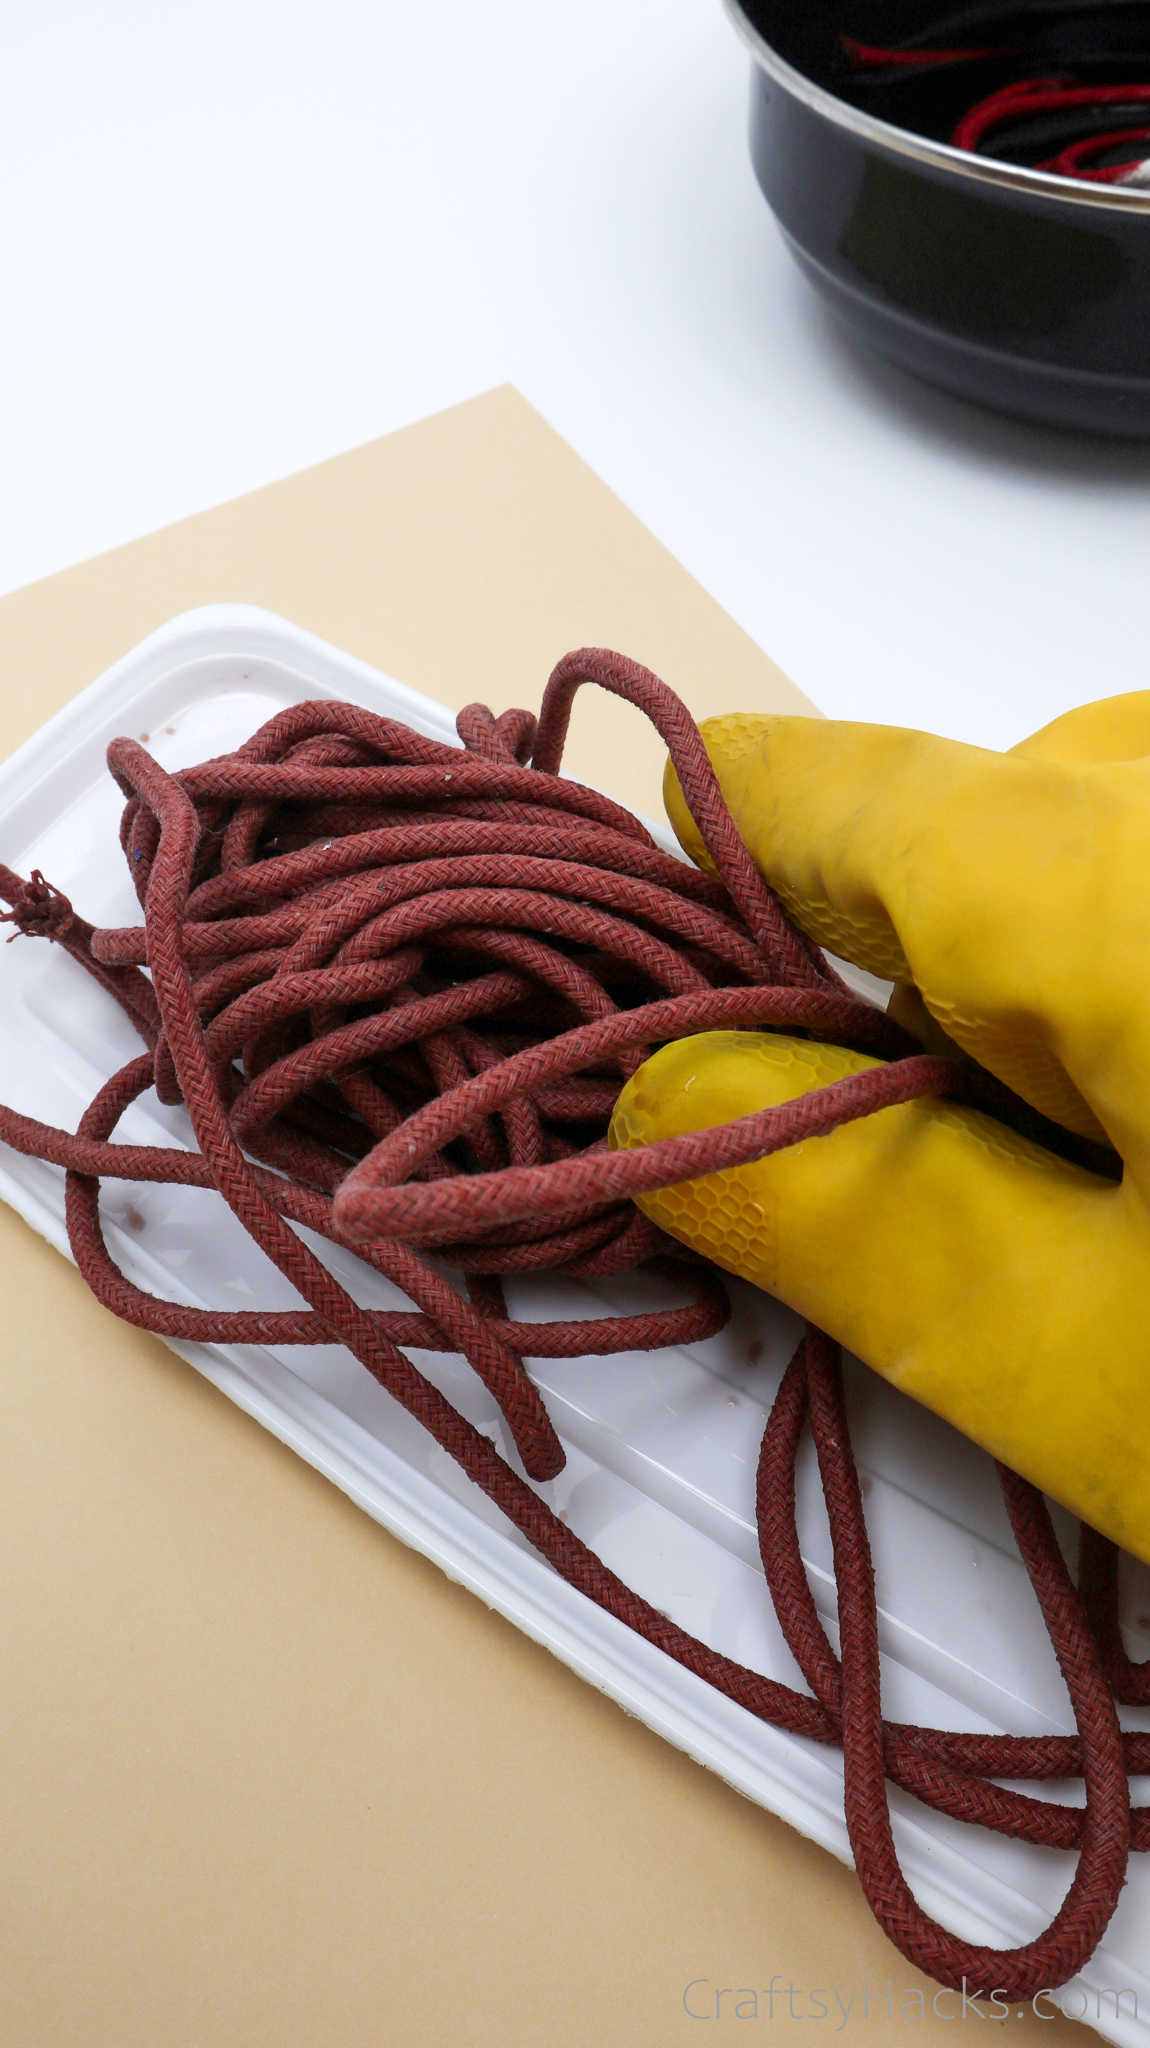
Repeat this step with all your rope until you have all the colors you need. Allow the rope to dry completely before you use them.
Step 4
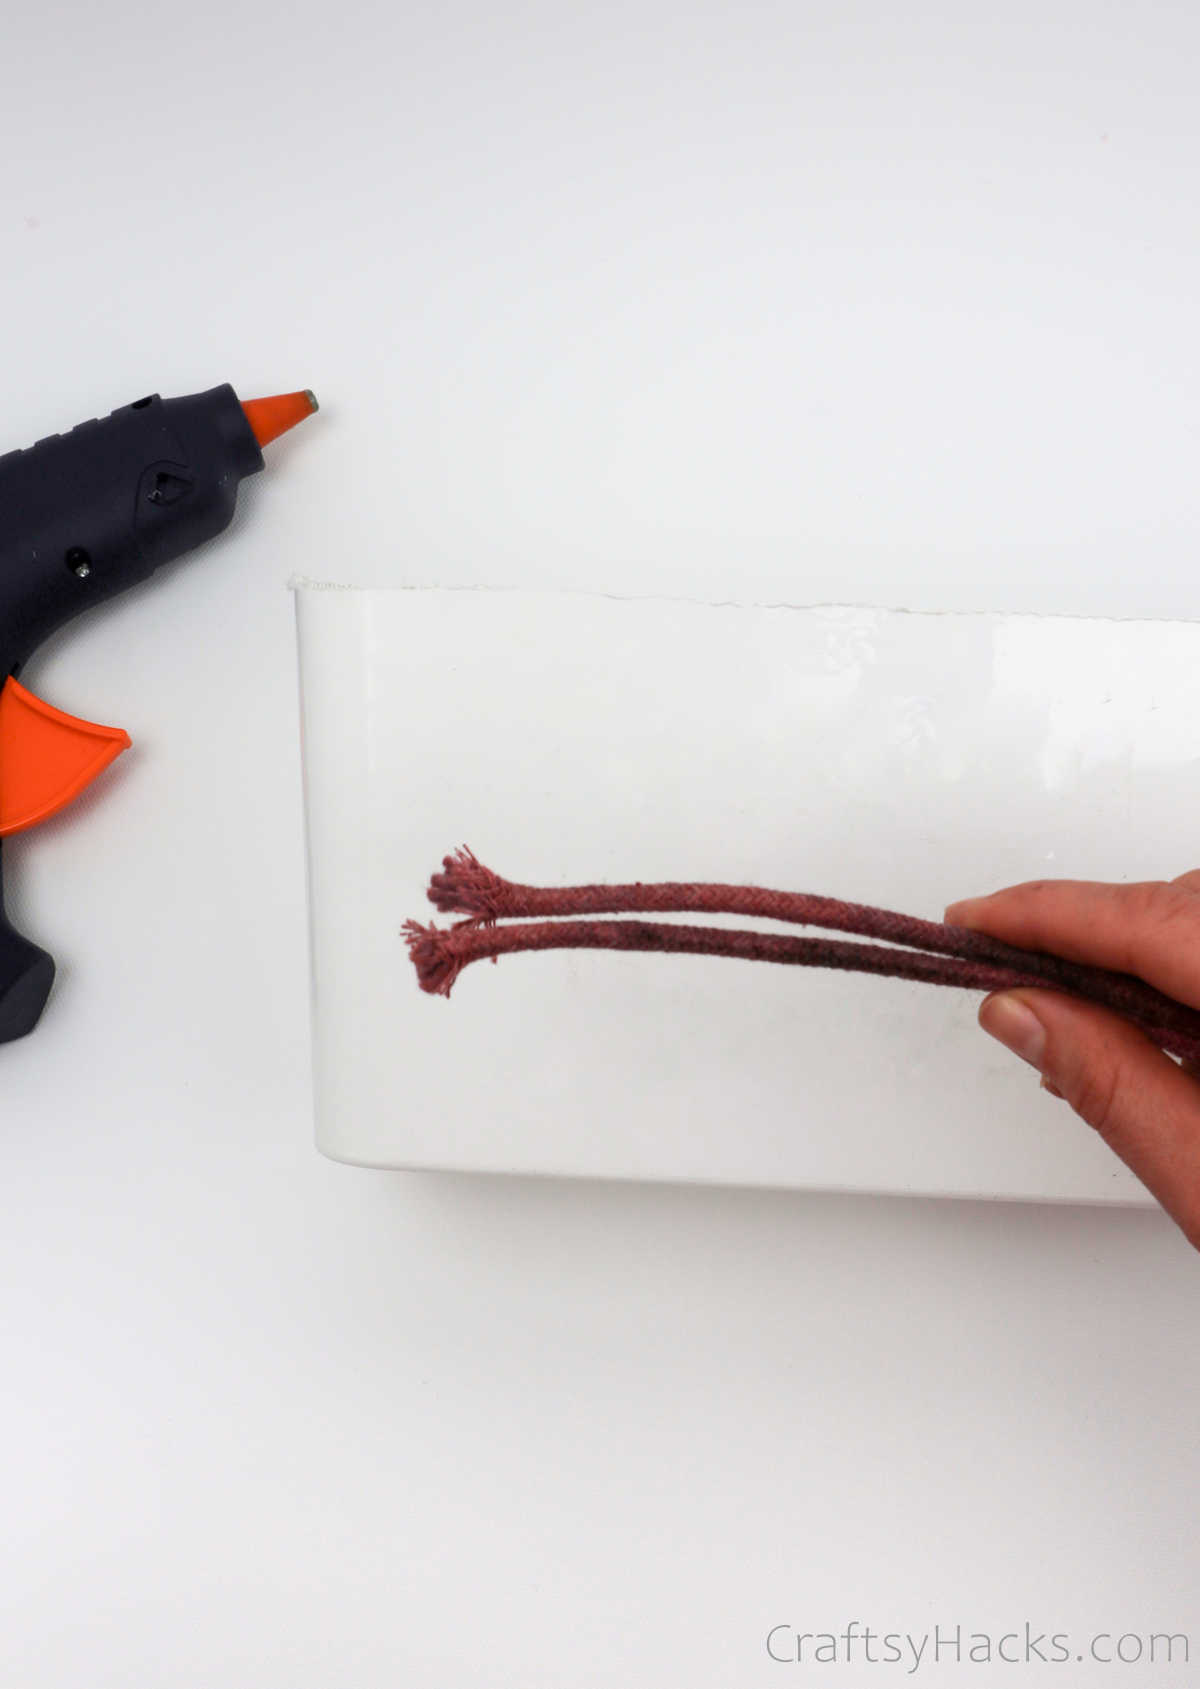
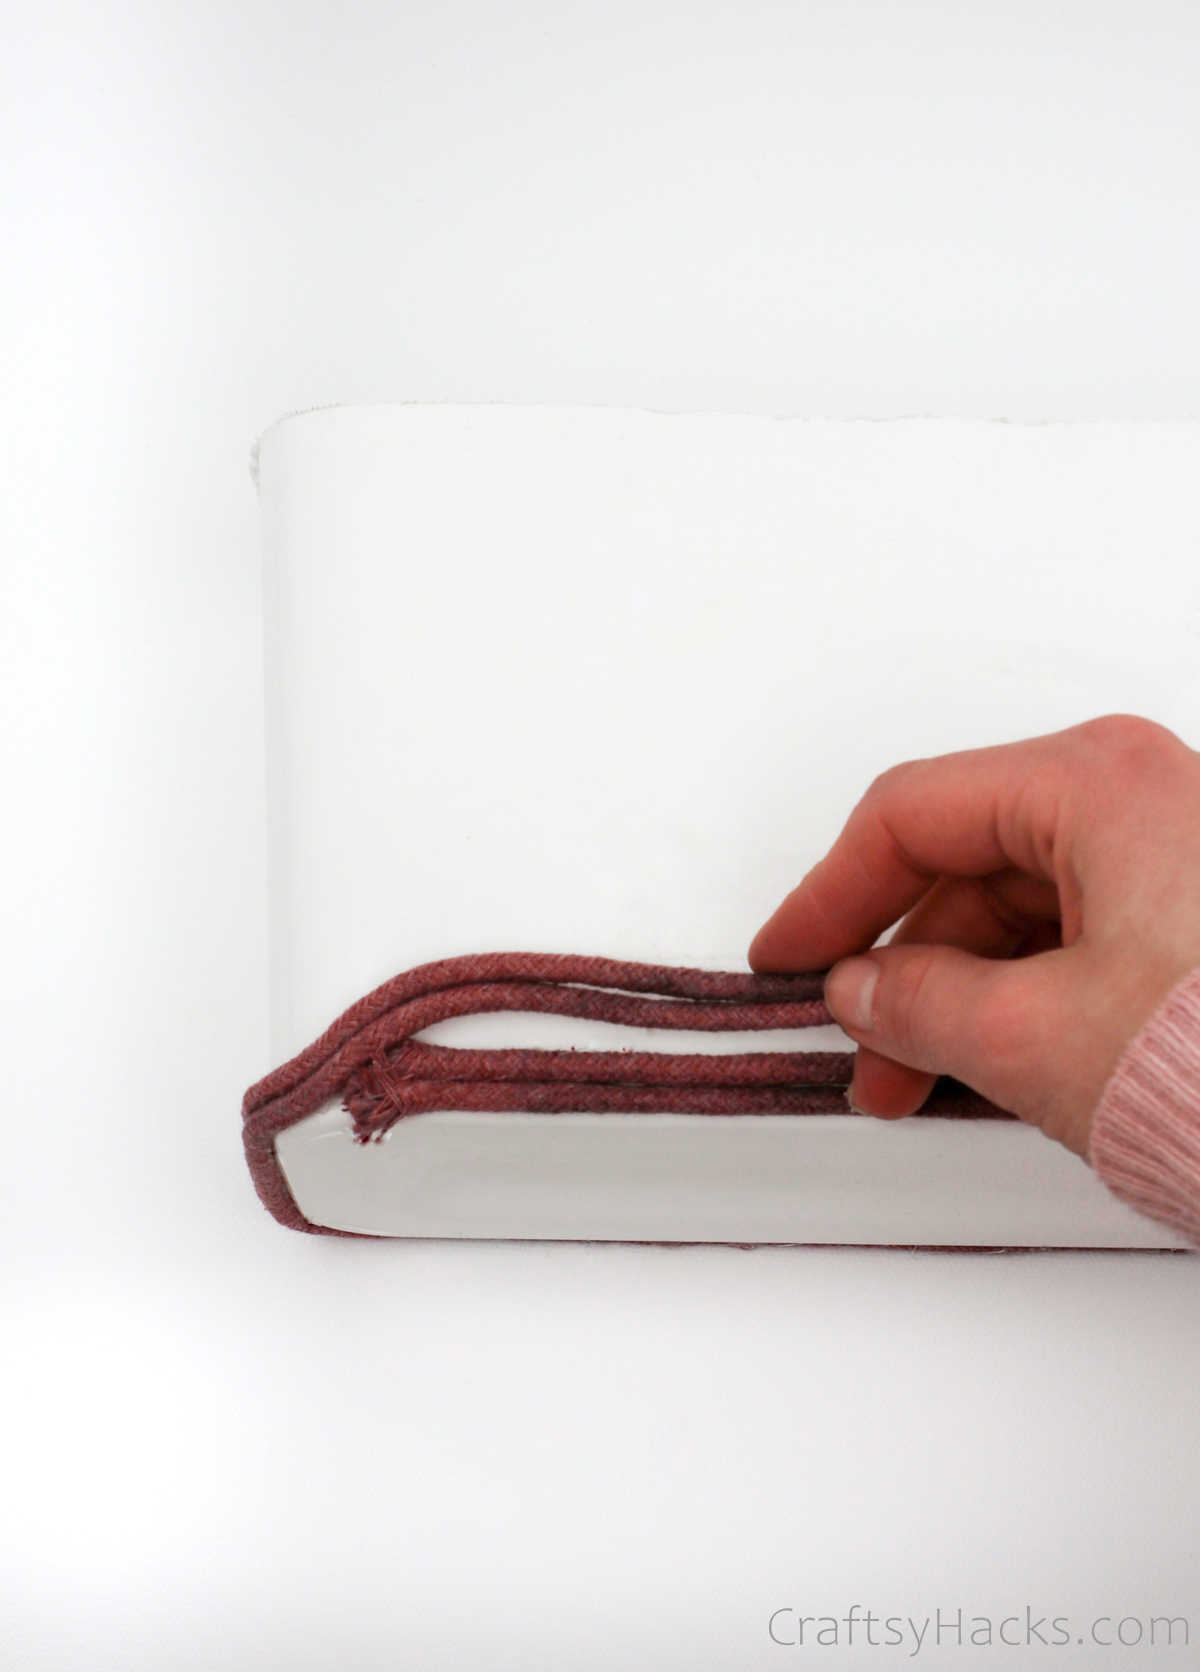
It’s time to start wrapping the rope around the basket. So get out your trusty hot glue gun and have it ready to use.
Grab two ends of the rope and align them with each other.
Step 5
Use your hot glue gun to apply a strip of glue from one end of the basket, and then continue till you’ve applied an entire strip of glue around the base.
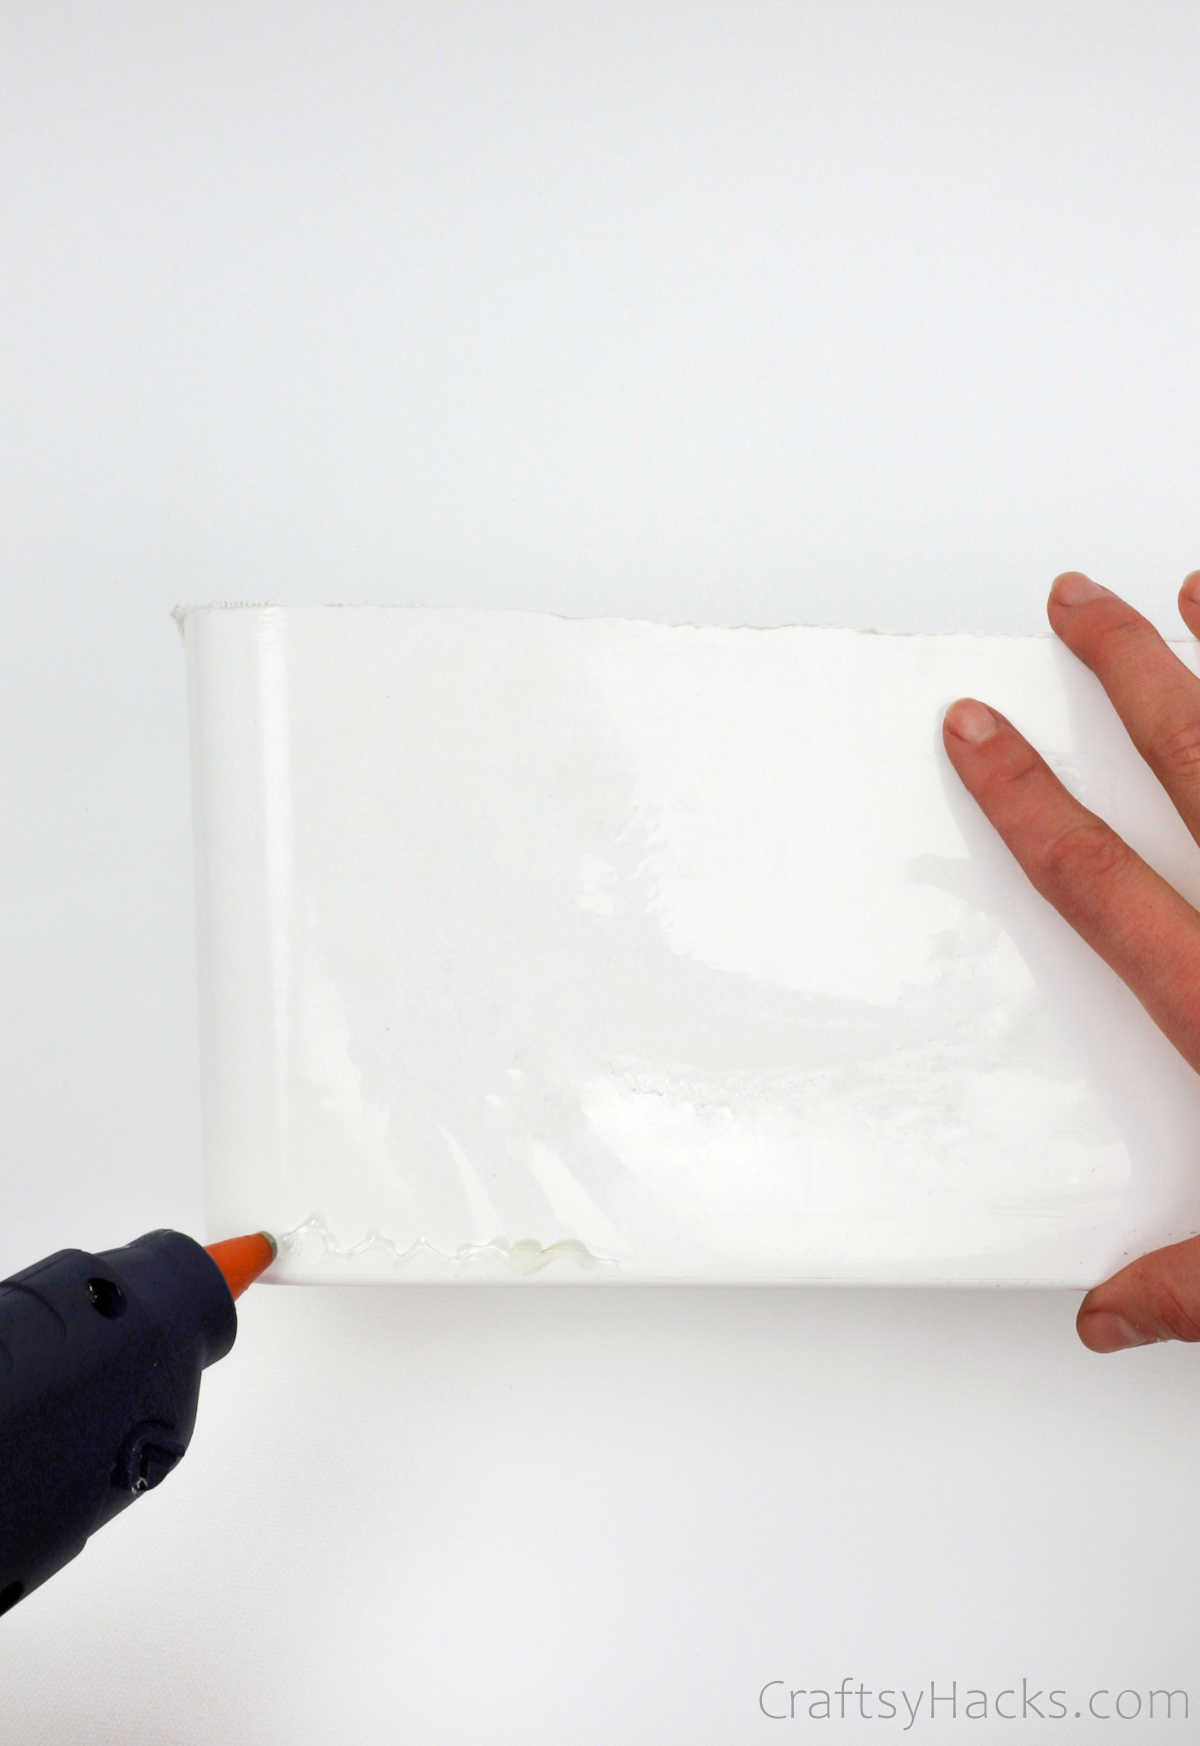
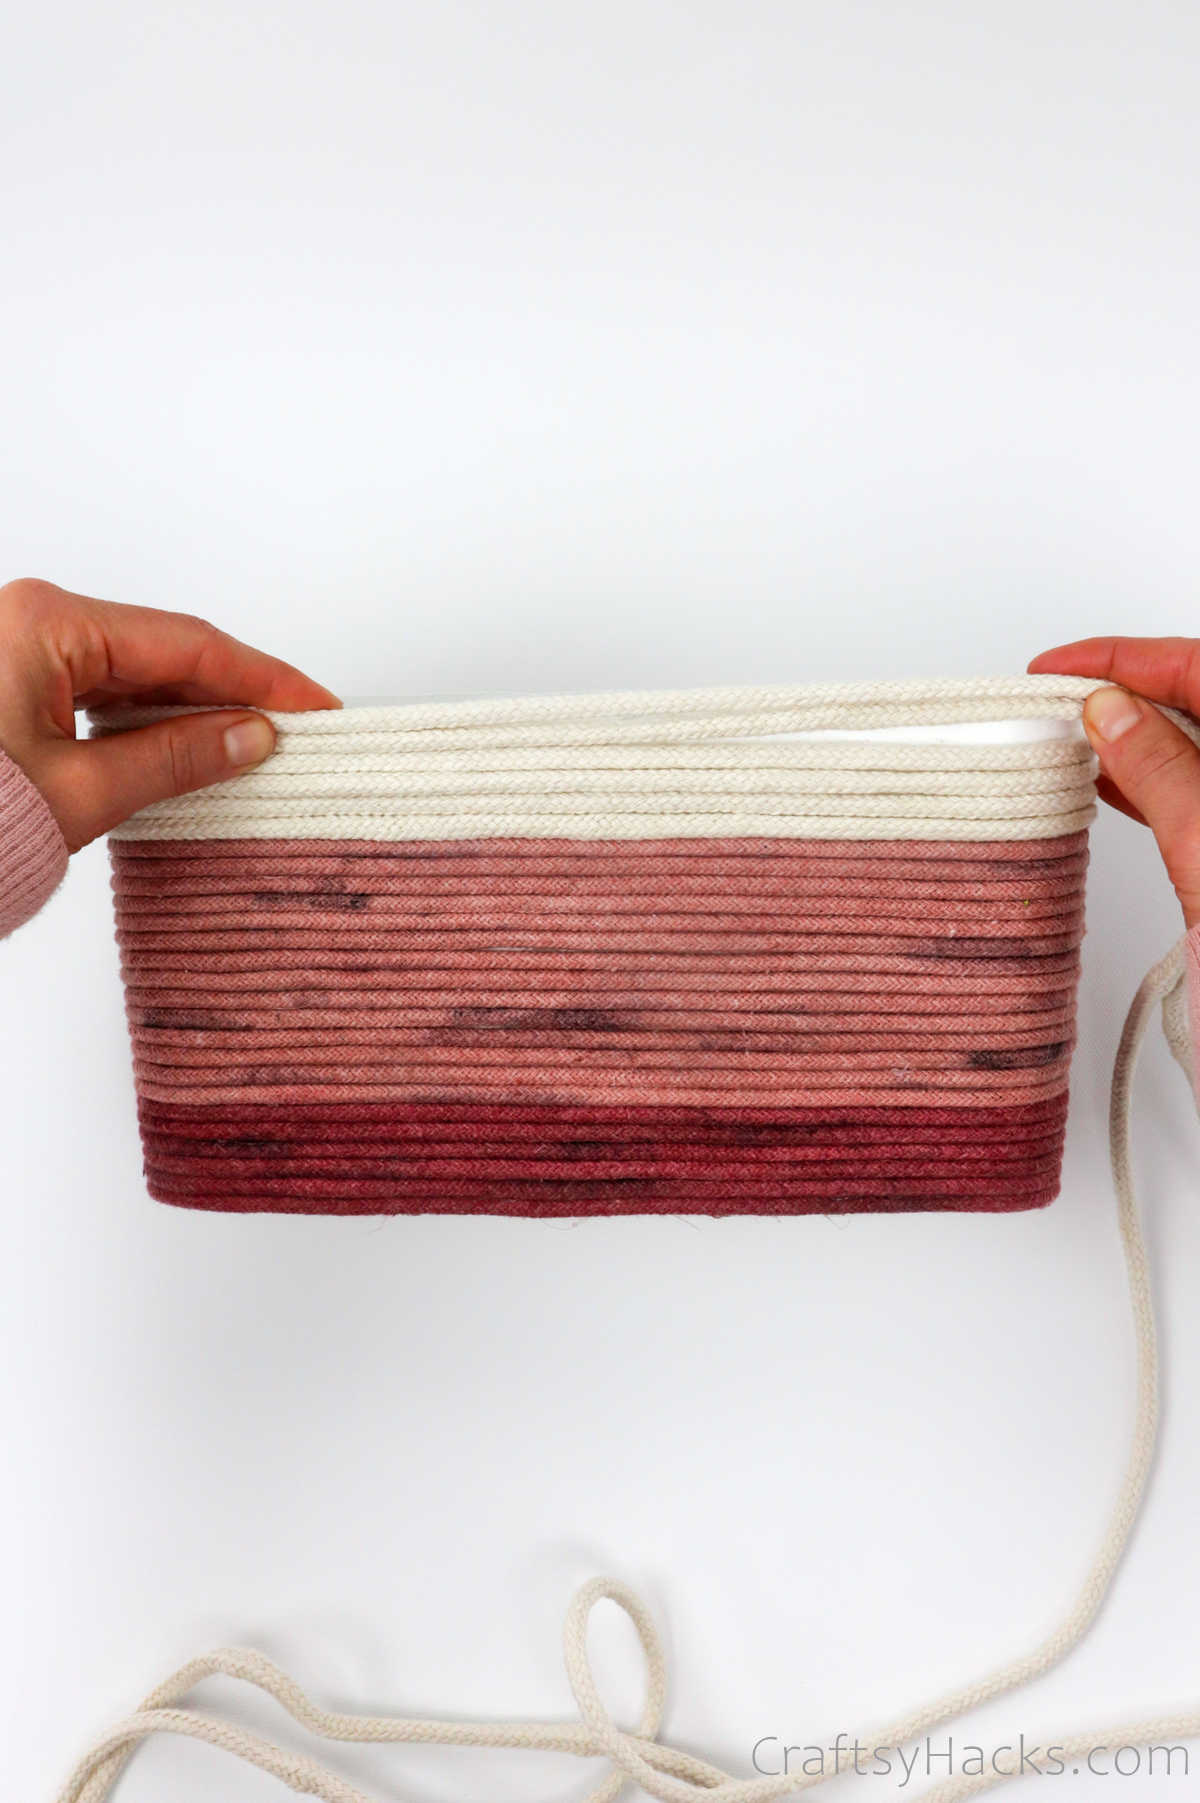
Grab your rope and slowly start winding it around the base where you applied glue.
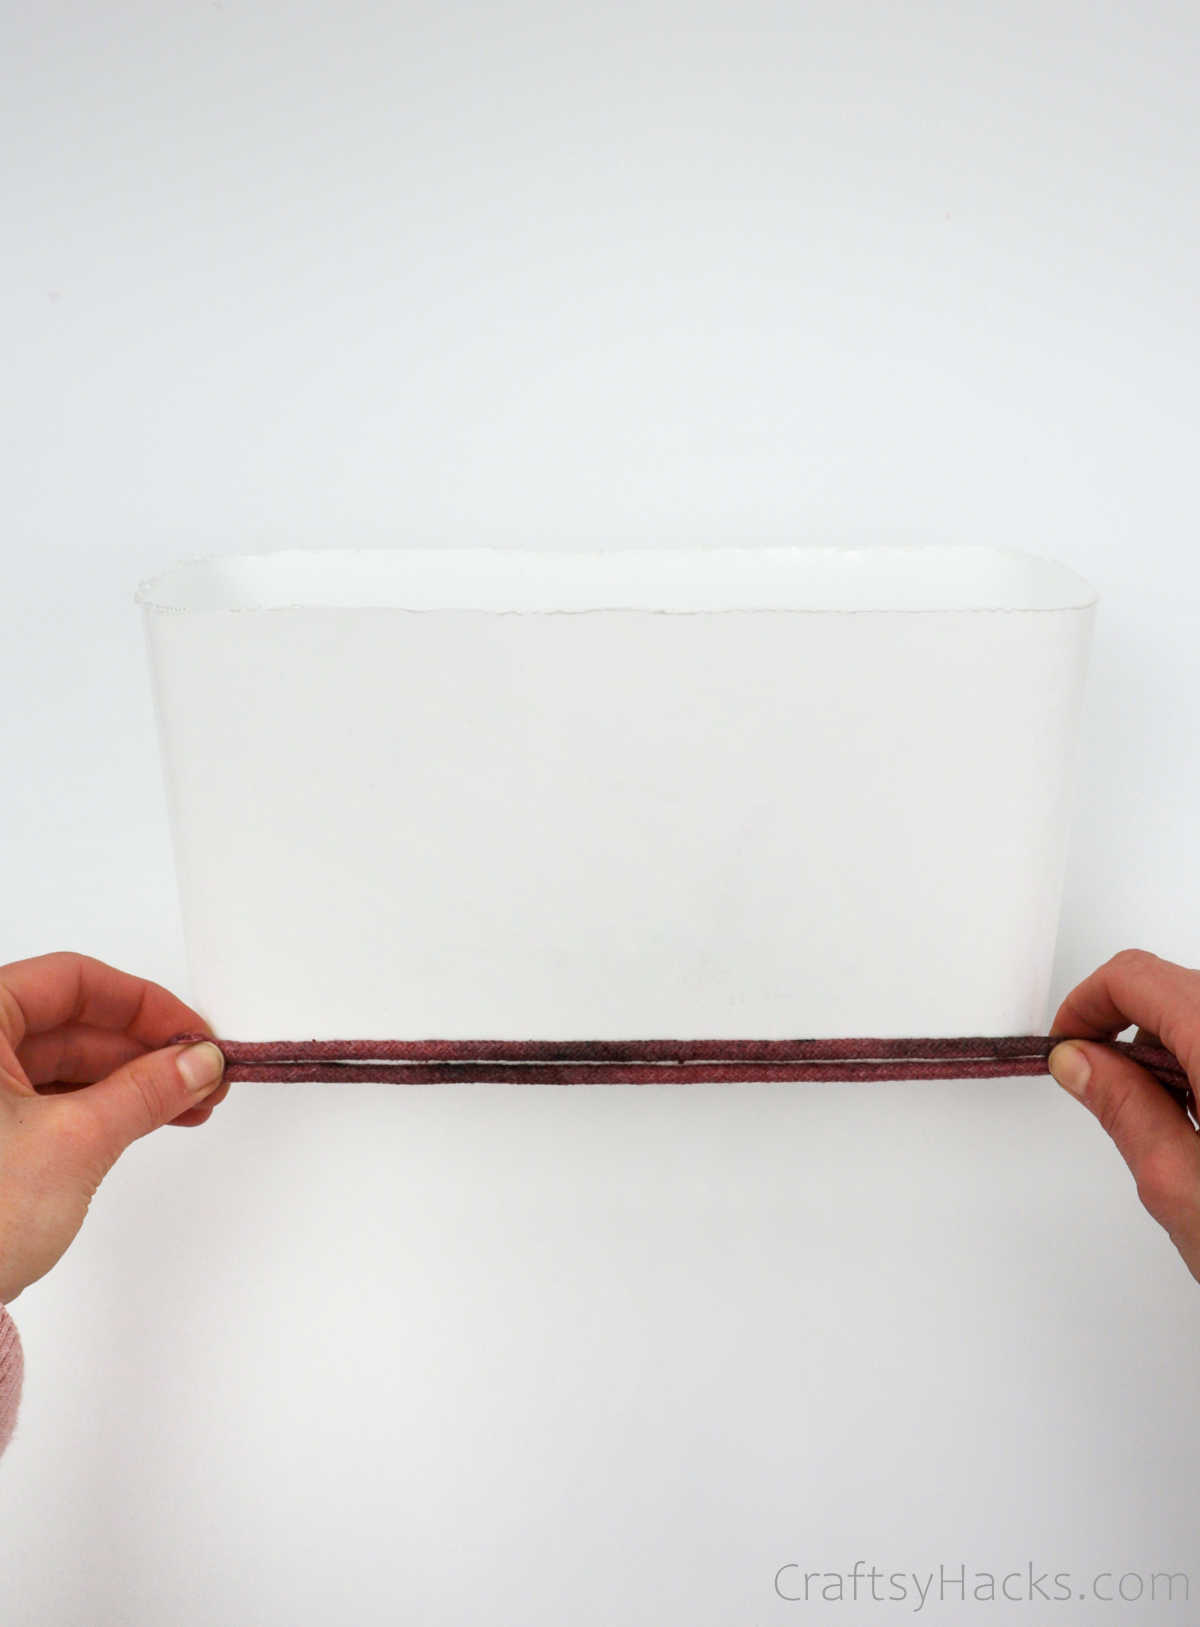
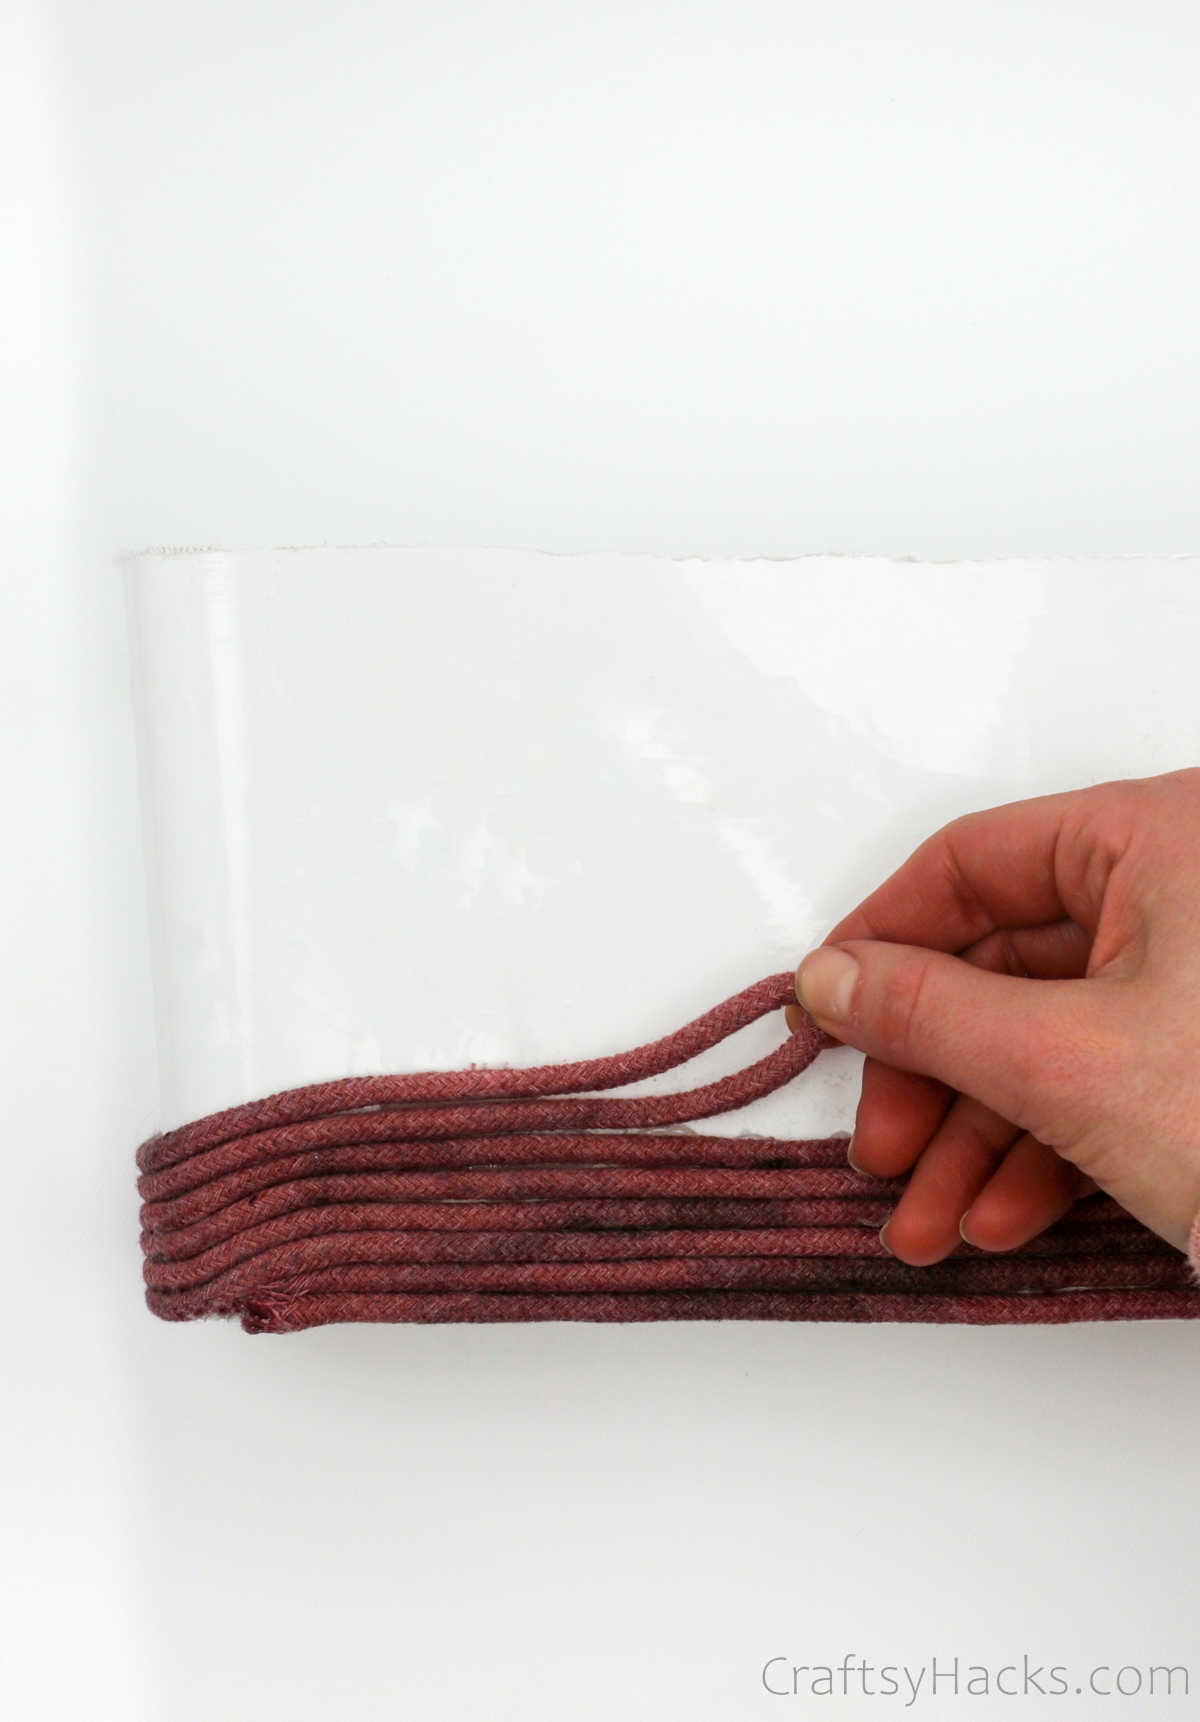
Every time you turn your rope at the edges, make sure you smoothen it out. Also, ensure that the rope is taut as you wind it around.
Step 6
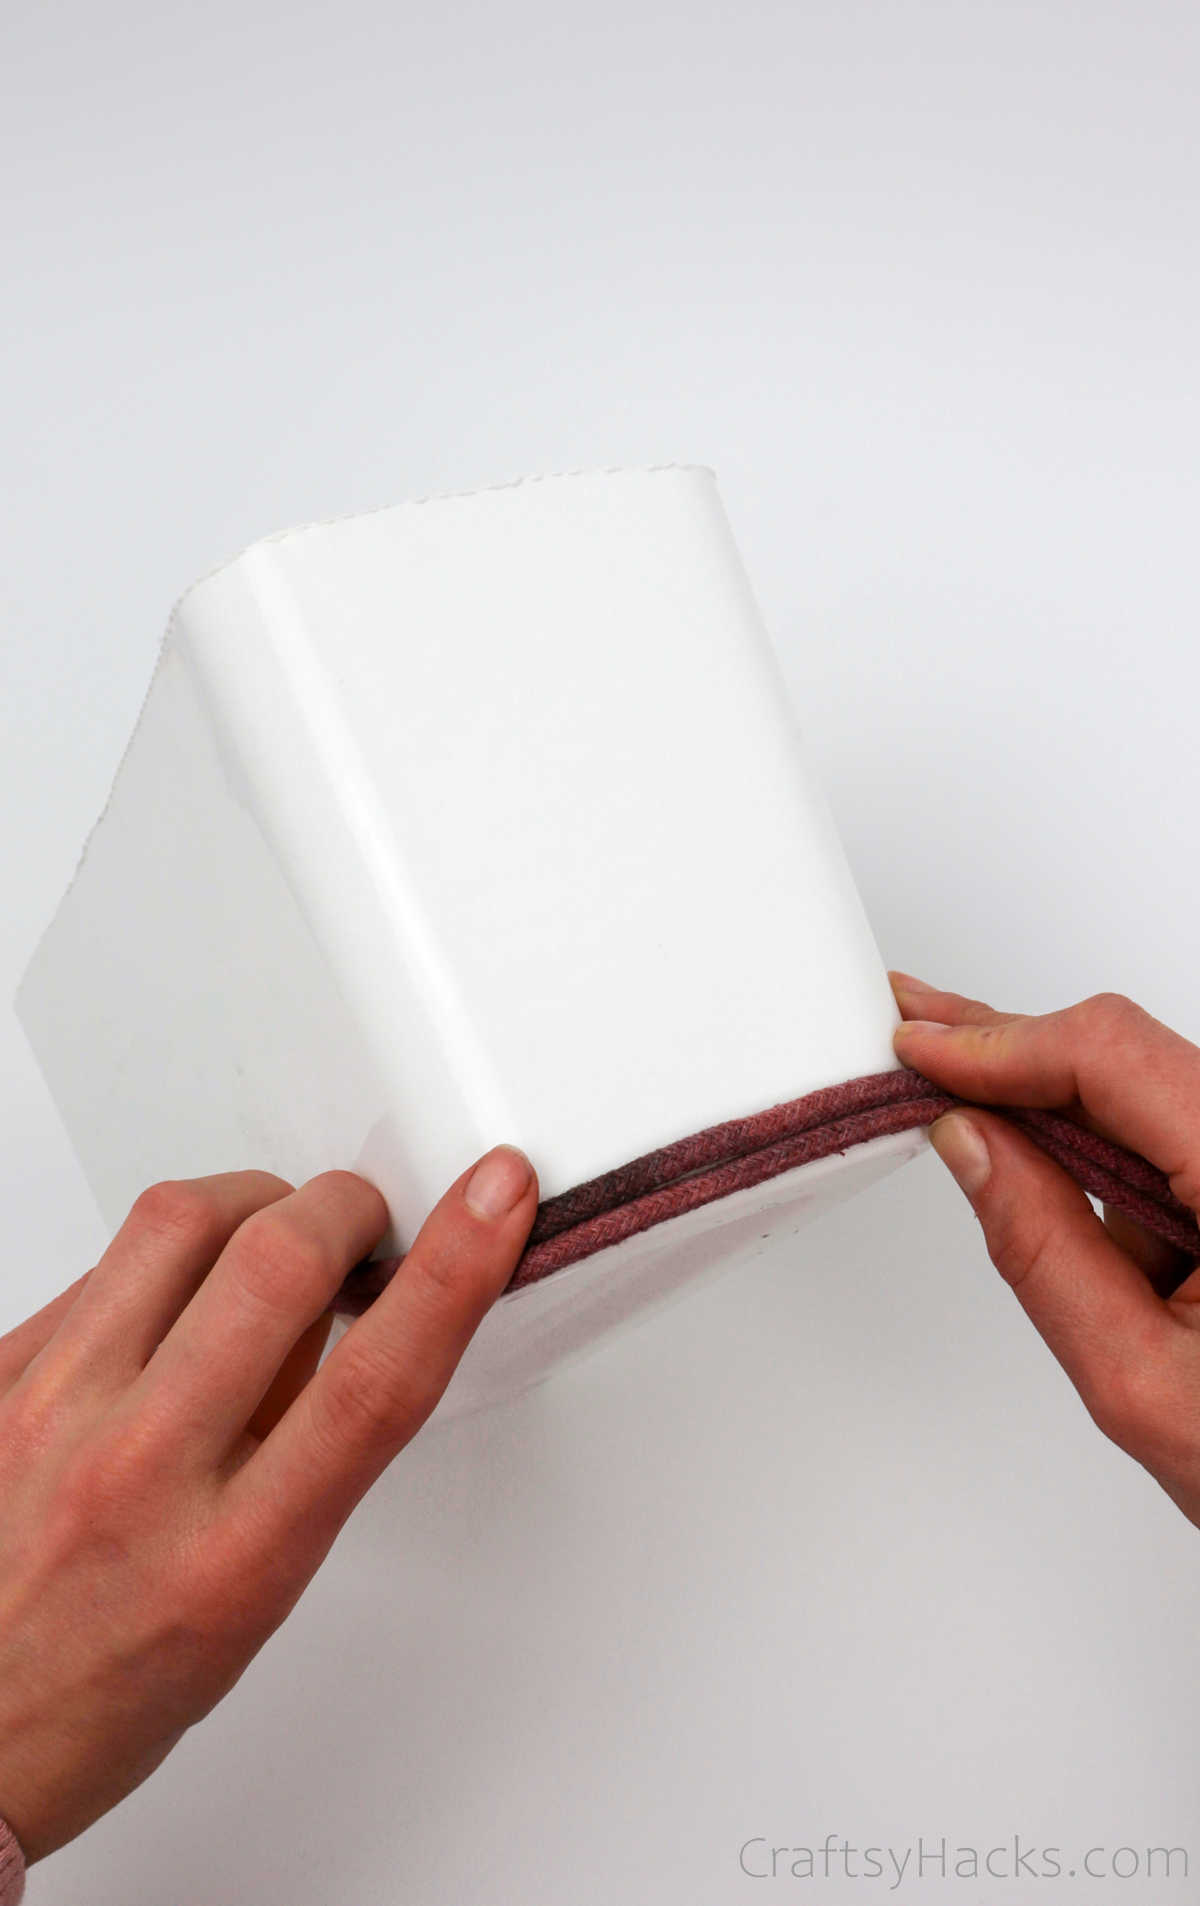
When you’ve completed one round, merely continue to wind it up, apply hot glue along the way, and follow it up with the rope.
Step 7
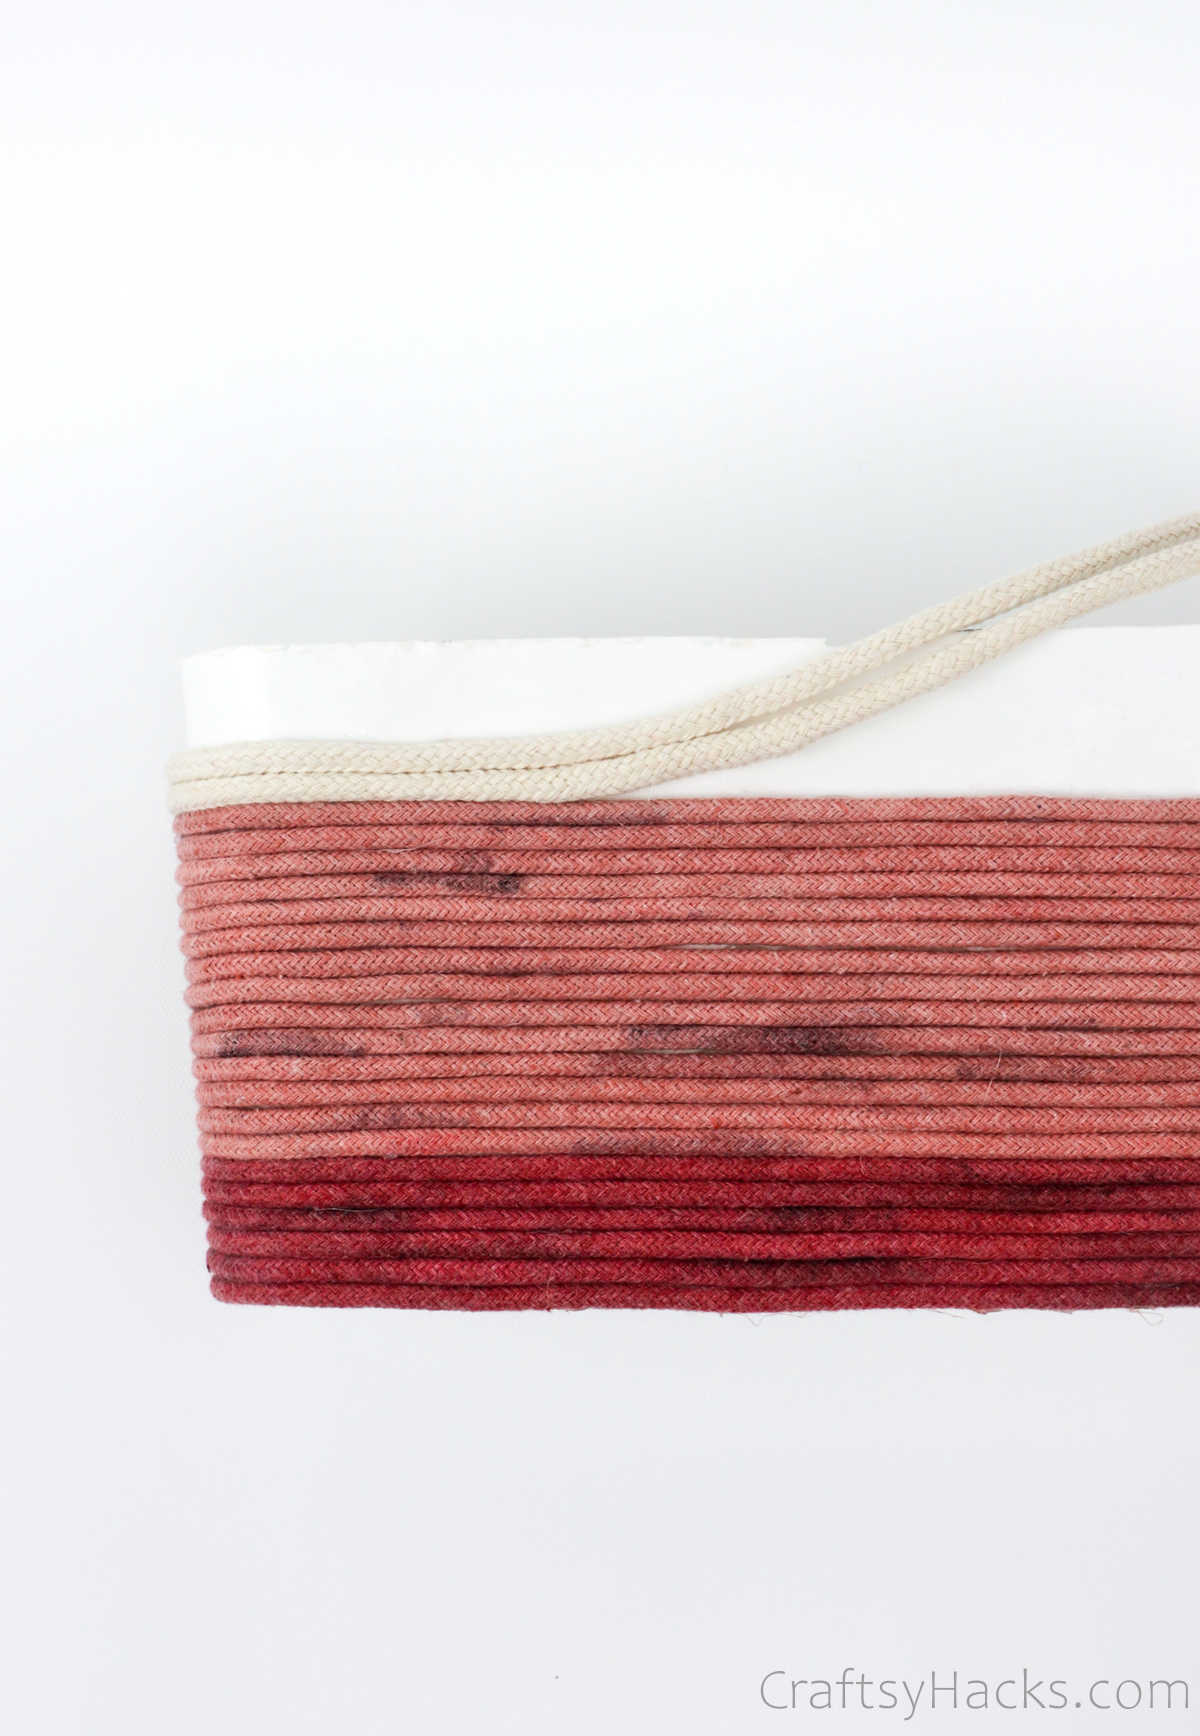
If you’re using more than one color, you can switch over to the next one by carefully melding the edges of the latter and former with glue. Then proceed to wind the rope around and around.
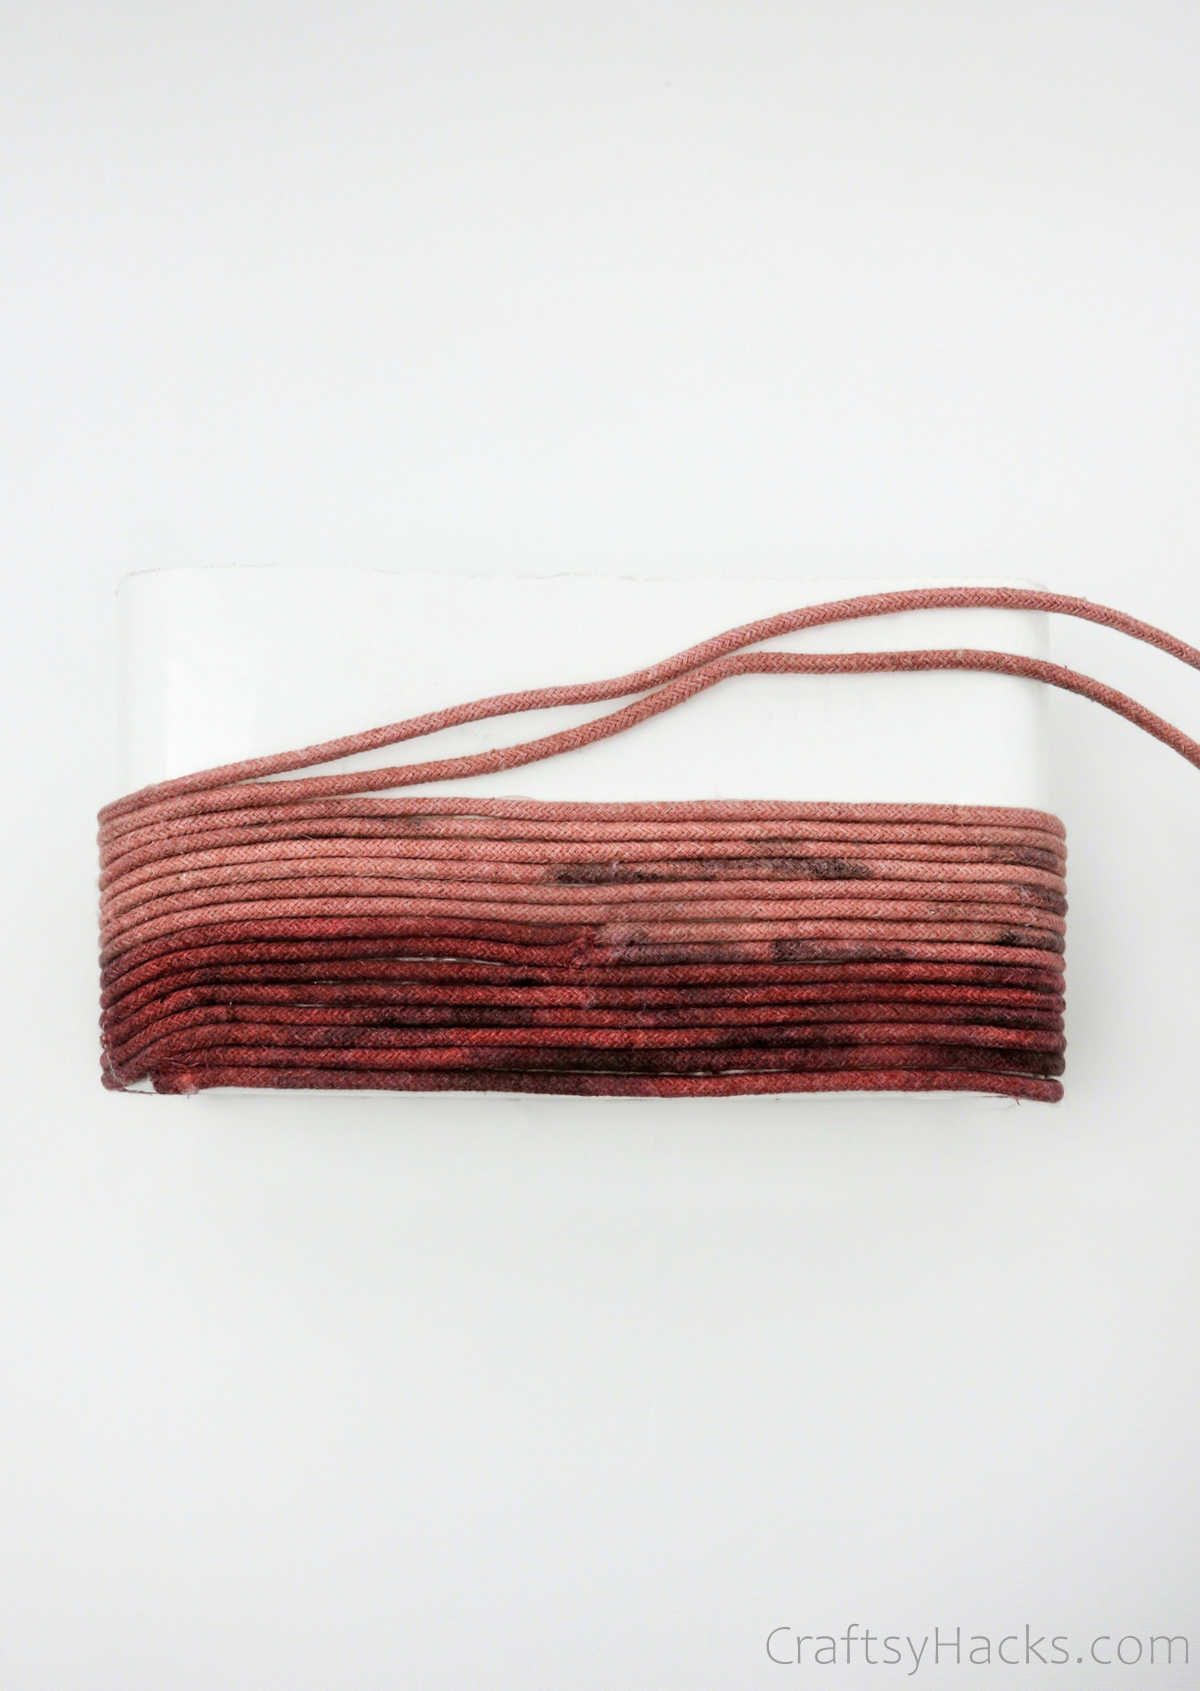
This step is pretty much all you need to repeat to complete the basket. Enjoy the process—it can be quite soothing!
Step 8
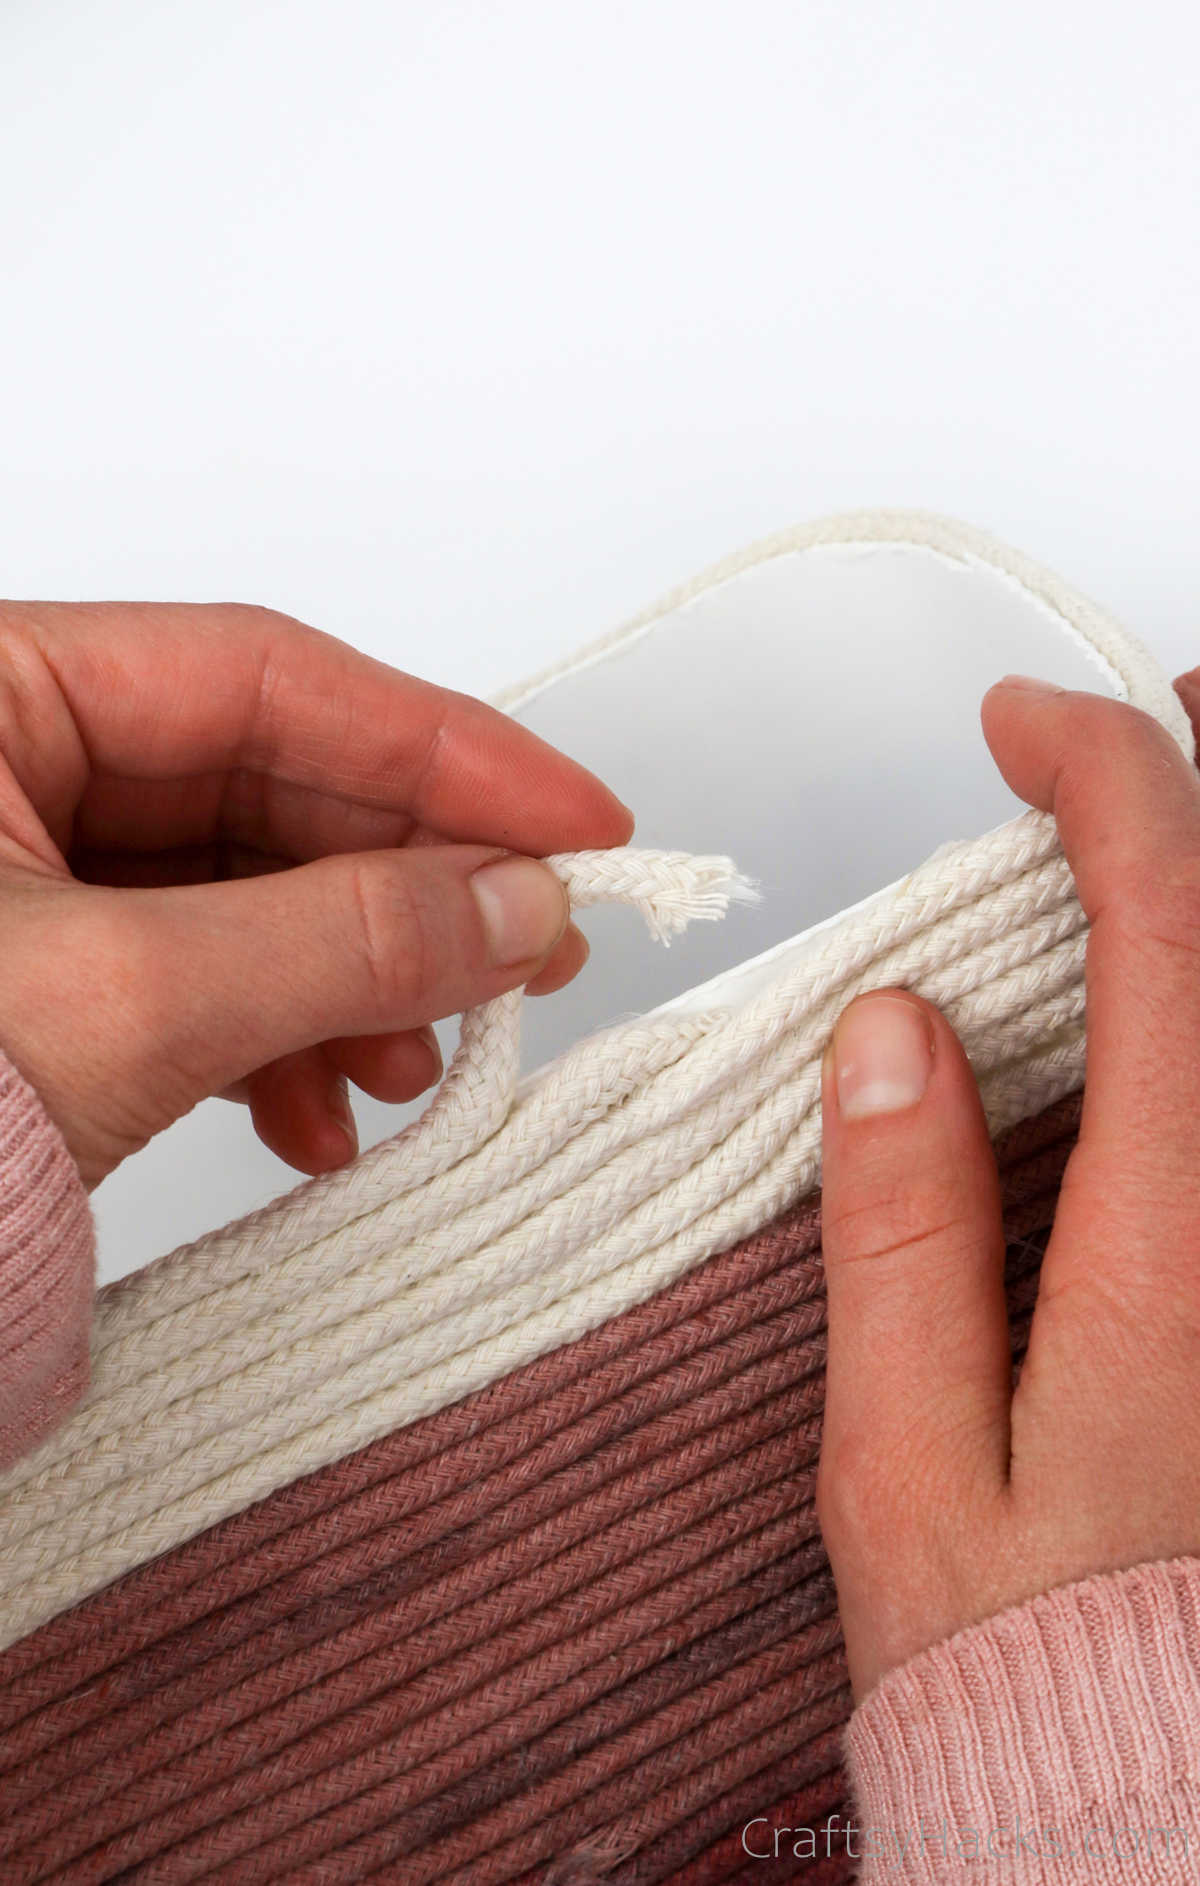
When you’ve completed step 7 and your entire basket has been roped, trim off the excess bit of rope, if any.
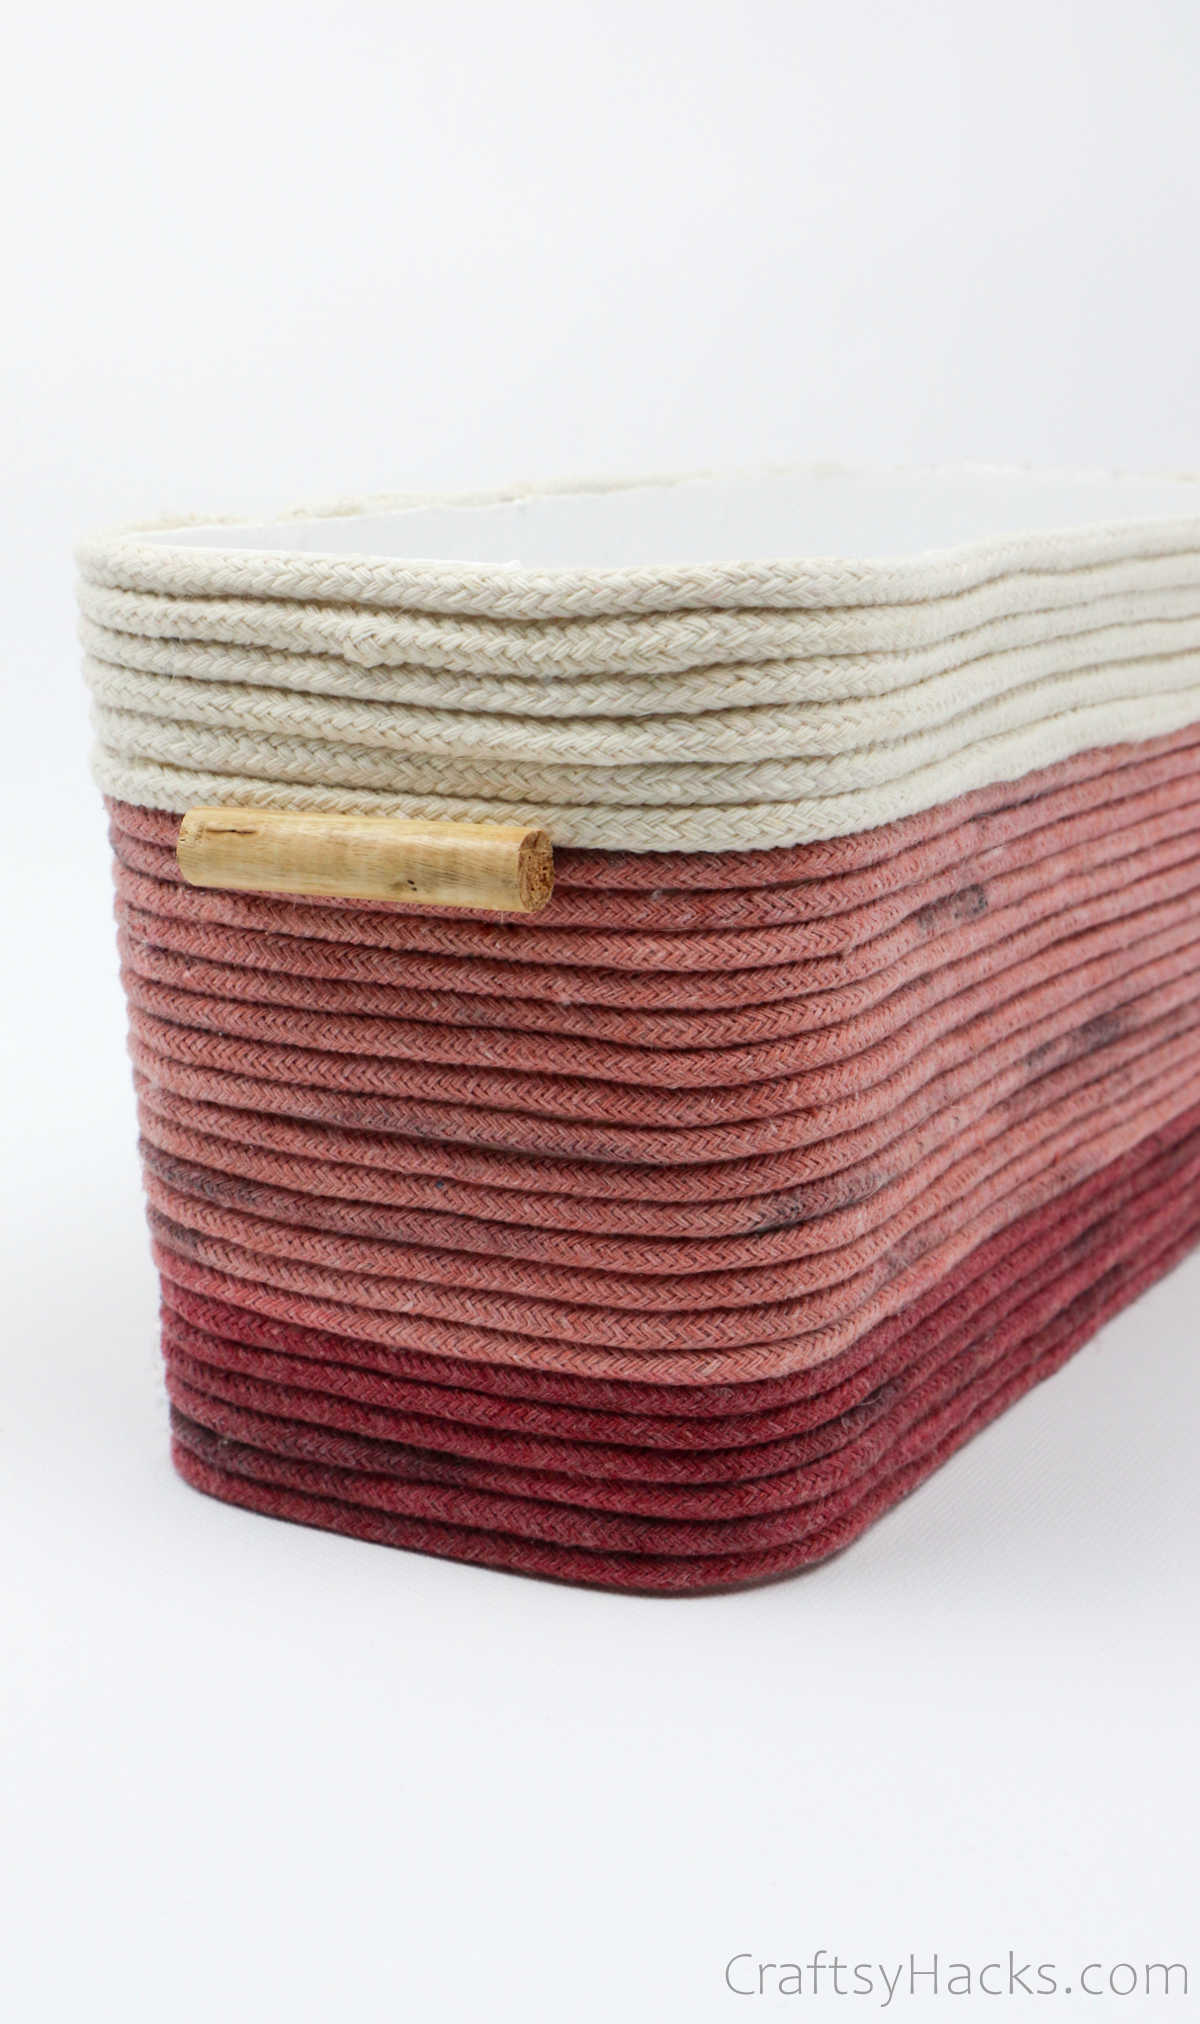
As you can see in the picture below, you can tuck the ends into the rope and secure it firmly with a little bit of hot glue.
Step 9
Now that you’re done wrapping the rope, it’s time to attach the handles to your basket.
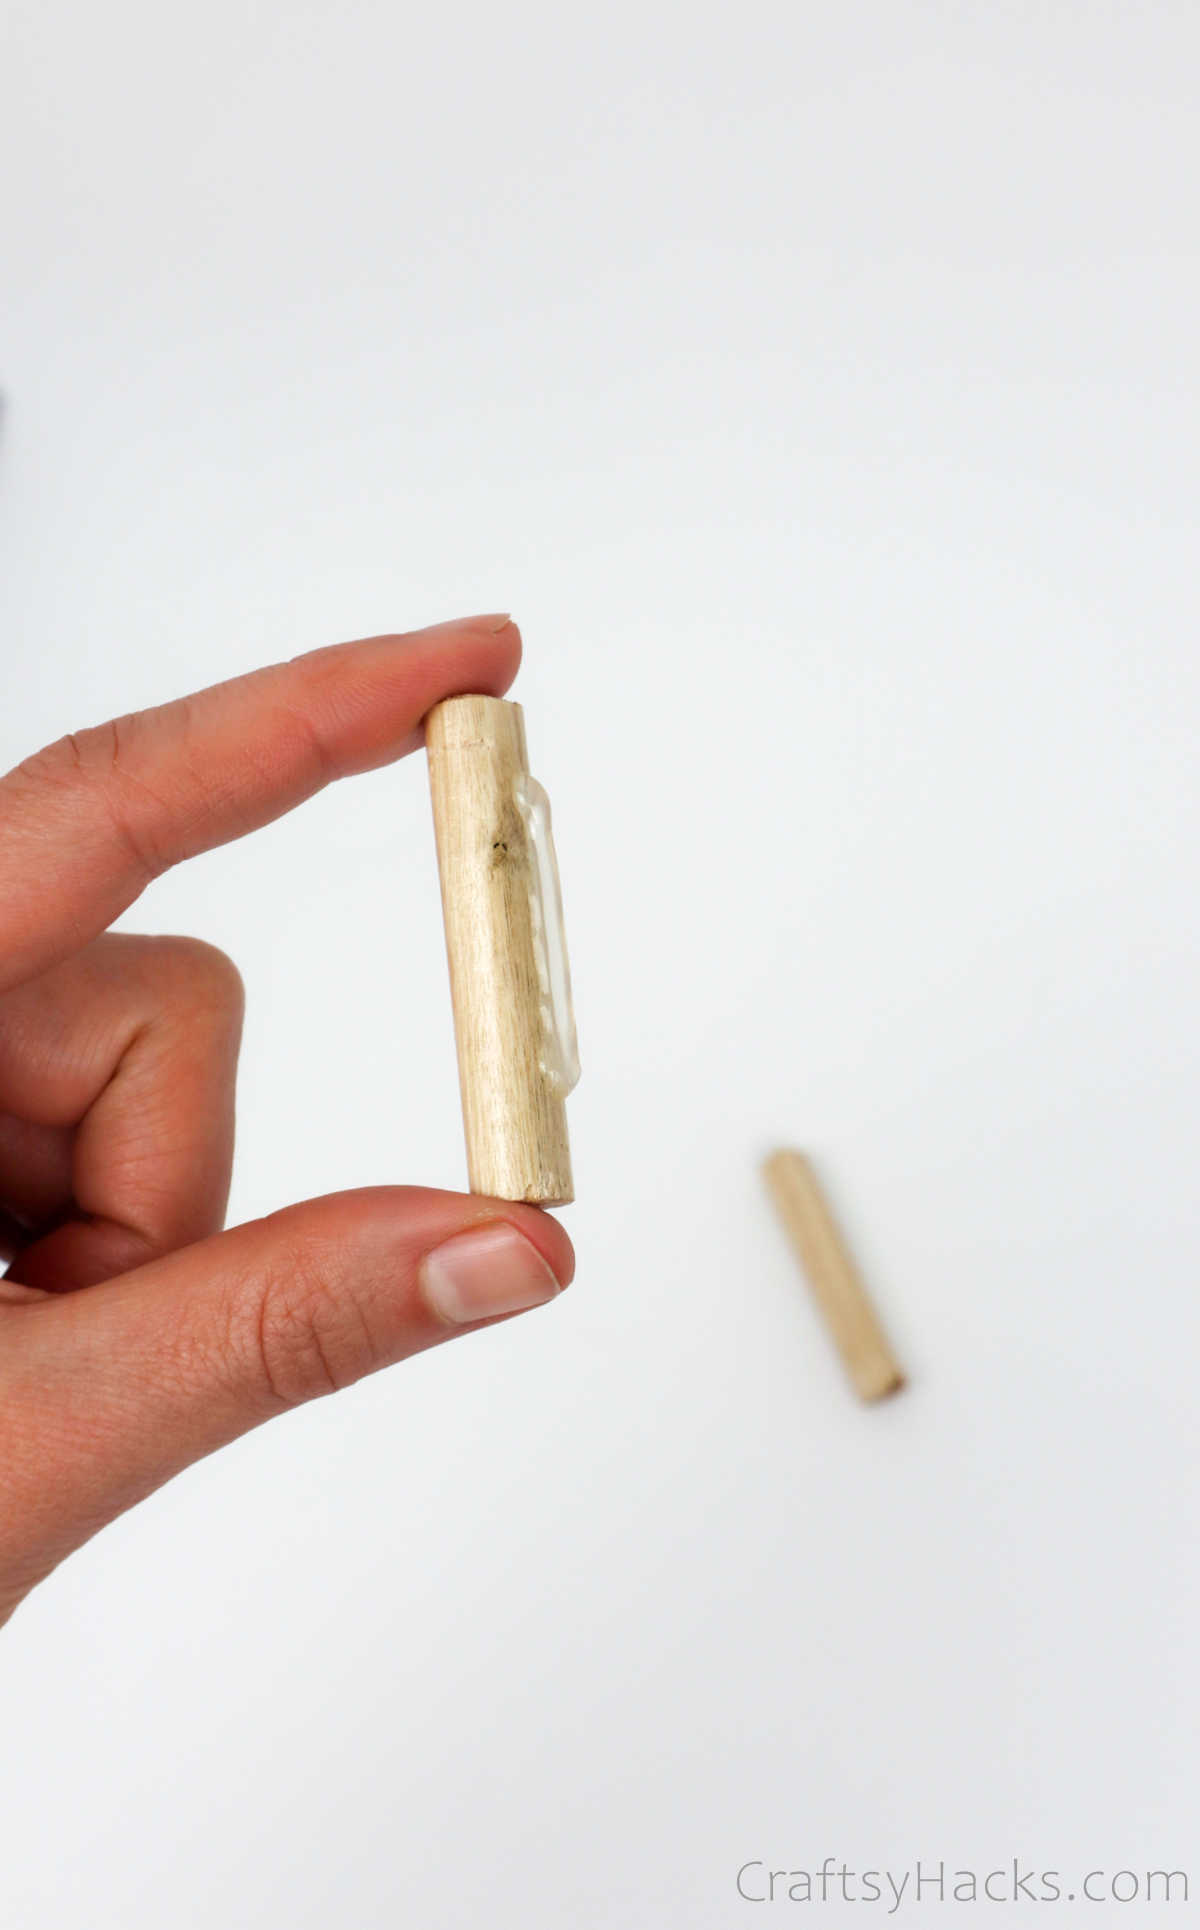
Take a stub of wood and apply hot glue along its length.
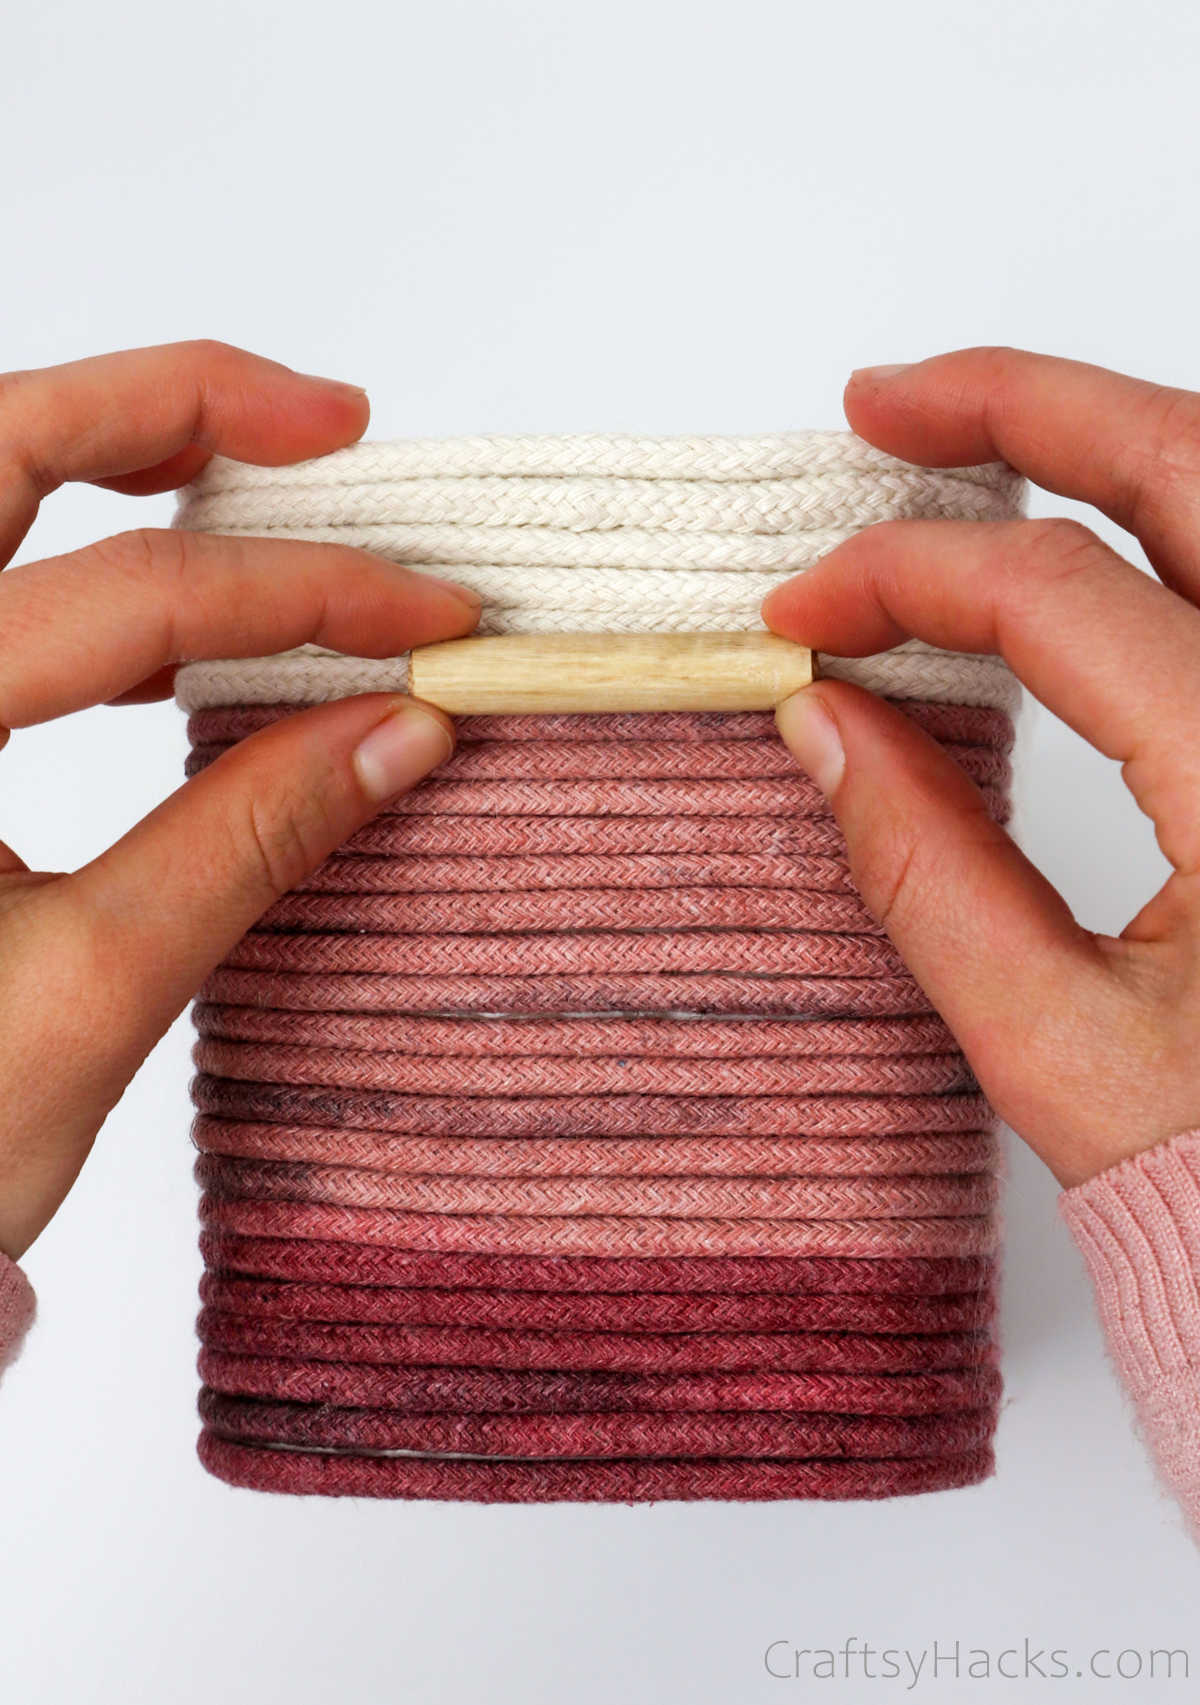
Then all you have to do is carefully press it into the rope(wherever you decide you want it) and ensure that it stays in place. Don’t forget to do the same for the other side!
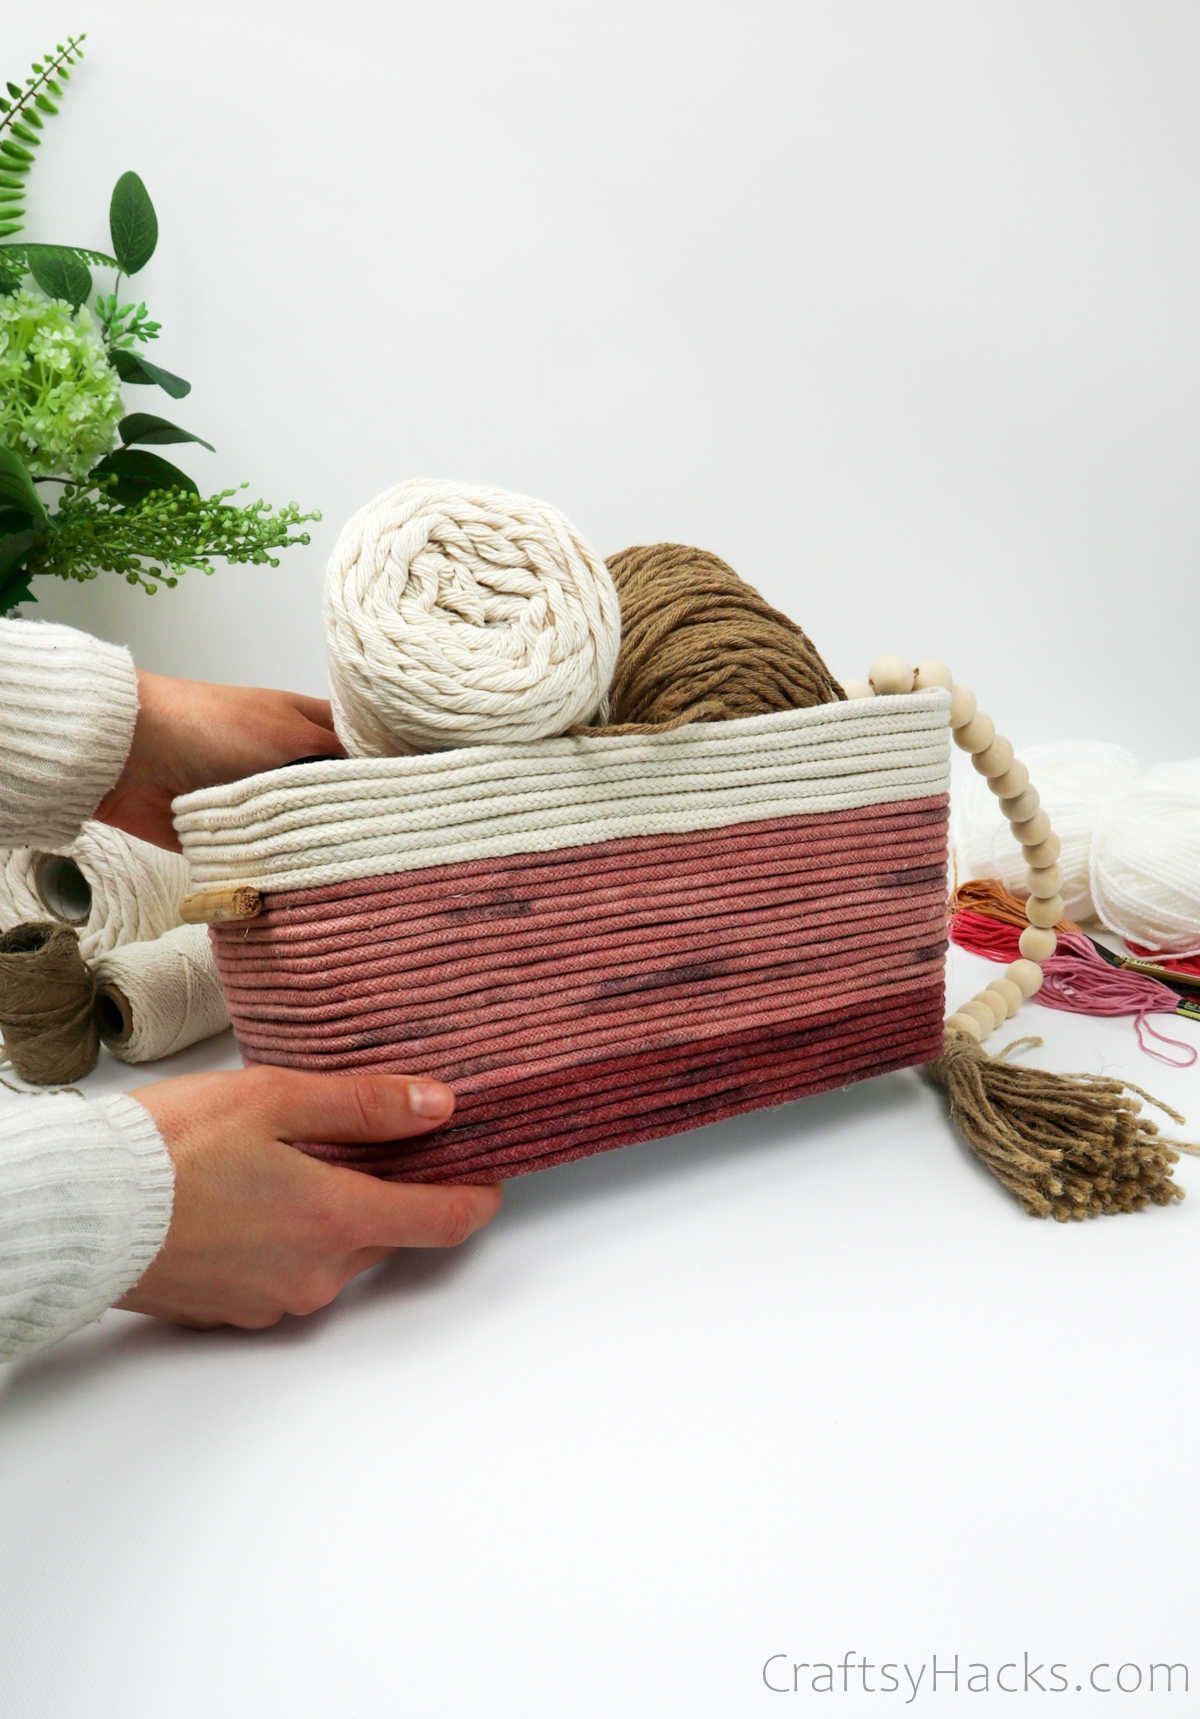
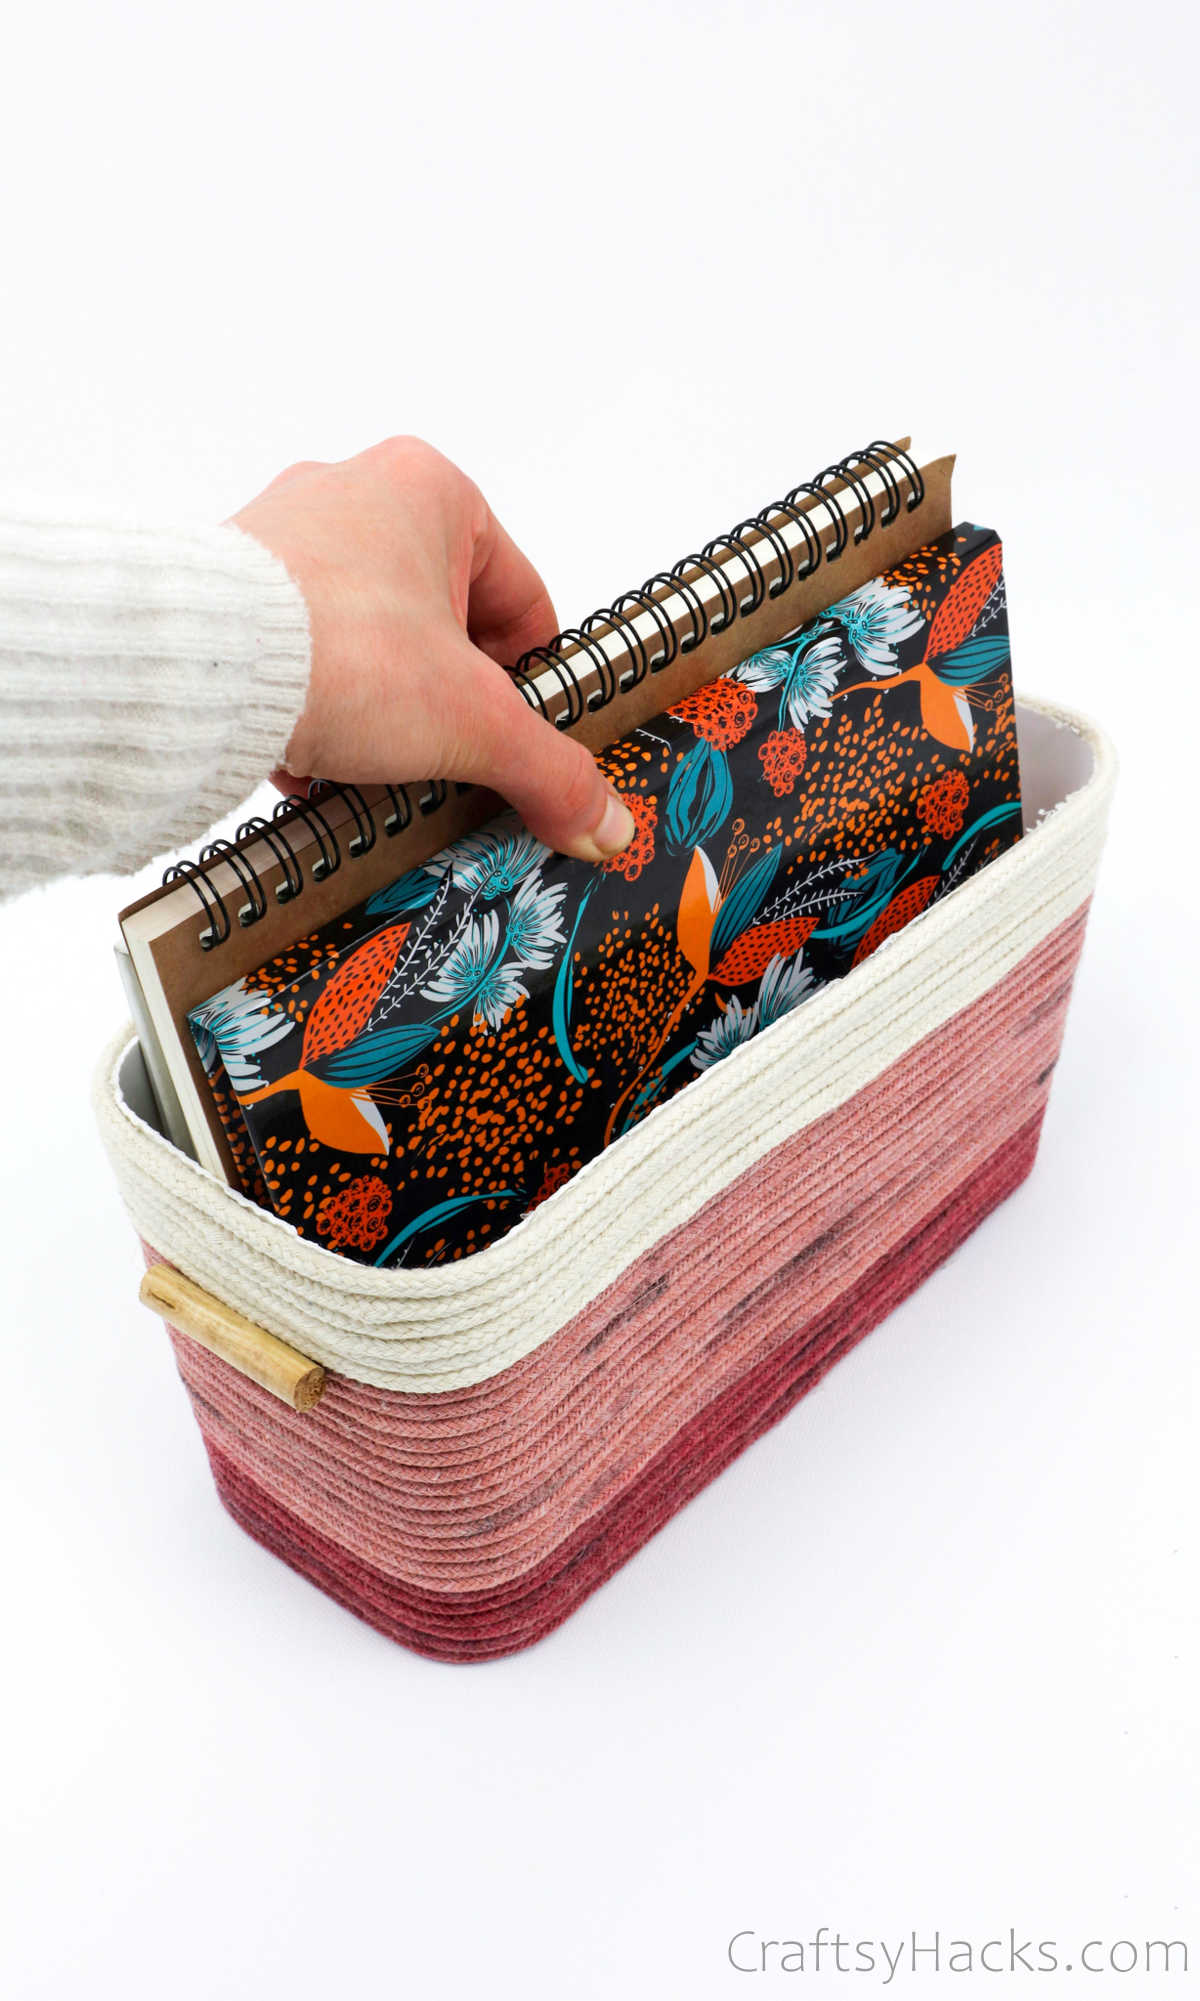
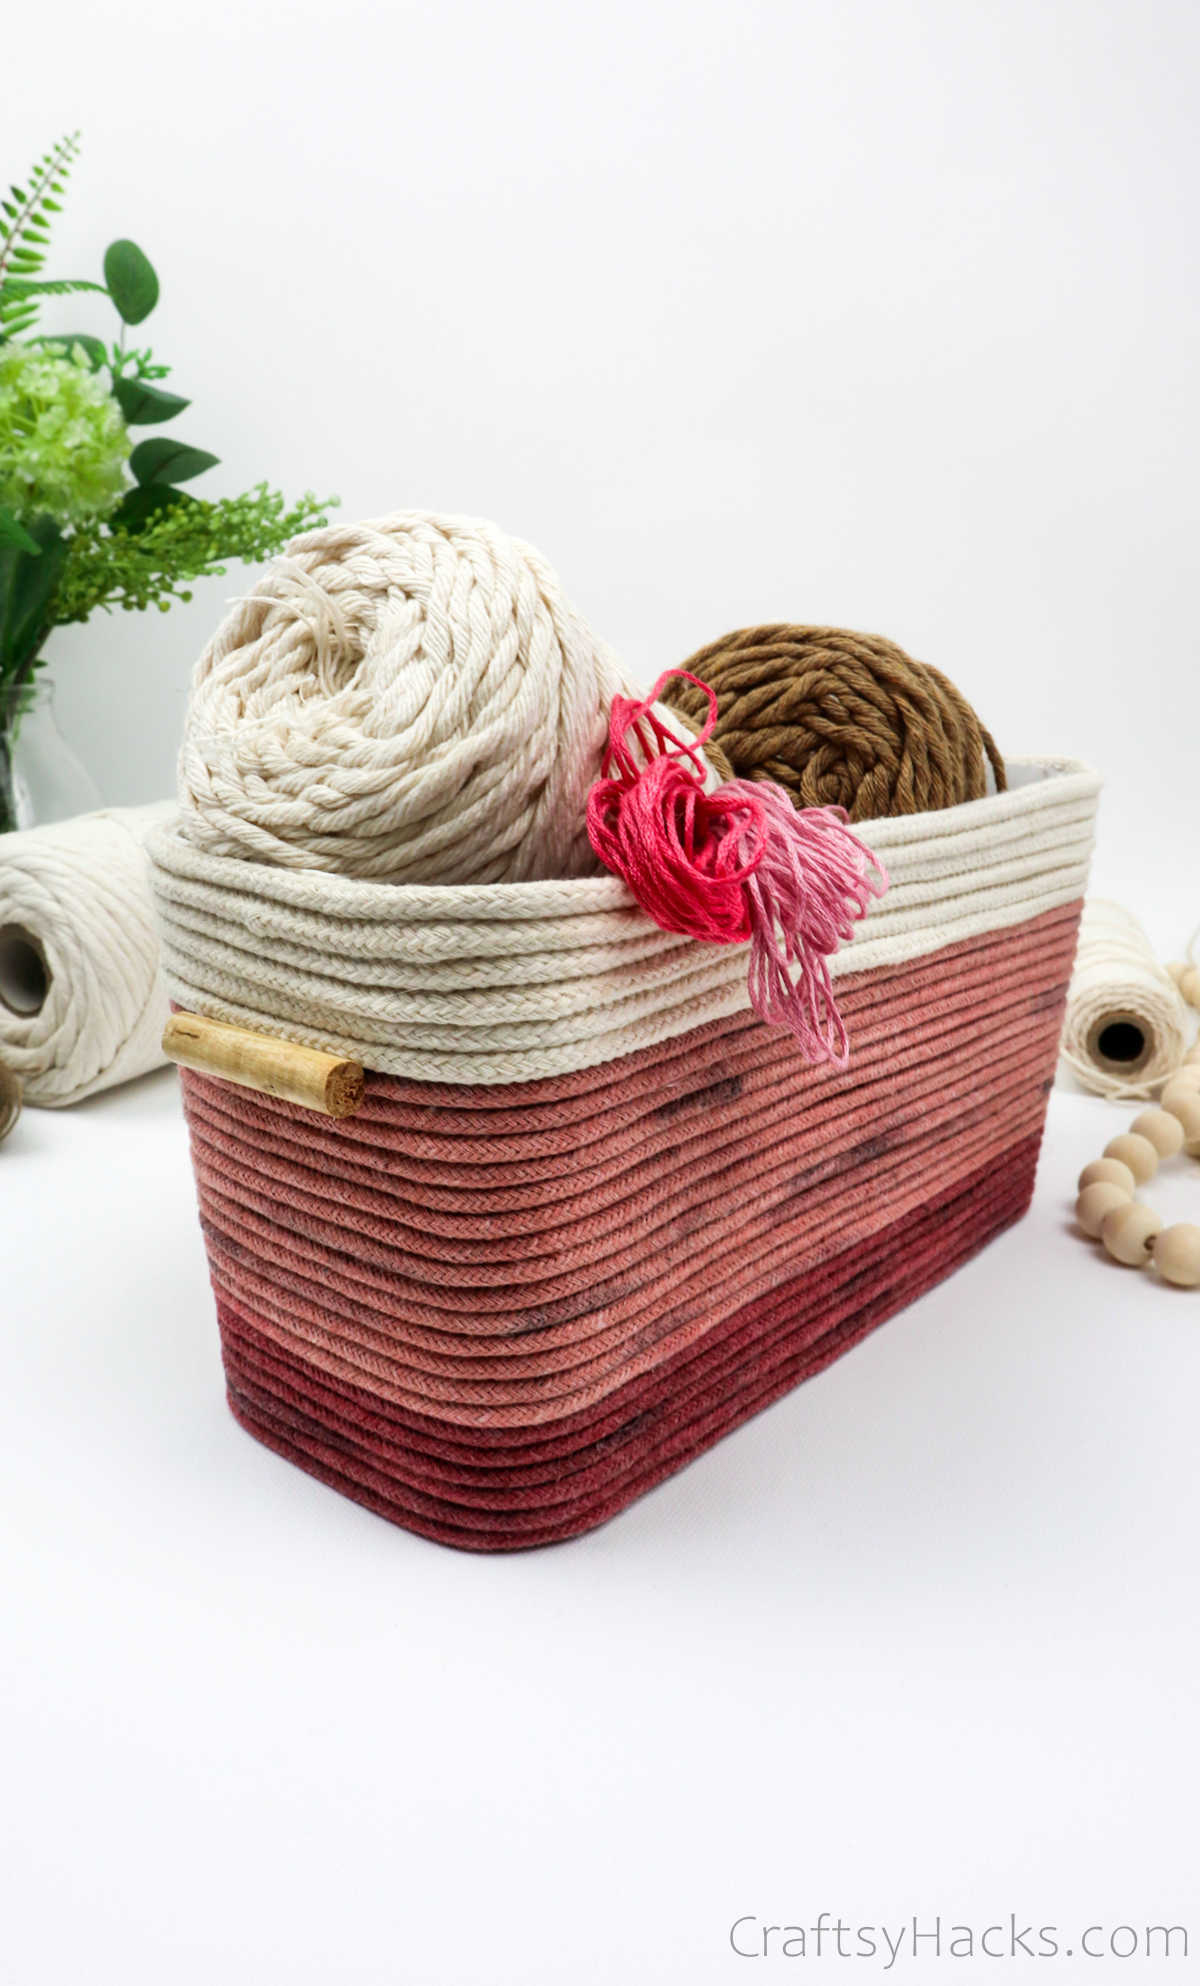
Now, all that’s left for you to do is wait for your basket to dry. Once you’re certain that the rope isn’t wet, go ahead and fill your gorgeous DIY rope basket with your craft supplies, stationery and other knick knacks!
Here are a couple of projects that involve using a rope that I bet you’ll enjoy:

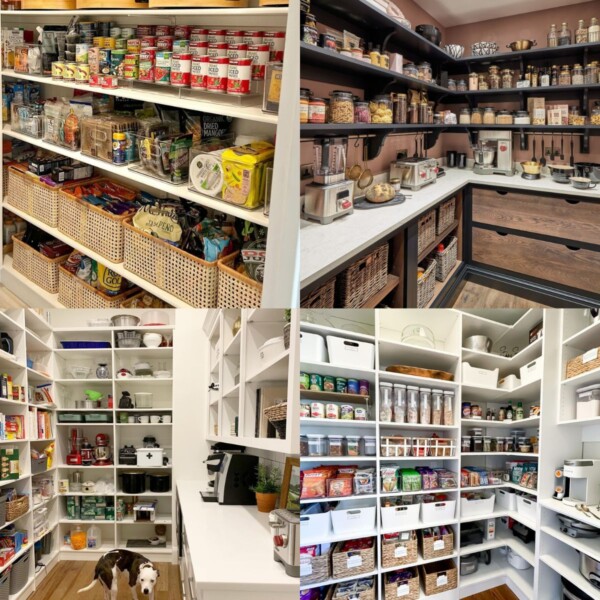
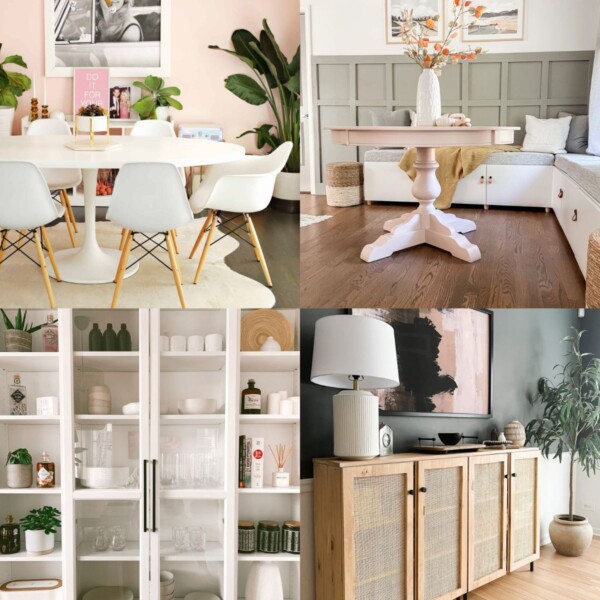
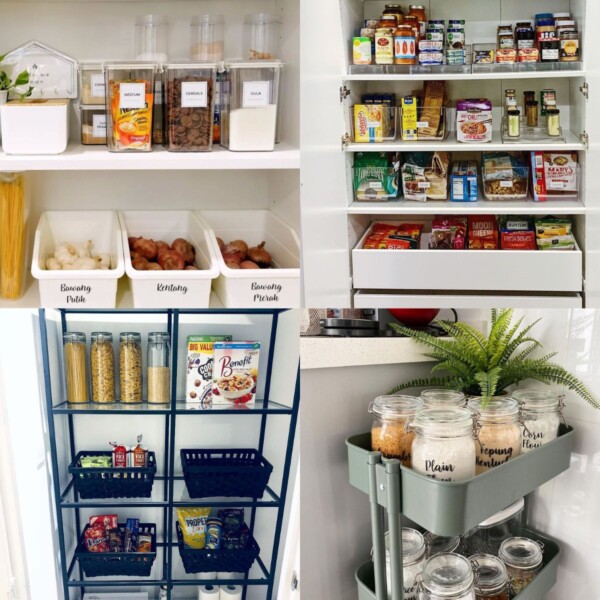
Other Organization Ideas
- 47 Organization Ideas
- Storage Ideas for Small Spaces
- 20 Car Organization Ideas
- 25 Ways to Organize Children Toys
- Laundry Room Organization Ideas
- Craft Room Organization Ideas
- Organize Small Bedroom
Full Video Tutorial
DIY Rope Basket
Video Tutorial
Equipment
- Scissors
- Old pot
- Gloves
Materials
- Plastic box or just use any box you have, can be cardboard too
- Clothesline rope
- Fabric dye powder
- Wooden sticks optional
Instructions
- Gather your supplies and plan the color pattern you intend to use for this project.
- Cut the rope into different batches for different colors, at the desired length.
- Mix the food dye powder with water and stir with a wooden stick to mix it evenly. Don’t forget to wear protective gloves and to spread newspapers!
- Dip the rope into the dye and use the stick to move it around and coat it in the dye evenly. Check to make sure there are no white spots or patches.
- Repeat this process with all the colors. Allow the rope to dry completely before you proceed.
- Grab your hot glue gun and start applying glue around the bottom of the basket. You will be working your way up, alternating between applying glue and sticking the rope in place.
- When it’s time to change over to the next color of rope, simply meld the ends of both together with hot glue and secure them in place.
- Continue to wind the rope around the basket until you’ve reached the top. Then, just tuck the ends in and apply a little hot glue to finish it off!
- The final touch is to glue the little stub handles on to the sides and you’re all set! Load up your basket and enjoy your craft skills!