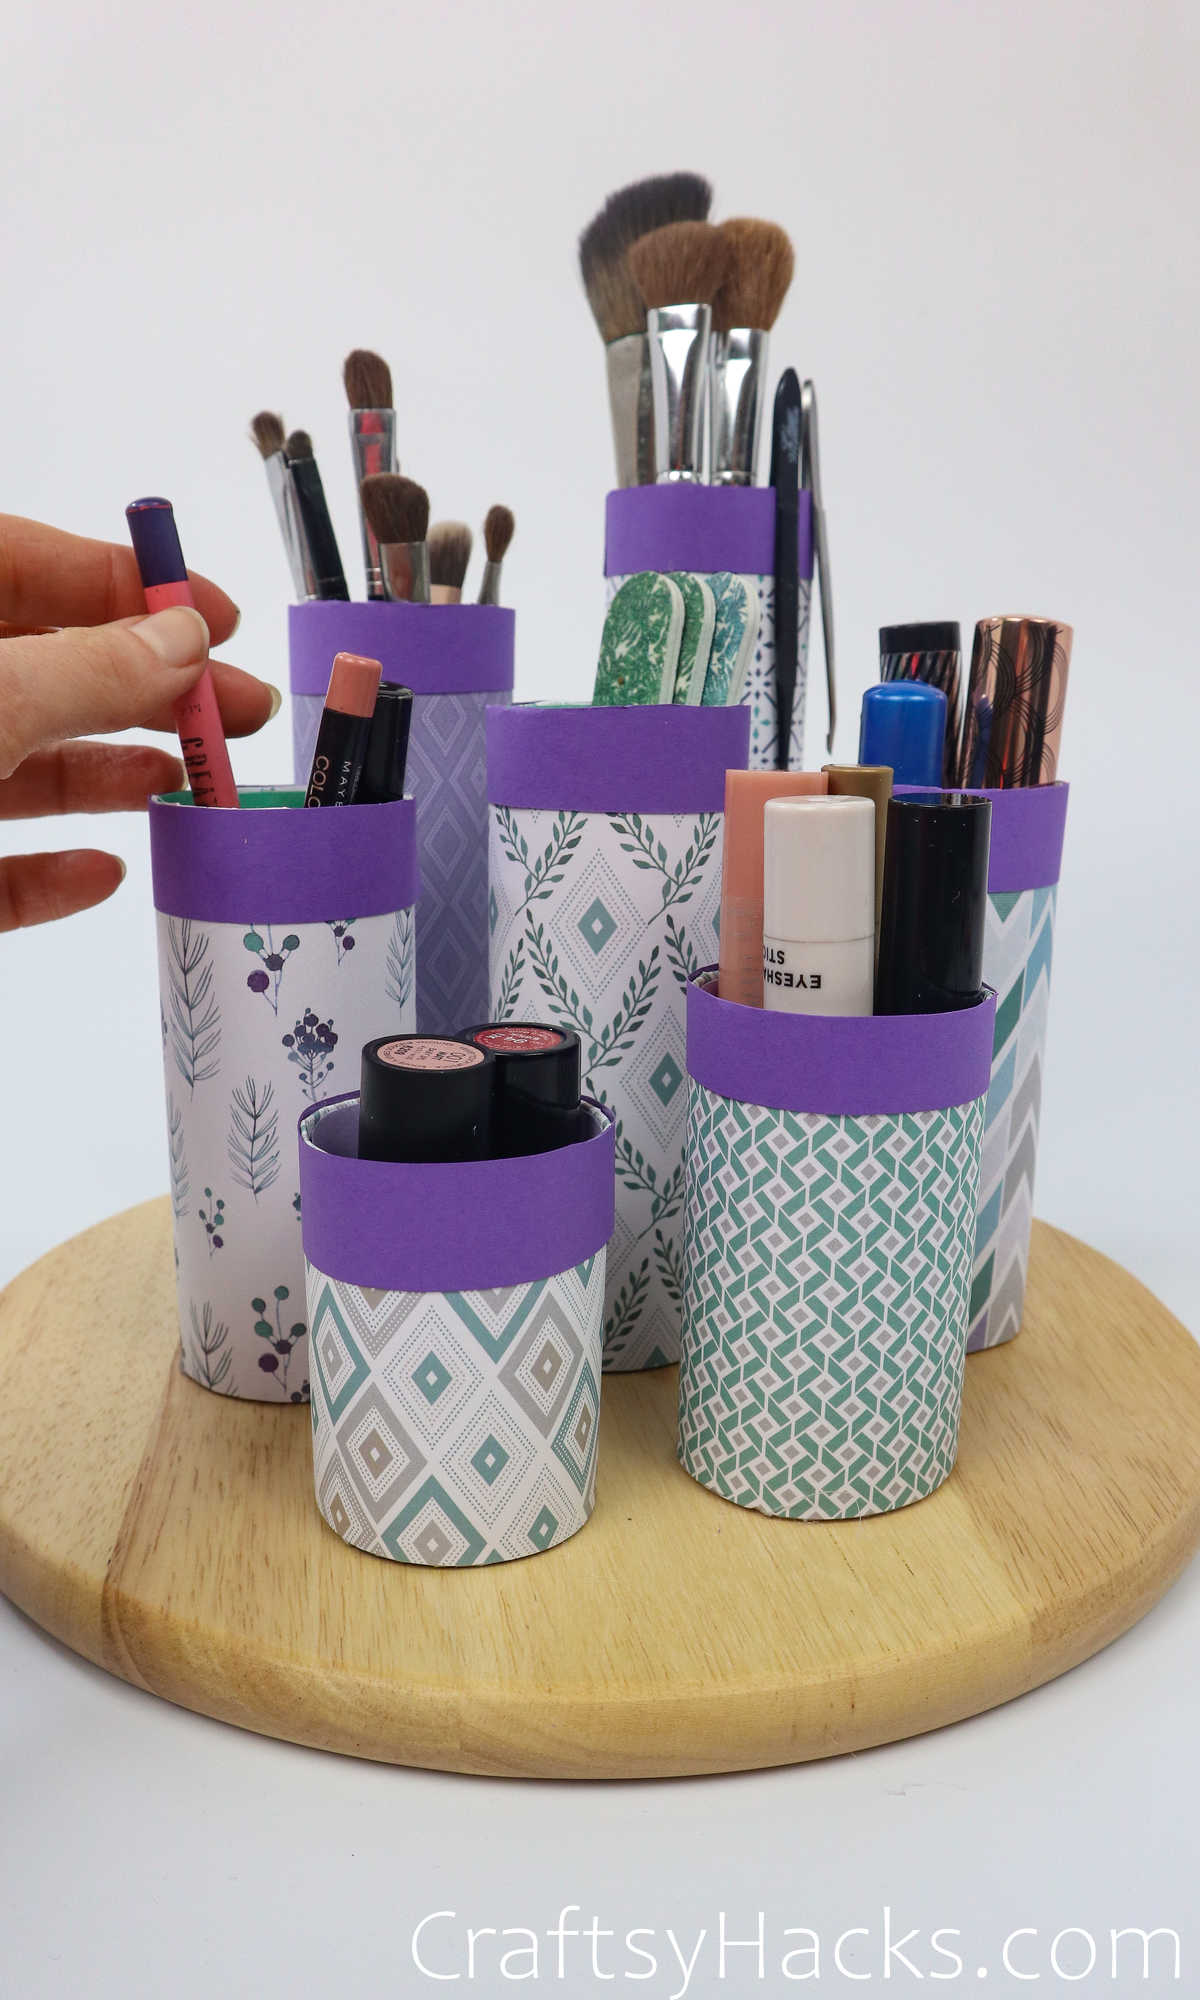
DIY Makeup Organizer (Step-by-Step Tutorial)
This post may contain affiliate links: full affiliate disclosure.
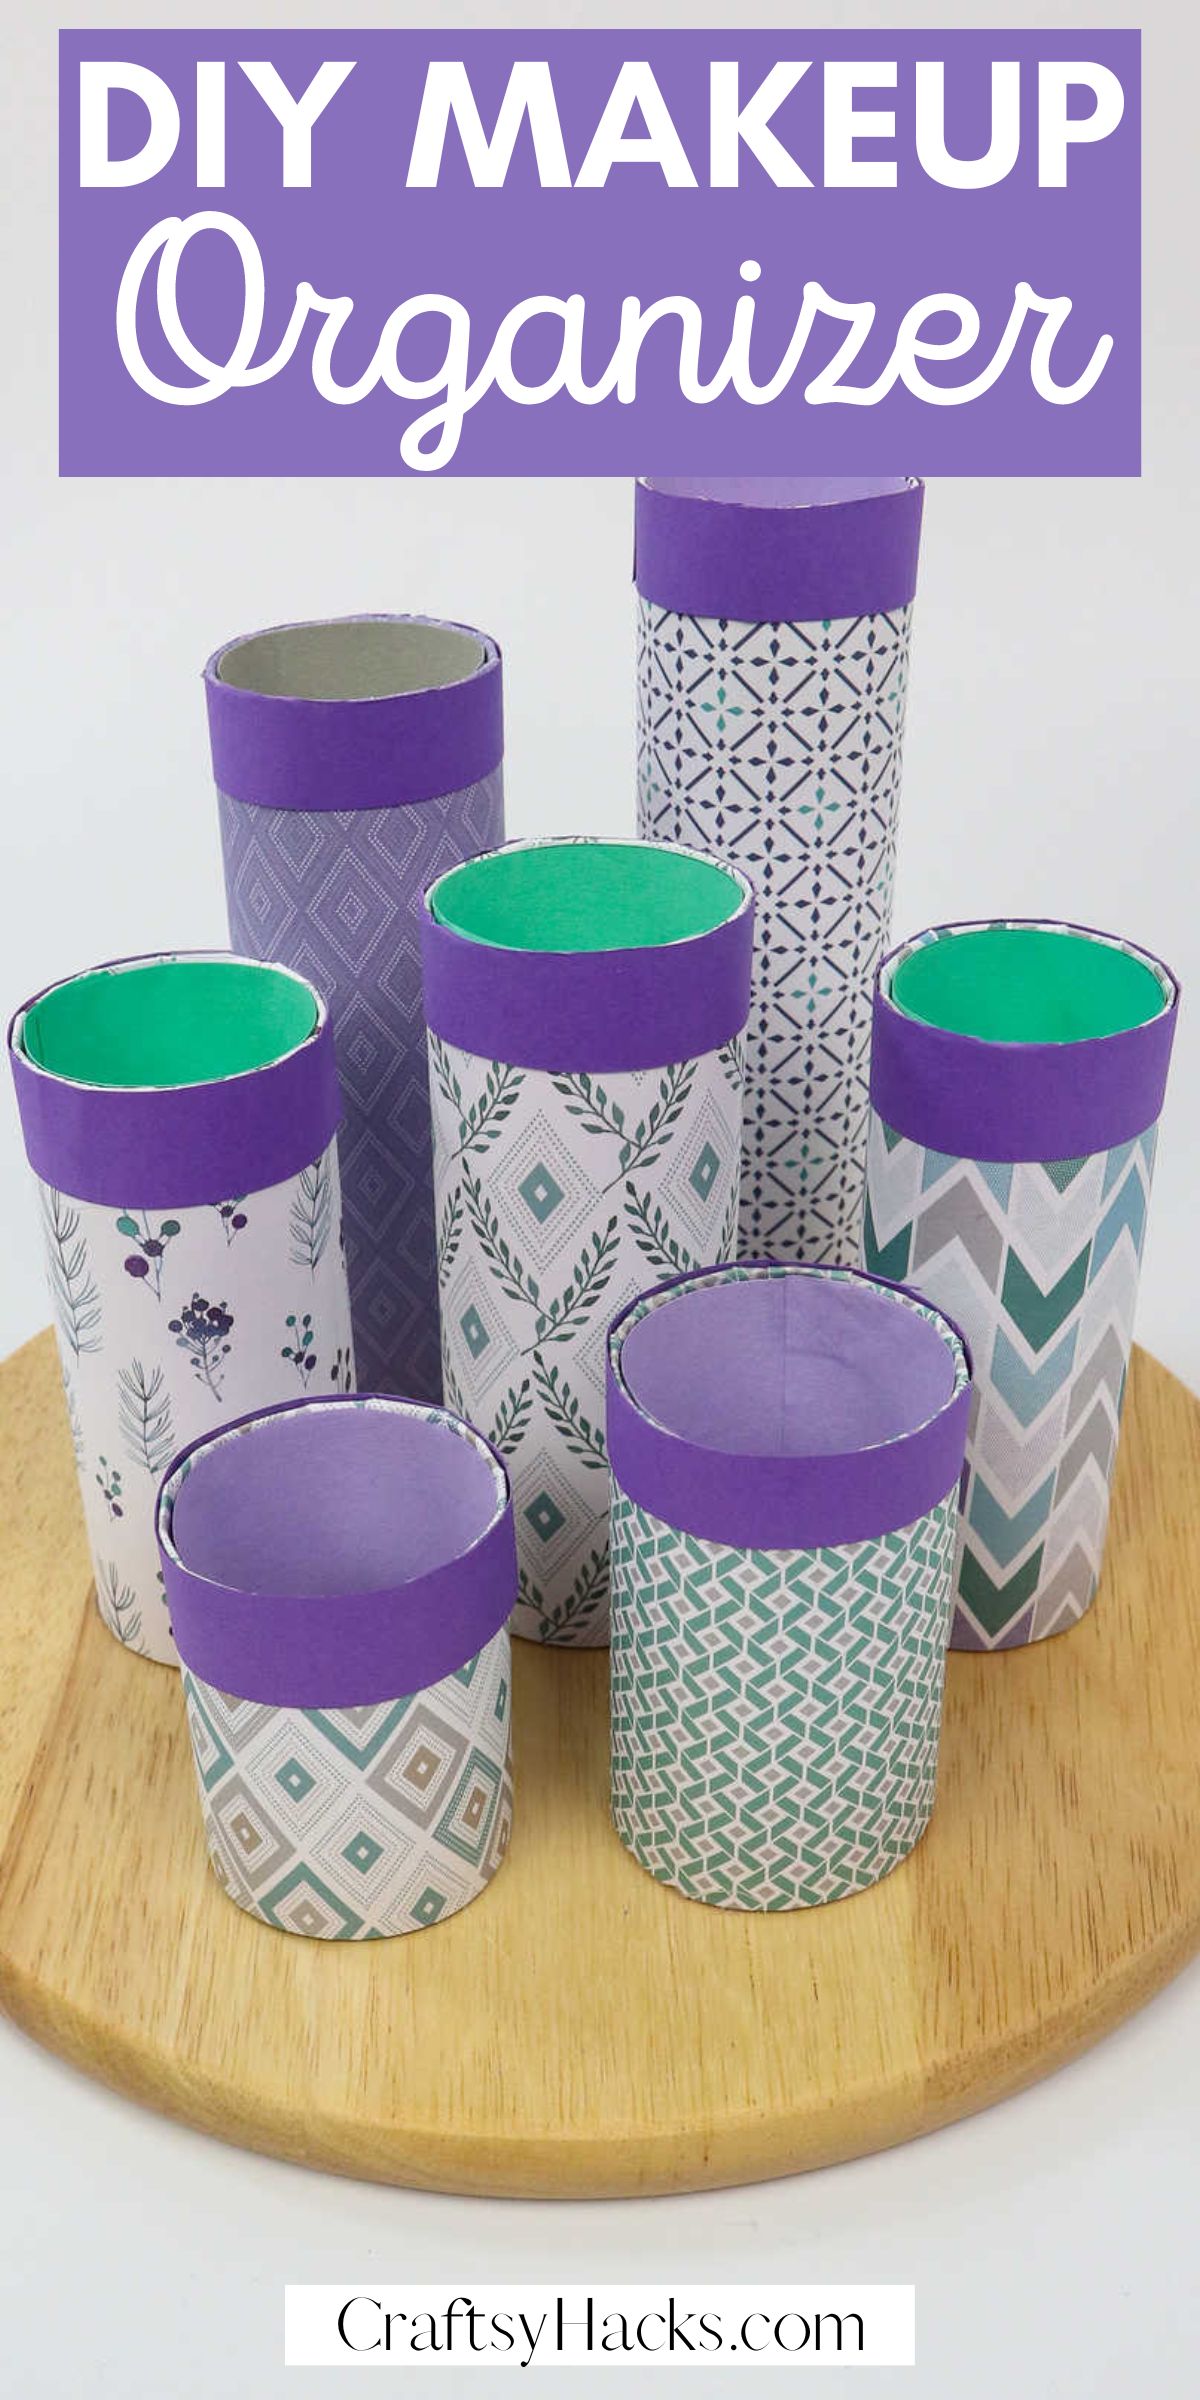
Looking for an easy yet fun way to organize your makeup? I’ve got a fun tutorial for a DIY makeup organizer on the blog today for you, then!
Completely cater the steps to your needs! You can have as many or as few toilet paper tubes as you’d like for your organizer.

Also, you can get very minimal or maximal in your design! The example I’m sharing is in the middle ground.
I hope you enjoy the DIY as much as I did, and if you need help, check out my tutorial on my YouTube page!
Supplies You’ll Need
- Toilet rolls
- Hot glue gun
- Craft paper sheets
- Double-sided tape
- Clear tape
- Scissors
- Ruler
- Pencil
- Paper glue
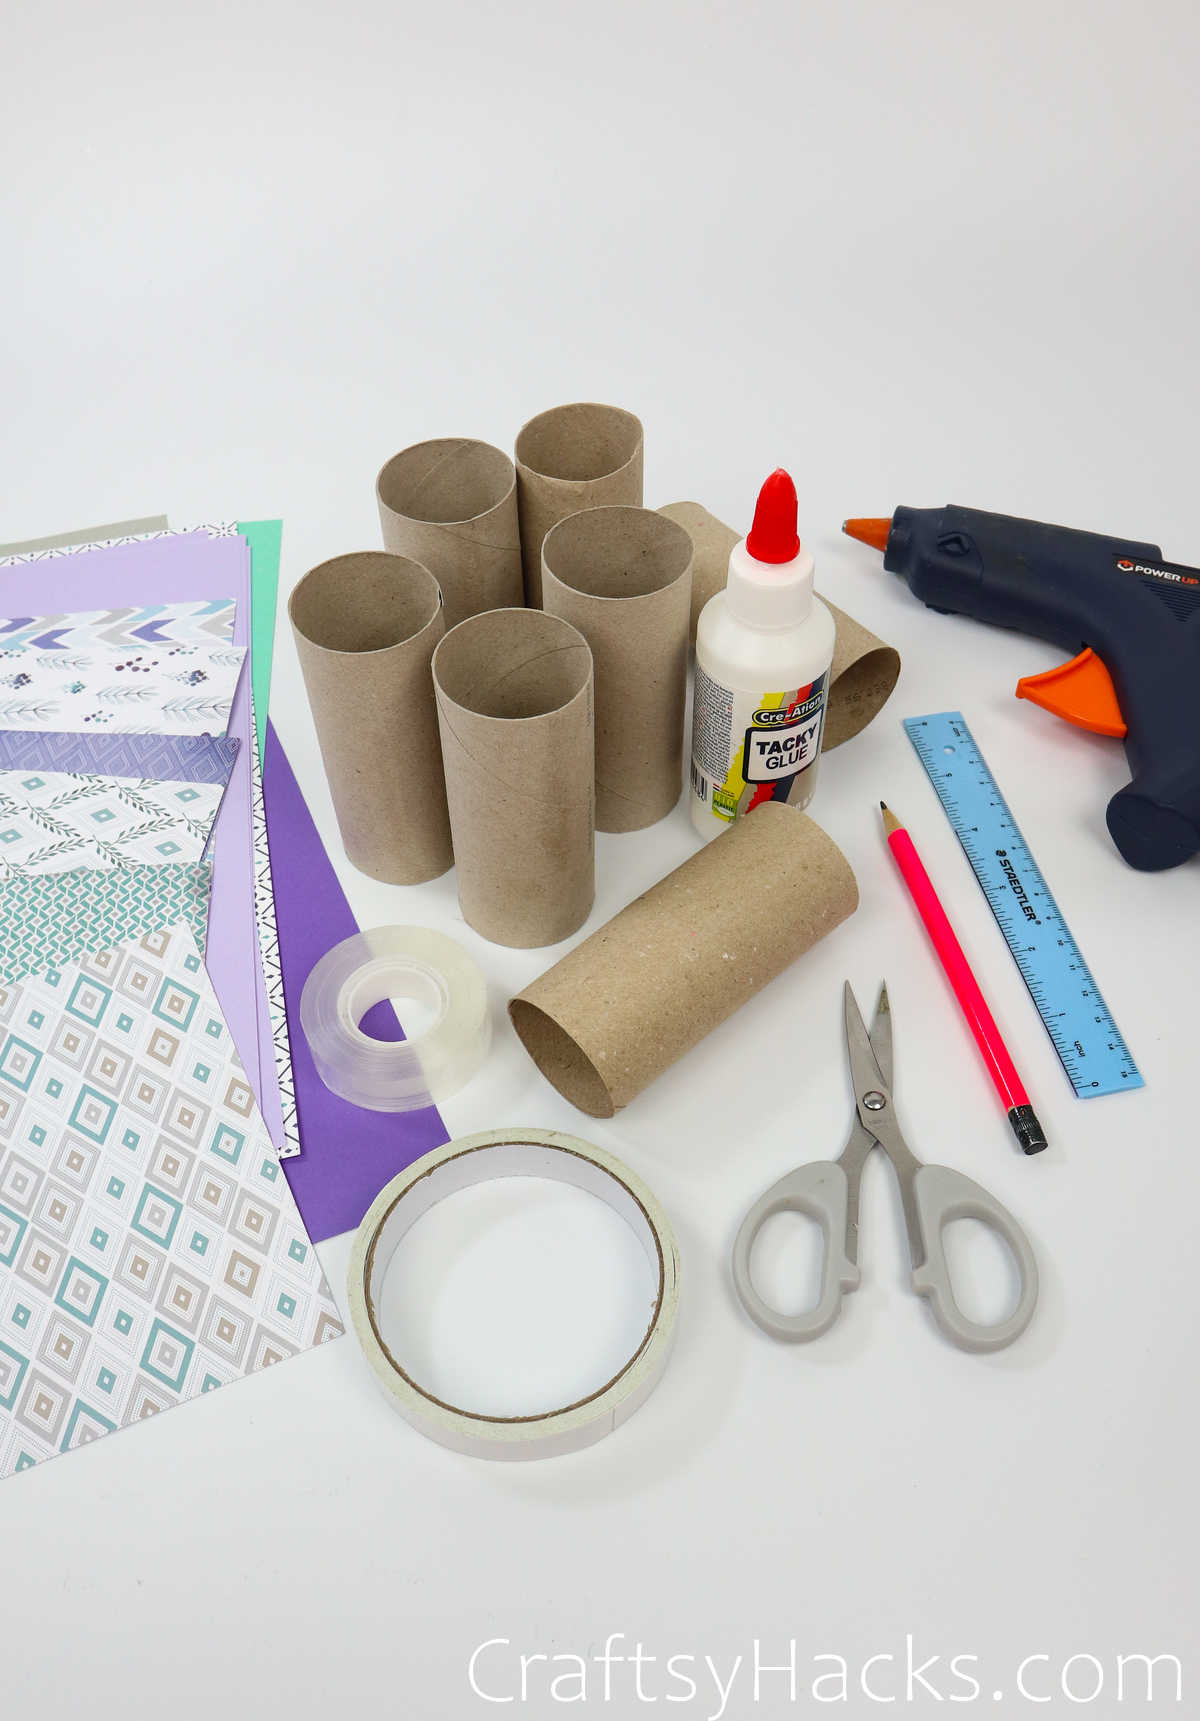
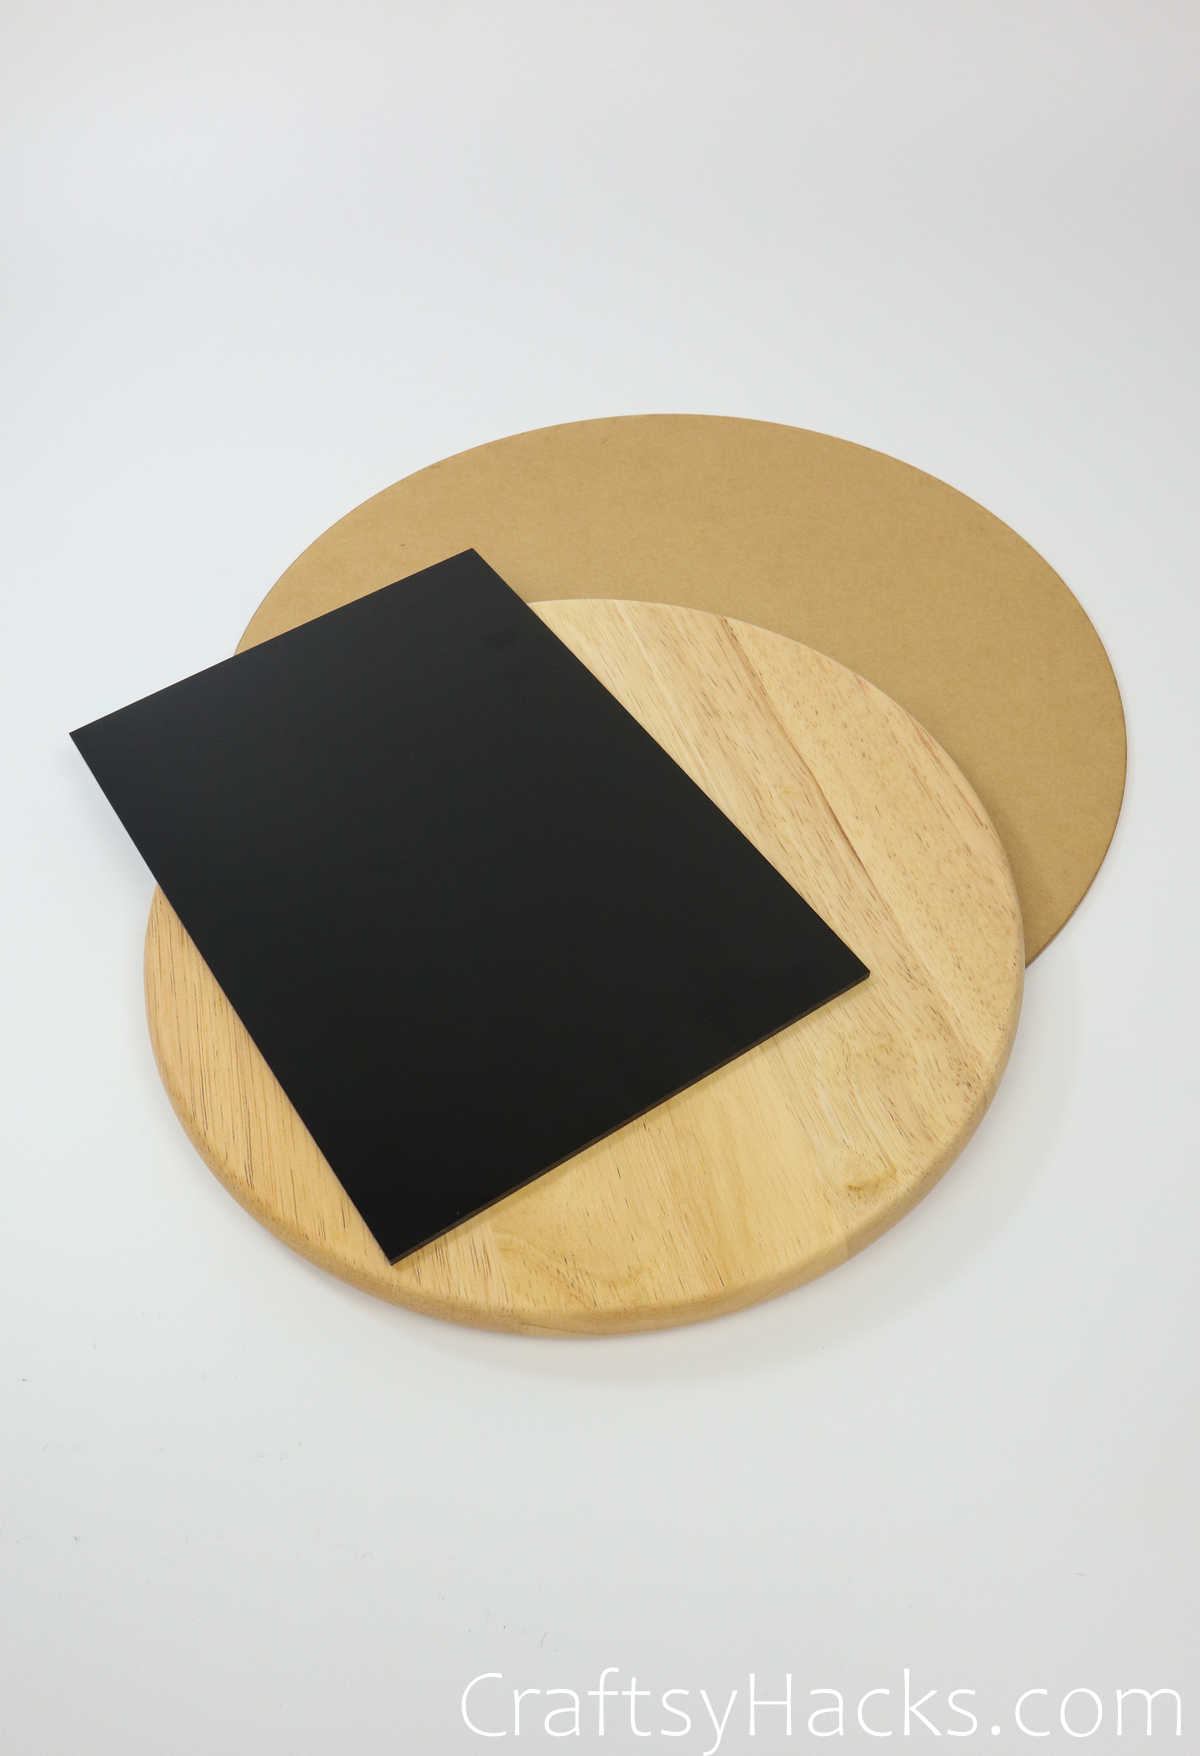
- 8″ round wood board/cardboard/sheet
How to Make This Makeup Organizer
Step 1
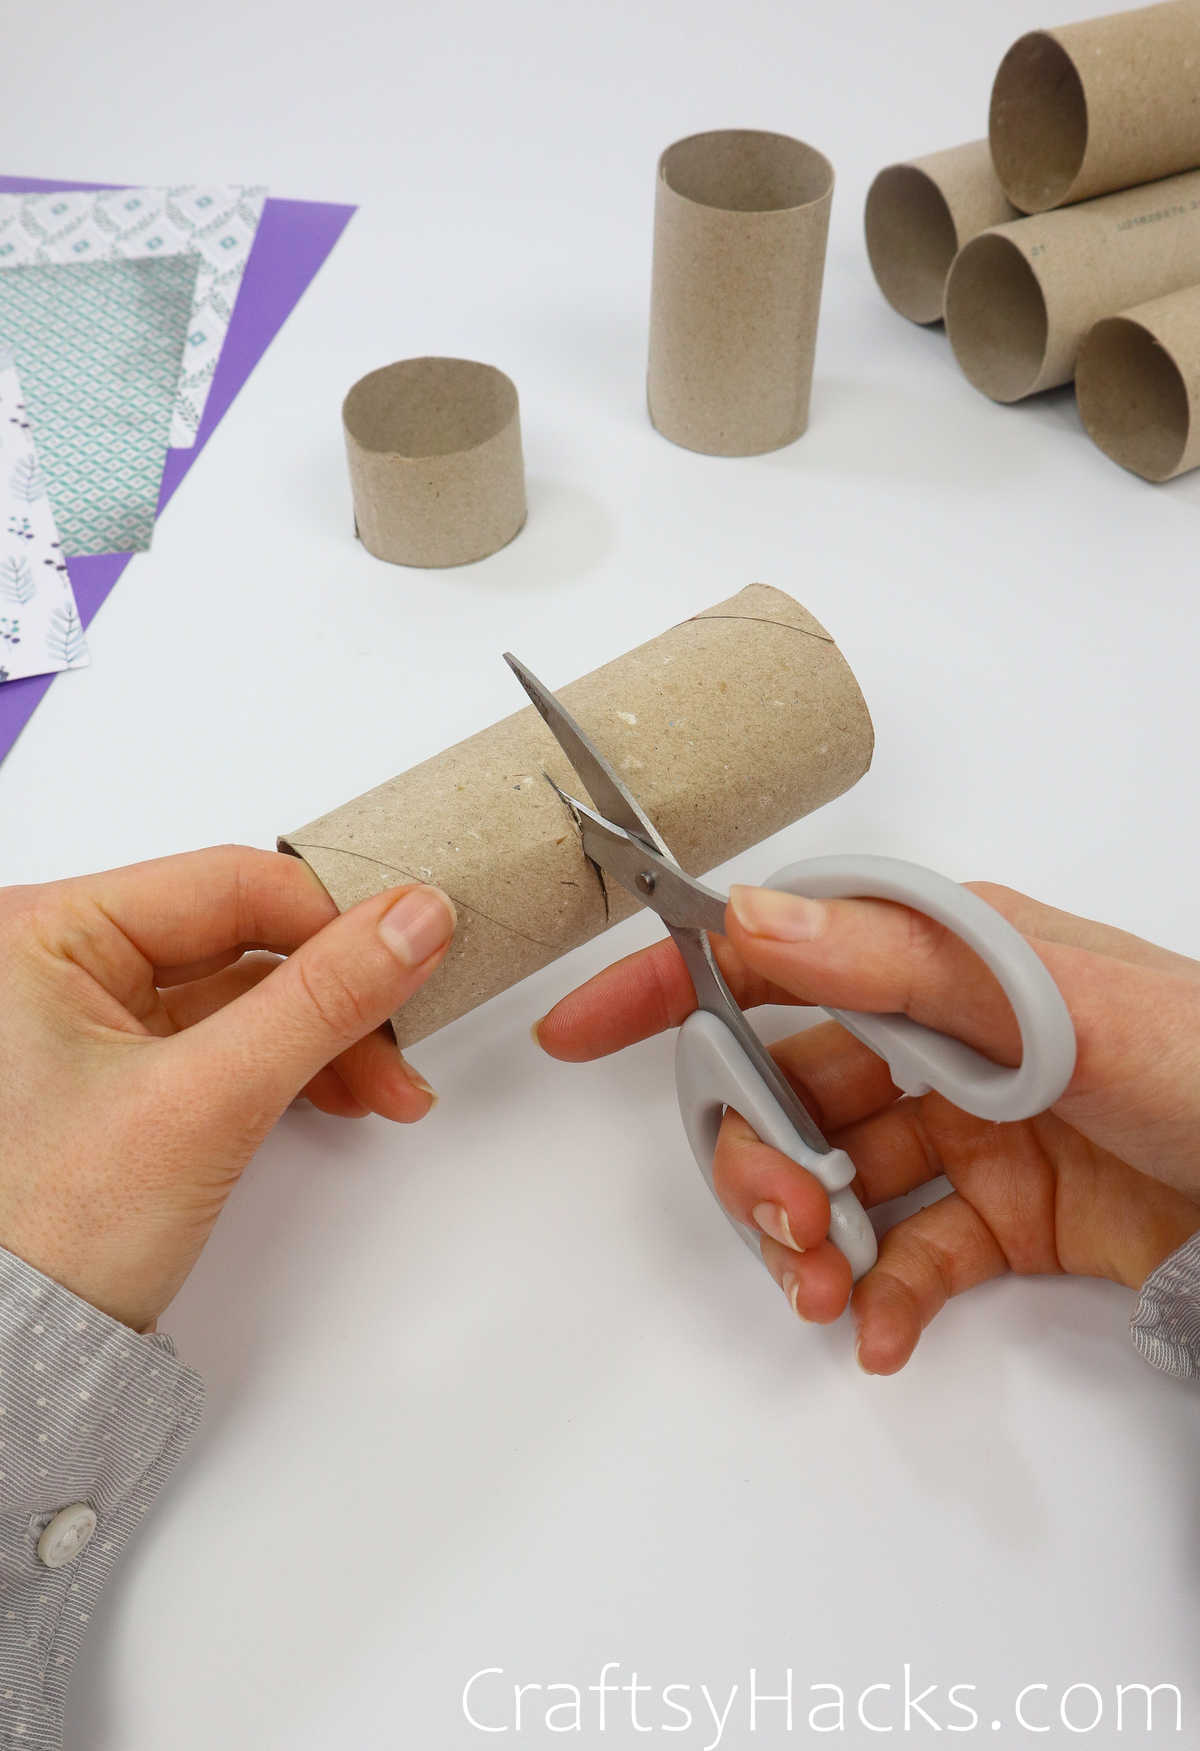
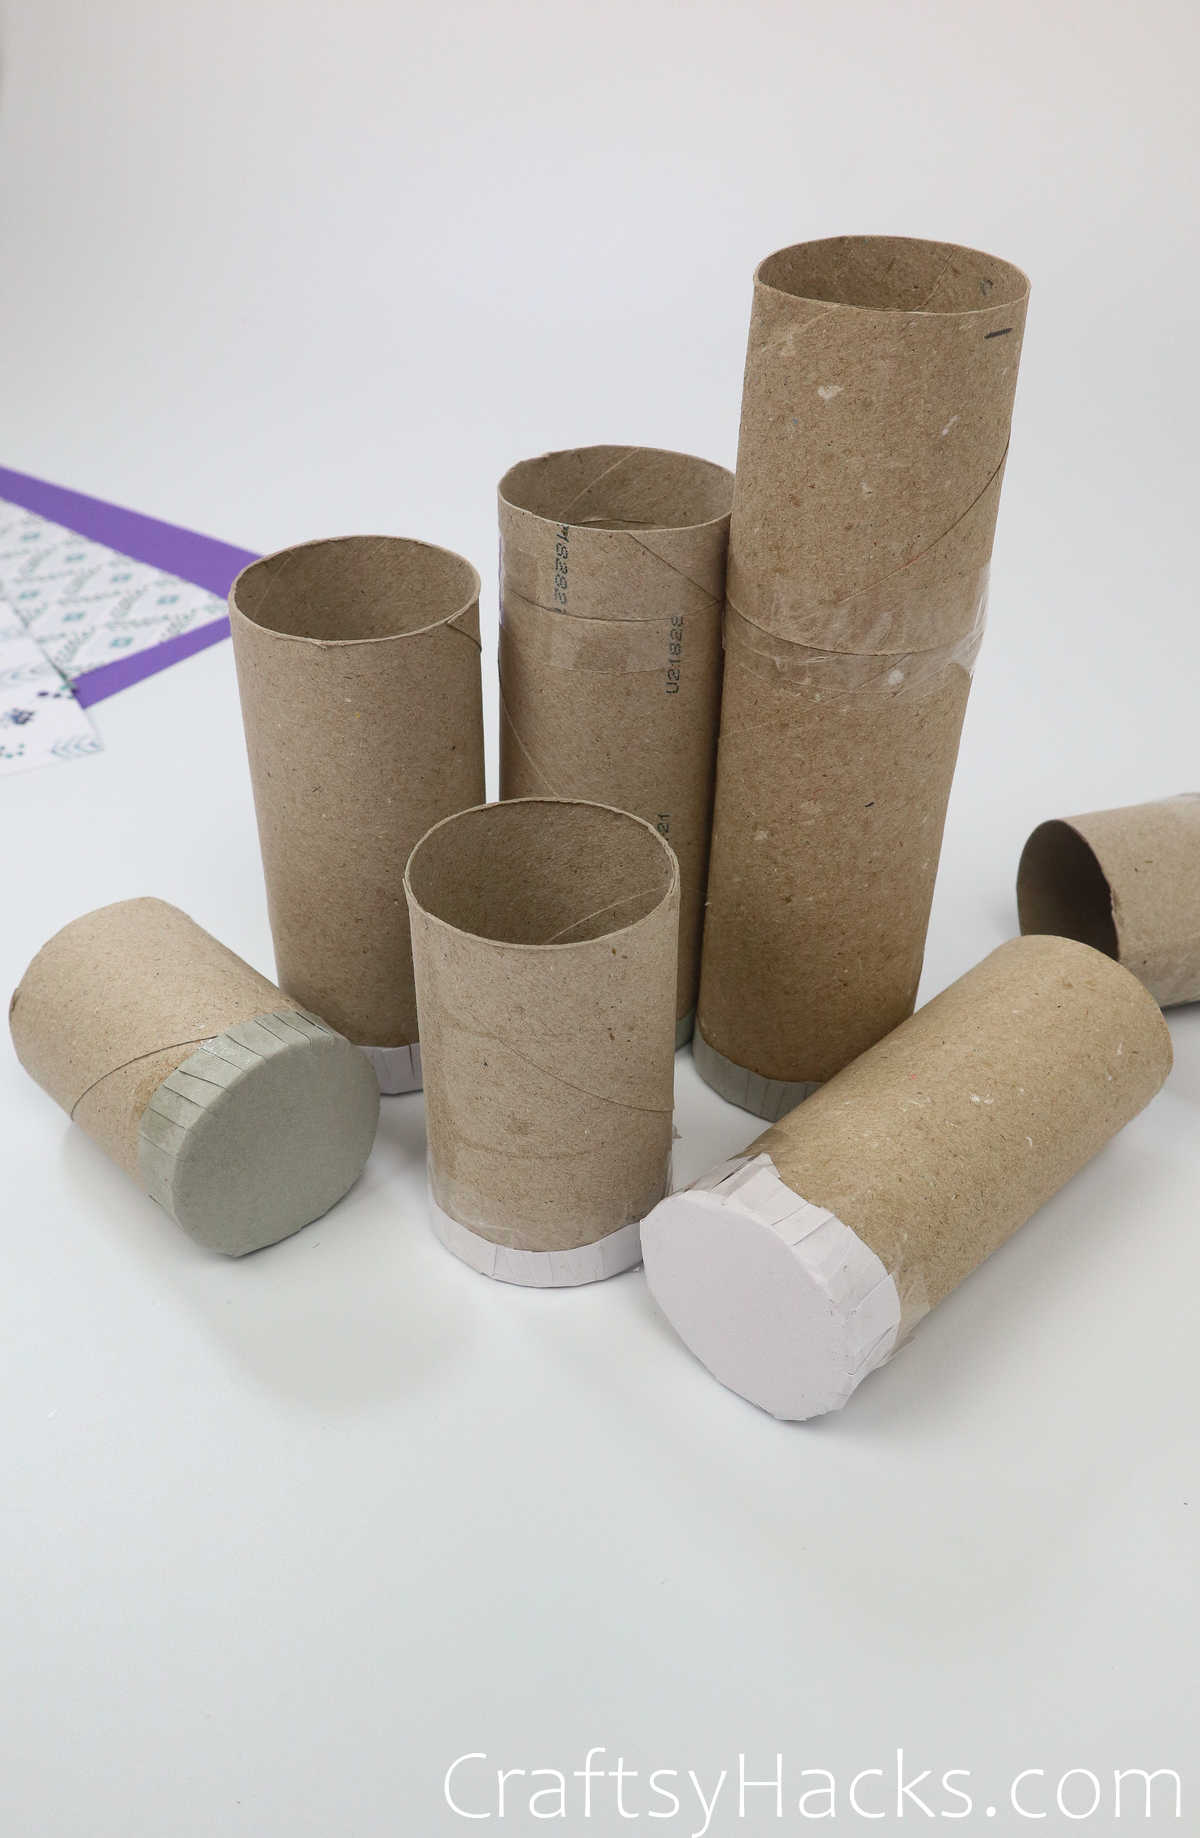
First things first, cut your tubes into varying lengths that correspond to the different heights of items that will go into your organizer once finished.
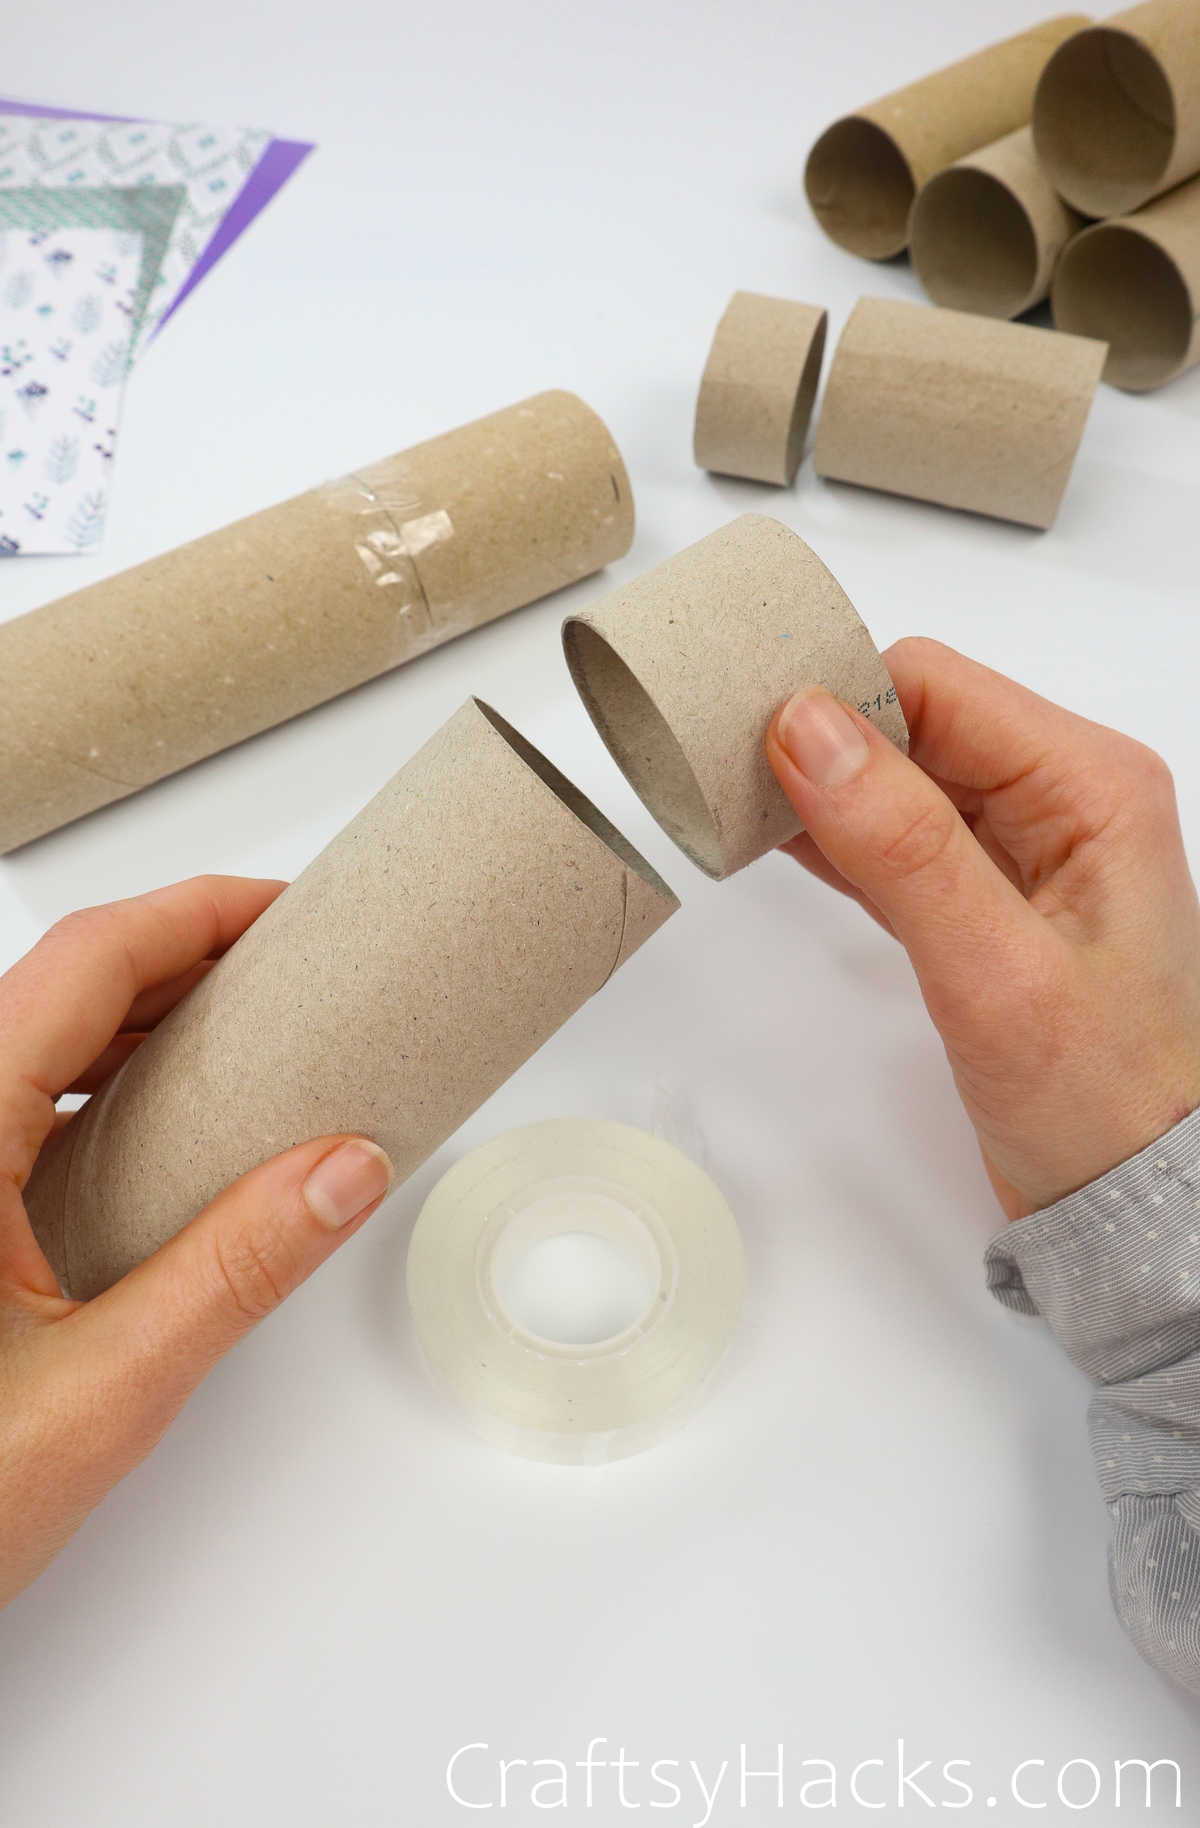
Don’t be too hasty in getting rid of the odds and ends of rolls–they come in handy to attach to other tubes.
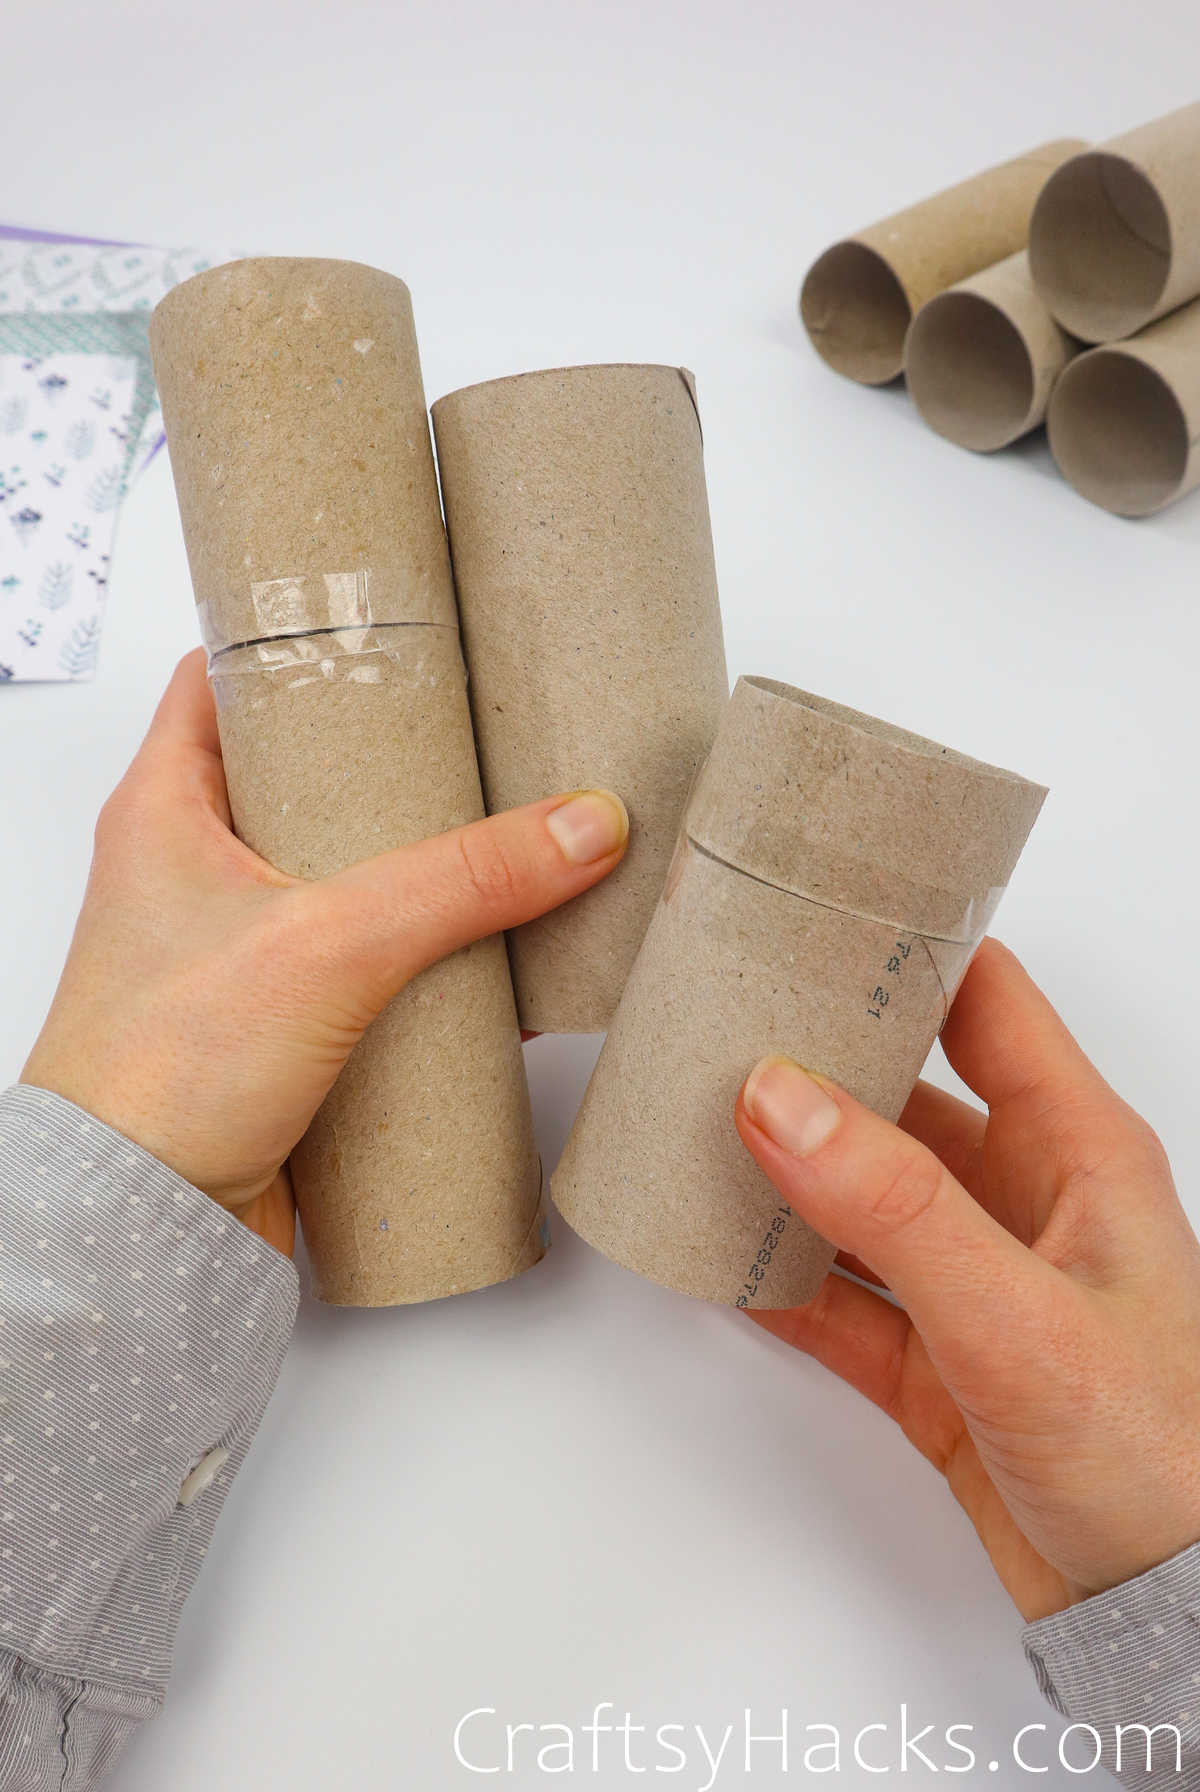
Grab some tape and mix and match any extras onto tubes that need just a bit more height!
Step 2
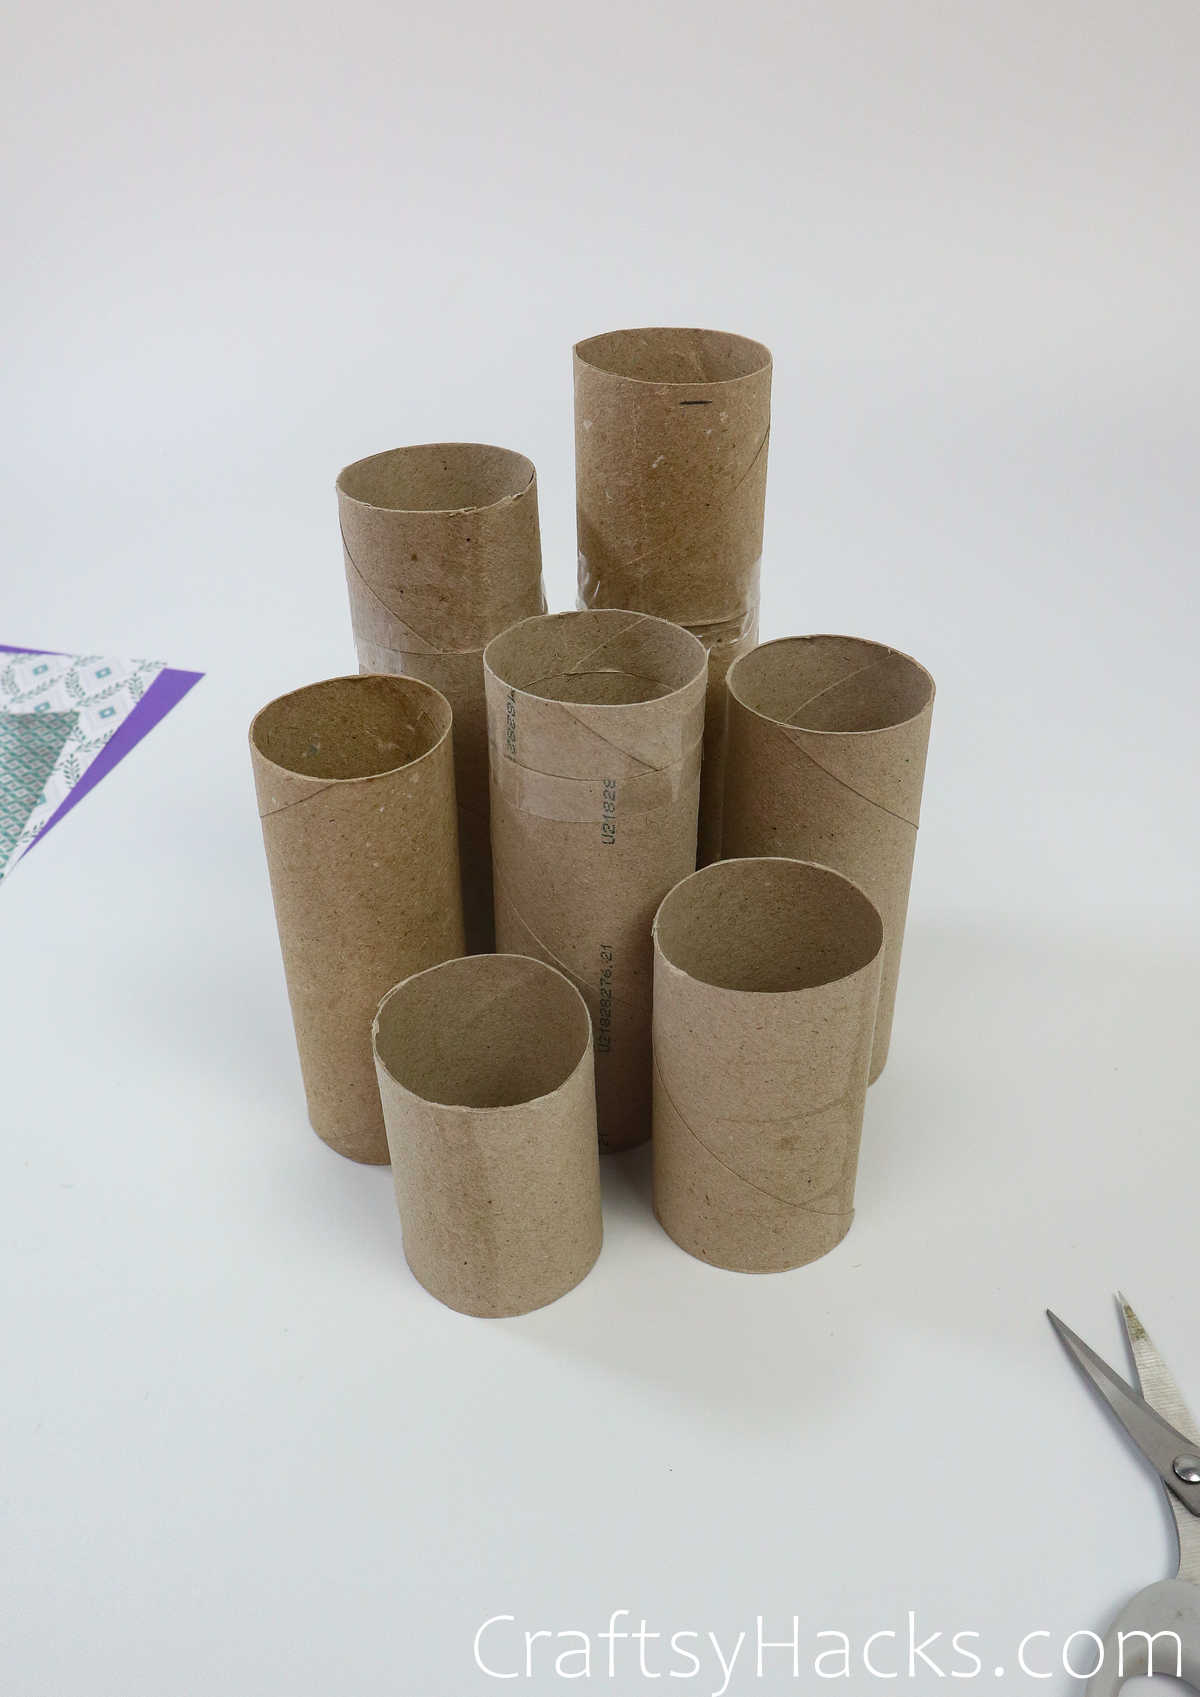
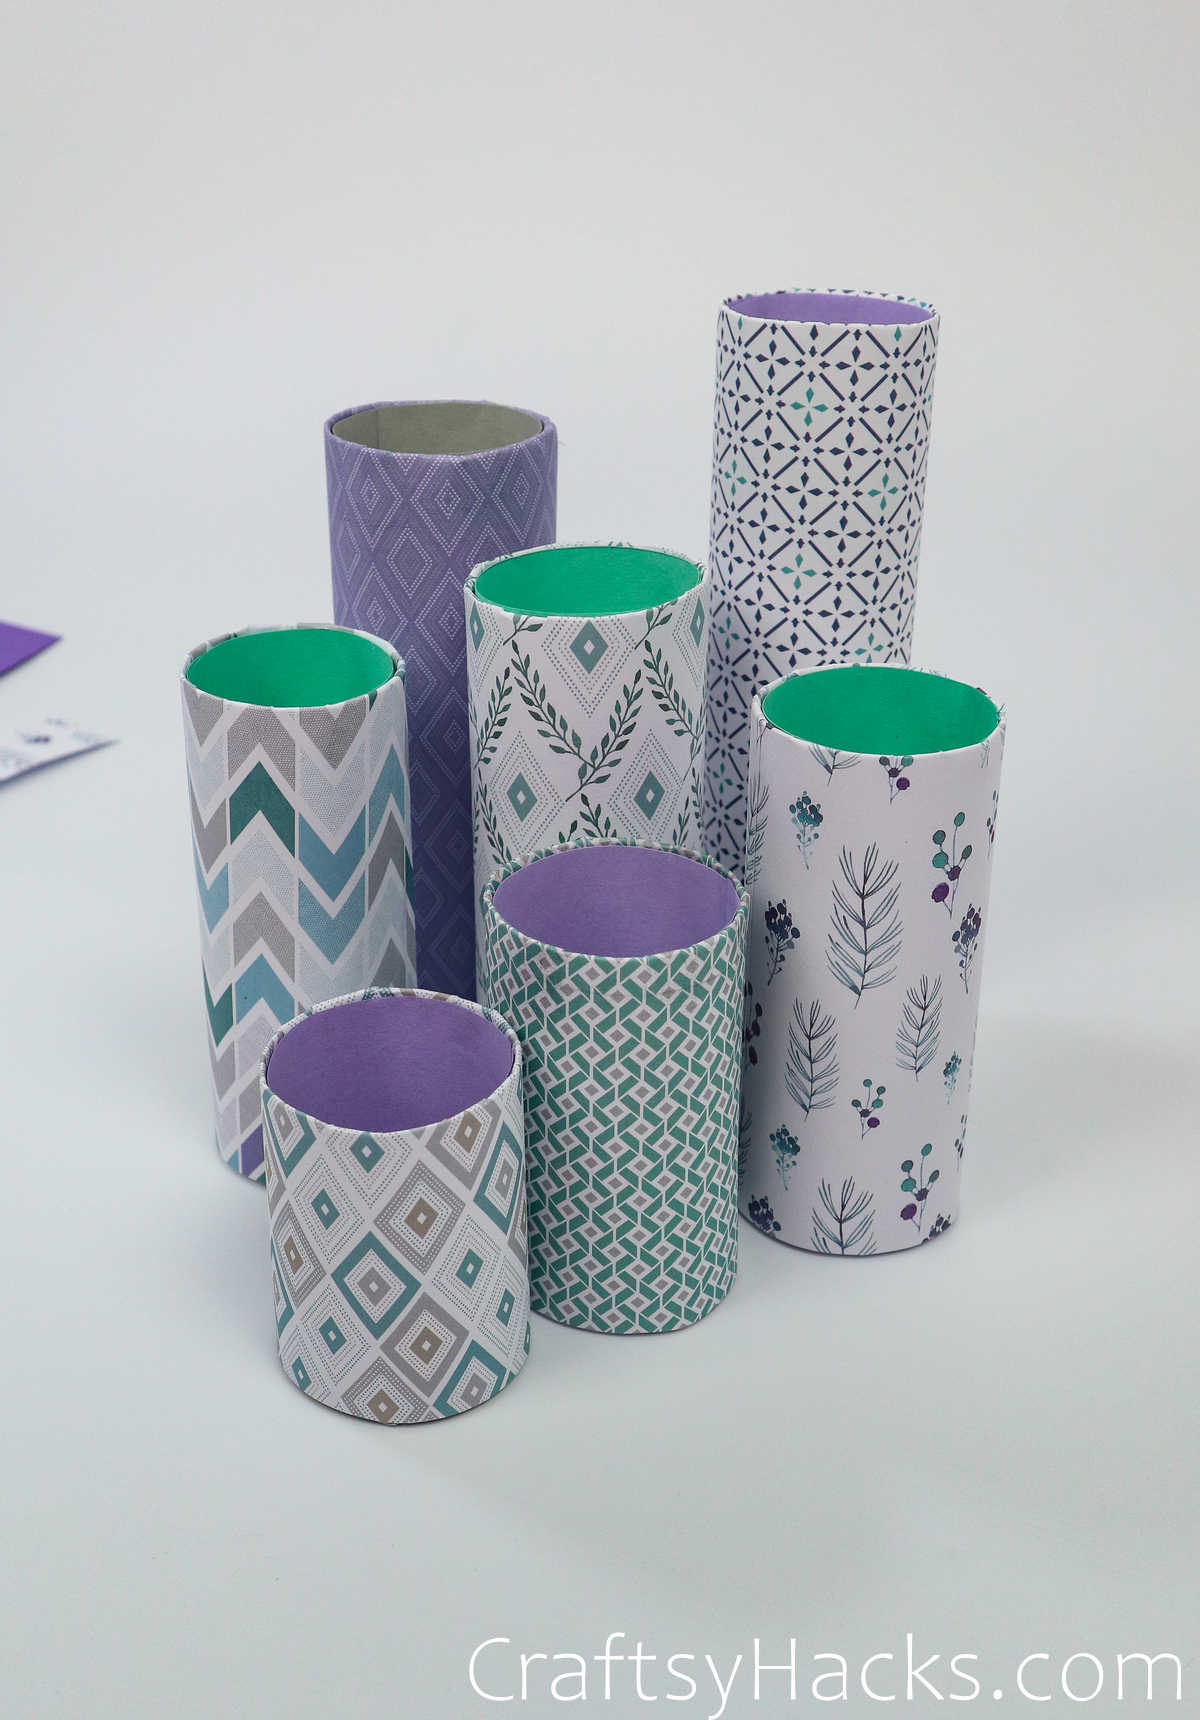
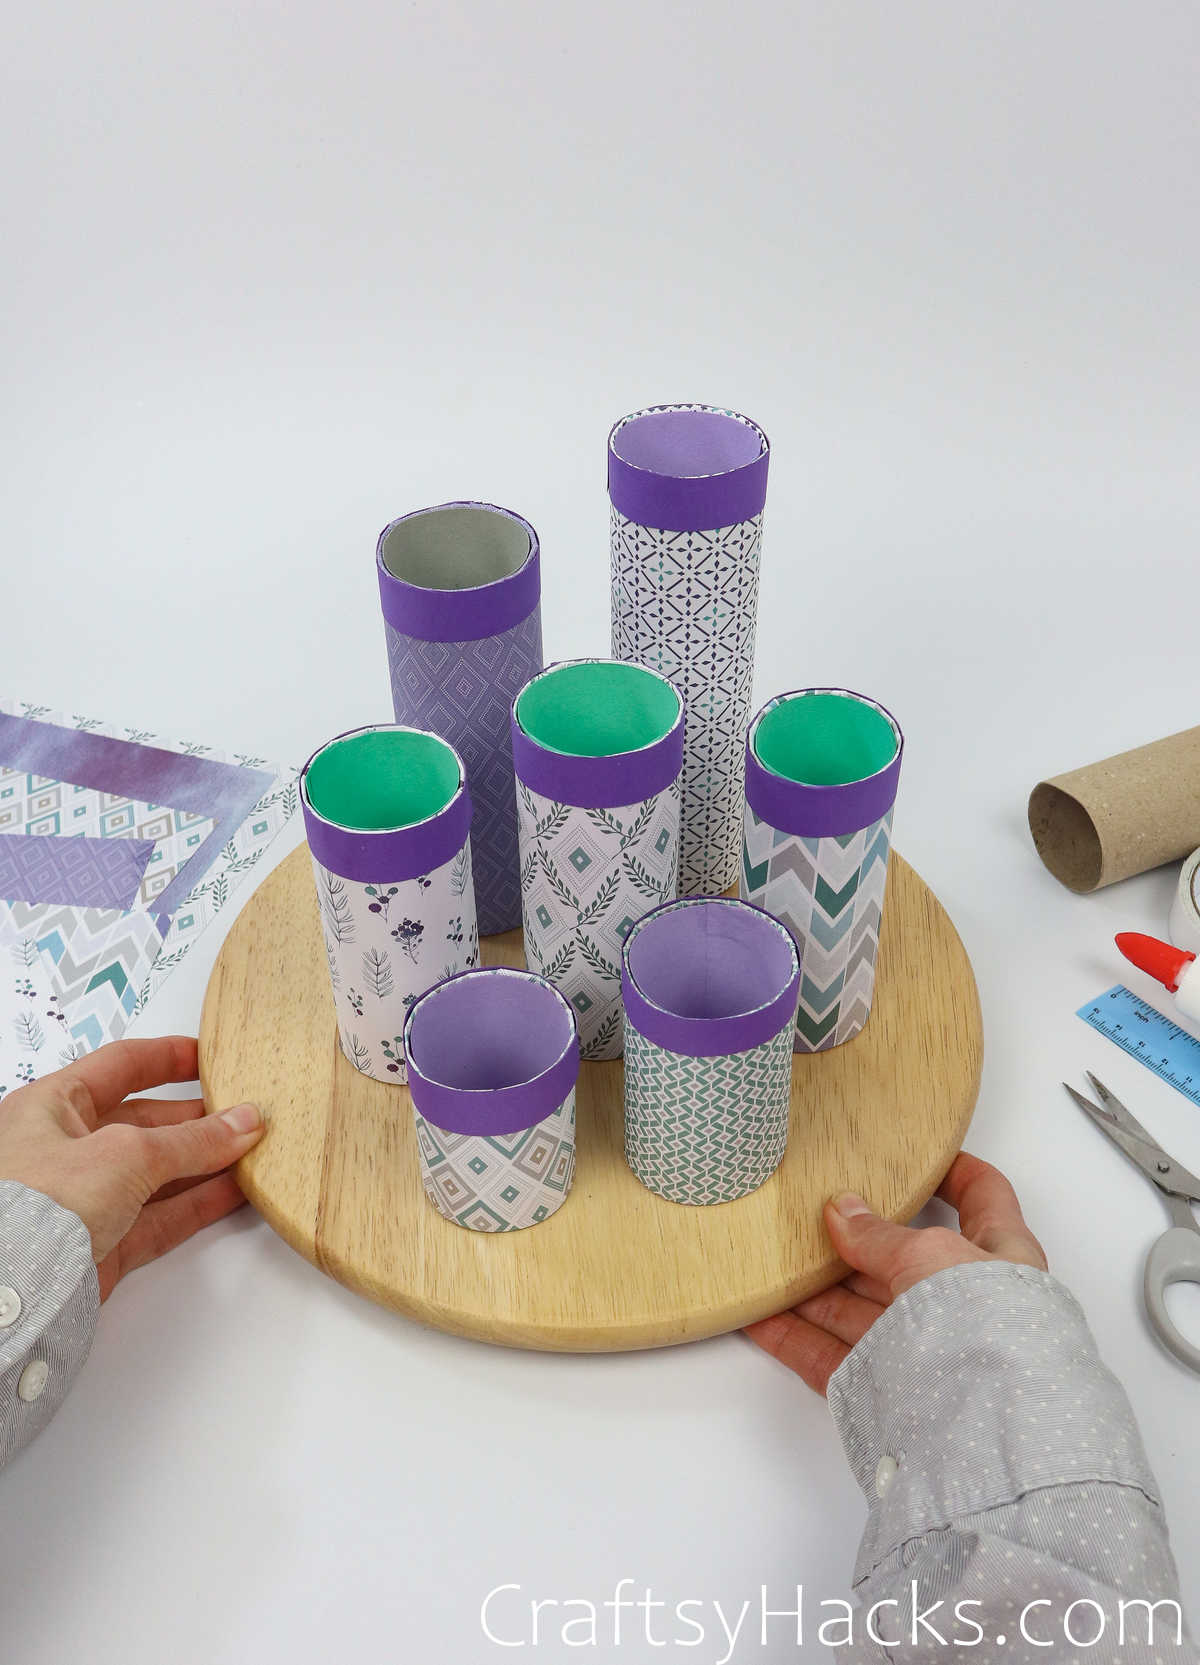
The next thing to do is to arrange the toilet paper rolls in how you’d like them displayed on the board. Feel free to put in whatever makes the most sense to you!
Step 3
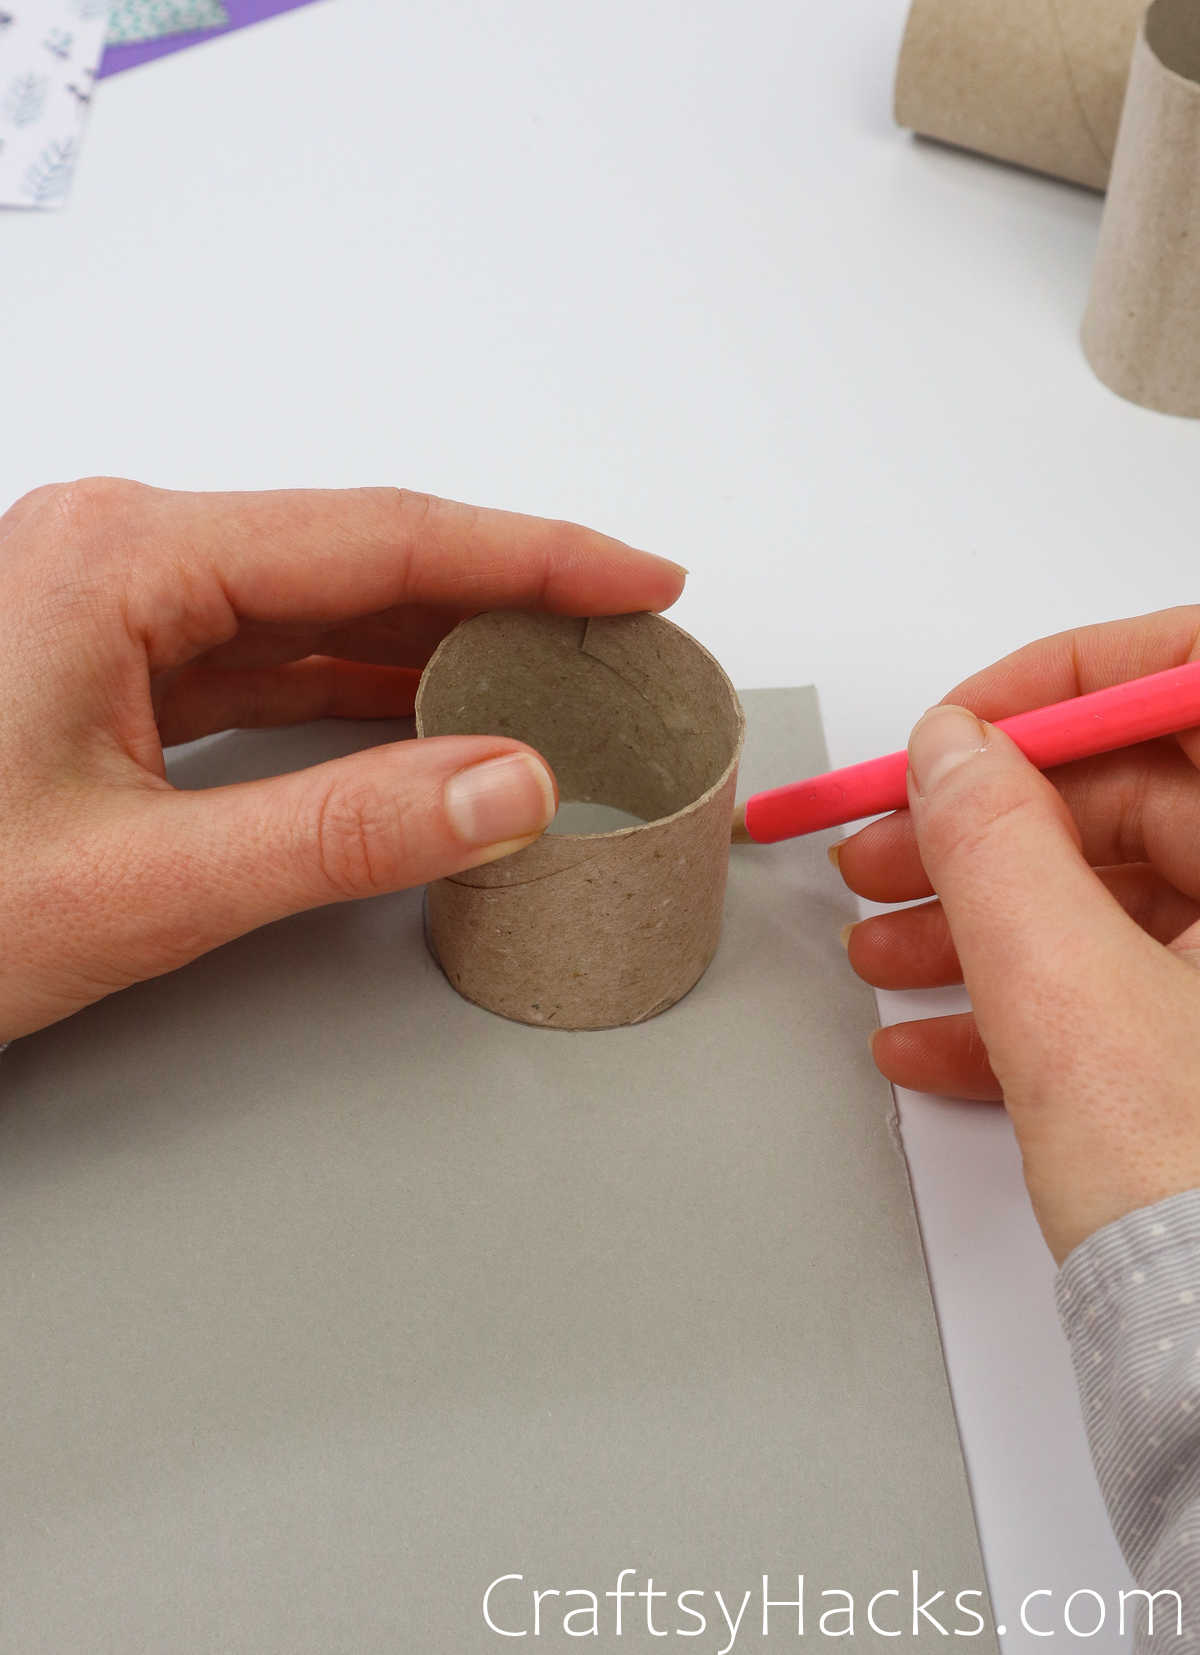
It’s unnecessary, but I believe it helps your organizer have a longer life once the craft getting used.
The base will help reinforce the weight of the tools instead of solely relying on the tube.
Take a plain piece of paper and trace the opening of the roll, creating a base for the tube.
Step 4

Once your circles get drawn, we’ll draw a bigger circle around the originals–about ½ inch bigger. The second circle doesn’t have to be perfect.
Step 5
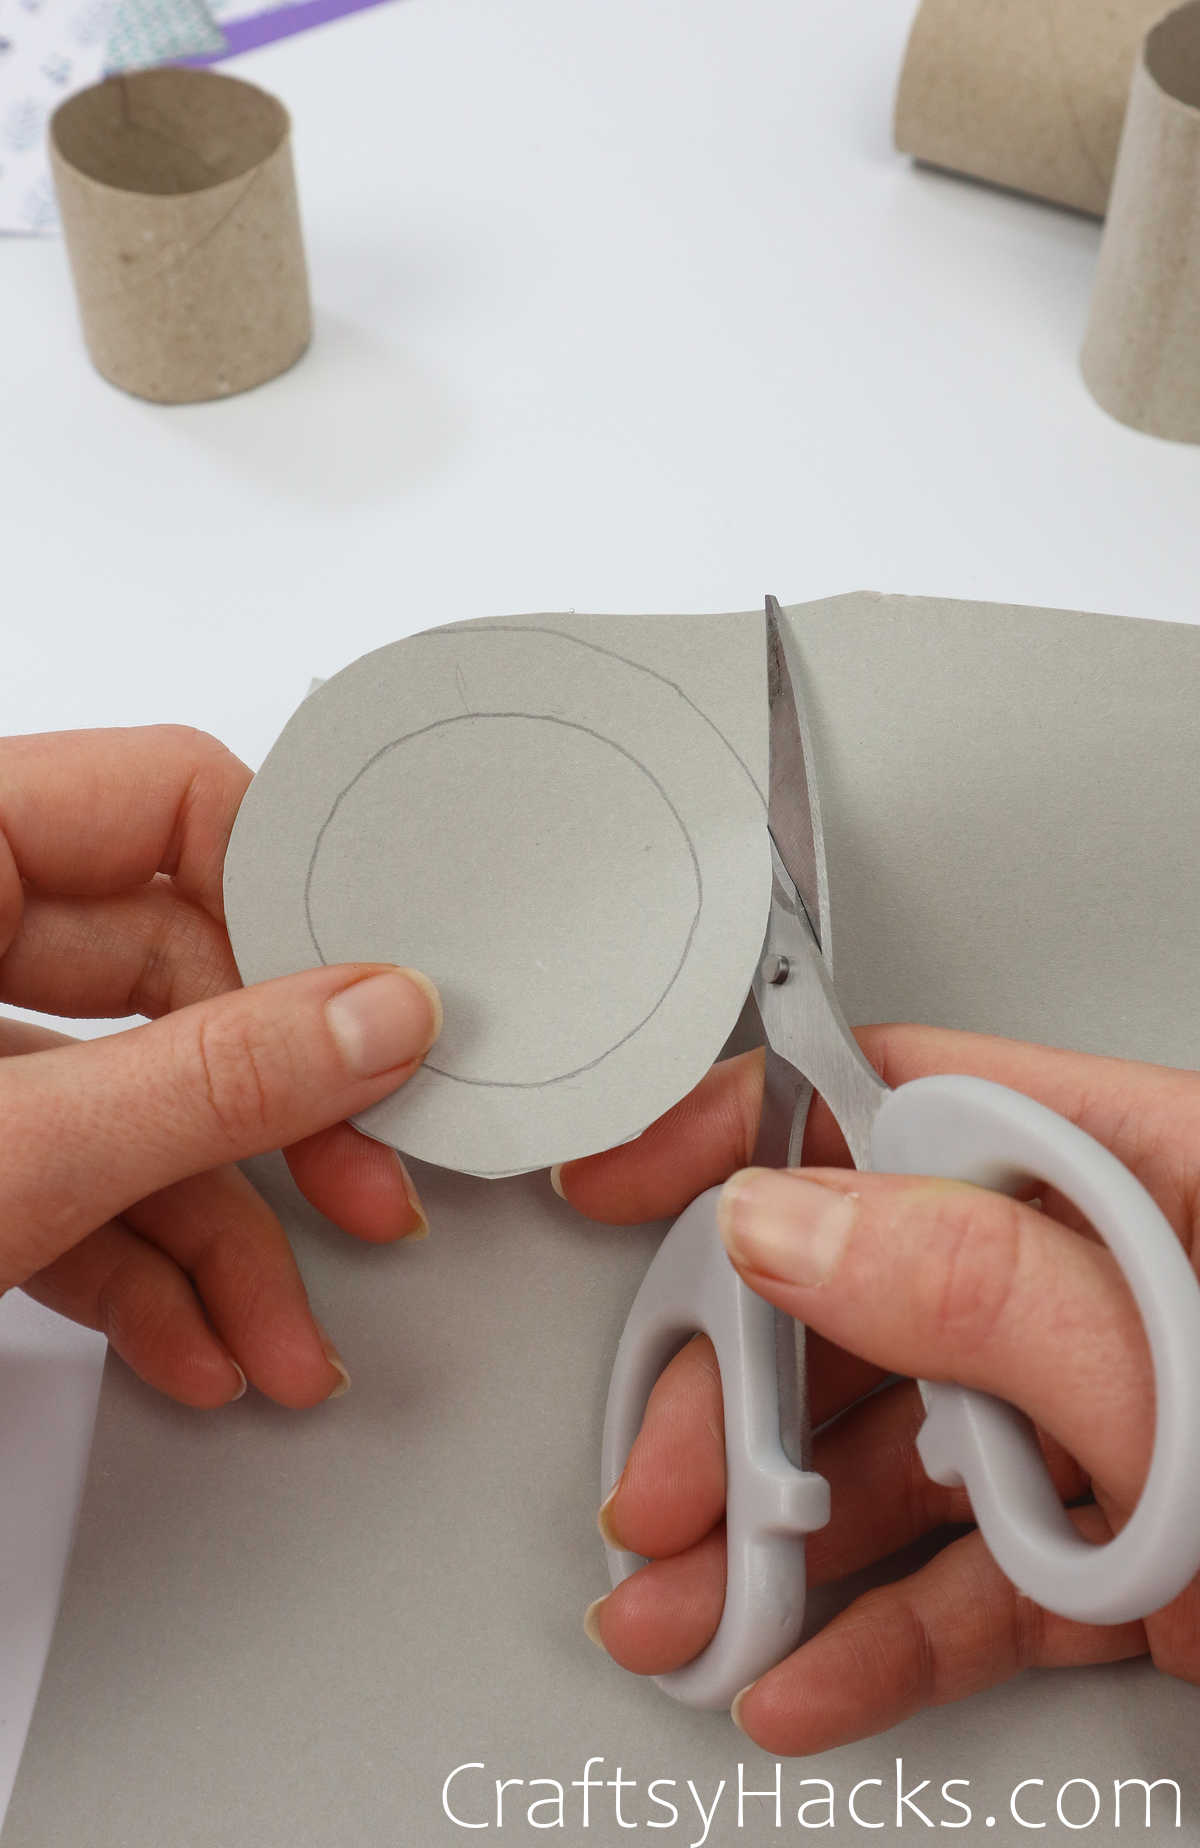
Cut out all of your circles and set them aside.
Step 6
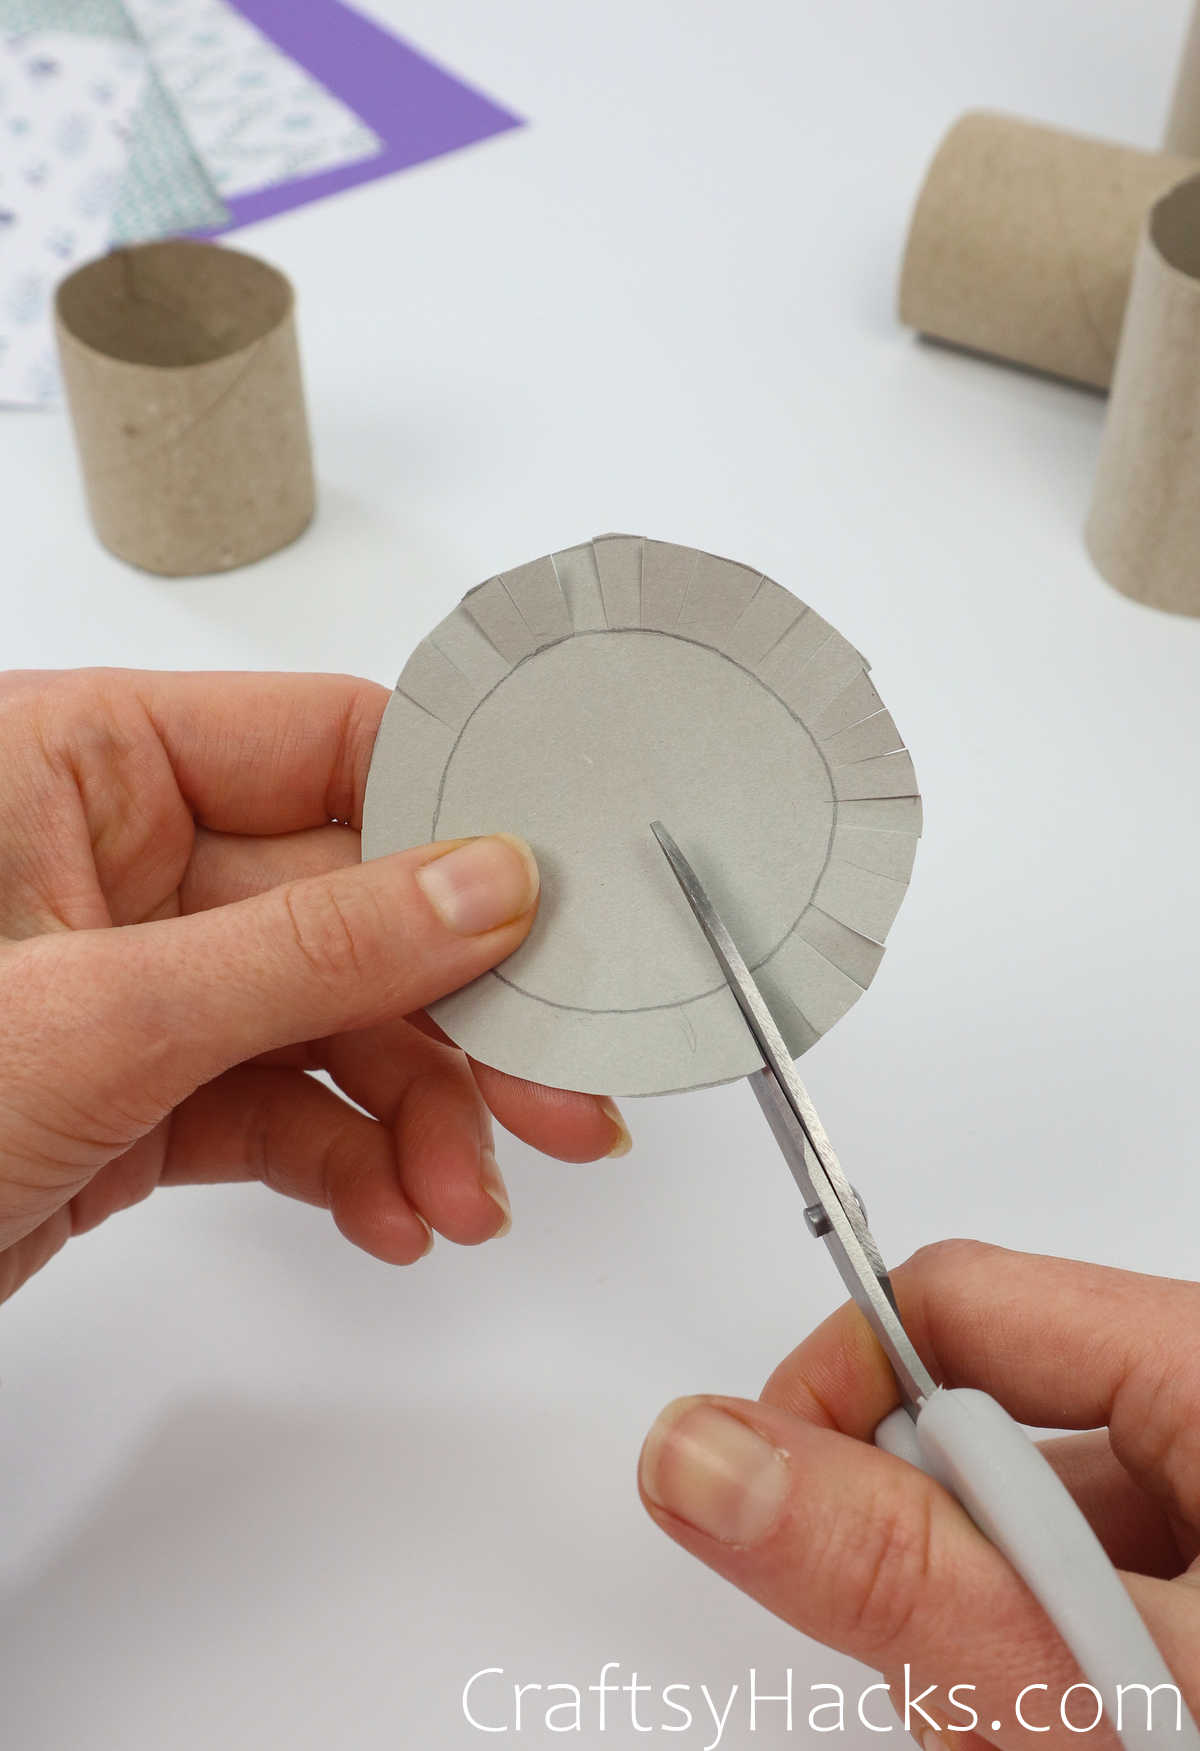
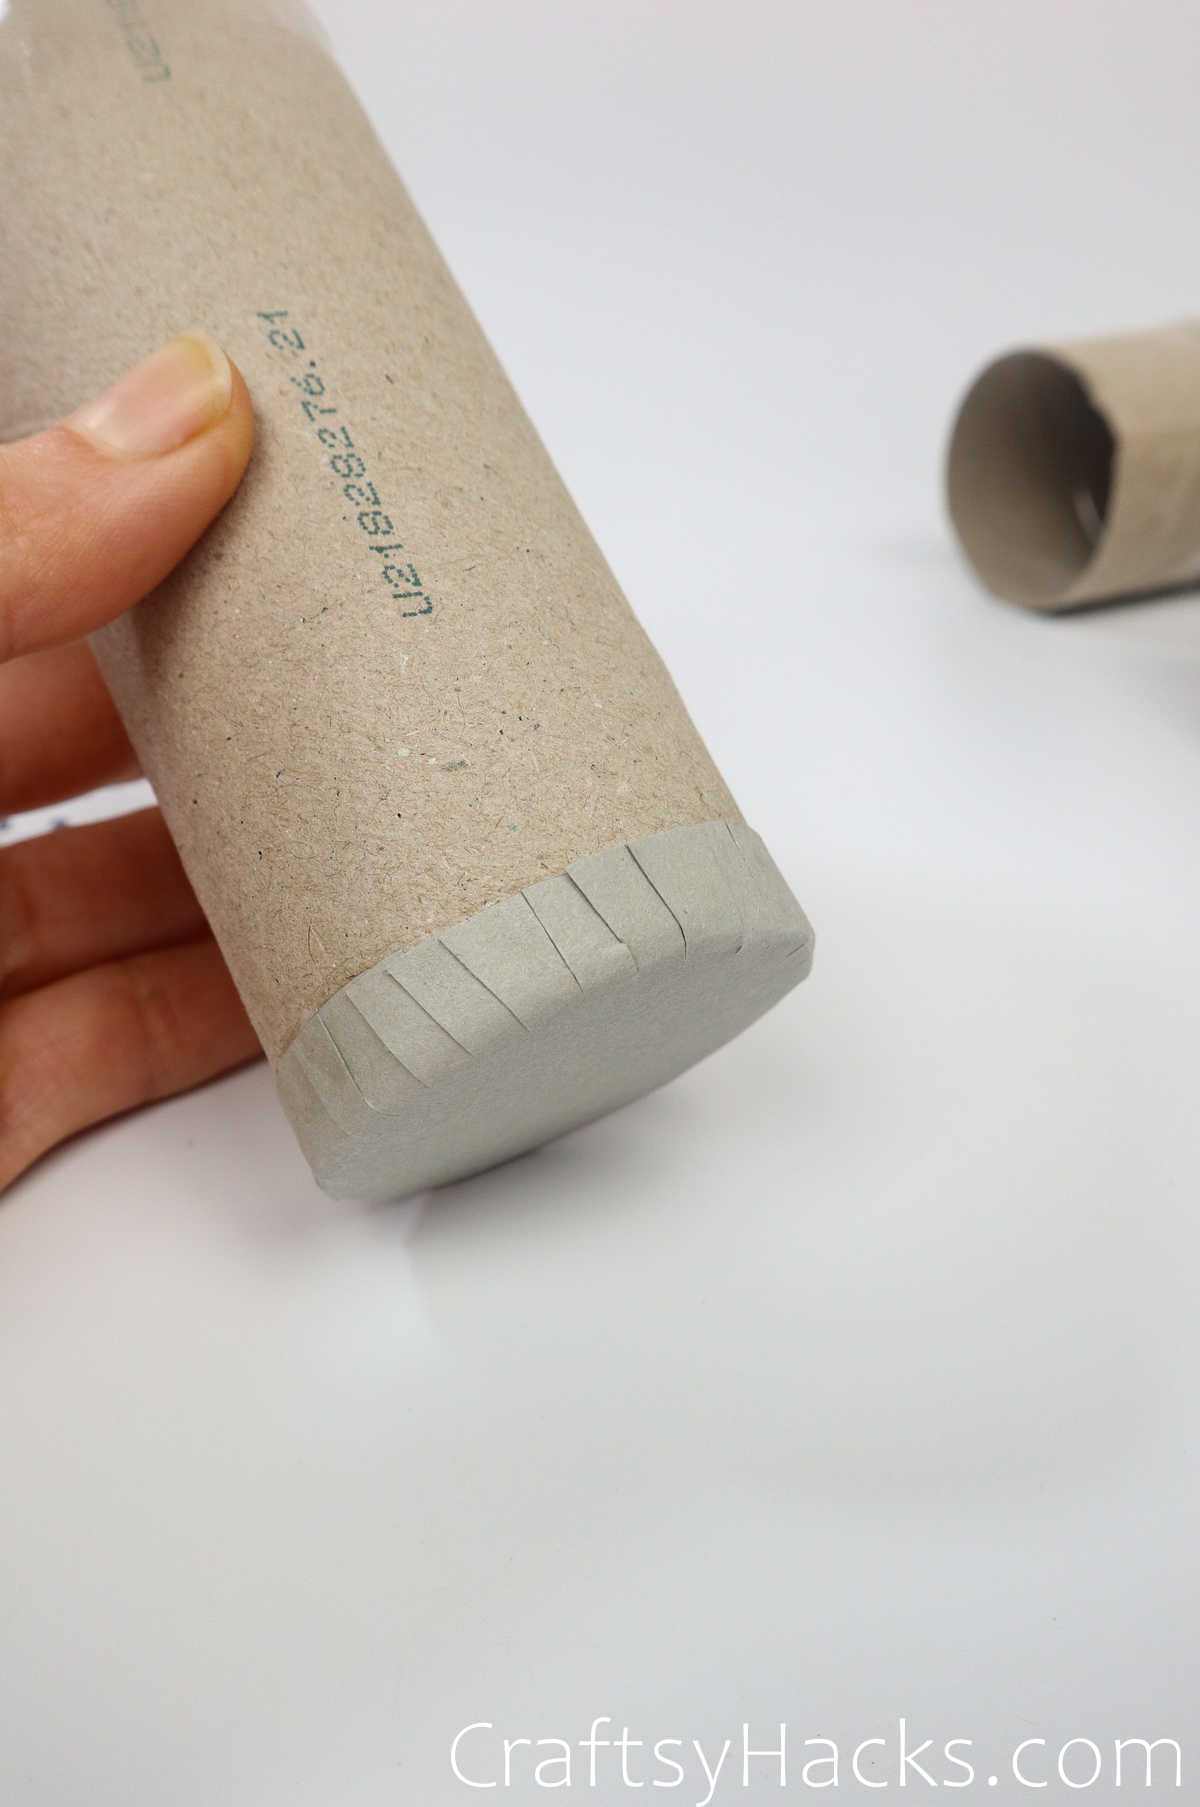
After all the circles get cut, go back to them and make minor cuts up to the inner ring. Do this step for all the pieces.
Step 7
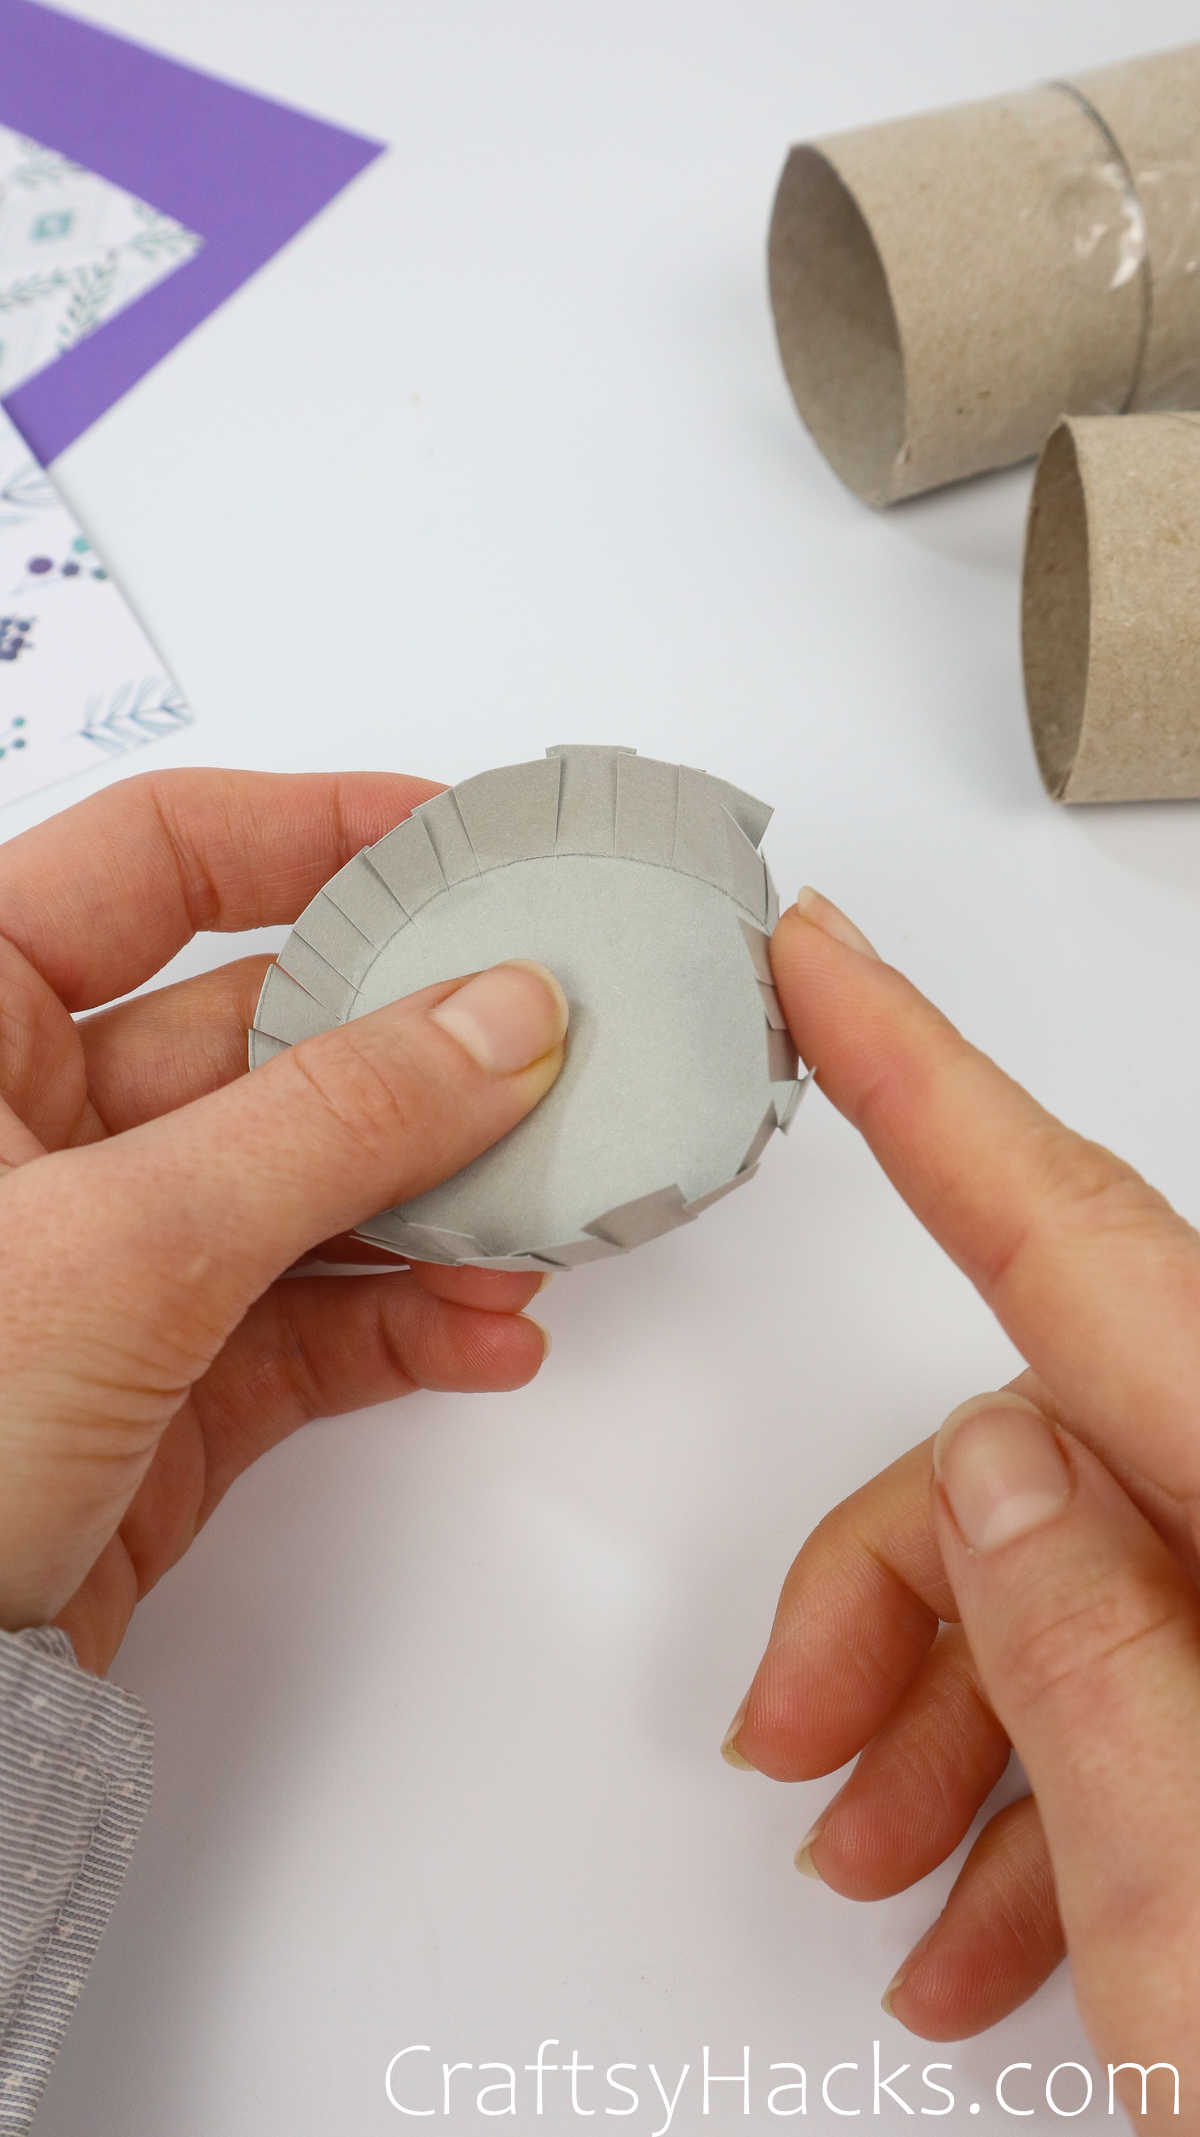
The cuts, once made, will get folded inward. Think like a muffin paper or dessert paper.
Step 8
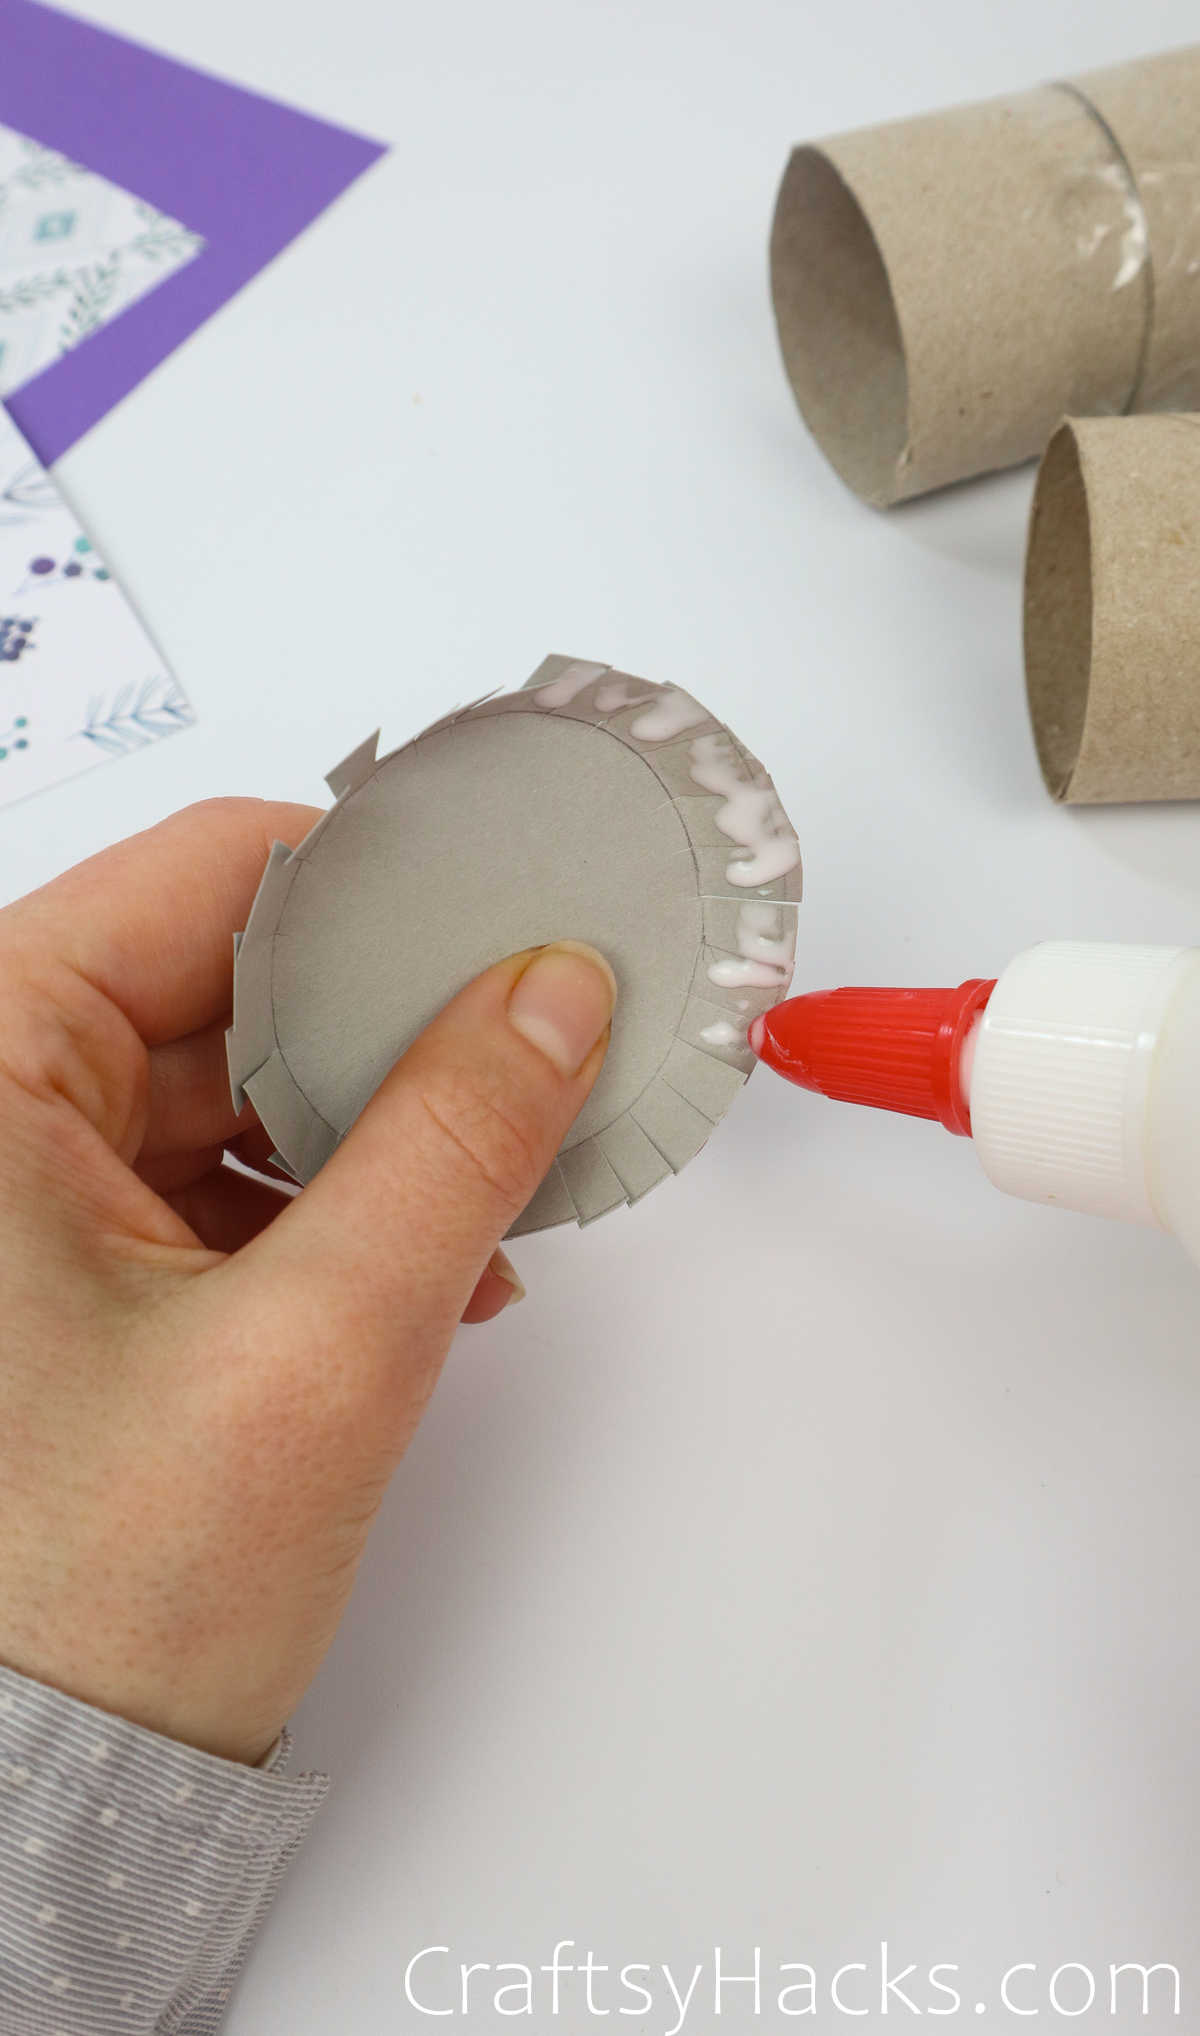
Add glue around the circumference and press the flaps together to stabilize the bases.
Step 9
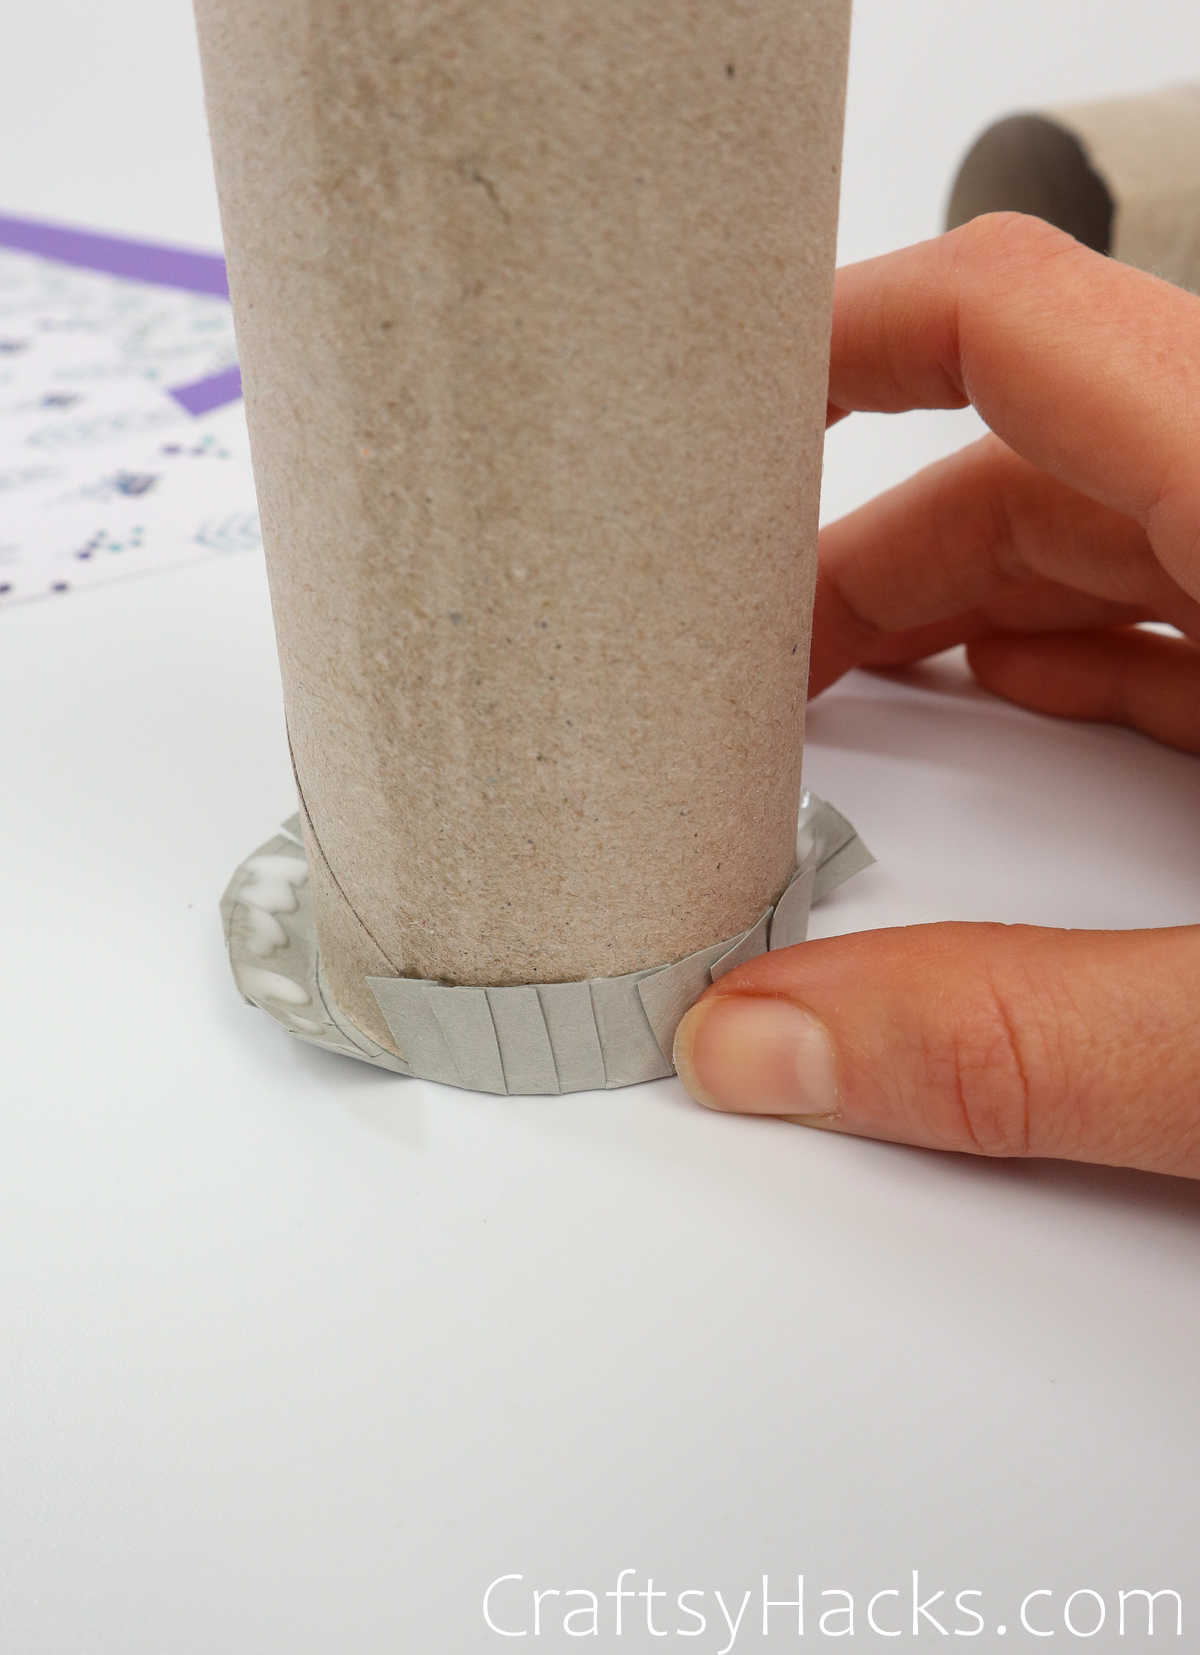
Center the toilet paper roll in the center of the base and add glue to the outer ring. Press the ring to the sides of the tube to adhere.
Let the bases dry after pressing them onto the shaft of the tube.
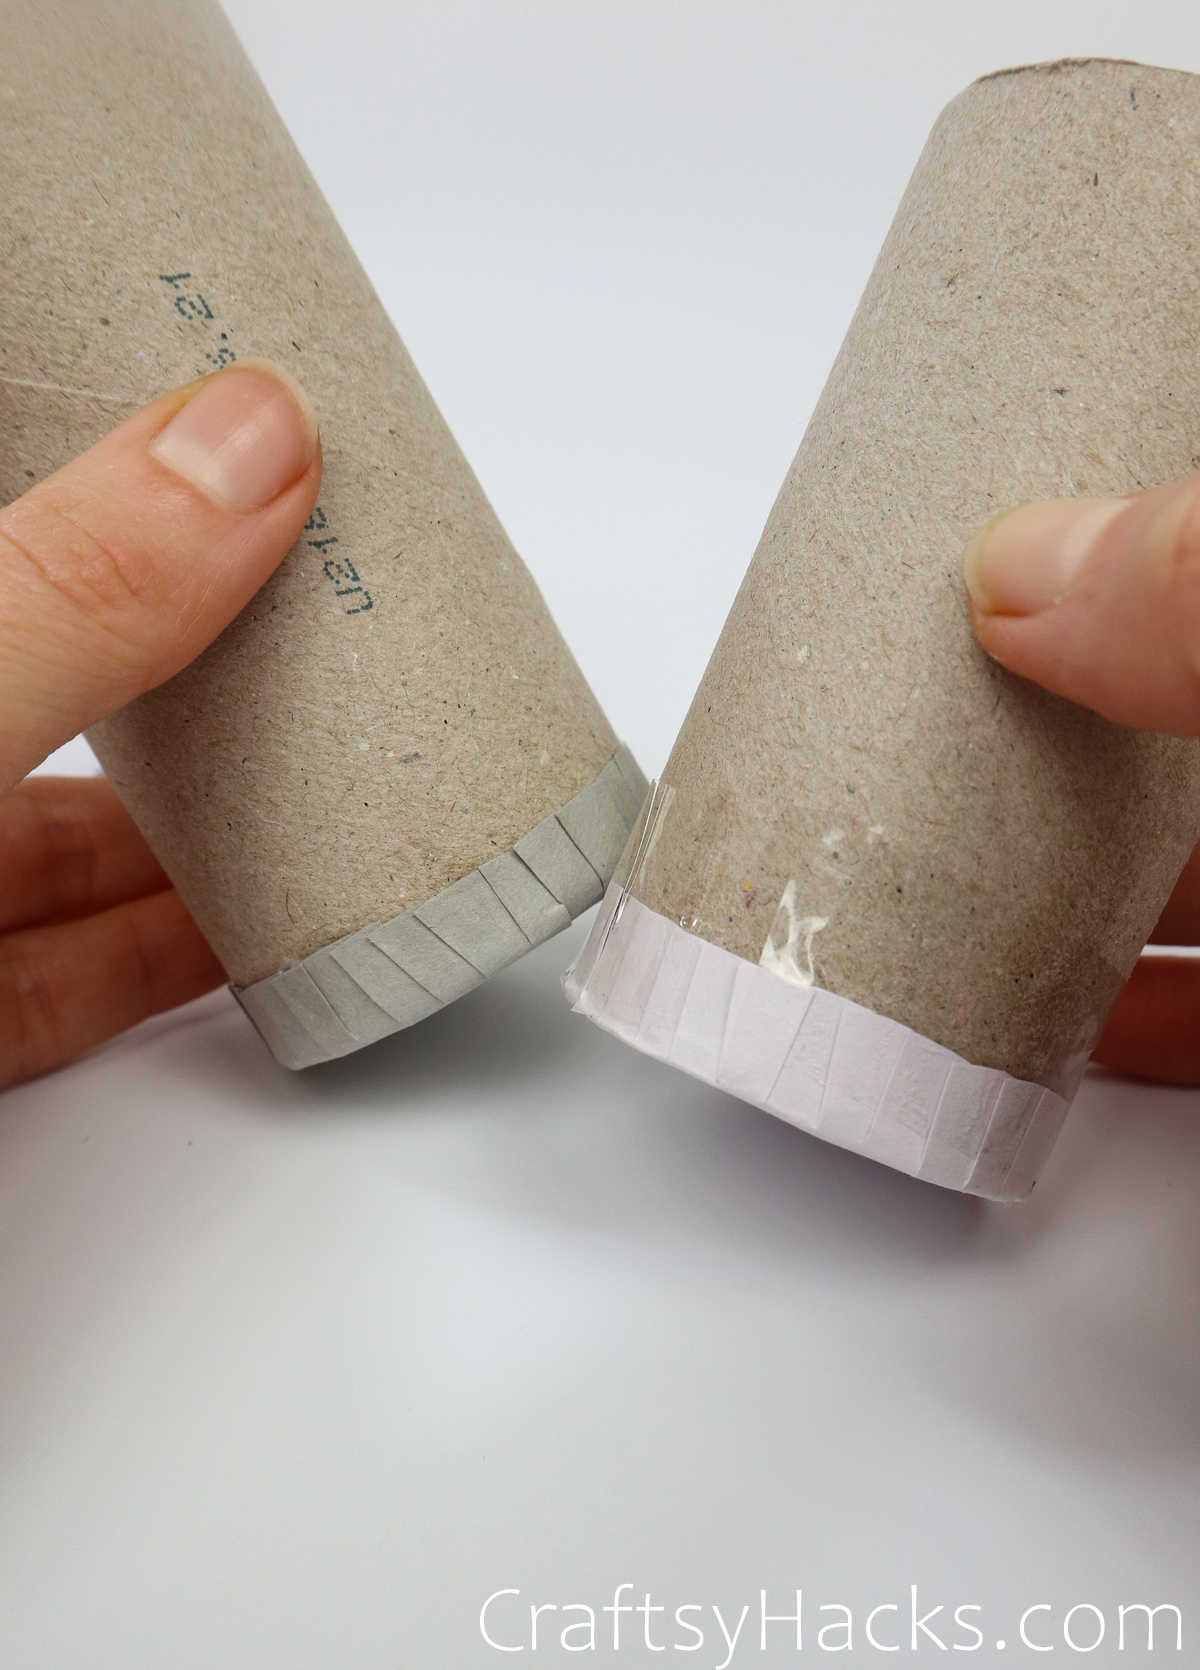
Alternatively, if you don’t want to wait, secure the base with tape. Don’t worry about the tape showing–we’ll be covering it up with decorative paper.
Repeat this step for as many tubes as you have by either gluing or taping to all the rounds.
Step 10
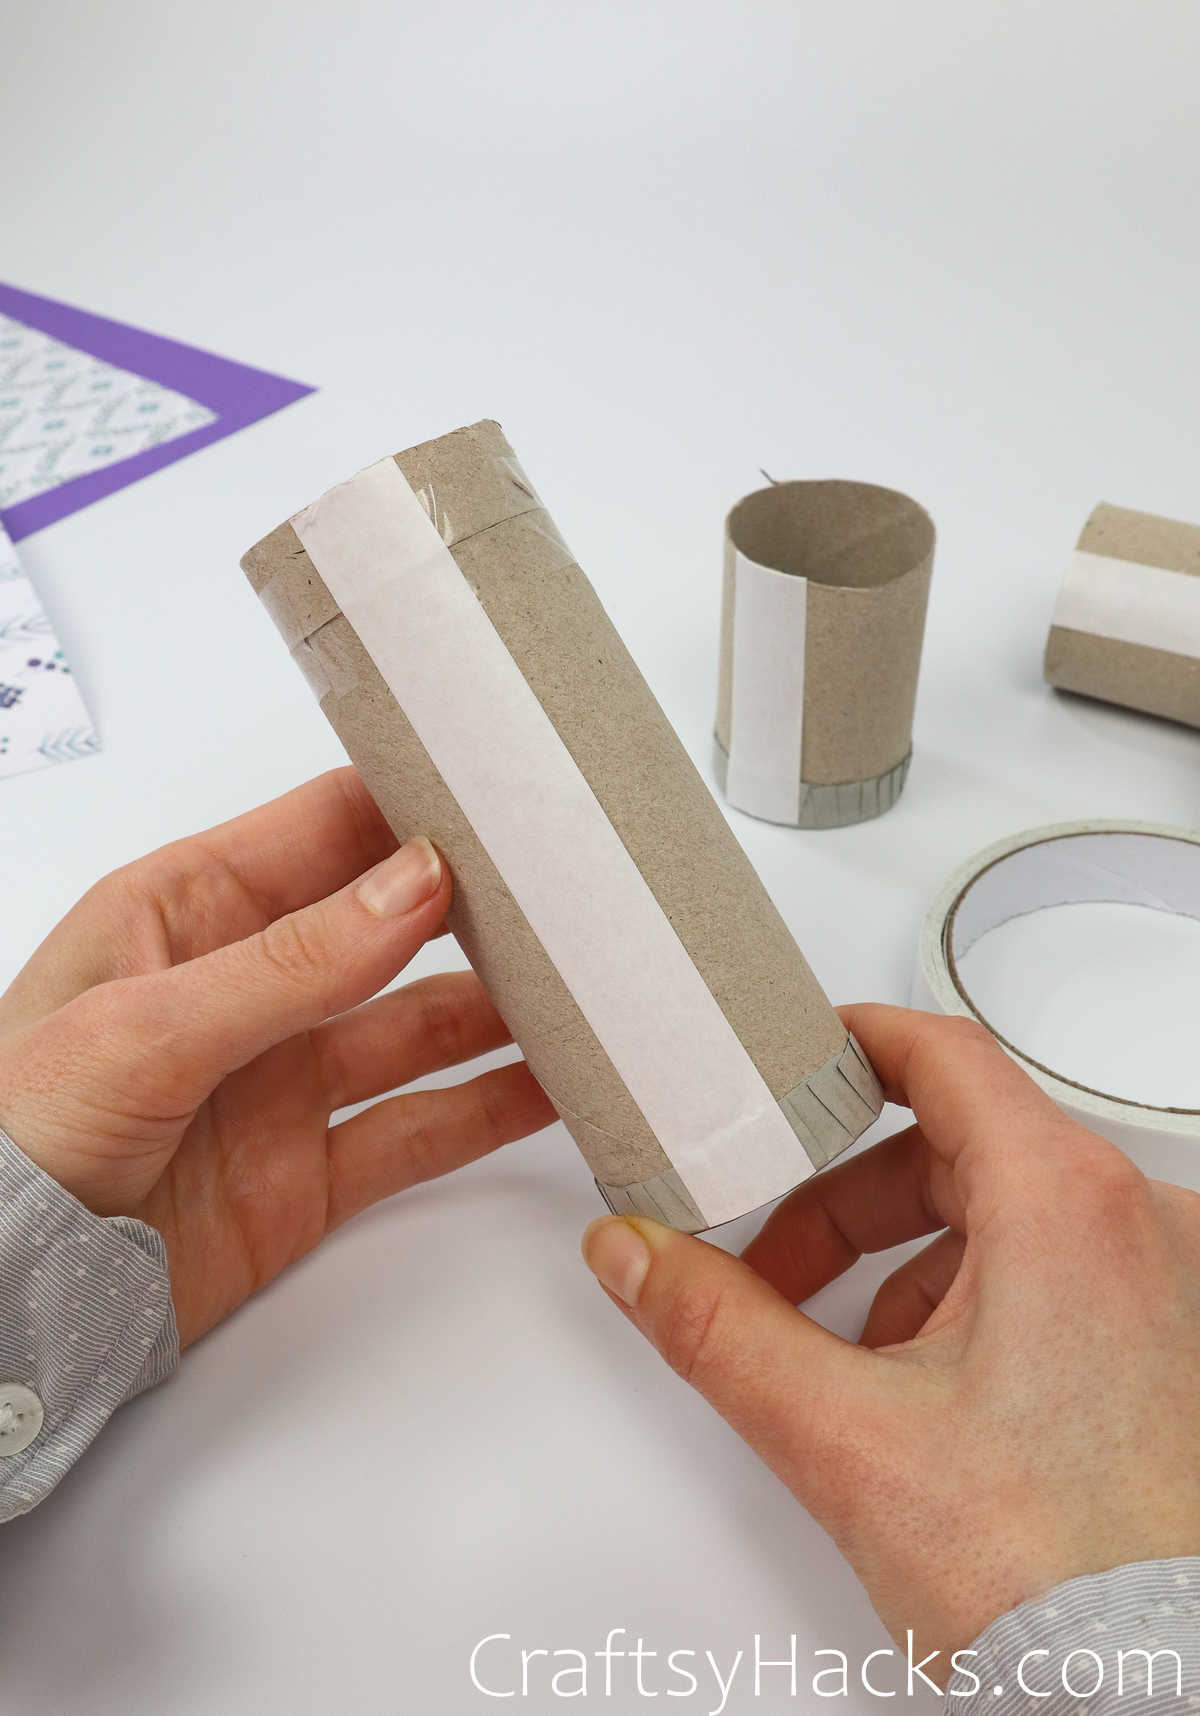
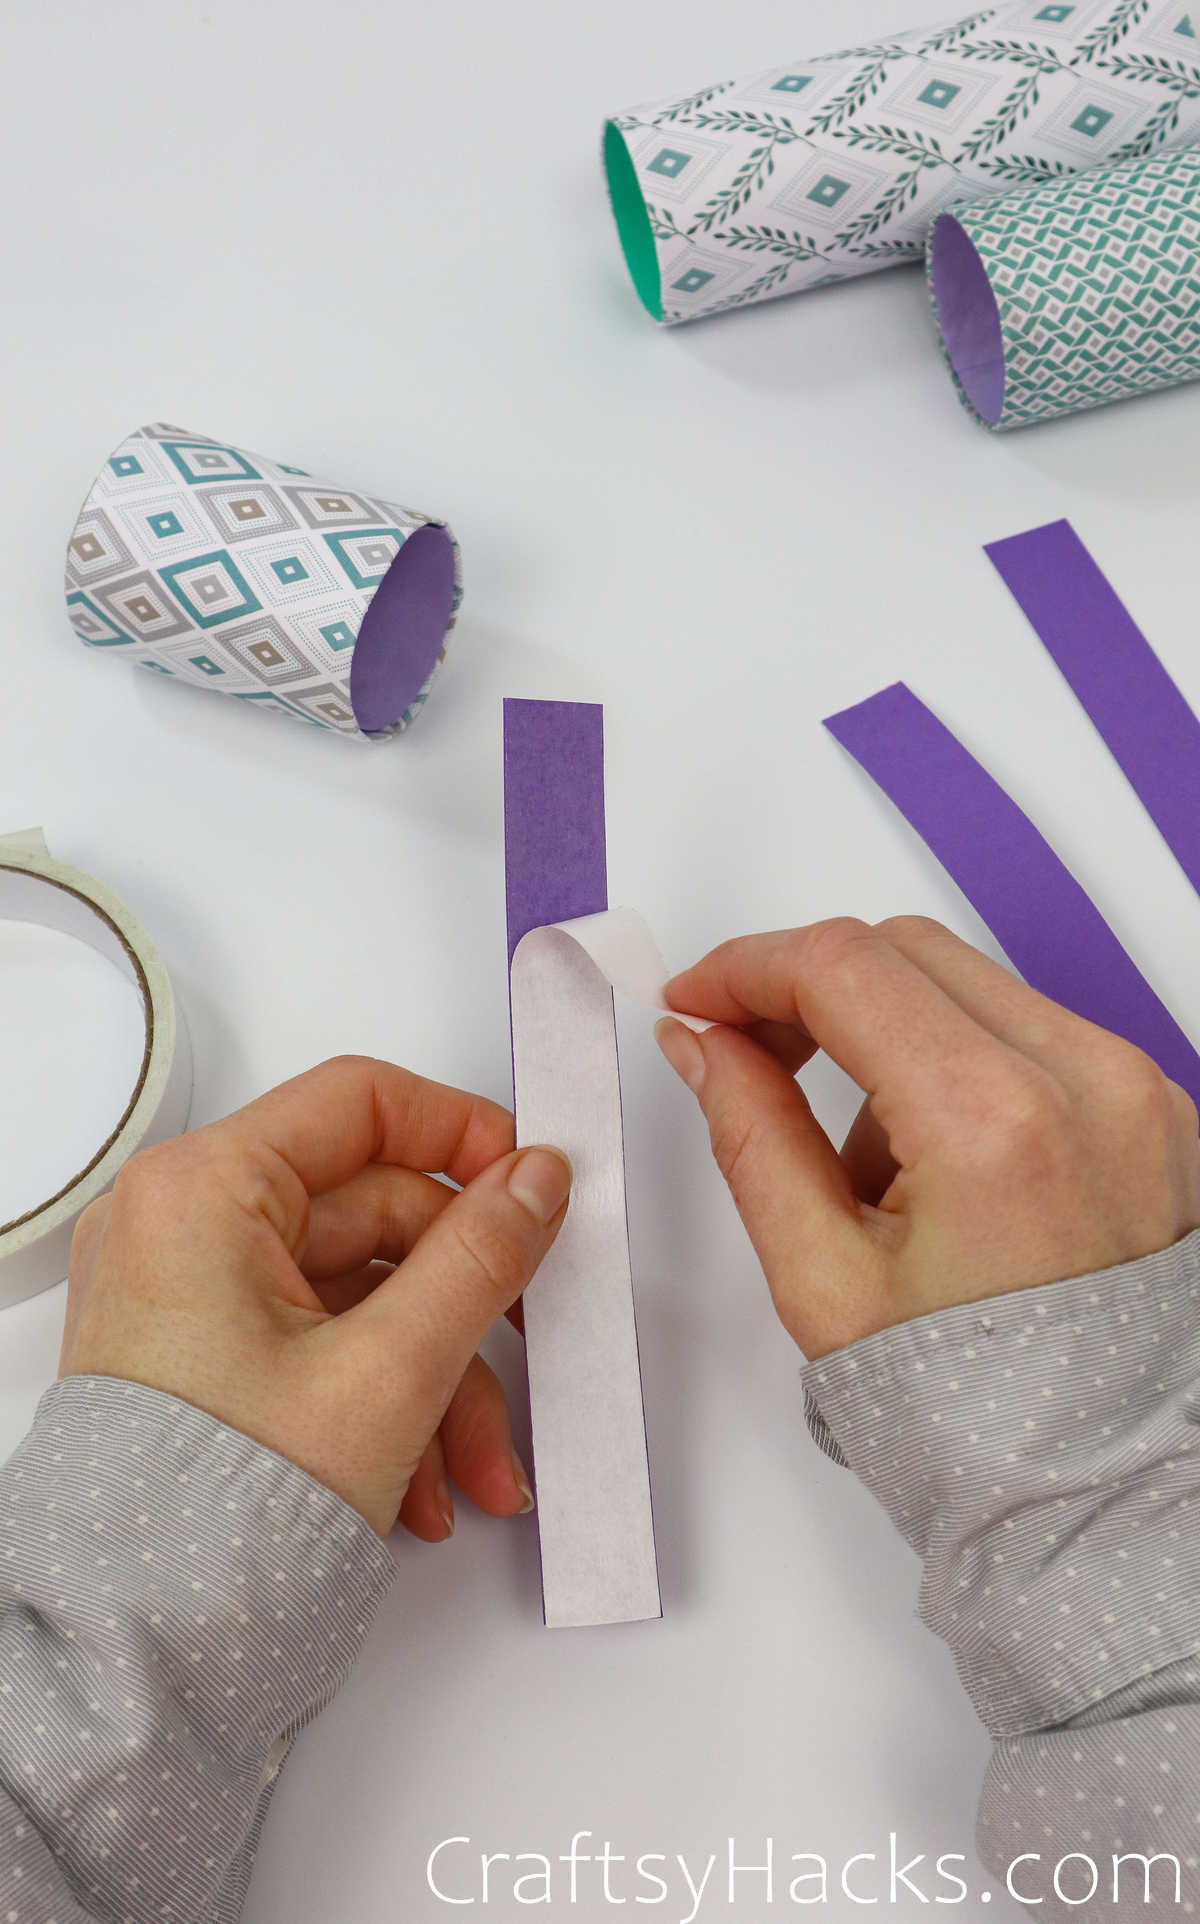
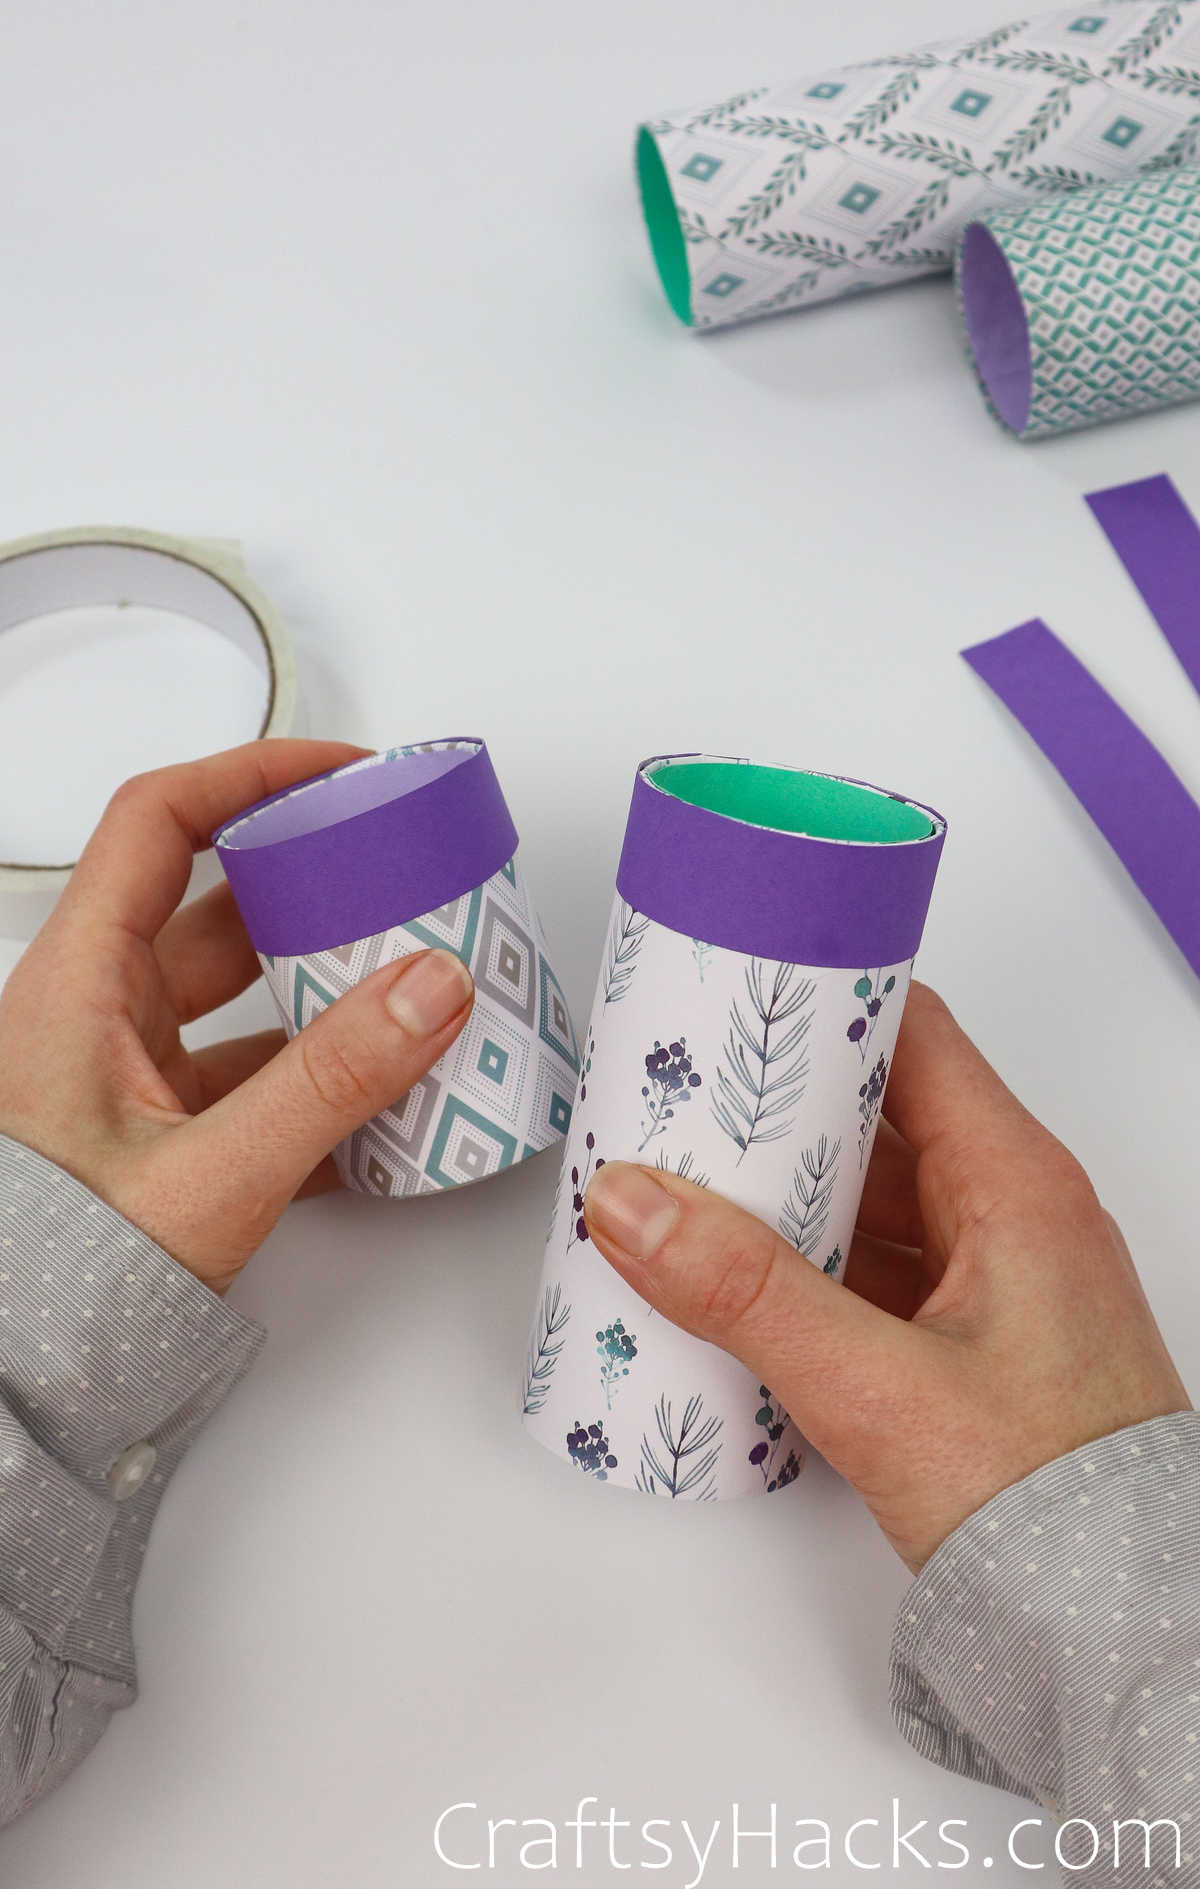
Add a strip of double-sided tape to the length of the toilet paper tube and a small piece of tape on the opposite side. Peel off the backing of the tape once in place.
Step 11
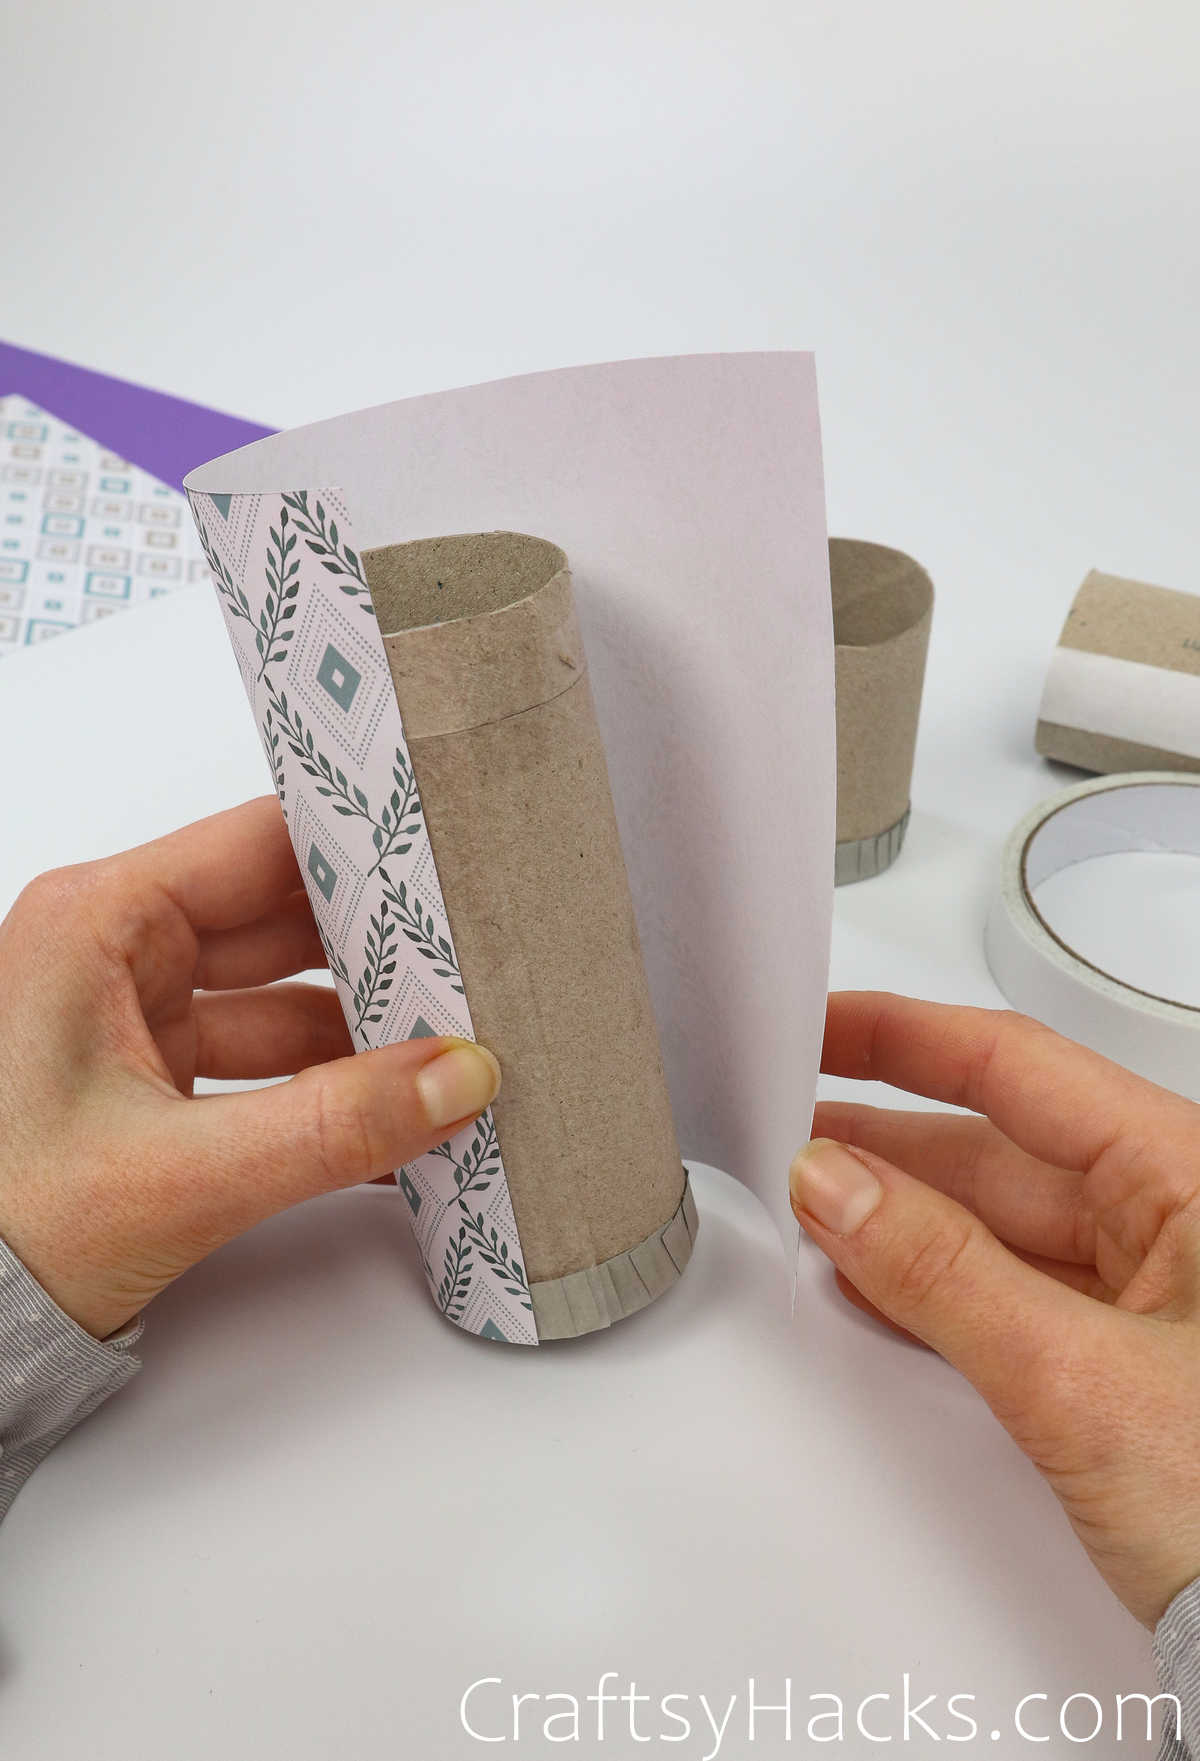
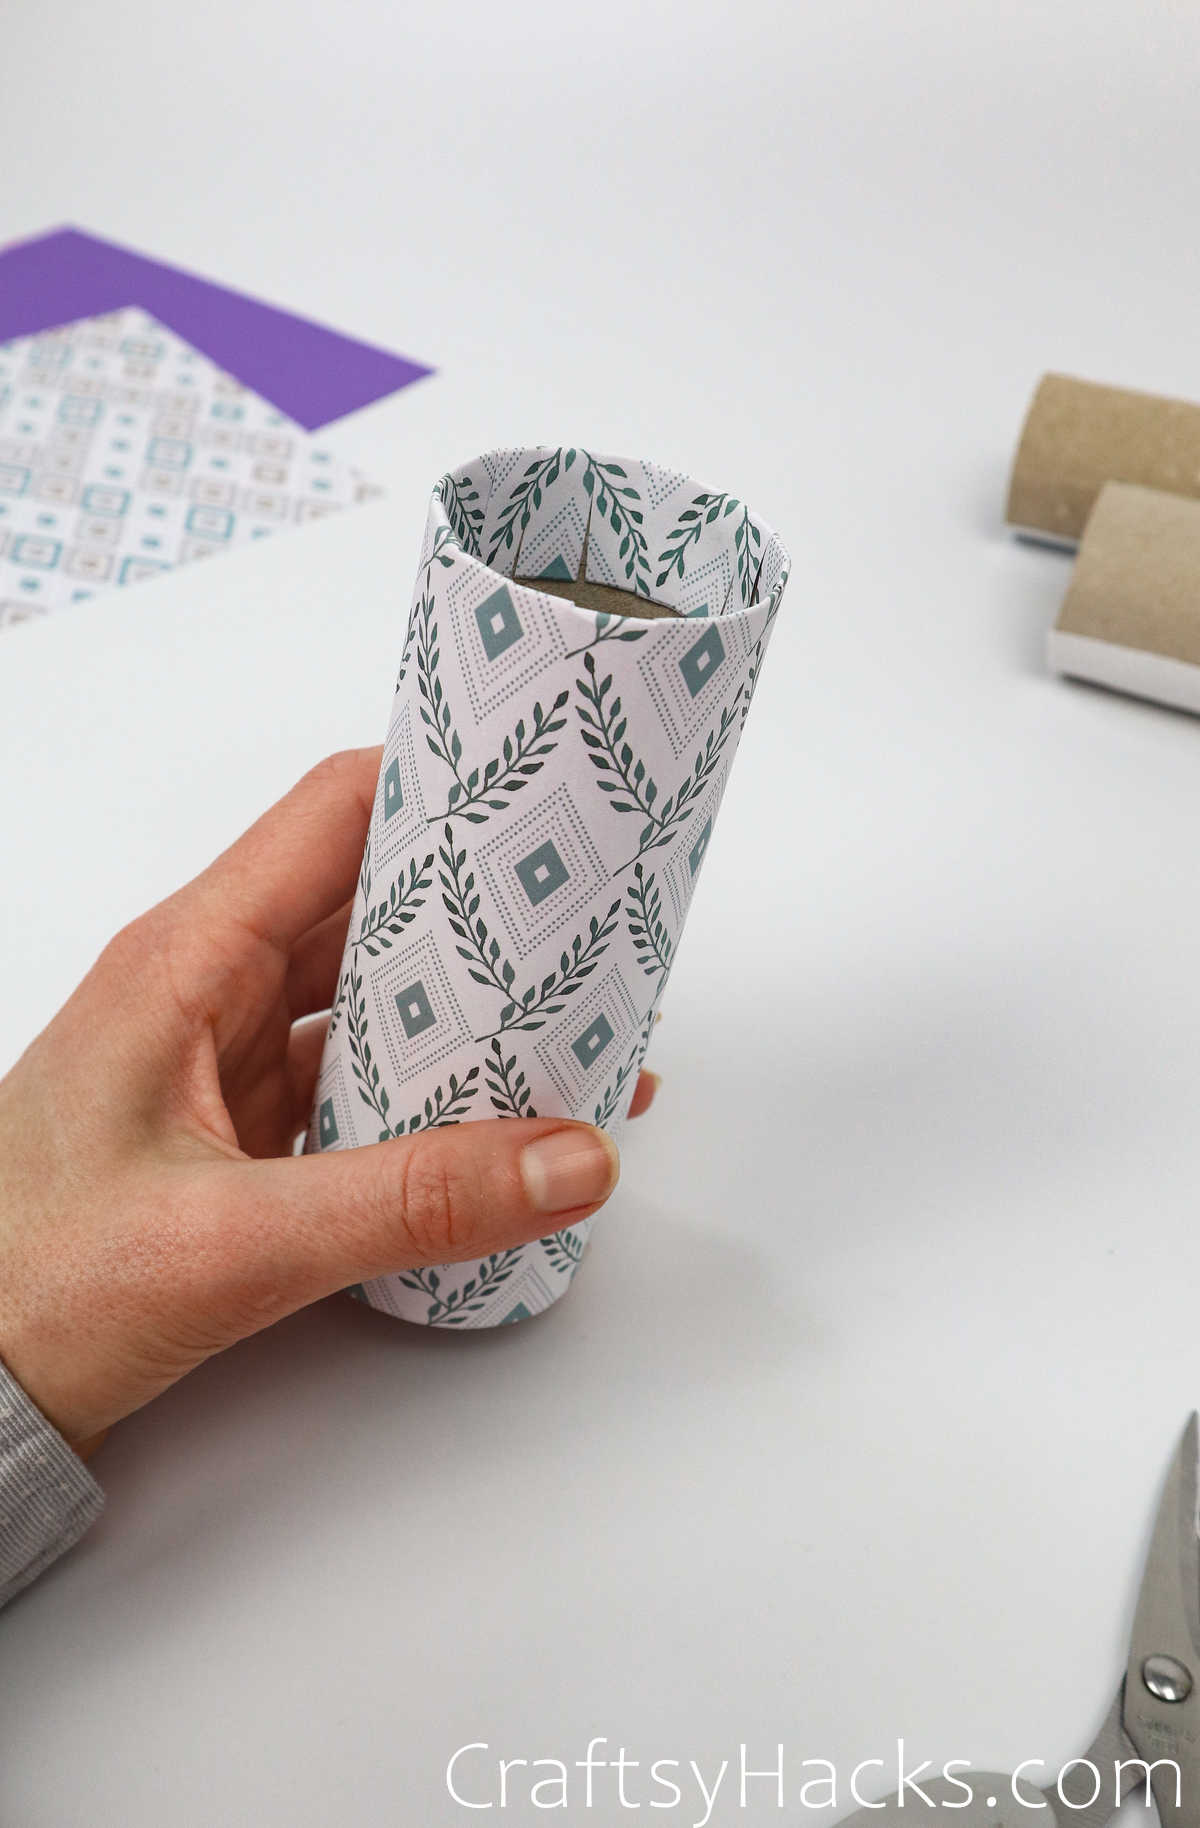
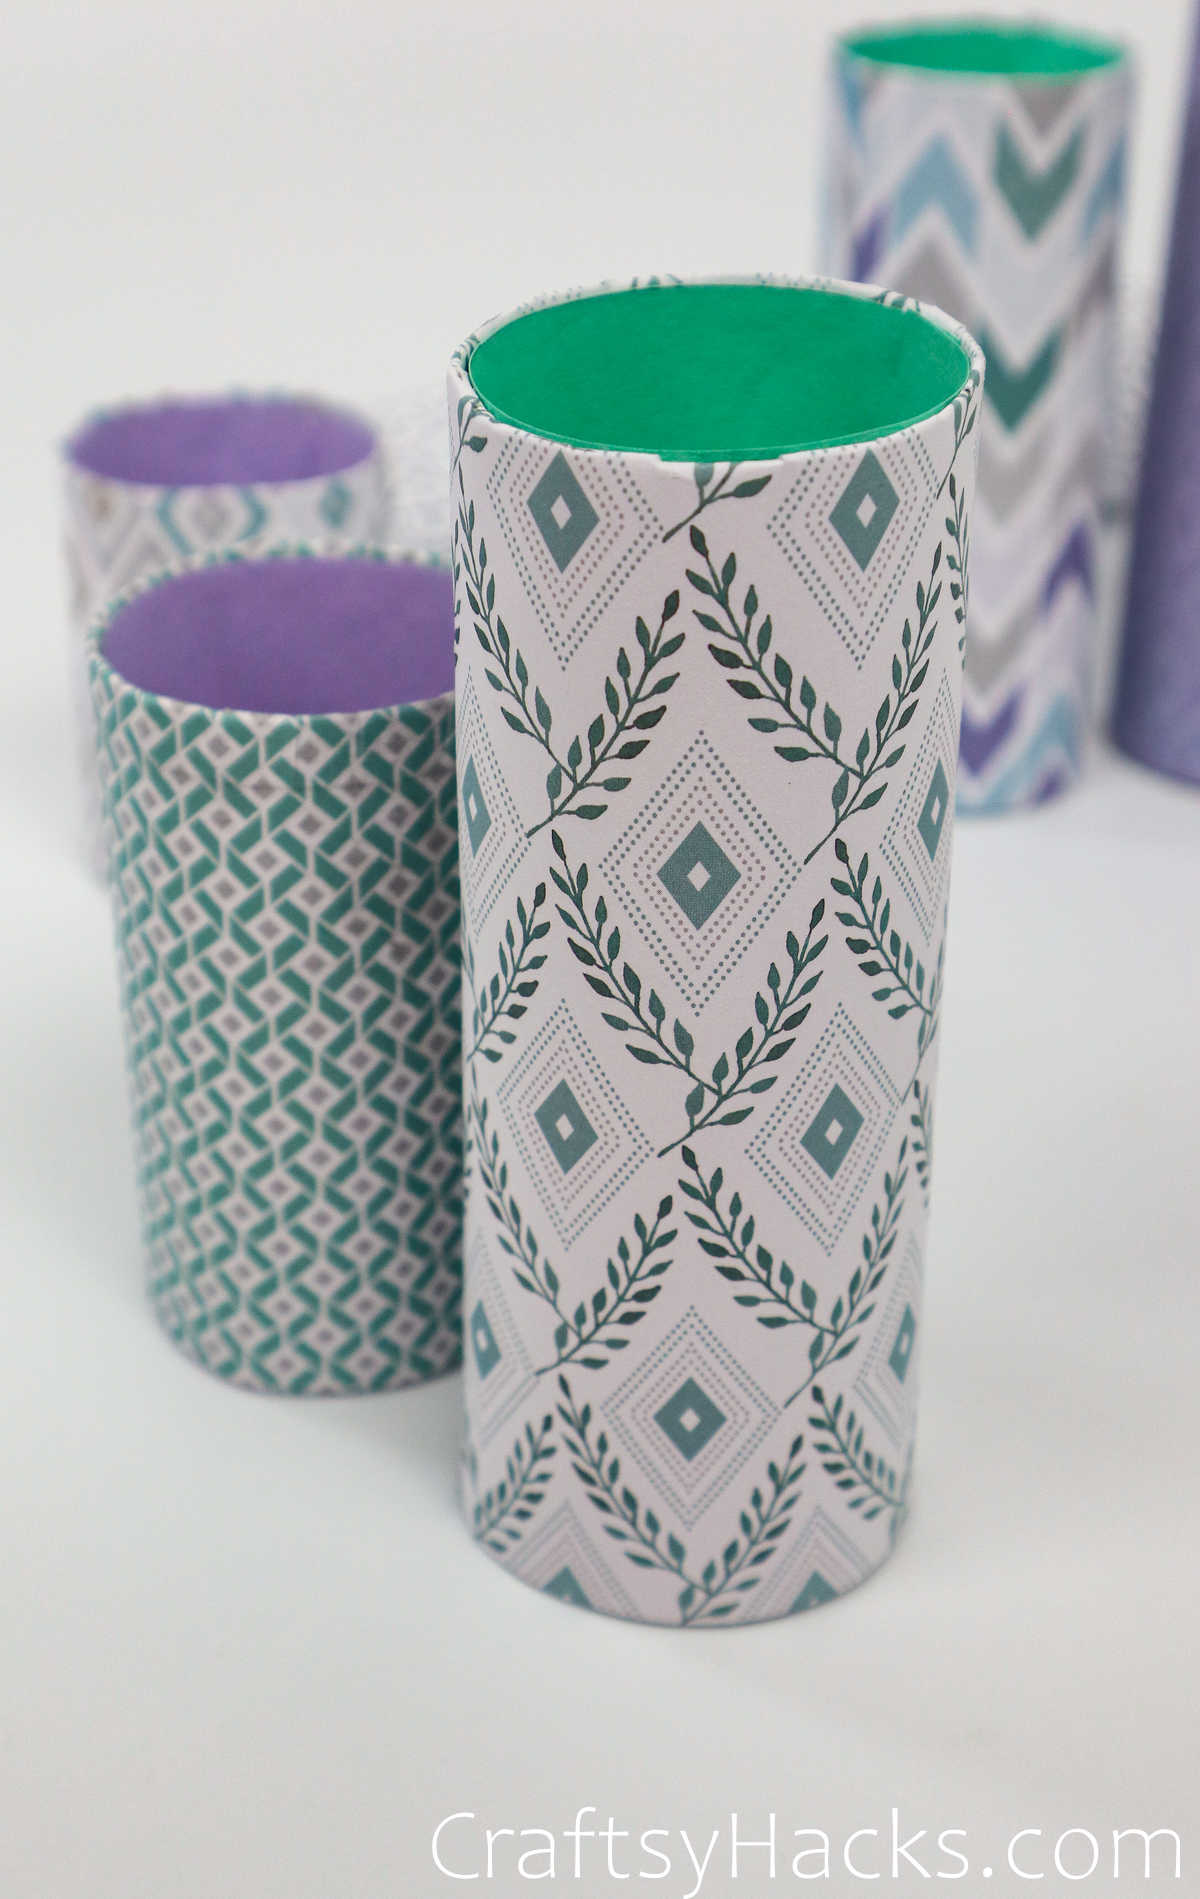
Grab one of your patterned papers. Situate the piece on half of the strip of tape and wrap the rest of it around to have the other end sit on the second half of the strip.
Notice that the paper has about an inch of overhang. Leave it there for now; also, the thicker the paper used here, the better.
Step 12
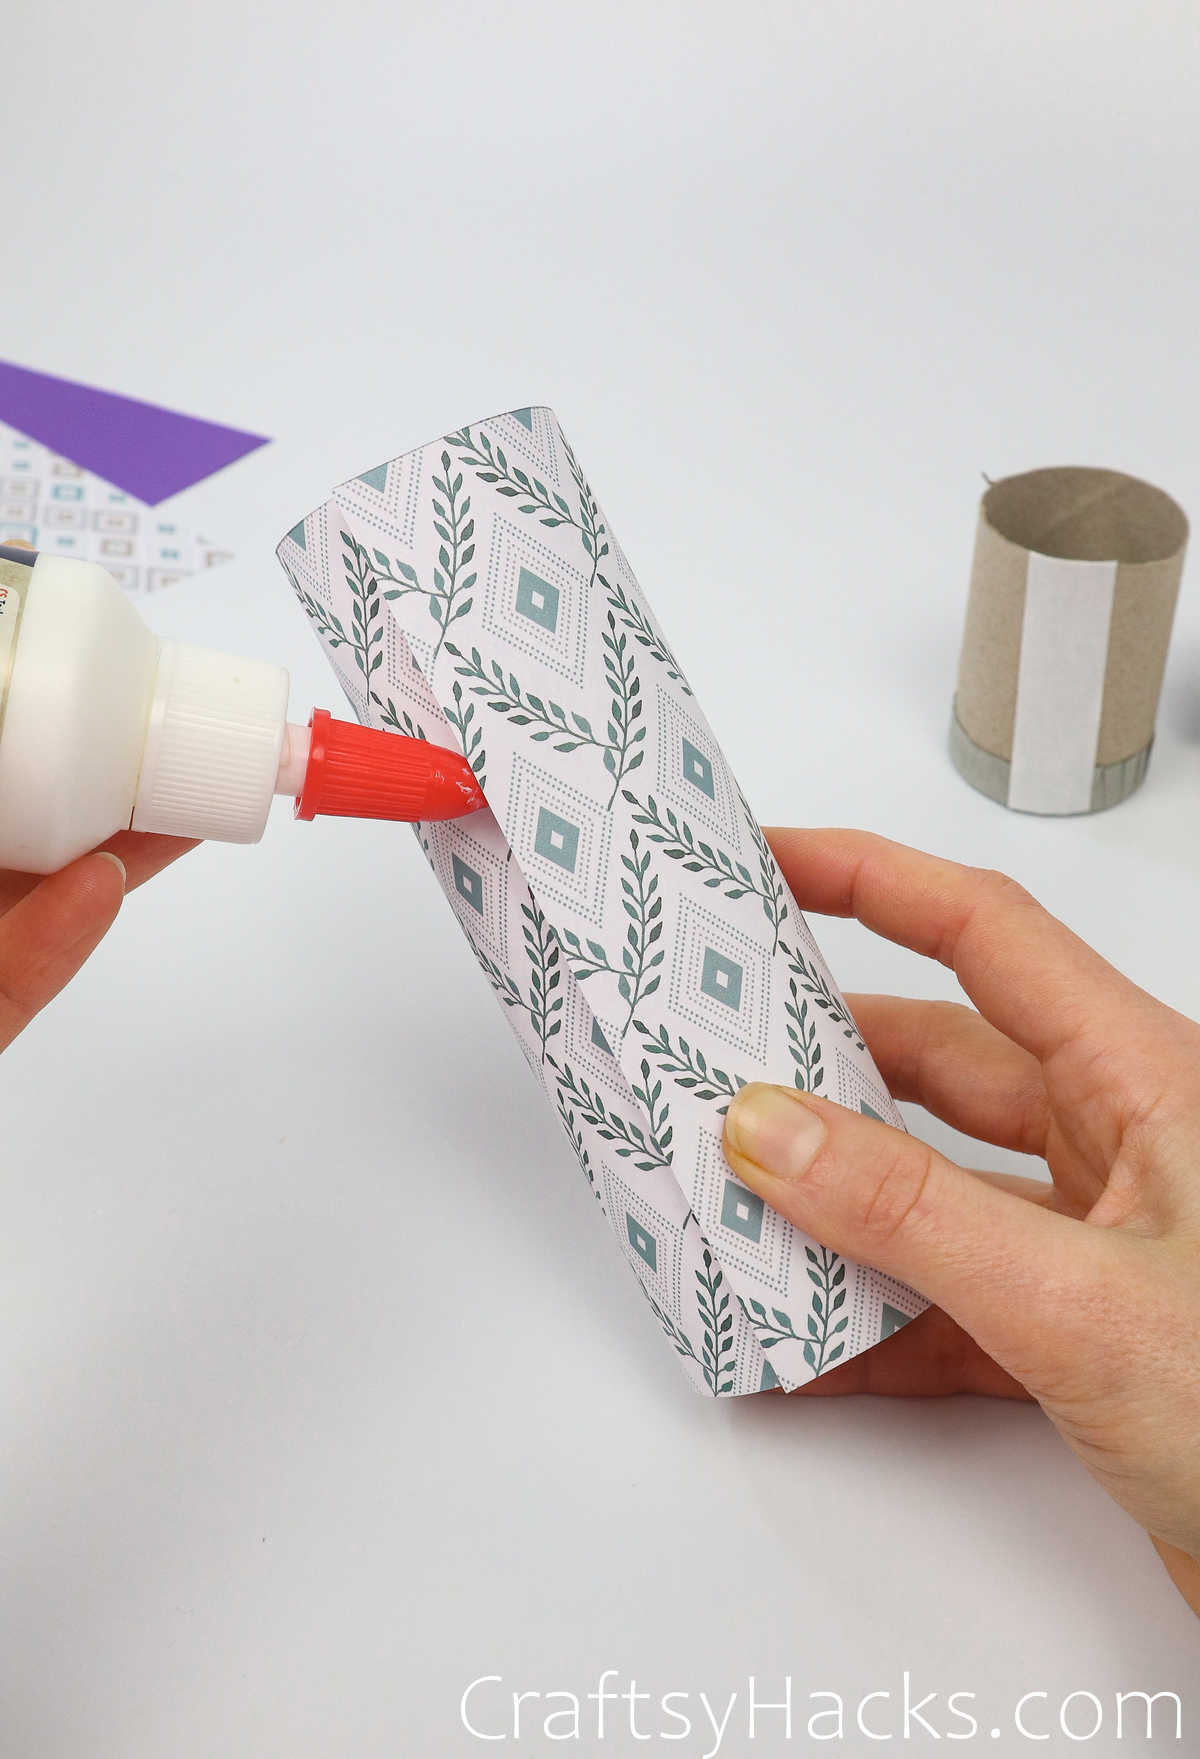
Reinforce the decorative paper with glue, and if there is an overhang, cut it off or tuck it in and glue it down.
Step 13
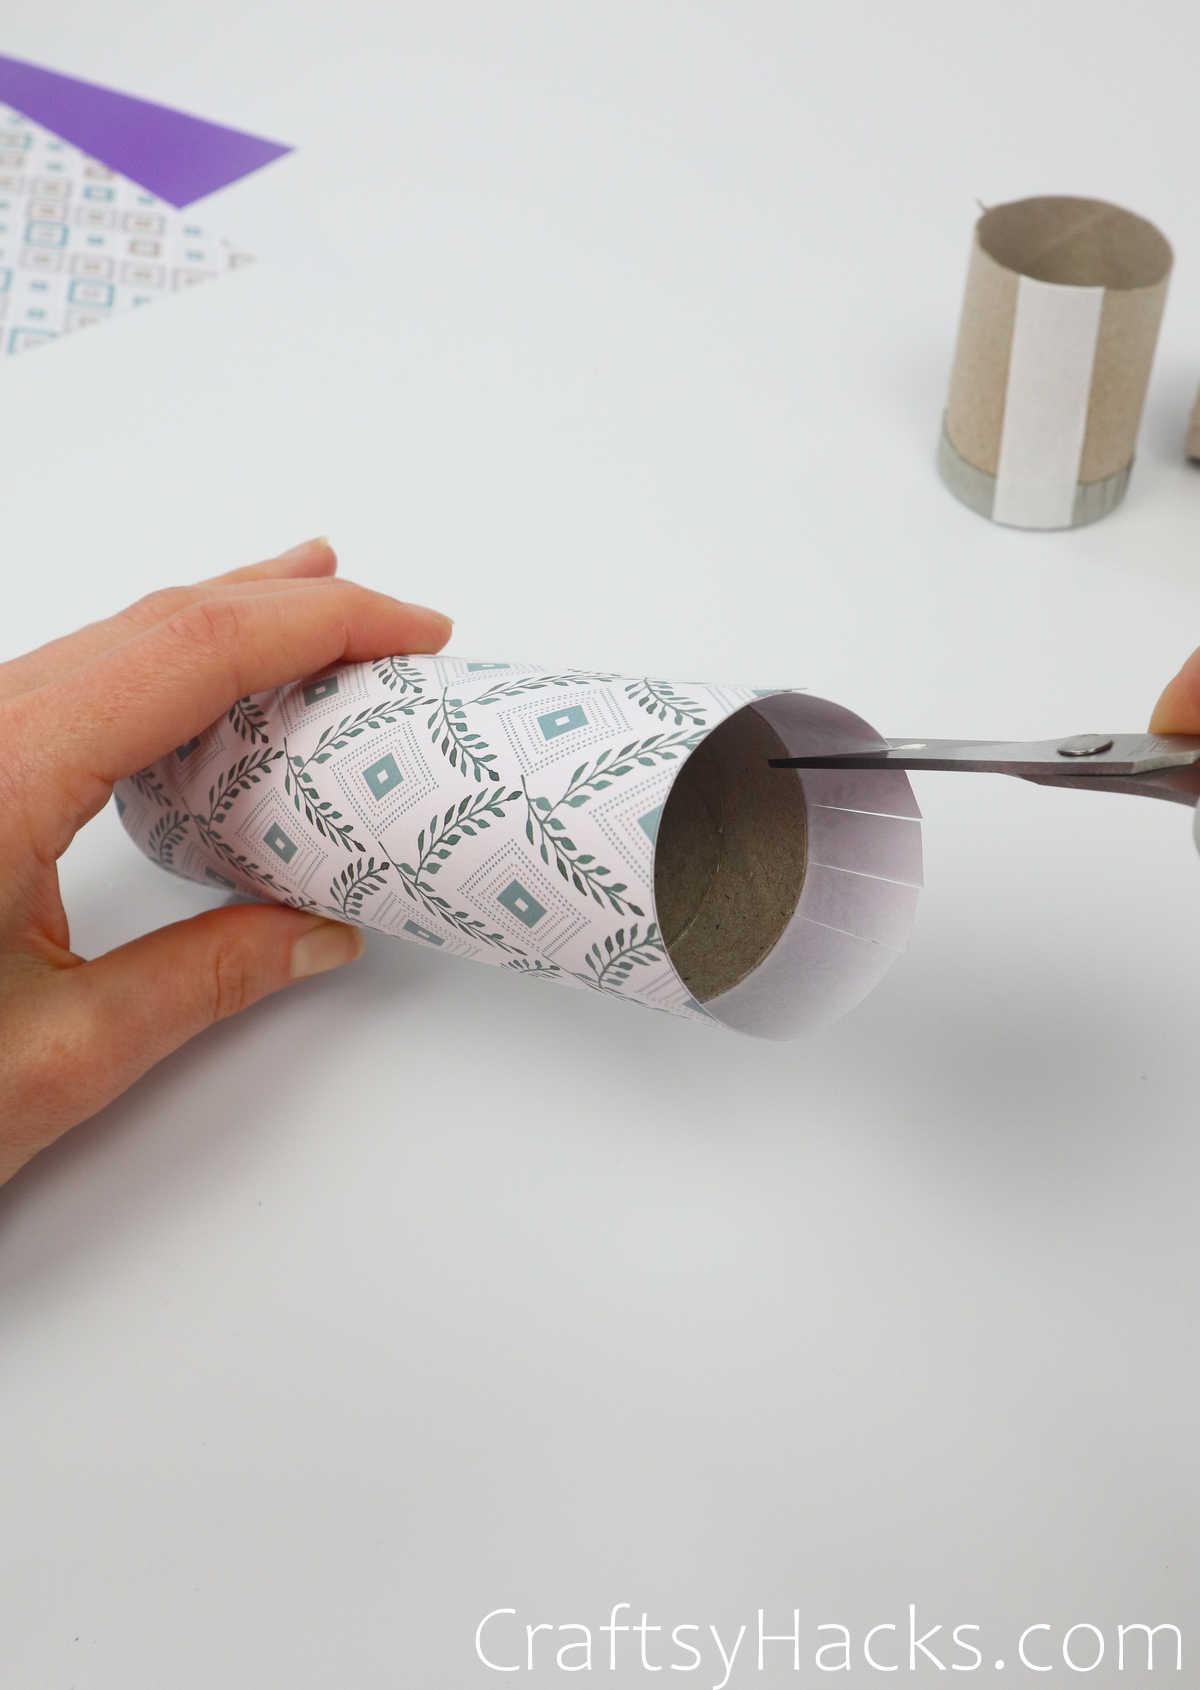
If you’re choosing to glue it down, make small snips to the paper–repeat the process as you did in step 9.
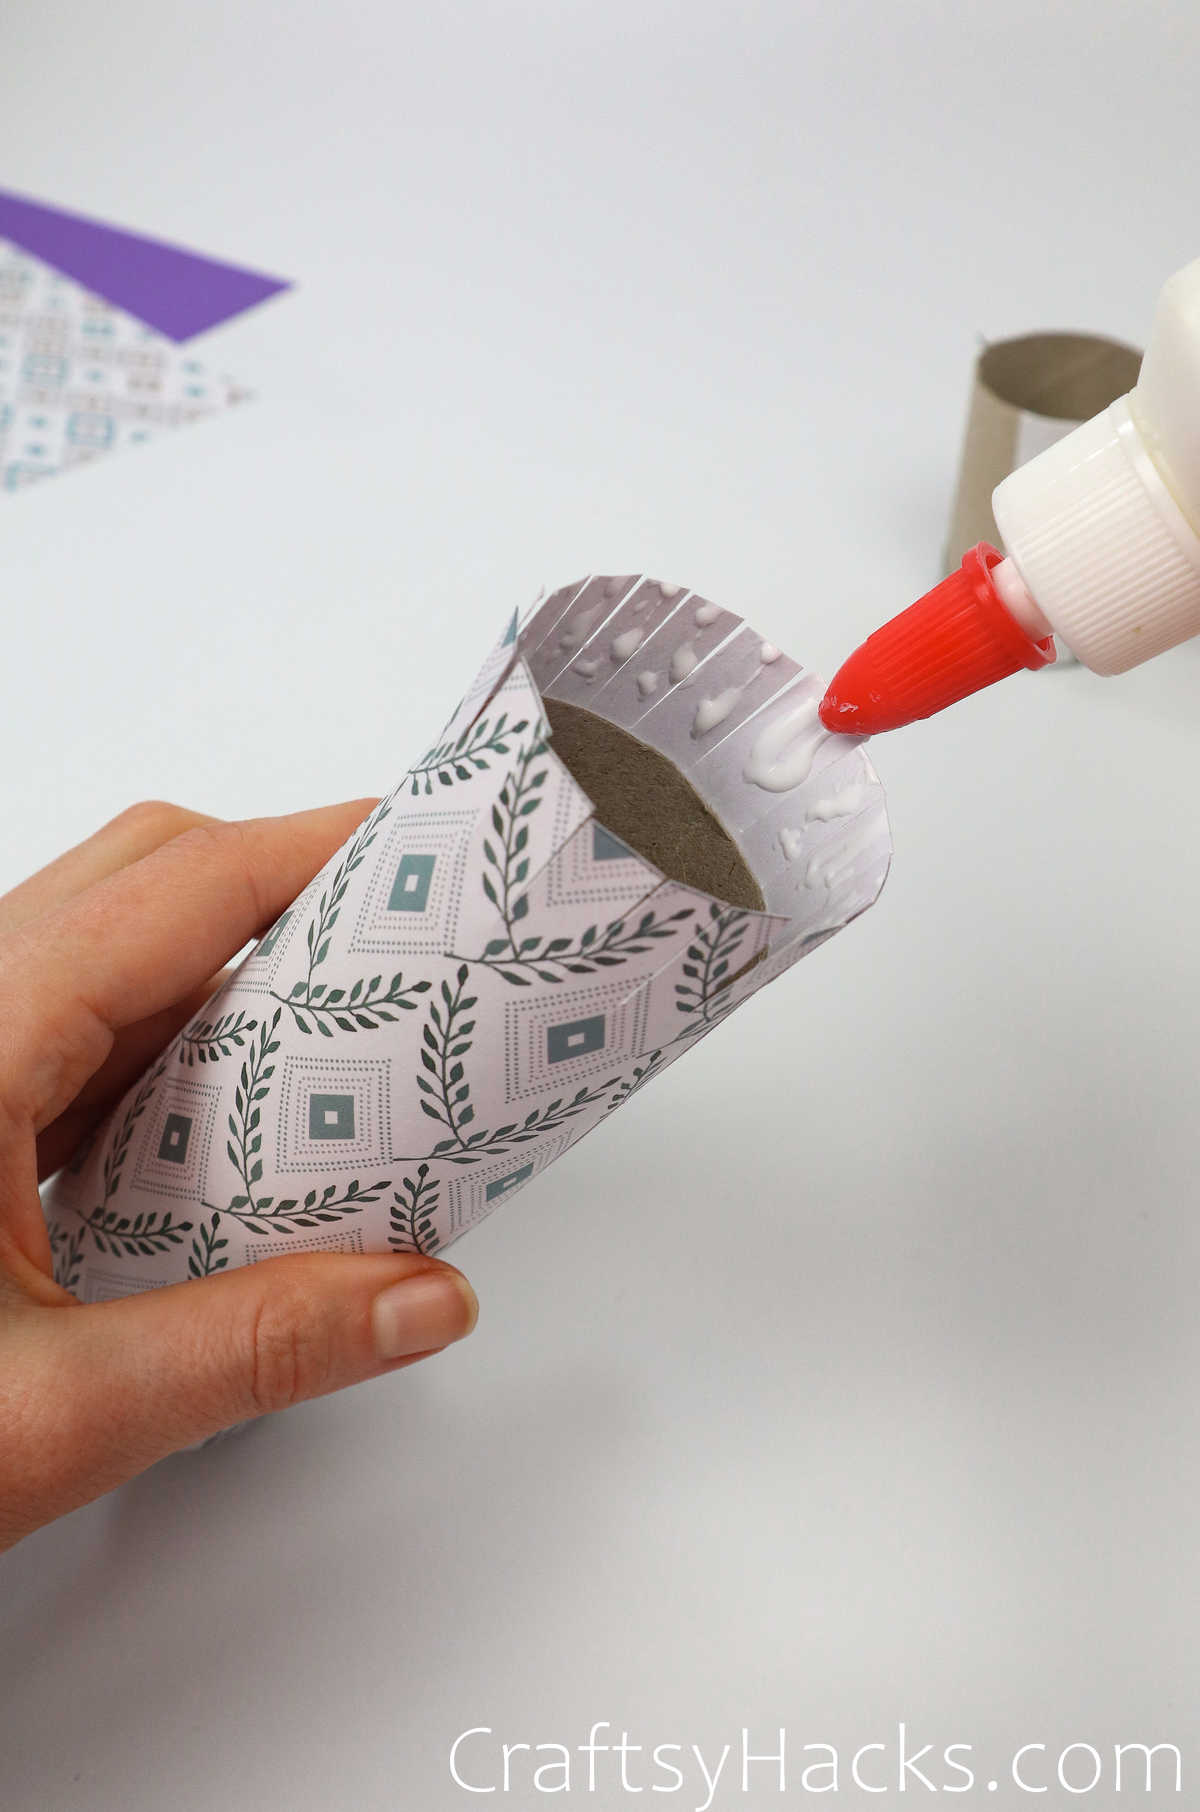
Glue the strips into the toilet paper tube. Repeat for all tubes and let dry properly.
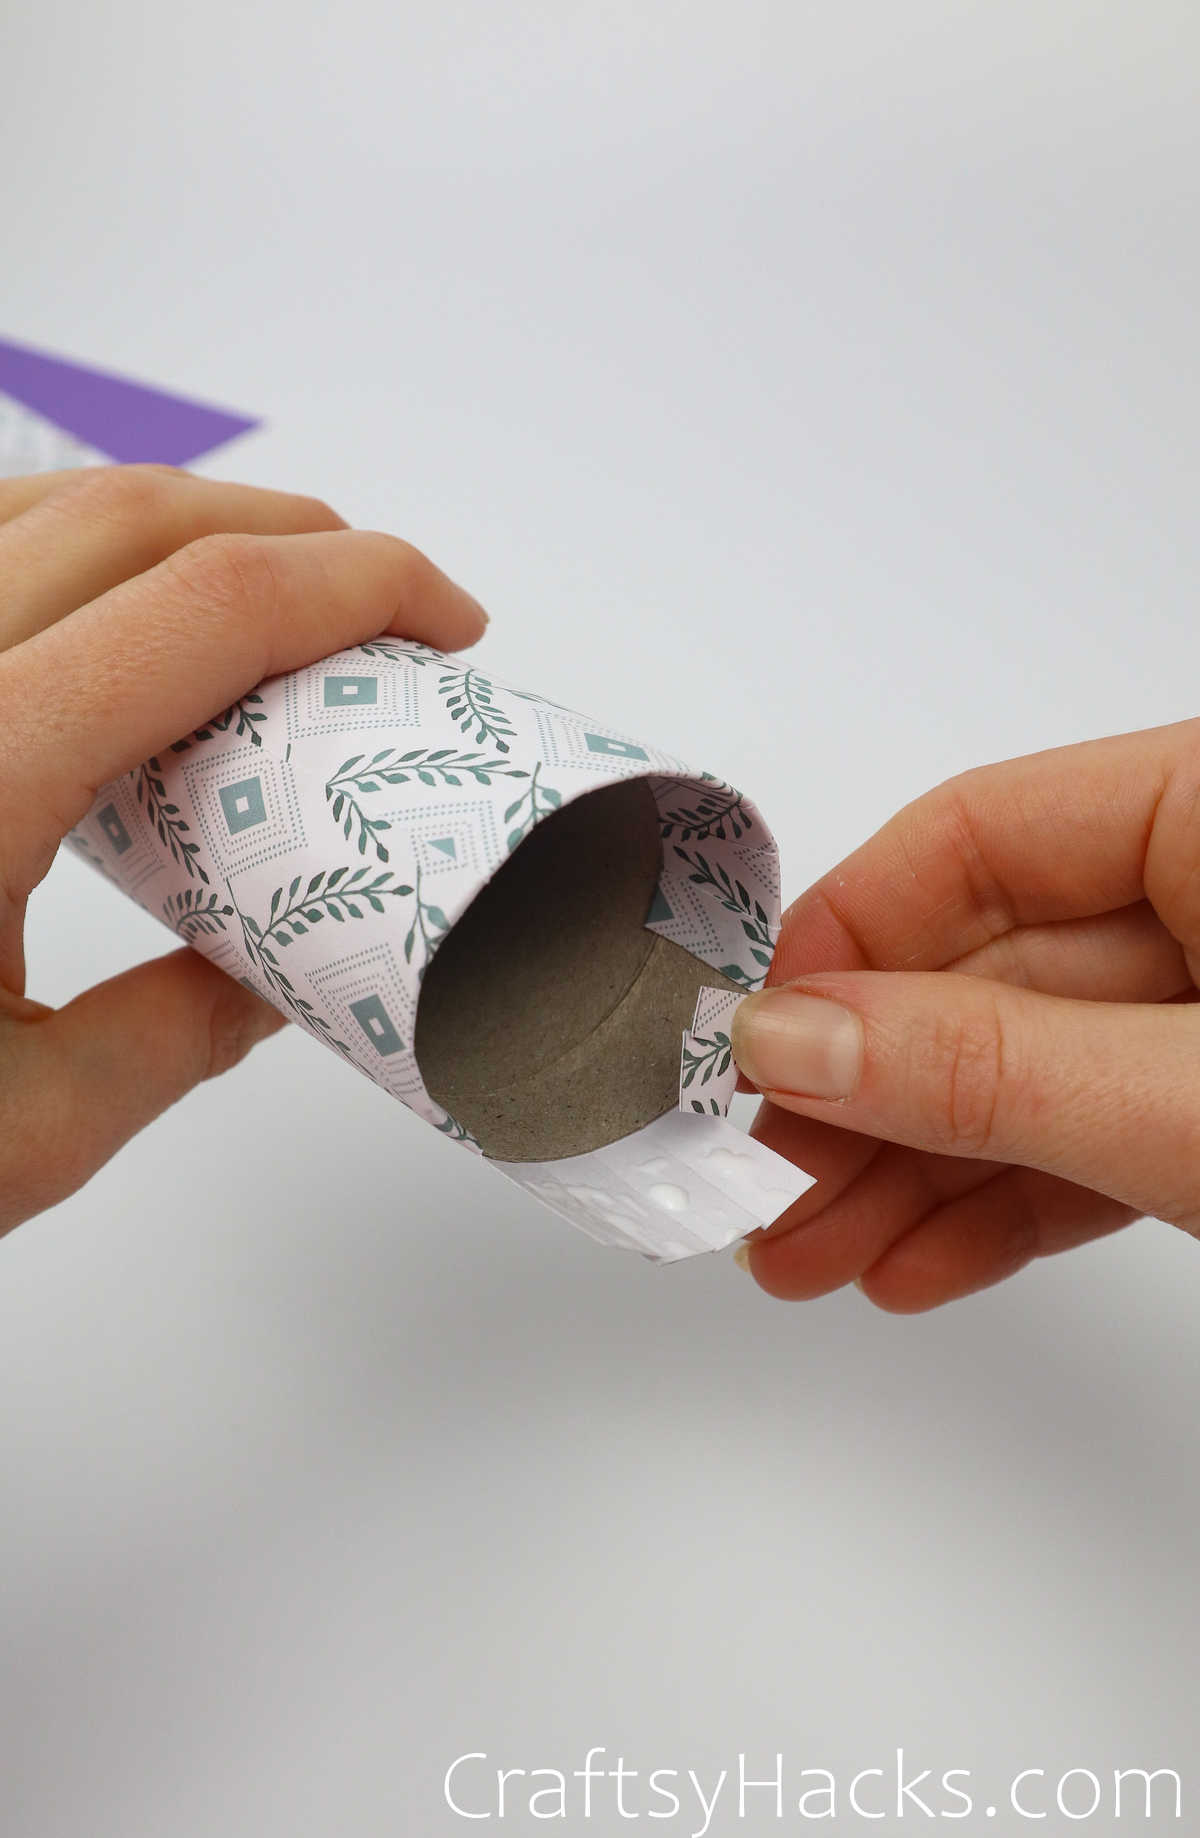
Press down the flaps of glue into the inside of the roll.
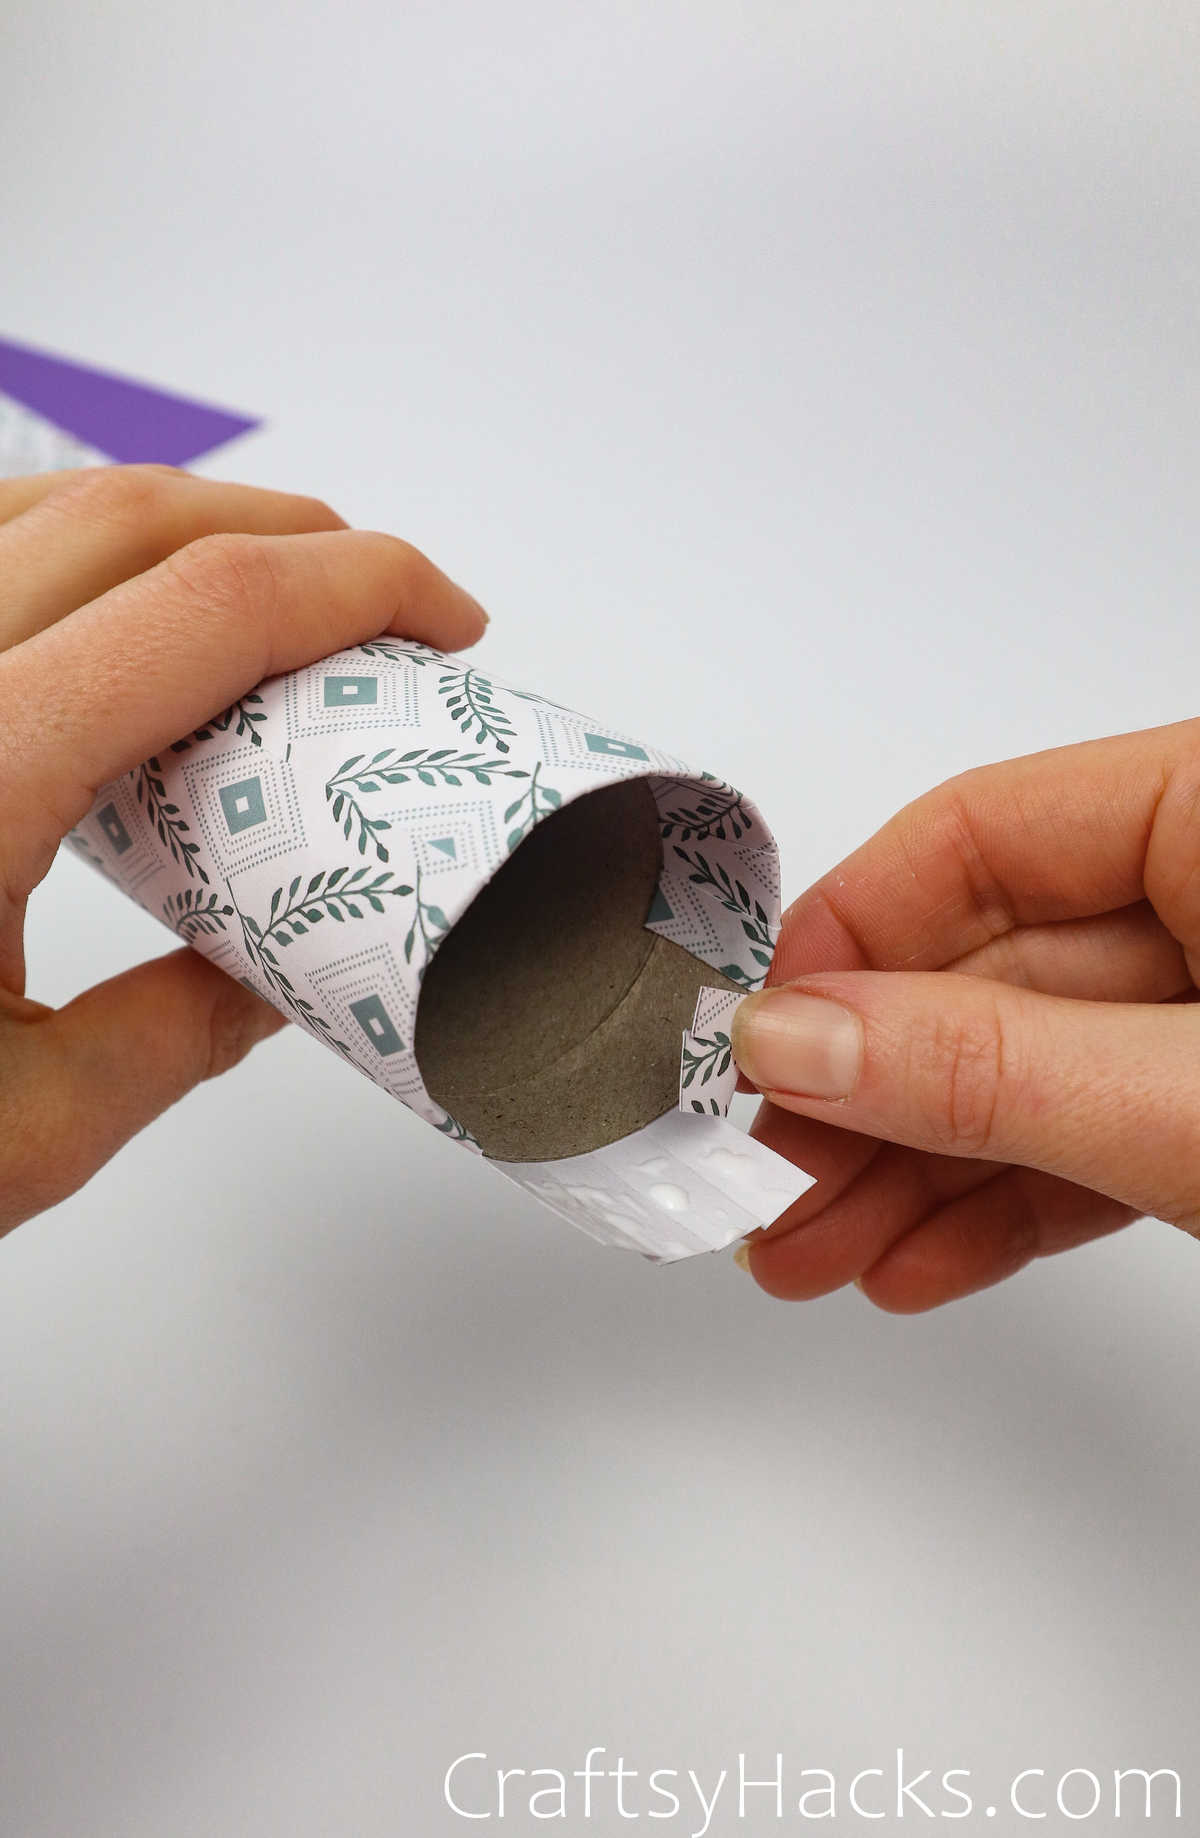
Repeat the process.
Make sure everything is pressed well and set aside before moving to the next tube.
Repeat and let dry.
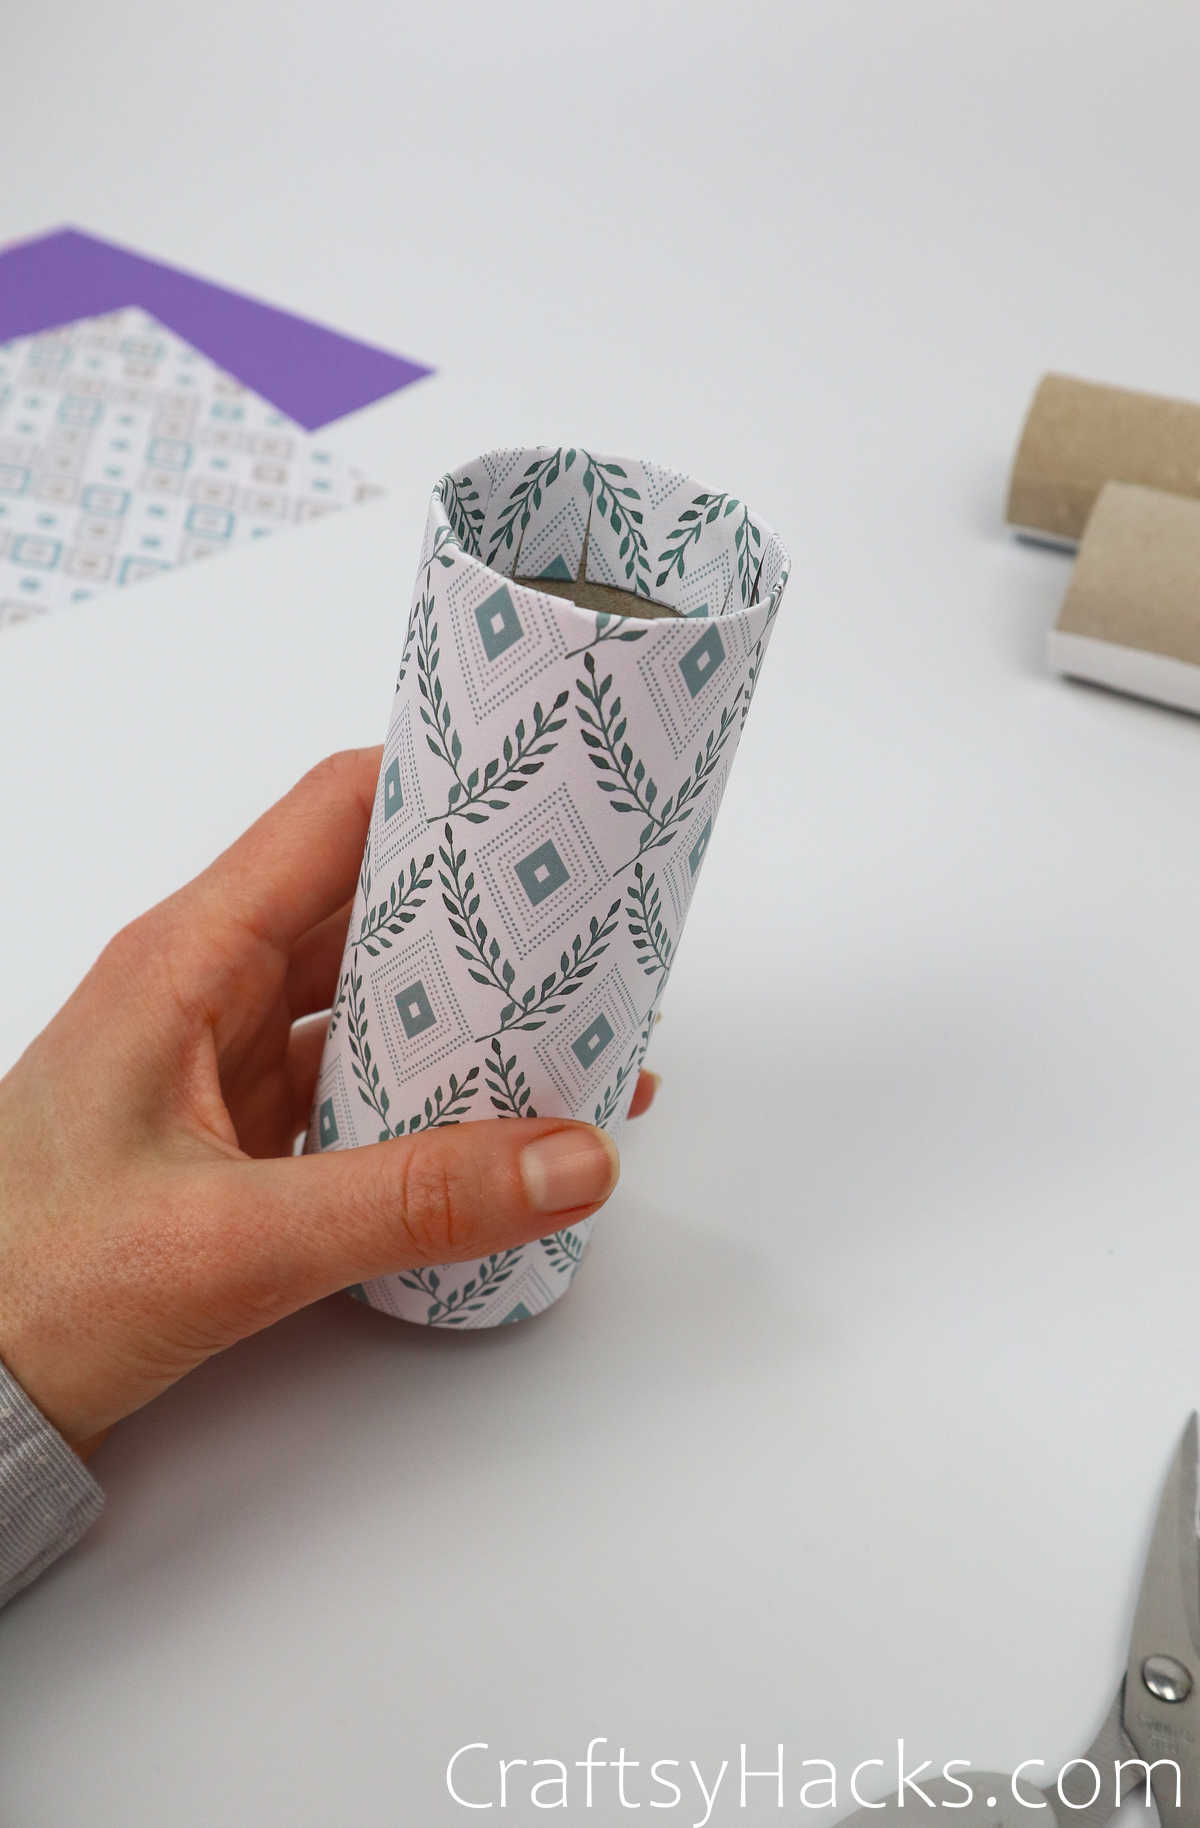
Step 14

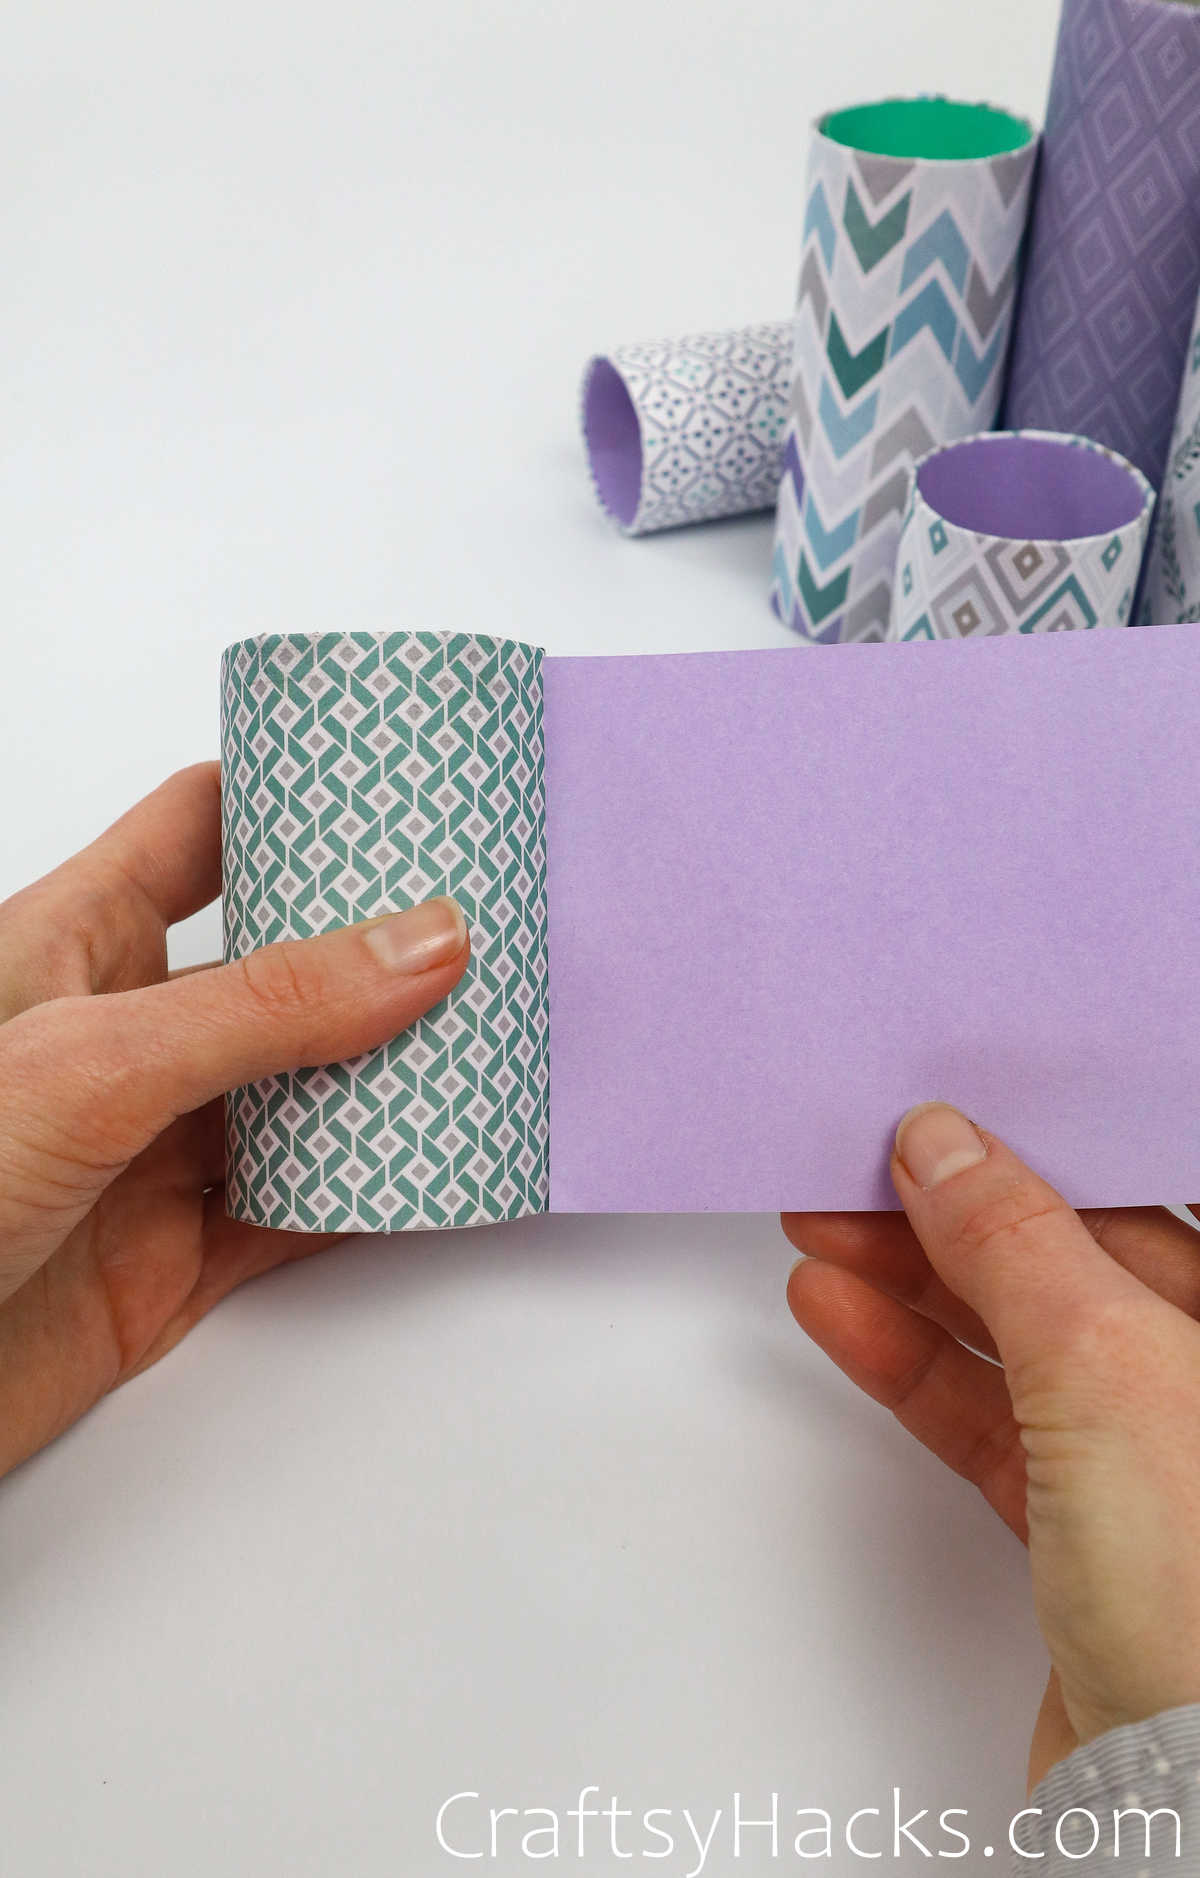
Measure the length by pairing the paper next to the height of the tube.
Repeat the process.
A great way to measure approximately how much paper you’ll need is by wrapping it around the outside and trimming away the excess.
Continue to trim the paper this way.
Step 15
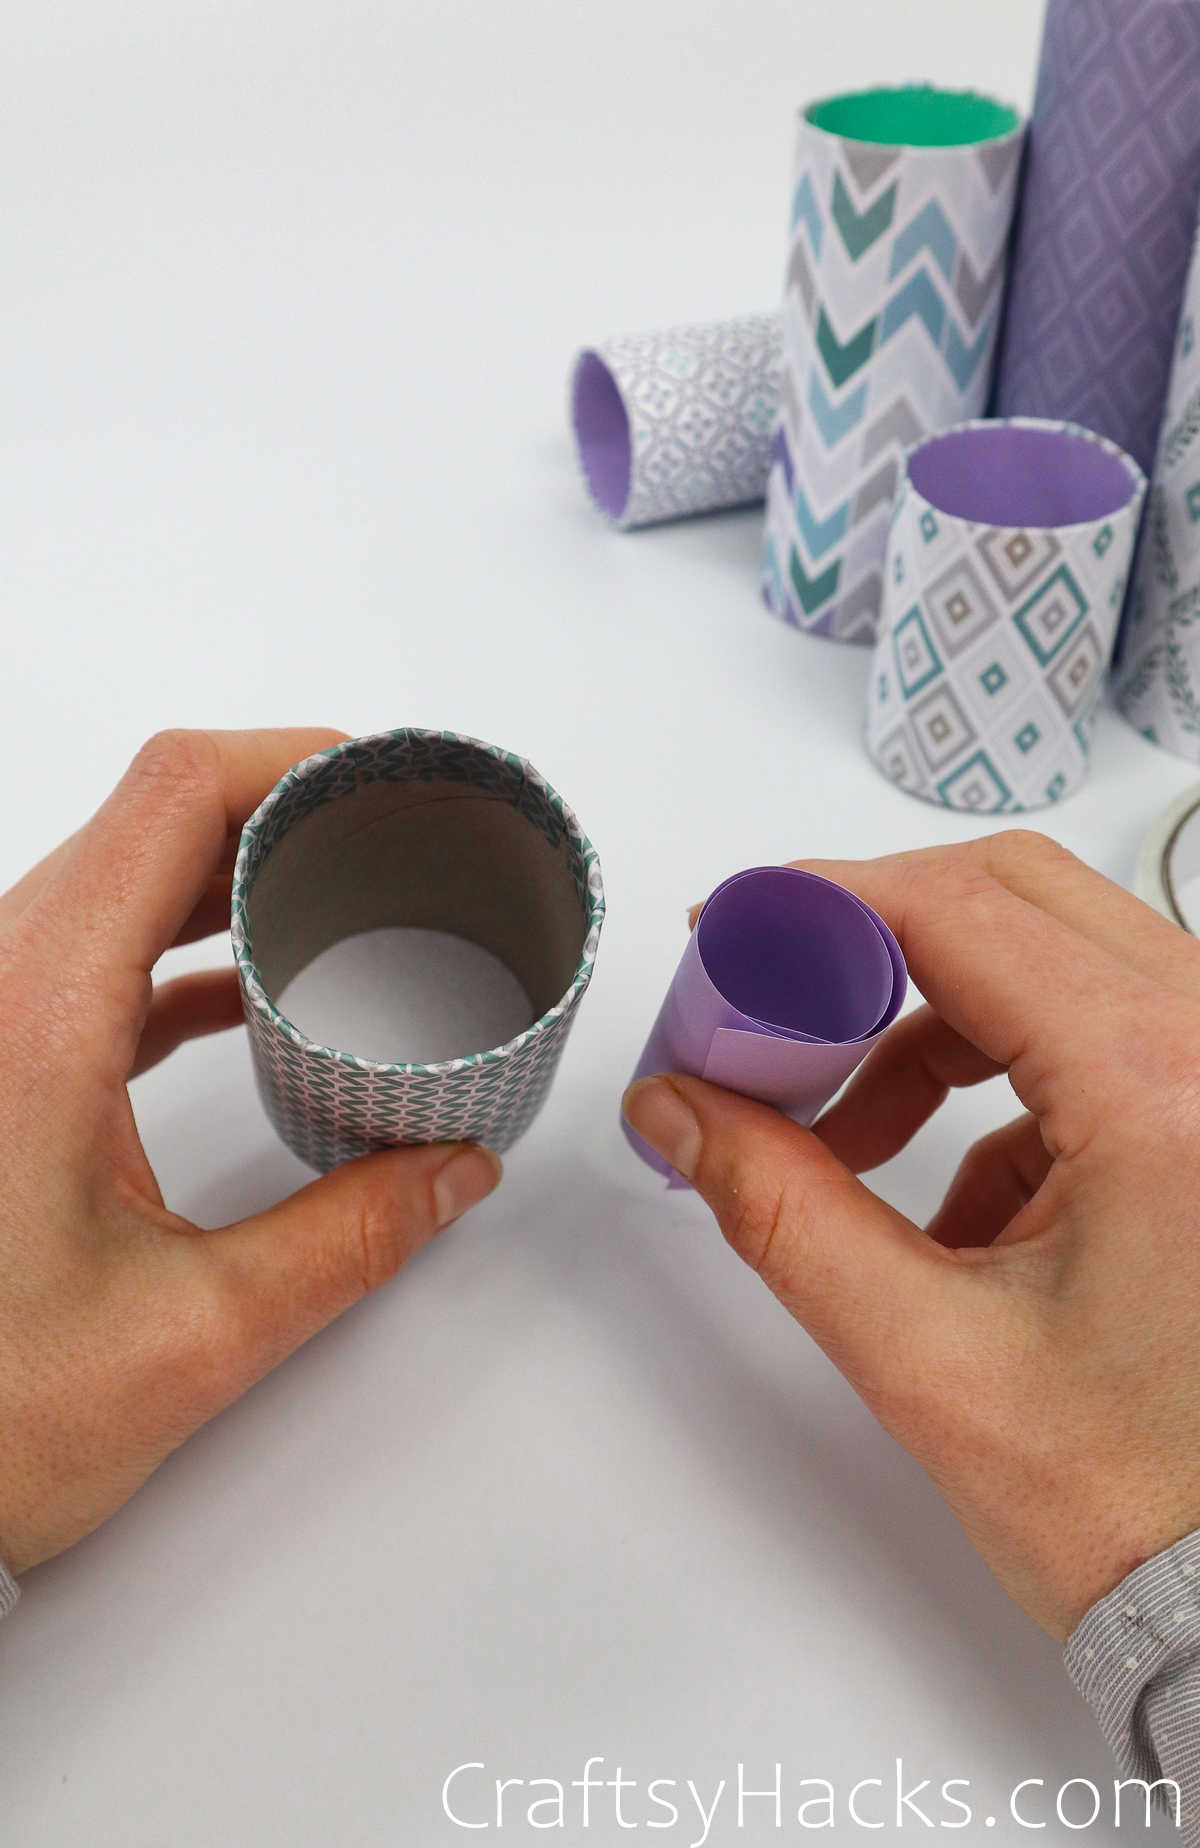
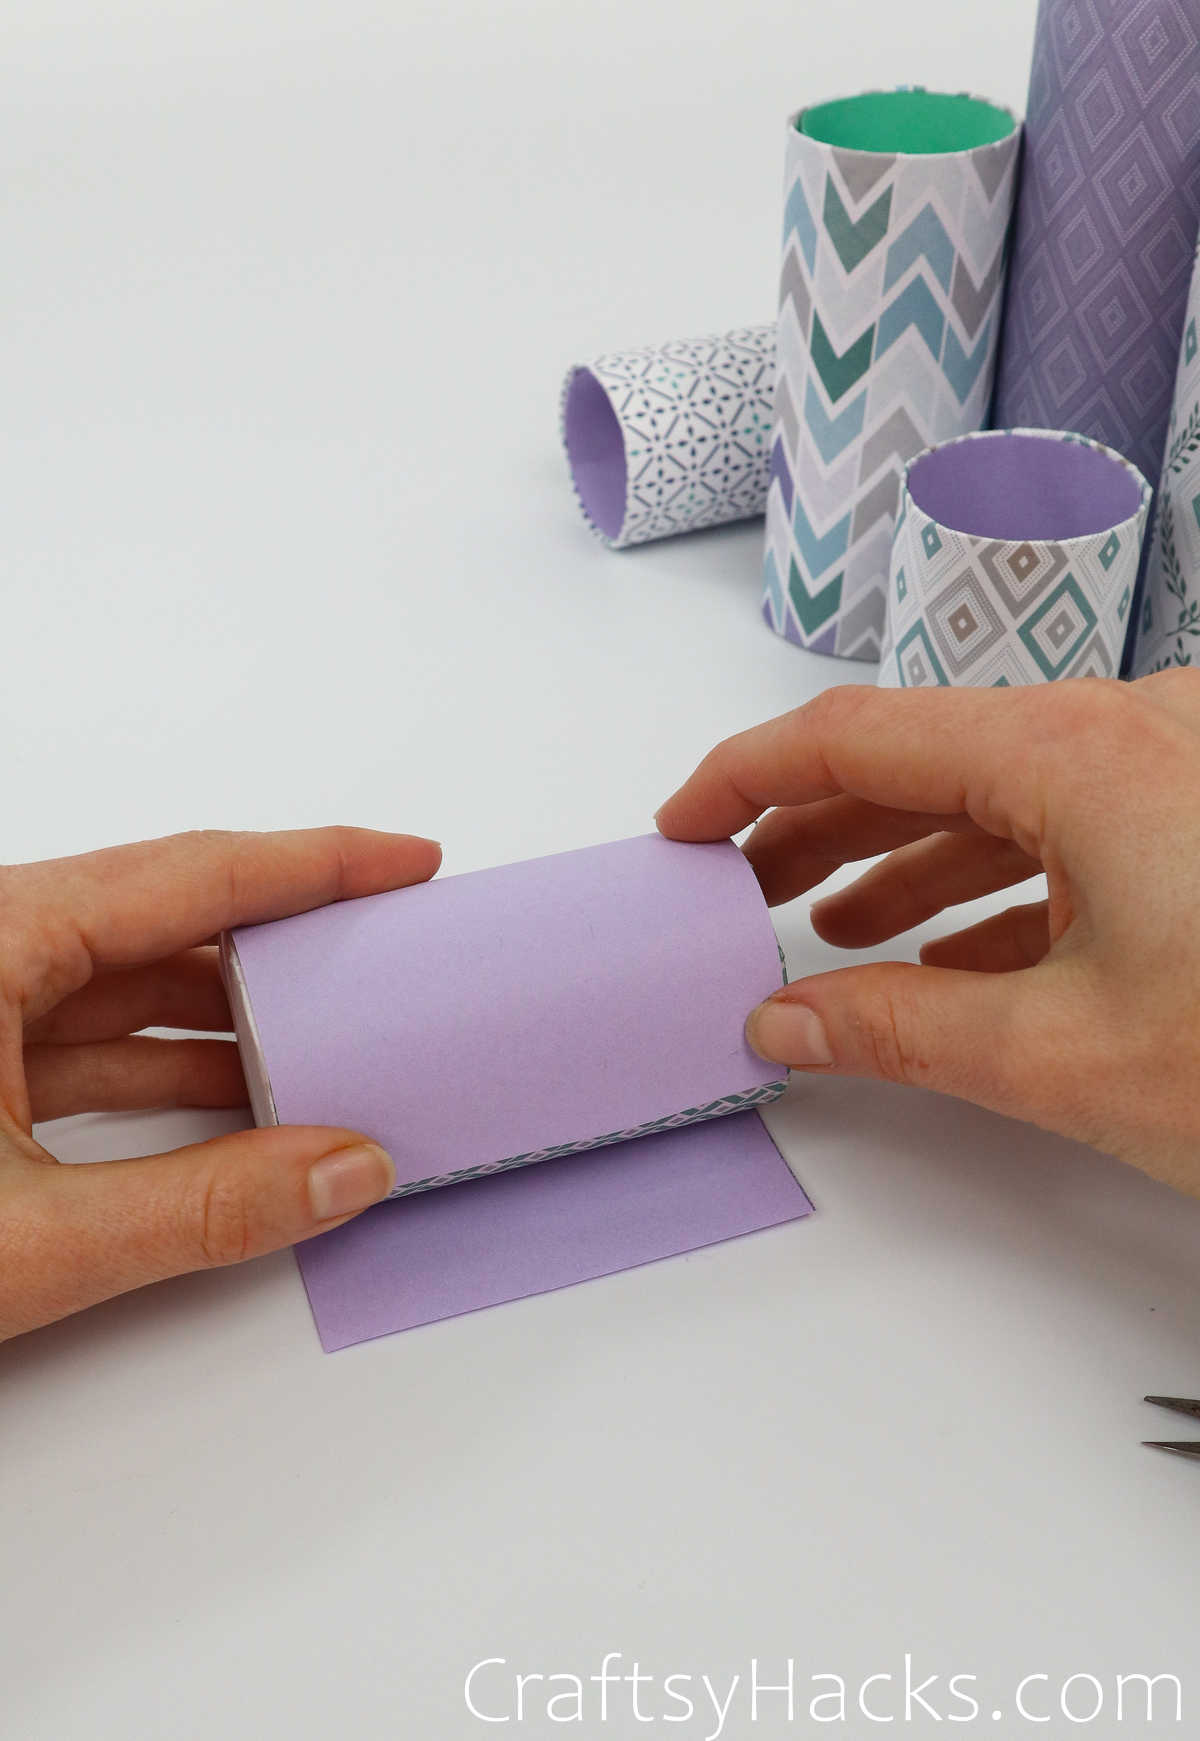
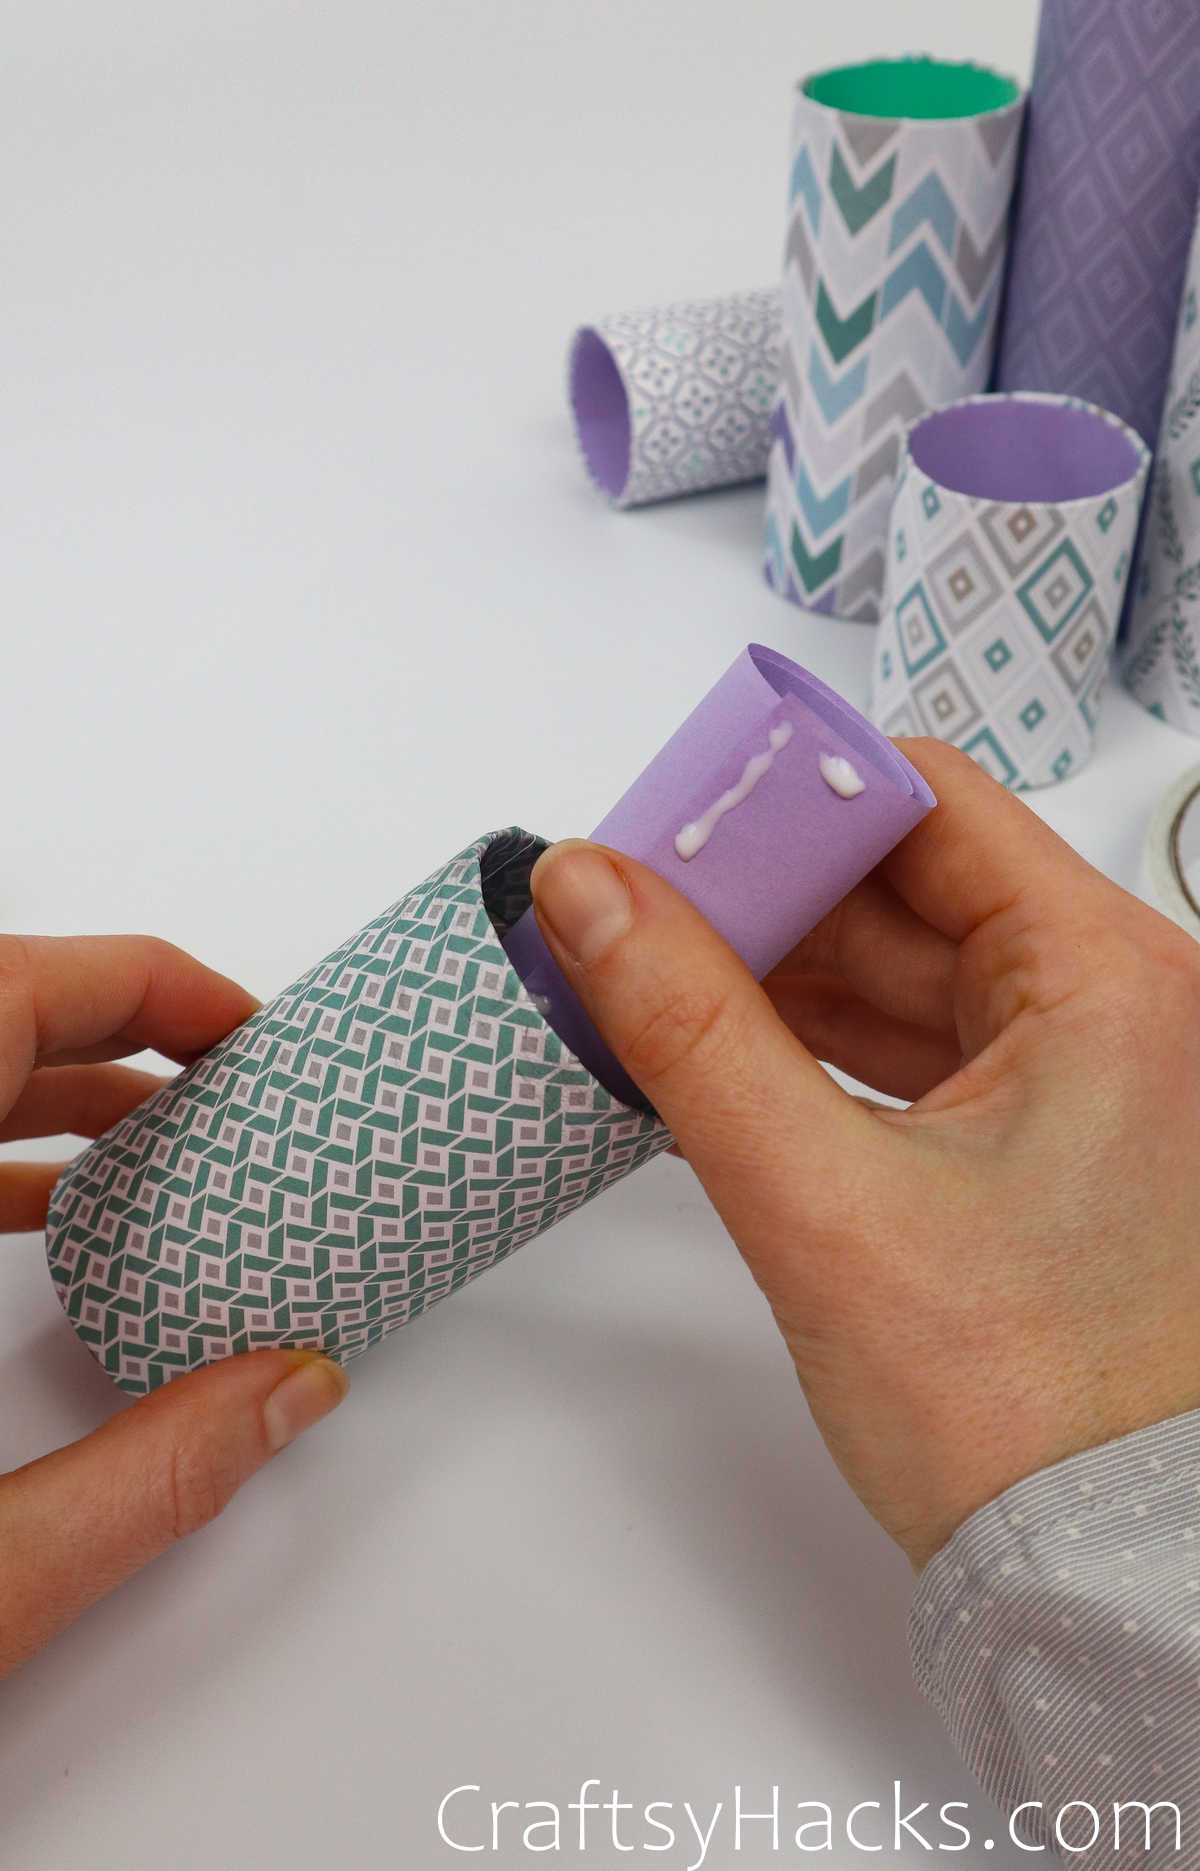
Roll the paper into smaller rolls than the toilet paper tube.
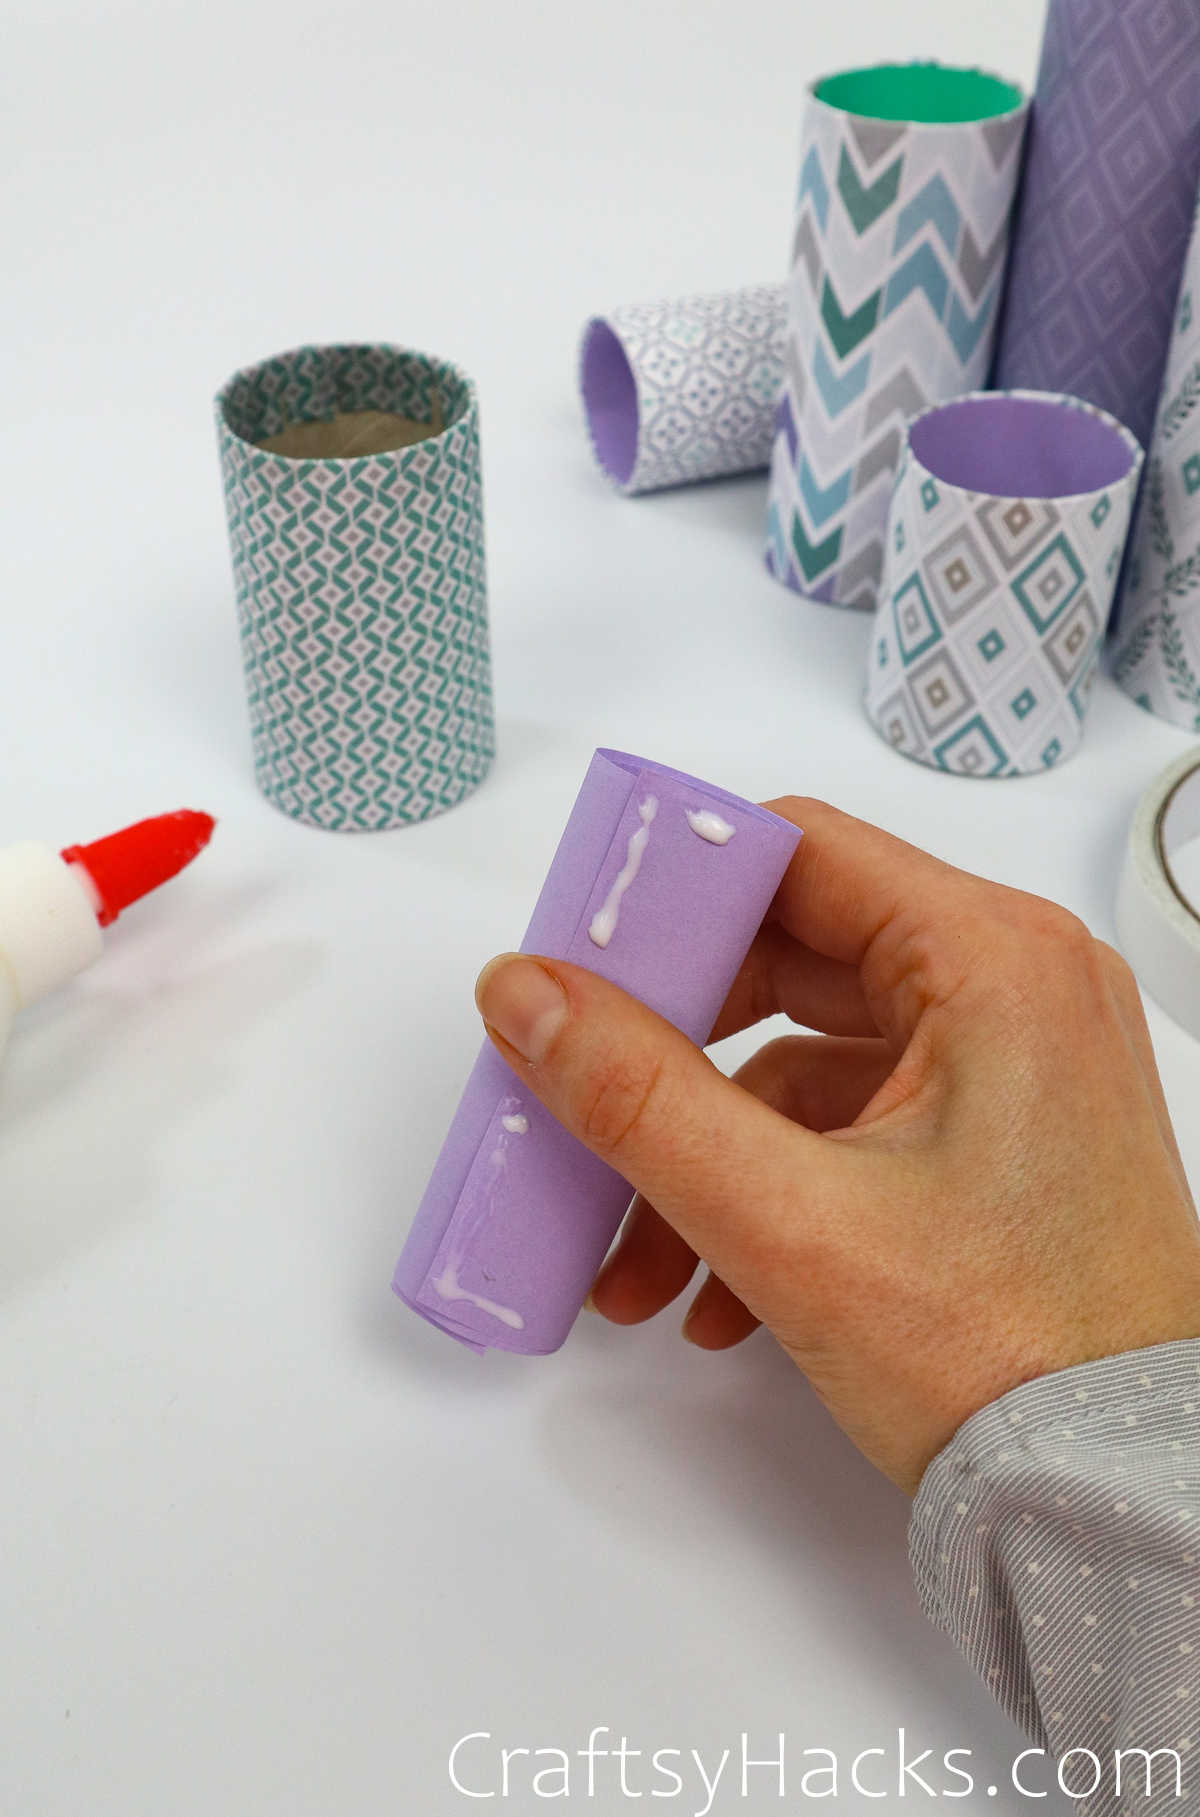
Step 16
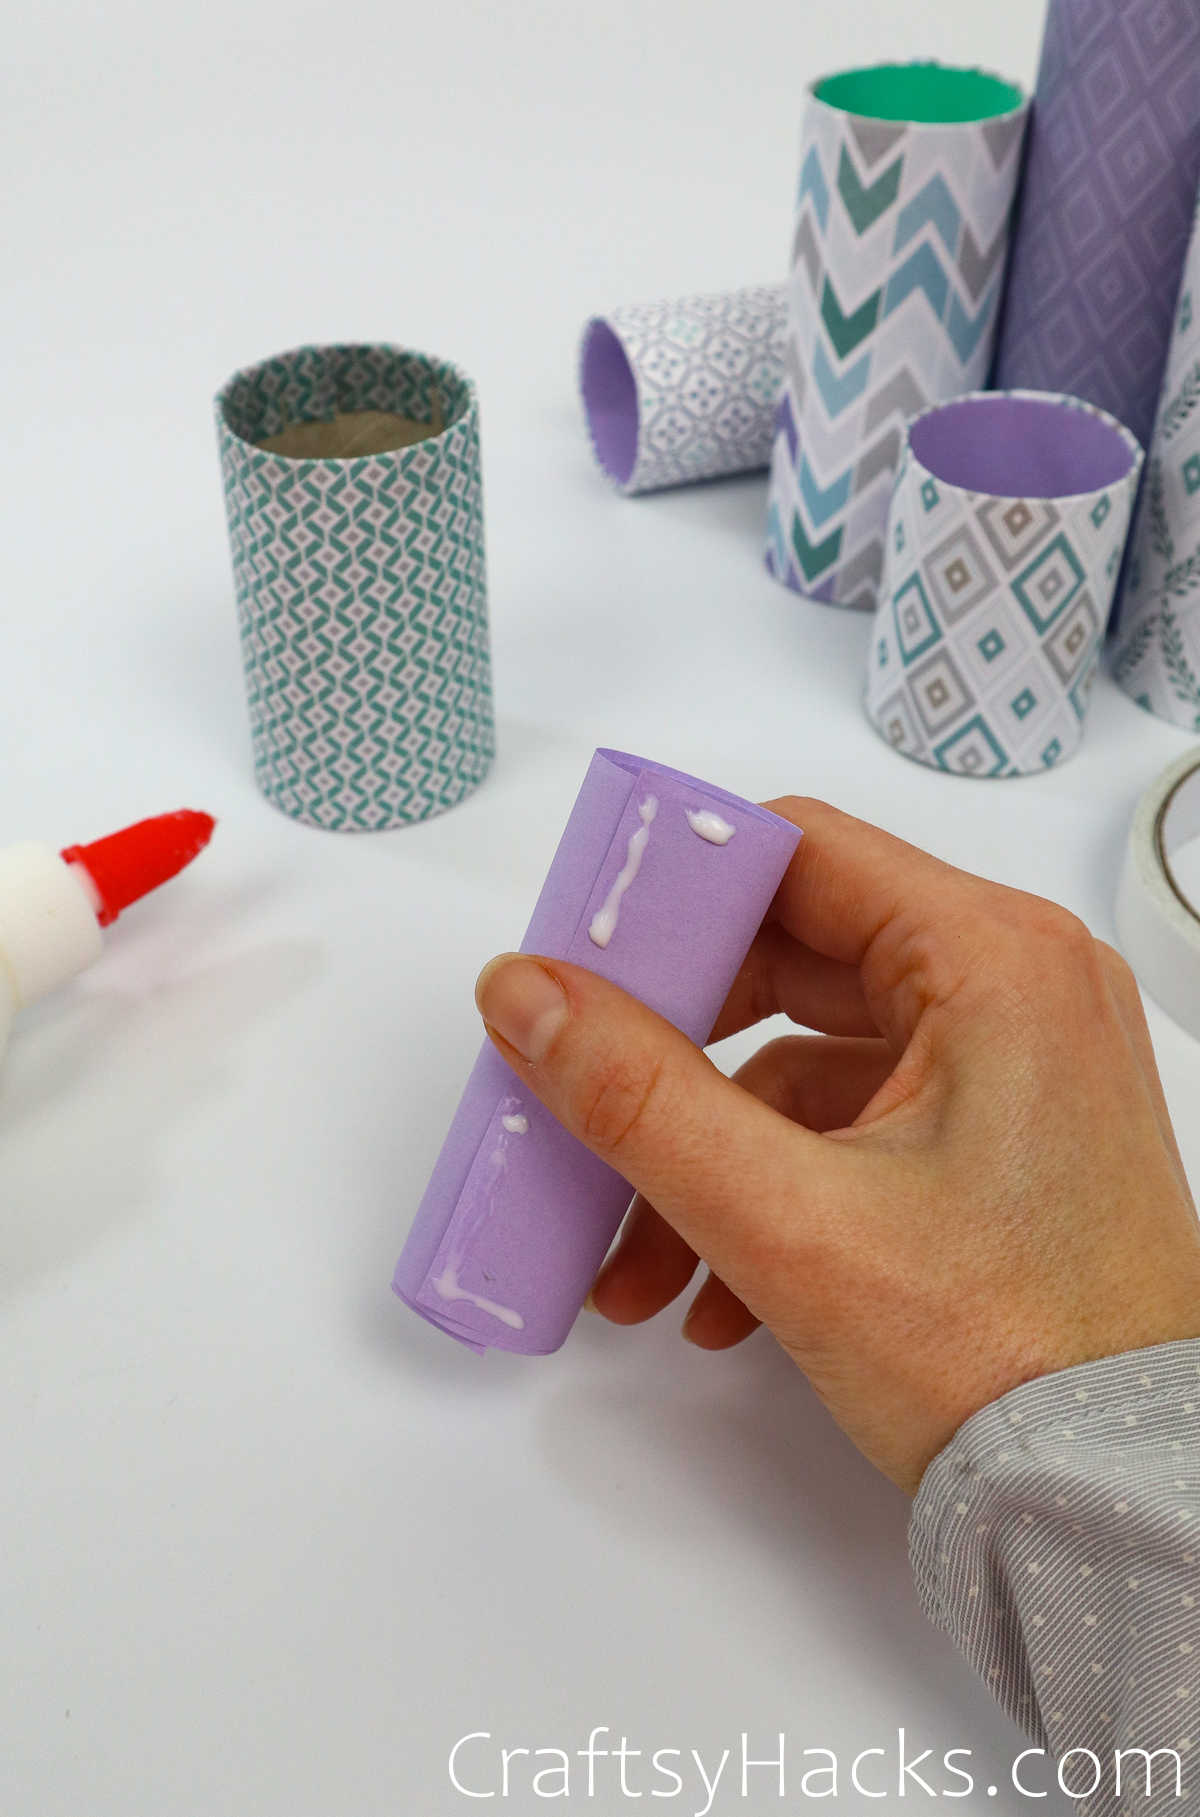
Add a bit of glue to the roll’s top and bottom of the roll.
Continue to repeat the process.
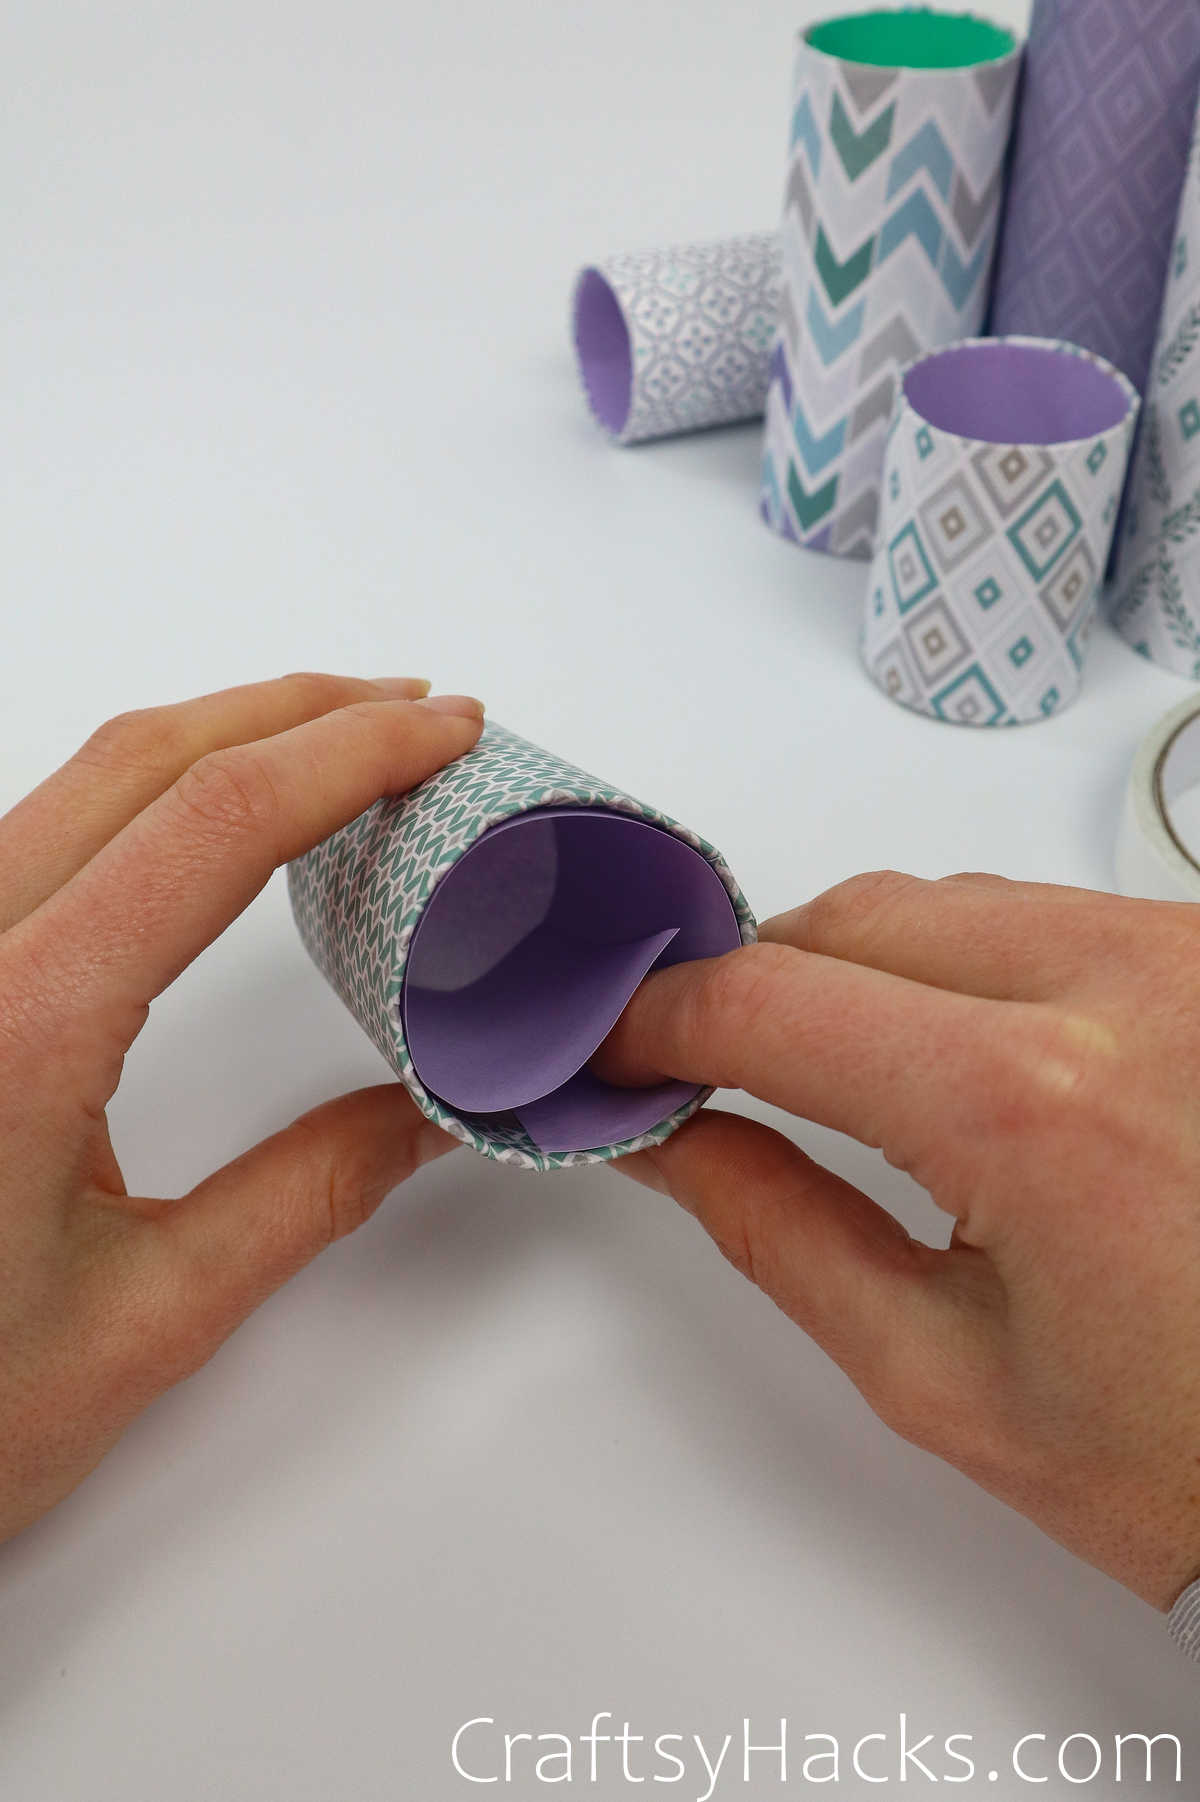
Step 17
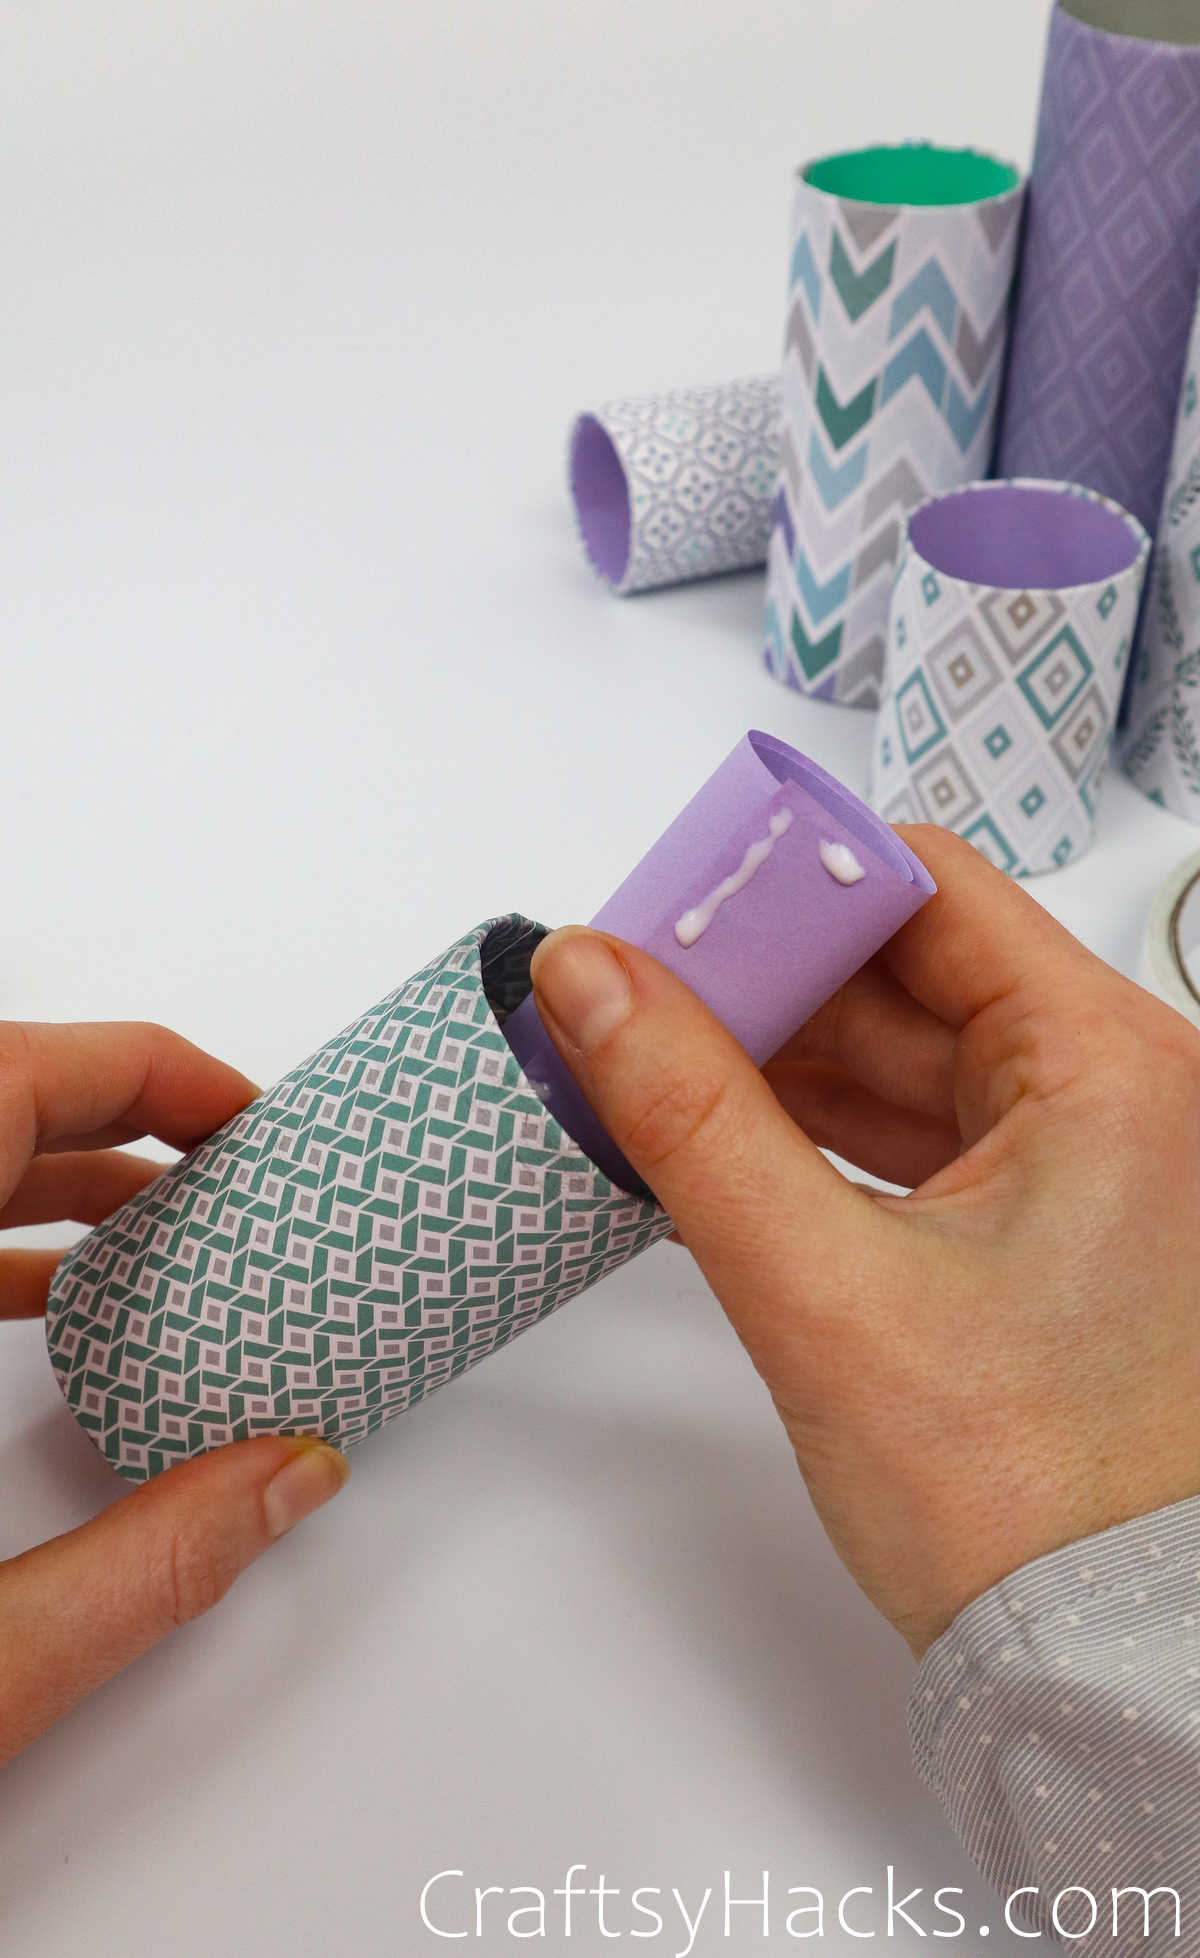
Insert the paper roll into the toilet paper tube.
Repeat the process until all tubes are filled.
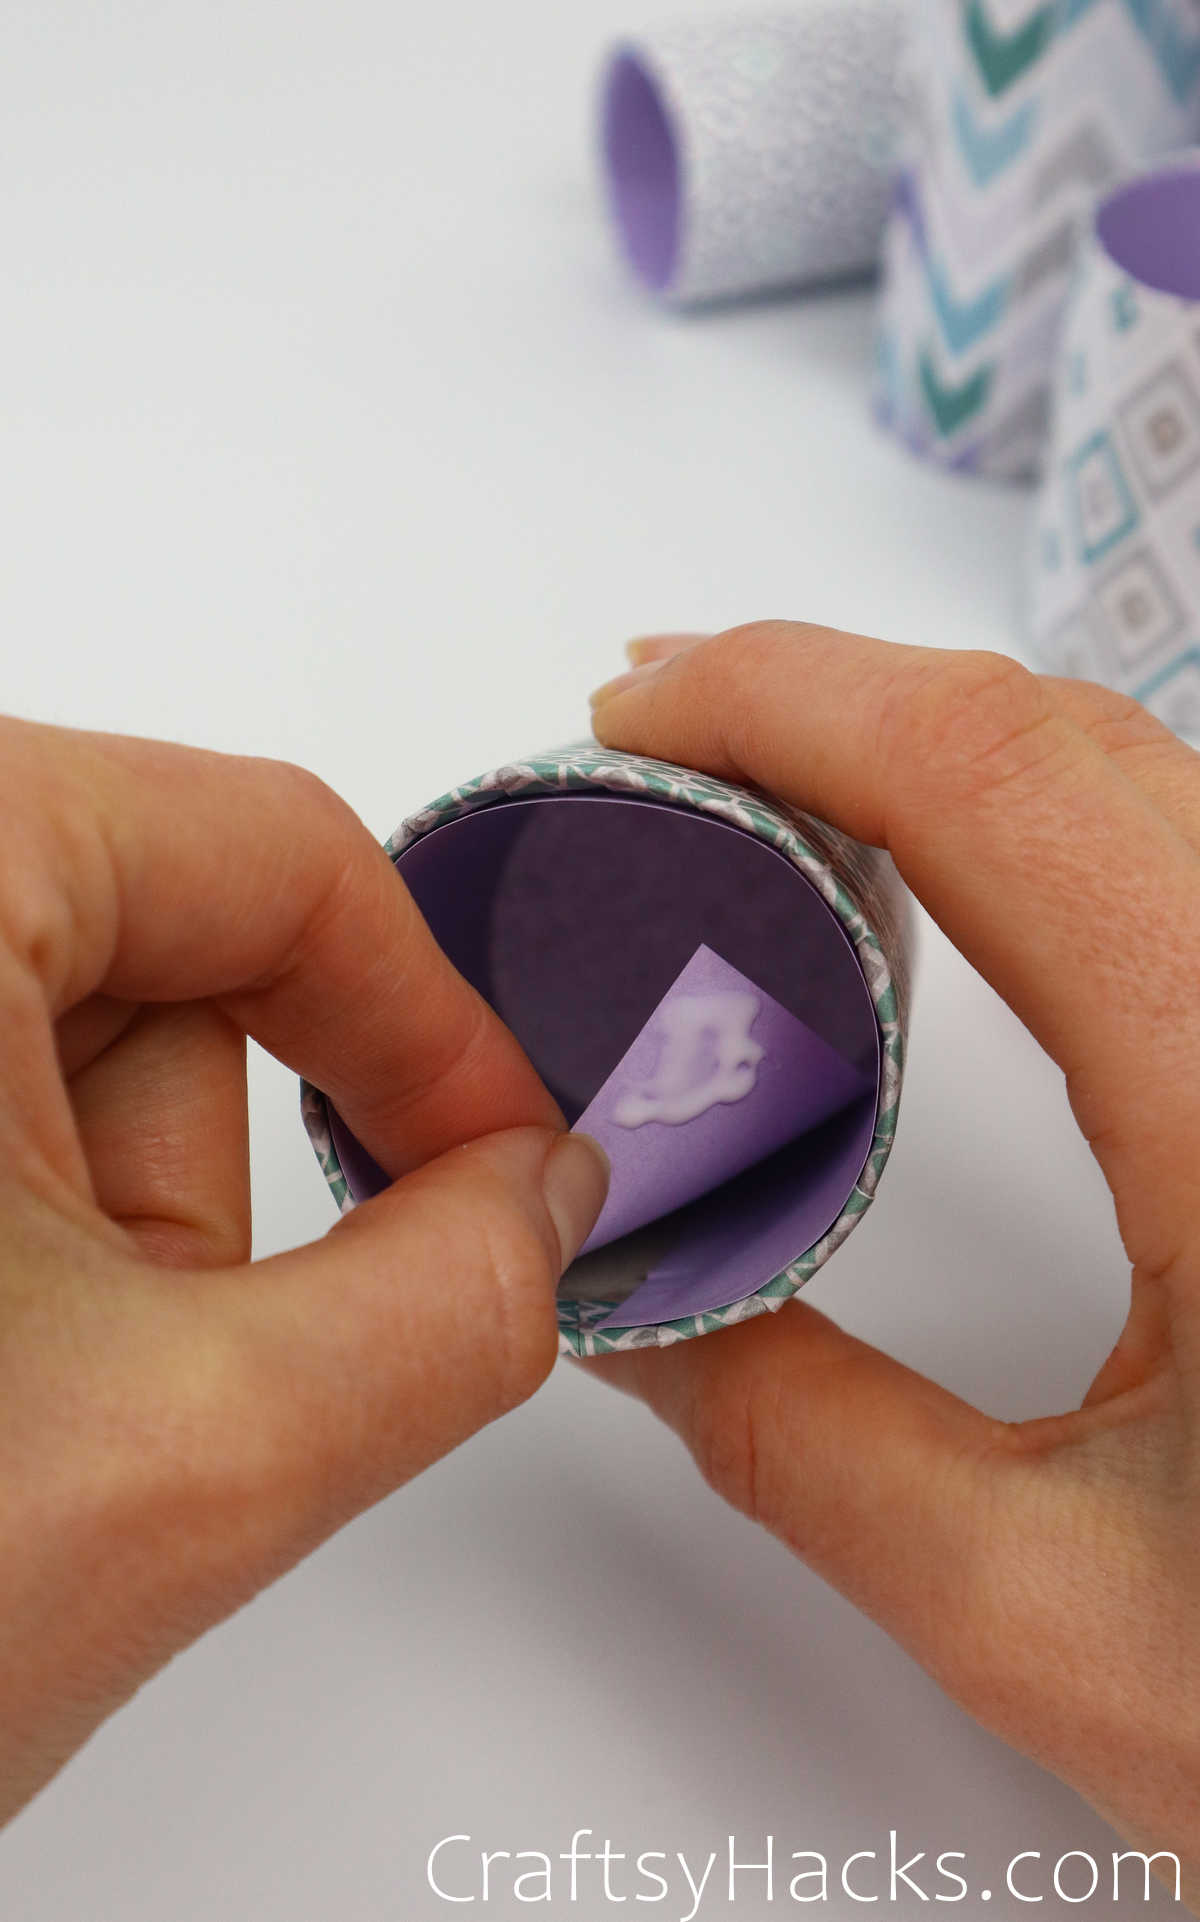
Step 18
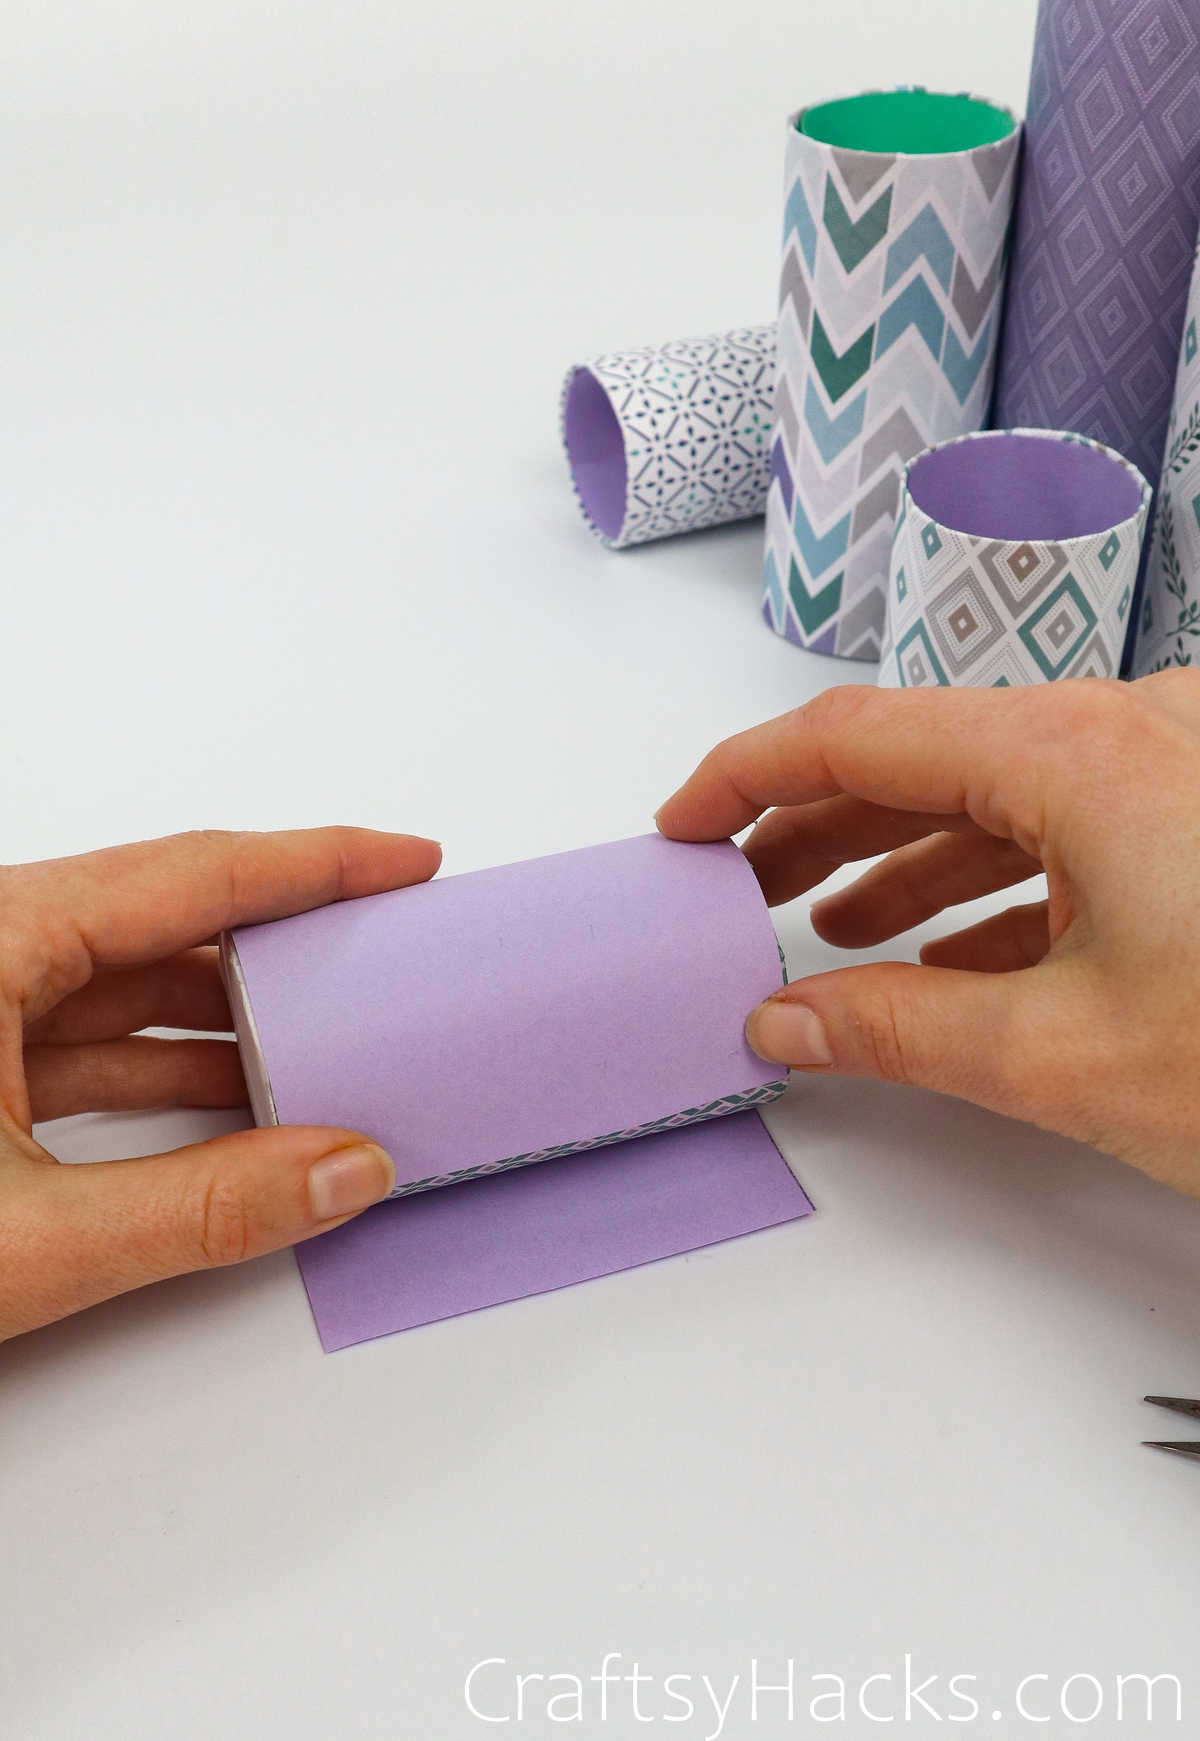
To tuck the paper into the tube, once in, press it to the sides so the piece is more apt to mirror the inside walls.
Step 19
To secure the paper inside, add a bit of glue to the tops and loose ends and press.
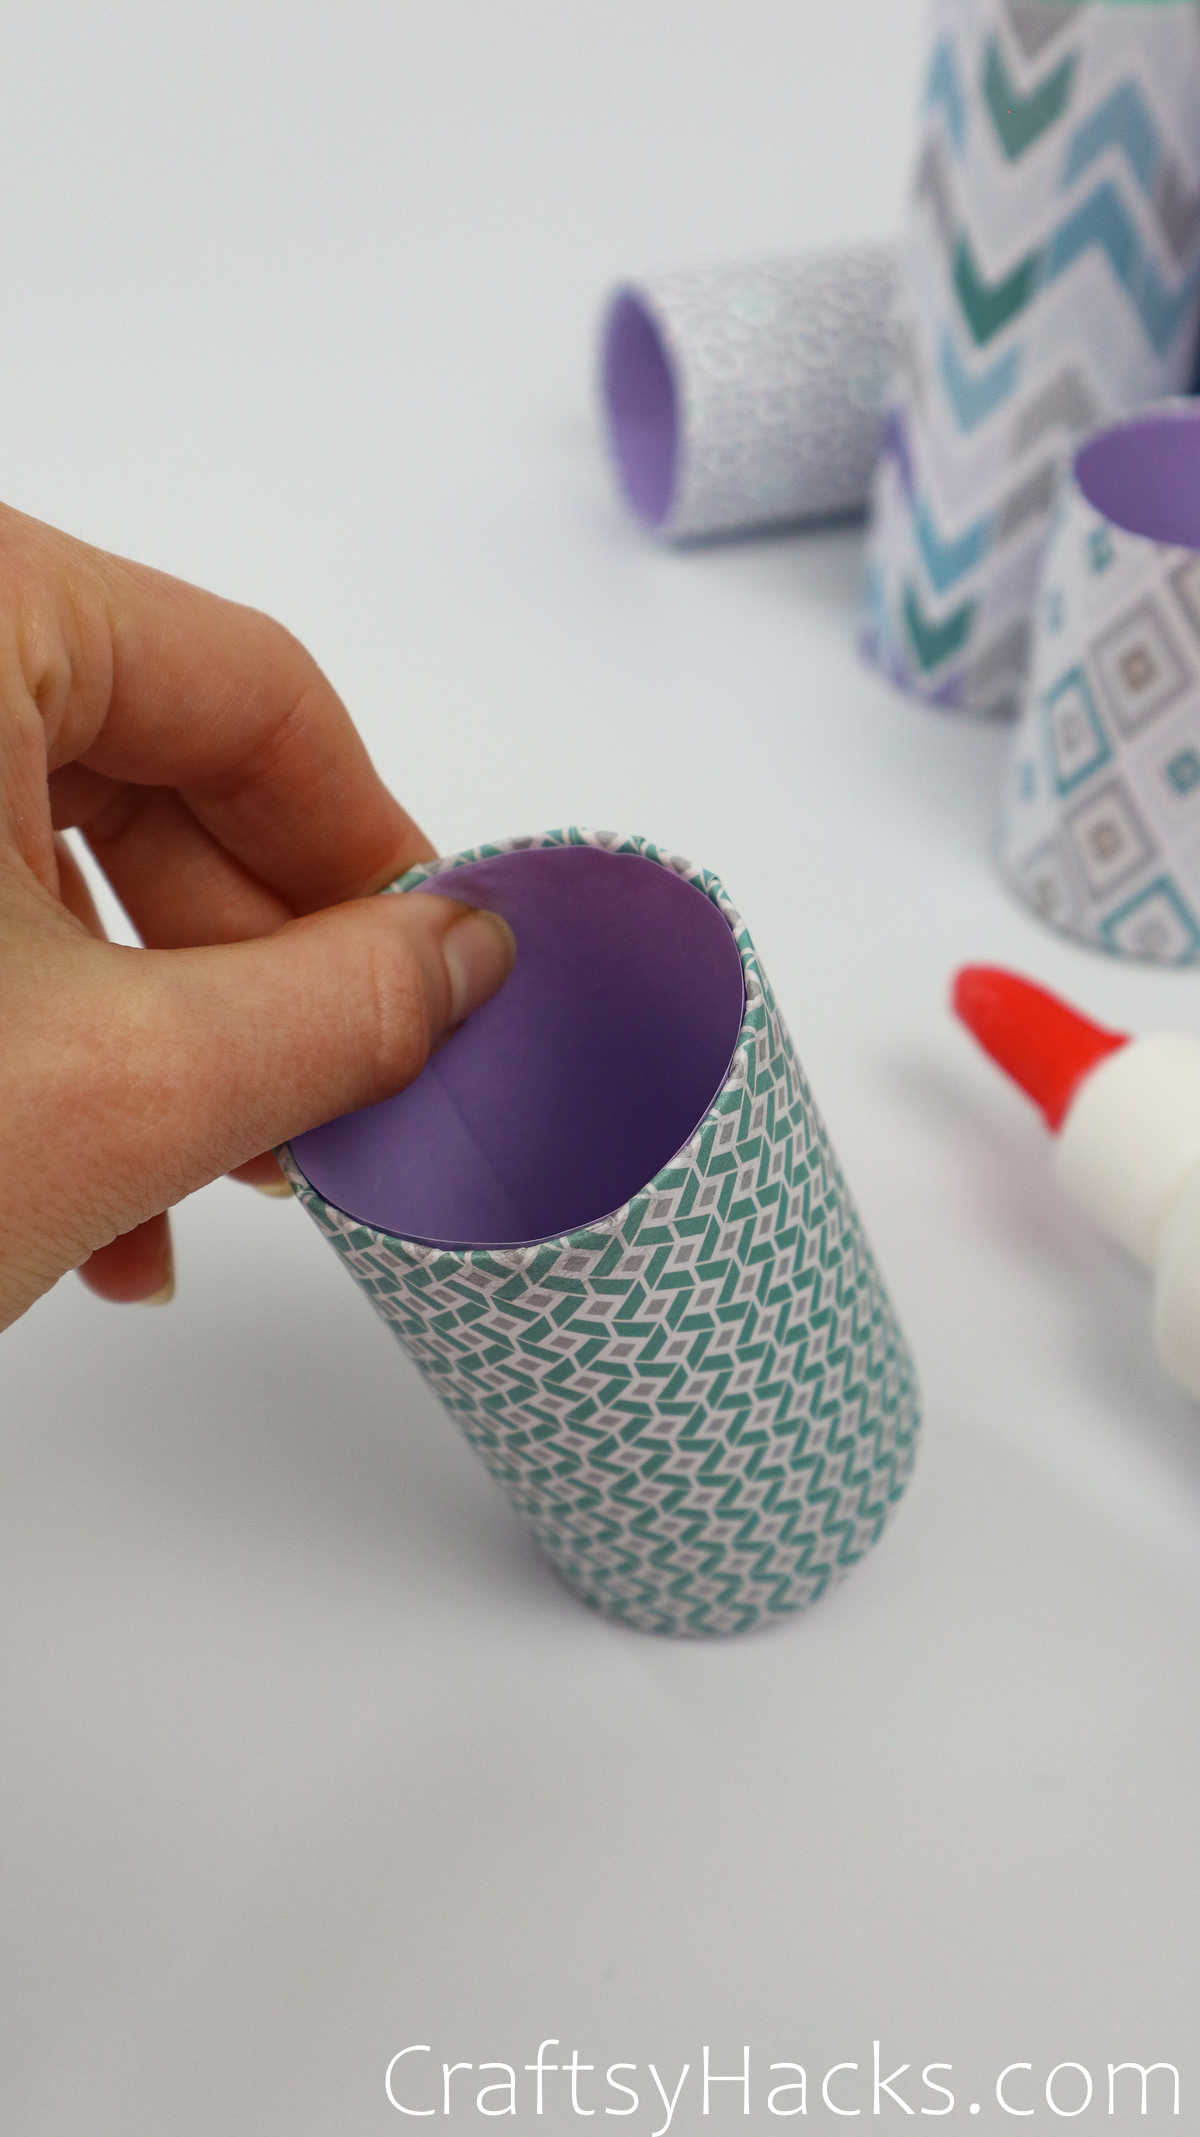
Continue to add glue to the open ends and press.
Repeat the process until done.
Continue this process until you are ready to move forward.
Step 20
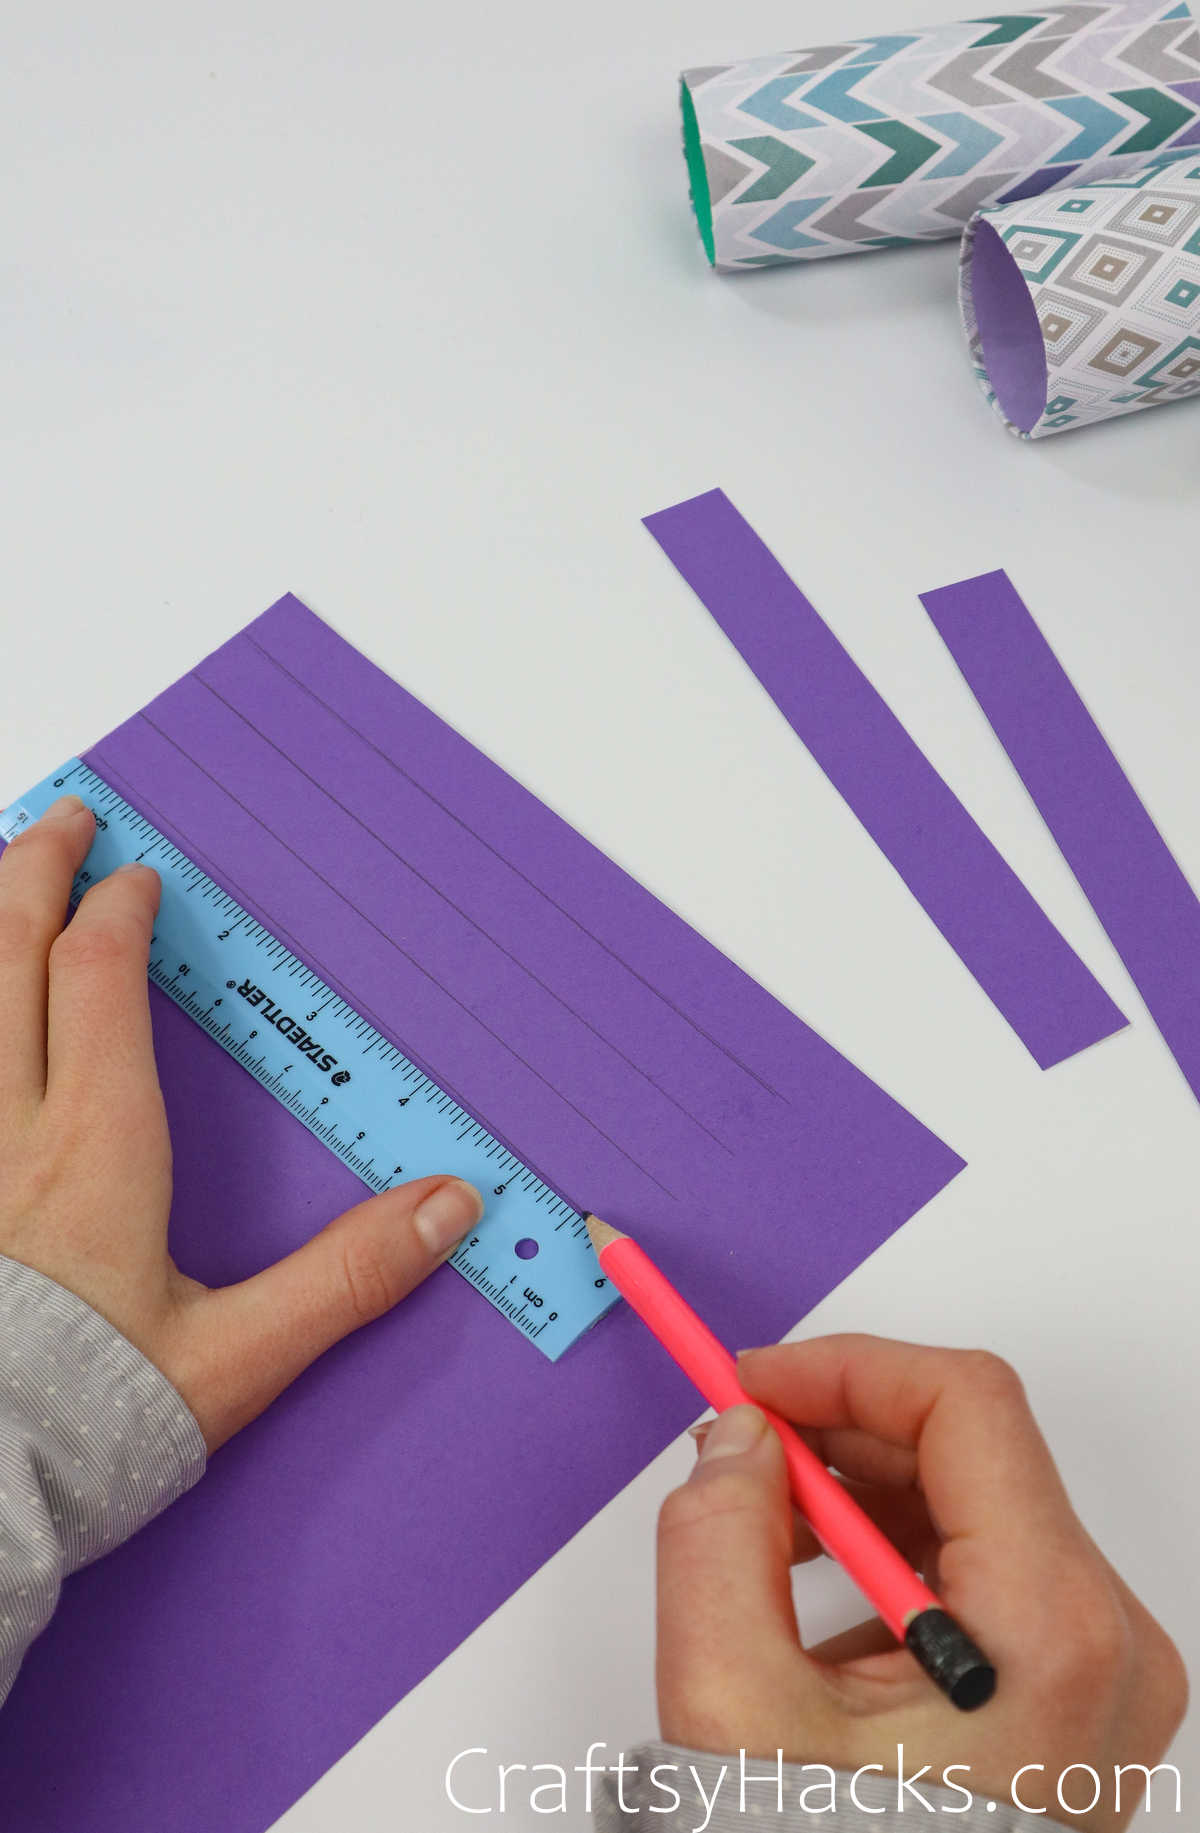
Optional: If you want to add trim, take your ruler and draw a handful of straight lines to trim eventually.
Optionally, decorate your tubes with colorful paper or tape. Adhere with double-sided tape or stick tape on how you please.
Step 21
Prep all your tubes facing upward–closed side on top. We’ll start gluing the tops and then adding them to the plate.
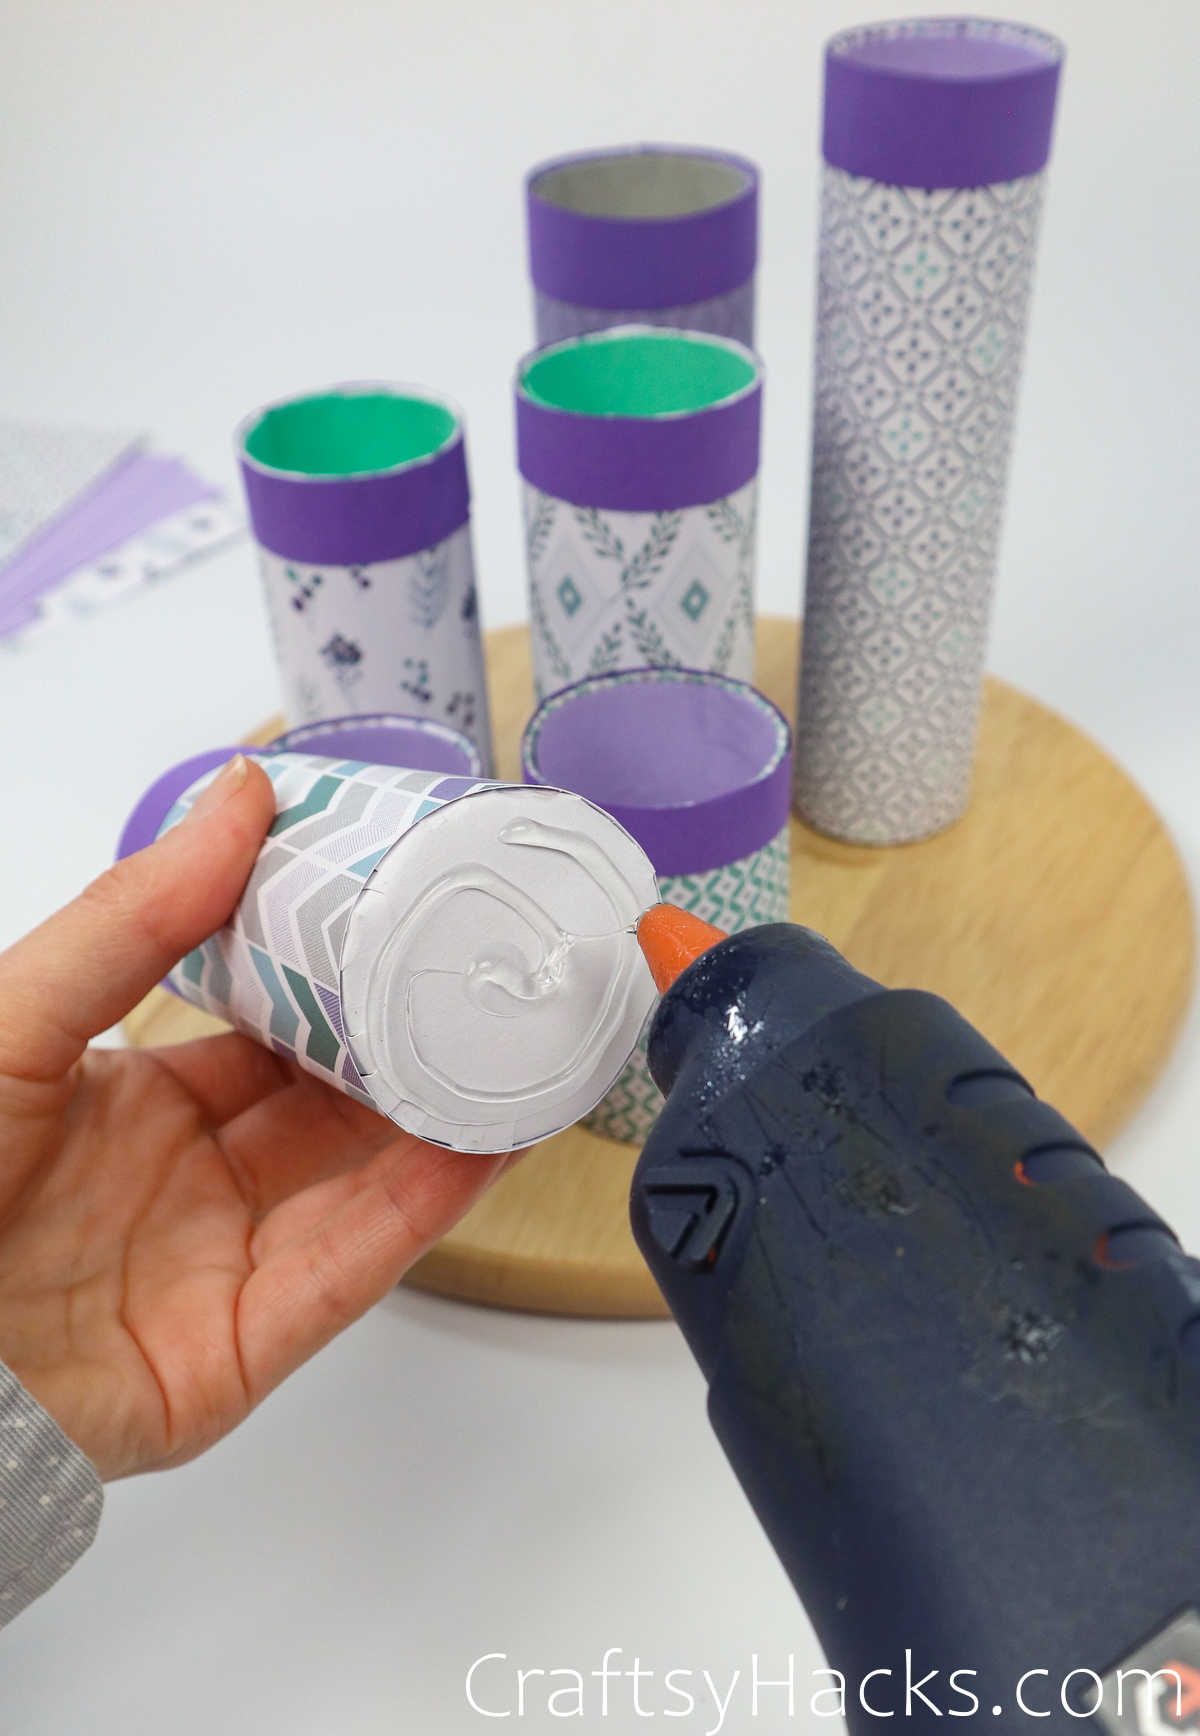
Continue to add glue to the tops of the toilet paper rolls.
Step 22
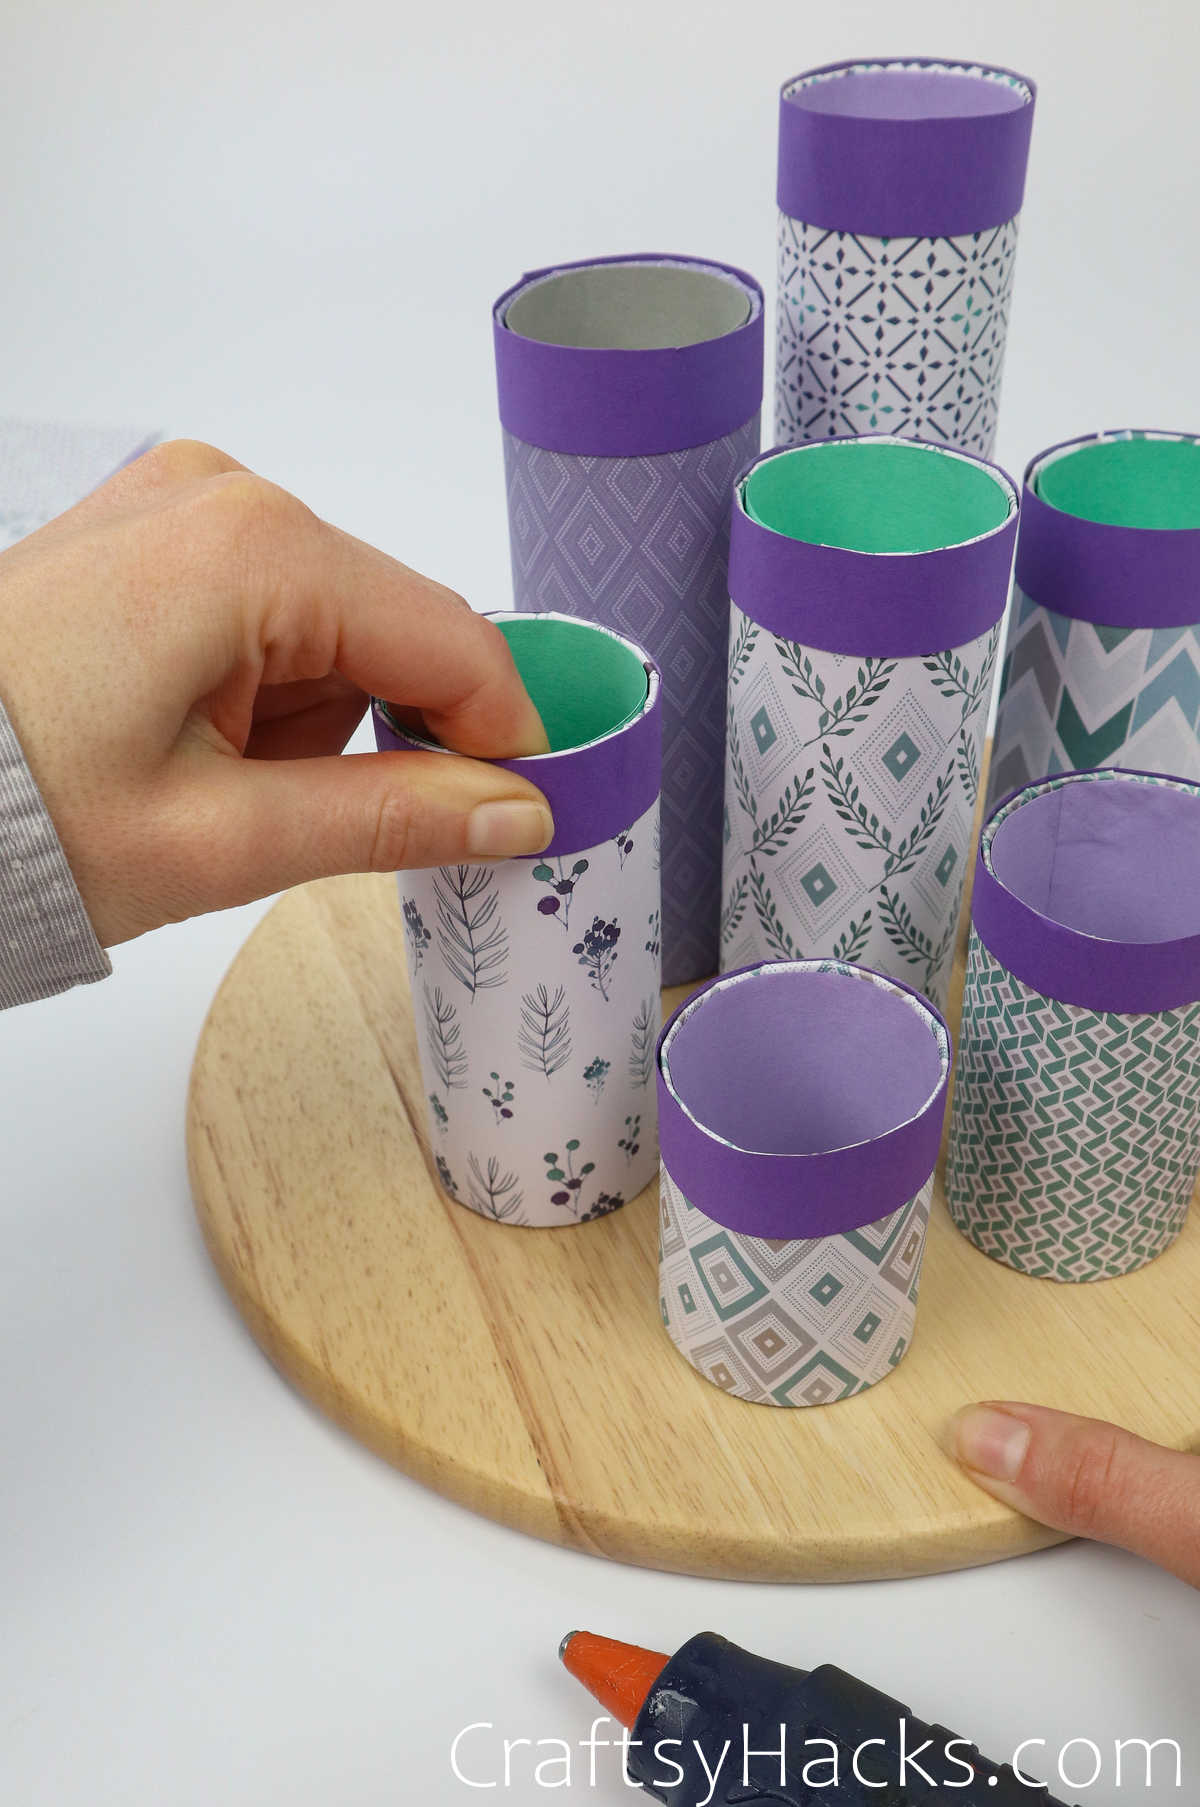
Using a hot glue gun, attach the closed bottom of the toilet paper tube and press it down to the board.
Optional: if you’d like, cover your plate with craft paper or paint.
Acrylic paint will get the job done, and once dry, go over it in mod podge. Double-sided tape or glue can get the job done, depending on the material of your tray.
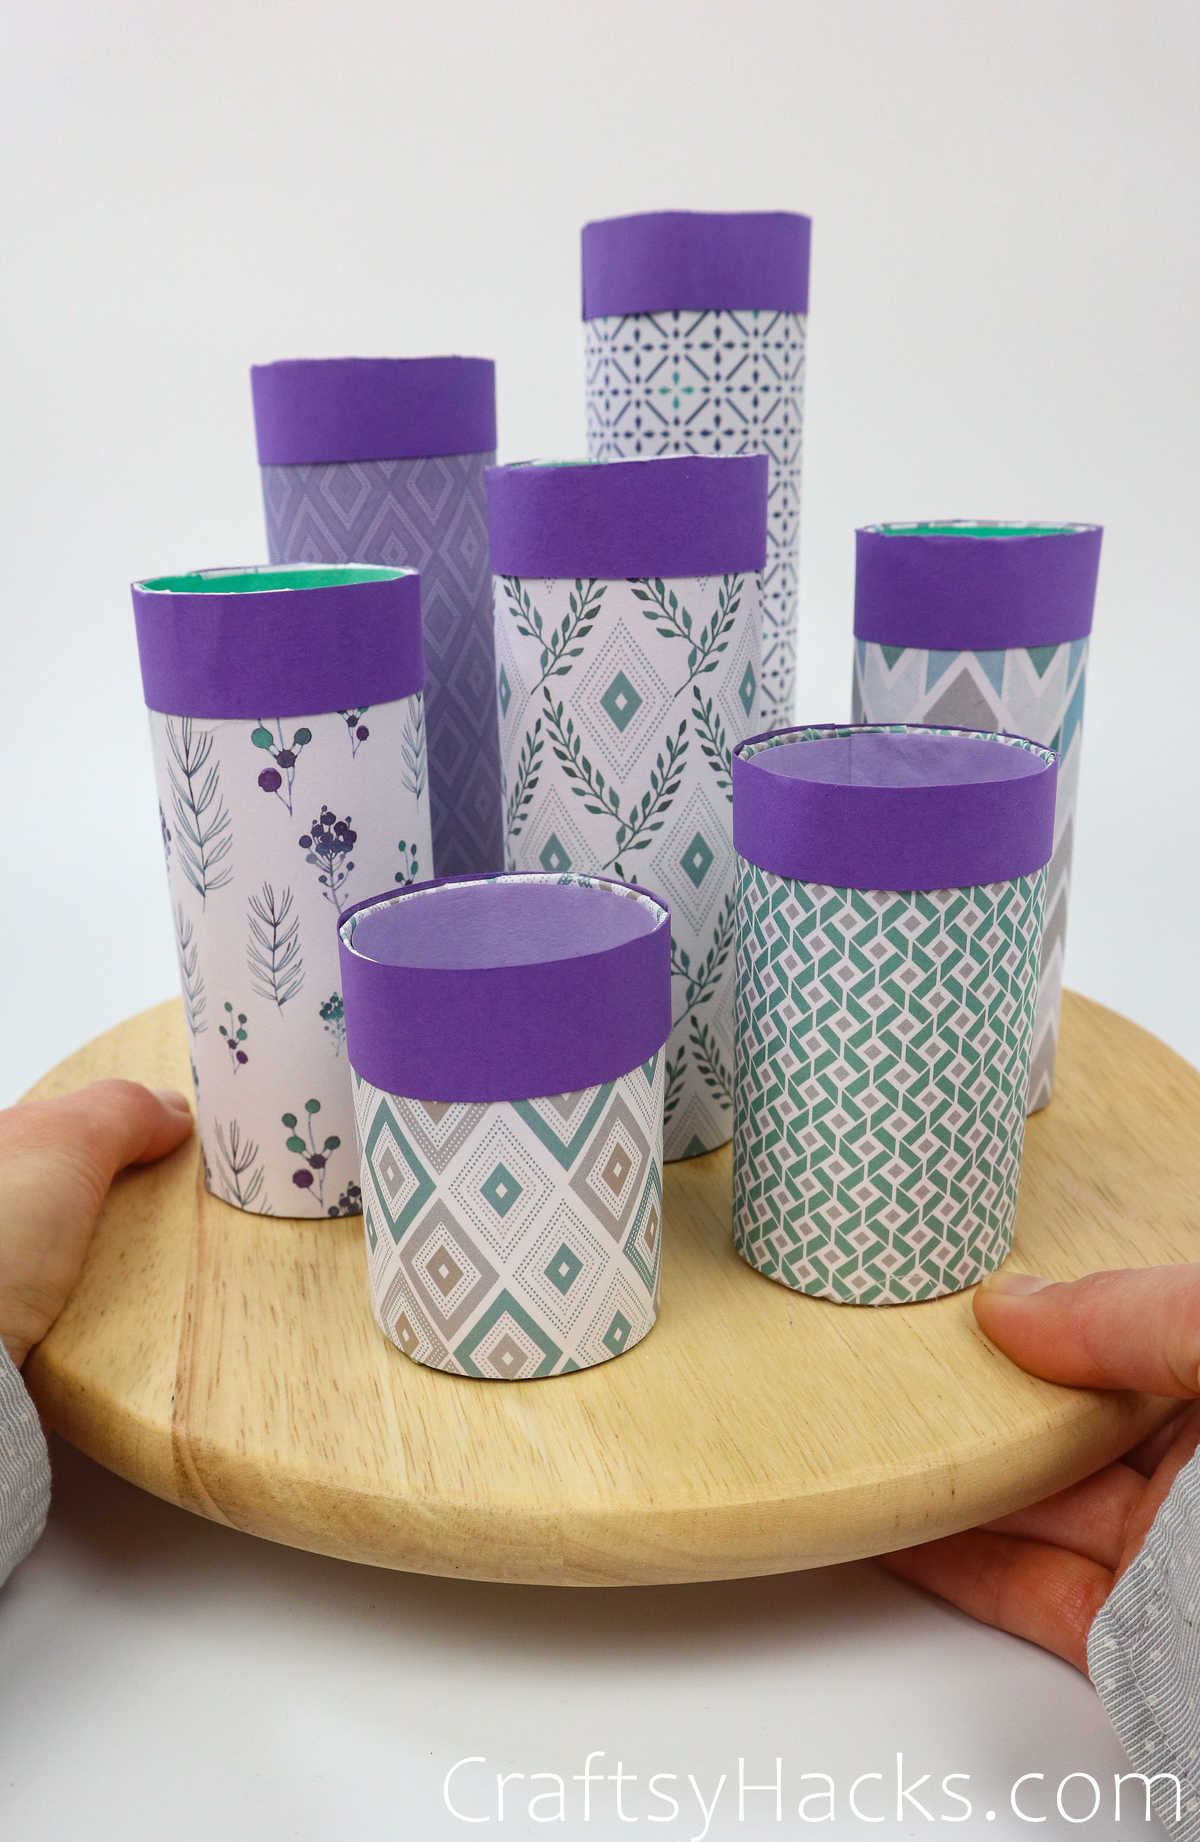
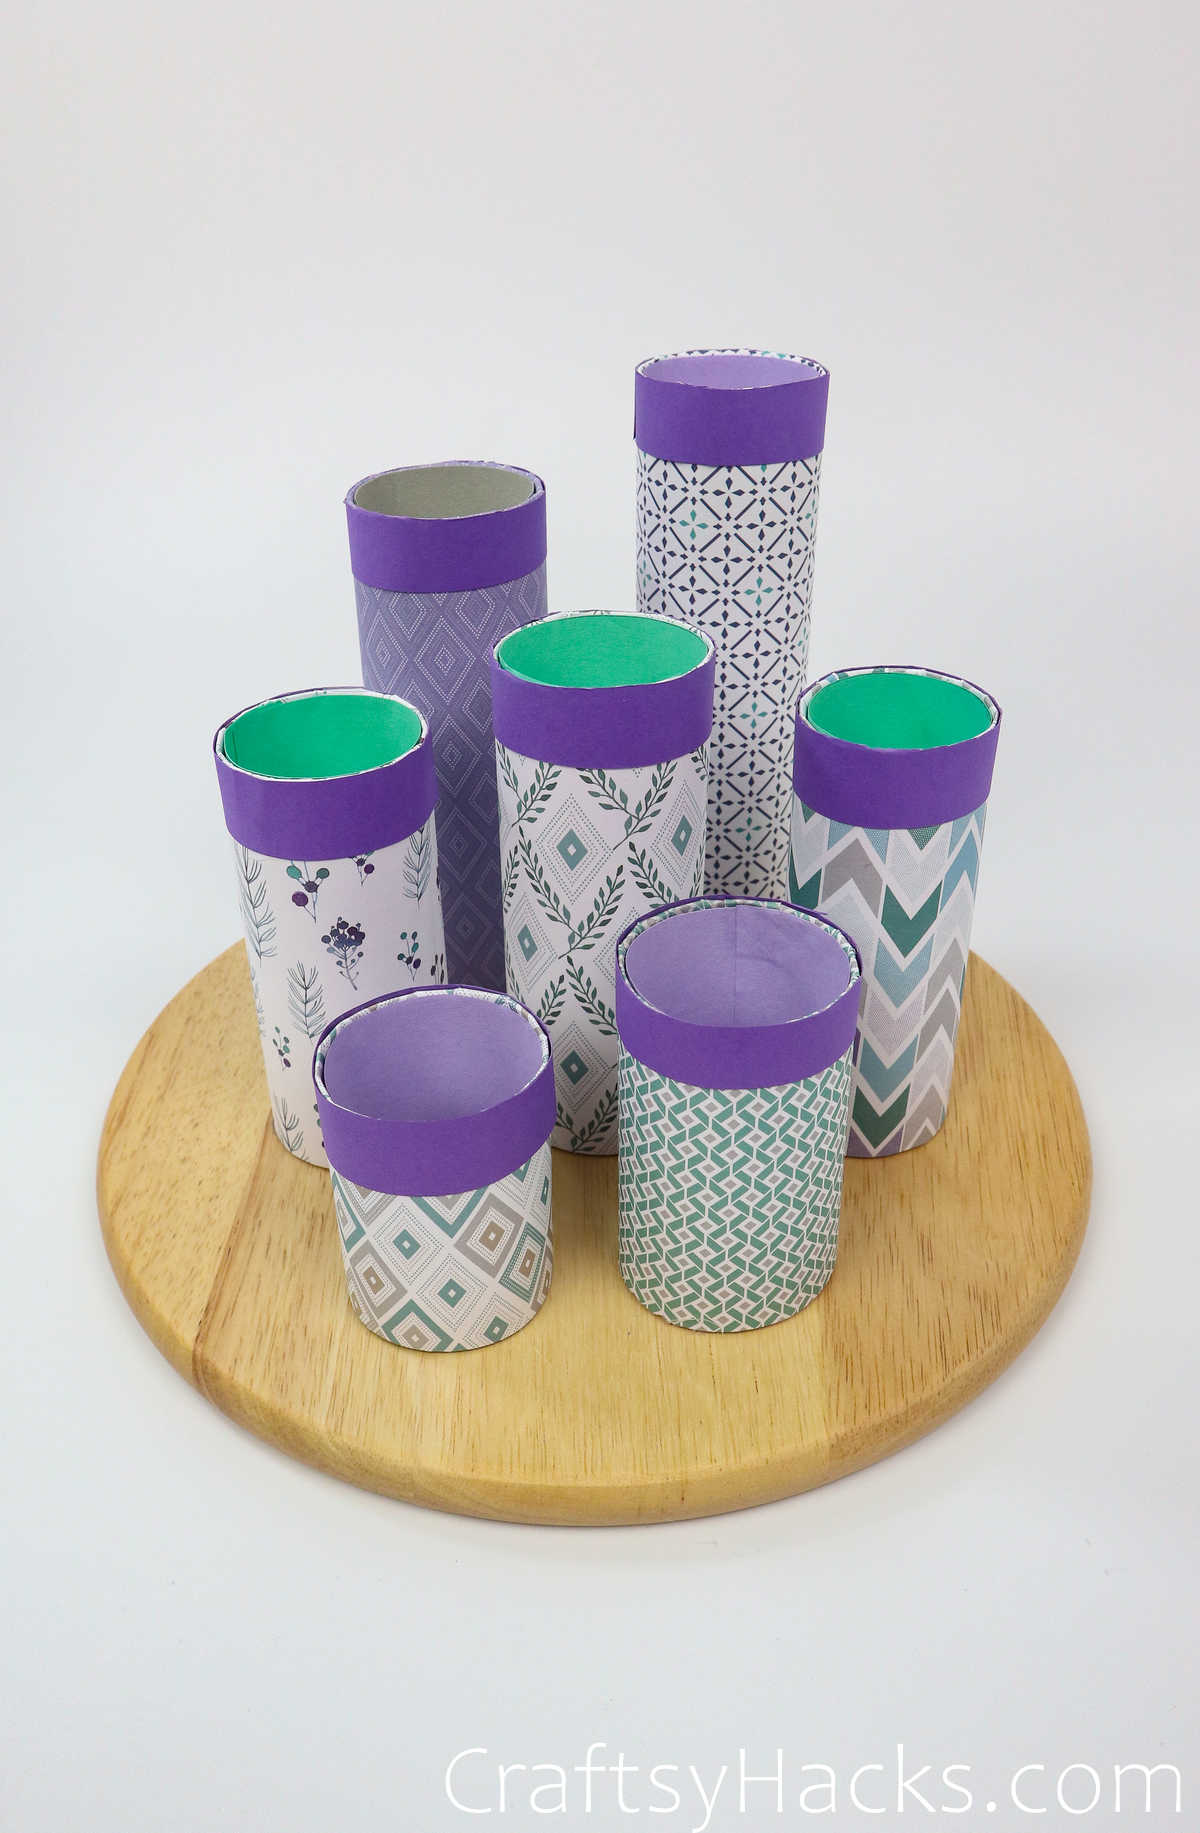
Notice that I’ve chosen not to have my toilet paper tubes touching. This organization was because I wanted to showcase the paper.
If you skipped step seven, you should attach all of your tubes together to support each other after your items go into the organizer.
Let everything dry, and there you have it! Your very own makeup organizer, completely customized to your needs–I hope you enjoy it for years to come!