DIY Handprint Cactus
This post may contain affiliate links: full affiliate disclosure.
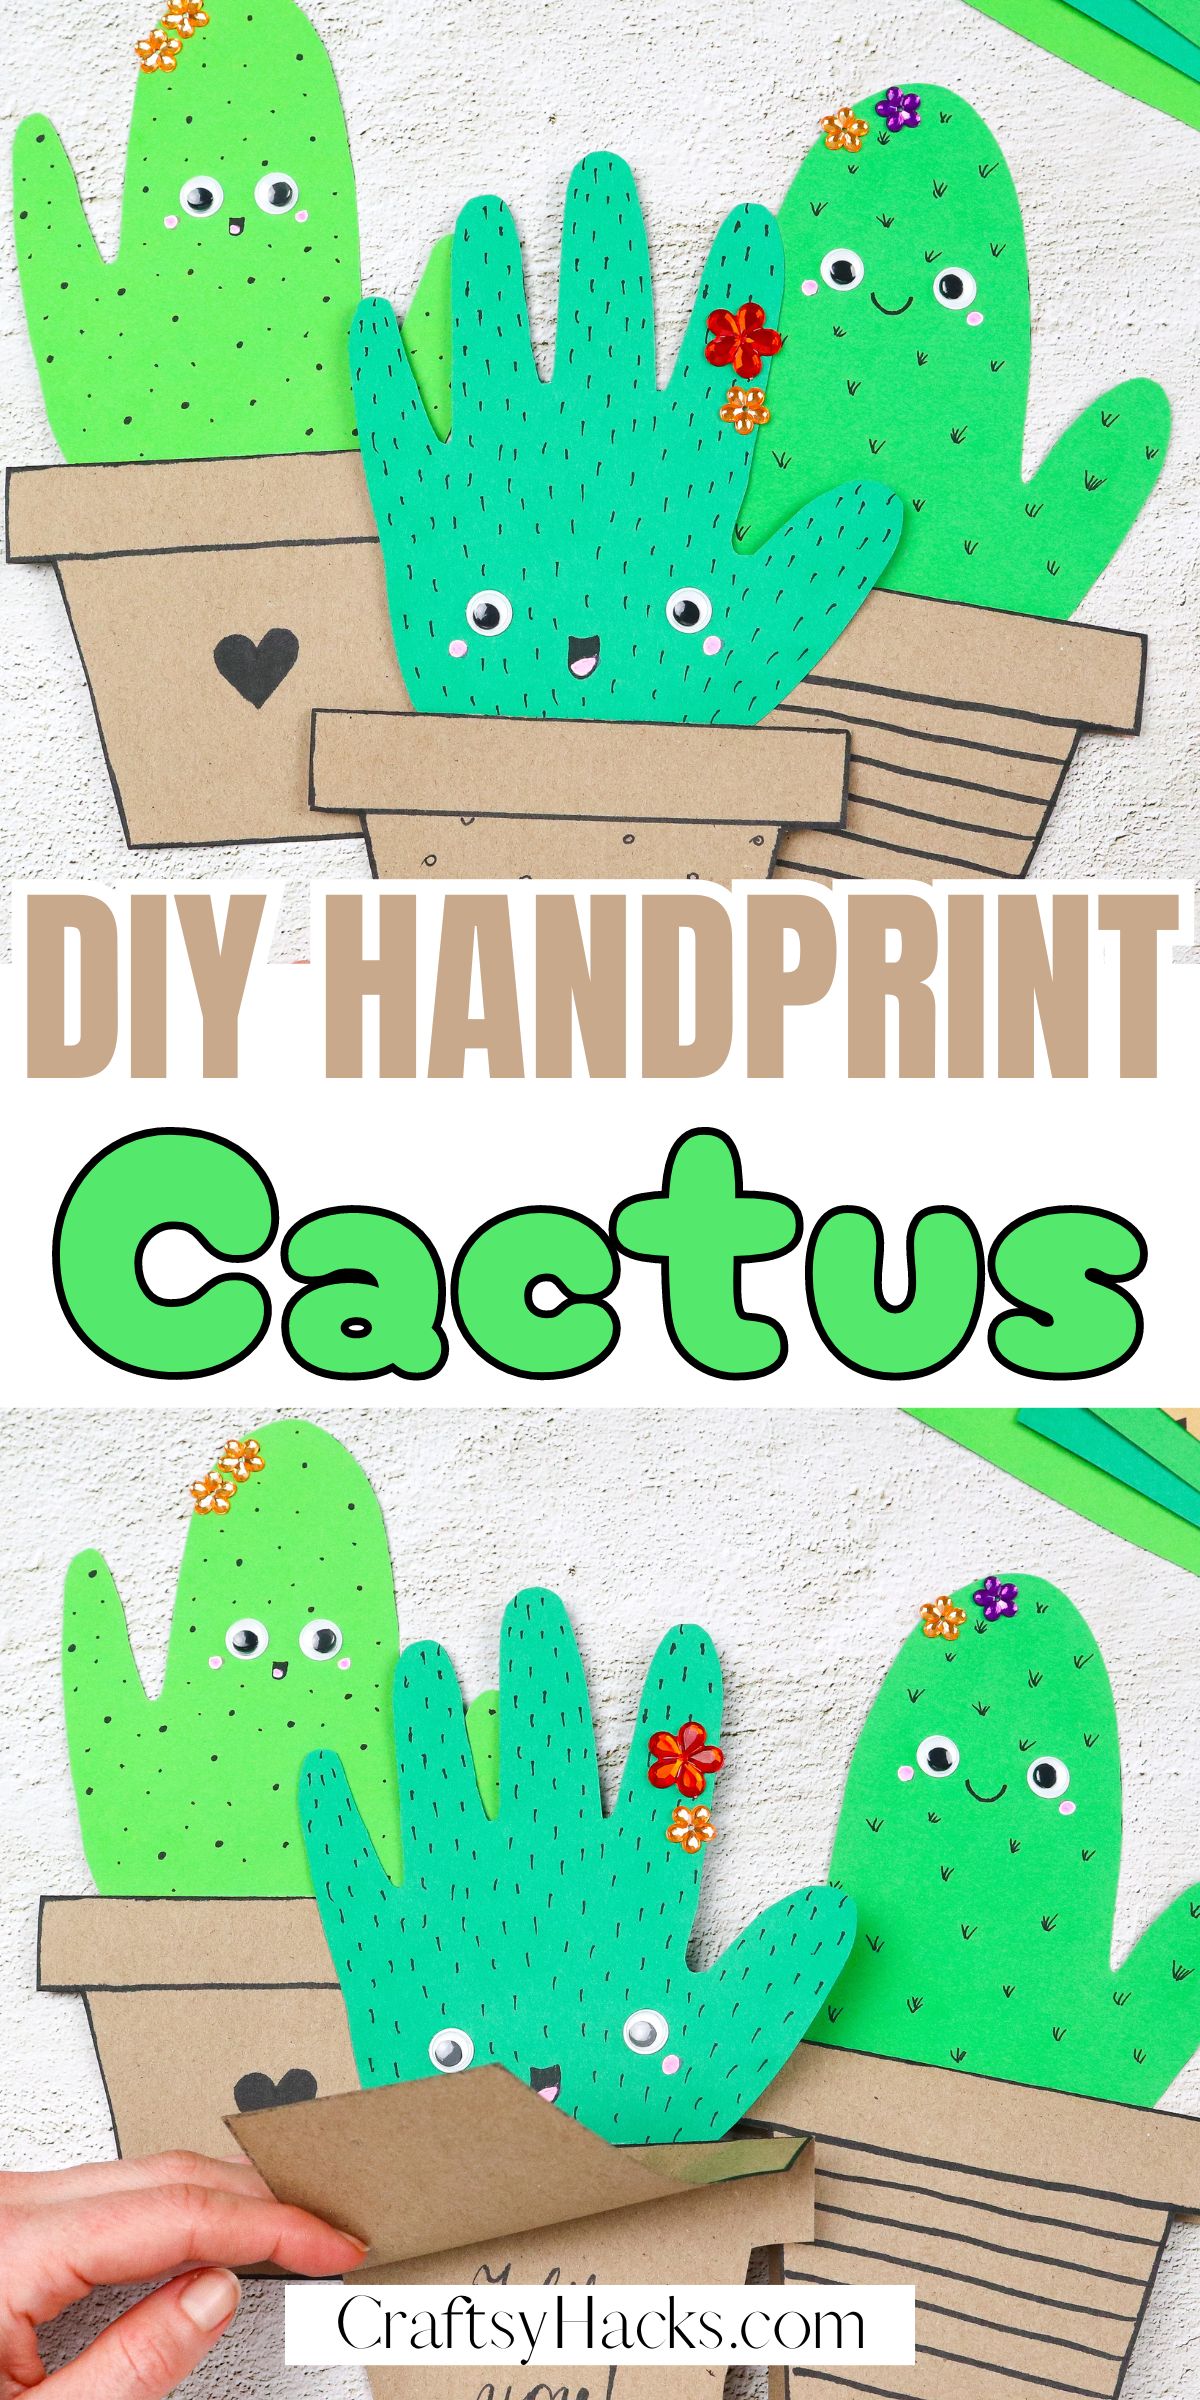
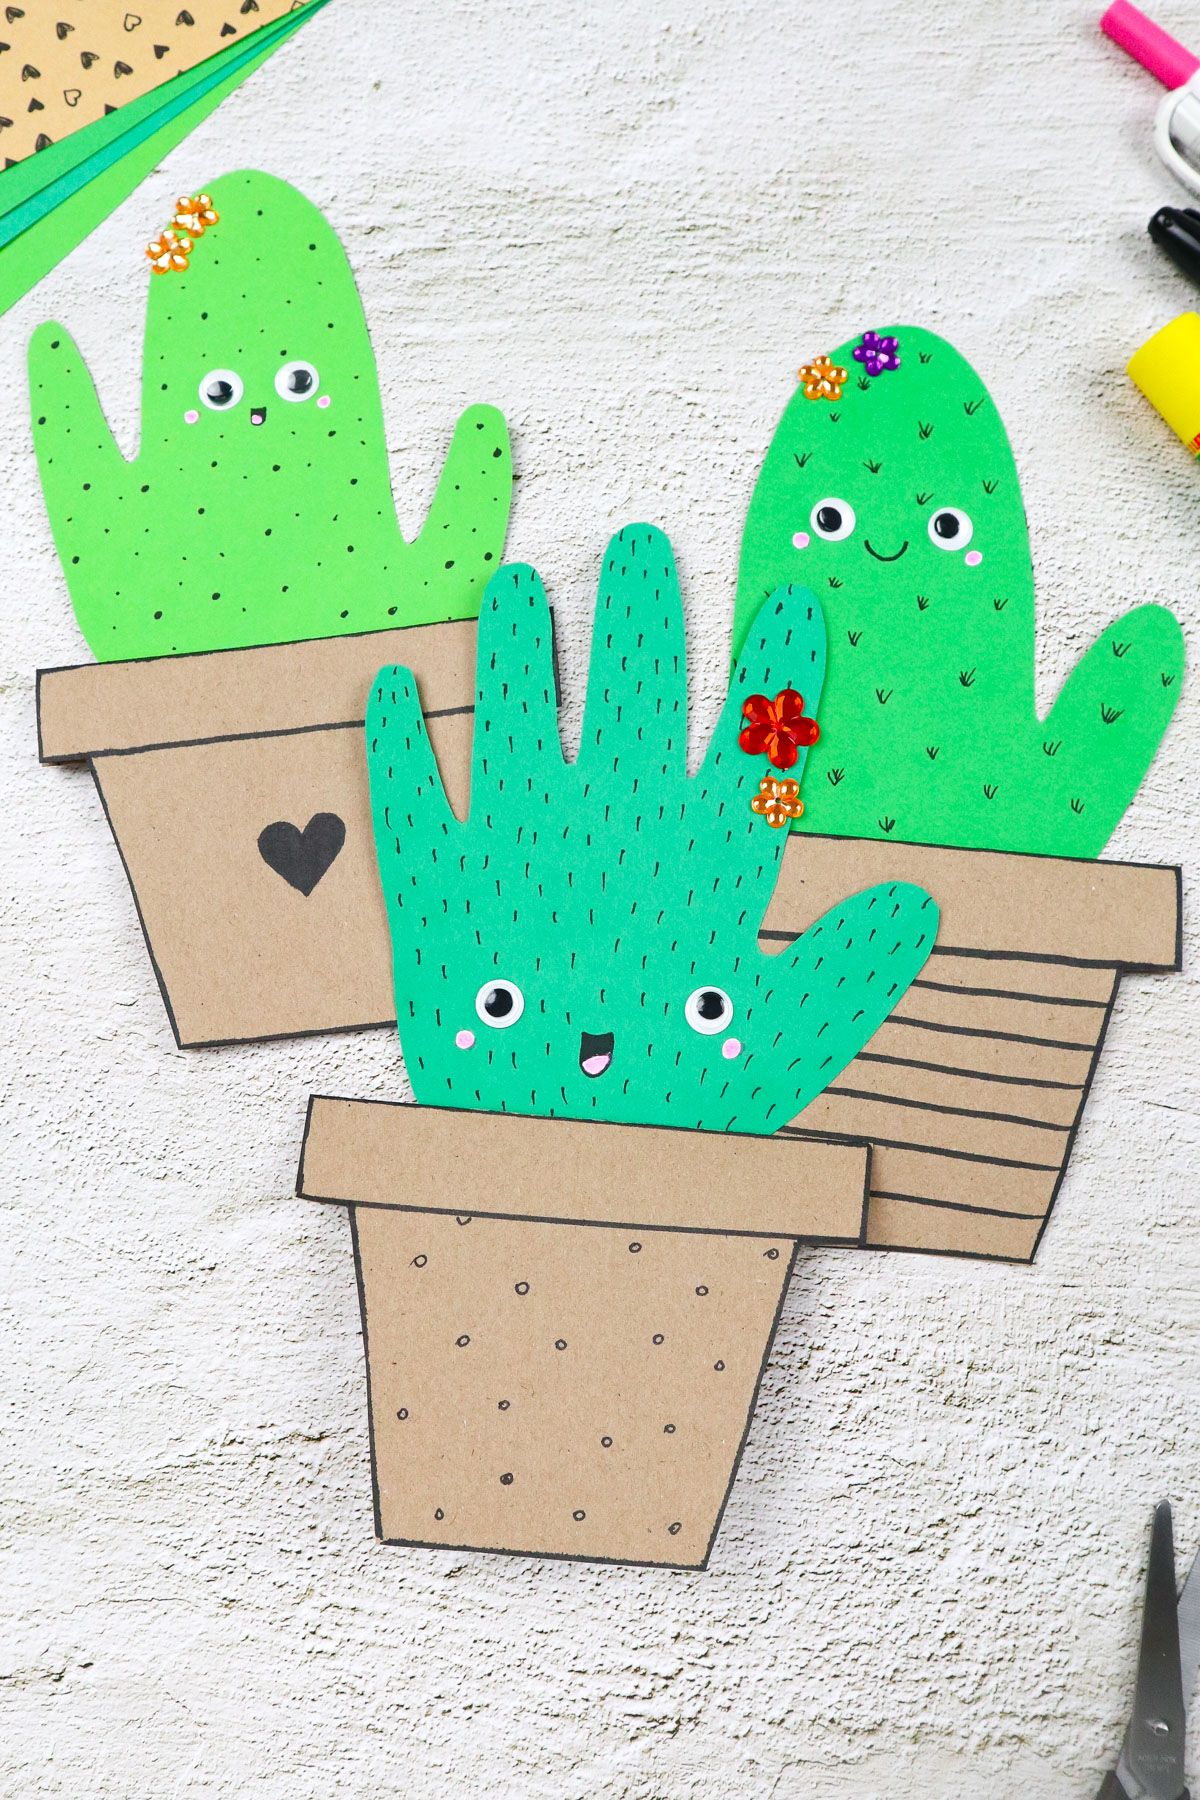
This DIY Handprint Cactus is absolutely adorable and works wonderfully as a bit of cheer on a fridge or attached to a small gift for a friend.
Get creative with these handprint cacti! Whether it’s the shape of the plant, the pattern on the pot or cactus, or even the colors of either, it’s all fair game.
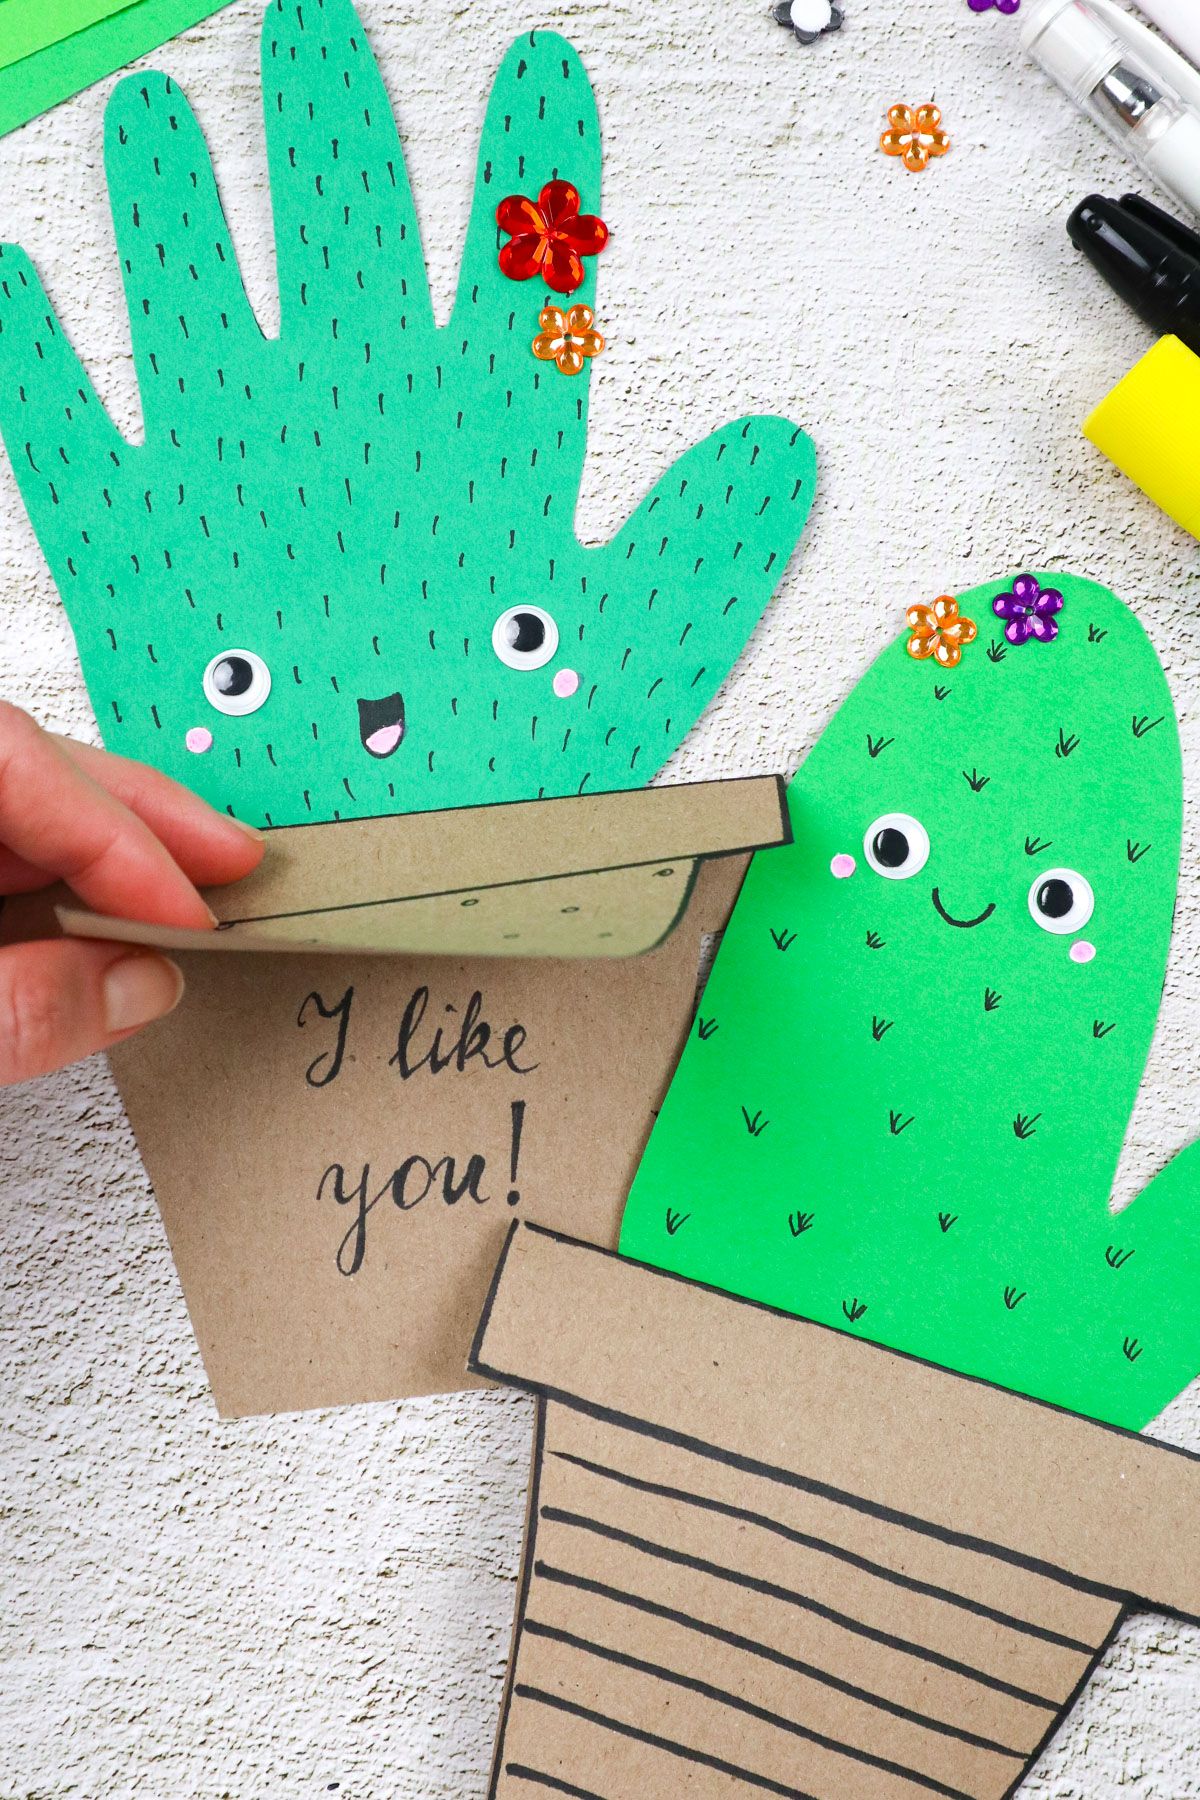
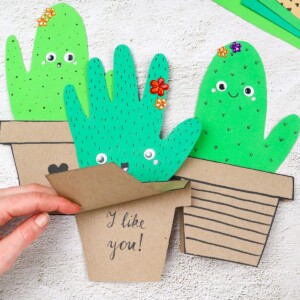
The unique part is that the project has a built-in message option. As I mentioned, adding a message to the pot’s interior is easy–whether it is for yourself or a loved one.
If you need a little more assistance beyond my written tutorial below, you can always check out my YouTube page for a video version of the same name.
I hope you enjoy these fun cacti as much as I do! Now, let’s move on to the post!
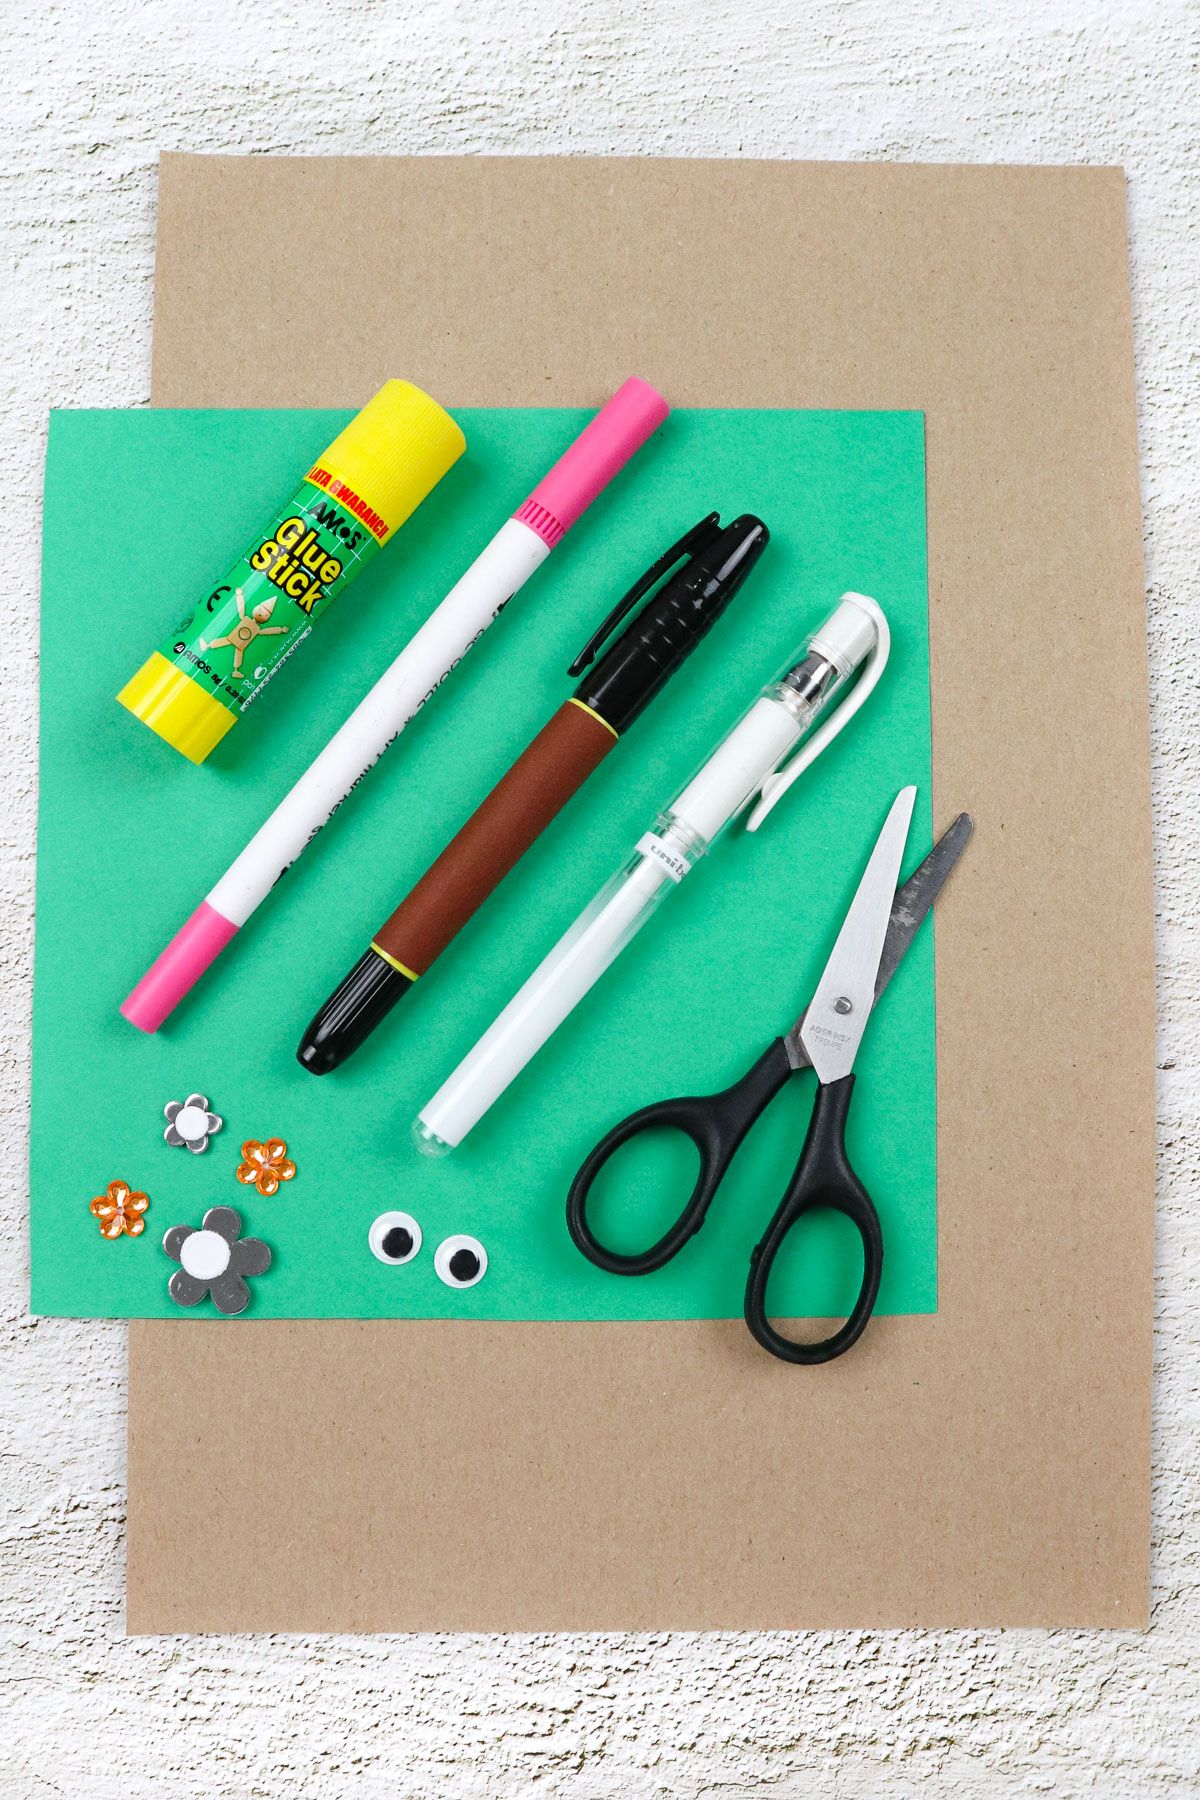
Supplies You’ll Need
Scissors
Self-adhesive flower stickers (optional)
White ink pen (or acrylic paint)
Pink marker (or acrylic paint)
How to Make Handprint Cactuses
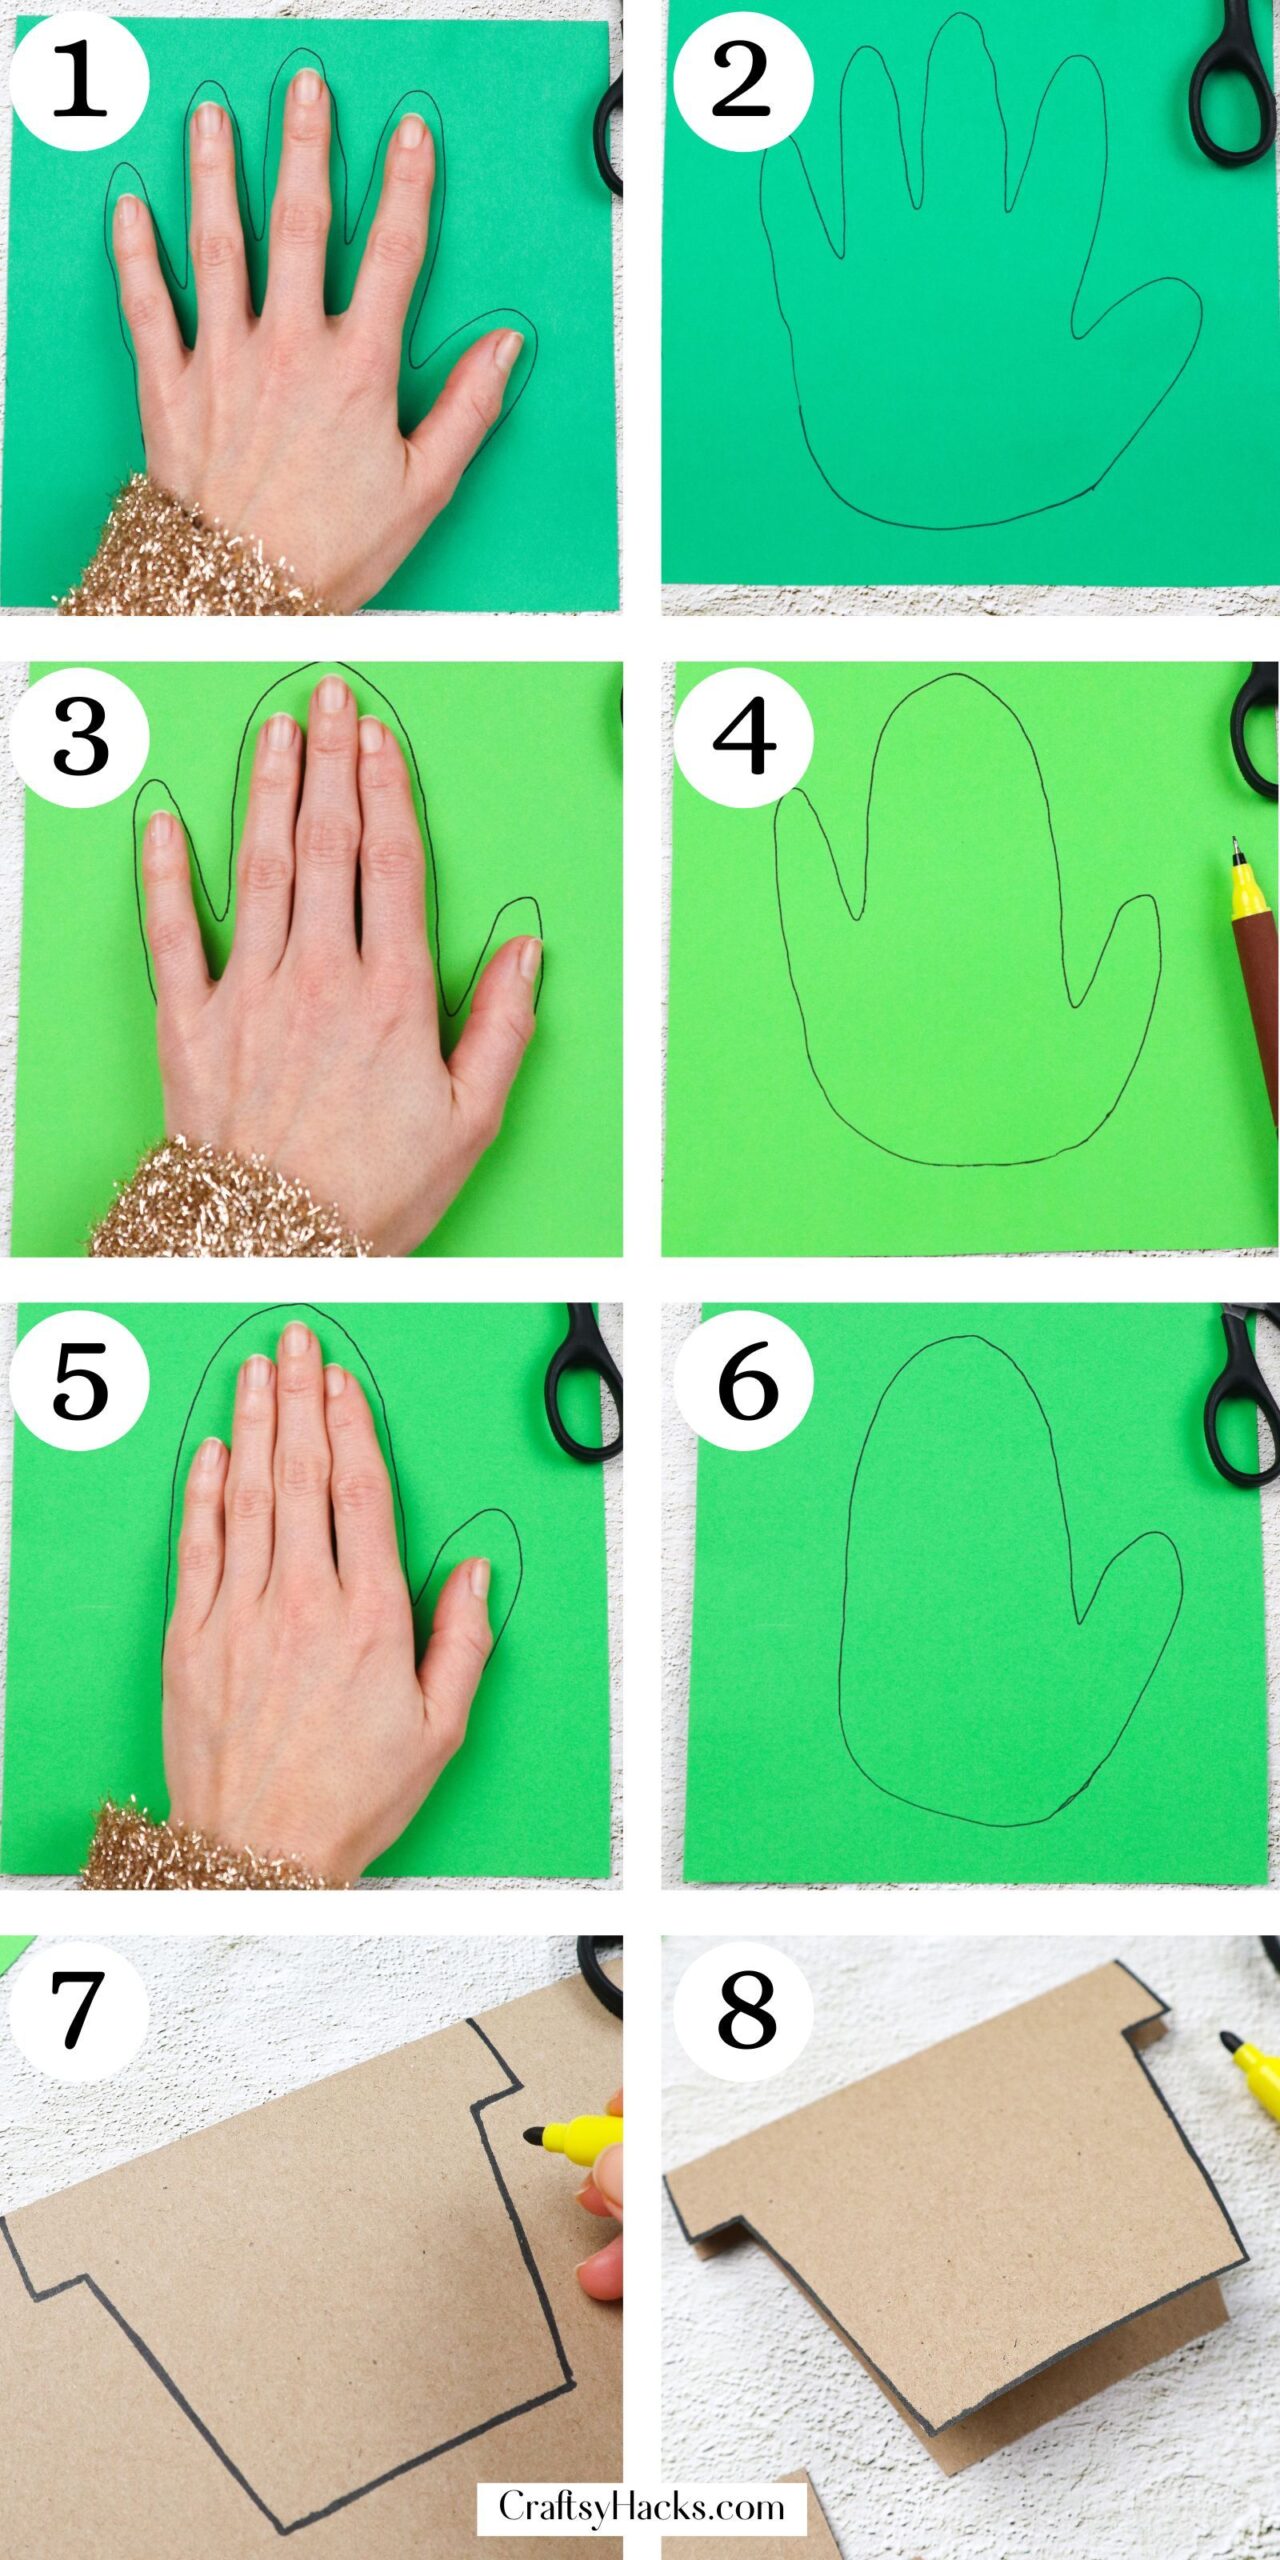
Step 1. Start by grabbing a piece of paper and trace your or the hand of choice for the cactus. Make sure to add the base of the hand while you’re tracing.
A good tip to pay attention to early on is the size of the hand getting traced! Resize the pot as needed.
Step 2. Cut out your hand shape. Alternatively, as mentioned above, if you’d like to try some different cactus designs, two other options will be listed in the next few steps.
Step 3. Option two, of cactus shape, resembles a leaf of sorts. The same idea applies here: grab some construction paper and a pen and separate the pinky and thumb of the hand getting traced.
Step 4. Again, cut out your cactus top and set aside. Repeat this step if you have more than one cactus you’re working with.
Step 5. The final option of cactus looks like a mitten shape. Trace the hand with its thumb slightly askew from the rest of the palm.
Step 6. Just as before, cut out your mitten cactus or cacti. If you’re making multiples, a few different shades of green make the project pop.
Step 7. Take the piece of paper you plan on using for your pot and fold it in half (hamburger style). Draw your pot with the seam at the opening of the pot.
Step 8. Cut out your pot. Make sure to cut the whole paper so you have a mirrored pot attached to your traced one.
This cut creates a sweet option to turn your cactus into a card, a pop of color on your classroom board, or a home refrigerator.
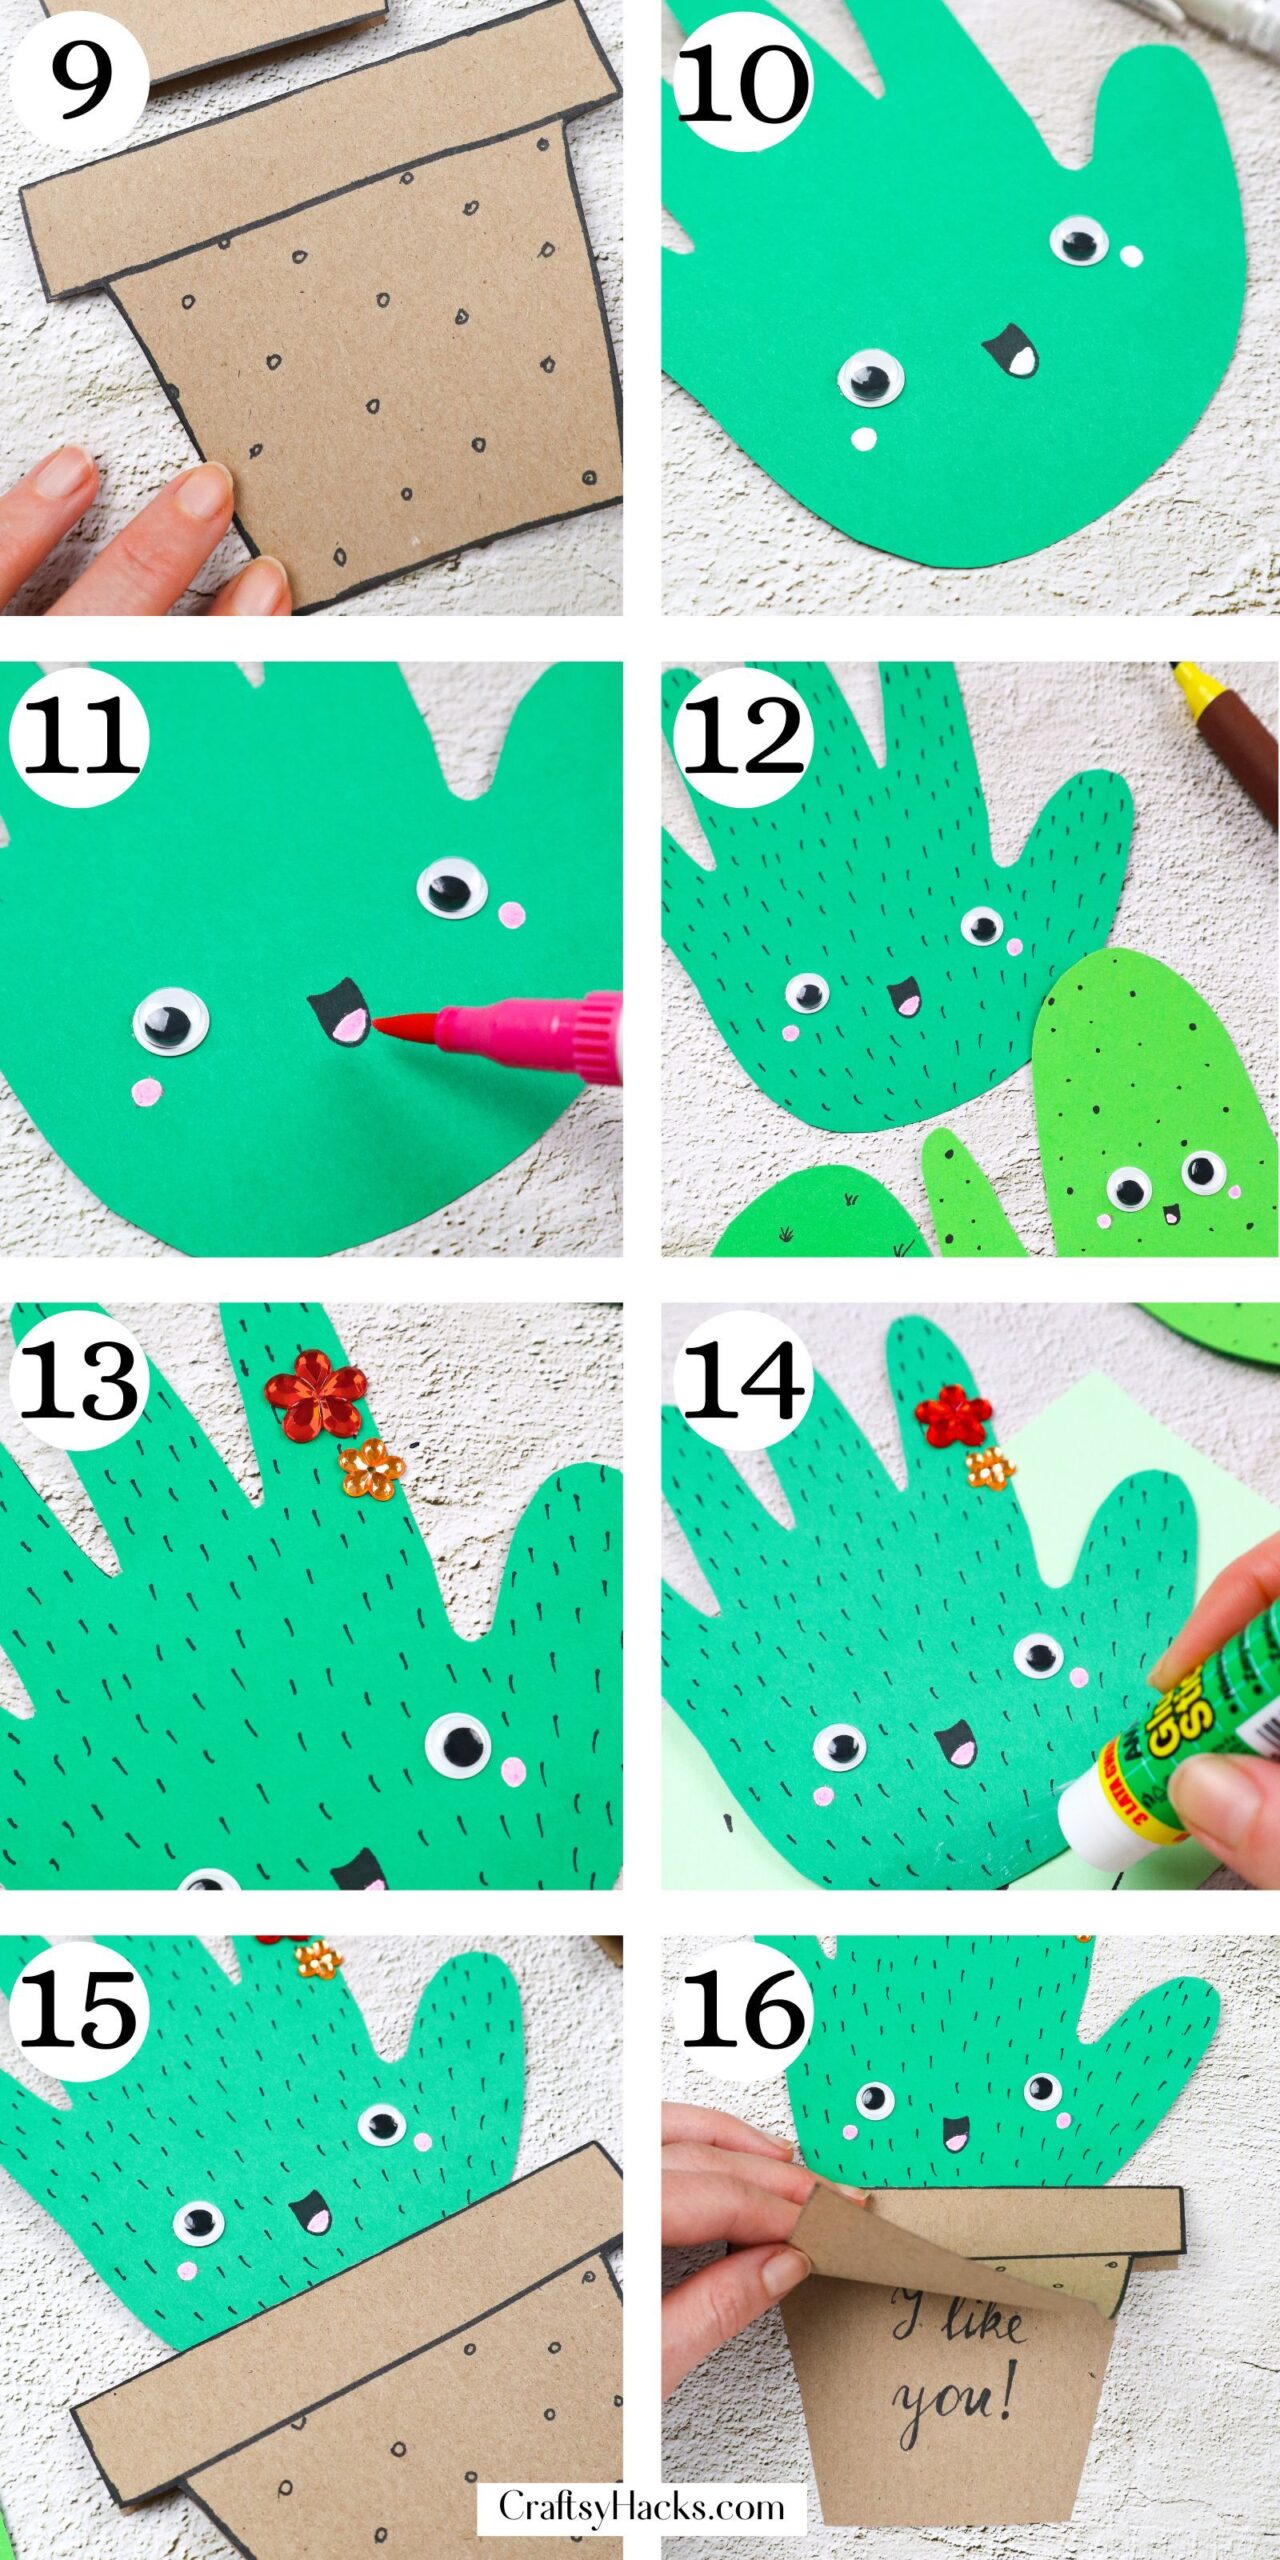
Step 9. Now comes the fun! Decorate your pot with whatever colors, designs, or materials you have on hand.
Step 10. After your pot, return to the cactus and start with the decoration basics. Again, use any colors, materials, or media you have available to you.
Step 11. Add any color to your cacti or other detailing using different mediums.
Step 12. Once the facial details are in, go back in and add the textural ones to make it more cactus-like.
Step 13. Finally, attach or add any cute accents or accessories to the cactus handprints. Keep it handy.
Step 14. Grab your pot, and add some glue to the base of the hand to attach the pot to your cactus.
Step 15. Let the craft sit for a minute to let dry. Shift it as needed so the cactus and pot meet squarely in the middle and secure at the center point of the craft.
Step 16. Add a personalized message to the inside of your pot, and you’re all done!
Enjoy making these with the whole family!
Other Crafts You Might Like
DIY Handprint Cactus
Equipment
- Scissors
- Sharpie
Materials
- A4 craft paper
- Green paper squares 8″x 8″
- Googly eyes
- Self-adhesive flower stickers optional
- White ink pen or acrylic paint
- Pink marker or acrylic paint
- Glue stick
Instructions
- Trace a hand for the cactus–all fingers spread apart for option one.
- Cut out the fanned-out cactus.
- For option two, trace a hand with the thumb and pinky out of line, like a leaf.
- Cut out the leaf cactus shape.
- The last option resembles a mitten. Trace a hand with the thumb sticking out a bit.
- Cut out the mitten cactus shape.
- Fold the piece of paper for the pot in half. Draw a pot with the top of it aligning with the folded seam.
- Cut out the pot shape. Make sure to cut both sides of the folded paper to create a card.
- Decorate the front of the pot with any mediums, colors, textures, etc.
- Add the facial features to your cactus or cacti.
- Color in any facial feature that needs coloring.
- Add any fun pattern of texture to create dimension on your cacti.
- Accessorize or adhere any extras to the cacti.
- Grab a glue stick and add glue to the bottom of the cactus (base of hand).
- Press the pot onto the glued area to combine your two components.
- Add a personalized message to the inside of the pot. That’s it!


