How to Make a Paper Hat
This post may contain affiliate links: full affiliate disclosure.
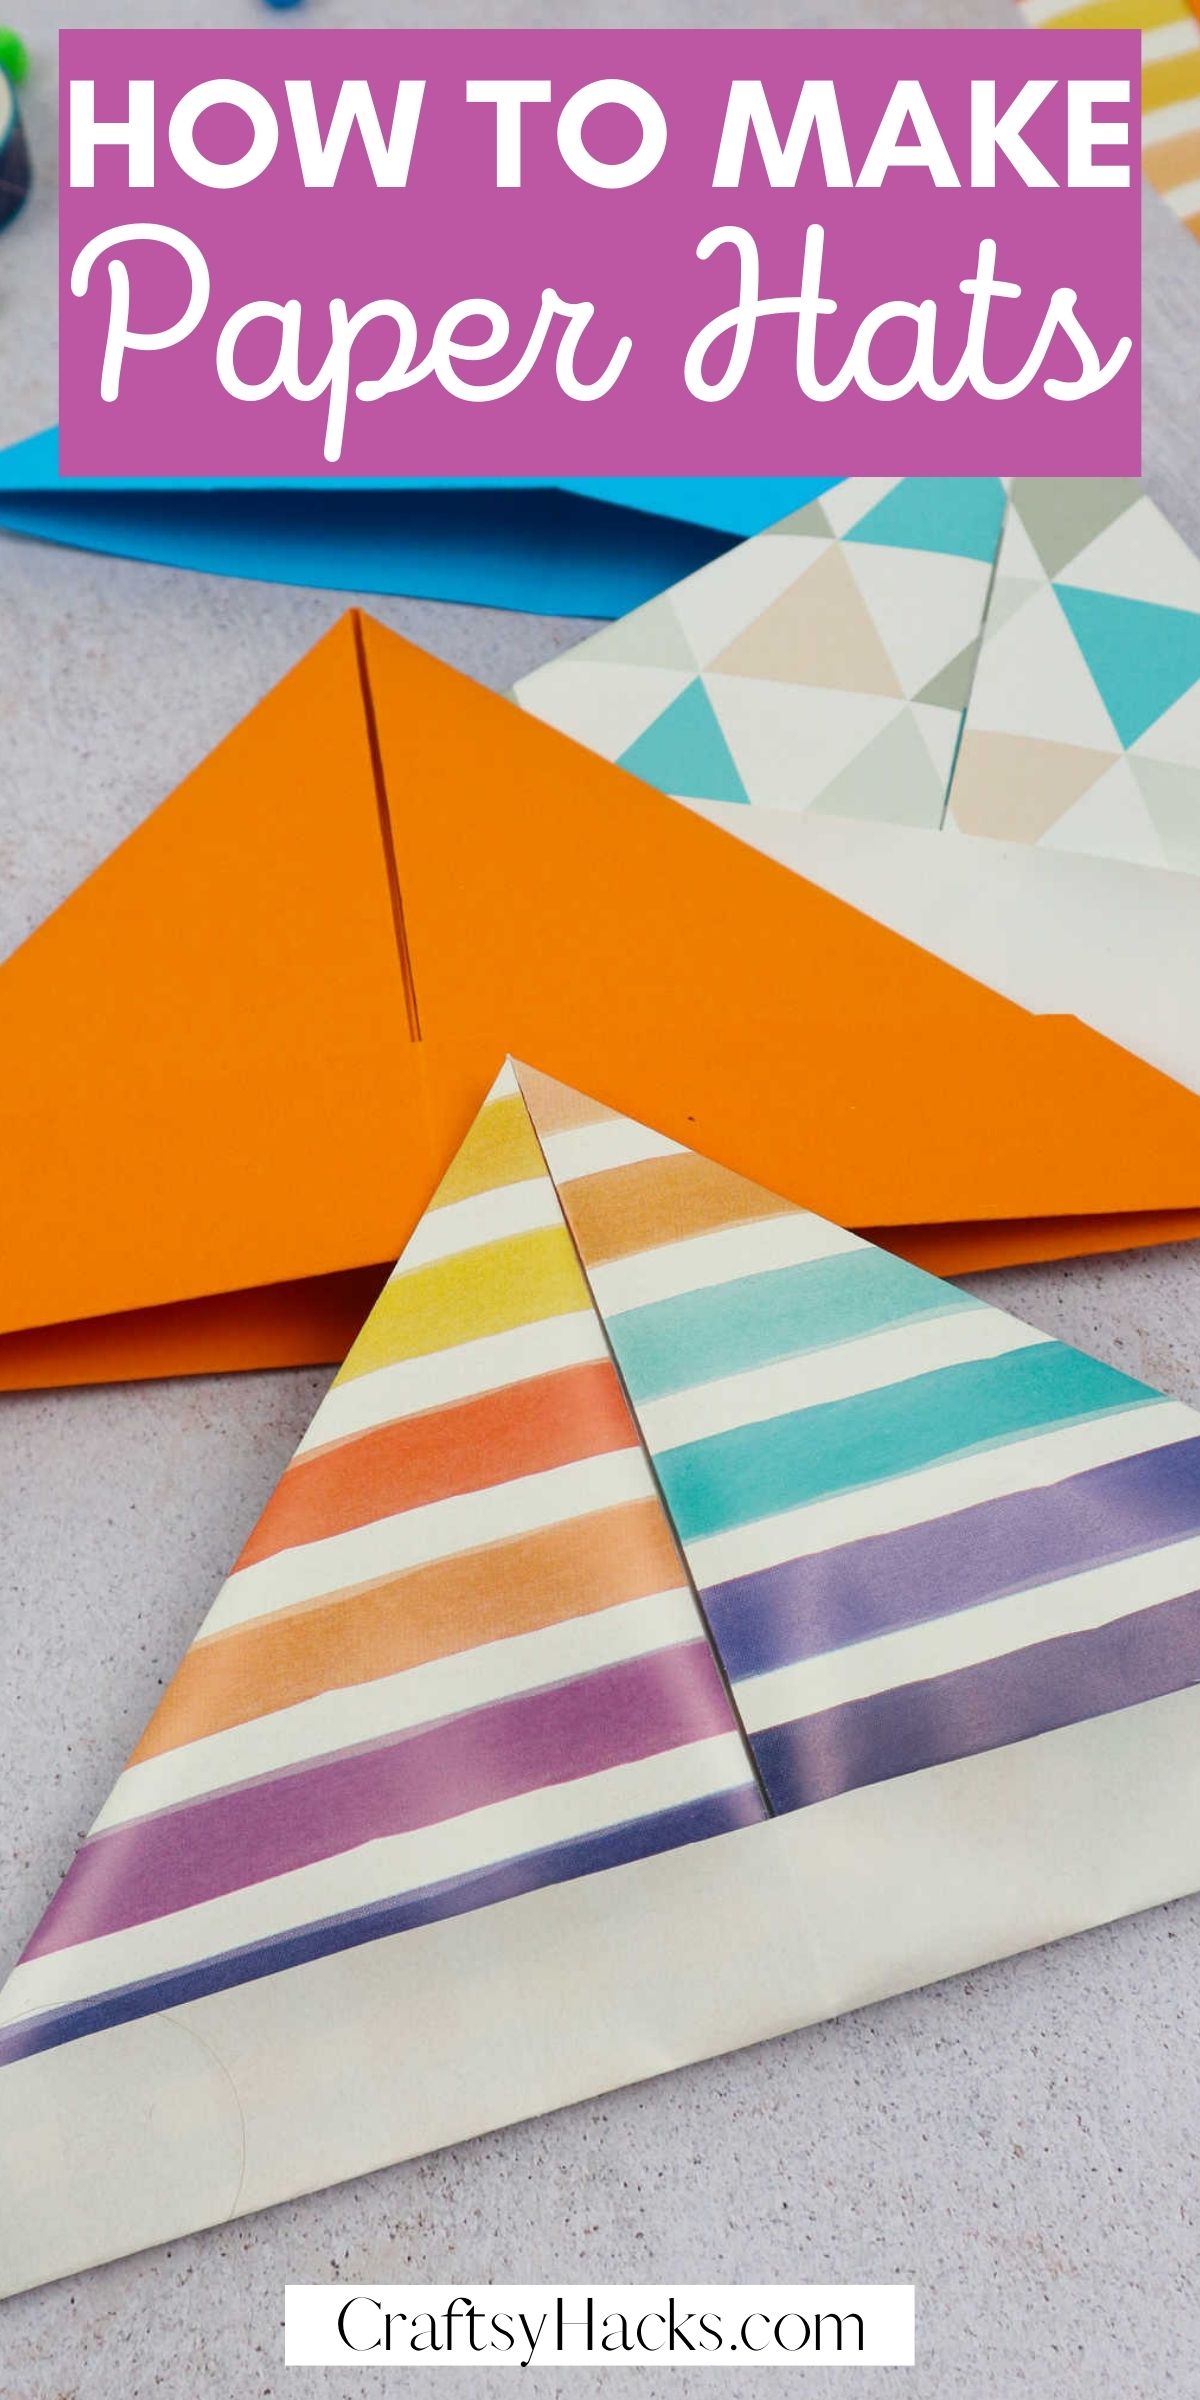
Got some paper? Learn how to make these wonderful DIY paper hats. Kids will love them!
A great little craft for the little ones to enjoy.
Admit it, we’ve all made one of these paper hats when we were kids. I remember wearing one and then jumping into a bathtub before setting off on my next great adventure.

These paper hats are just so wonderfully easy to make, with a variety of options to customize them to suit your needs. They can be party hats, a pirate’s hat, props for a show or recital…the list is endless.
It’s just one of those fun activities that you can rope the kids into, as well, for an hour or two of creative crafting.
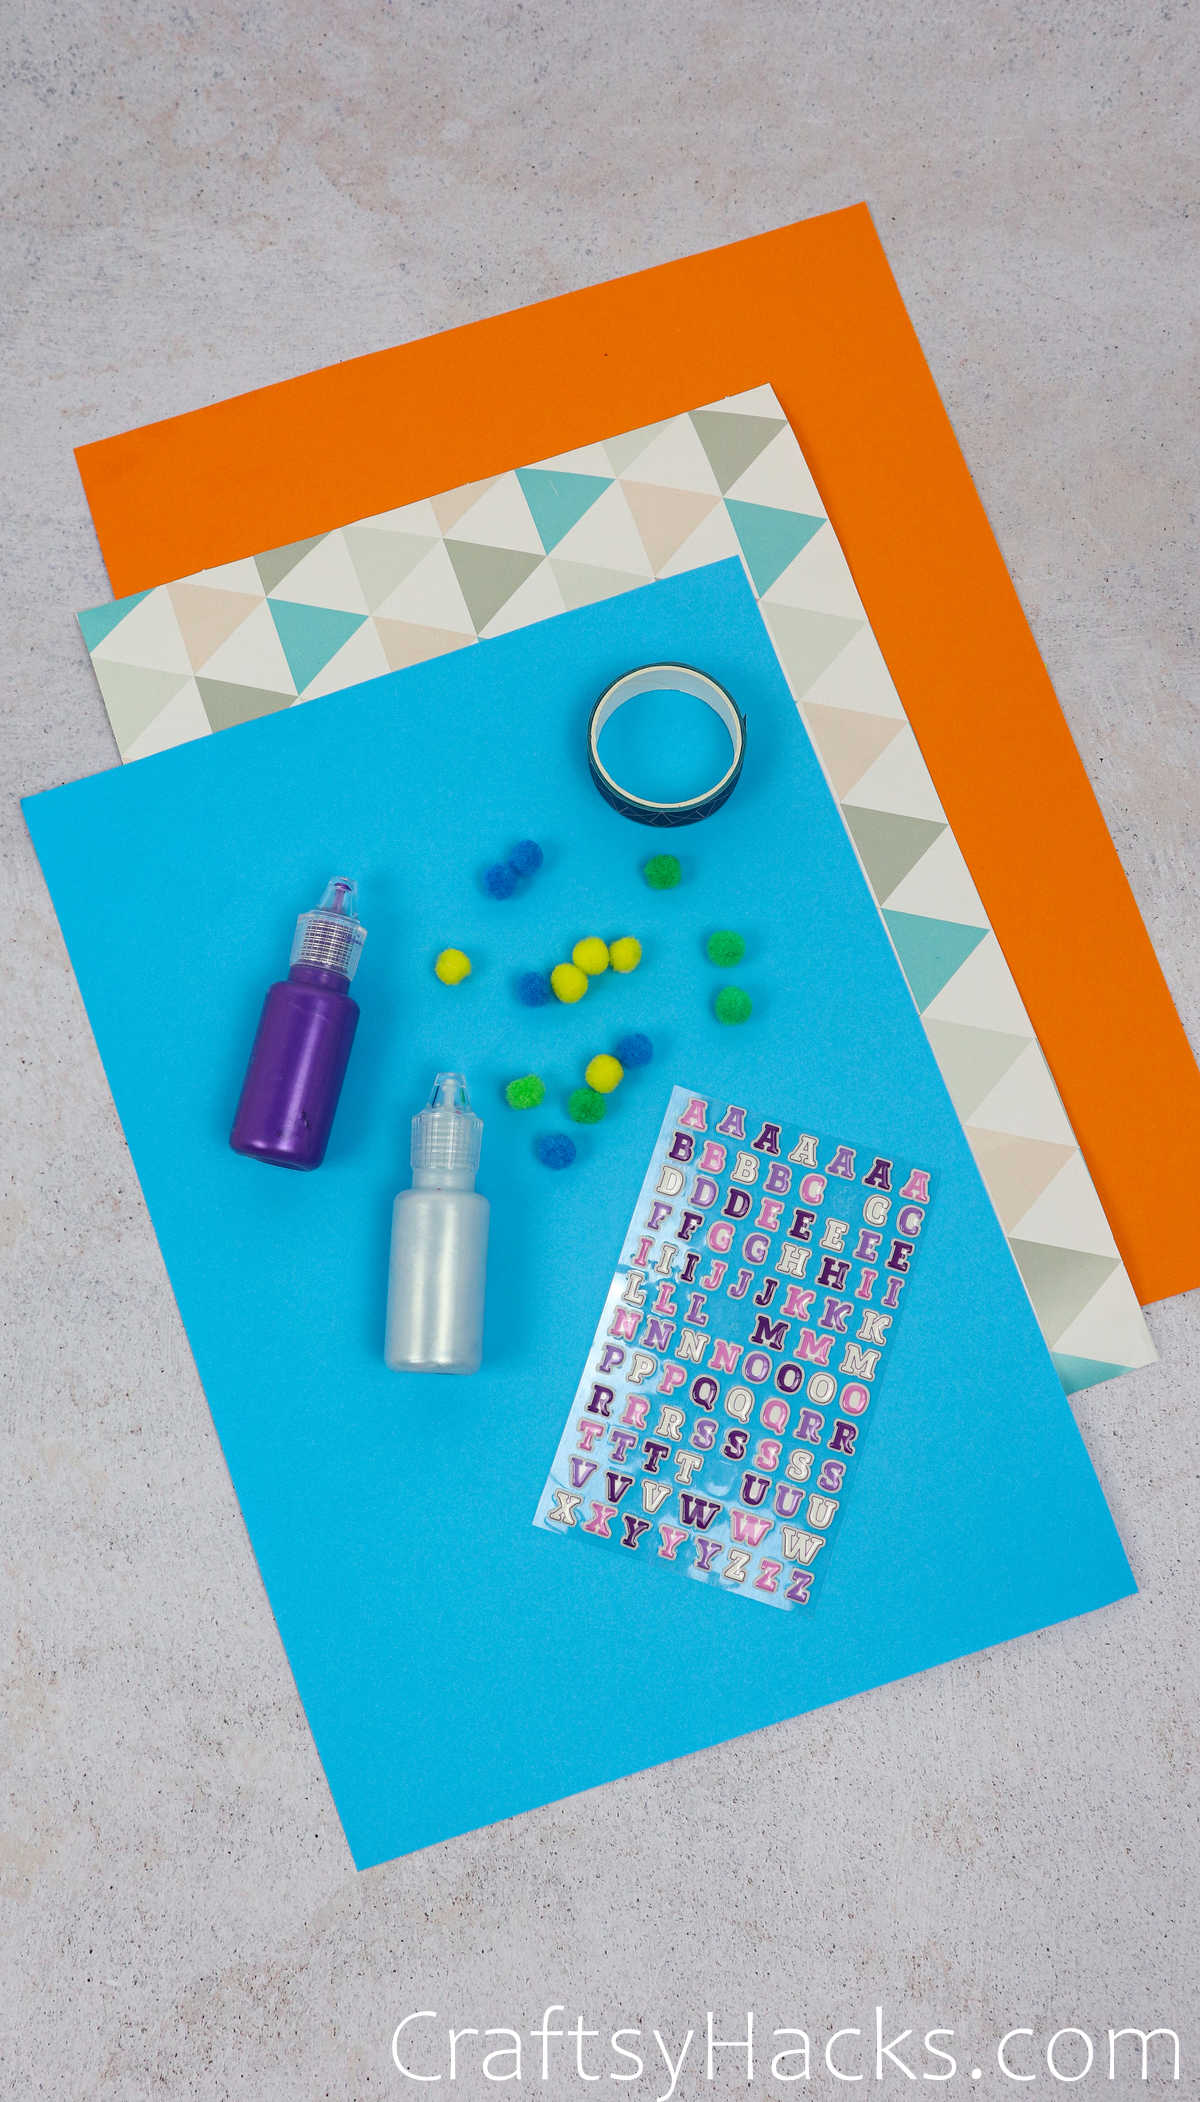
Supplies You’ll Need
First, take a look at the supplies you’ll need before you start crafting:
- Rectangular paper sheets (A4, A3 or A2)
- Craft pom poms
- Washi tape
- Letter stickers
- Decorative glue
How to Make Paper Hats
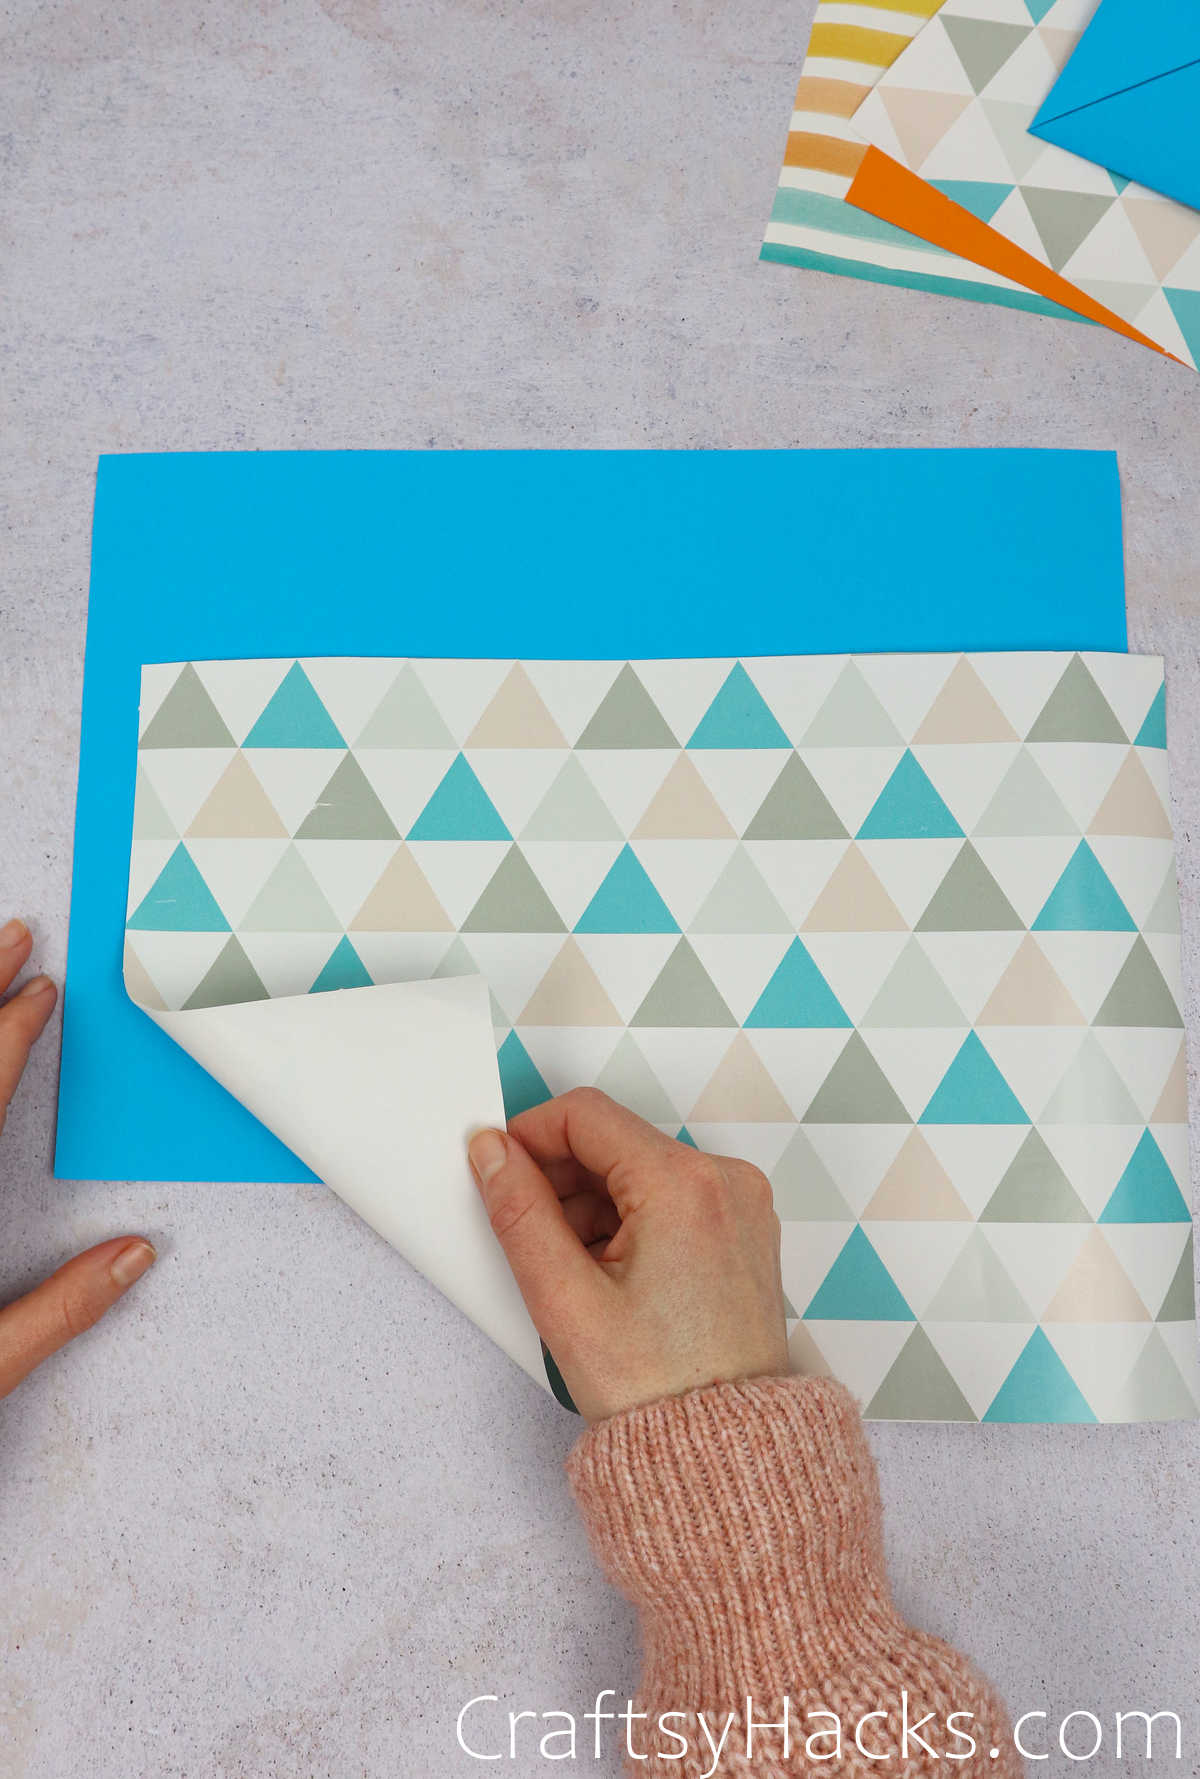
Take some time to pick out your colored paper. Feel free to use textured or patterned paper as well, as long as it is easy to fold.
You can also use a larger sized sheet if you like. Just remember that the bigger the sheet, the larger your hat will be.
Video Tutorial
Step 1
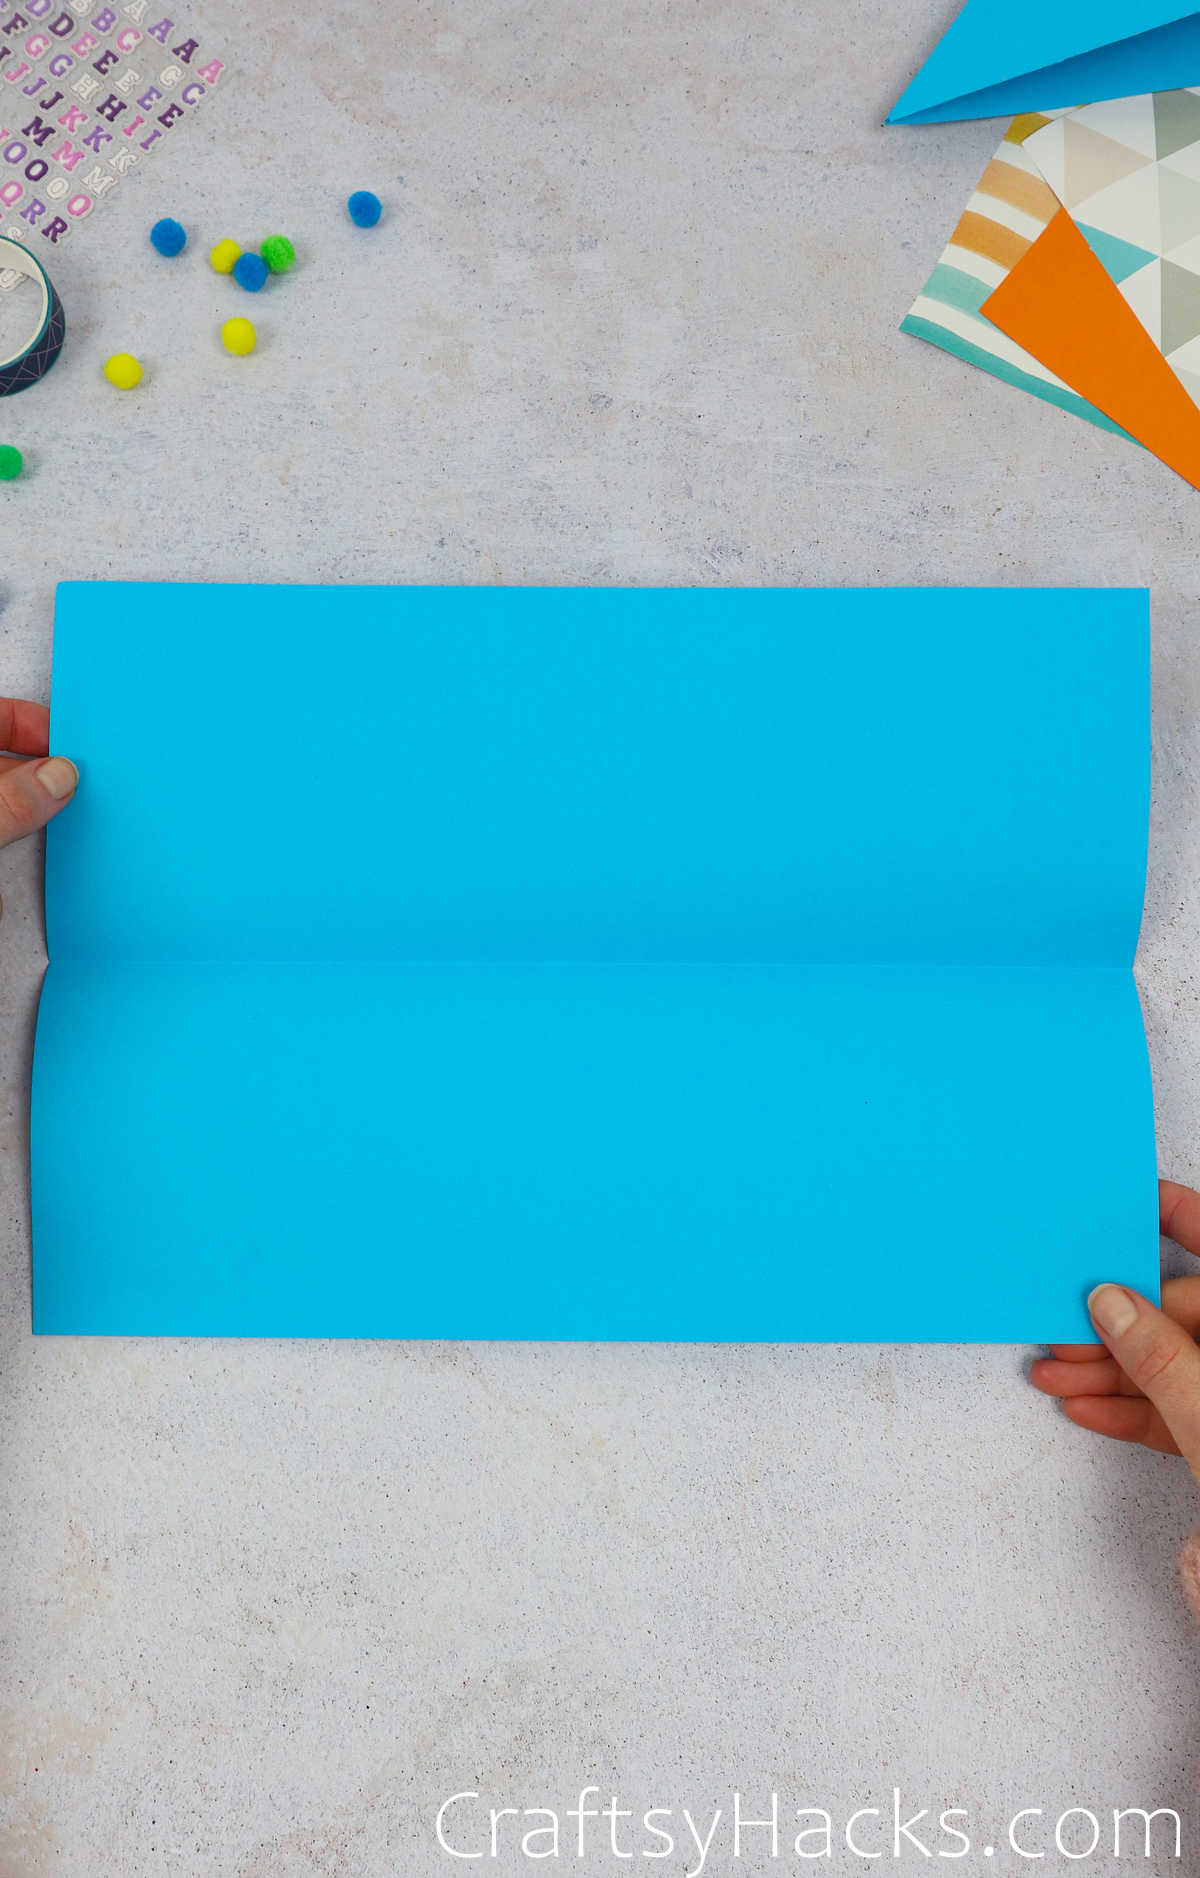
Lay your paper out on your work surface. Now, grab the longer side of the paper and bring it over to the other side, folding it in half.


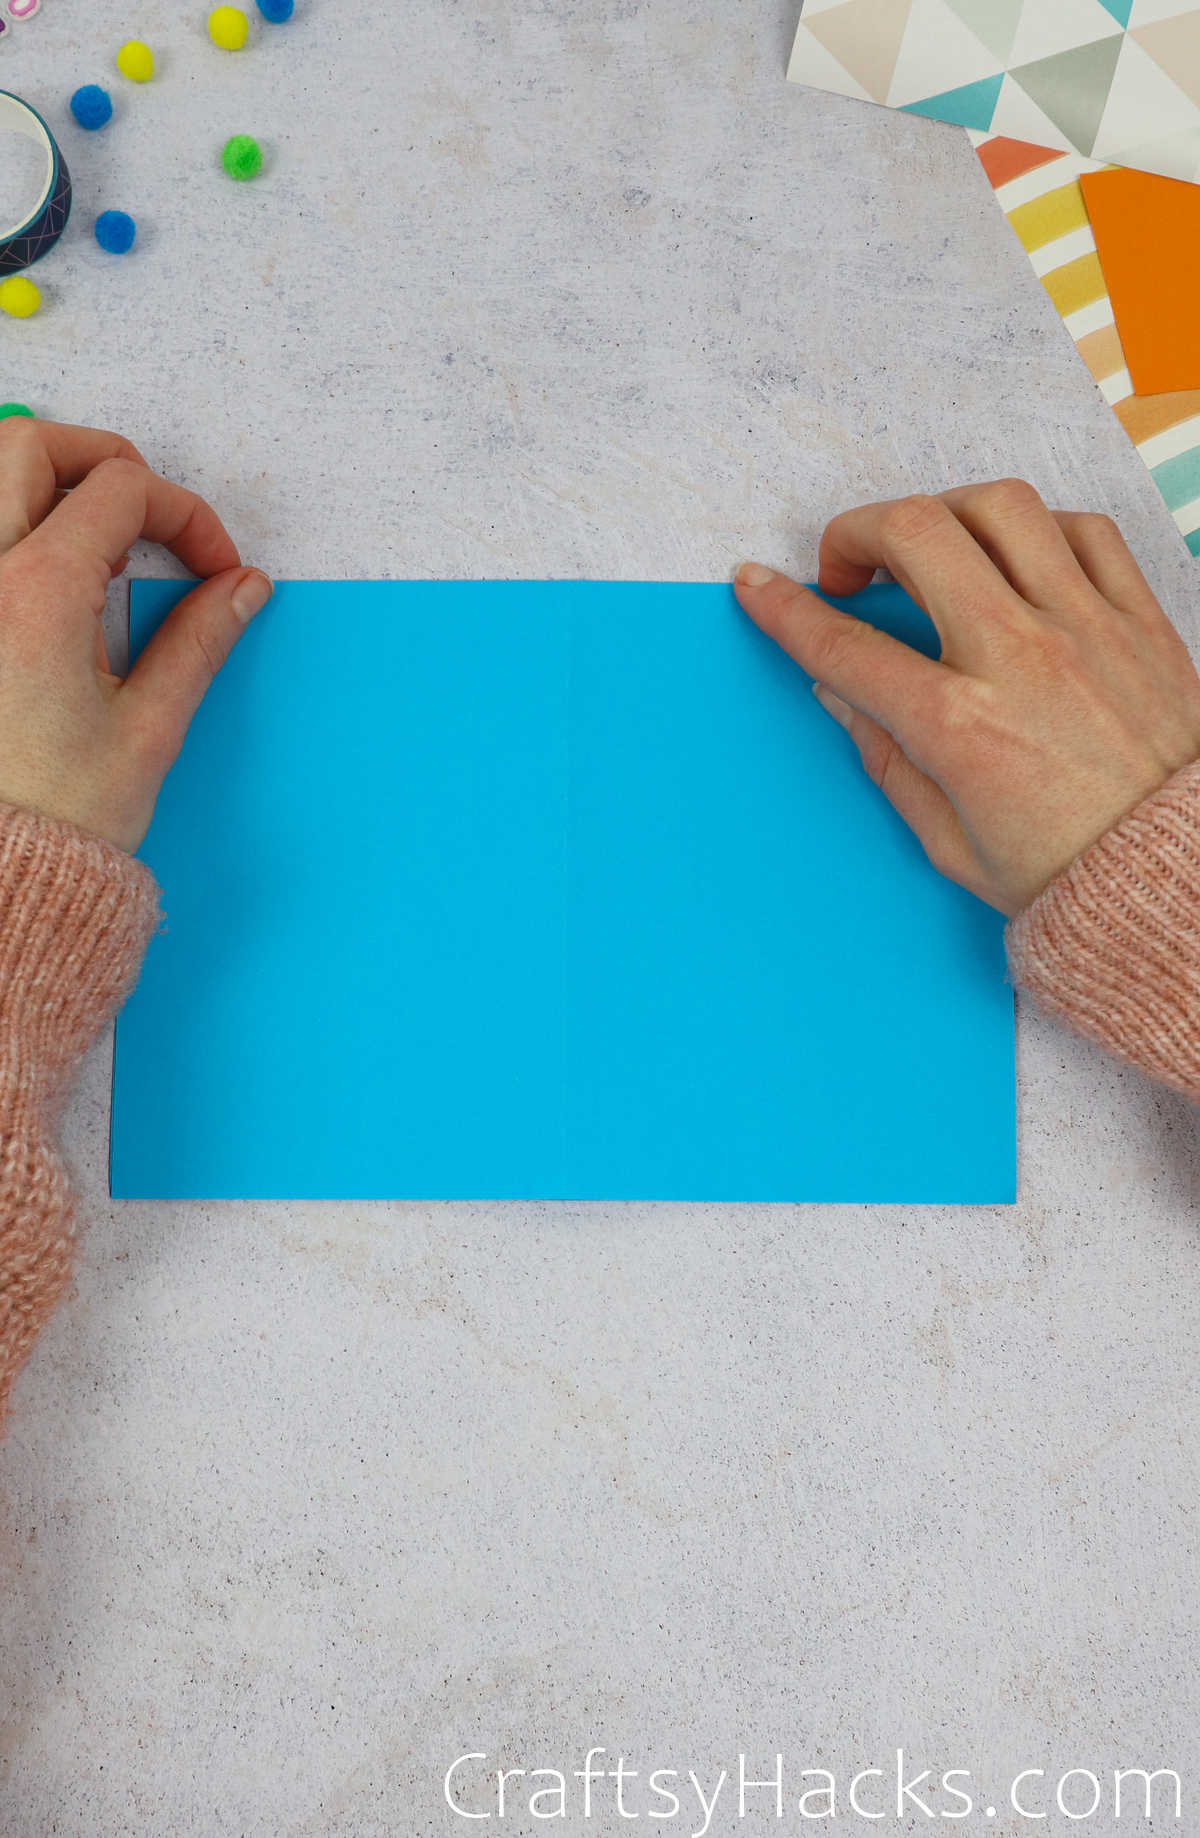
Open up the folded half and just turn it around. Now fold it in half once again, just so.

Step 2
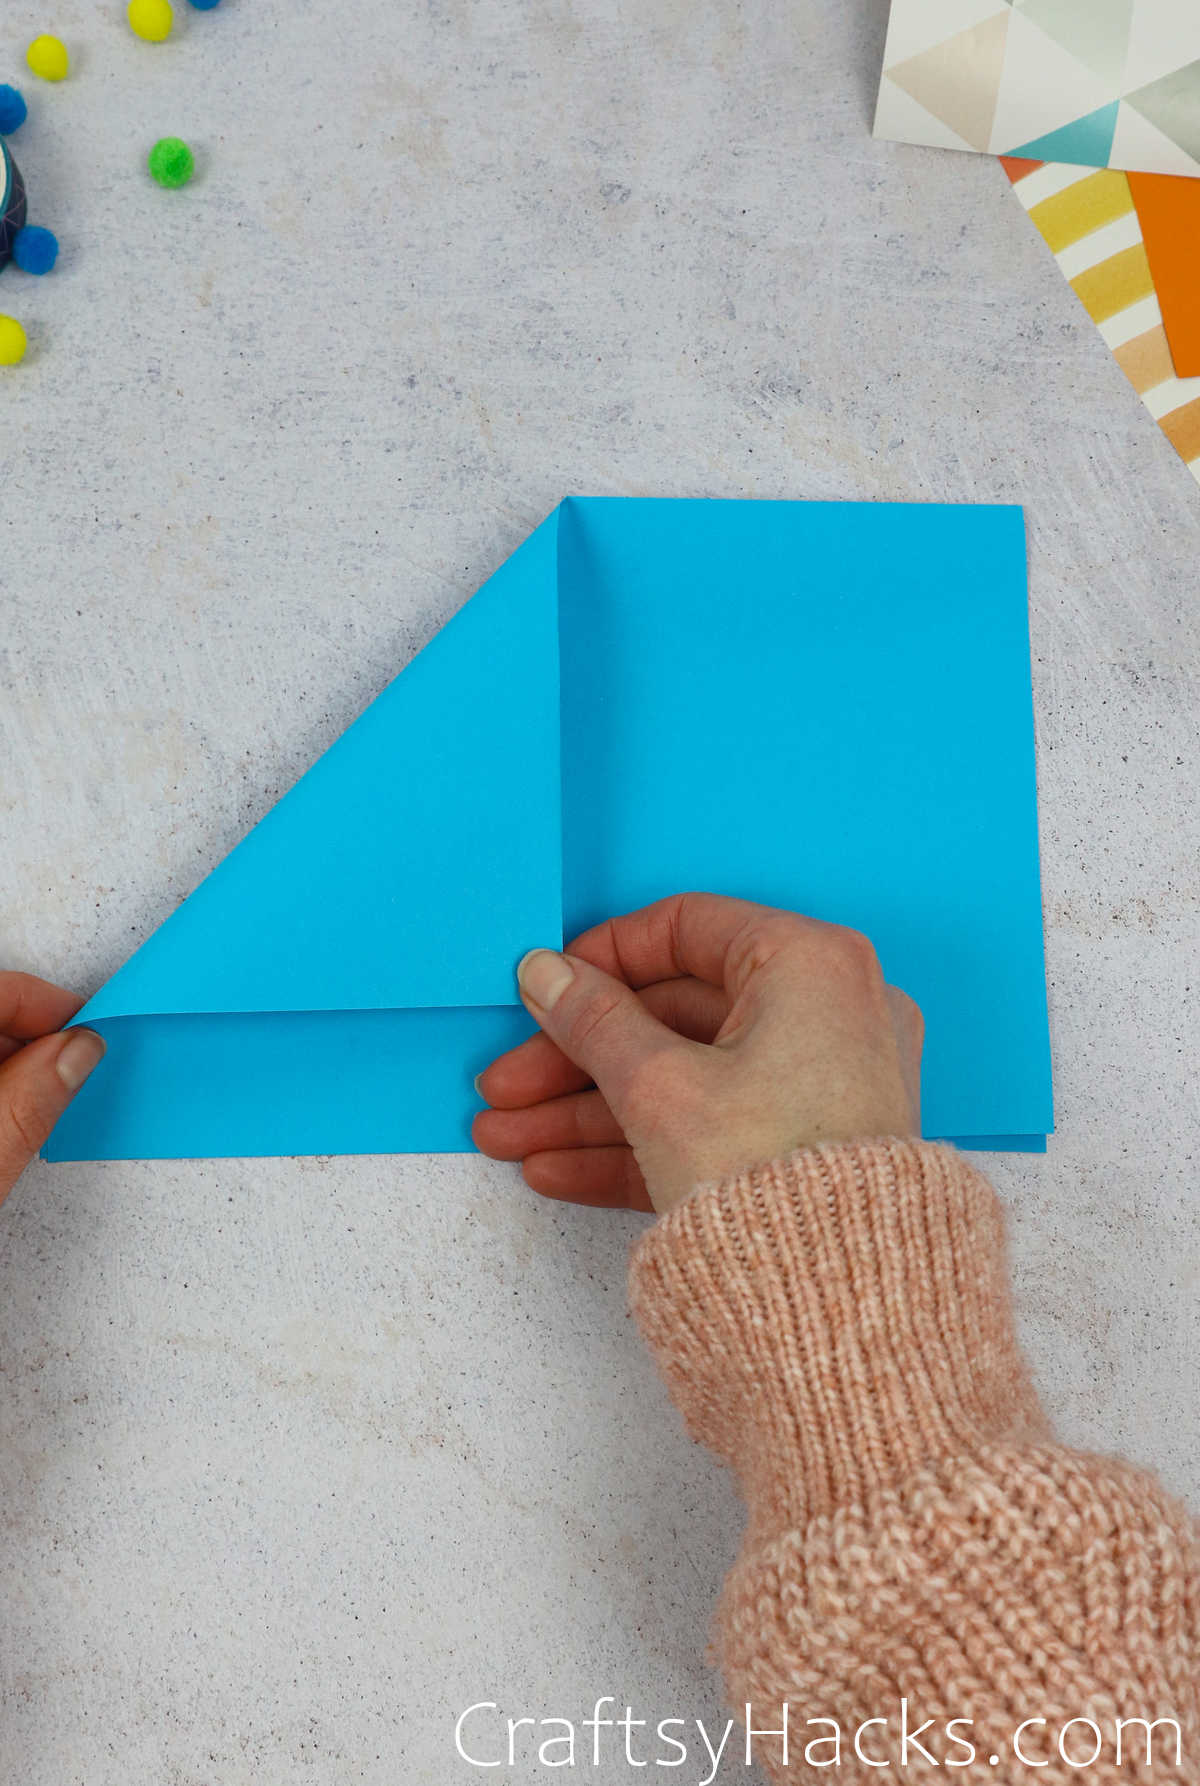
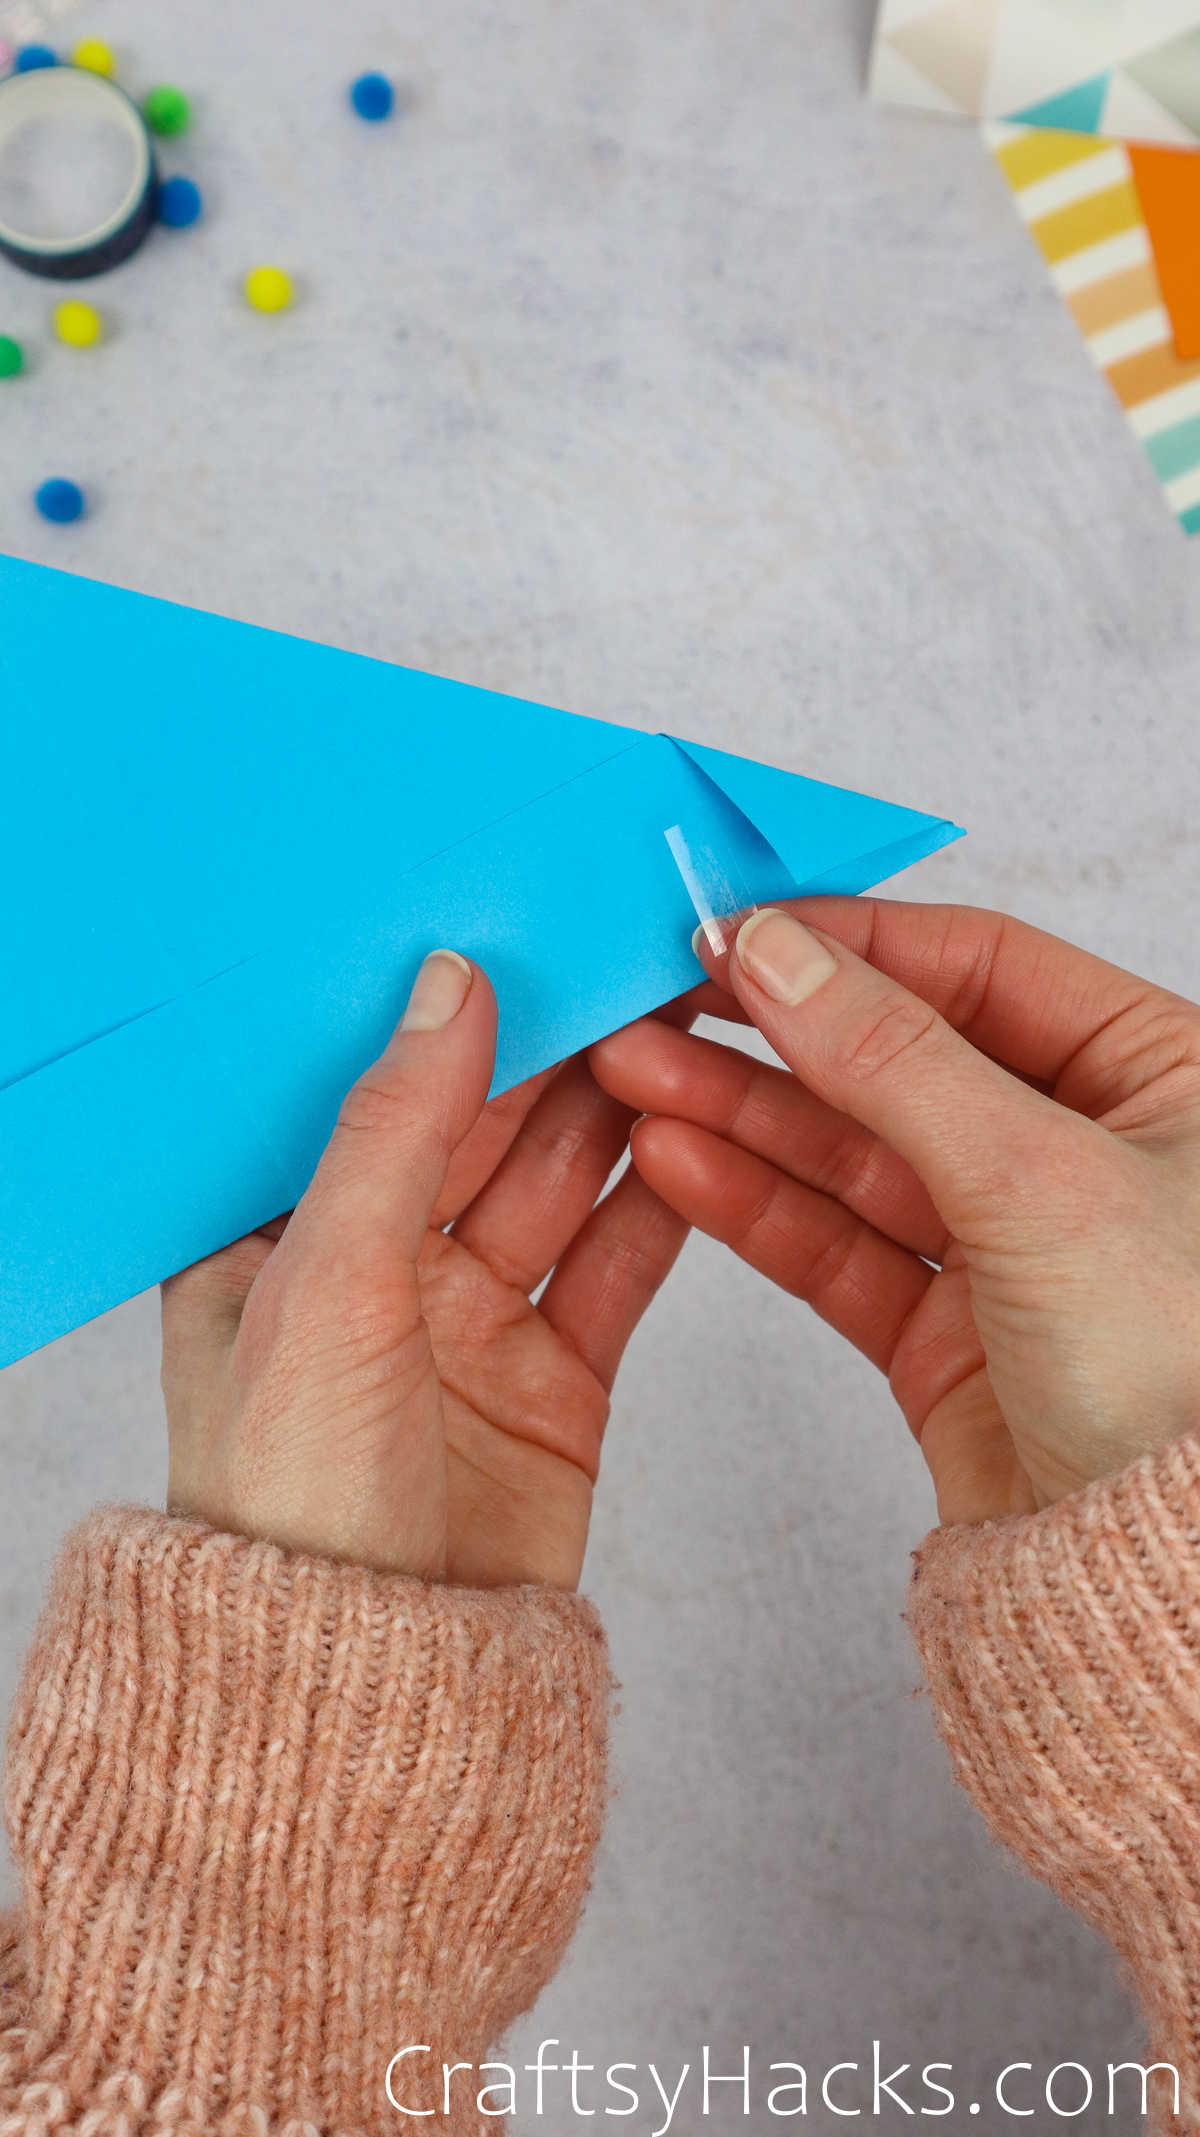
Next, pull down the top left corner of the paper towards the center and line the edge up with that center crease from the previous fold.
Now grab the other corner and bring it down towards the center, too, once again lining it up with that center crease.

Step 3
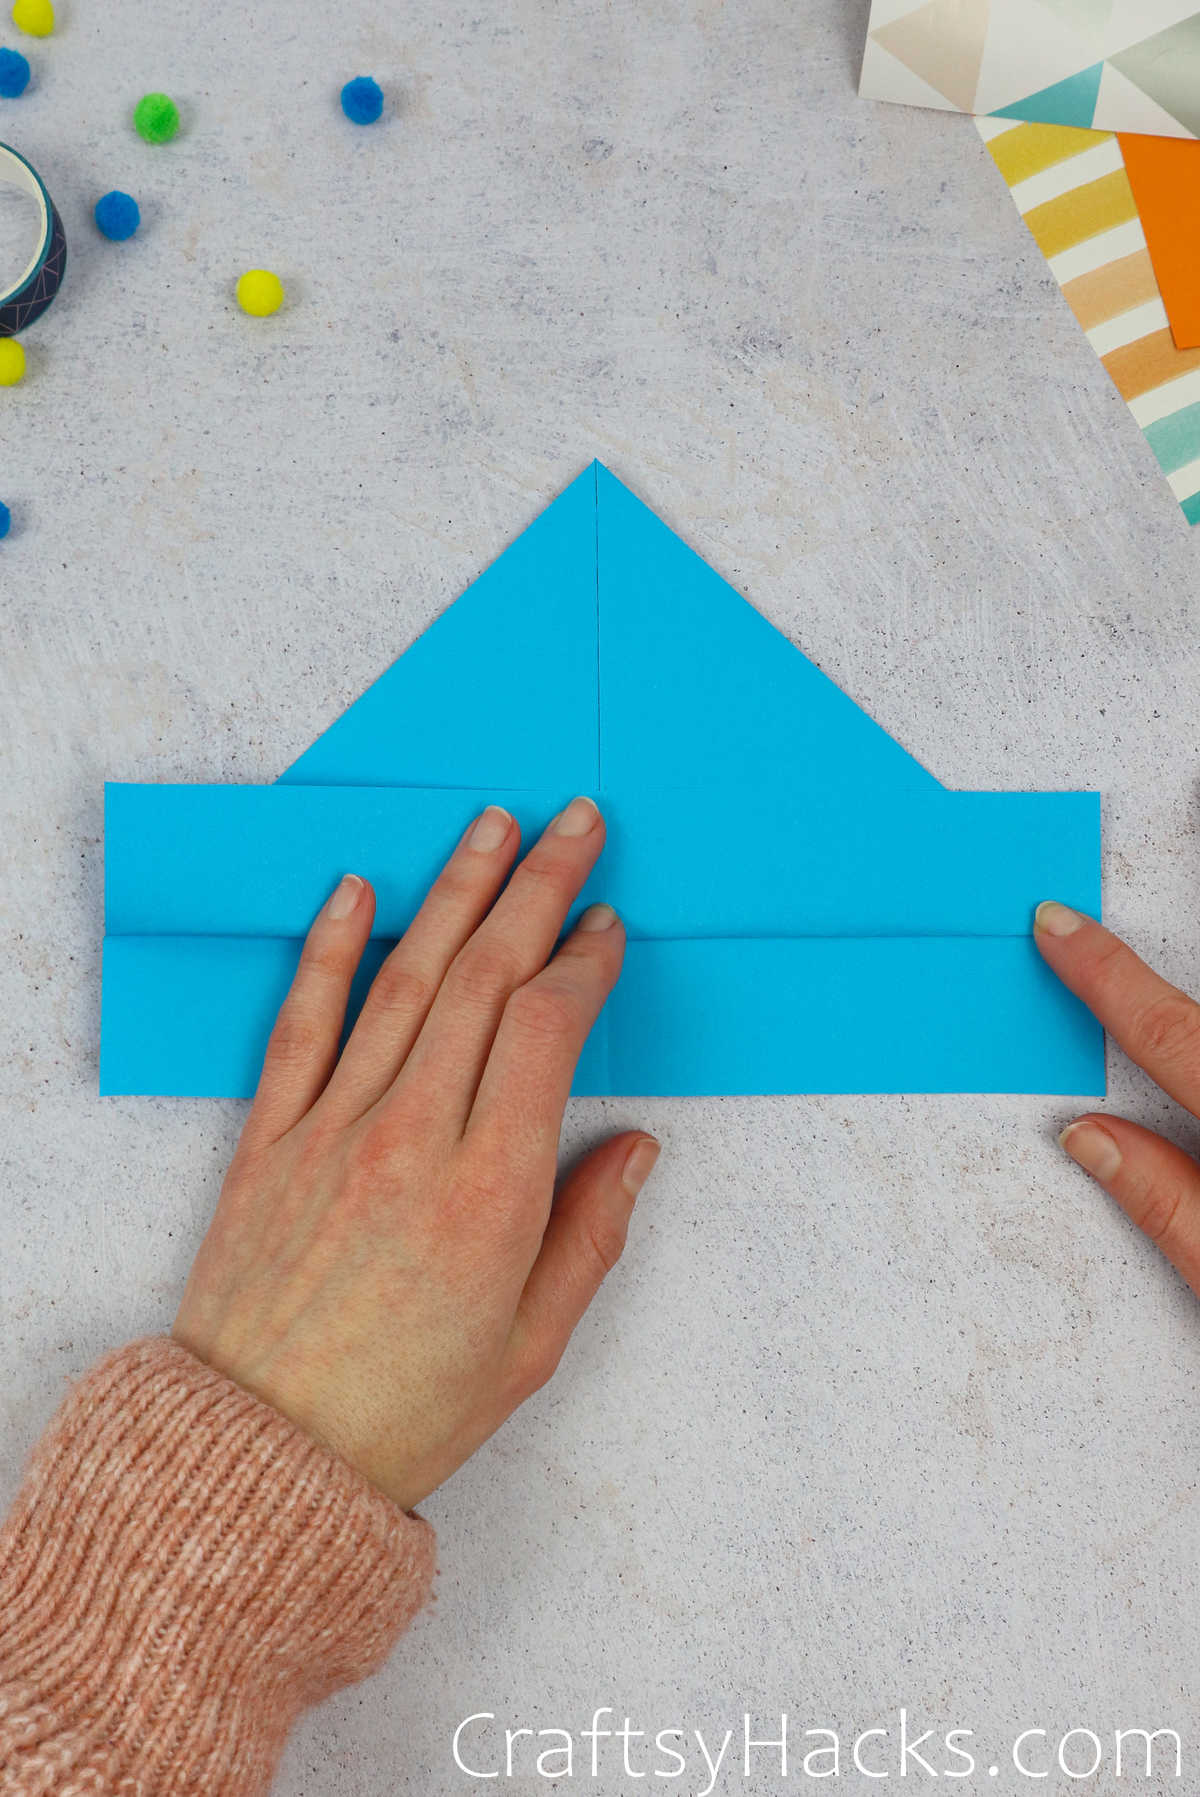
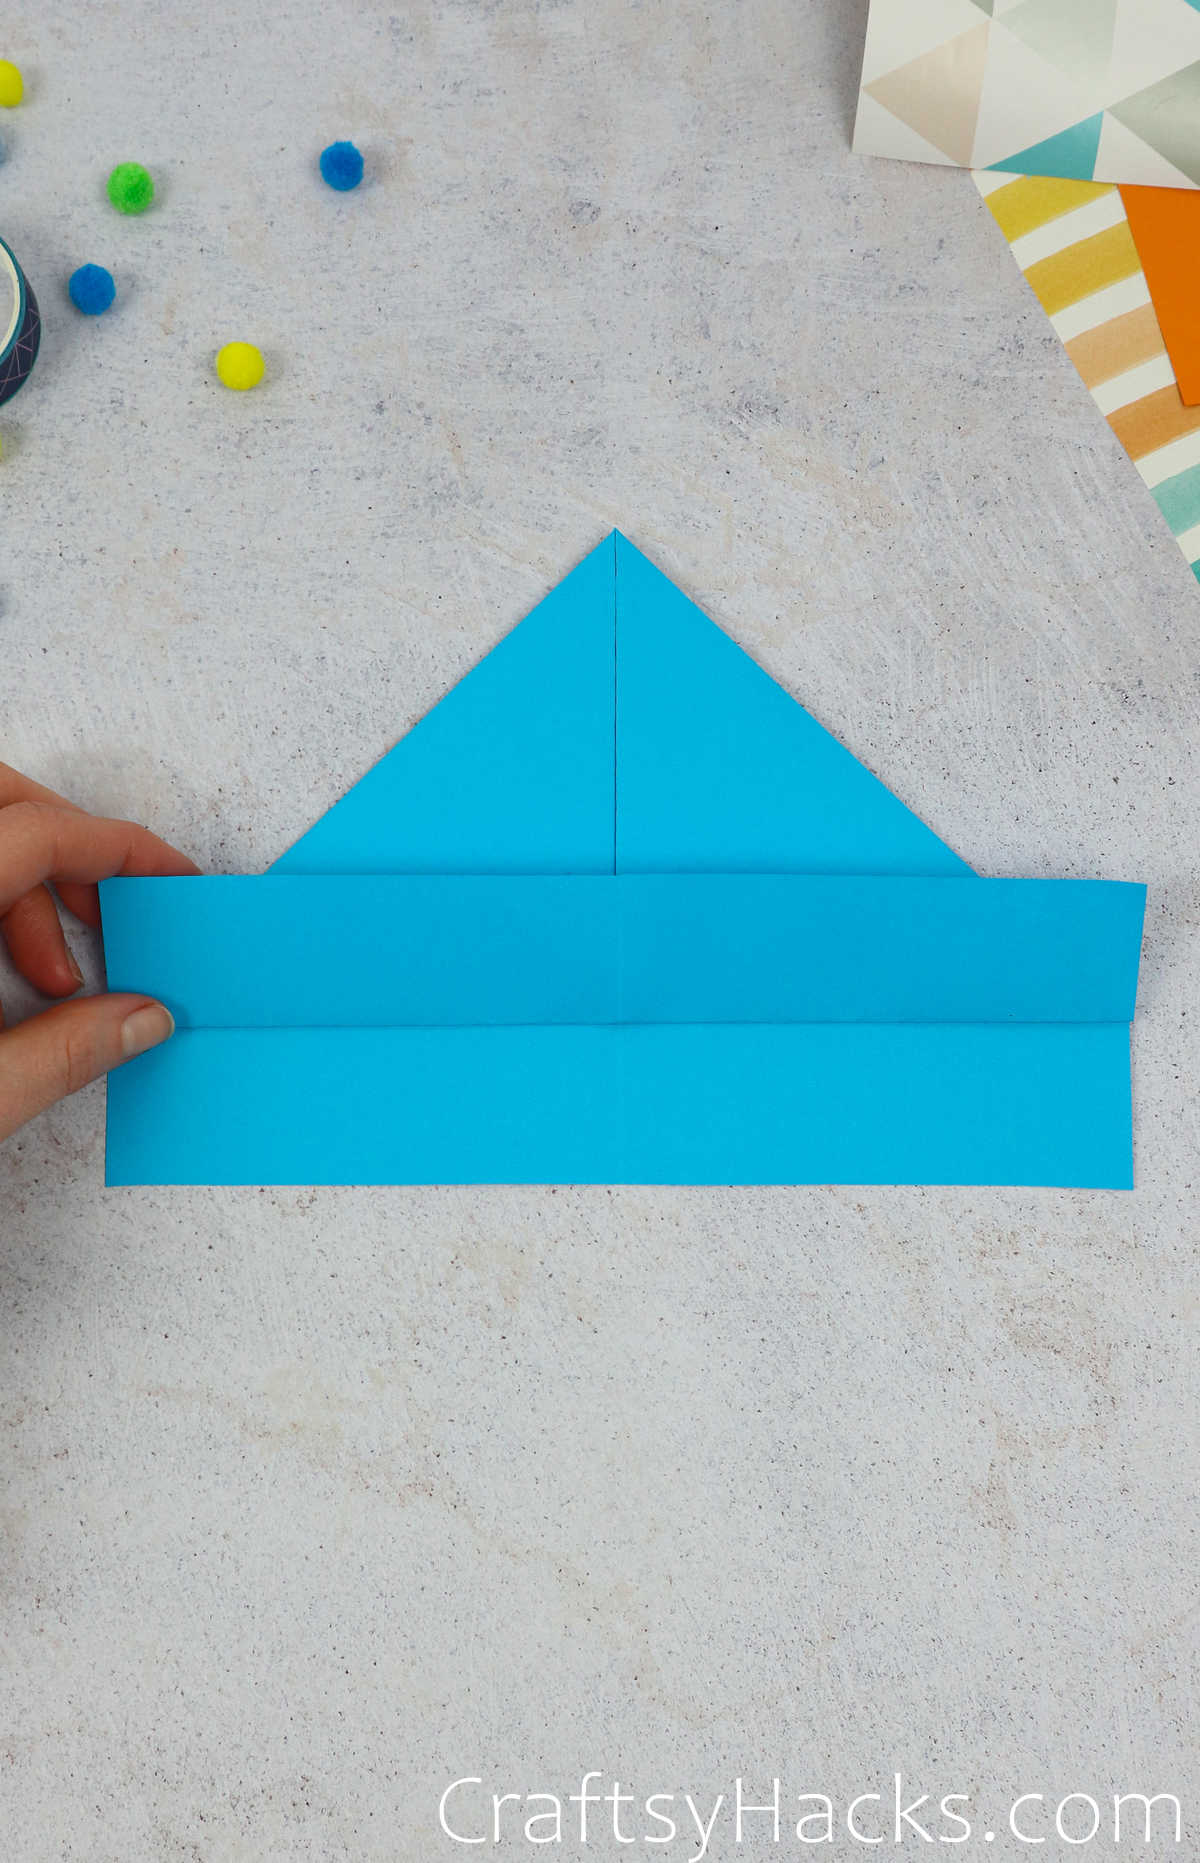
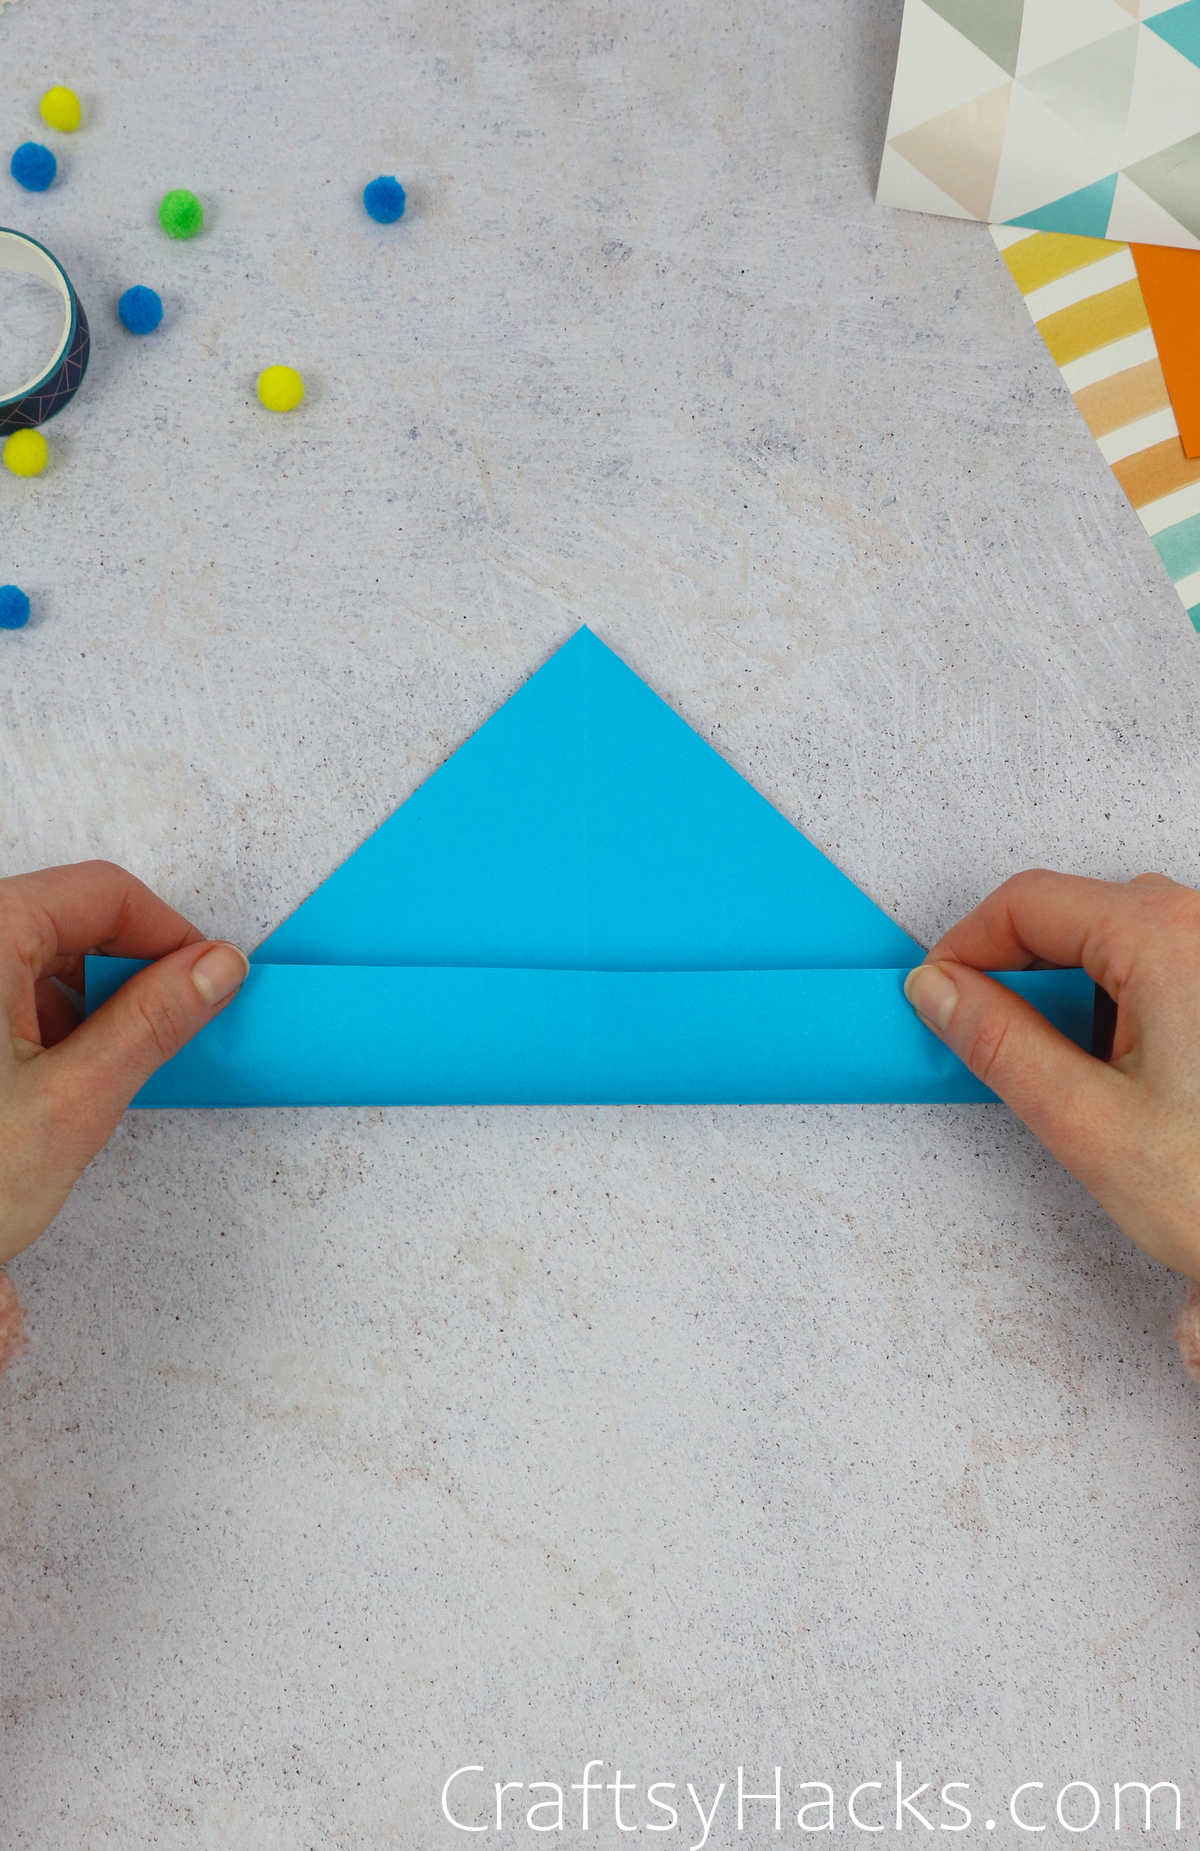
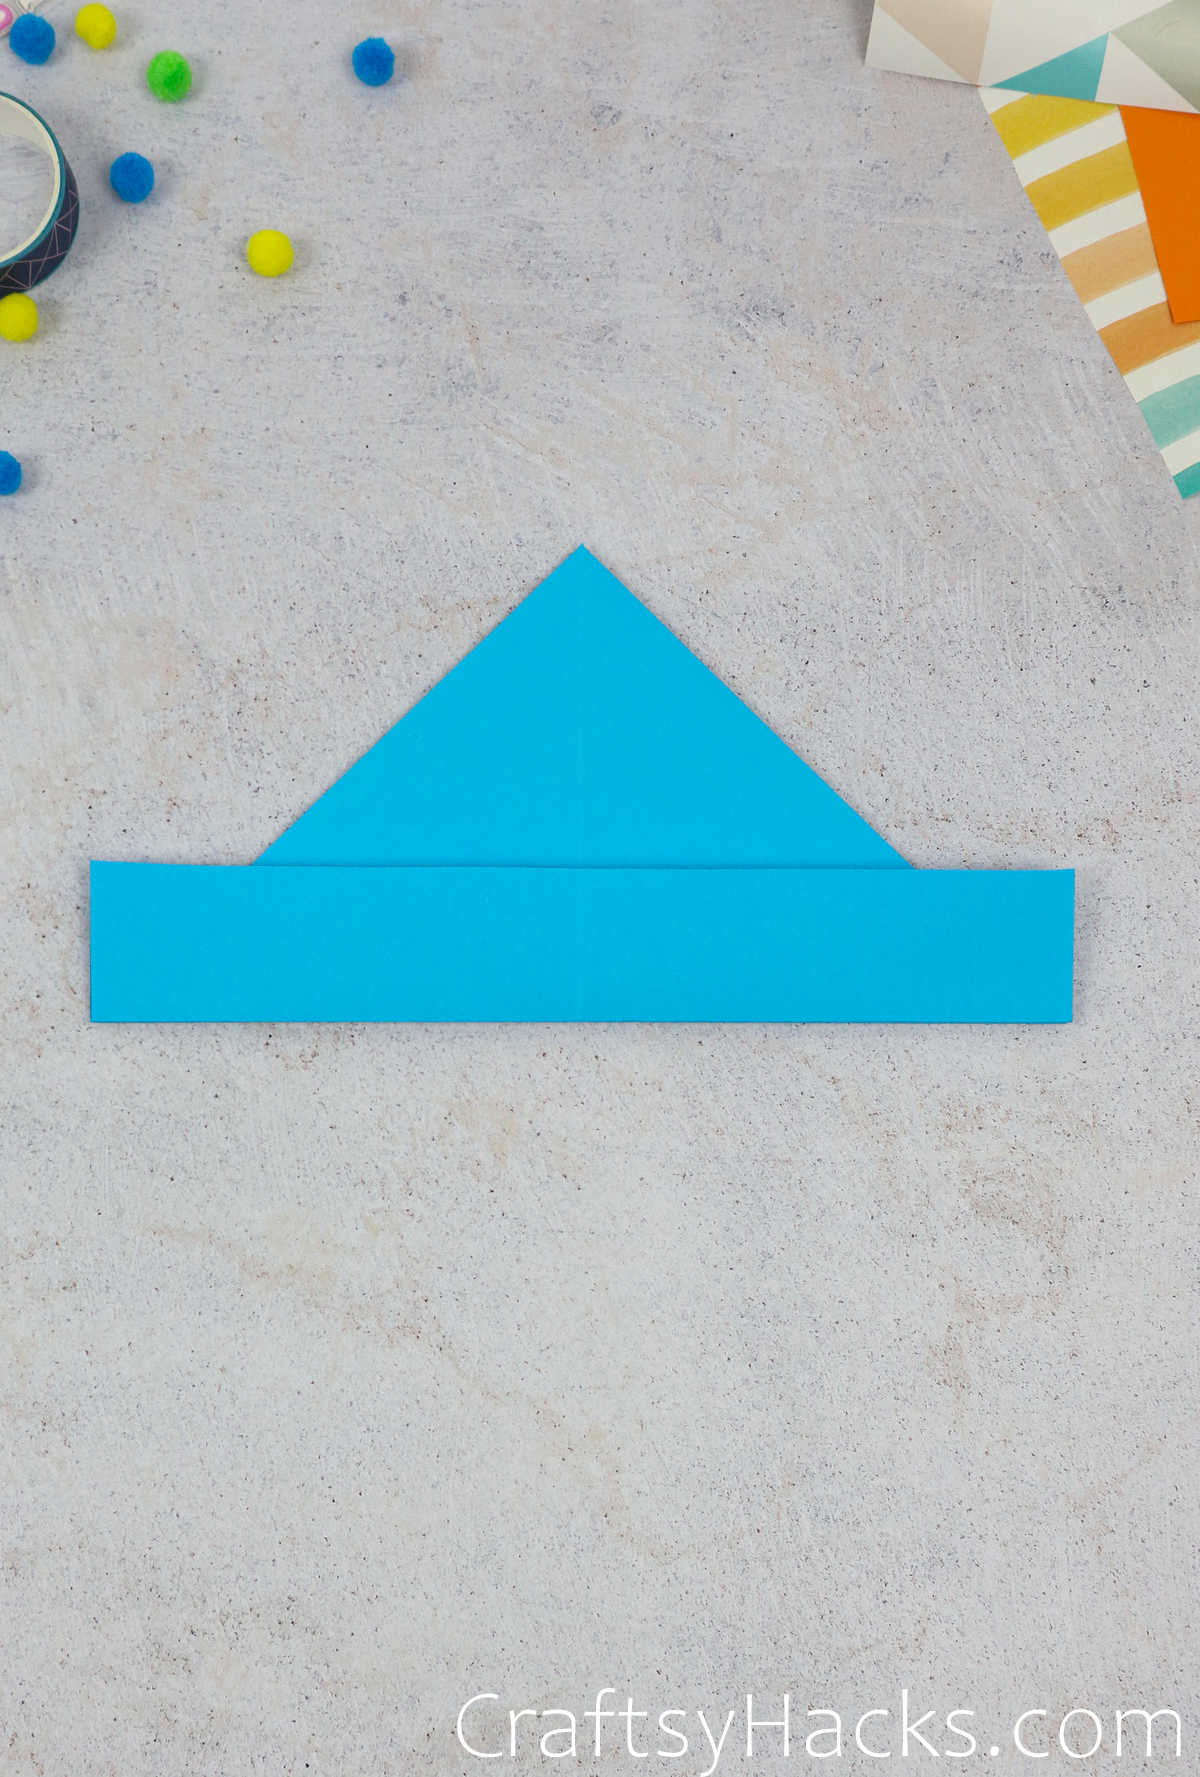
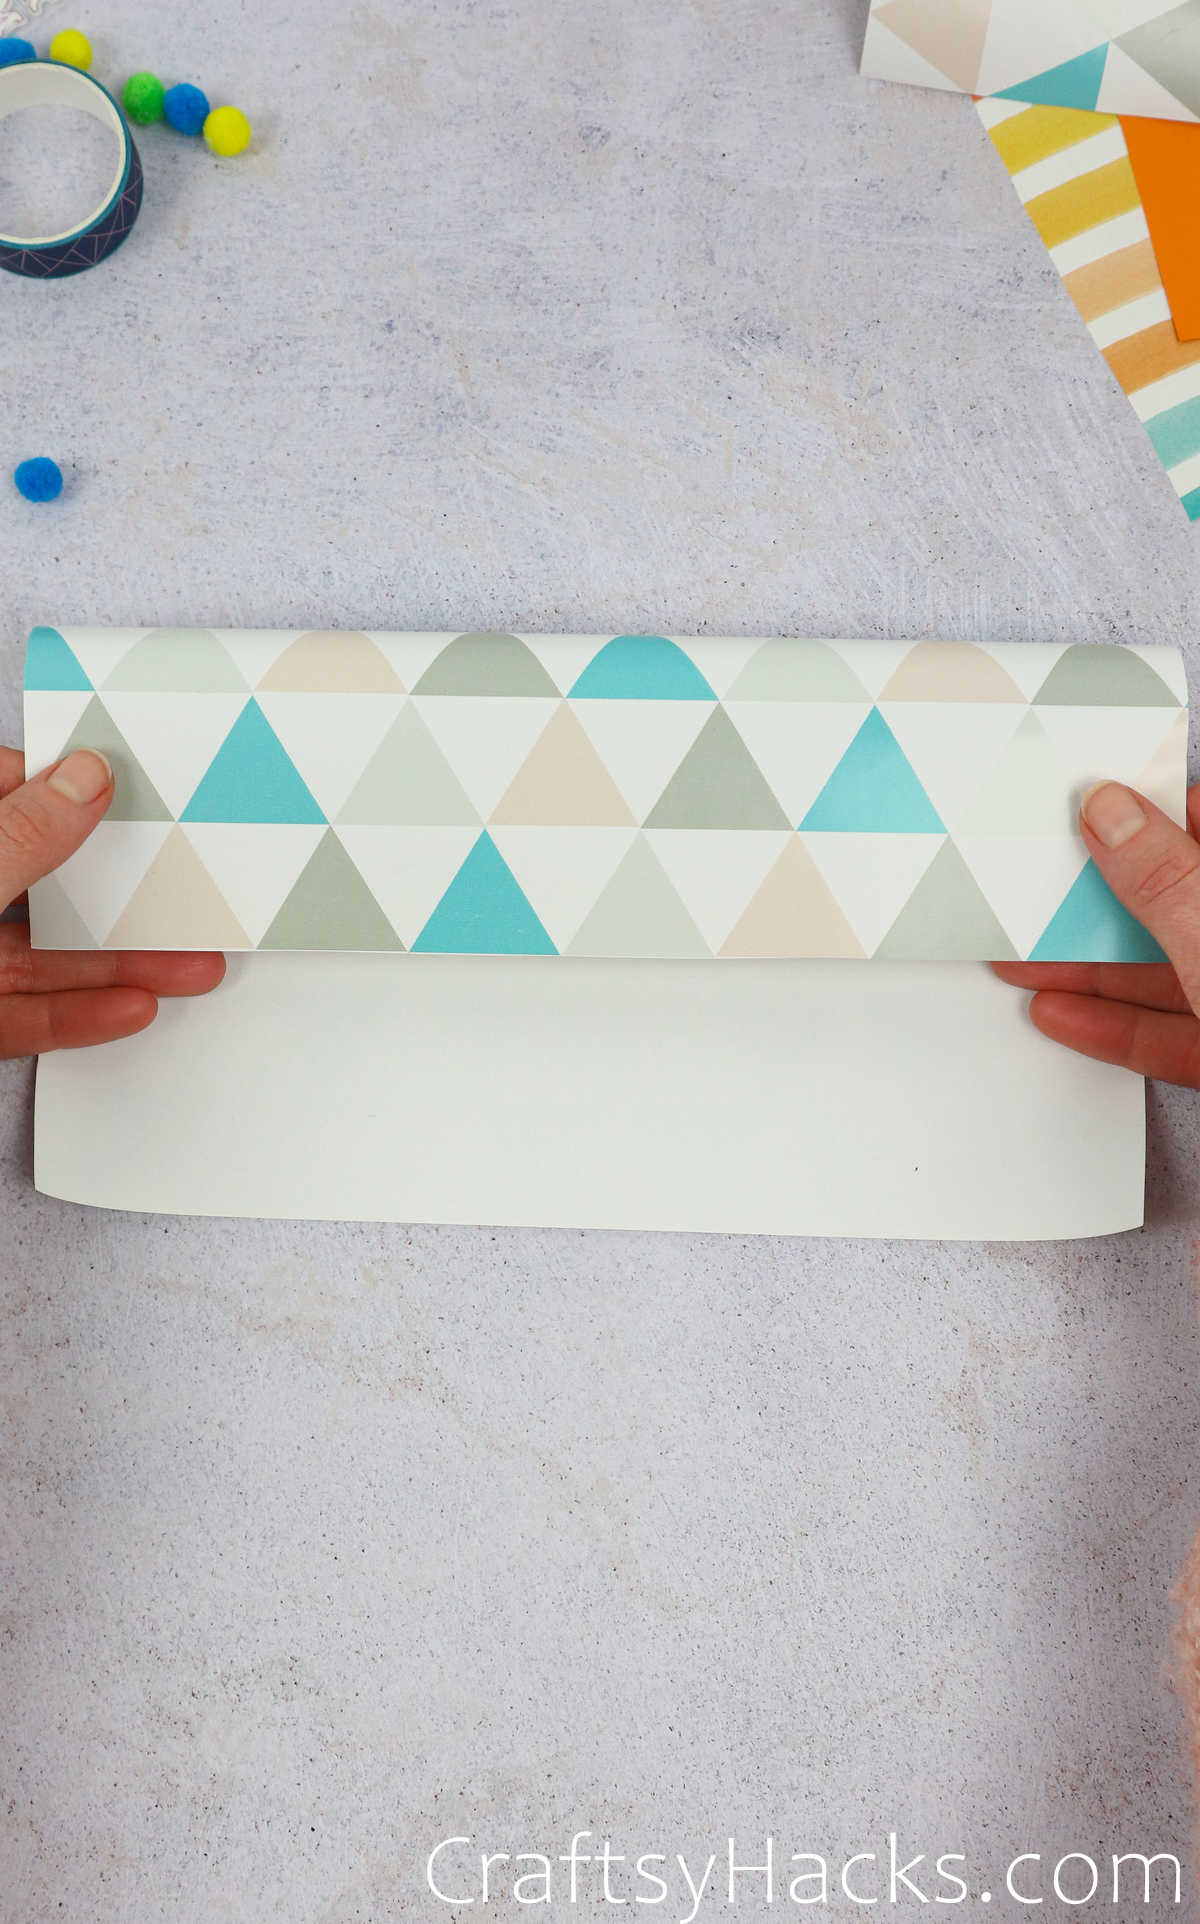
You’ll find that the bottom part will have two sheets. Fold just one of those sheets–the one on top, that is–and align it with the bottom of the triangles you made with the two corners. Just look below to get a better picture.
Step 4
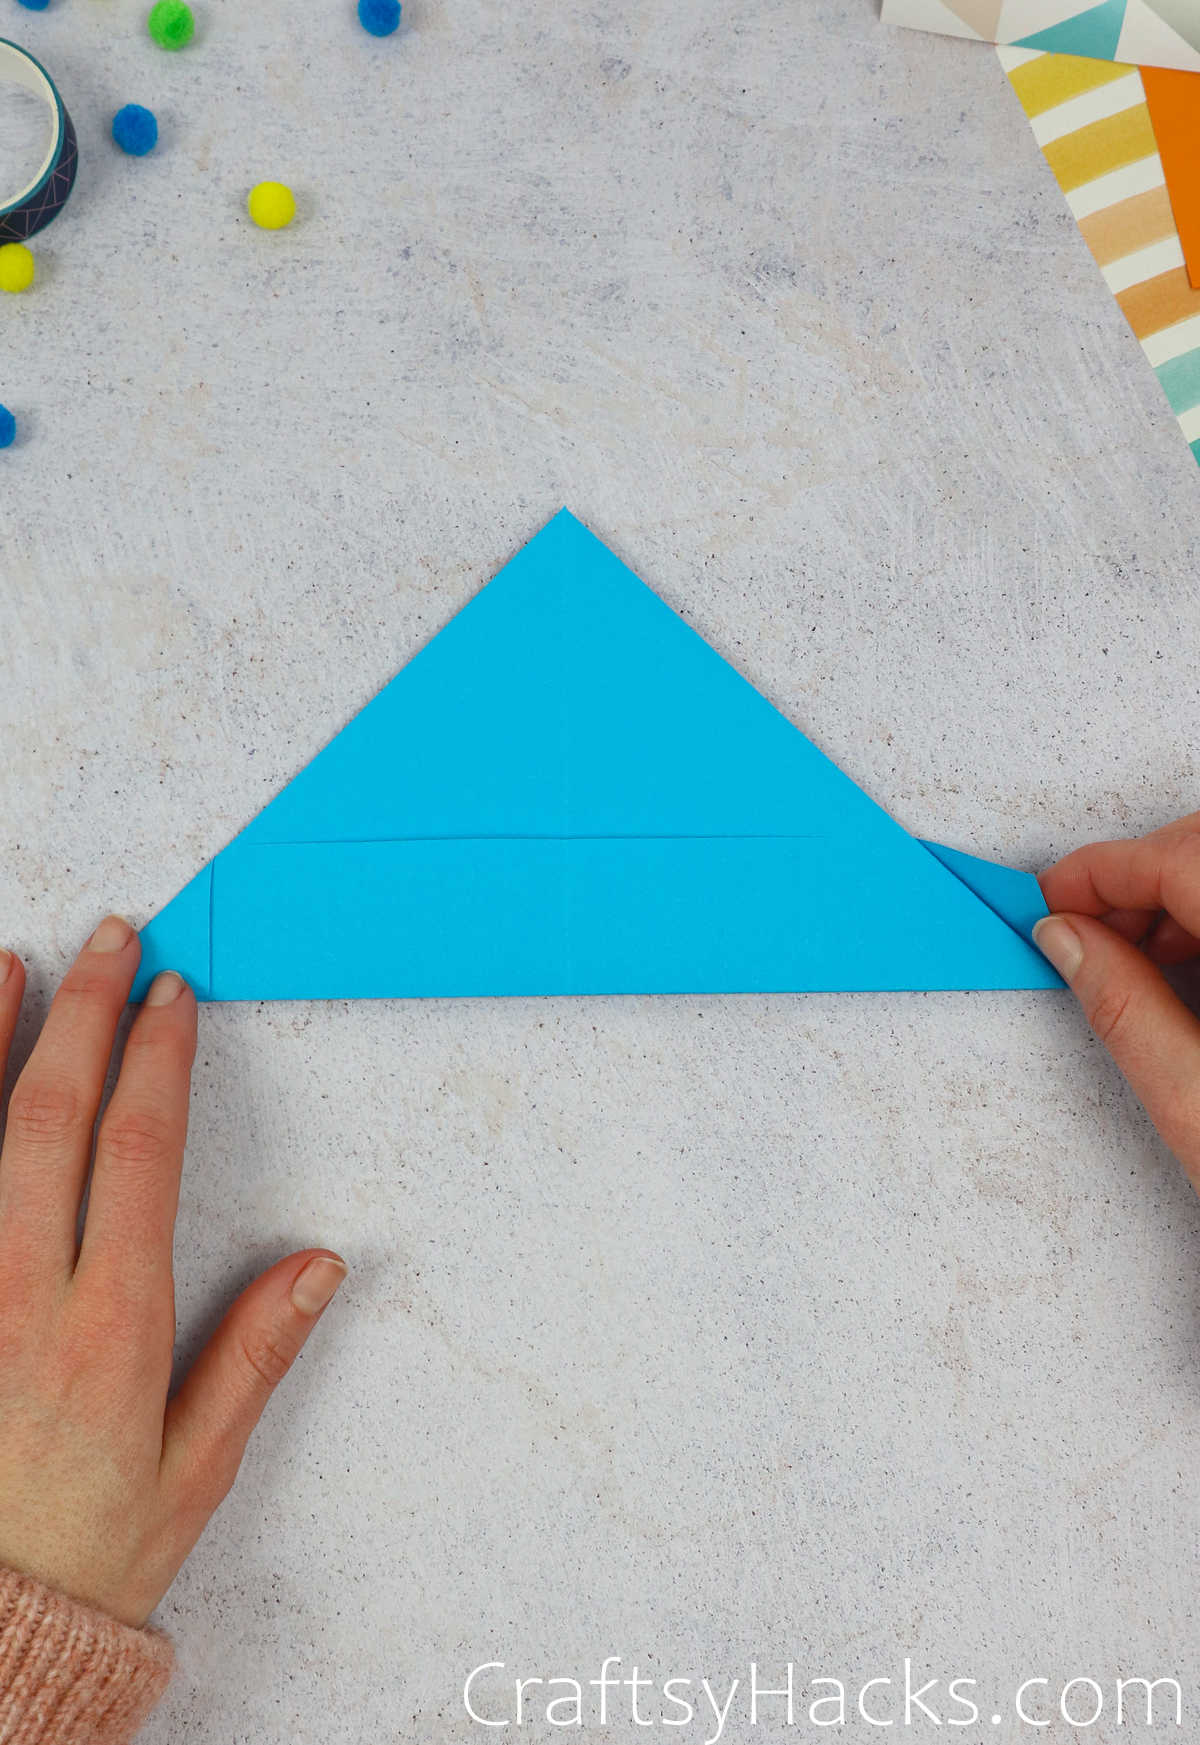
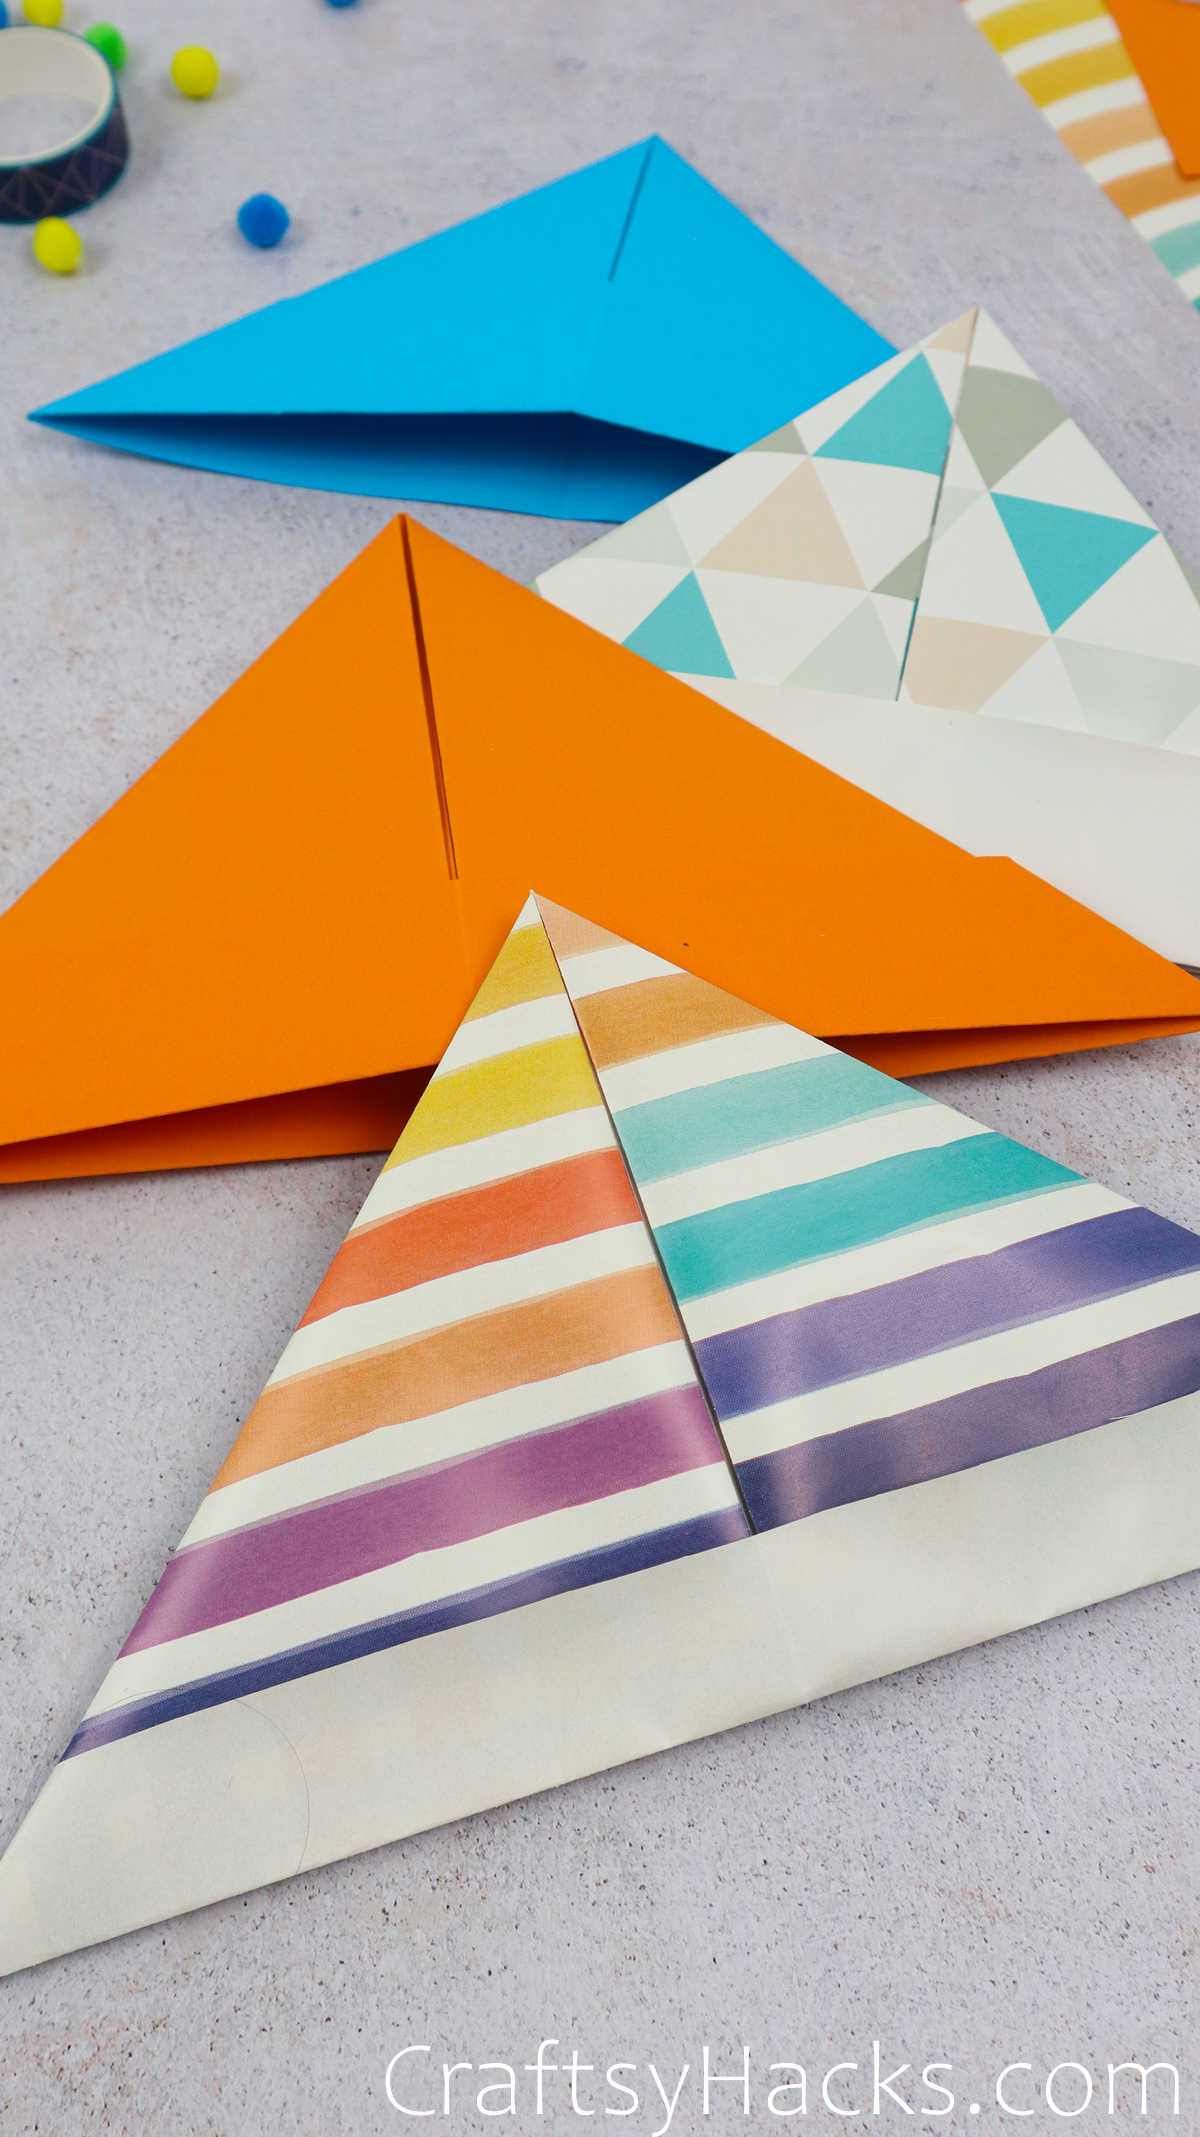
This next step is optional, of course, but you can just tuck the little triangle corners on either side inwards.
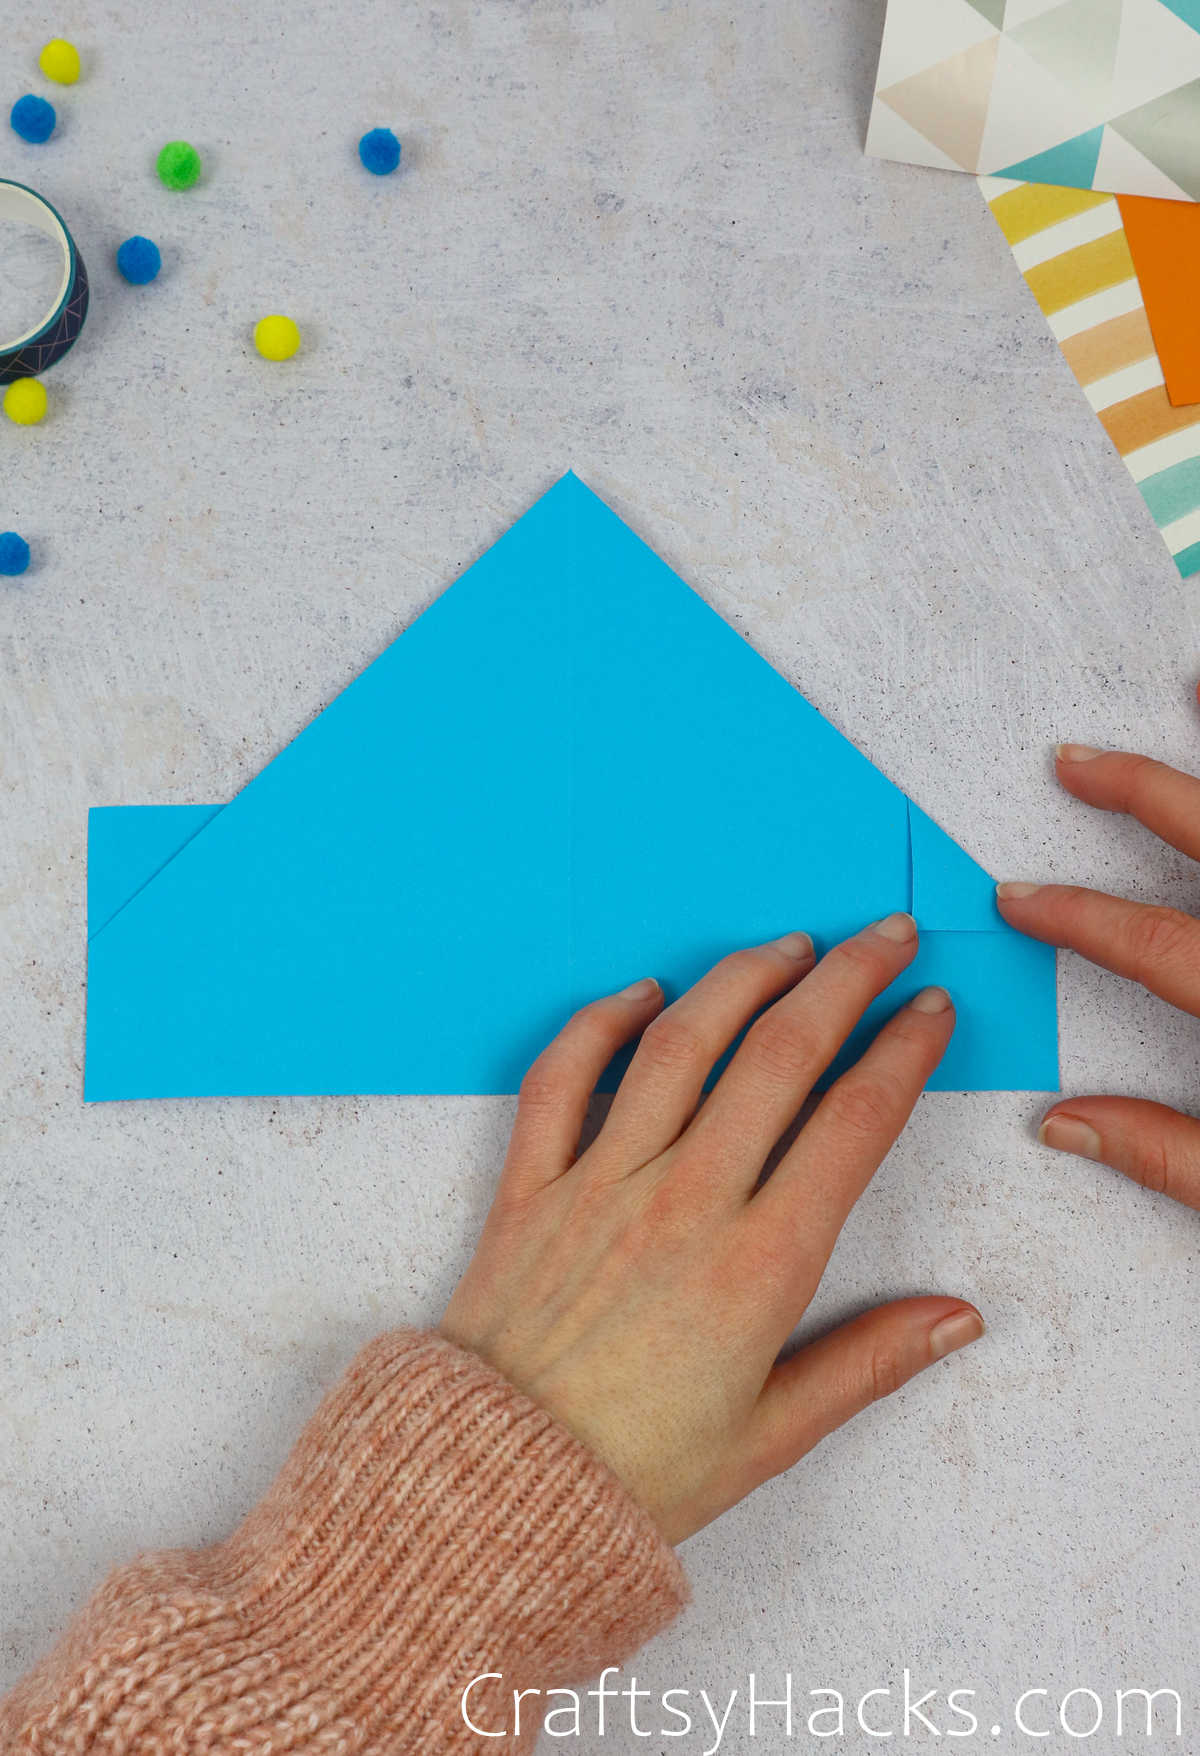
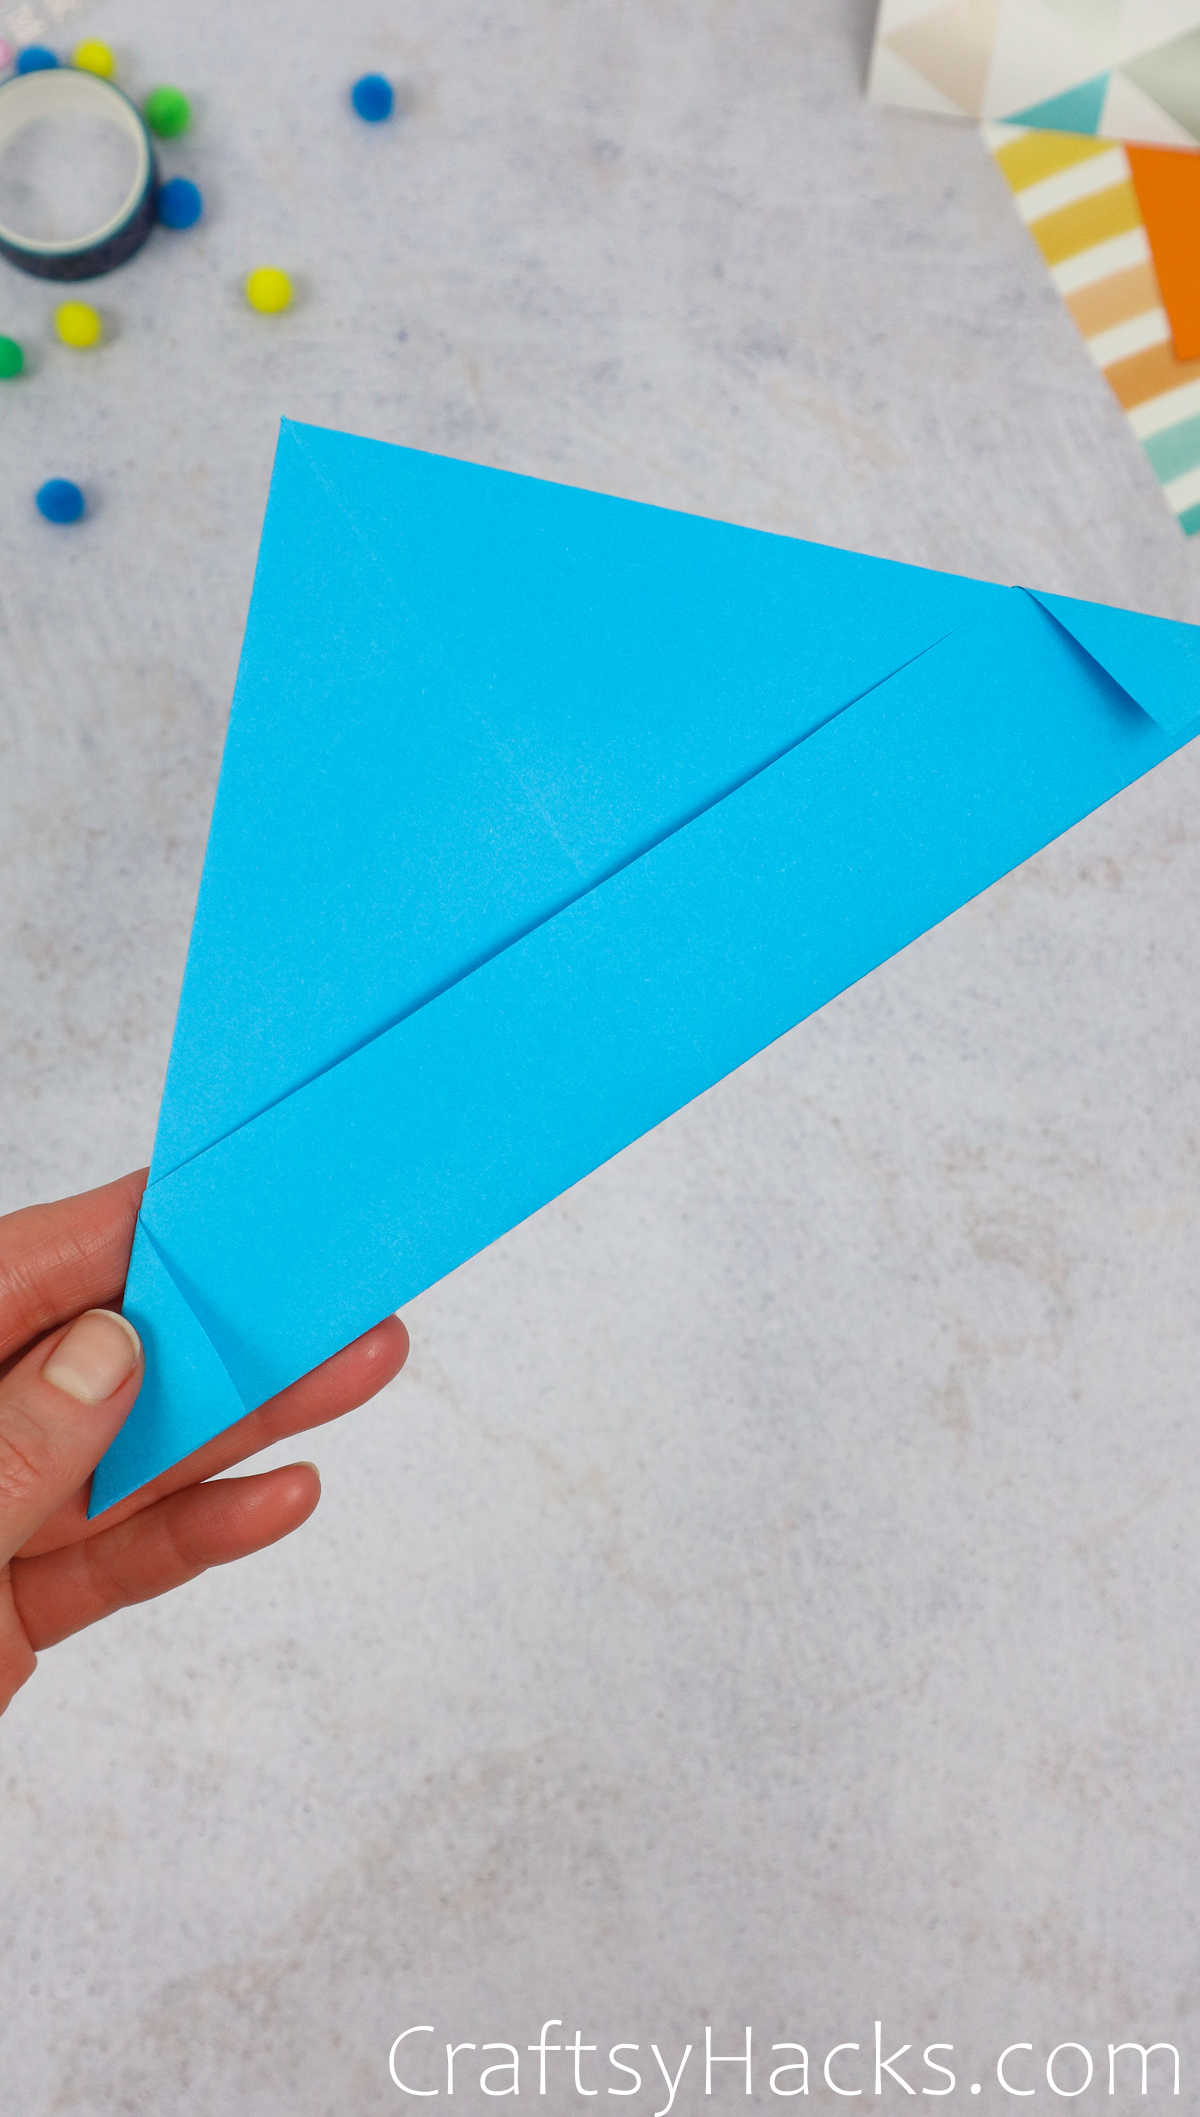
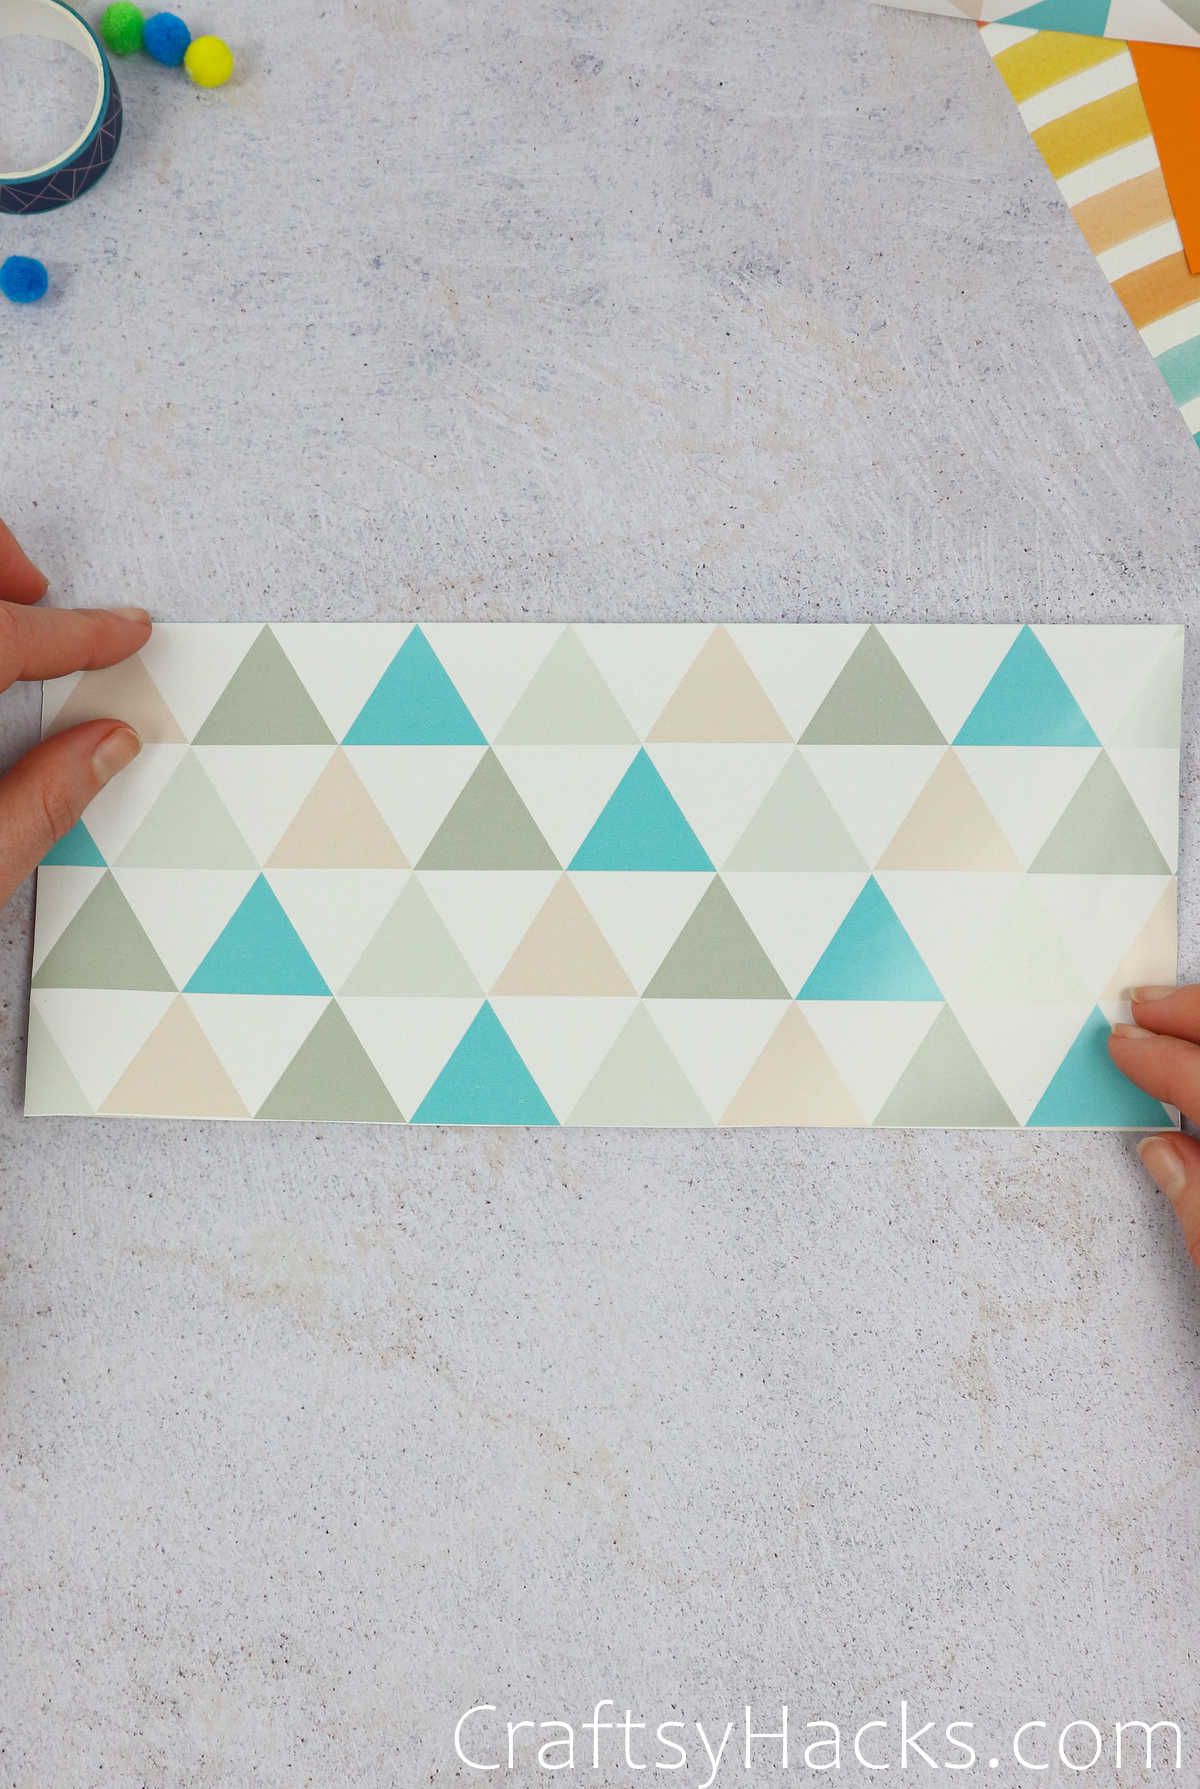
Now repeat step 3 with the second half of the paper, folding it in half and bringing it up to line up with the top edge.
Step 5
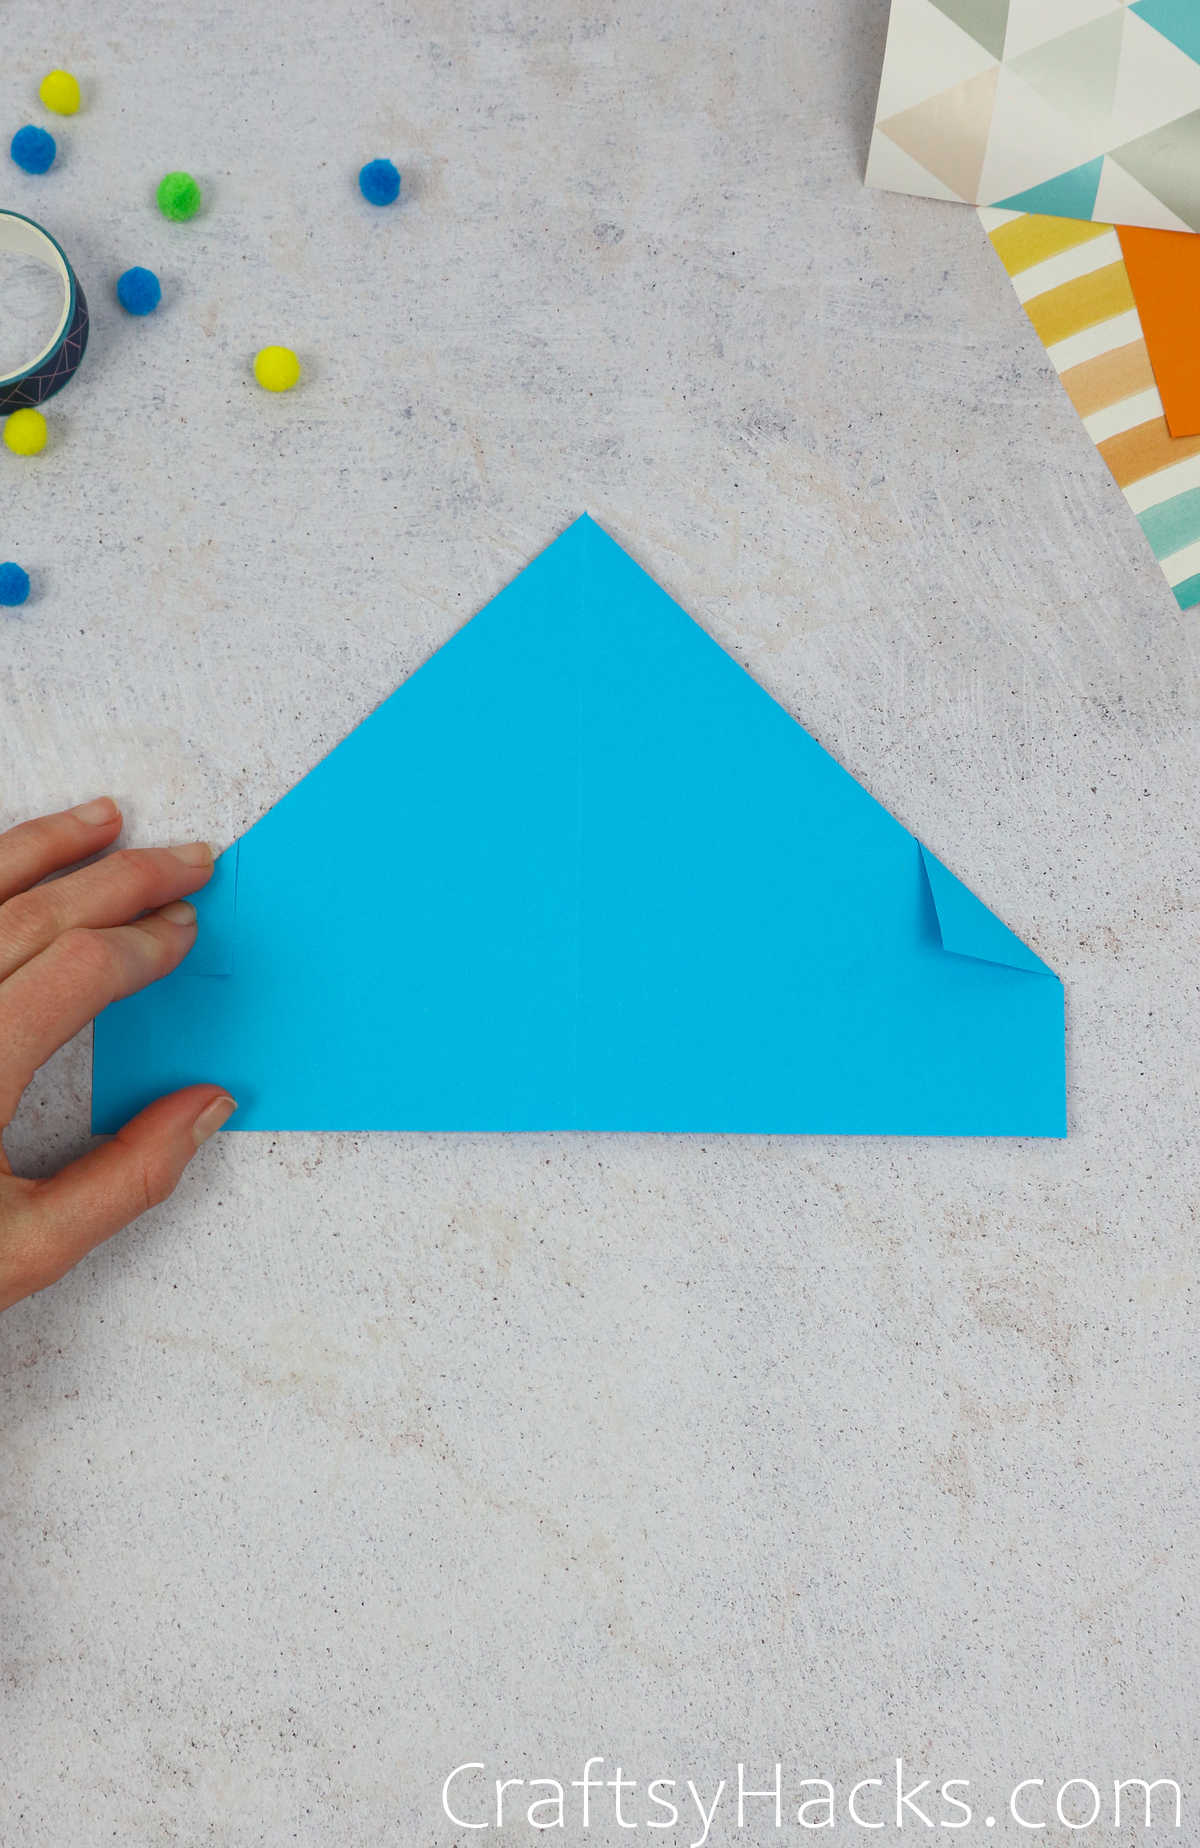
Once again, fold in the corners that are sticking out and to make sure they stay in place, just tapethem, as well.
Step 6

Now, if you’re working with a piece of paper with just one colored or patterned side, then the procedure is still the same. Just remember to keep the colored side of the sheet facing up and out, with the plain side facing inward.
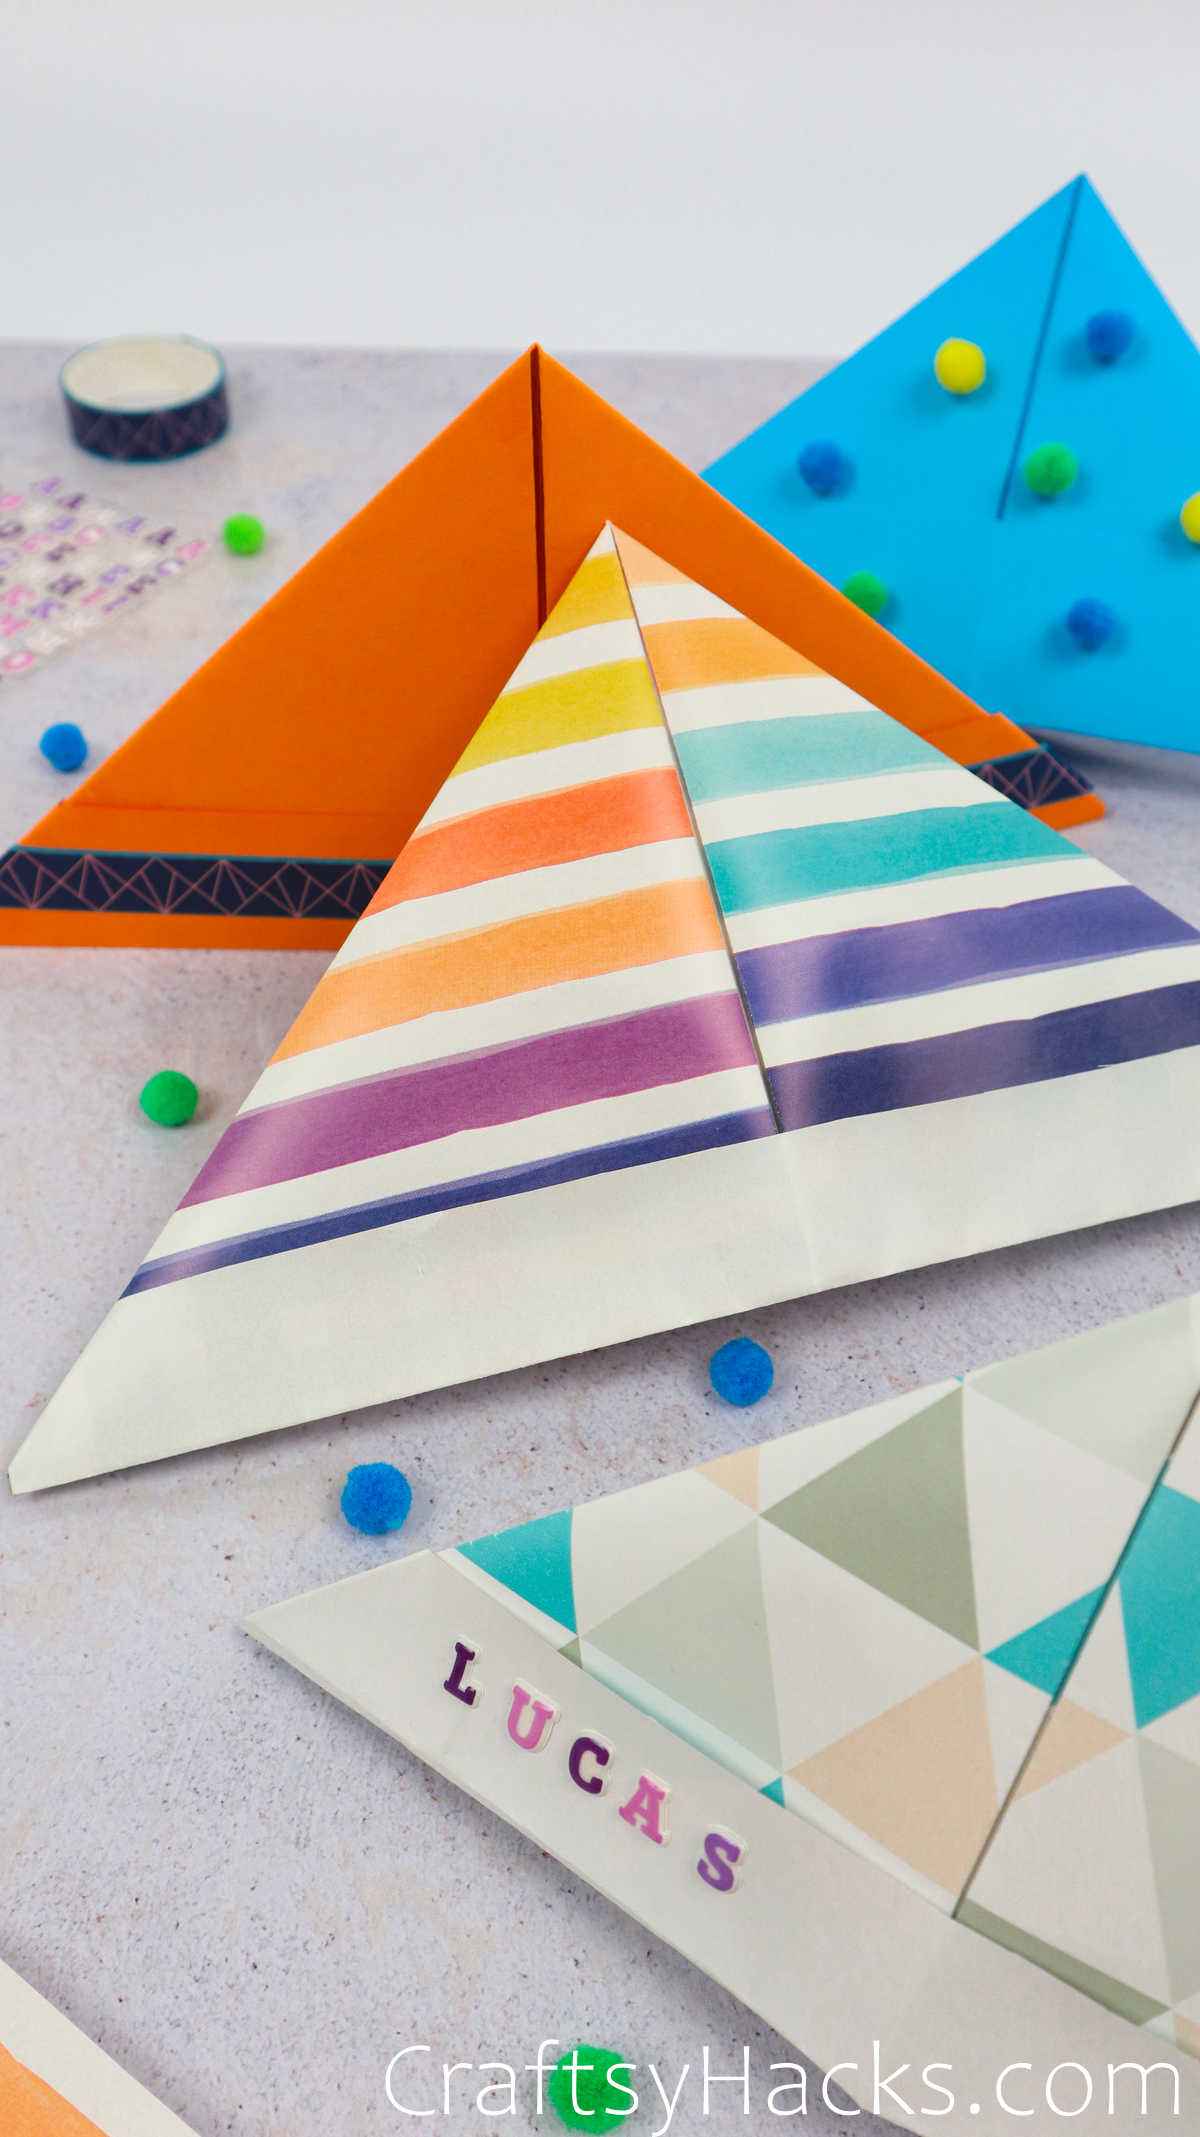
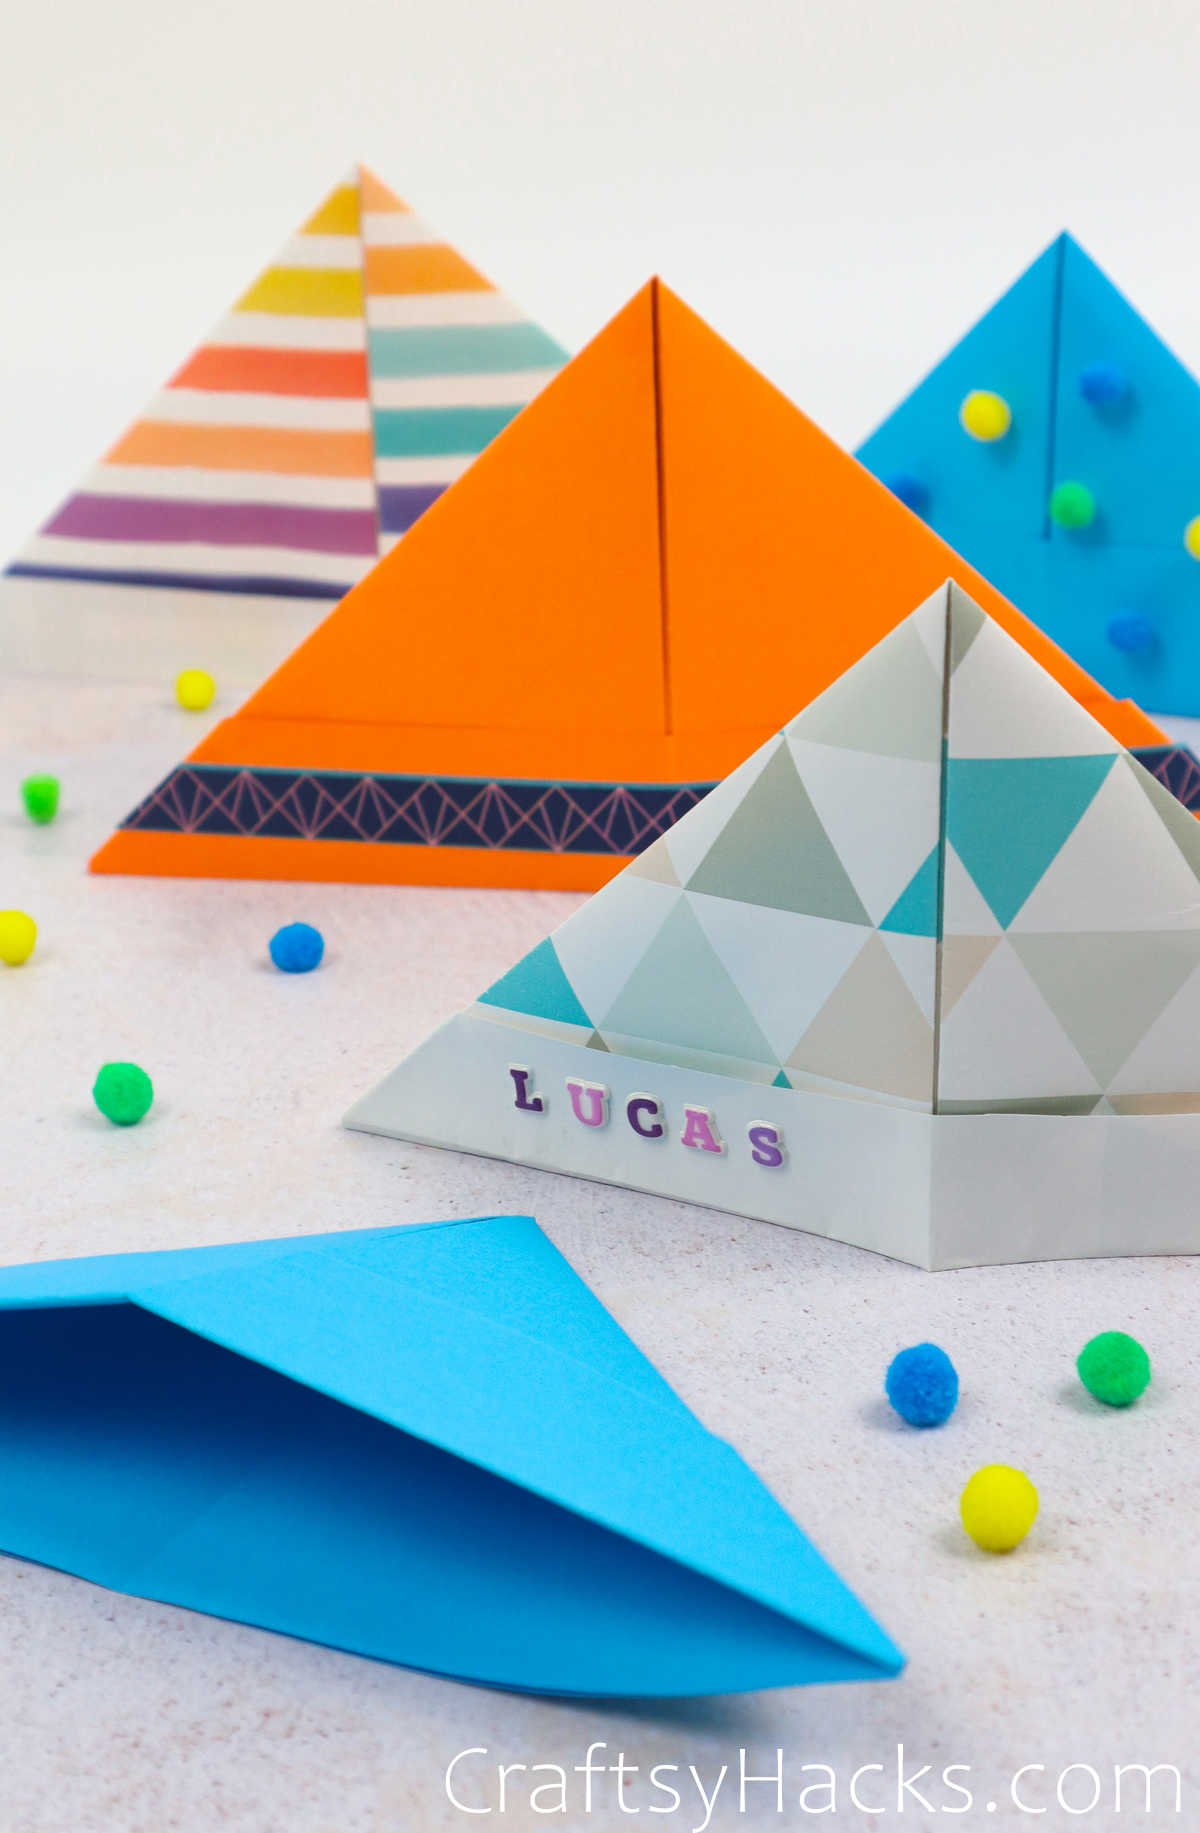
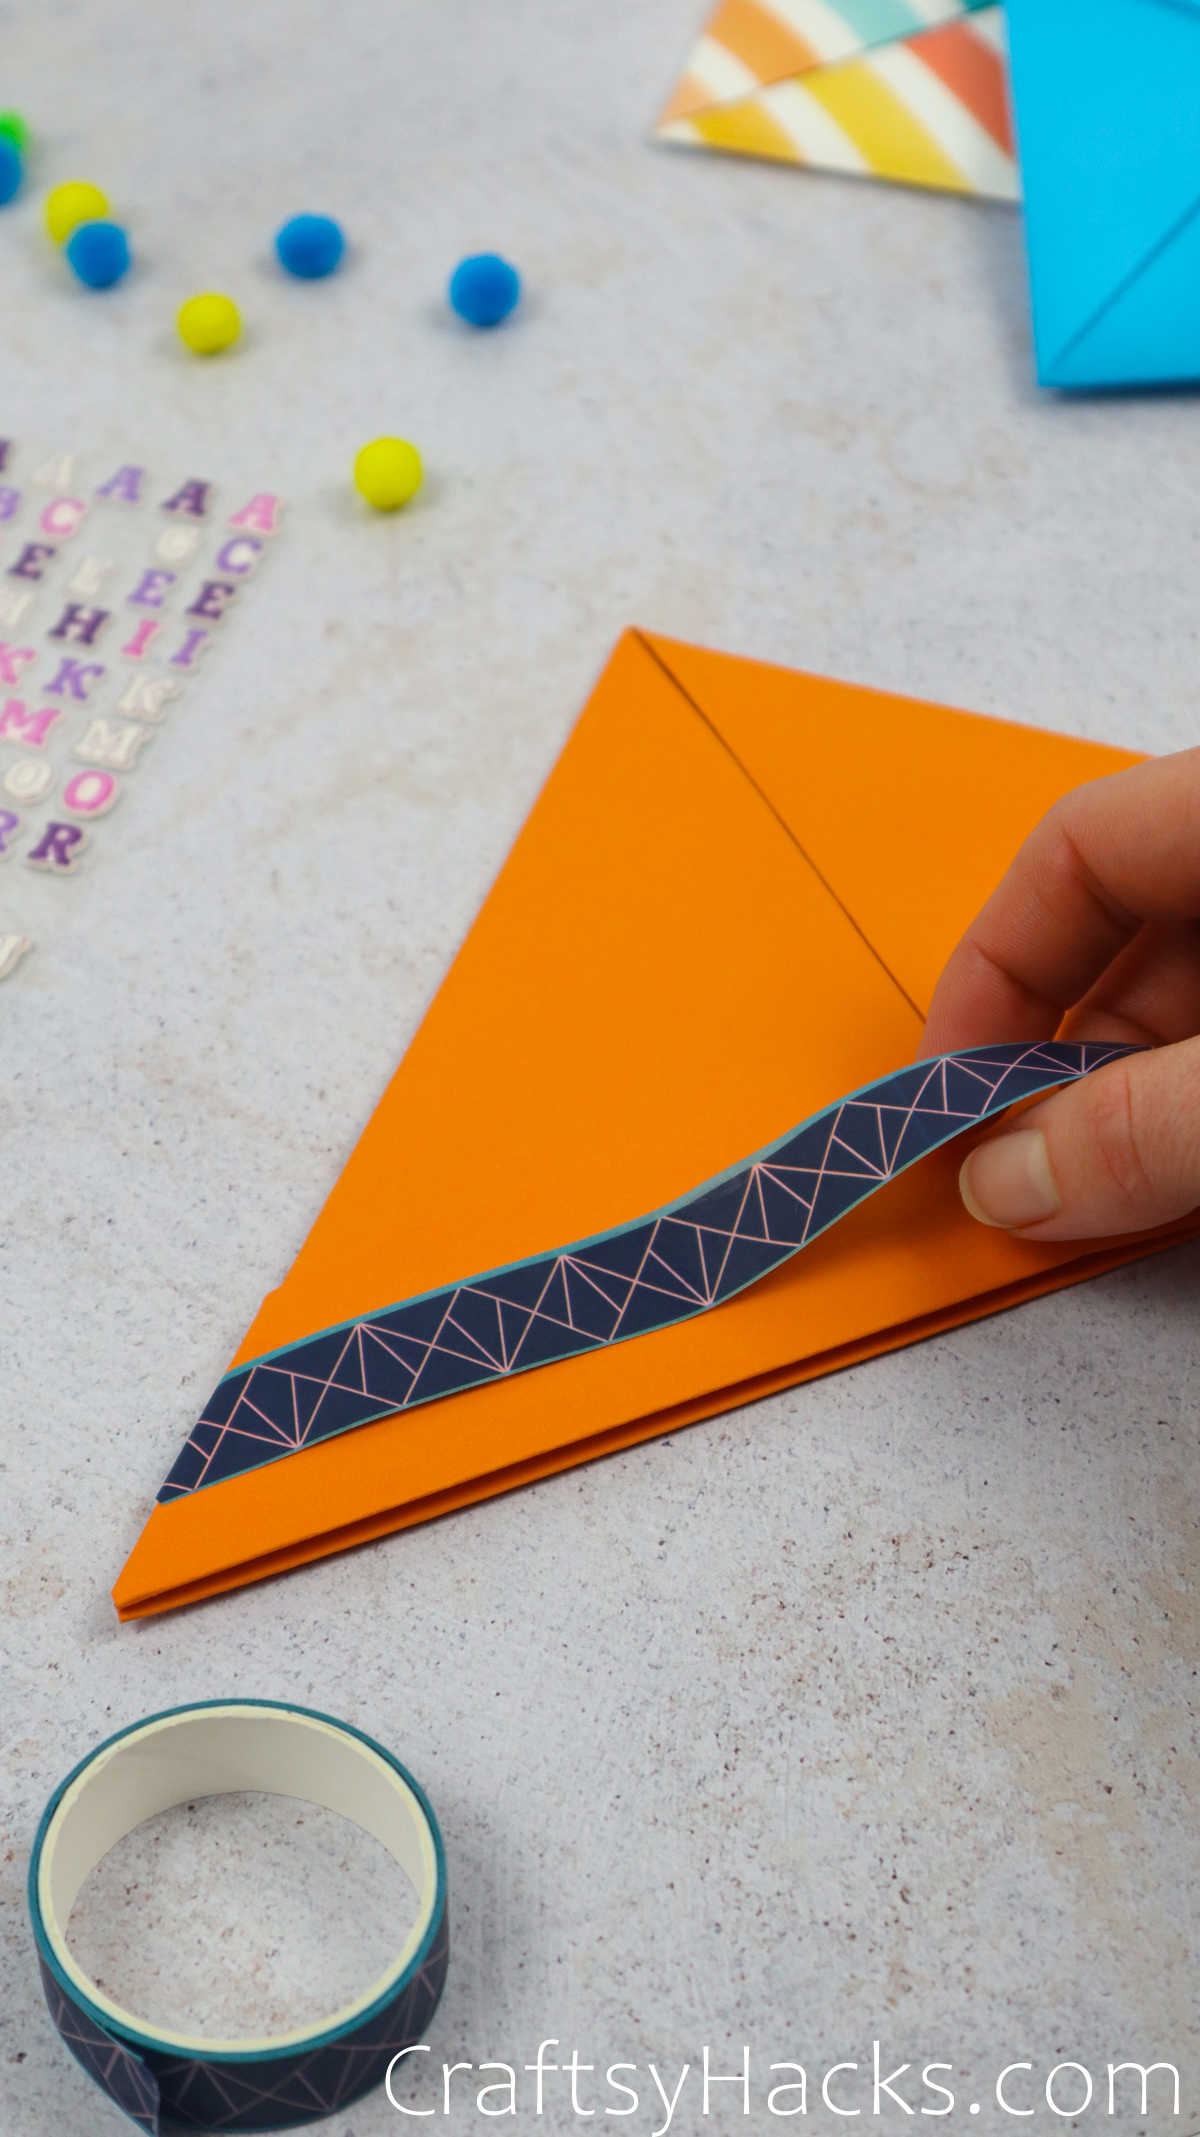
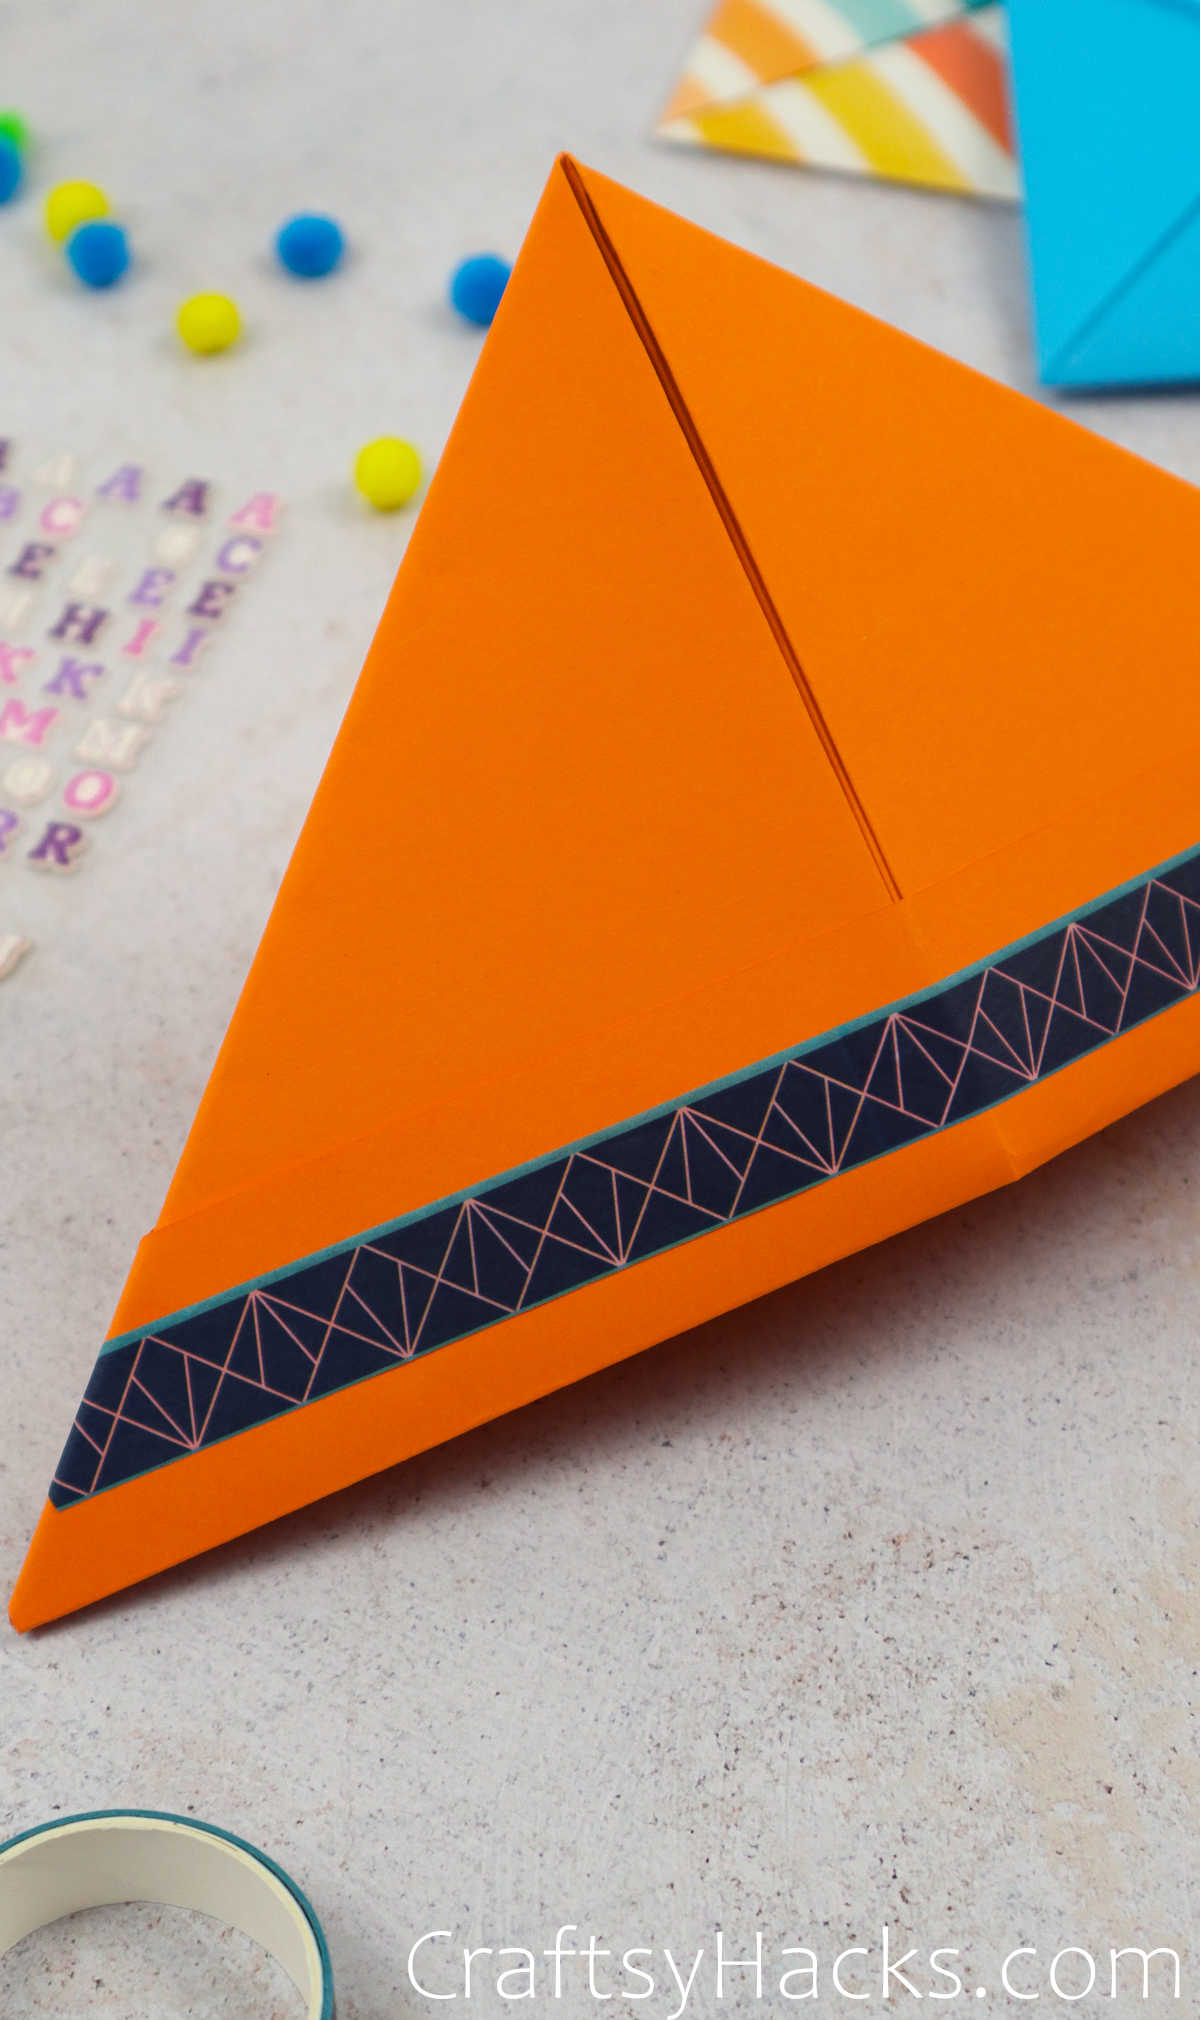
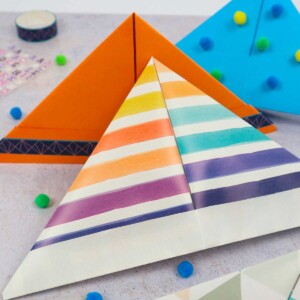
That’s pretty much all there is to it. You can decorate your hats with a layer or two of washi tape along the corners and edges. Also, add glitter, little beads, embellishments, and more.
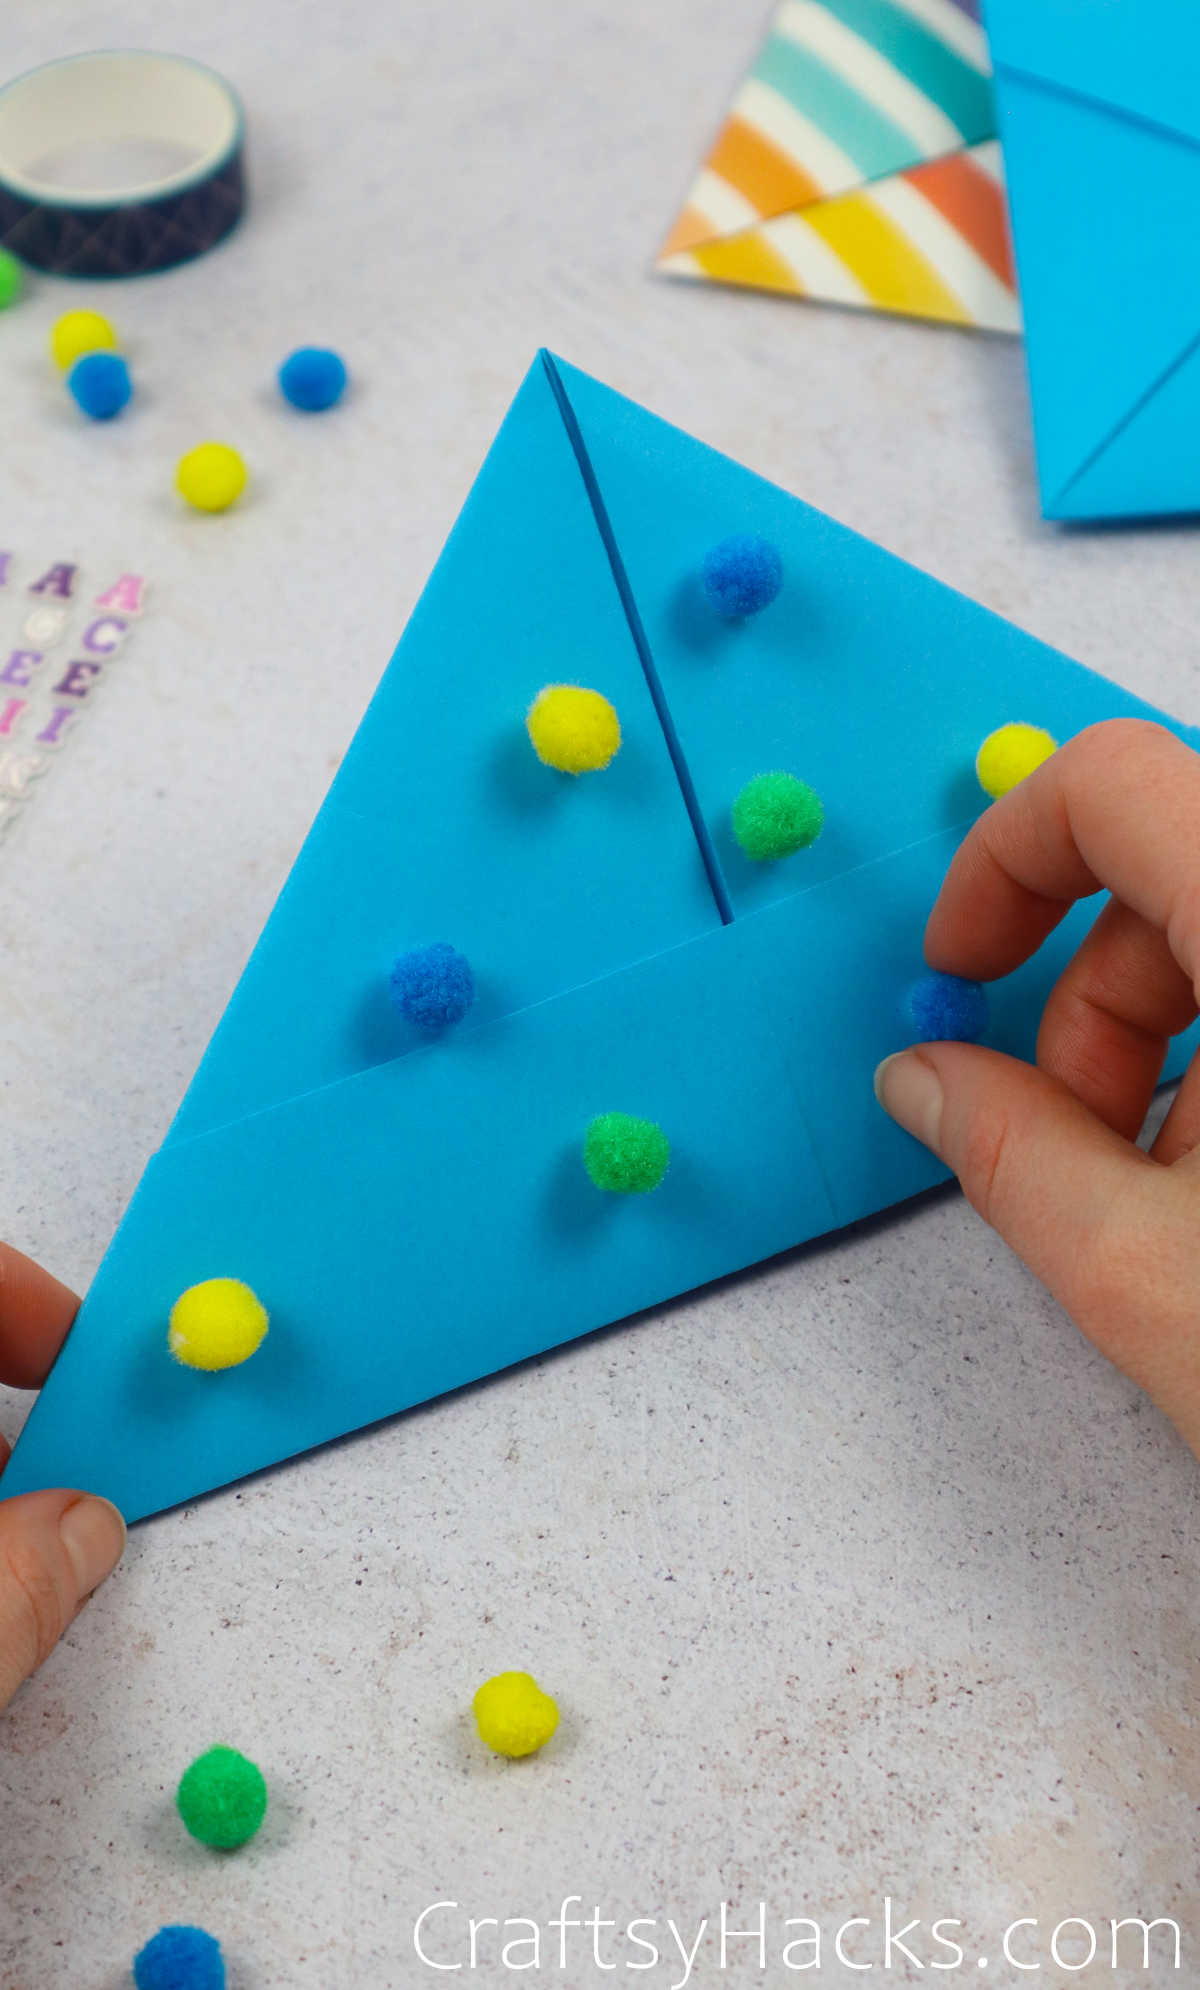
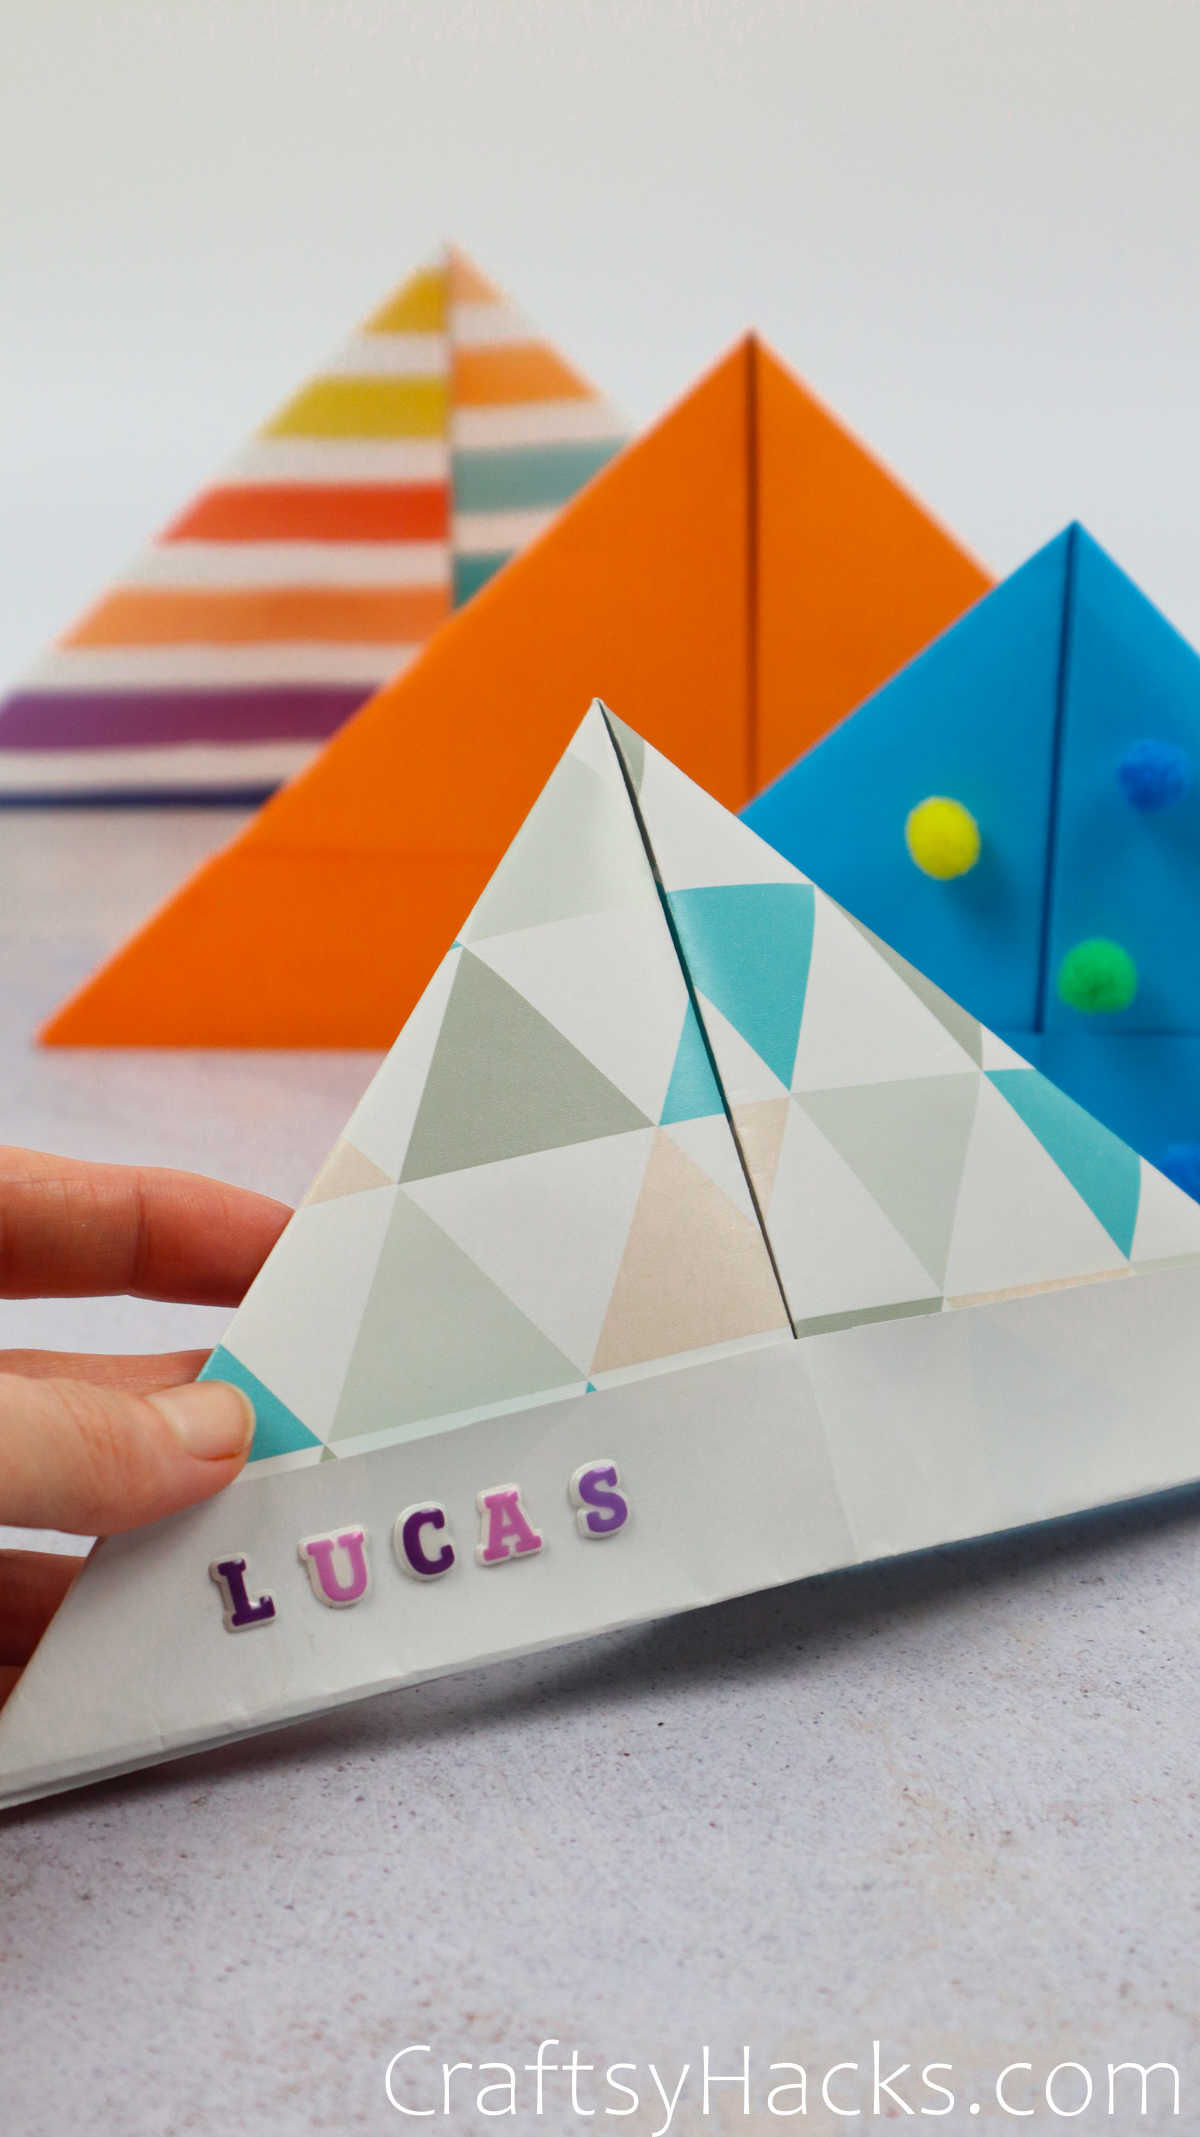
You can even dot the surface with spots of glue and stick some pom poms to it, as seen here.
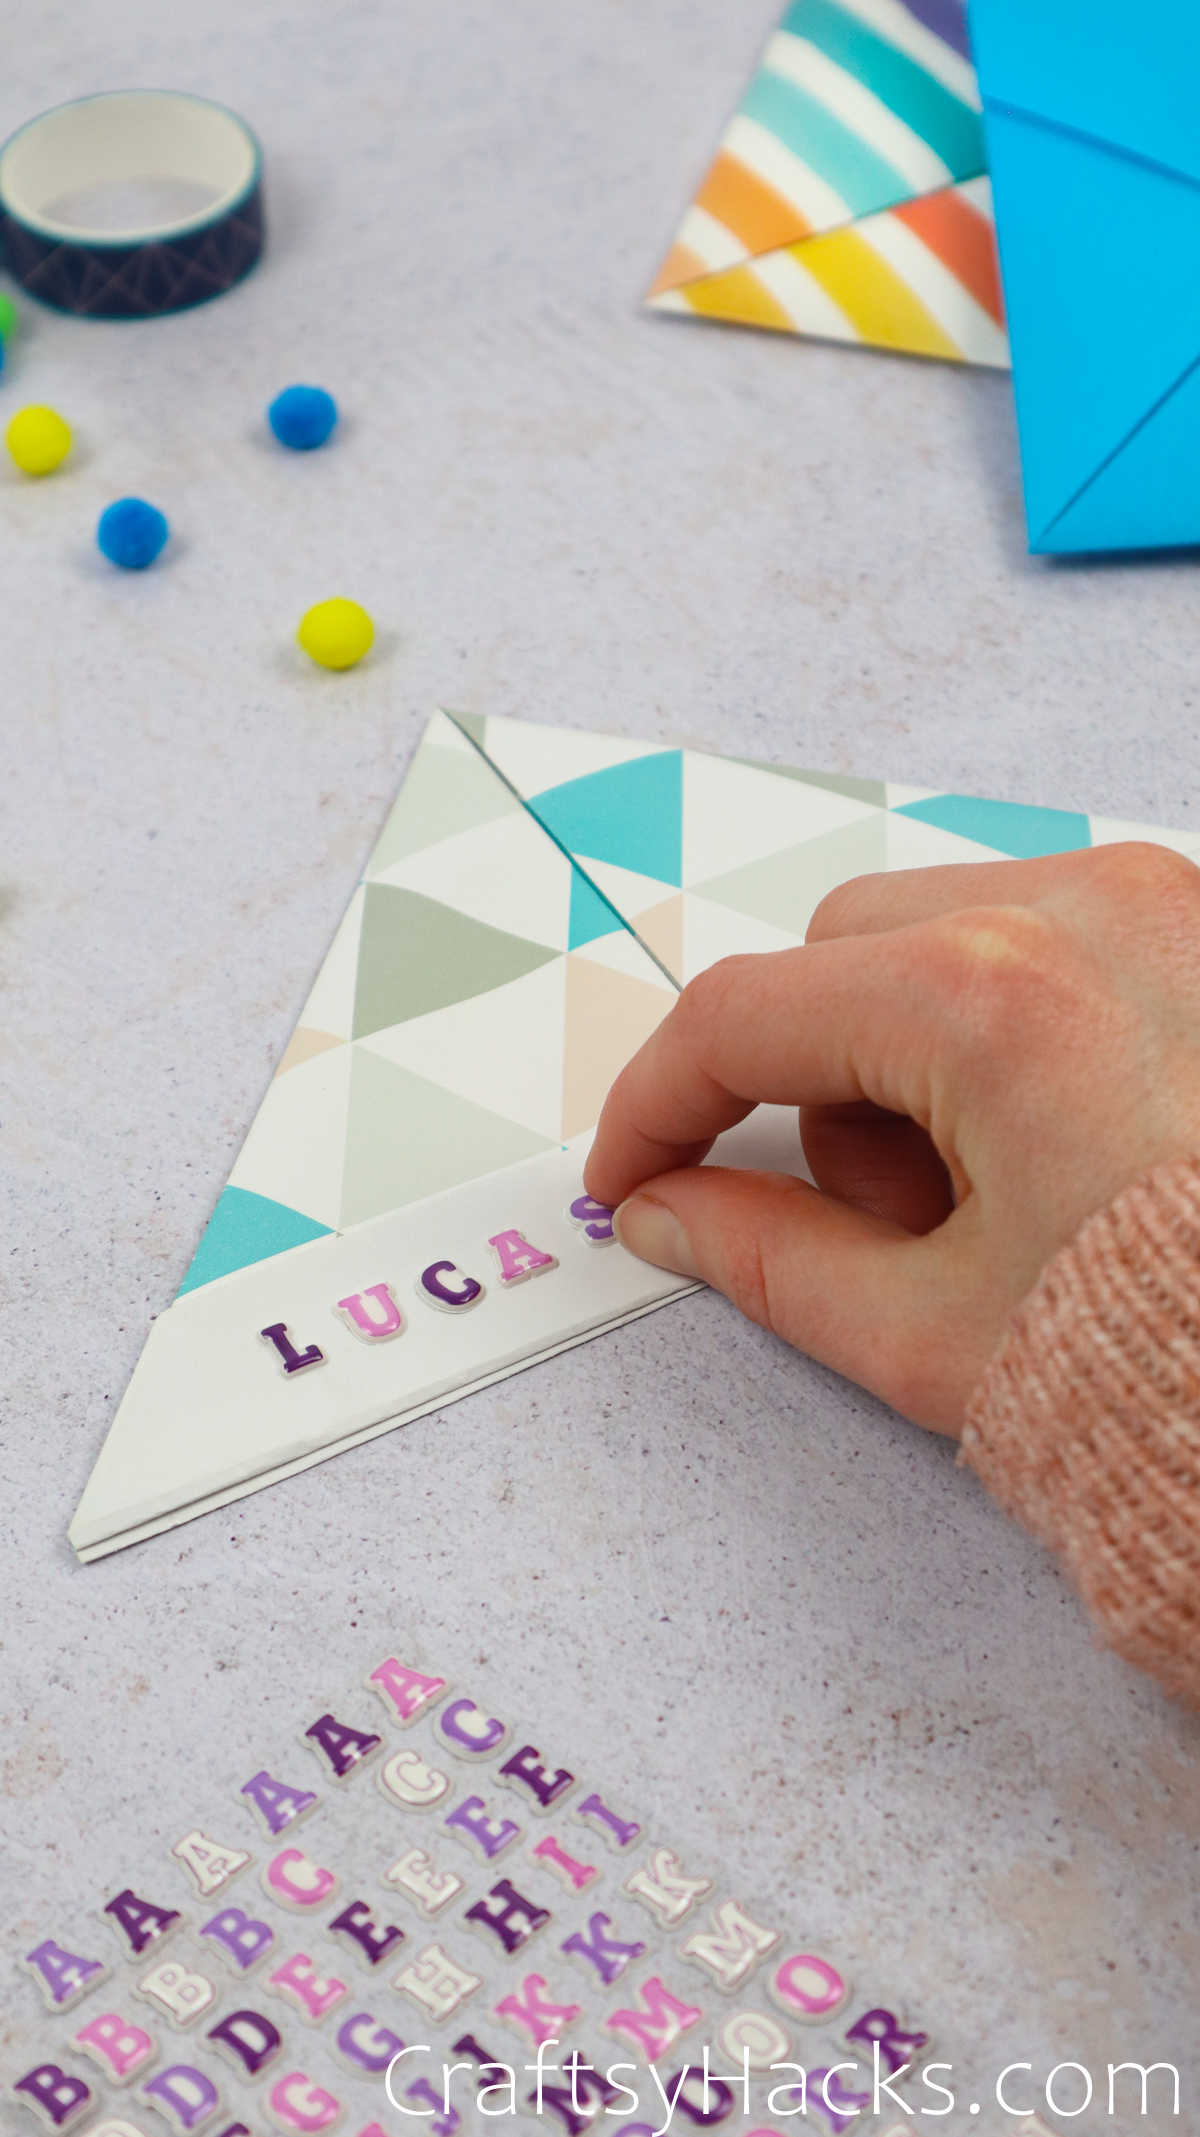
Want to personalize it? The go ahead and just stick on the letters of your kids’ names onto their hats, et voila!
Other Paper Crafts
- 47 Fun Paper Plate Crafts for Kids
- How to Make Paper Mache
- DIY Tissue Paper Flowers
- How to Make Paper Lanterns
- How to Make Paper Squishies
- 36 Construction Paper Crafts
- 31 Paper Crafts for Adults
- 37 Tissue Paper Crafts
How to Make a Paper Hat
Video Tutorial
Materials
- Rectangular paper sheets A4, A3 or A2
- Craft pom poms
- Washi tape
- Letter stickers
- Decorative glue
Instructions
- Gather all your supplies to get started on your DIY paper hats.
- You can choose colored or patterned paper, or just stick to a simple double-sided sheet.
- If you are working with a piece of paper with just one colored or patterned side, then the procedure is still the same. Just remember to keep the colored side of the sheet facing up and out, with the plain side facing inward.
- Lay your paper flat on the work surface. Bring the lengthier side up and fold it in half. Unfold the paper, turn it around and fold it in half again.
- Grab the left corner and bring it down towards the center fold. Line the edges up and crease the paper.
- Repeat this with the right side, as well, by bringing it down and folding it once you have aligned the edges along the centerfold.
- You will find two sheets of paper at the bottom; grab the bottom part and bring it up, folding it as you go.
- Turn the paper around and fold the second sheet the same way.
- This is completely optional, but you can tuck the corners into the folds, if you want to hide the jutting ends. Secure these corners with bits of tap.
- Your paper hat is ready! Just decorate it, personalize it, or customize it however you like and you’re all done!


