DIY Snowflake Lanterns
This post may contain affiliate links: full affiliate disclosure.
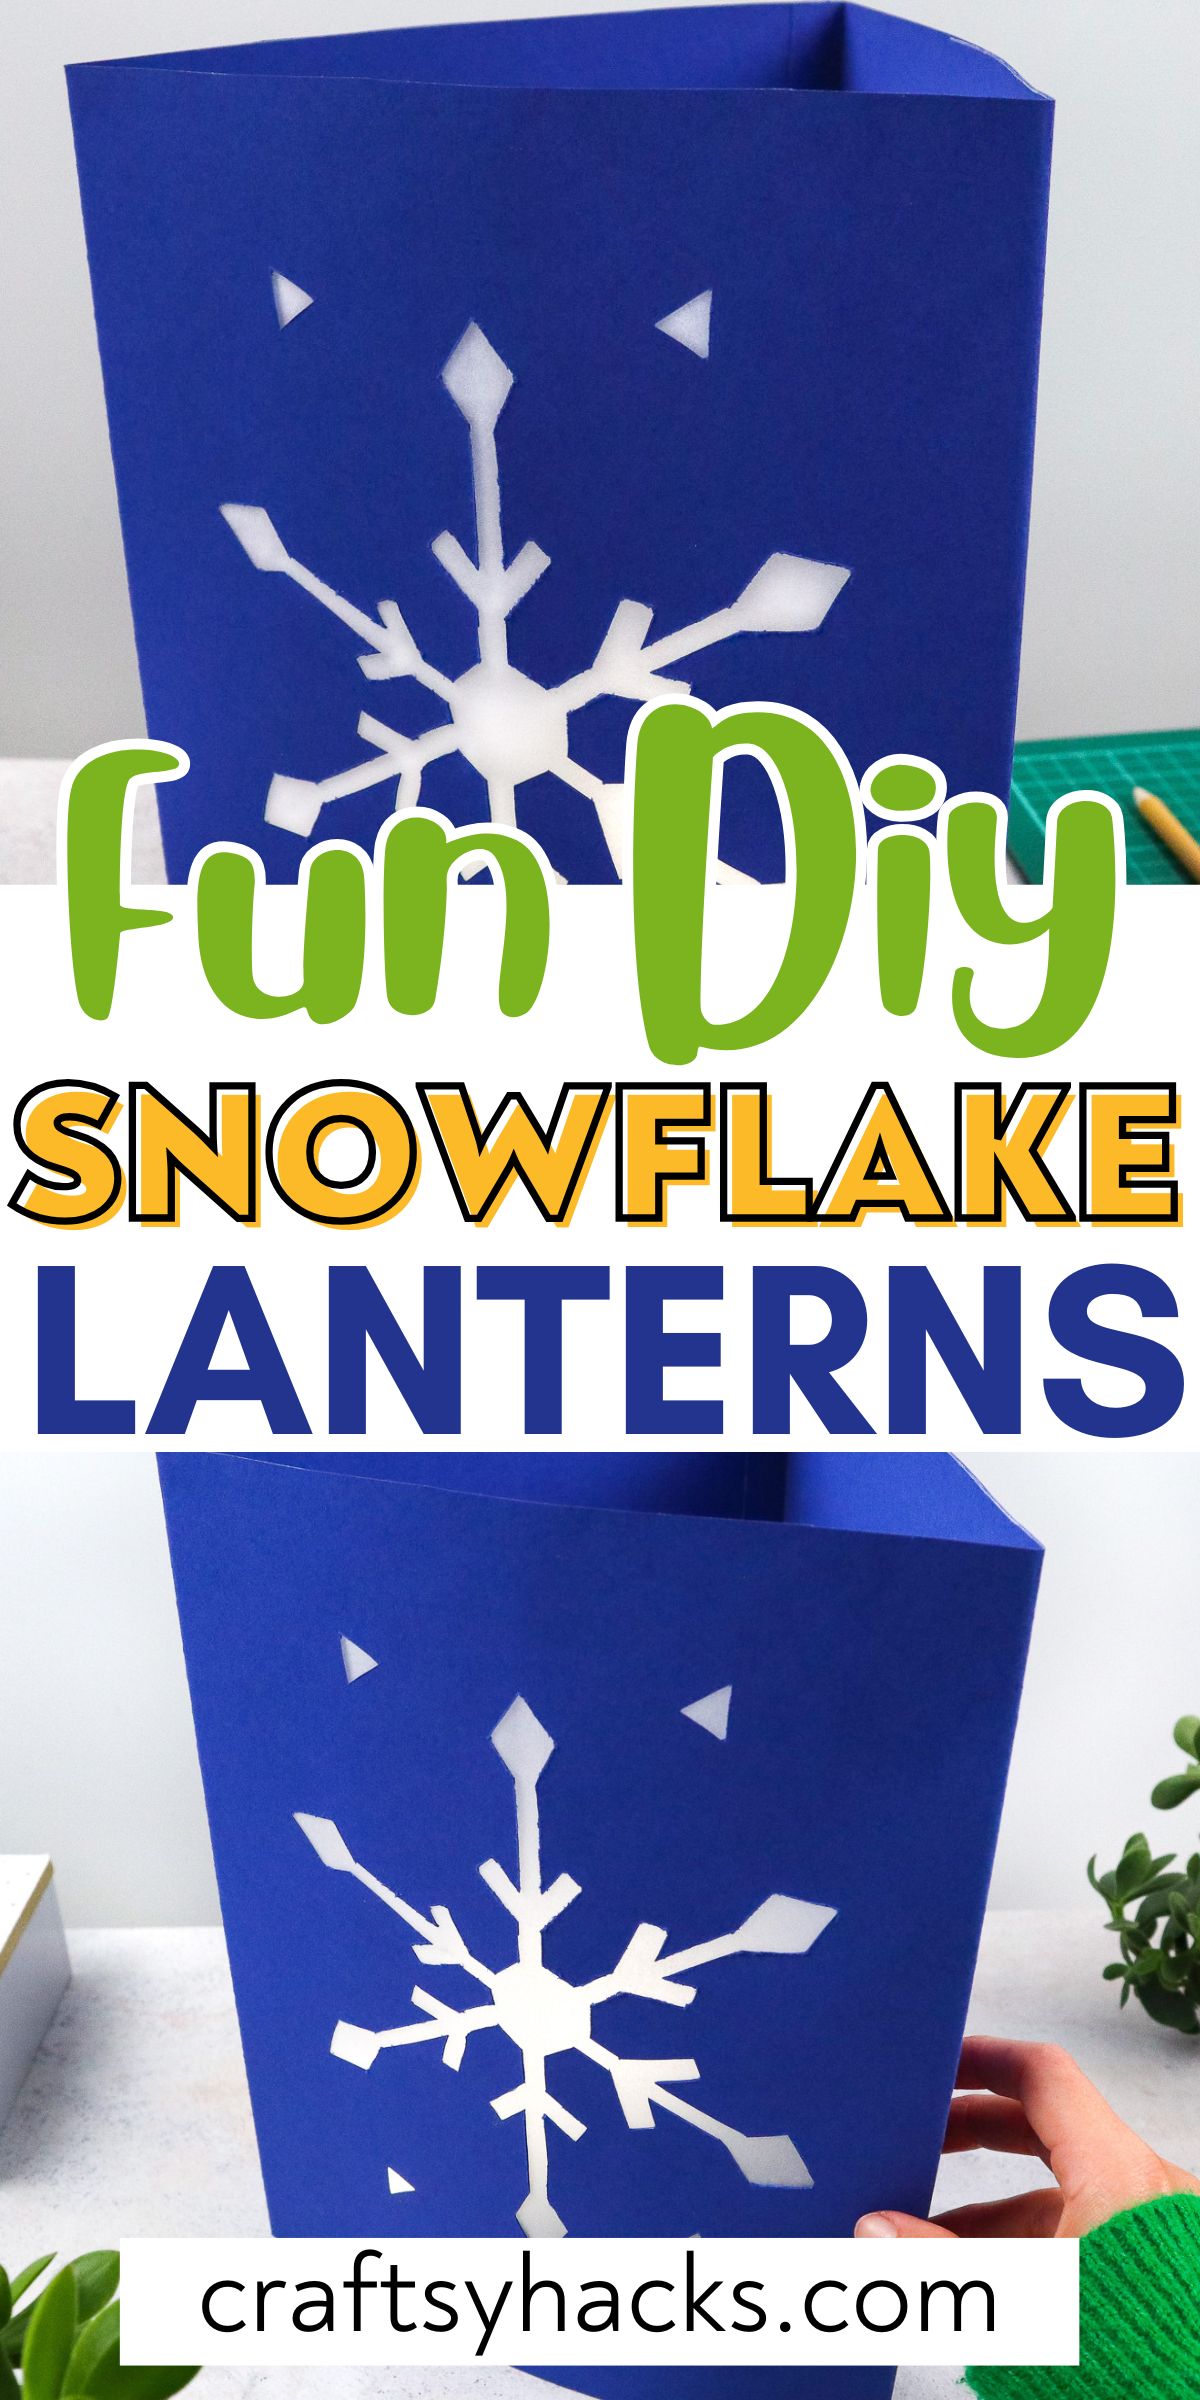
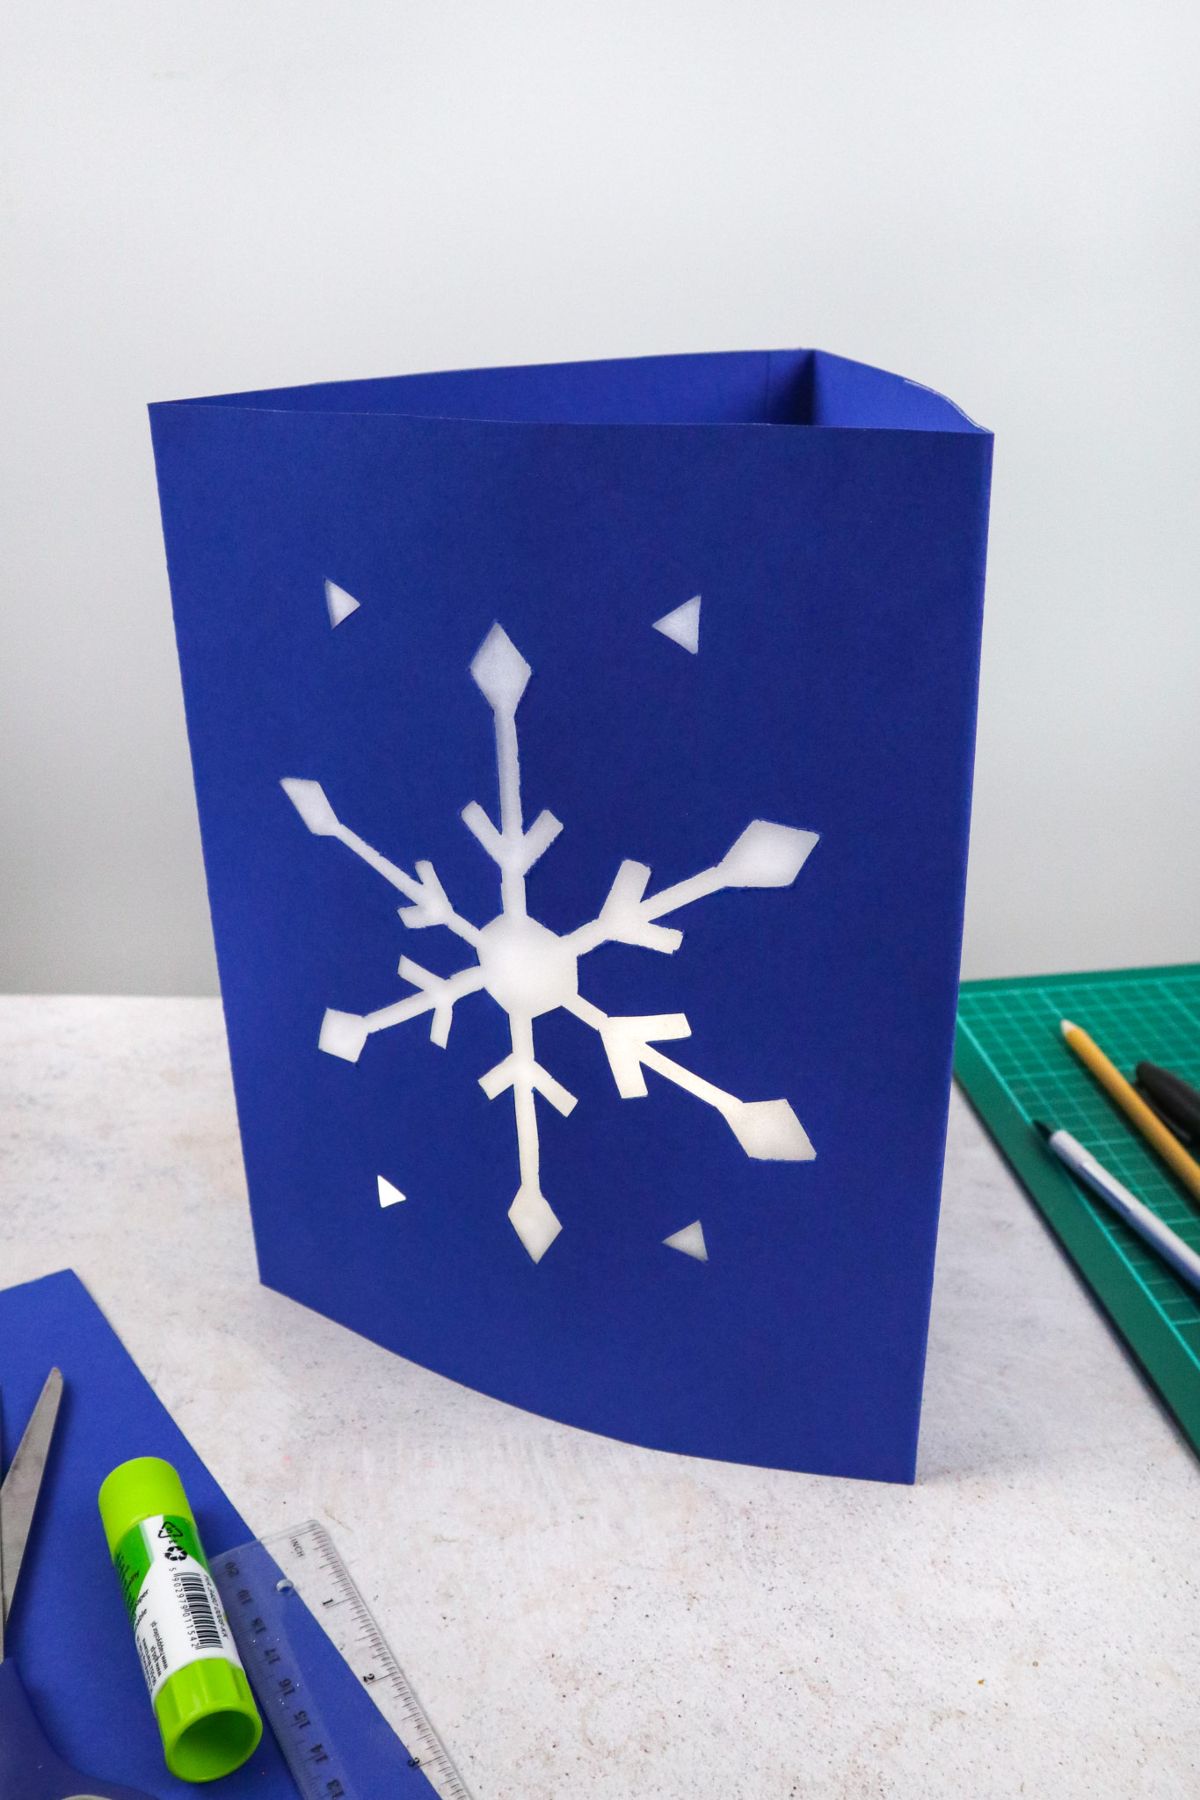
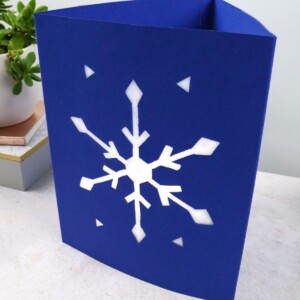
Are you looking for a pretty and festive winter craft? These snowflake lanterns turn out so beautifully!
They would add elegance to your mantle or tablescape during the winter. You can make these with little ones, but they will probably need some help with the drawing and cutting.
This is a great project to do whenever it’s too cold to go outside. Here’s to happy crafting!
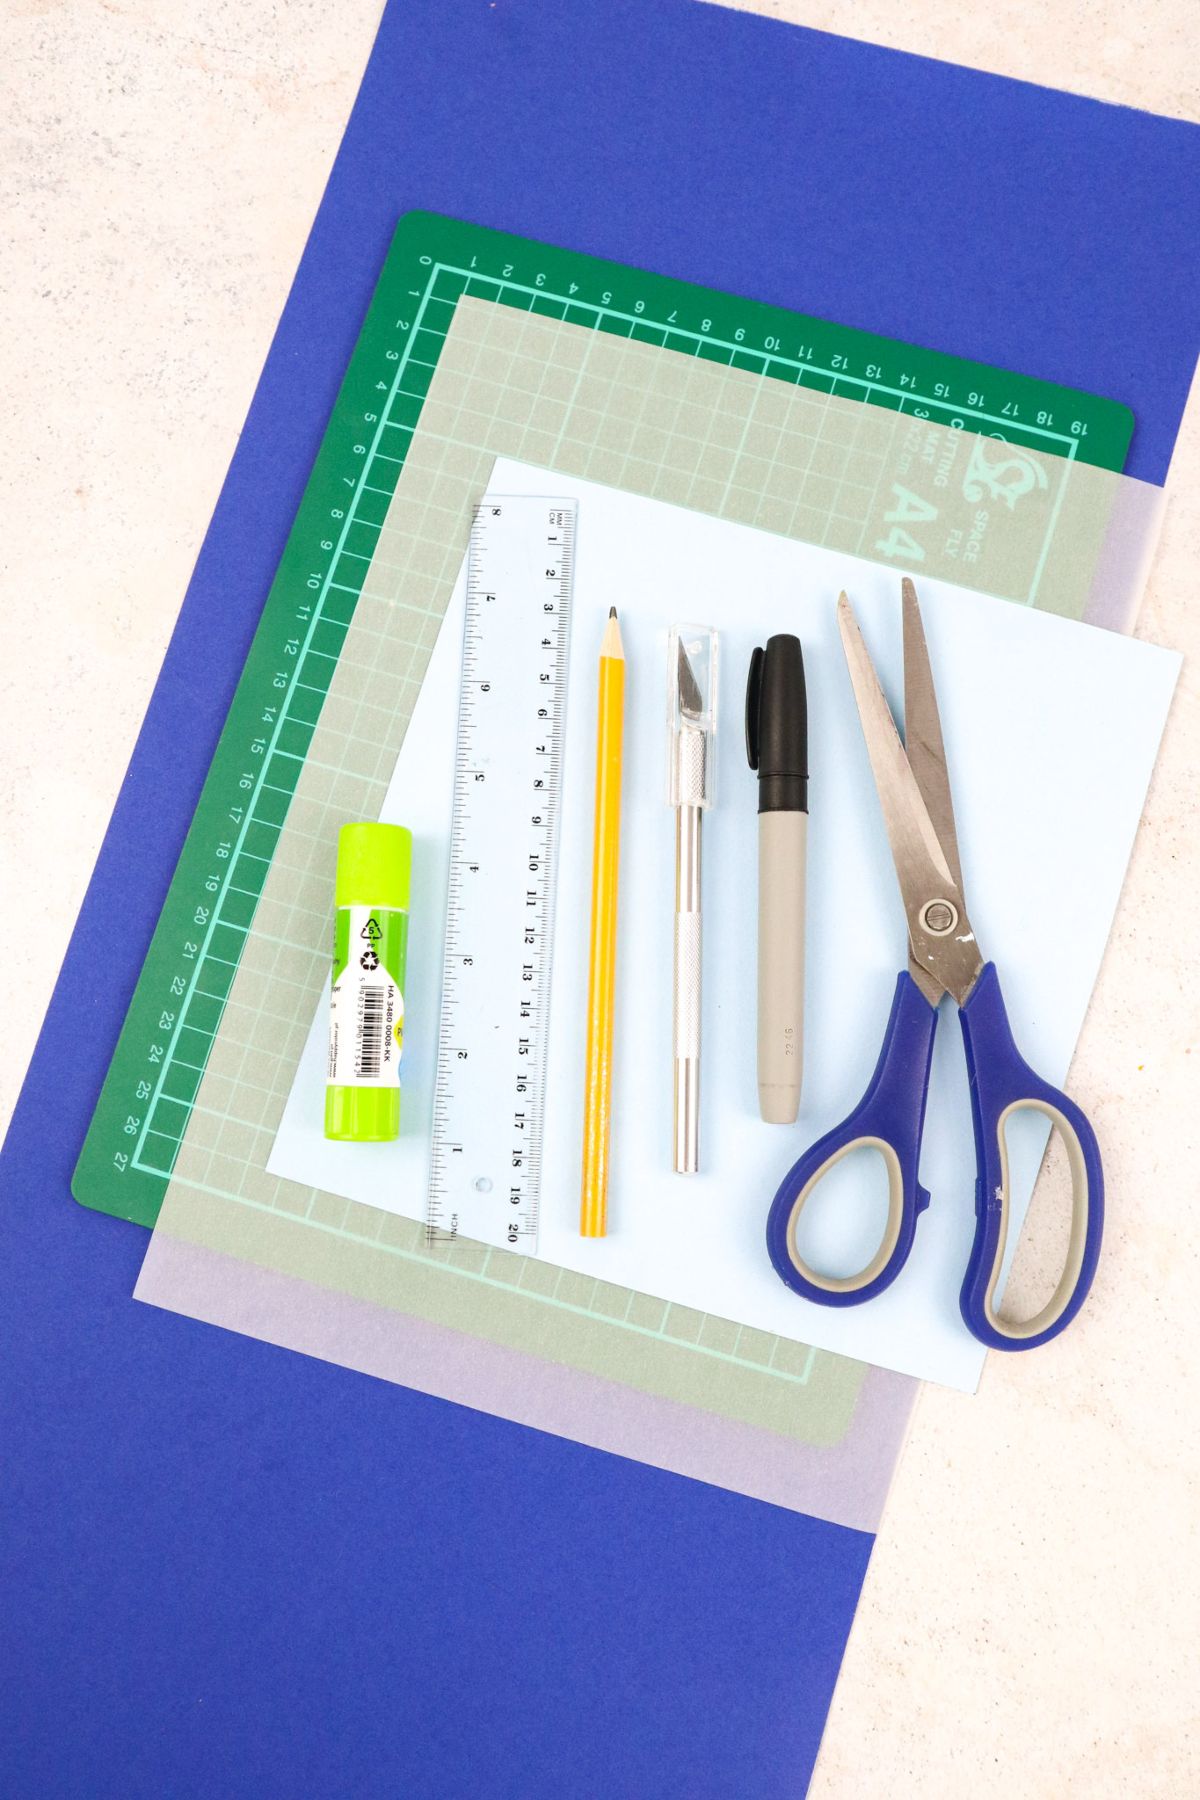
Supplies You’ll Need
- Dark colored cardstock paper (24.5″ x 10″)
- Cutting mat
- Semi transparent paper *
- Craft paper 8″x 8″
- Glue stick
- Ruler
- Pencil
- Black marker
- X-acto knife
- Scissors
* or mulberry paper
How to Make DIY Snowflake Lanterns
Step 1. First, use your pencil to divide your cardstock paper into 3 even rectangular parts. Each should be 8” long.
Leave a ½” of space on one end of the cardstock.
Step 2. Make your snowflake template. Start by drawing a hexagon with ½” walls.
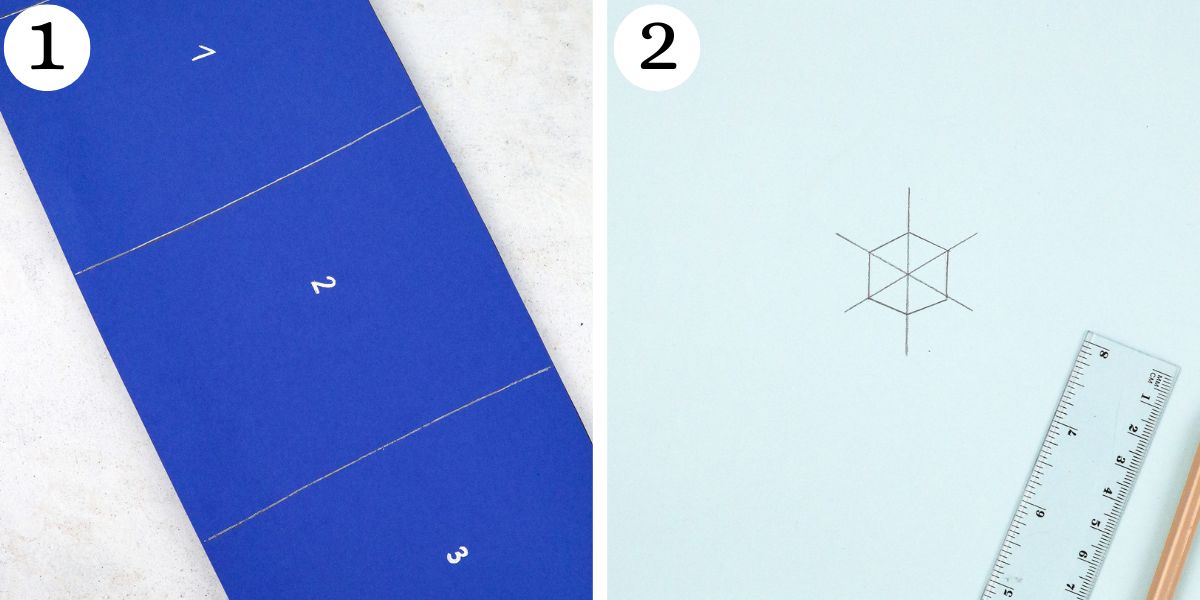
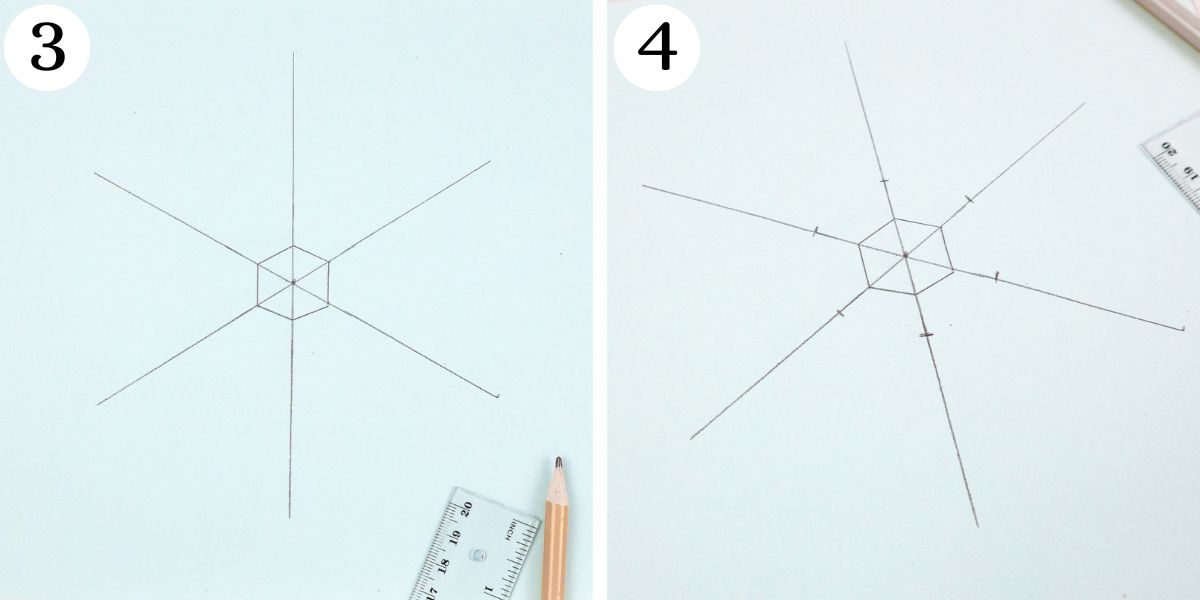
Step 3. Draw 6 lines. Each should be 3” long from the center.
Step 4. Use your pencil to mark each line 1” from the center of the hexagon.
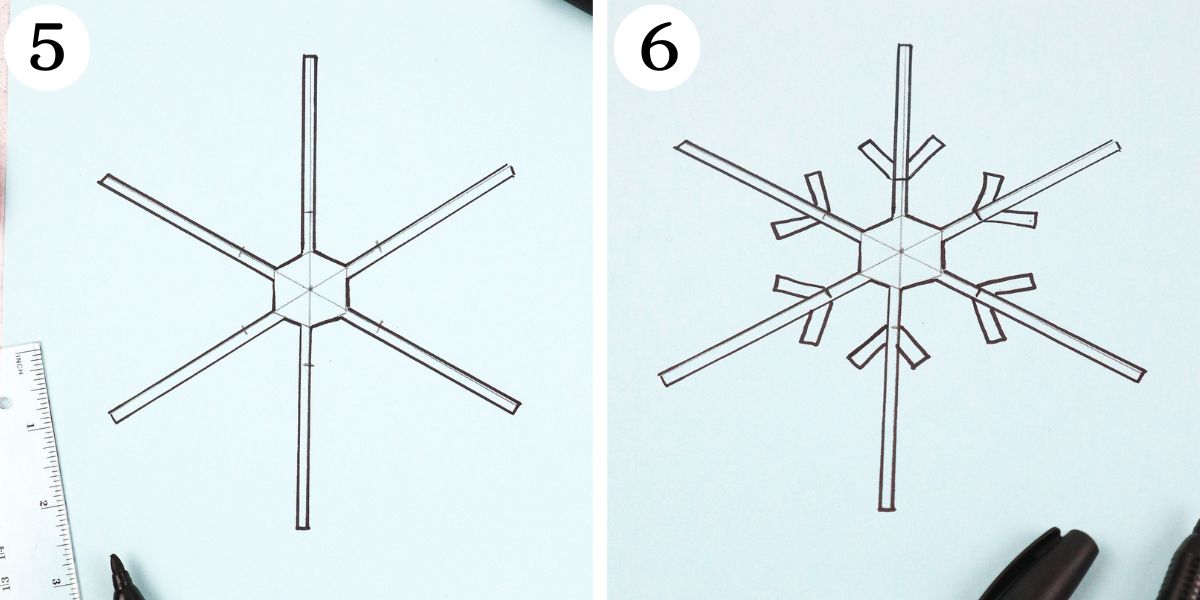
Step 5. Get your marker and use it to make each of your 6 lines into a narrow rectangular shape. Using your ruler will make everything look neat and tidy!
Step 6. Go back to those marks you made 1” from the center. Turn those marks into snowflake designs with two angled rectangular shapes on each side of each line as shown.
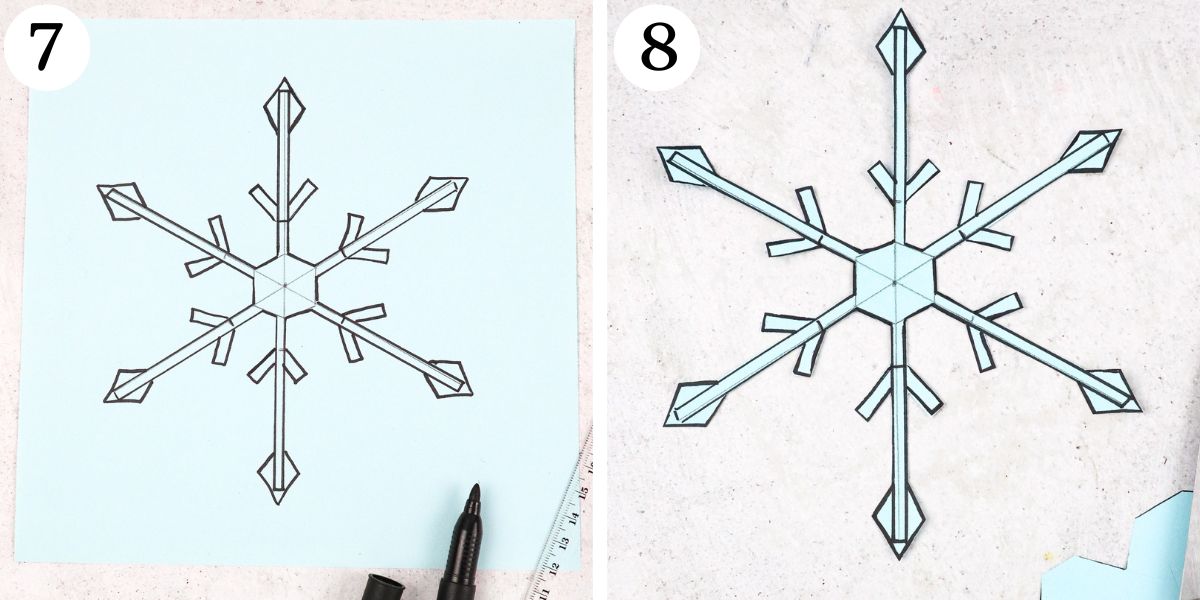
Step 7. Draw a rhombus at the top of each line to complete your snowflake pattern.
Step 8. Cut out your snowflake template.
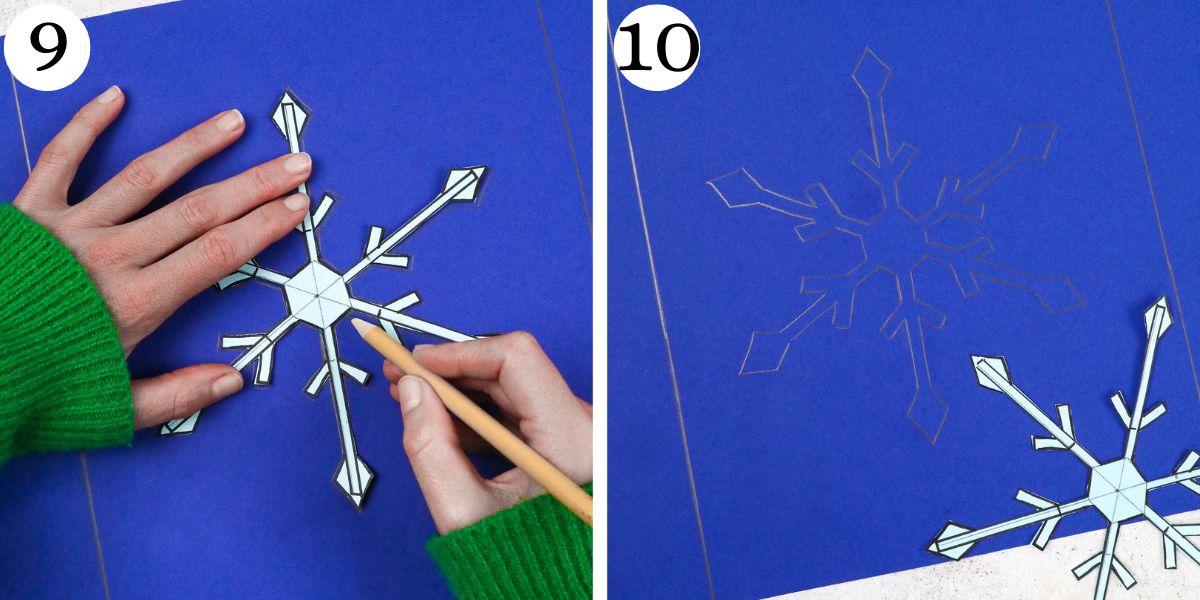
Step 9. Put your snowflake in the middle of your cardstock paper (in the second section that you have made).
Step 10. Use your pencil to trace your template.
Step 11. Put your cutting mat behind your cardstock for protection.
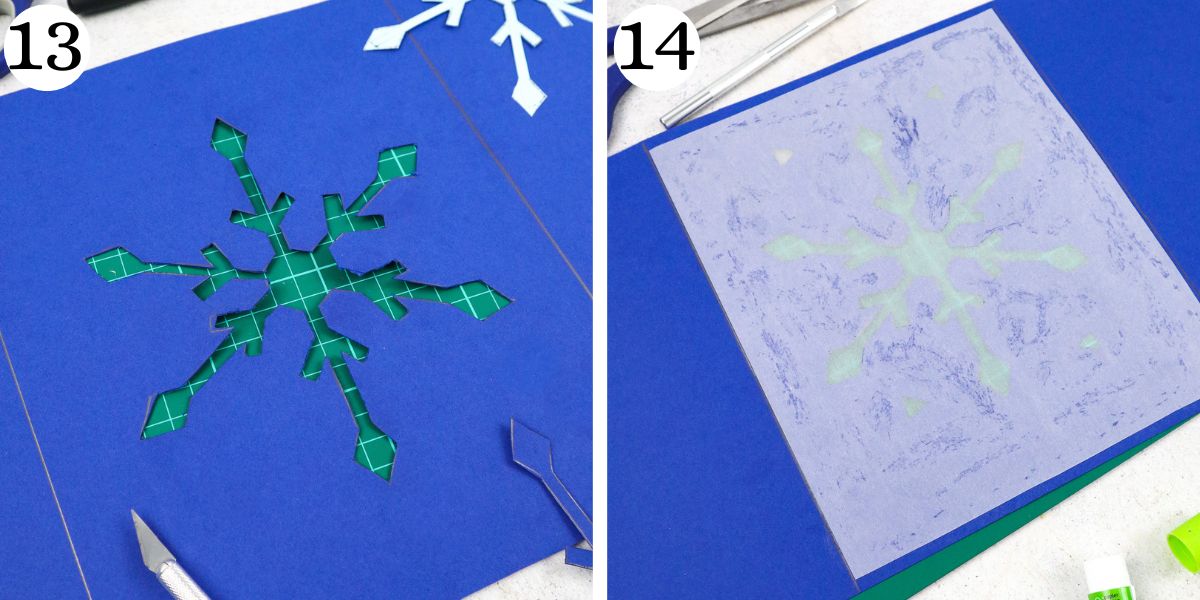
Step 12. Use your craft knife to begin cutting out the snowflake. This is time consuming, but be patient because it’s worth it!

Step 13.If you prefer to skip this cutting step, you can always draw a snowflake directly on the cardstock.
I think it is worth it to make the snowflake template because it turns out so beautifully, can be used later for other projects, and can even be used to add snowflakes to the other sides of the lantern later if you wish.
Step 14. Apply glue around the snowflake cutout and attach the semi-transparent paper. Your paper will need to be large enough to cover the snowflake.
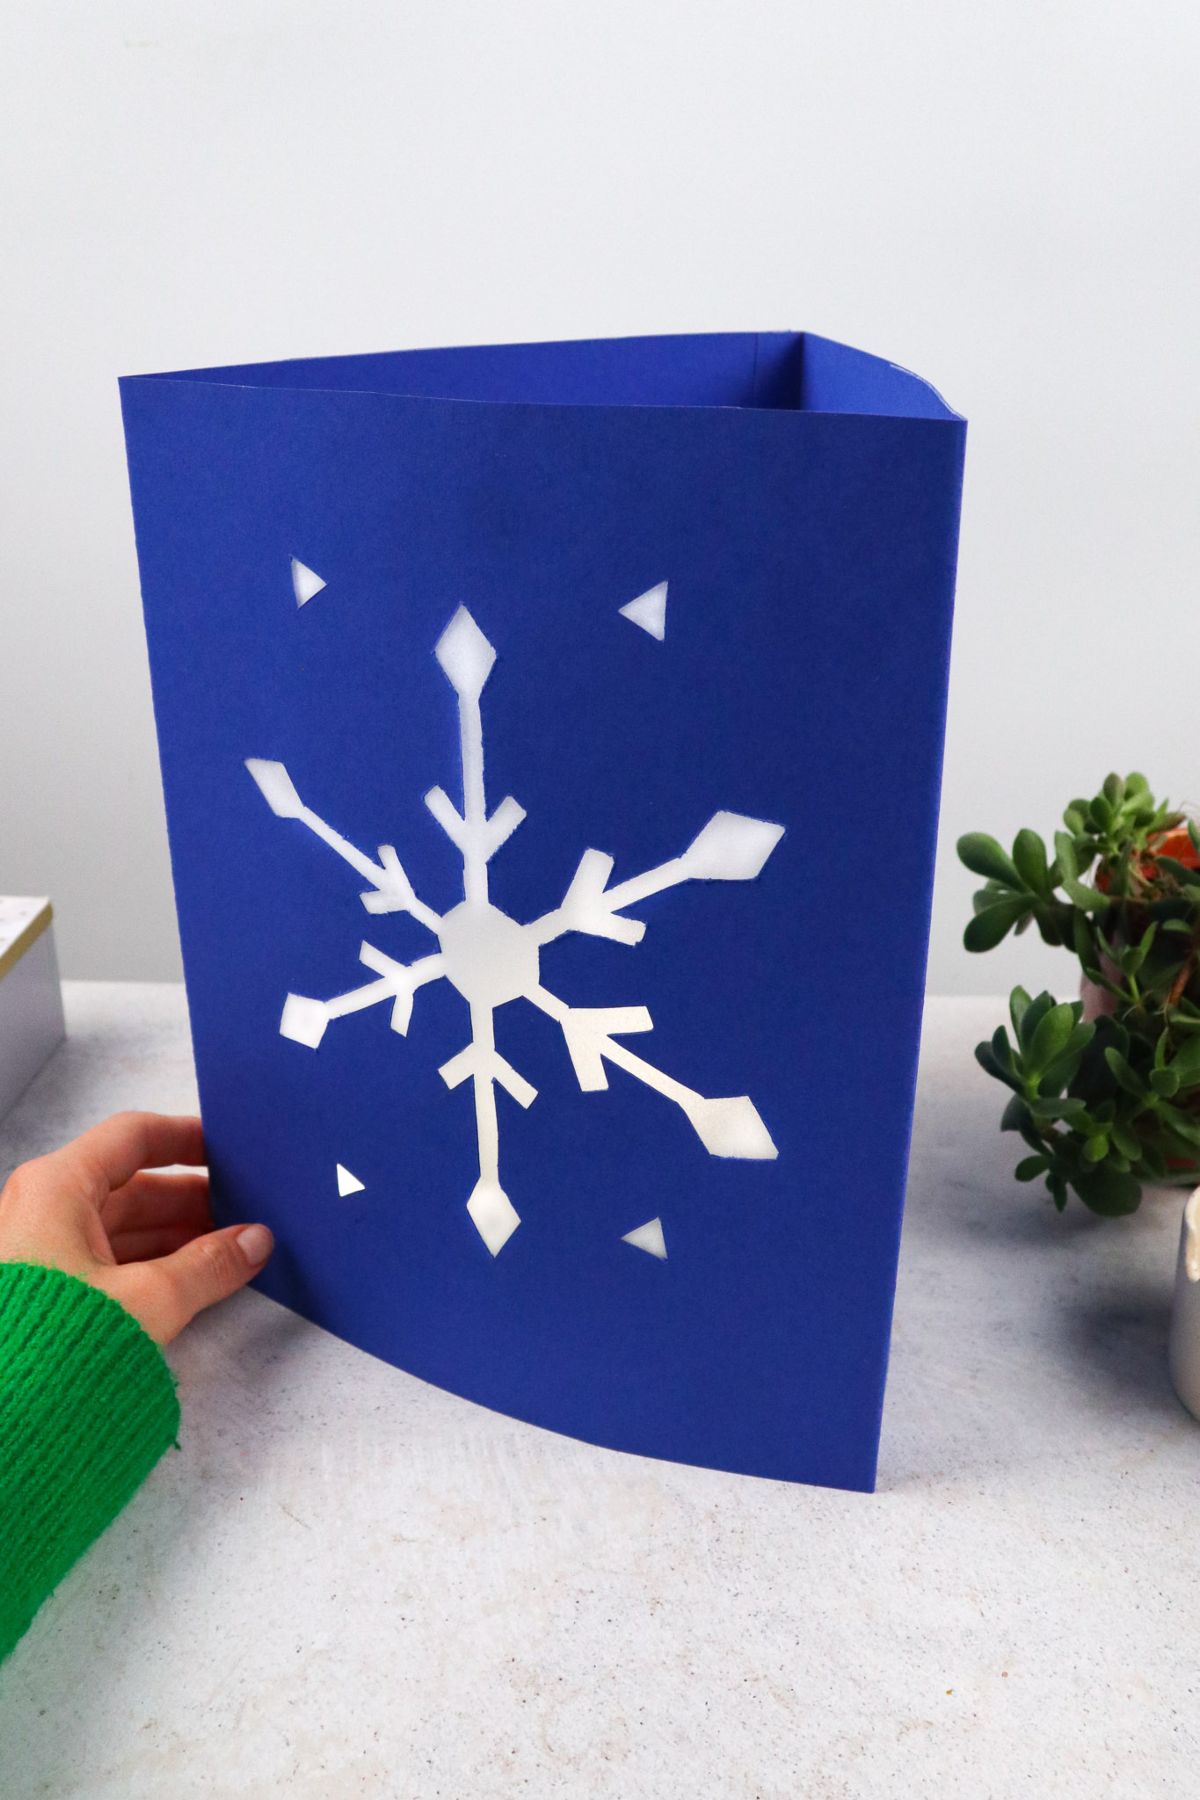
Step 15. Now, fold the cardstock paper into 3 even parts. That ½” tab that you left at one end will be the glue tab.
The snowflake should be in the middle.
Step 16. Finally, add glue to the glue tab and form your lantern into a triangular shape as you close the glue tab.

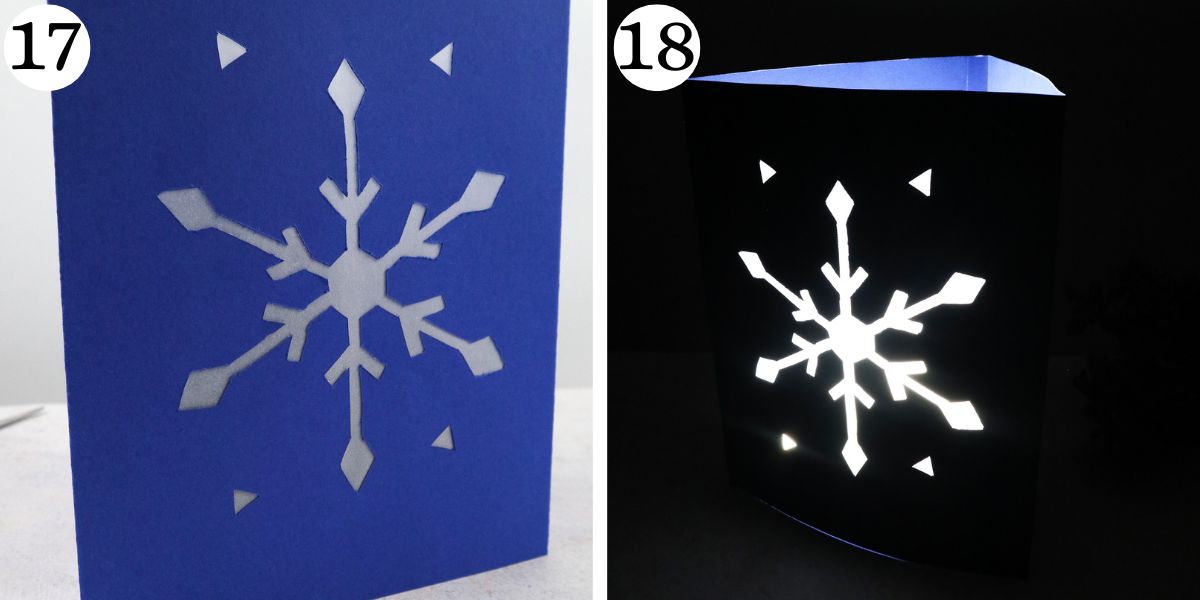
Step 17. You can now add an LED light inside so that your lantern glows!
Step 18. Remember not to put a real candle in since this is a paper lantern. Enjoy!
How Long Do These DIY Snowflake Lanterns Take to Make?
It will take you about 40-45 minutes to make one snowflake lantern. Dividing your cardstock into sections and making your snowflake template will take 10-20 minutes.
You should be able to trace your template in 5 minutes or less. Cutting with your crafting knife takes the most time because you have to be patient and careful, but even this step should only take you 10-15 minutes.
The finishing touches can be done in about 5 minutes. This is a great, quick project!
More Crafts Like This
DIY Snowflake Lanterns
Equipment
- Scissors
- X-actoknife
Materials
- Dark colored cardstock paper 24.5" x 10"
- Cutting mat
- Semi transparent paper *
- Craft paper 8"x 8"
- Glue stick
- Ruler
- Pencil
- Black marker
Instructions
- Divide your cardstock paper into 3 even rectangular parts (8” long each). Leave a ½” section of space on the end for a glue tab.
- Make your snowflake template. First, draw a hexagon with ½” walls.
- Draw 6 lines about 3” long from the center.
- Mark each line 1” from the center.
- Use your marker to make each of your 6 lines into a narrow rectangular shape.
- Turn your marks from Step 4 into snowflake designs as shown.
- Draw a rhombus at the top of each line.
- Cut out your snowflake template.
- Put your snowflake in the middle of your cardstock paper in the middle section.
- Trace your template.
- Put your cutting mat behind your cardstock.
- Cut out the snowflake with your craft knife.
- If you prefer, you can skip the cutting and just draw a snowflake directly onto the cardstock.
- Apply glue around the snowflake cutout and attach the semi-transparent paper.
- Fold the cardstock into 3 even parts.
- Add glue to the 1/2'” tab and form your lantern into a triangular shape as you close it.
- Add an LED light inside so that your lantern glows if you wish!
- Remember not to put a real candle in since this is a paper lantern. Enjoy!


